
Building a floating shelf for the den
You may also like:
July 15, 2015: It’s been two months since I stumbled upon that Home Depot Do It Herself workshop when I learned how to build a wall-mounted planter out of wood. Since then, I’ve been obsessed with building more items for the condo – shelves, furniture, wall decor, you name it.
I’ve been scouring DIY tutorial sites that offer free build plans and show you how to put your project together step-by-step. Ana White and Shanty-2-Chic are among my favorites. I’ve built rope-hanging shelves and a wood and pipe hanging bar with organizer set so far.
But there is this dream project. One that seems so big that I’m nervous about tackling it. Nervous because it would be so beautiful to actually have in our condo space. The thought of it seems wildly insane. In a custom built home? Sure. In a condo? WOW!
And definitely nervous because the project seems so big in scale for a DIY newbie. Big in size. Big in required carpentry skill set. And a huge mutha to mount on 45+ year old plaster walls.
My dream is to build a floating wood shelf and mount it in the den.
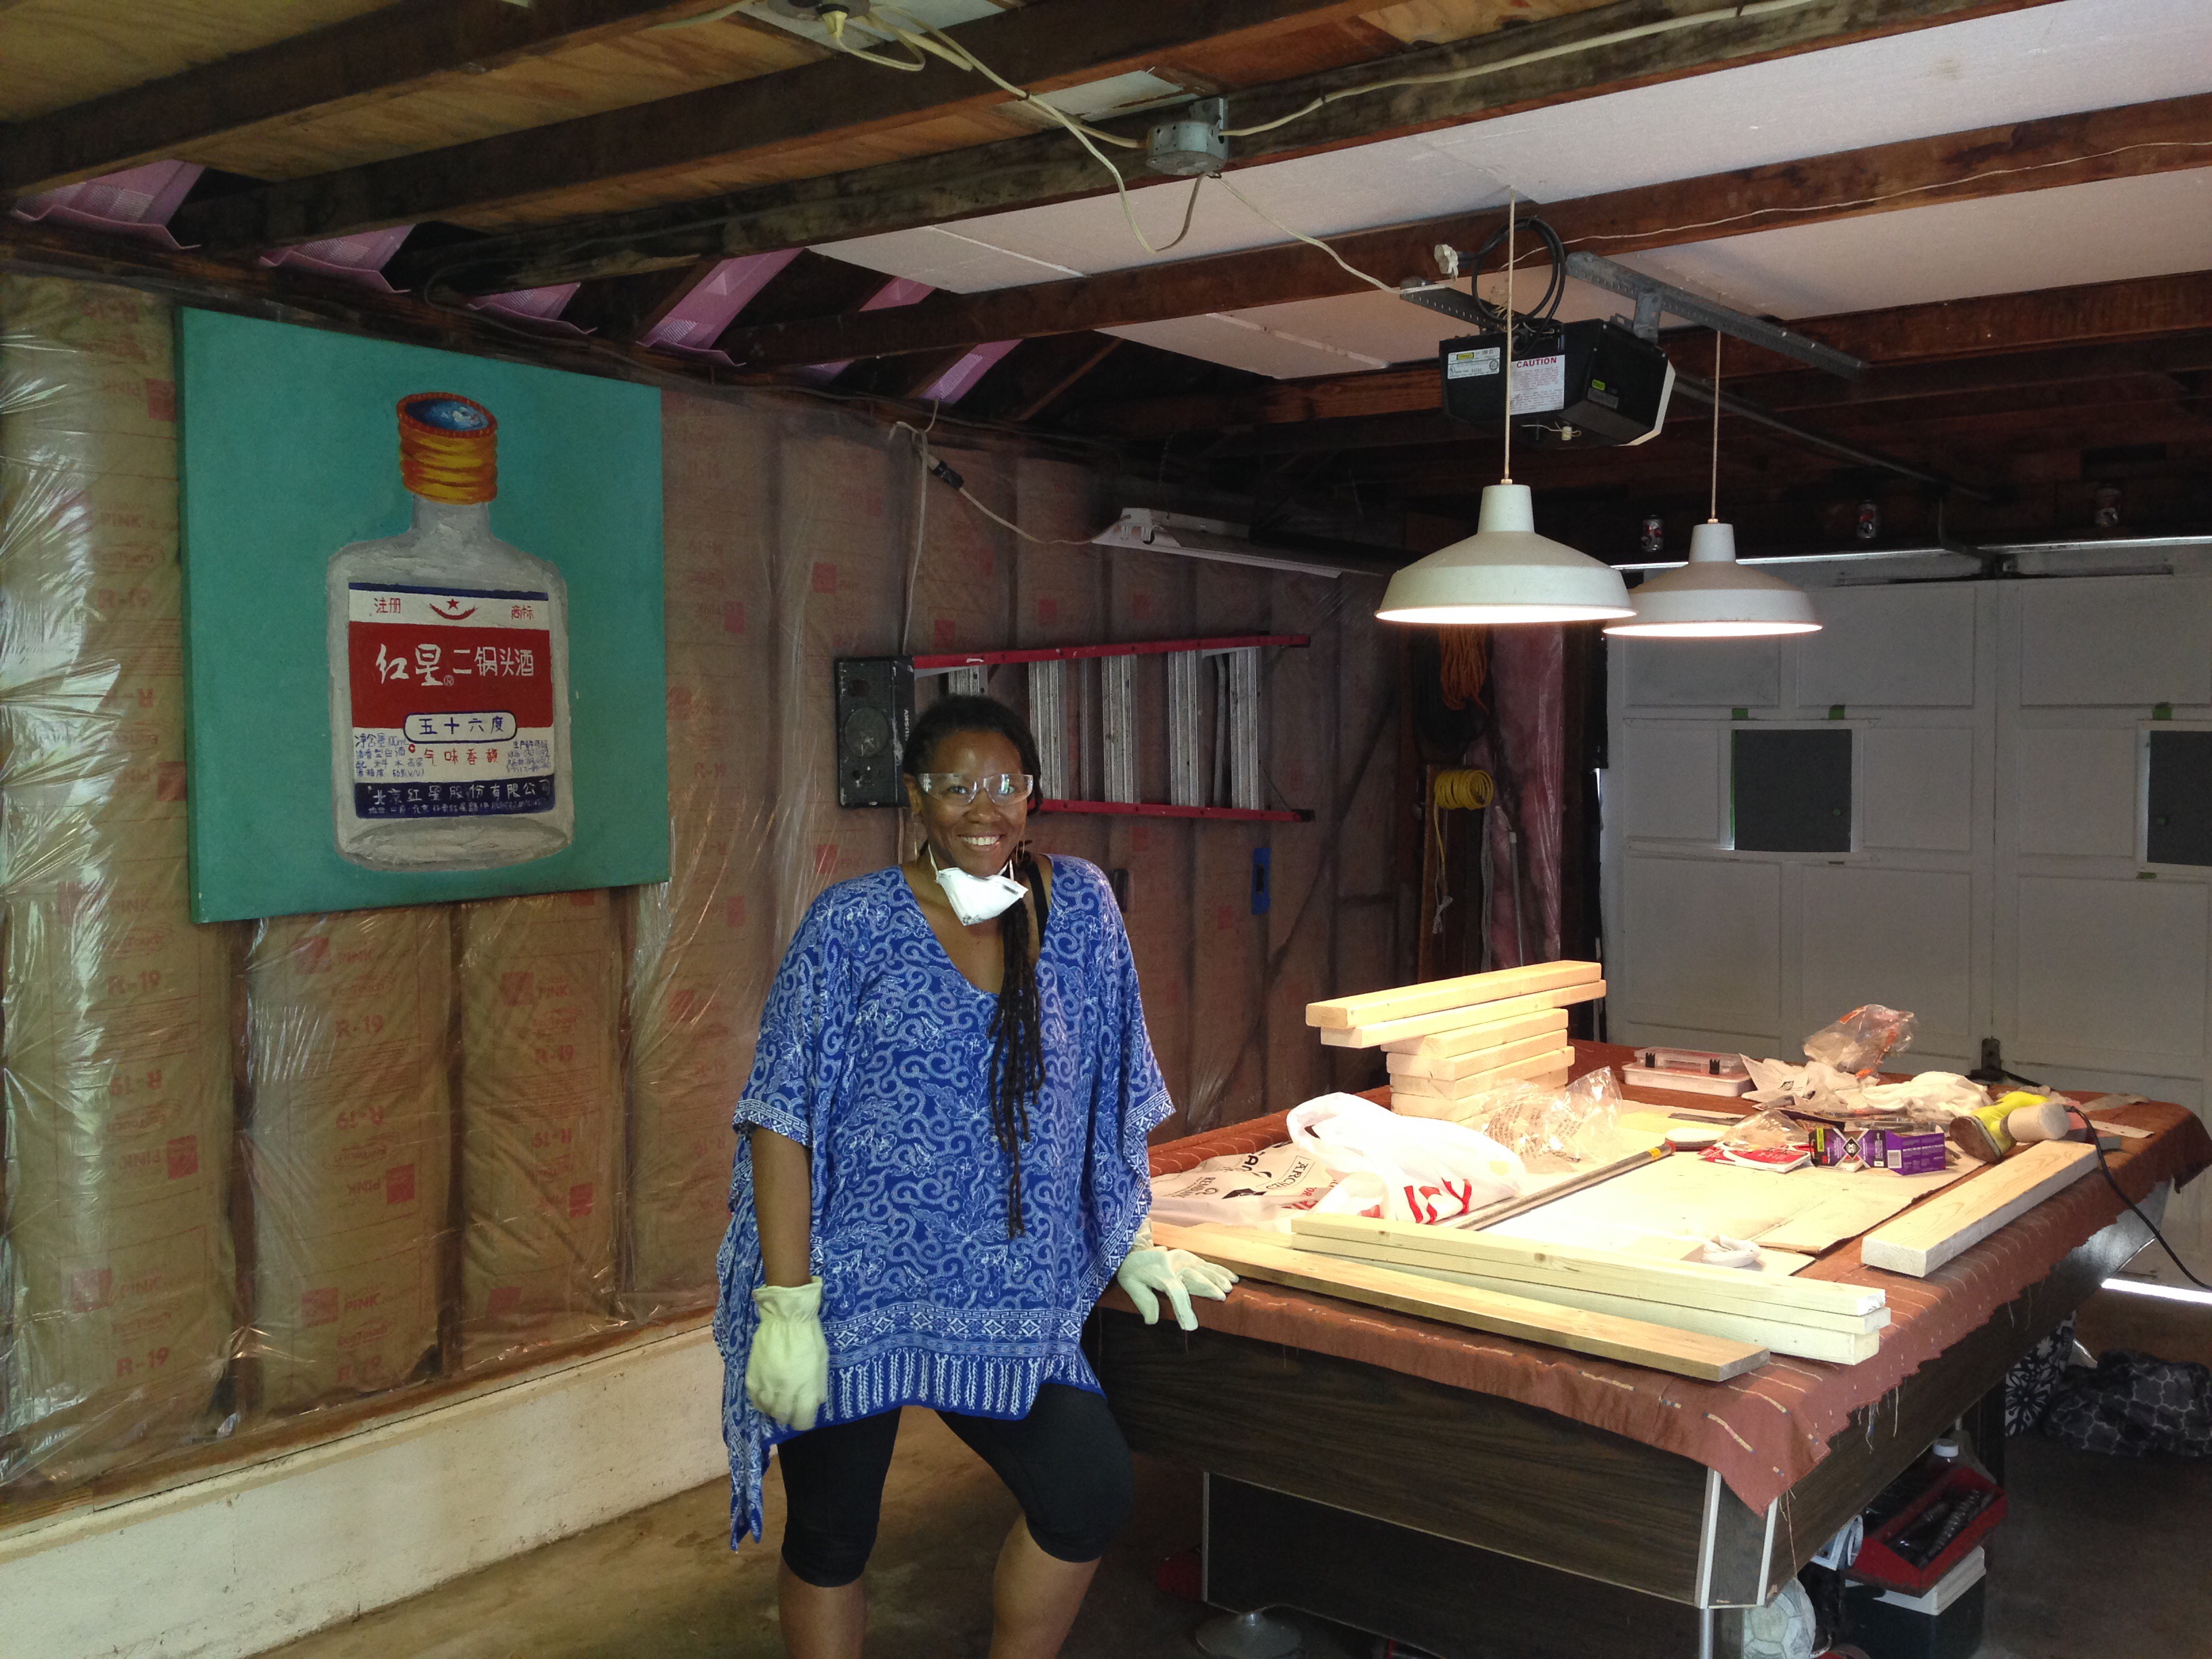
Check out that grin. Wood and walls don’t scare me (much). Especially now that I have a workshop so I can go to town with this. Let’s do this.
First stop, the Home Depot. I found a nice Rogue Engineer build plan off the Shanty-2-Chic site to build the shelf using pine boards and pocket screws (using the Kreg project screw jig system).
Here’s what I need for the build:
- Two 1 x 12 x 71.5″ pine boards.
- One 1 x 6 x 73″ pine board.
- Two 1 x 6 x 11.75 pine boards.
- One 2 x 4 x 71.5″ whitewood board.
- Six 2 x 4 x 9.75″ whitewoood boards.
- 2 1/2″ Kreg pocket hole screws.
- 1 1/4″ Kreg pocket hole screws.
- 3/16 hollow wall anchors.
- Kreg jig, pocket hole drill bit and driver.
- My trusty Dewalt power drill.
- Six hollow wall anchors (3/16″).
- Six 3/16″ machine screws, 4 inches in length.
- Twelve #20 (or 1/4″) wood screws, 2 inches in length.
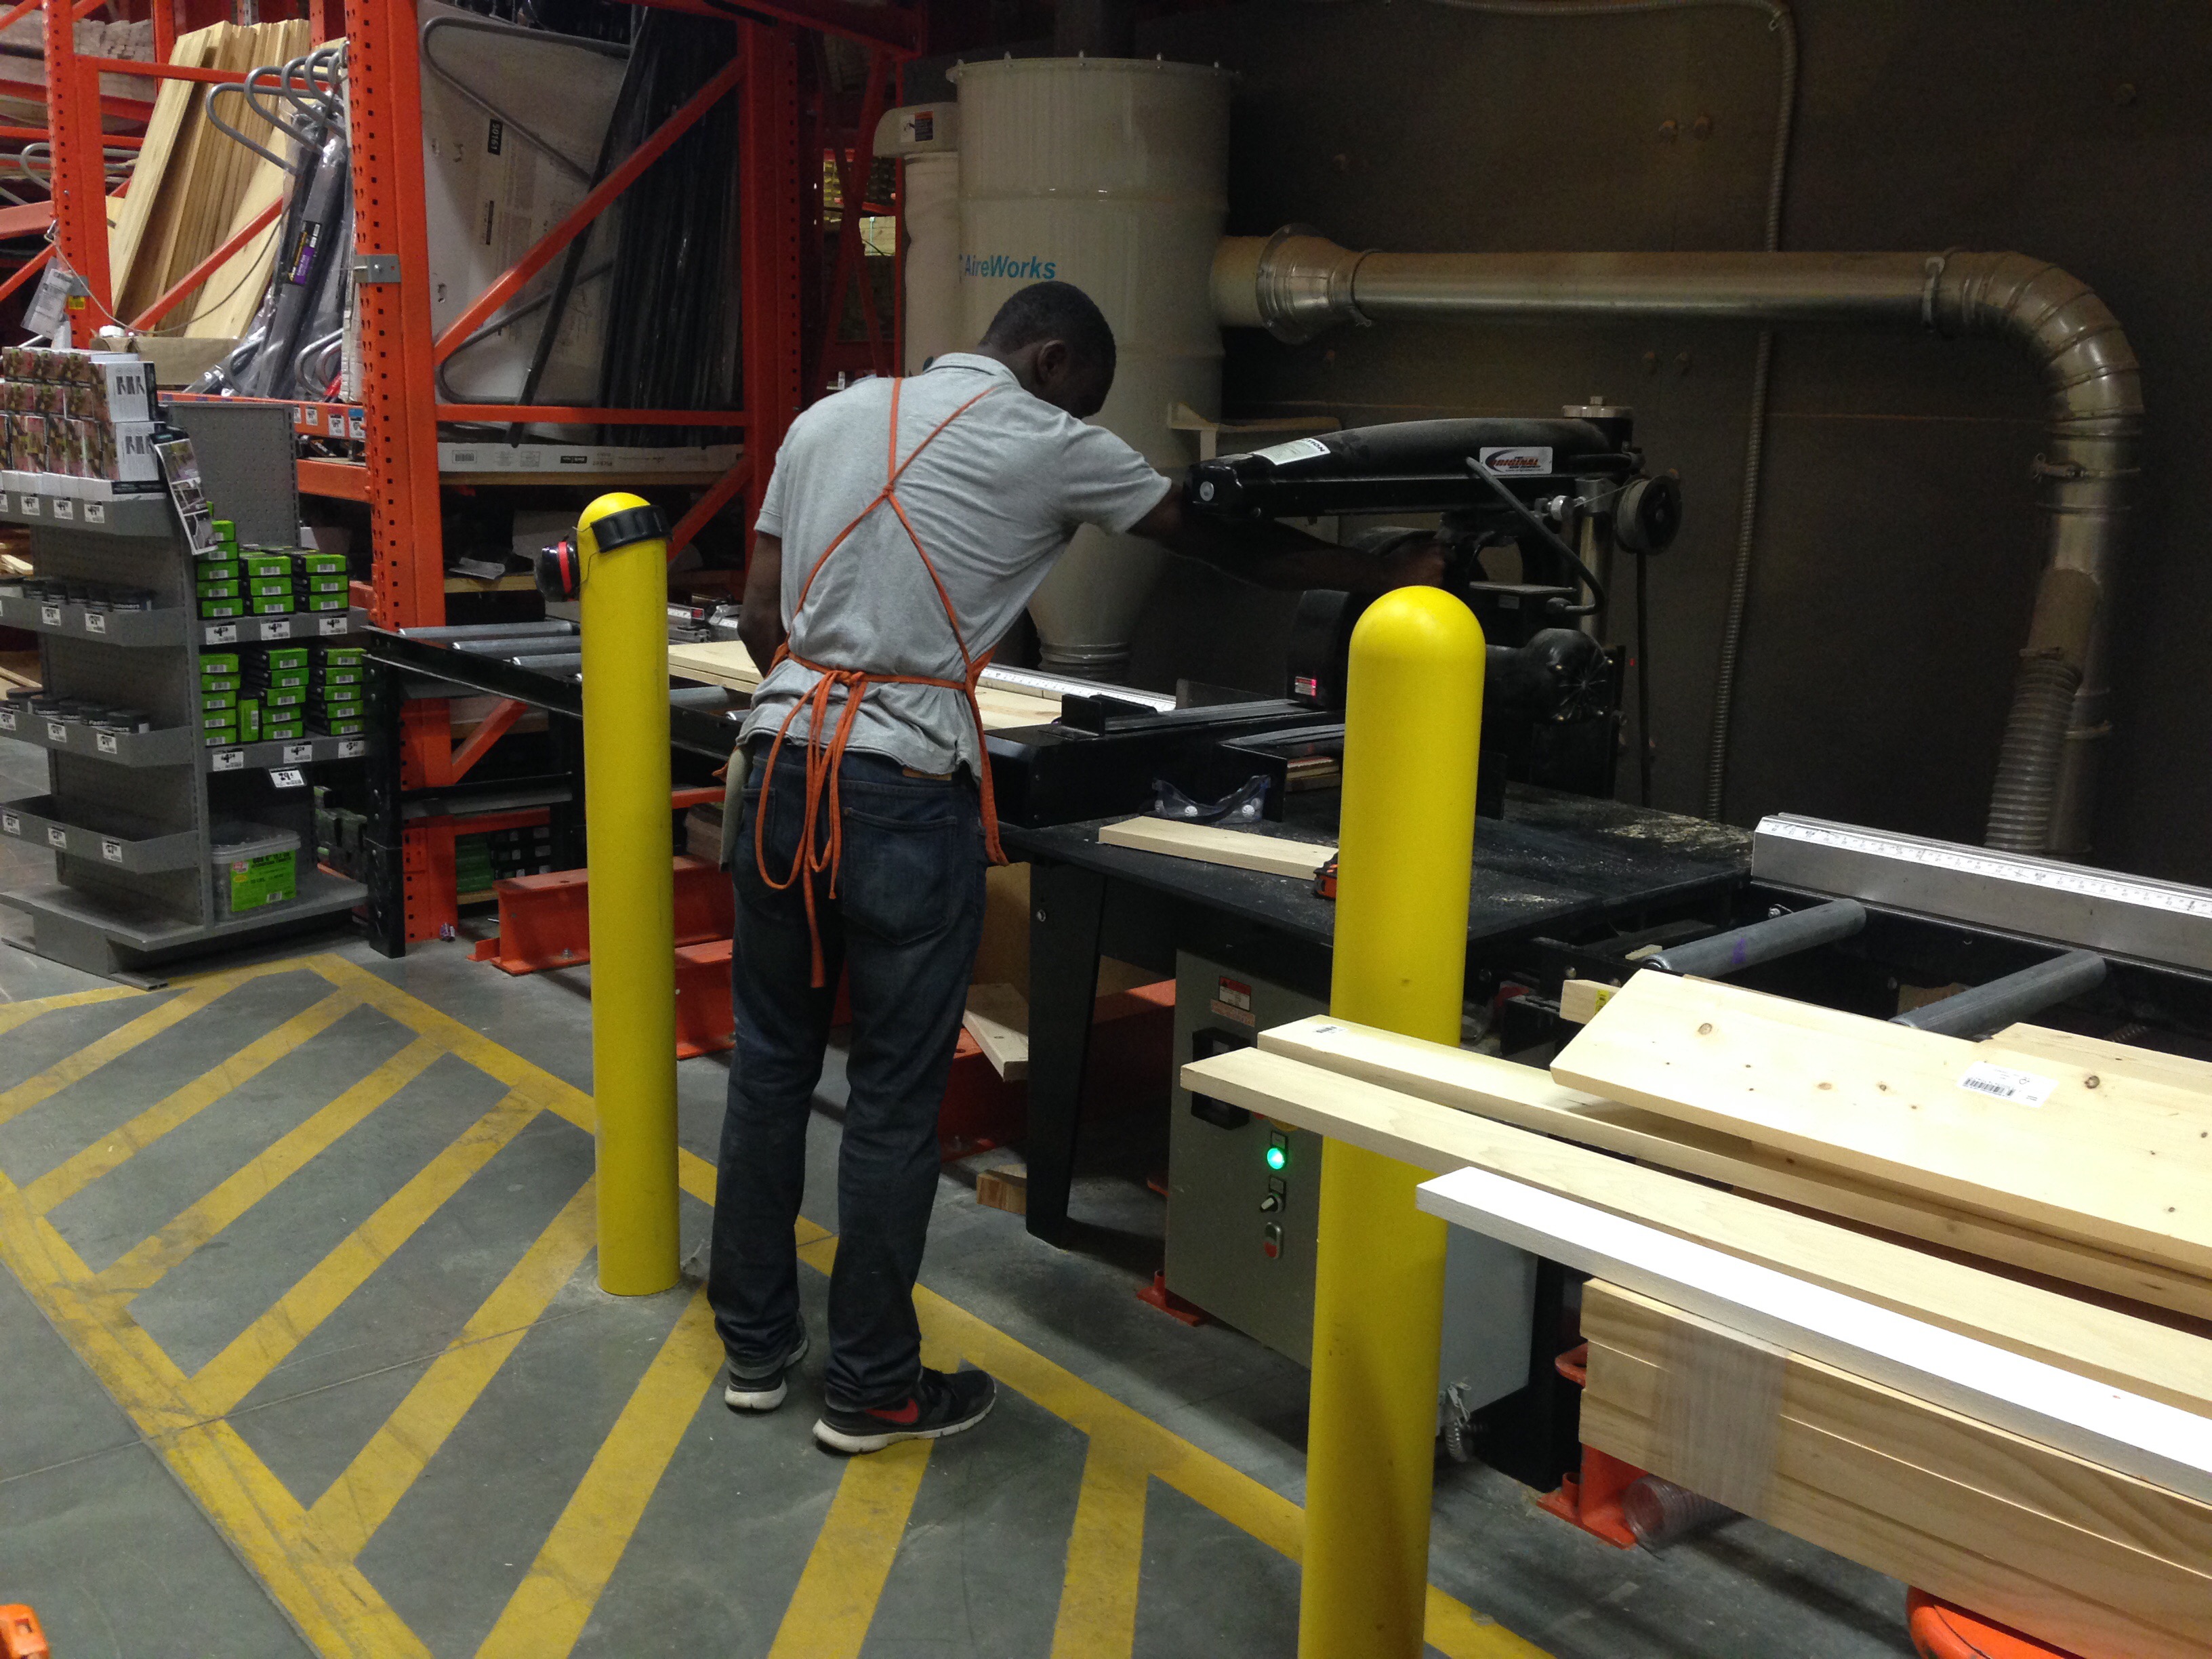
Here’s a helpful Home Depot associate in Aspen Hill, MD cutting my boards.
Building the Box (July 14):
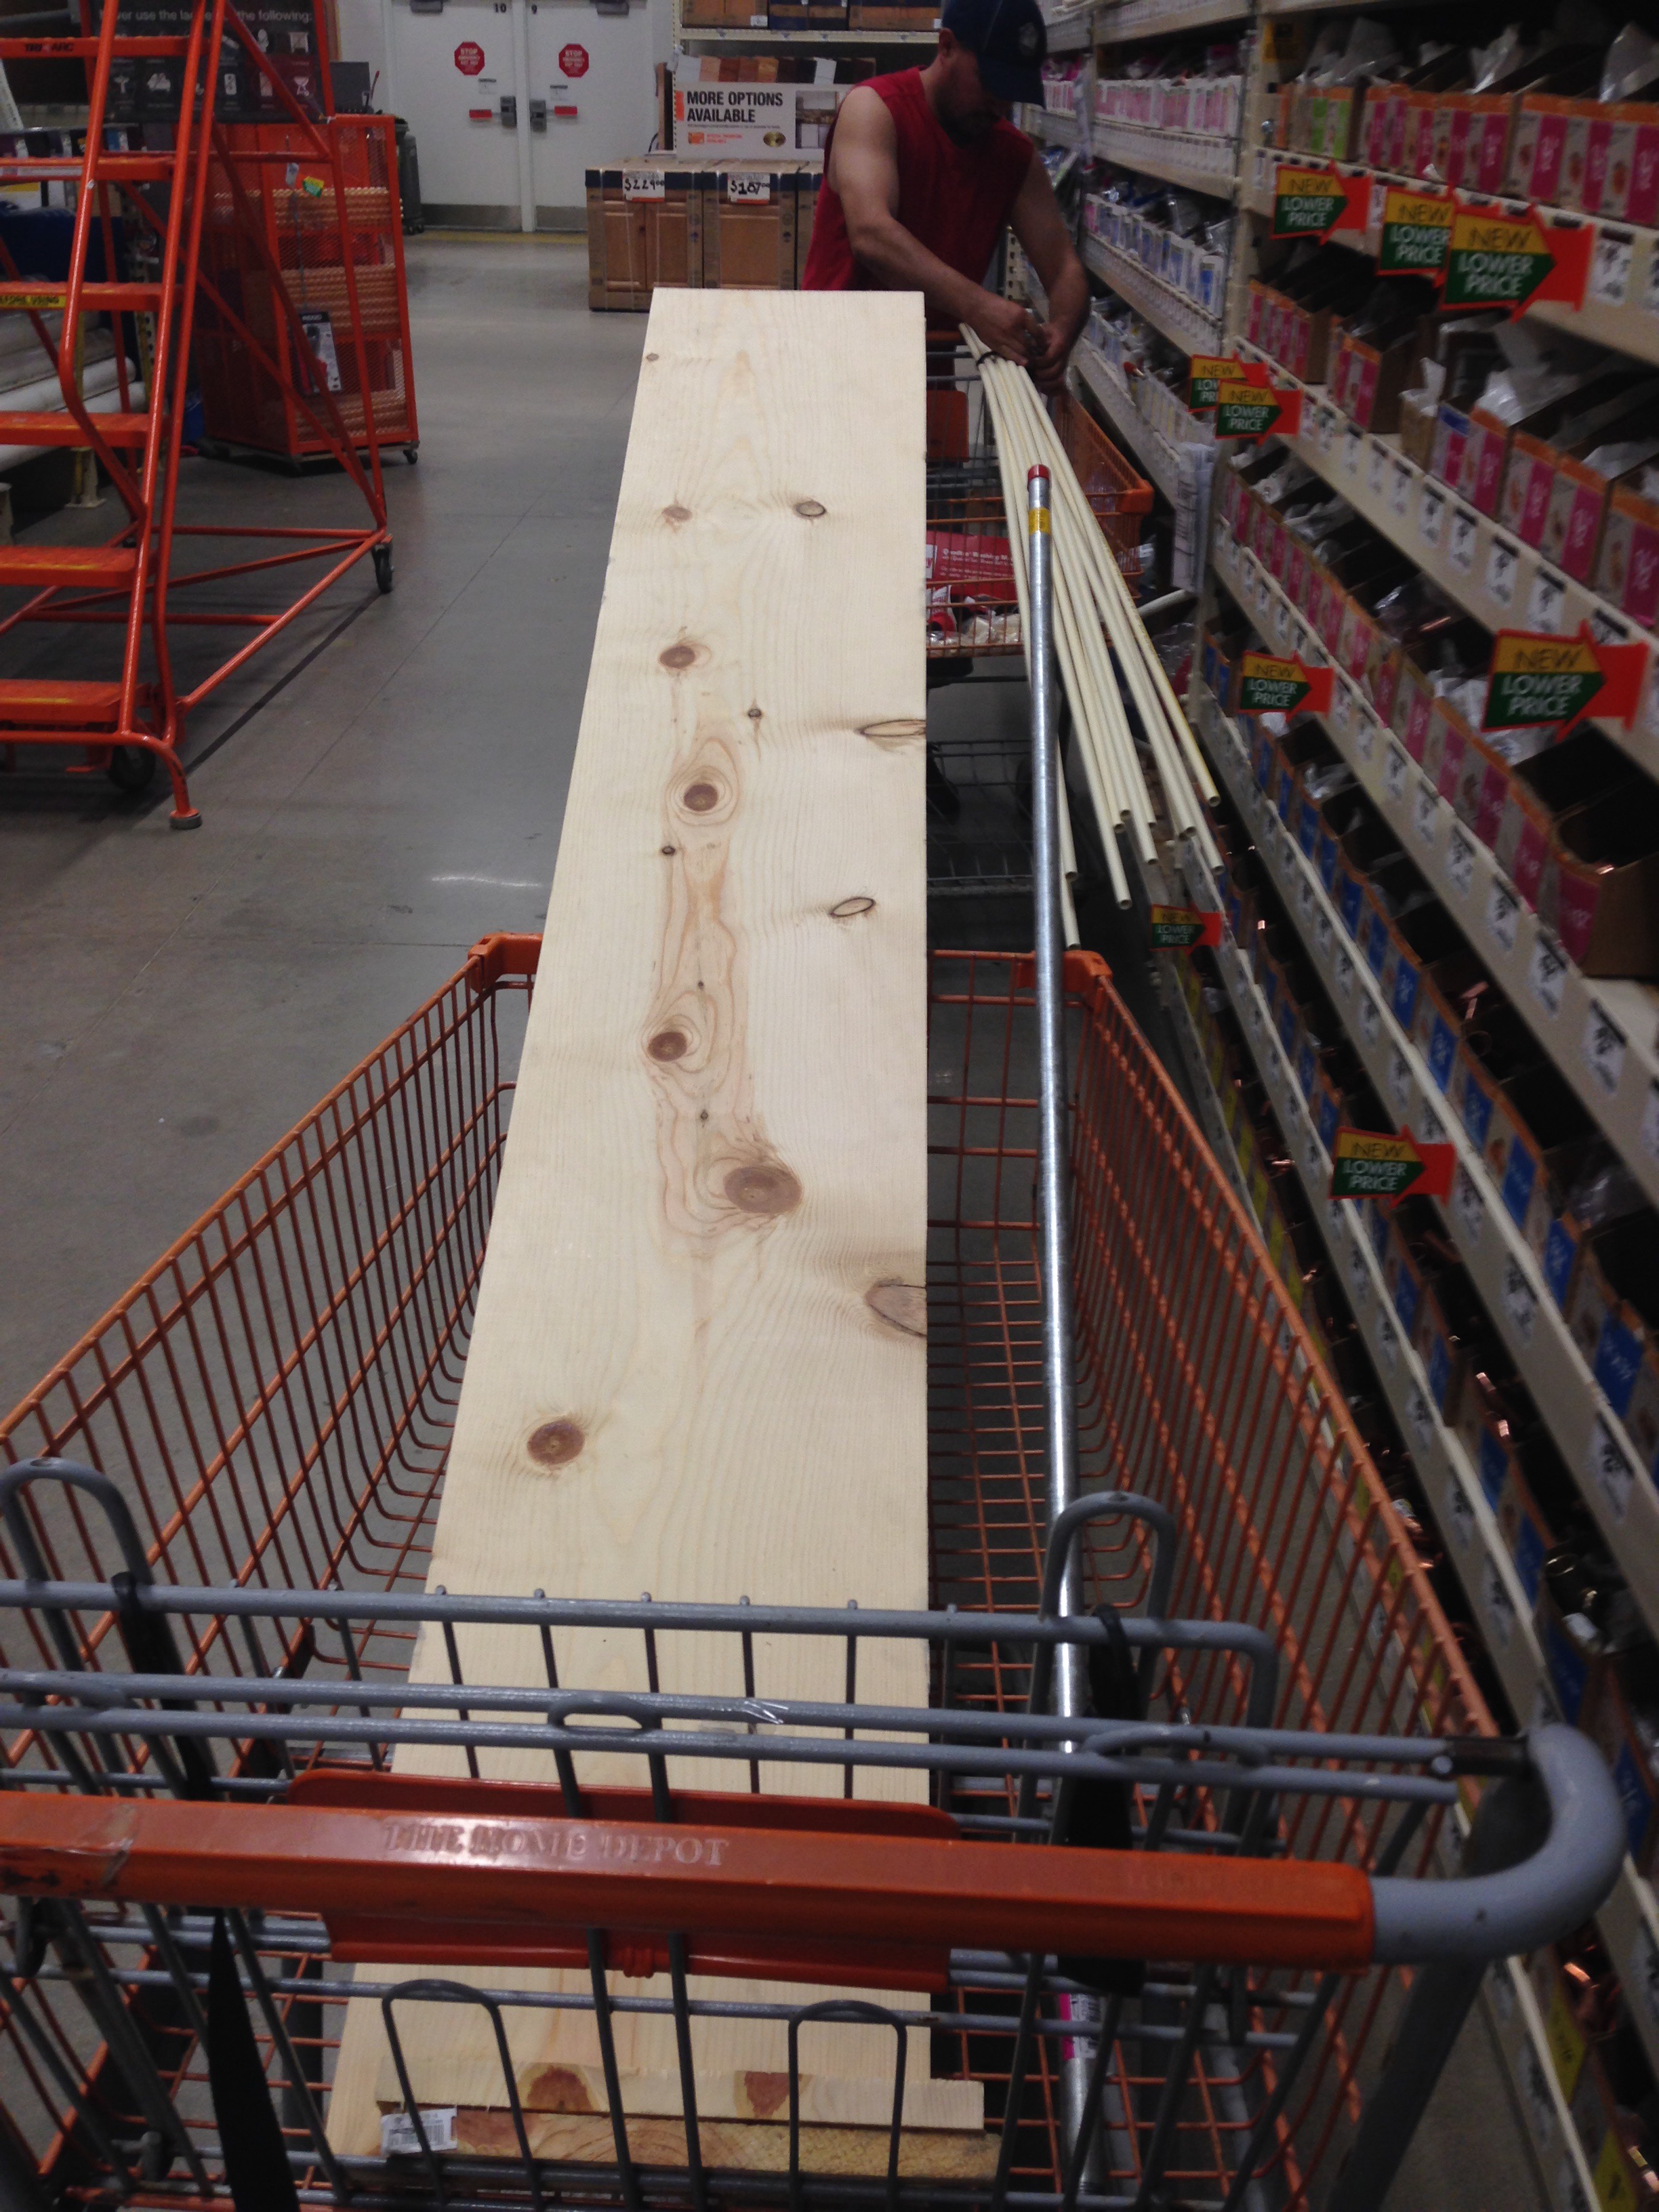
In the photo below, I have the 1 x 12″ boards, 72″ in length in the cart. This was fun getting into the car and over to Tim’s. After work on a Tuesday night, no less. (The 1/2″ x 60″ pipe was being purchased for another project – my entryway pipe and wood hanging bar).
Tim is a friend who graciously offered use of his garage for my projects. A couple of hours after leaving the Home Depot, I have the box for the floating shelf partially constructed. I first had to make the pocket holes around the edges of each 1 x 12 inch board.
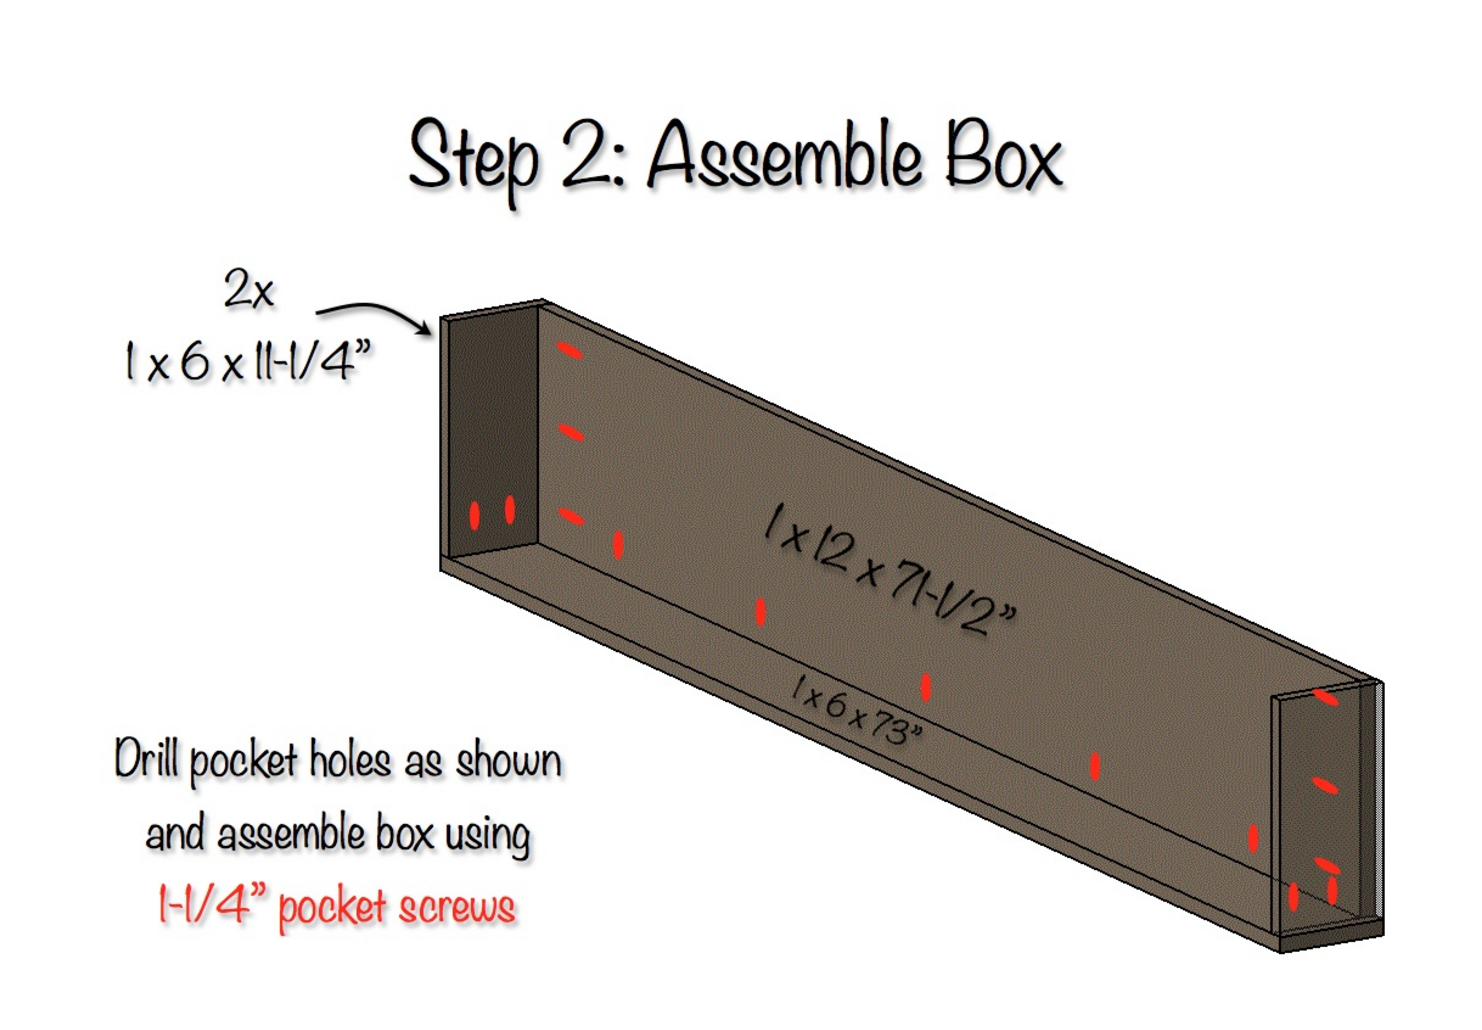
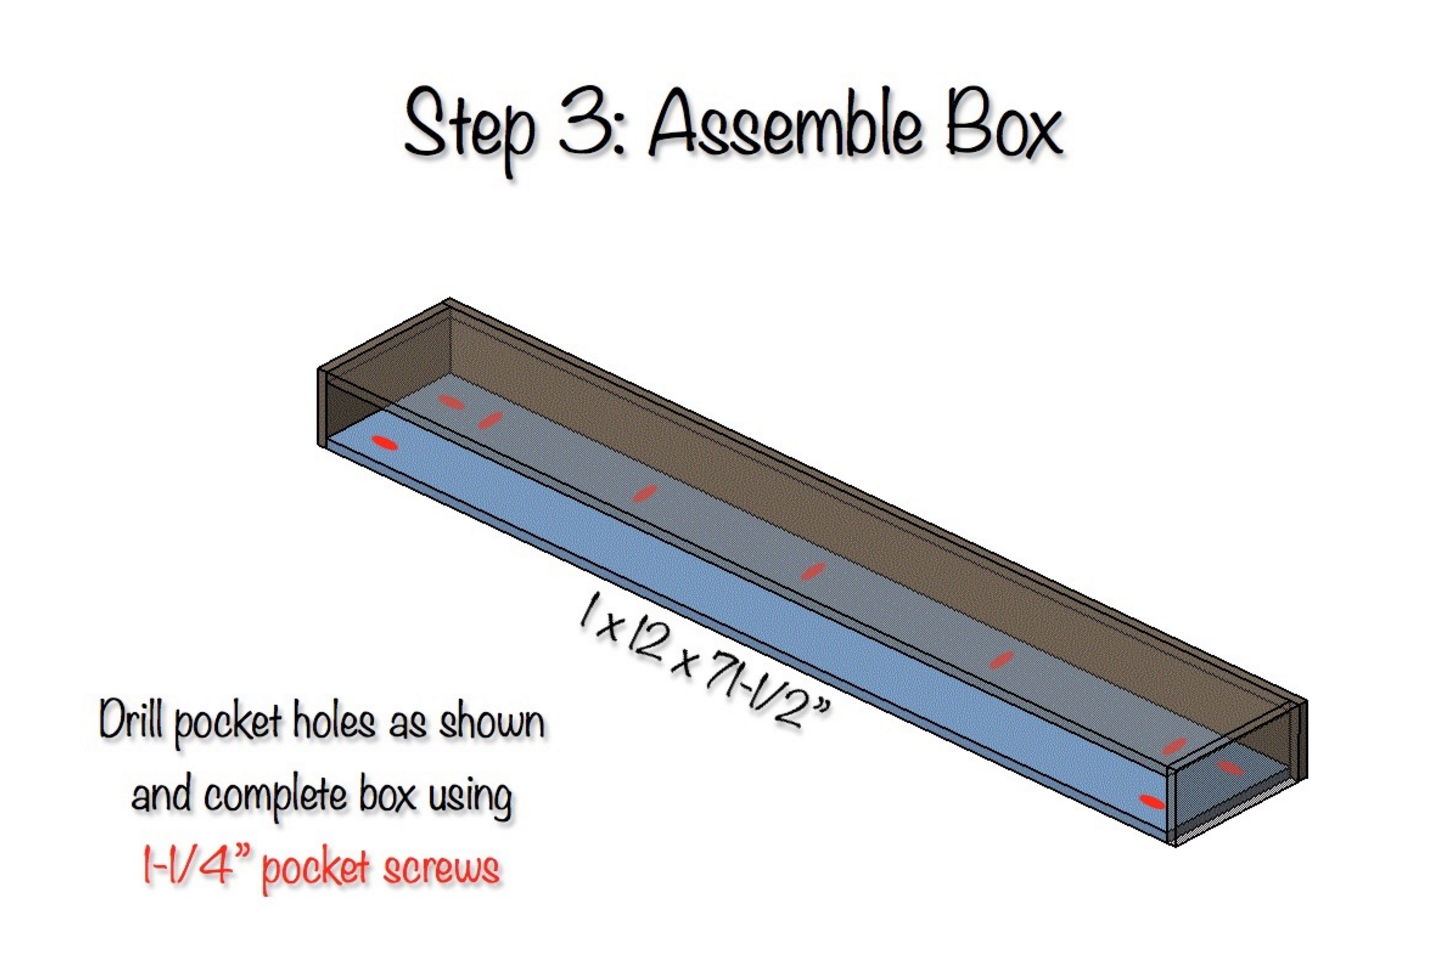
I then laid the 1 x 6 x 73″ board down flat on the table (this will serve as the front of the box or shelf). I positioned the wider 71.5″ board on each horizontal edge and joined the two boards together with 1.25″ pocket screws. I then added the 1 x 6 x 11.25″ boards to the vertical sides of the box and and used two pocket screws to secure it to the 73″ board. And then secured it to the other board using the pocket screws as illustrated in the plan.
Here’s what it looks like in Rogue Engineer’s plan:
This is how my box looks partially constructed. So far, so good.
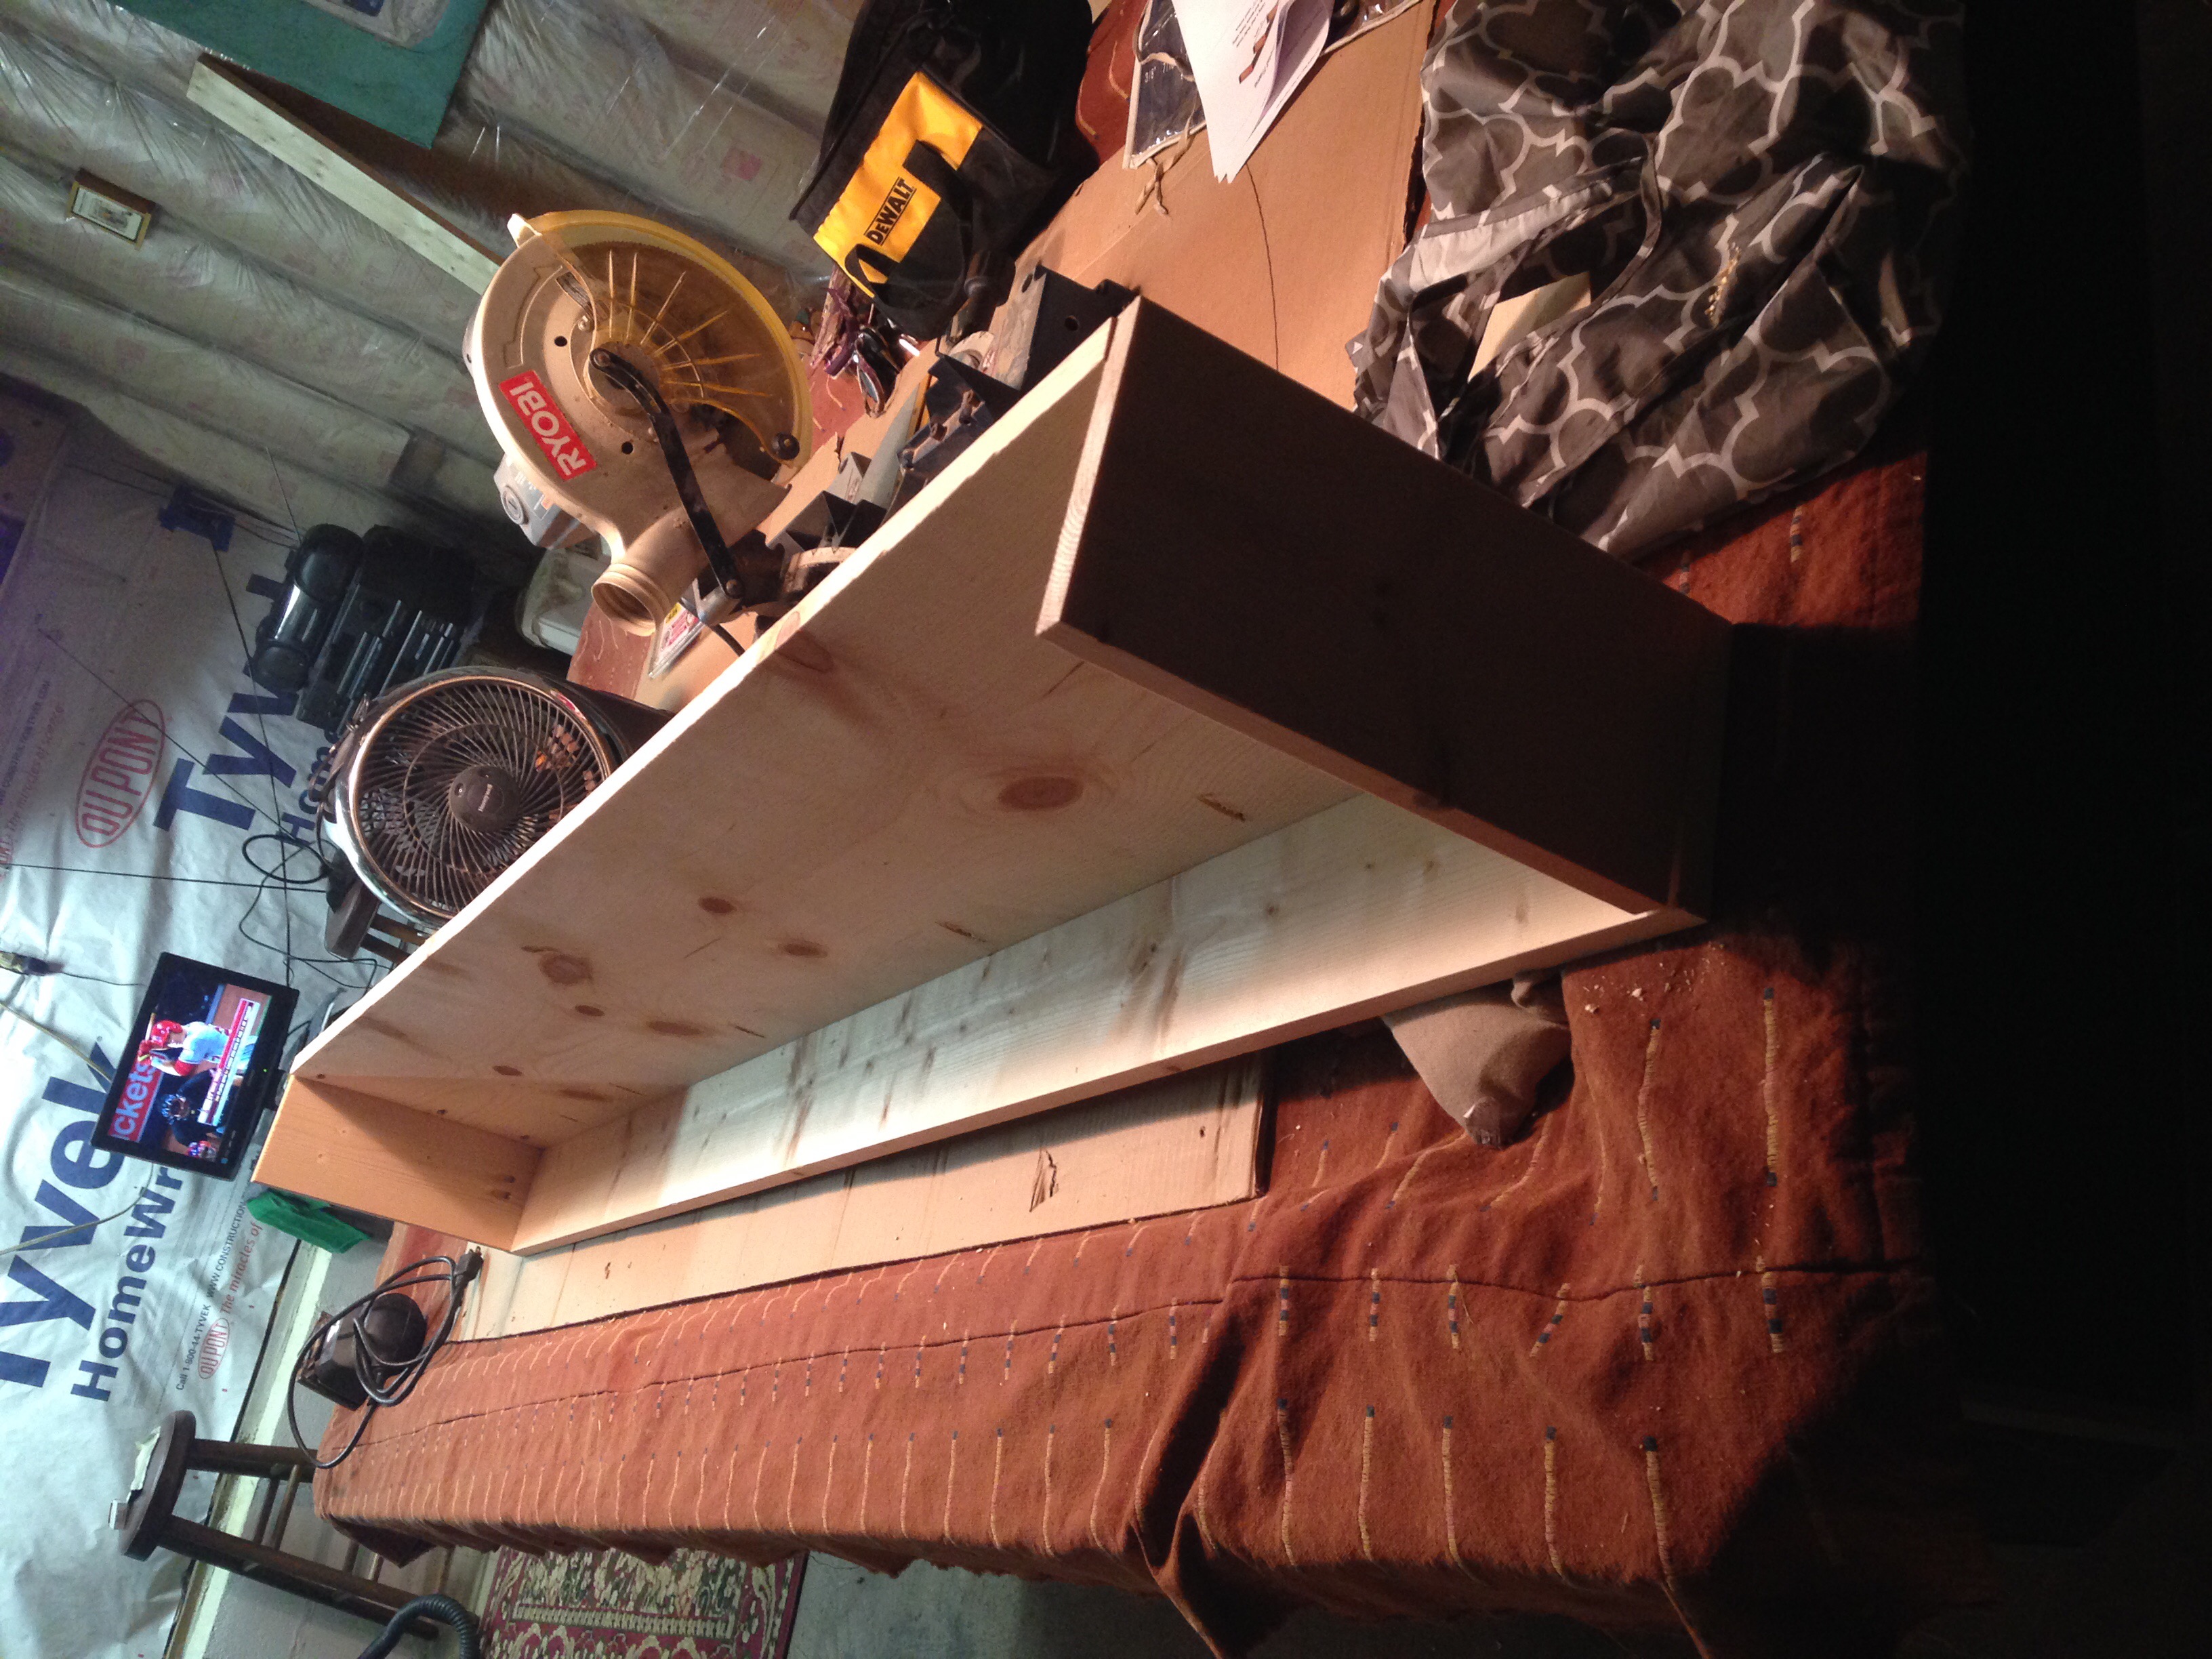
I needed some help with getting the other 1 x 12 board positioned and screwed into place. Because the box is so long, it’s an awkward process for one person. Luckily, one of Tim’s housemates, Sean, was willing to help me out with it.
Here’s how it looks in the plan.
And here’s the constructed box after getting all the pocket hole screws in.
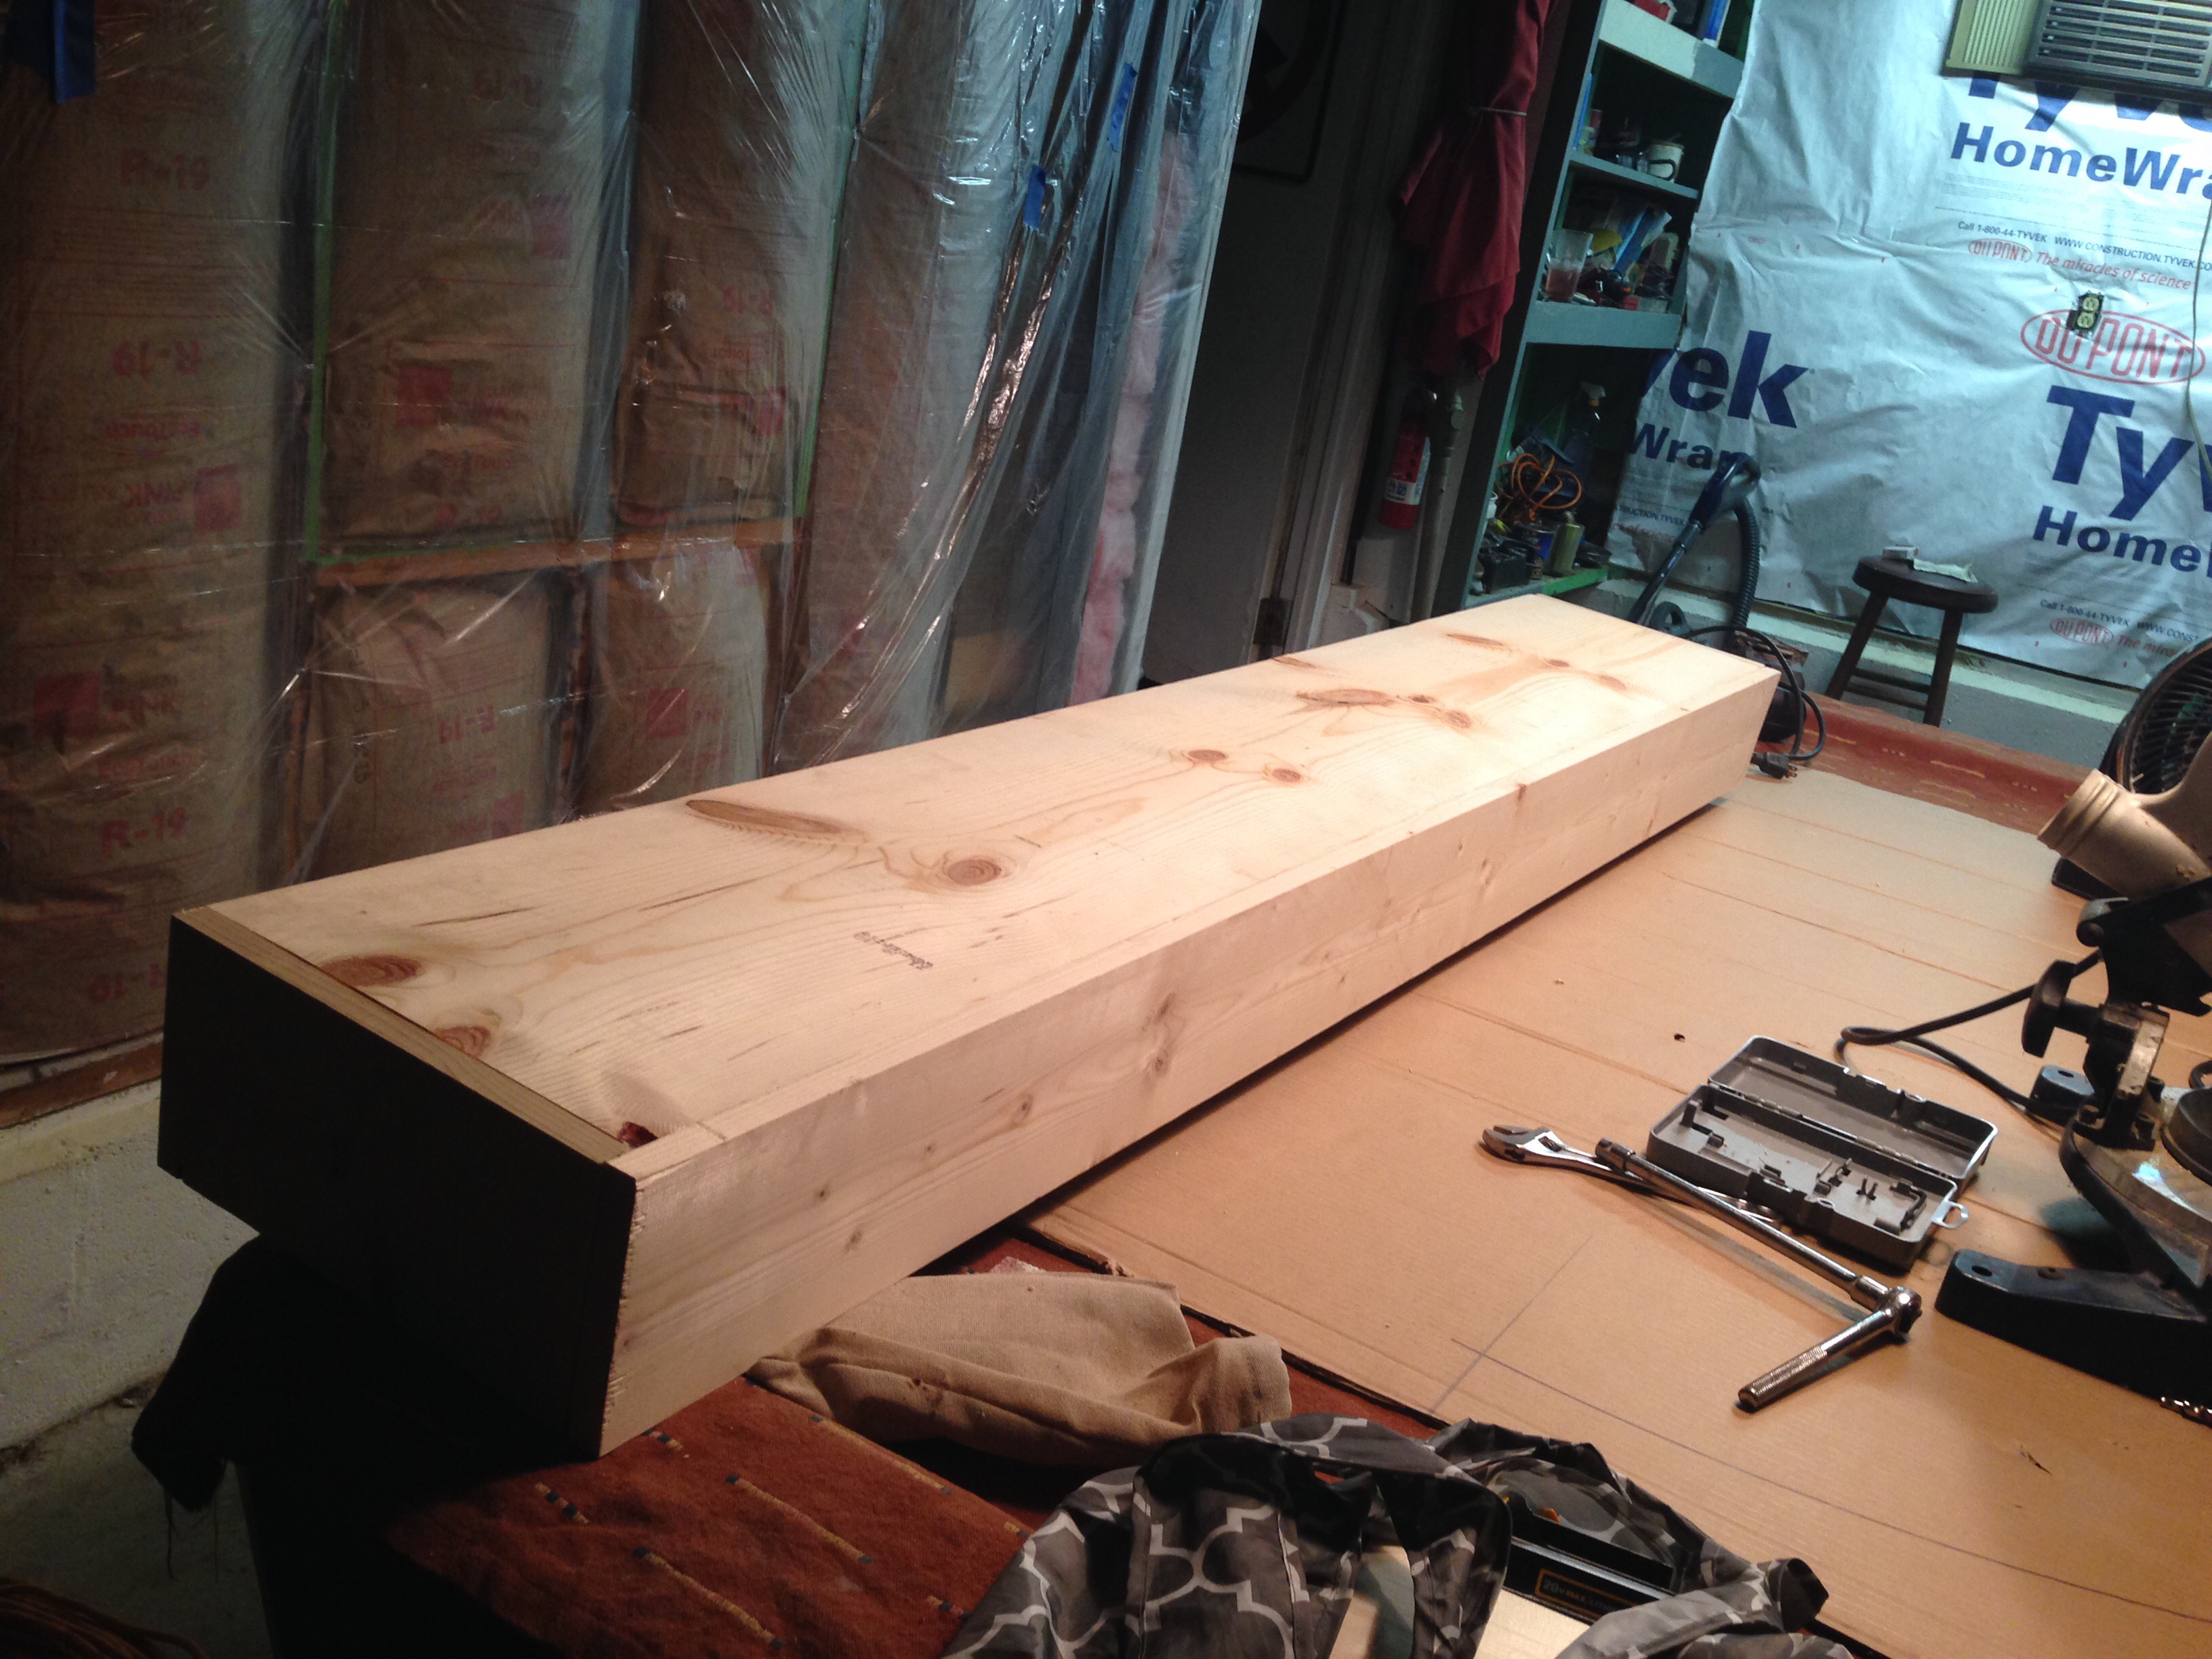
Getting my arm and drill to fit inside the narrow space and to successfully drive the screws in was tricky when adding the other 1 x 12. A right angle power drill came in real handy here (and luckily, Sean had a Black and Decker drill for us to use).
We also ran into unexpected gap and spacing issues where the wood would not fit flush on all sides. The wood on one vertical end wouldn’t match up (with one side sticking out farther than the other). We therefore had two disassemble the box a couple of times to make sure everything lined up correctly. This turned out to be a tedious process (causing us to slave over box construction until well past midnight). But we finally got it done.
Sanding the box (July 15):
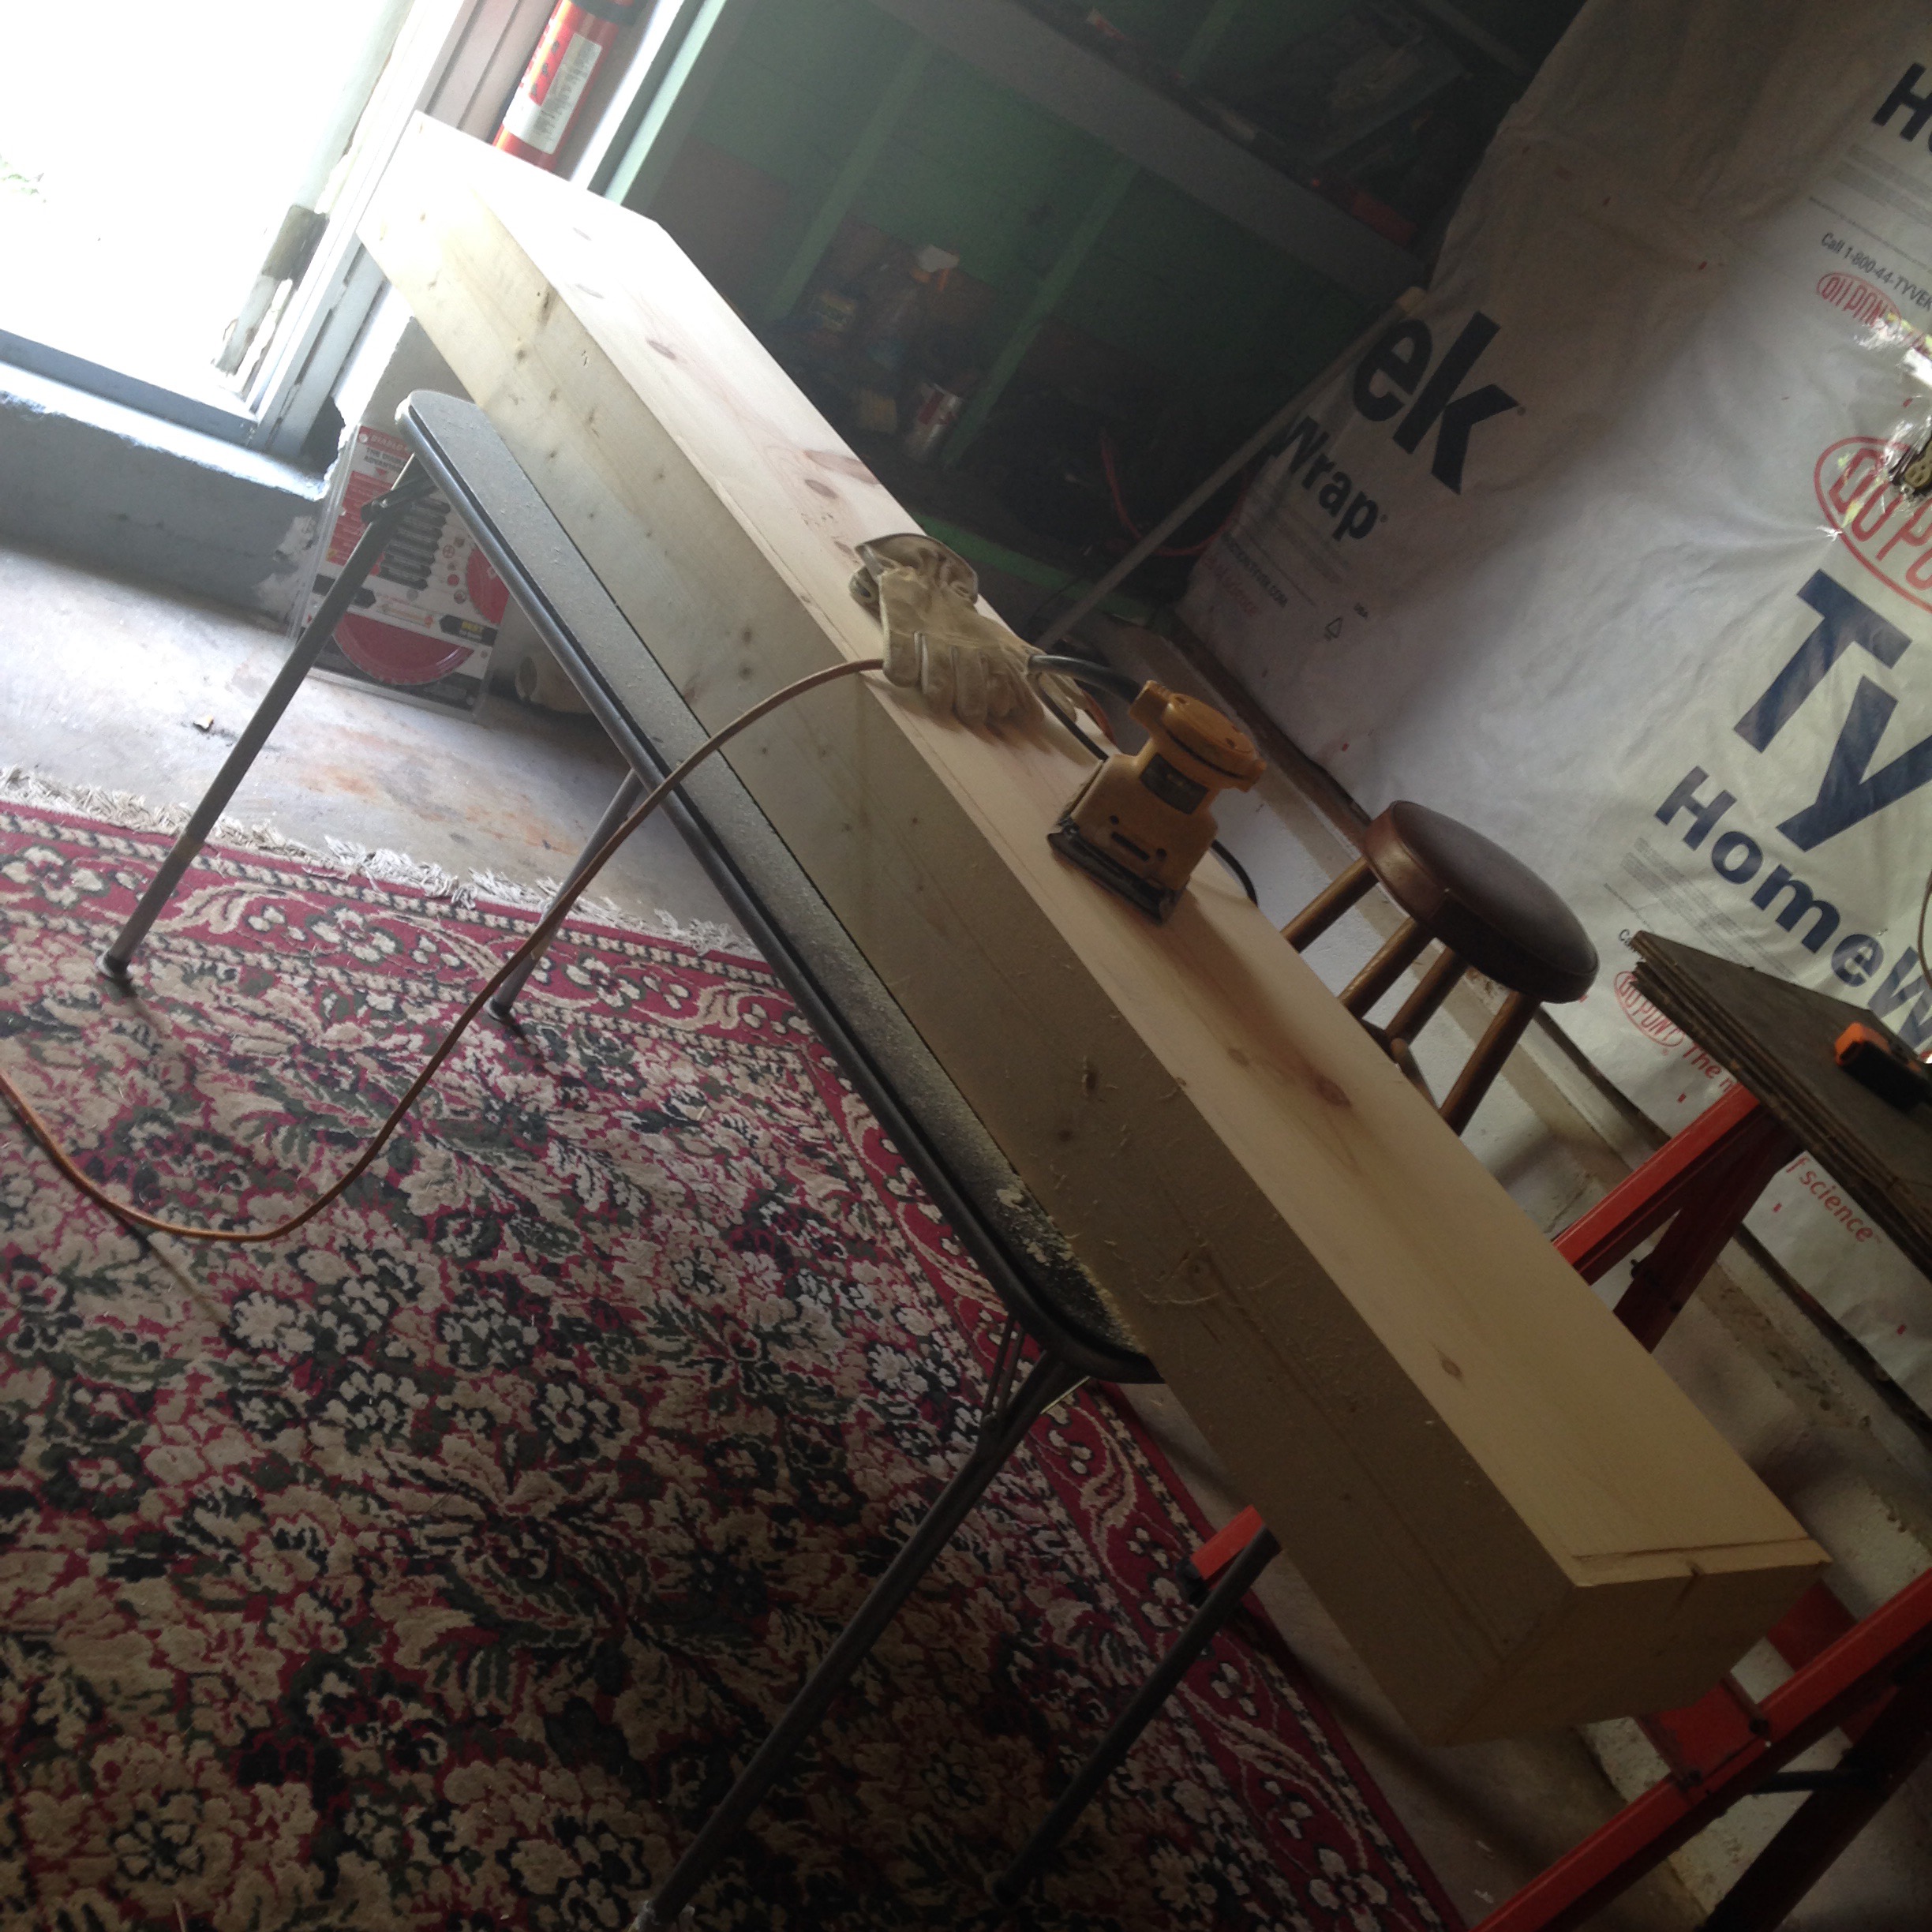
Back at Tim’s the next day after work, I start the process of sanding the box with Tim’s orbital sander.
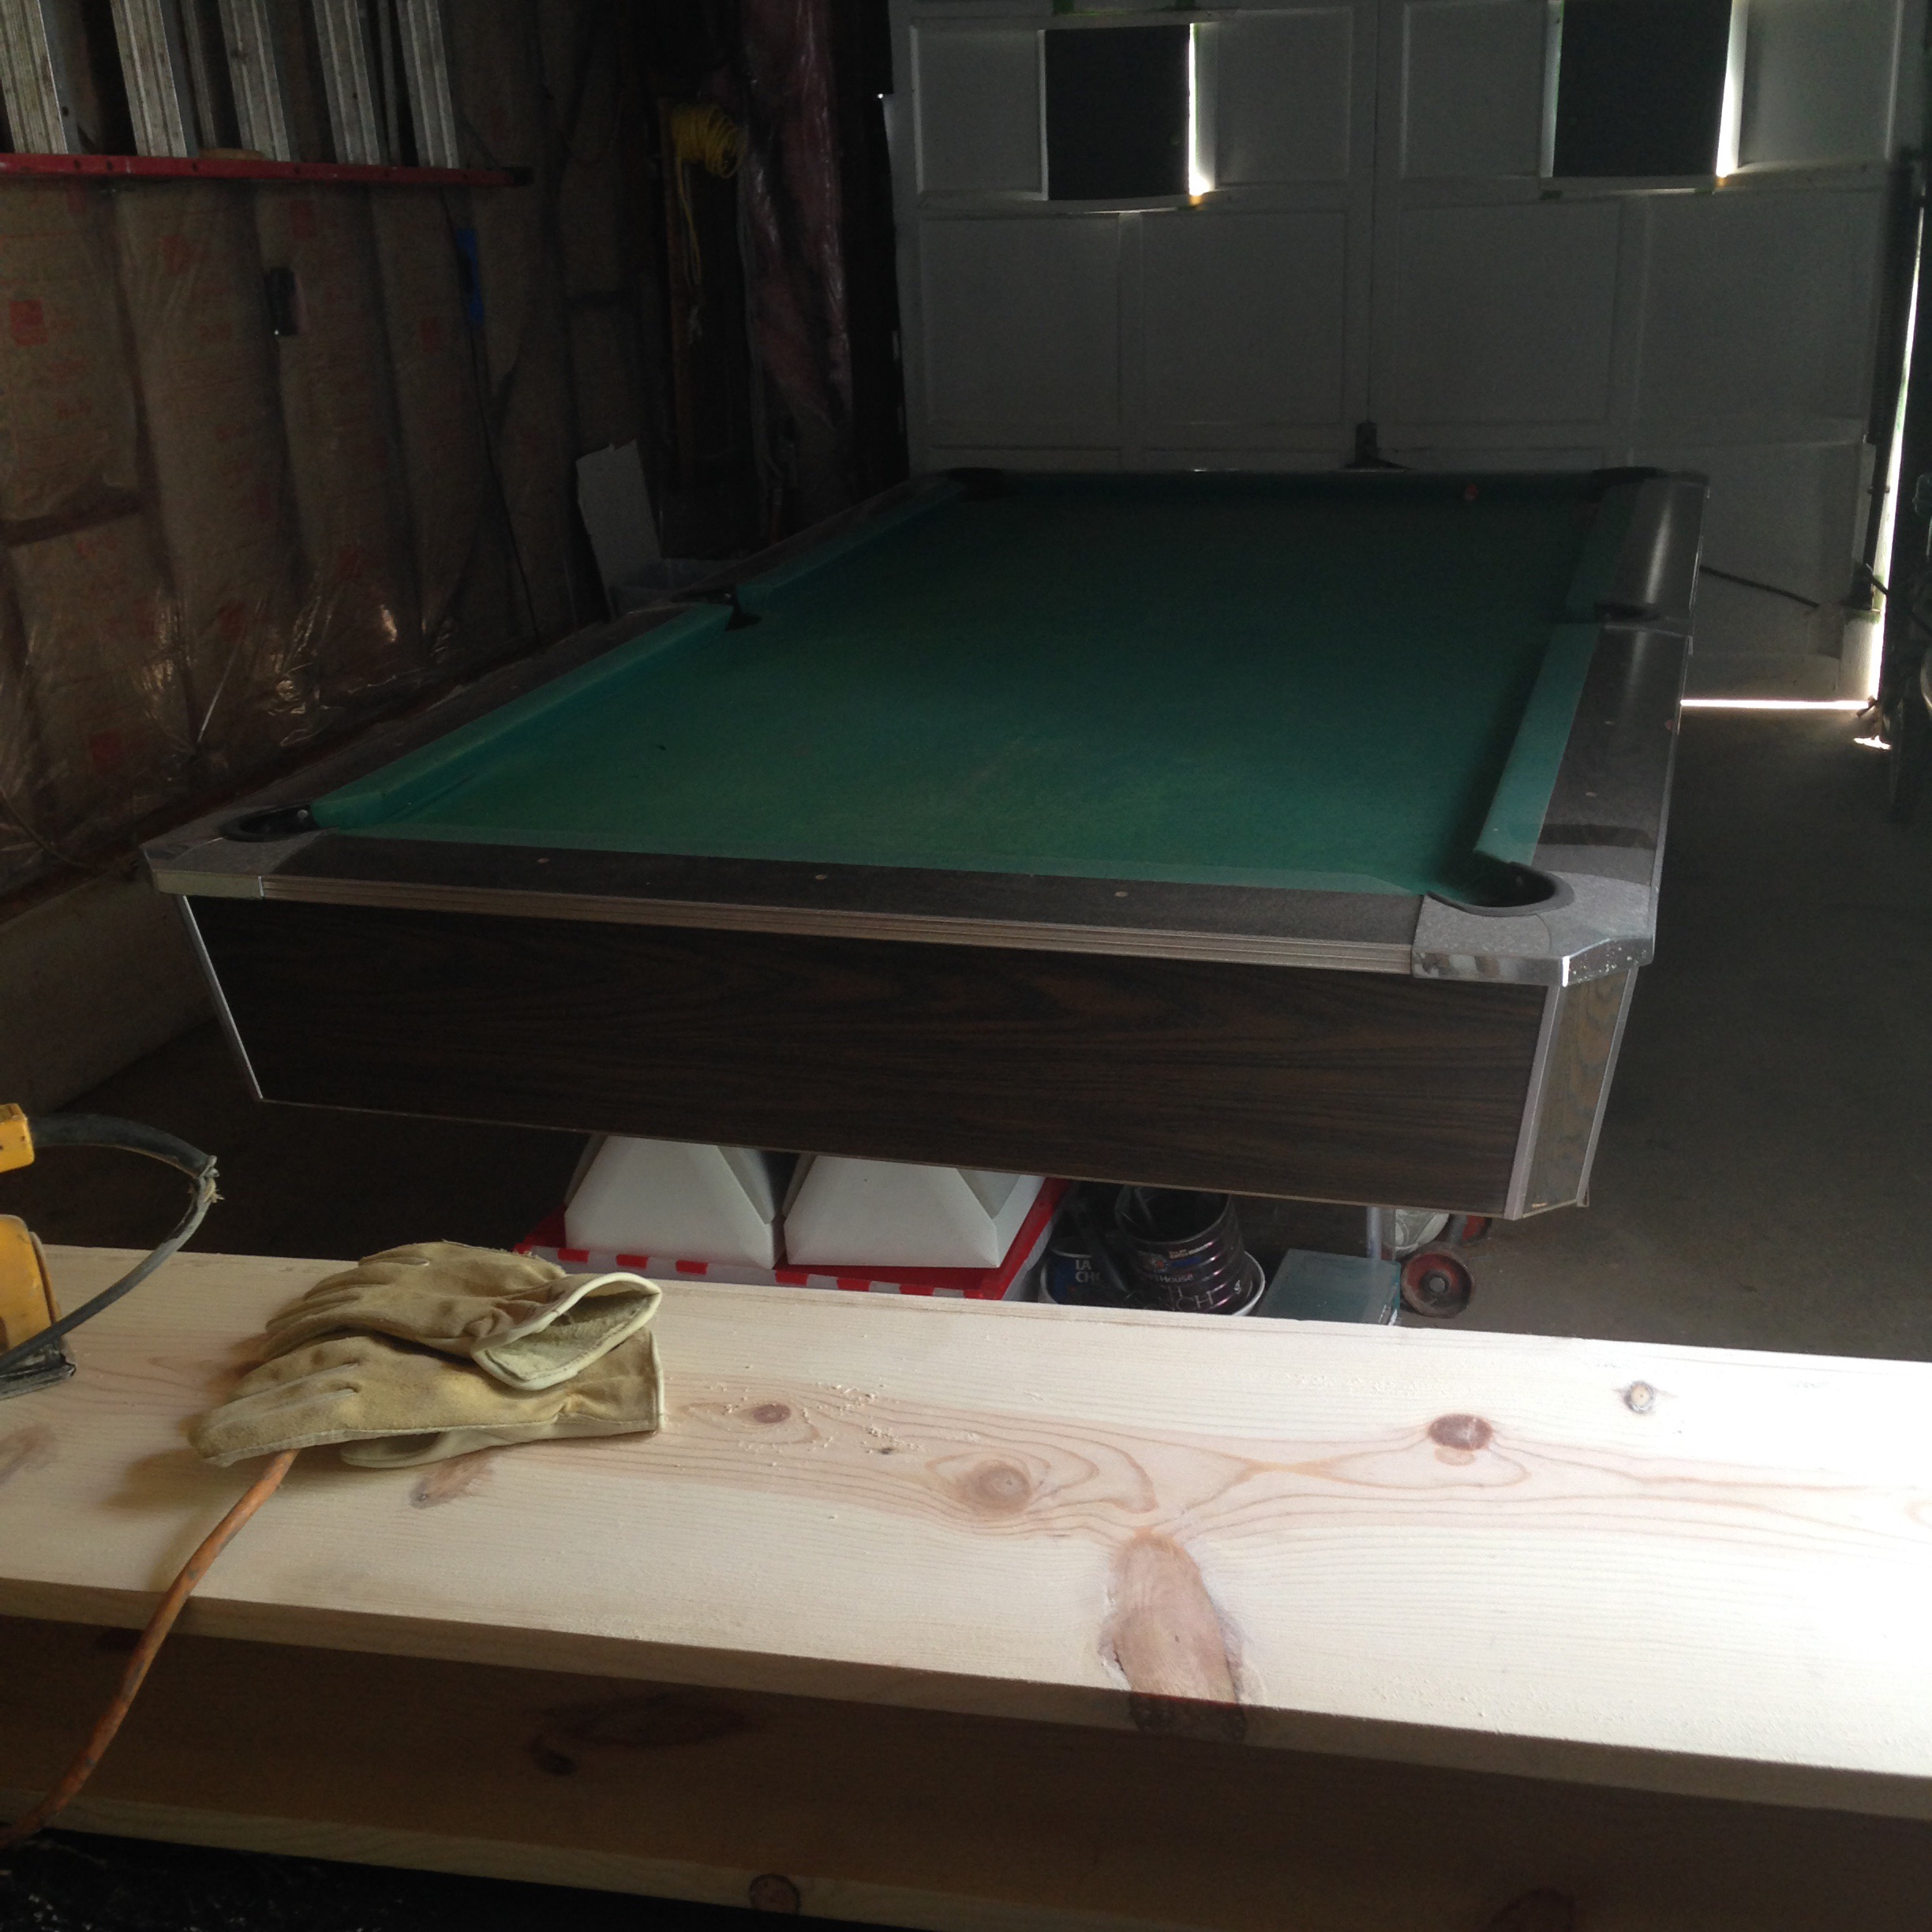
It seems like it took me hours to sand each side of this box. So I worked through this process over several days (and eventually finished this up during the following weekend).
Staining the box (August 1):
After diligently sanding the box first by orbital sander (using 80 grit sandpaper), then by hand sanding (using 150 – 220 grit paper), it was finally smooth to the touch all around. I’m ready to stain the box.
It’s no big surprise what stain I chose to go with – Minwax Early American…my perennial favorite.

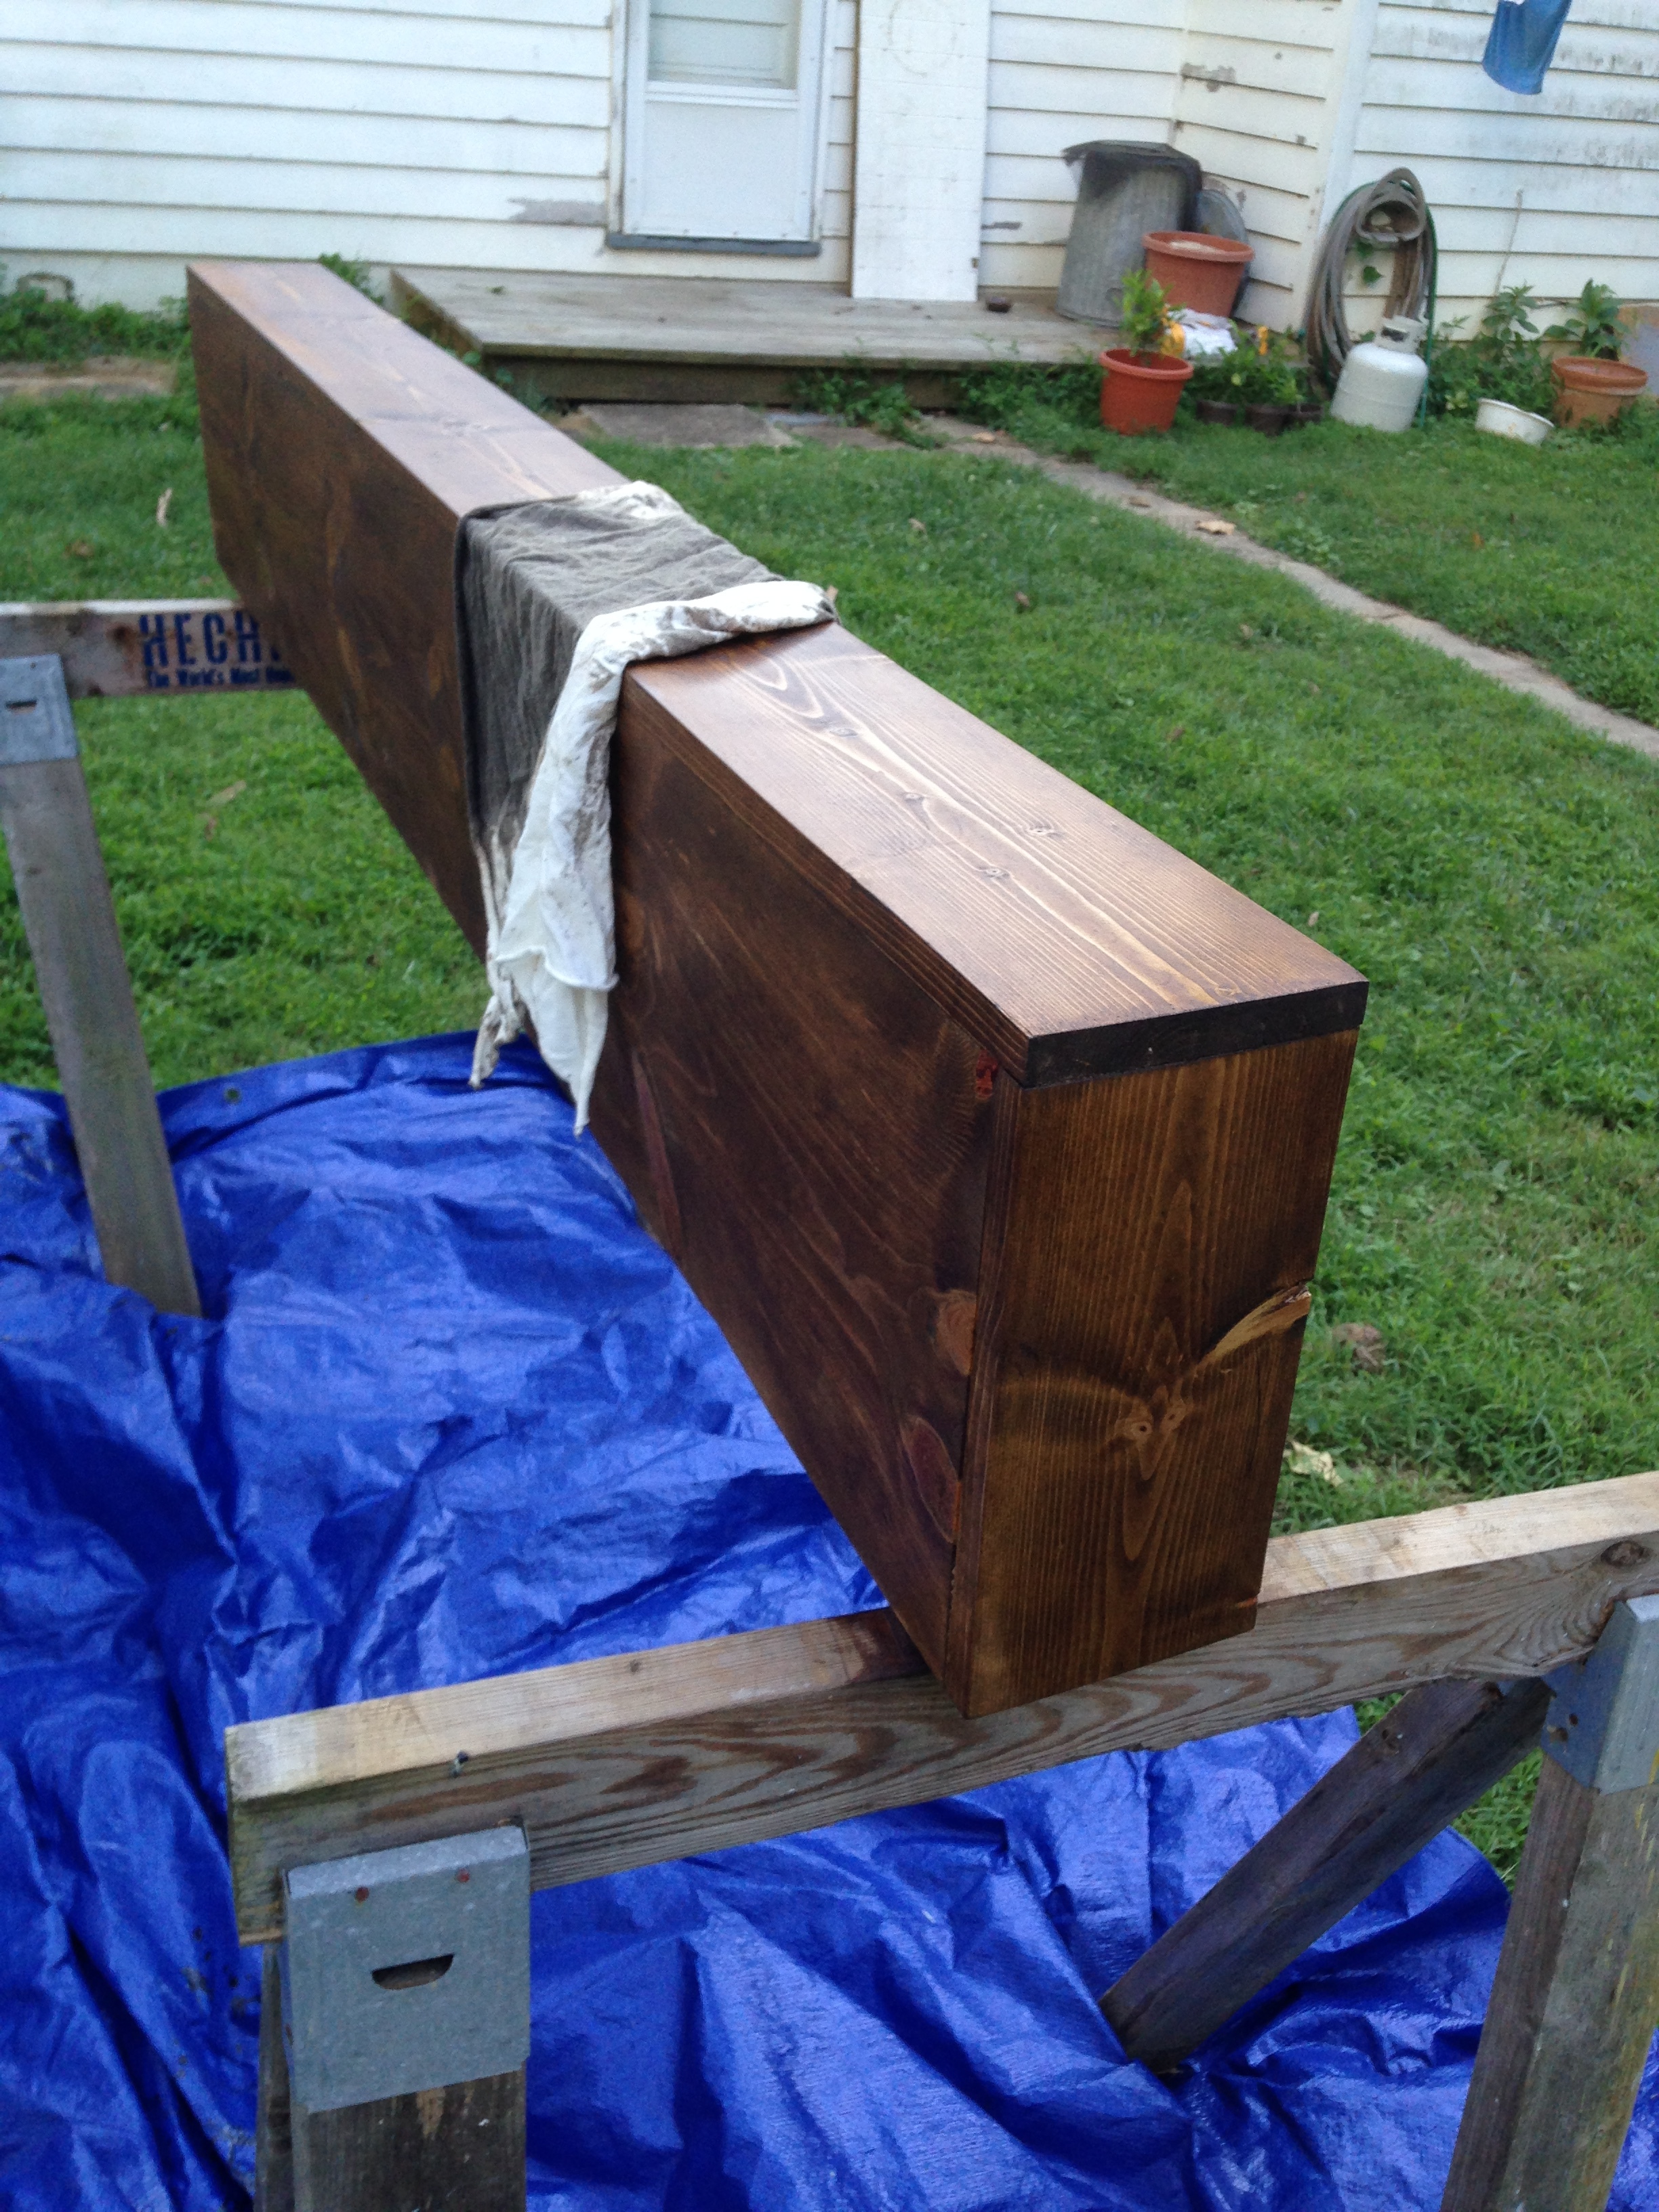
I decide to work outside in Tim’s yard to get this job done. With much effort, I get the huge, heavy box out of the garage…
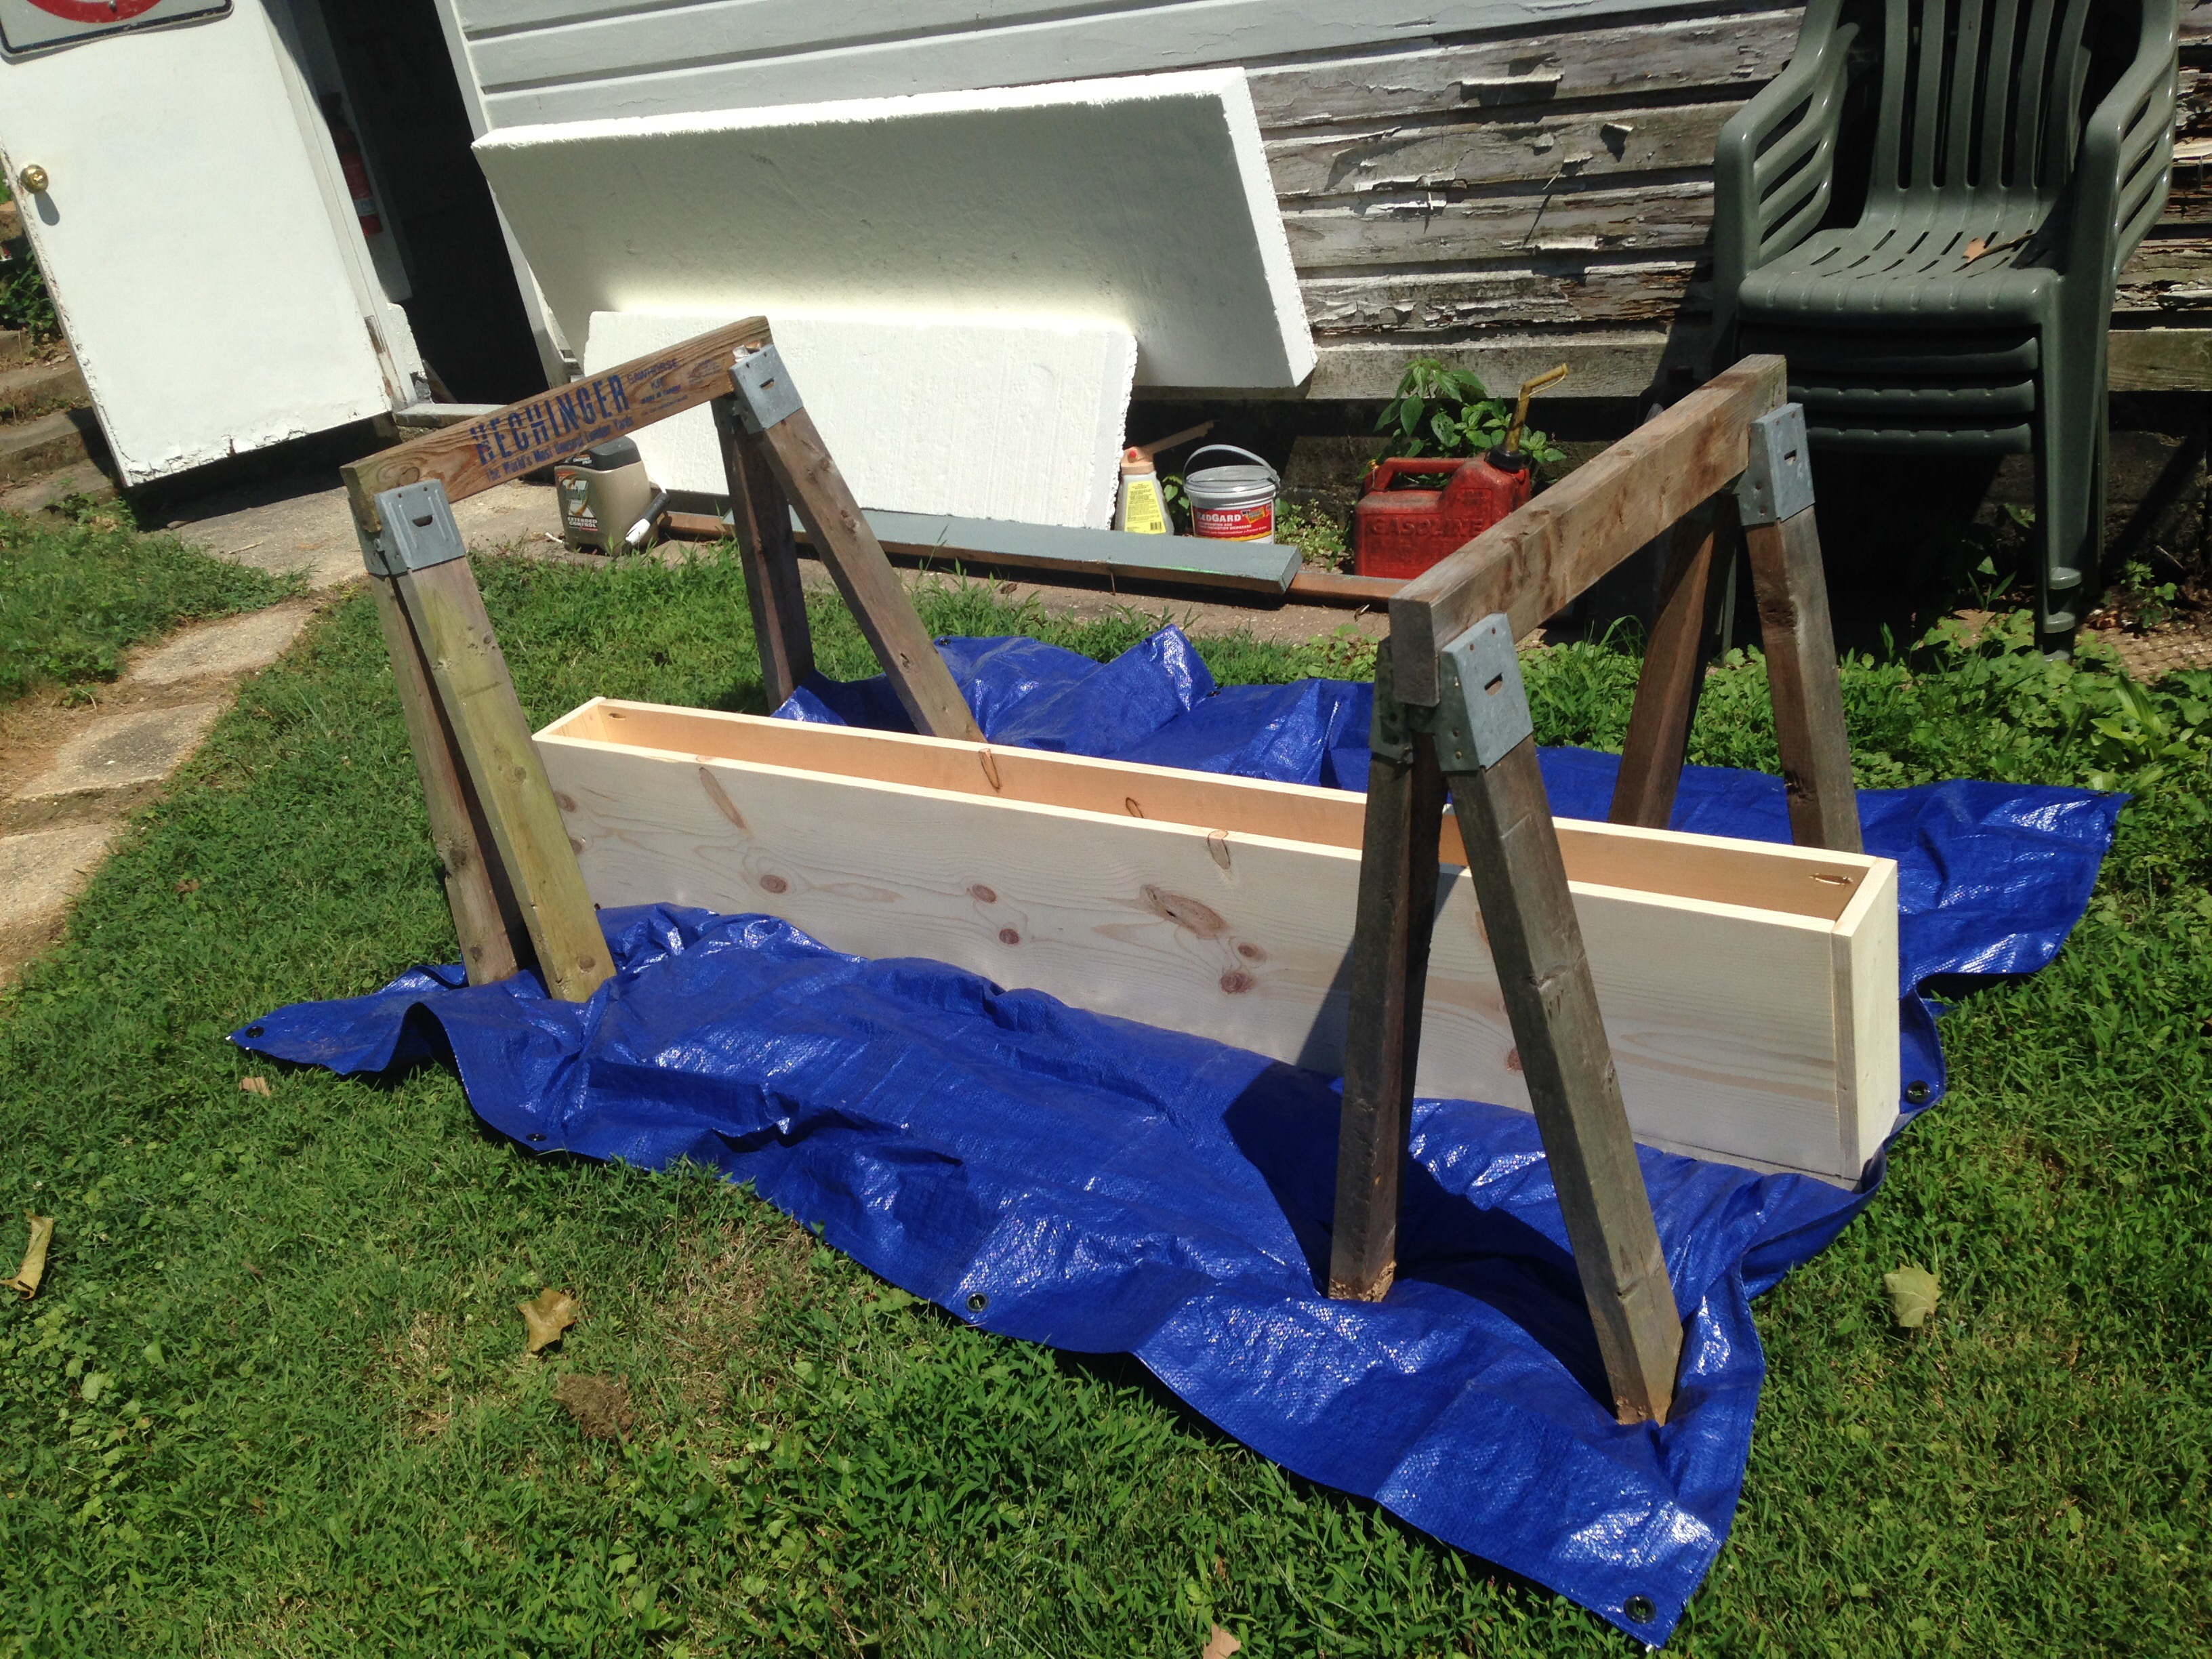
…and onto two saw horses that Tim has propped besides the main house.
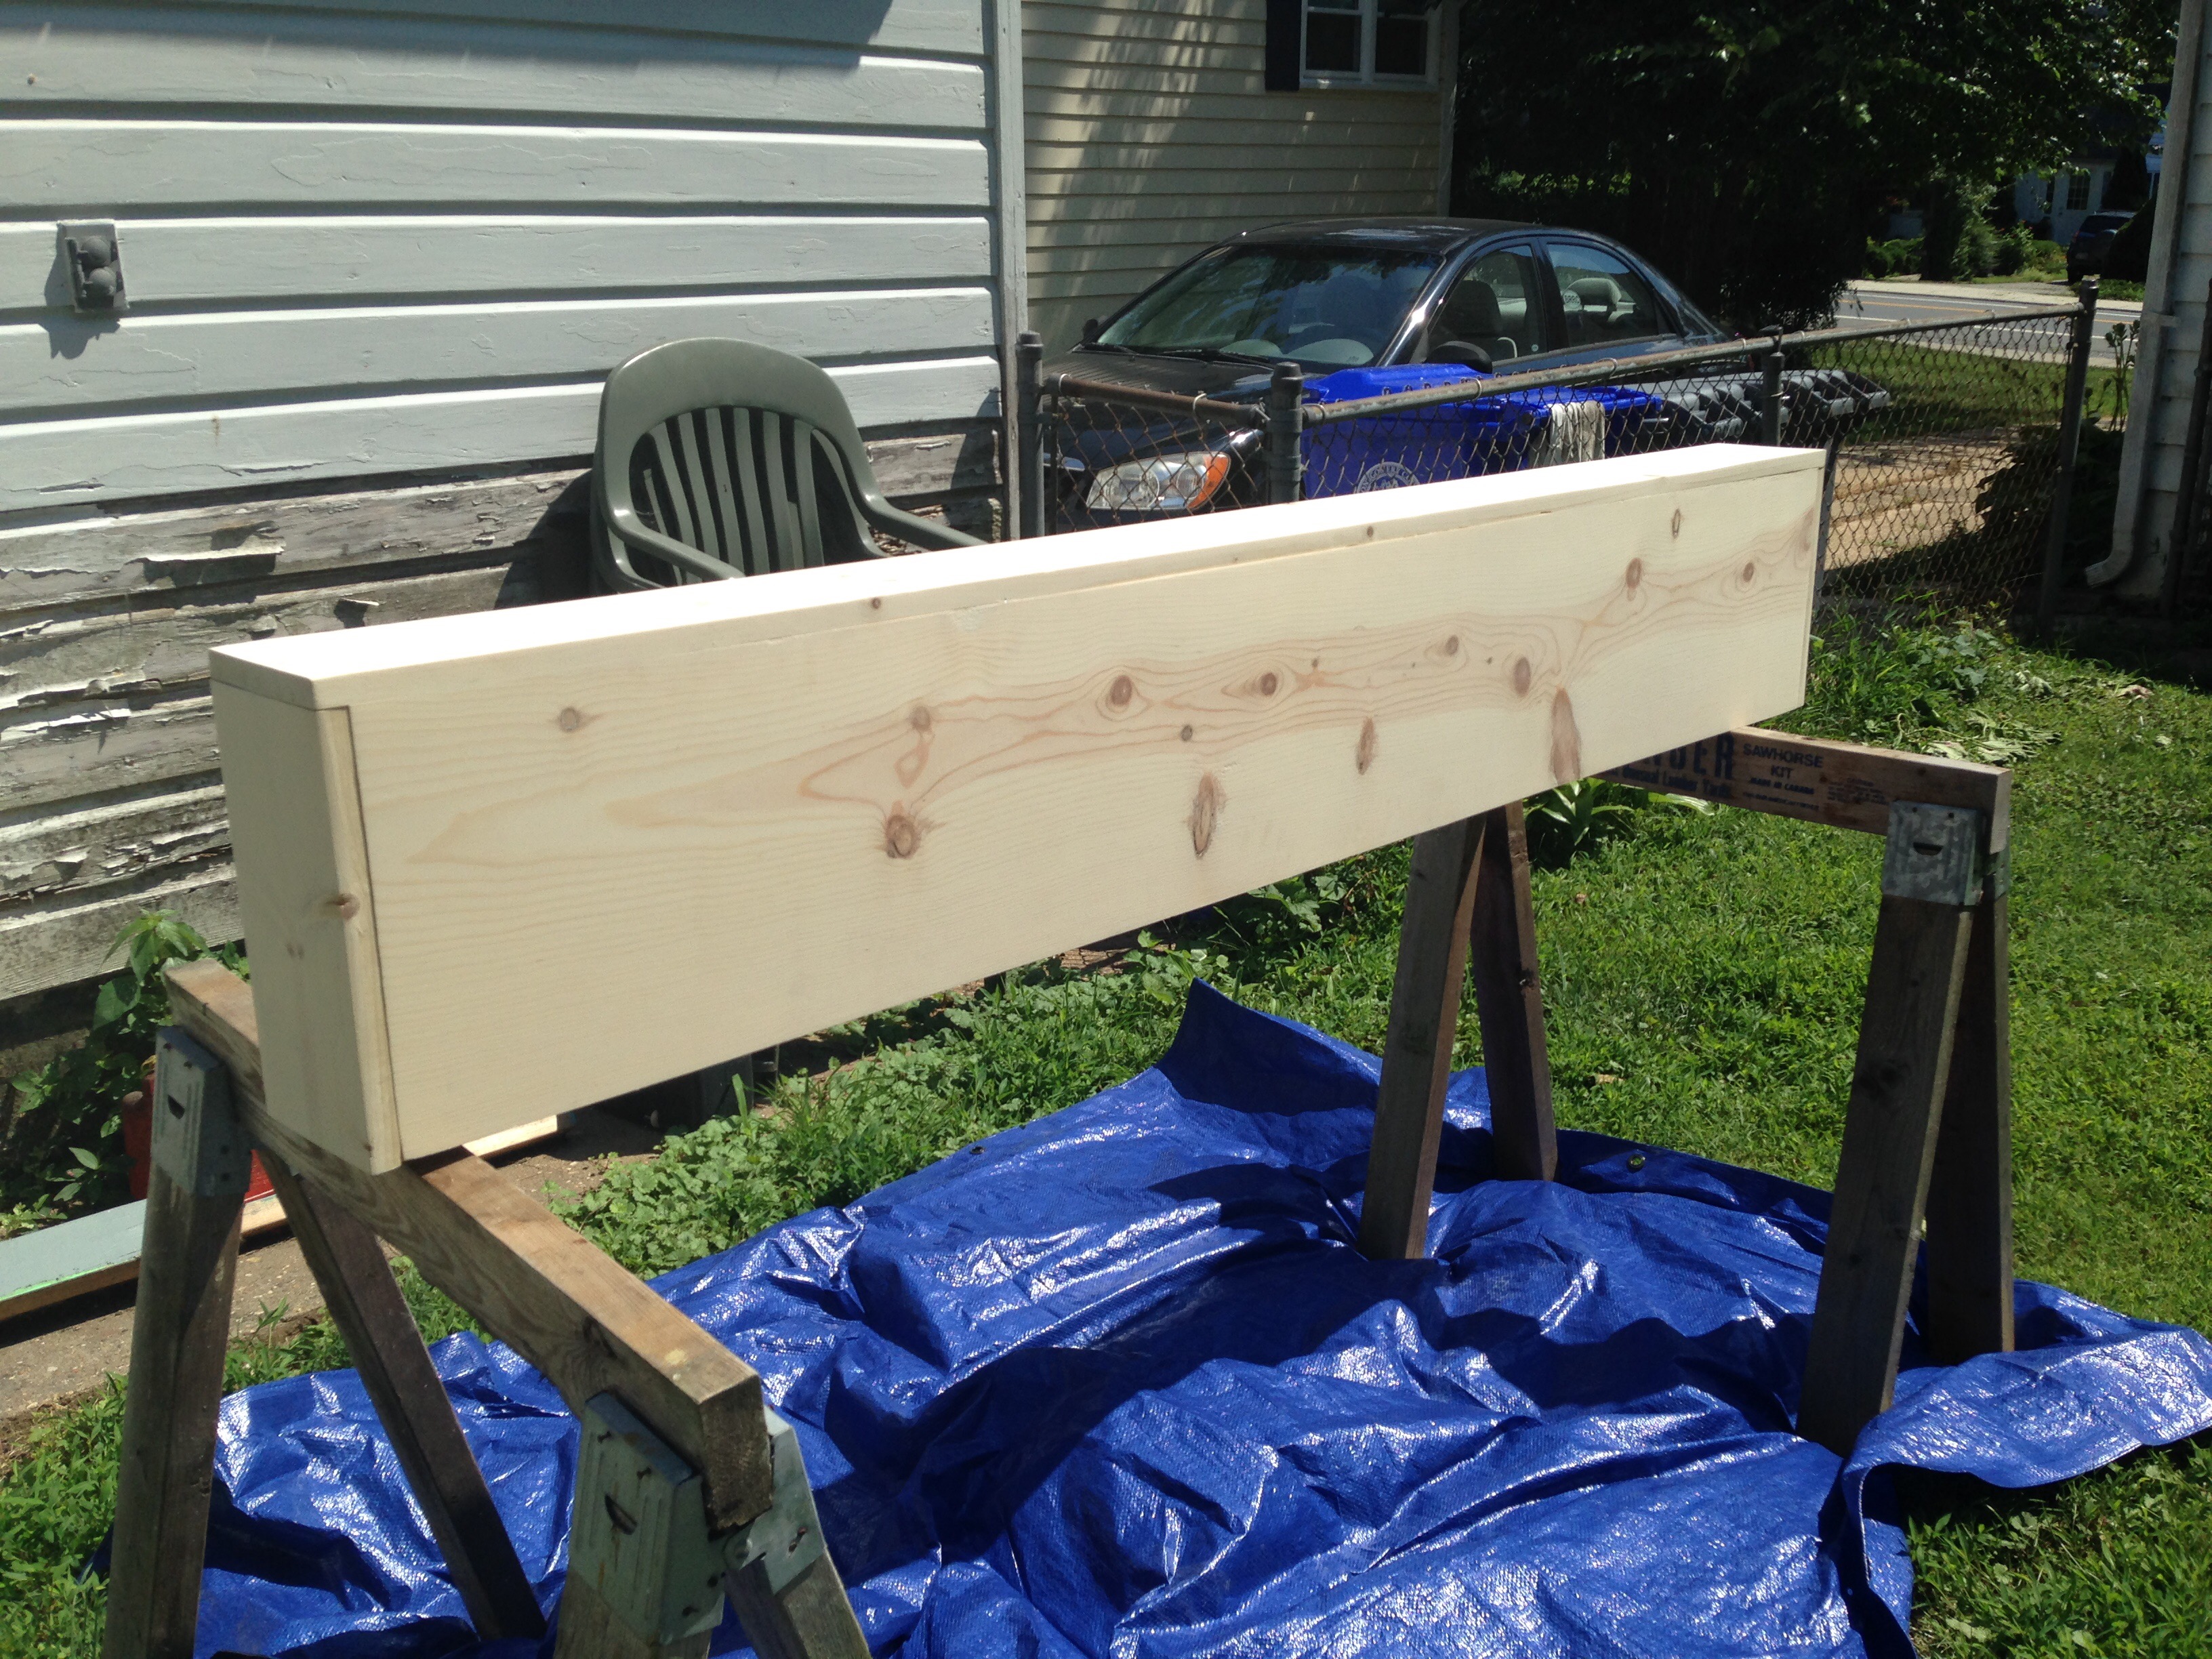
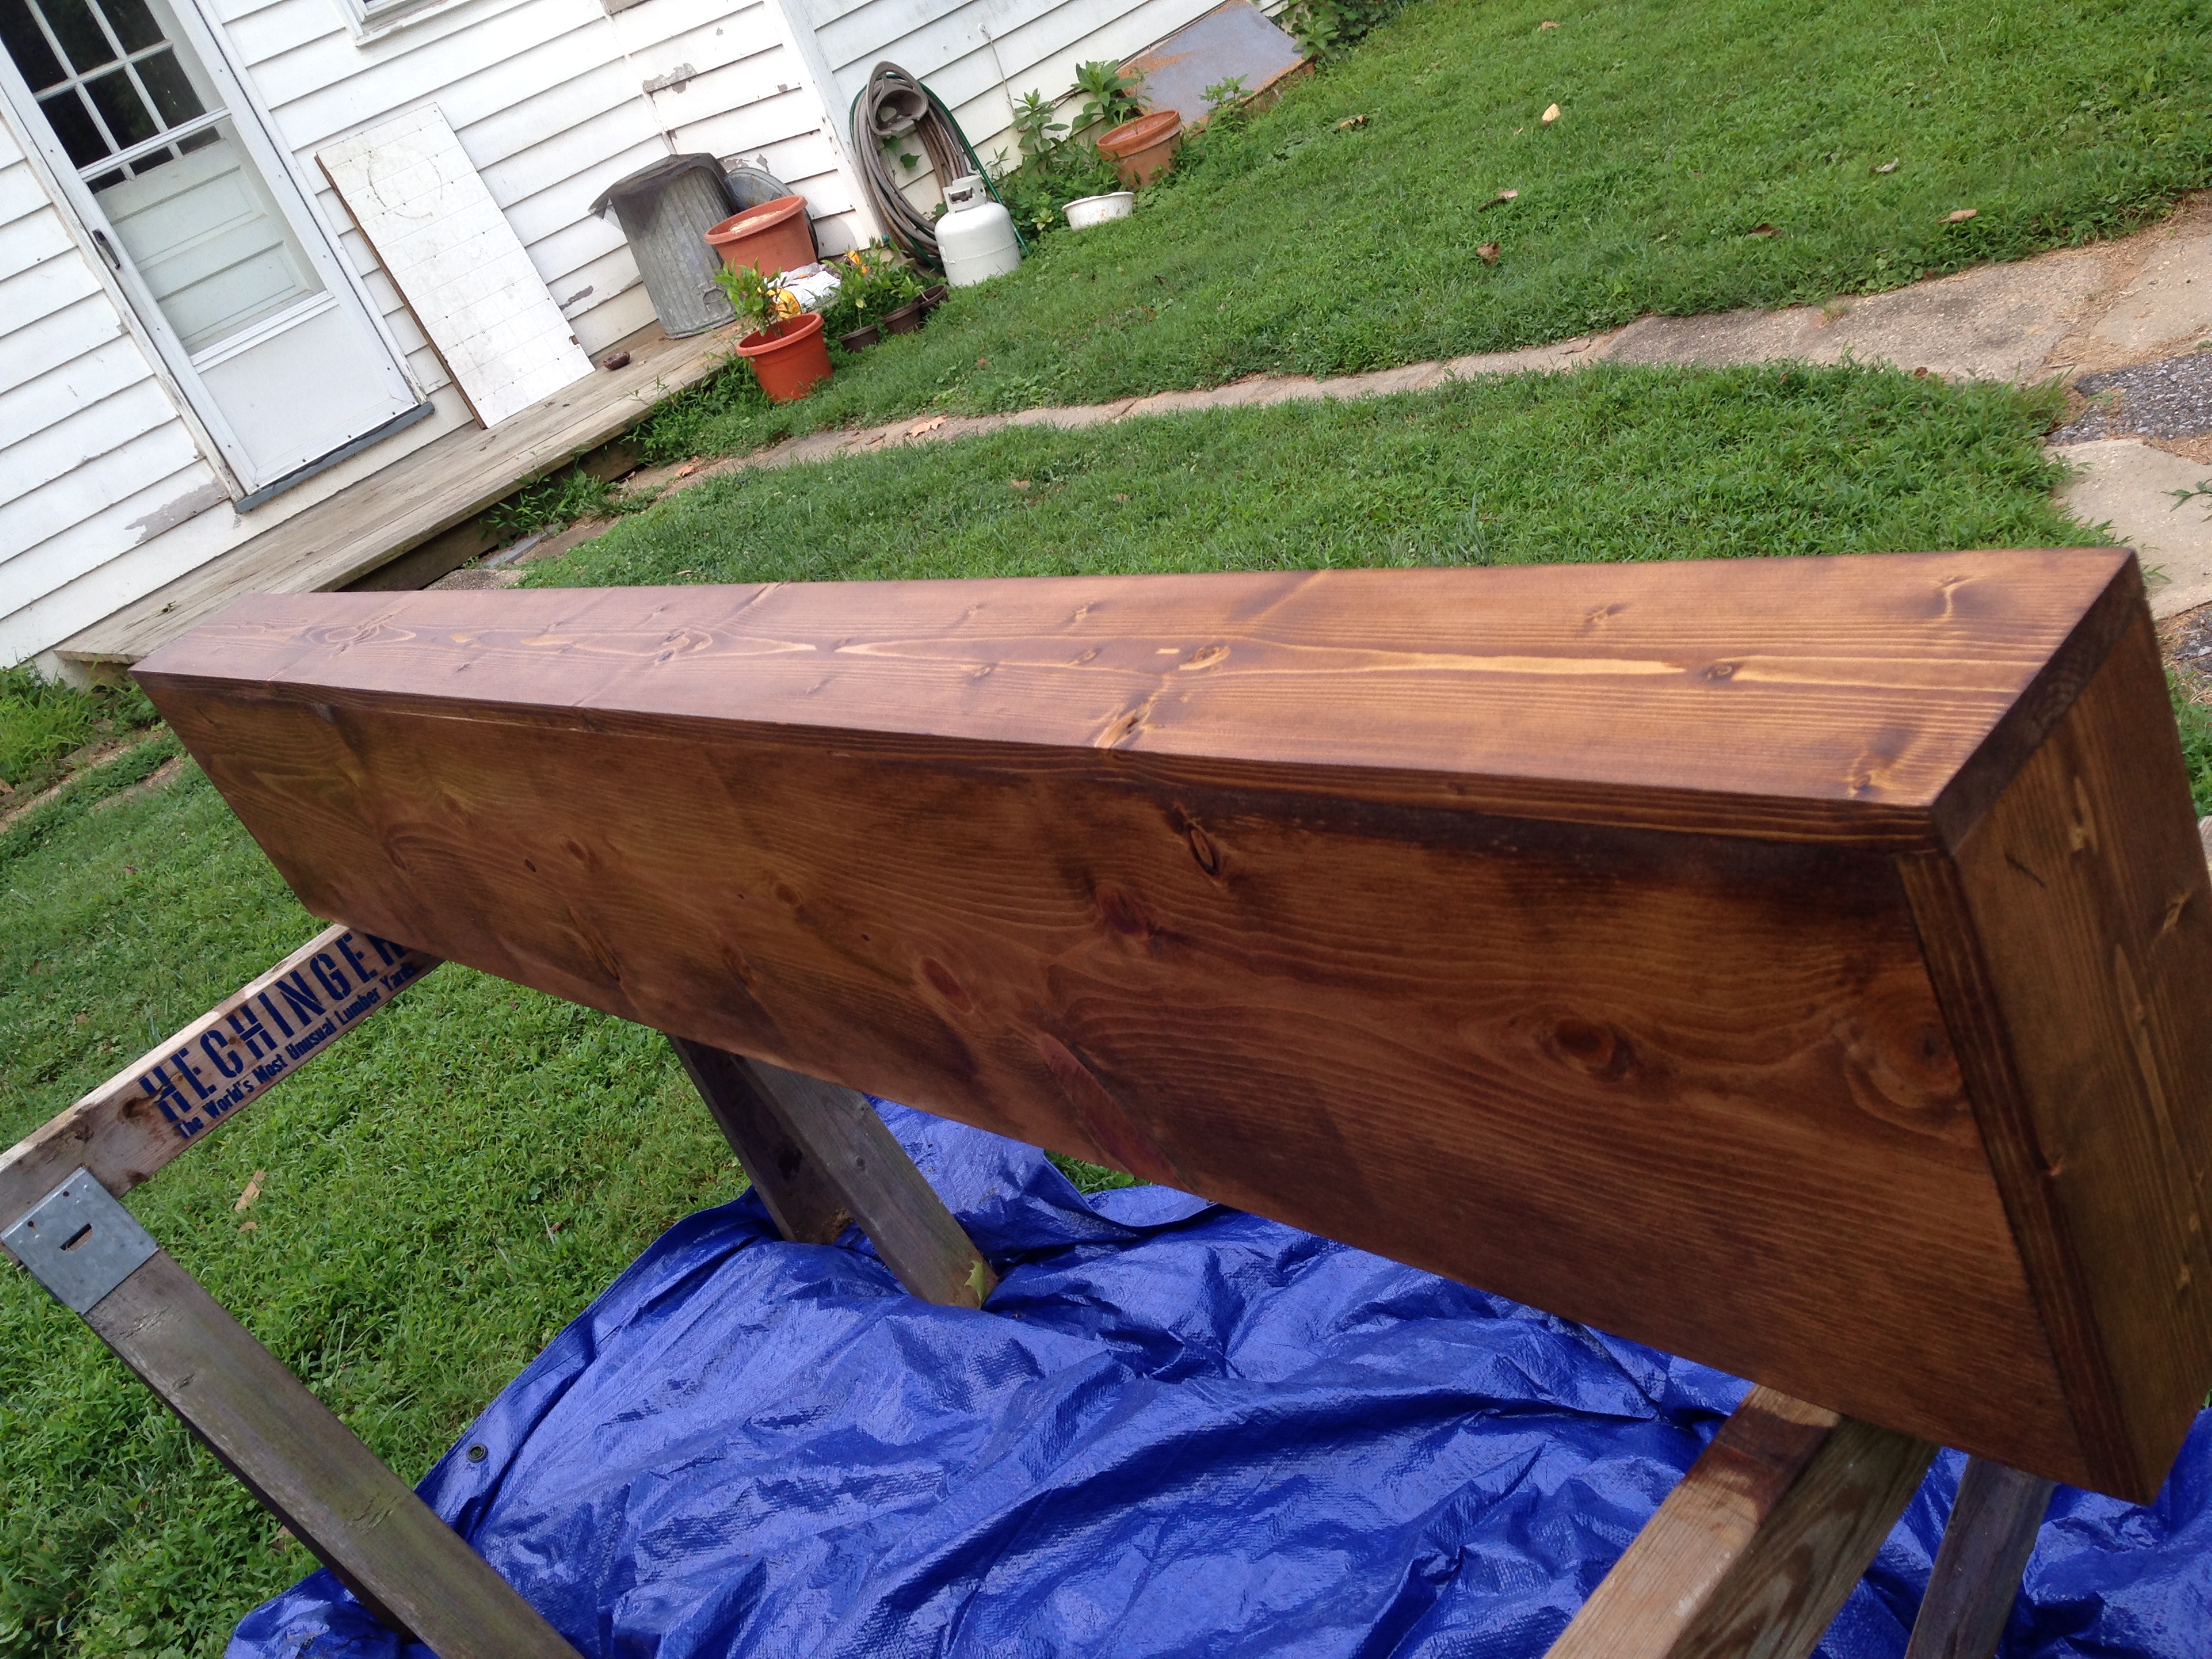
I stain all sides of the box…
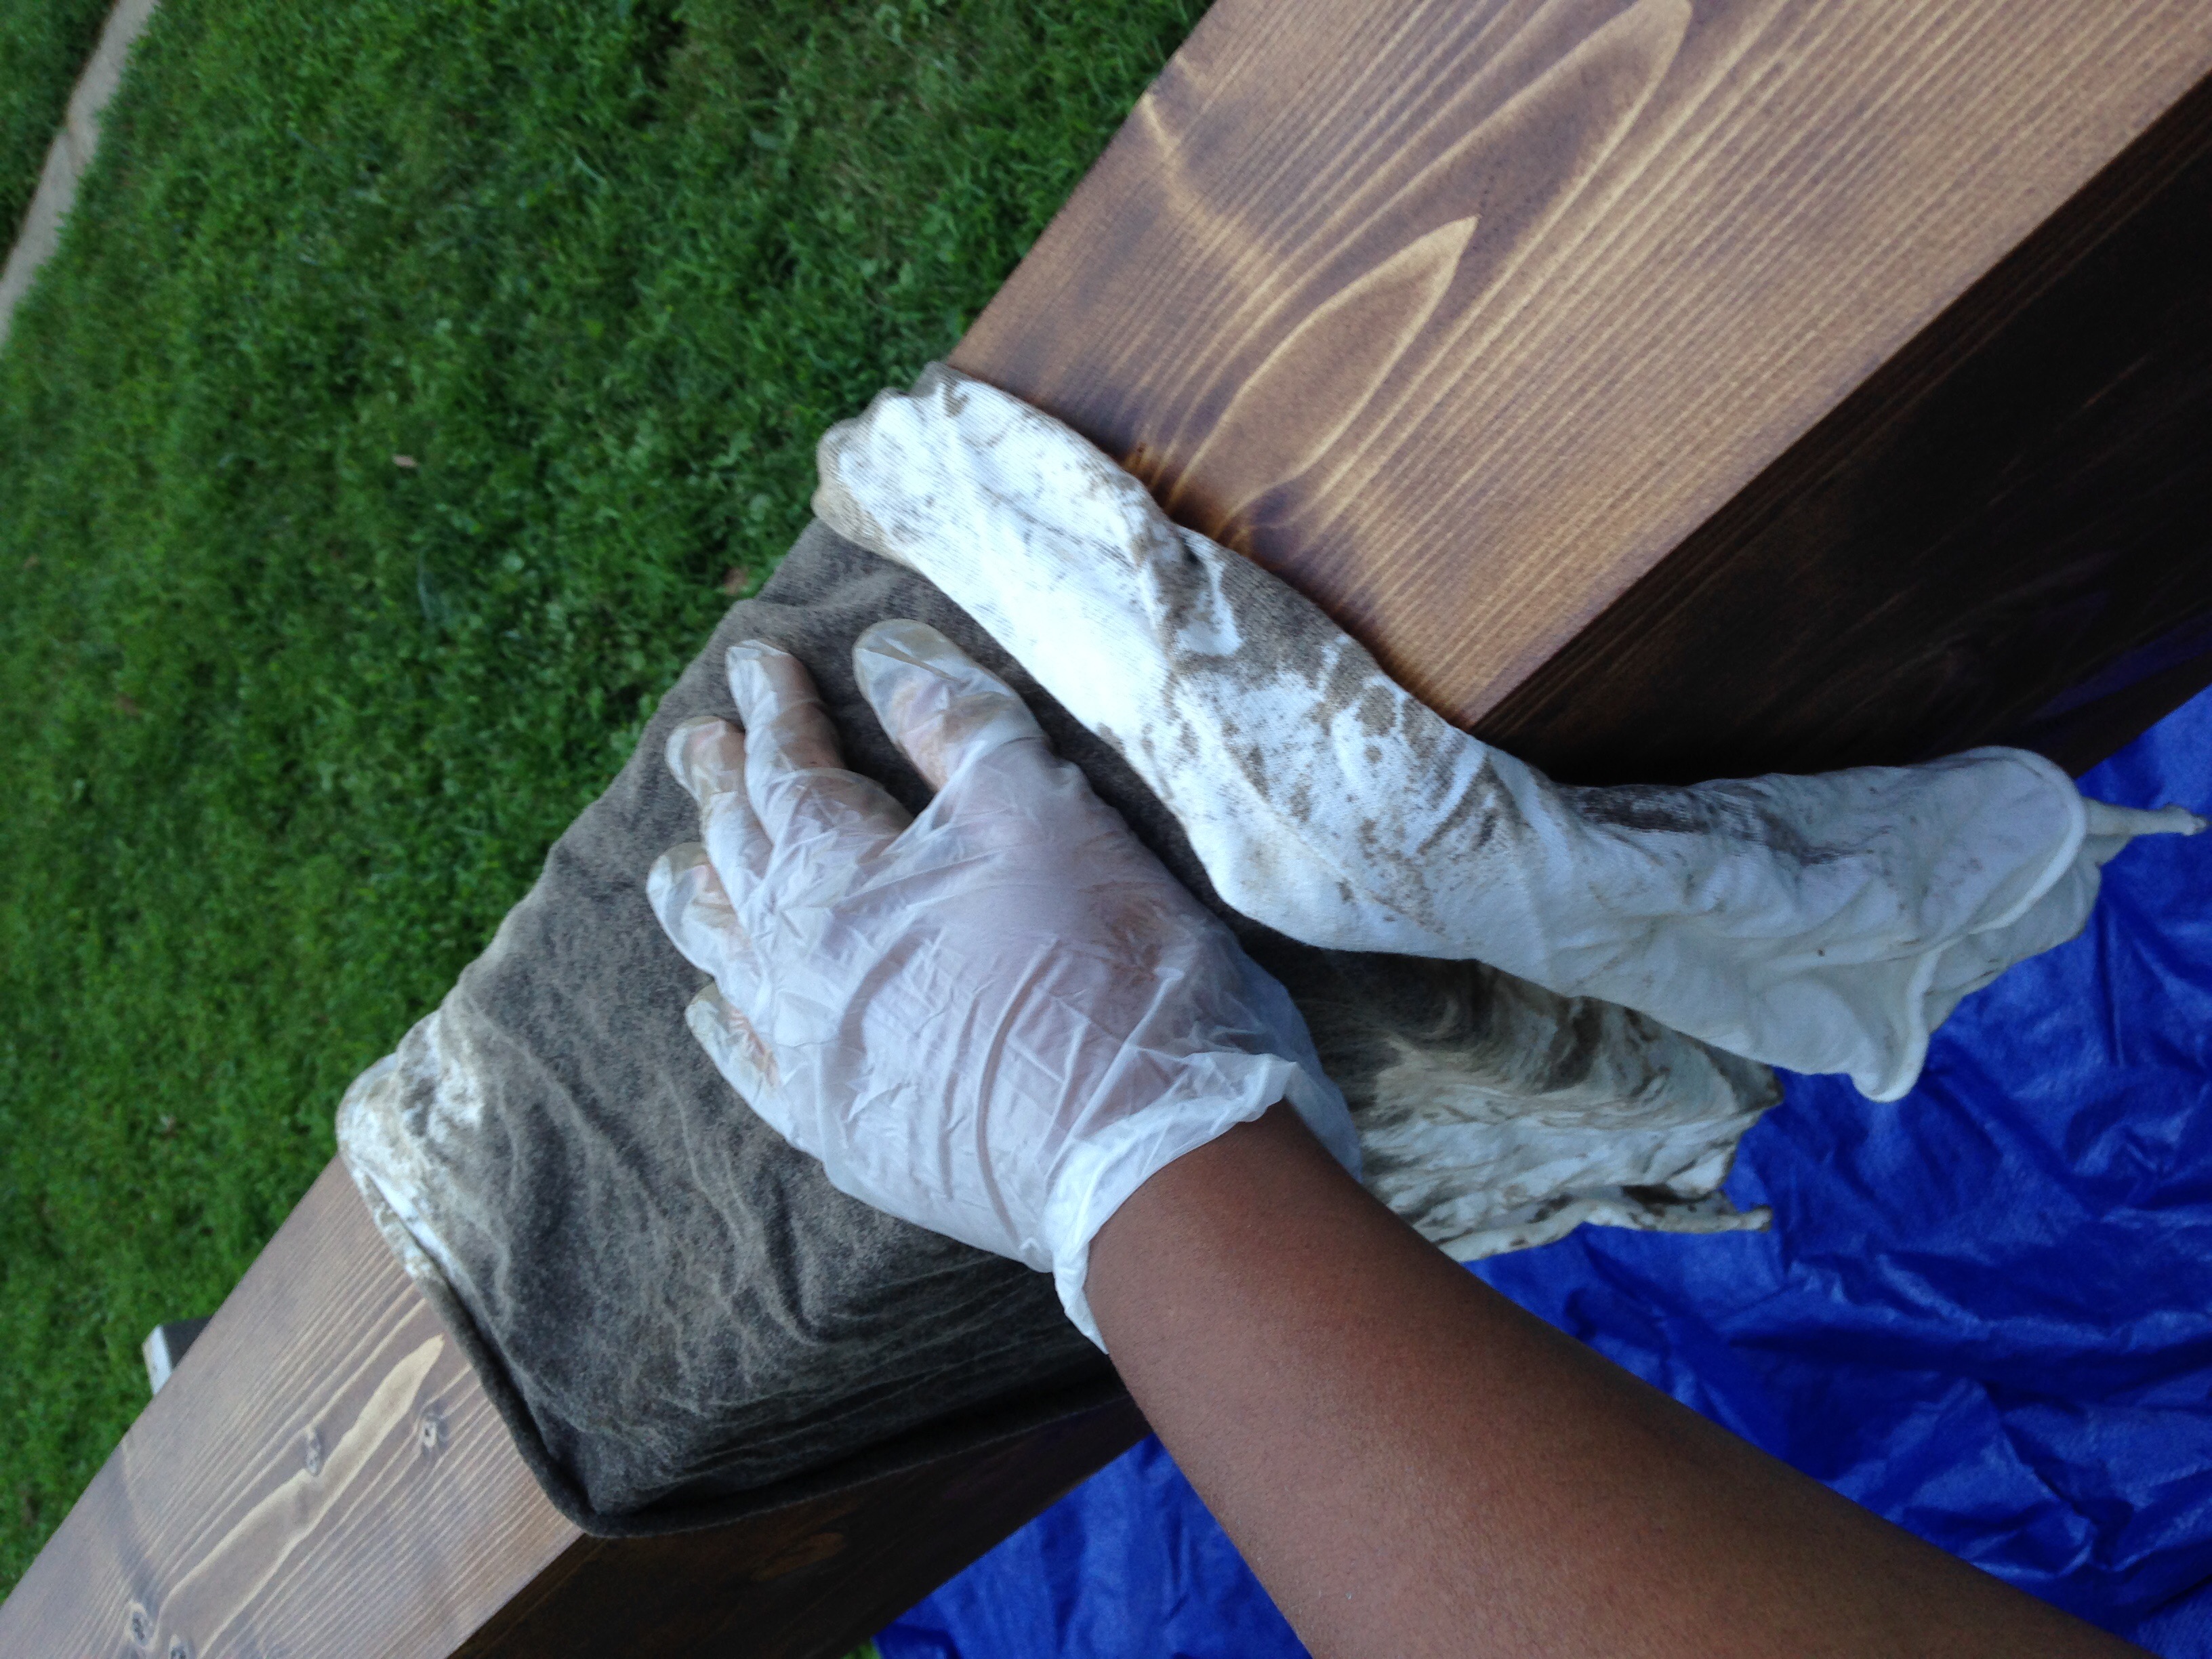
…and leave it outside to dry overnight.
The next day I apply a couple of coats of tung oil to lubricate and enhance the look of the wood.
Now that the massive 12 x 73 x 6 inch box is constructed, there is no way I’m getting it in the car. So with use of Tim’s truck and his help, we transported the box to the condo (and Tim and Bruce worked together to get it upstairs).
Mounting the box (August 5):
Bruce and I actually took a Tuesday morning off to get this job done. According to condo rules, now major drilling or other construction work can be done on evening and weekends. And because we are dealing with plaster walls, some hammering must also be done to get the hollow wall anchors in place before mounting the frame.
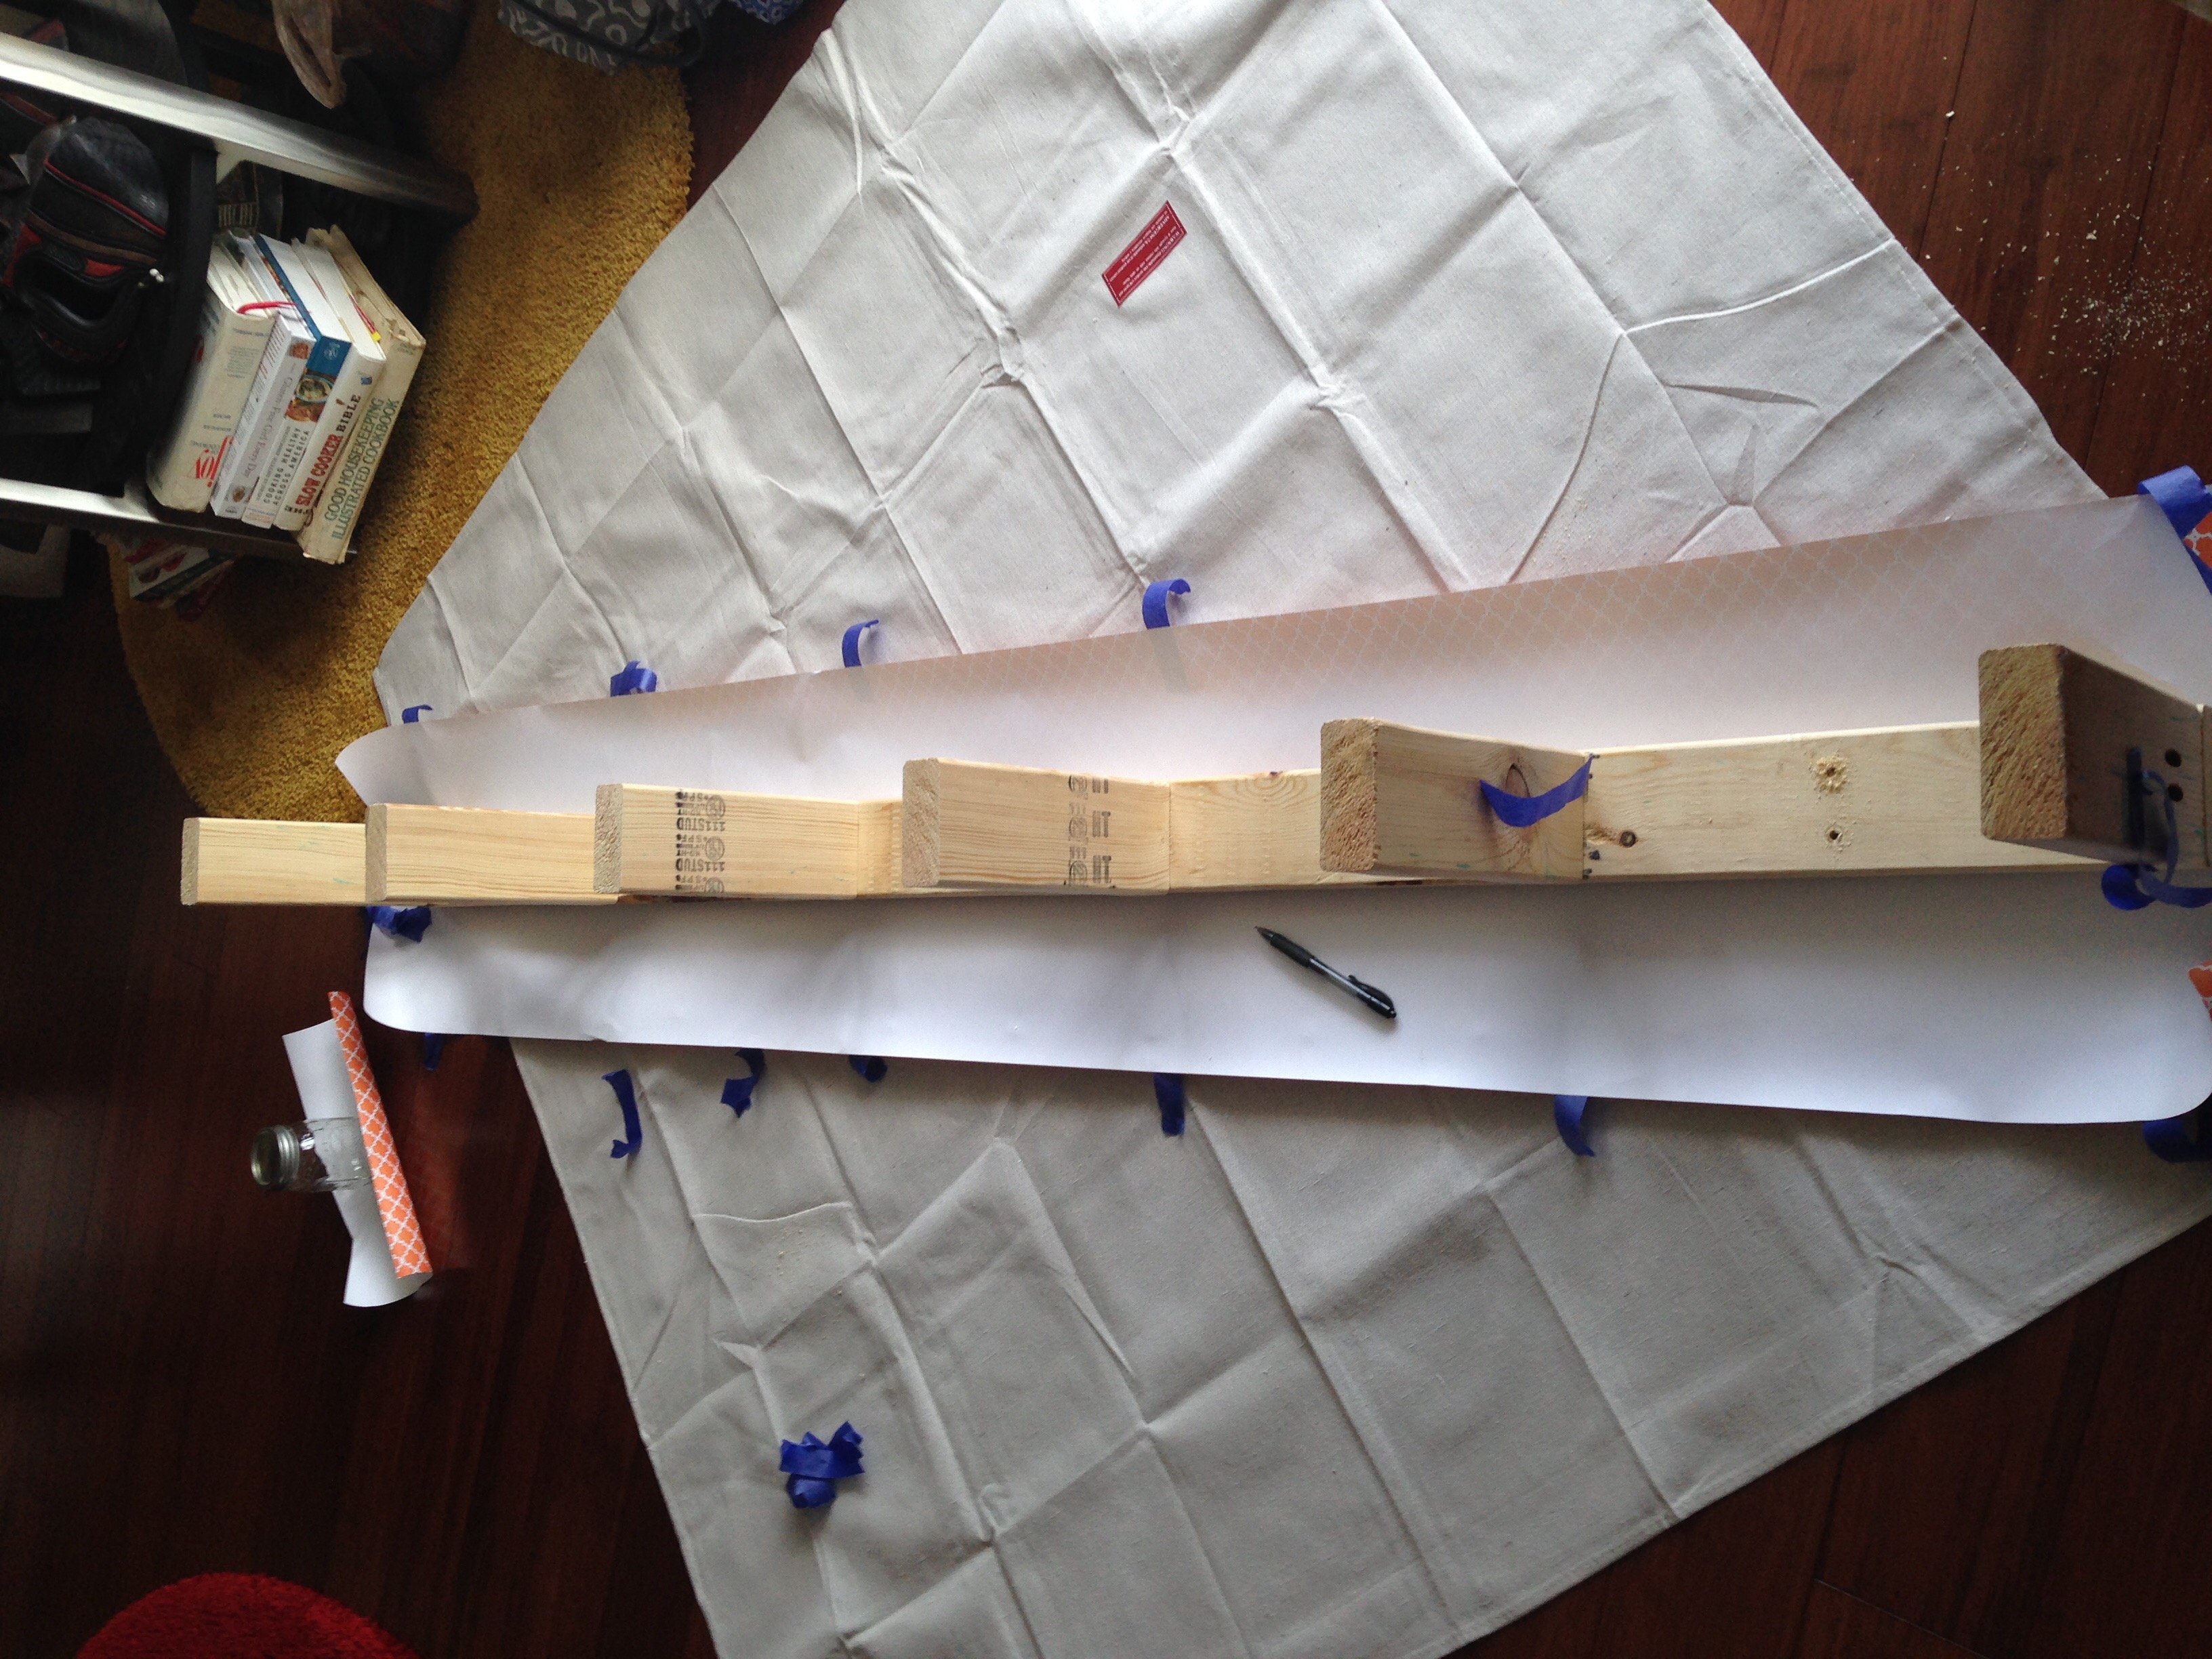
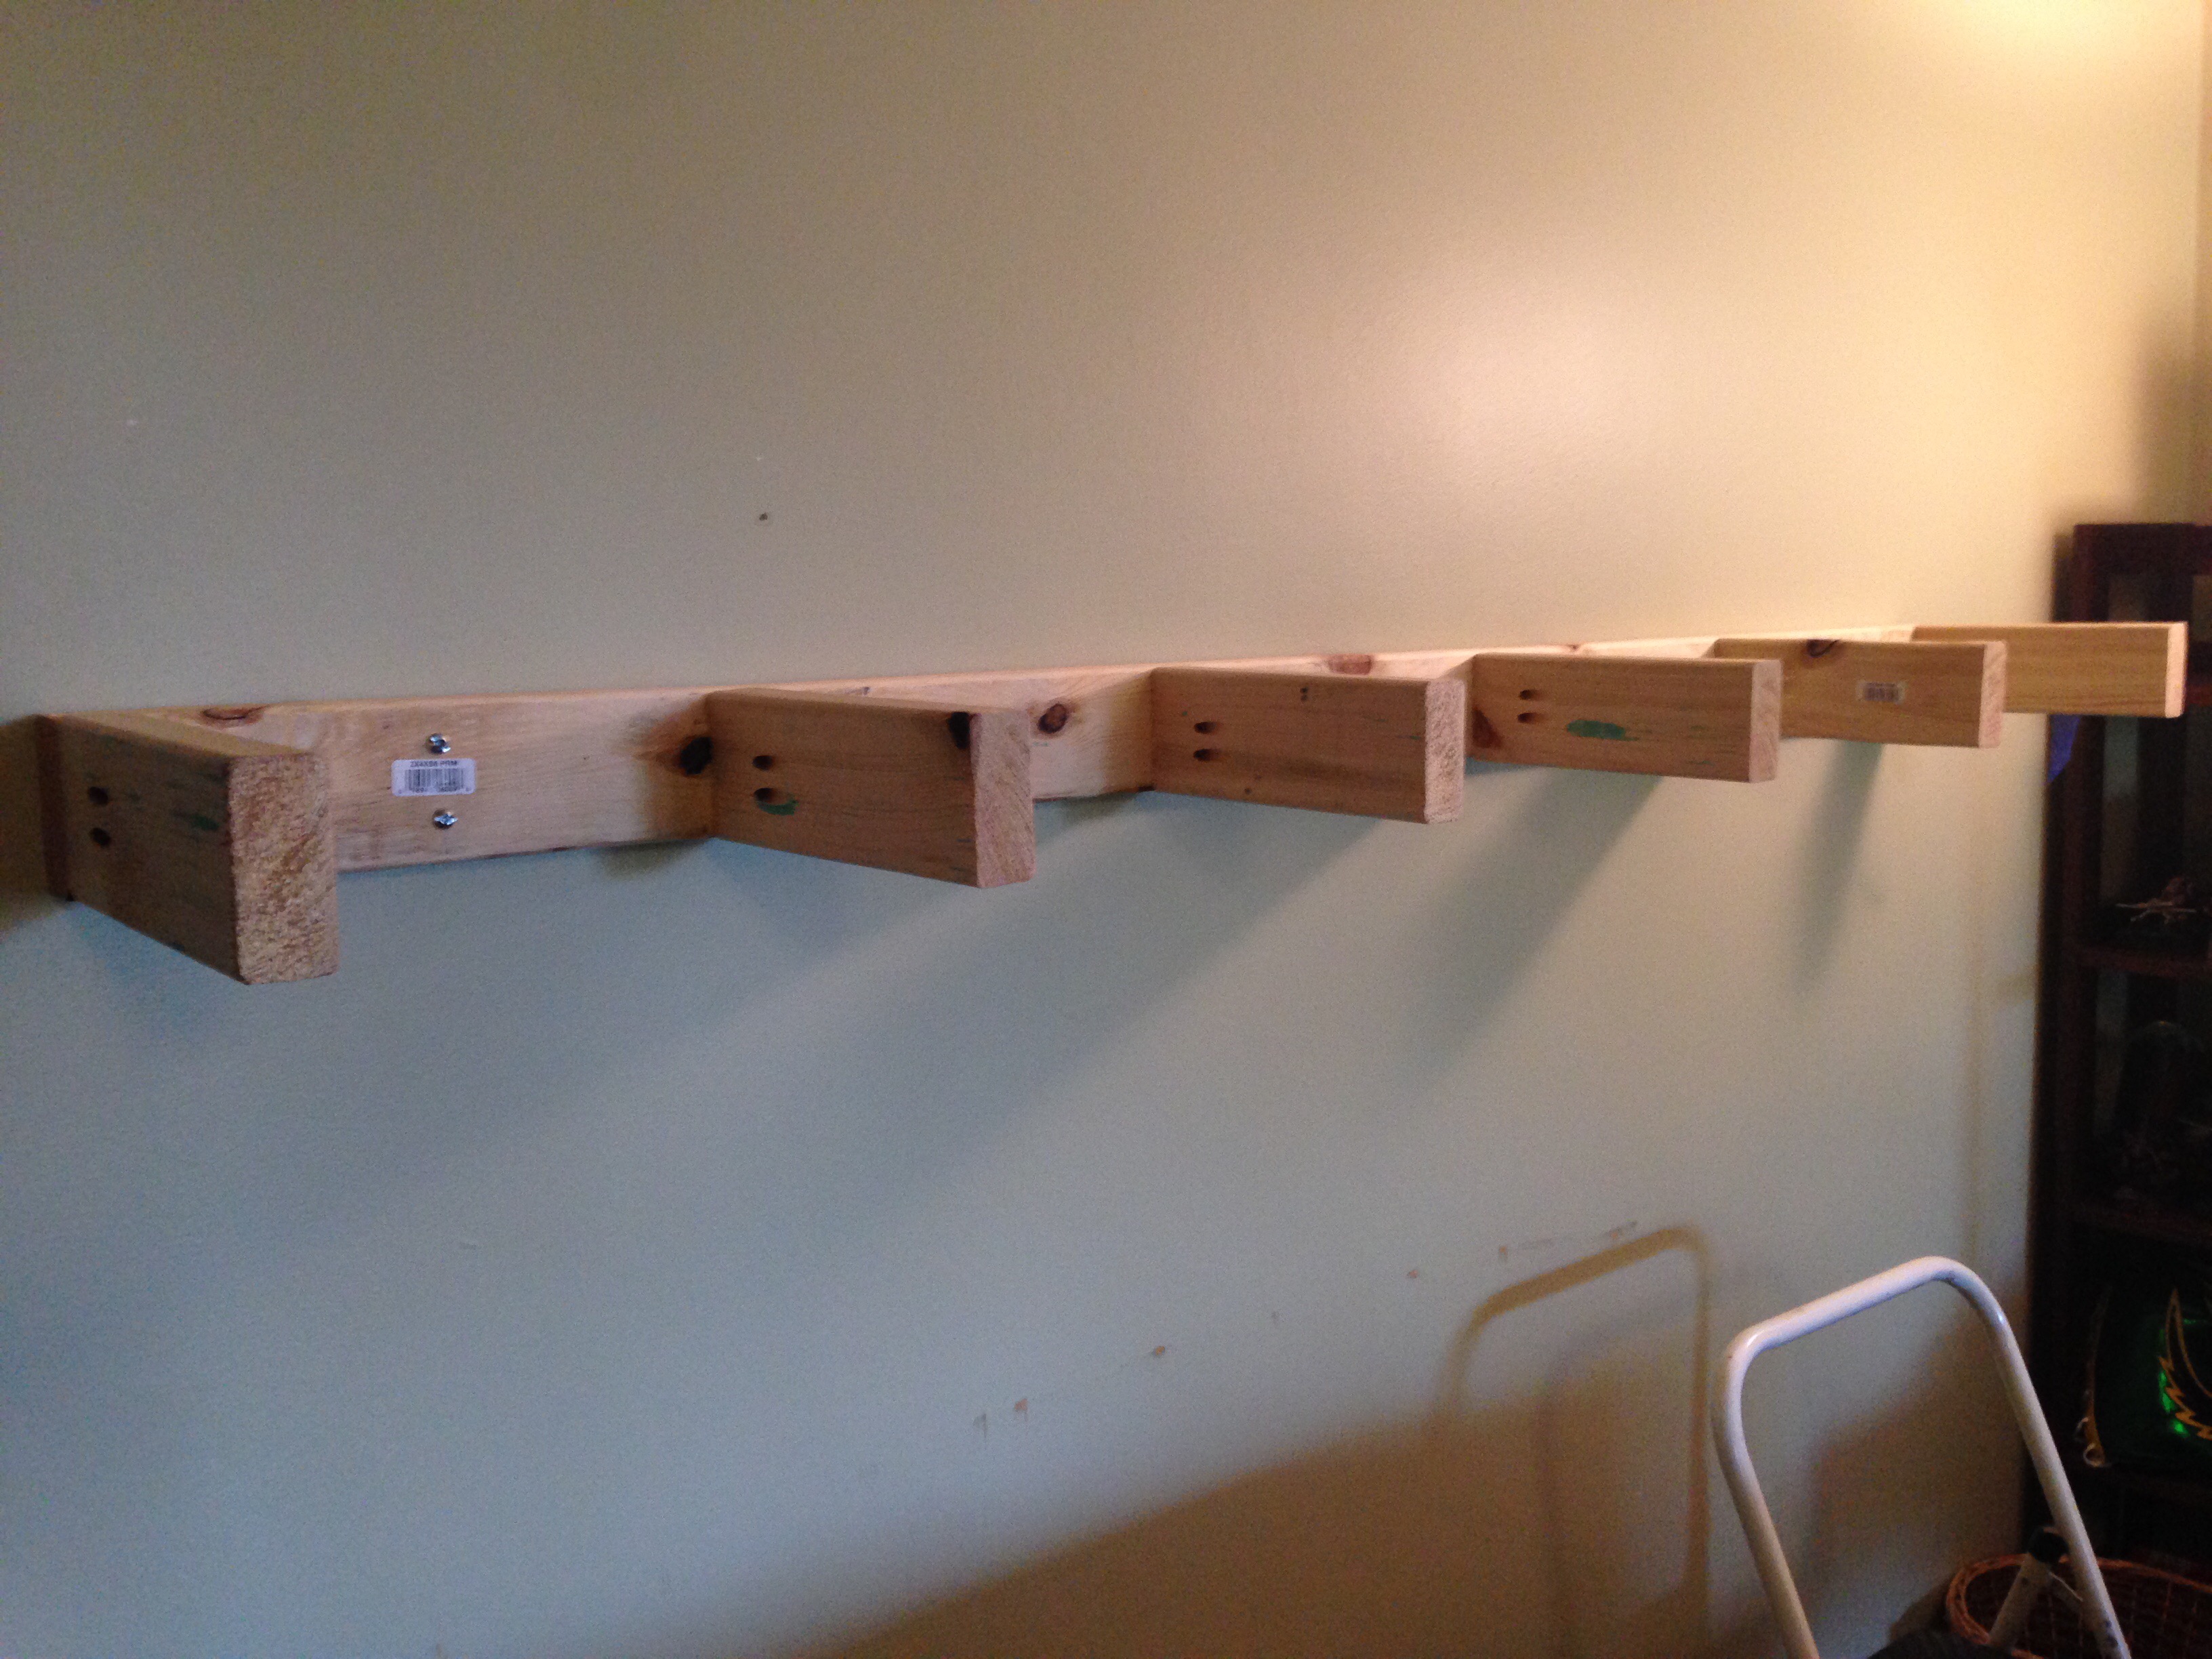
I built the frame over at Tim’s a couple of weeks ago and had been storing it in the den ever since. Building (and transporting) the frame was simple. Using pocket holes and 2.5″ pocket hole screws, I attached six 11.75″ 2 x 4s to the 71.5″ 2 x 4 board. The frame constructed is shown in the photo below.
When mounting the shelf on a wall with drywall, you would find the wood studs behind the wall and mark those areas as the frame mount points. You would then use the 3.5 to 4″ wood screws to secure the frame directly into the studs behind the wall.
But in this condo, we’re dealing with plaster. No studs behind that wall anywhere. Just plaster. And space. And the concrete barrier separating our unit from our neighbors.
So we need to anchor the frame to the wall using hollow anchors. Here’s the row of 3/16″ anchors I’ve collected from the local hardware store. And I’m going with the extra long 4″ machine screw (pictured below in the middle) to burrow through 2 inches of wood and another inch or so of plaster to firmly attached the frame.

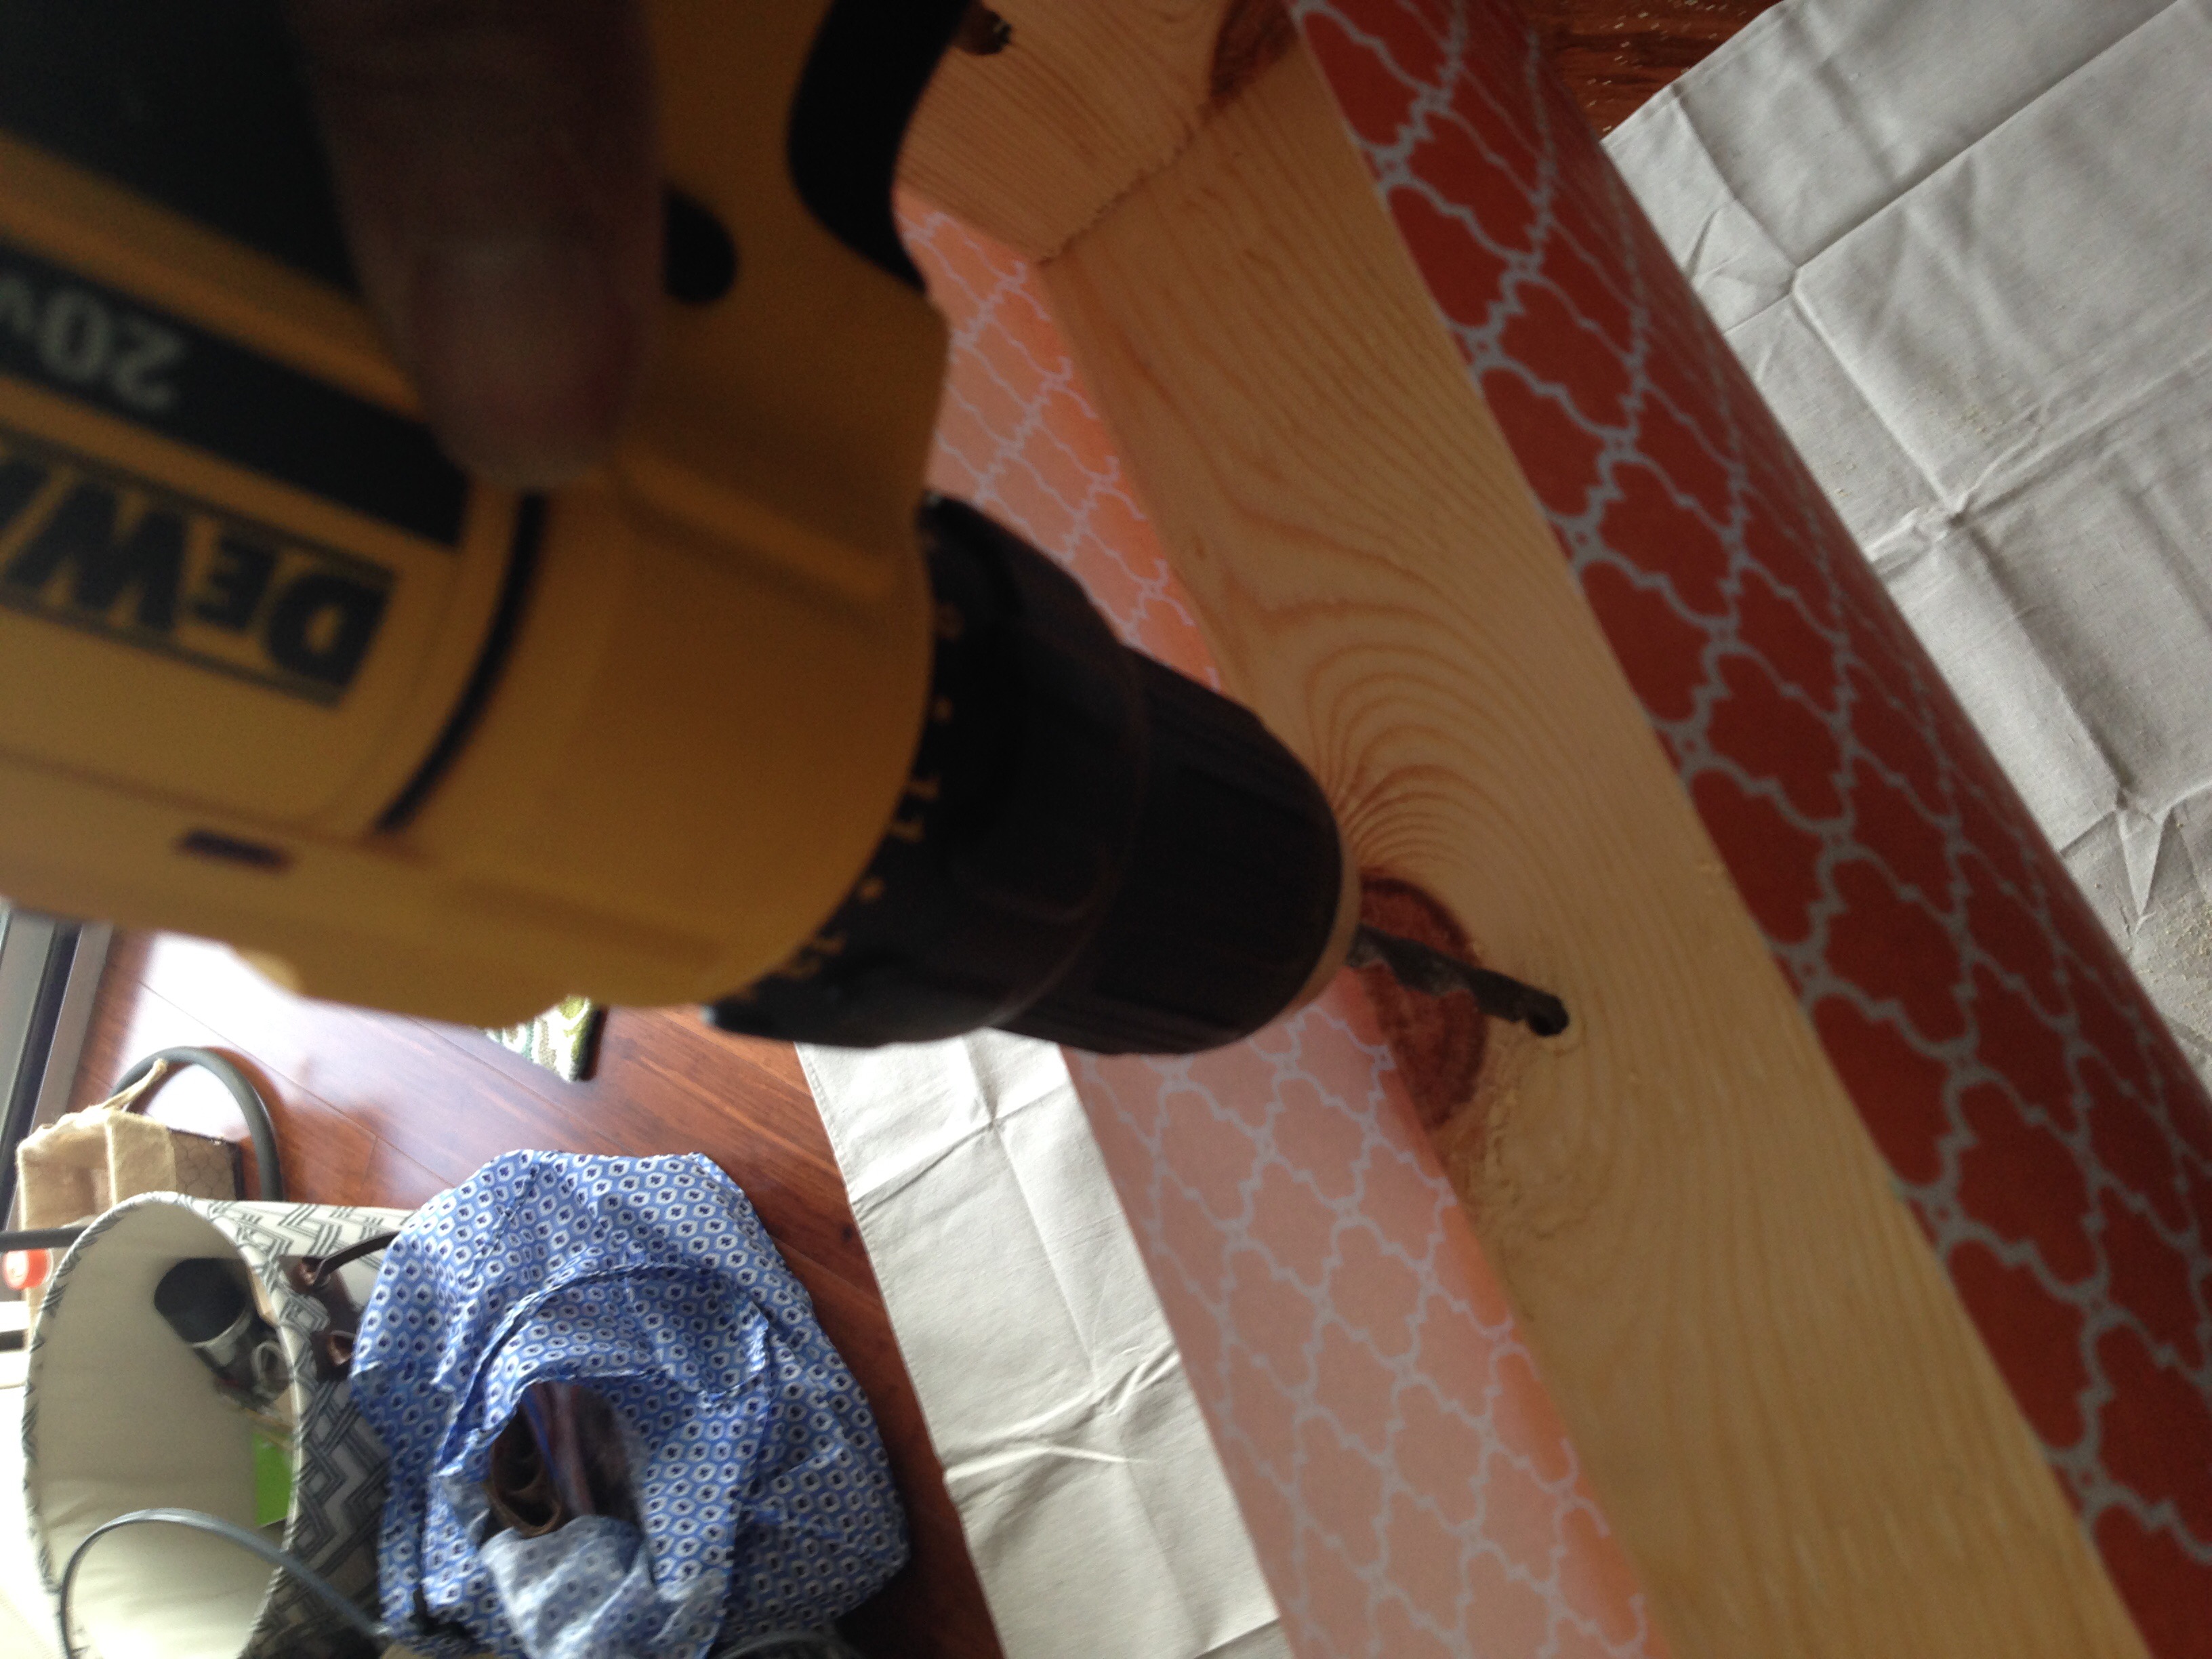
I pre-drill 5/16″ holes in the frame (as two vertical mount points between each spoke of the frame. And I use a long sheet of rolled craft paper underneath to mark the position of the holes.
Using a lever to draw a straight line on the wall, I tape up the paper template.
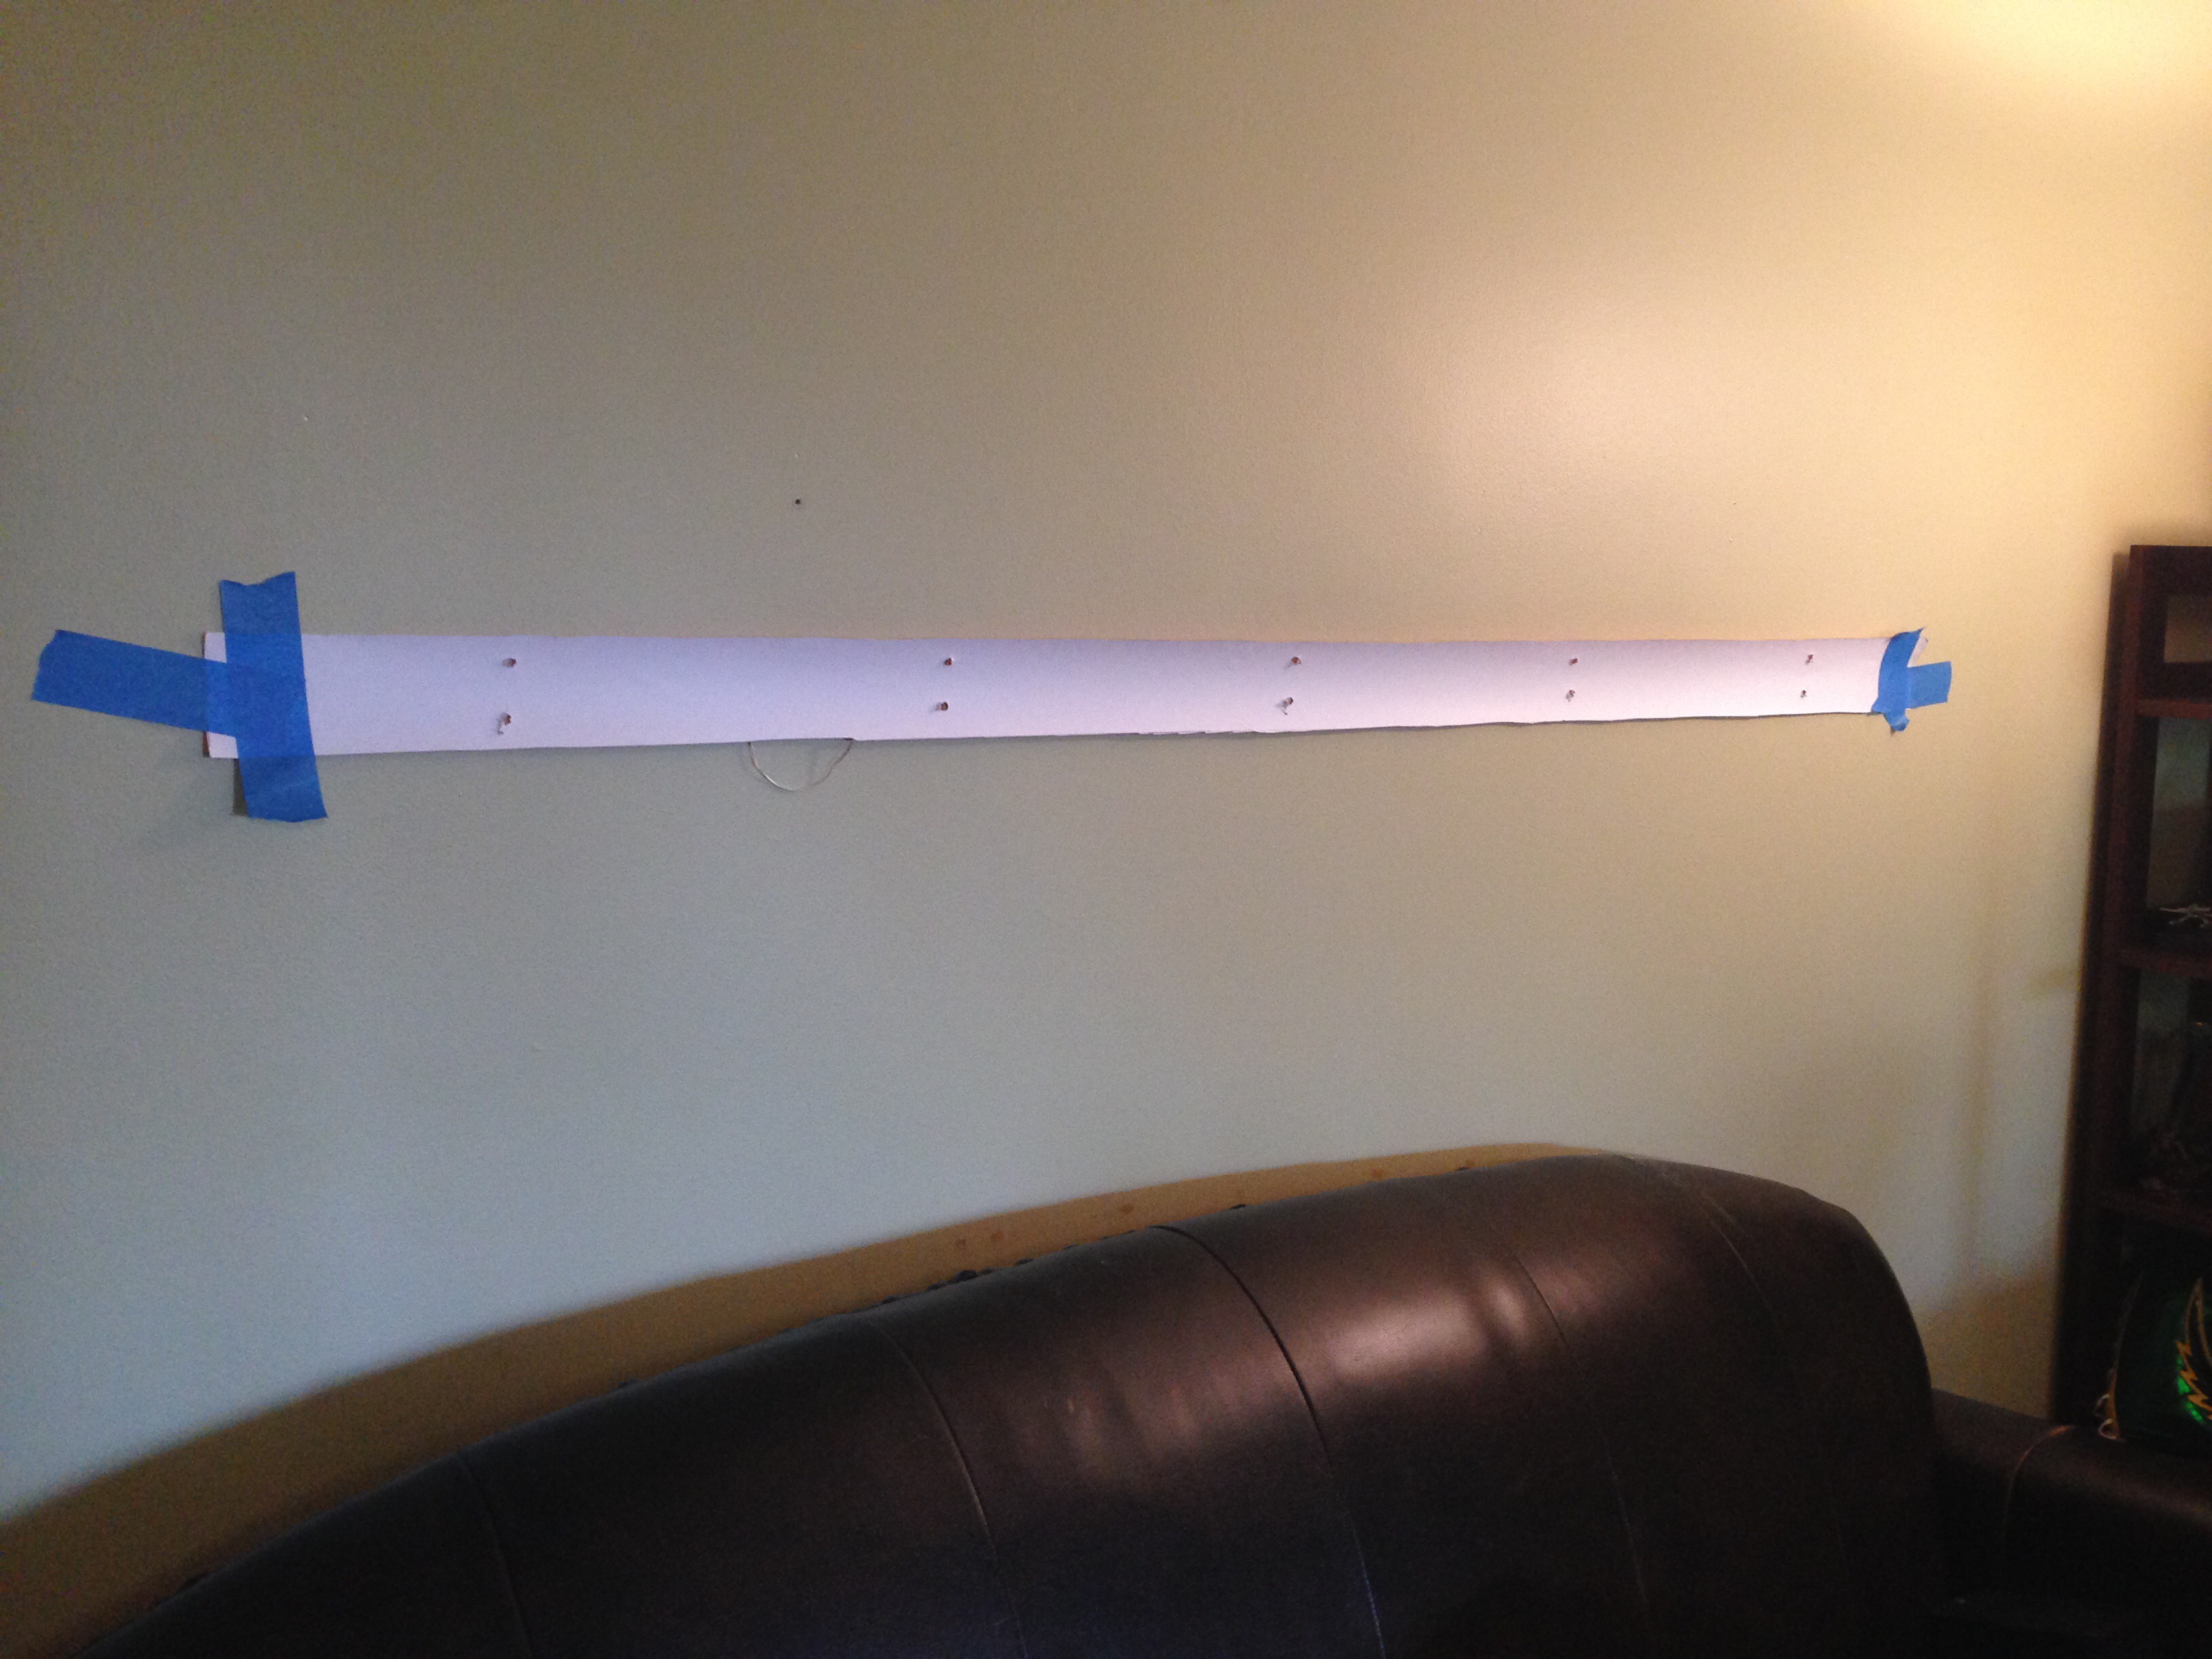
Using a pencil, I mark each hole, then use a 5/16″ drill bit with my power drill to add the holes into the wall.
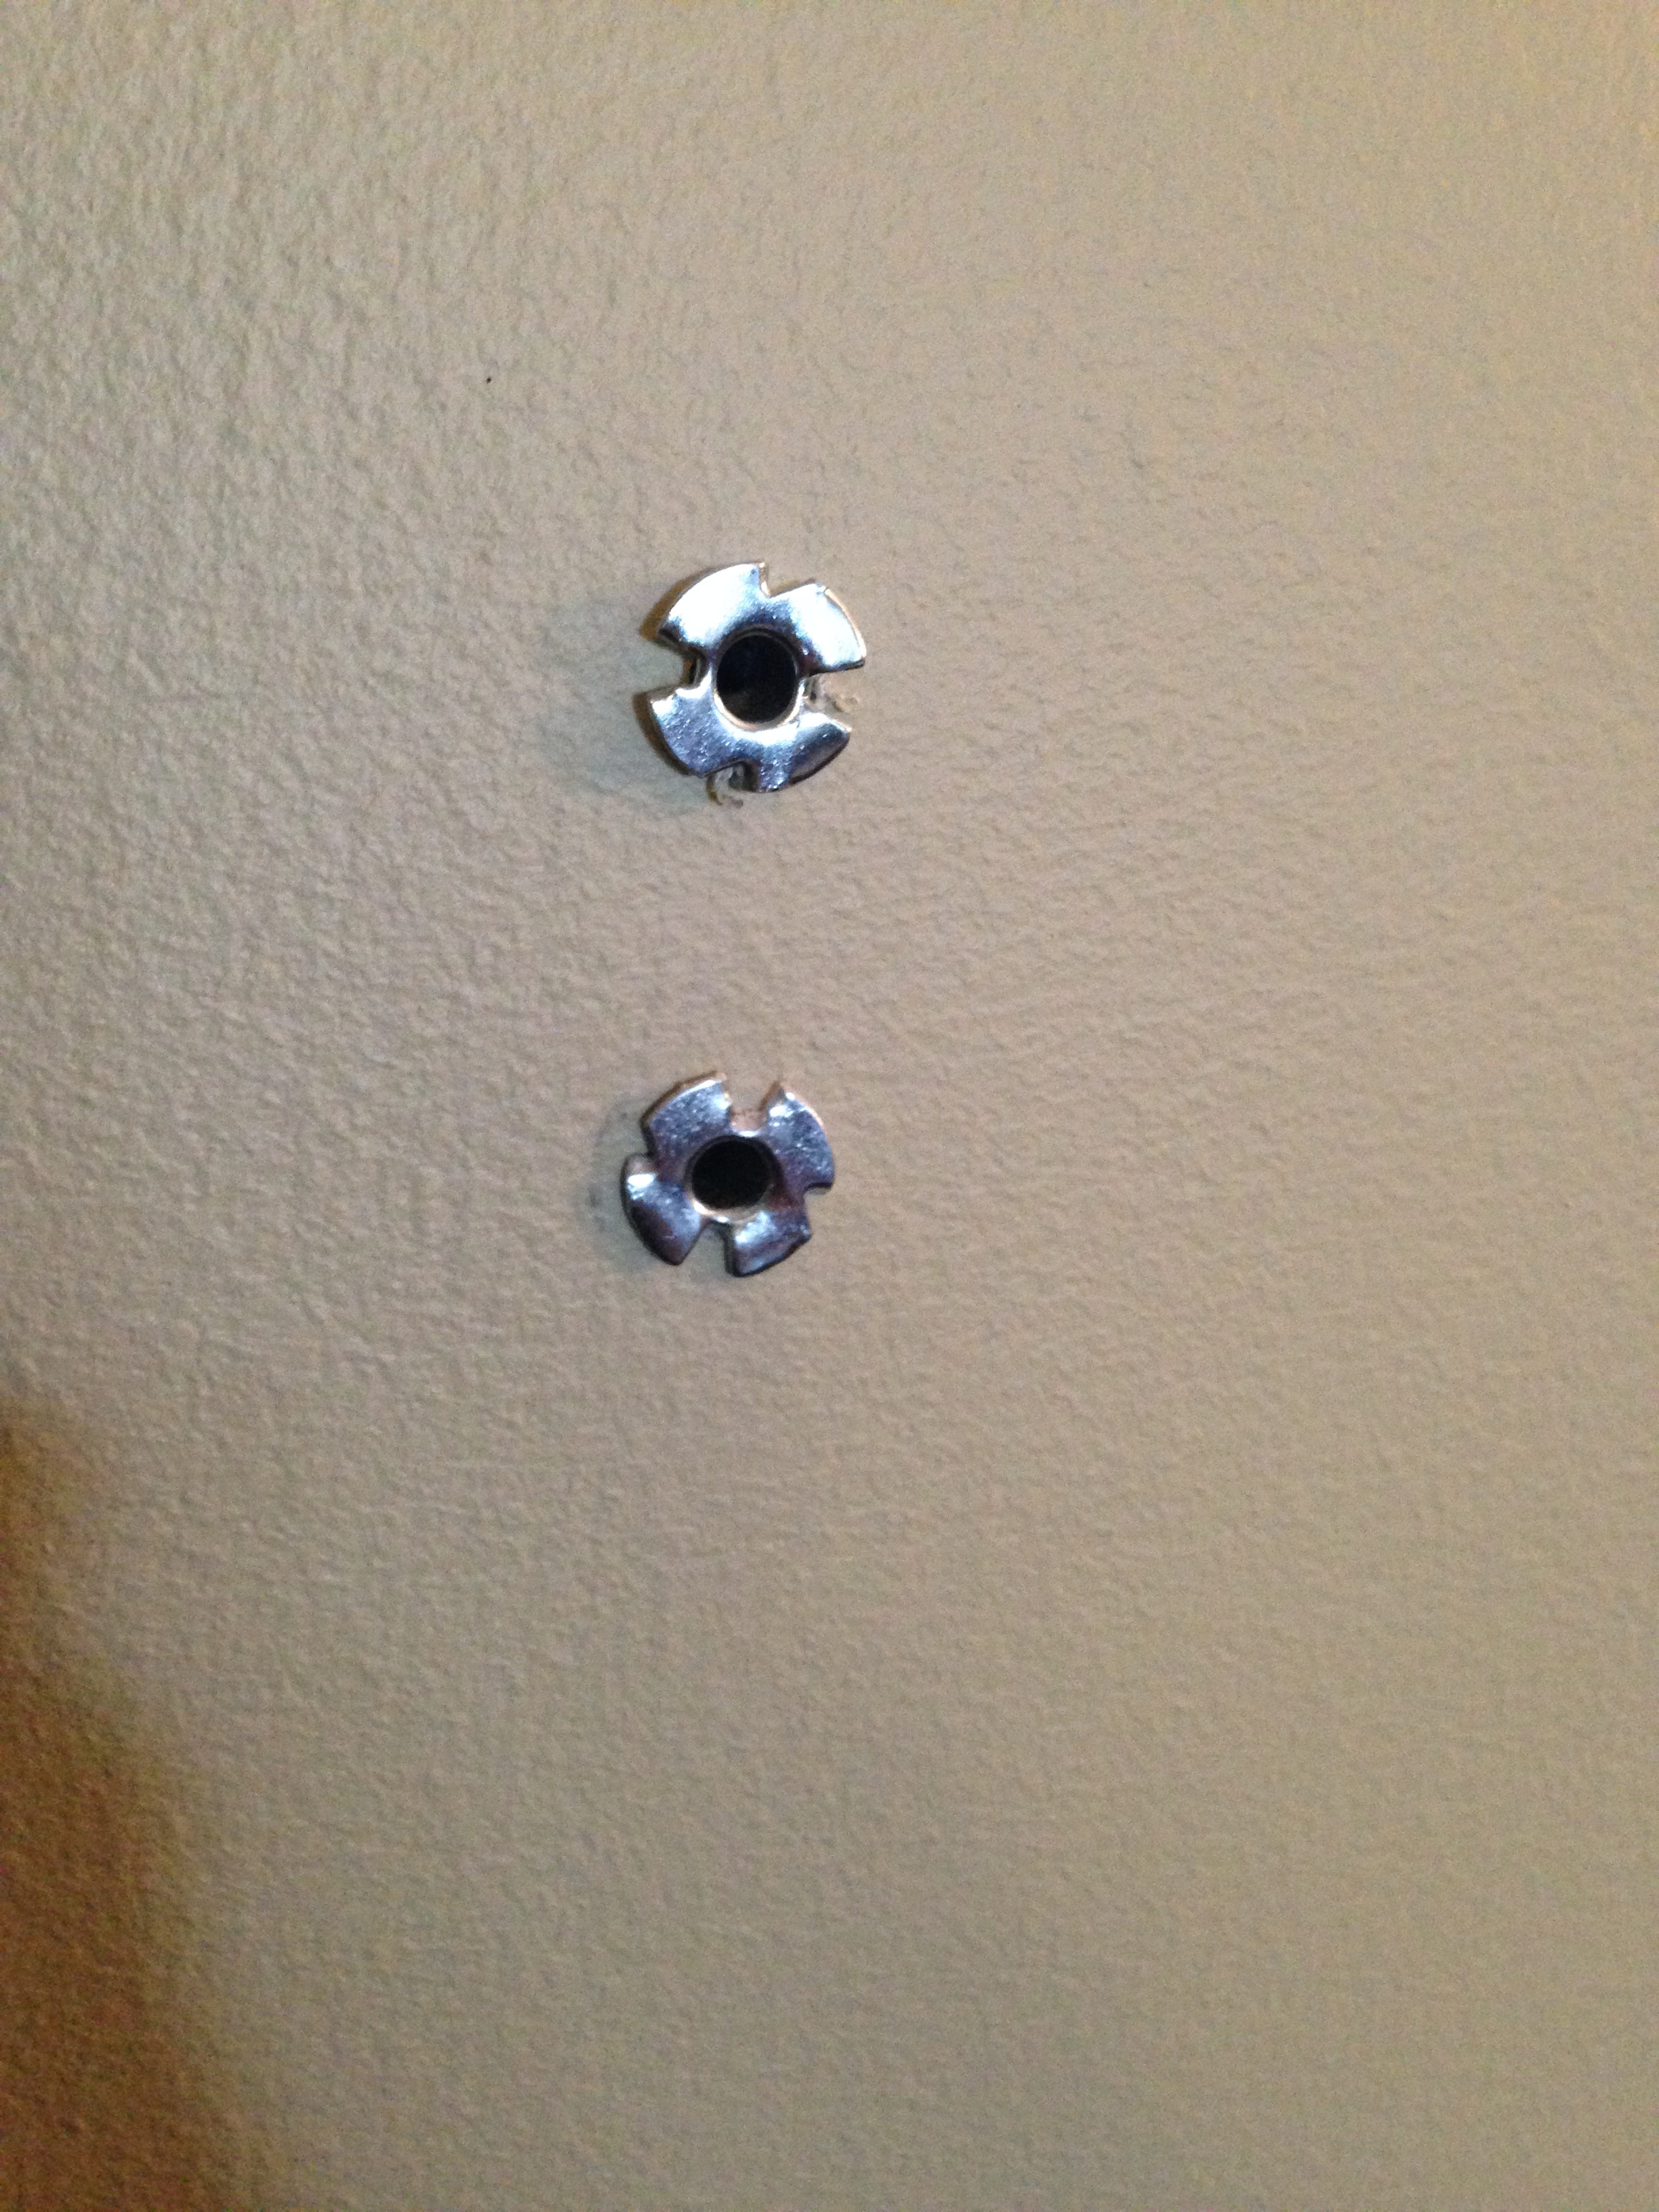
I insert a hollow anchor into each hole…
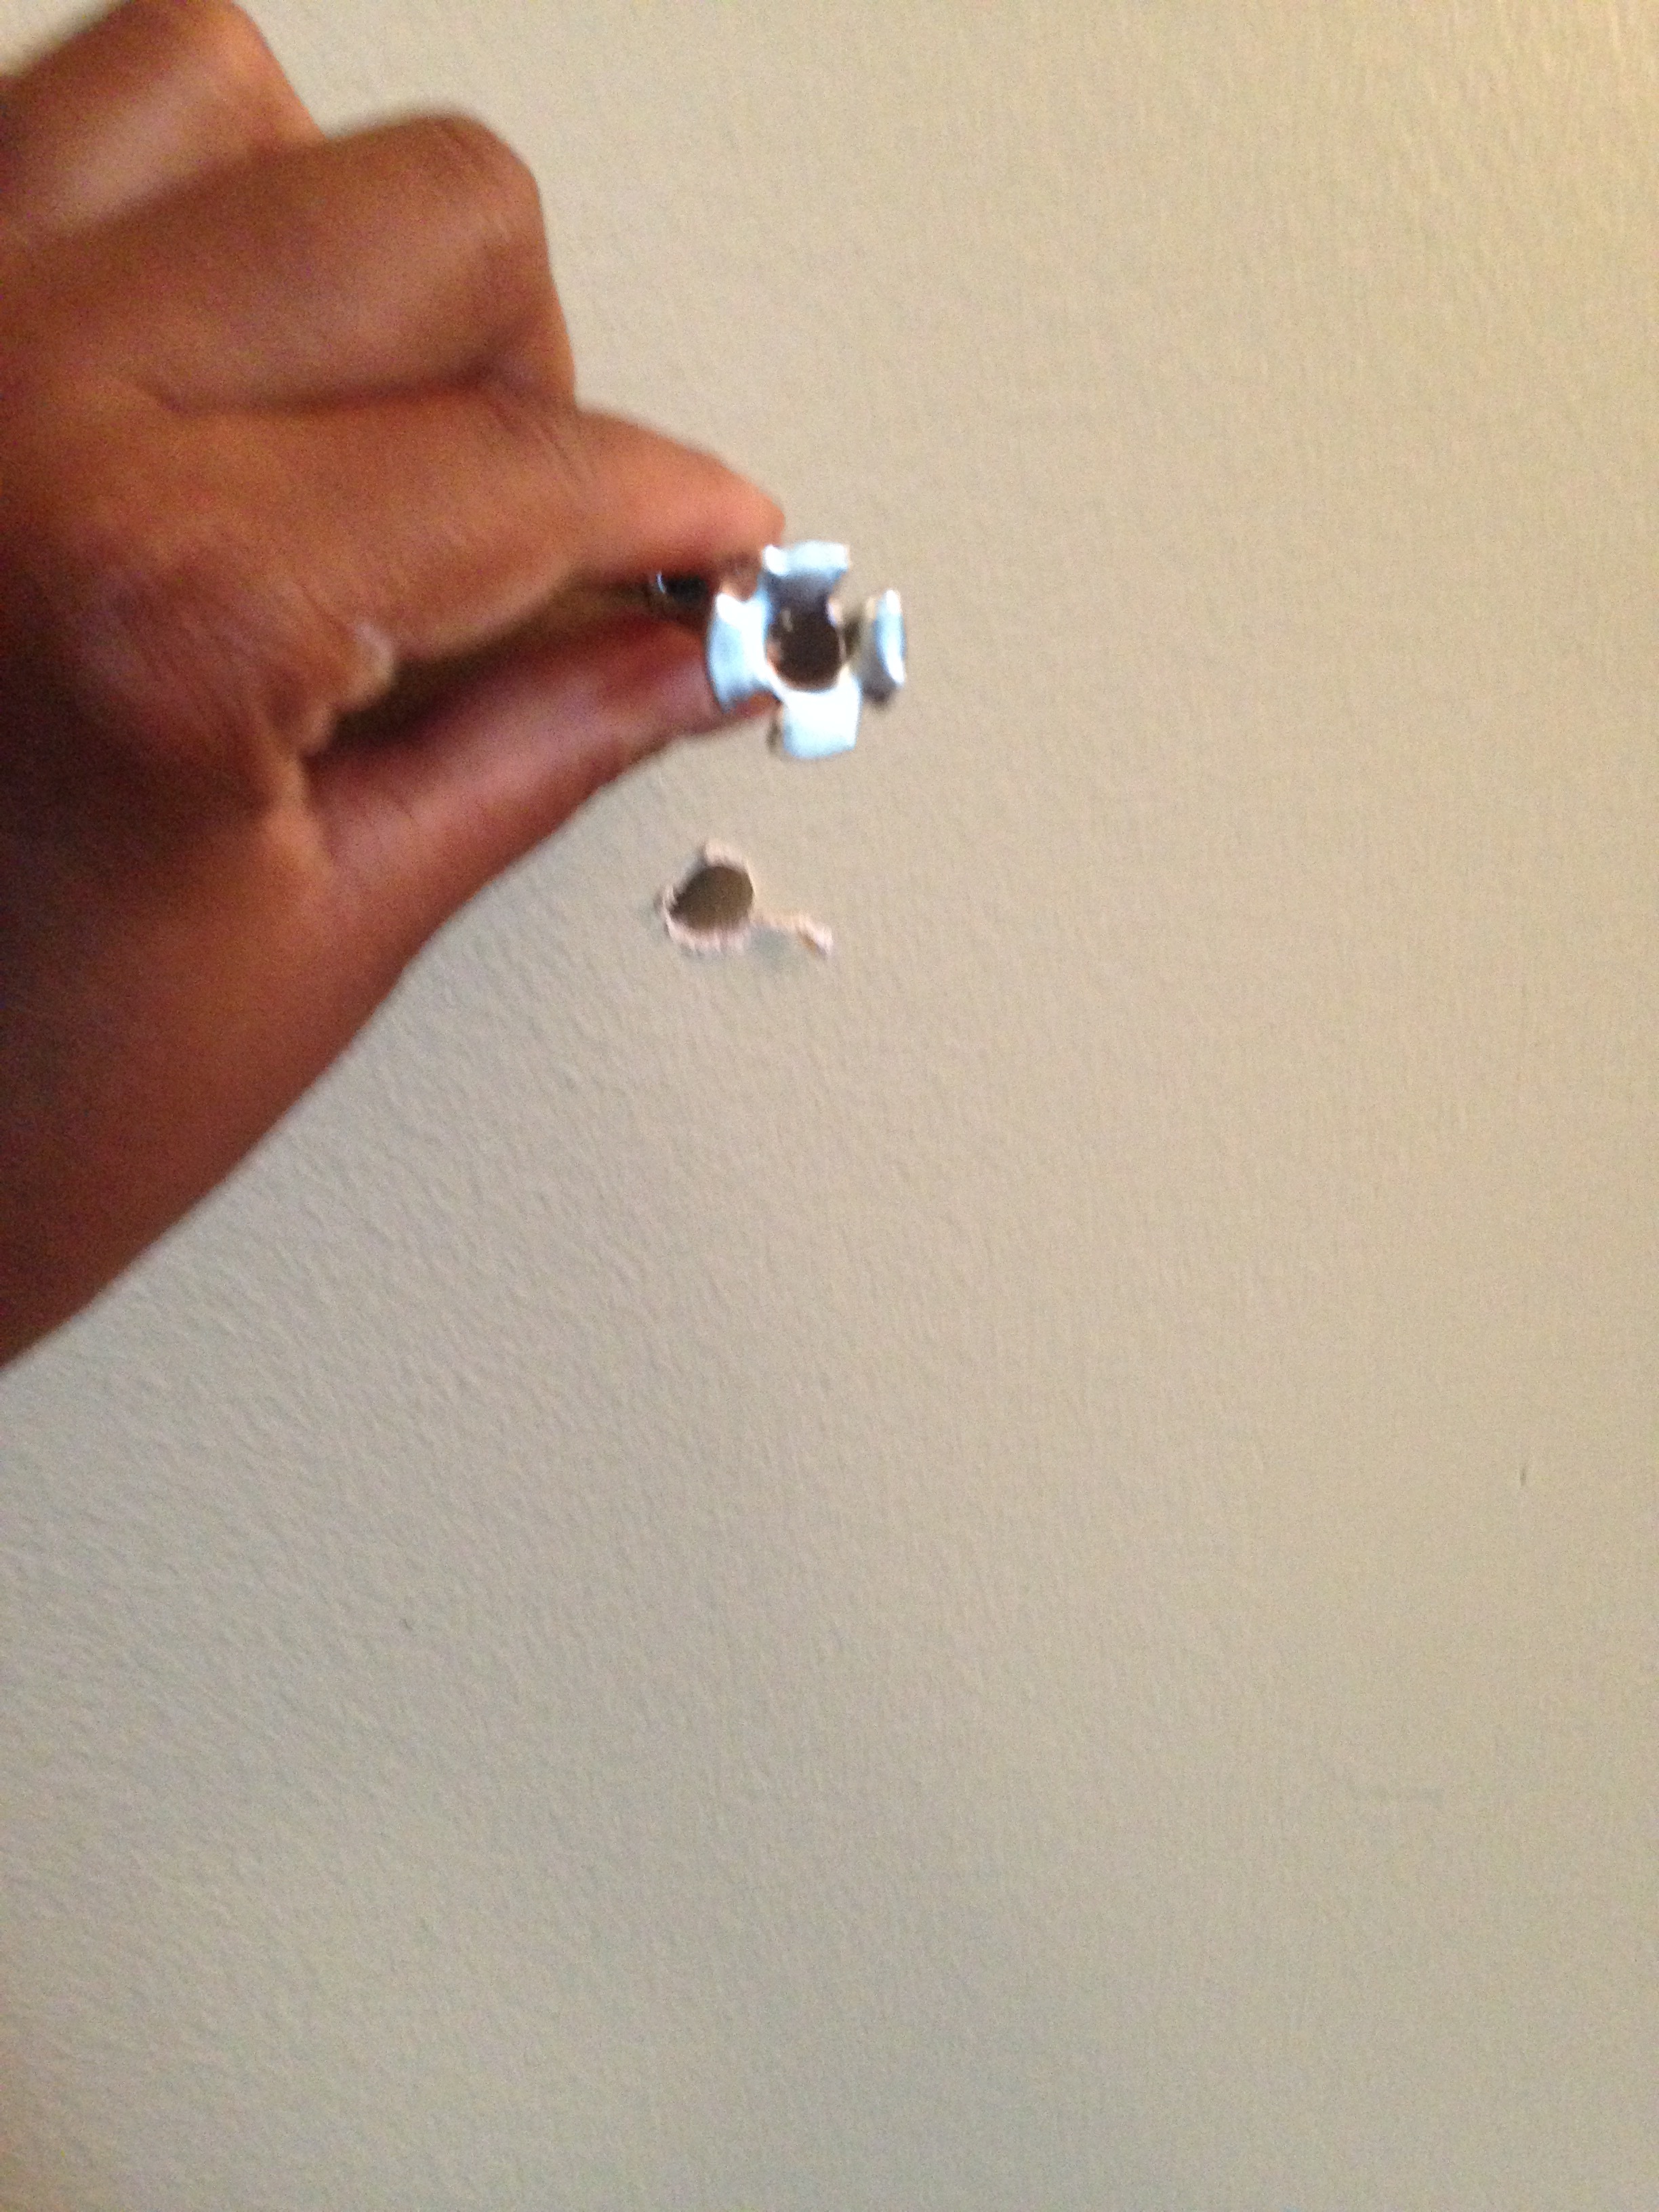
…I use a hammer or mallet to pound it into the wall into it’s flush…

…and once secure, use the machine screws to tighten the anchor on the other side.
I removed the machine screws from the wall anchors and inserted them through each drilled hole in the frame.
Then, holding the frame up to the wall, I positioned and inserted each screw into the anchors.
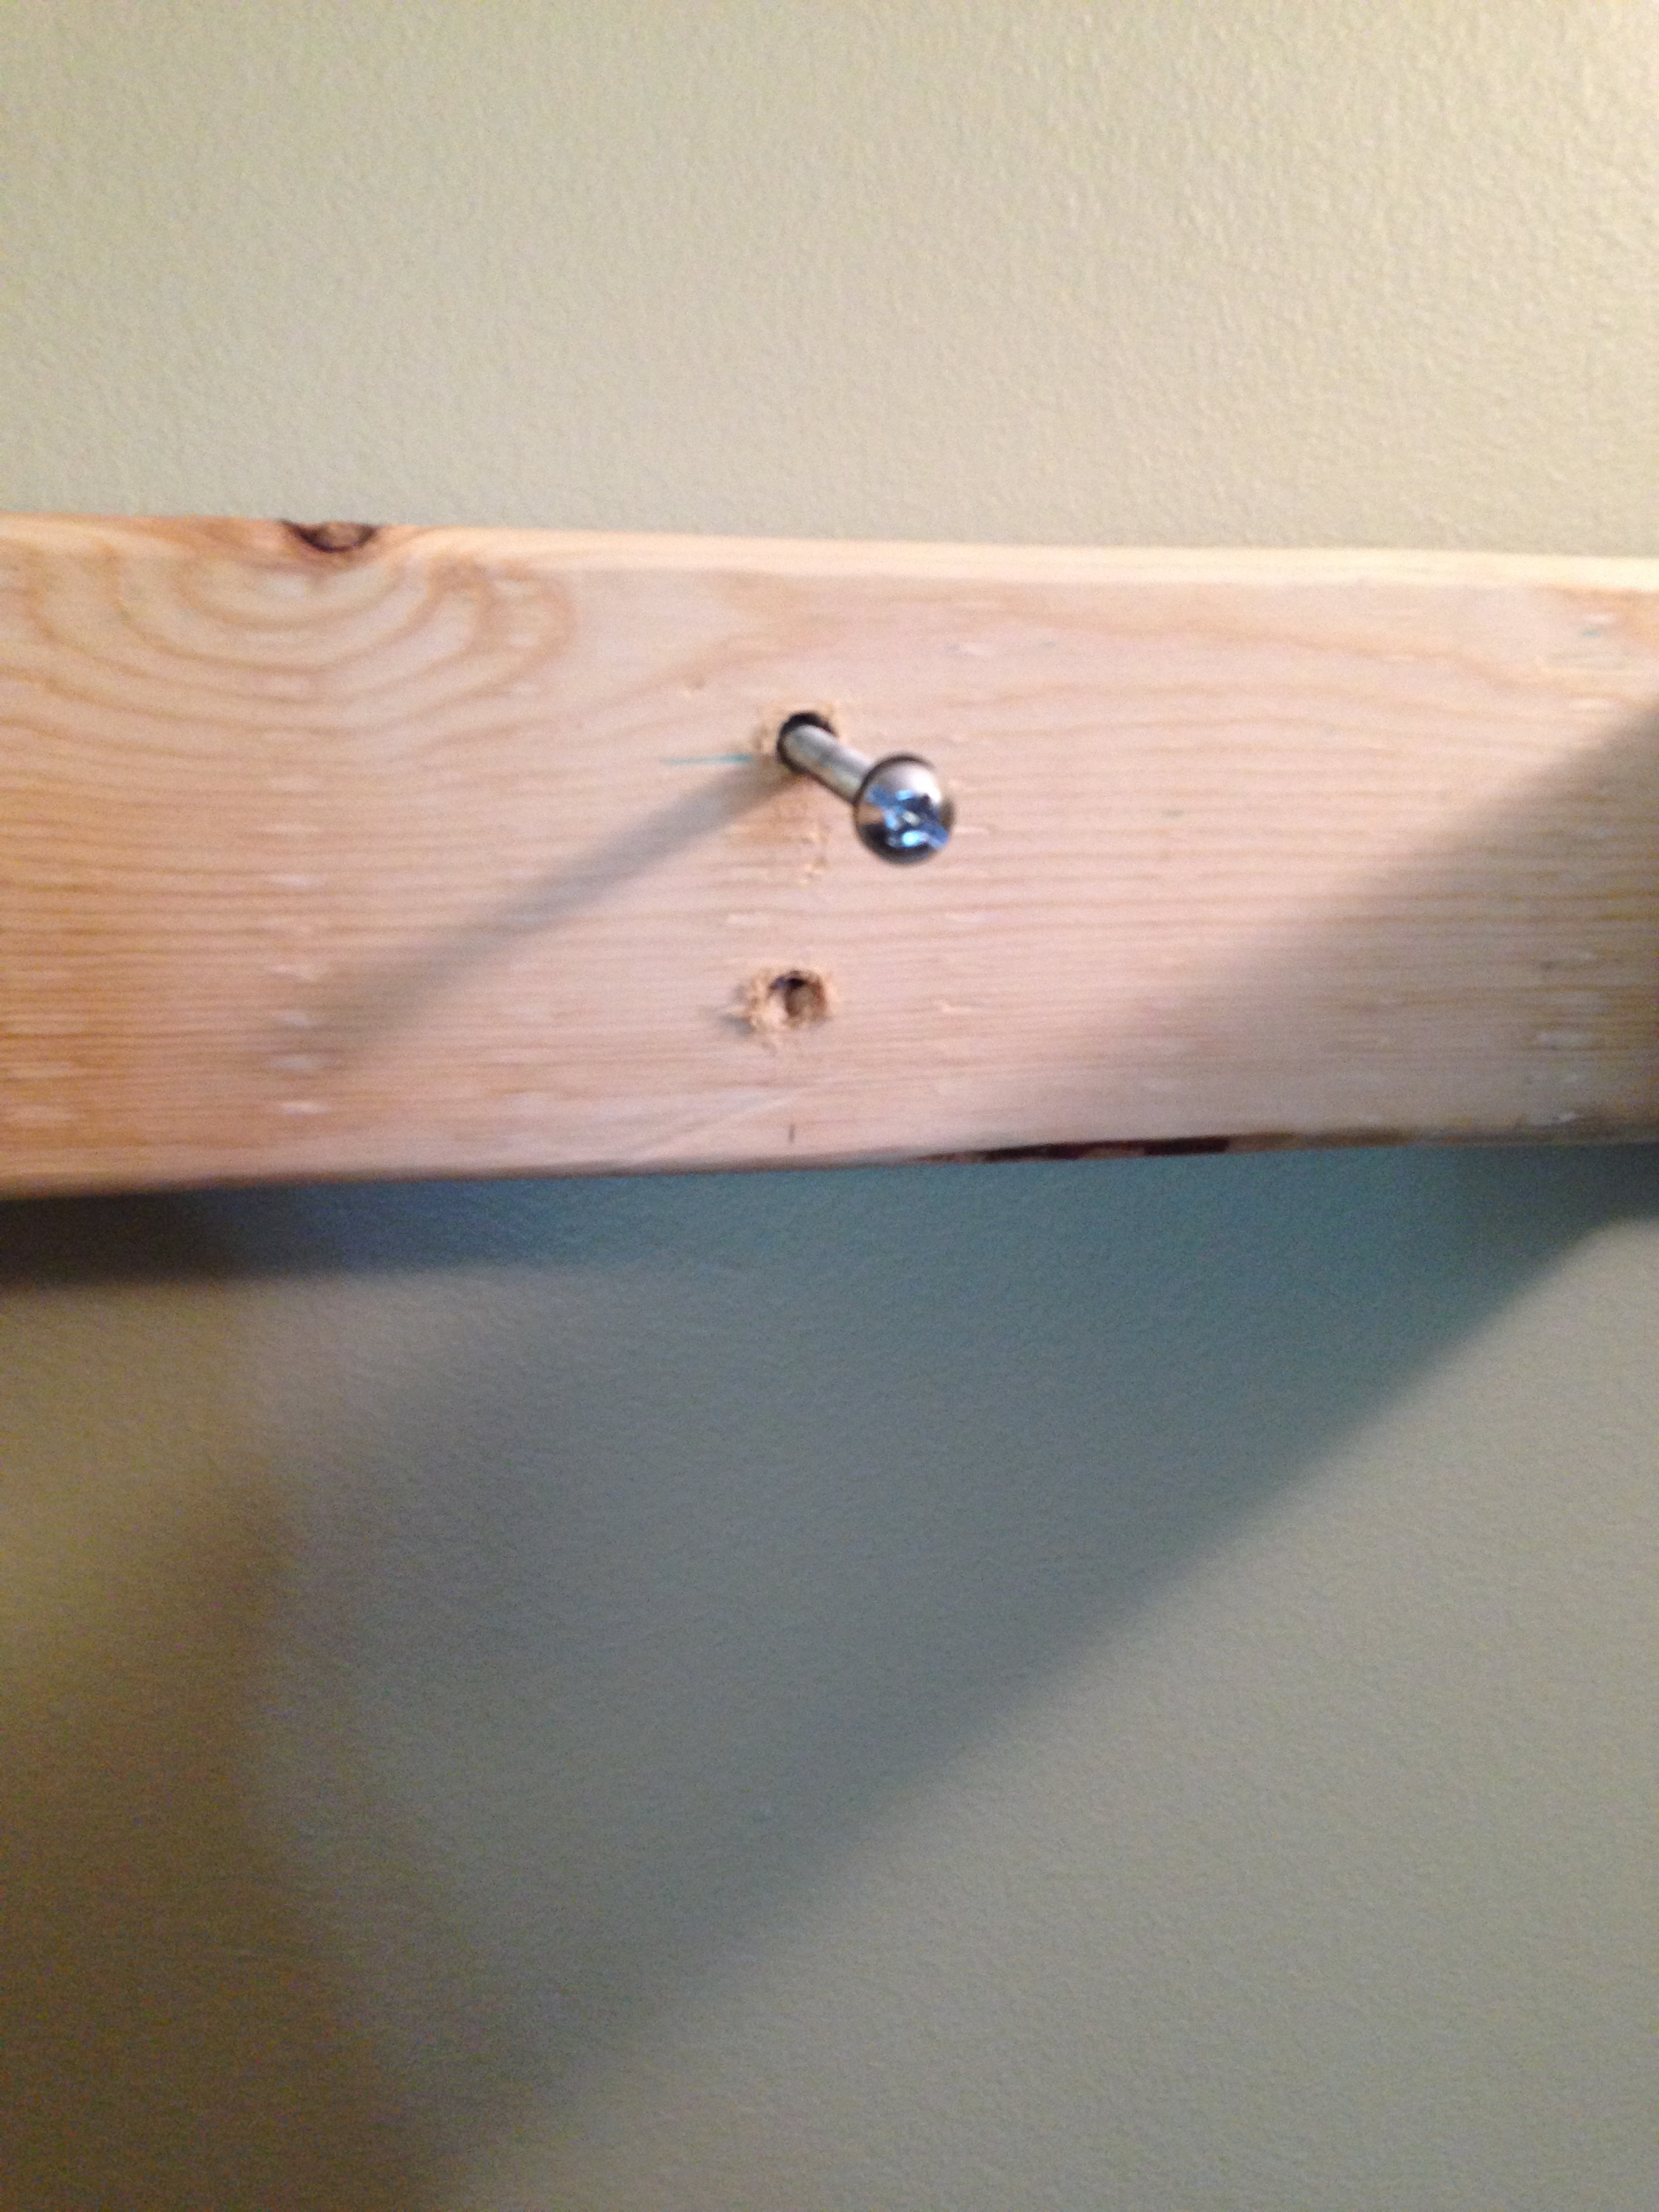
Here’s the frame anchored to the wall anchors into the wall (10 anchors and screws total).
By the time we got the frame up, Bruce had to take off and head to work. That left me on my own to deal with the huge and heavy box.
I used my two dining chairs as scaffolding for the box and hoisted it up on top of the chairs.
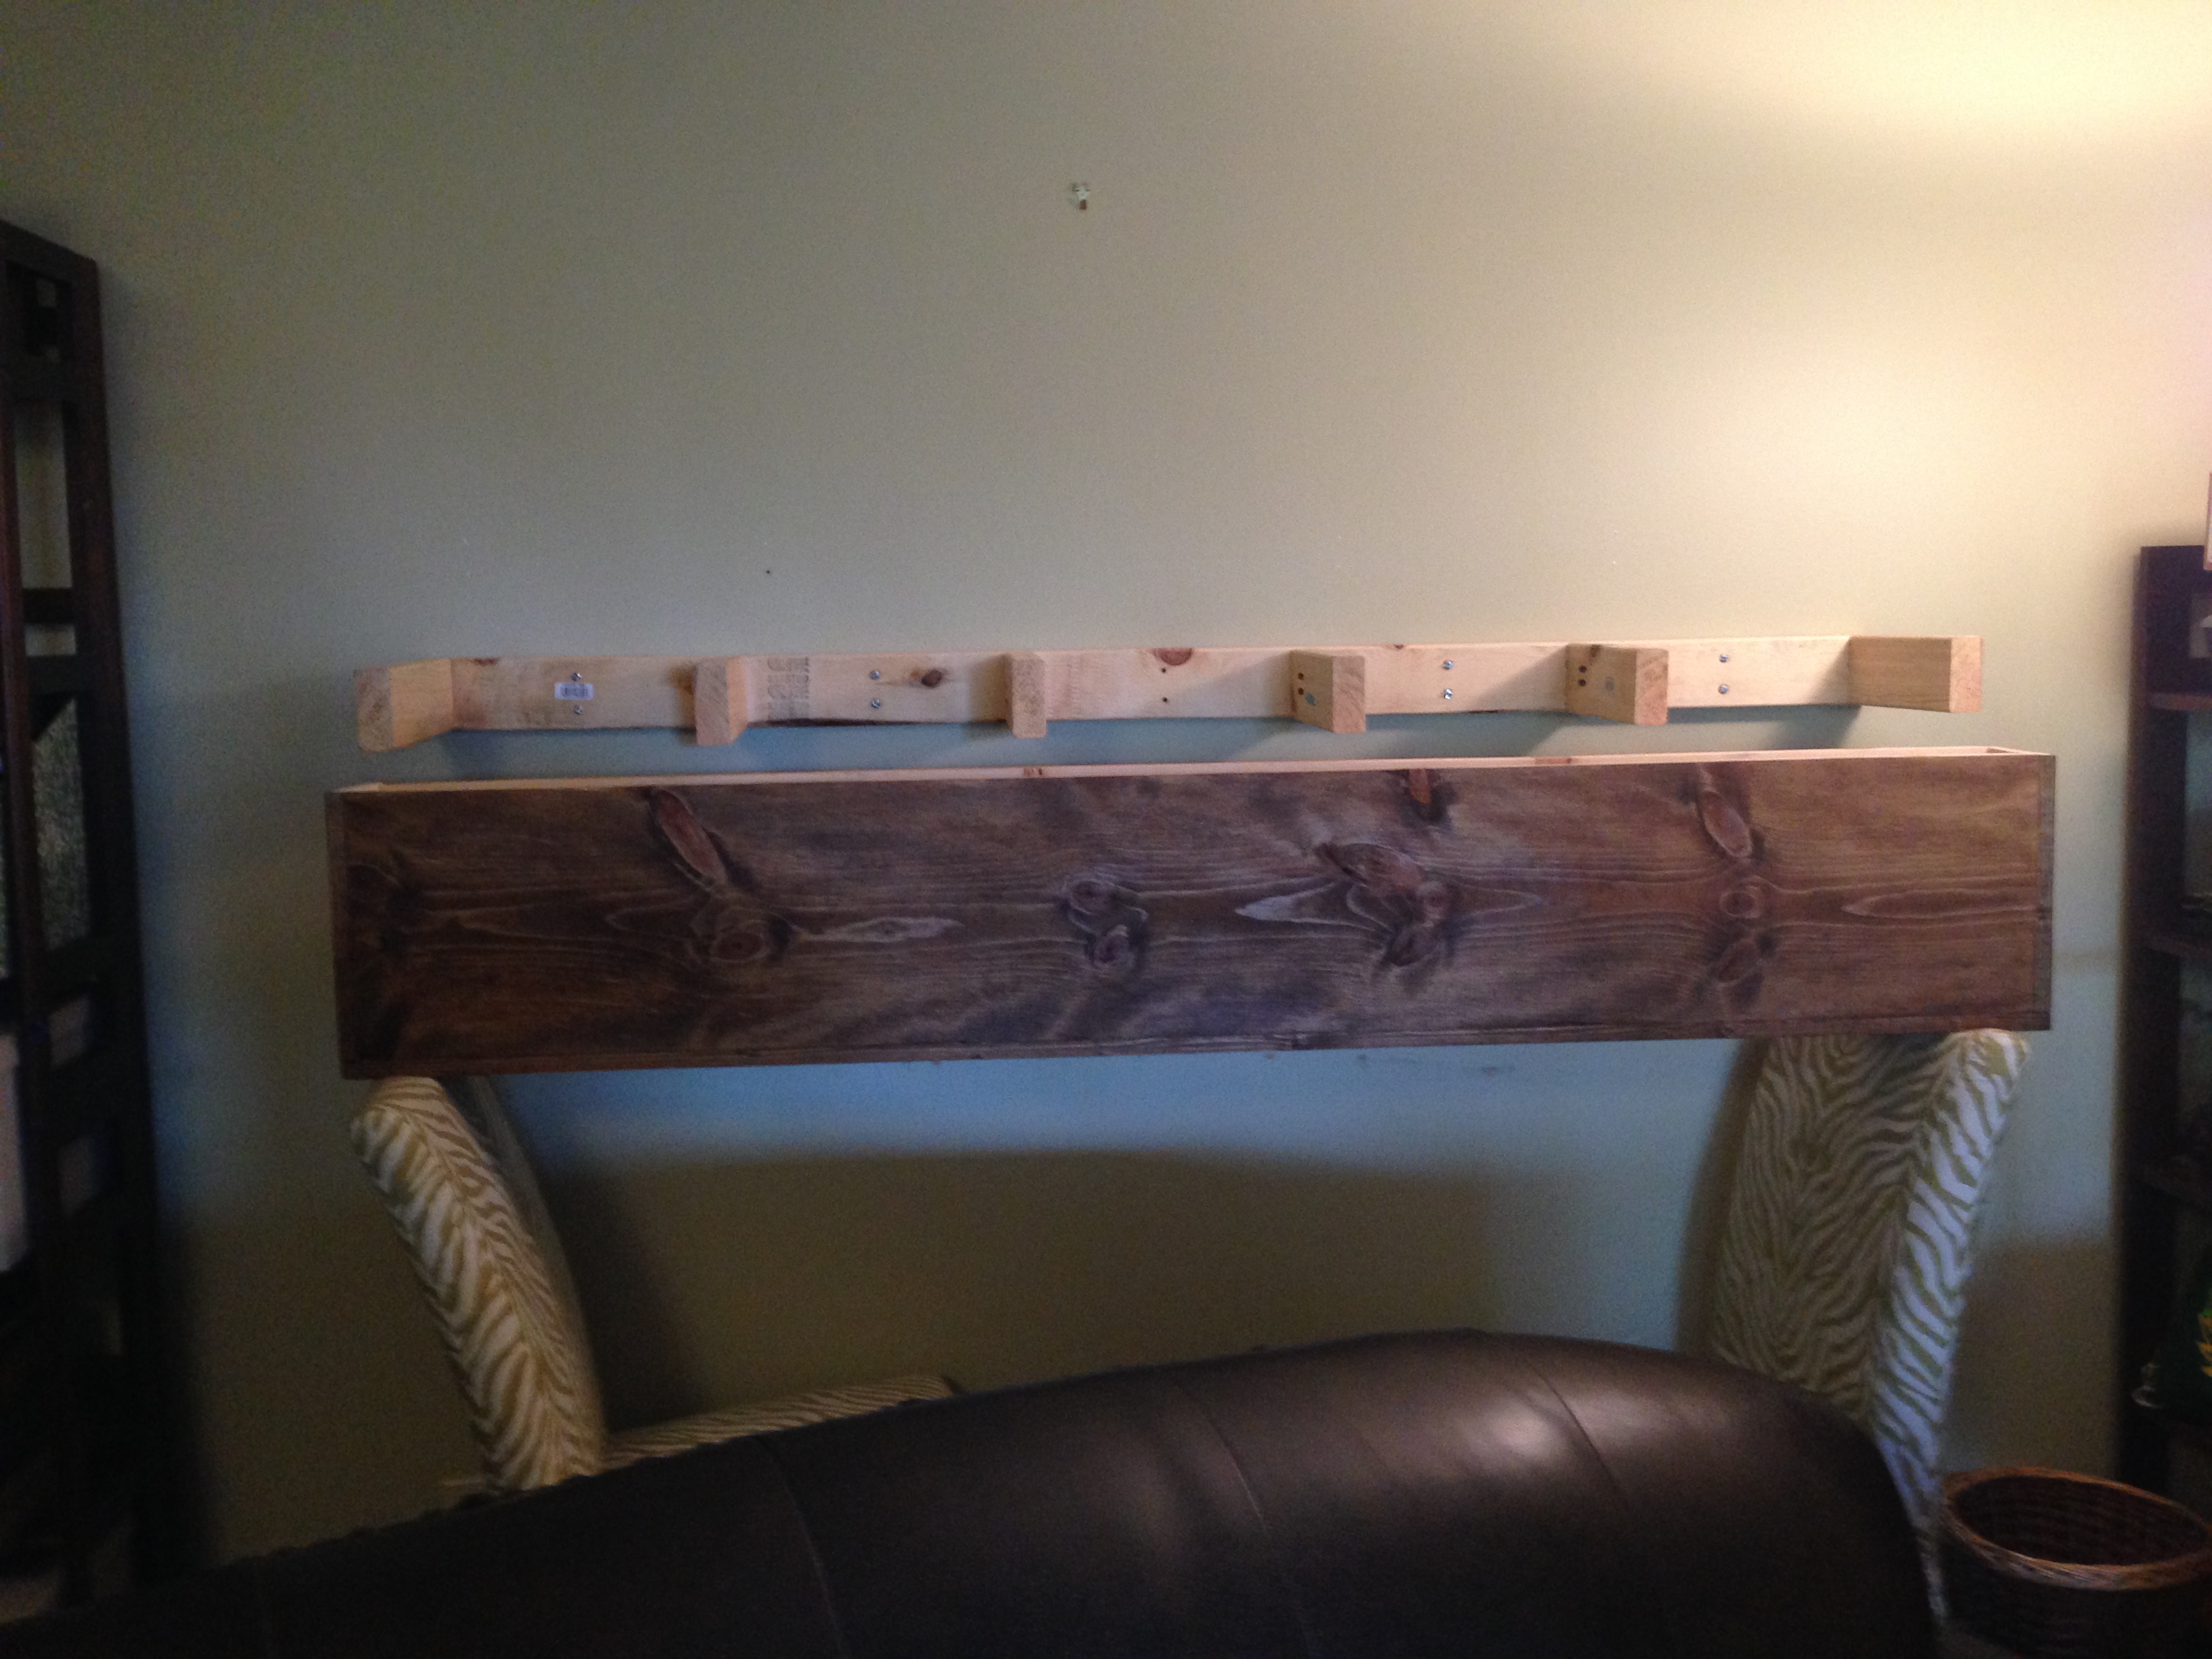
I then flipped the box up and over the frame, and then pushed the box into the wall.
And guess what? The right side of the frame turned out to be too long (and the box wouldn’t fit over it!!! Triple gasp!).
This is why it’s always better to cut your own wood. But unfortunately, living in a condo, I don’t have that luxury.
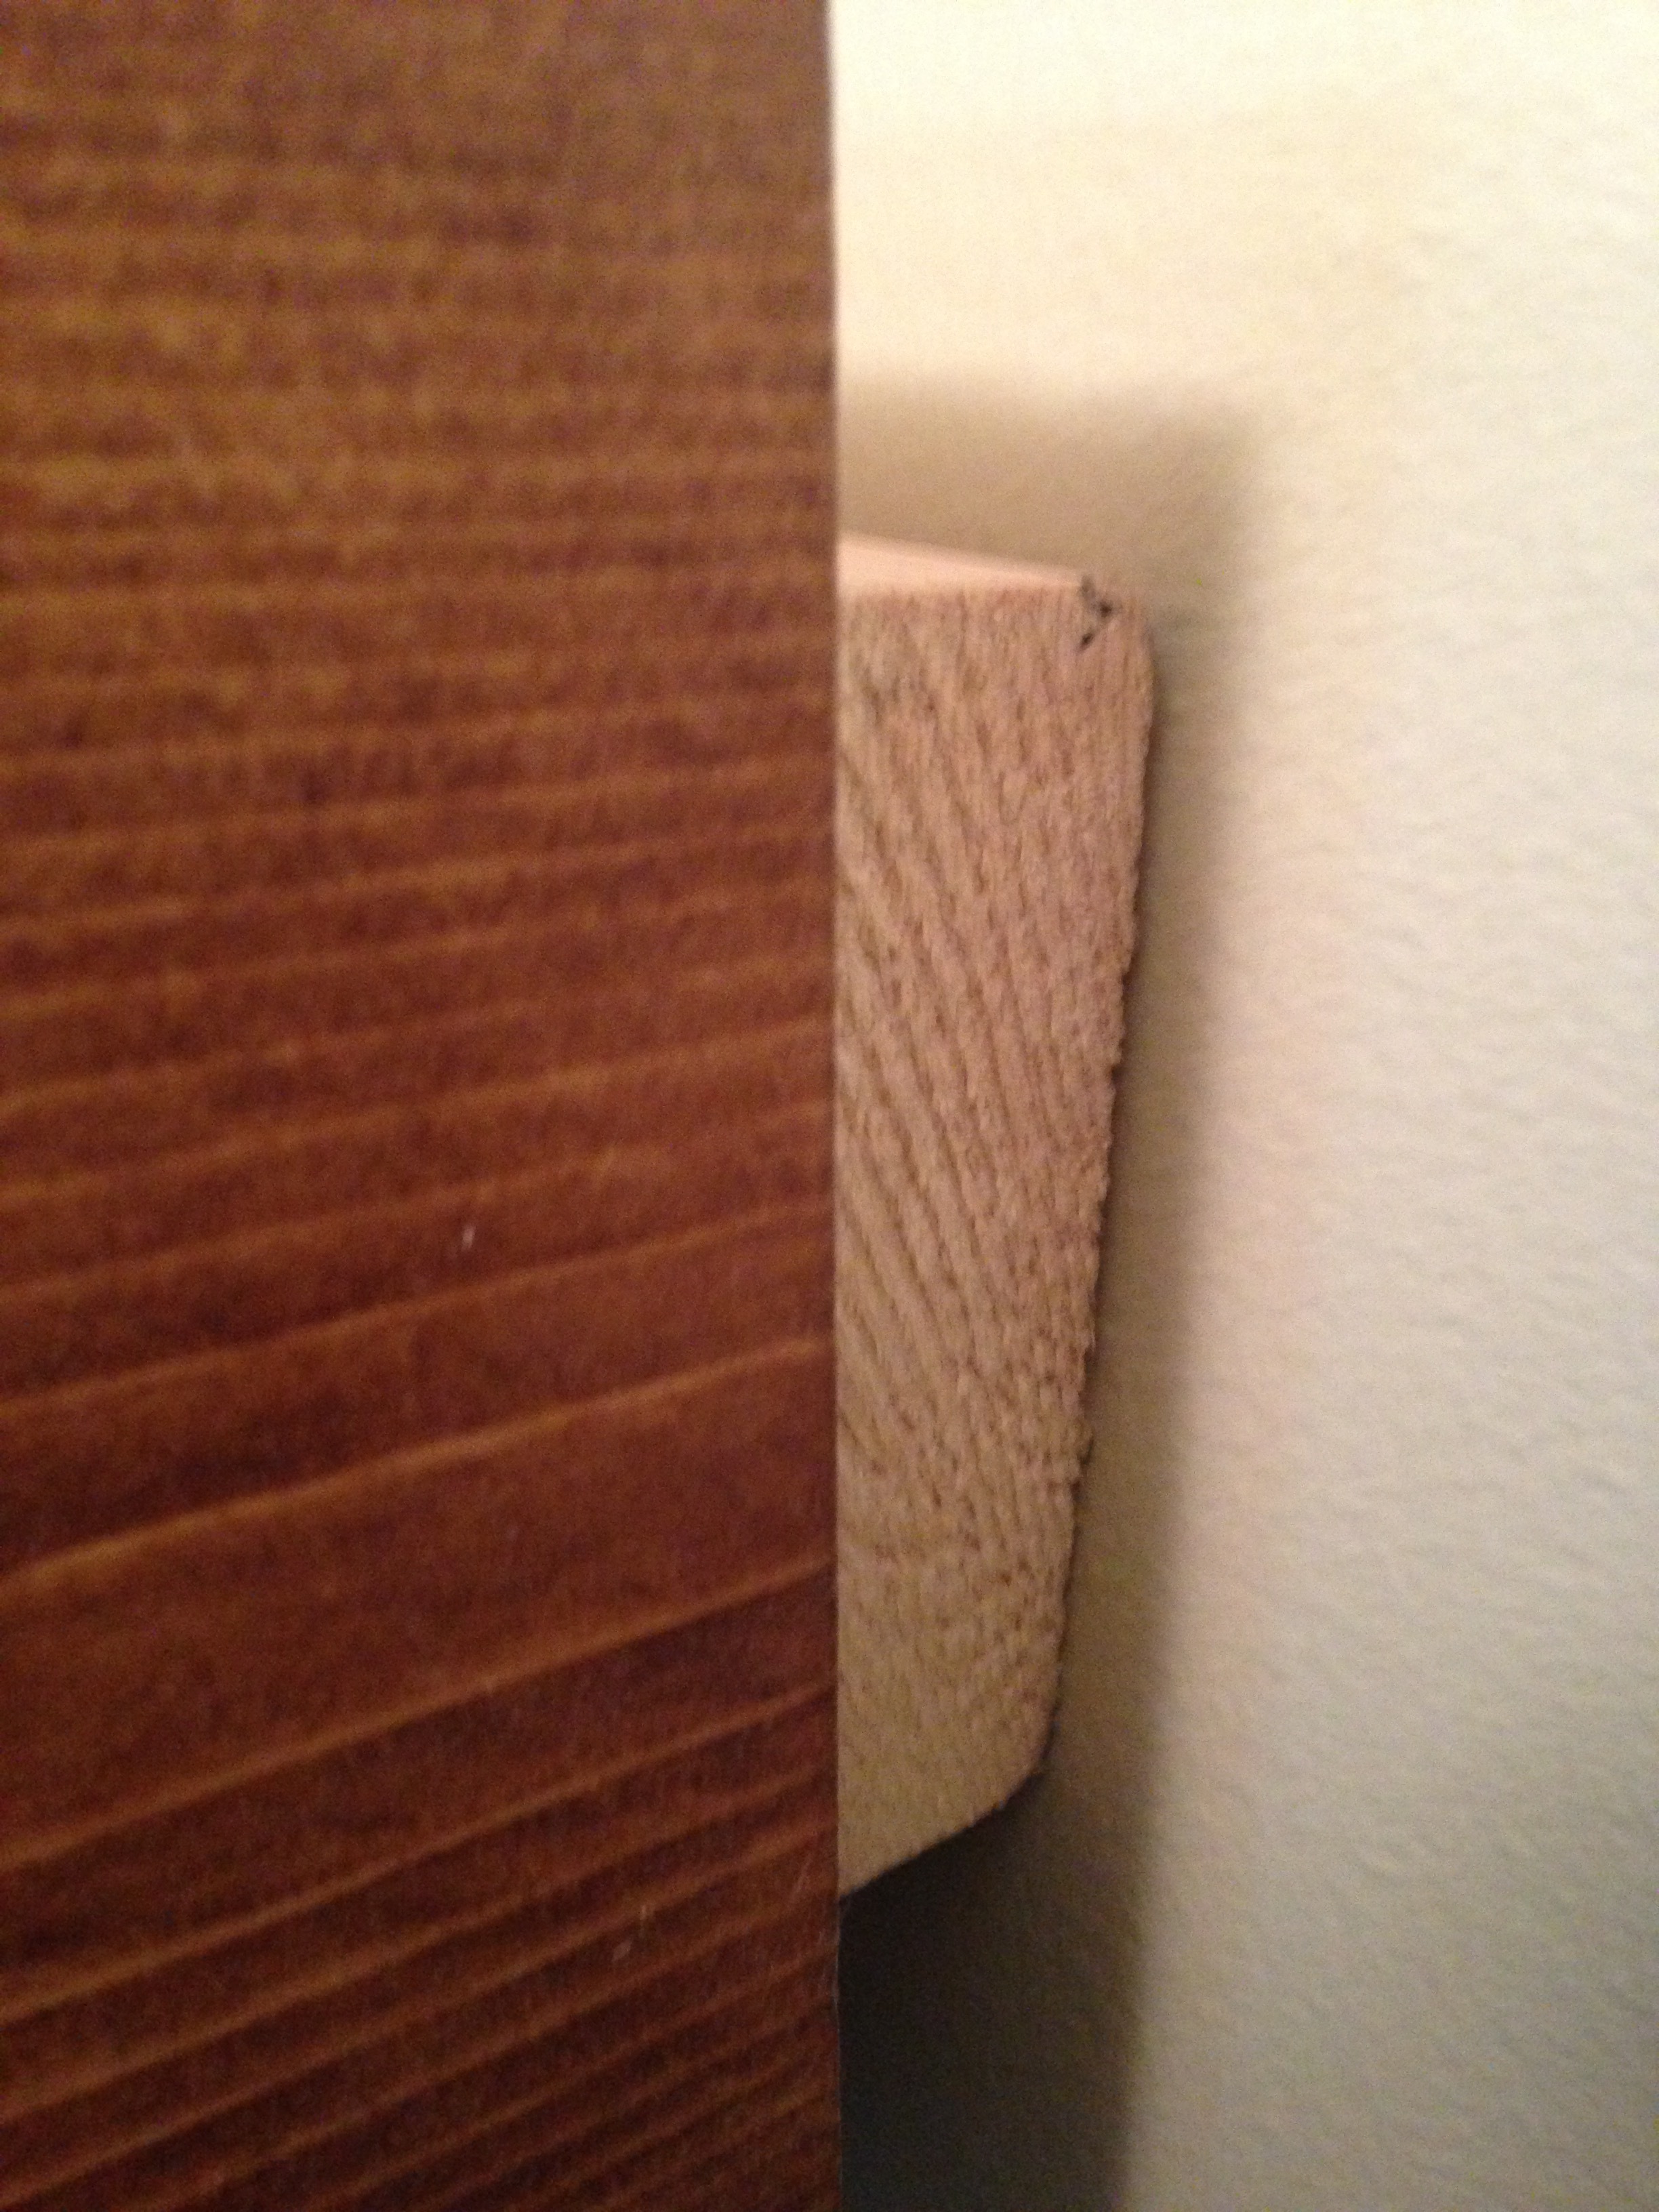
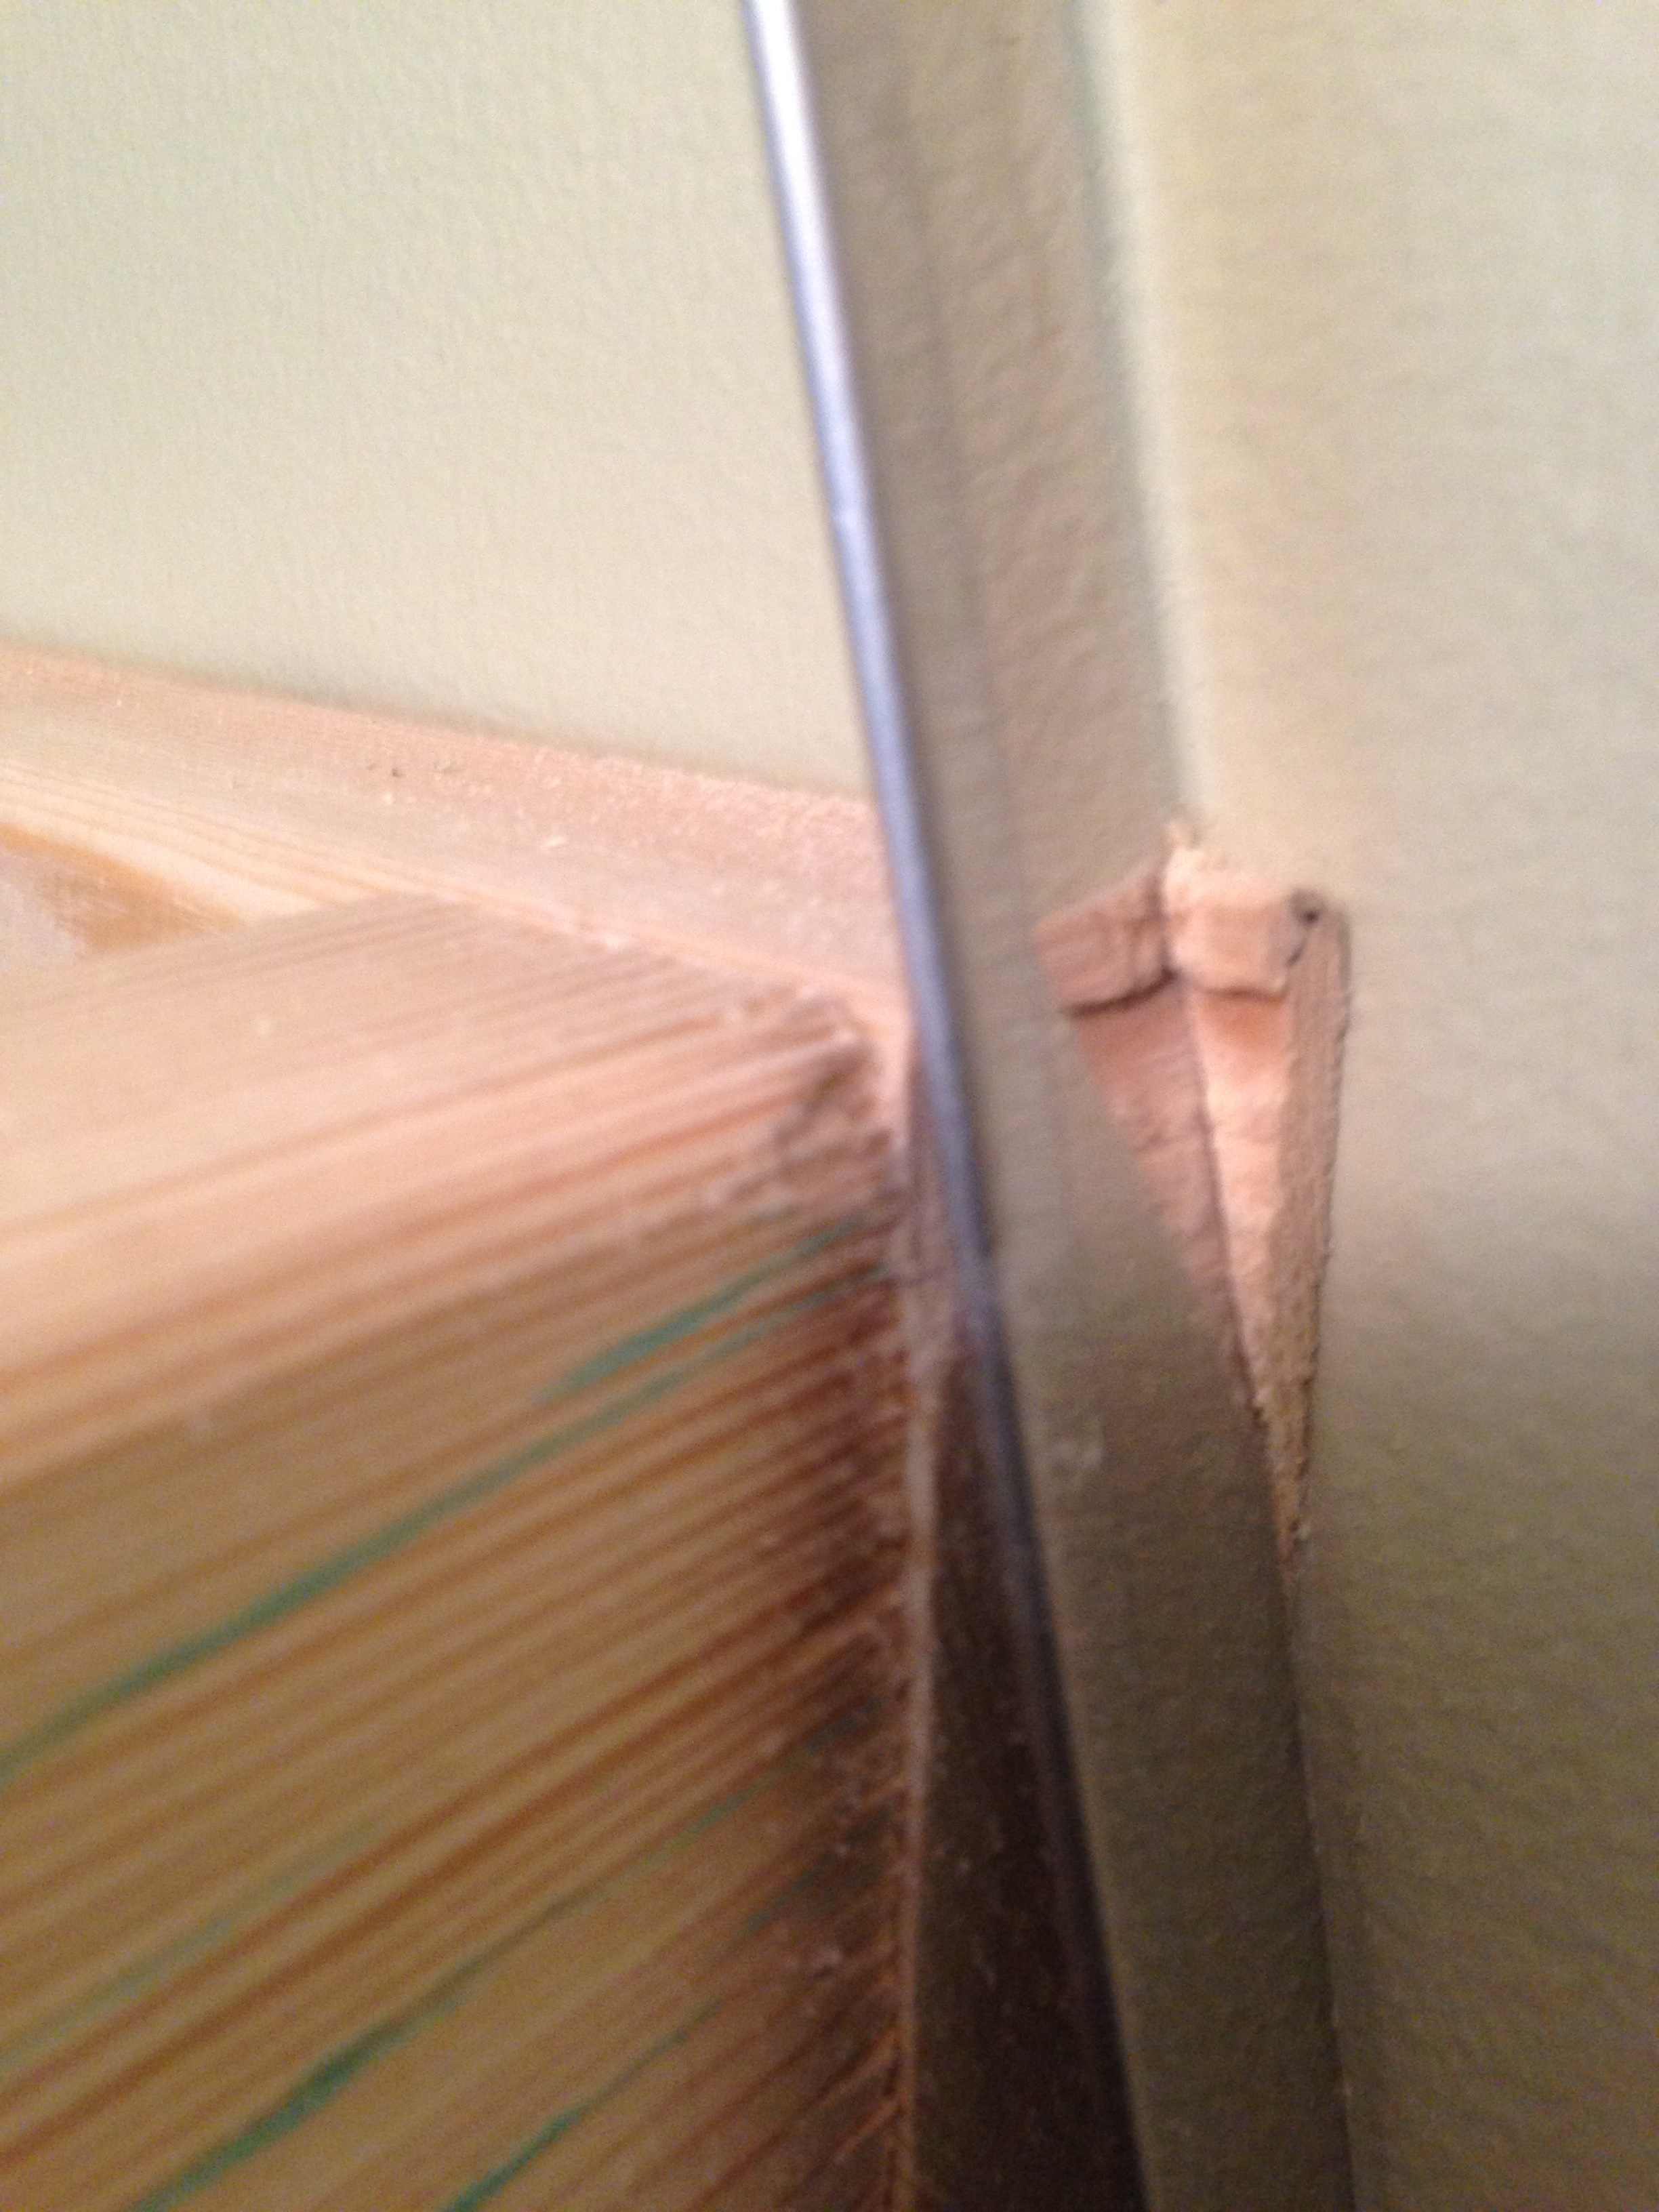
So, as a quick fix, I reached for my miter saw to shave down the right side of the frame so that the box would fit.
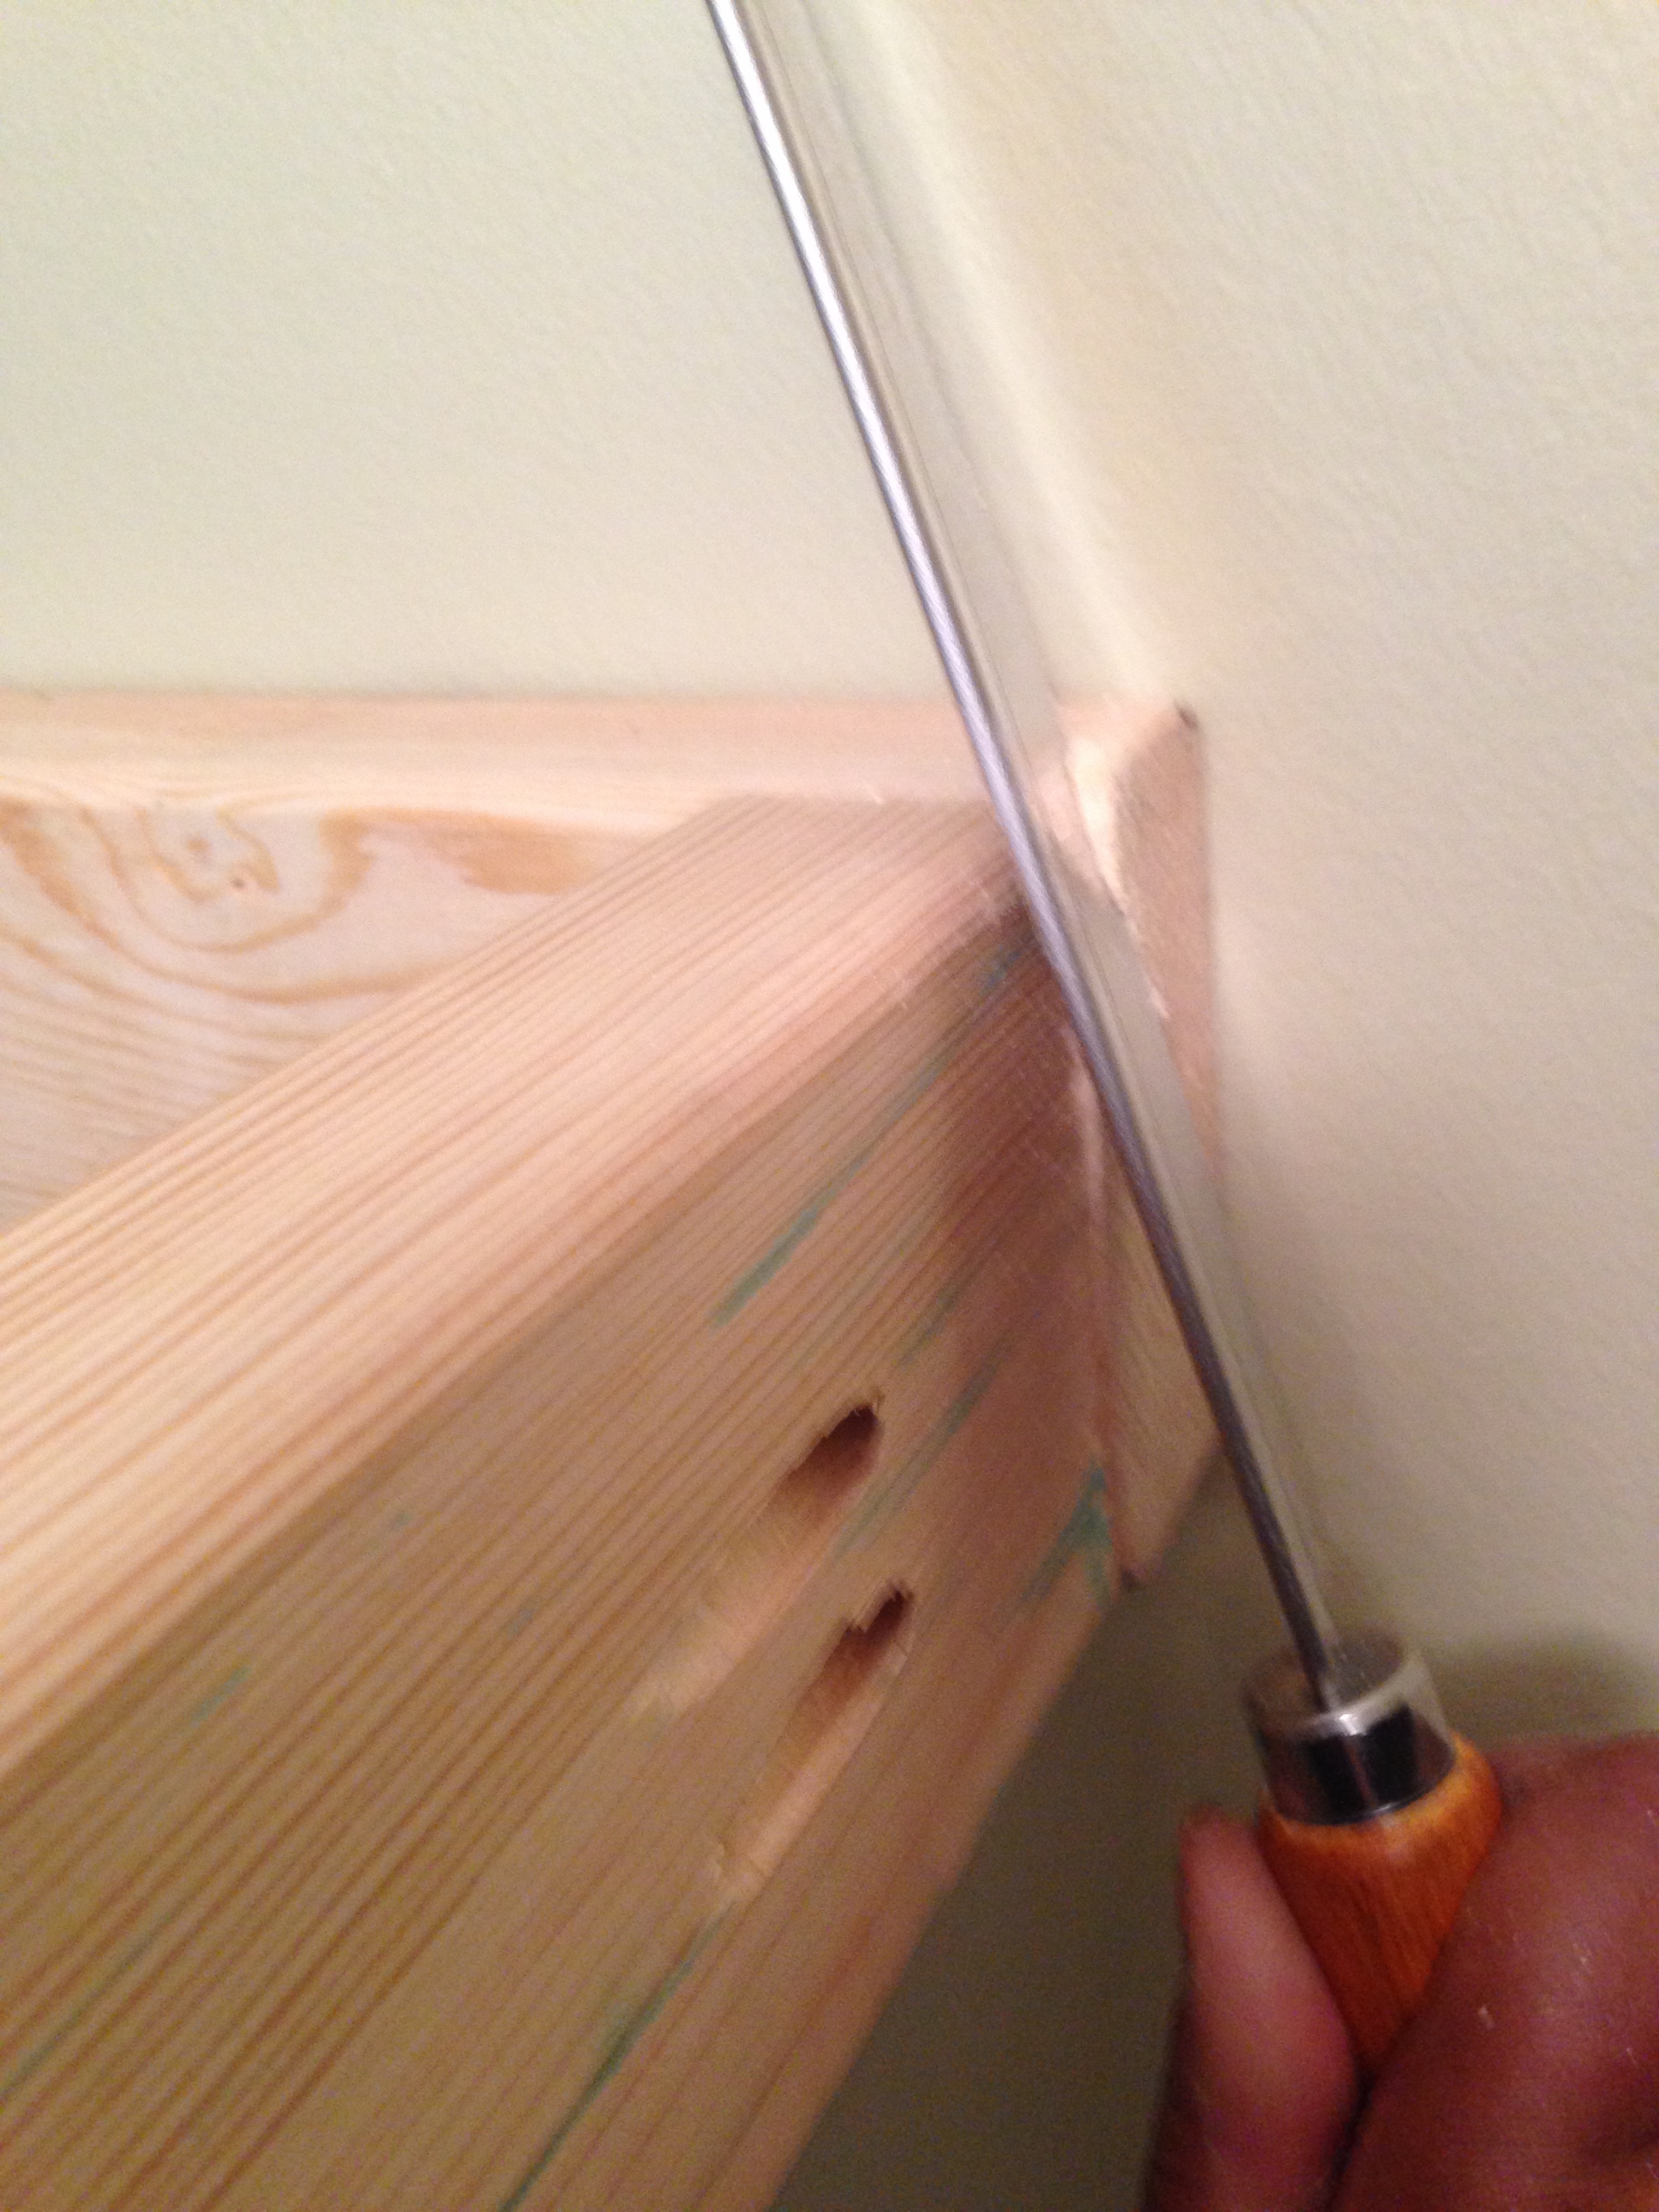
What can I say? By this point I was extremely motivated with getting this bad boy up! With a few minutes of elbow grease, I was finally able to get the box to fit over the entire frame.
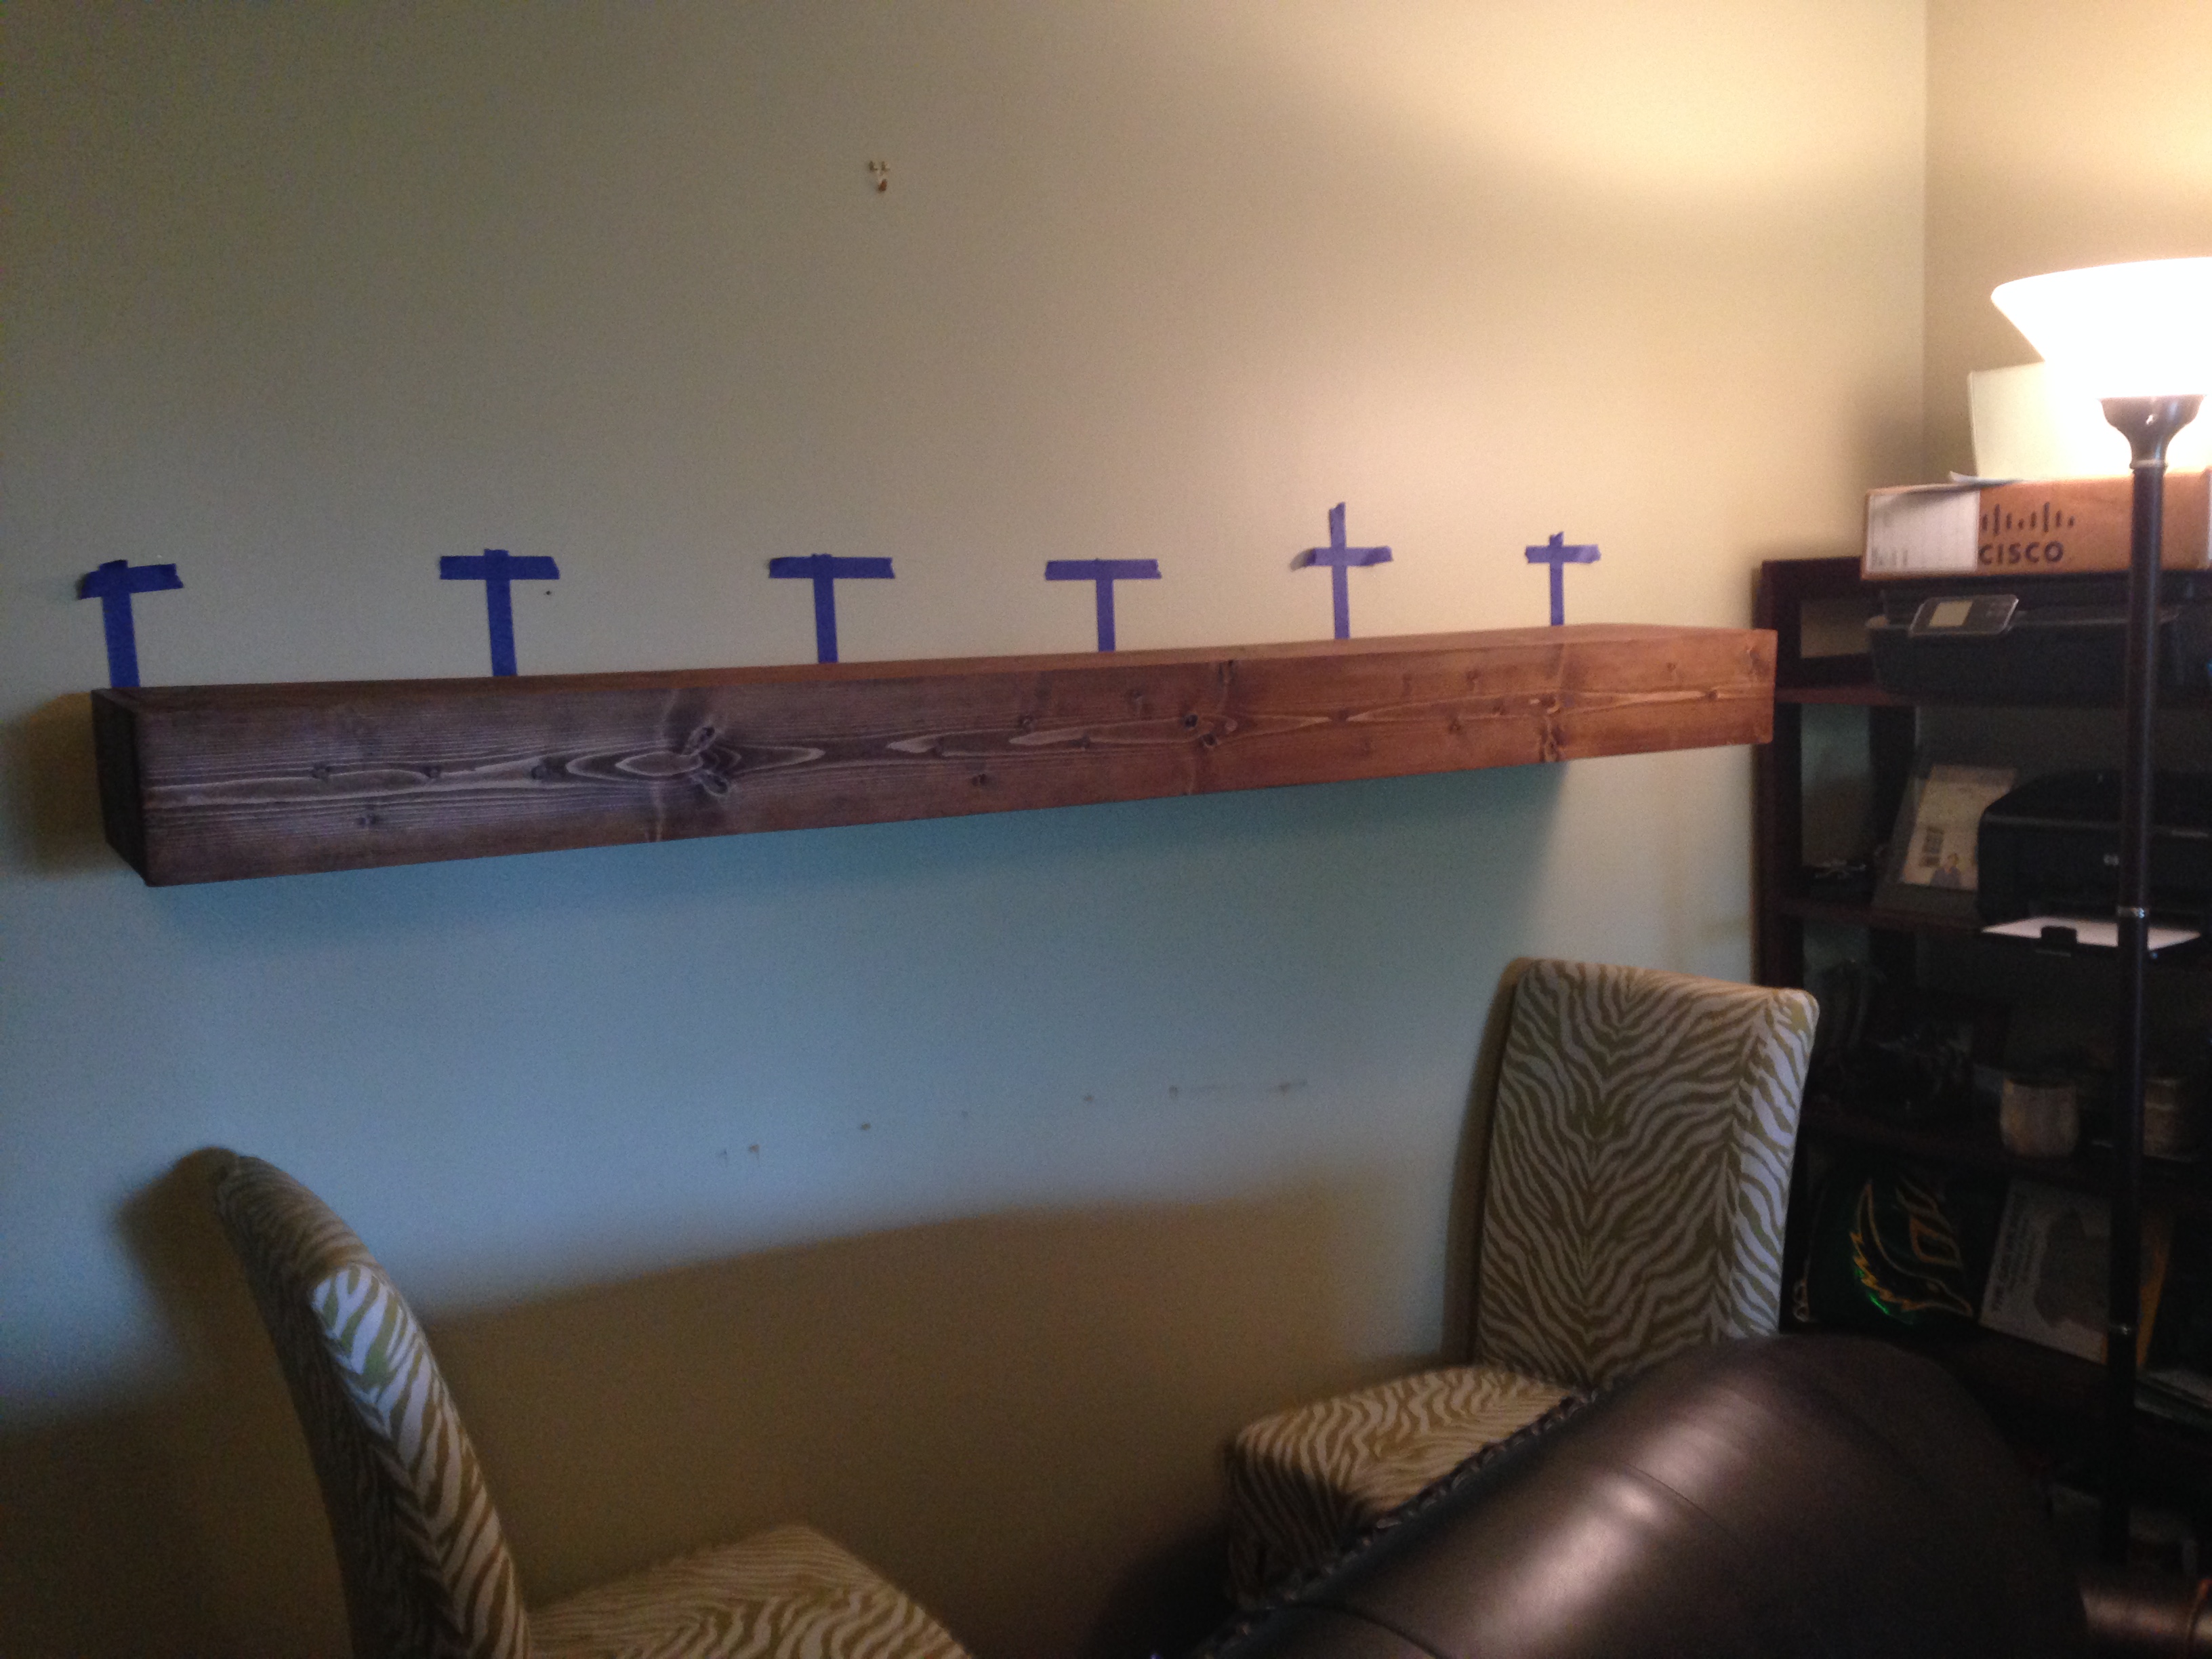
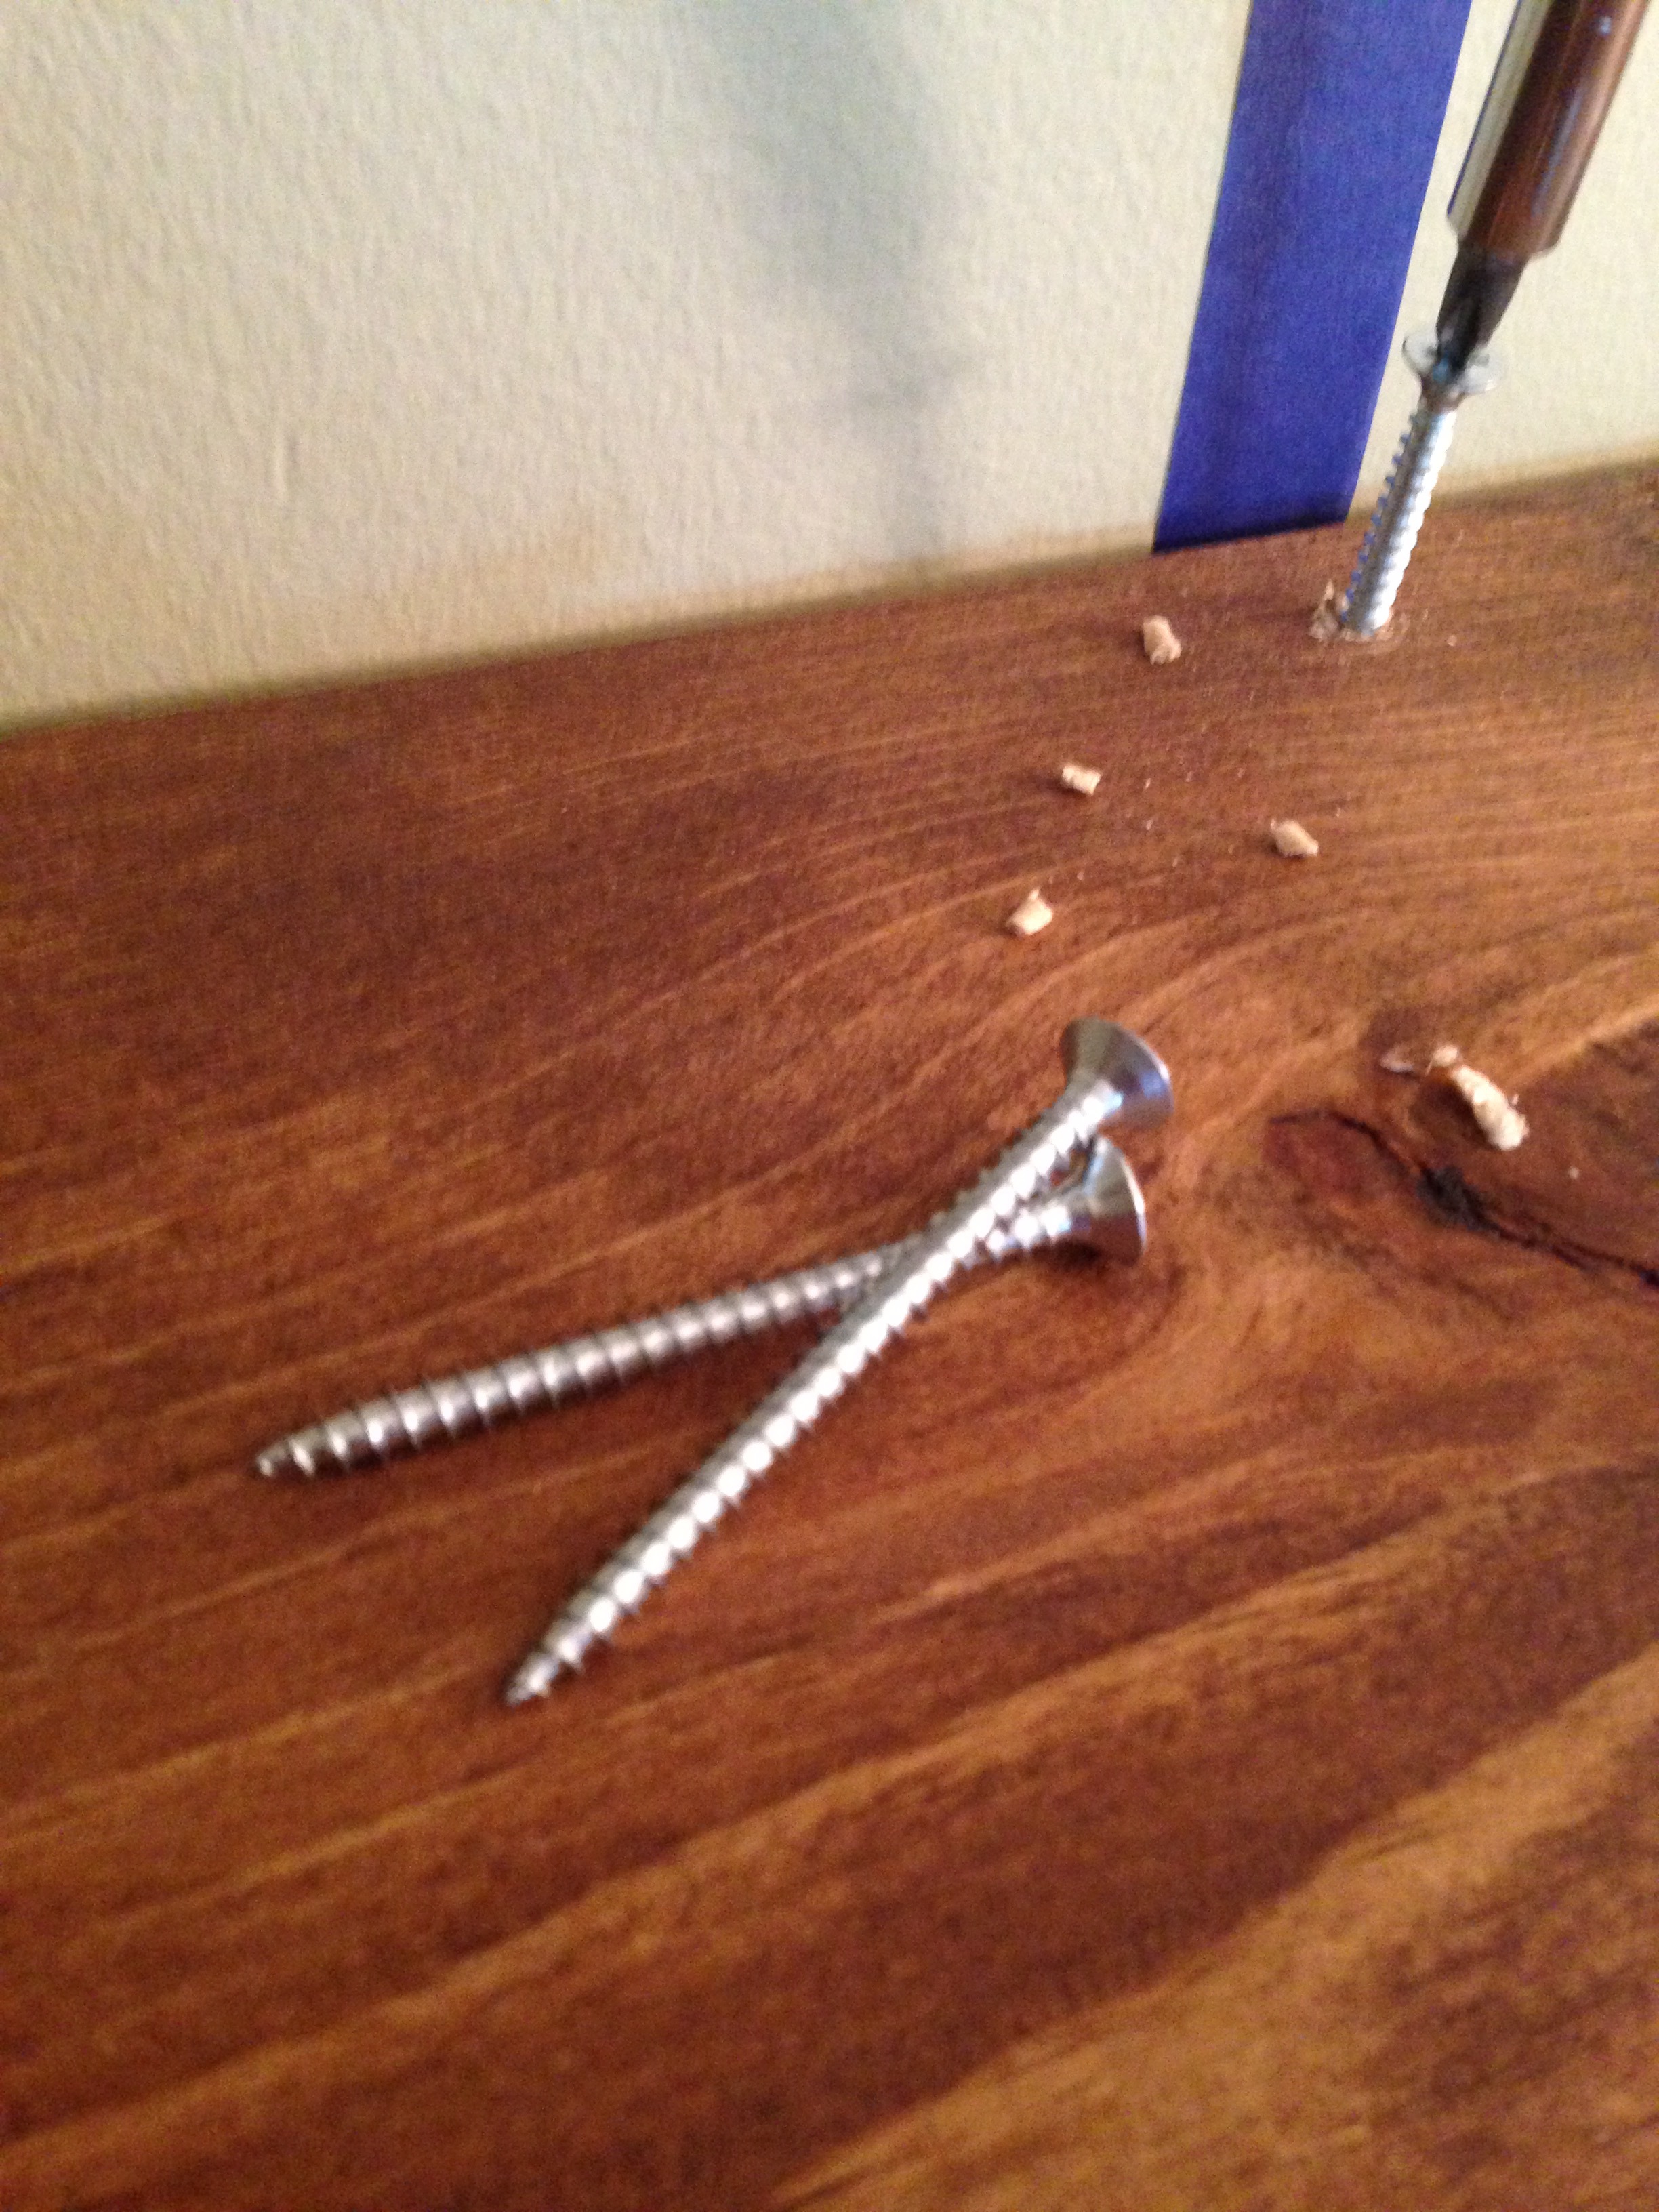
The final step for the mount is to secure the box to the frame from the top with 3.5″ wood screws. After pre-drilling the holes into the box where the frame spokes are located (I used painters tape to mark the spoke position before mounting the box, I screwed in each wood screw. Screws were added to the back of the box only. No front screws needed.
And here’s our new floating shelf in the den – two weeks later! 🙂
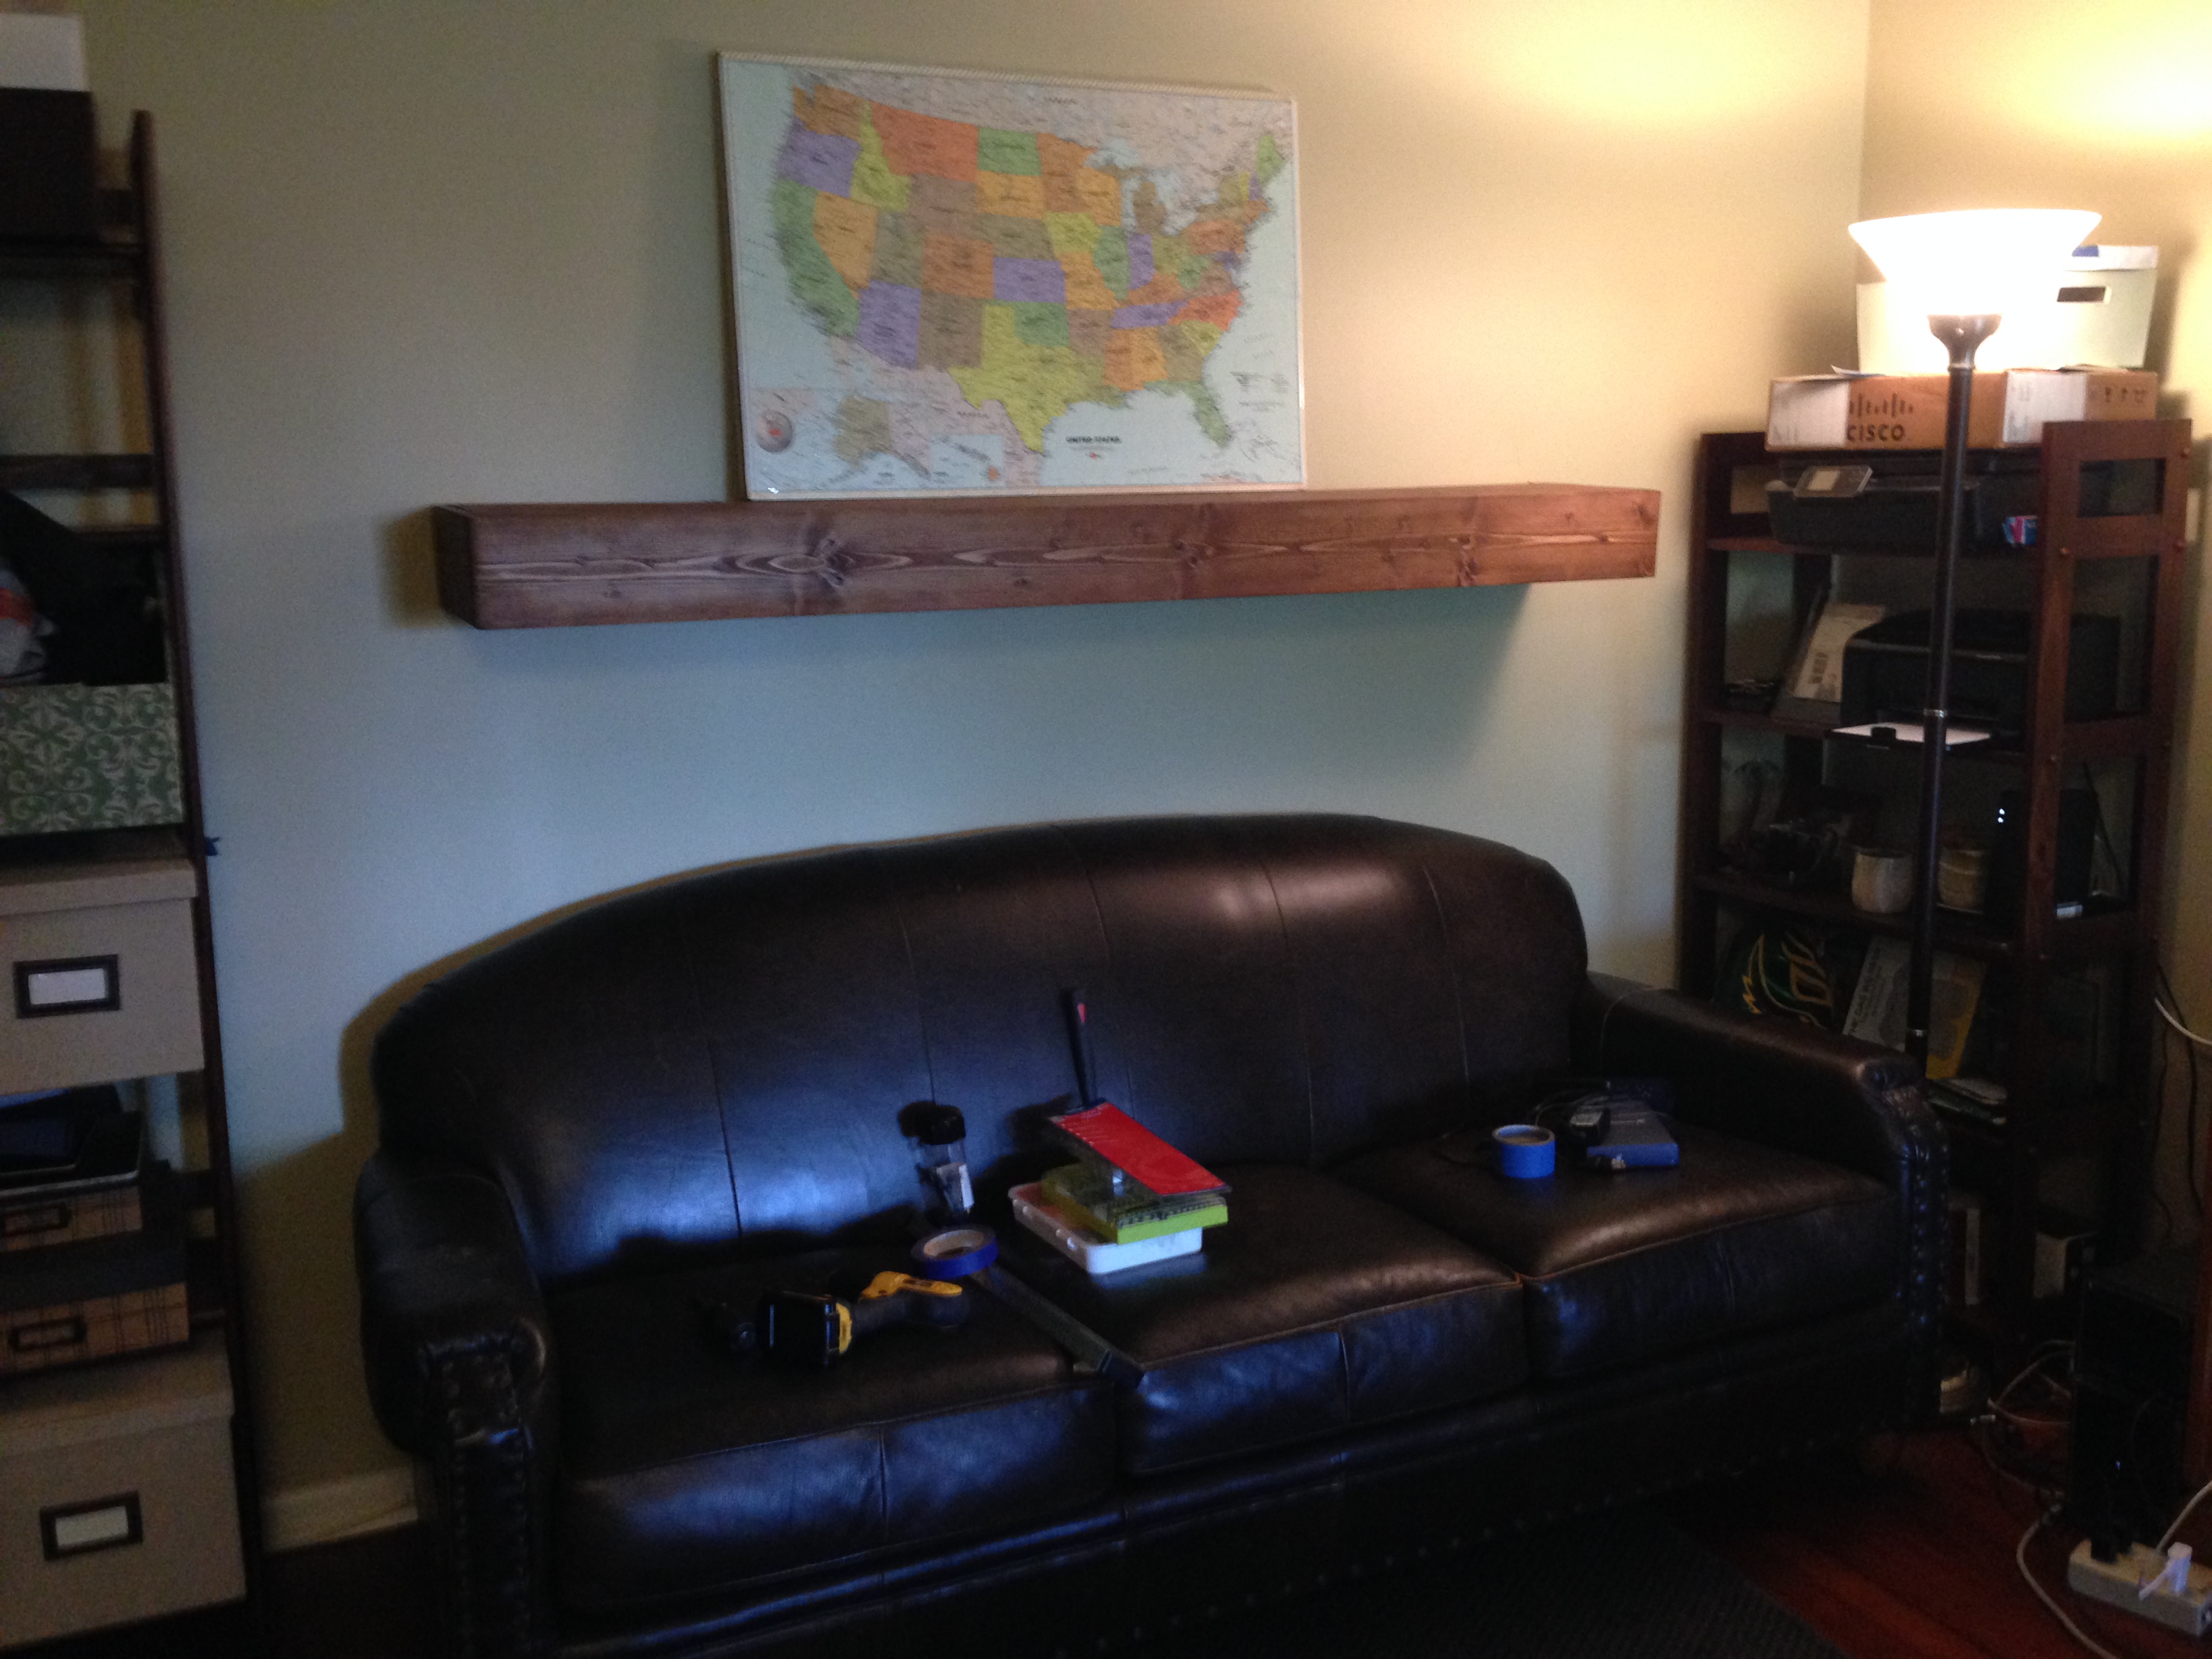
It looks absolutely incredible. Photos cannot capture how truly incredible it looks in the space.
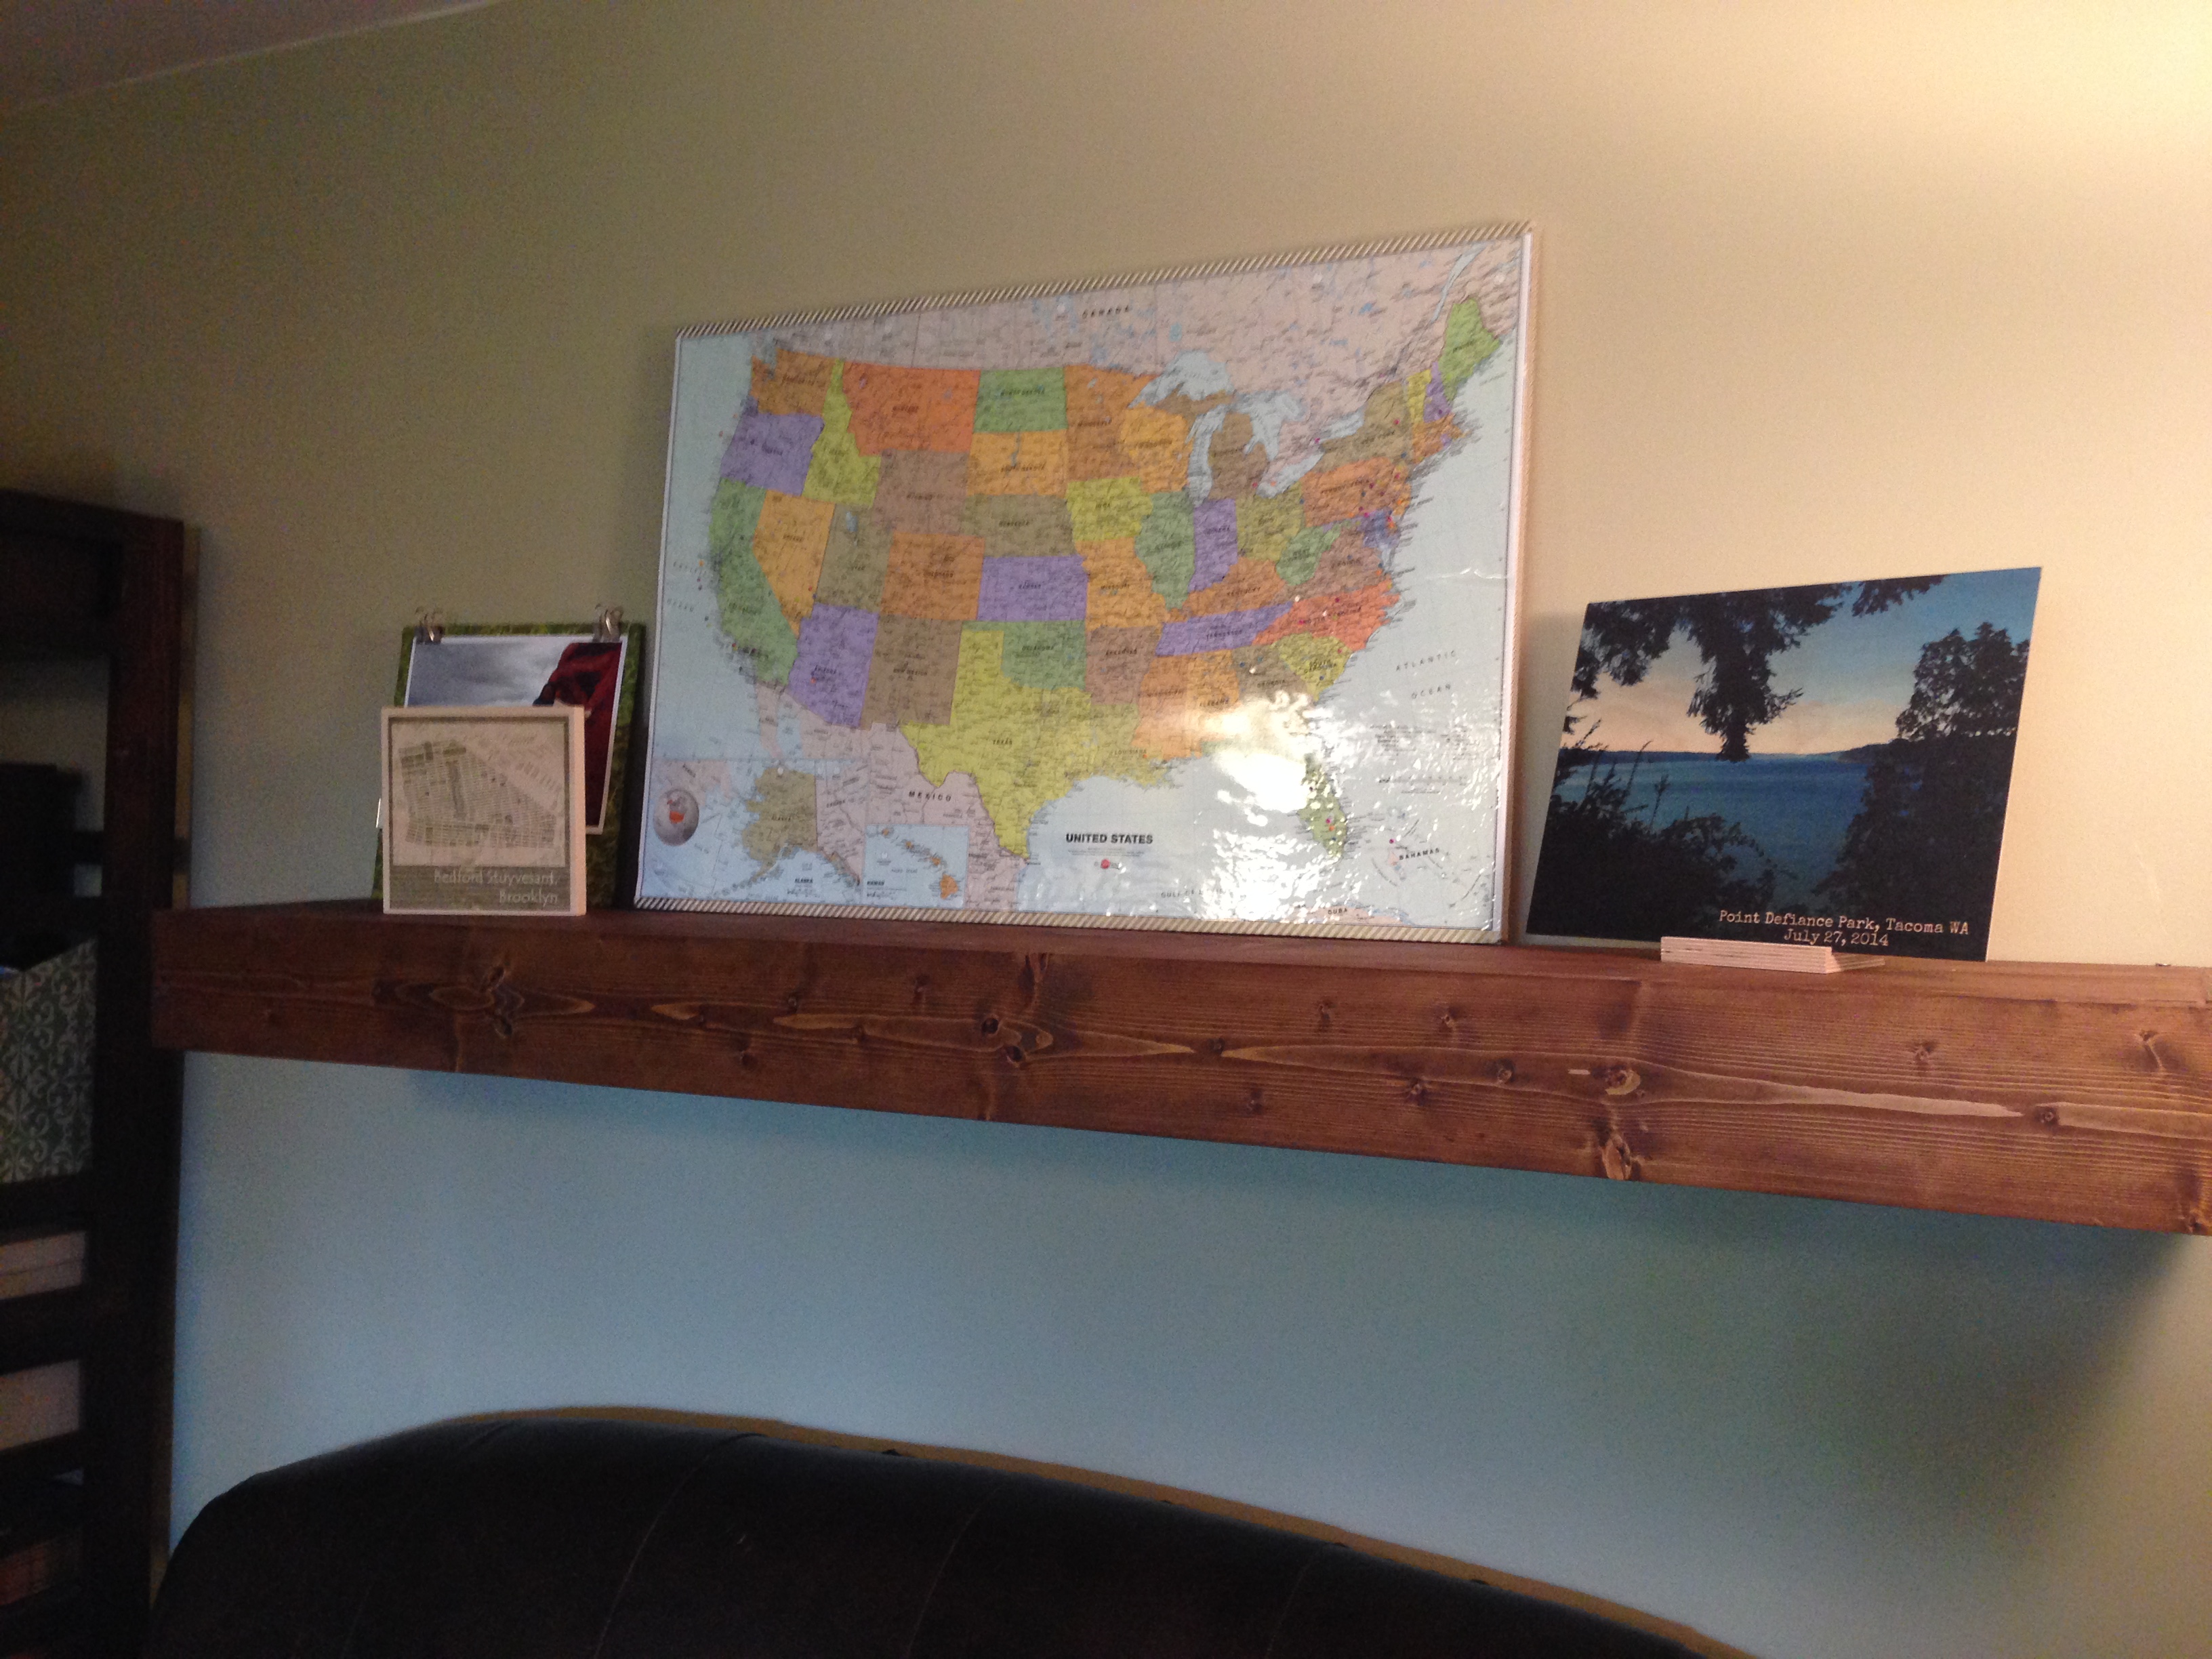
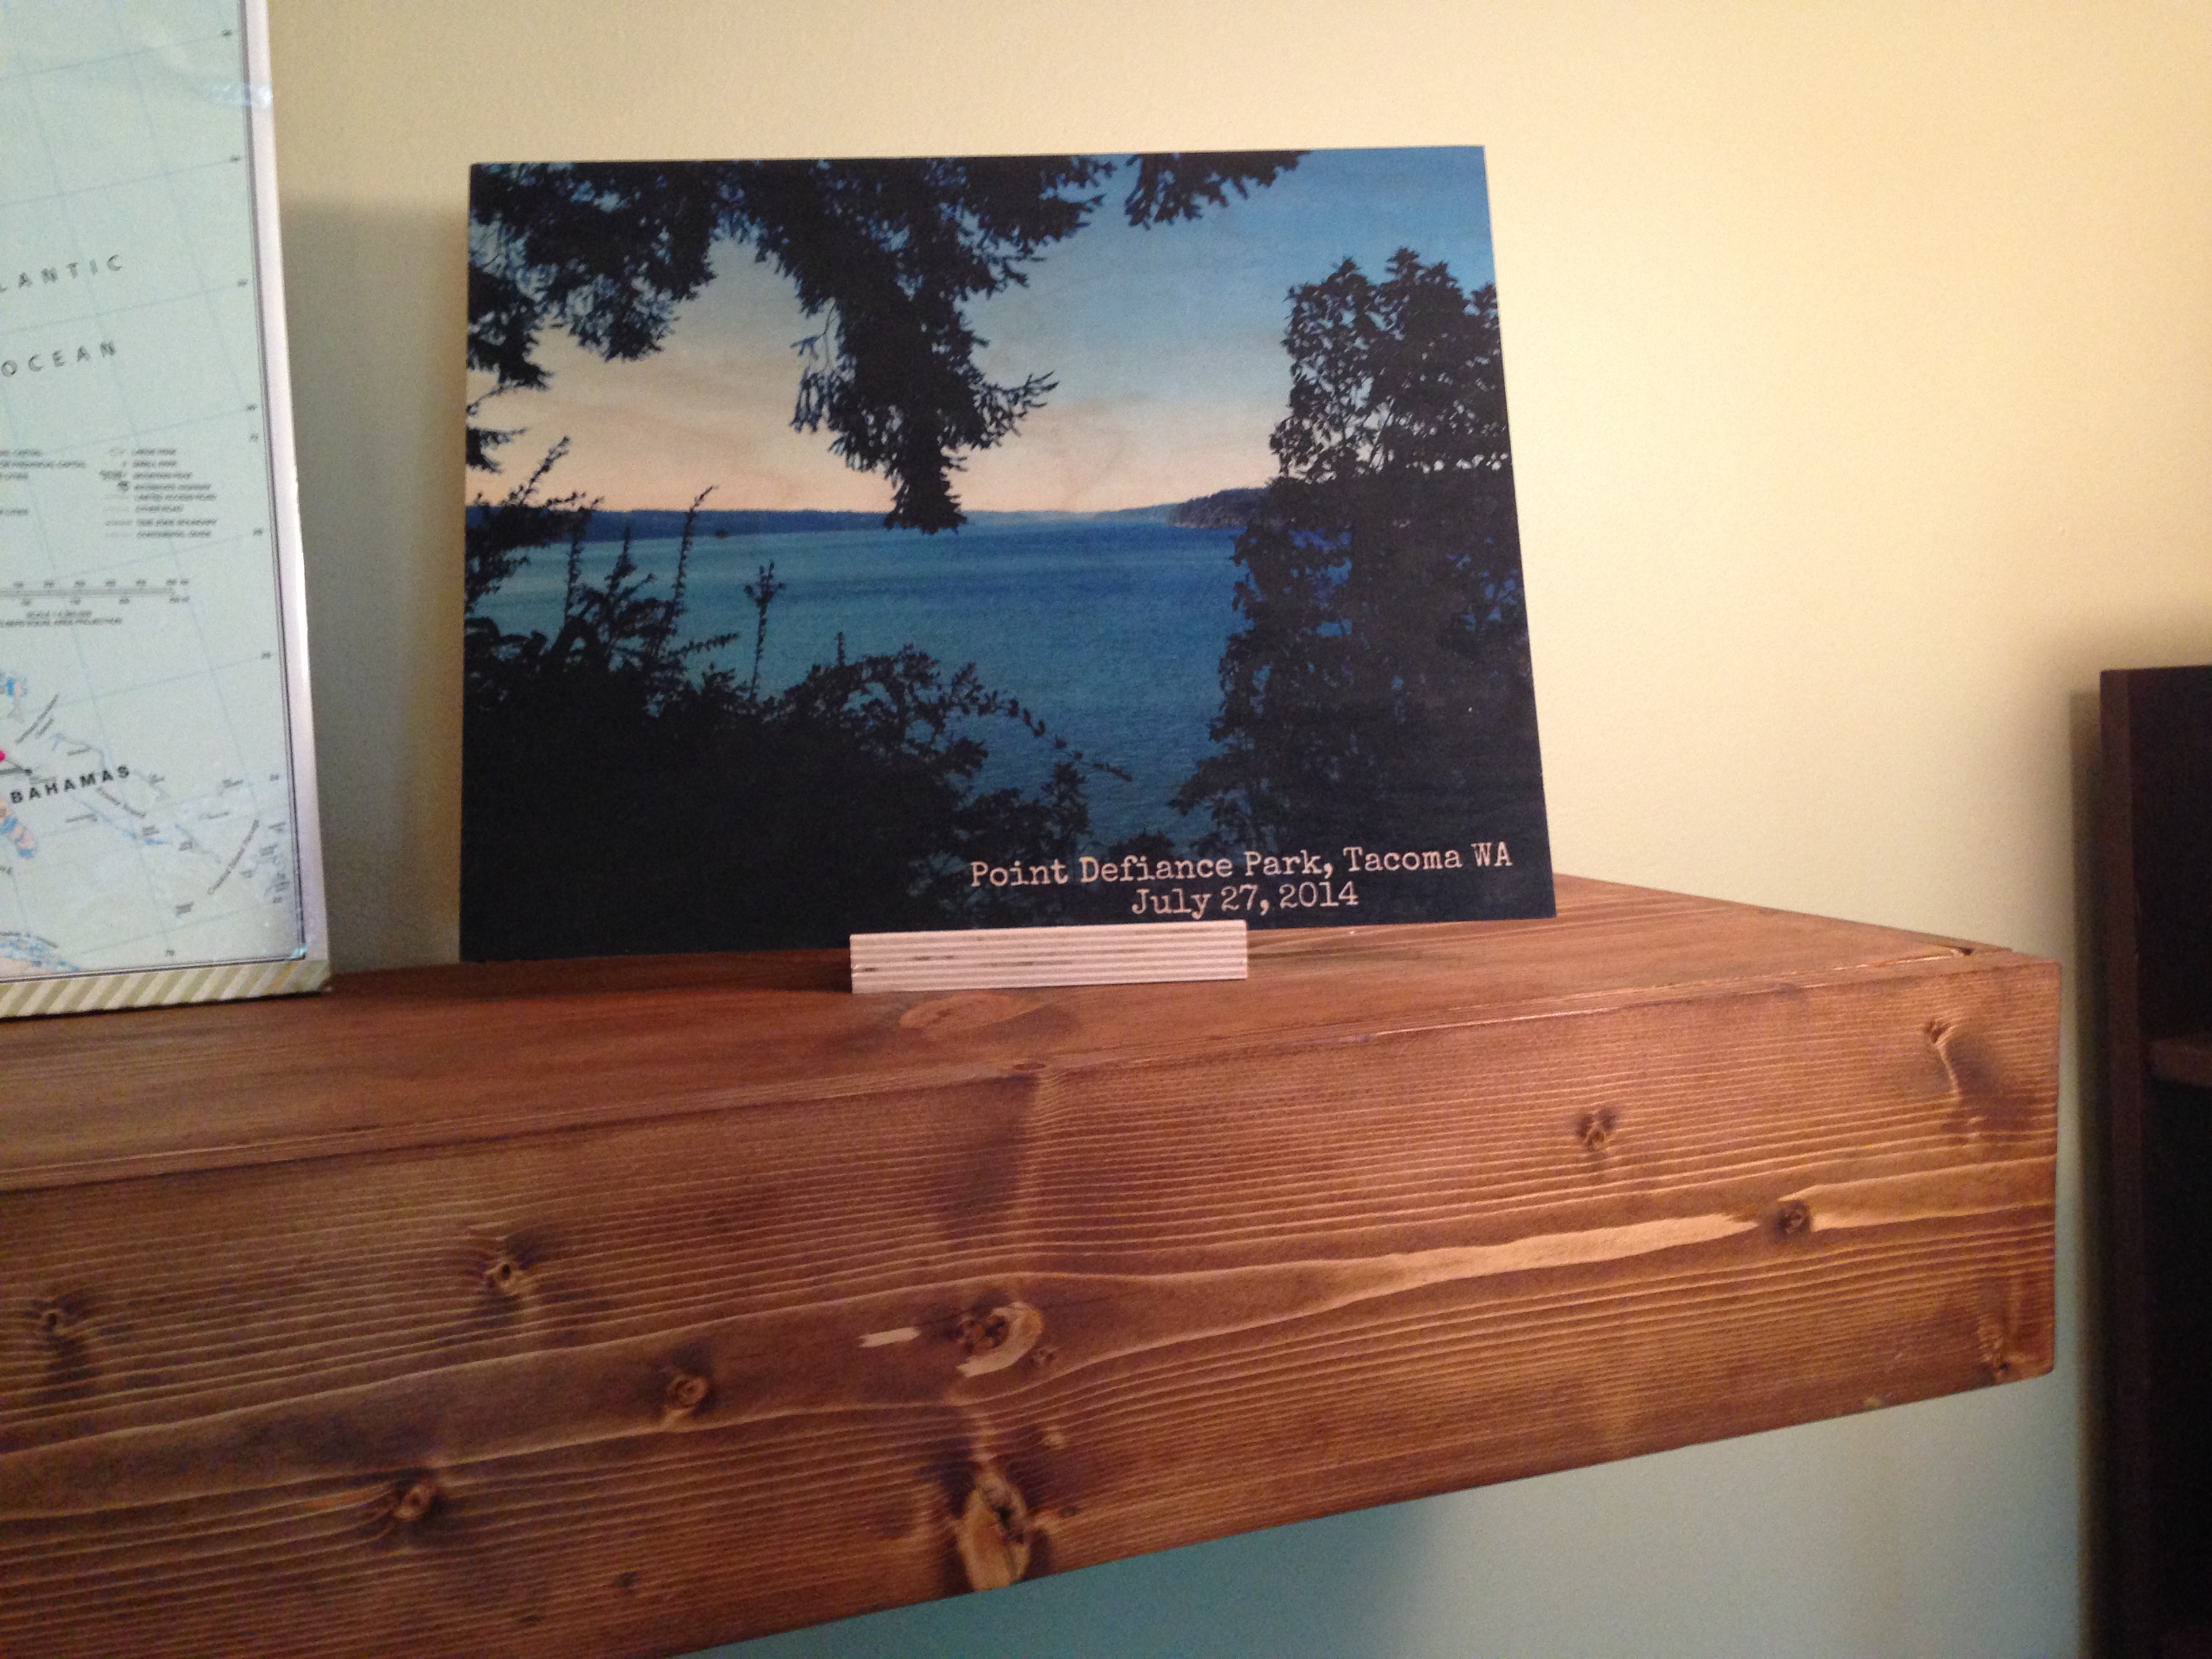
I started added pictures and decorative items right away to show off the shelf. Absolutely love it.
Placed the couch back in position. Added a few other items. Then headed off to work with a feeling of deep satisfaction.
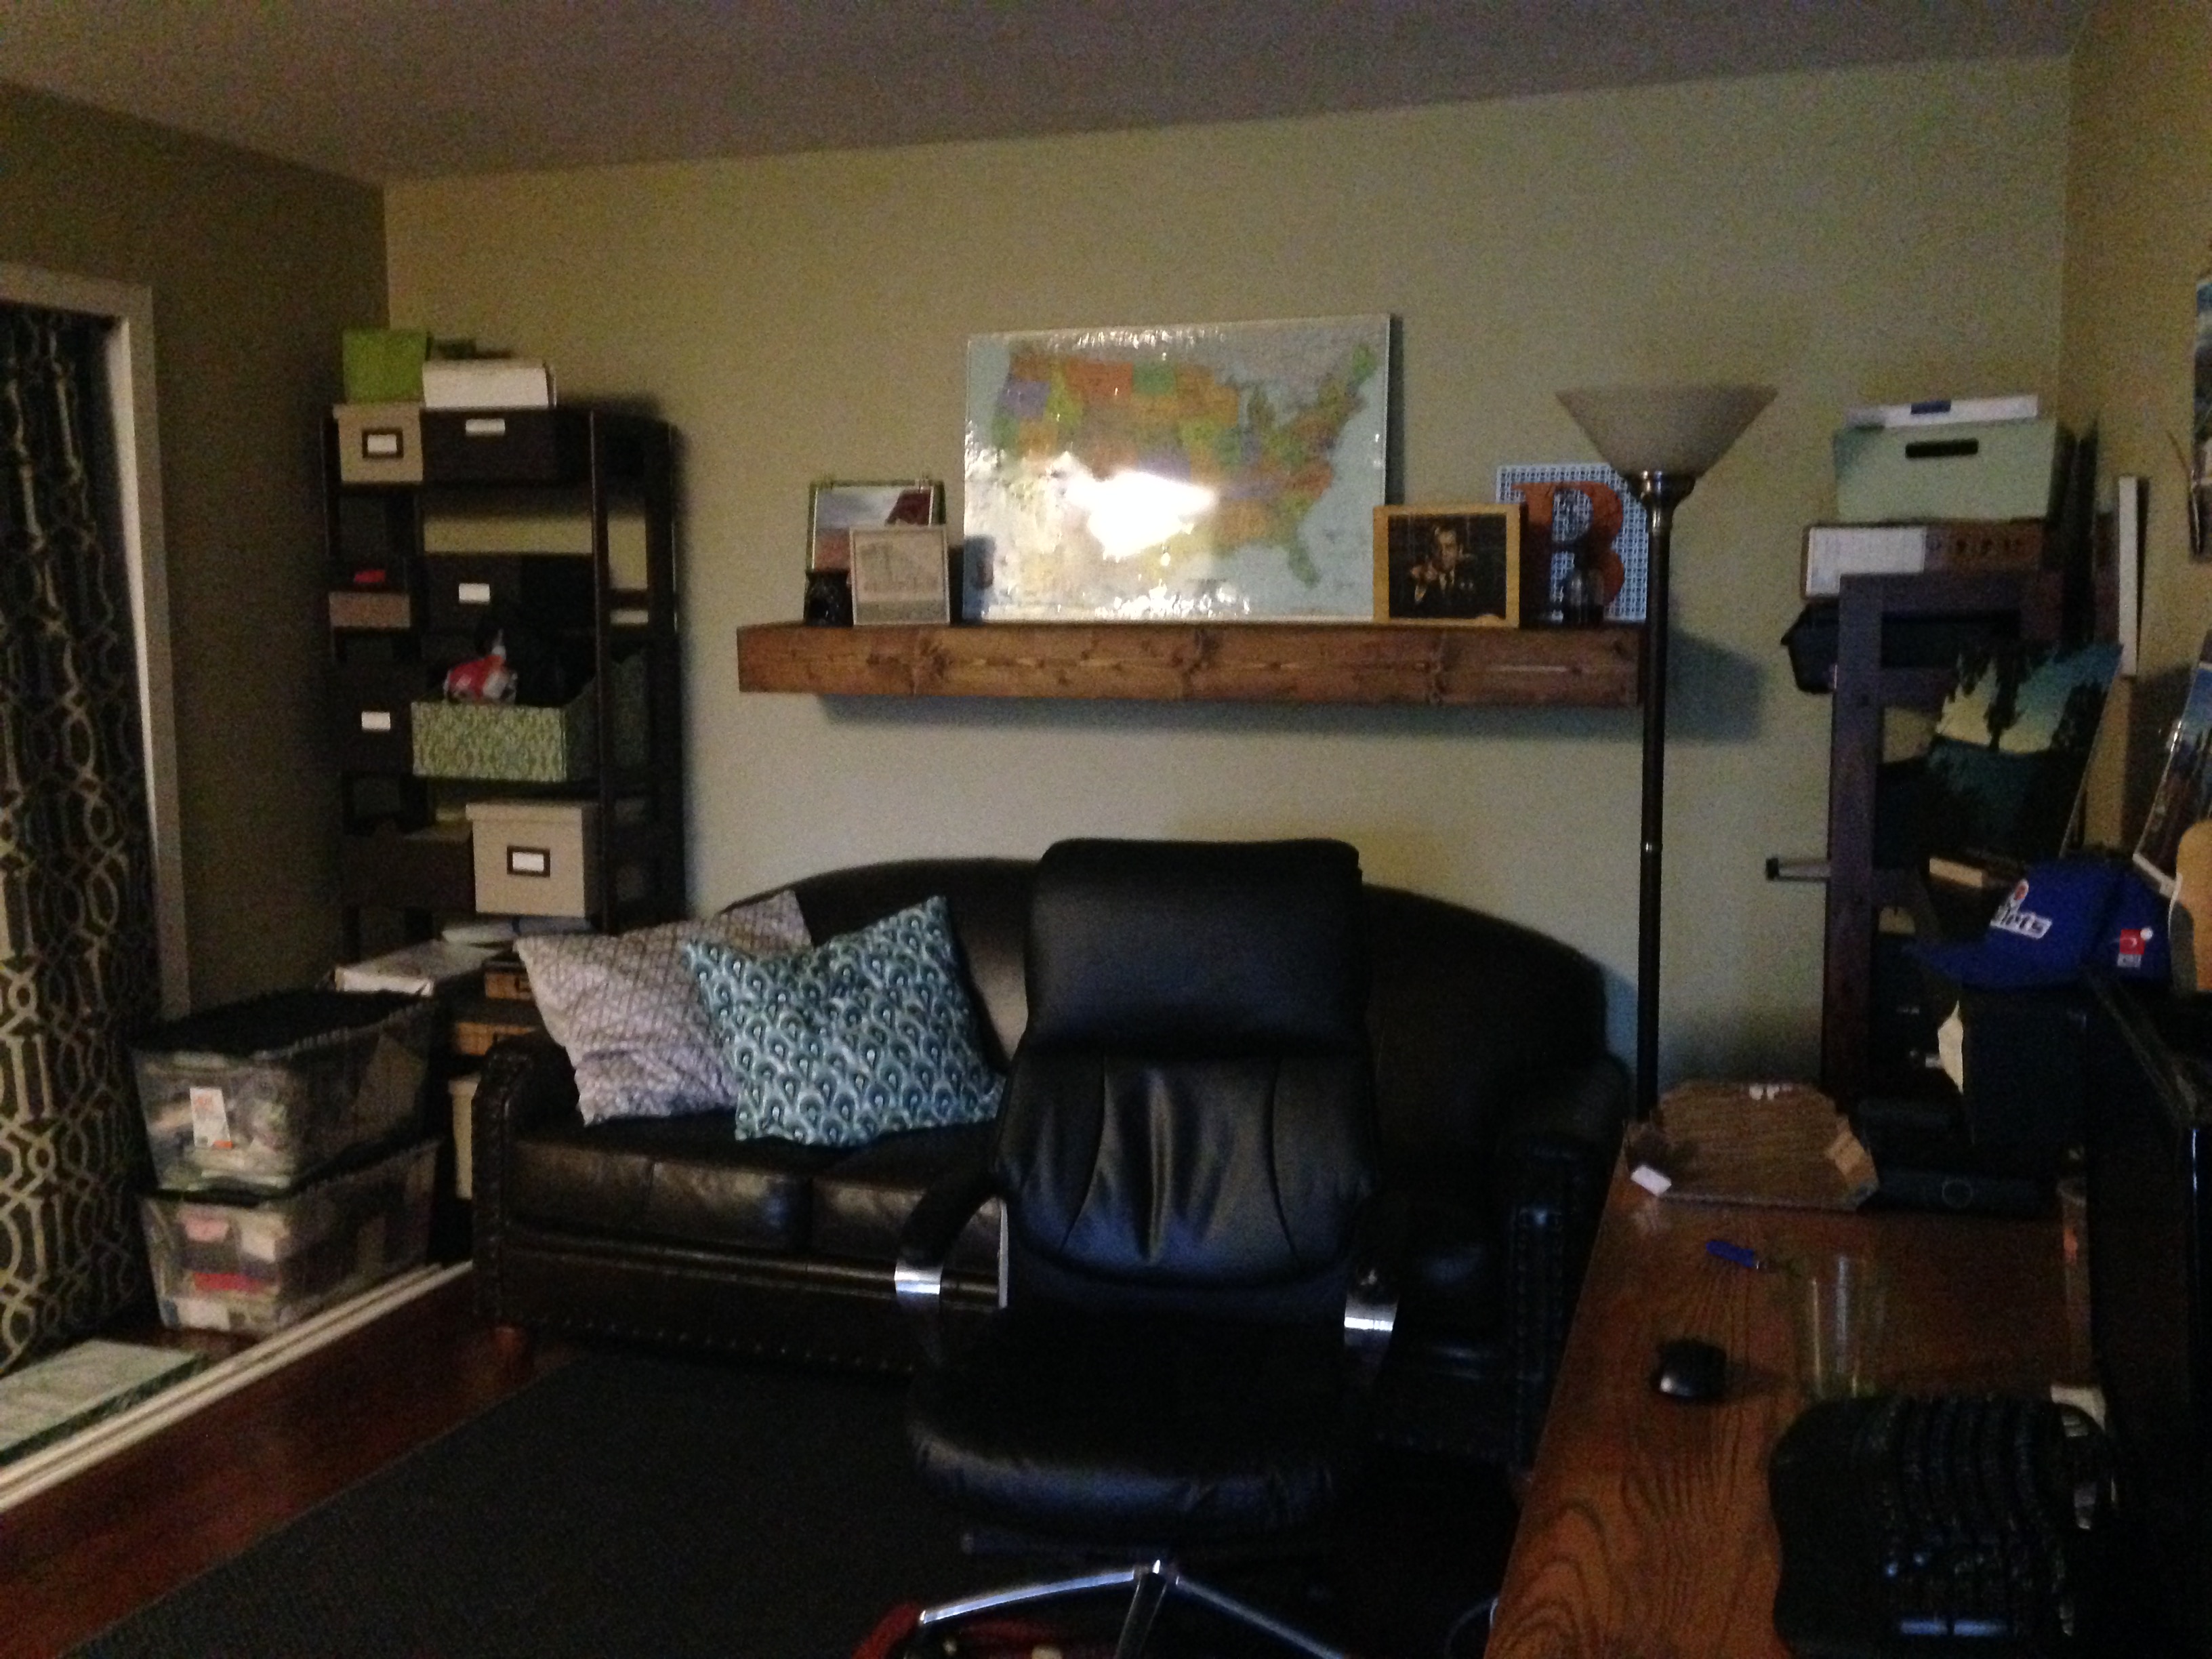
I was tremendously proud of this build. My biggest condo crafting project to date. I’m already dreaming of the other shelves to be added in the condo (in practically every room). They are every bit as beautiful on the wall as I imagined.
All the hard work with building, finishing and mounting this paid off big time. Thank you Rogue Engineer! On to the next project!!! V-