
DIY hanging wood shelf (and wood picture ledge)
You may also like:
May 25, 2015: First of all, may I just say “Thank you Shanty-2-Chic!”
I’ve had an empty wall above our bathroom commode for what seems like forever. Ever since we got the bathroom redone last February (I’m talking February 2014), there hasn’t been a wall mounted hanging solution put in place.
We talked to our contractor about what we could put there (to replace the etagere that used to reside over the bowl) and he replied with “Whatever you want.” Helpful, eh?
Well now that I found this newfound interest and confidence in DIY building projects (starting with my first wood wall planter), I began searching for solutions in the form of build plans. And I found this floating shelves DIY on the Shanty to Chic website that seemed perfect for the bathroom. It seemed so easy, so lovely, so rustic, so pretty…
…but I got quickly intimidated (I mean, what the hell is a Kreg pocket hole jig?!!!).
So I decided to go with another Shanty-to-Chic project. Much easier and just as lovely. Something to baby-step my way into doing more DIY builds.
- Build project 2: A hanging bathroom shelf (to go over the commode).
- Build project 2.5: An easy butt-join picture ledge.
Hardware Store Shopping List
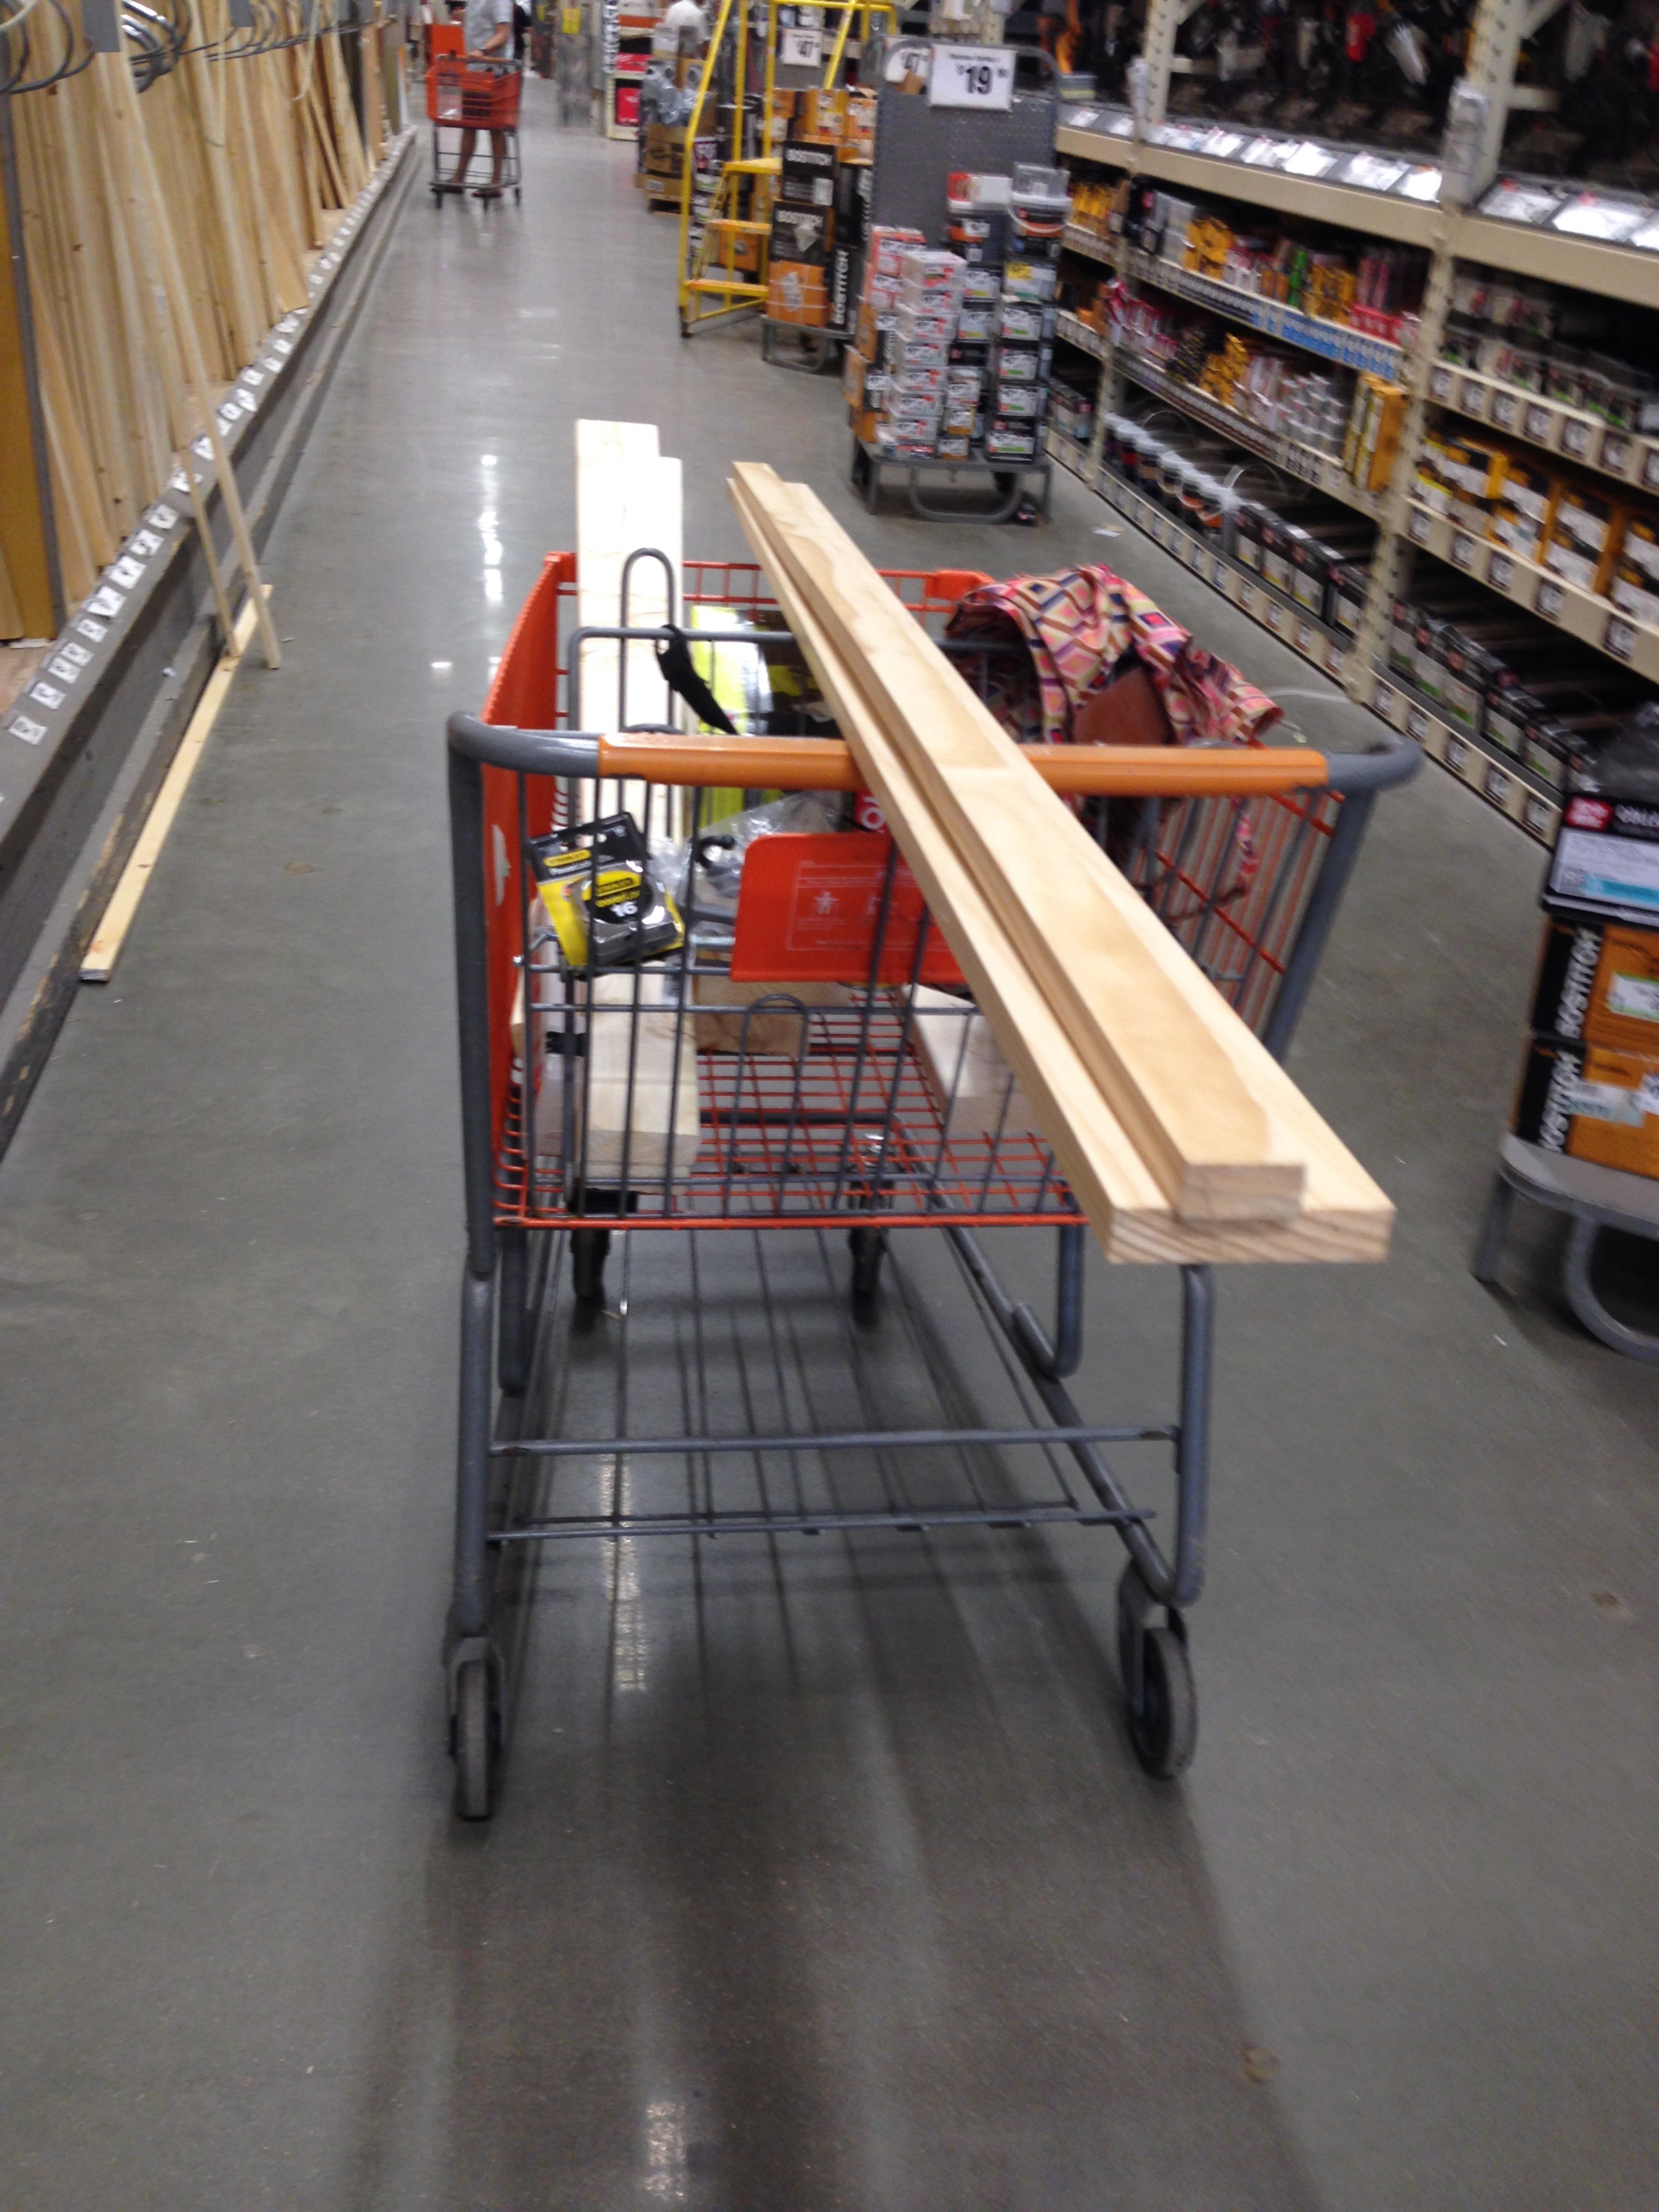
After studying each plan, I headed to the local Home Depot in Bethesda to get my tools, supplies and wood using the recommended cut list.
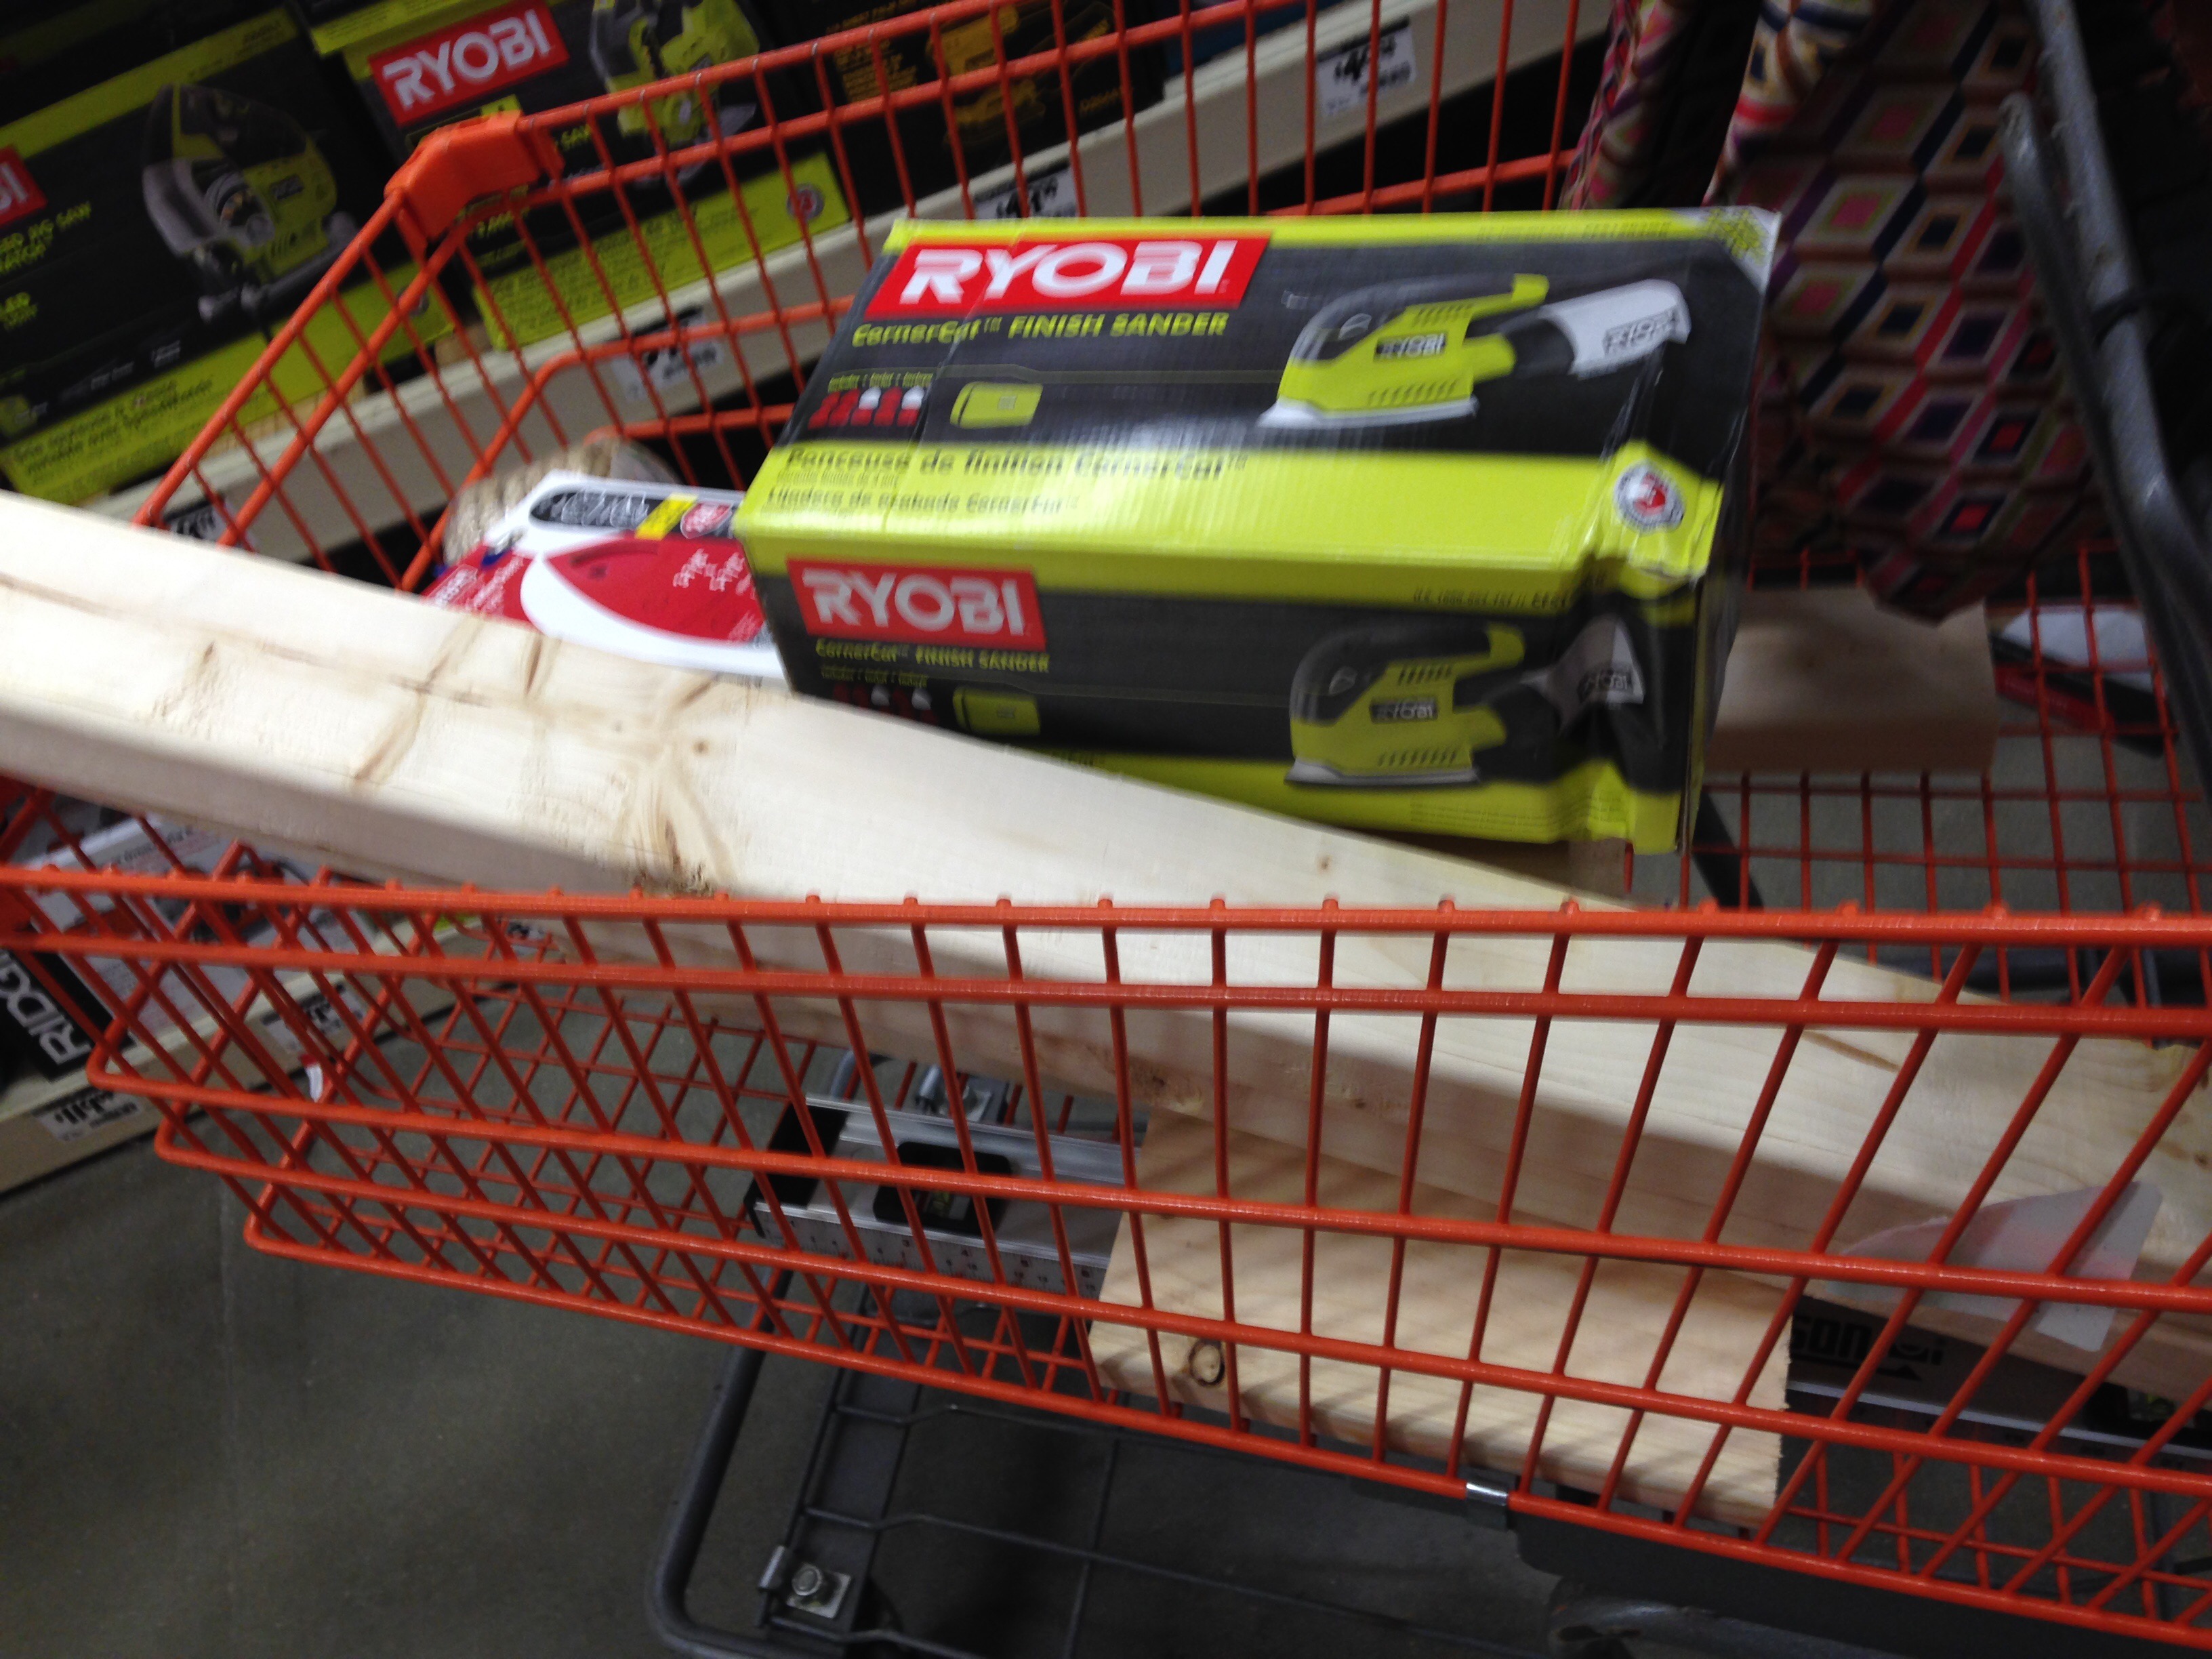
So what’s in the cart? Let’s see…we have:
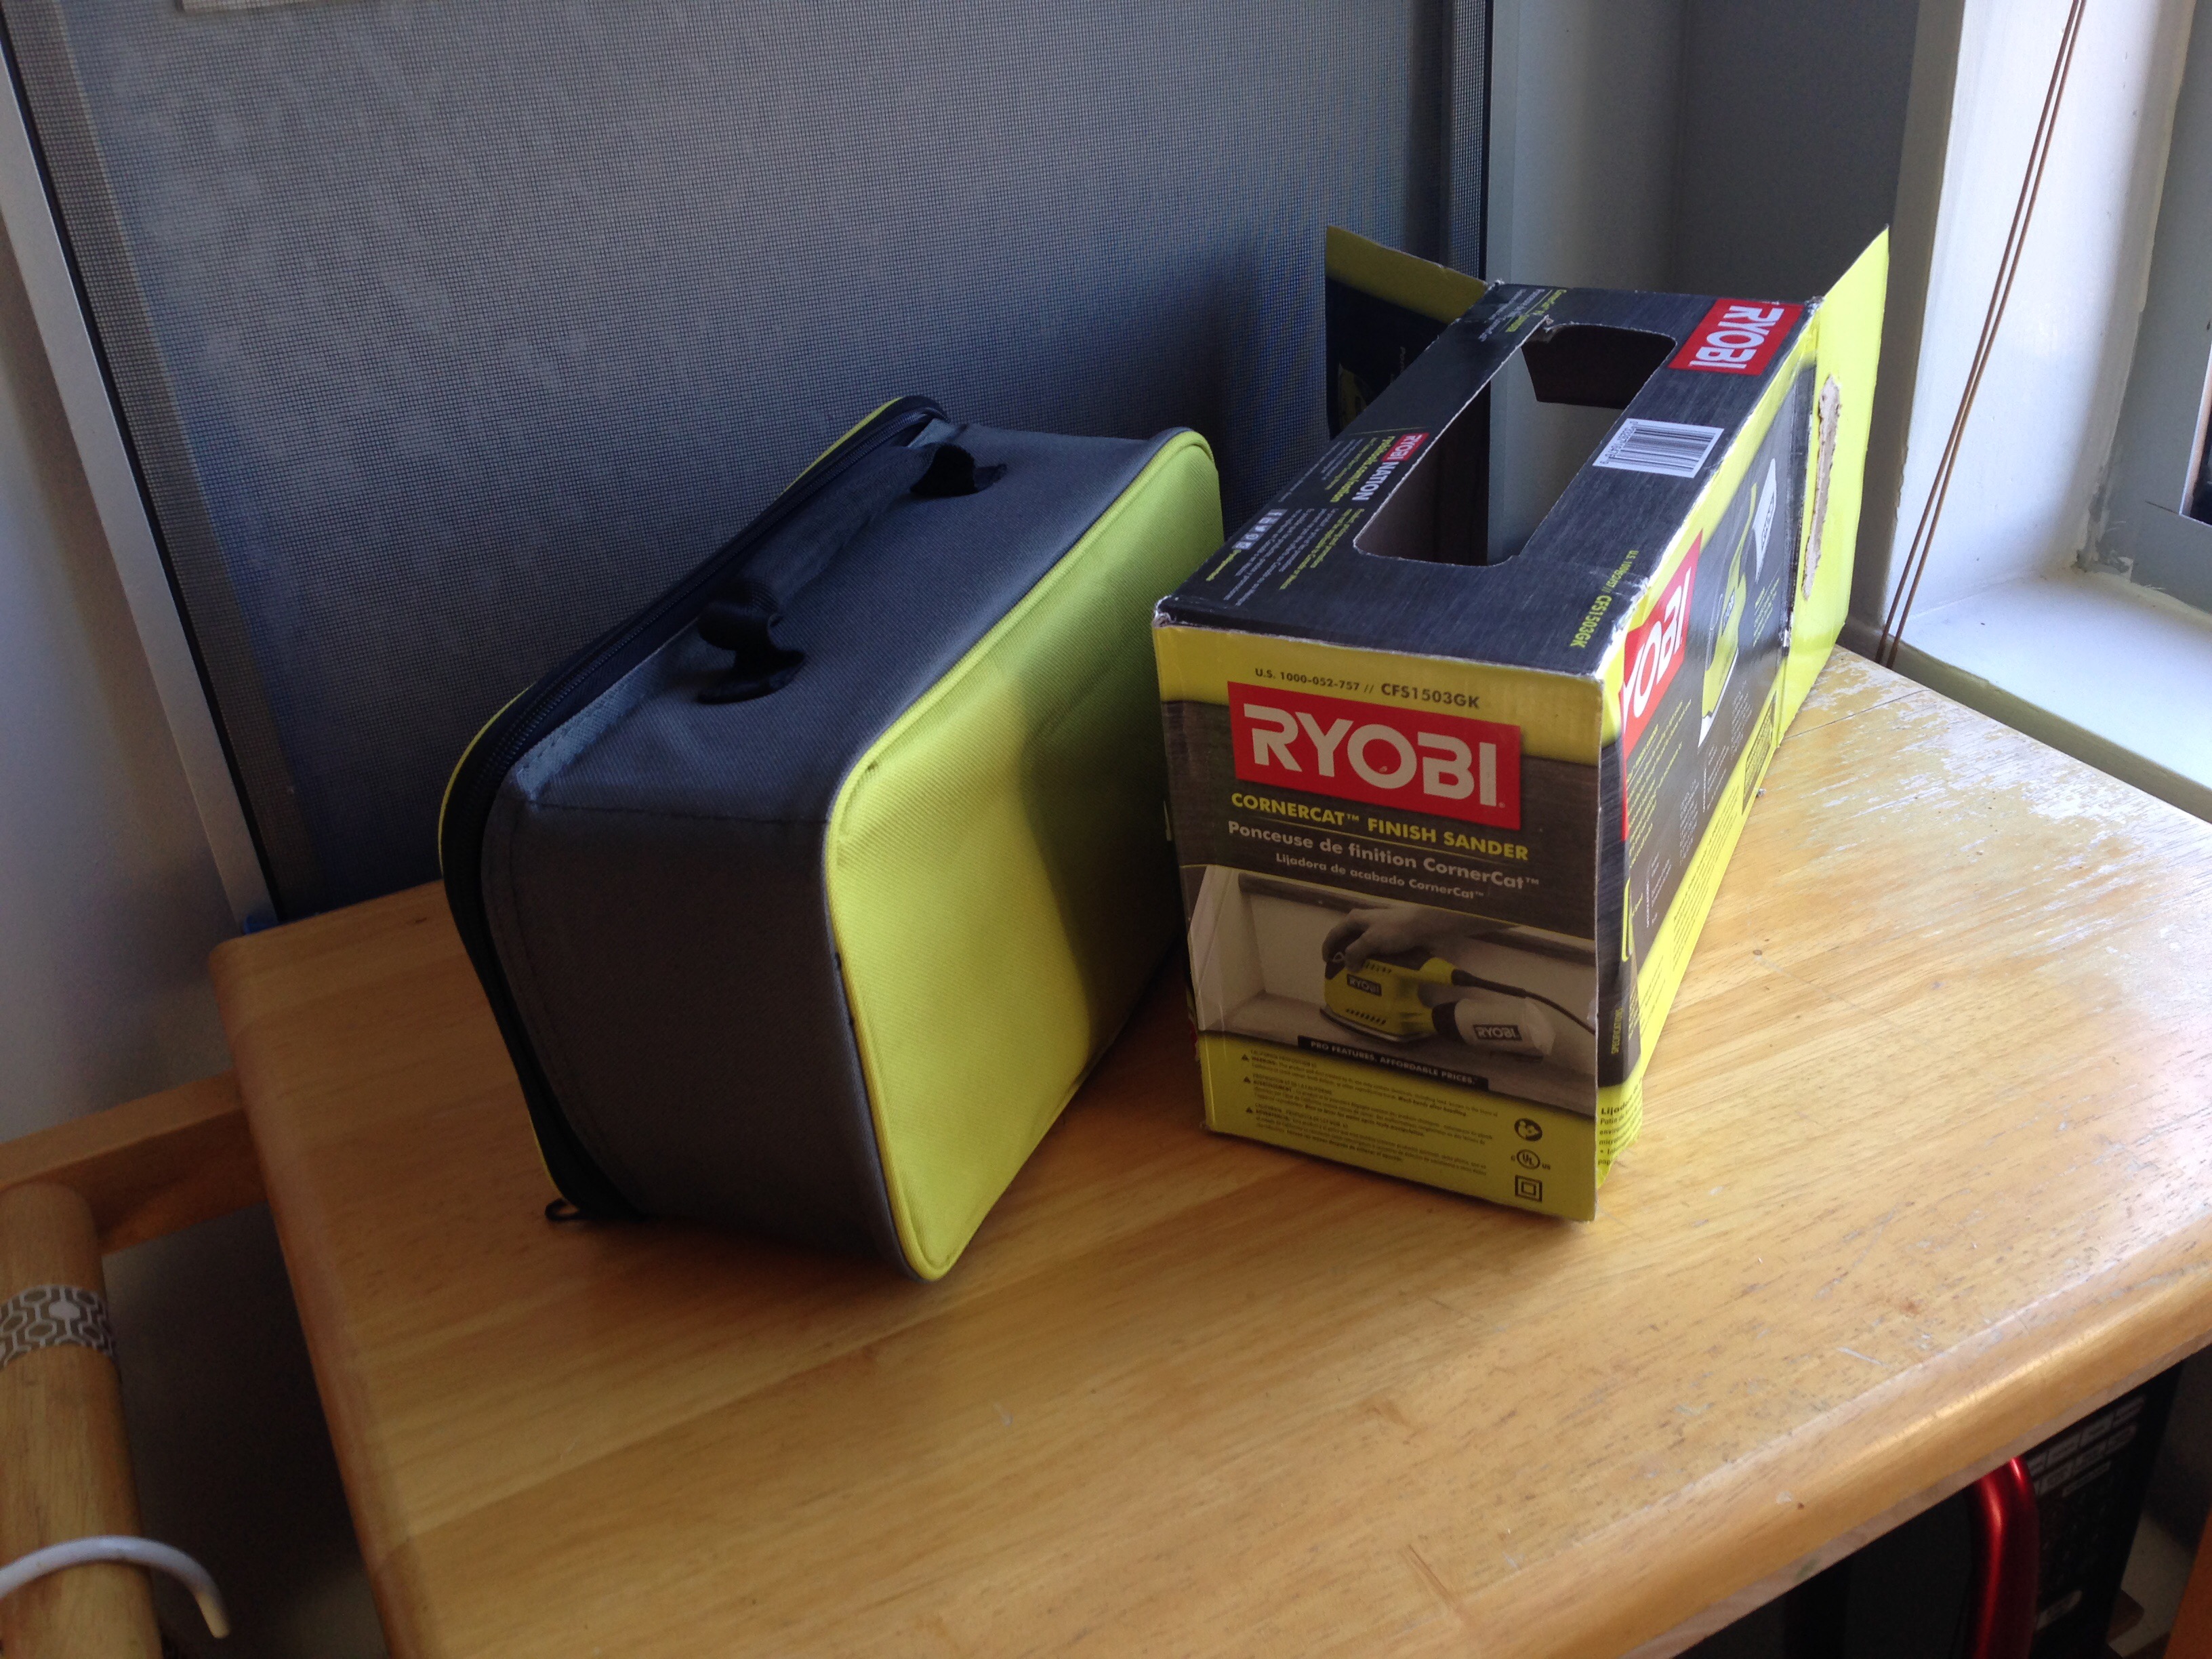
- A Ryobi orbital sander.
- 2×6″ whitewood board (8 feet long)
- 2×4″ whitewood board (8 feet long)
- 1×4″ common board pine wood (6 feet long)
- 1×2″ common board pine wood (6 feet long)
- Wood glue
- Wood screws (2.5 inches long)
- Tape measure
- Sisal rope
- Decorative hook
For the hanging shelf, I used the following cuts (after measuring above the commode):
- 2×6 boards – Three 17.5″ cuts
- 2×4 boards – Two 40″ cuts
For the picture ledge, my cut list was:
- 1×4 board – Two 24″ cuts
- 1×2 board – One 24″ cut
And that’s it! Home Depot cuts these for you. Just head to the cutting station and let the associate know what lengths you need.
Building the shelf – Take 1
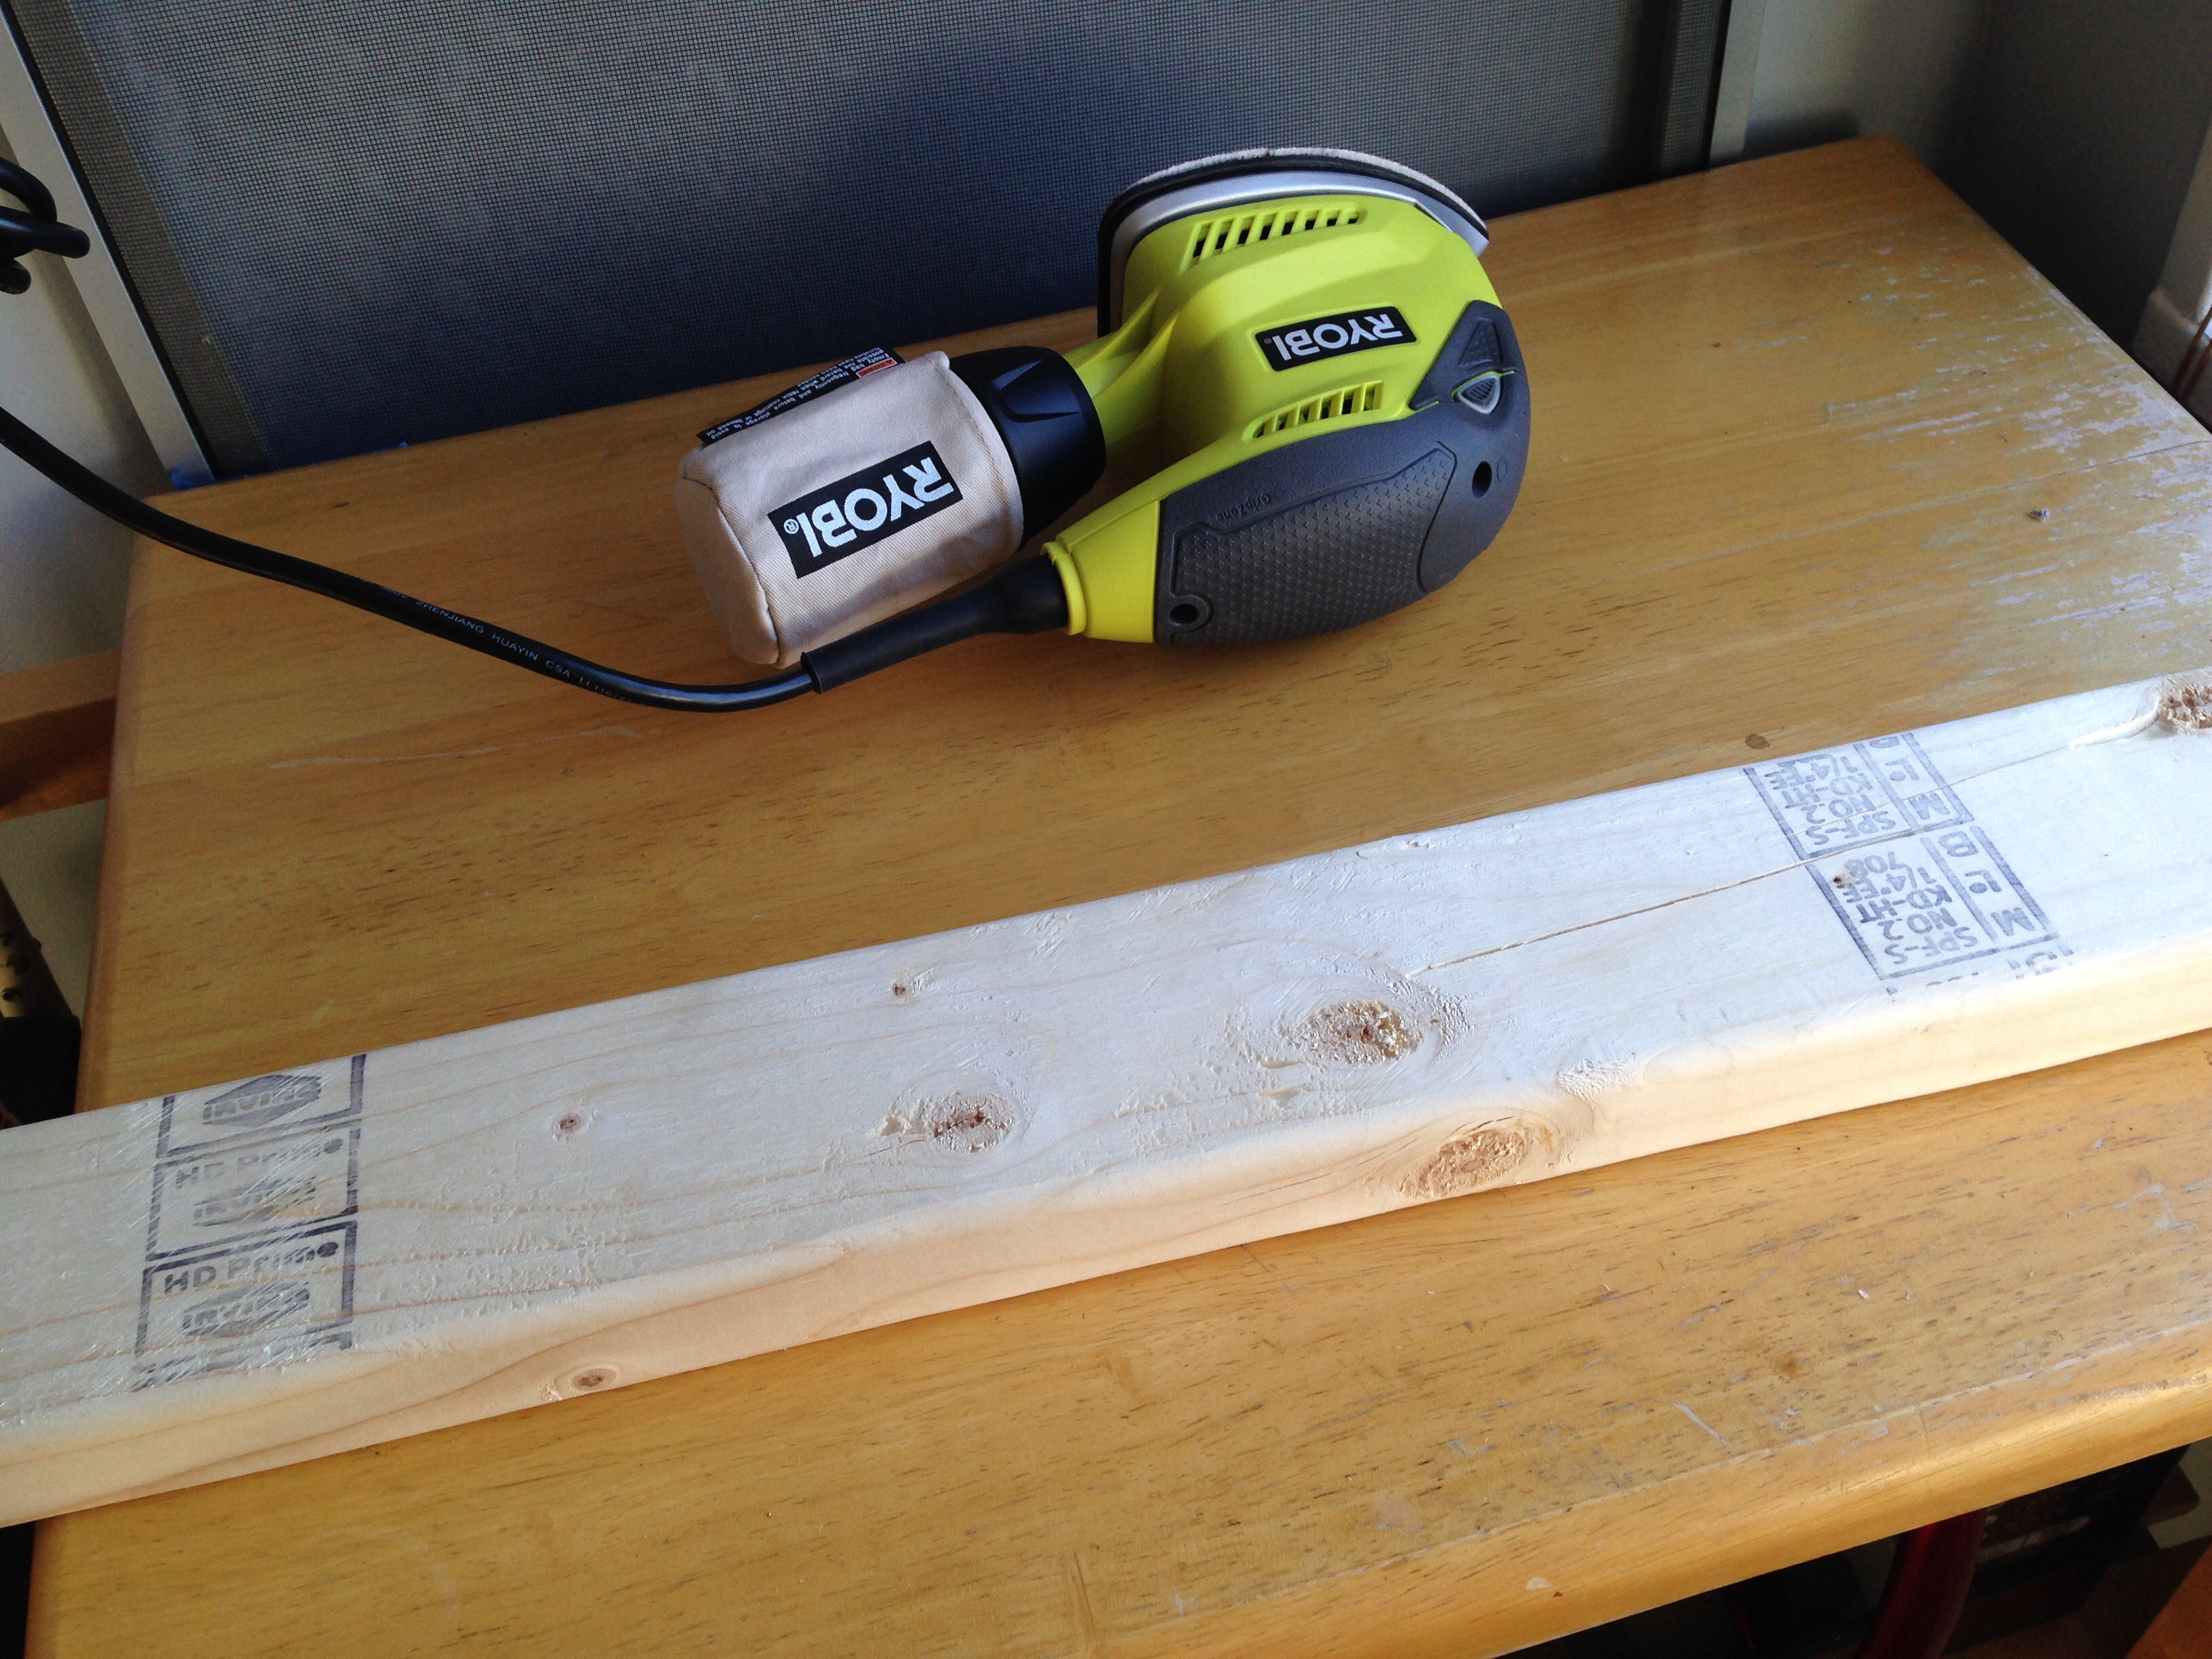
I eagerly pulled out my brand new Ryobi sander and got right to work with sanding my boards to a nice smooth finish in the condo.
I used the kitchen cart as my work table. I thought the plan was brilliant.
Until I got a load of the noise this thing makes. And the amount of wood dust that began to collect on our brand new wood floors. Bruce came home and immediately blew his top. He laid the ground rules for condo wood working right then and there.
There will be no sanding or cutting wood inside the condo. Ever. Not with neighbors next door and downstairs. And definitely not in our brand new kitchen over our new wood floors.
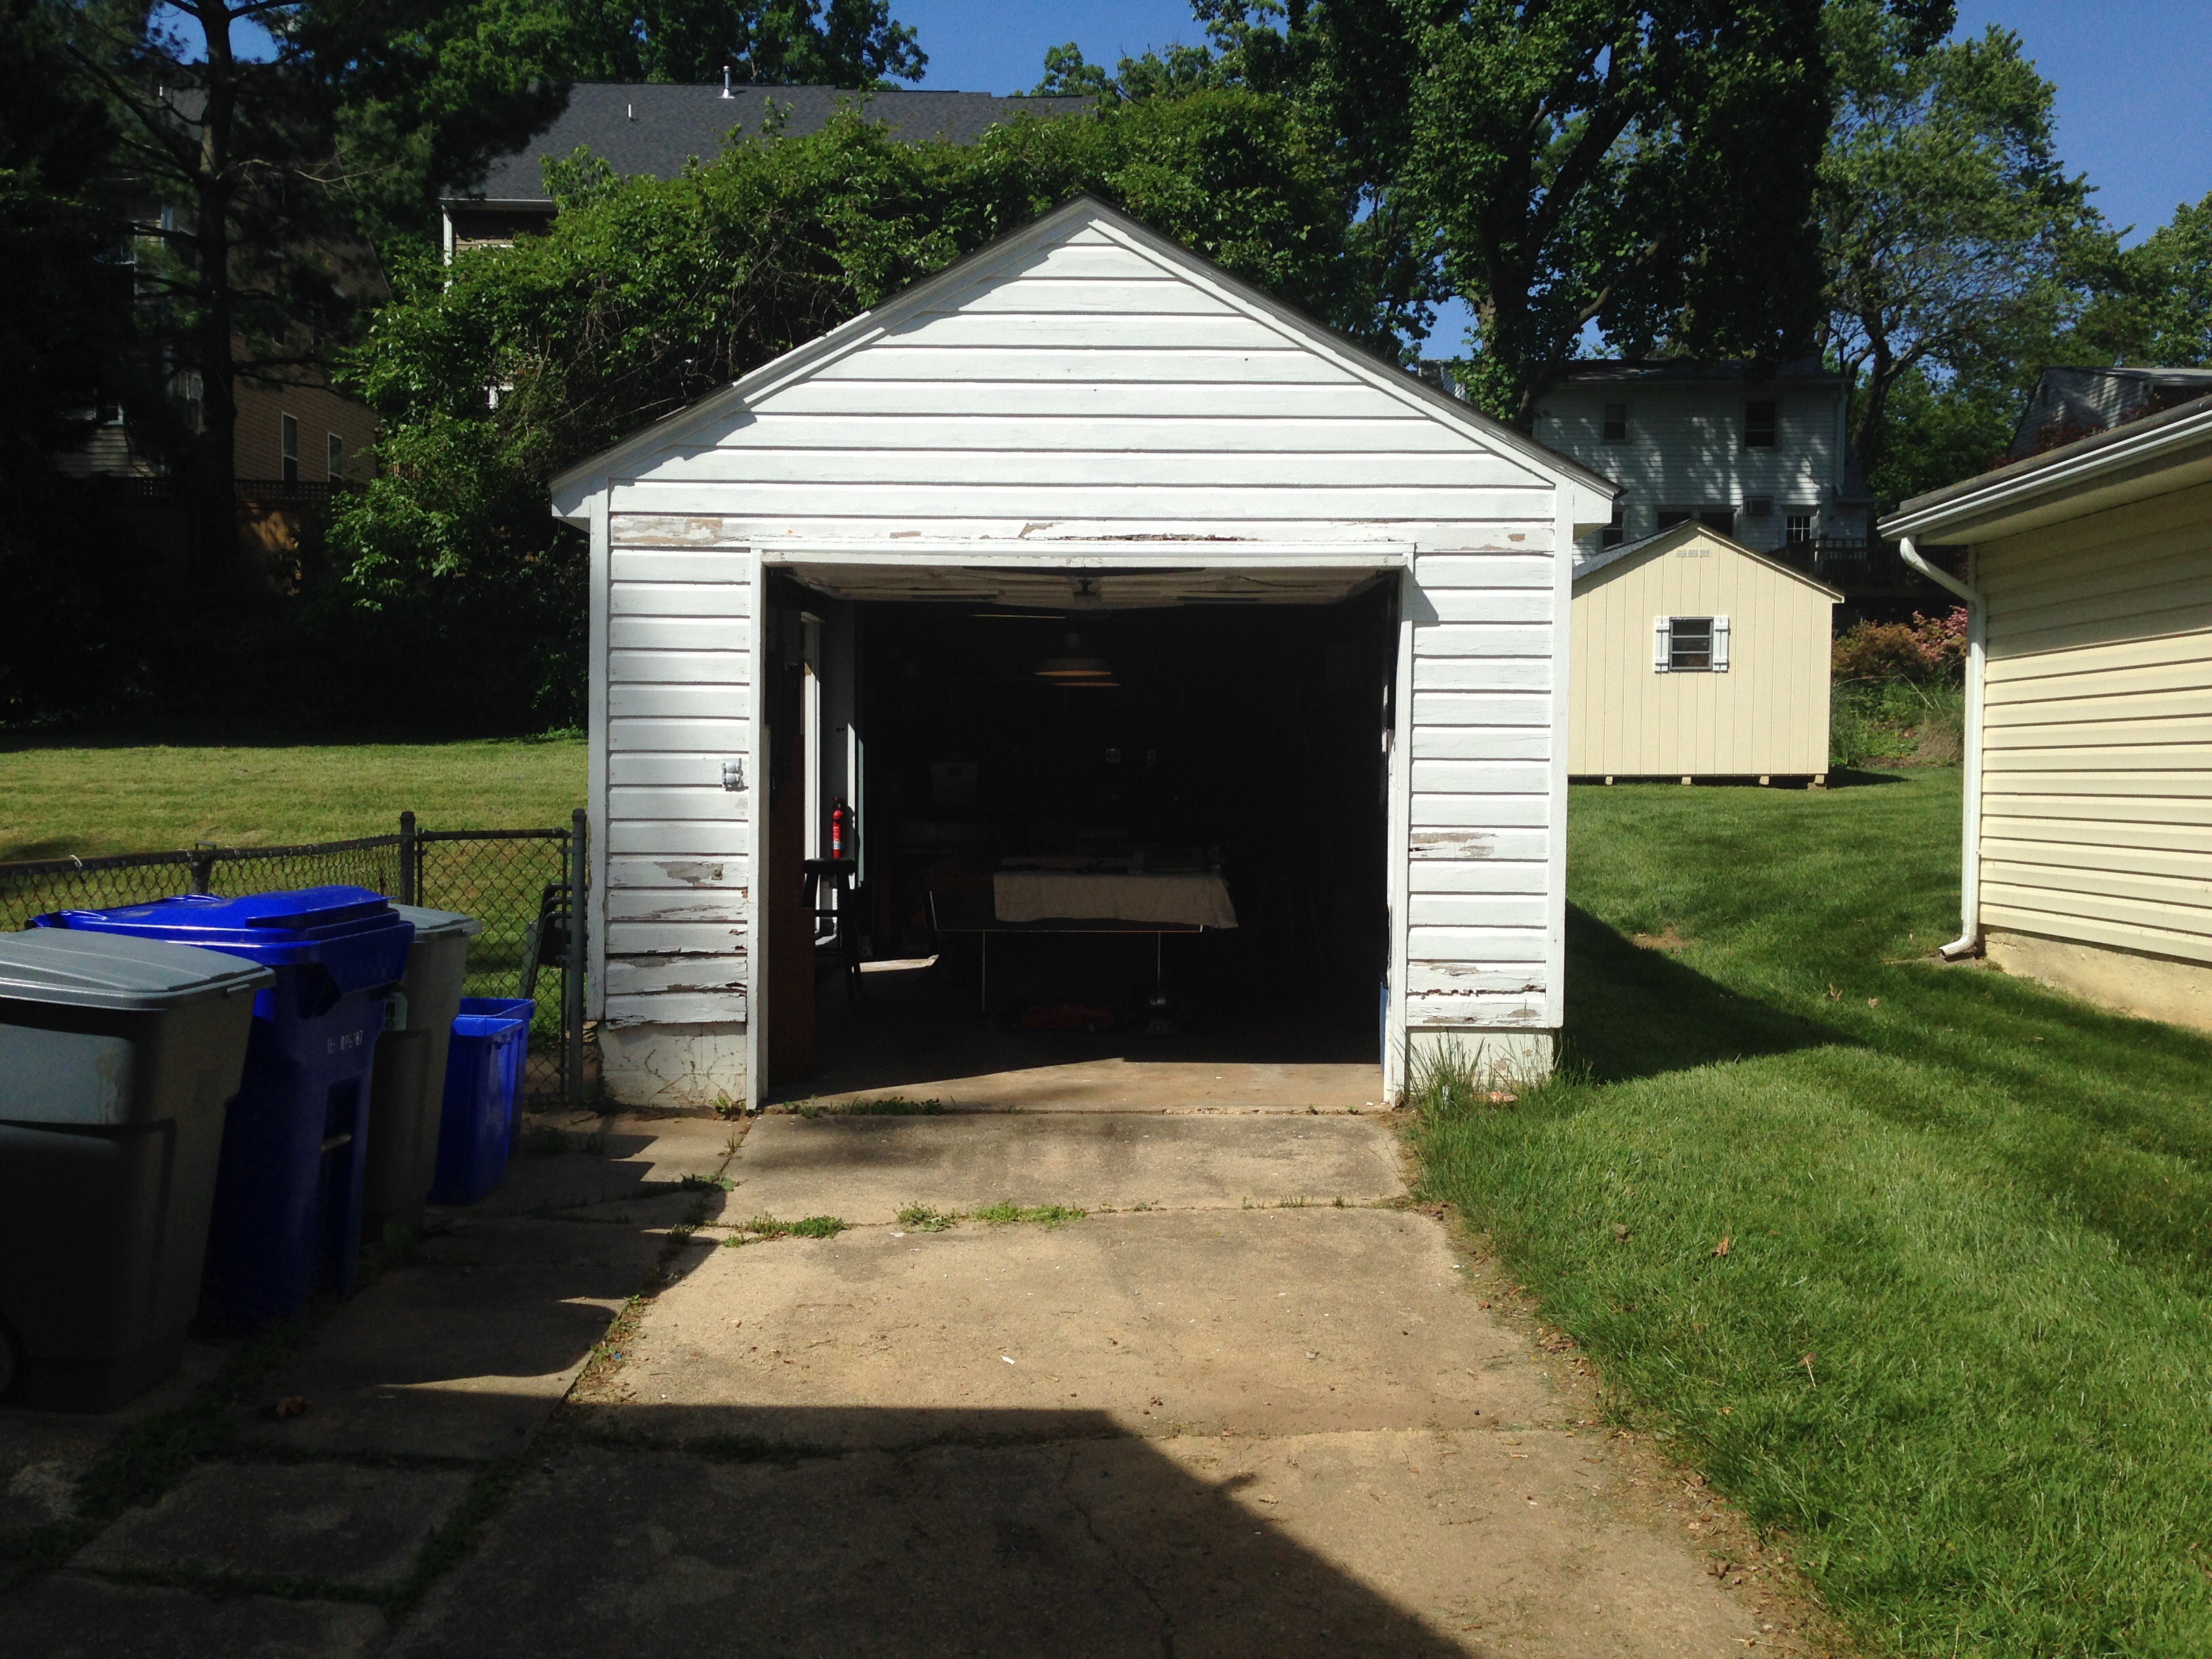
Impossible to argue with that. I asked if we can call his buddy Tim up and ask if I can use his garage instead.
In a matter of minutes it was done. And I moved my operation to Tim’s place 10 minutes away.
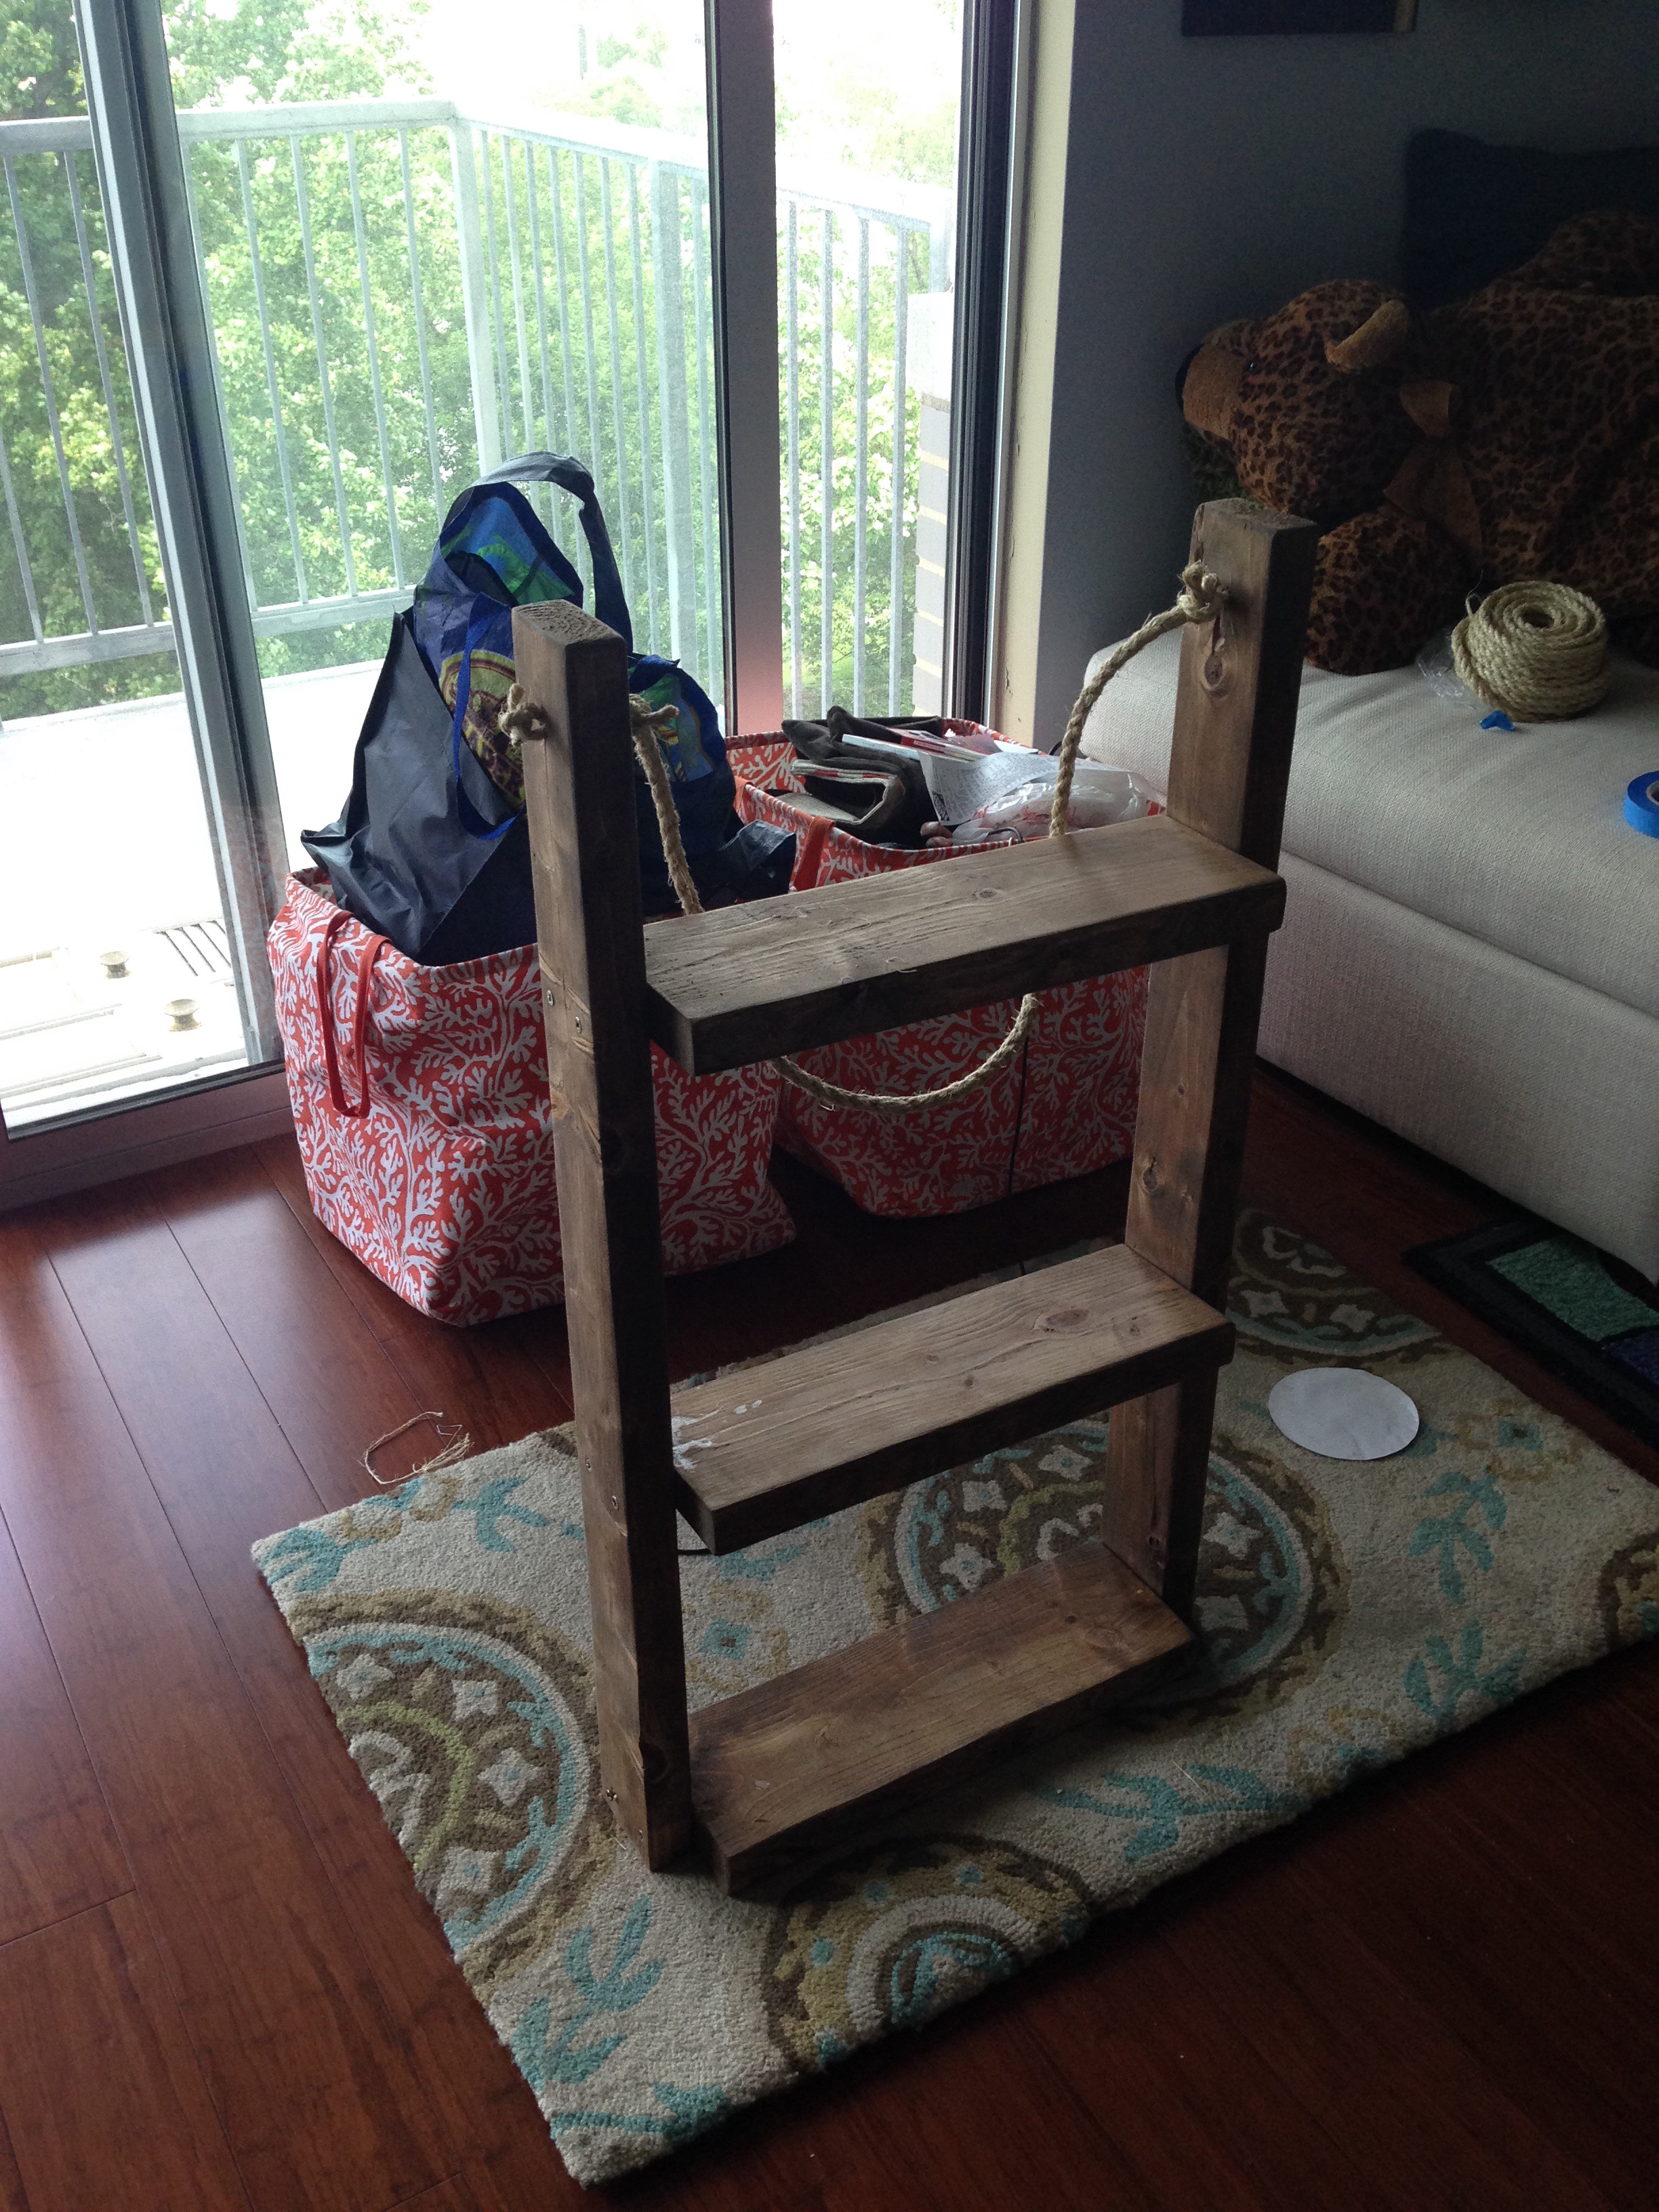
Building the shelf – Take 2
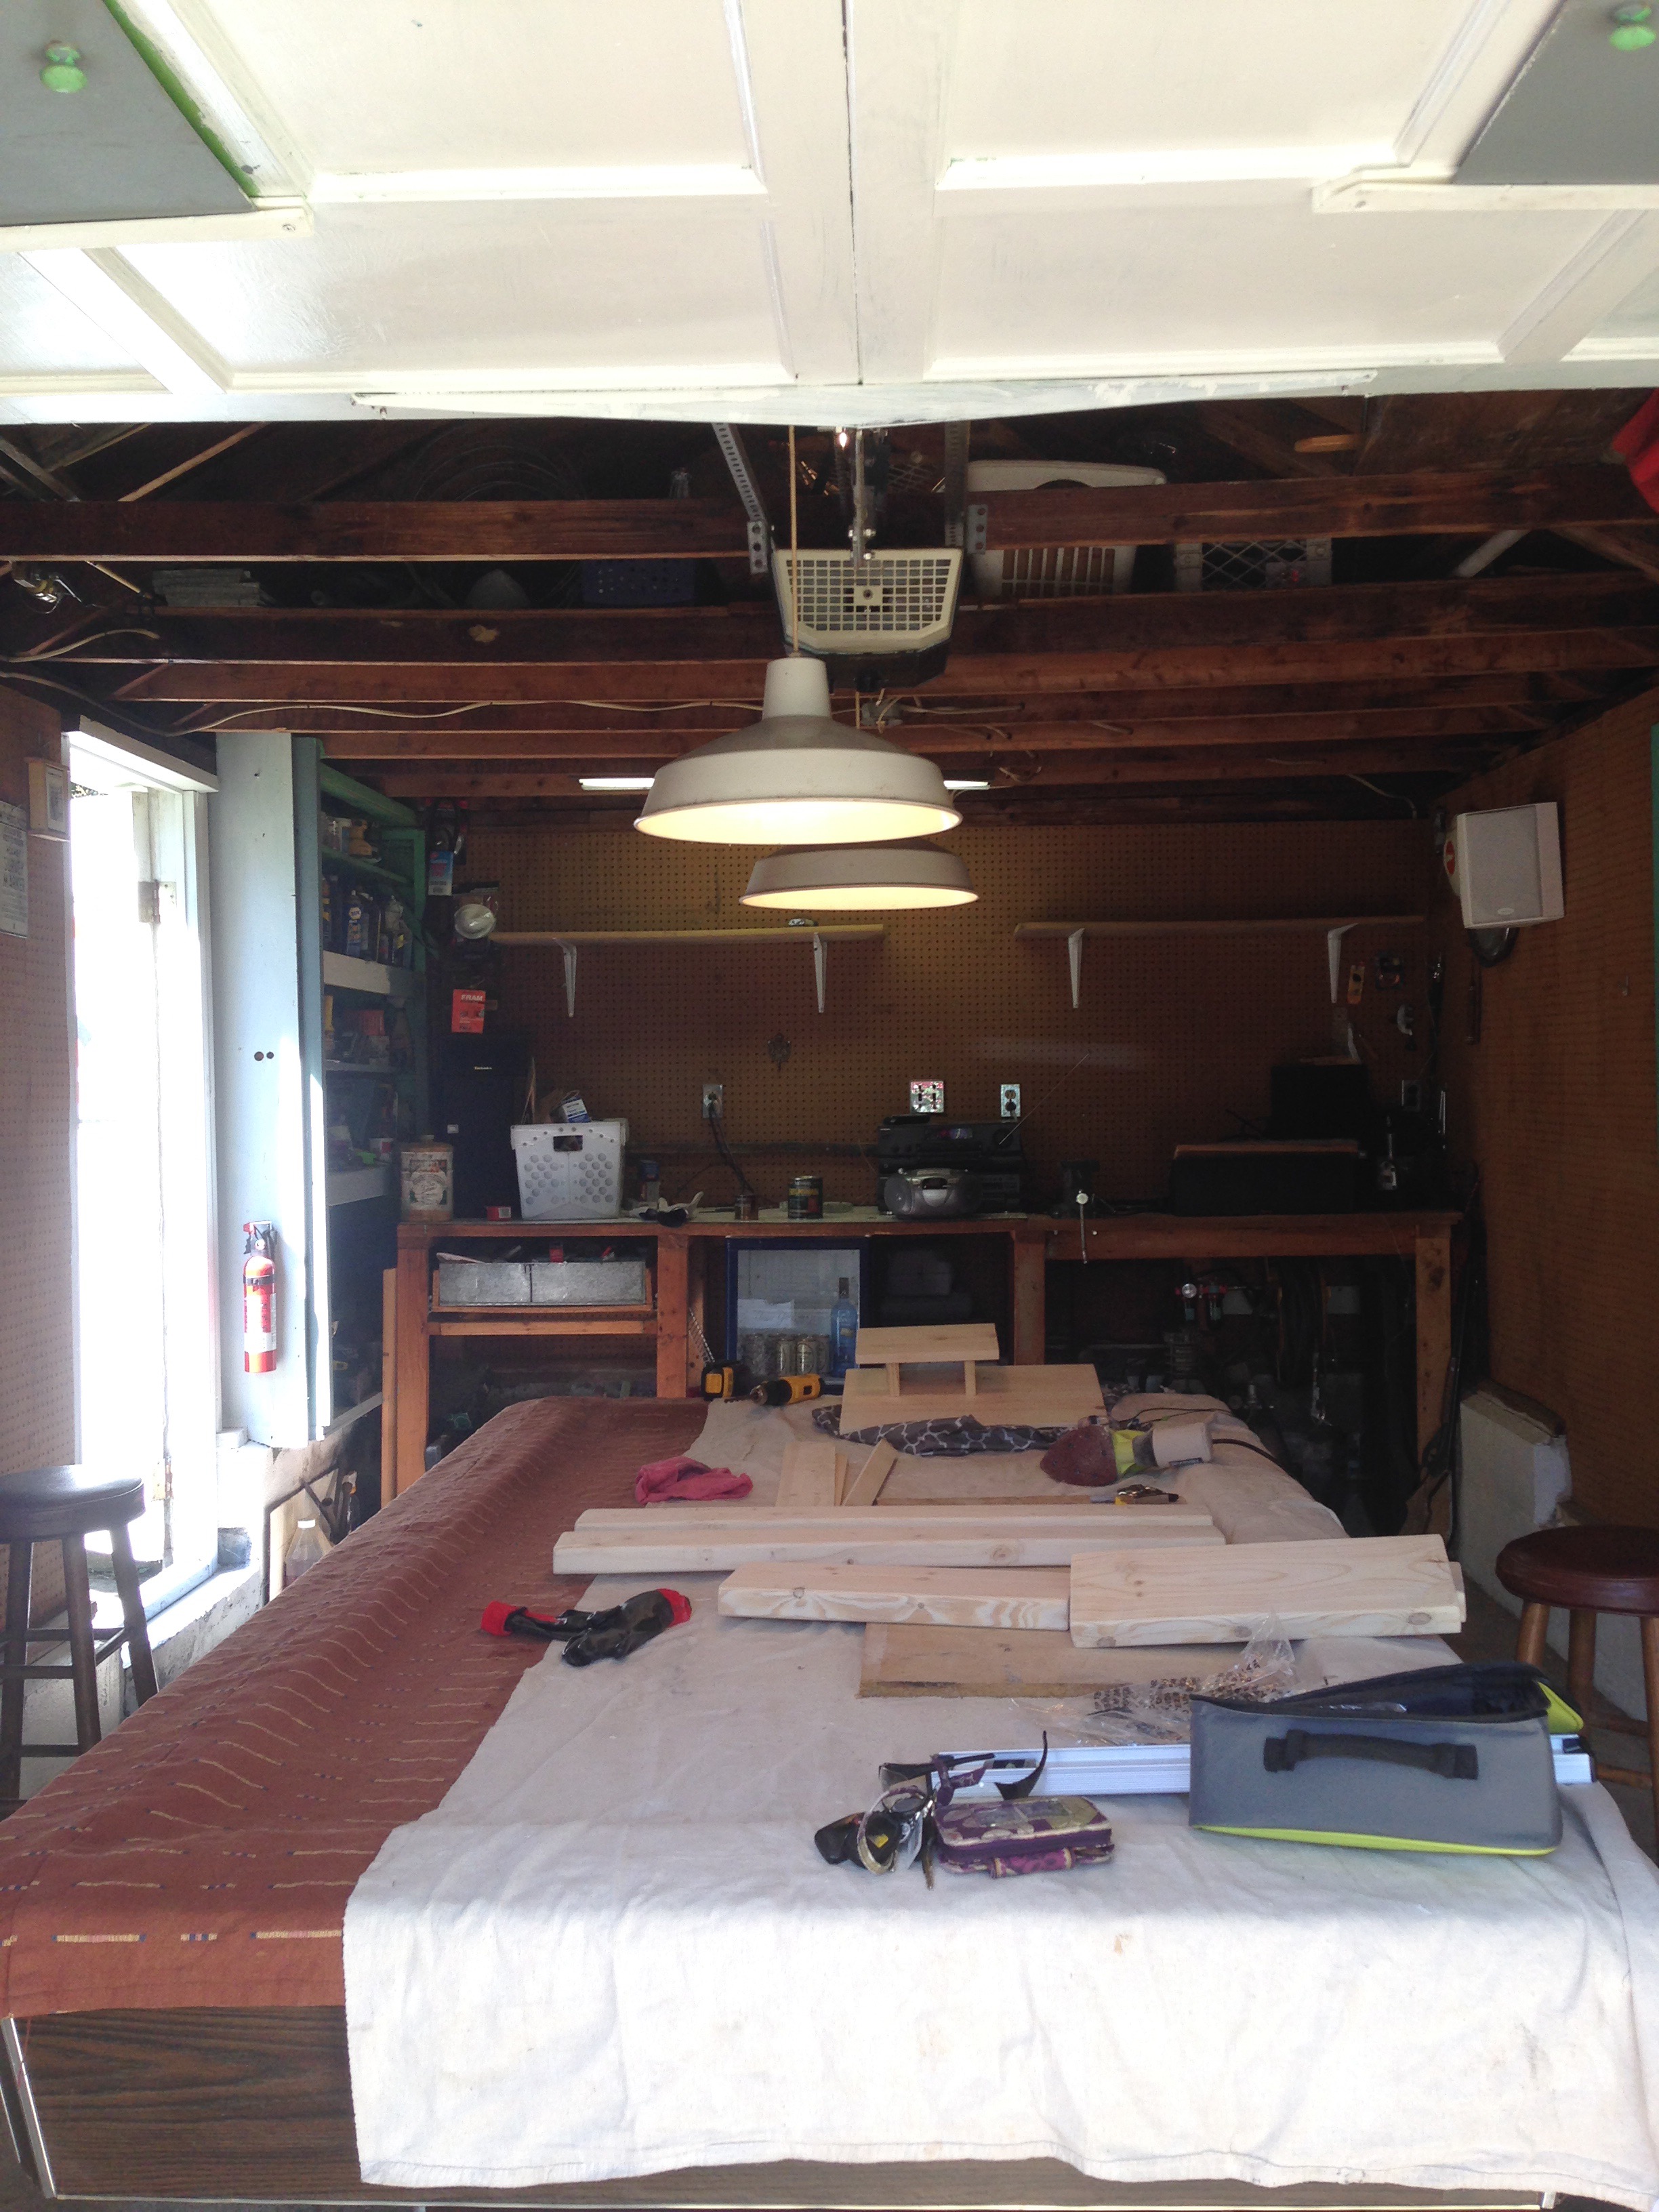
I set up my wood, sander and other tools on top of Tim’s pool table (yes, that’s the available work table in his “shop”).
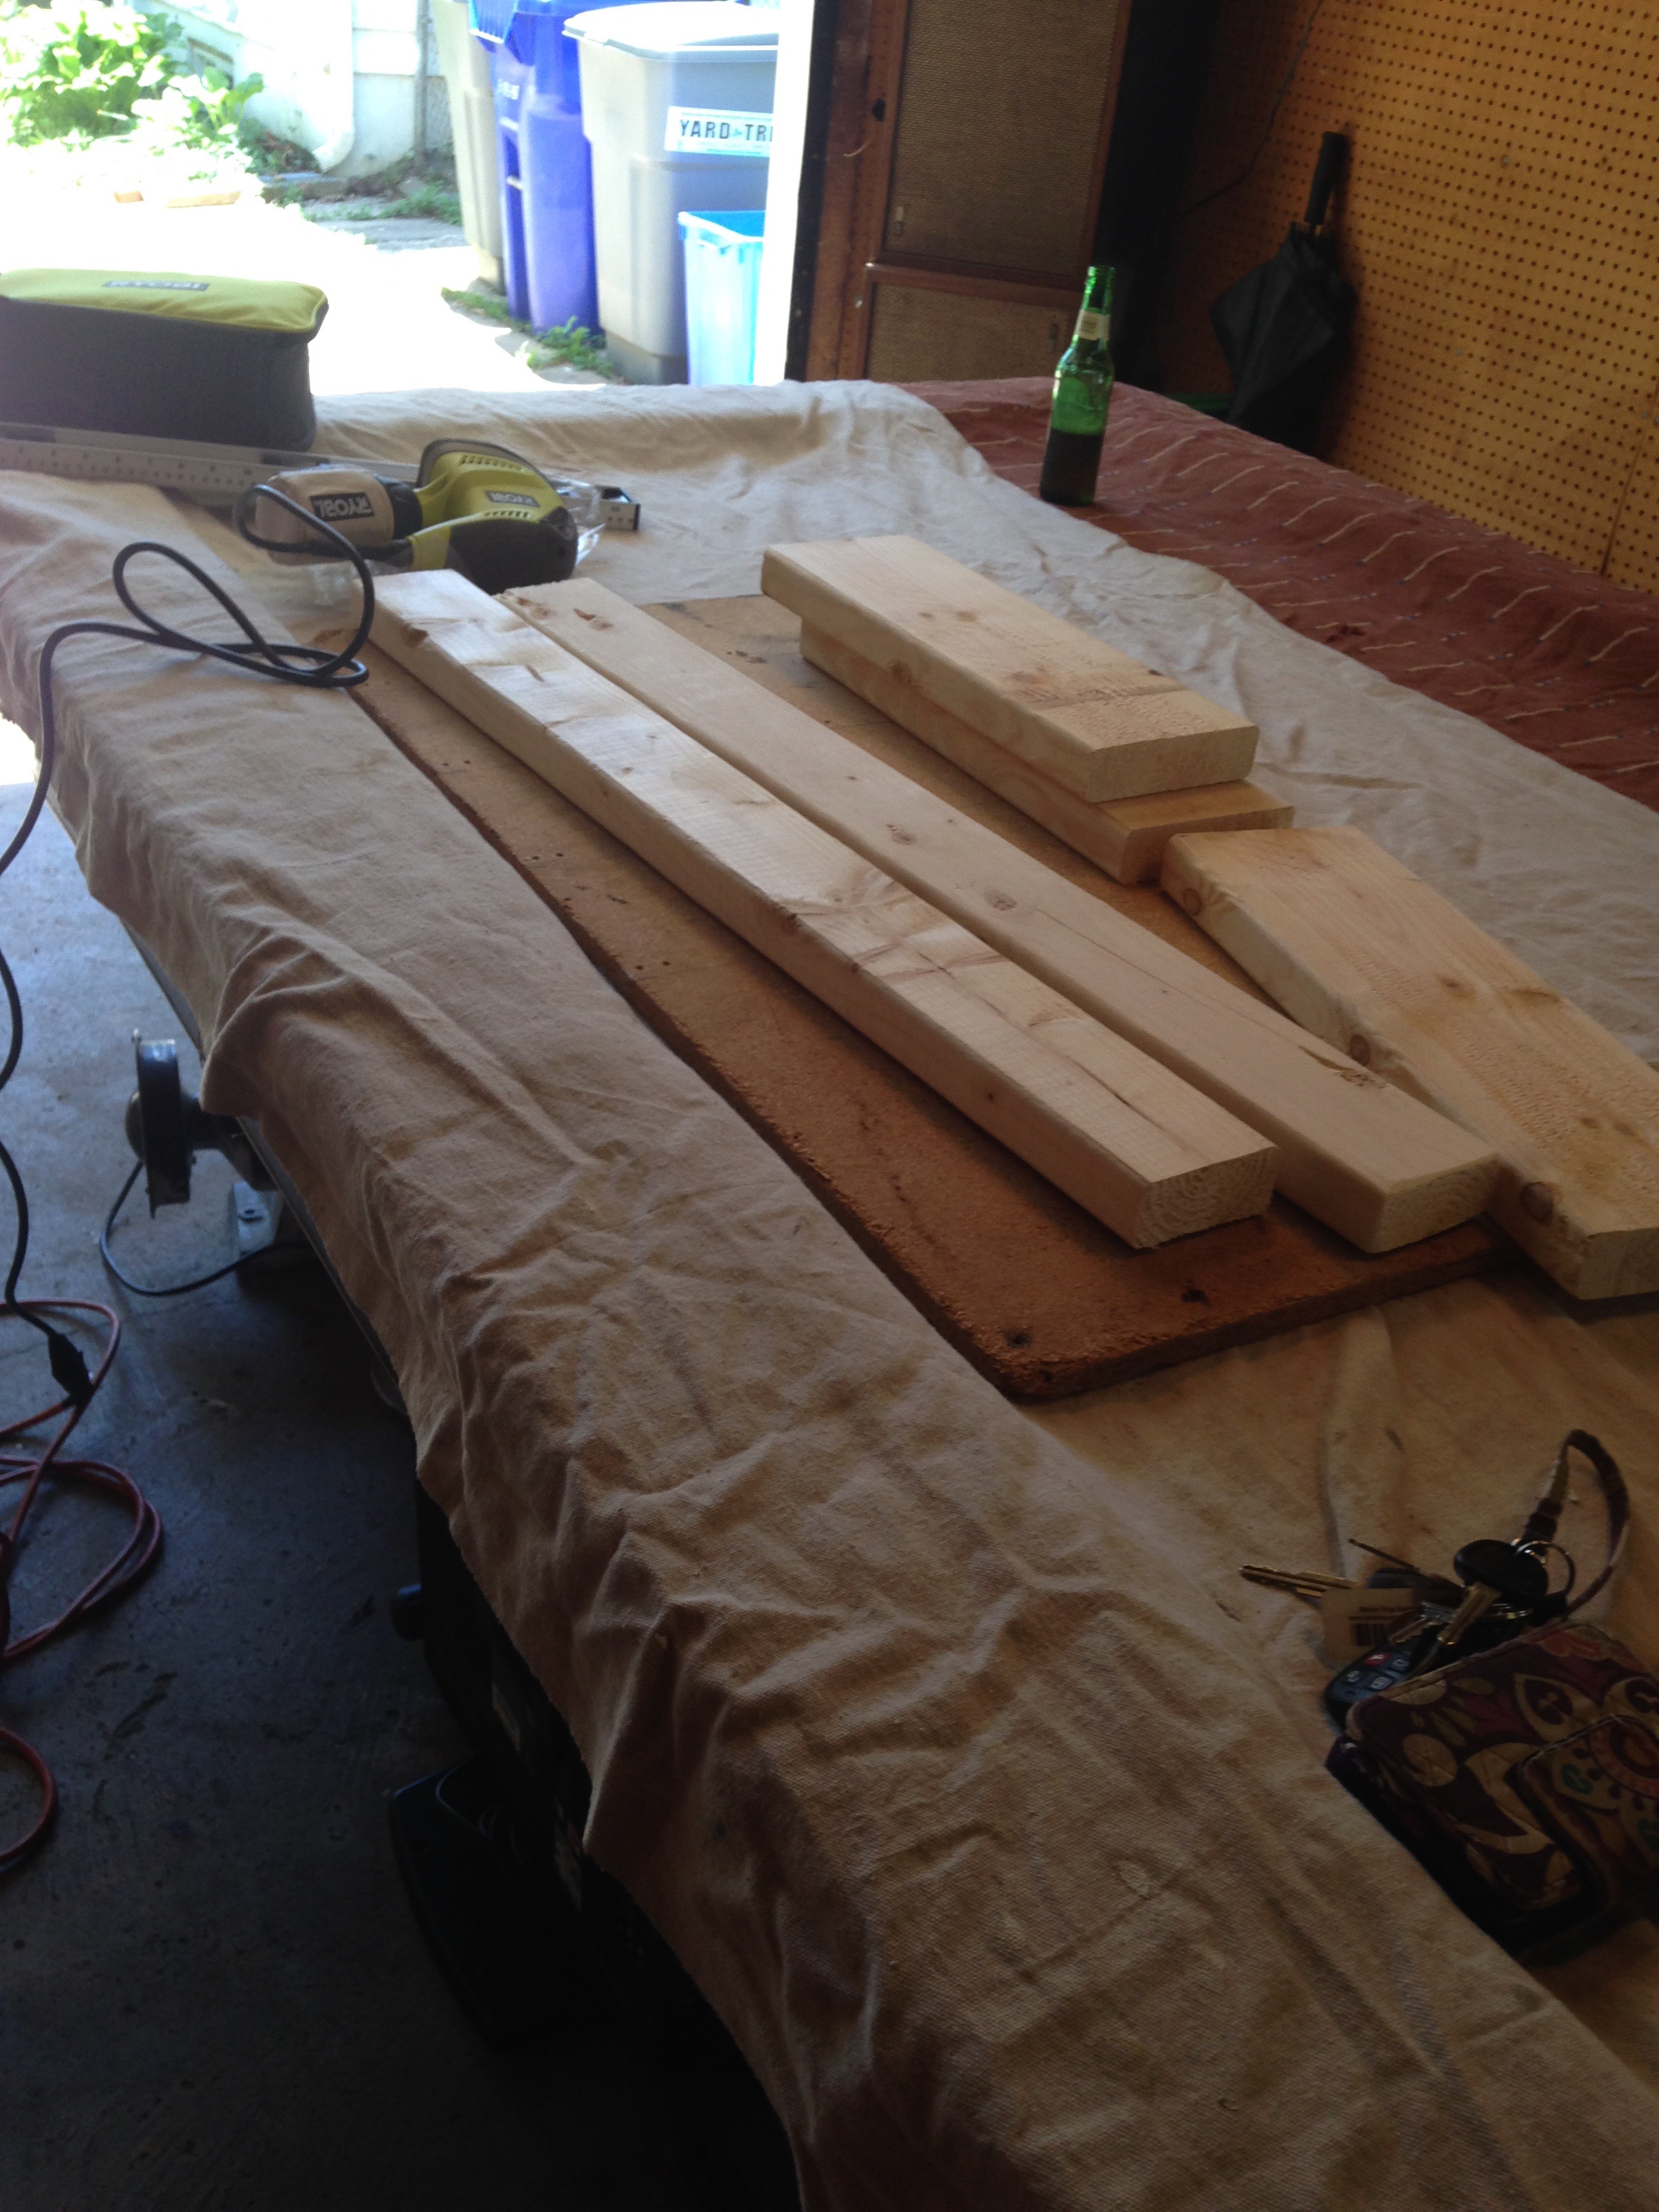
Because I’m a rookie with the sander, I spent the better part of my Saturday sanding. And sanding. And sanding some more. My hands and arms vibrated for hours after orbital sander heavy usage. I made sure I sanded each wood piece until it was as smooth as marble. Or somewhat close.
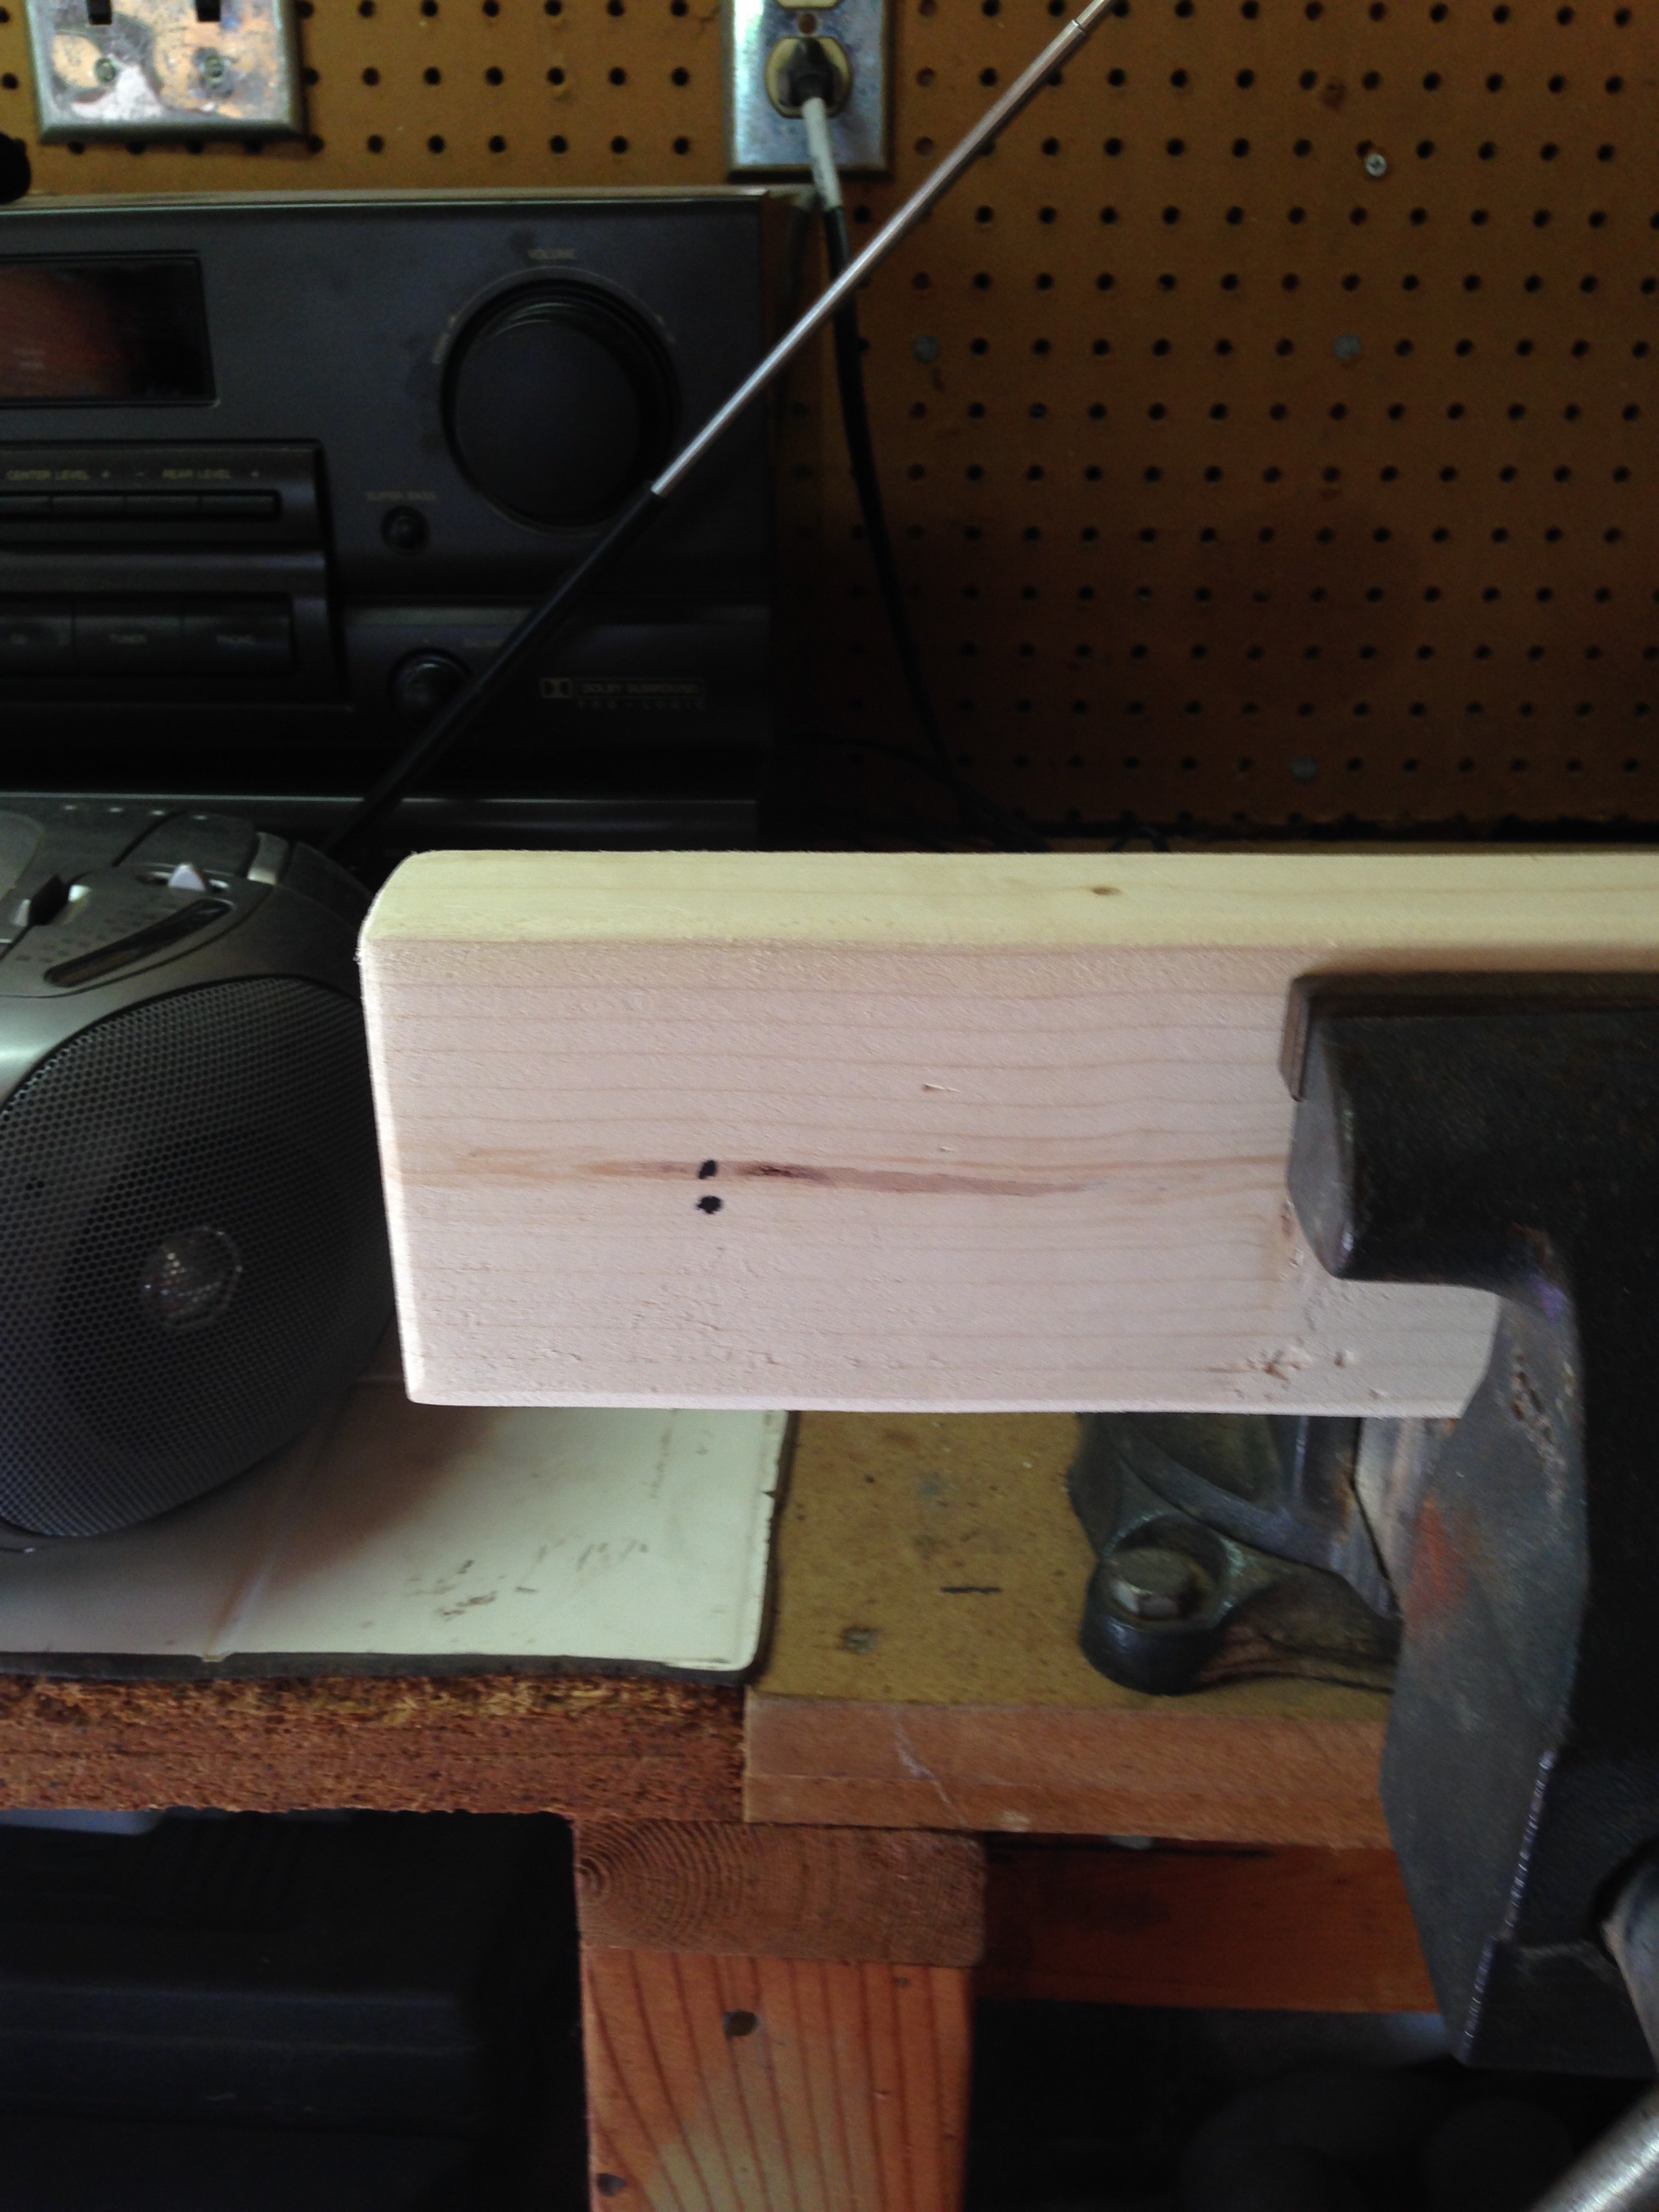
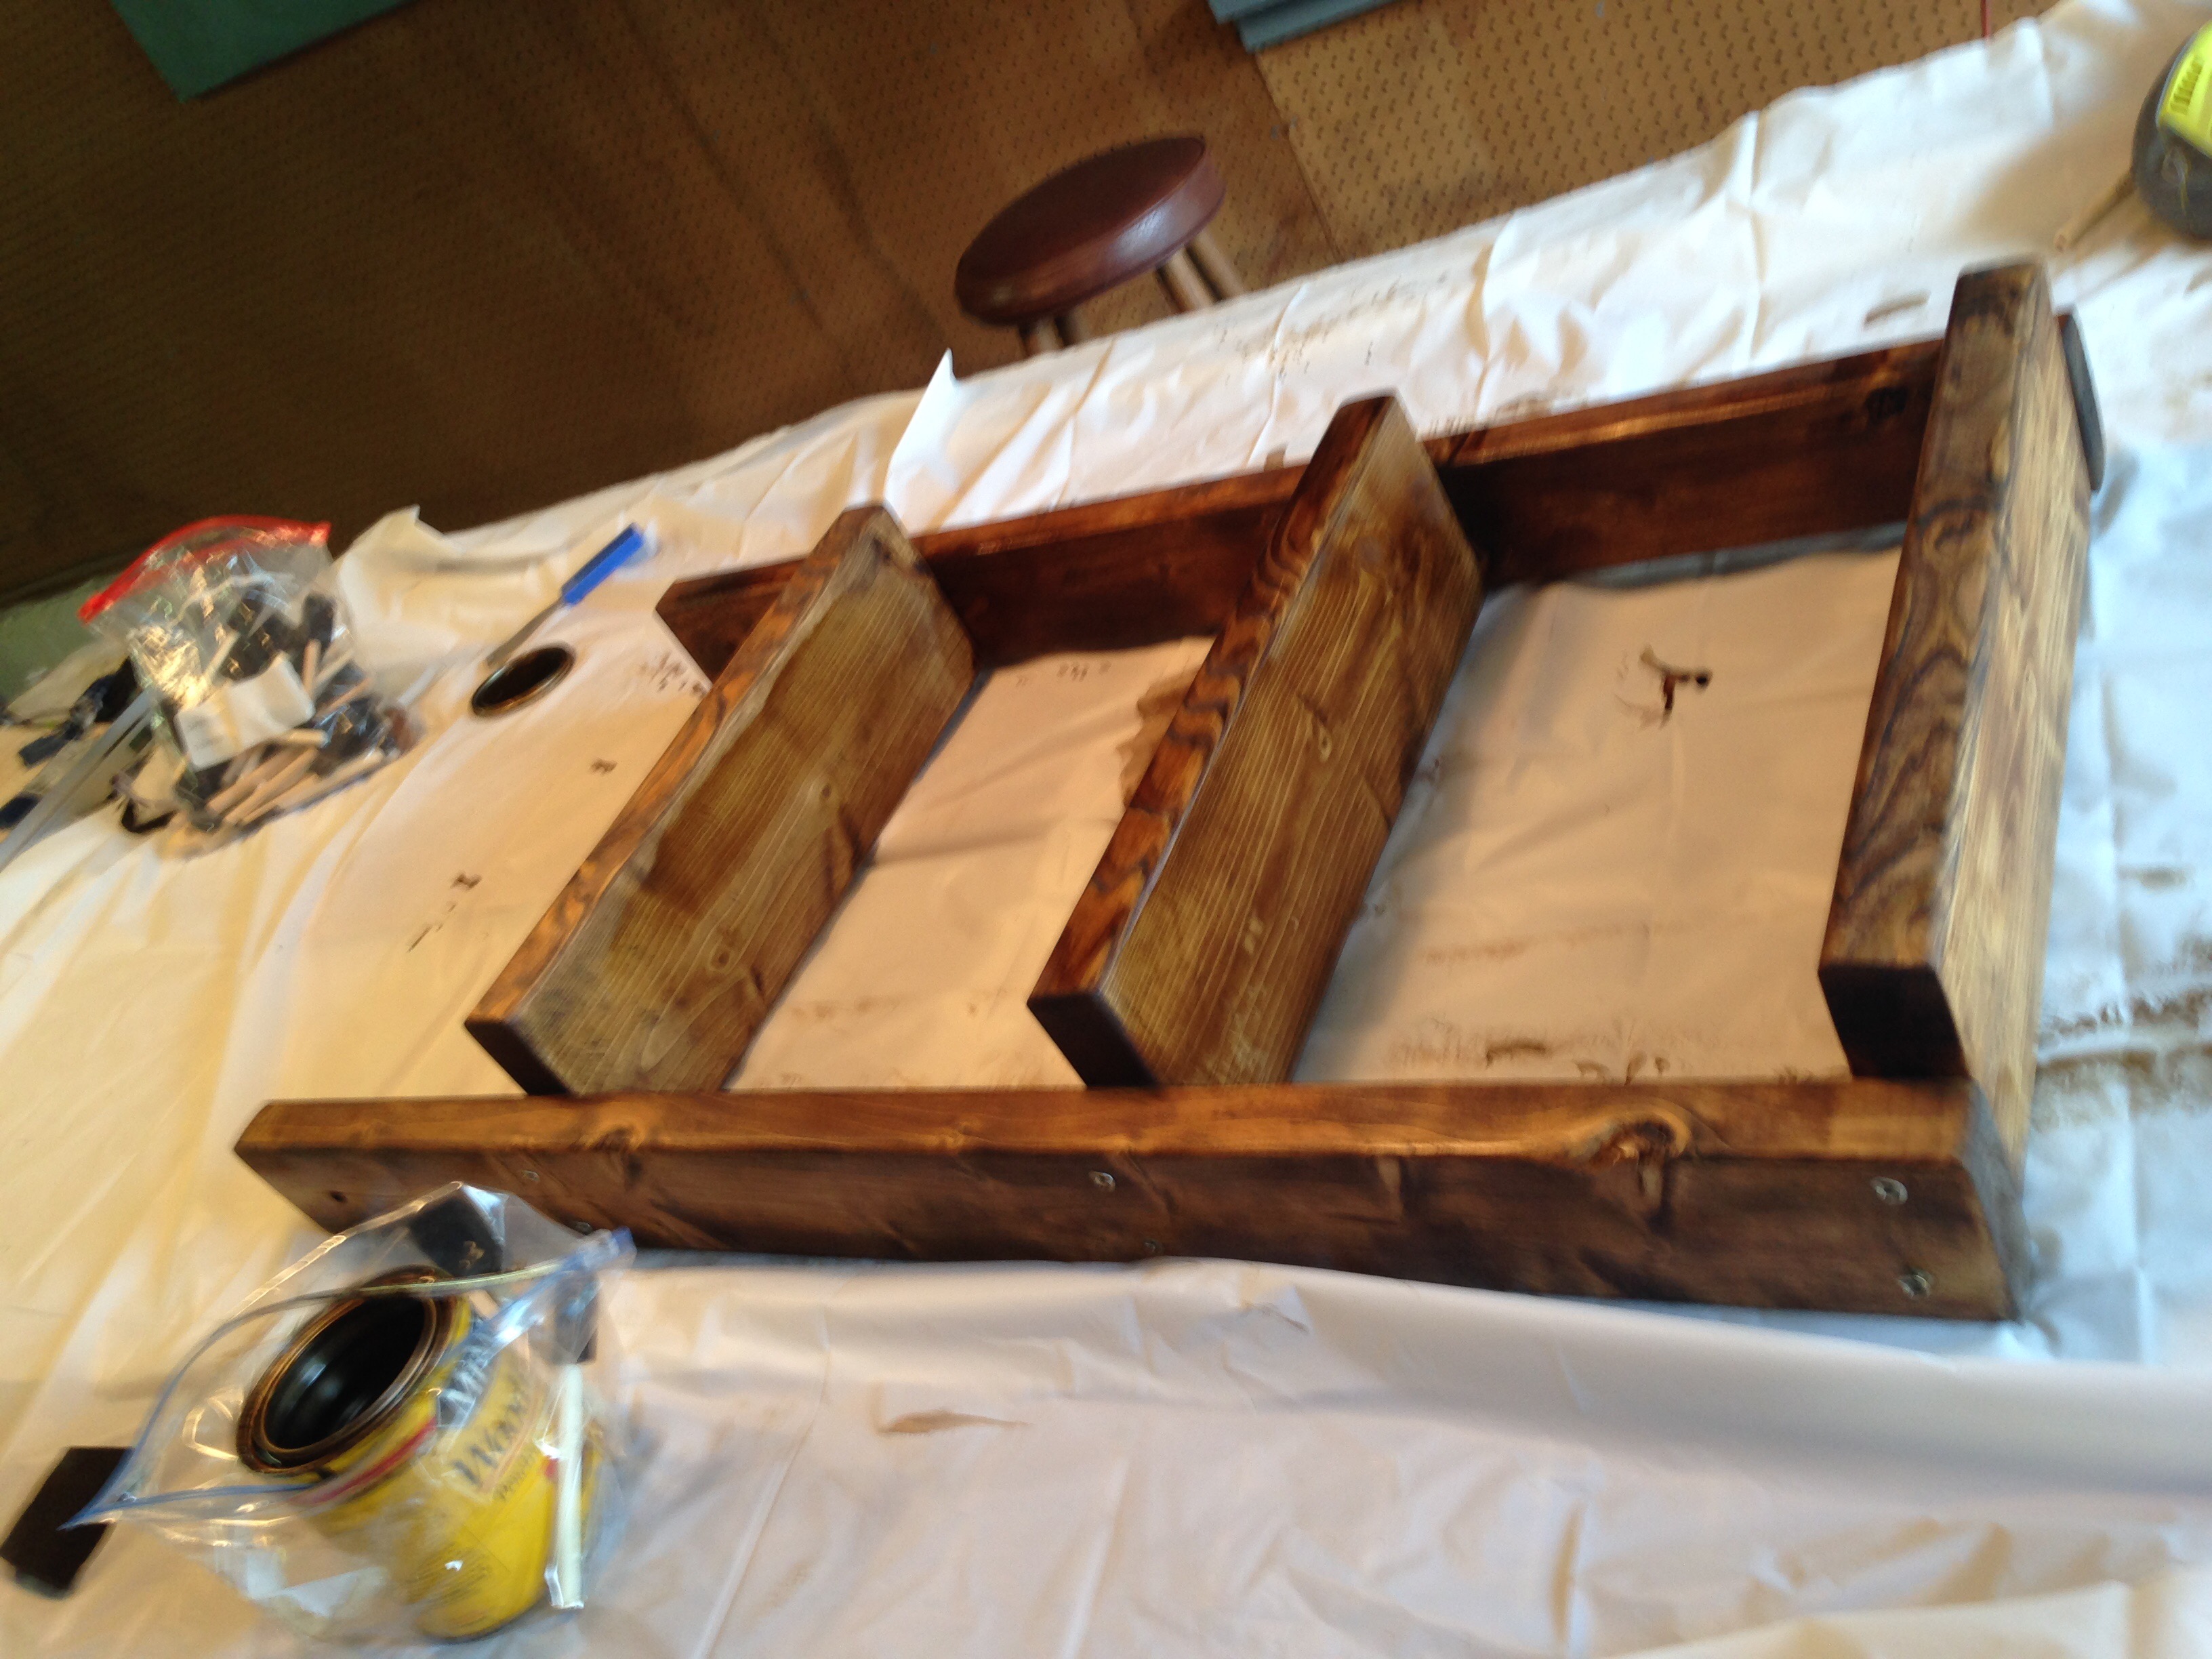
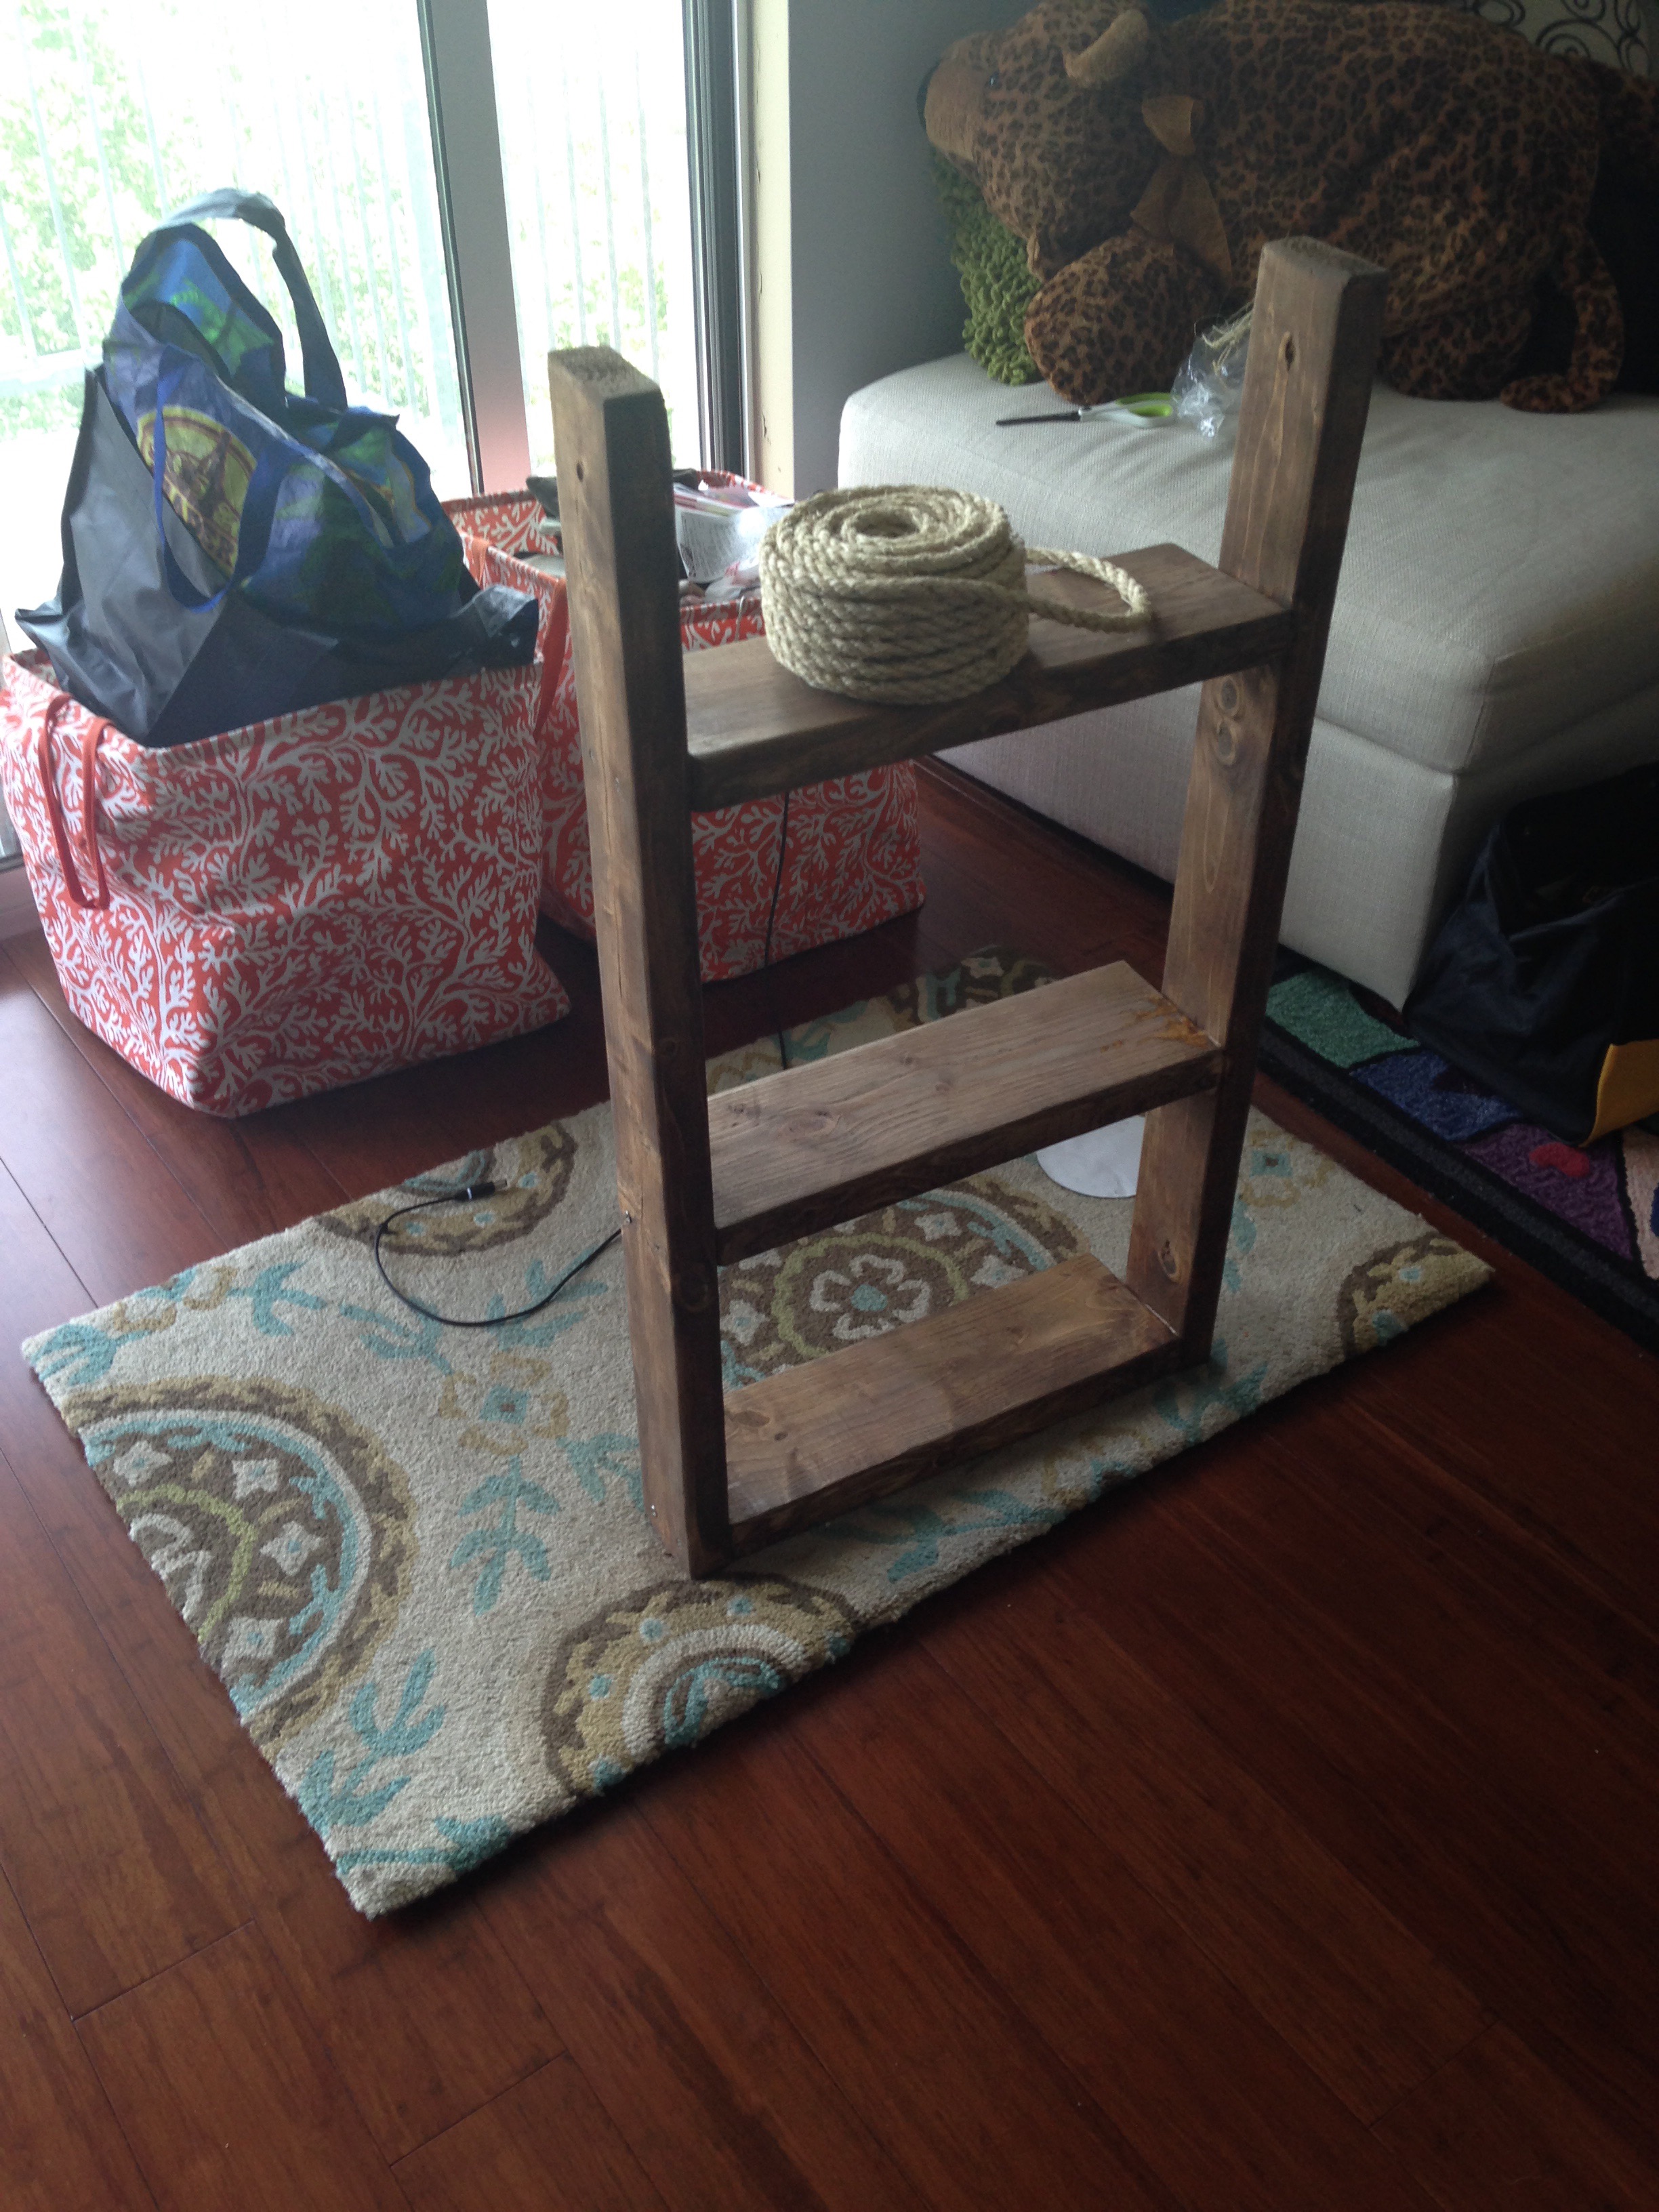
For the hanging shelves, I needed three pairs 5/16″ holes drilled on the 2×4 40″ wood pieces for the three-tier shelves. And I needed a big 1/4″ hole at the top to thread the sisal rope through.
I used Tim’s Wood Tek drill press to drill the holes into the wood. His house mate, Bobby (who did our bedroom redo, including the walls, the roman shade install, the closet louvered doors removal, the carpet pull-up, AND the new wood floors) showed me how to use the drill press. 🙂
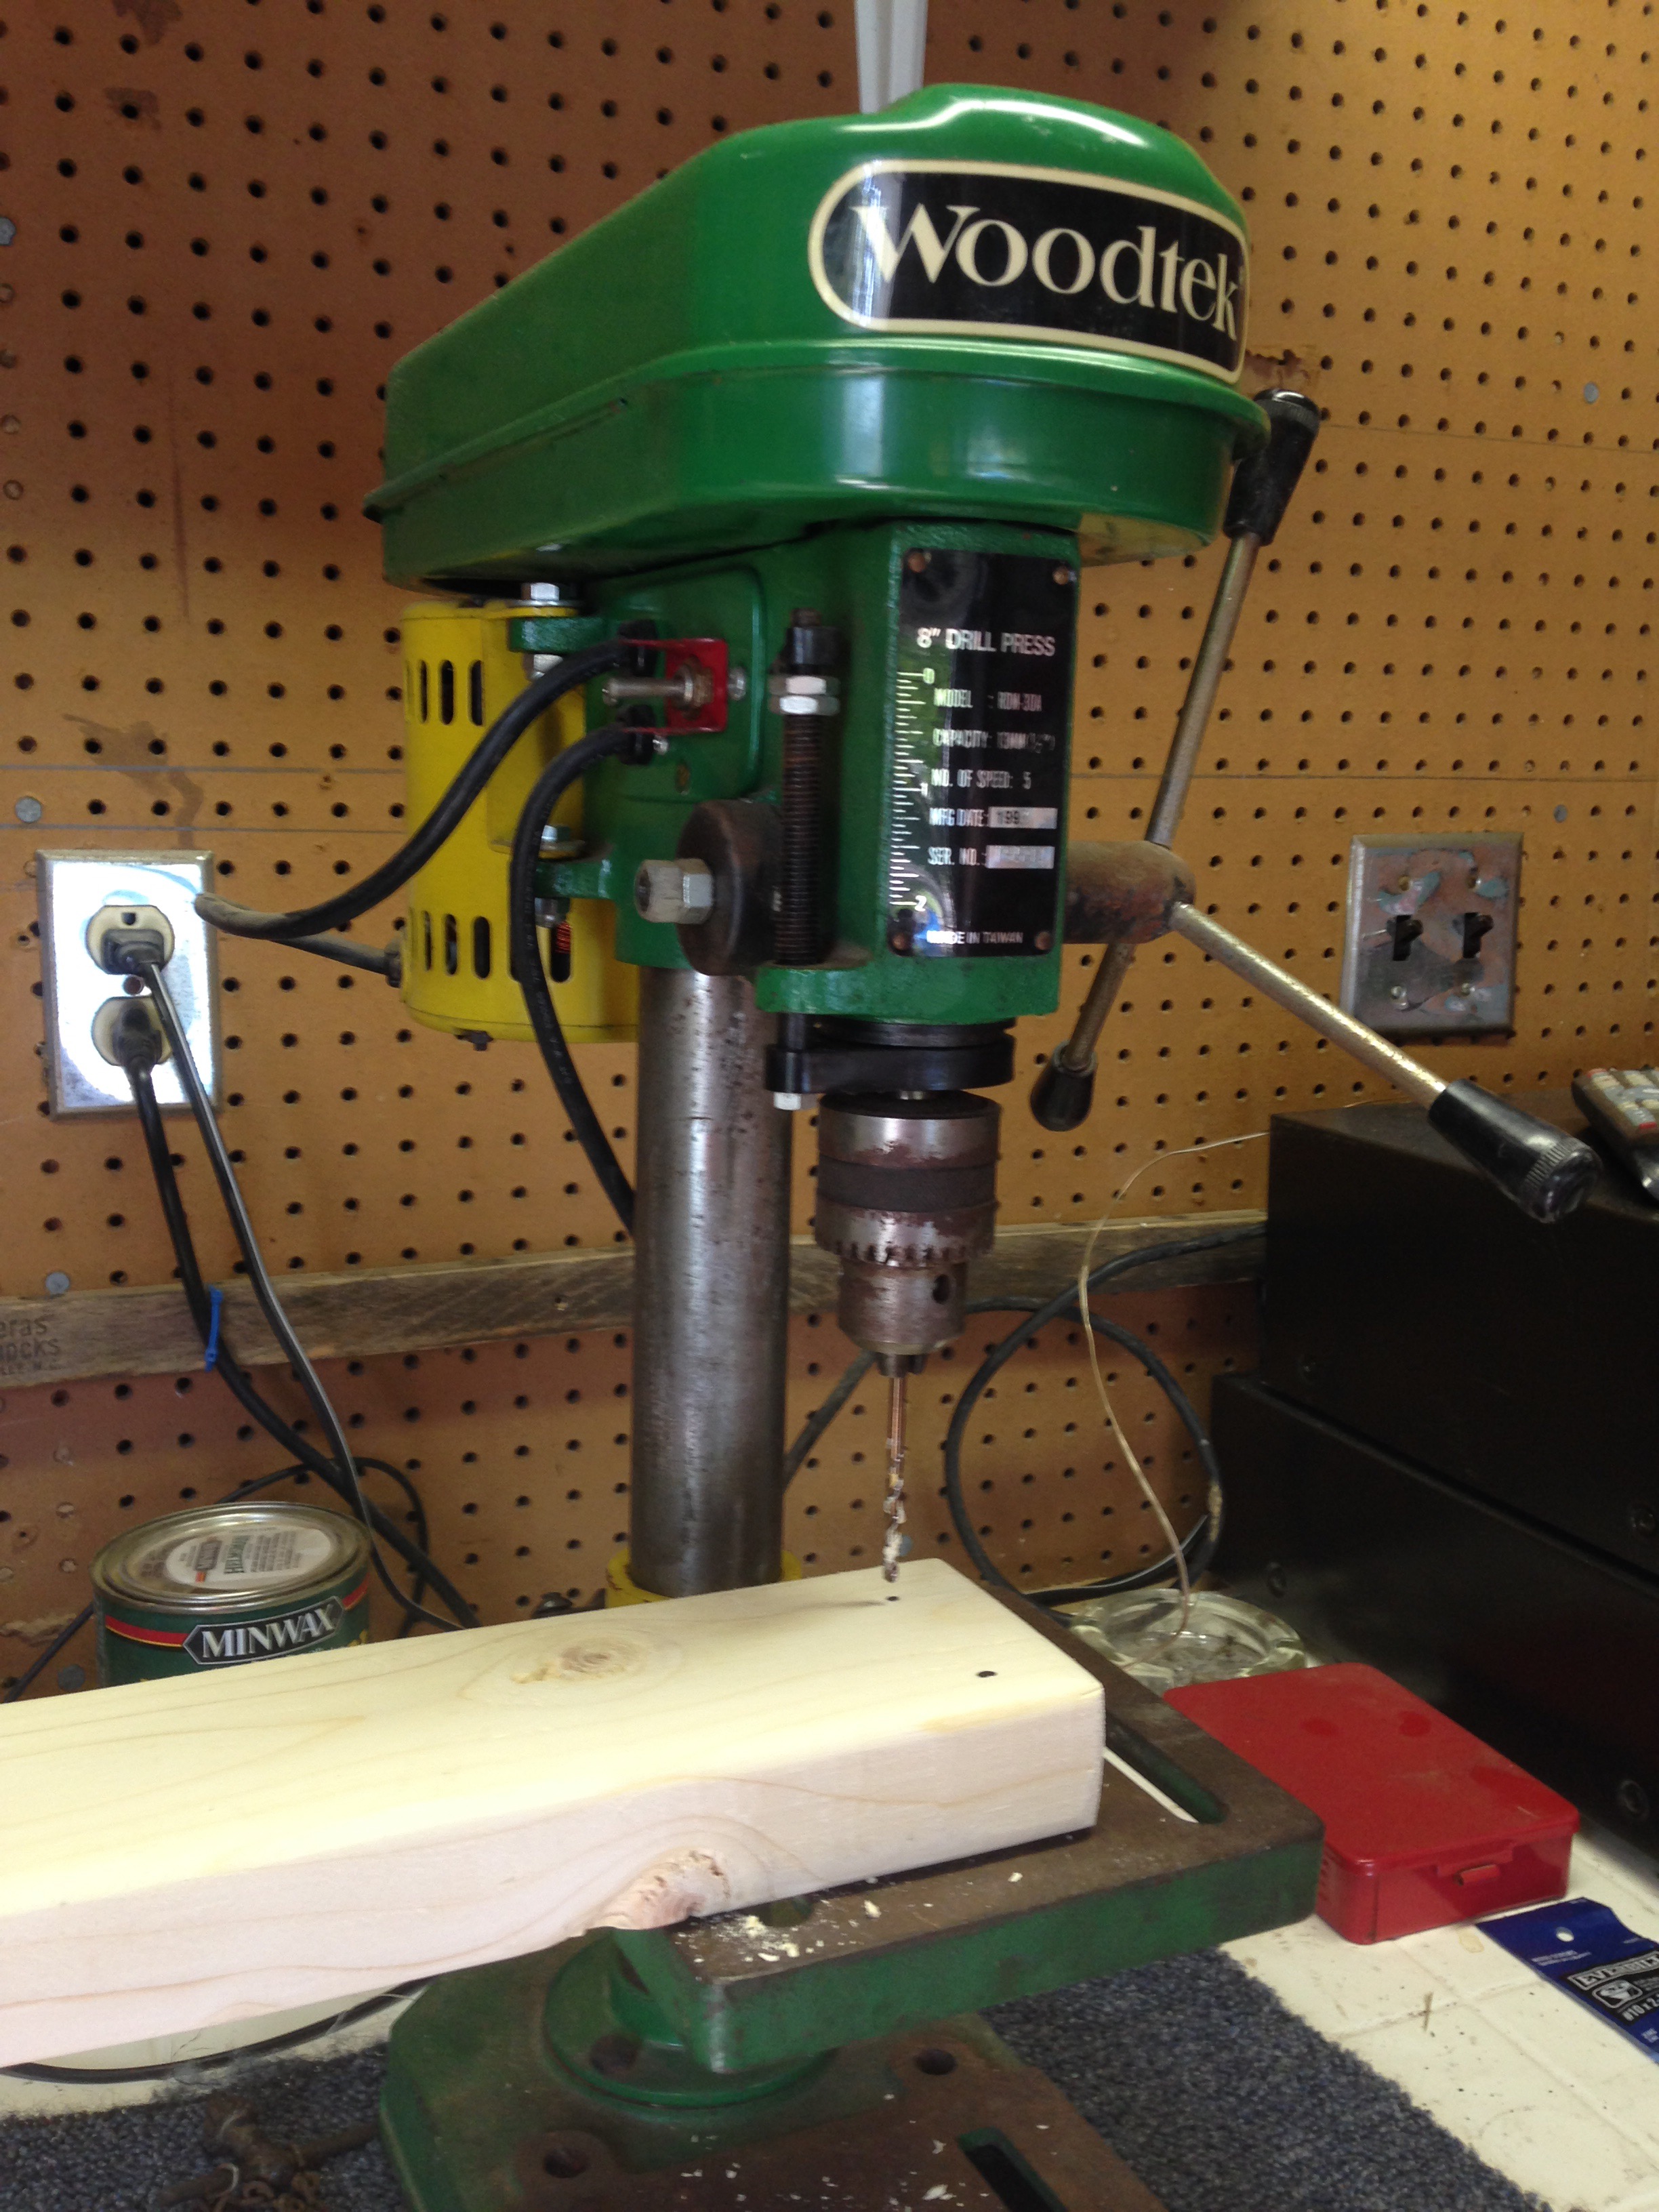
Using the 5/16″ drill bits, I used the drill press to make the holes for the bottom, the middle (13″ up) and the top shelves {27″ up). The remaining 13″ is for top shelf goods and hanging space.
Two inches form the top, I marked holes for the bigger 1/4″ drilled hole.
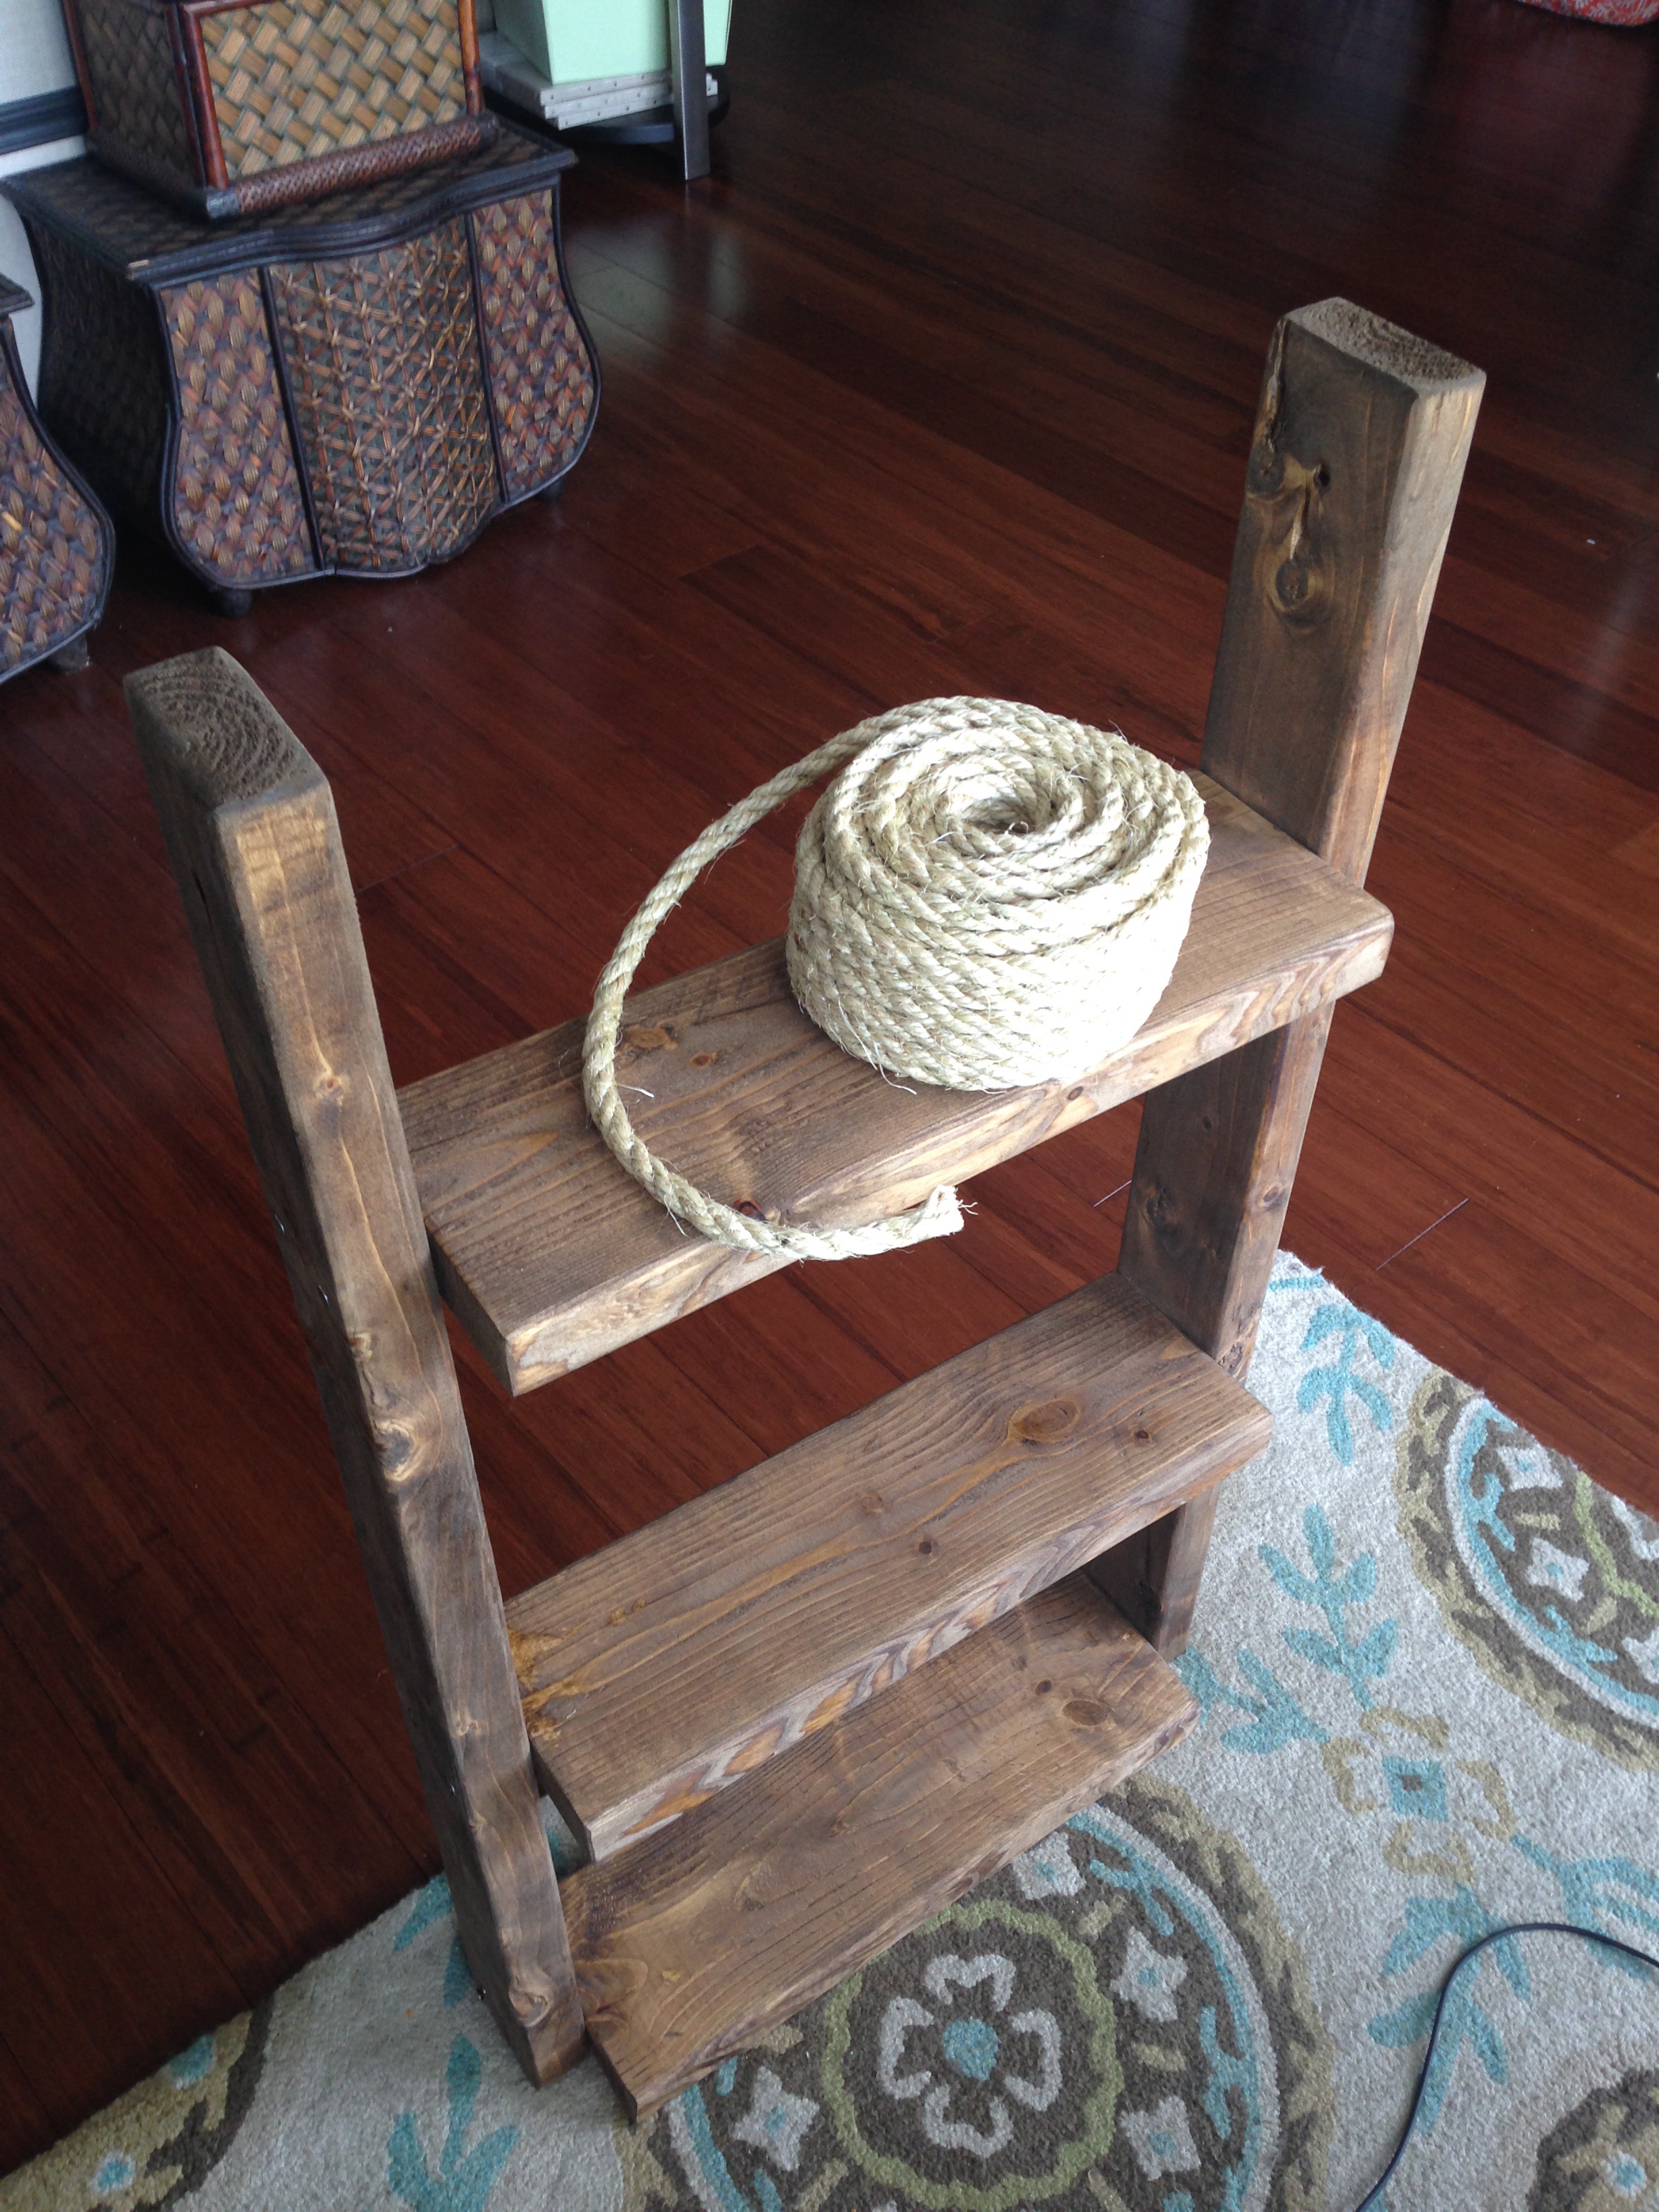
I then used the 2.5″ wood screws to attach the 2×4 boards to each side of the 2×6 boards. After applying wood glue on the sides of the horizontal boards (where the vertical boards will be attached) I used my Dewitt power drill and driver tool to screw the boards together.

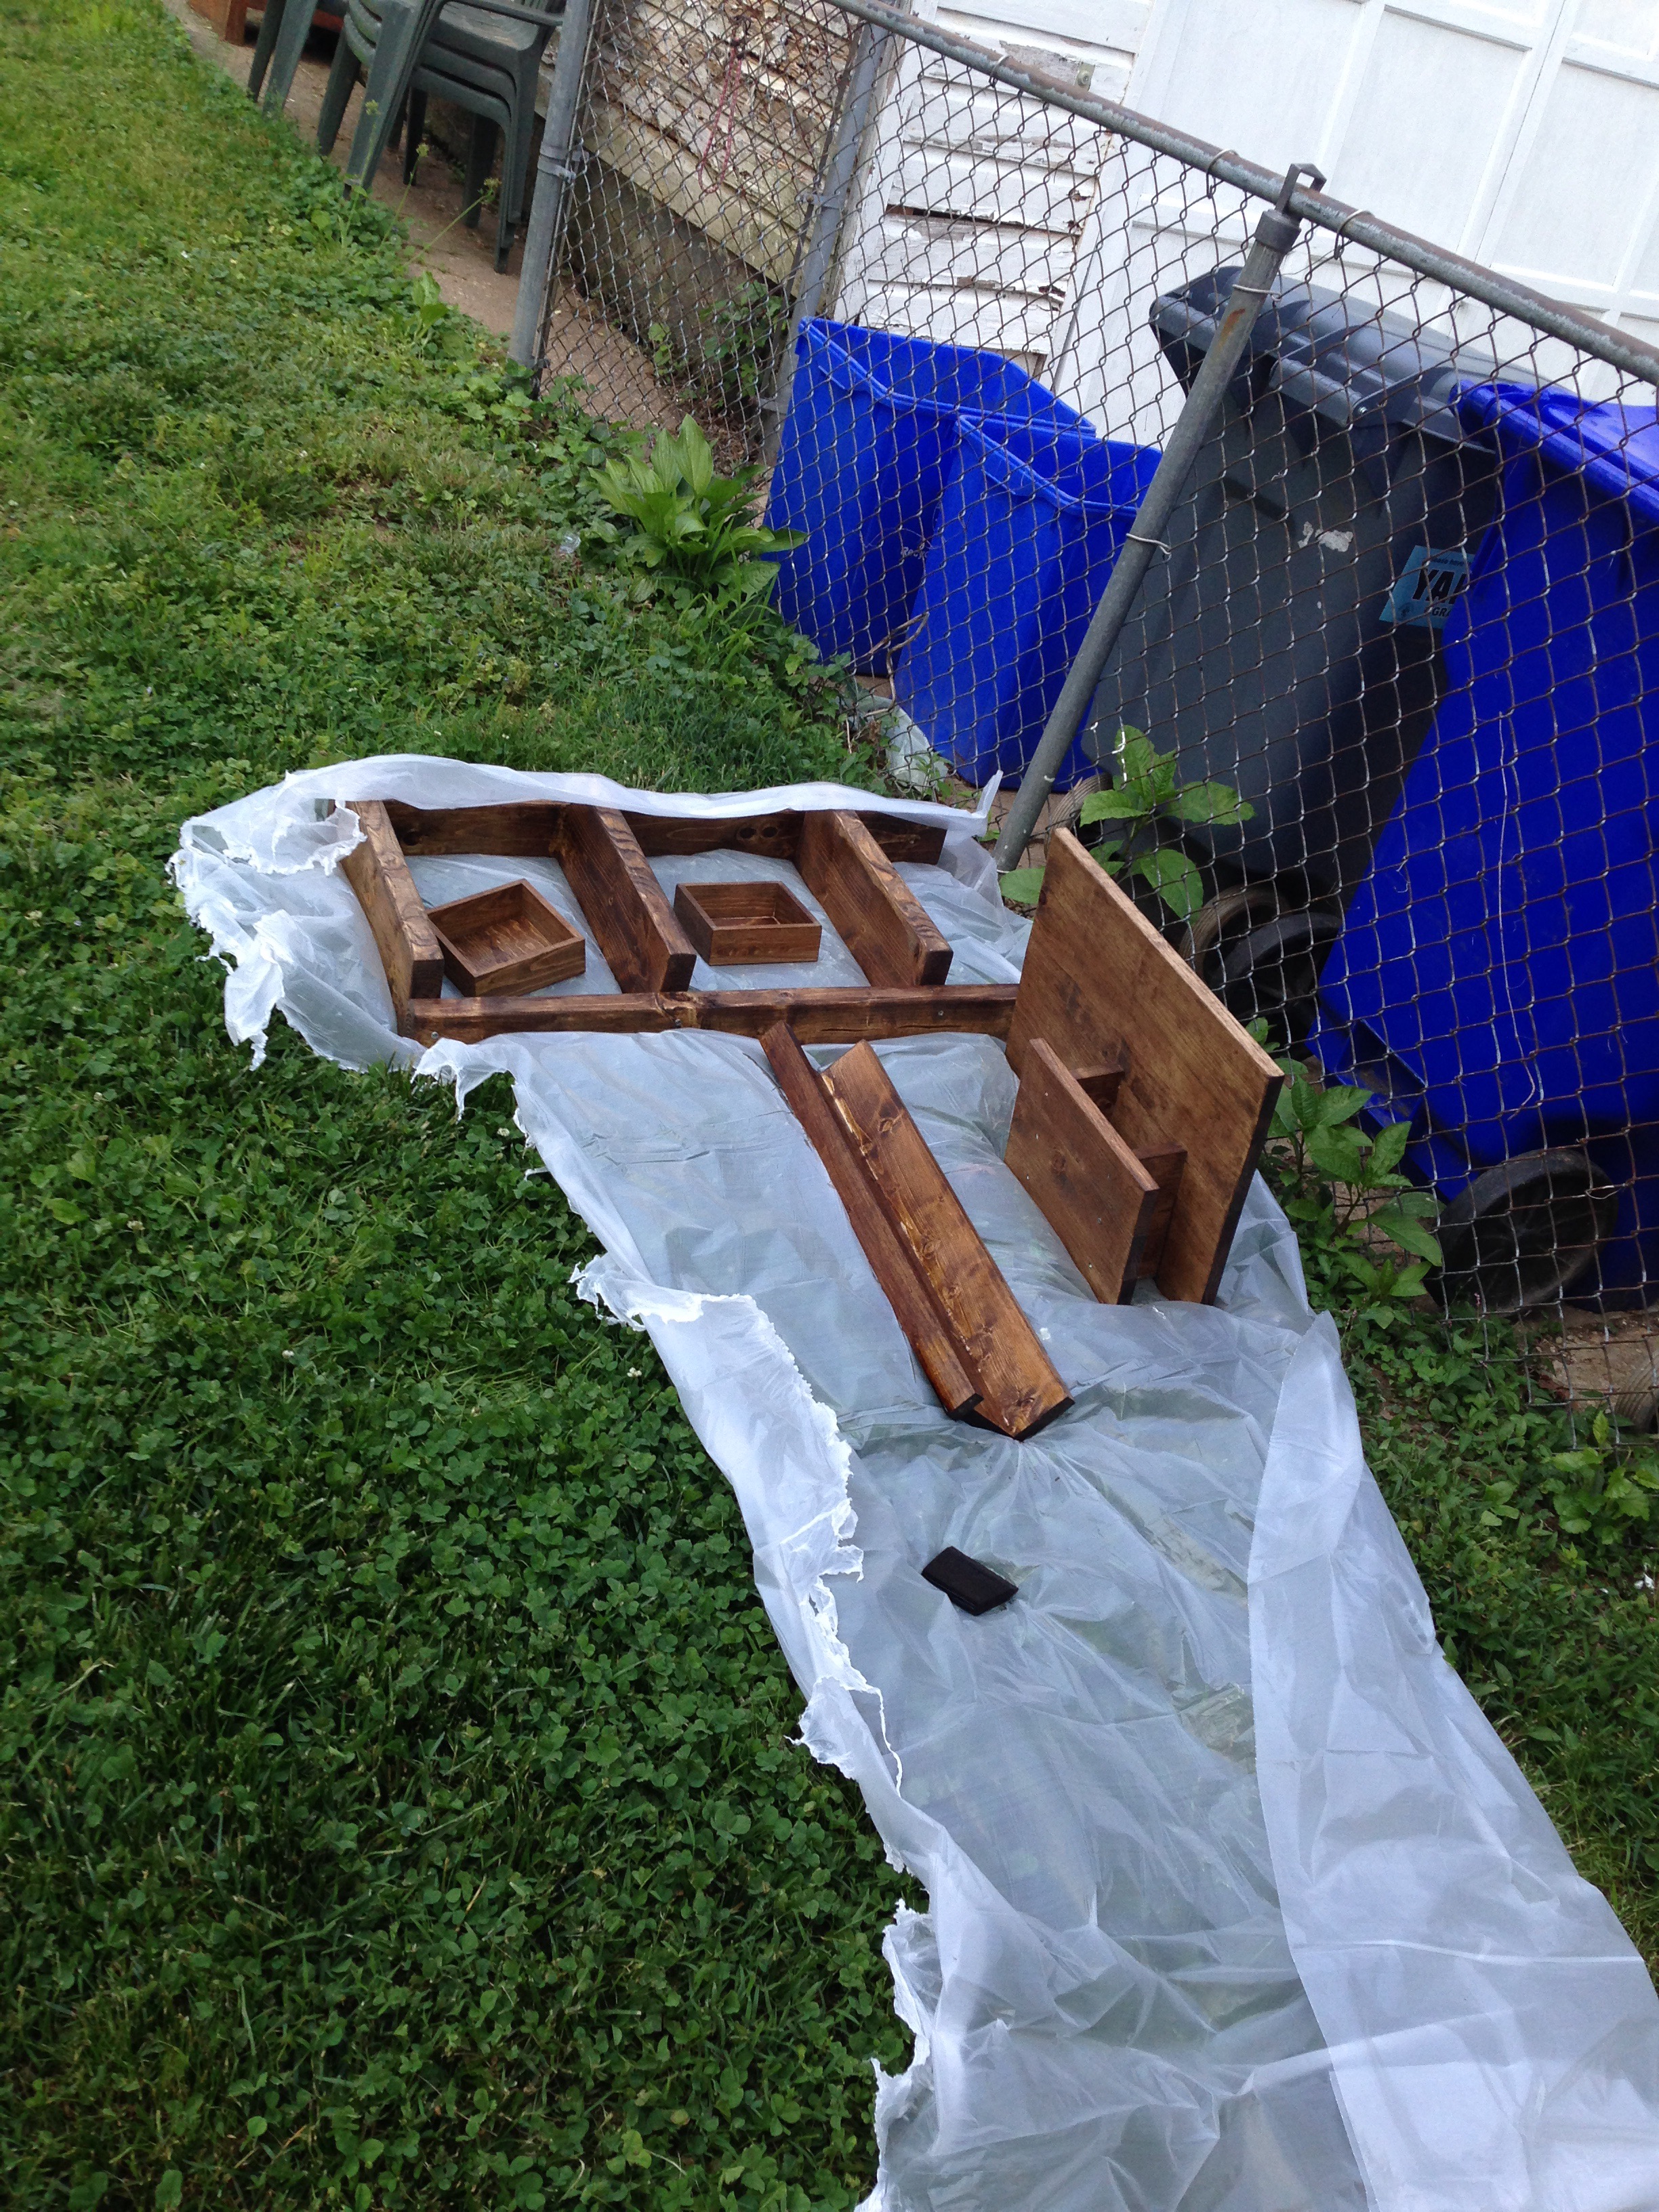
The picture shelf build was so easy, I had it done in a snap (and sadly did not snap any pics of the process.
You just position the two 24″ 1×4 boards in an “L” shape (applying glue between the “shelf” and the “back mount” piece. Then attach the boards together with screws.
Here’s a learning lesson tip: Be sure to pre-drill those holes before attaching the screws. Your wood will split when you between to screw into the wood. Mine sure did.
Making the wood pretty with stain
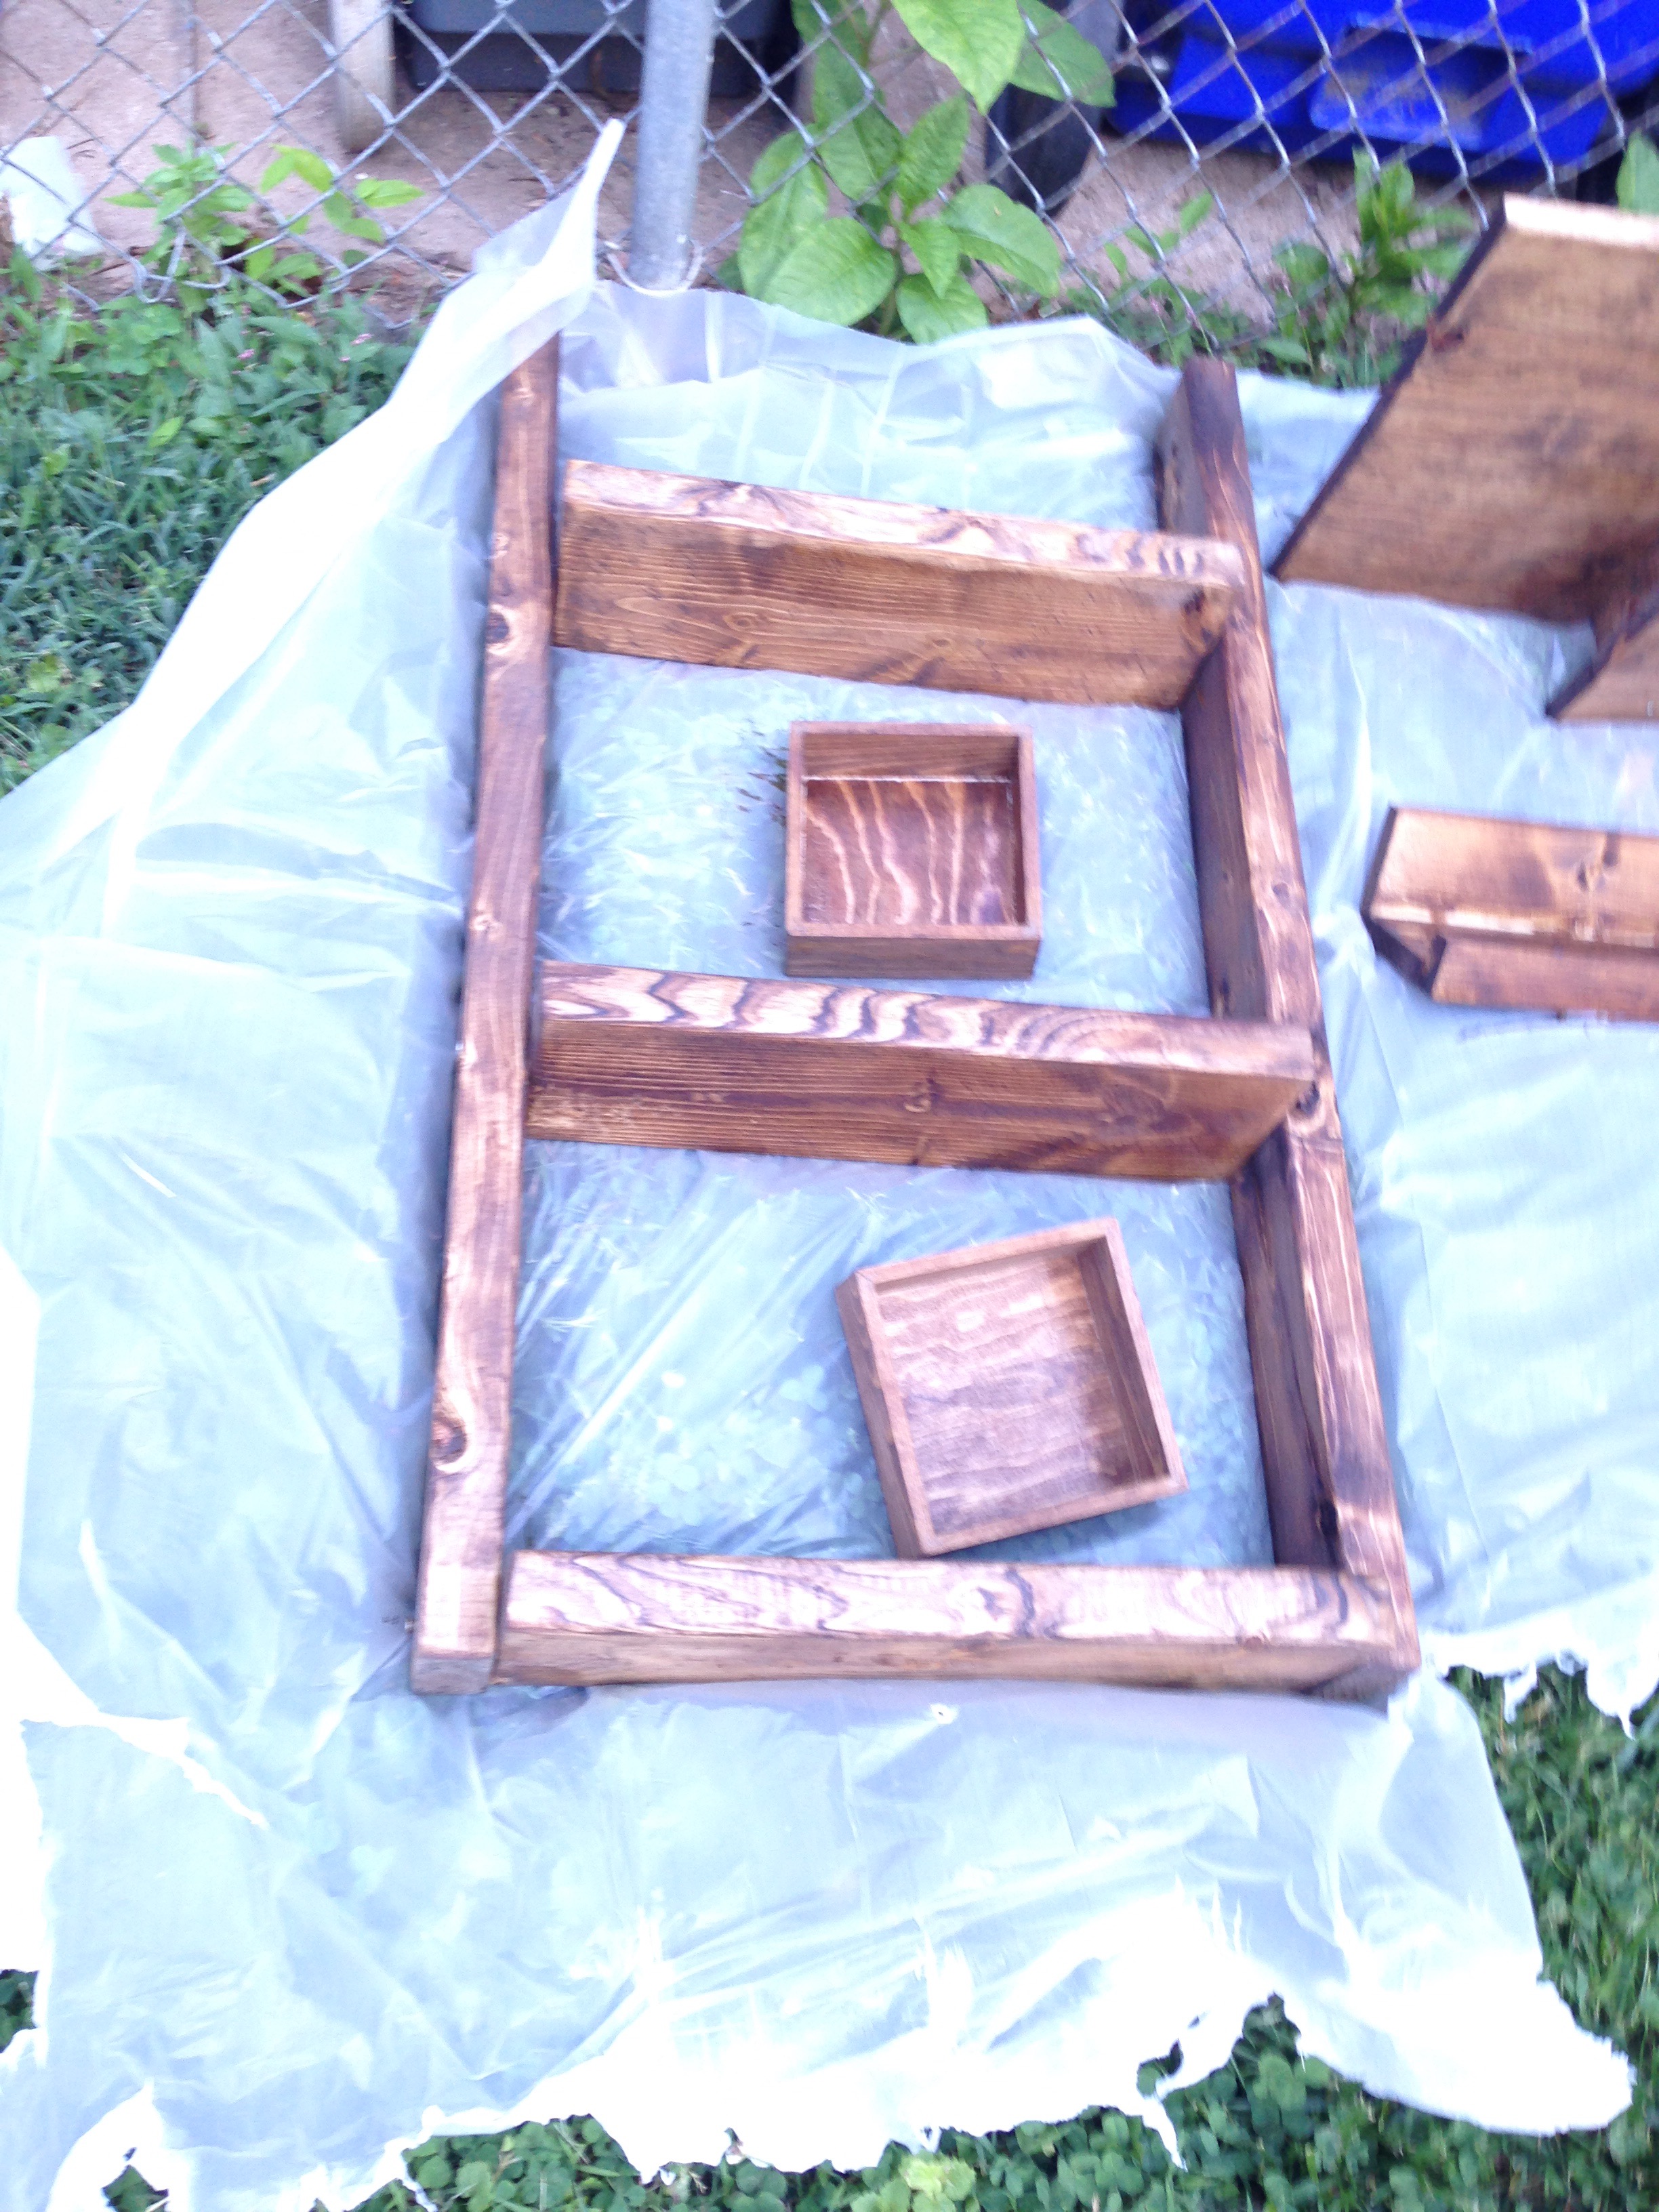
Here’s the fun part…staining the wood with my favorite stain color: Early American from Minwax.
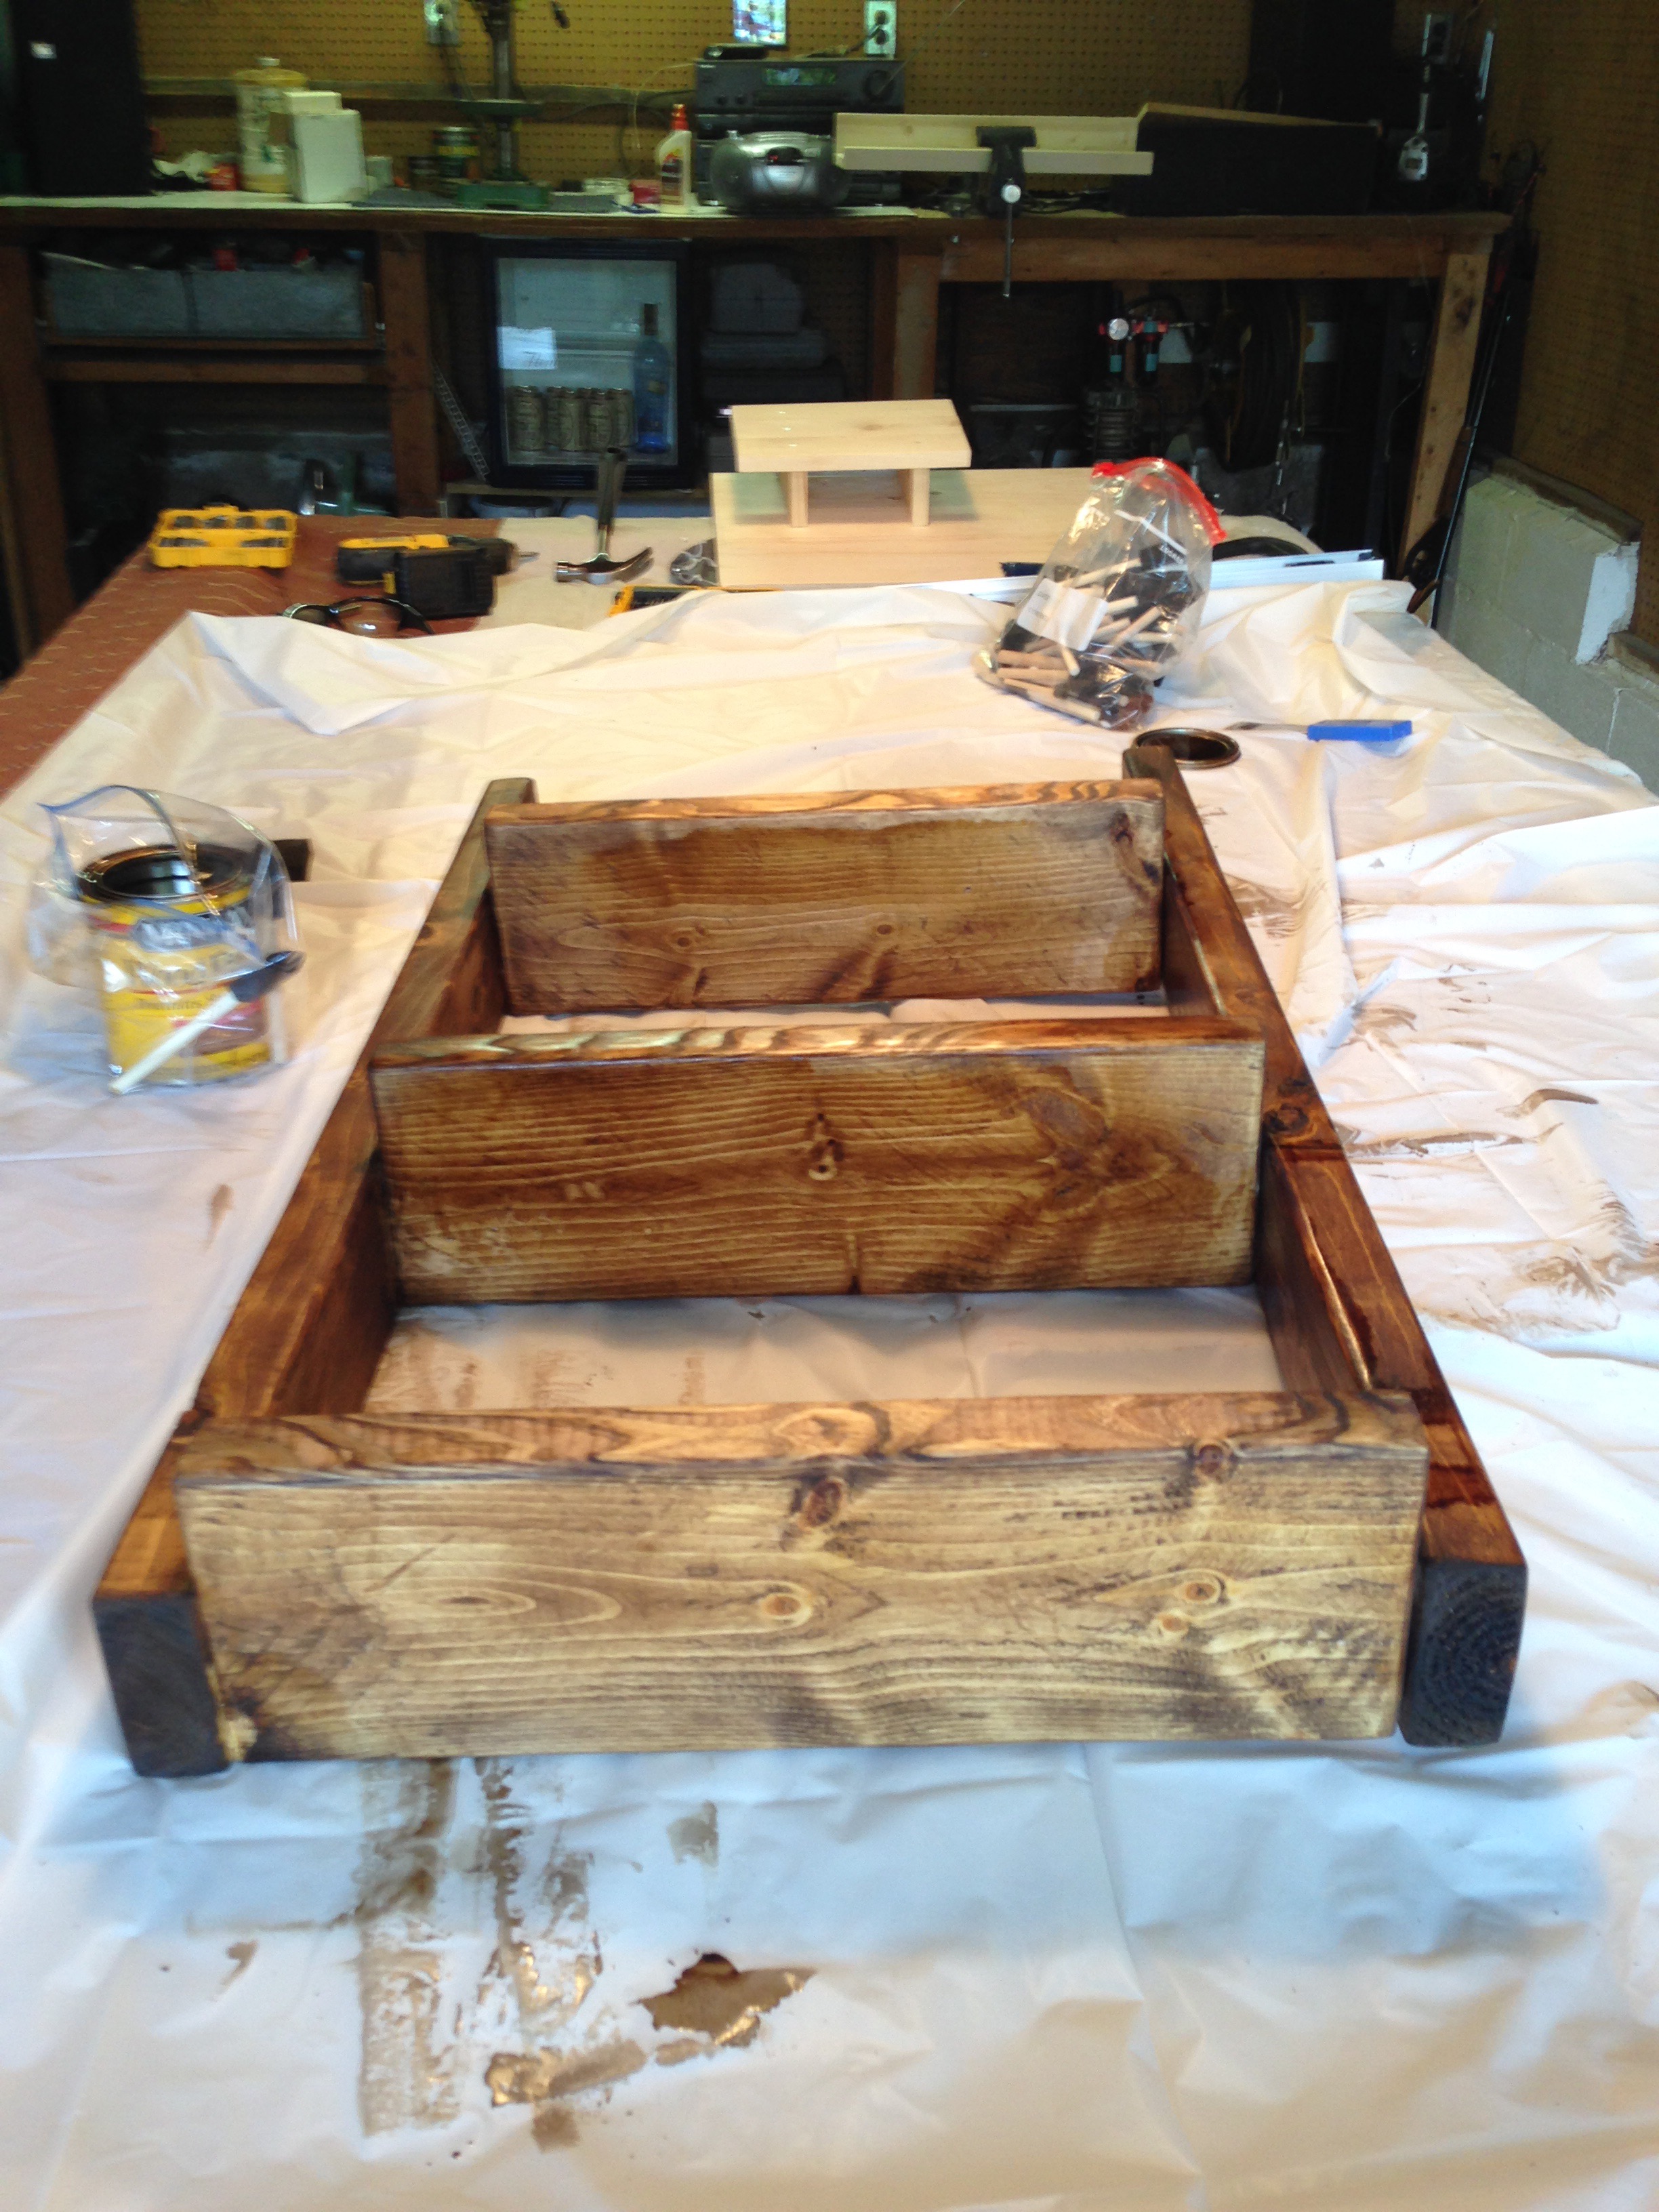
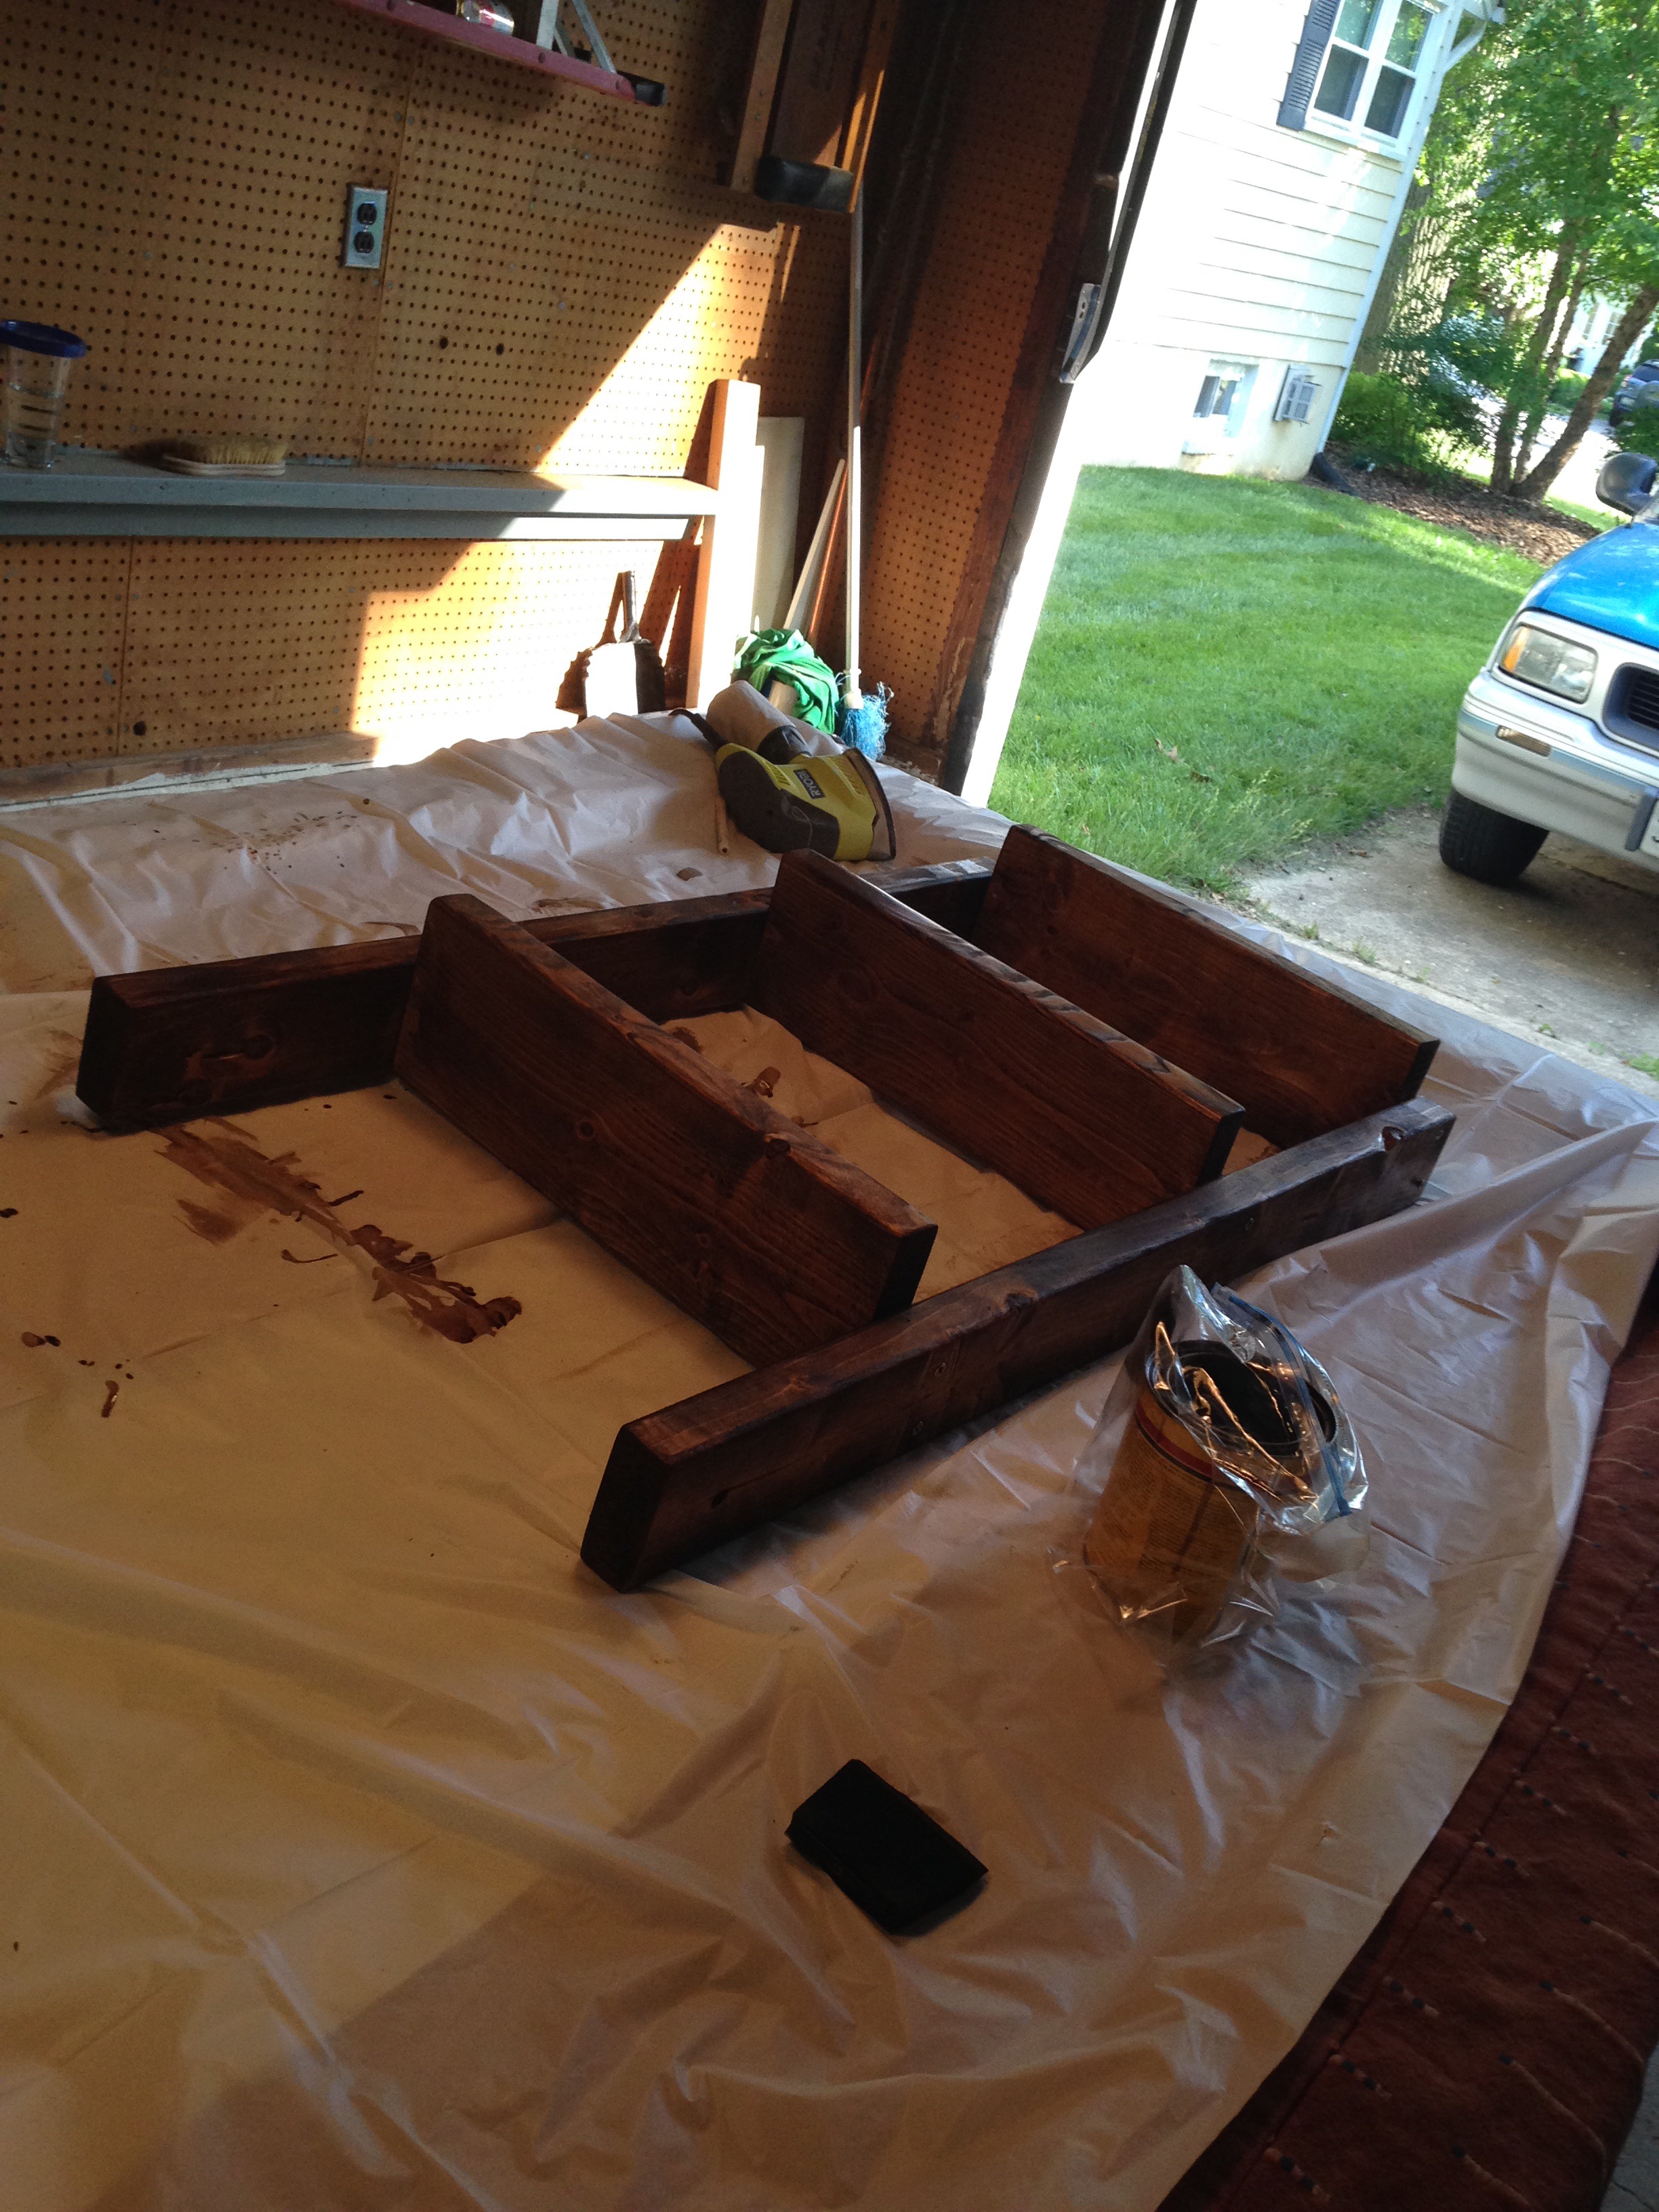
I stained the hanging shelf, the ledge and the second vertical wall planter I built earlier in the week. I also tossed in a couple of wood shadow boxes for good measure.
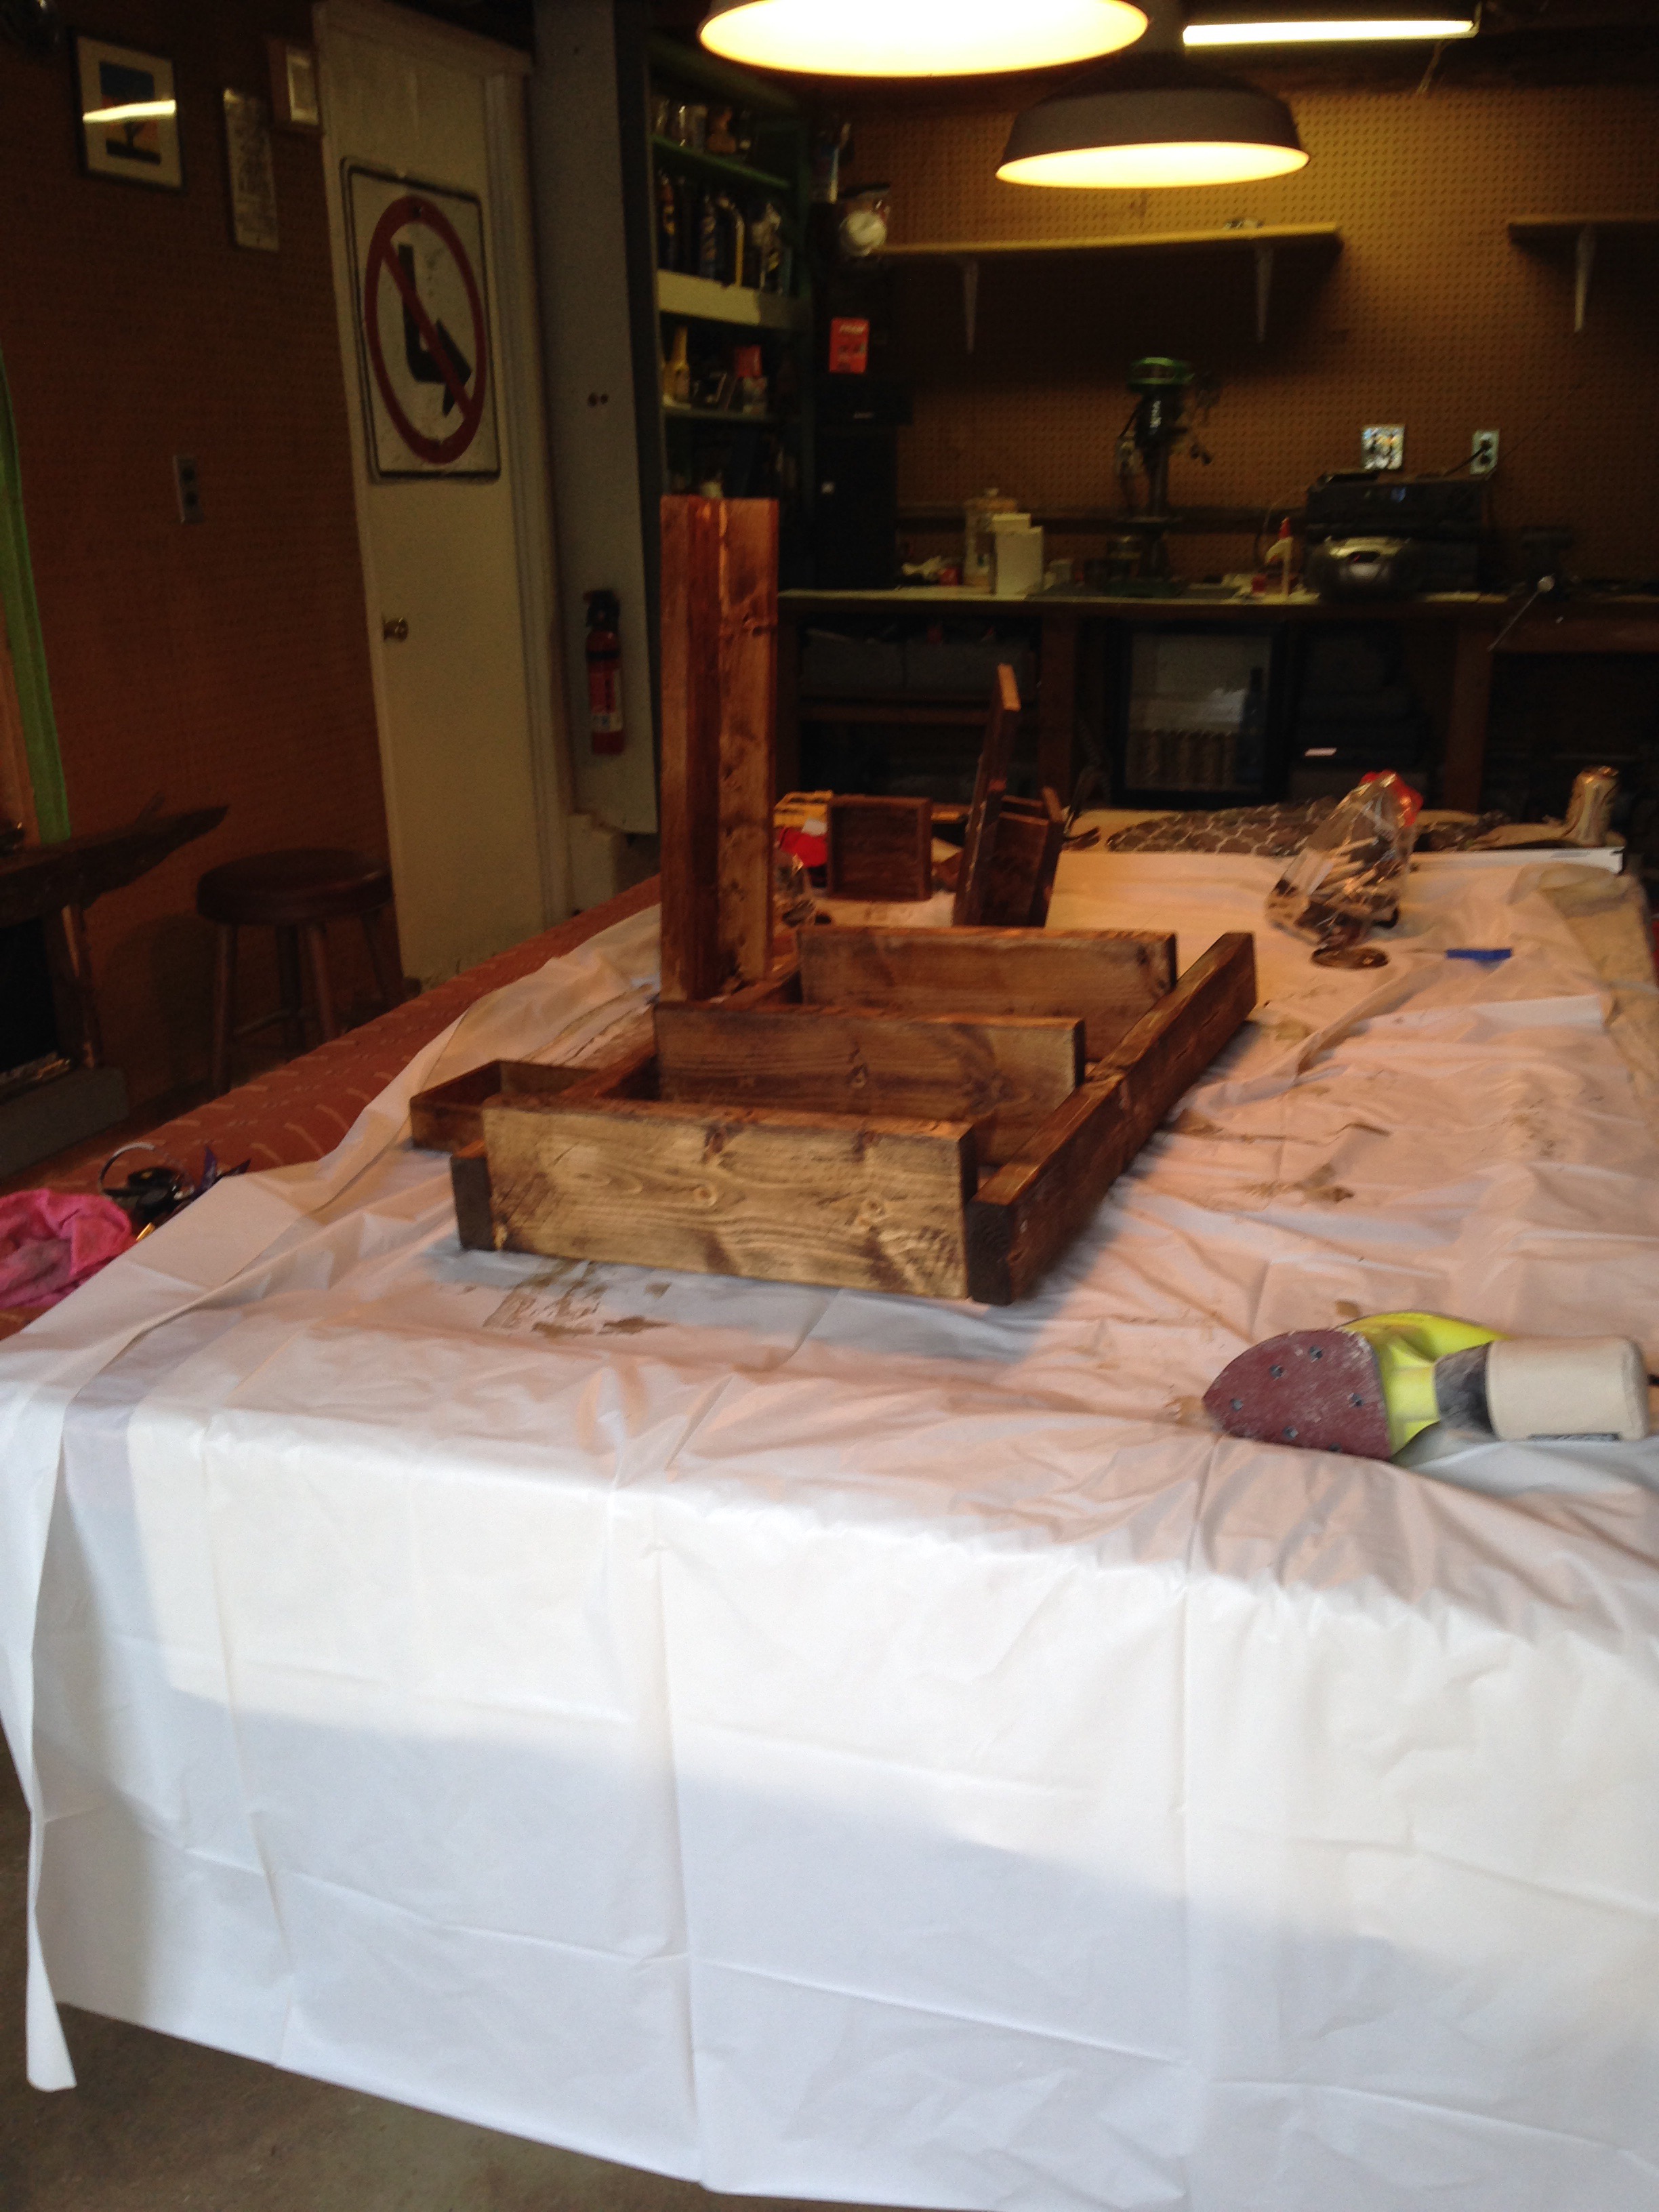
After placing some plastic sheeting on Tim’s lawn, I laid out my wood accessories to dry.
Condo project completion
The next day, I gathered my stained wood up and carted them back to the condo.
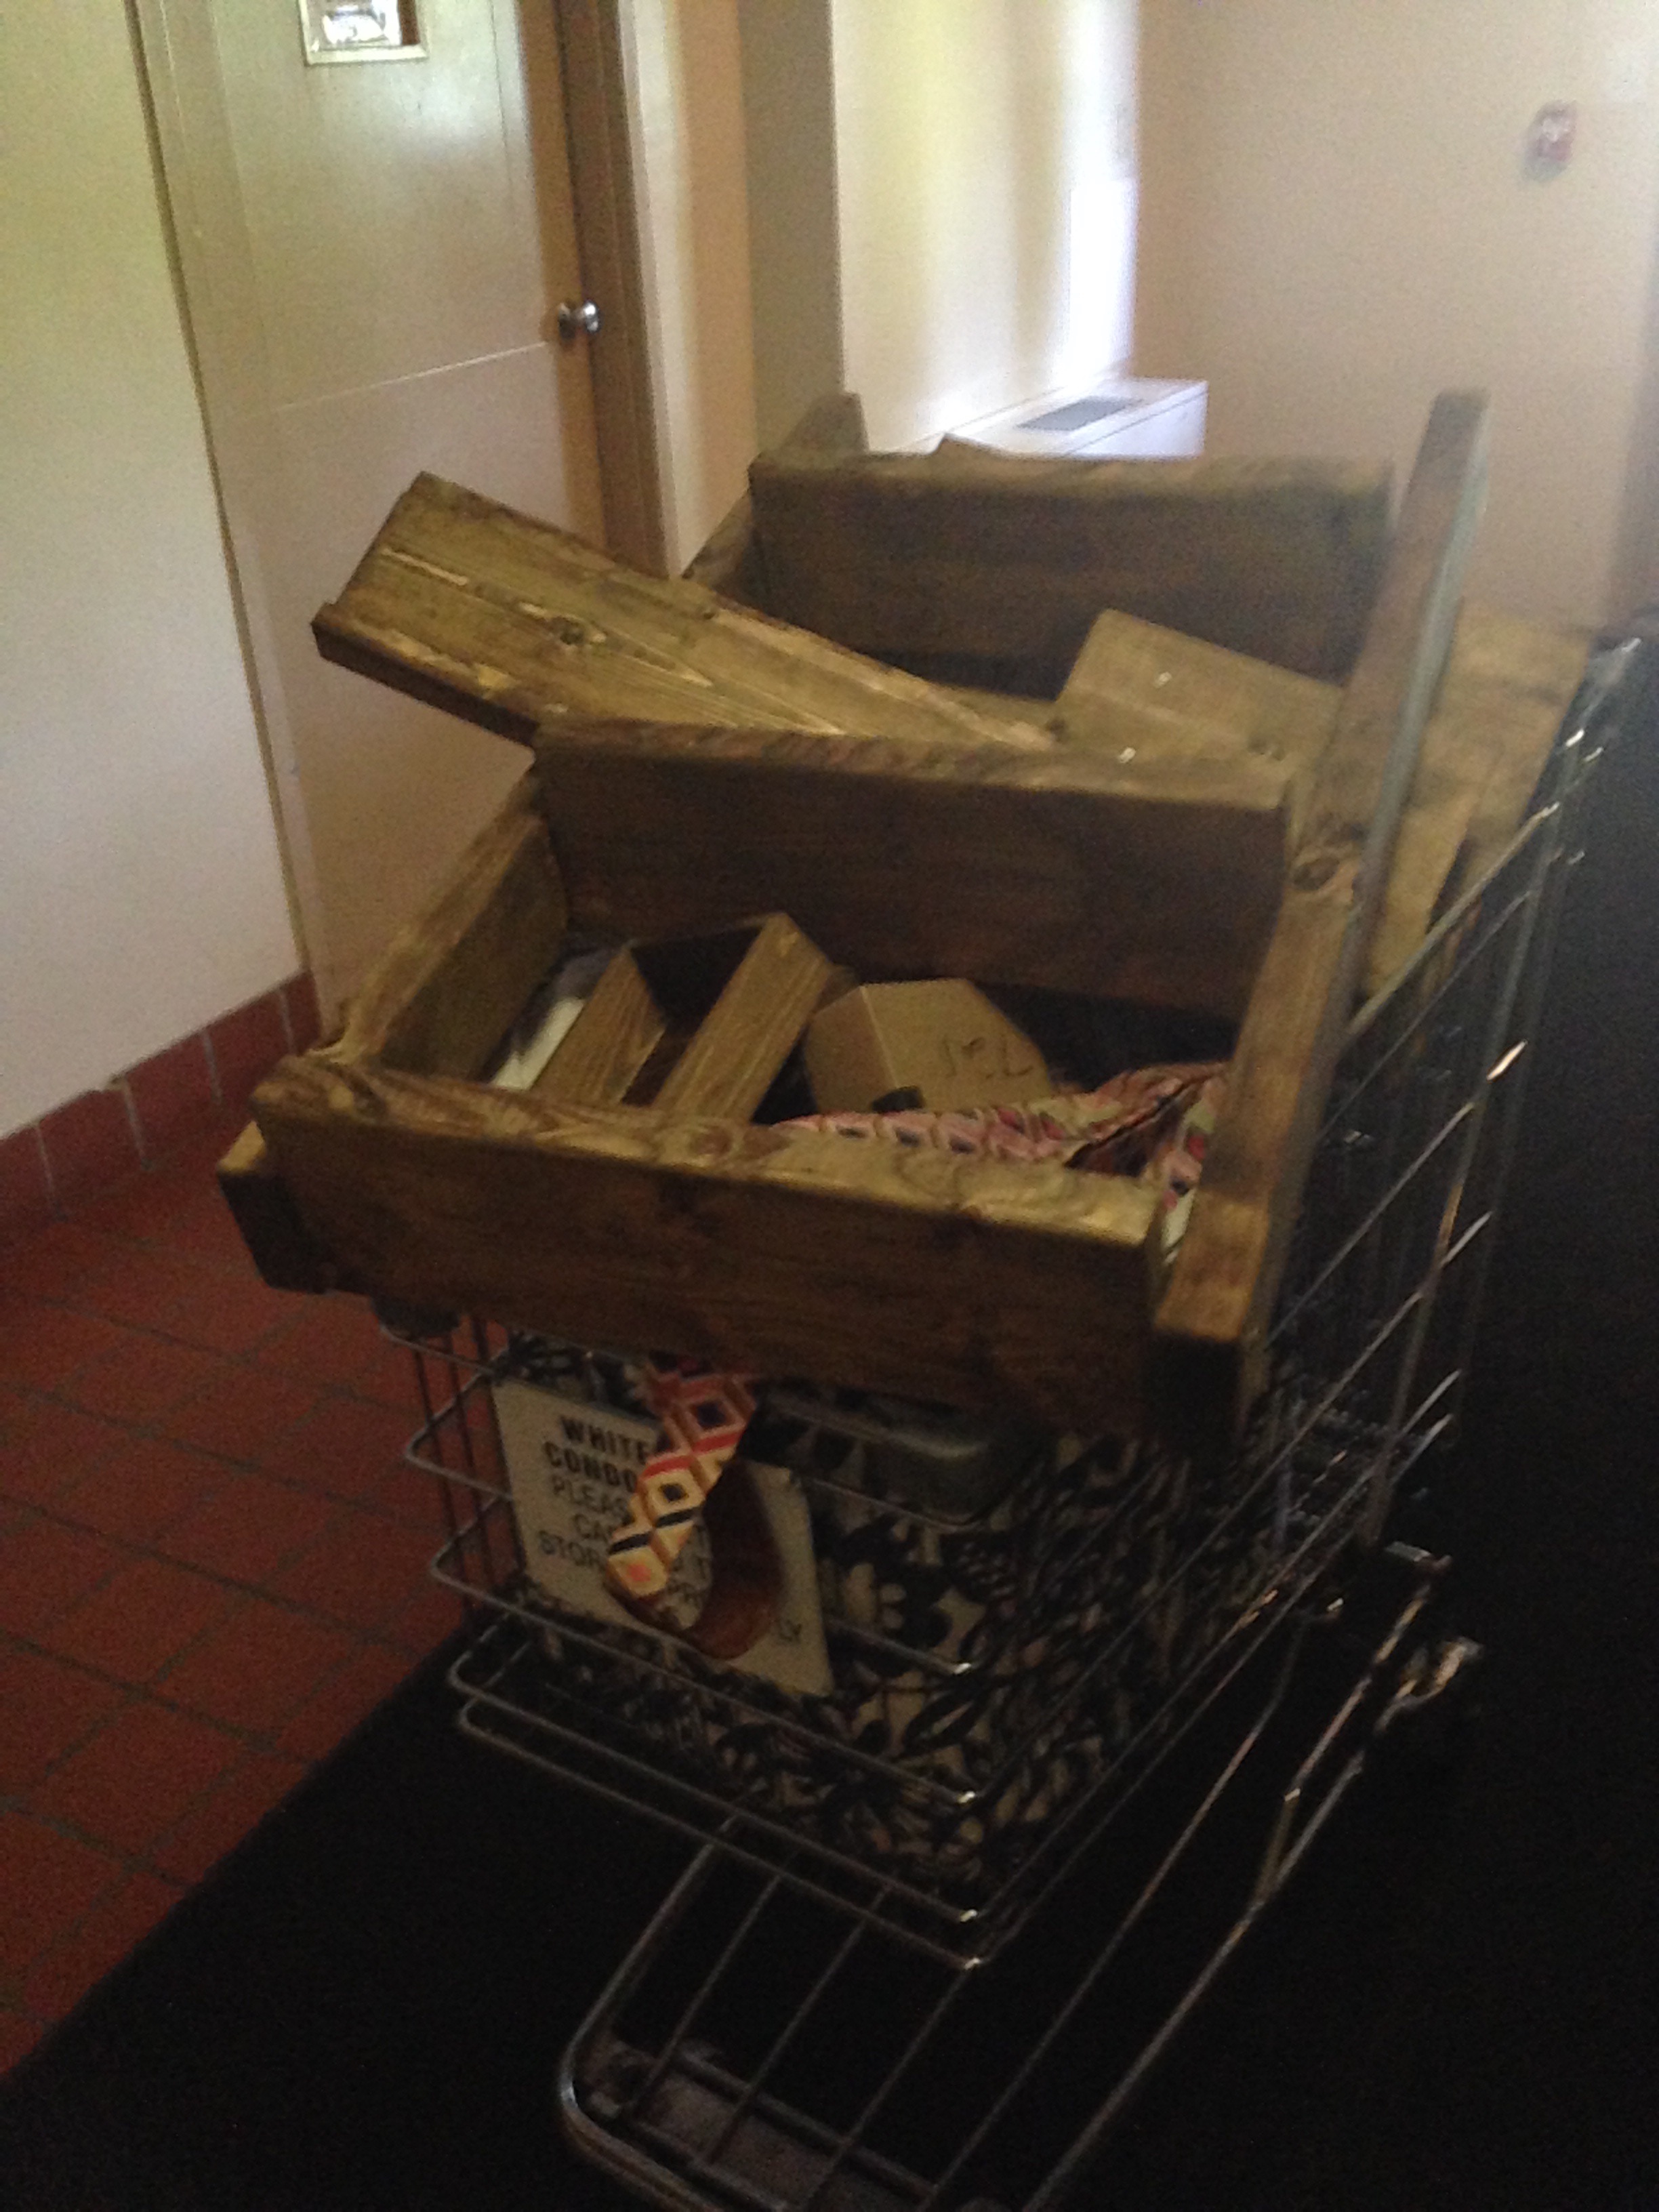
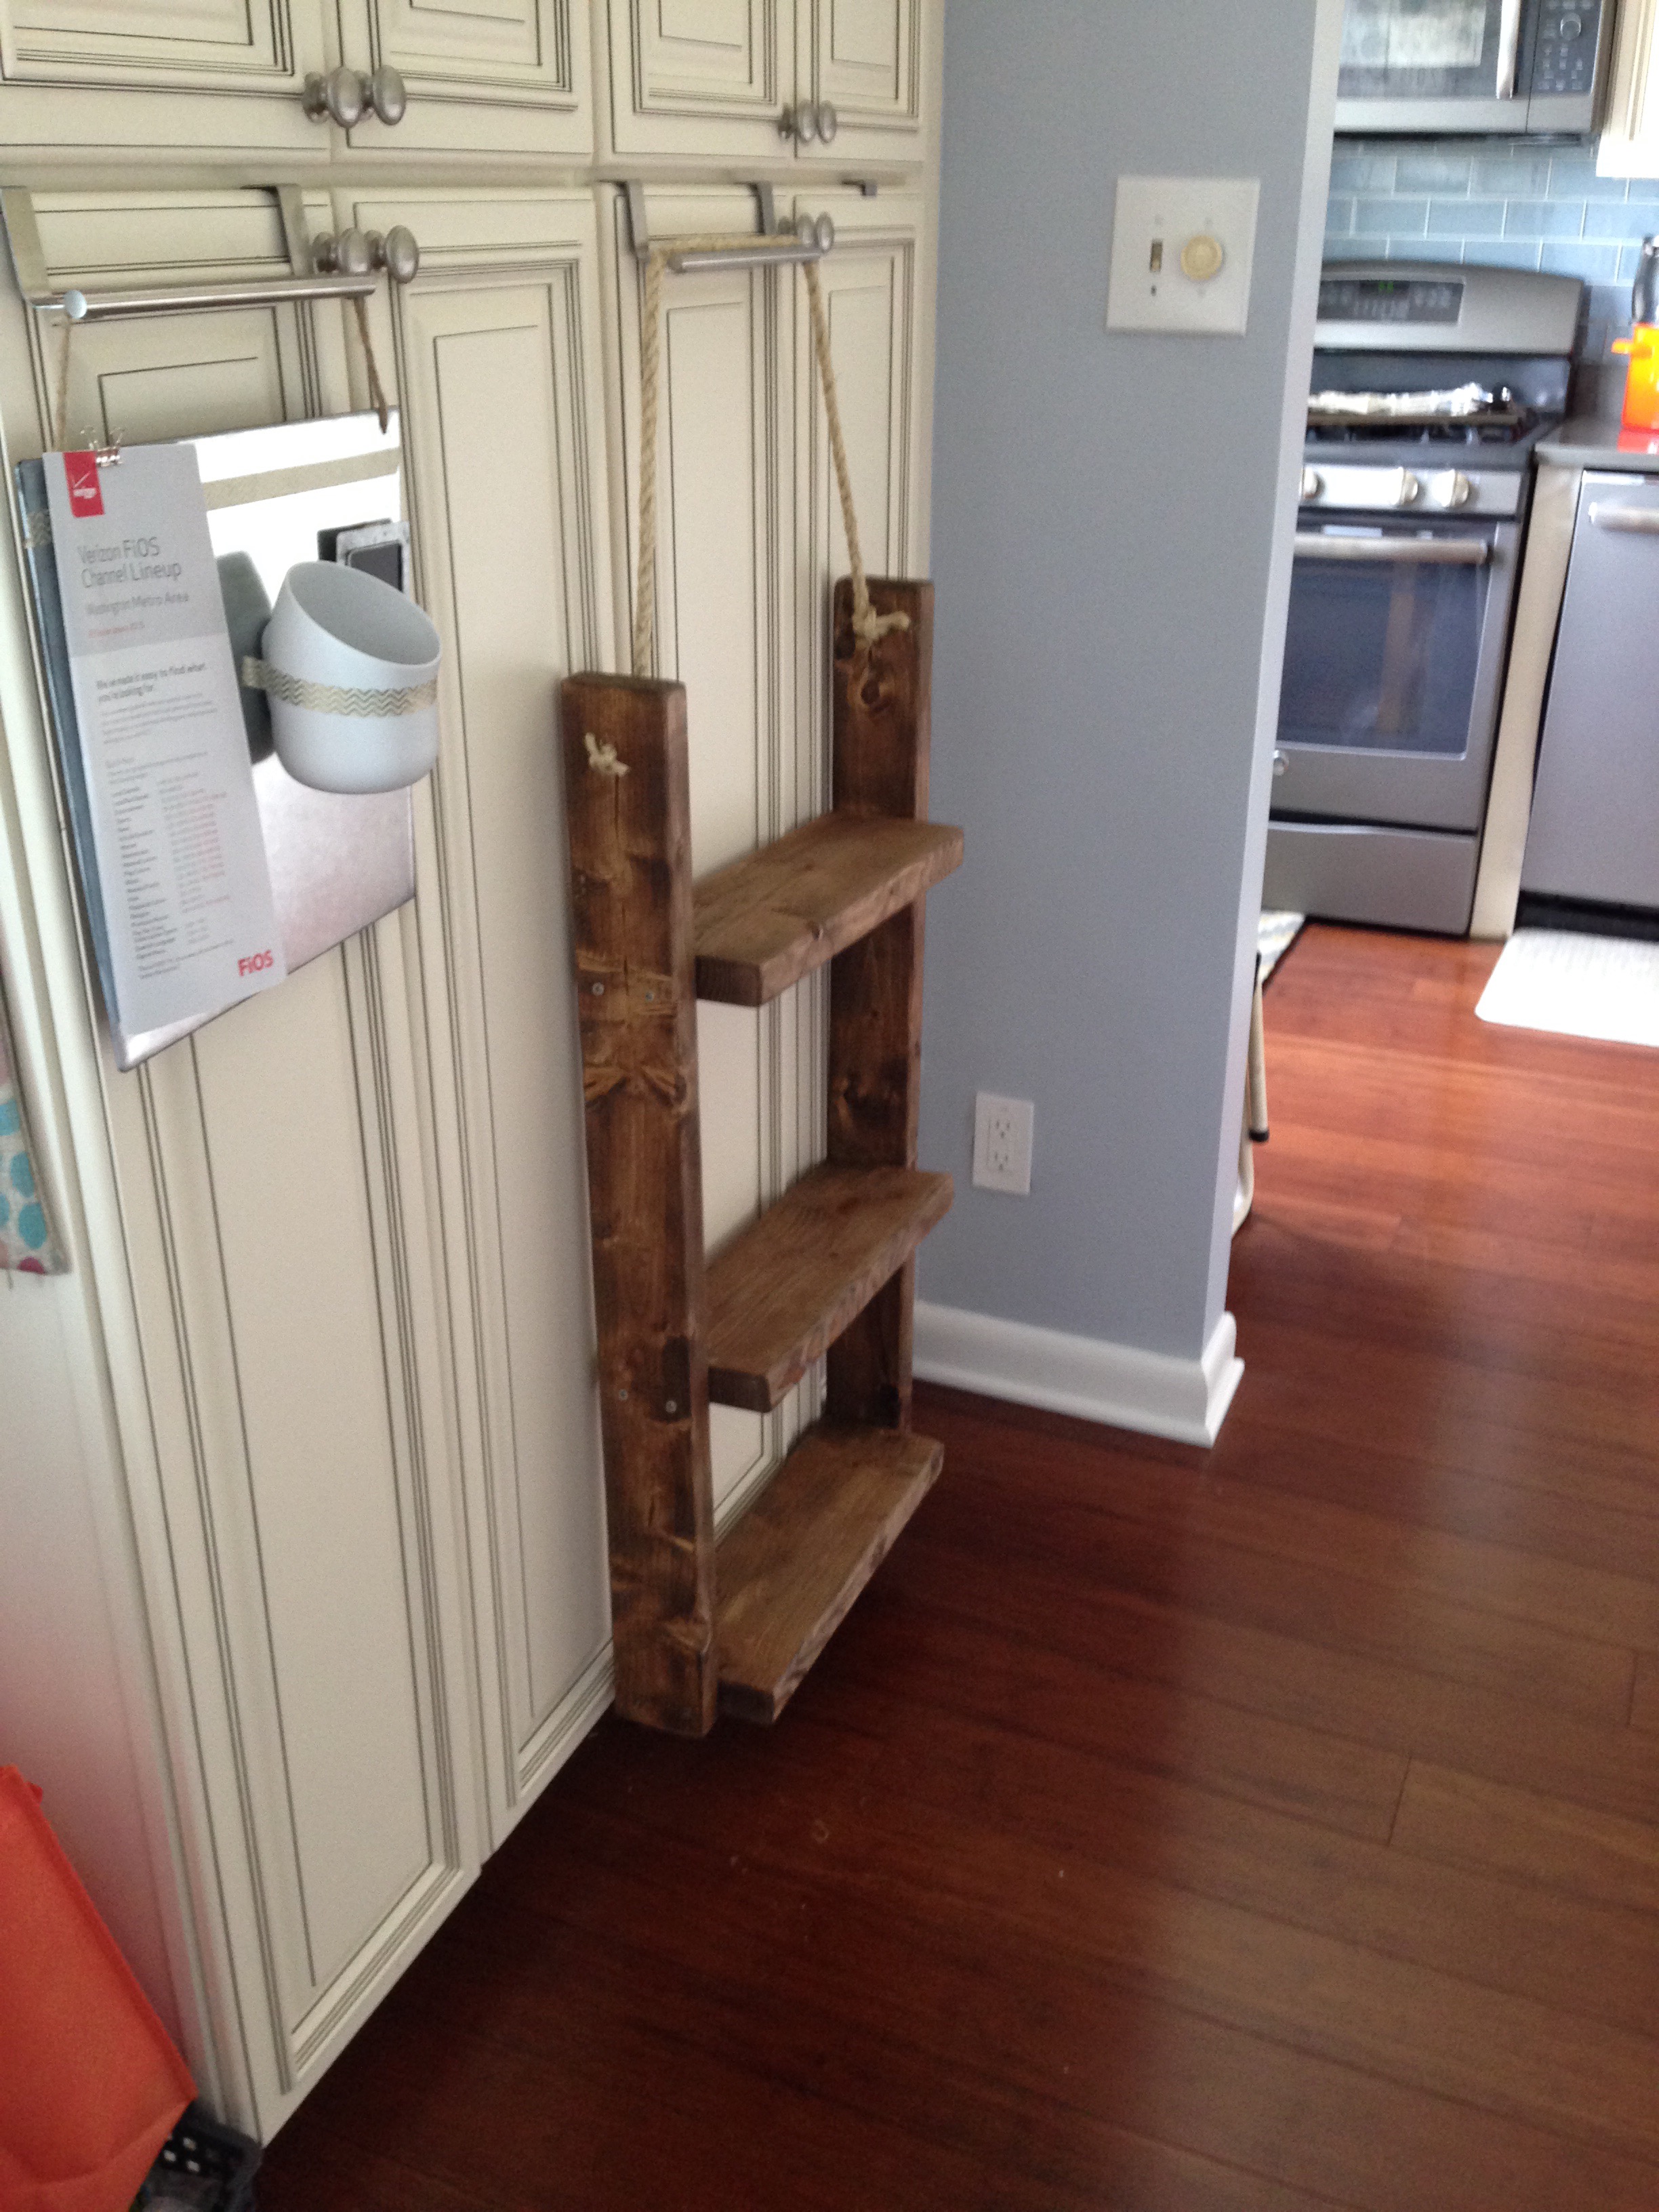
I immediately went to work on the bathroom shelf once I got it upstairs.
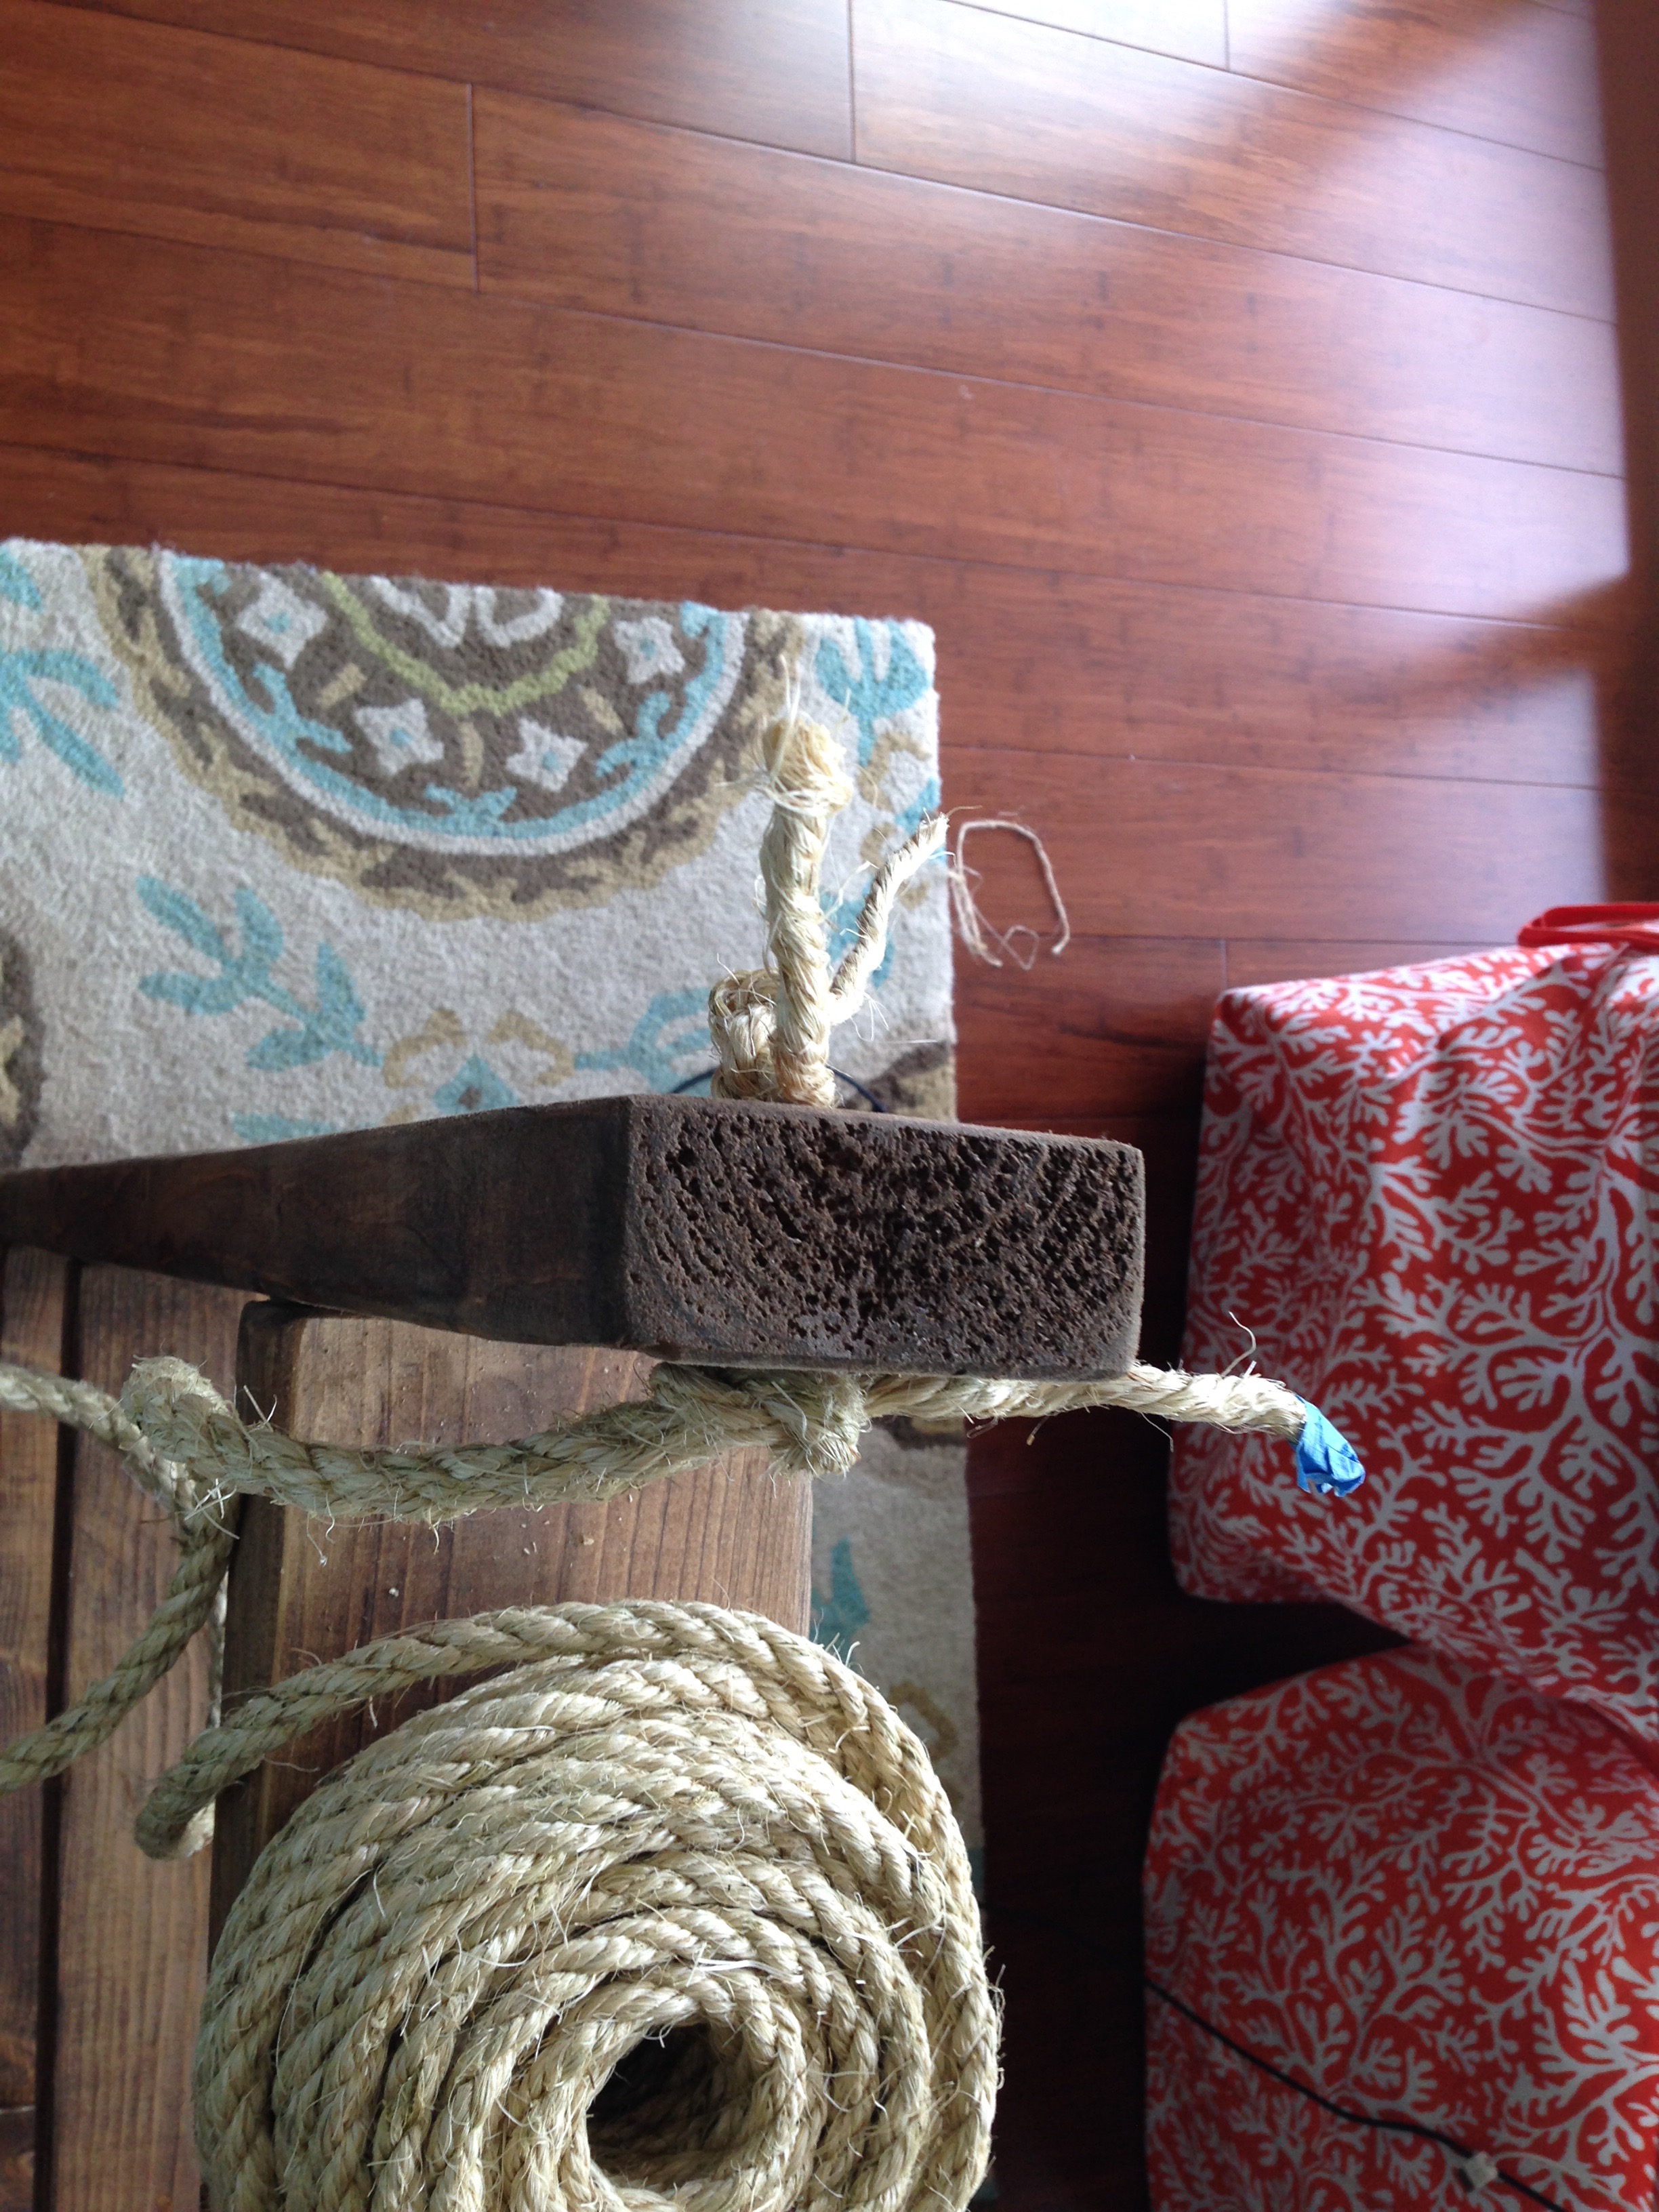
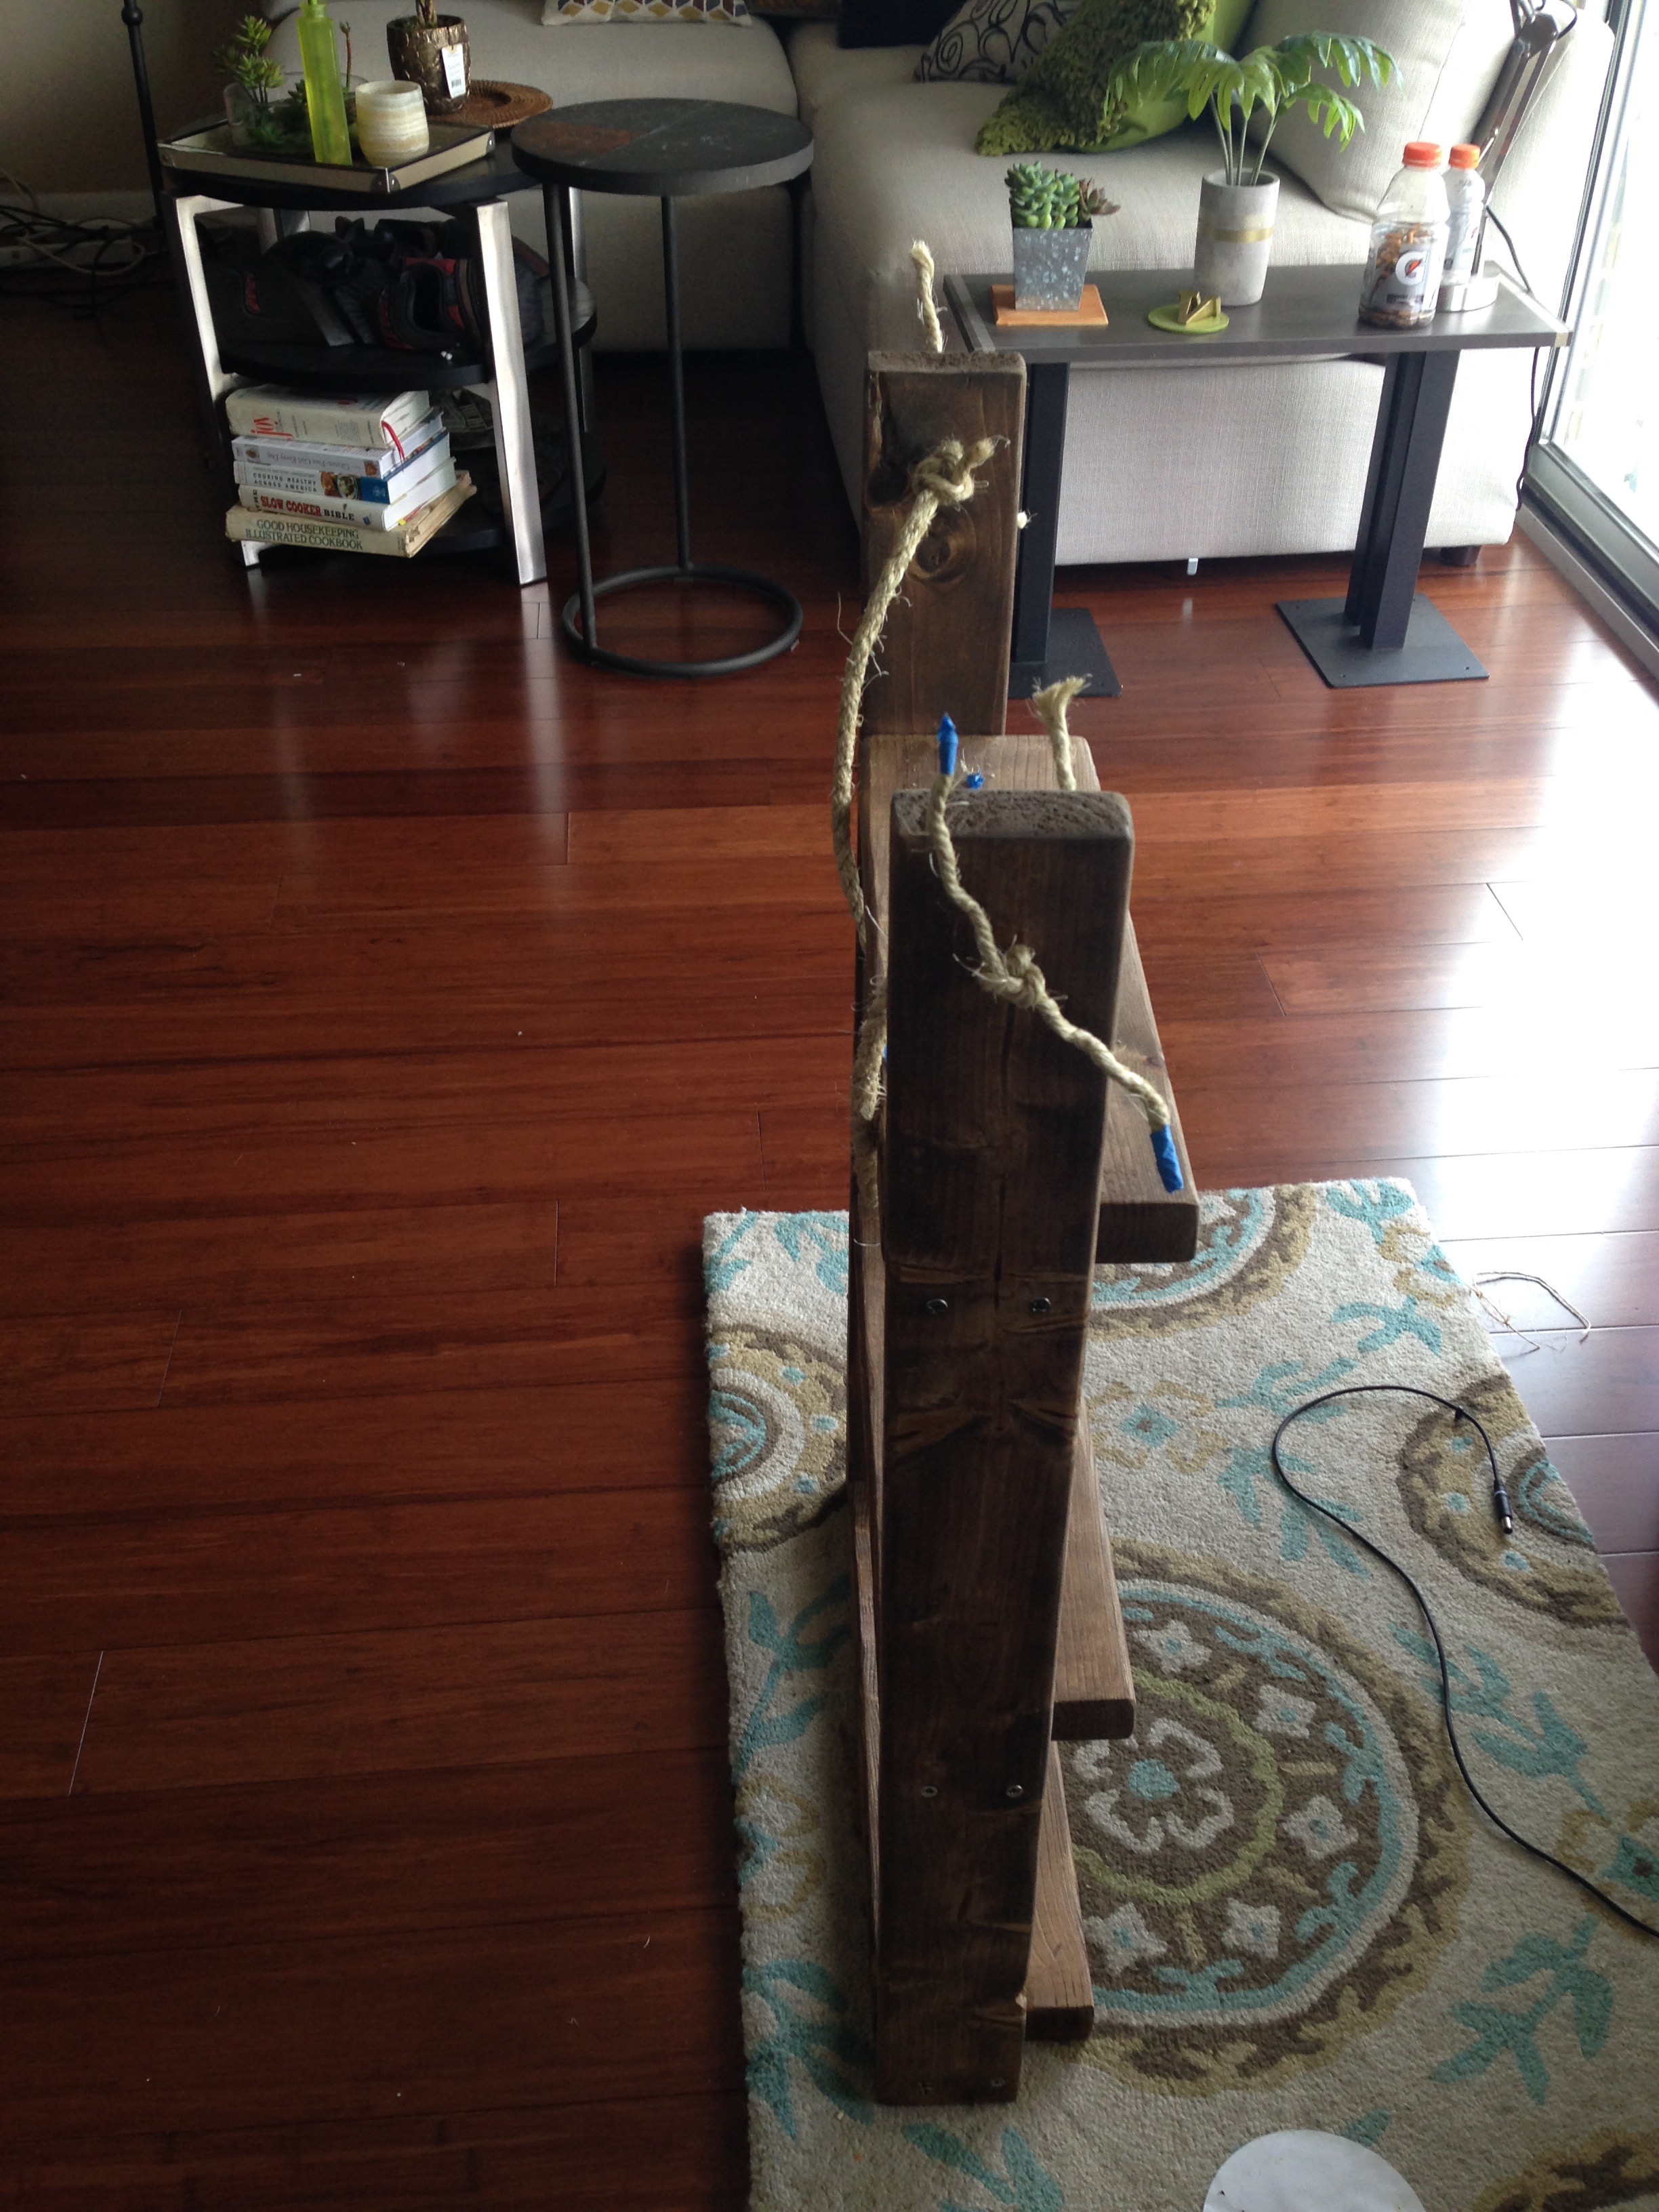
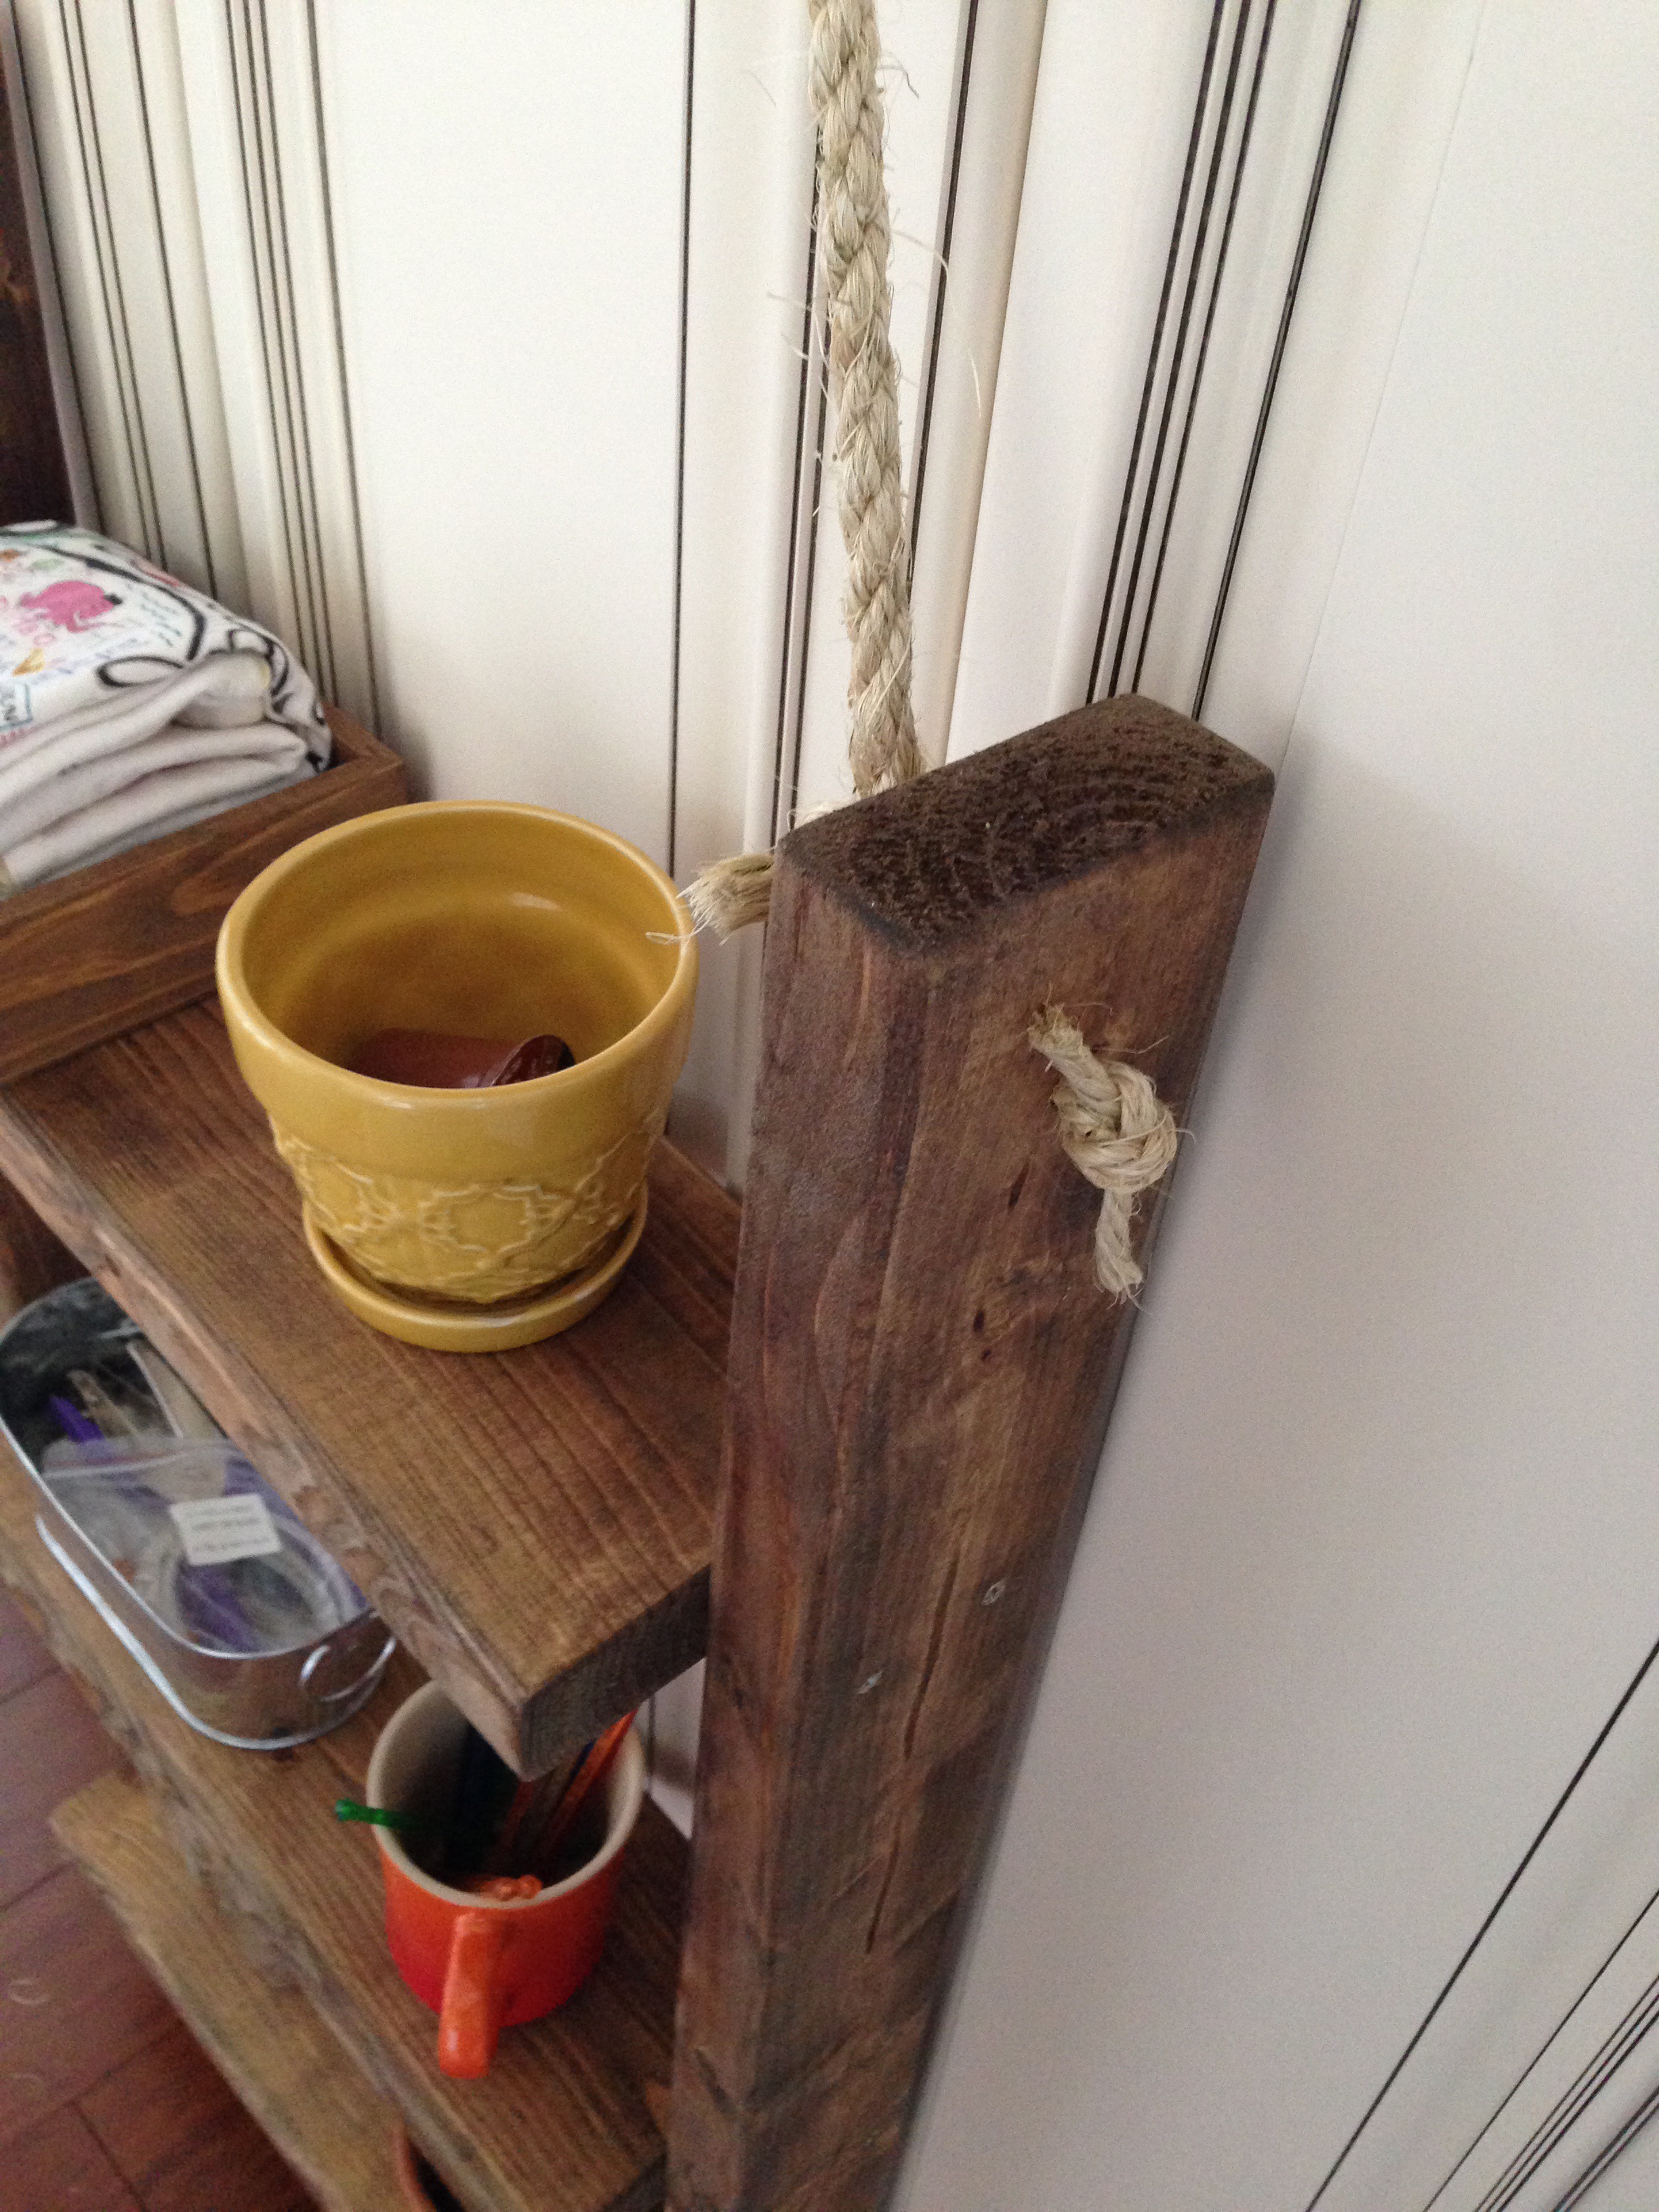
Taking the sisal rope, I threaded one end through one of the holes.
I quickly realized that the 1/4″ drilled holes are not nearly big enough to fit the sisal rope through. I had to unravel the rope and force a two strand twist through the hole. Then I tied a knot with the two strand twist on the outside and tie a knot using the remaining strand (that could not fit through the hole) on the inside.
And that’s all there is to it. The hanging bathroom shelf is complete.
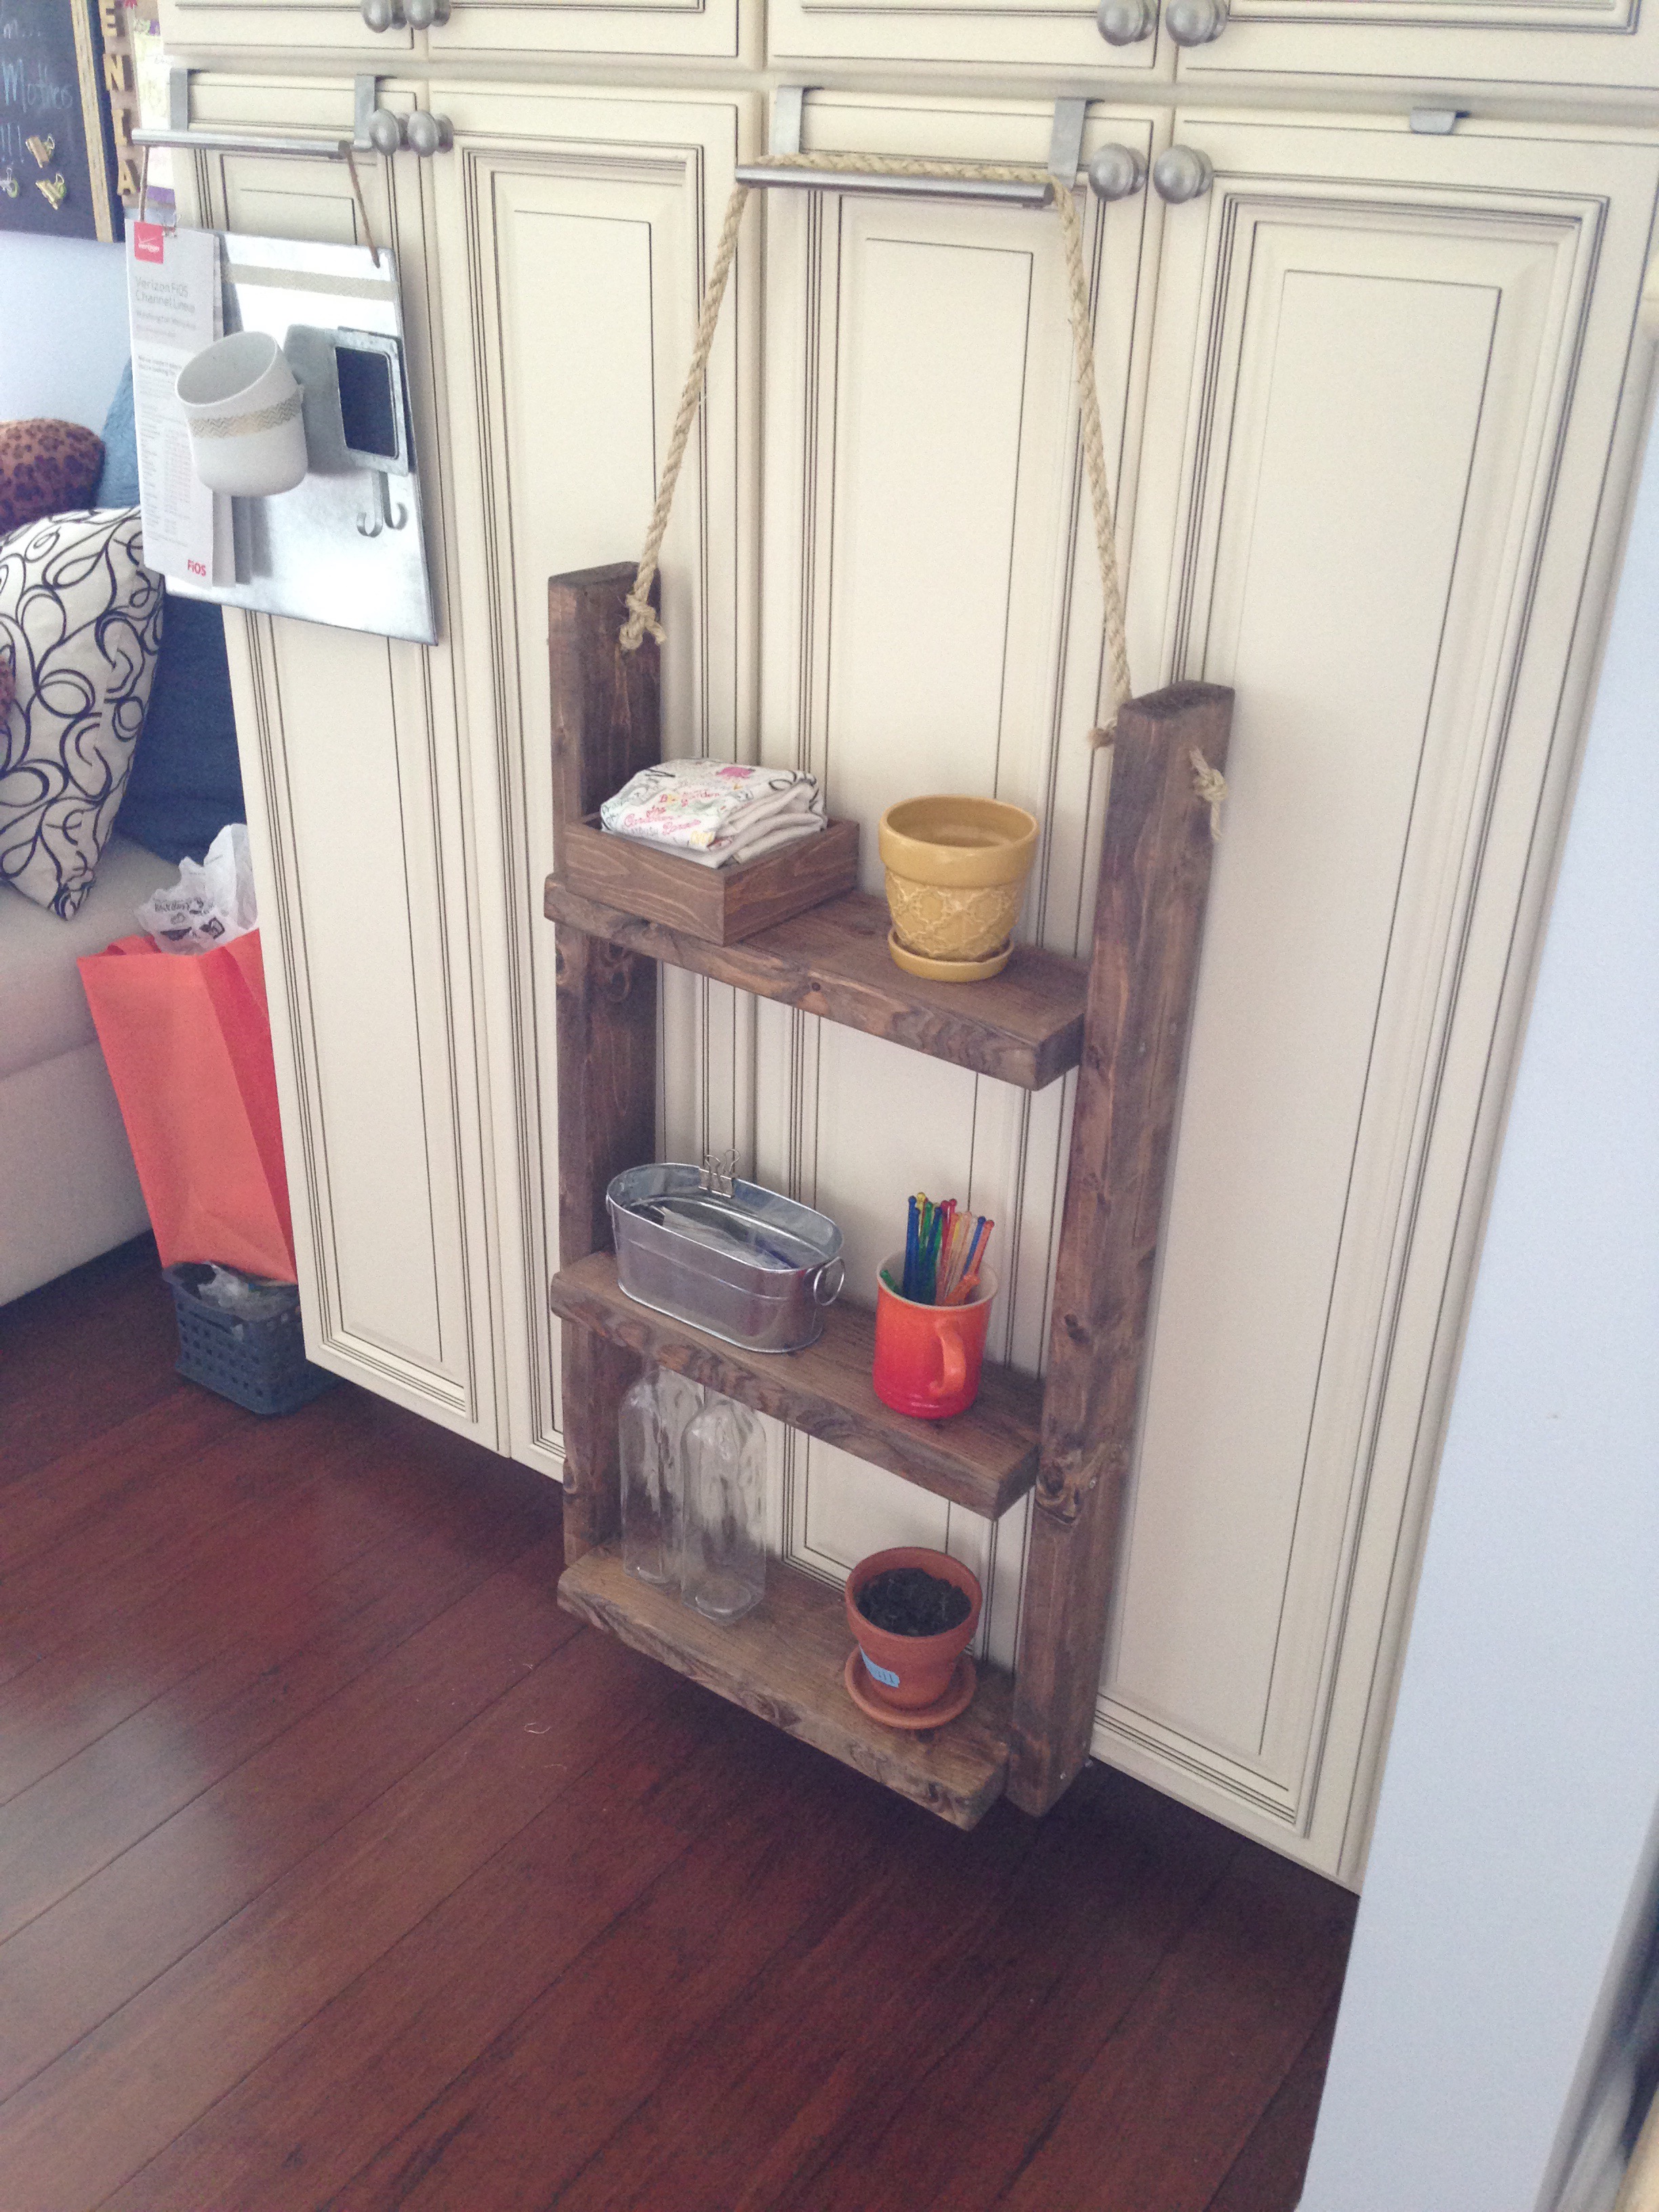
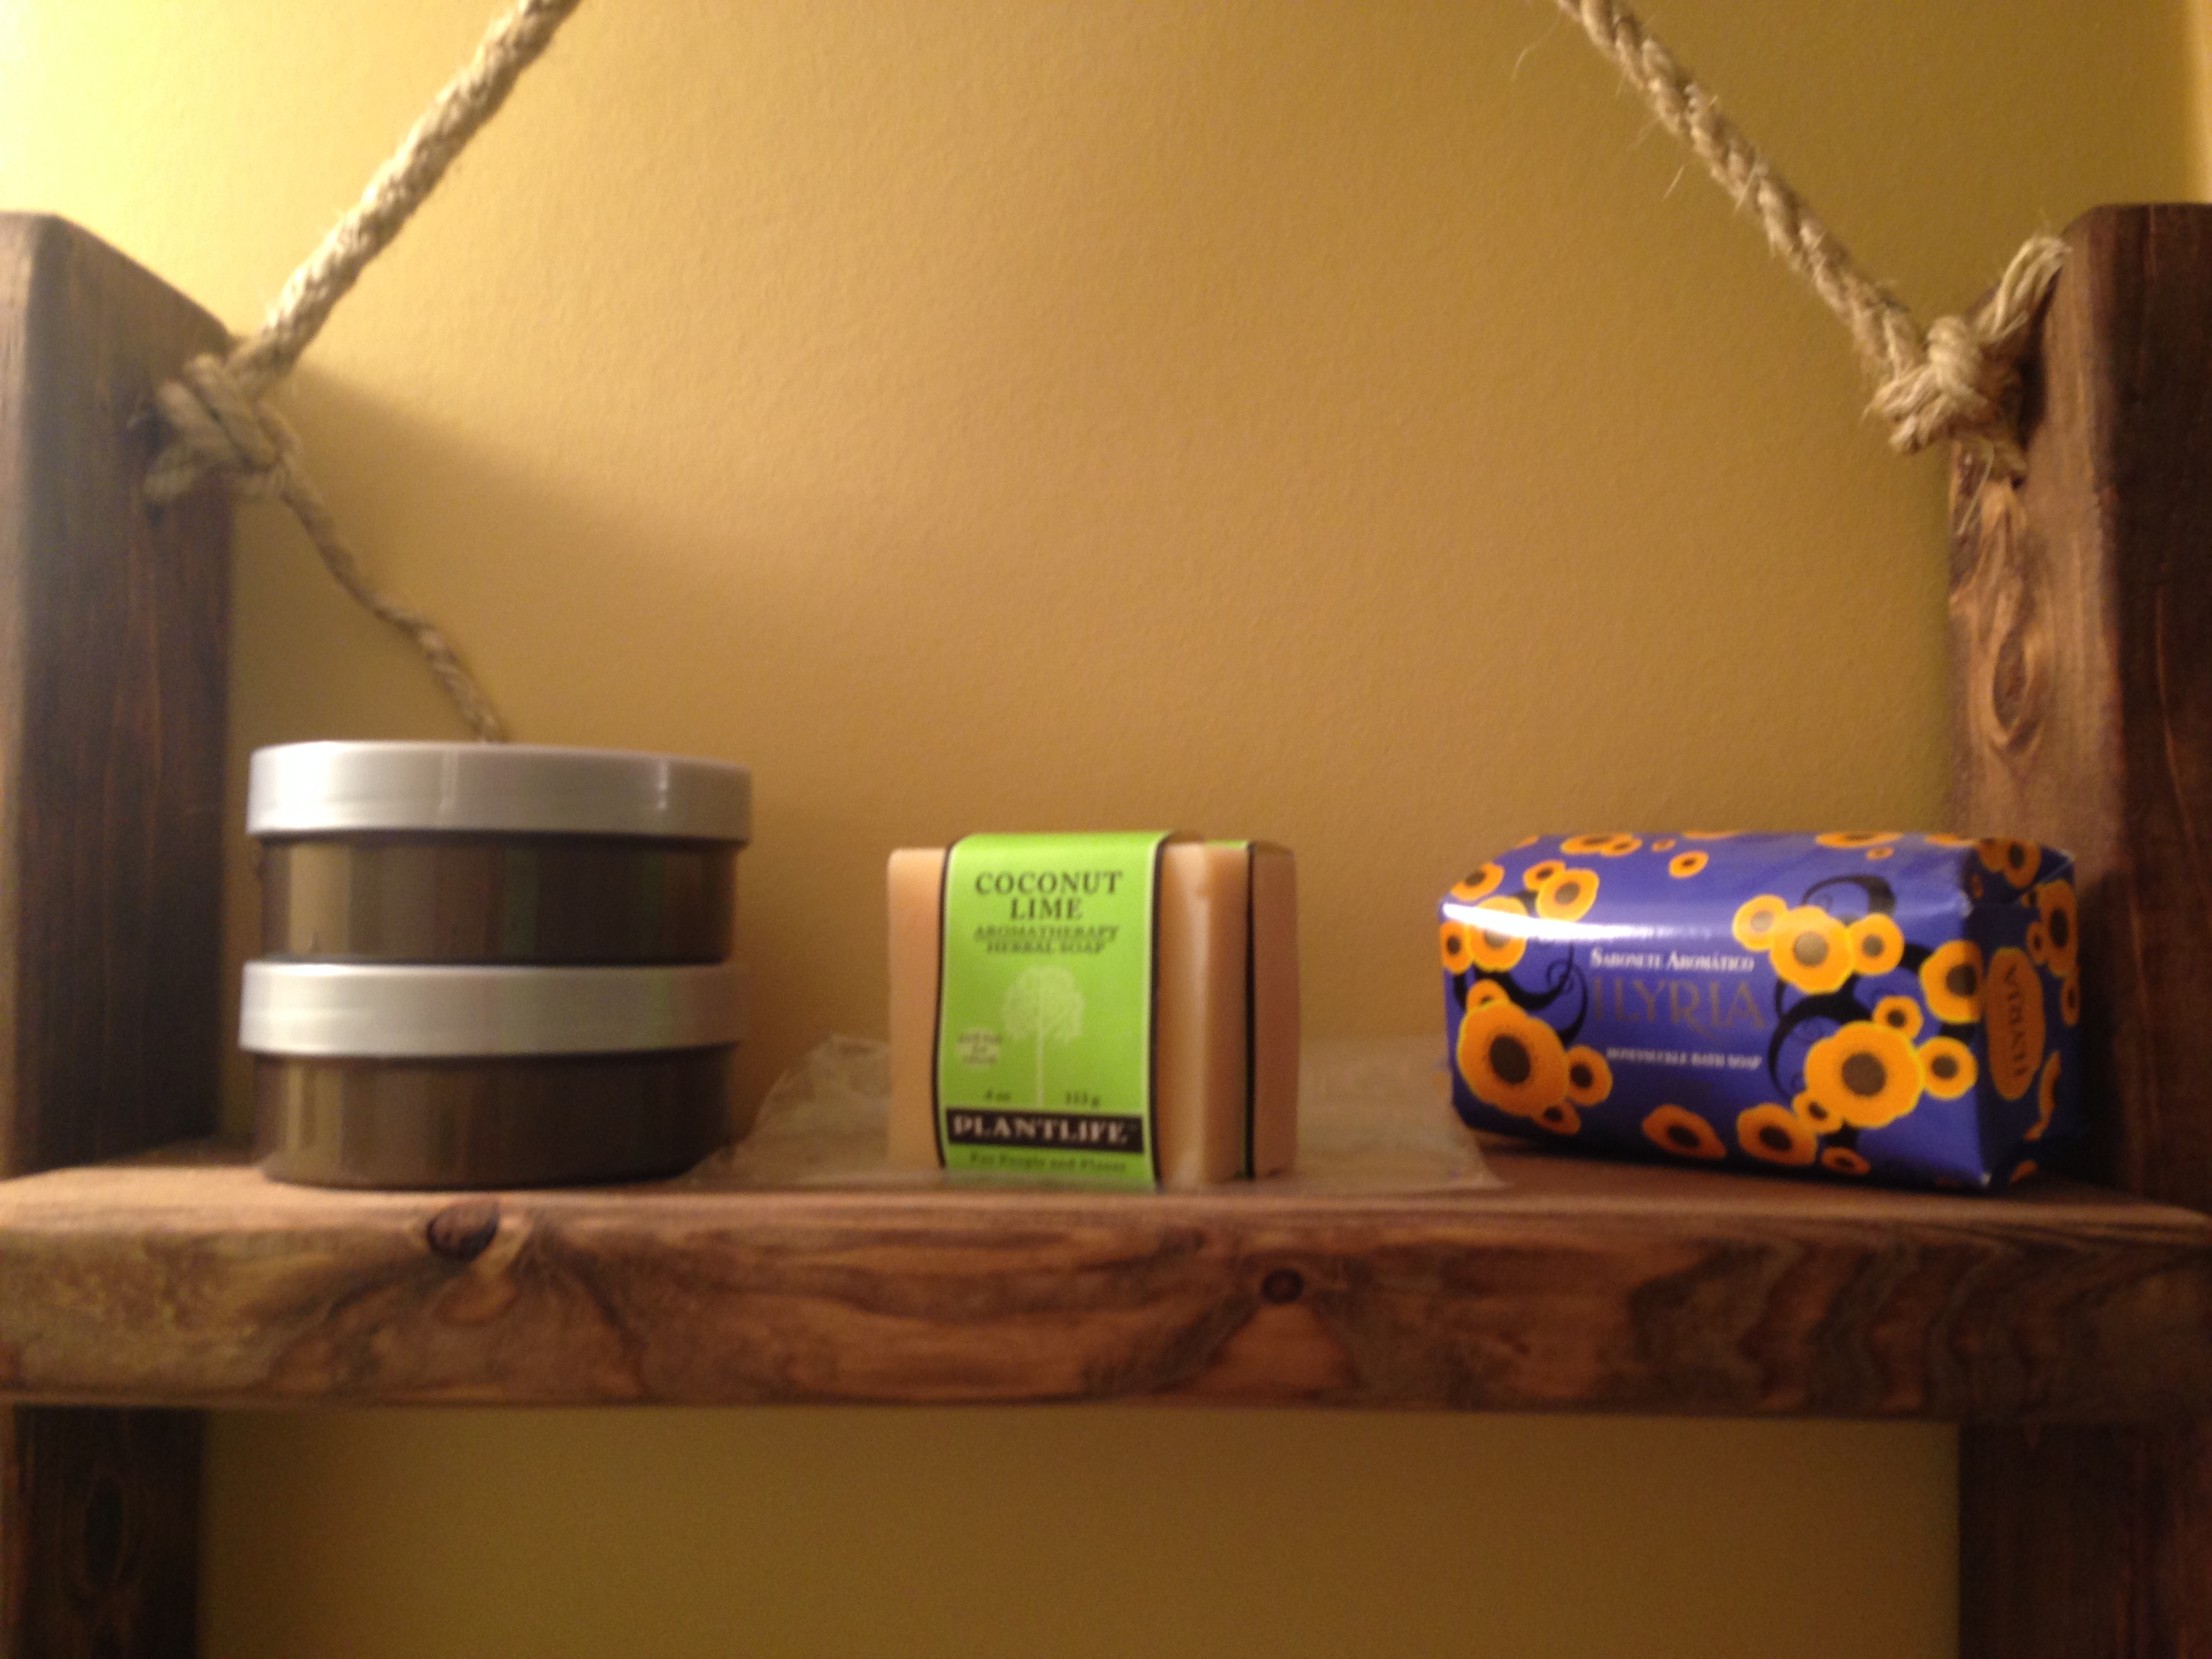
I had loads of fun staging my shelves and snapping numerous pics.
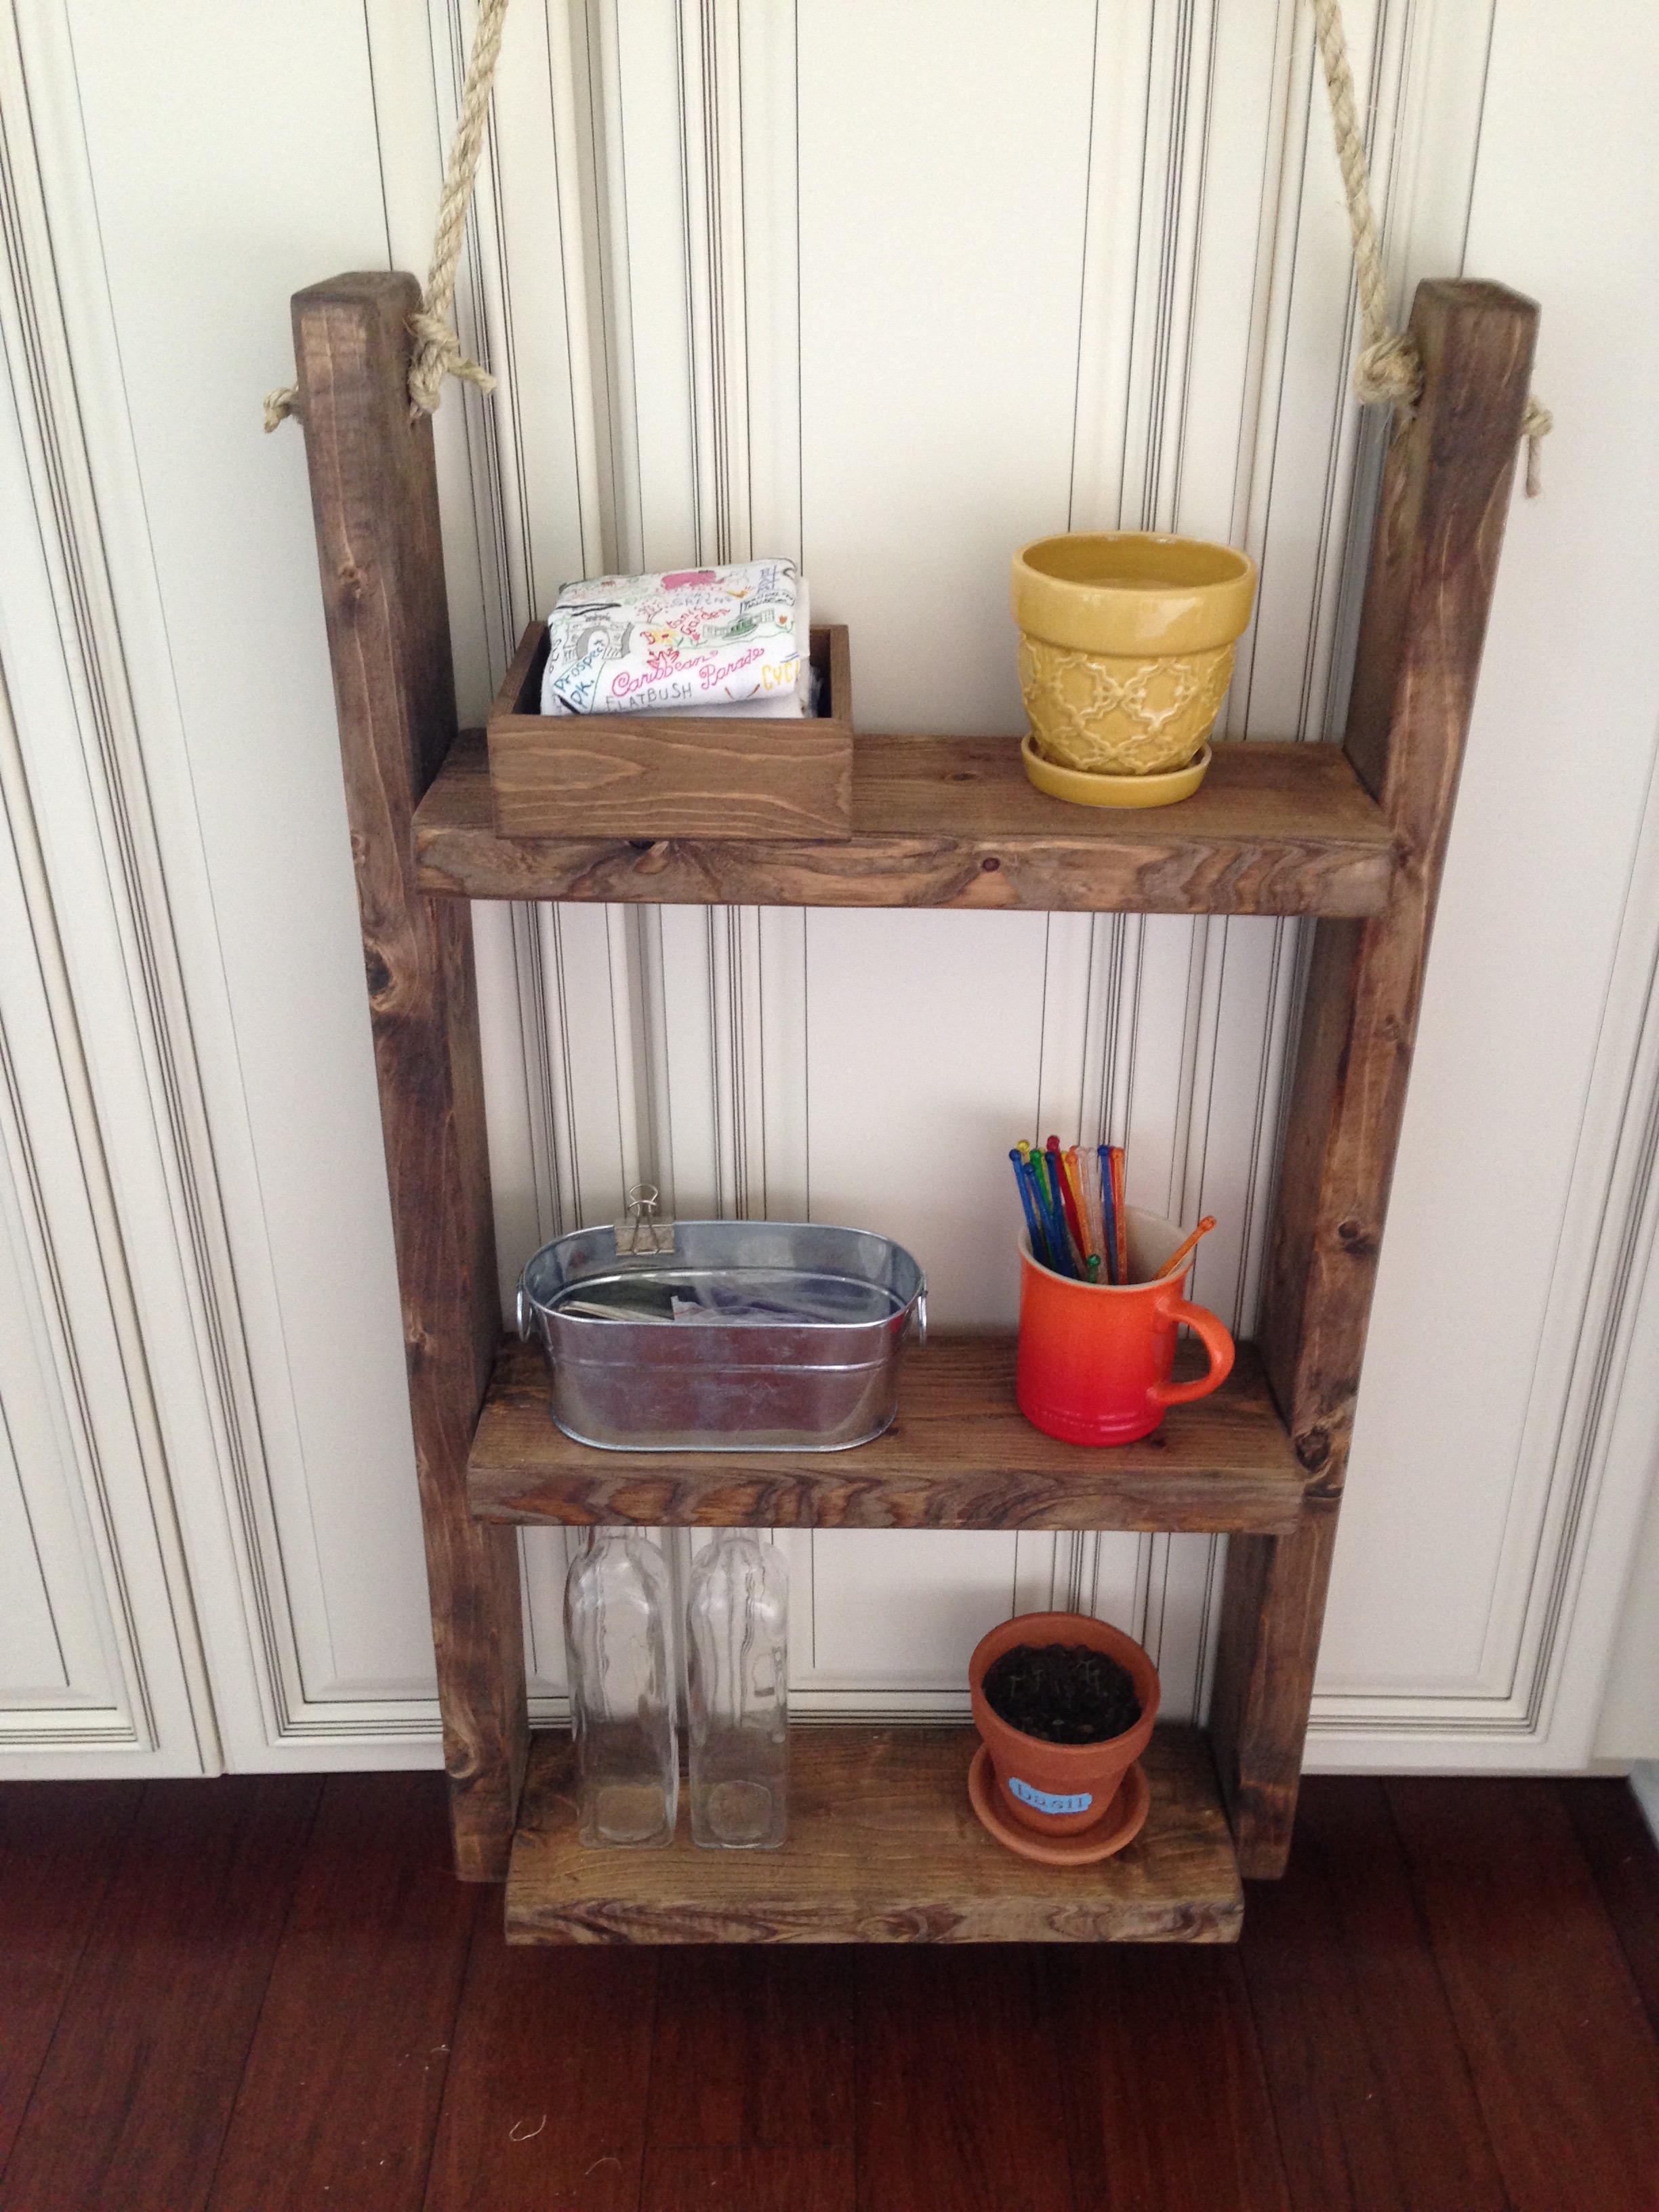
It looked so great in the kitchen, I halfway considered finding a spot for it in there instead.
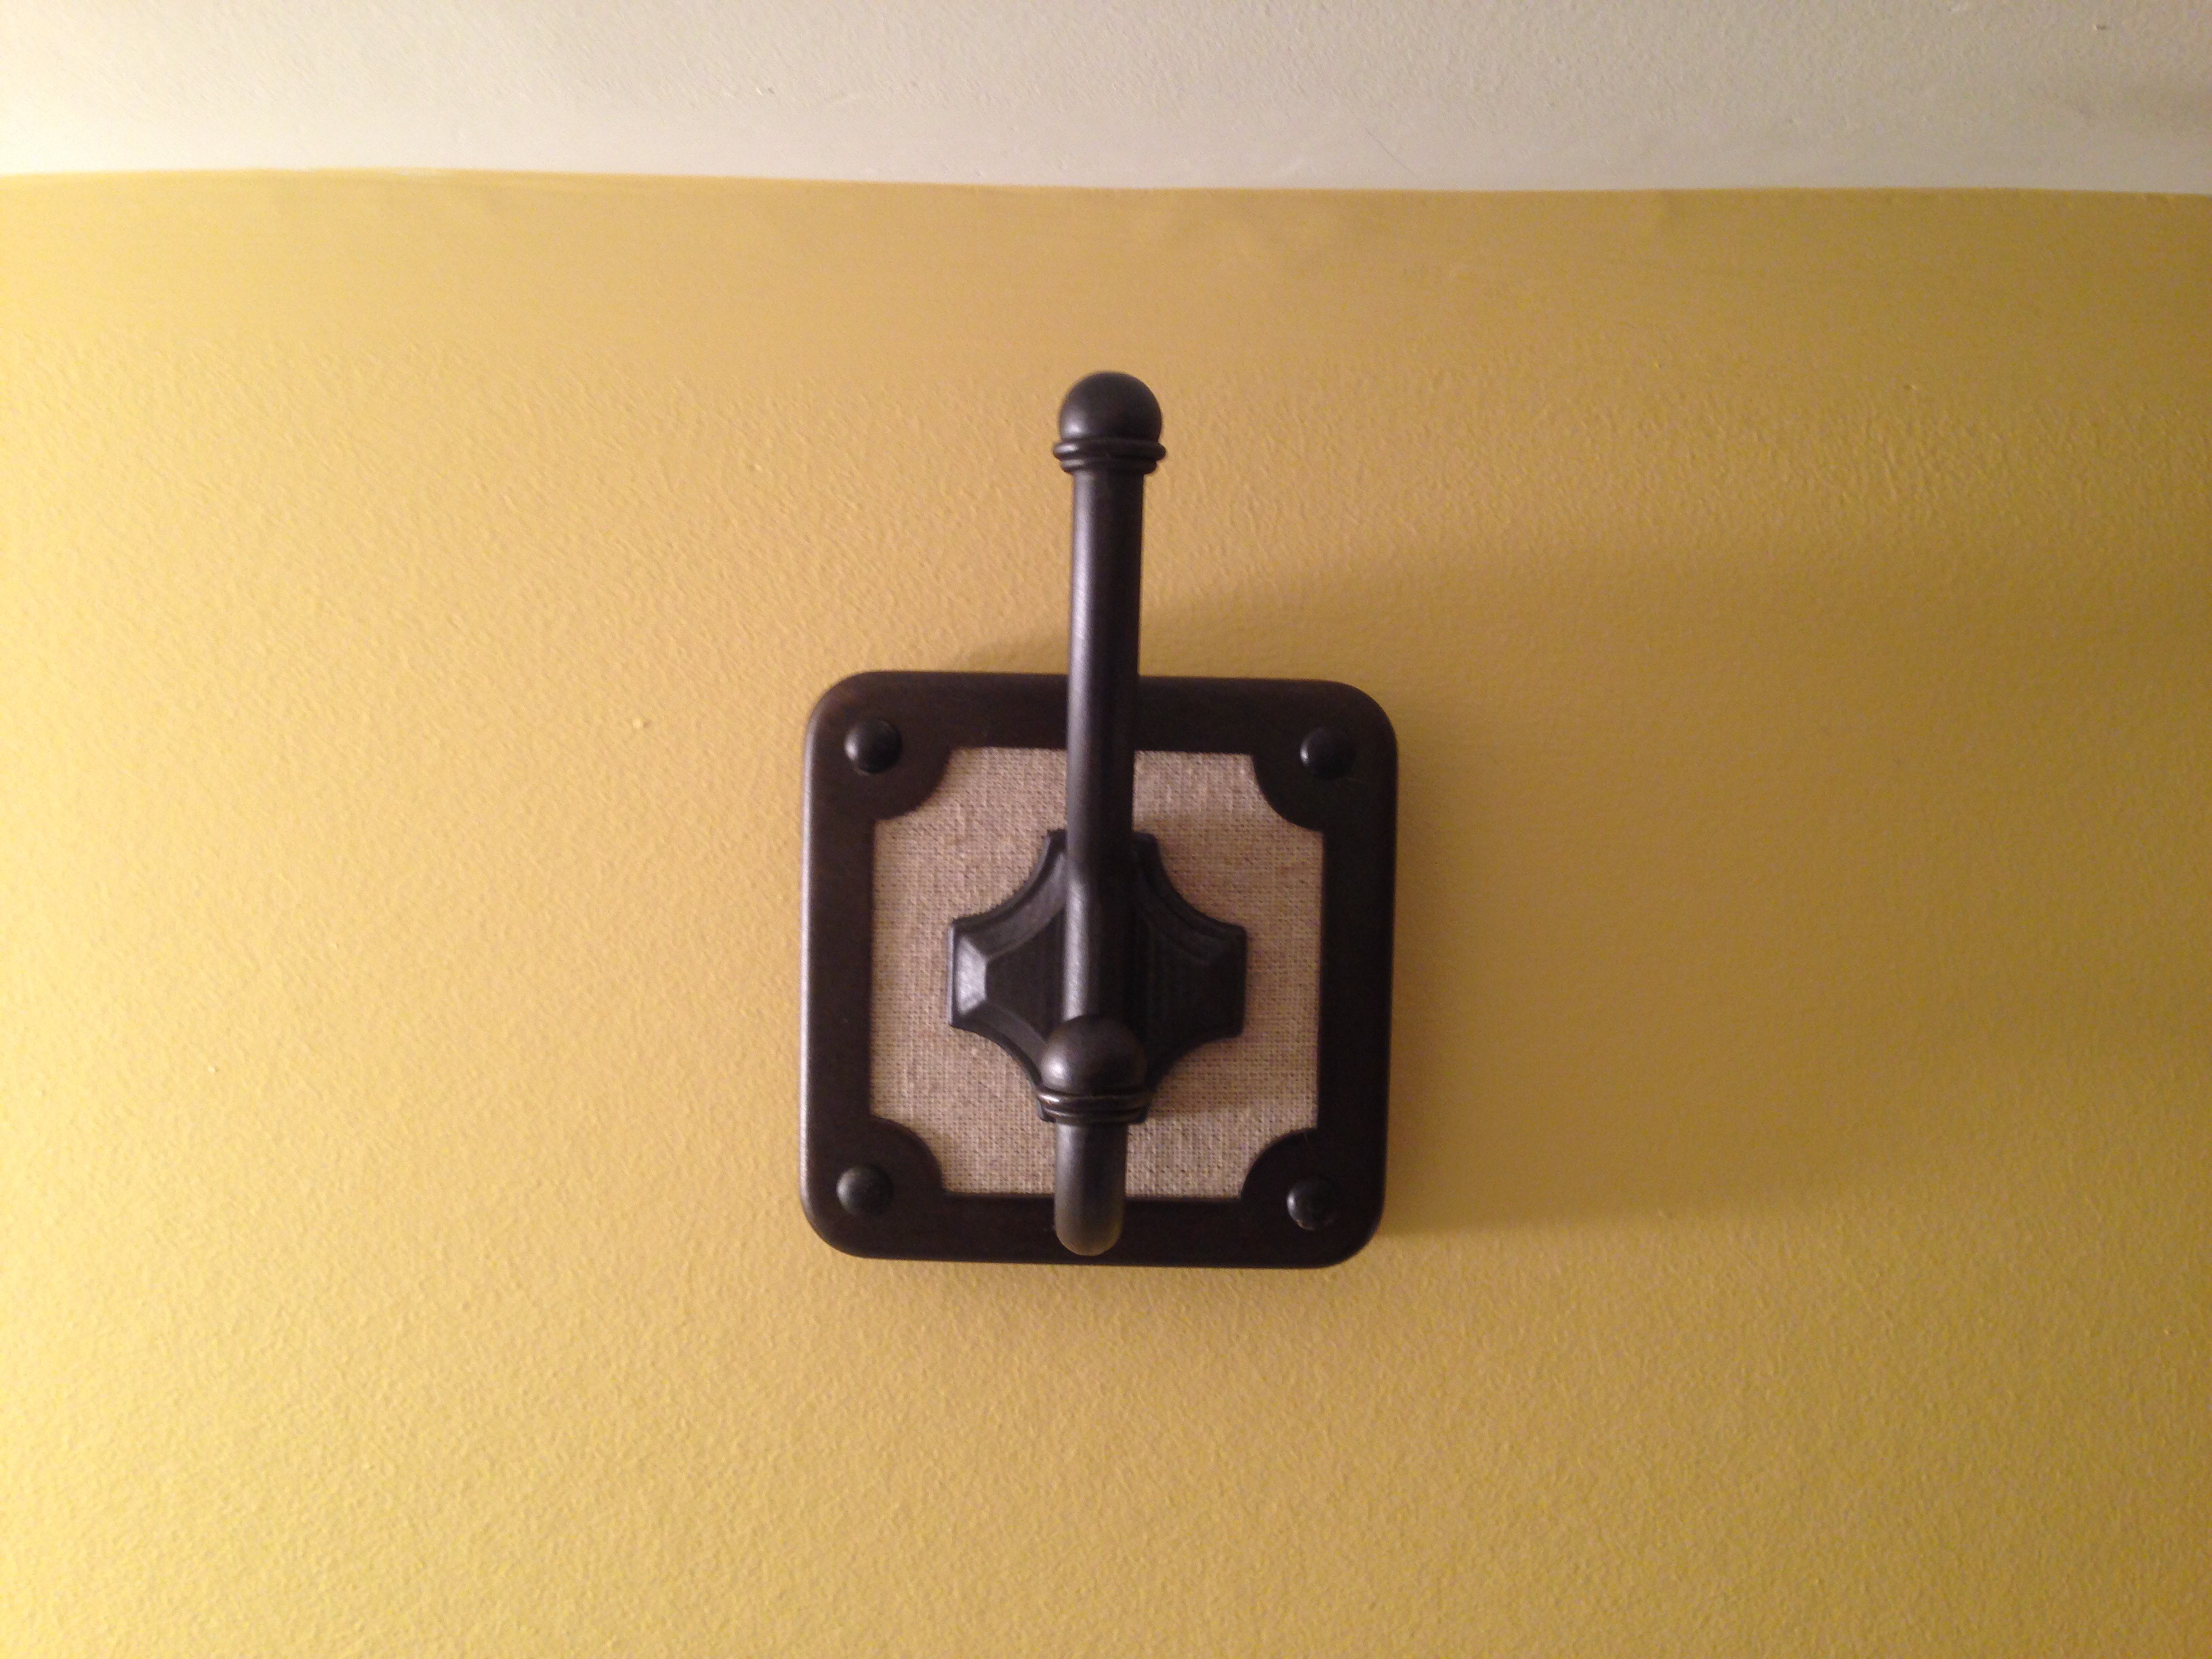
Bathroom hook and shelf mount
I got this decorative hook at Home Depot (one of the pricier $10 options). After pre drilling the hole, I added the two 2″ screws included with the hook. And then I snapped the hook onto the screws.
The shelves, while manageable, were a bit heavy when hoisting it up that high. But luckily, the commode offered a convenient resting spot.
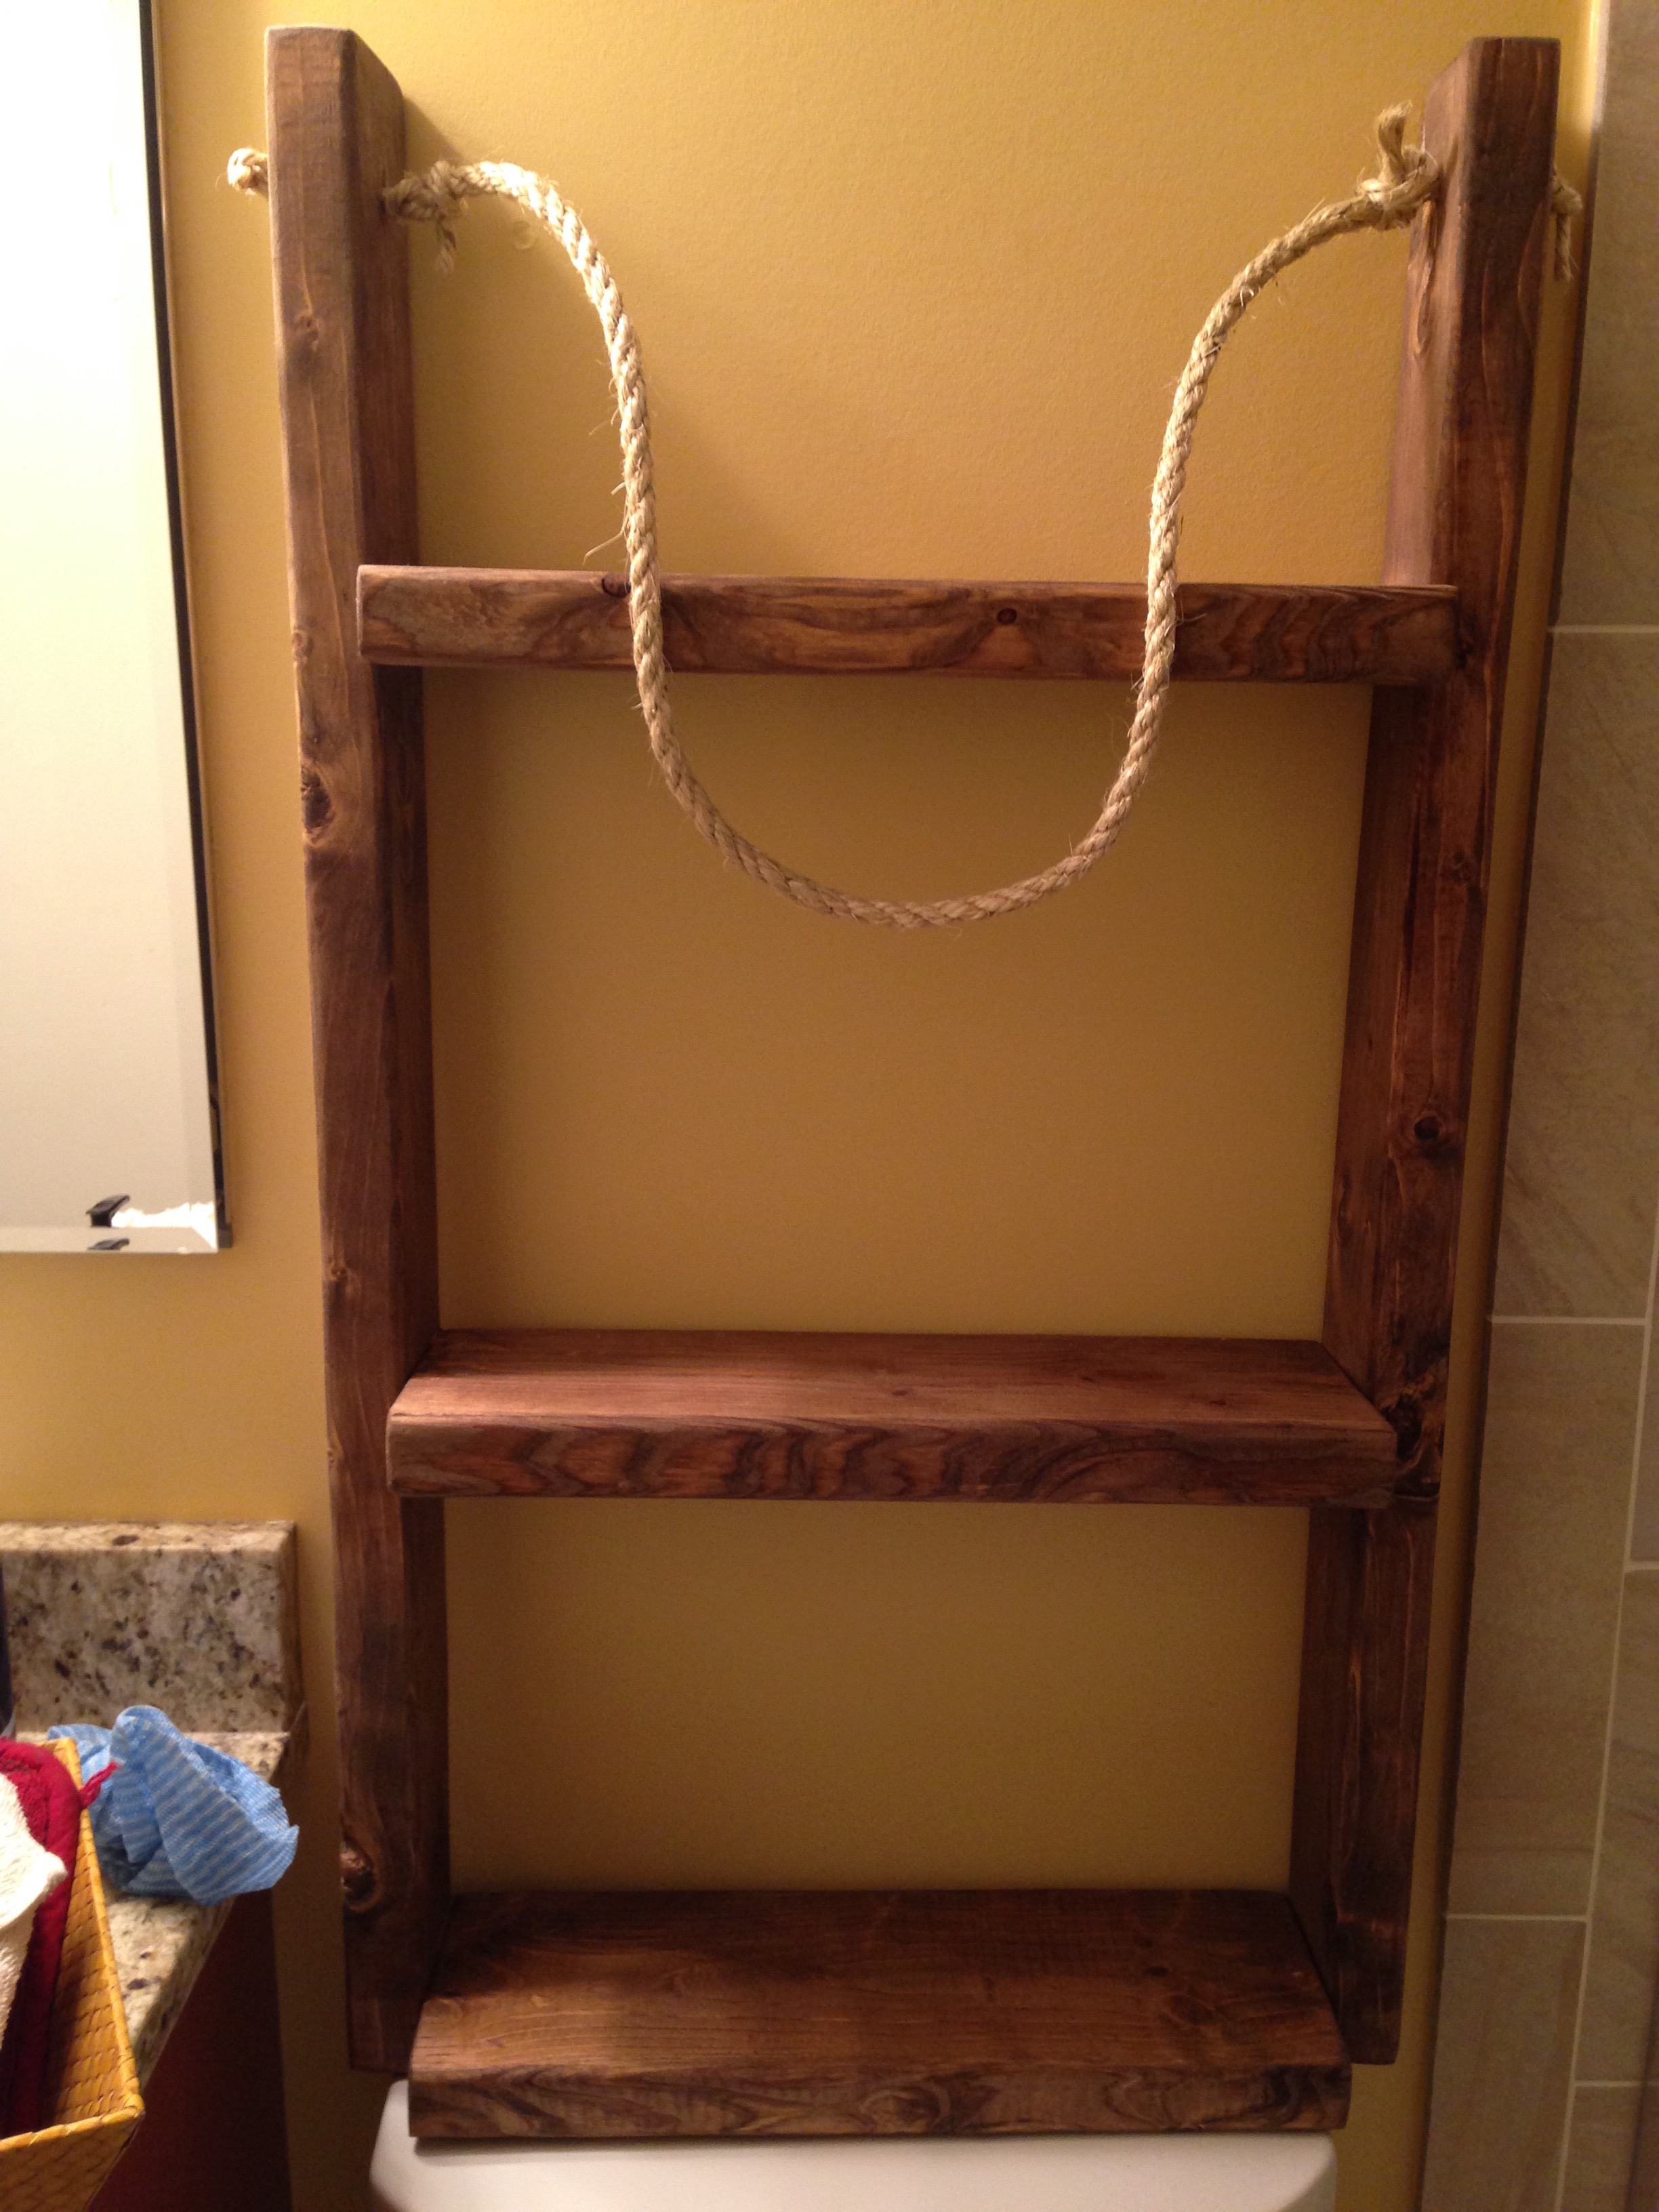
On the first try, it was evident that the rope loop was way too long (and required shortening). After that was done, the hanging shelf was successfully added to the hook.

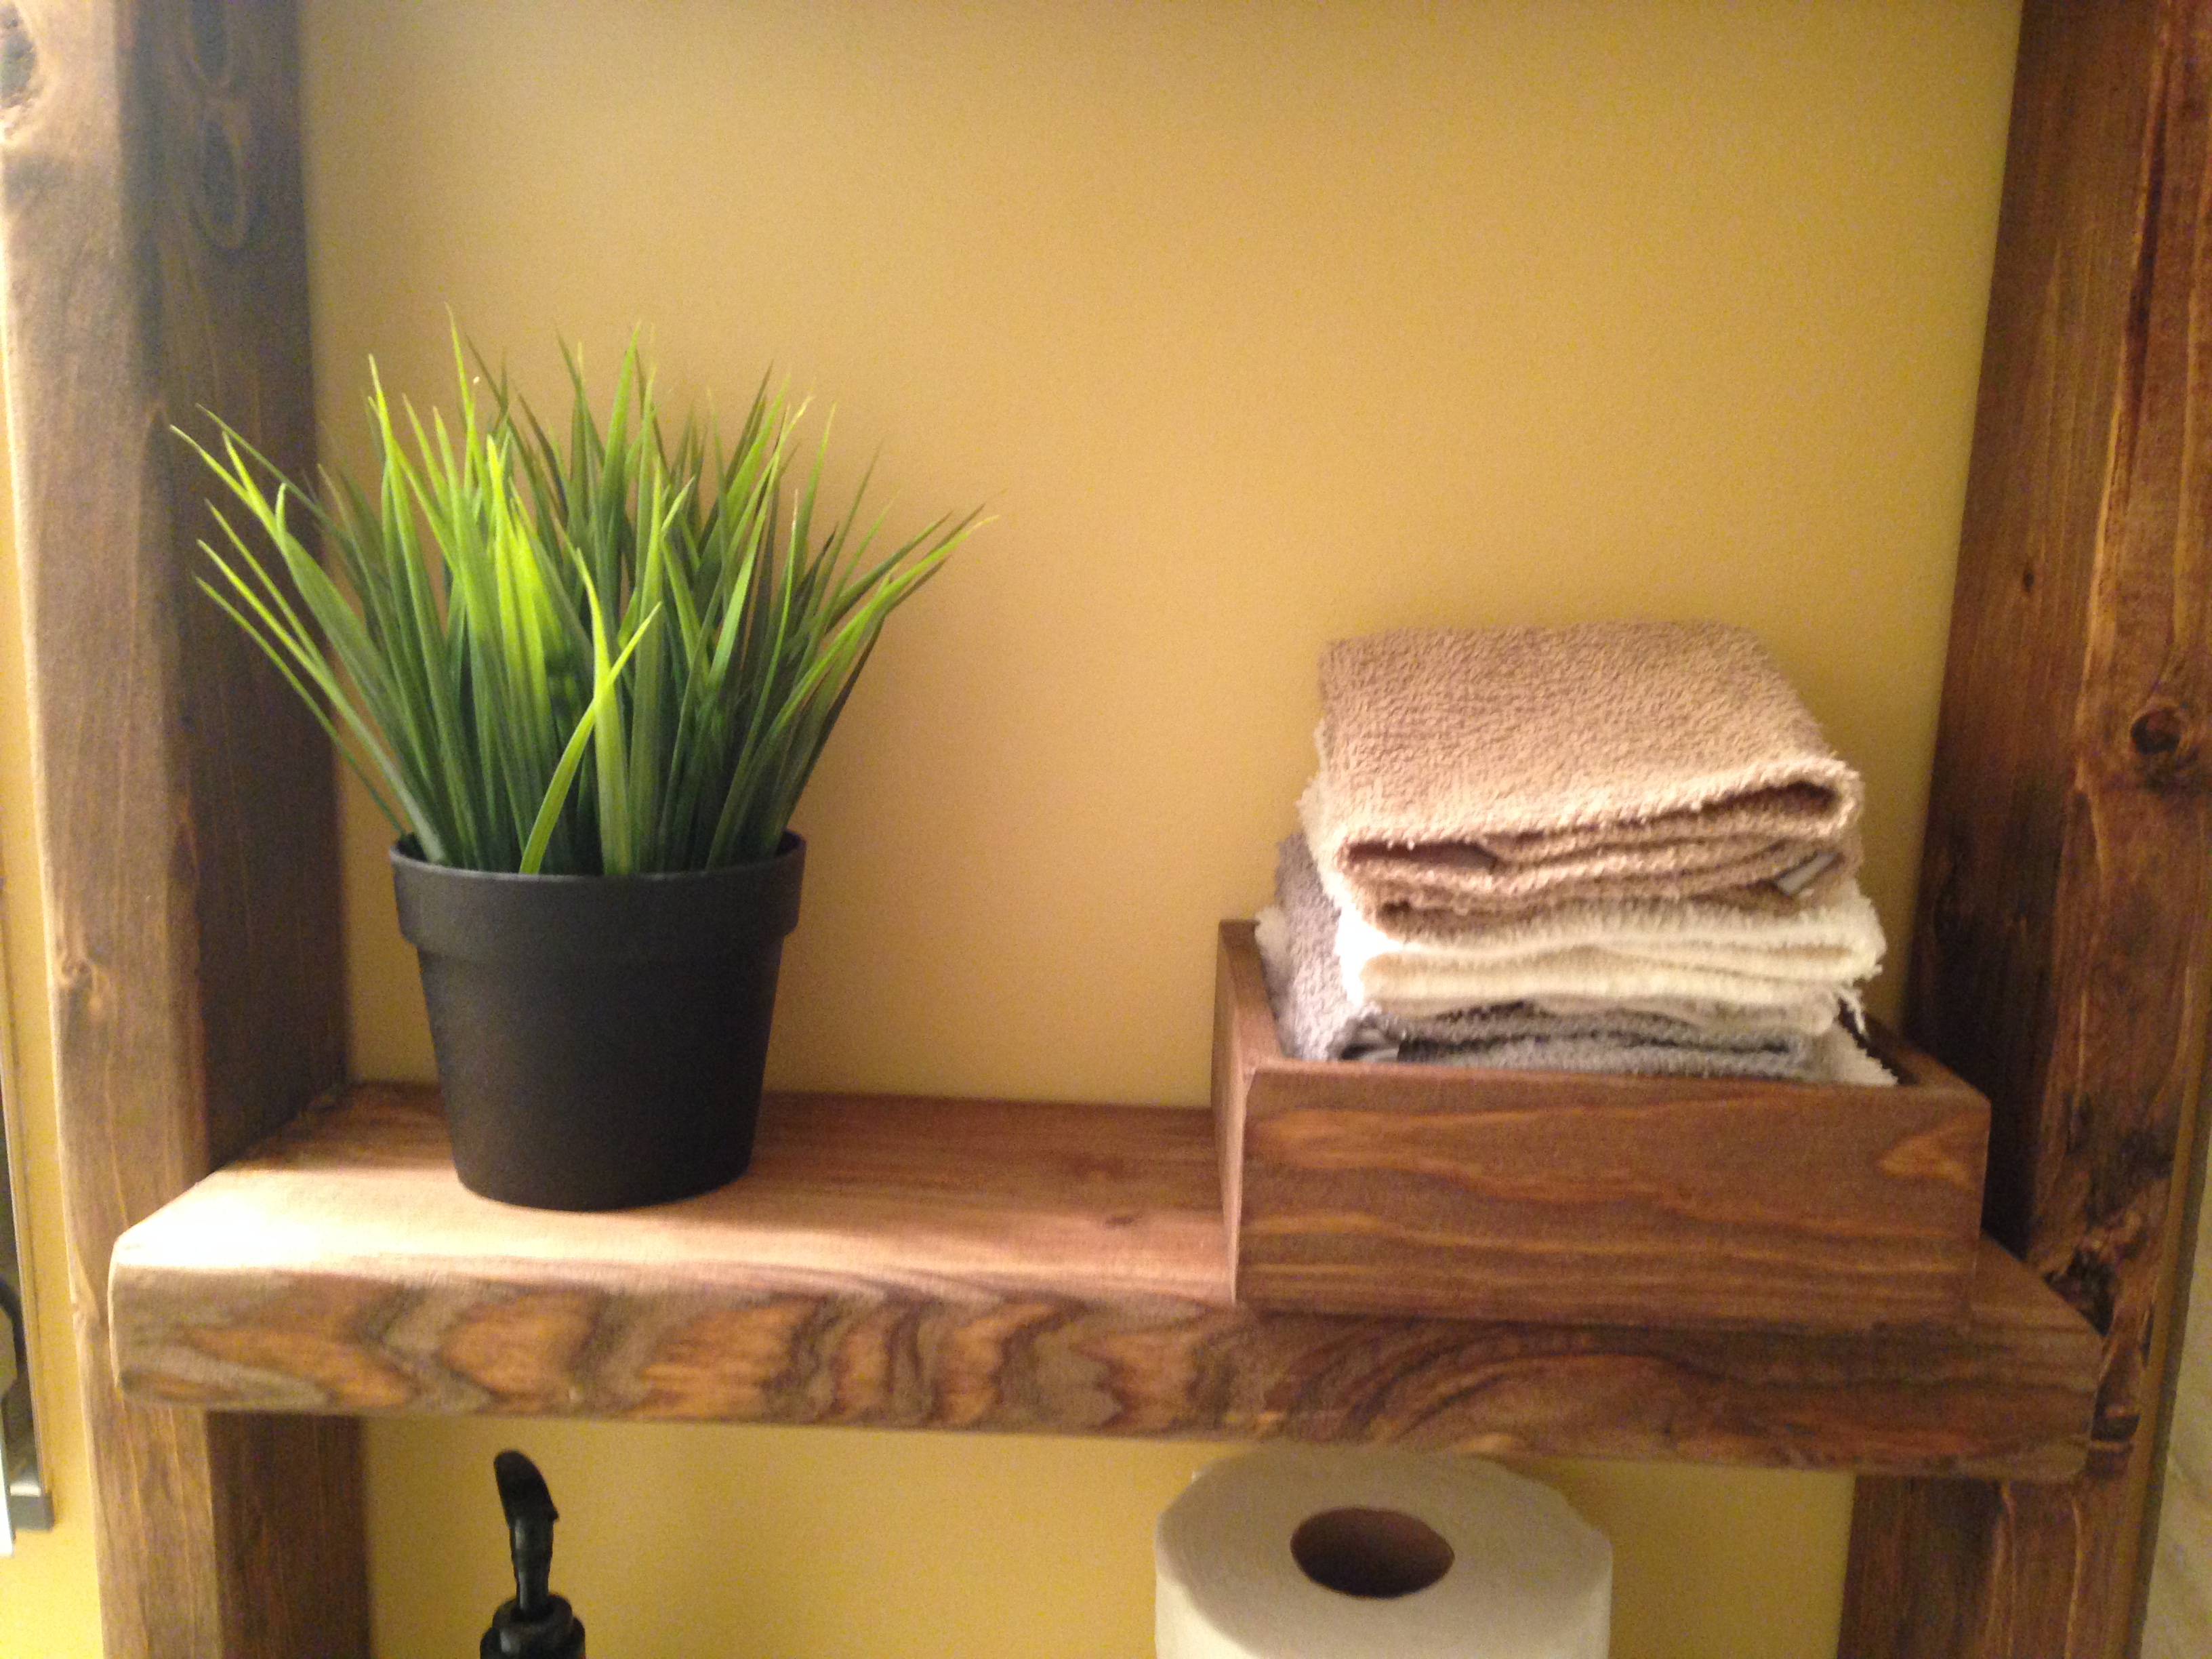
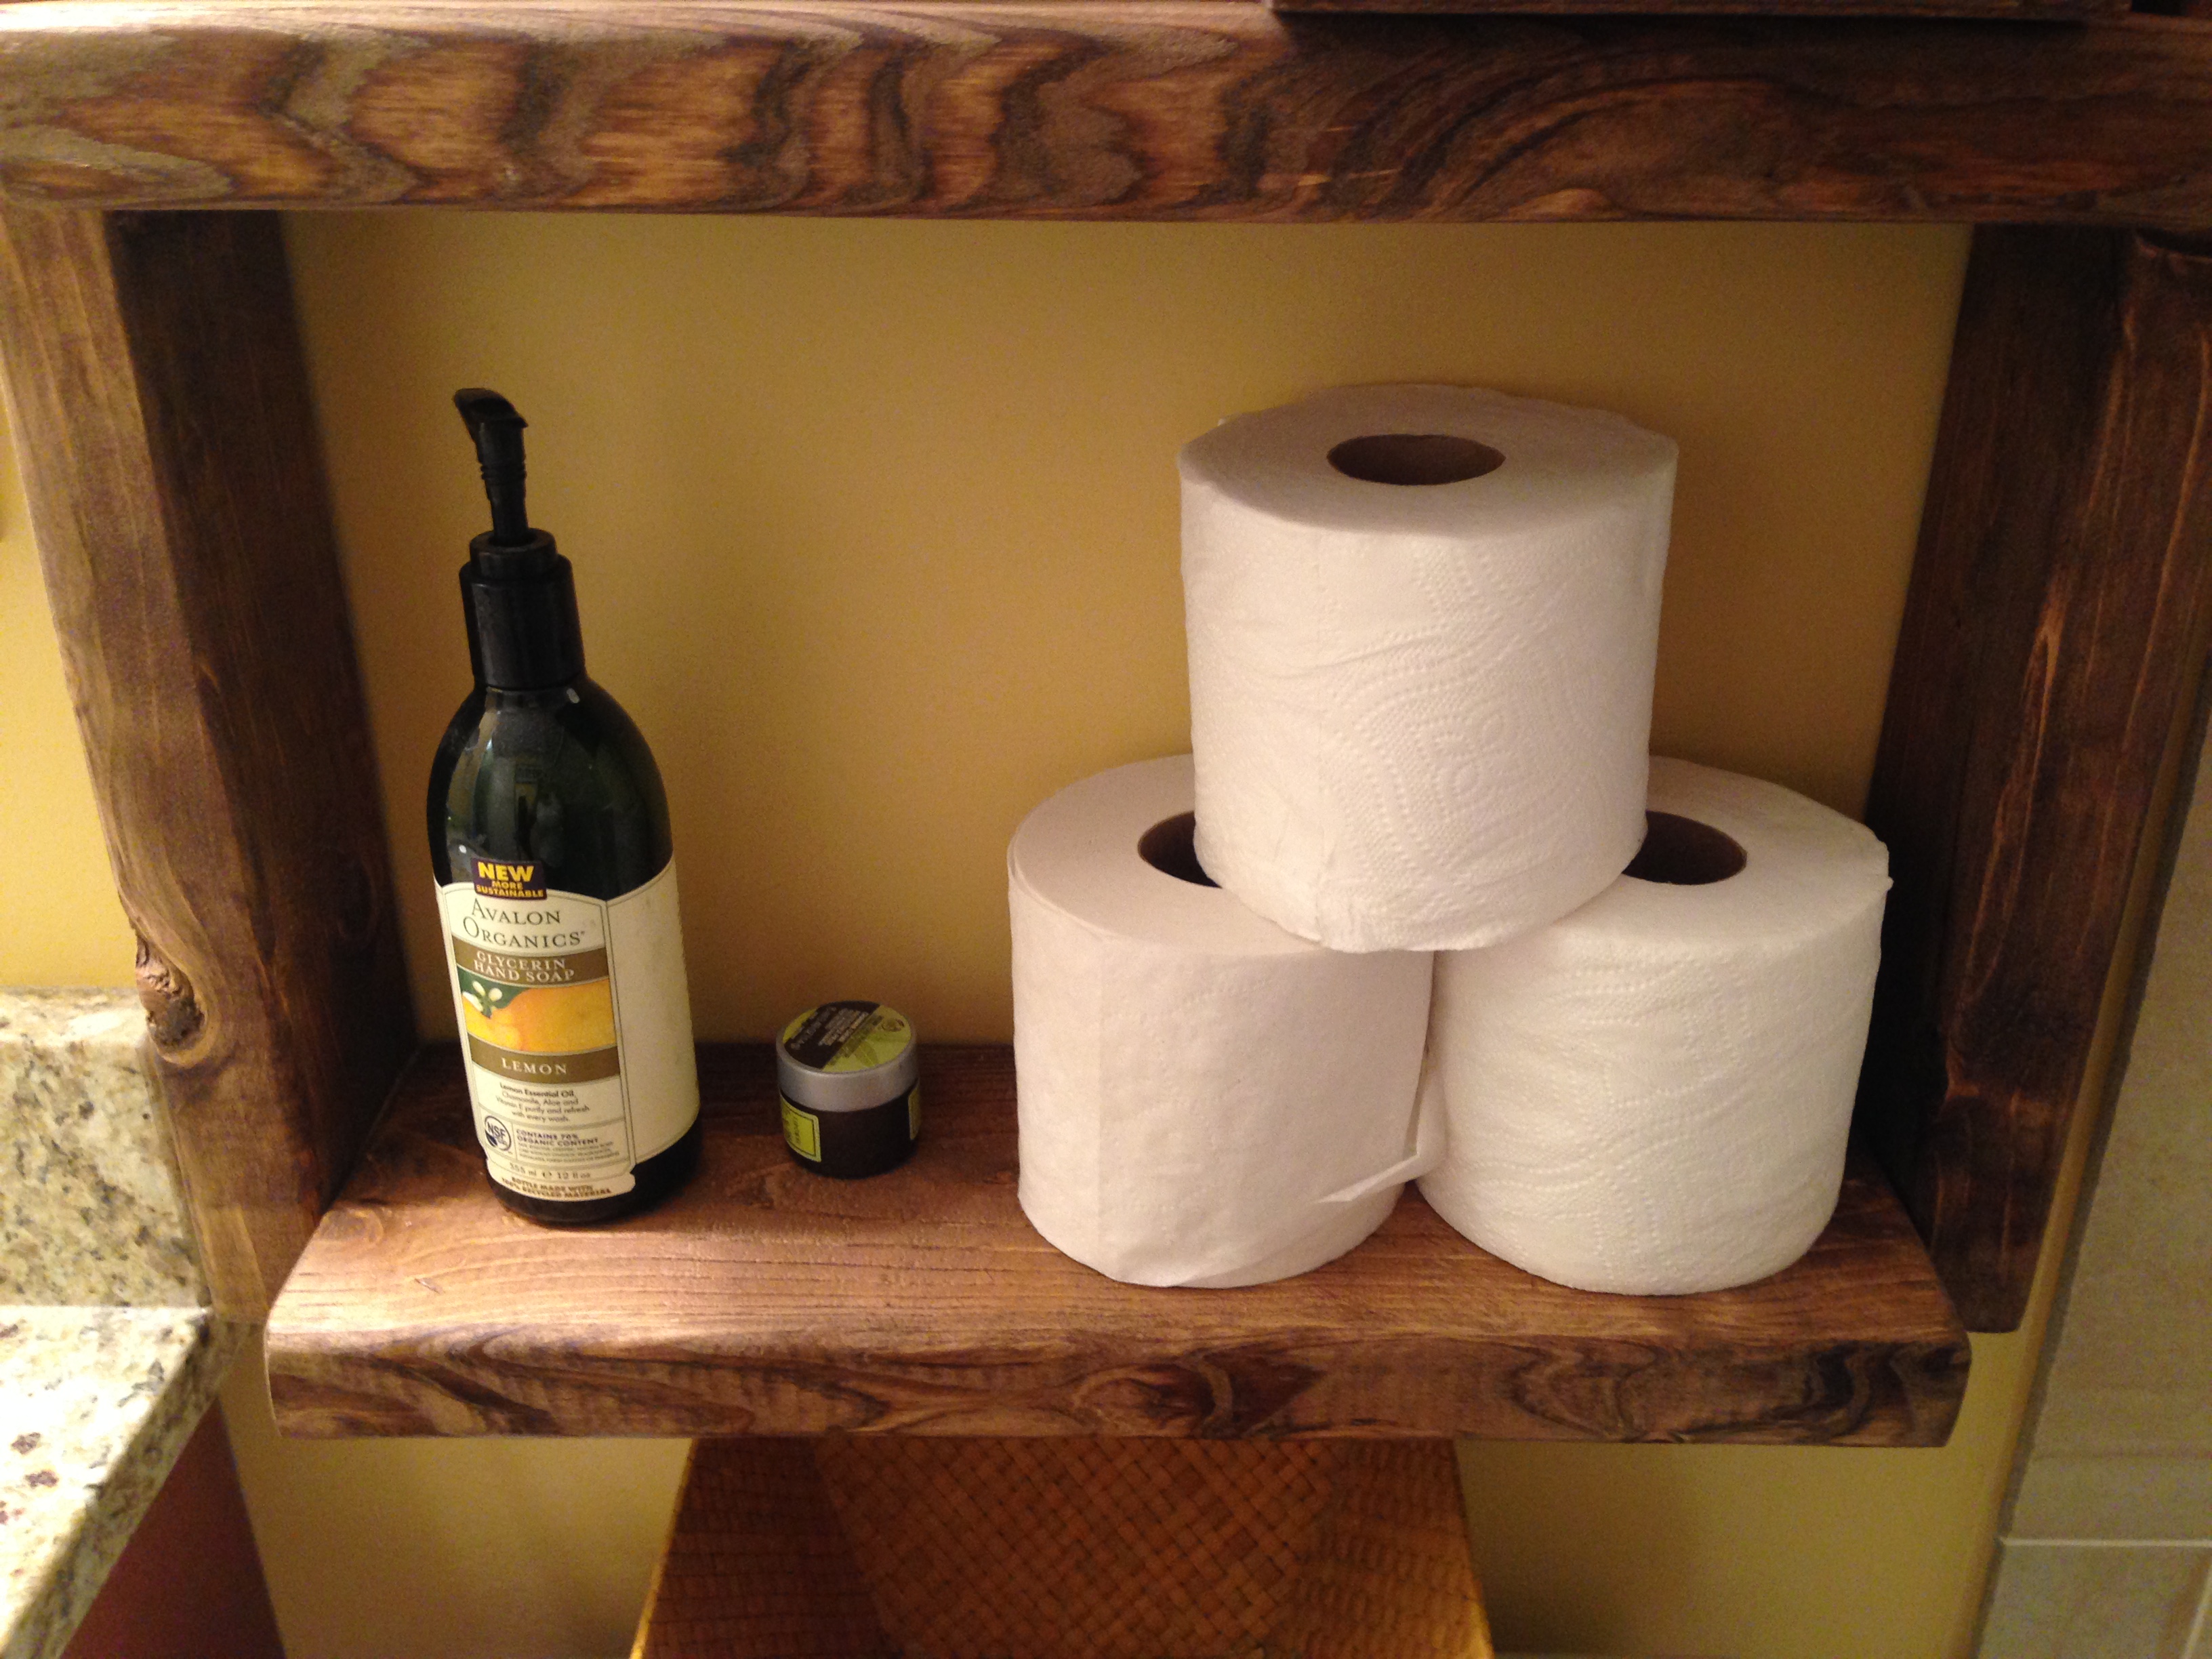
I think this shelf is the perfect addition to the bathroom.
I also mounted the picture ledge on my side of the bedroom that same day. I’ll add another post soon to show you how it looks. V-