
Game changing turning point: My DIY vertical wall planters
You may also like:
May 26, 2015: Thank you Home Depot DIH workshop! Thank you! Because of this workshop, I began my transition from beginner home crafter and decorator, to builder. That’s right.
By stumbling across a Thursday night Do It Herself workshop while shopping at Home Depot for light bulbs, I was exposed to the world and joys of working with wood and building really cool home projects.
My condo crafting journey has just taken a surprising and wonderful new turn. And my passion for building has spiraled out of control from here.
My first wood build project: On Thursday, May 14, my mom Xenia and I are walking into the Bethesda Home Depot for a quick light bulb purchase. As soon as we walked in, this lovely lady in a Home Depot apron walked up and asked if we would like to join their workshop.
They will show us how to build a vertical wall planter. For free. All materials included.
I gaped at the woman in shocked wonder, and then turned to my mother. Xenia groaned in defeat. We were gonna build ourselves some planters!
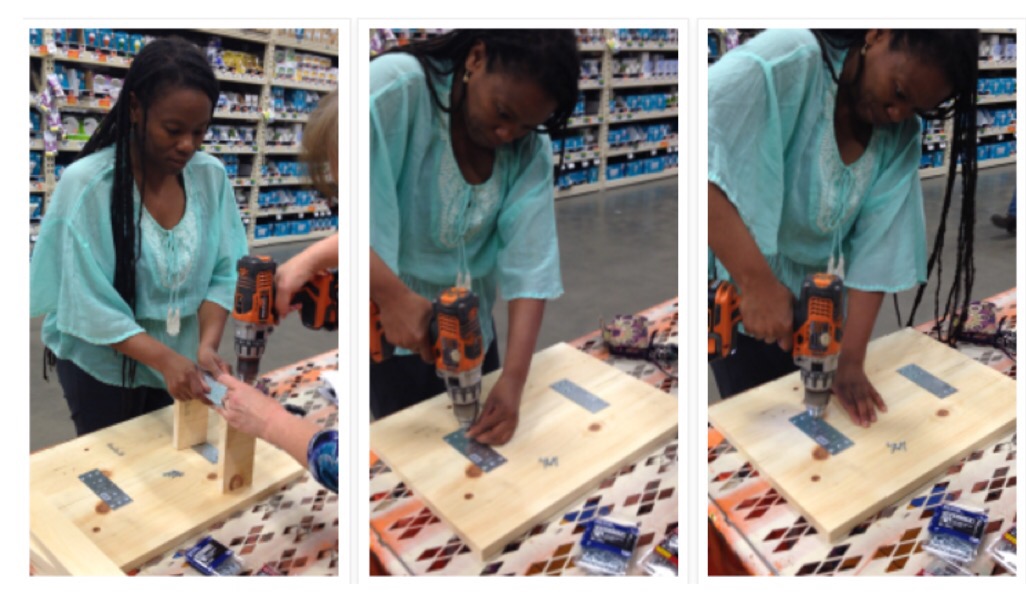
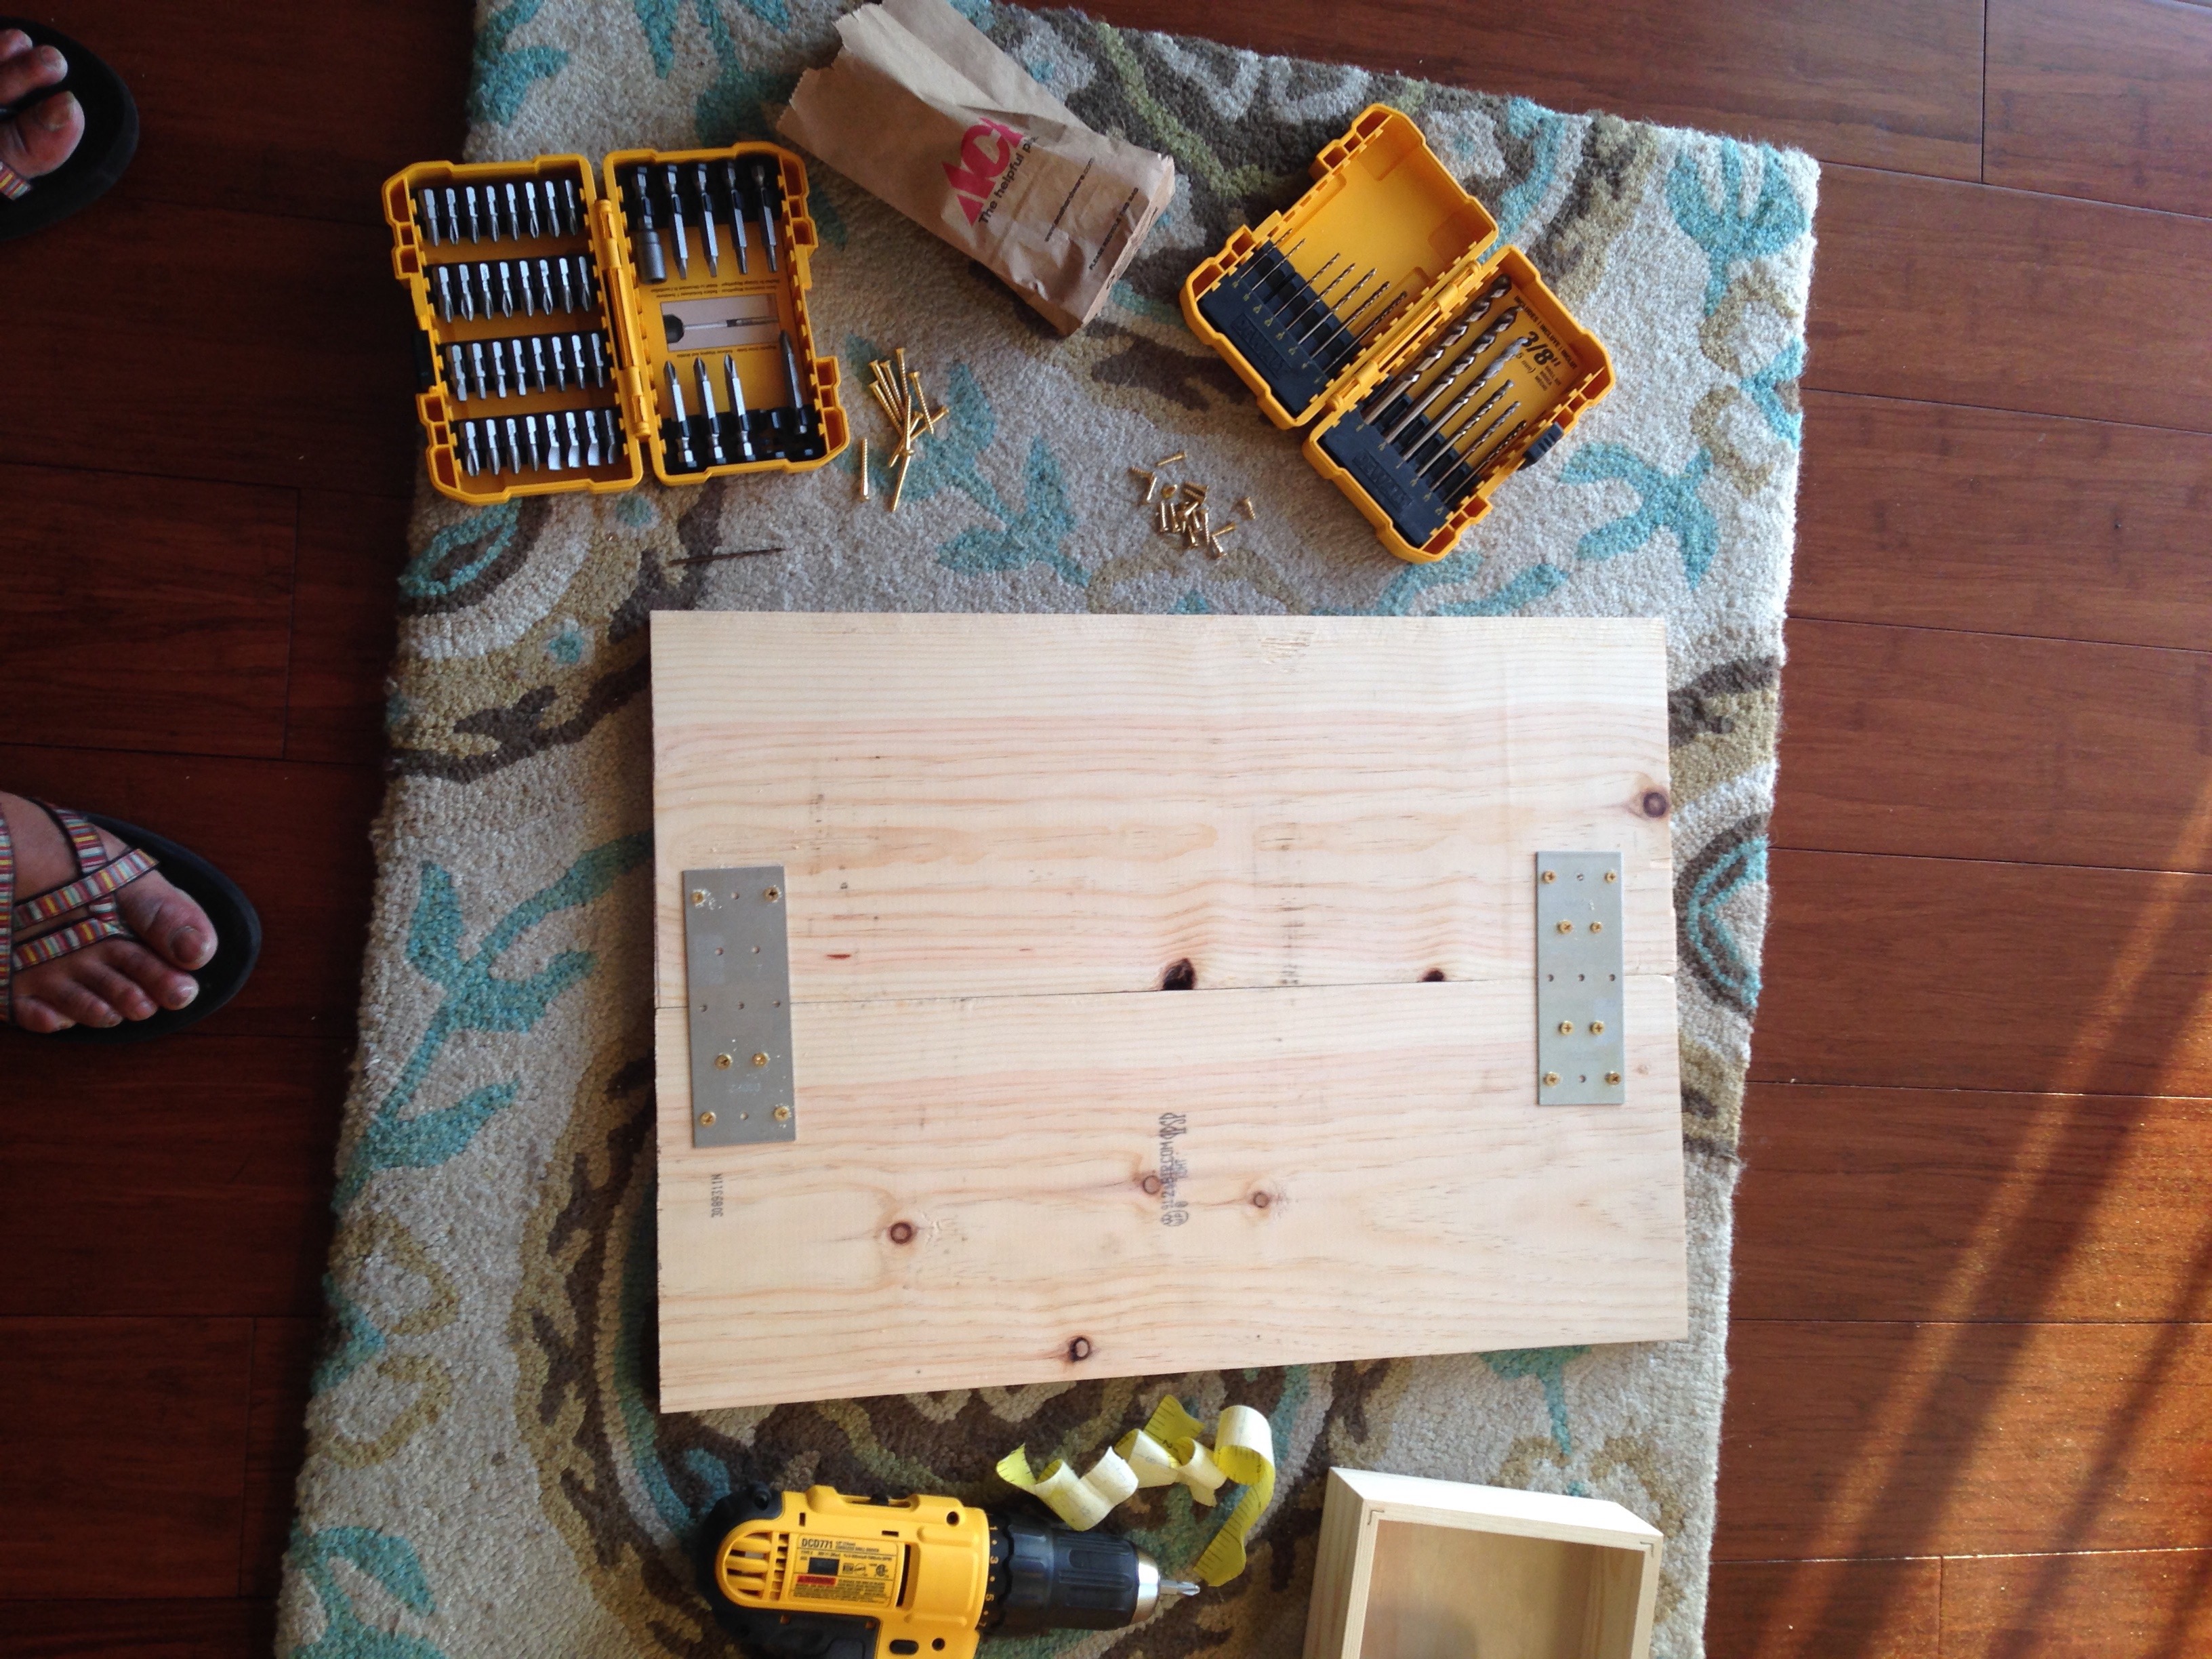
Following her demonstrated steps and her instructions, I quickly put together a wood plaque with an attached small planter box. We used galvanized mending plates to connect two 1x8x20″ pine boards together (one on top of the other). Adding wood screws to the wood using the mending plates allowed us to quickly build the wood board back.
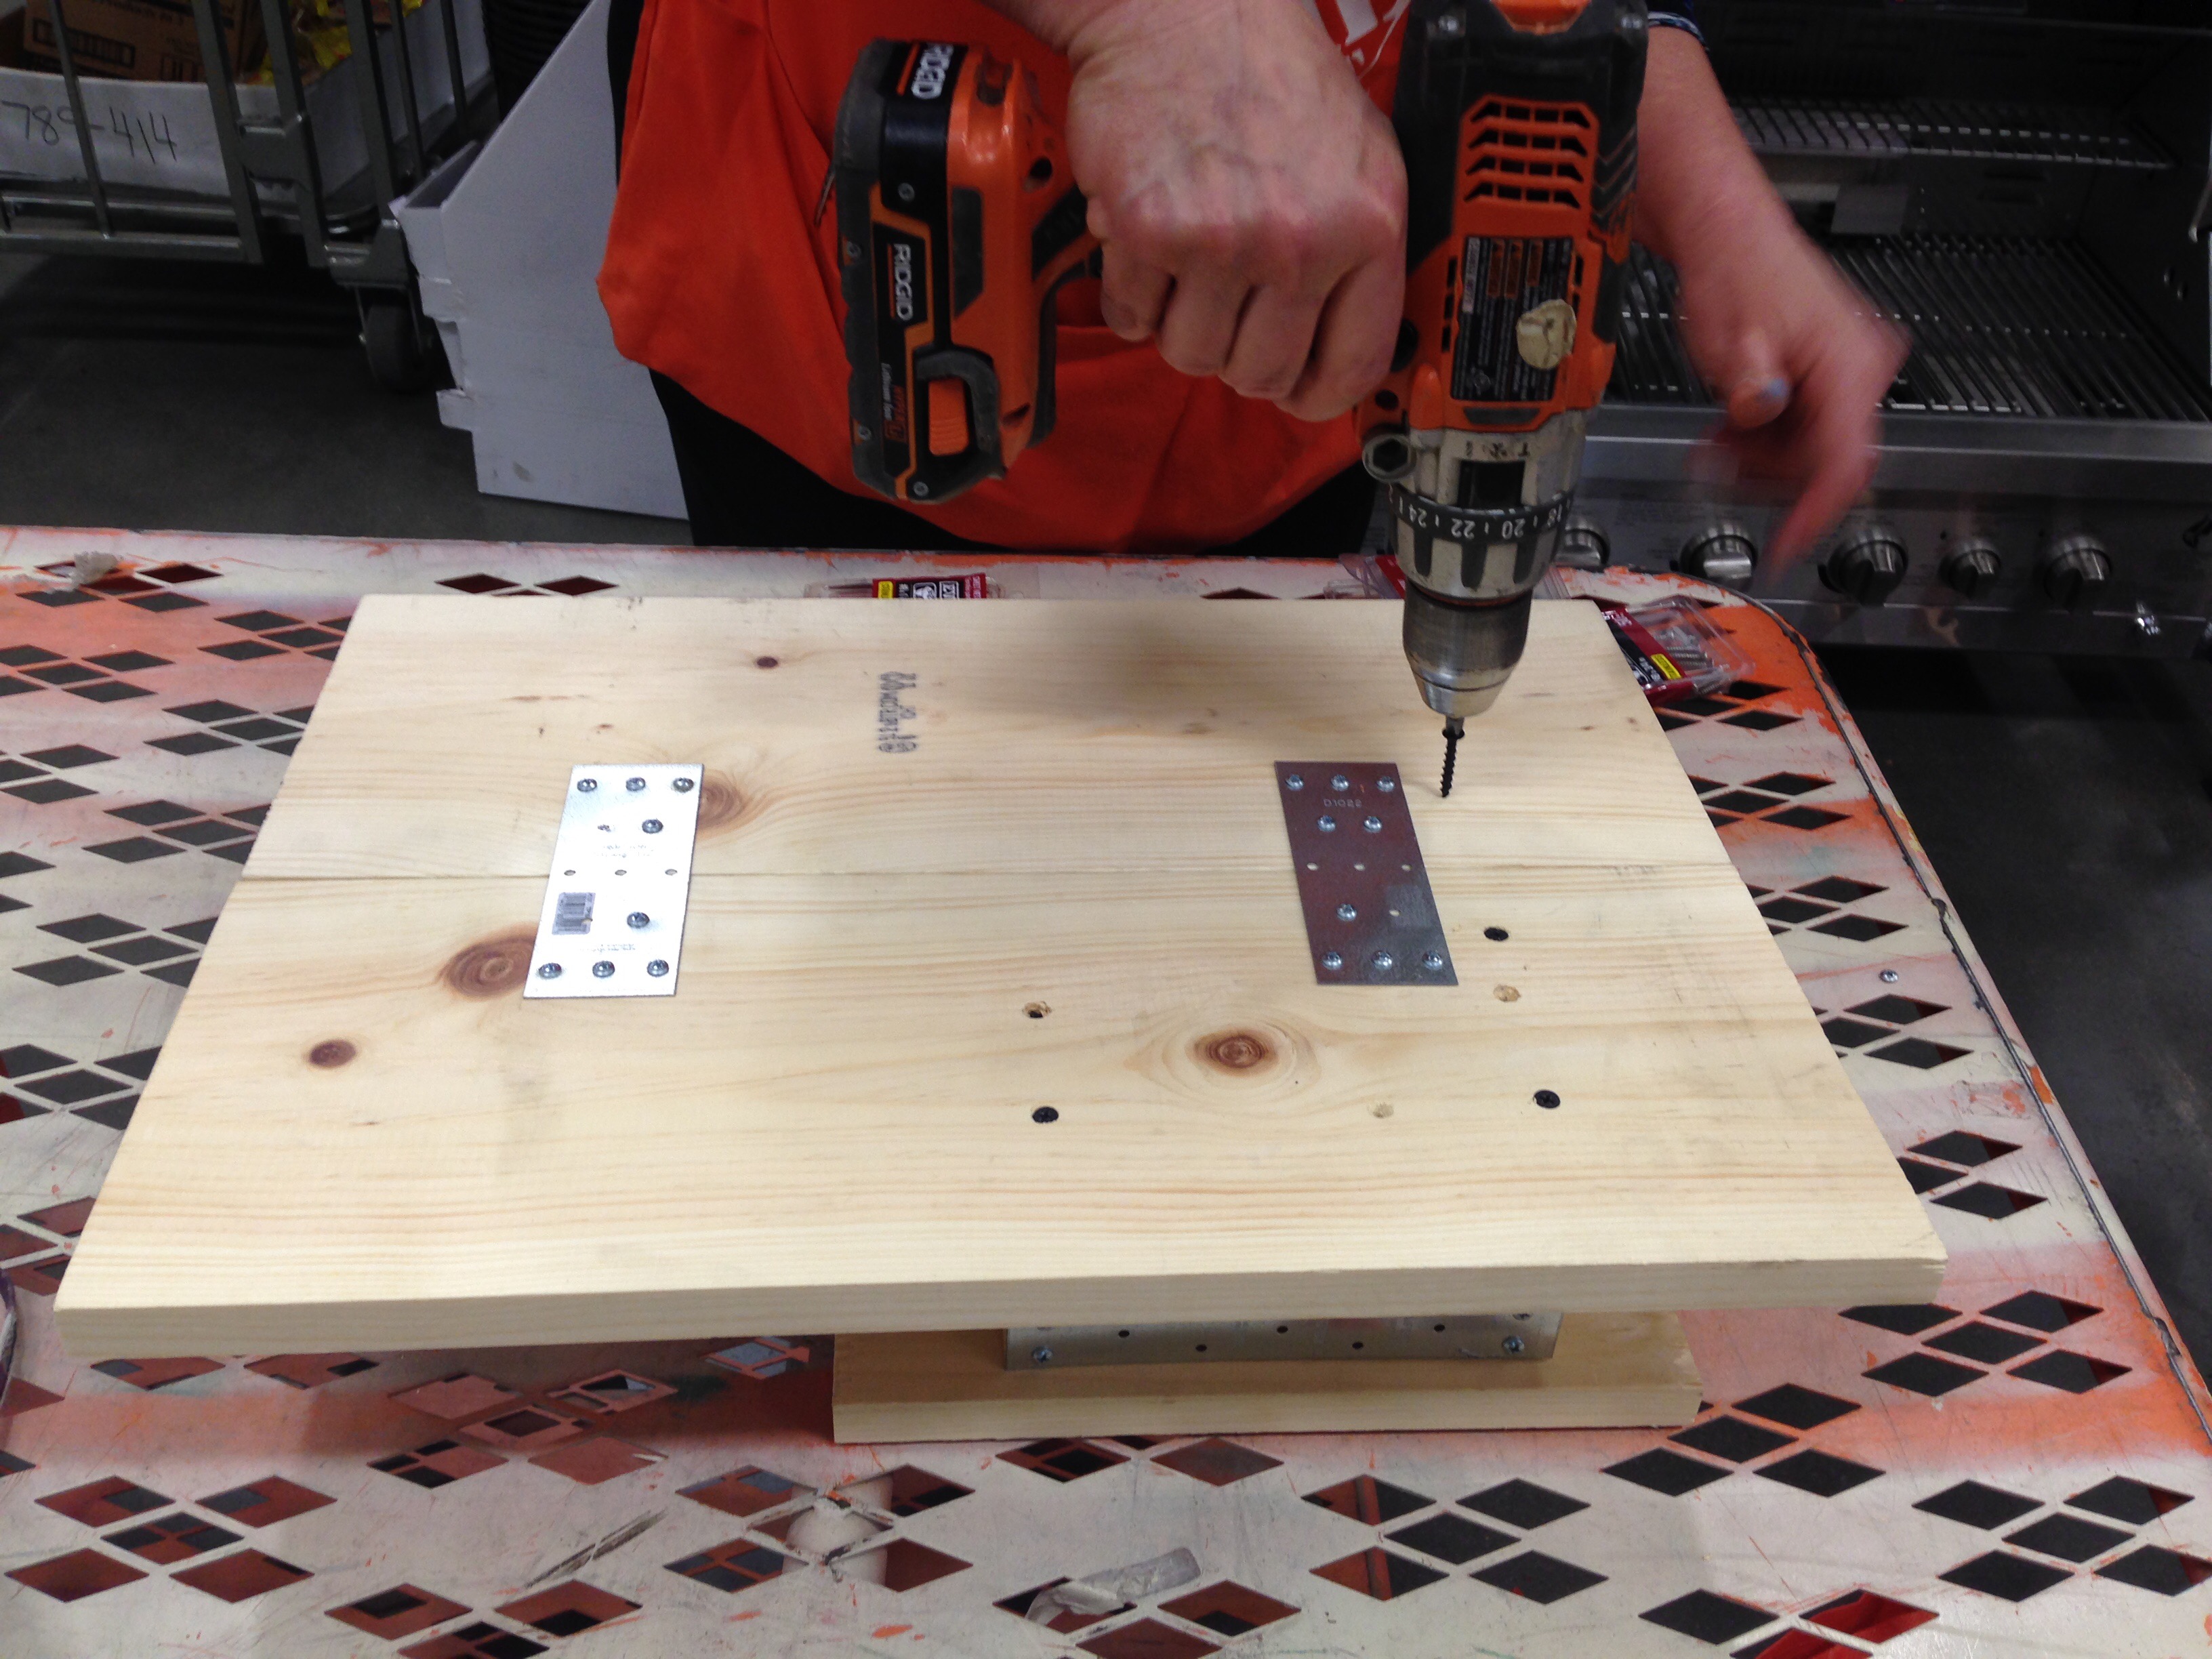
We then added the planter box to the front of the back board, also with wood screws. We took two 1x3x7″ pine wood blocks attached them to a galvanized tie plate (for the bottom of the planter (creating a U shape). Then we added three 1x2x4″ blocks to the front (by connecting each one to the U shape via wood screws from the front block into the side wood block.
We then measured where the planter box is position on the back wood board and connected it with wood screws from the back.
And that was how easy it was. In a matter of minutes, I had my first DIY build. I happily took my completed project (and Xenia’s workshop kit bag which she declined to use) home for staining and hanging.
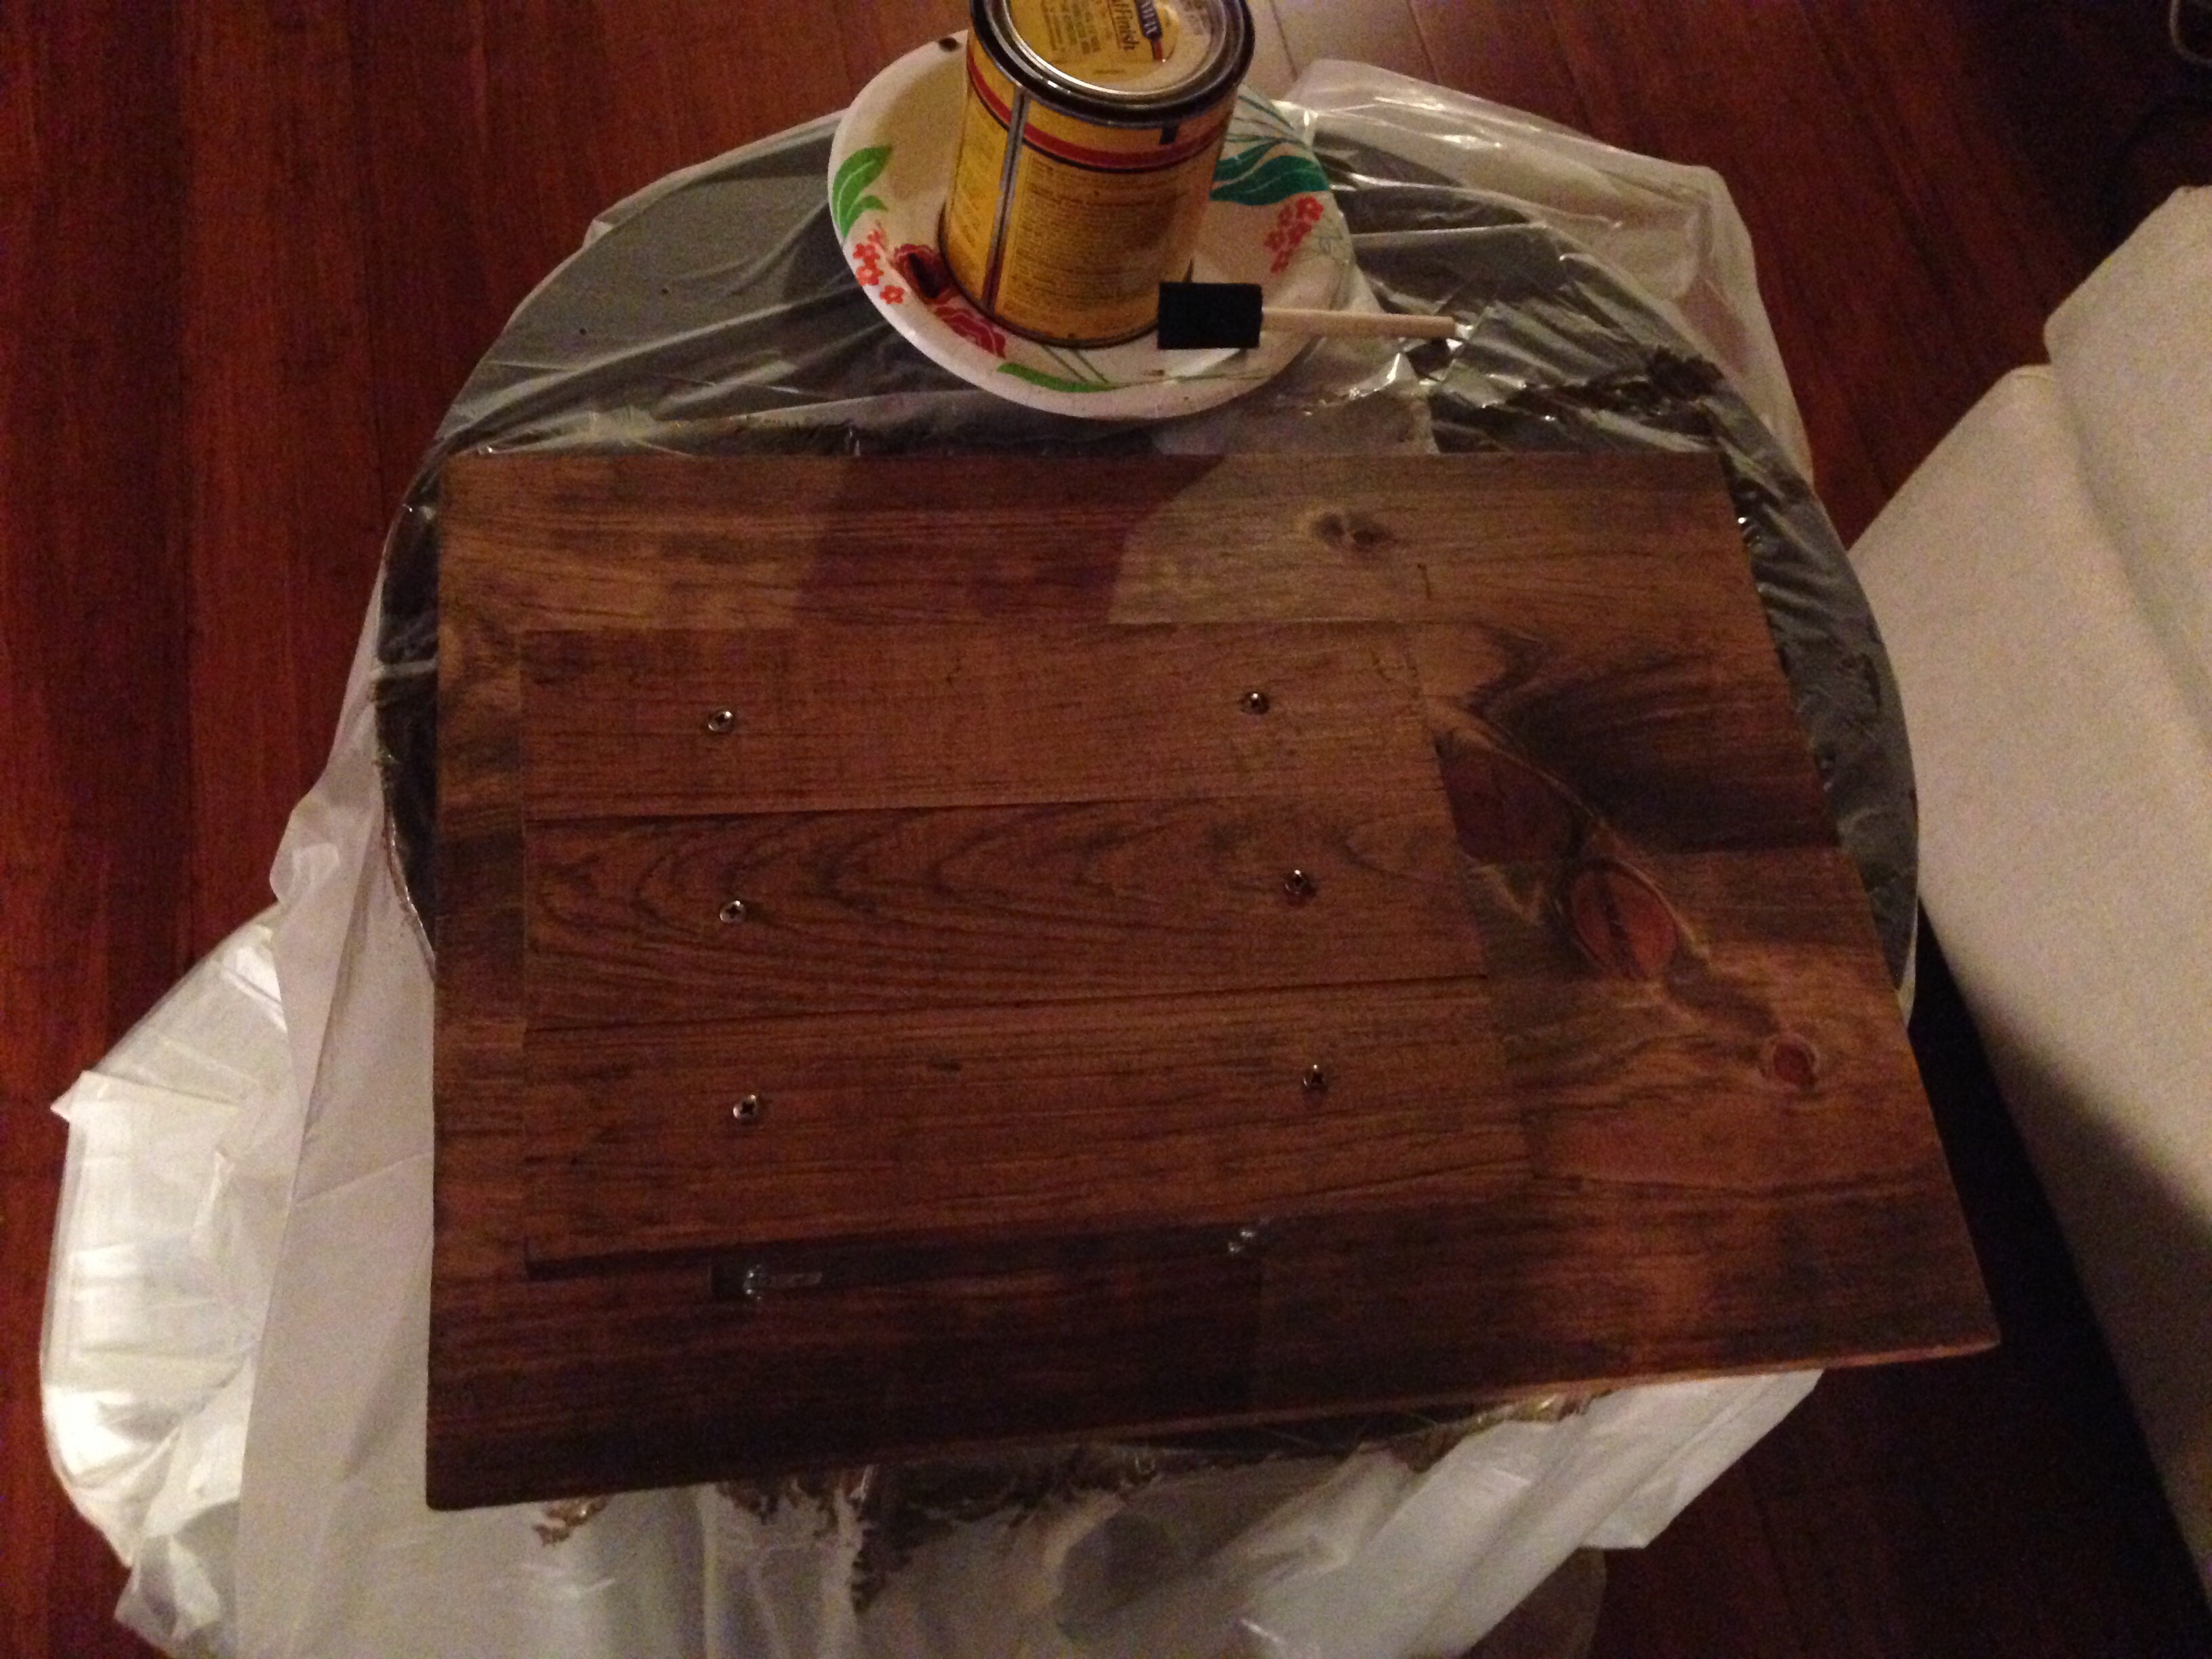
Rather than paint my vertical wall planter, I stained it with my favorite wood stain color – Early American from Minwax.
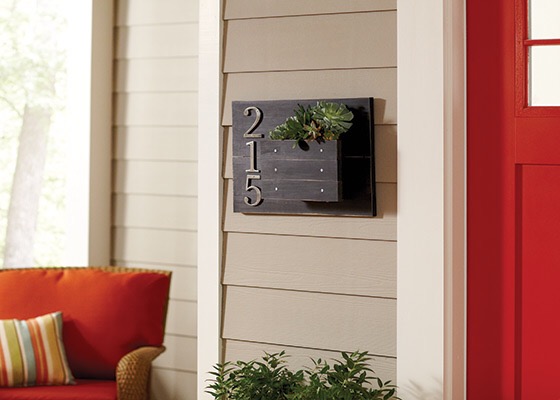
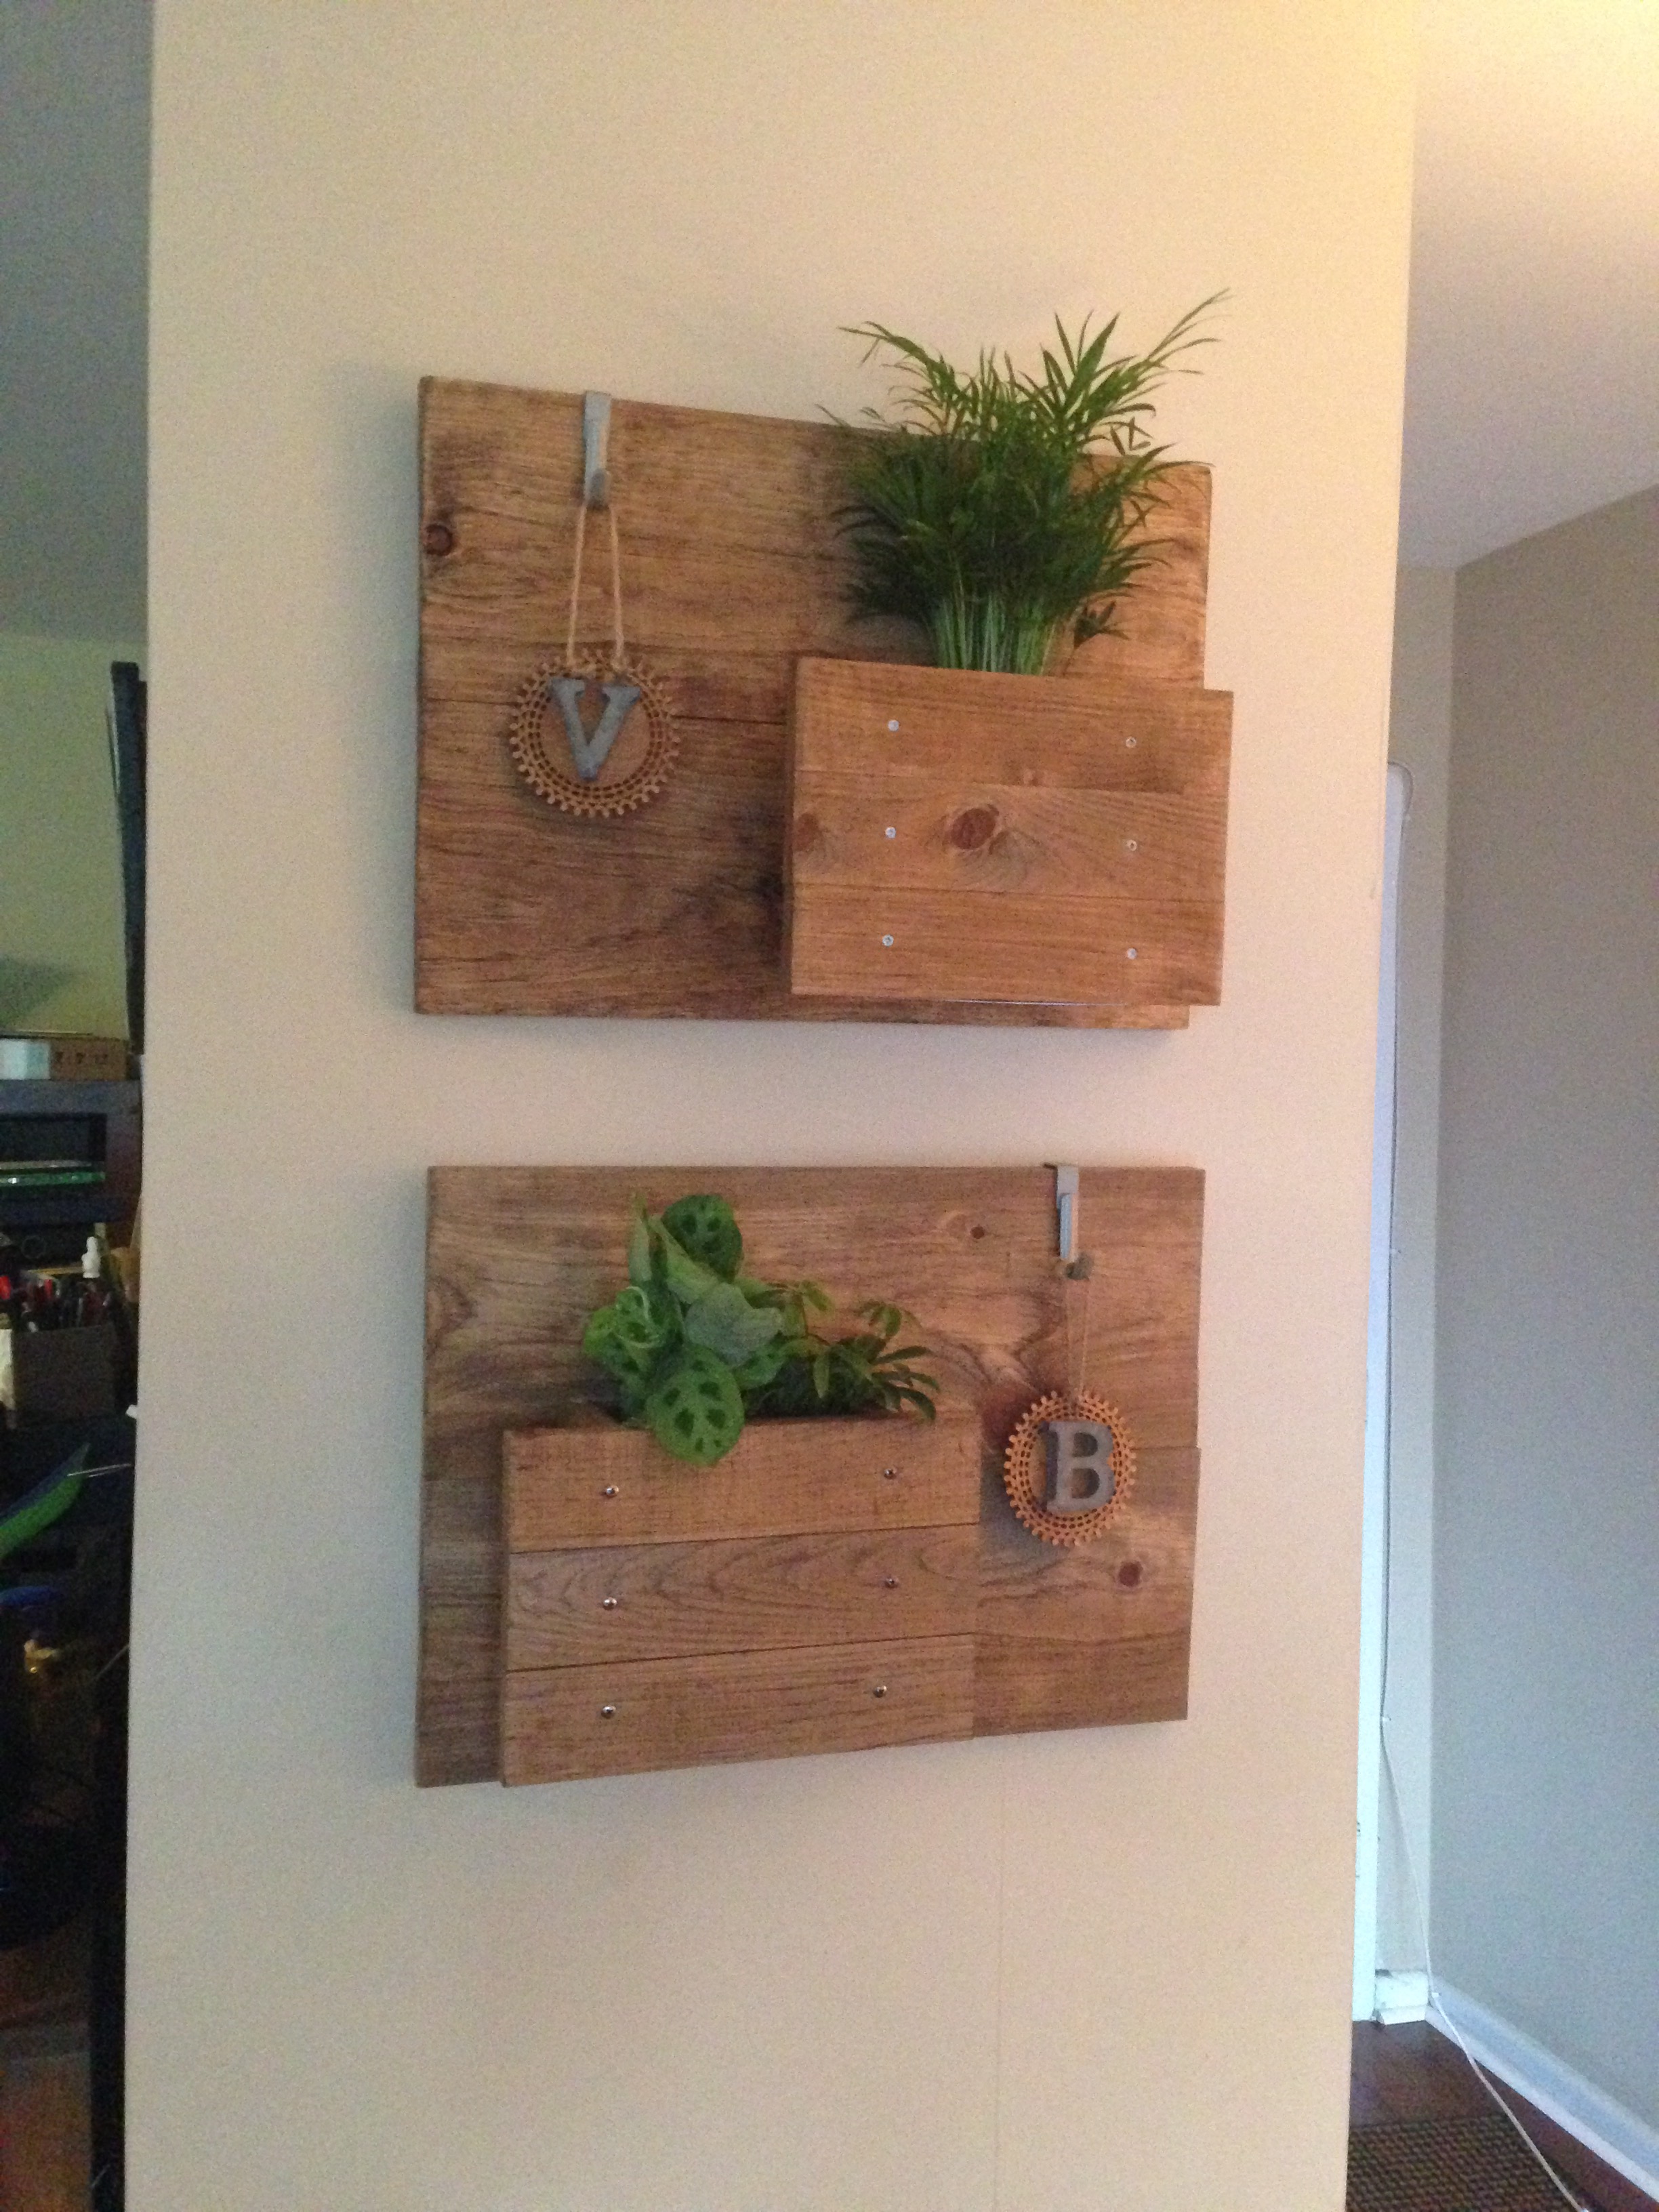
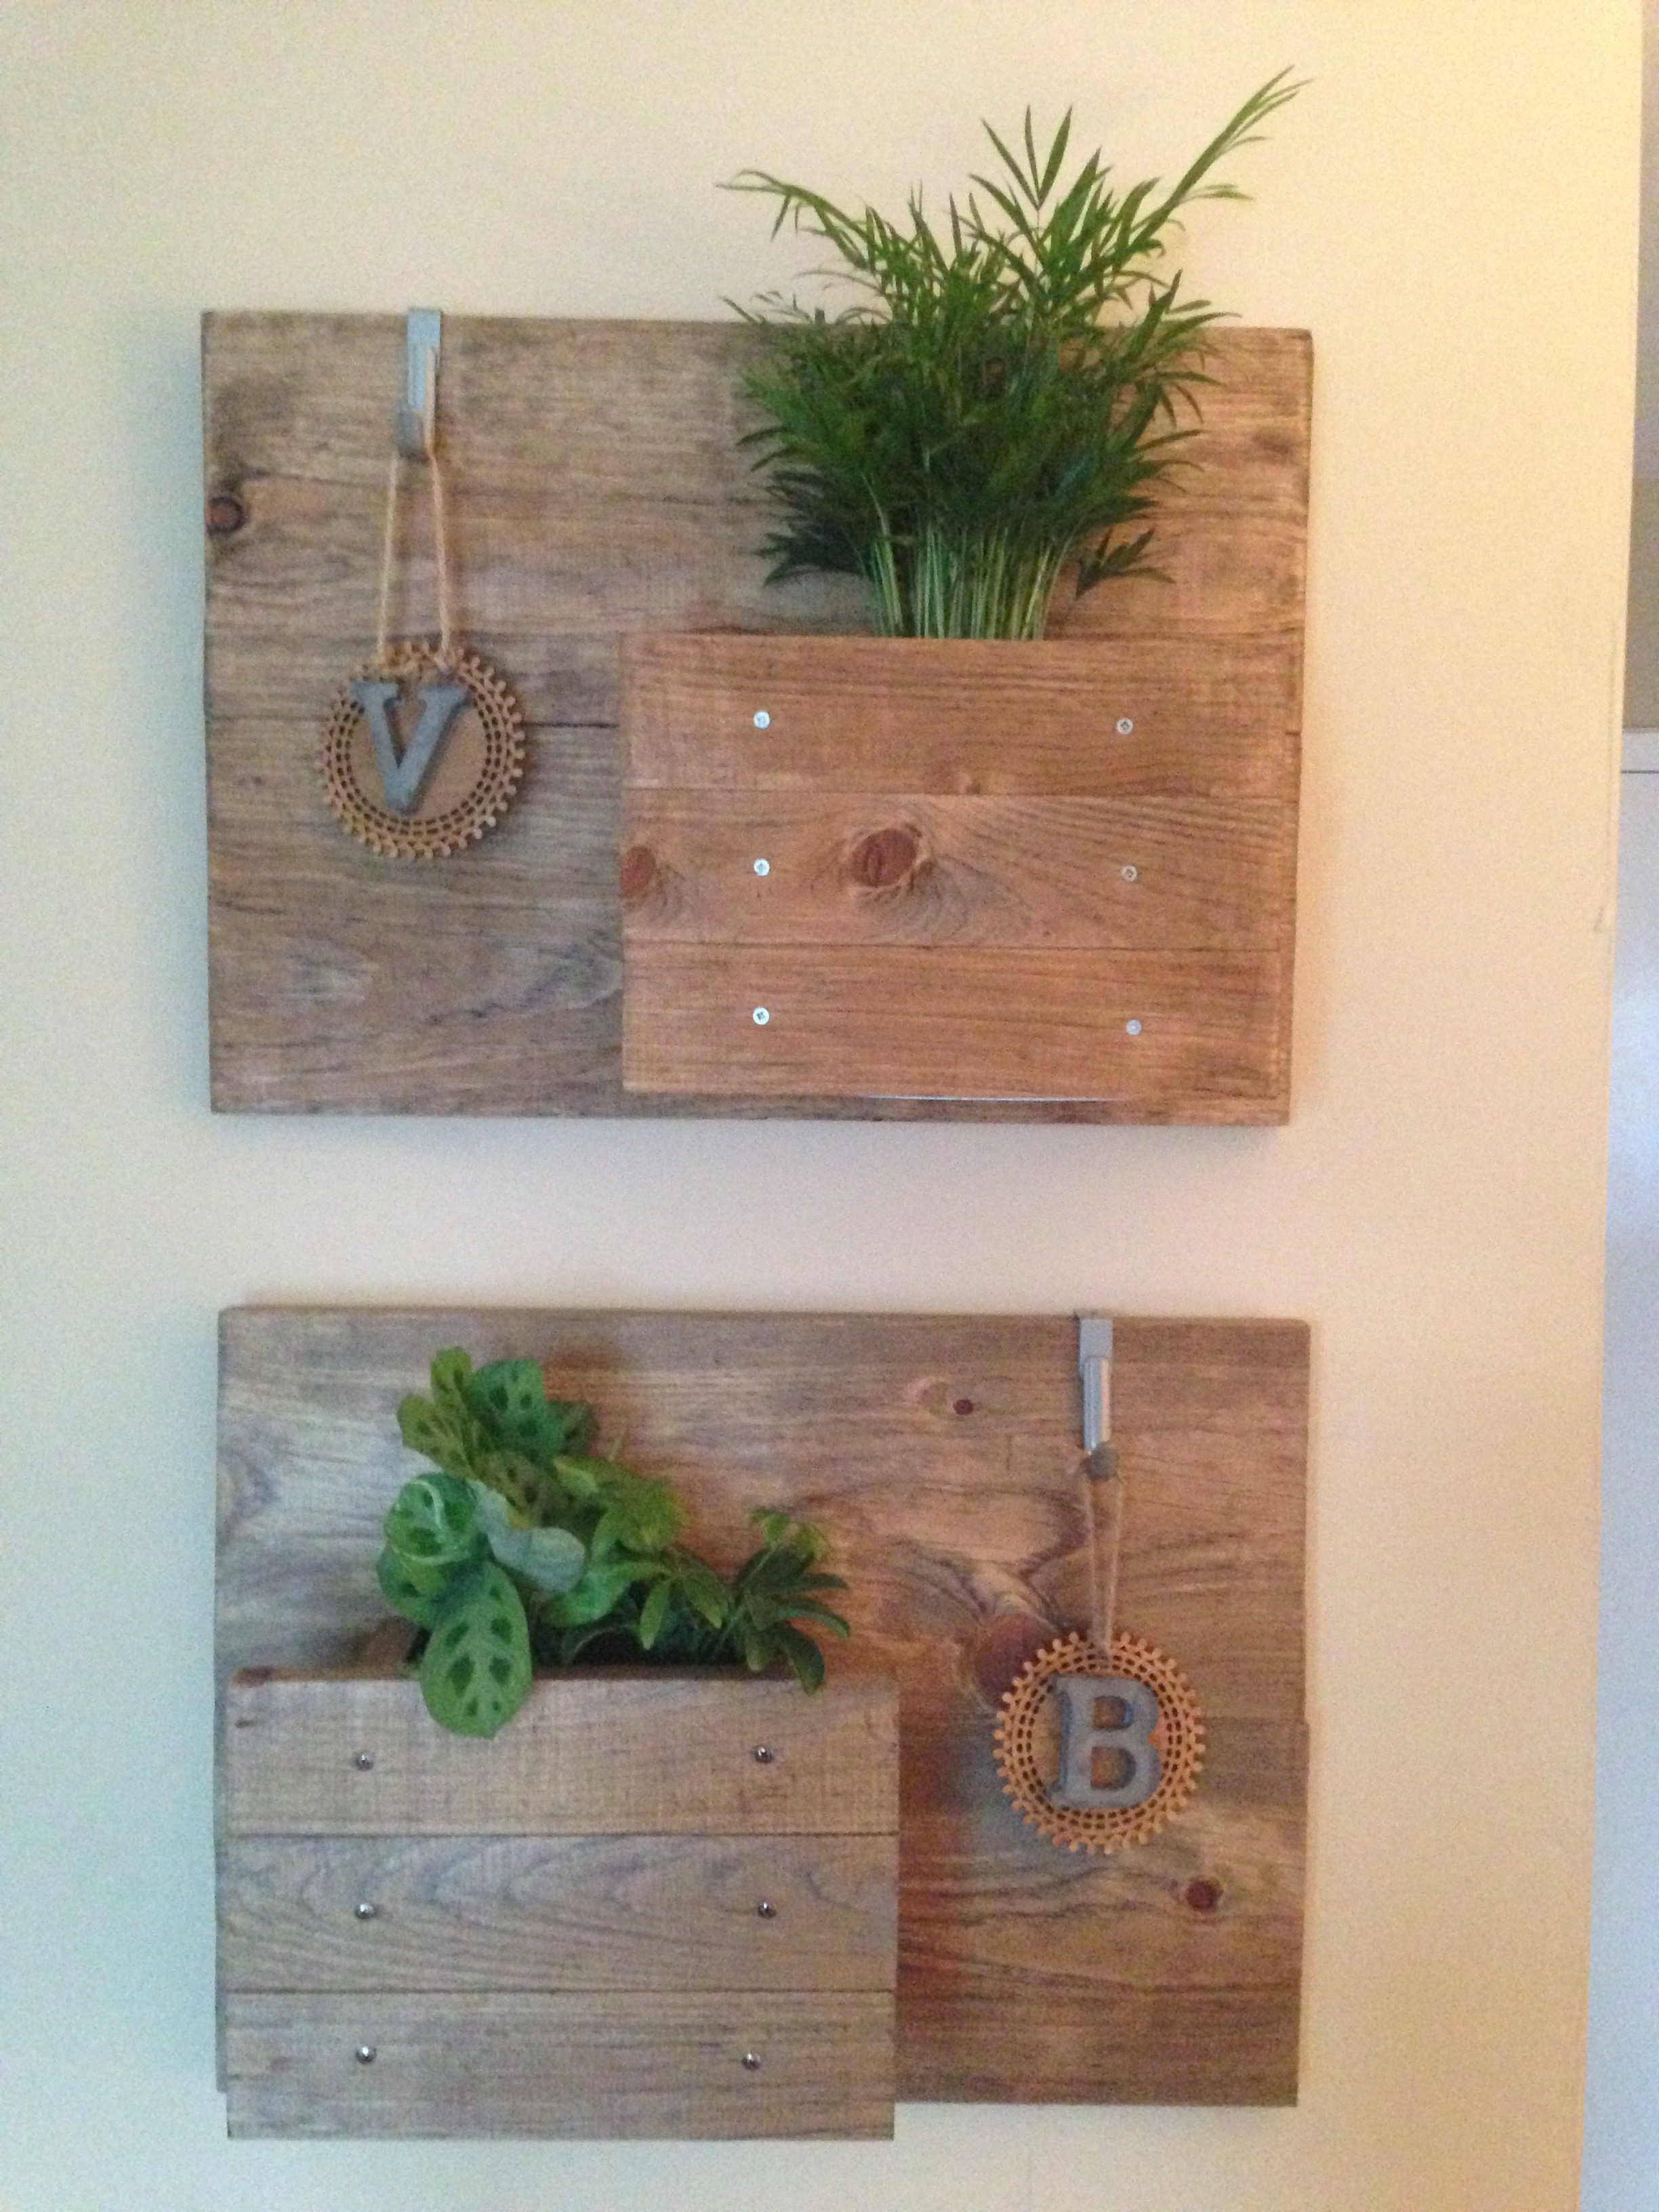
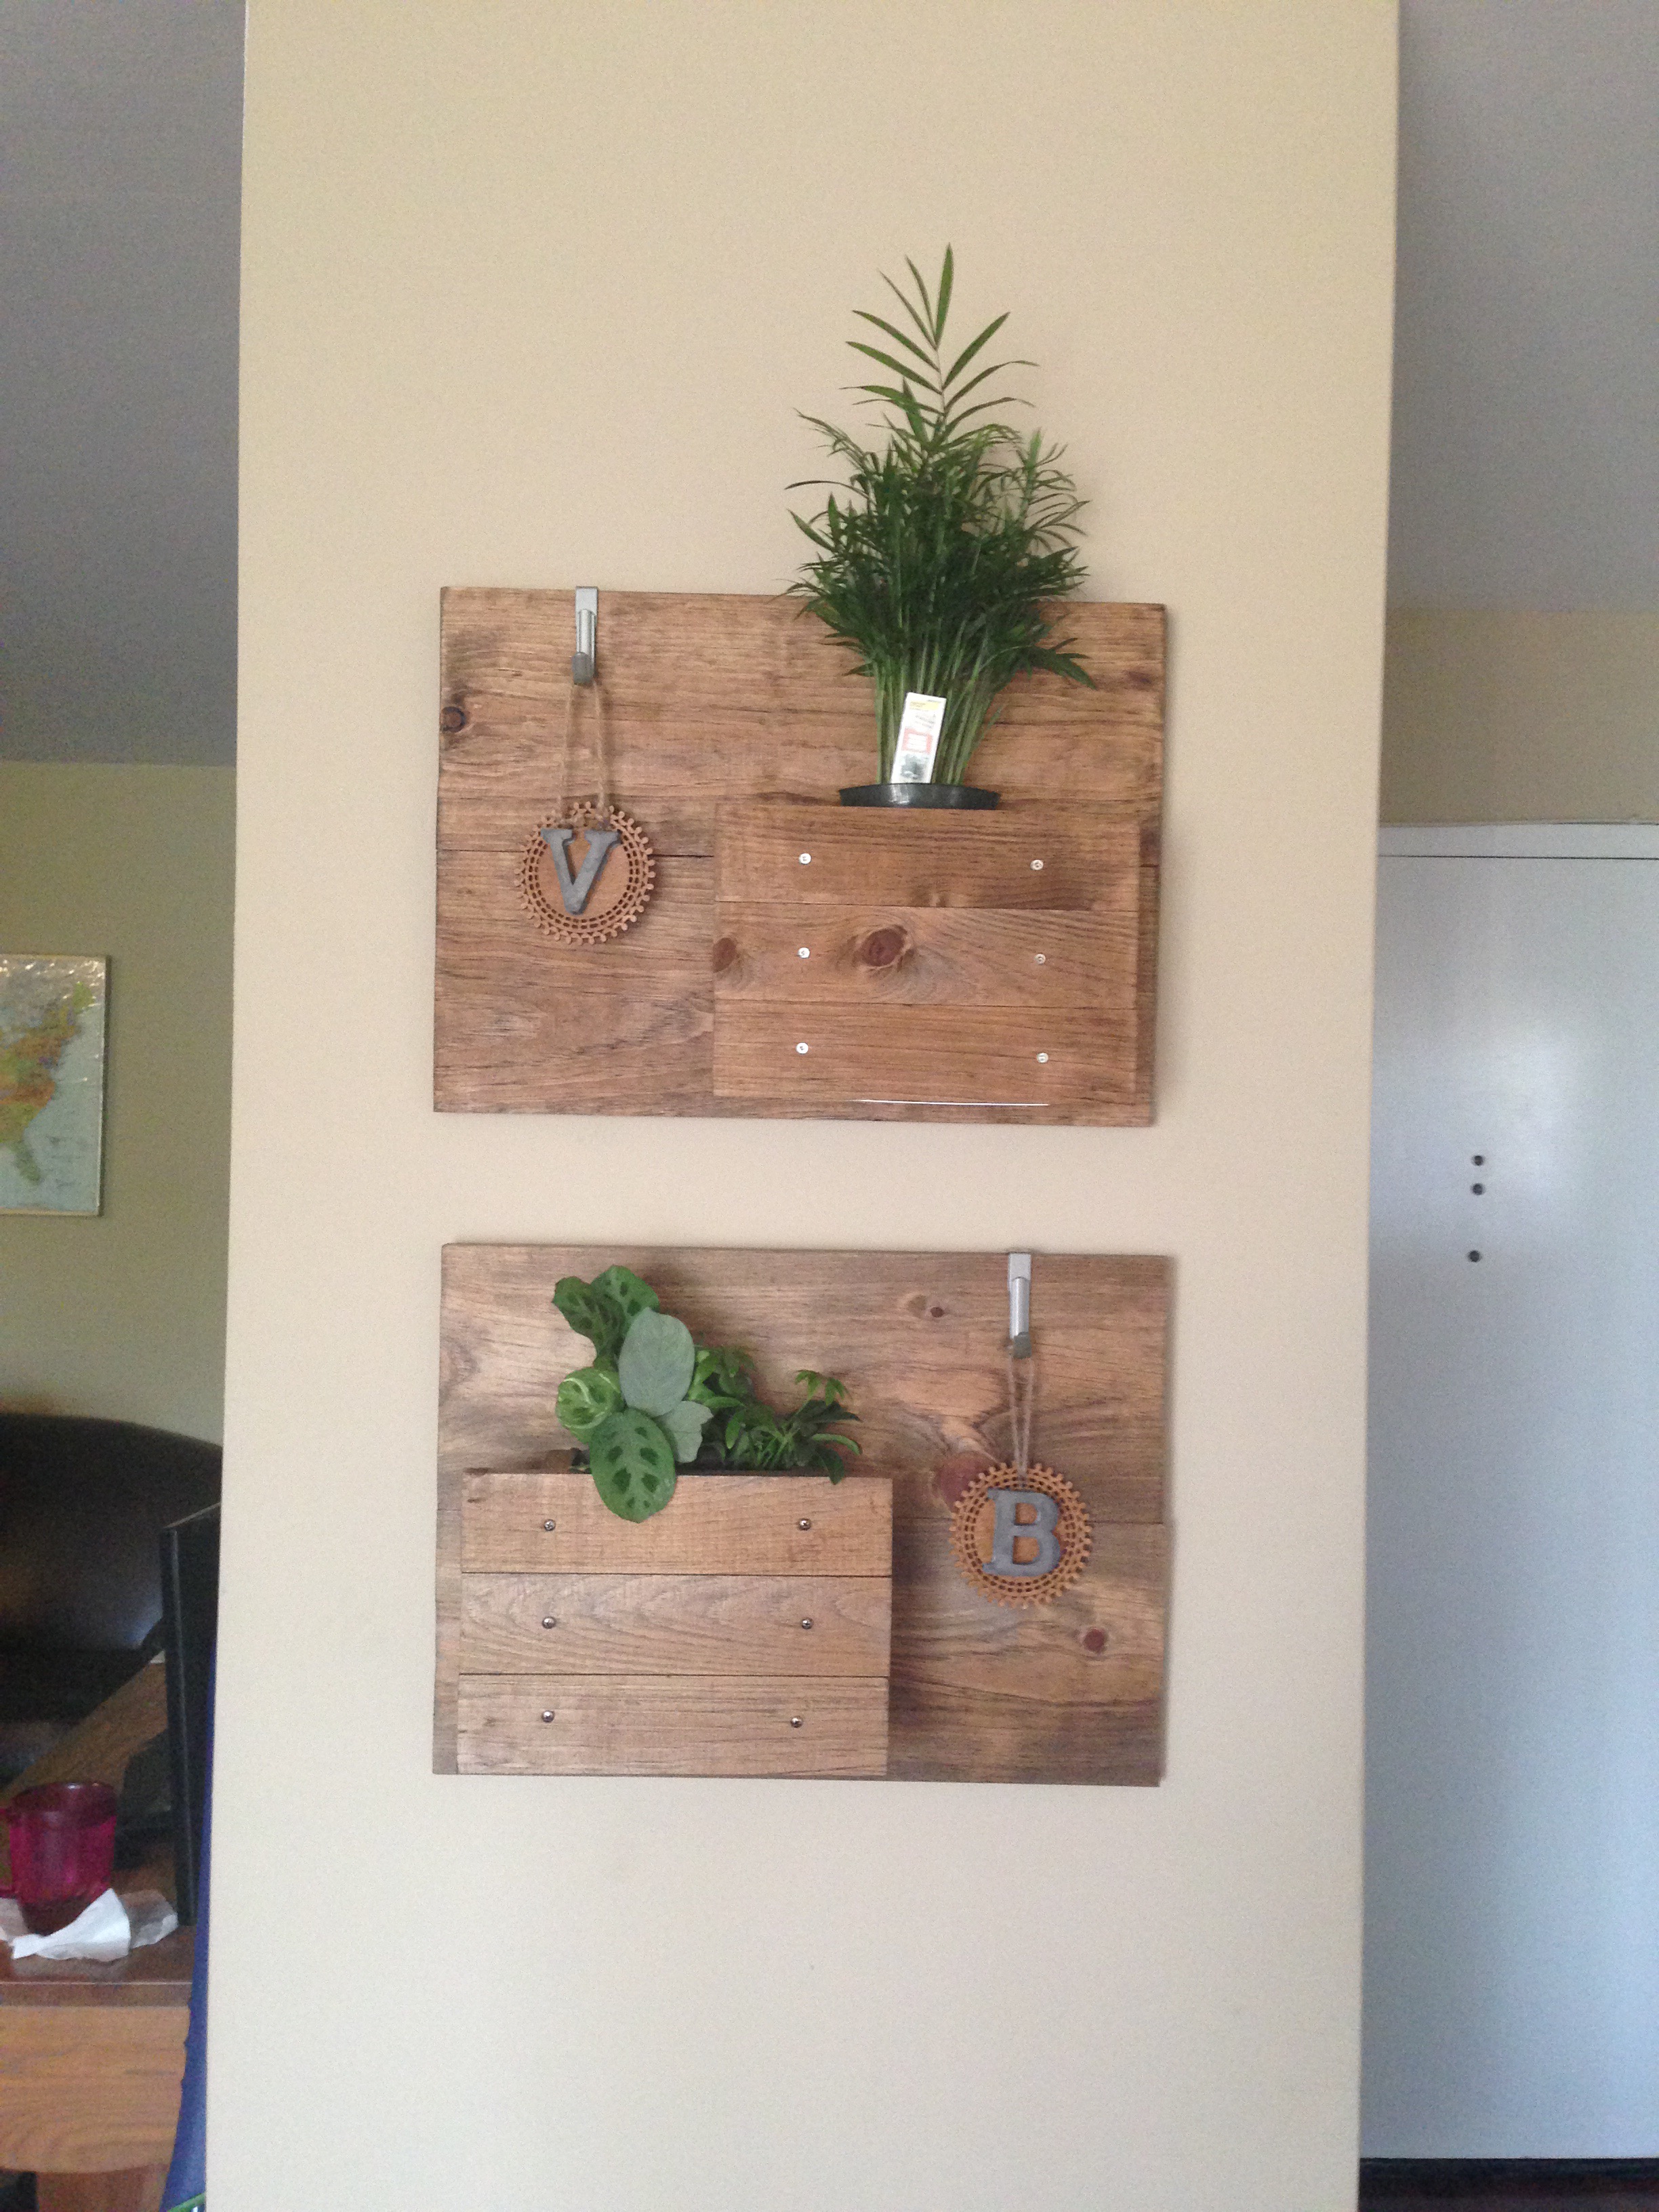
I chose to hang the vertical planter on the separating wall between the entry and the front den.
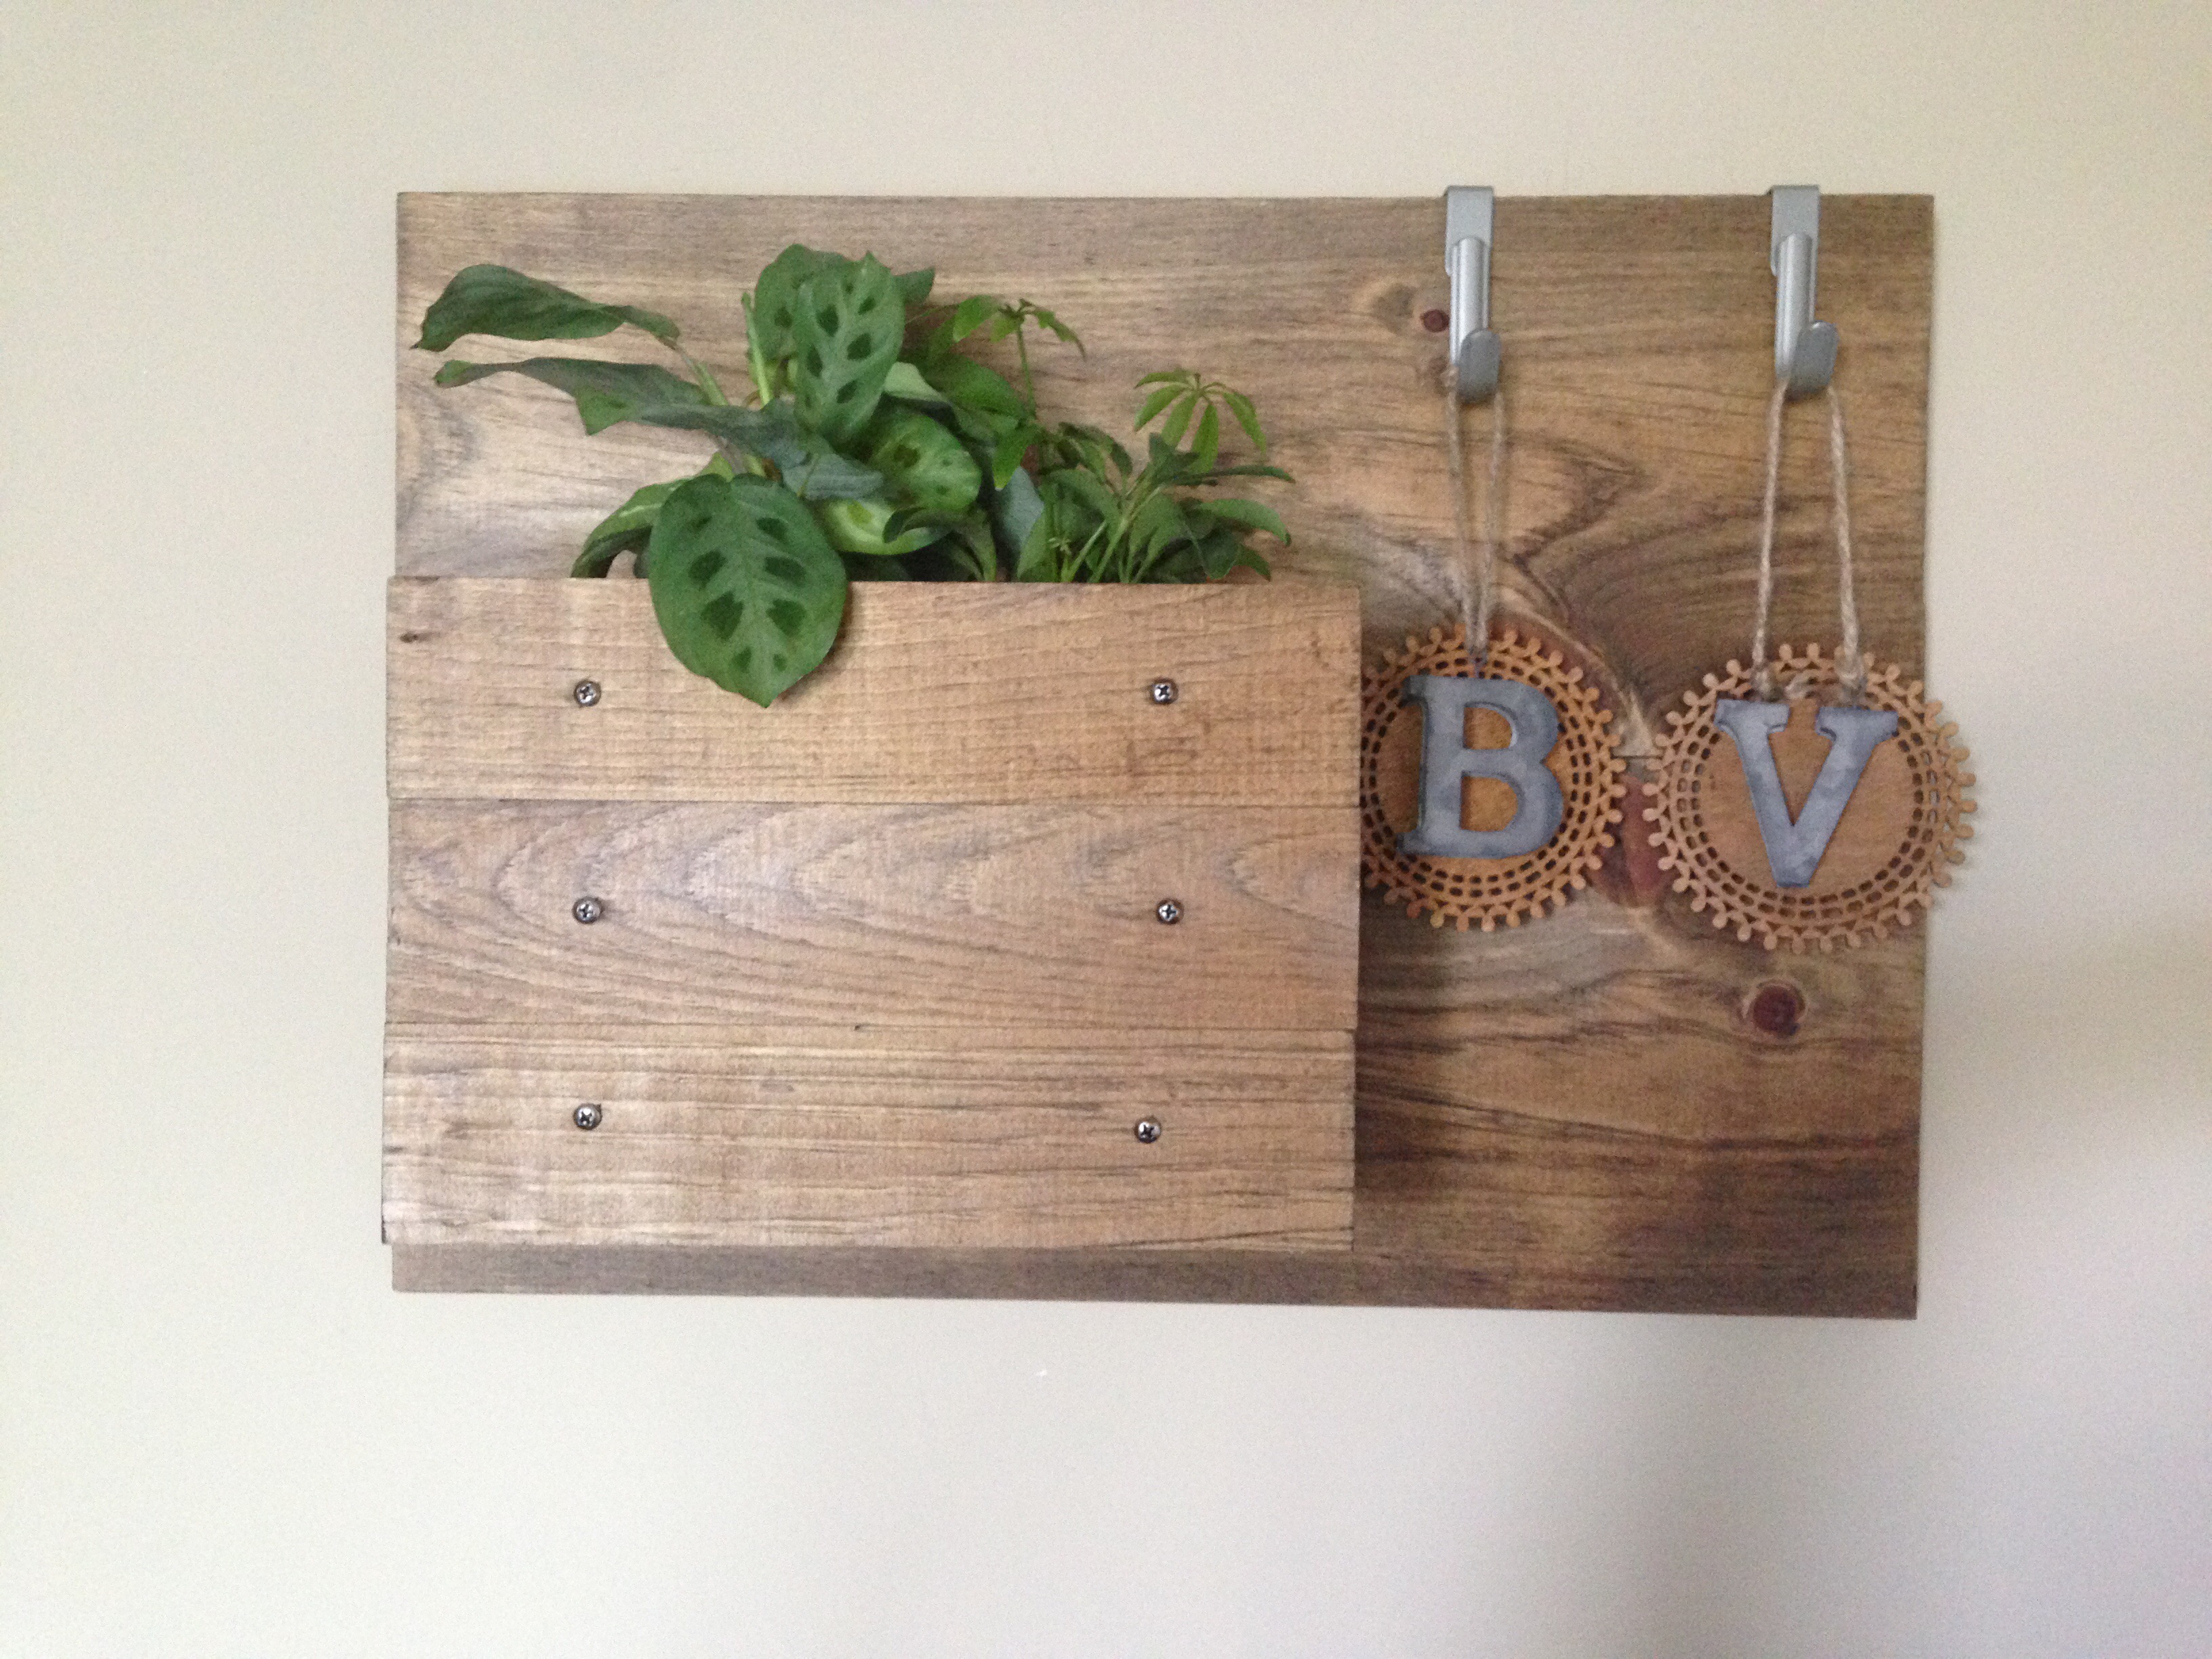
I added a coconut liner to the bottom of the planter, soil and a small tropical plant to start. Rather than adding an address number as in the workshop tutorial, I added two Spectrum over-cabinet hooks and hung our DIY monogrammed ornaments.

Before adding the soil and planting, I tried adding mail to the planter box and other decorative items. All looked great in the planter.
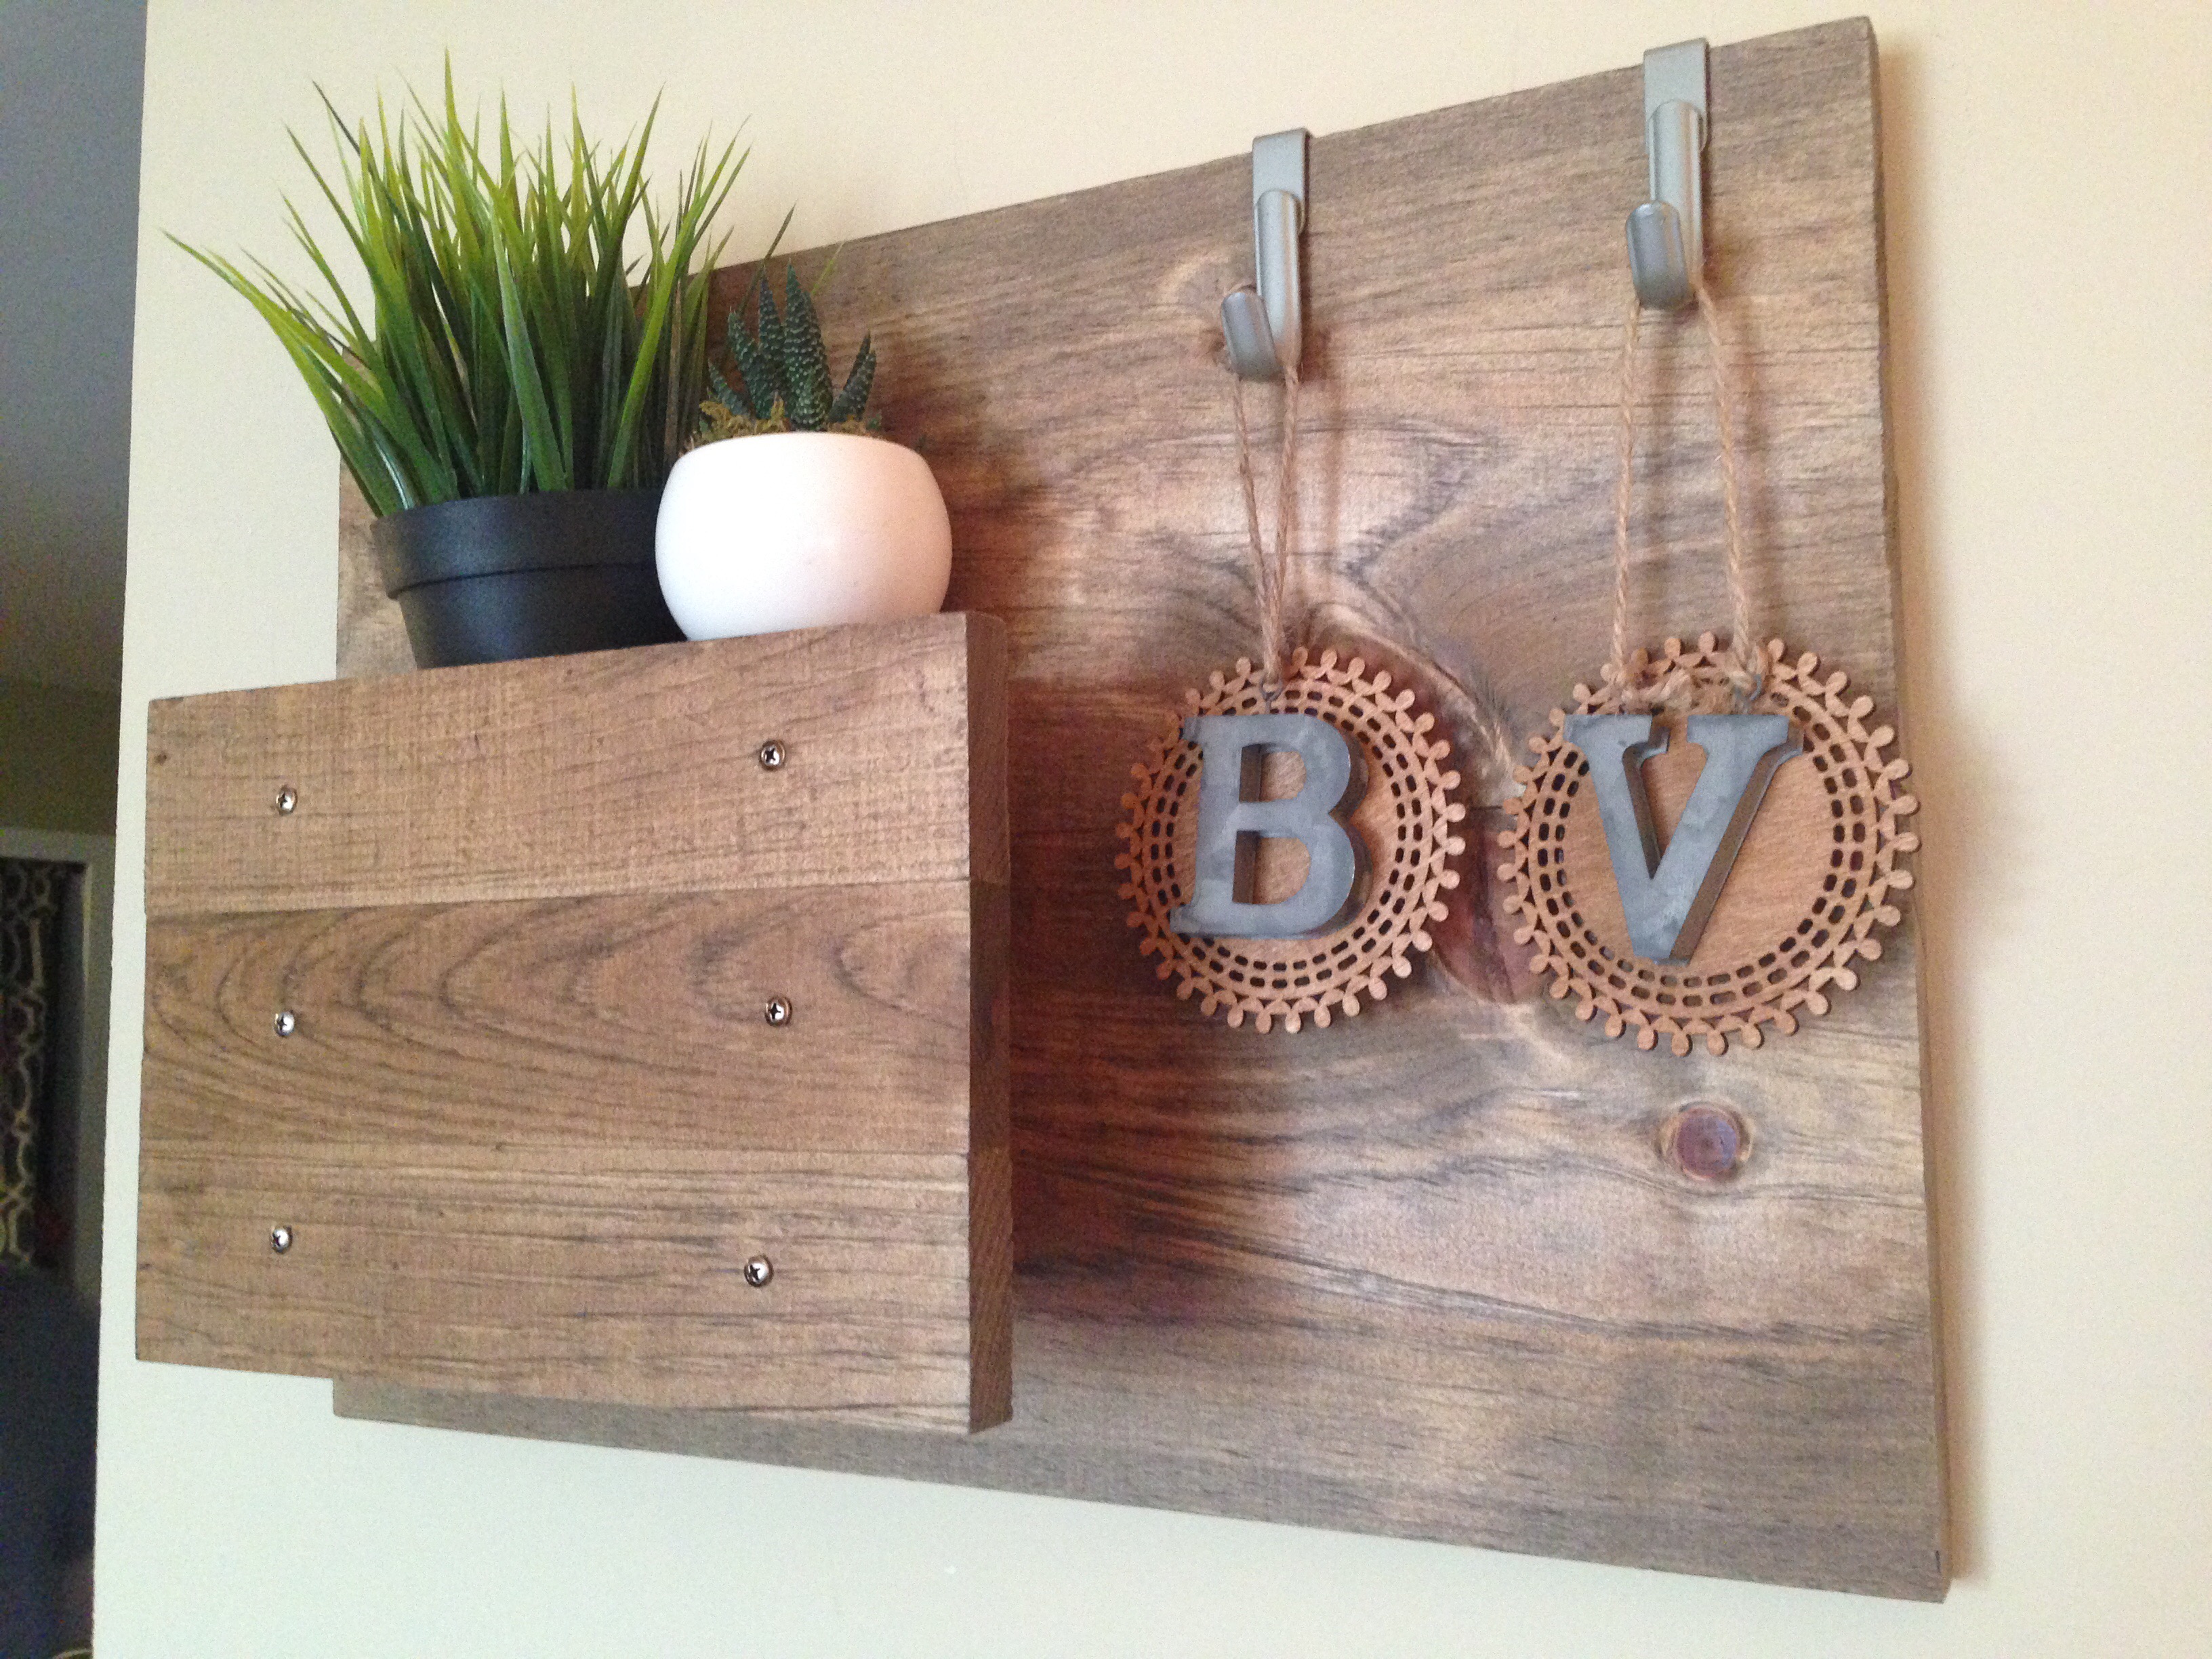
It’s easy to swap out contents of the planter. Just take it off the wall hanger and prop it on the counter to update the planter container.
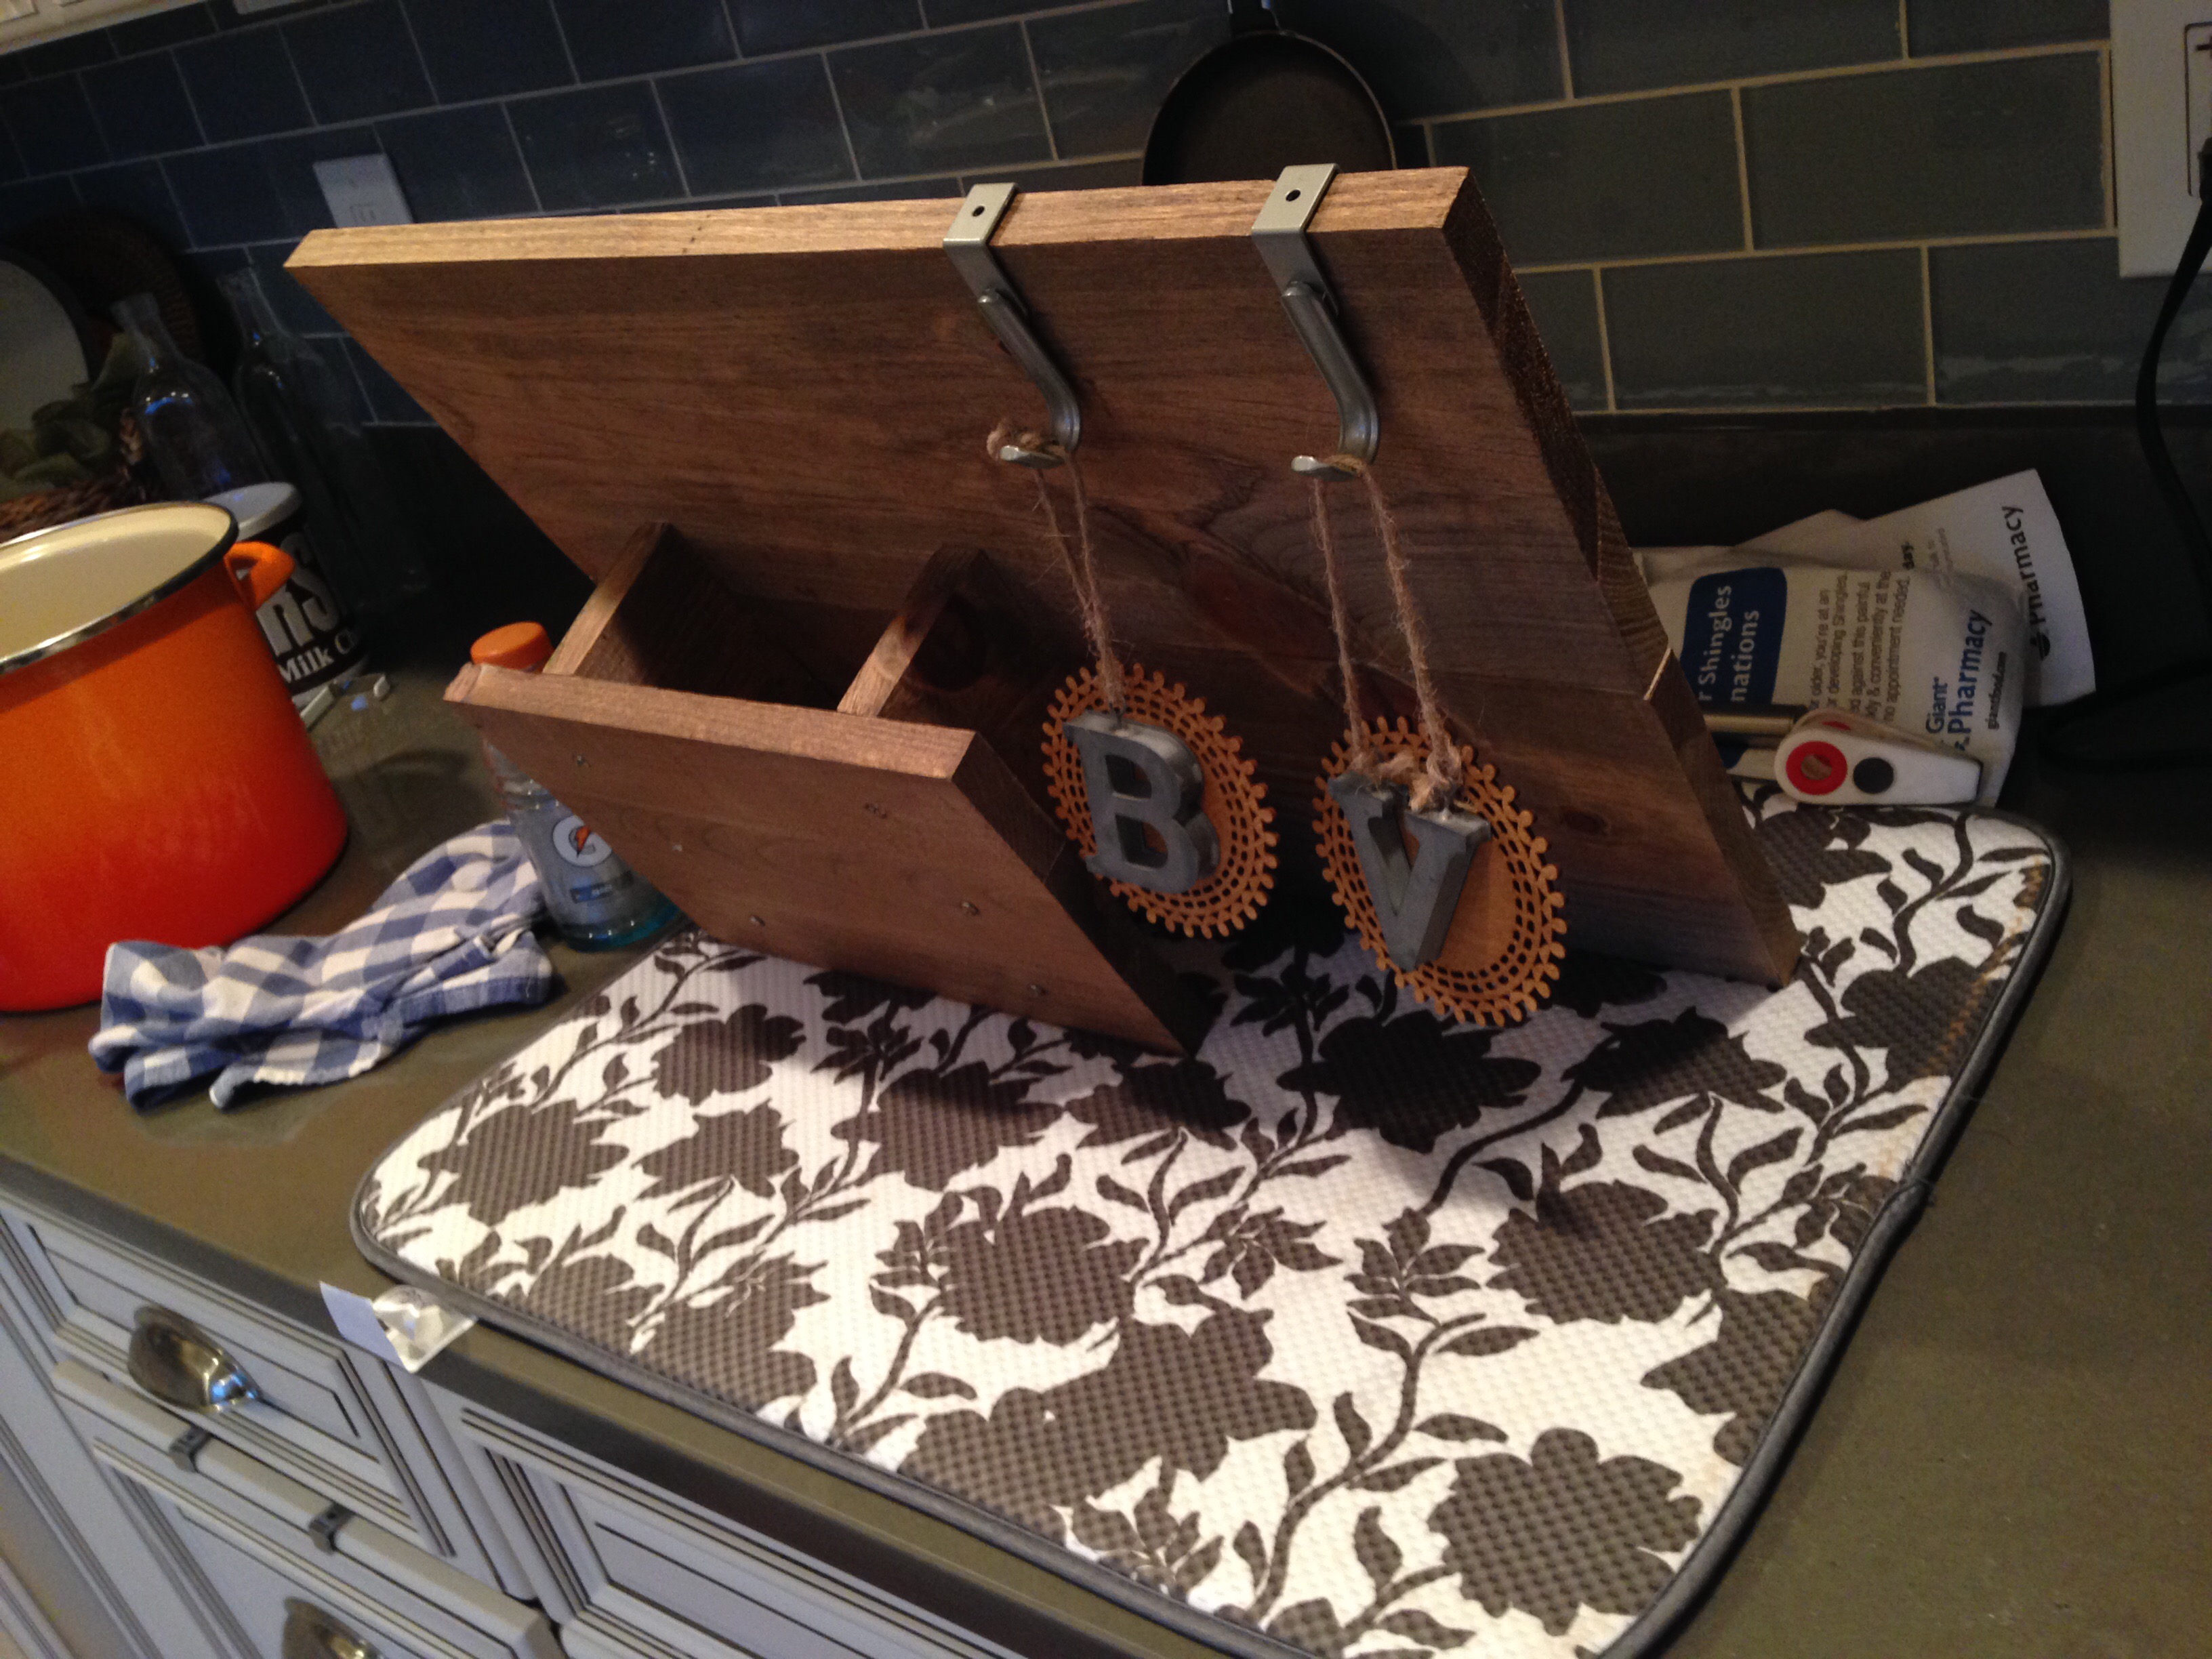


A week later, I pulled out Xenia’s DIY workshop bag to build a second planter at home. All materials other than wood screws were provided. A quick trip to ACE hardware fixed the missing wood screws issue.
I followed the photo-copied handout that they include in the DIY kit to build the second box on my own.
After staining and hanging the second box, I added more plants and here’s what we have now.

I am delighted with this new addition to our condo space. I love having beautiful, living plants mounted on the wall.
This project was a big confidence booster for me when it comes to tackling DIY ideas for builds and space solutions. I’ve been eye-balling a number of great tutorials online for making my own wall art, shelving, furniture, you name it. Now the possibilities seem endless.
So once again, thank you Home Depot for introducing me to the wonderful world of lumber. Of cut lists. Of build plans. And of DIY “Let’s Do This” magic. Now I’m ready to tackle the next build project head on. V-