
Entryway wood and pipe hanging bar (Part 1)
You may also like:
July 12, 2015: Thank you Ana White!
Had to give a shout out to my favorite carpenter and source of DIY inspiration of the moment. I was told about Ana White’s website by the instructor who helped me build my vertical wood wall planters at the Home Depot Do It Herself workshop. She told me about this woman who lives in Alaska and is building her house from the ground up (and everything inside of it…cabinets, furniture and all). And the entire venture is DIY, which is chronicled on a website with free build plans for other DIYers.
Sweet! I was riveted while listening to my DIH workshop instructor share the tale of her adirondack chairs…and how Ana White’s site showed her how to make them step-by-step.
So after finishing and falling in love with with my DIY wall planters, I scoured Ana’s site for inspiration, ideas, and plans for an encore wood build project. One of my favorites that I ran across is this one: the wood and pipe hanging bar with hanging organizer build.
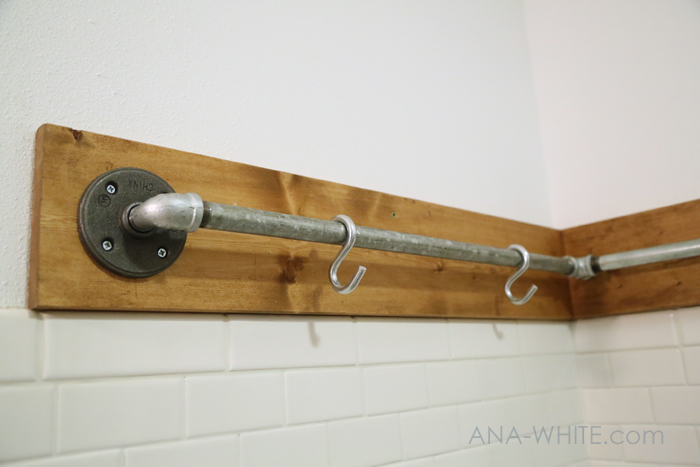
The videos showing how easy this build would be were amazing. Just look at these pictures from Ana’s site. This is beyond beautiful!
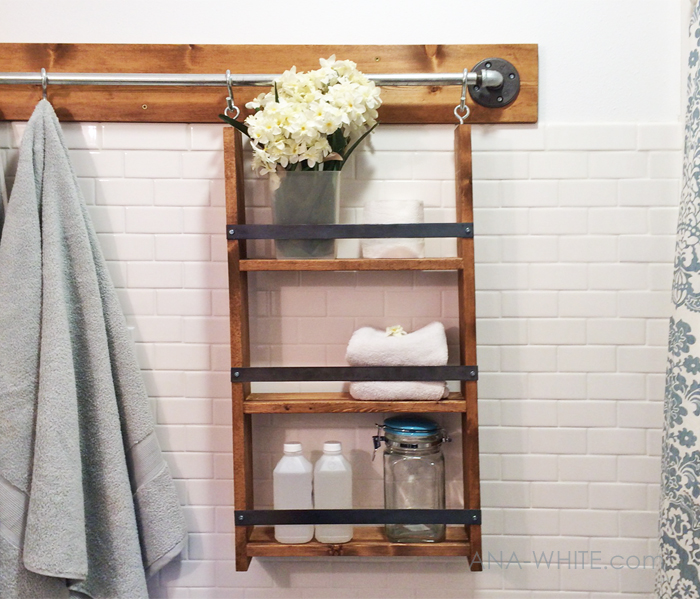
I love how this hanging bar and organizer looks in her bathroom. But since we have bathroom rings already installed on the wall, there really isn’t any room for the bar in ours. So I decided to make a bar and organizer set for the entryway instead.
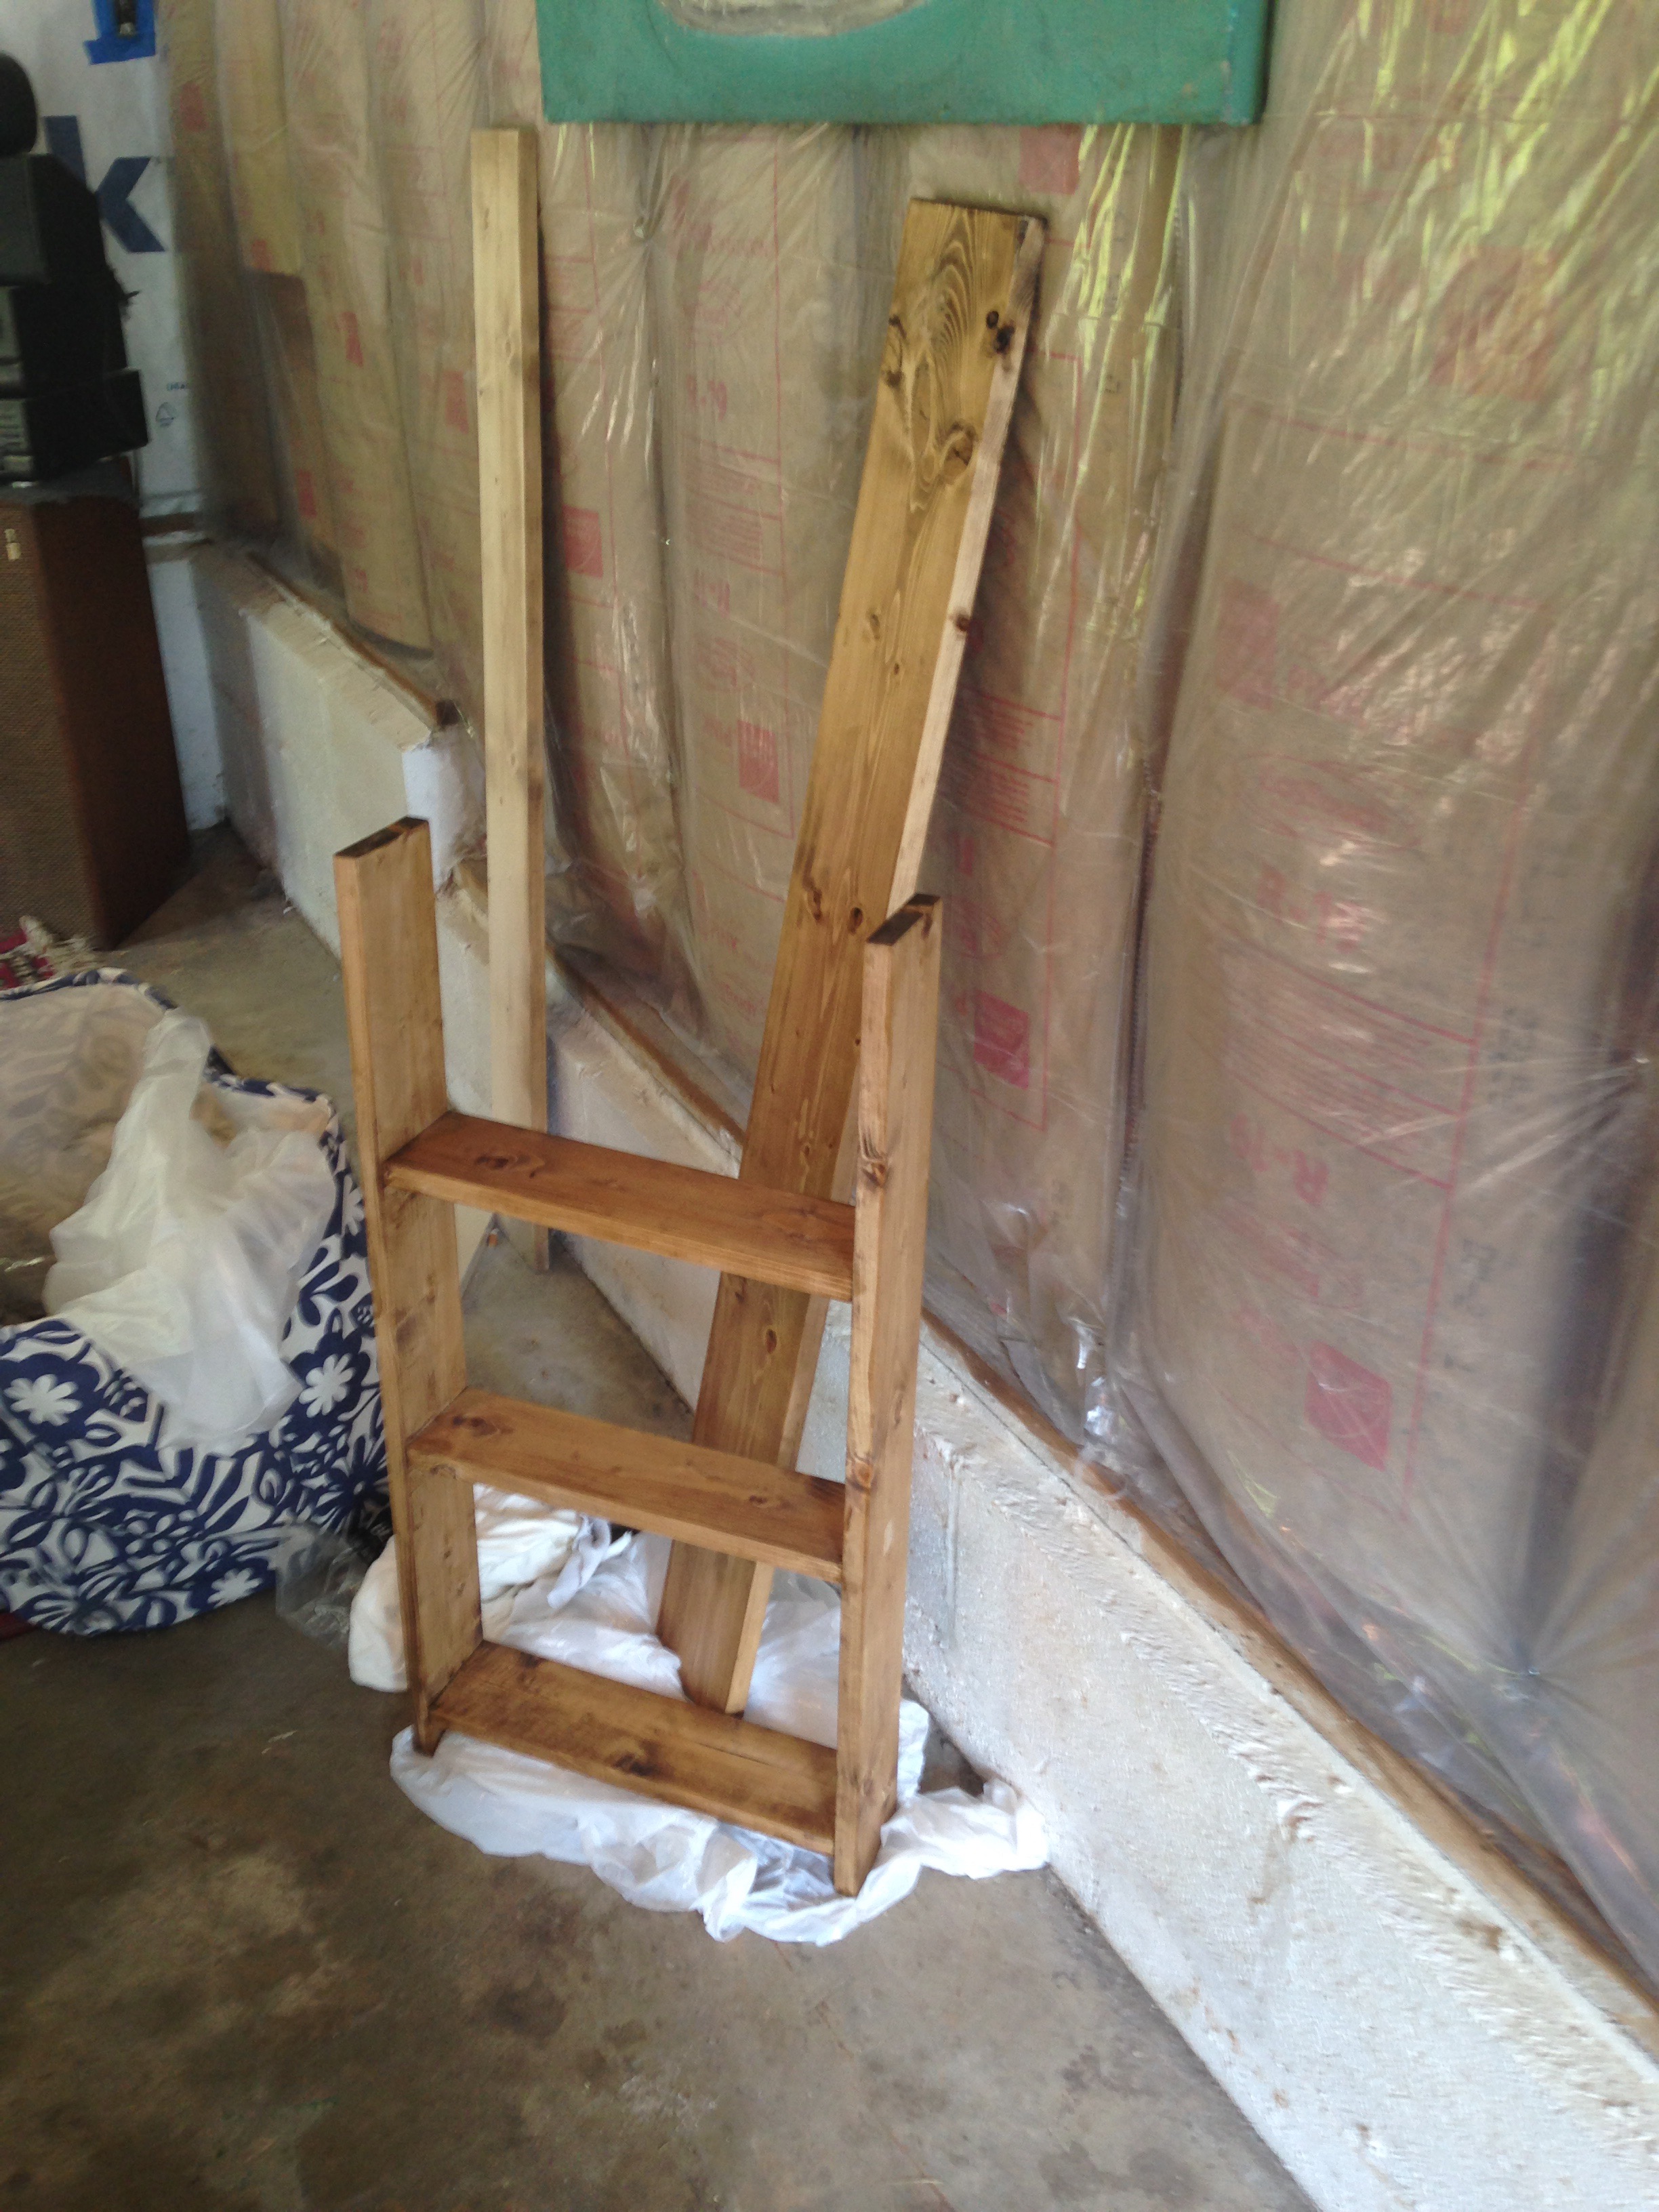
I was eager to tackle this project at my earliest opportunity. So I booked some time with Tim’s garage this weekend to pull it together (along with making a couple more rope hanging shelves since I promised to make one for my mother, Xenia).
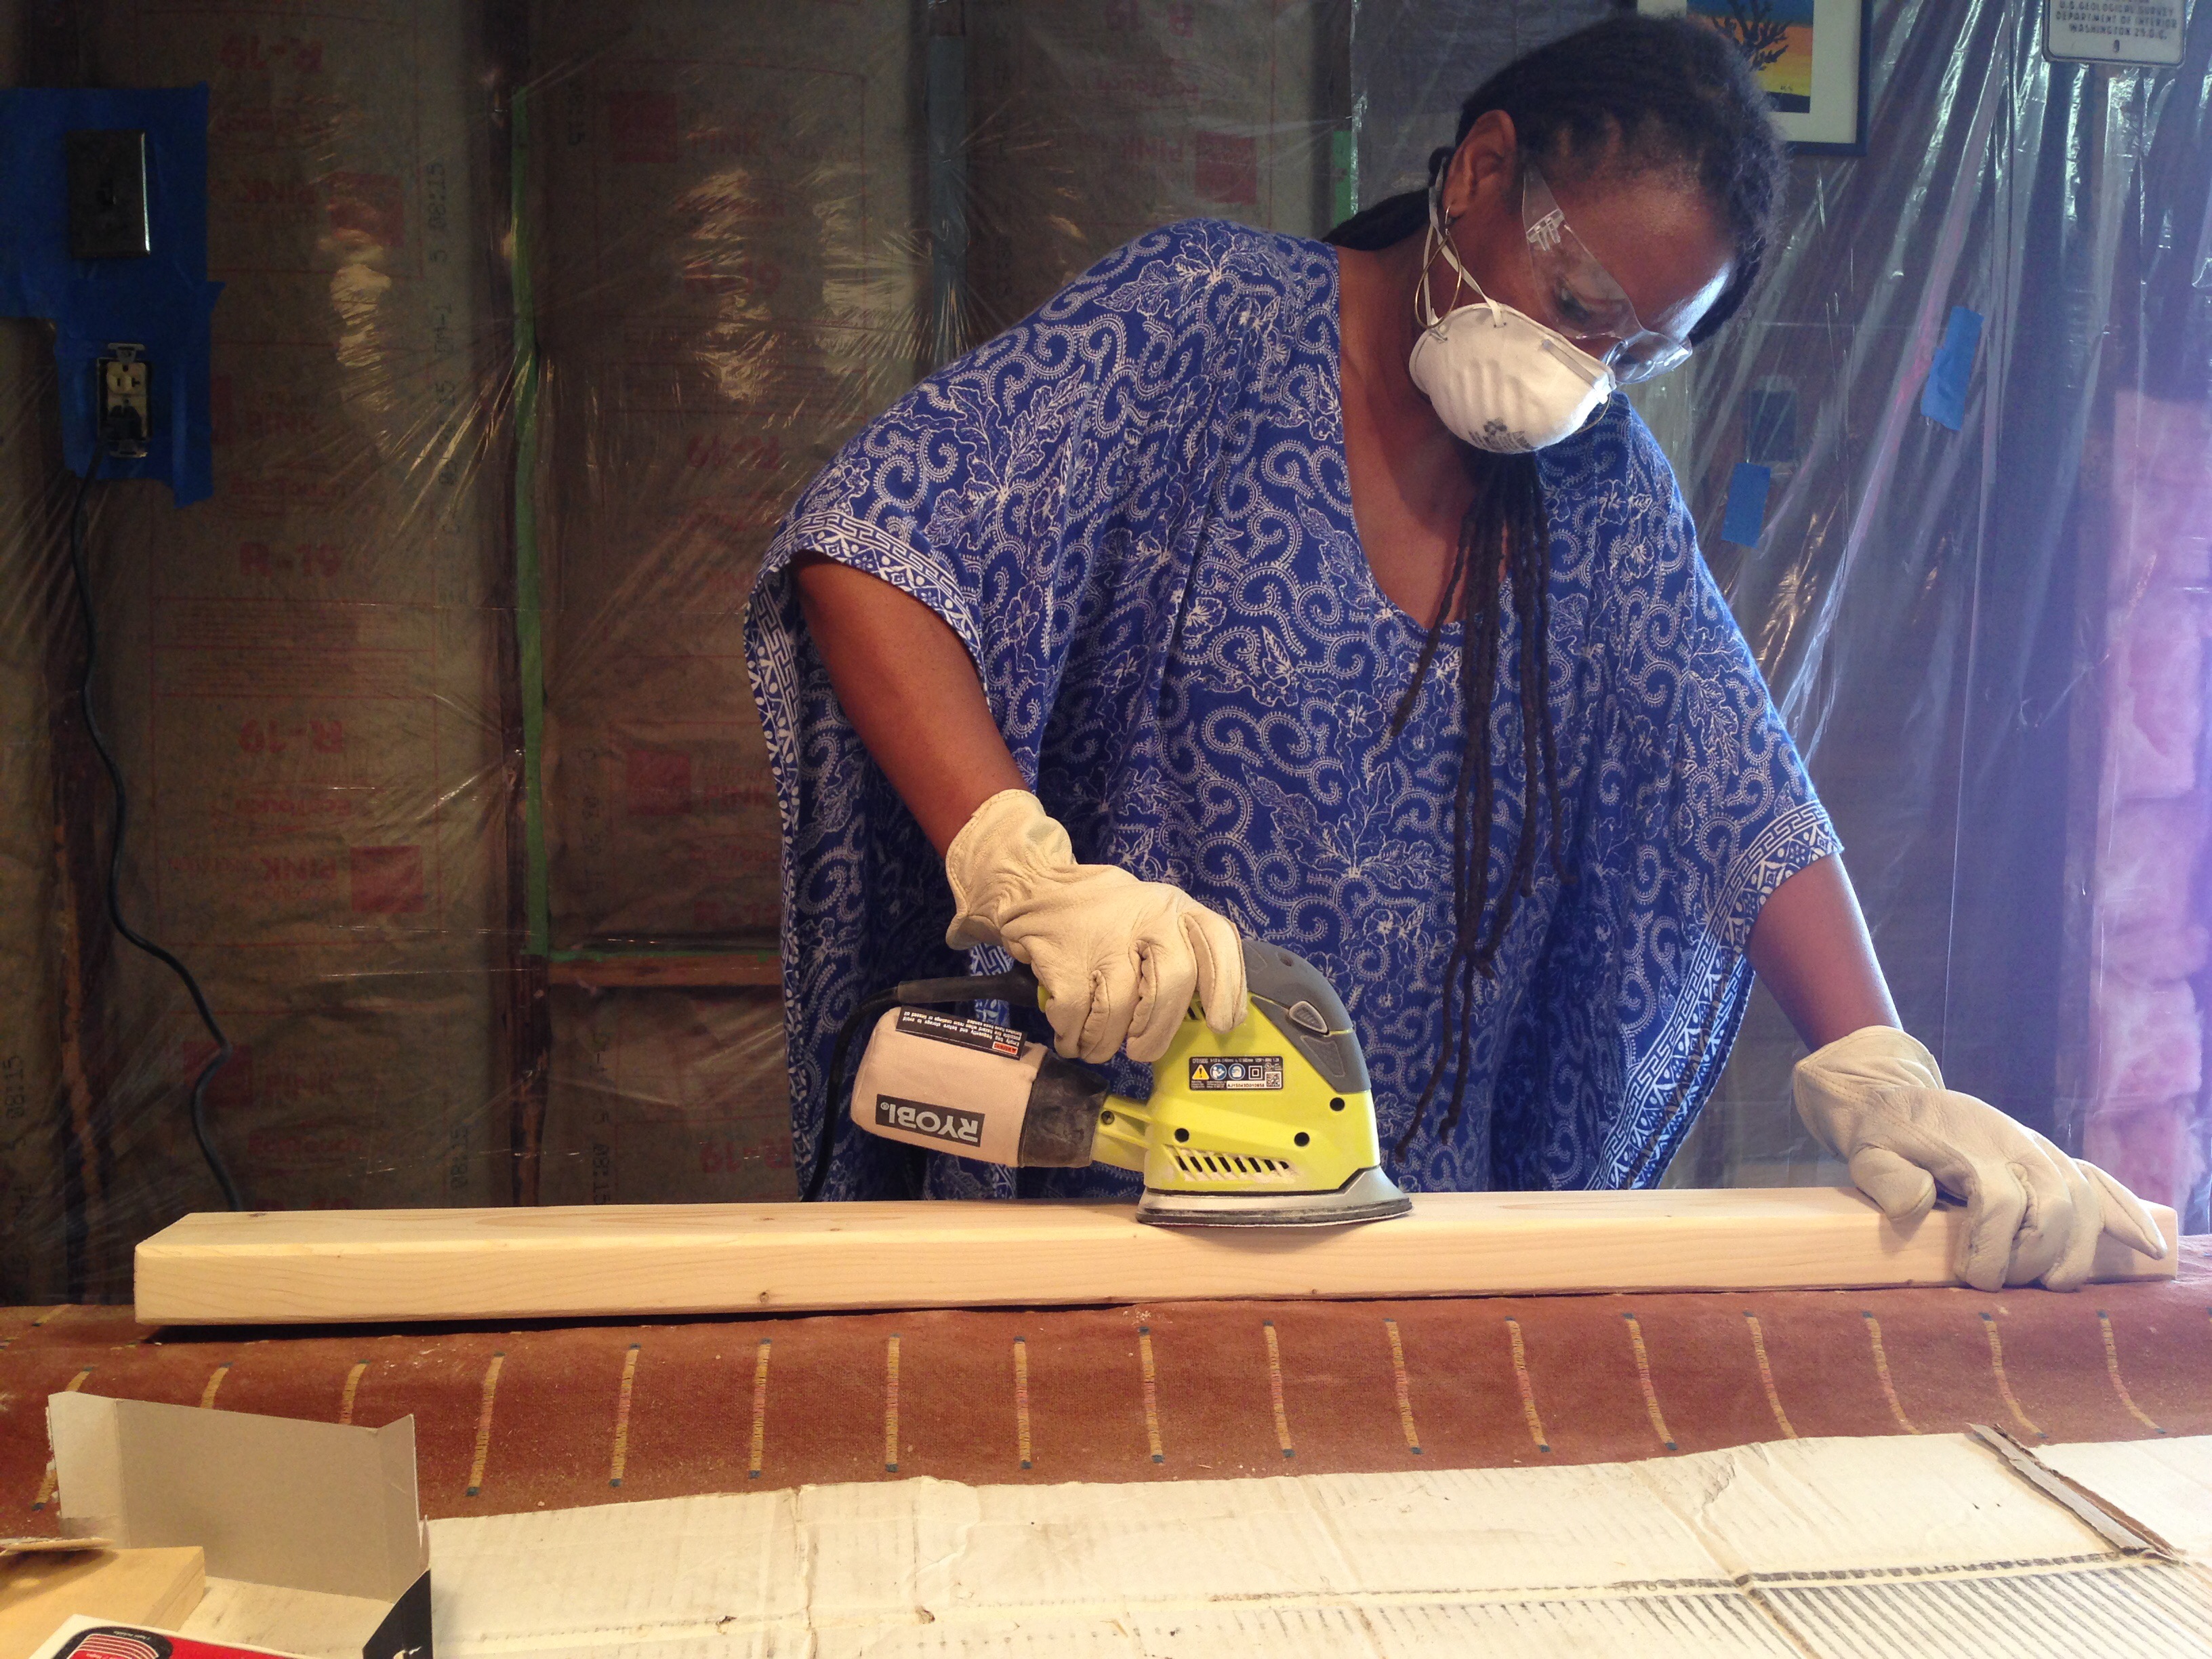
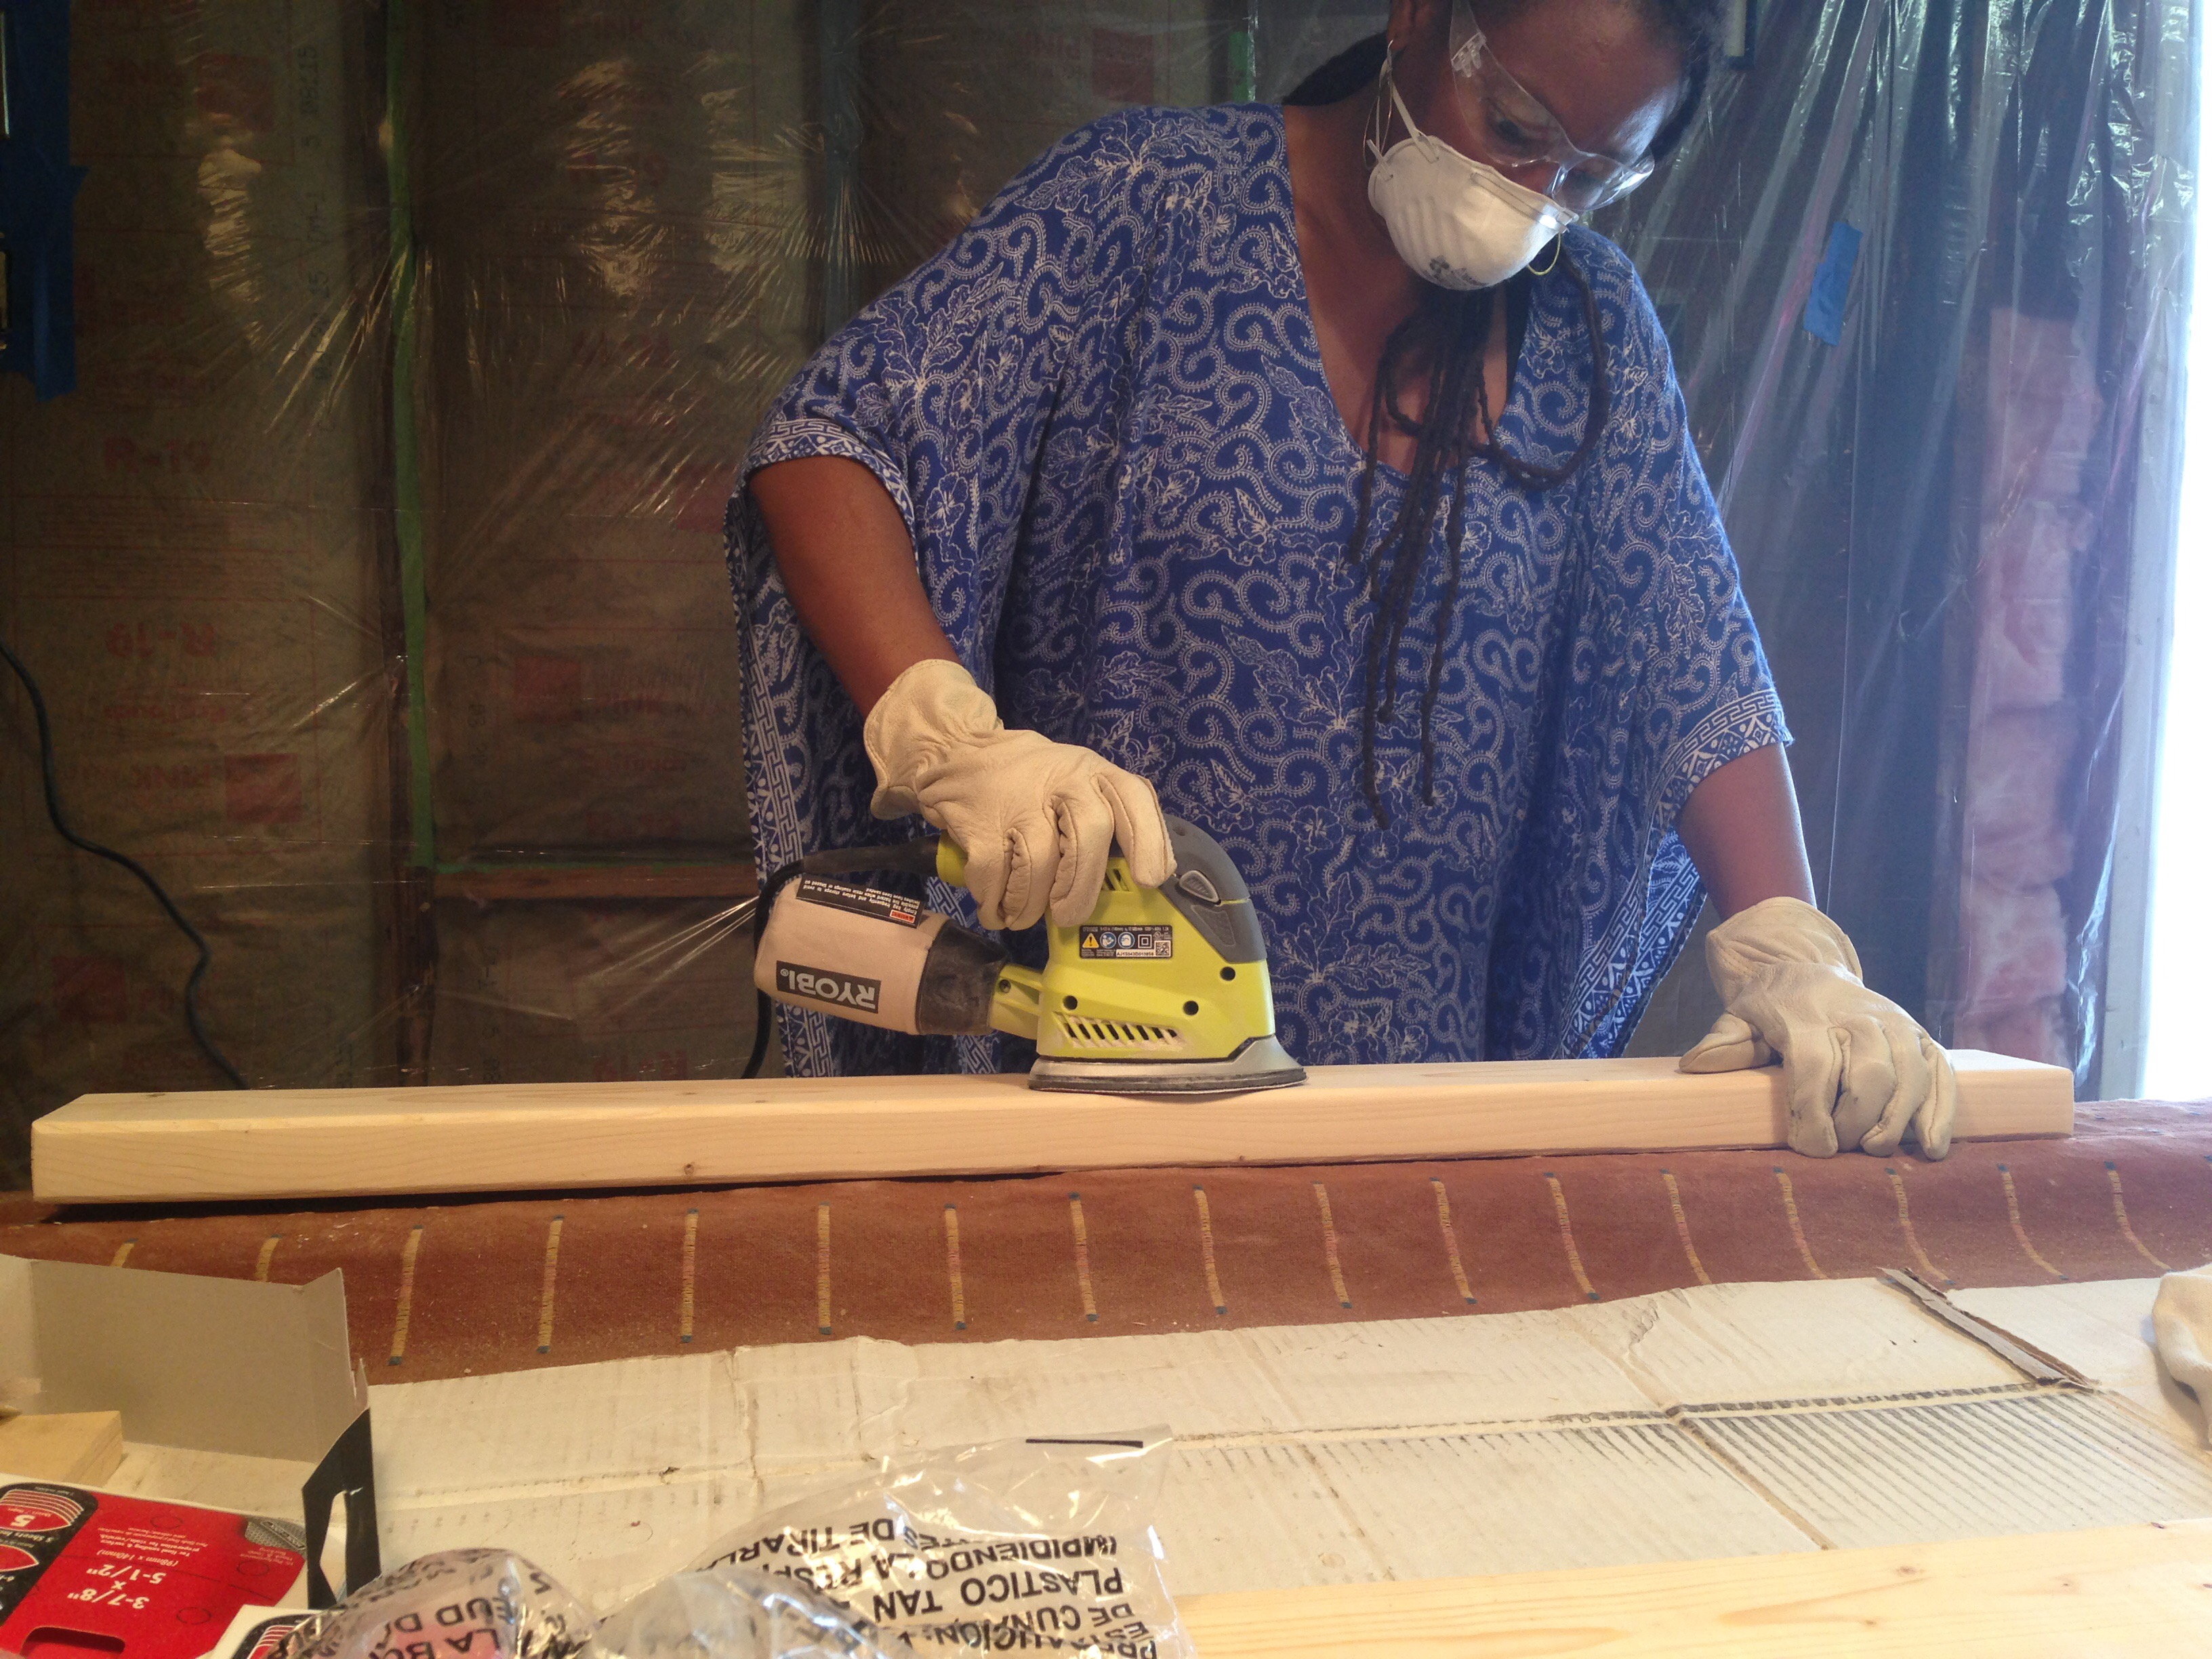
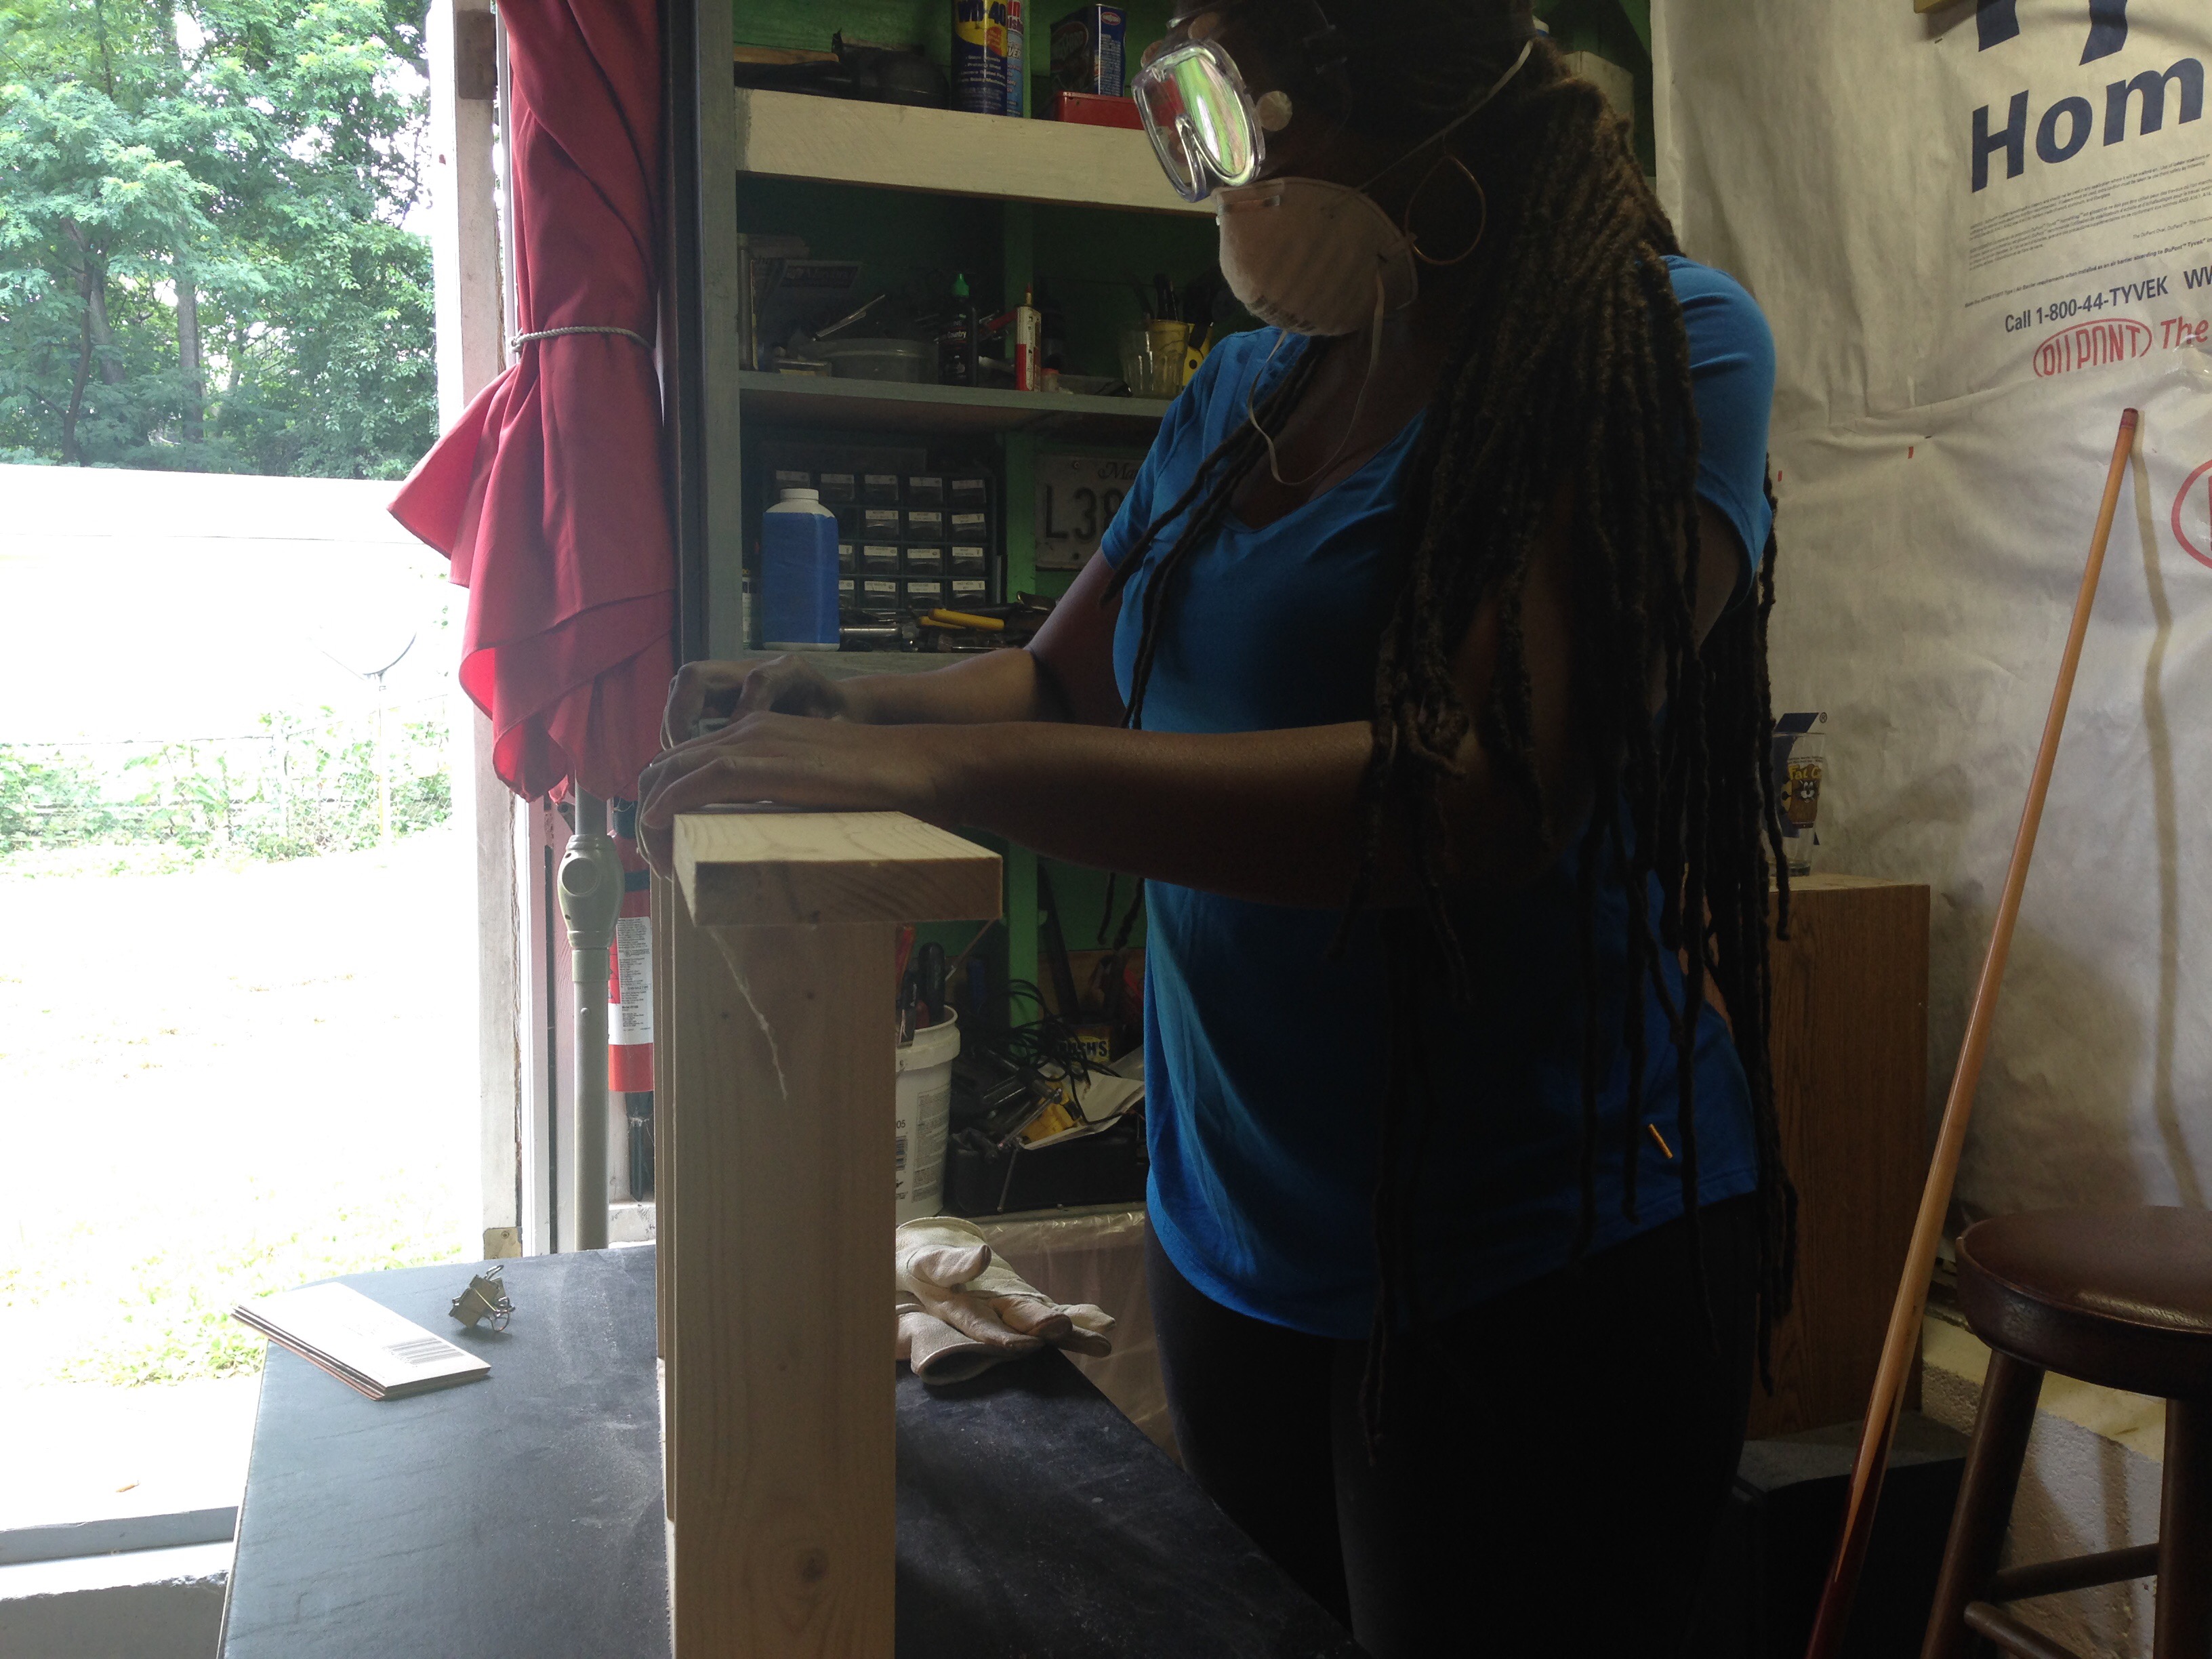
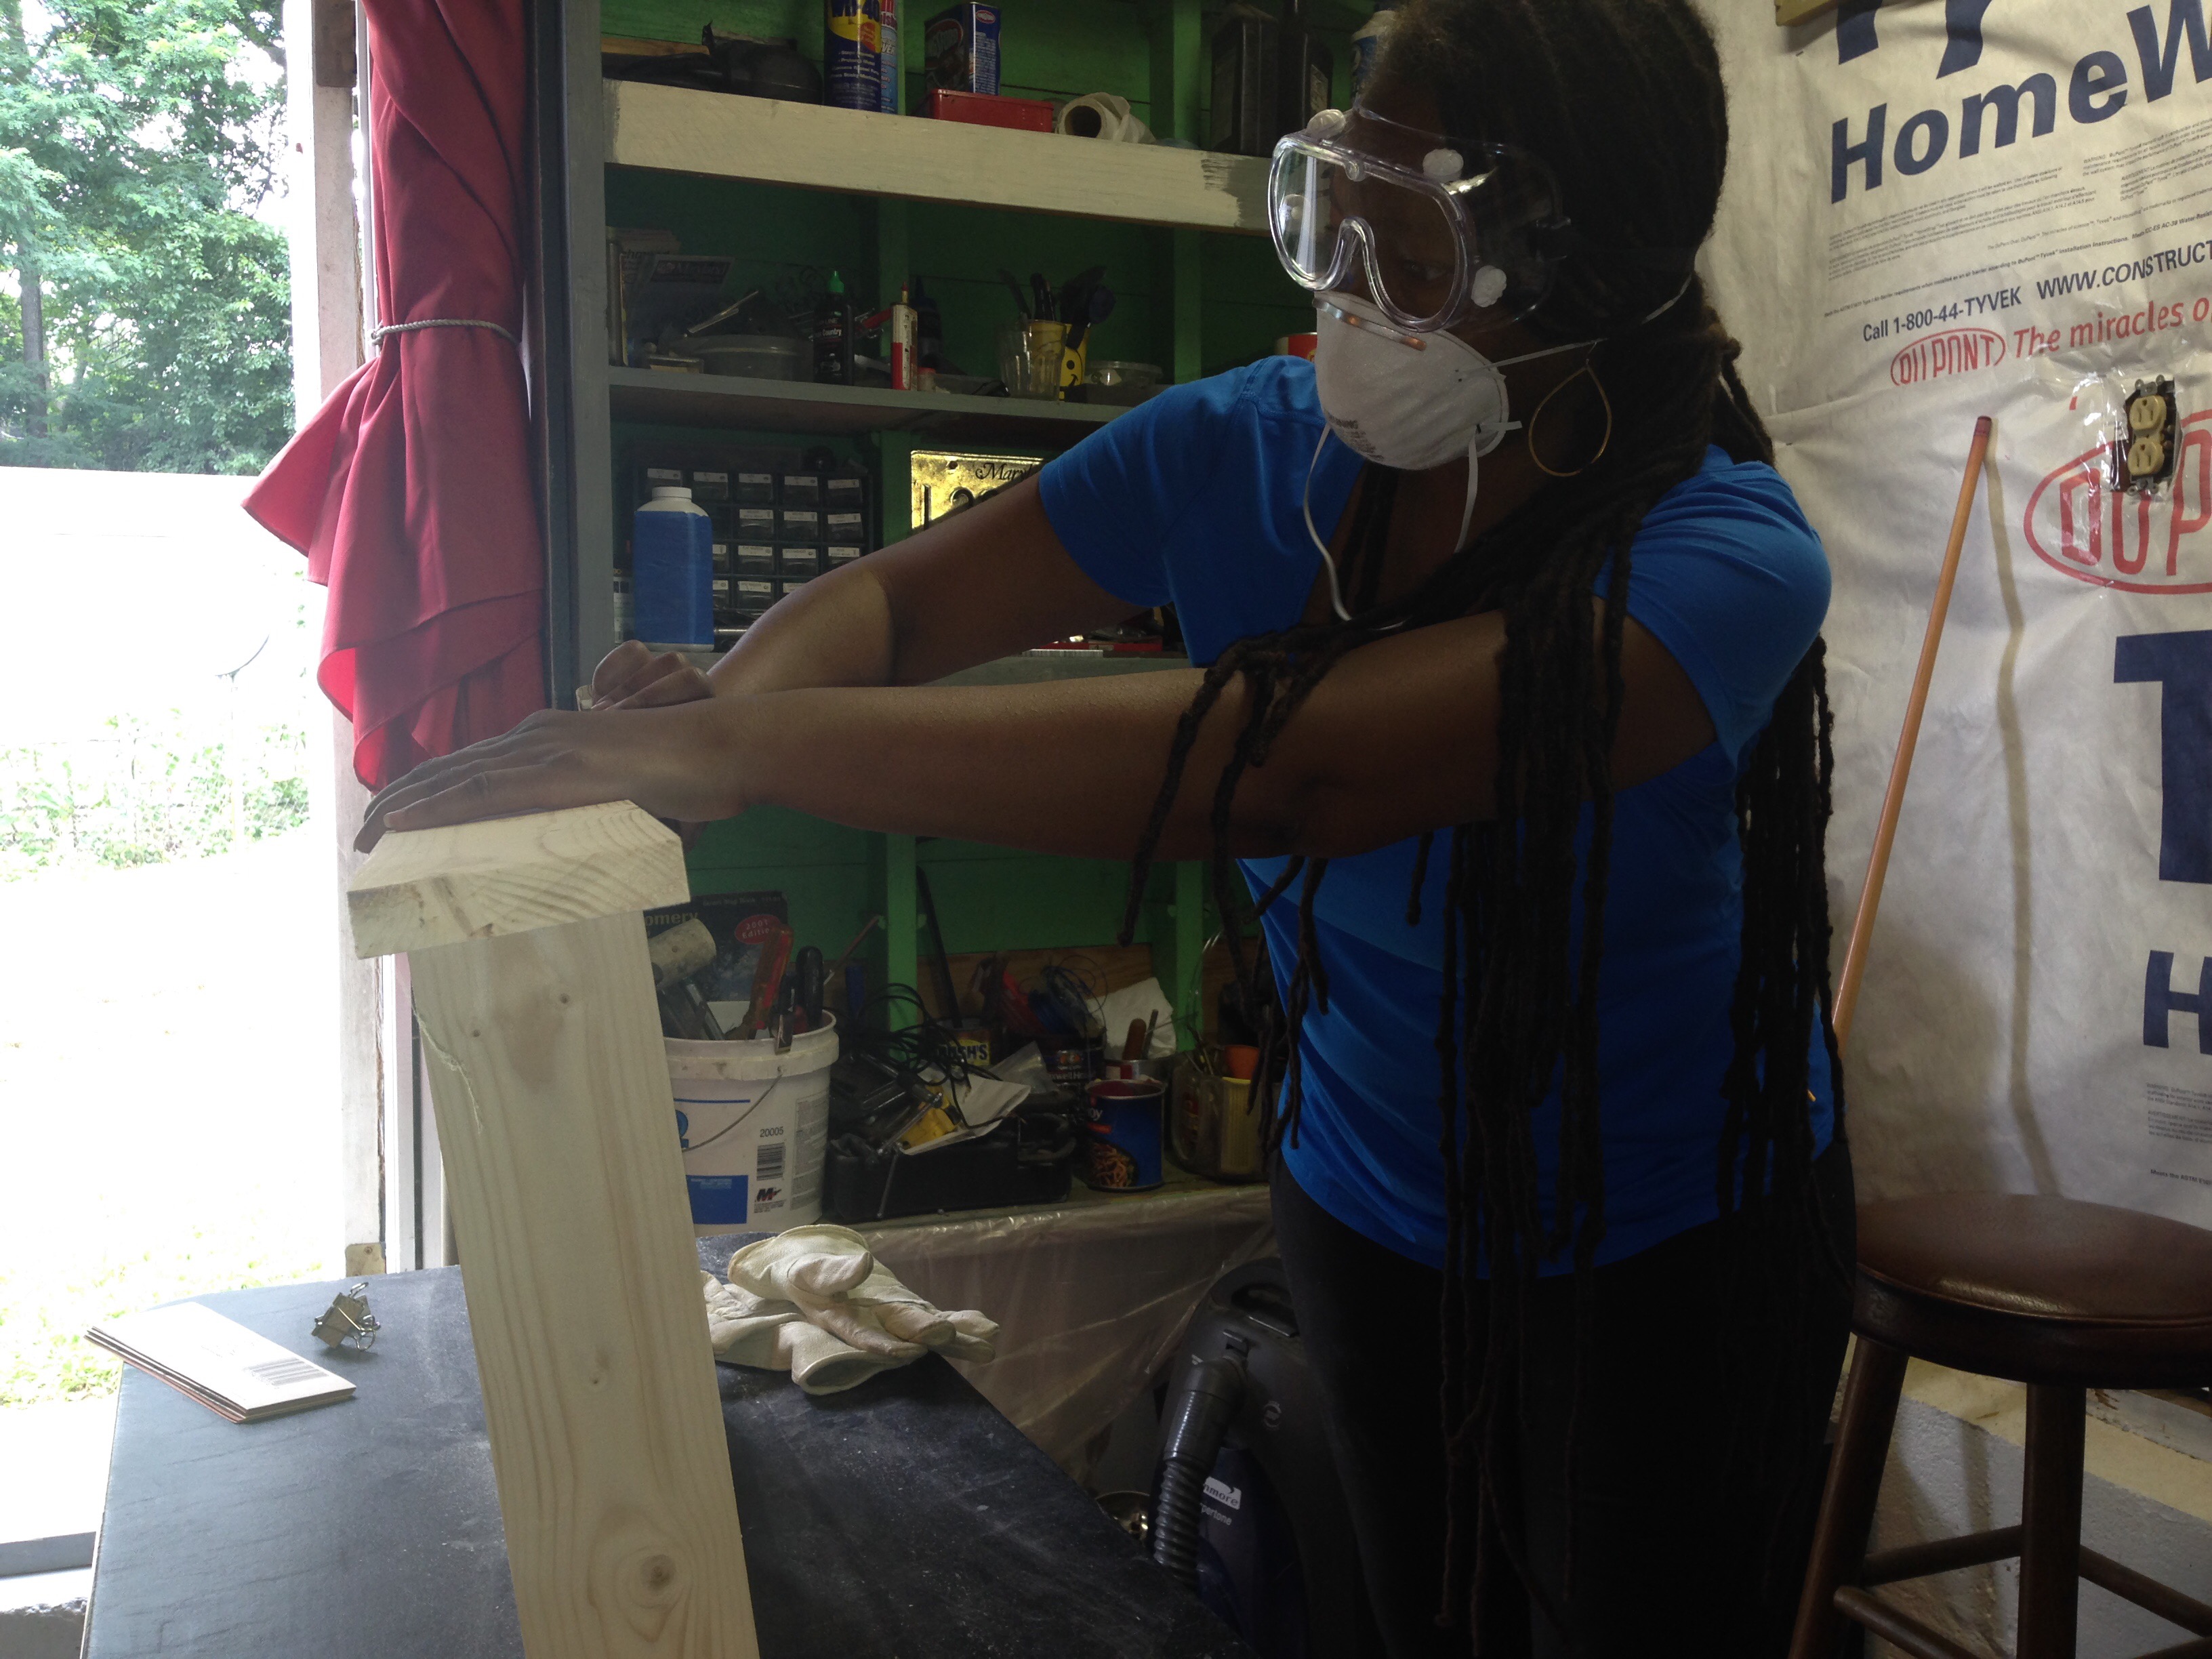
Here I am diligently sanding a 2 x 4 for her shelves with my Ryobi Corner Cat sander.
And sanding that wood some more.
OK, skipping ahead to the fun “wood and pipe build”! The project materials list is very simple and short.
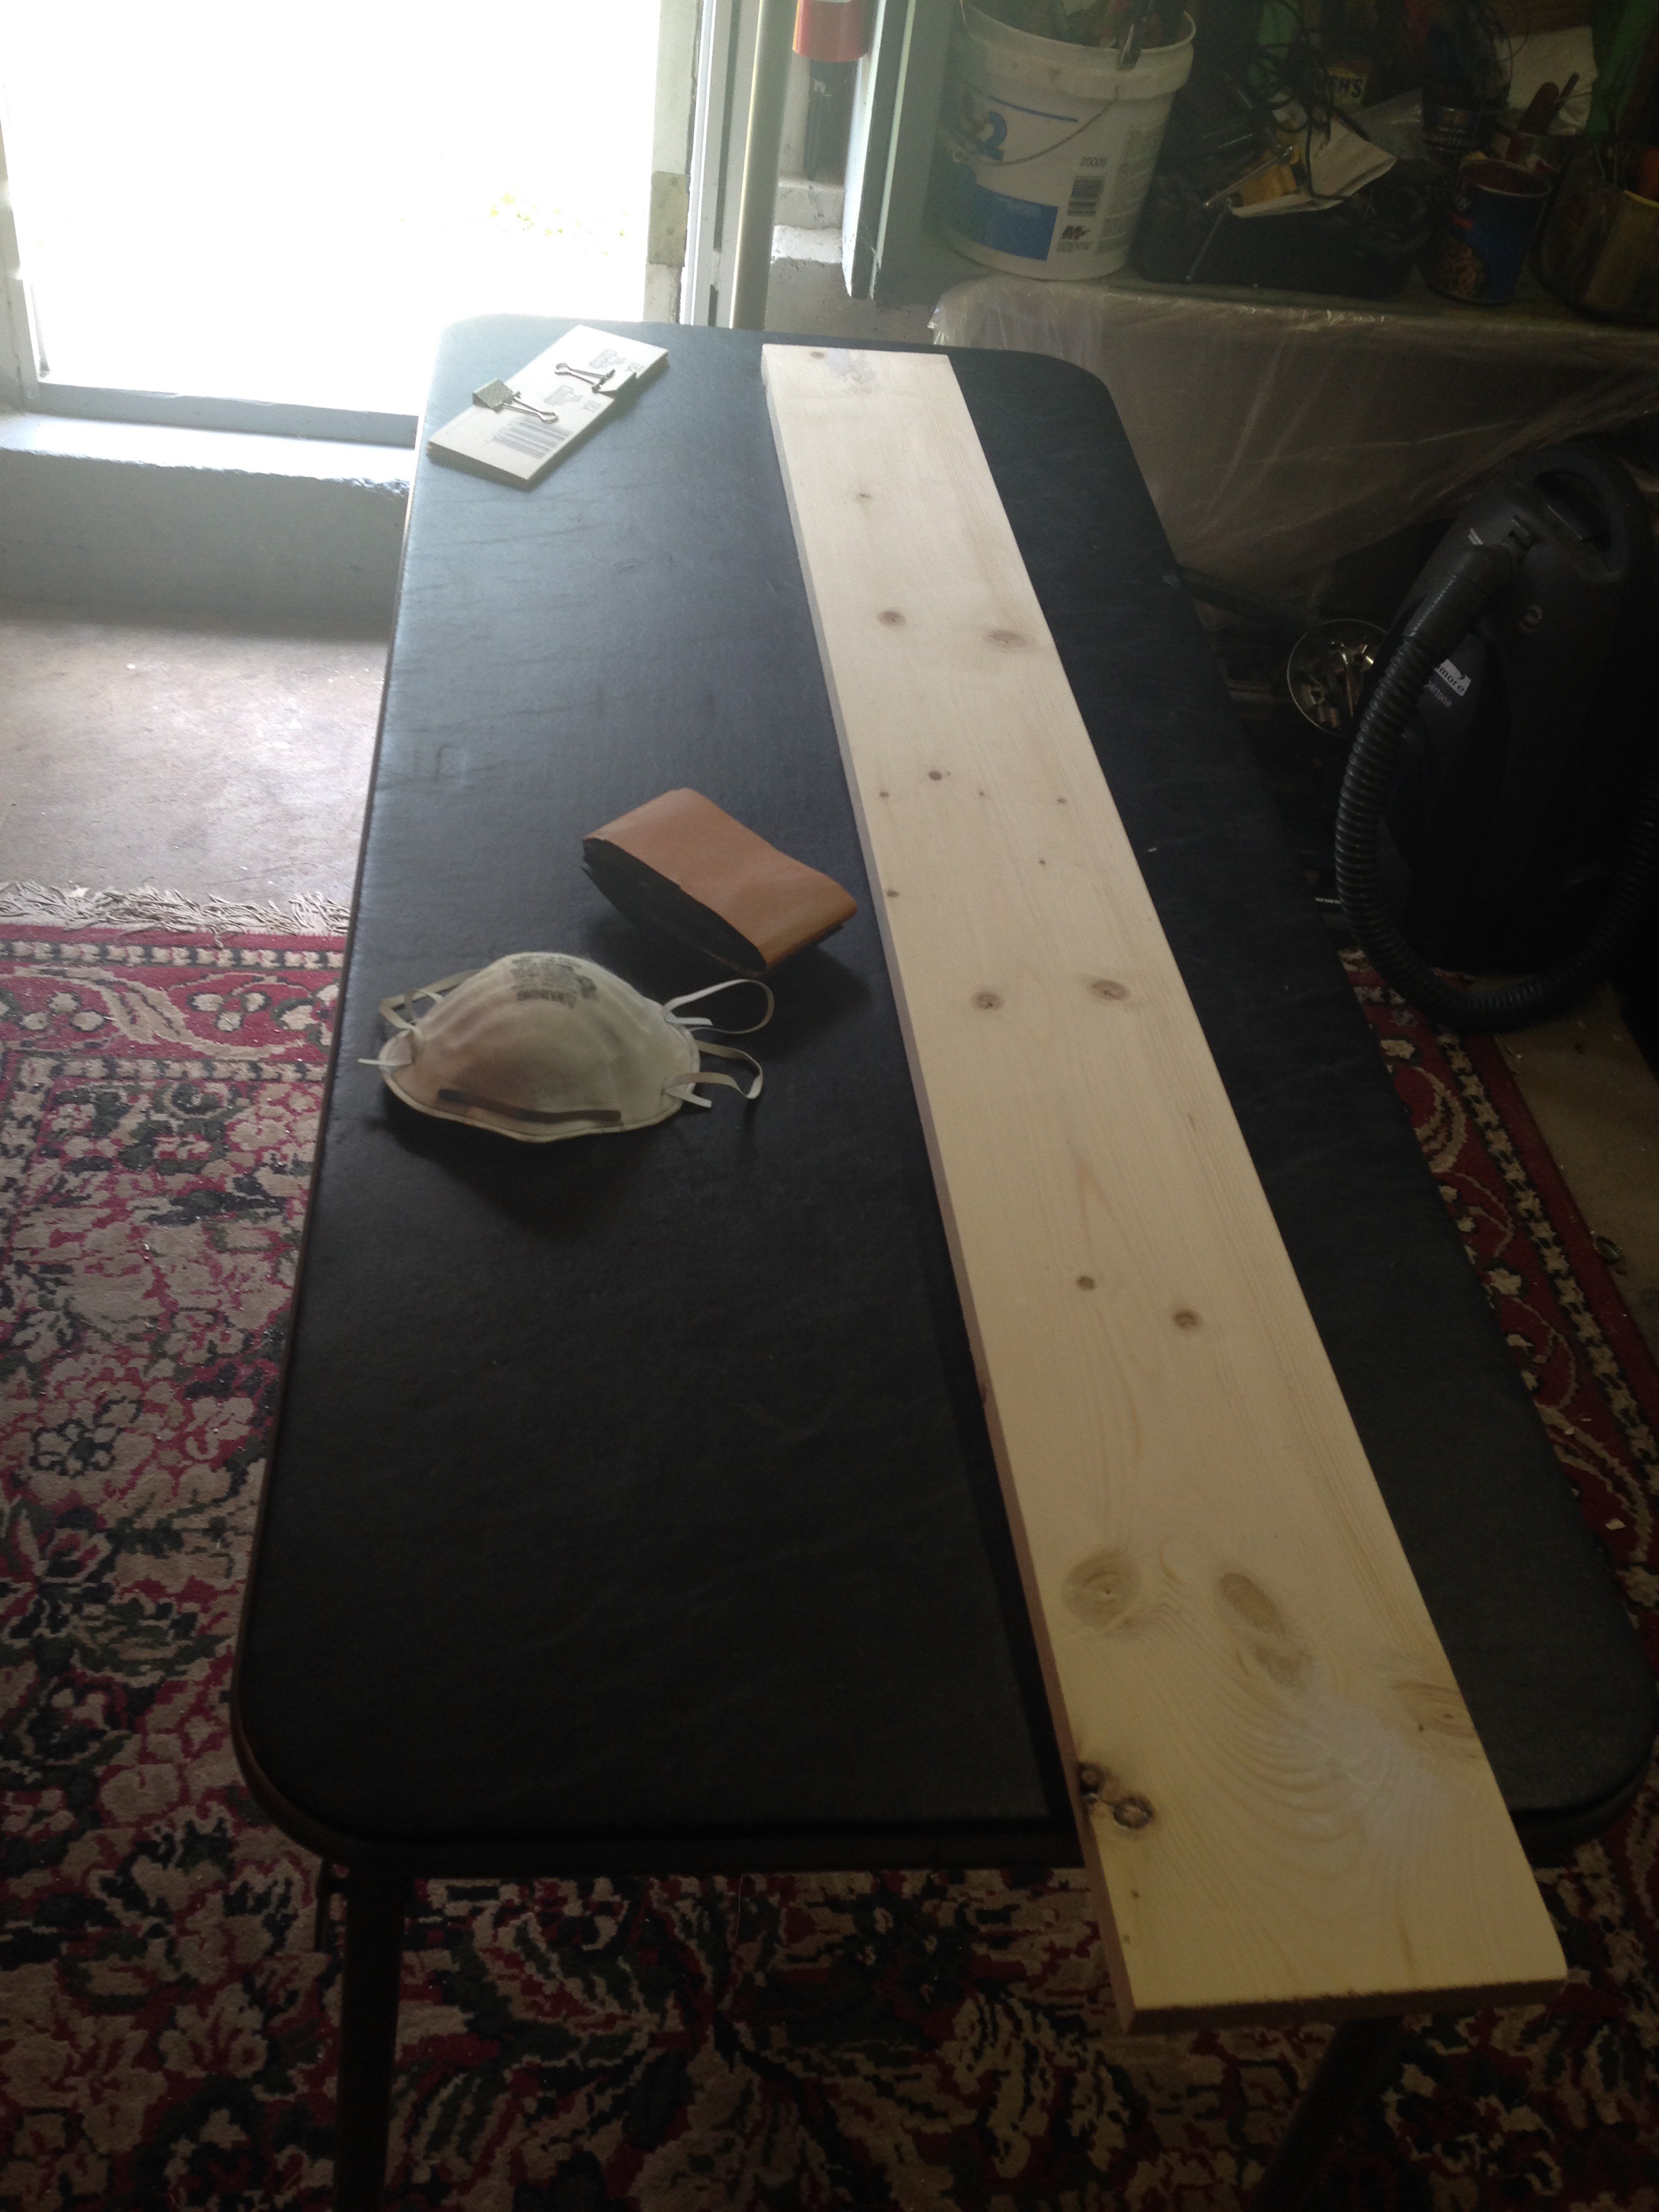
- 1″ x 6″ pine wood block (48″ length).
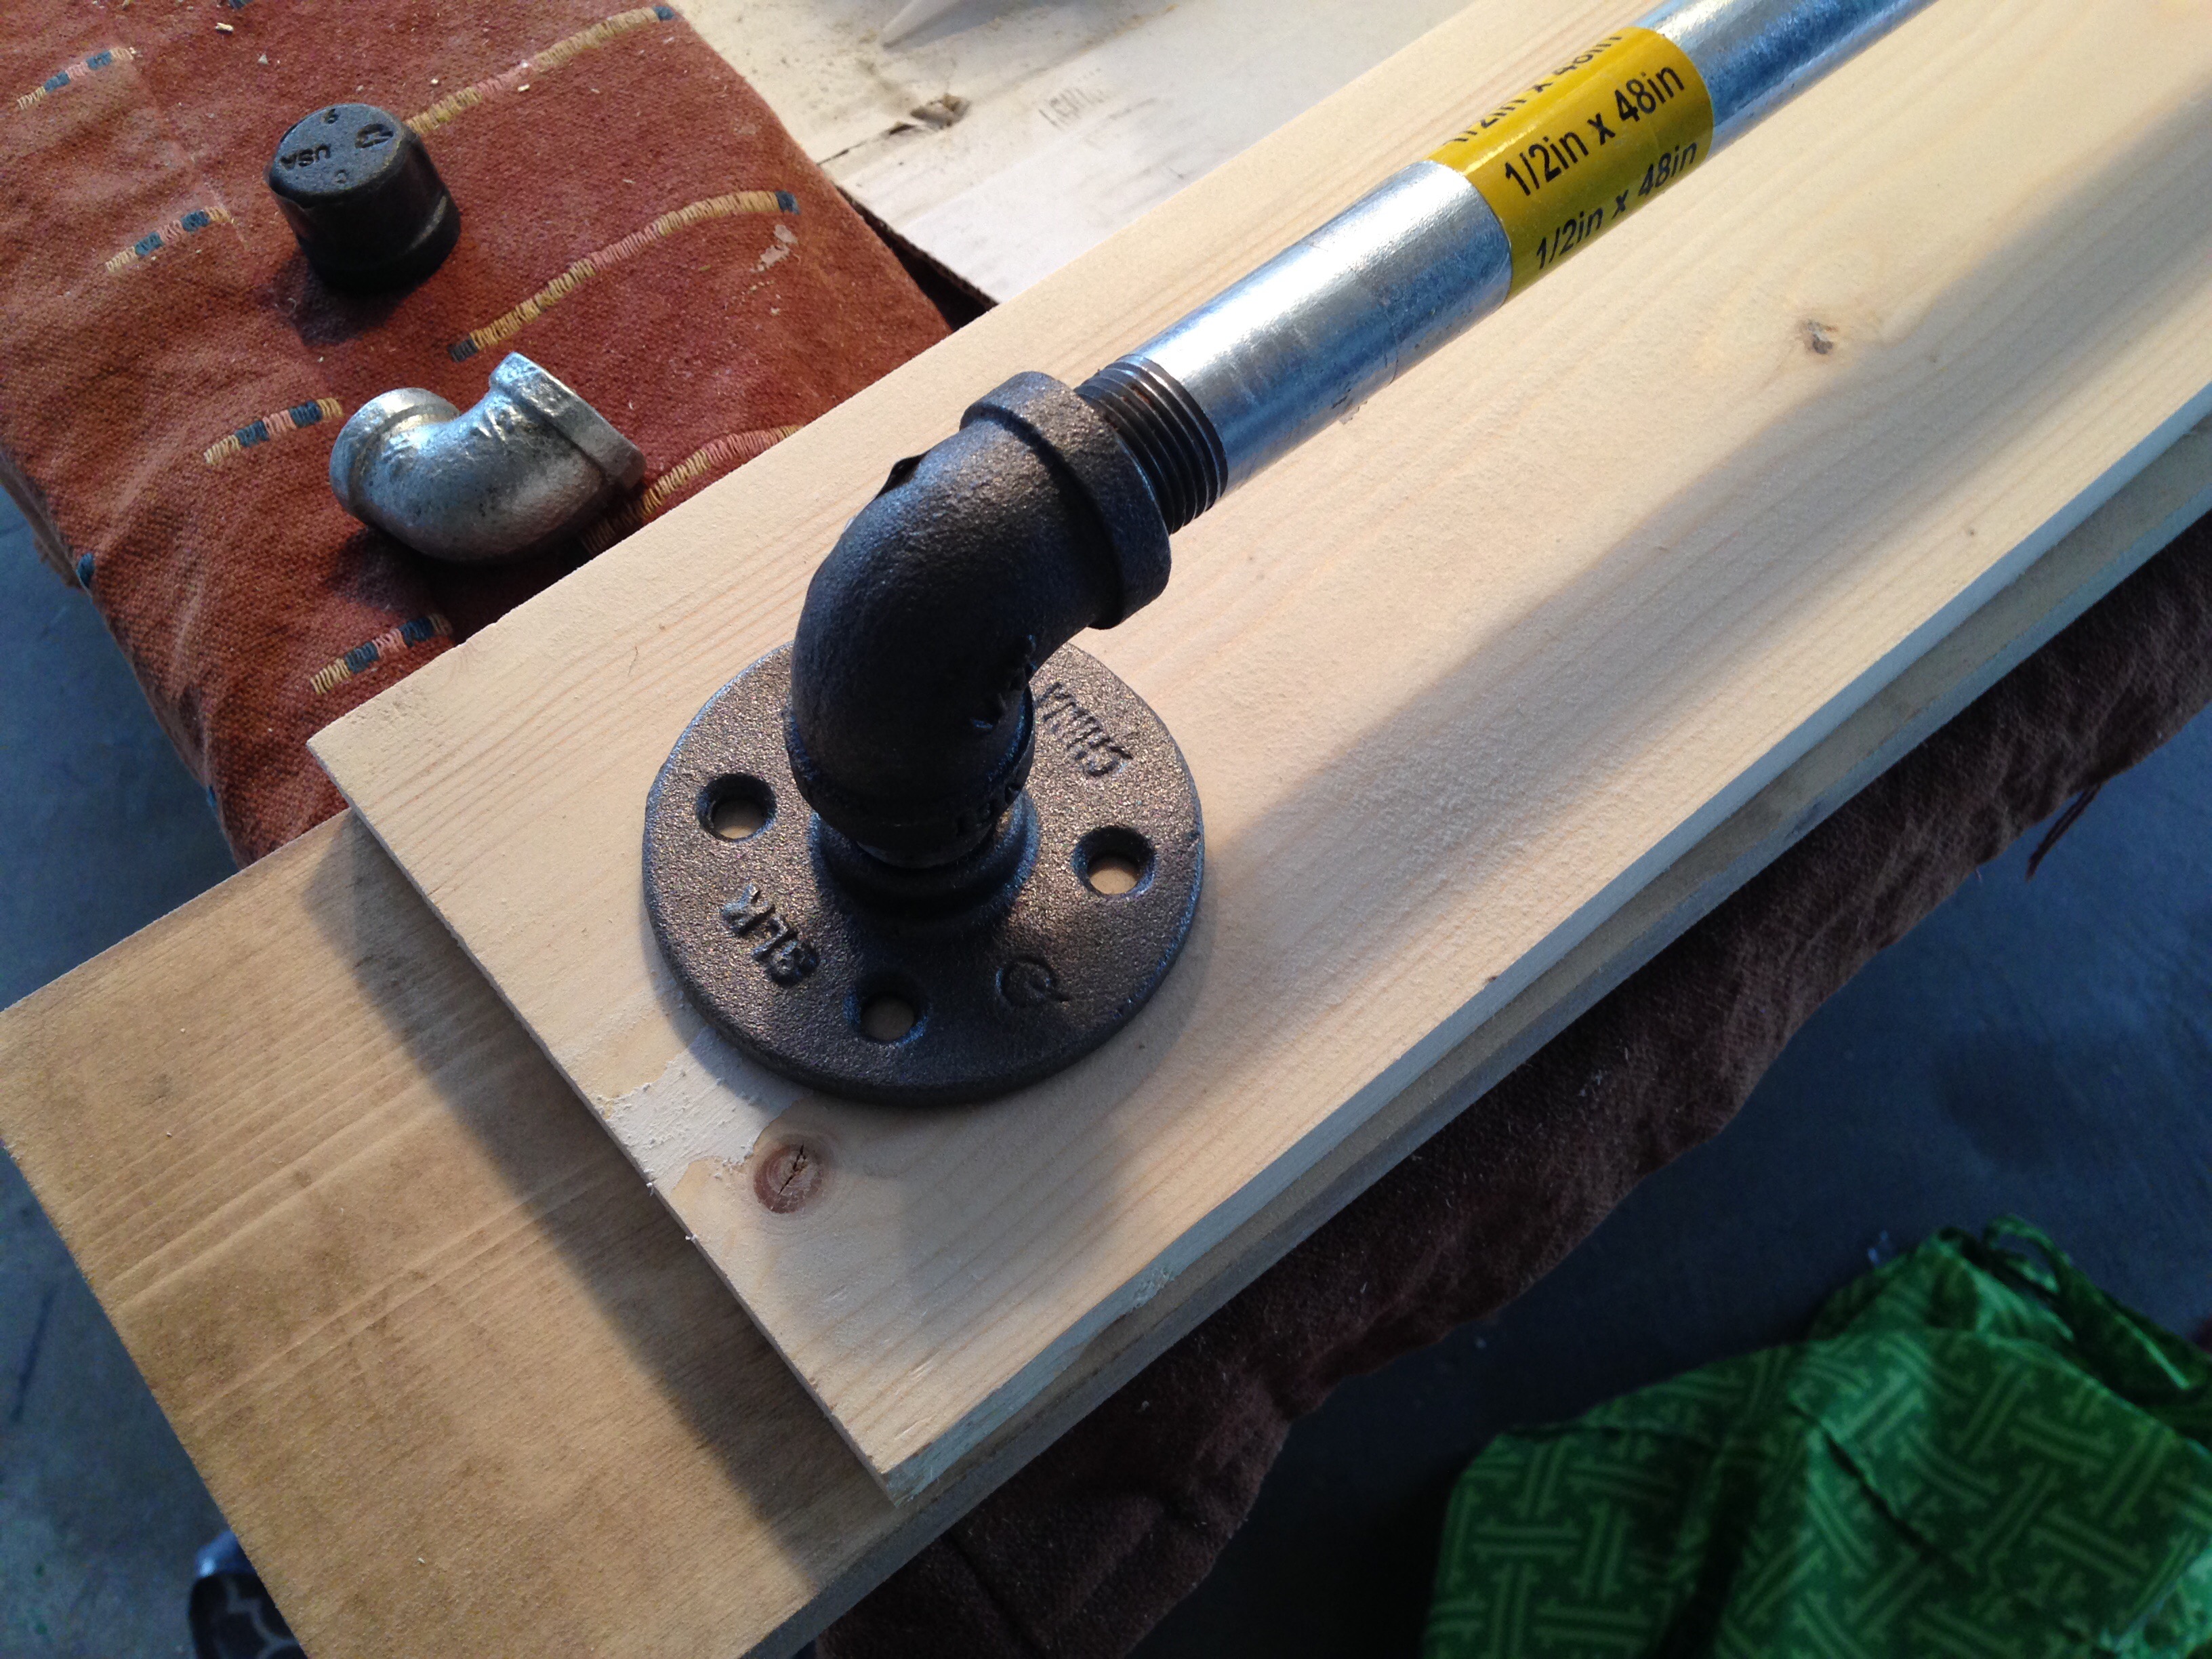
- Galvanized 1/2″ diameter pipe threaded nipple (42″ length).
- Two black 1/2″ diameter 90 degree elbows.
- Two black 1/2″ flanges.
- Five or more S hooks.
- Wood screws.
And that’s it, folks! All I need to make the wood and pipe hanging bar.
For the hanging organizer, I needed:
- Two 1″ x 4″ pine wood blocks (32″ length).
- Three 1″ x 4″ pine wood cuts (14.5″ length).
- Three 3/4″ x 1/8″ steel bar cuts (16″ length).
- 1 1/4″ Kreg pocket hole screws.
- Wood screws (to screw in the metal pieces.
I used my DeWitt power drill with screwdriver bits to complete the assembly of both pieces.
So once I was finally done with sanding down and assembling the rope hanging shelves, I went to work with sanding the 1×6 wood block for the hanging bar.
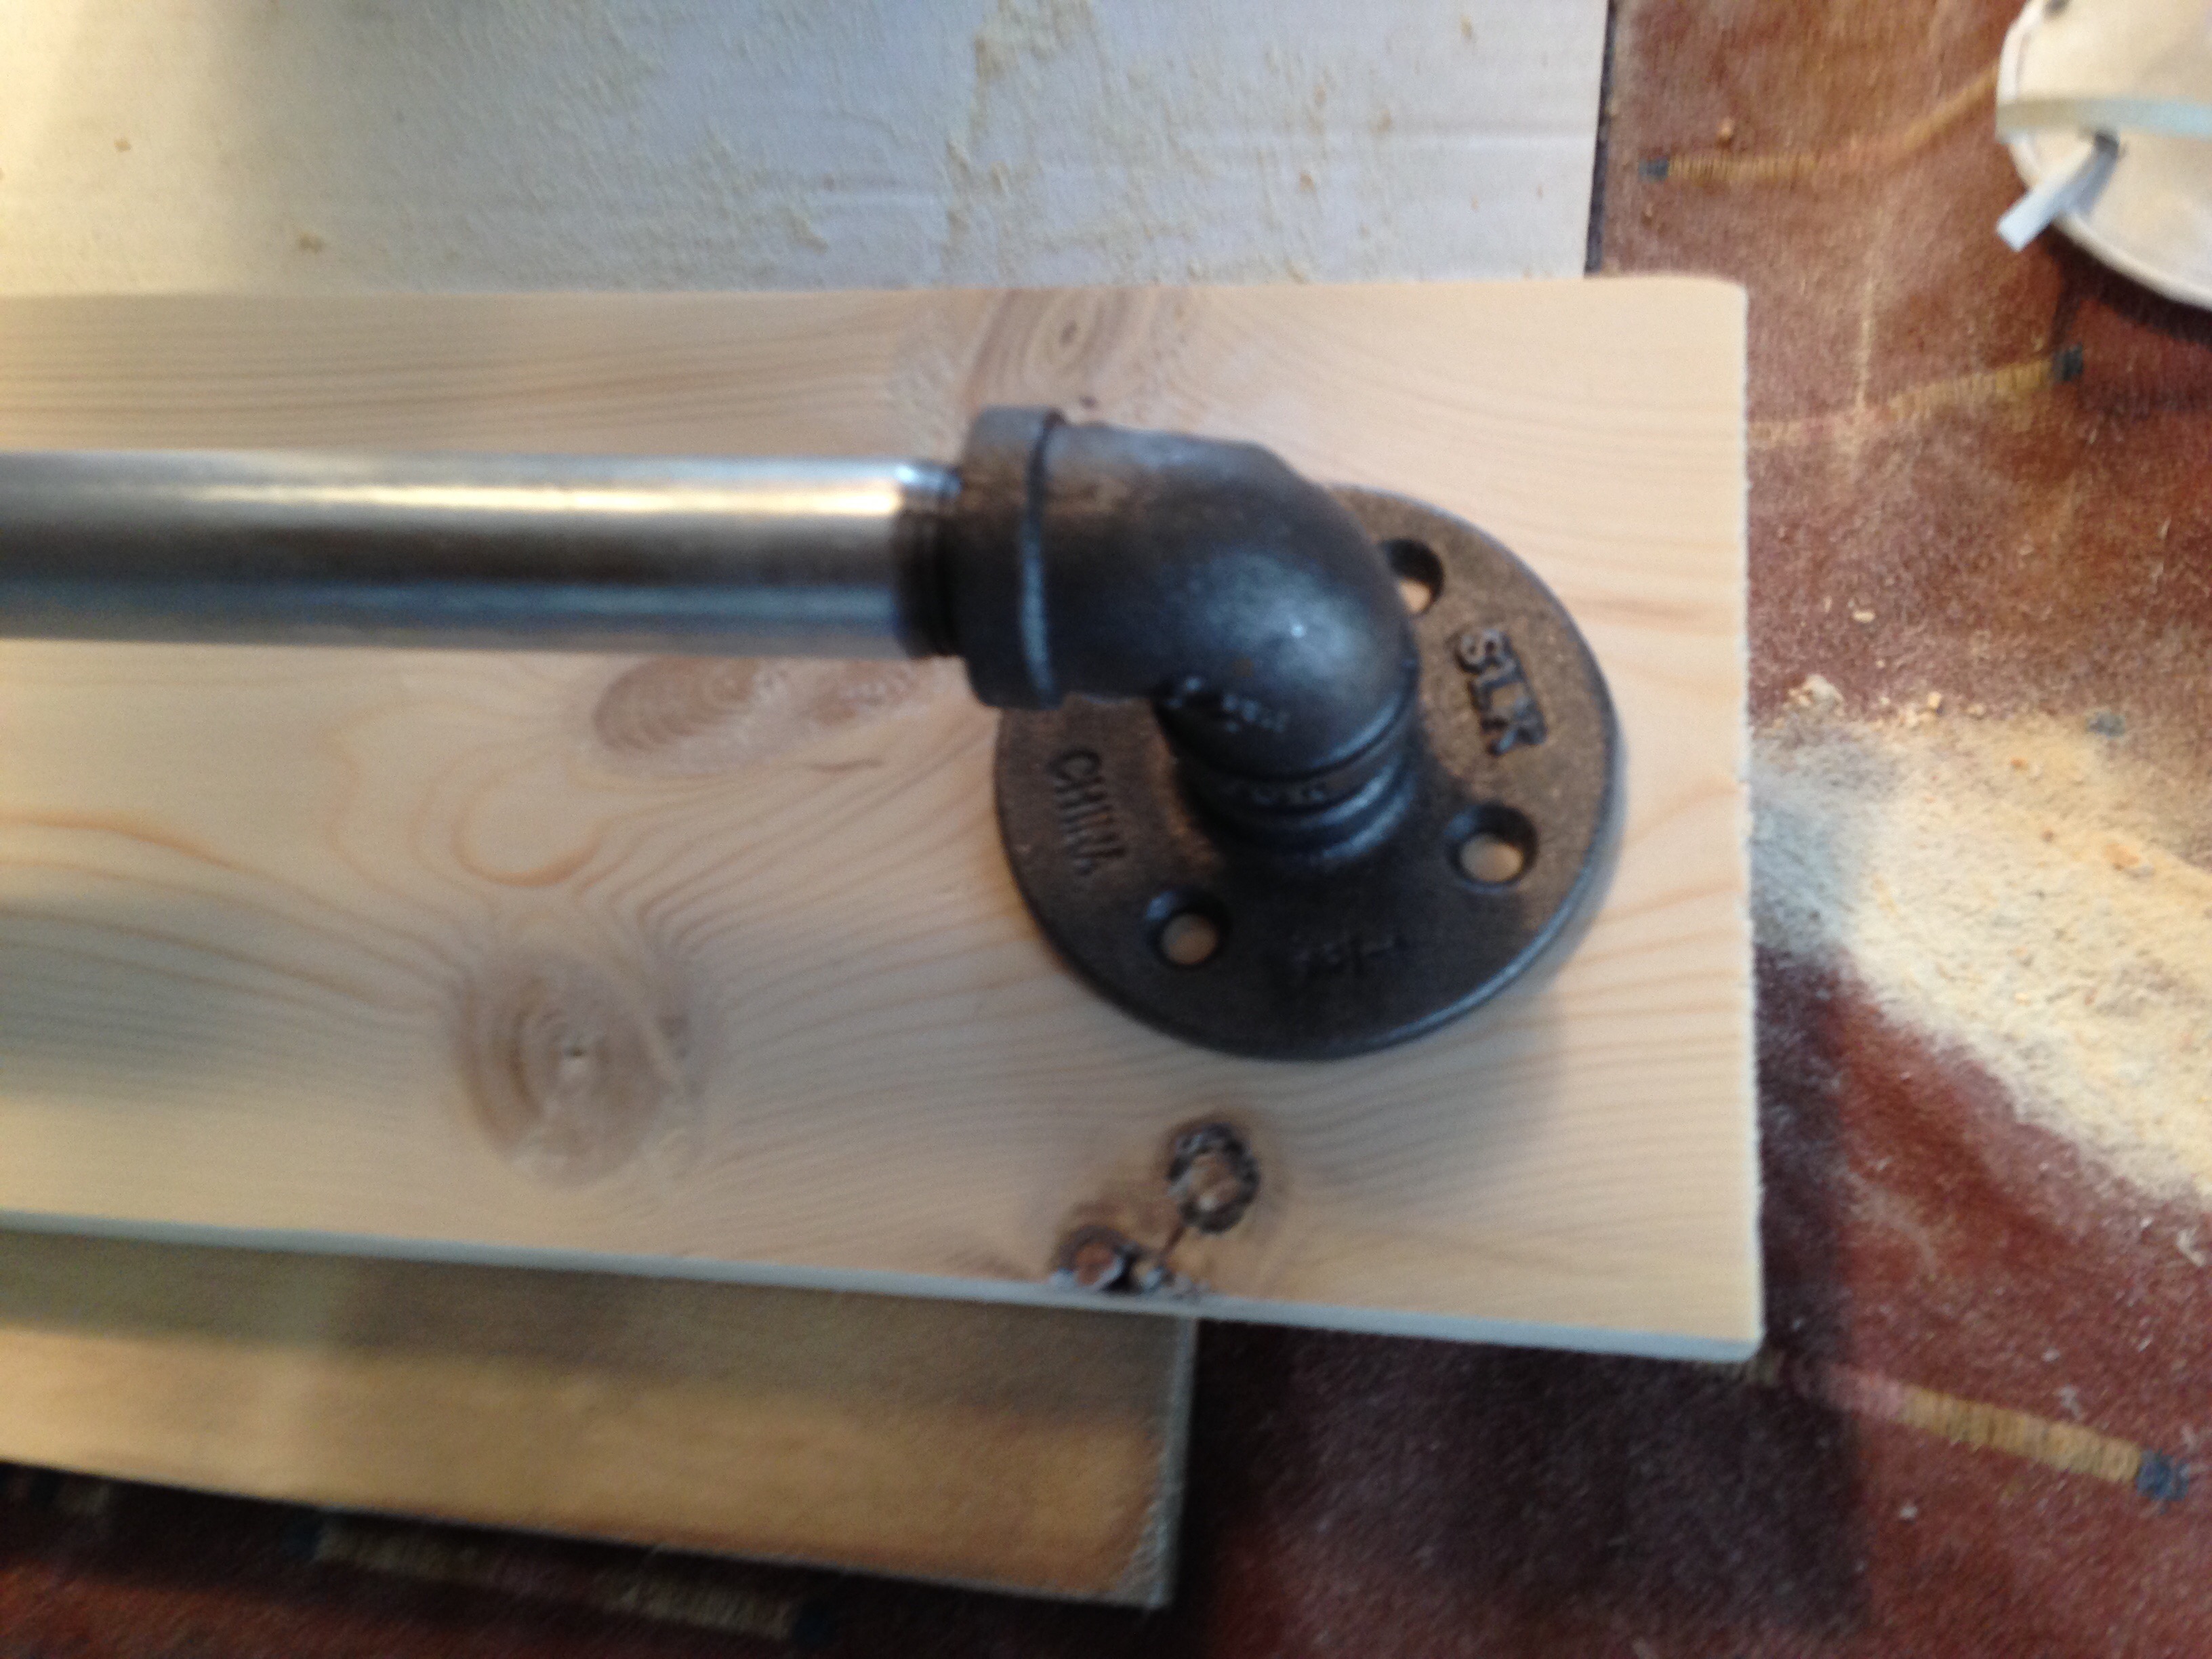
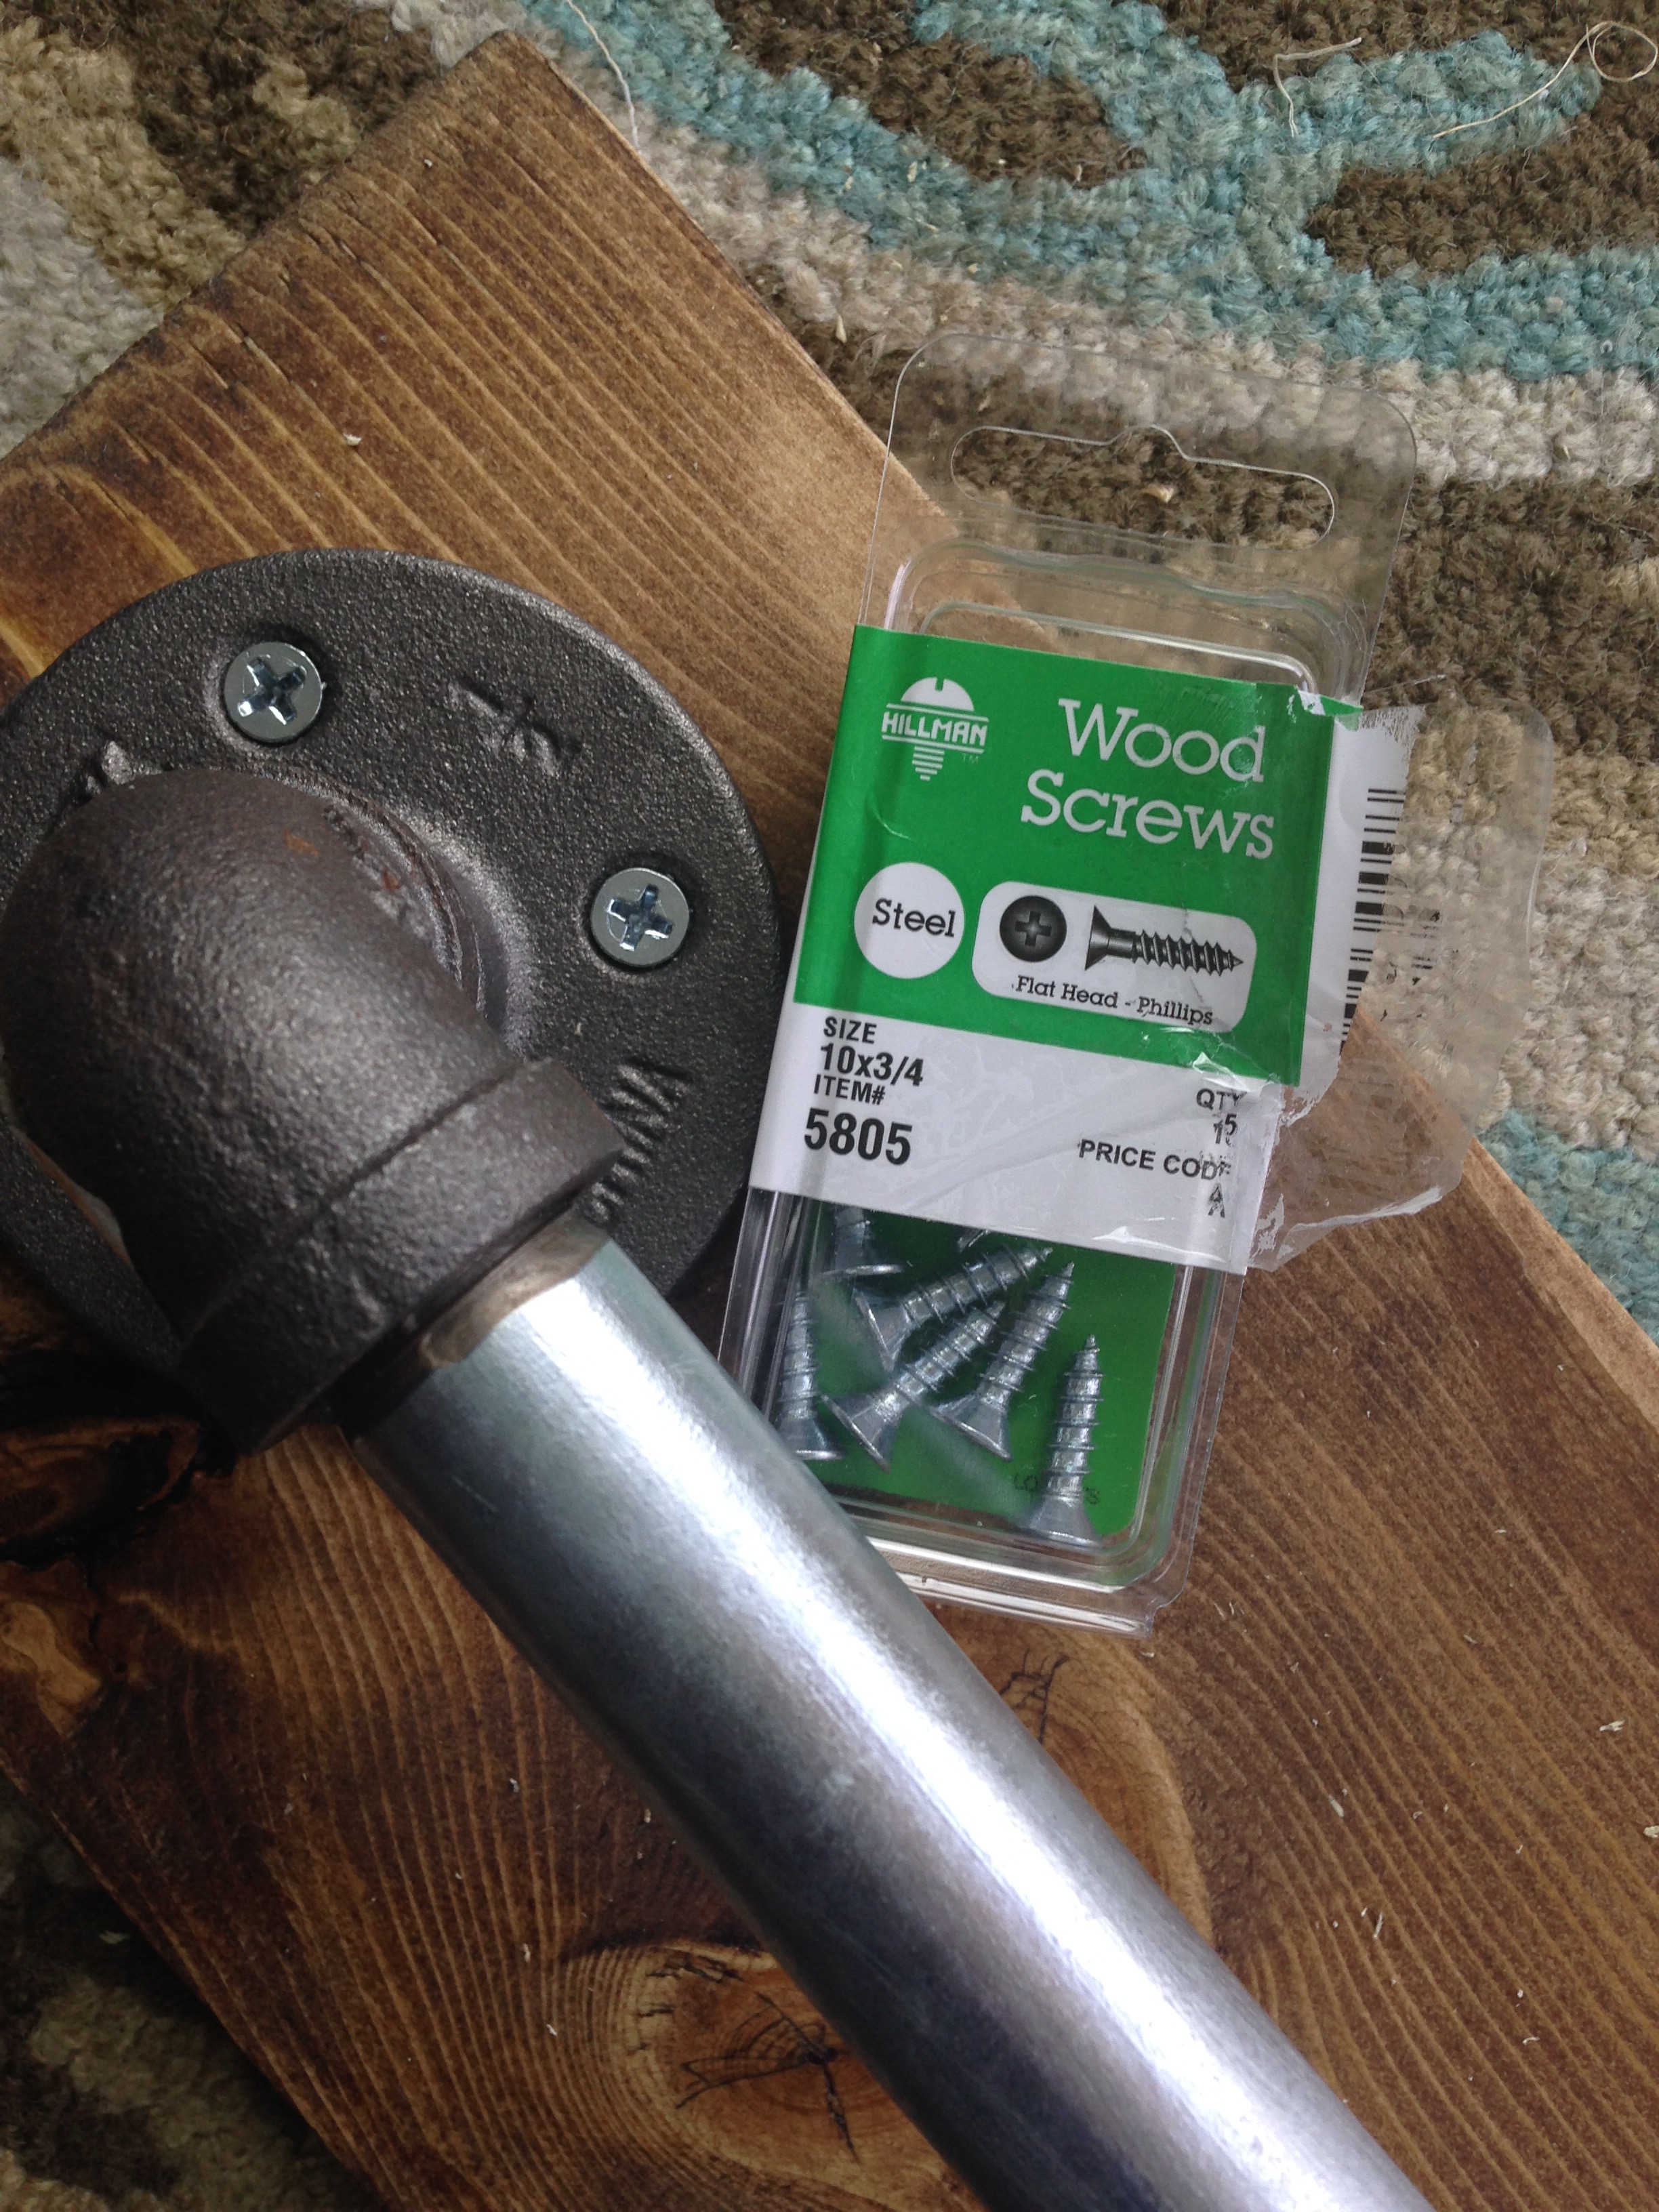
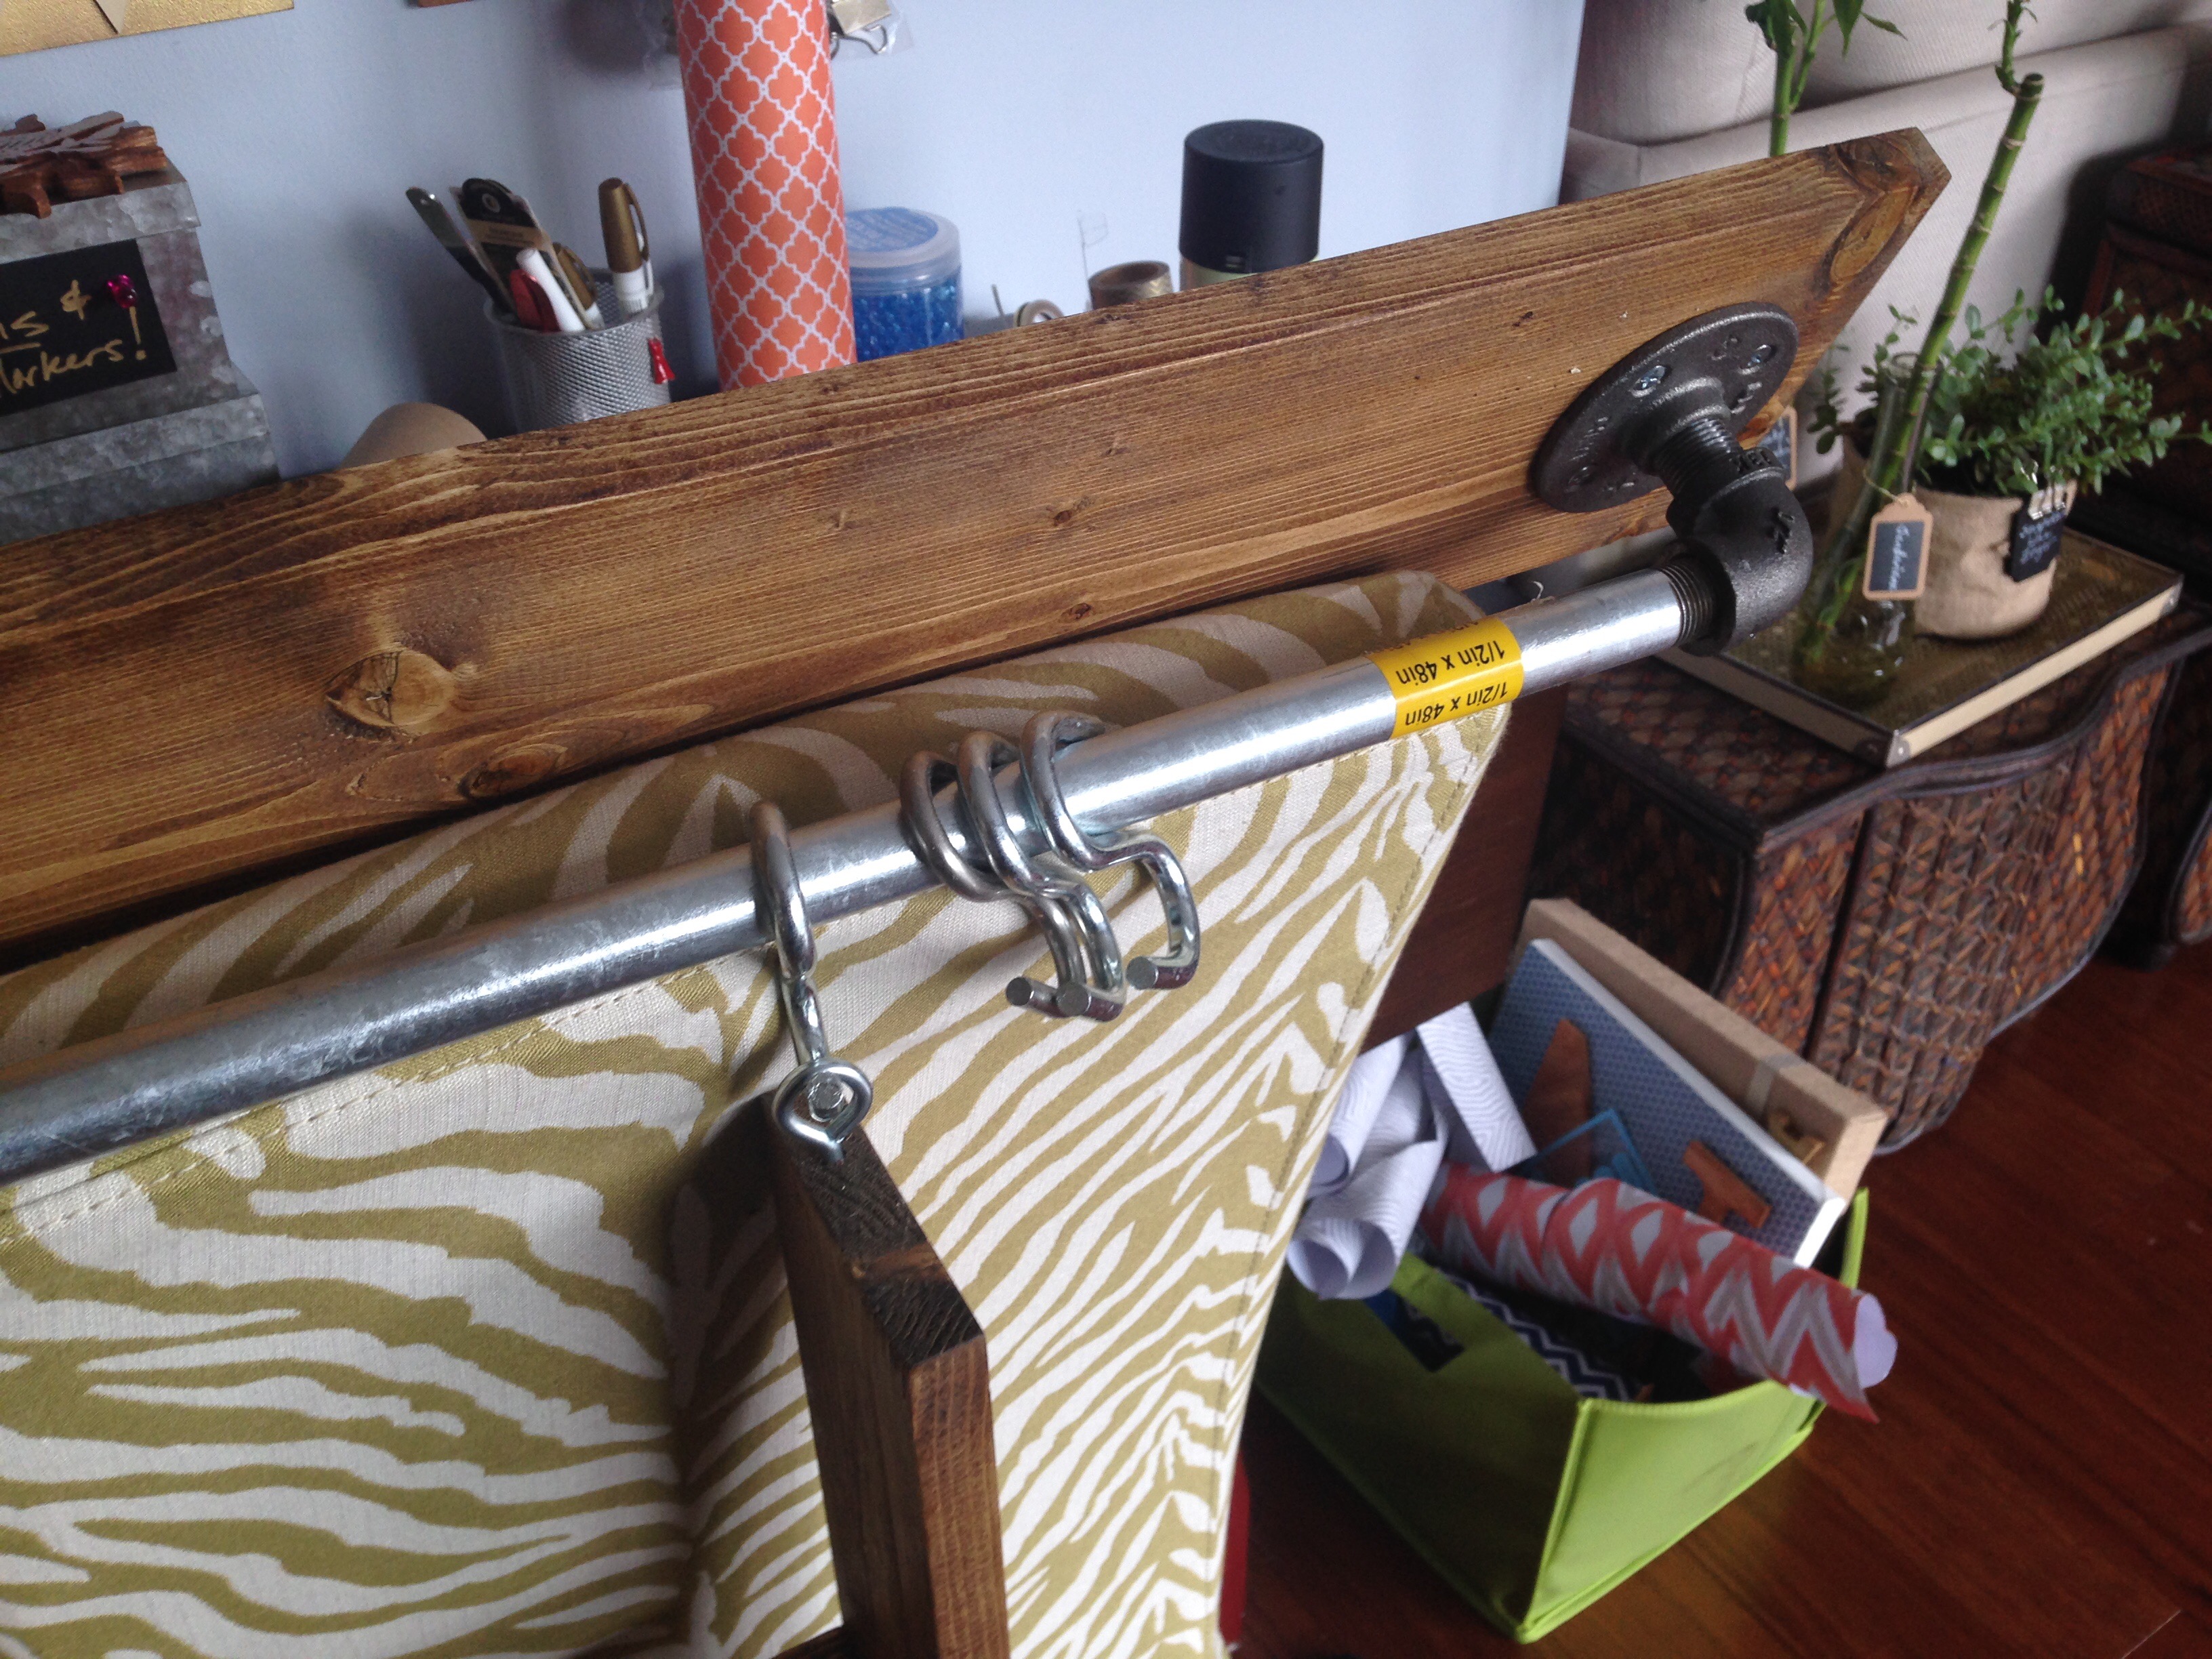
I assembled the pipe pieces together by attaching the elbows to each side of the 42″ pipe nipple (which was cut down at Home Depot from 48″), and then screwing on the circular flanges.
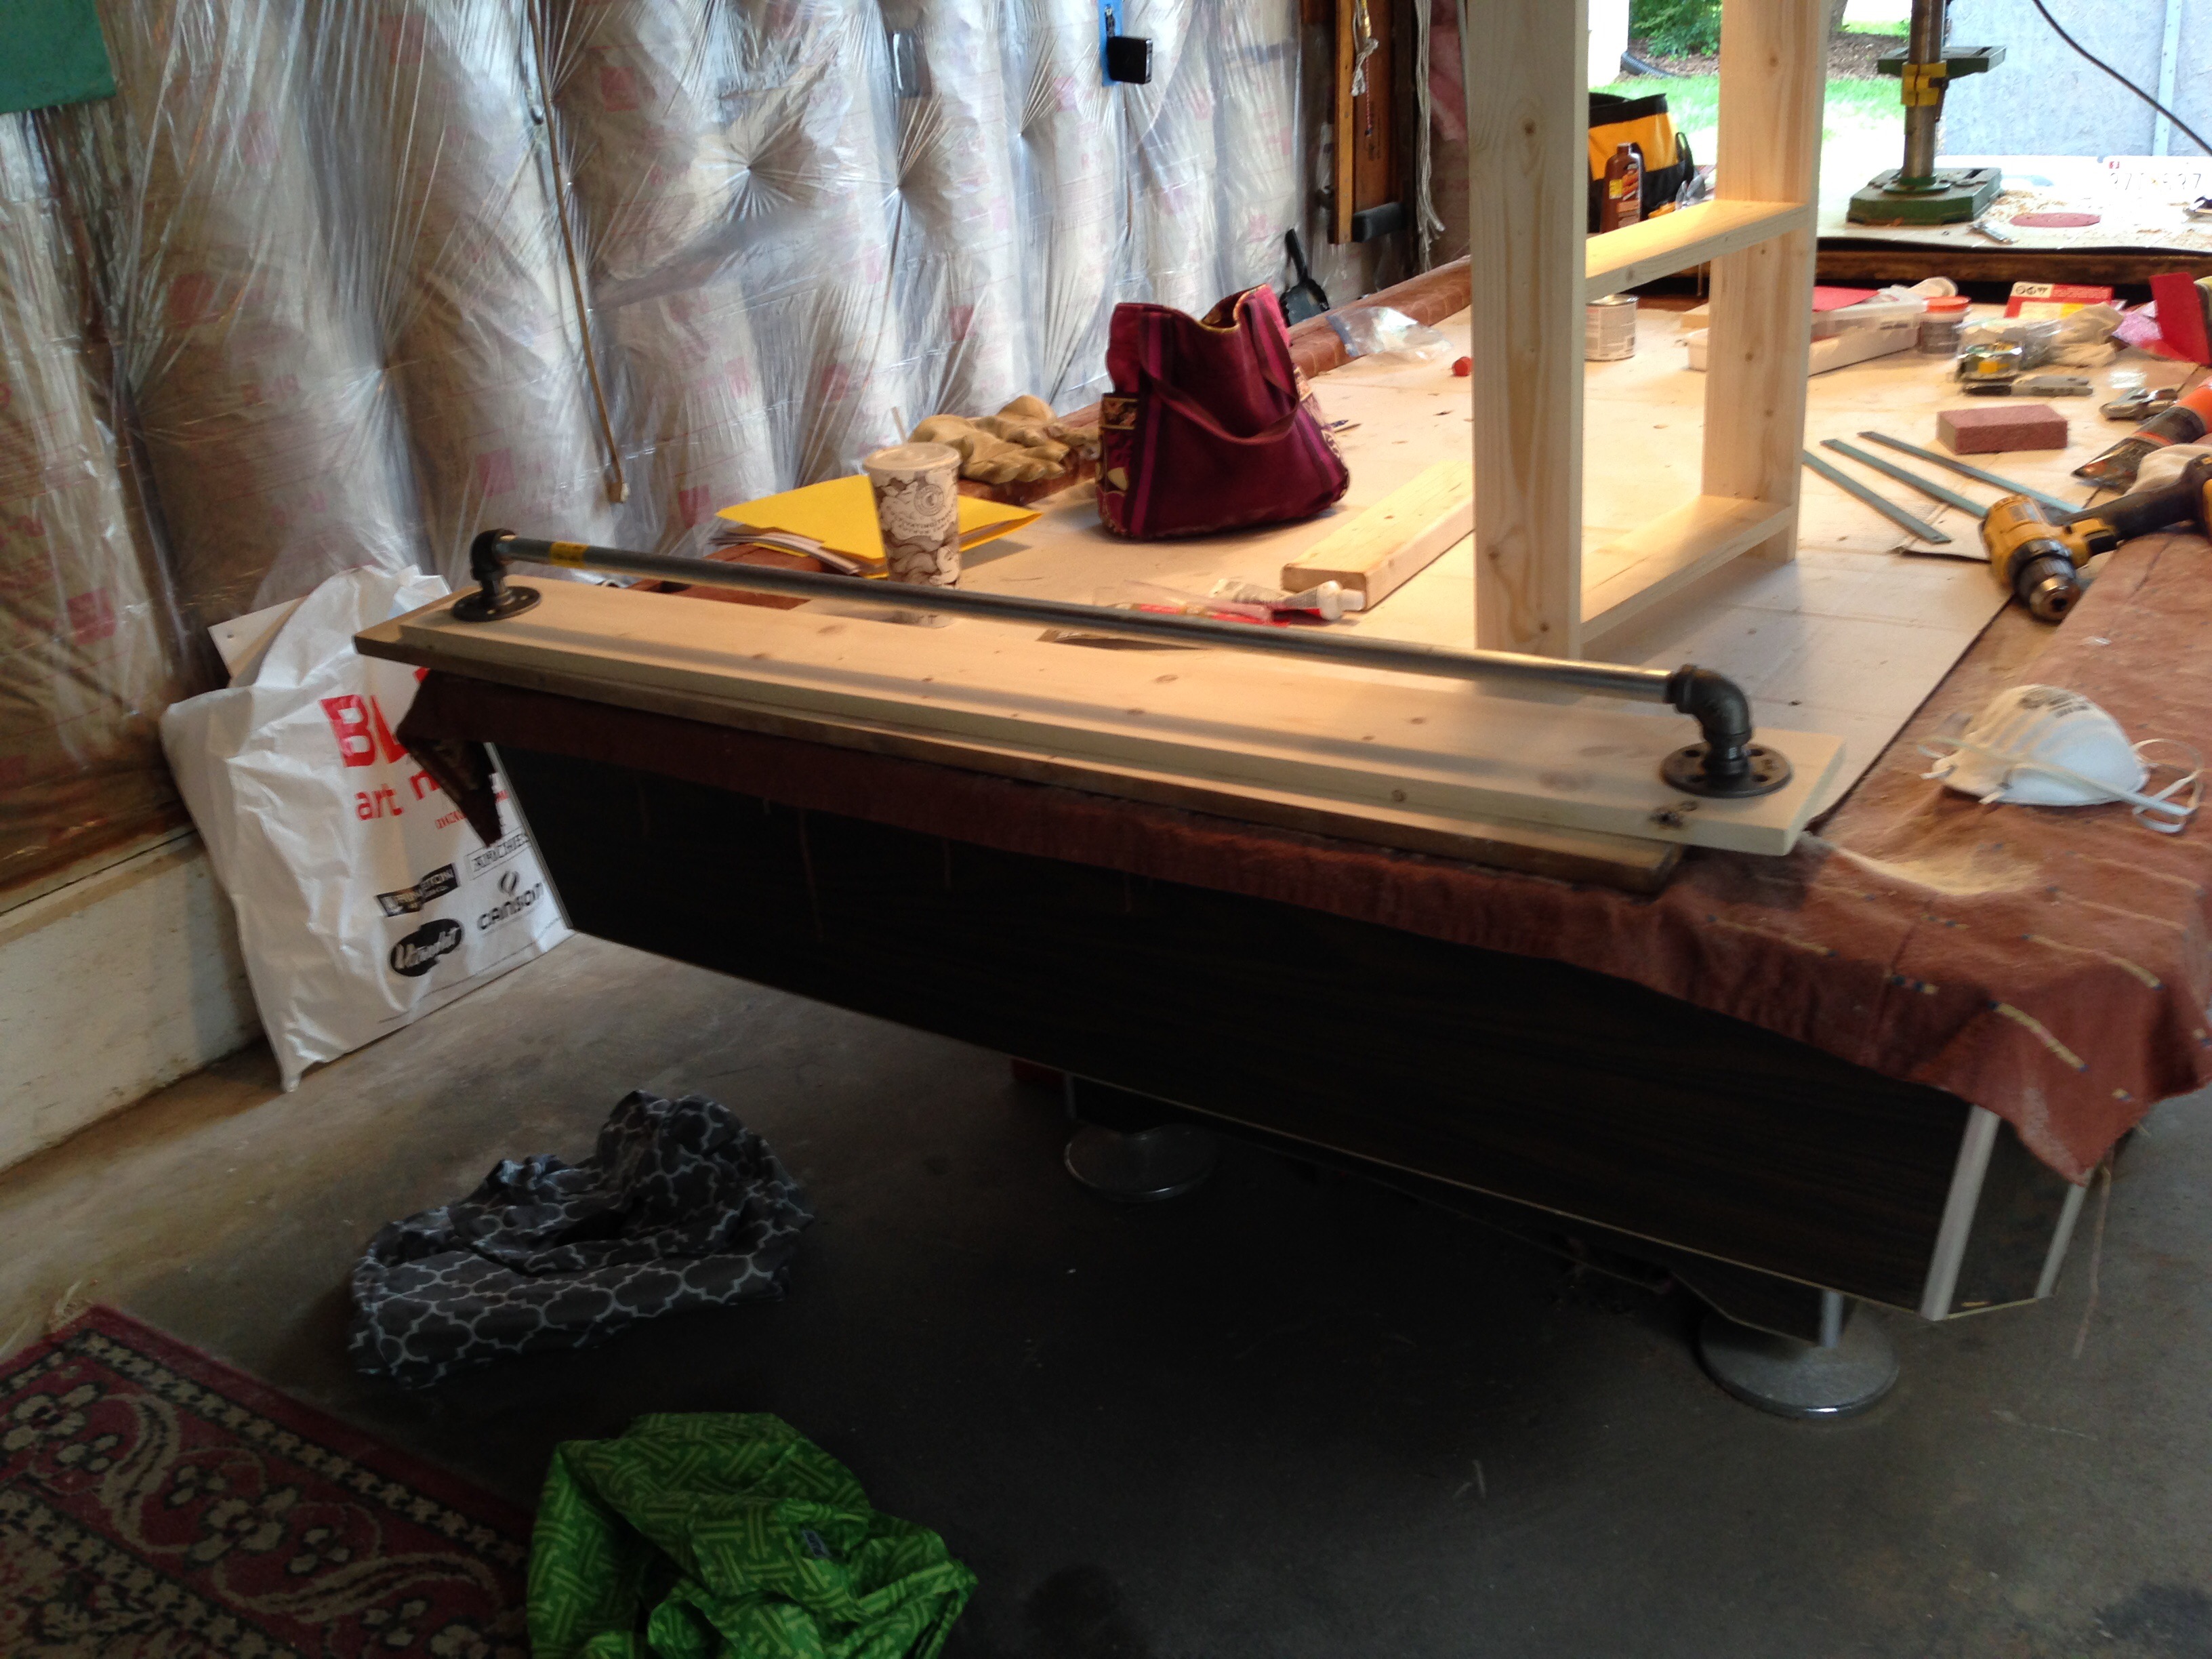
I placed the assembled pipe bar on top of the sanded wood. My excitement grew when previewing how great this will look in the entryway.
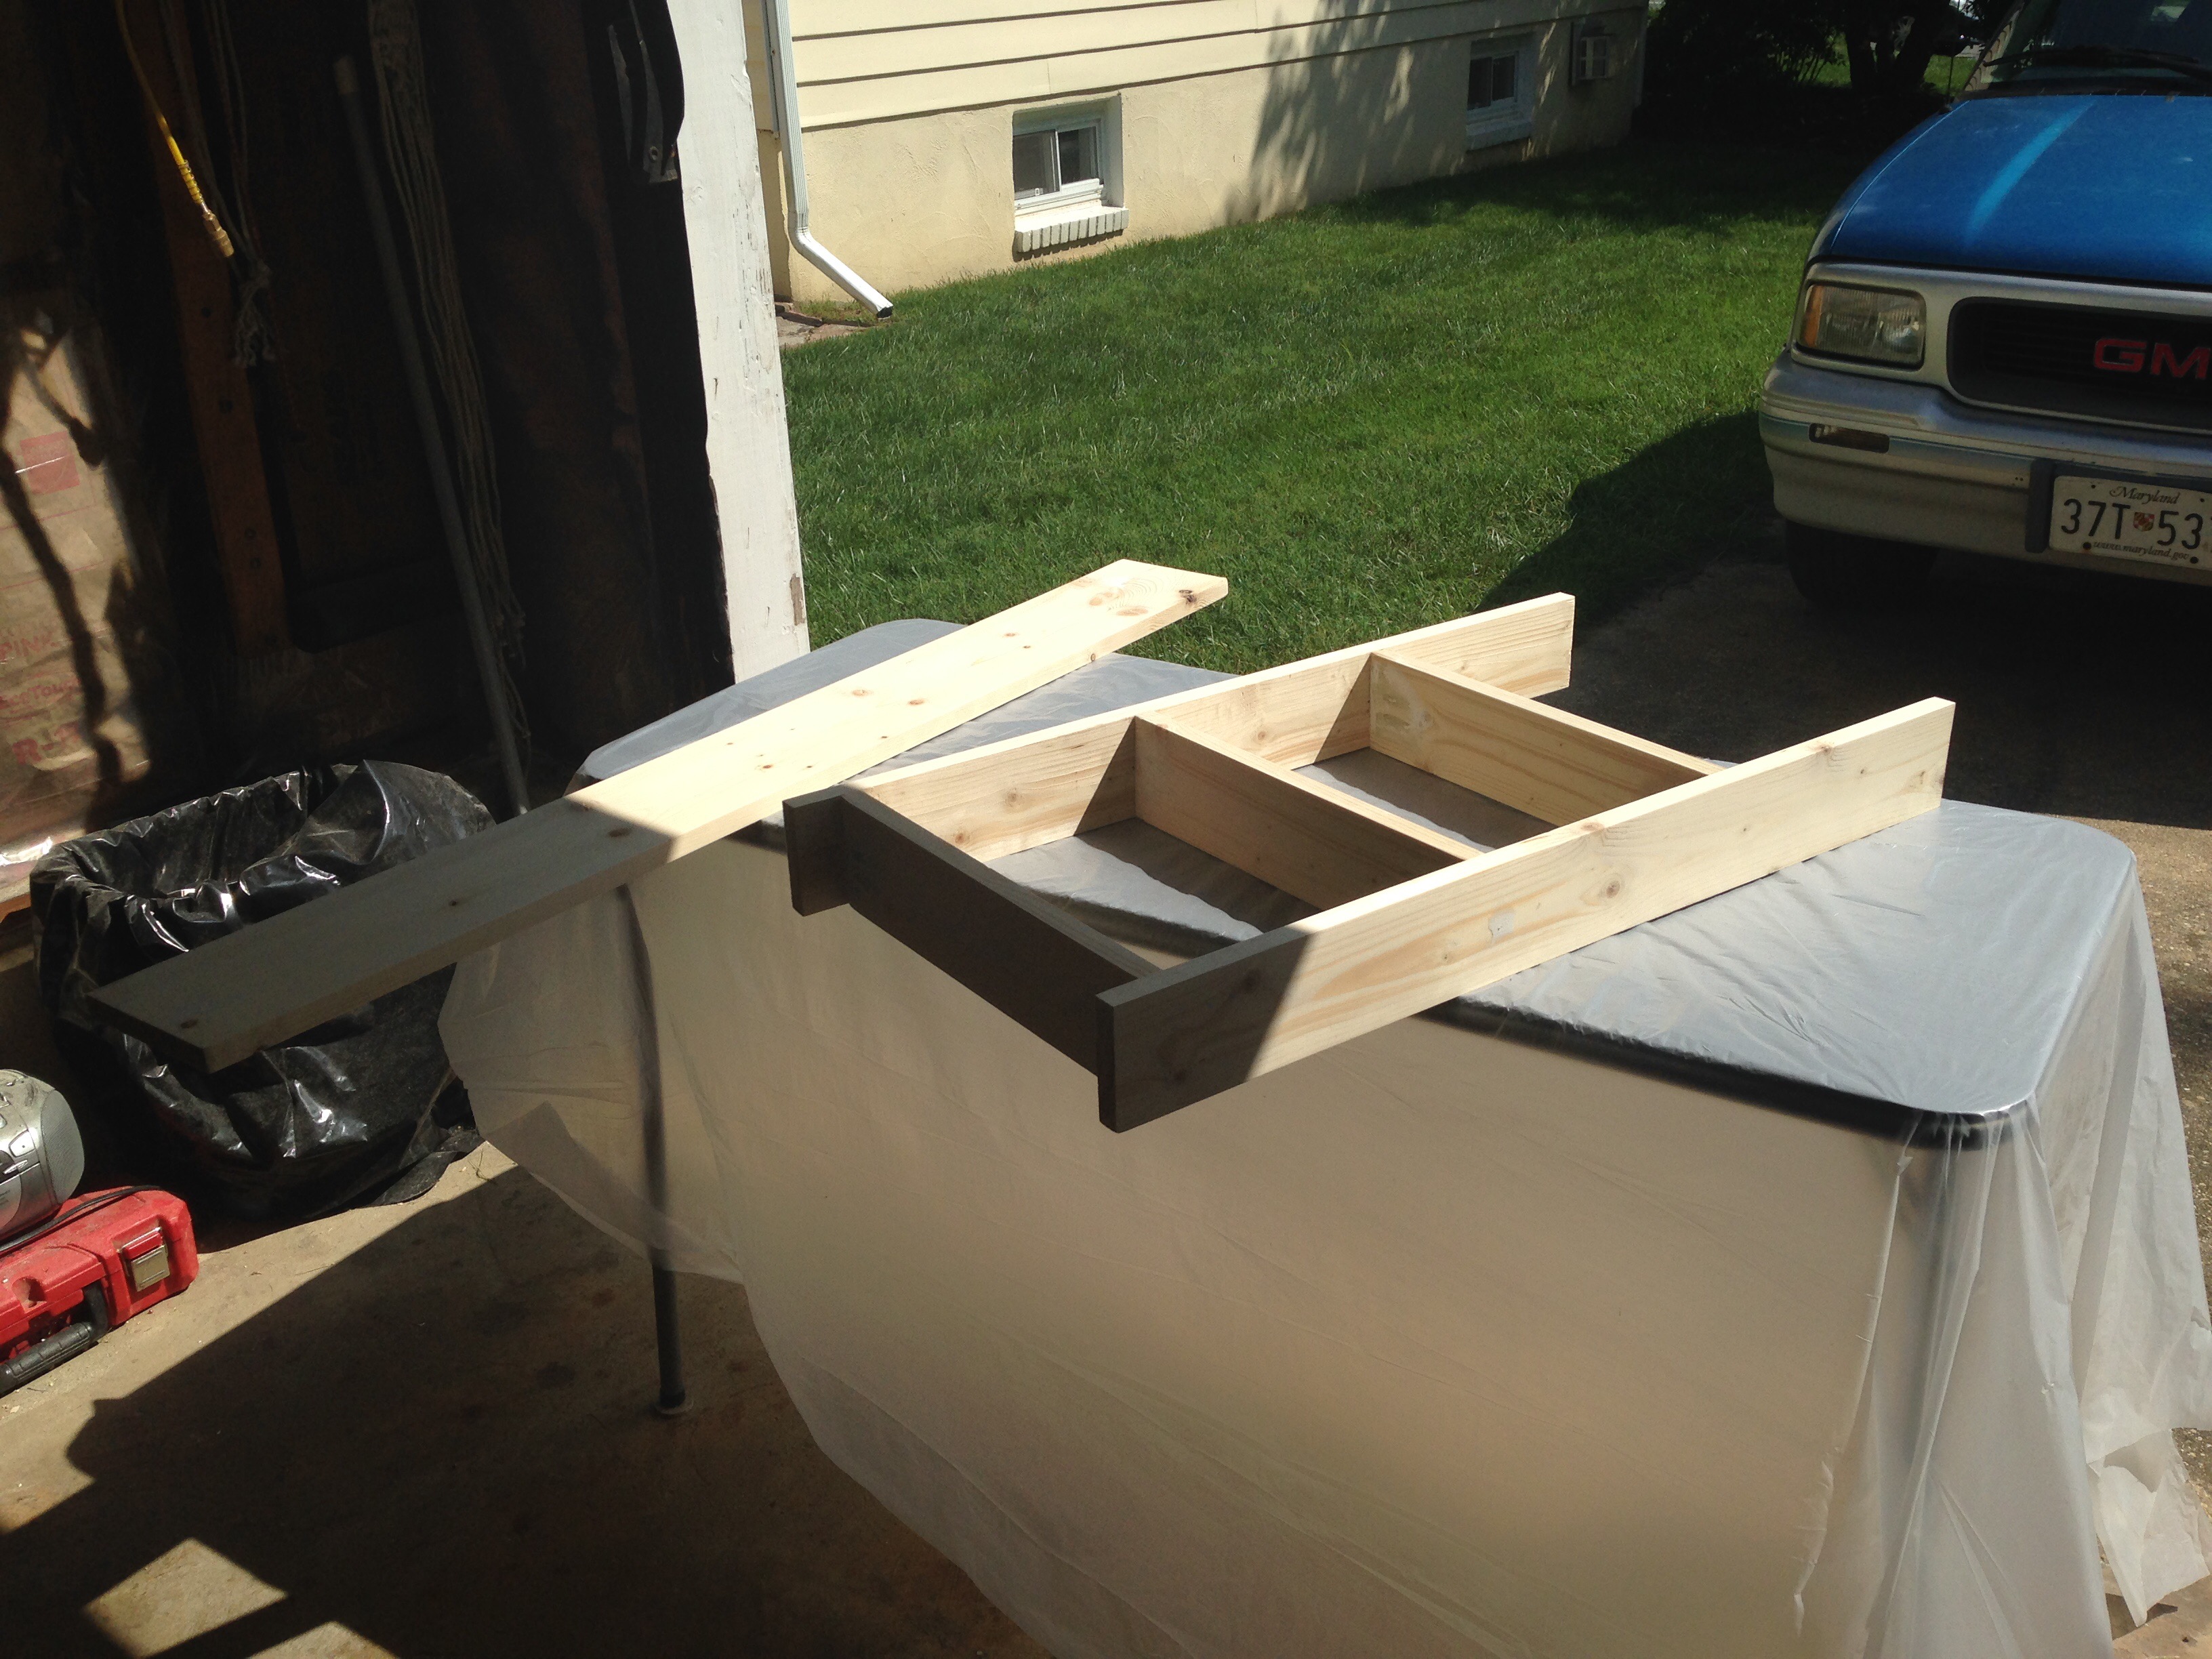
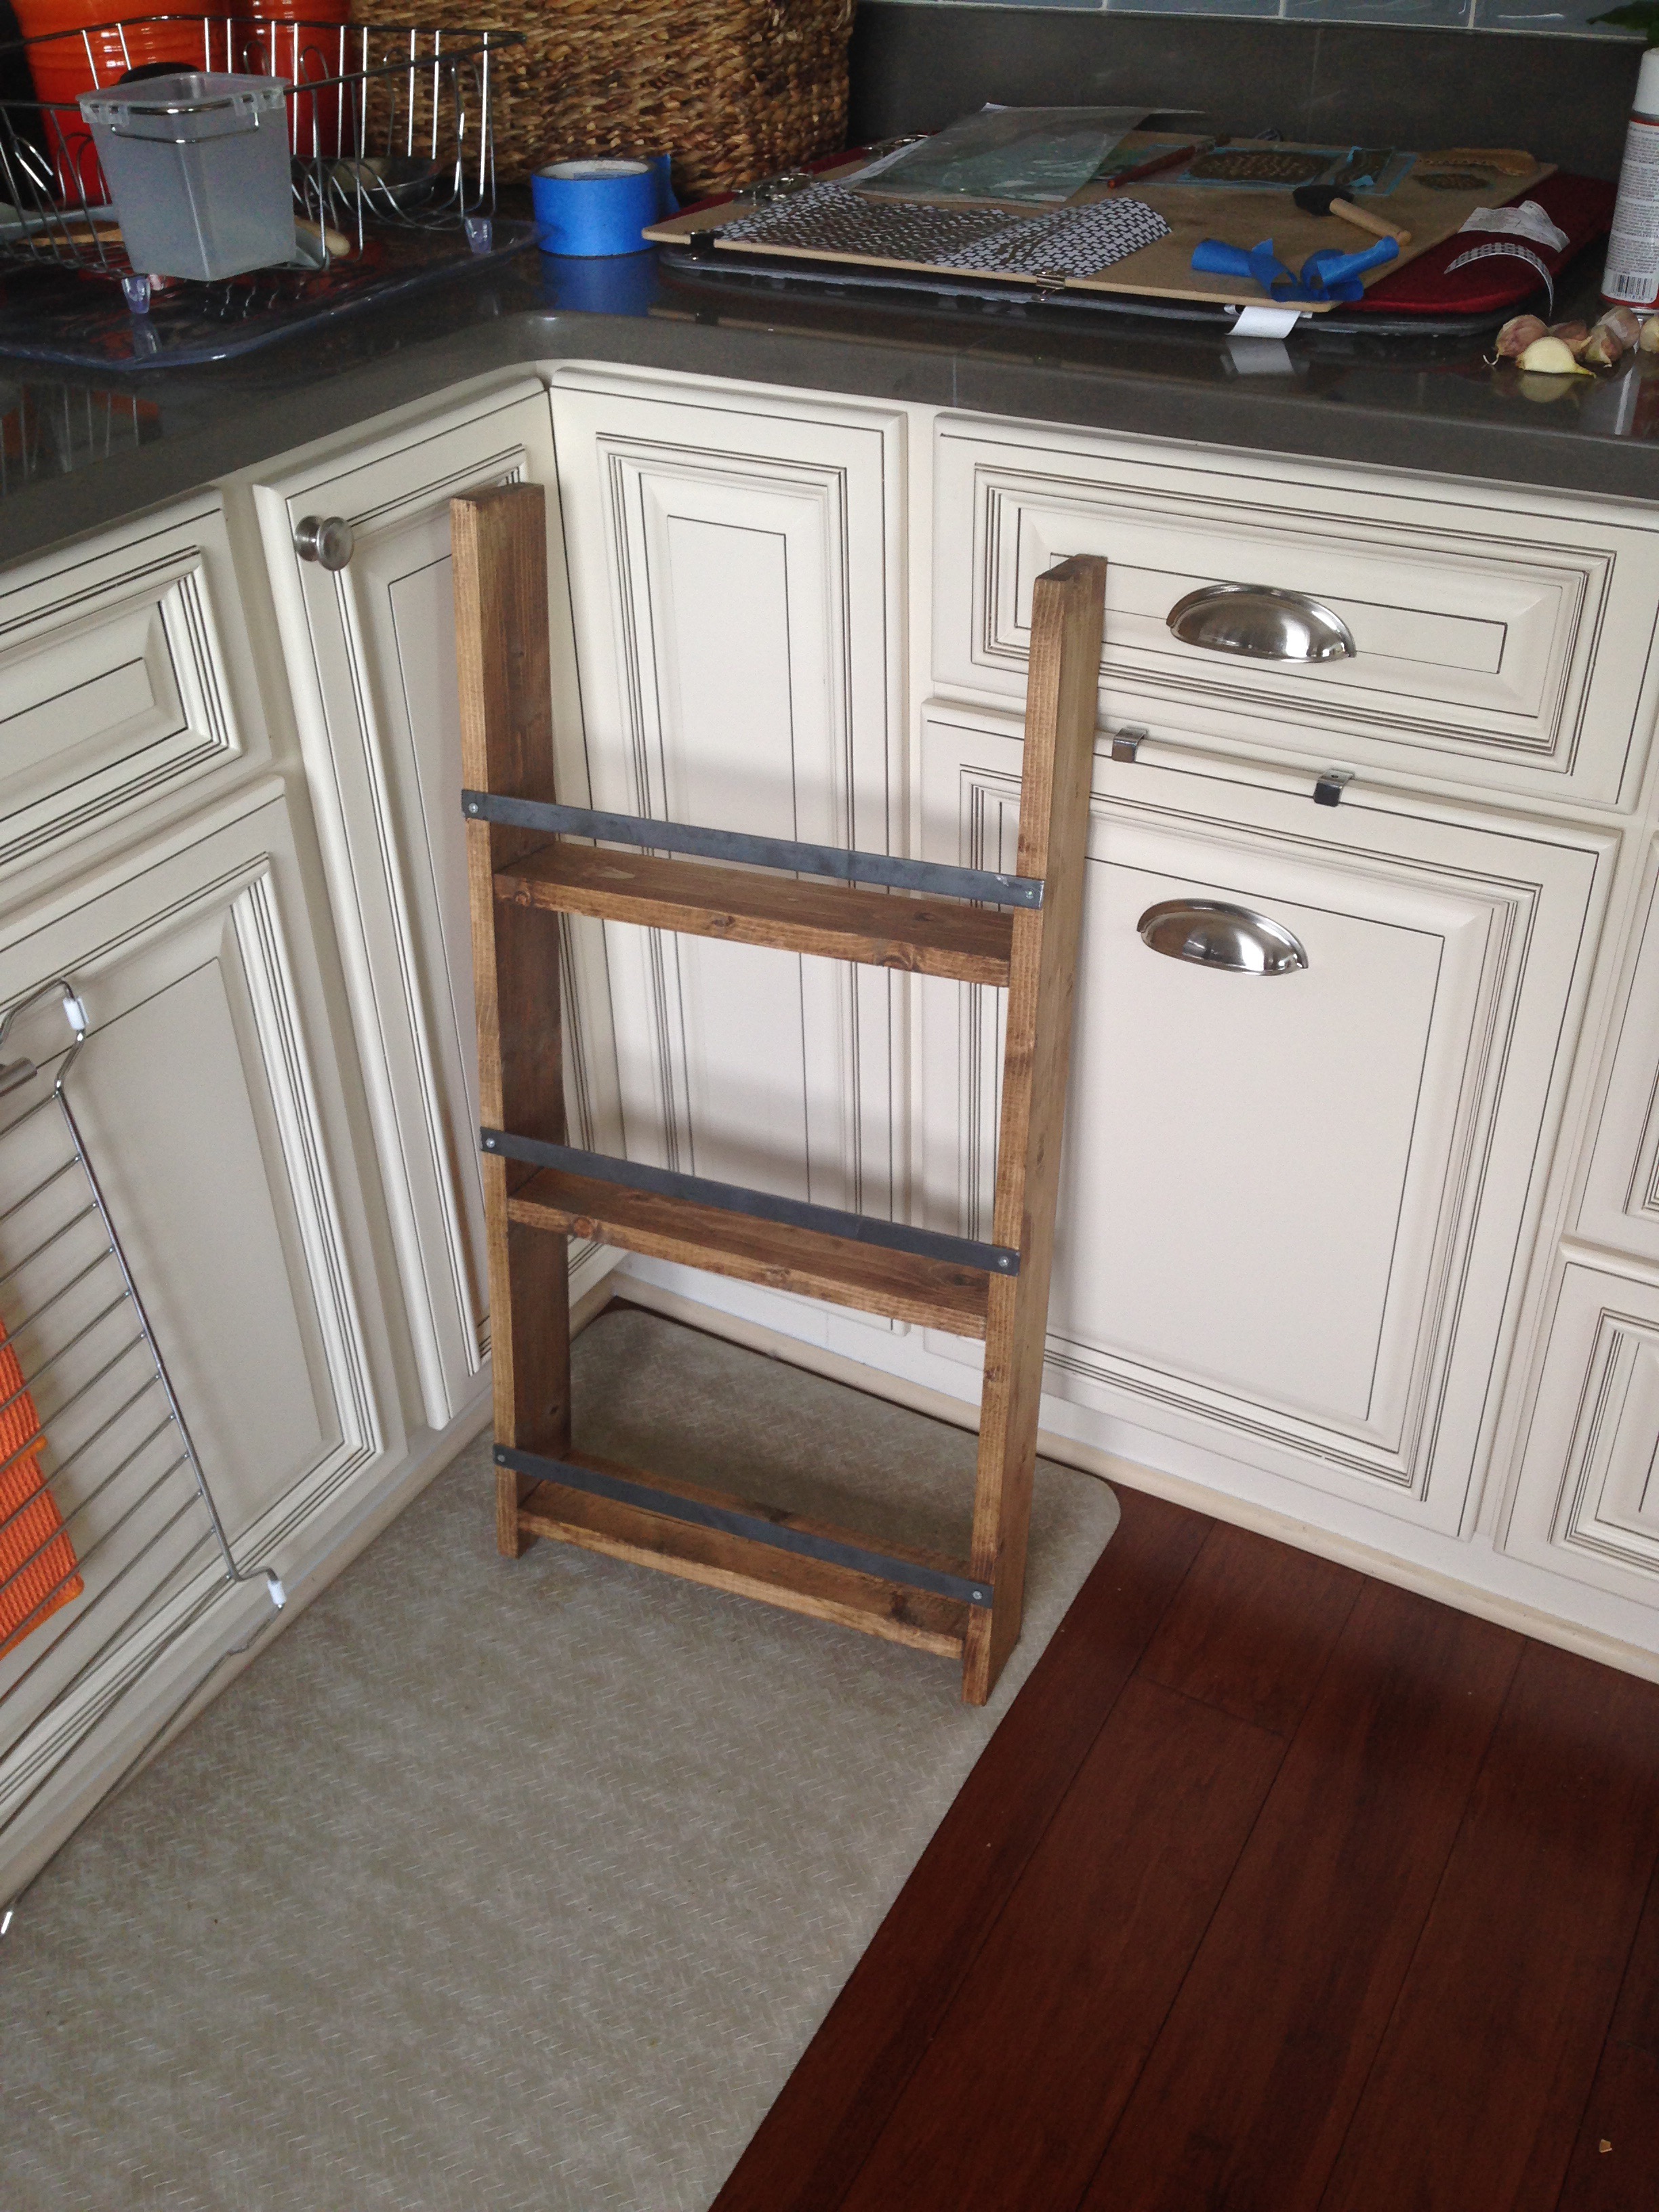
I then went to work with assembling the hanging organizing bar. I used a Kreg jig to make pocket holes under each 14.5″ shelf and attached them to the 32″ side pieces using the 1 and 1/4″ pocket screws. Ana’s Build a Gabriel Wall Hanging Organizer plans takes you through building these step-by-step.
Once assembled, I went through the very necessary step of sanding my wood organizer (this time by hand with 150 grit sand paper to avoid the power sanding “swirlies”).
And then sanded some more.
When I got the wood surface for both pieces nicely sanded and smooth to the touch, I stained the wood with Minwax Early American stain and propped it on Tim’s garage wall (currently under construction) to dry overnight.
The next day, I brought the stained set home and I used my power drill to screw on the metal pieces to the hanging organizer. The holes on each side of the metal piece were made at Tim’s yesterday using his drill press (and a titanium 3/16 drill bit).
I used wood screws I used for both pieces where number 10 flatheads (3/4″ length). These are the screws I used to attach the pipe flanges at each end of the bar to the wood.
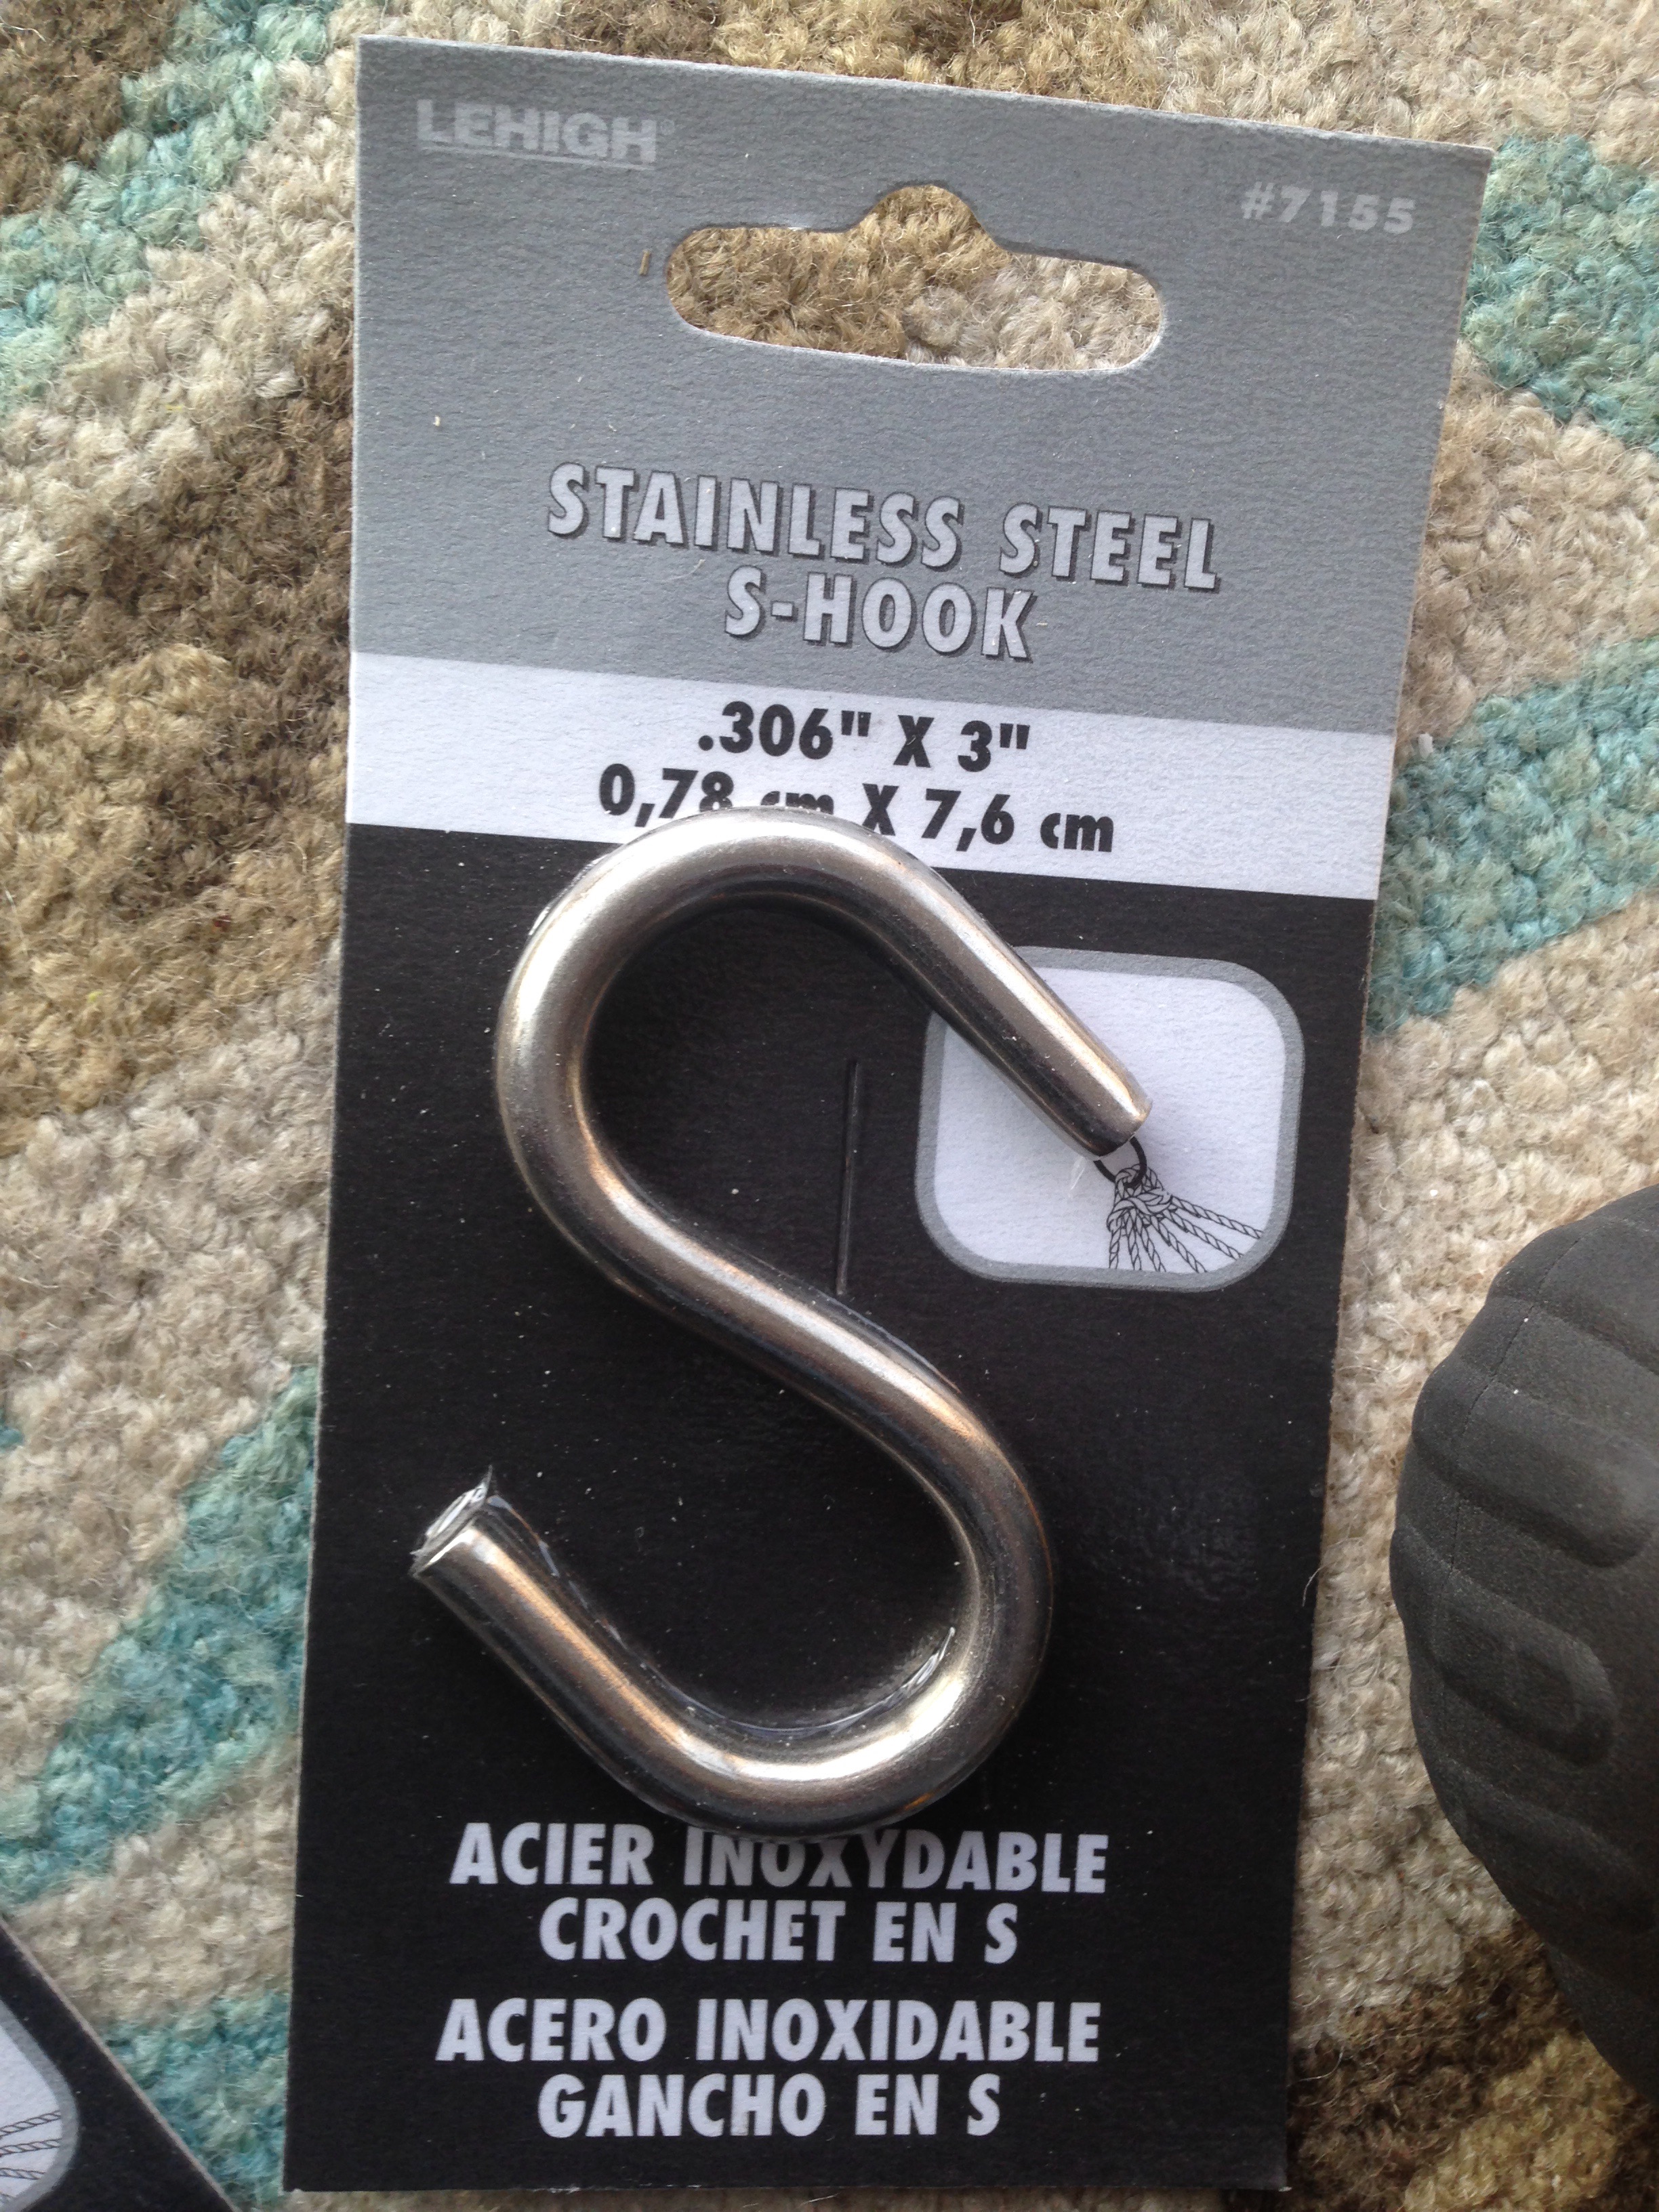
But before I attached the flanges, I slid the S hooks onto the bar because they can’t be taken off once the bar is secured. For a 1/2″ diameter pipe, you need an S hook 0,78 cm X 7,6 cm or larger.
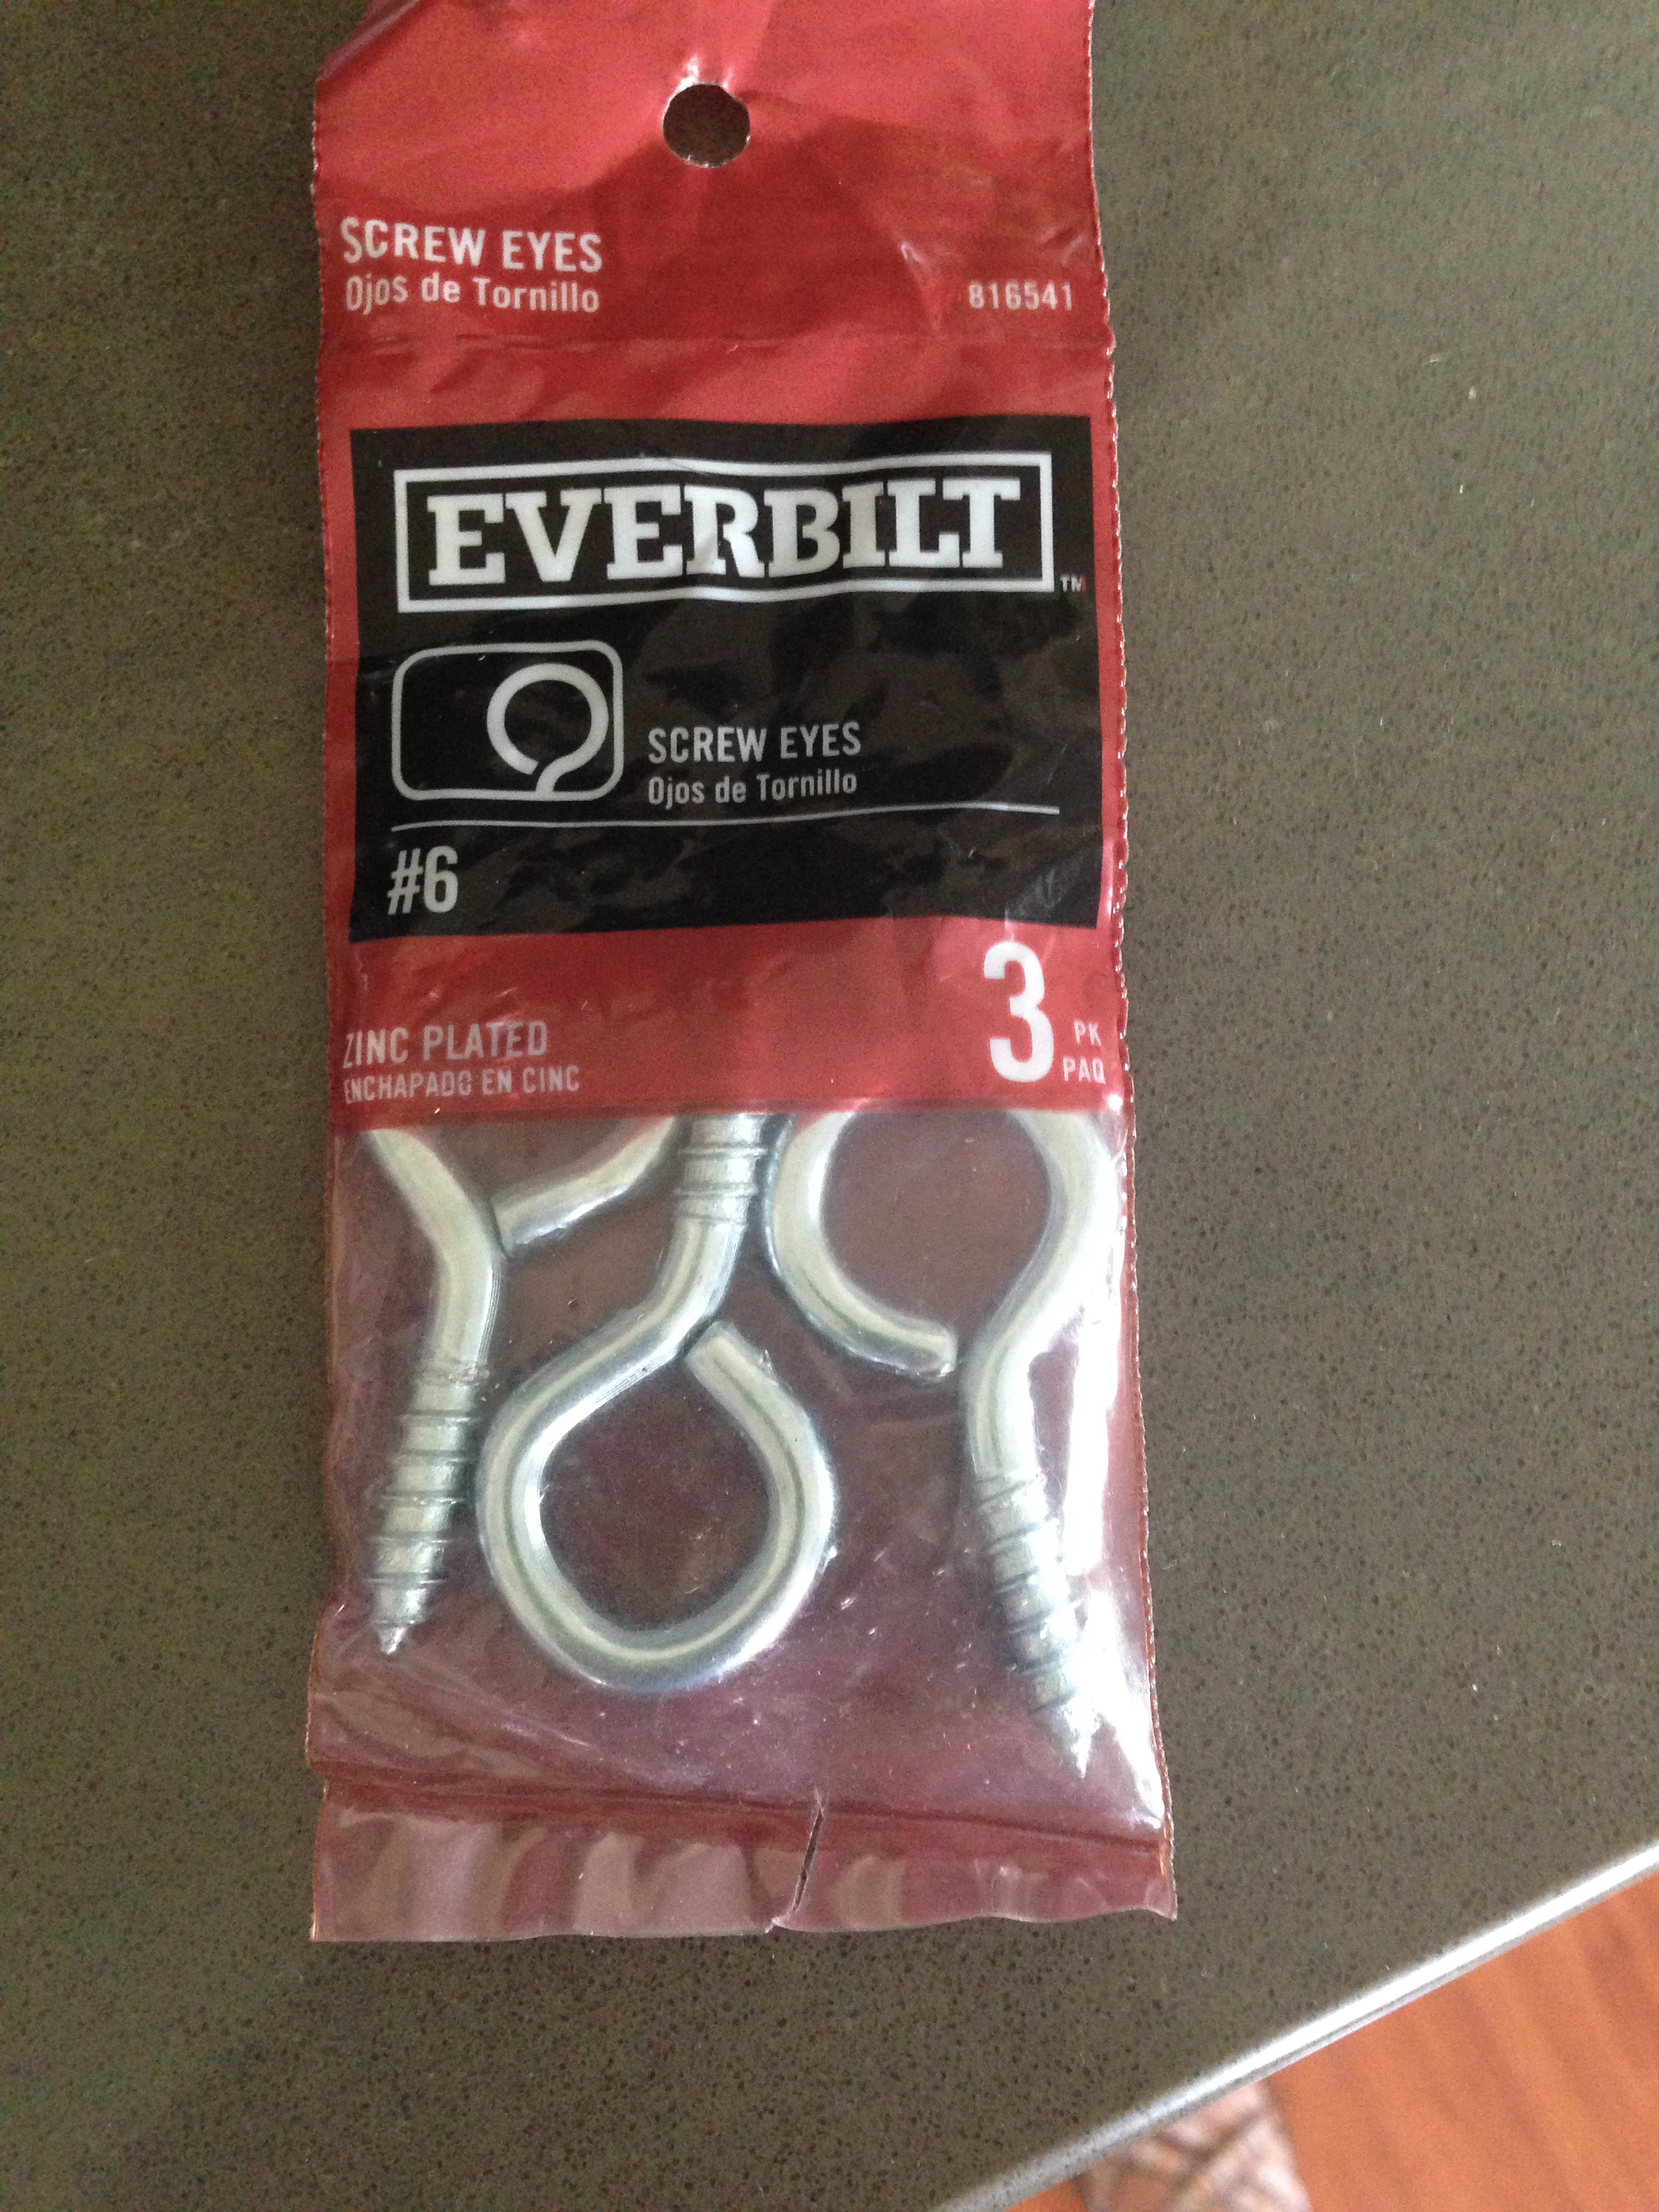
And for the hanging organizer, I added pilot holes to each side of the organizer at the top so that I can screw in eye hooks. These are used to hang the organizer to the bar using the S hooks.
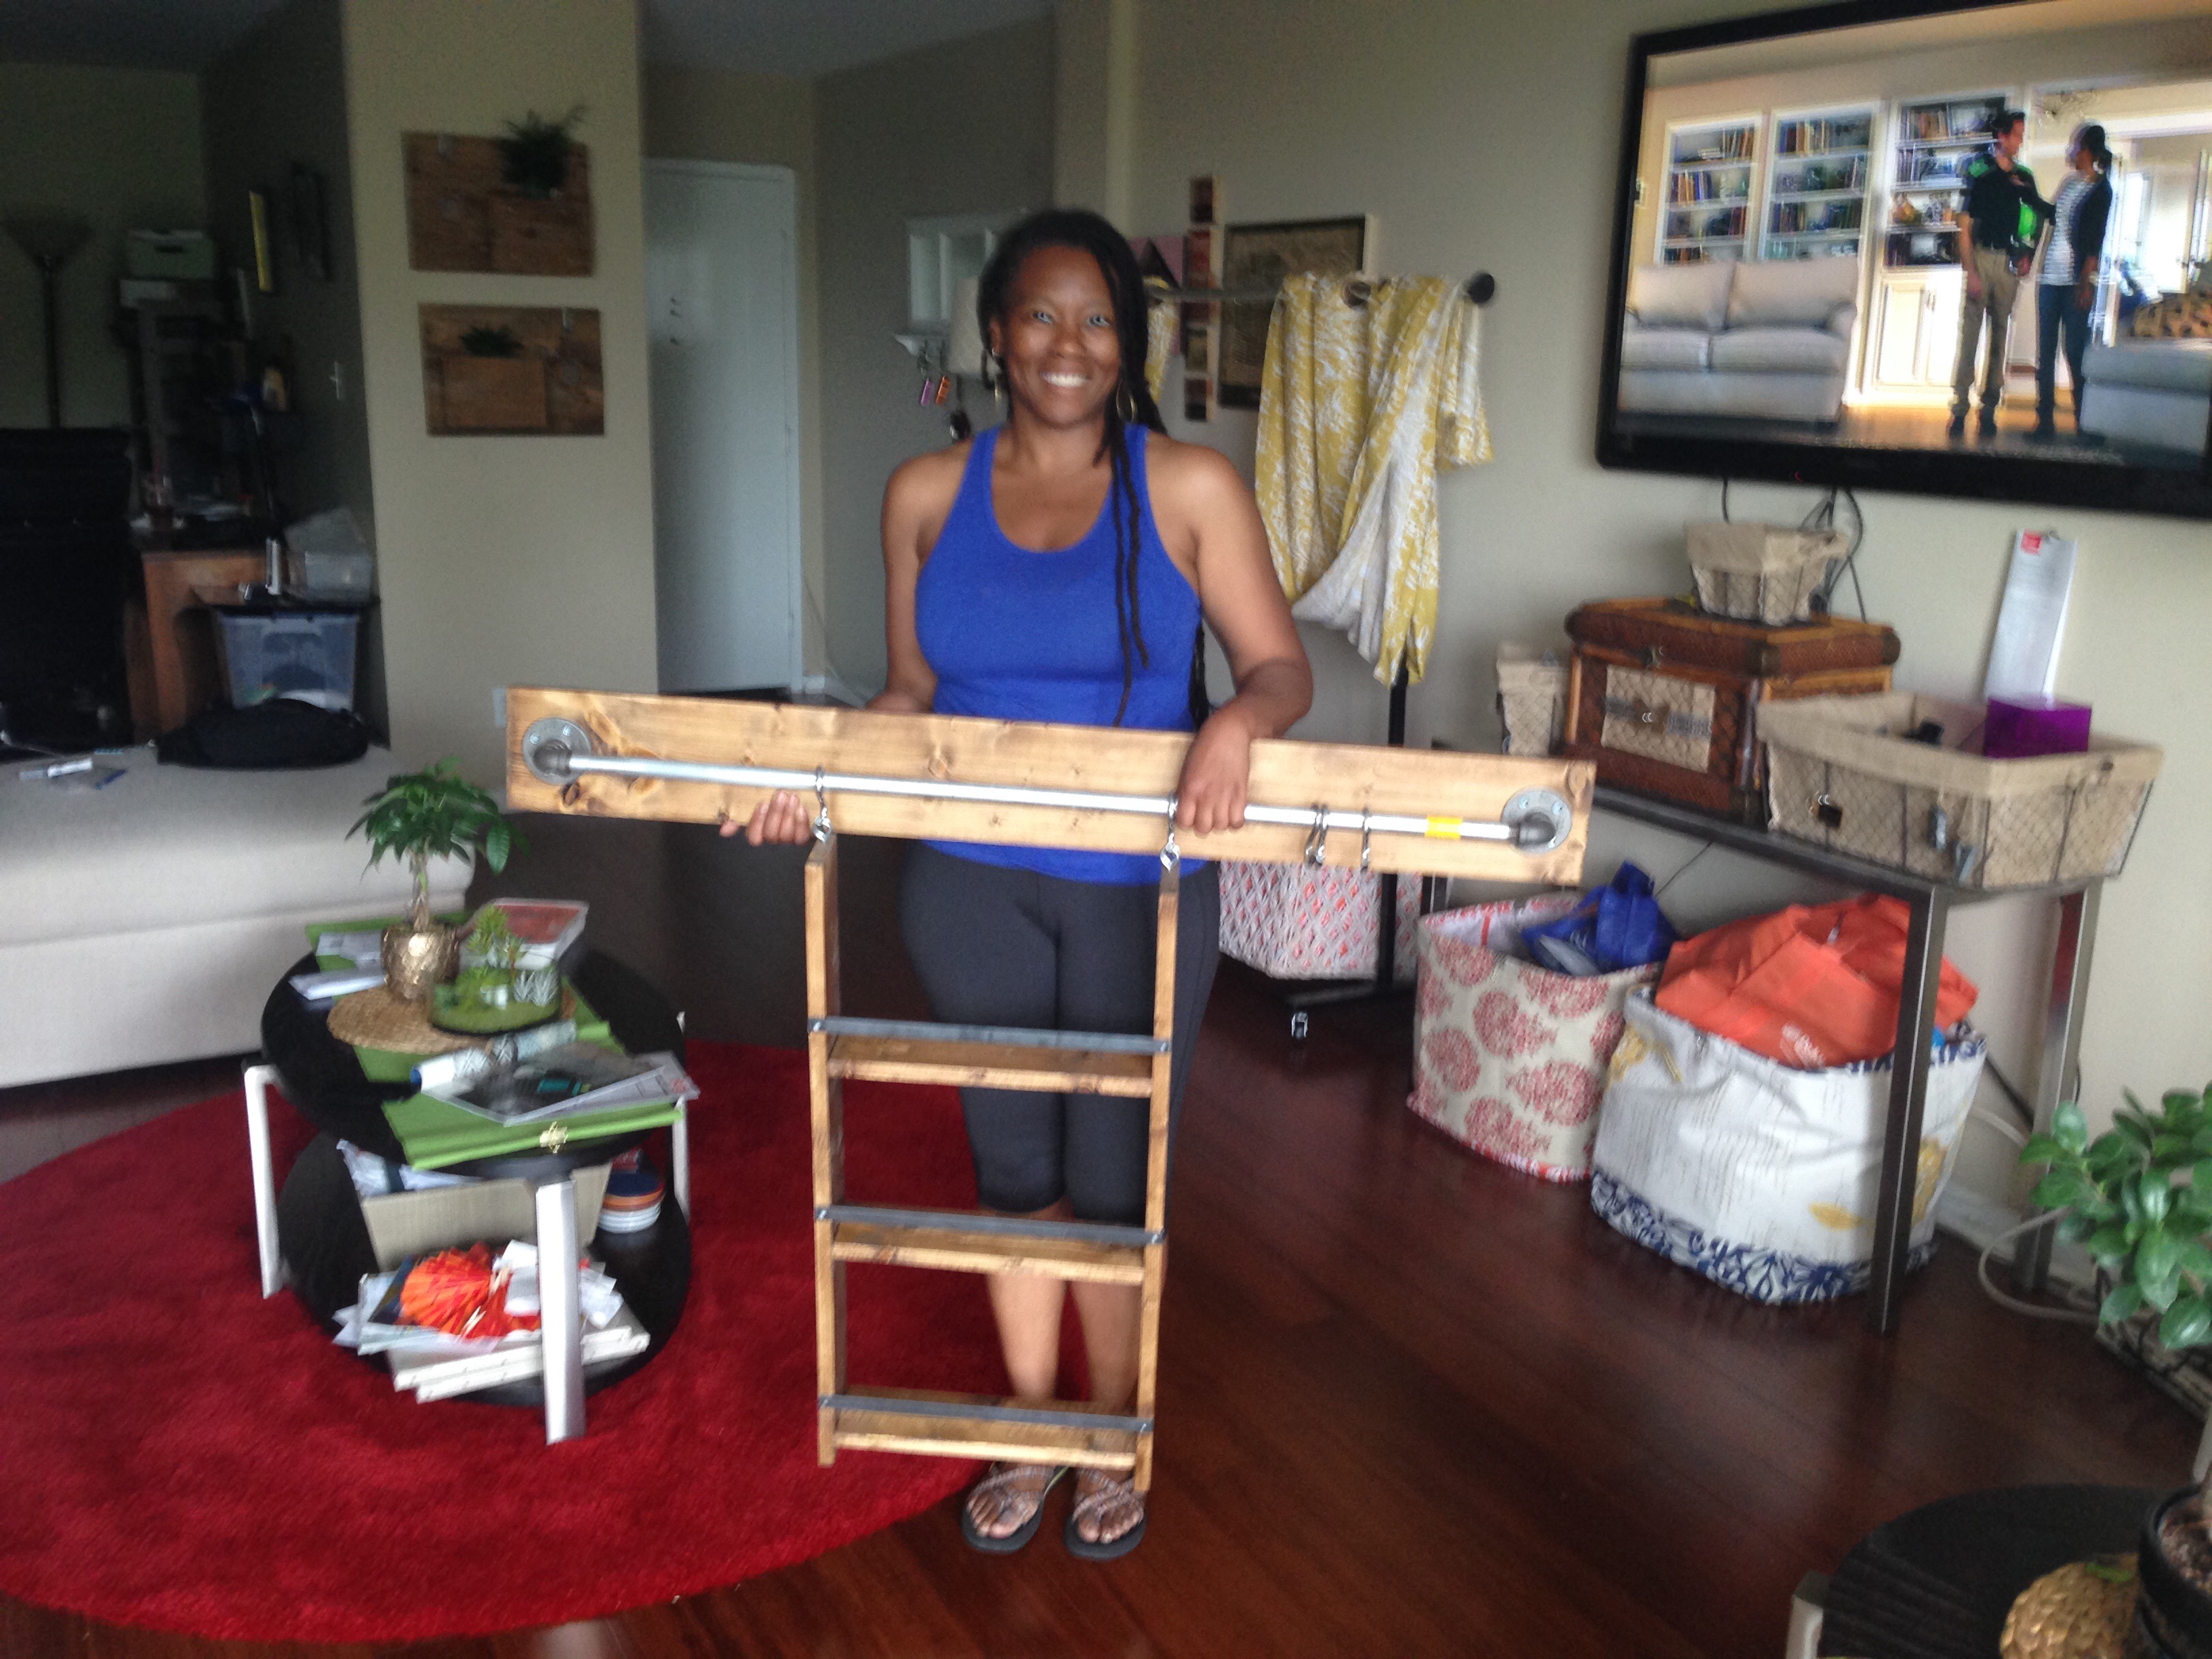
And here is the completed wood and pipe bar with hanging organizer set.
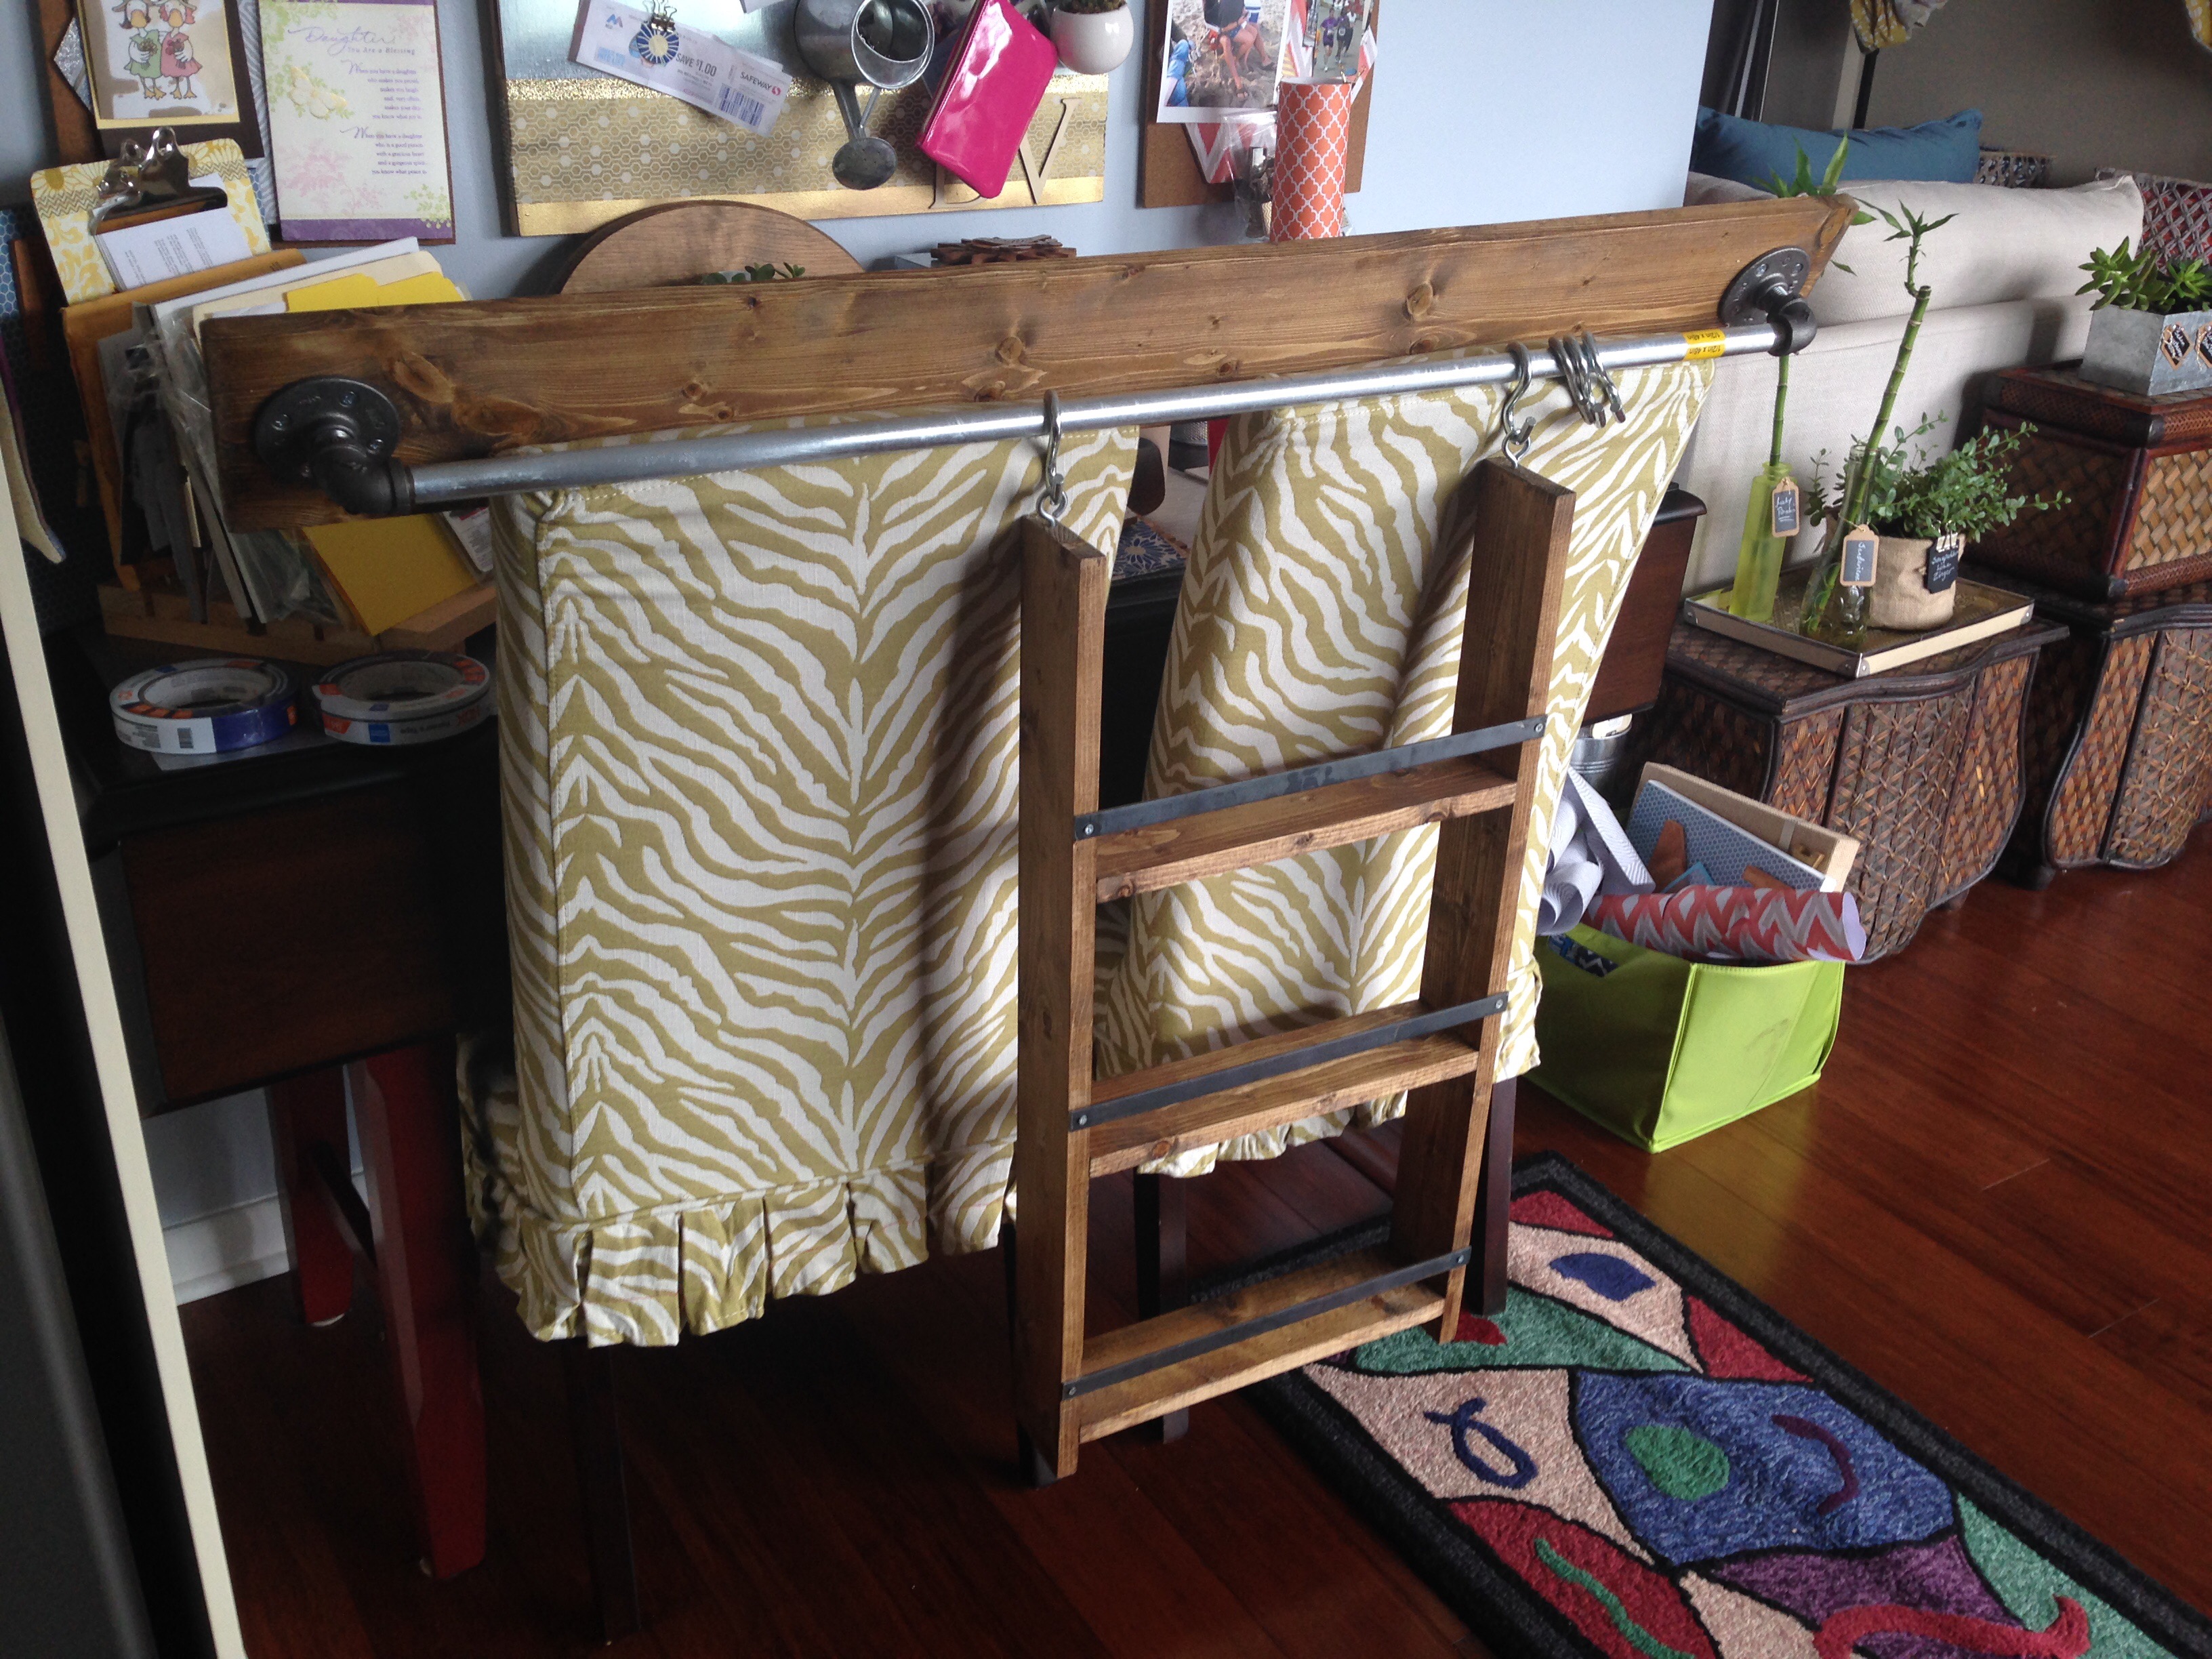
I think this came out fantastic, especially given how easy this build was. I’m completely jazzed about this! So now I have a third wood build project successfully under my belt.
And here I am, posing proudly with my completed pieces. (Yes, I turned the camera over to Bruce for a change…had to get in this picture).
Whew…now that it’s done, time to take down our current hanging organizer and get this on the wall.
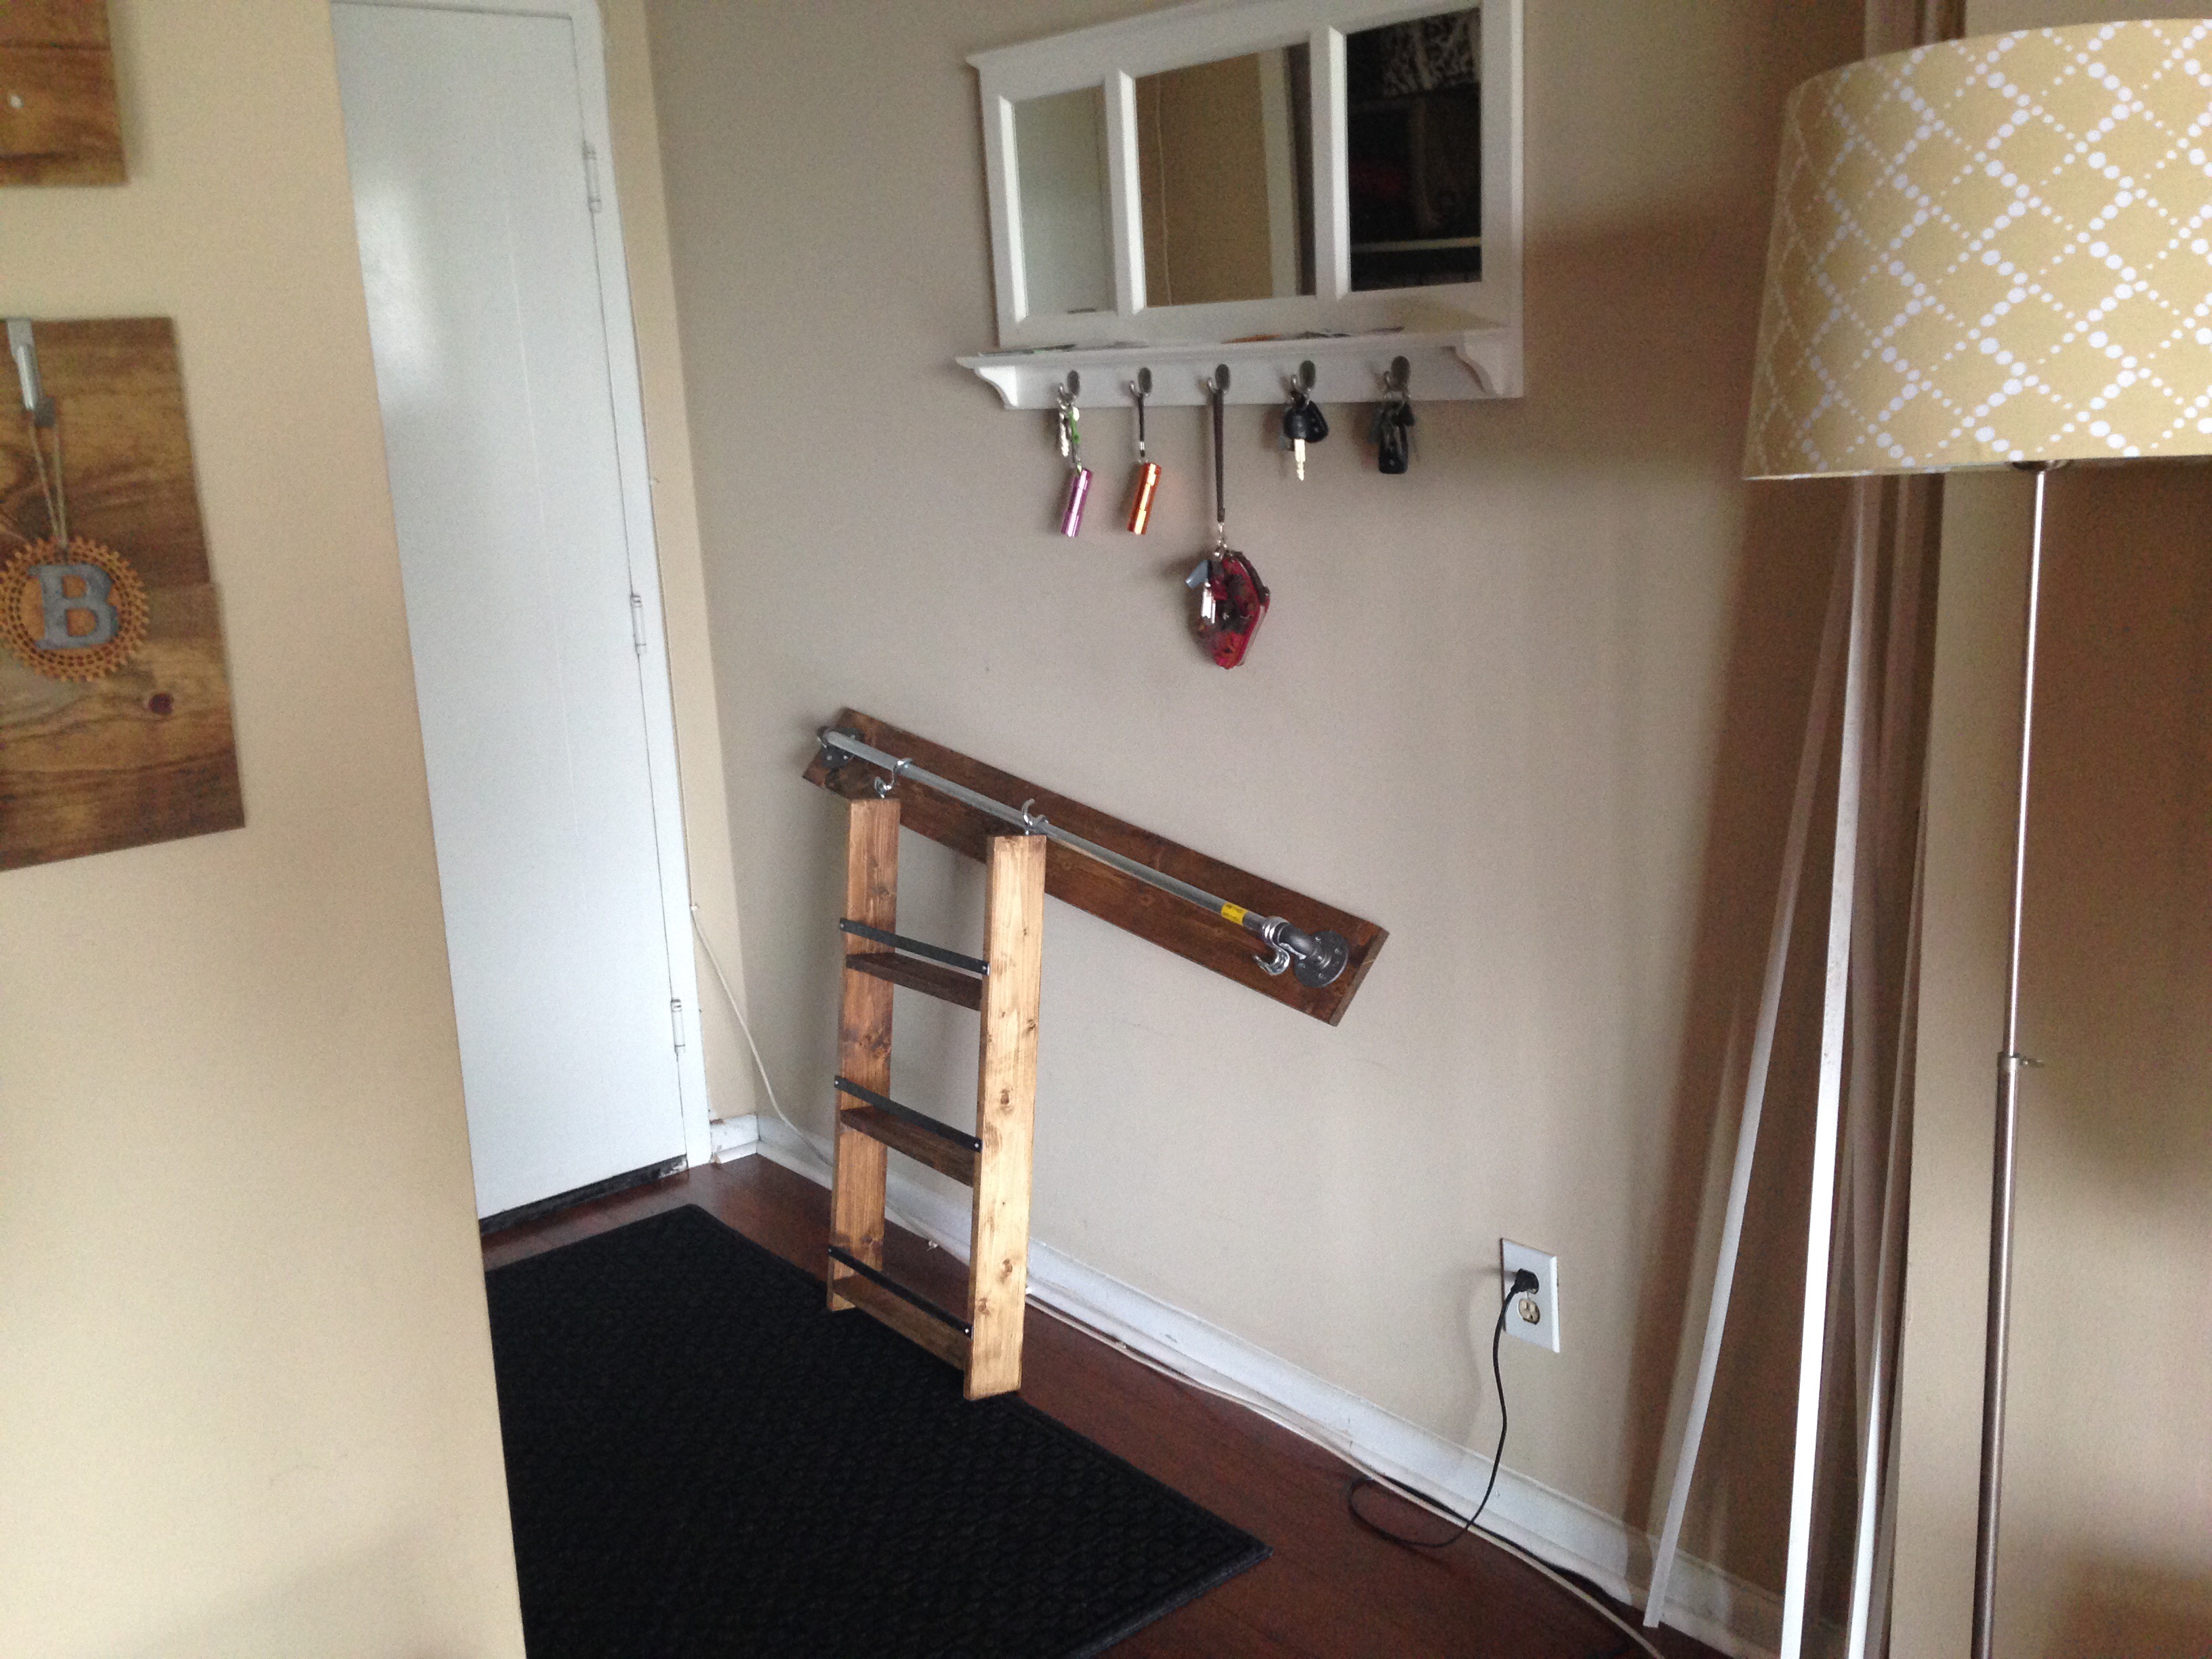
Which, for this project, will be the most challenging step. No telling what’s behind this wall. Plaster? Steel? Concrete? Asphalt?!!! Who knows. Will tell all in my next post. Stay tuned! V-