
Entryway wood and pipe hanging bar (Part 2)
You may also like:
August 10, 2015: At last! Part 2 of my entryway wood and pipe hanging bar project.
I started this project three weeks ago (on weekend of July 4th on a crafting and shelf building blitz). I had to build my mother, Xenia her rope hanging shelf (and a second rope hanging shelf for my bathroom) first. Then I got busy with the Ana White inspired wood and pipe hanging bar and organizer project (which I completed the following weekend on July 12).
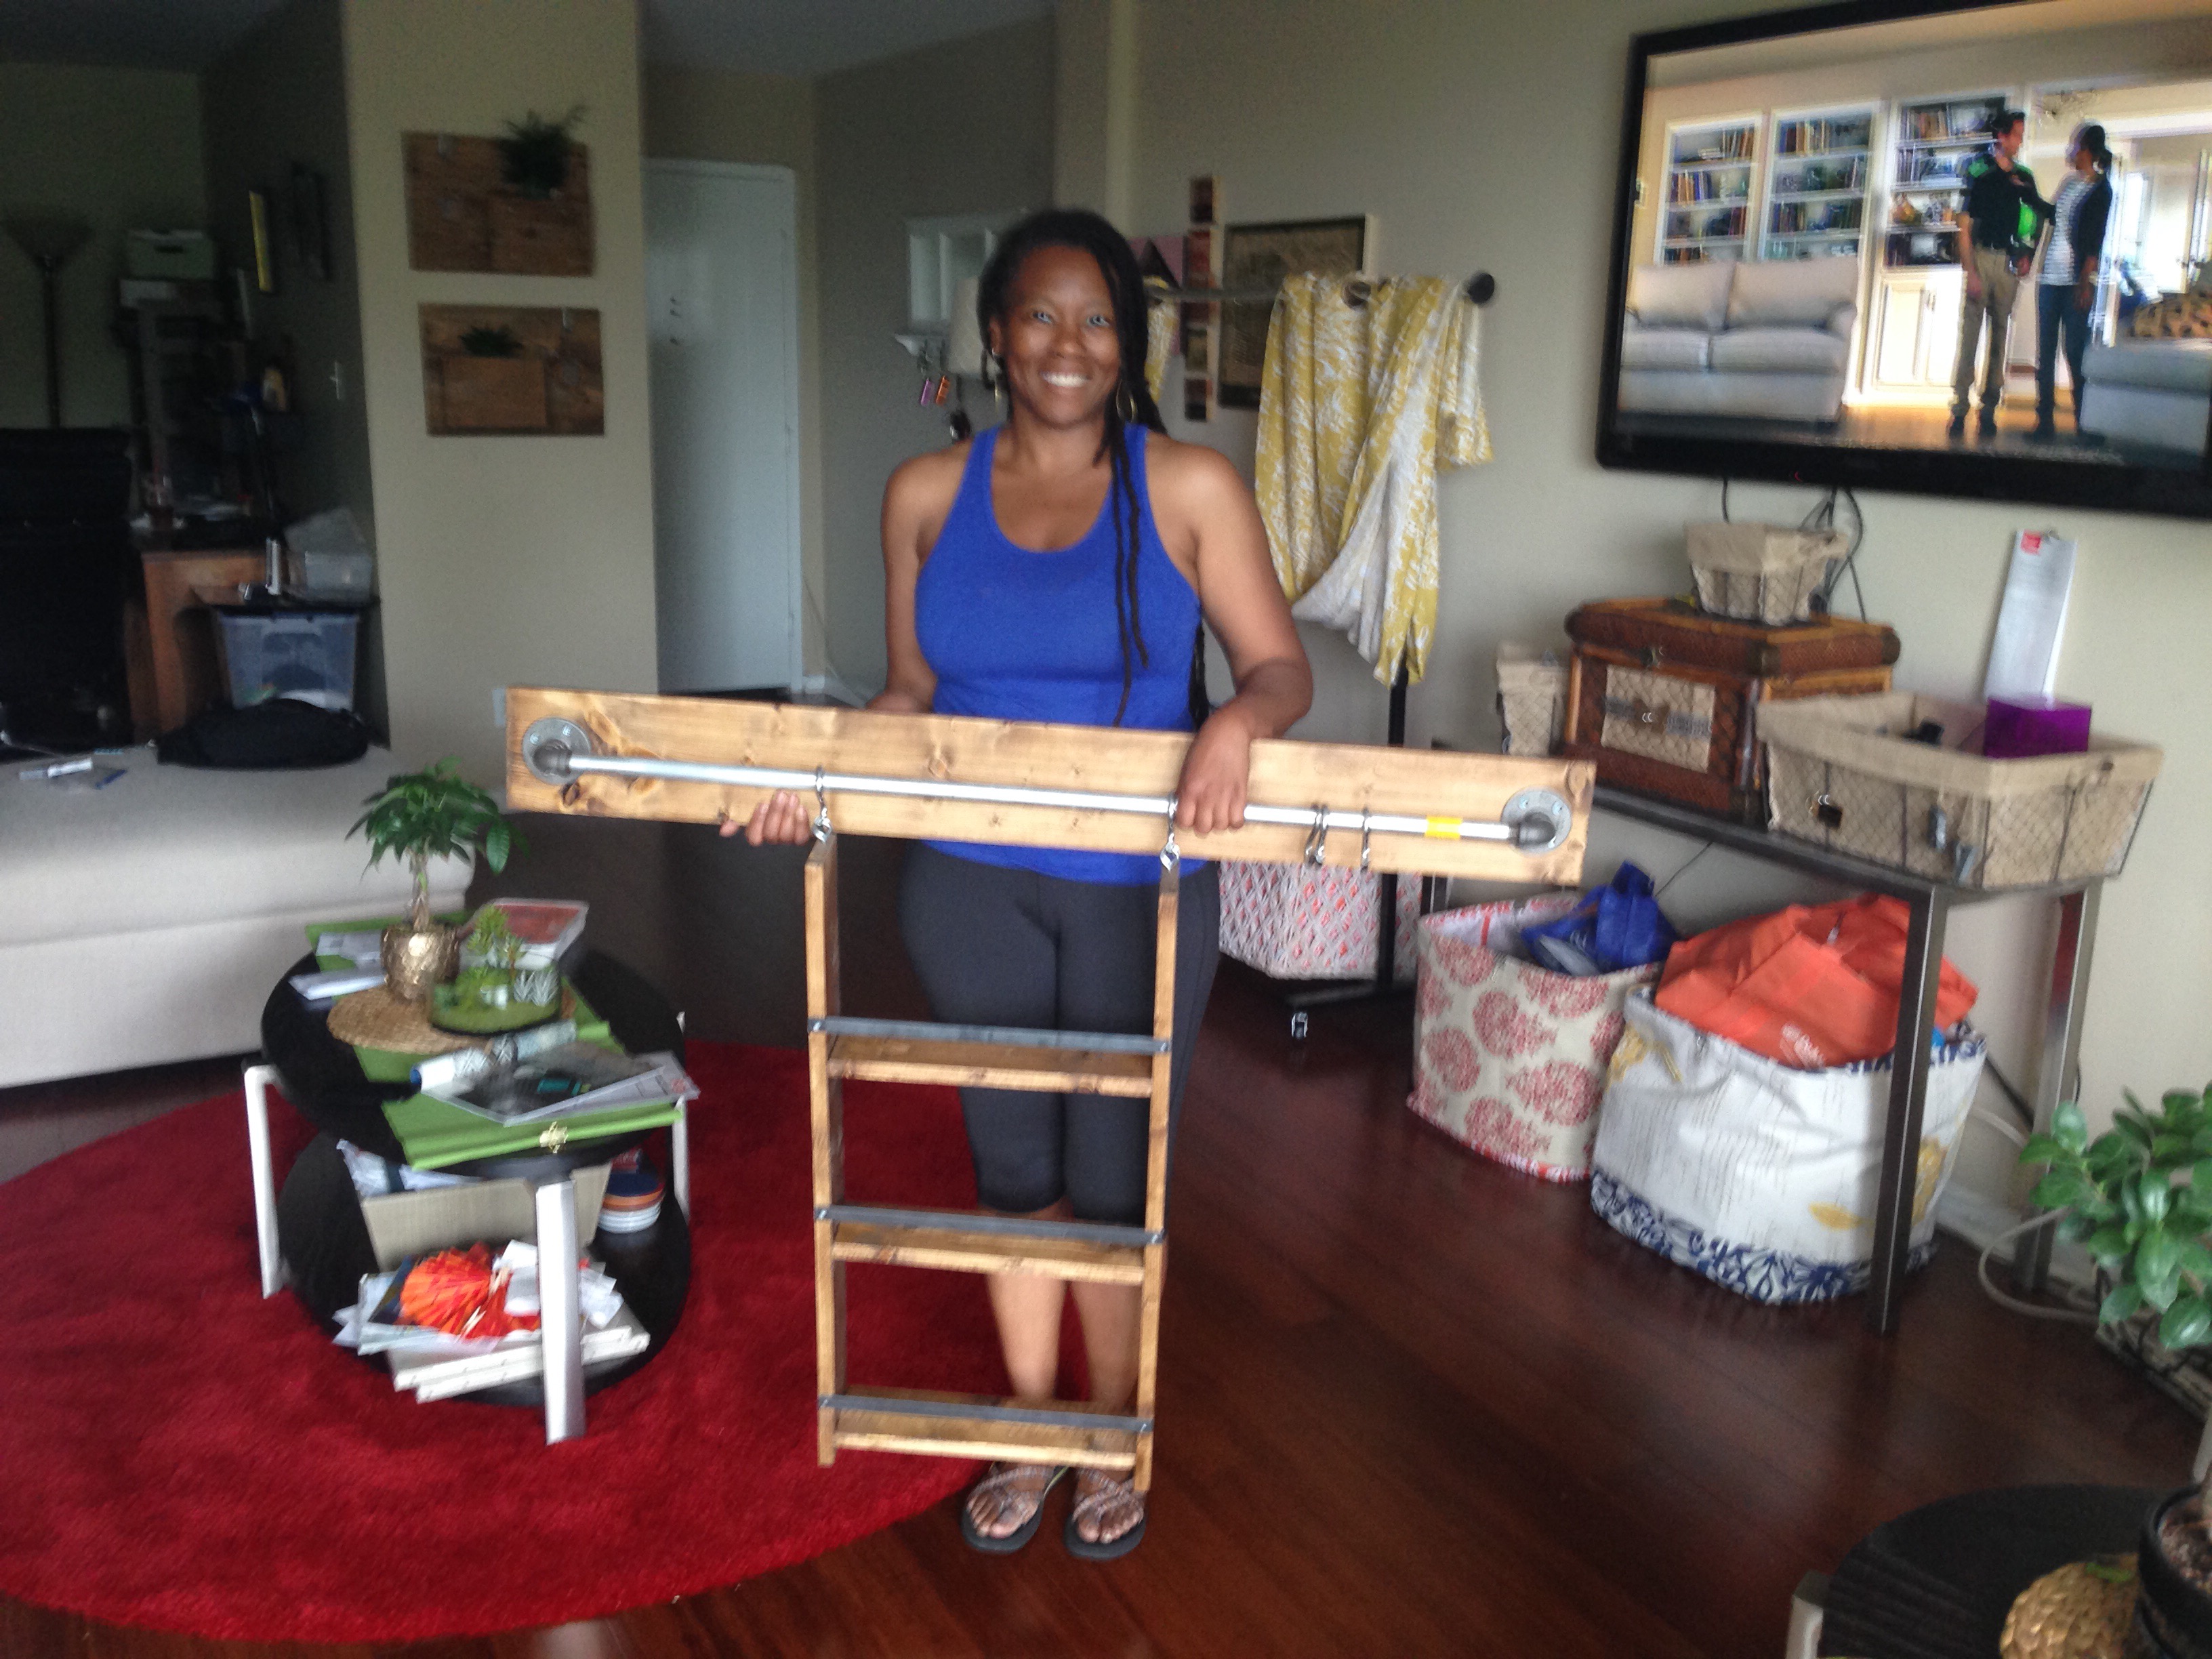
Here I am posing with the completed hanging bar and organizer set.
Here’s the twist! Turns out that my mother fell in love with my second project as well! And she asked if I can make her one for her Brooklyn home. She and my brother Mal was in town last week to attend my cousin’s baby shower event and, like the good daughter I am, I gave Xenia the hanging bar and organizer to take back up to Brooklyn. So I watched it leave last weekend to head up north. Time to make another one.
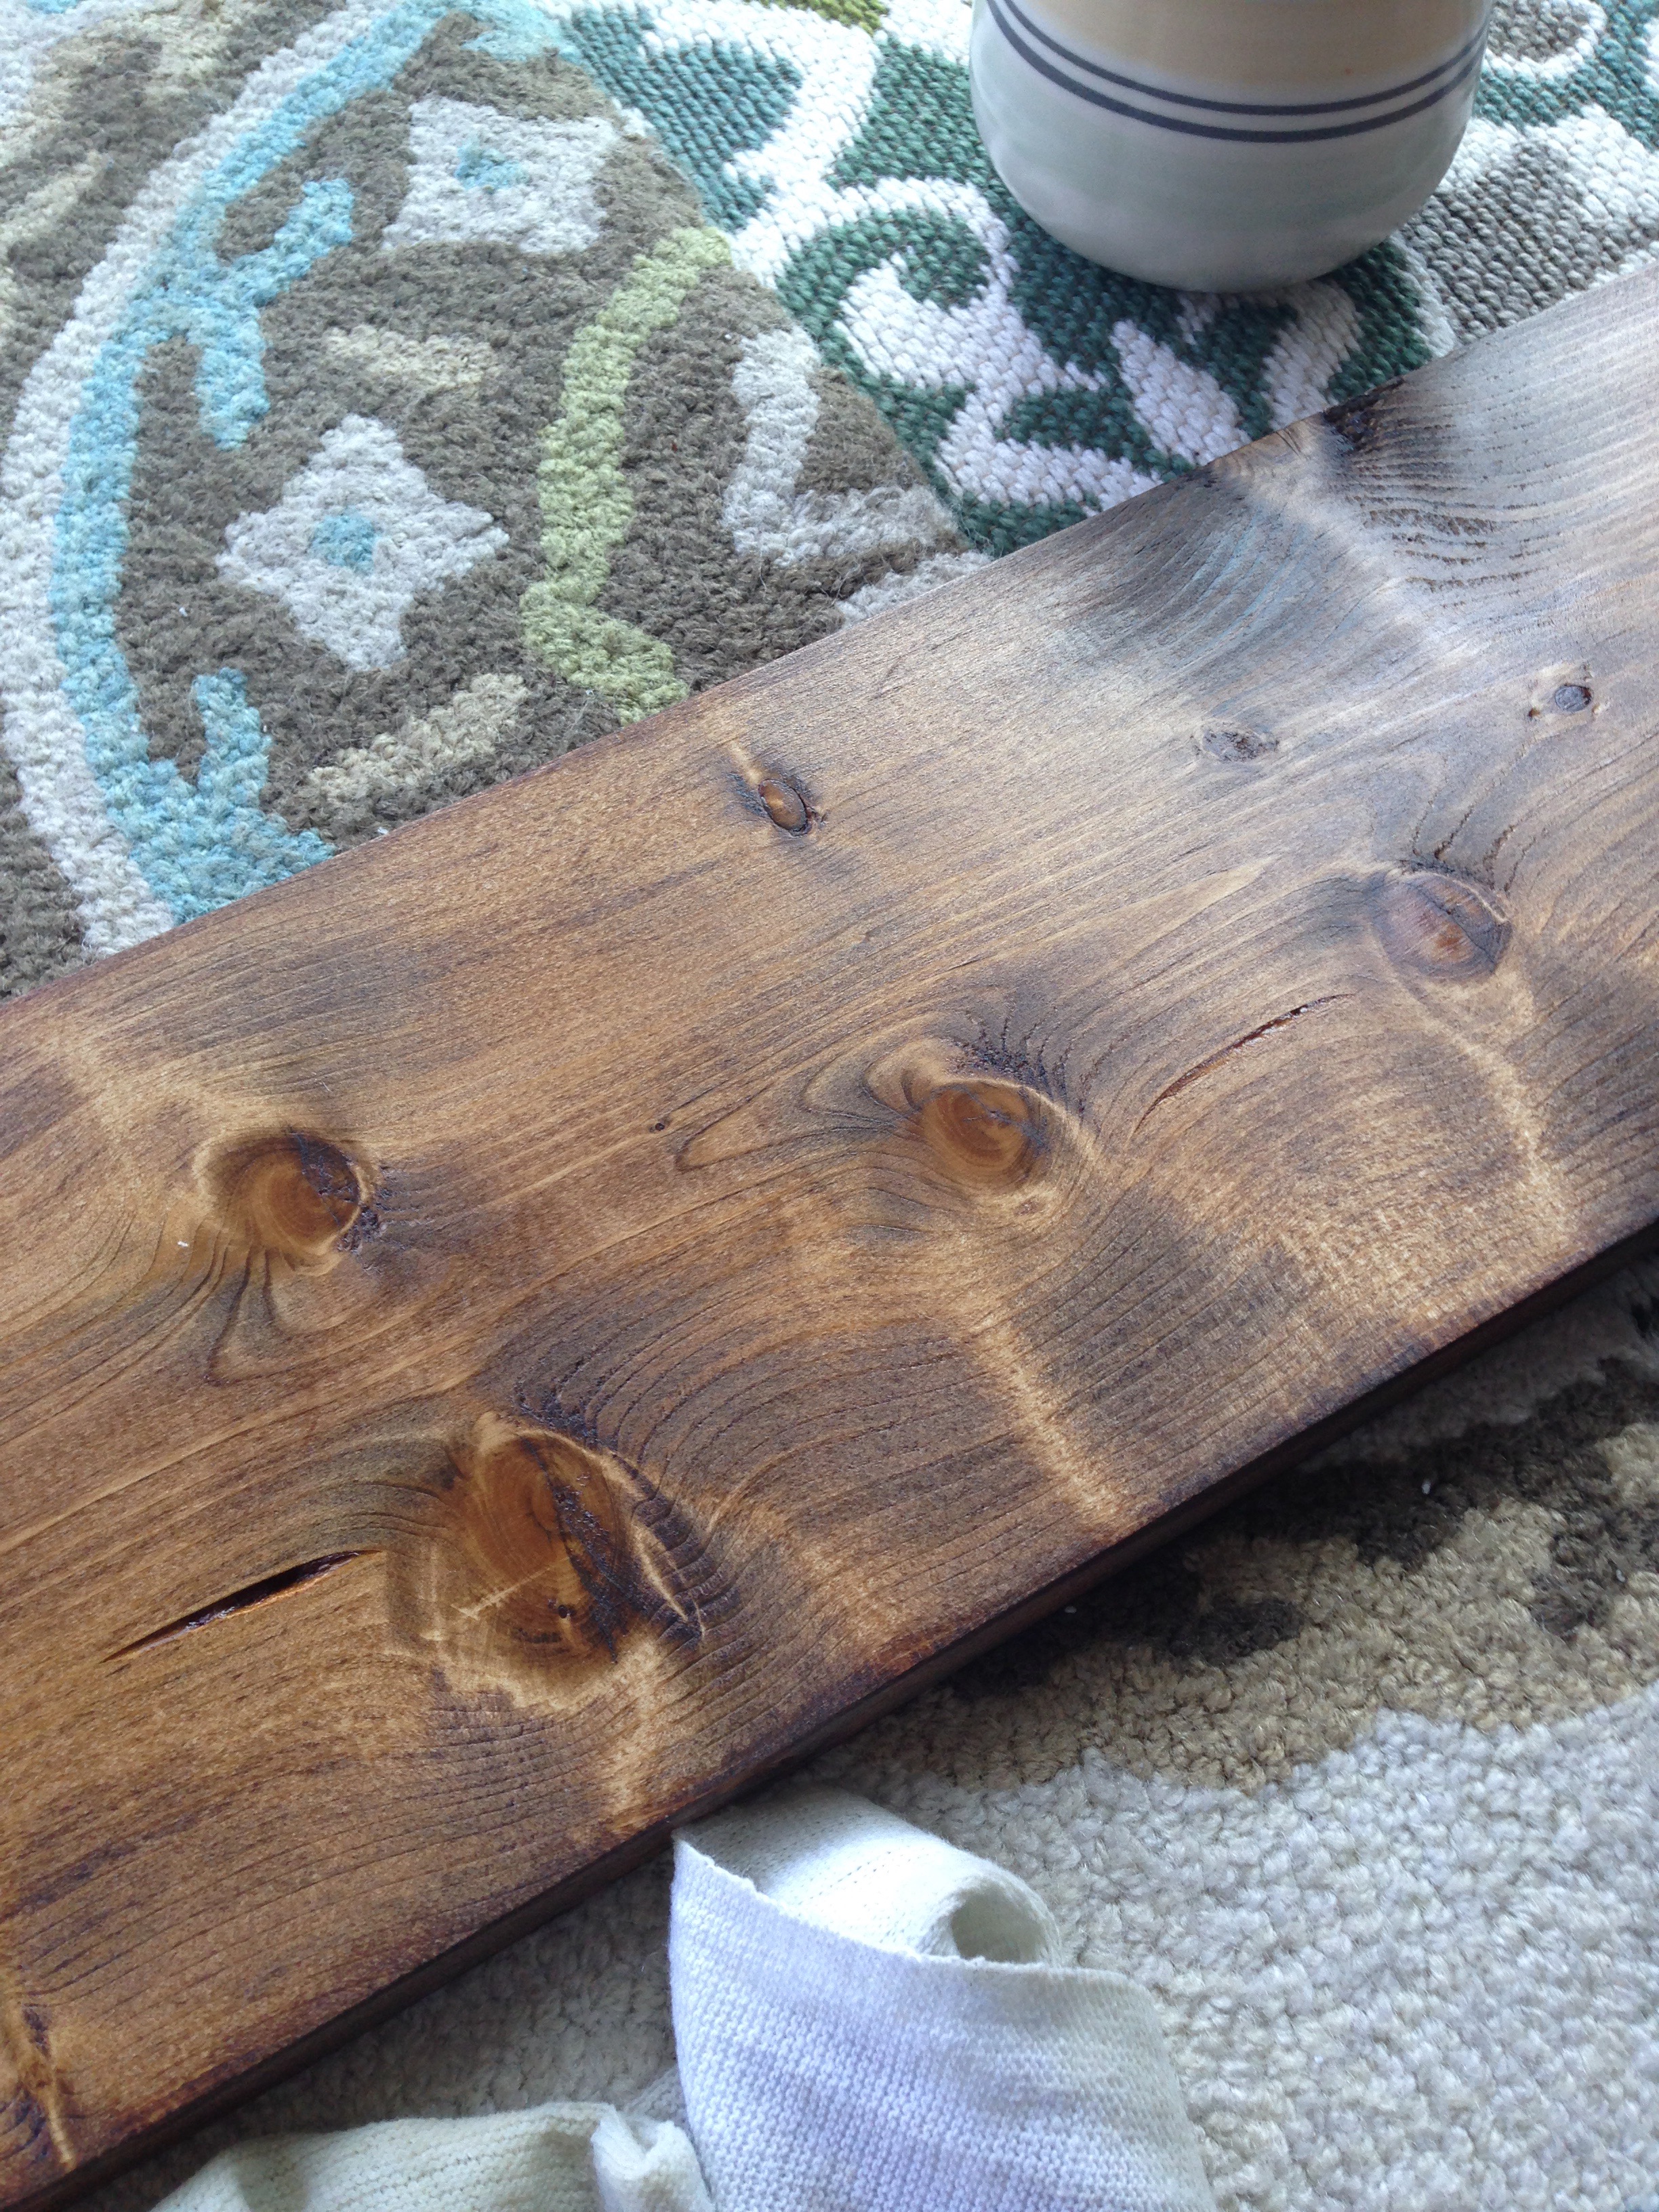
So here I am (on July 25), sanding more wood for the pipe bar mount on the balcony.
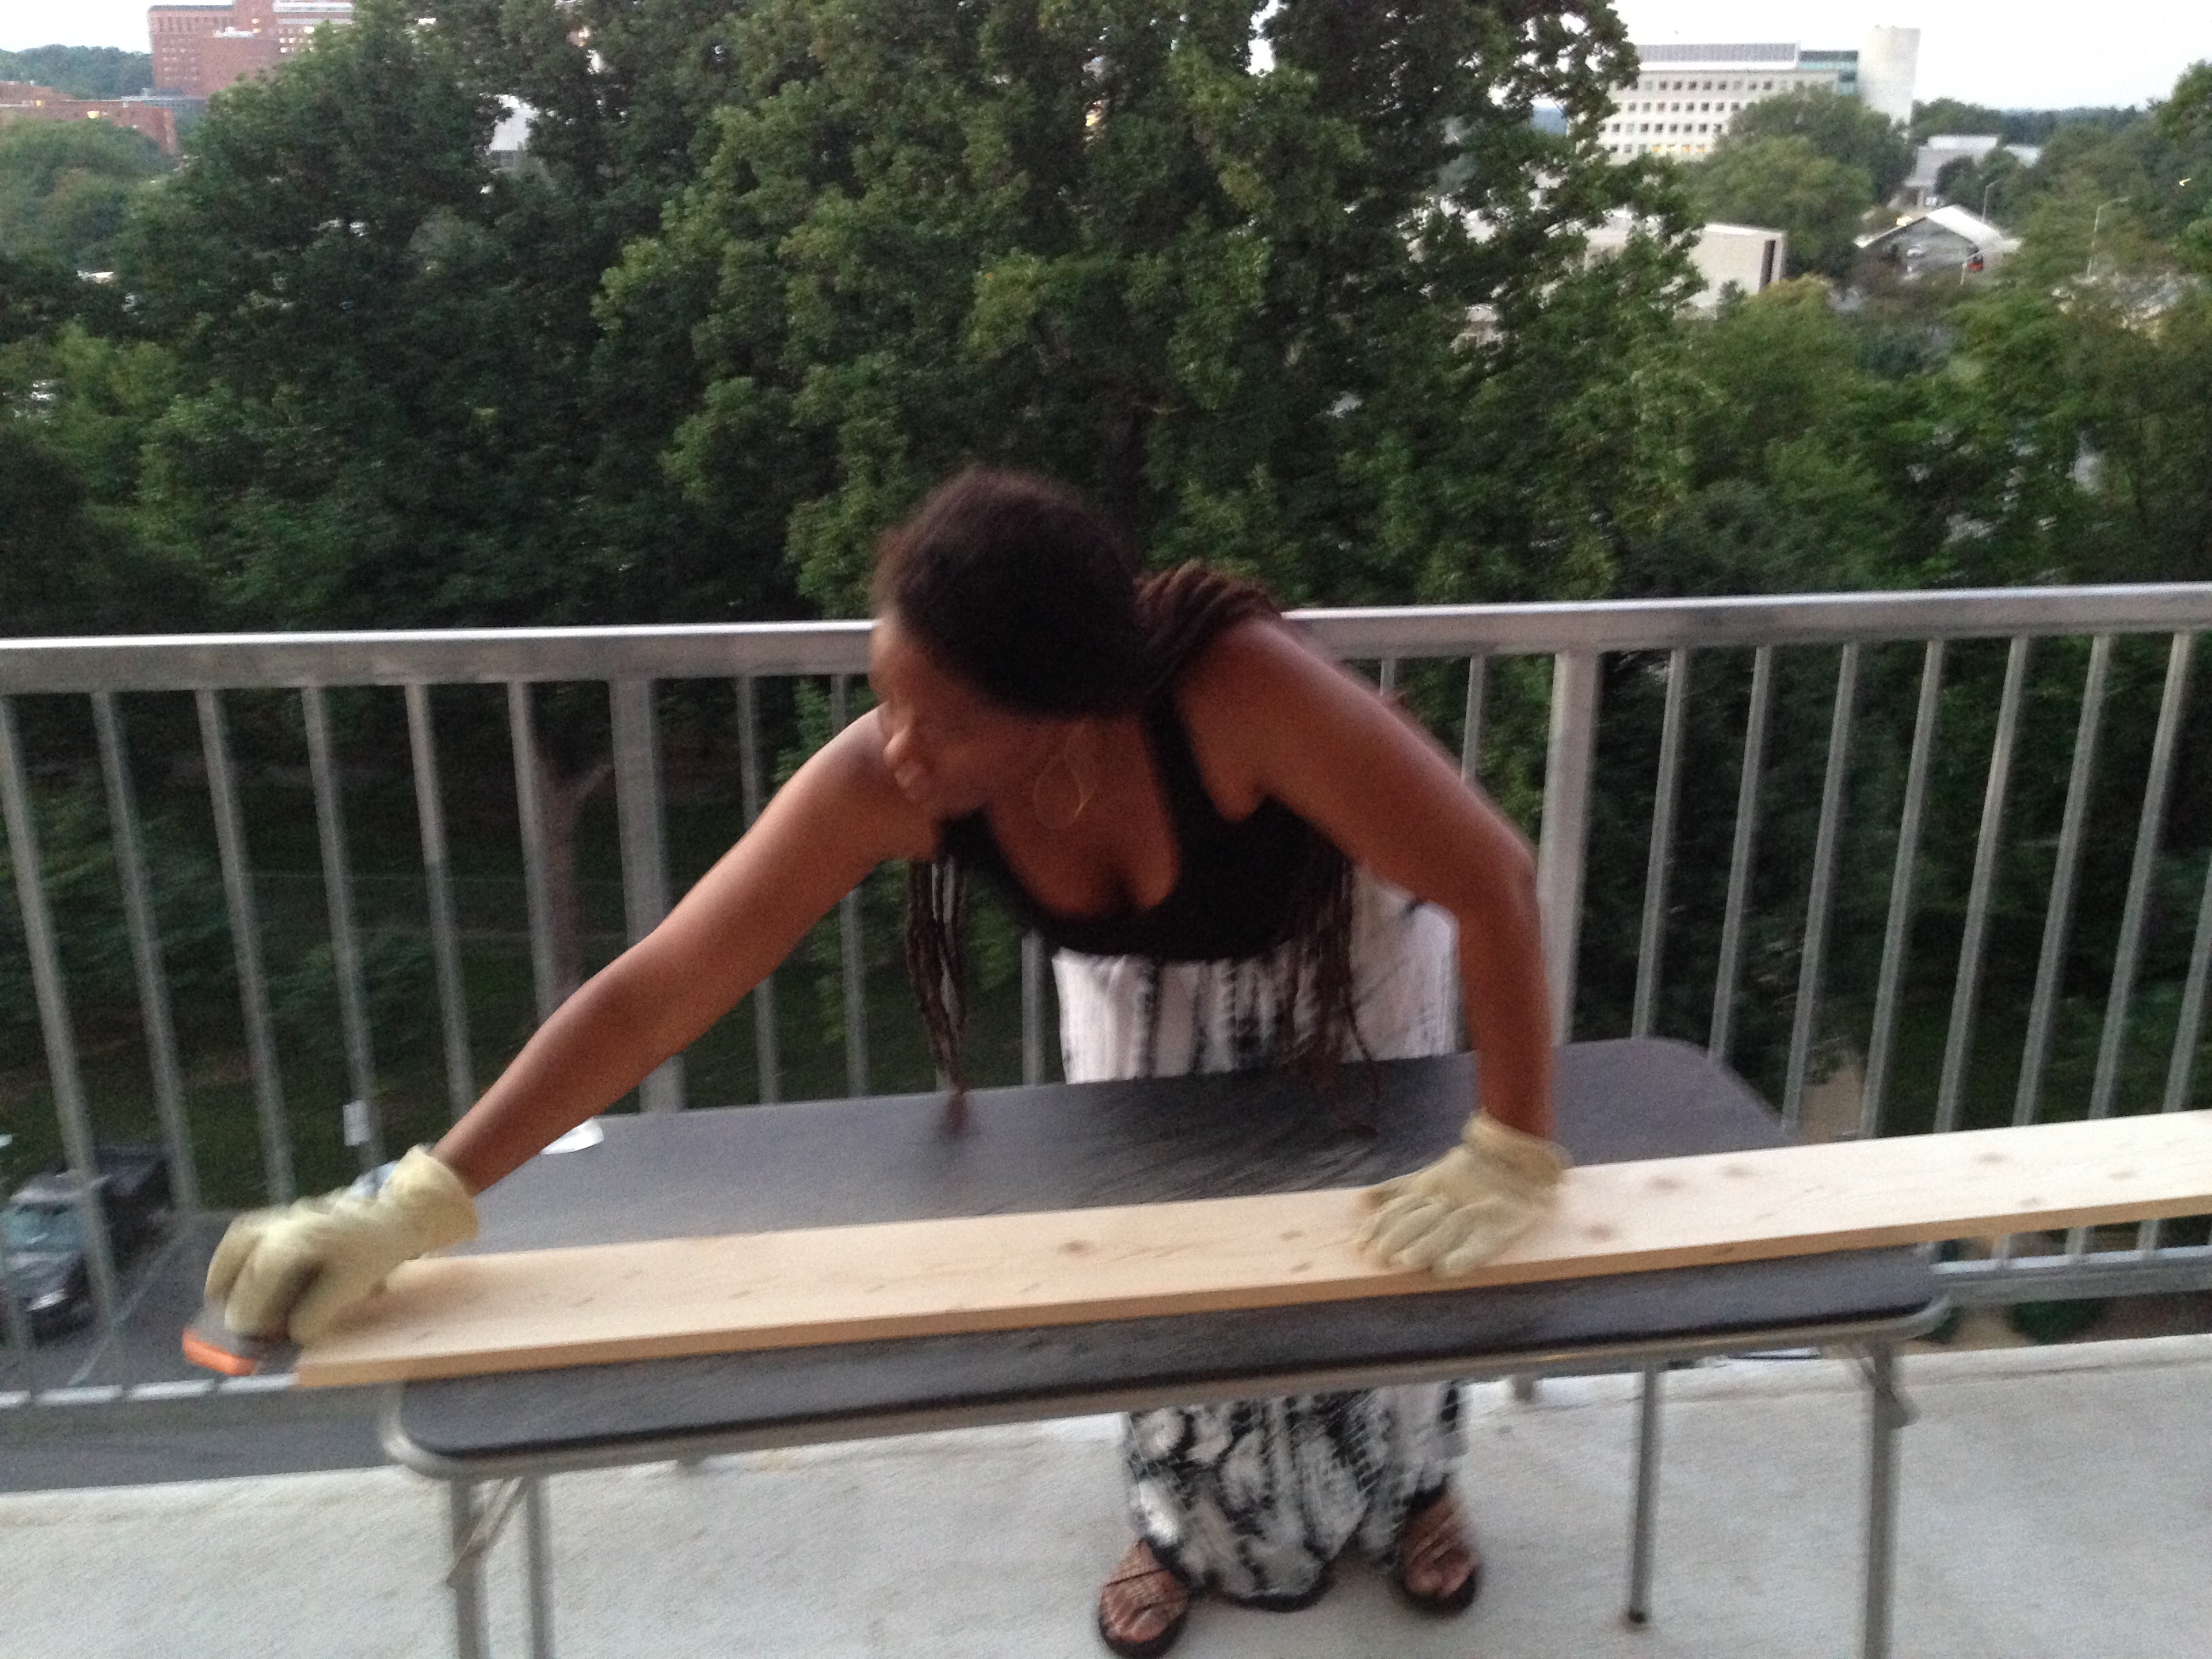
I decided that I wanted a longer hanging bar for the entryway. So rather than a 48″ long bar, I’m making one that is 64″ in length total. A 64″ wood mount with a 60″ pipe hanging bar.
Details on how this is made is in the Part 1 post. But here’s a quick summary on the steps (illustrated below):
- Step 1: Sand, stain and condition the 1″ x 6″ pipe board for the pipe bar mount.
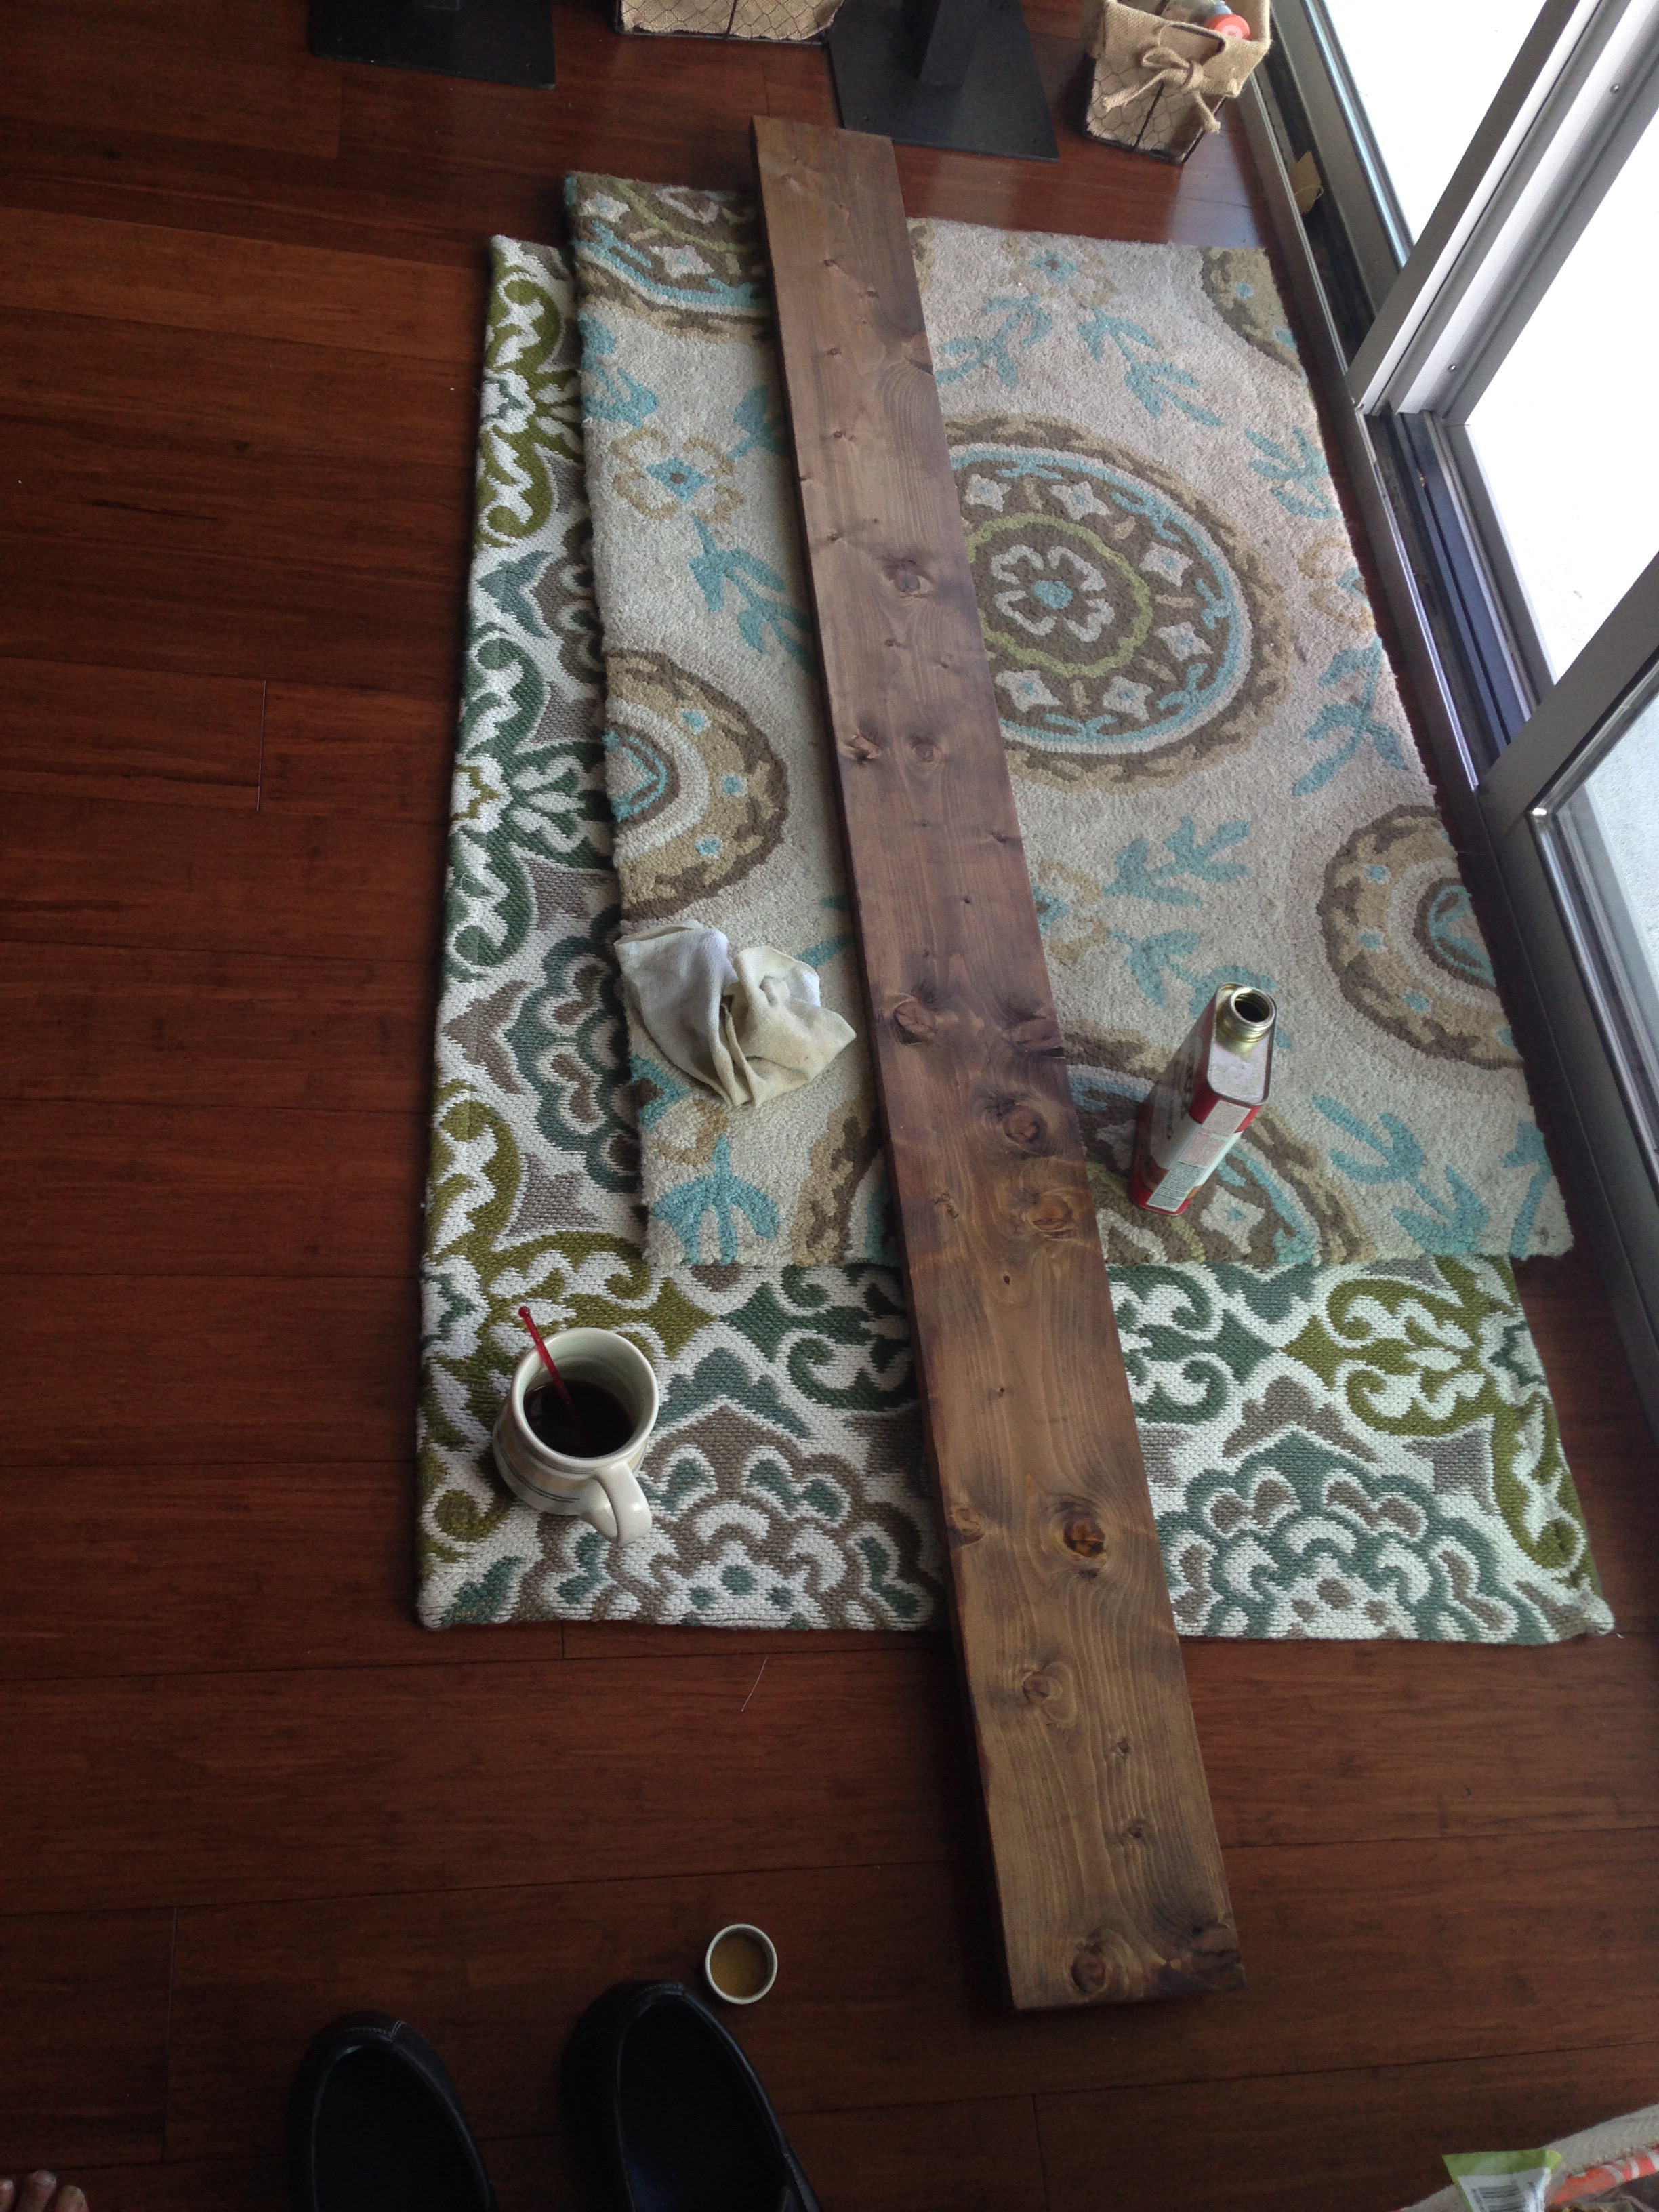
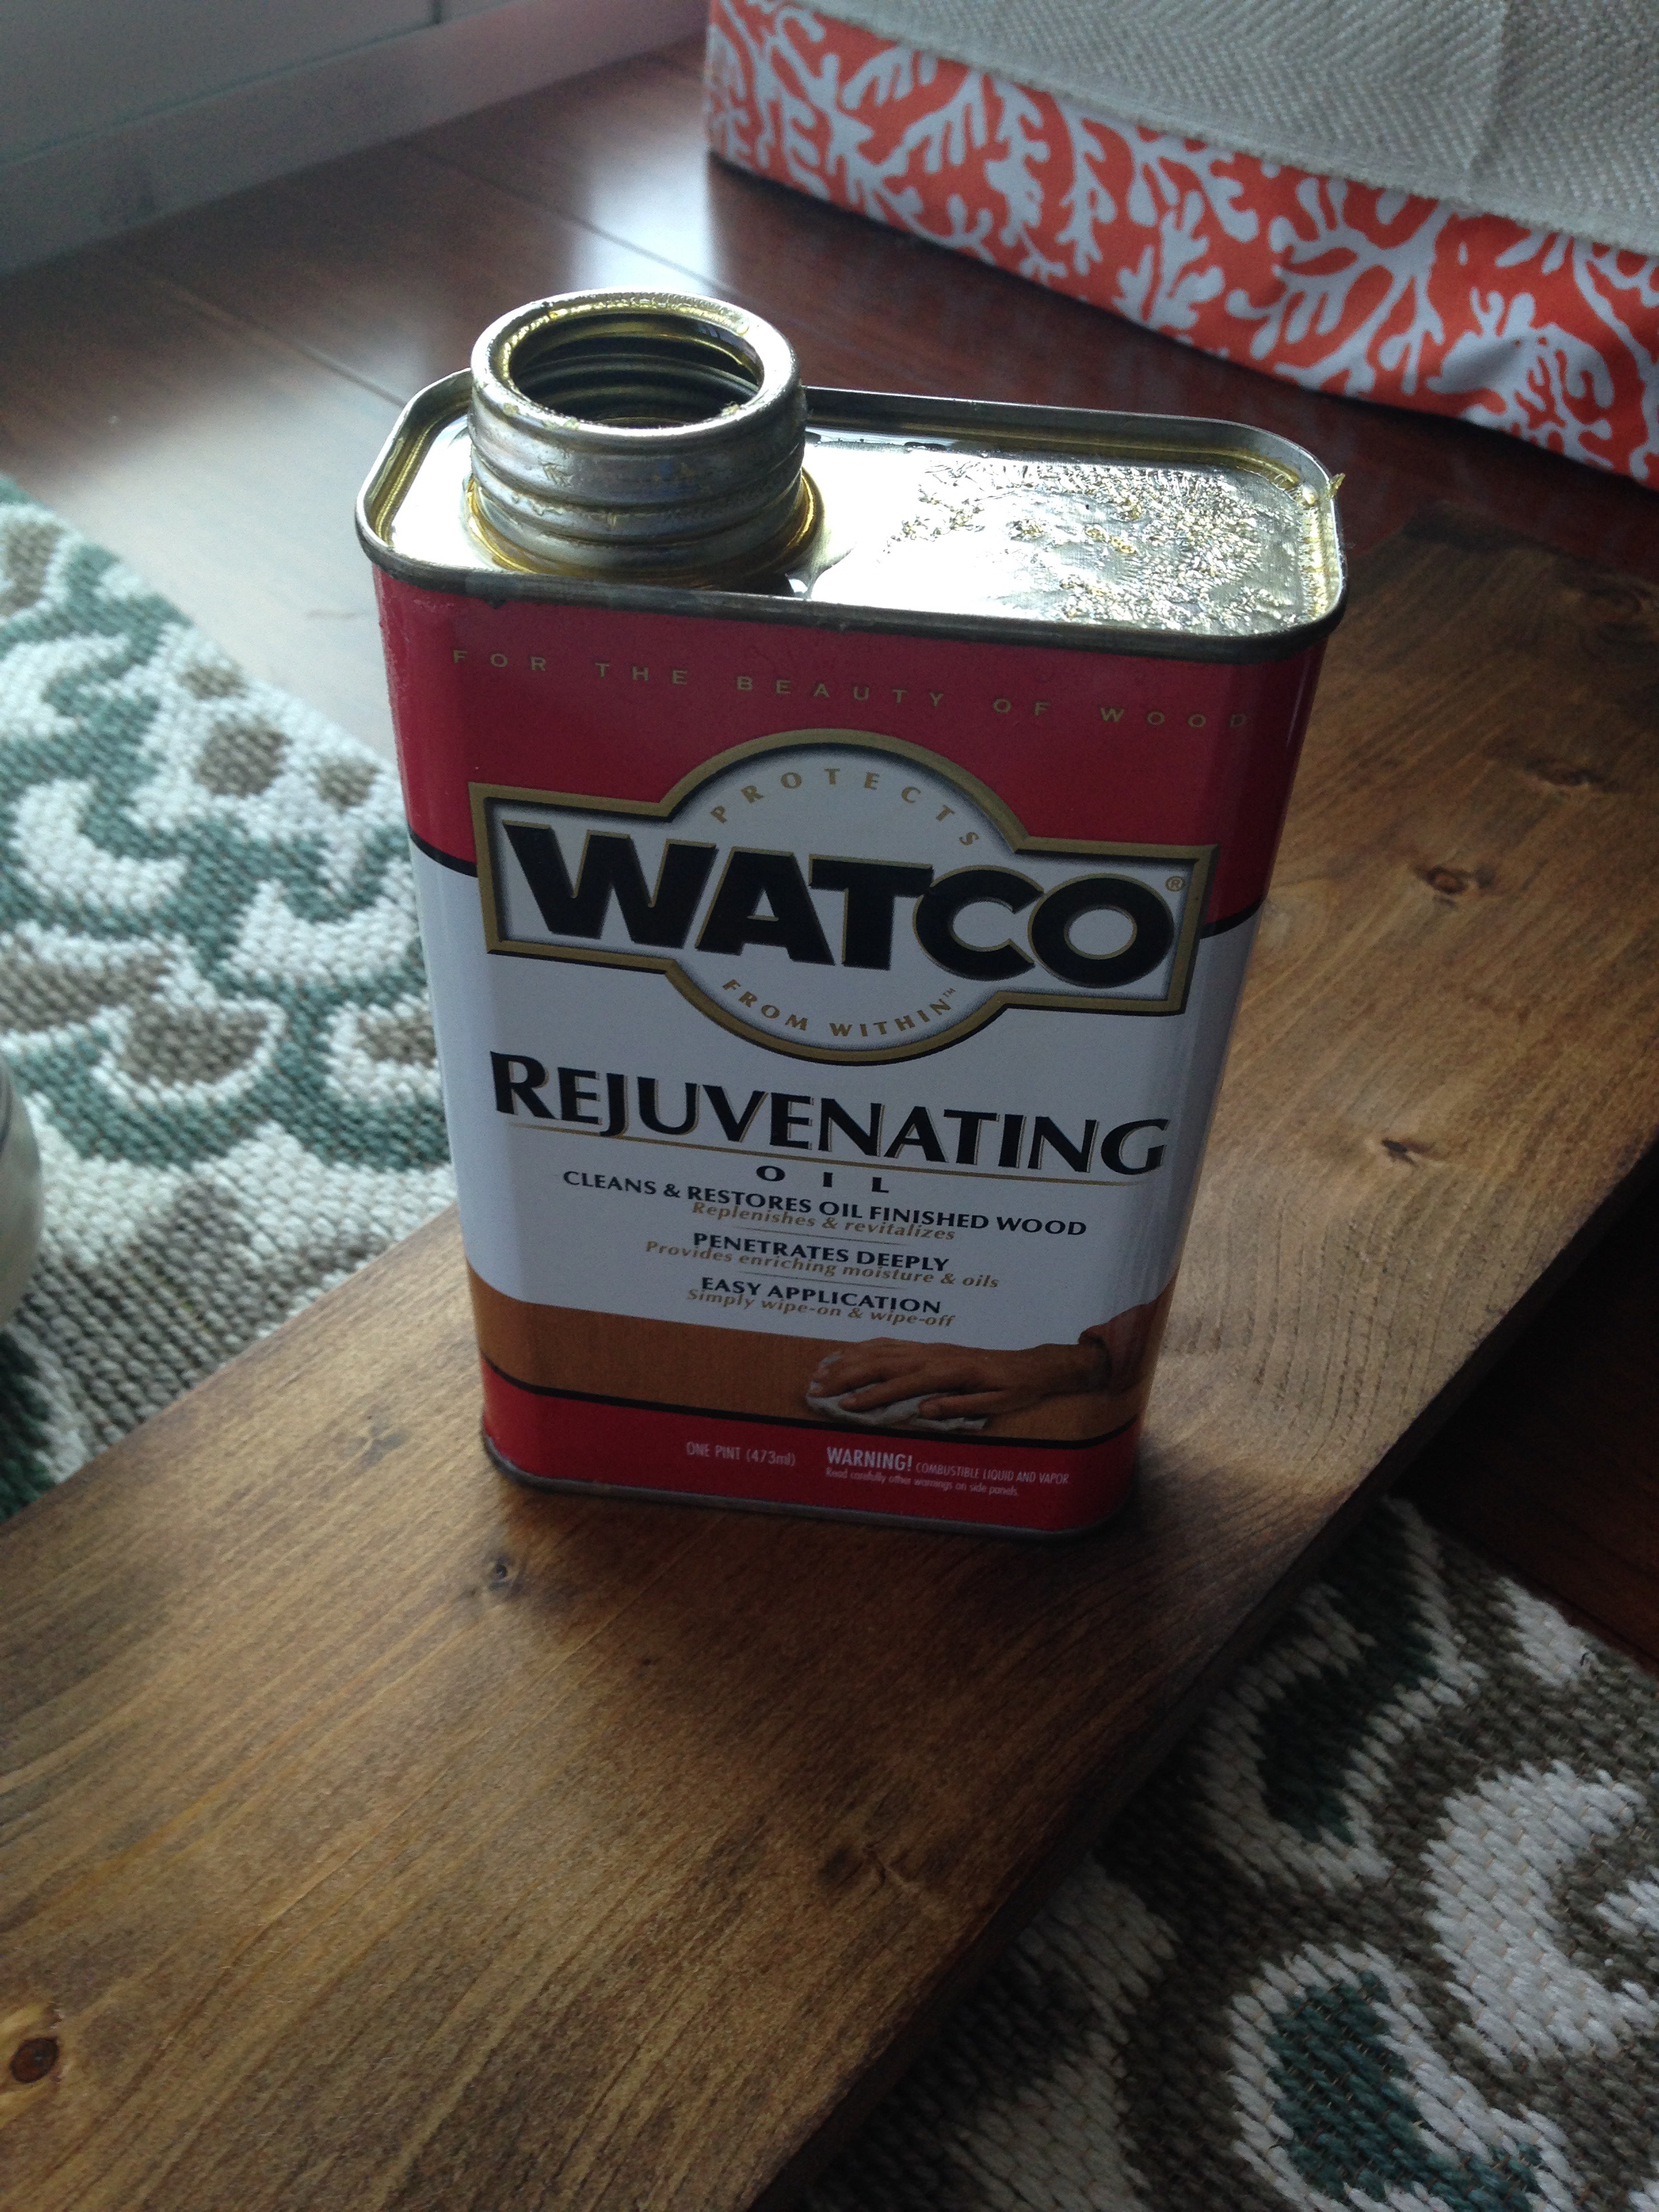
I like the Minwax Early American wood stain for most of my wood projects. But I added an extra step this time around. I’m conditioning the stained wood with rejuvenating oil to give it a nice, luster sheen.
I took my time with this step while enjoying morning coffee. I just love the look of beautifully stained wood. And I did a pretty good job with the sanding – no swirlies. I’m turning into a hand sanding advocate.
Sigh…just lovely.
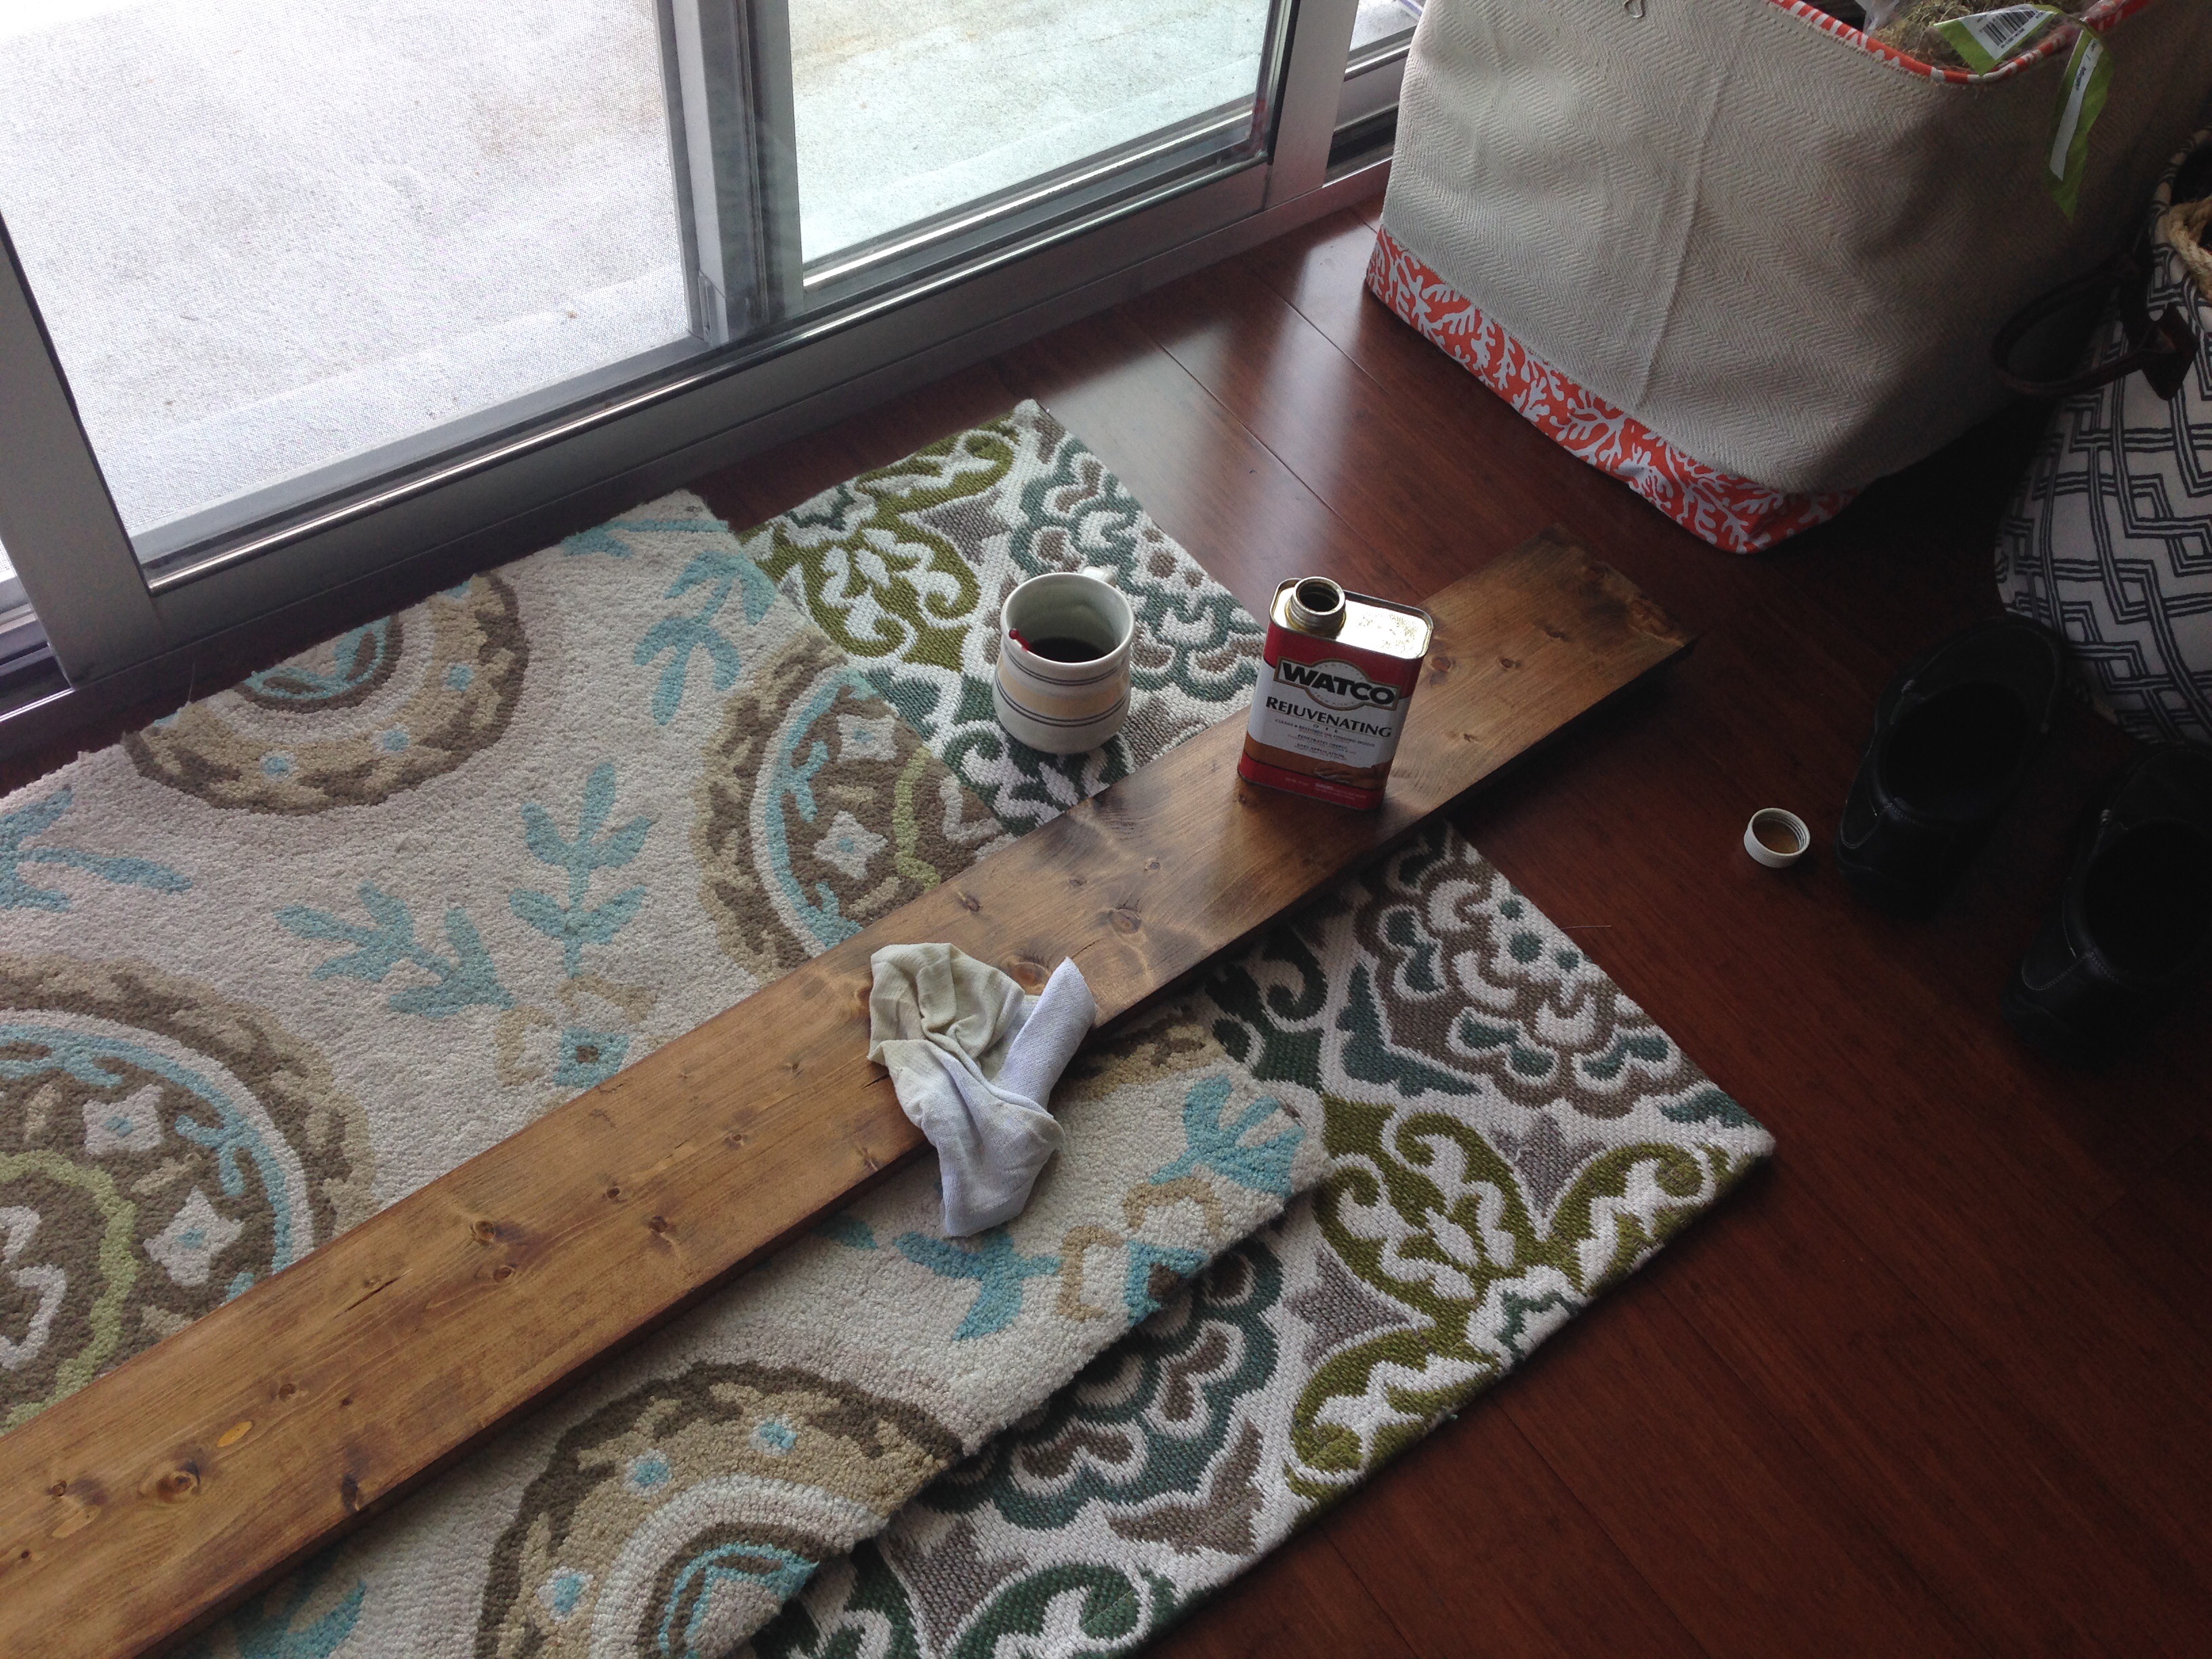
OK, one more sip and on to pipe assembly.
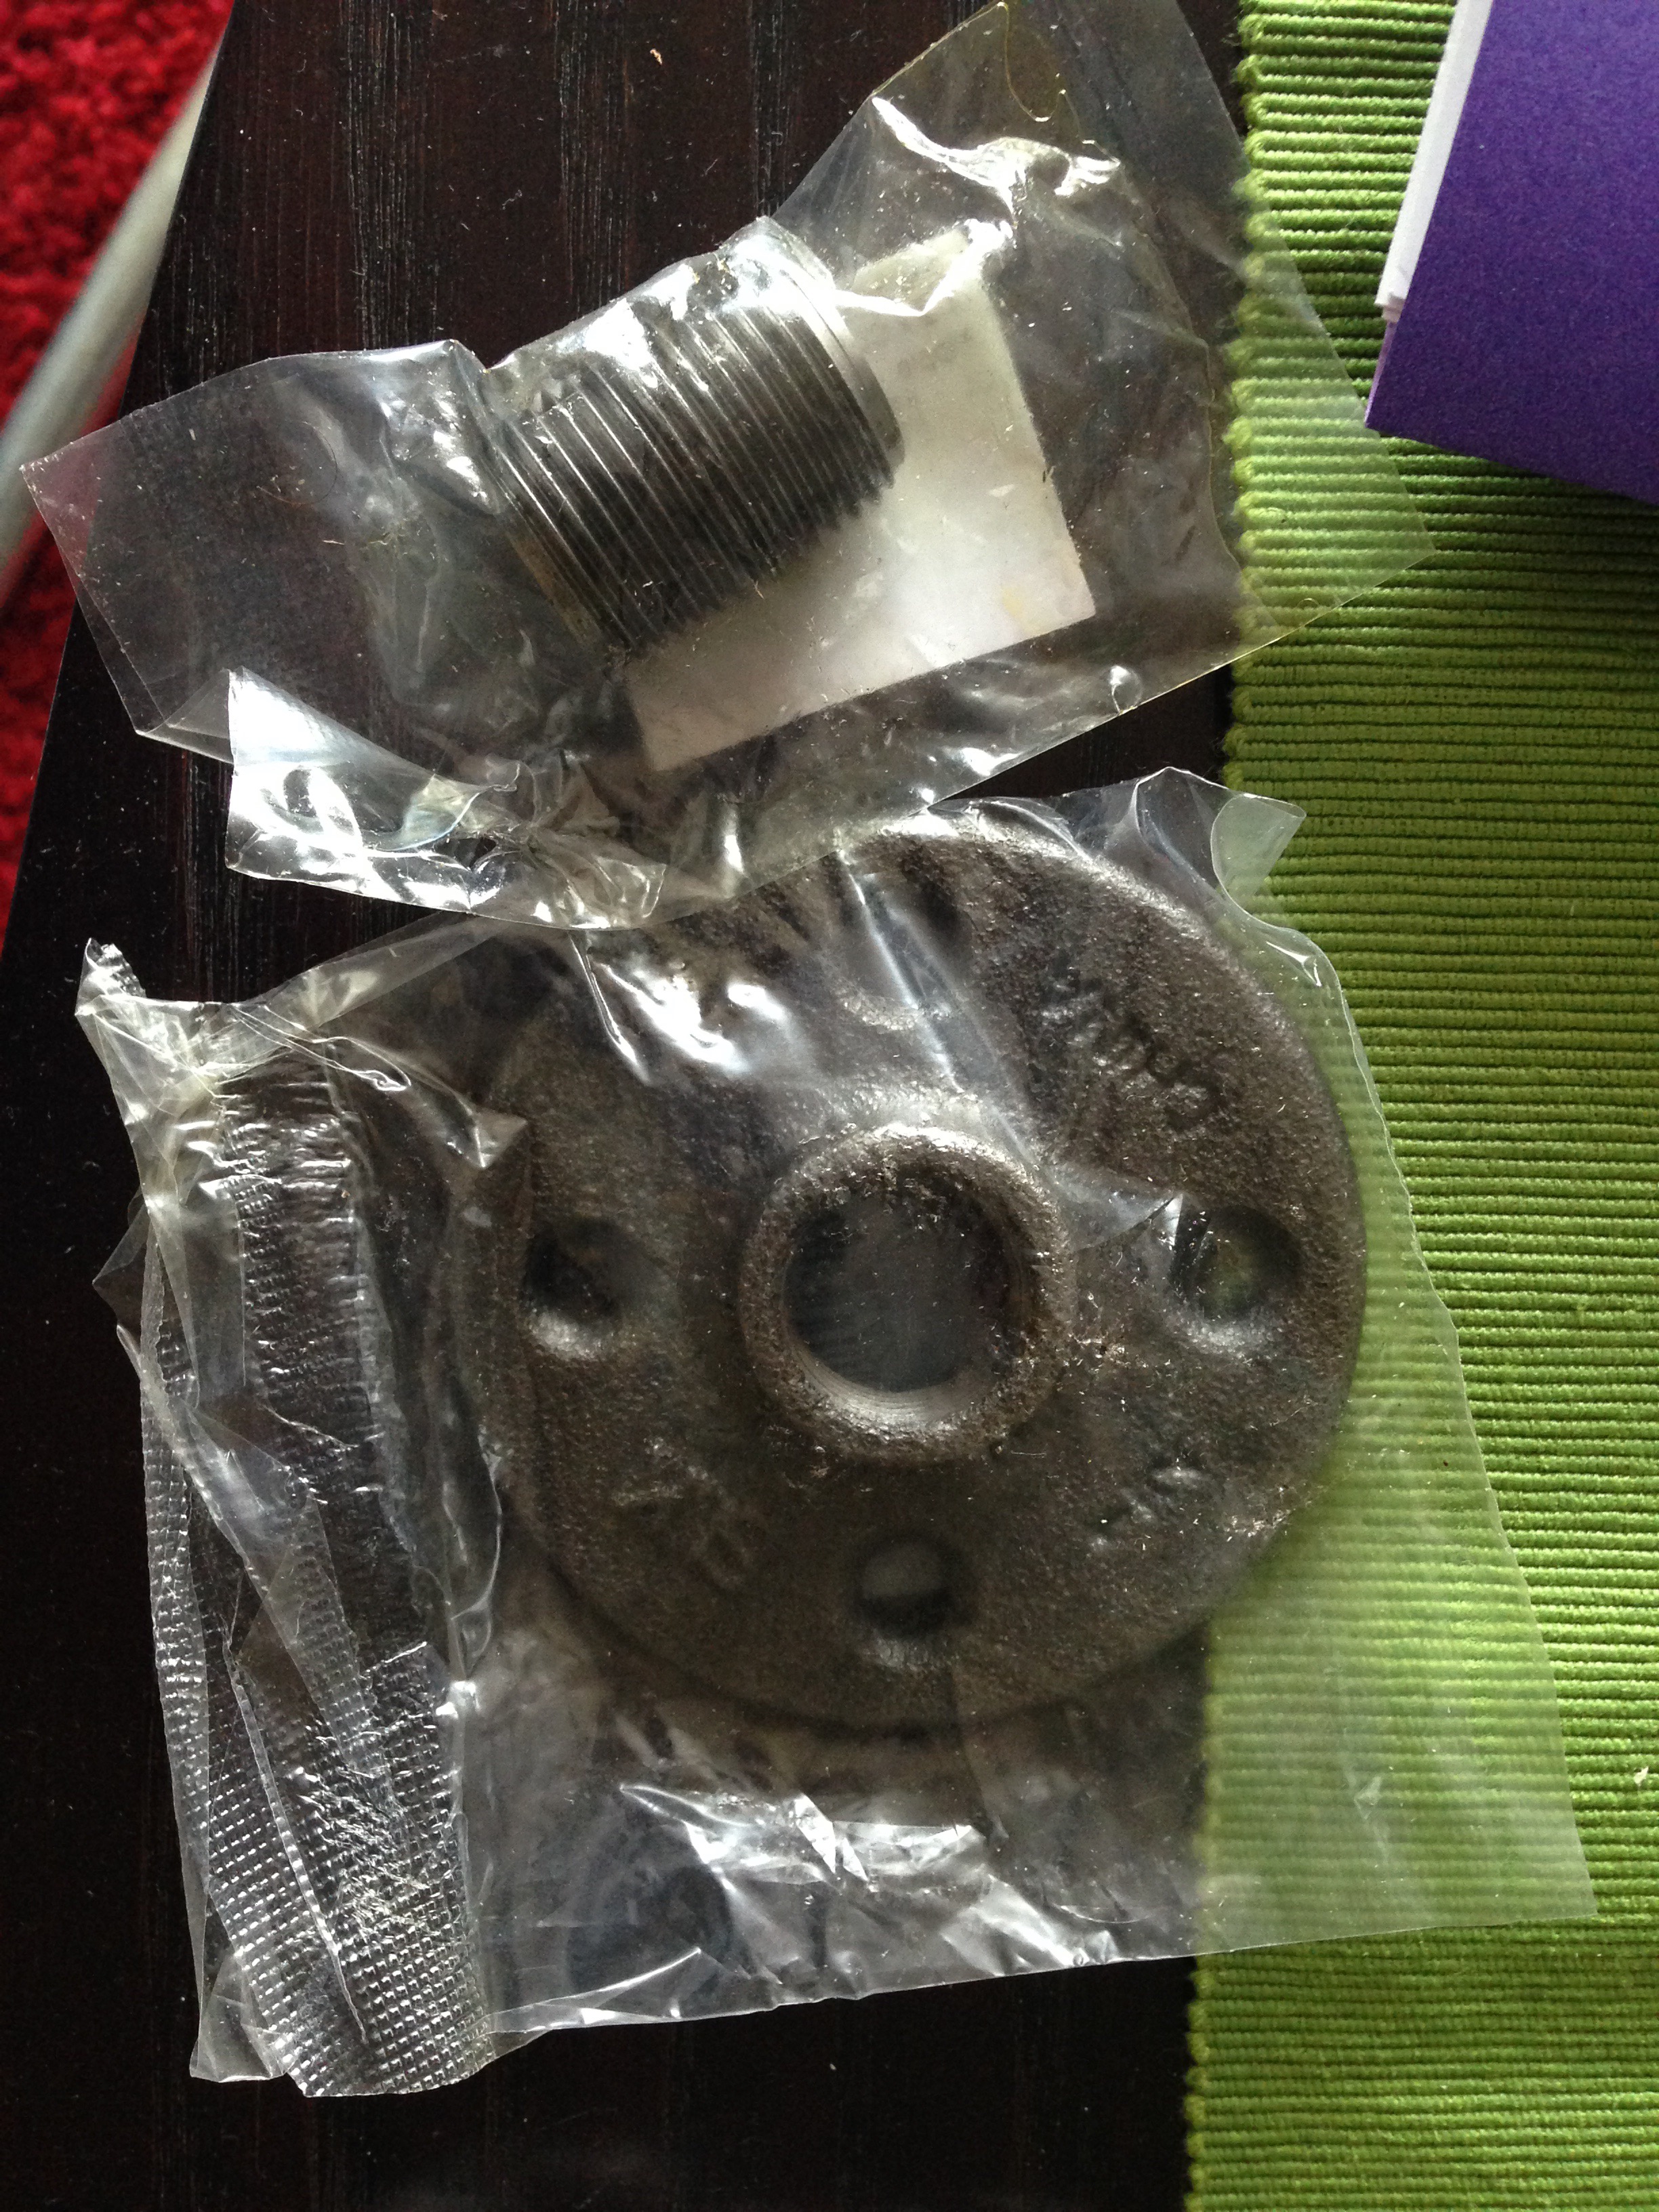
- Step 2: Assembly the hanging bar (threaded pipe, elbows, close nipples and flanges).
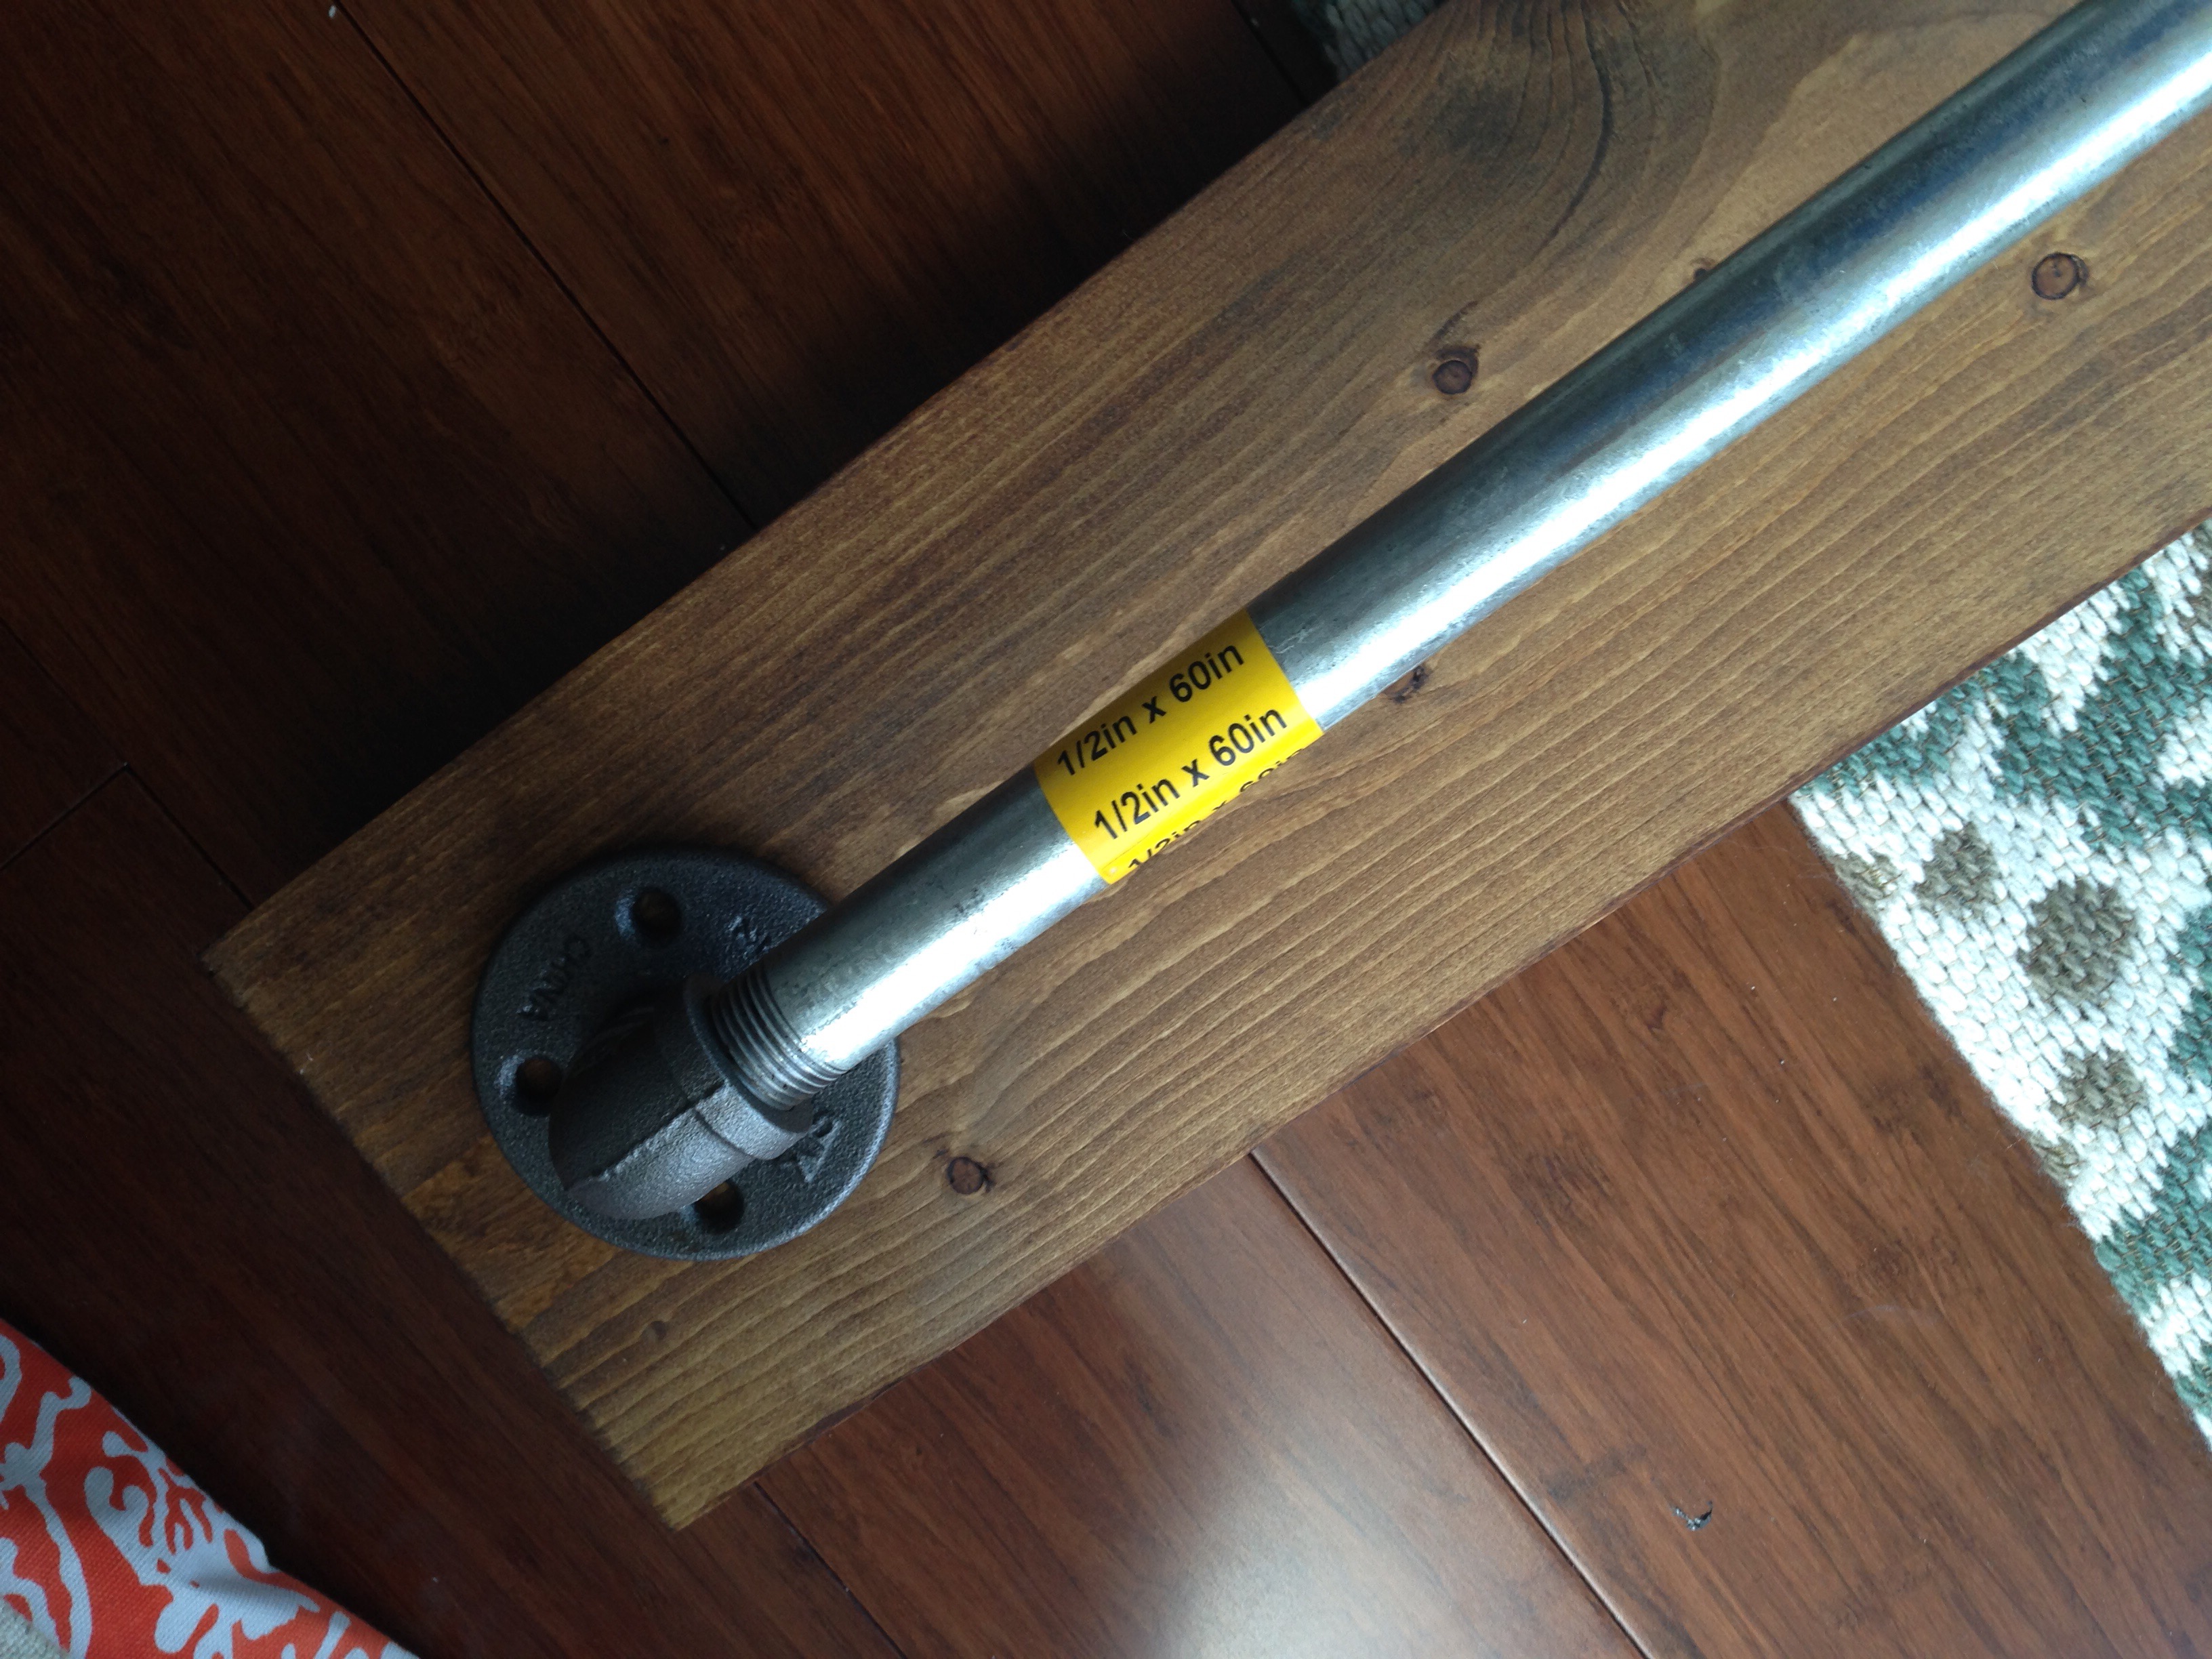
Putting the 60″ 1/2″ diameter pipe aside, I reached for a set of flanges and close nipples.
I screwed the close nipple into the flange…
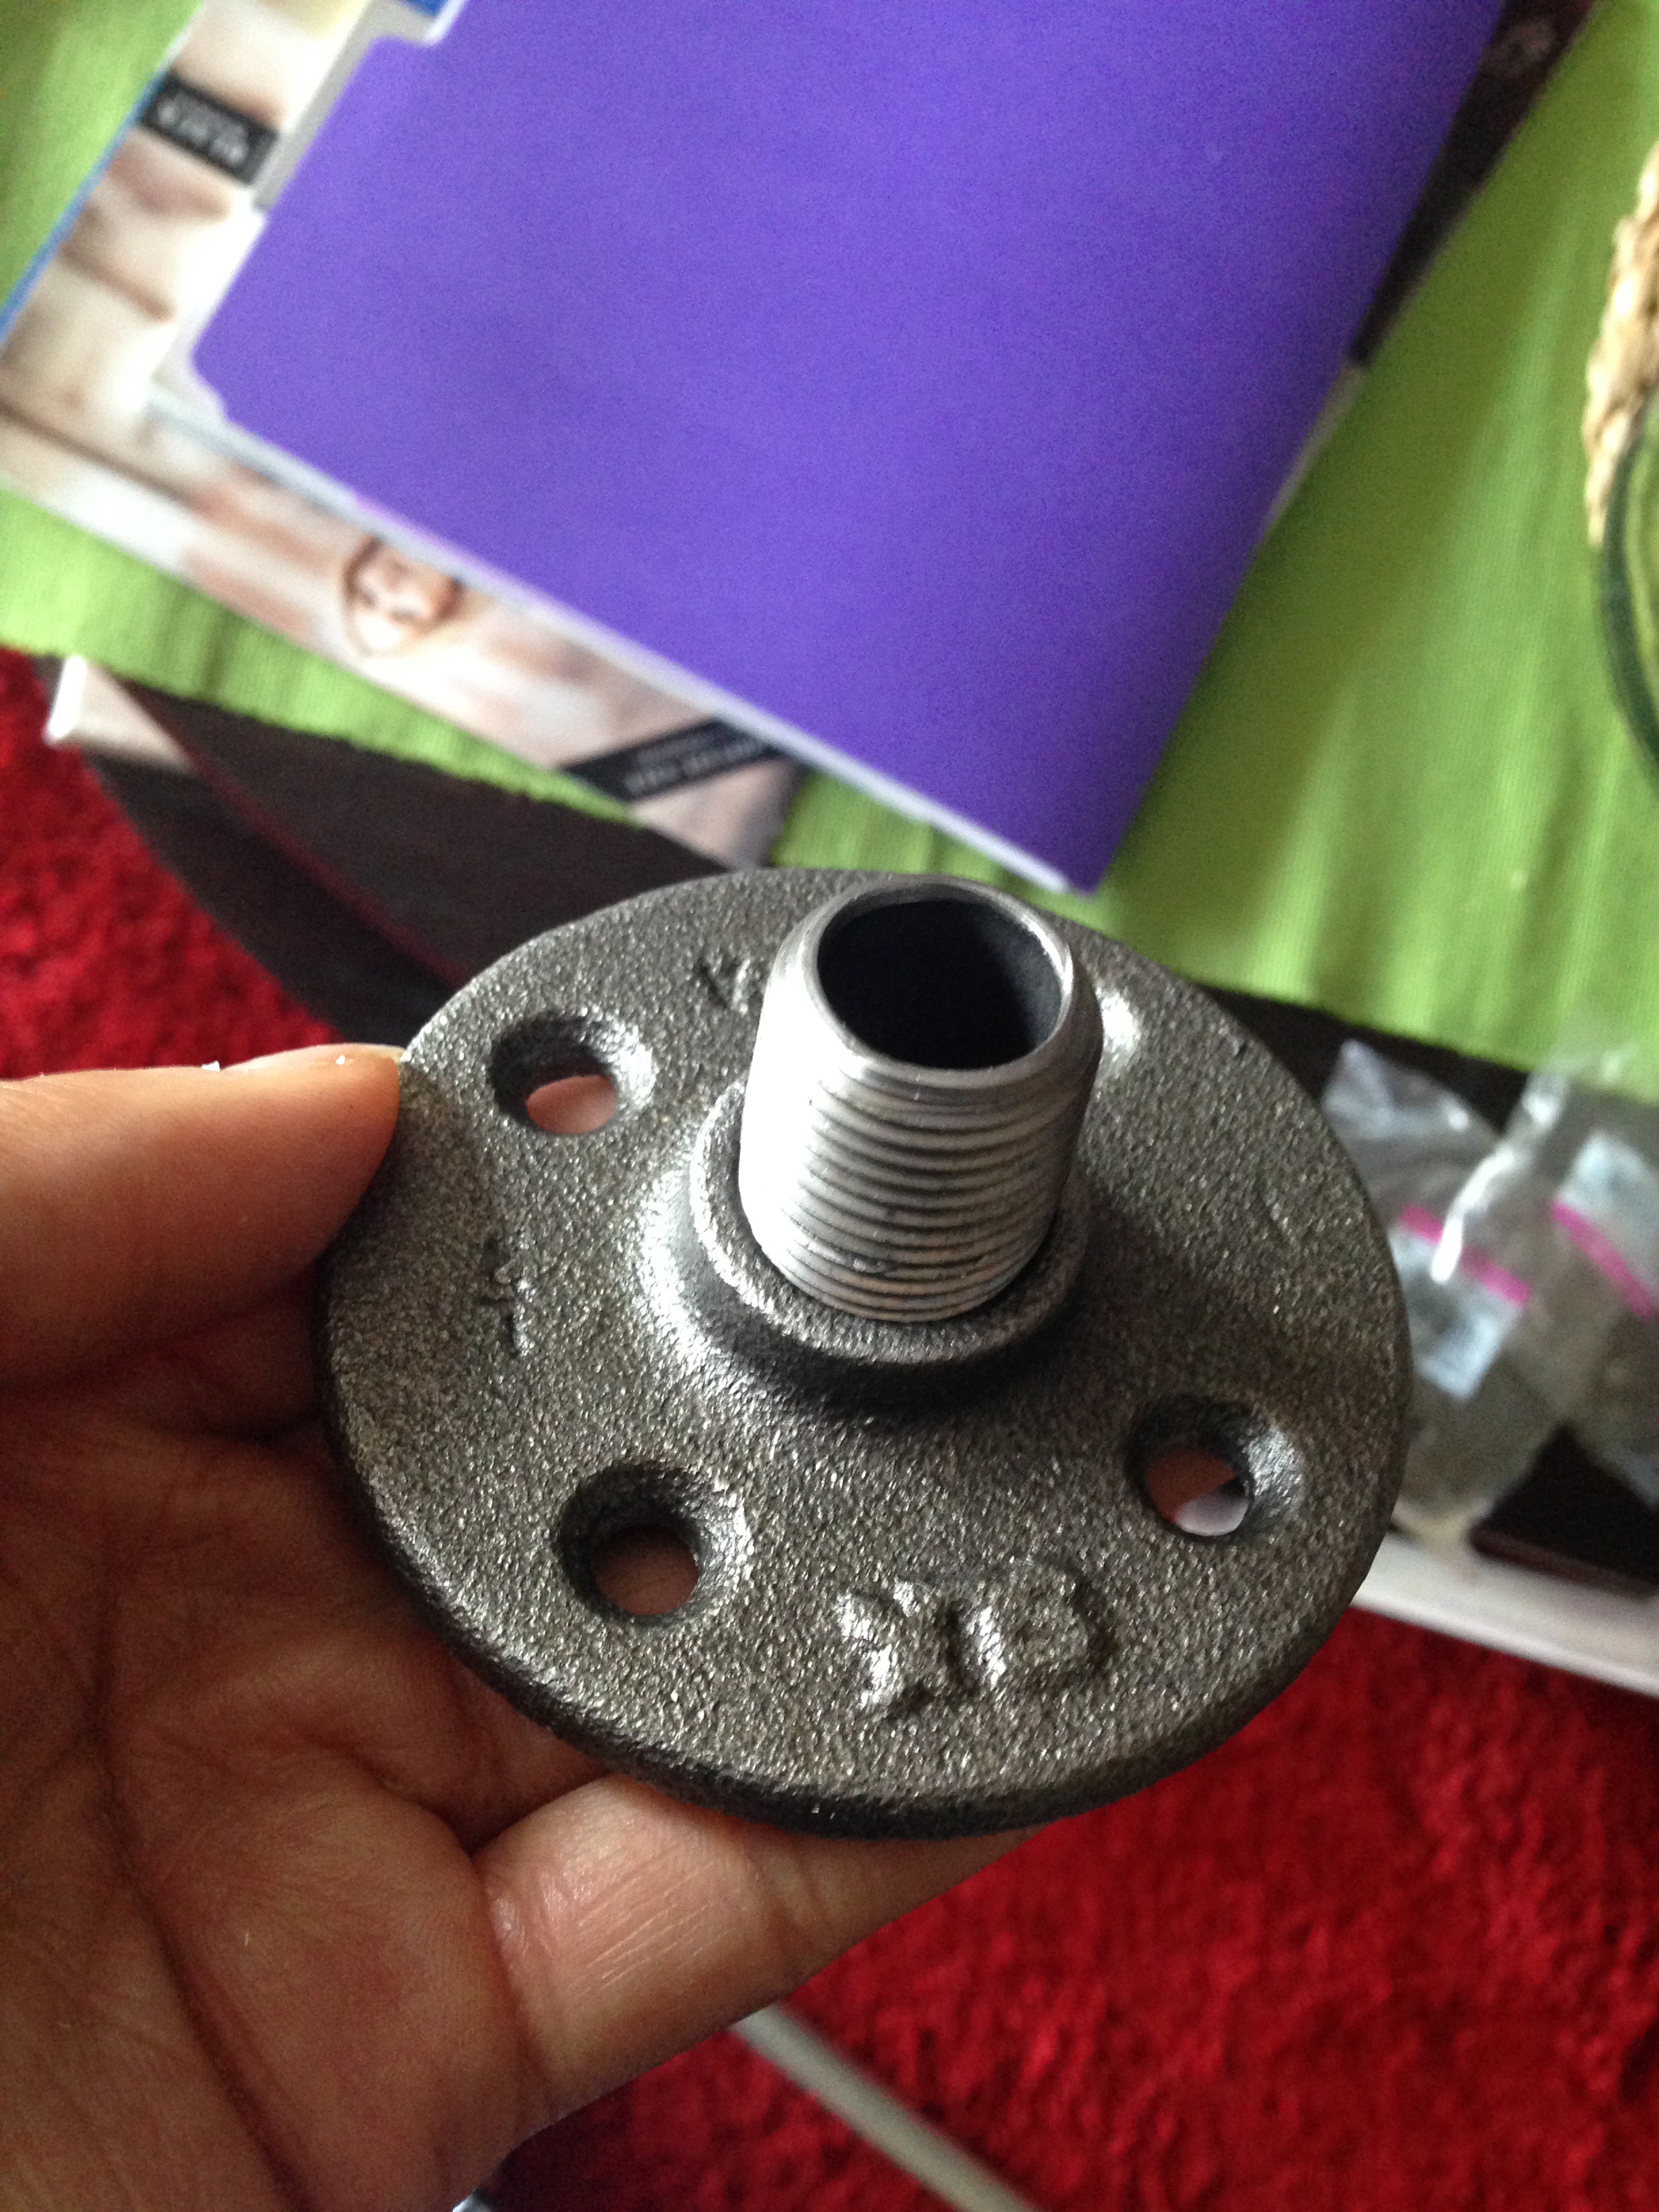
…and screwed the other end of the close nipple into a 90 degree elbow (which connects to each end of the threaded pipe).
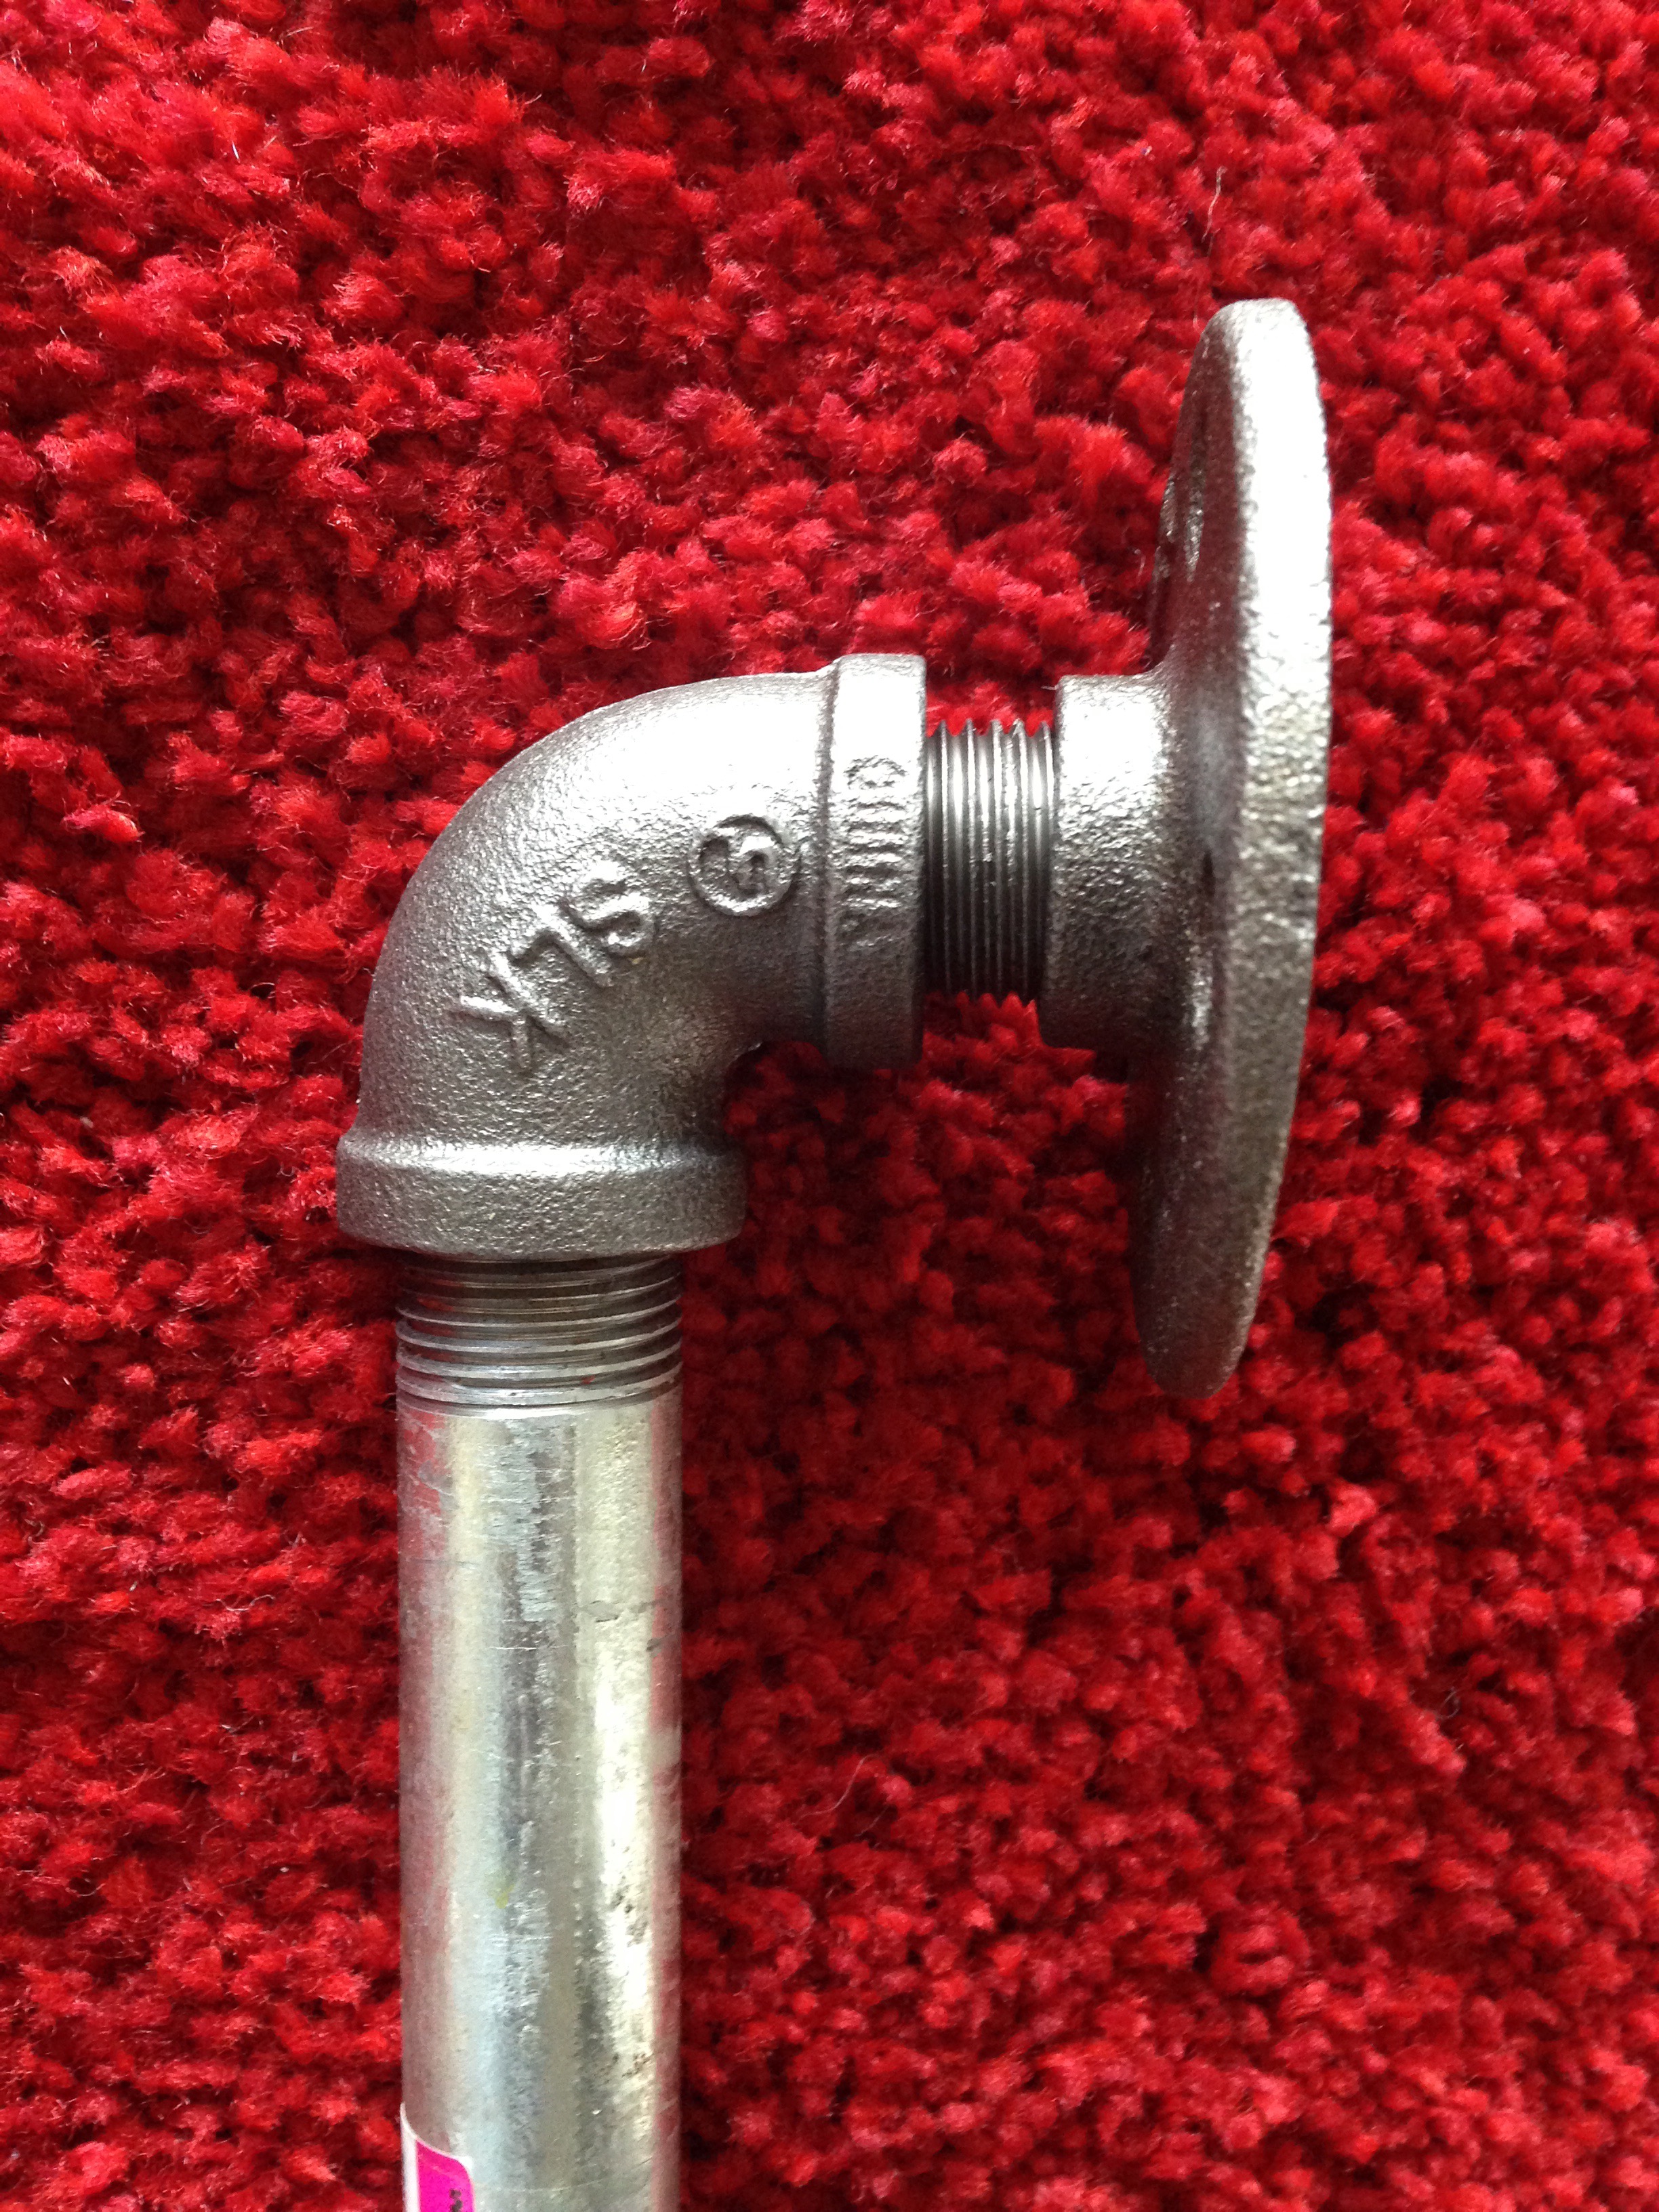
And here we have a fully assembled pipe hanging bar. Insanely easy folks. Takes about 5 minutes to complete.
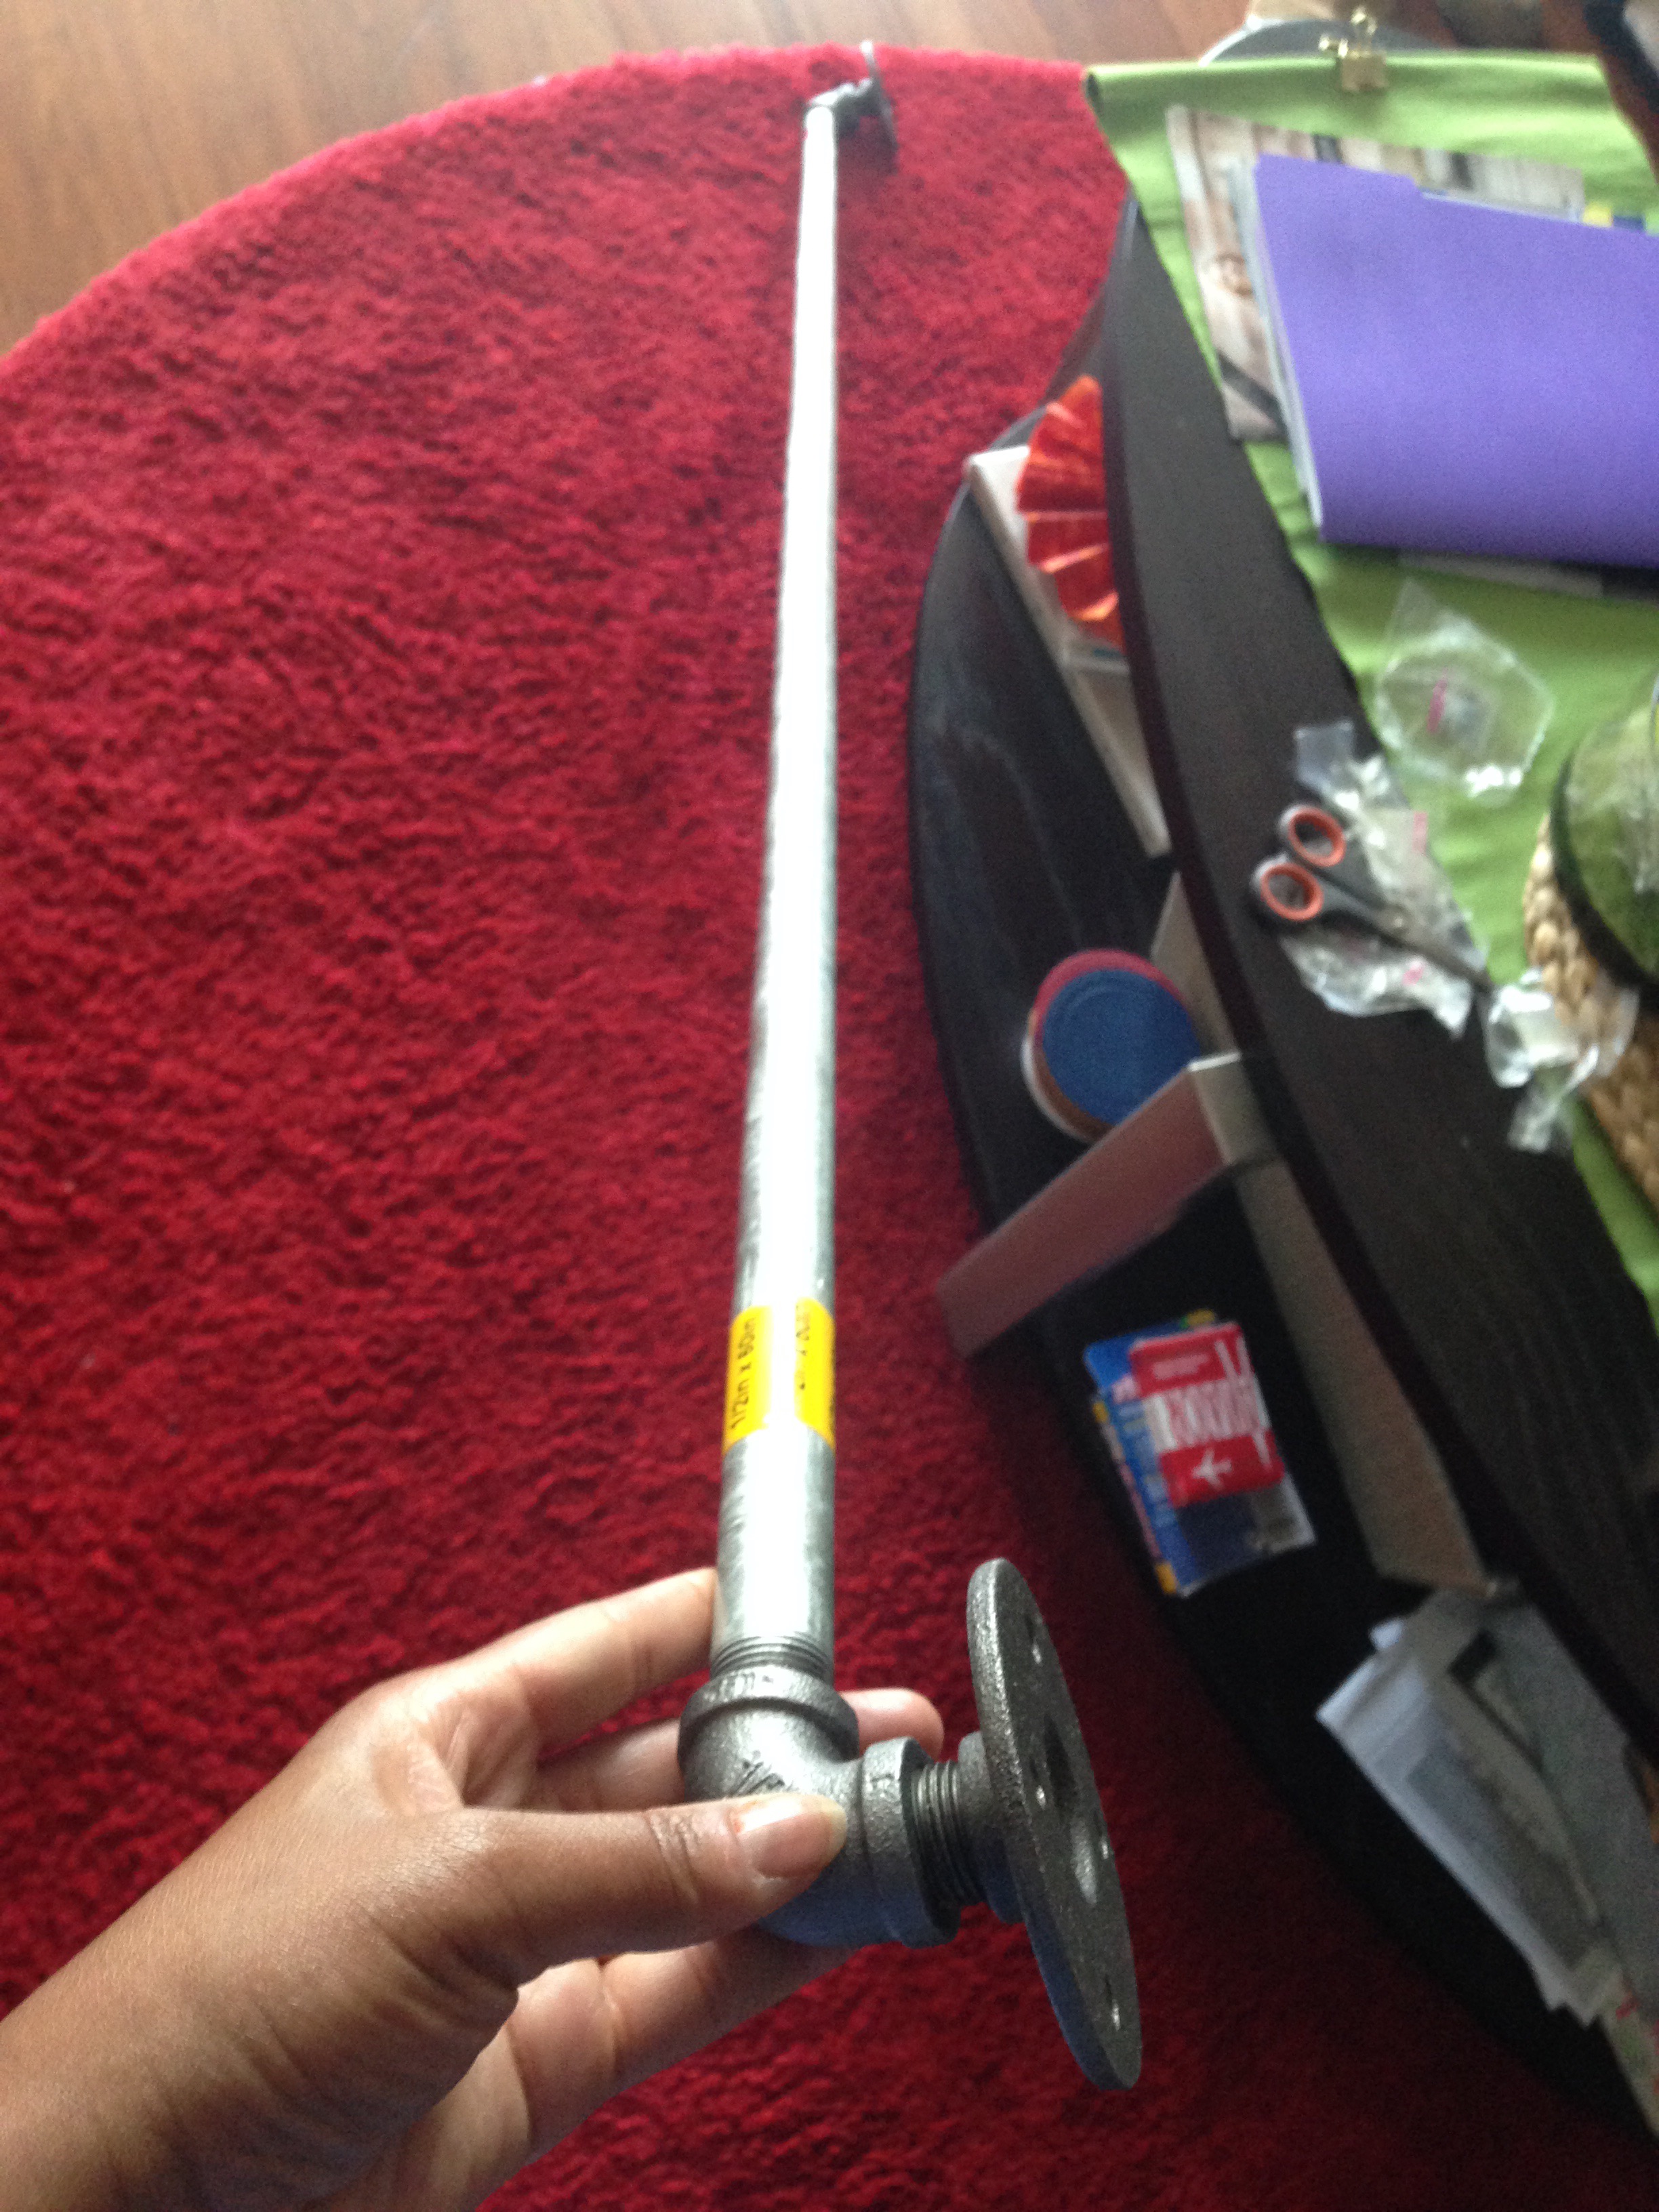
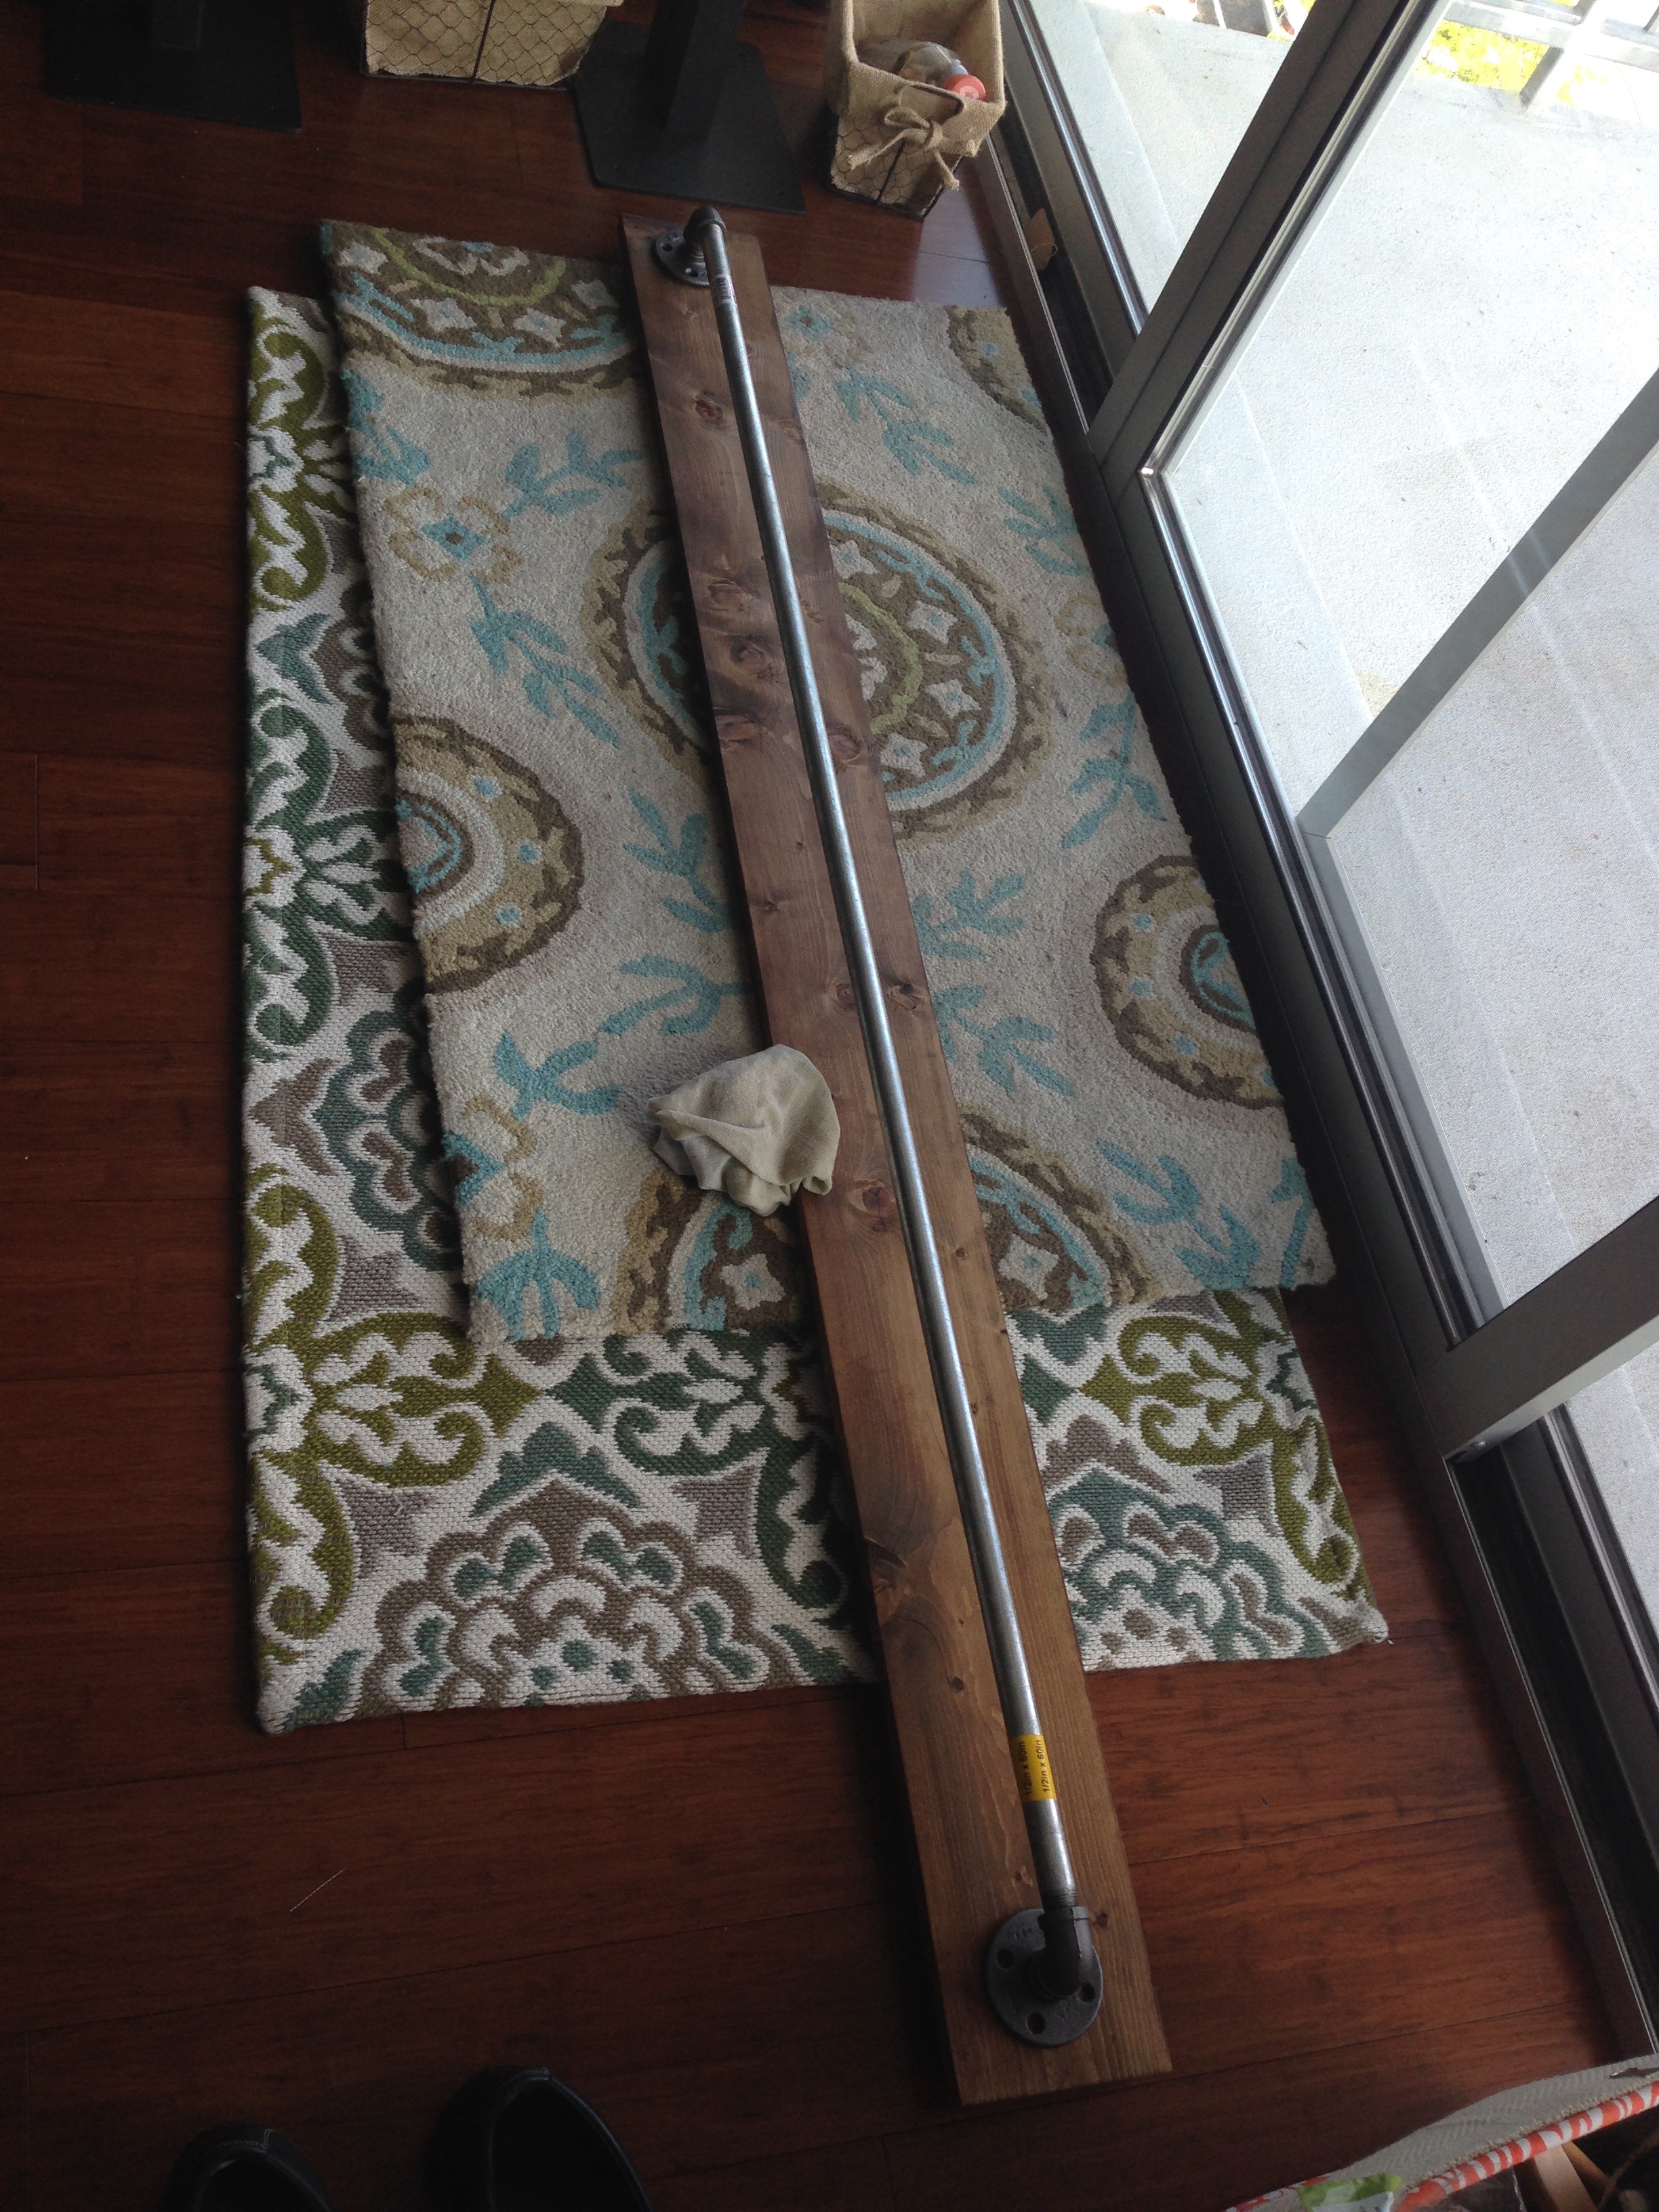
- Step 3: Add the pipe hanging bar to the wood mount.
So here’s how the 64″ piece is shaping up so far. Time to attach the pipe hanging bar to the wood.
Here are my tools for completing this step.
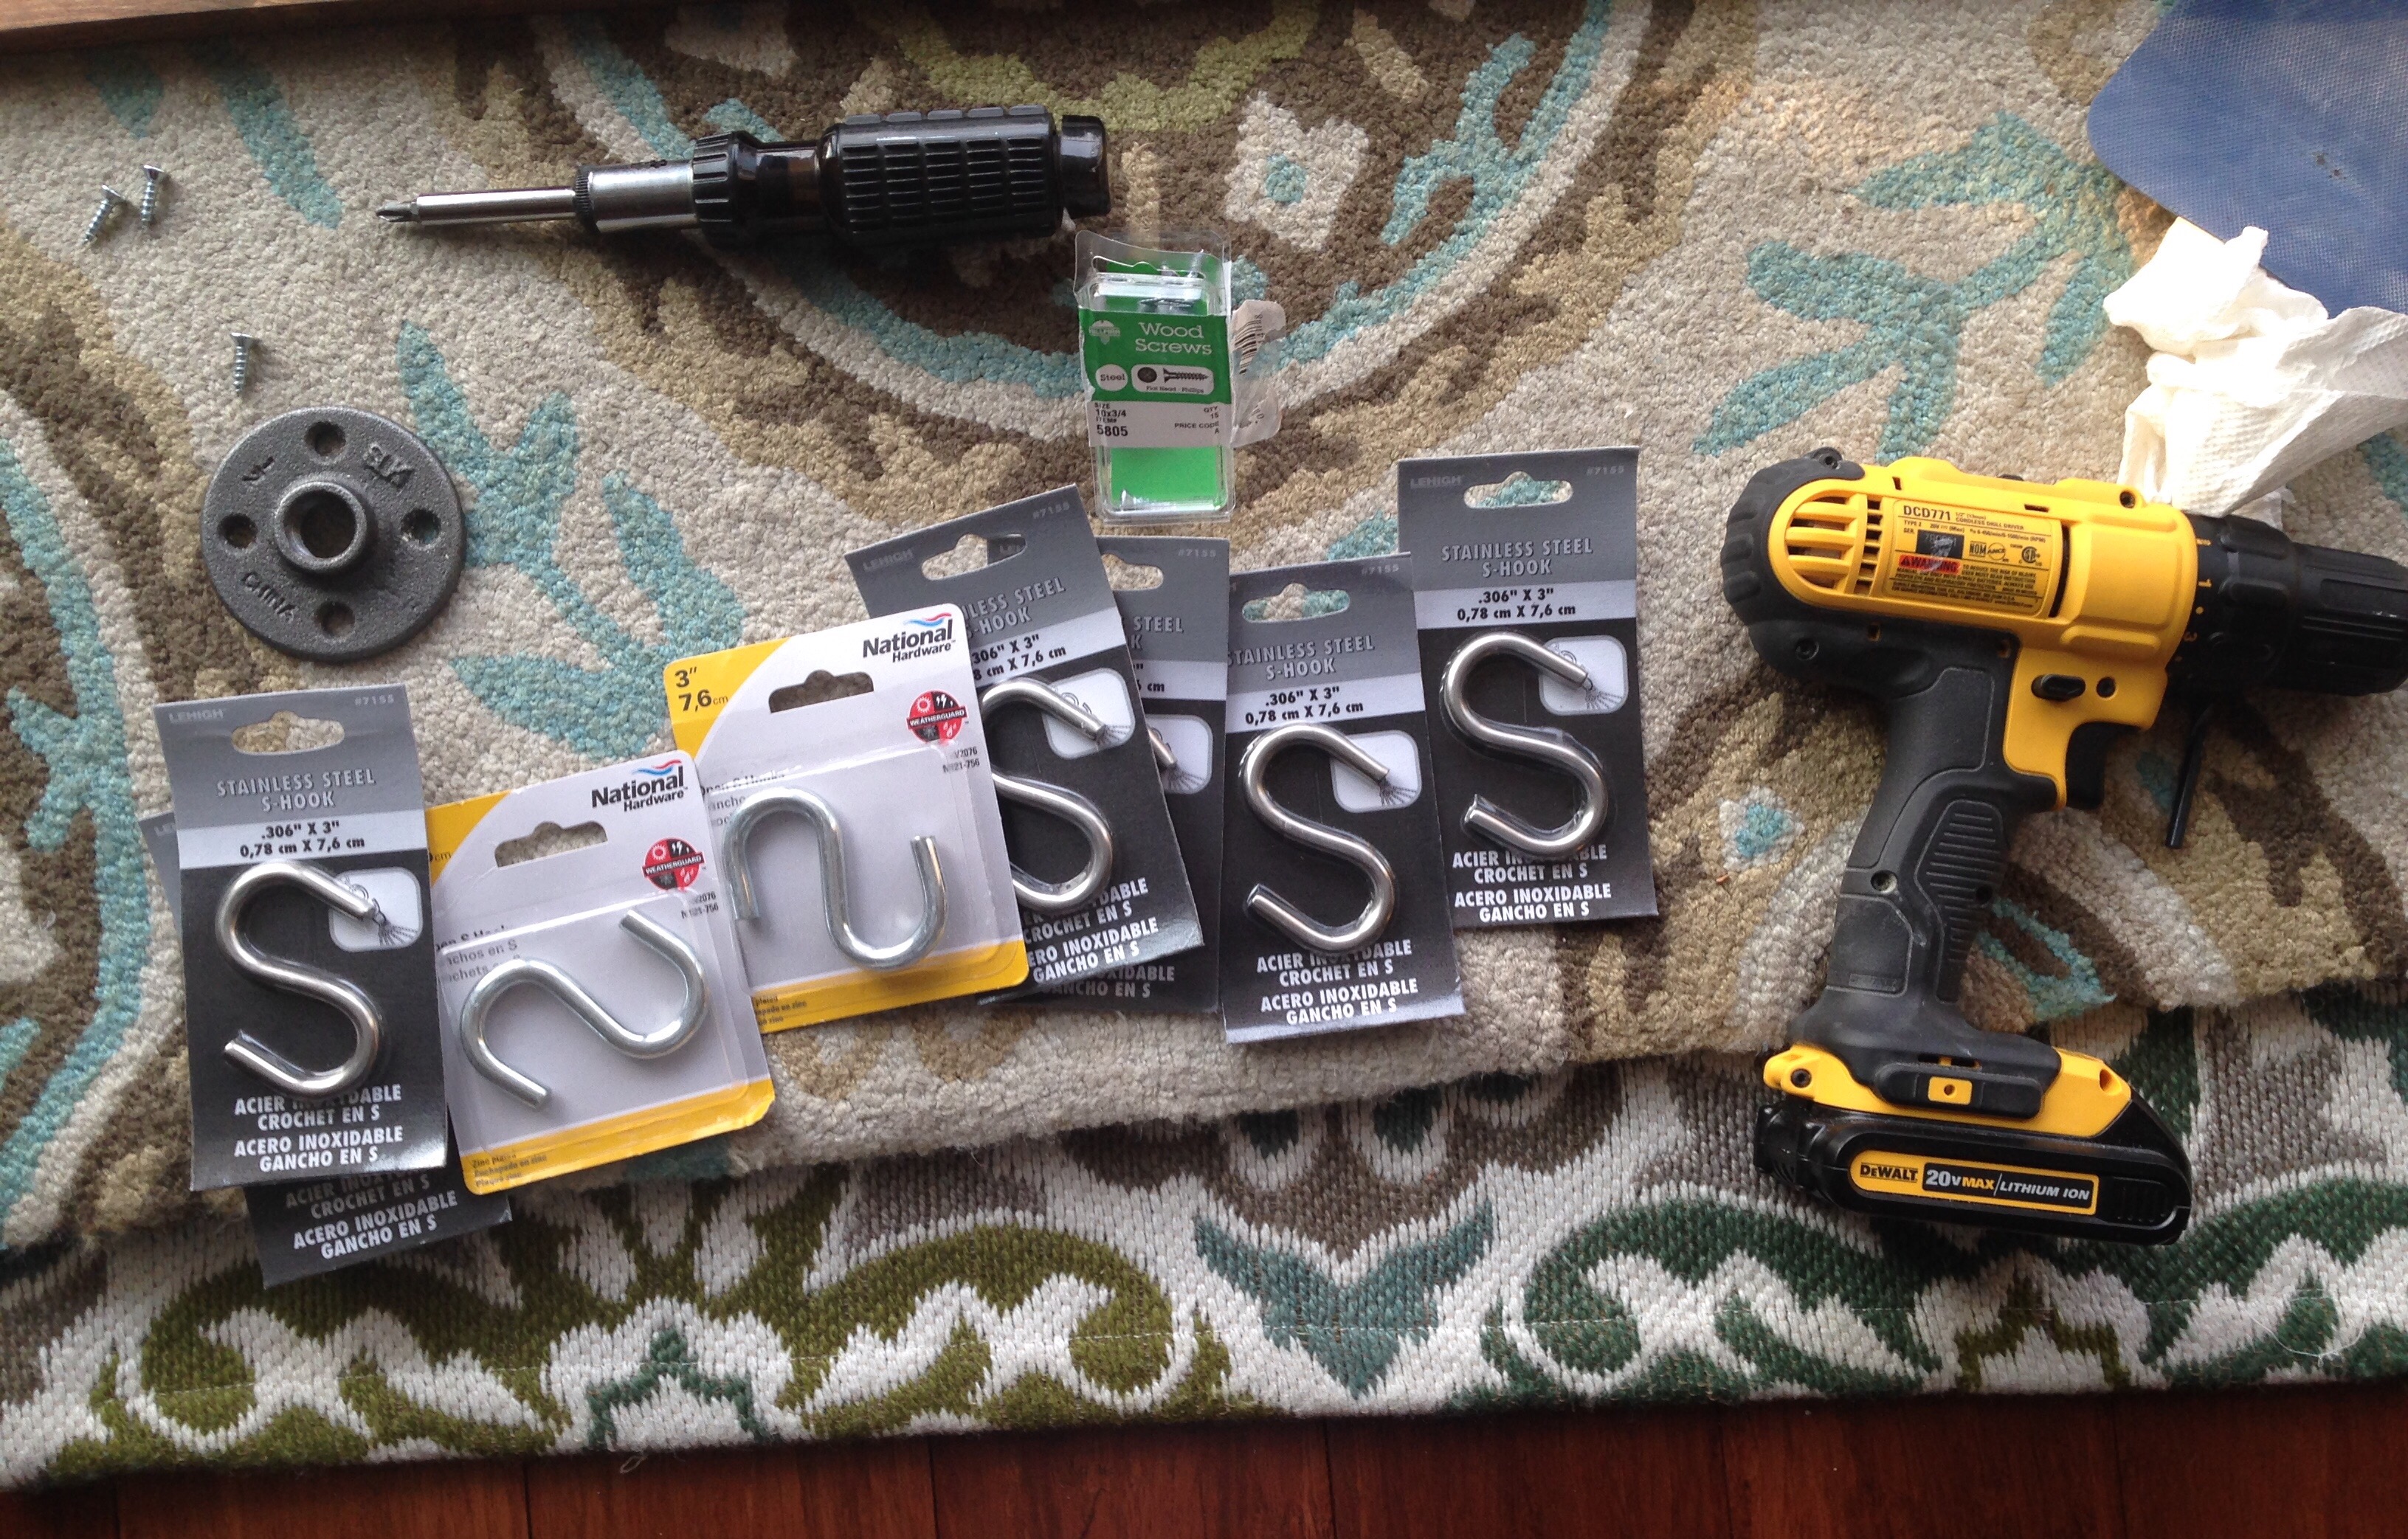
- S Hooks (3″ or 7,6 cm size)
- Wood screws (Size 10, 3/4 inch)
- Power drill (for pre-drilling holes)
- Screwdriver
A couple of quick notes on the supplies. For the wood screws, get the 3/4″ flat heads.
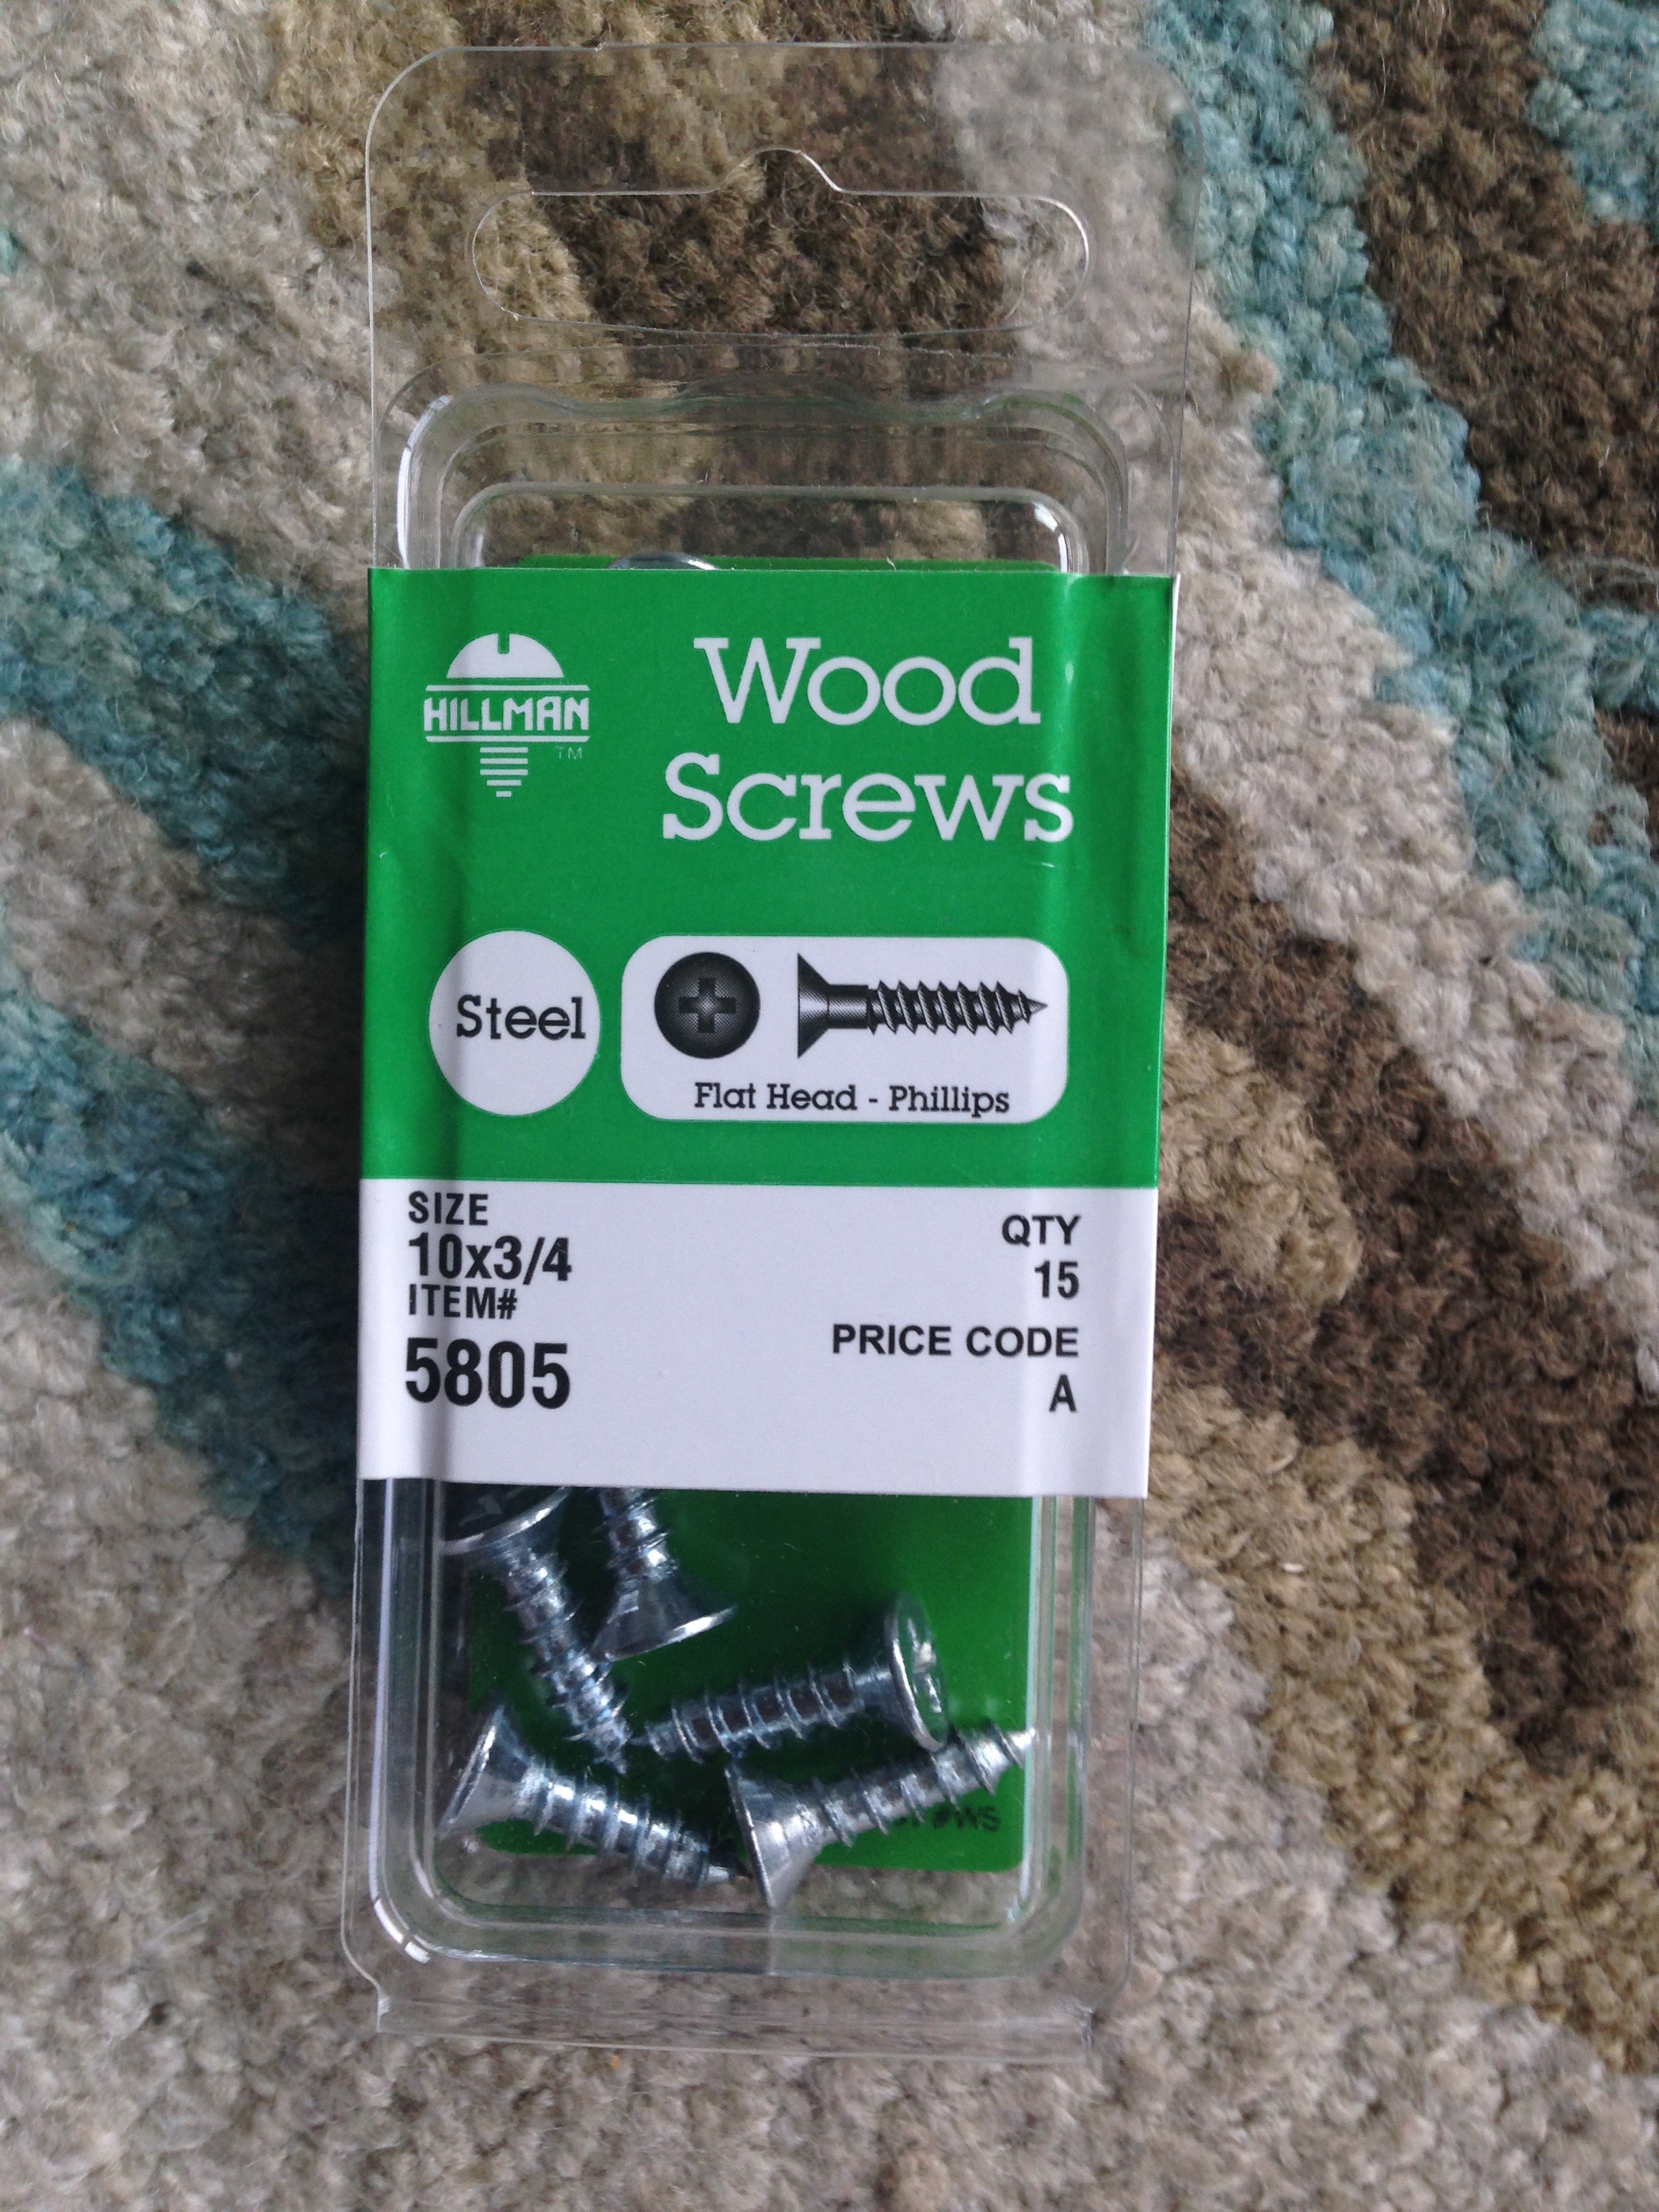
Since we’re dealing with 1″ thick wood, these will be sure not to poke through the other side.
Position the pipe hanging bar flanges on the wood, then use a chalk marker or pencil to mark the holes.
Make pilot holes (roughly 5/32 size) using the hole marks. When it’s time to add the hanging bar, attach to the wood using the wood screws.
- Step 4: Mount the wood and pipe hanging bar.
Sigh…I always save the hardest step for last.
First, I took the Pottery Barn wall entryway organizer off the wall.
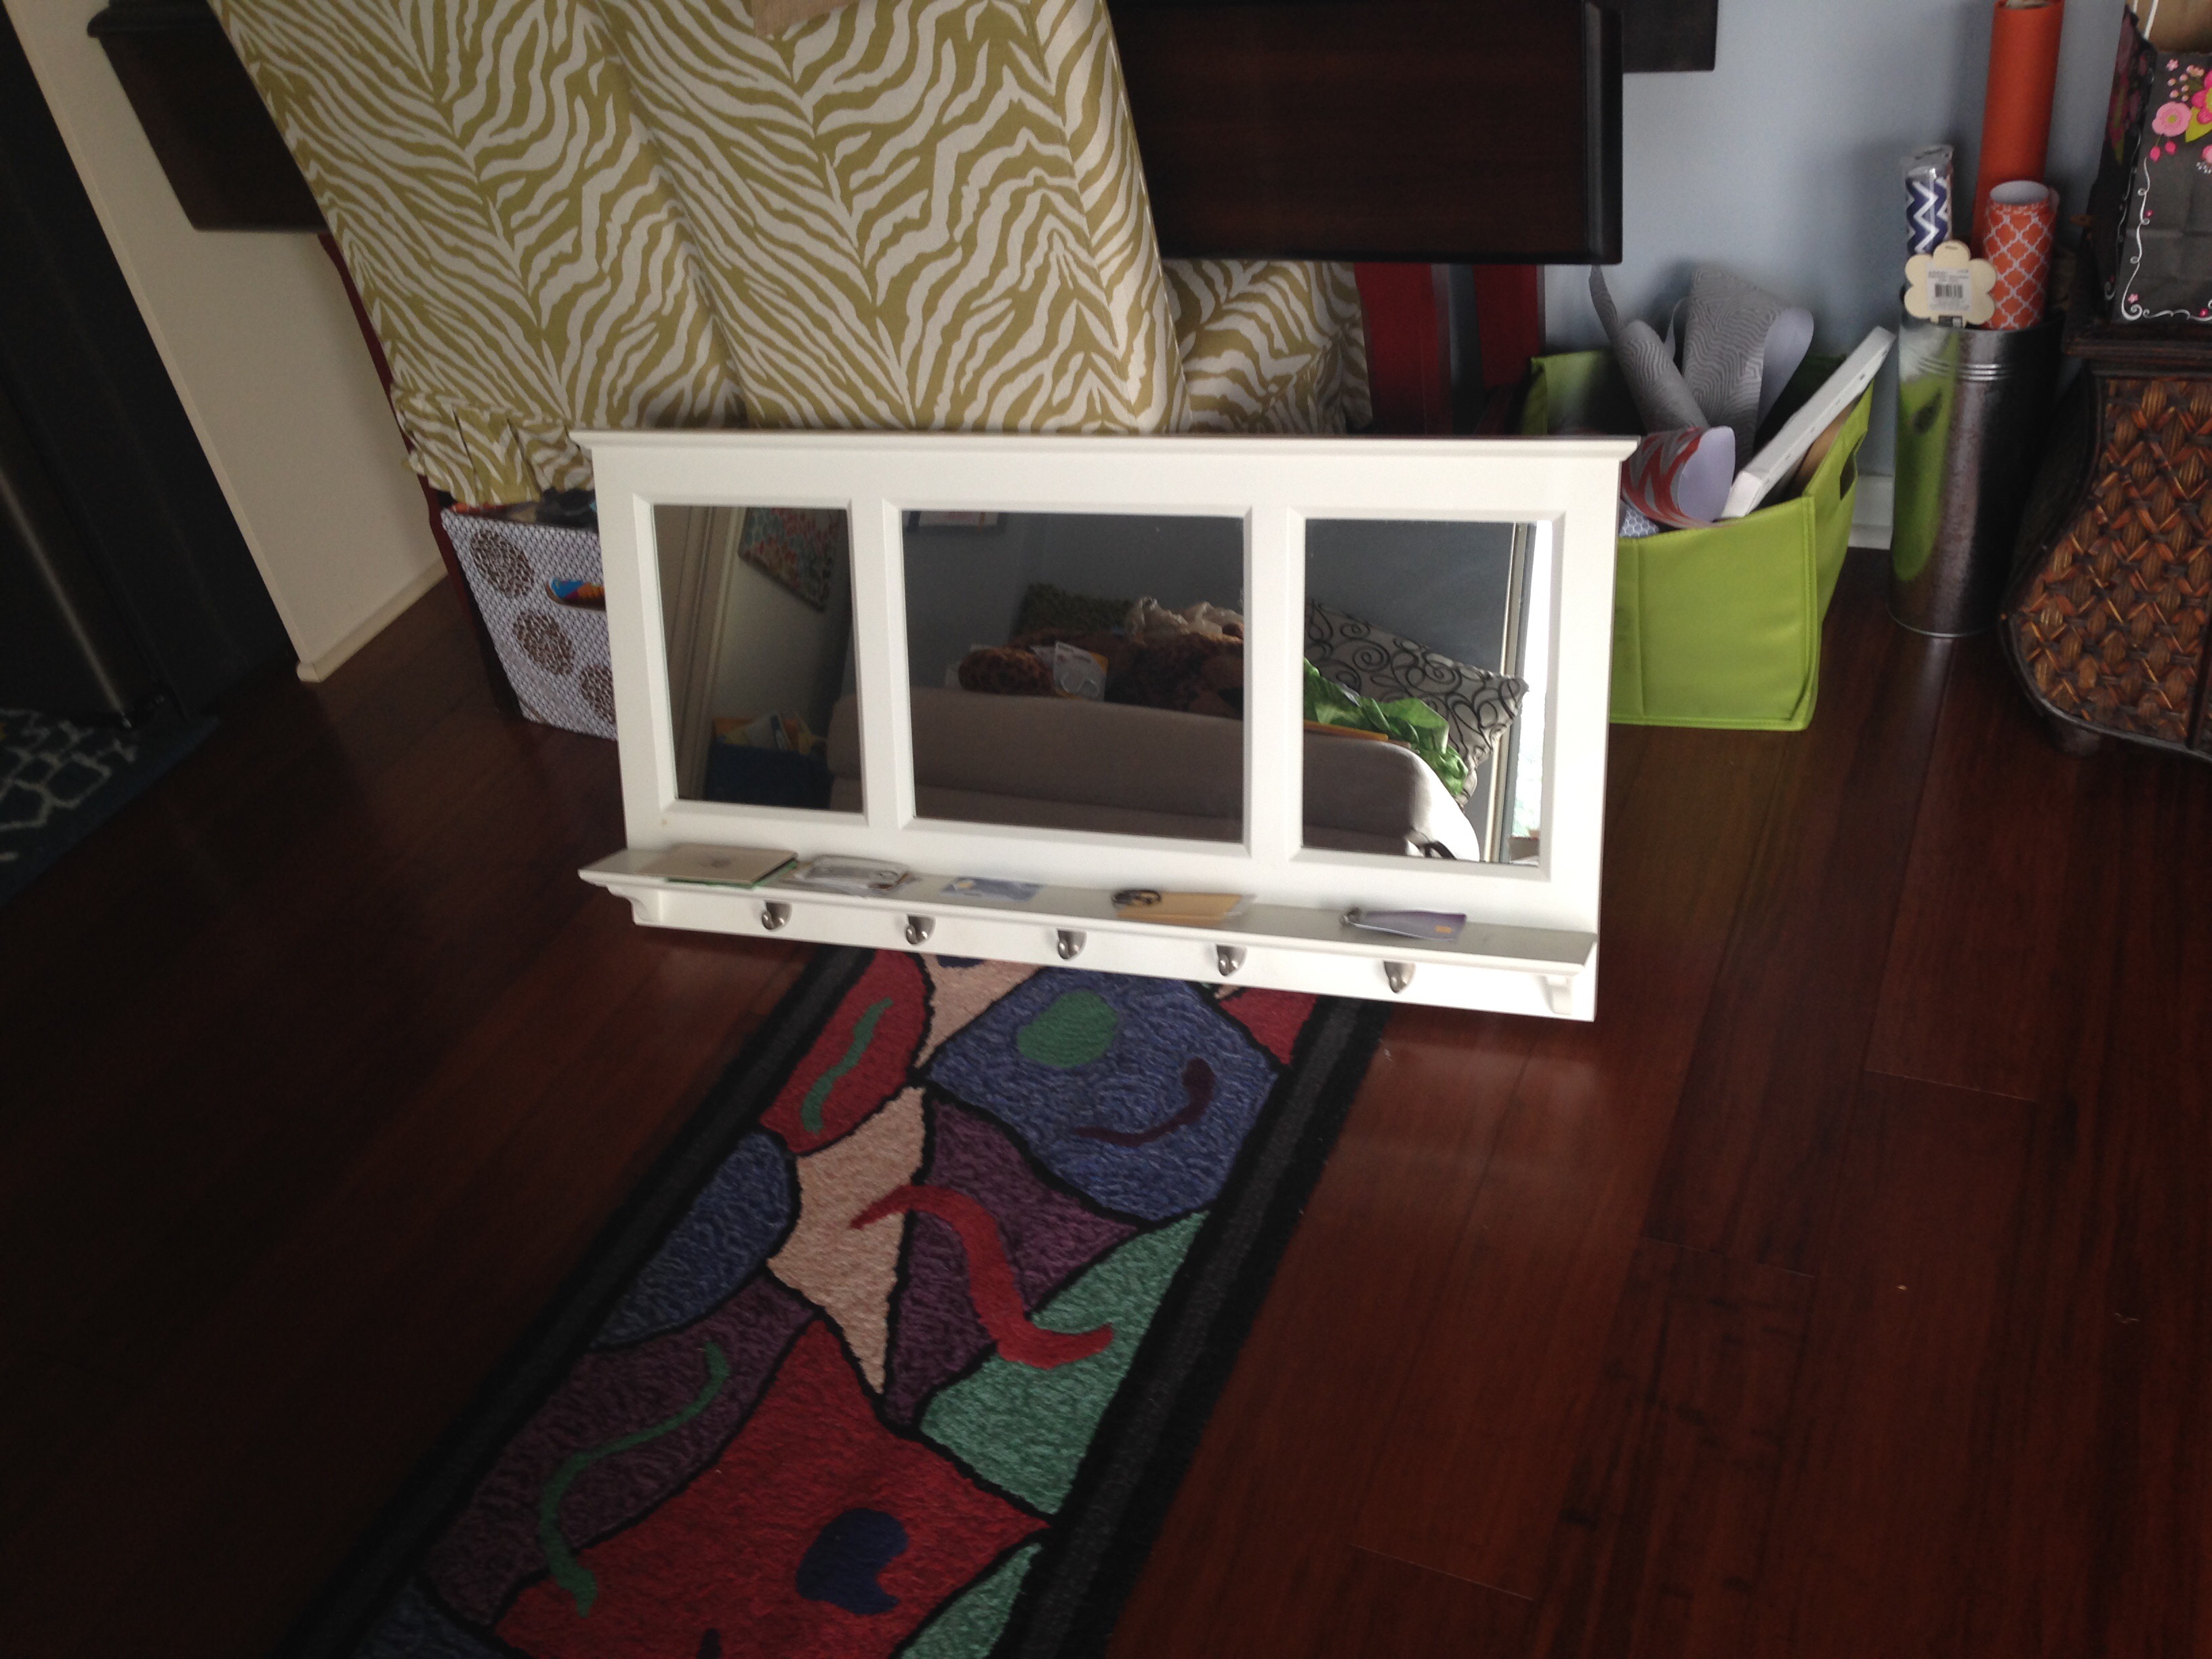
I then measured where I want the 64″ wood board to go on the wall. I marked the location using tape. And re-hung the wall organizer.
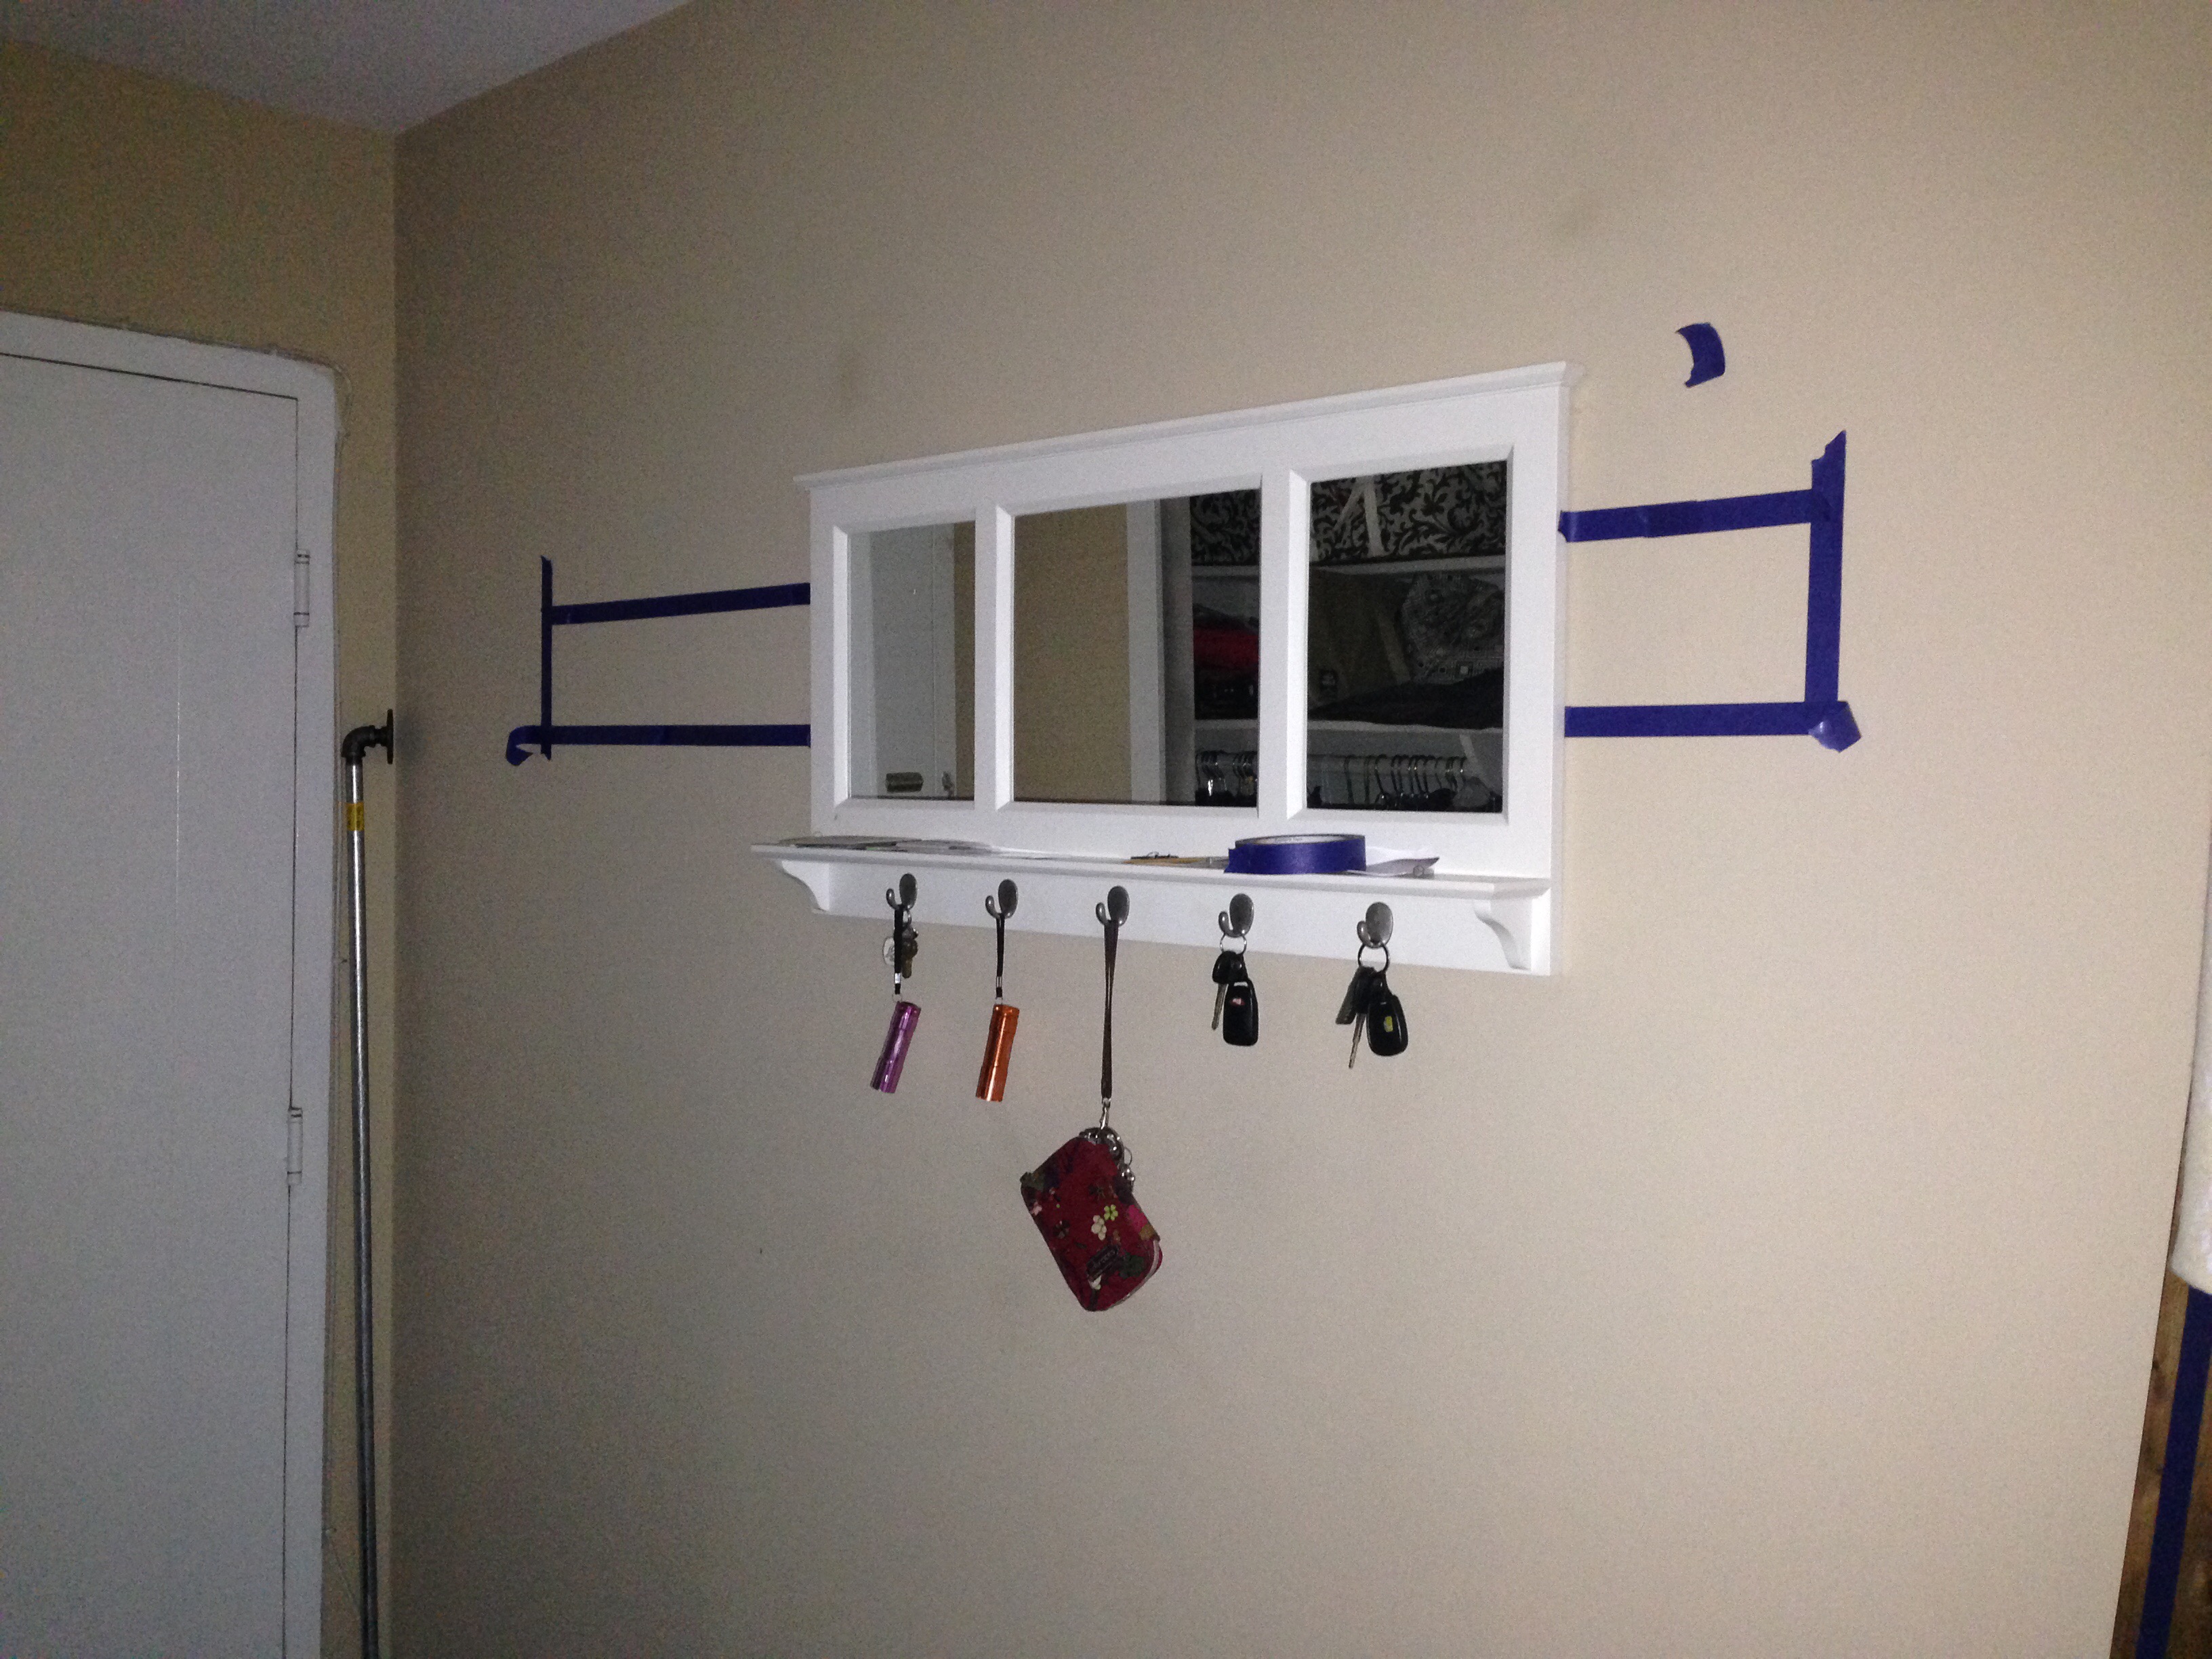
So, for this mount, there are no wall studs! I repeat…NO WALL STUDS. This building was constructed in the mid-sixties, so instead of wood studs and drywall, I’m dealing with plaster and steel. So toggle bolt anchors are a must.
The upside is that I can mark my mount points directly on the wood board, and then pre-drill the holes. Then use those holes as a guide for where to drill the holes on the wall for the mount.
To mark and pre-drill holes on the wood, I temporarily removed the hanging bar.
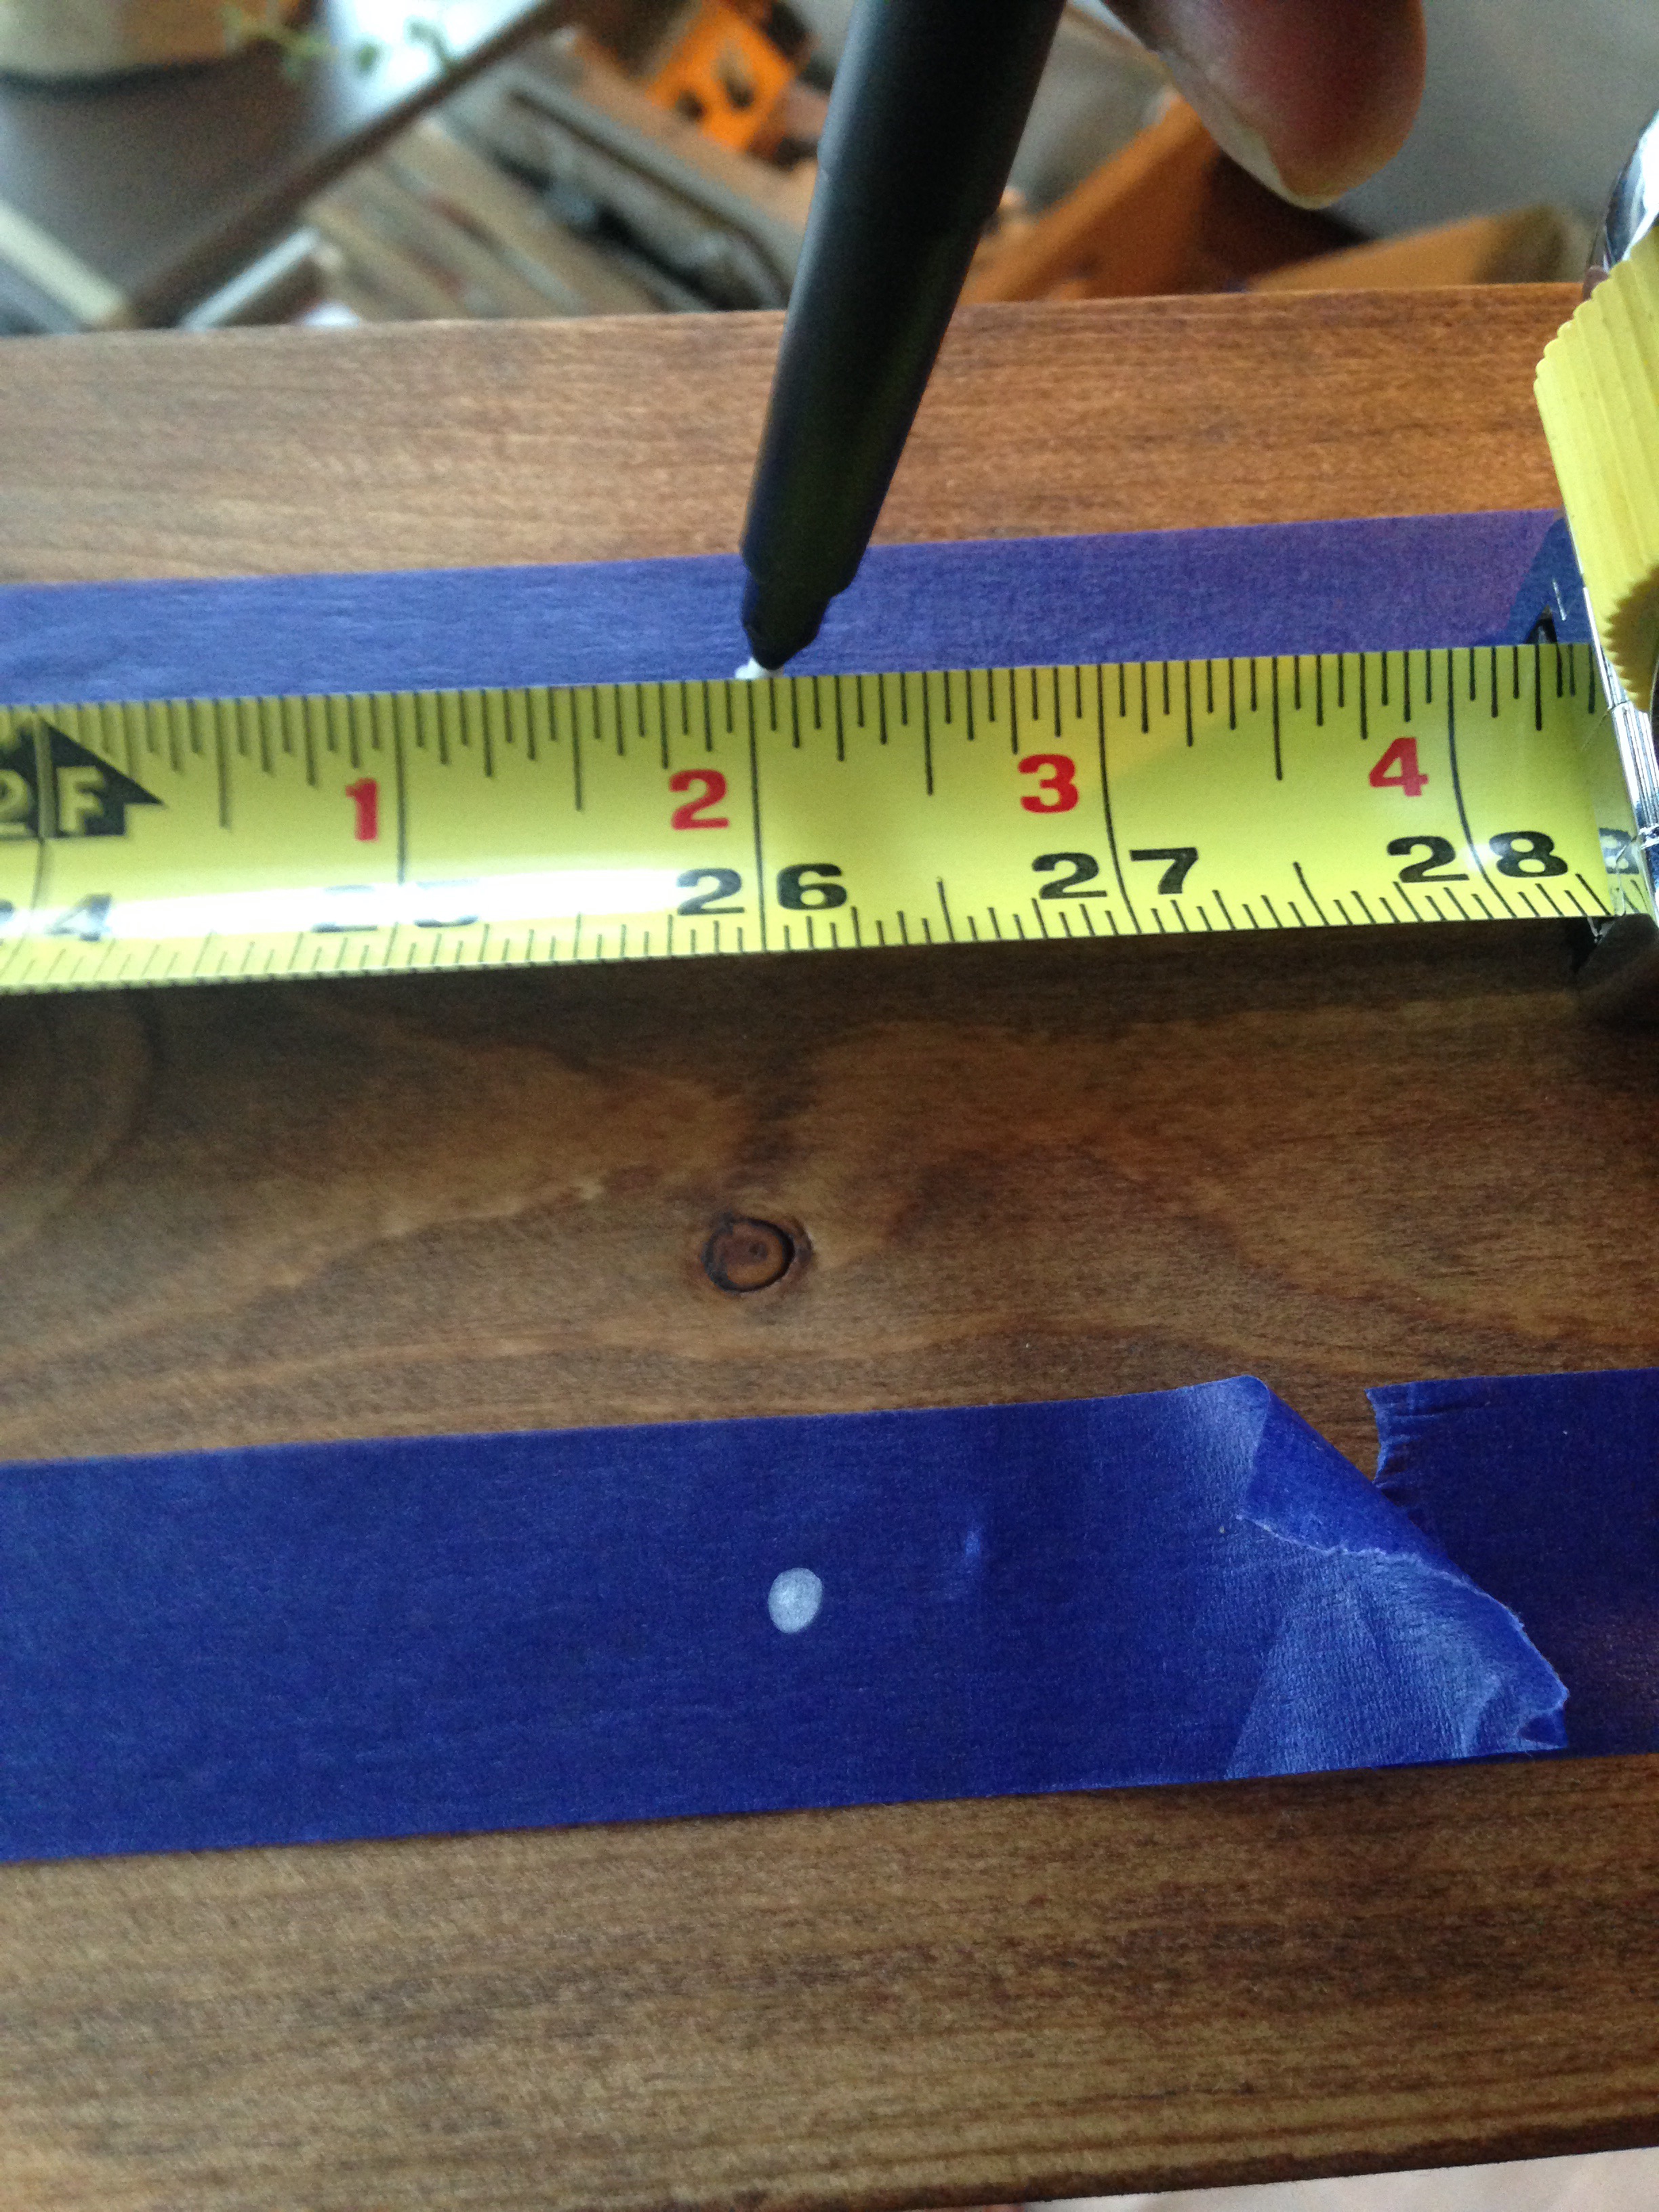
Using a tape measure to pinpoint the location for mount points…

…I marked off the rows where I will drill holes with painters tape.
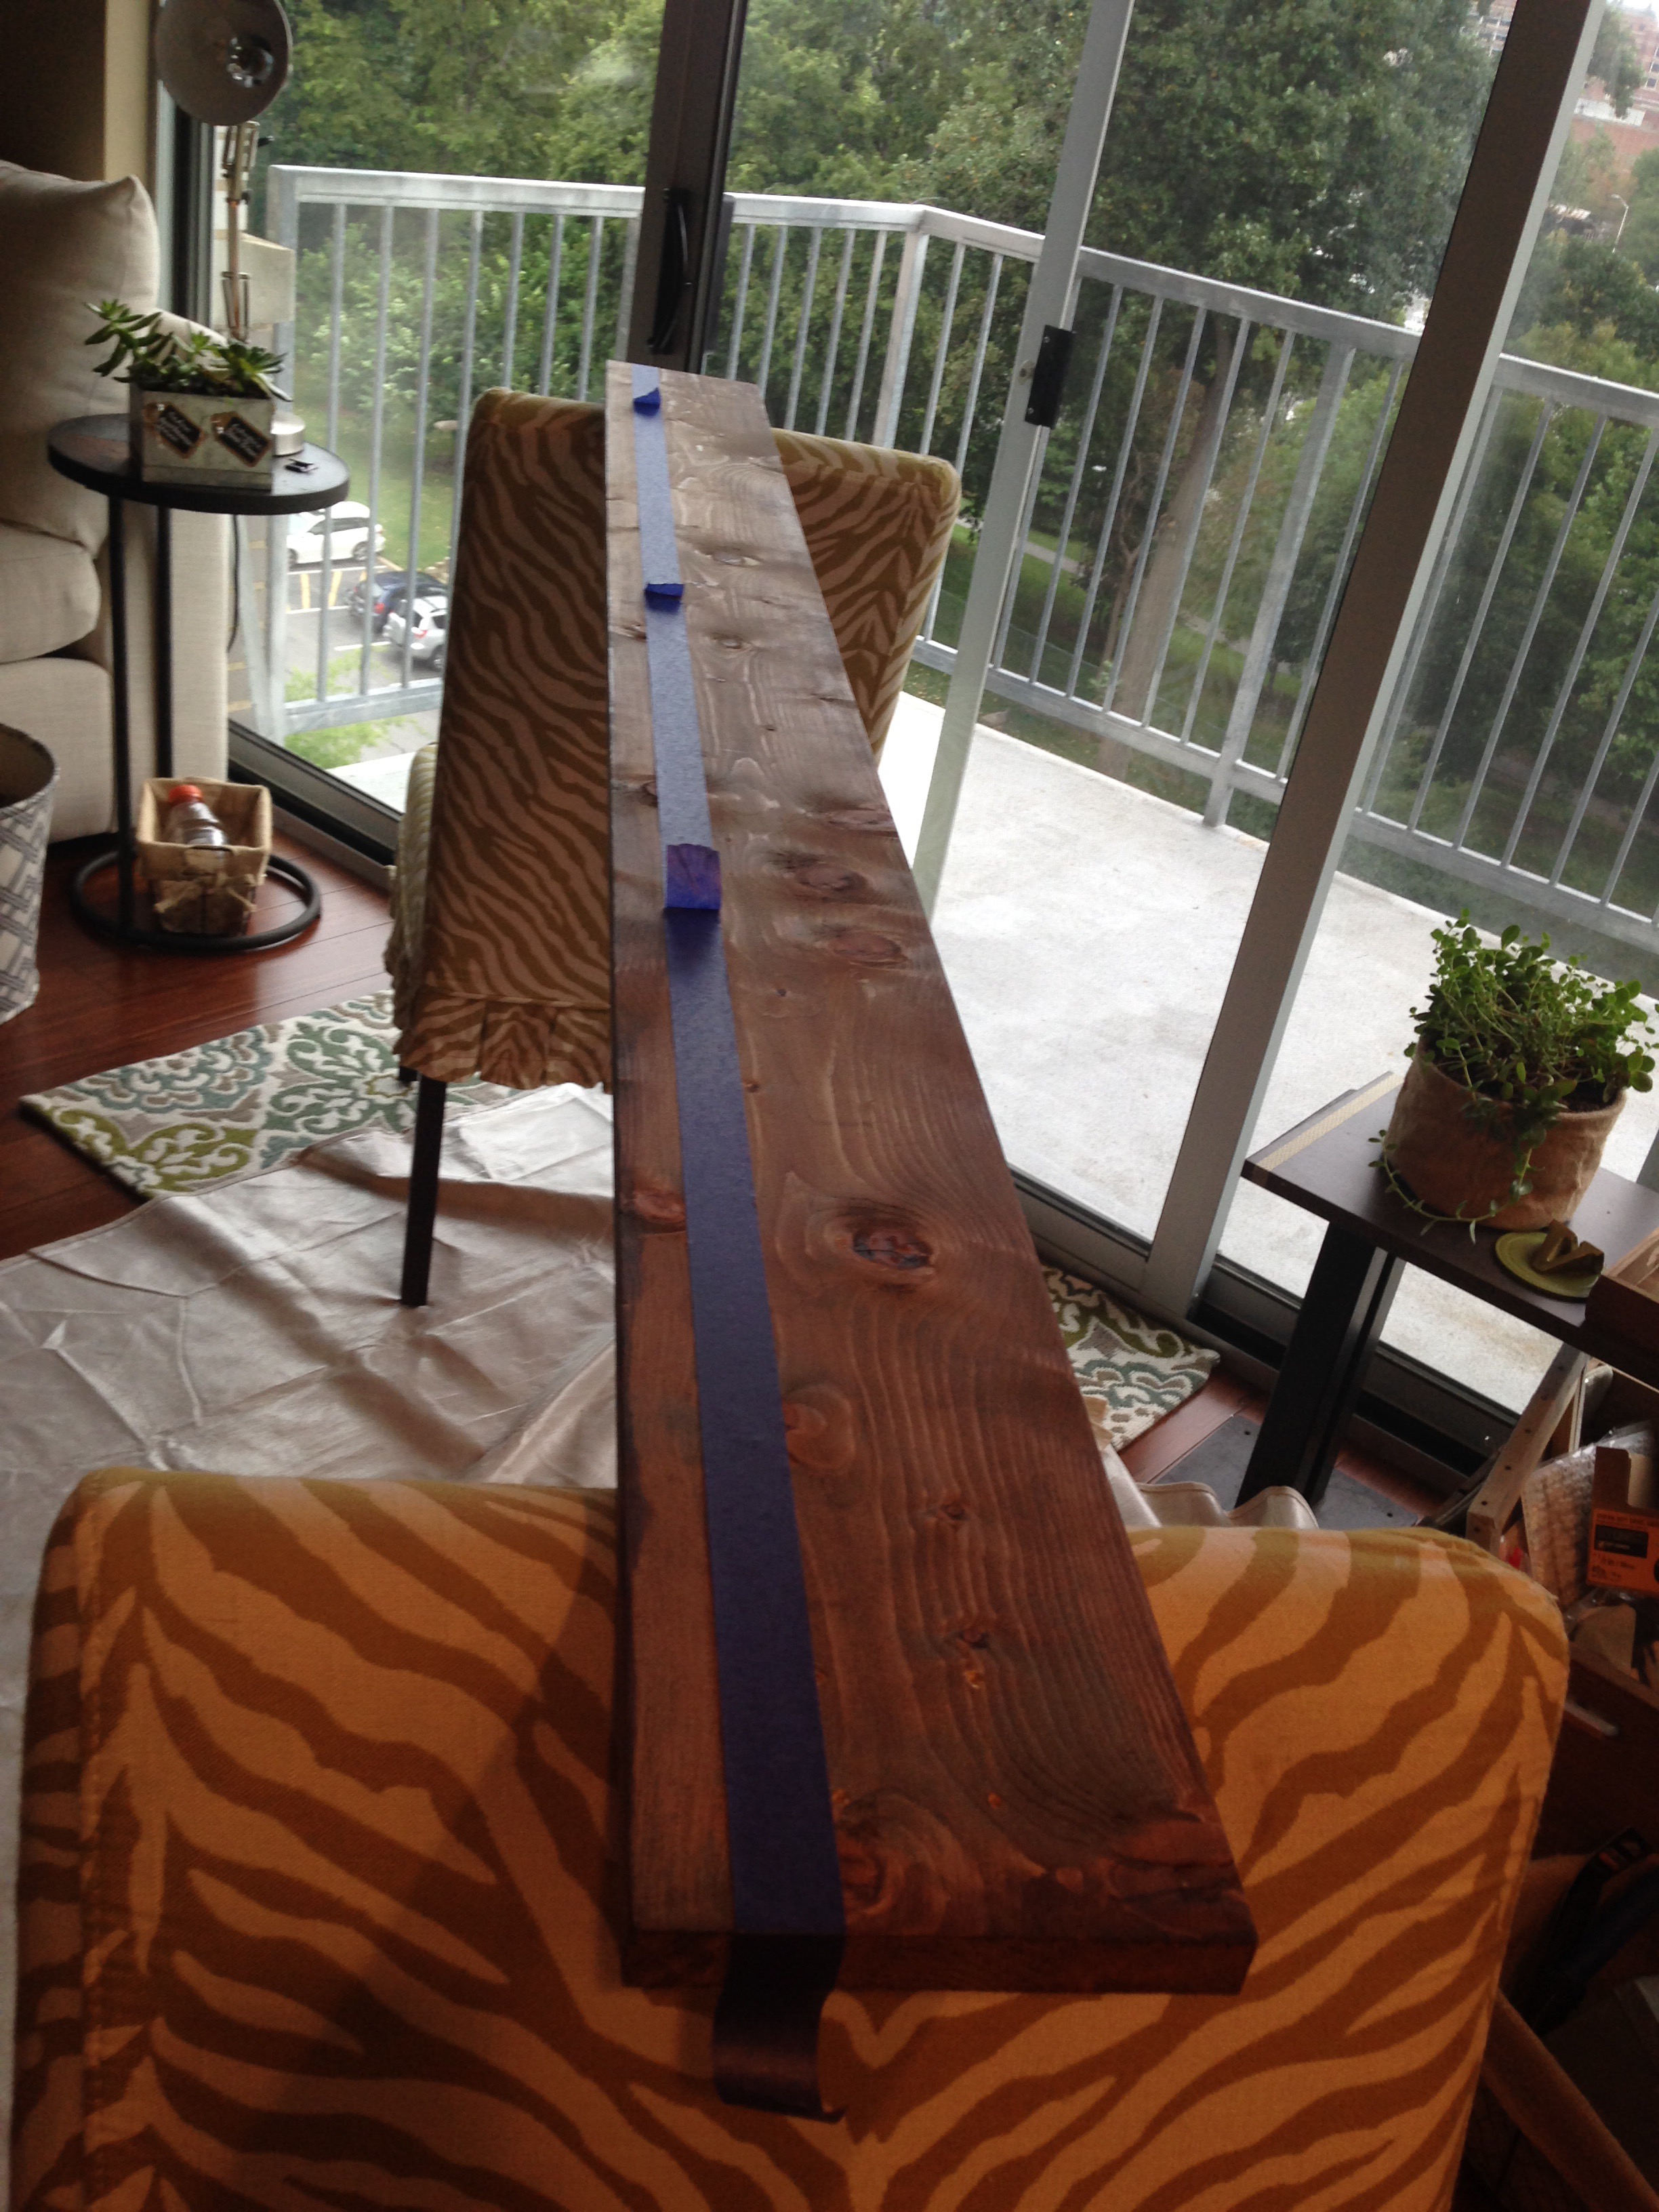
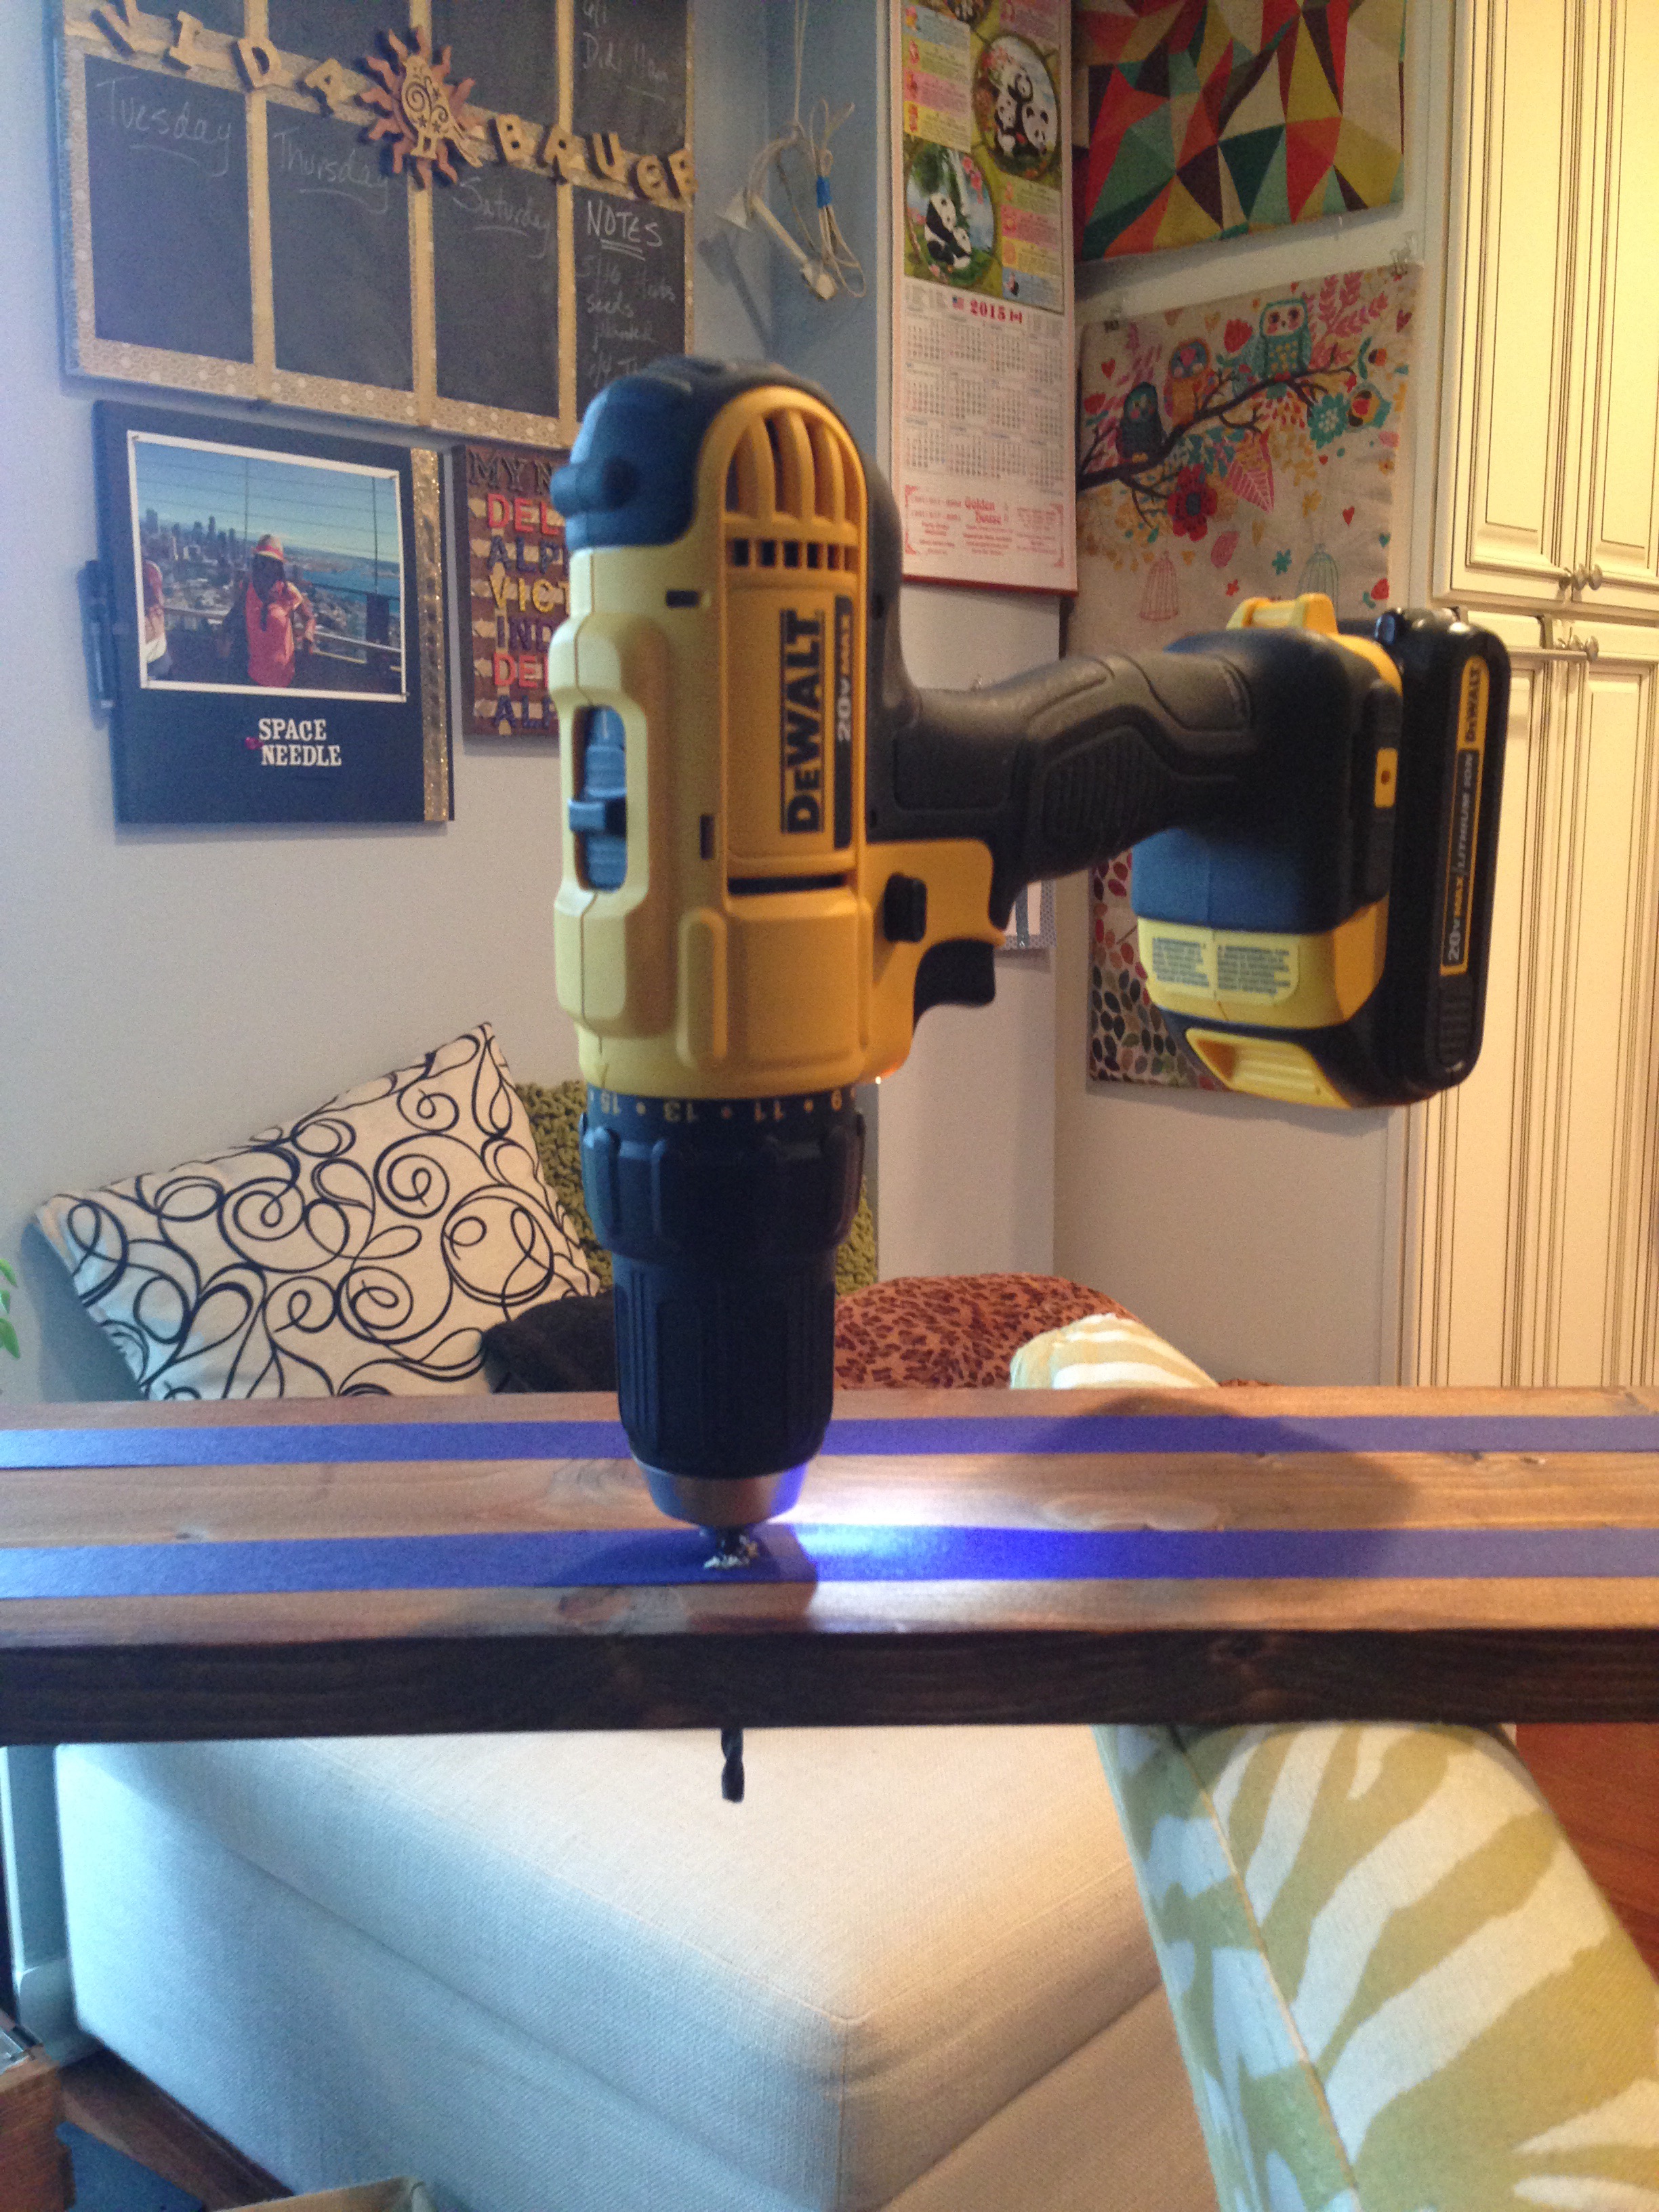
I used chalk marker to mark a spot for each pre-drill hole on the tape. I spaced each hole roughly 13″ apart.
Once I had both rows of pre-drill marks added to the board…
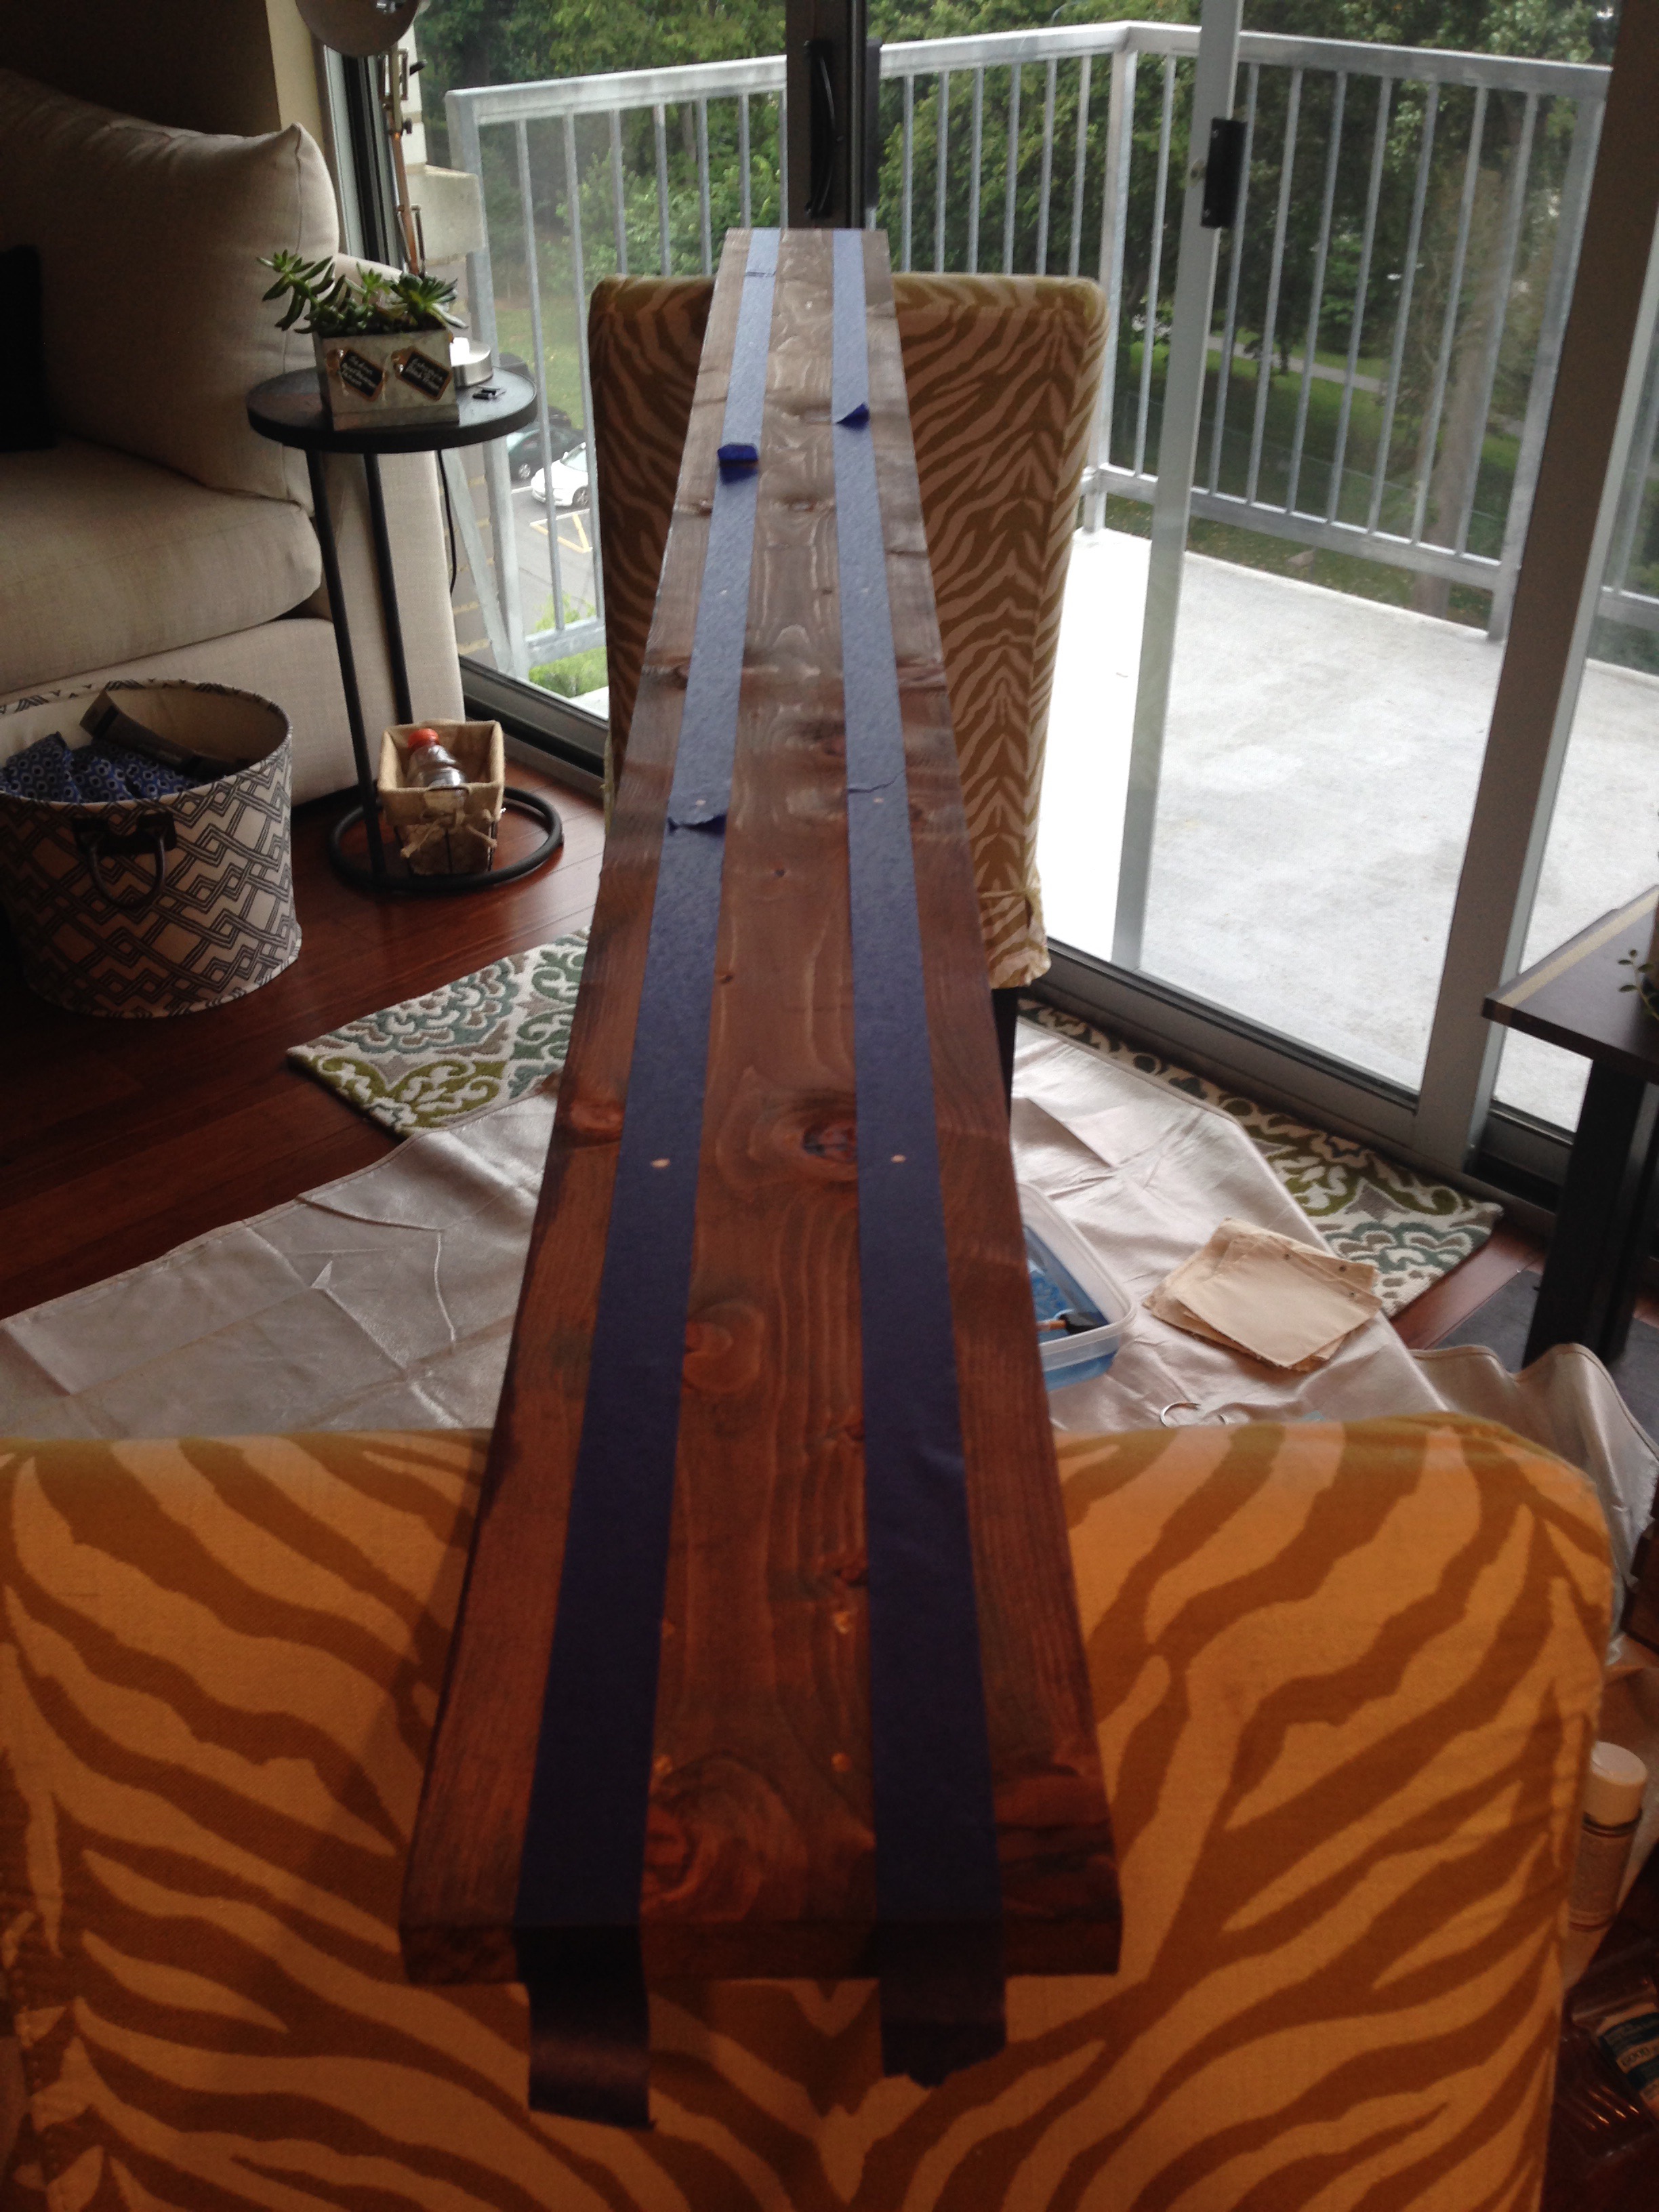
…I pre-drilled holes at each hole mark using a 1/4″ drill bit.
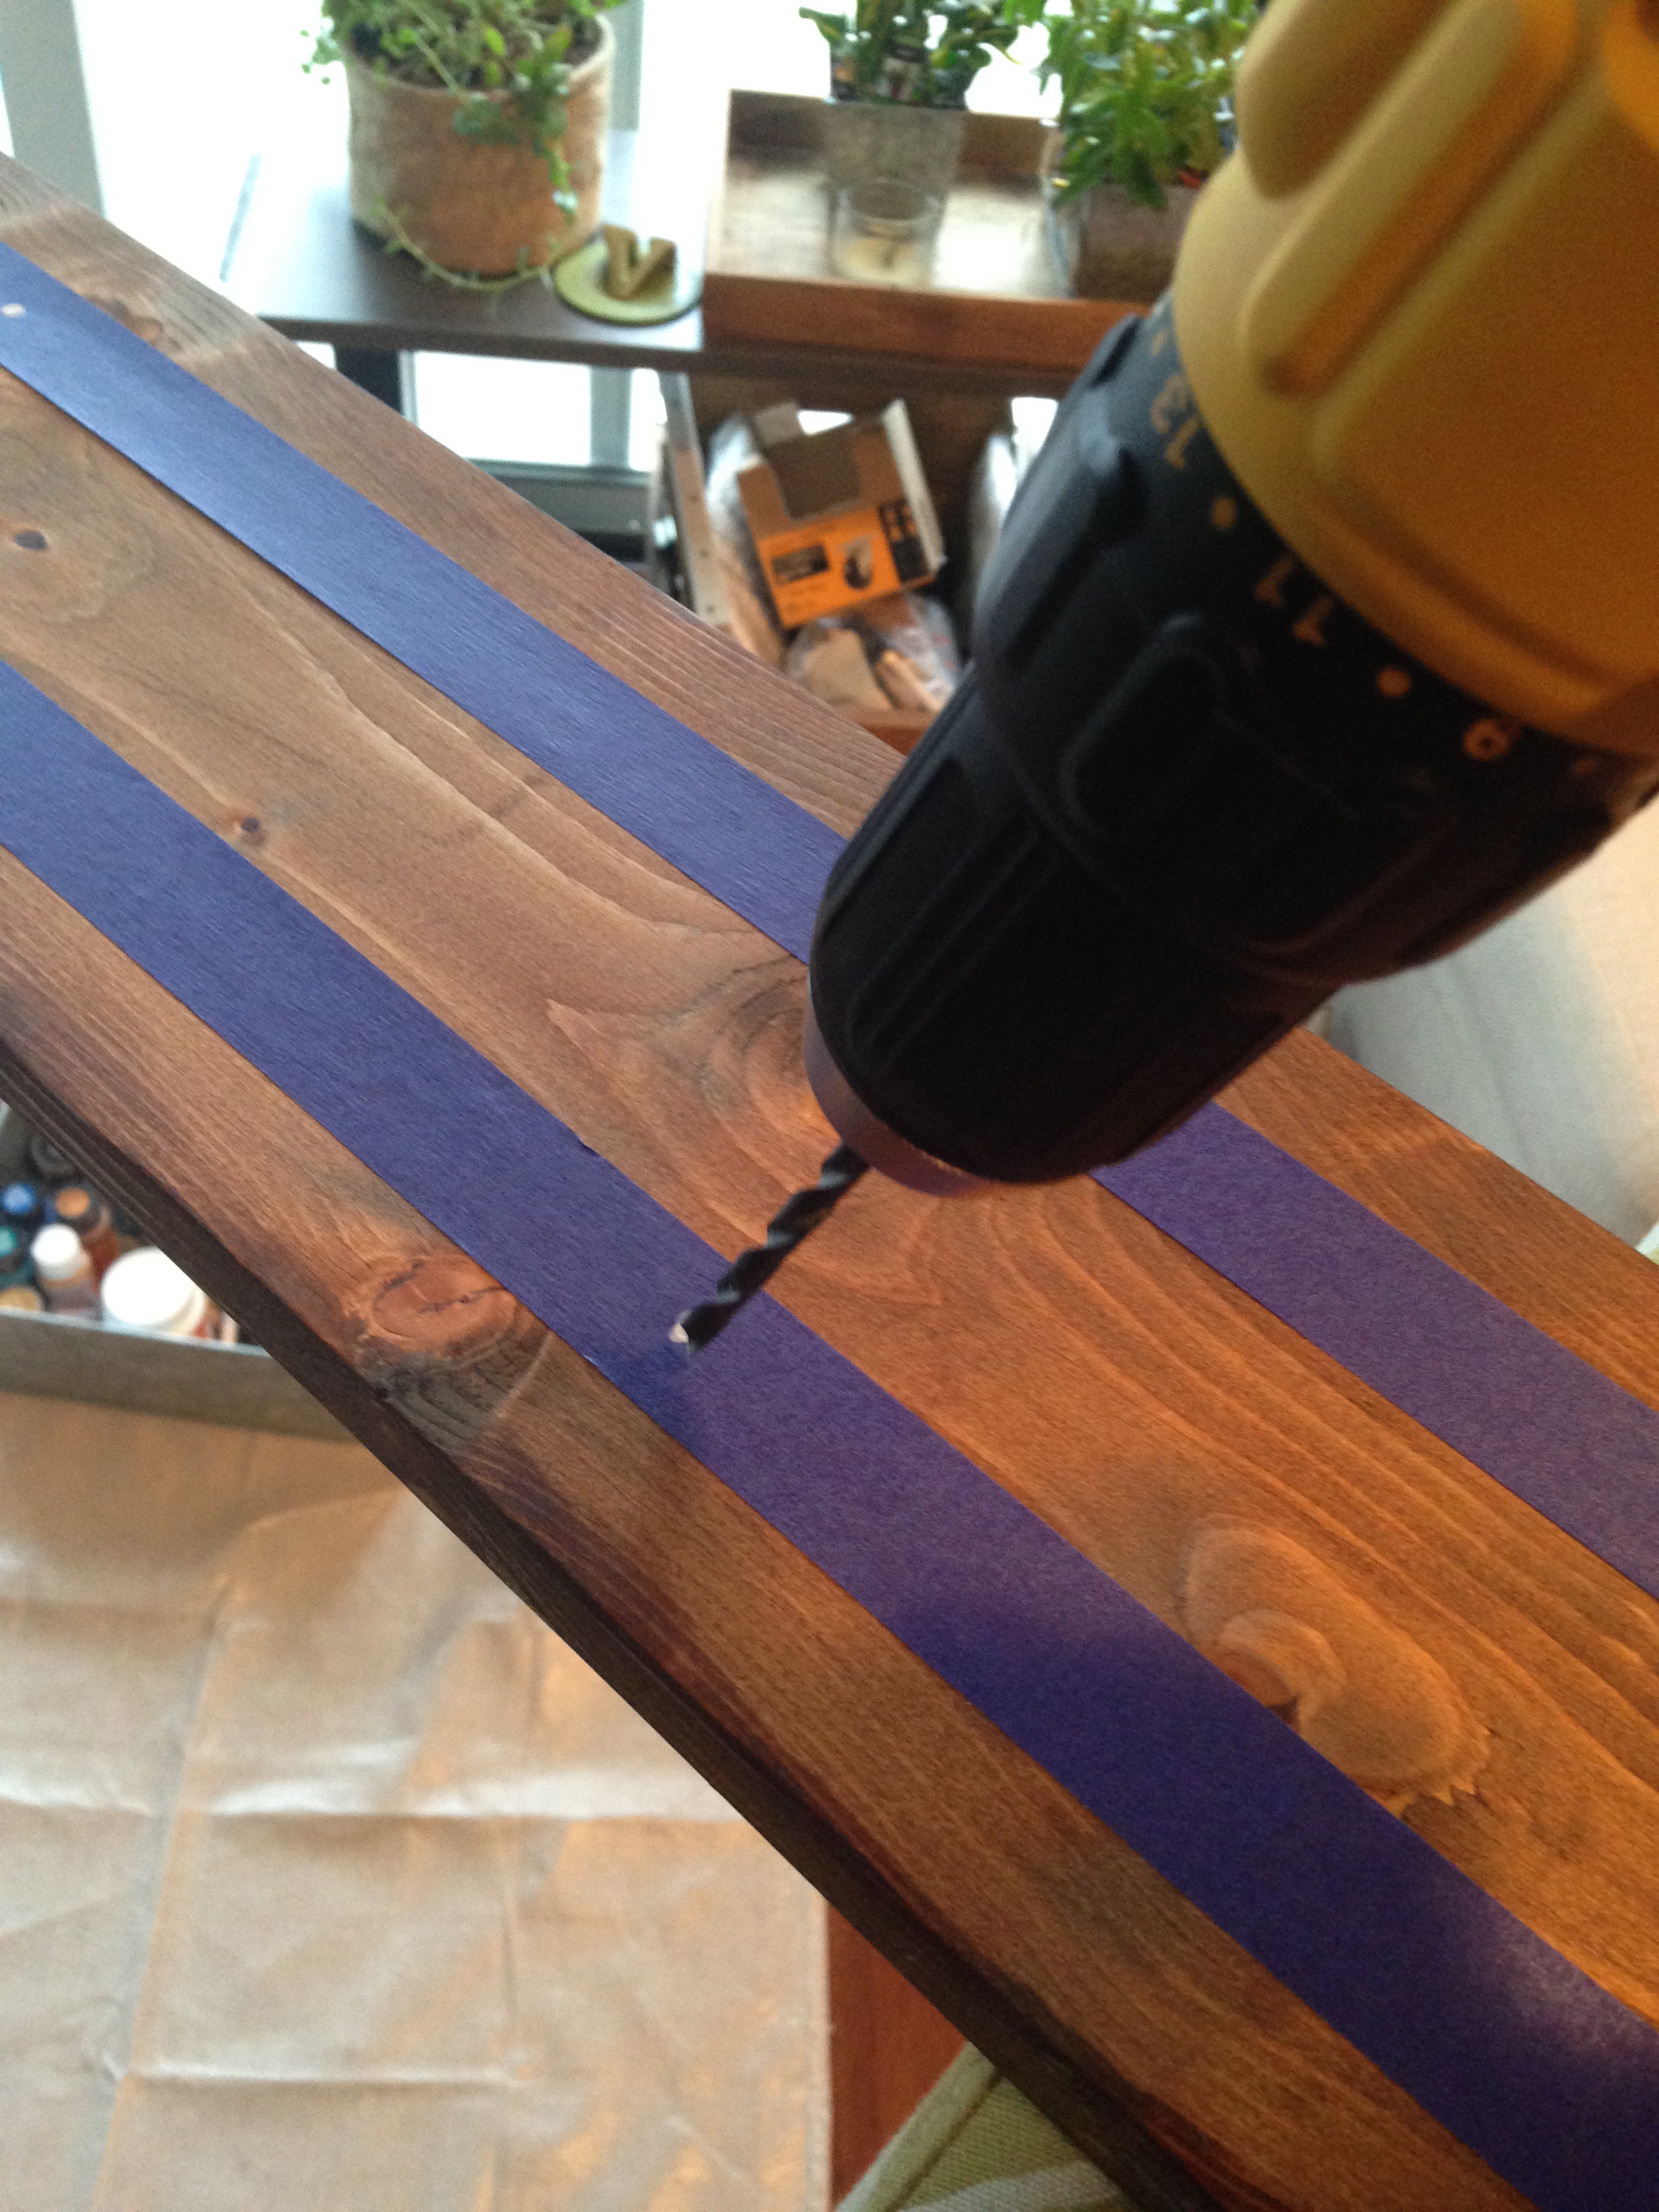
Condo crafting at its best. Yes, I’m using two dining room chairs as my work bench. 😉
So…time to mount it?! Heck no! That’s enough work for this weekend! I’ve got to get back to the world of Sunday grocery shopping, errands, work week prep, dinner, etc. But I’m determined to get this puppy up soon. Will tell you all about the mount in Part 3. V-