
Paper, glue and hexagon cork fun
You may also like:
April 12, 2015: I found these hexagon cork shaped tiles at Target and figured they would make a really cool project. I wanted to use them as functional wall decor in my crafting space – something pretty and decorative, but at the same time useful. Some push pins and voila! A reminder, image and inspiration snippet tackboard.
So, I first went with a hand-painted design approach to decorating the corks using my Handmade Modern stencils and metallic paint.
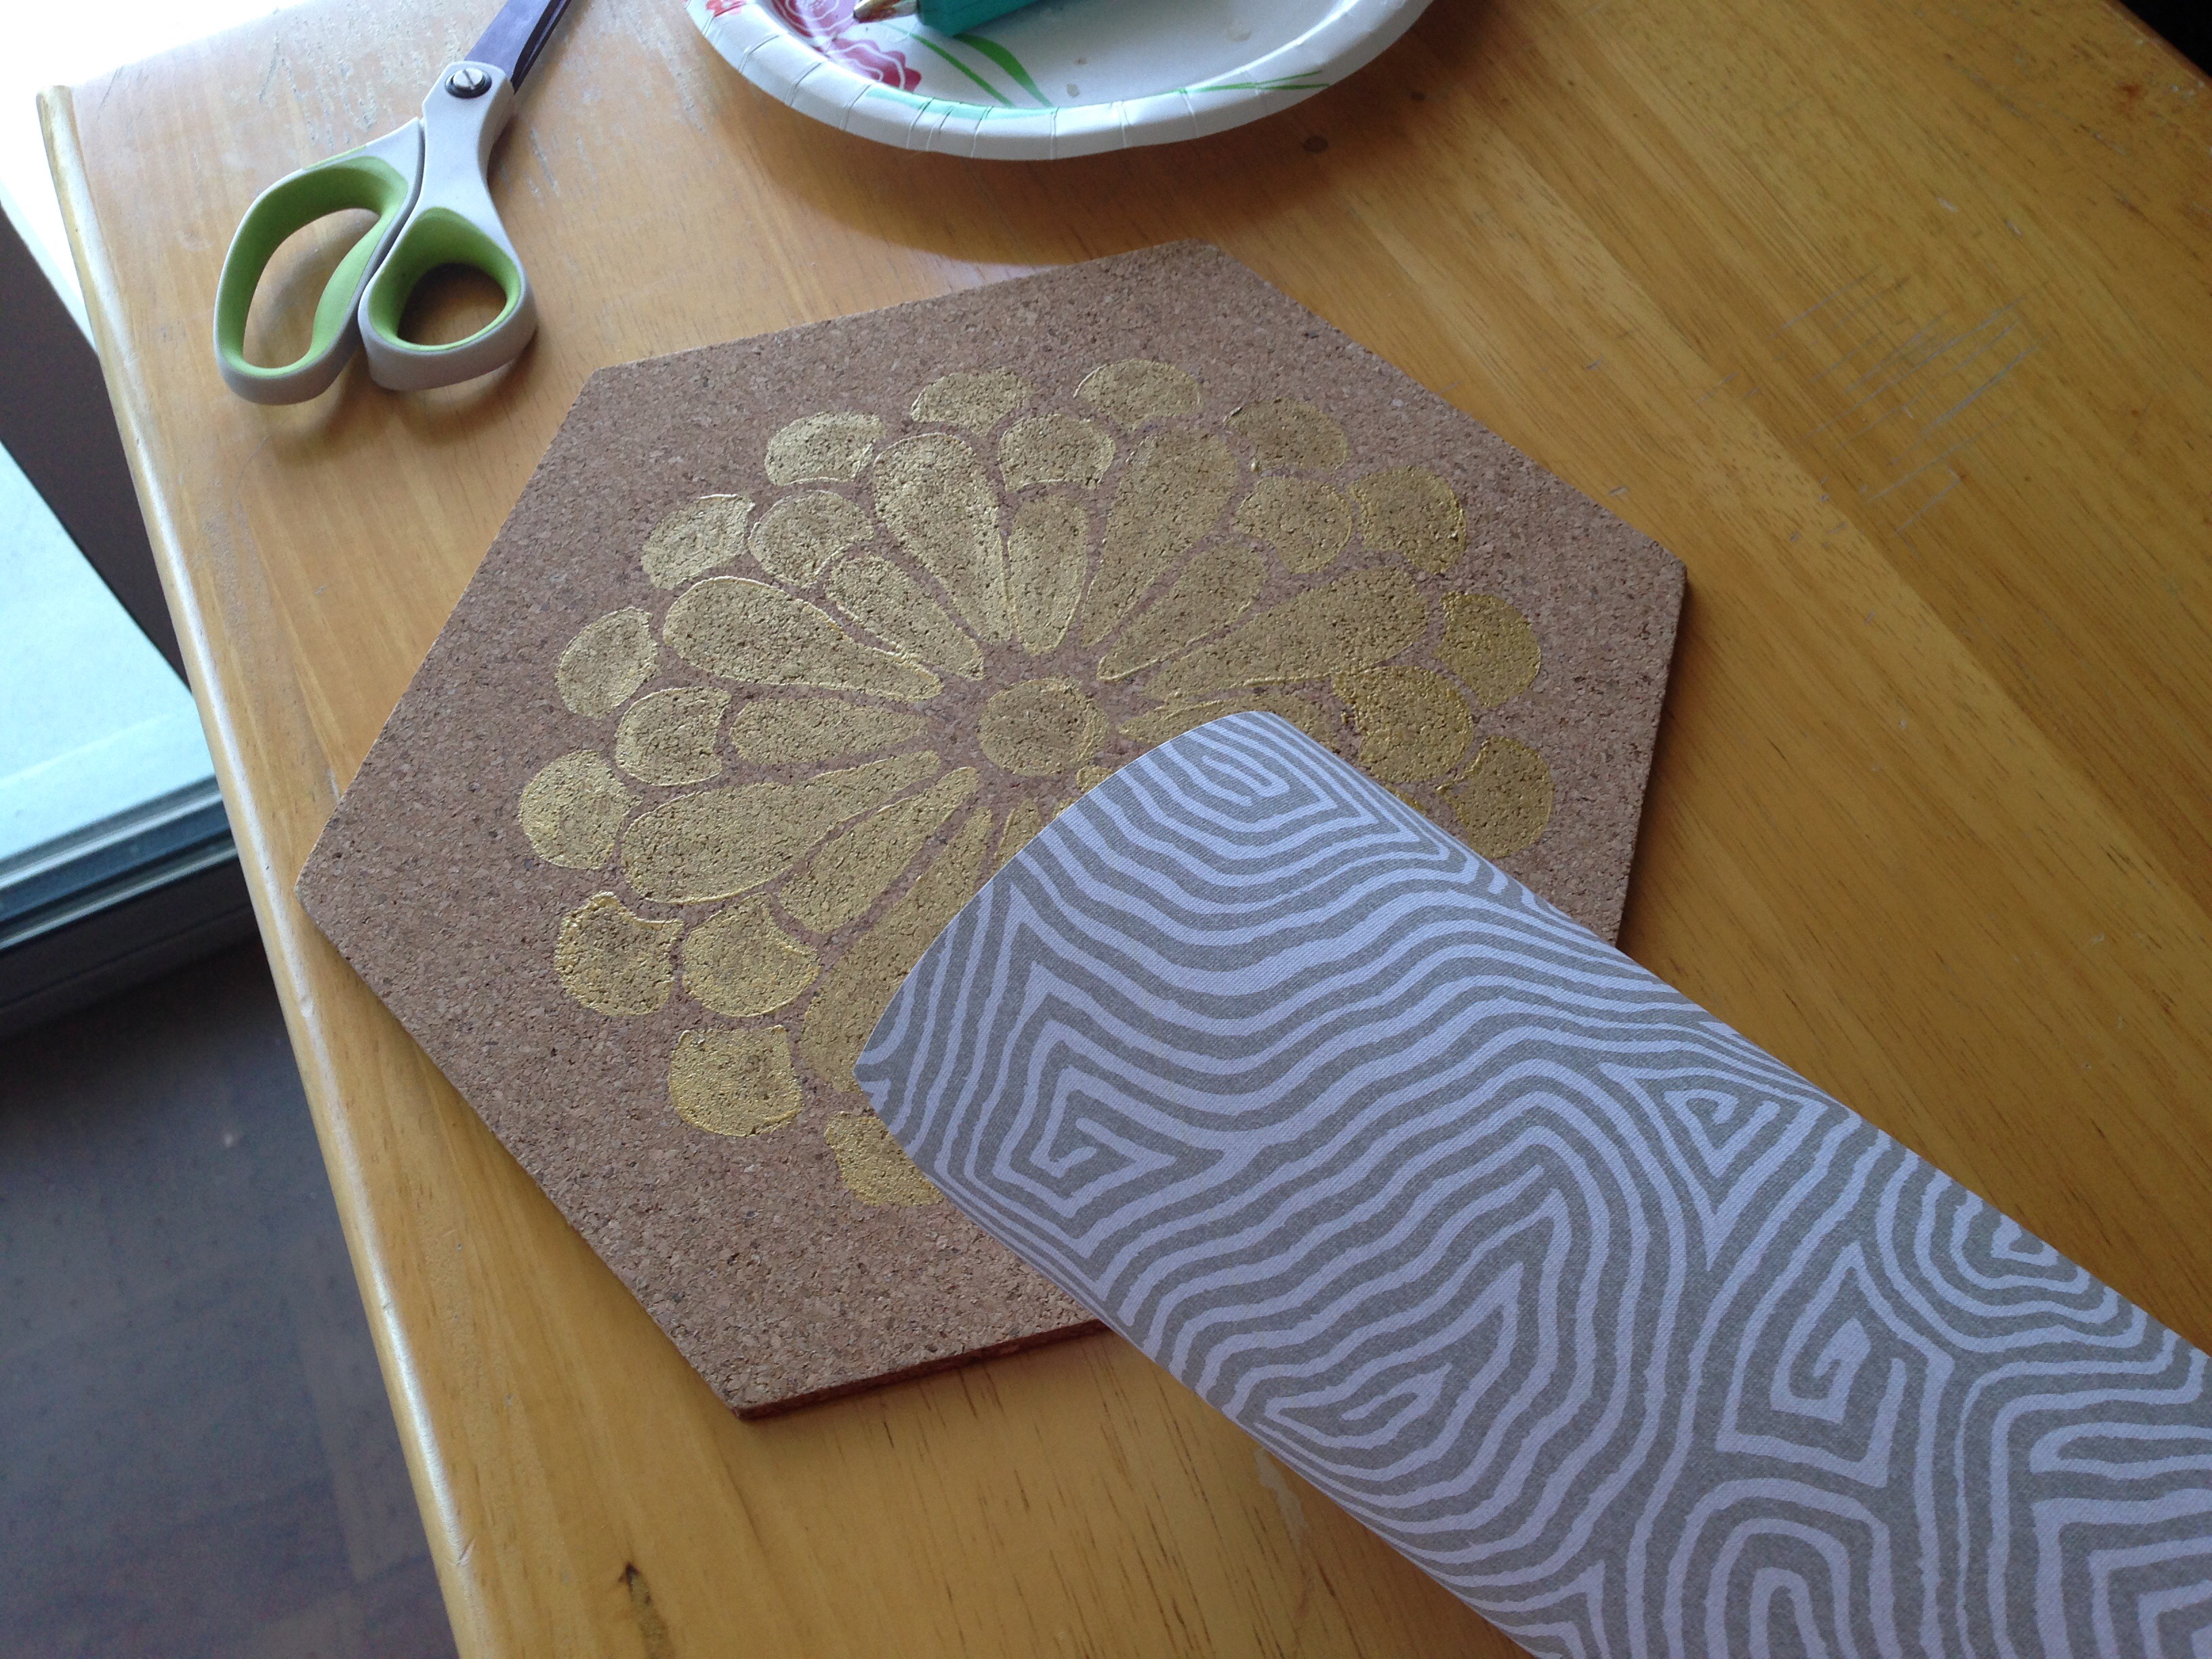
Yeah…as you see in this picture, a gold metallic painted stencil of a flower didn’t turn out so well (not like it did with the velour pillow project). Mostly it was a bad choice in color (hardly any contrast between the gold and cork). But my stencil work is mediocre at best.
So on to my default plan B when it comes to an artistic challenge – paper wrapping, decoupaging or plain old gluing. For this project, a hot glue gun, a pair of scissors, and pretty patterned paper from Target were gold.

I made several cute, paper decorated cork hexagon tiles by:
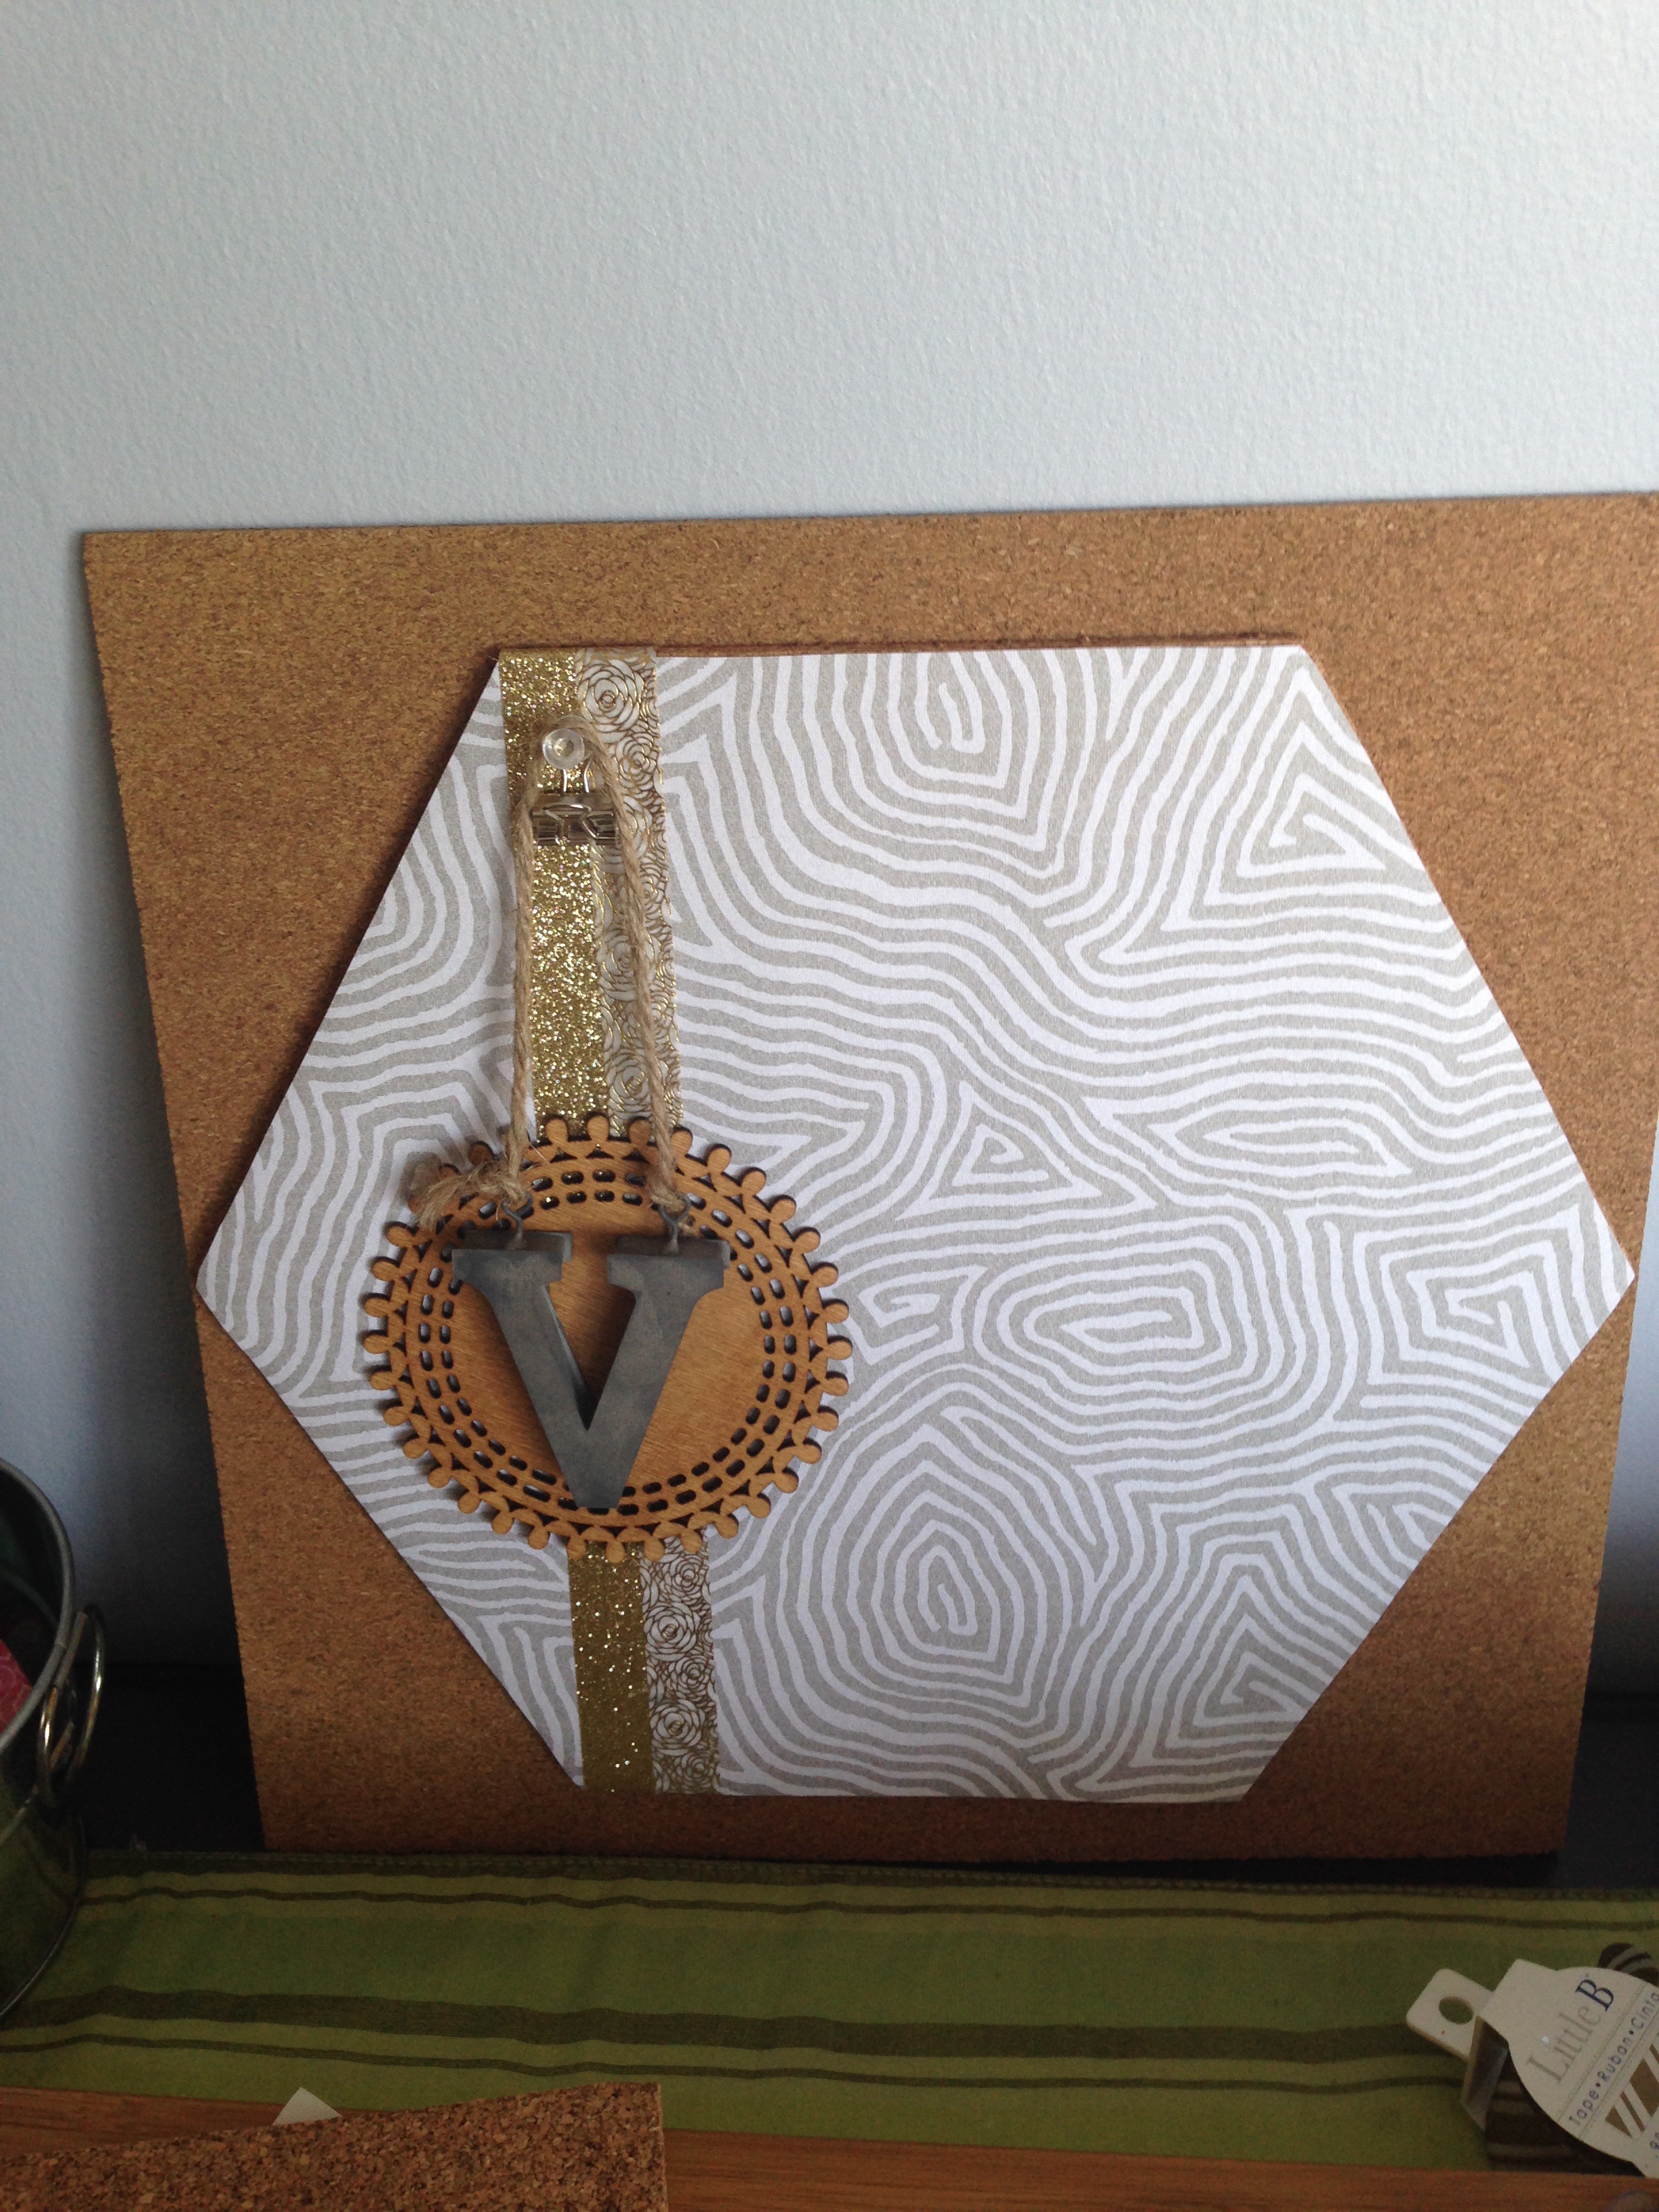
- Taking decorative paper and tracing out the hexagon using the cork tile as a stencil.
- Cutting out the hexagon shape.
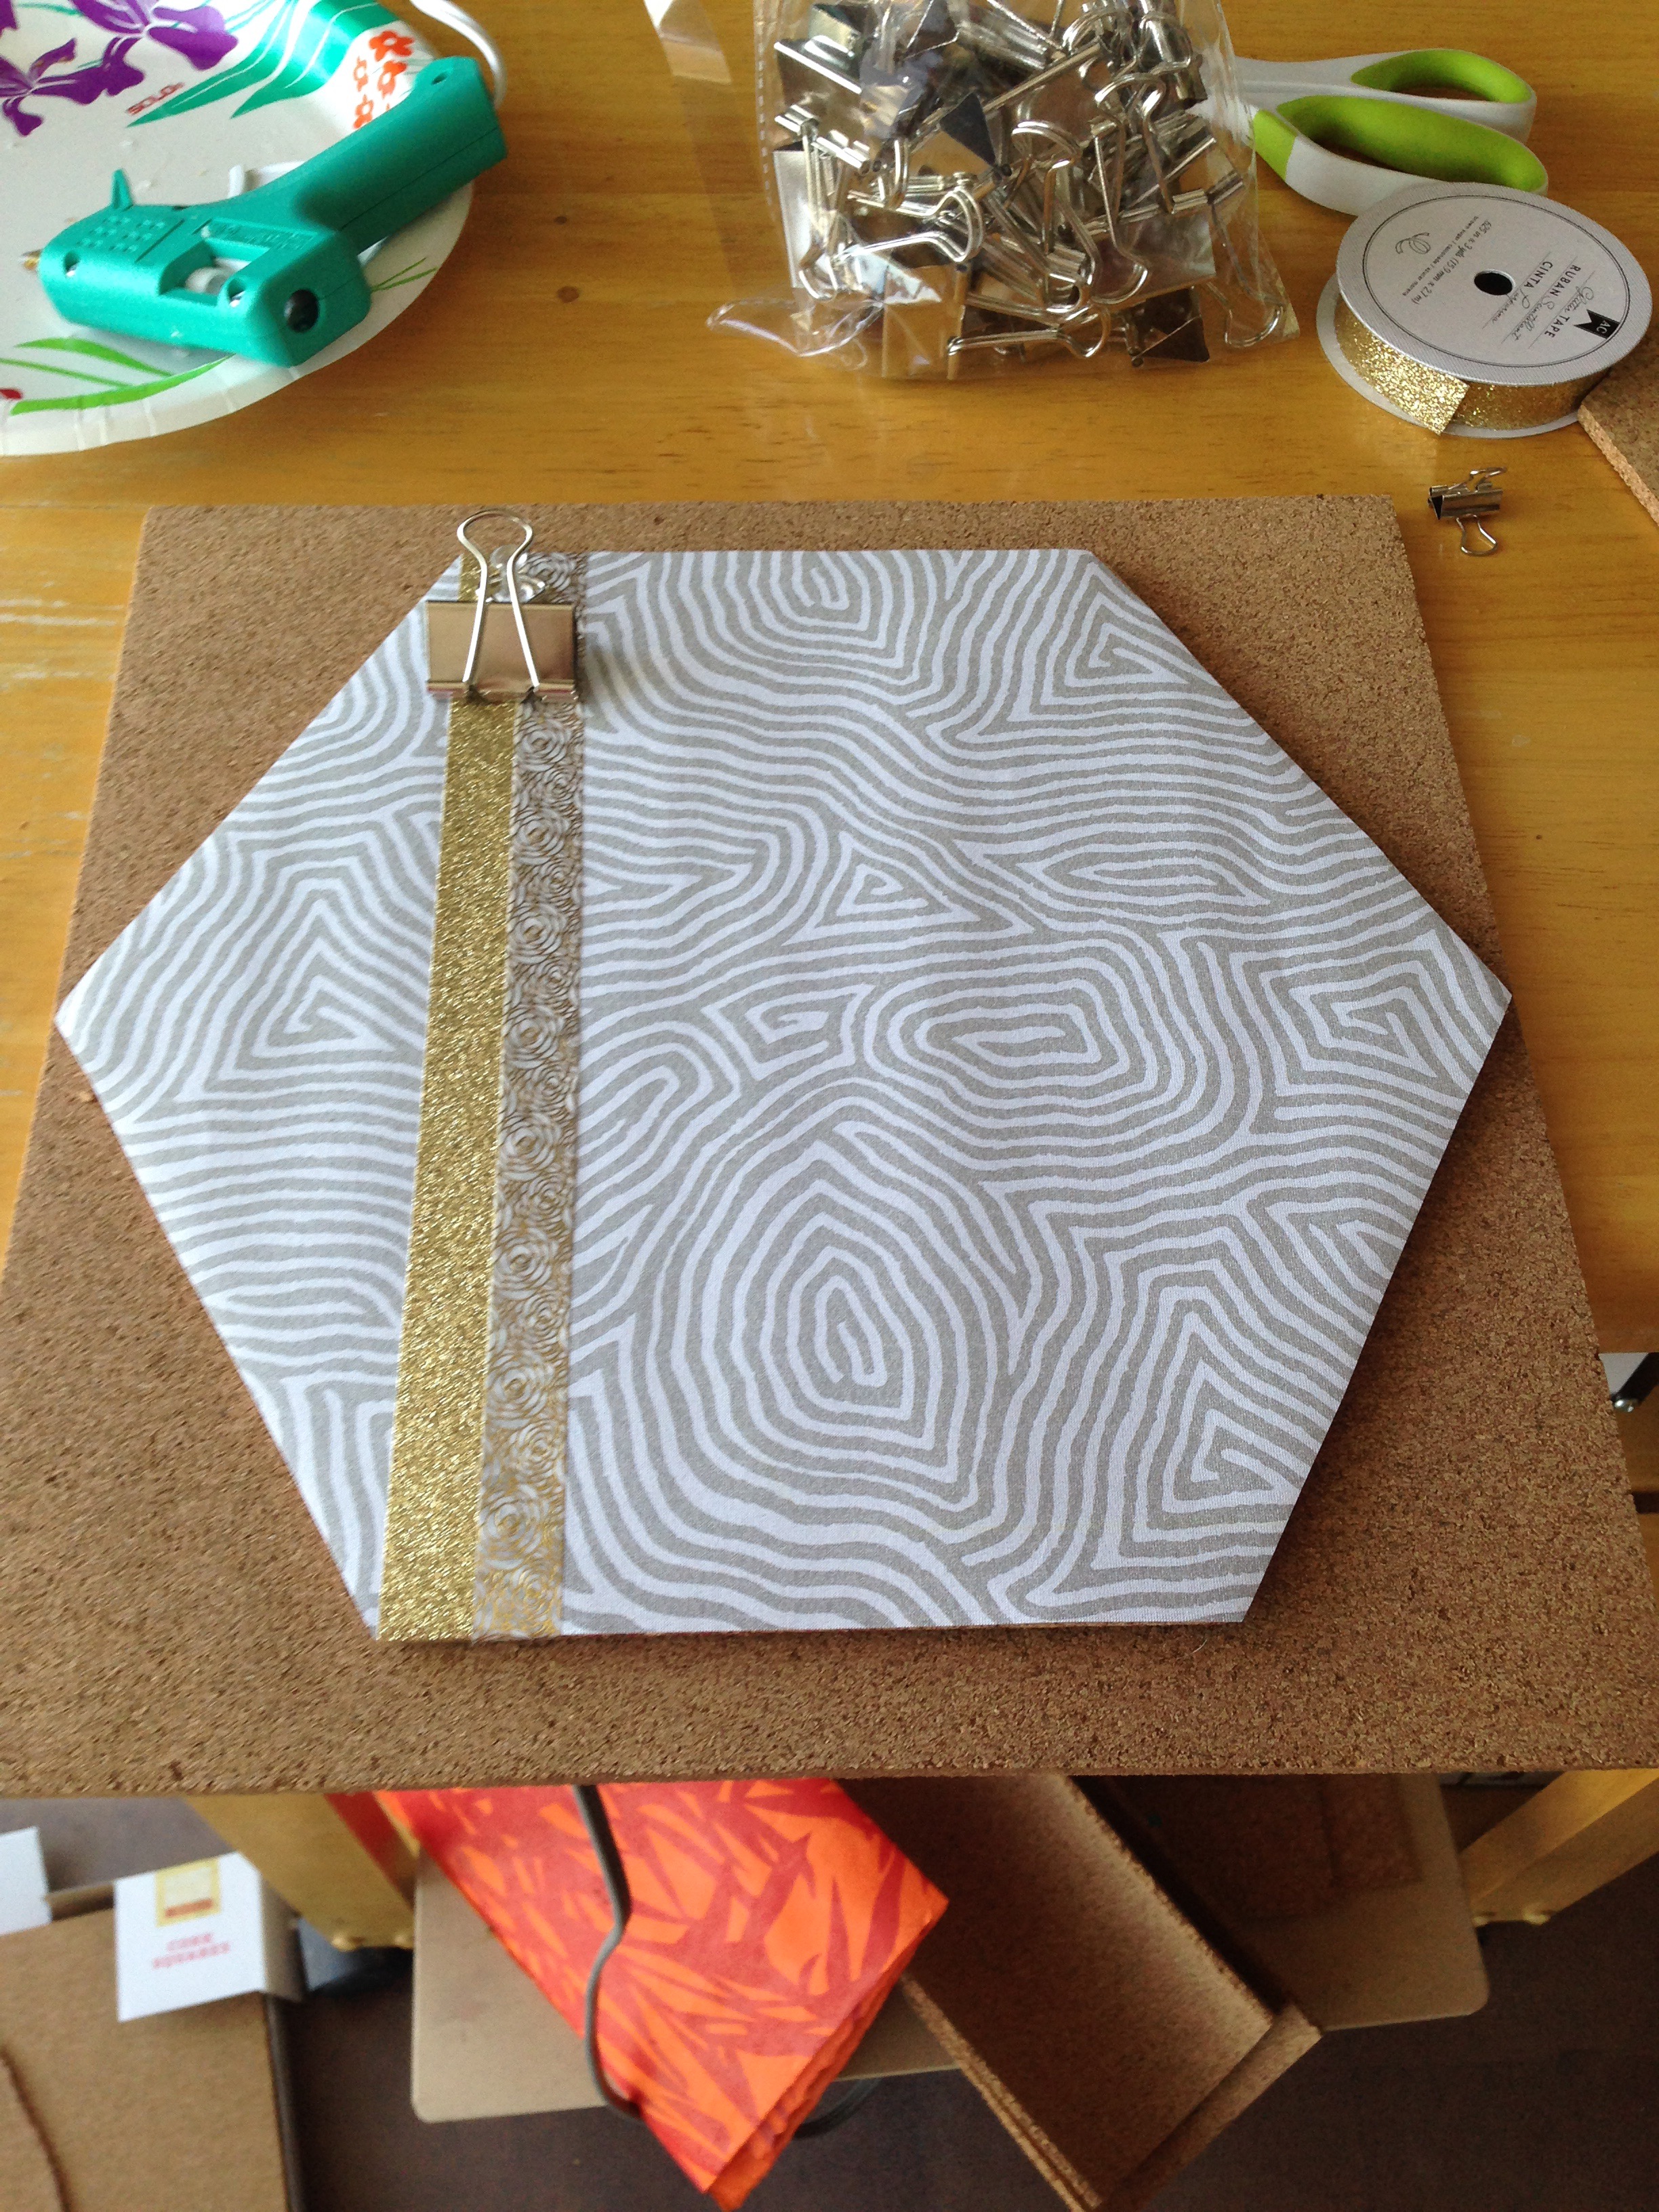
- Hot-gluing the cut paper on top of the tile. (You can also use Mod Podge or any glue to affix the paper to the cork).
- Adding some decorative washi tape to add some panache.
- Final touch – stragetically placing a thumb tack and binder clip. You can clip items to the cork tile (without adding lots of thumb tacks that would puncture holes through the paper).
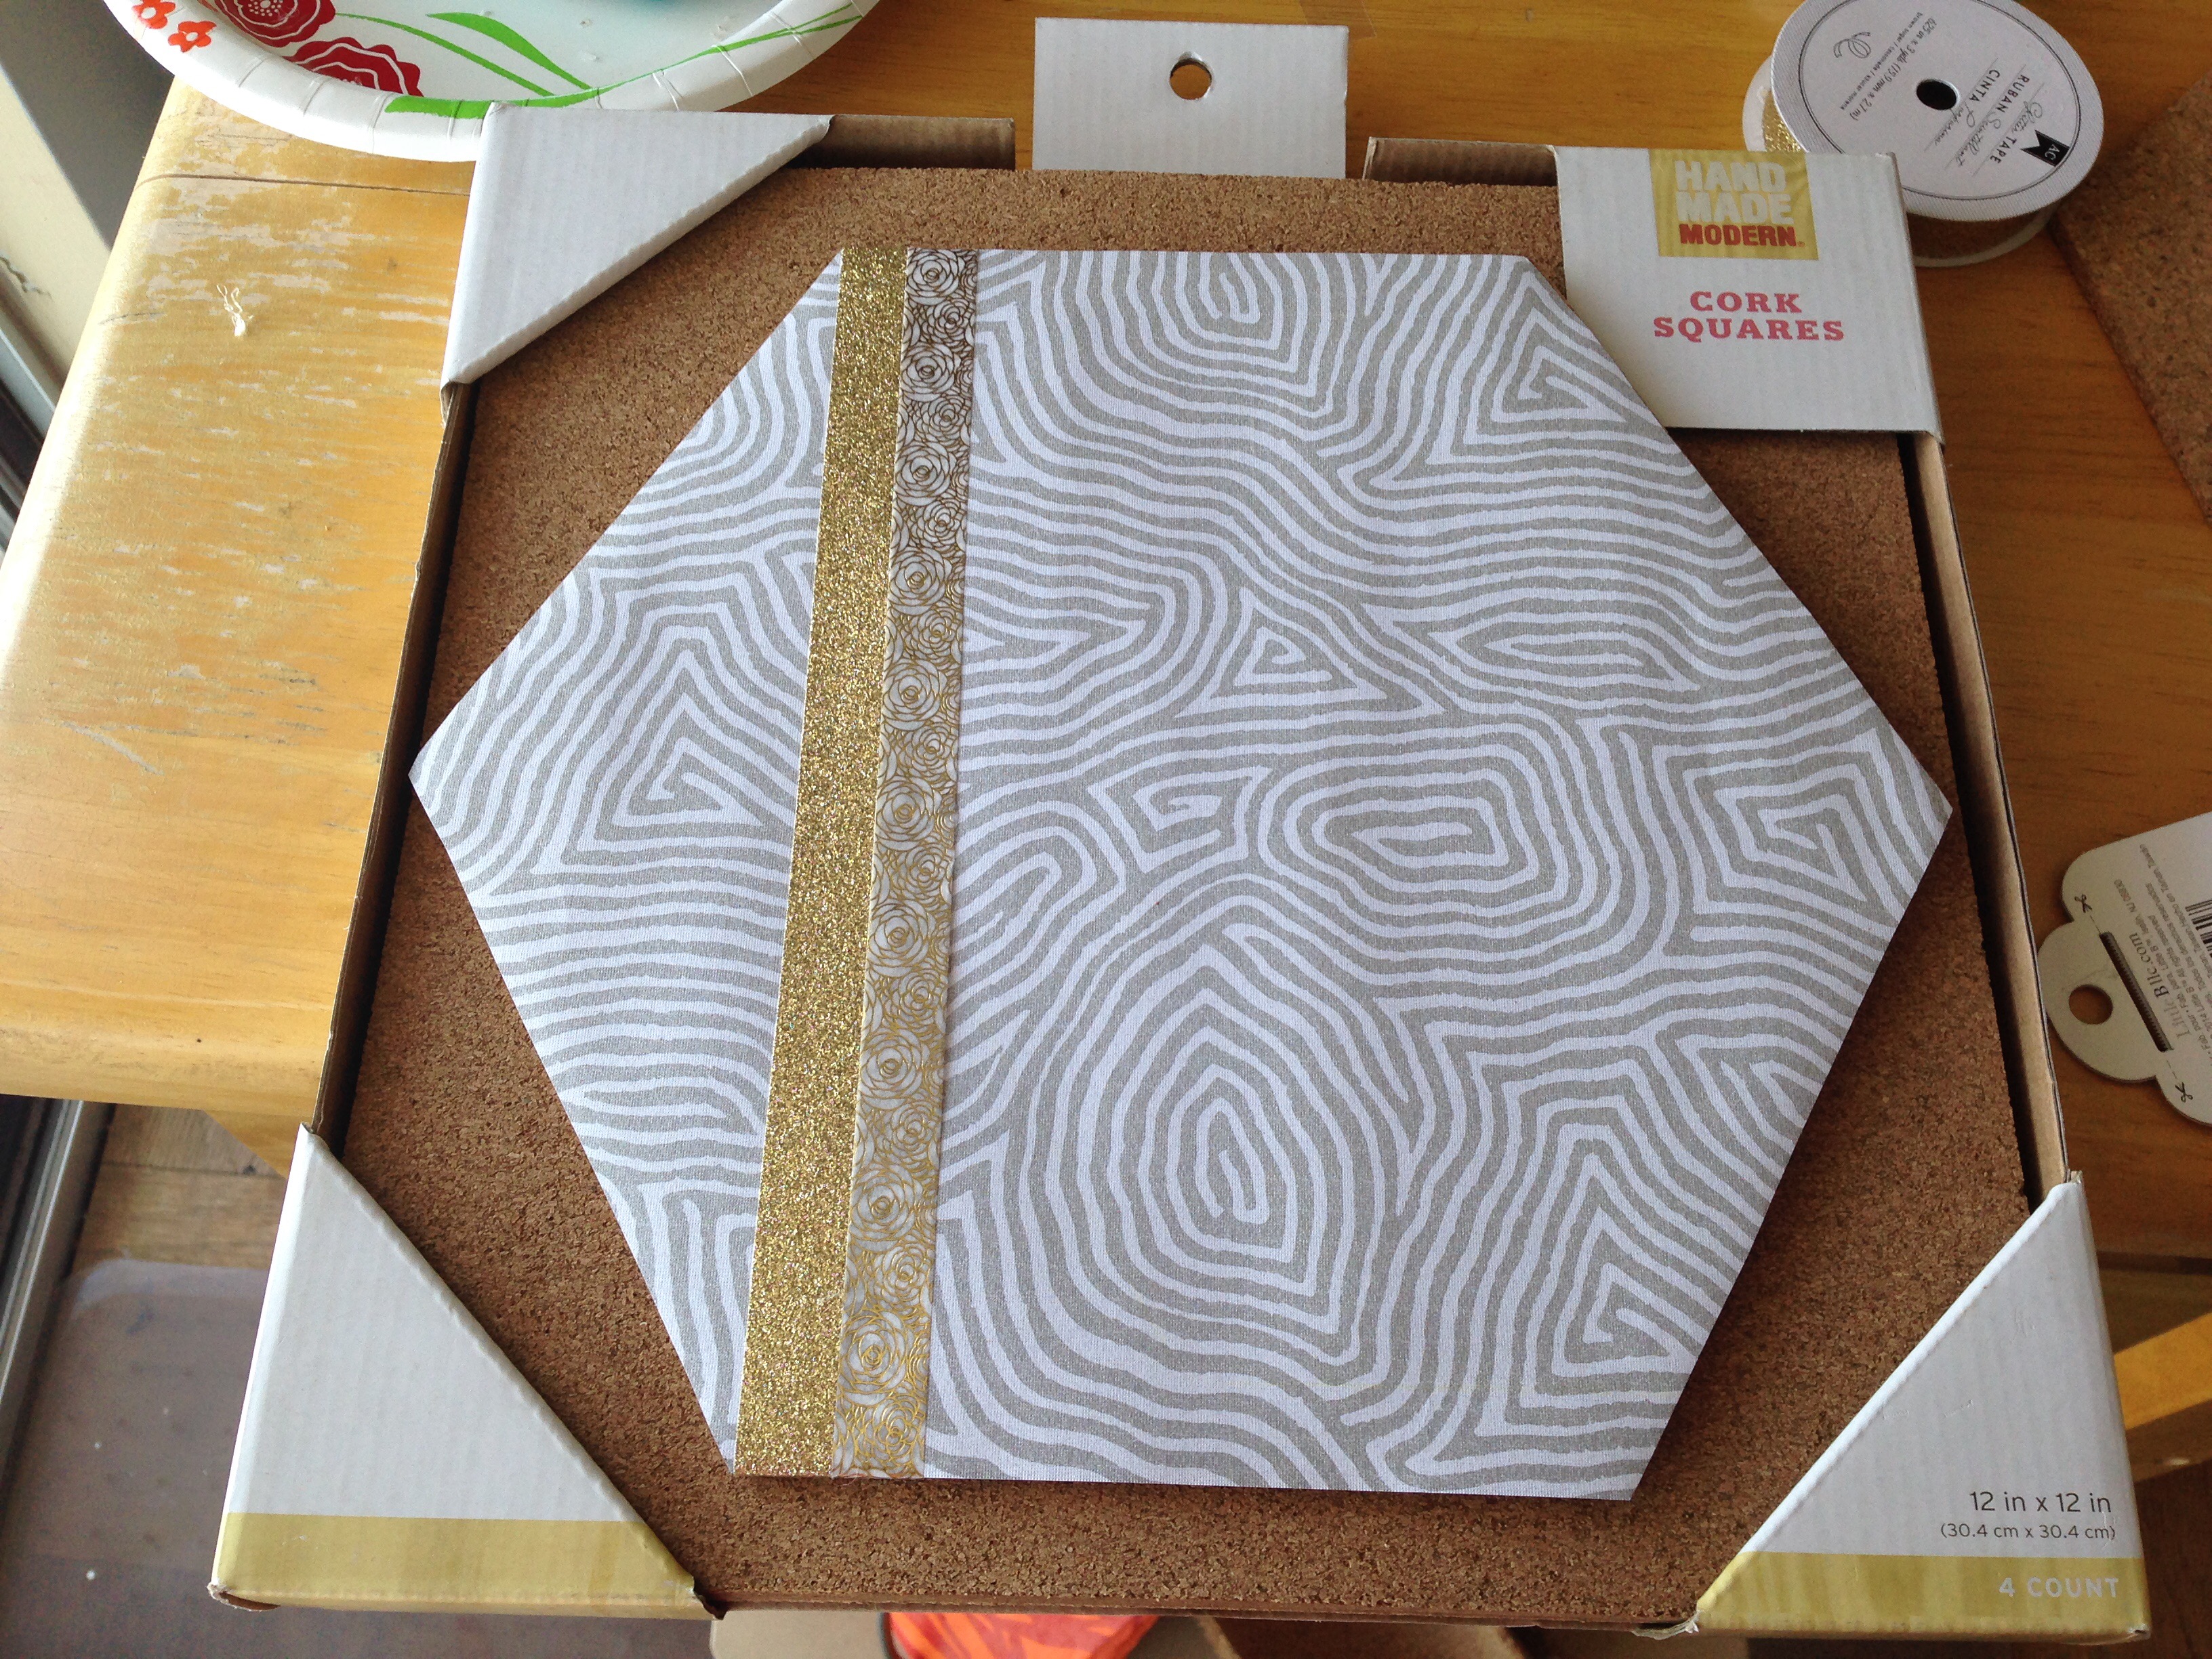
Once I ran out of cork, I used the 12 x 12 cork squares (also from the Target Handmade Modern collection.
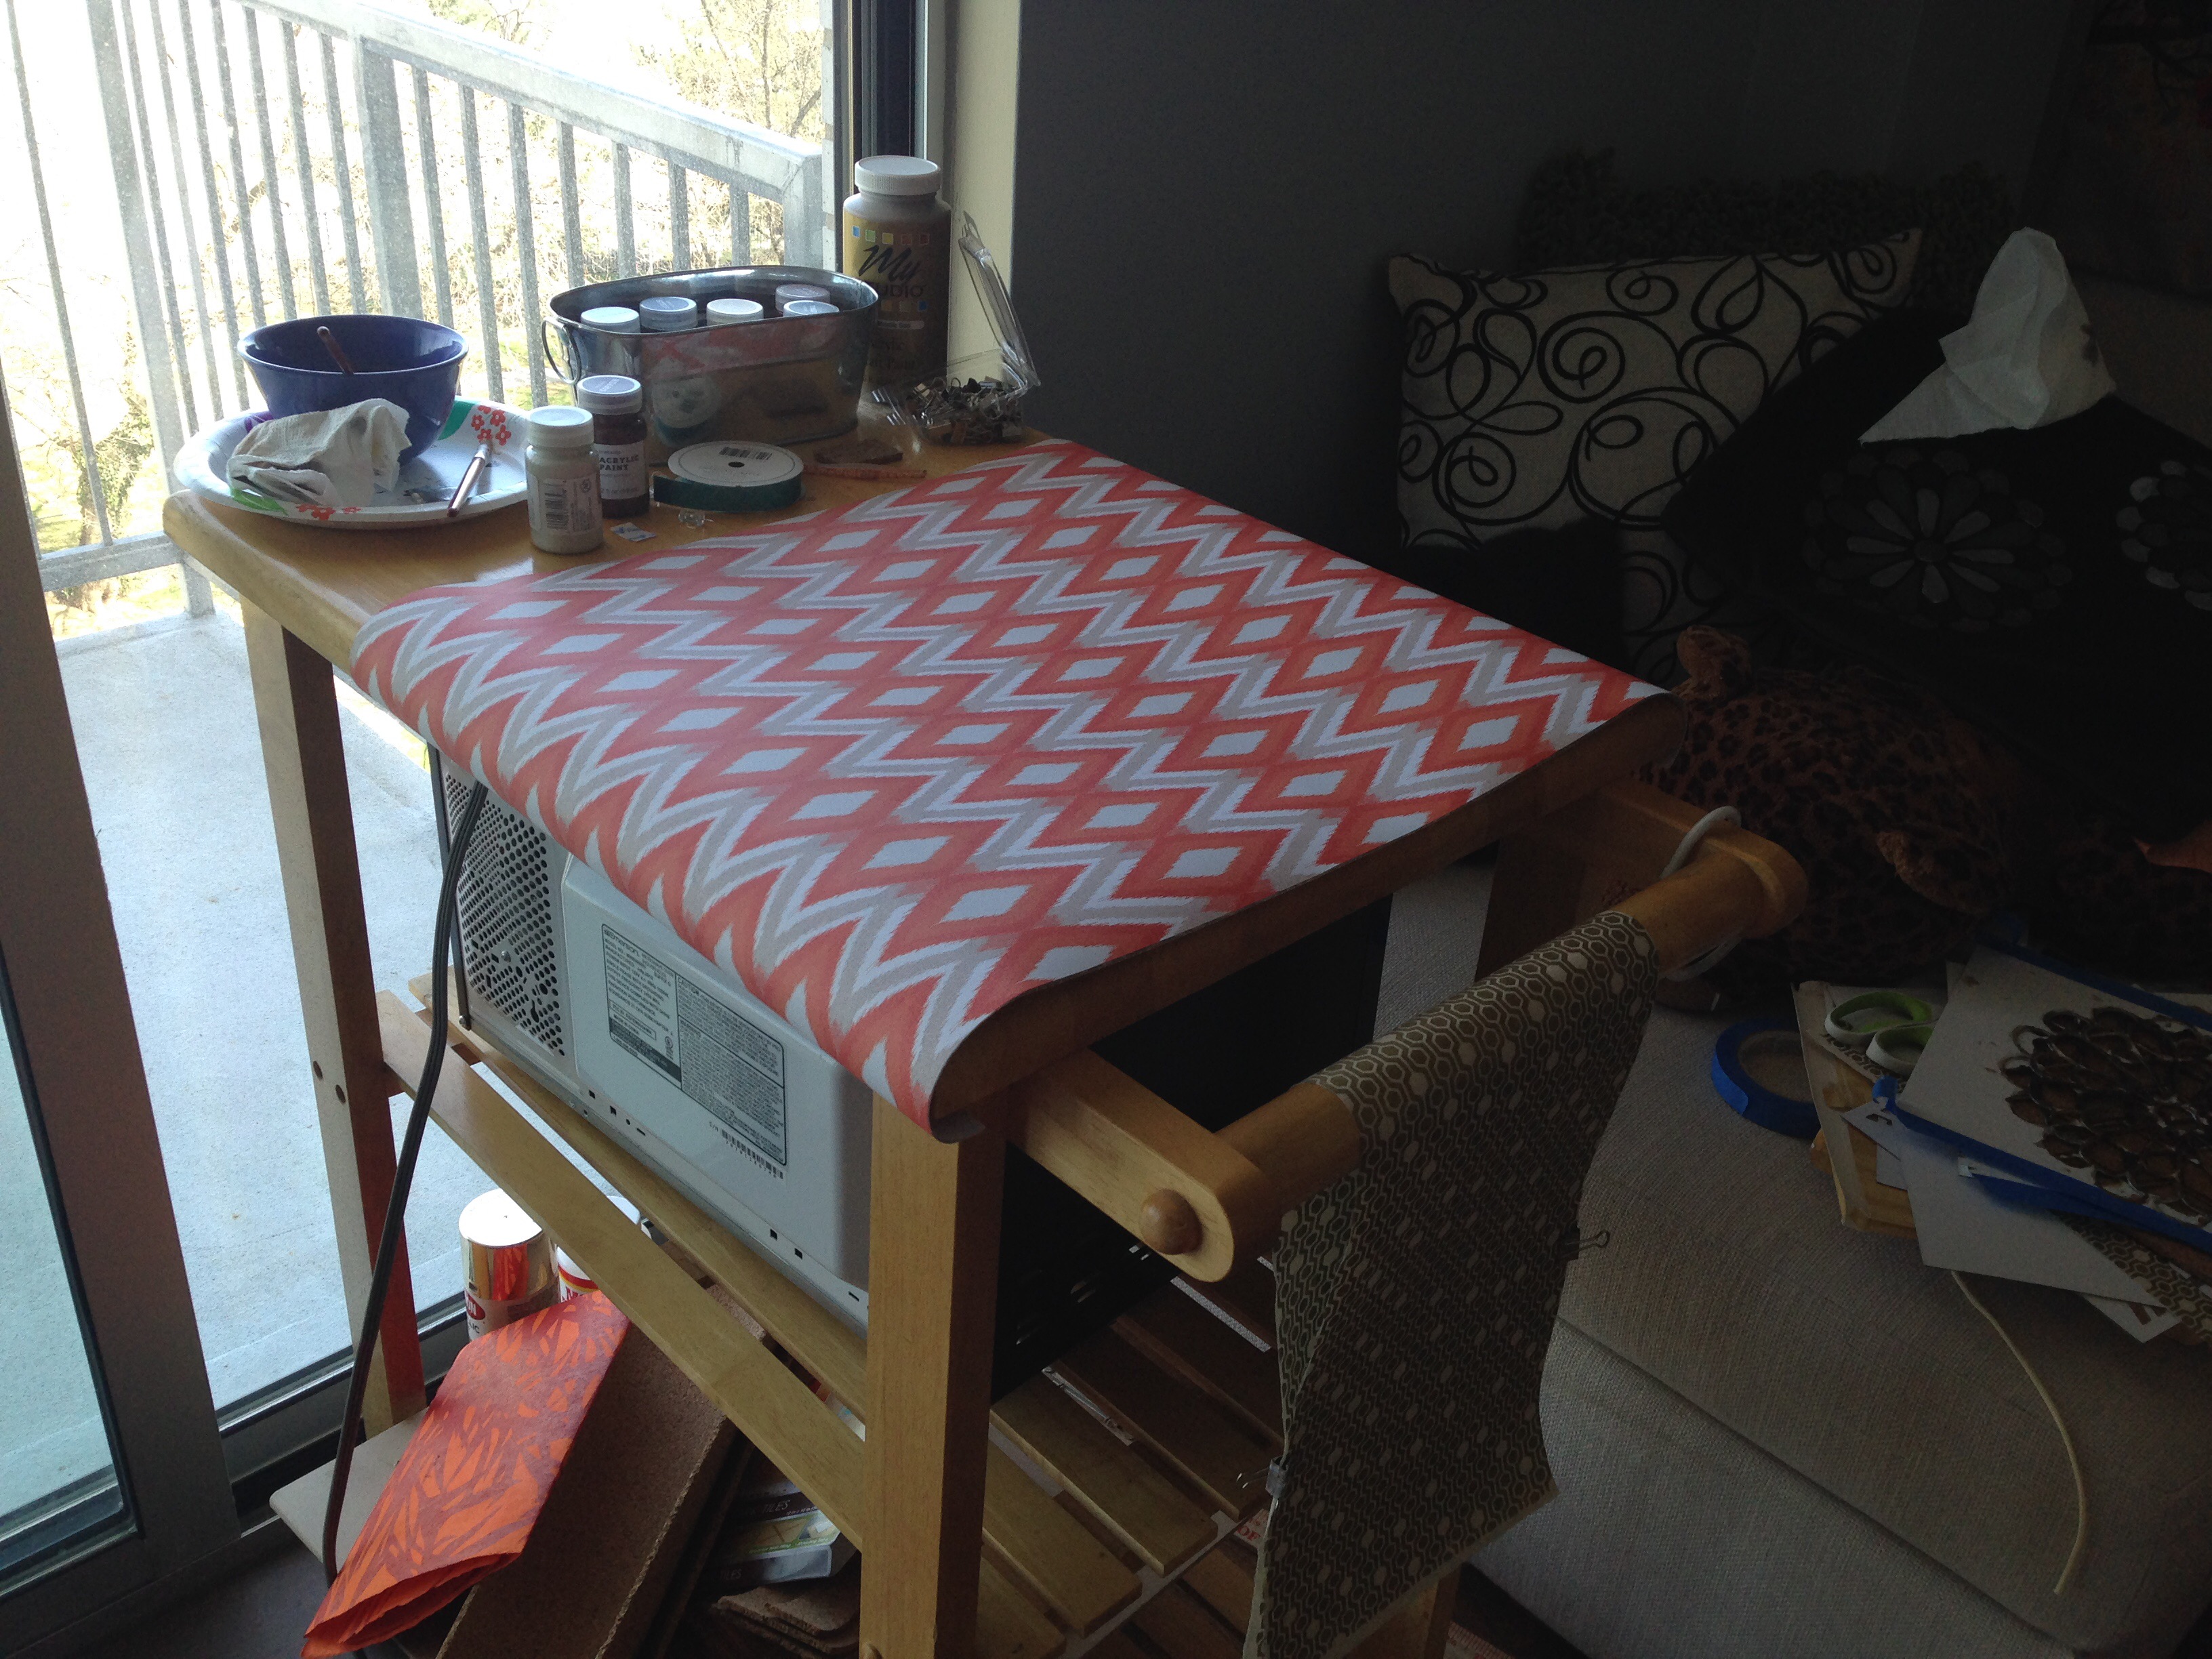
My command station for the paper decorated cork making project – the trusty microwave cart.
Here’s one of my completed tiles with a monogrammed initial – ready for hanging on the wall.
Check out my decorative cork gallery for more creations made from this project. V-