
The #Debbie & Dino Magnet Board
You may also like:
June 19, 2015: Bruce and I are going to visit our friends Debbie and Dino. This is the first time we’re seeing them since they got married the year before and they are hosting us at their Pittsburgh area home for the weekend.
I wanted to do a VidaDIY craft project as a hostess gift for them. I’ve been big on making magnet boards since I saw these Petal Lane beauties at Nordstrom Home. I did a couple of DIY versions of these boards – one a paper canvas magnet version and another a metal on wood version (our B&V magnet board).
I chose to do another wood and metal magnet board for Debbie and Dino. I used a 18 x 24″ wood panel for the project and stained it with Minwax Early American wood stain.
The morning before we headed up to Pittsburgh, I went to work on making the magnet board.
Here’s my project materials and tools list:
- 18 x 24″ wood panel (7/8″ thickness)
- 12 x 24″ galvanized metal sheet (NOTE: Not aluminum as magnets will not stick to this type of metal).
- Handmade Modern wood letters (in Captain Howdy Font)
- Handmade Modern metallic acrylic paint (in Gold and Steel)
- Washi tape
- Wood stain. (My favorite is Minwax Early American)
- 4 wood screws (Size #10, 1/2″ length)
- 2 4 x 30″ strips of decorative paper or giftwrap
- Power drill with 9/64 size titanium drill bit
- Screwdriver
- Hot glue gun
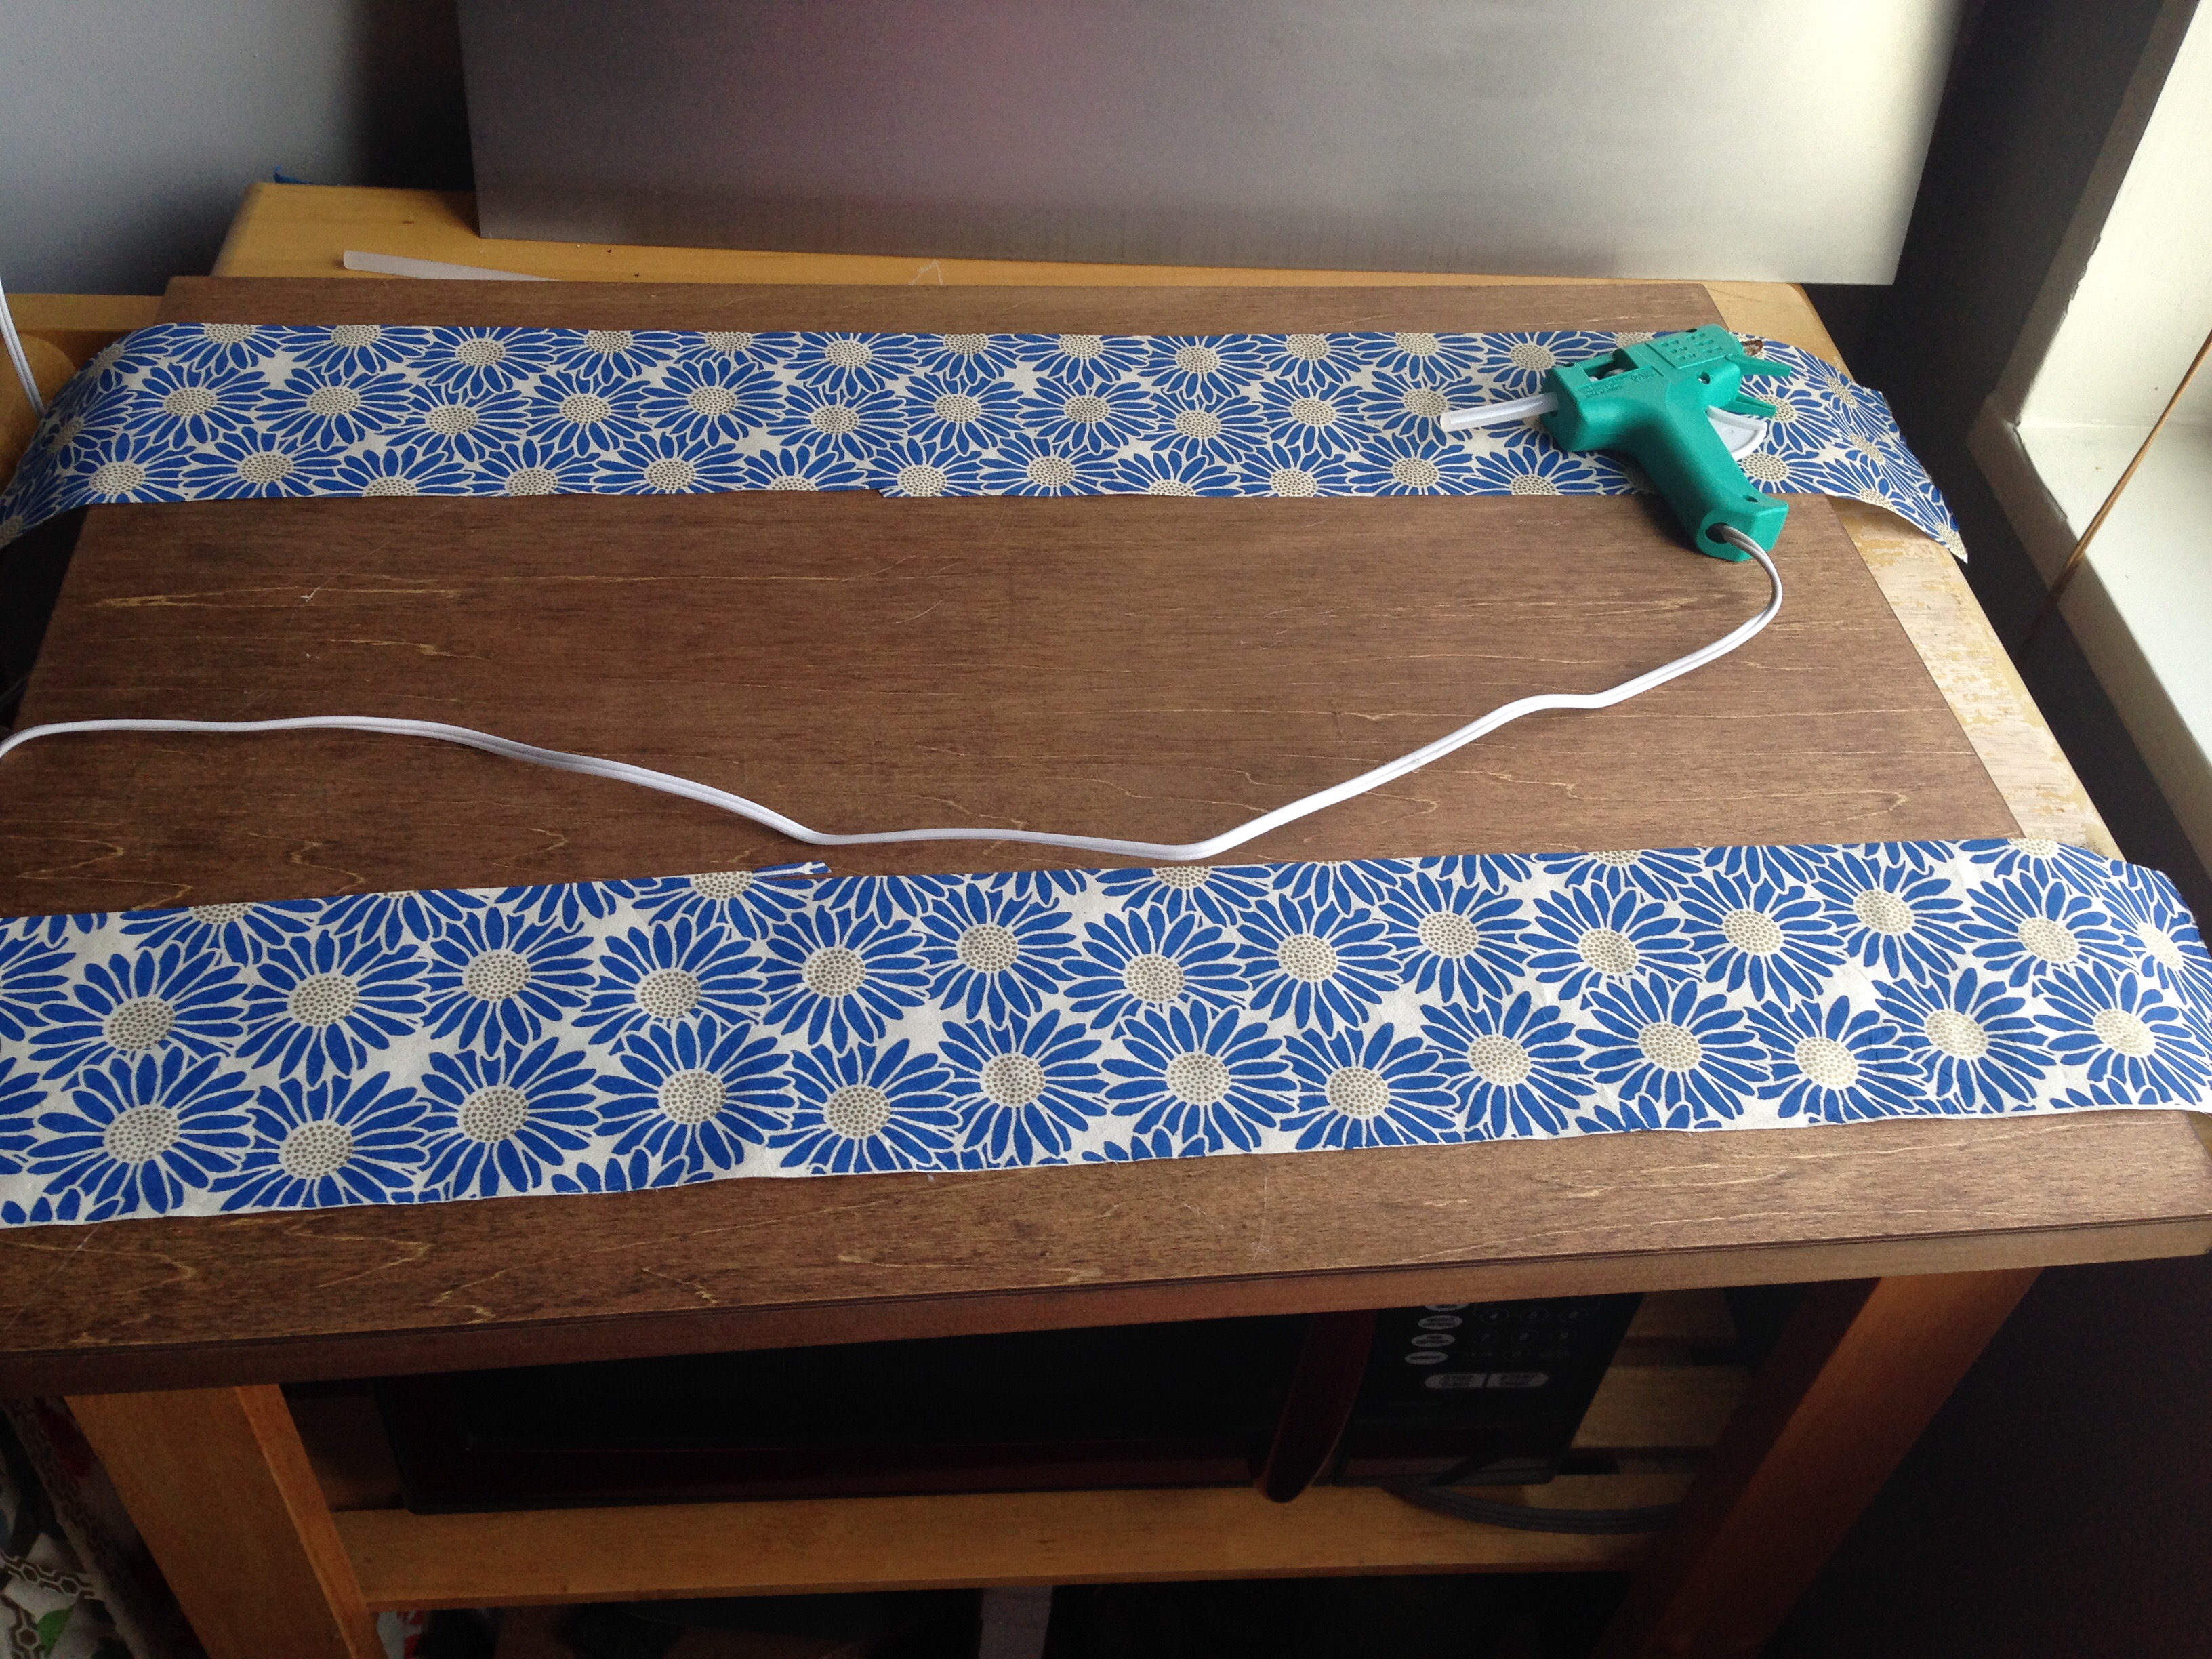
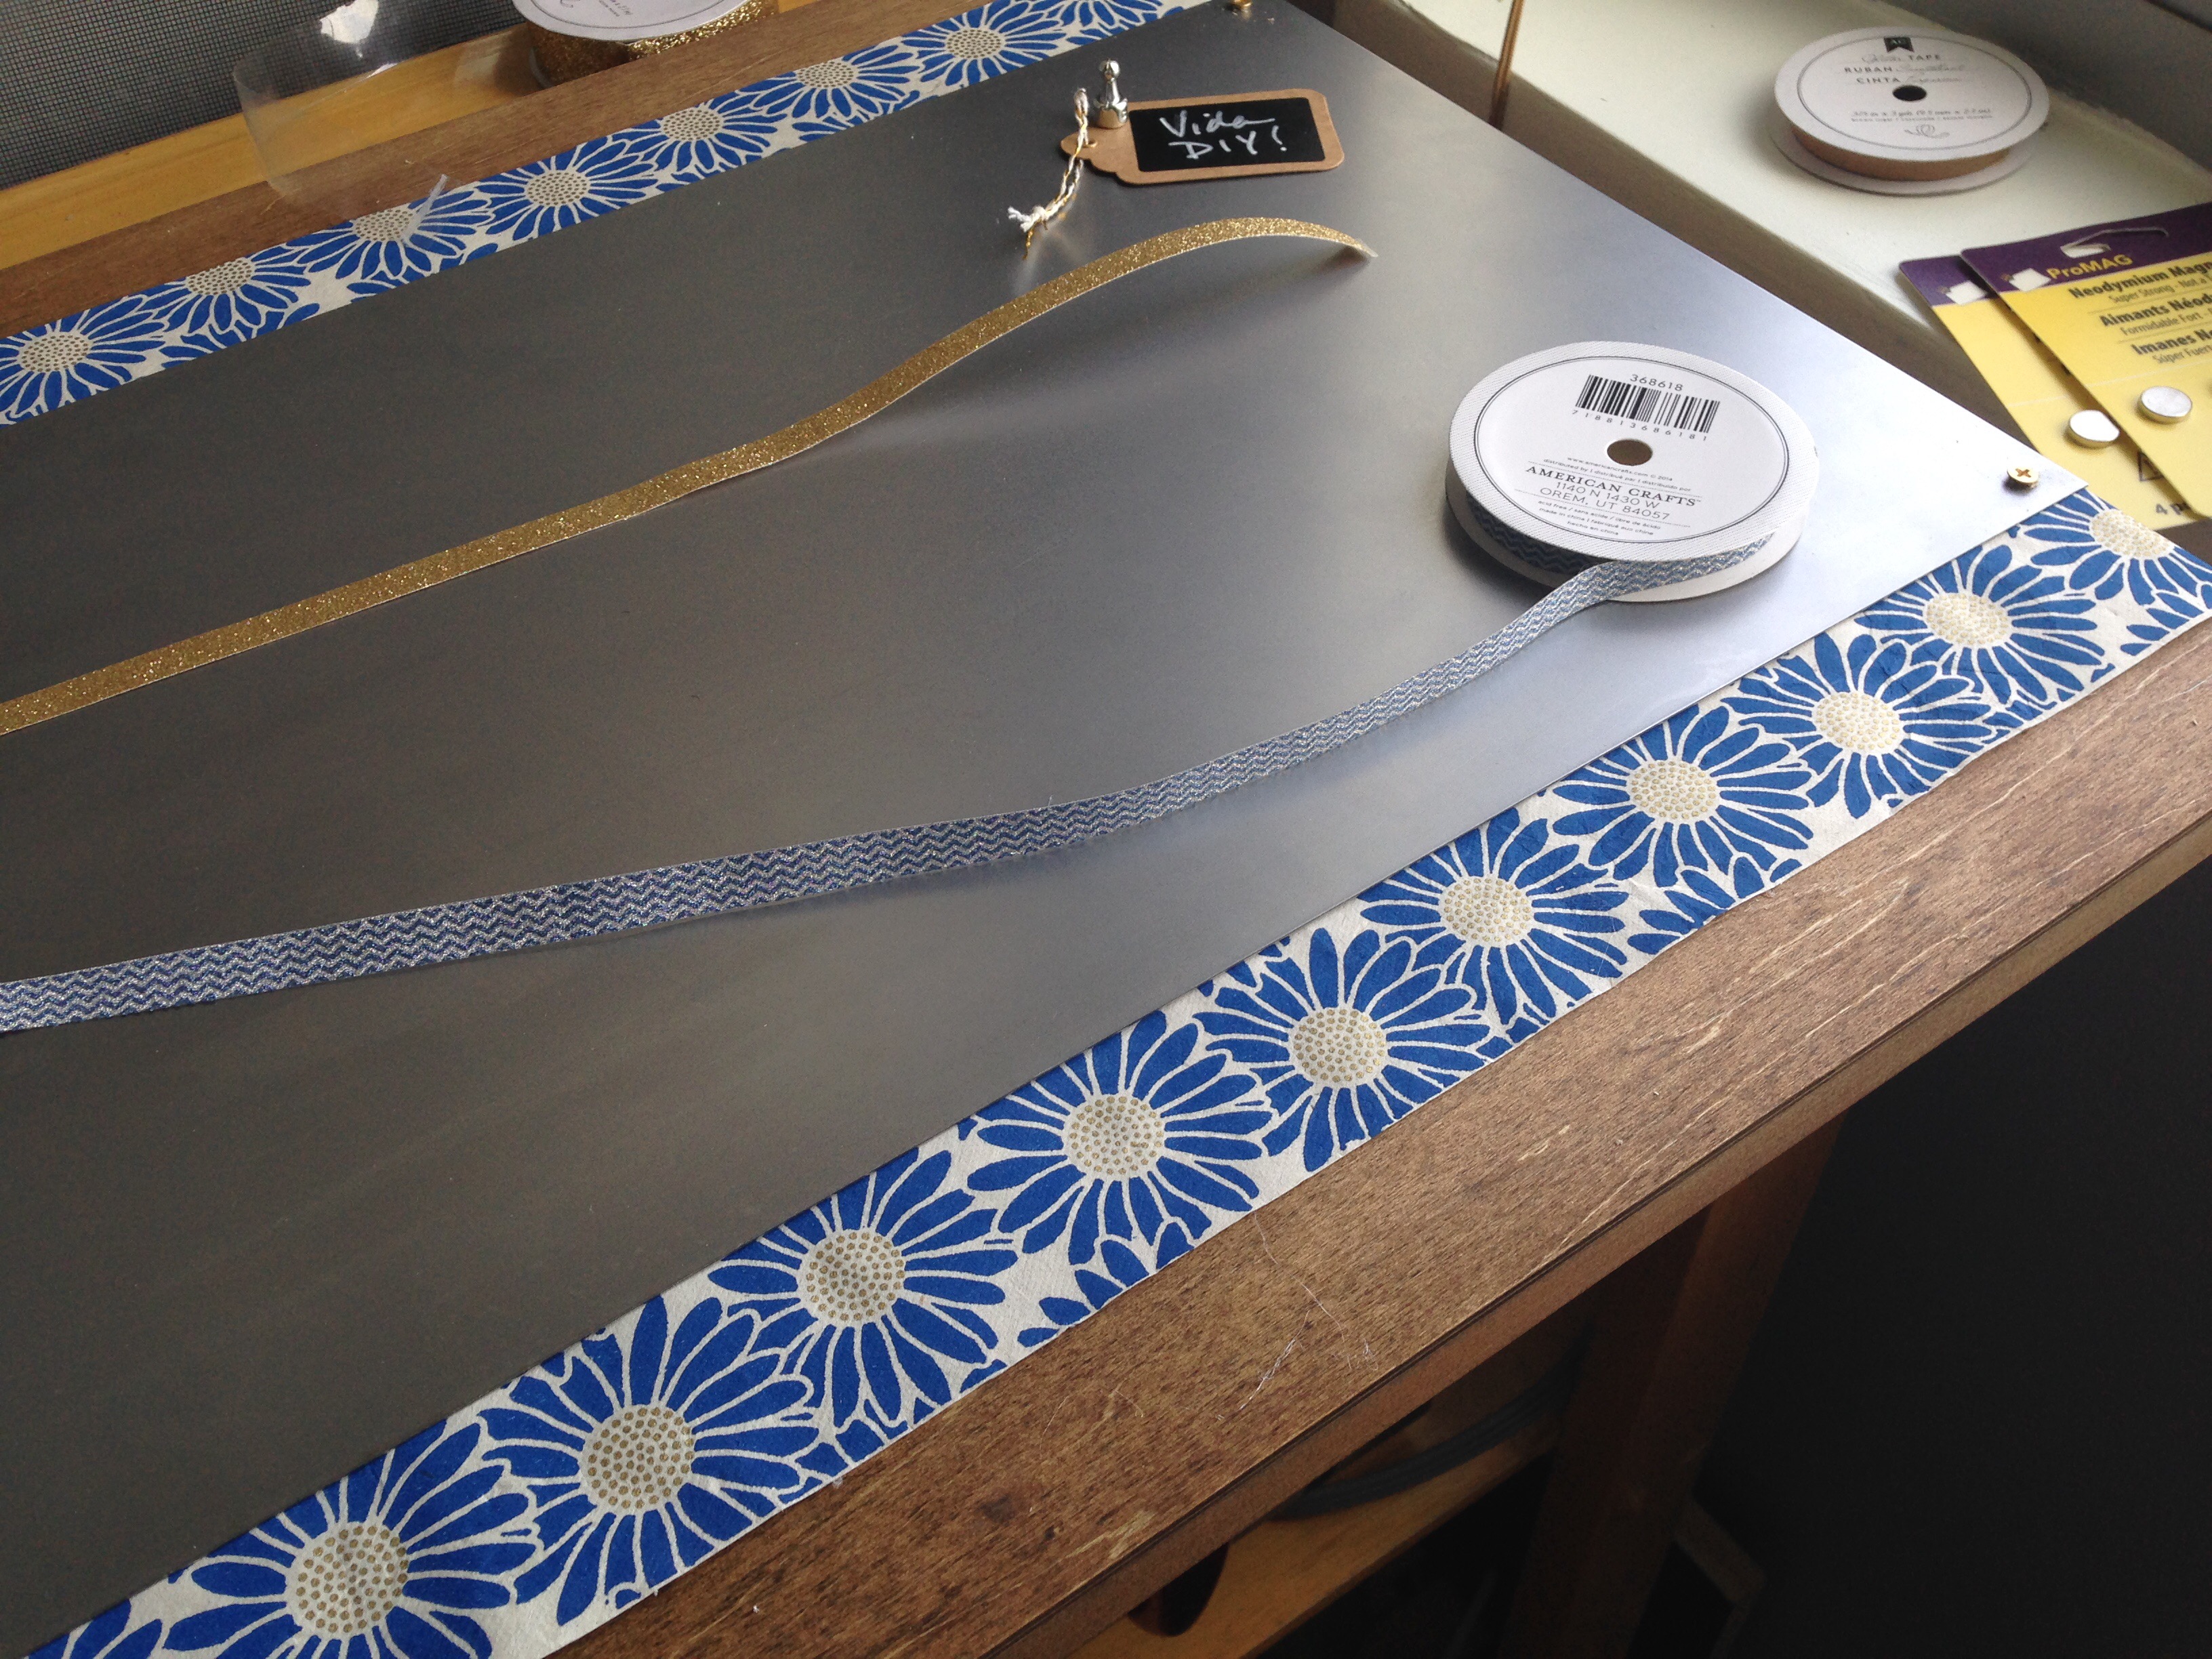
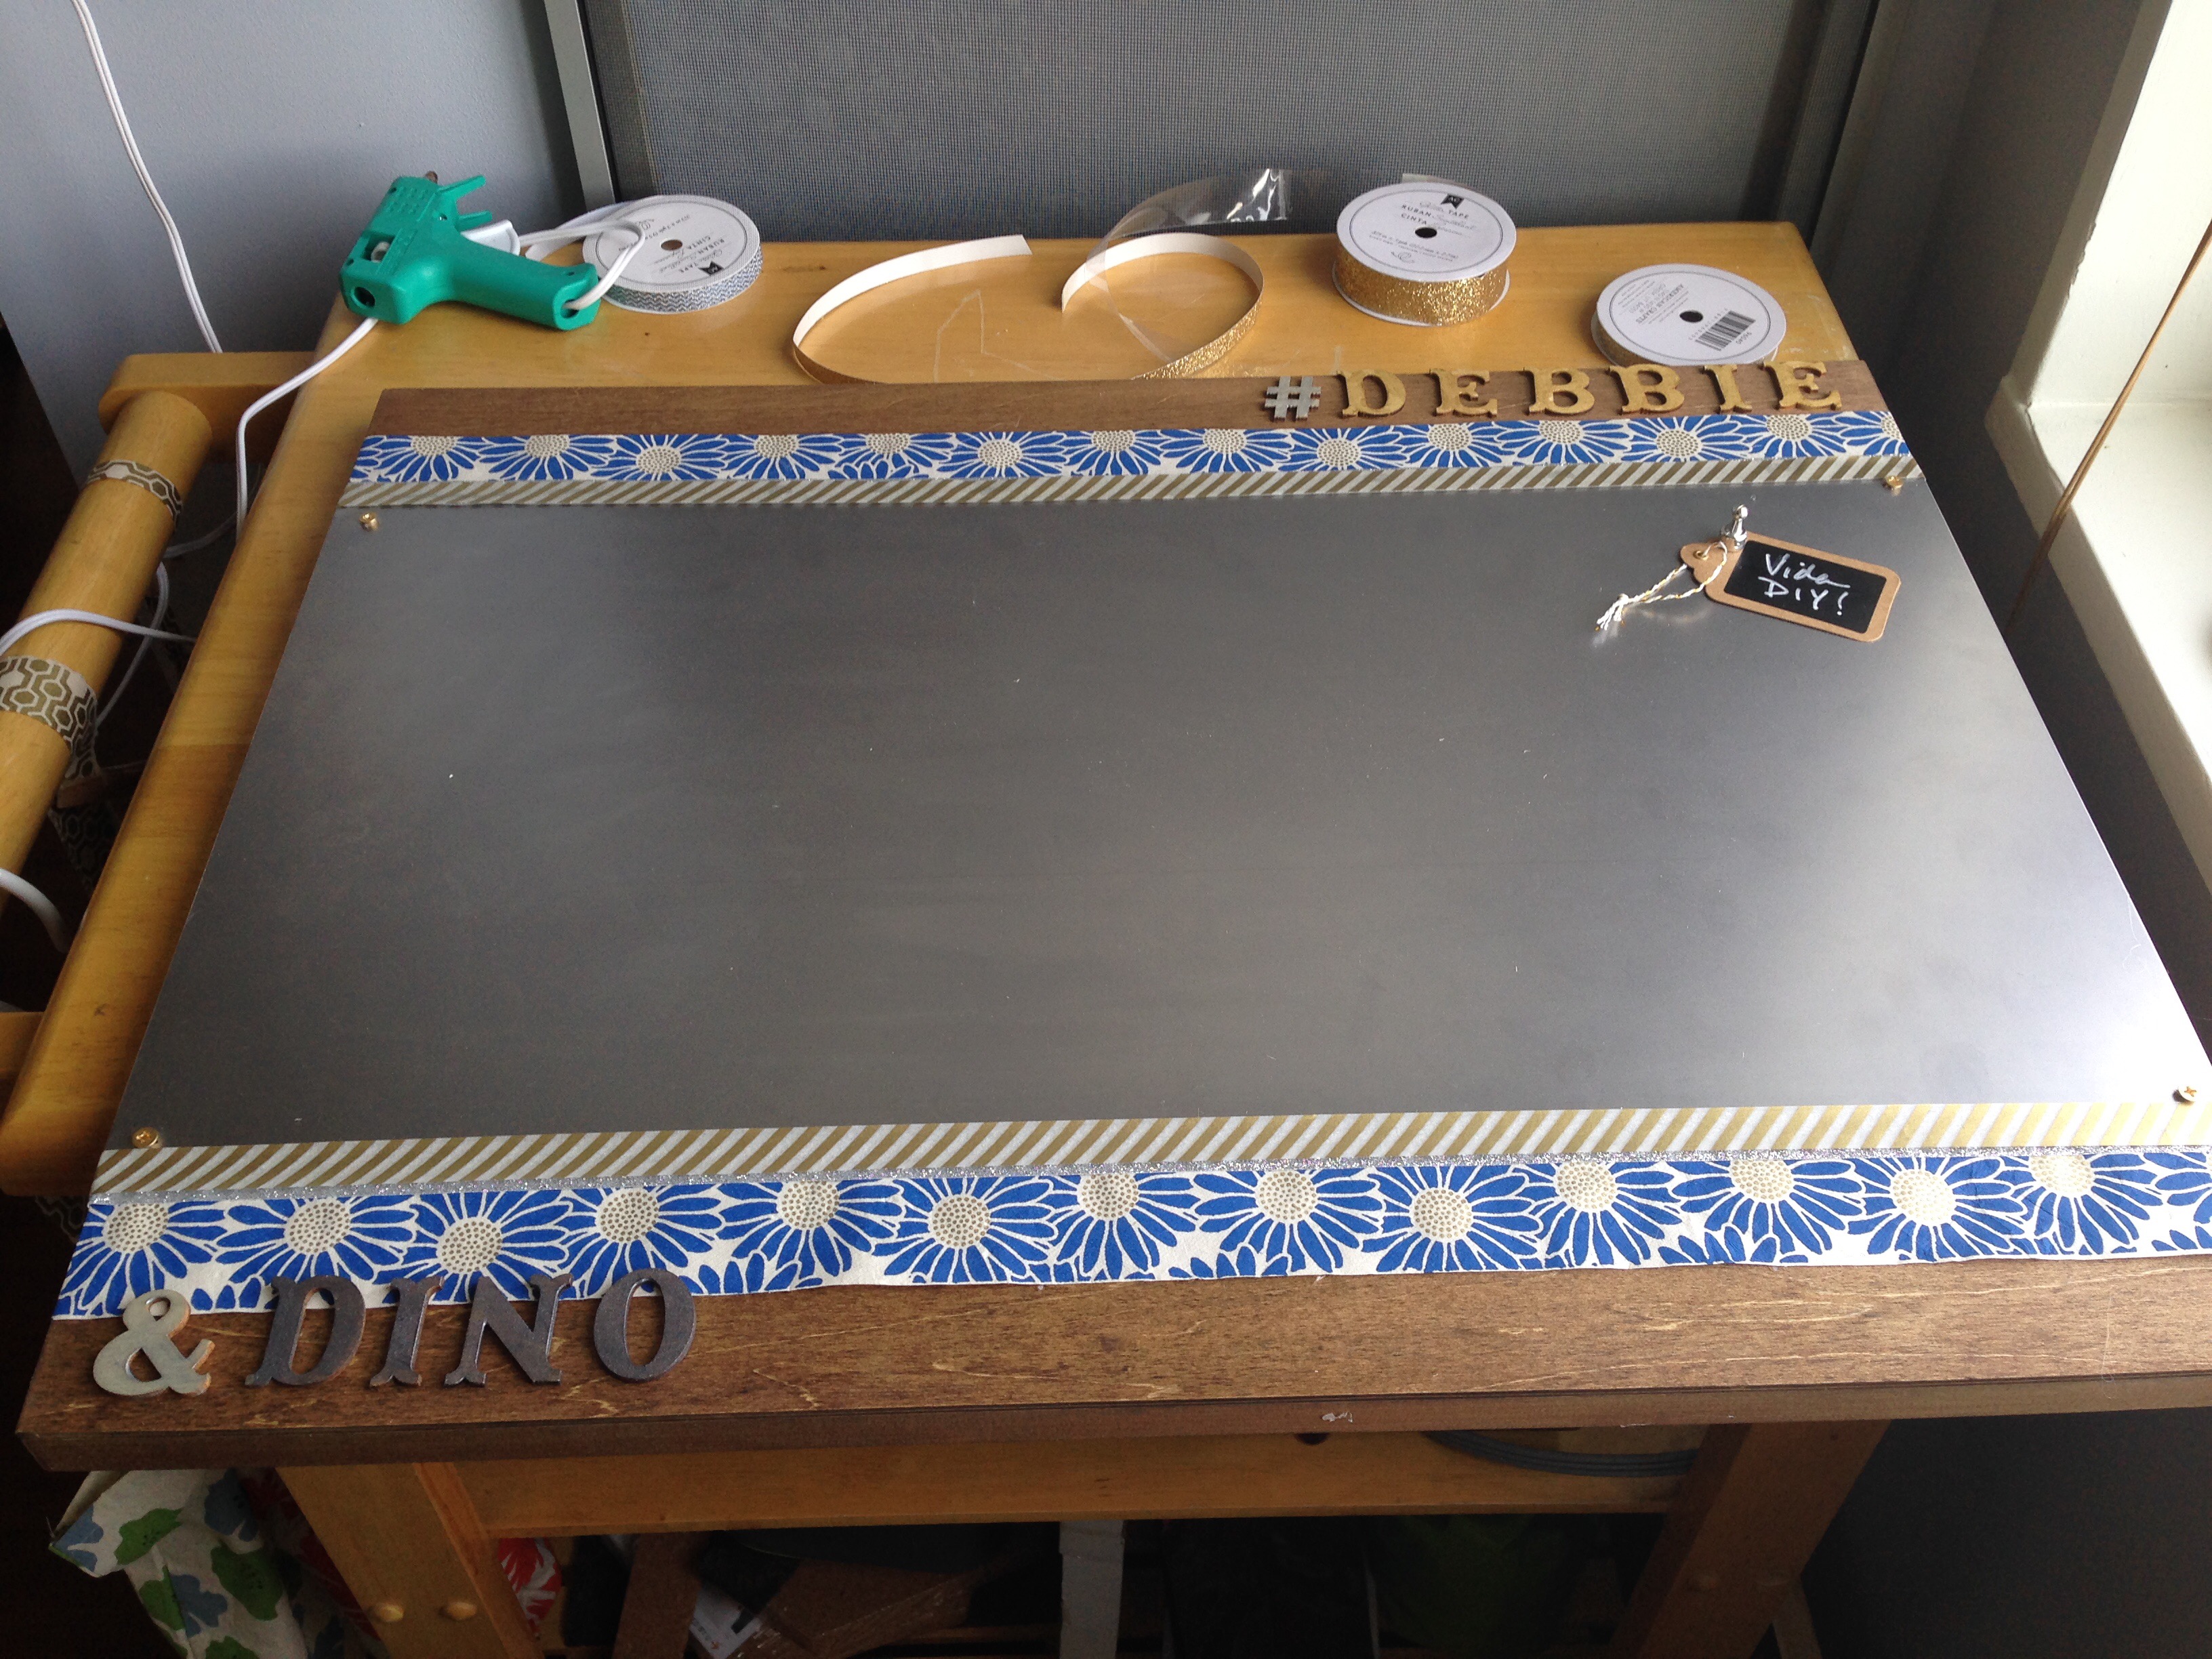
After staining the wood panel, I took two 4 x 30 strips of decorative paper (Blue and Gold Daisy Lokta paper from the Paper Source) and placed them horizontally across the wood as two banners.
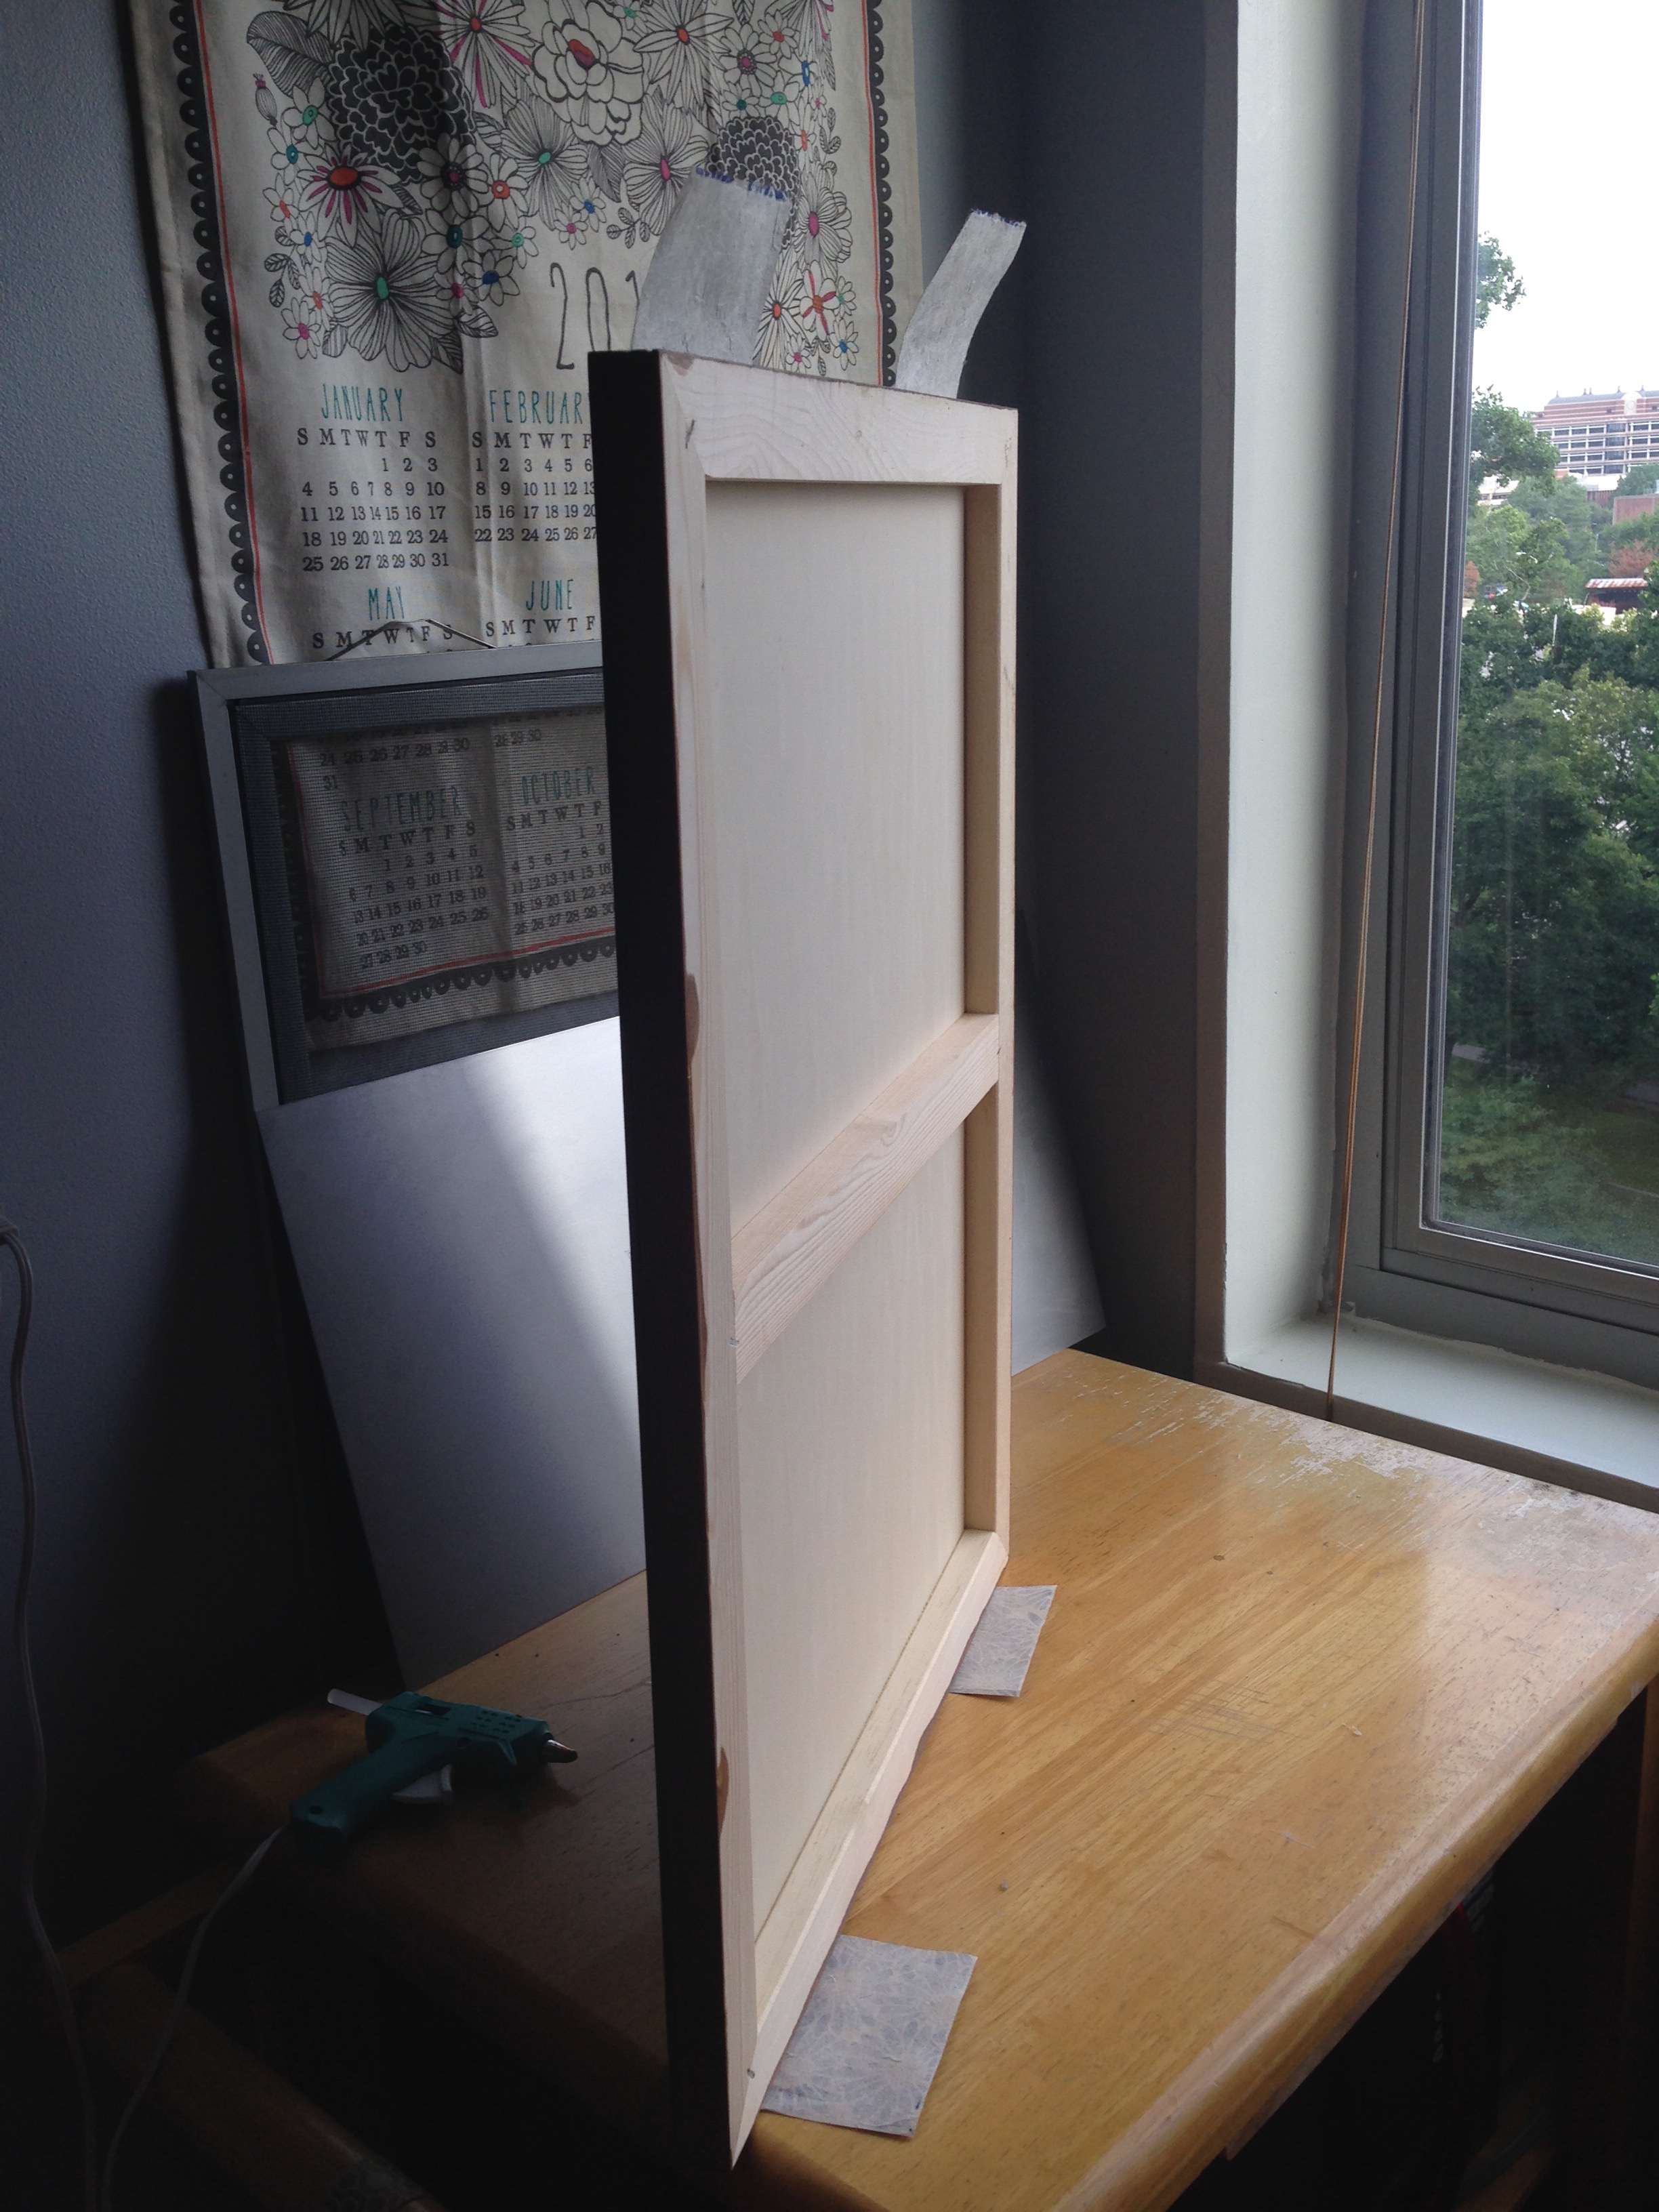
I used a hot glue gun to apply the paper to the wood to the front…
…and, after wrapping it around the sides, to the back.
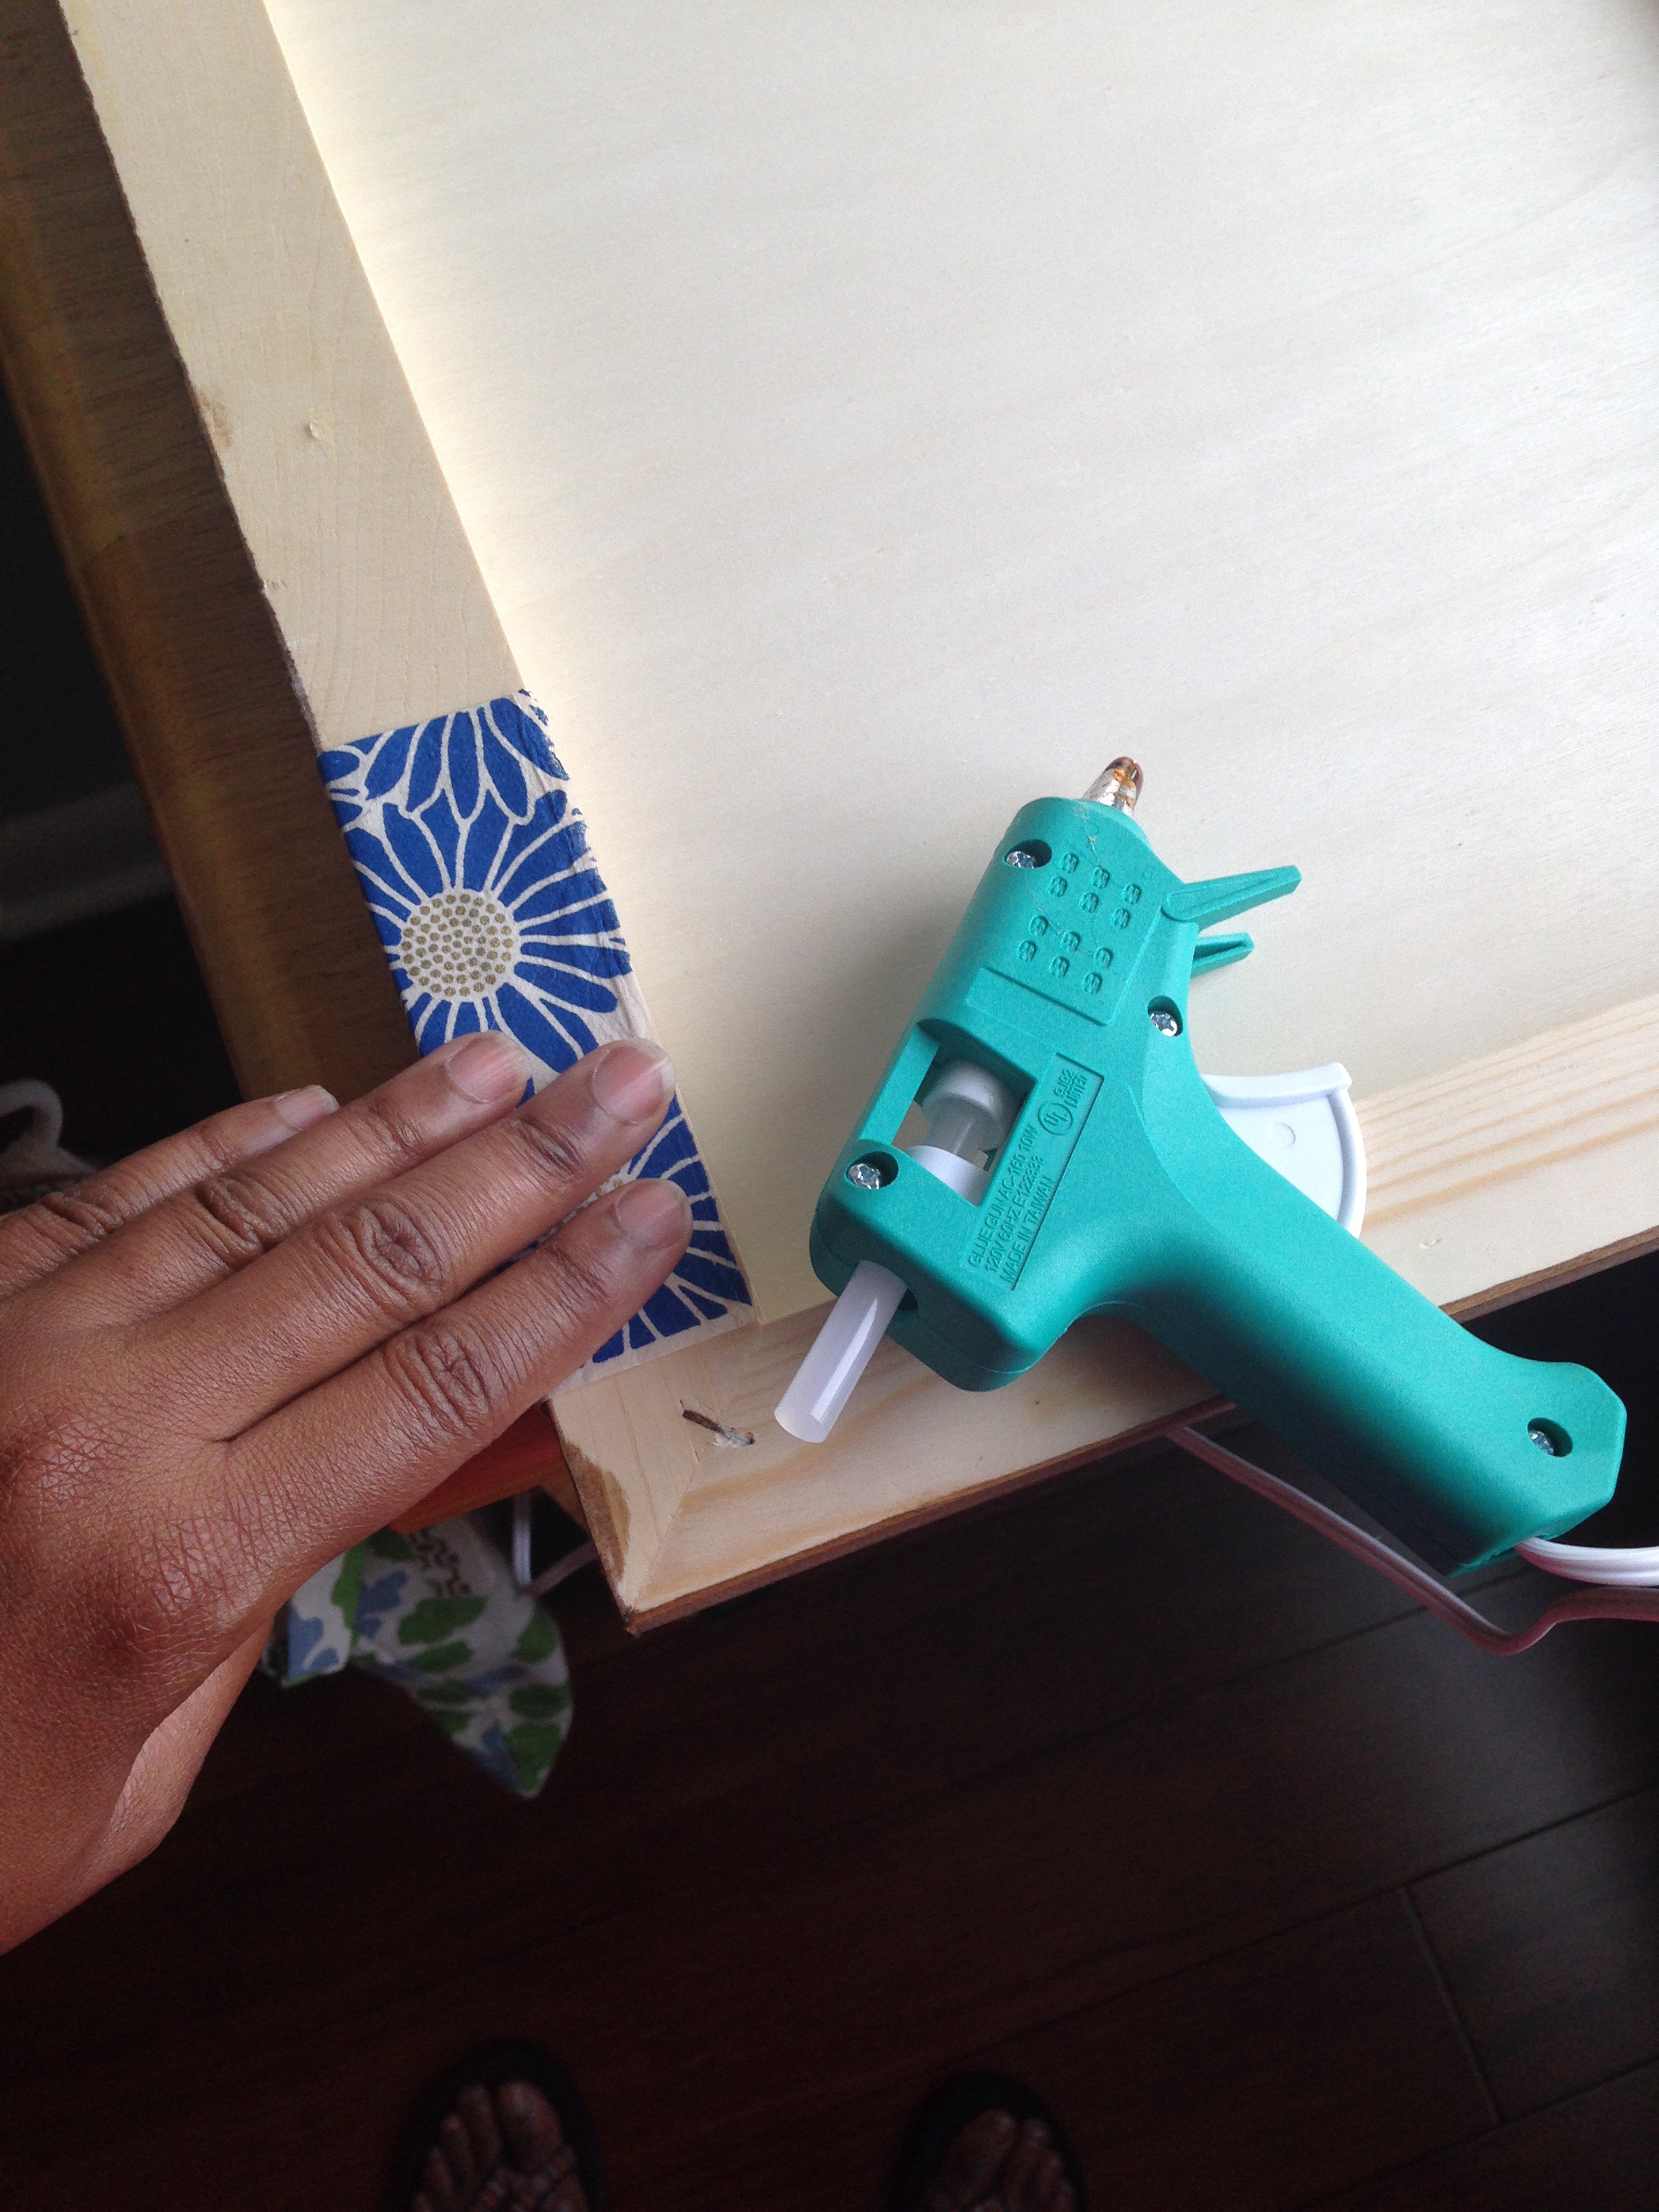
Before permanently affixing the paper, I positioned the 12 x 24″ metal sheet over the paper banners as a visual mock-up. Once satisfied with how everything lined up, I glue on the paper.

Important note about the sheet: I was sure to get galvanized metal rather than aluminum. One can be used with magnets. The other cannot.
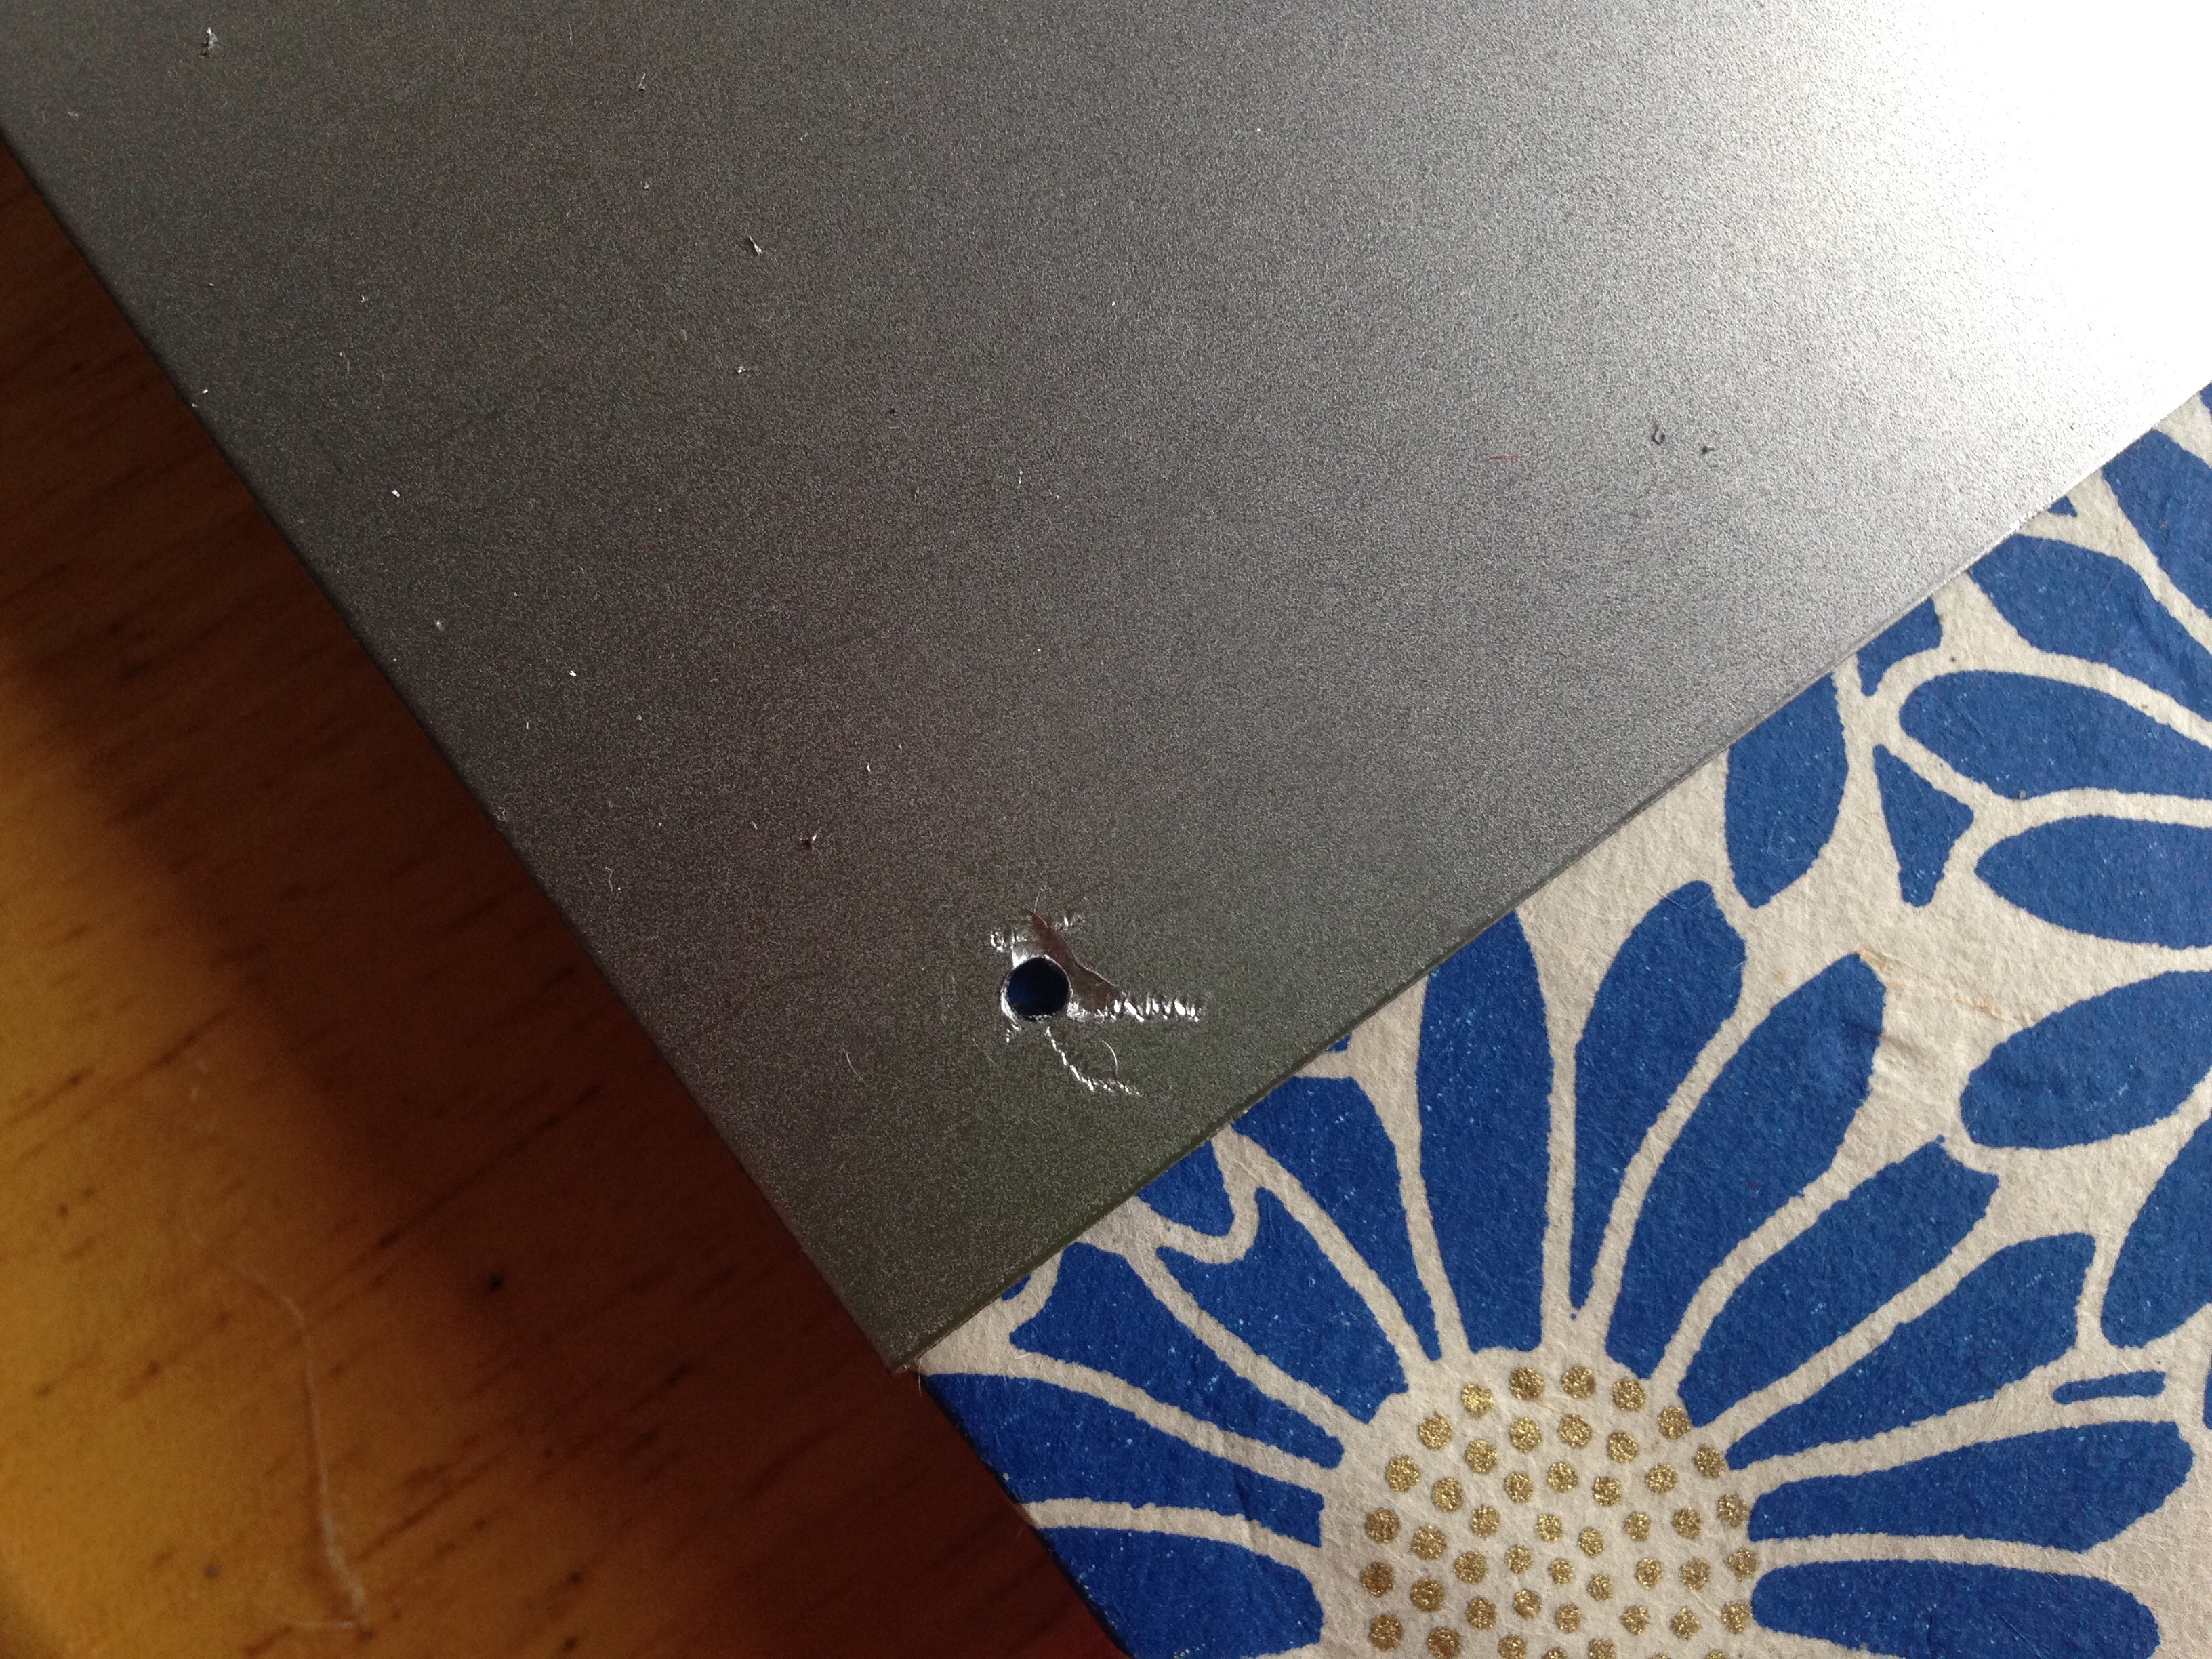
I then marked each corner of the metal sheet with a dot (using a Sharpie pen) and reached for my power drill. For this job, I used a 9/64 size drill bit. Titanium bits are best for drilling through metal.
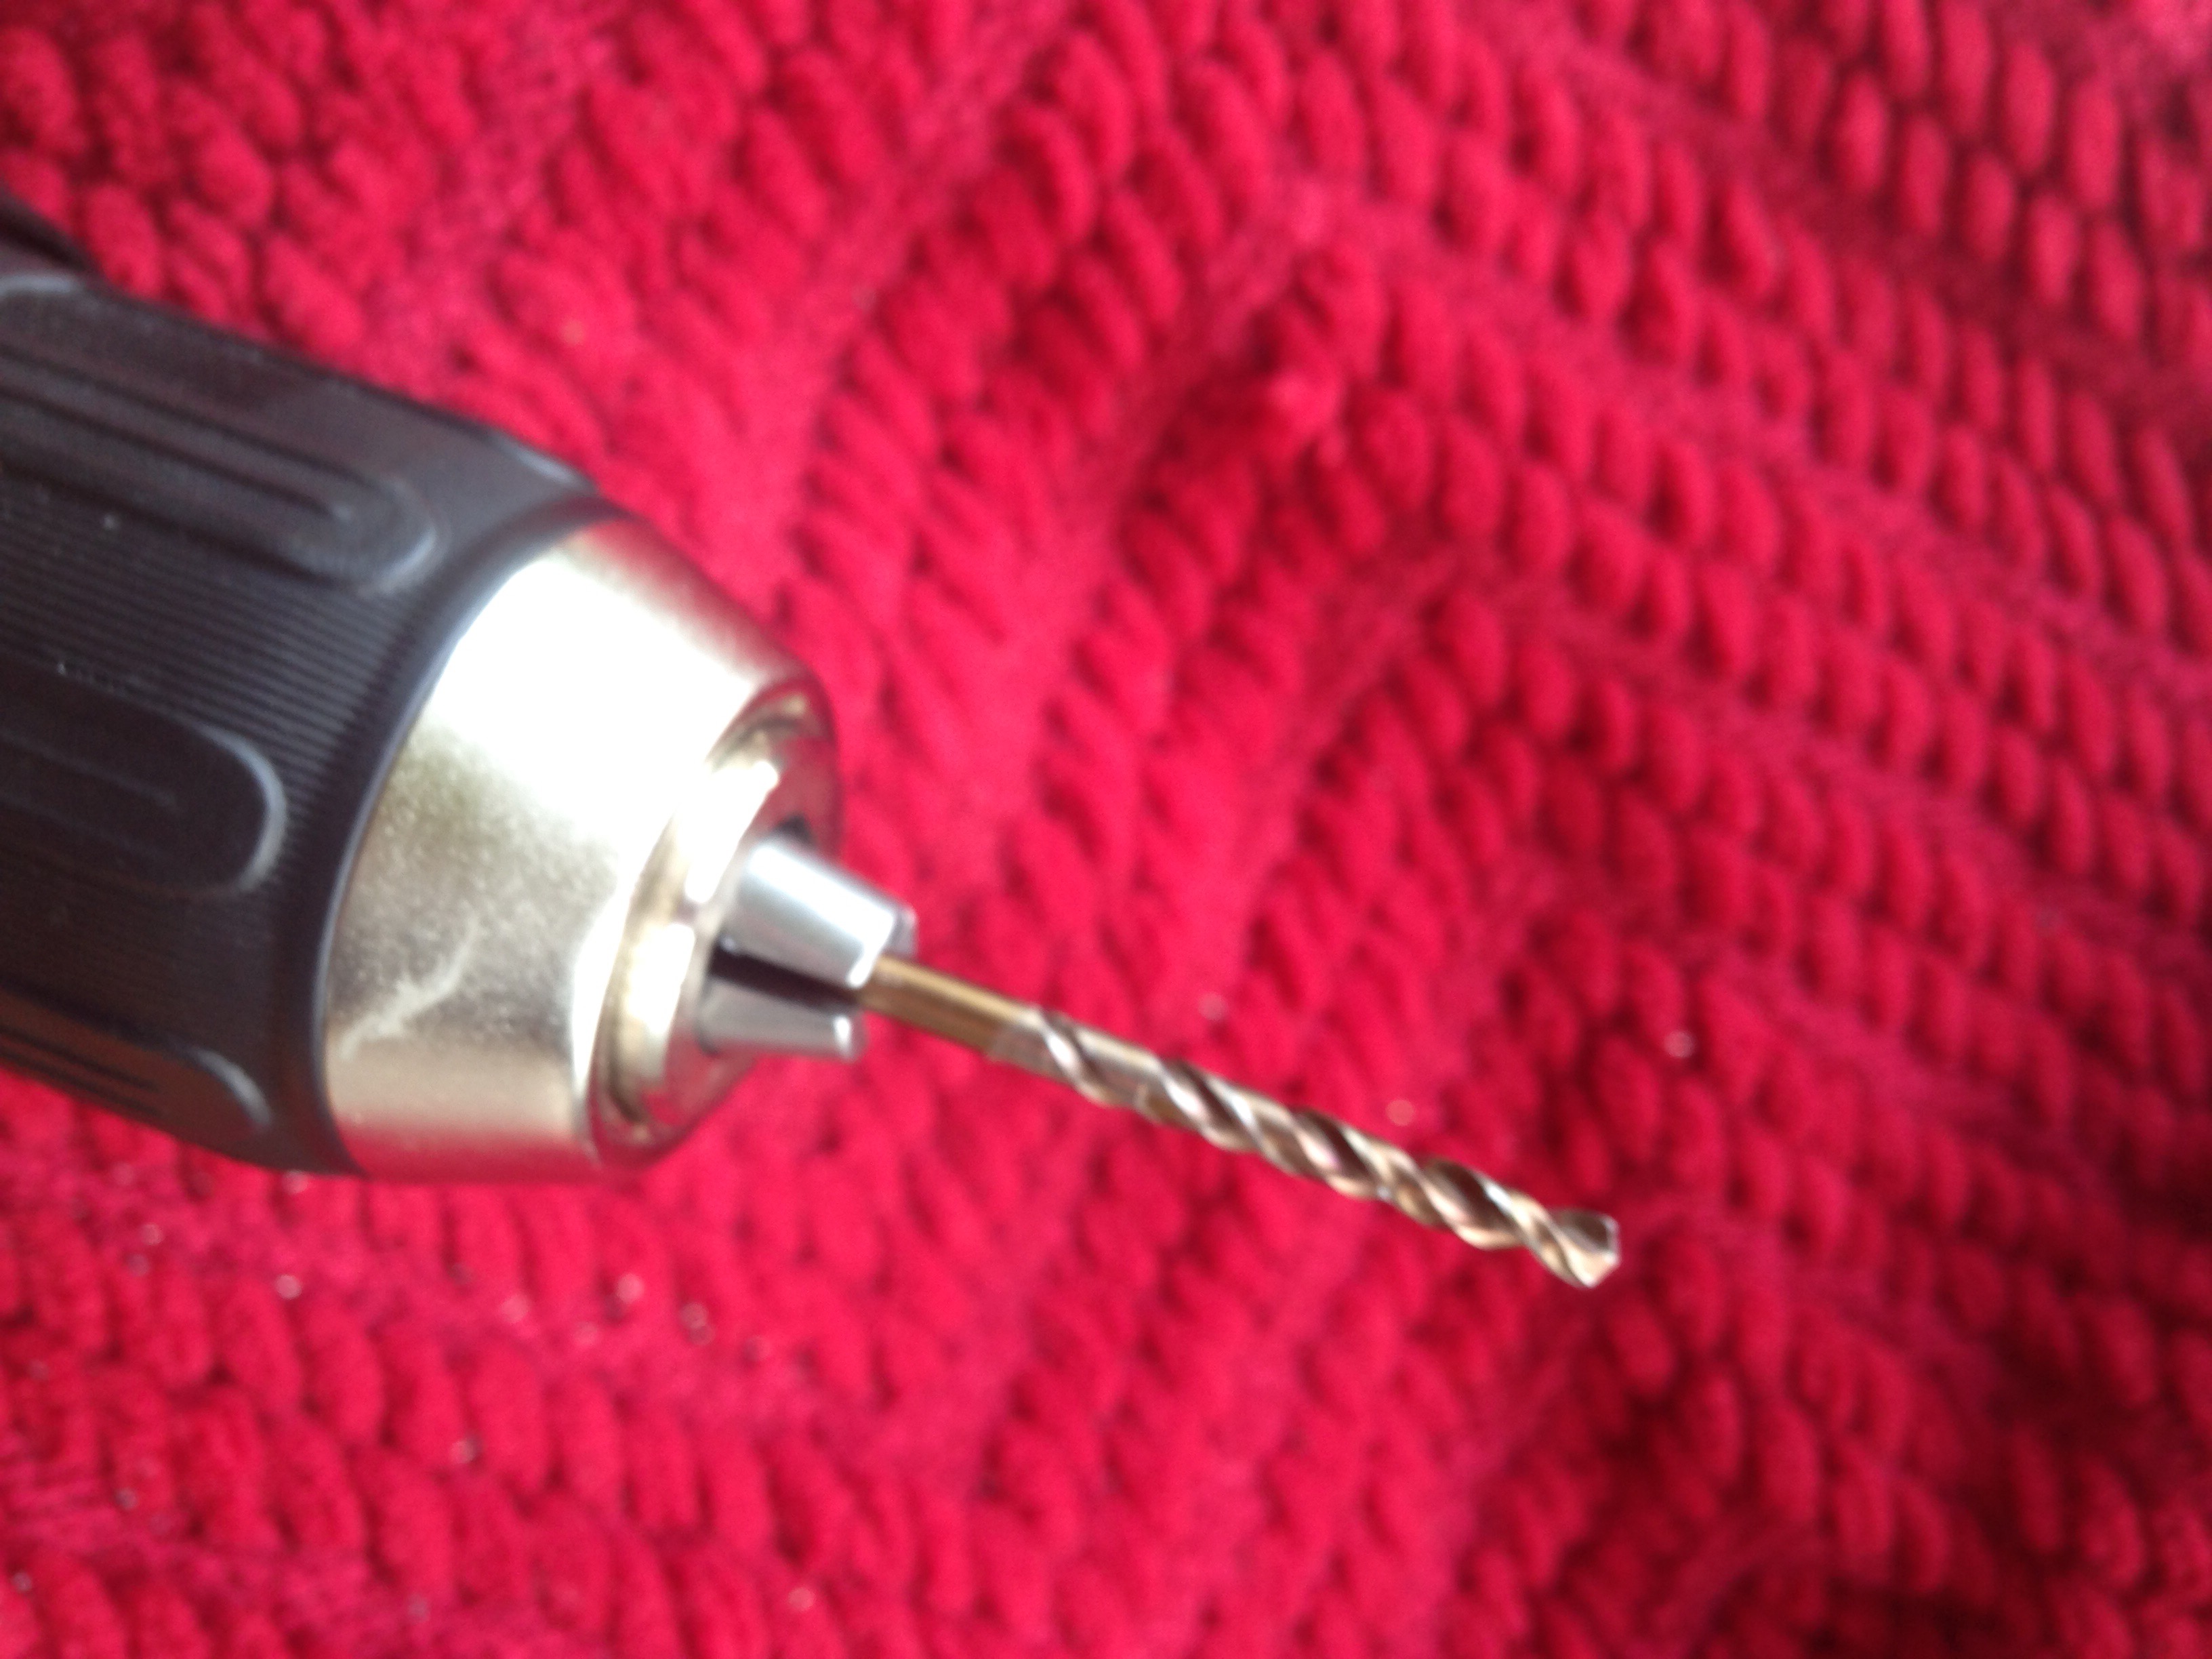
I used the power drill to drill a hole through the metal and the partially through the wood panel beneath.
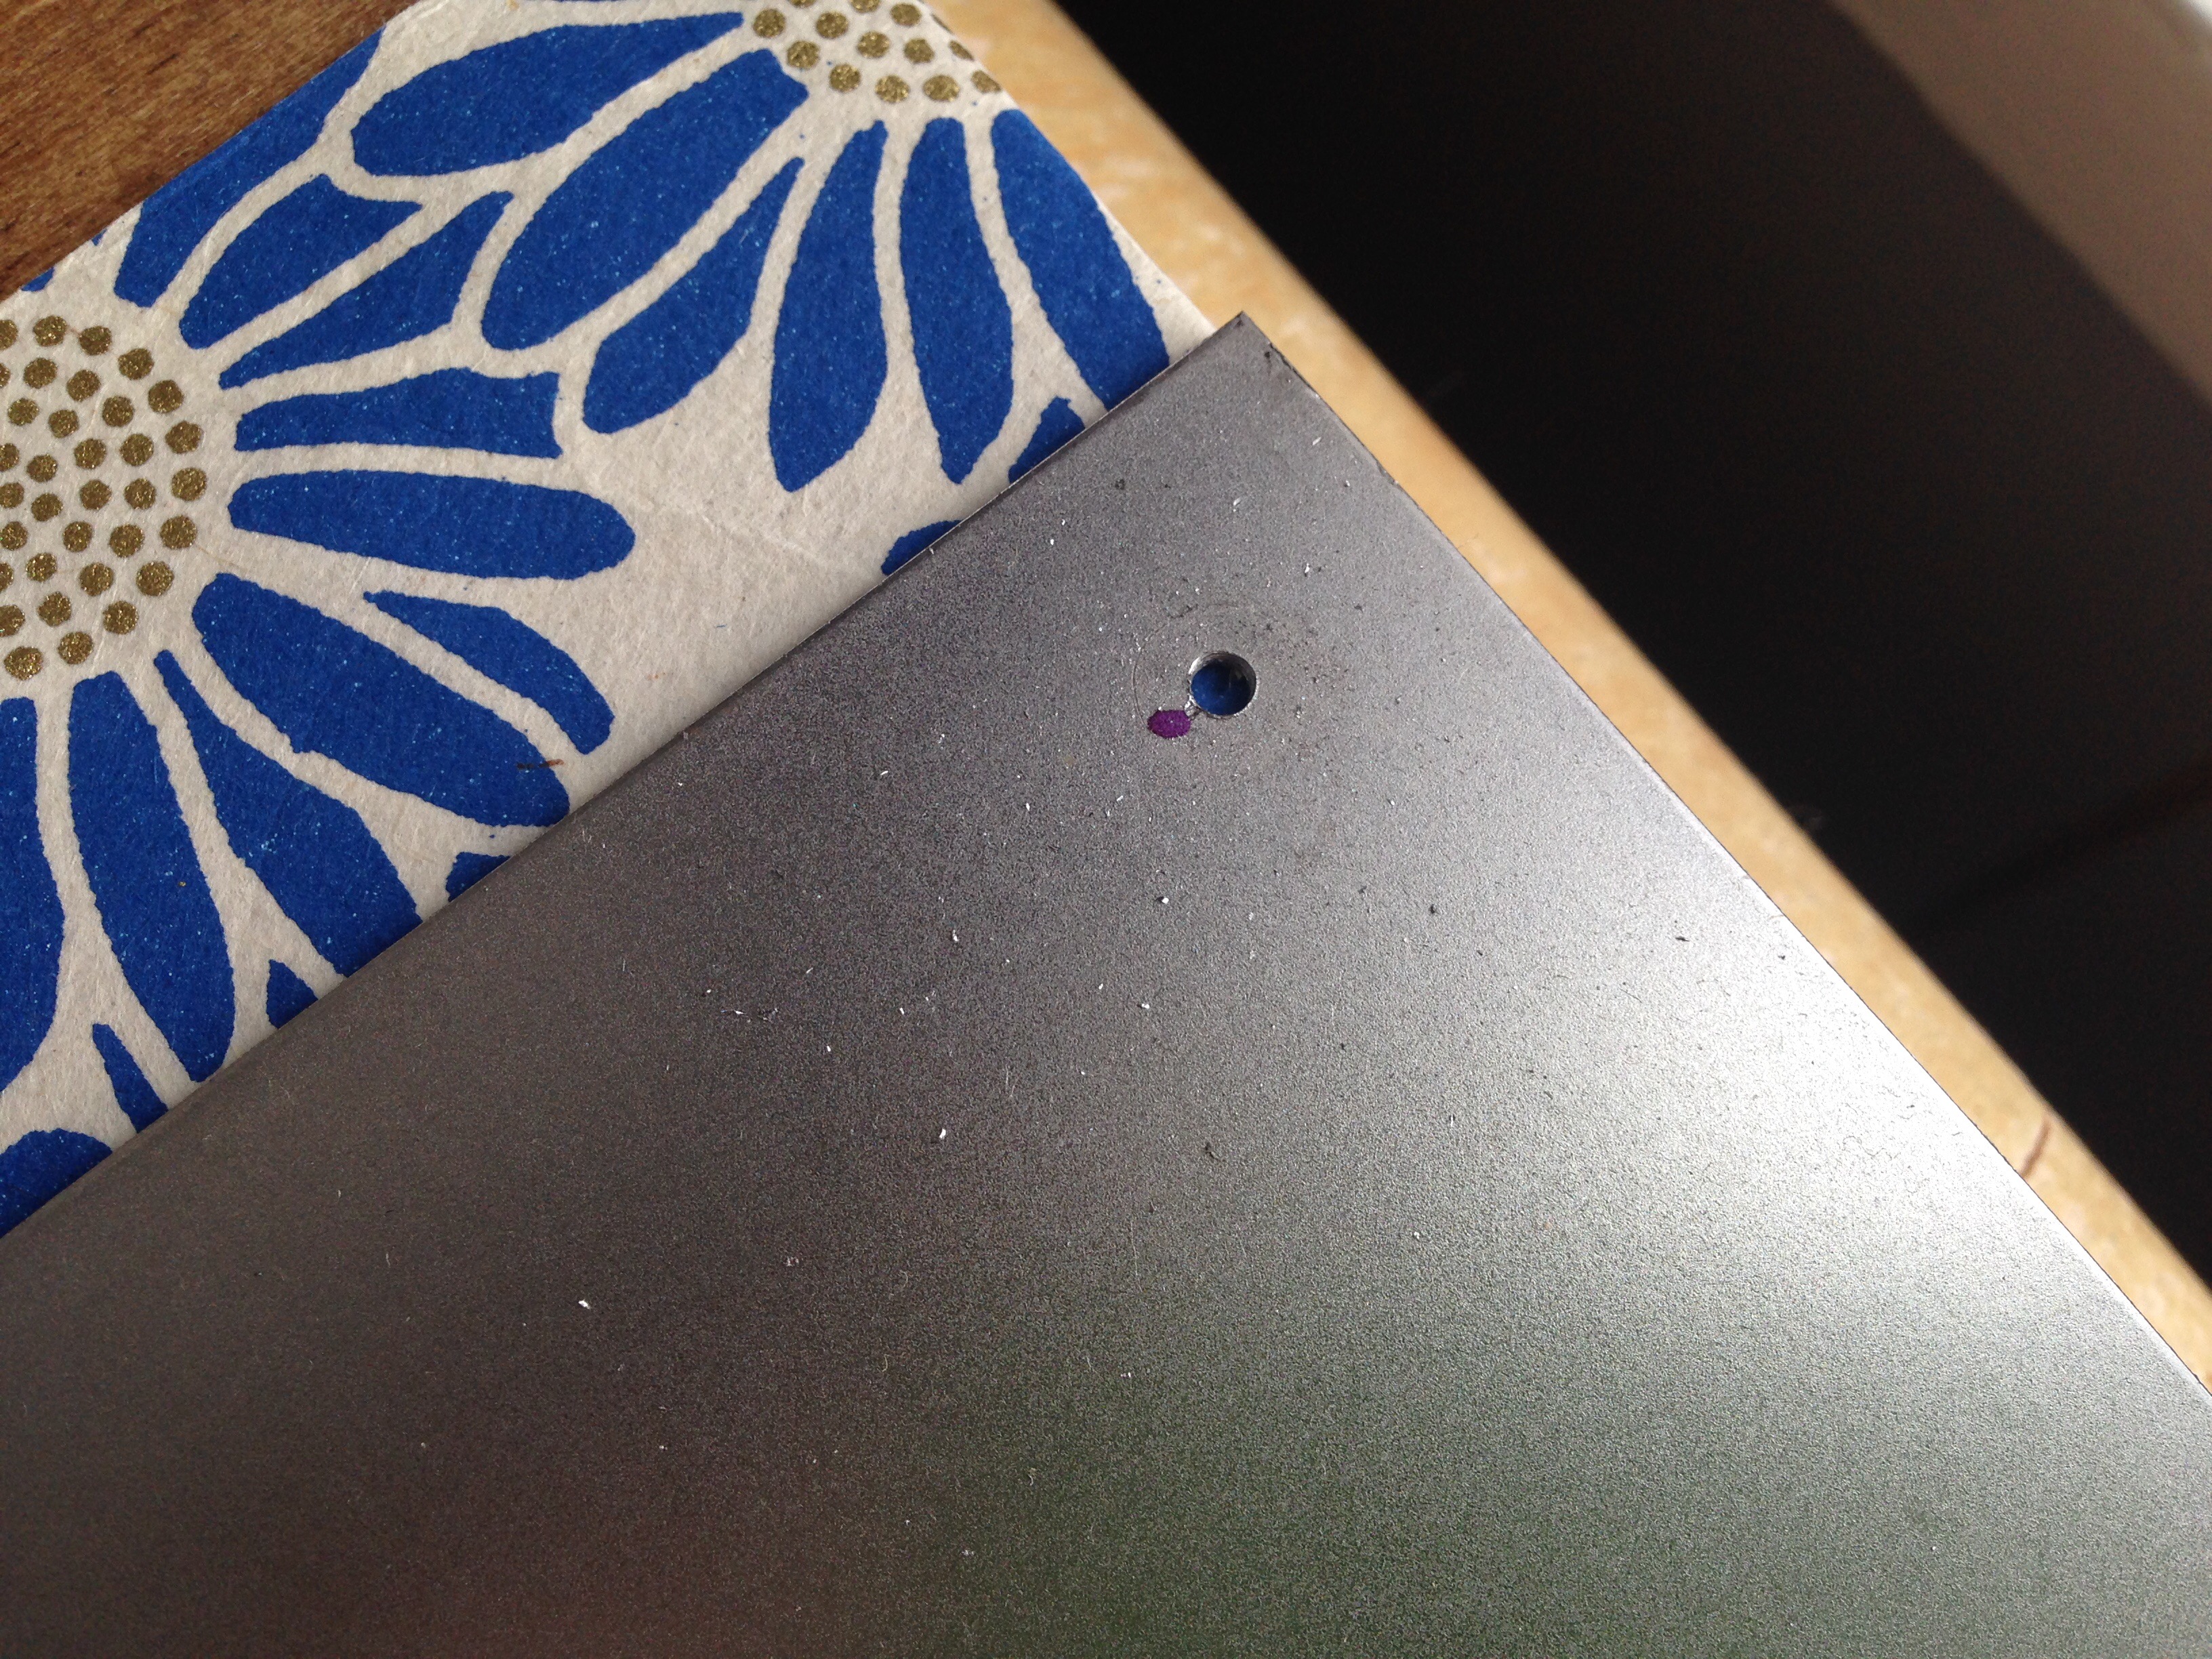
The hole made in wood panel is partial so that it serves as a pre-drilled hole for the wood screw that will attach the metal to the panel.
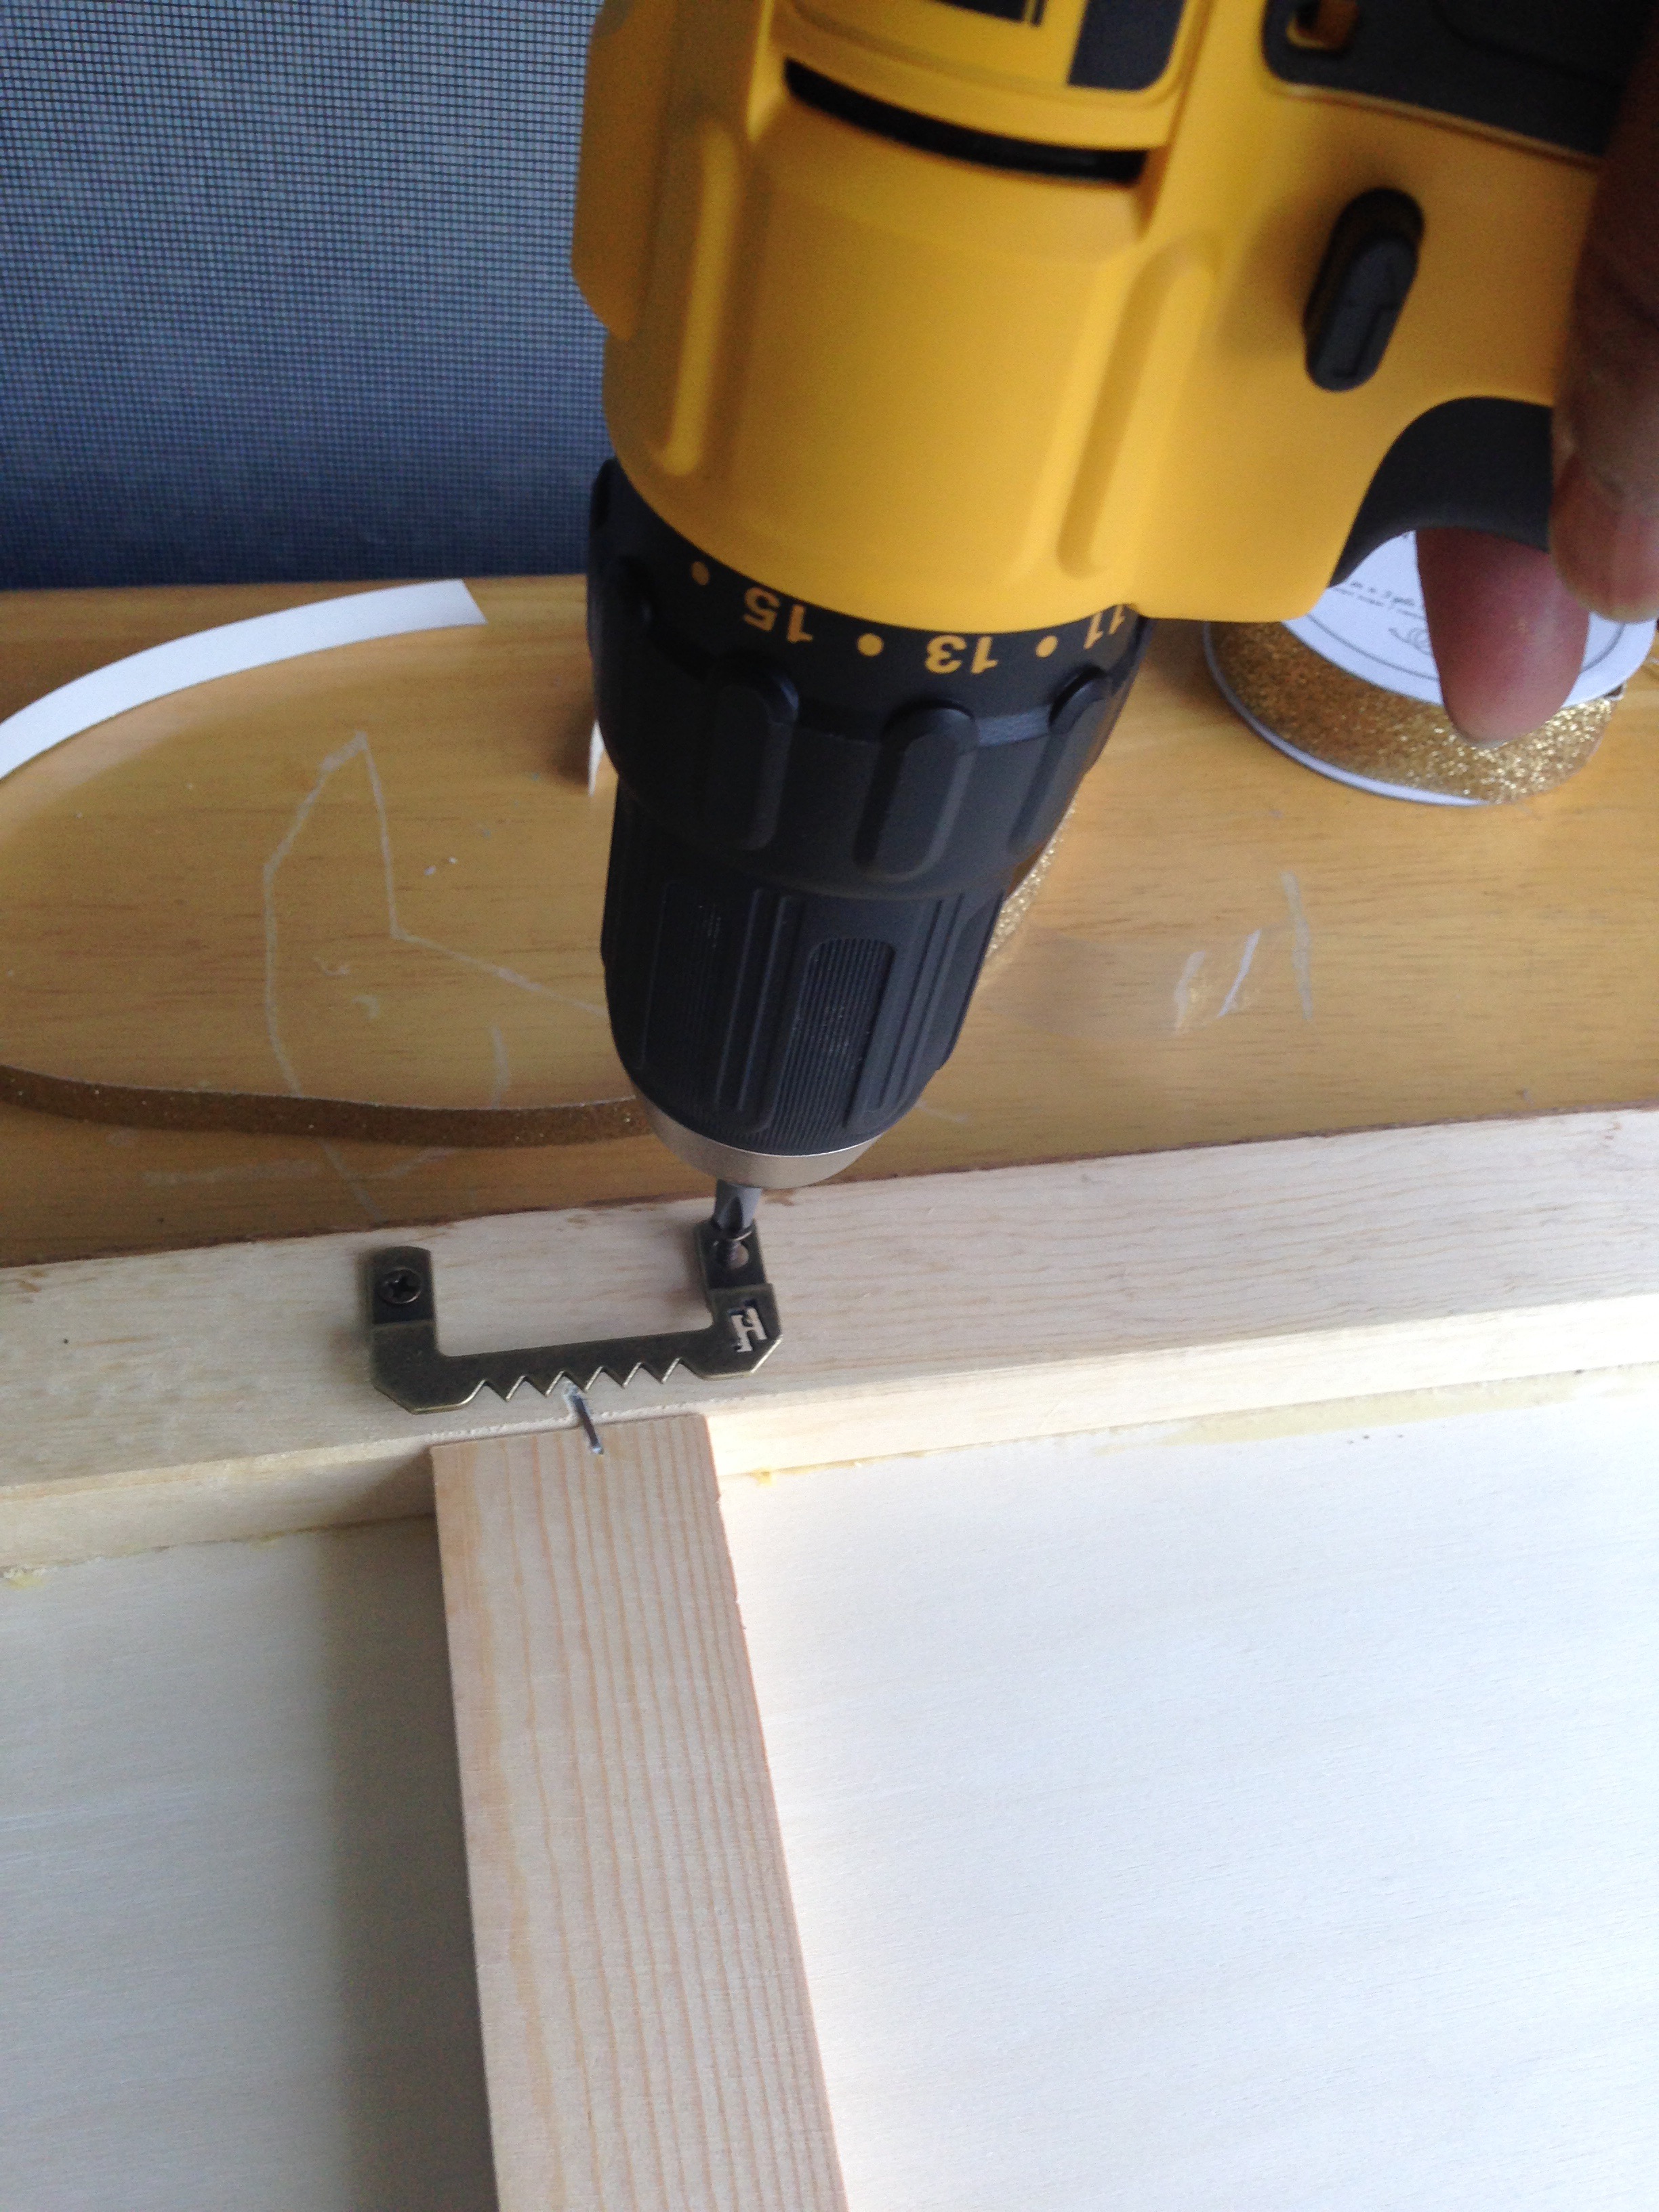
After screwing the metal to the wood panel using the #10 size 1/2″ length screws, I added a HangZ picture hanger in the back. After two small pre-drills, I screwed the picture hanger to the board.
Flipping it over, I shifted gears to adding the decorative embellishments.
To cover the edges between the metal and paper borders, I used a combination of glitter and gold accented washi tape.
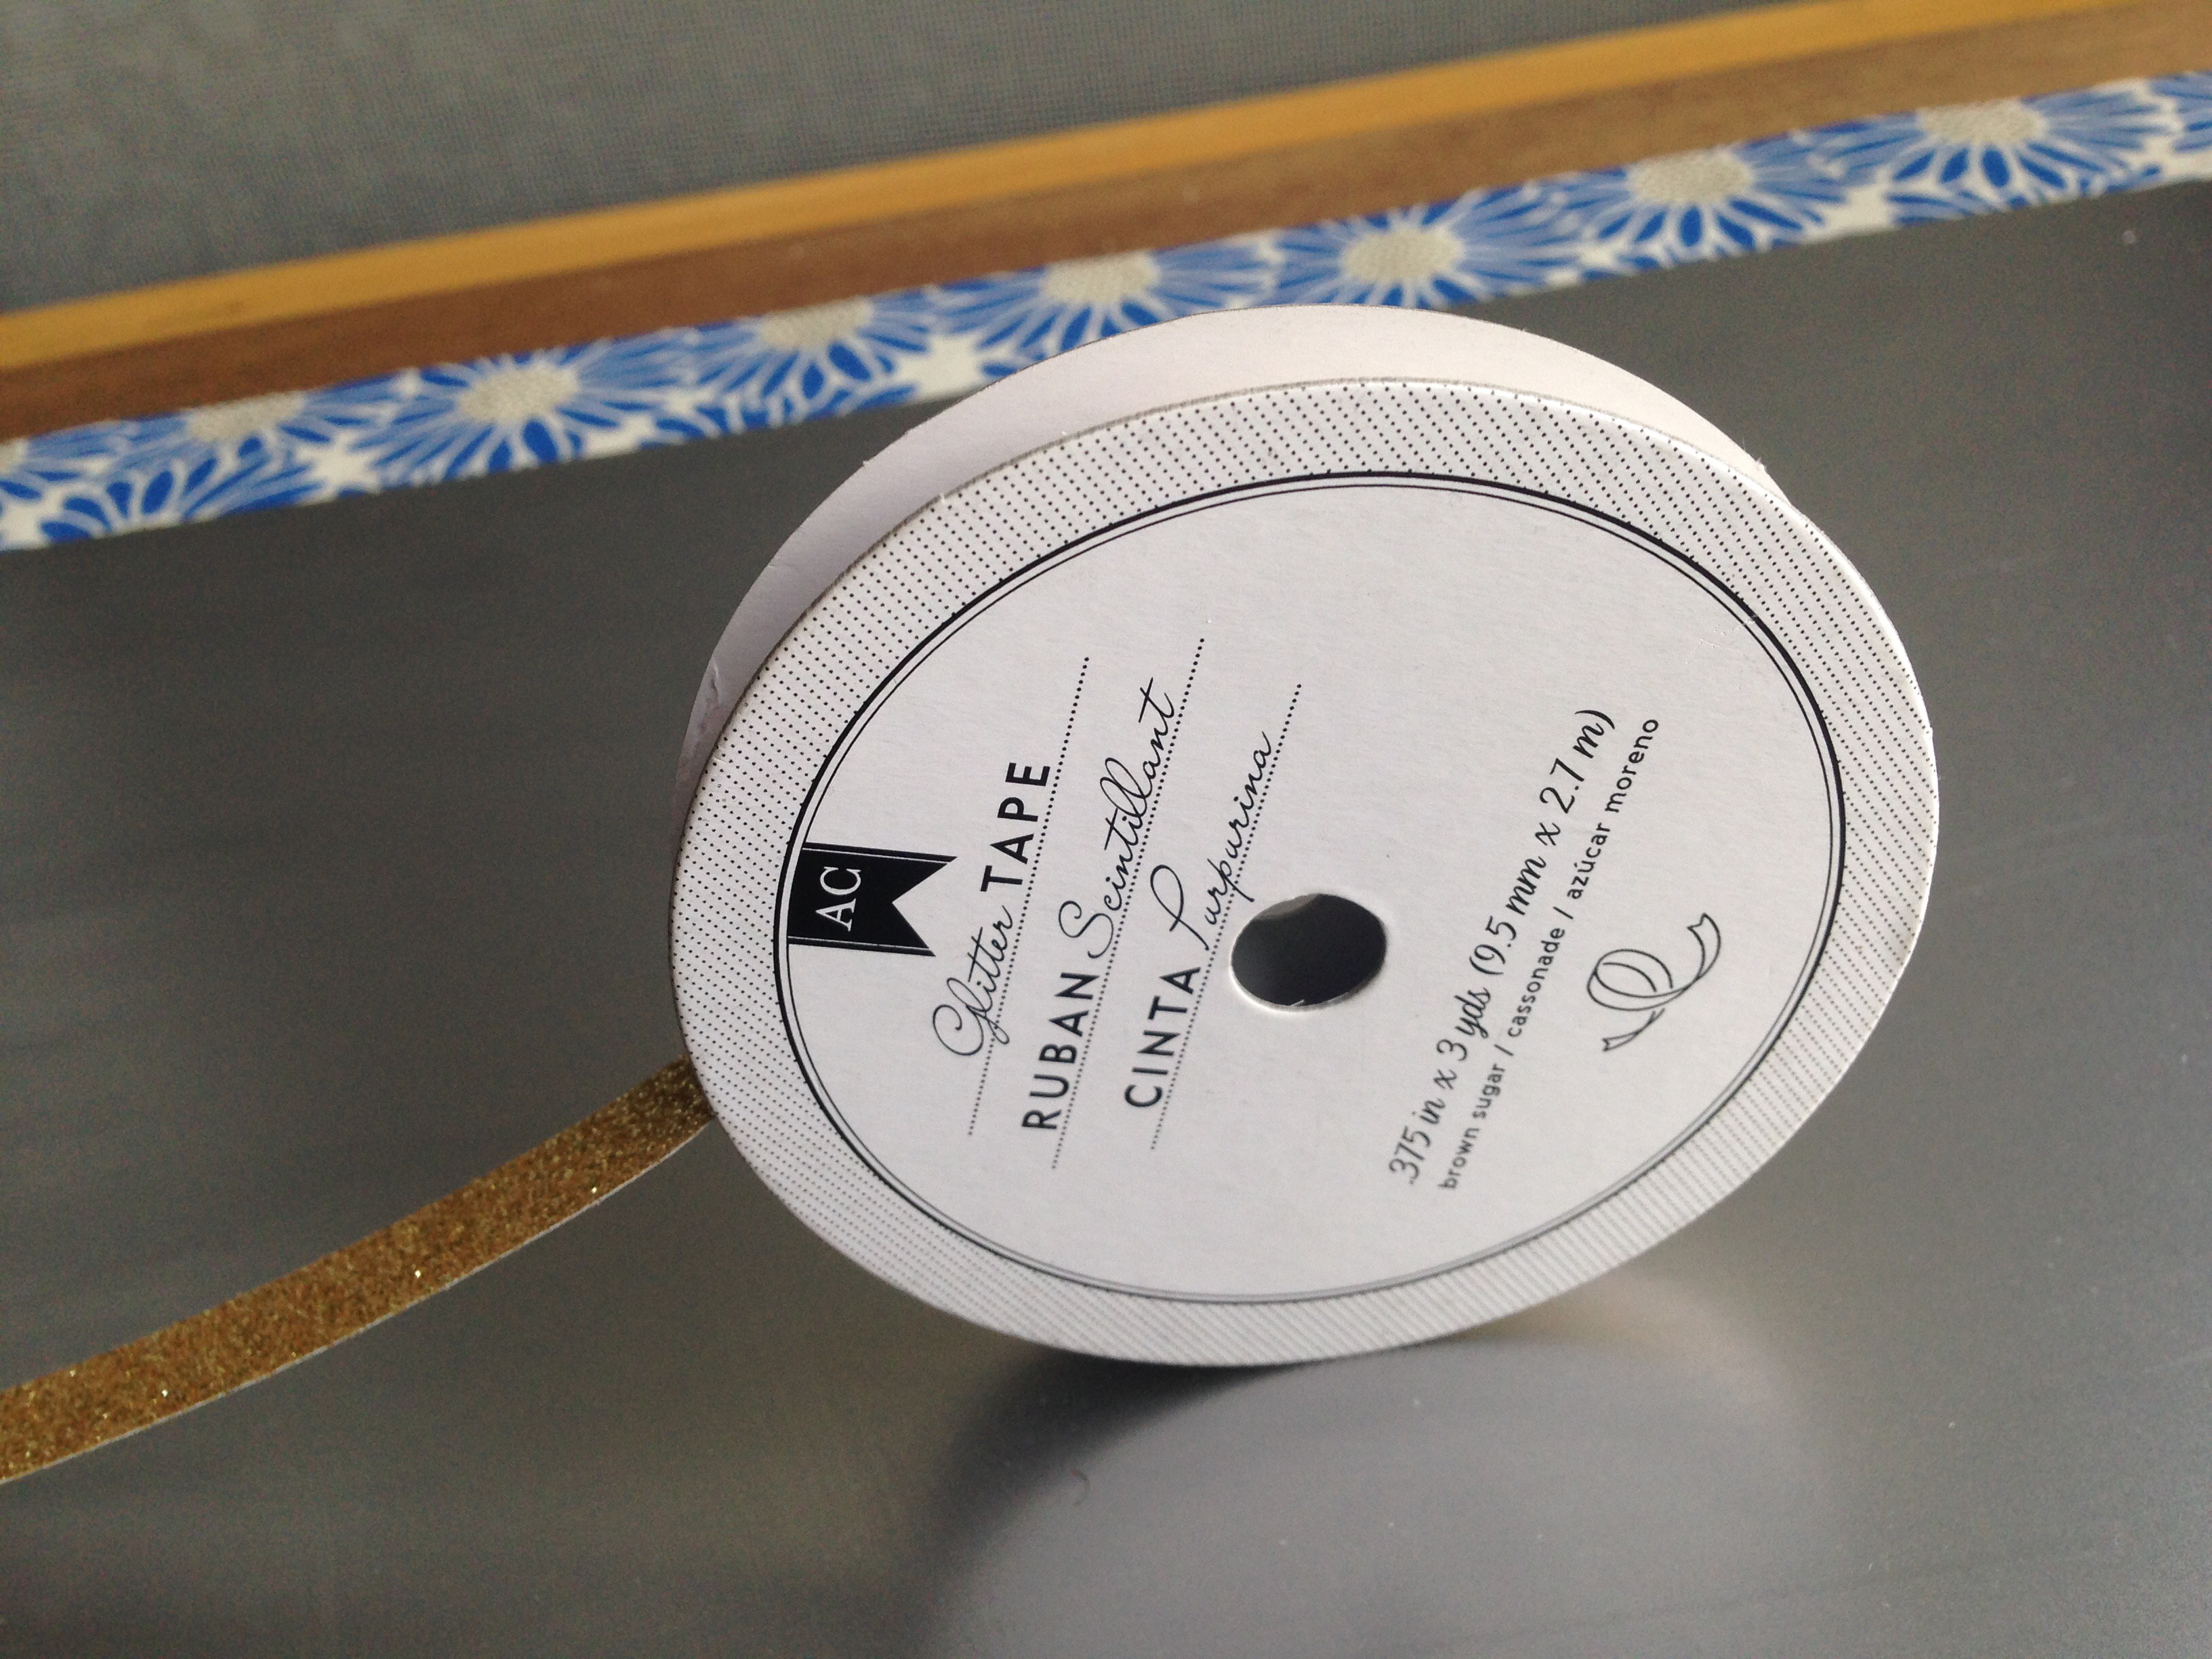
Hot glue was used to permanently add the tape to the magnetic board.
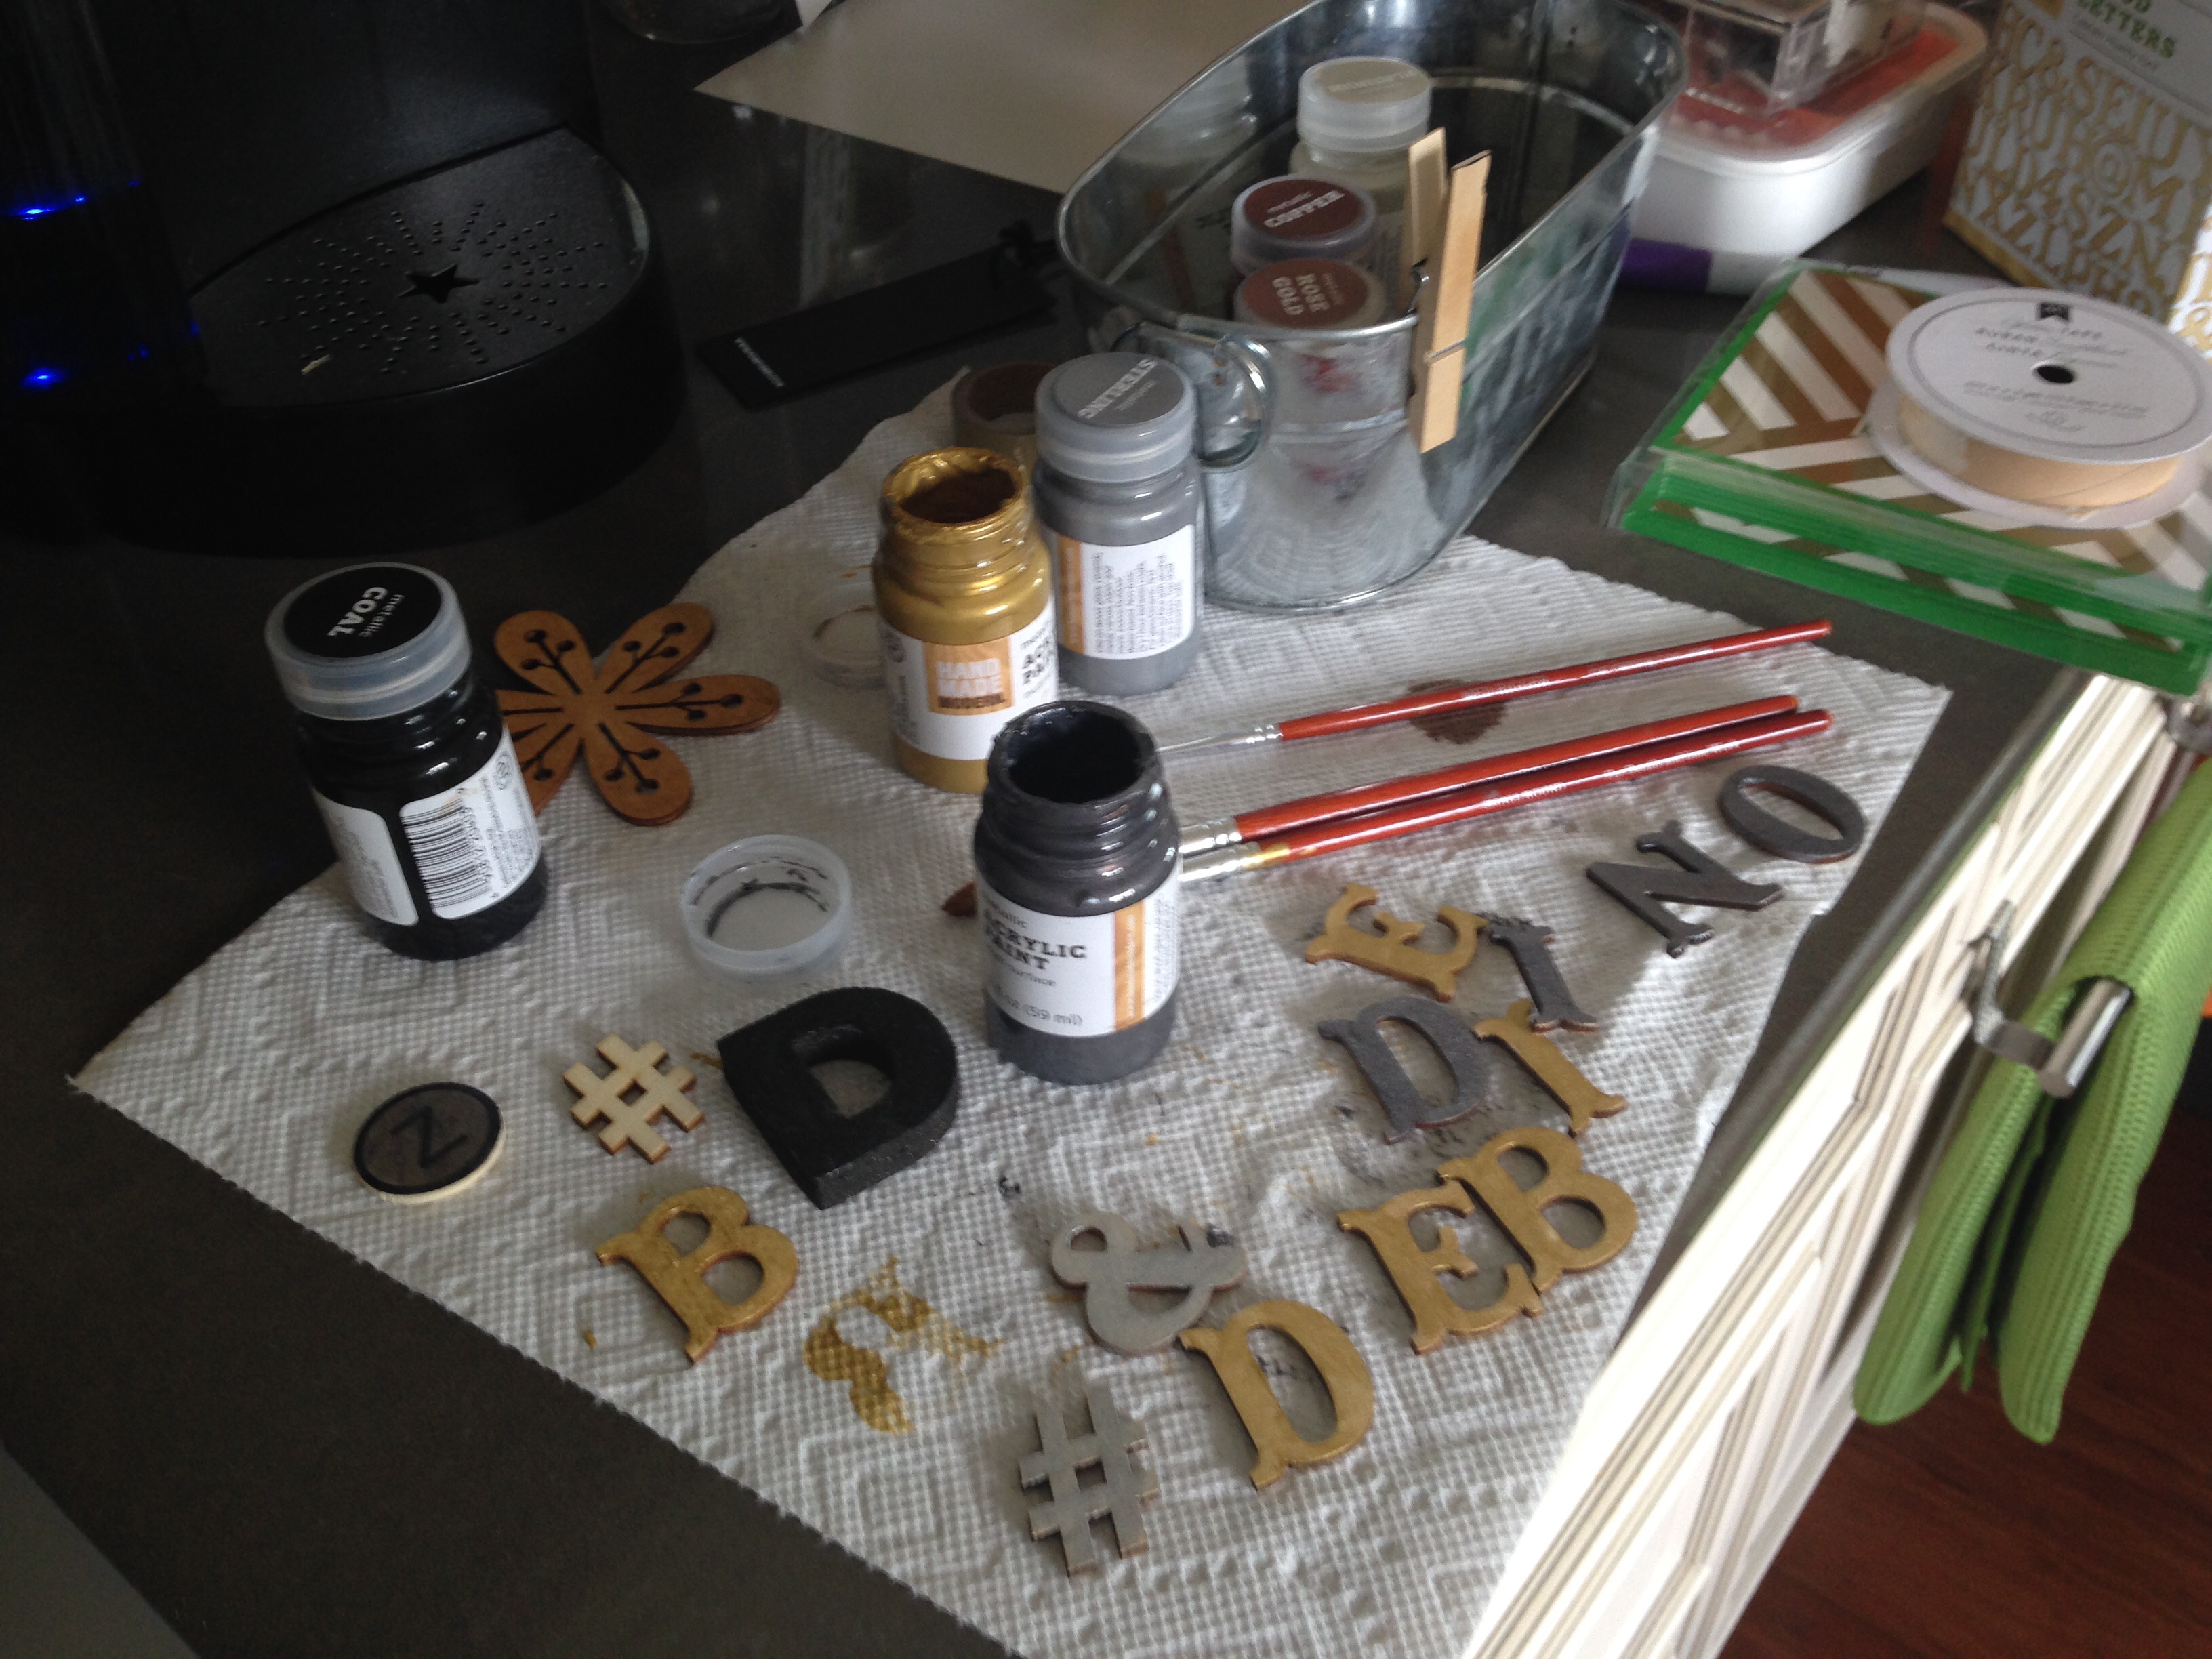
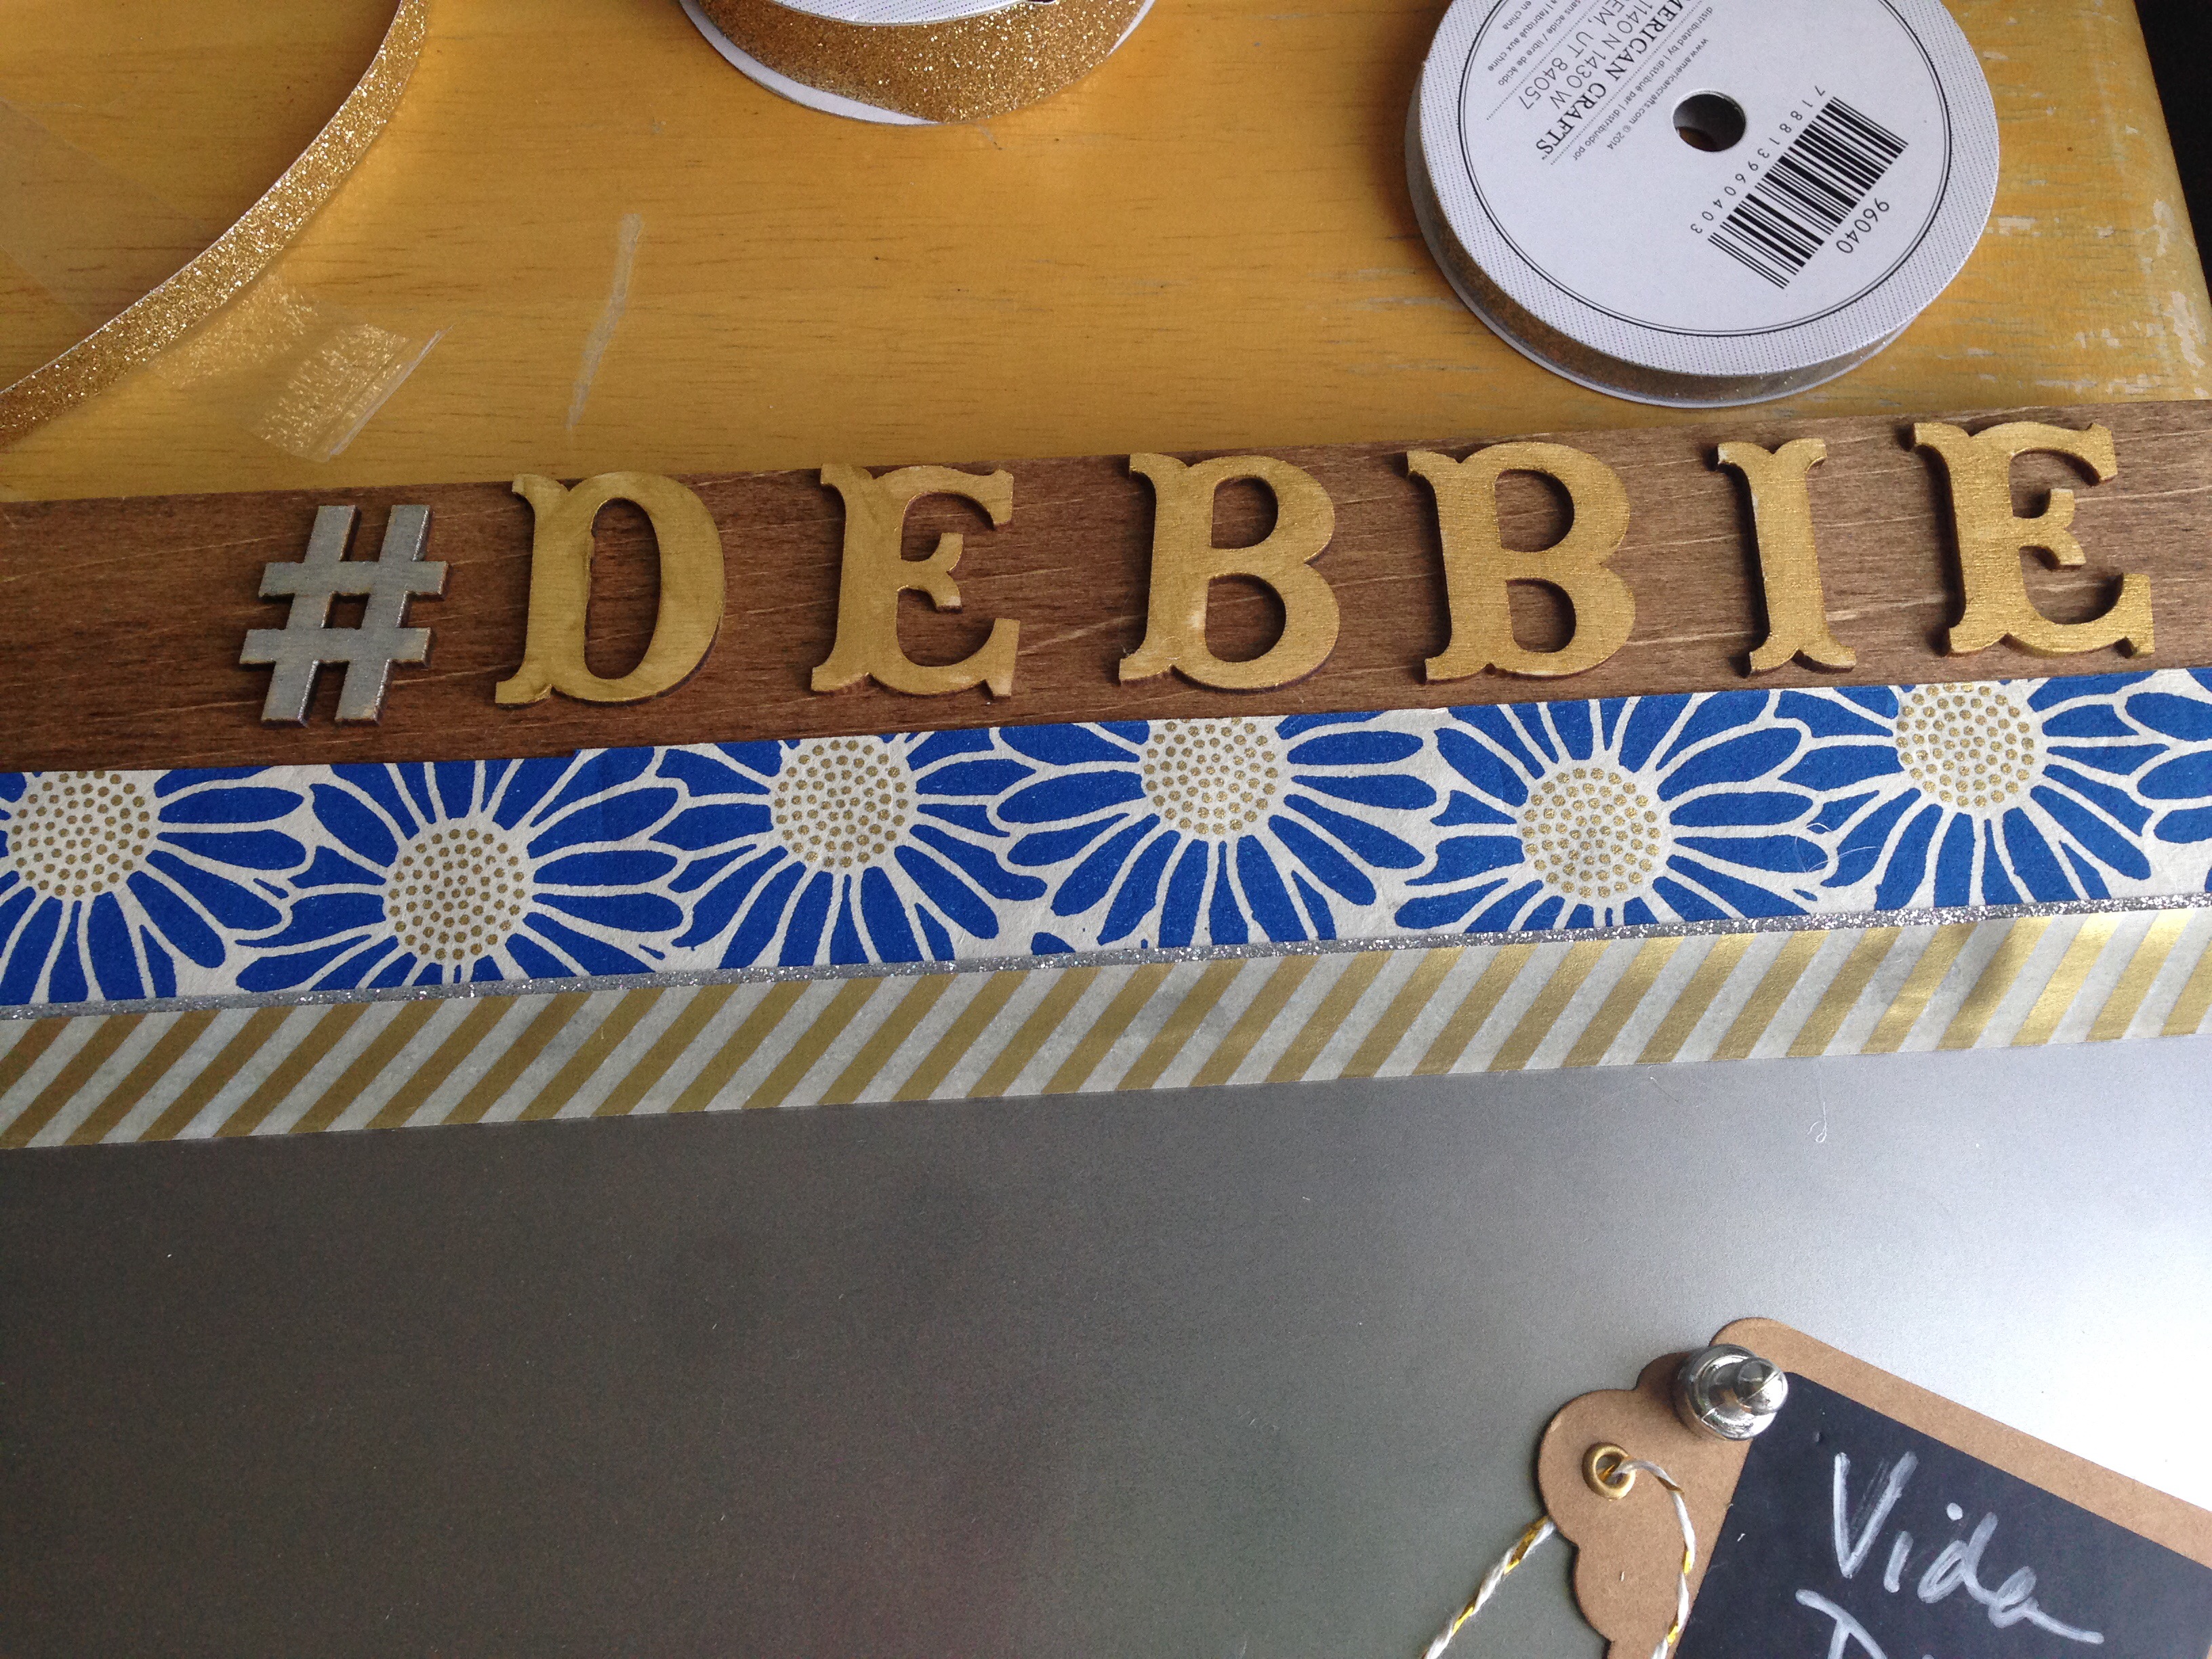
Using Handmade Modern wood letters (in Captain Howdy font), I spelled out #DEBBIE &DINO. I wanted this to be their personal “Twitter” board at home (and use their magnetically posted items as their “tweets”).
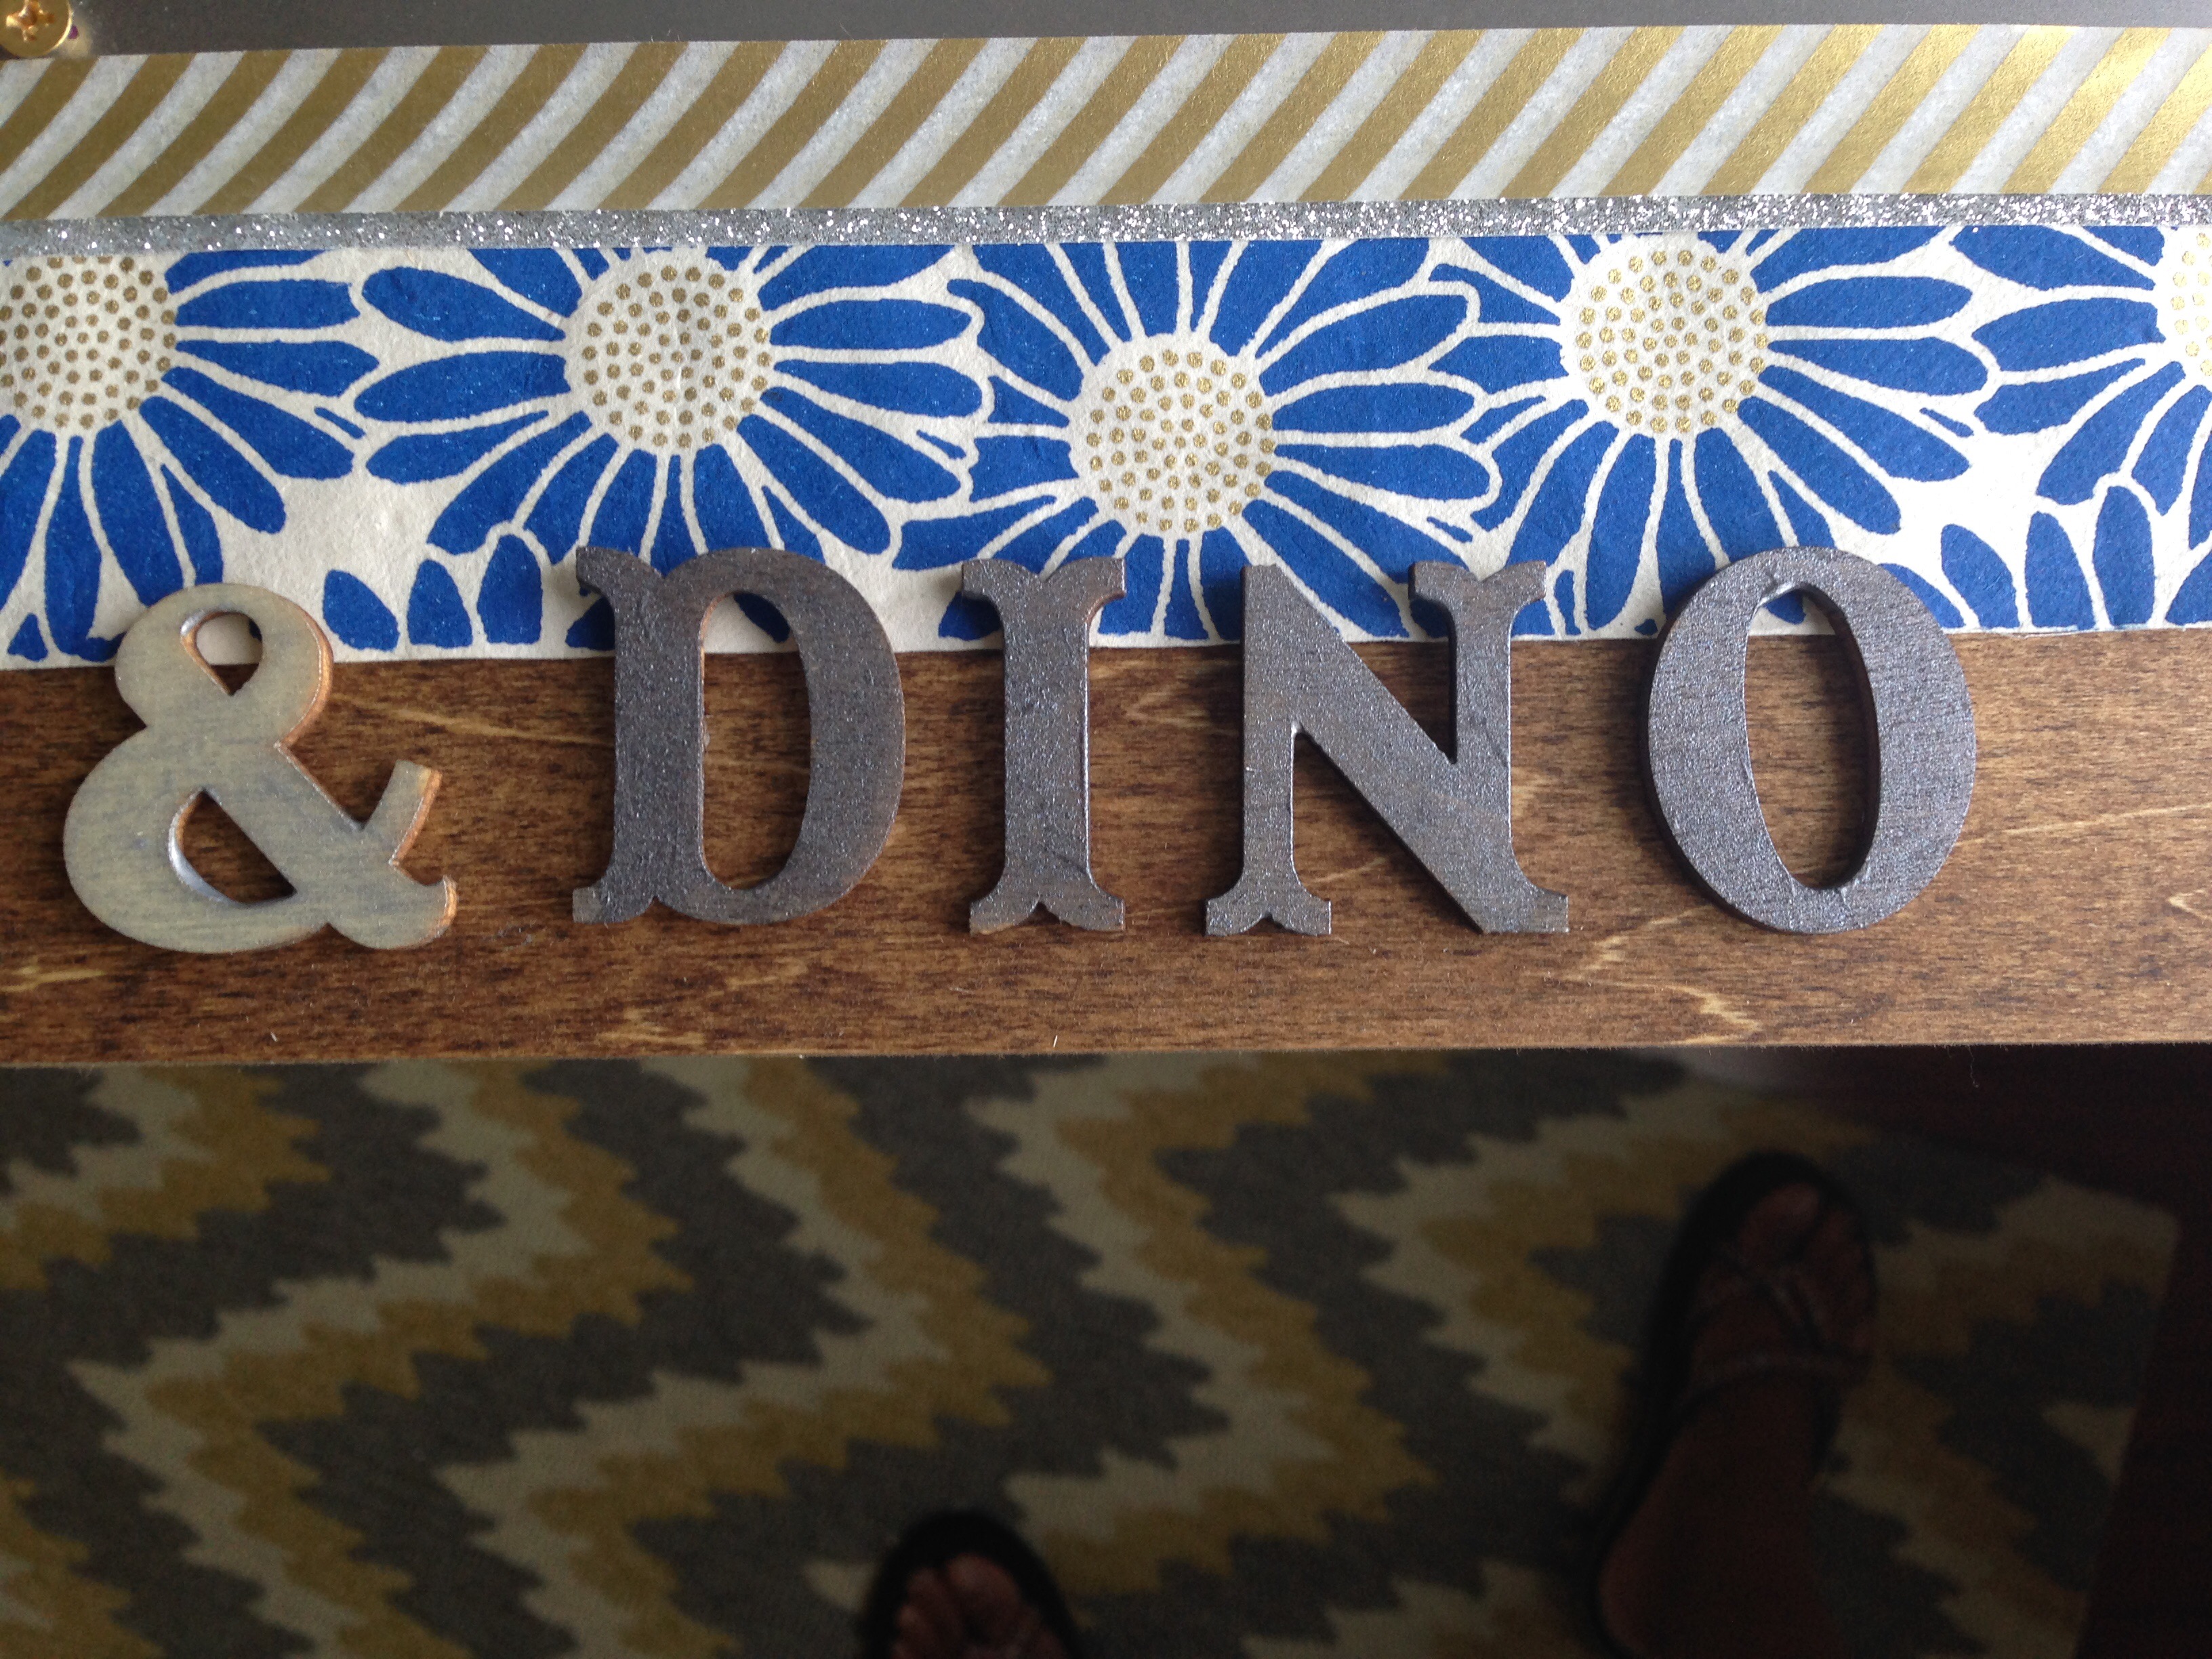
I painted the letters DEBBIE in gold metallic paint. And used the steel metallic paint for the DINO letters. I used the lighter sterling silver metallic paint for the # and the & symbols.
The #DEBBIE letters were hot glued to the wood panel above the paper banner at the top right.
And the &DINO letters were added to the bottom left.
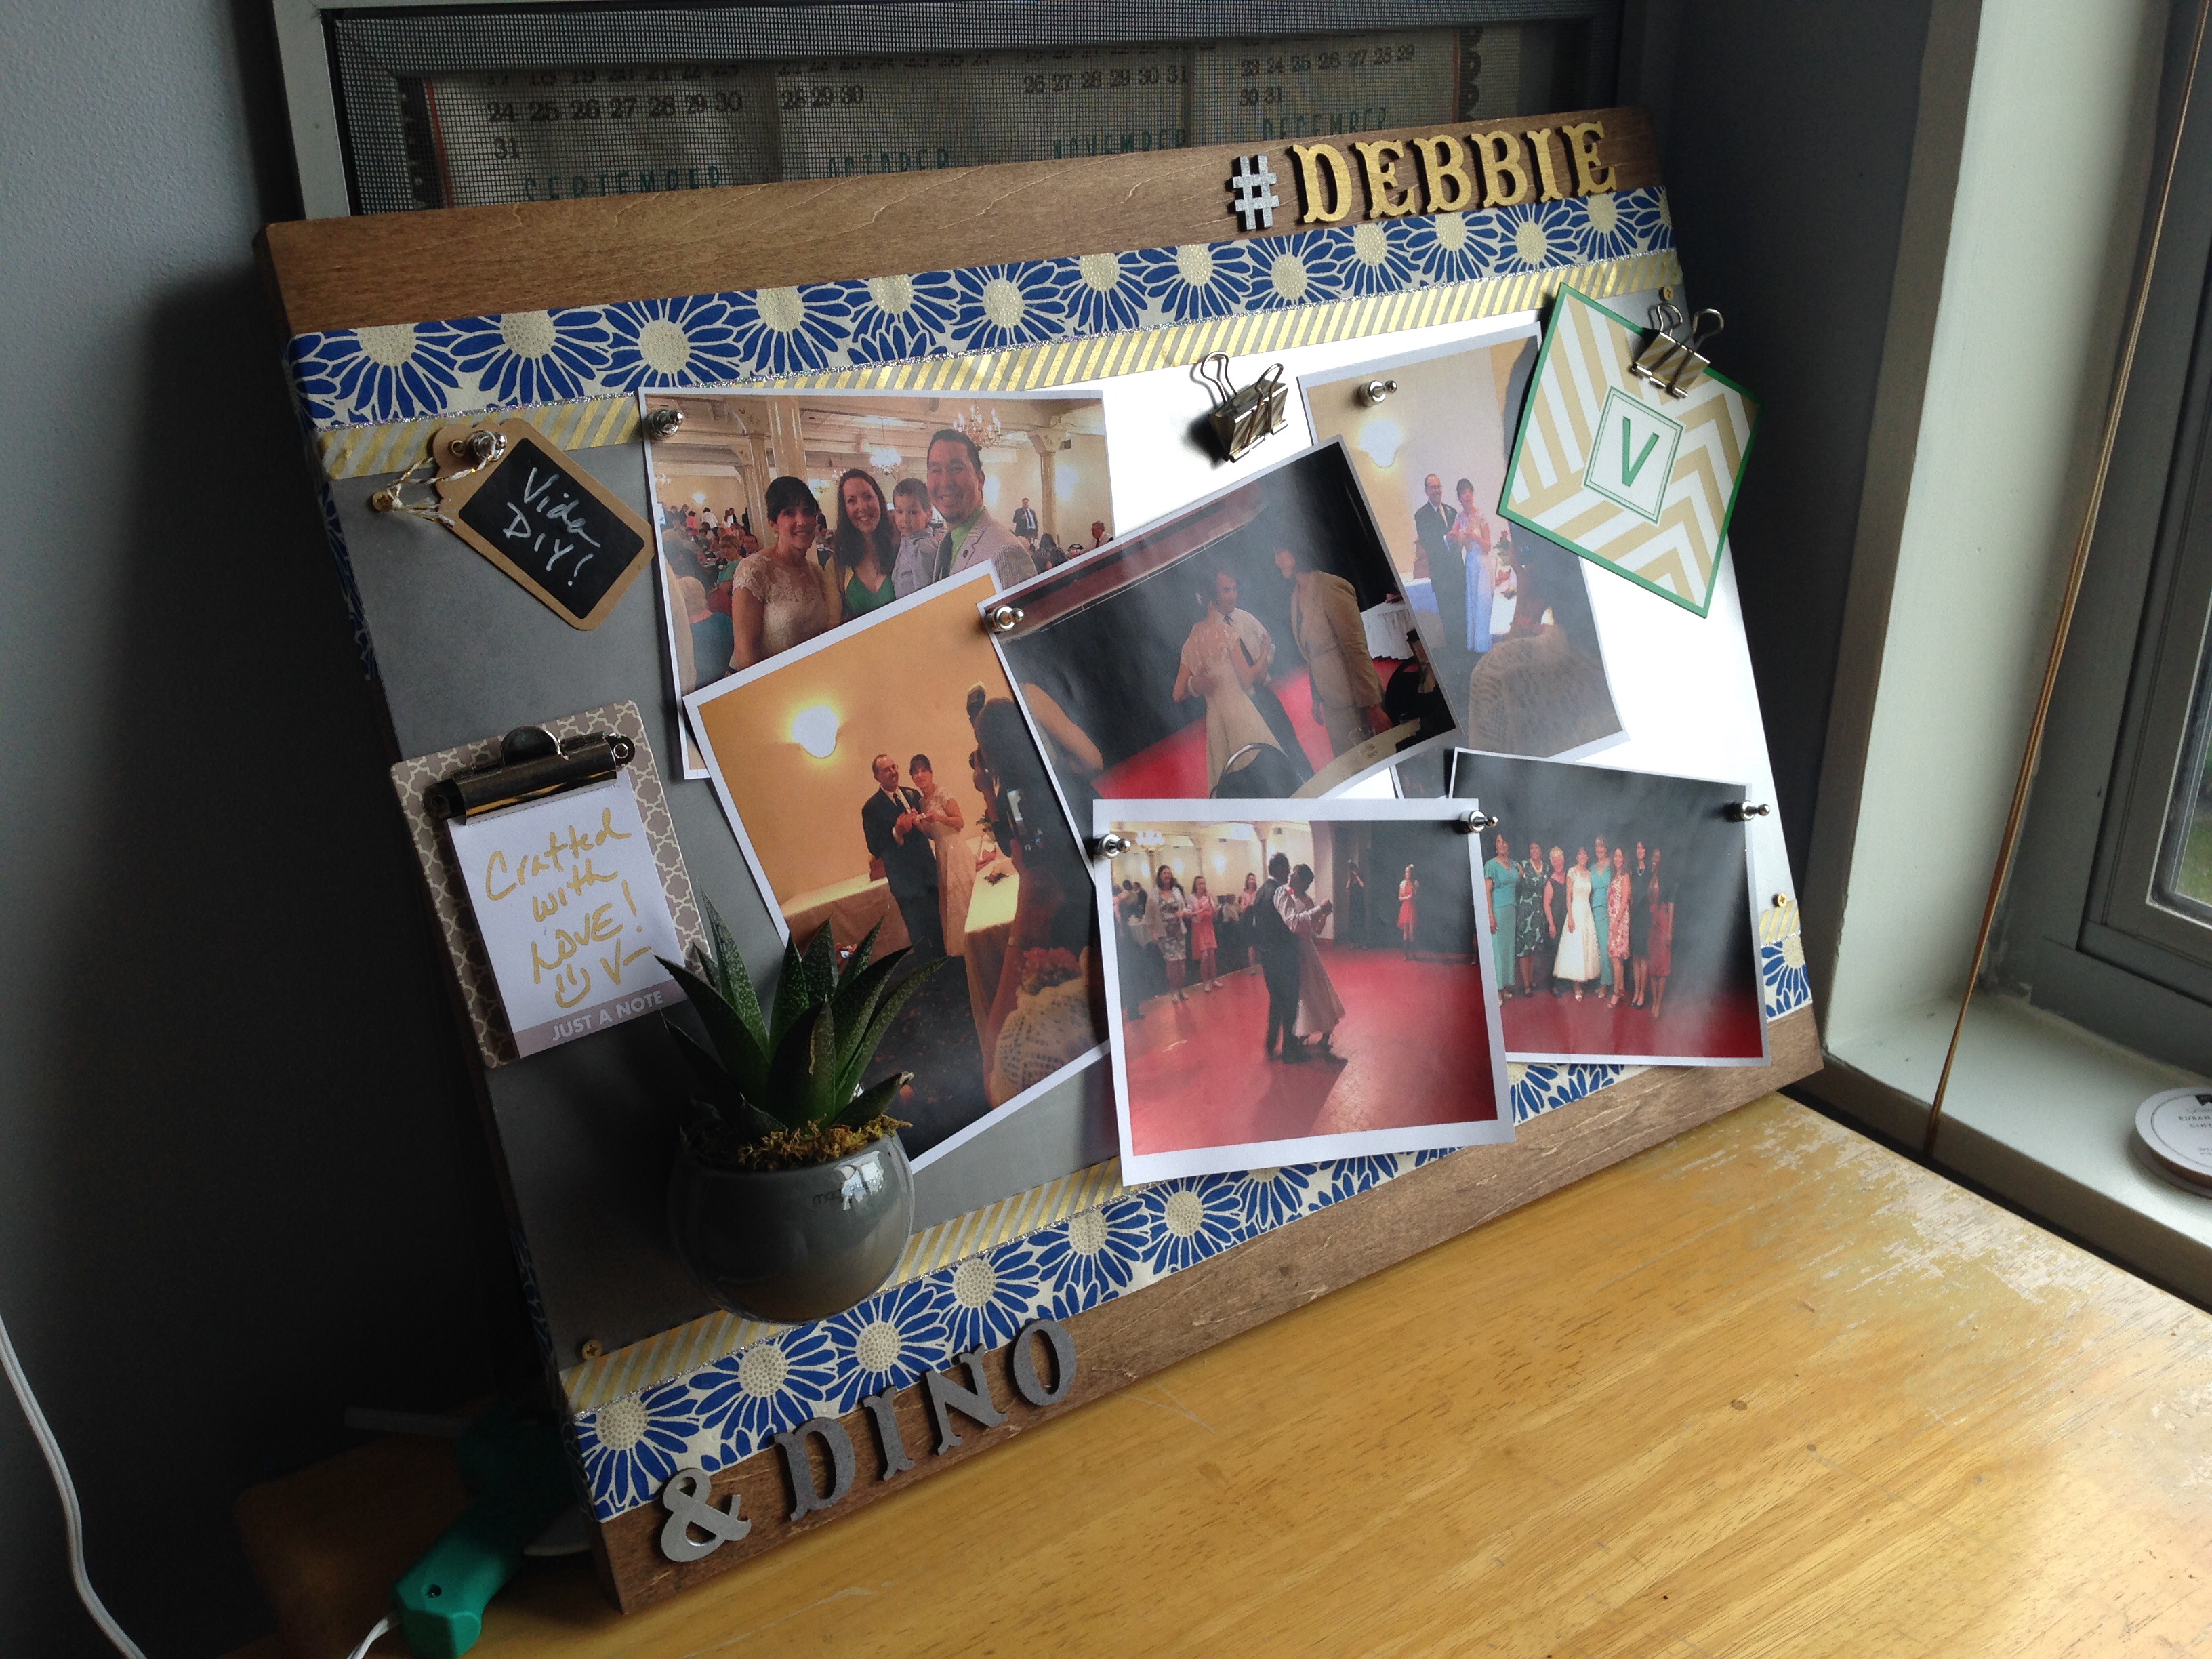
So now the magnetic wood and metal panel is fully assembled.
Time to add the most important part of this gift – print outs of pictures I took at their wedding!
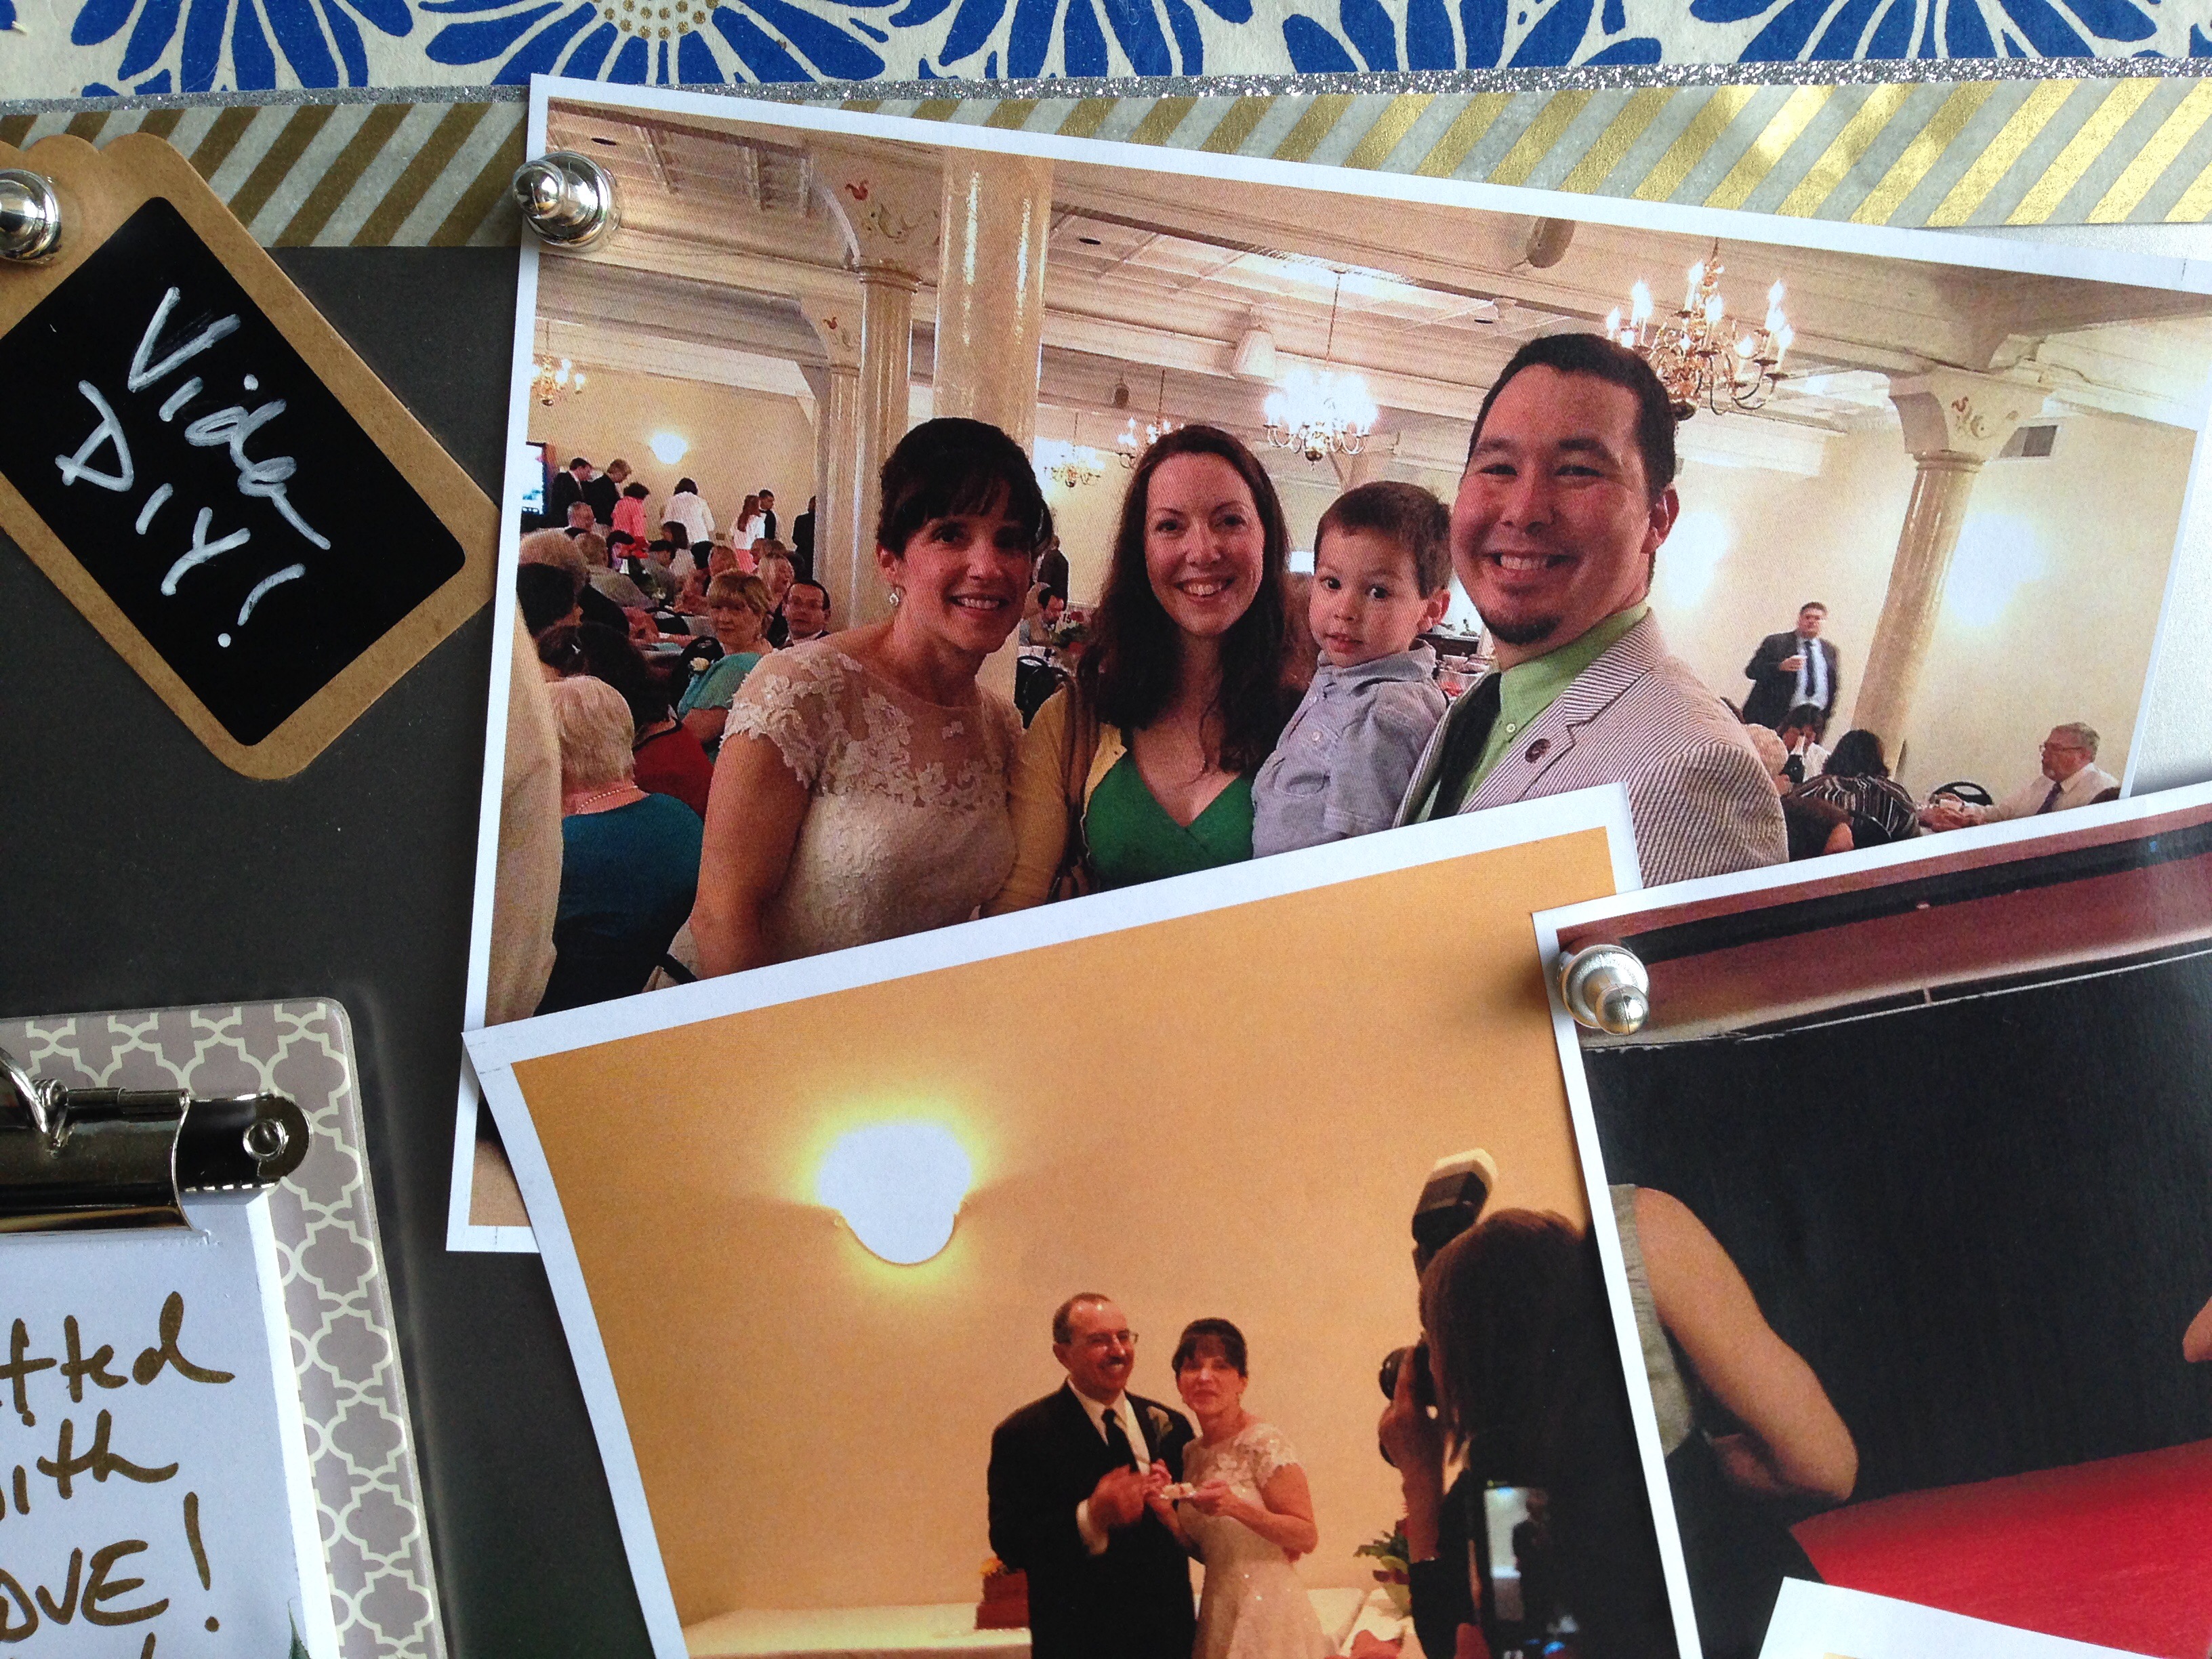
I printed out my favorite pictures from the wedding using our inkjet printer. I then used magnets to add the pictures to the #Debbie &Dino magnetic board.
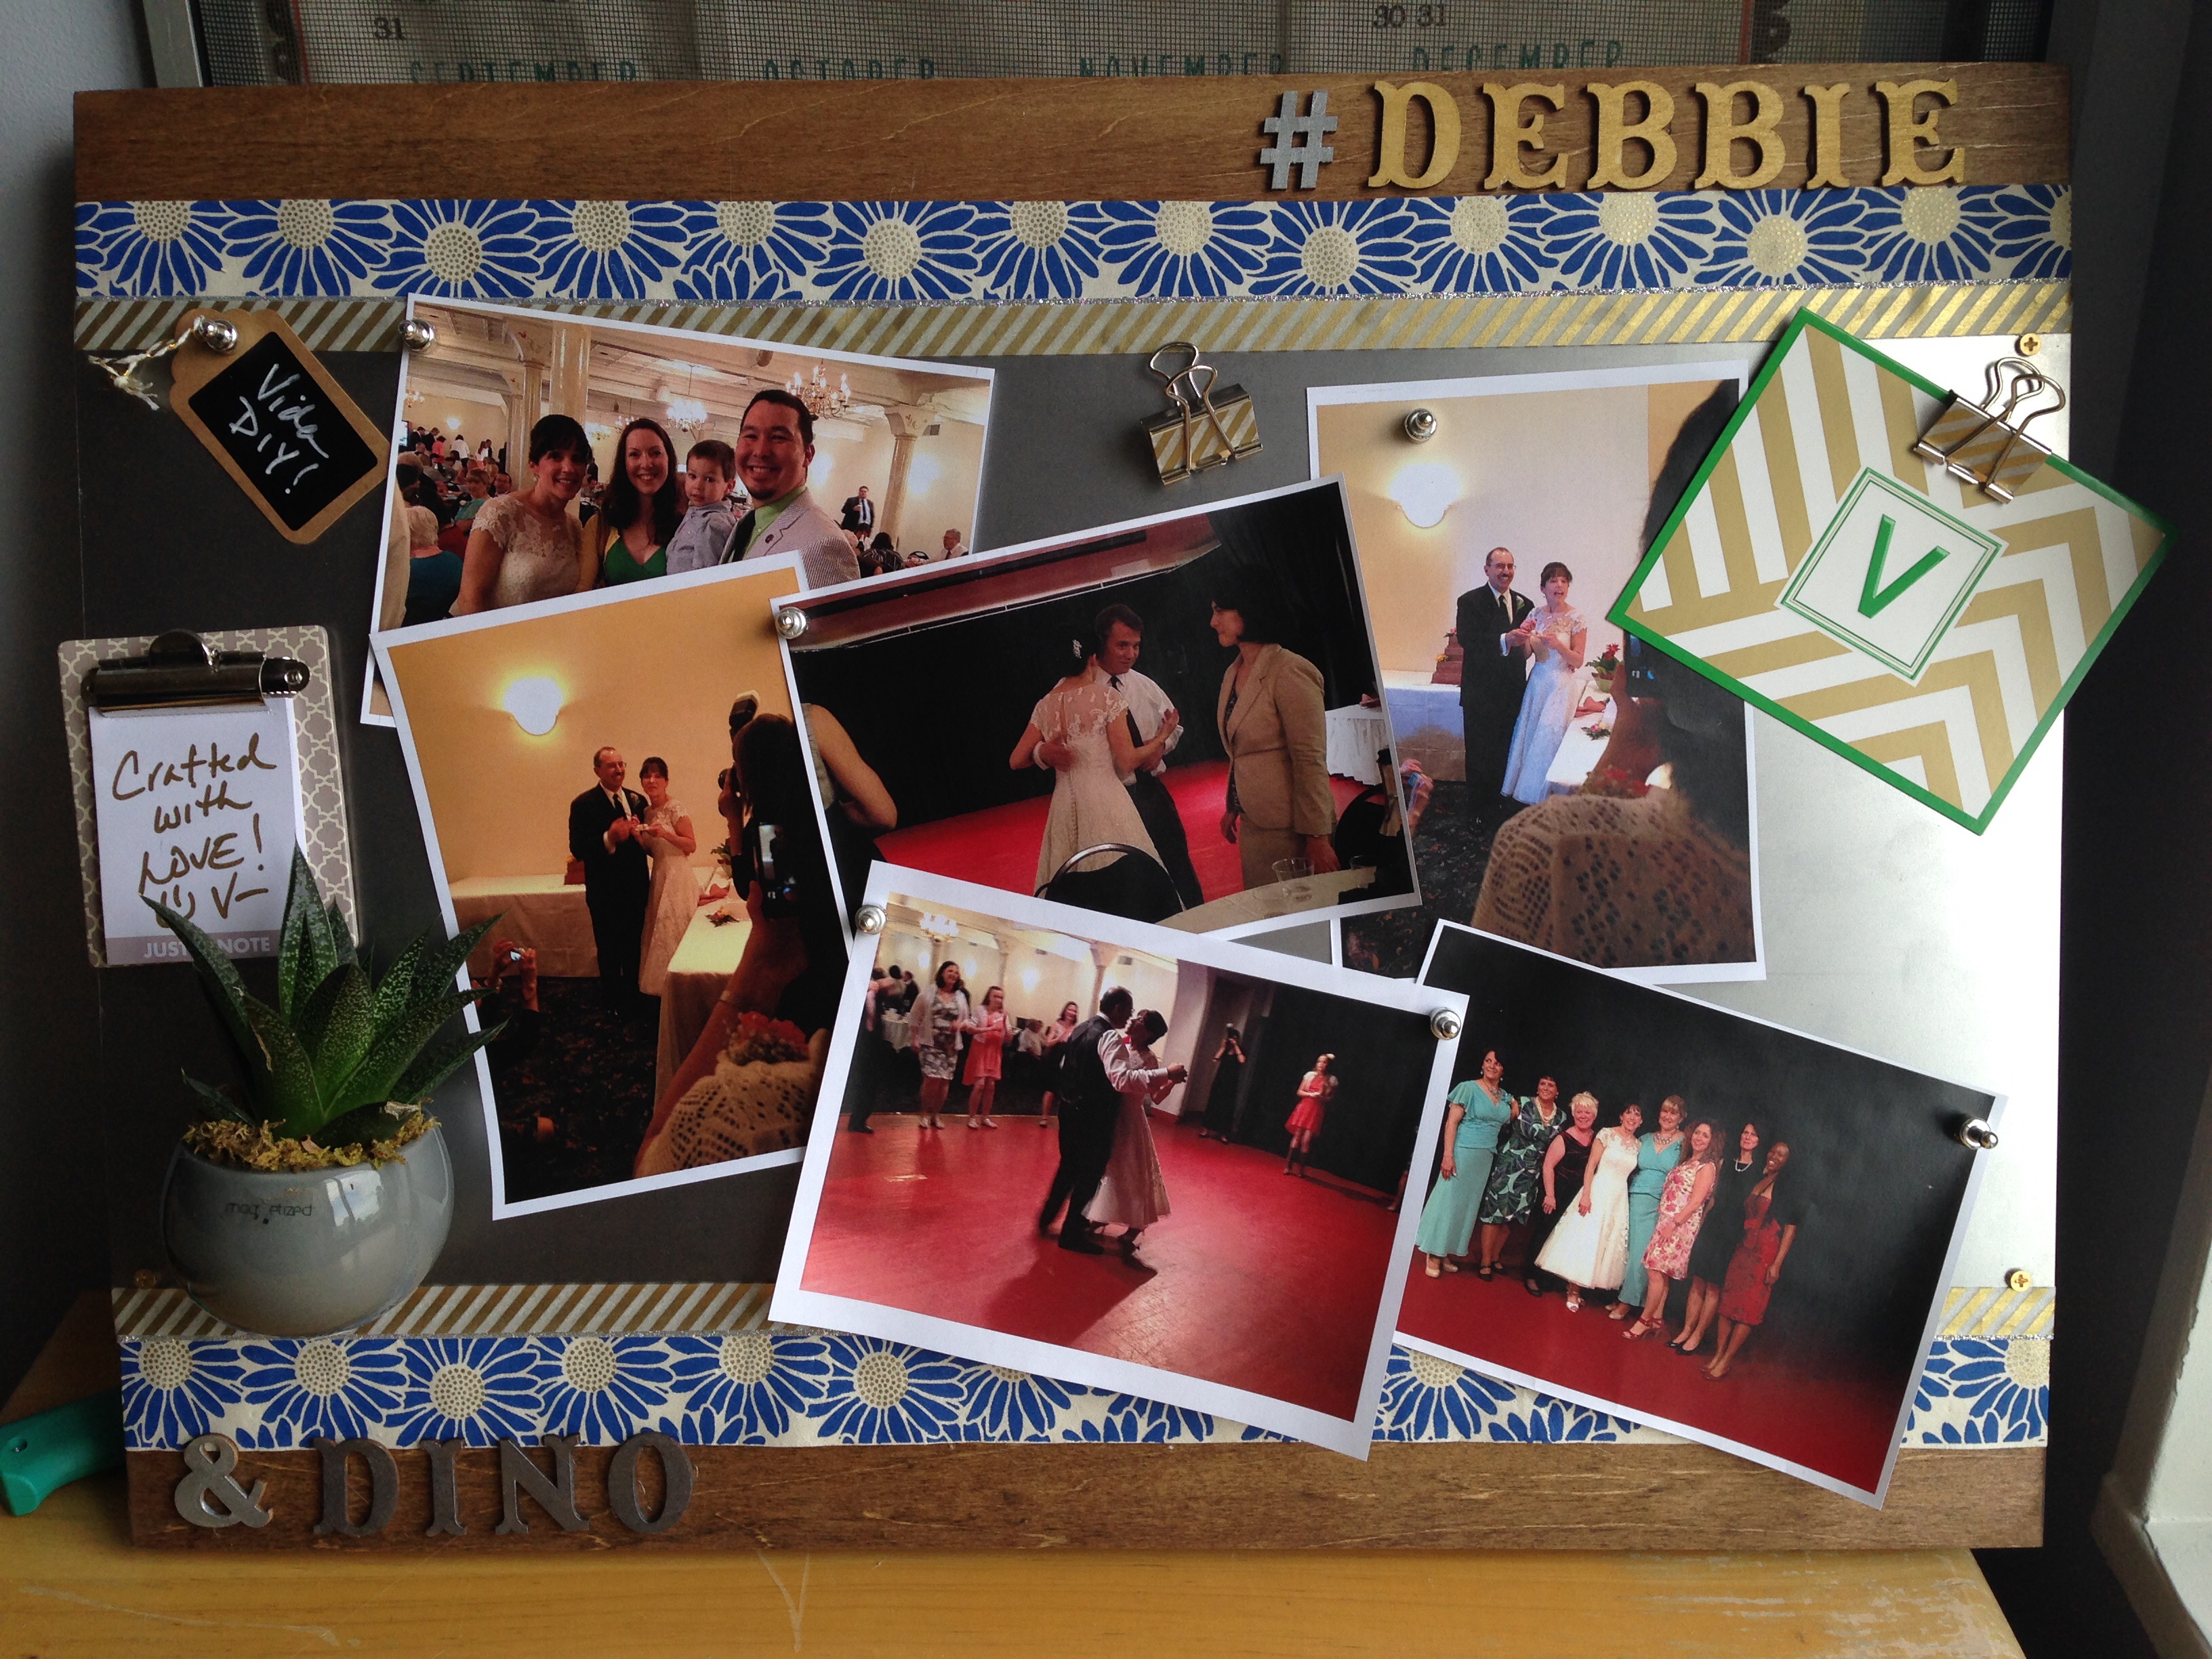
I also added a card via binder clip magnet mount. This is one of my favorite was to add a clipped item to magnet boards (binder clips attach to magnets extremely well!). Although a regular old magnet would do fine, I like the look (and the function) of clips.
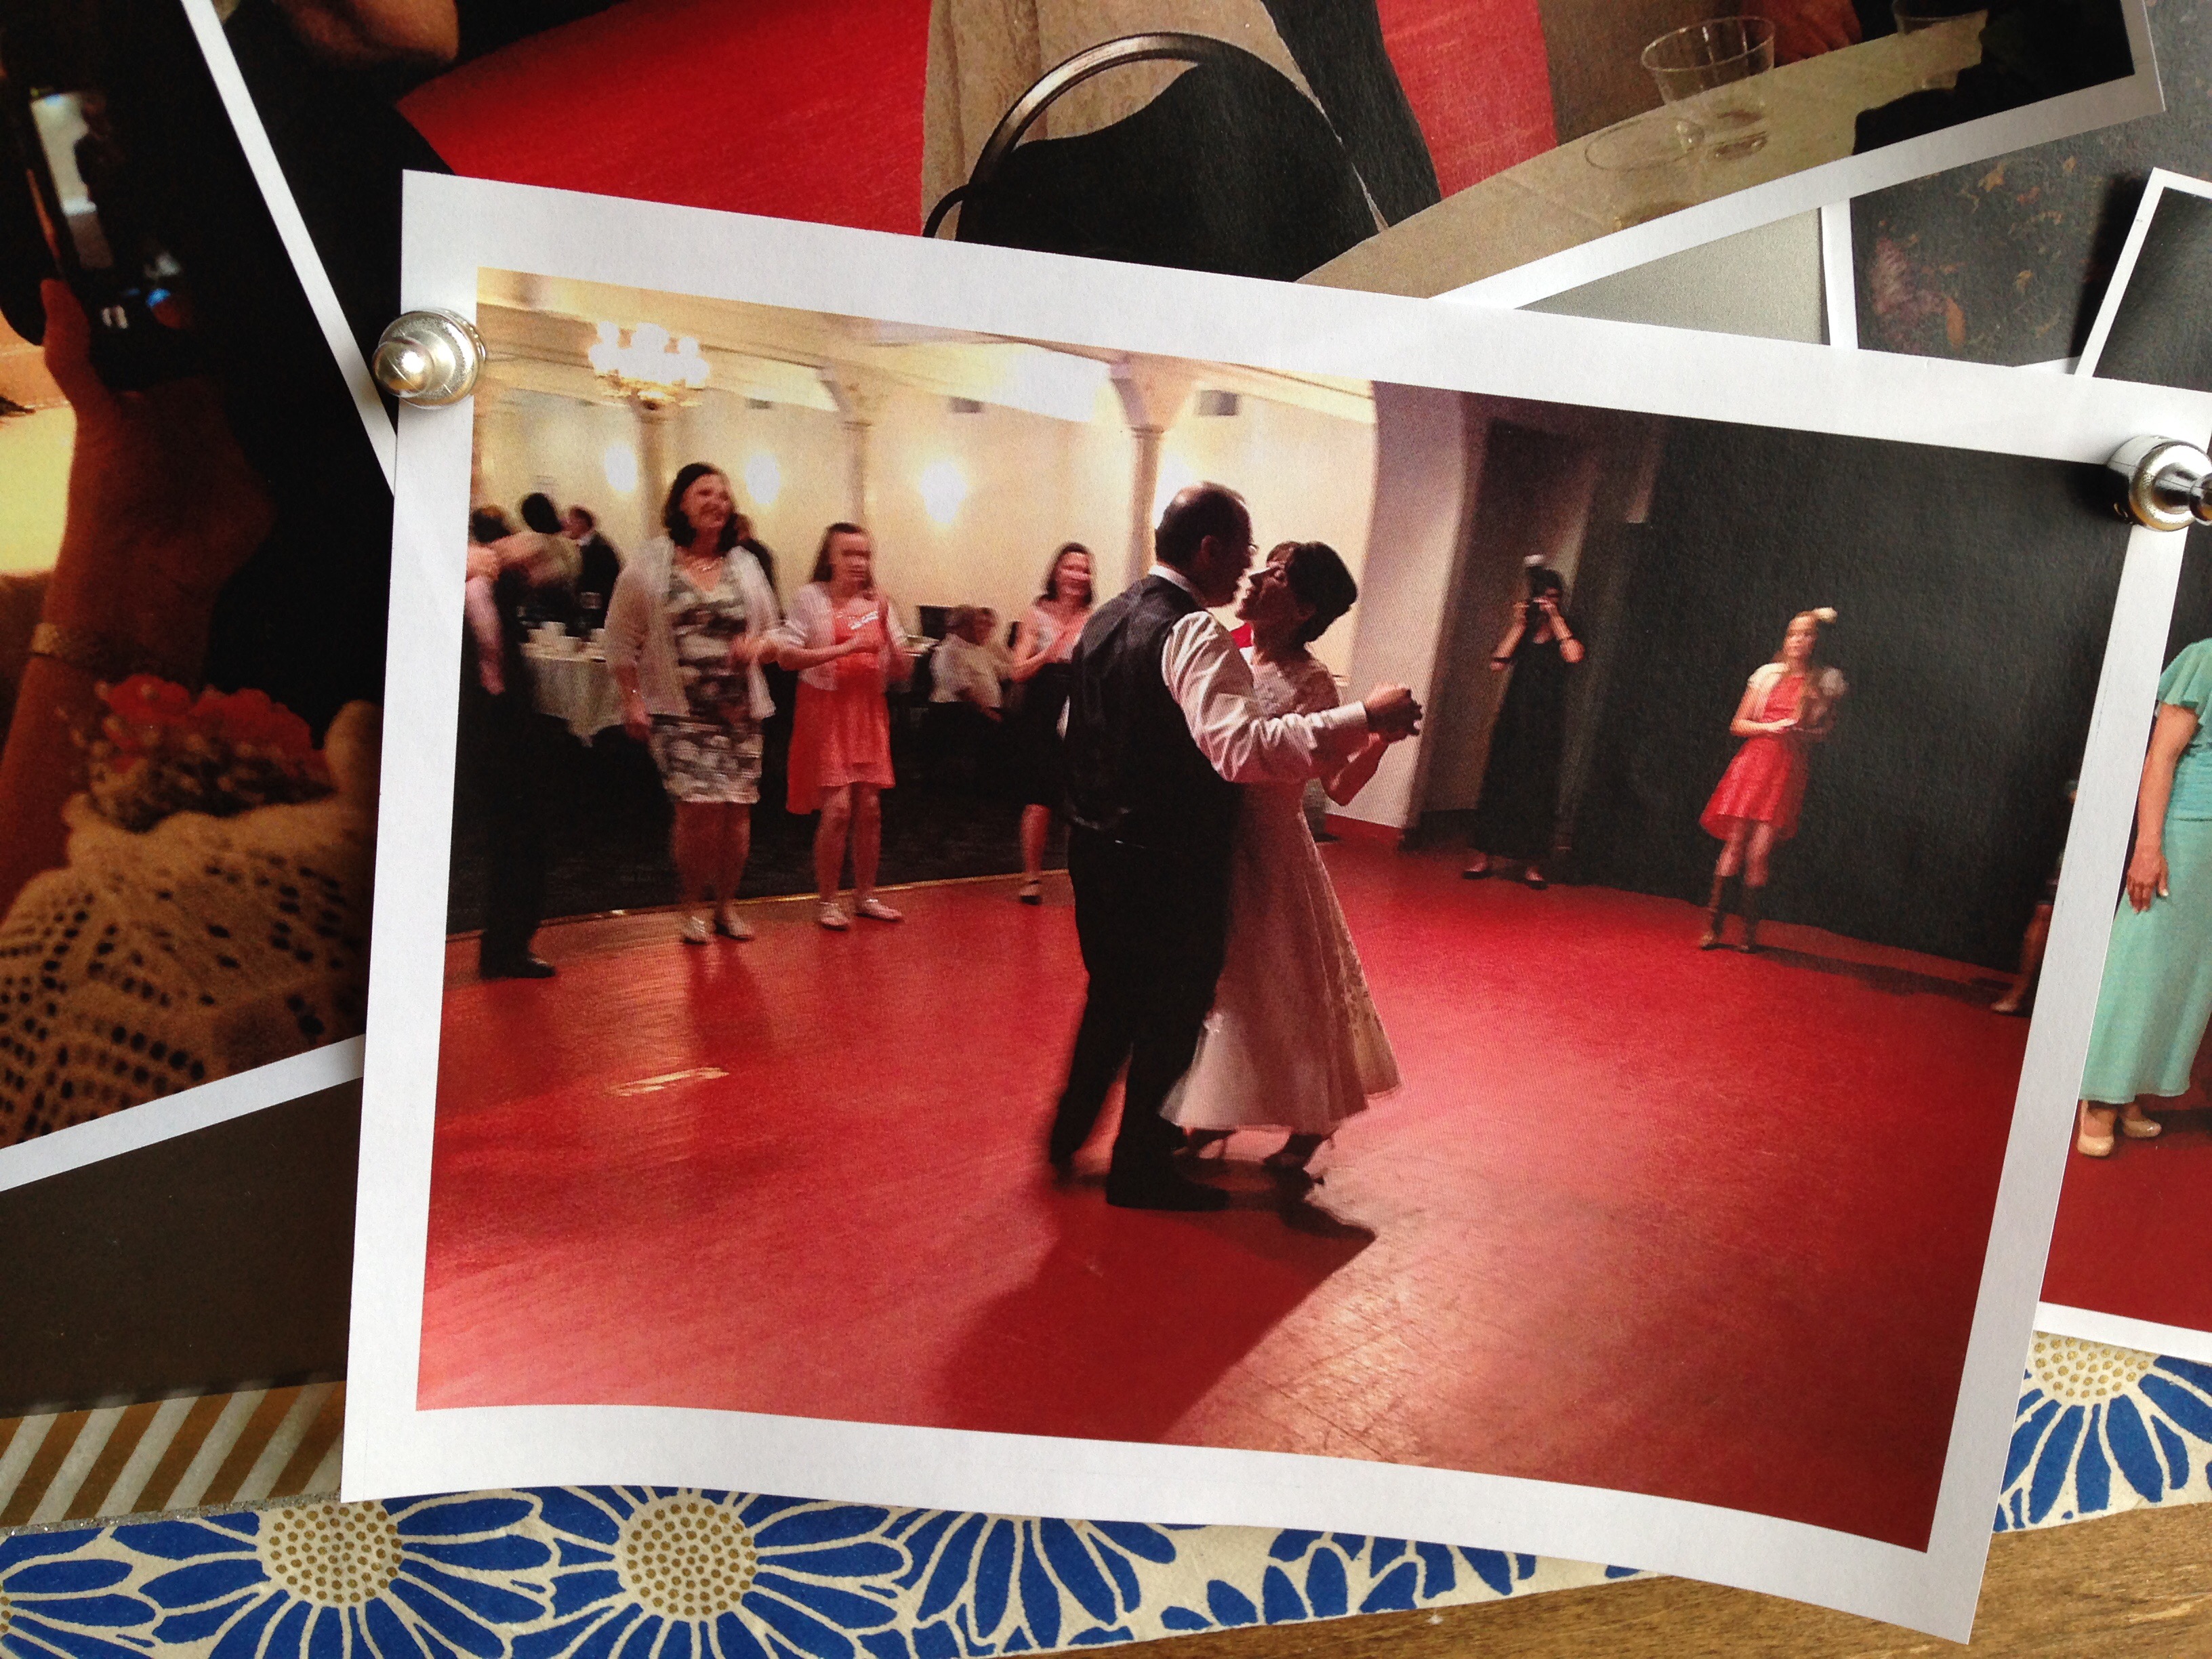
Had to share a close-up of my favorite pic from the wedding.
I loved this DIY gift project. It was super easy to do (and very quick – I was done in a snap…plenty of time before we hit to road towards Pittsburgh). Debbie and Dino loved the board (and, of course, the pictures most of all). V-