
Pipe and wood shelves for Xenia’s bedroom
You may also like:
May 8, 2016: I love doing projects for my mom, Xenia’s Brooklyn home. So, a couple of weeks ago, I asked Xenia if she wants me to build some bedroom shelves for her.
“Yes!”, she exclaimed emphatically.
“Floating shelves?”, I inquired further.
“Yes! Absolutely. Love those!”, was her reply.
Well, okay then.
Plan A – Floating Shelves (Box and Frame)
I’ve built a number of floating shelves in the condo using different DIY plans. I build the large 72″ shelf in the den using Rogue Engineer’s plan (which is a box and frame build). And I built 34″ and 60″ shelves in the craft/pantry area and living room using a Shanty-2-Chic plan (a plywood to frame nail-in method).
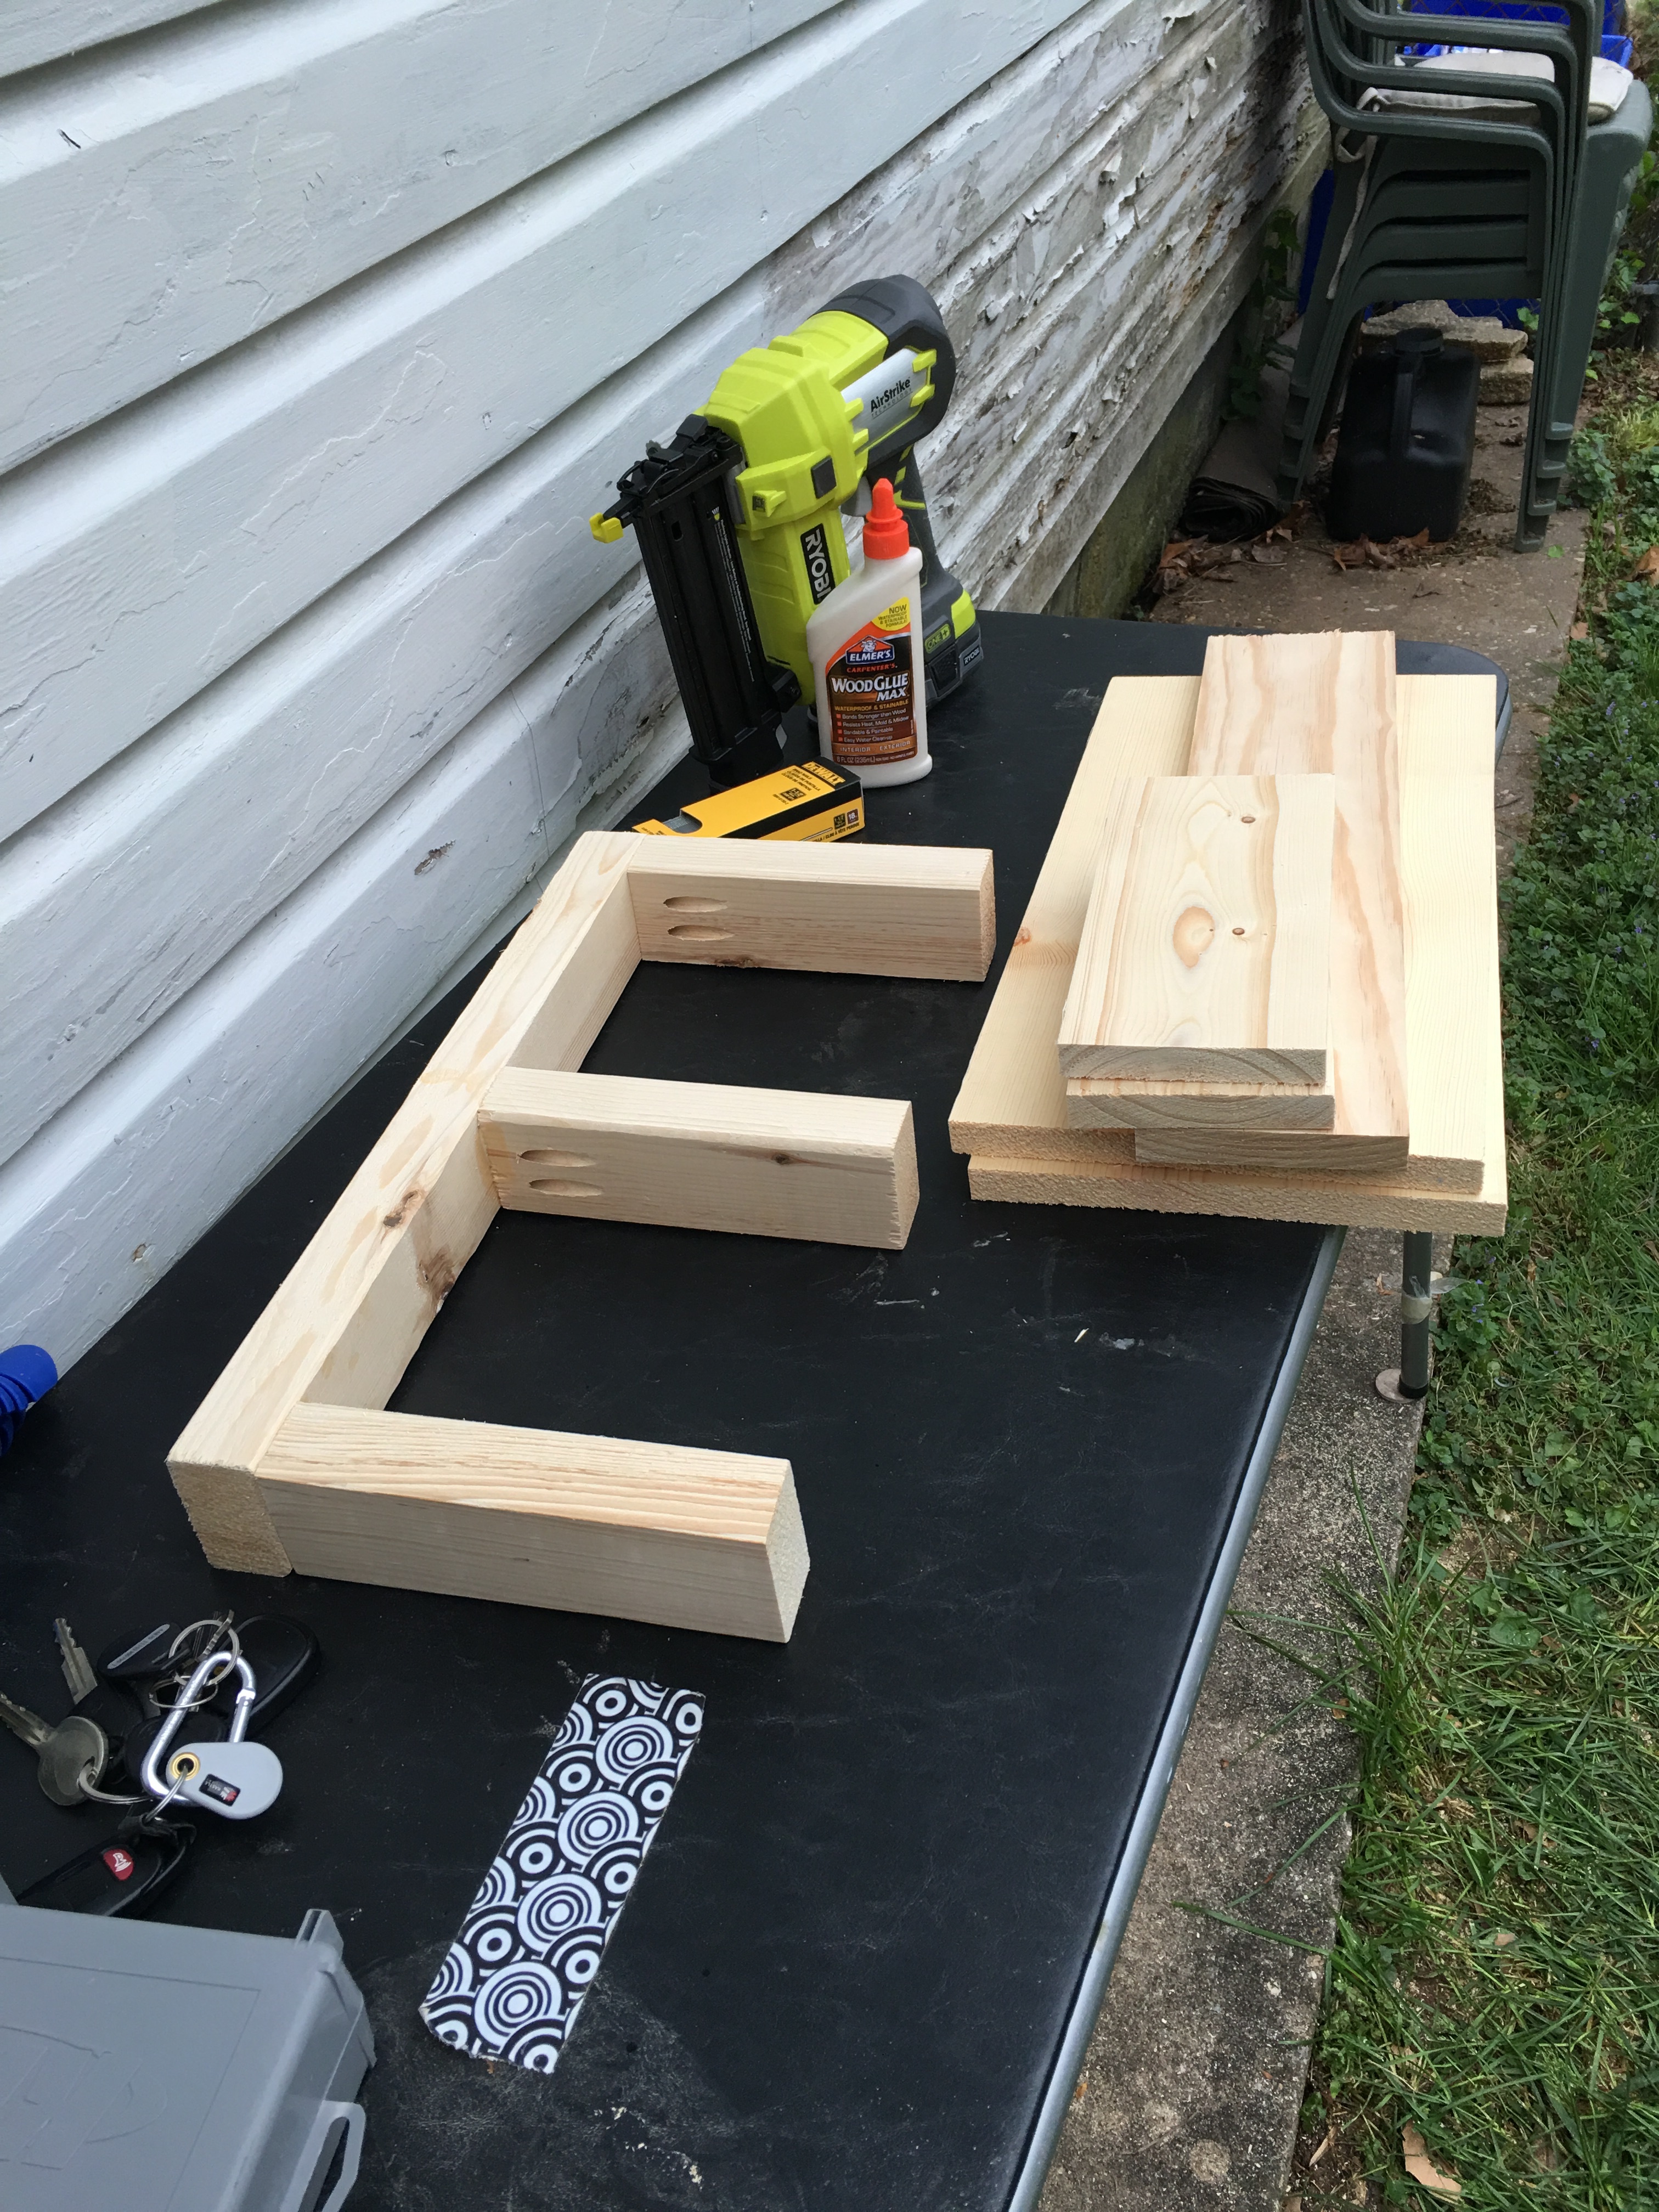
For Xenia’s bedroom, I wanted to build a box and frame structure so that we can easily slide the shelf onto the mount and, if need be, pull it off. We decided on four shelves on the building front wall (two shelves each on both sides of her bed).
So a week before Mothers Day, I went shopping for the build. I got 1 x 10s (20 inches in length). 1 x 5s (for the sides and the front). And 1 x 3s for the frame. All pieces cut at the store at Home Depot.
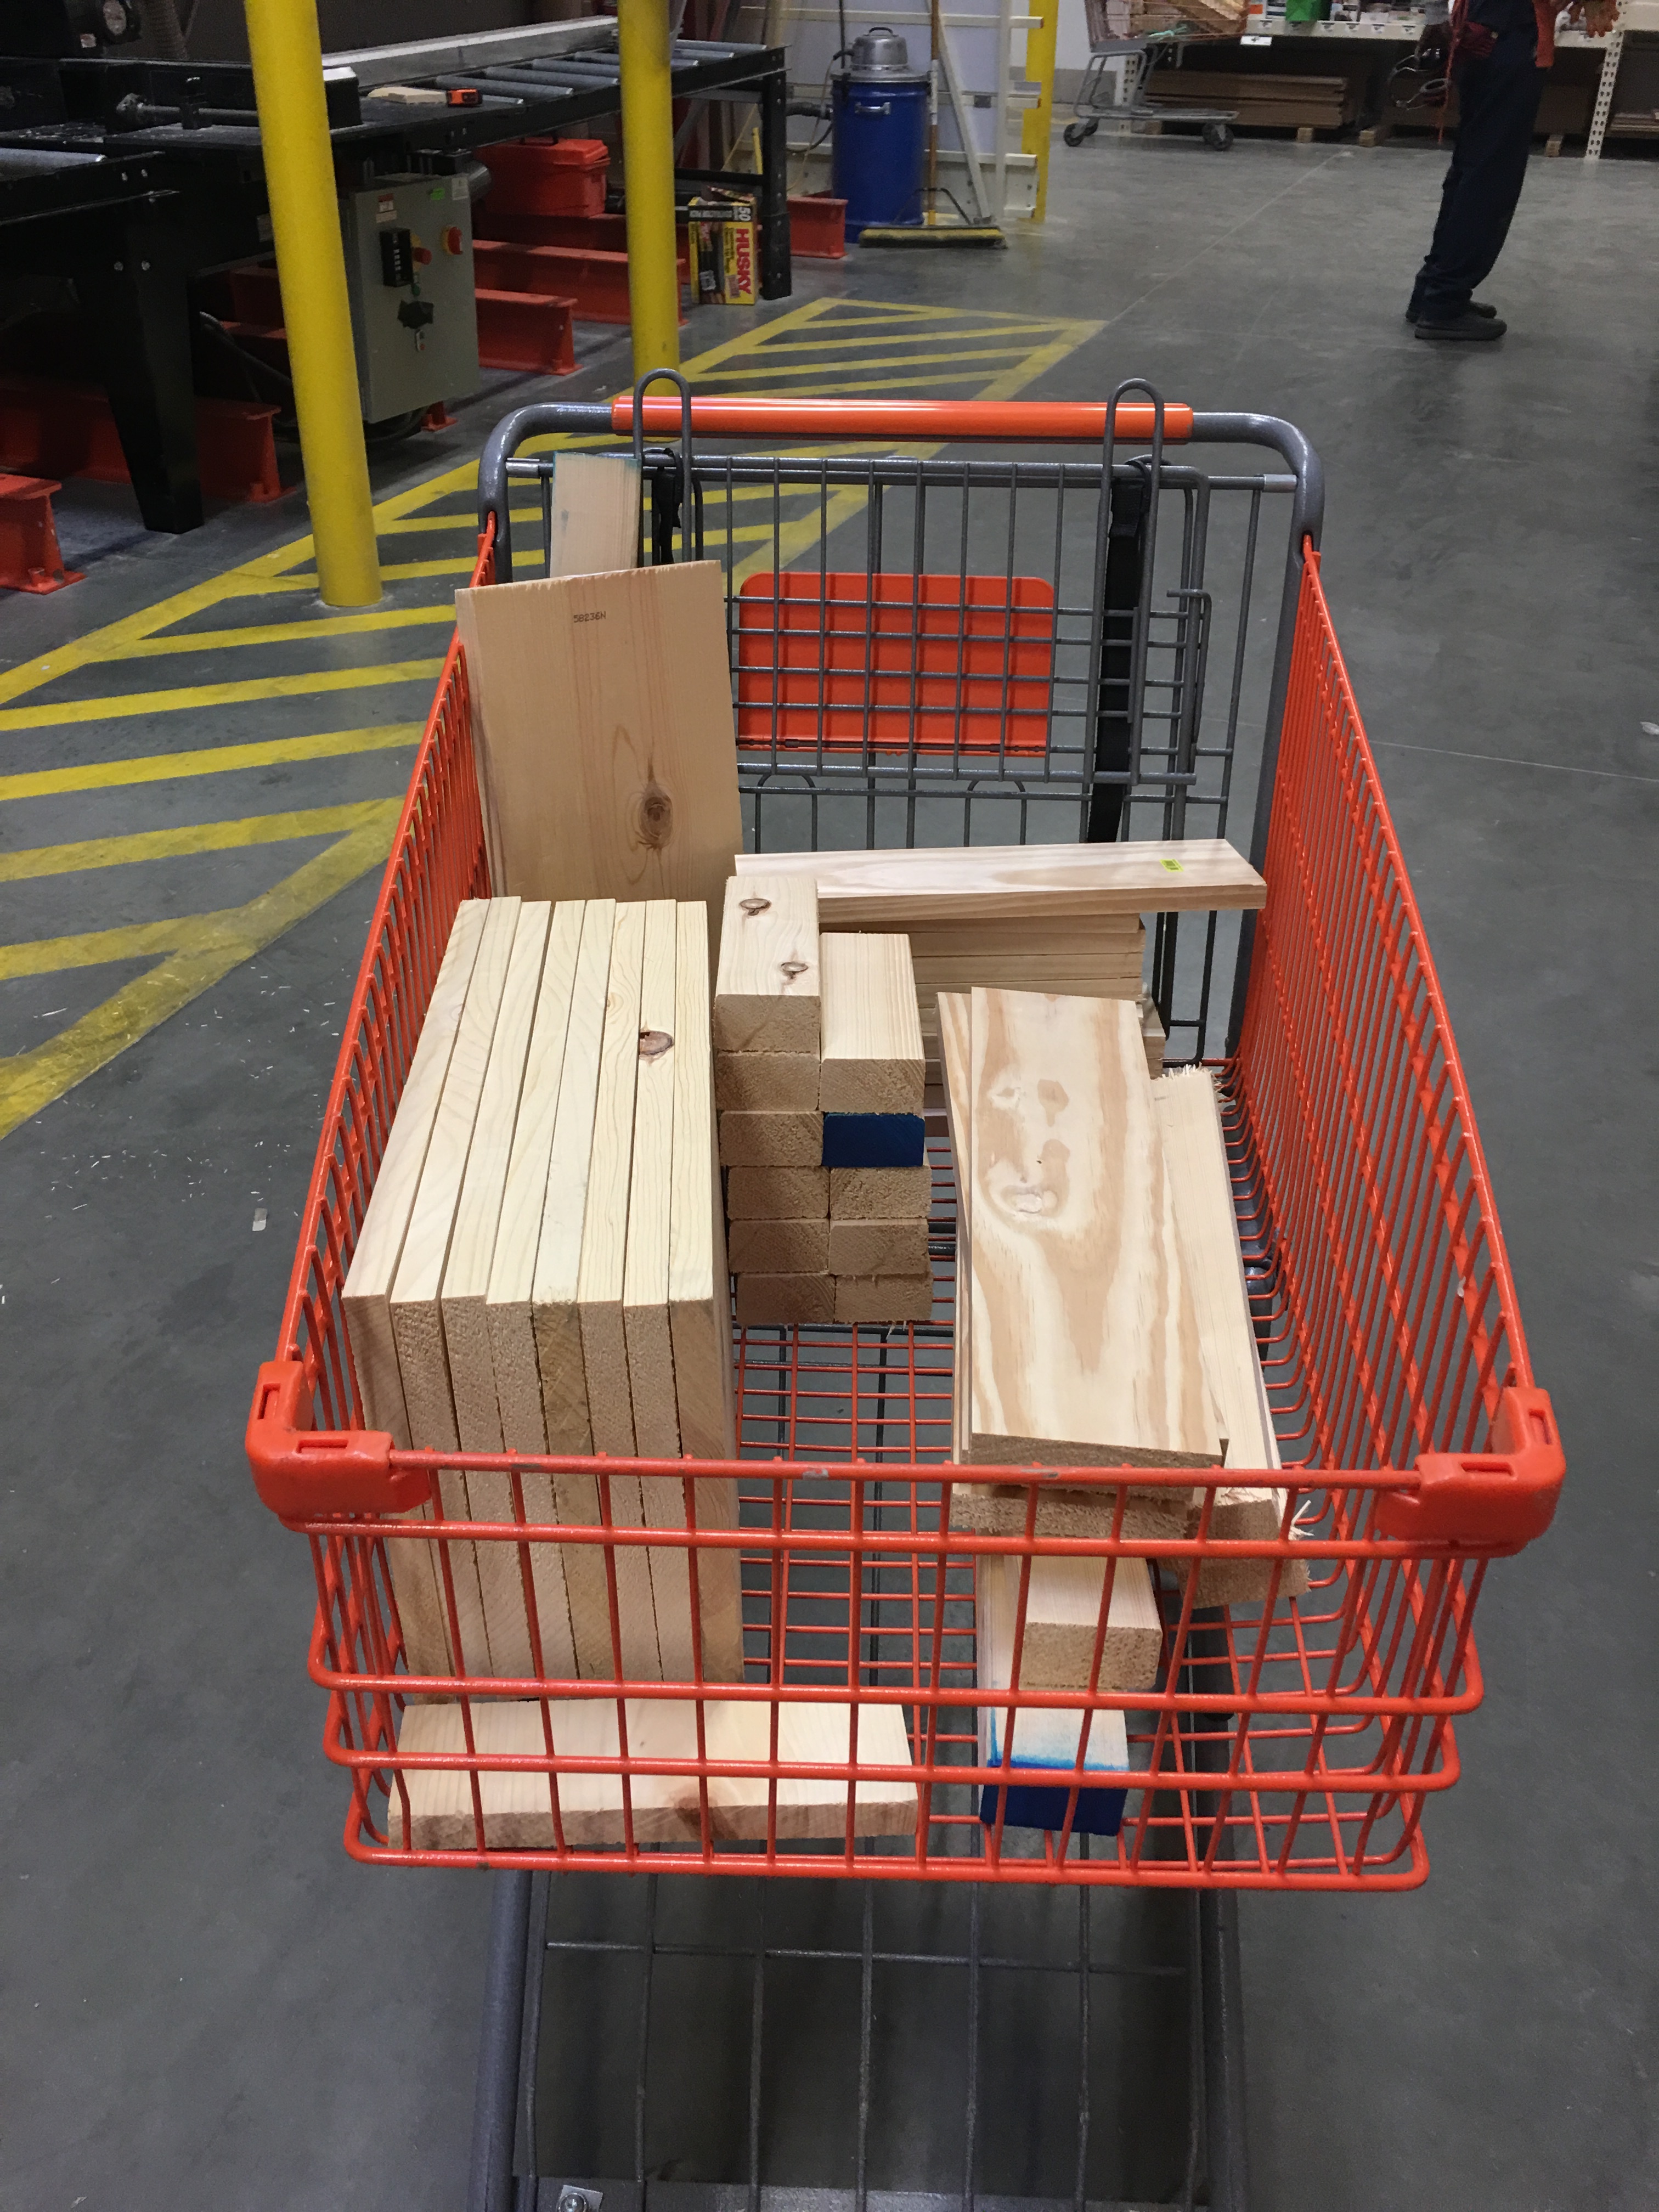
I used a modified box and frame build plan to put the shelves together over at Tim’s garage.
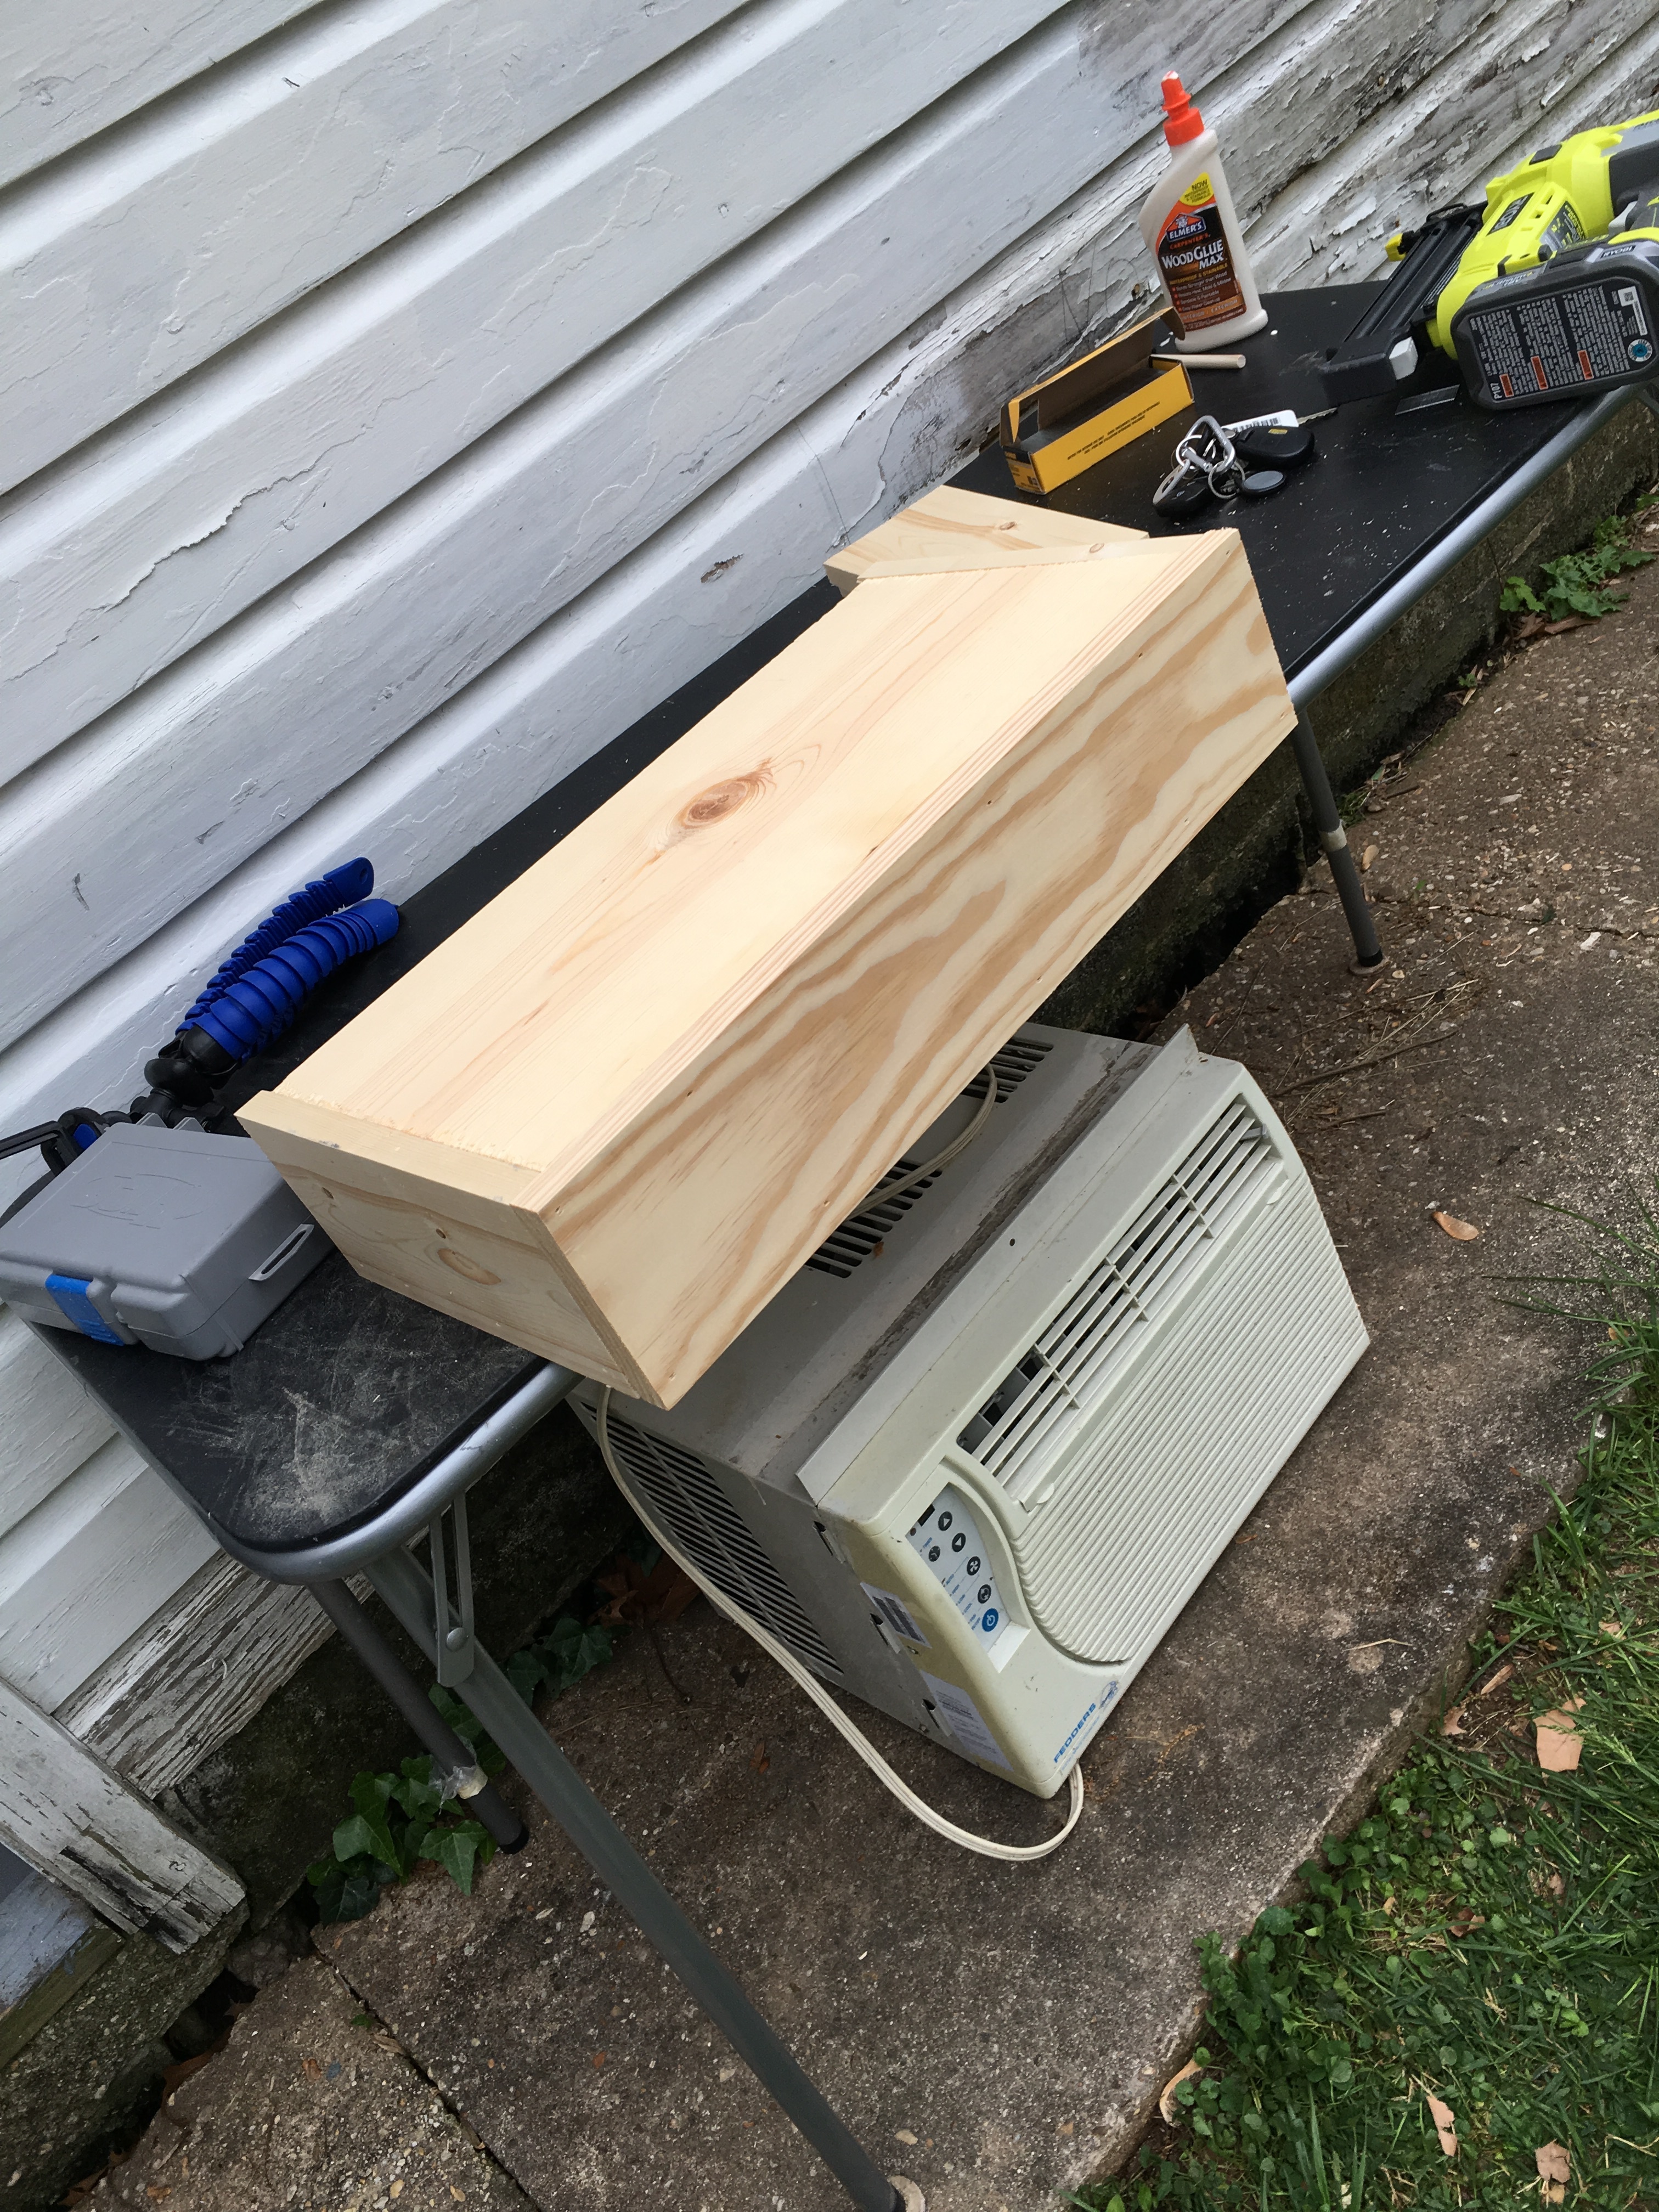
Once done, I liked the look of the shelves. The project was shaping up as expected (and I was convinced that it would turn out well).
I even sent Xenia a picture of what her shelf will look like before moving onto the sanding, staining and finishing steps.
And here are two of the boxes stained. First with a darker red mahogany stain (the one to the right in the below photo). And the other with a lighter provincial stain.
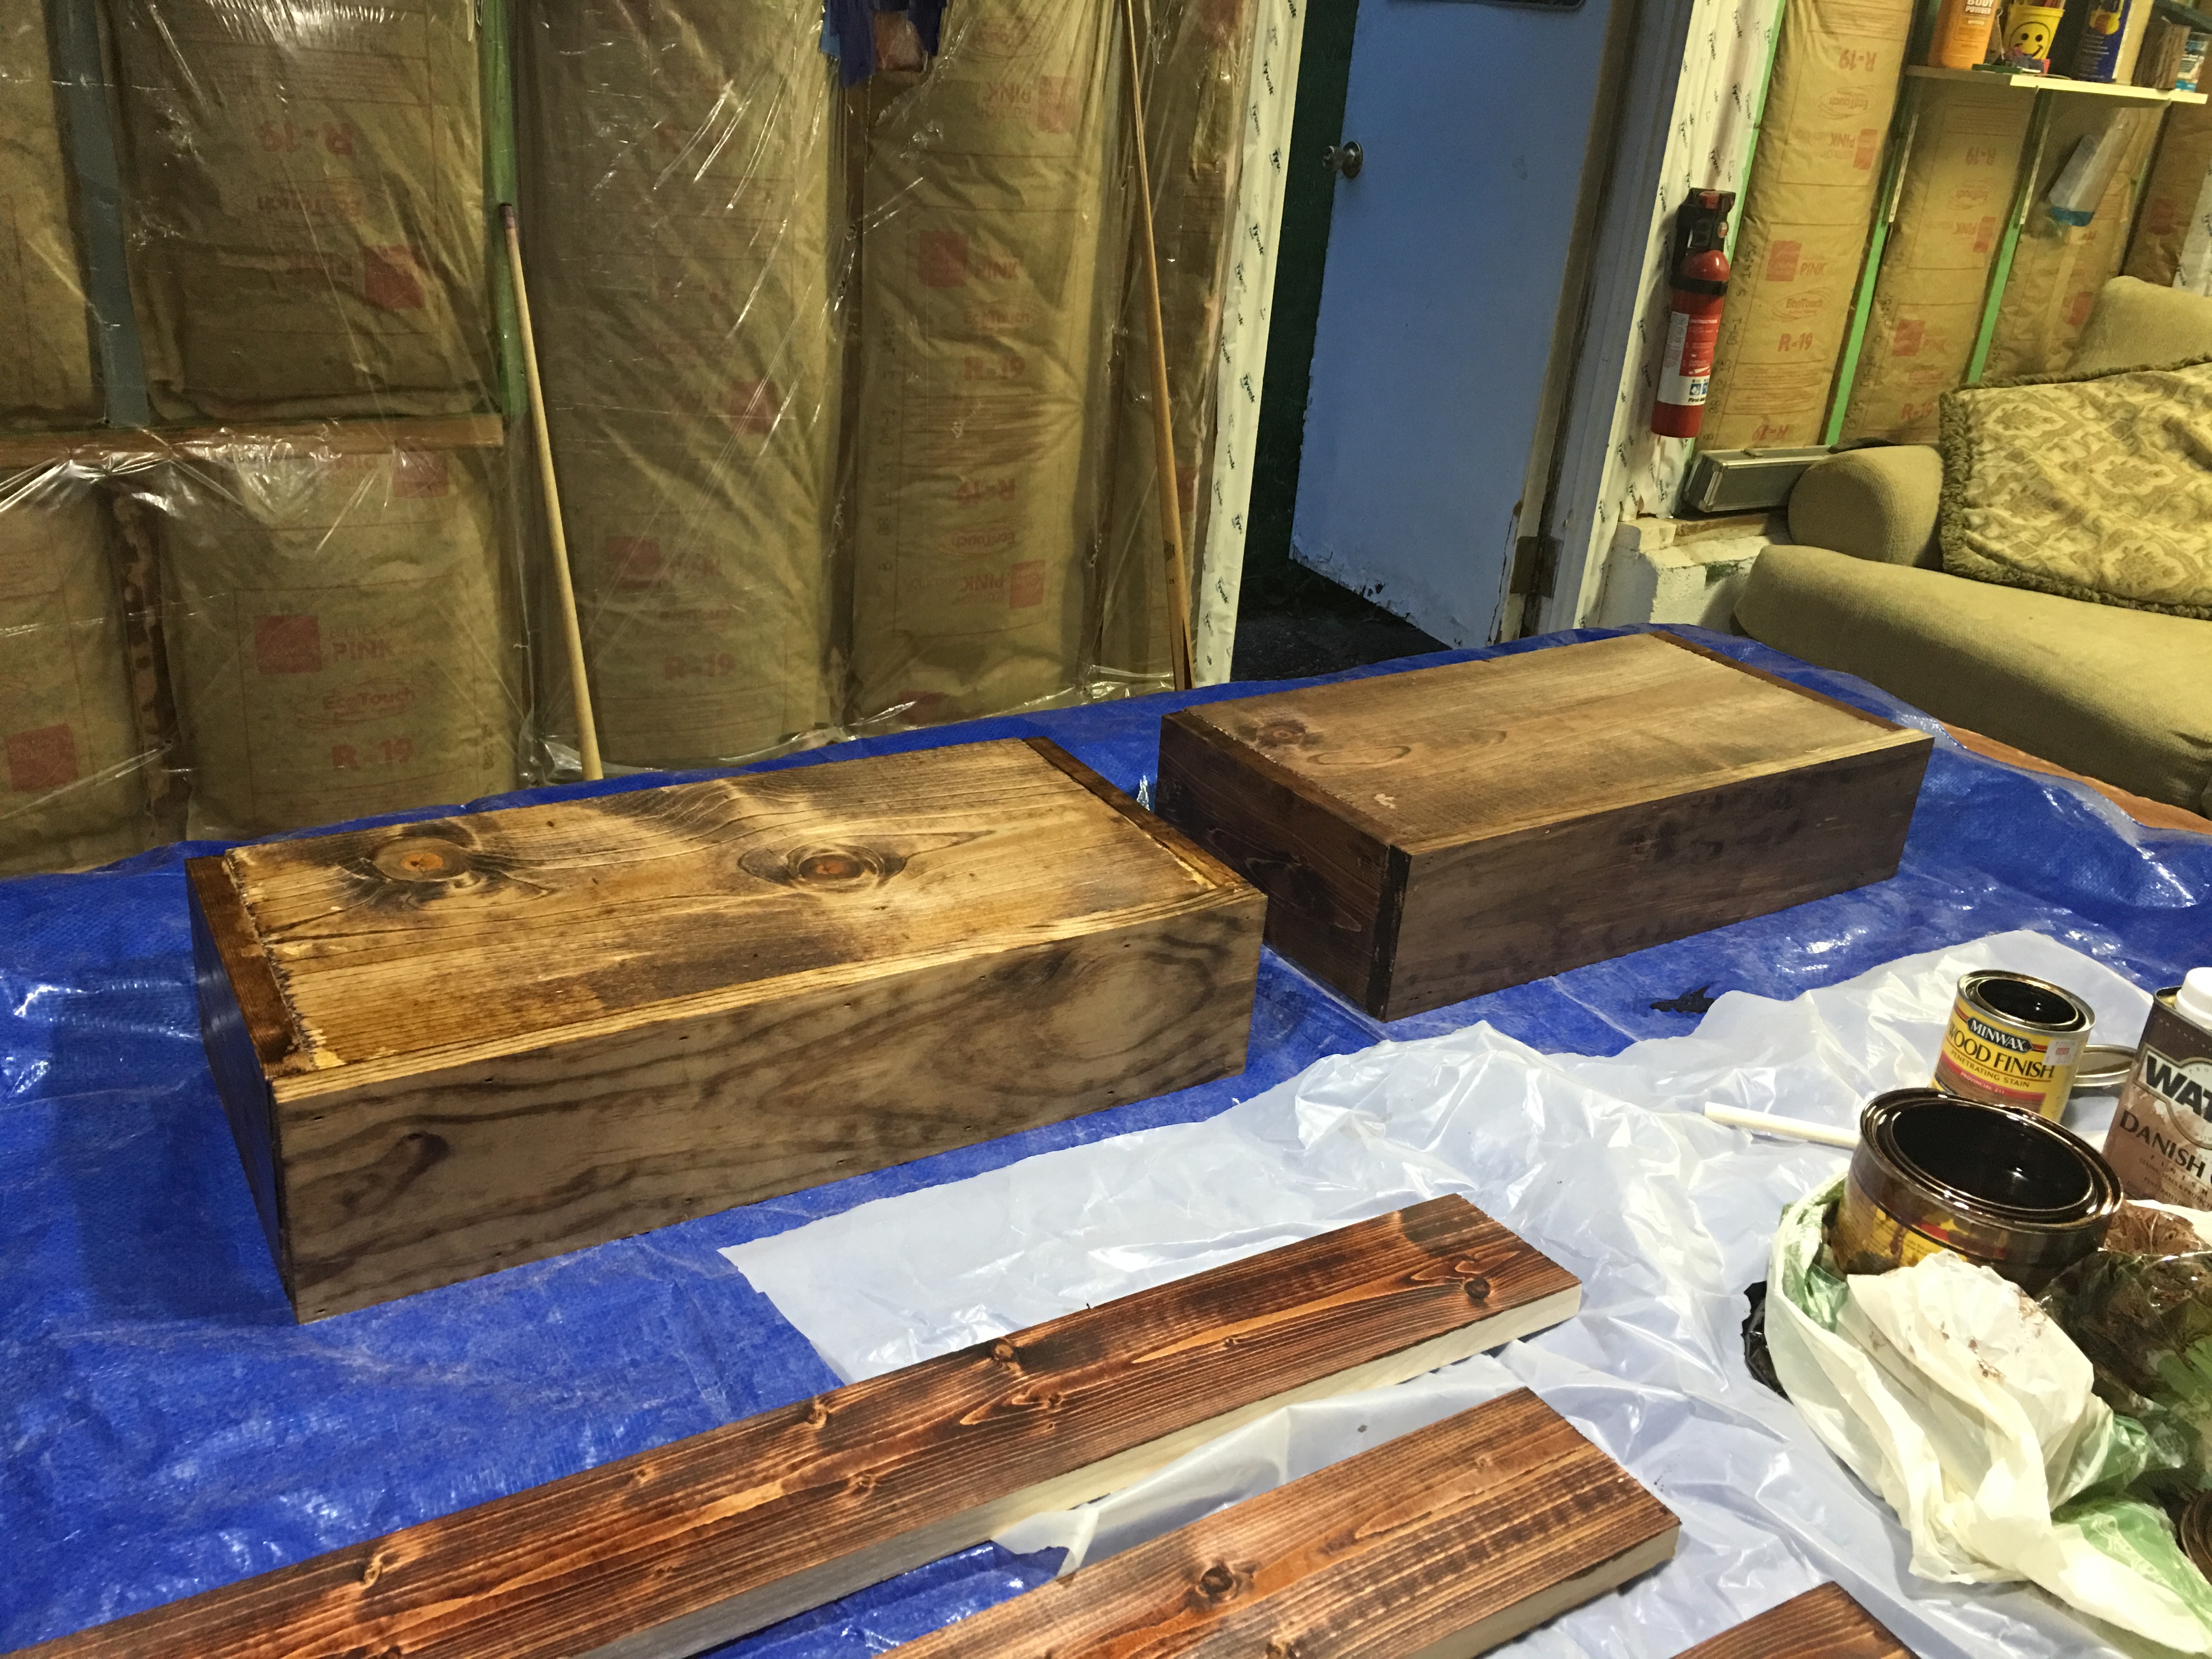
And that’s when it hit me. I should not be building and mounting floating shelves on this wall. At least not with these dimensions.
The more I progressed through the project, the more convinced I became that I should build different shelves for Xenia’s space. Shelves that are slimmer in profile. With a sleeker design.
Xenia’s Brooklyn home is very small. It’s a tiny little 550 square feet space. I didn’t want to mount anything to her walls that would seem out of place (or crowd her space).
So I called her up and explained my decision to shift gears on the project. Though Xenia was disappointed that I would not be bringing up and installing the floating shelves, she understood my reasoning. And she looked forward to seeing my plan B on her walls next week.
Plan B: Wood and pipe shelves
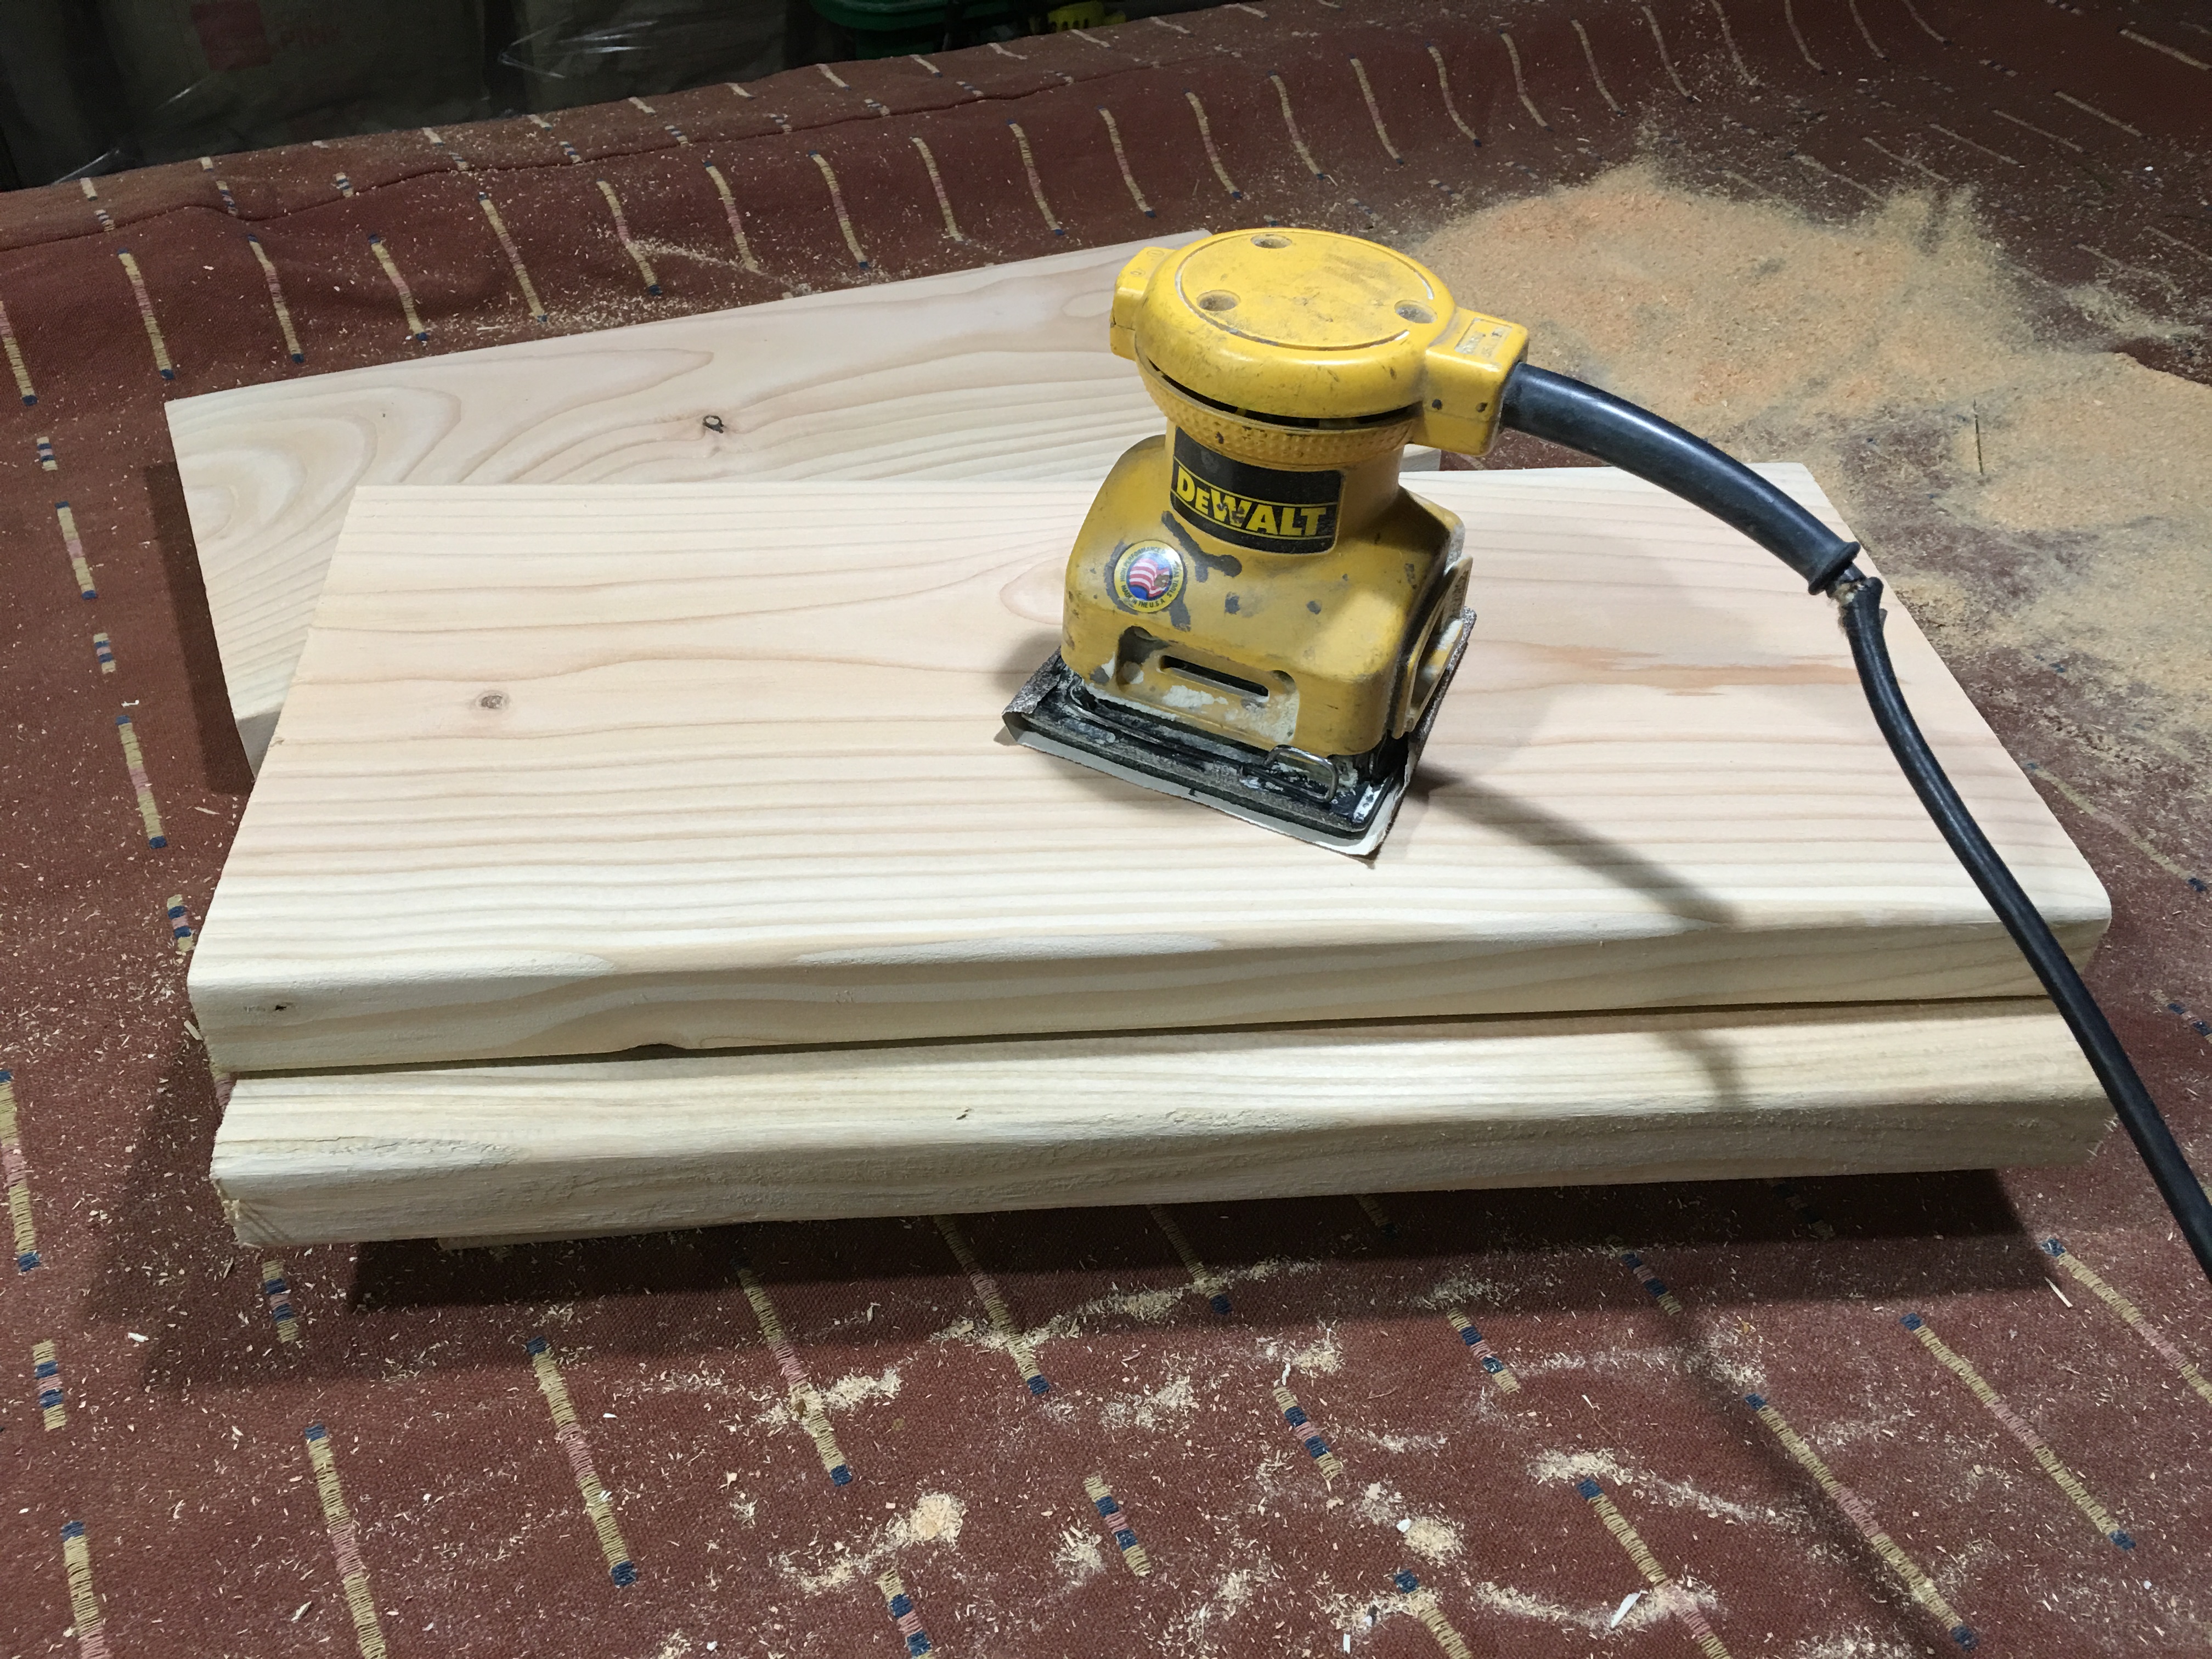
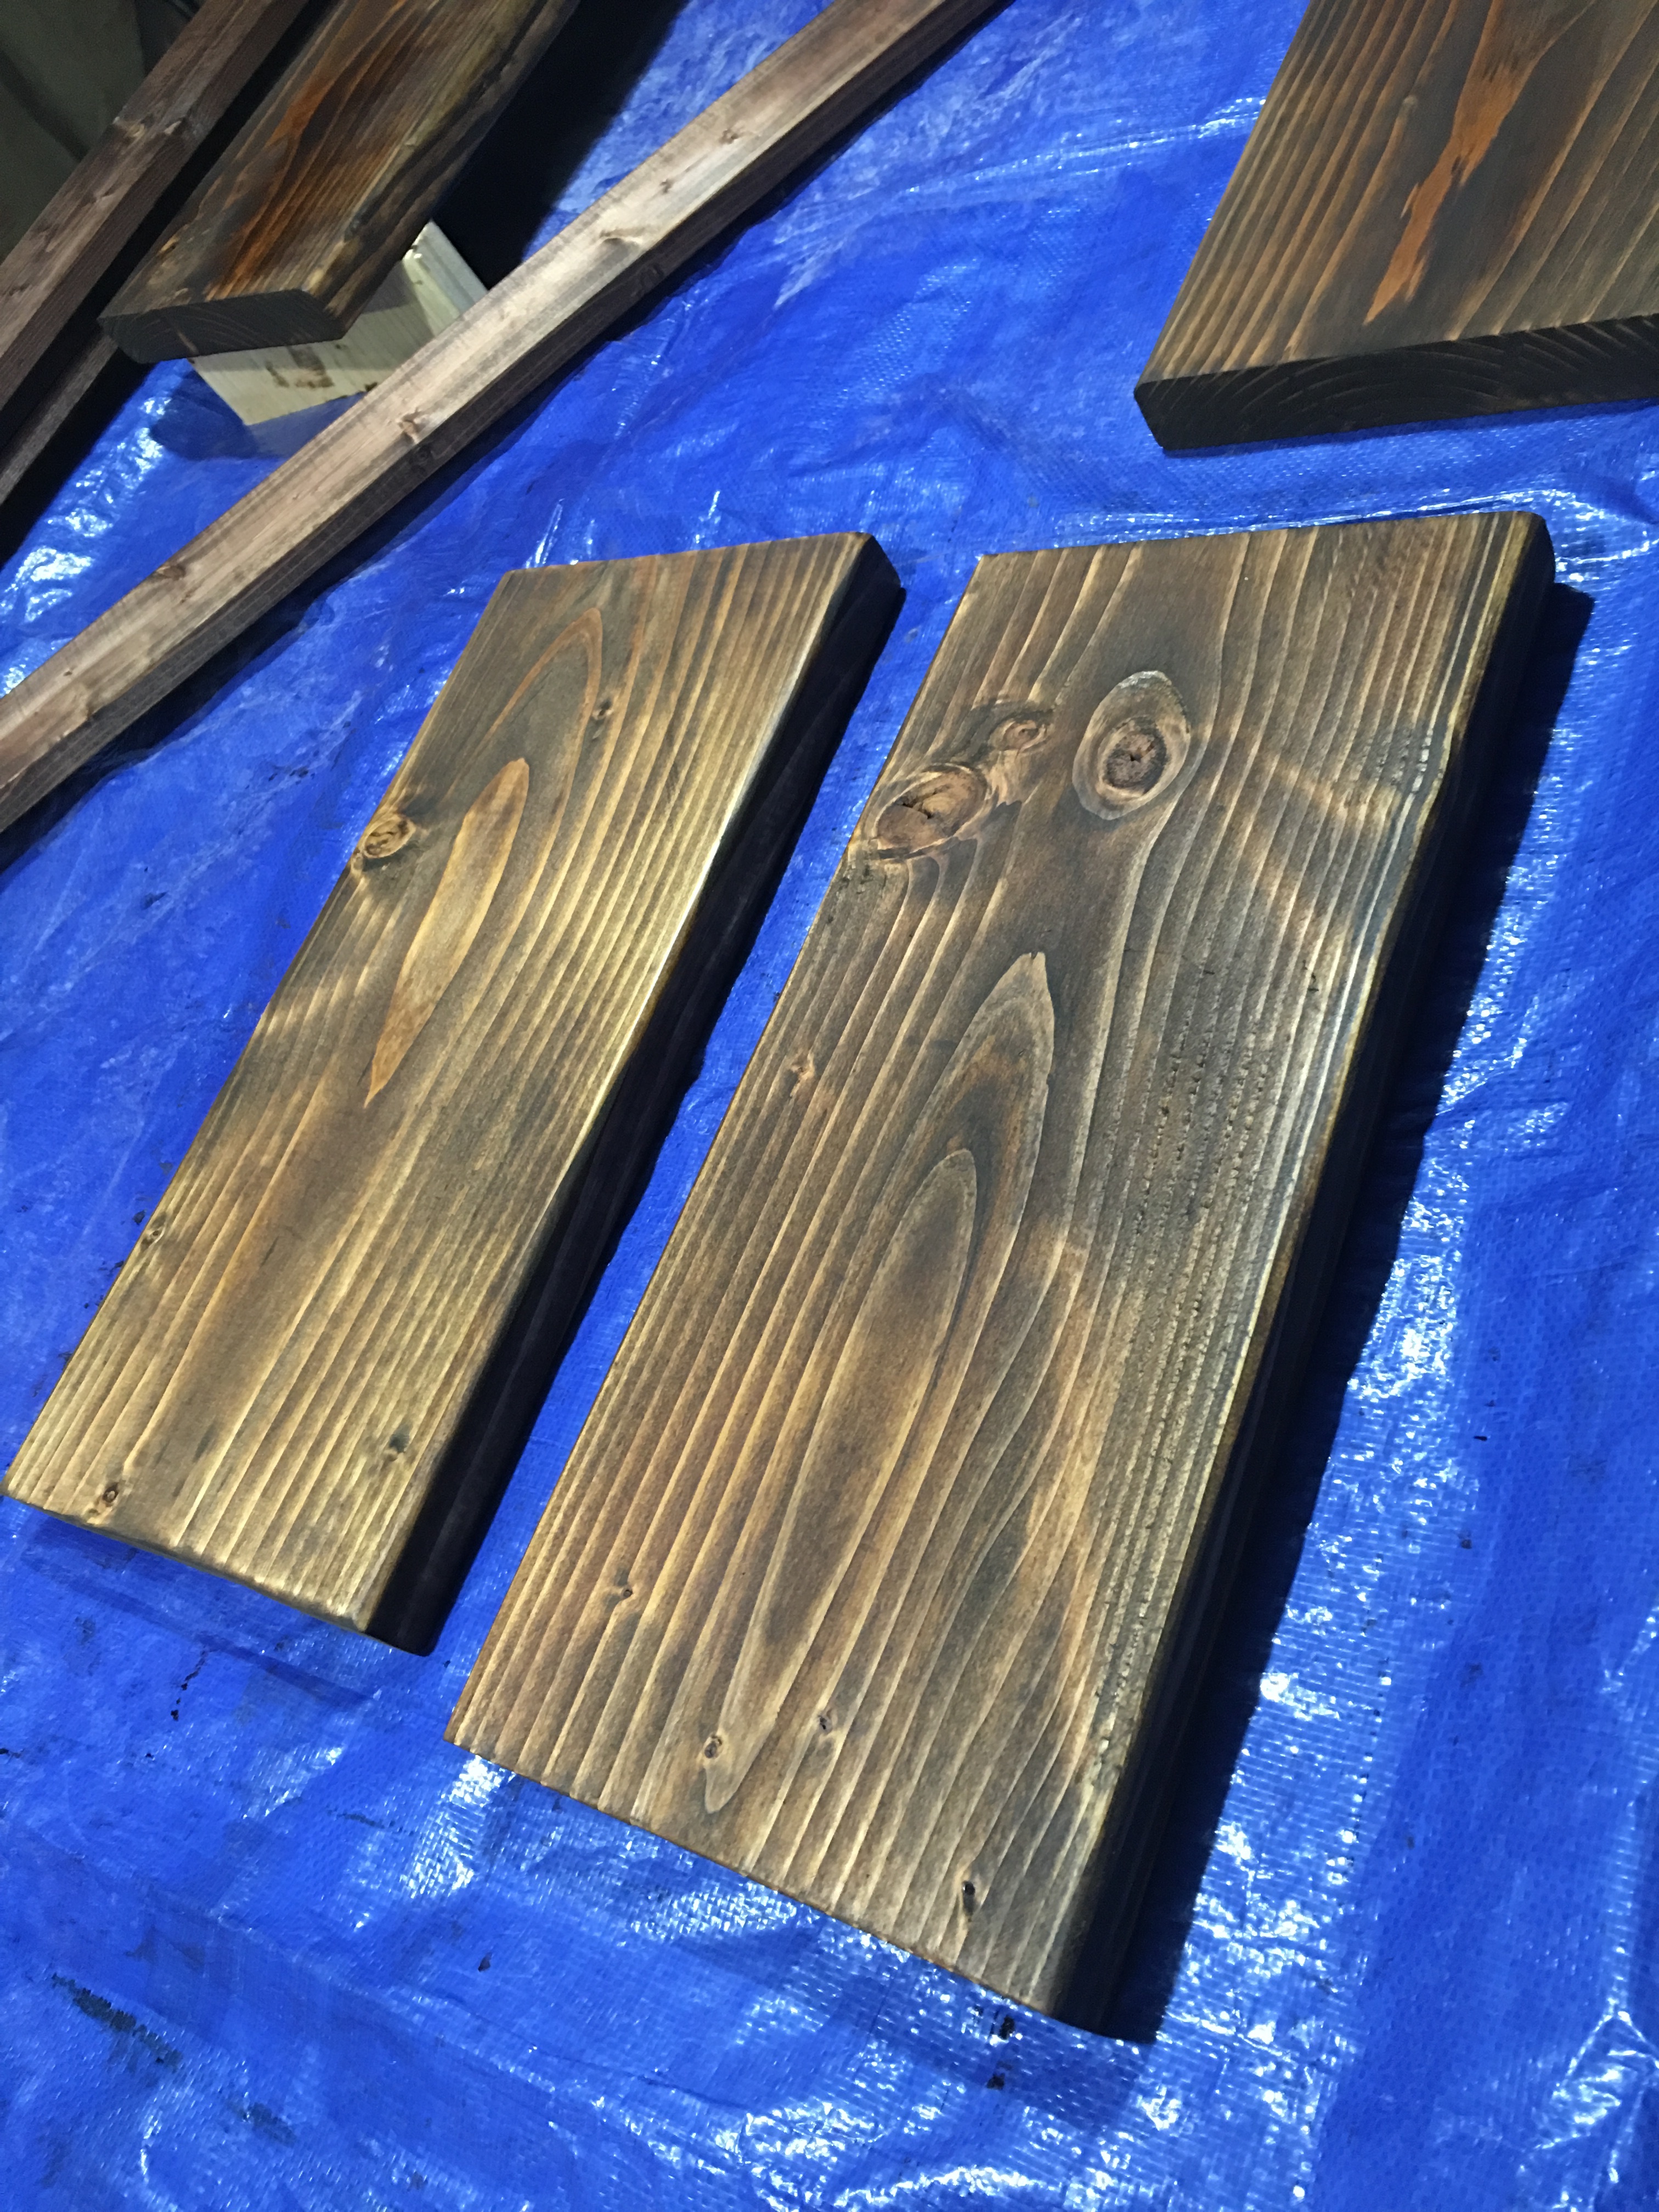
On the Thursday before Mothers Day, I headed back to Home Depot. After browsing through the lumber aisles, I decided to add a 2 x 10 (8 feet in length) to my cart. For Xenia’s bedroom front wall, I need 20 inch shelves. So I had the wood cut into four 24″ pieces. I used my new Ridgid miter saw back at my workshop at Tim’s to cut the wood down to desired length.
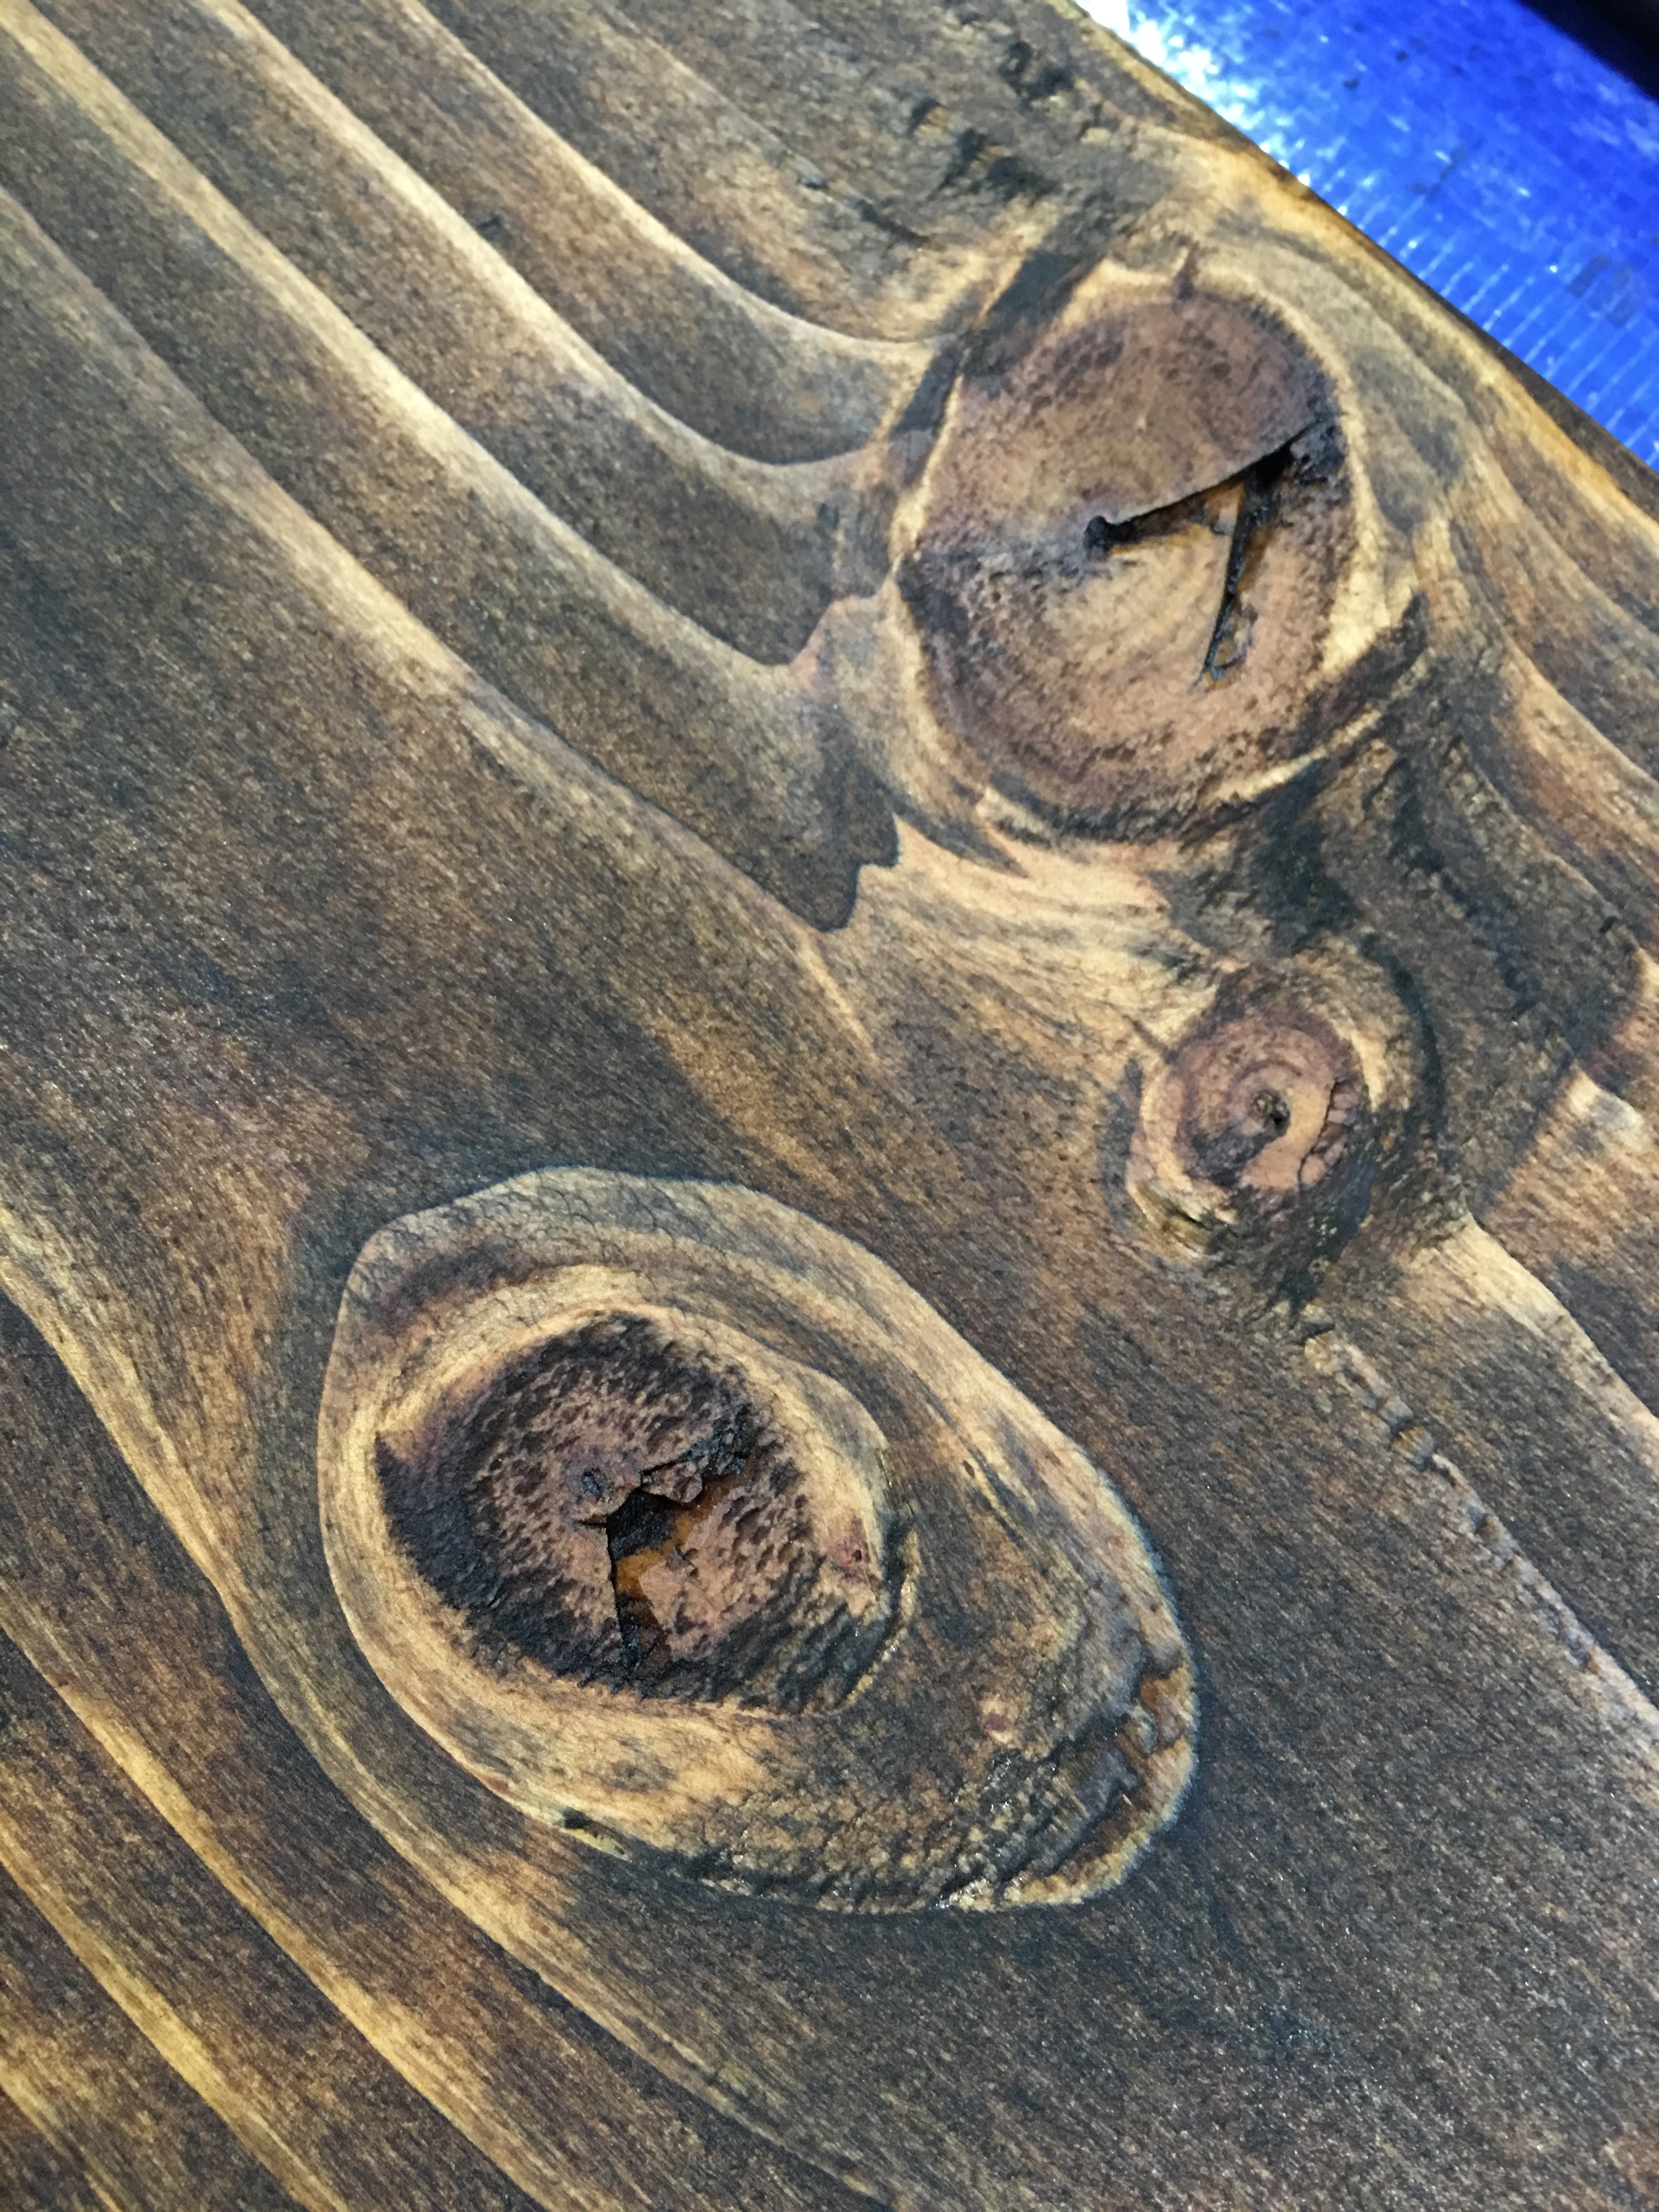
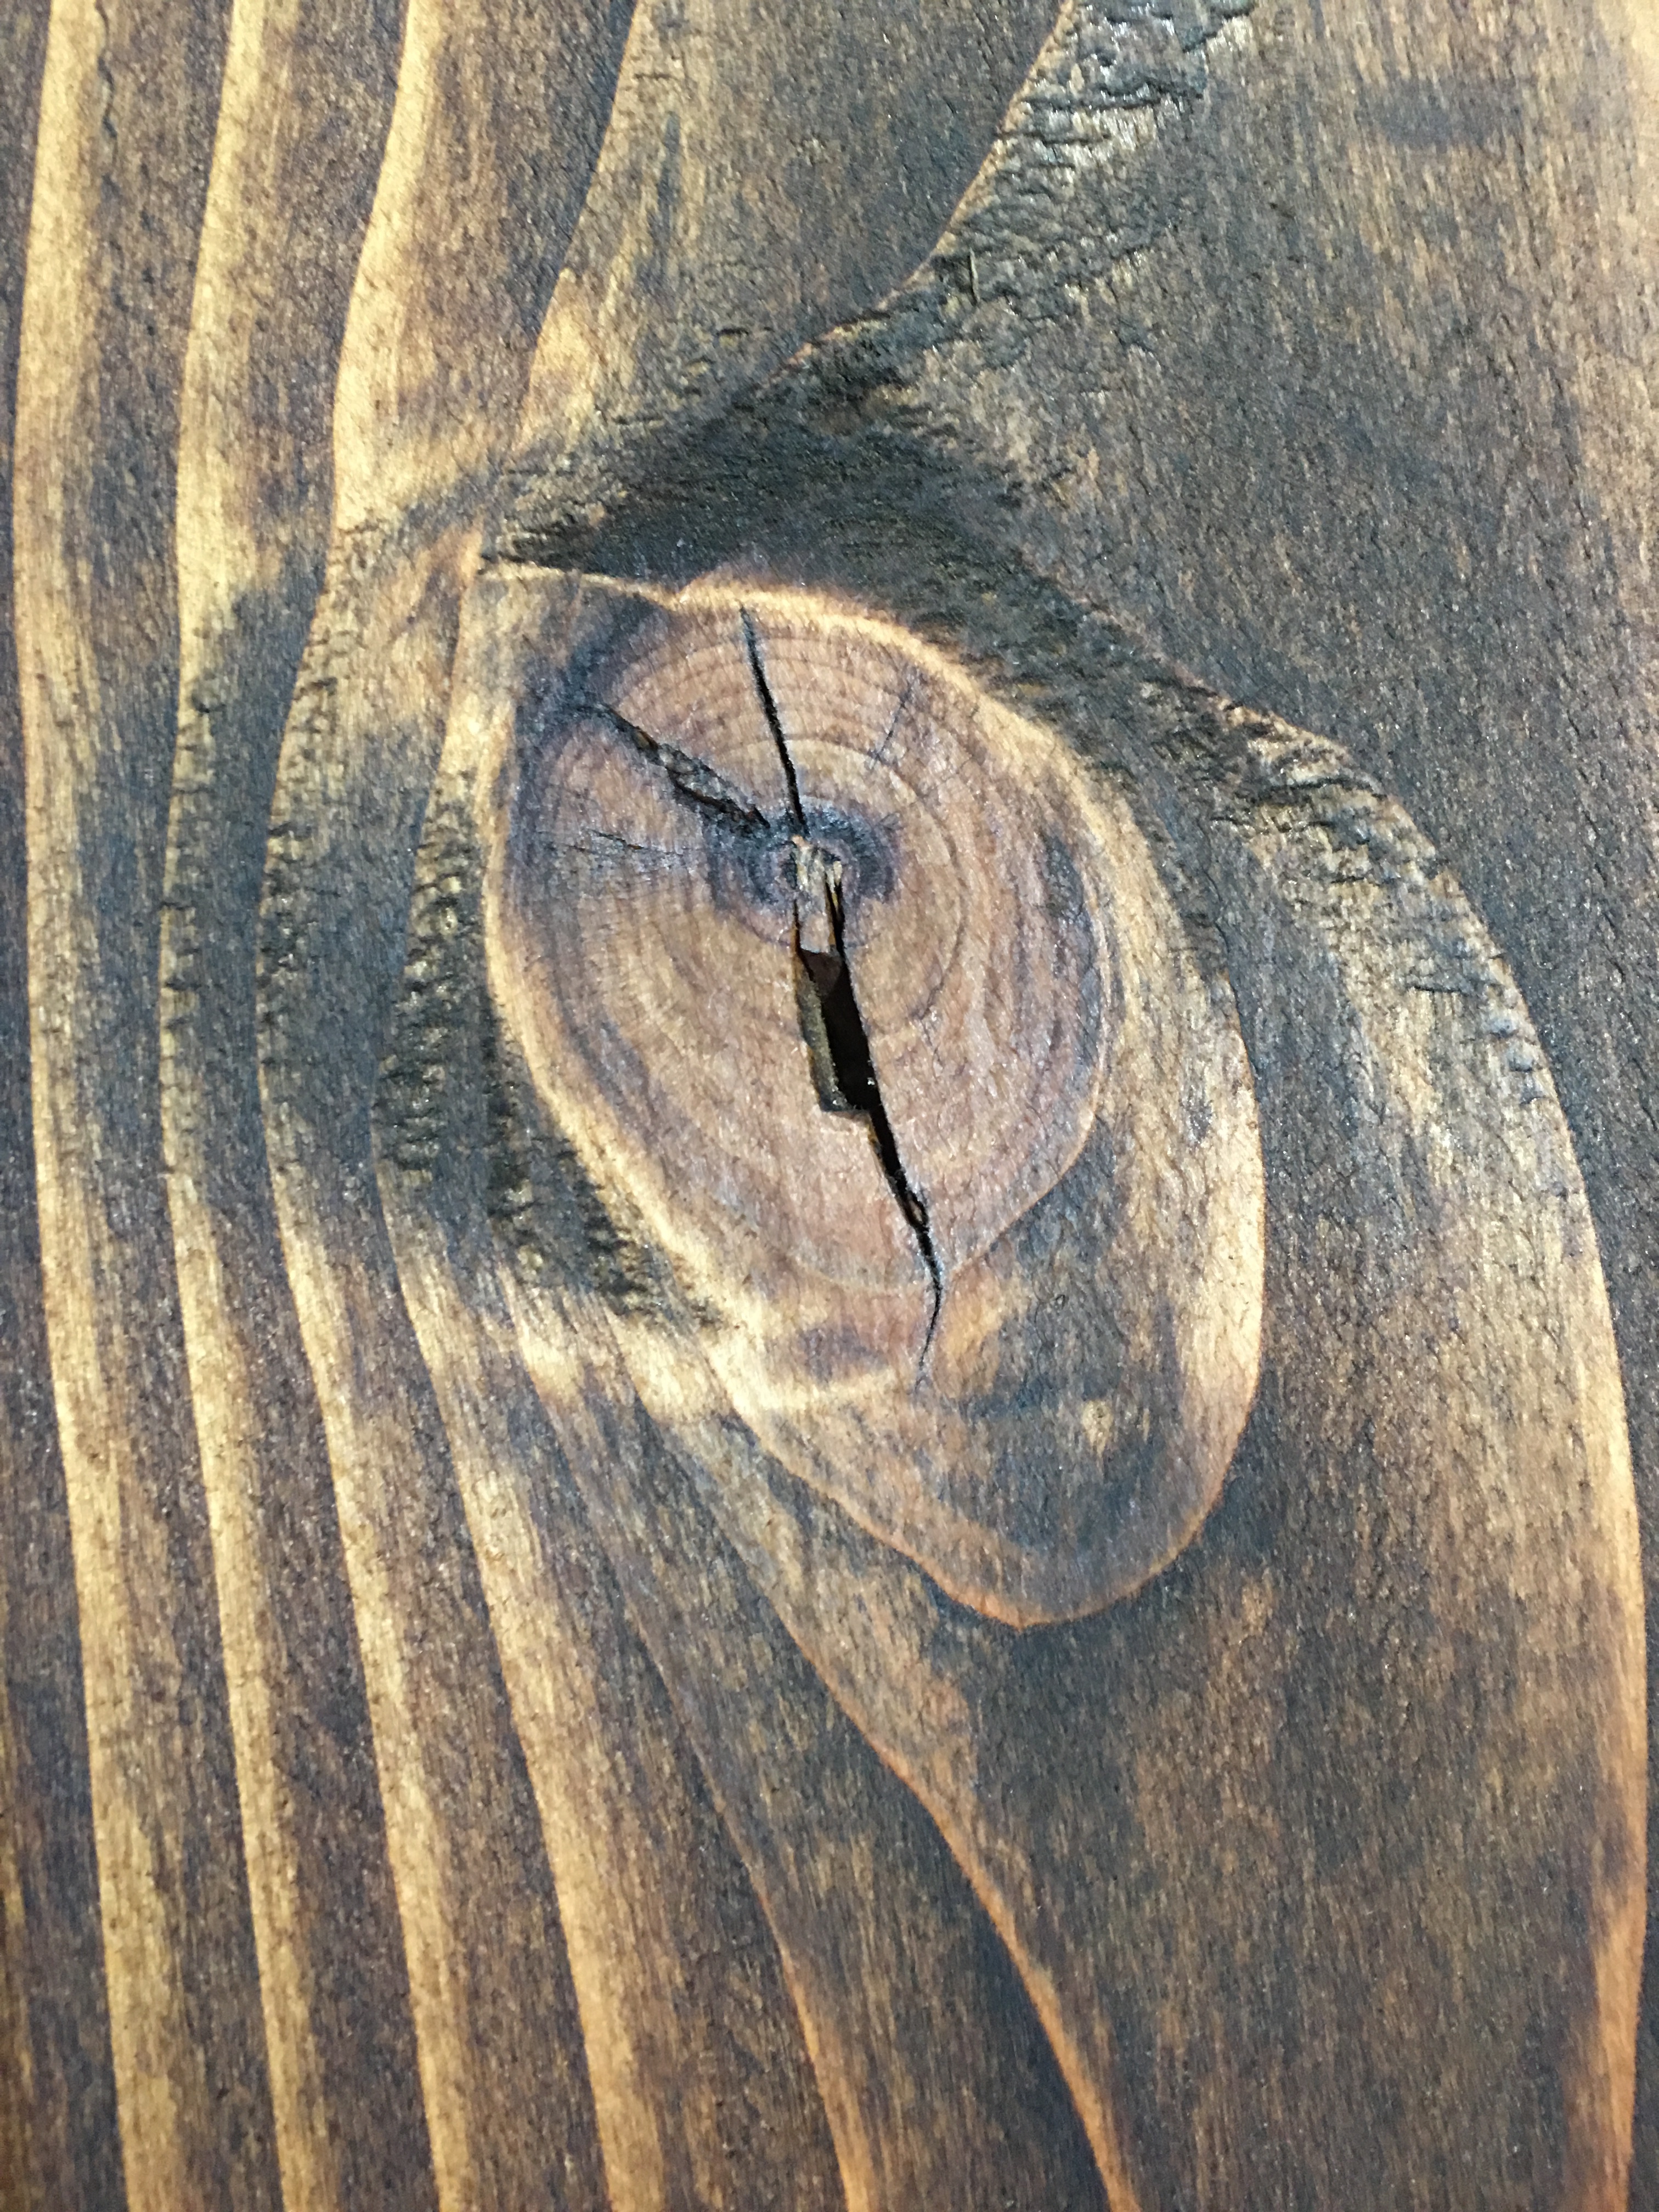
Once cut down to 20 inches, I sanded all wood pieces with first 60 grit sandpaper, and followed up with 150 grit paper.
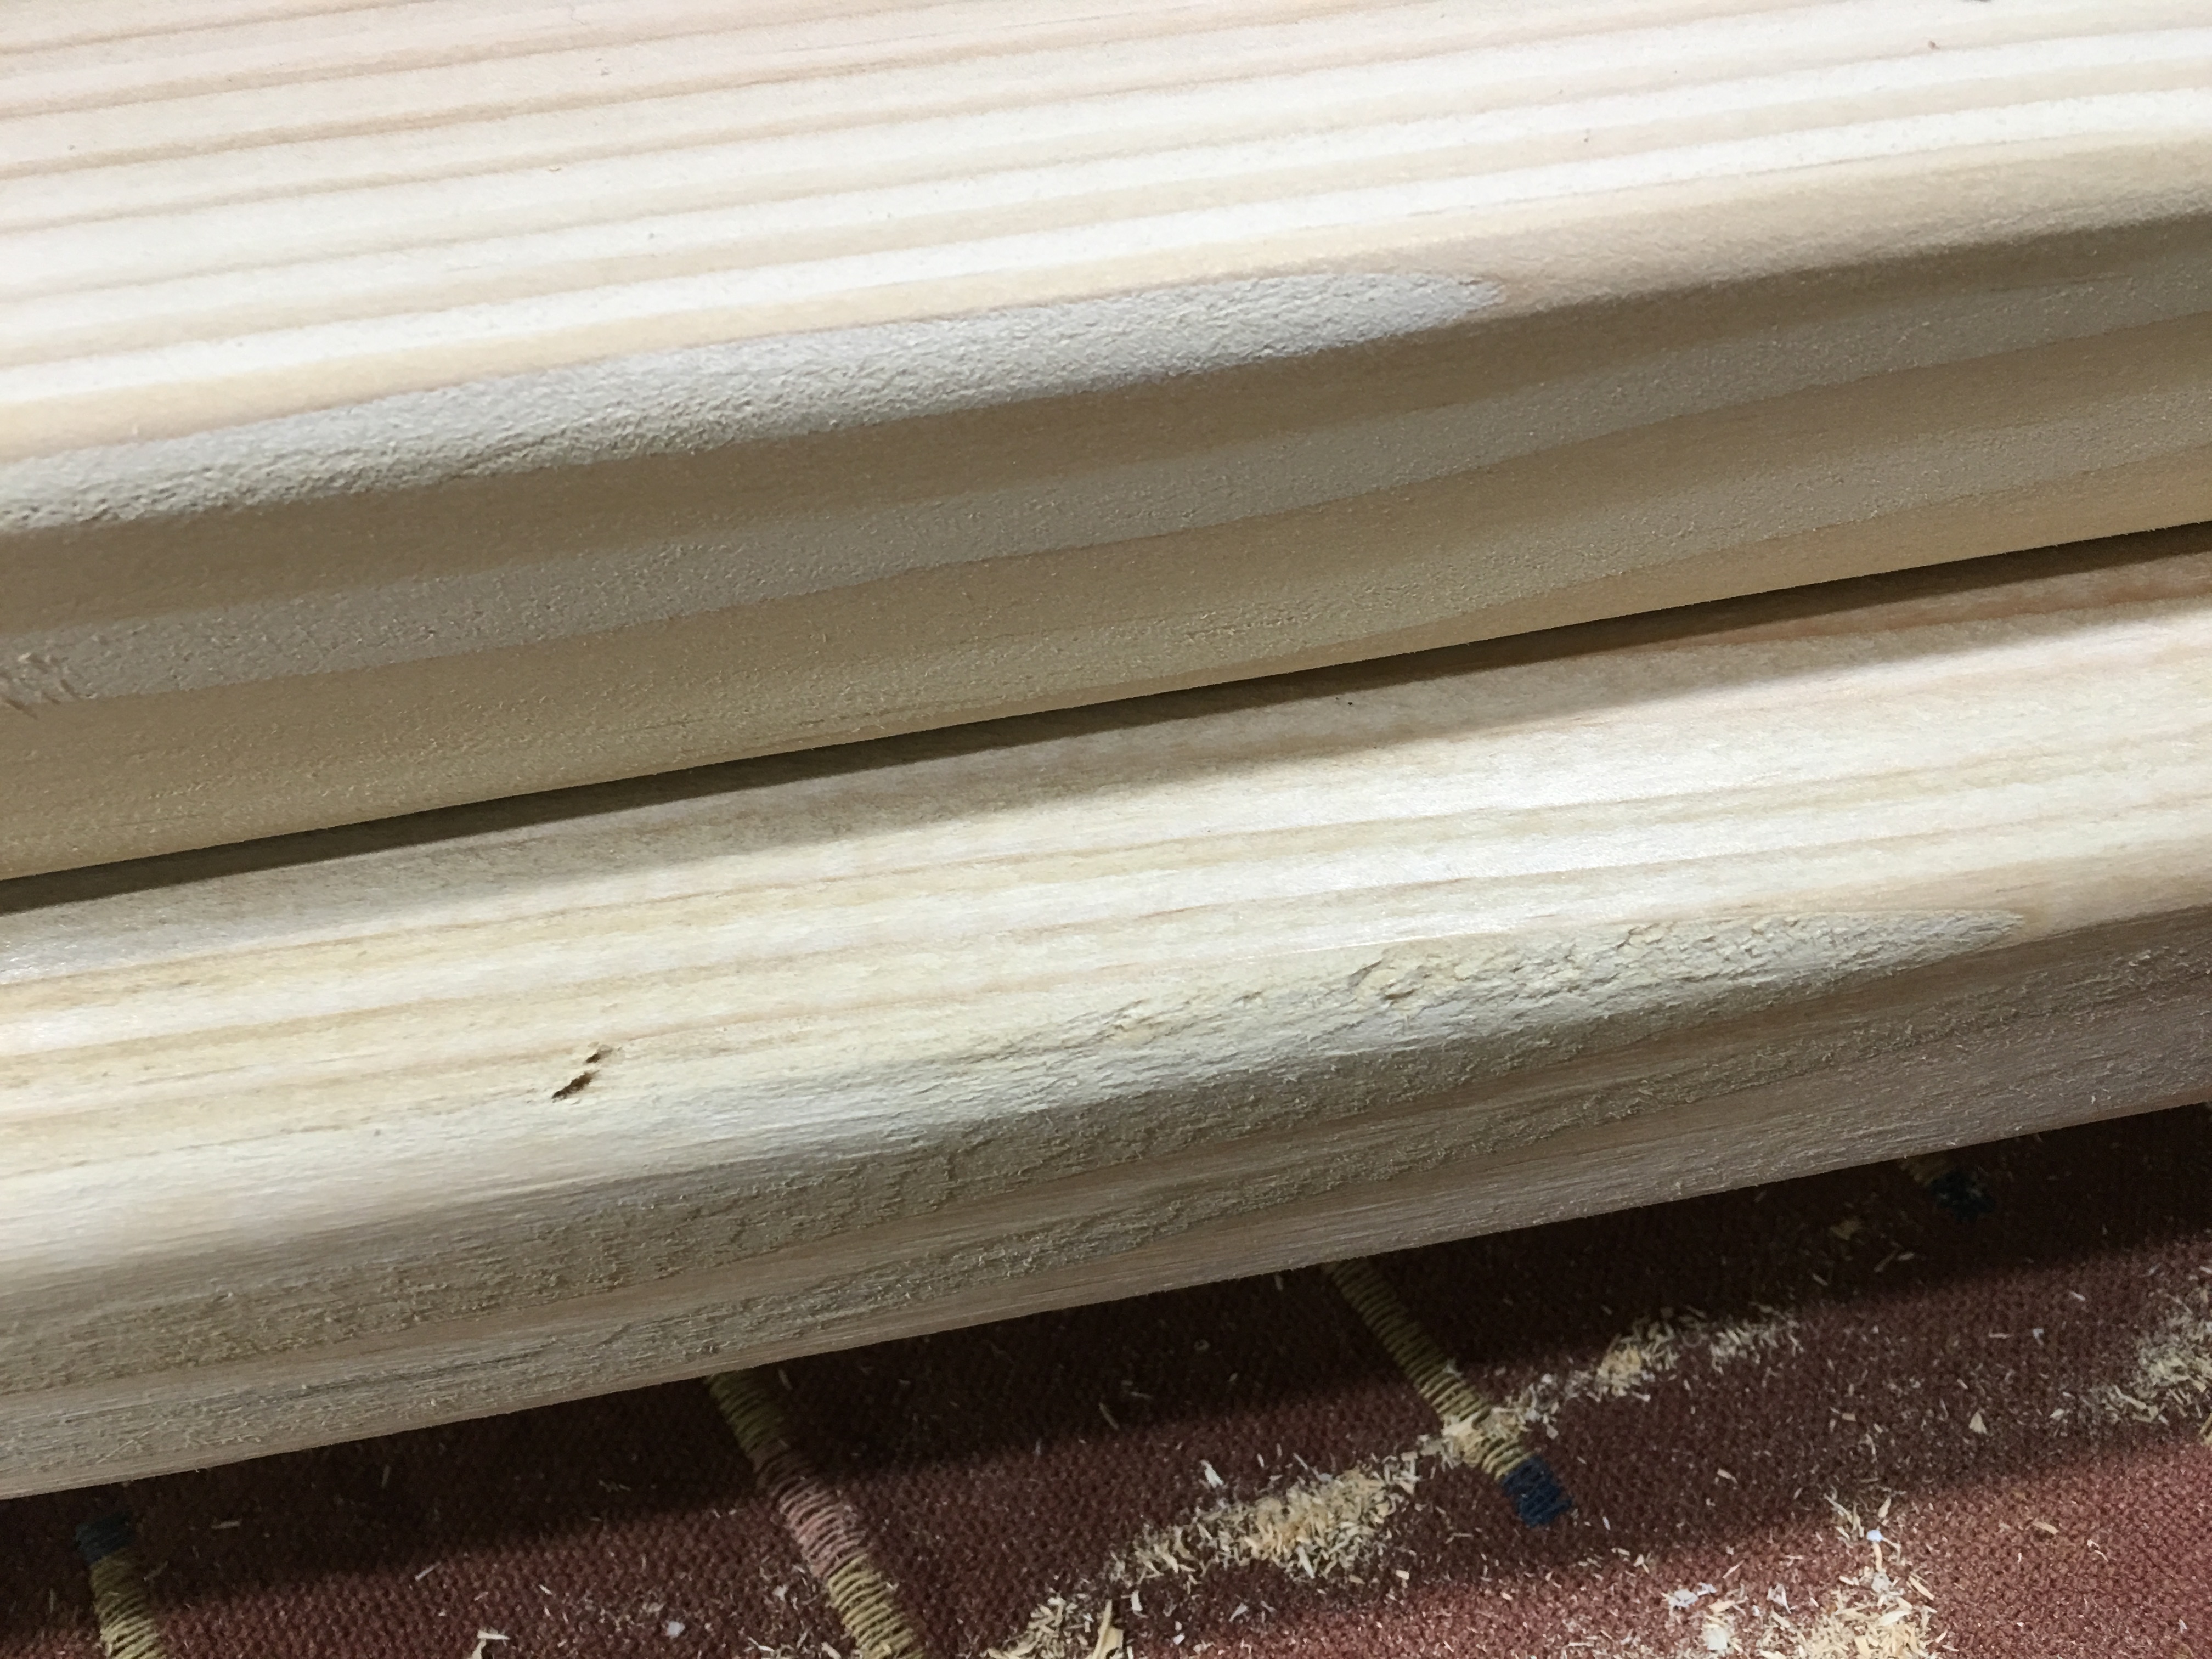
The picture below shows clearly why time needed to be spent on this step on Thursday night.
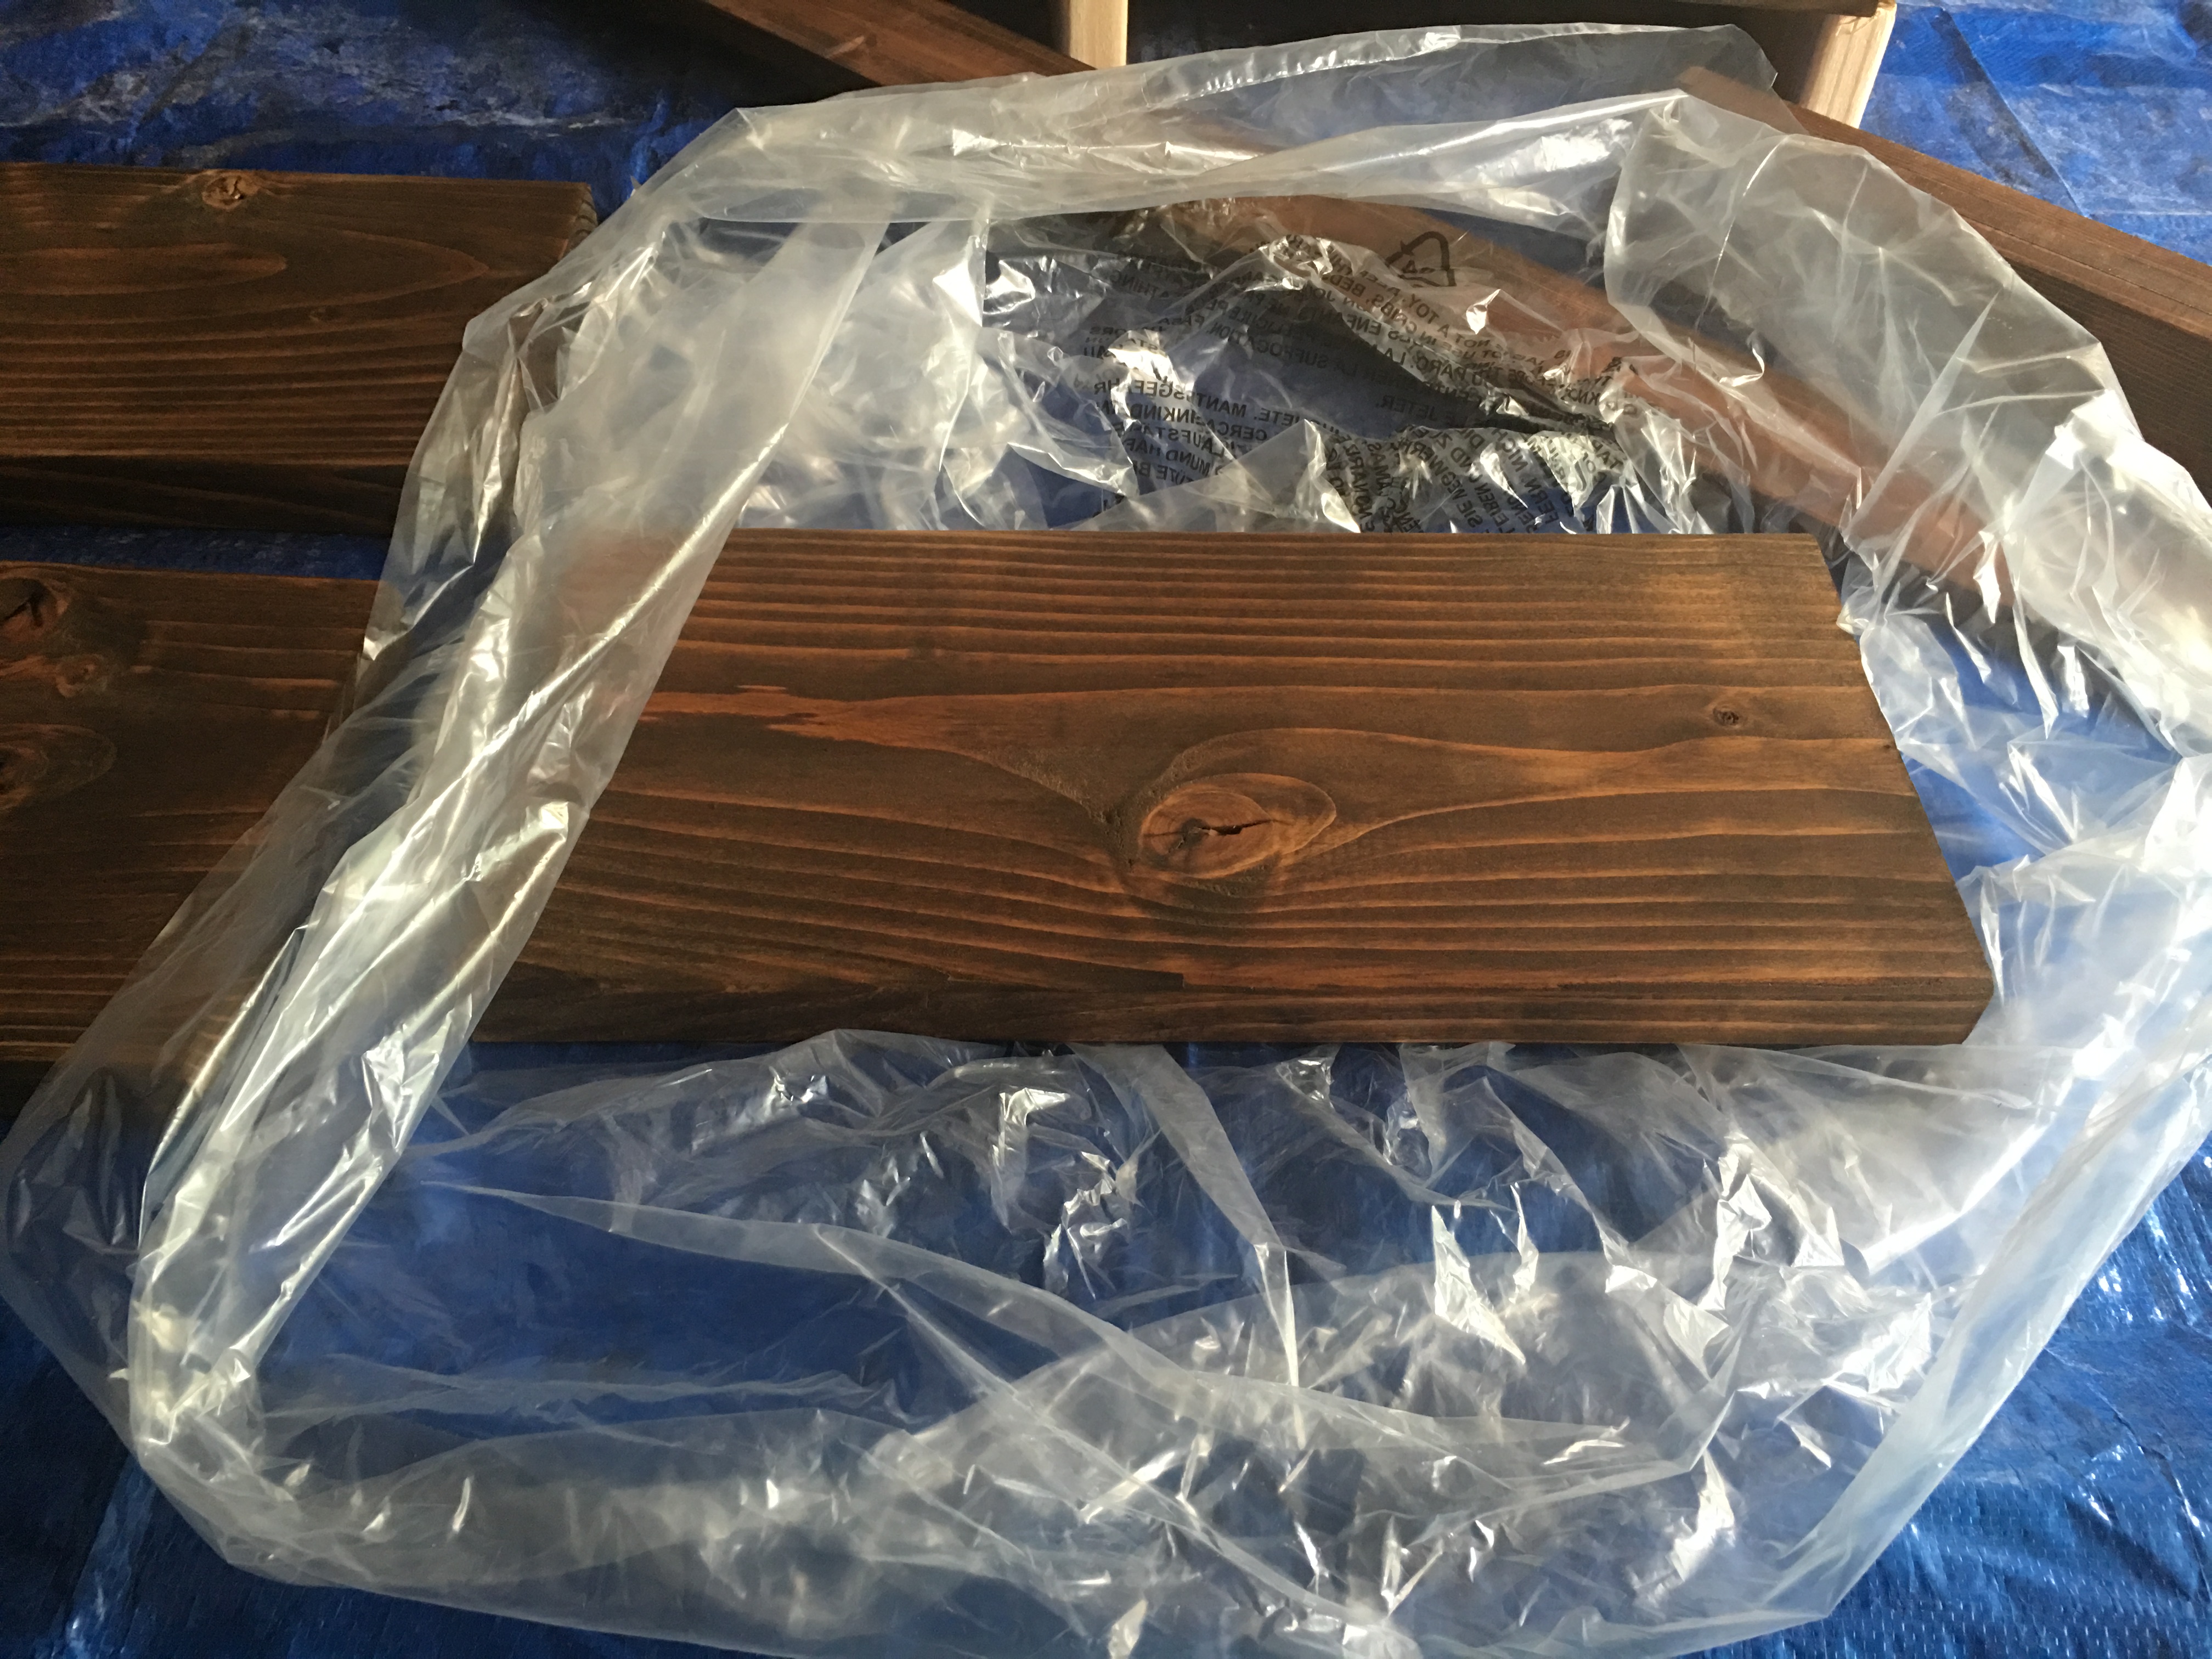
Once sanding was done, I stained each of the wood pieces with Minwax provincial stain (Xenia’s choice for the bedroom).
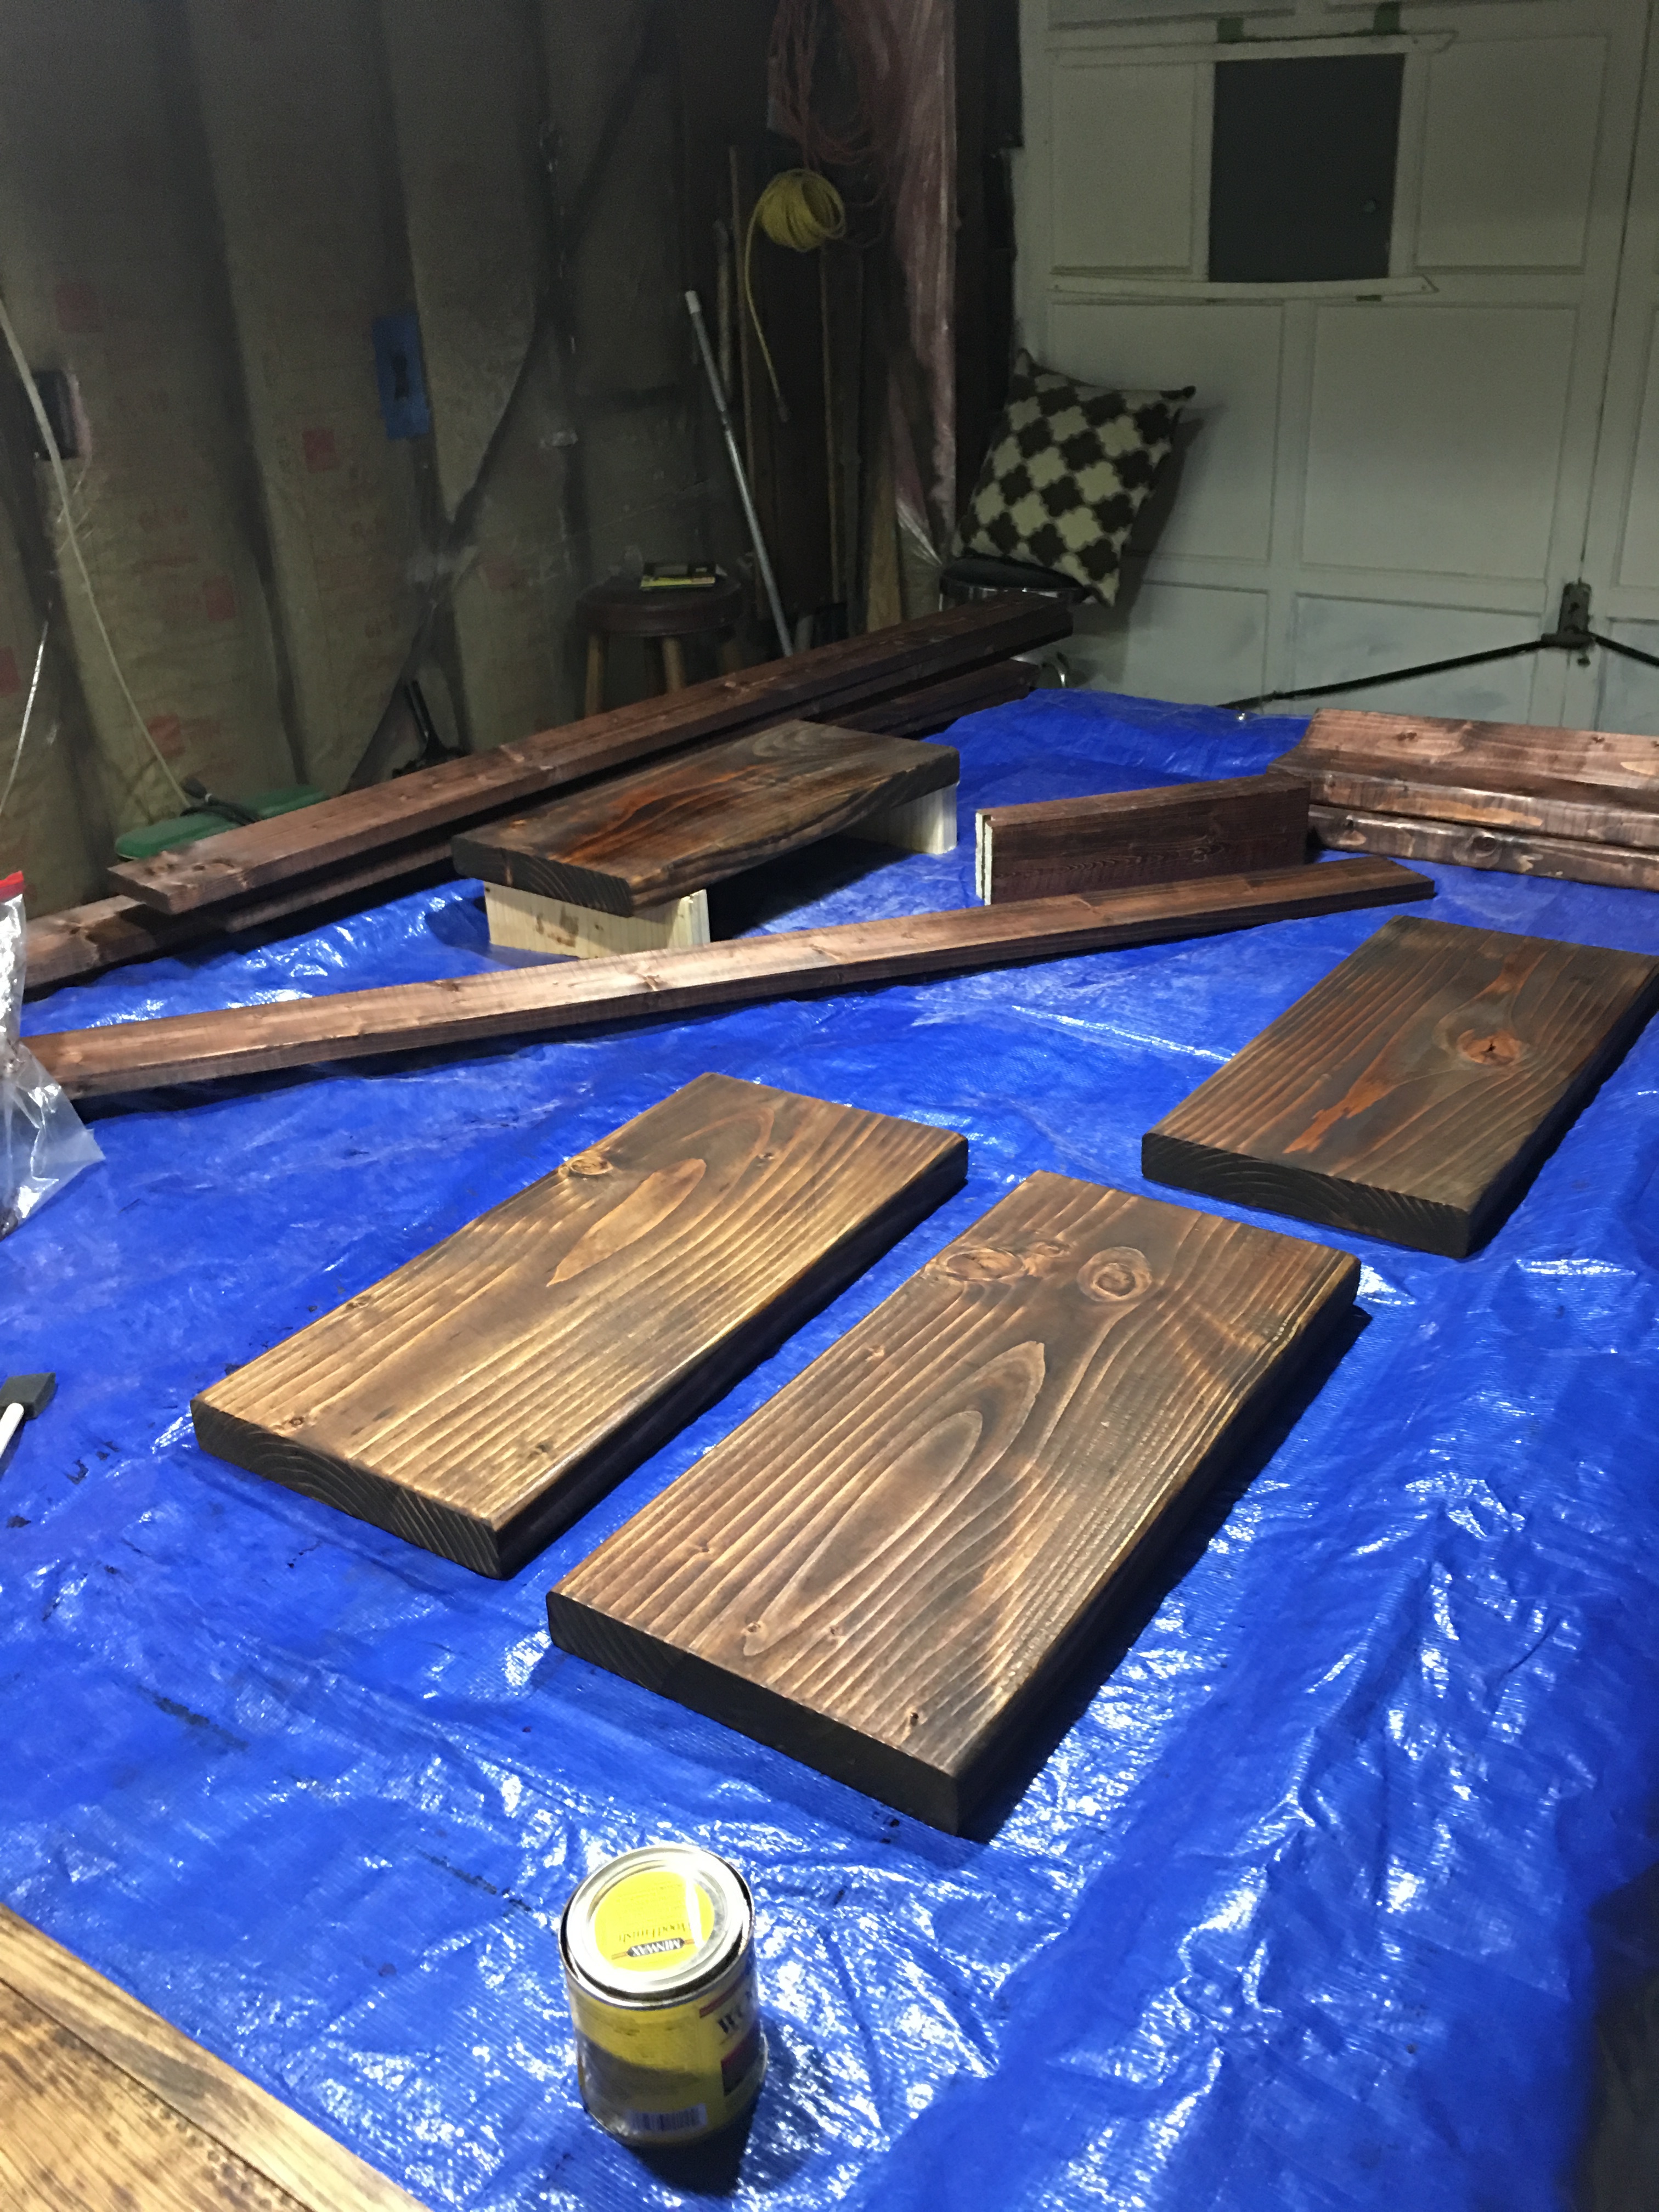
I immediately fall in love with the look of the wood once the stain was applied. Staining is my favorite step.
I especially swoon over the look of stained knotty wood.
And so will Xenia. She loves this rustic look and feel of wood every bit as much as I do.
I left the wood pieces to dry overnight at Tim’s. And on Friday, I stop by to pack up the wood pieces after work).
Mounting the shelves Mothers Day Weekend
I went to work with mounting these super easy shelves in Xenia’s bedroom shortly after my arrival Saturday evening.
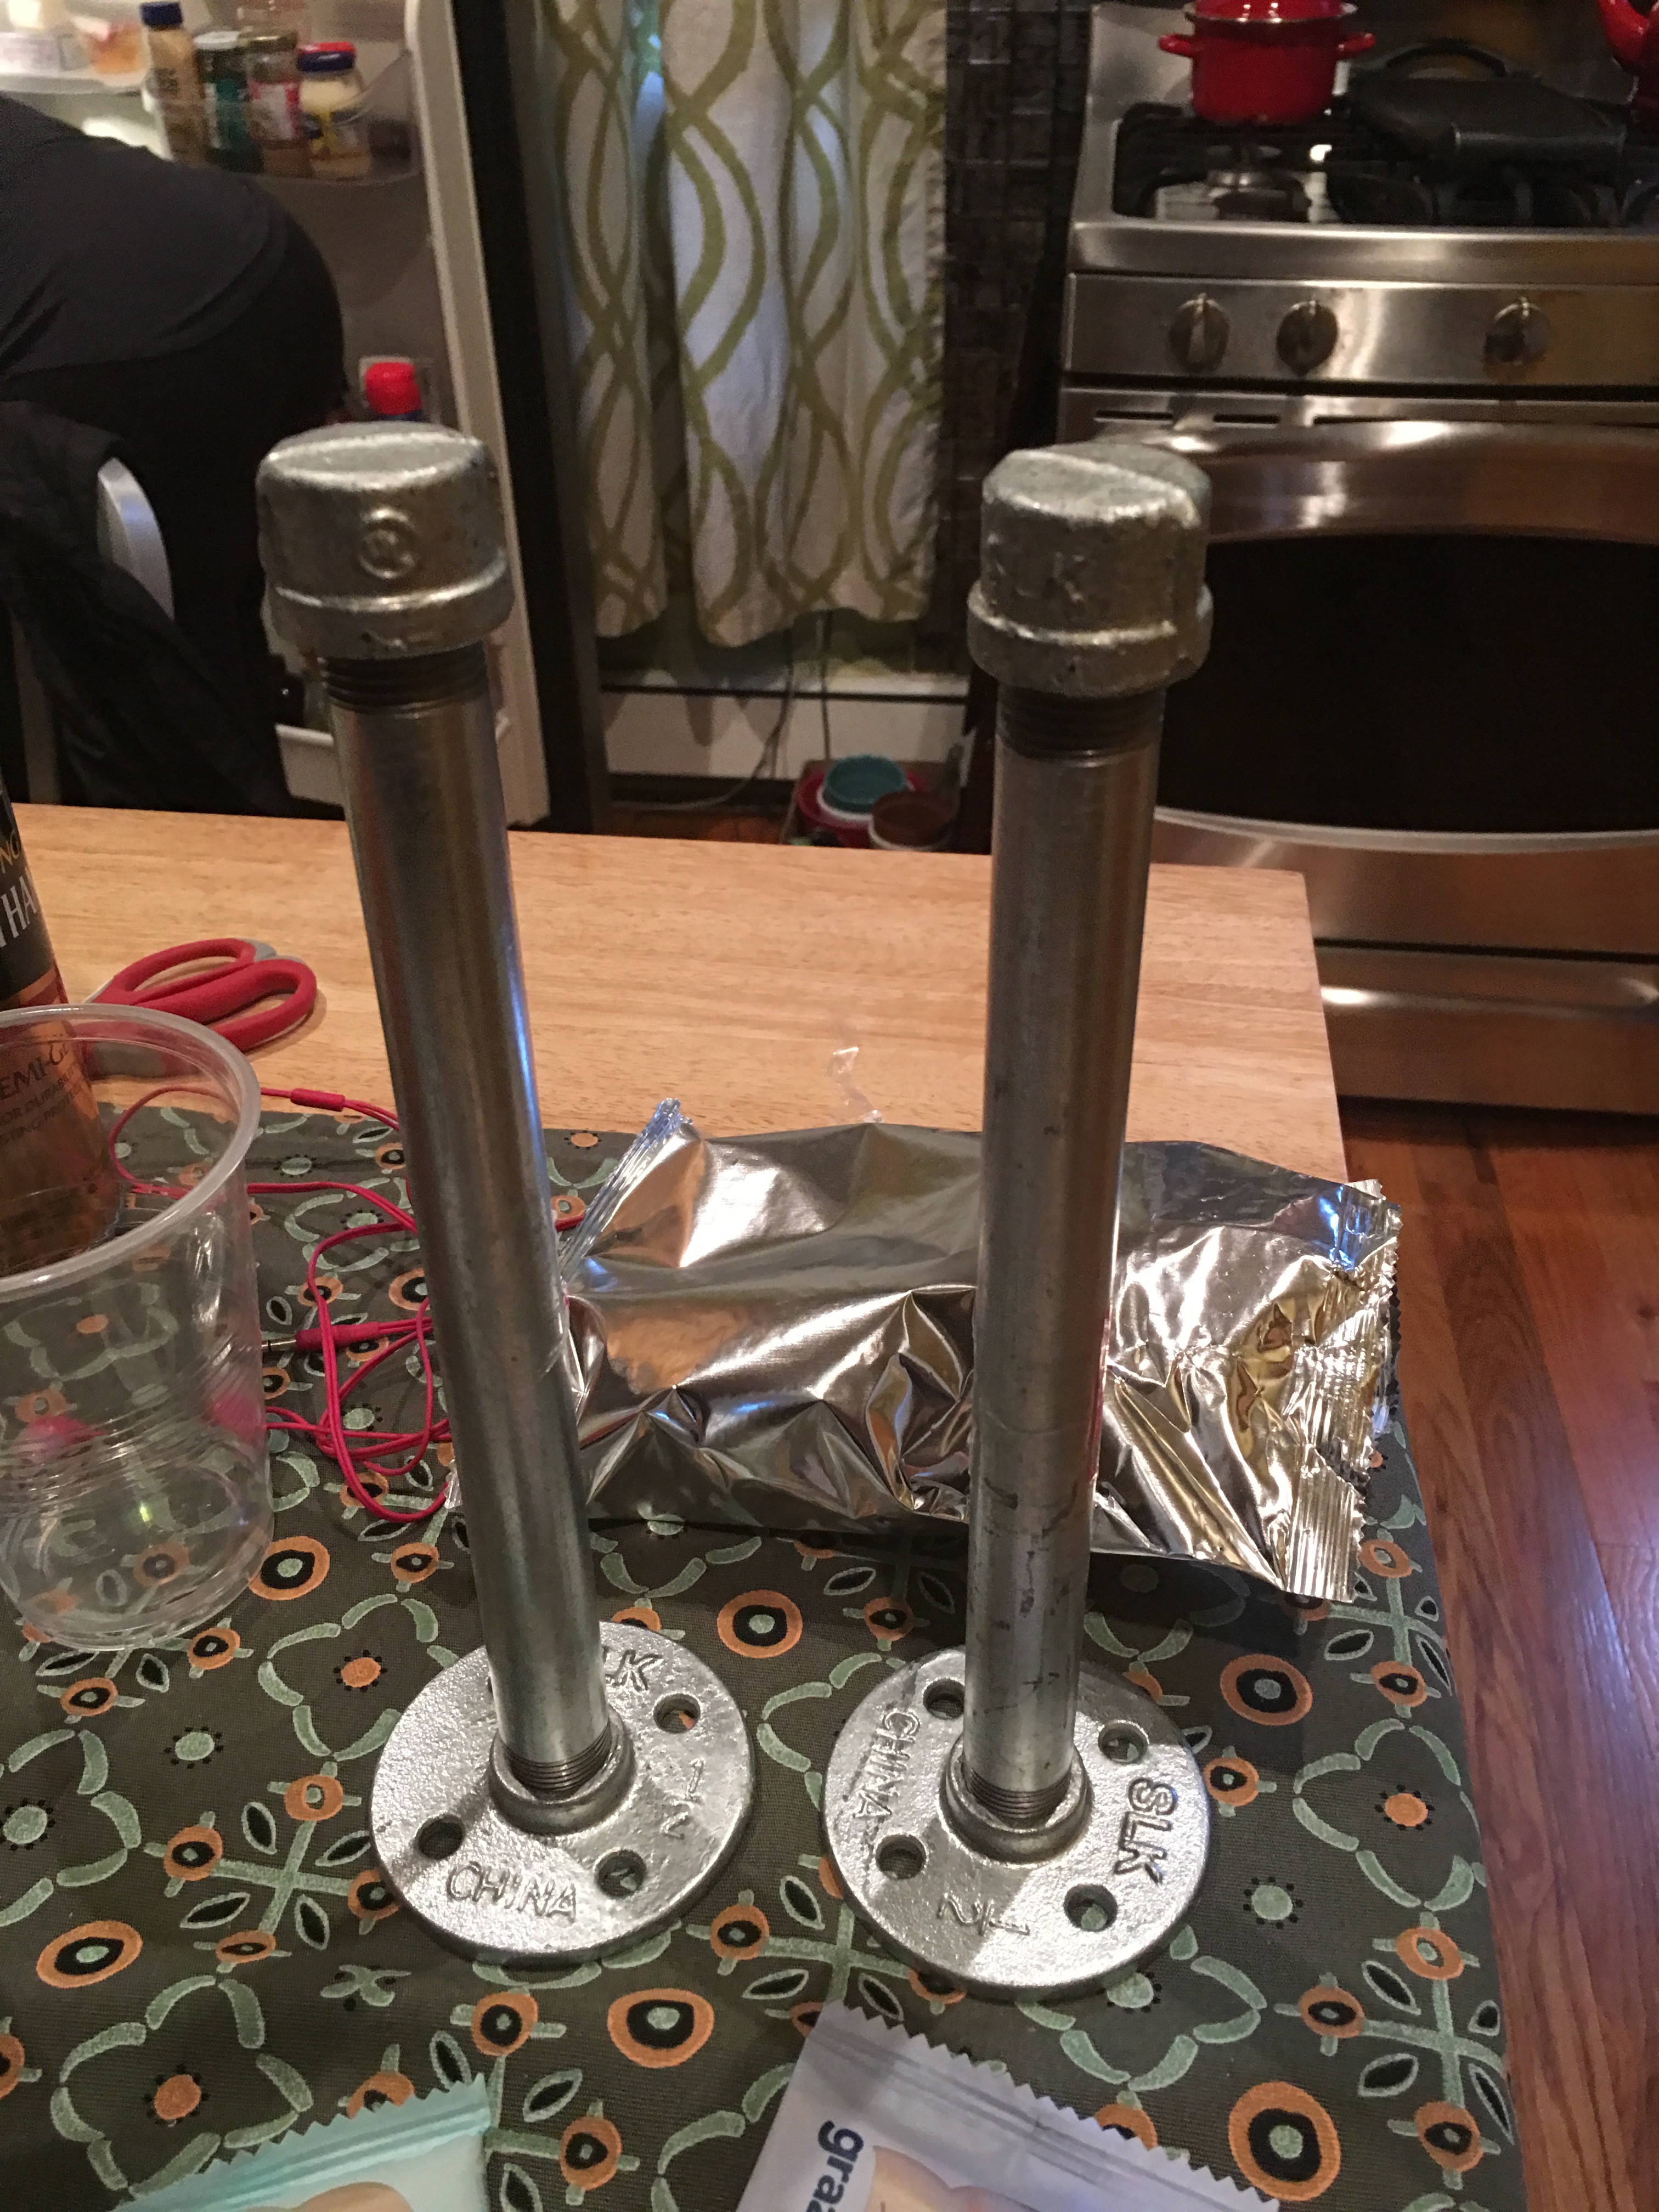
I first assembled the pipe nipples (or rods), flanges and caps so that I can show Xenia what they will look like on her wall.
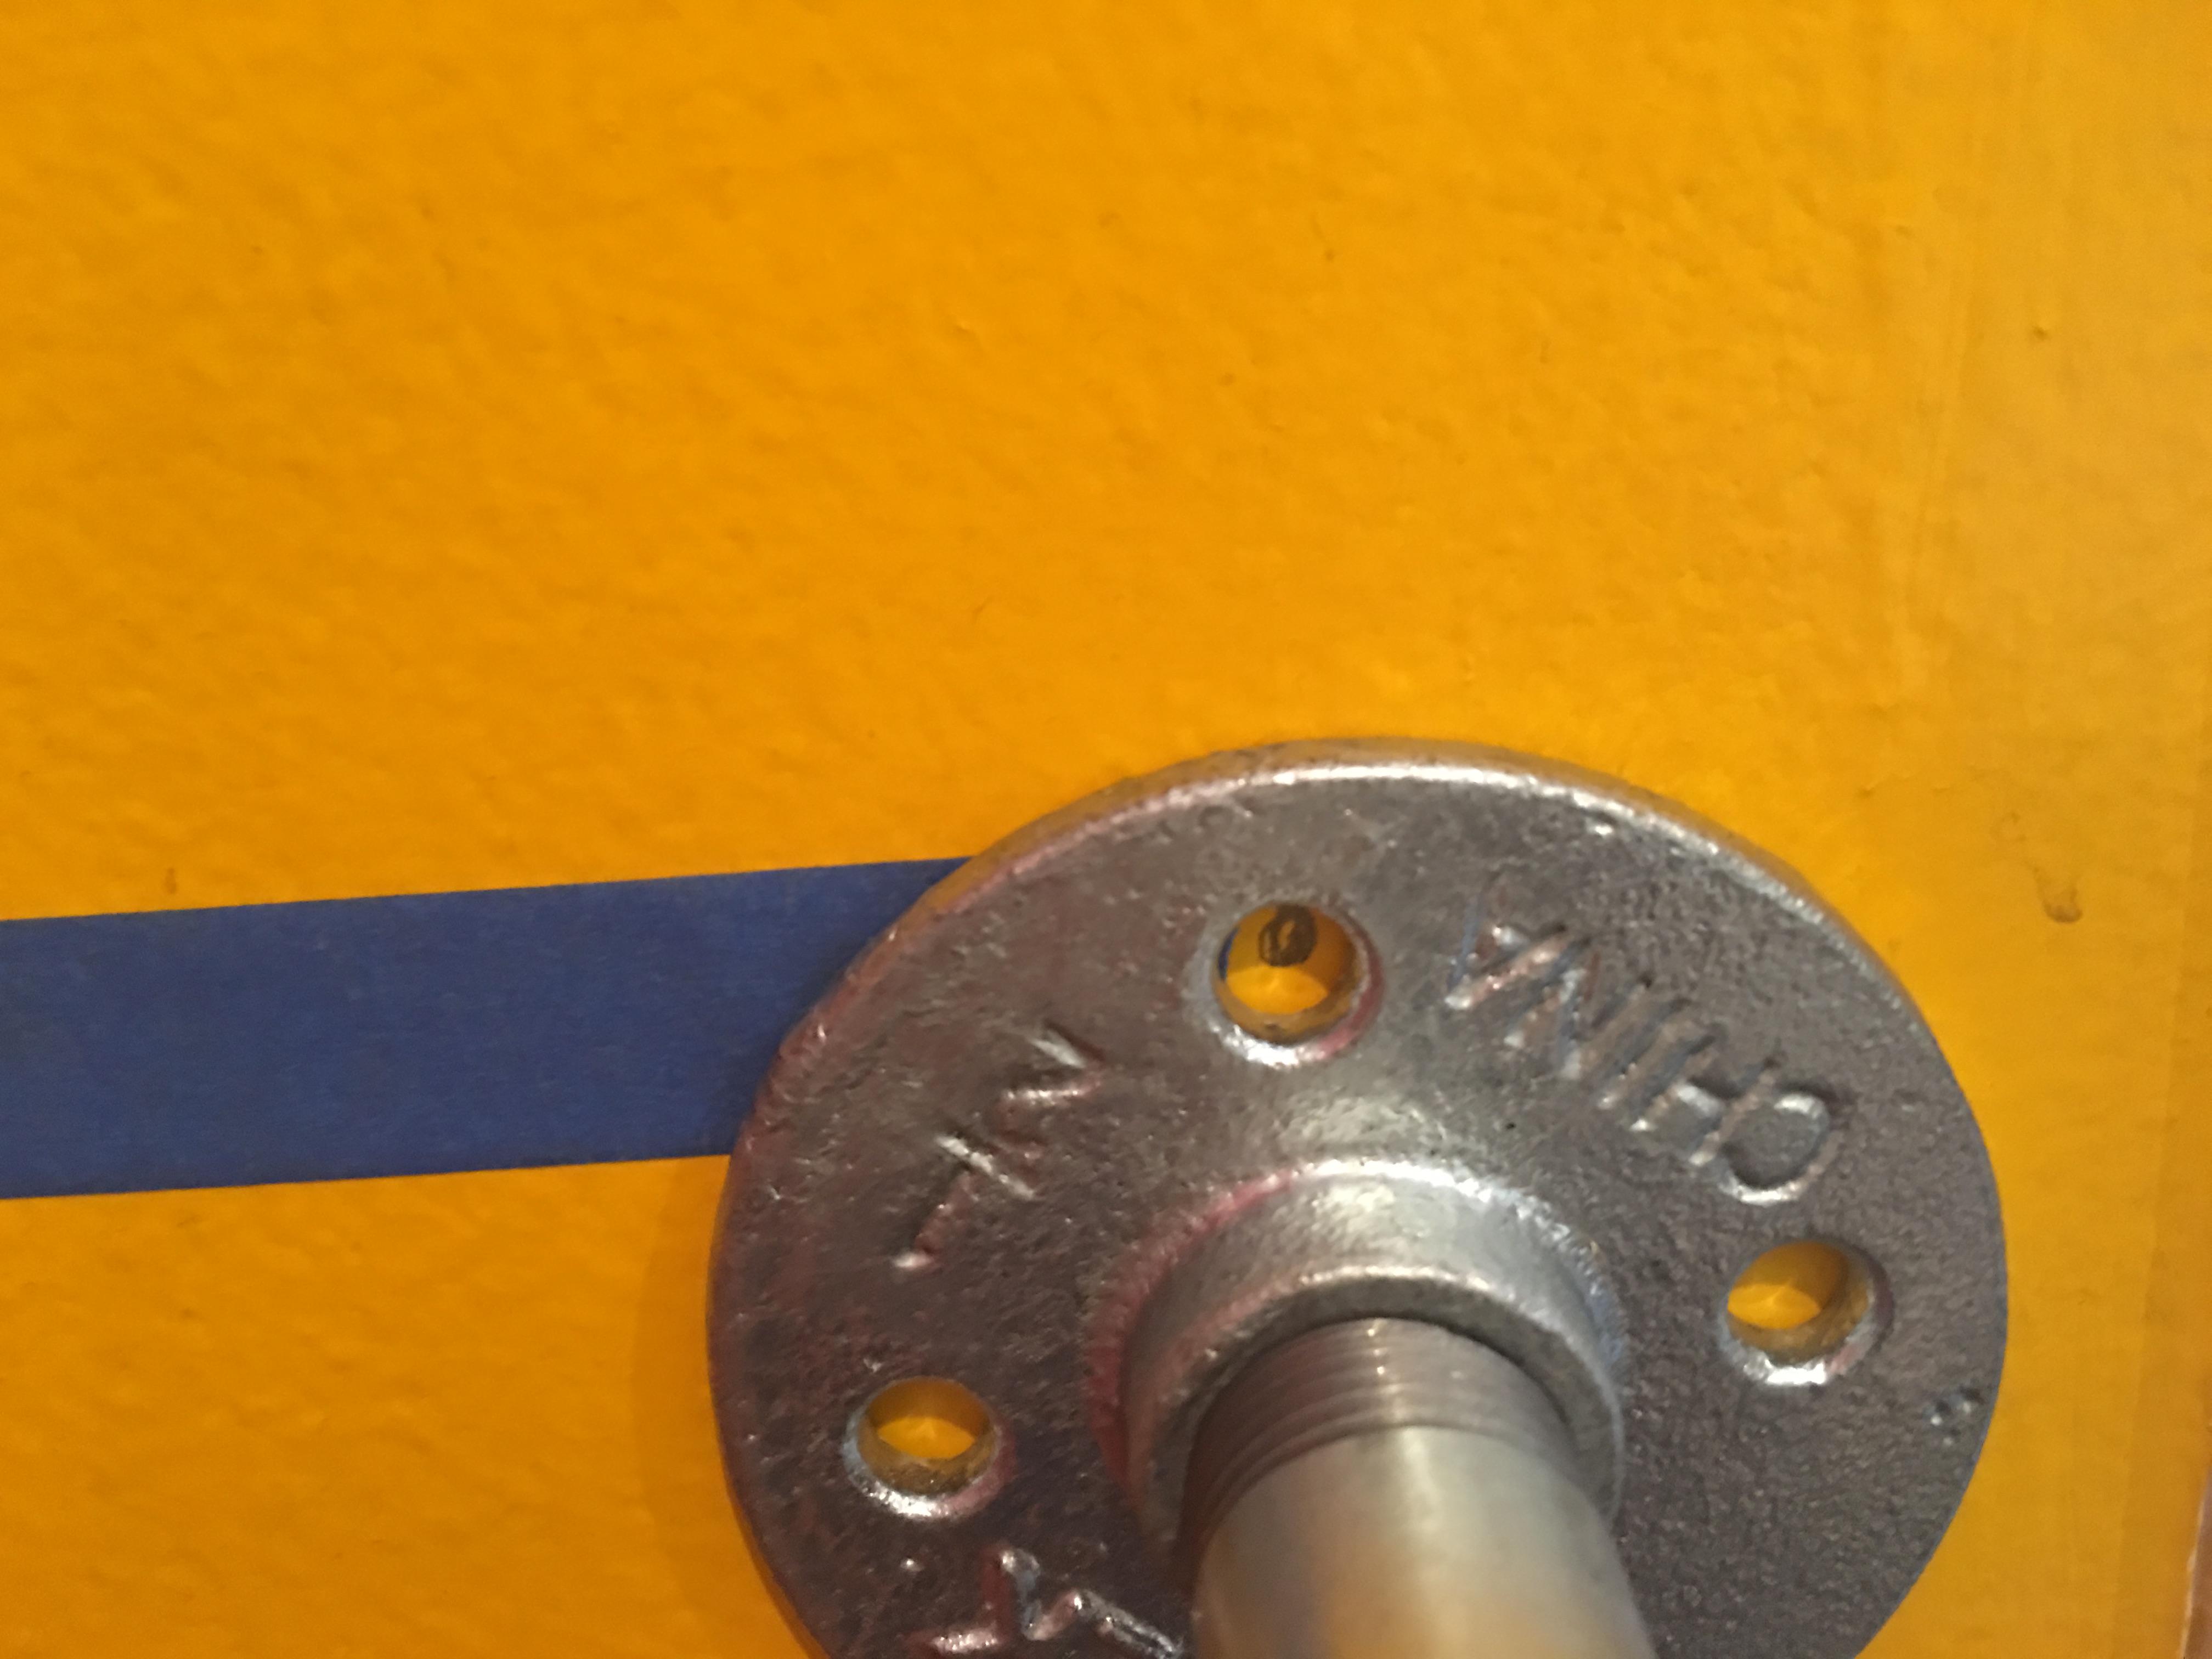
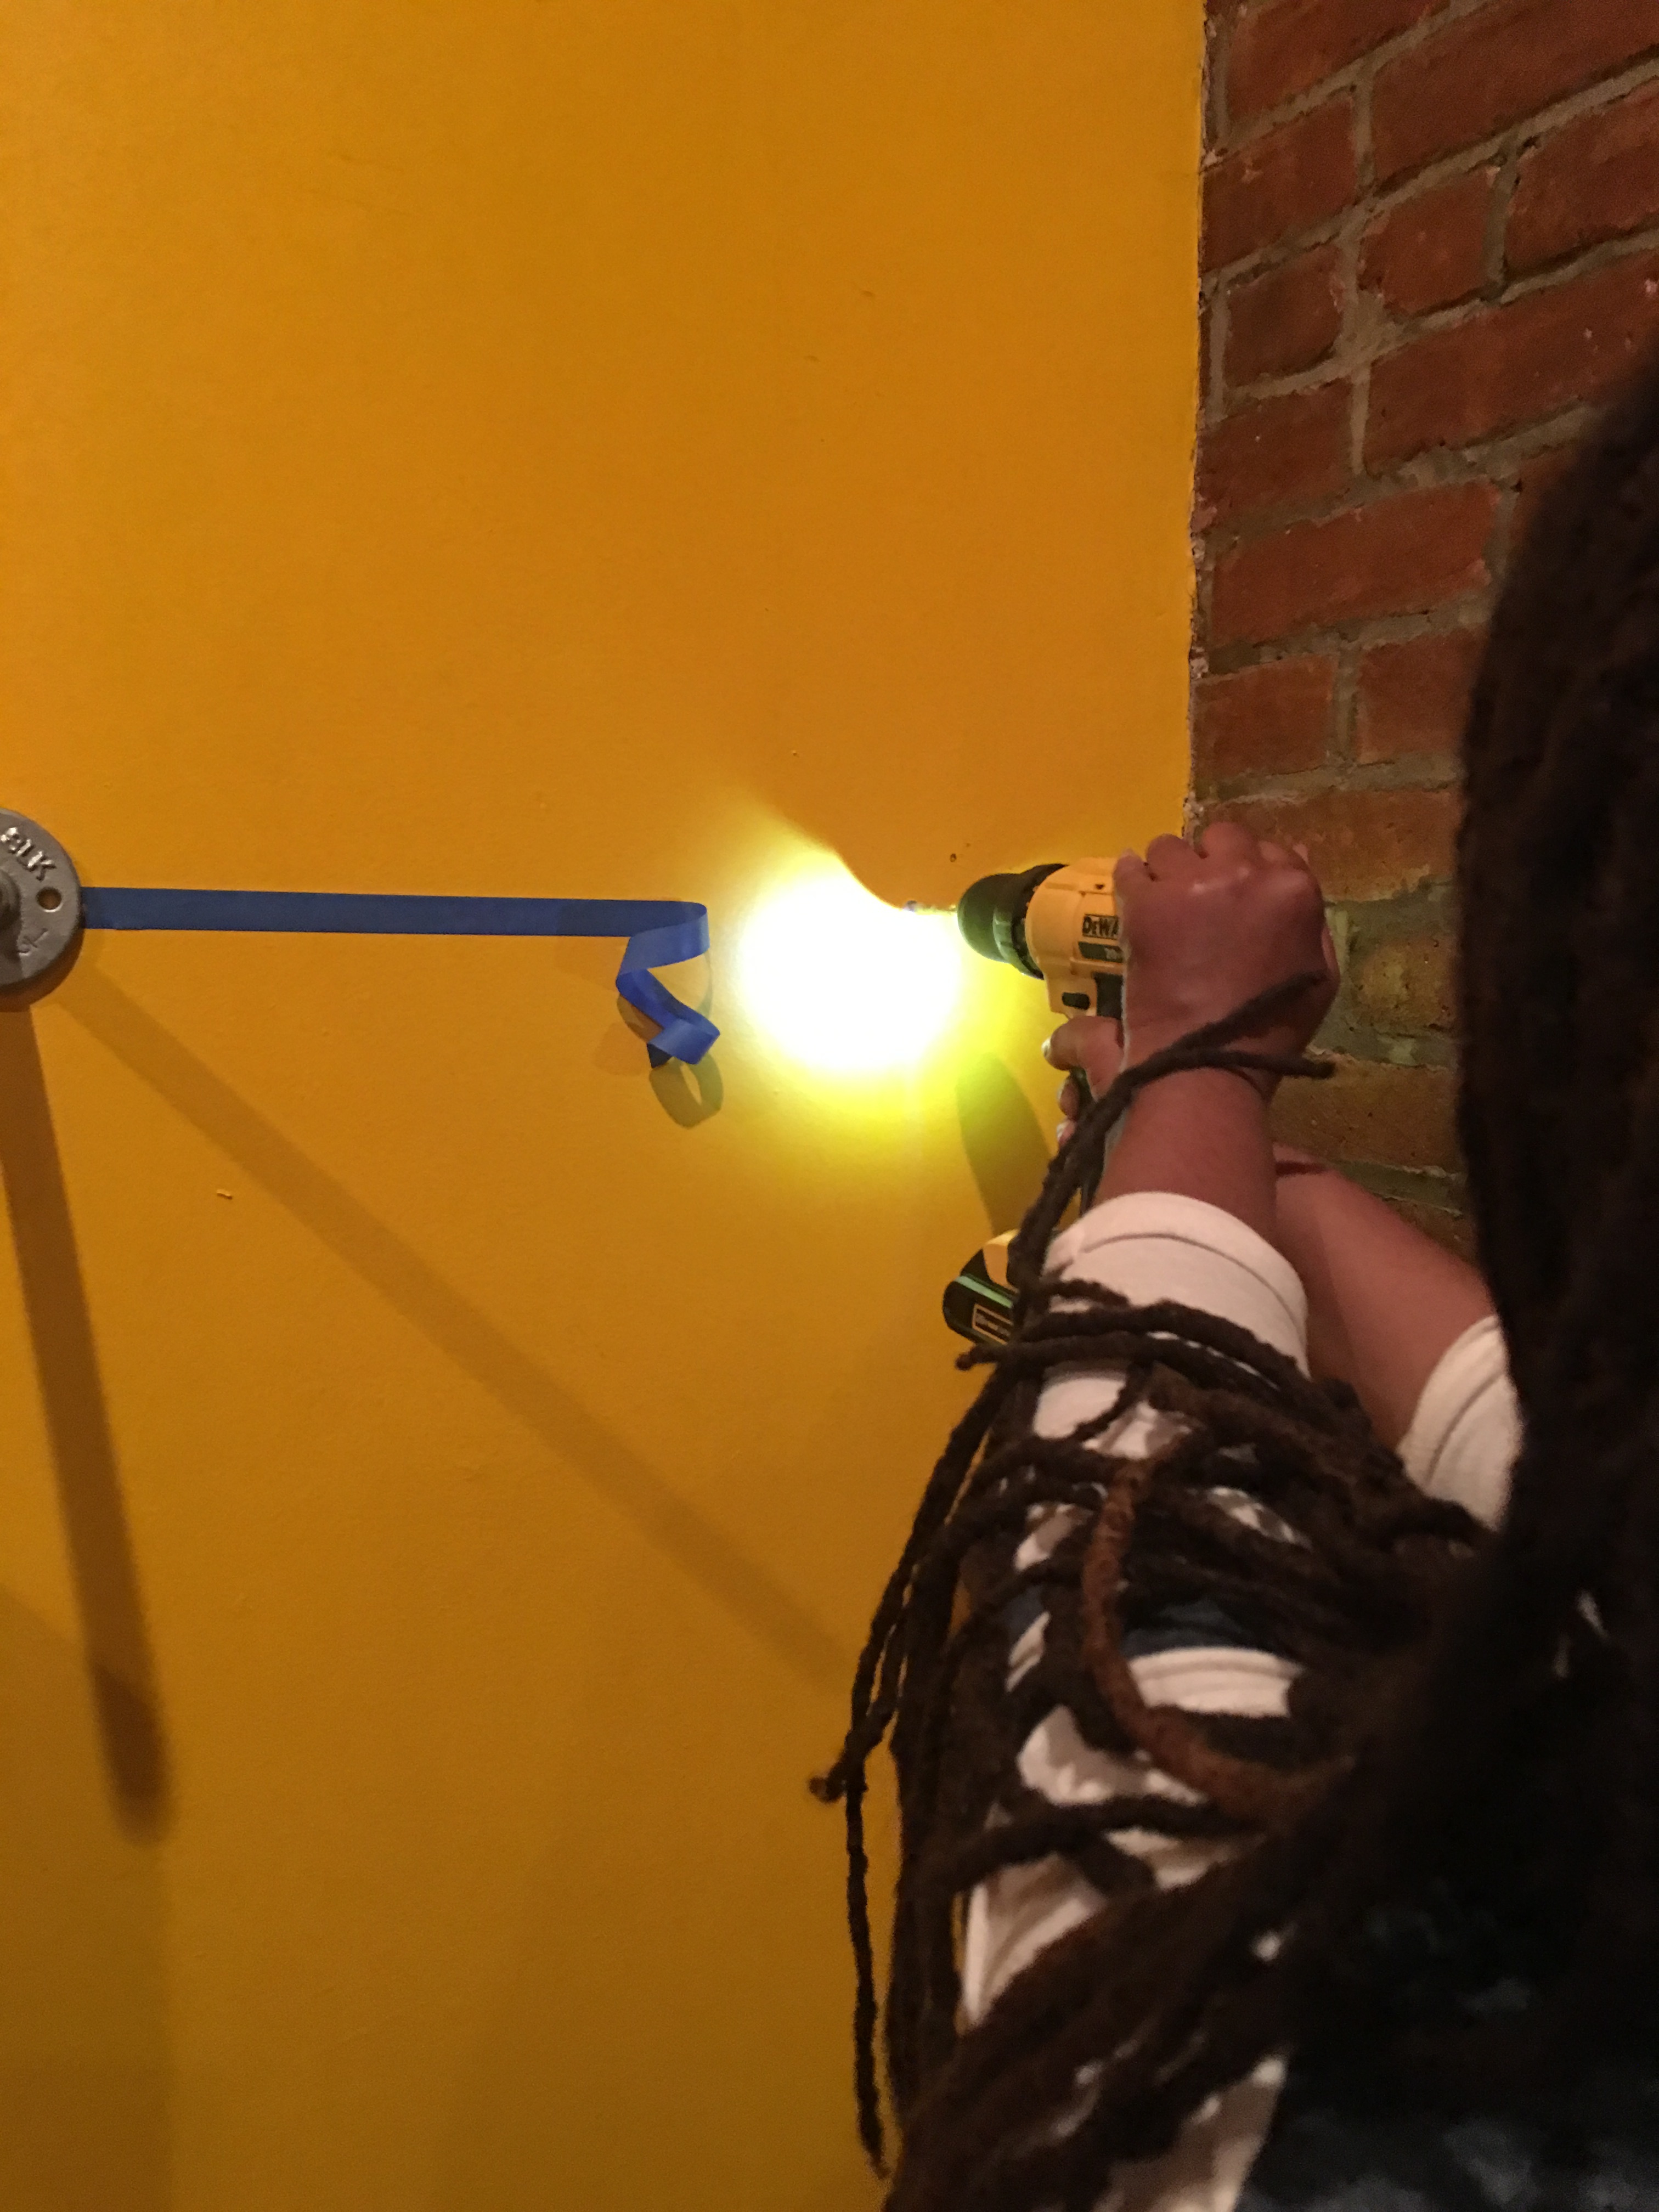
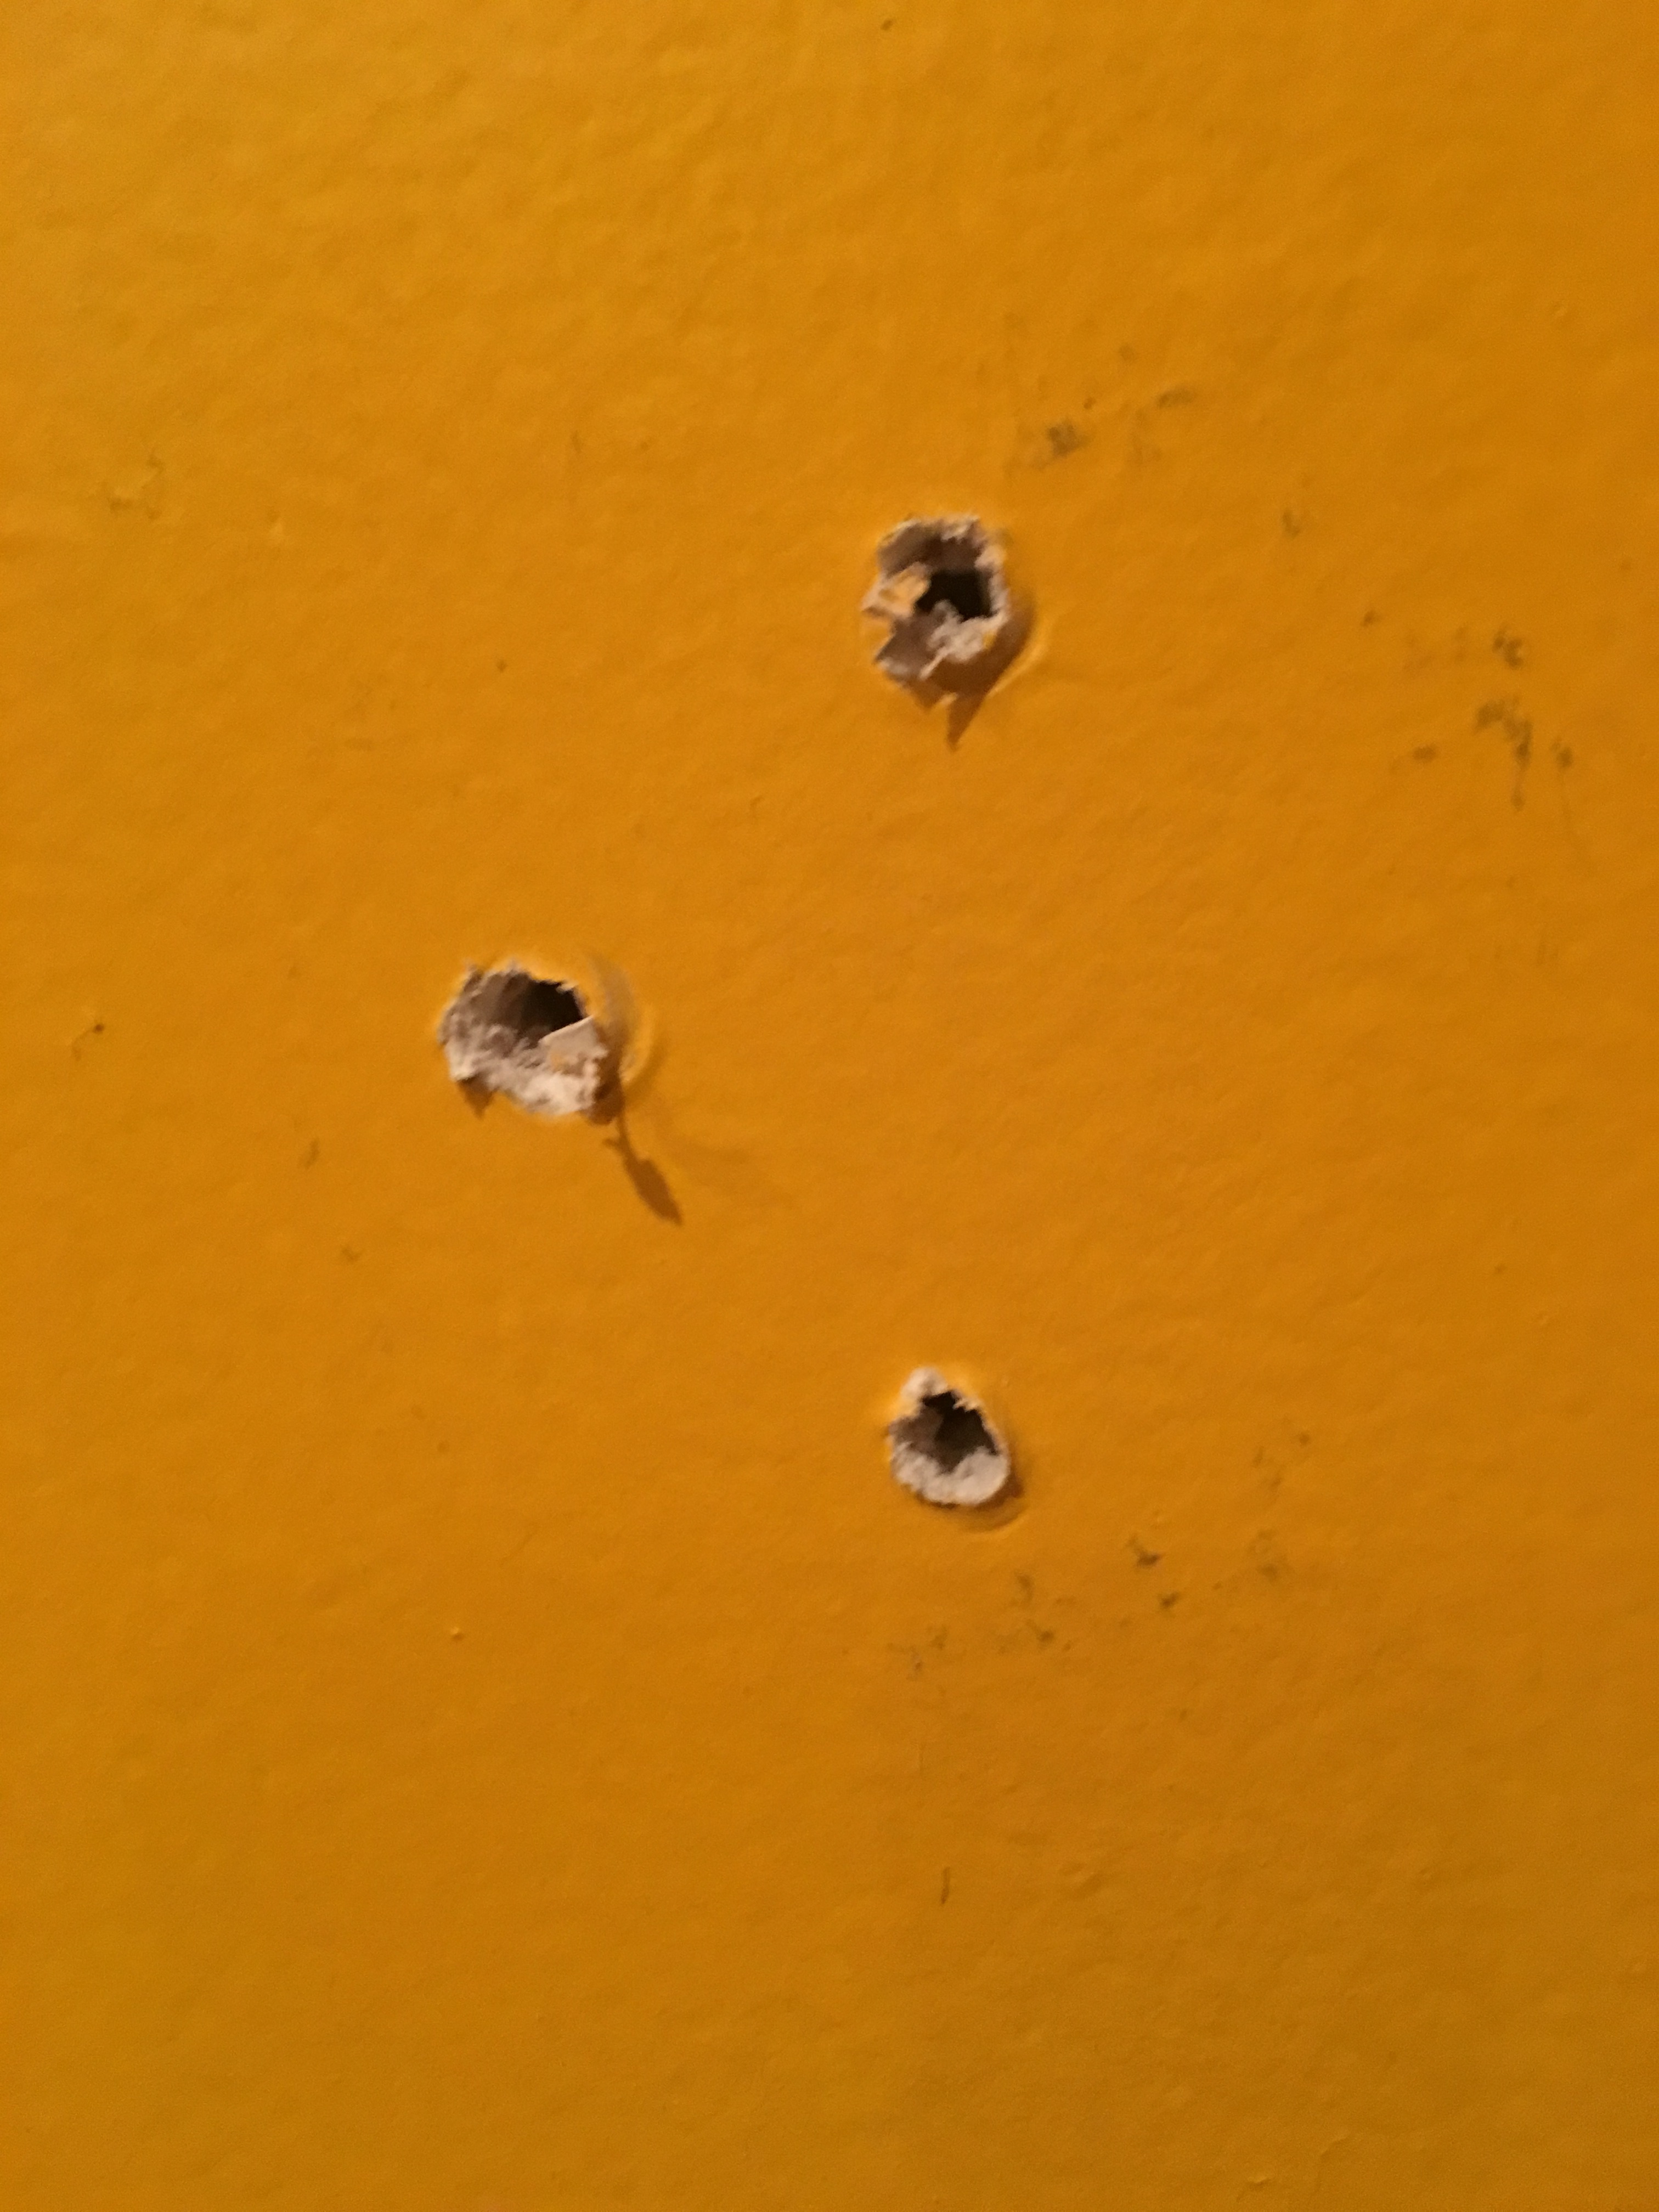
Xenia didn’t have a level handing, so we used blue painters tape to visually mark where we wanted to place the shelf. When the tape line looked straight to us, I positioned one of the flanges and marked the drill holes with a pencil.
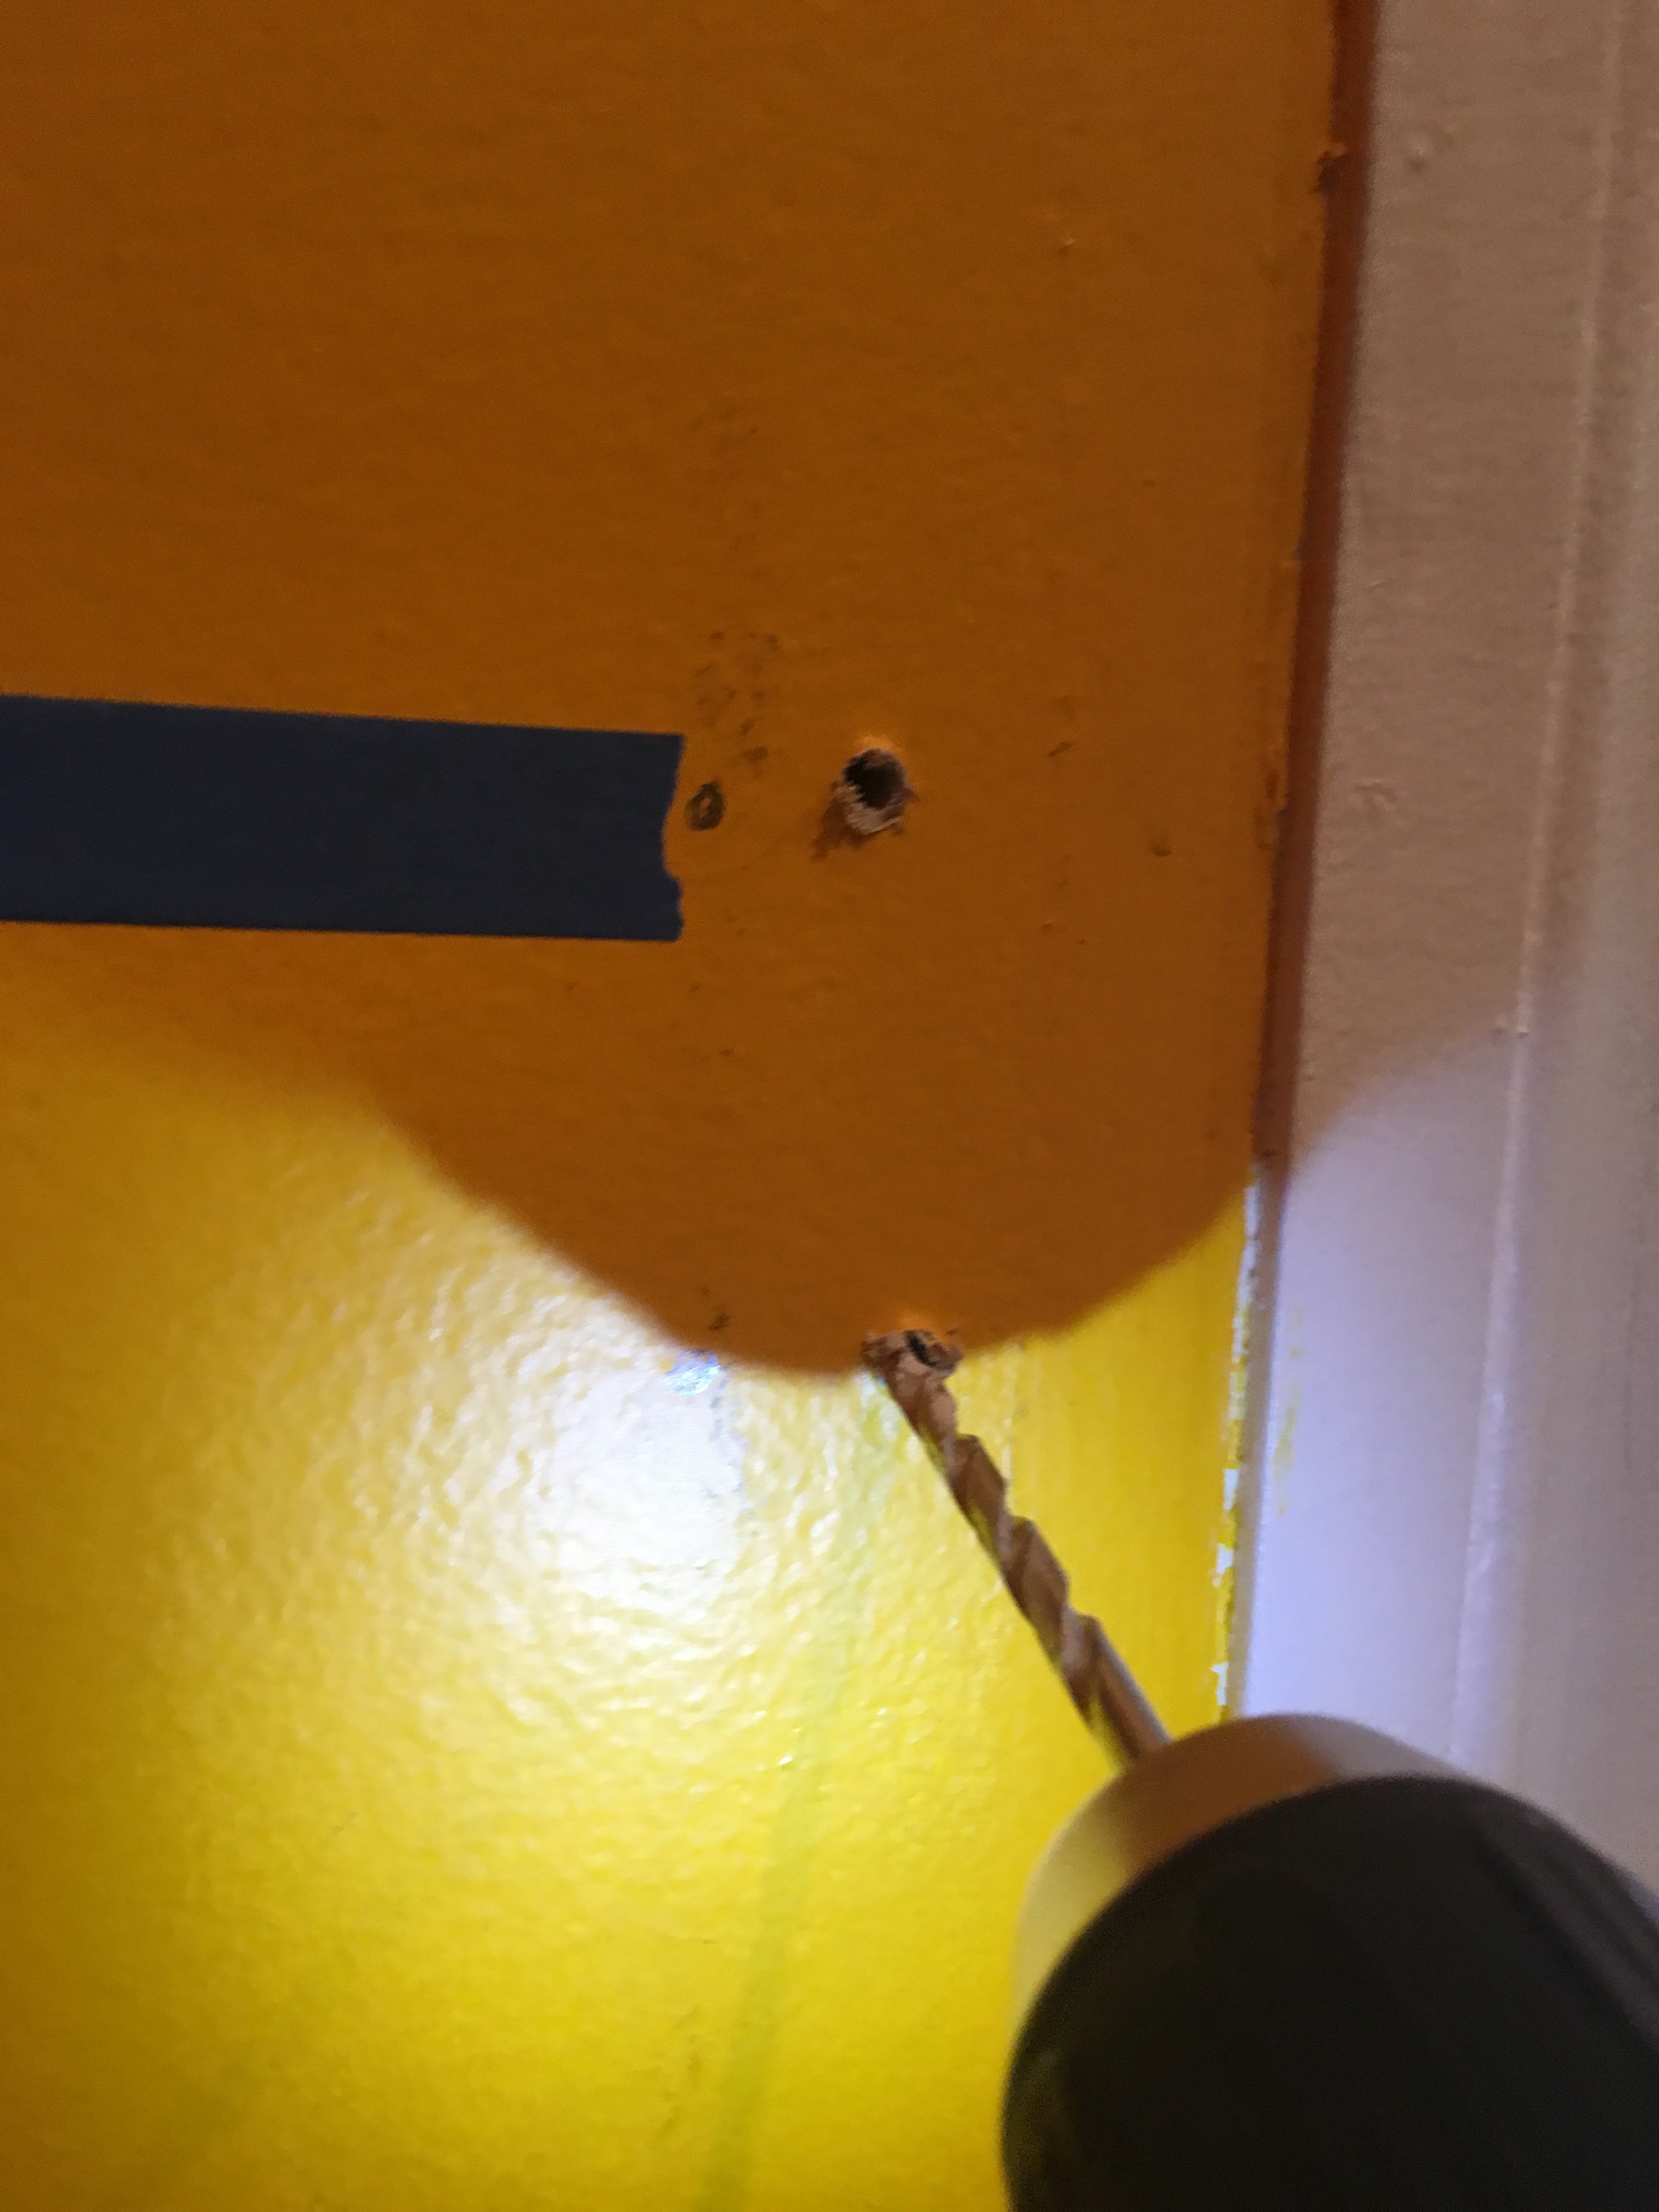
I used a Sharkie anchor kit for mounting the shelves which came ready with anchors, screws and drill bits. And I have to say, coming from a 45+ year old condo with plaster and steel walls, drill through drywall is a dream come true!!! What an absolute joy!
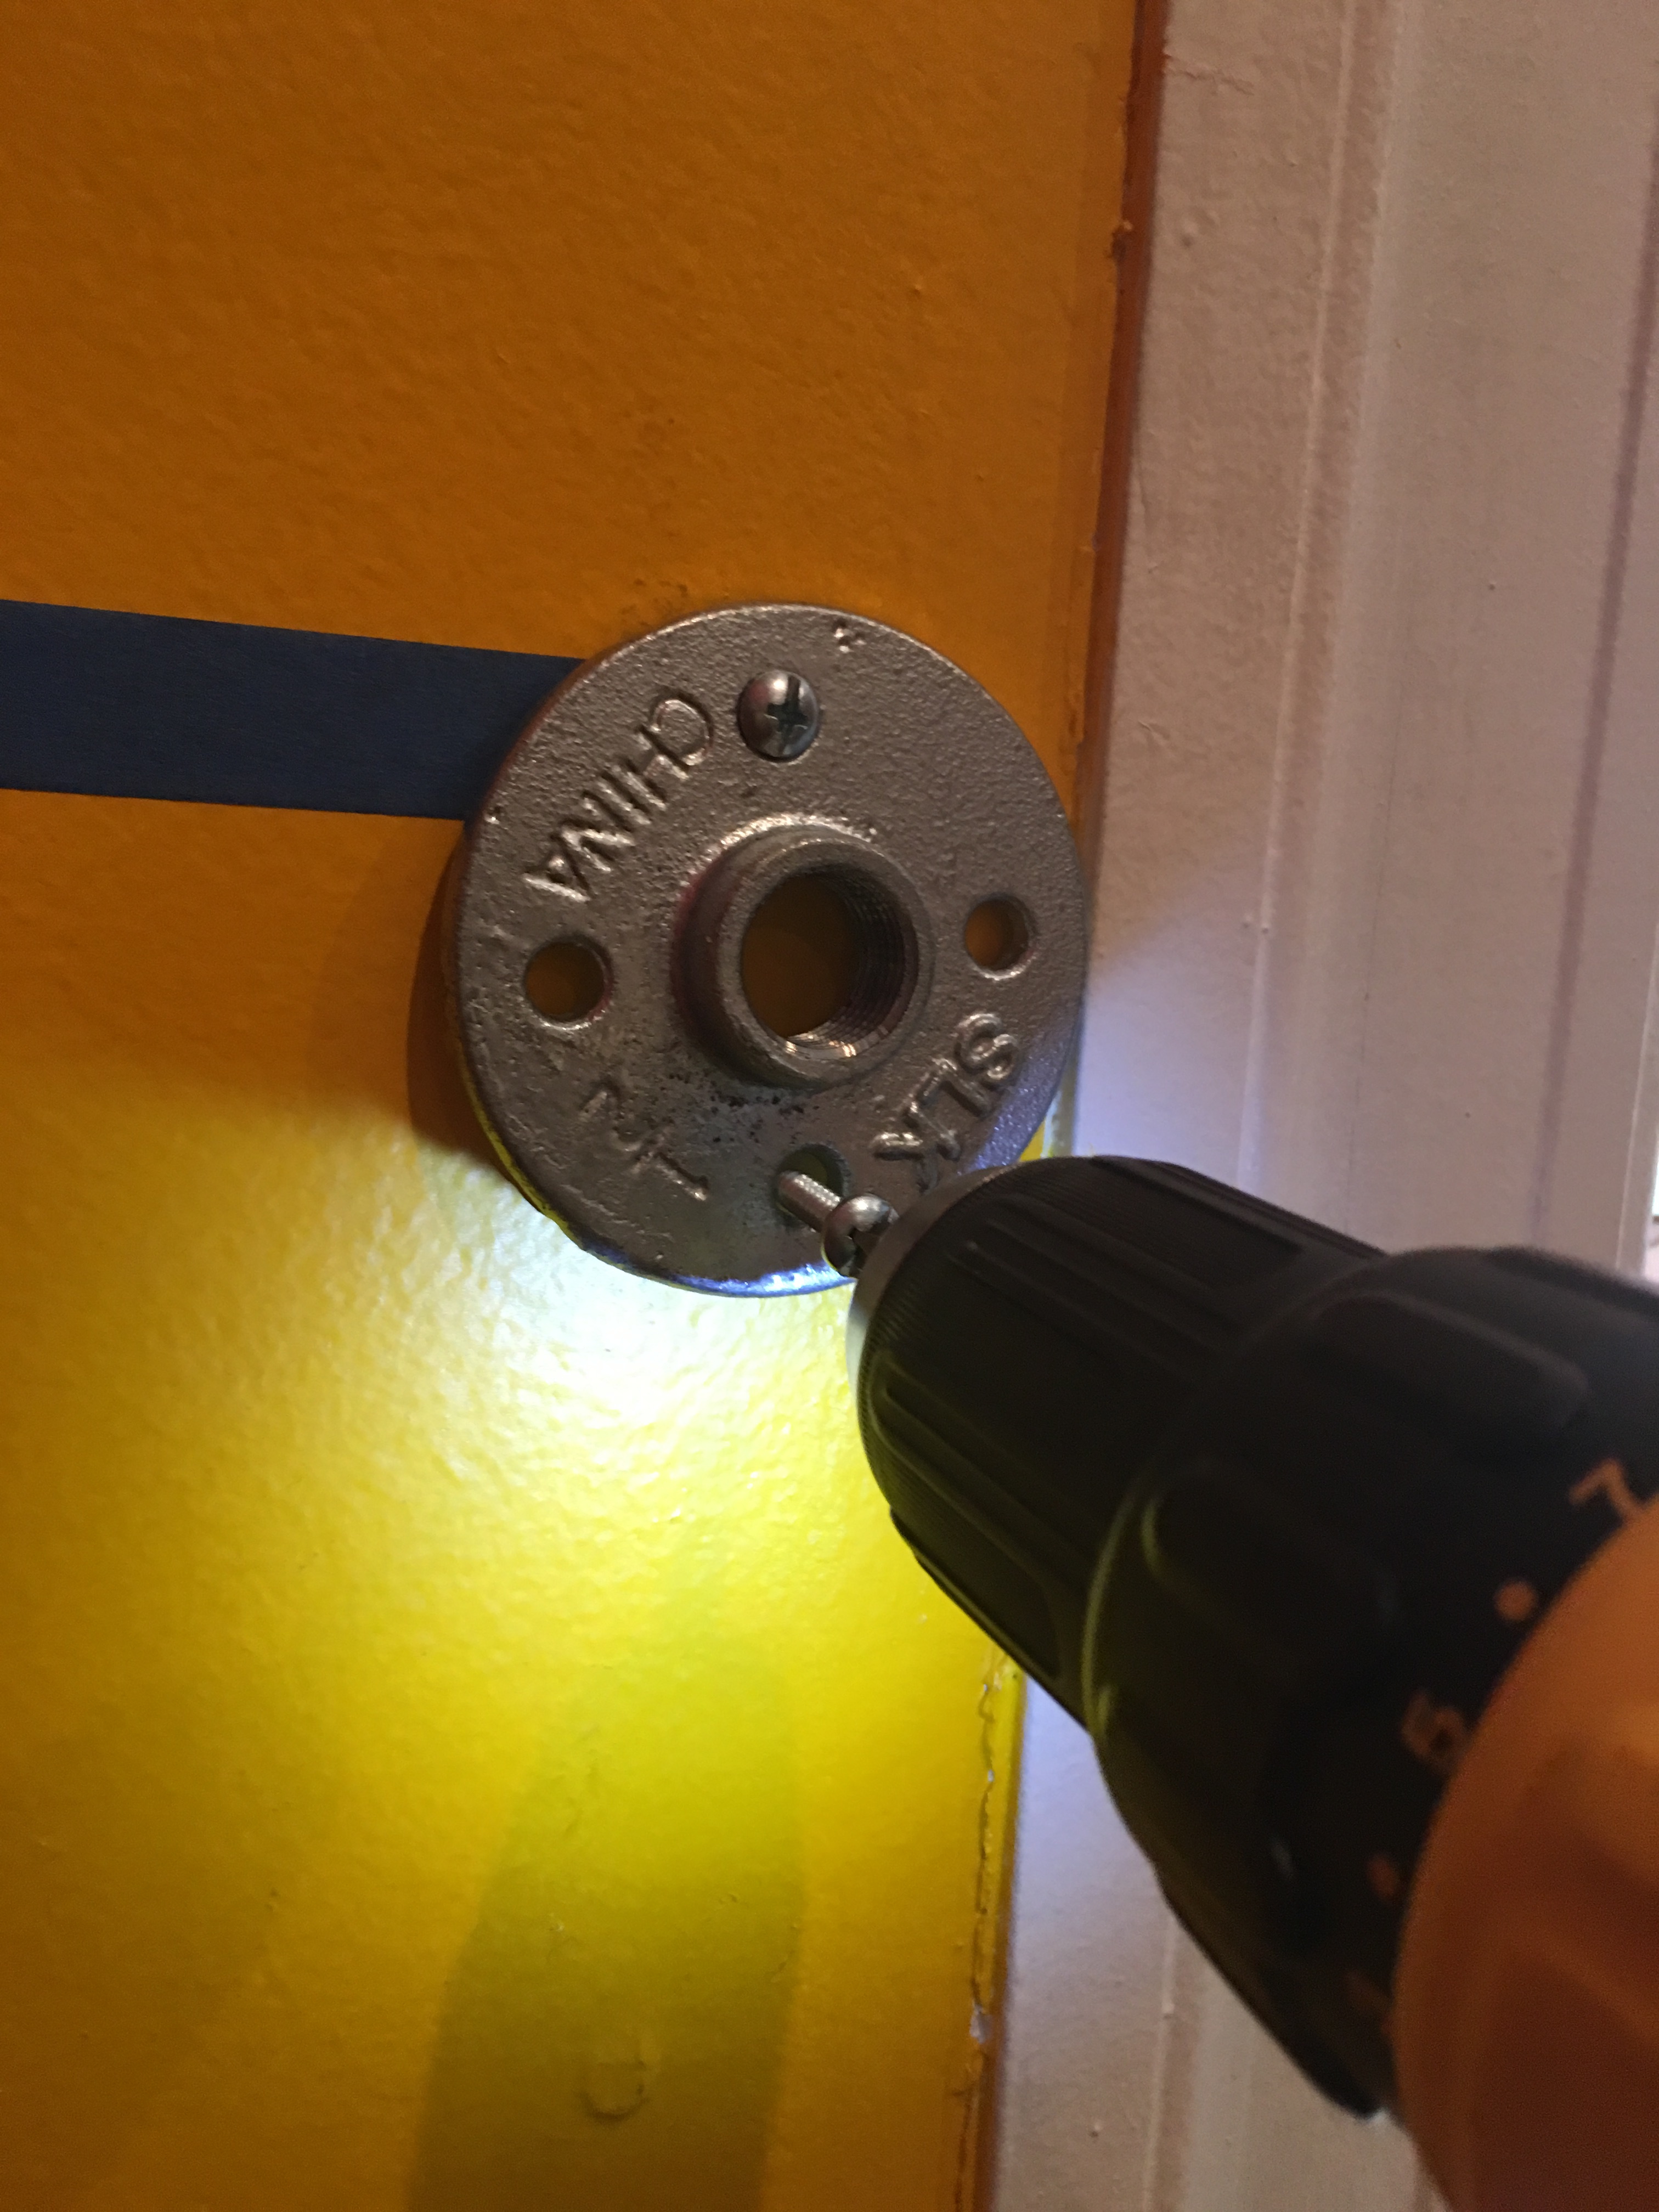
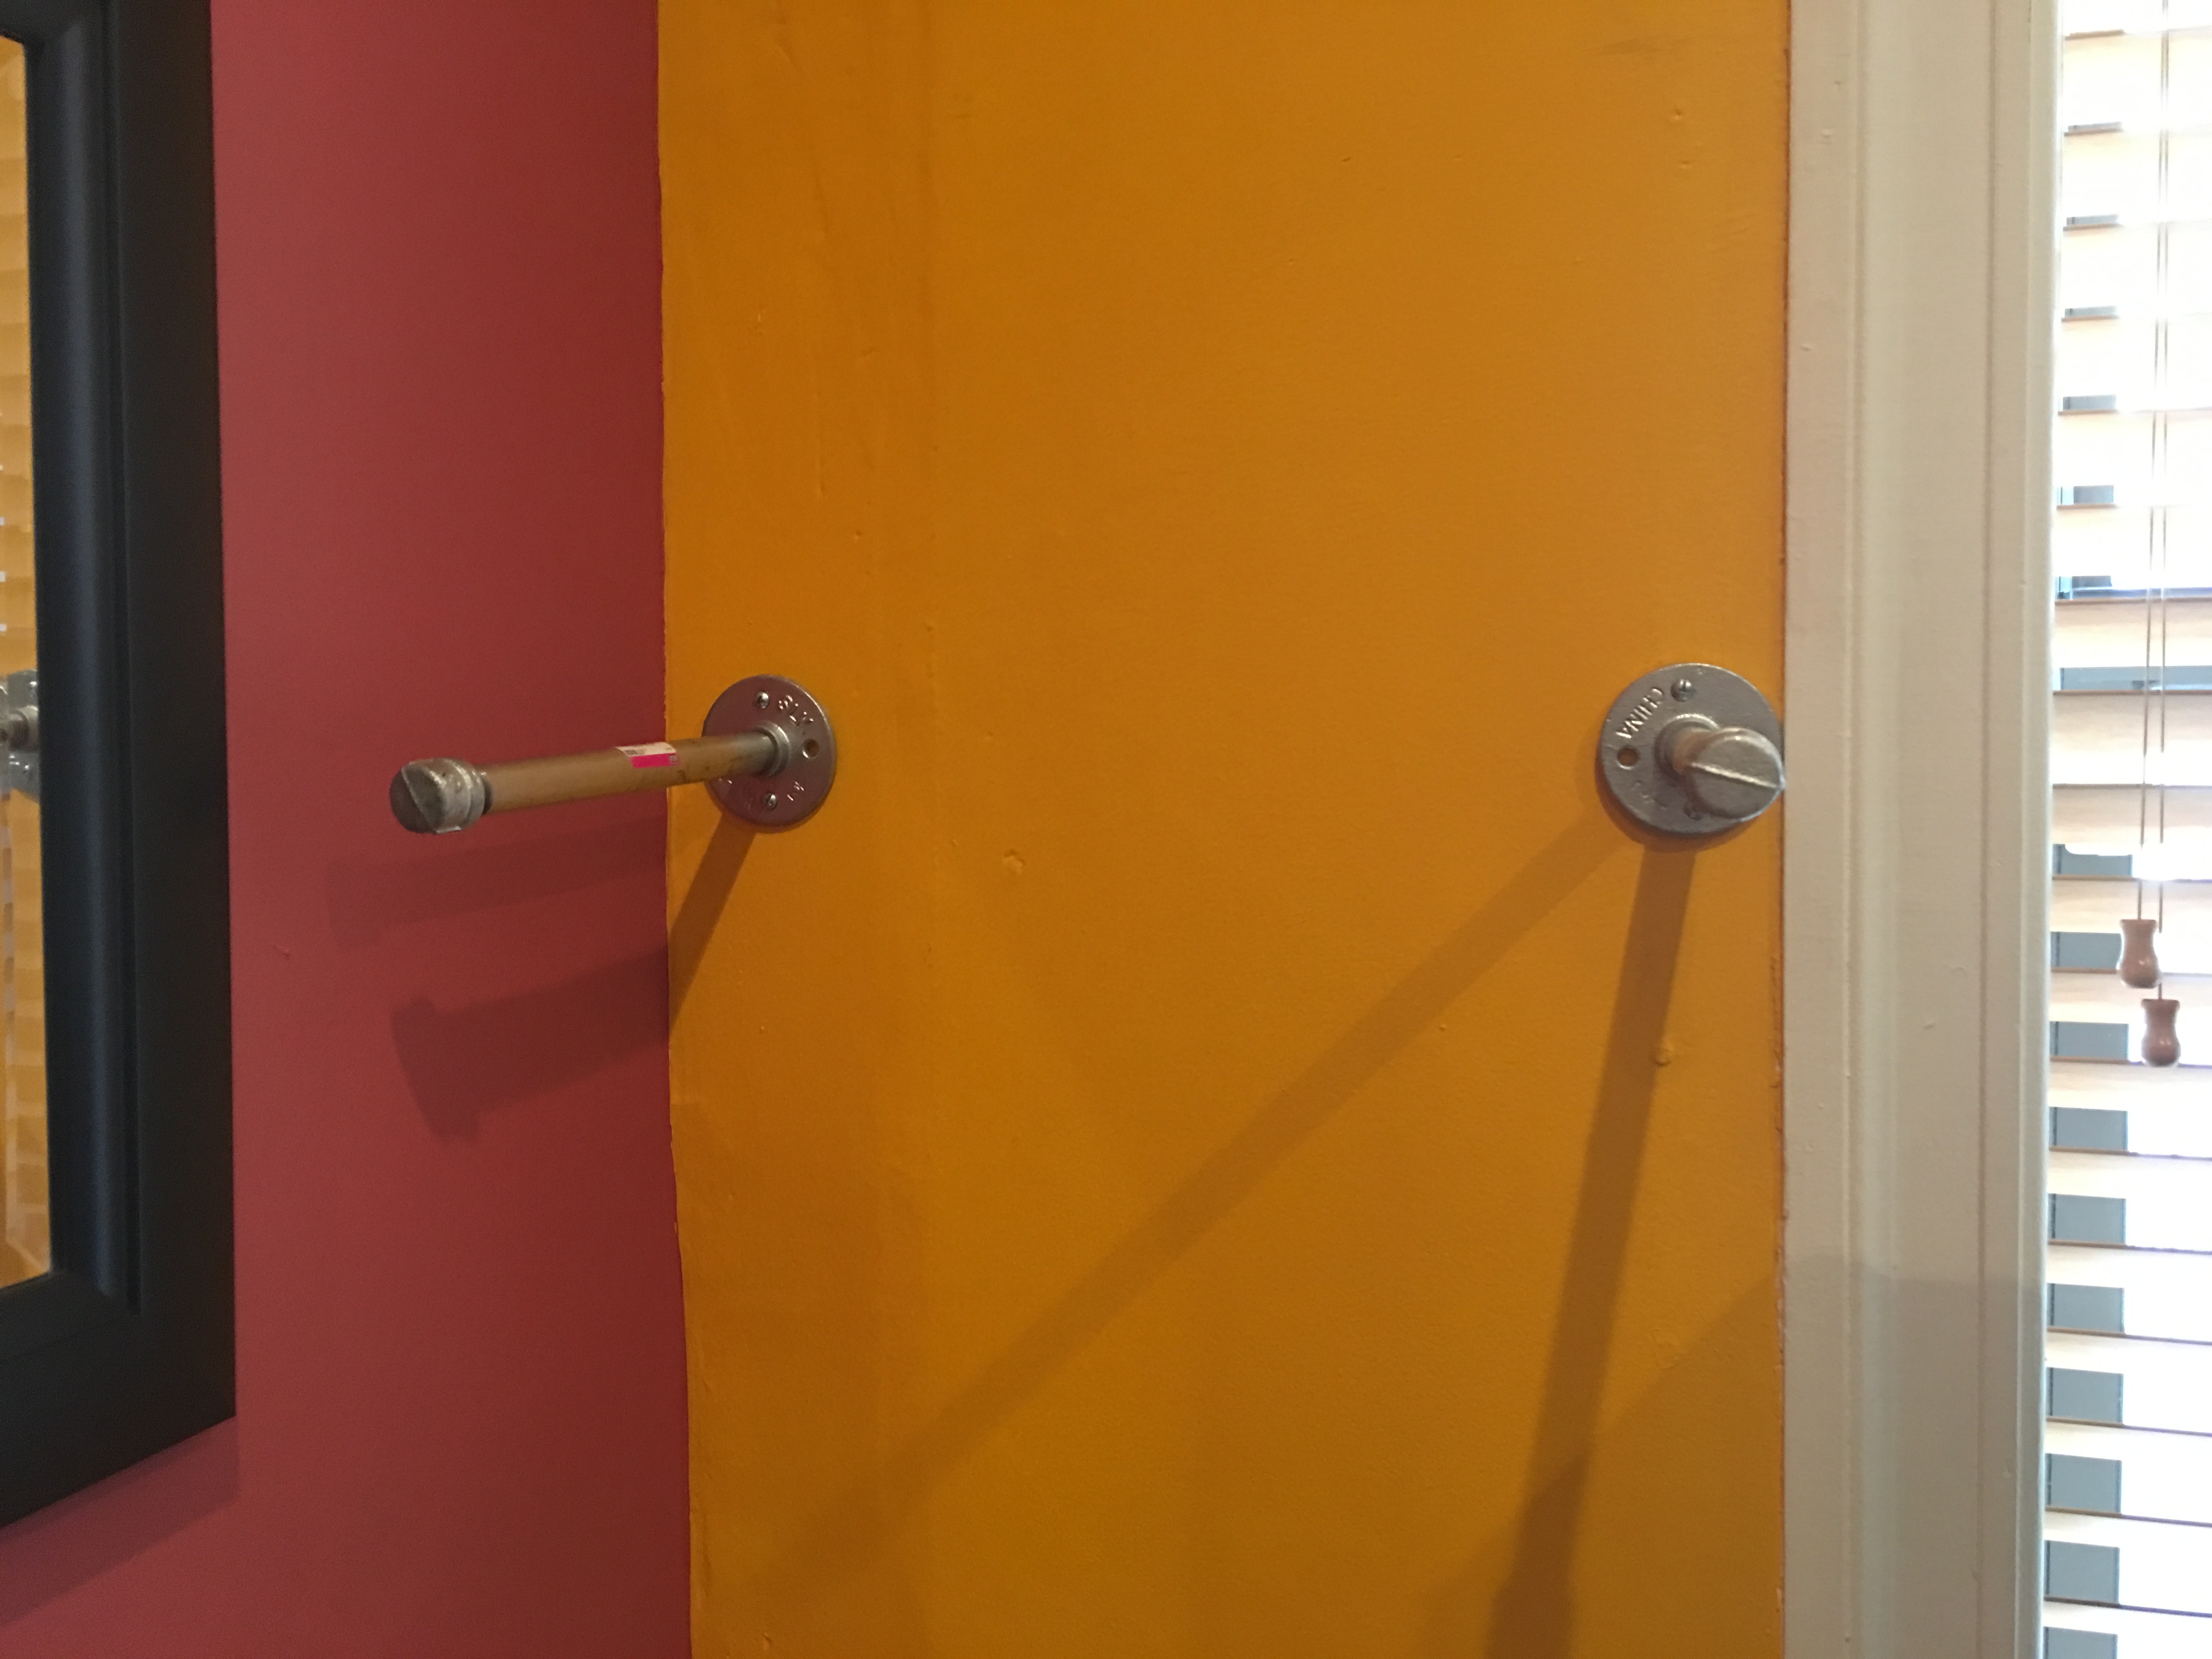
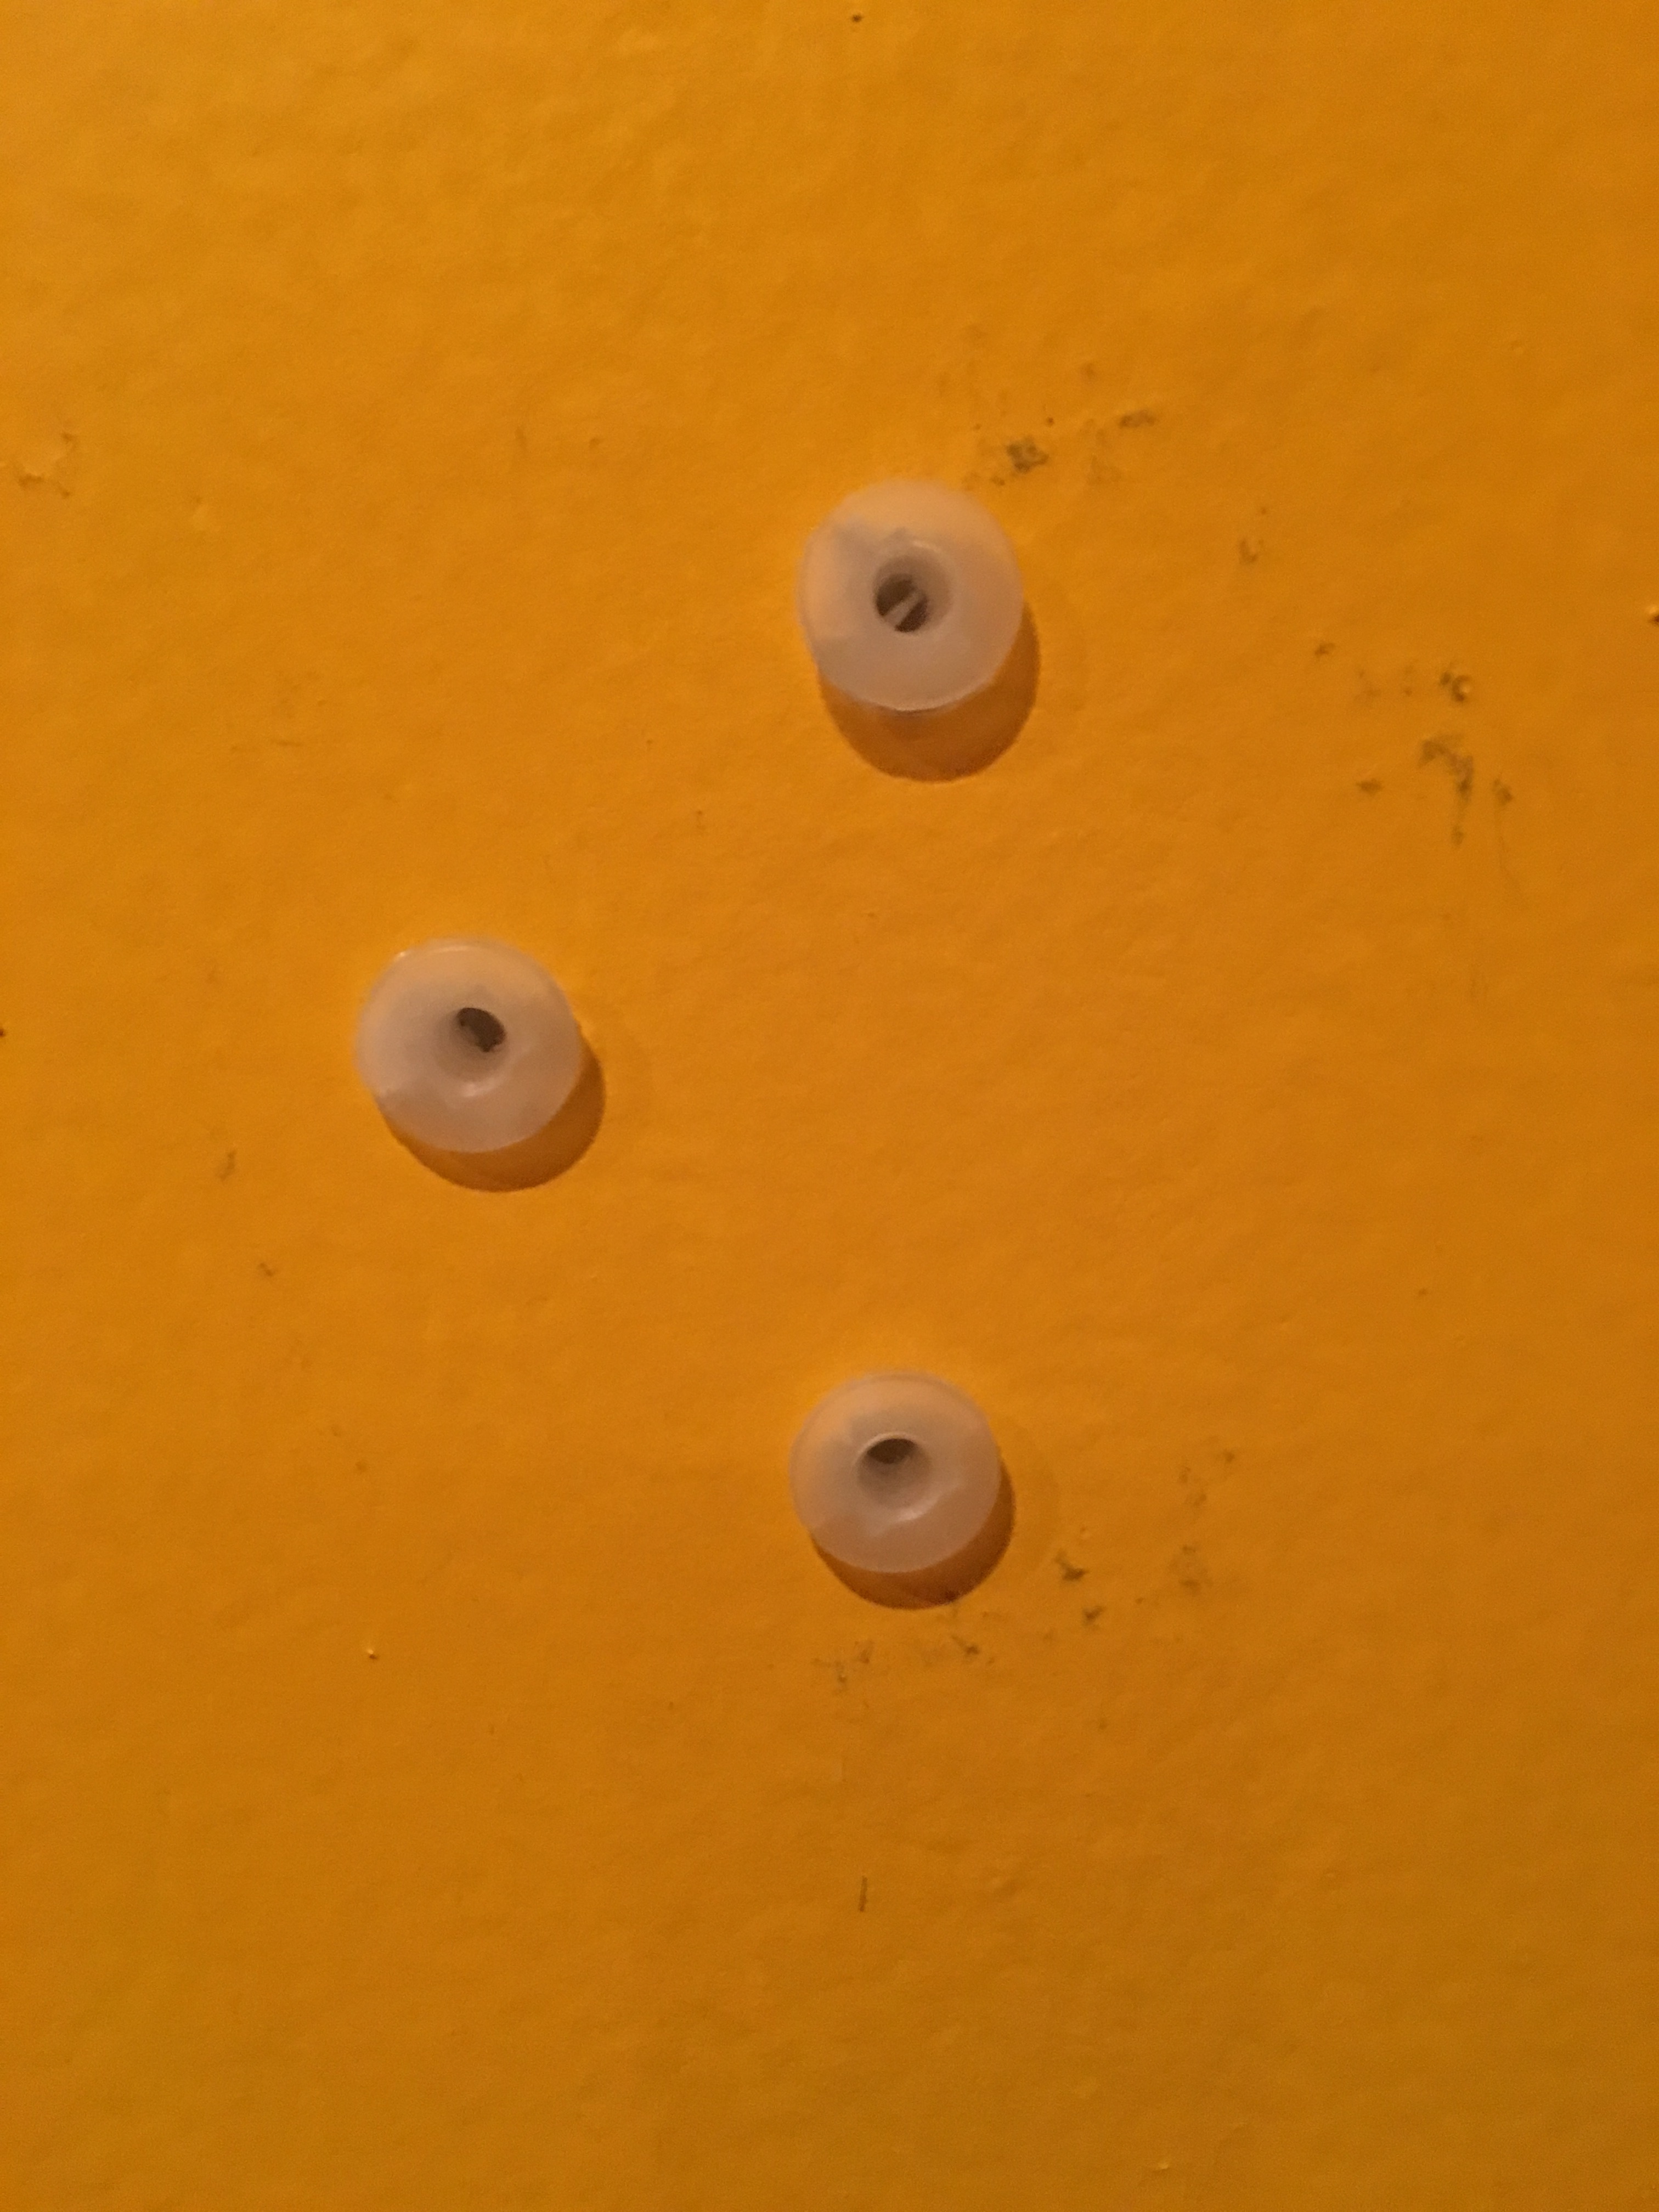
After adding the plastic anchors and screws…
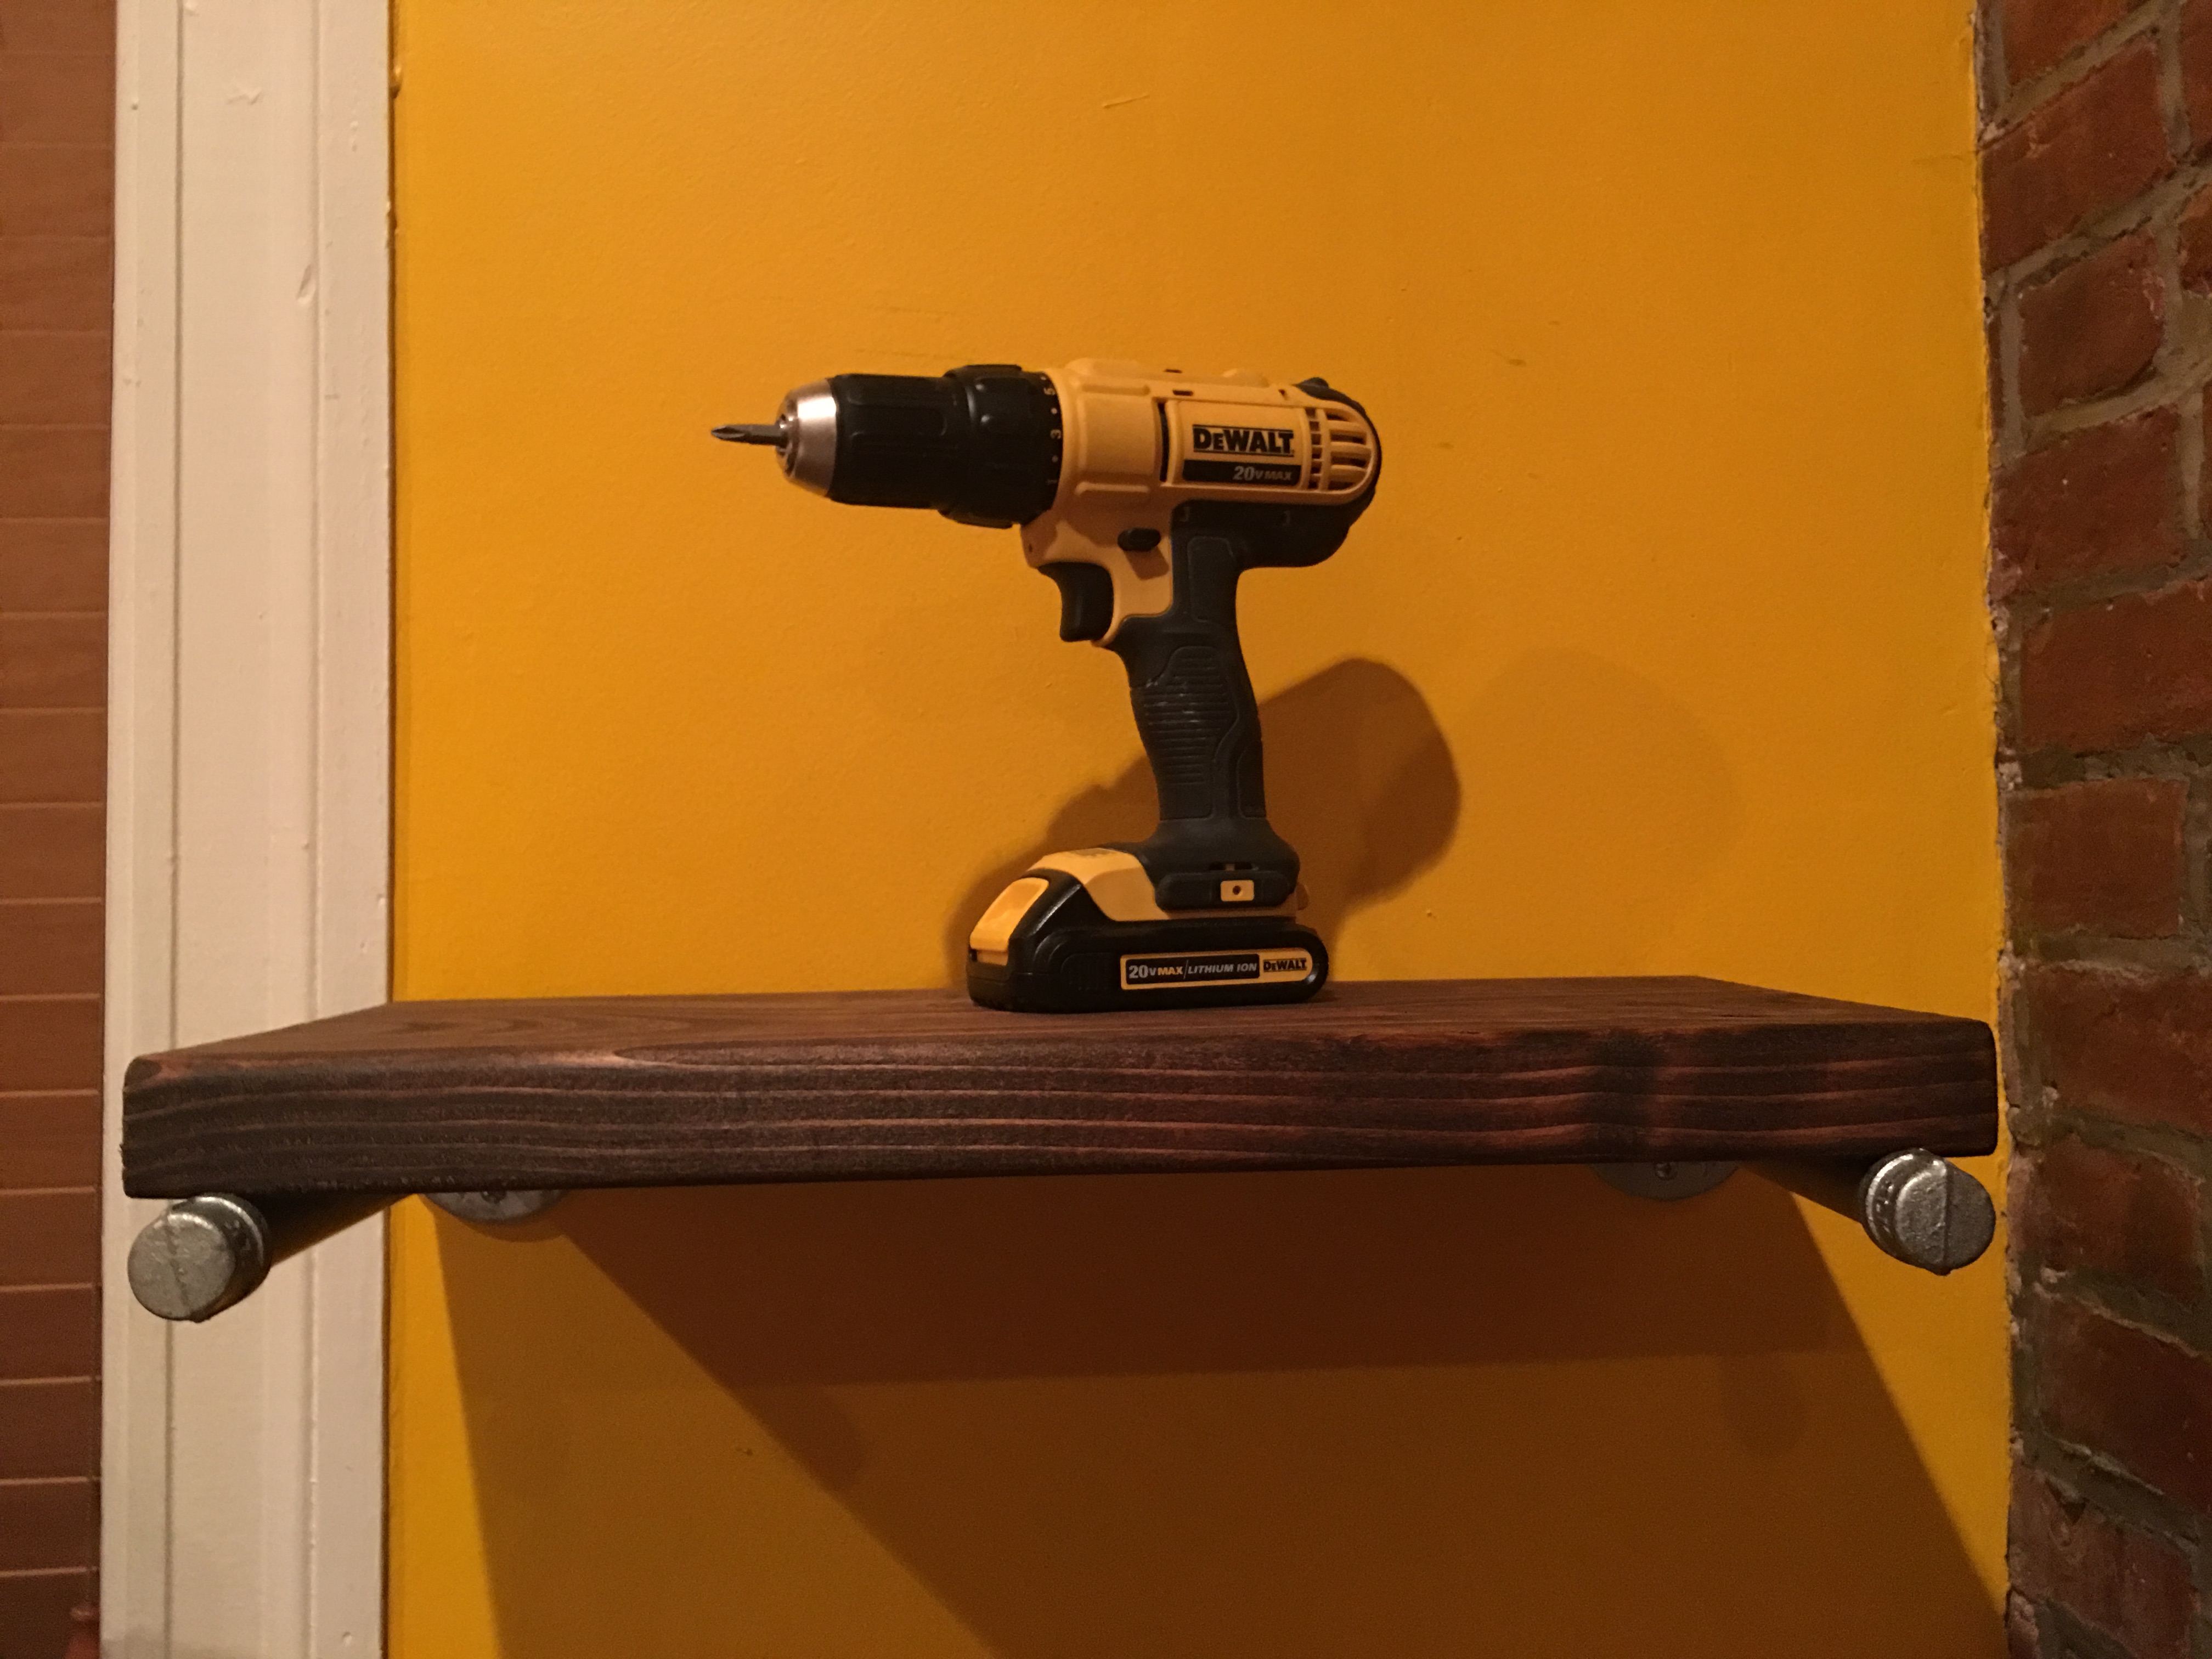
I screwed in the pipe rod.

Brackets for the first shelf done in a snap.
Once I placed the wood on top of the pipe, Xenia hopped around in absolute delight. Finally, a shelf in her bedroom. Let’s do more!
Truth be told, Xenia is even more excited about the DIY flower crates I made for her for Mothers Day. Once placed on the shelf she absolutely beamed. Not at the shelf. At the flowers.
Here’s a good before picture of the wall with no shelf on the right side.
Add the flanges and pipe rods…
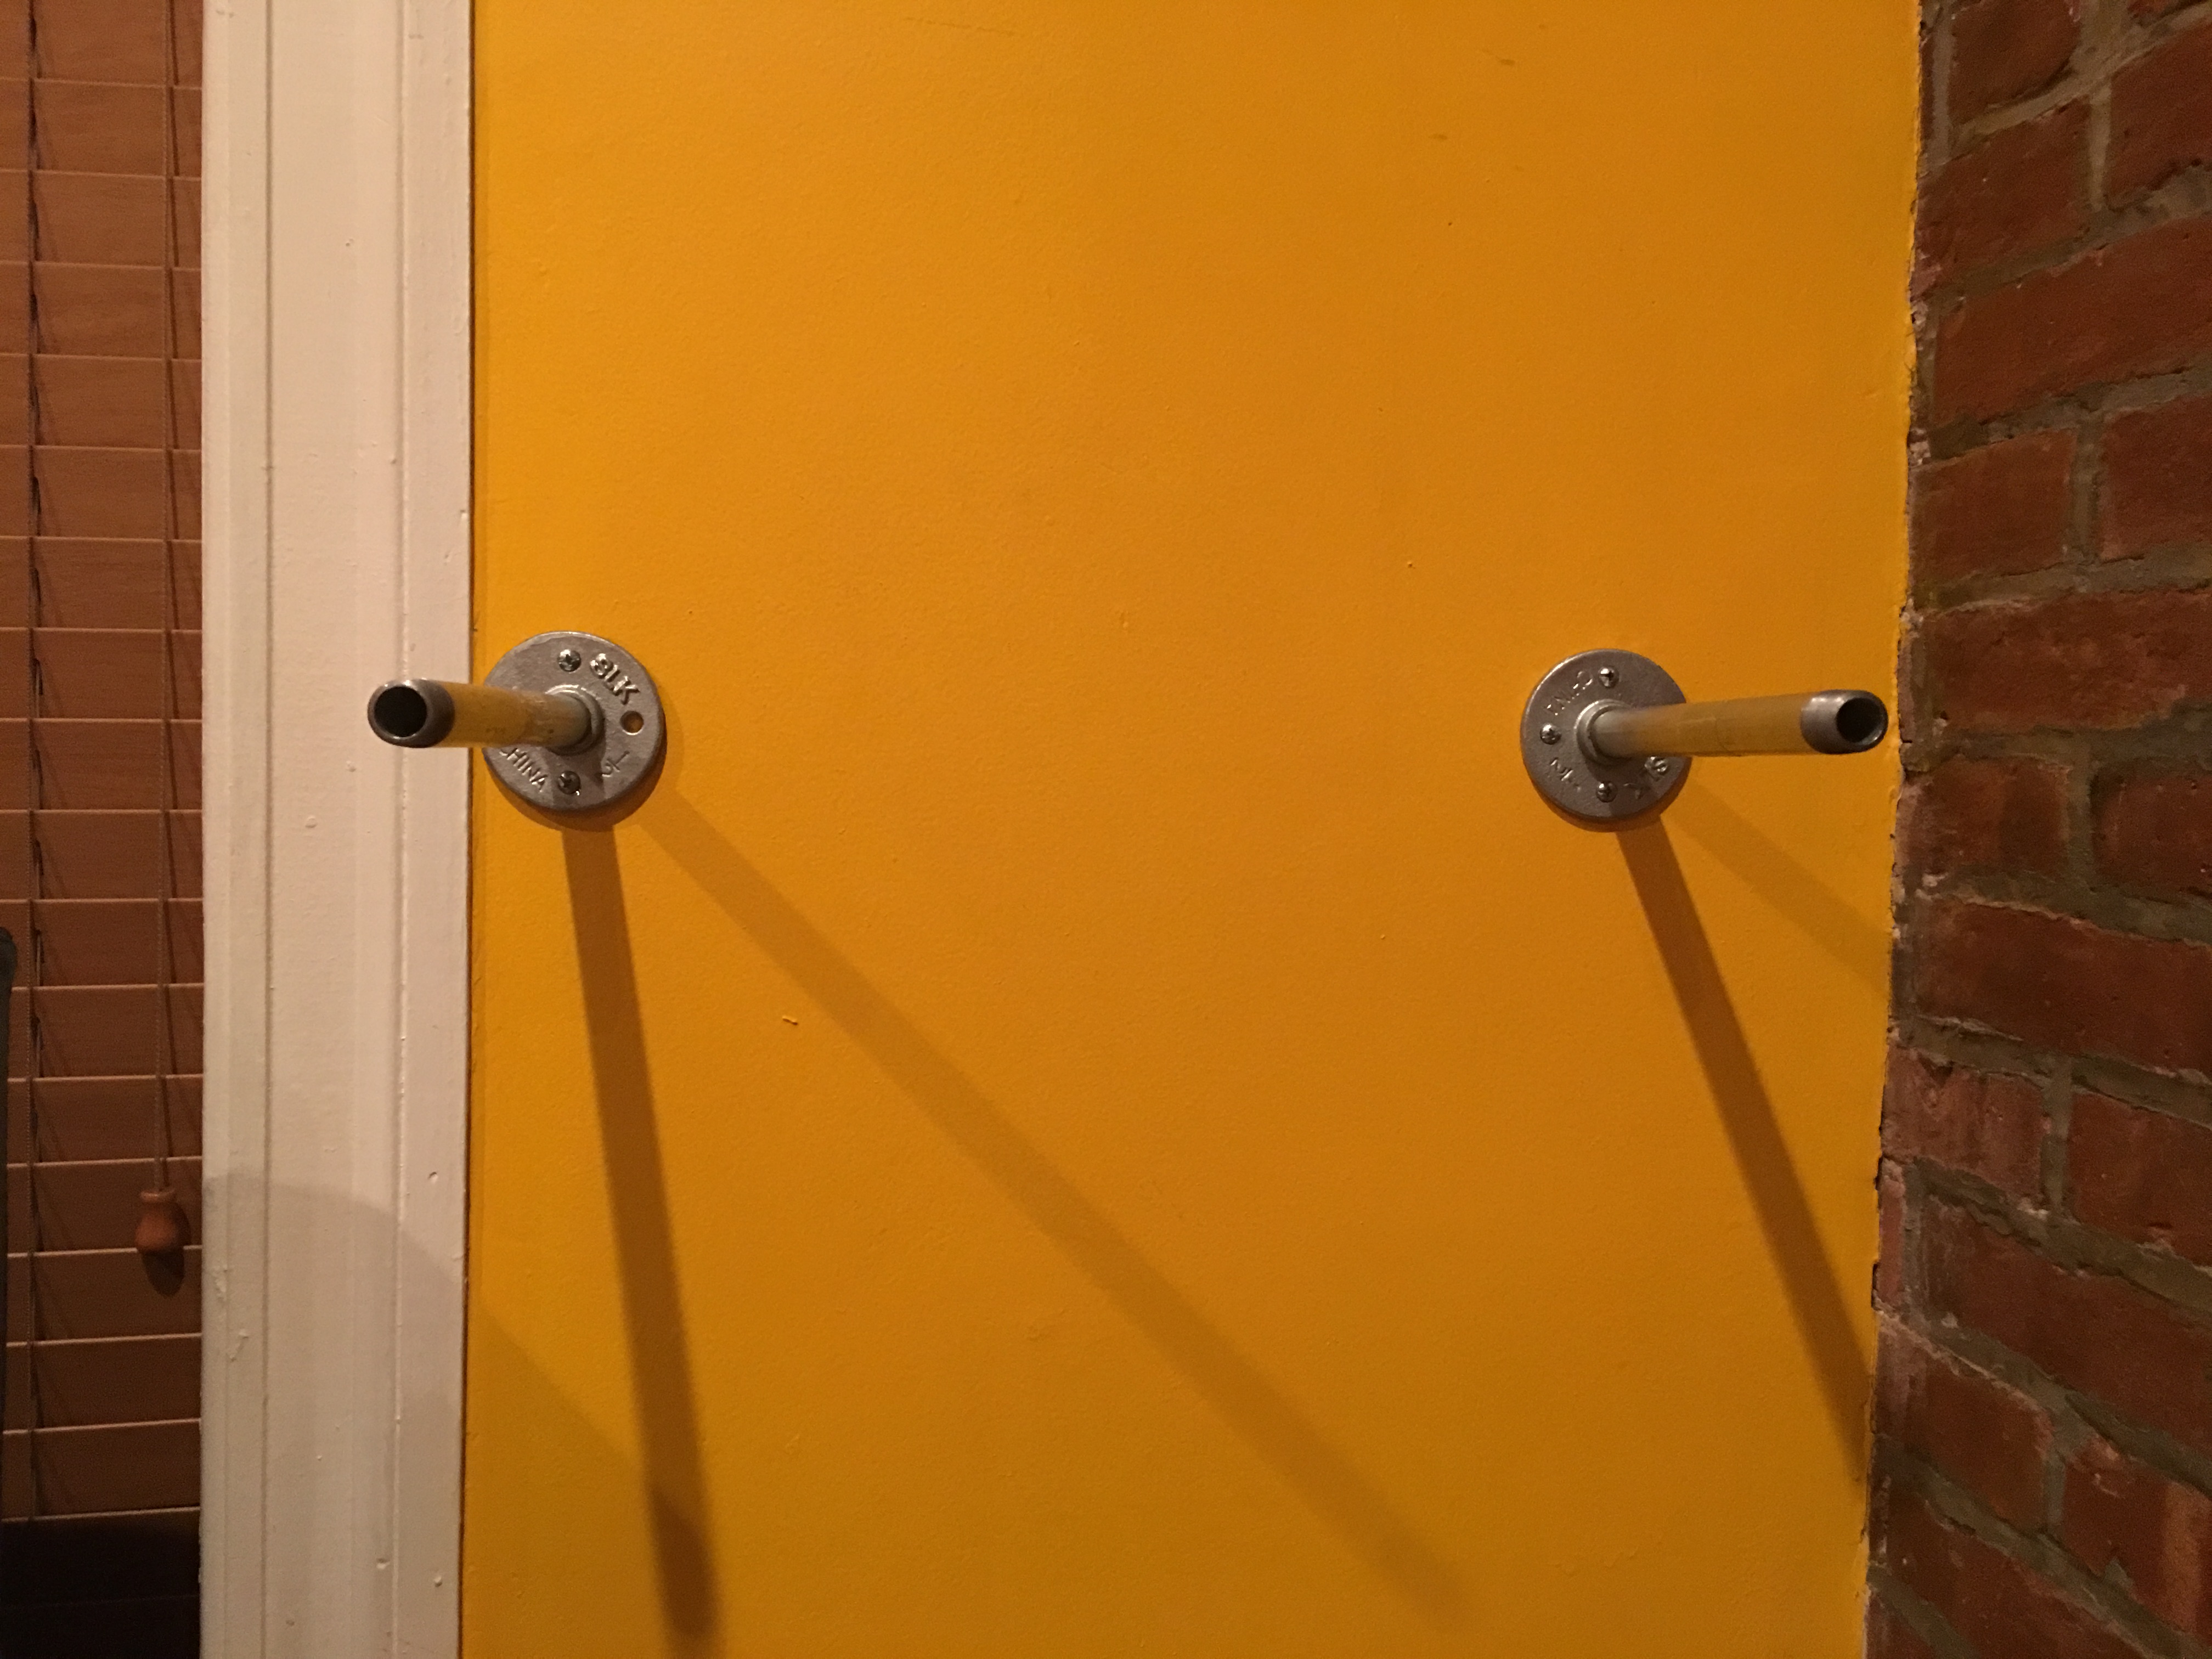
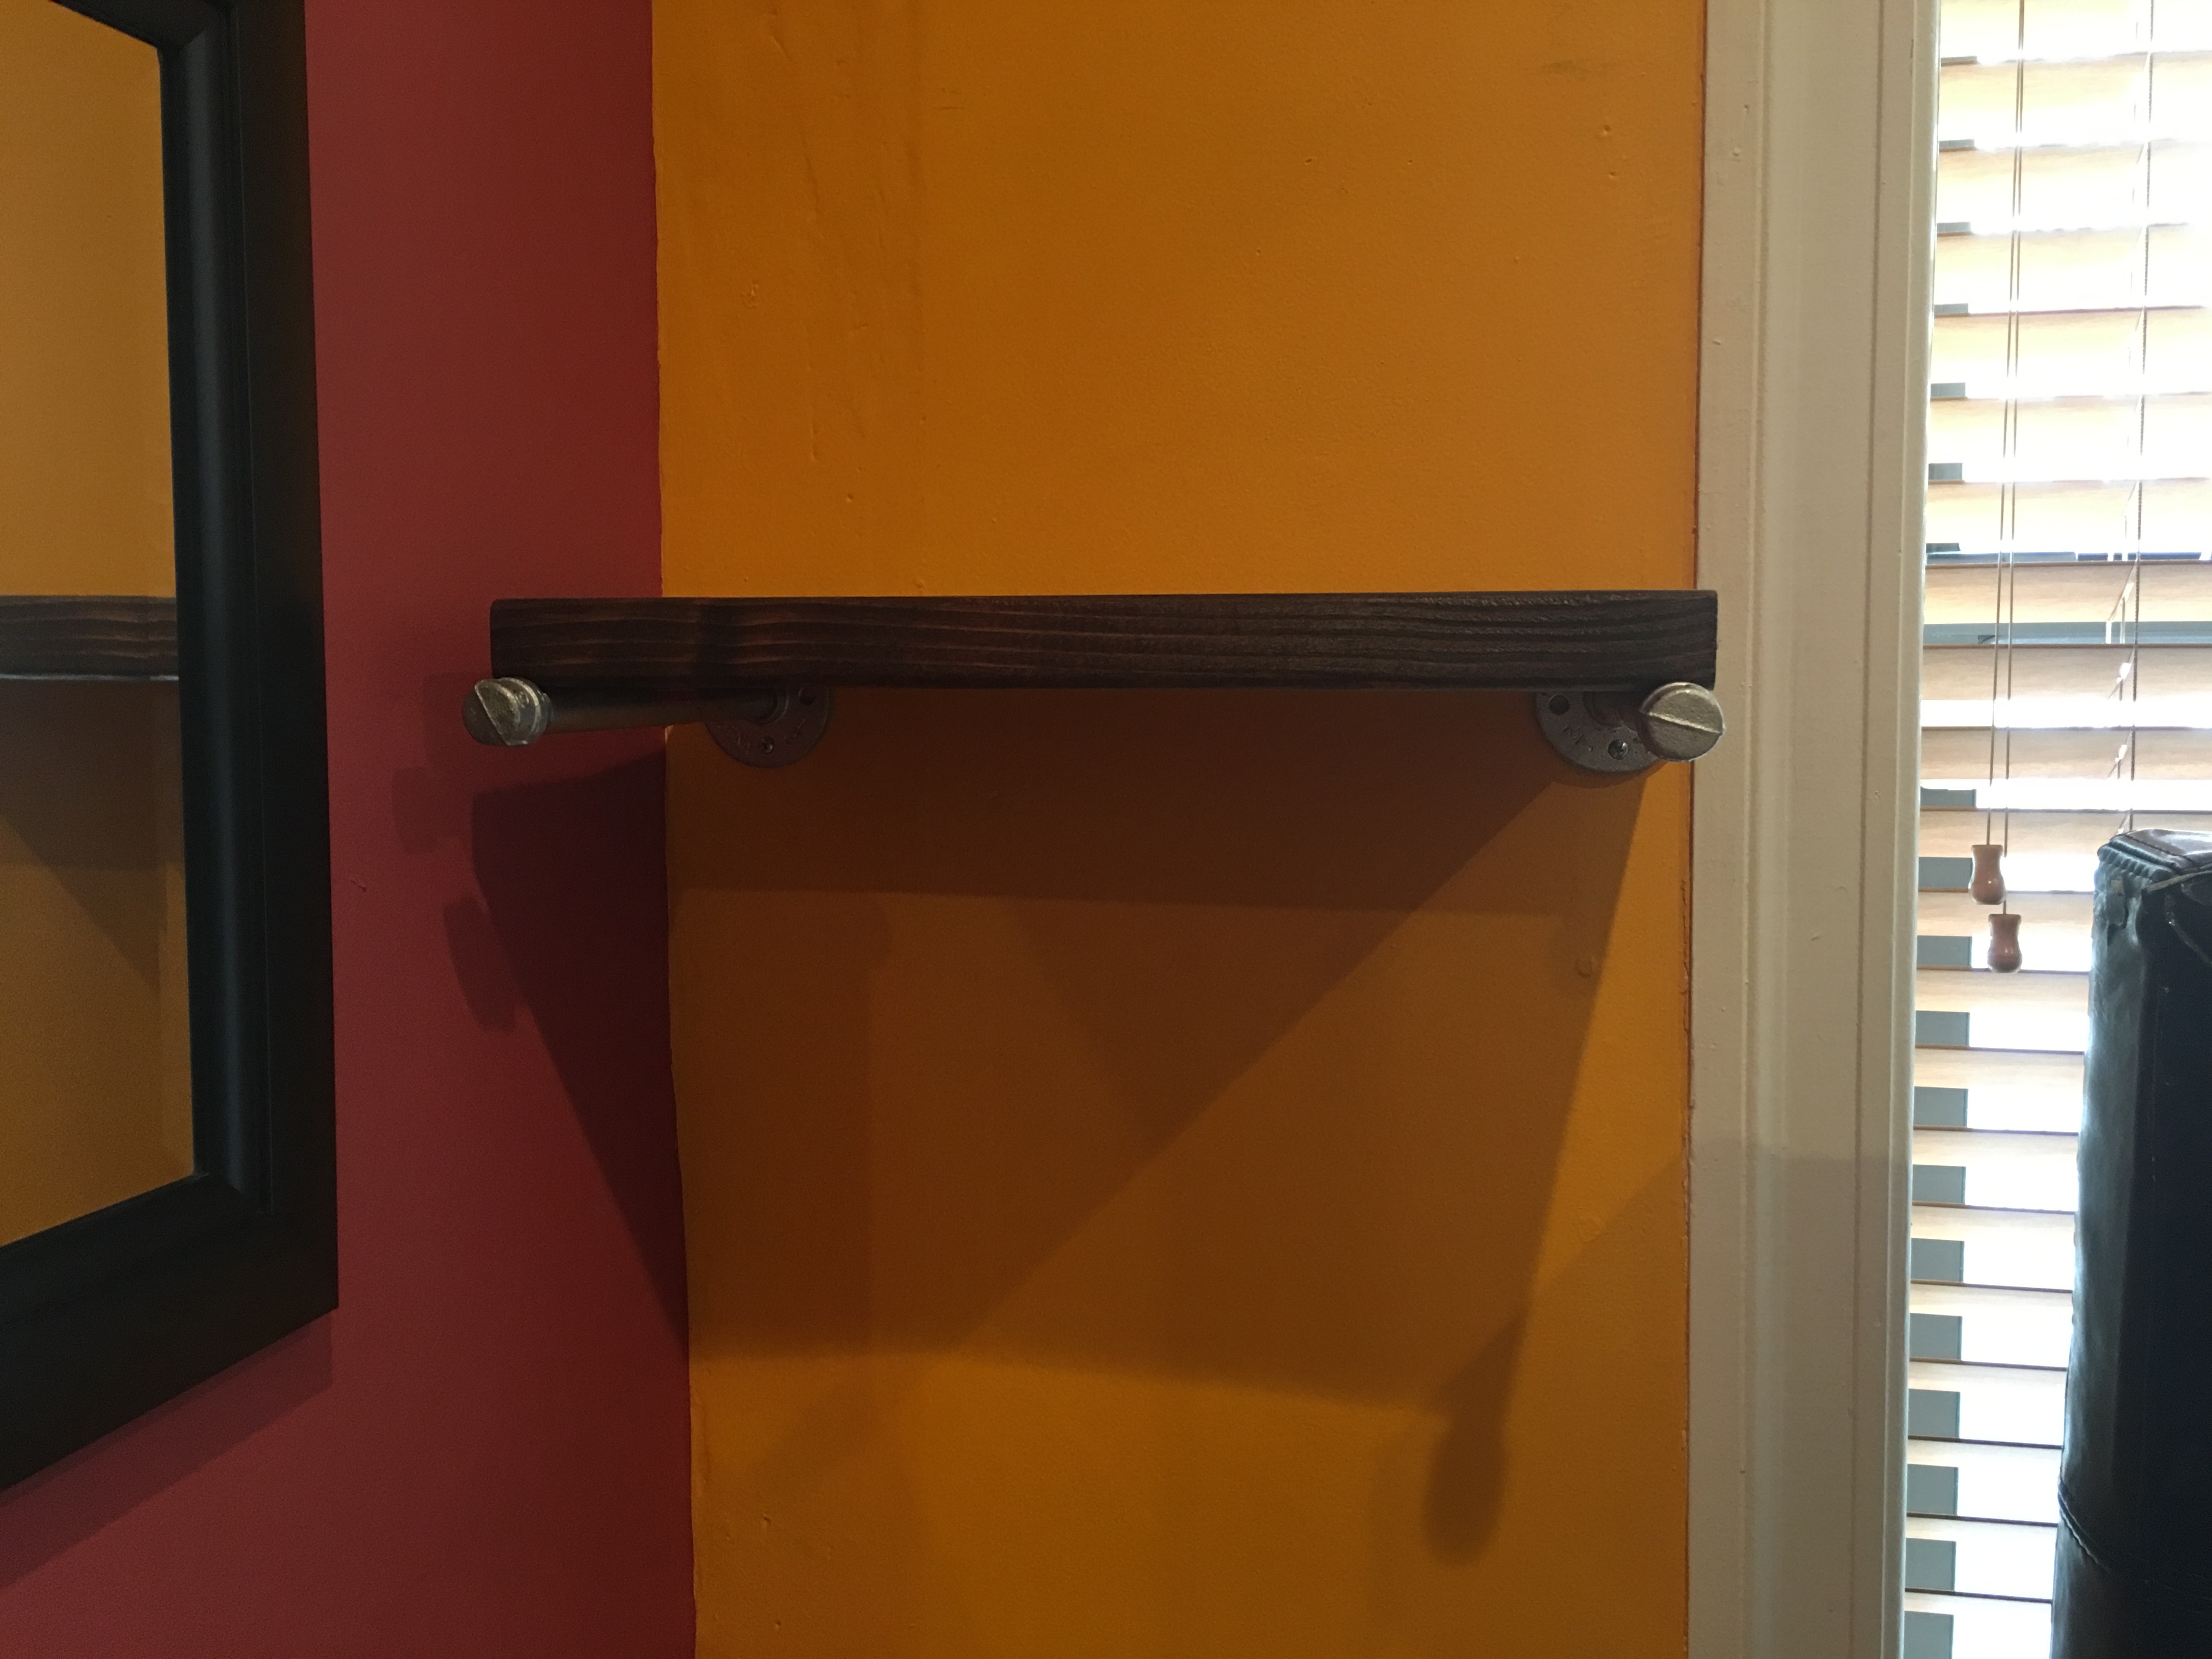
Add the wood pieces and caps.
Done!
By Saturday evening, we had two shelves up (and placed a flower crate on each side). By then it was late, and time for dinner and company. So to be continued on Sunday.
After Mothers Day brunch on Sunday, I was at it again with my tape and drill. Two more shelves to mount.
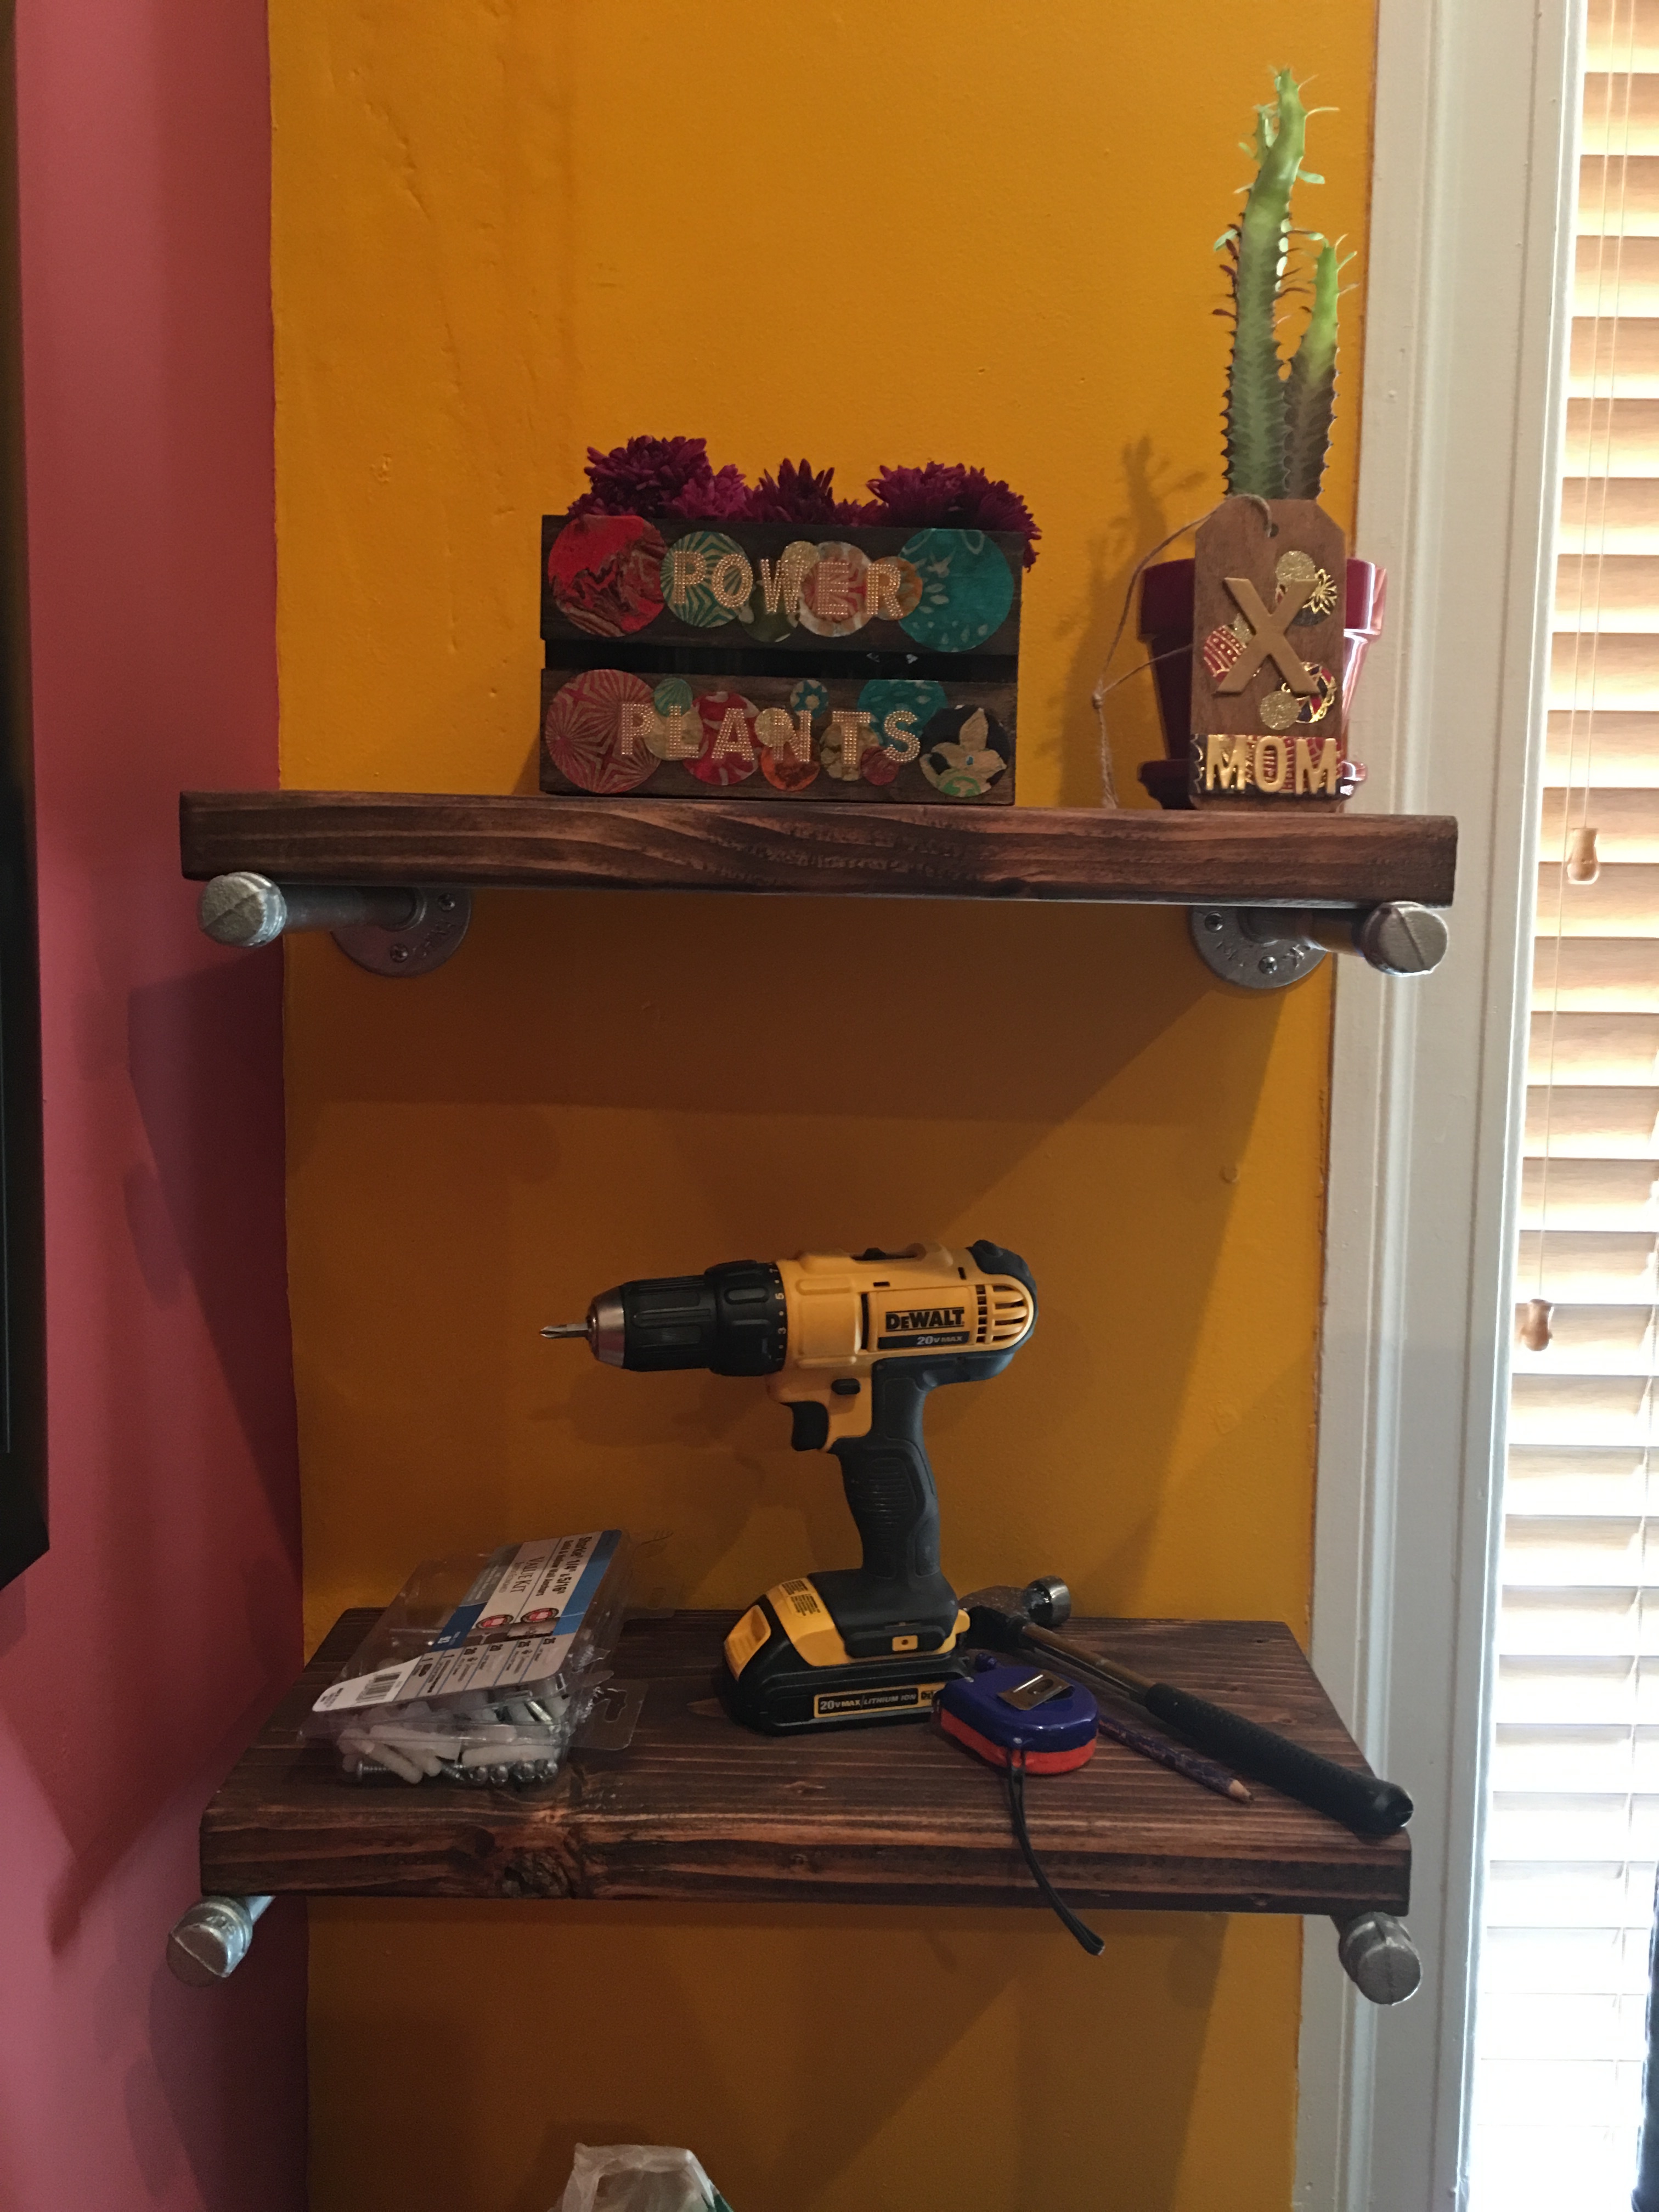
I cannot stress enough how easy this mount is. But I’ll try. From the top…
Drill the holes (if you have drywall, get your hands on that power drill with the 5/16″ drill bit).
Take it from me who deals with plaster and steel walls all day long, drywall is butter soft! Apply some pressure and drill right through. If you hit an obstruction, it’s a wood stud (which is great! No anchor needed! Pull the drill out and screw right into the wood).
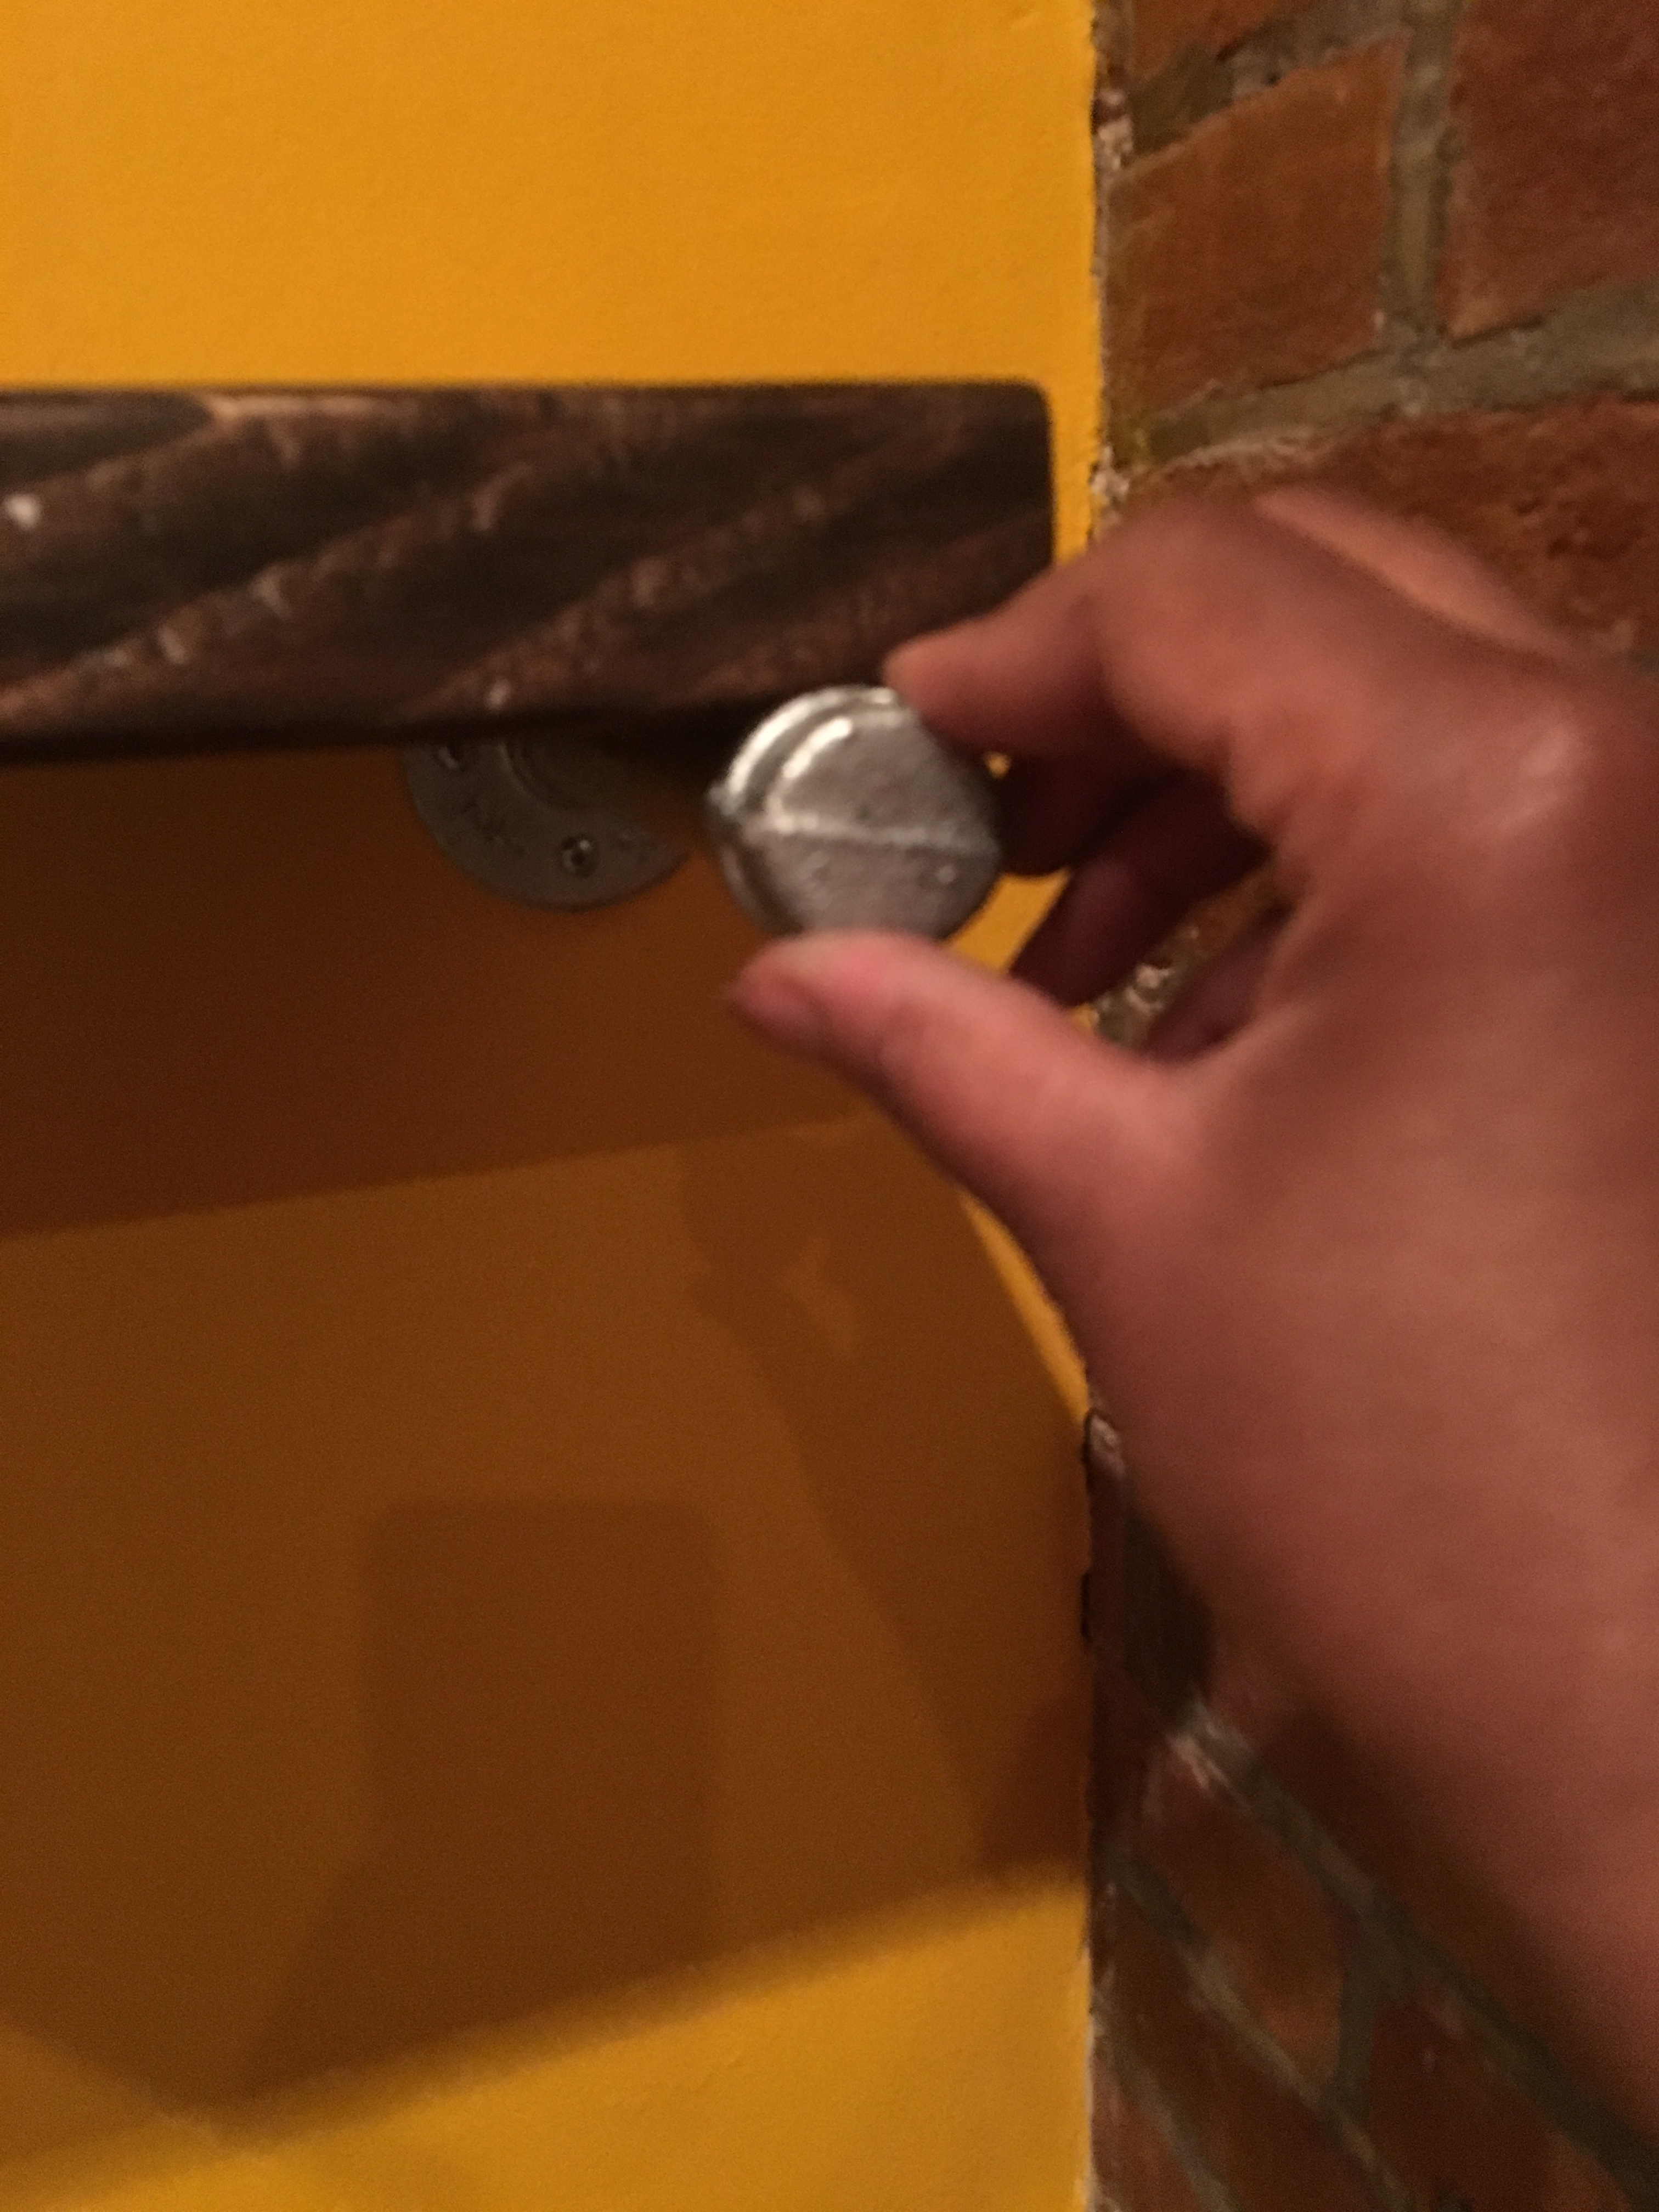
Push in the anchors.
And the pipe and wood.
Done!
We decided to add a lower shelf on each side 14 inches below. We used a tape measure to measure the precise location of the lower shelf.
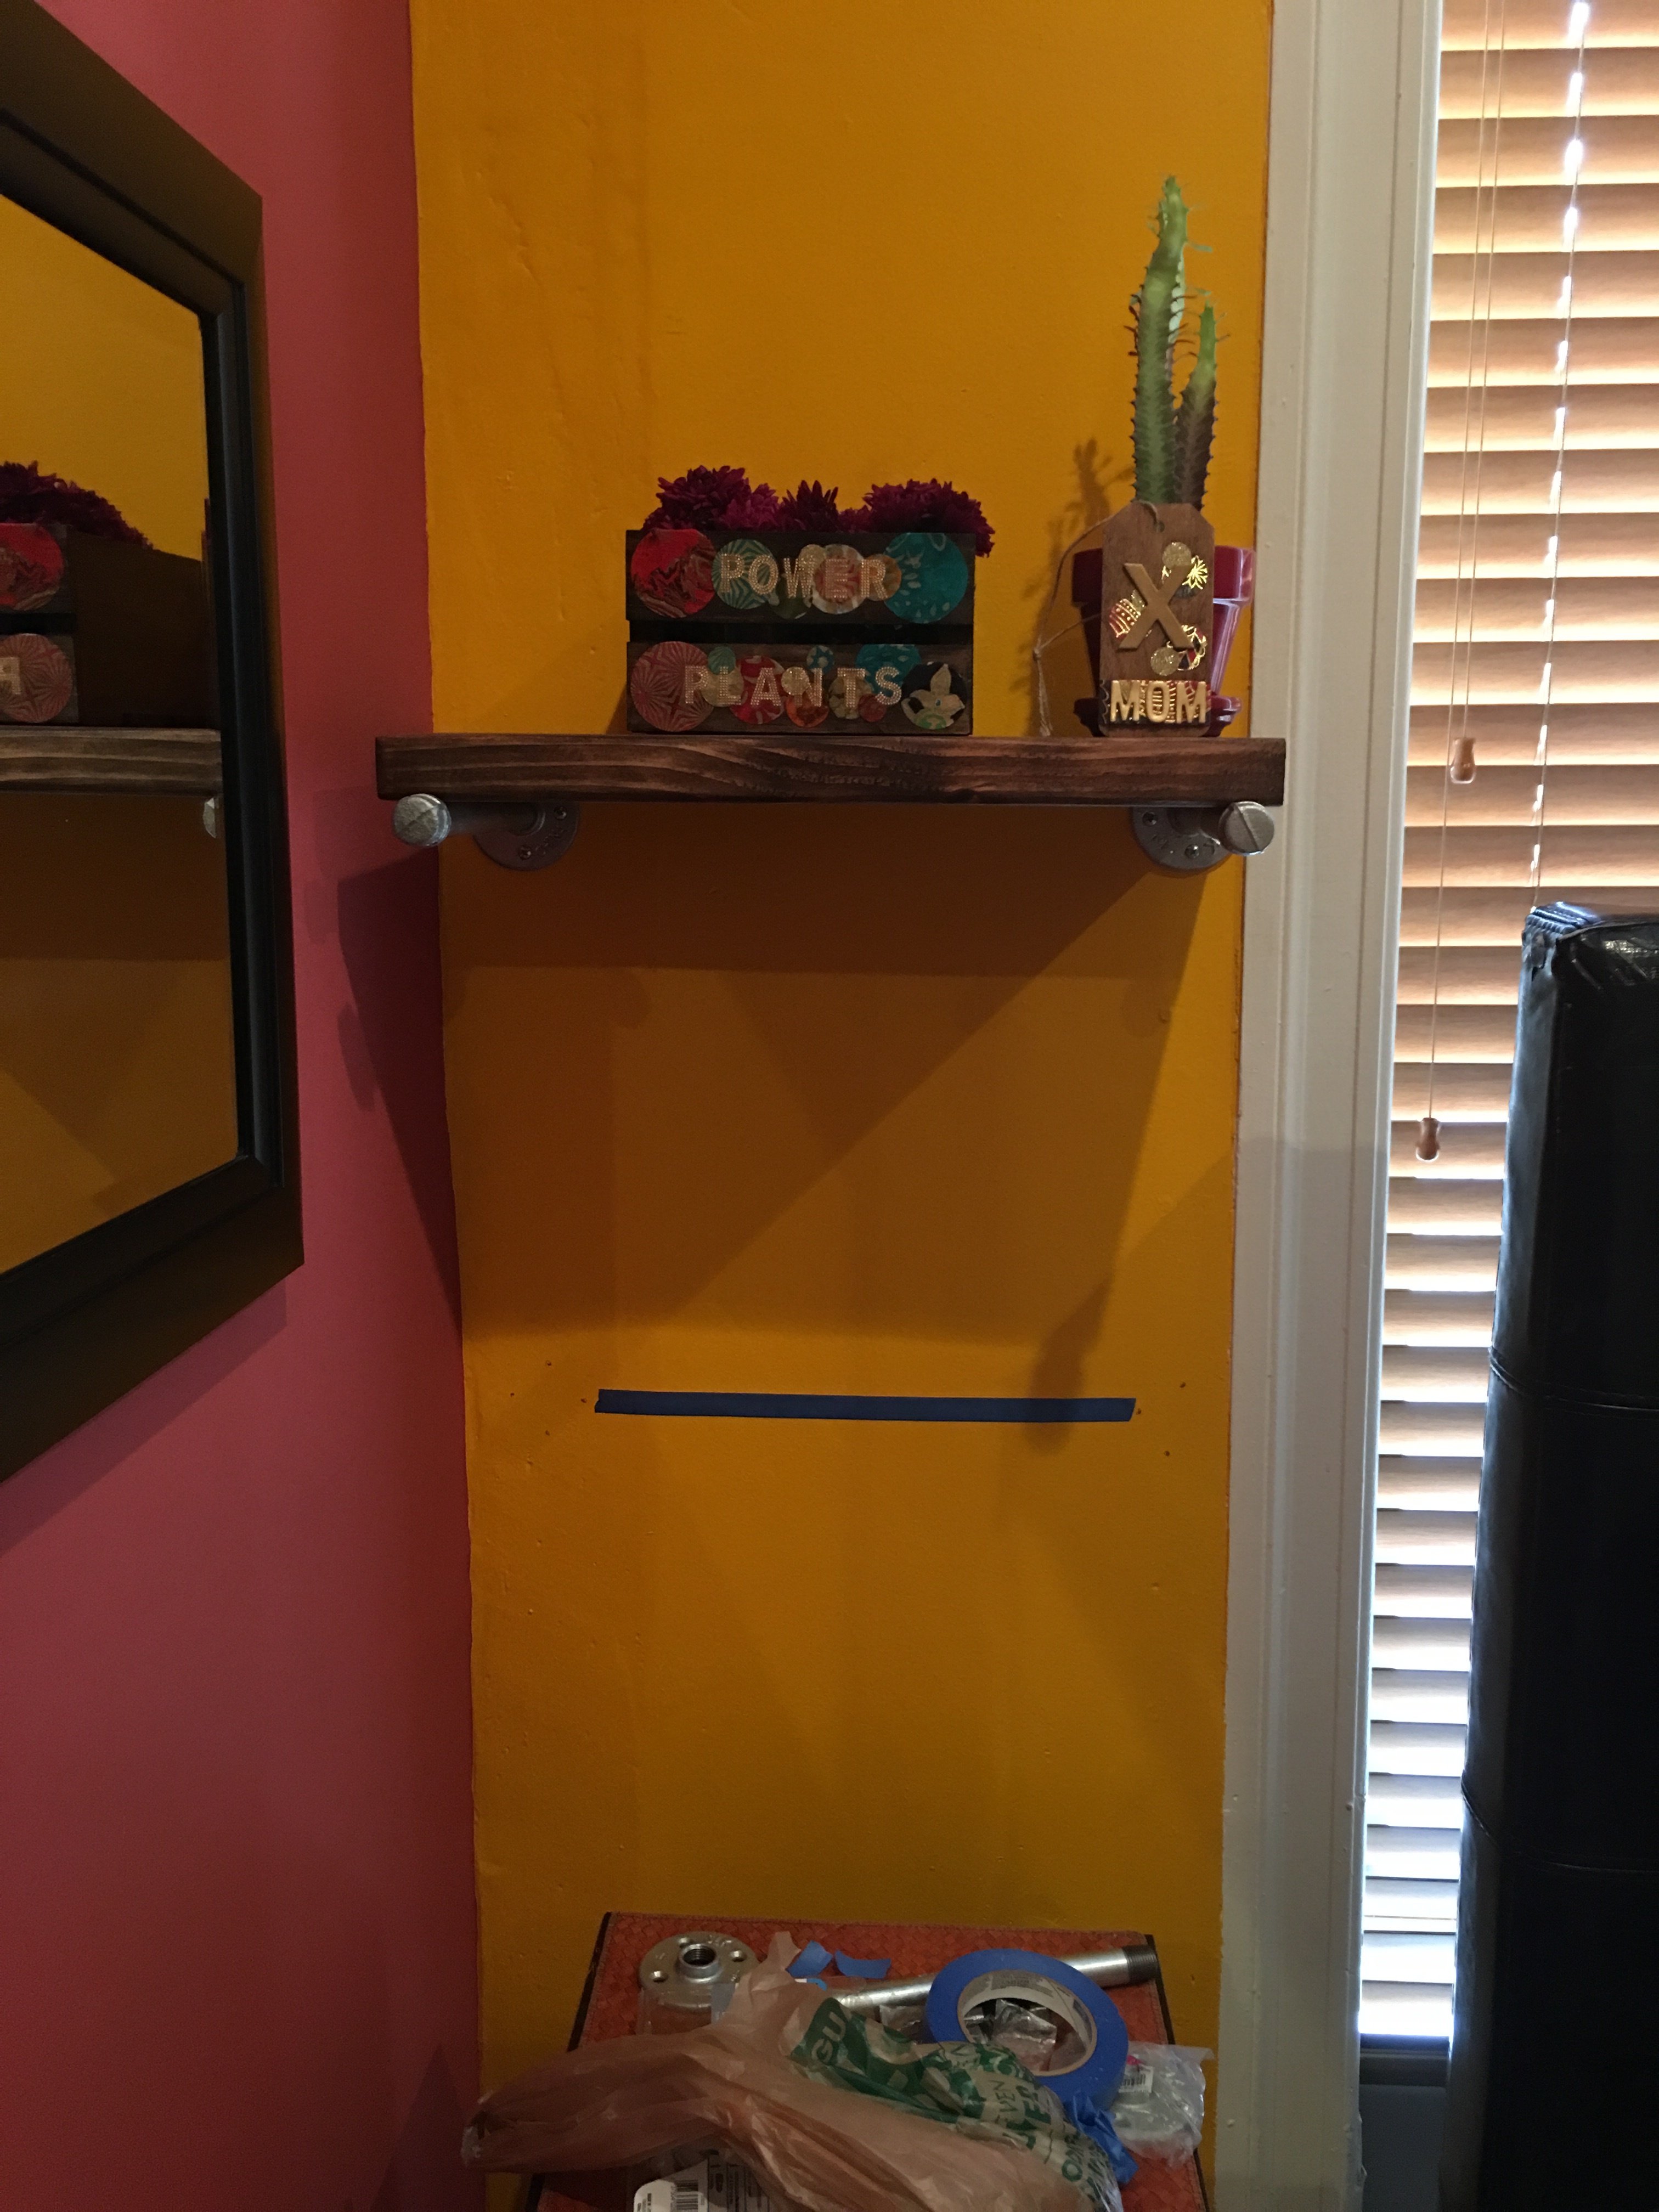
I used the flanges of the upper shelf as my starting point to measure 14″ down.
We repeated the steps on the other side and confirmed that all four shelves were straight and aligned.
I’m so happy with the decision I made to abandon floating shelves for this pipe and wood option. It truly looks fantastic in her space.
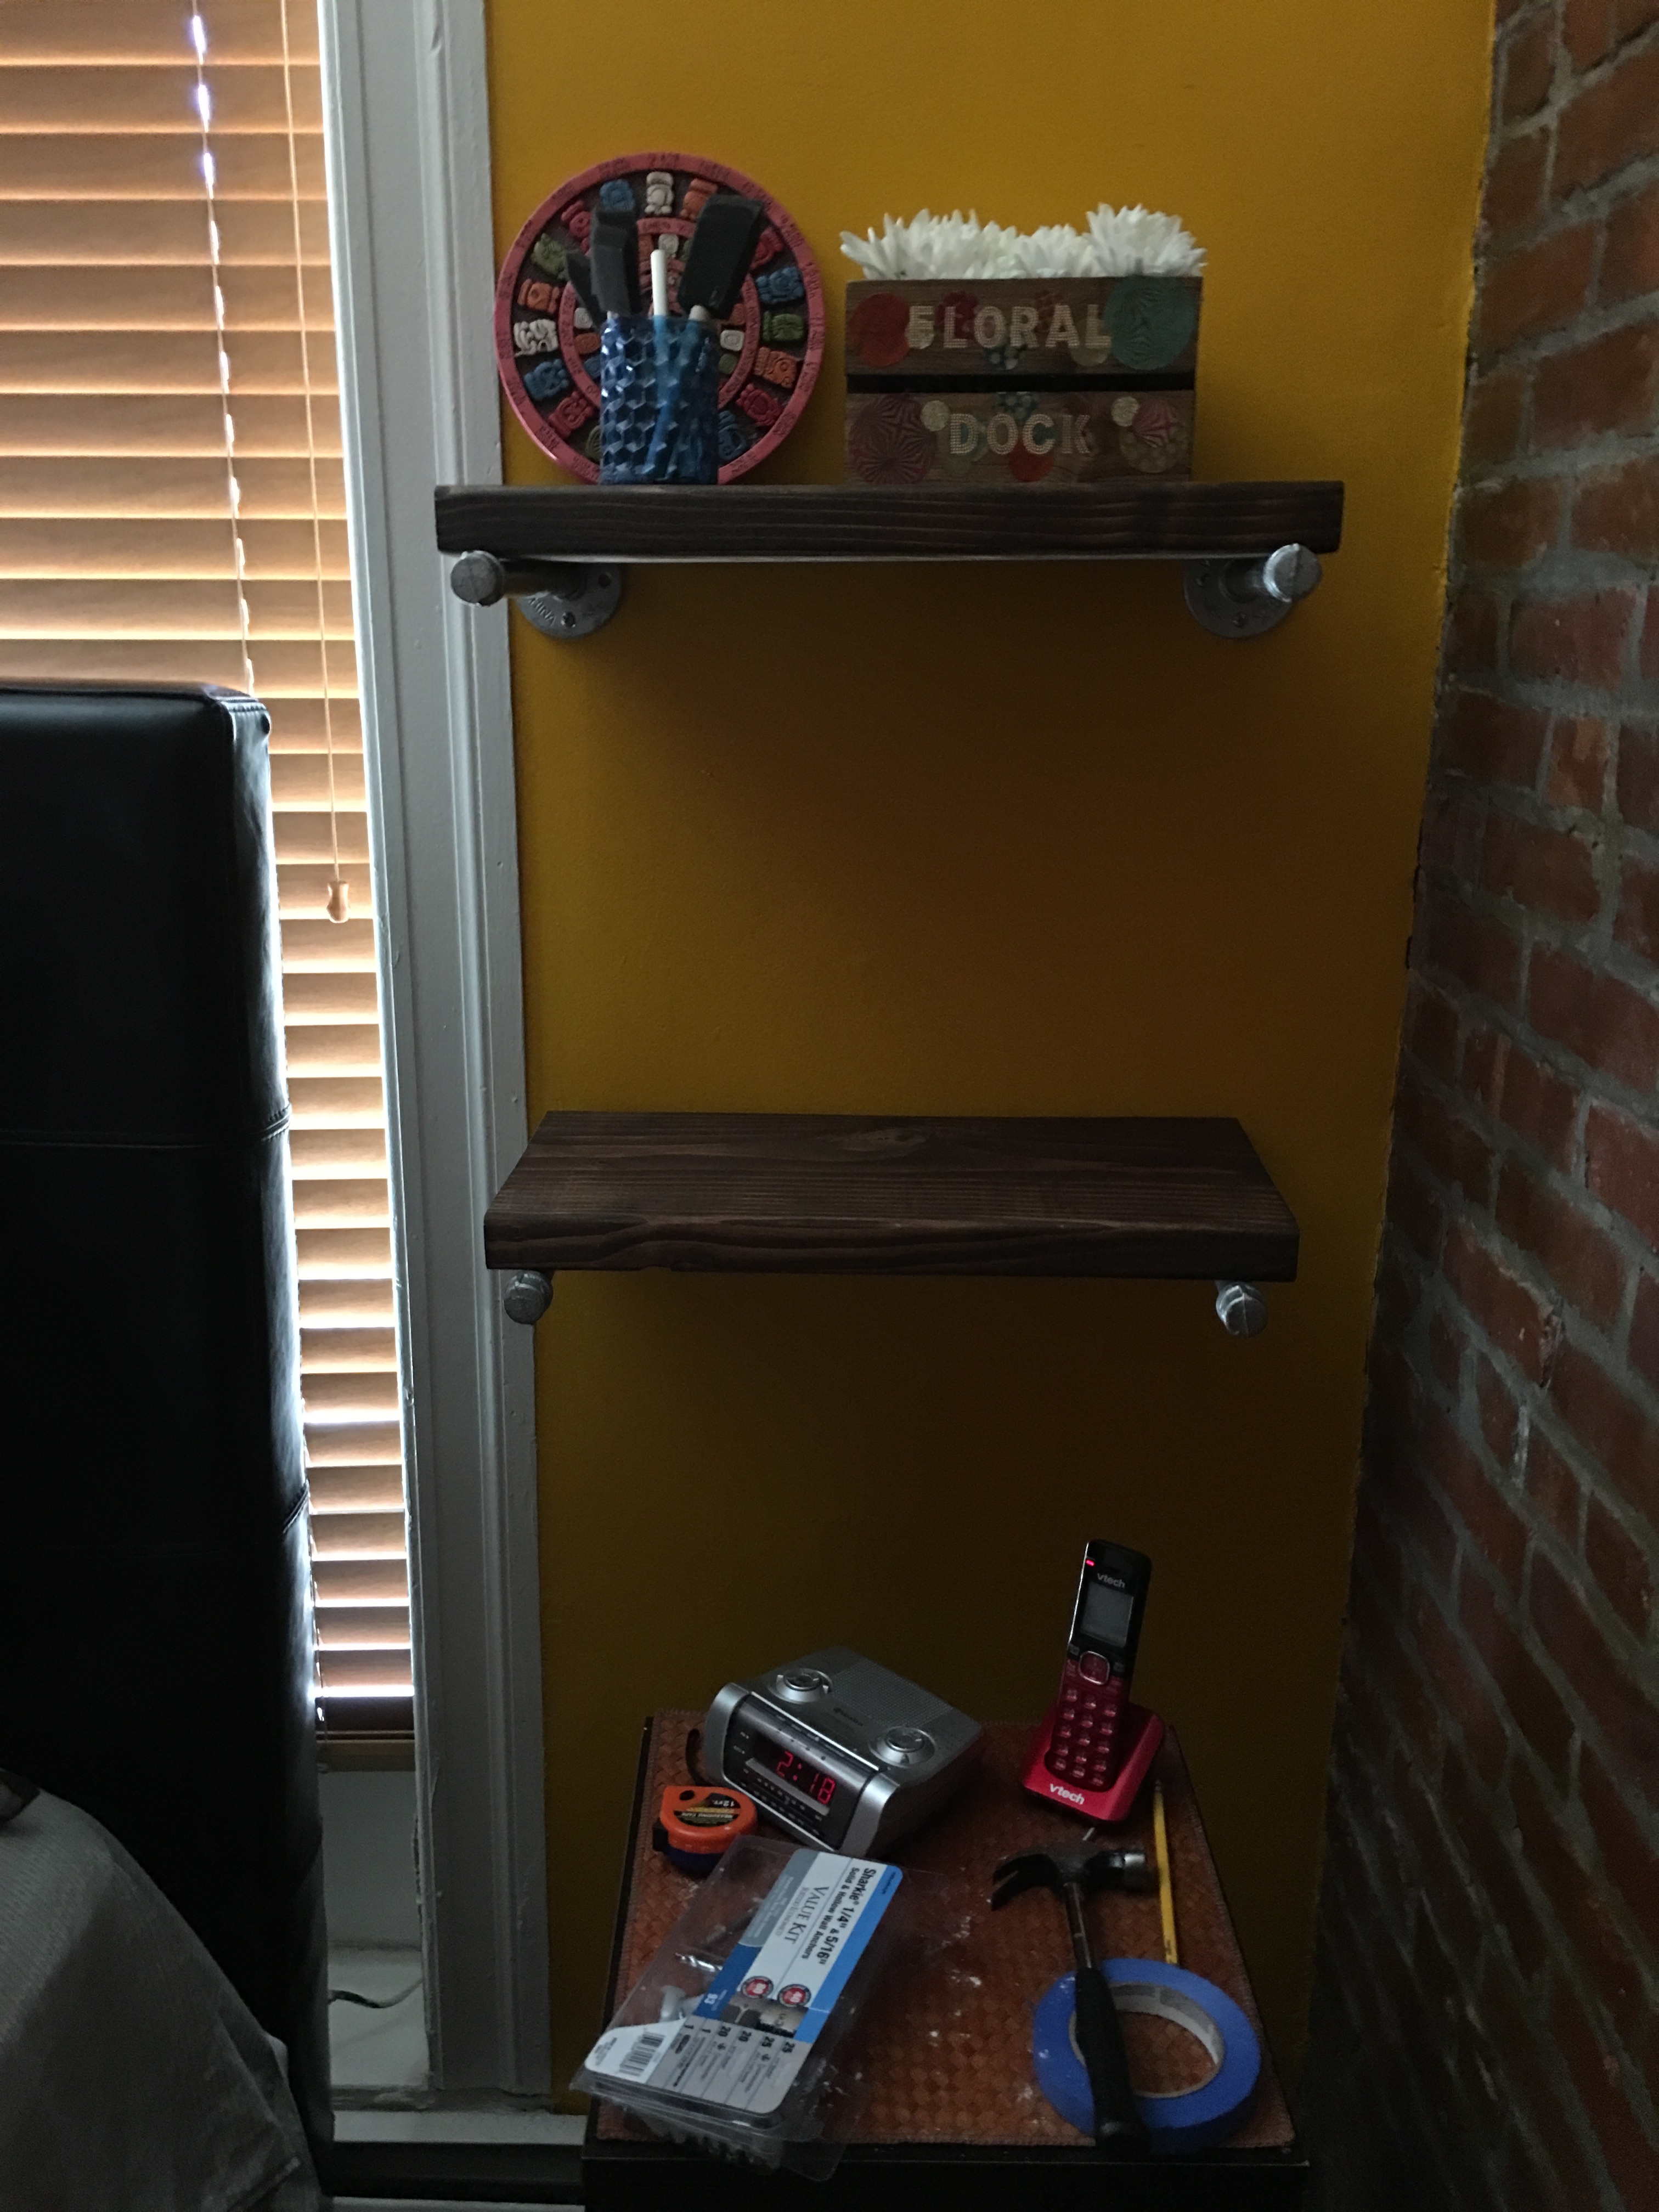
So this is what the shelves look like after Xenia did her magic with staging.
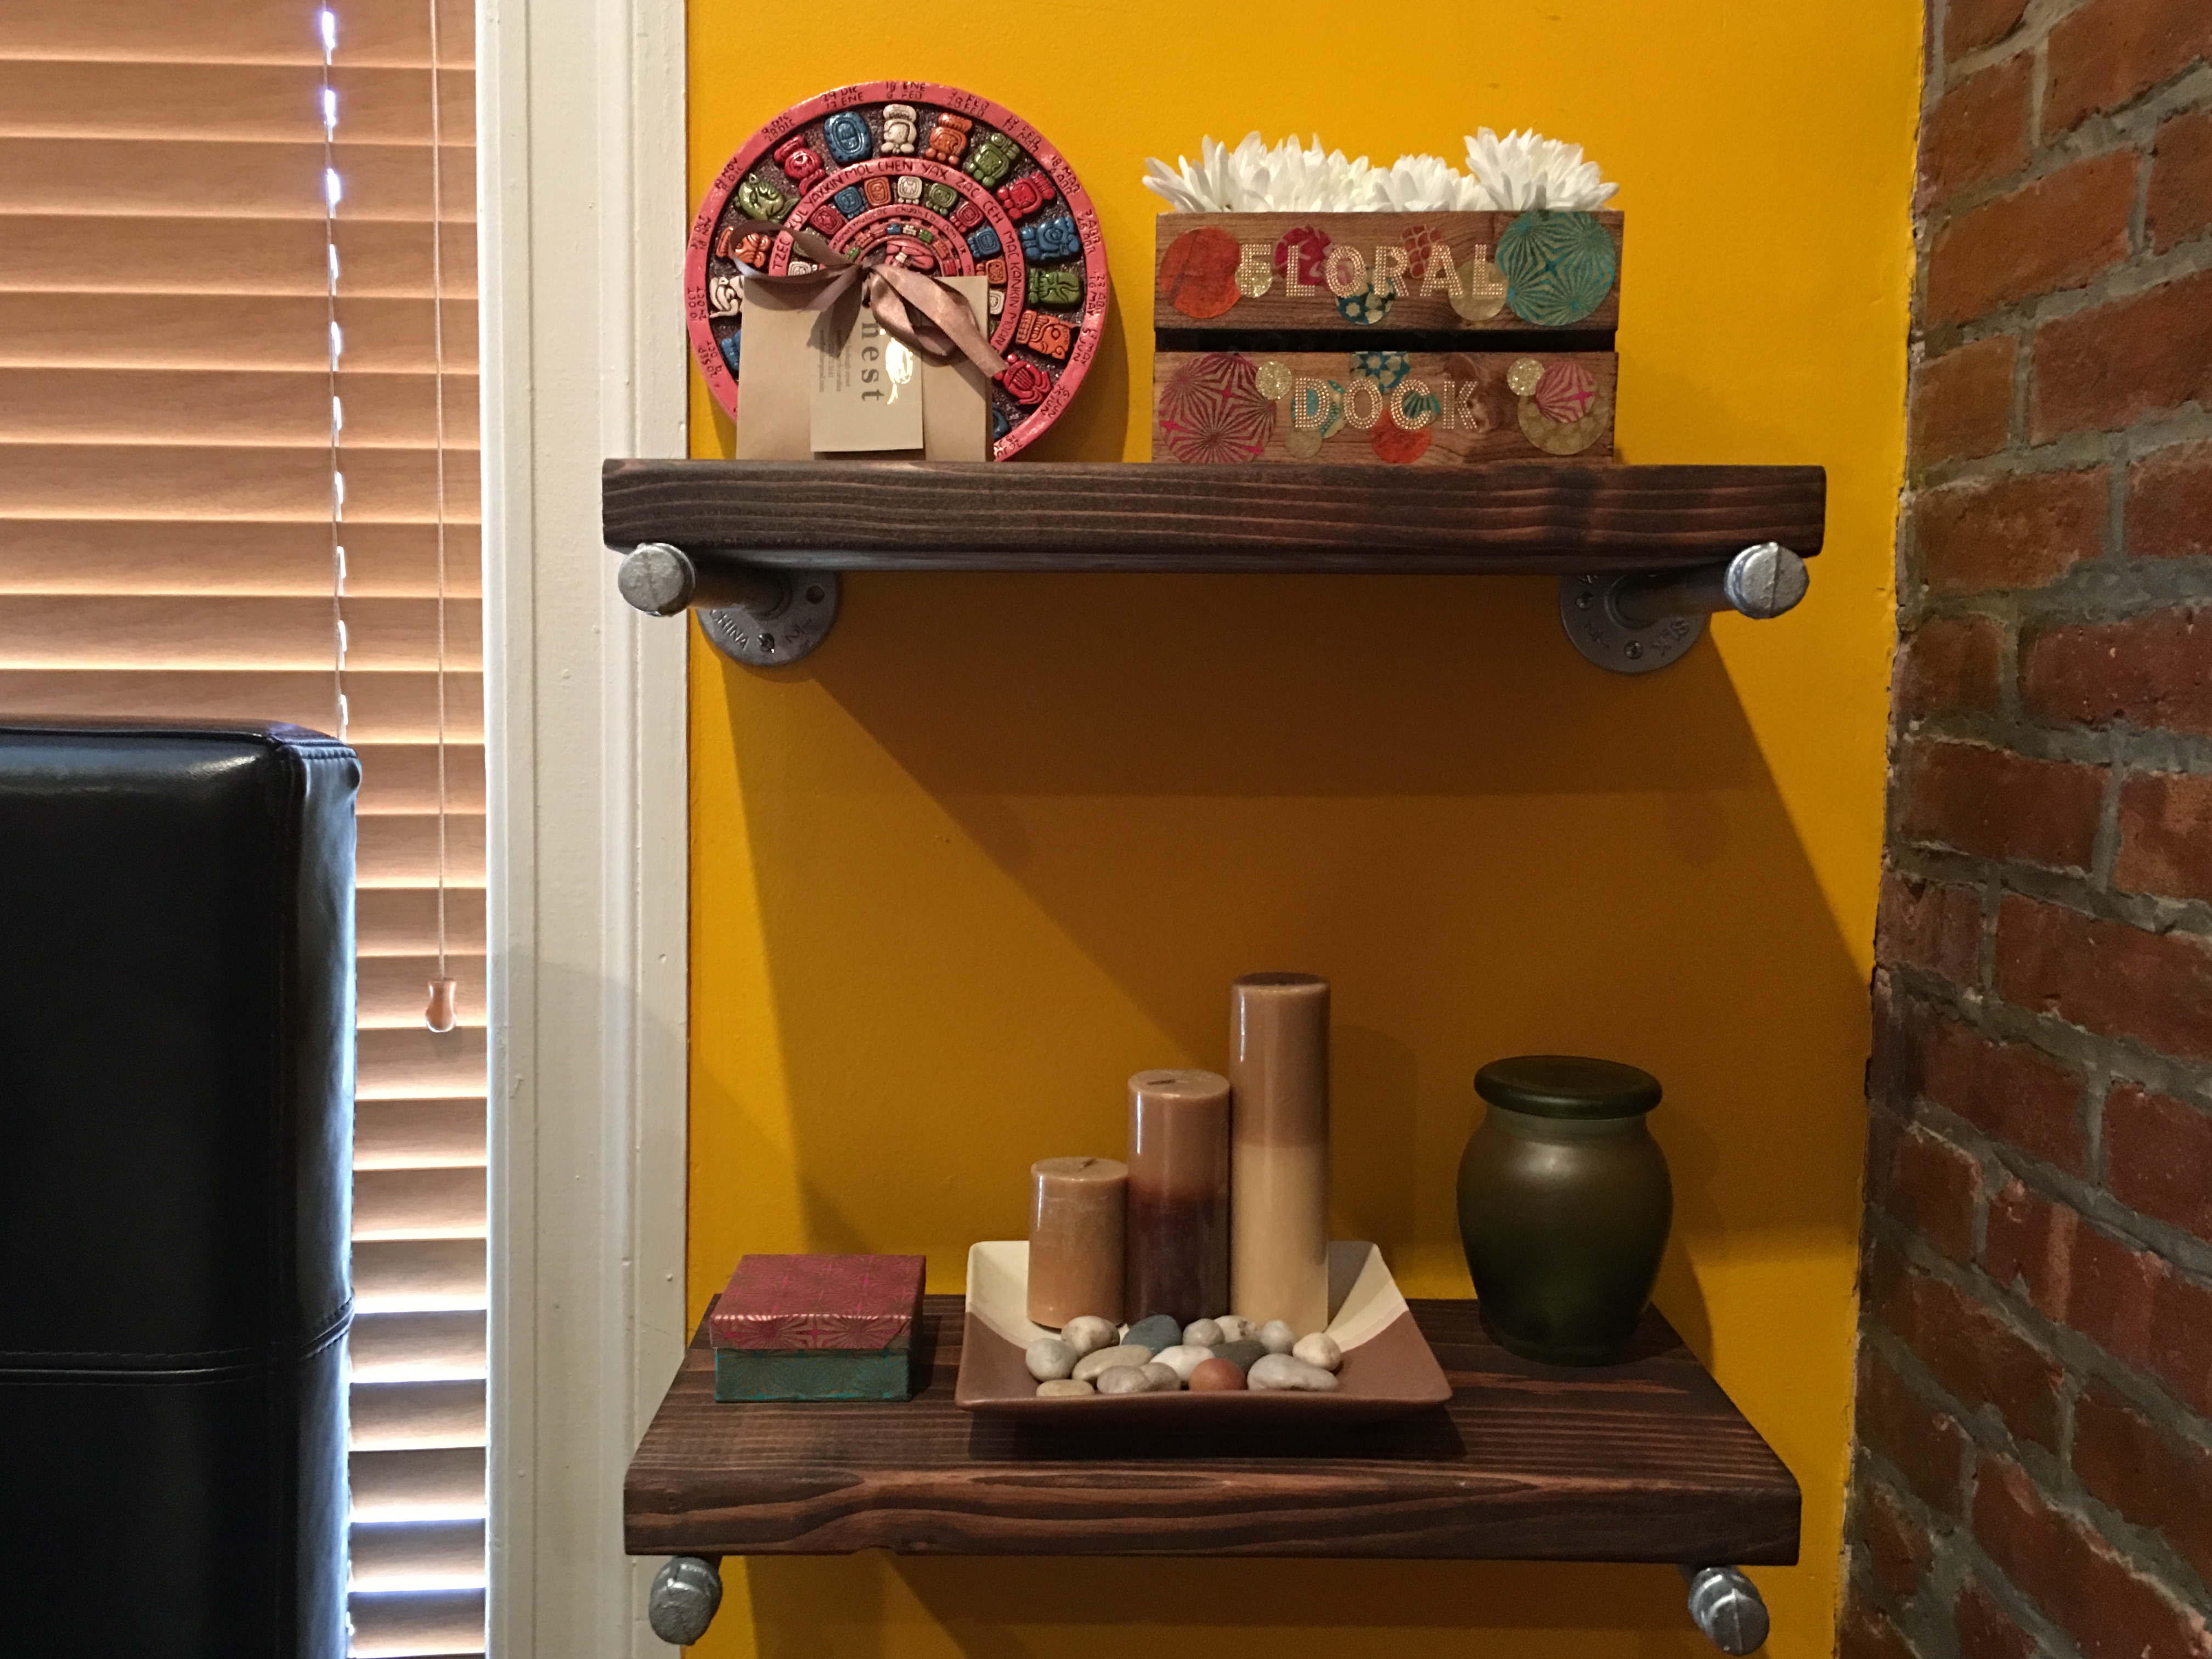
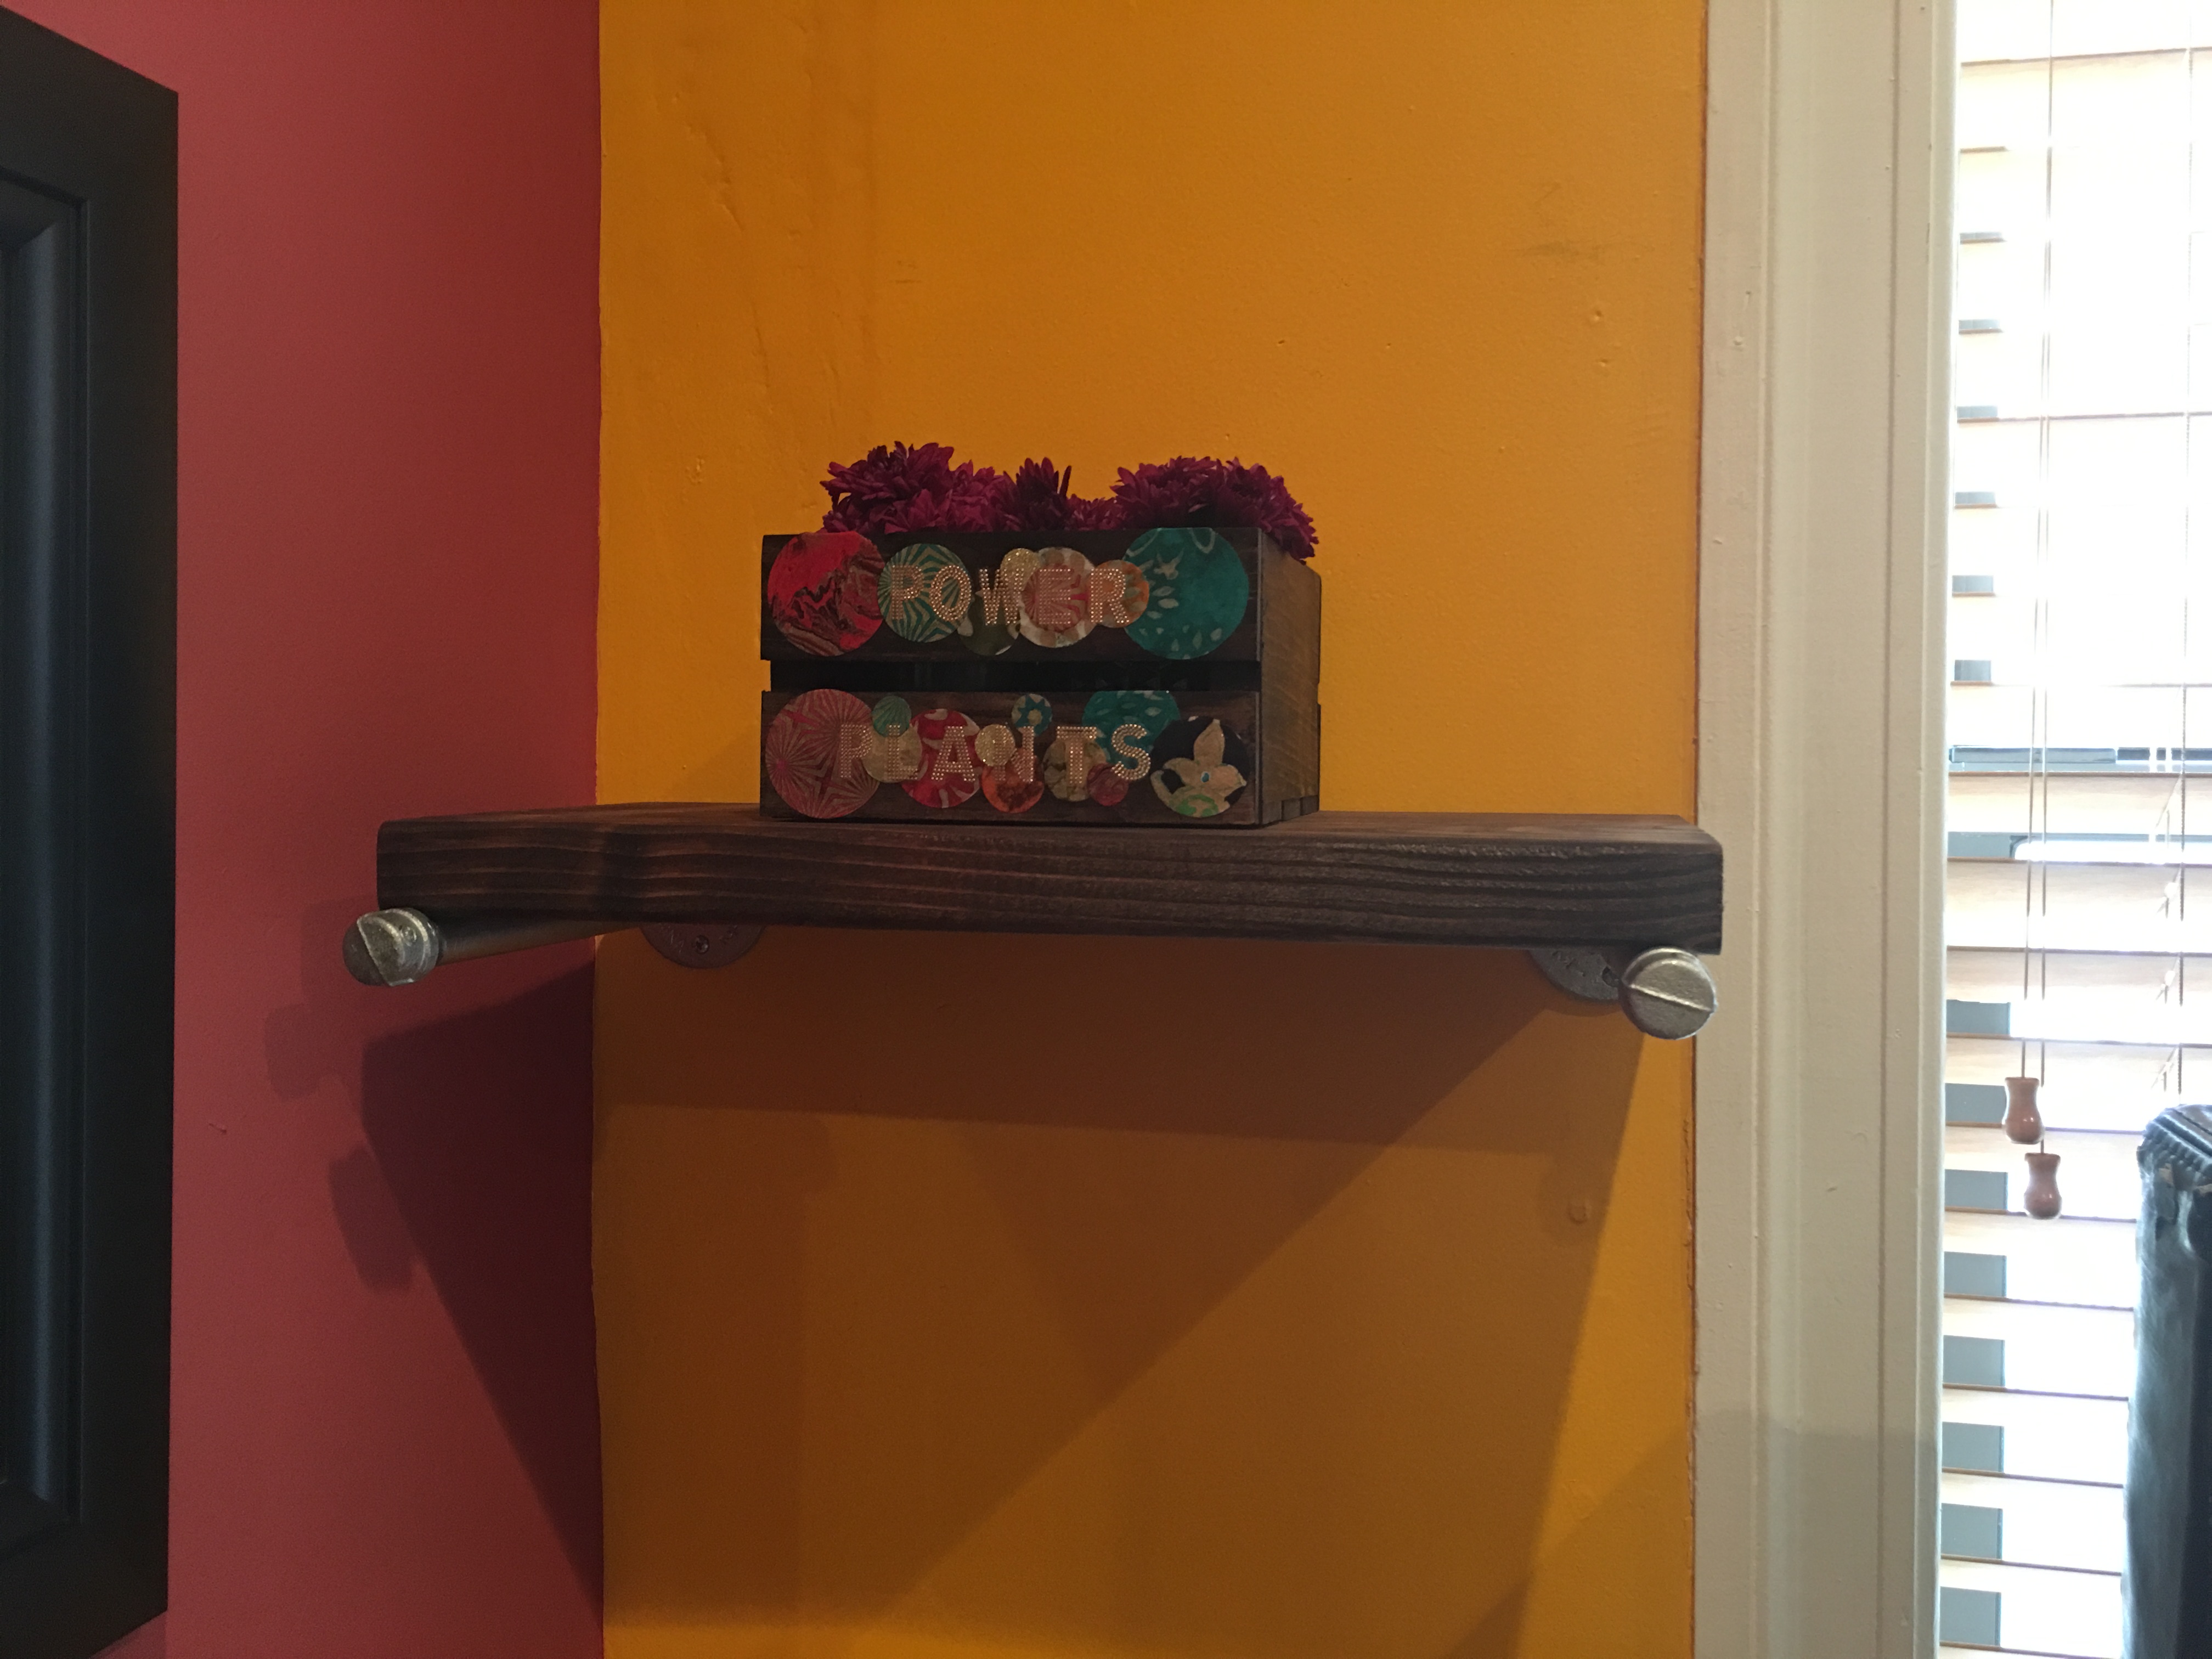
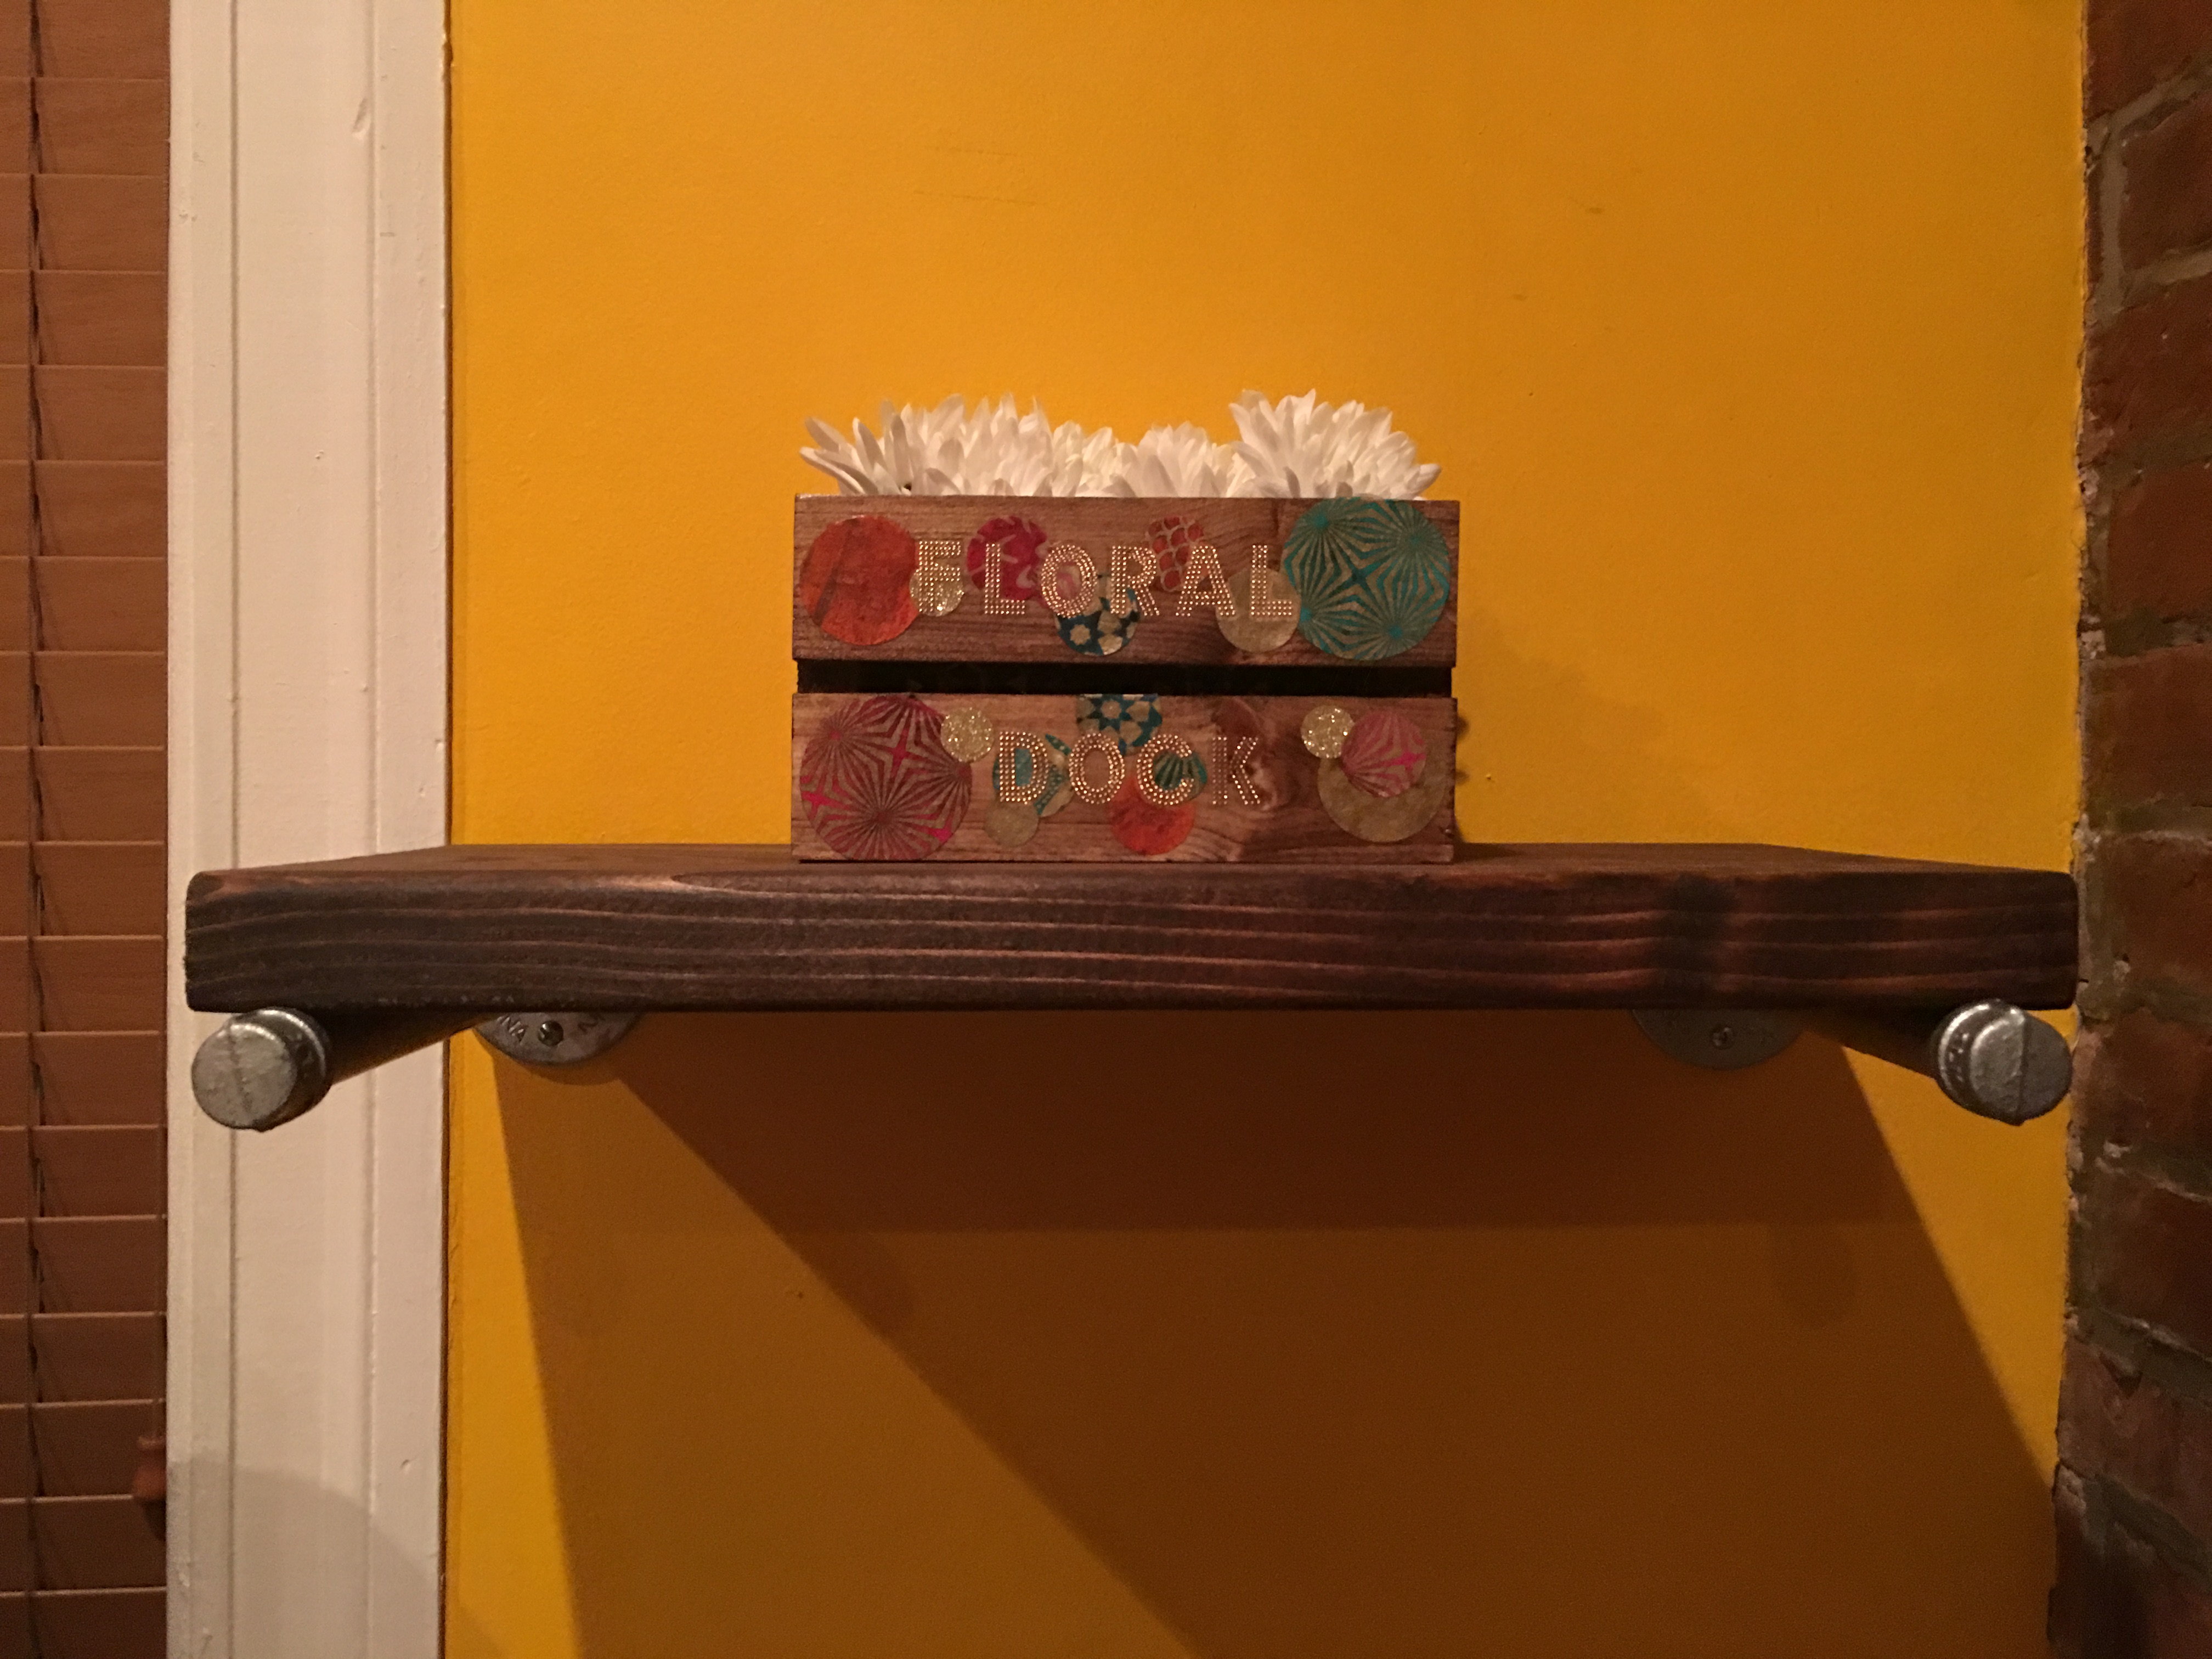
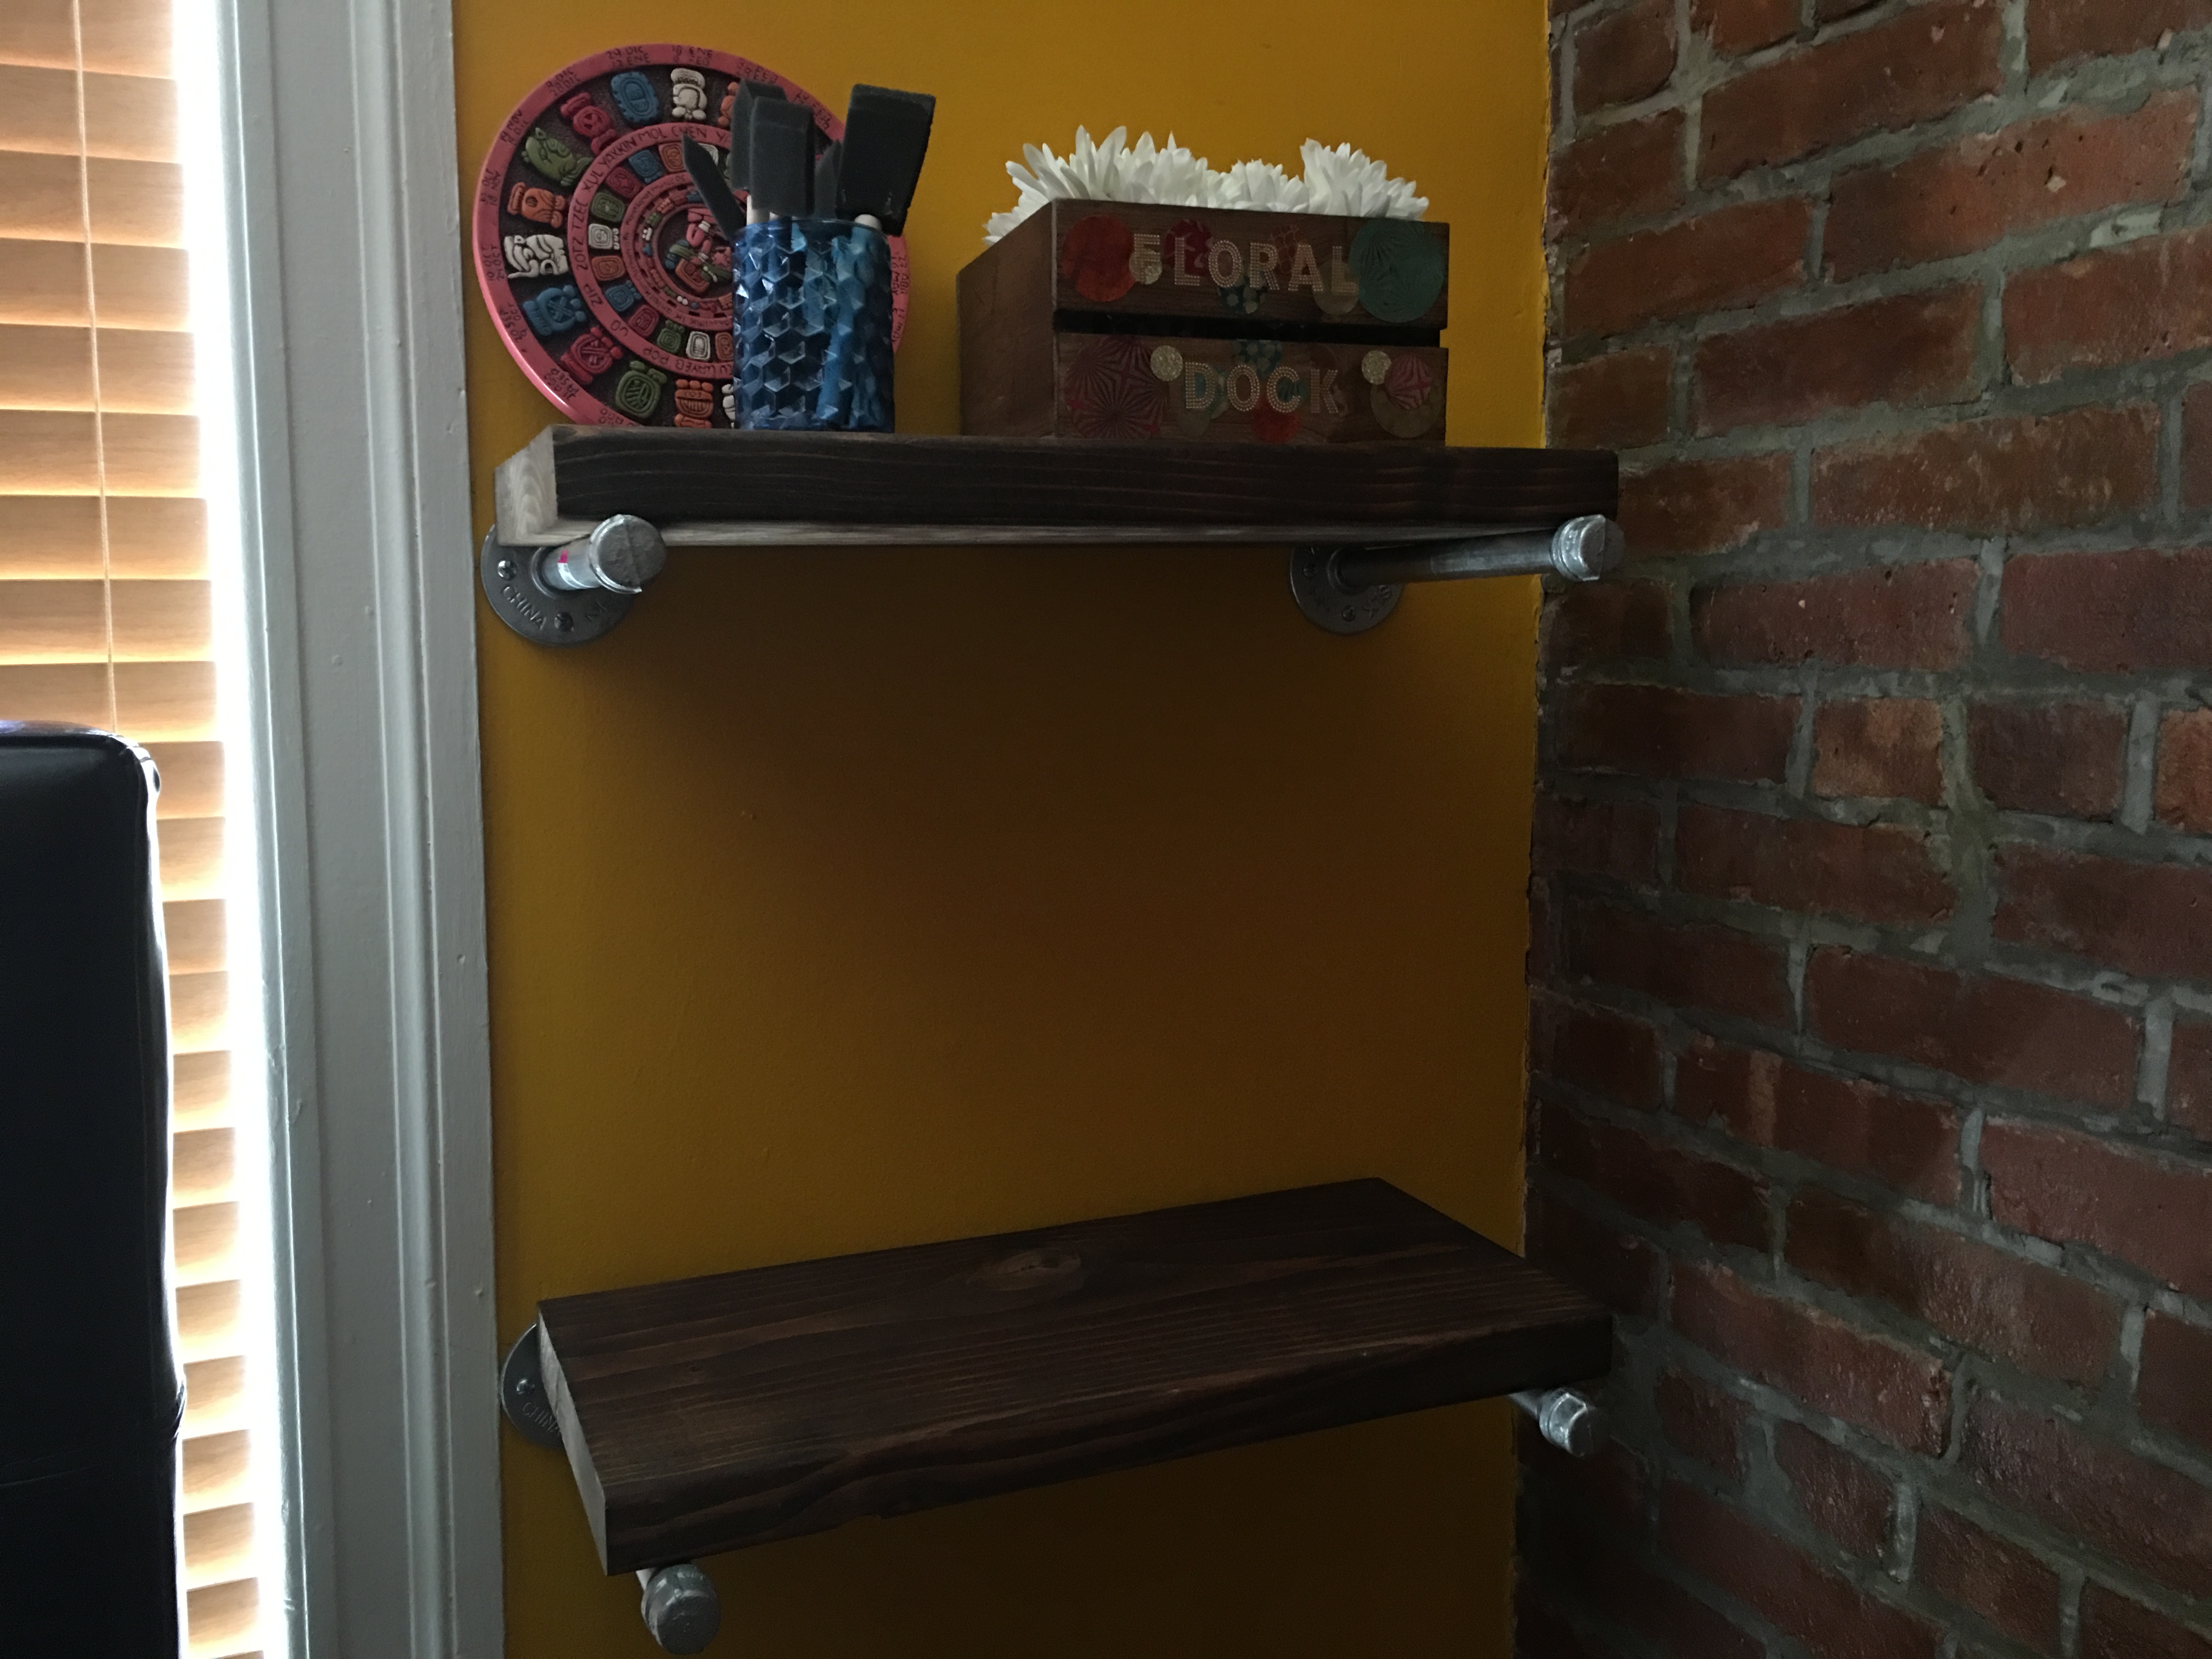
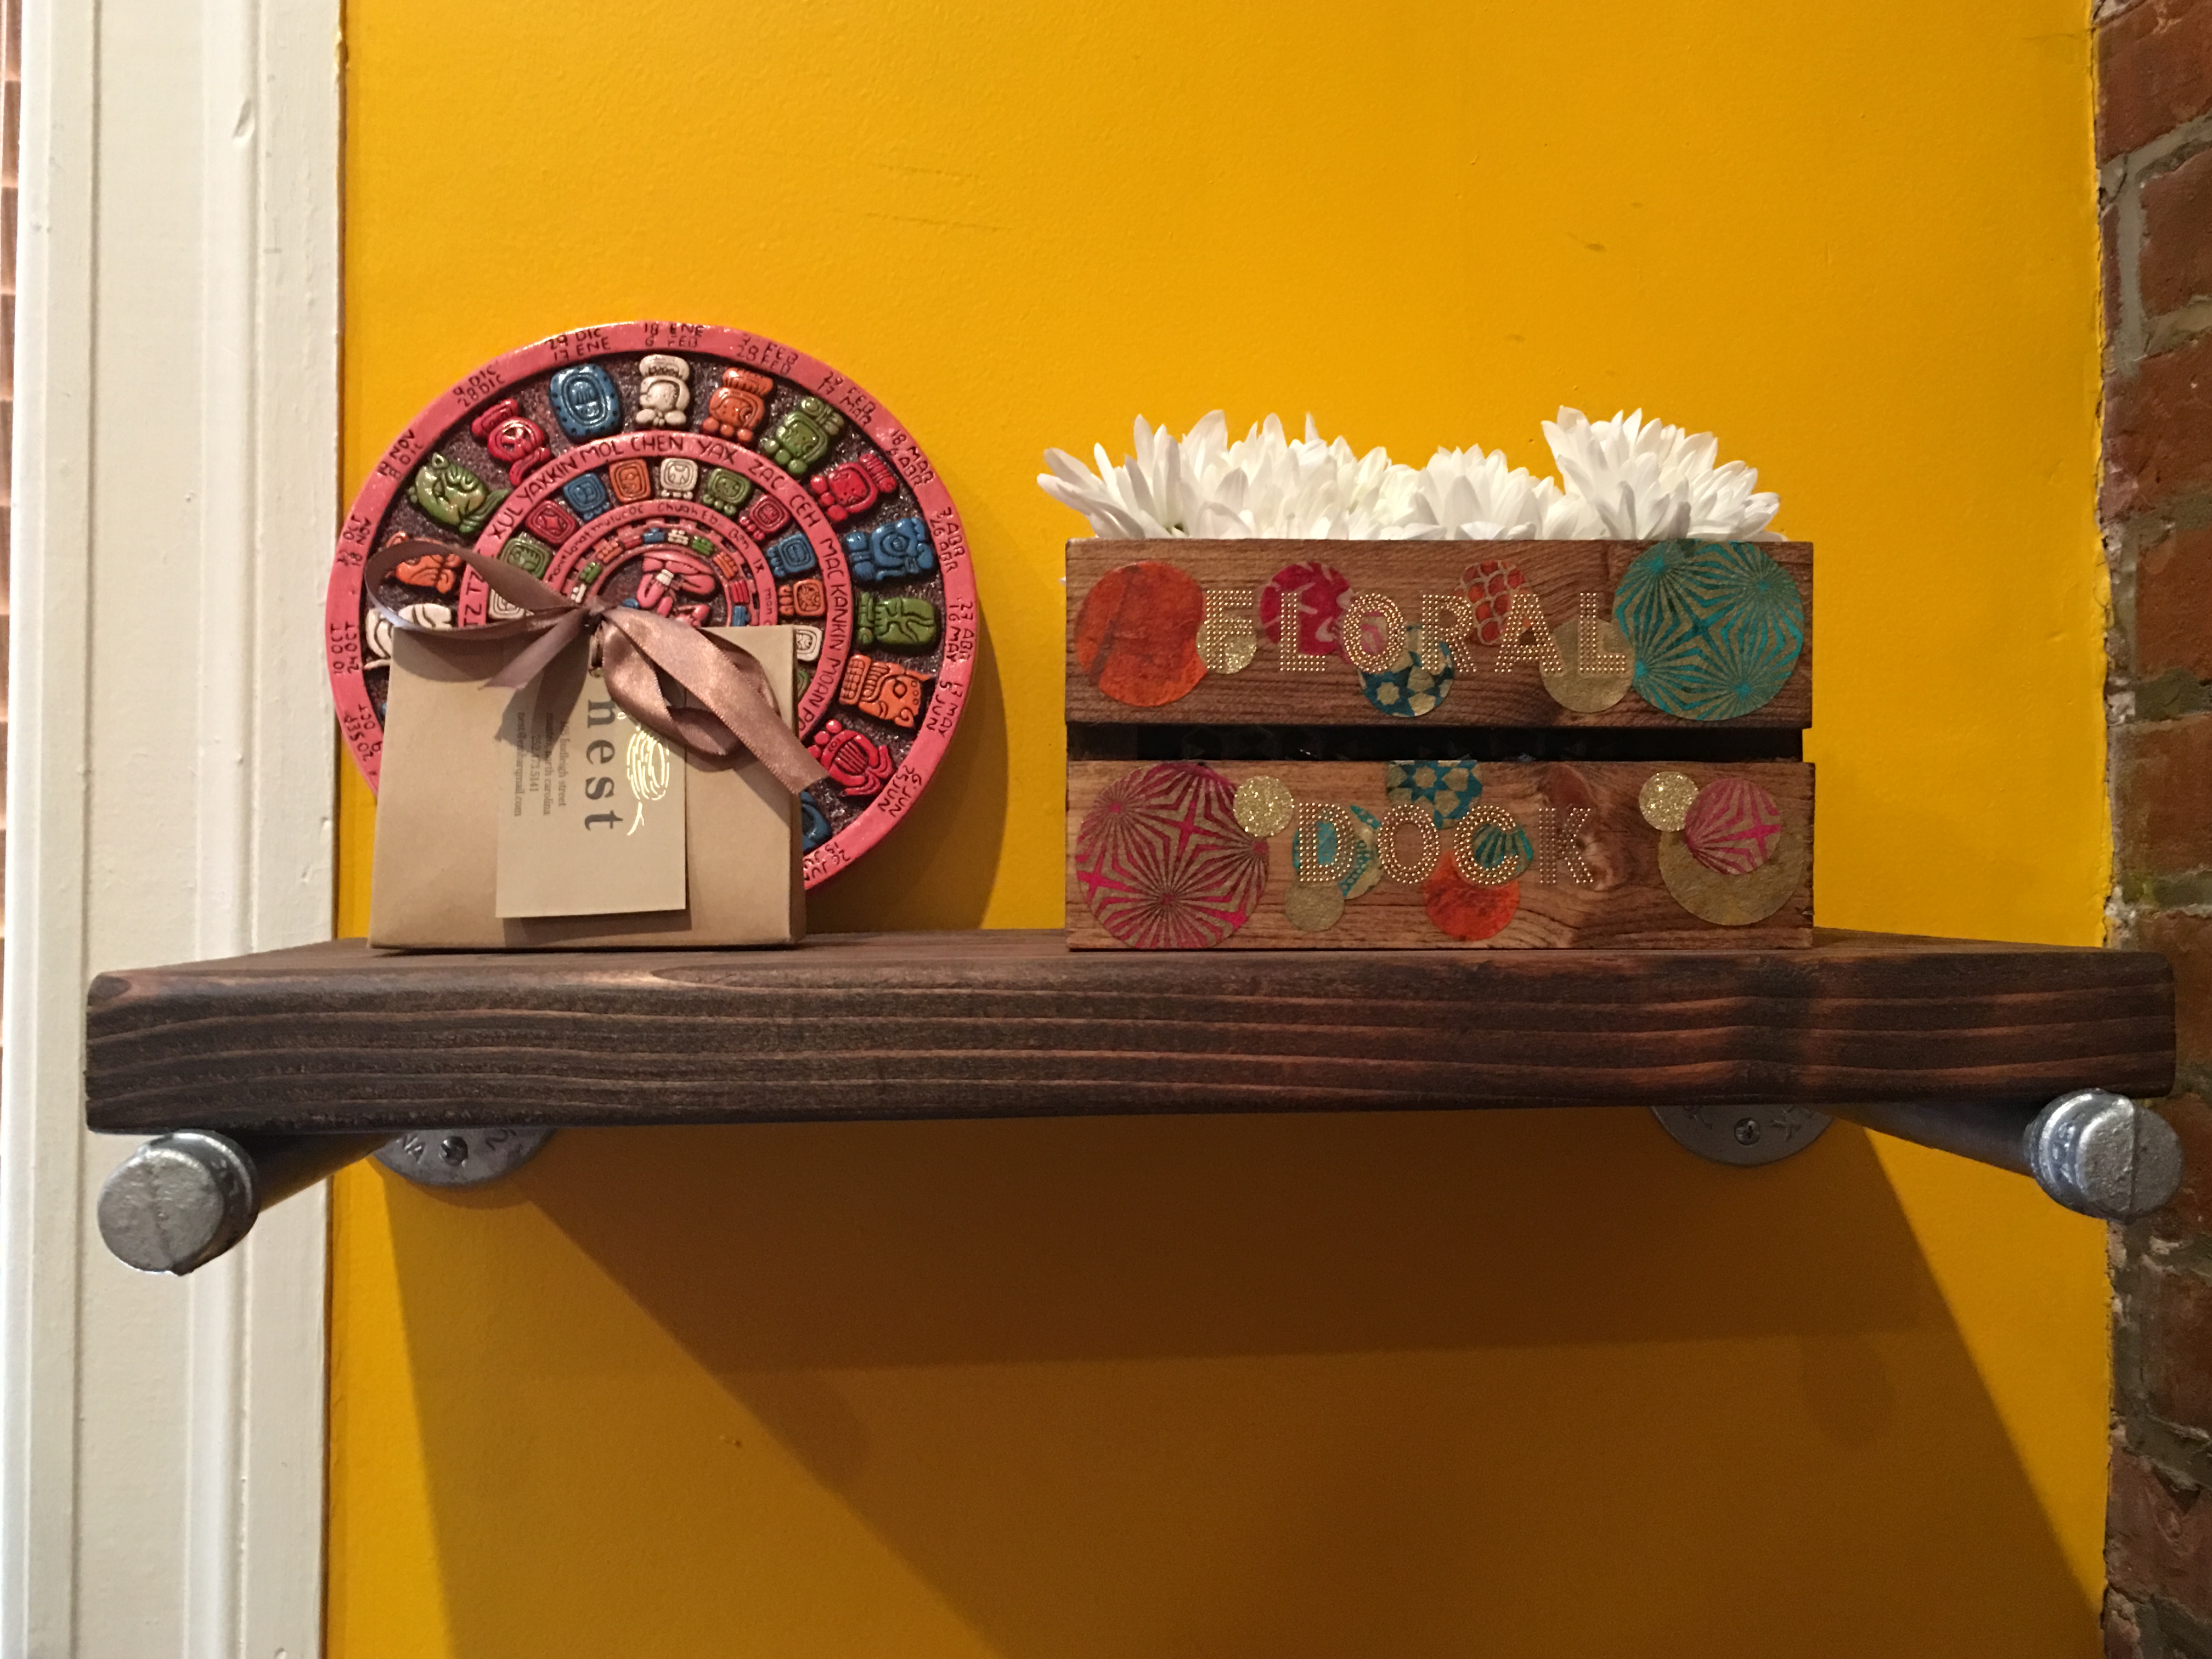
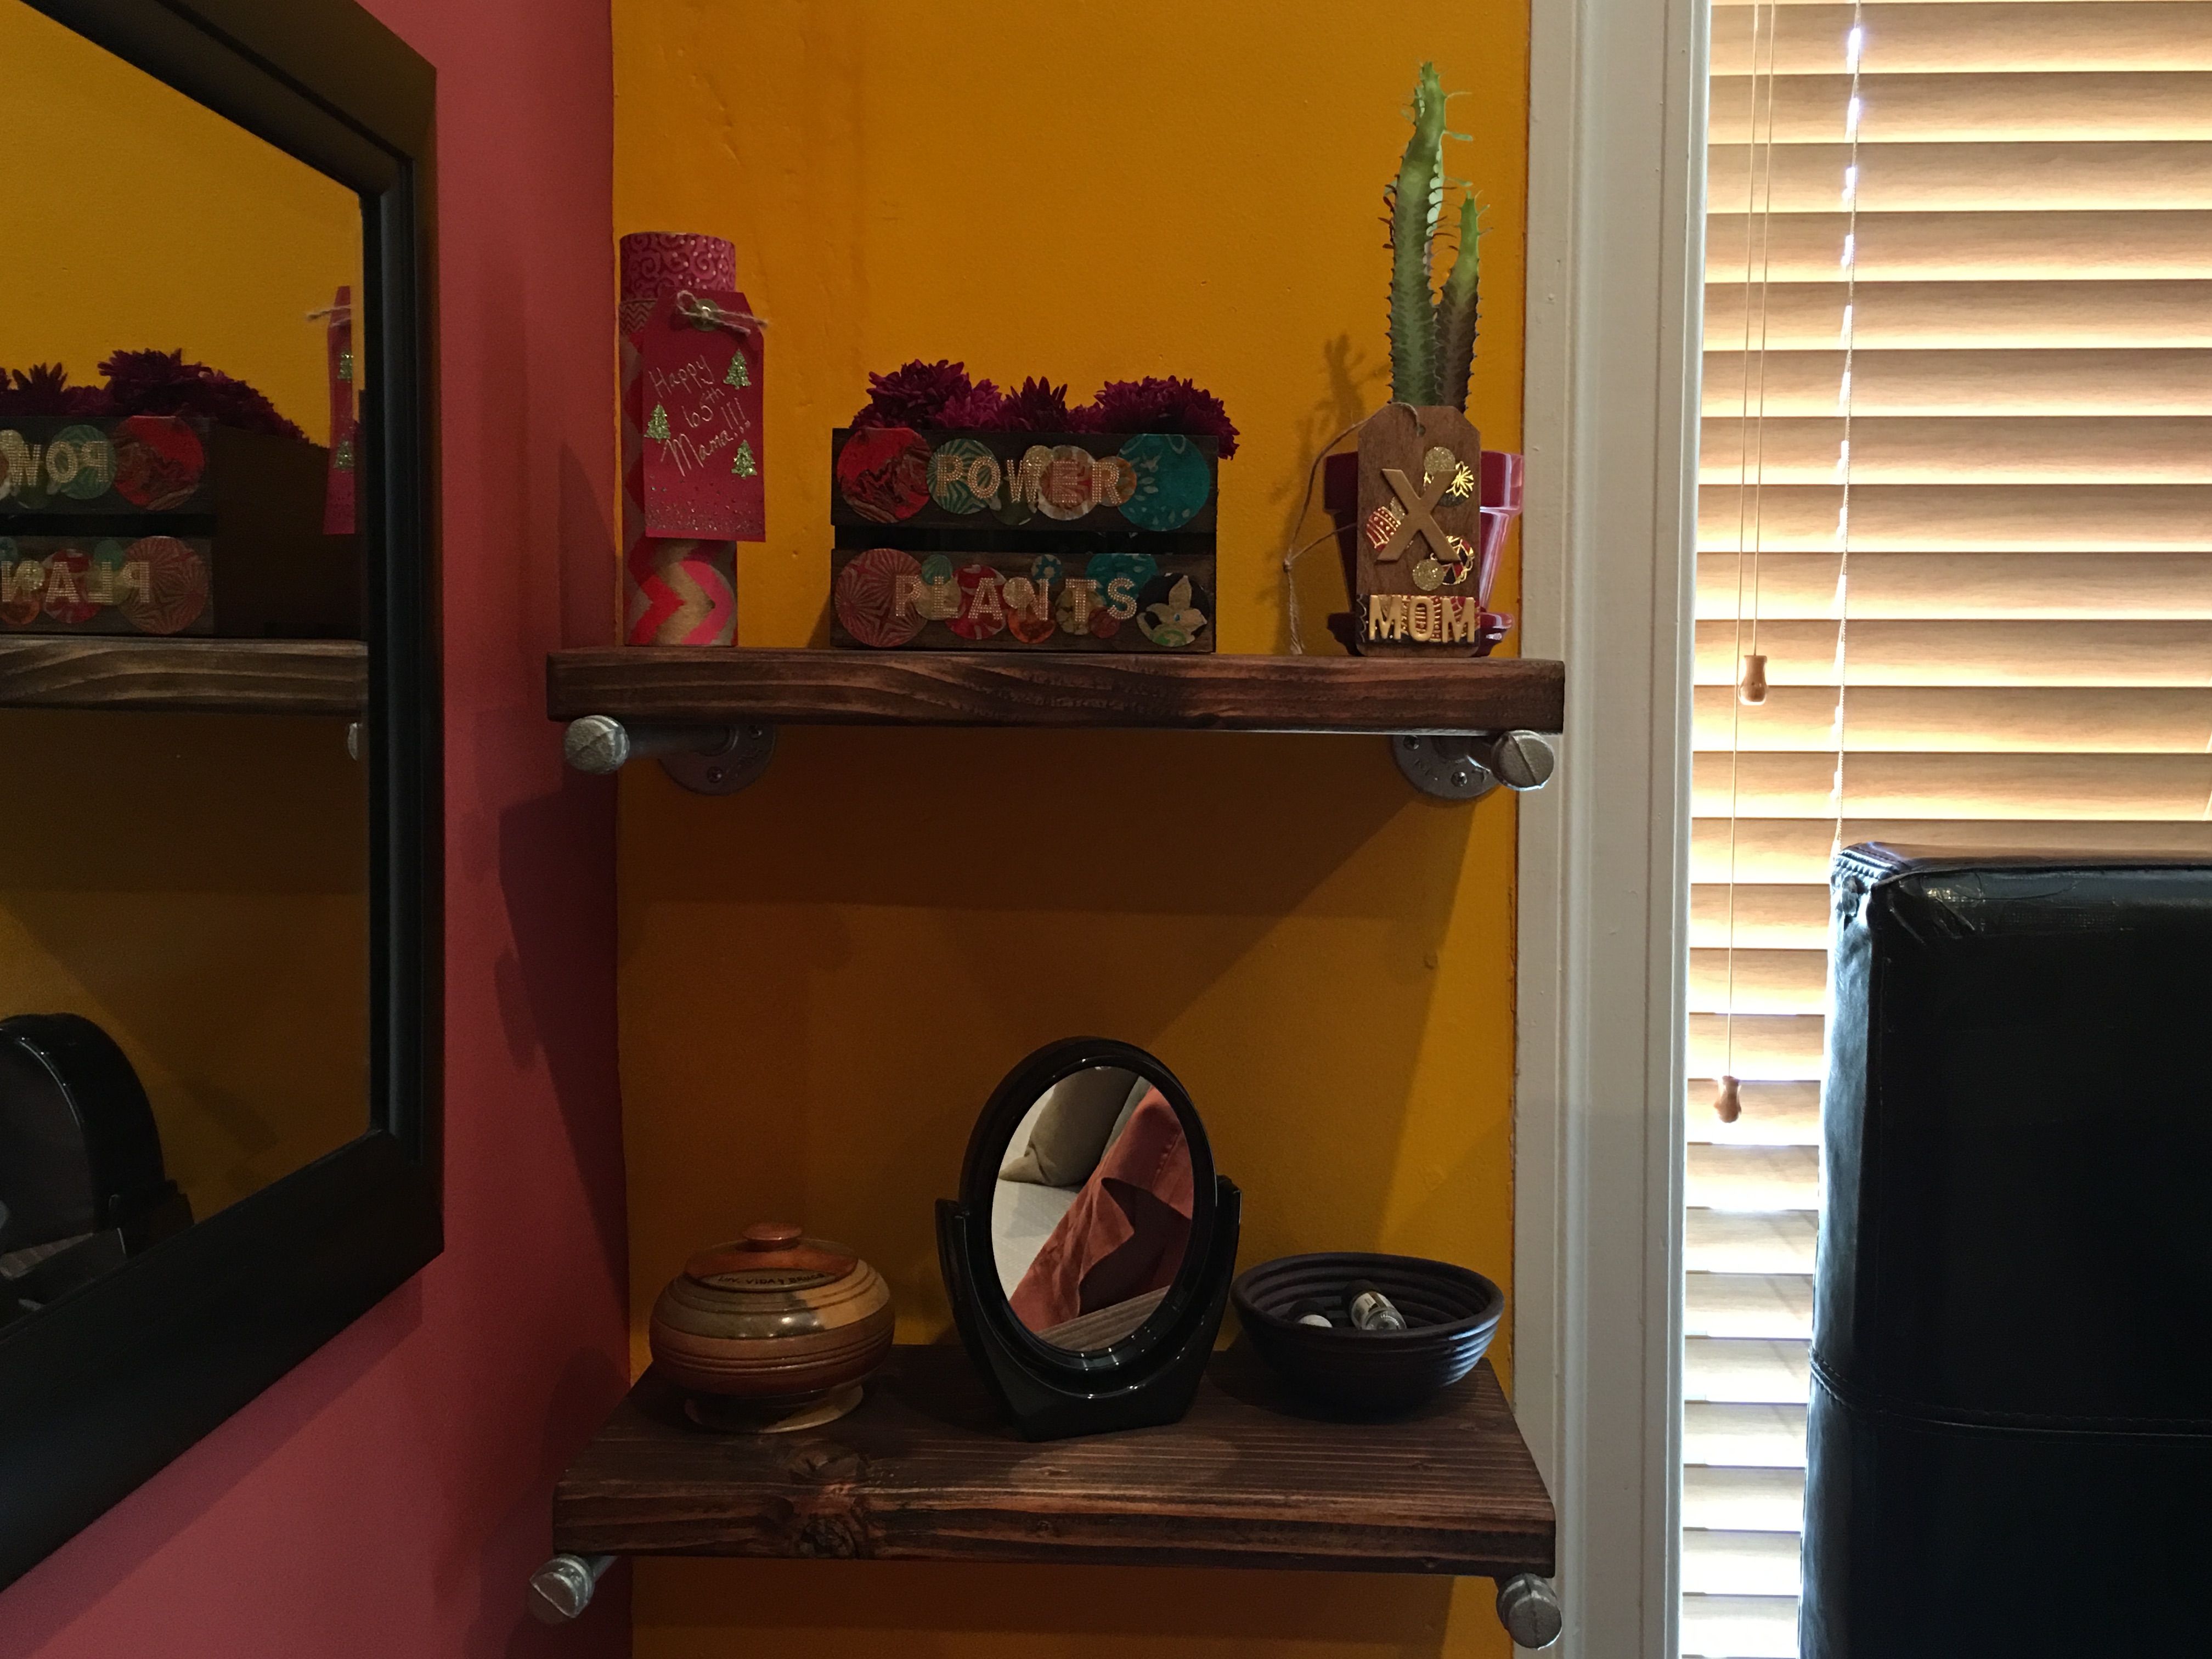
Close up of the shelf with the Floral Dock crate and a couple of other little decorative knick knacks.
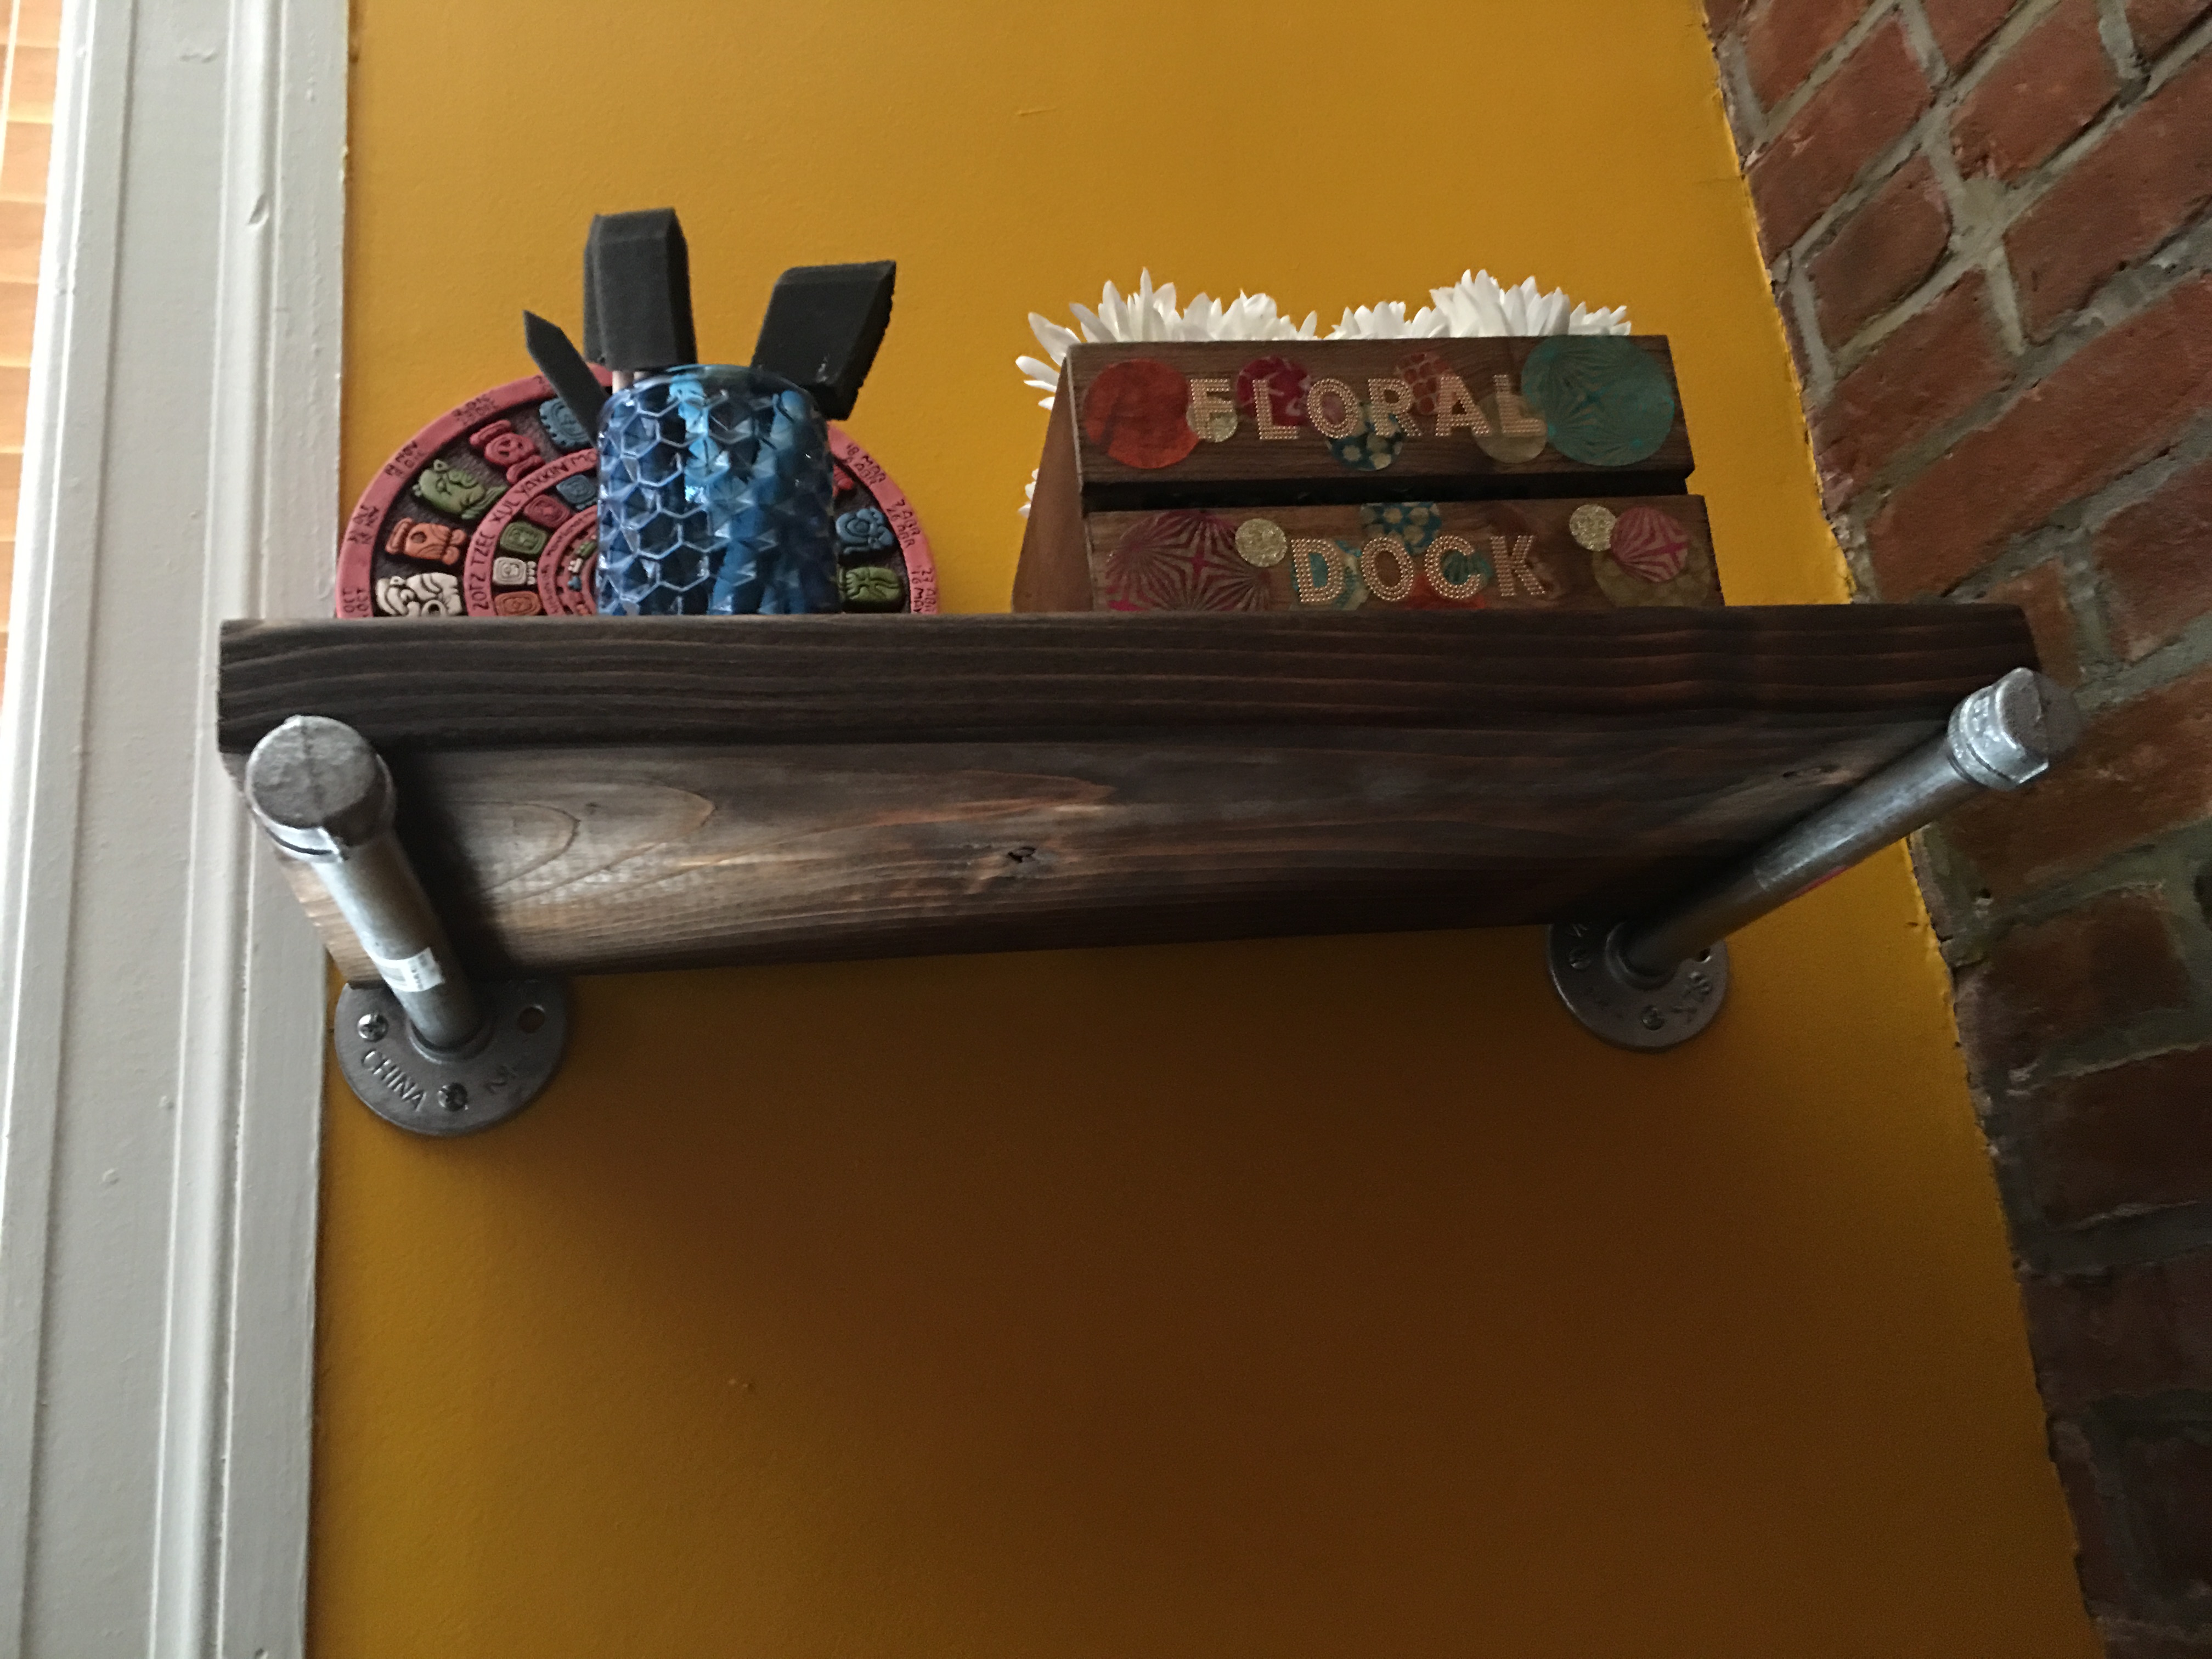
View of the underside of the shelf.
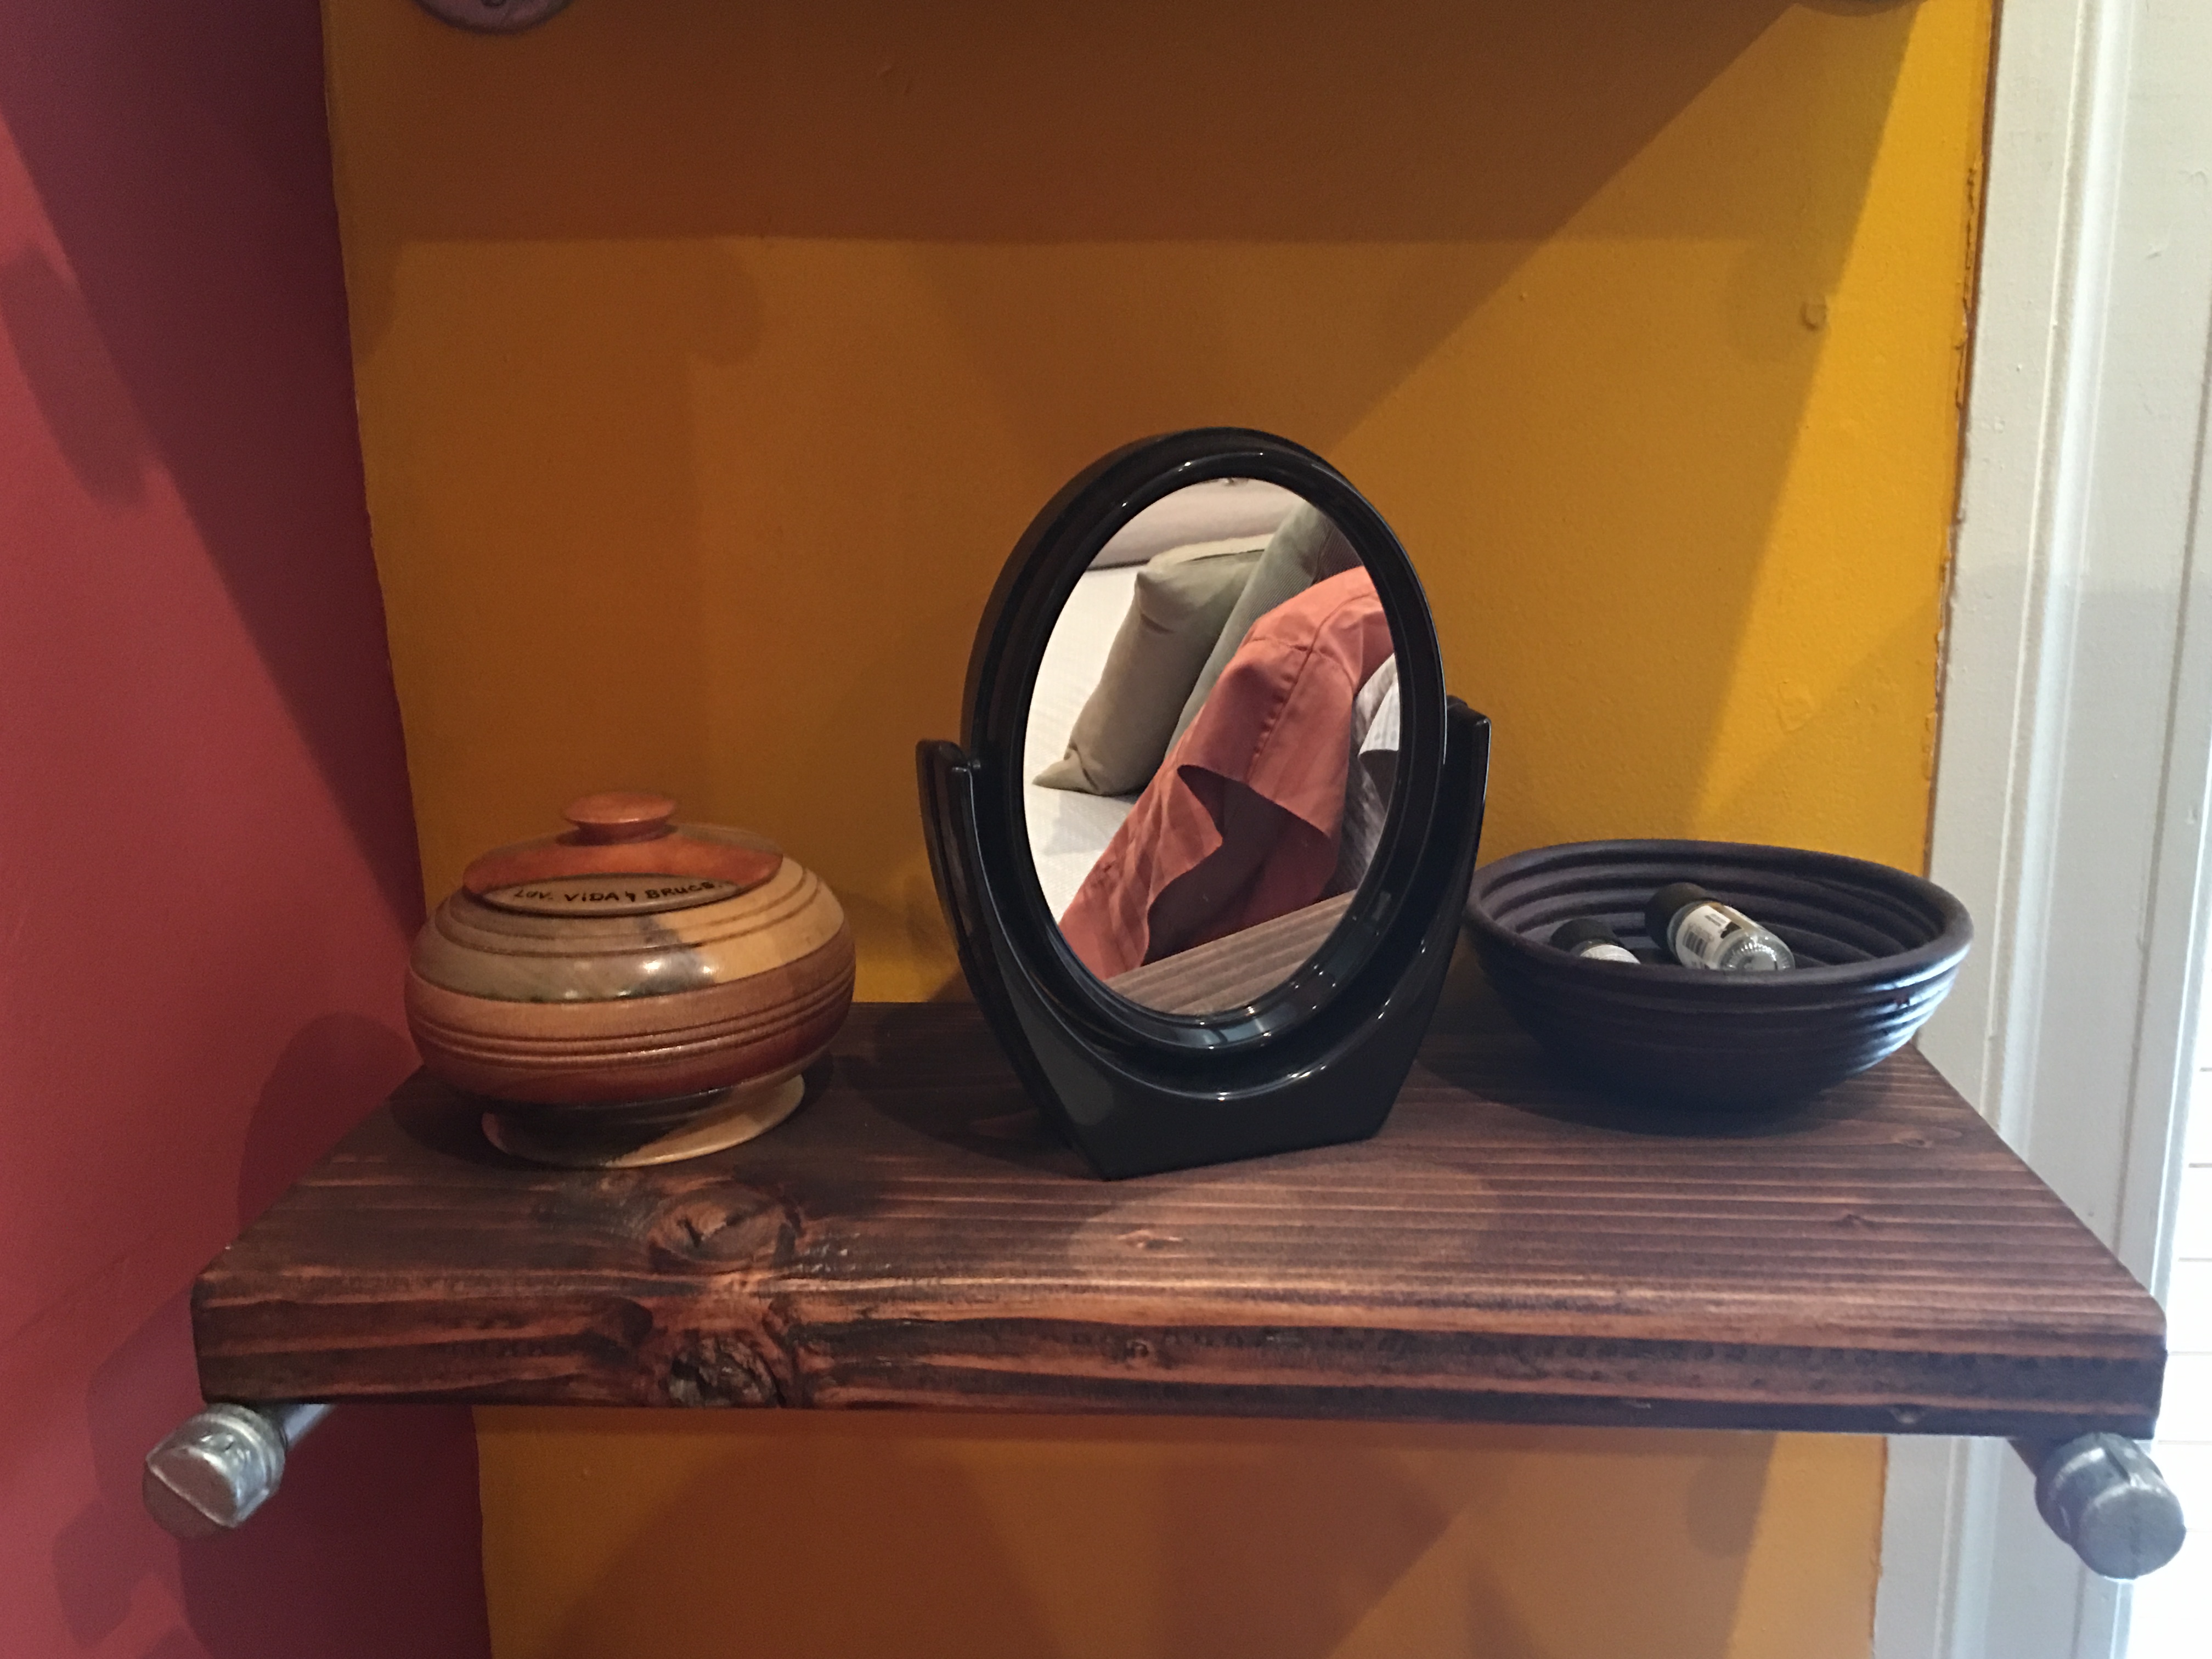
More Xenia knick knacks.
Nicely done professional quality staging by Xenia…as always!

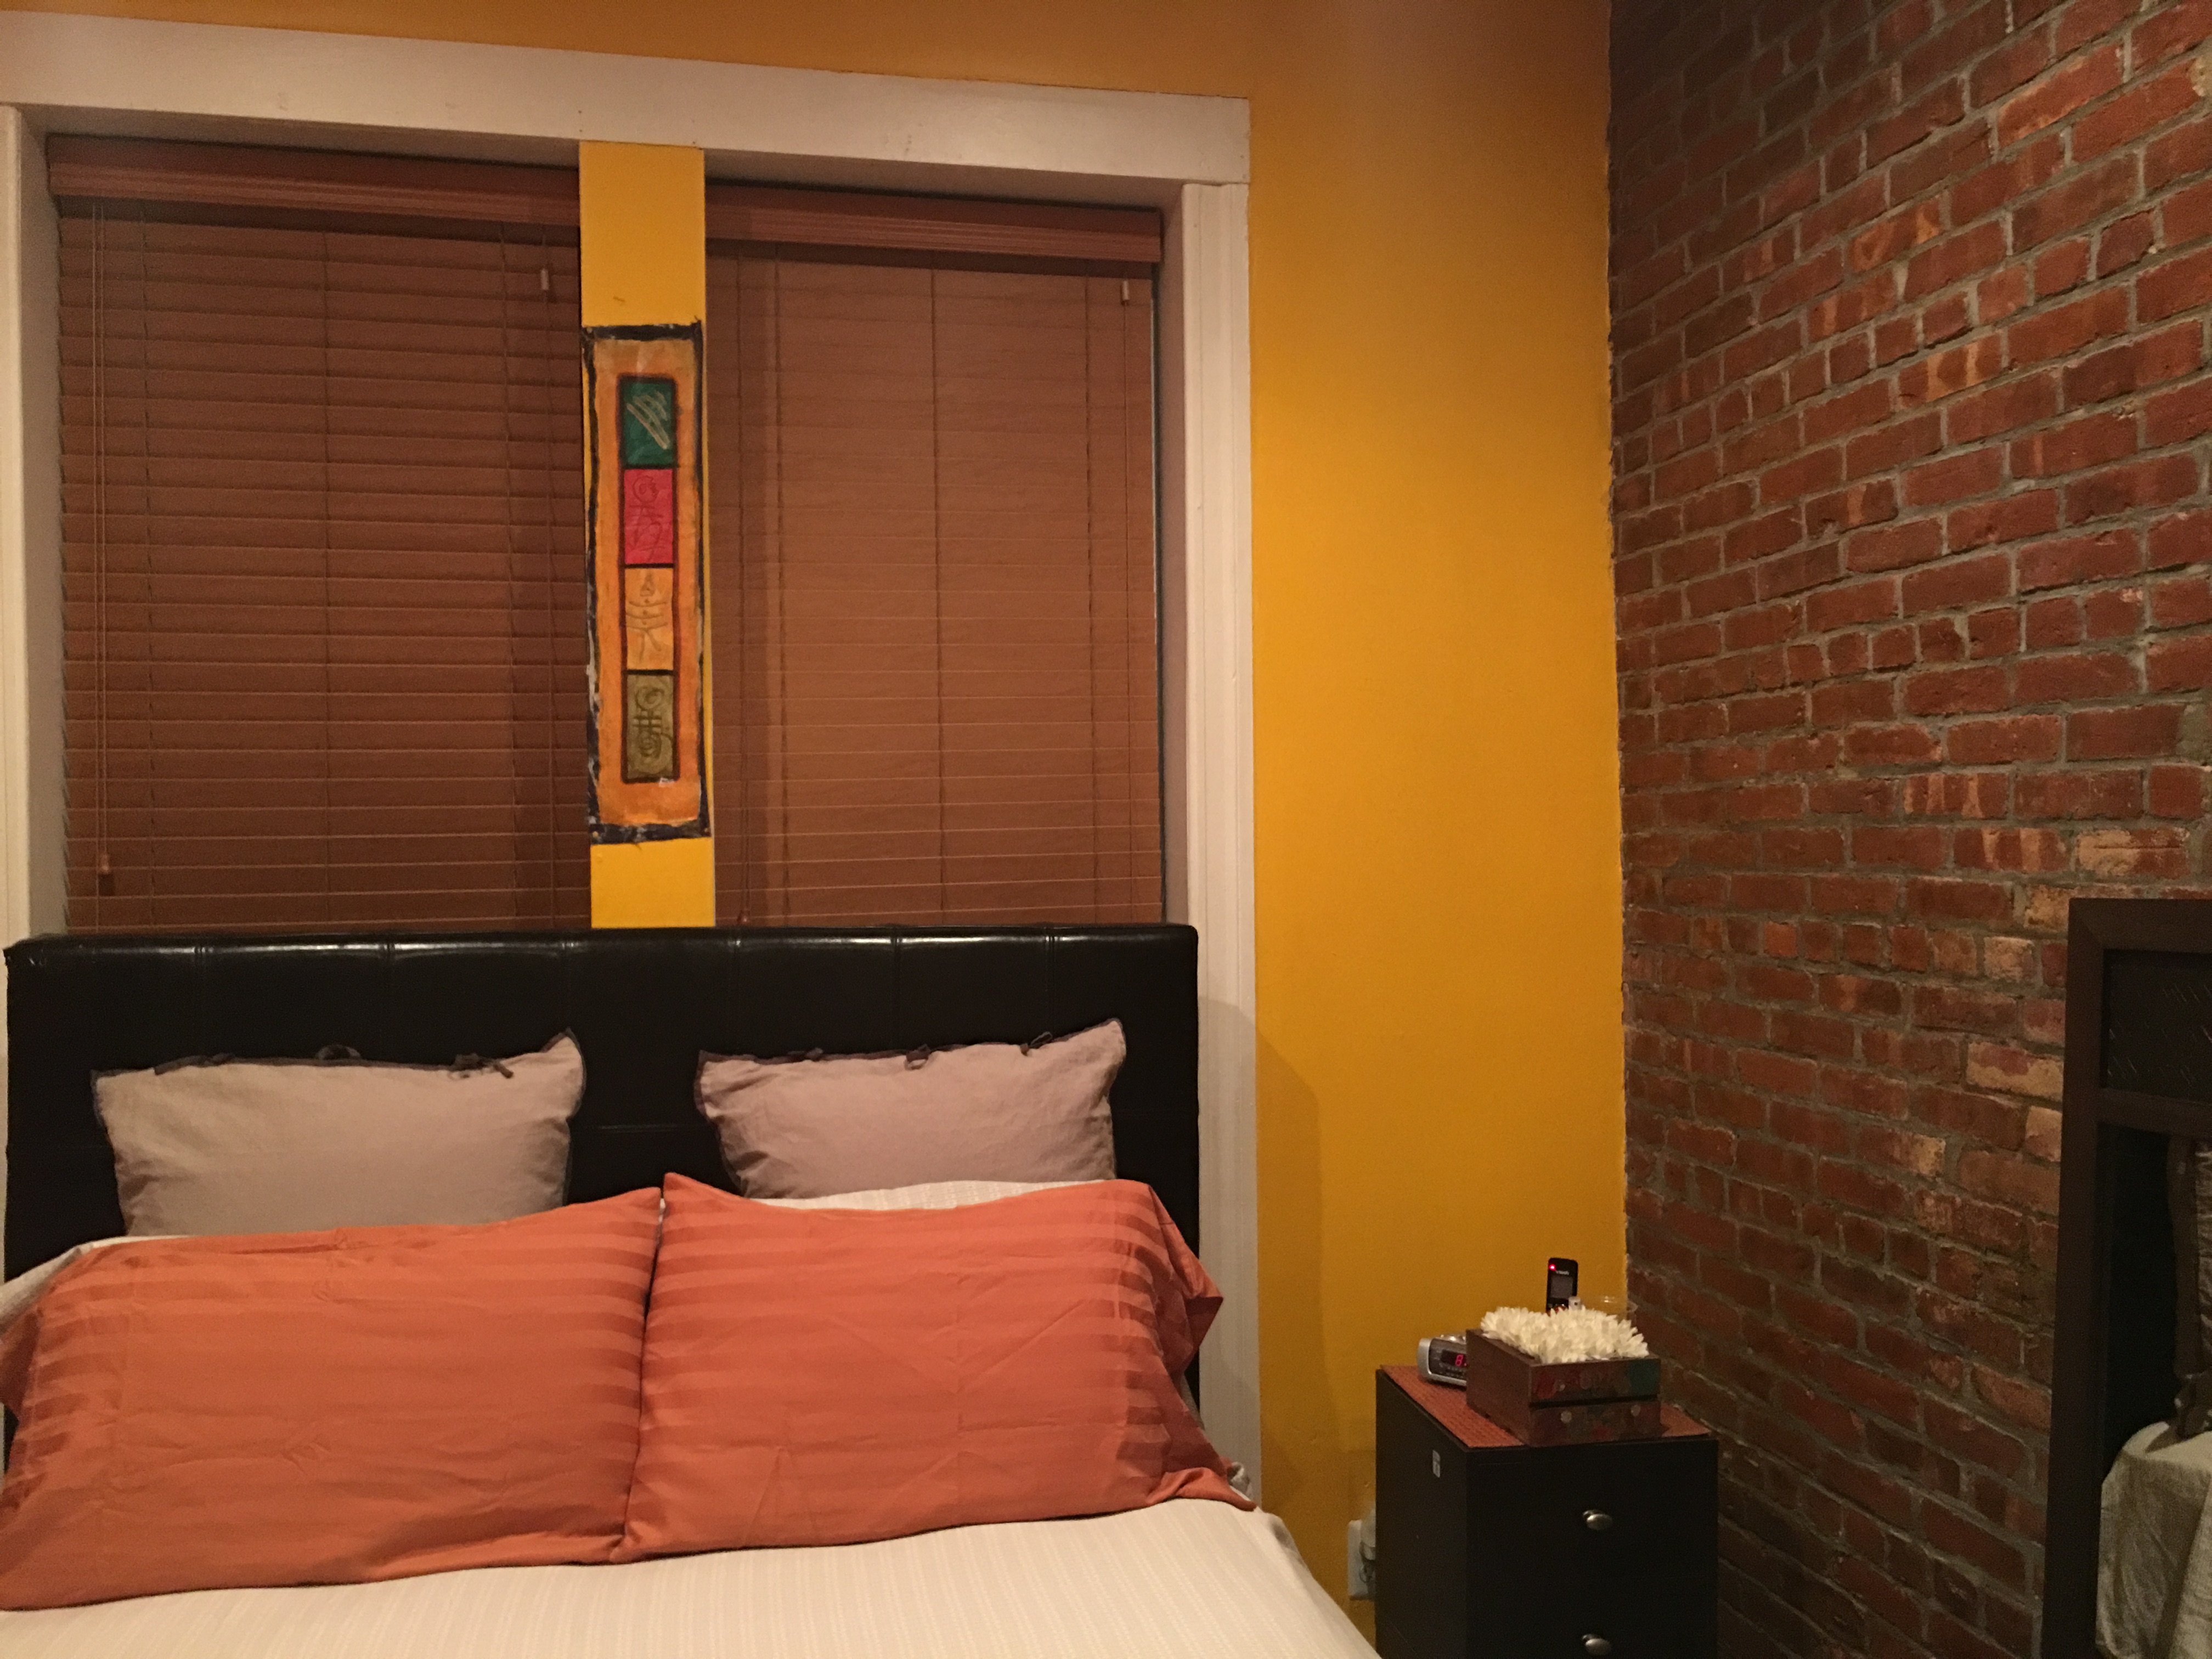
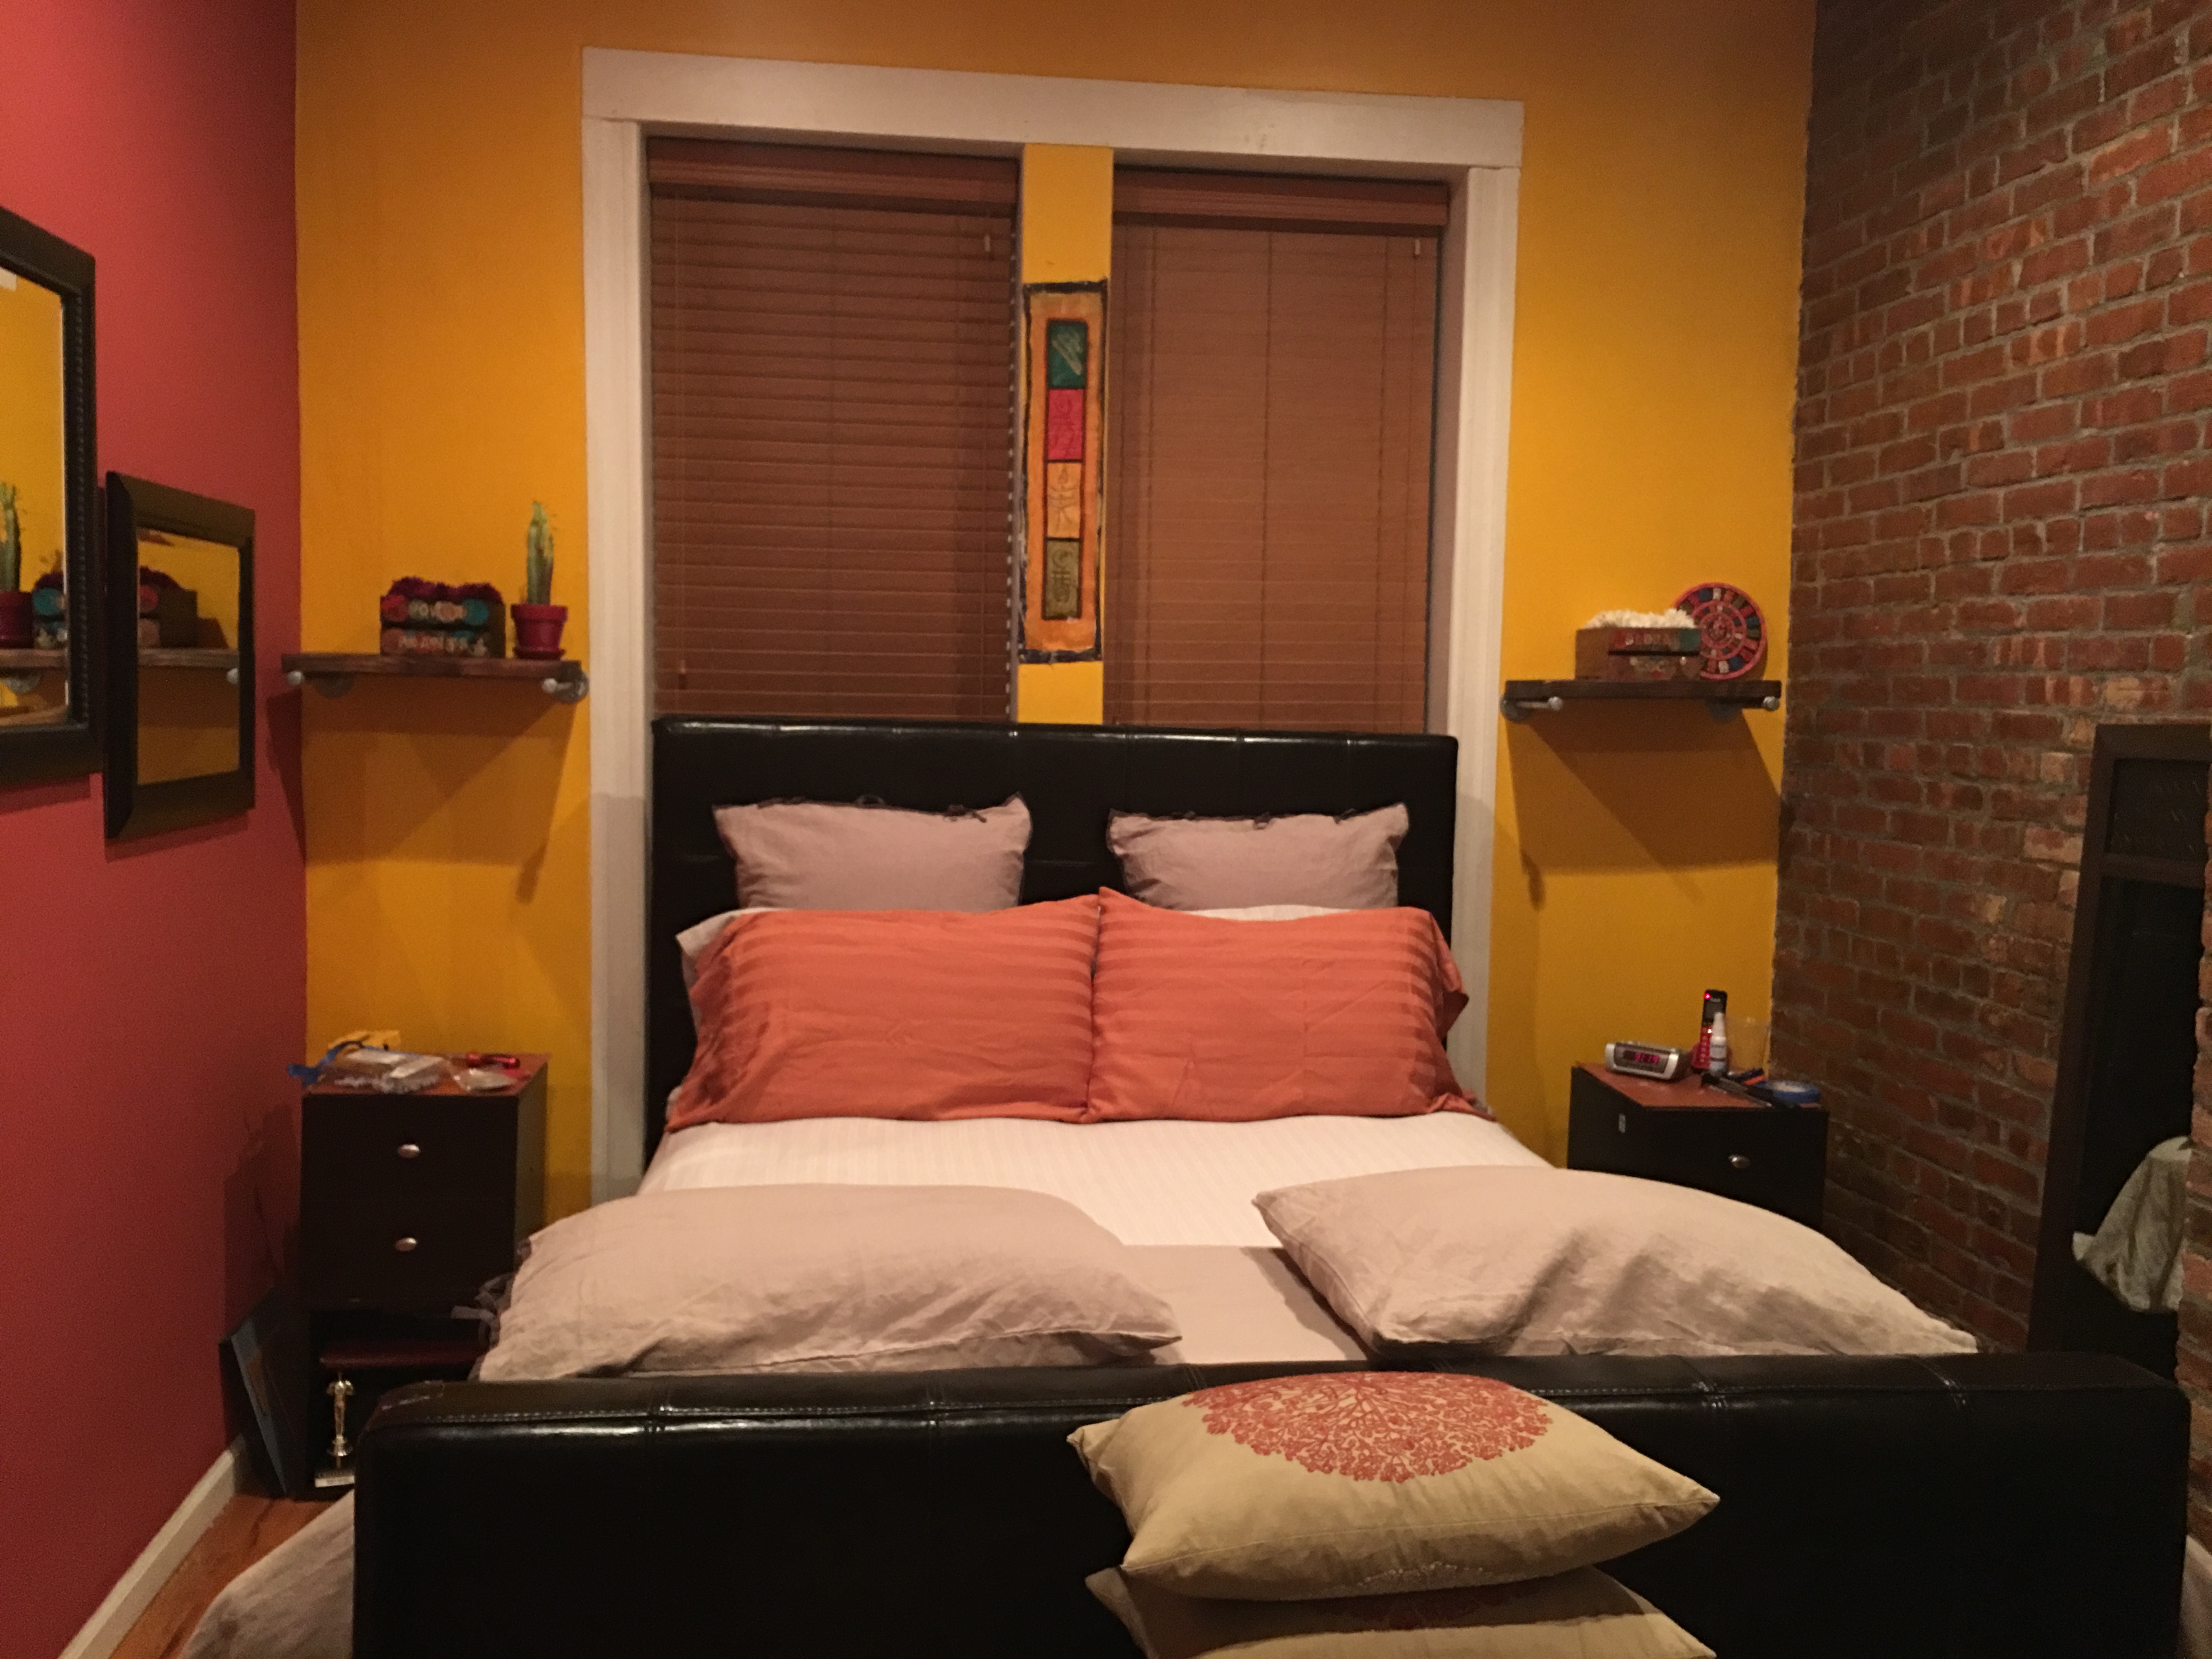
View of Xenia’s bedroom now with her new shelves.
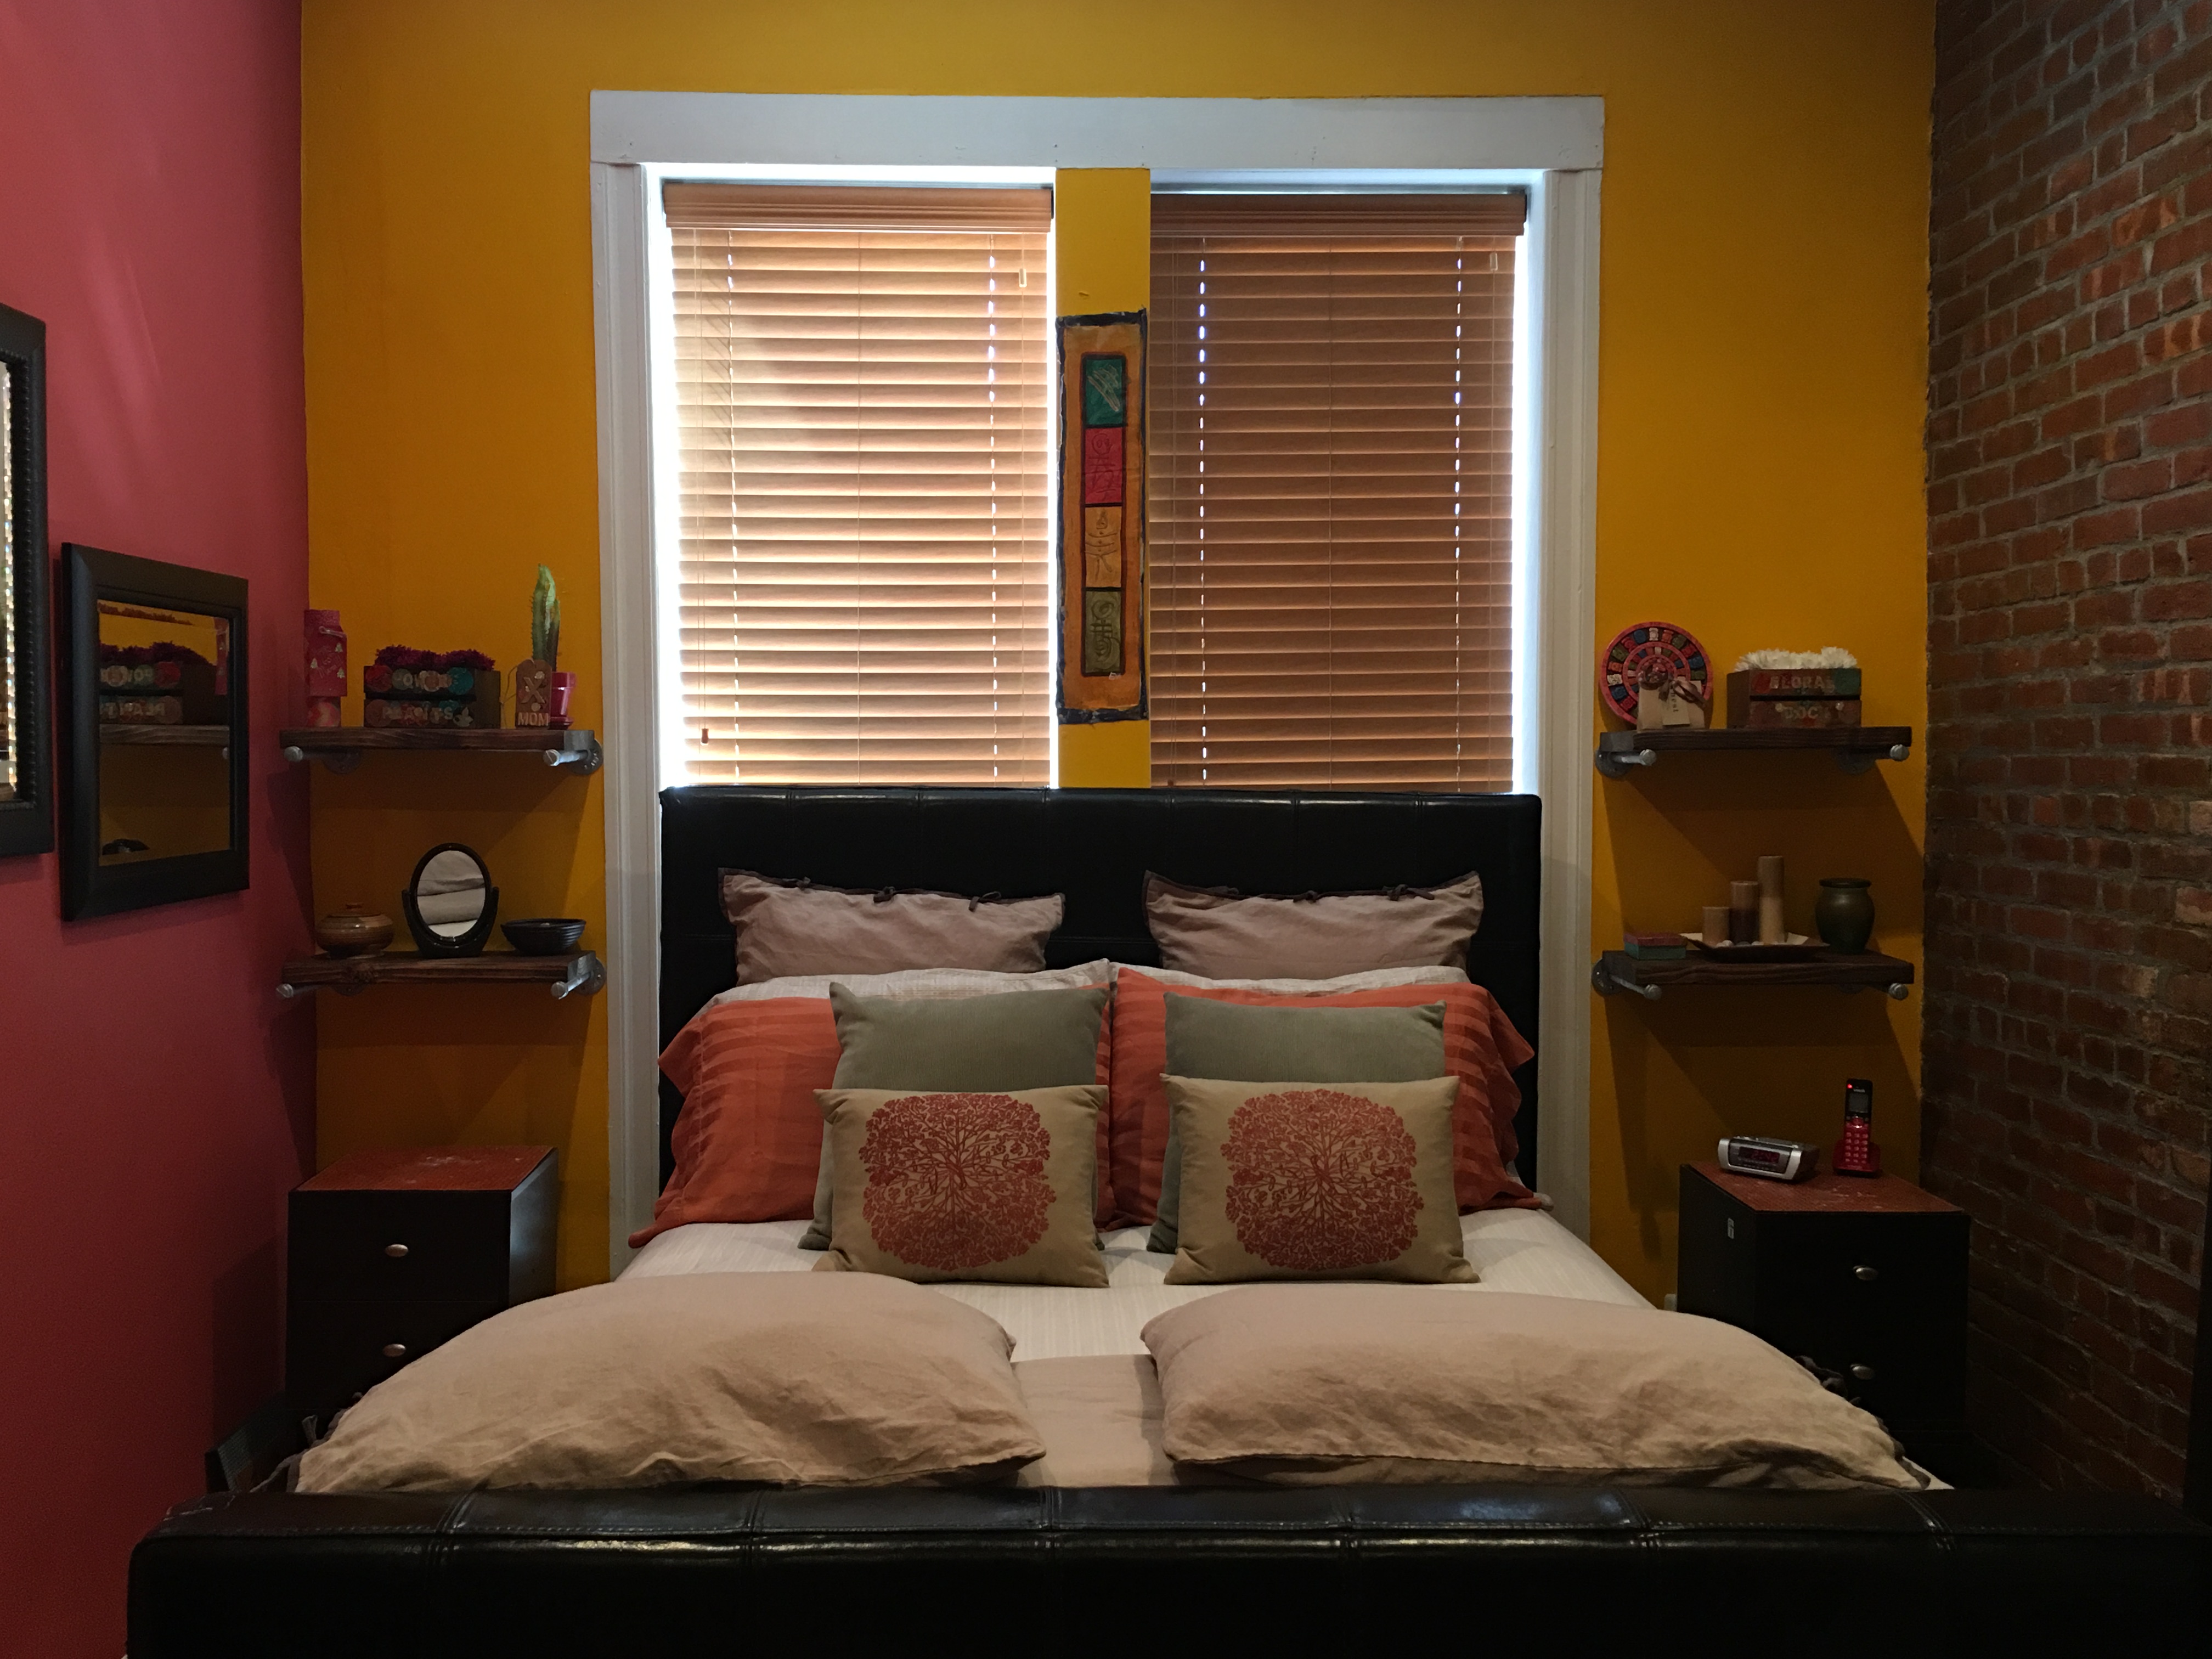
Left side.
Right side.
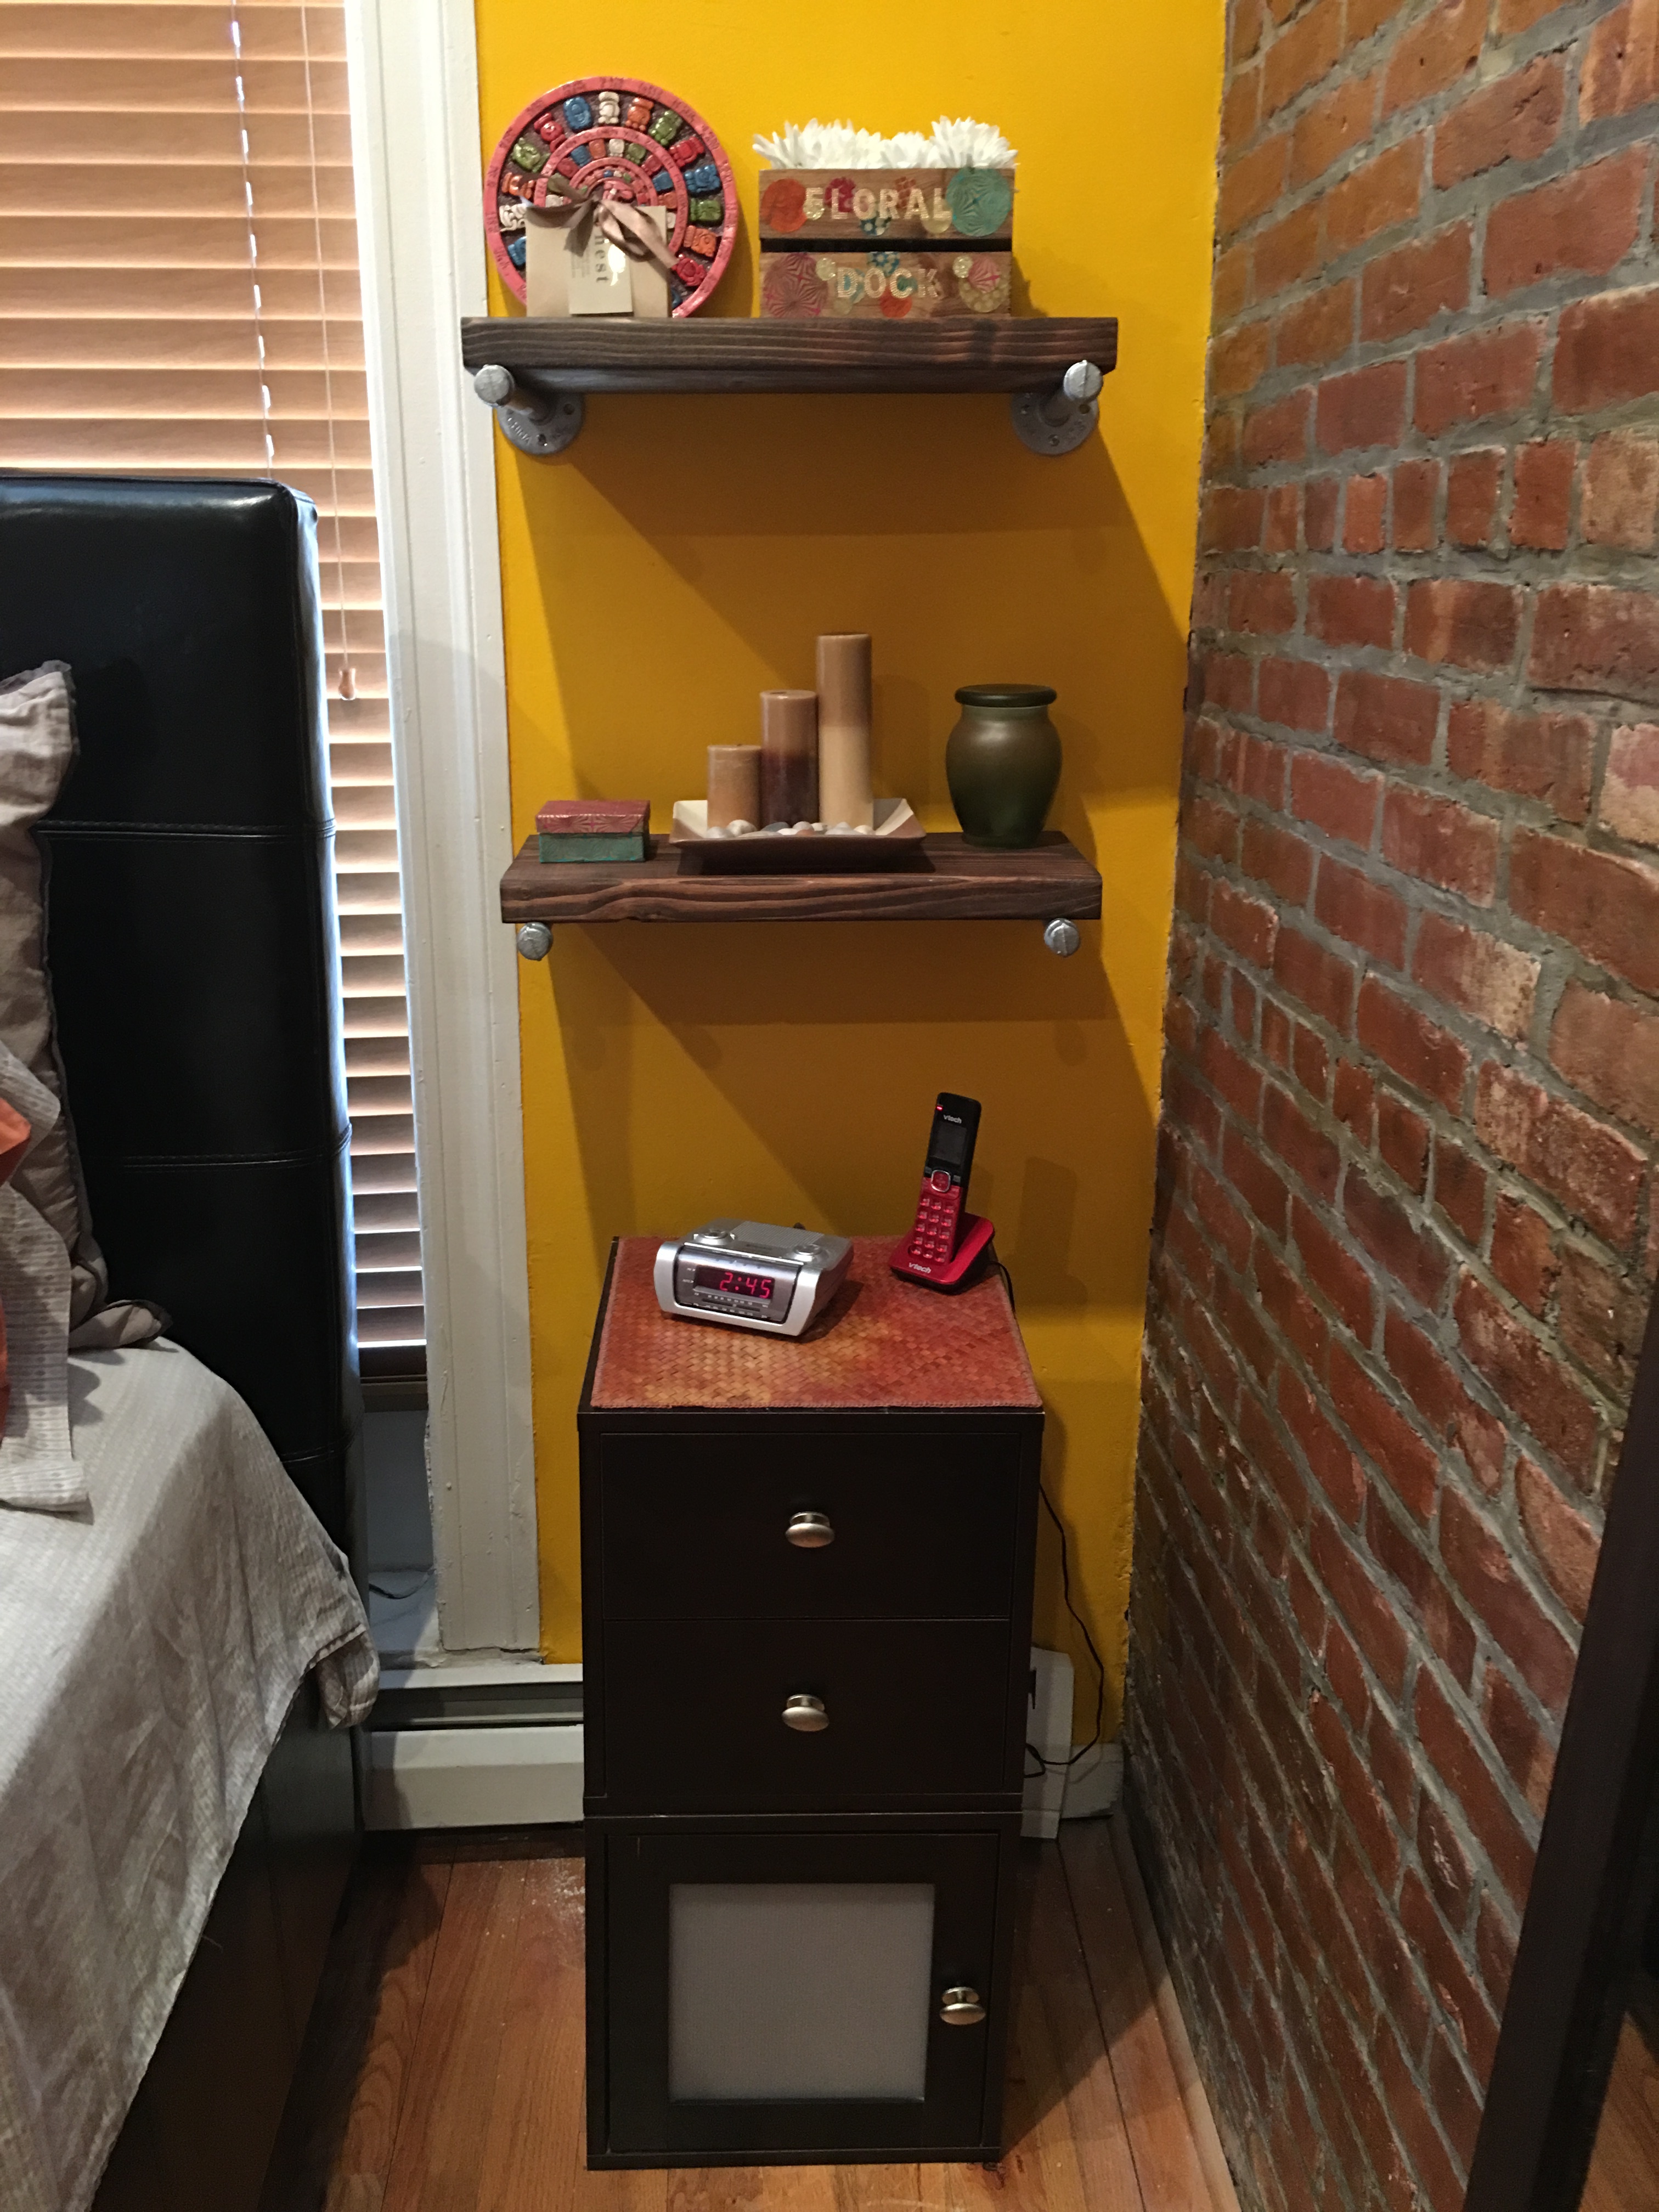
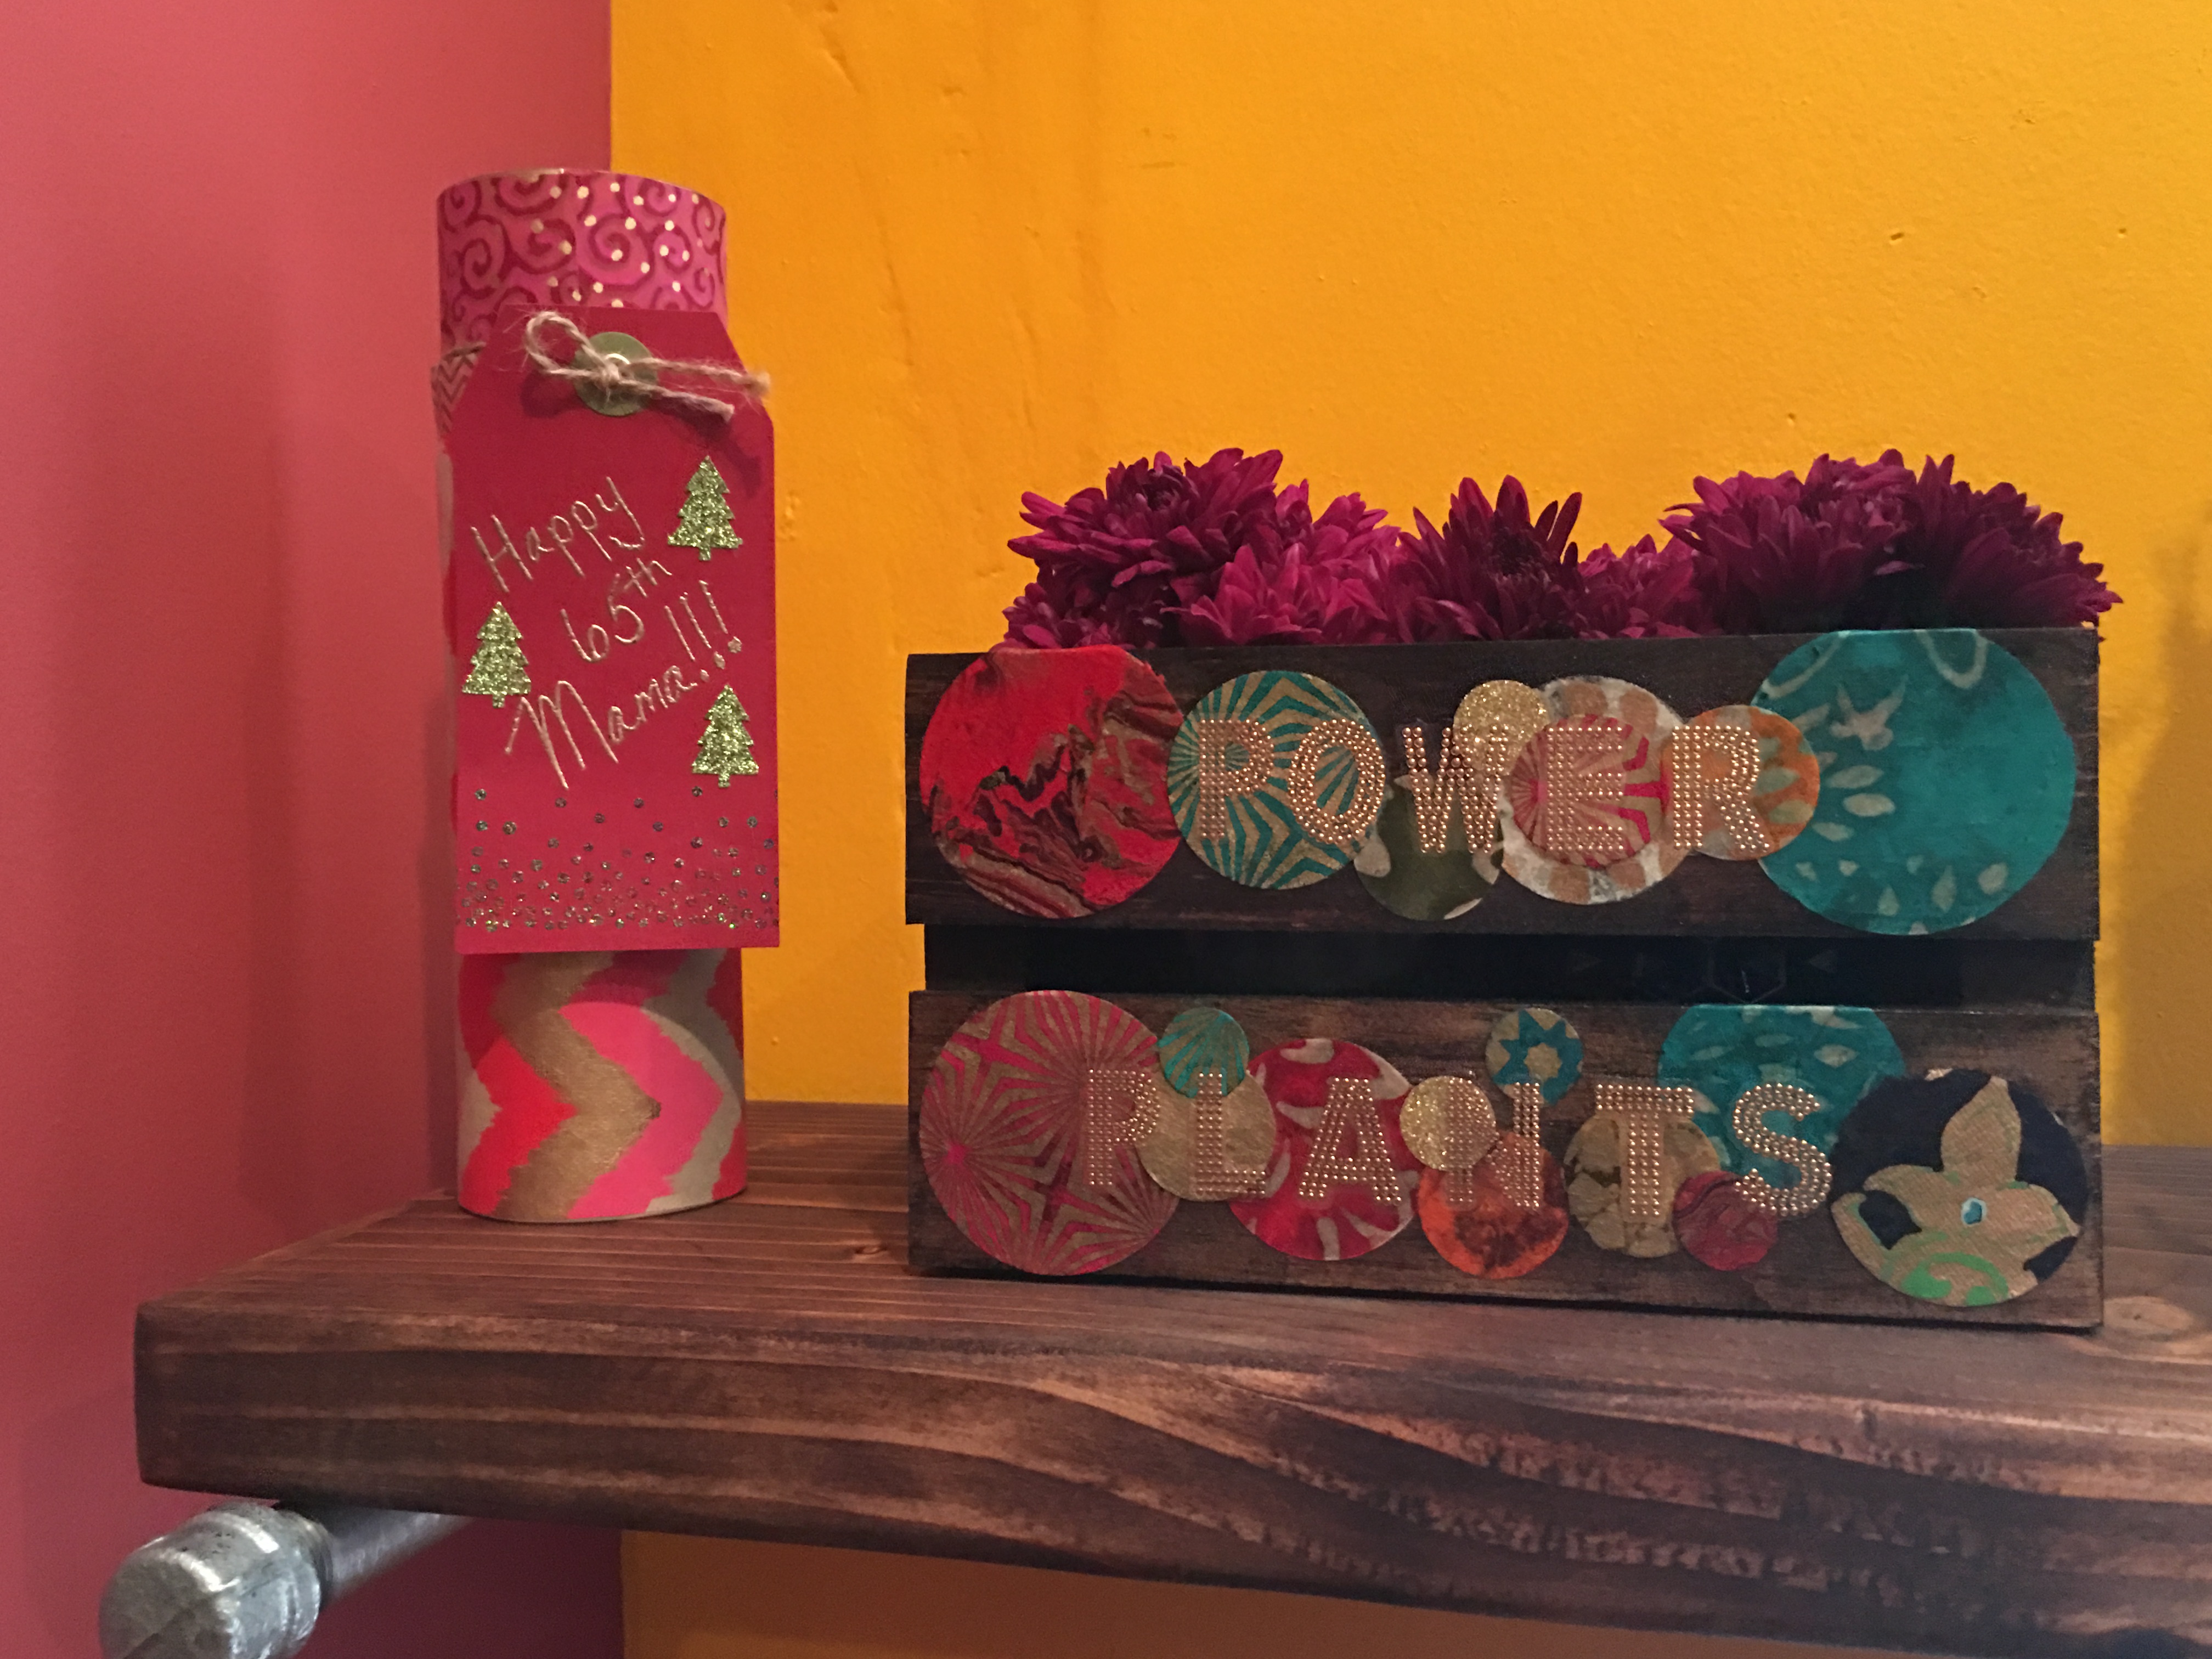
My quick and crafty 65th birthday decorated perfume box gift. Awww…
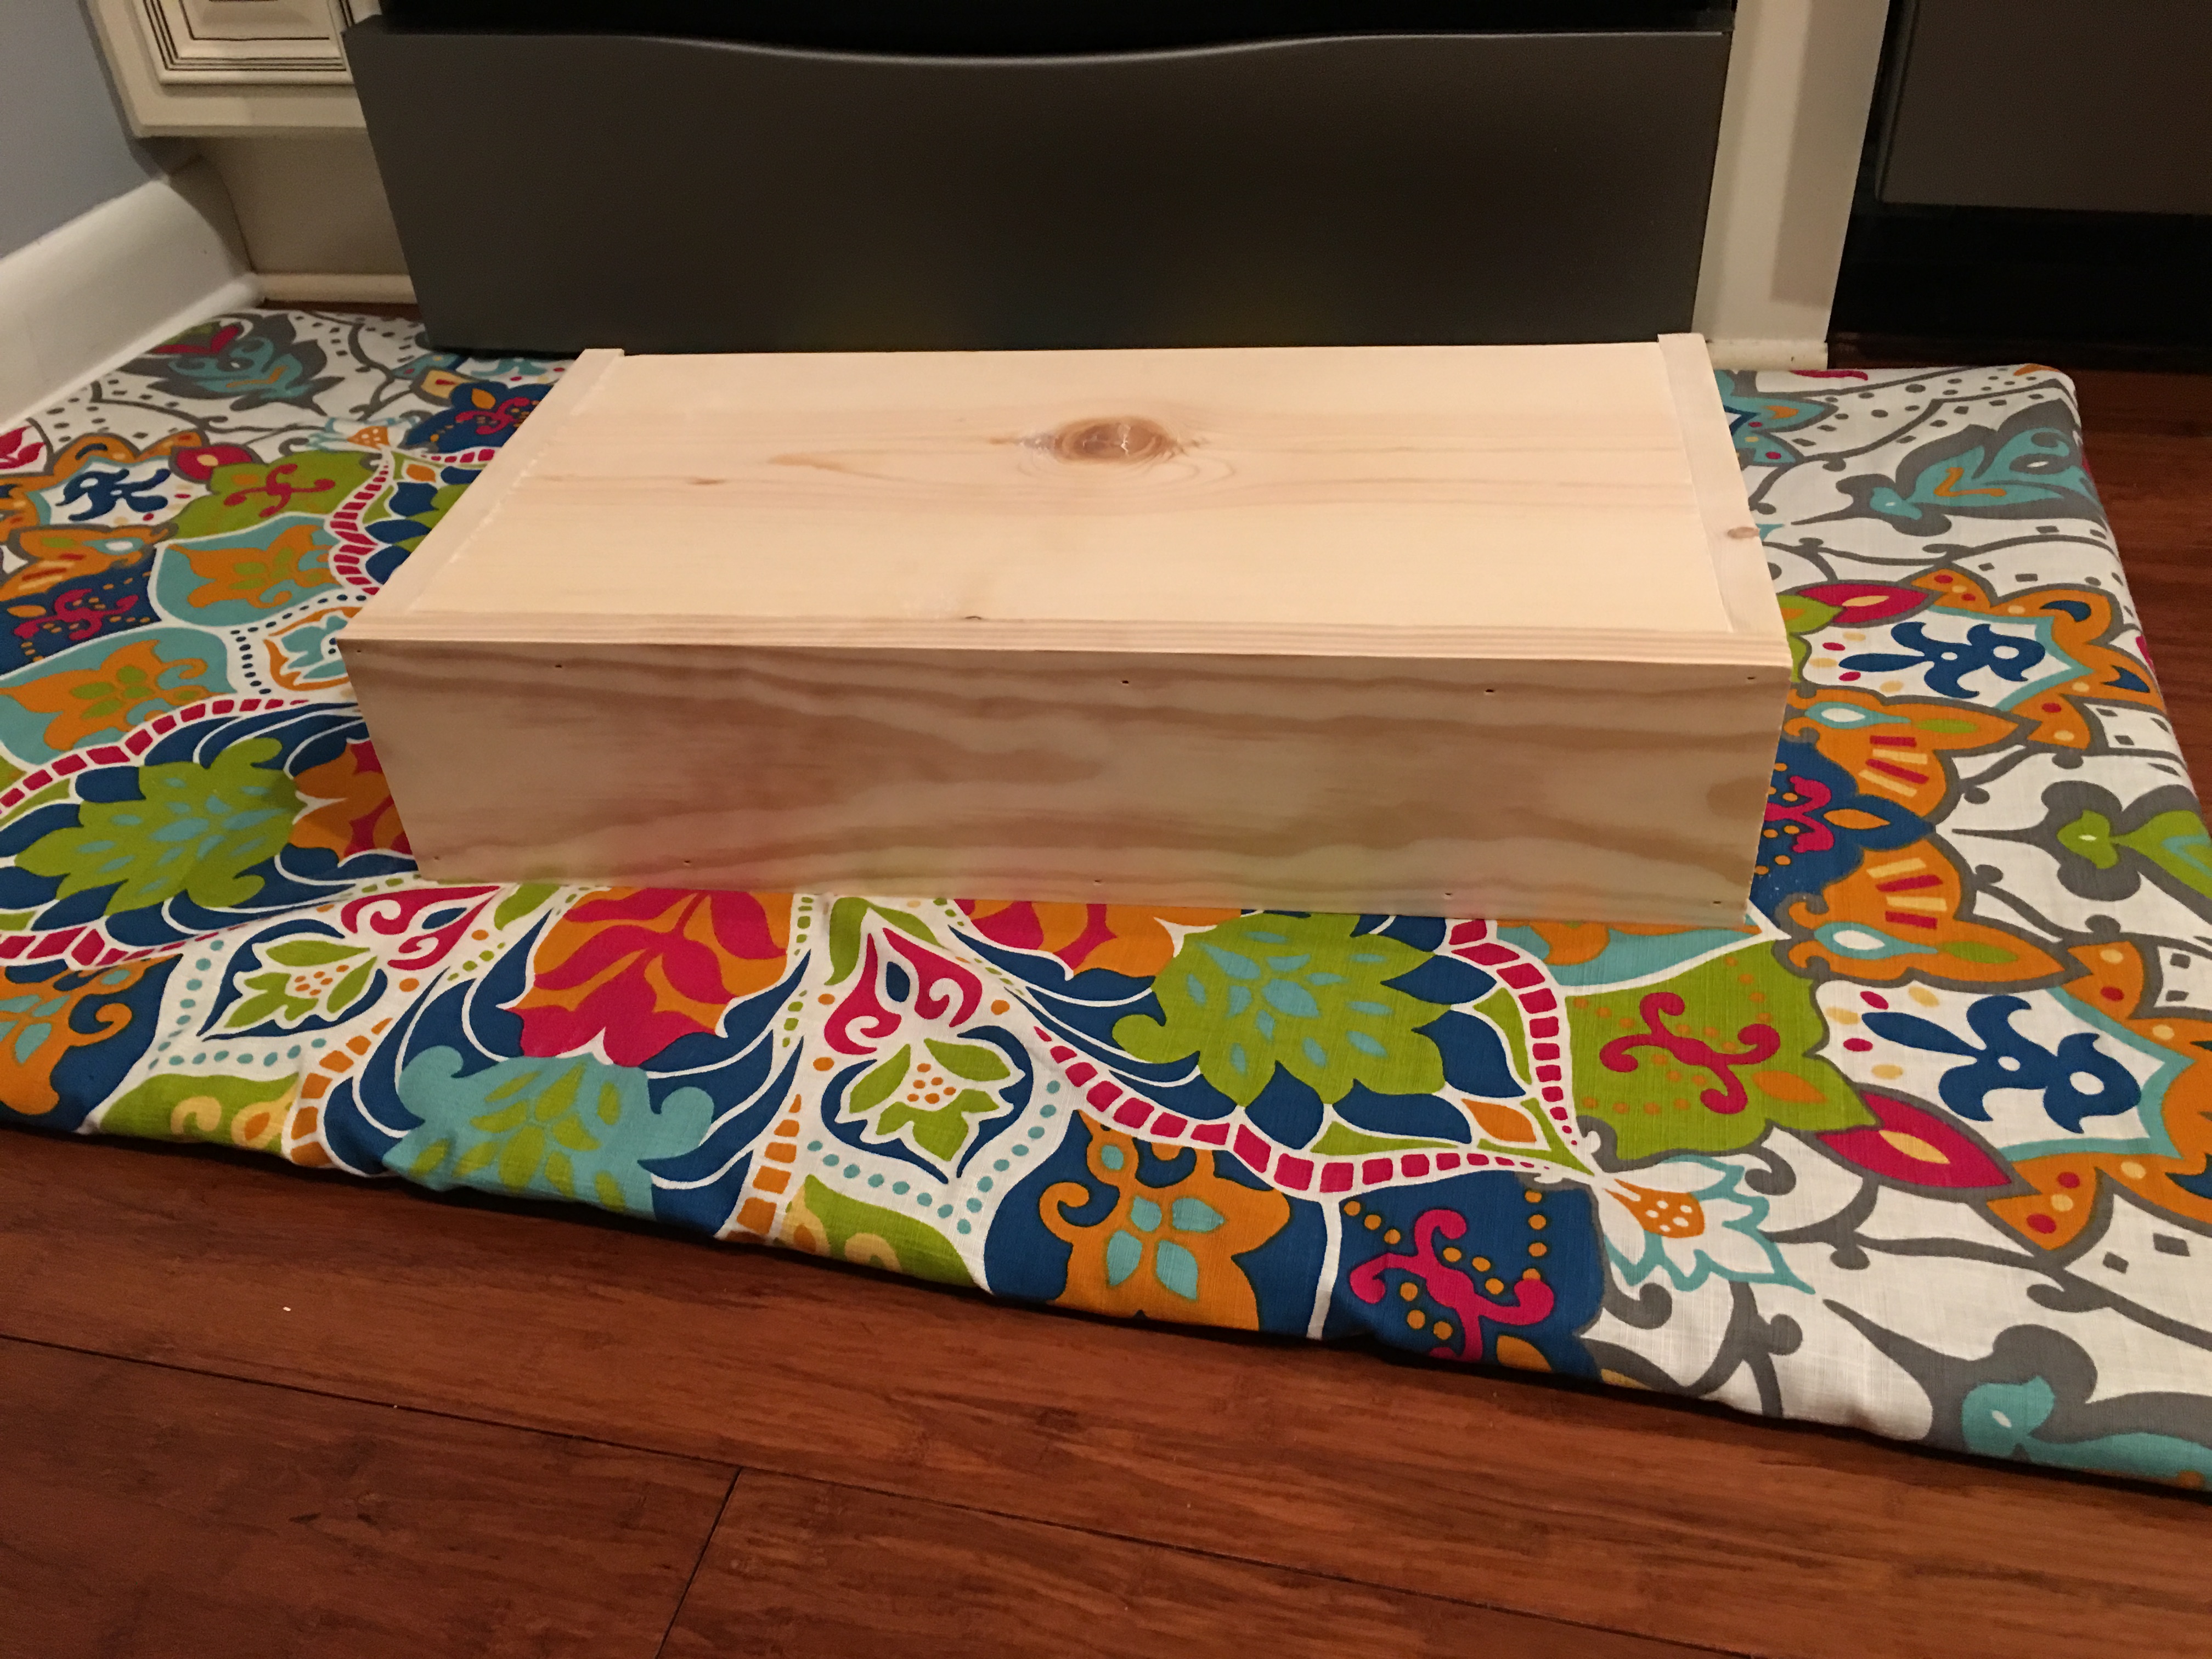
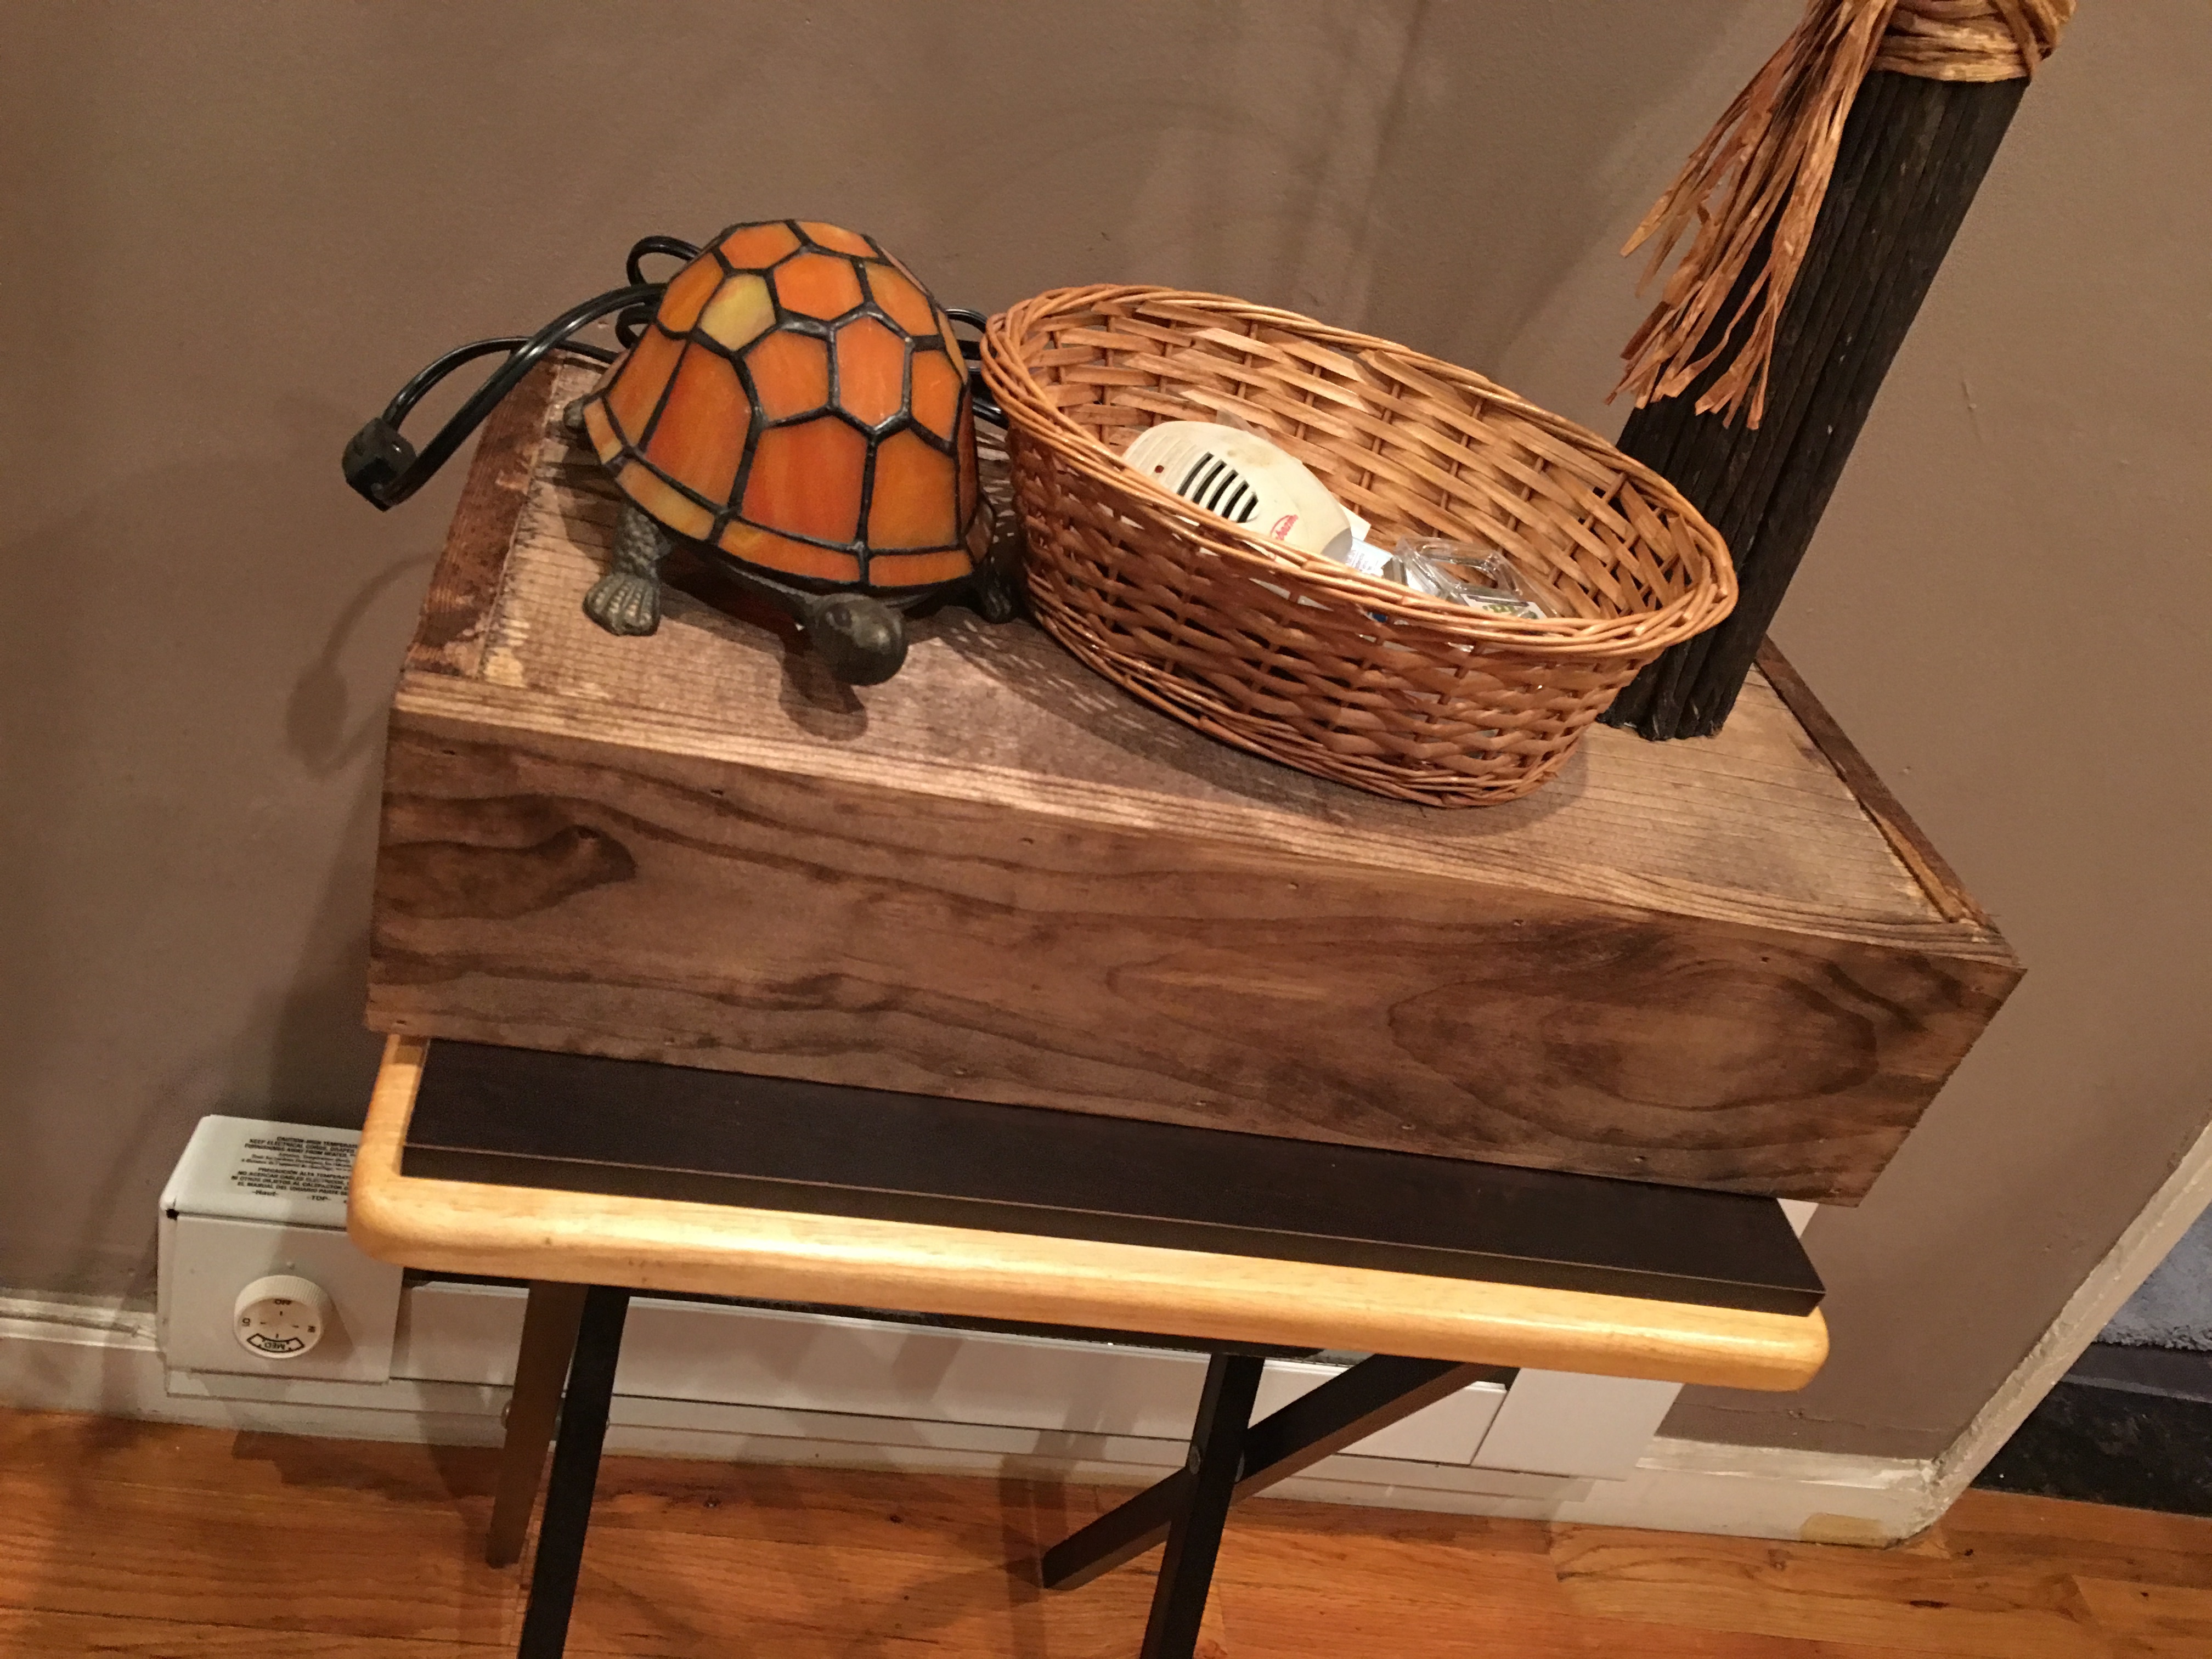
And here’s a final snap of the floating shelf that was originally intended for the bedroom. It has not been completely abandoned…Xenia is brainstorming other walls for this to be mounted on as I type.
To be posted once this is finally up! V-