
Orange Team for Life – Home Depot and my Ridgid miter saw
You may also like:
May 1, 2016: So, apparently, for the last year I’ve been screwing up my wood projects. Because I haven’t been cutting my own wood. I typically buy wood at my local Home Depot or Lowes store and have them cut at the store to the lengths I need for my projects. I’ve done this for a number of DIY build projects: my rope hanging shelves, my wood and pipe hanging bar with organizer, my den floating shelves, my living and kitchen floating shelves, my pipe hall tree, etc.
But there are times after those cuts are made that I’d have to fix something. Wood cut too short. Or cut too long. Or impossibly ragged cut edges that requires a lot of extra sanding.
This morning, my issue was an incorrect measurement on 1 x 4 inch cuts made for my mother’s floating shelves. No one’s fault but my own this time – I thought 9.75″ was what I needed but I over-calculated by a full half inch. (NOTE to all would-be carpenters, when adding 1″ thick face pieces to a box that covers the sides, you remove 3/4″ from the side piece, not 1/4″! Groan!!!).
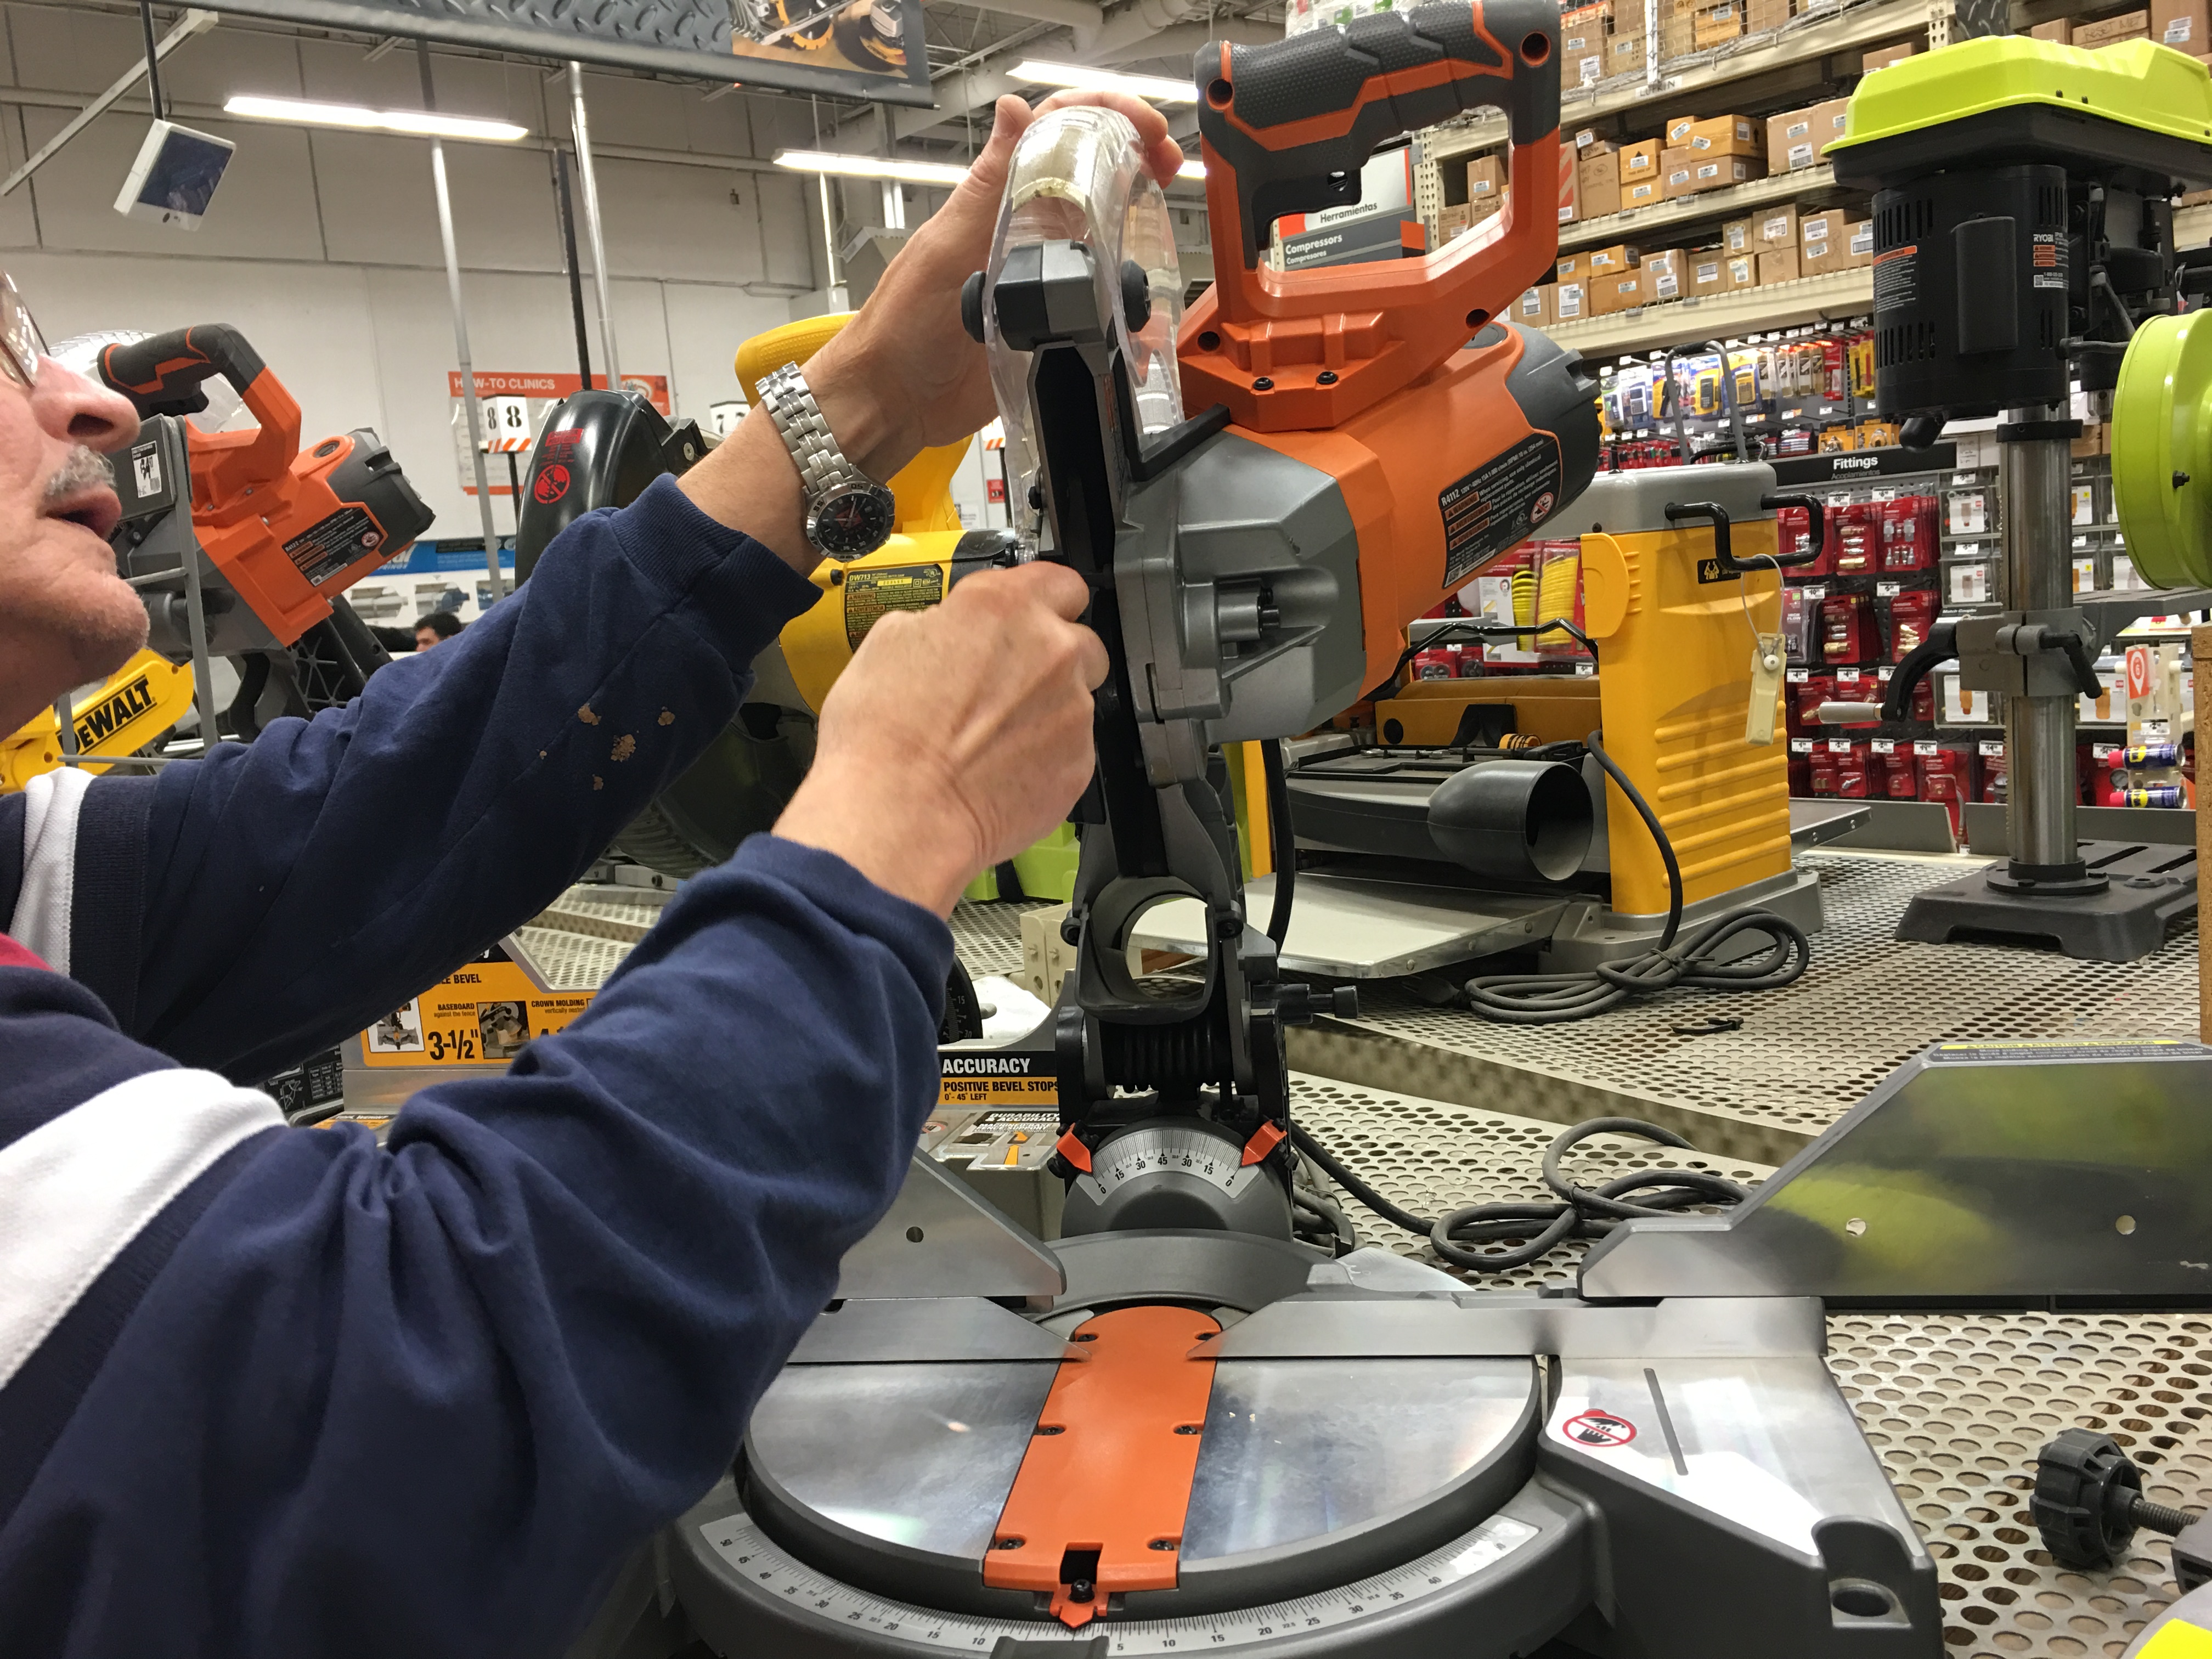
So I head back to Home Depot Bethesda to either look for more wood or to fix the cut wood I’ve got by finally bringing home a compound miter saw.
Scary looking, right?
I also thought so at first whenever I would browse the power tools aisle. These are right up there with chain saws as the scariest tools in the tool shed. Something about a fast spinning blade with evil looking teeth makes you want to run to the hills.
And it doesn’t help when male Home Depot customers and associates caution you to not cut off any fingers whenever they pass you in the aisle.
But over the last year, I’ve been building my confidence when working with power tools (my Dewalt power drill, Tim’s drill press, orbital sander, jigsaw, Dremel rotary cutter). And I’ve learned that once you follow safety guidelines (eye, hand and ear protection), they are quite easy and safe to use.
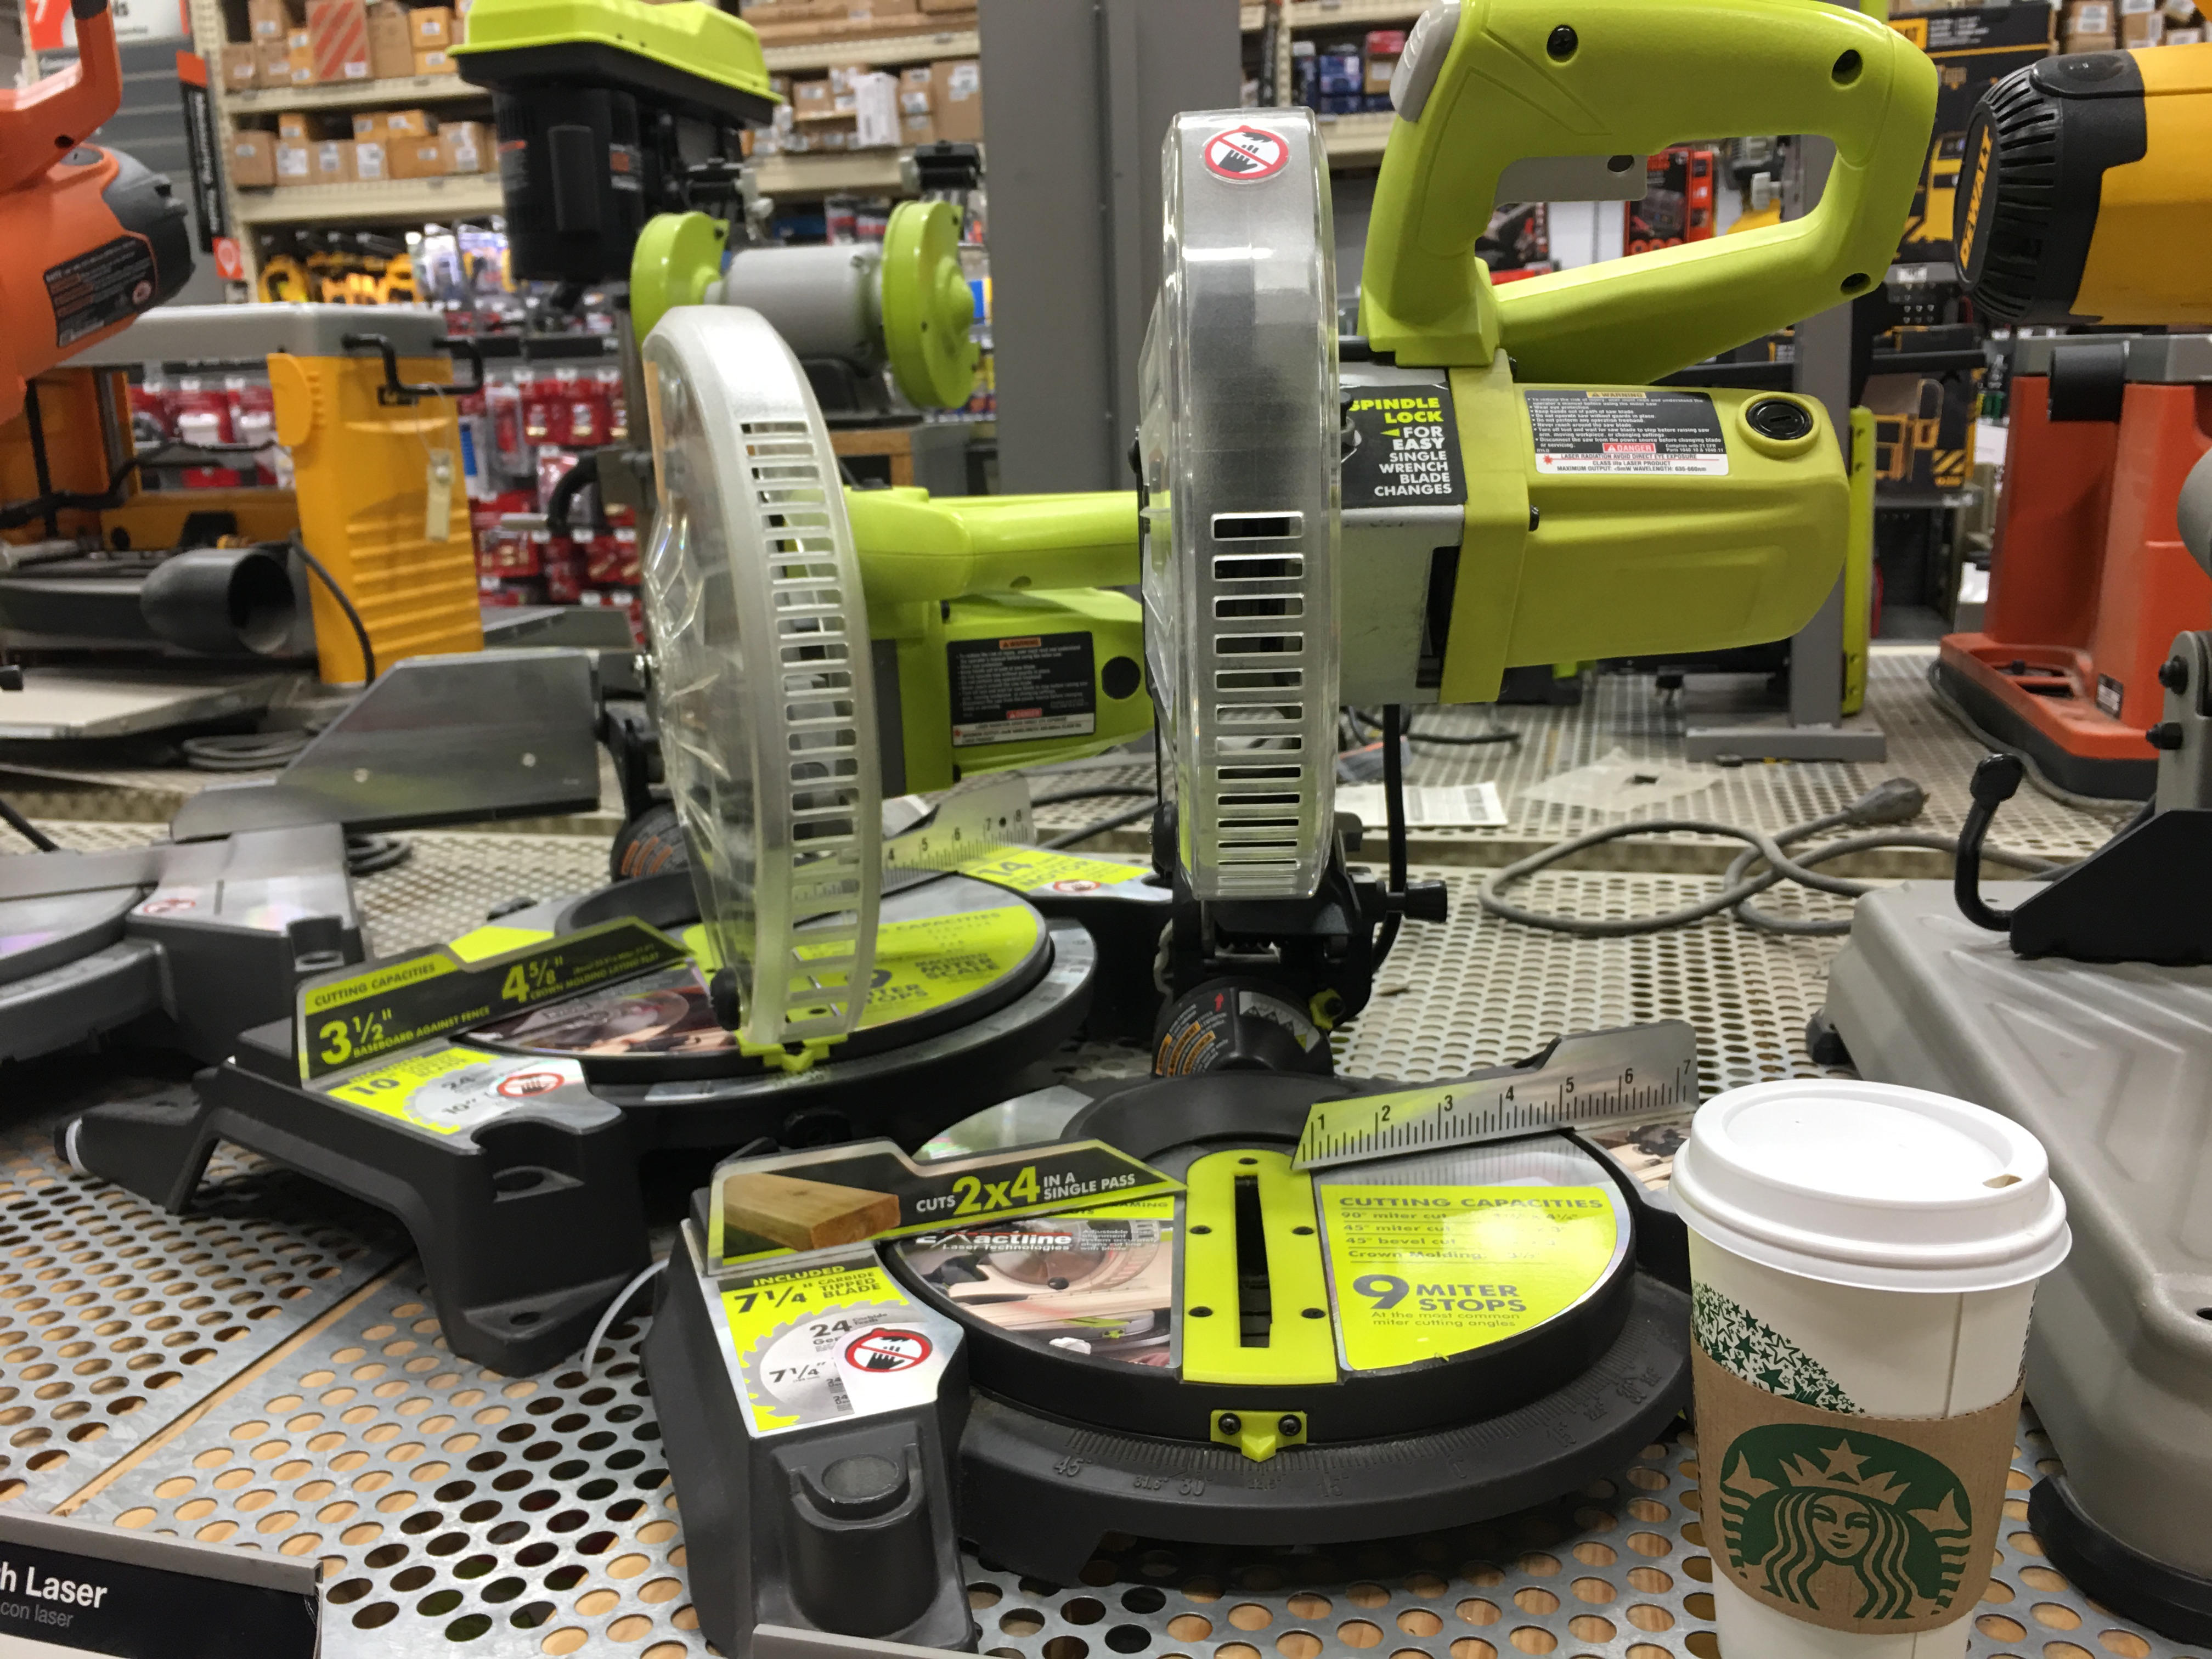
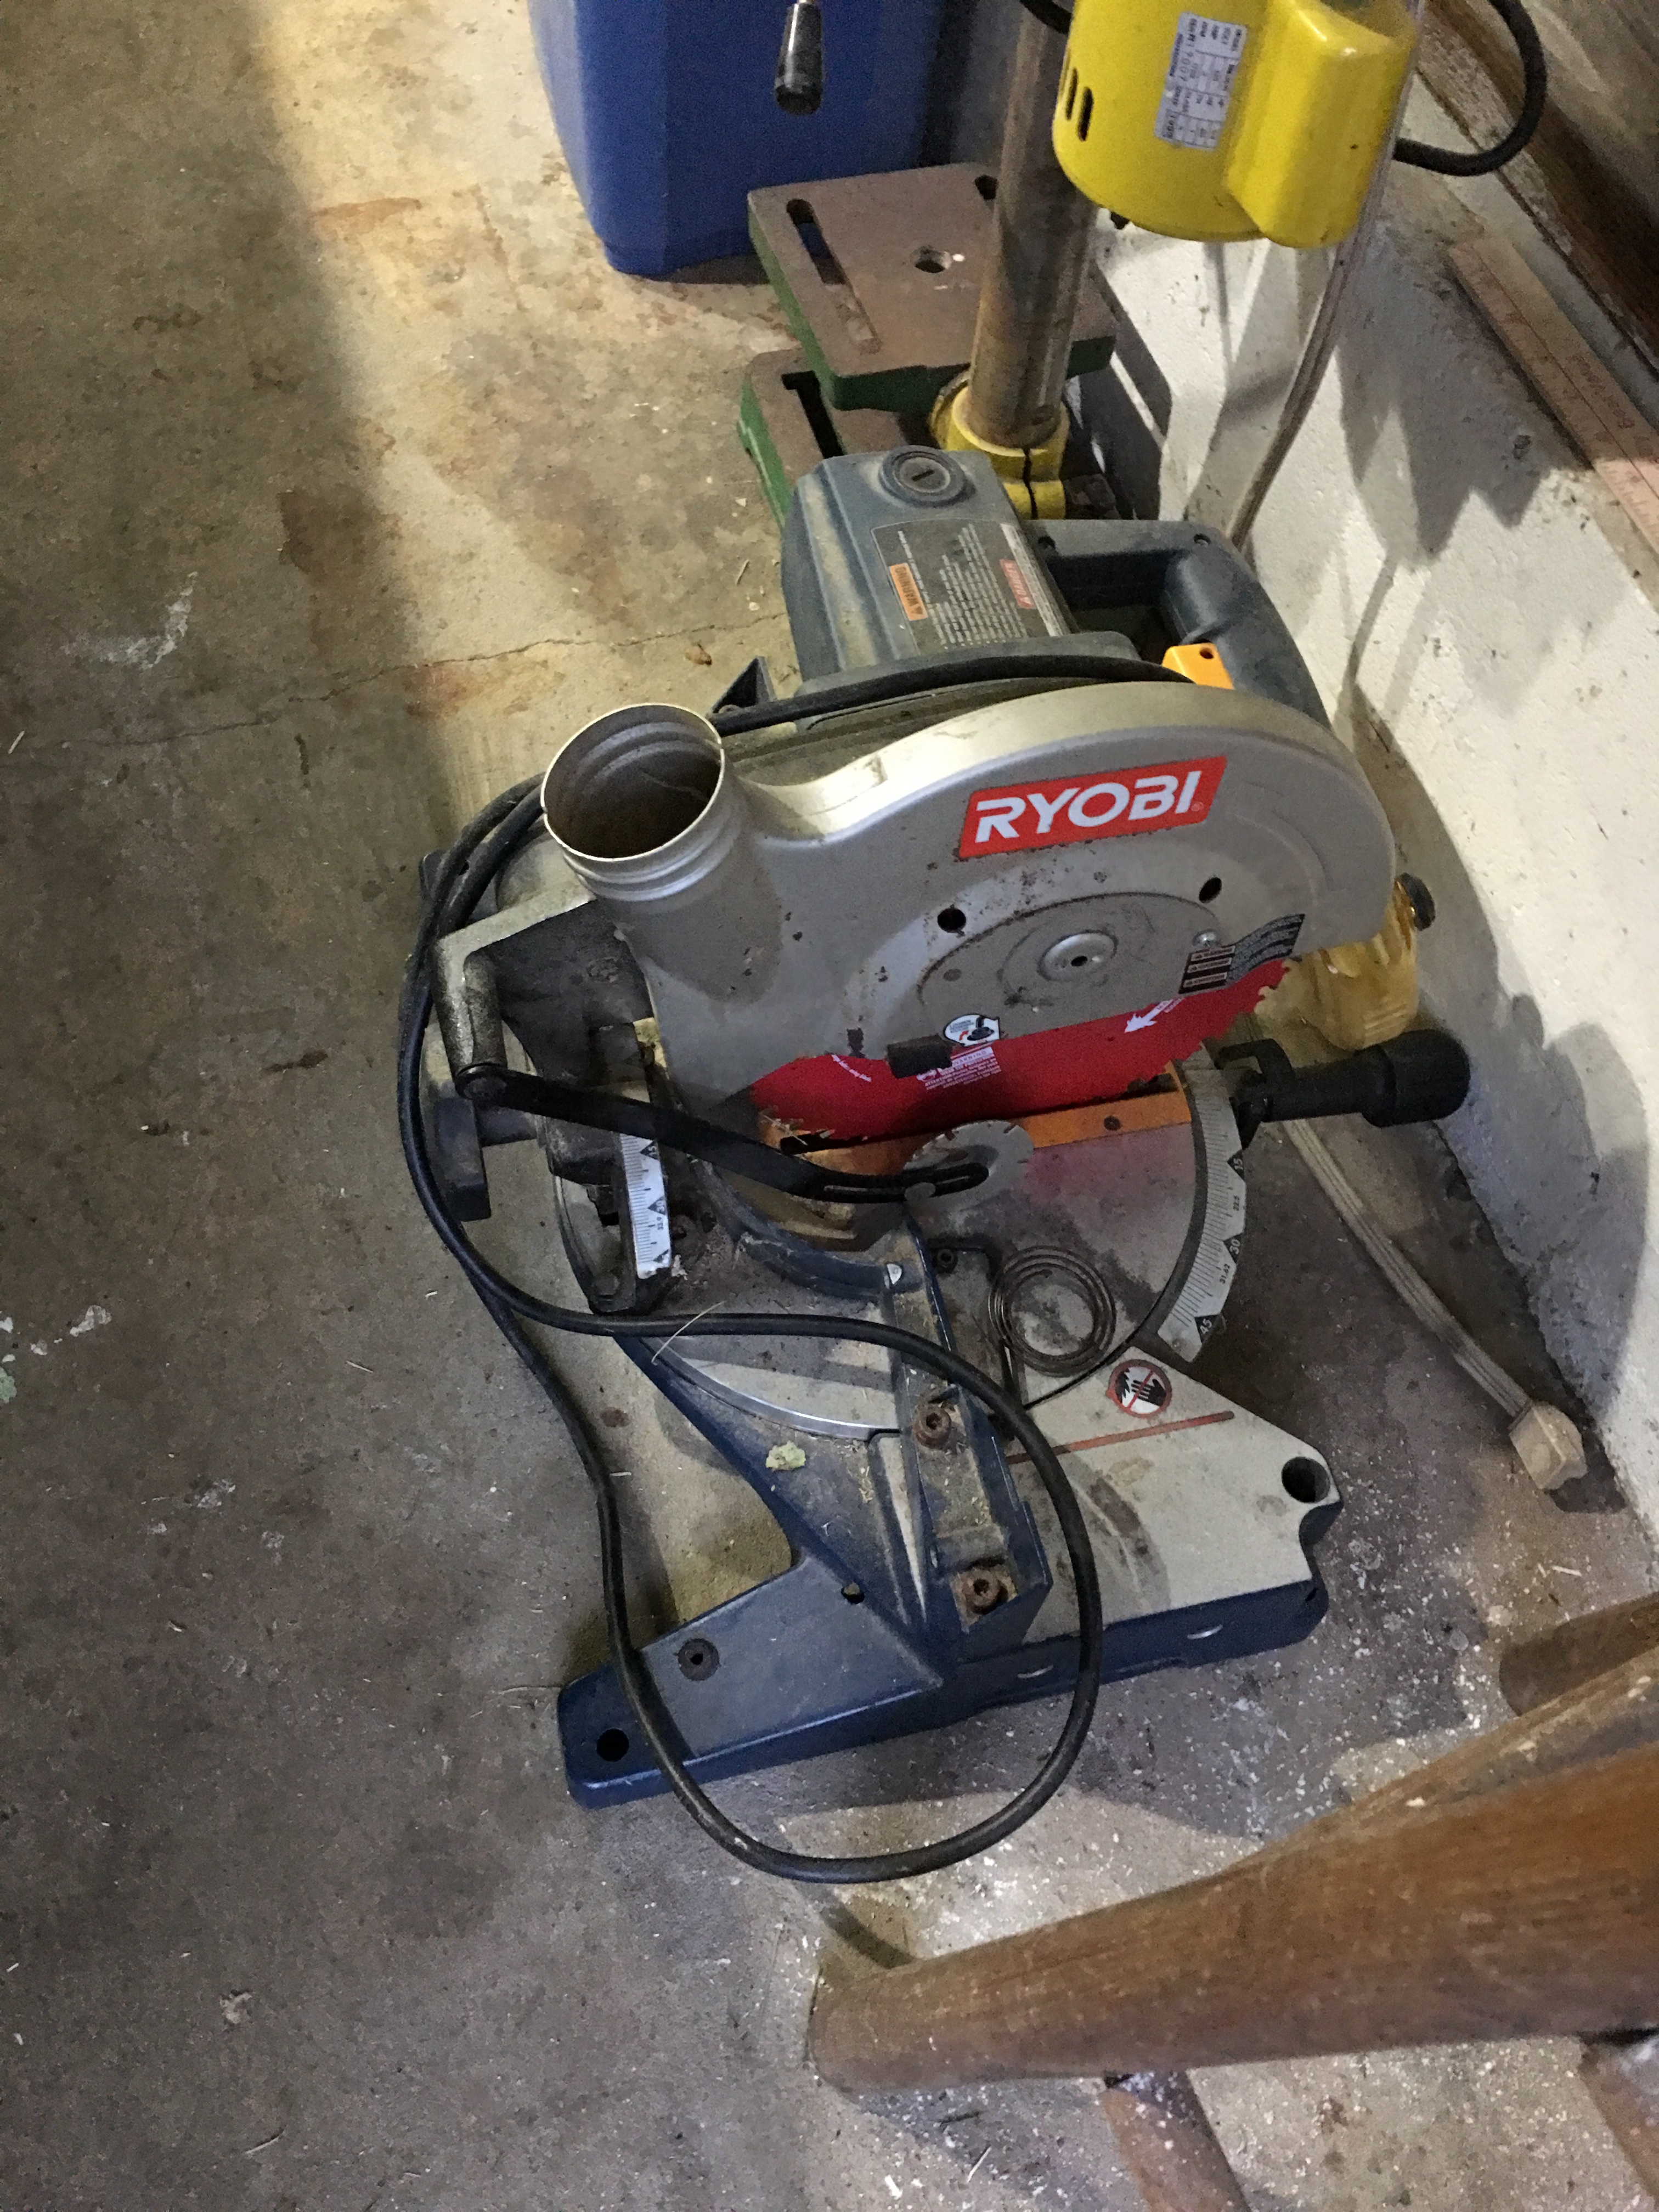
I’ve been eyeing these miter saws over the past several months (and actually added a Ryobi 7″ compound miter saw to my cart once, only to put it back on the shelf later). I can’t use the saw in the condo (condo and Bruce rules), but I can over at Tim’s garage (and let him know that I want to buy one to replace the old, broken saw that’s been sitting under the pool table for however long).
So today might be the day, depending on my buying experience. I resolutely march into the power tools section and find my good friend Bob (Apron Name: Rob C.) working alone in the aisle.
Score!
Bob has become my go to guy whenever I have any questions or need help with my build projects. In fact, I talked to him about my plans to buy a miter saw last week and he showed me some models he recommends (Ryobi being one) and urged me to call ahead to check his schedule so that he be there when I ready to purchase so that he can show me how to use it.
Since I did not call ahead (but instead appeared due to my build emergency), finding Bob there was a pure stroke of luck.
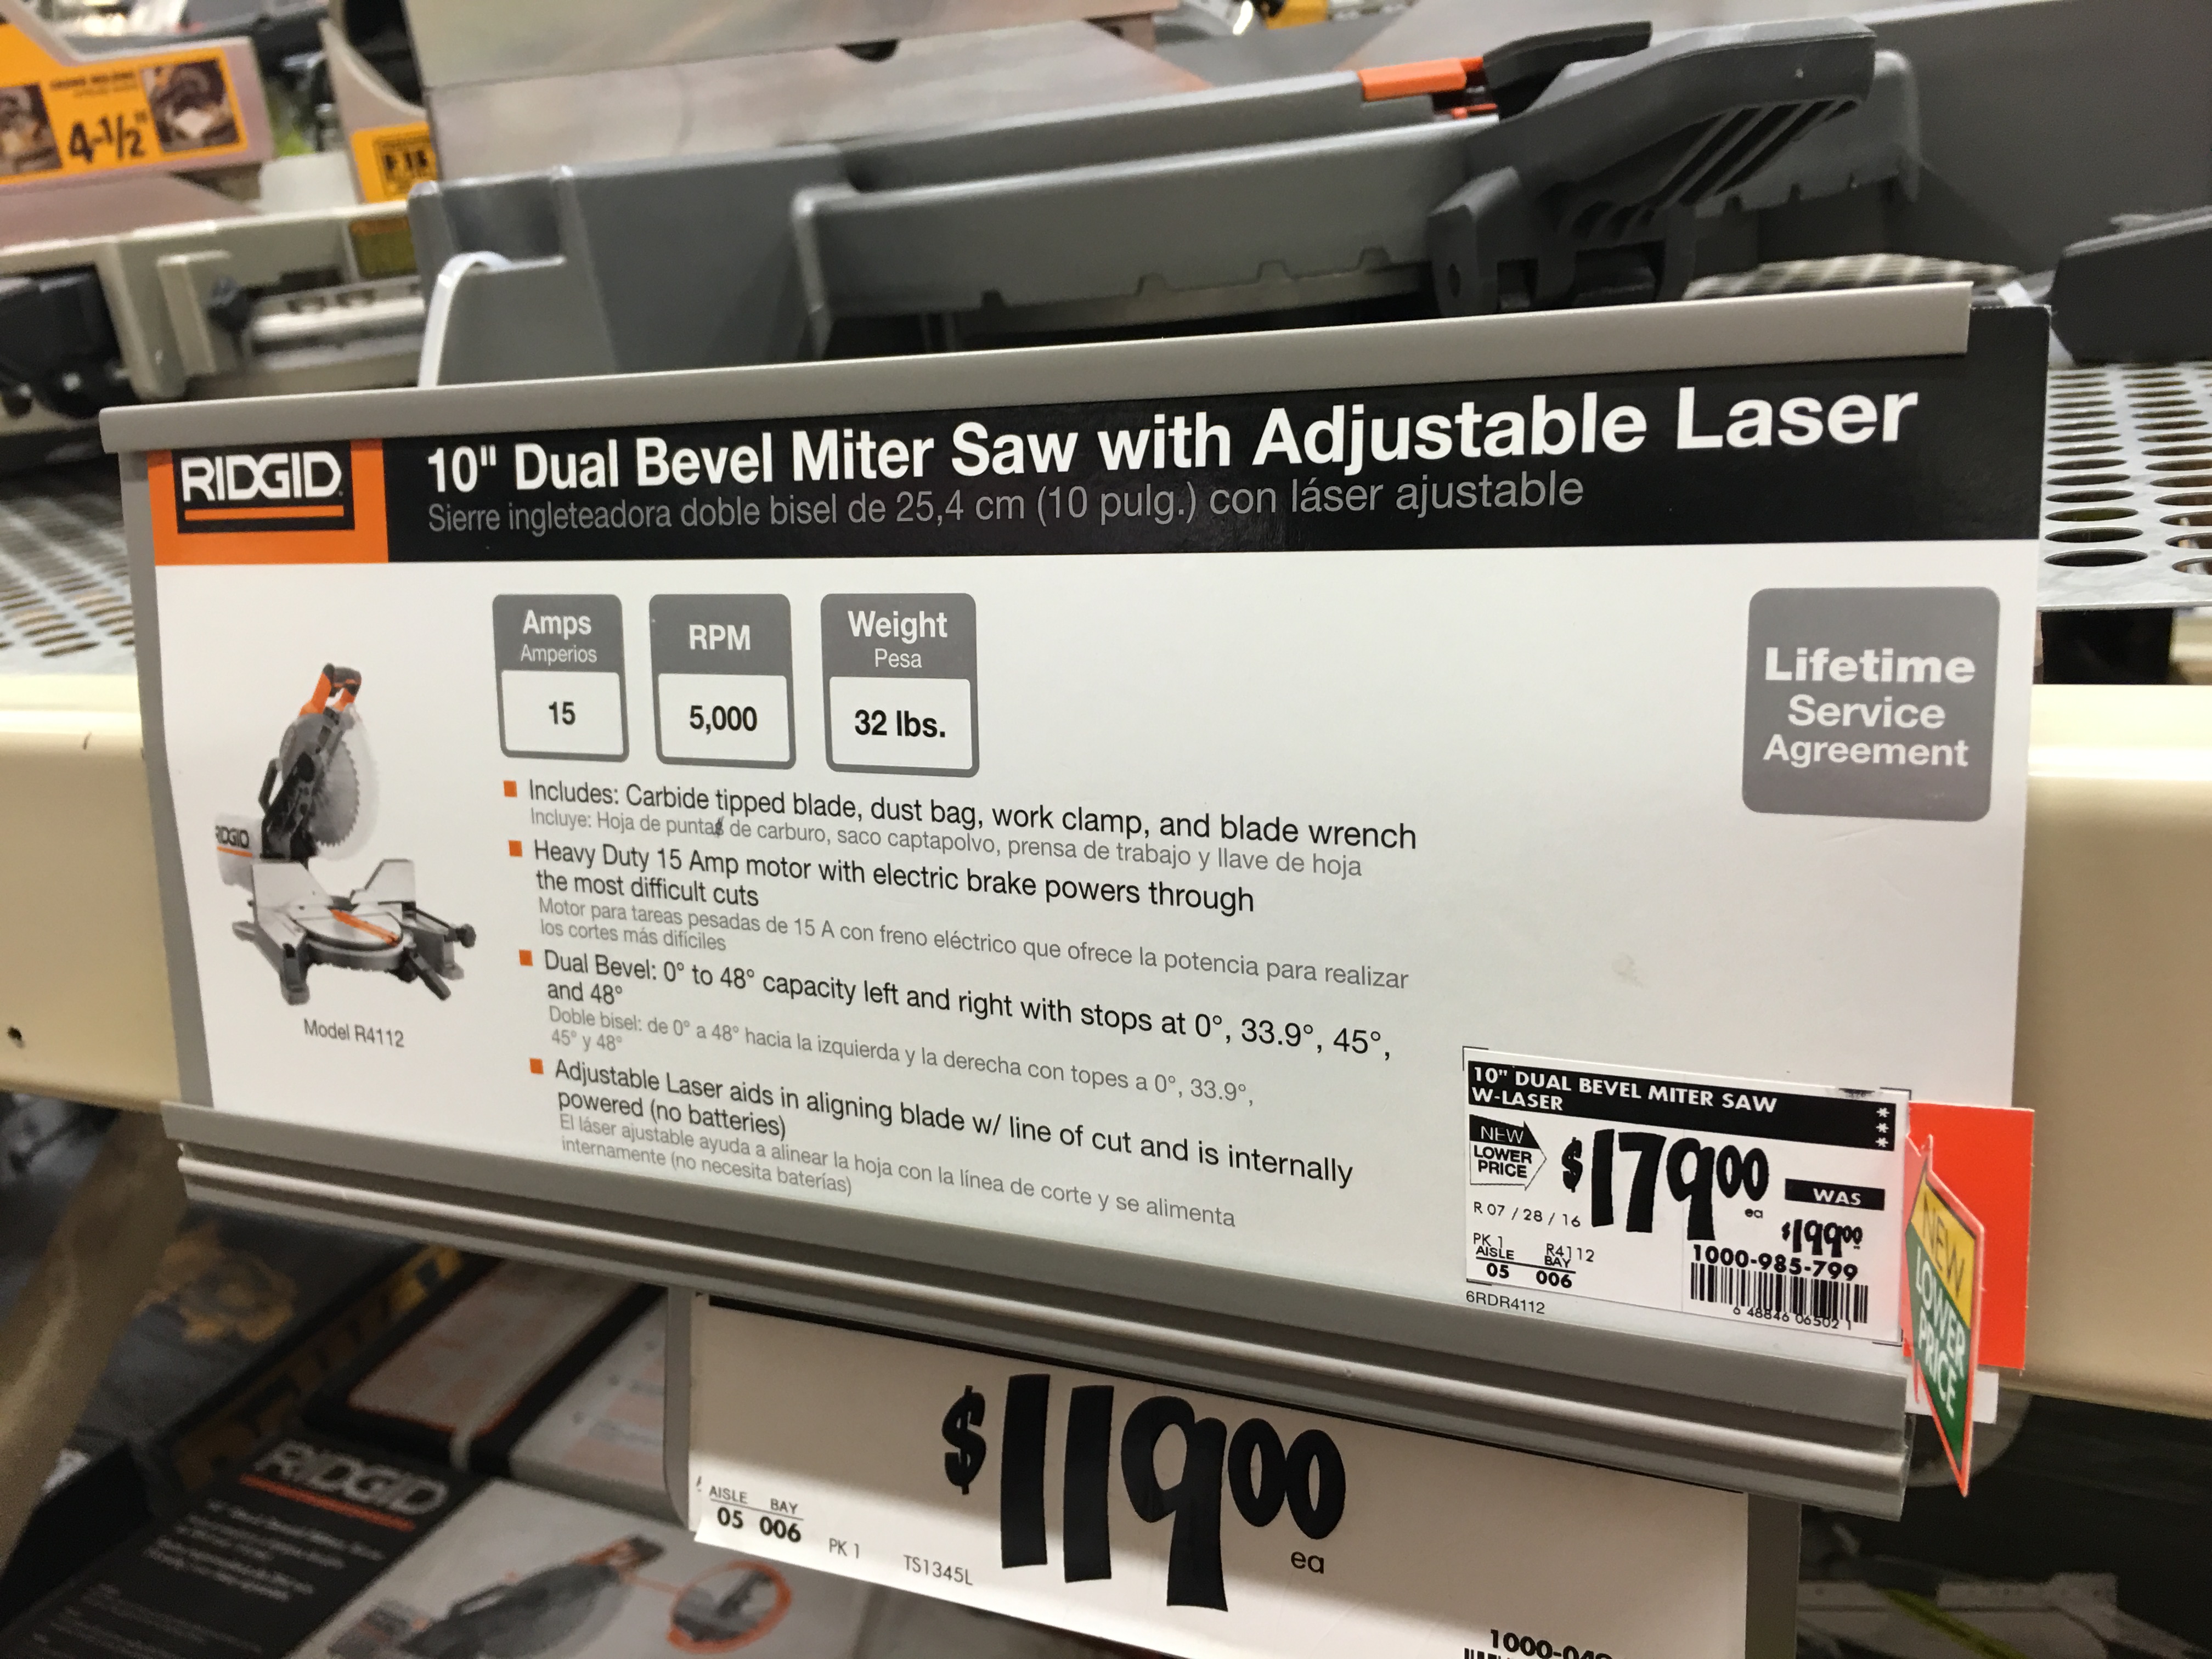
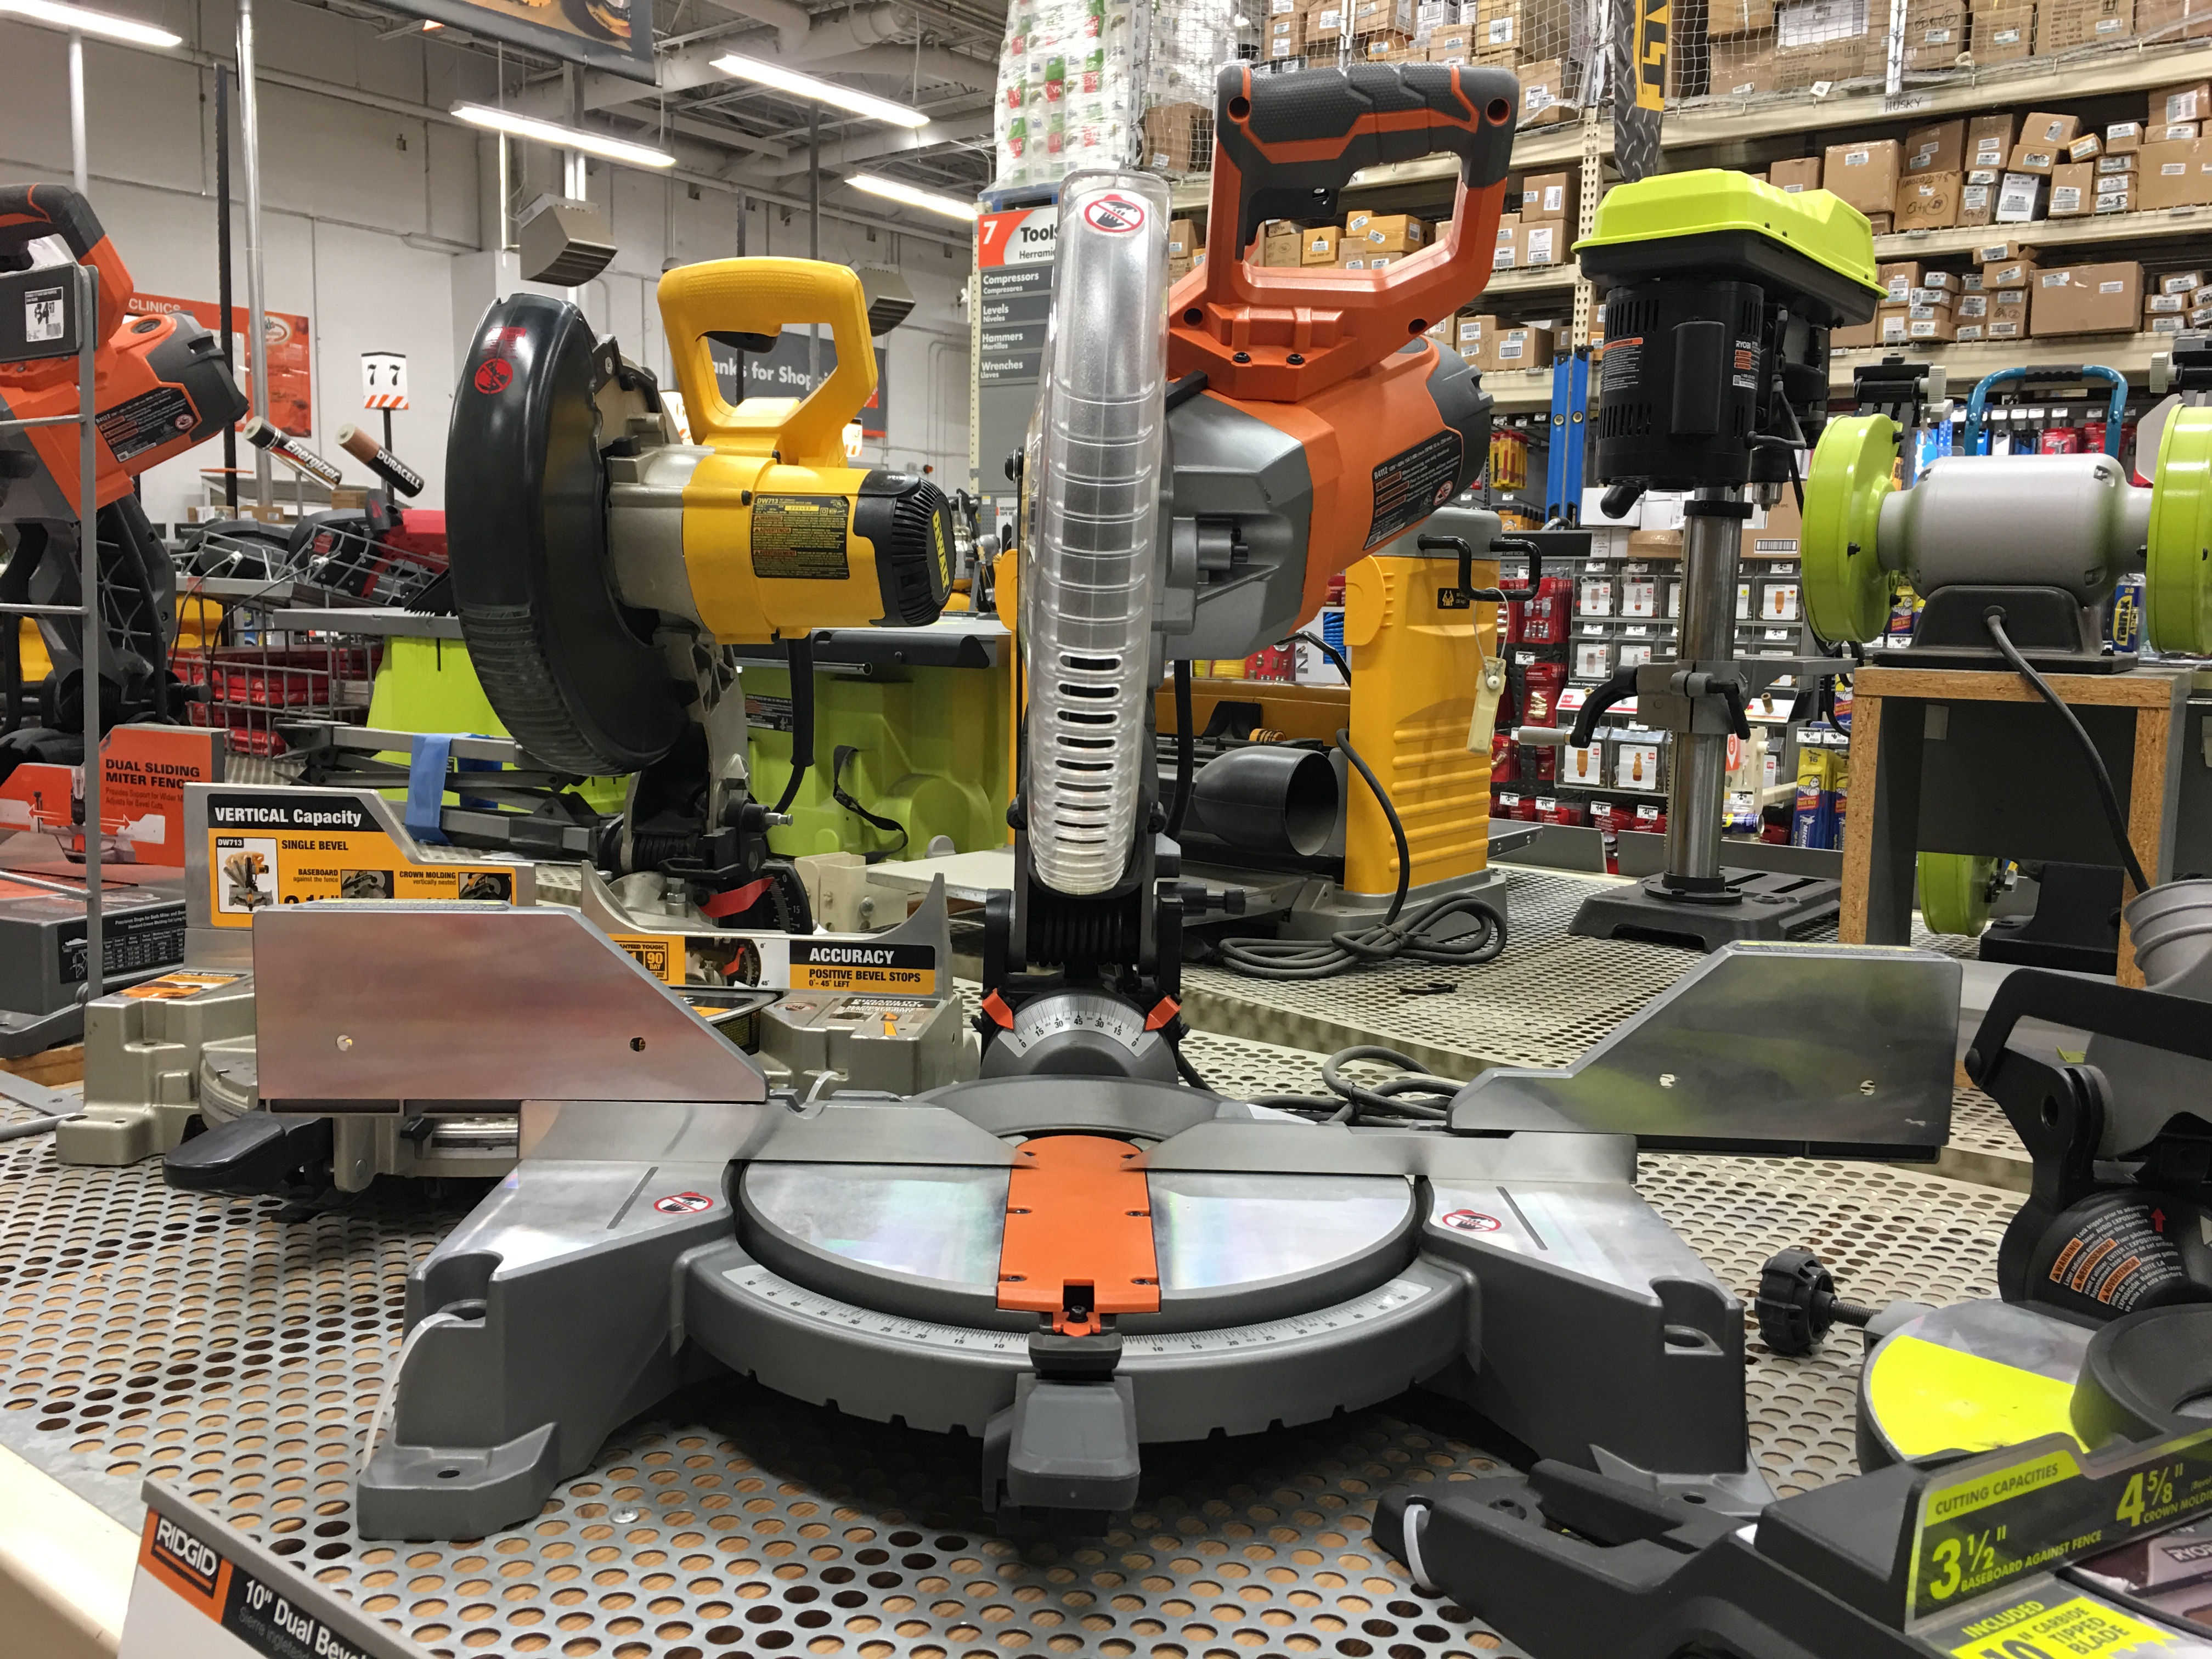
After confirming that use of a miter saw will certainly fix my issue (even with wood already assembled into a box), he took me through my options again. I was leaning towards getting the Ryobi 7″ miter saw. But Bob steered me towards the 10″ Rigid bevel miter saw instead. The bigger, more expense one.
Yes, Bob upsold me on the spot. And he did a great job of it too. Here’s why:
- Ridgid is an exclusive Home Depot brand that is built and designed for quality.
- Ridgid saws have more powerful 15 AMP motors (stronger and longer lasting than the 10 AMP motors in Ryobi saws).
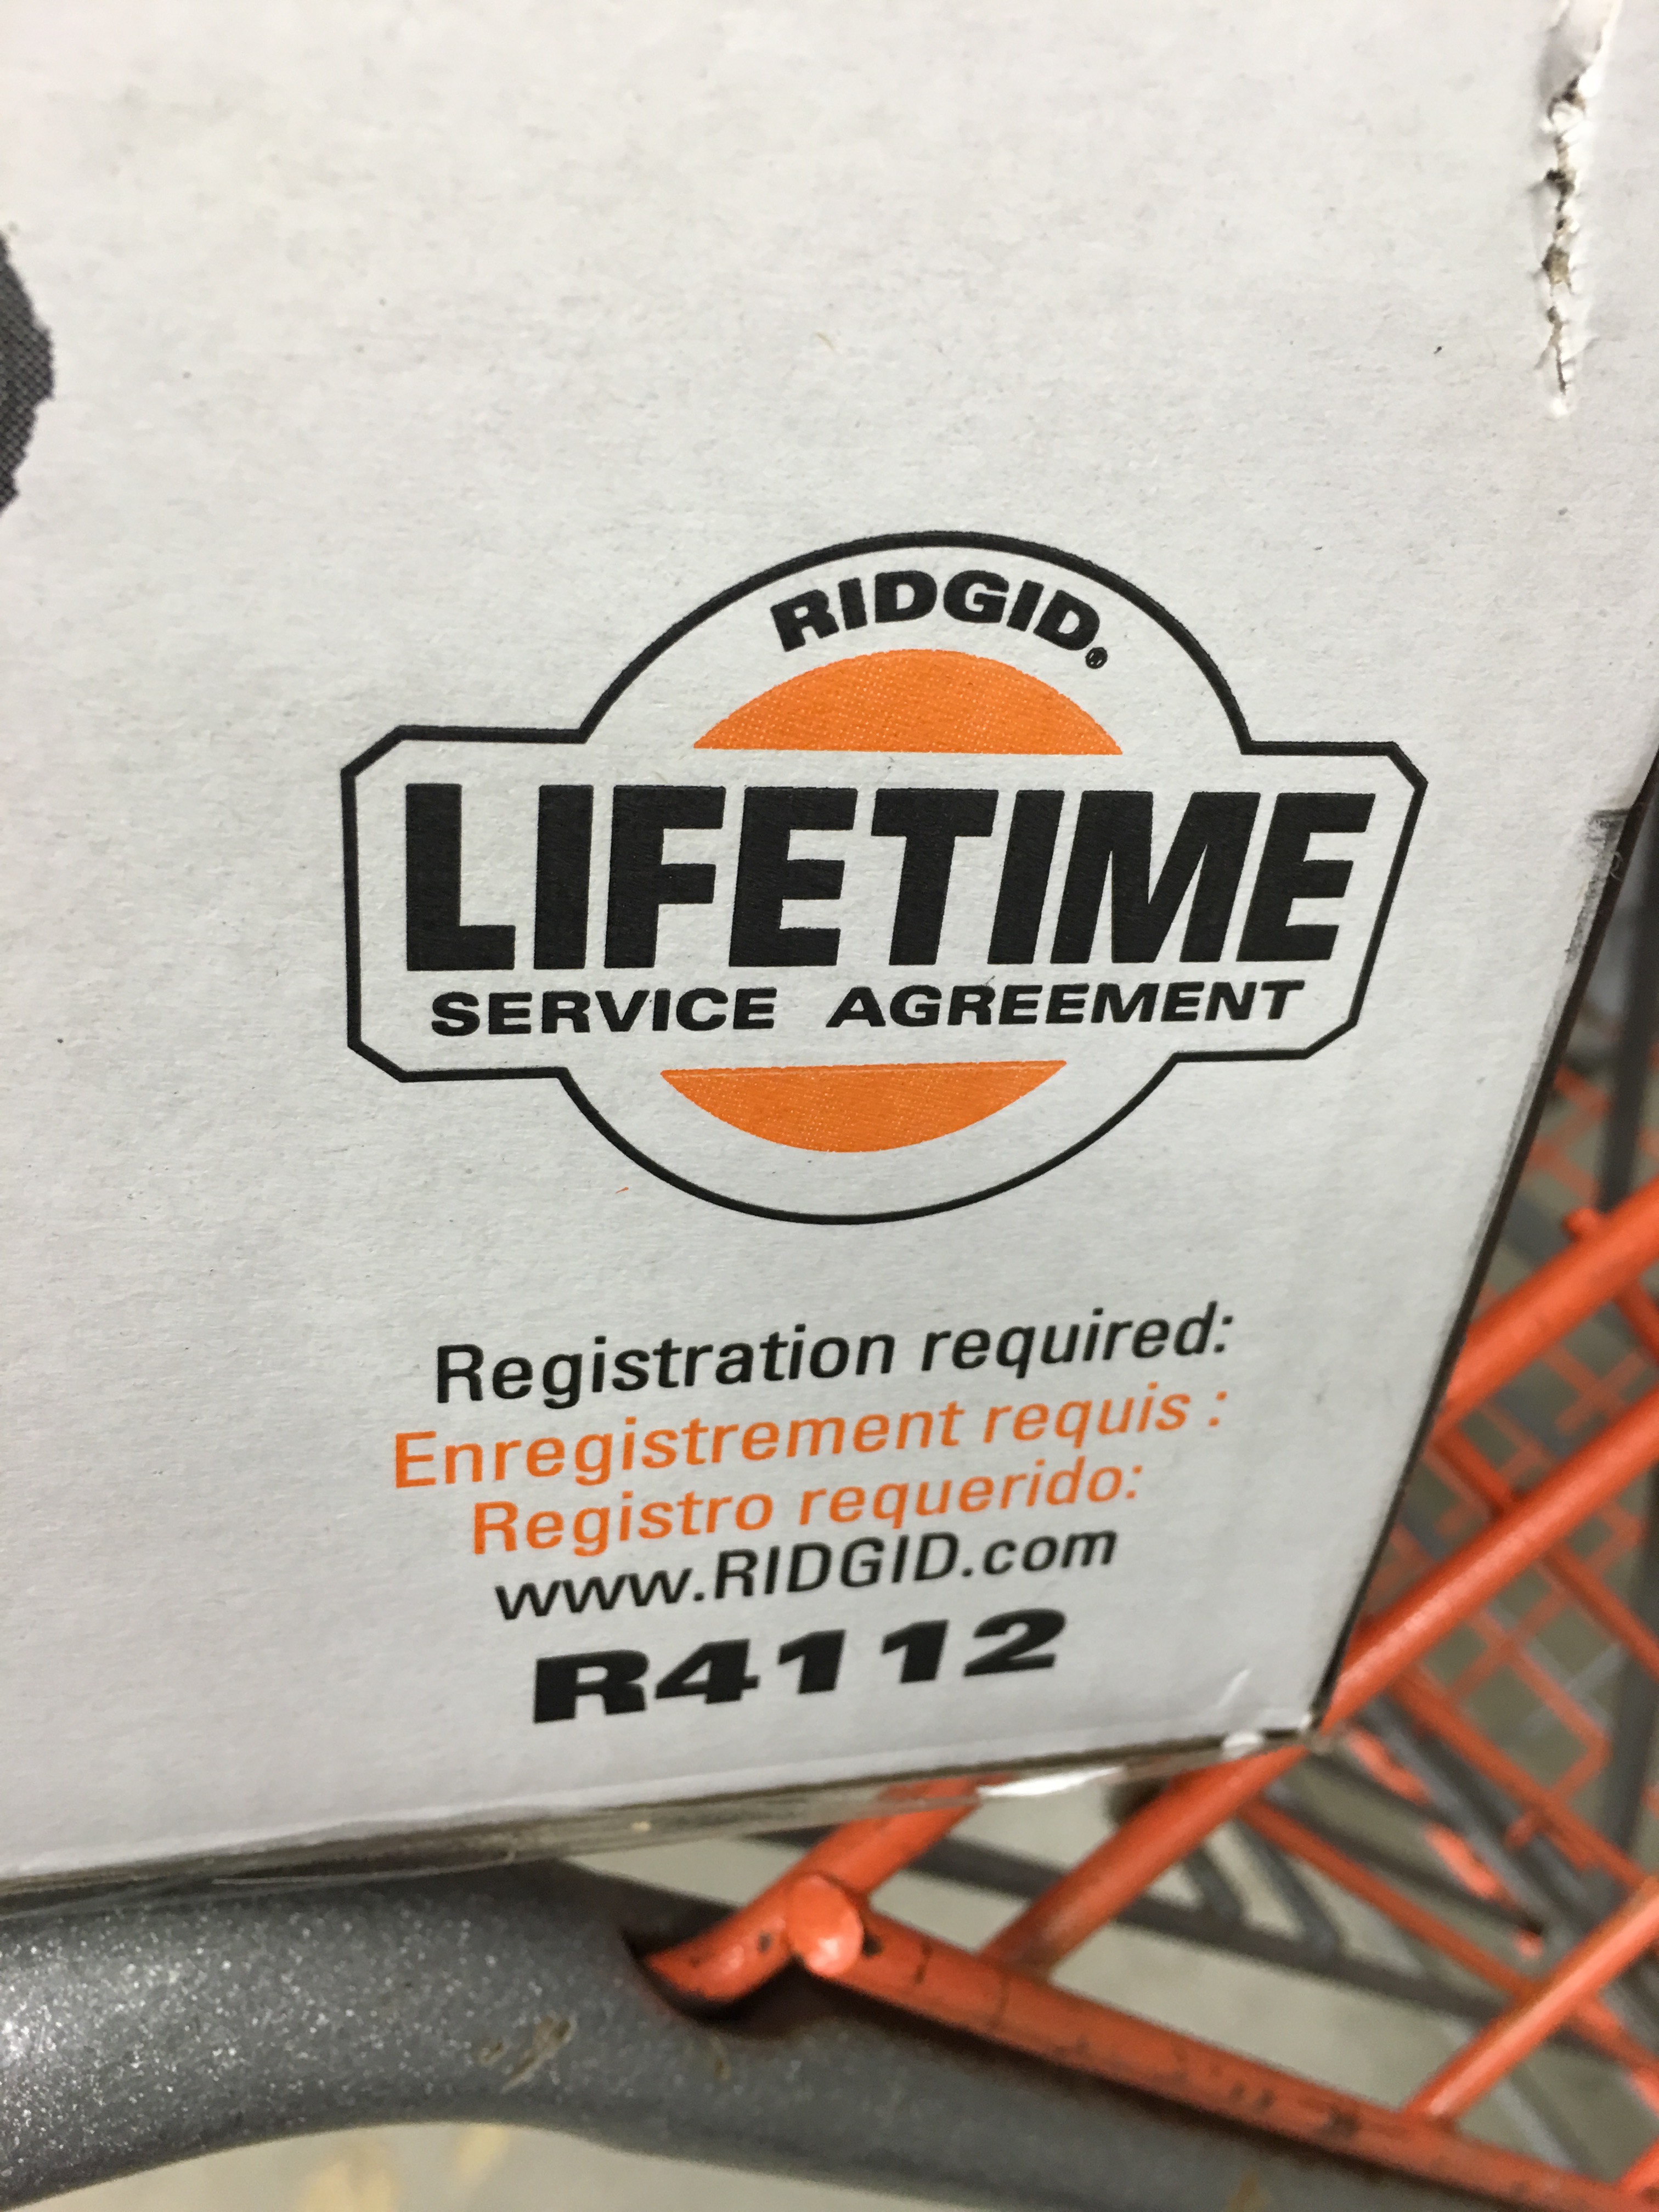
- Ridgid offers a lifetime guarantee with their equipment (whereas other brands offer you 3-5 year limited warranties).
- The blade is bigger in the 10″ model. So I can easily cut through different types of wood with various thickness.
- The fence is higher and adjustable on the Rigid model. The Ryobi model hardly has a fence at all.
- The upcharge for the Rigid 10″ model is $80 (from the Ryobi 7″ saw). But it’s discounted by $20 today. And Bob will take an additional $30 off for me (reducing the upcharge to $30).
- All Ridgid tools are just plain better. They have to be to offer lifetime guarantees on their equipment.
- And (my own selling point) like Home Depot, the Ridgid brand is orange. And orange is better. I like orange. I root for the orange team. Always.
Another bonus to my getting the saw today is that Bob will unbox it for me and show me how to install the blade.
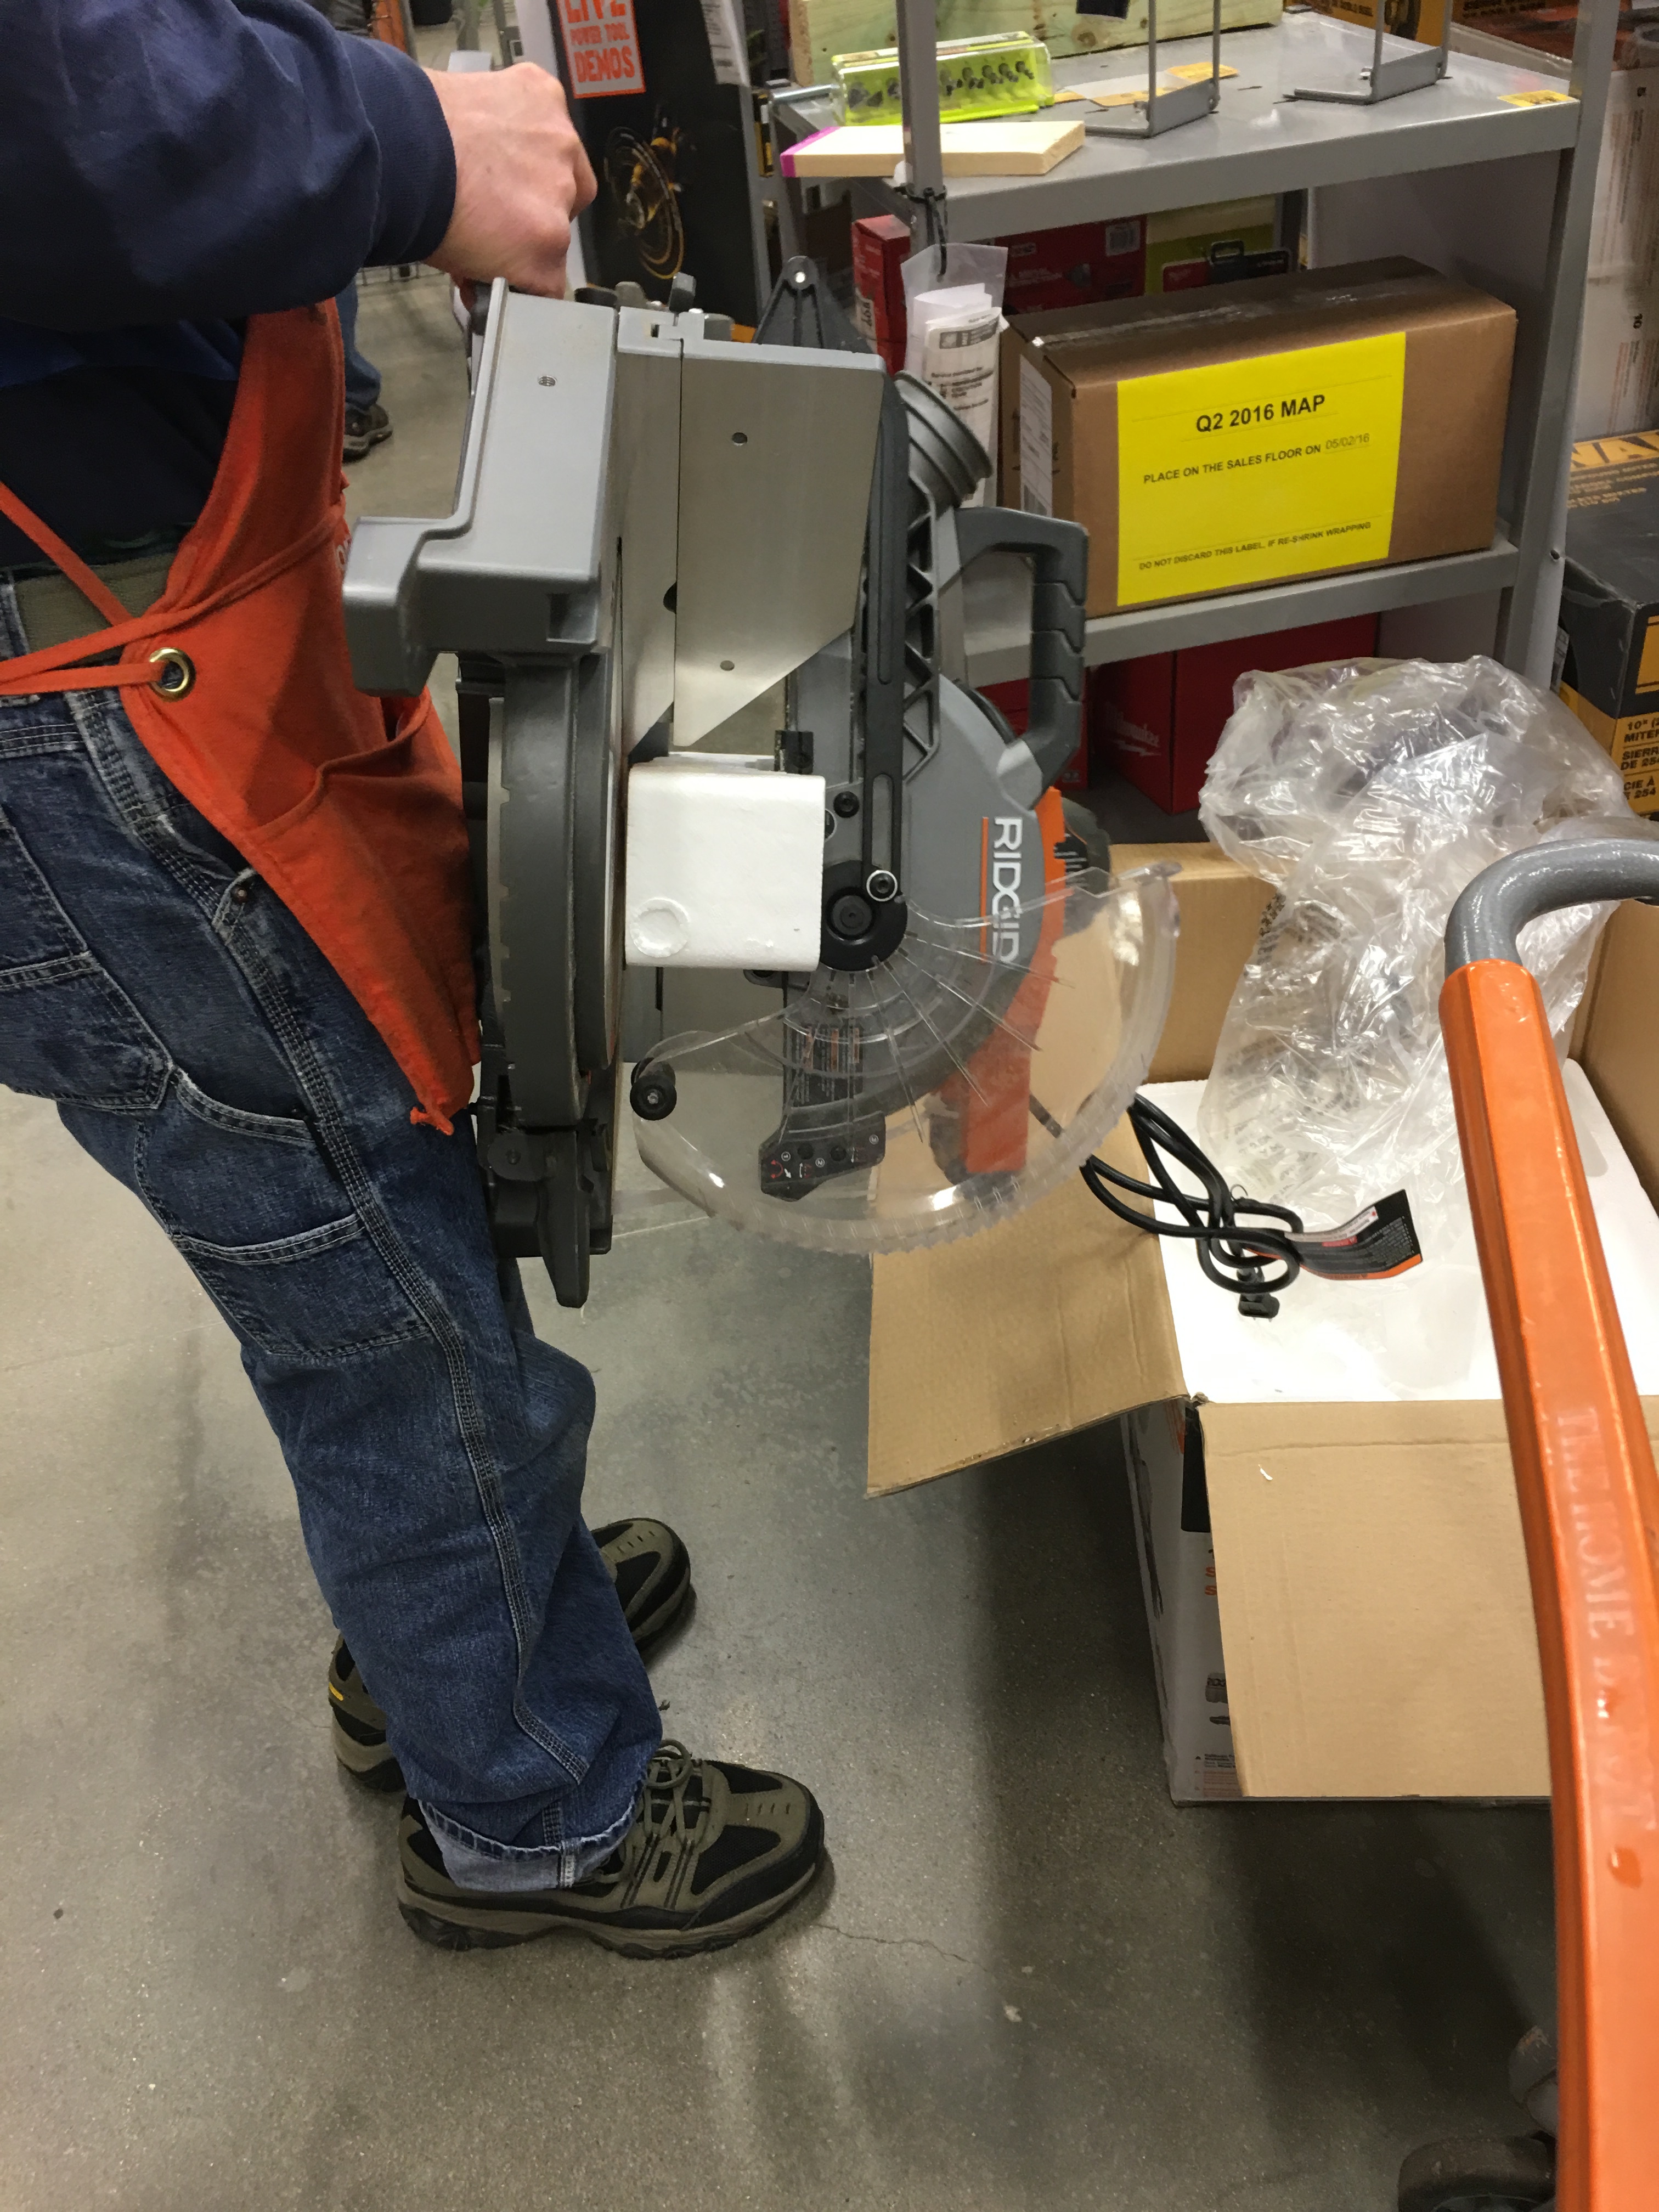
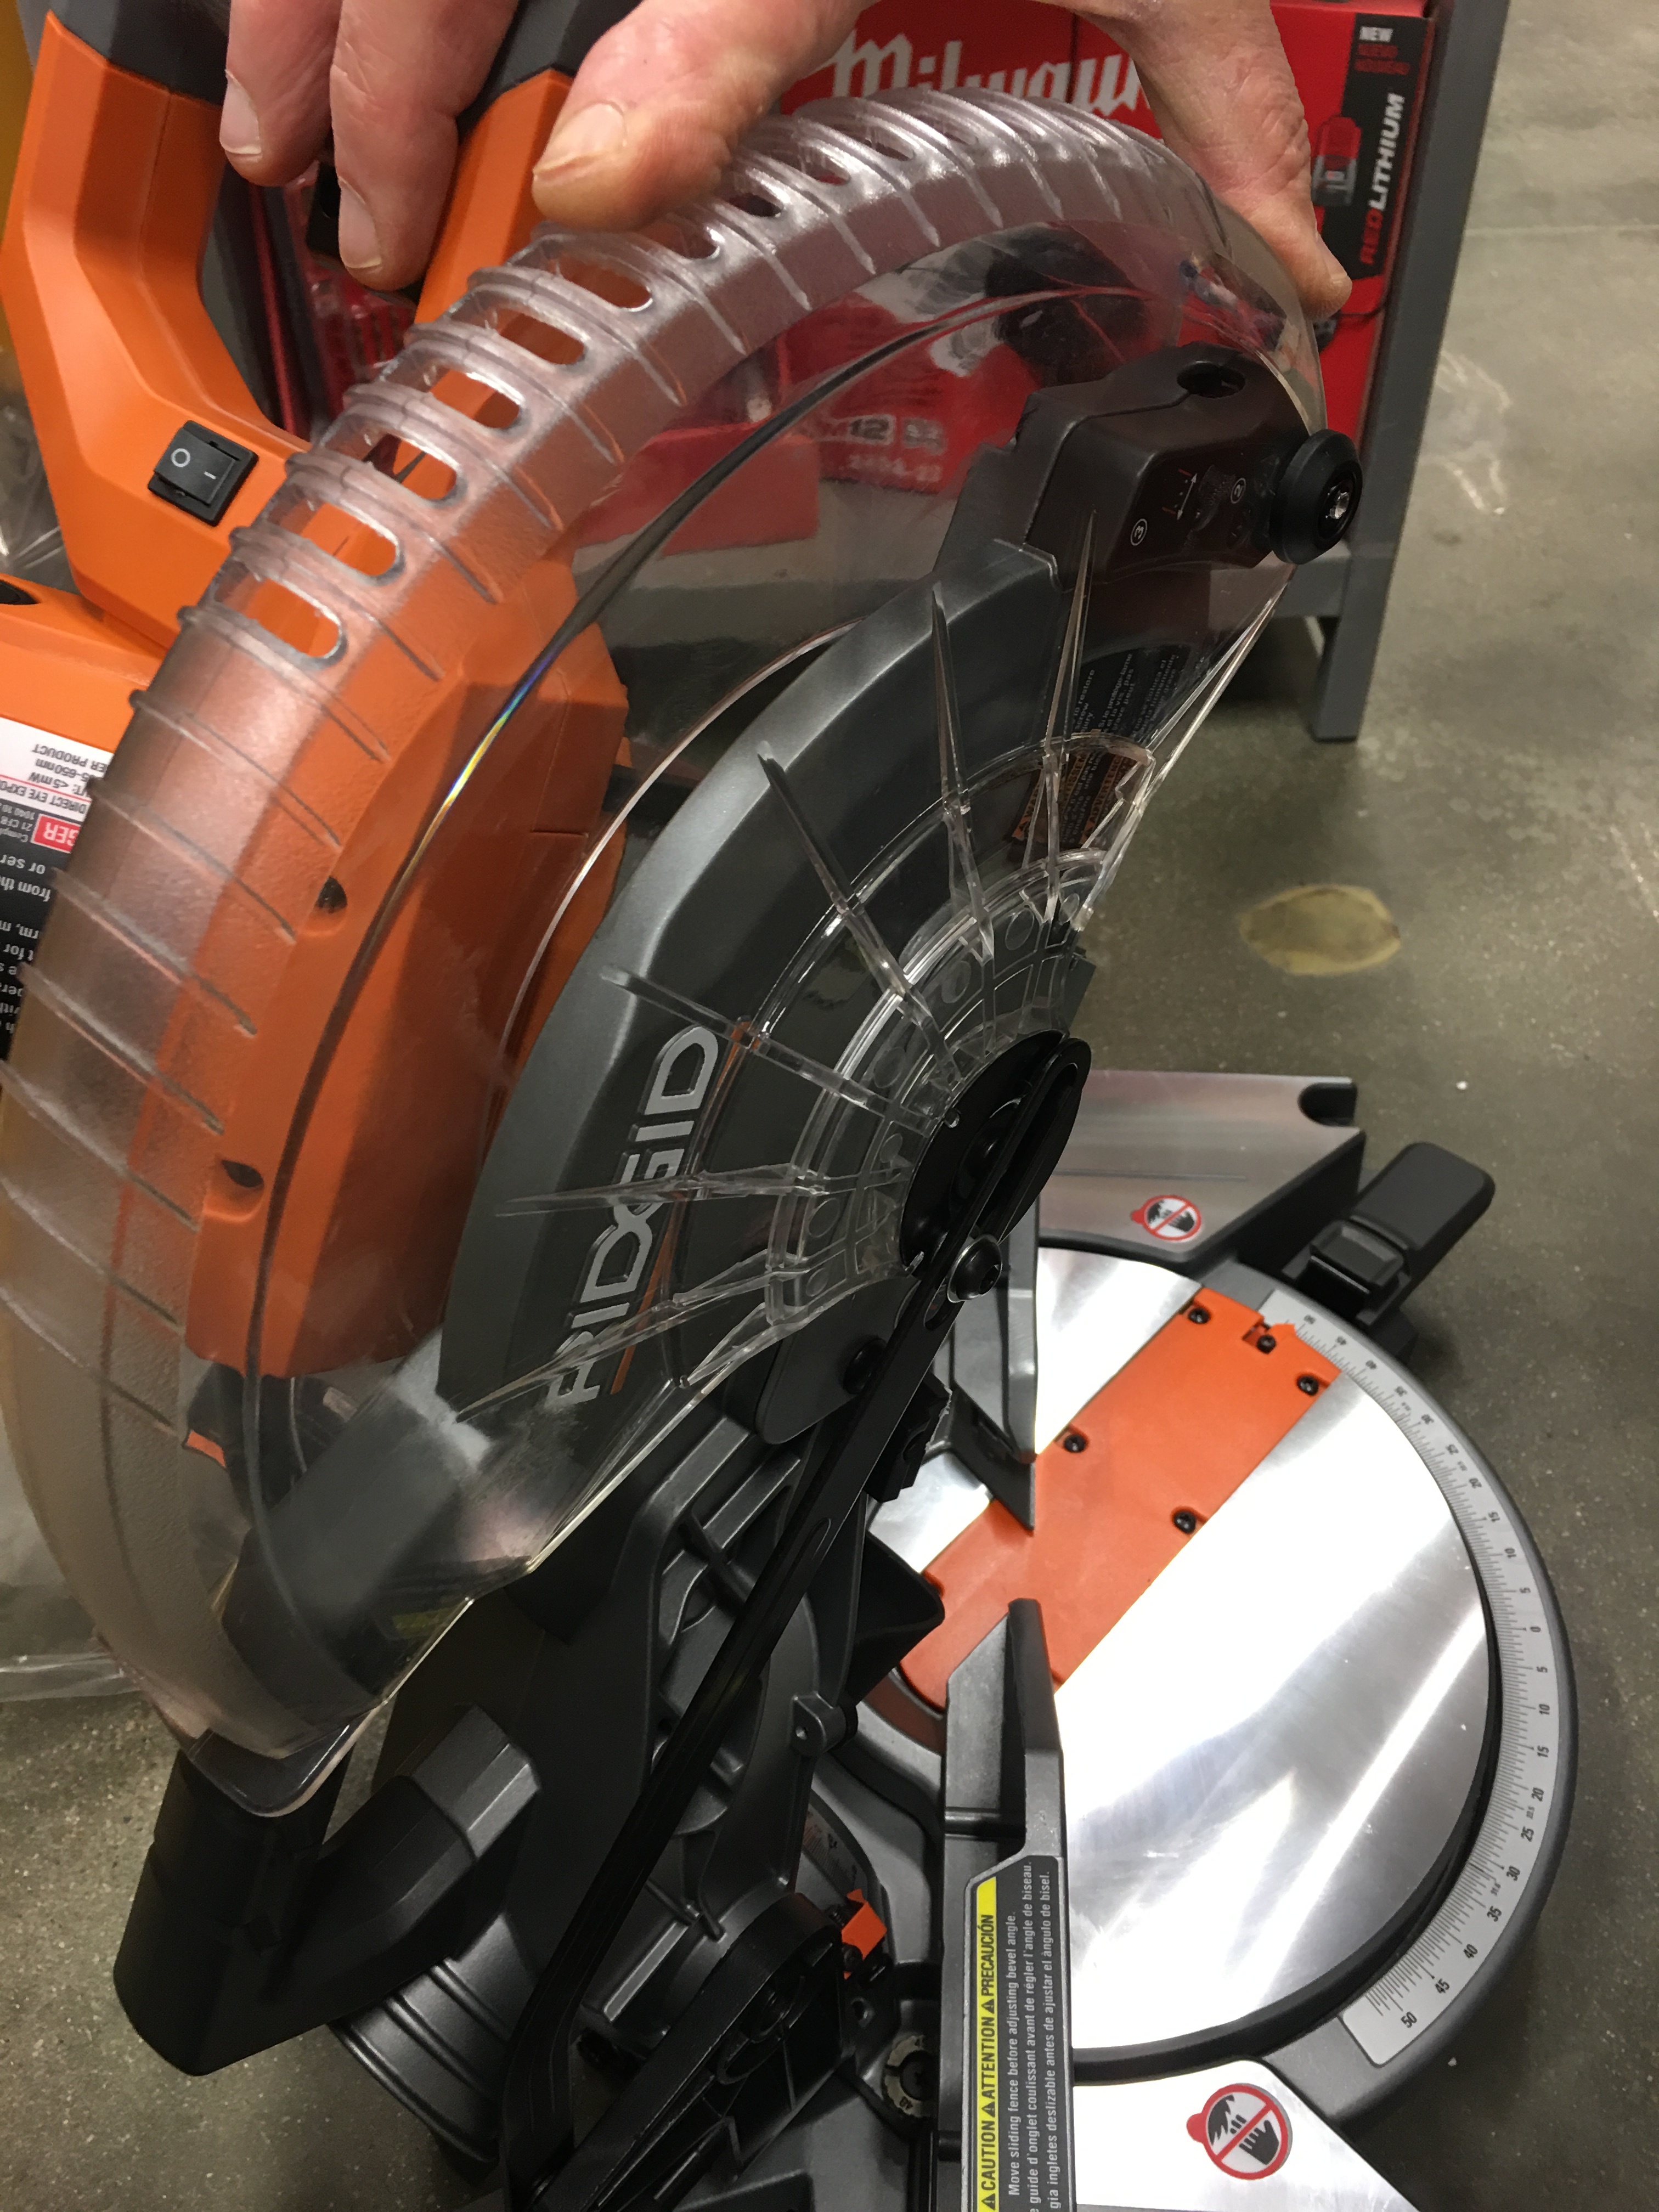
So here’s what the miter saw looks like out the box. It comes preassembled. The only step that you have to take before first time use is to install the blade.

Bob showed me how to insert the included clamp tool to hold my wood in place.
Upon inspecting this model, we discovered that the hex wrench in the back is rusty. And there is saw dust all over the saw already,
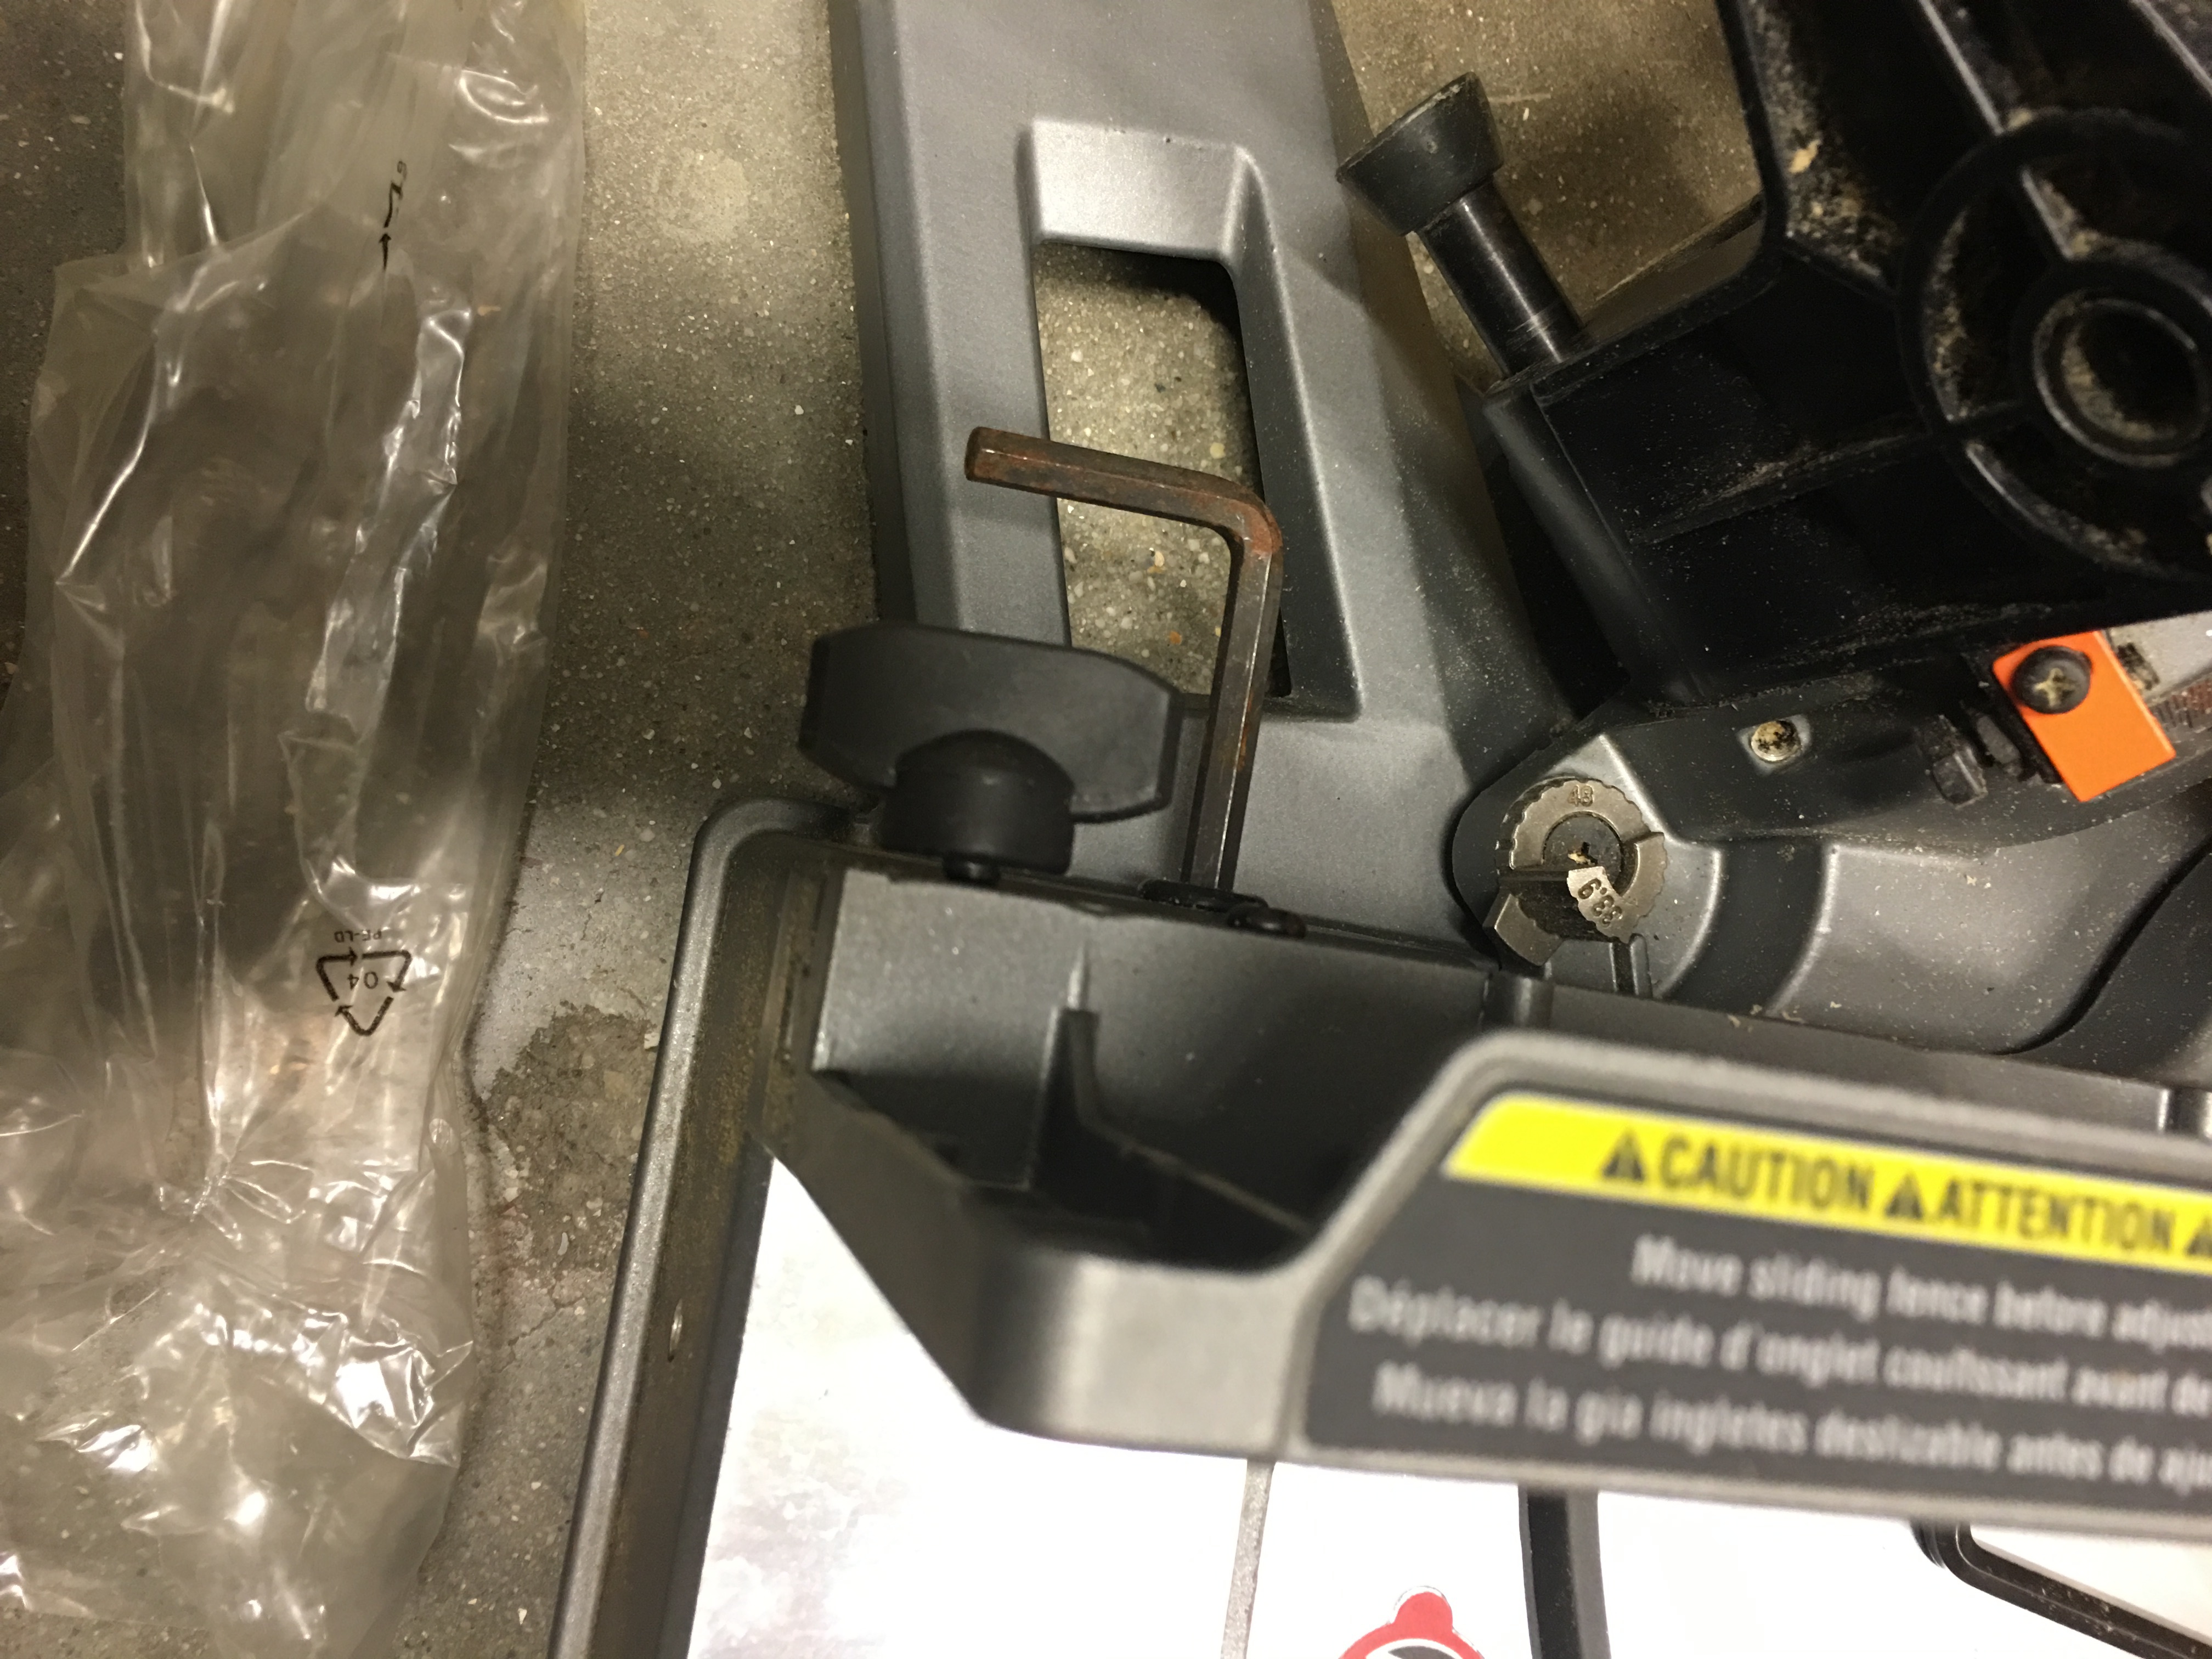
Saw dust in the hose…
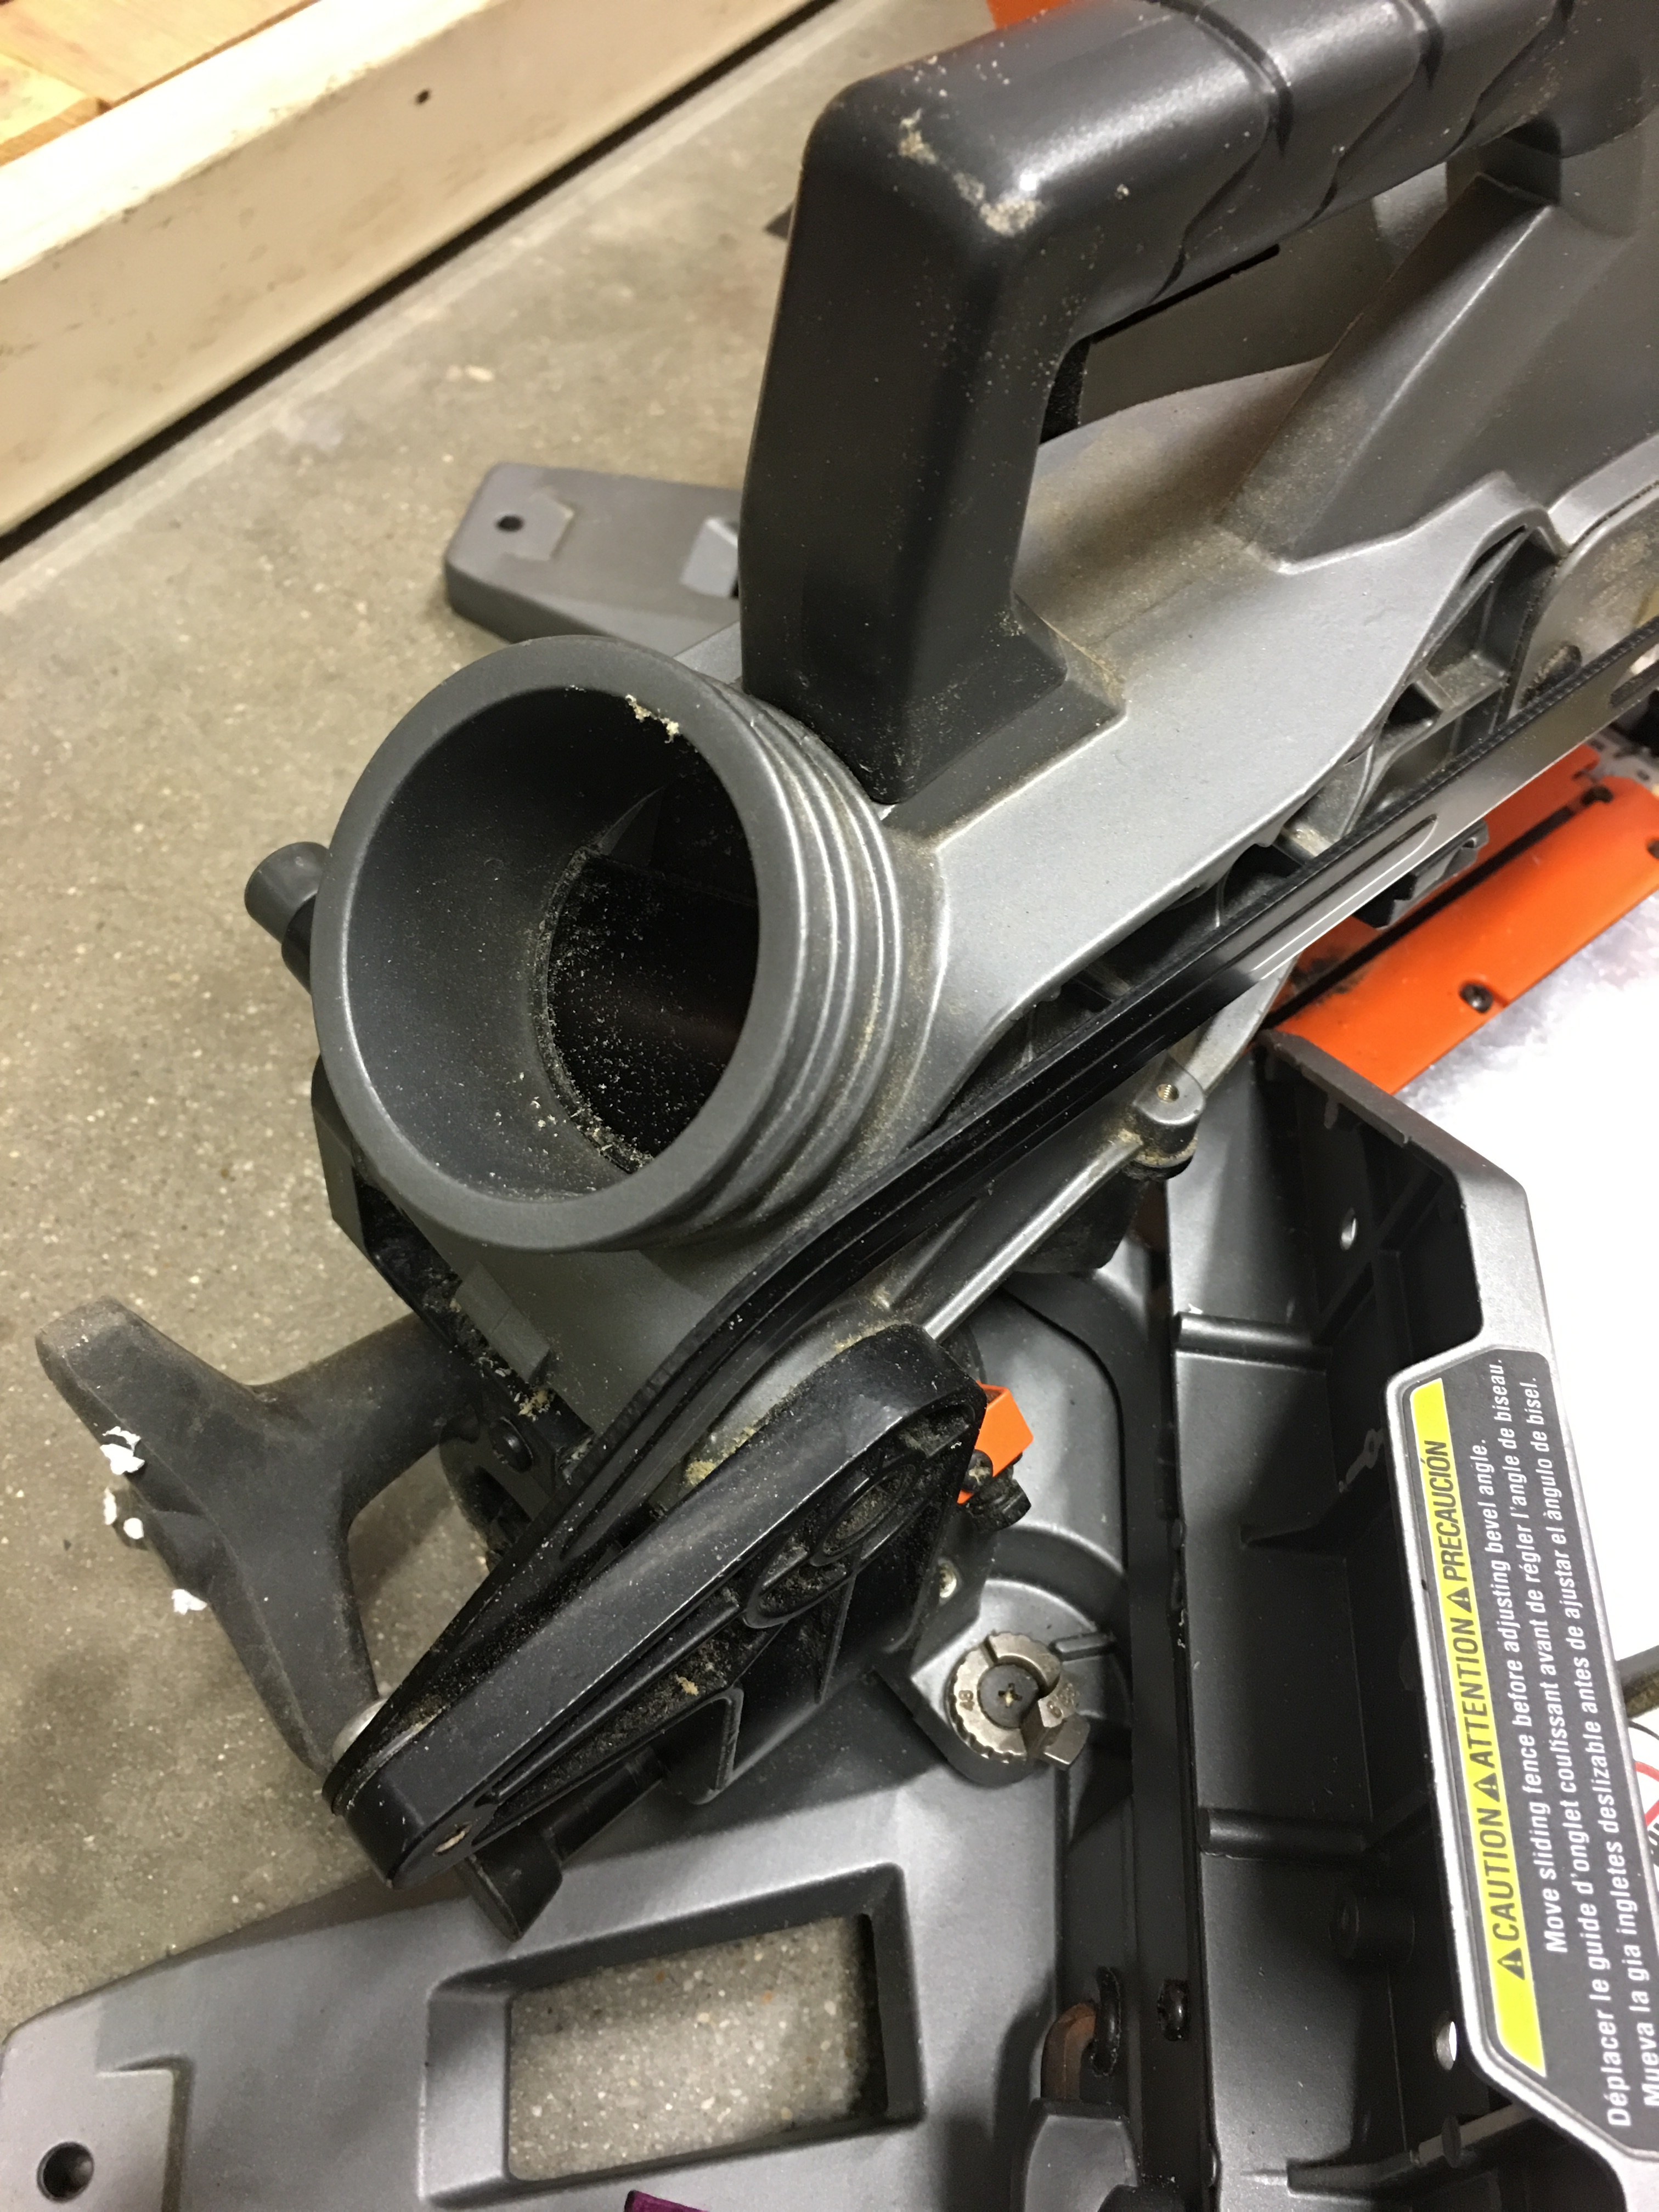
…and on the back.
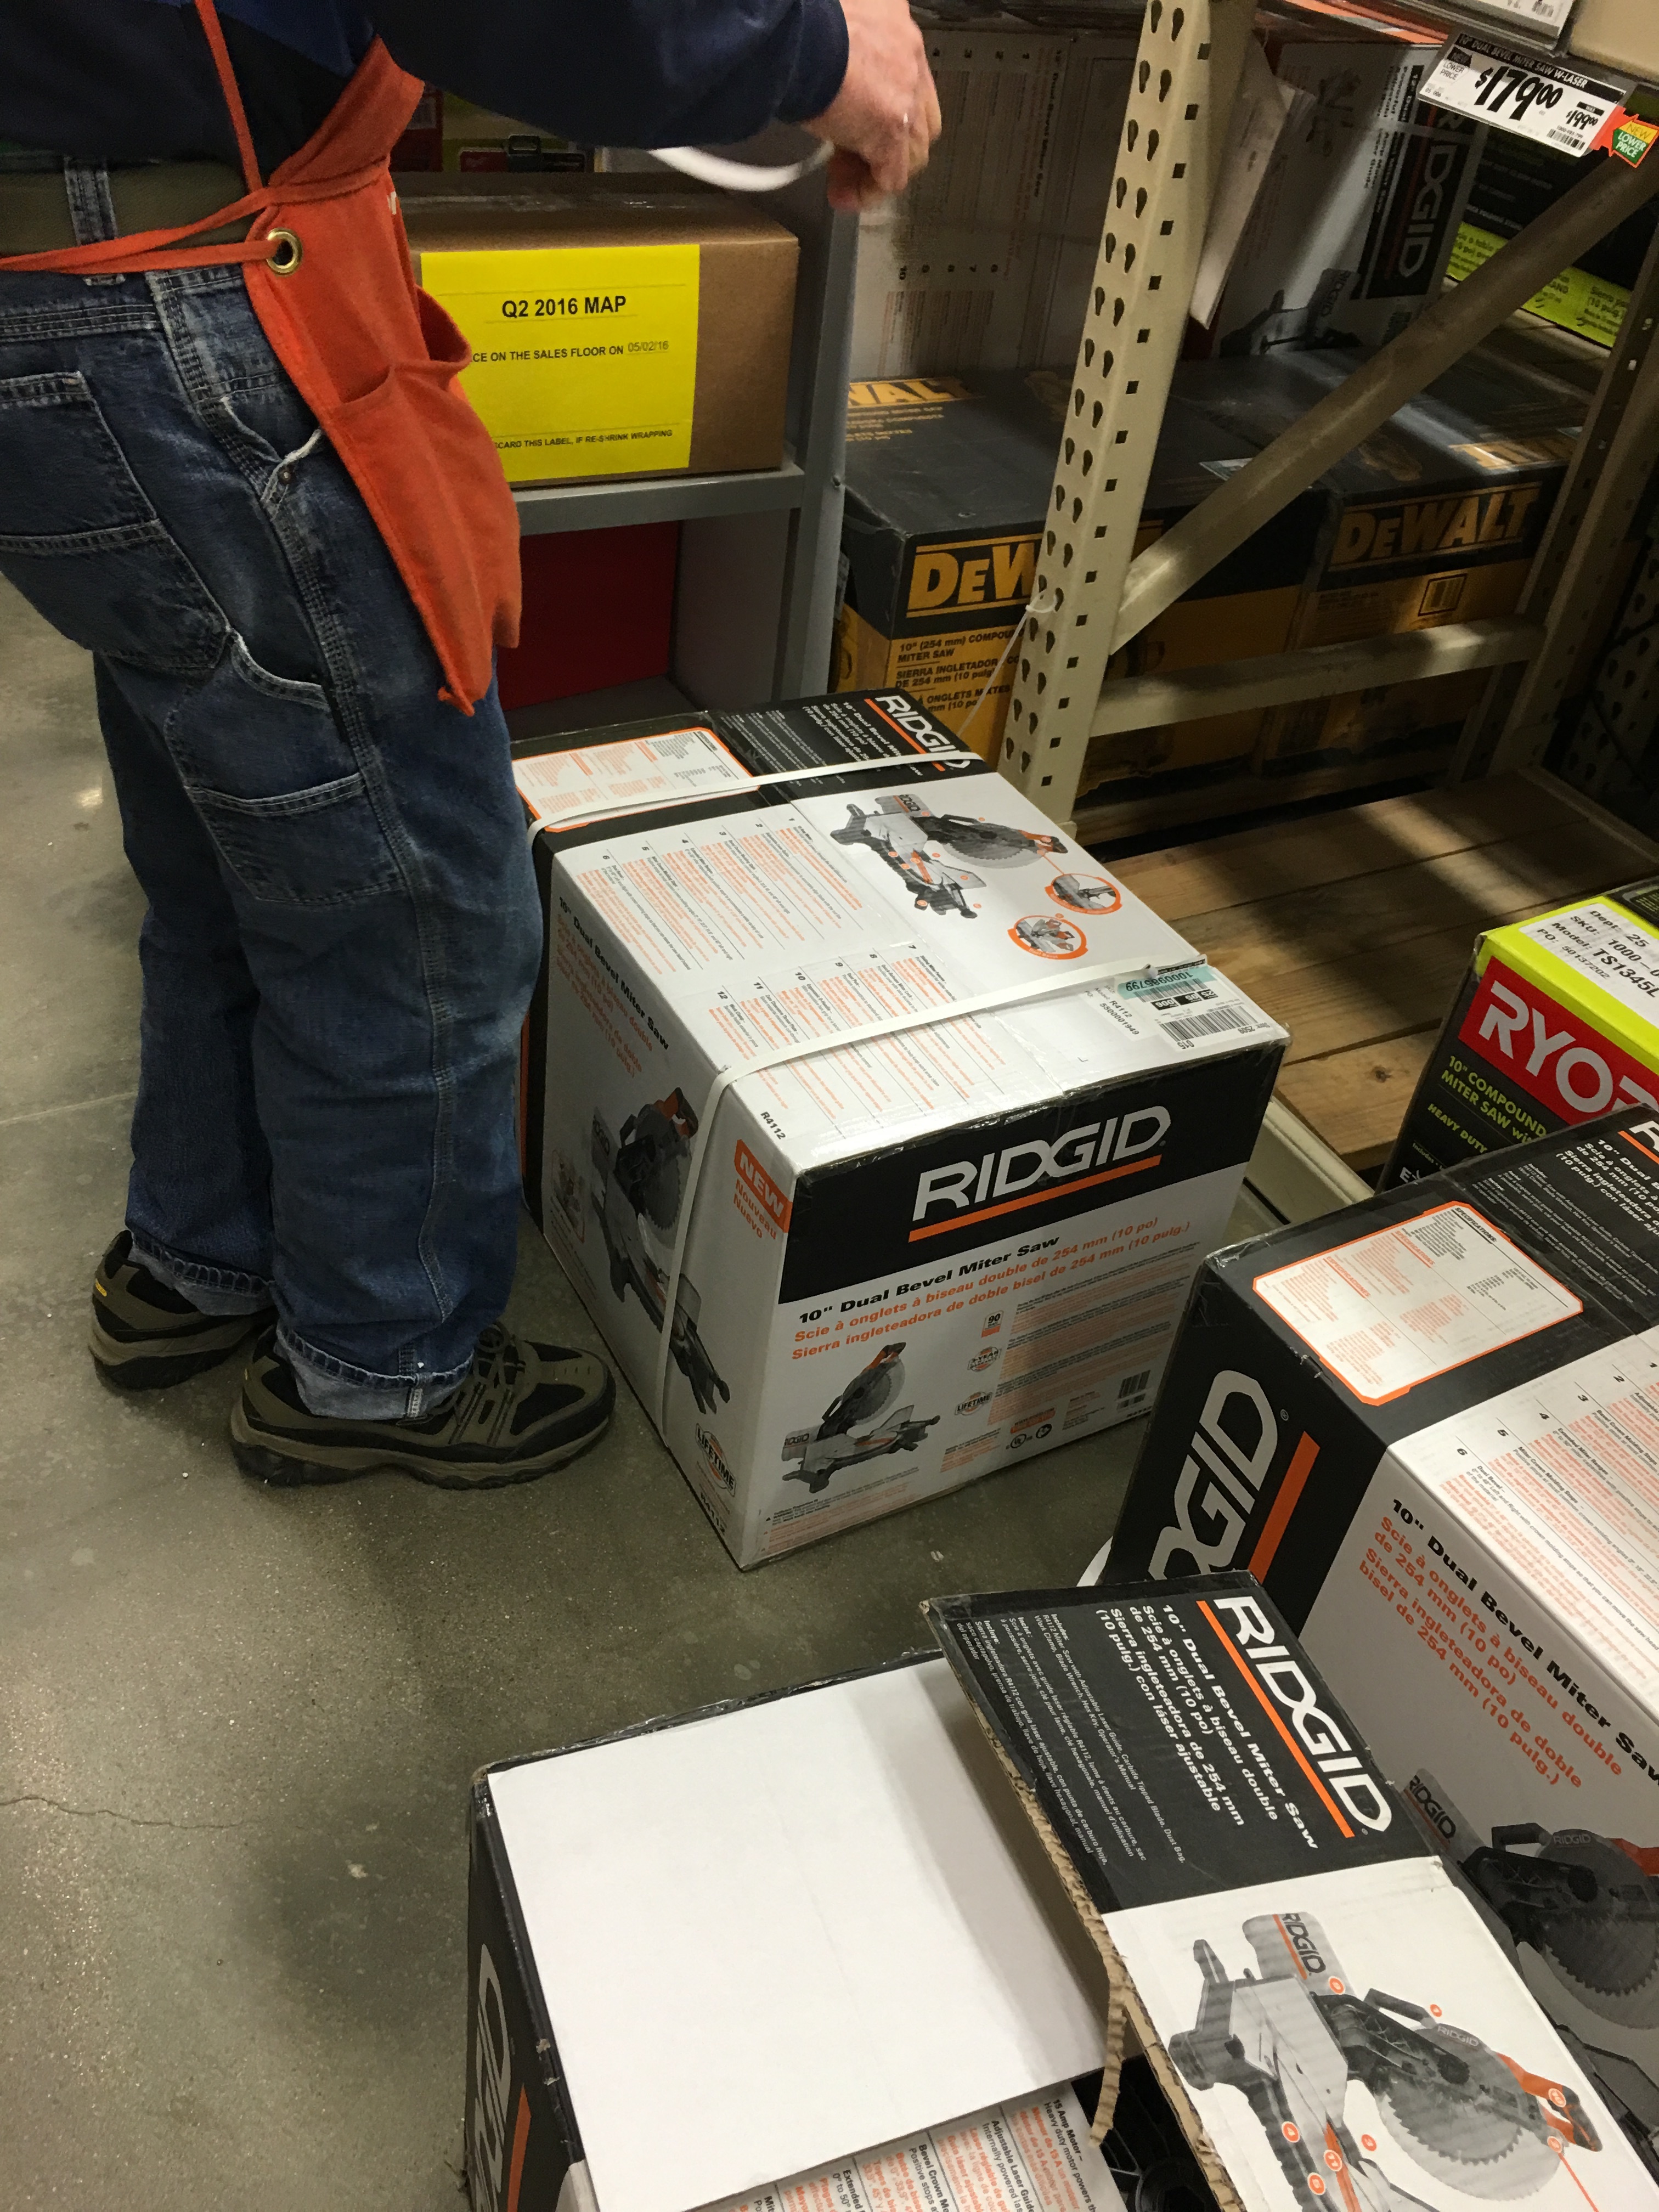
Obviously we opened a box with a used model (one where much wasn’t done to clean it before repackaging). It’s a good thing we’ve decided to unbox at the store.
So out comes another box for unpacking and inspection.
So once we had a new, pristine model out of the box, Bob went through the basic design and operation with me.
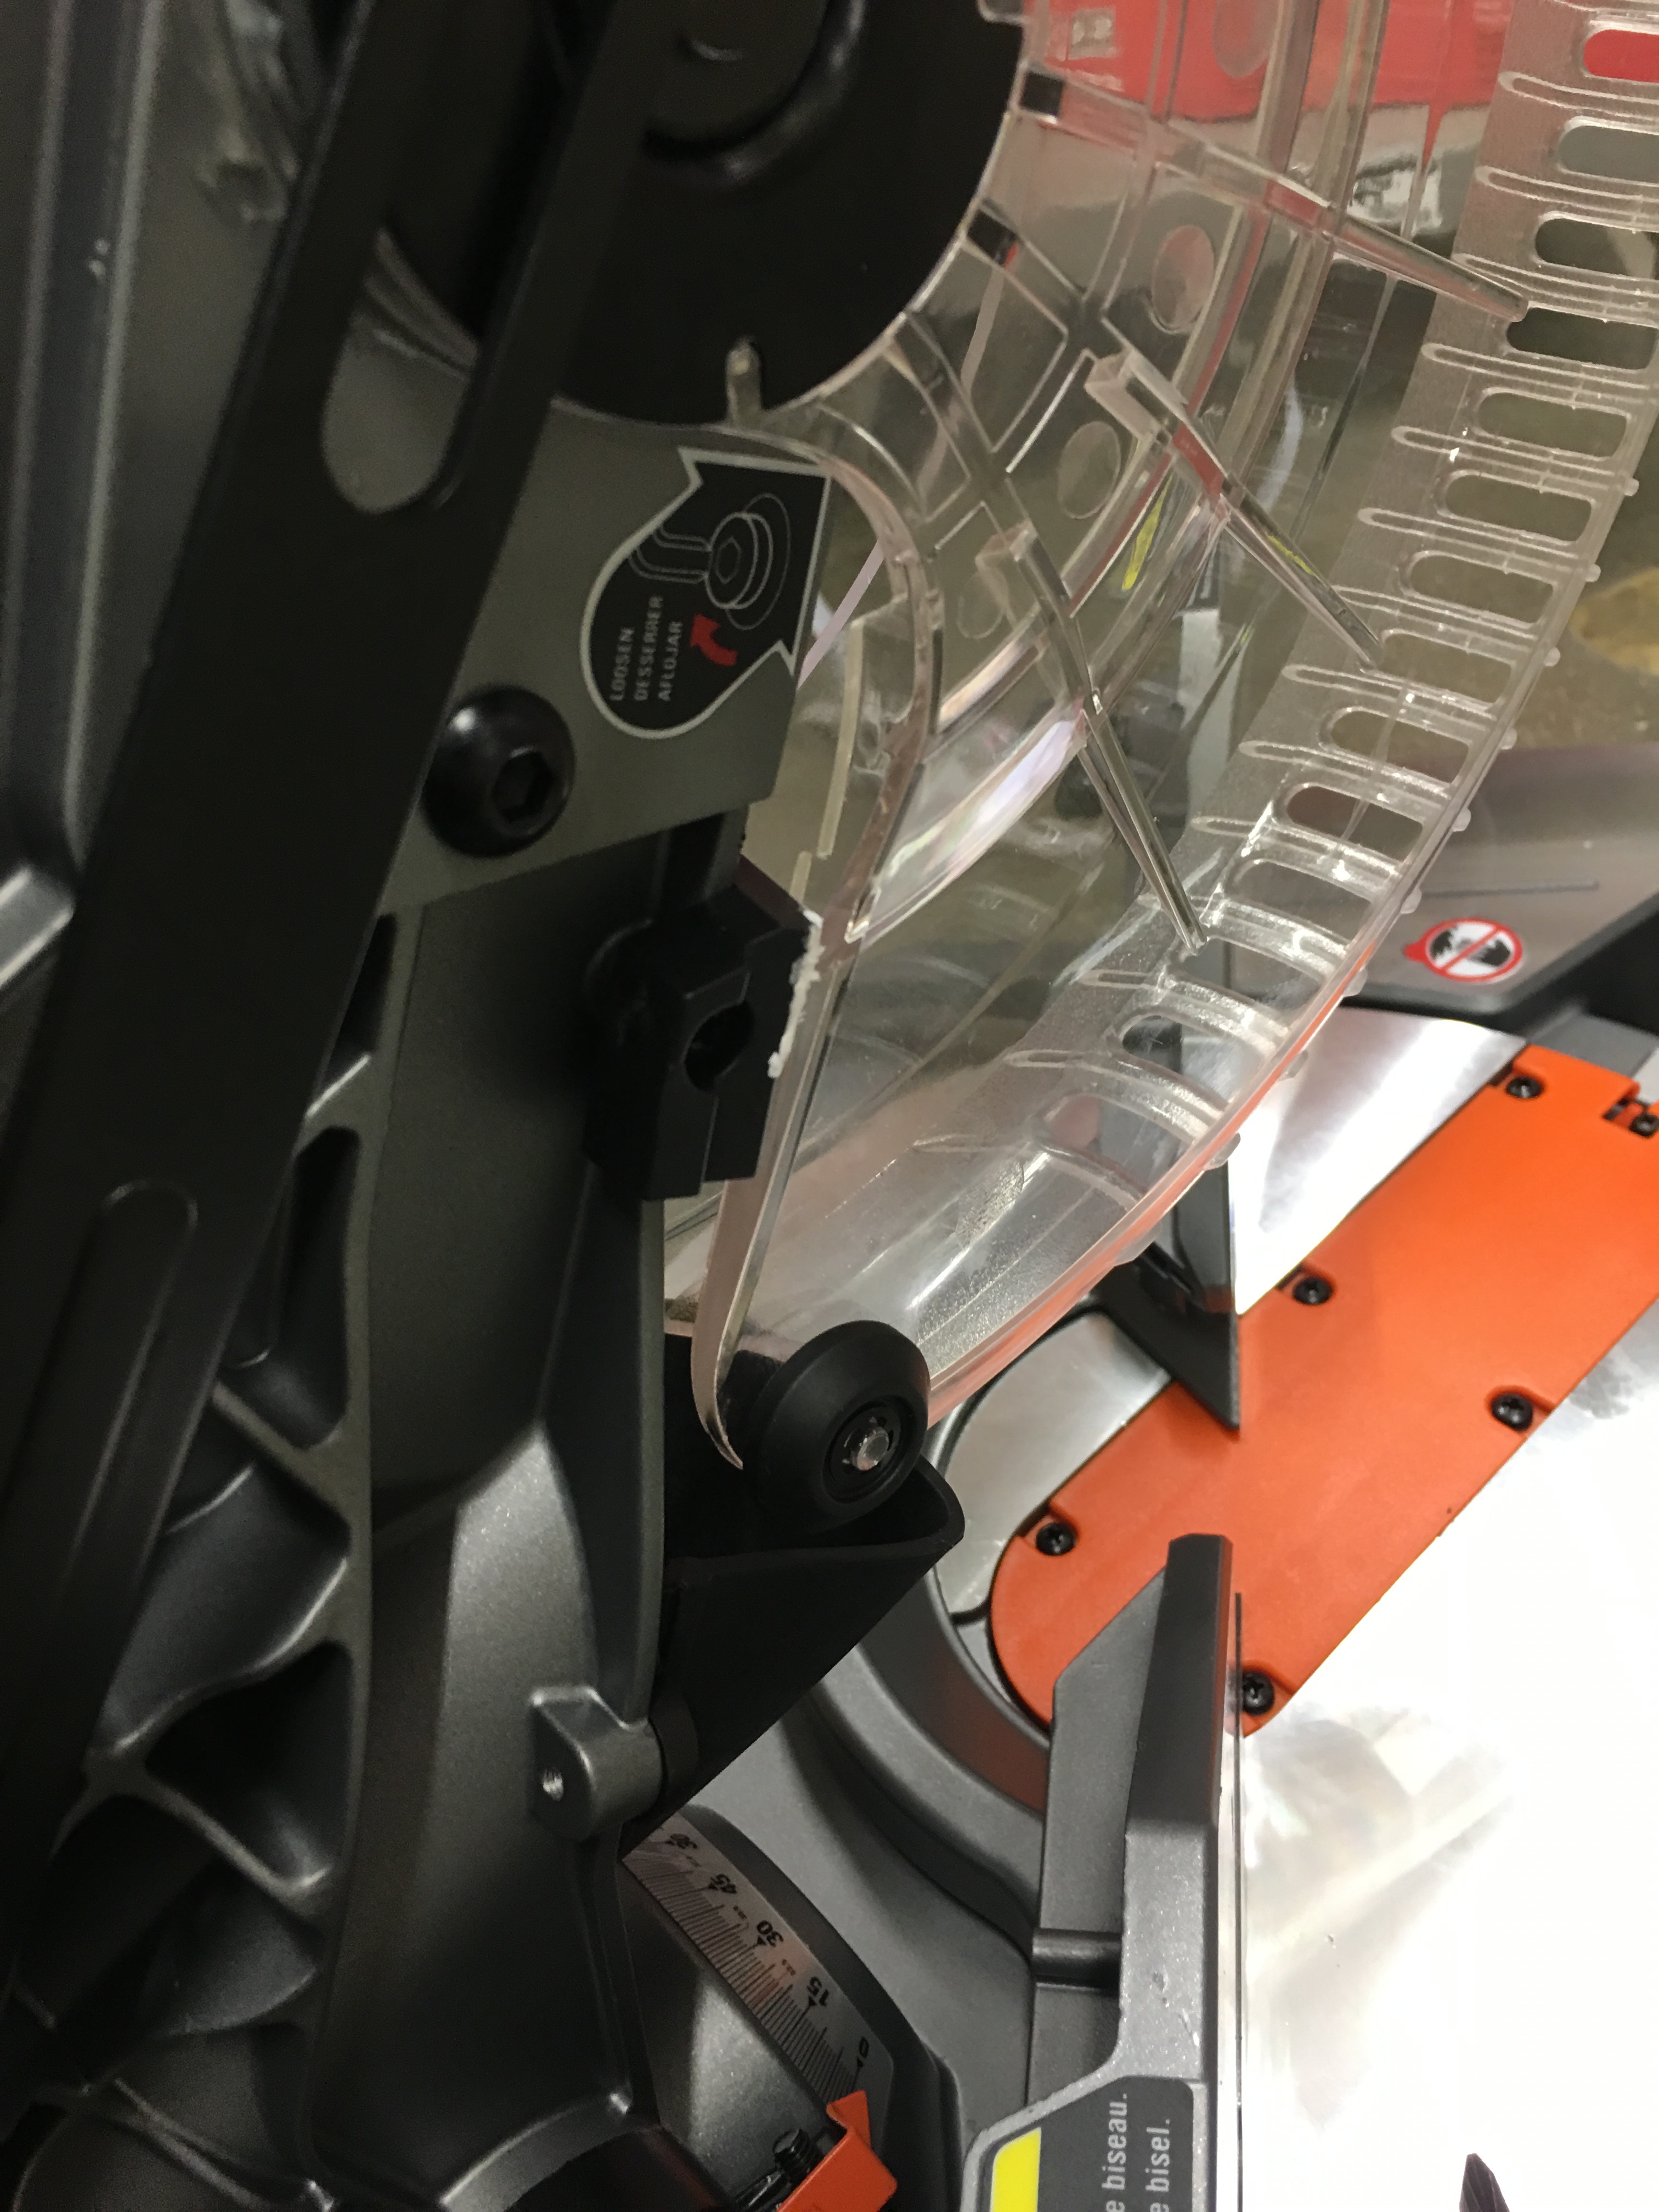
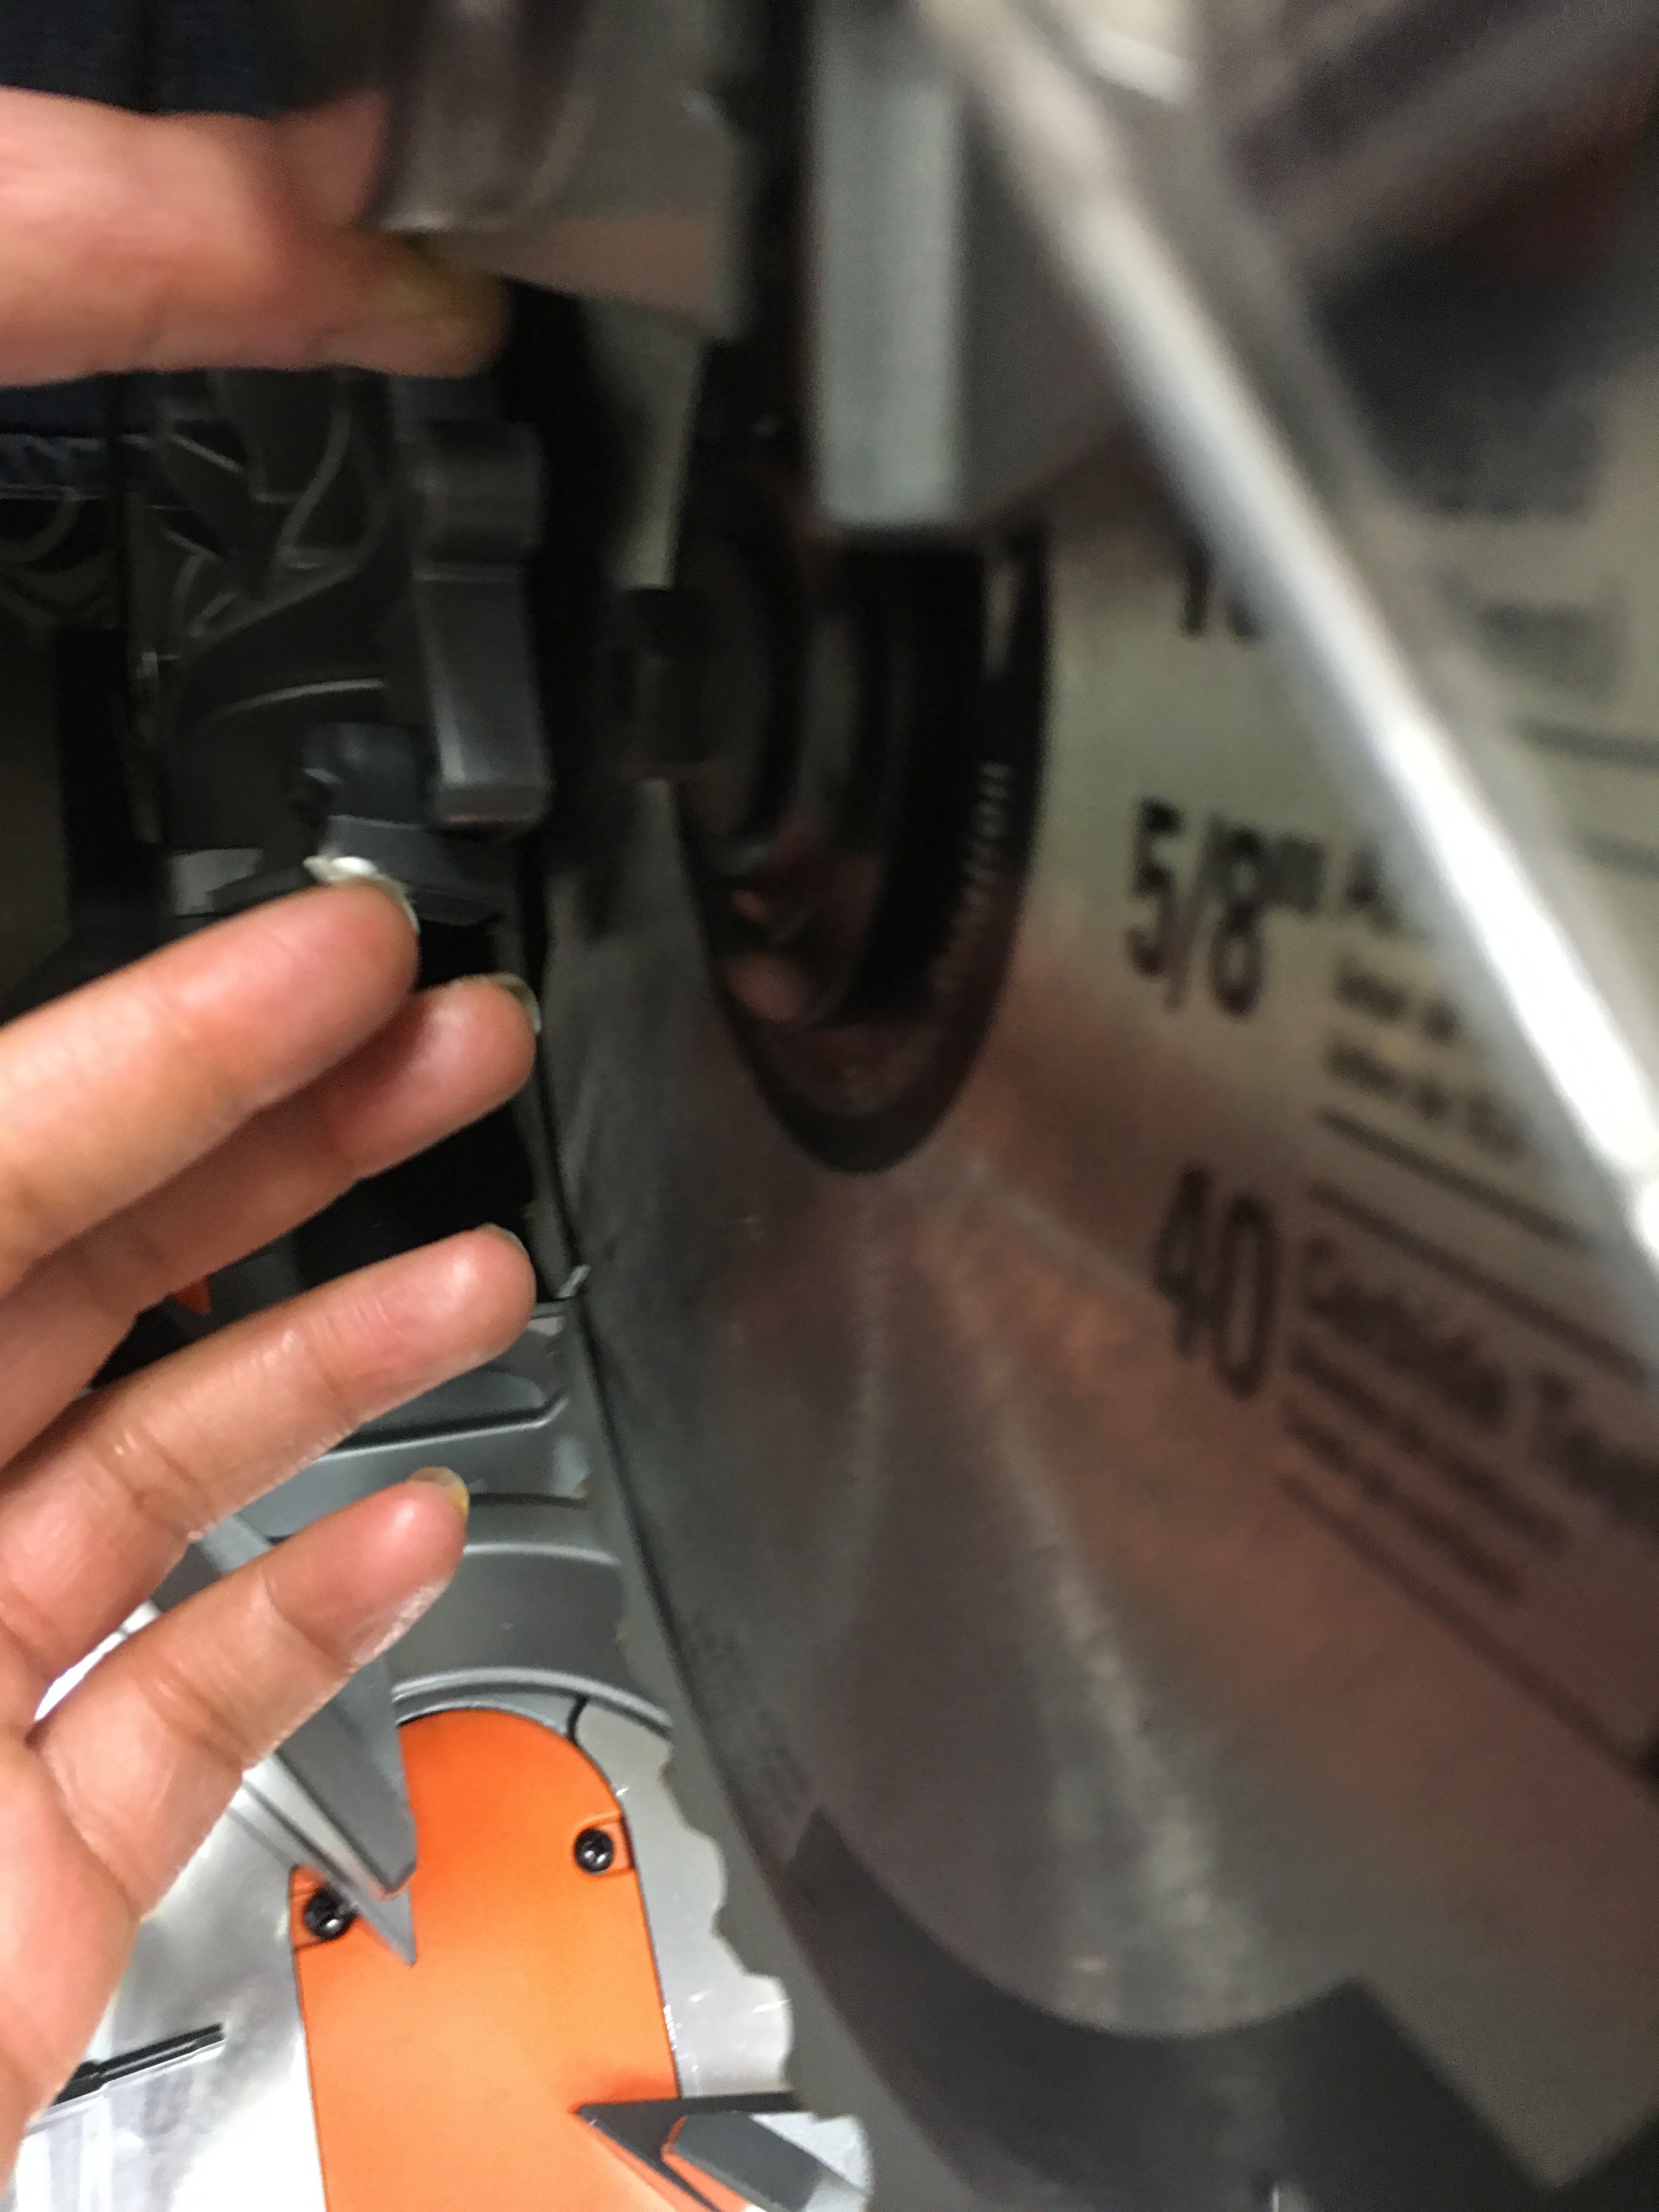
He showed me how the blade guard works, and flipped it up to show where the blade is installed.
He pointed out where I remove the screws to add the blade.
The saw comes with a combination hex key and phillips head, used to loosen and tighten screws on the model.
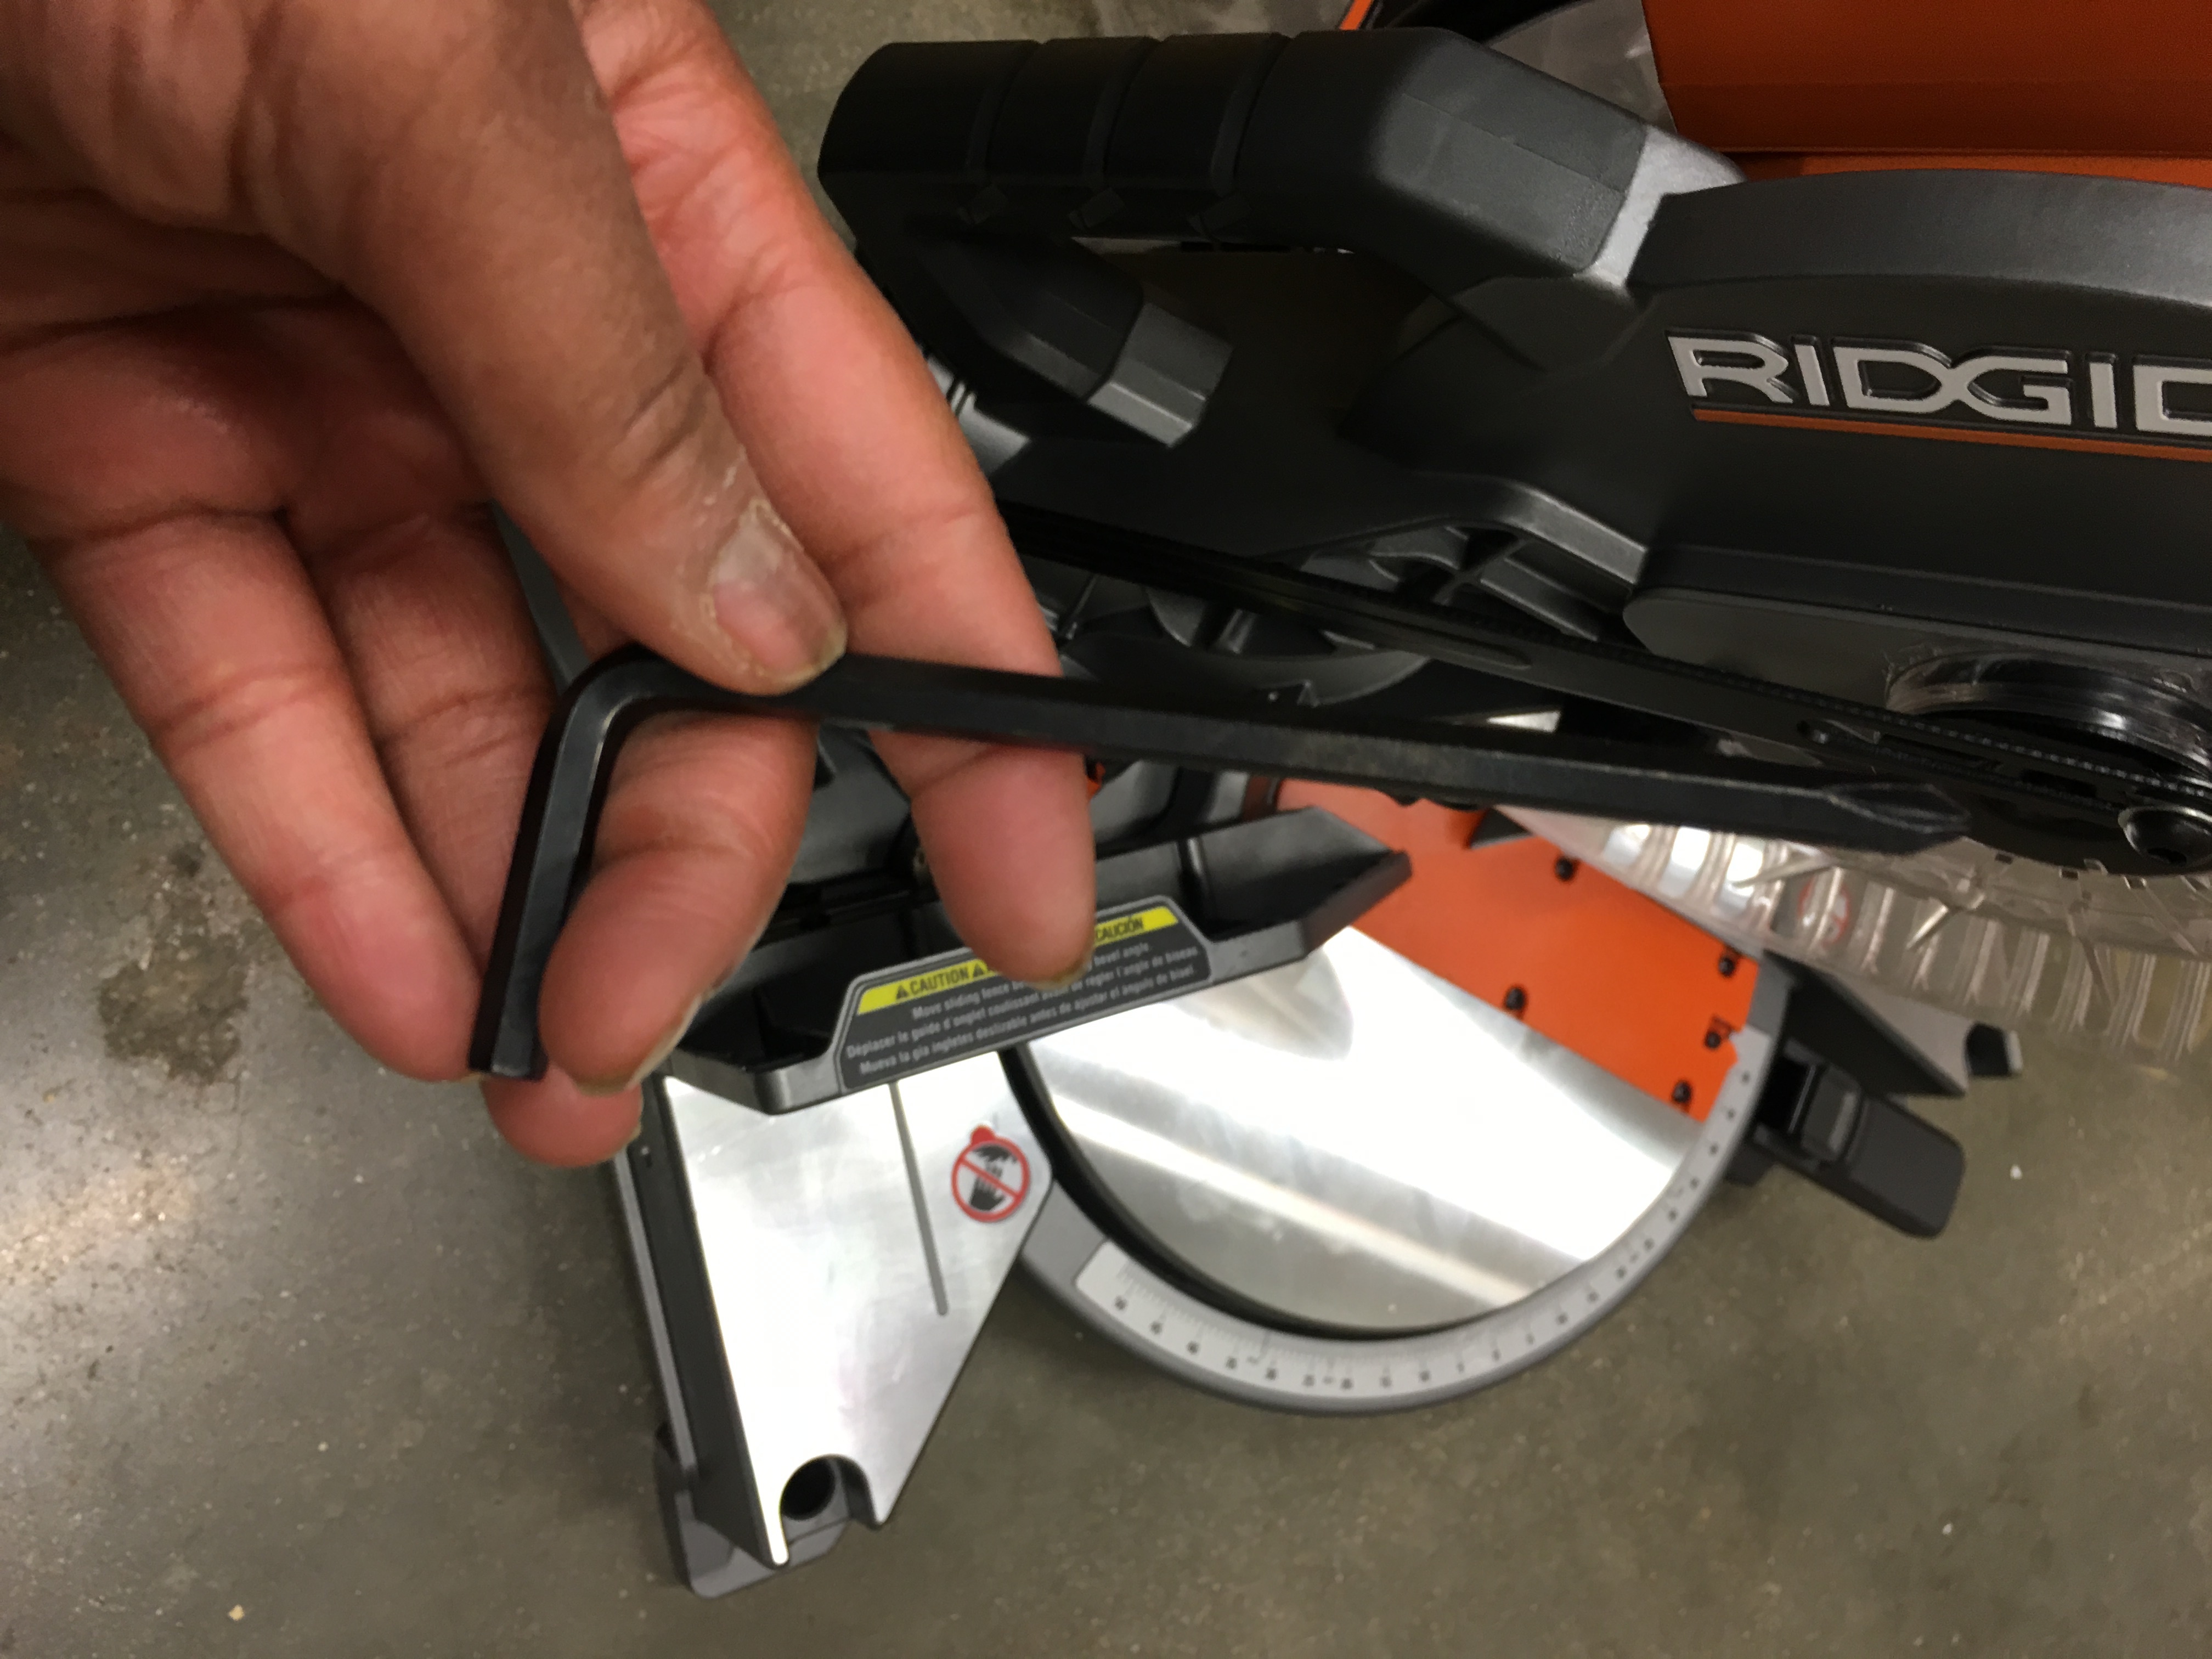
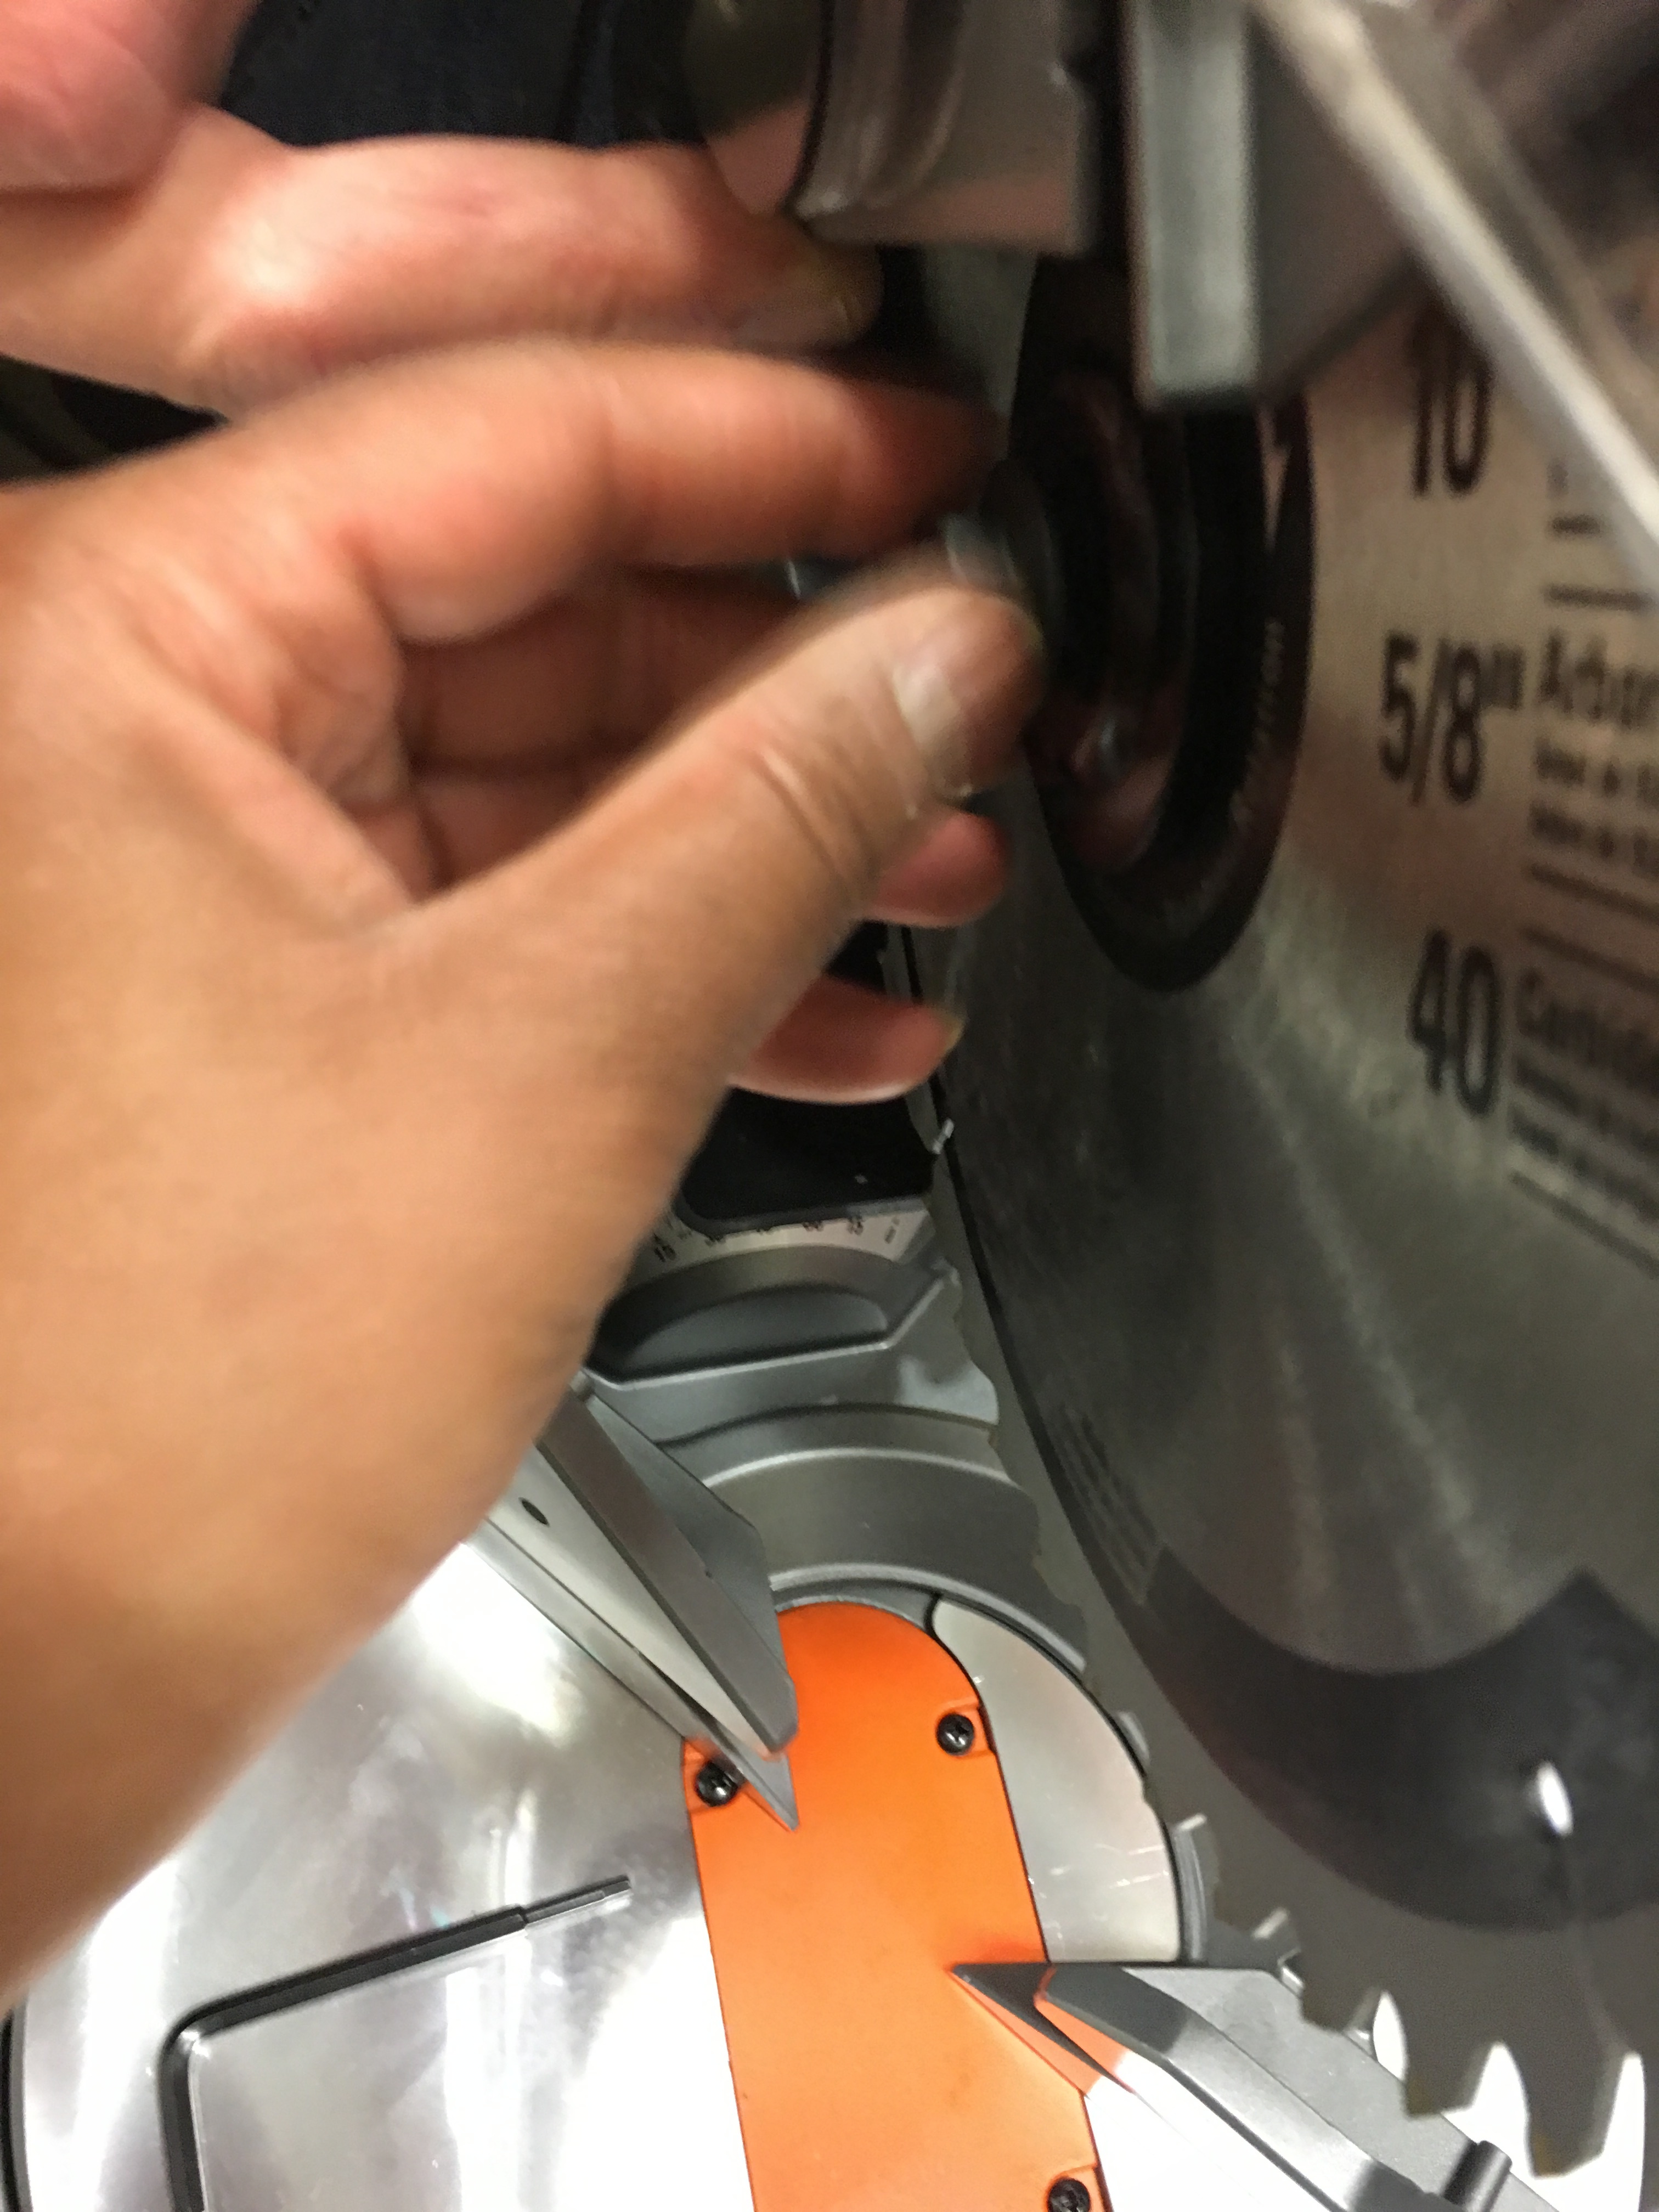
Once we use the hex key to loosen the screw under the blade guard…
…we unscrew the inner cap that holds the blade…
…and remove it from the spindle.
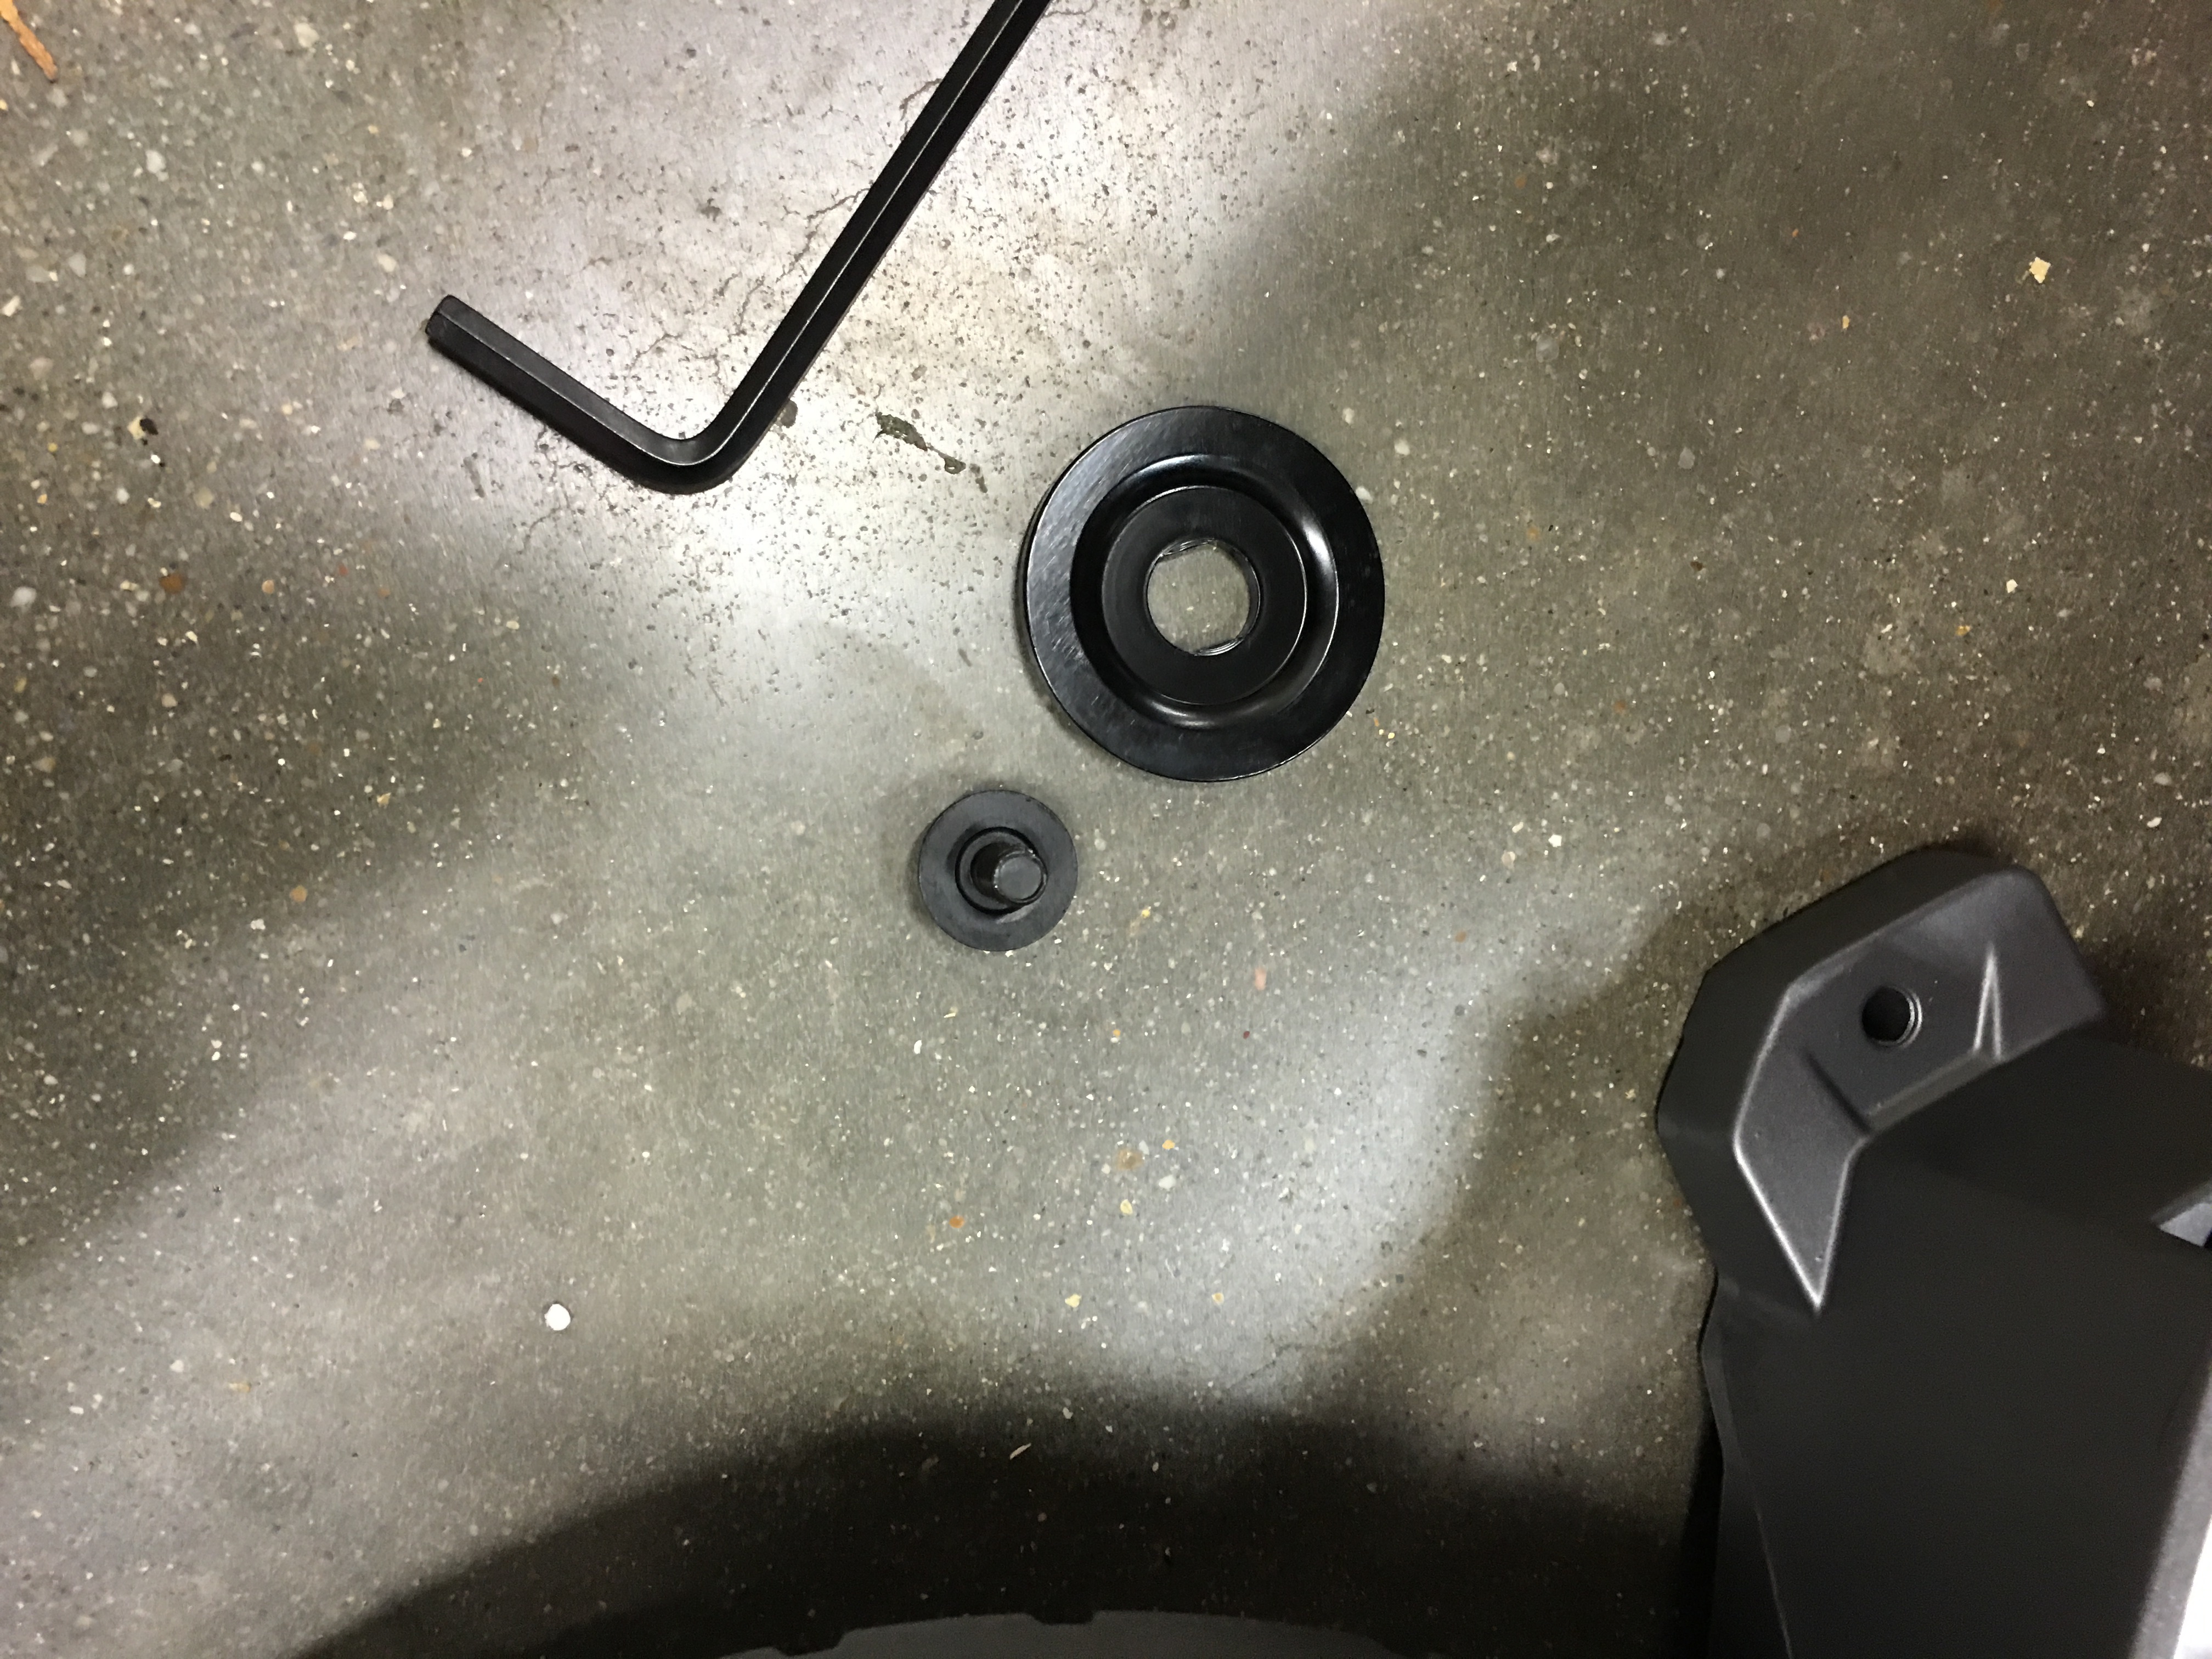
So here’s the cap and the cap screw that will attach the blade to the spindle once it’s added.
The box includes a new, razor sharp, 10″ blade.
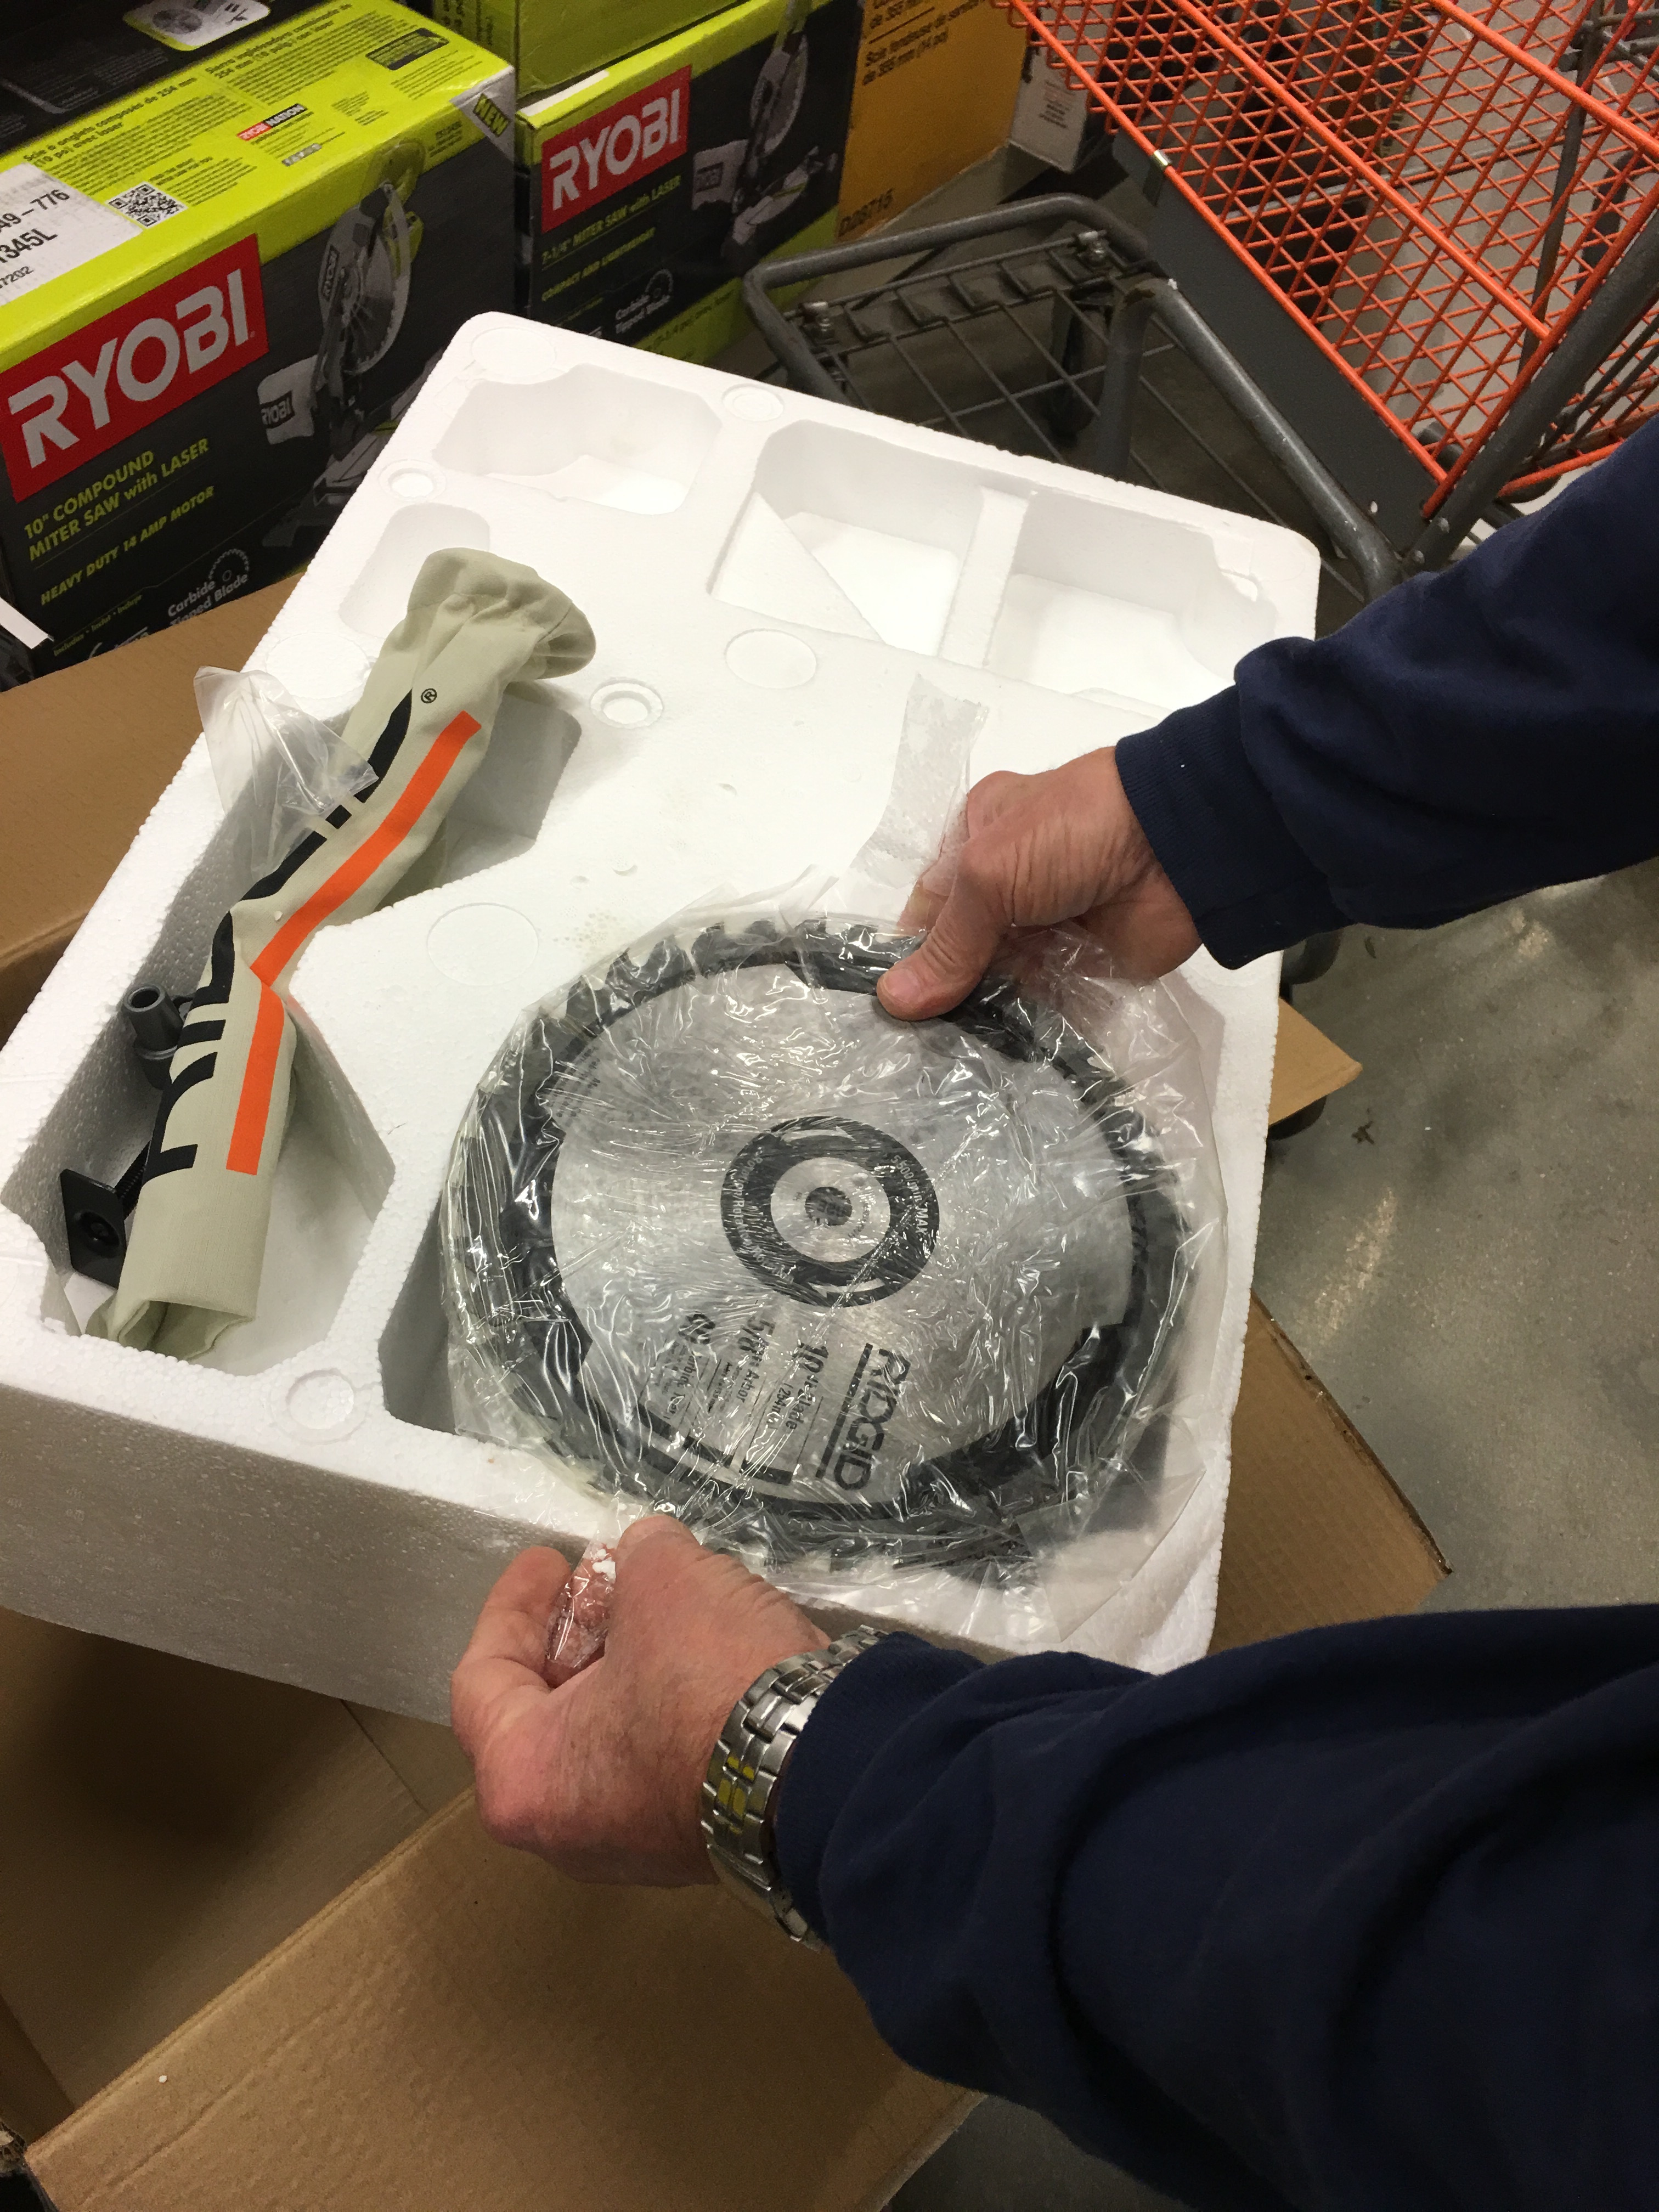
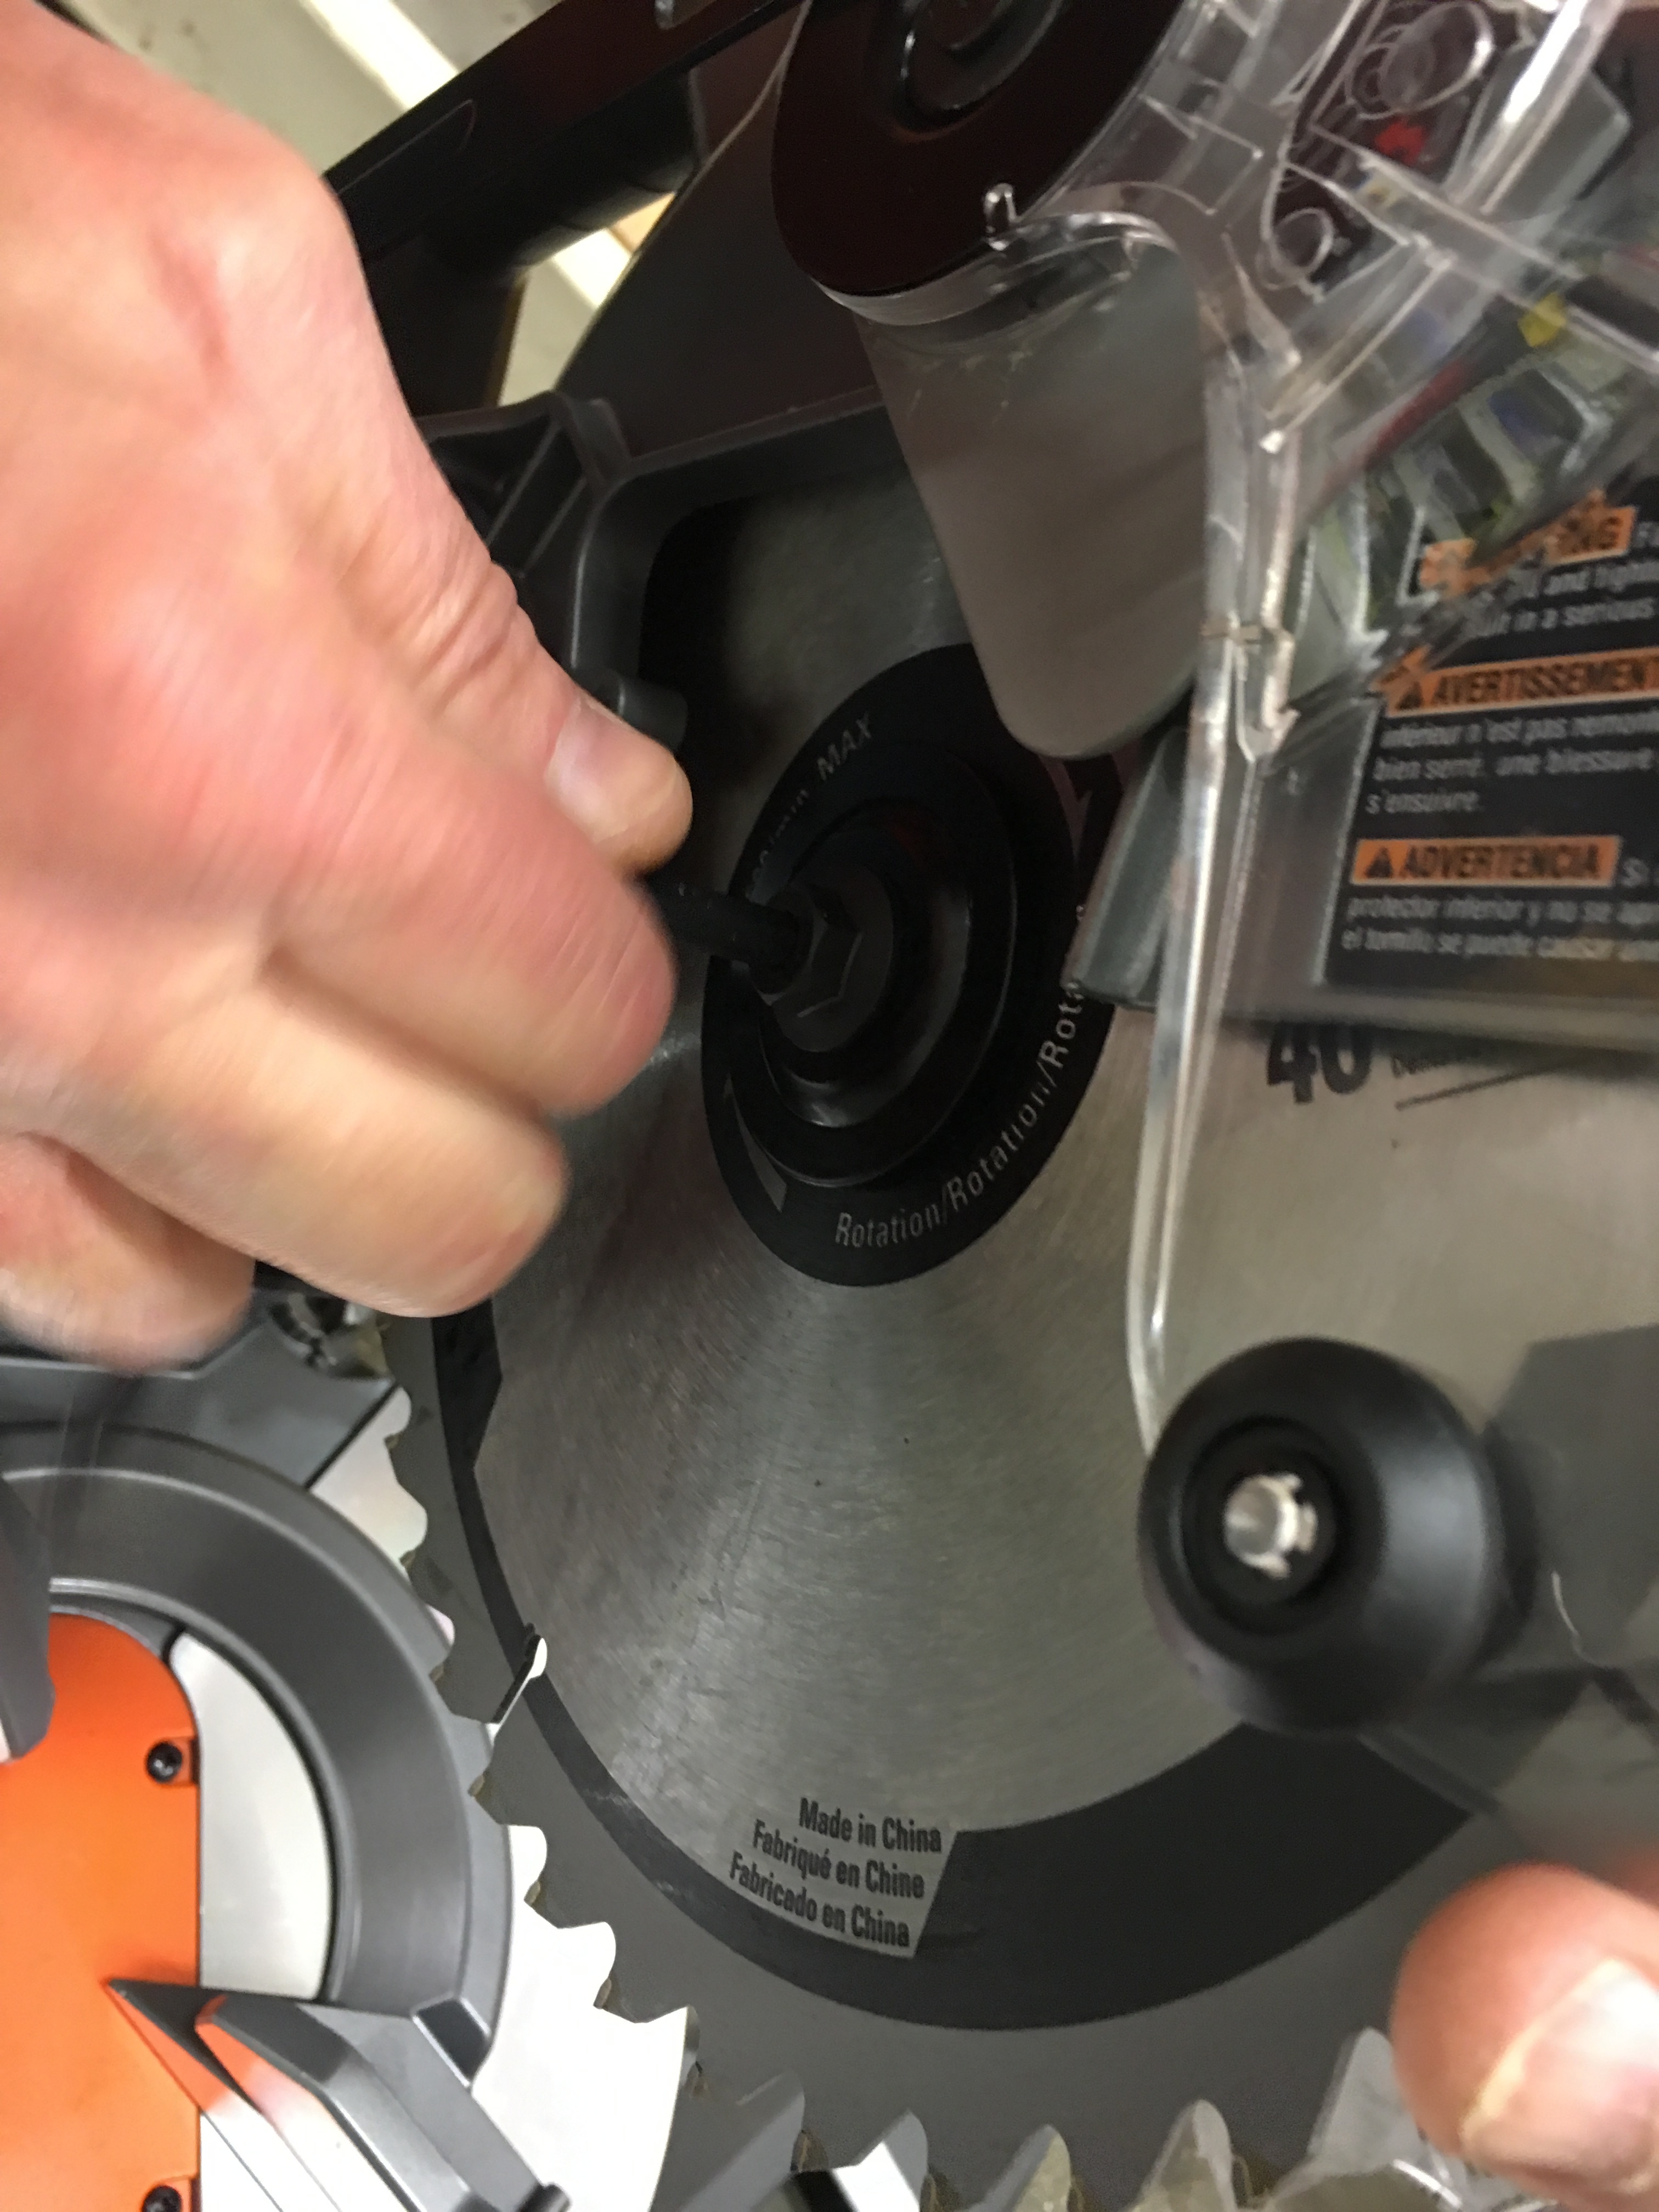
After carefully unwrapping and inserting the blade (by threading it through the spindle), we replace the blade cap…
…and lock it in with the cap screw.
Done.
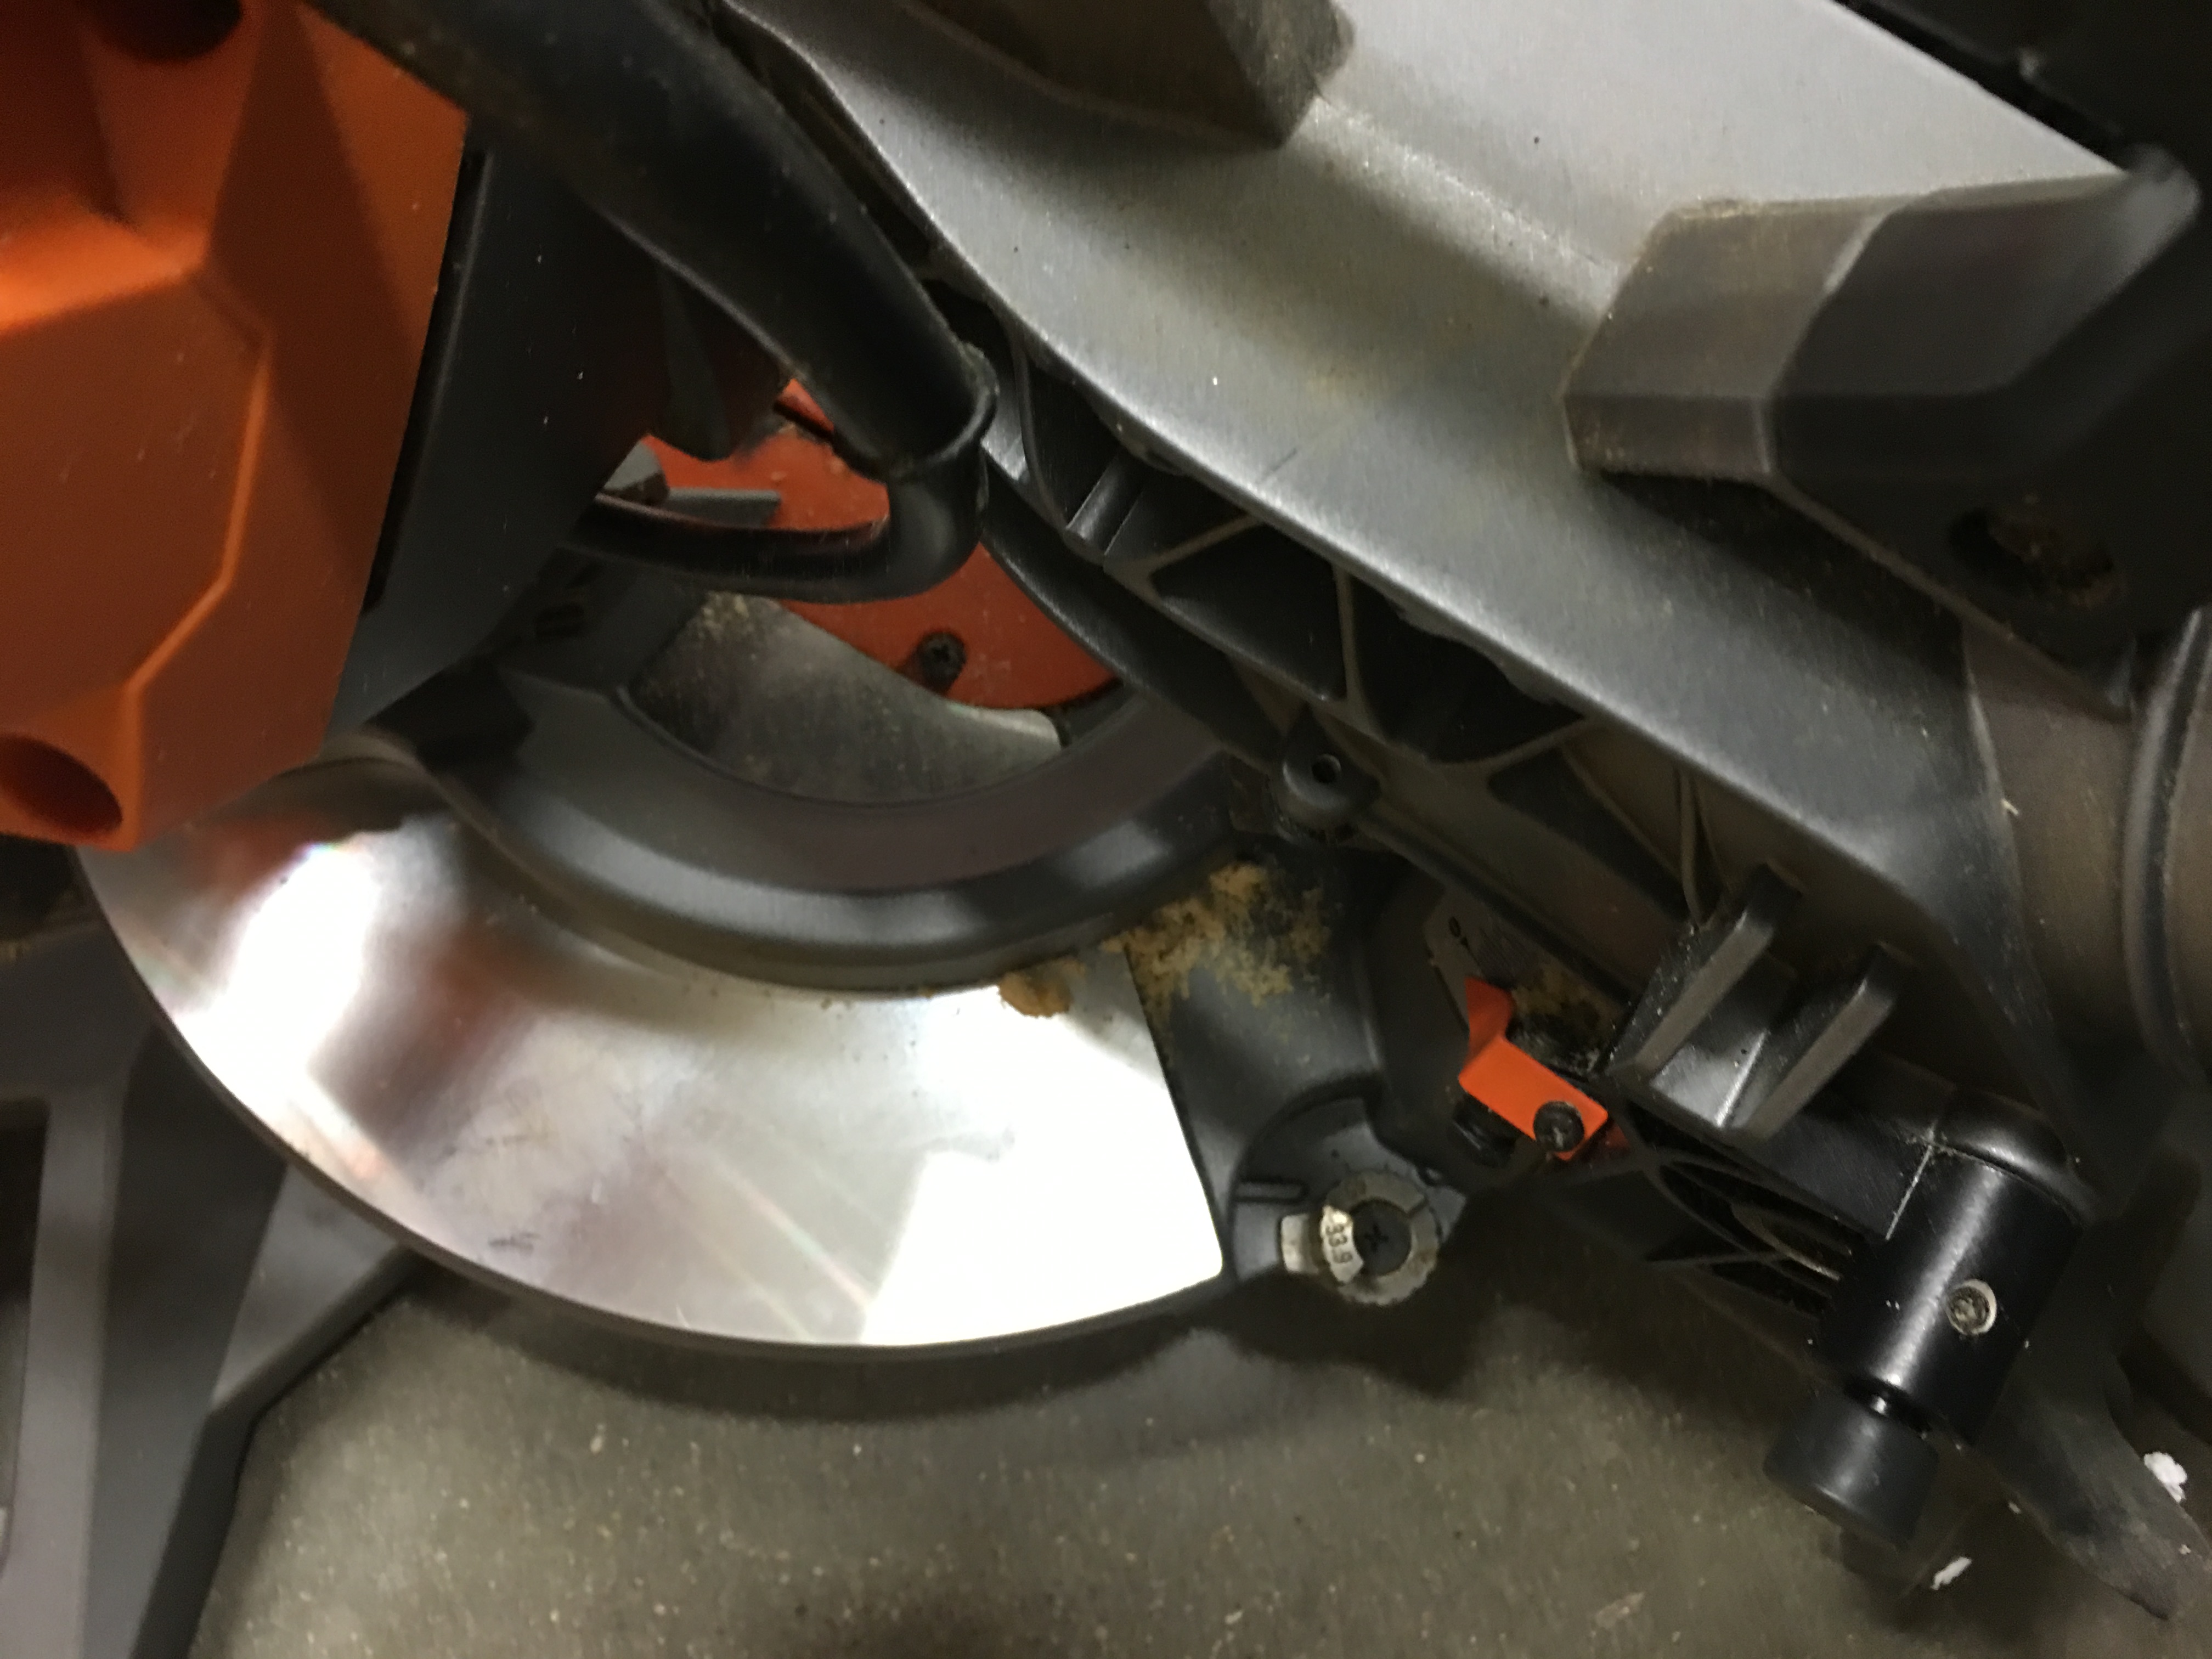
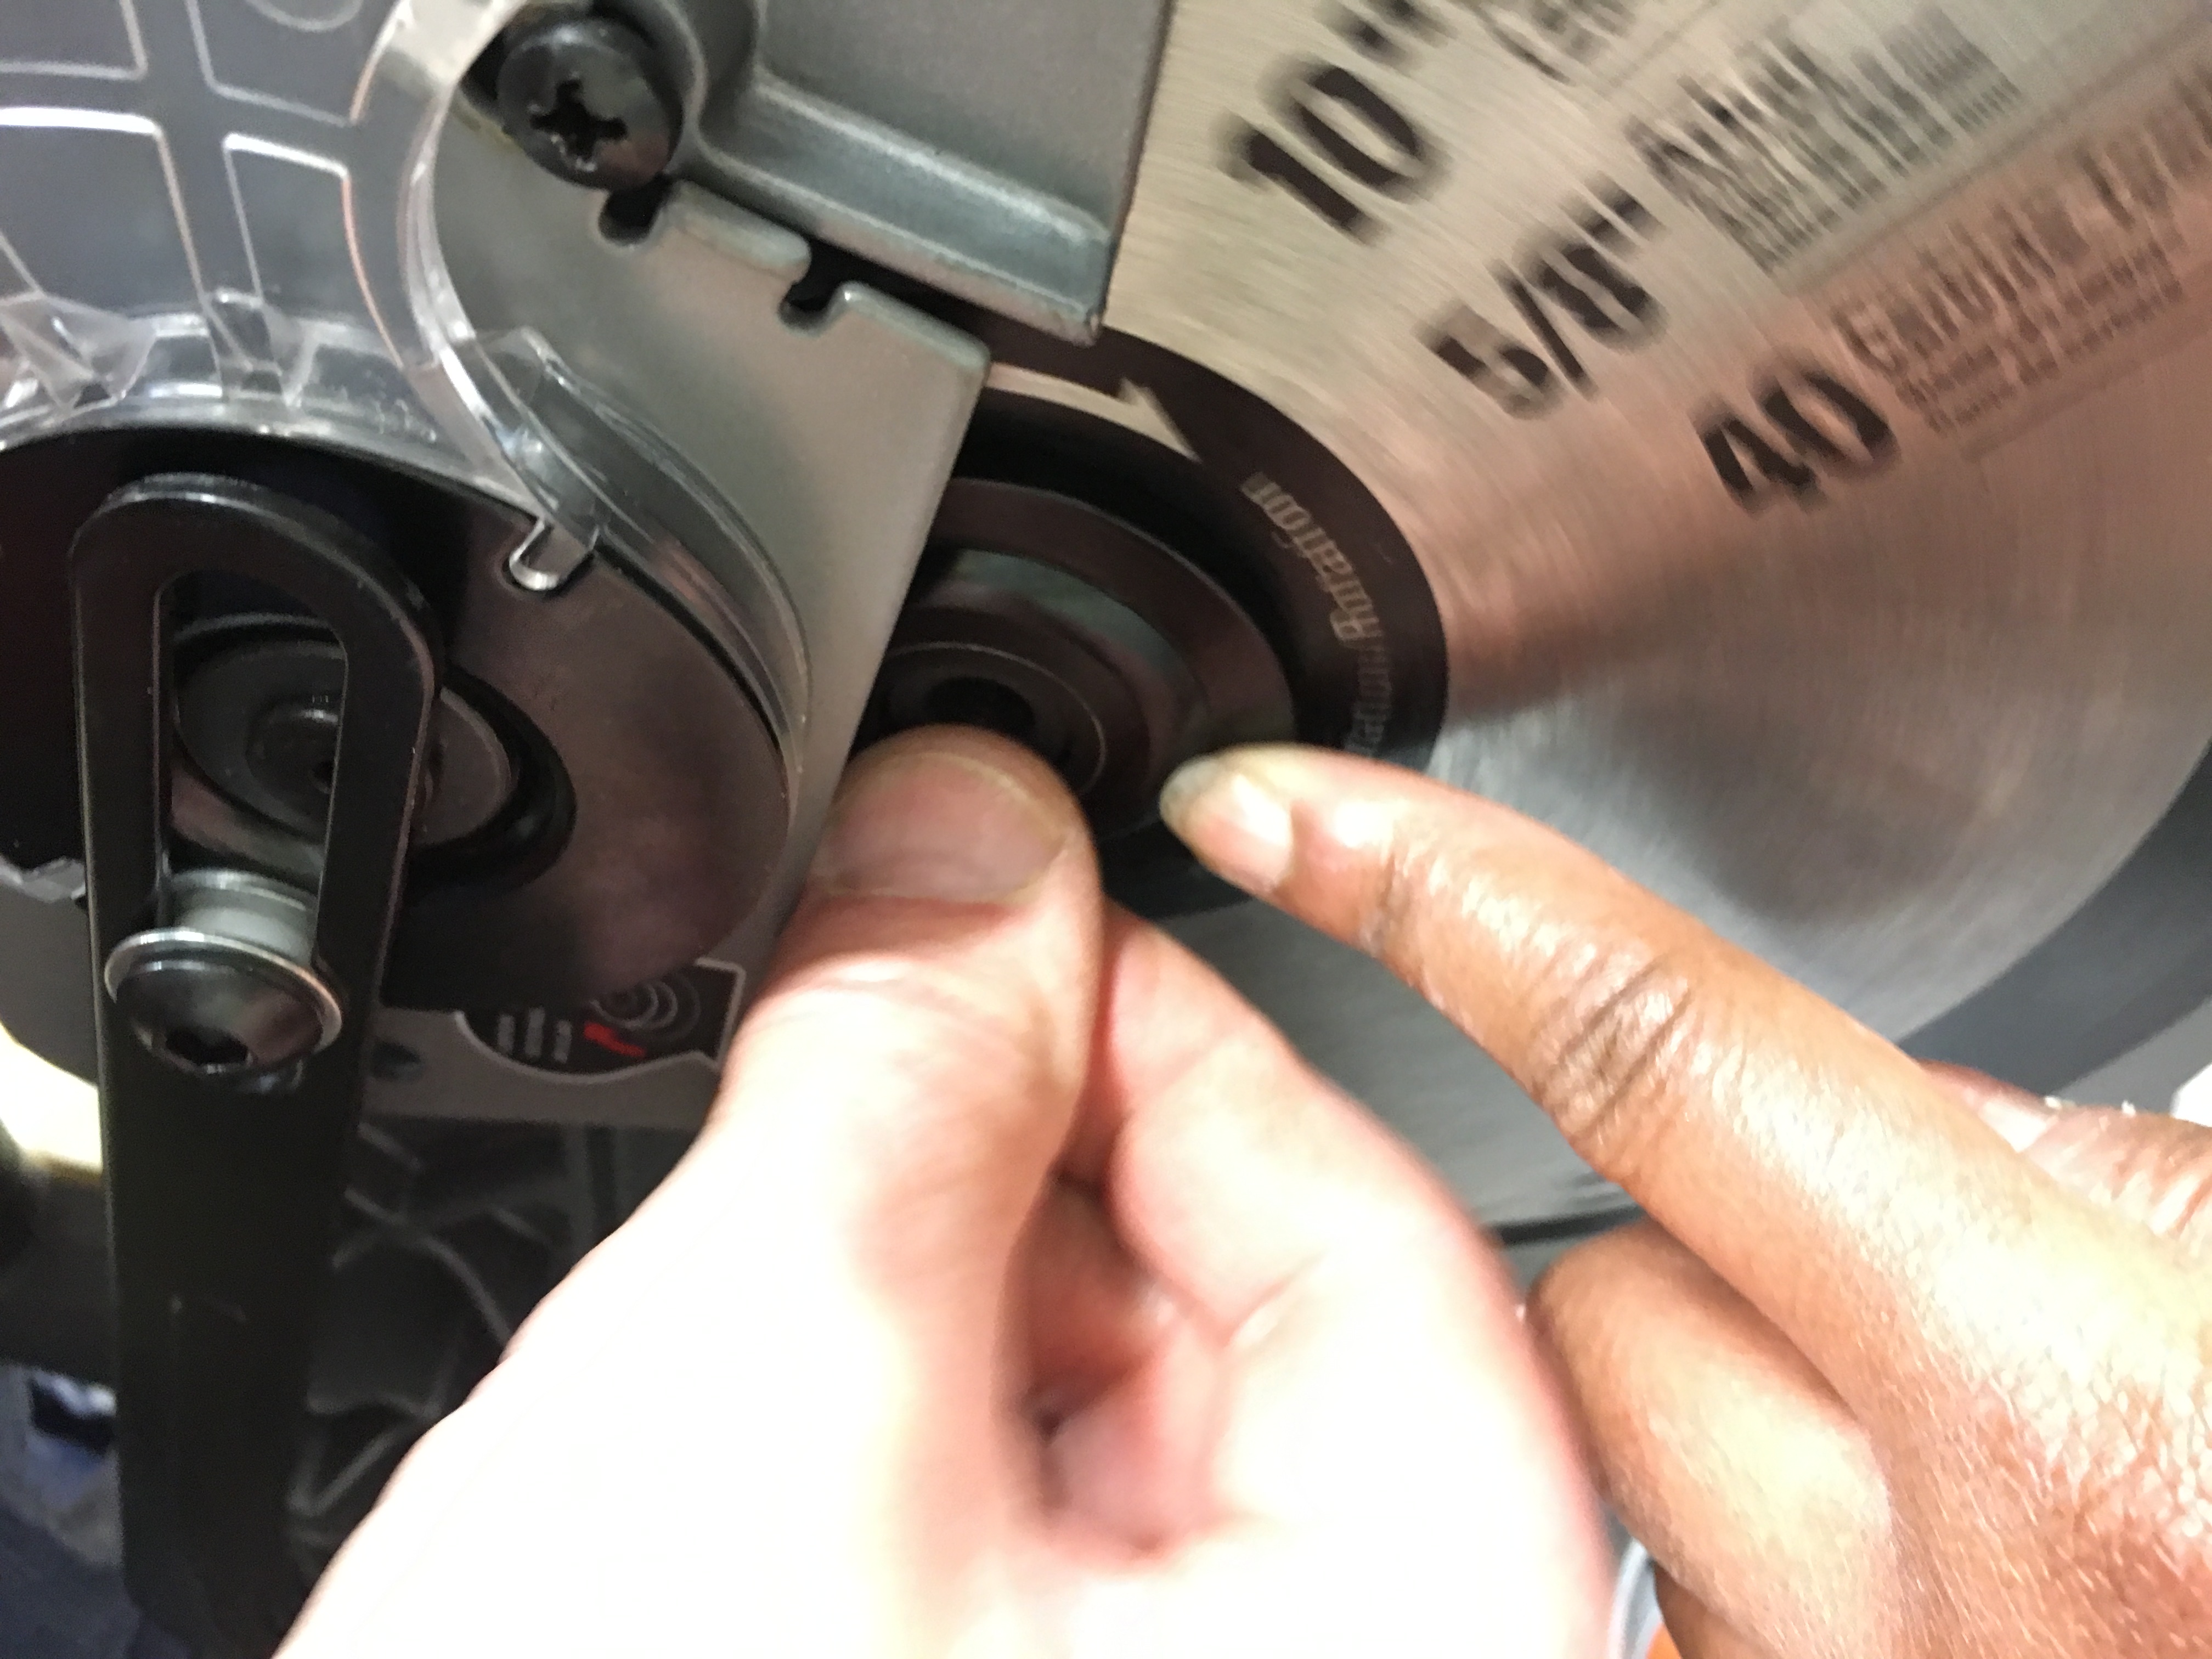
We use the hex key to tighten the cap screw even further.
Bob gave it a test to make sure that the blade is nice and secure.
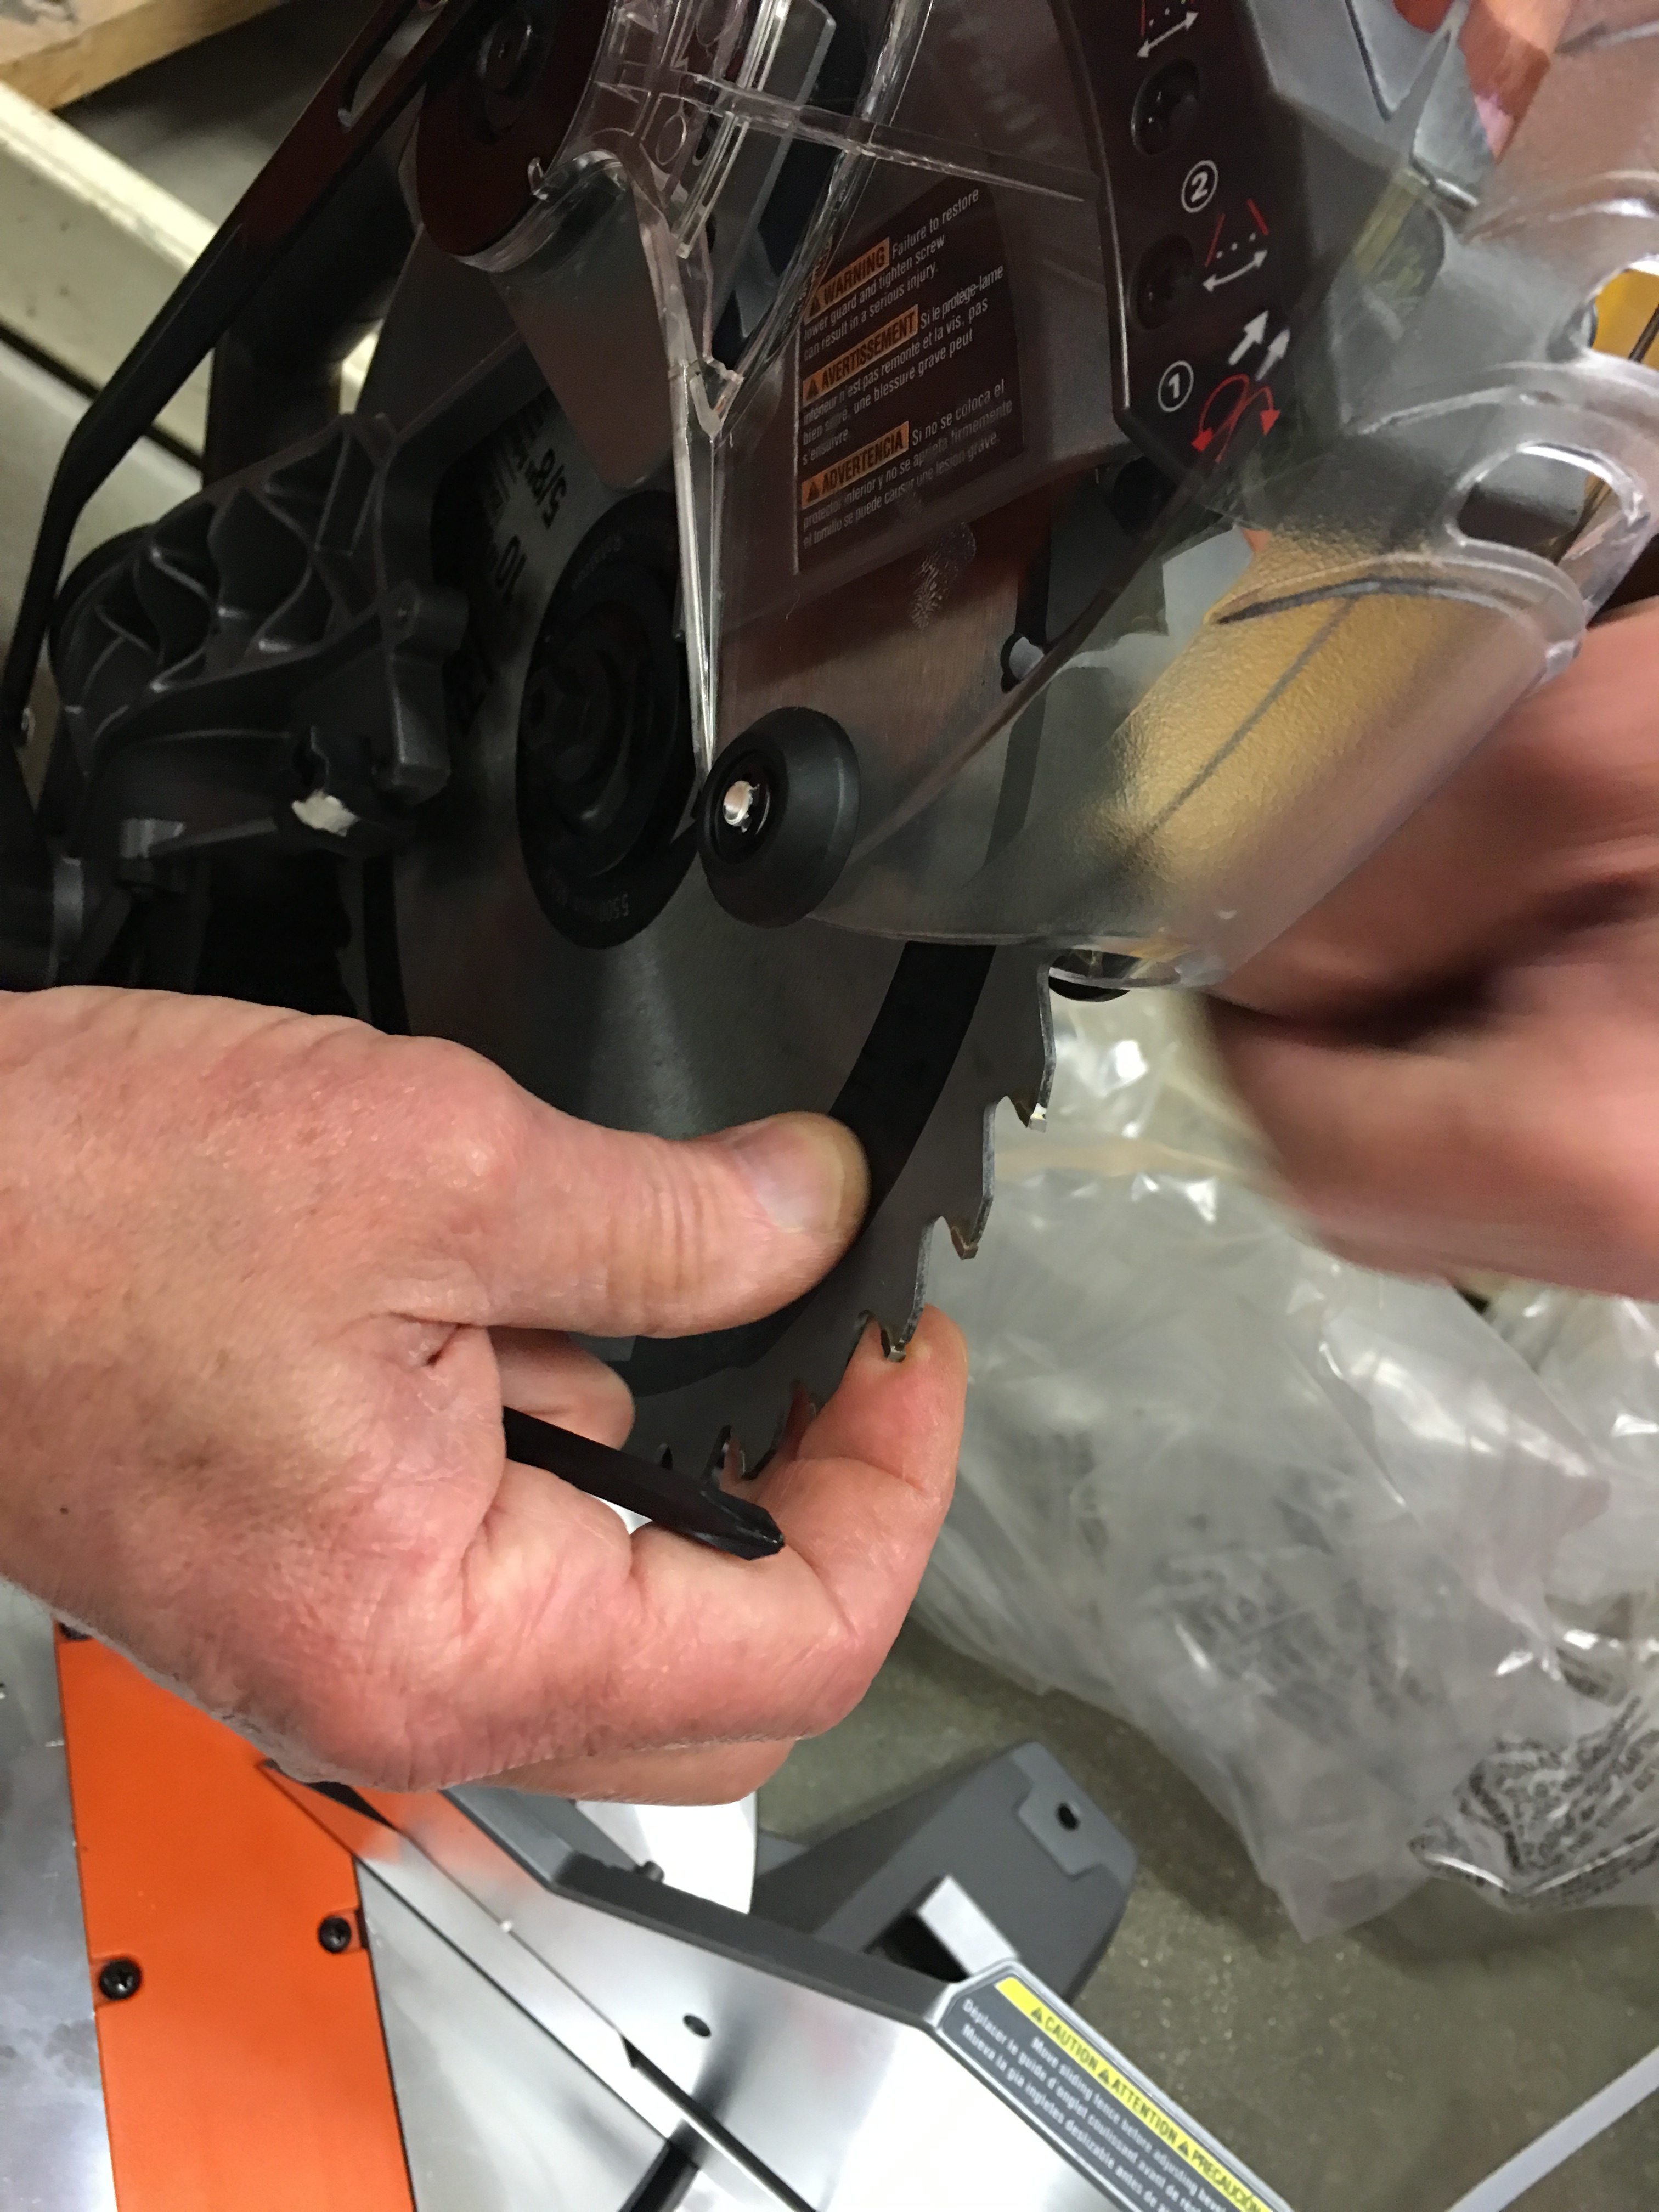
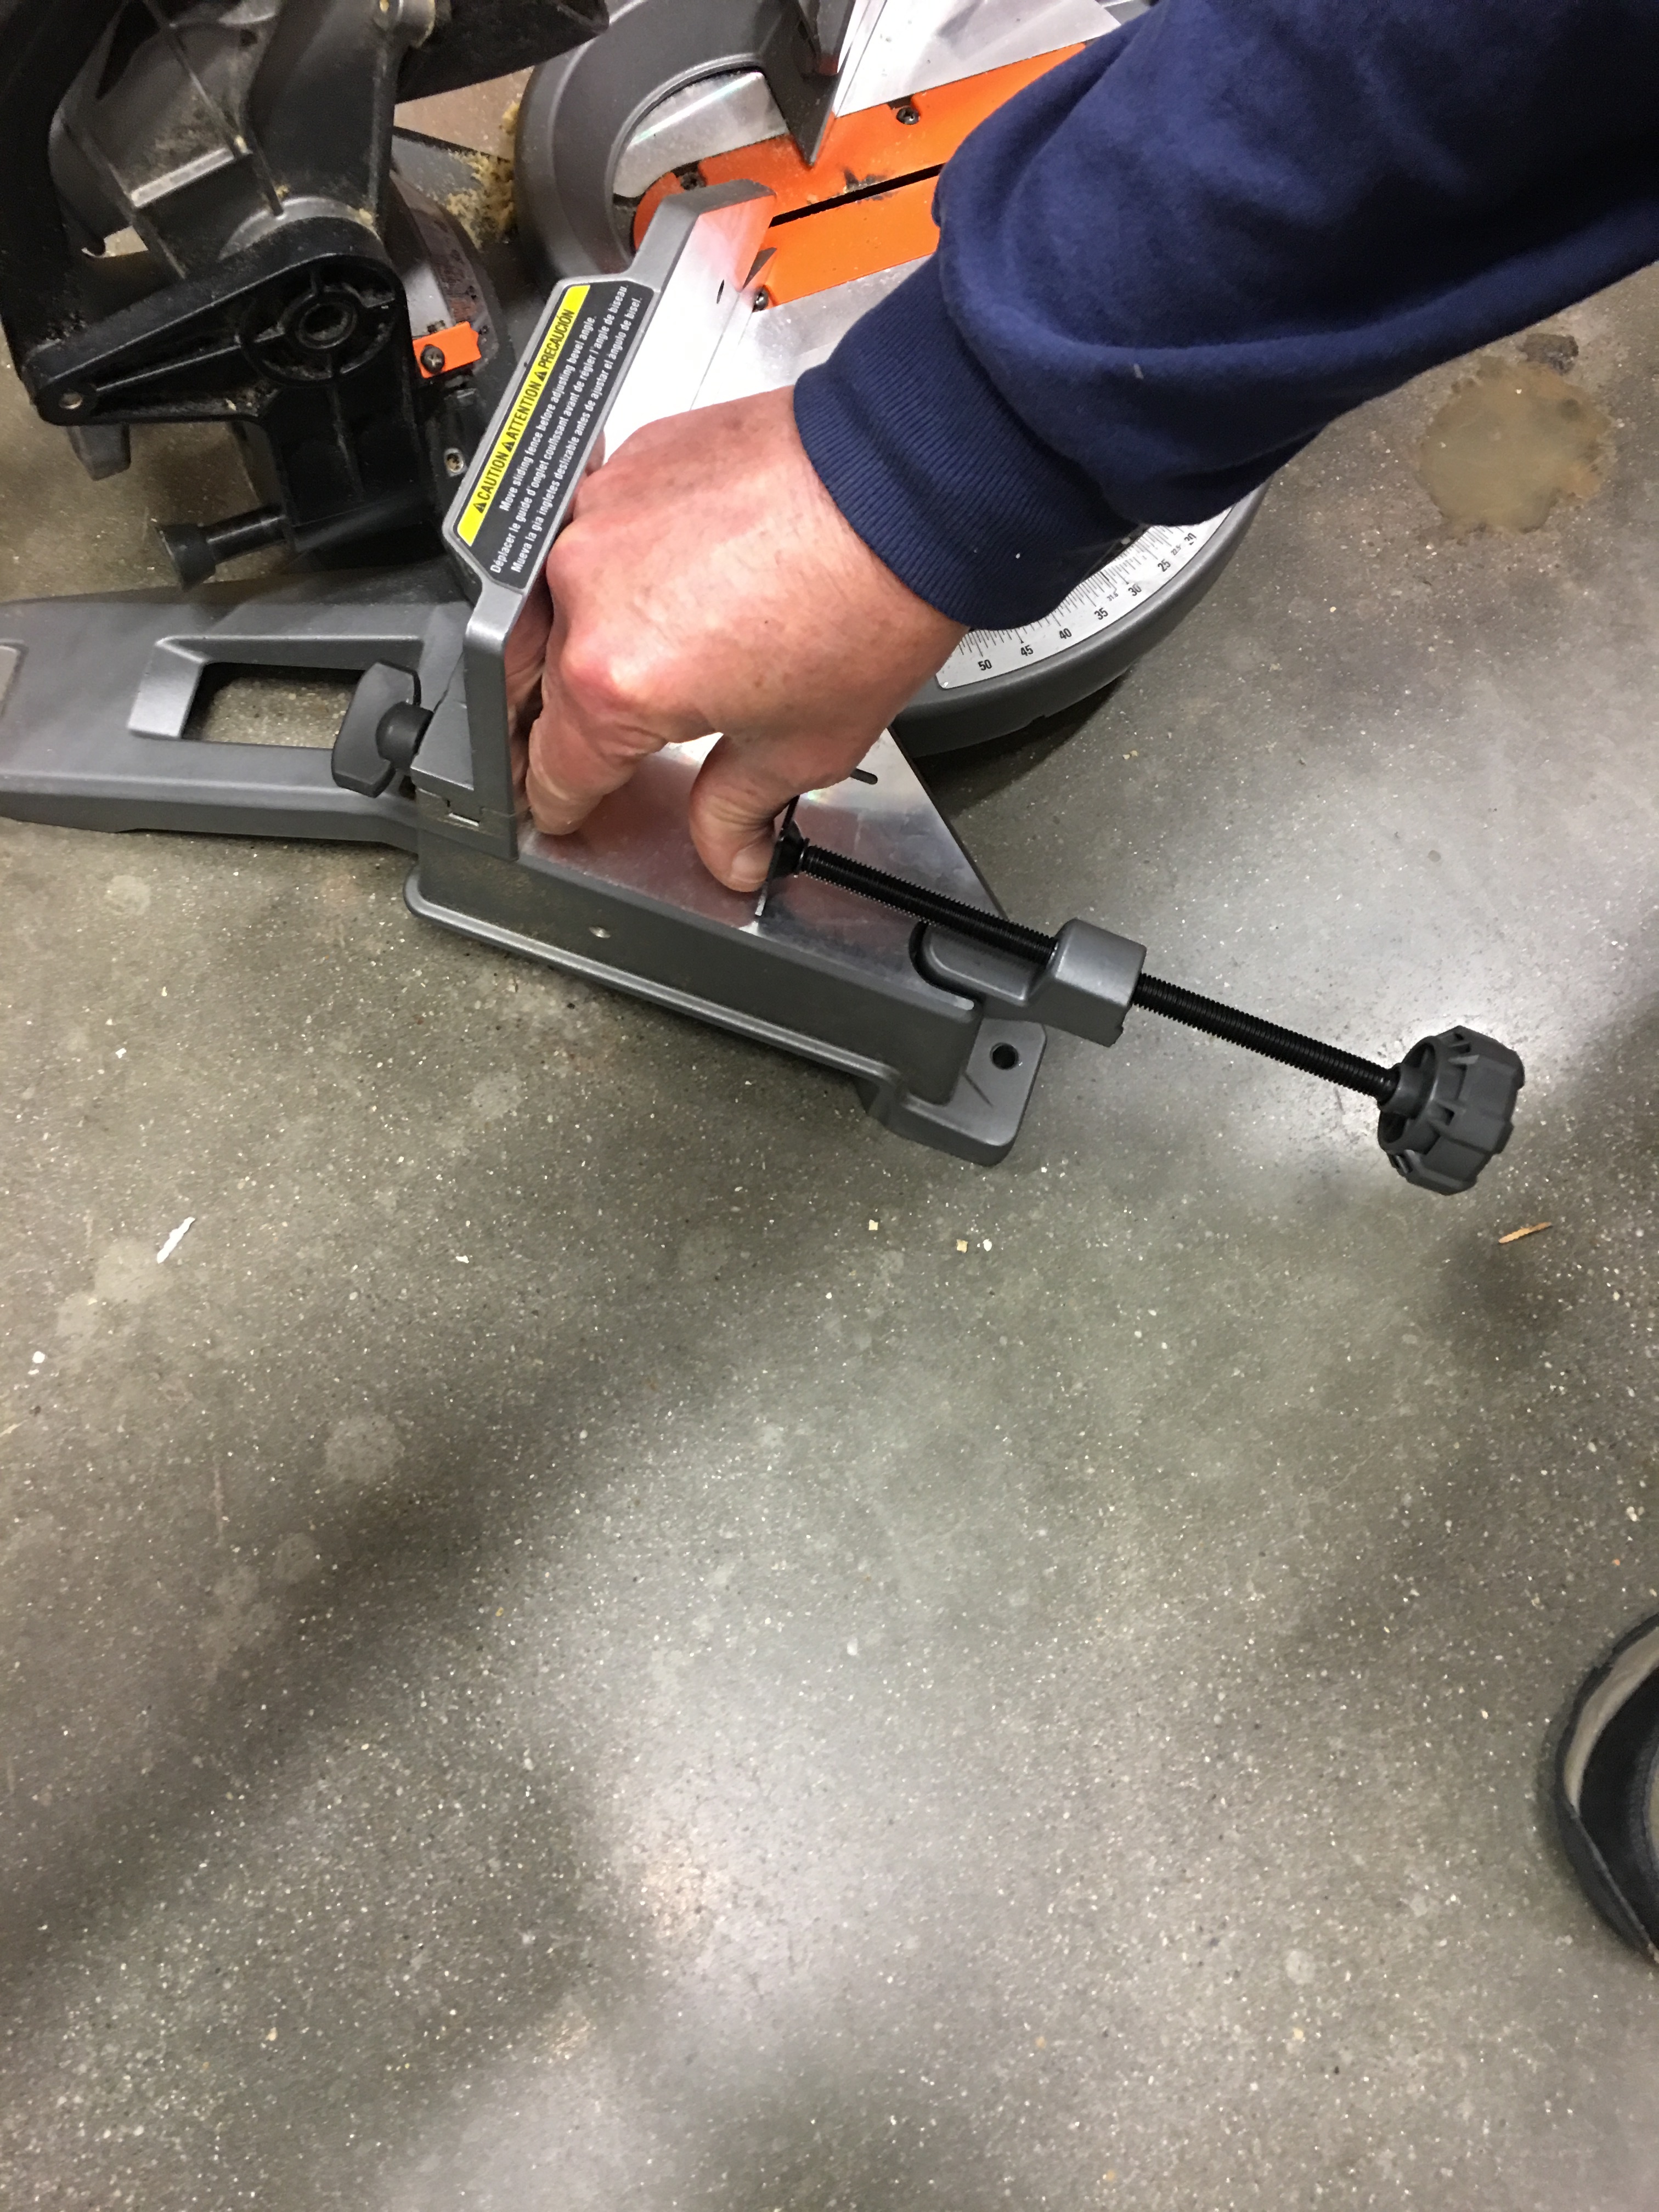
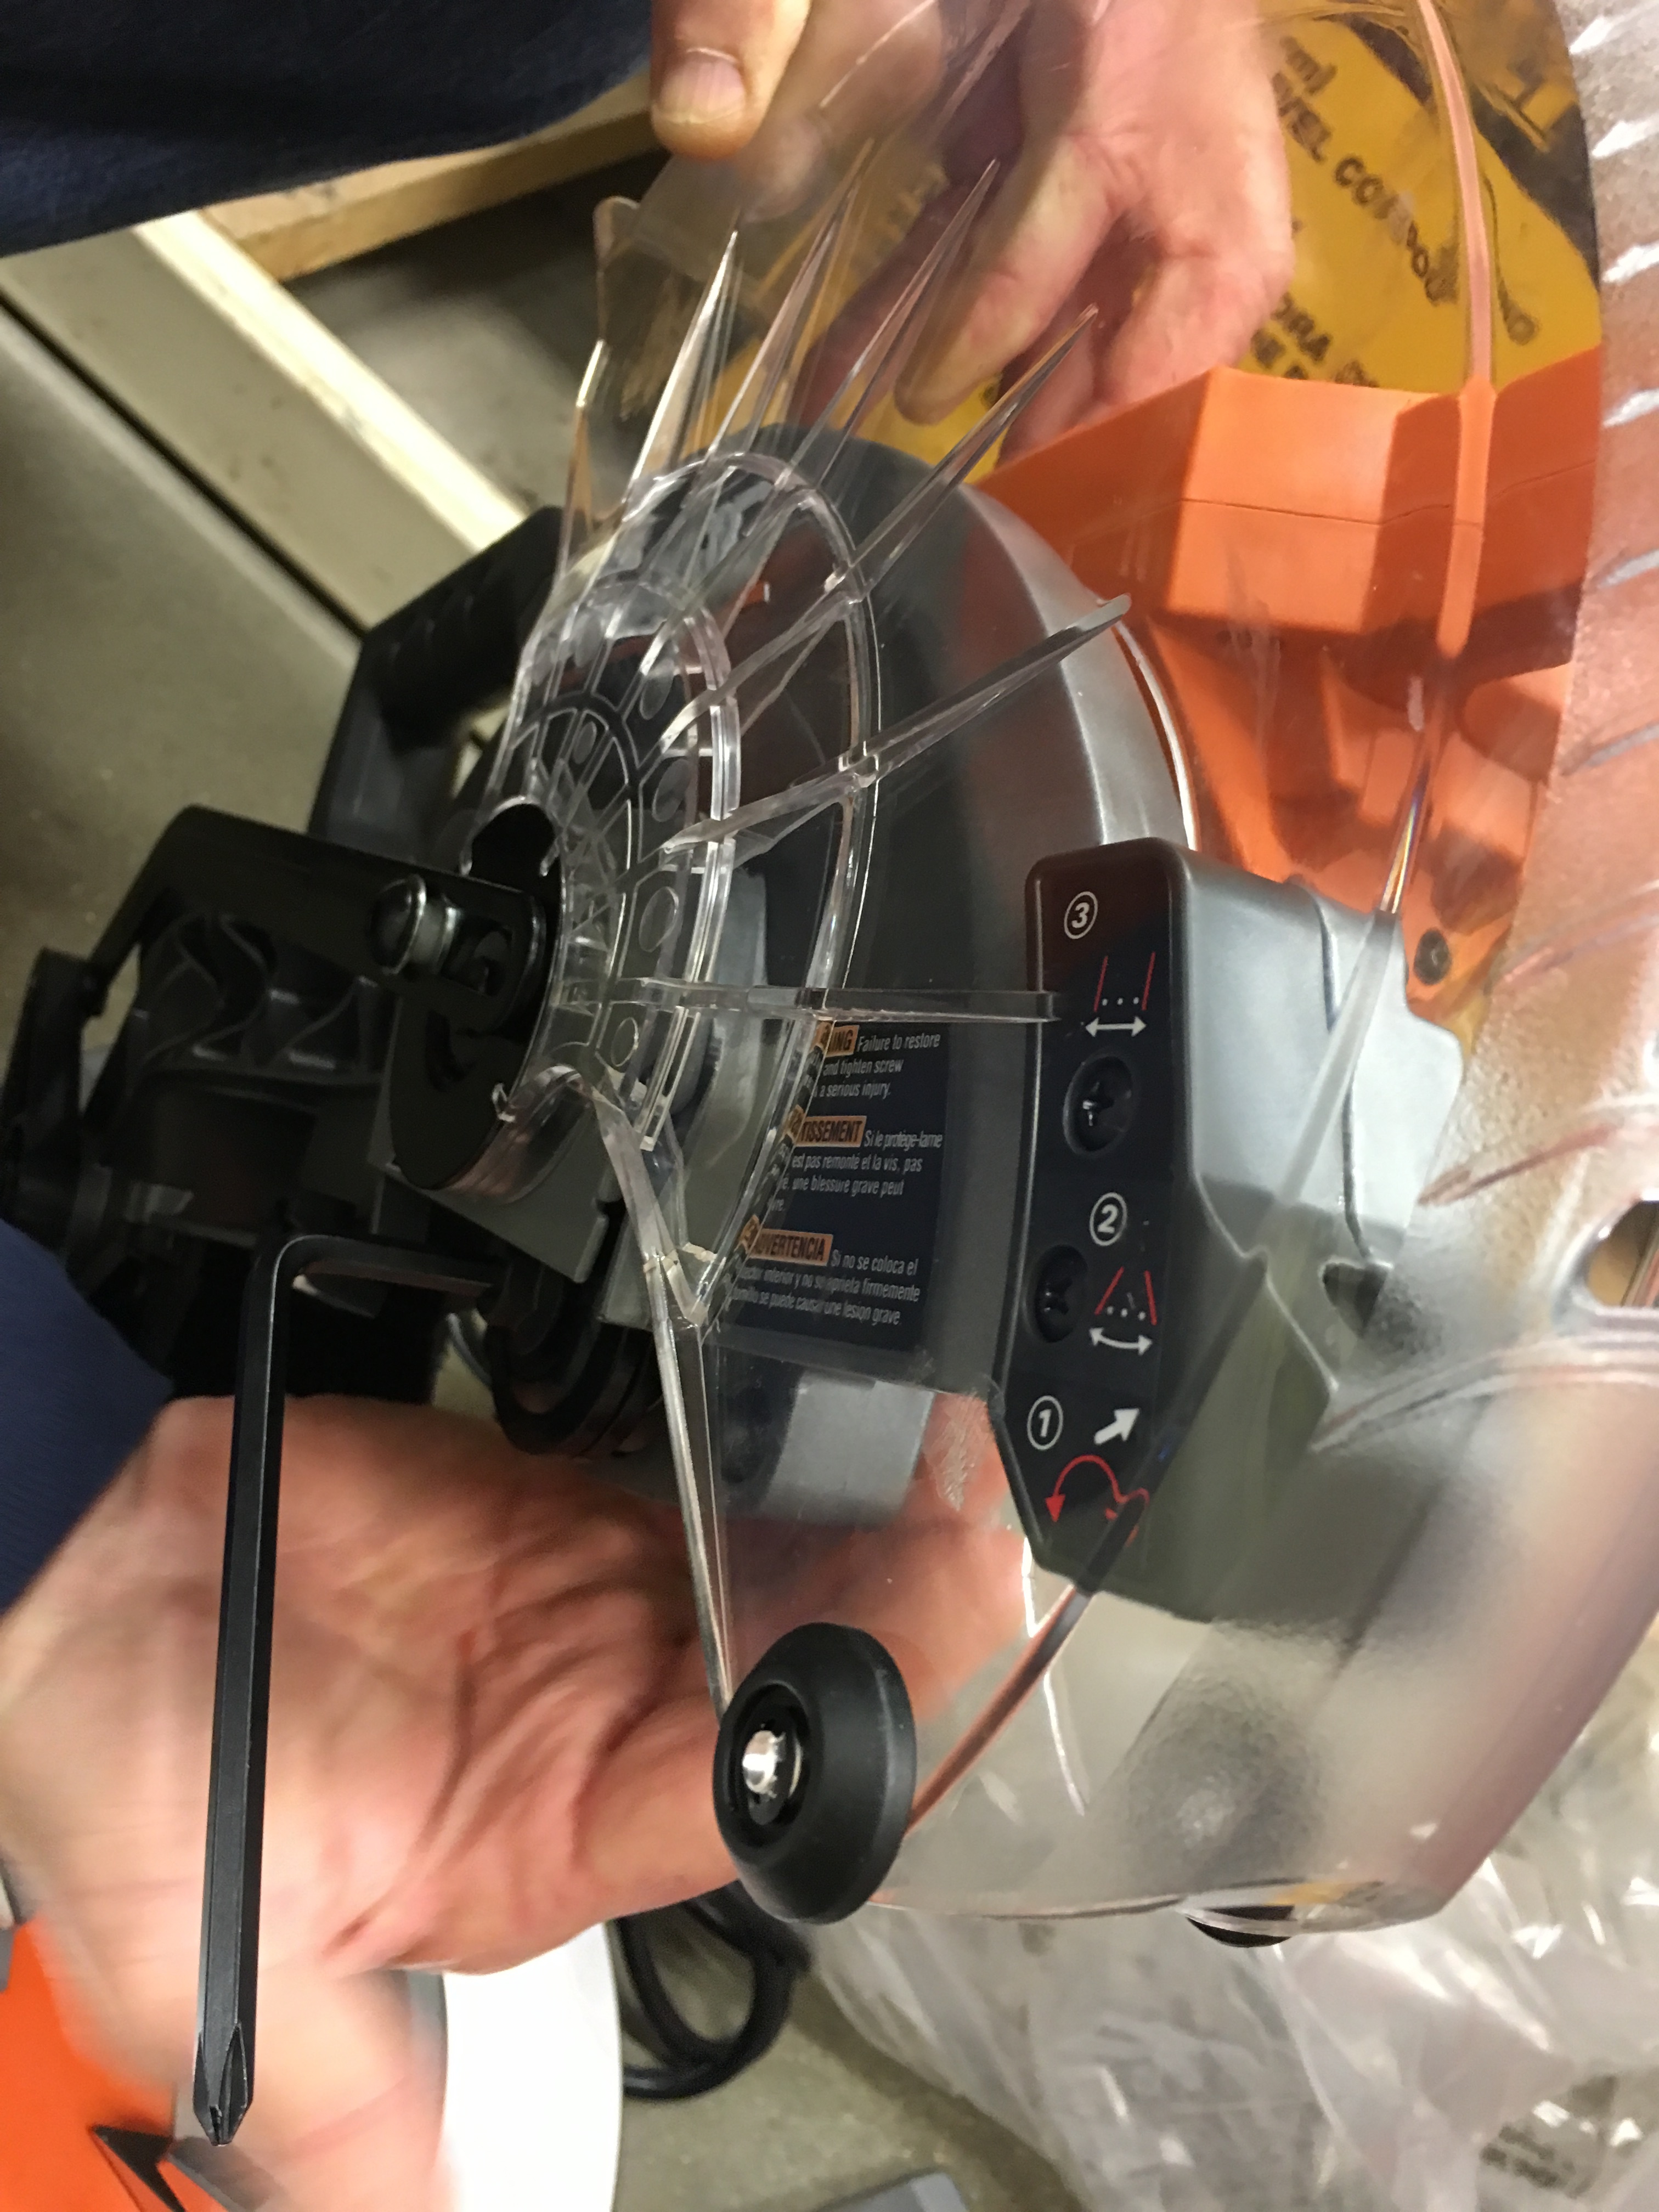
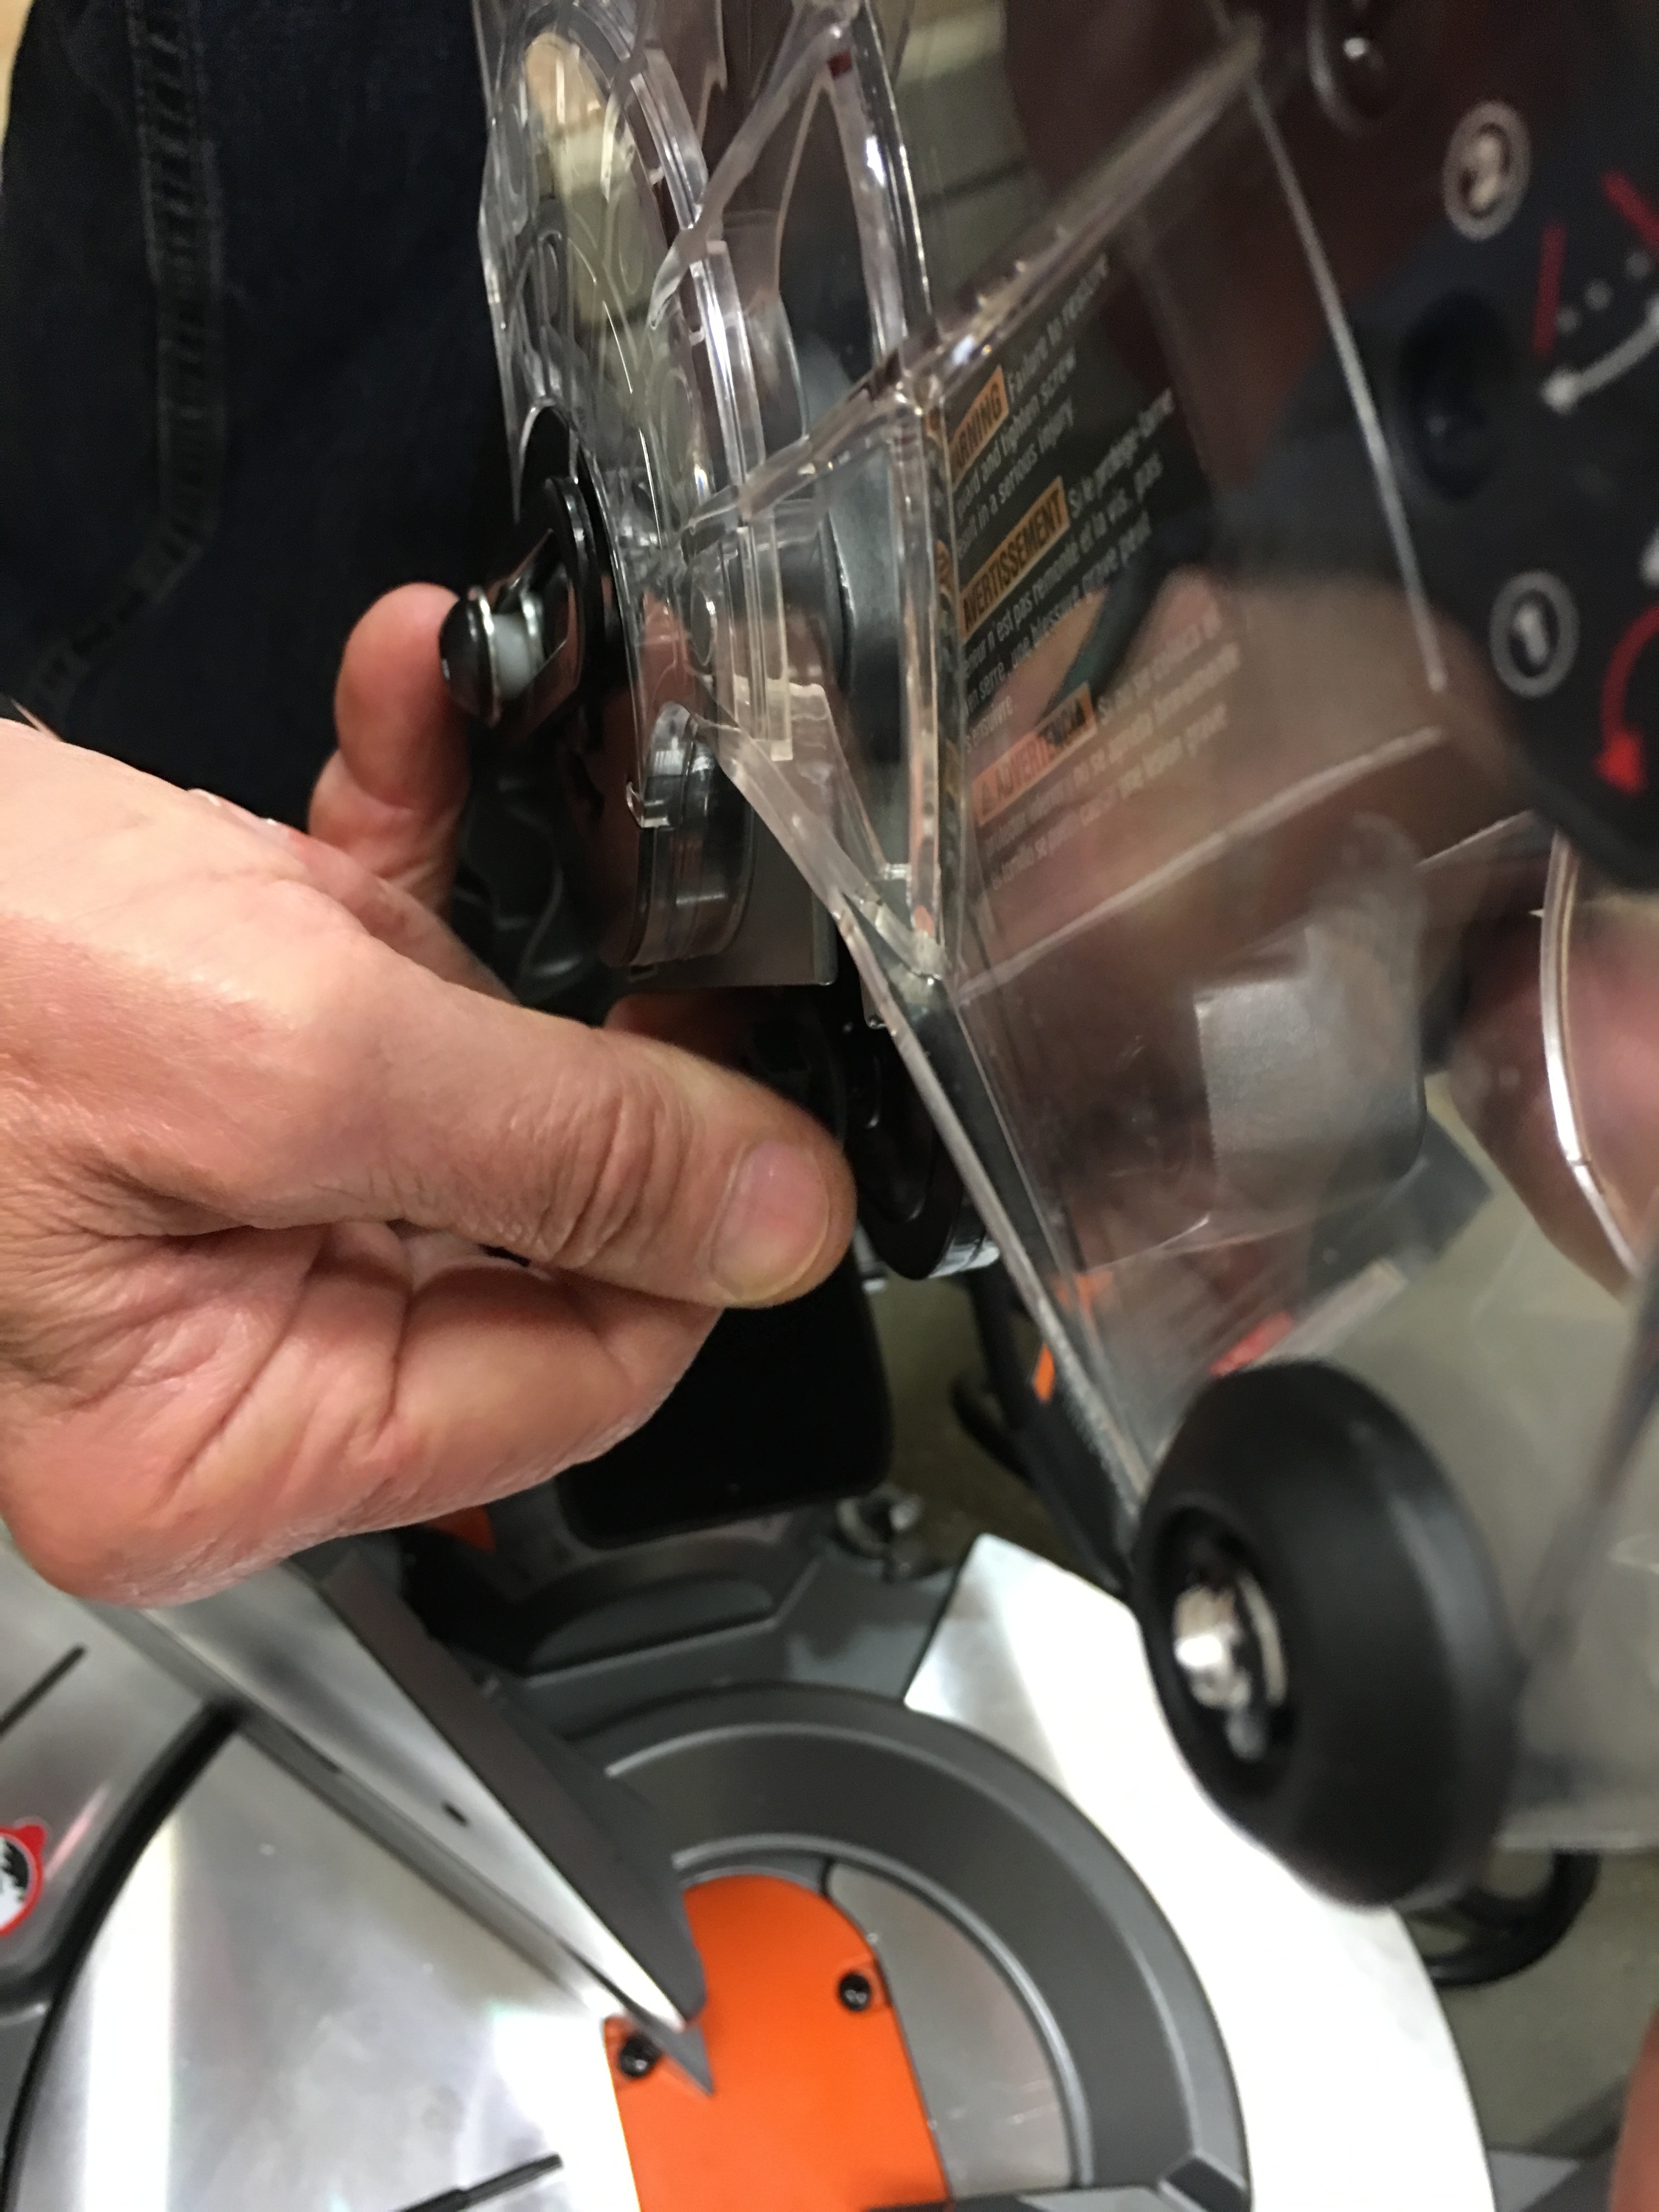
To secure the blade guard, there’s a philips head screw that holds it in place.
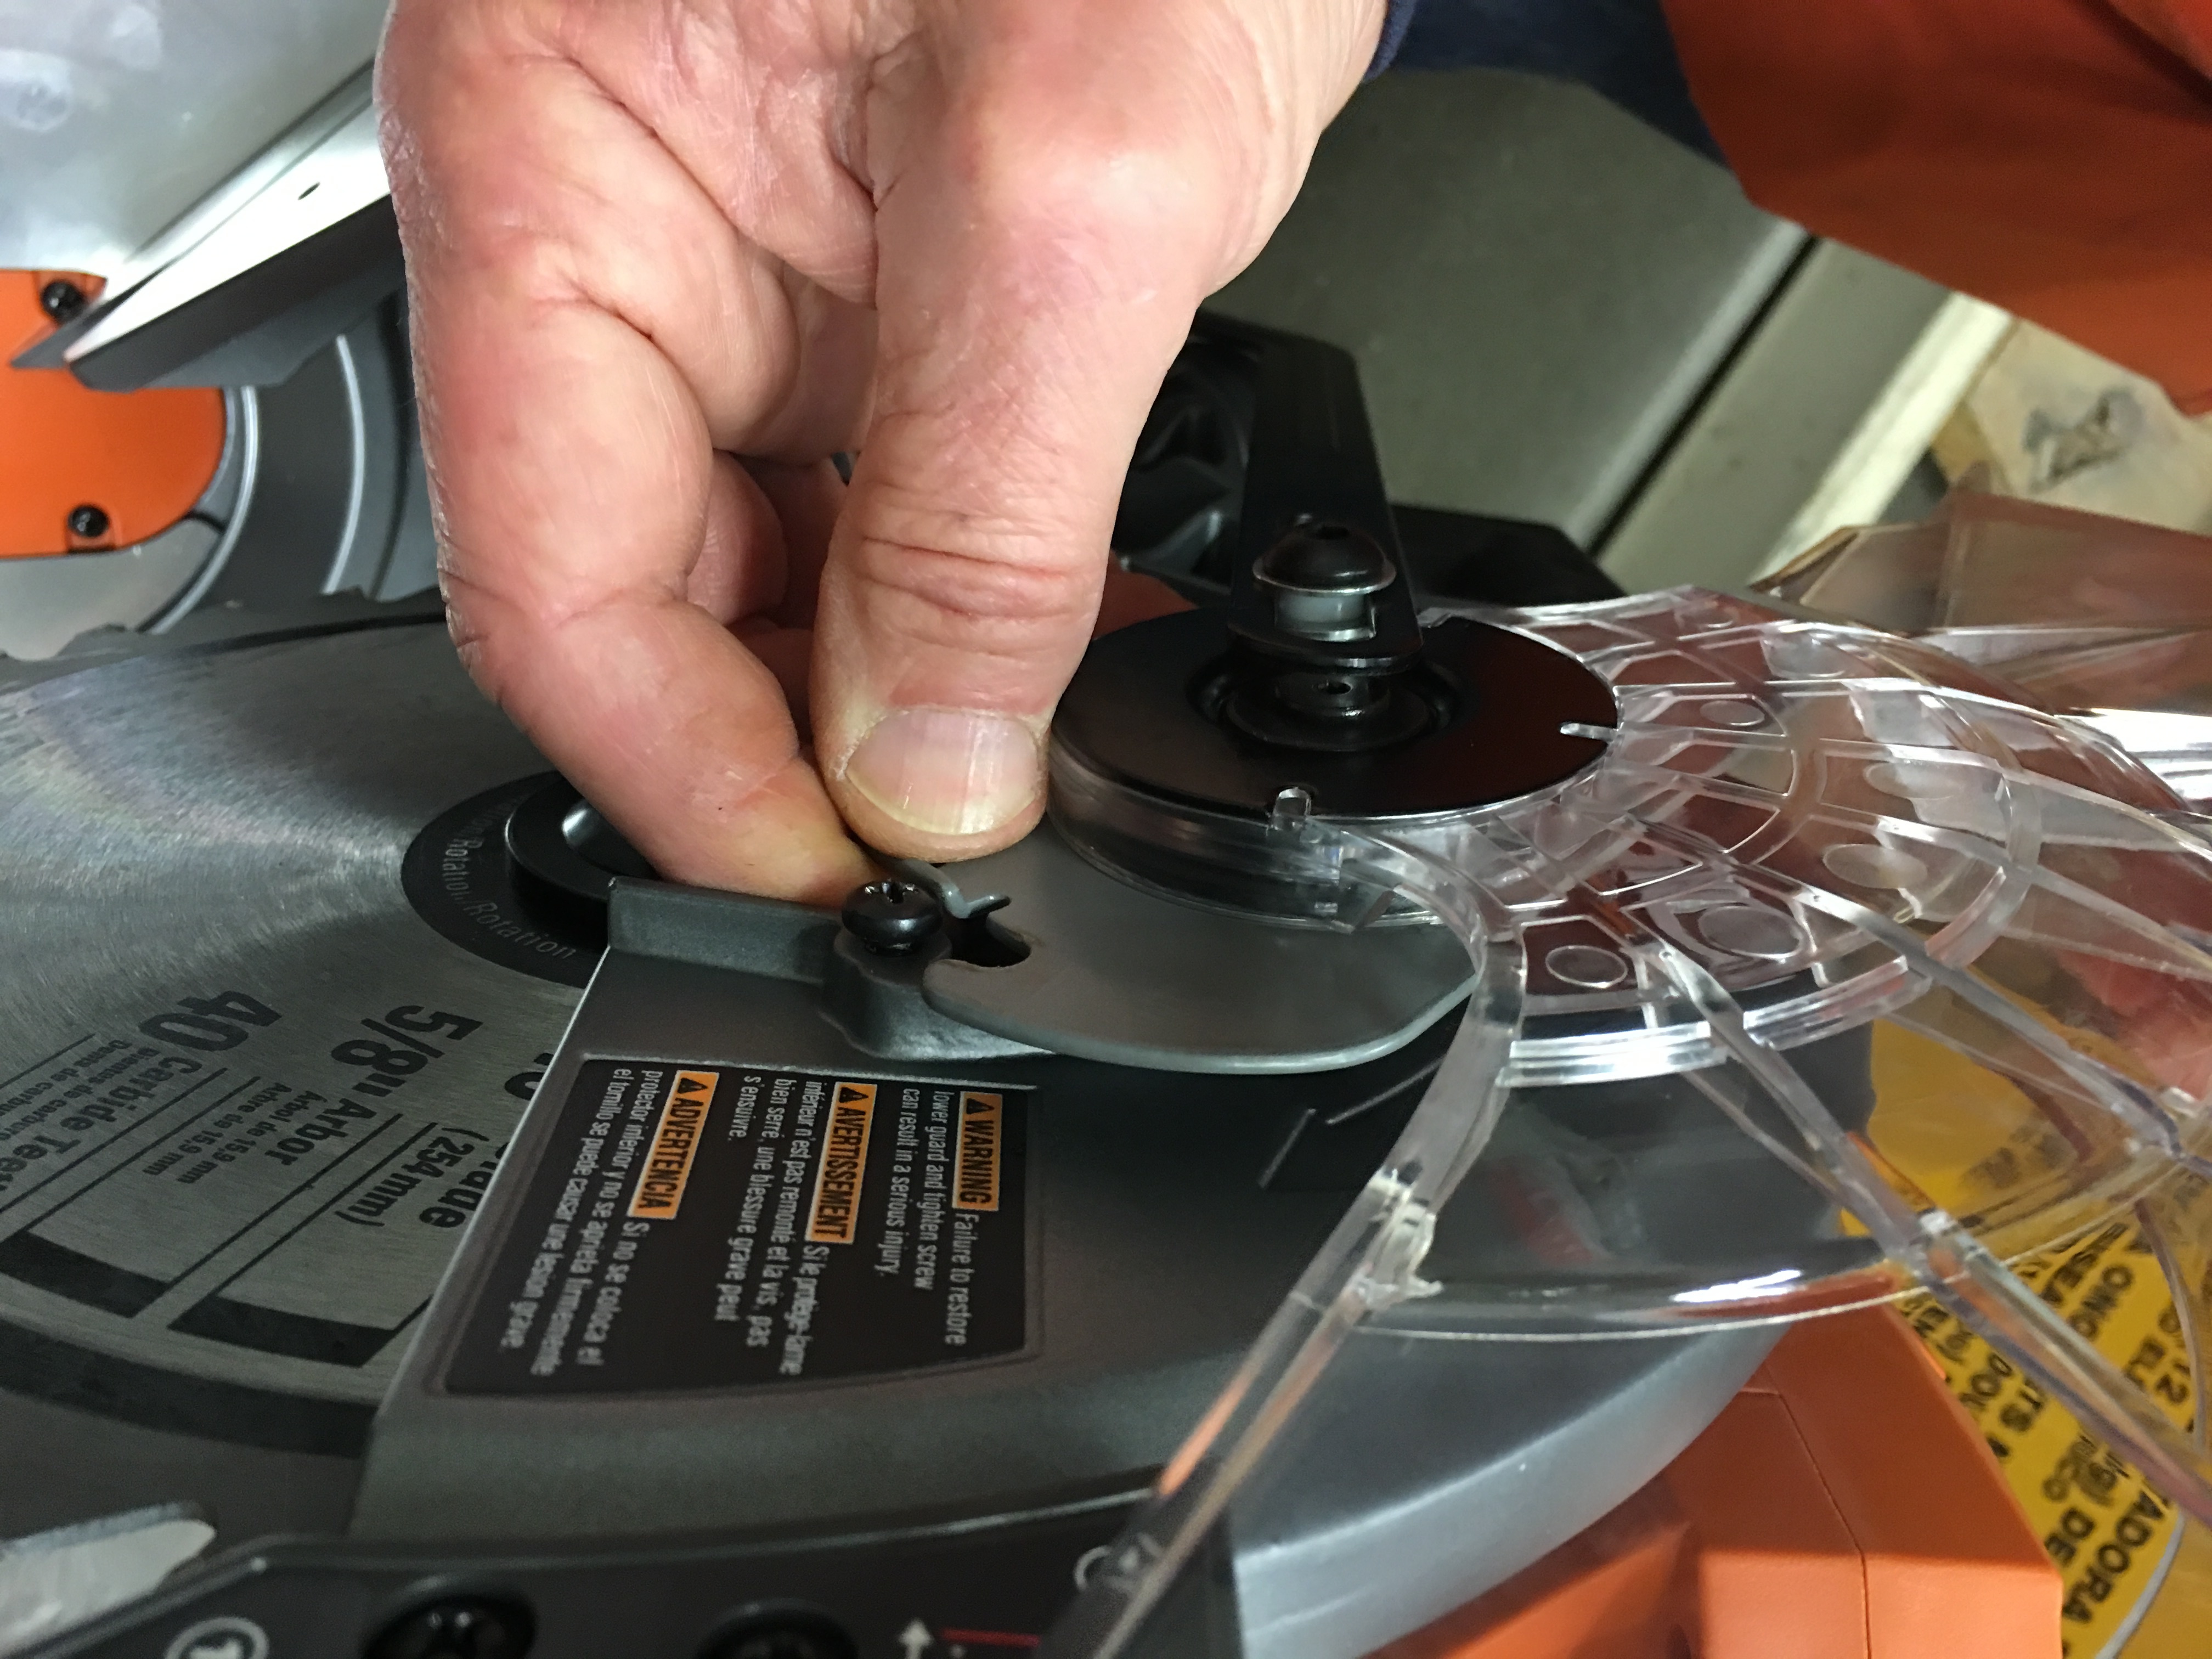
Once the arm of the blade guard hooks over the philips head screw, you use the provided hex/screwdriver tool to tighten it.
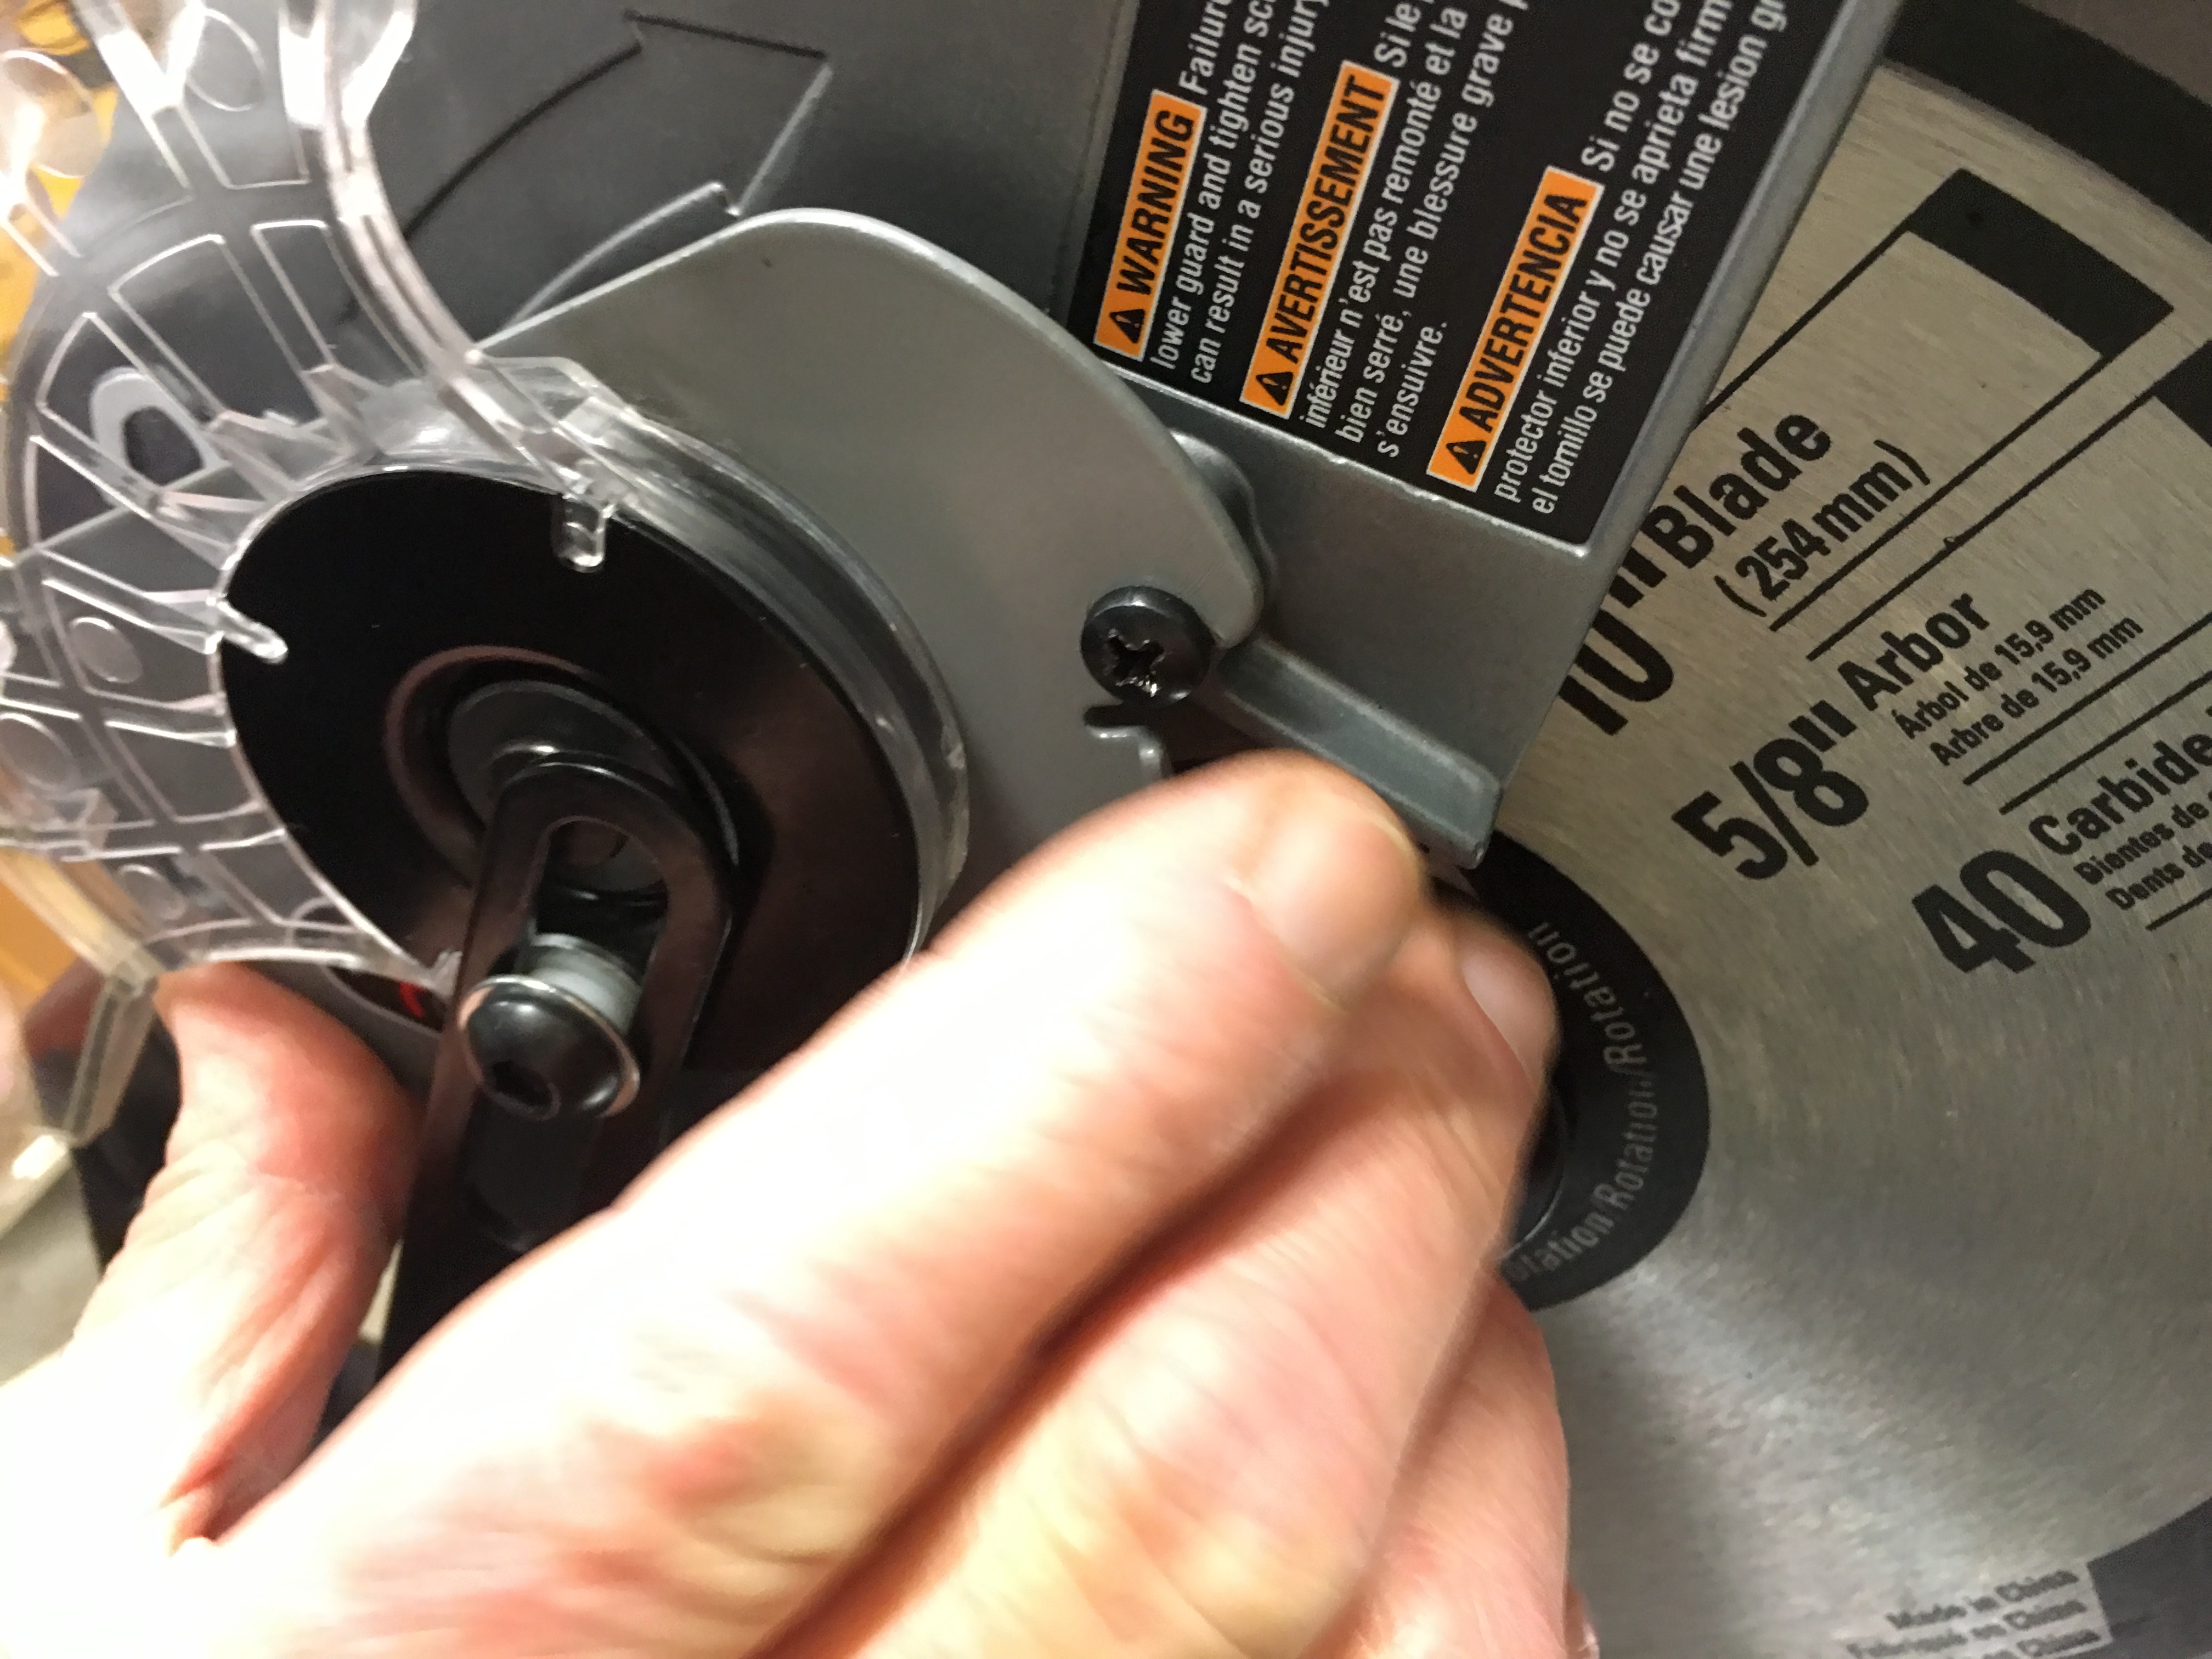
The front of the arm is a bolt and spring mechanism that is secured with the hex key (and two washers, a spacer, etc.).
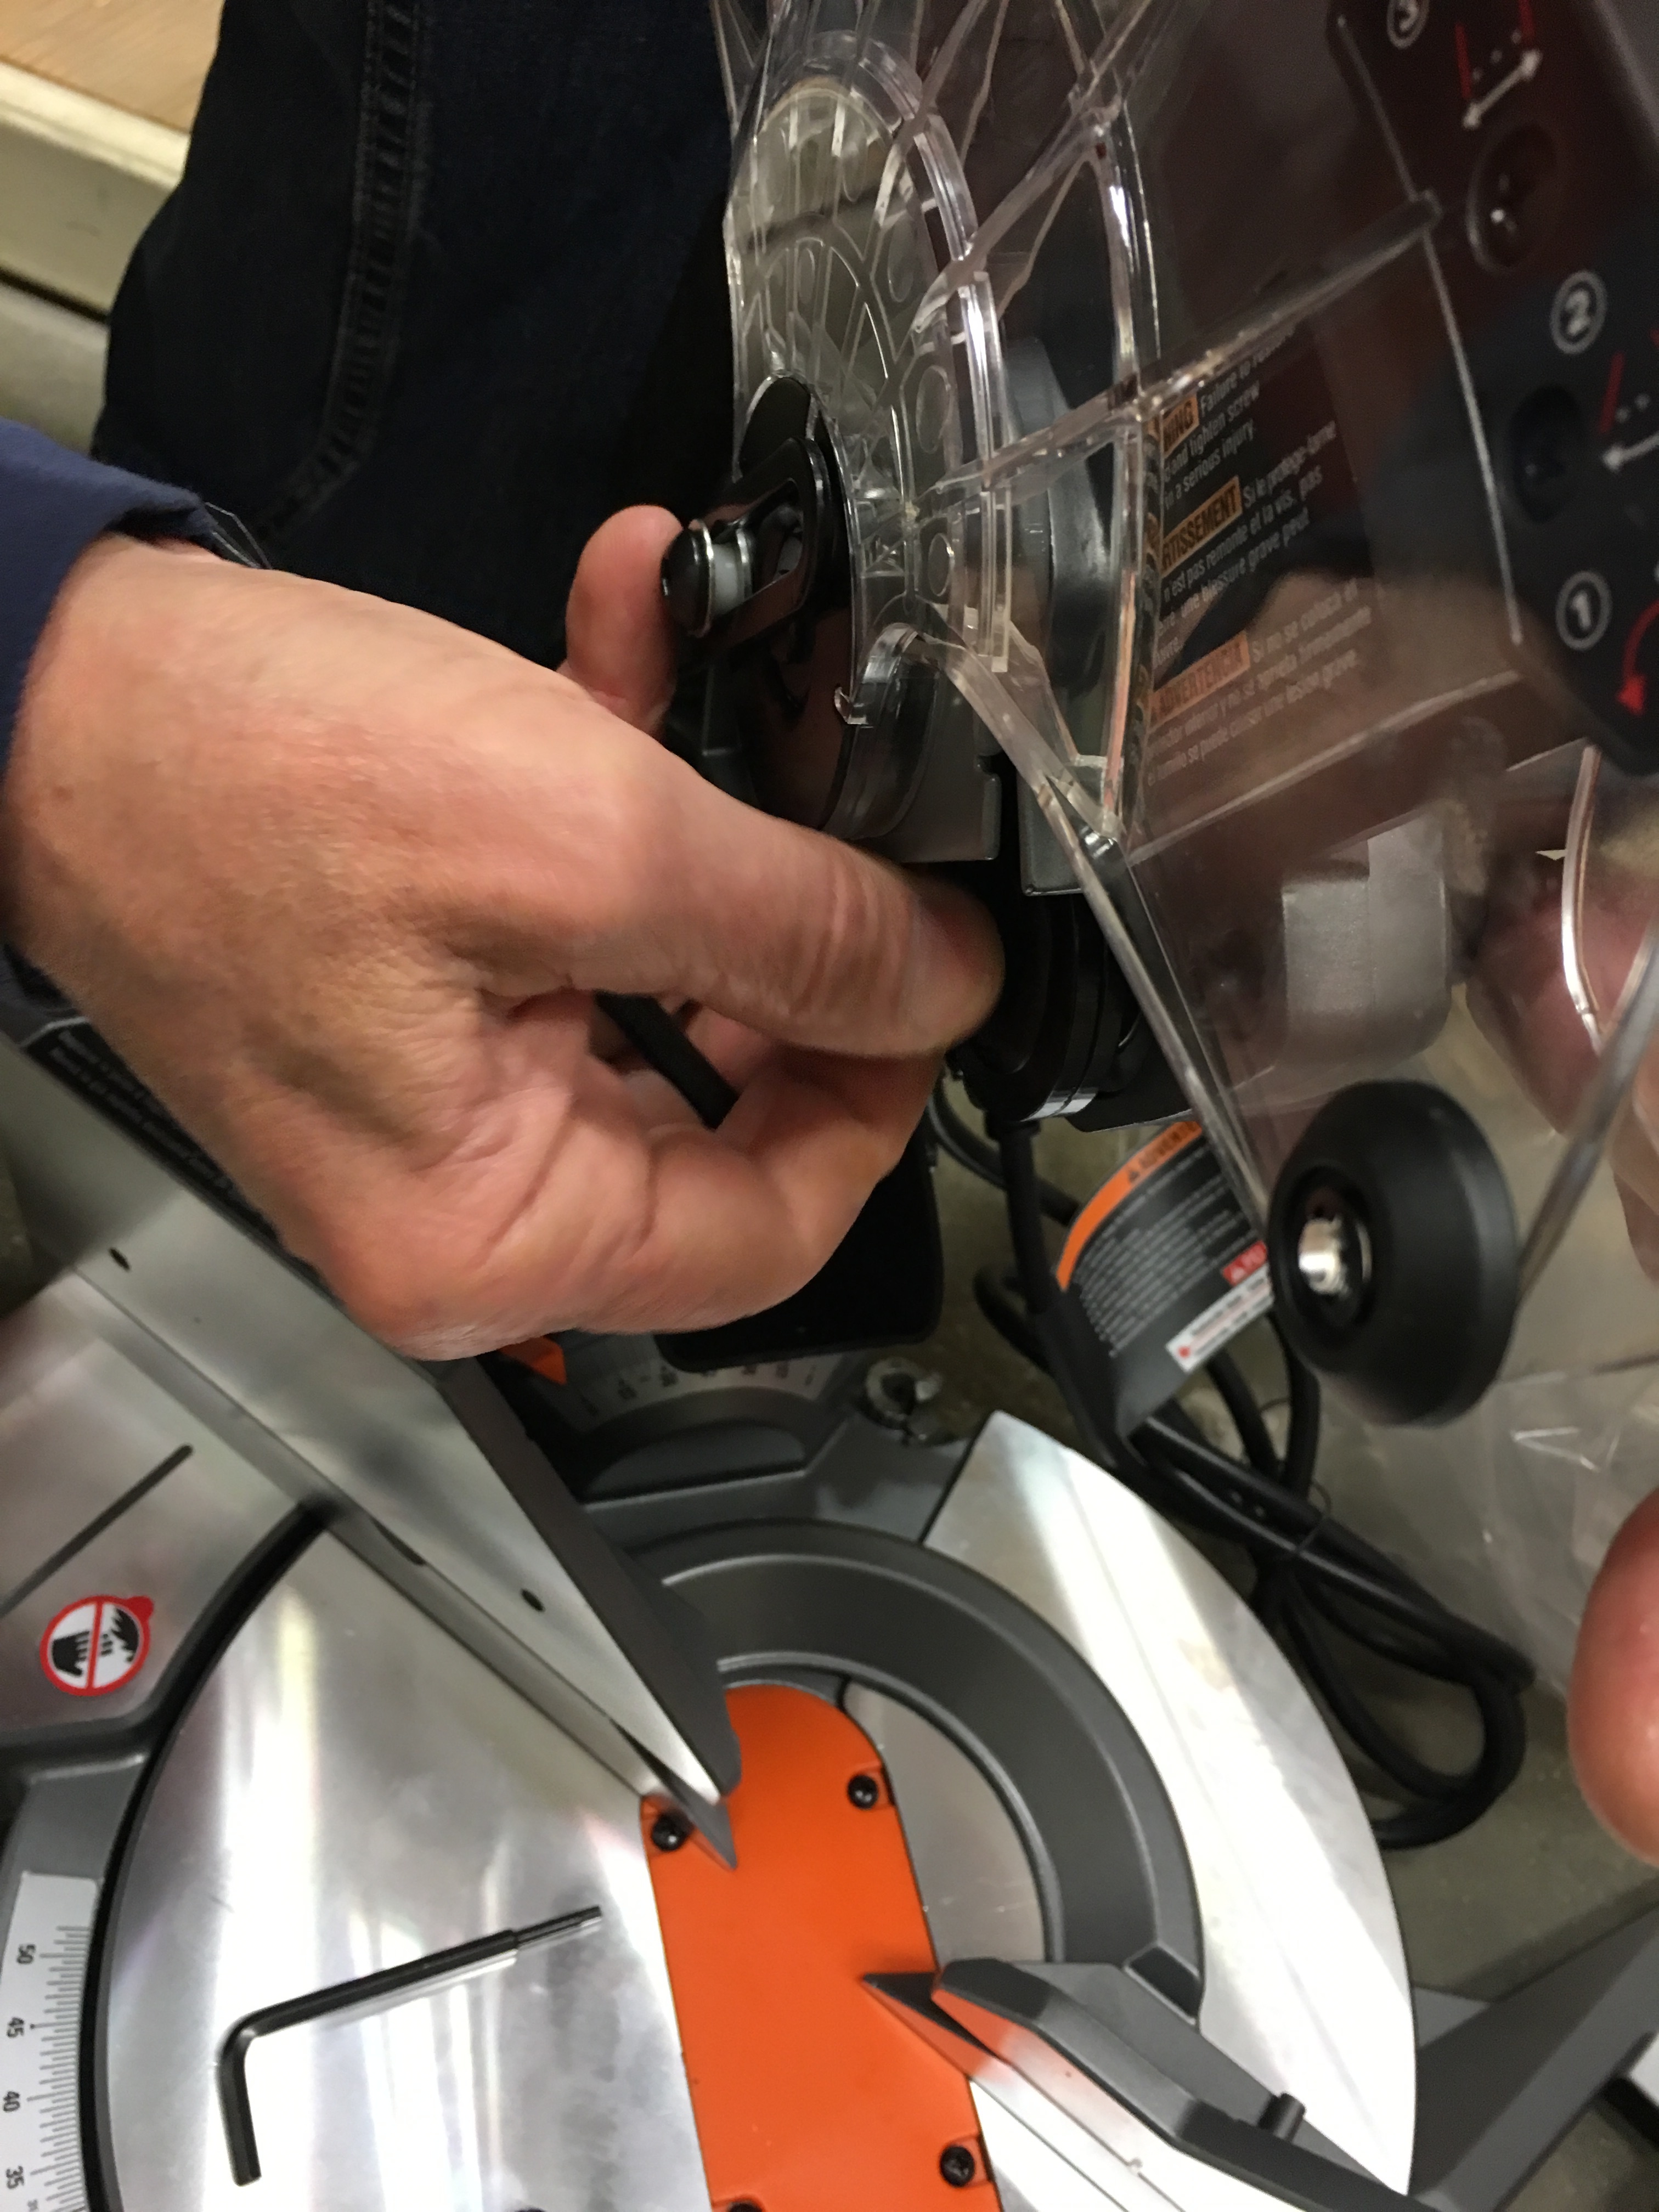
We were given the opportunity to take the blade guard apart completely when the arm that controls the guard’s up and down movement became loose. This involved a good 40 minutes of inspecting the mechanism, comparing it with the floor display model, removing and re-adding the screw, washers and spacer, swapping out screws, some head-scratching and mild cussing.
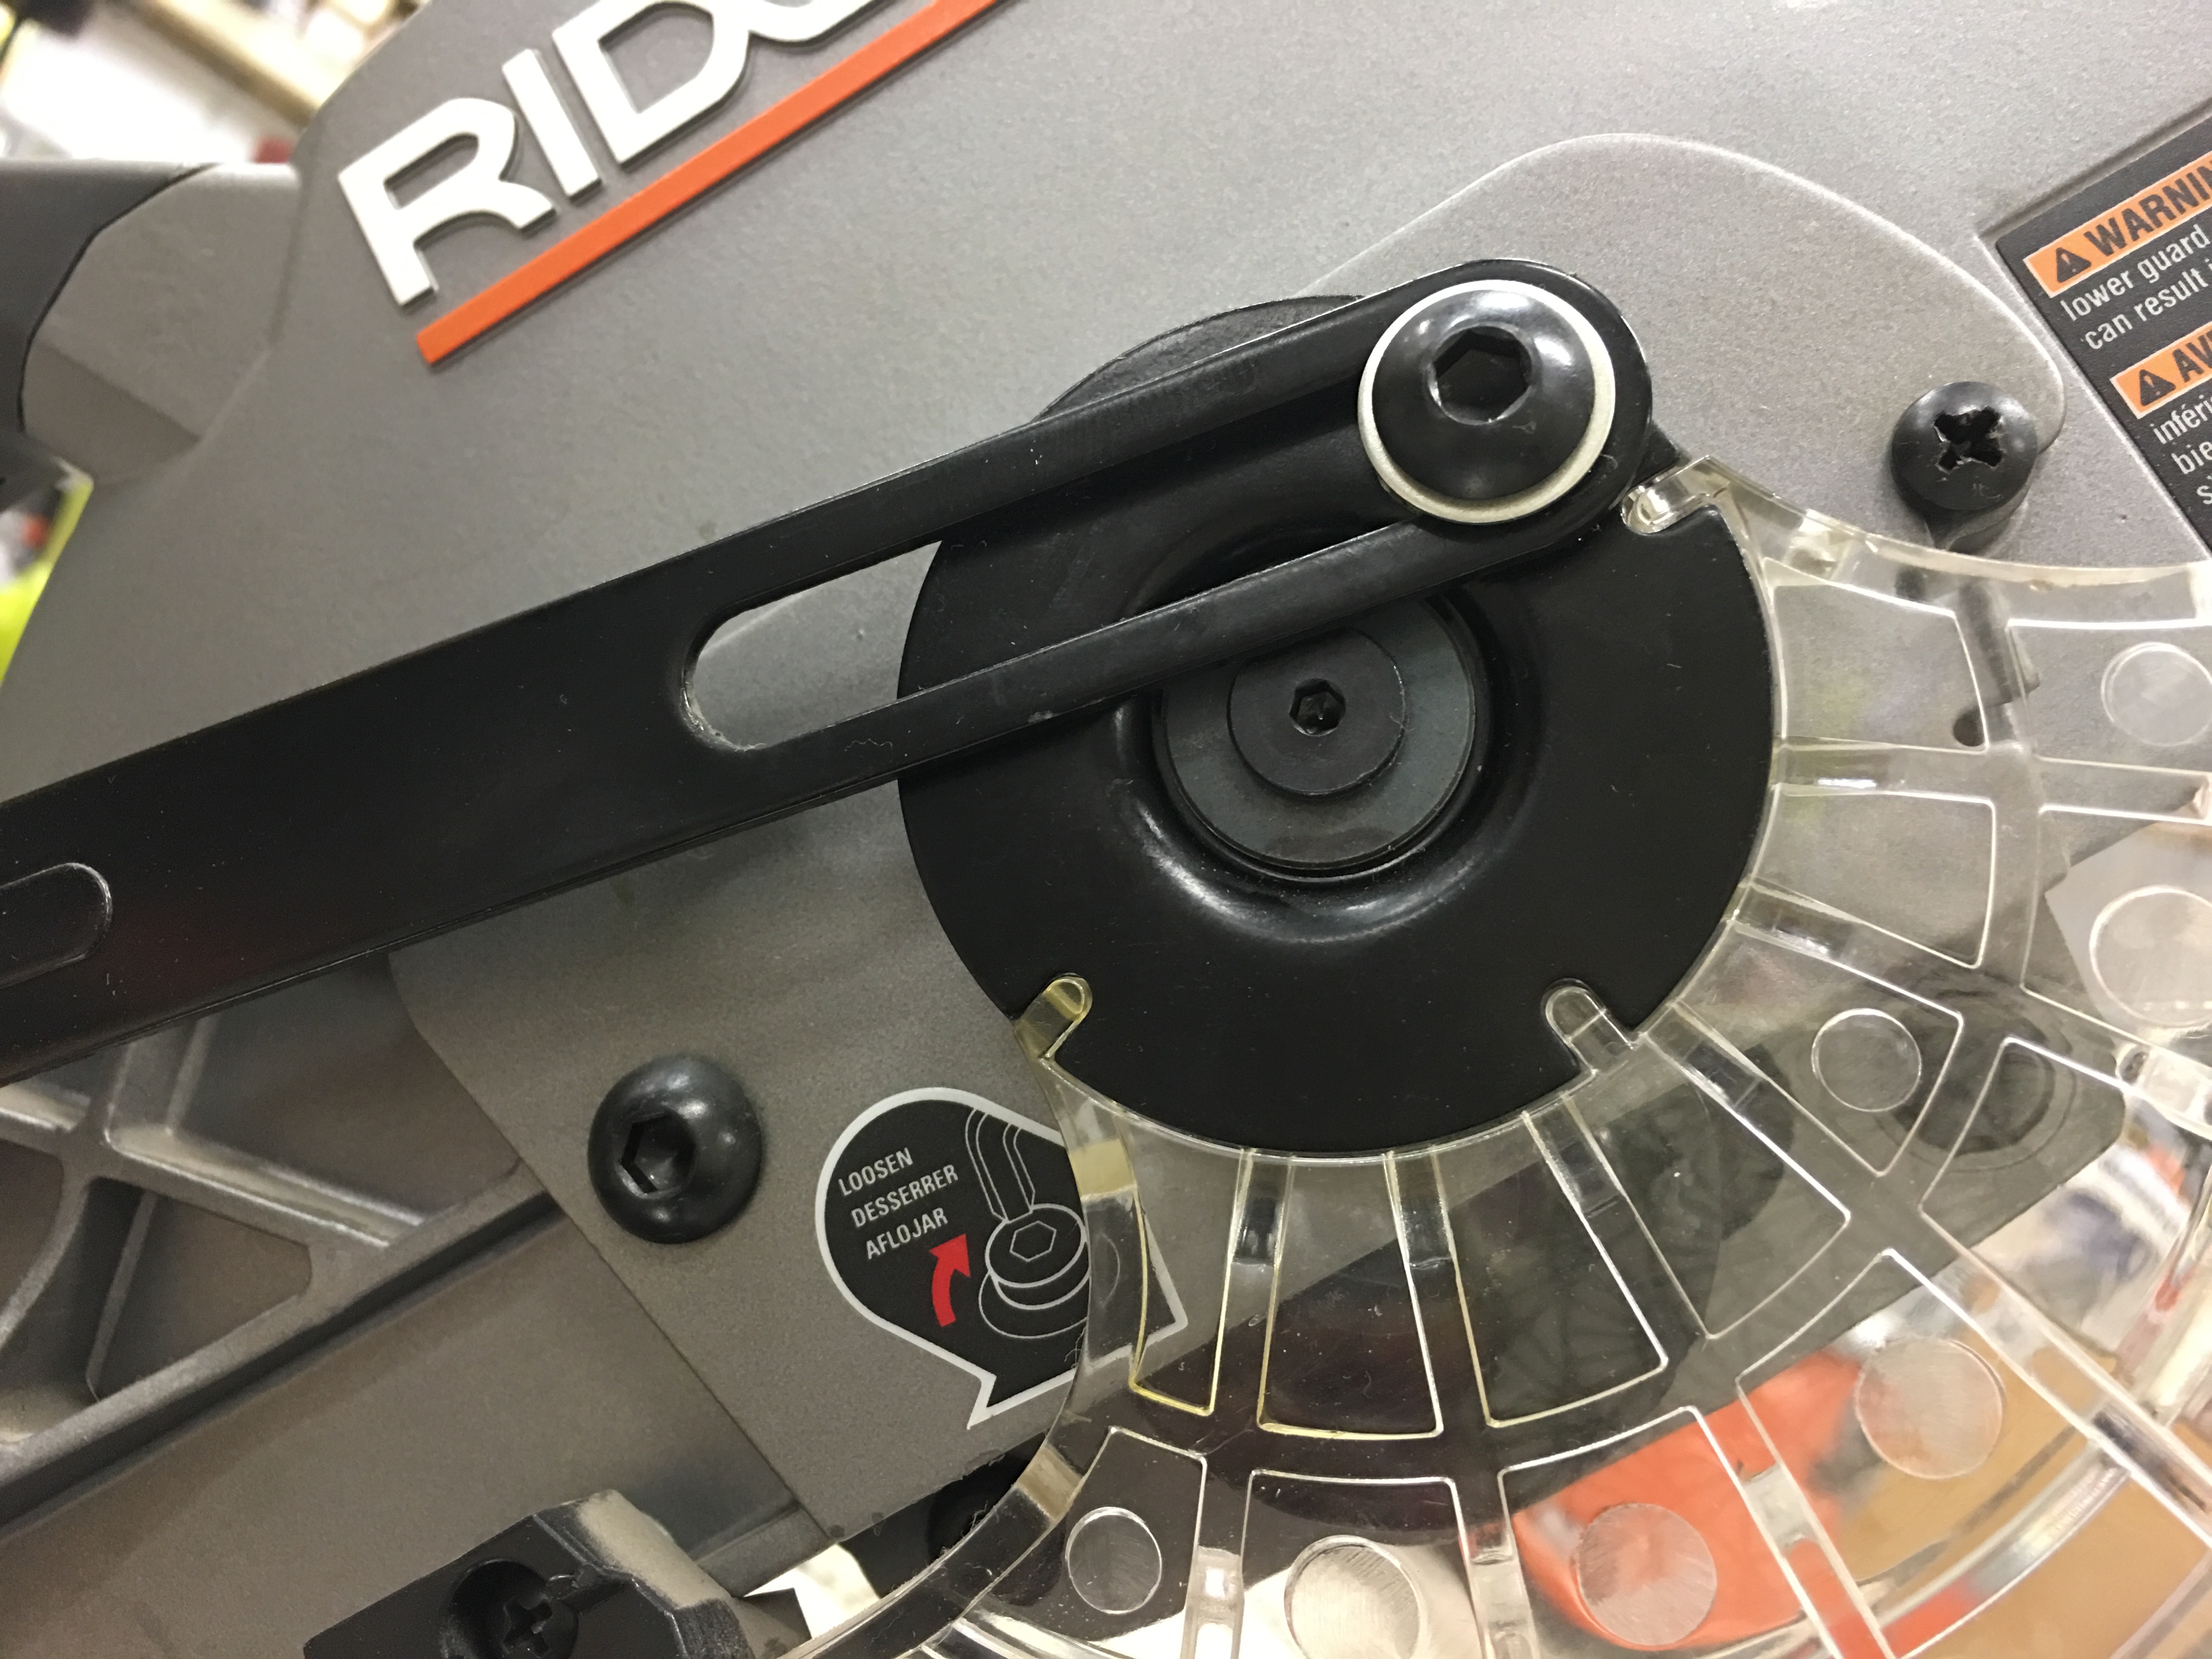
But we finally figured out where the hidden spring was behind the arm which required re-twisting to tighten the hold. So we now have a working blade guard arm. One that flips open when you bring the saw handle down and flips closed when the saw handle is released.
Bob explained that to lock the blade, we needed to make an initial cut into the cutting base so that it has a groove to sit in when closed. So we found an outlet in the store to take the blade for a spin.
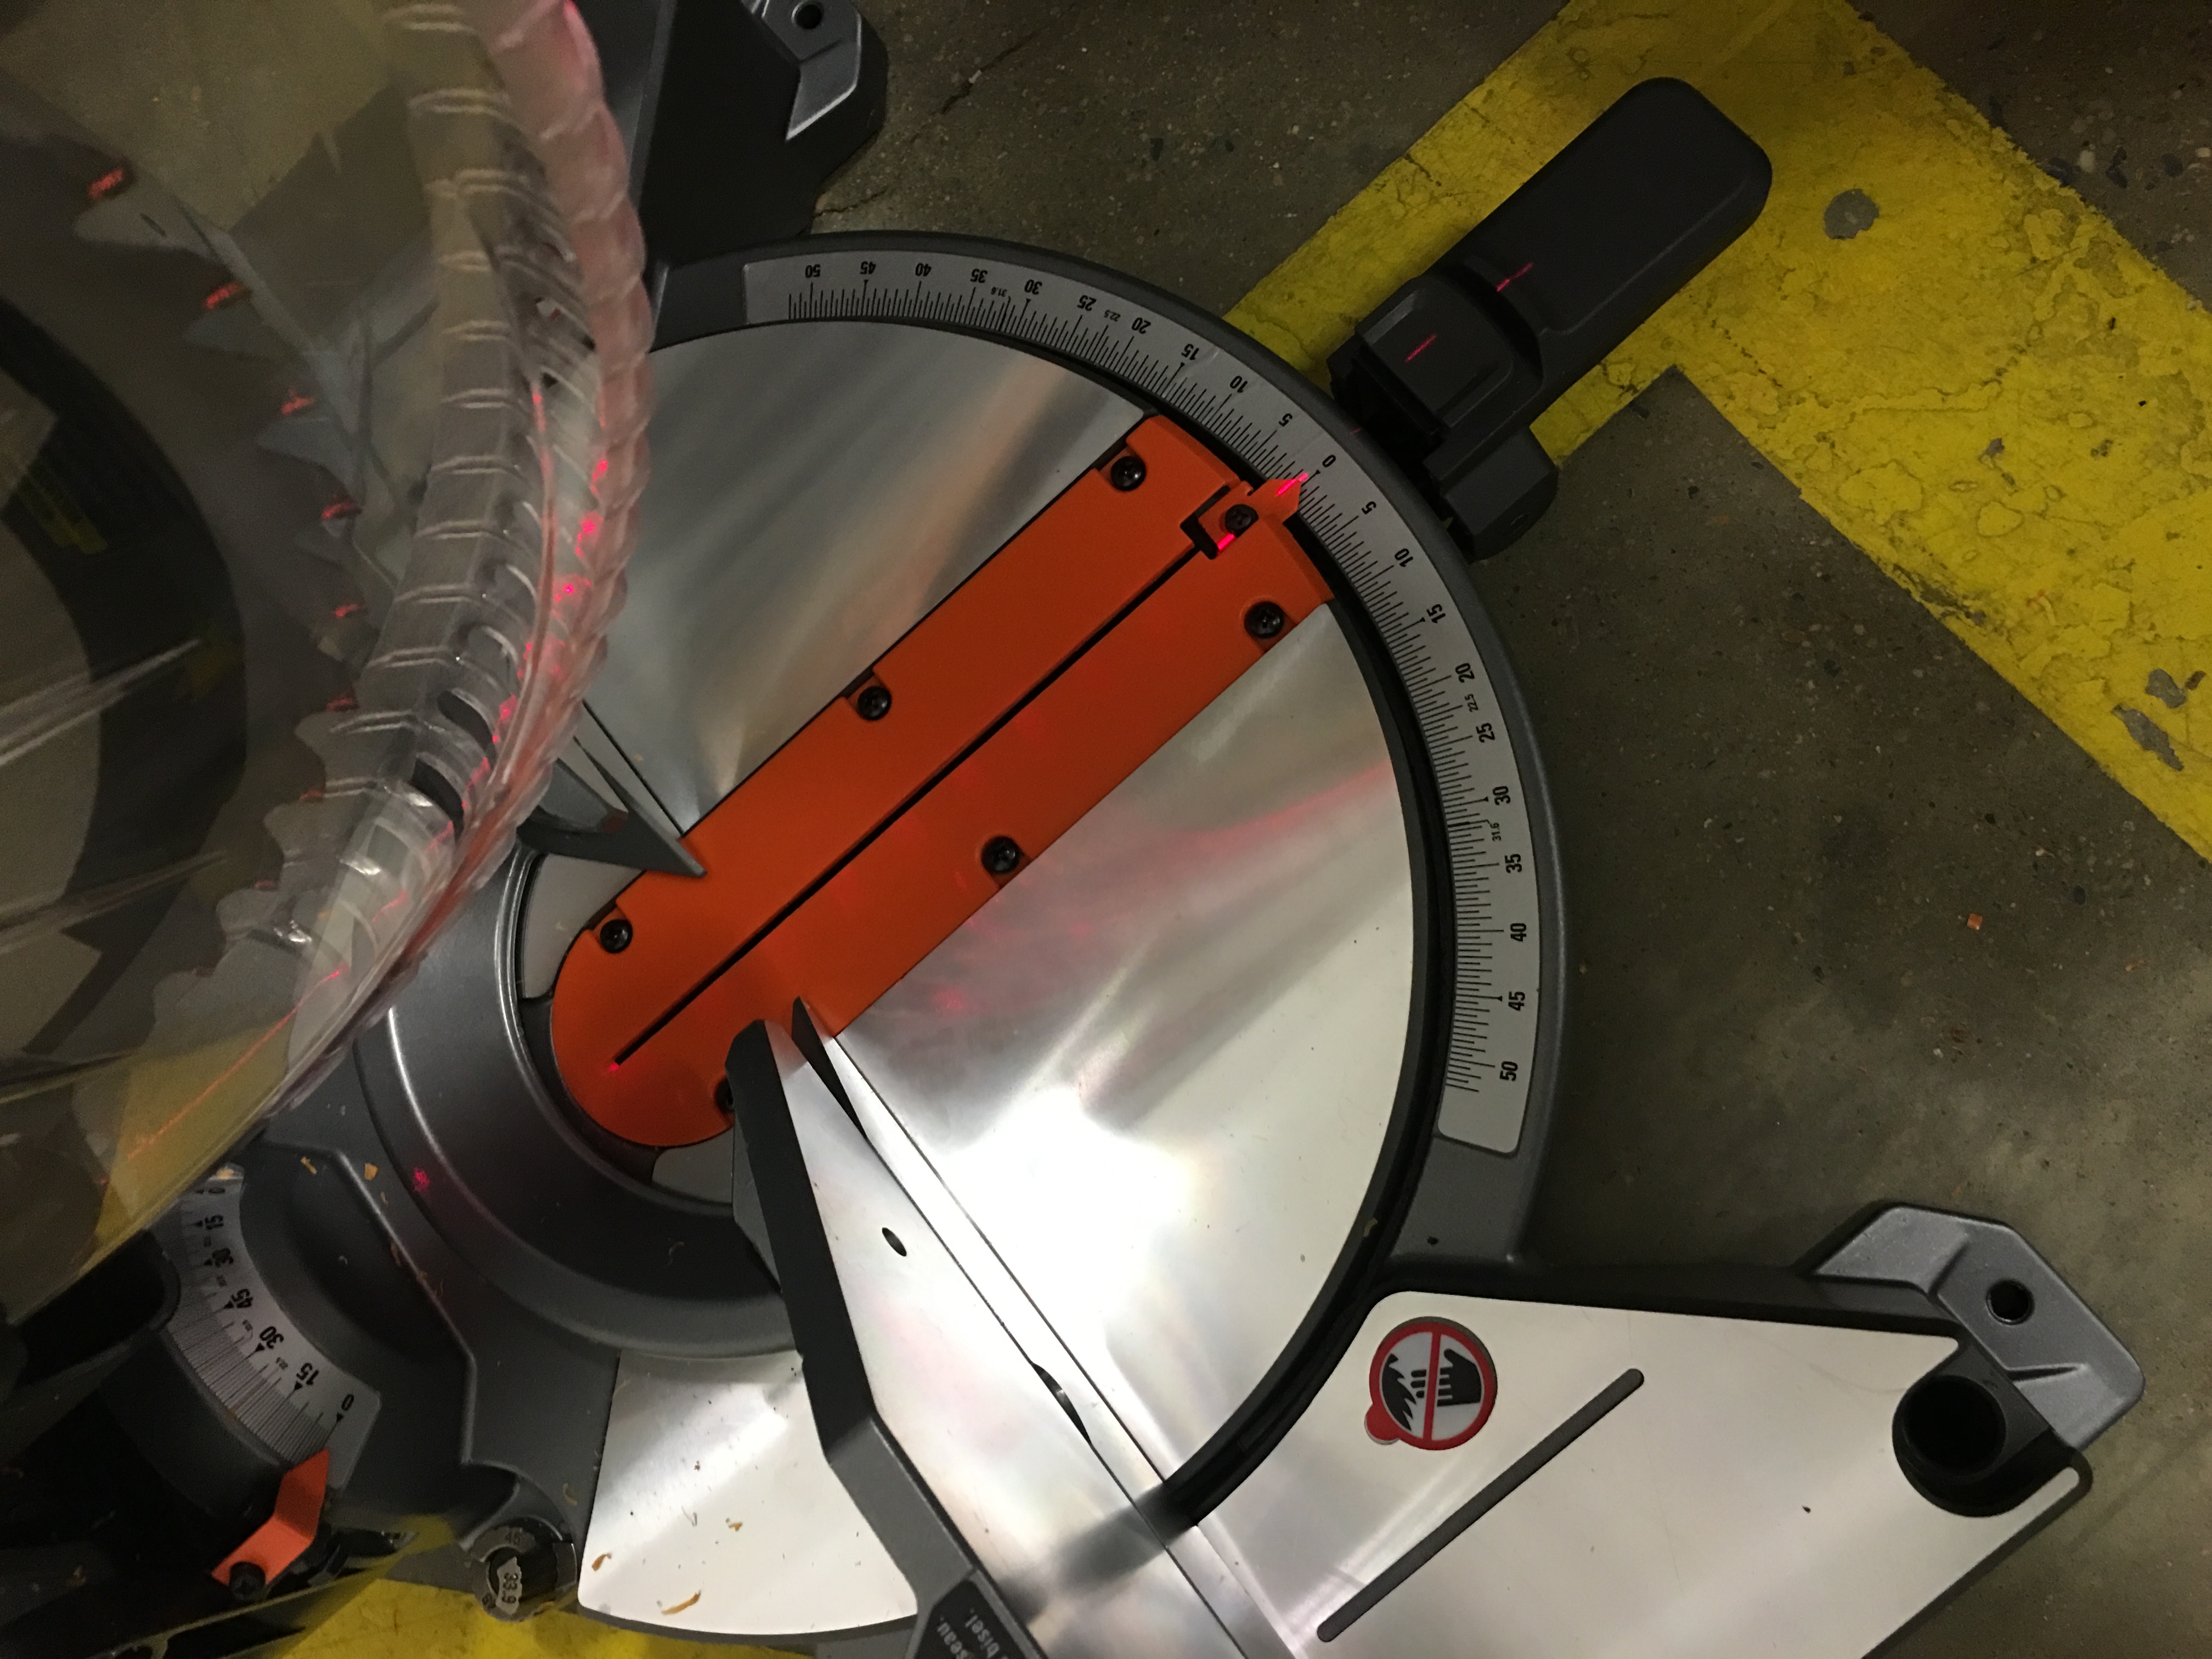
When you turn on power, the laser beam automatically appears to show you where the cut will be made.
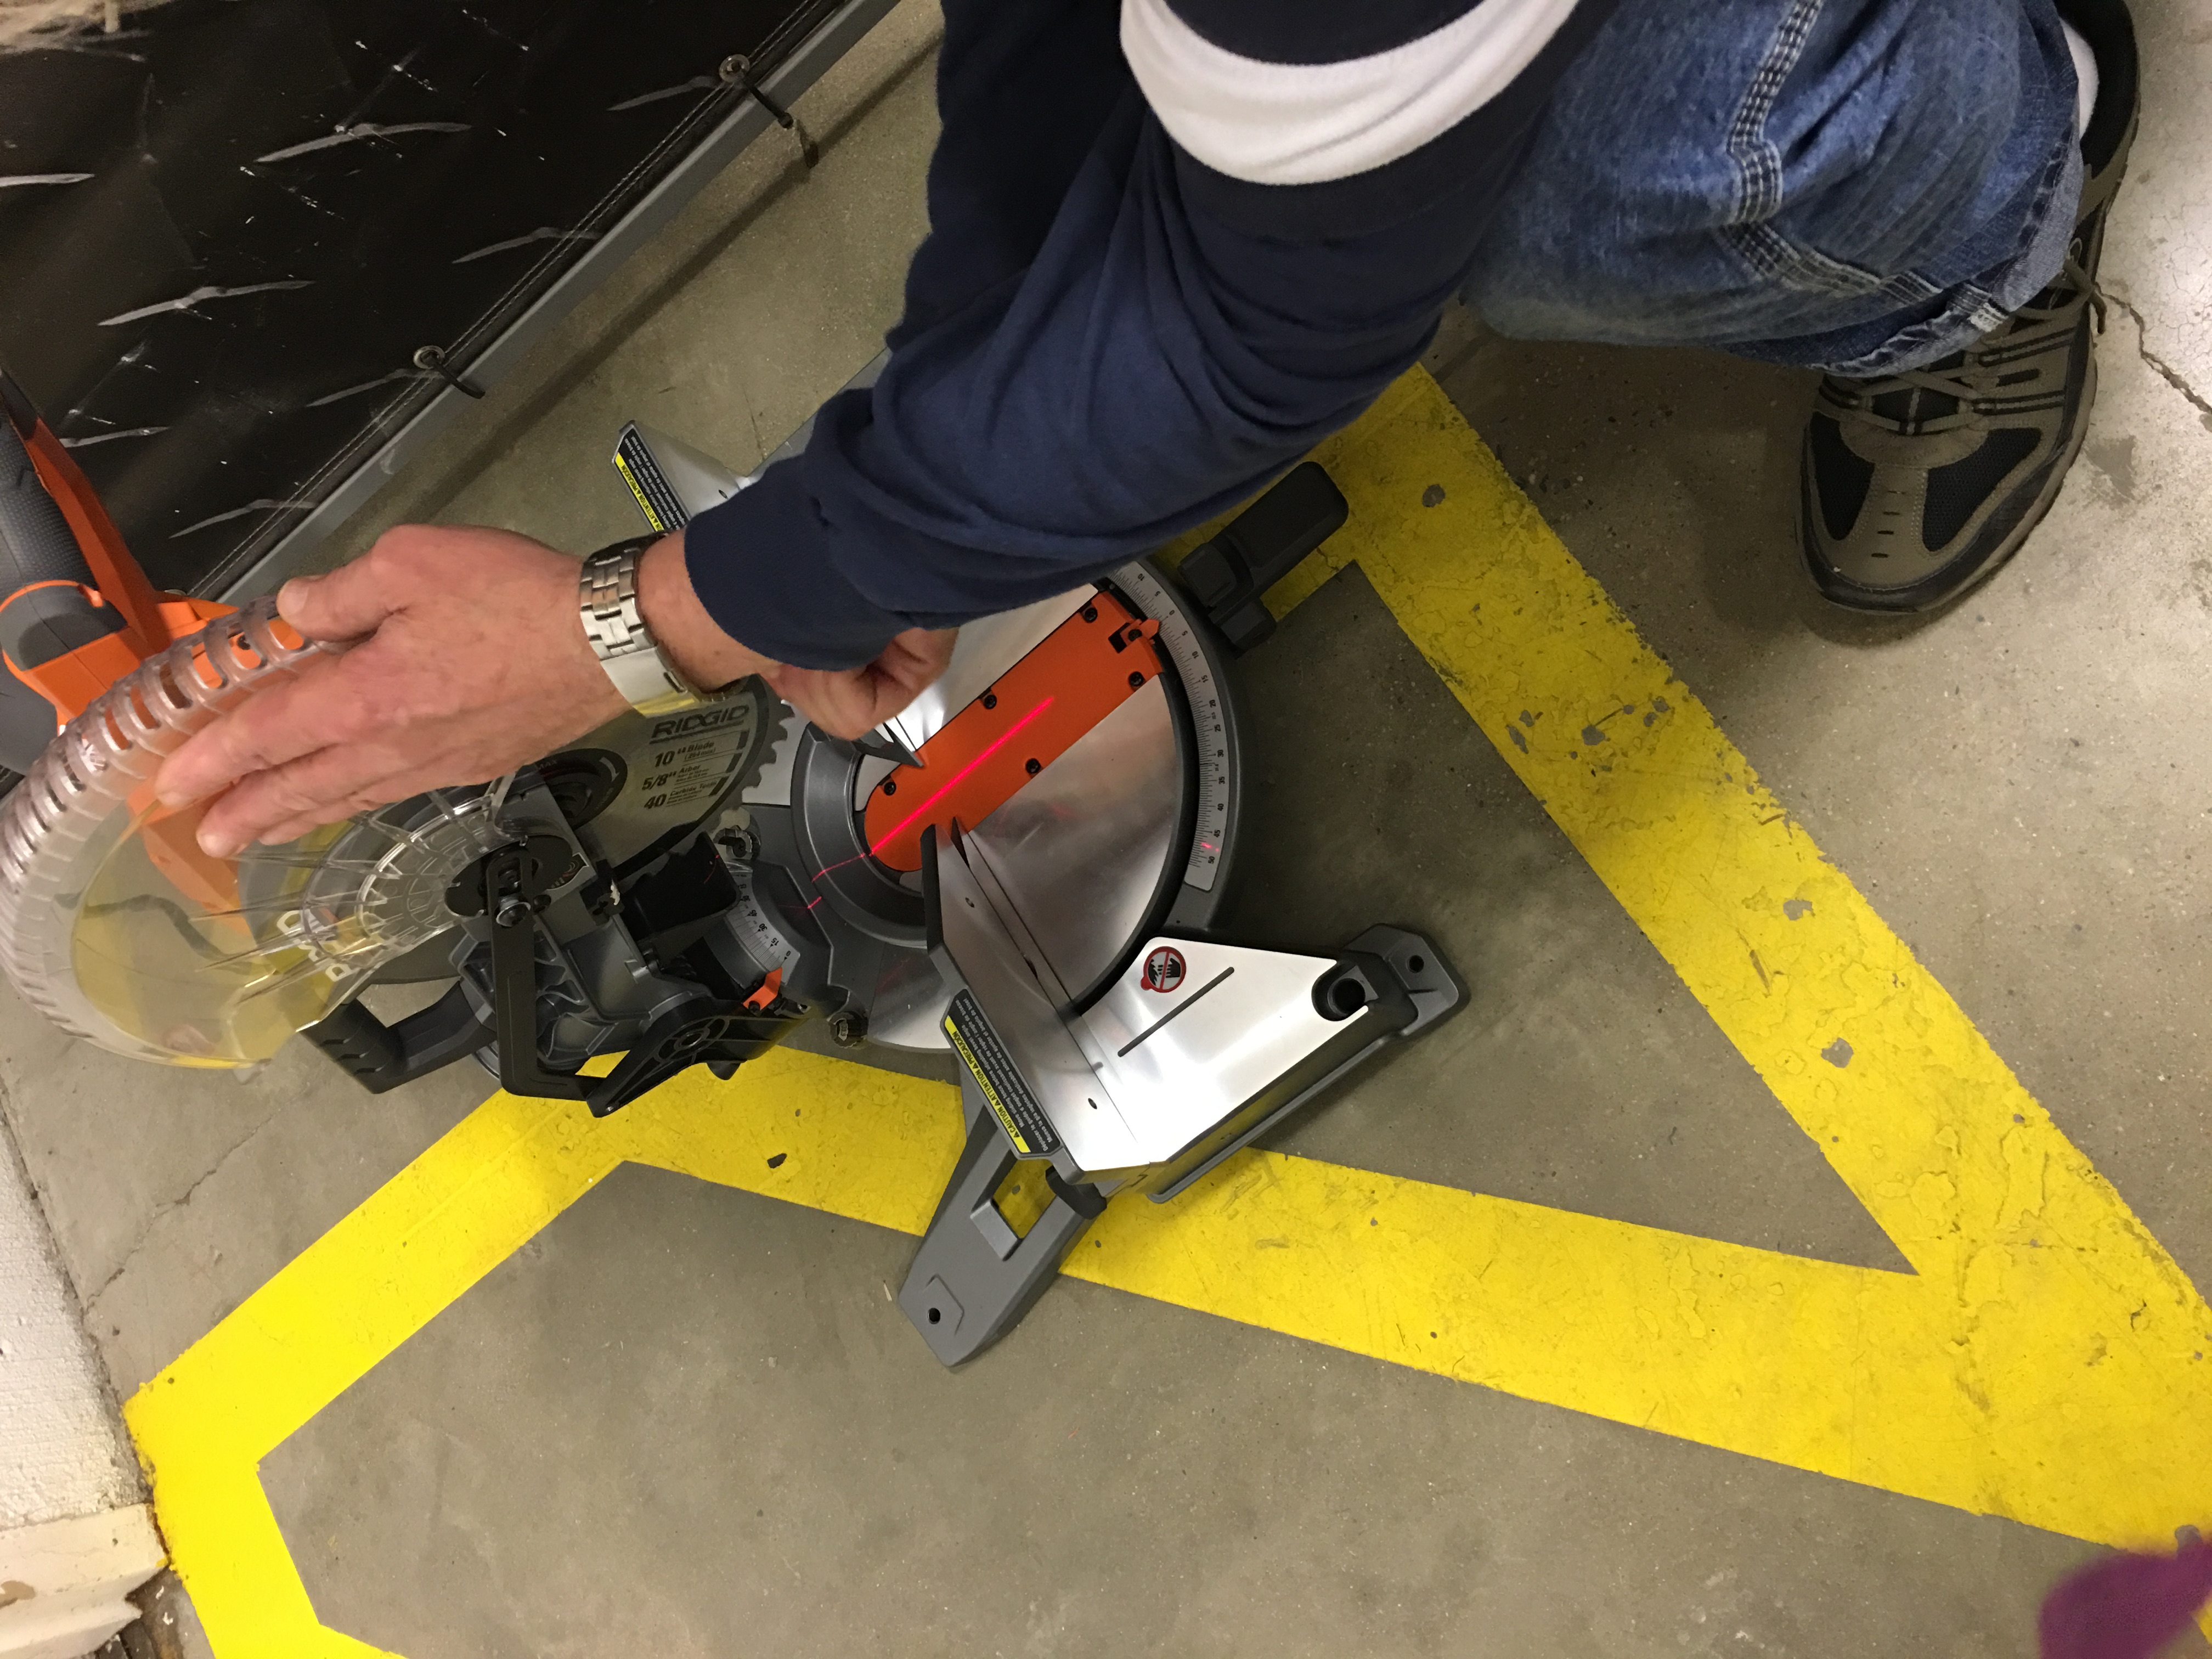
Bob brought the saw handle down to make the virgin cut in the the orange cutting base.
Now the tip of the blade has a place to rest when the saw is closed and locked.
So now it’s ready for purchase. Bob reminded me to register the saw when I get home to take advantage of the Ridgid lifetime warranty.
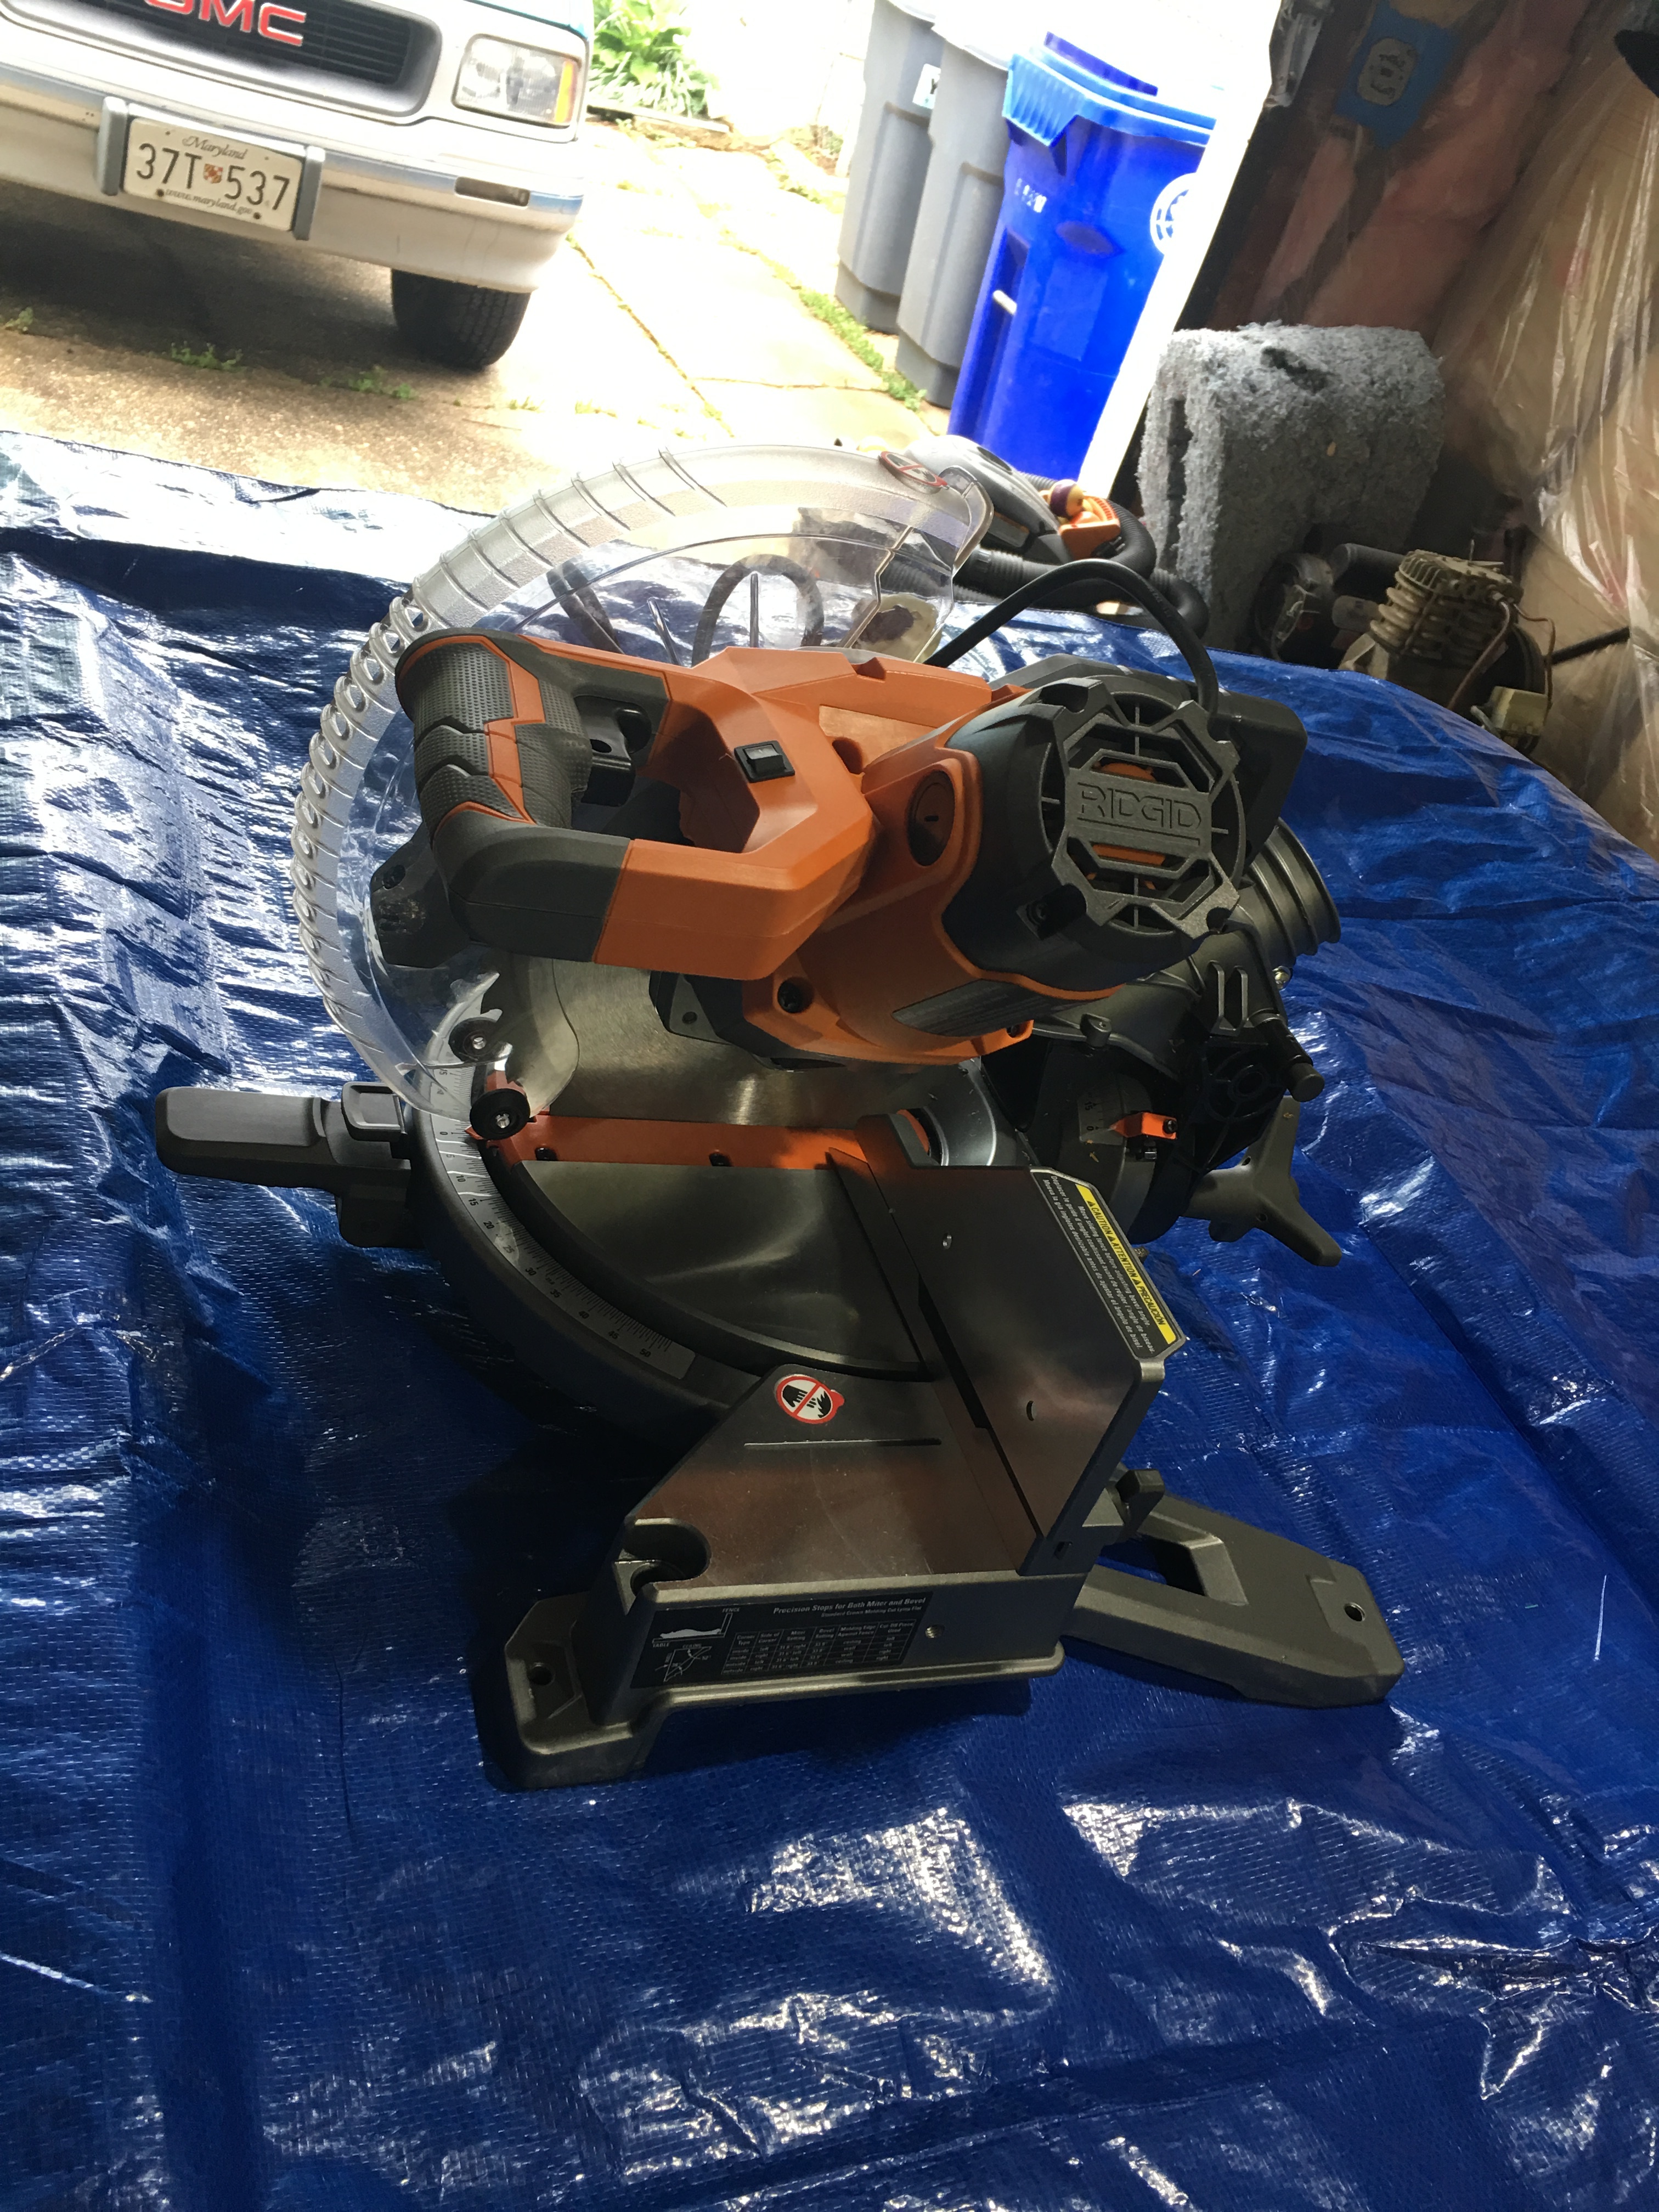
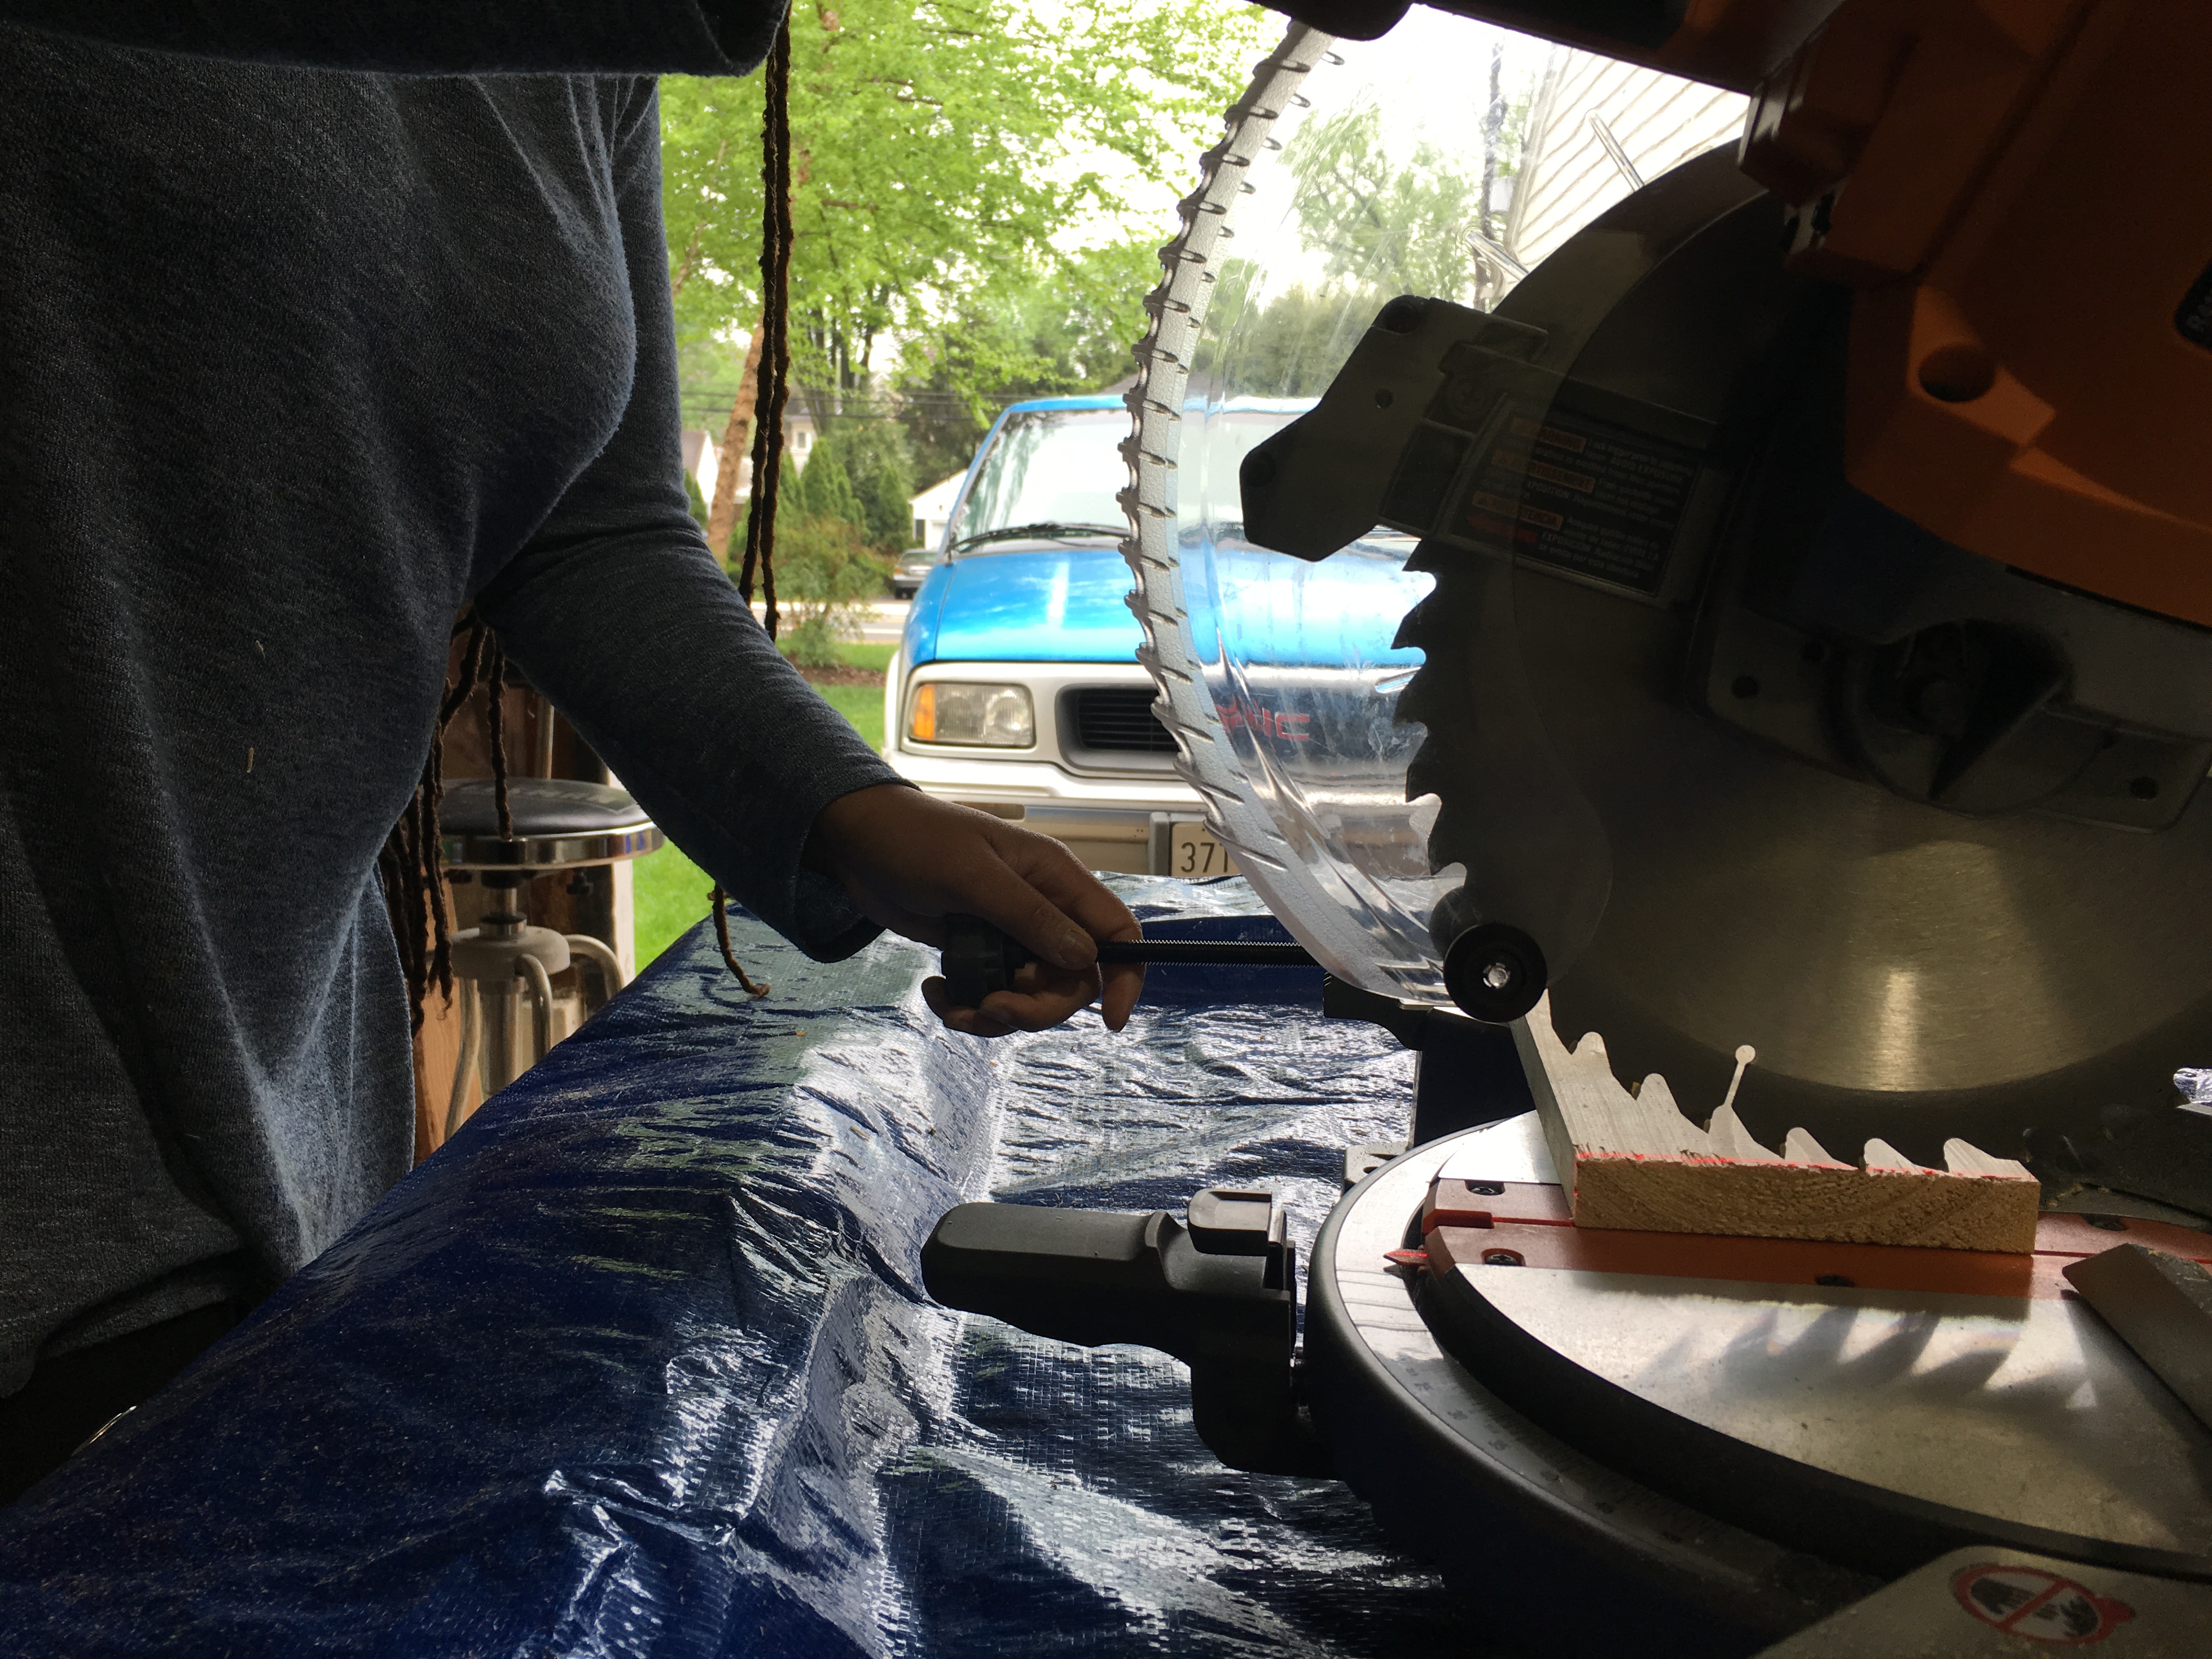
So here’s my new miter saw back at my workshop (aka Tim’s garage).
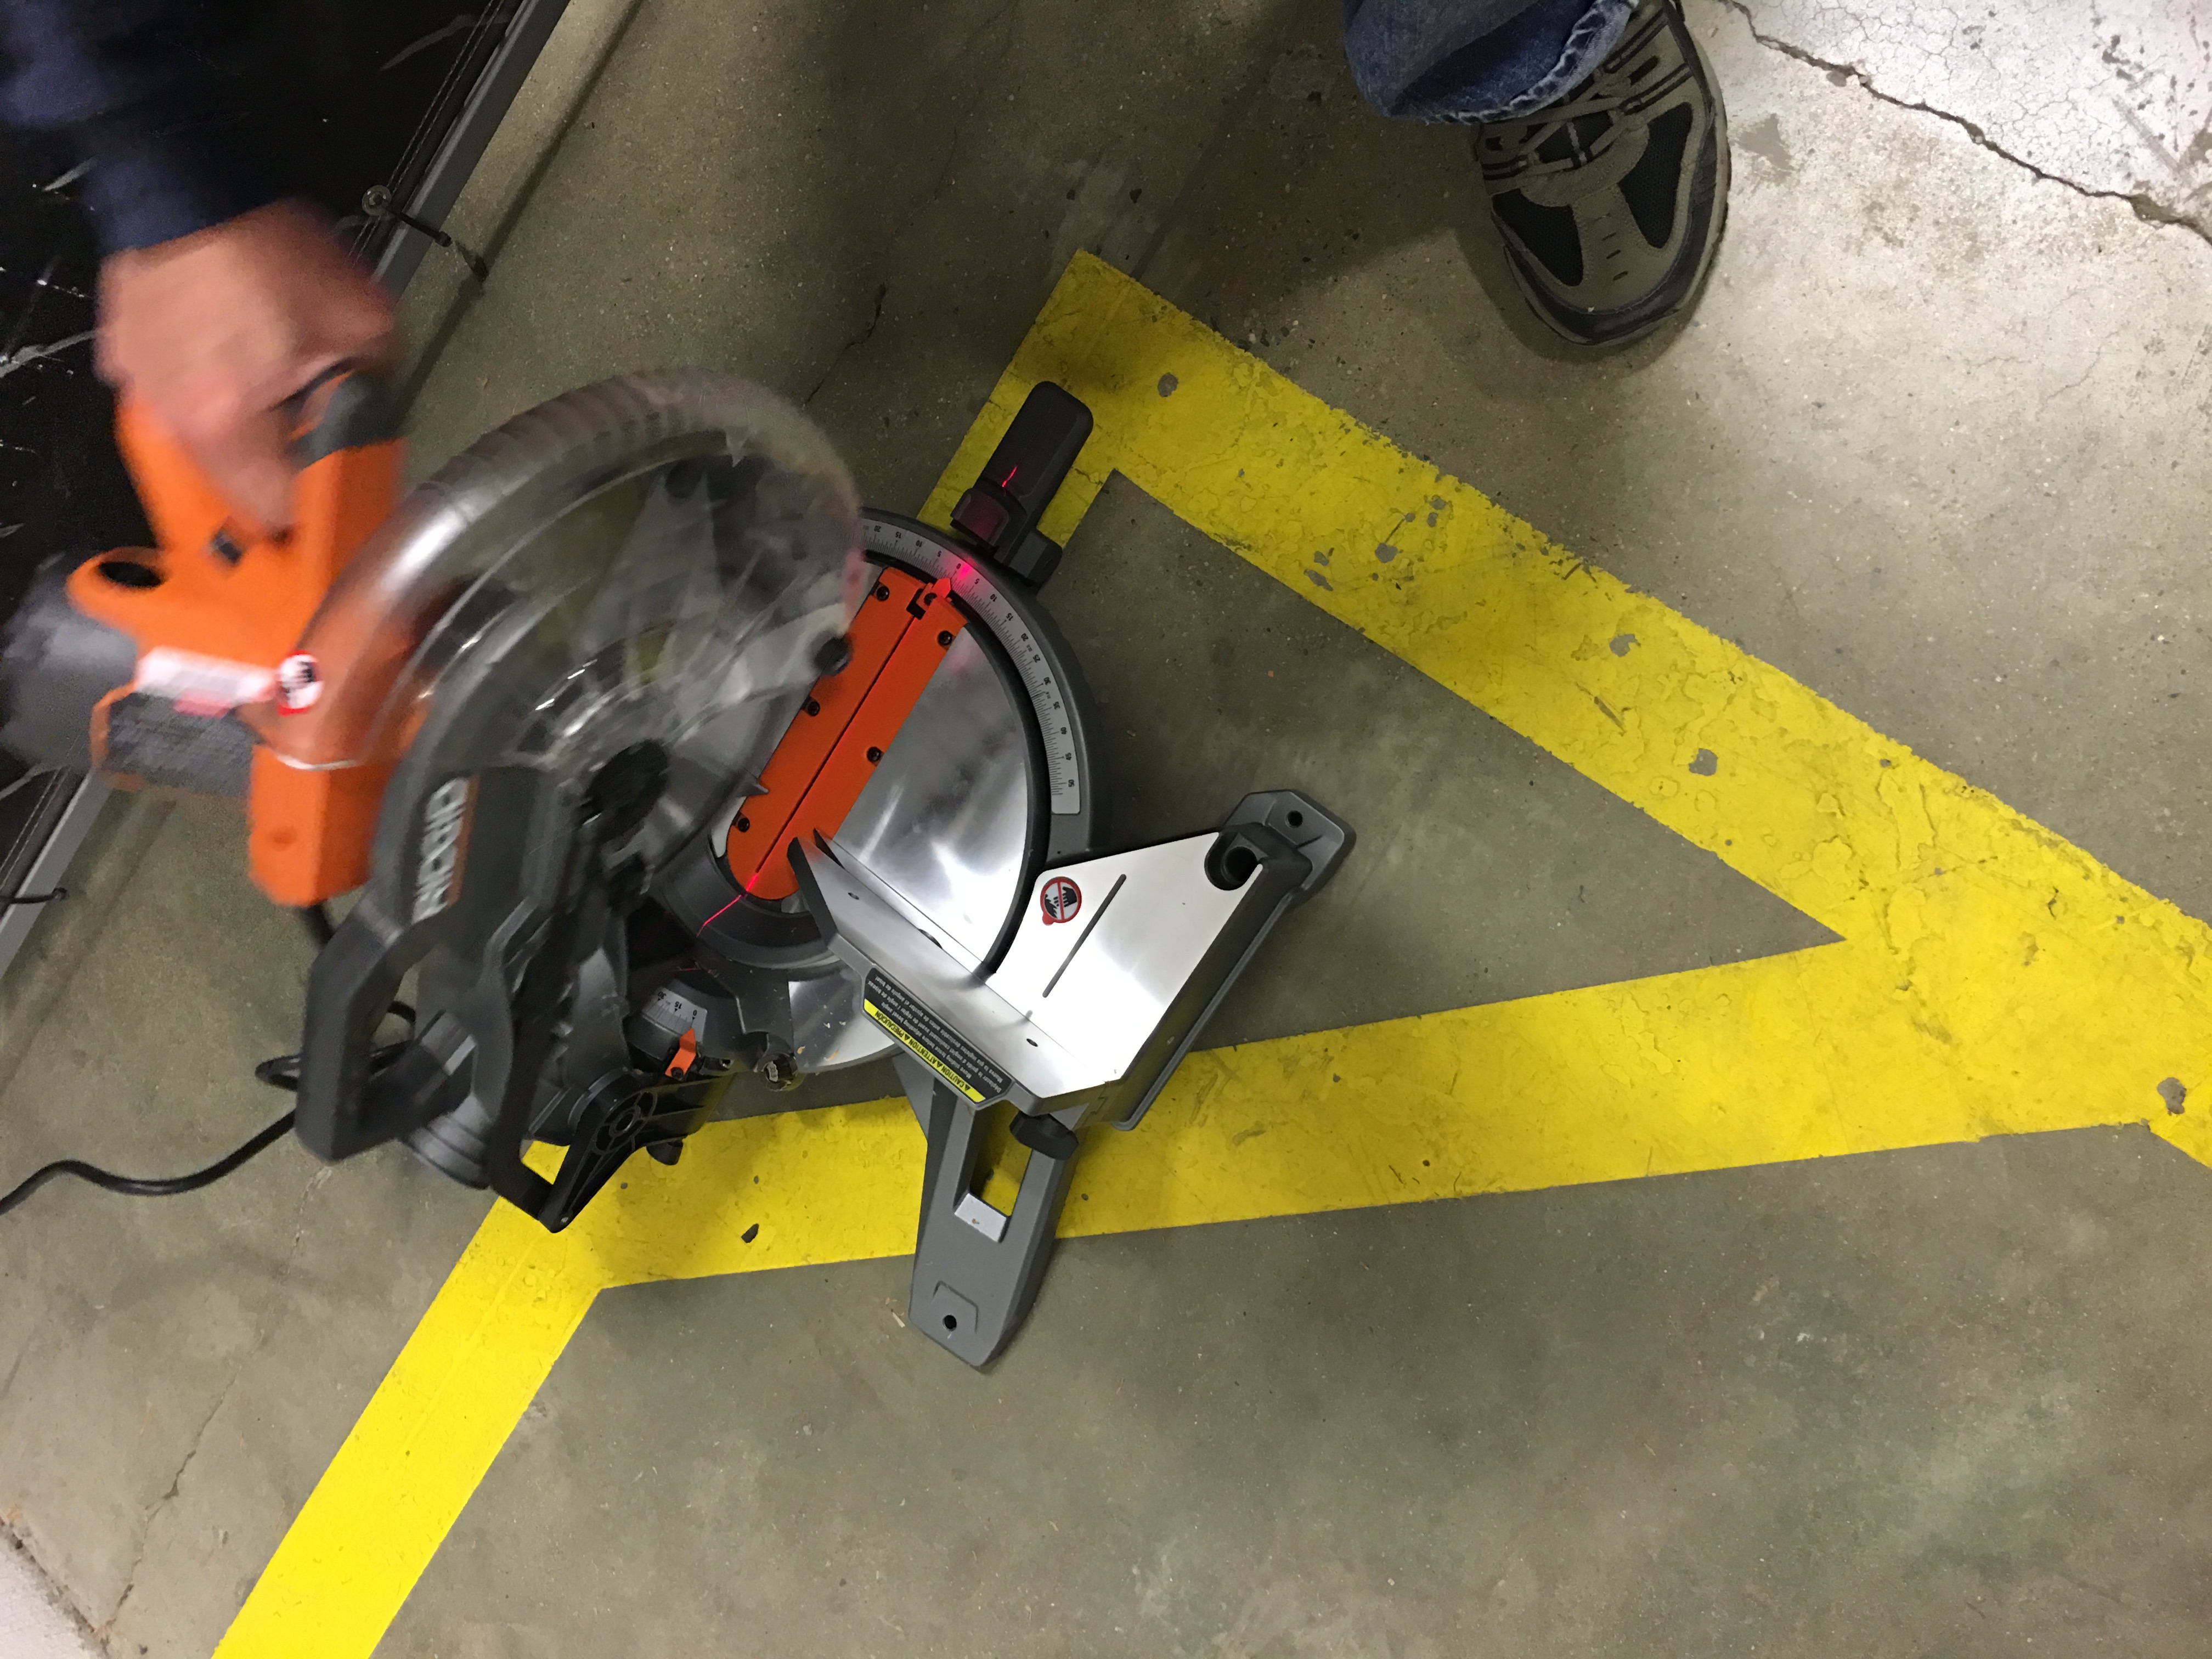
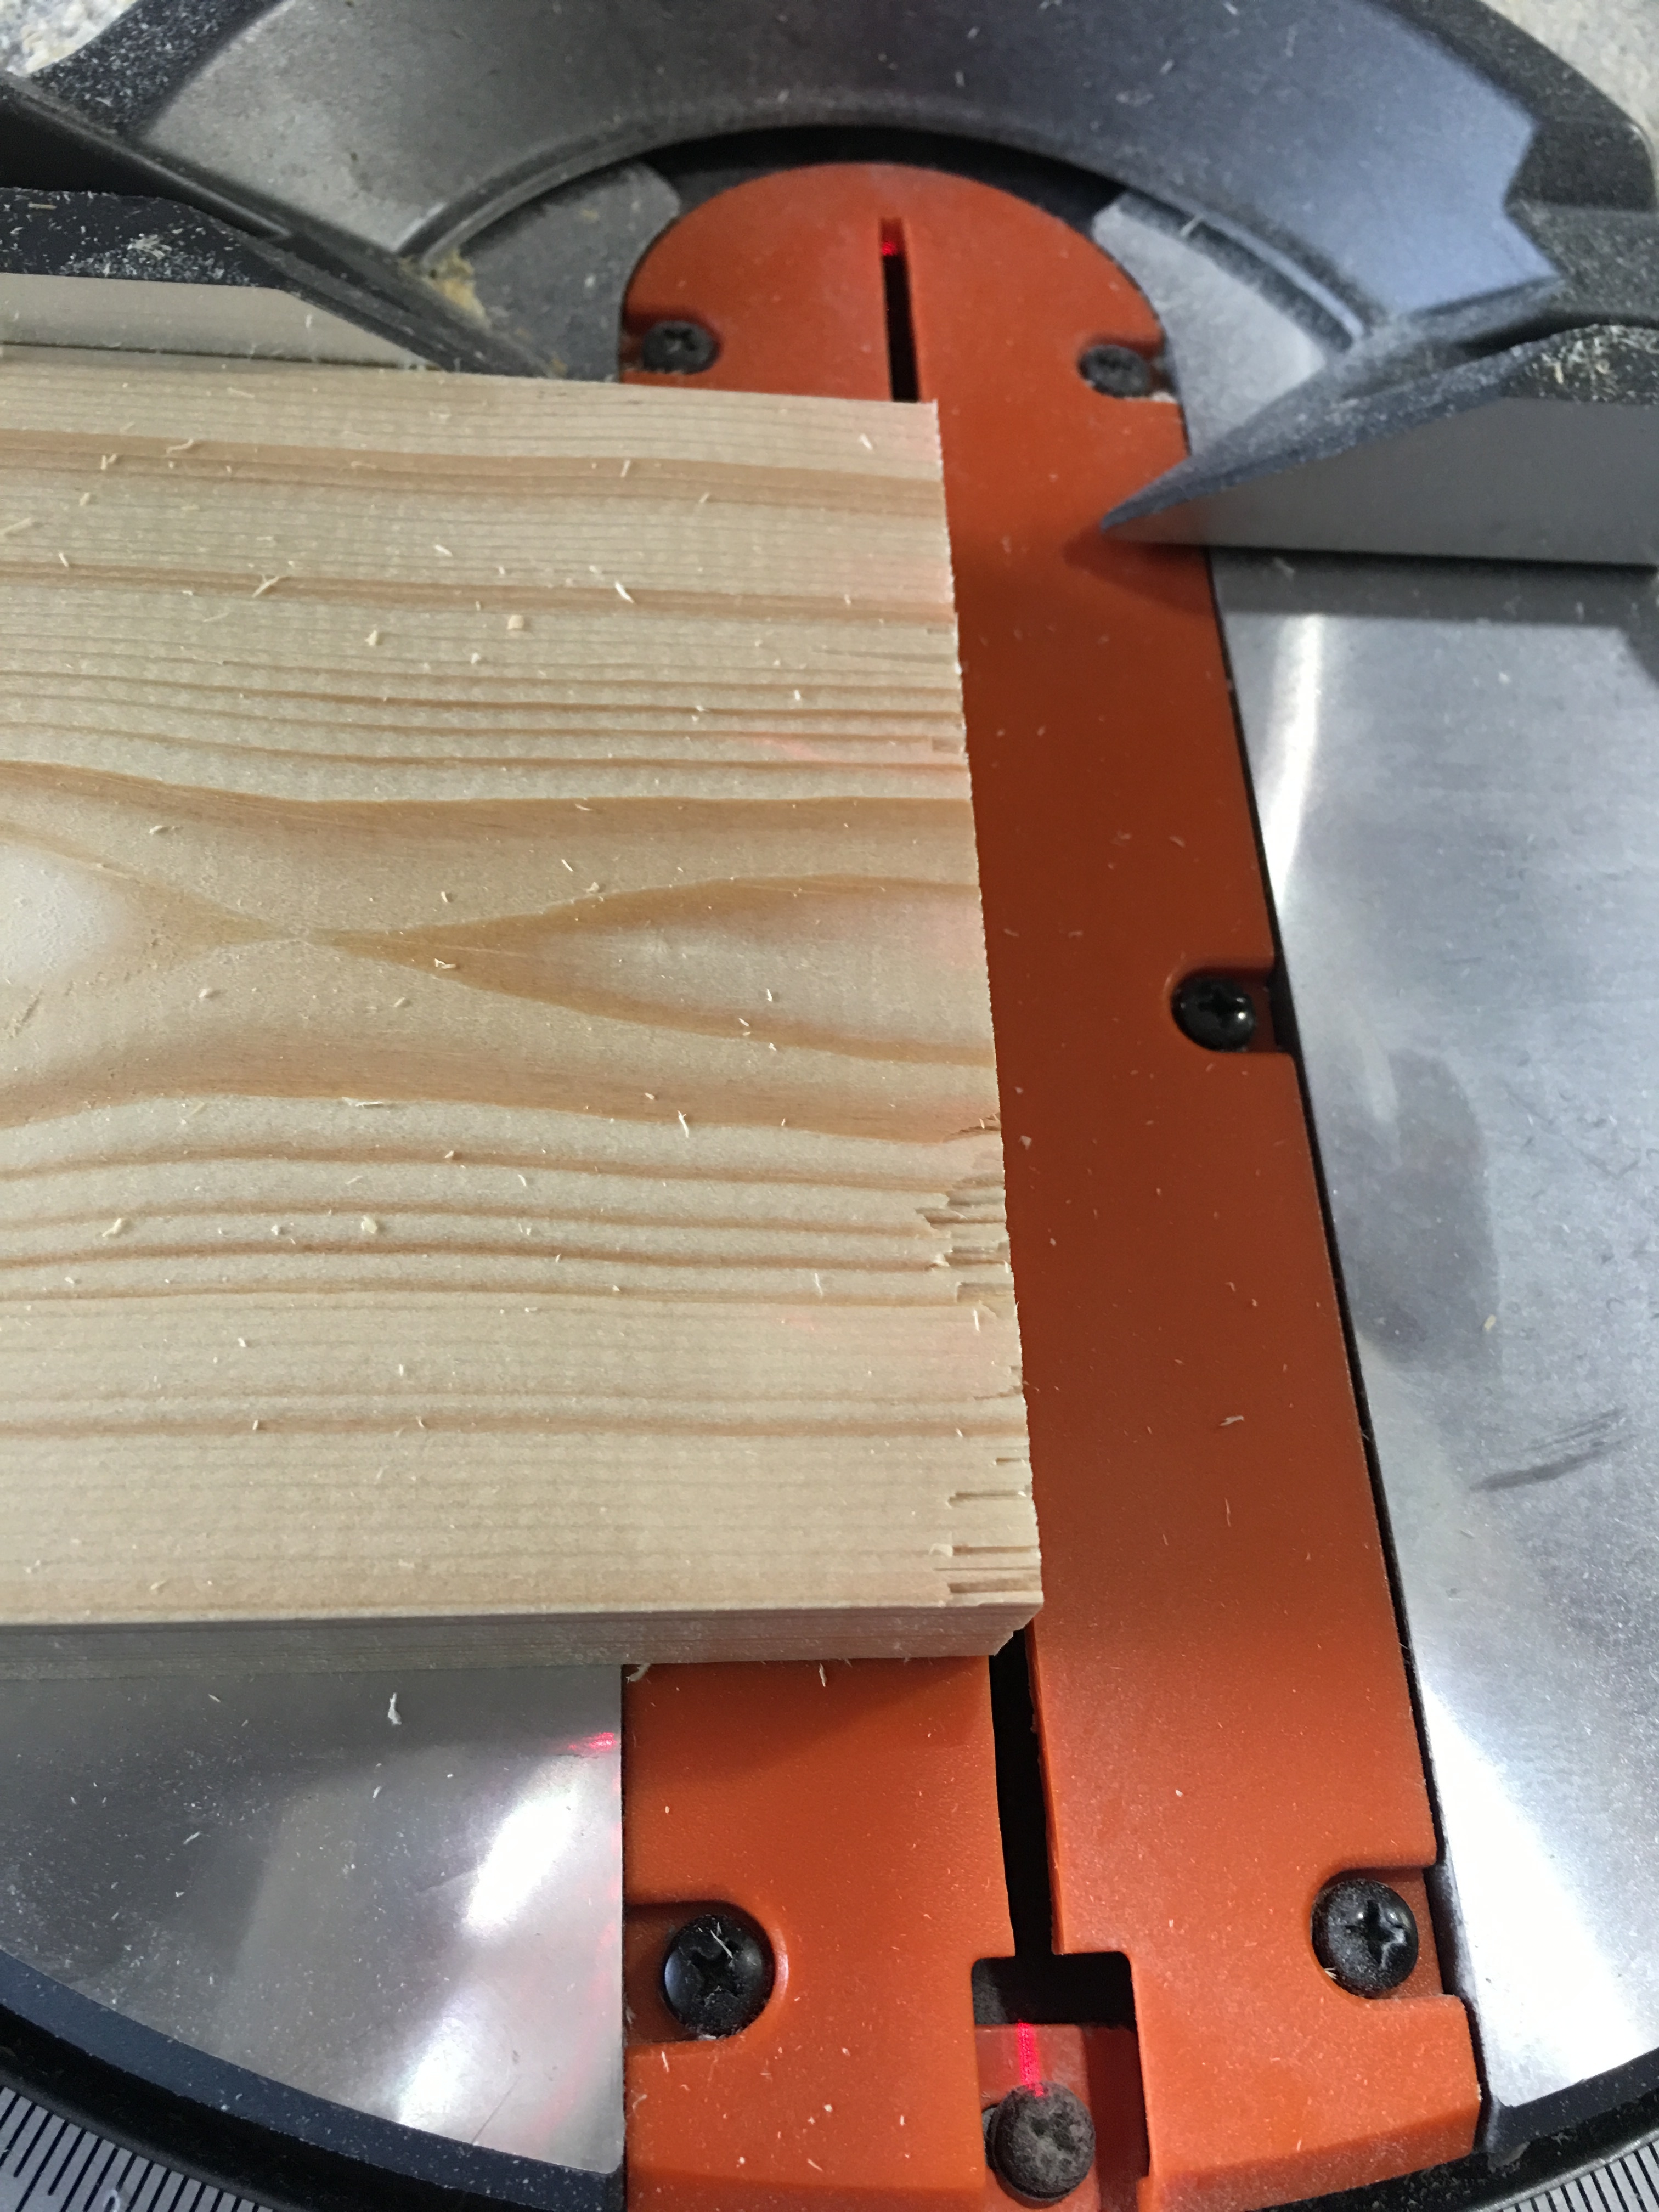
I immediately use it to cut the wood for my floating shelf boxes to the correct size.
After using a square to measure and draw a cut line, I use the laser on the saw to gauge the blade position for the cut.
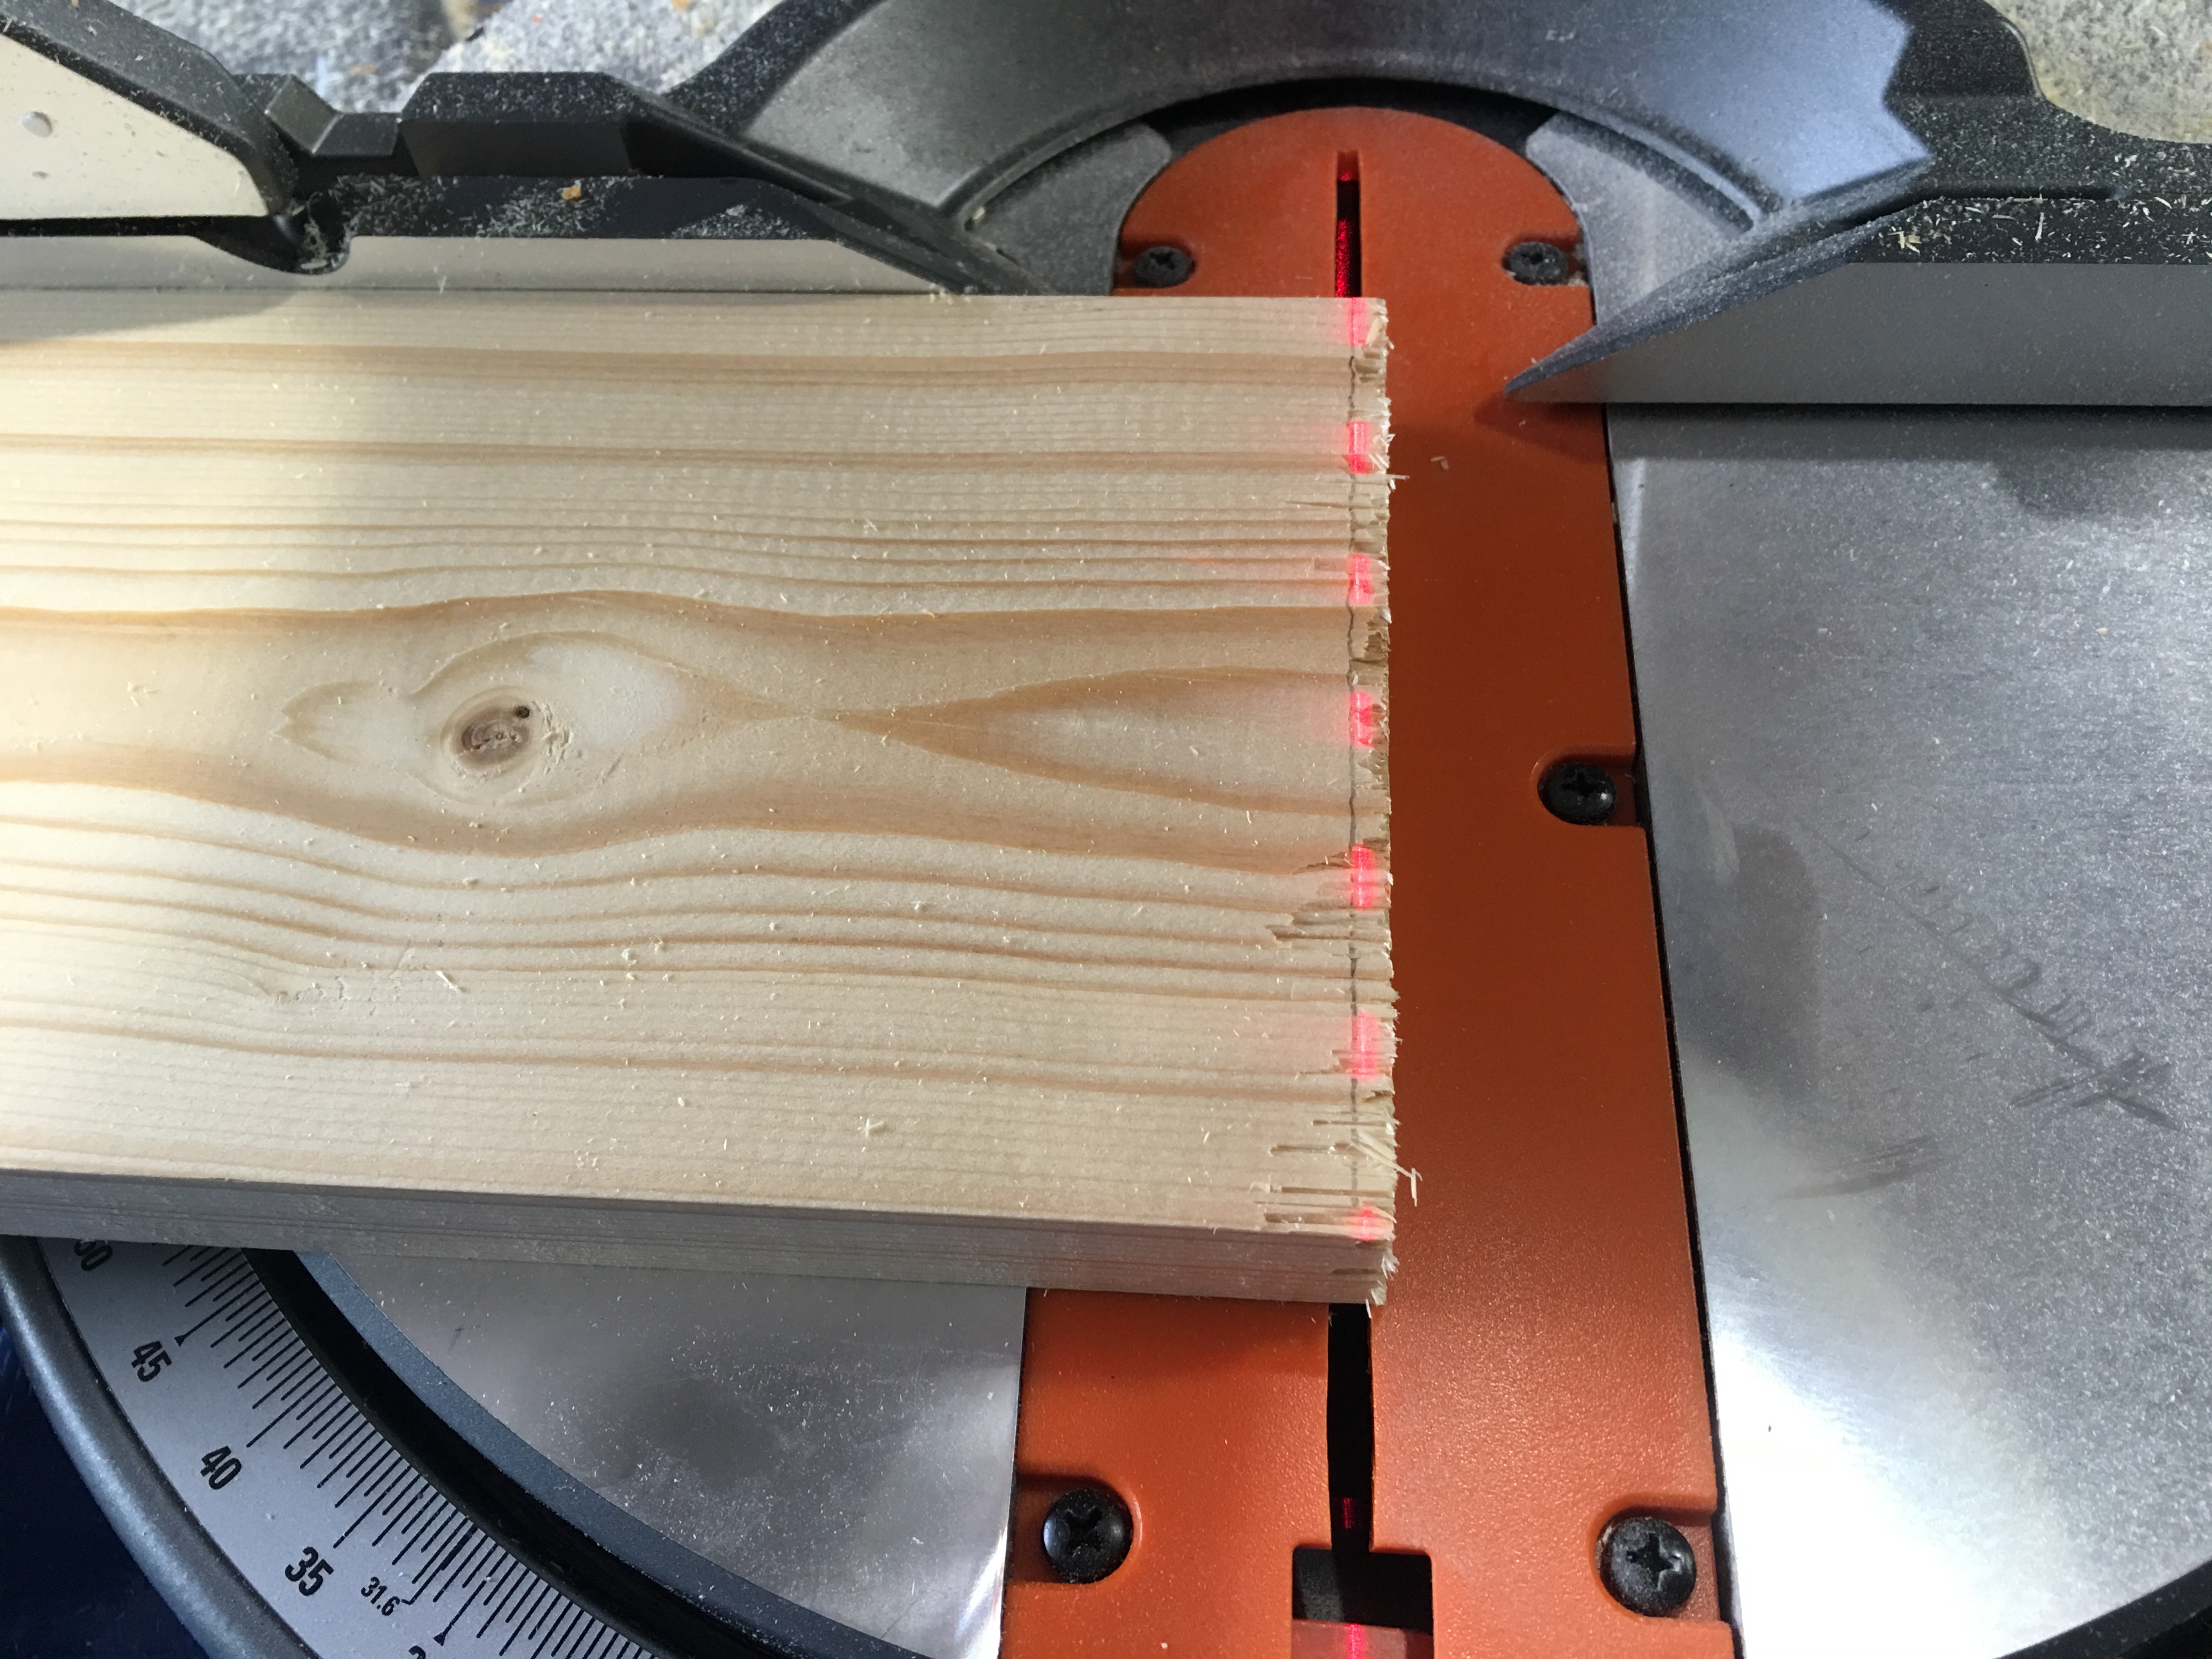
When you bring the blade down, the laser line becomes sharper to indicate where the blade will be.
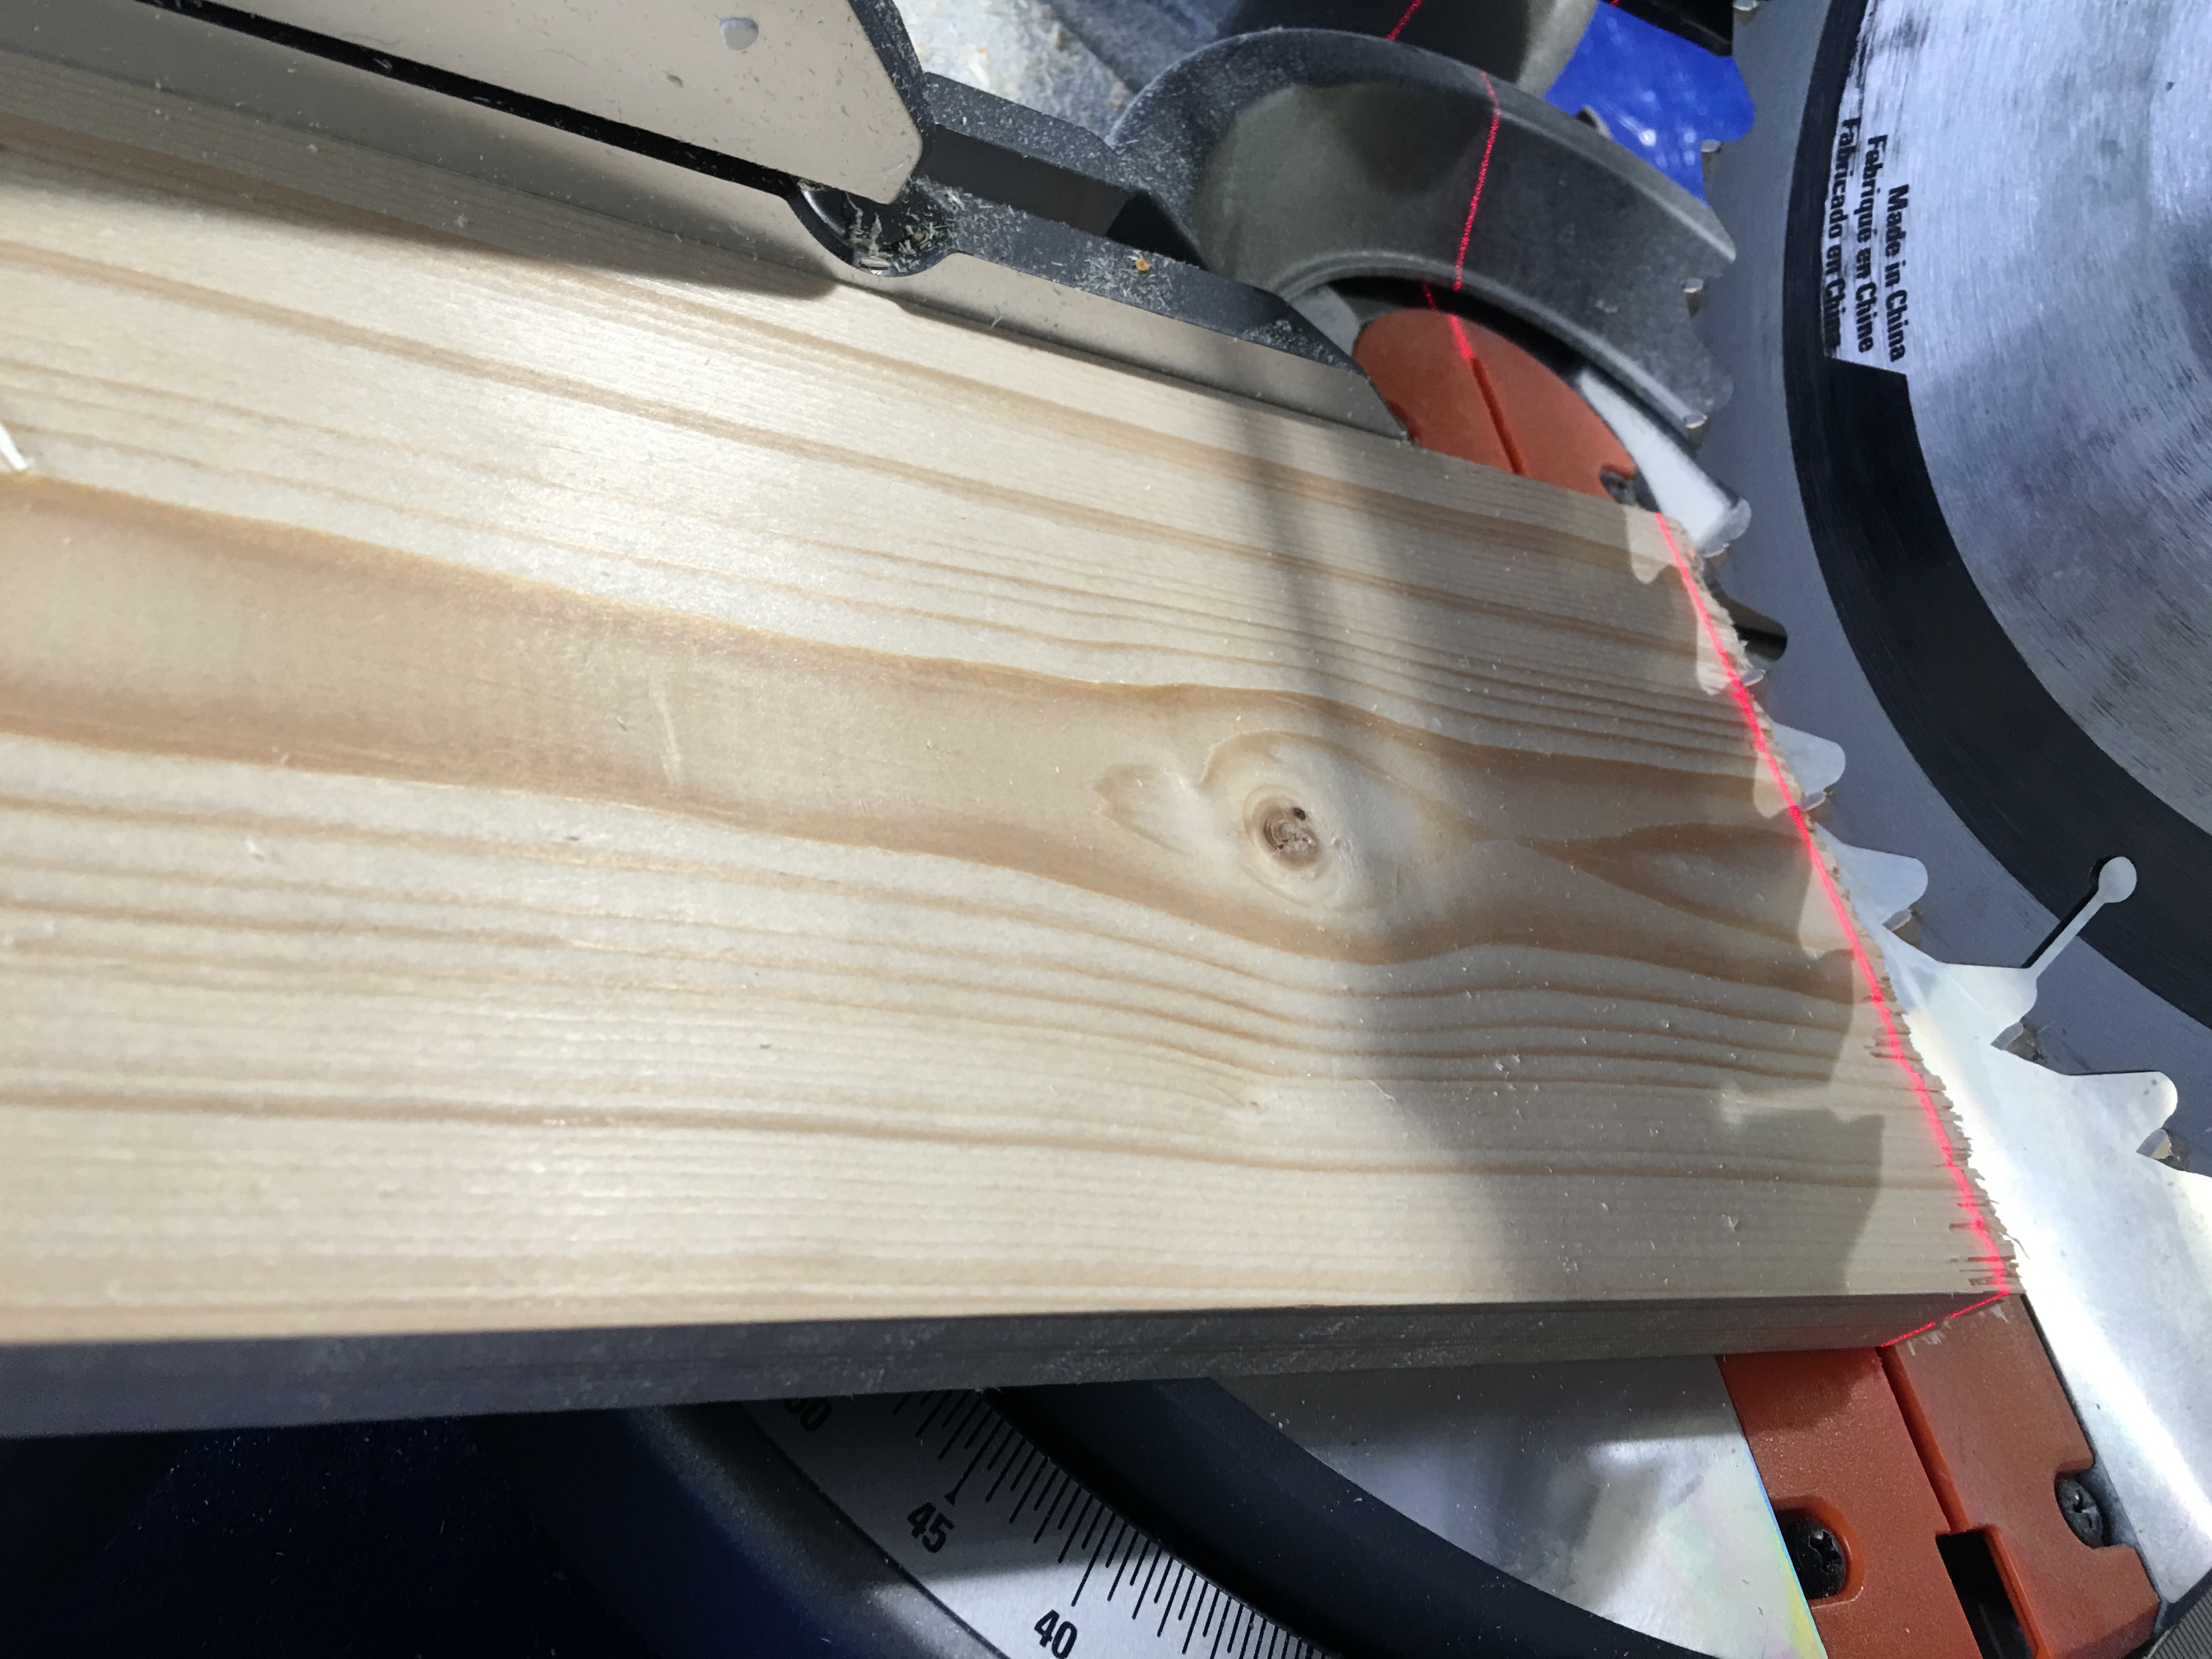
Using the squeeze mechanism under the handle, I fire up the spinning blade and bring it on down. Nice even cut. This baby will cut paper-thin slices of wood. So you can also gradually inch your way over to the cutting line to achieve a more precise cut.
I noticed that when the laser beam shows a dotted line, the cut of the blade will be slightly to the left. Bring the handle down will bring the laser beam into sharper focus.

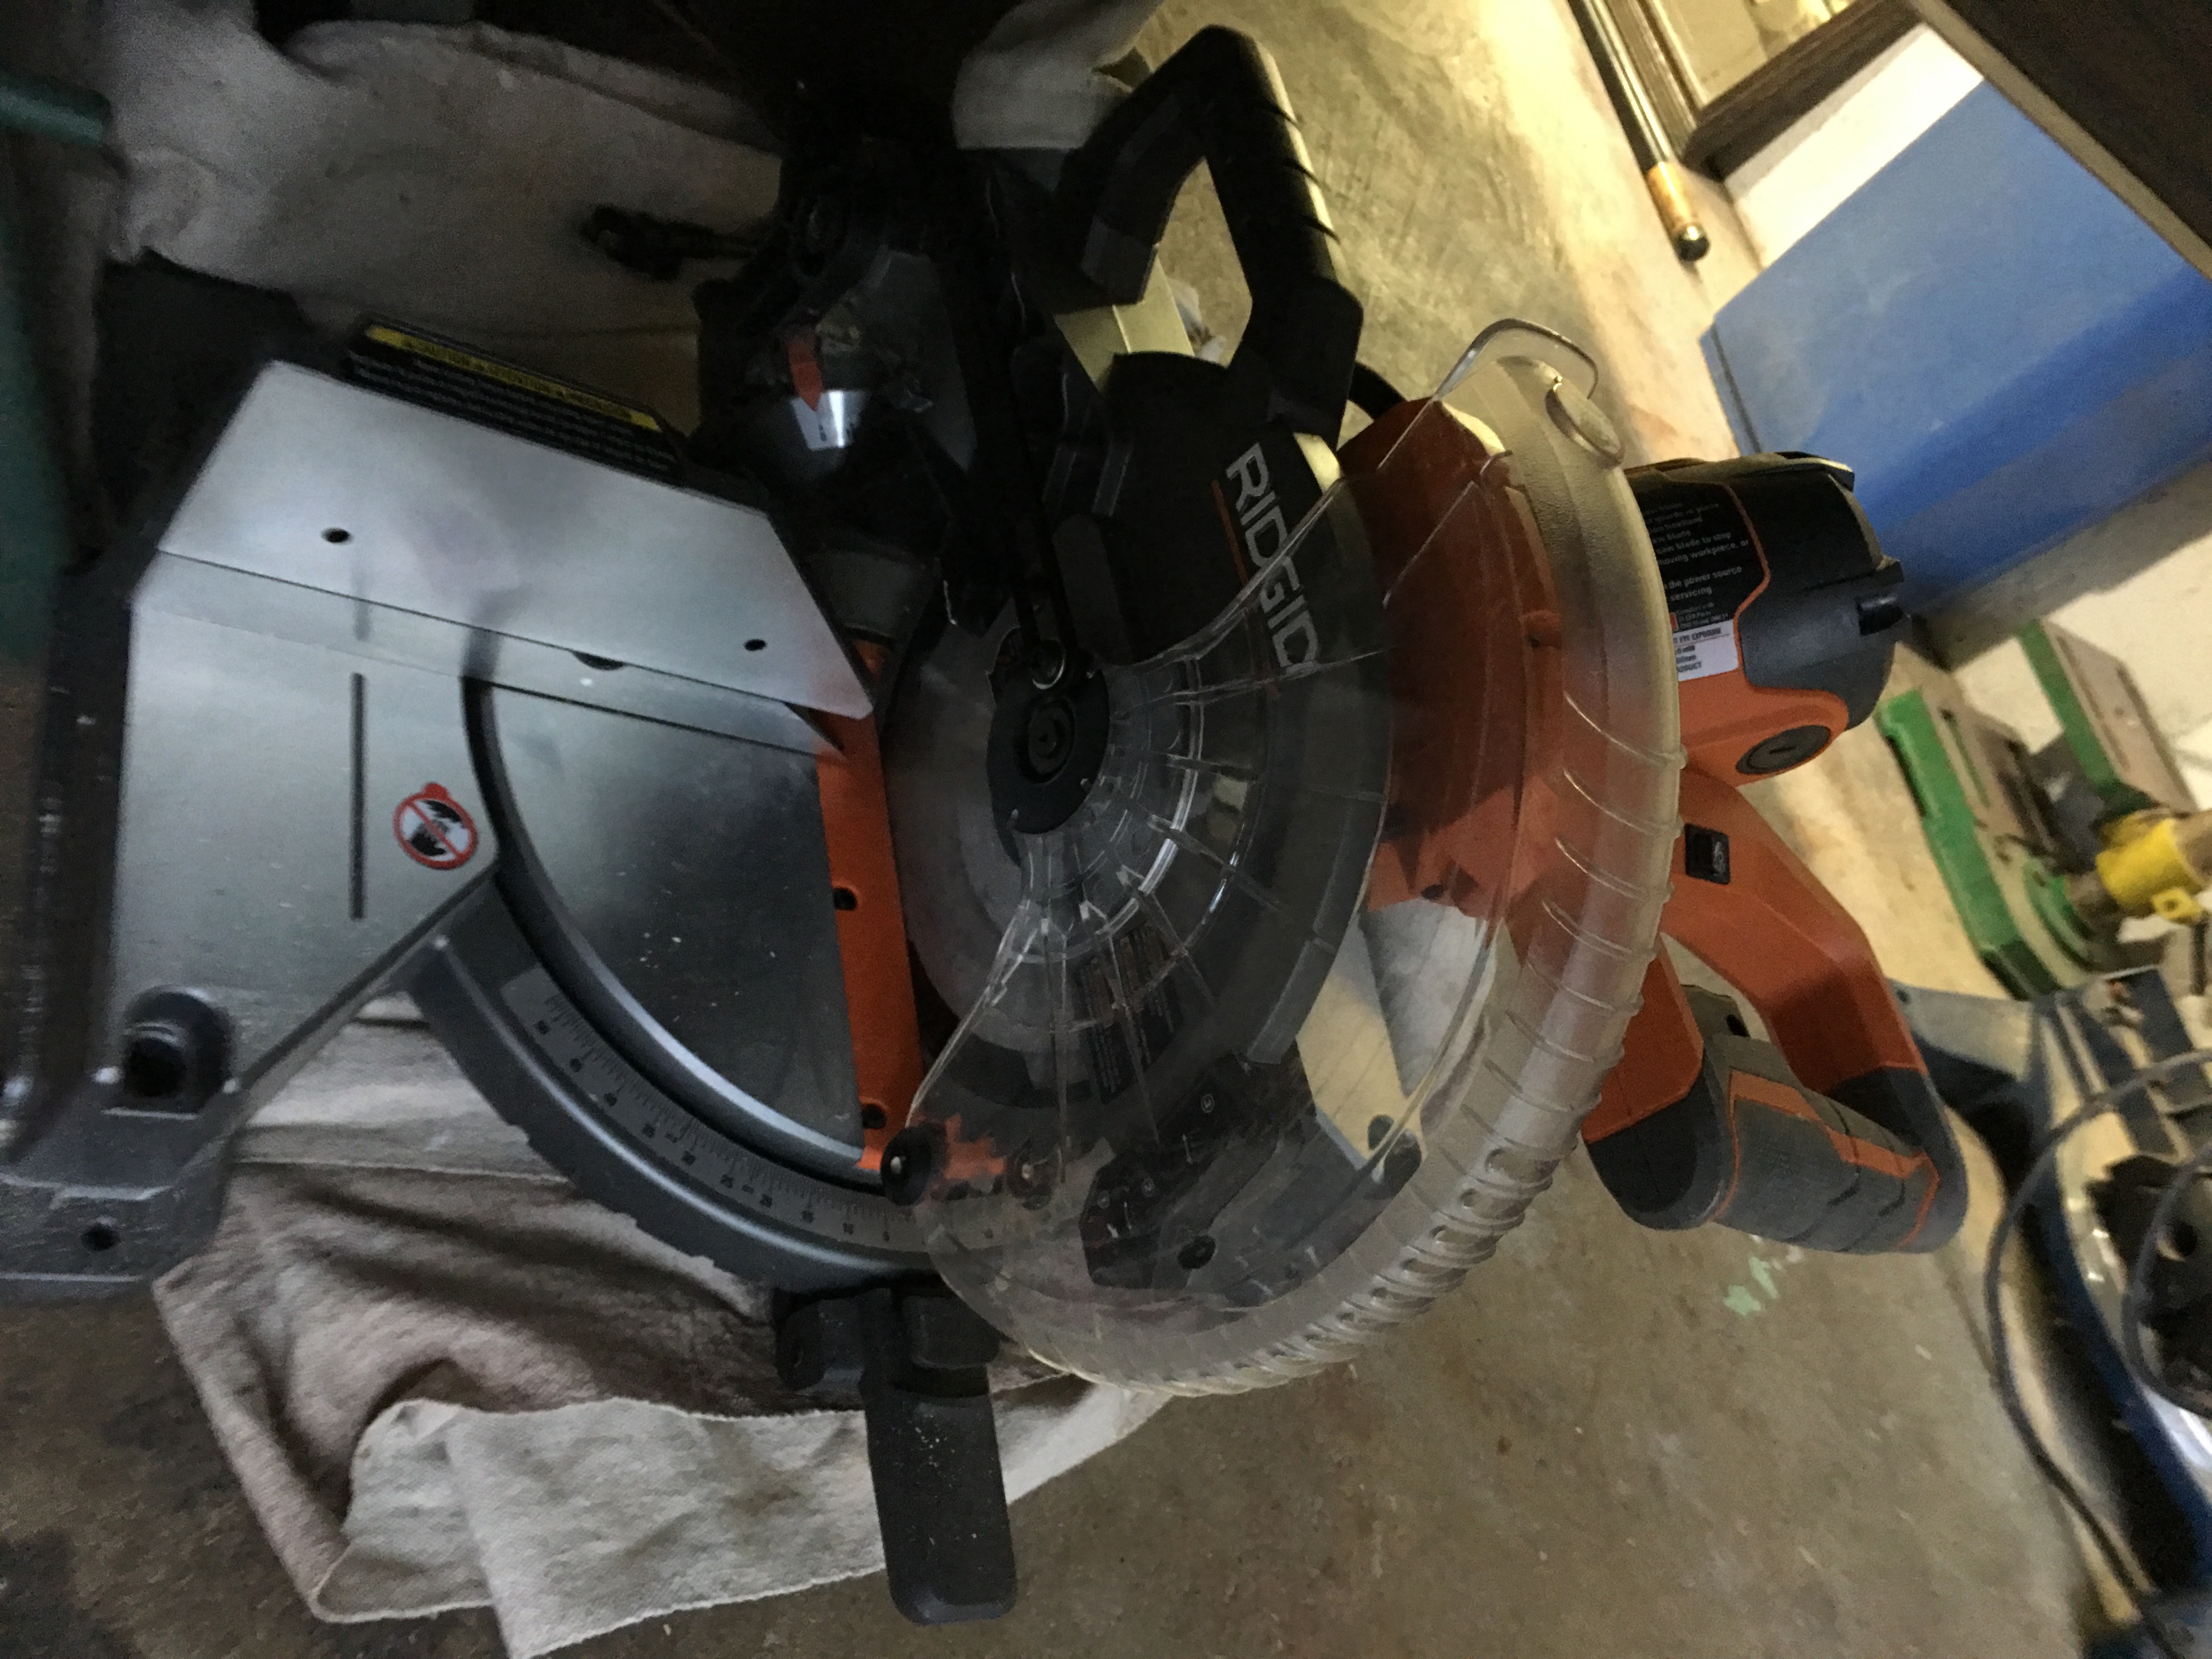
So here I am, a happy new Ridgid customer, with my dual bevel 10″ miter saw. What does dual bevel means? Uh…I’ll have to look it up! The operator’s manual is somewhere in the box.
But thanks to Bob, I’m good to go with basic saw operation (and was able to fix my project in no time).

Now the new miter saw finally takes the place of the old under the pool table.
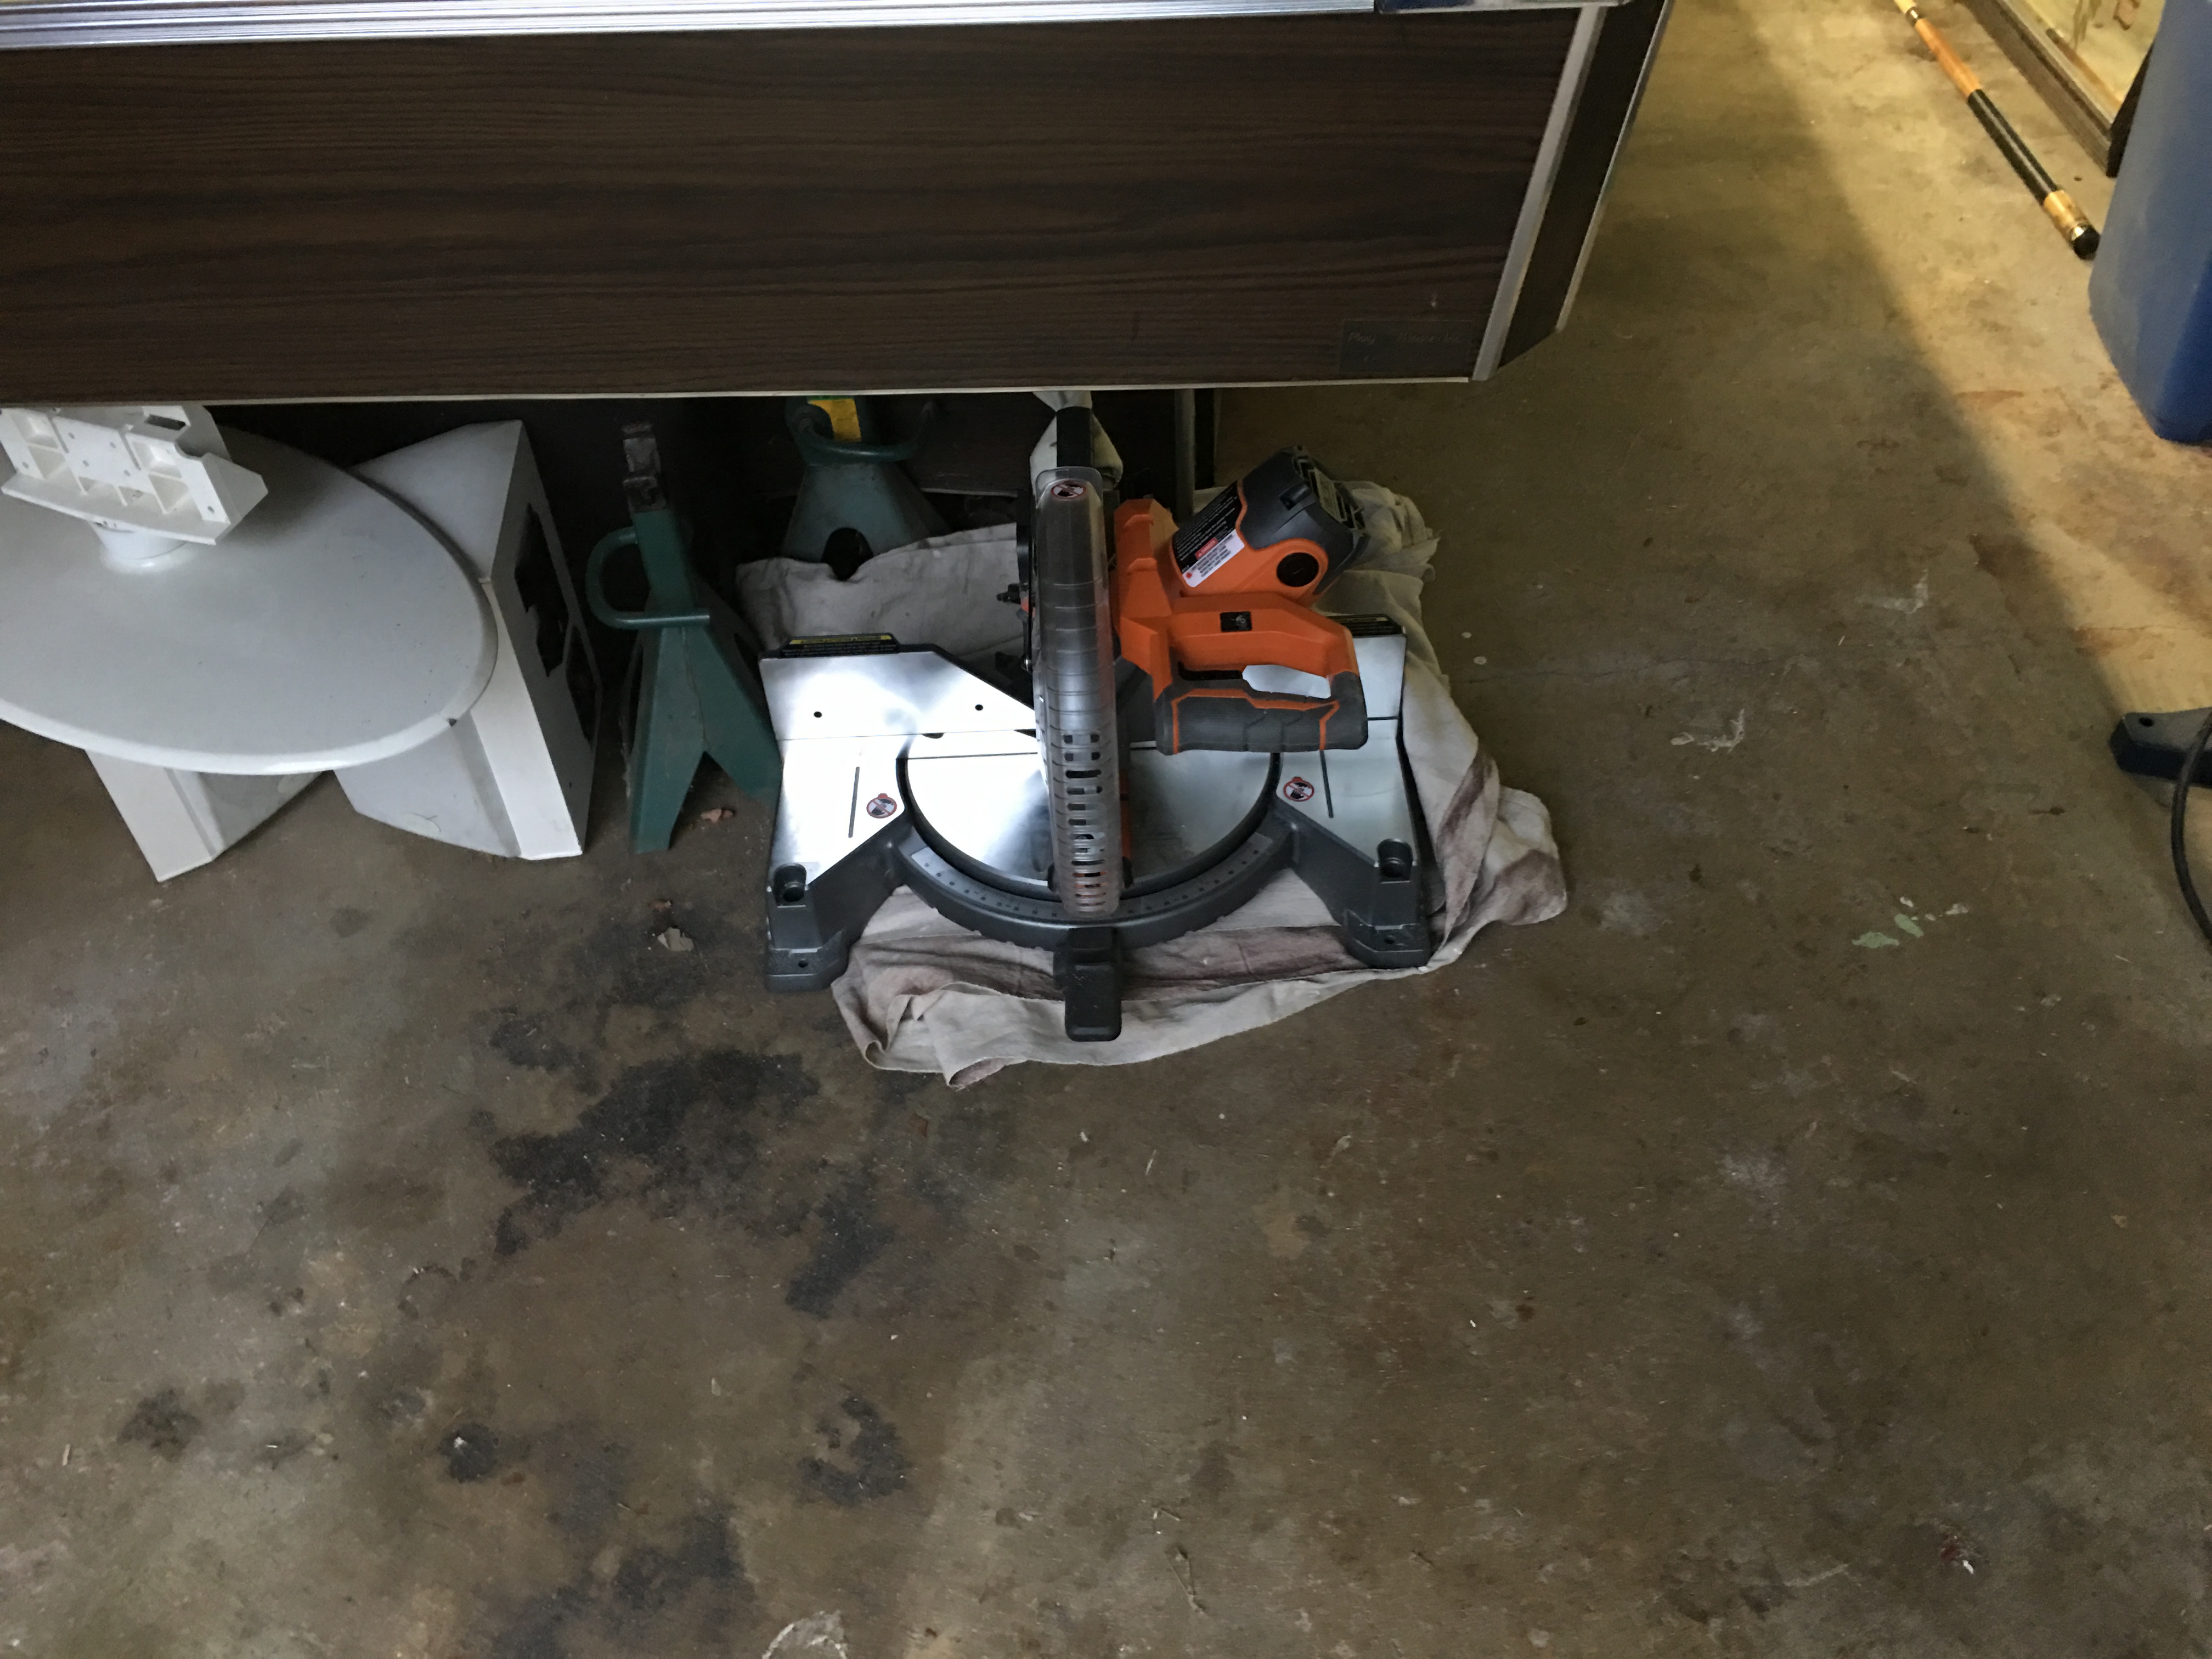
And it’s looking mighty fine there as well.
Love the orange, through and through. Go TEAM ORANGE! V-