
Potting my Zamio
You may also like:
April 1, 2016: Happy April all. 😊
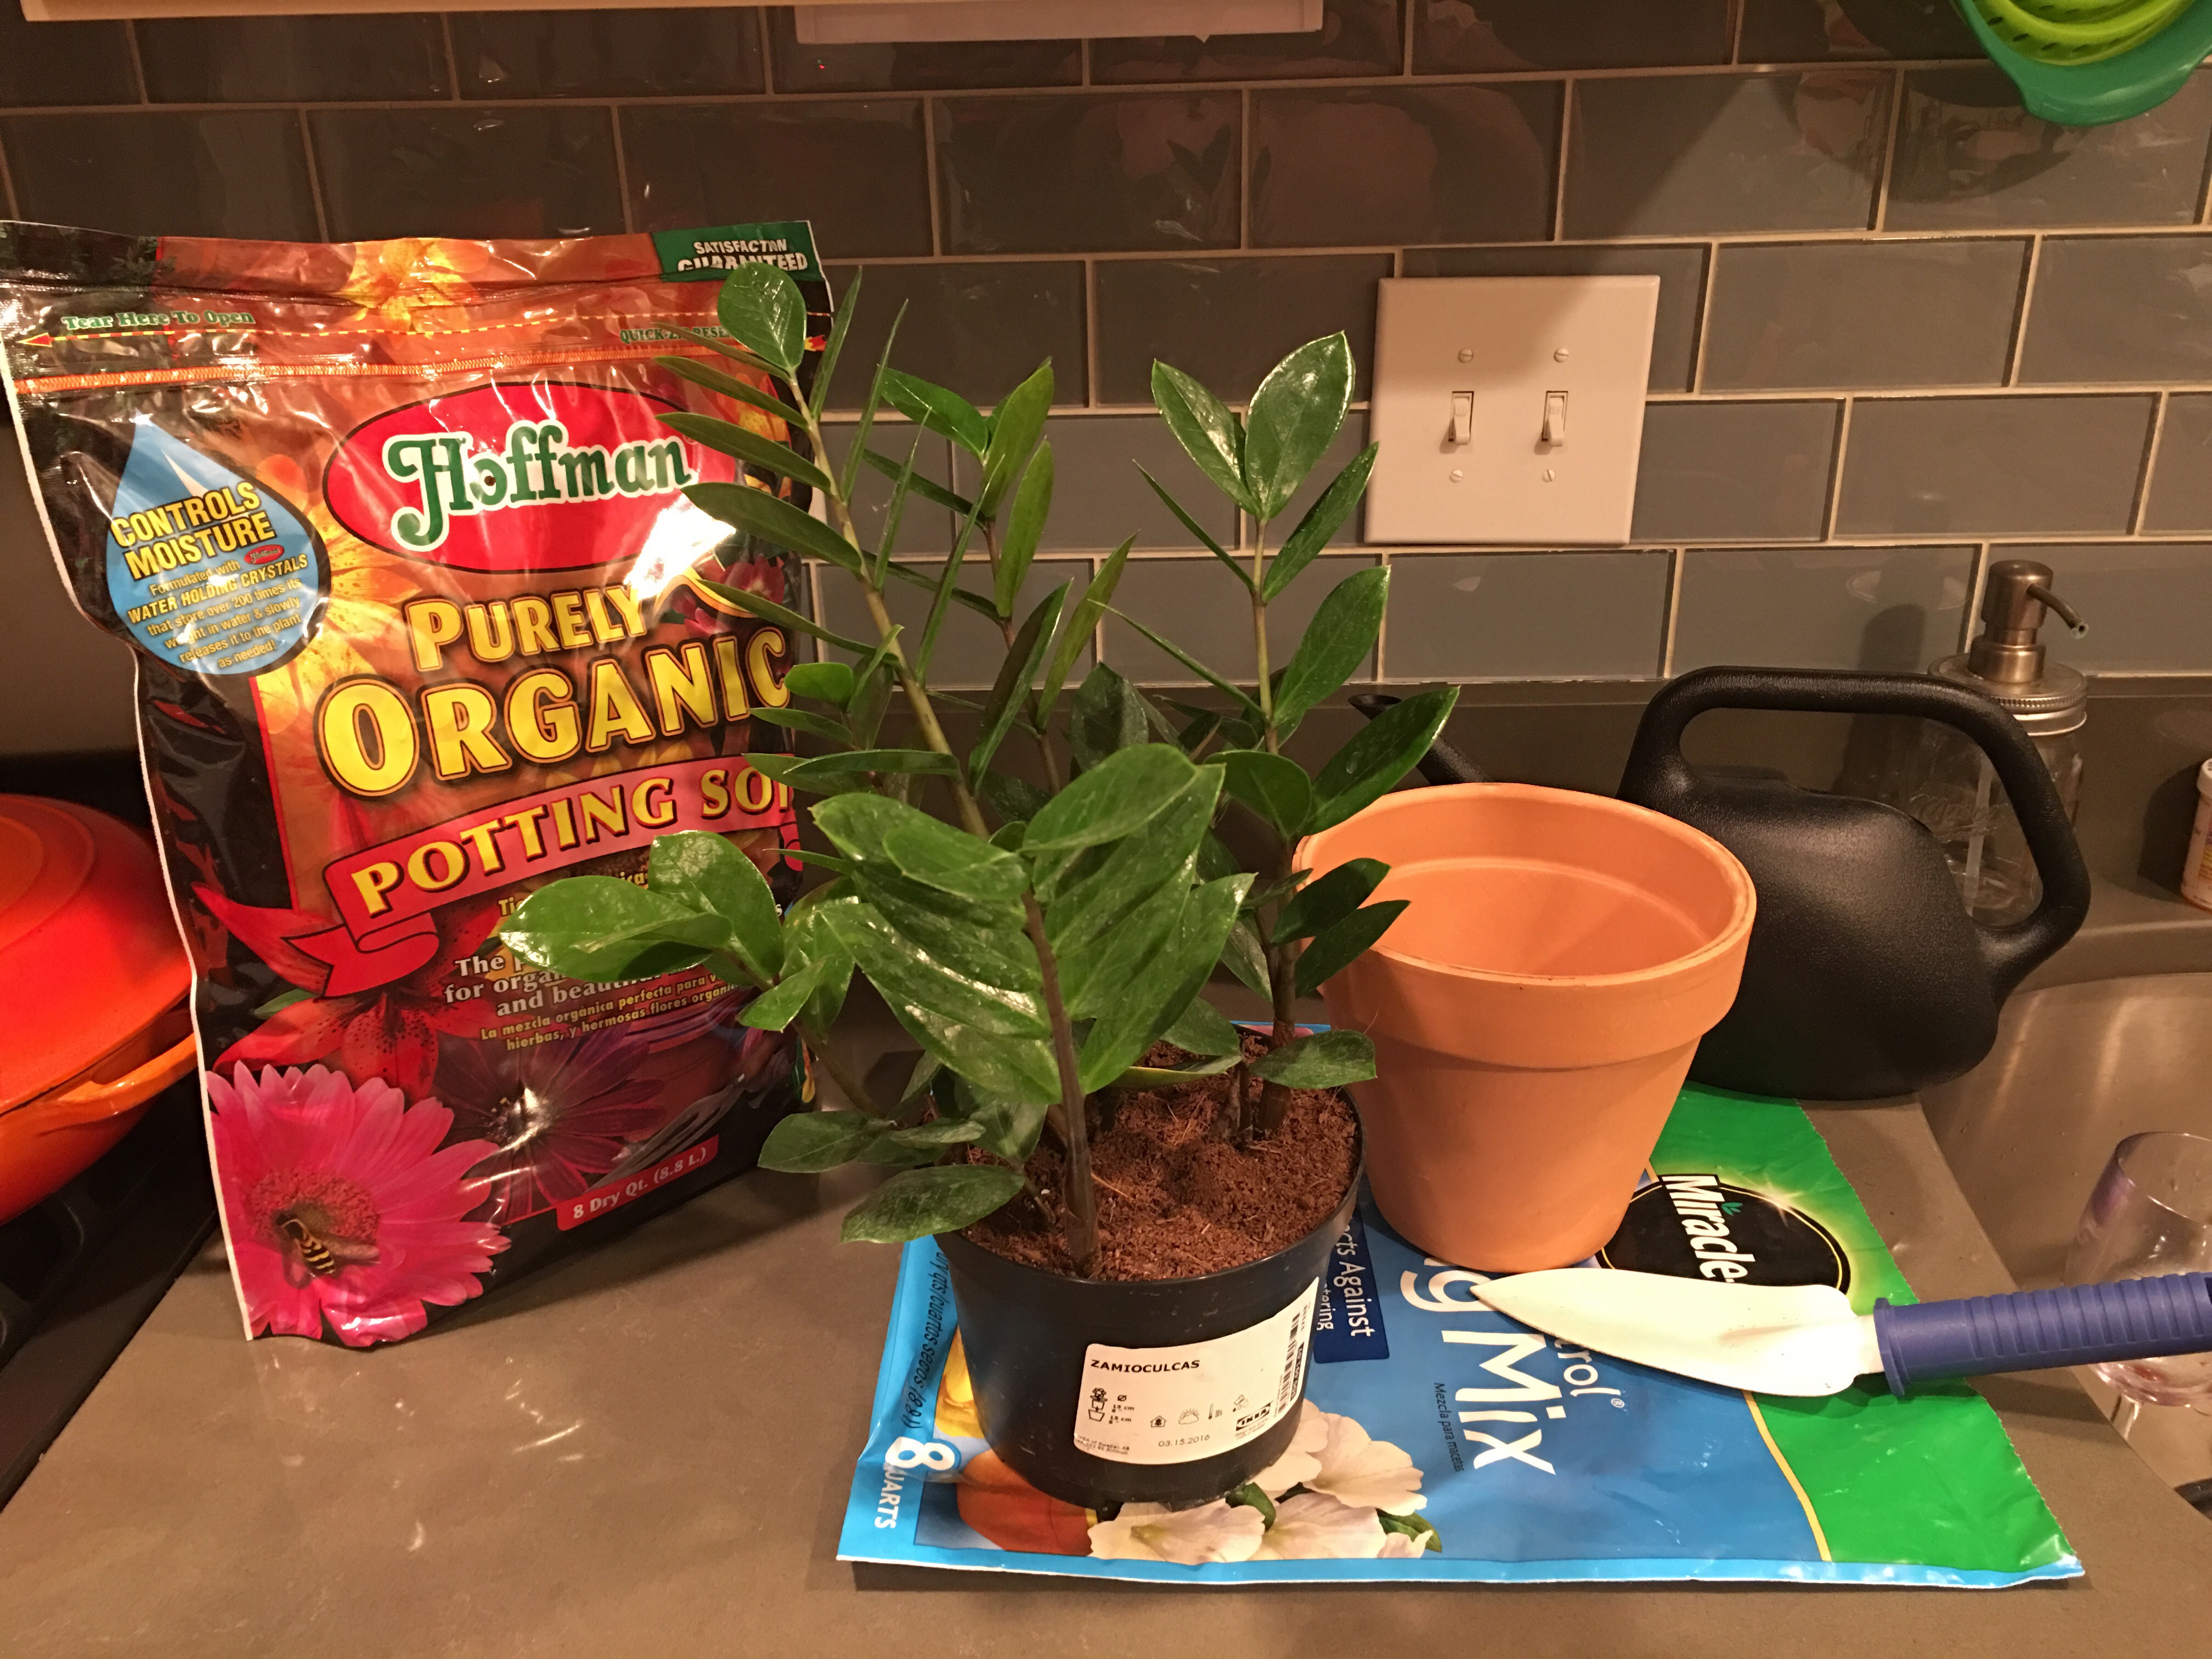
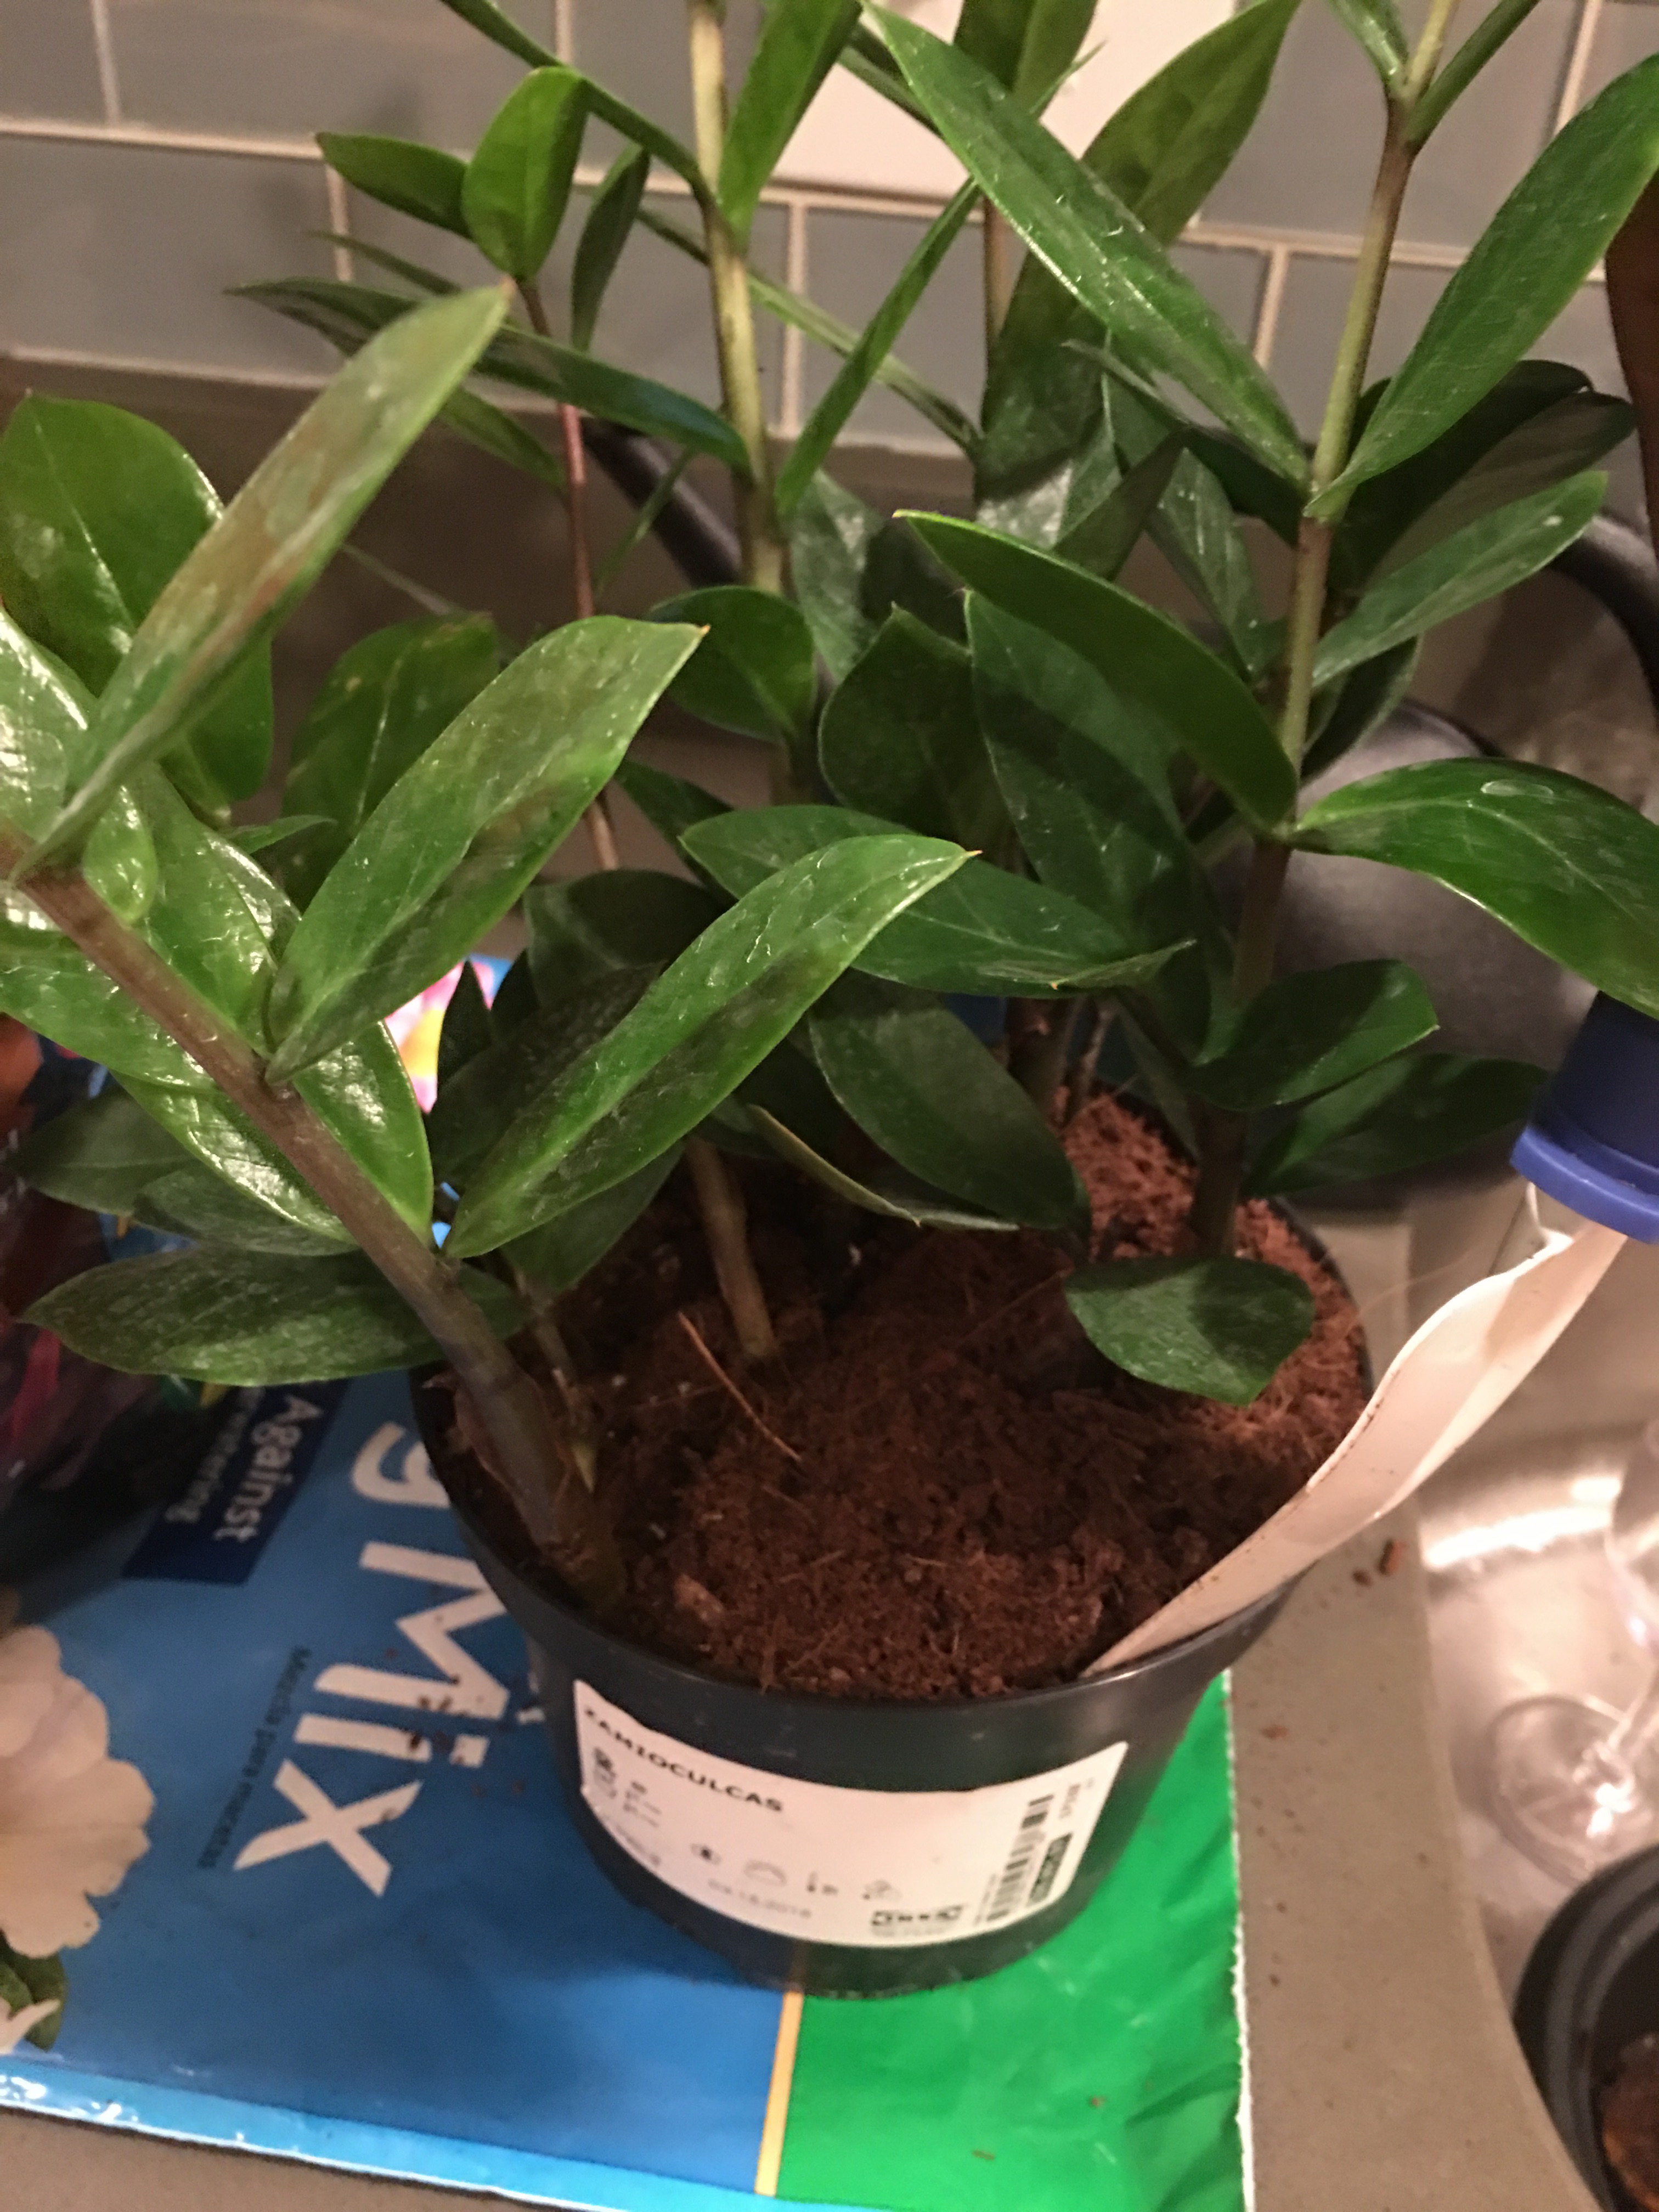
Time to repot the new zamioculcas plant I brought home from IKEA a couple of weeks ago.
So early this Friday morning, I got the plant, the terra cotta pot, the soil and the trowel ready to go.
OK, by now you probably know that these days I’m all about the step-by-steps in my posts. So…
- Step 1: Use the trowel to transfer fresh soil to the new pot.
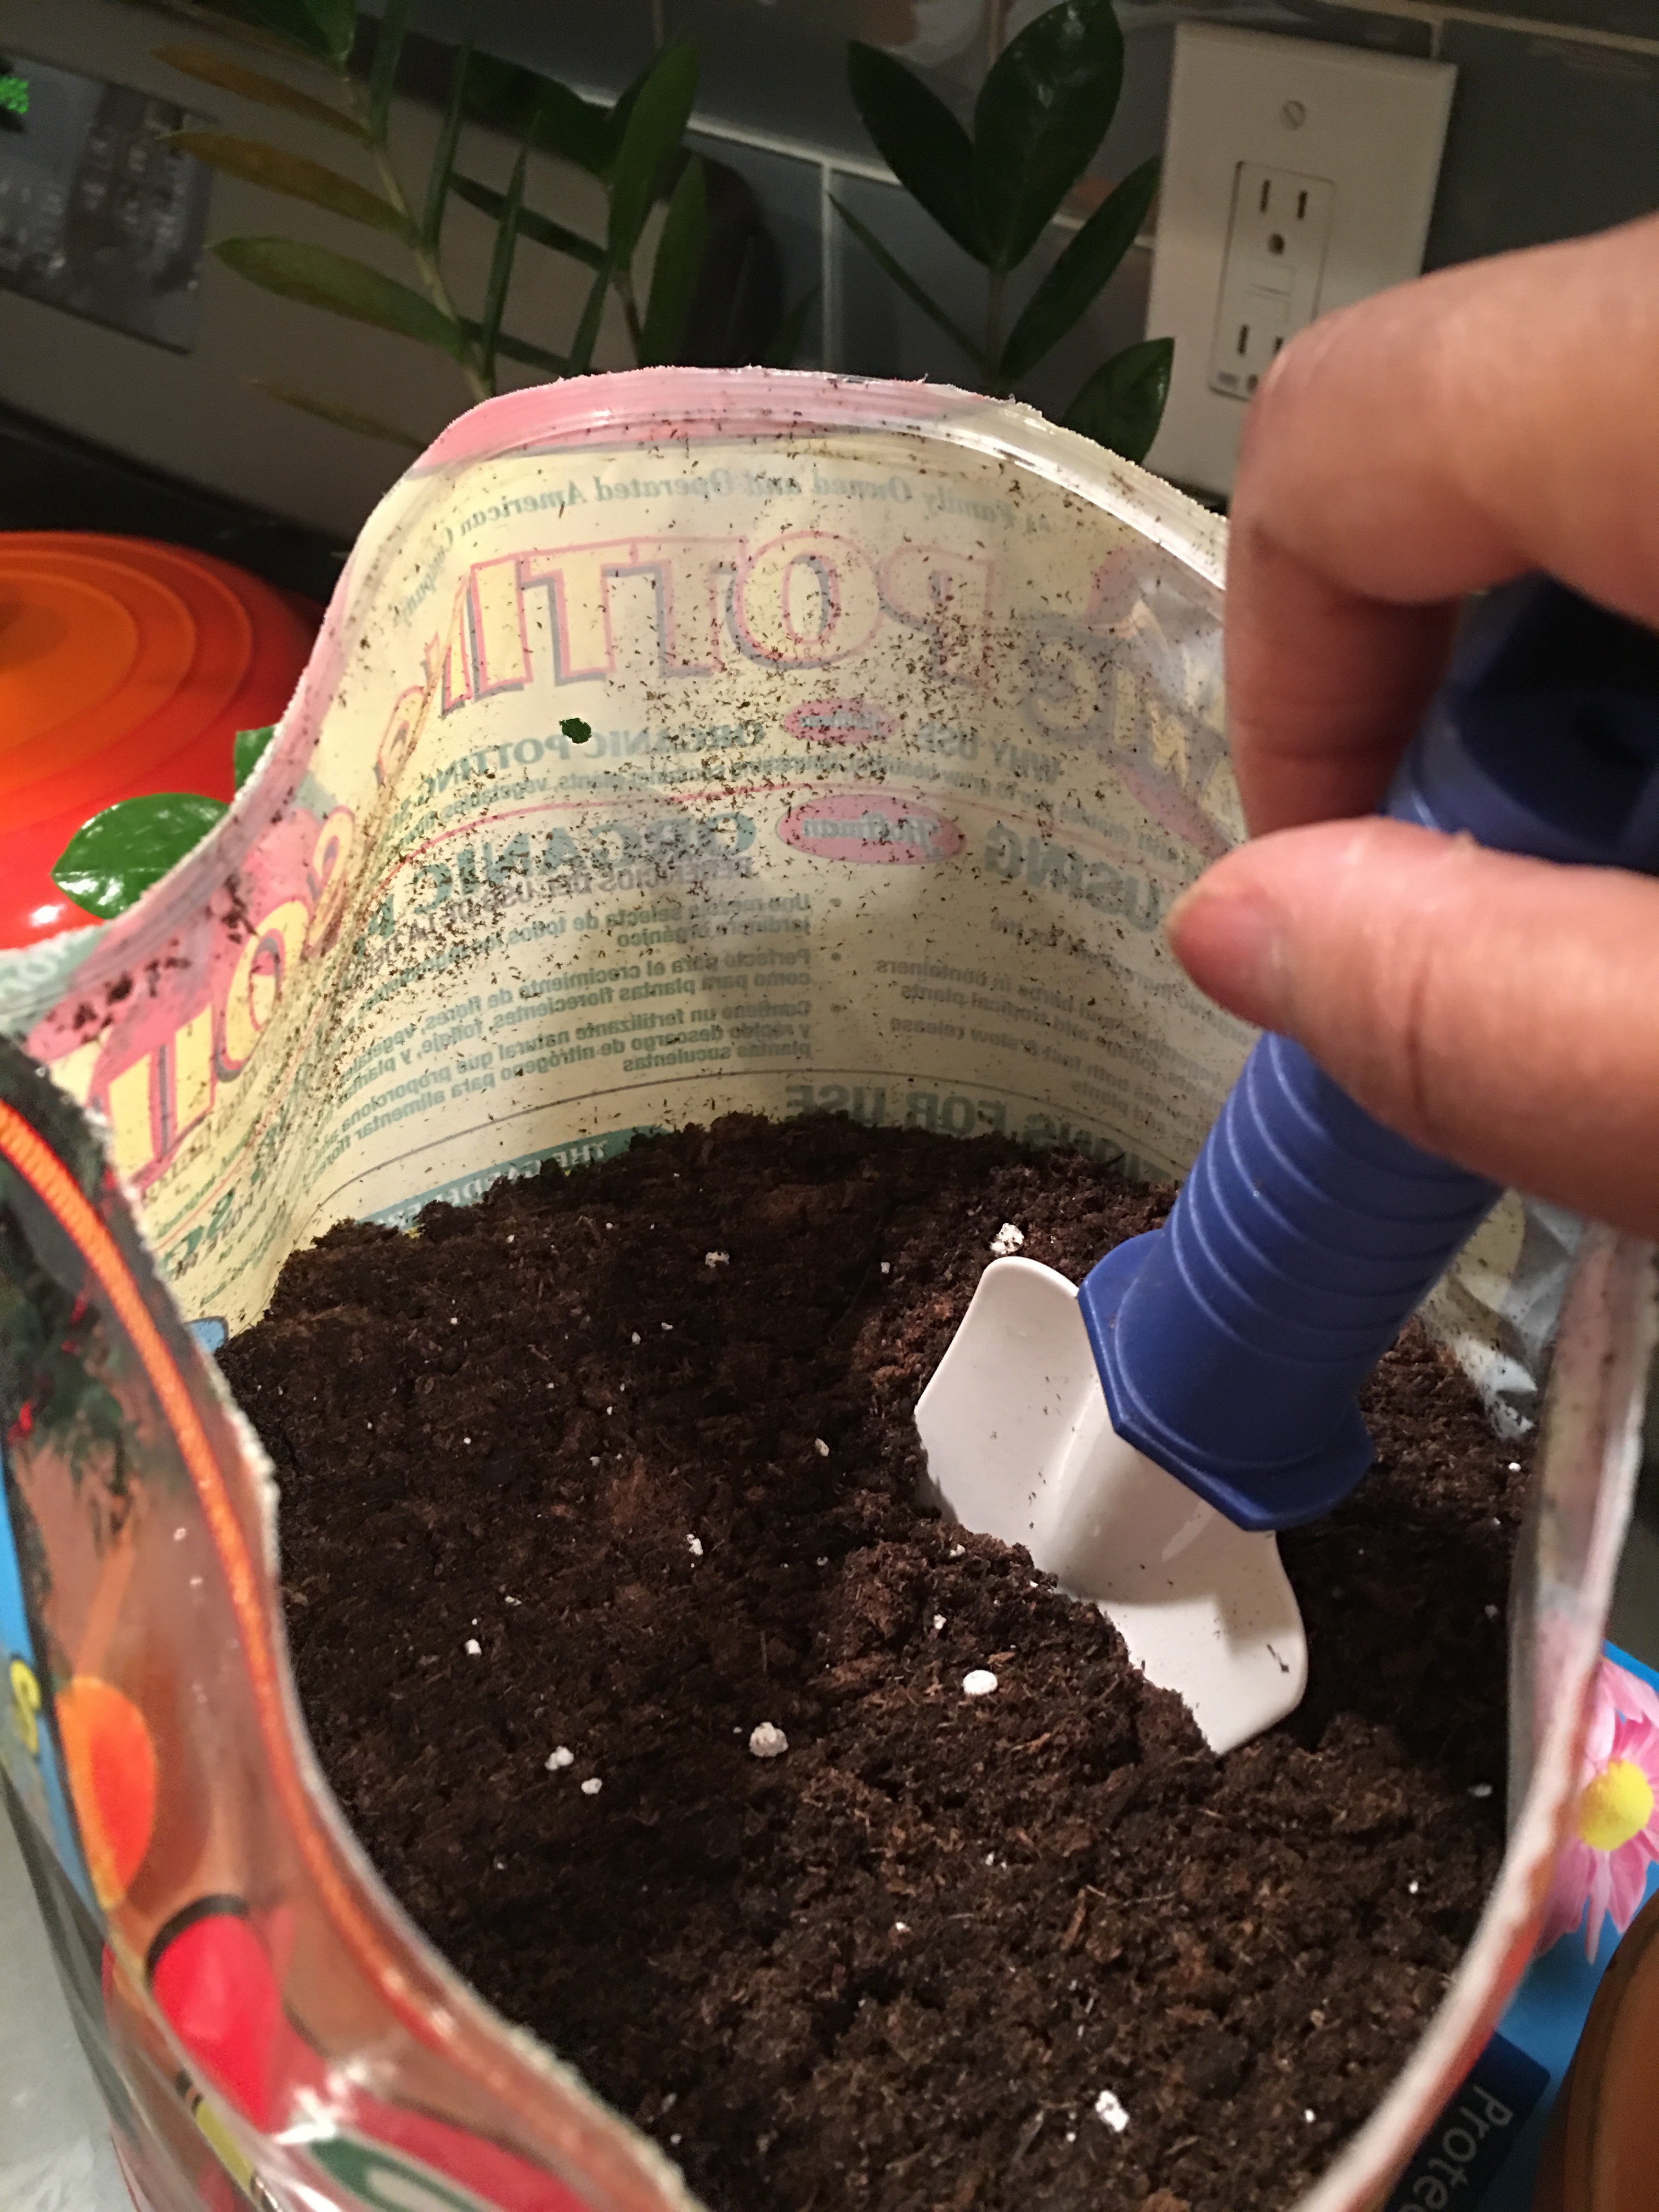
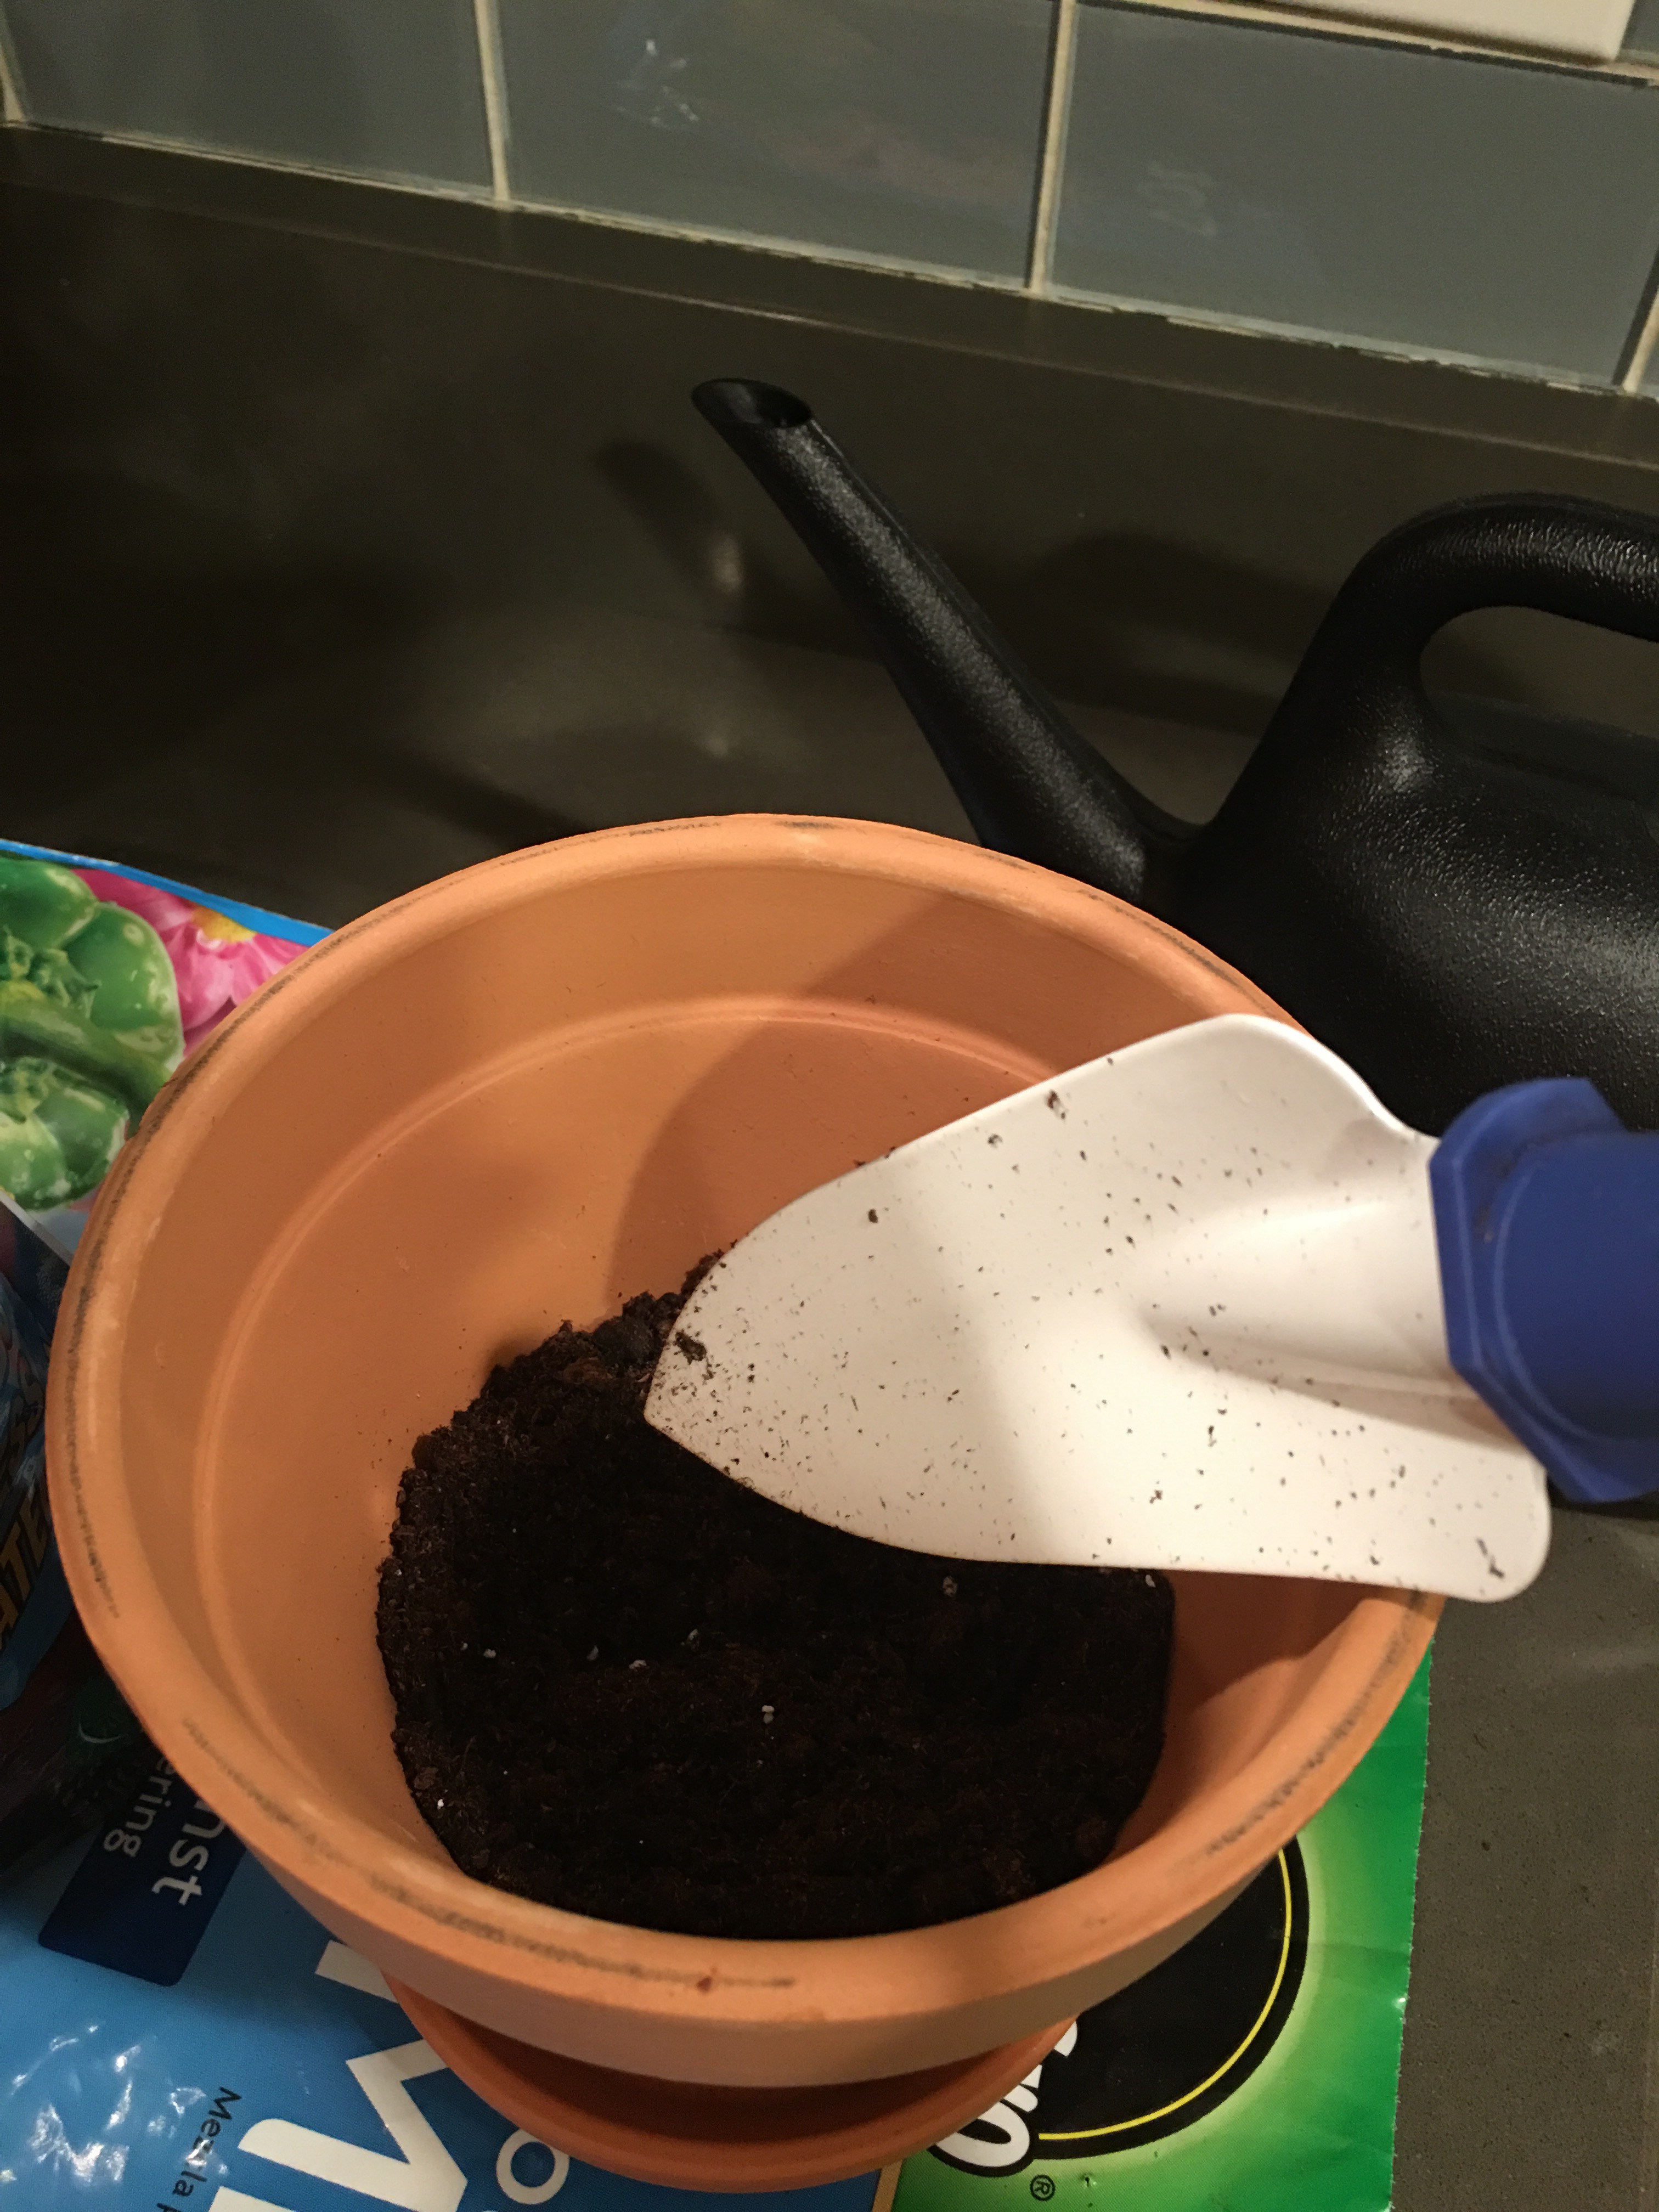
I want to get enough soil into the pot…
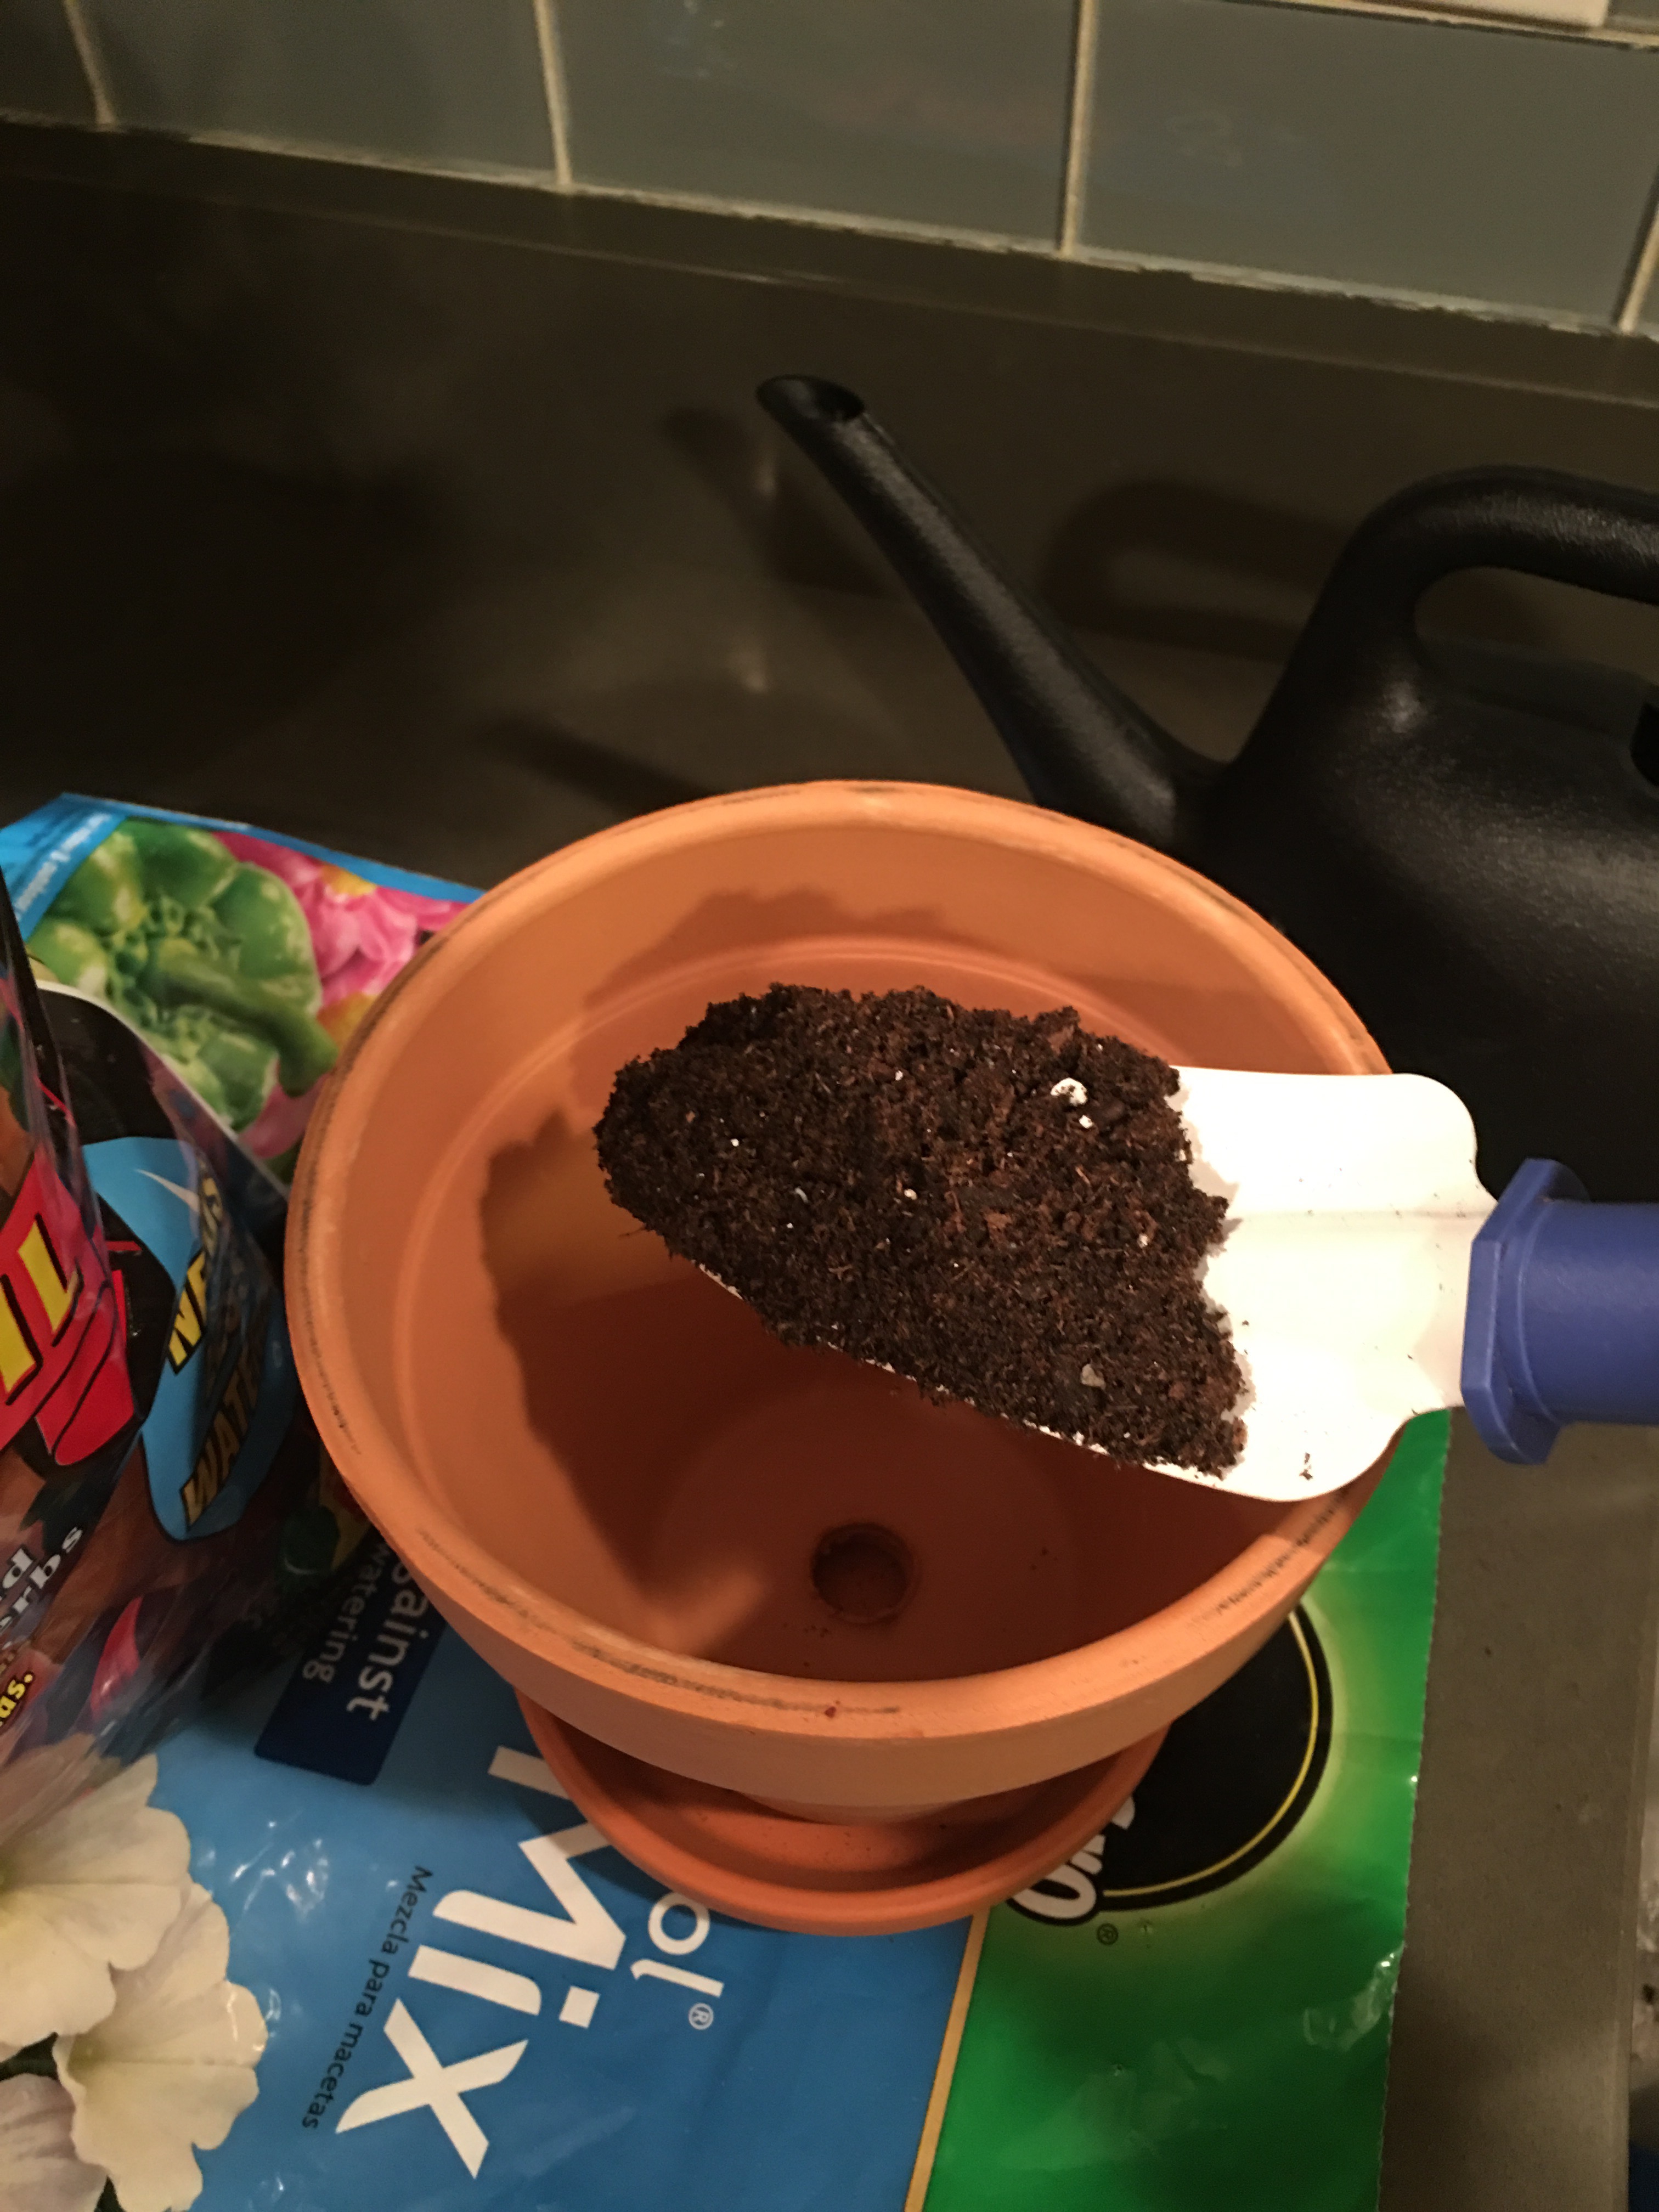
…until it’s about 1/3 full.
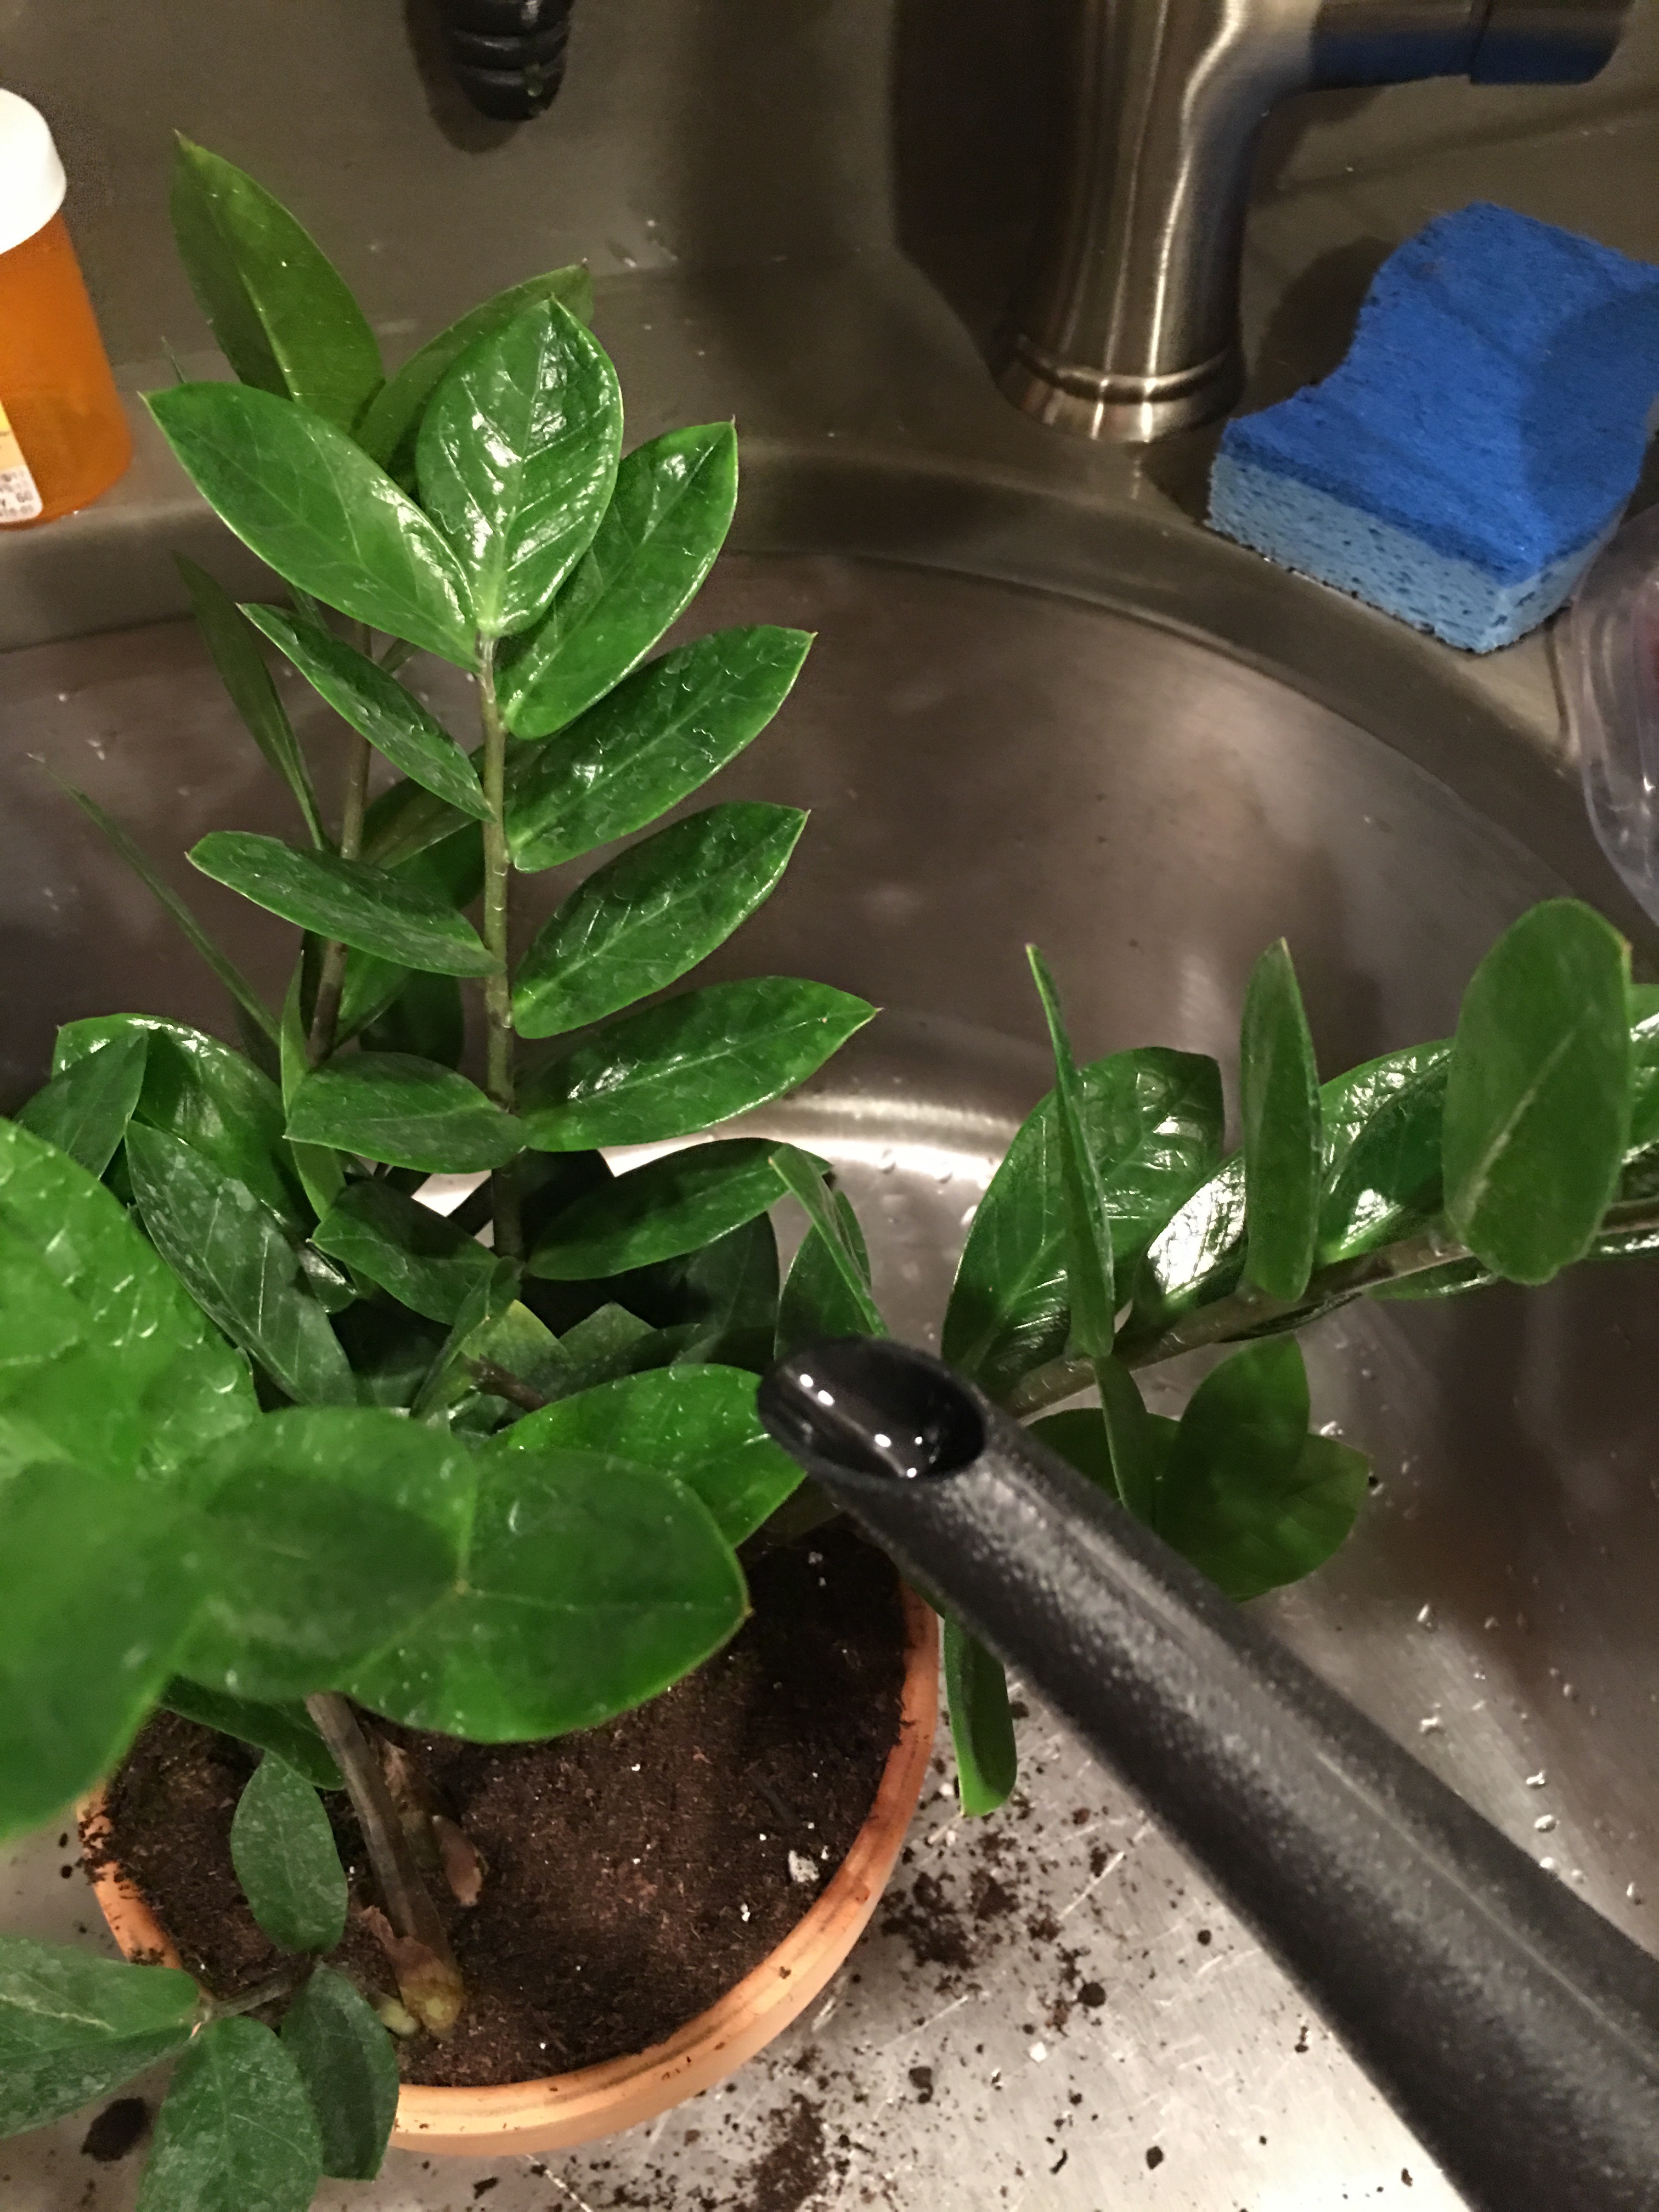
- Step 2: Use the trowel to gently dig and lift the plant out of its old pot (or temporary pot liner).
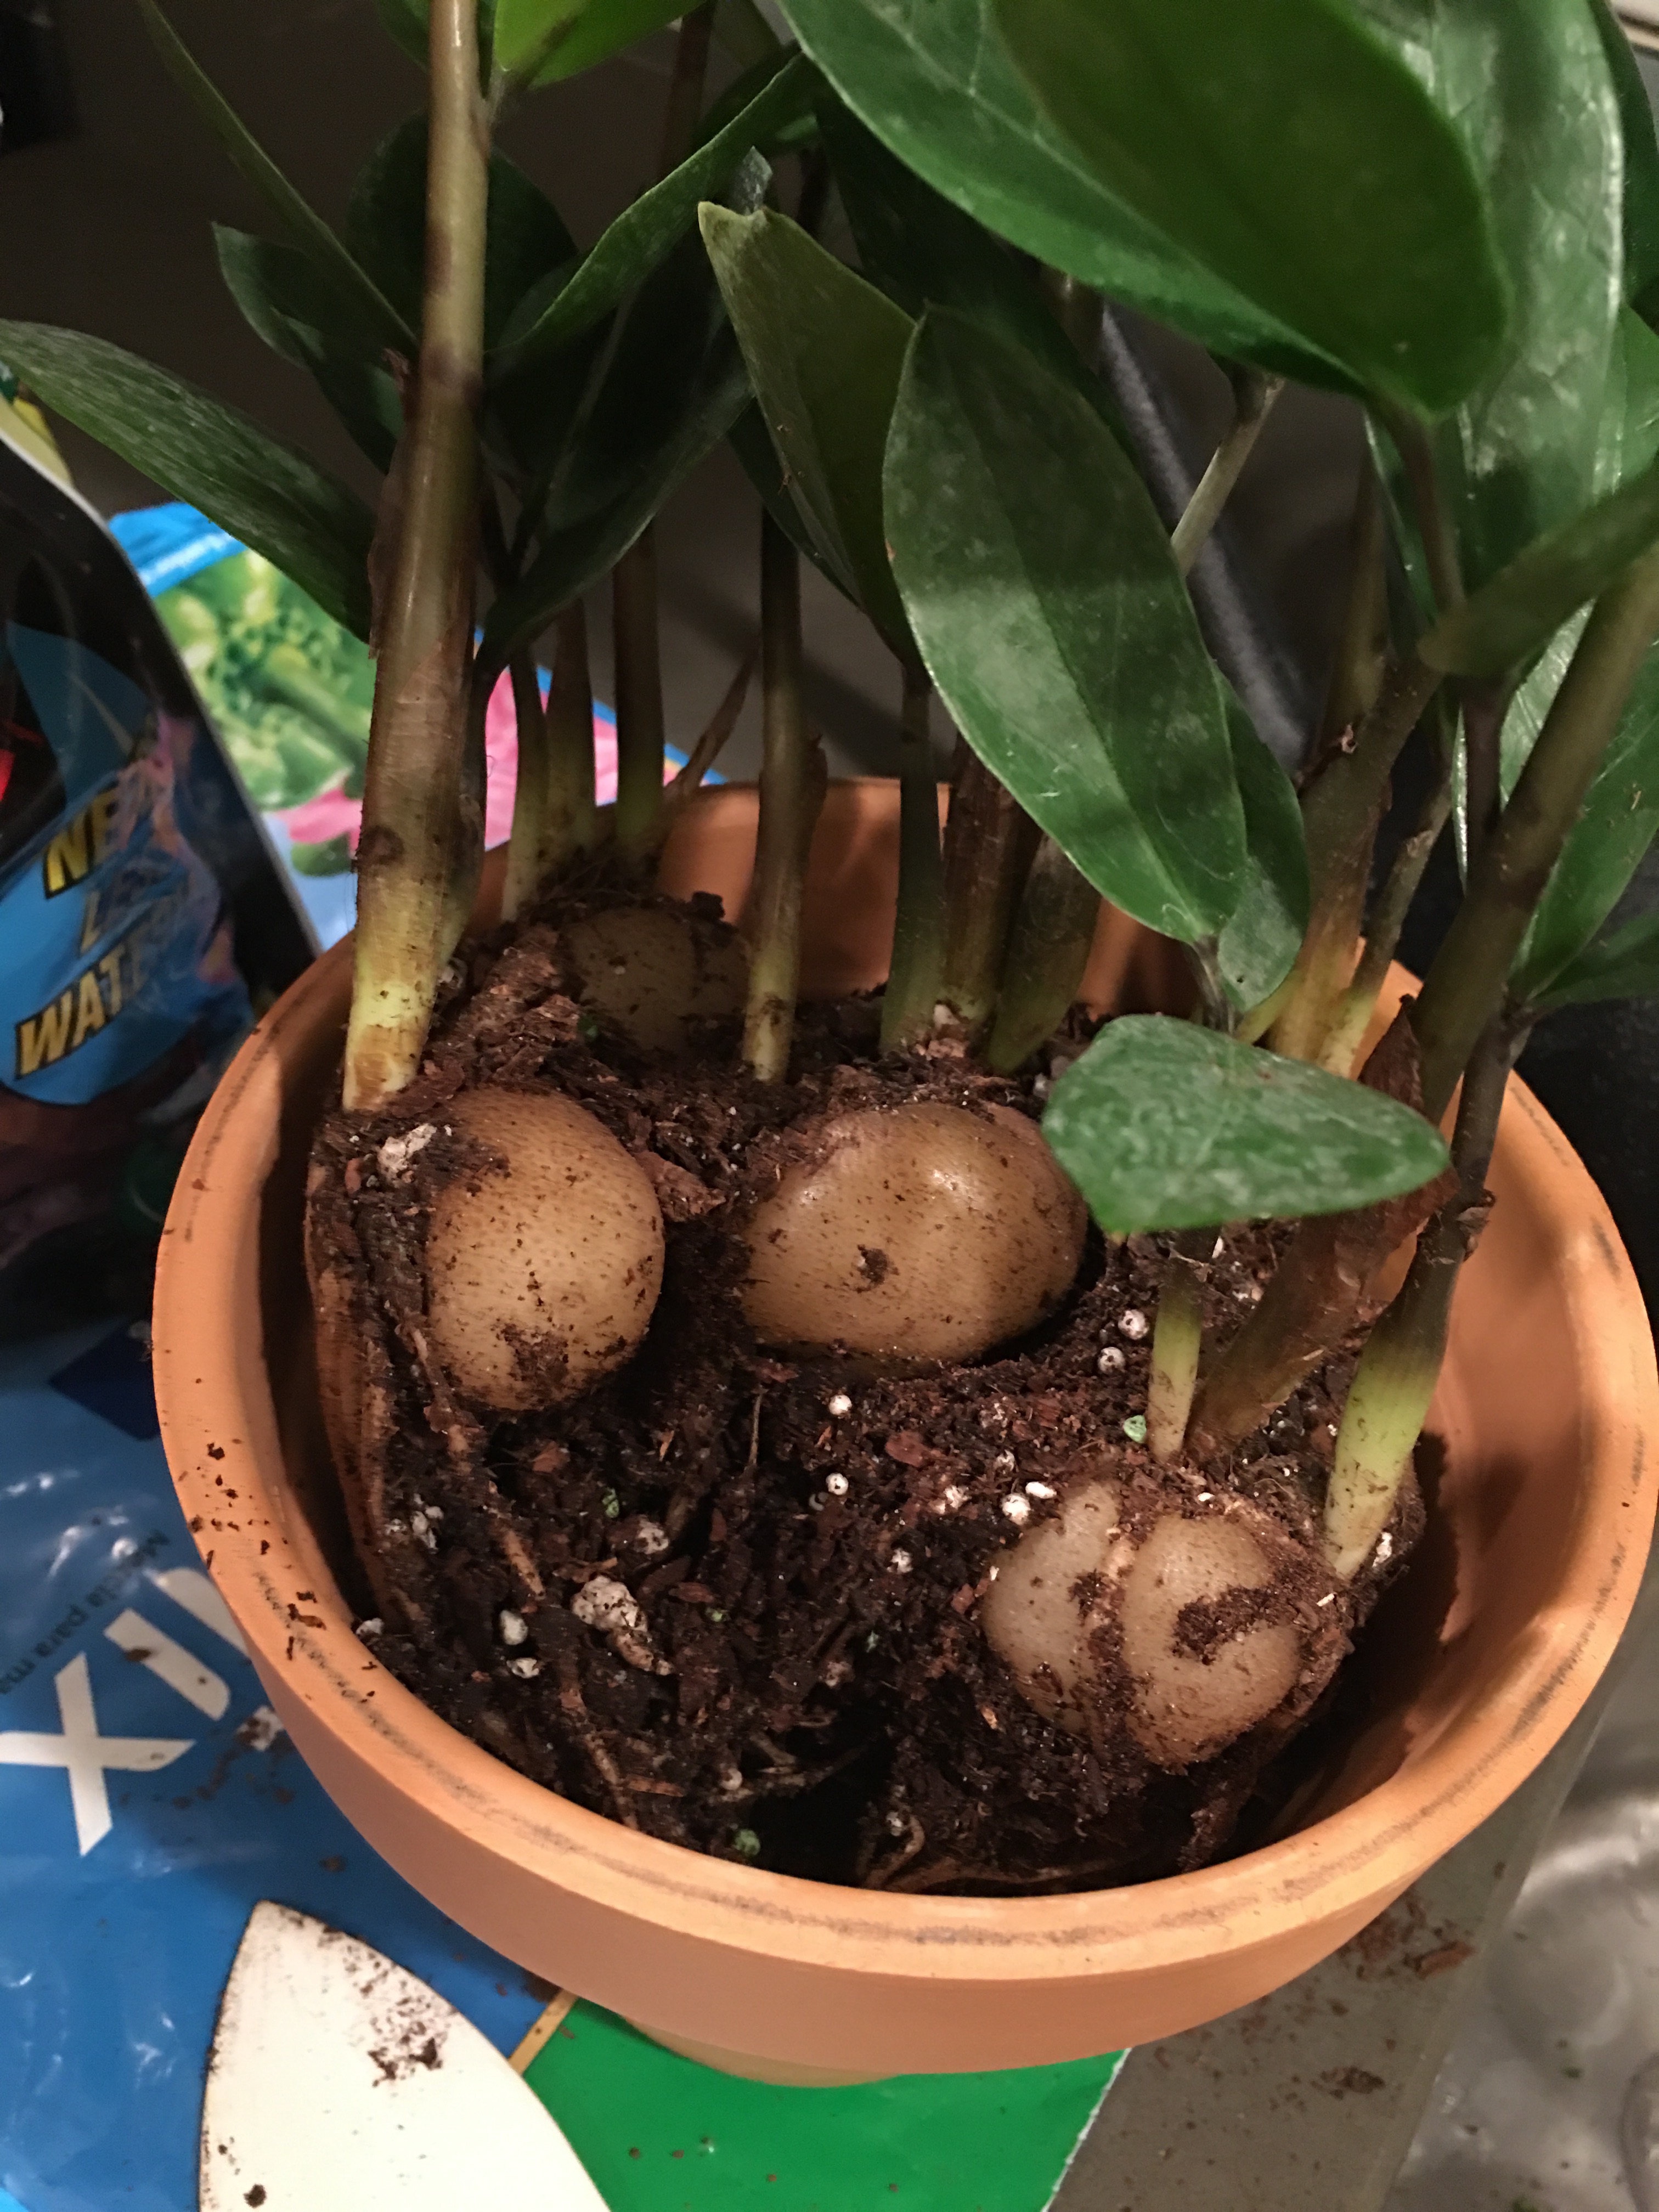
For the zamio, I had to shake a lot of the loose top soil into the sink and squeeze the sides of the pot liner to loosen the plant.

To my surprise, the soil was hiding the big, beautiful, potato bulbs that the plant is sprouting from.
I began to question whether I got a big enough pot for this plant after all. But the deed is done, It’s dug up. Time to transfer.
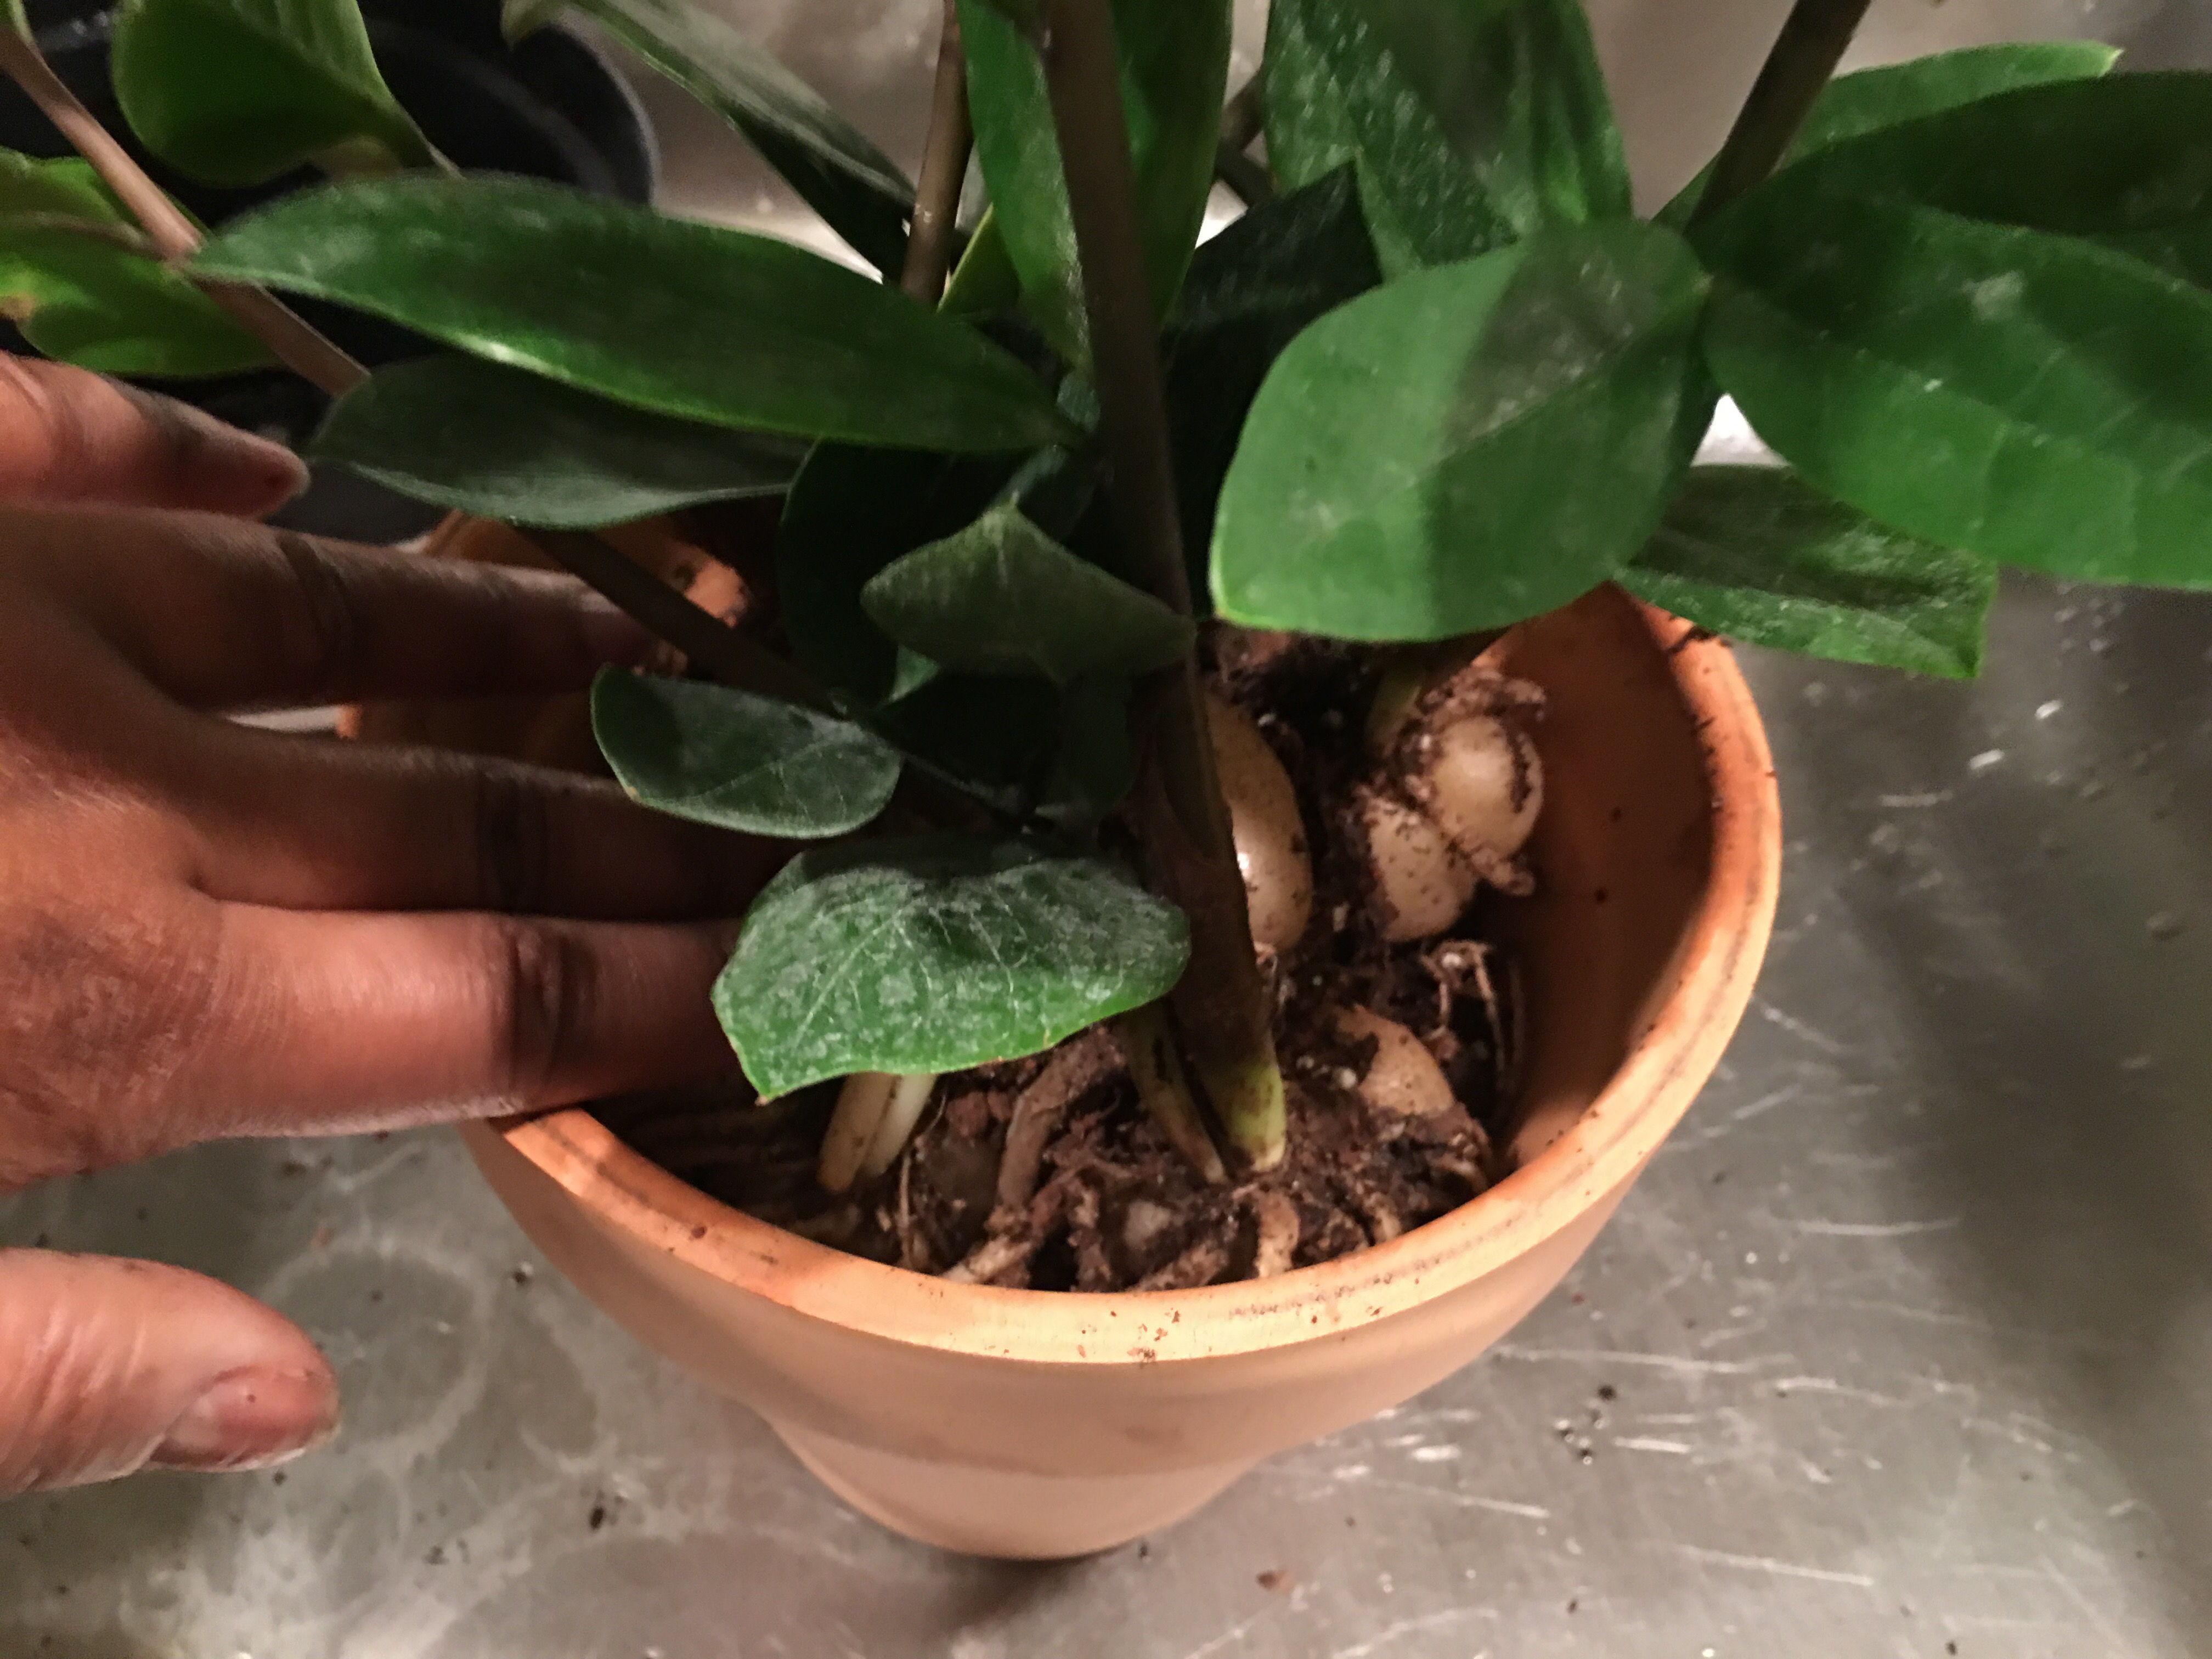
- Step 3: Carefully place plant in the new pot on top of the fresh soil.
Once I got the plant in position, I held it upright to prepare for the next step.
- Step 4: This was a surprise additional step…rinse out the kitchen sink.
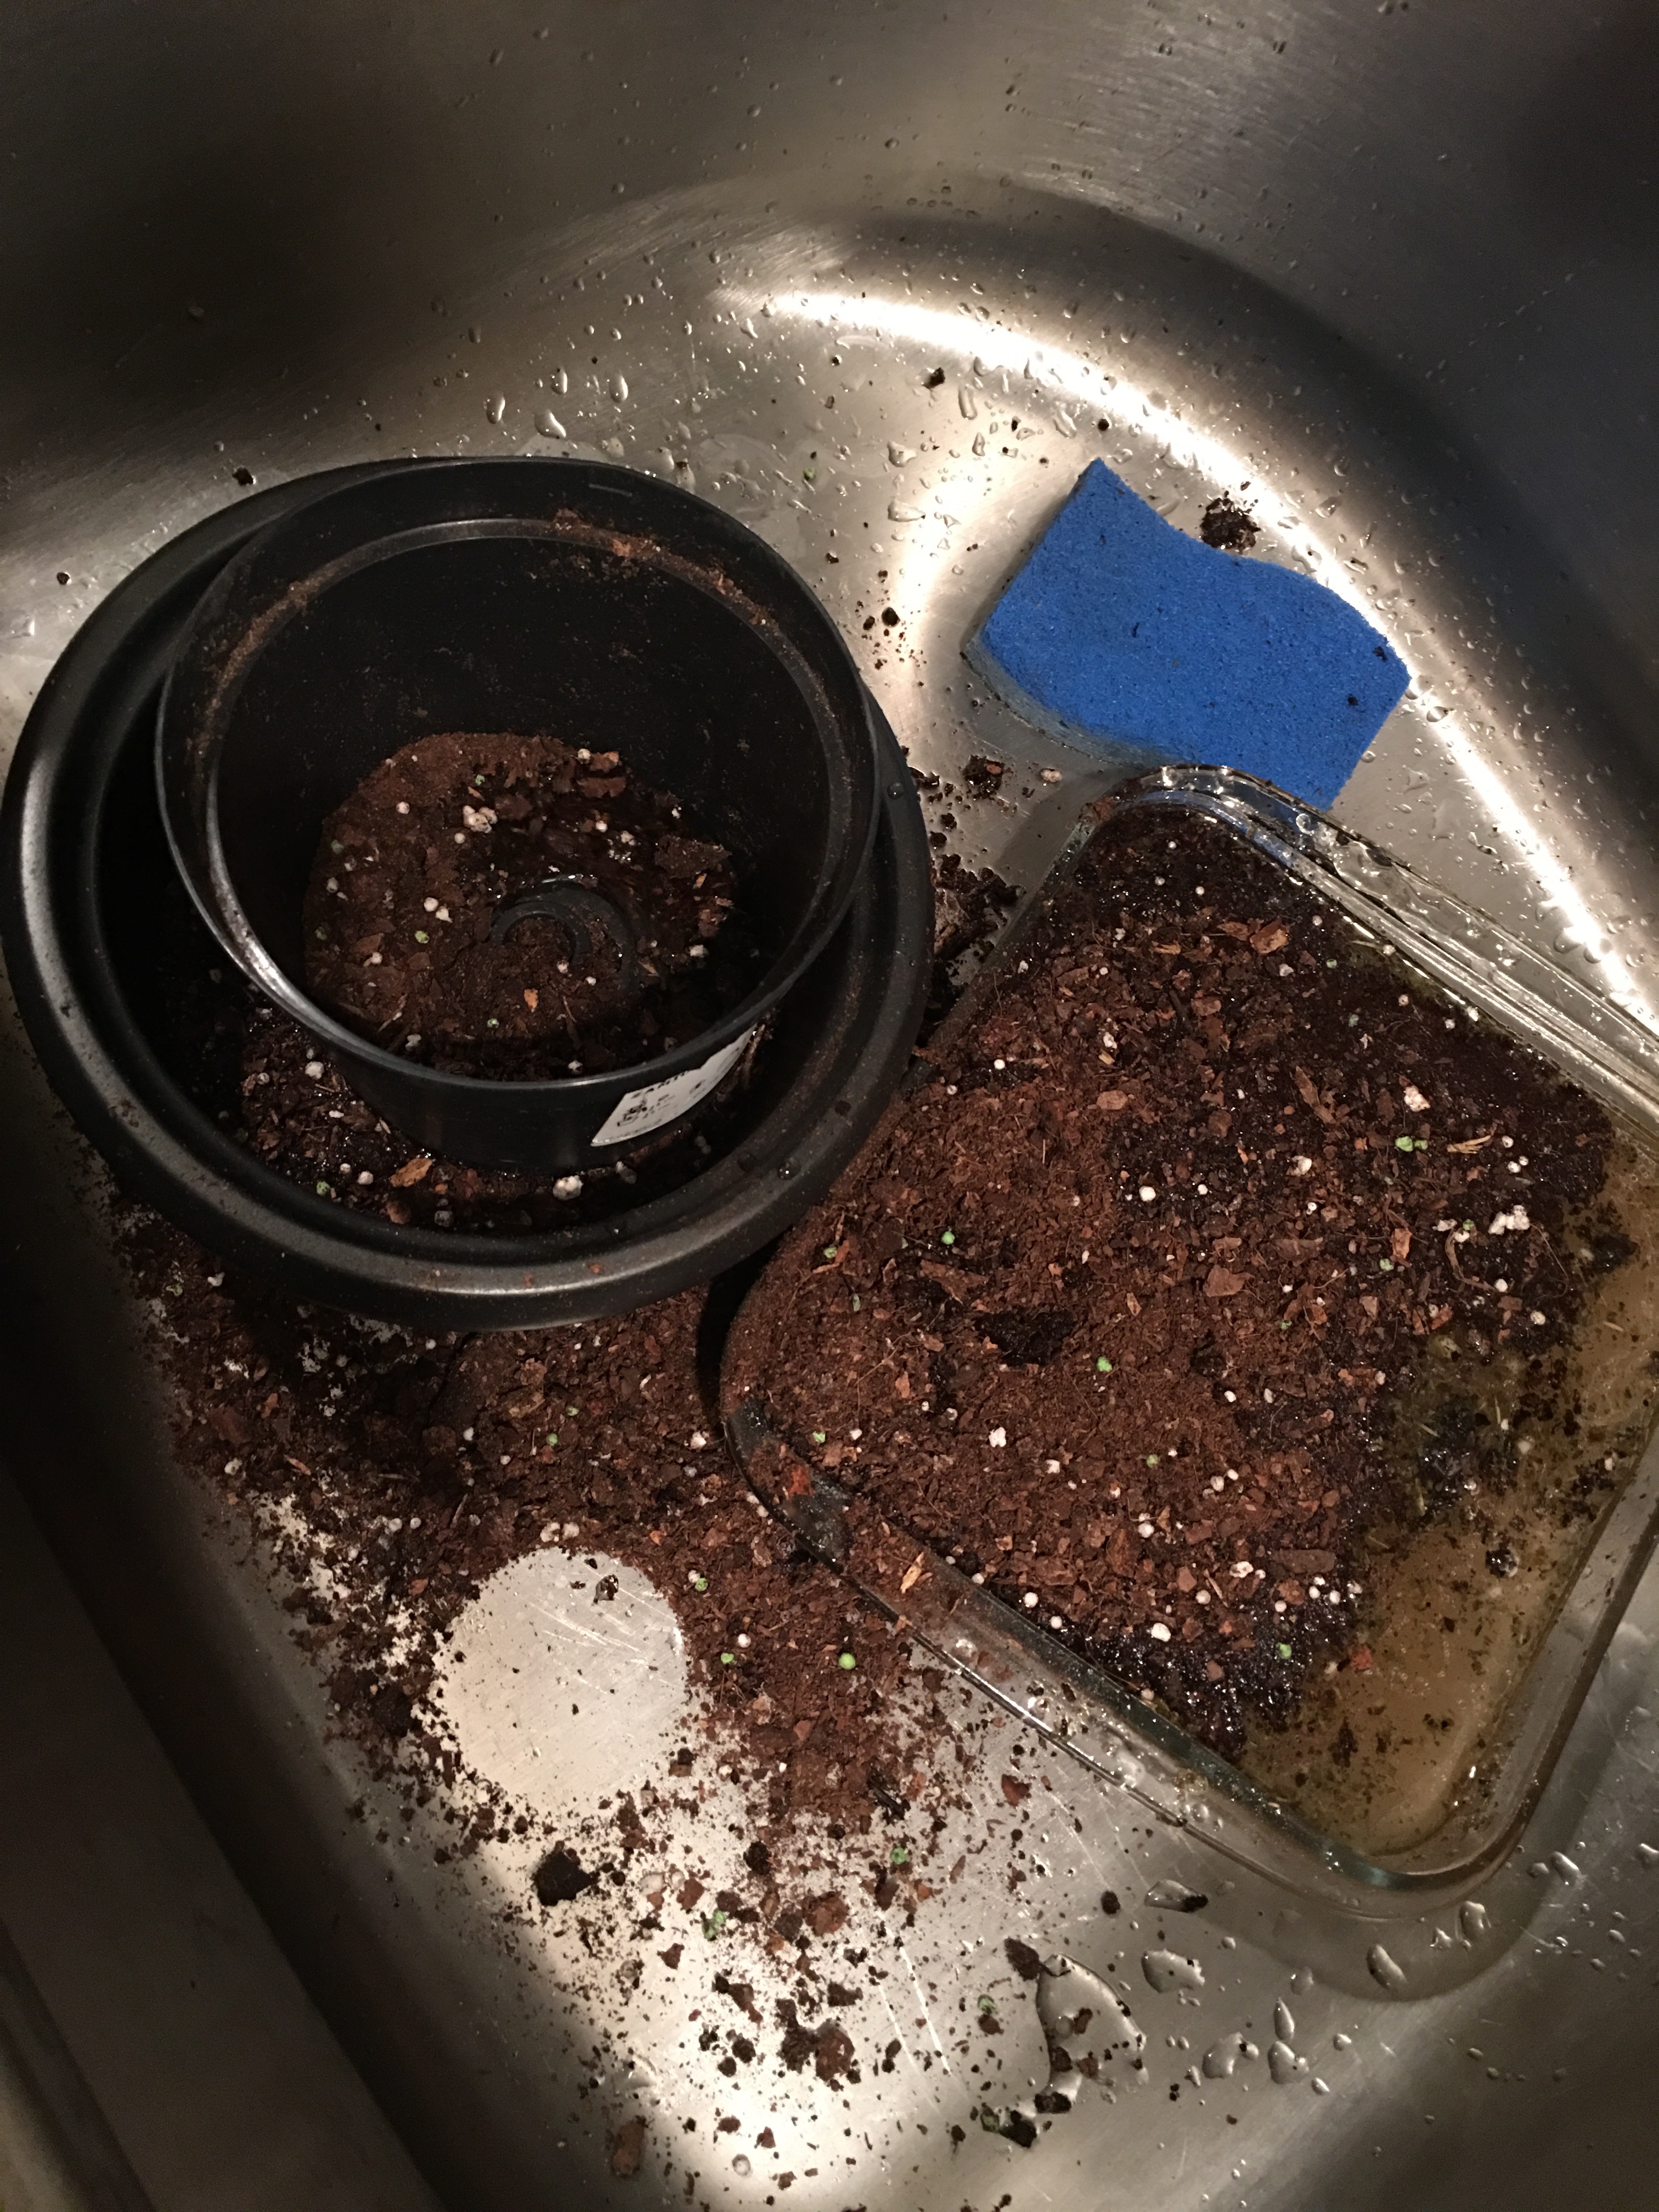
May I just say yet again how much I love our new, extra deep sink? Repotting plants is a messy job (as you see).
To avoid getting tons of soil all over the kitchen counter and floor, I took the time to rinse out the sink (and remove all soil and dishes. This is where the repotting will be completed.
- Step 5: Place the new pot inside the sink (or on a cloth or towel-lined table) and add fresh soil around the plant.

I made sure I added plenty to the sides and on top of the zamio. I gently pressed down on the soil to pack it in, then added more soil.
- Step 6: Add fresh water to the newly transferred plant.
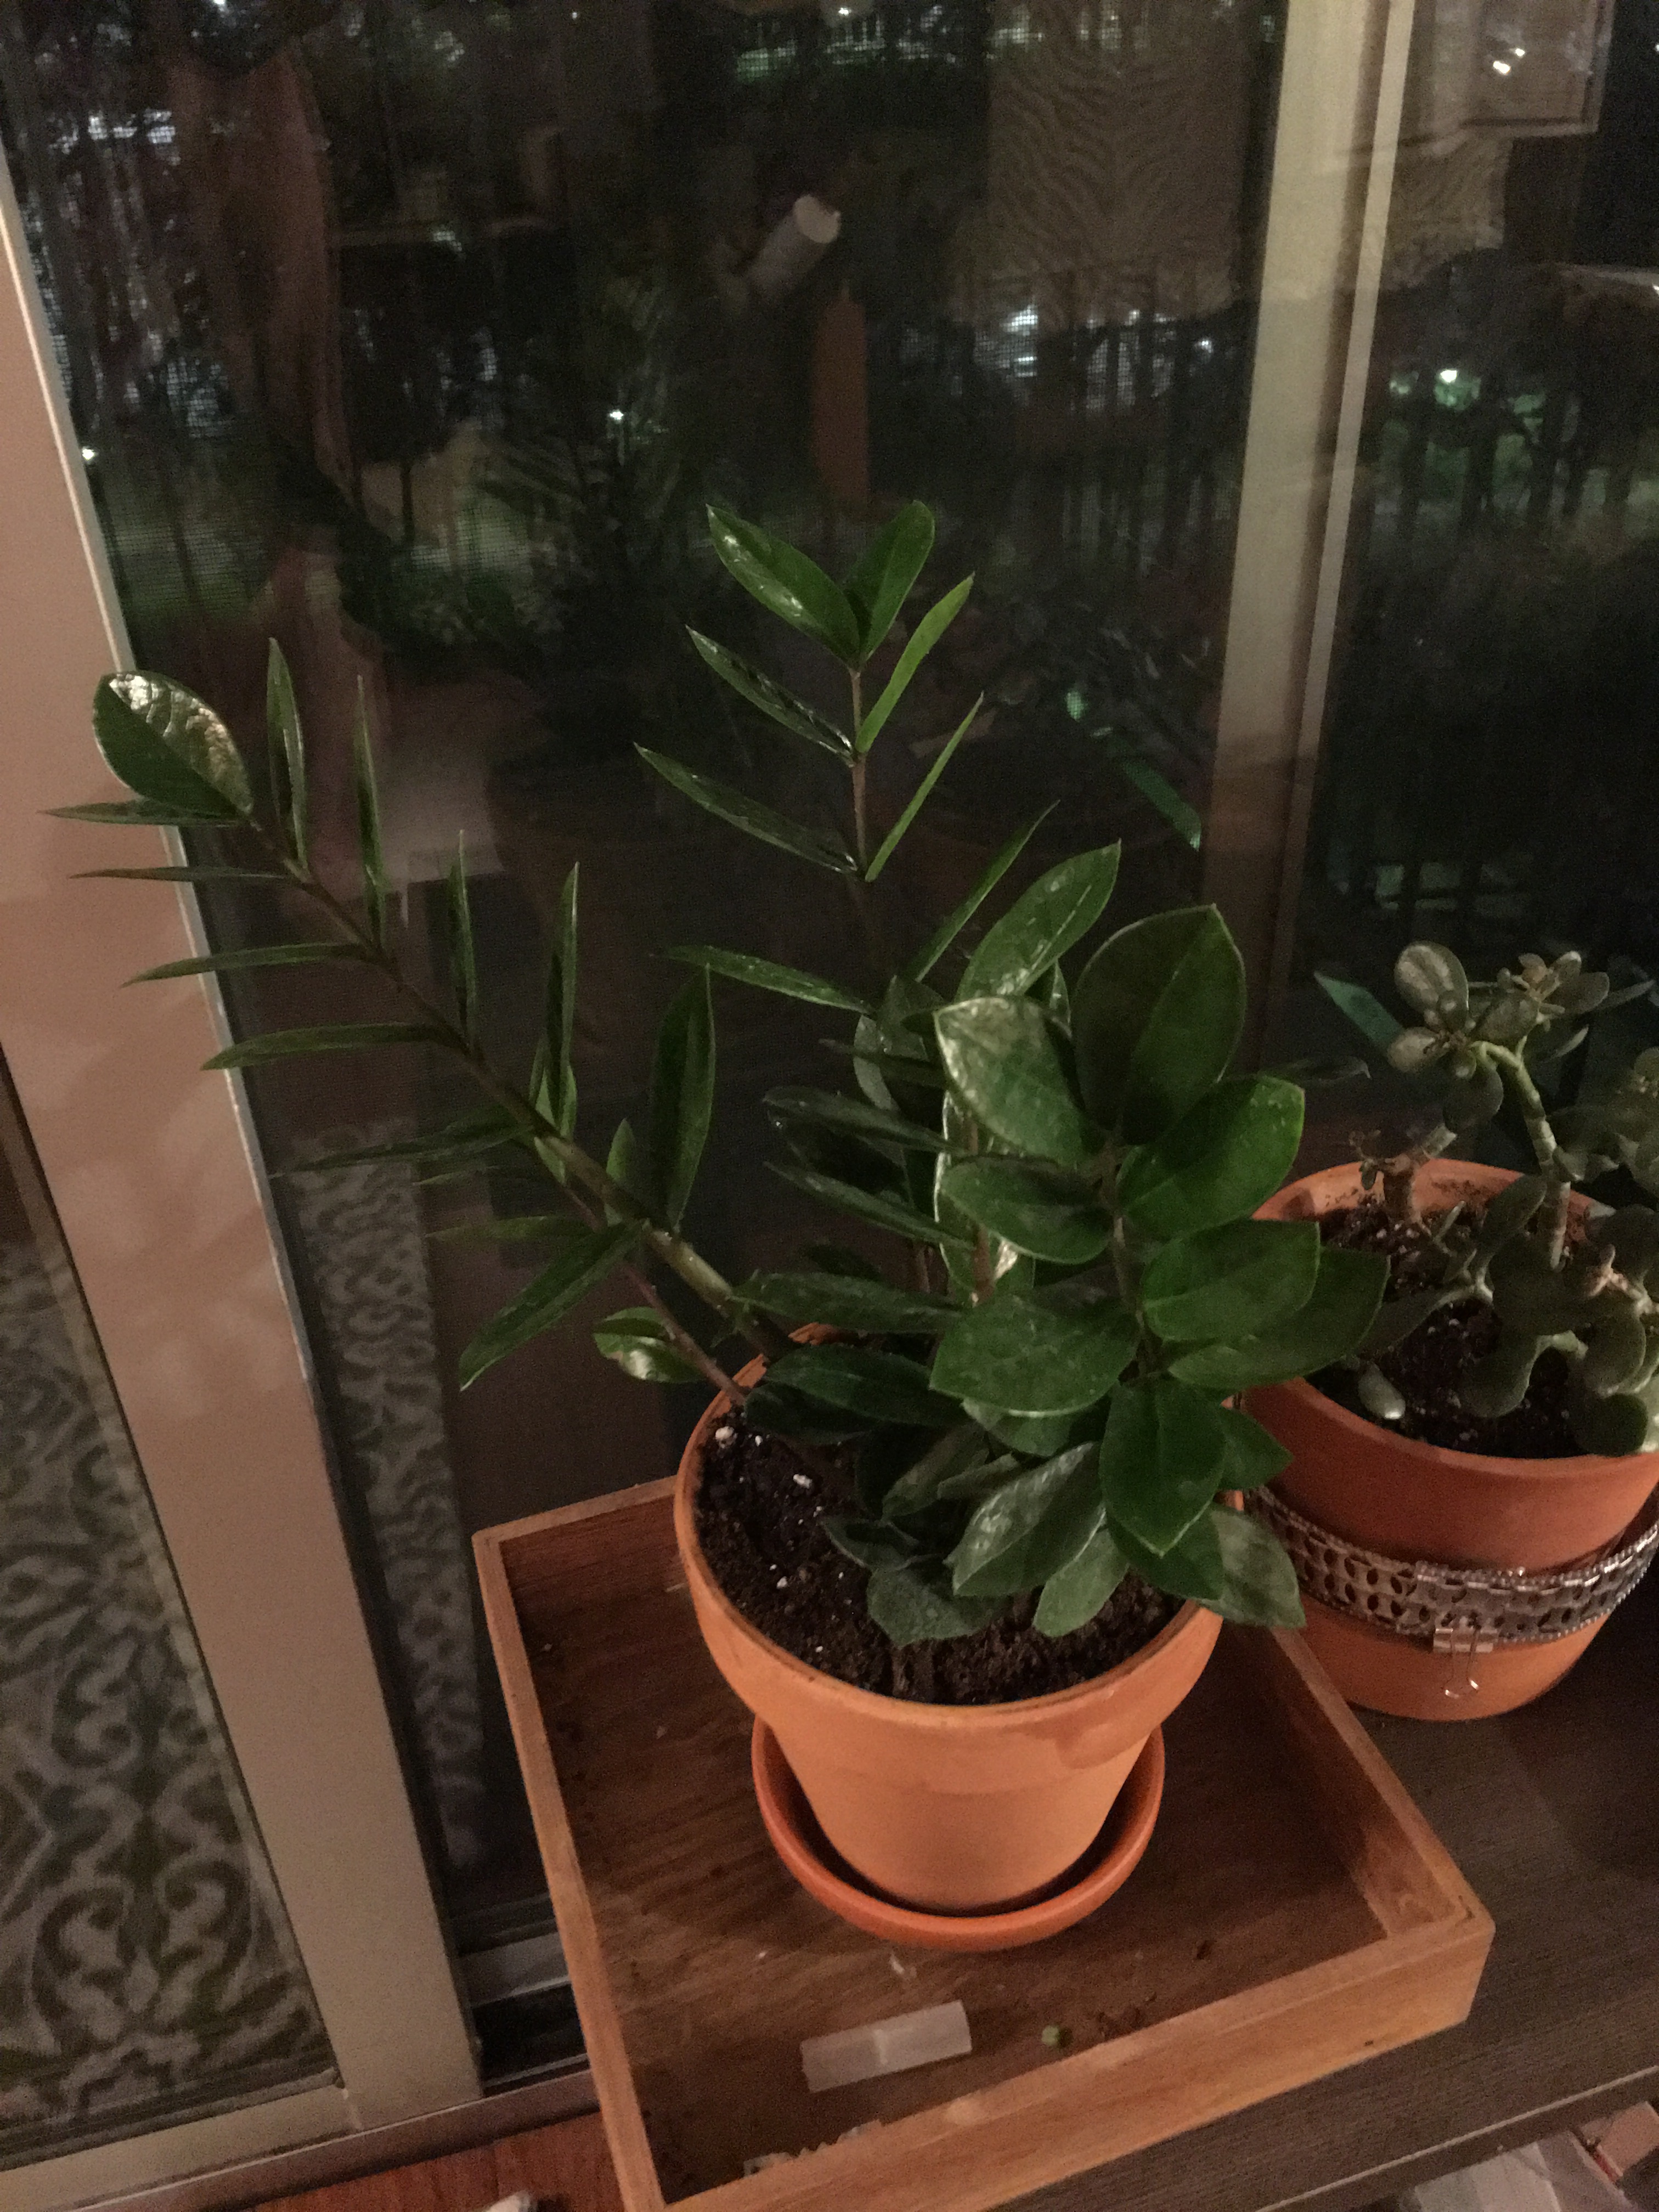
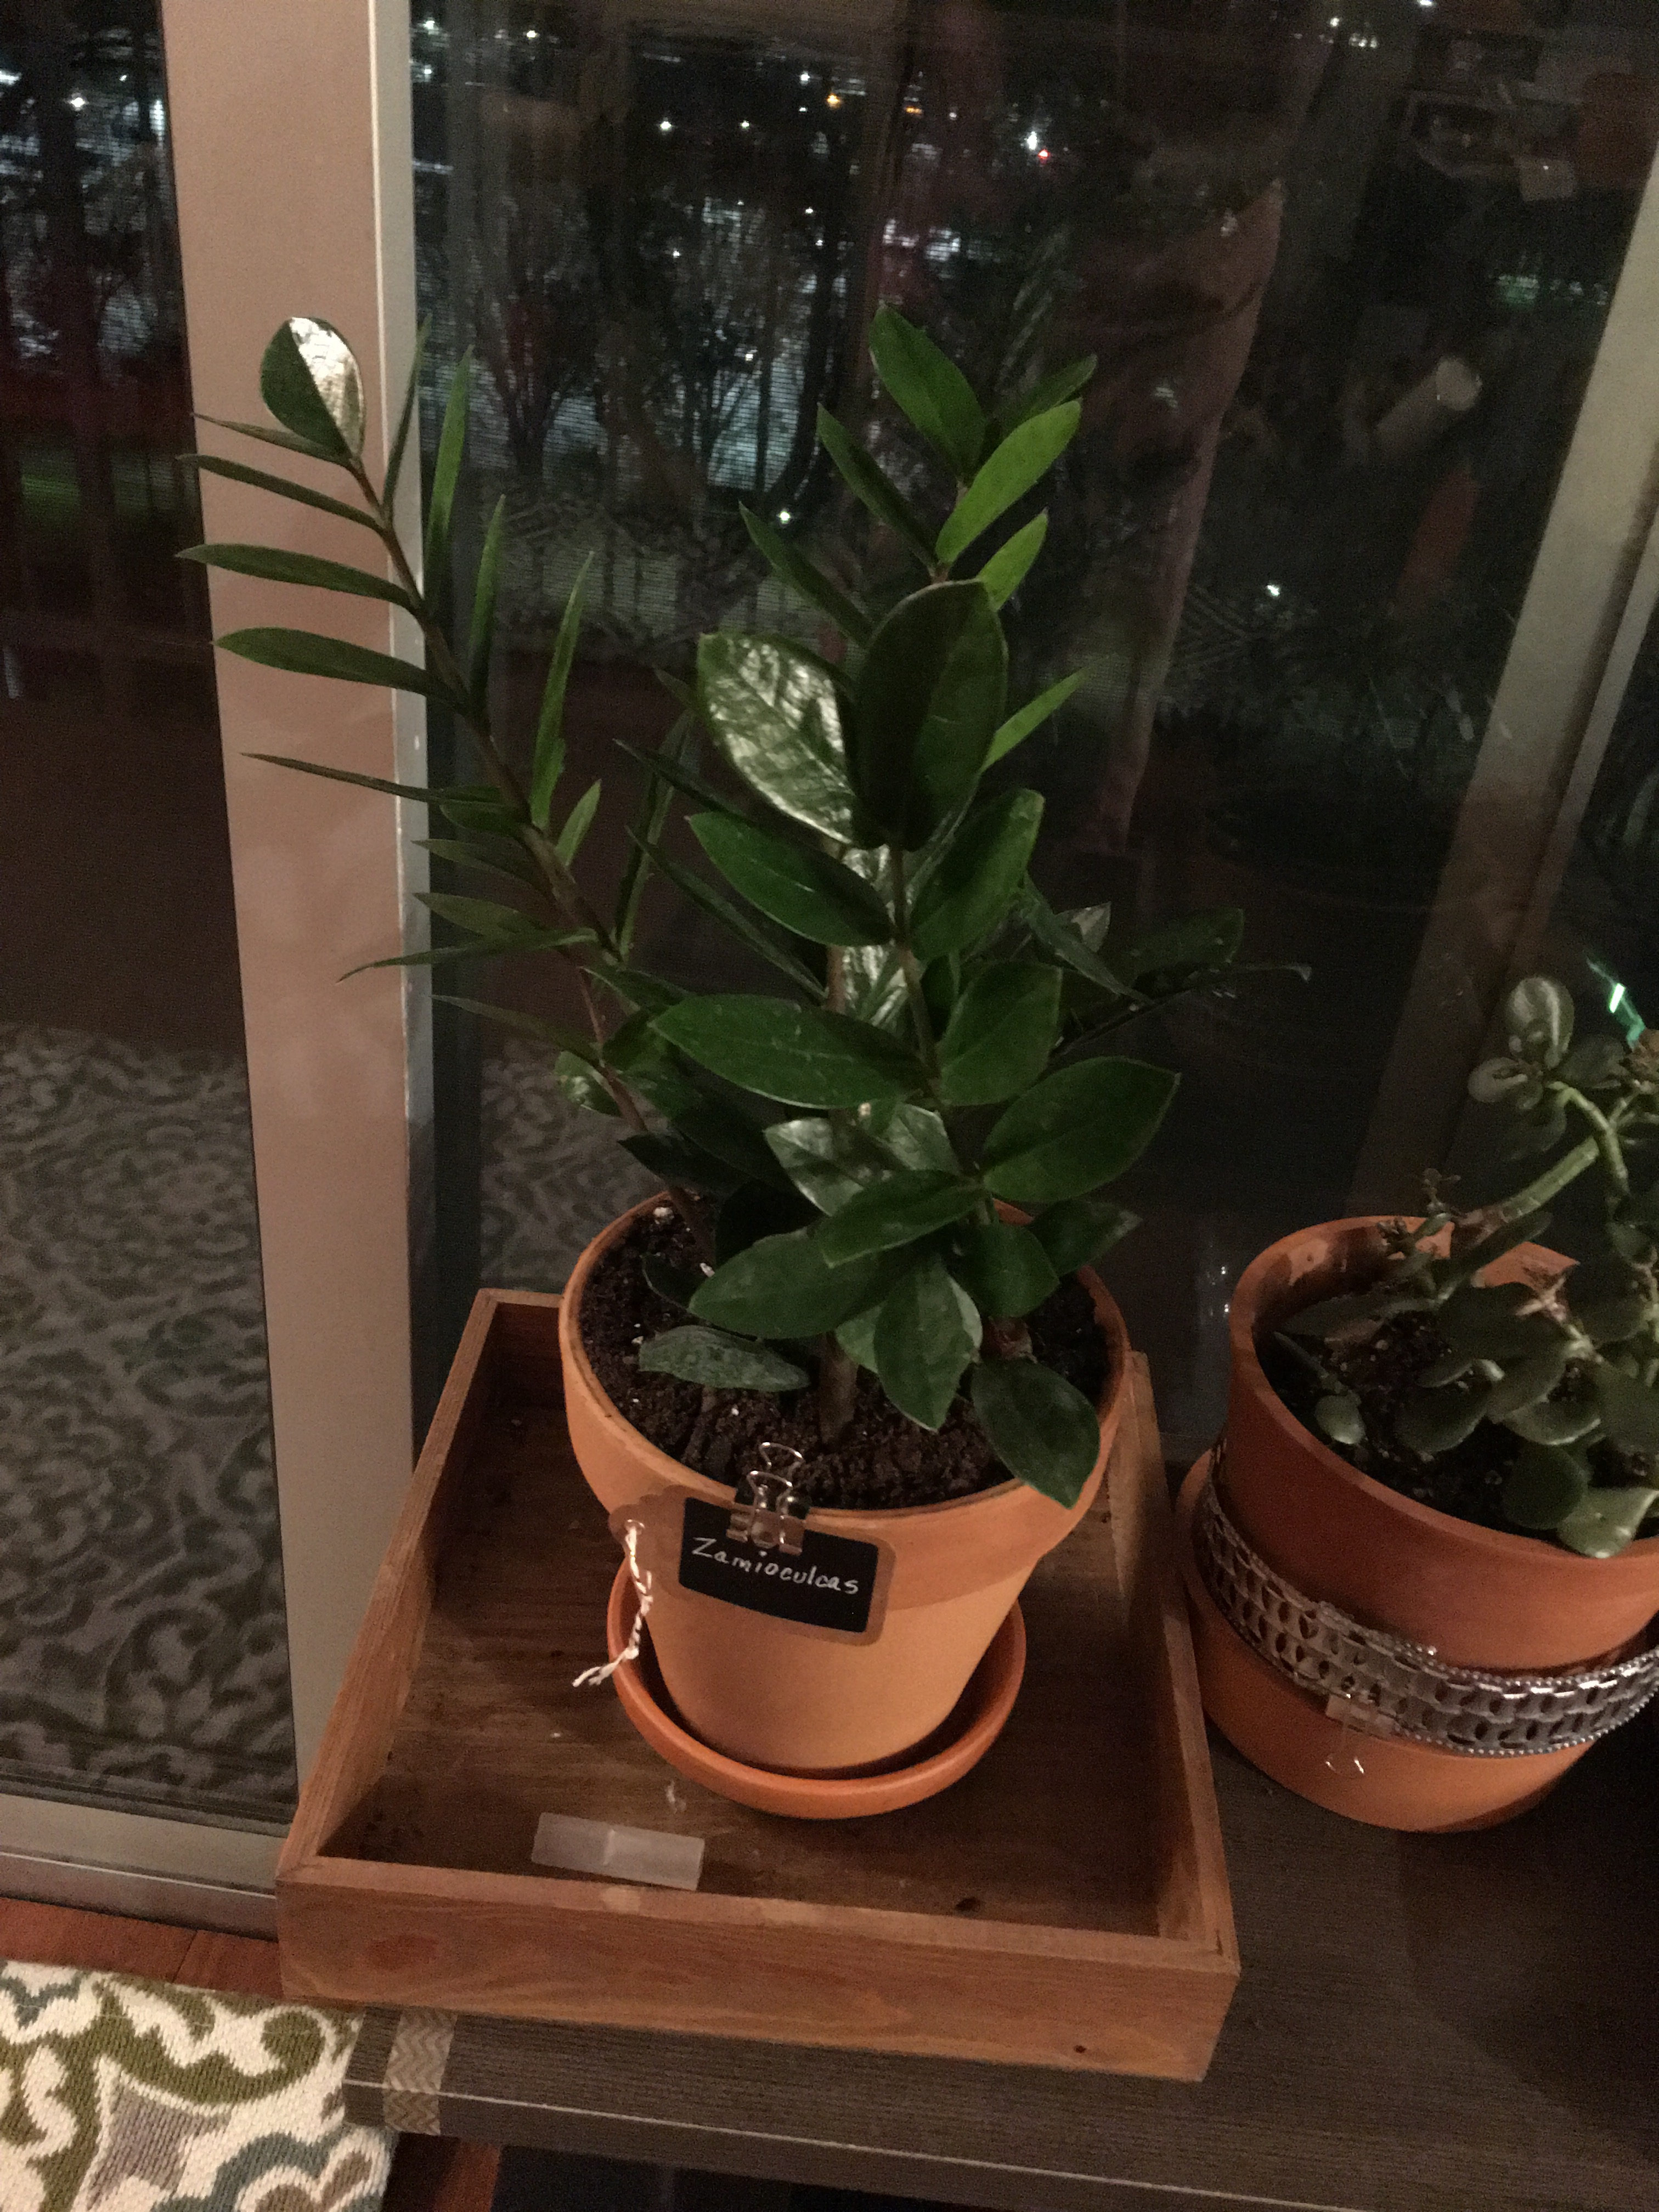
And here it is. In its new terra cotta plant pot.
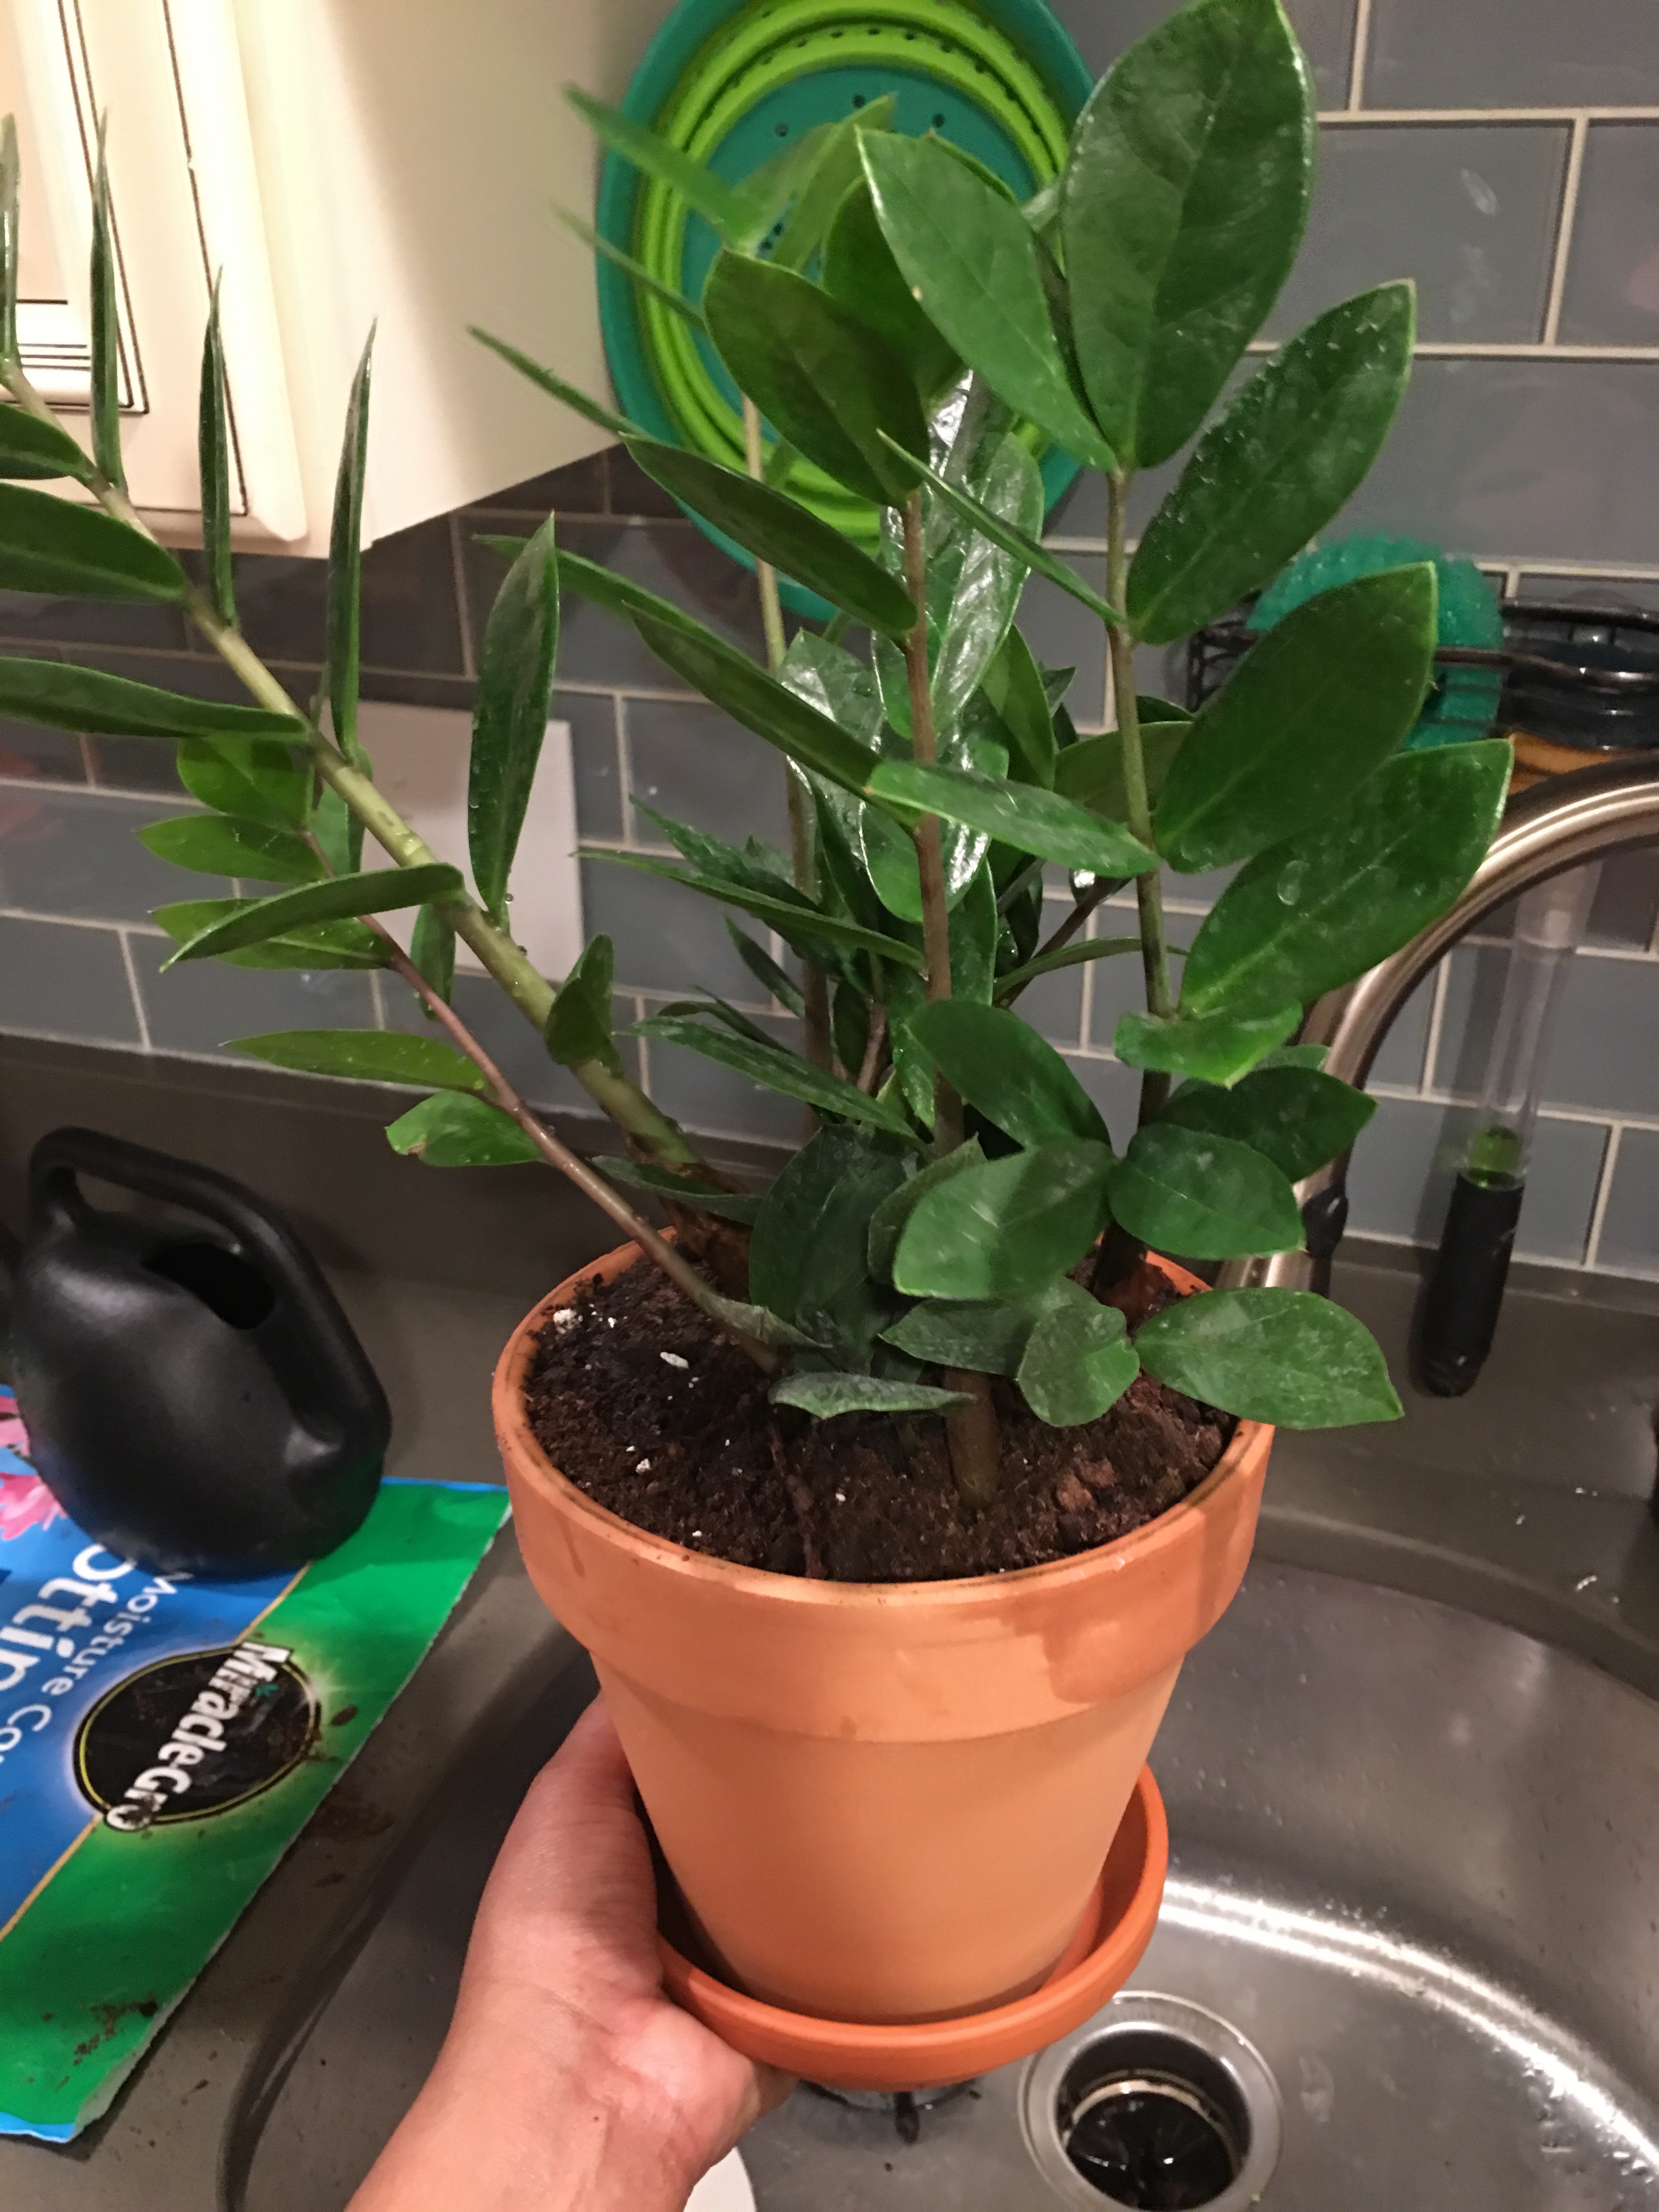
It has passed condo plant initiation and as earned a spot on my plant table next to the balcony.
I like to label my plants (and, in the past I used metal and magnets to add identifying tags to clay pots).
This time, I’ll use a simpler binder clip label method.
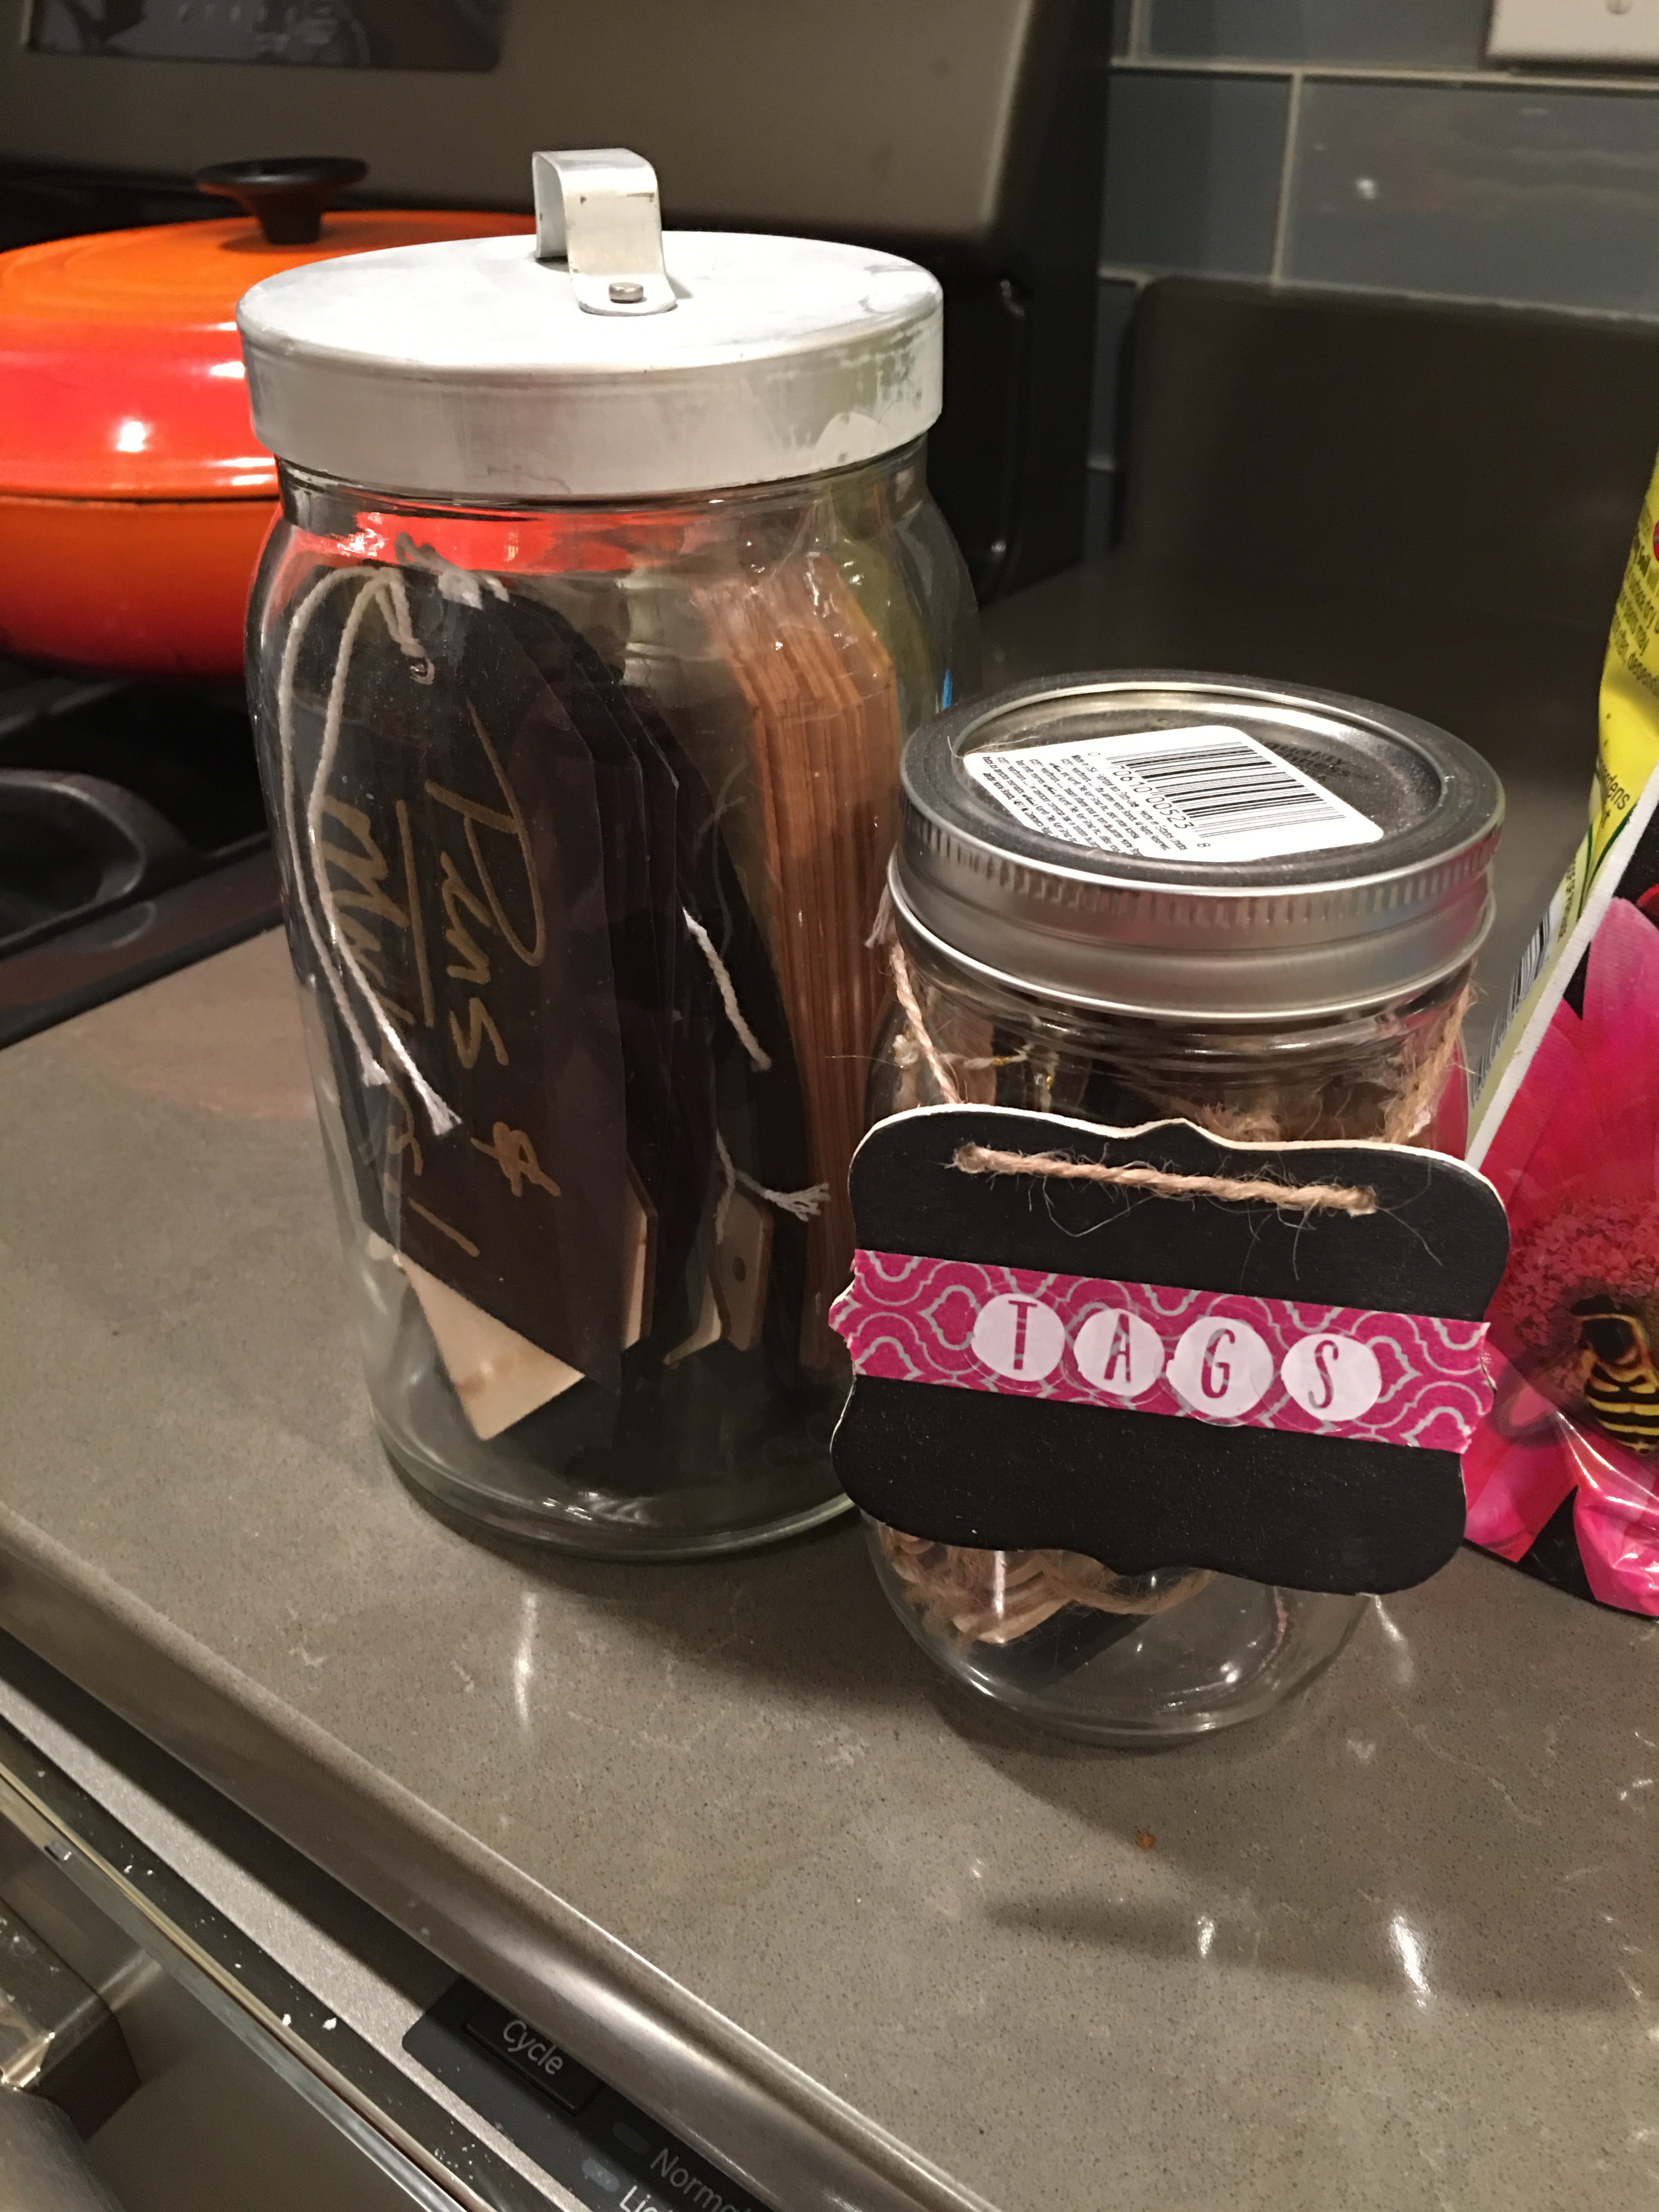
- Step 7: Using one of my DIY shop chalkboard tags, I write the name the of plant on the label in white gel pen.
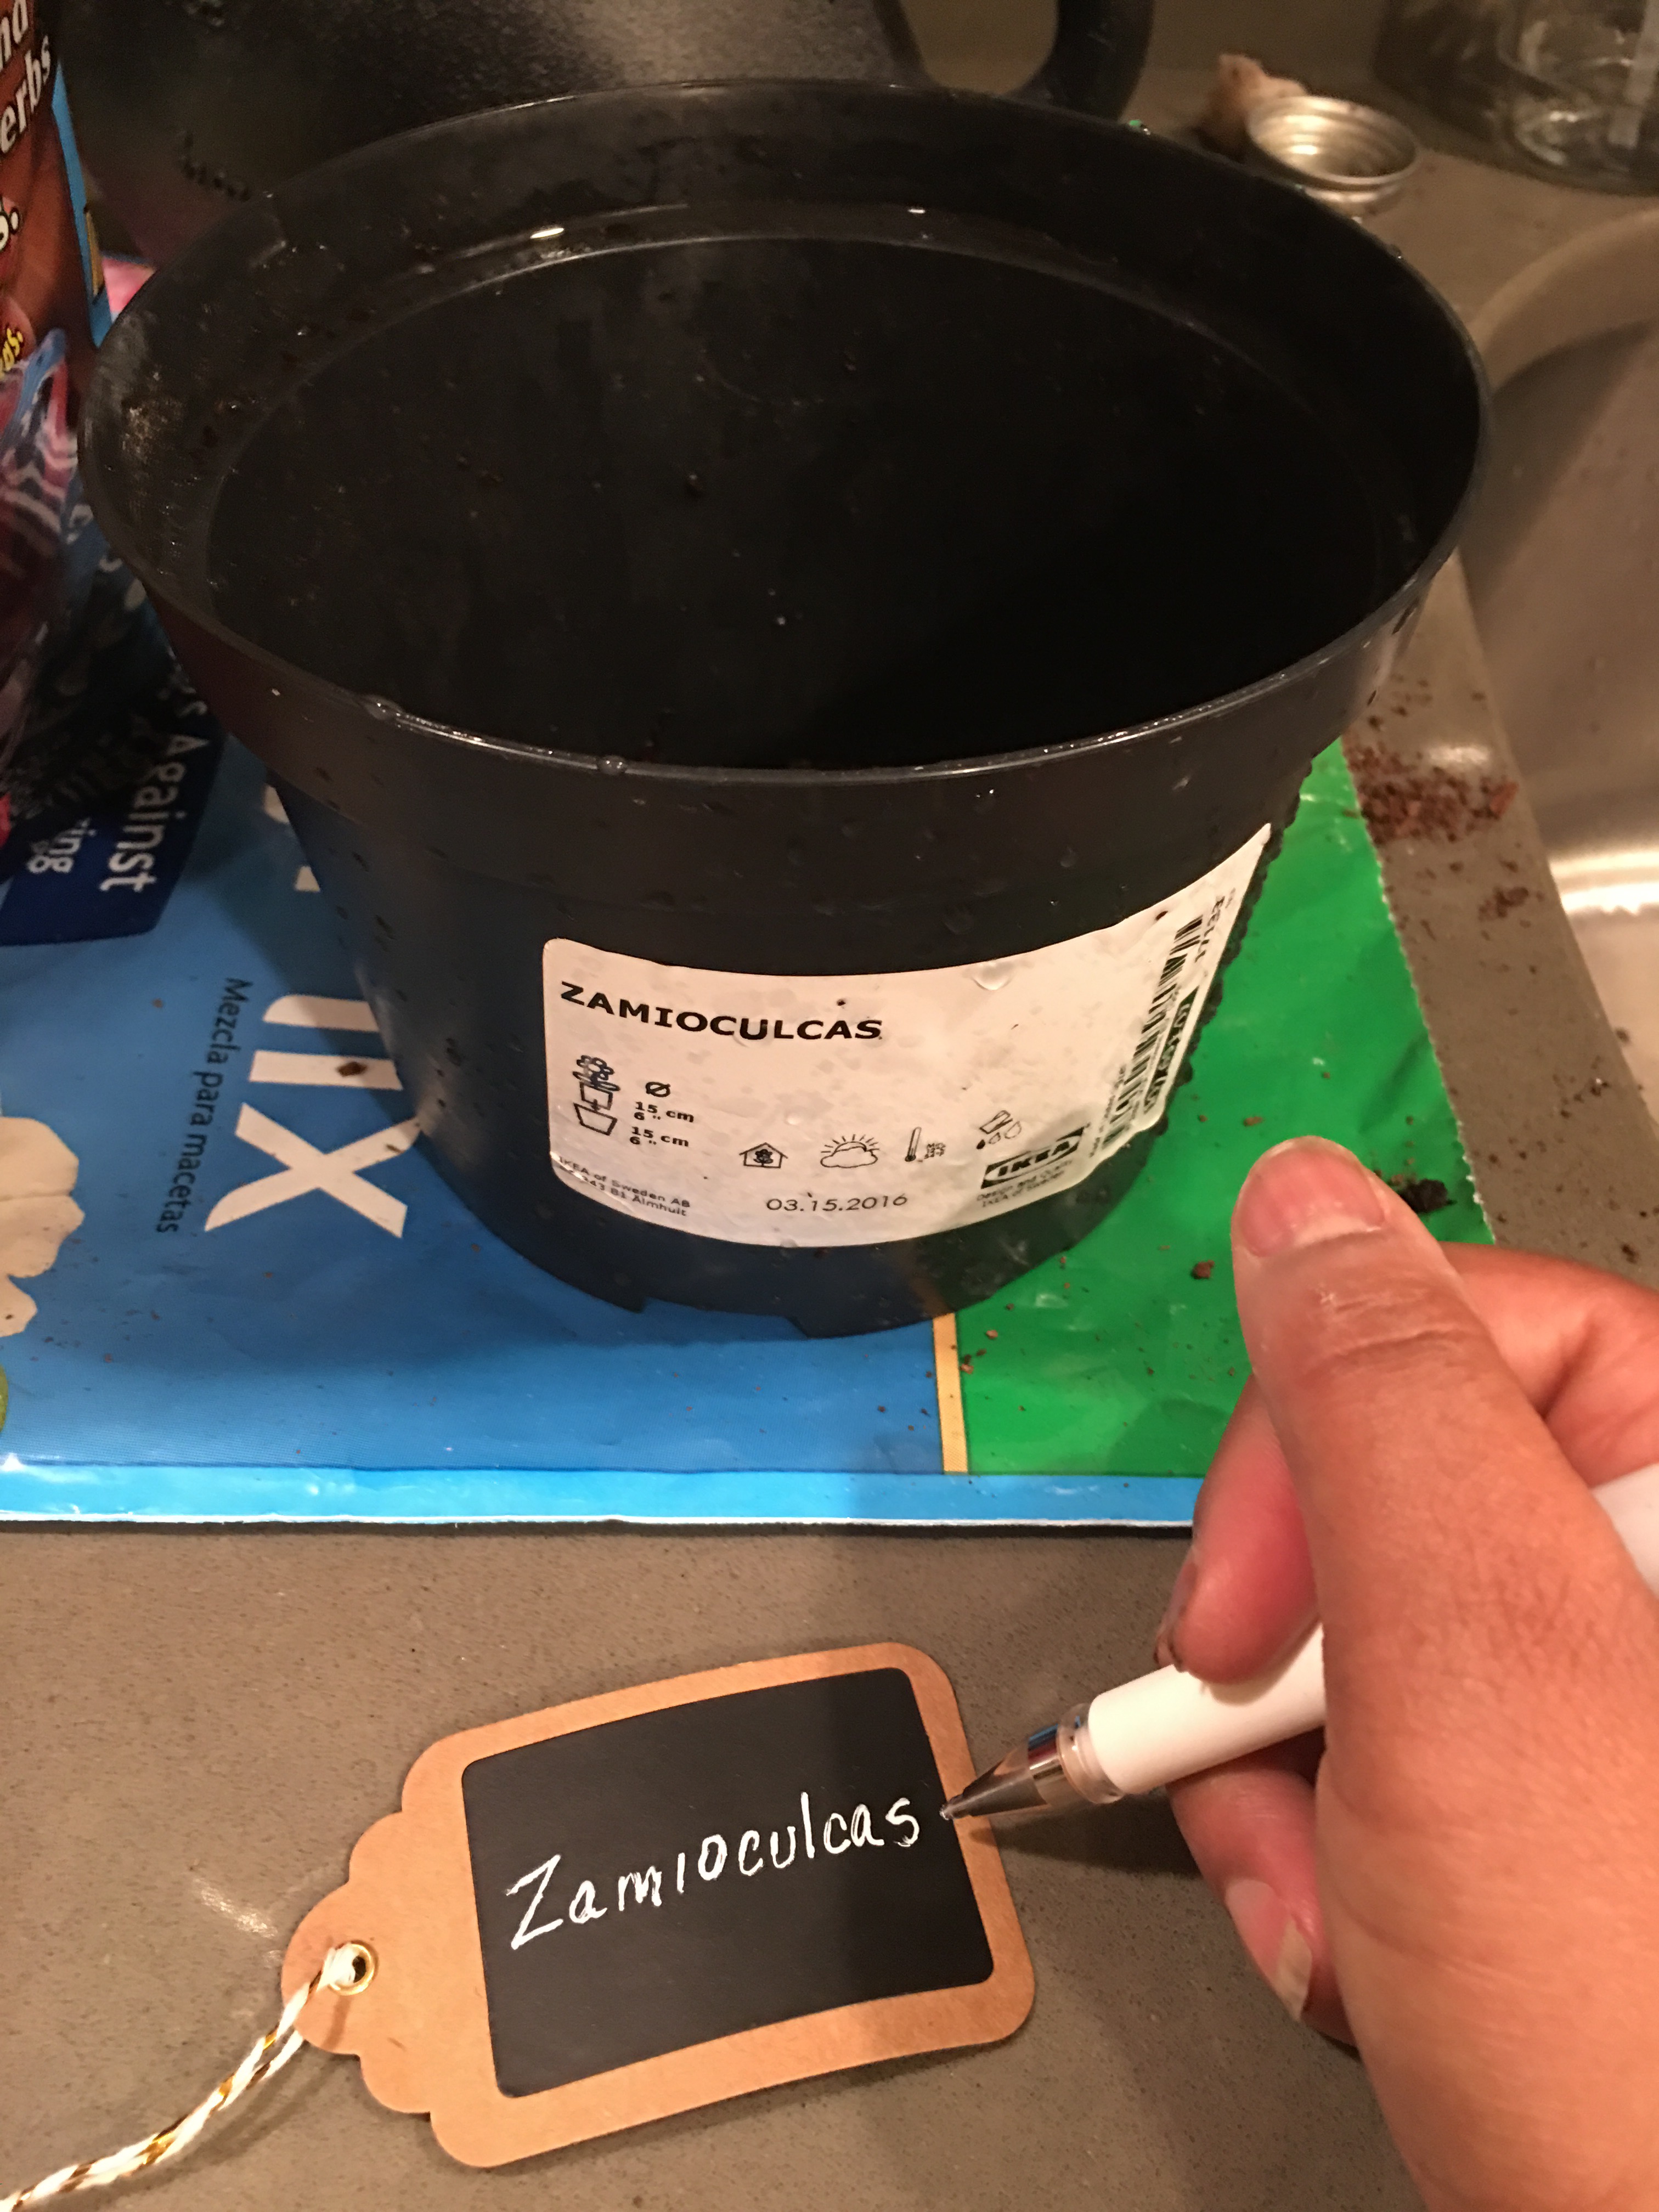
- Step 8: And I clip the label to the clay pot using a binder clip.
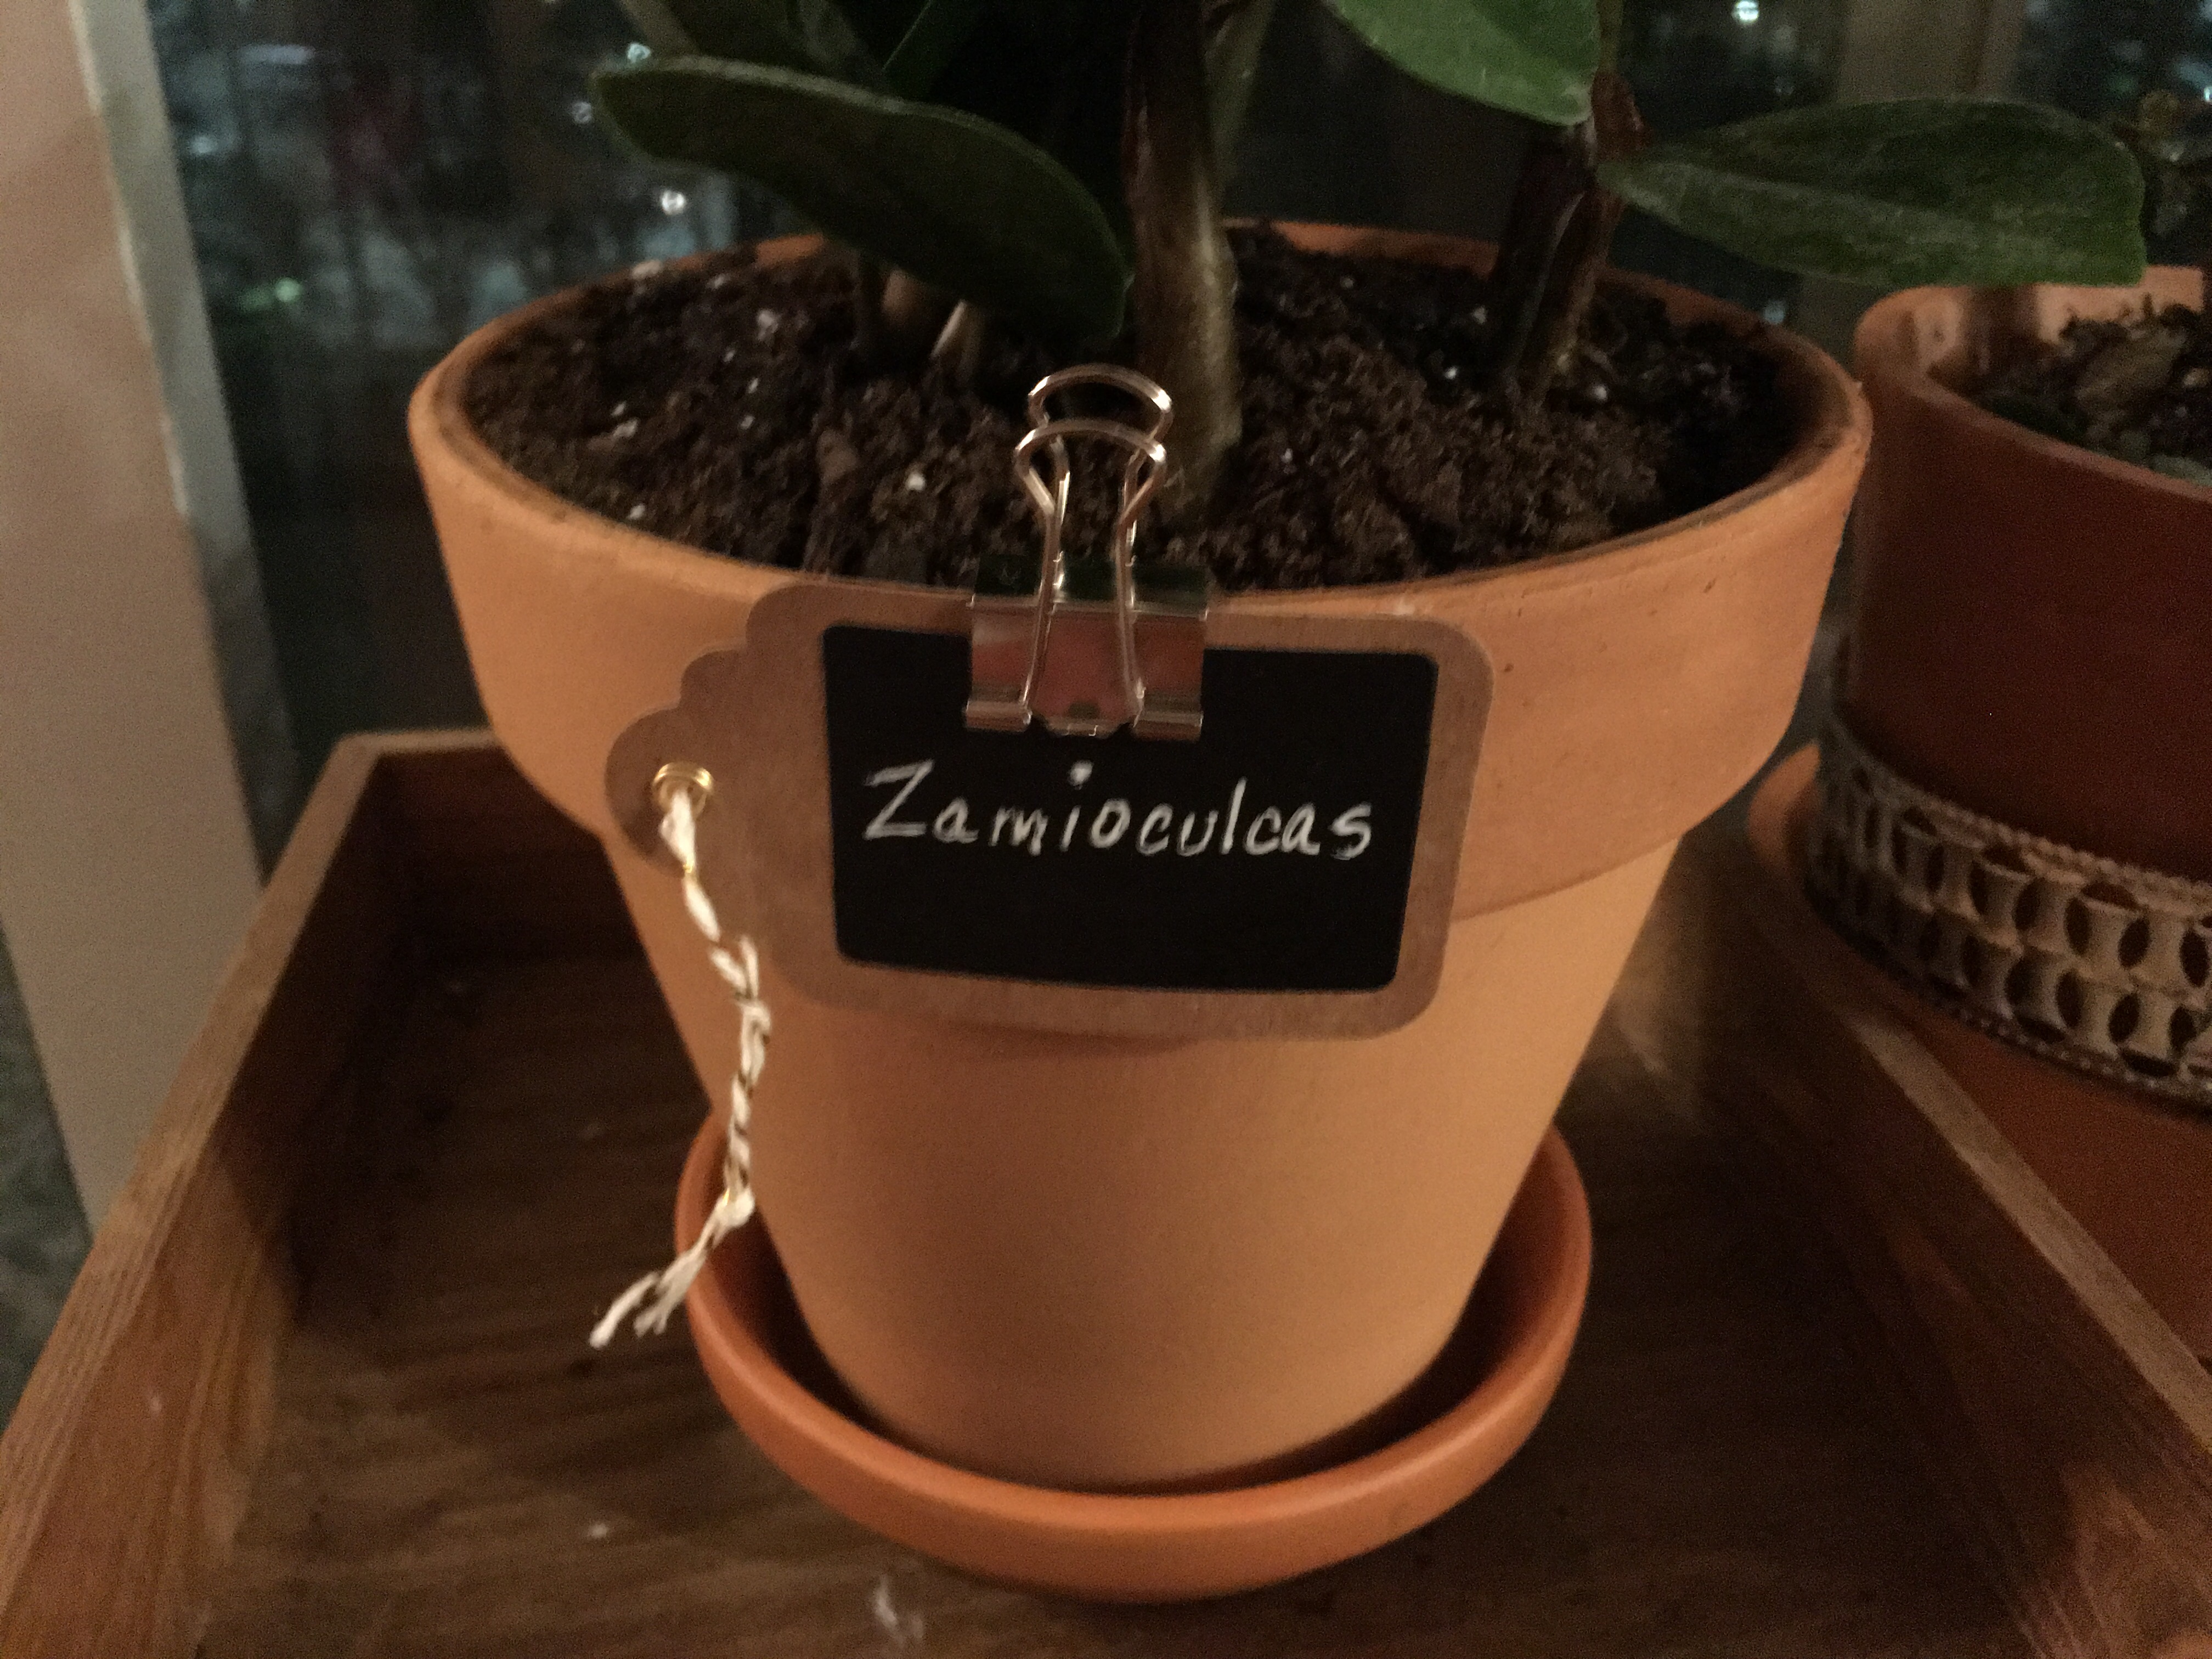
And it’s done. My zamio plant is fully dressed and labeled.
Now it’s time to read up on my zamio and ensure that it gets the proper care it needs to thrive in our space. Cheers! V-