
Photo transfer to wood (Xmas gift for the Eliases)
You may also like:
December 2014: While looking online for new craft projects to try out, I came across tutorials for transferring photos and images to wood. I thought about how dazzling our WoodSnap photos were (especially with the grain showing through the image) and wondered what it take to learn how to do this myself.
There are many different techniques for this, and they all seemed pretty simple. So, as a Christmas gift for our friends Andy, Debbie and their daughter Anya, I decided to try and make two photo transfer wood blocks – one with Andy and Anya and another with Debbie and Anya.
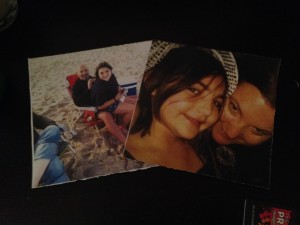
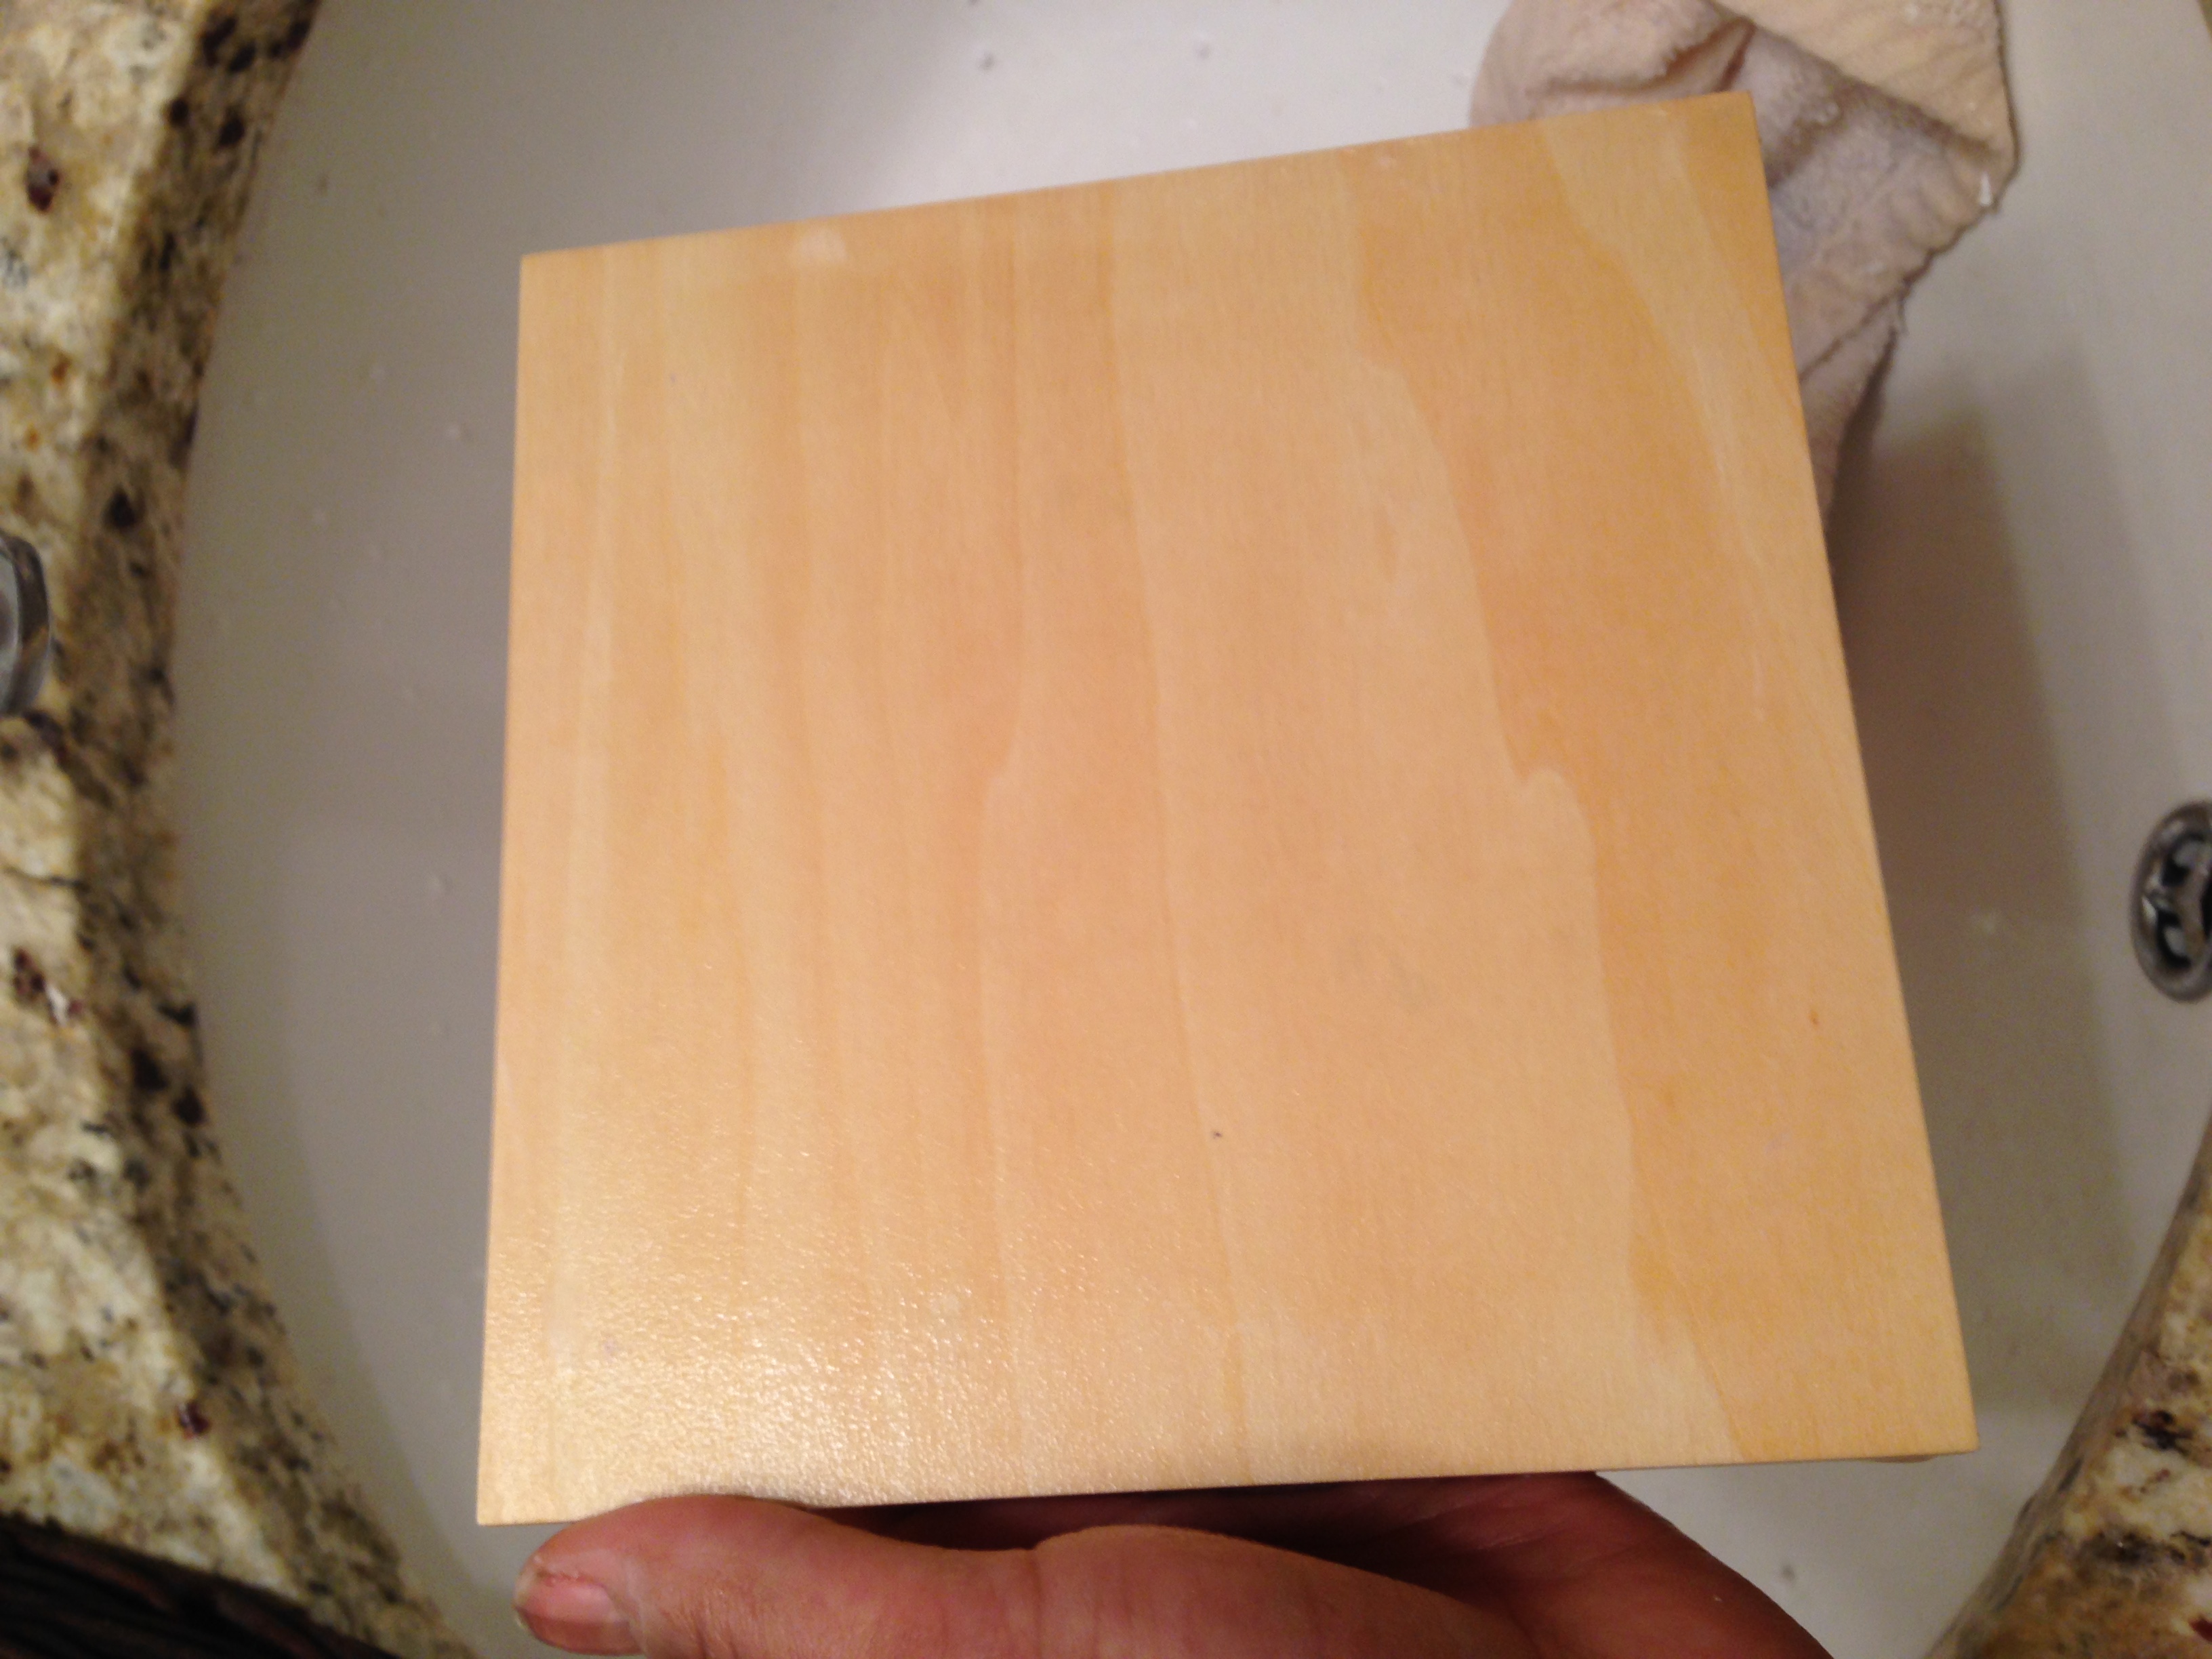
With Debbie’s help, I got plenty of photos to choose from and I selected two of my favorites (one of which I took myself using Debbie’s phone). I then picked up some small 6×6 wood panels from the Blick Art Store to use for the project. Although I only needed two for the project, I picked up a couple of extra for practice (and in case I screw up…which for this craft newbie is pretty much a guarantee).
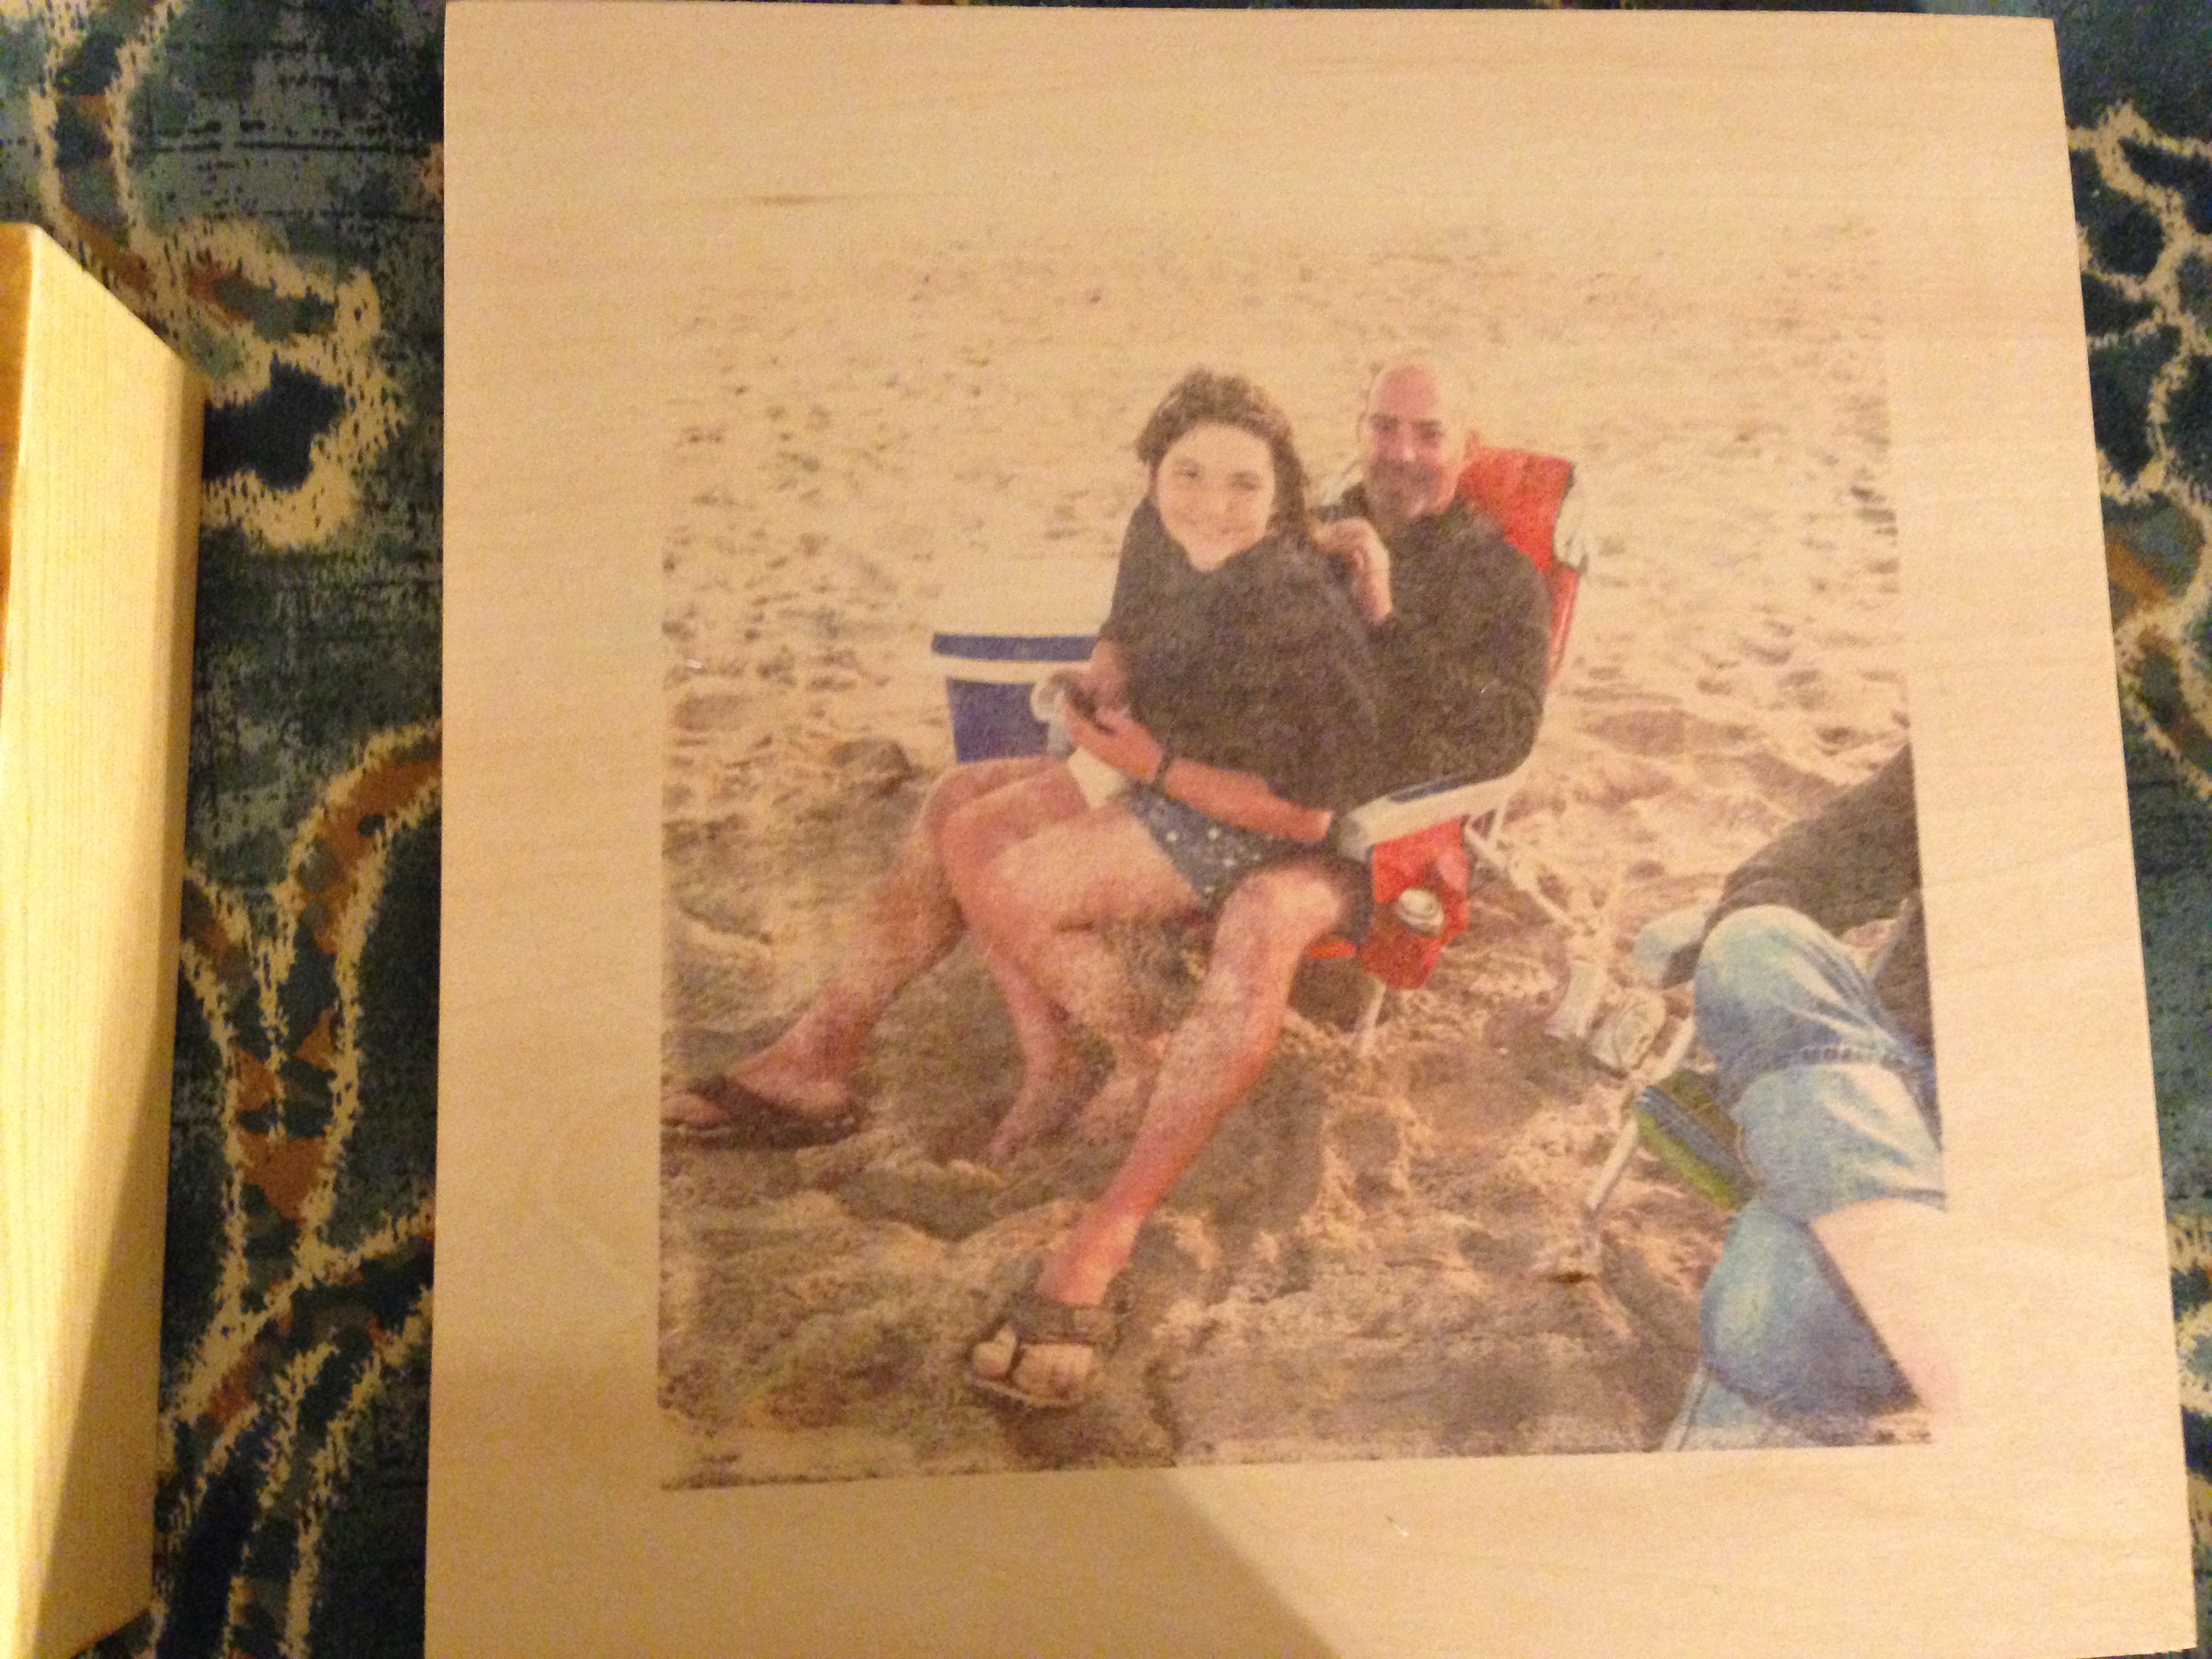
Technique #1: Gel Medium Transfer
This technique by far had the most tutorials available online. It’s a pretty simple one – you apply a thick even layer of gel medium (a light and creamy substance) on the surface that you want to transfer the image to.

Then you take a photocopy of the picture and apply it to the surface, face down, on top of the gel. You then use a scraper or roller to press the image down (and to push out as many gaps and bubbles as possible.
And then you wait. Letting the gel dry overnight is essential to all the image to fully transfer.
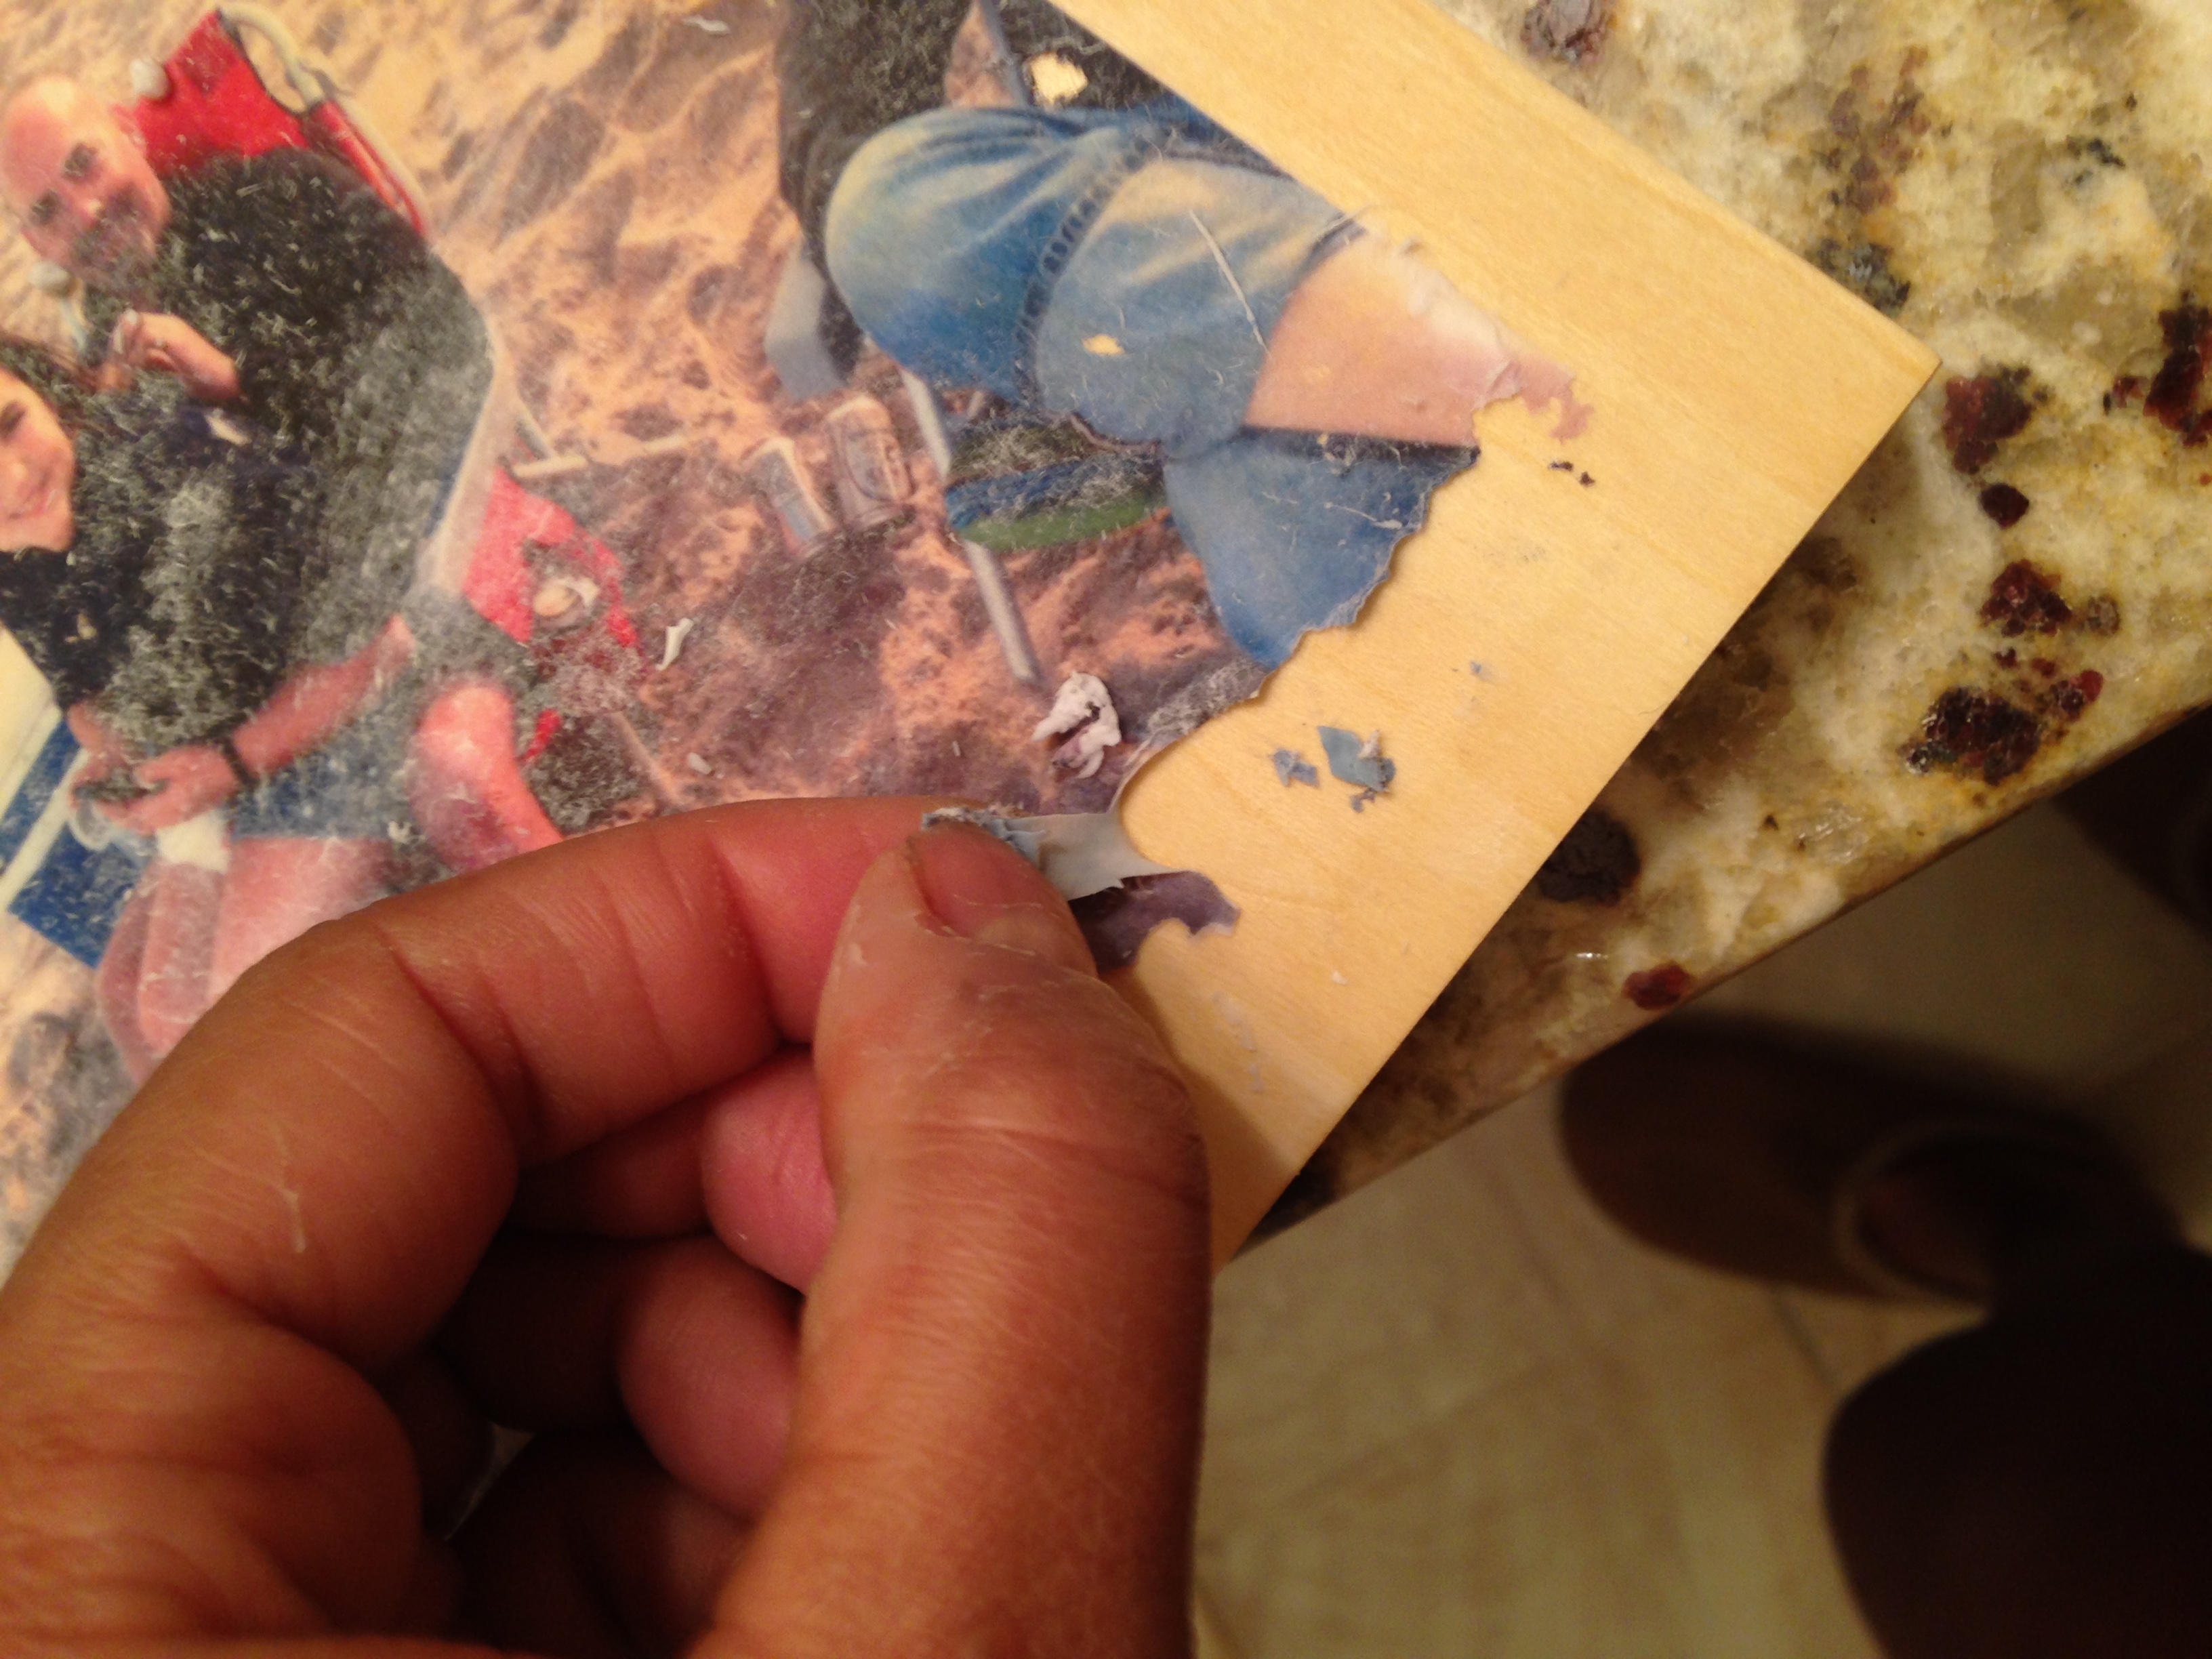
Once the gel dries, this is the fun part. You wet the paper backing of the transferred image and you use your fingers to rub and peel the paper away.
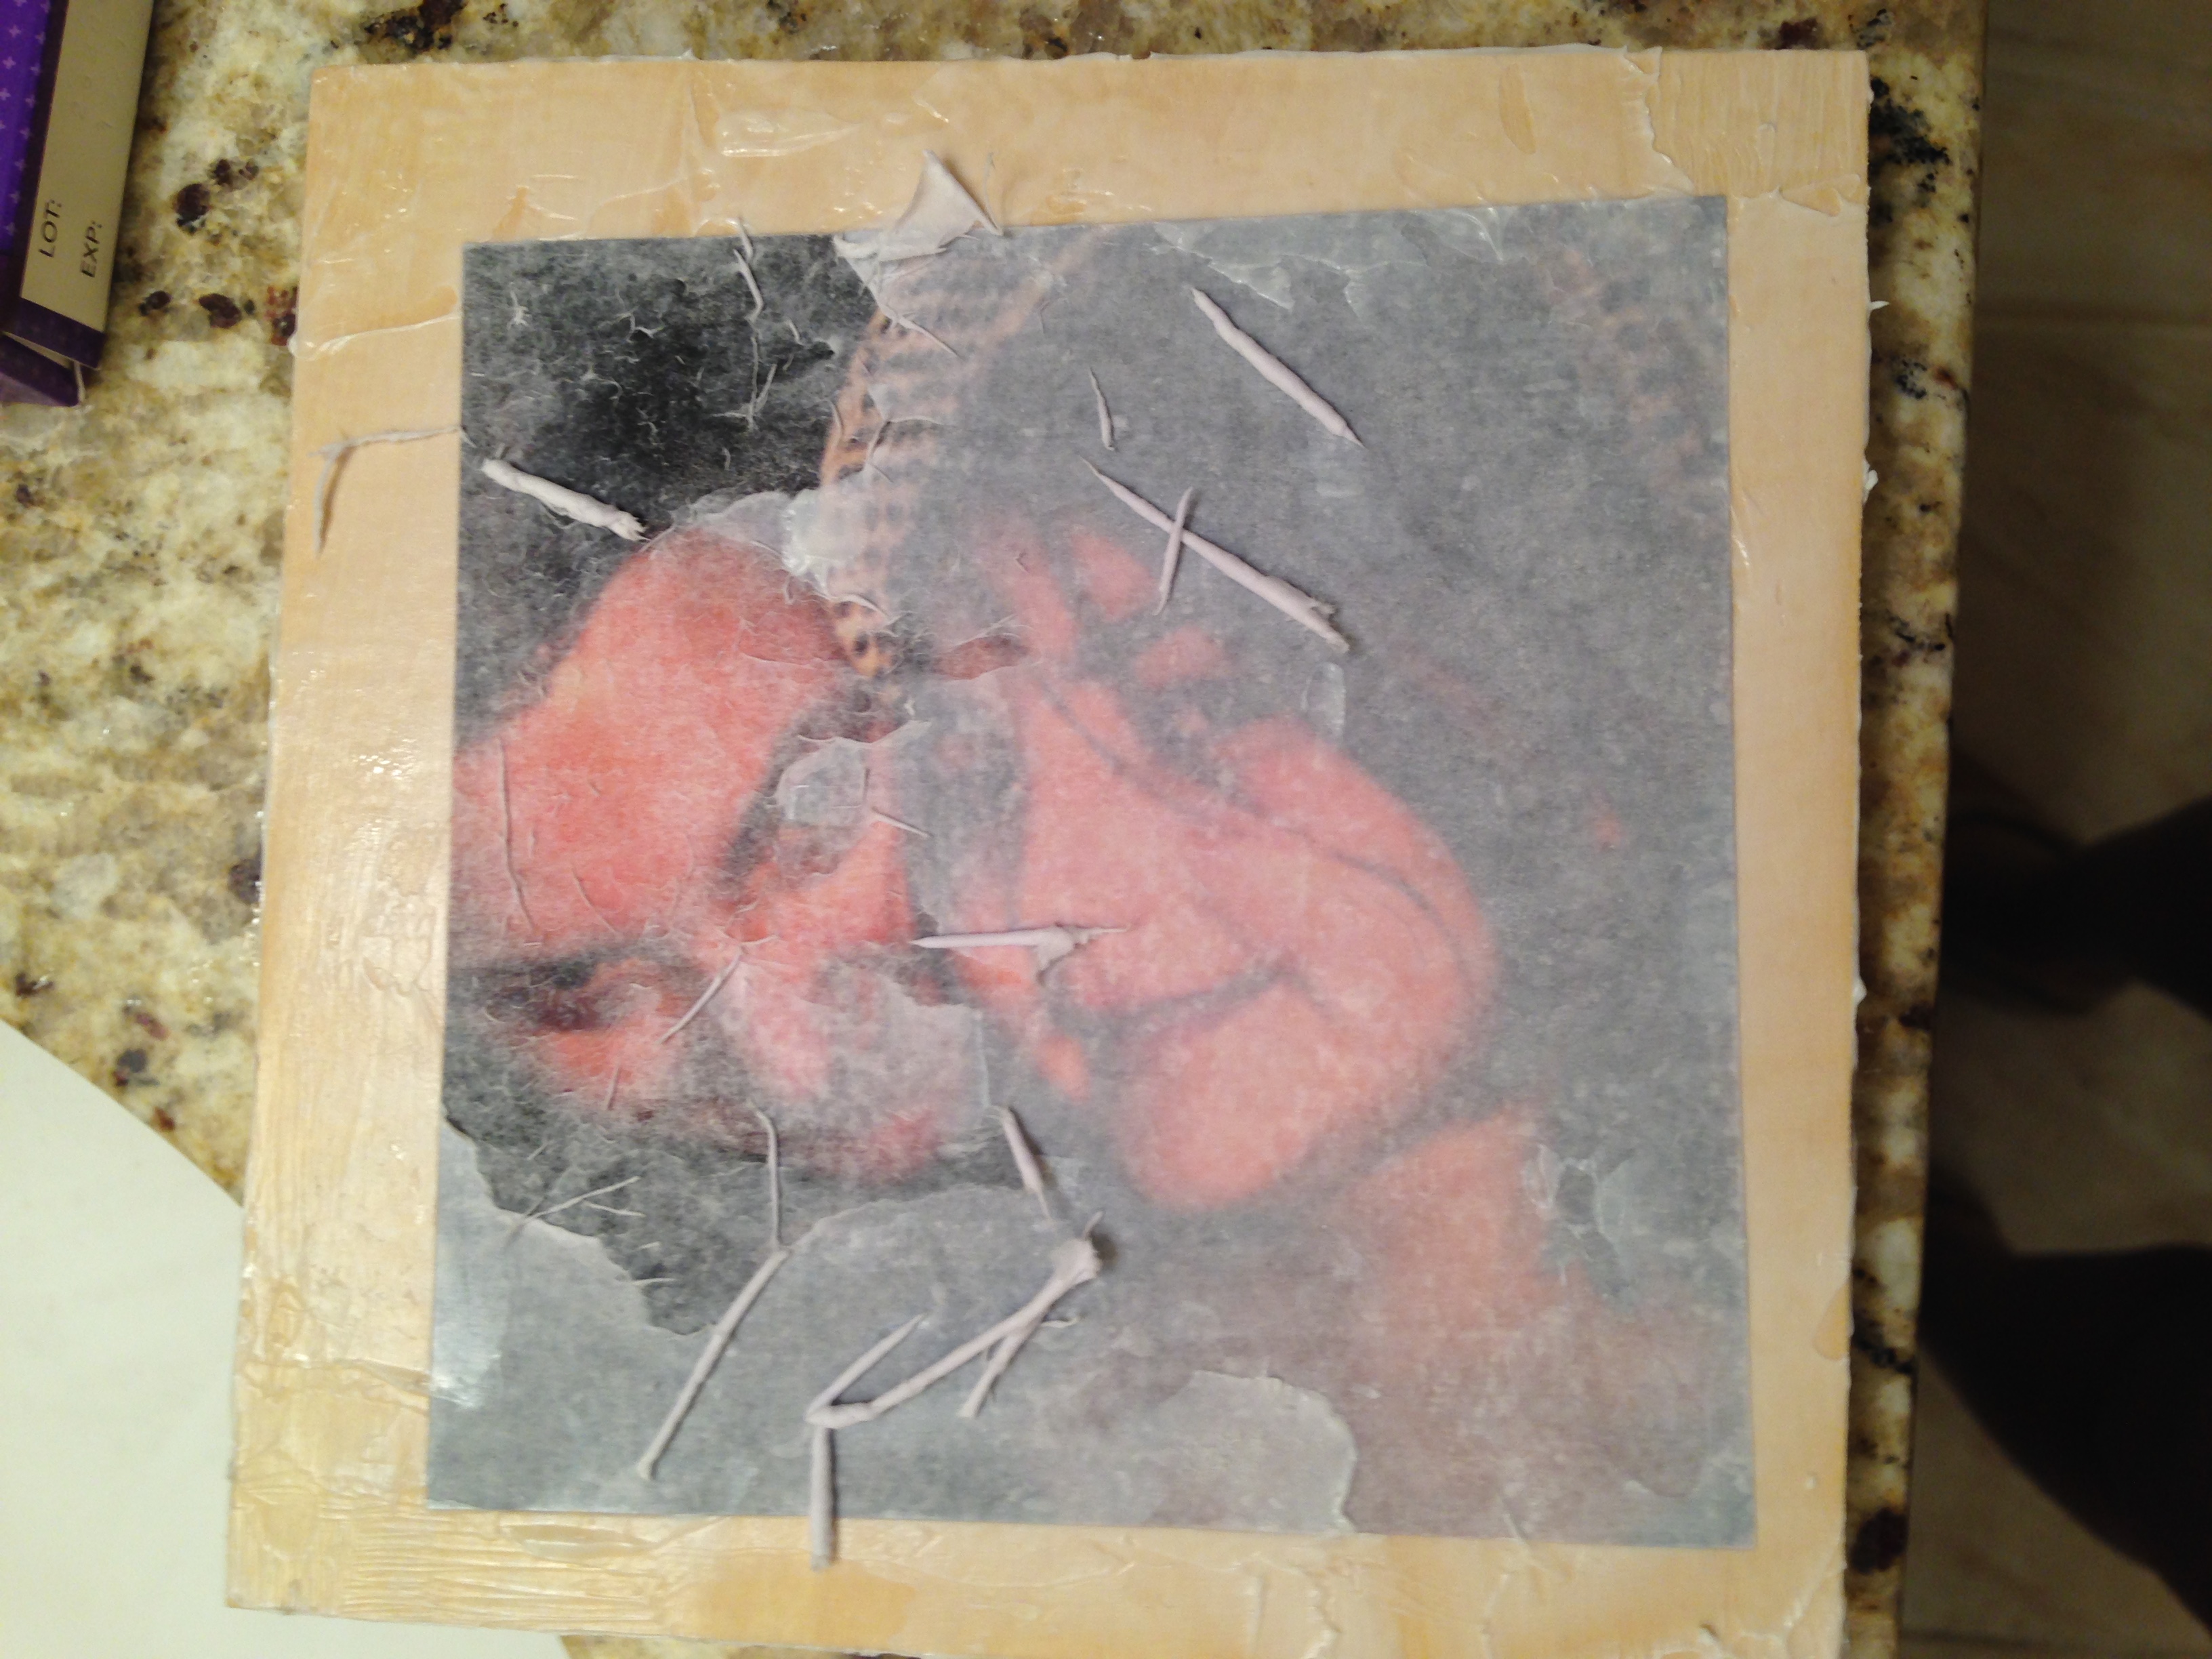
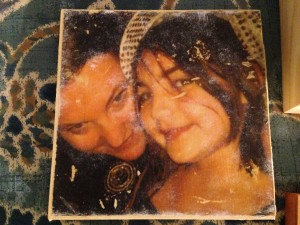
This process took me awhile. And since it was my first time (and didn’t fully understand how this technique differed from WoodSnap transfers (yeah, I know…duh!), I was very dismayed when parts of the image would scrape clean away from the wood. And the white fuzz remained despite my effort to rub away all the paper.
I also didn’t like that the image didn’t soak into the wood grain. So, gel medium transfers allow the image to sit on top of the image. Oh.
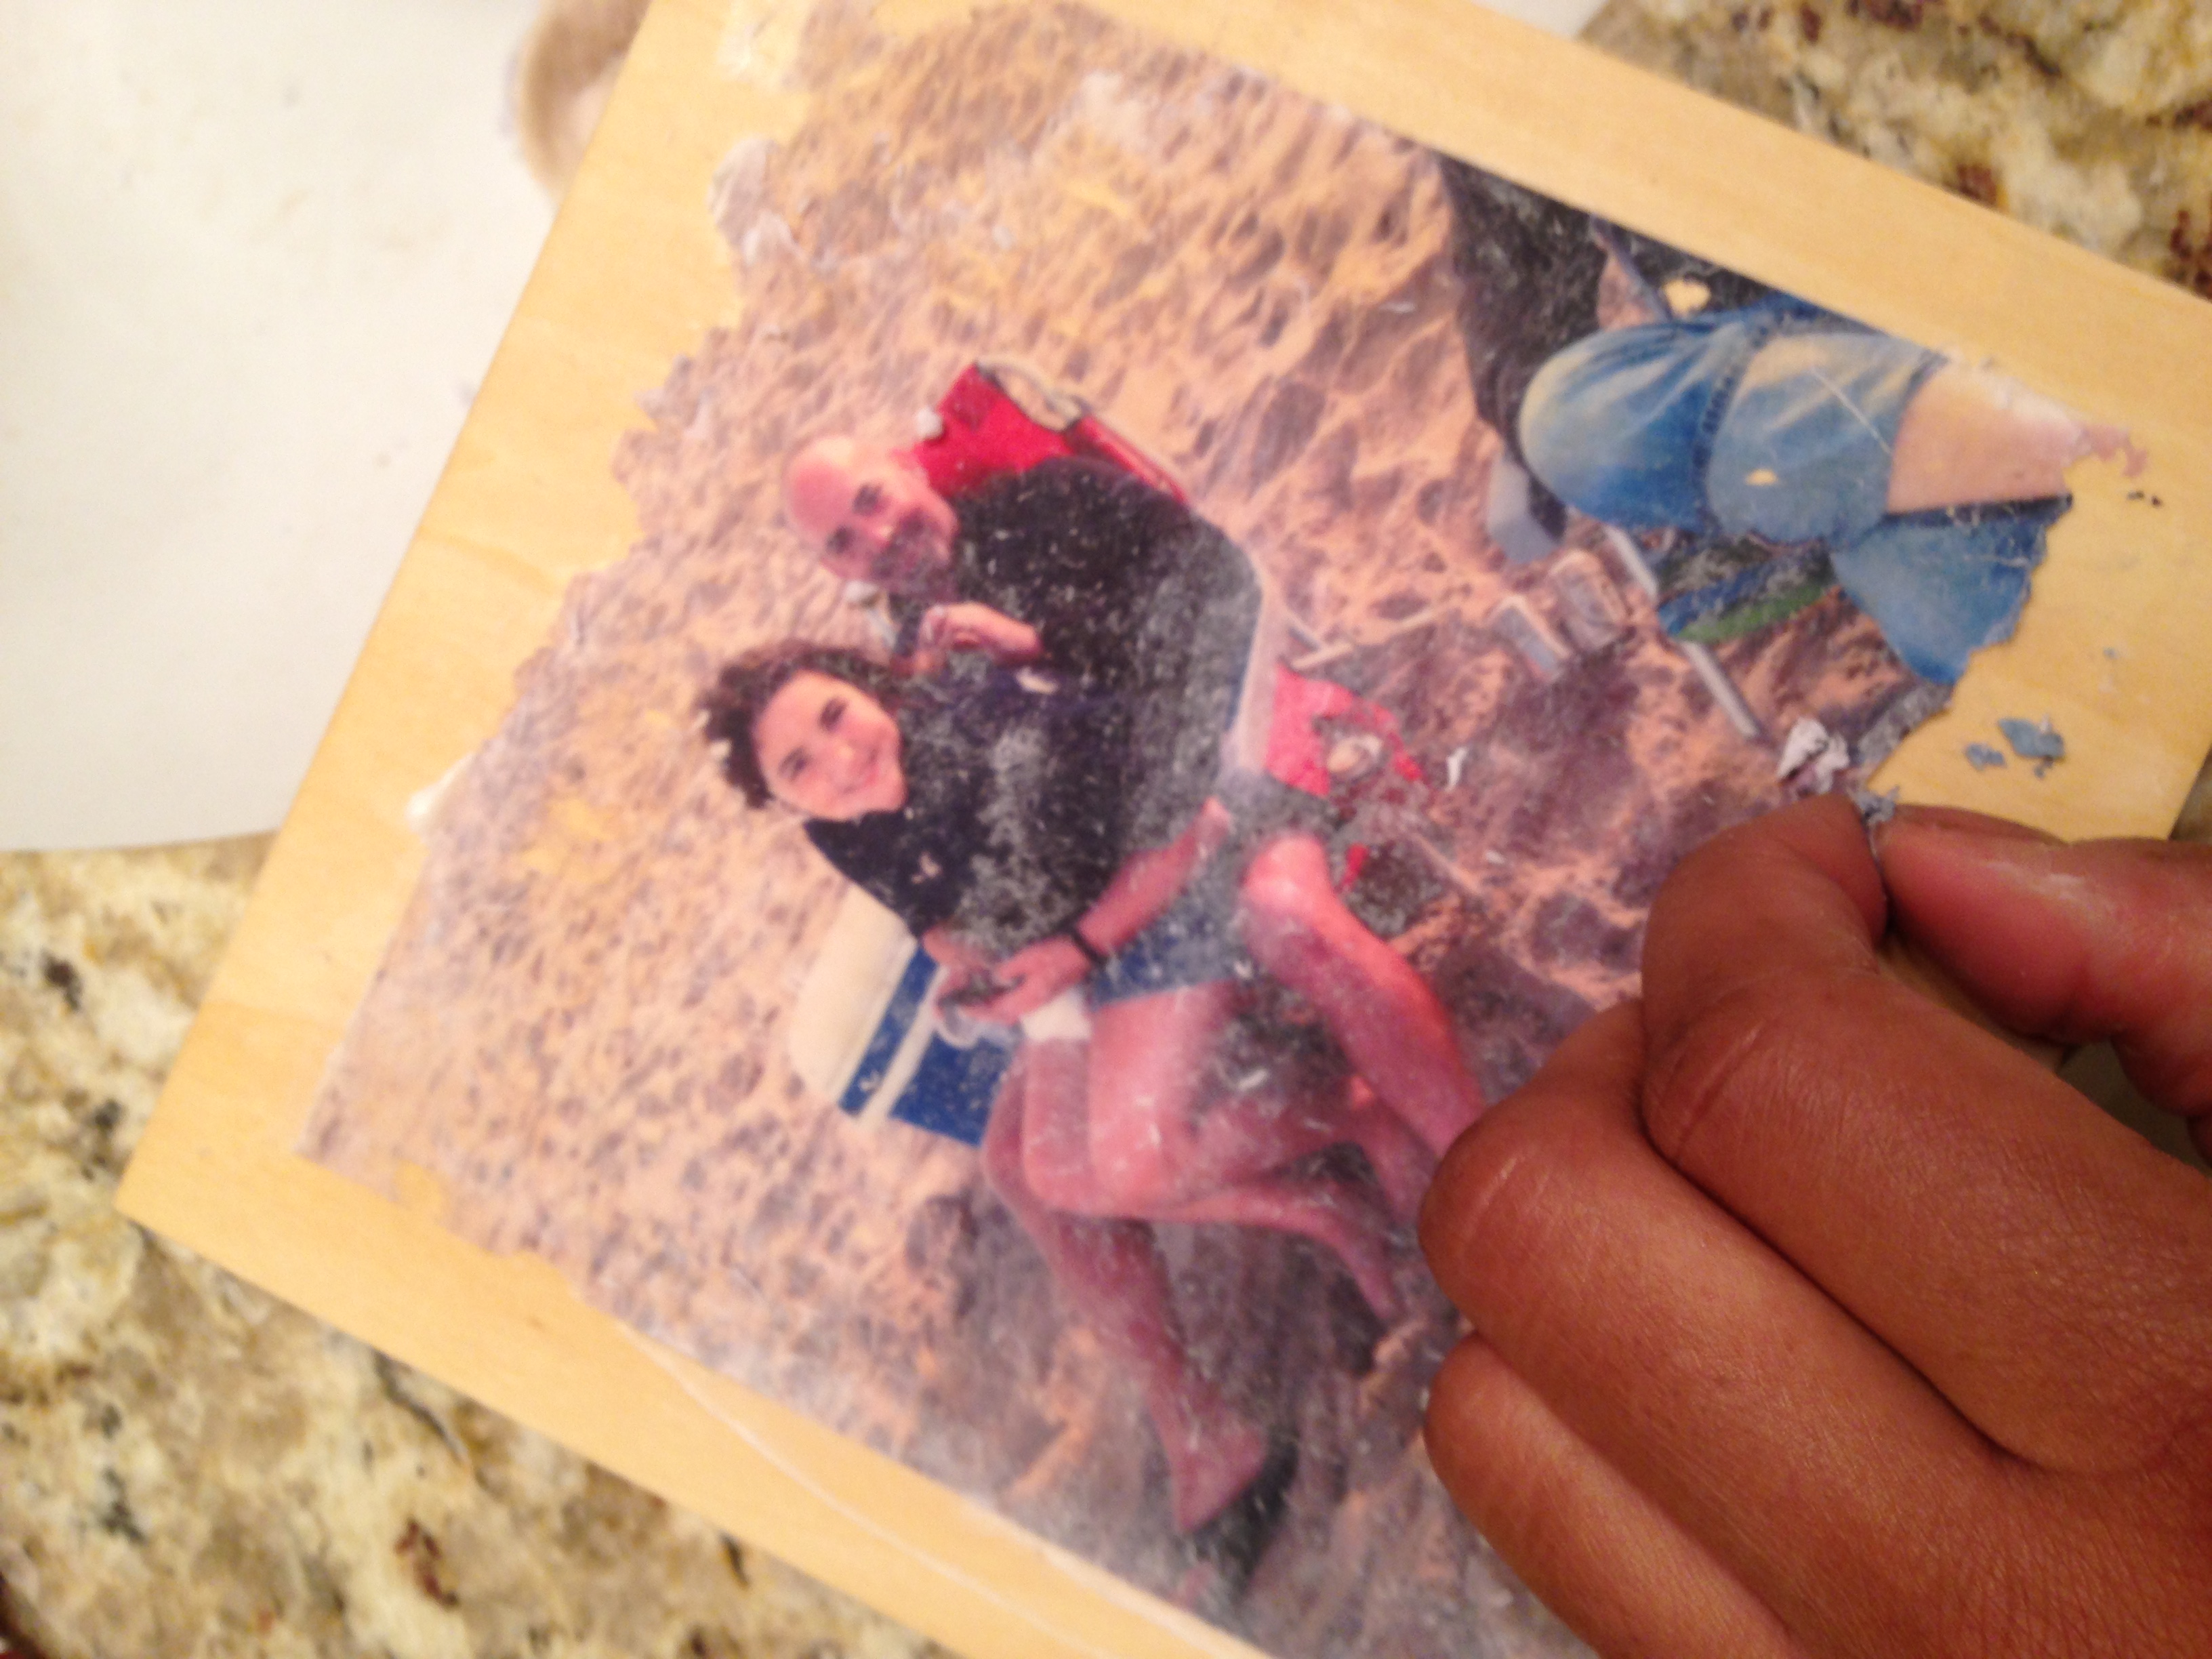
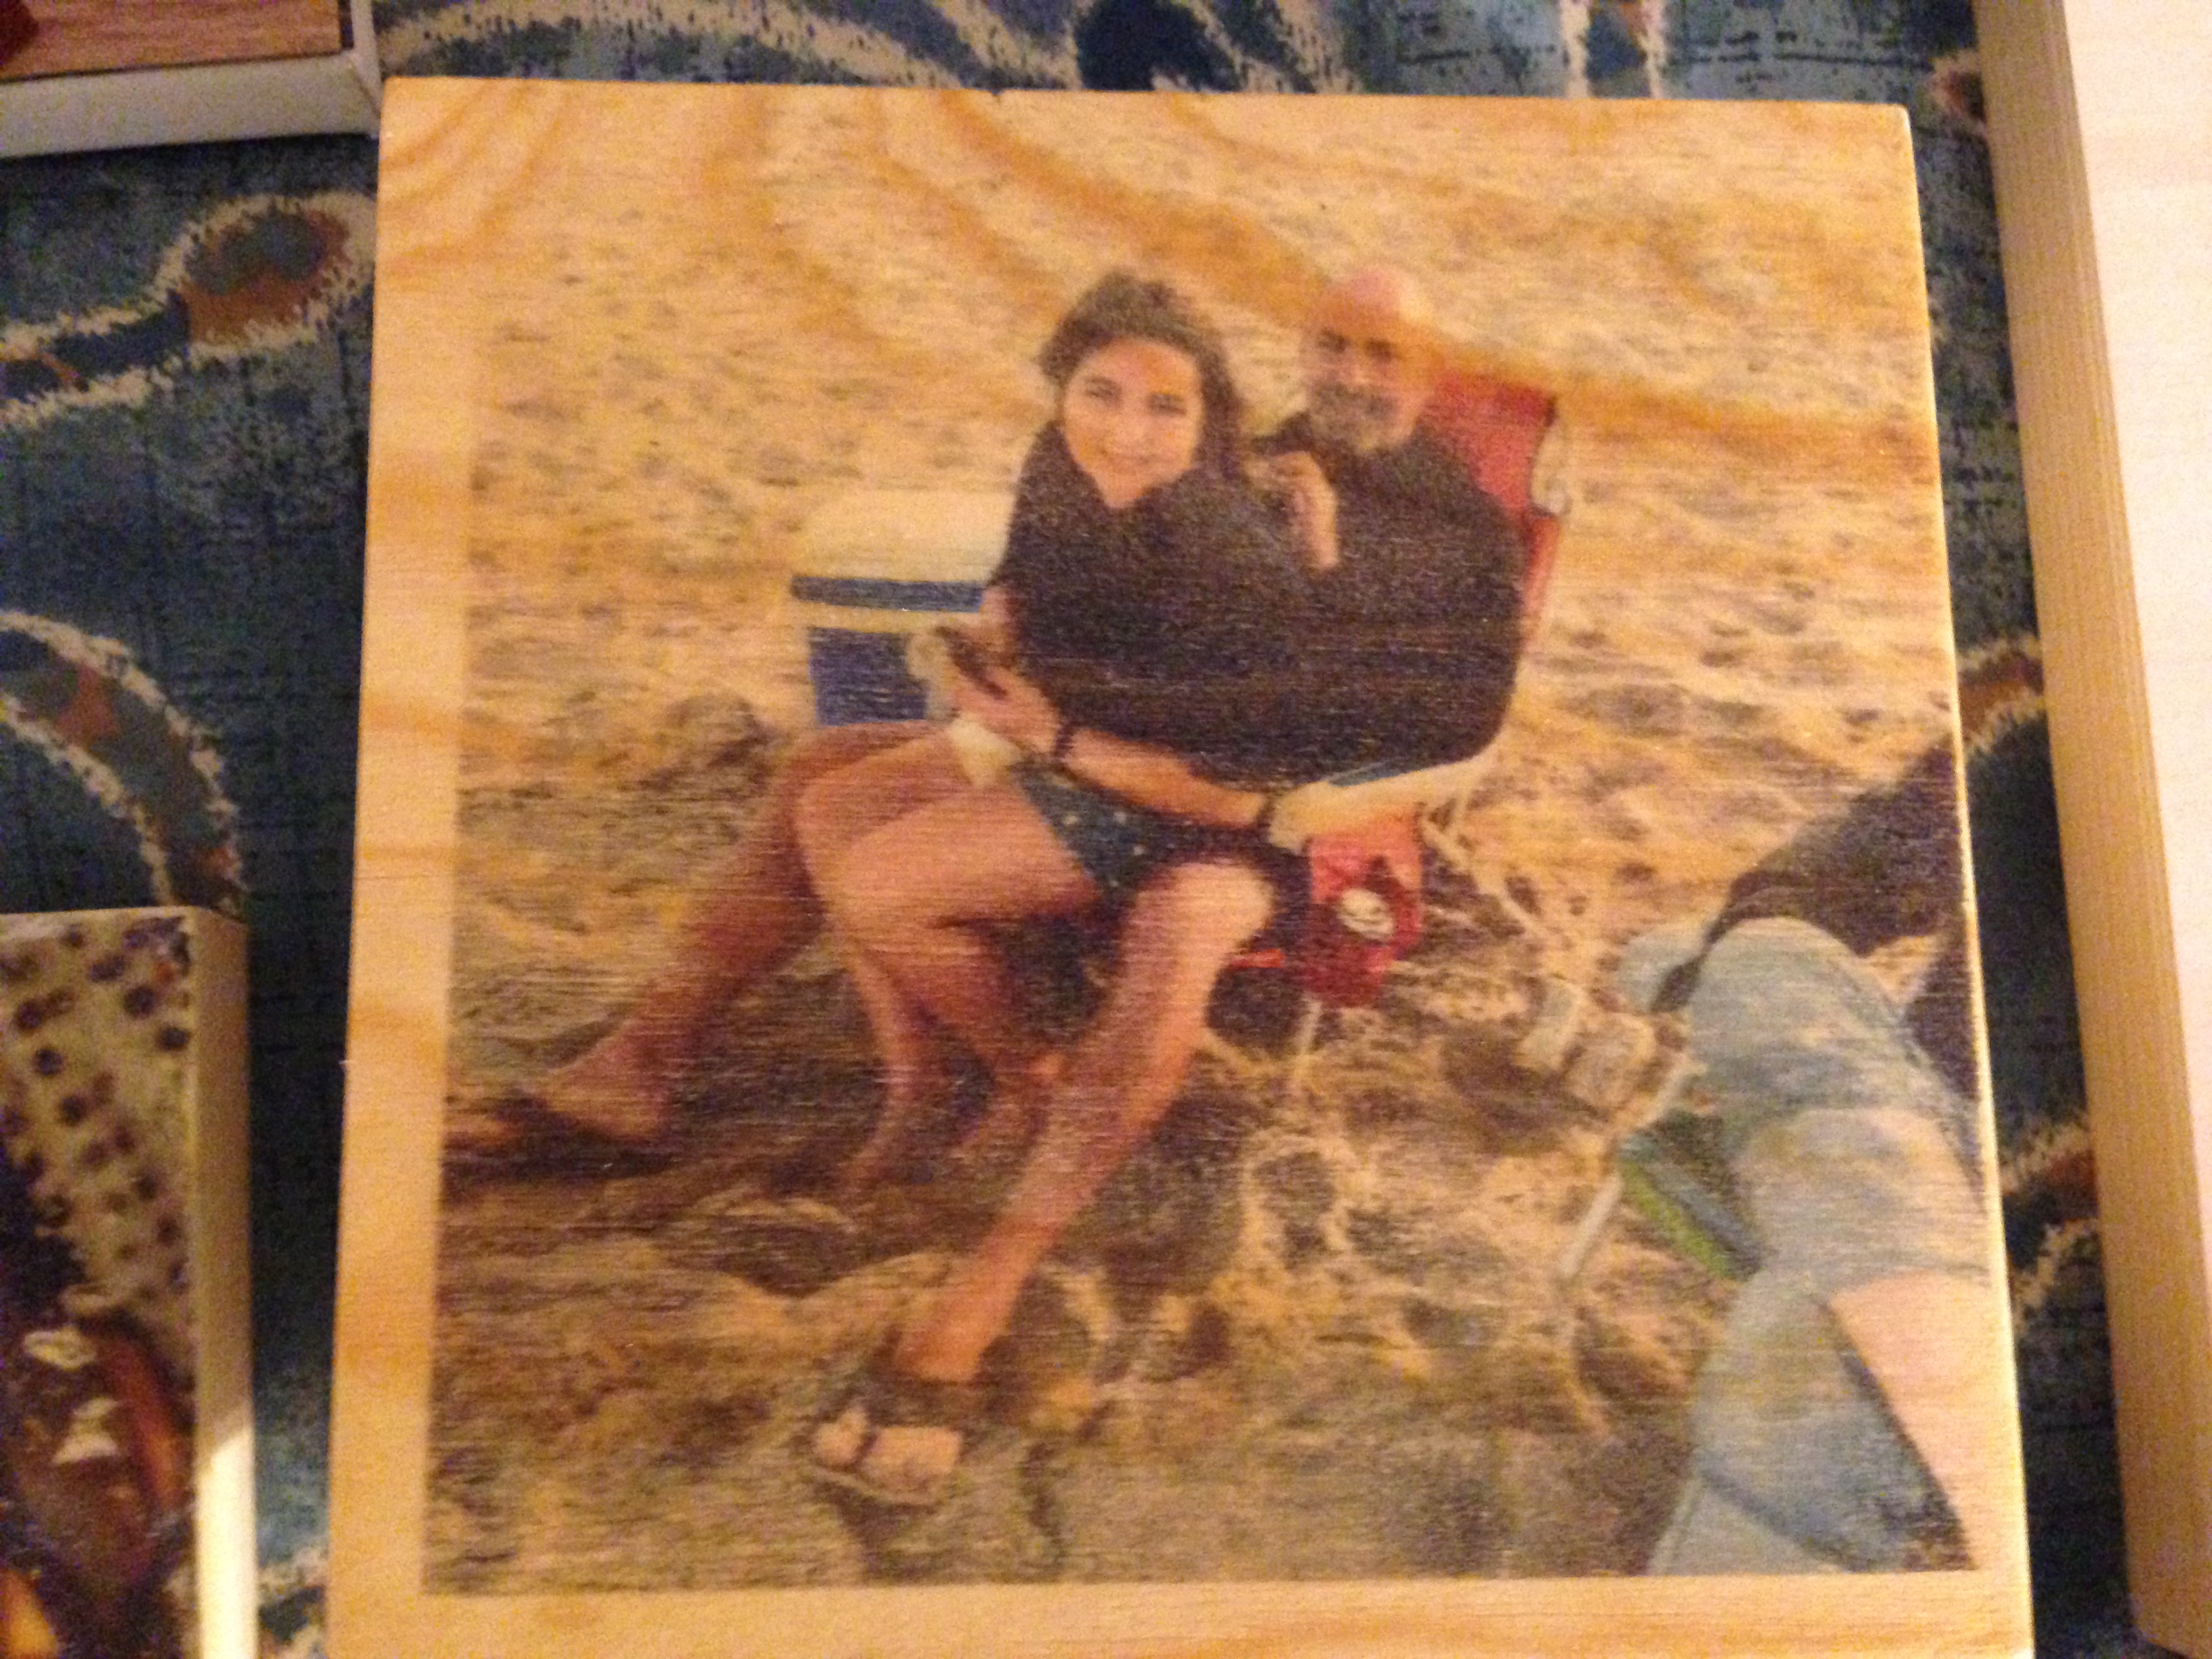
To be honest, I didn’t quite like the way my first attempt at a gel medium wood transfer came out. But Bruce had the opposite reaction. He thought it came out great! And was pretty enthusiastic about it. He thought the scrapes the patches made the photo look authentic and vintage.
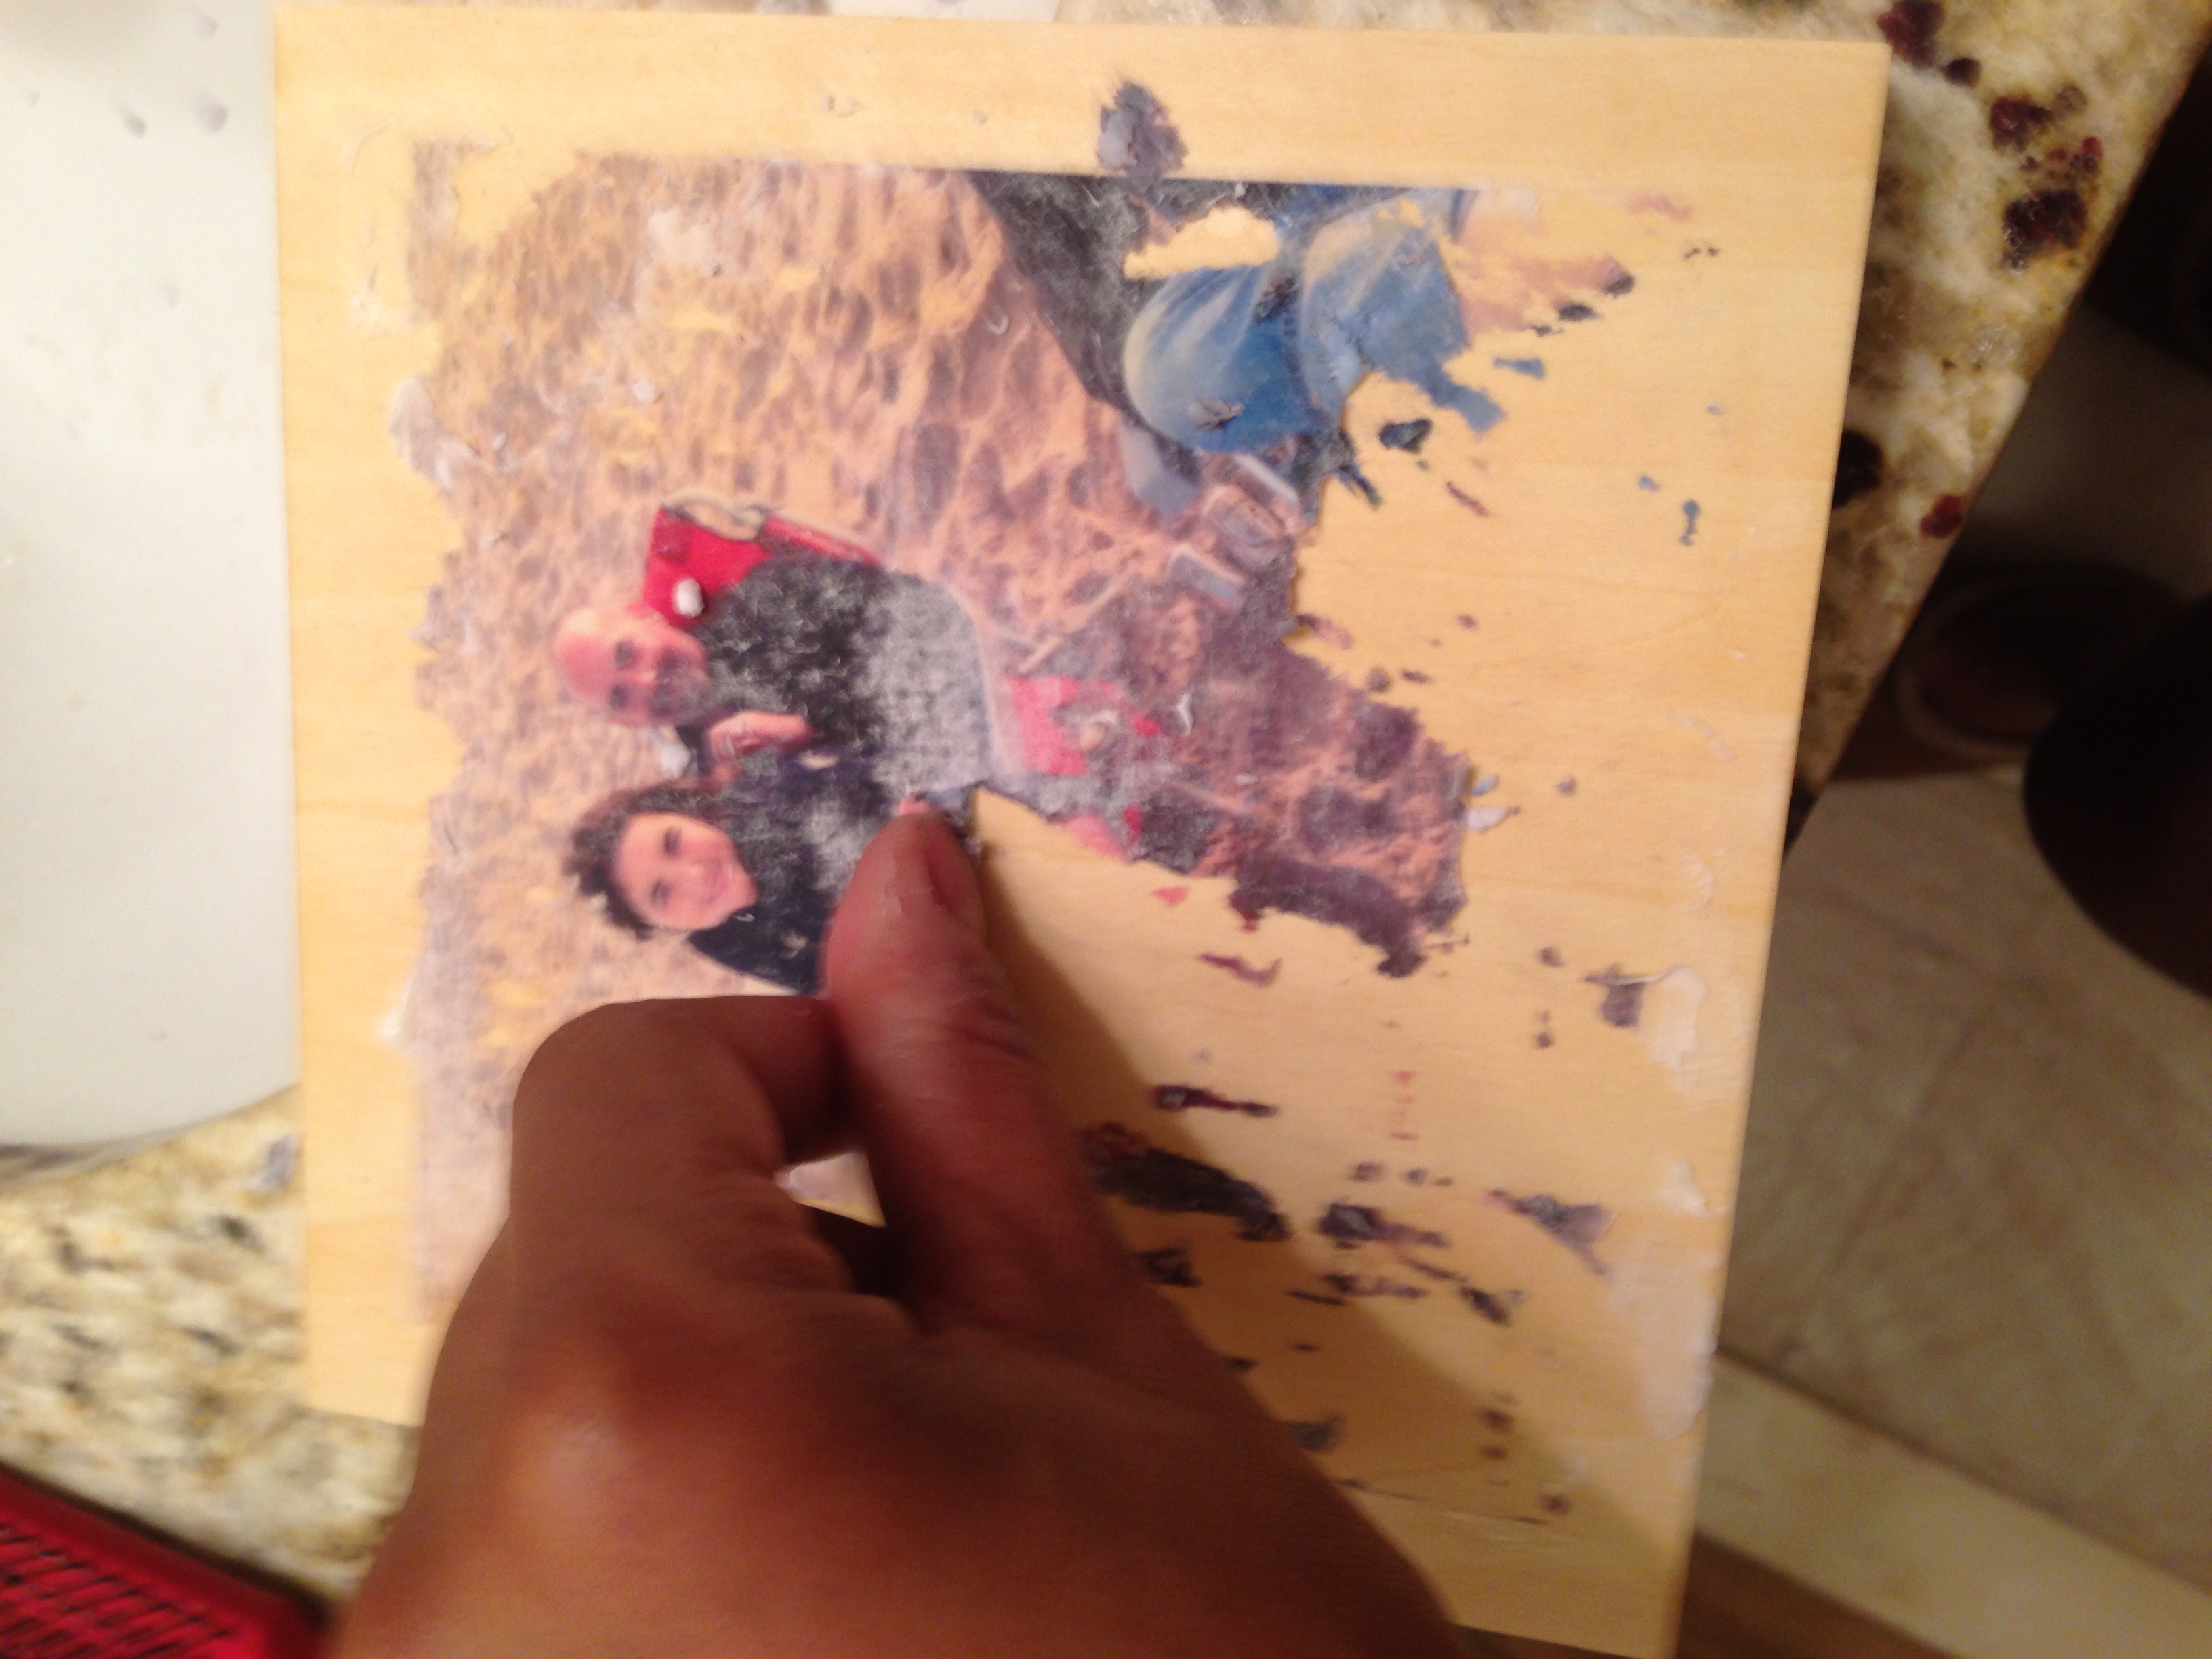
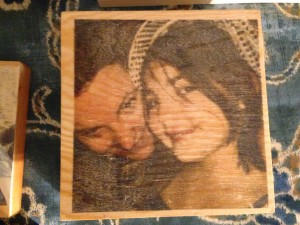
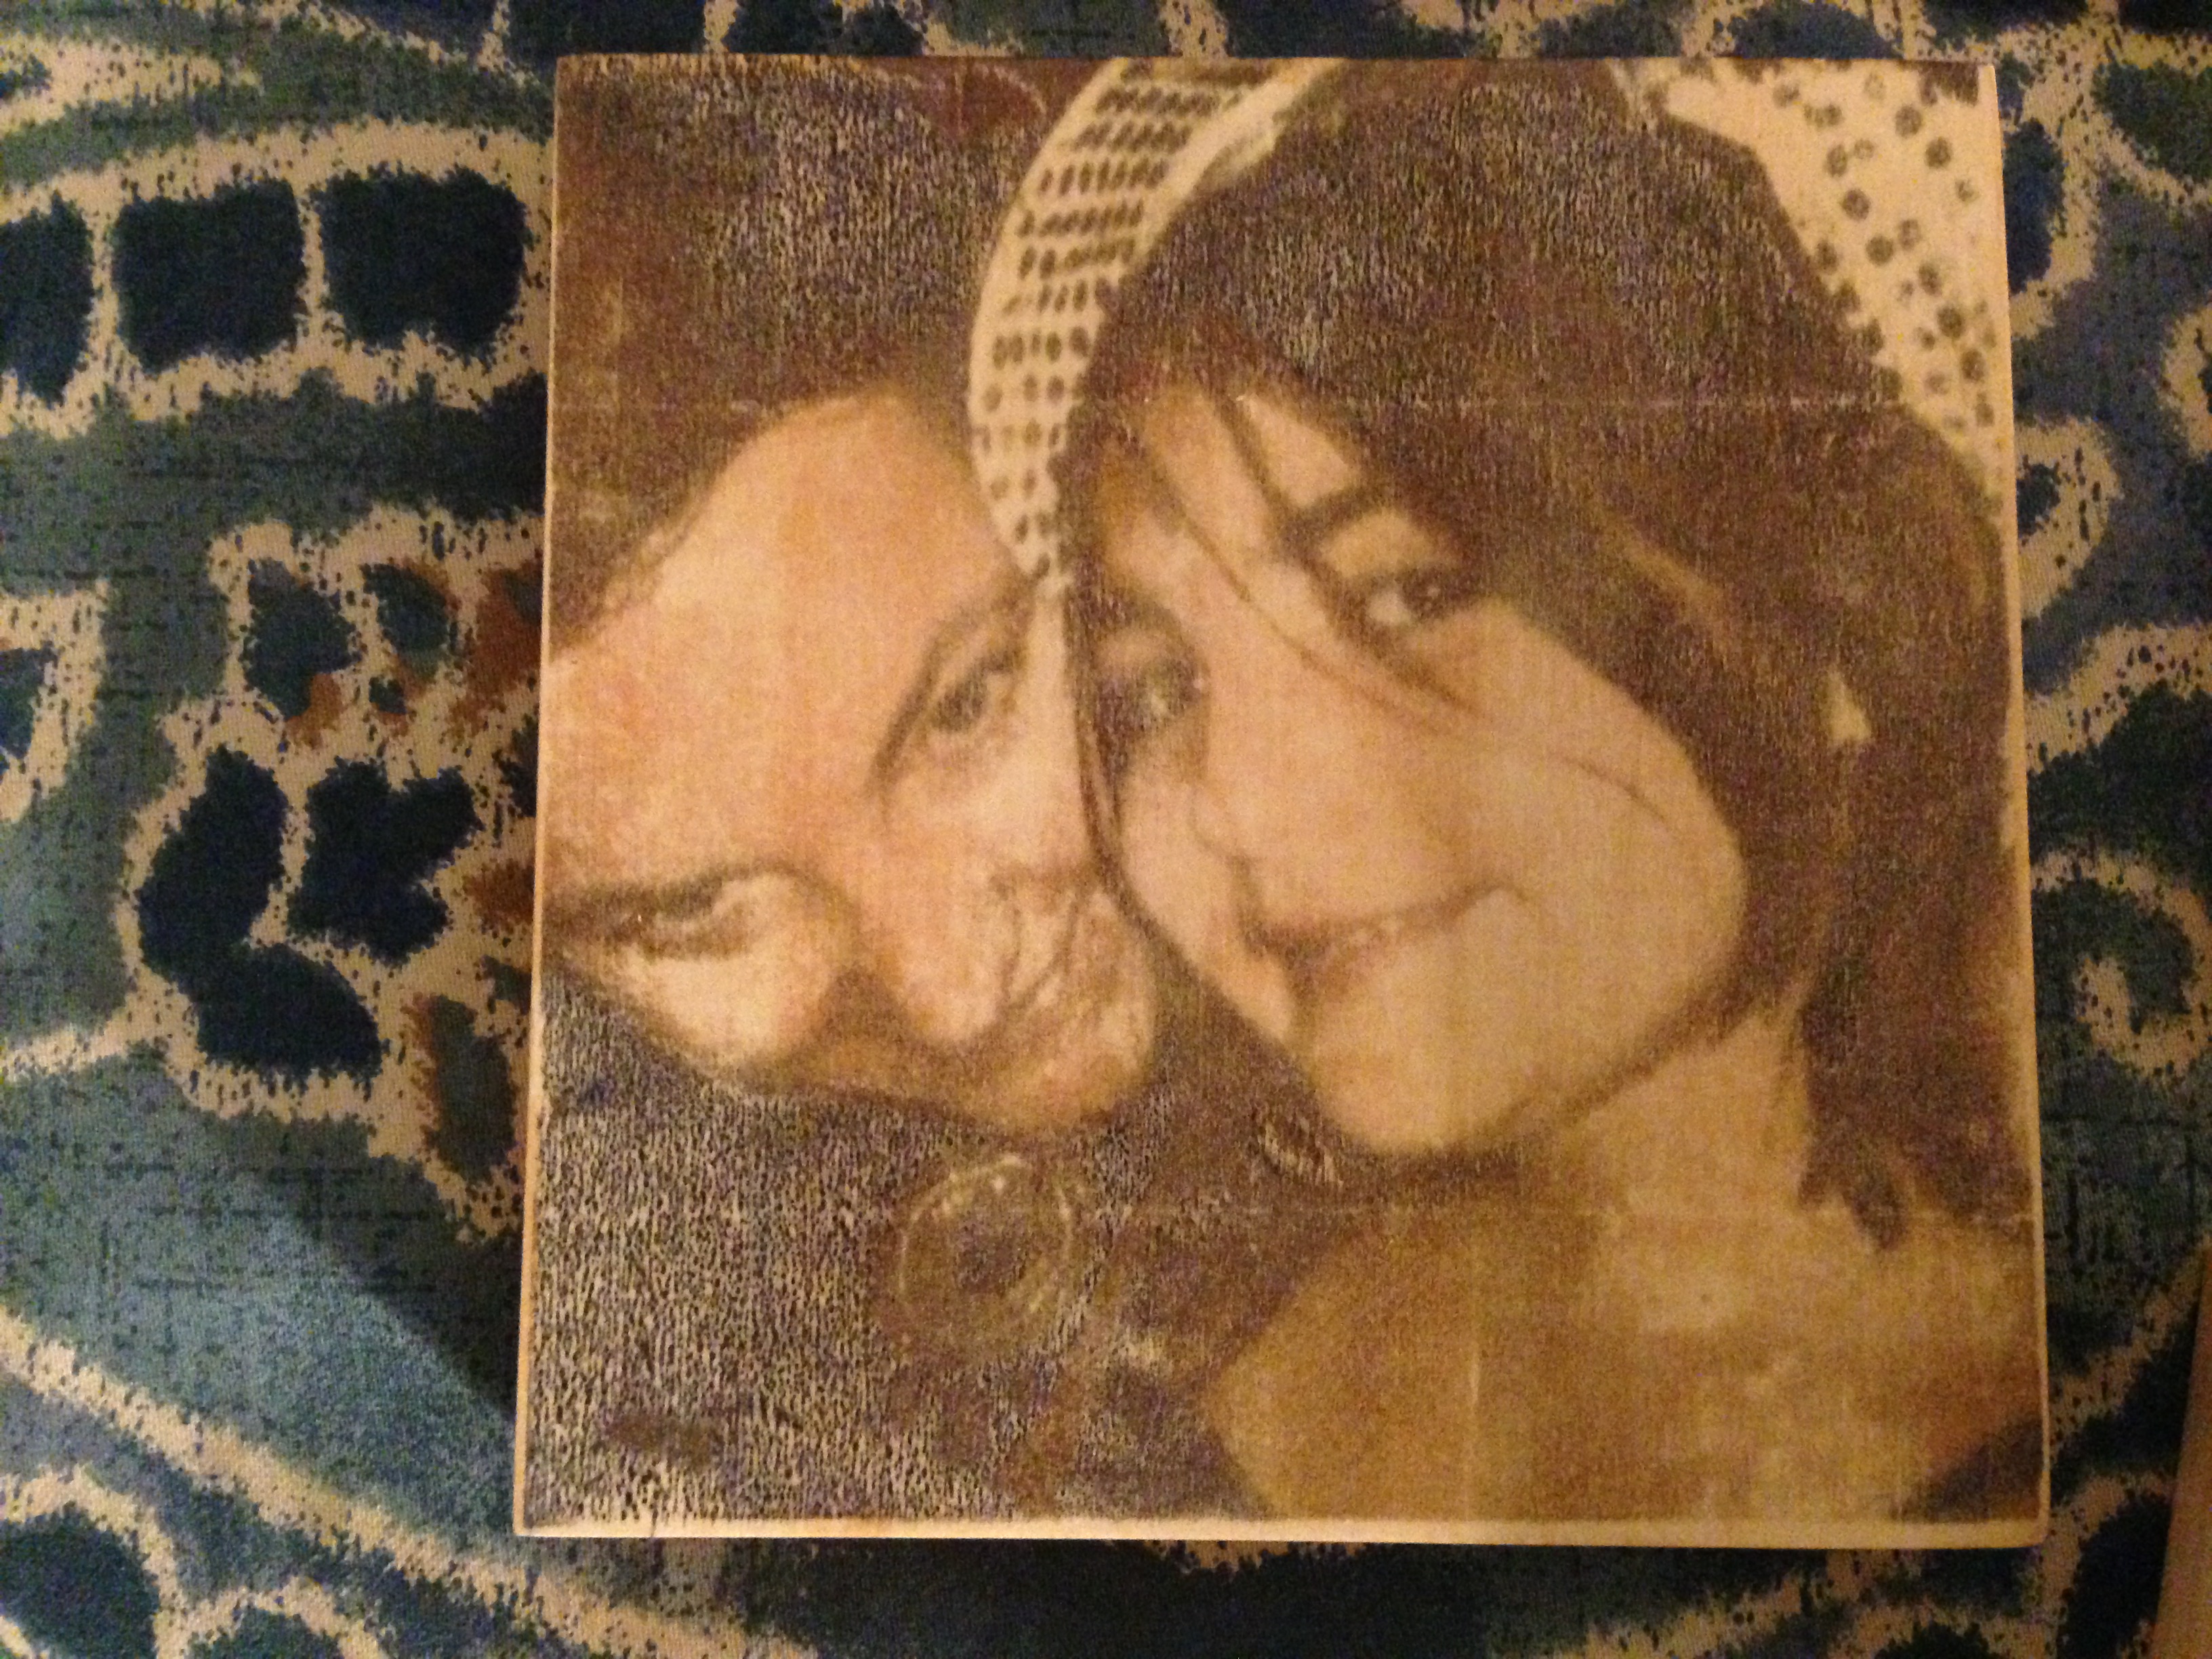
I decided to put some extra effort into doing the gel image transfer for the second photo so that it would come out “perfectly”. Ha! Instead, I managed to rub away the entire photo while working on the final step. We’re talking hours of investment by this point.
I told myself that there has to be a better (easier) way. So I went back to the drawing board to look up some other wood transfer techniques.
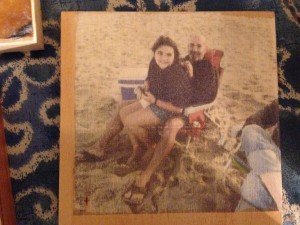
Technique #2: Ink-jet transfer
After hours of searching, I stumbled upon Steve Ramsey’s injket transfer technique on YouTube. Love this guy! Who knew that months later I’d be subscribing to his “Woodworking for Mere Mortals” channel while taking on elaborate wood craft and build projects. Crazy!
Well anyway, as demonstrated in this quick two minute video, you can transfer an image to wood by:
1. Peeling off all the sticker labels from an Avery printer label sheet.
2. Printing the image on the glossy (waxy) side of the sheet using an ink-jet printer (very important).
3. Carefully apply the image face down on the surface. The operative word is carefully!!! Any shift will smudge the ink (which sits on top of the label sheet paper).
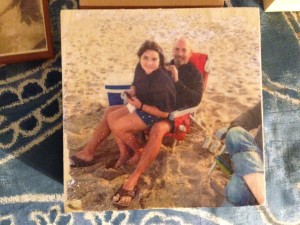
I was very happy with how this came out. The image is not as clear or crisp as the gel transfer. But the ink soaks into the wood. And it’s wicked fast!
Technique #3: Blender Pen
This is a technique I learned about from a Blick sales associate (all of which are artists and have been very helpful to me when exploring the new world of art supplies and tools). A blender pen is a marker filled with a substance called xylene (a colorless liquid used as a solvent – like a very concentrated form of nail polish remover).
You once again take a photocopy of the image and place it face down on the transfer surface. You then use the blender pen to saturate the back of the photocopy paper and rub (or burnish) the ink from the paper into the wood.
This was the simplest technique of all three. But this required the most effort during the image transfer step. A good clear transfer required rubbing hard on the back of the paper with the pen (and you quickly use up whatever solvent that’s inside). And, let me tell you, this smell of xylene is potent. You have to have all of your windows and doors open while using the pen (and I would still wear a mask).
Final Results?
After trying three techniques for transferring images to wood, I decided that the best technique is to just put in an order with WoodSnap. Just kidding. 🙂
I must say I like the ink-jet transfer the most (at least for this project). And there are other similar transfers I’d like to try at some point – wax paper transfer, freezer paper transfer, etc.
But I won’t completely give up on the gel medium or blender pen (xylene) transfers either. The gel medium technique makes the most solid, clear and colorful transfer. And it’s also the most scaleable…it can be use to transfer any size image.
For the xylene, it’s scalable (especially if you graduate from the pens to using cans of solvent). But it’s also dangerous – very flammable. And toxic. If very brave and very motivated, this would be an intriguing challenge of a bigger photo, sign or map transfer (where the image would be burnished into the wood). But trust me…I’m in no hurry to mess with the stuff. I’ve got plenty of other projects to keep me busy.
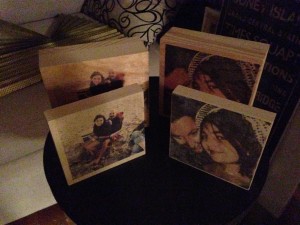
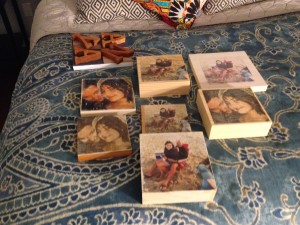
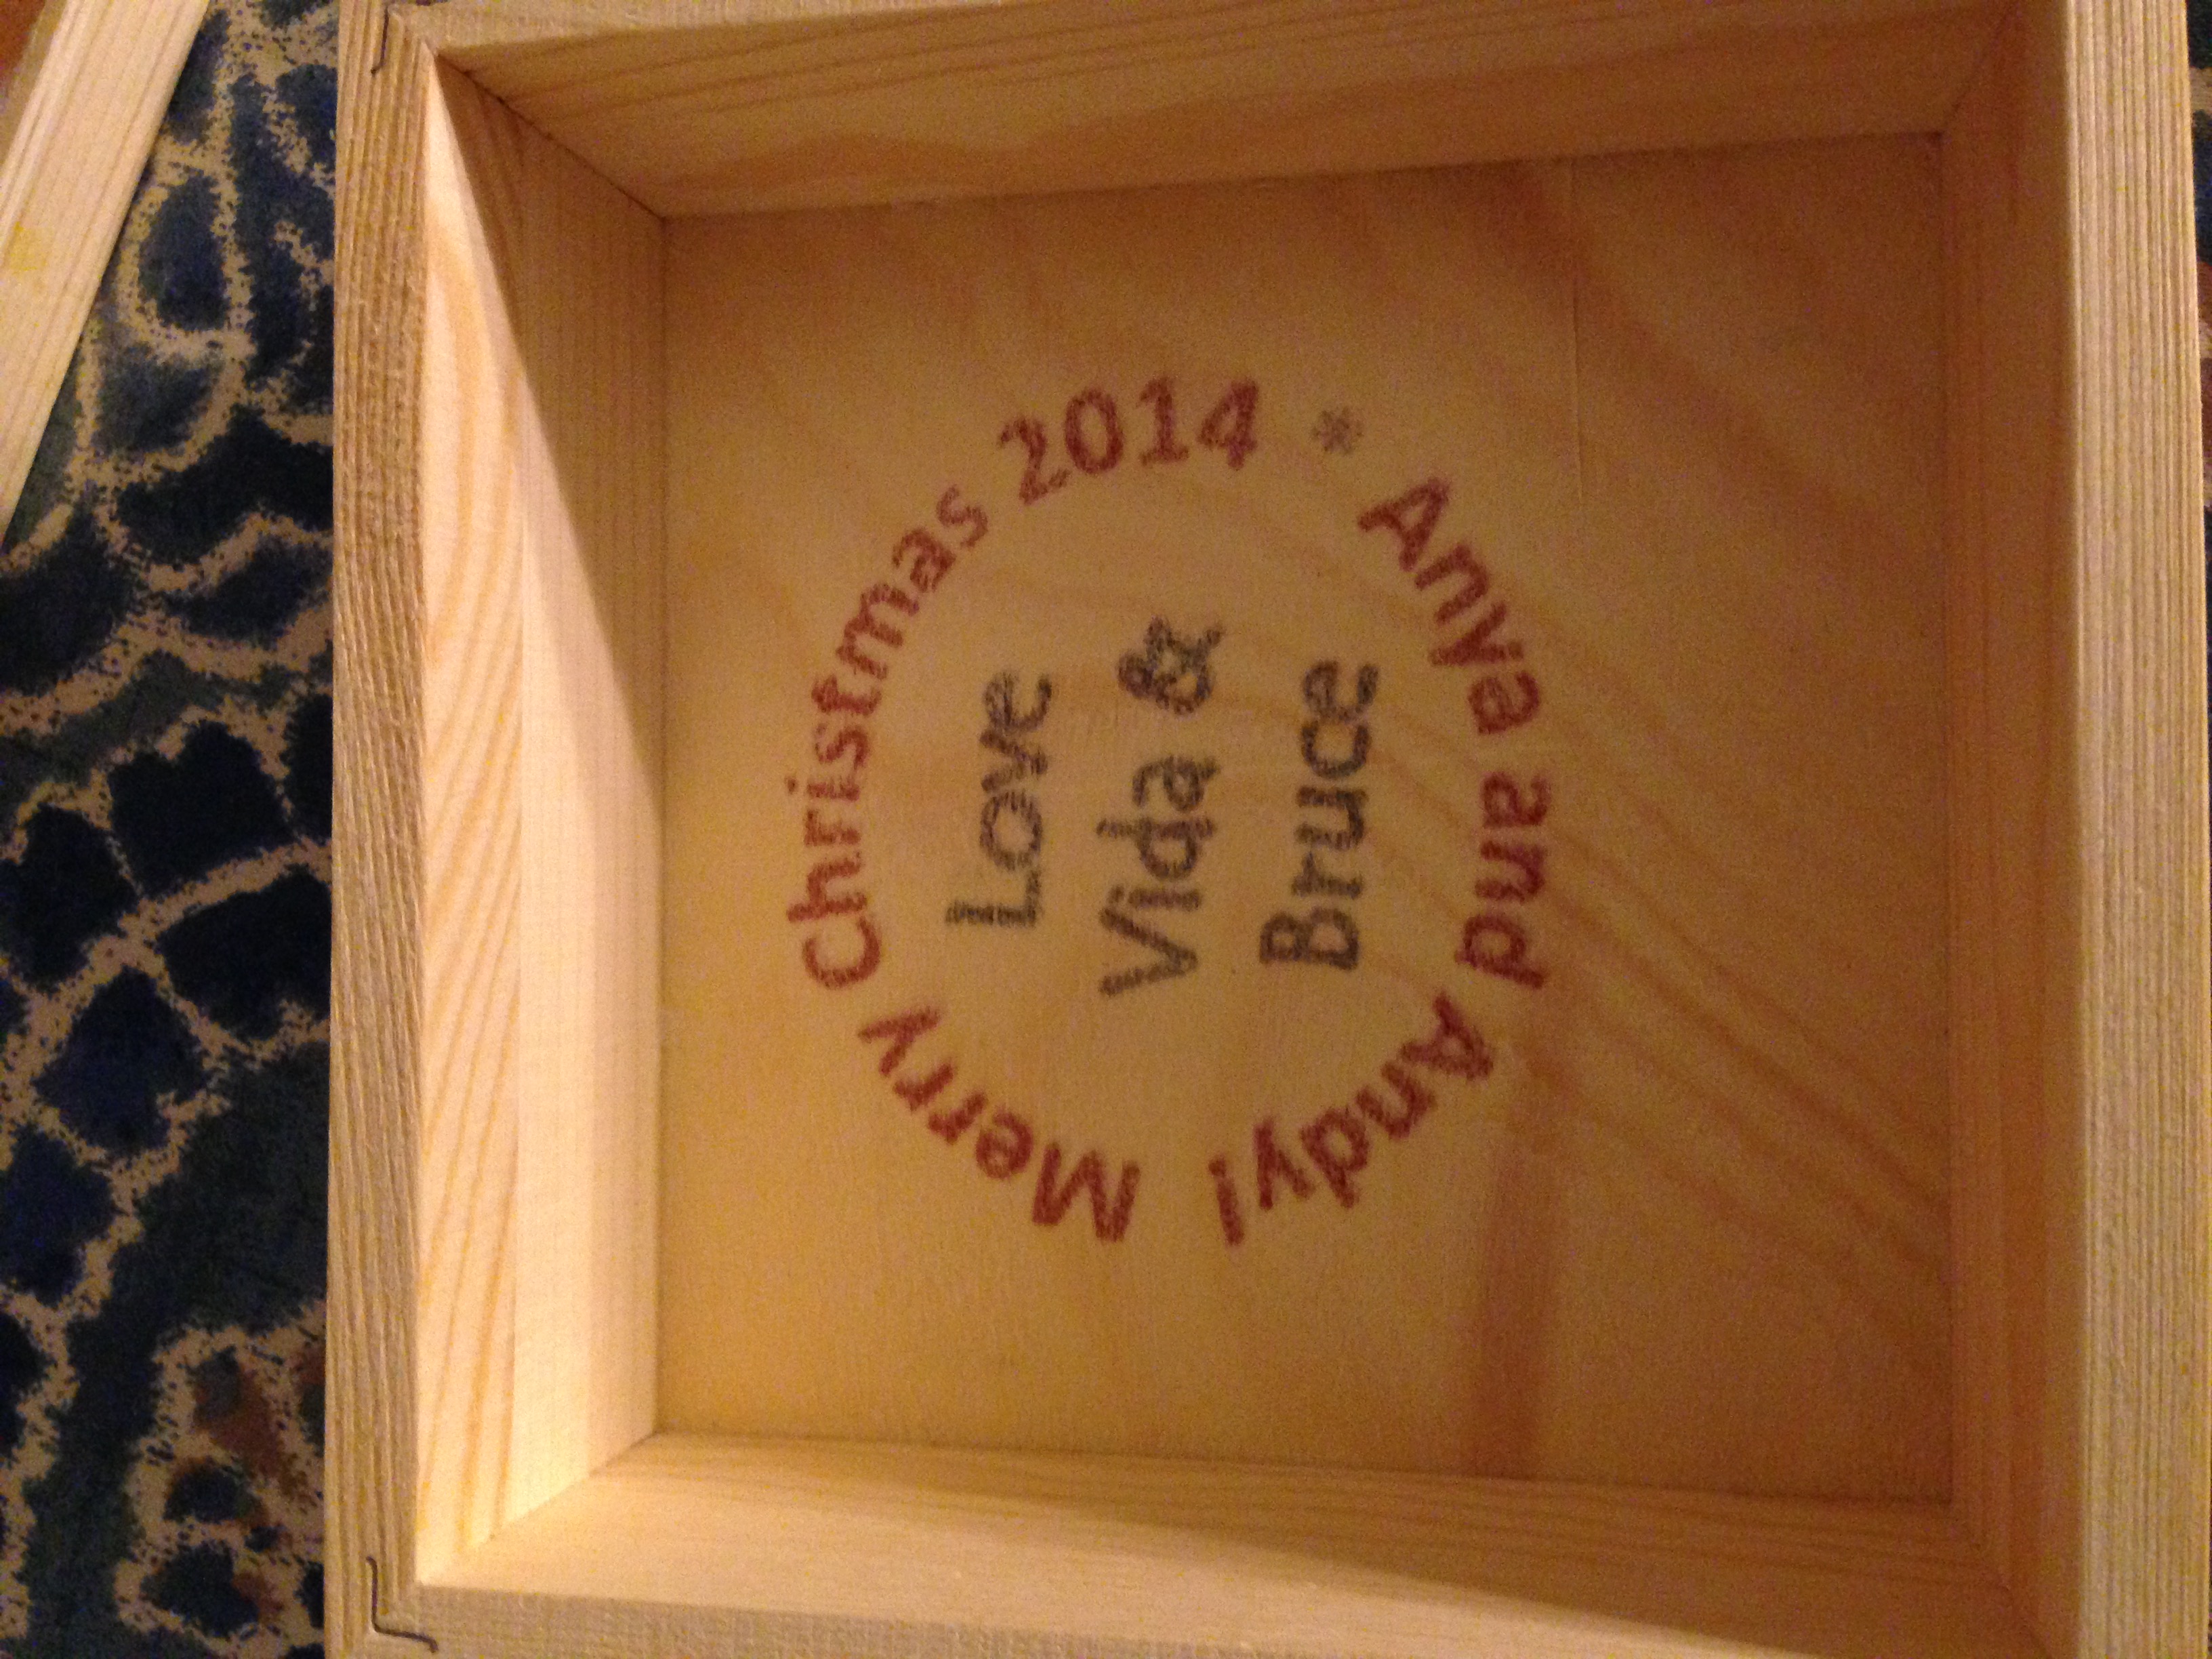
As for the Elias Christmas gift, I’ve decided to give them multiples of each using the different techniques (and I kept a couple for decor and inspiration…yes I made that many…this required a LOT of practice!). Used an ink-jet transfer to place a gift greeting from me and Bruce on the back, and done.
Along with the wood transfer photos, I made a little something for Anya. I hope she likes it (and these wood transfers as well) and pray that the letters didn’t fall off! 😉 V-