
Wood Floating Display Frames in the kitchen
You may also like:
March 6, 2016: I was obsessed with the idea of doing a DIY floating frame using wood and acrylic last September and October. This approach to displaying photos (or signs) was especially appealing to me. You often find acrylic floating displays in an office or retail environment. It’s not something I ran across on the regular when exploring options for the home.
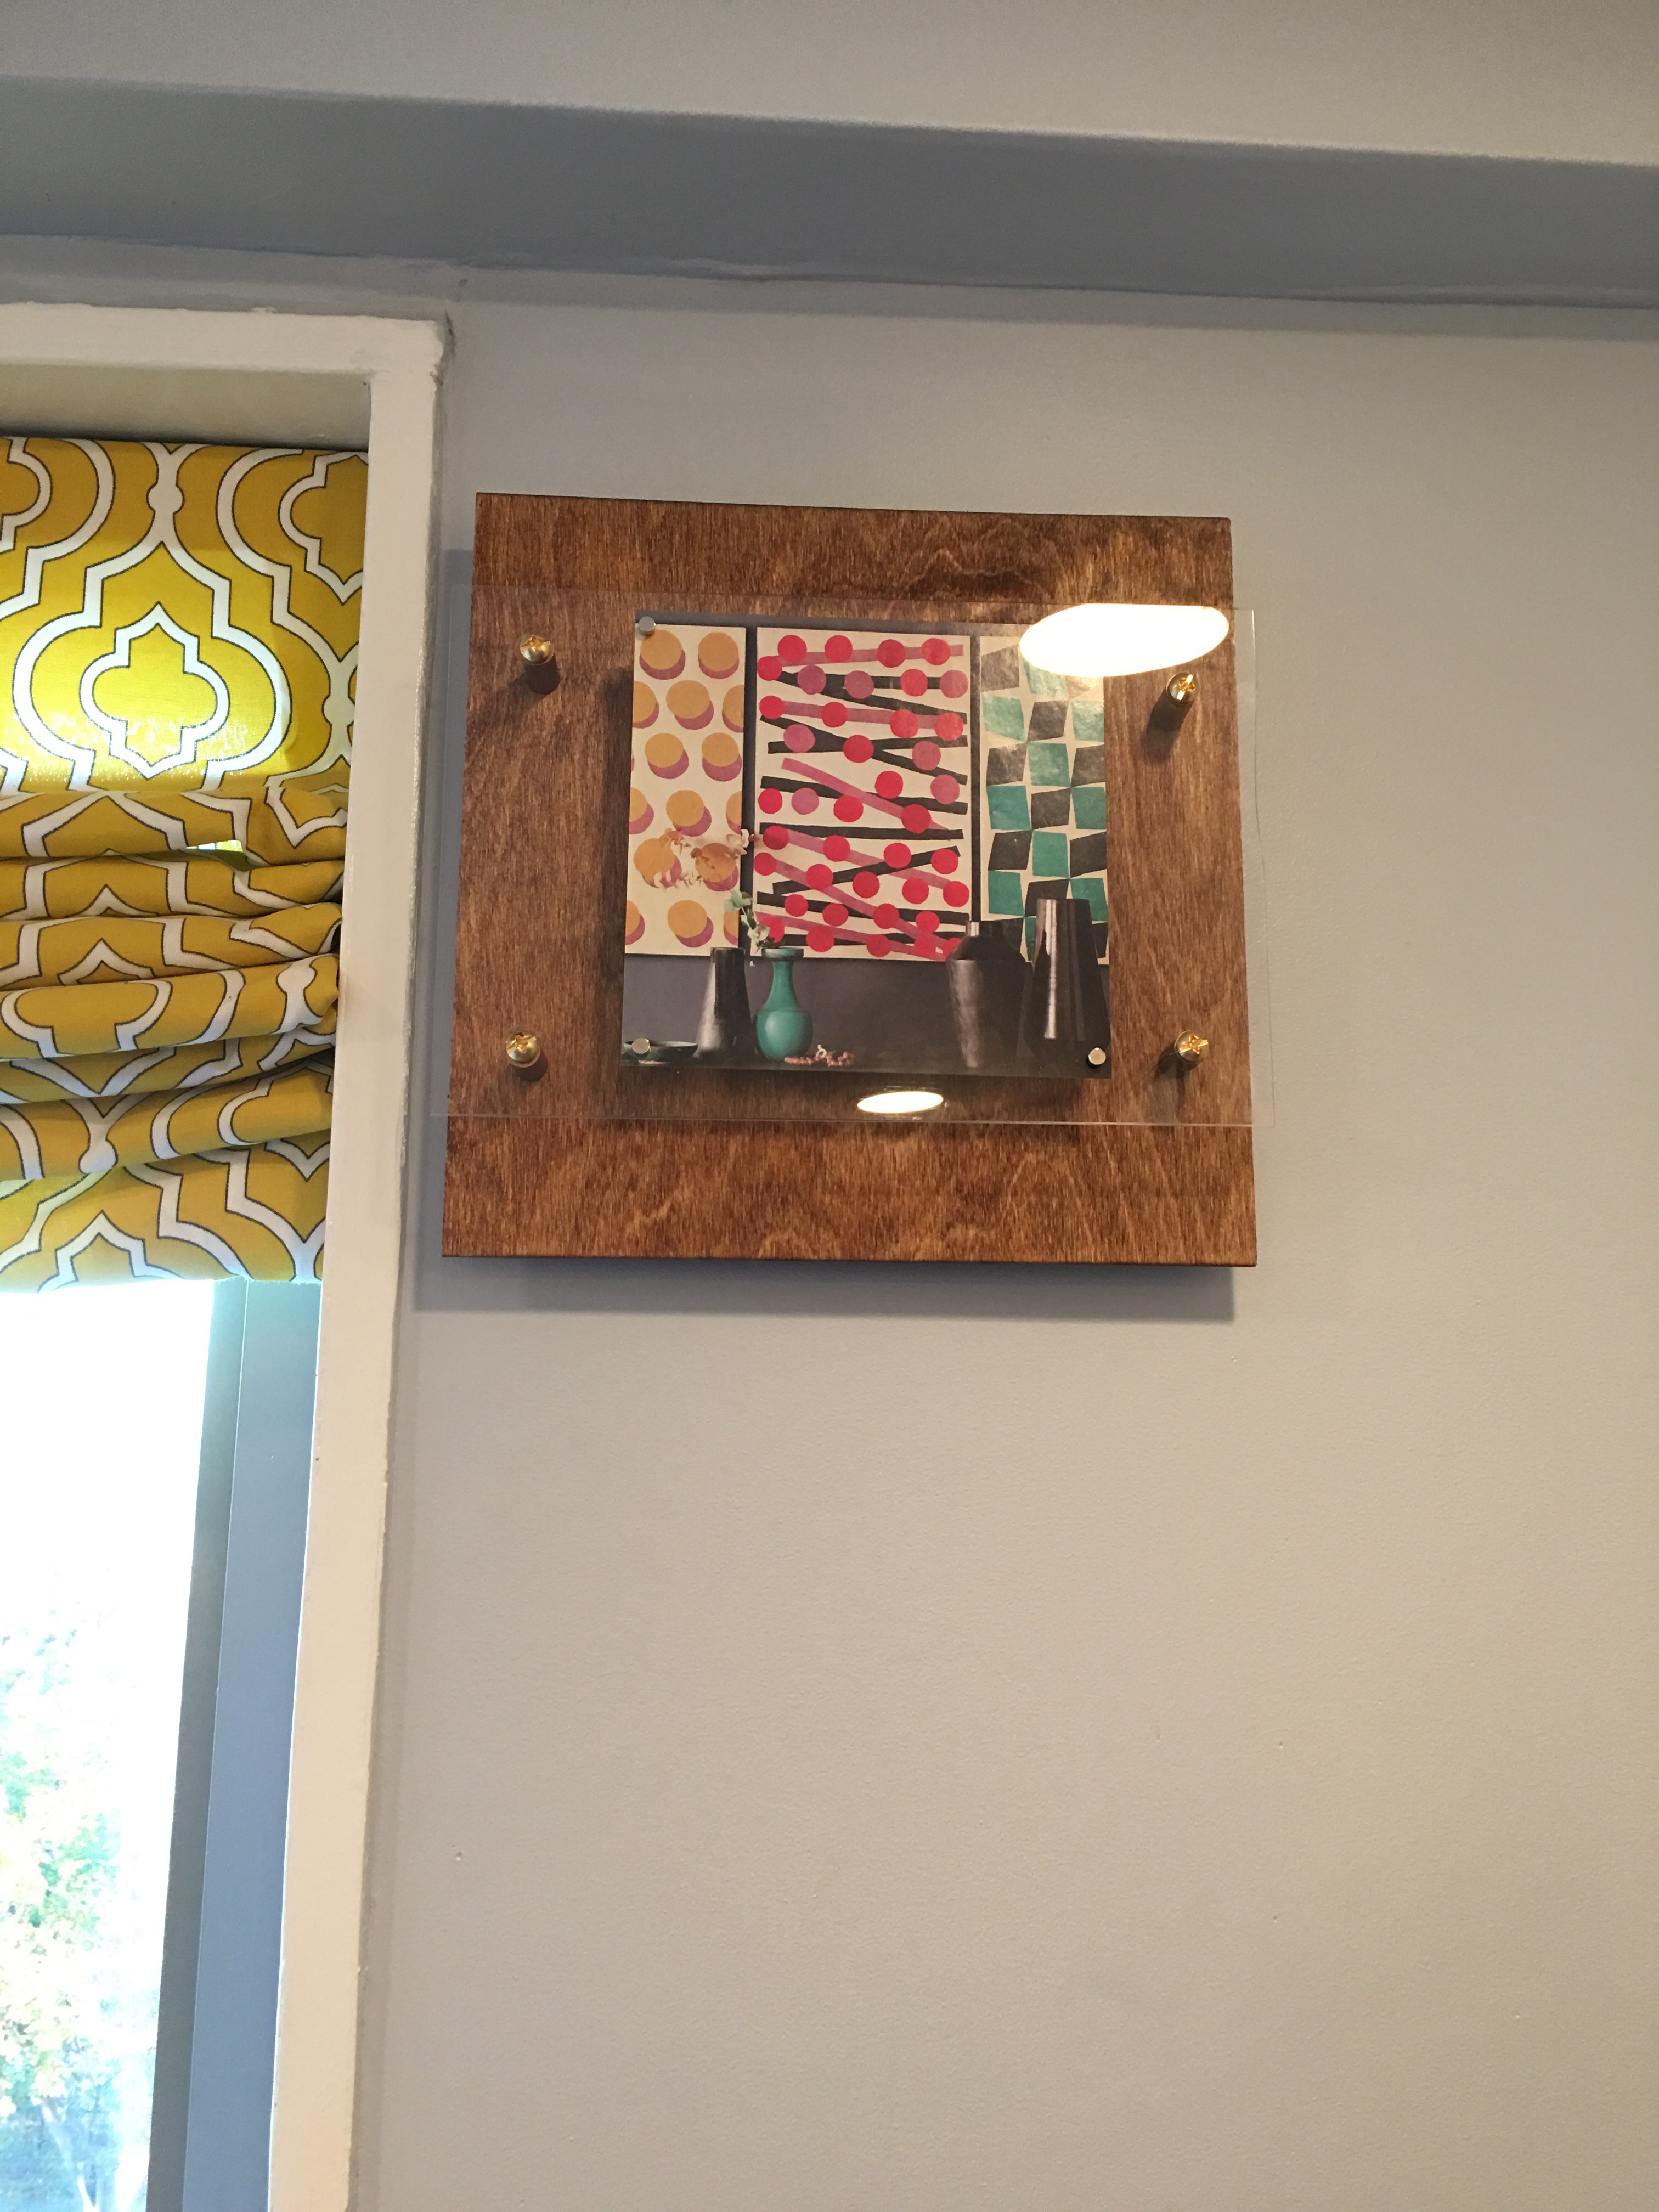
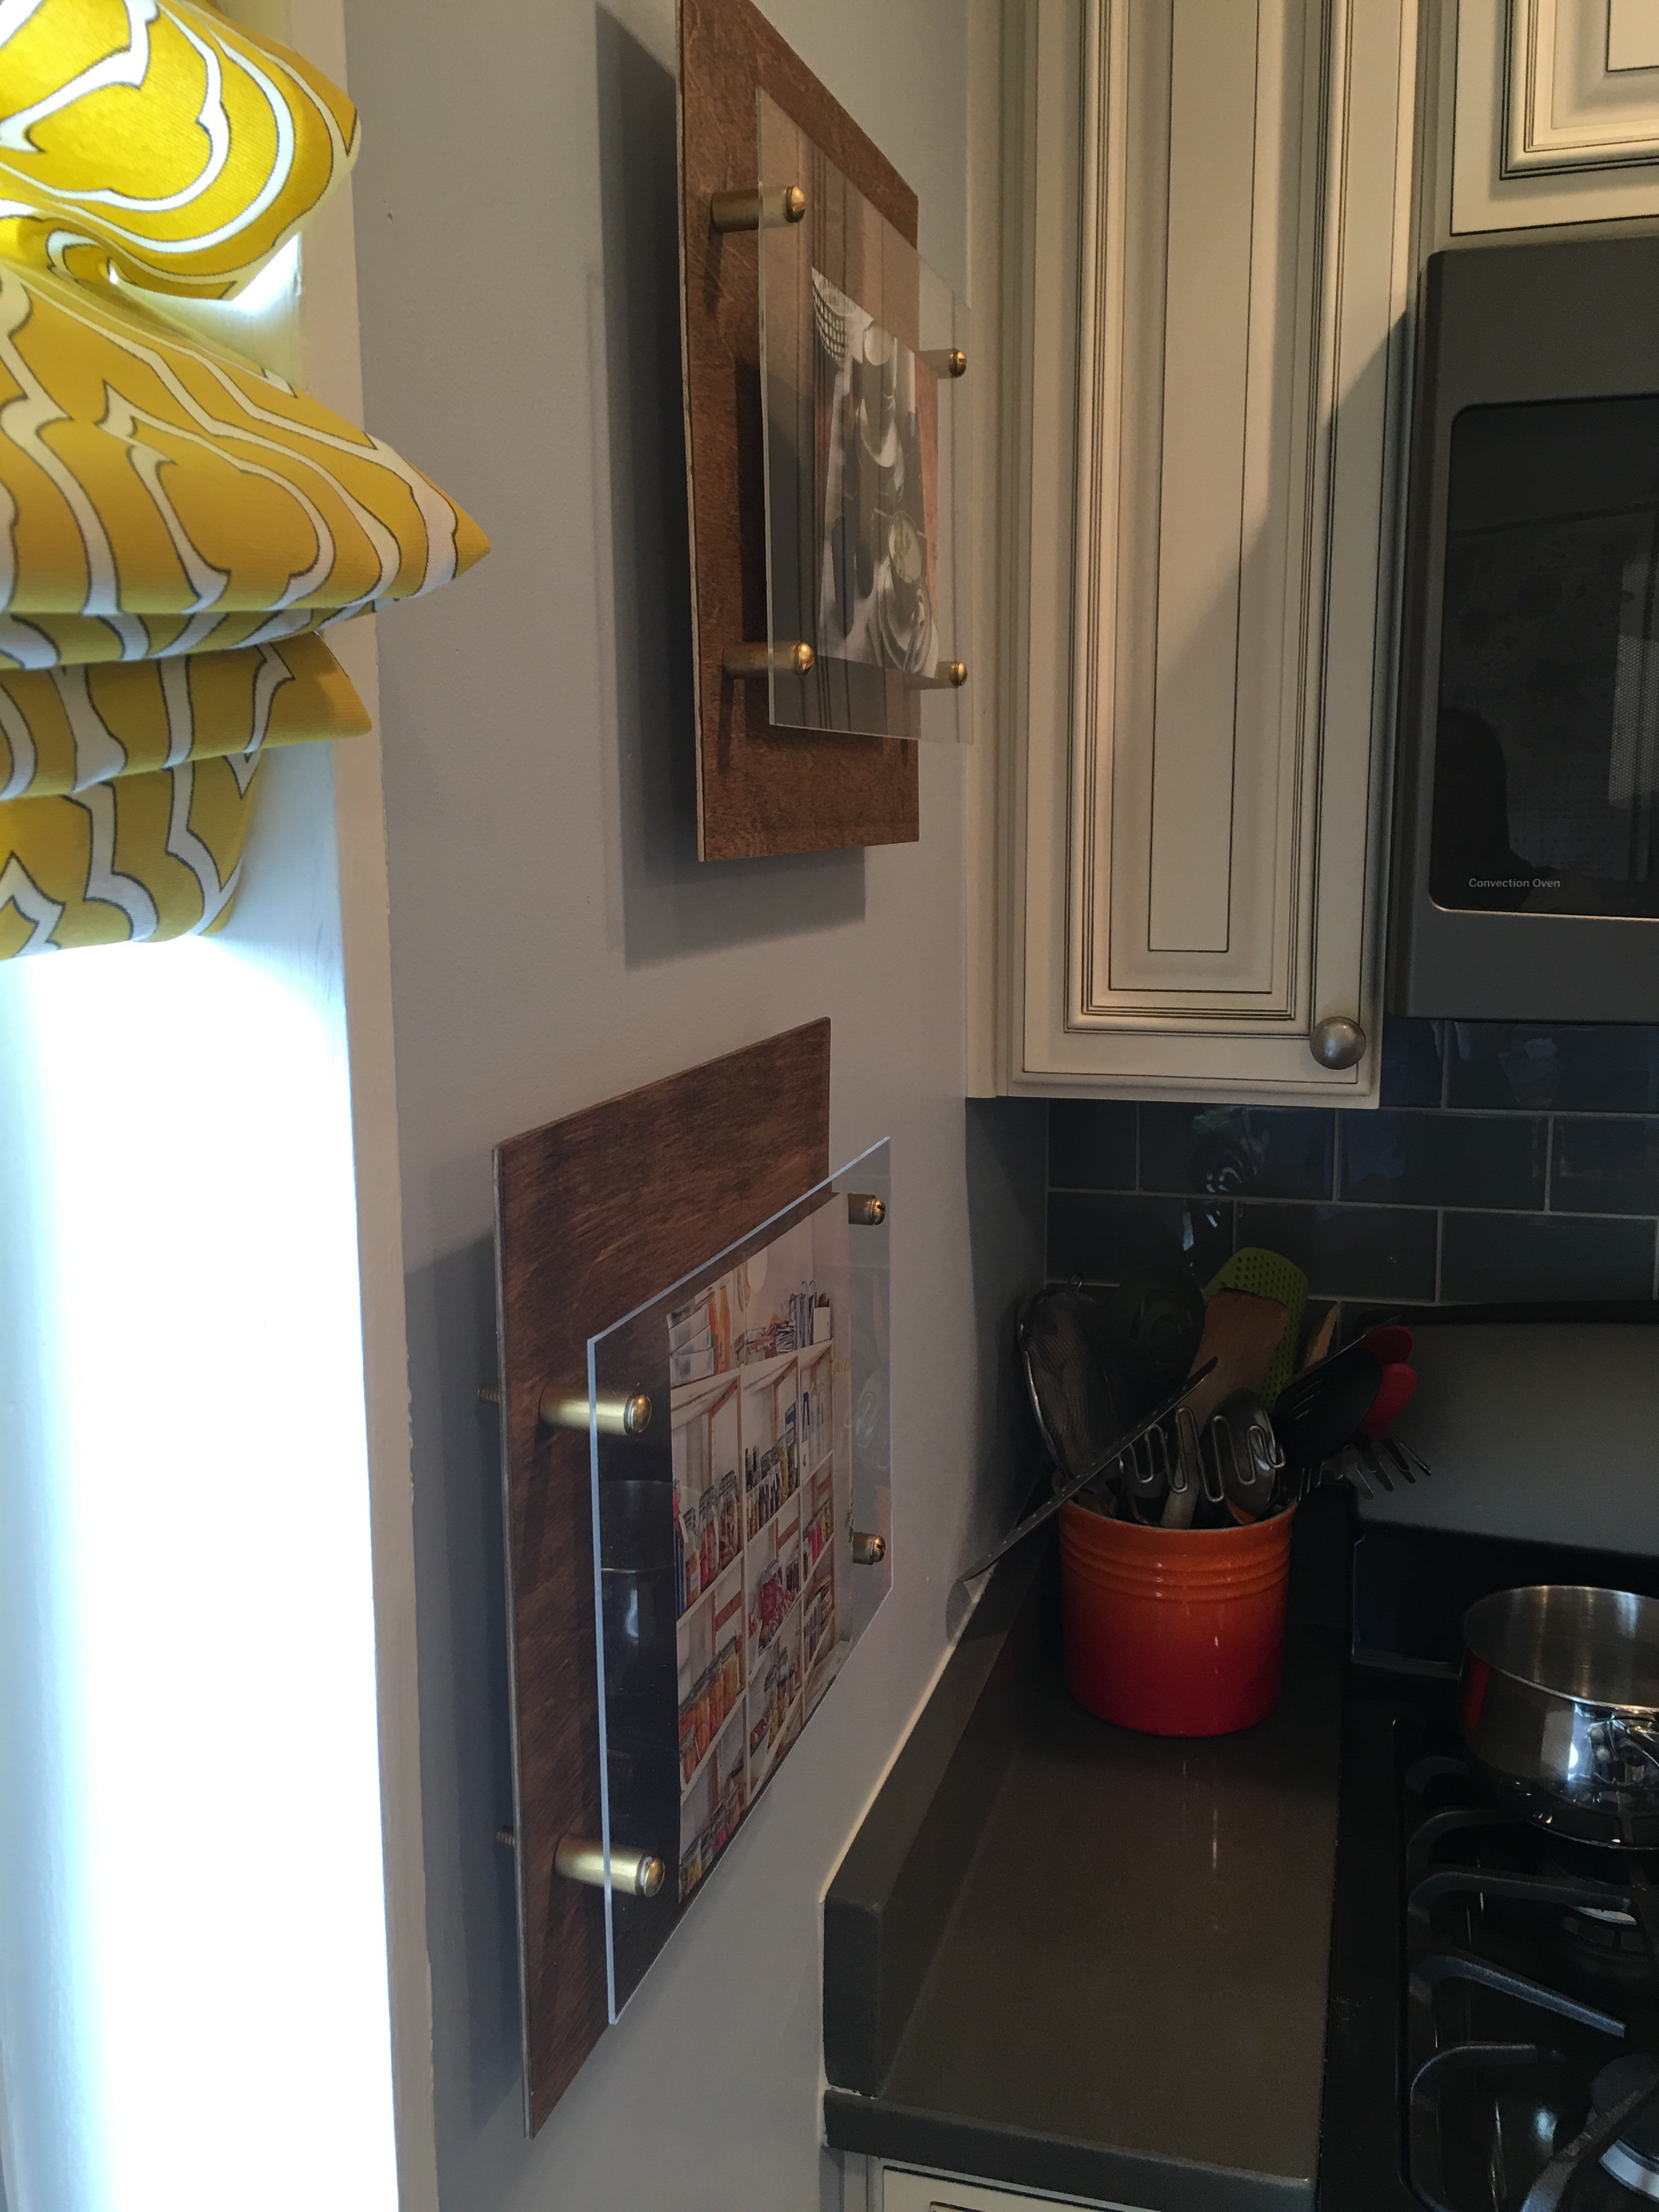
After doing plenty of DIY acrylic floating frame research on the web, I got the hang of making my version of these in late October. Below is a picture of one of my first 12 x 12 floating frame squares that I mounted in the kitchen on October 31.
This frame is mounted using two large Command picture strips. I was so focused on getting this made and mounted that I did not take any pictures of the process step-by-step back then. But I fixed that last week with my Decorated Wood Floating Frame Squares post. Here you’ll find the project list, step-by-step details and plenty of photos.
There were a few DIYs I found that shows you how to hang artwork directly to the wall using acrylic and stand-offs. This one from Honey and Fitz places the item between two sheets of acrylic, drill holes through both sheets in all corners, connect the two using a machine screw and nut, and then mount it to the wall using picture framing wire. This site gave me the idea for using magnets on both sides of the acrylic to hold the object in place.
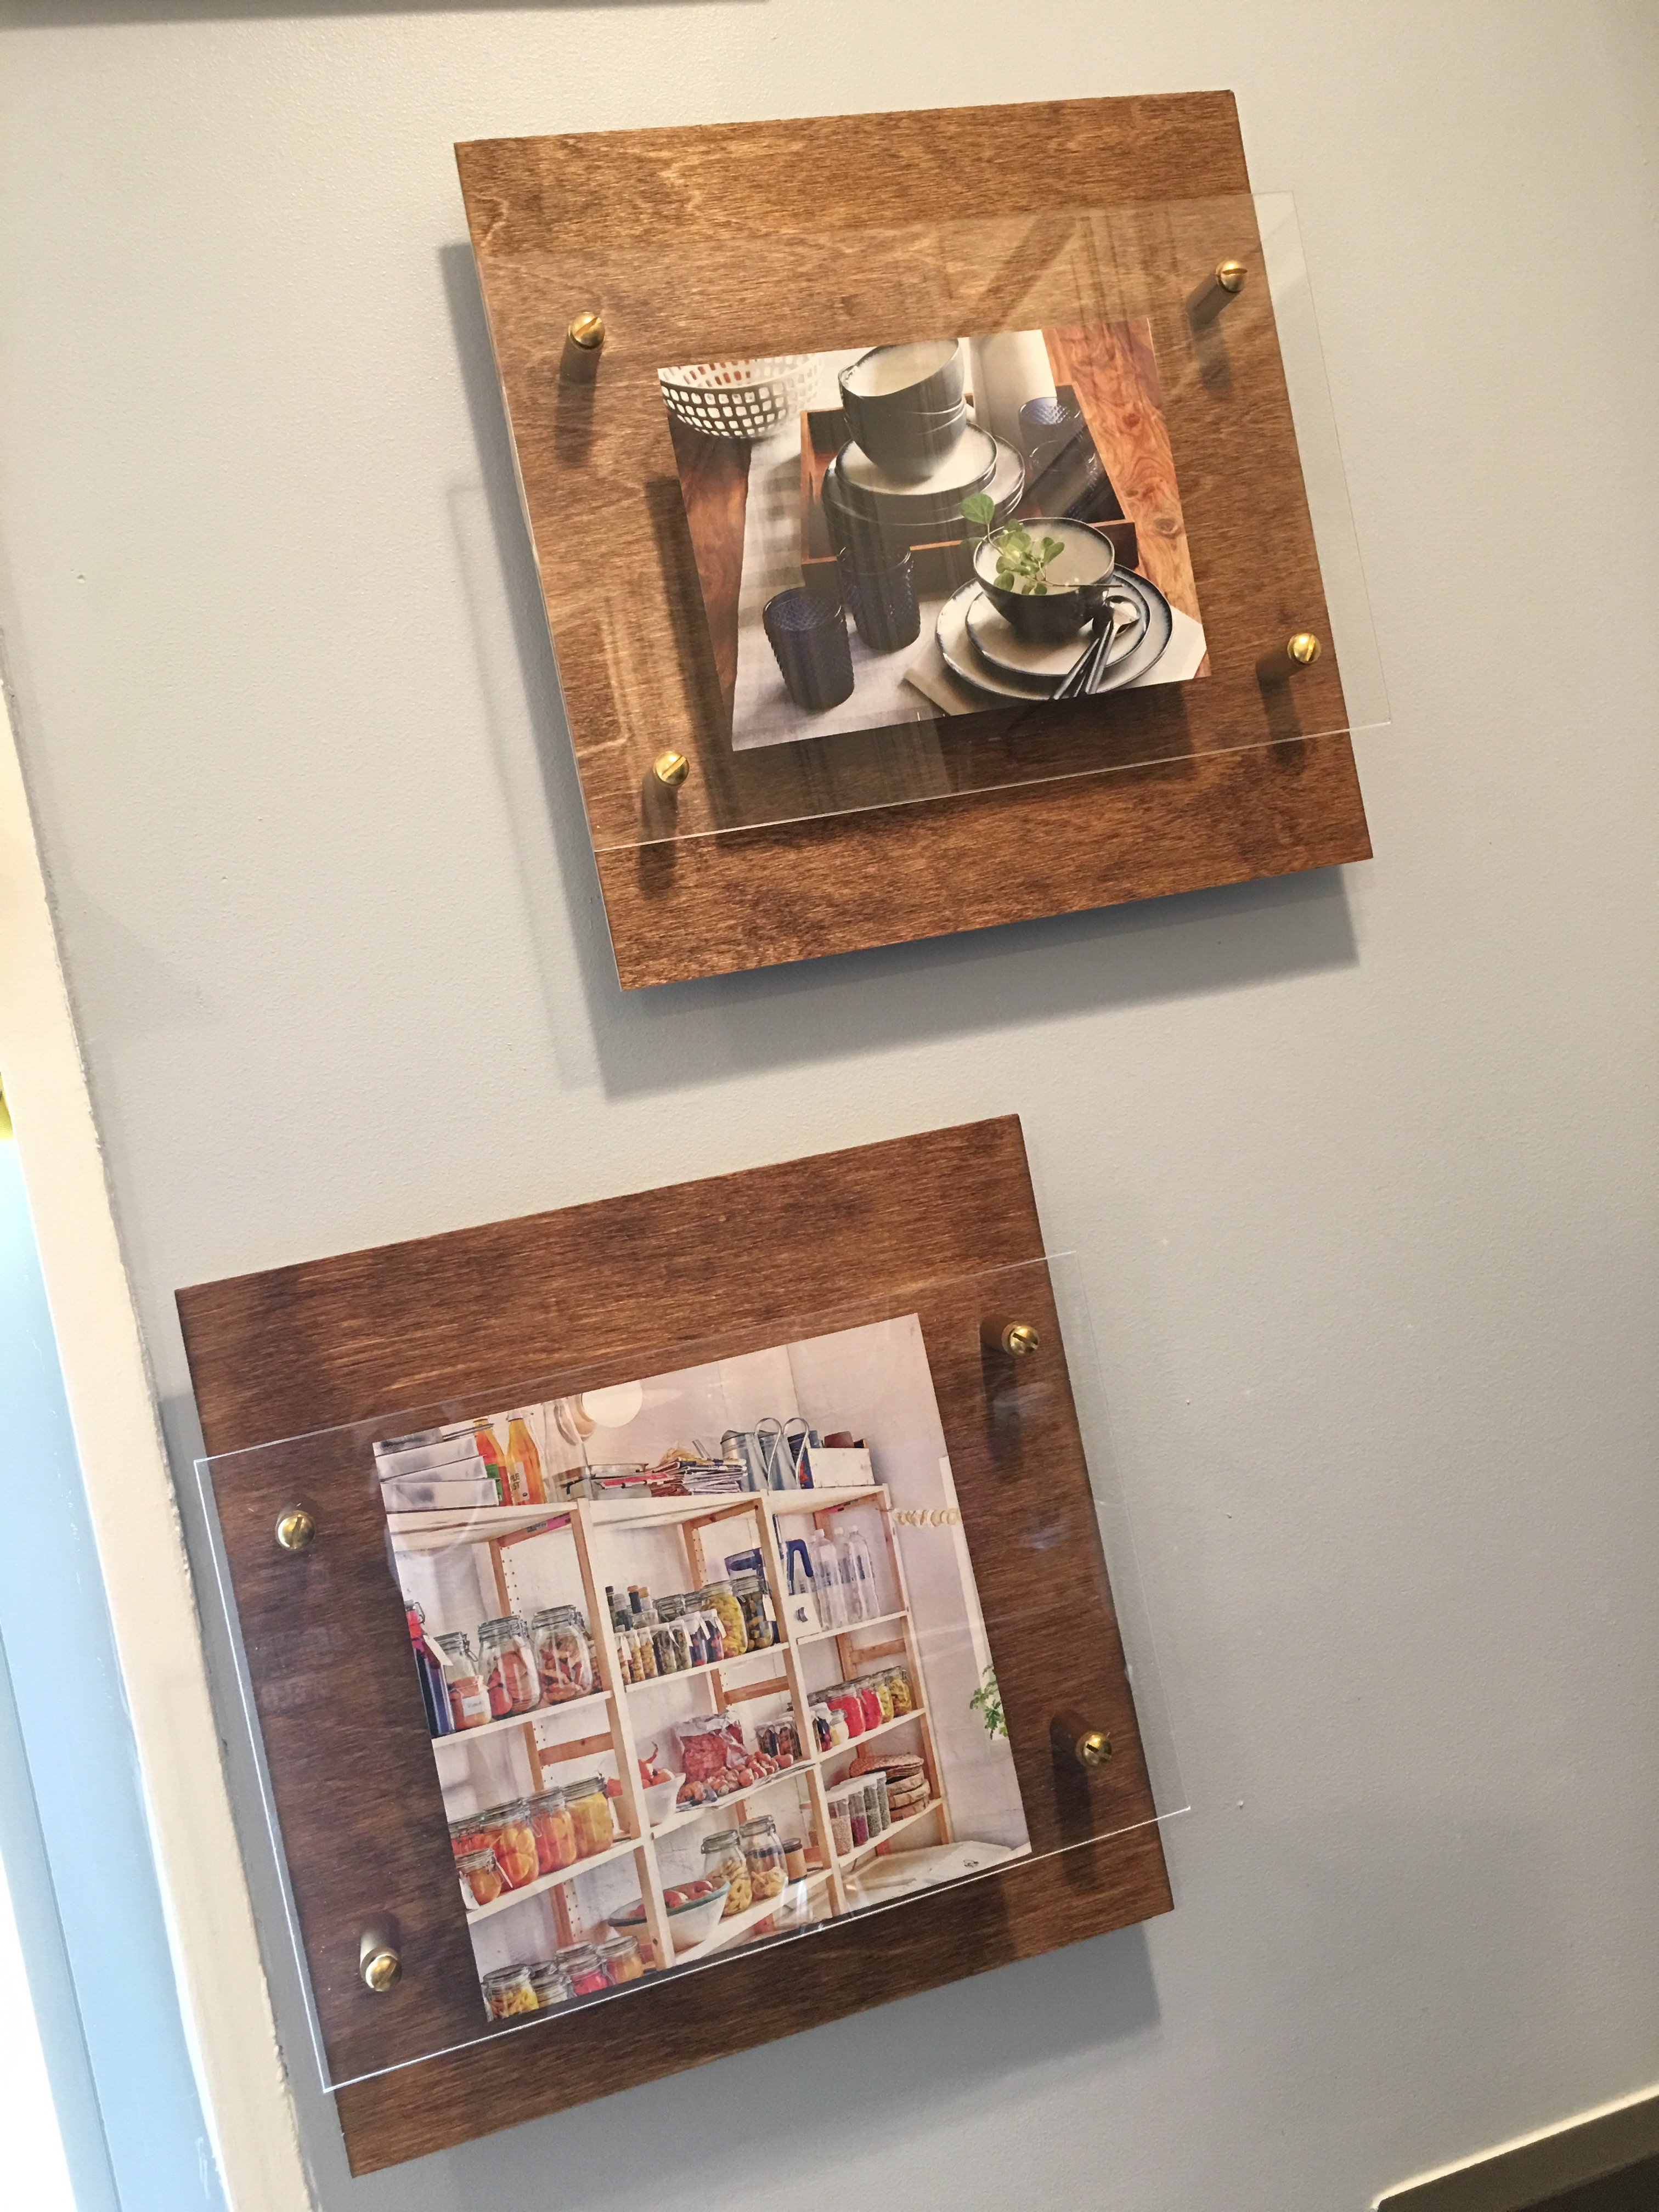
In my floating frame version, I used one sheet of acrylic and magnets to hold the artwork in place (this one was something cut out from a West Elm catalog and still hangs in the kitchen today). I discovered that I didn’t even need magnets to hold the artwork. The lightweight magazine paper naturally clings to the acrylic and stays in place on its own. But for glossy, heavyweight photos or postcards, magnets would be required.
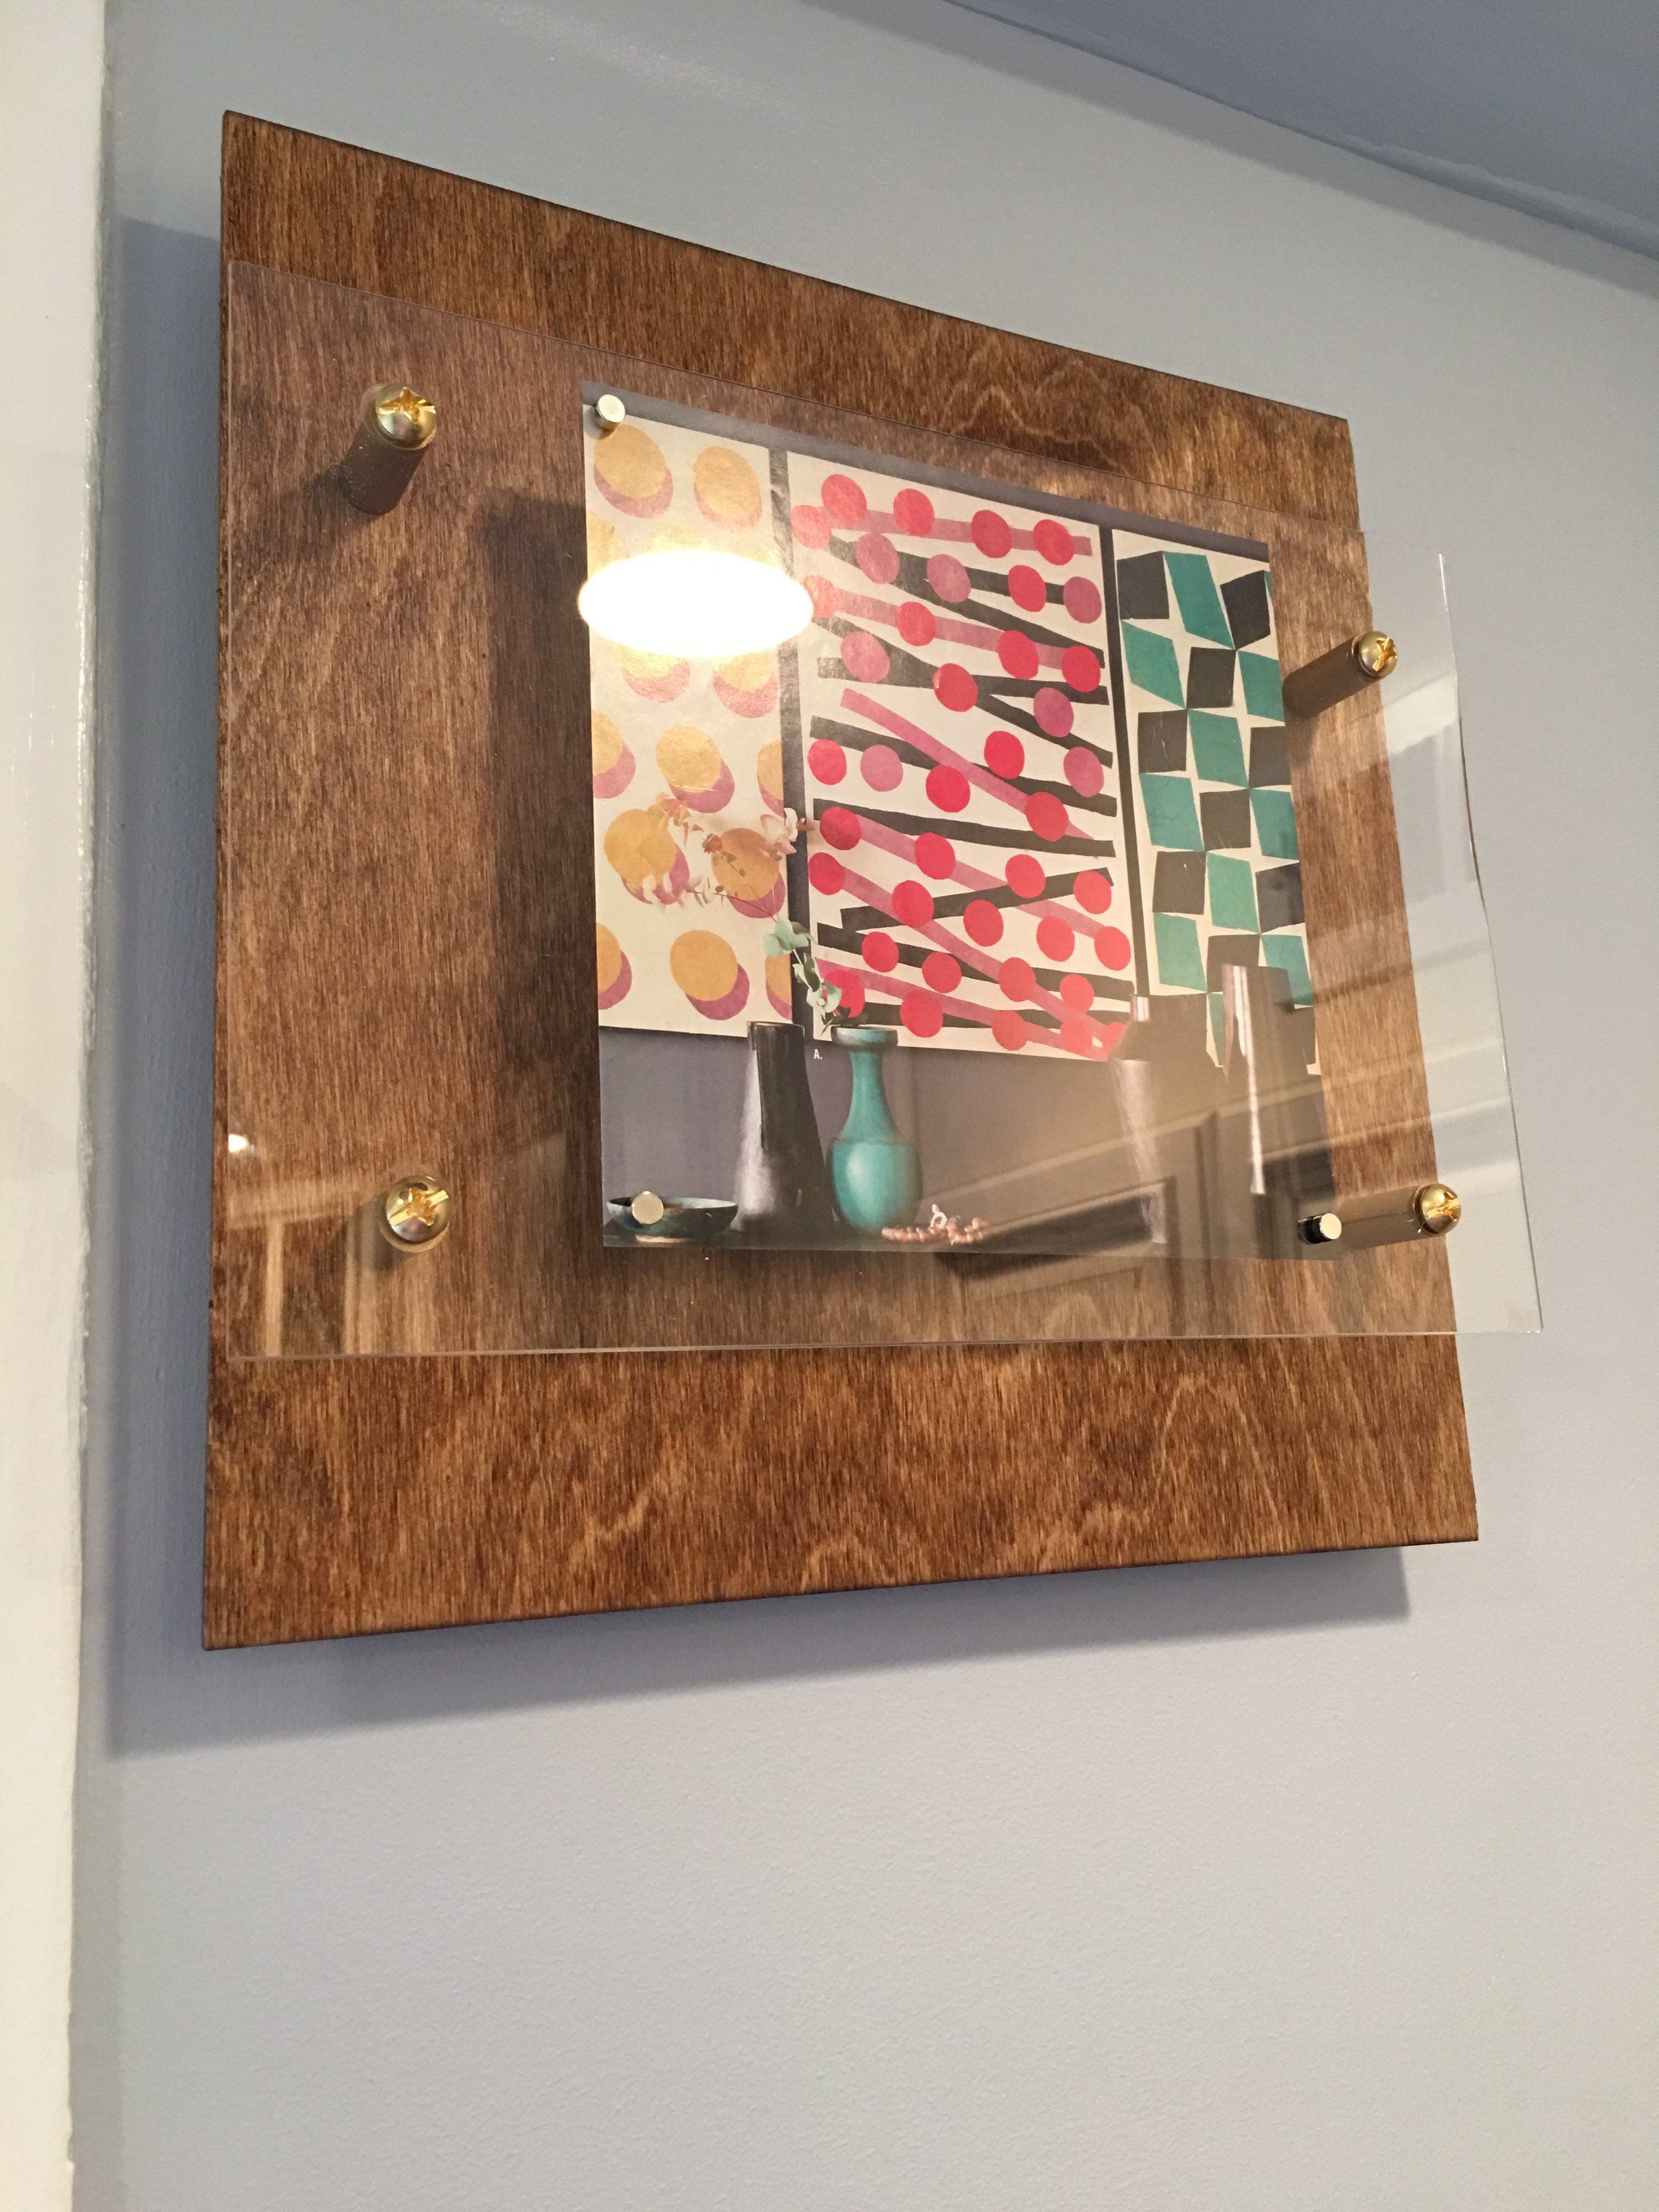
I also added spacers and wood beneath the acrylic to make it more of a floating frame. The frames in the kitchen use 1 inch nylon spacers that I covered with gold leaf. For the step-by-step, I went to the Lowes site and used their Floating Photo Frames tutorial.
This tutorial includes a video that demonstrates how to use a handheld power drill to carefully make the holes between the acrylic and wood (so that you don’t accidentally crack or chip the acrylic. Rather than take that risk, I brought my supplies over to my friend’s (Tim”s) garage and made use of his drill press (and my 5/16 glass and tile screw bits) to get the job done.
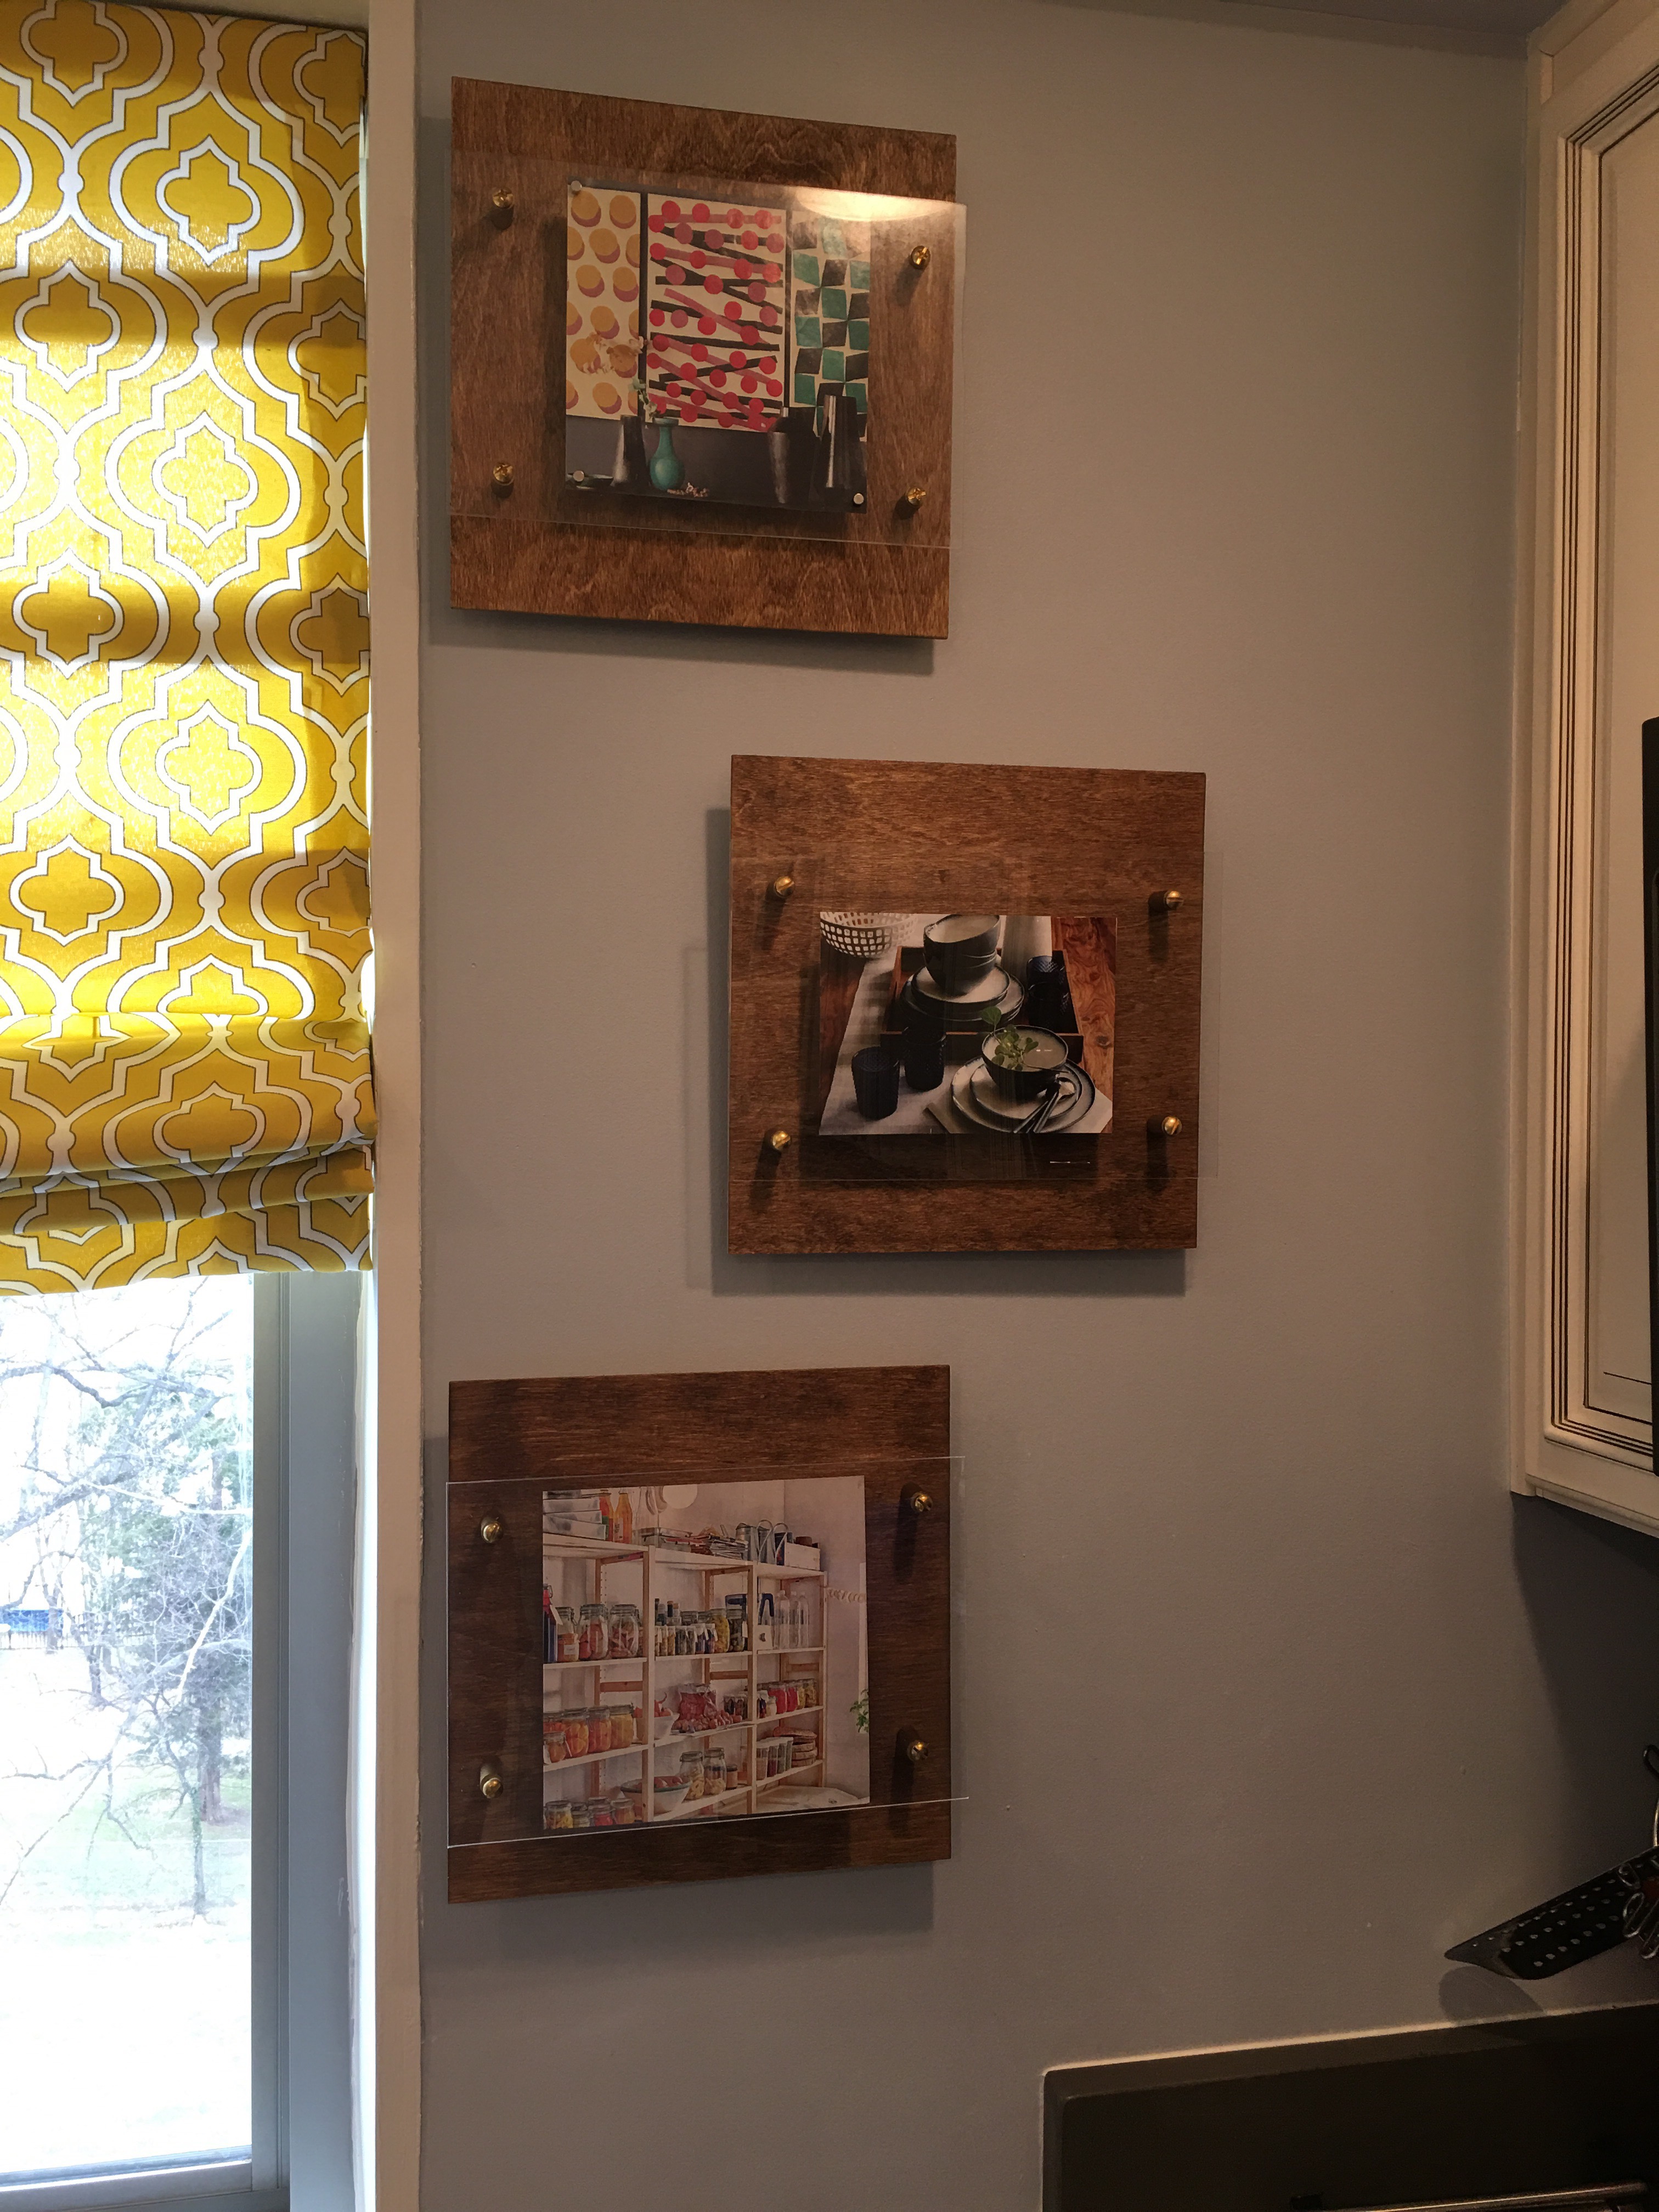
Floating frame square number two was quickly mounted under the first in early November.
For the wood backing, I use craft wood that I find in the arts and crafts or local hardware store. The plywood from Midwest Products is what you see in most stores. It’s pre-cut, pre-sanded and ready to go. I spend about $3 for a 12 x 12 1/4″ thick piece.
You can get a much bigger 2 x 4′ piece for $6 and cut it down into six pieces (and pay one-third the price per piece). I’ve done just that and have plenty of wood squares in my craft stash ready to go. But the cuts at the hardware store are really raw and requires a lot of sanding. Also the quality of the plywood is different (and the layers beneath the wood outer layer peeks through some of the splintered pieces.
Both work great with this floating frame project. But I chose to use only the more pristine, $3 pieces in the kitchen.
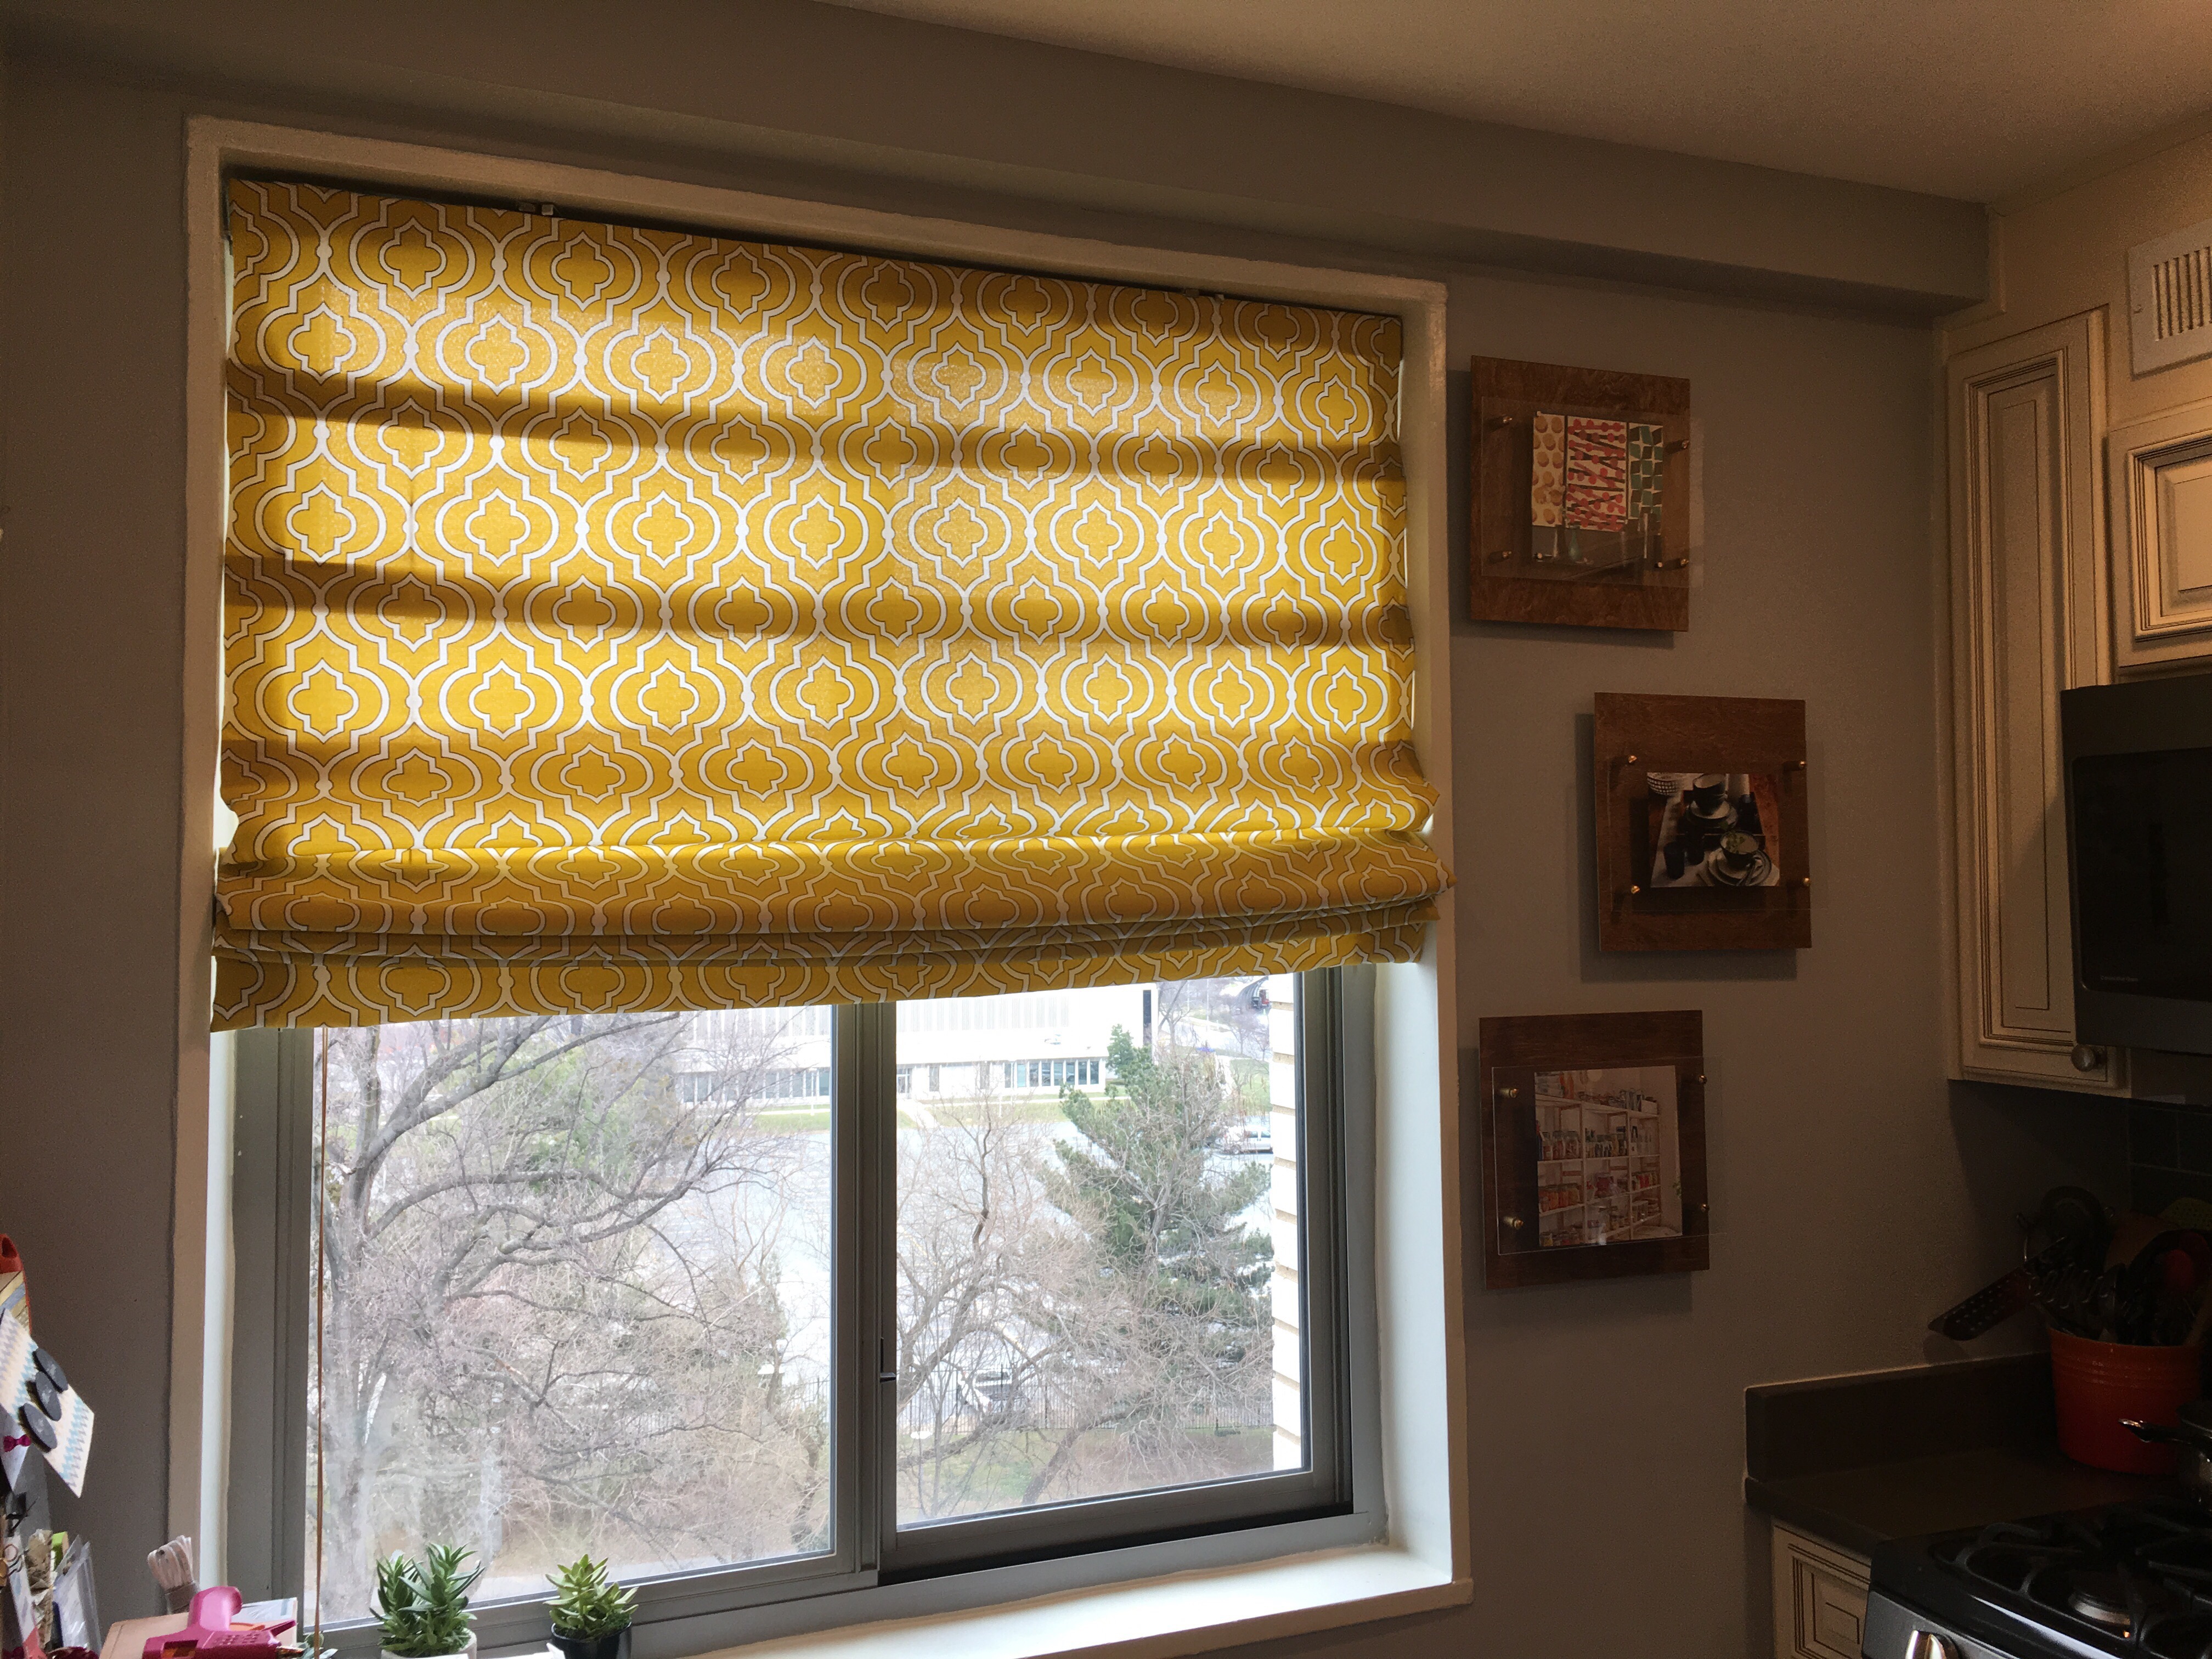
I added a third floating frame square last week (on February 28).
Here’s a side view of the frames. As you can see, they are very lightweight. I use one sheet of 8 x 12 acrylic (to bring out the contrast between the acrylic and wood layers even more). No magnets are needed for these squares (all using pictures out of a magazine or catalog).
And you can easily swap out the displayed photo and image without taking the square off the wall.
I have this idea of making a DIY recipe catalog and swapping out one or more of these photos for recipes. Something that can be viewed and followed along with while prepping and cooking food. Hmmm…
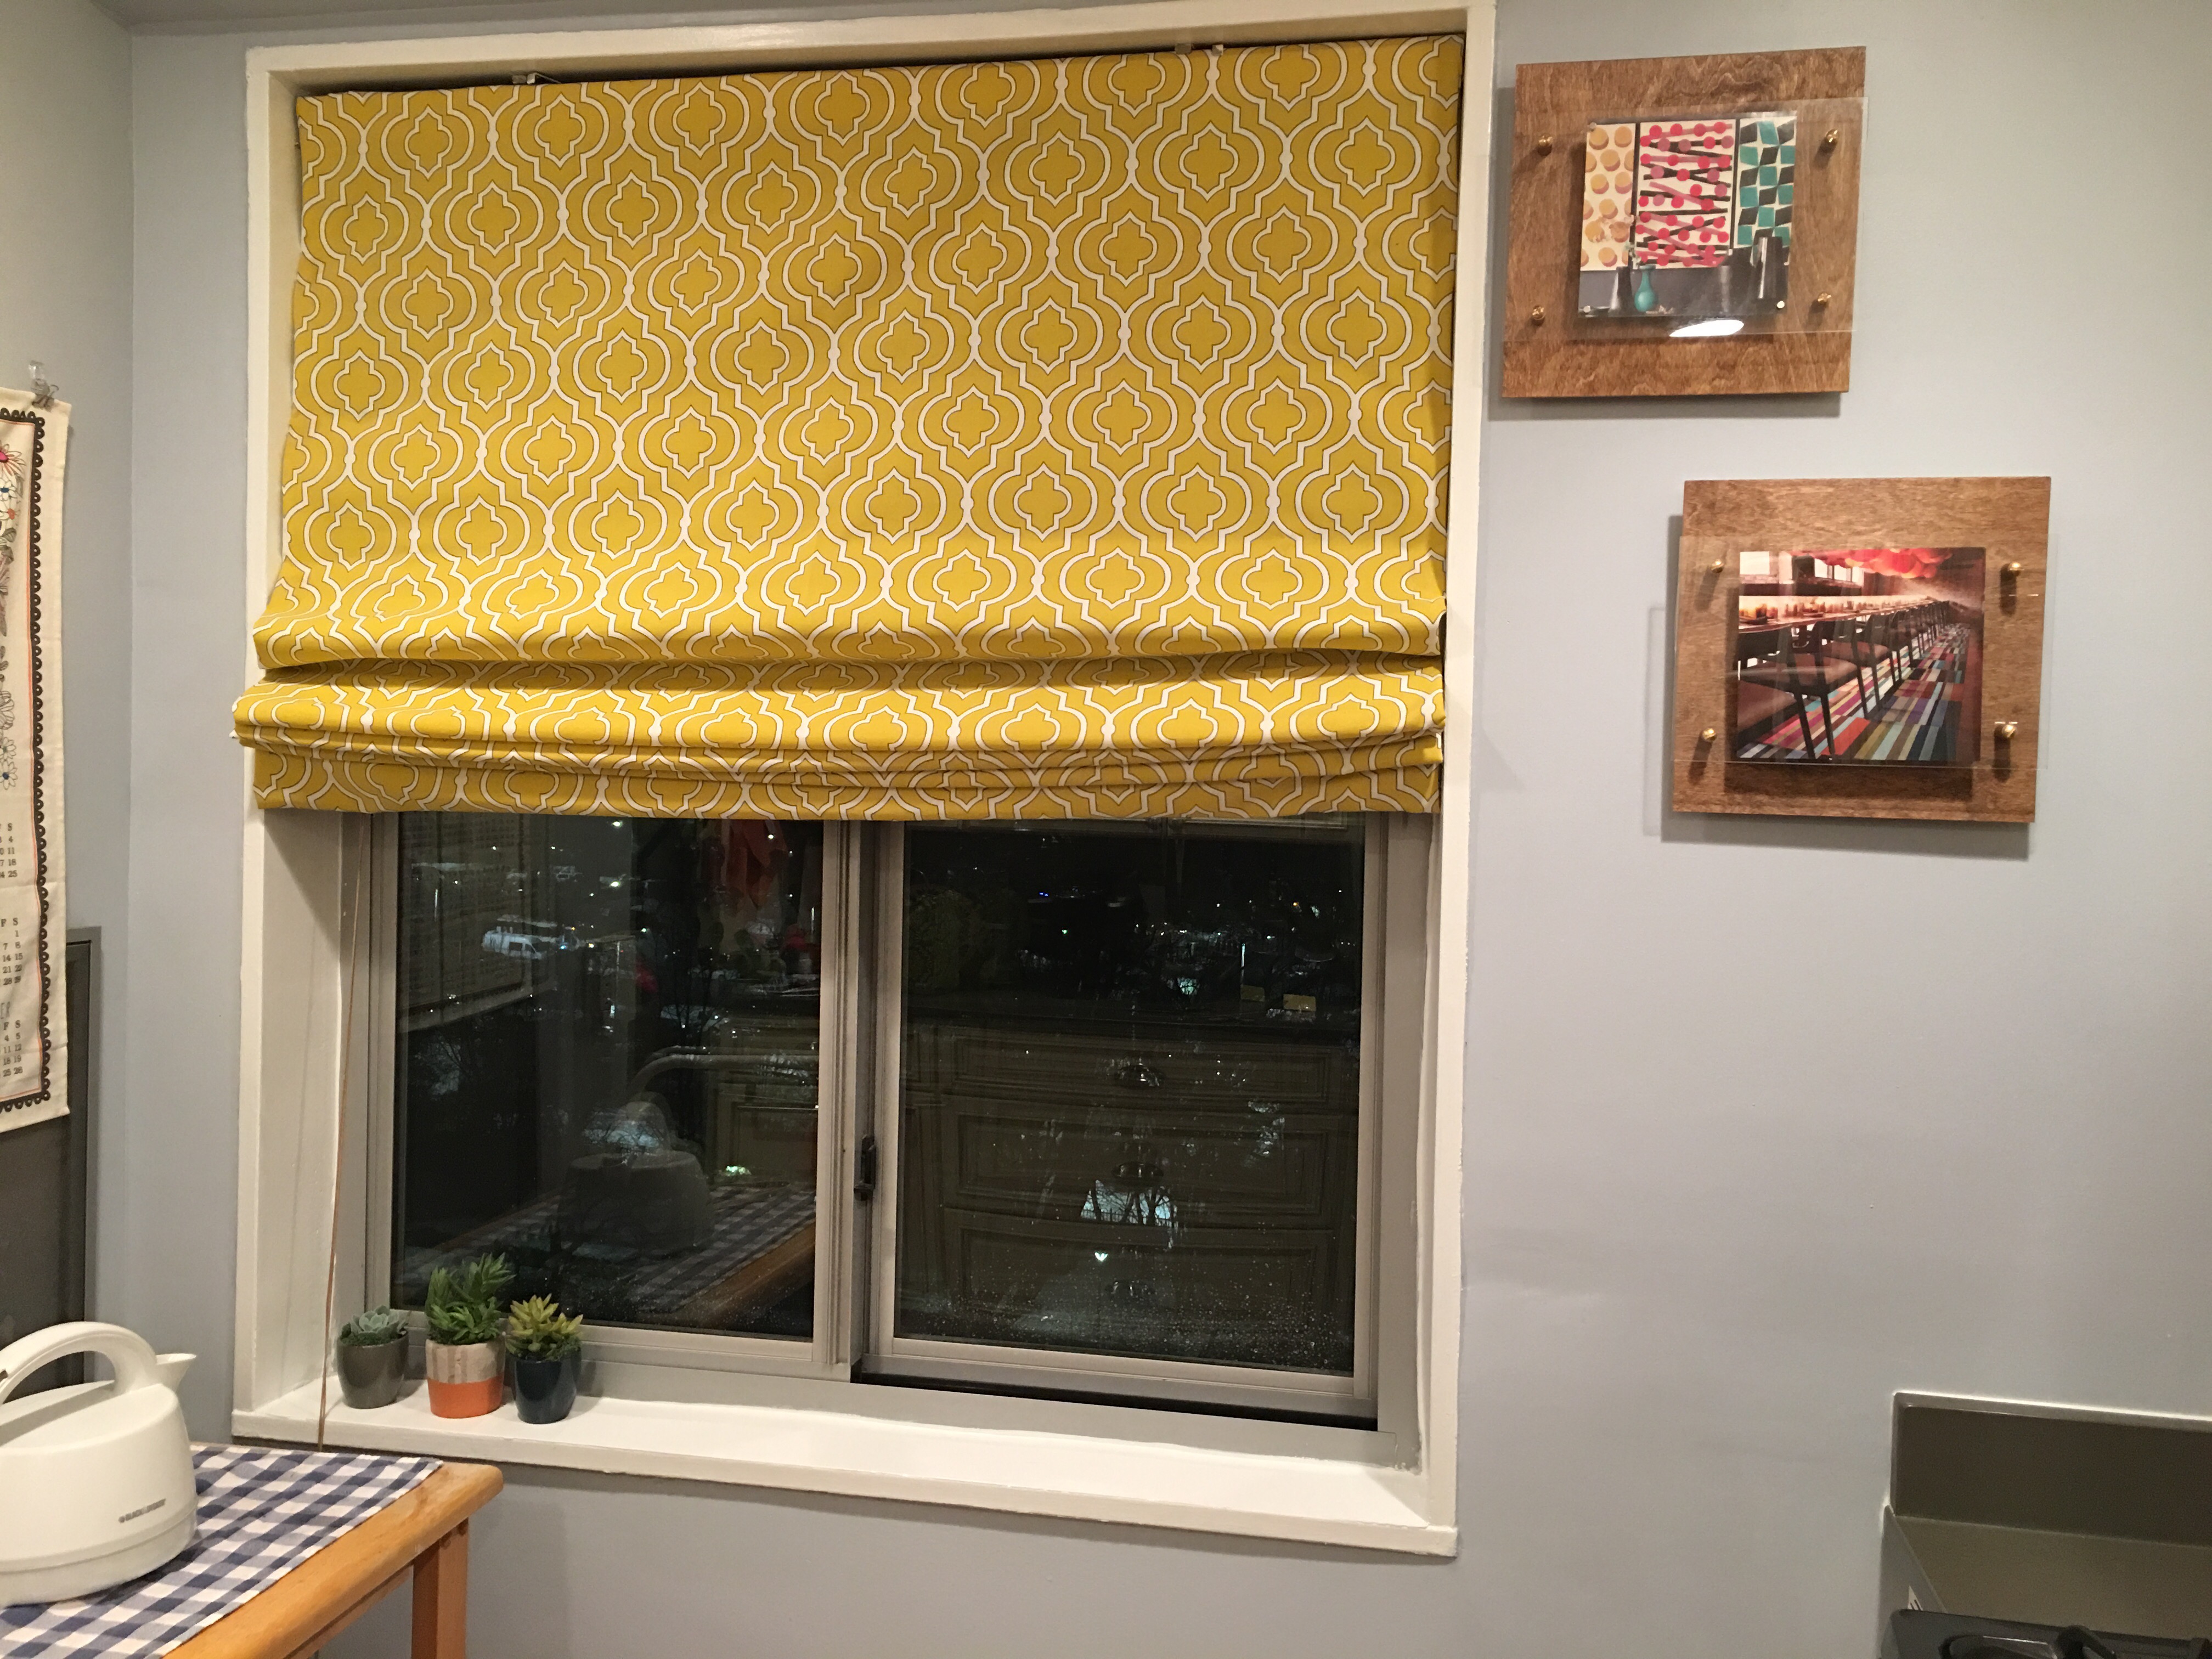
When Bruce first saw these mounted in the kitchen, he was really impressed with the look with it. It really looks great. It enhances the look of the space and is perfect for that sliver of wall next to our stove and the window.
And I get to once again demonstrate the power of Command strips. Bruce, being the far more skeptical one when it comes to the merits of mounting with adhesive strips, can’t deny that they work just fine for these. I’ve had these squares up in the kitchen (and in other rooms in the condo) for months using Command strips. Perfect!
So that’s the full story on the frames in the kitchen. These were the second DIY frames I completed, actually. The first were the Paper Ogee frames that now hangs as part of my living room gallery wall. And I have a huge 30 x 48 version of the floating frame in the works. Stay tuned. V-