
Mod Podge Puzzle Wood Panel Floating Frame
You may also like:
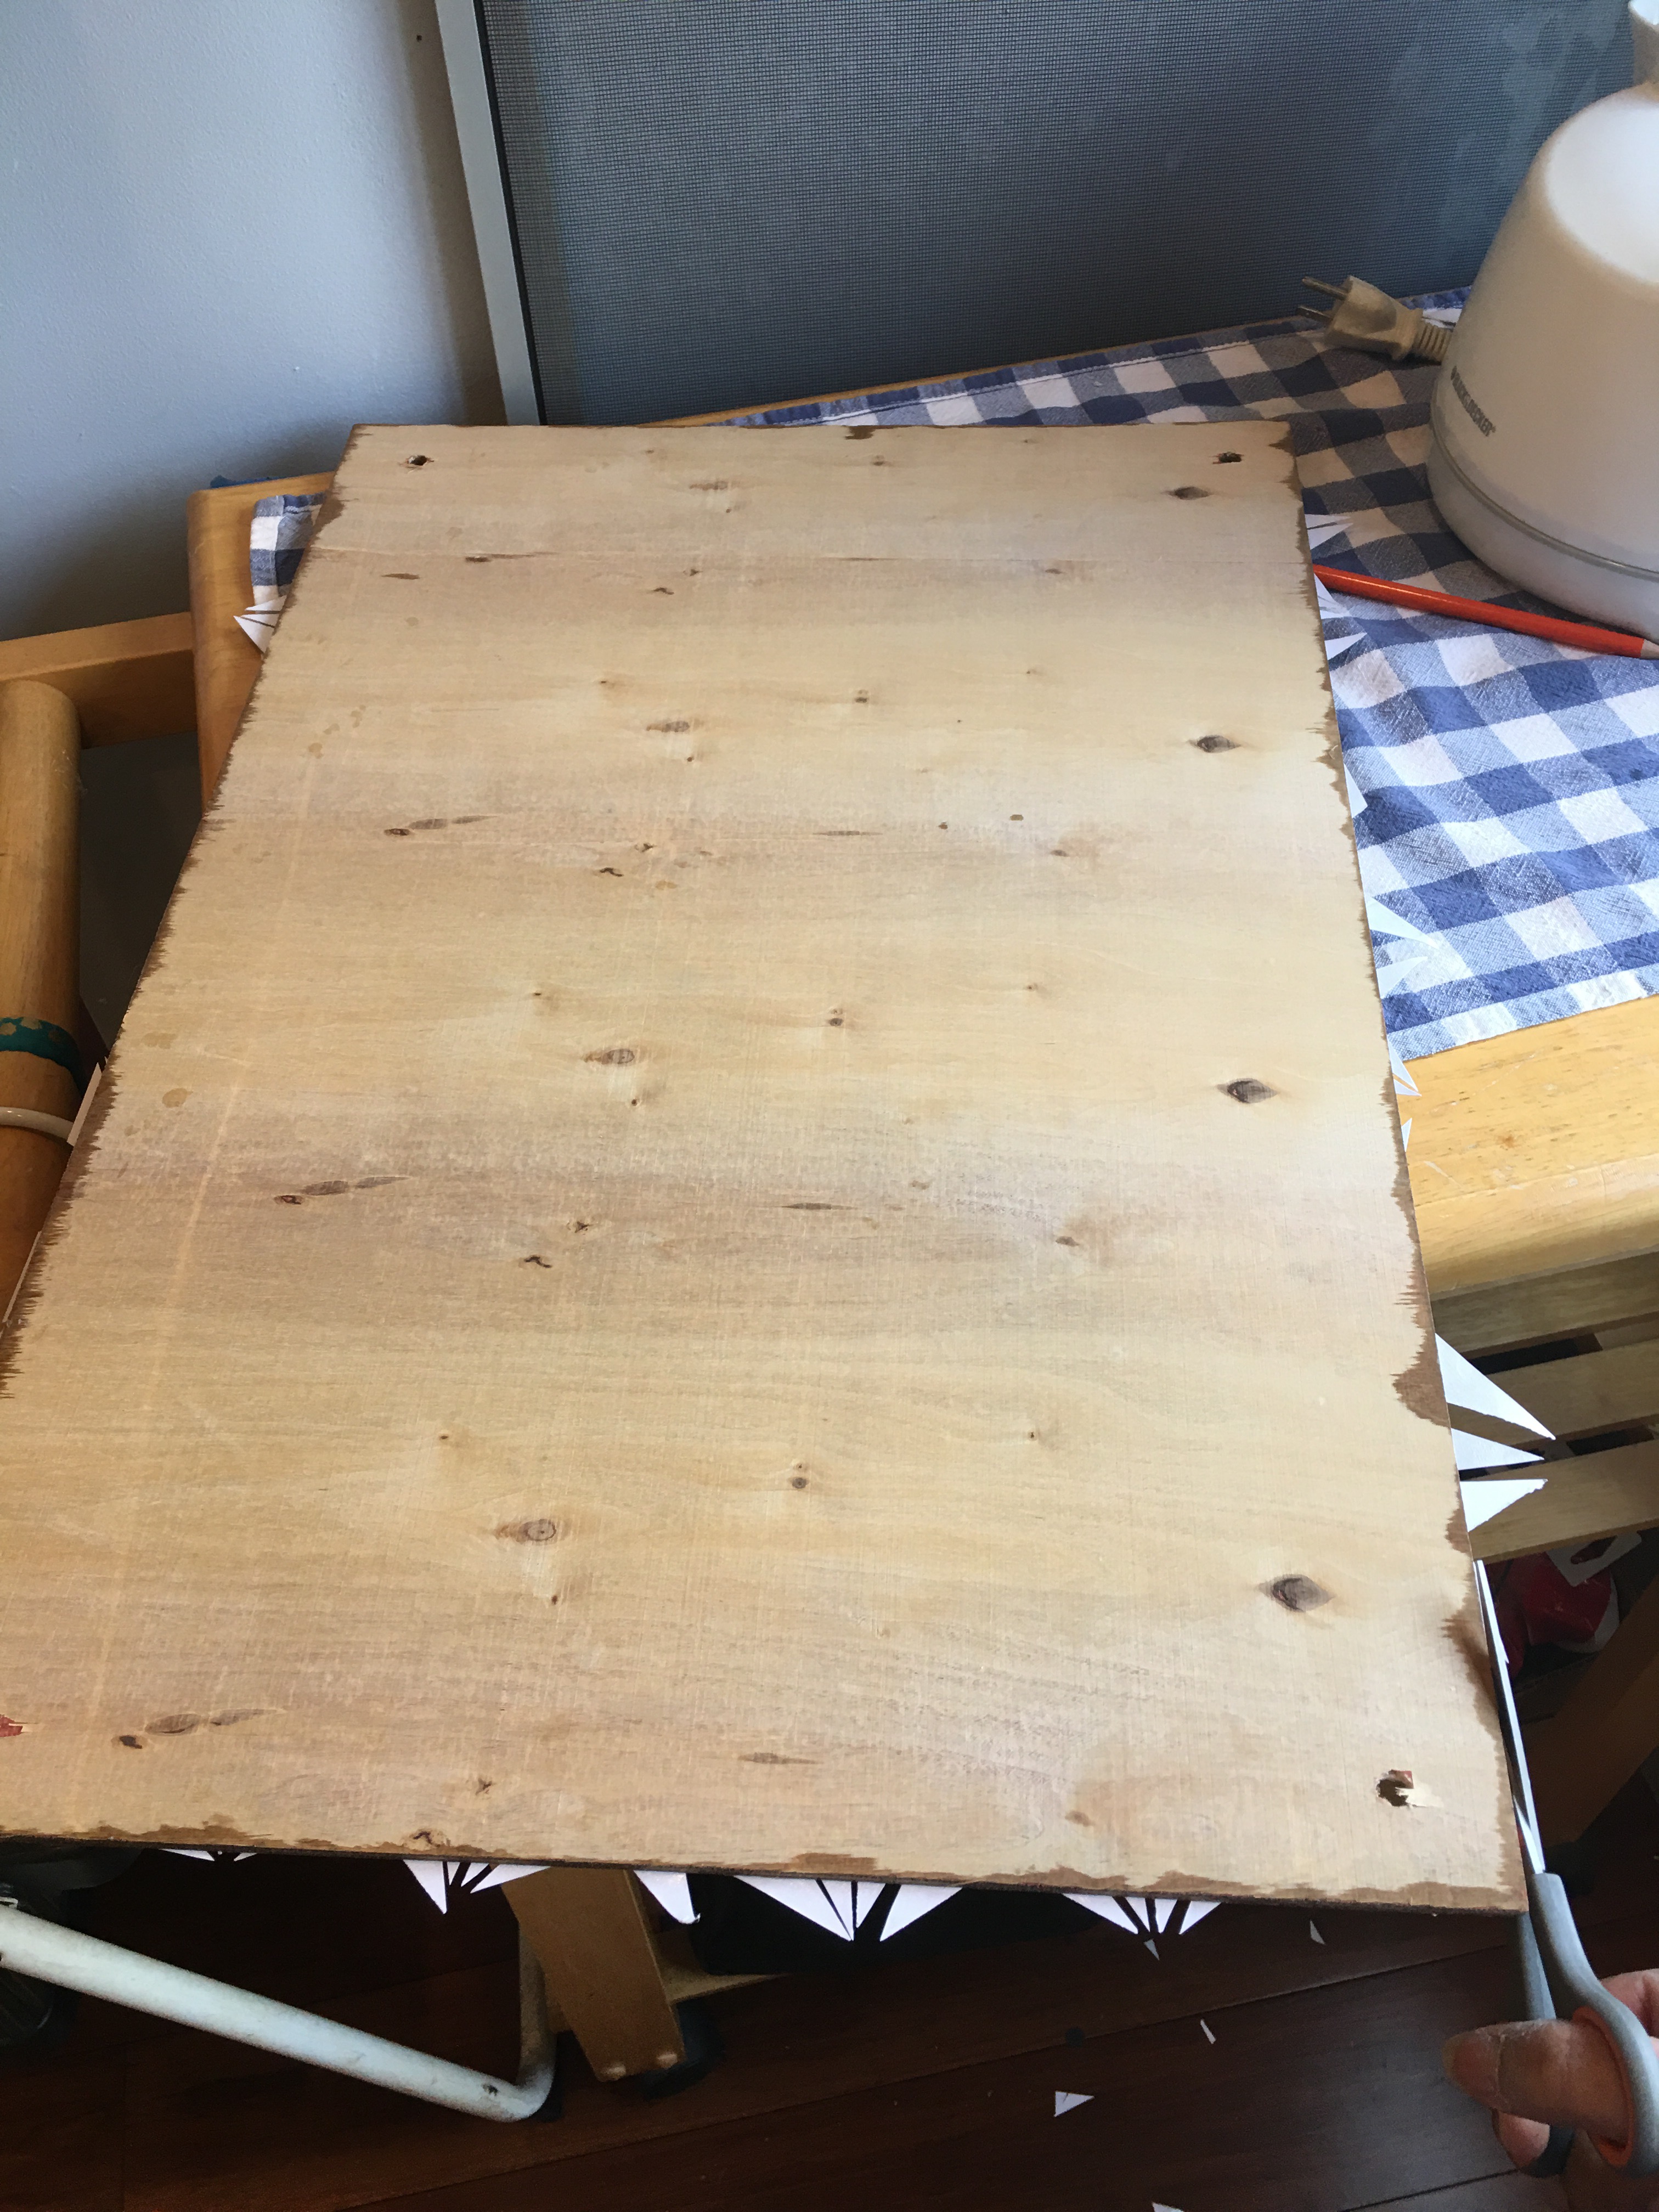
February 11, 2016: I have these pieces of plywood in the condo, just stashed away for more floating frame wood projects. I started with basic, unadorned stained wood plywood, then began to experiment with paper-decorated wood (like the ogee paper decorated wood floating frames in my corner living nook).
I wanted to experiment with more decorated plywood (after having stained pieces of 16×24 and 12×12 pieces, many prepped with drilled holes and accompanying drilled acrylic sheets).
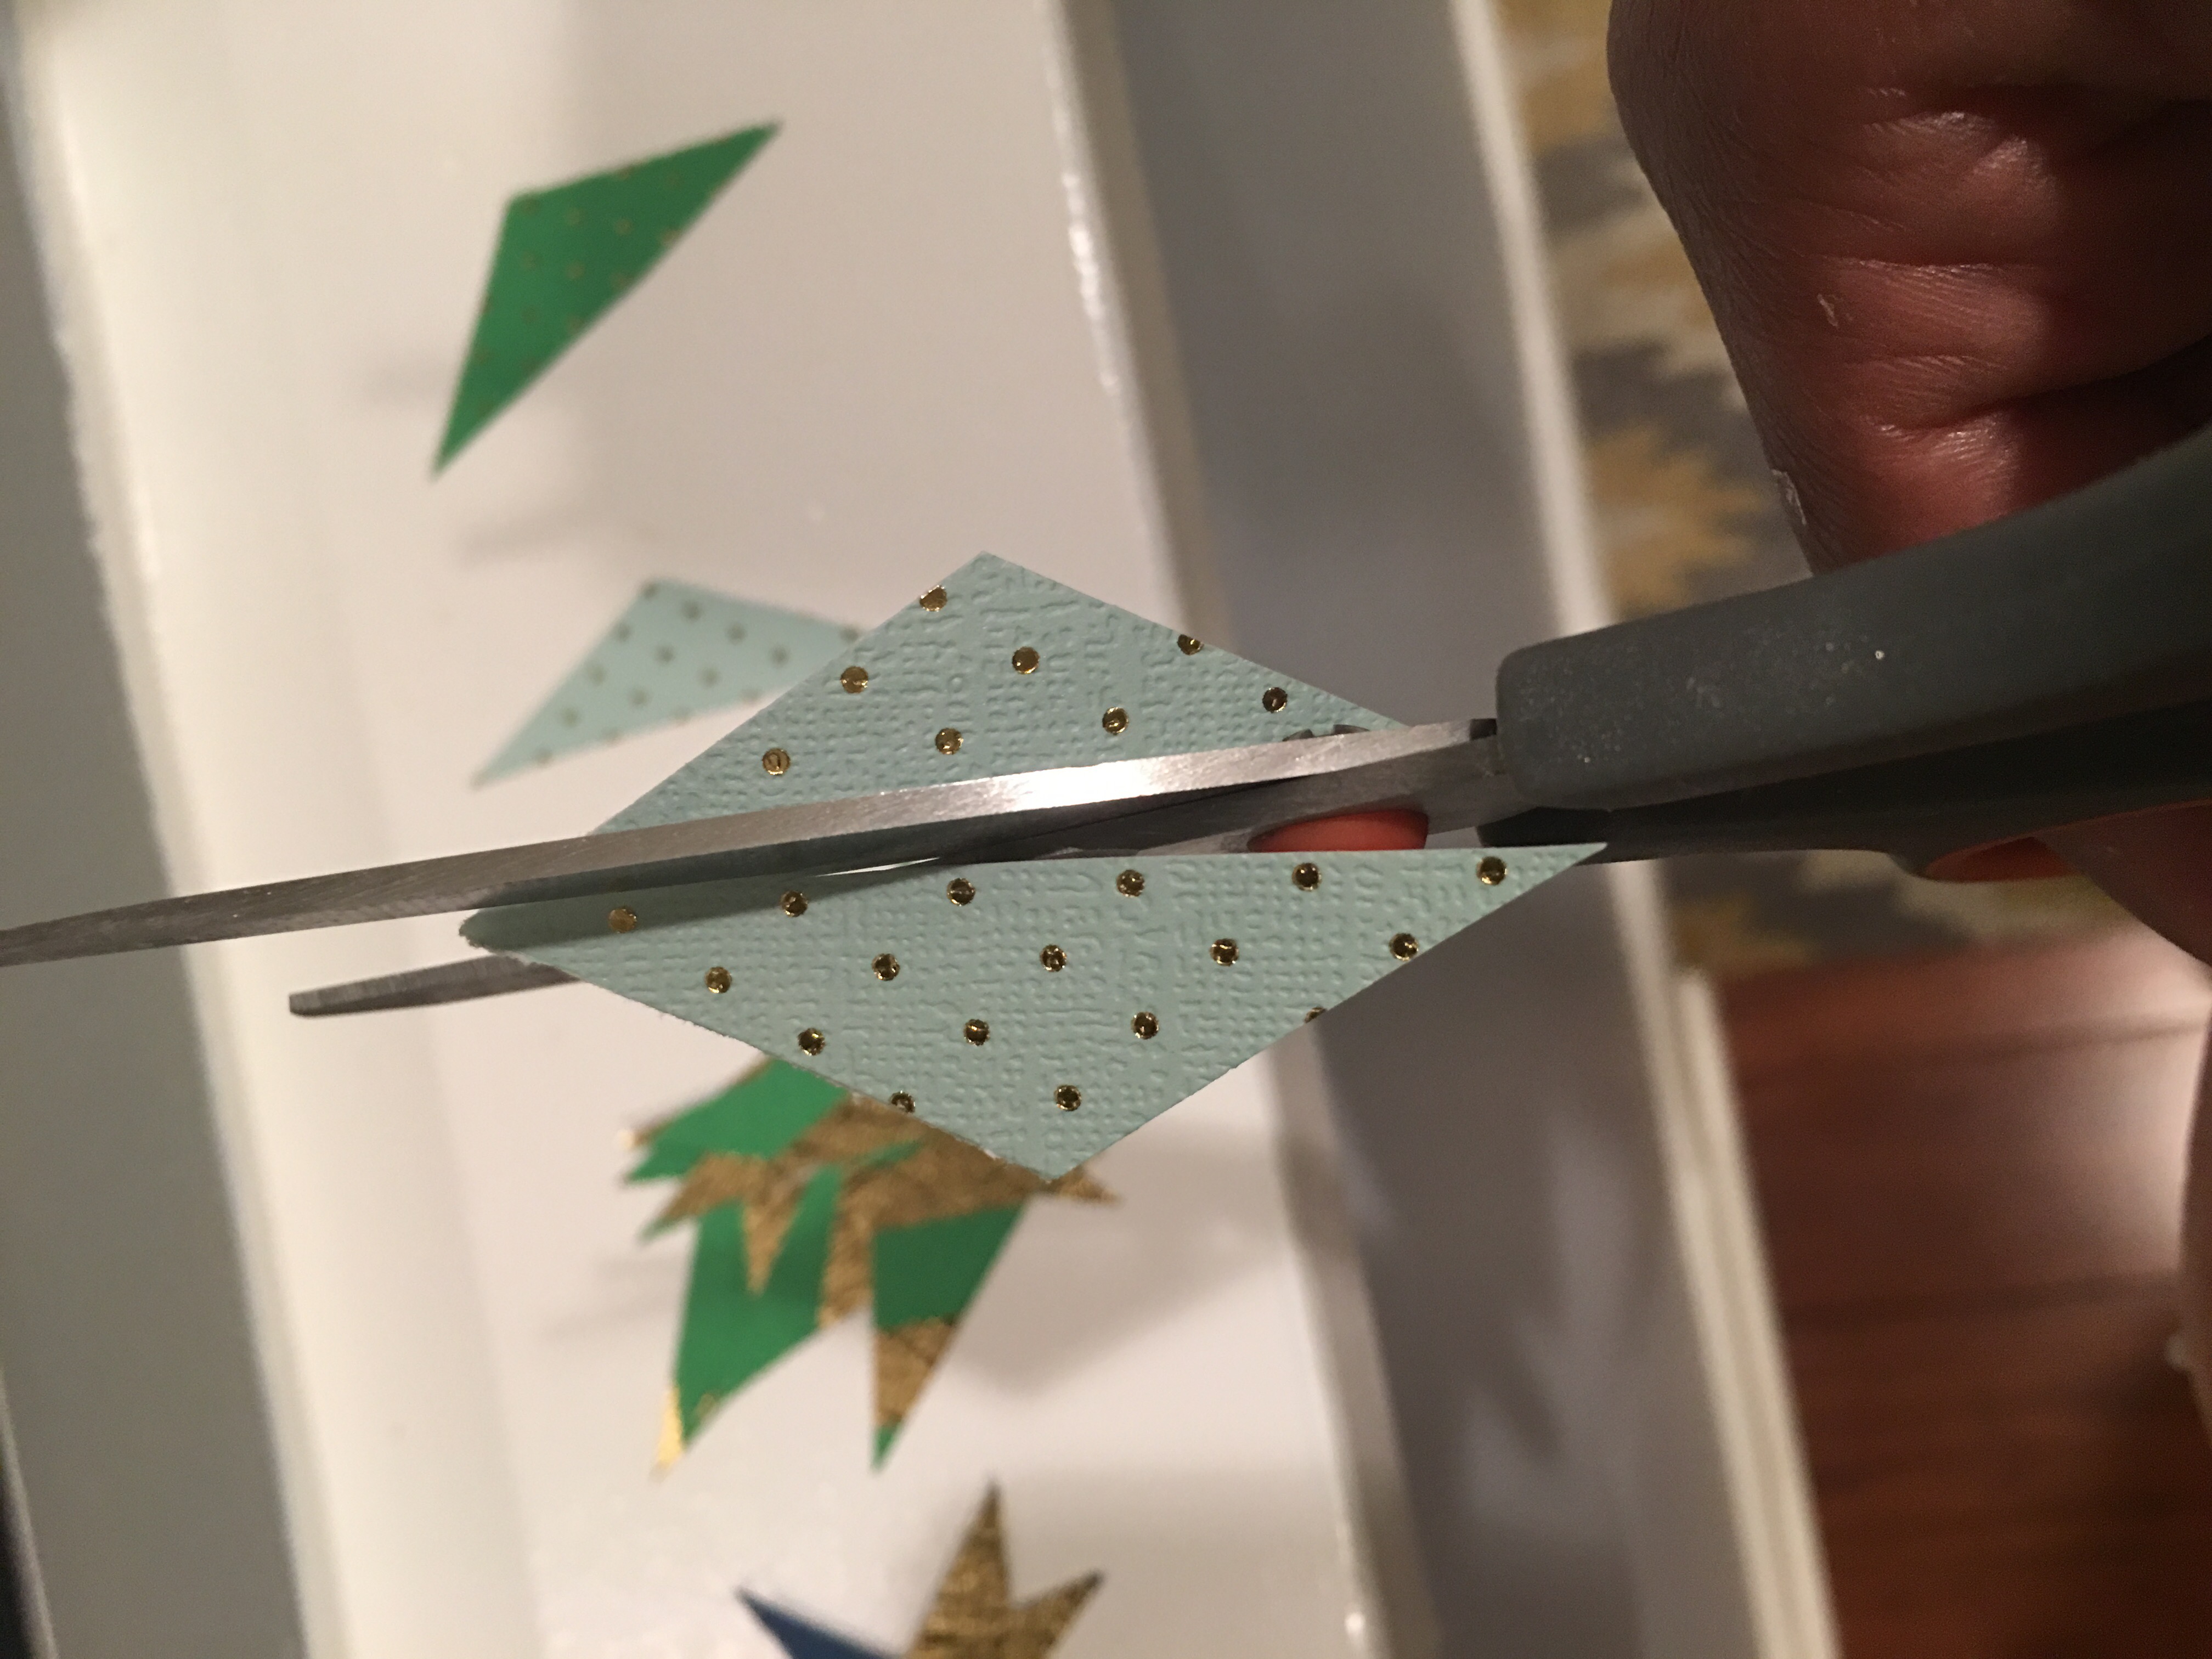
I started small with the Starbucks coffee cards diamond panels. After making two 12 x 12 pieces, I wondered what it would be like to create a pattern using obtuse-angled triangles (made by cutting each diamond in half lengthwise).
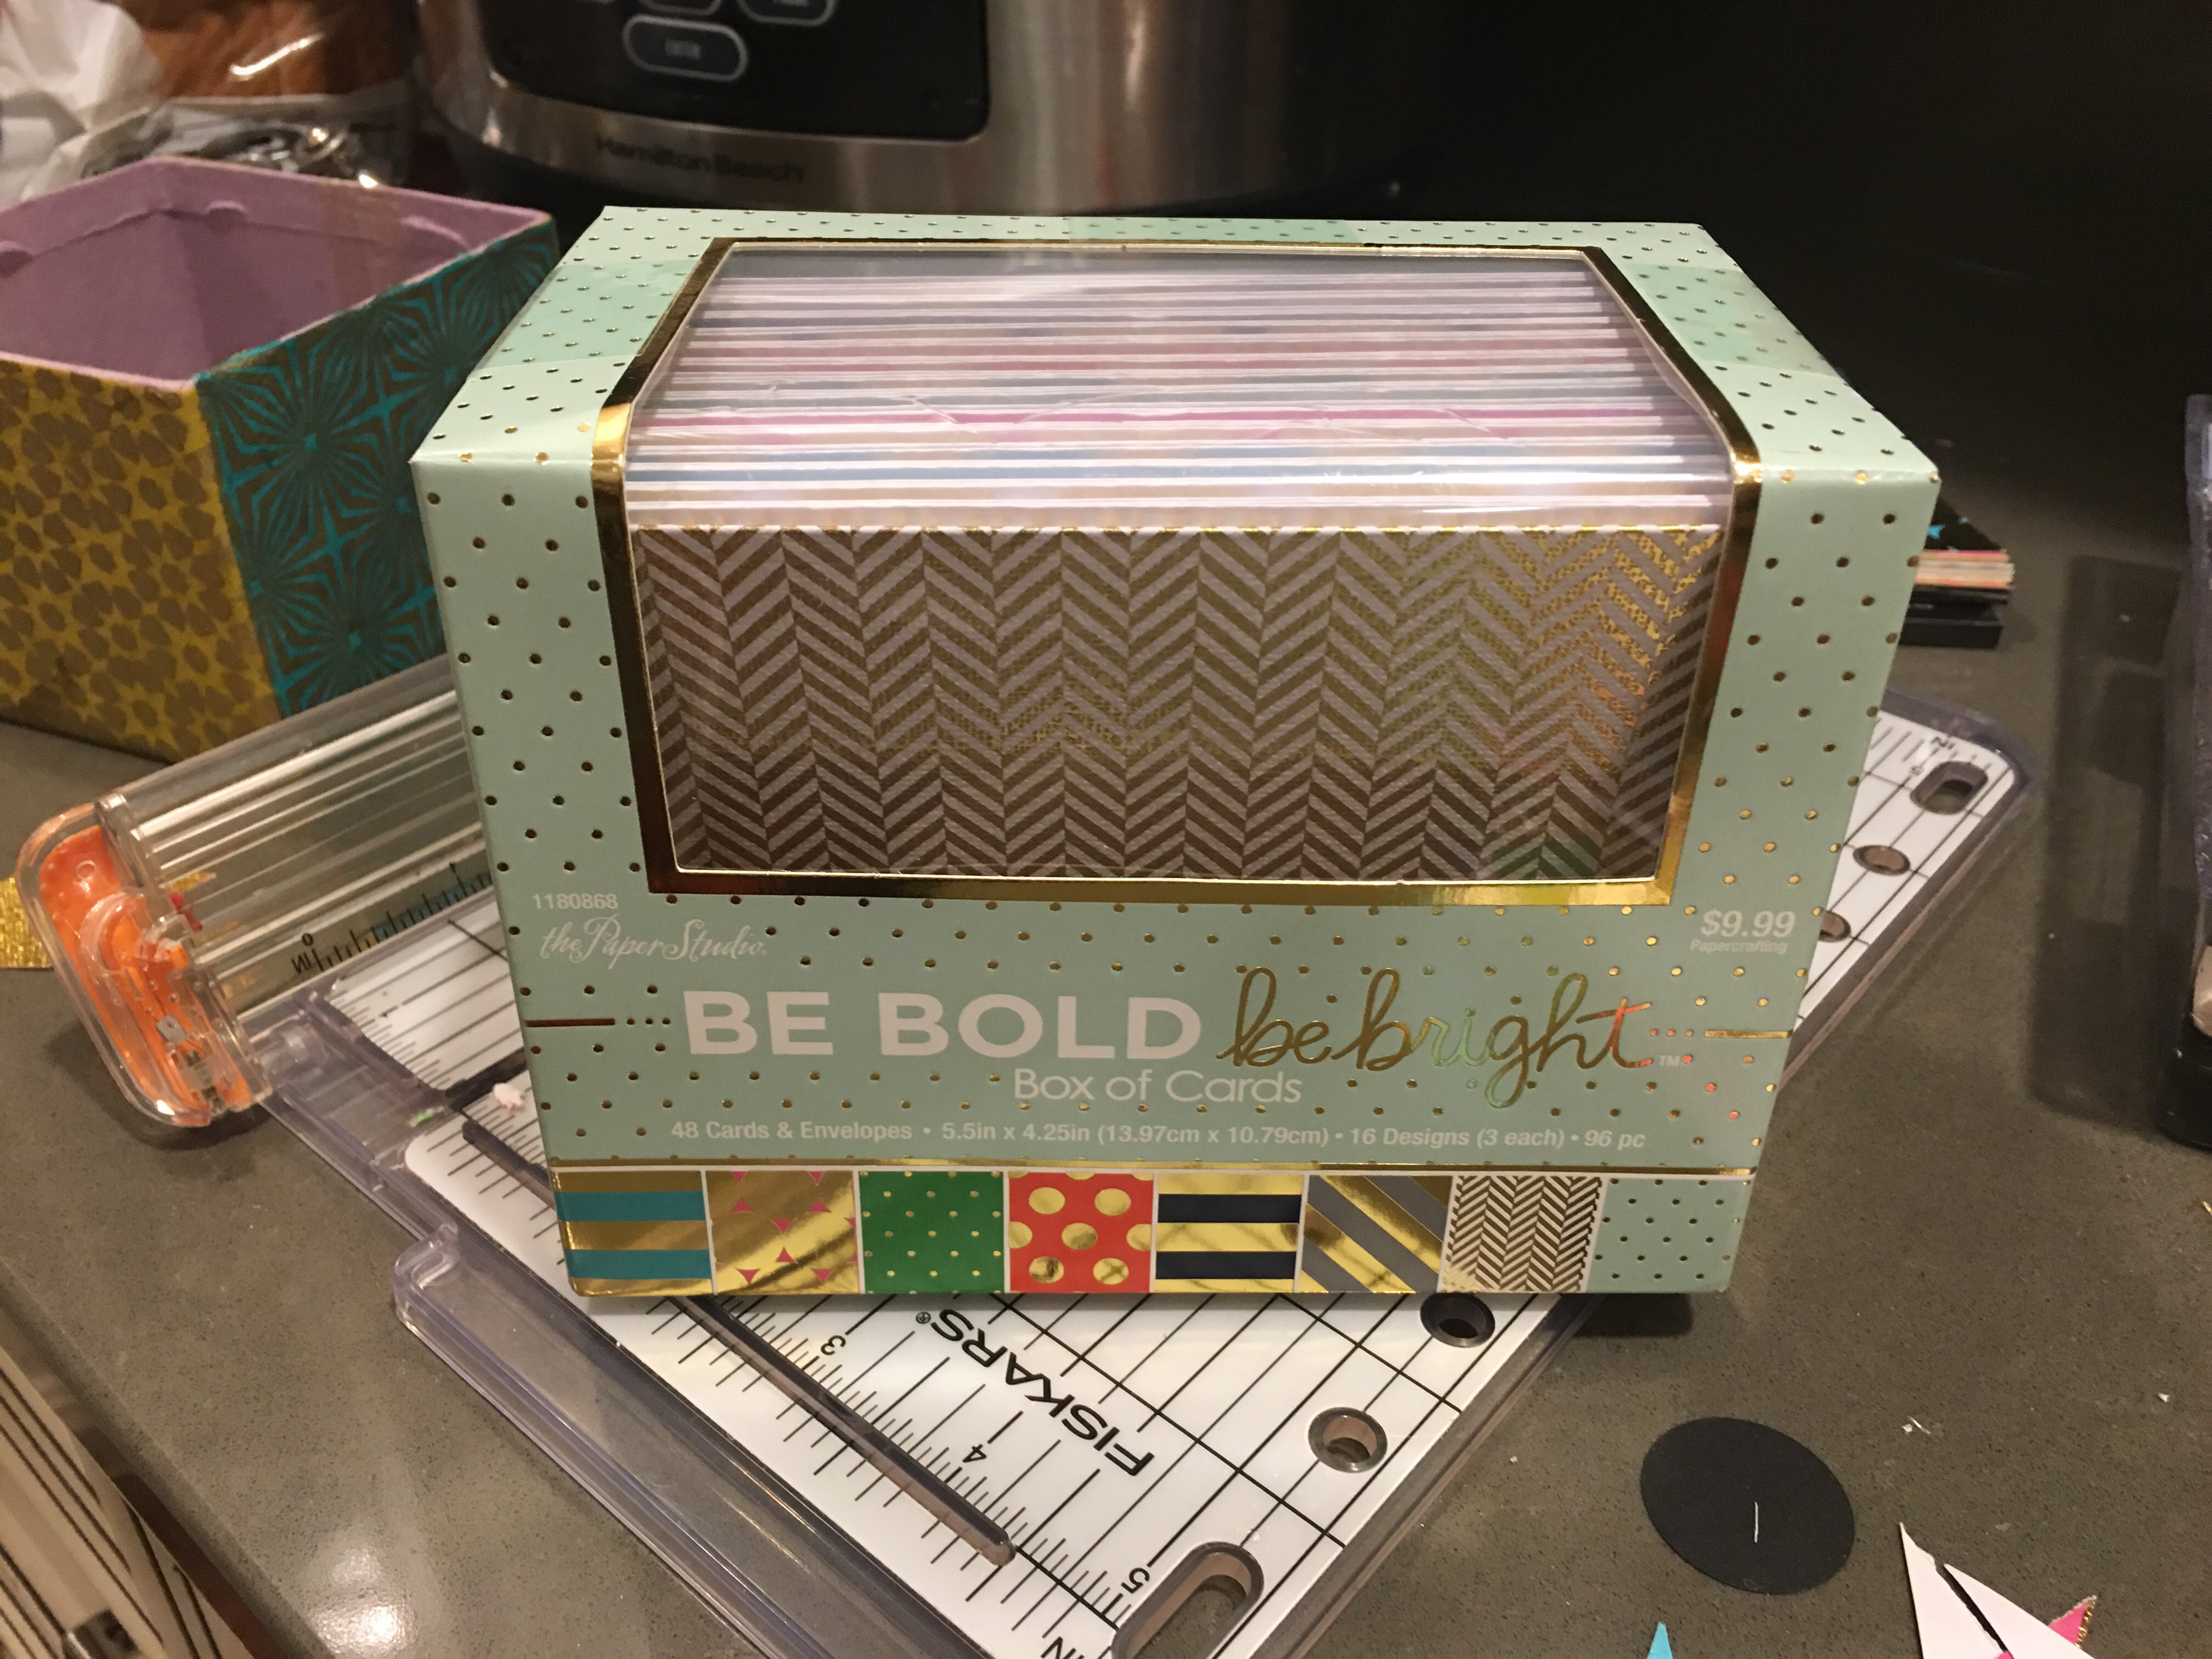
So I took a box of gold foil color greeting cards and my diamond-shaped punch to create my shapes. I spent the afternoon punching and cutting cards to get my triangles.

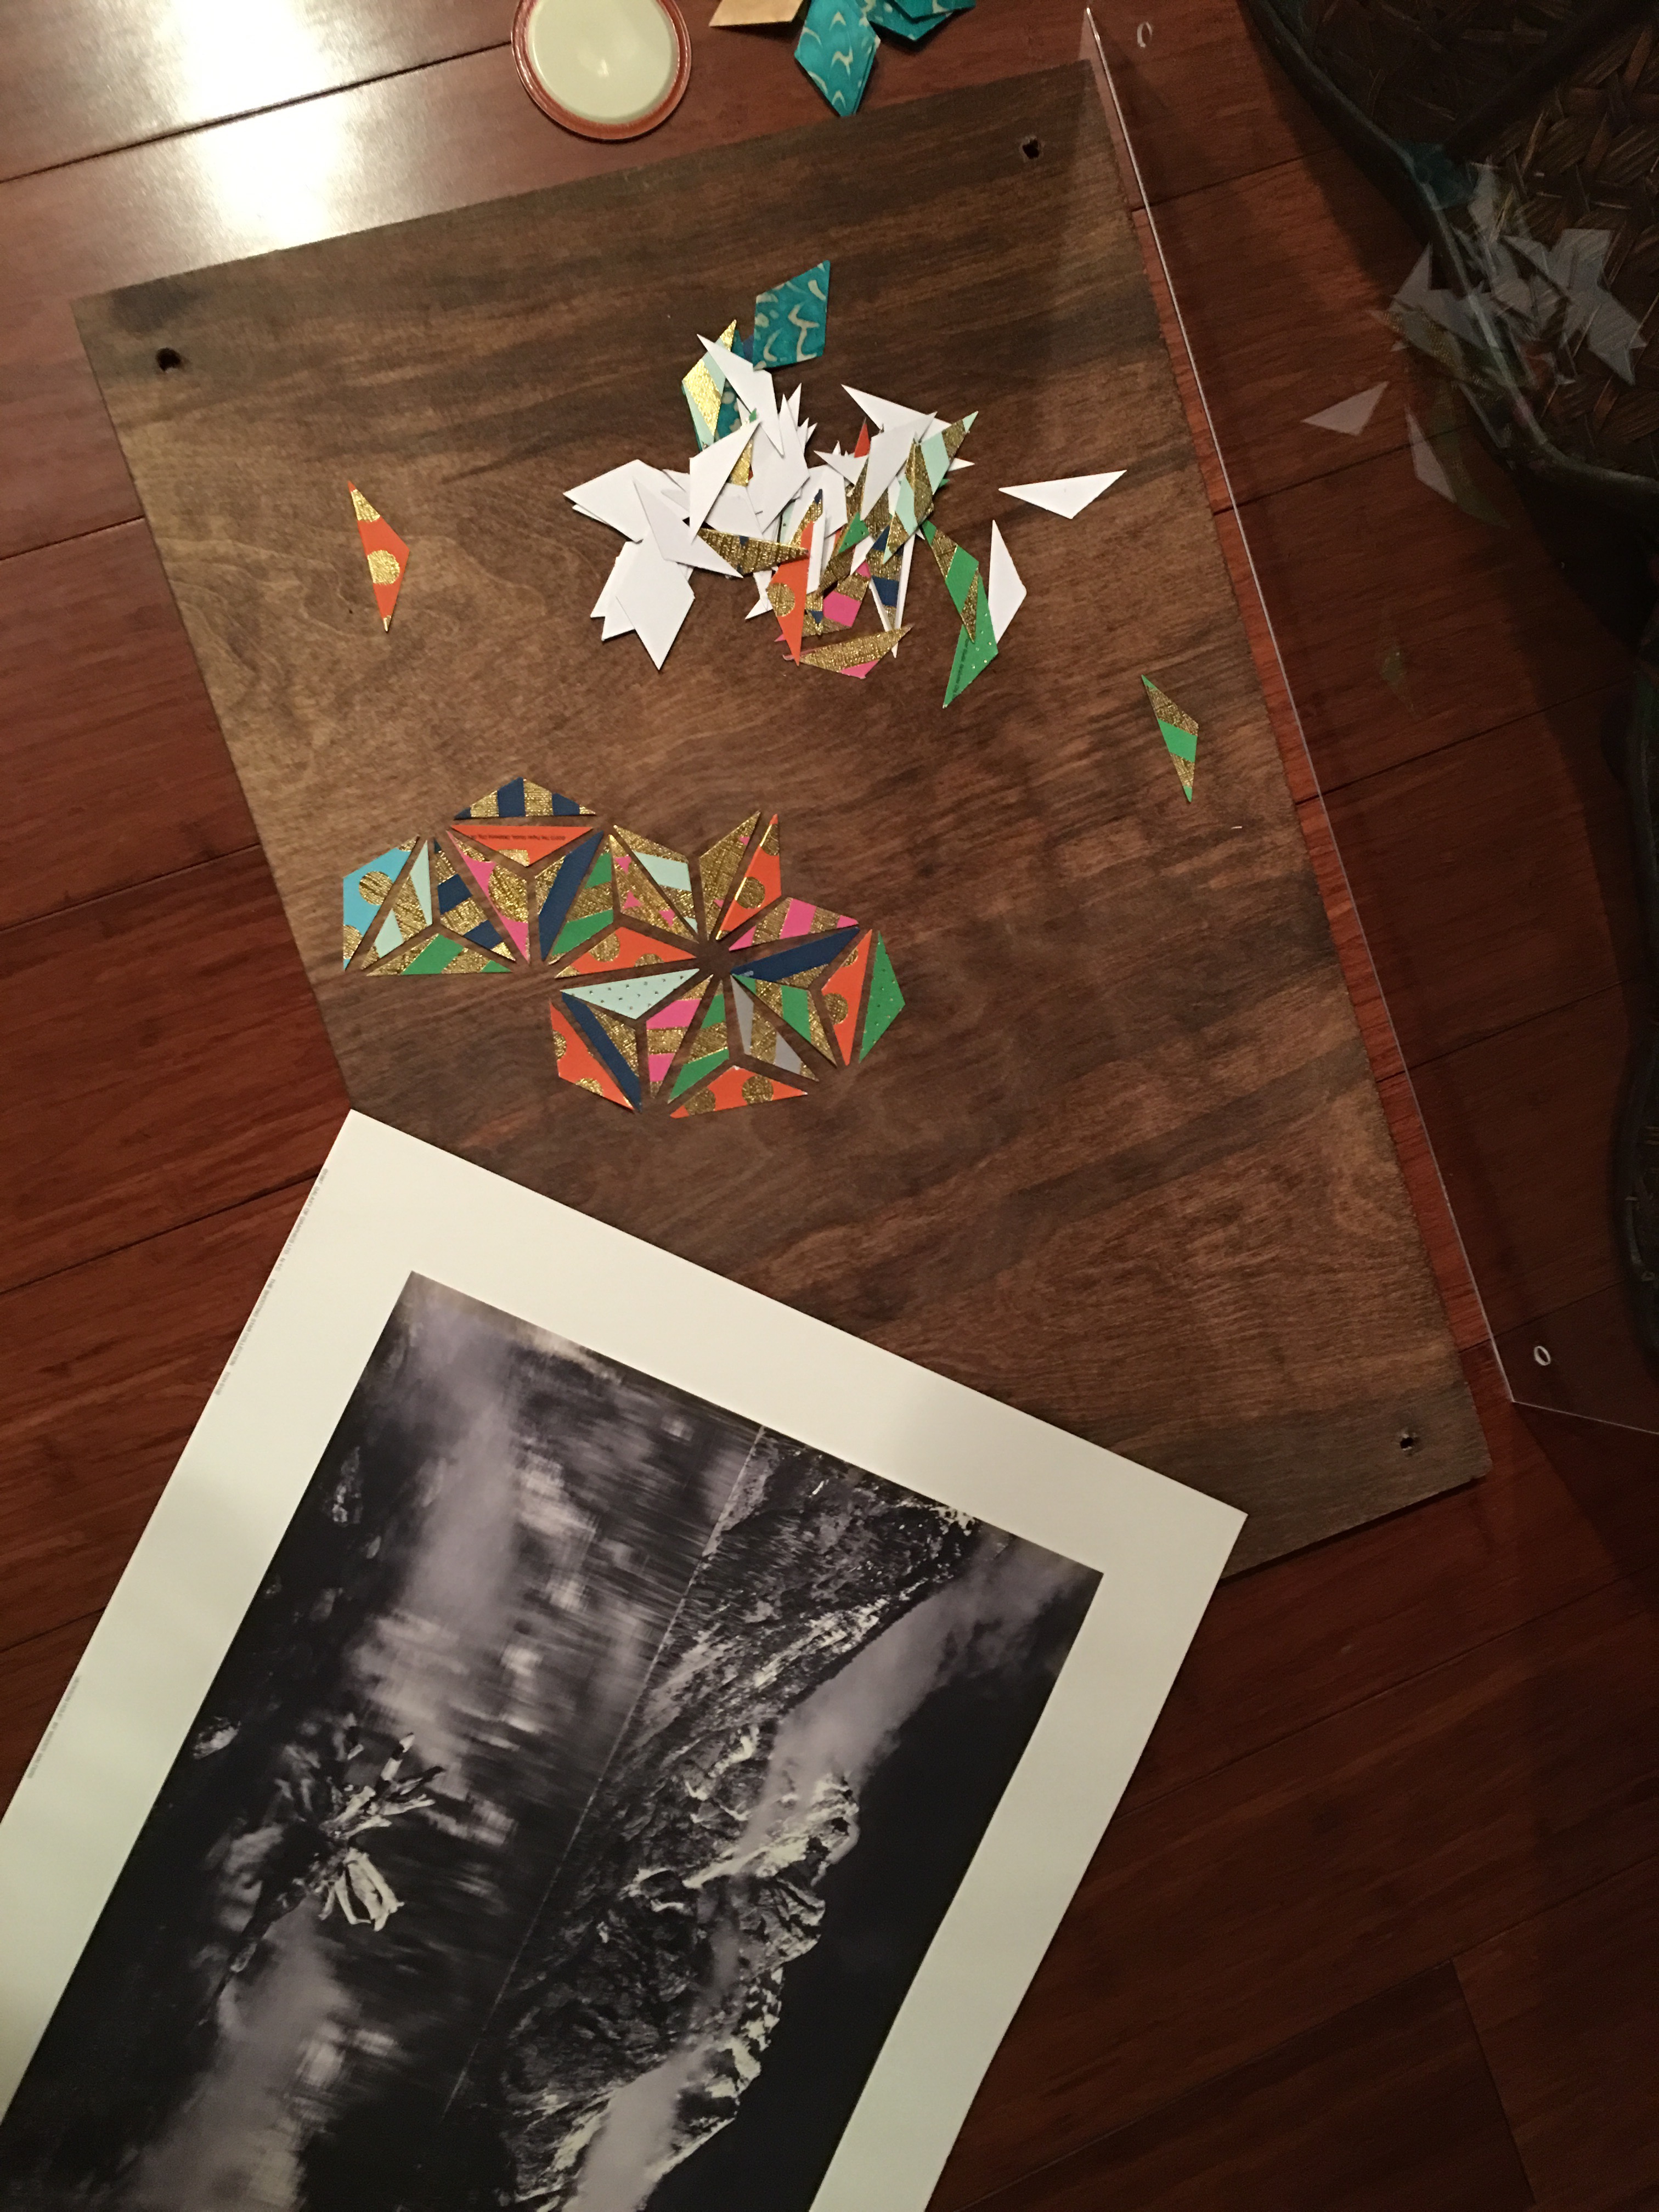
I then positioned the triangles on a piece of plywood to make a mock-up design. Here’s what I came up with on January 17.
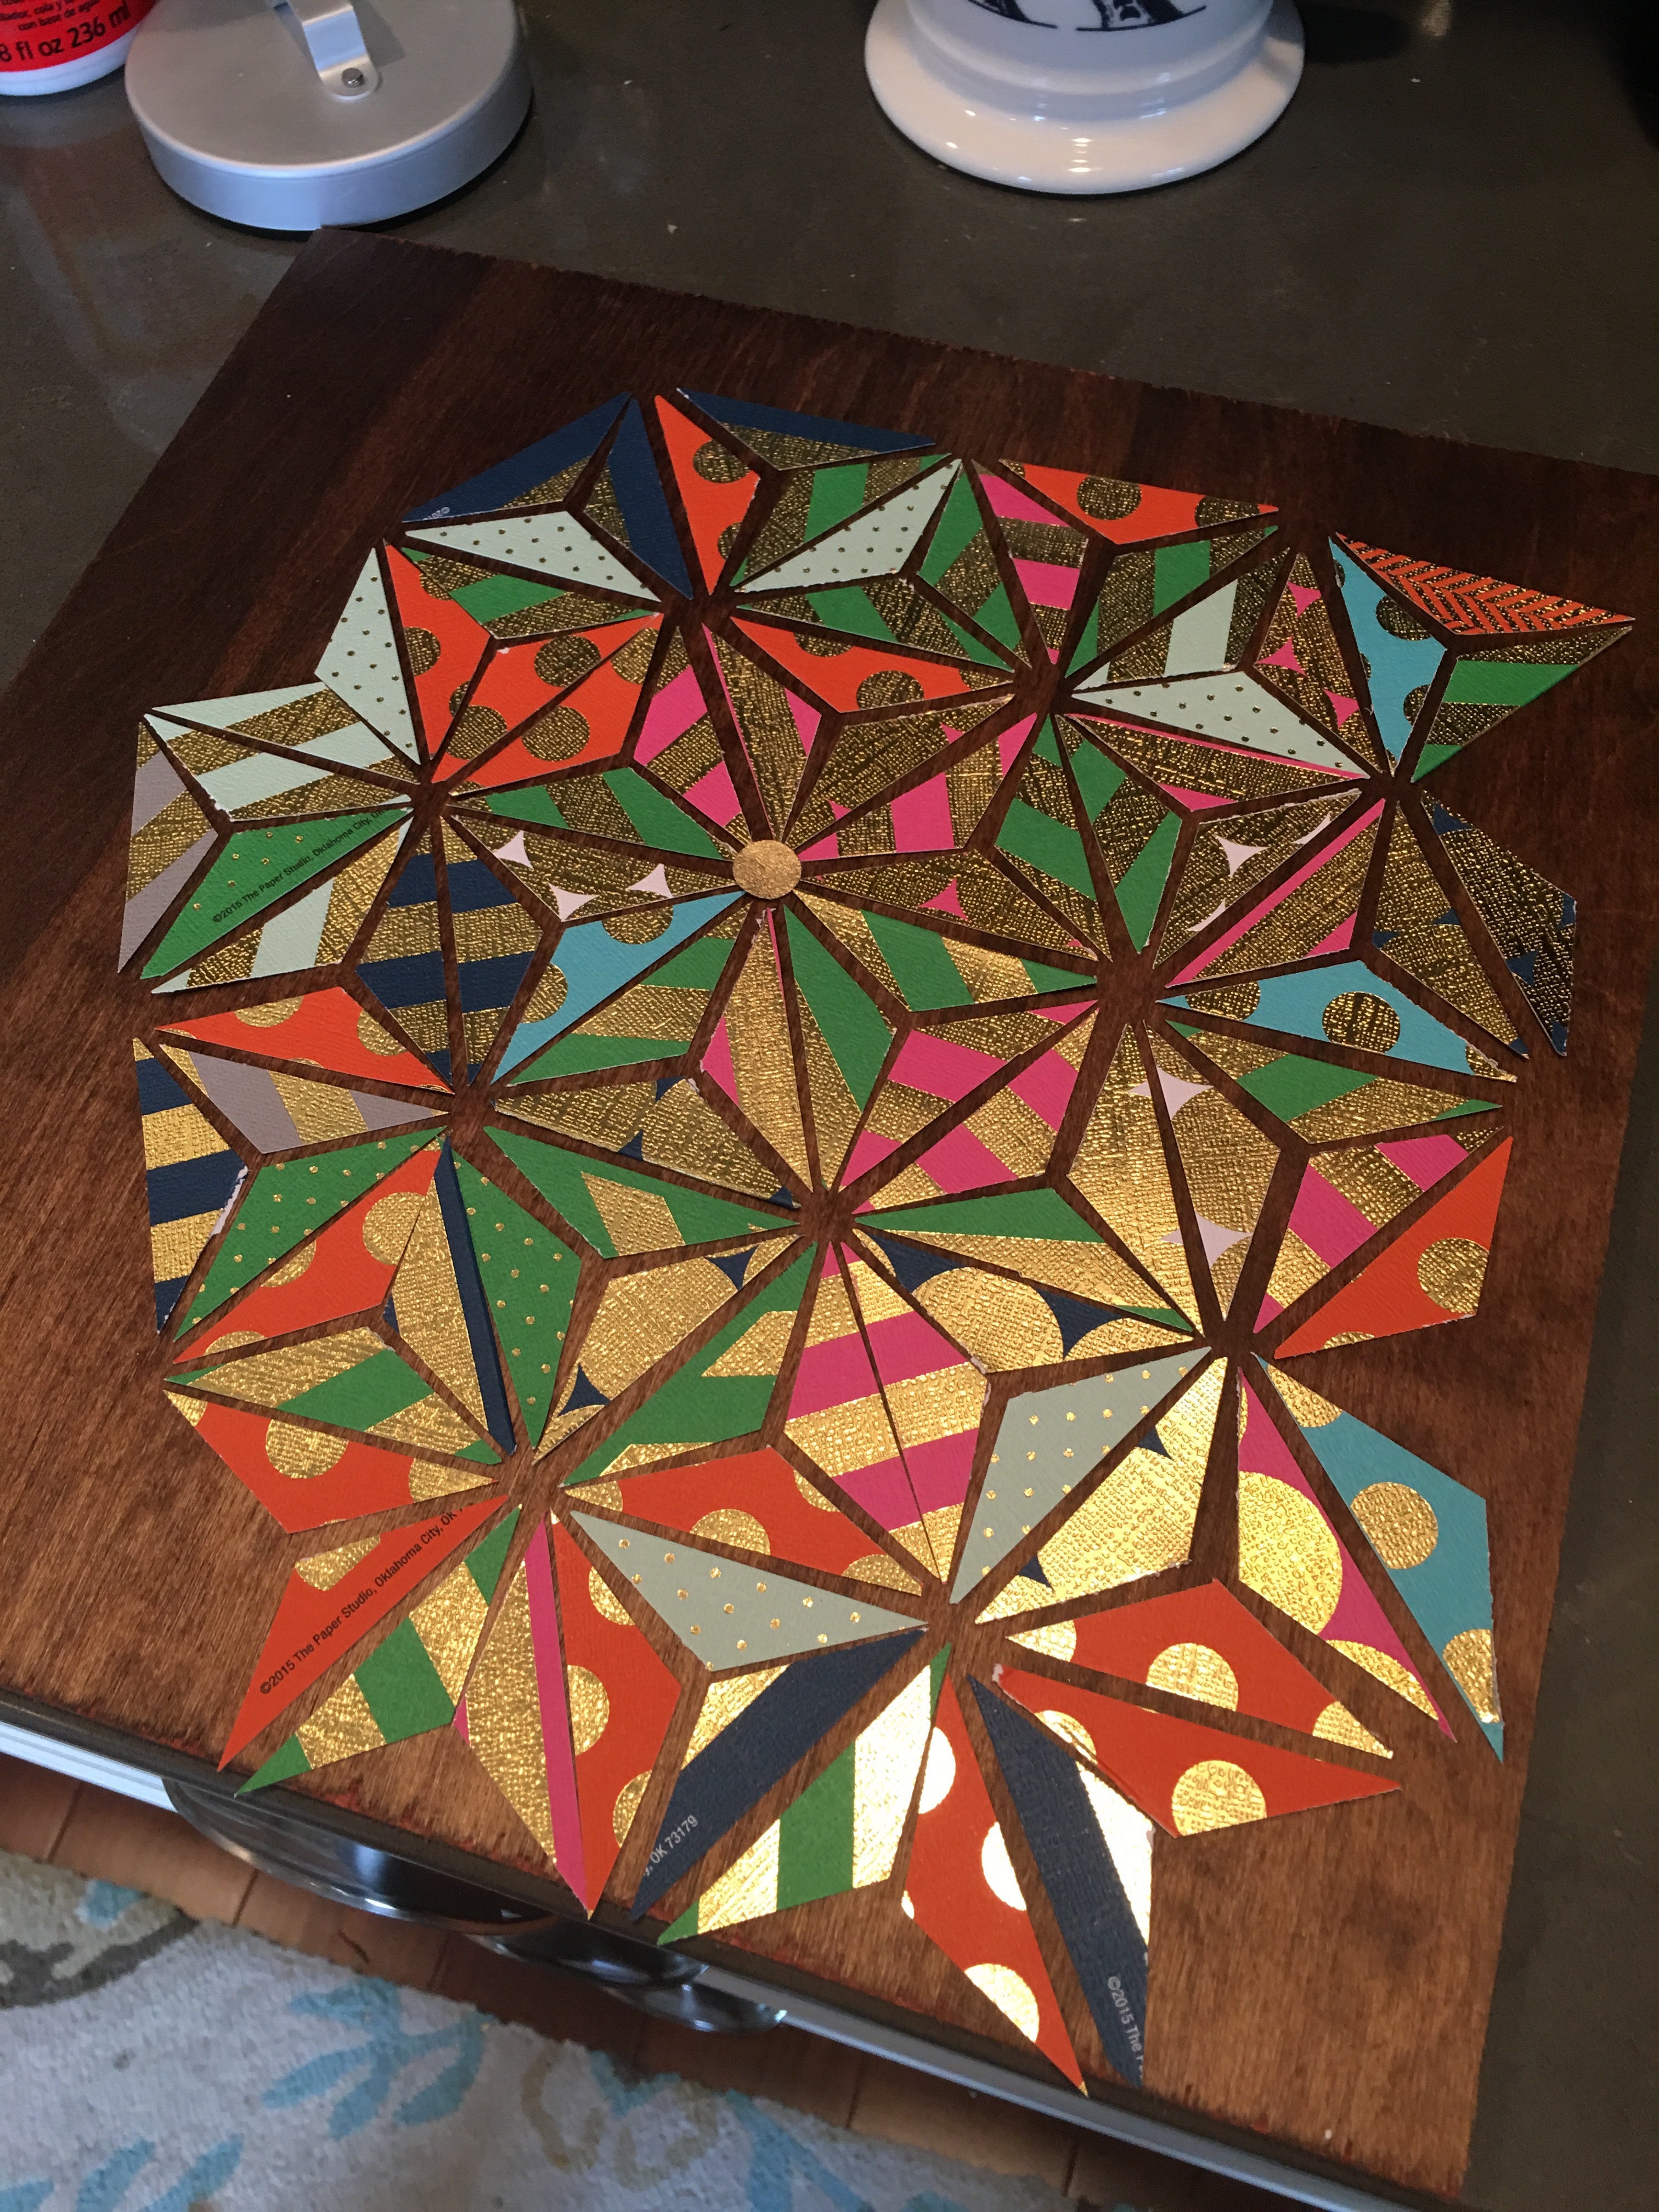
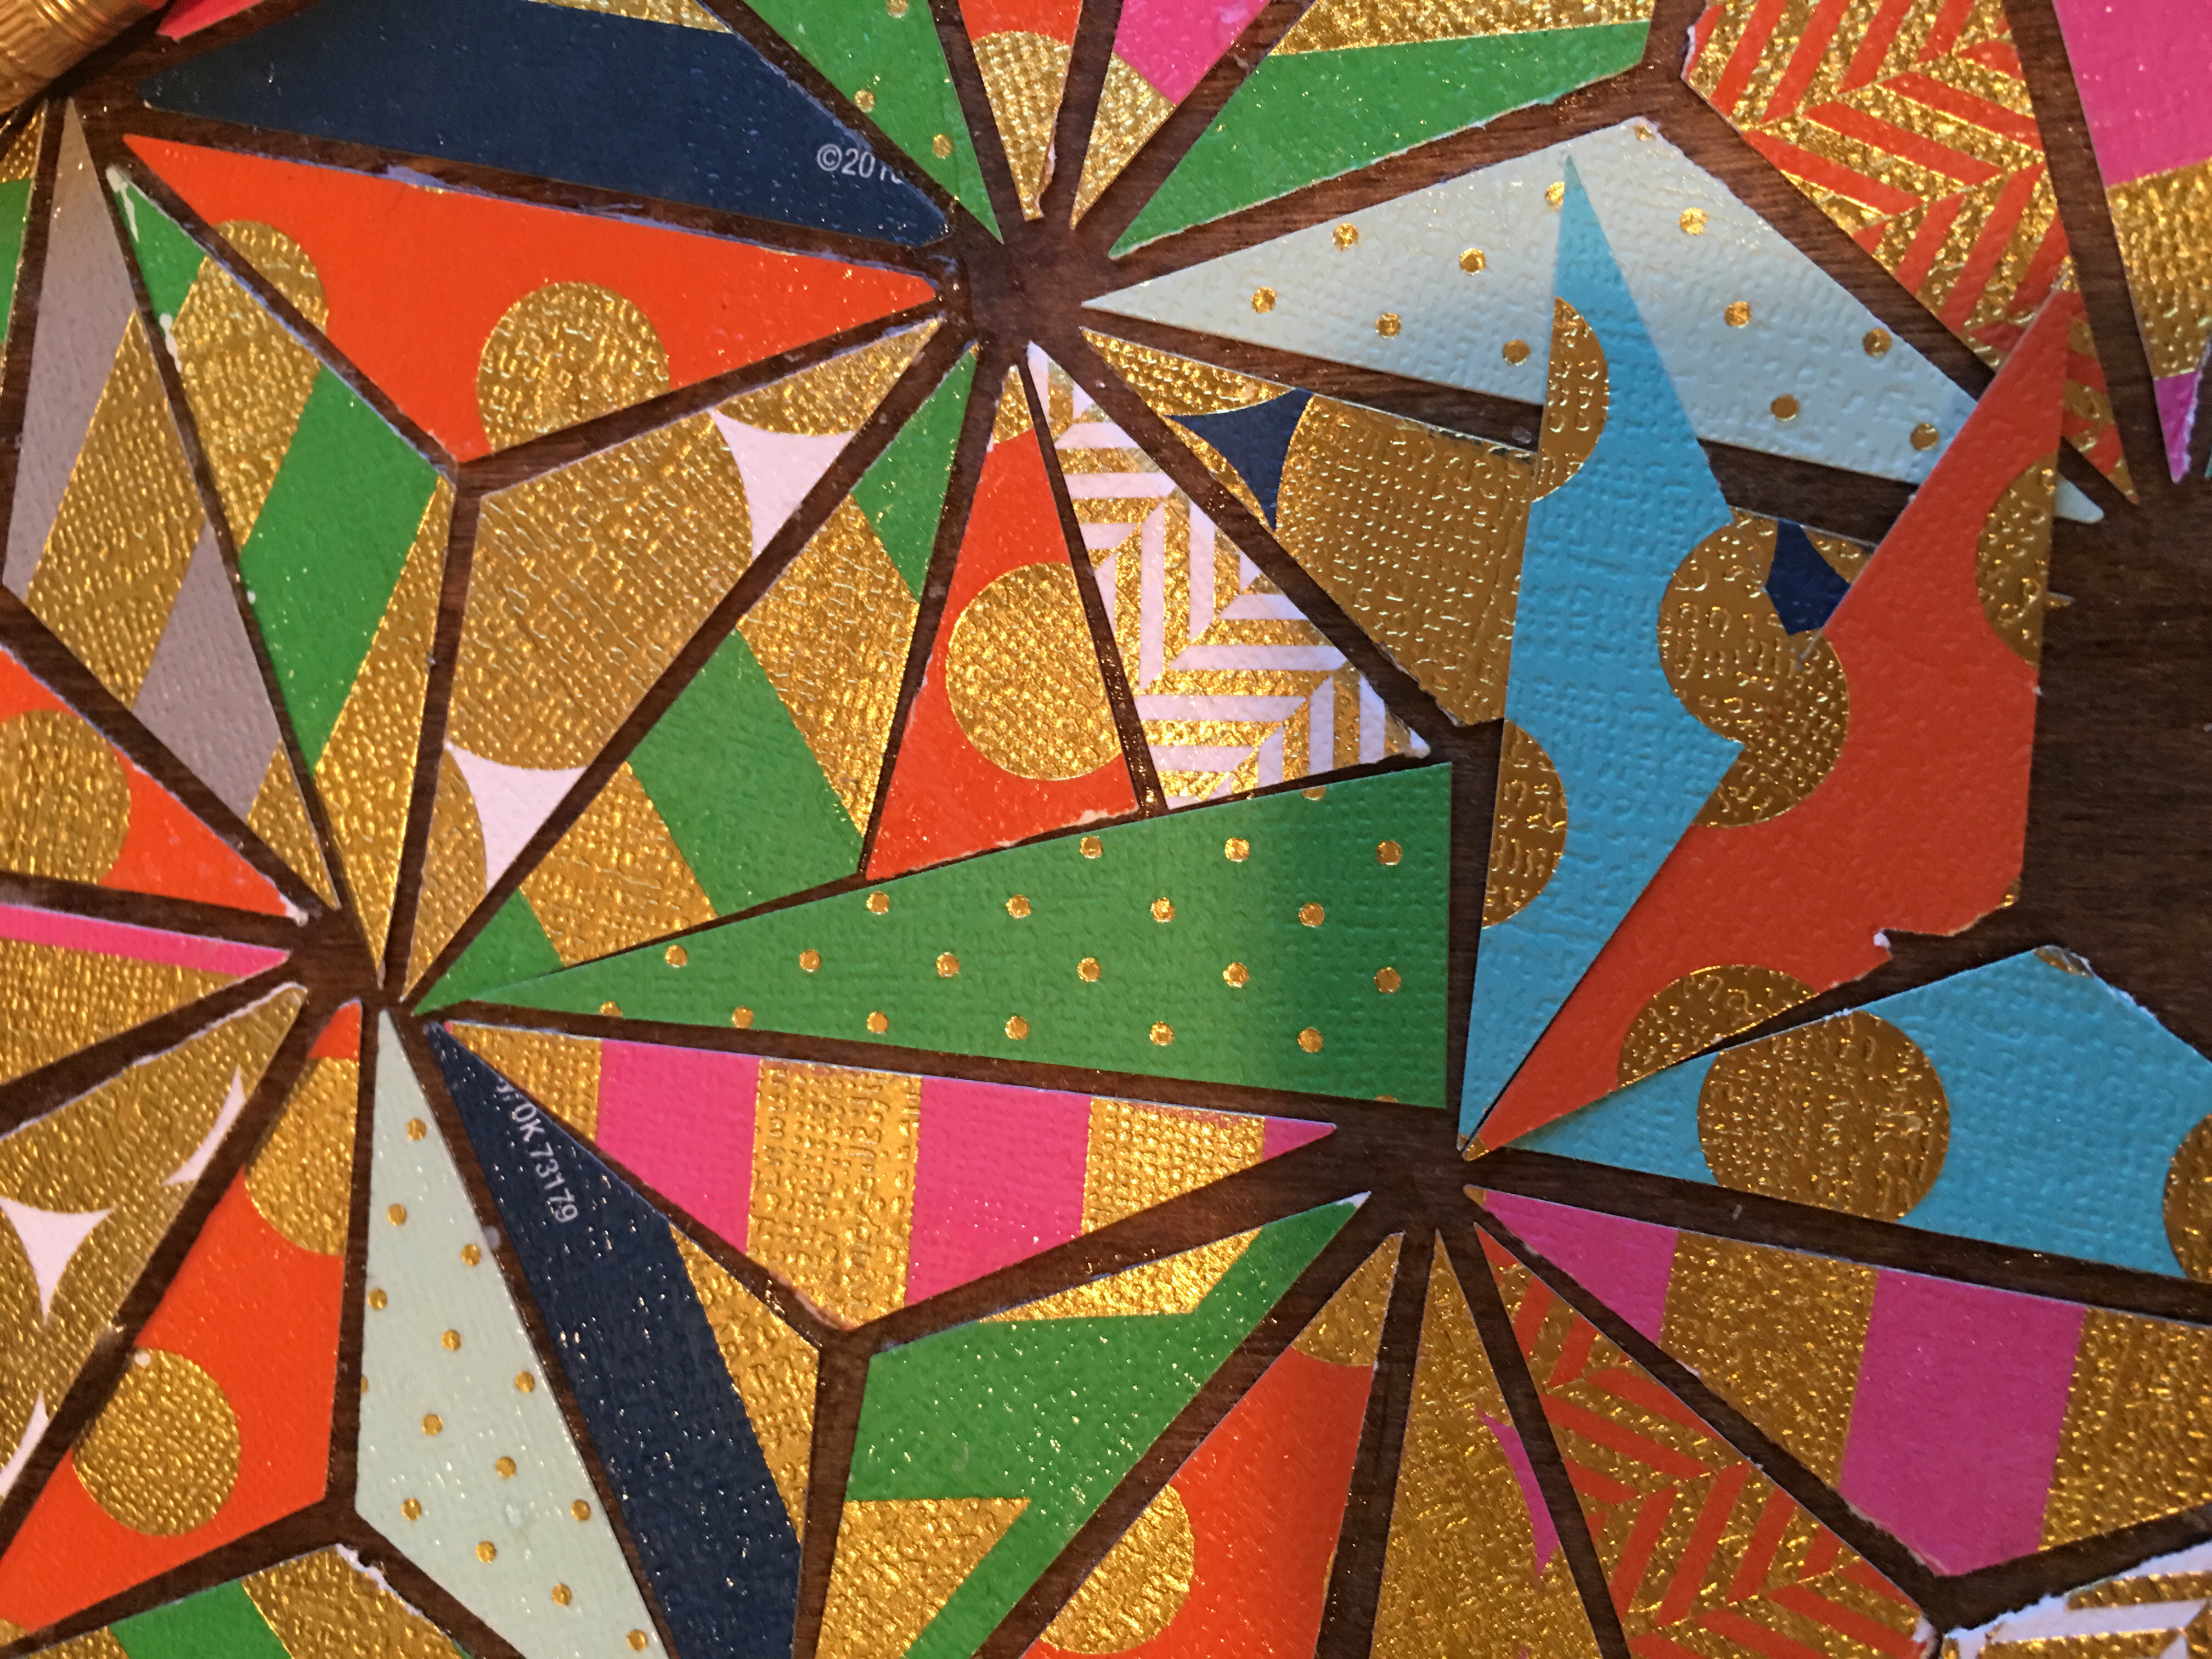
I discovered that arranging these triangles 0f gold foil colored patterns in a star and diamond designed made a very striking canvas. I knew the next floating frame project would be this one.
Fast-forward to February 9th: On a Tuesday, of all days, with other projects filling my head, I come back to this one. What triggered my urge to launch into the triangle paper puzzle on wood challenge that night was coming across this lithograph print that I liberated from its frame several months ago.
I took one of the large wood stained panels I had on standby and layered the print over it to see how it would work as a floating frame panel.
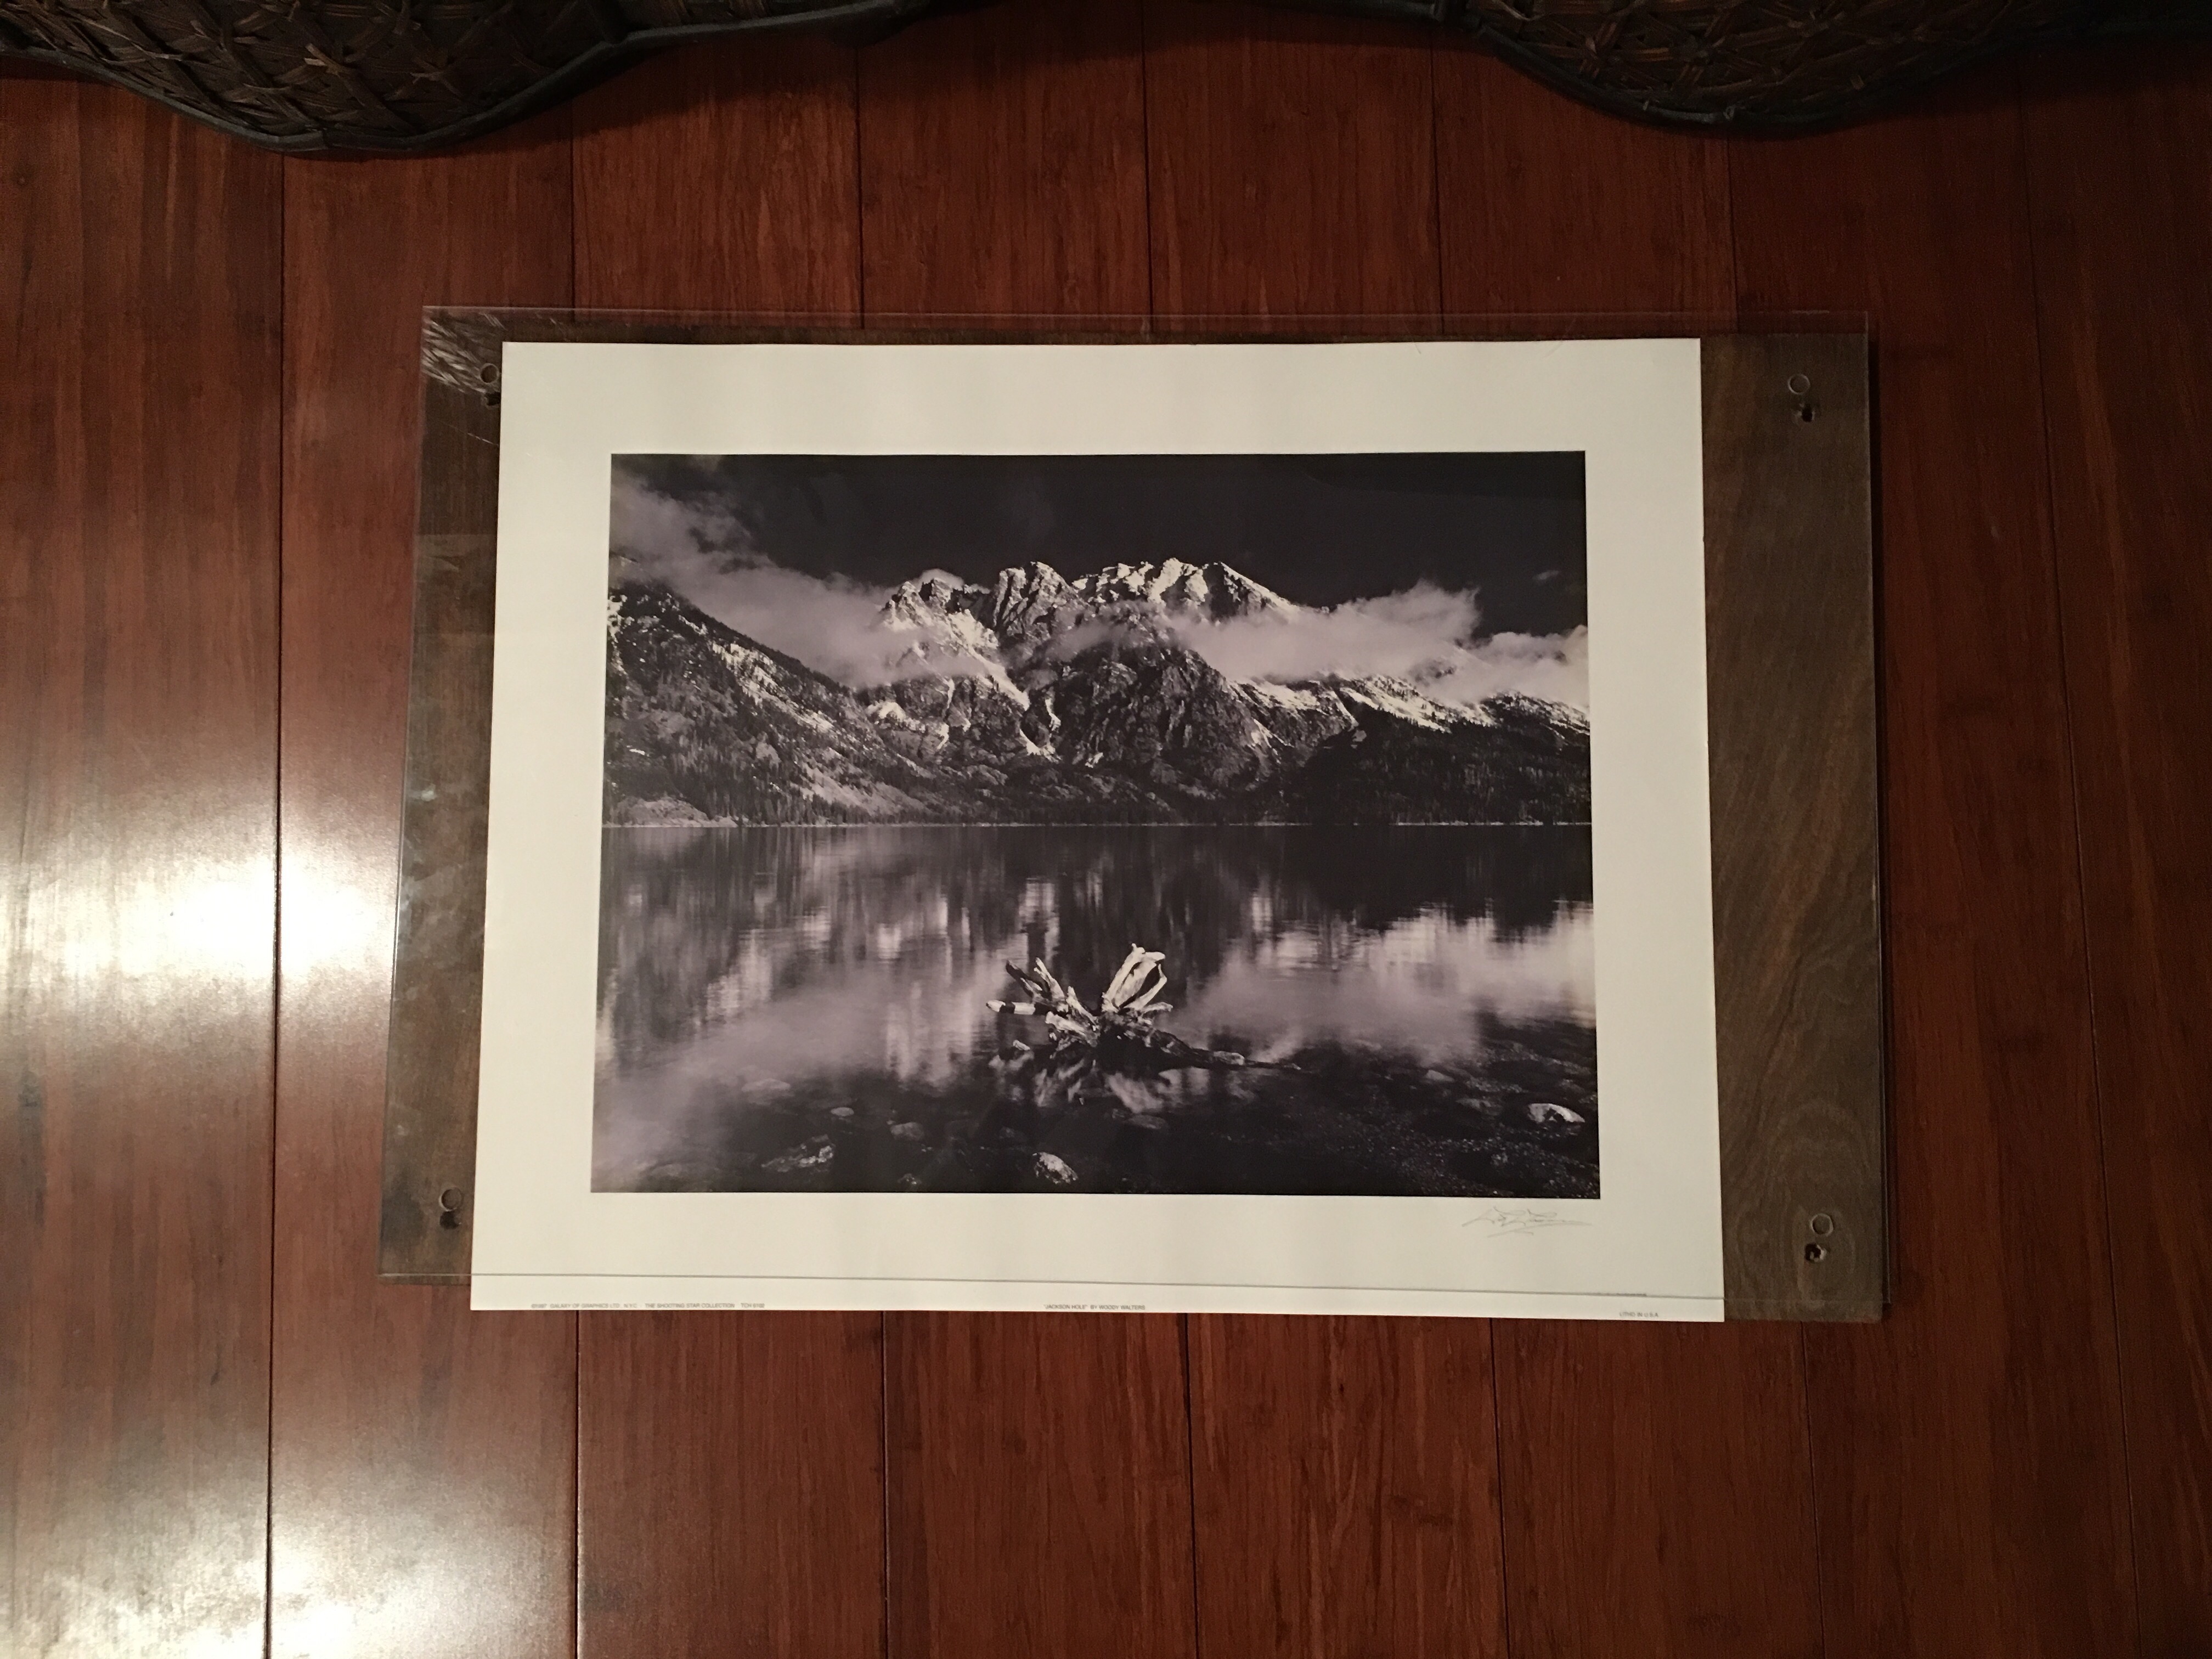
It looked great (though the borders of the print would obviously need to be cut down). But I instantly became obsessed to decorating the wood with the paper puzzle design.
I immediately spun into action. Gathered my materials:
- 16 x 24 inch stained pre-drilled plywood panel
- 16 x 24 pre-drilled acrylic sheet
- Pre-cut triangles made from gold-foil accented blank greeting cards
- Extra box of greeting cards for additional triangle (or puzzle patchwork) cuts
- Mod Podge glue
- Four 1/4″ nylon spacers
- Four 3/4″ brass machine screws (#20 or 1/4″ diameter)
- Four #20 nuts
- Rub on gold leaf
Got my tools:
- Diamond punch
- Scissors
- Sponge brush
And set my mind on the task of getting this done in the next two days (or less).
Tuesday Night:
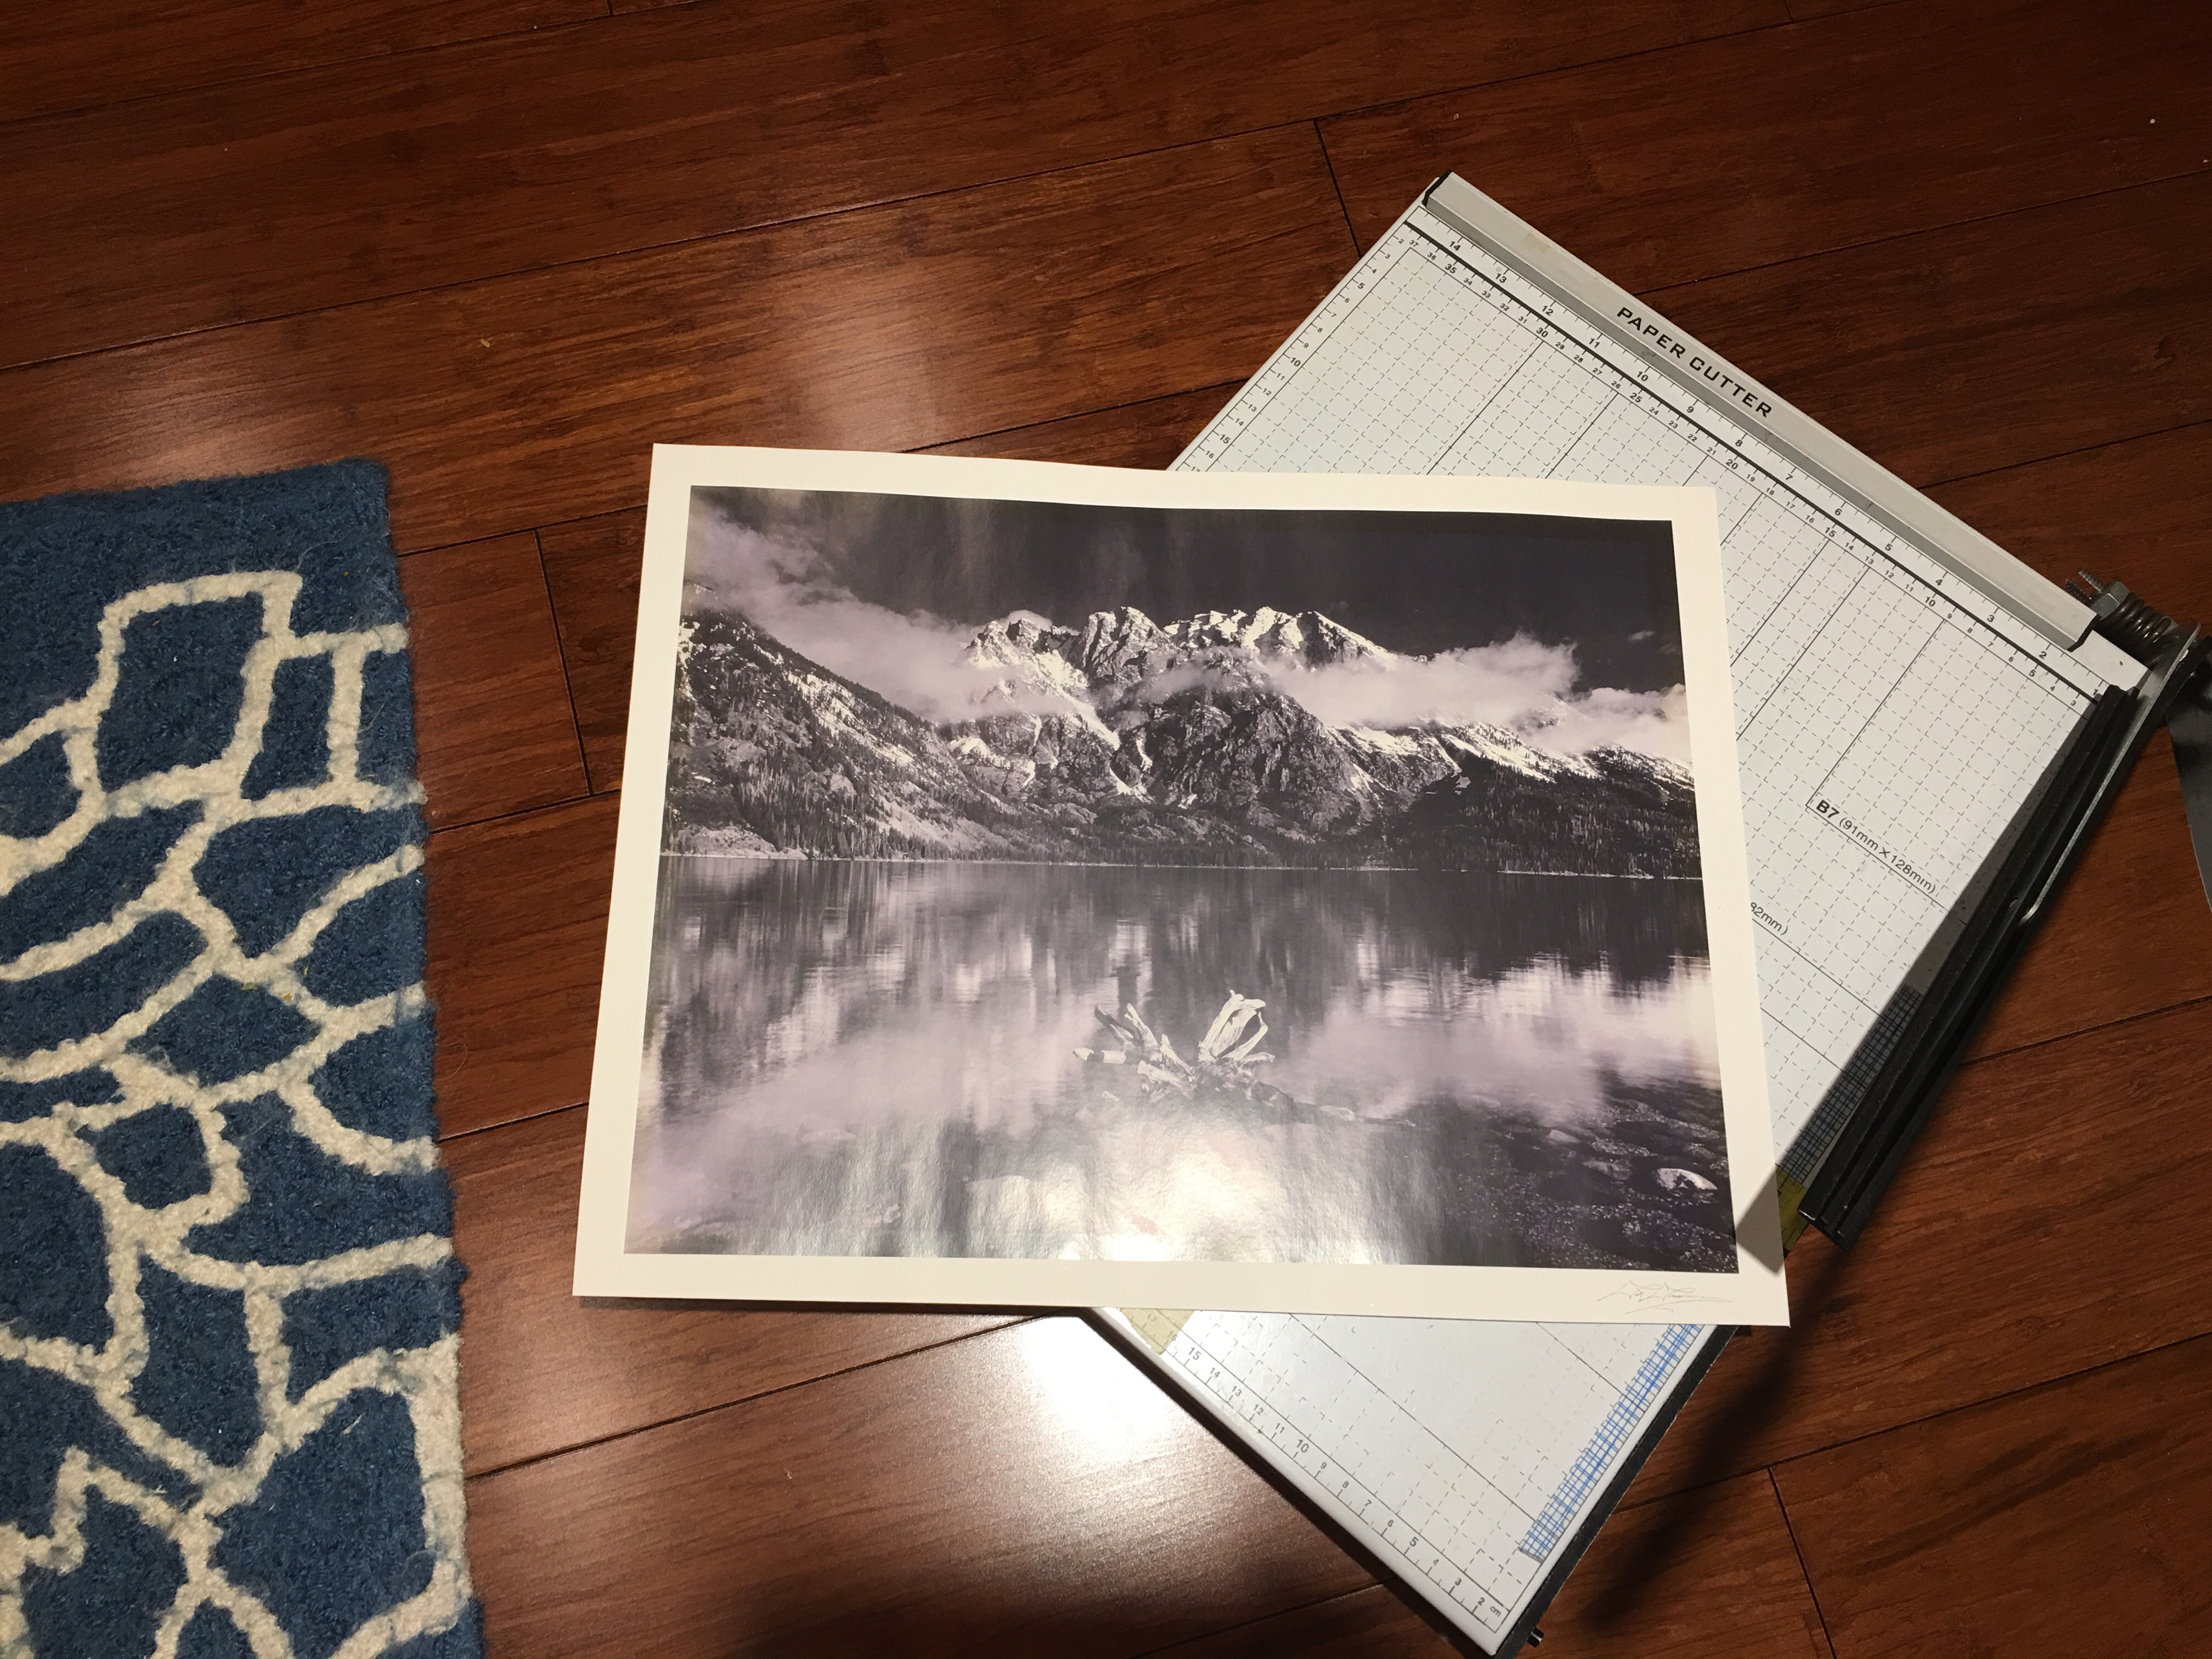
First step: cut the borders of the litho print down so that it fits inside the frame. Paper trimmer or cutter works best here. Nice clean edges.

I then began the pain-staking tasks of arranging the triangles on the panel and gluing them piece by piece with Mod Podge. I was hunched over what is turning out to be a very big decorating canvas…much bigger than the 12 x 12s I worked with last month! I added all the triangles I pre-cut in January. By the time I called it a night, I only had a small corner of the wood covered with triangles.
Wednesday Night
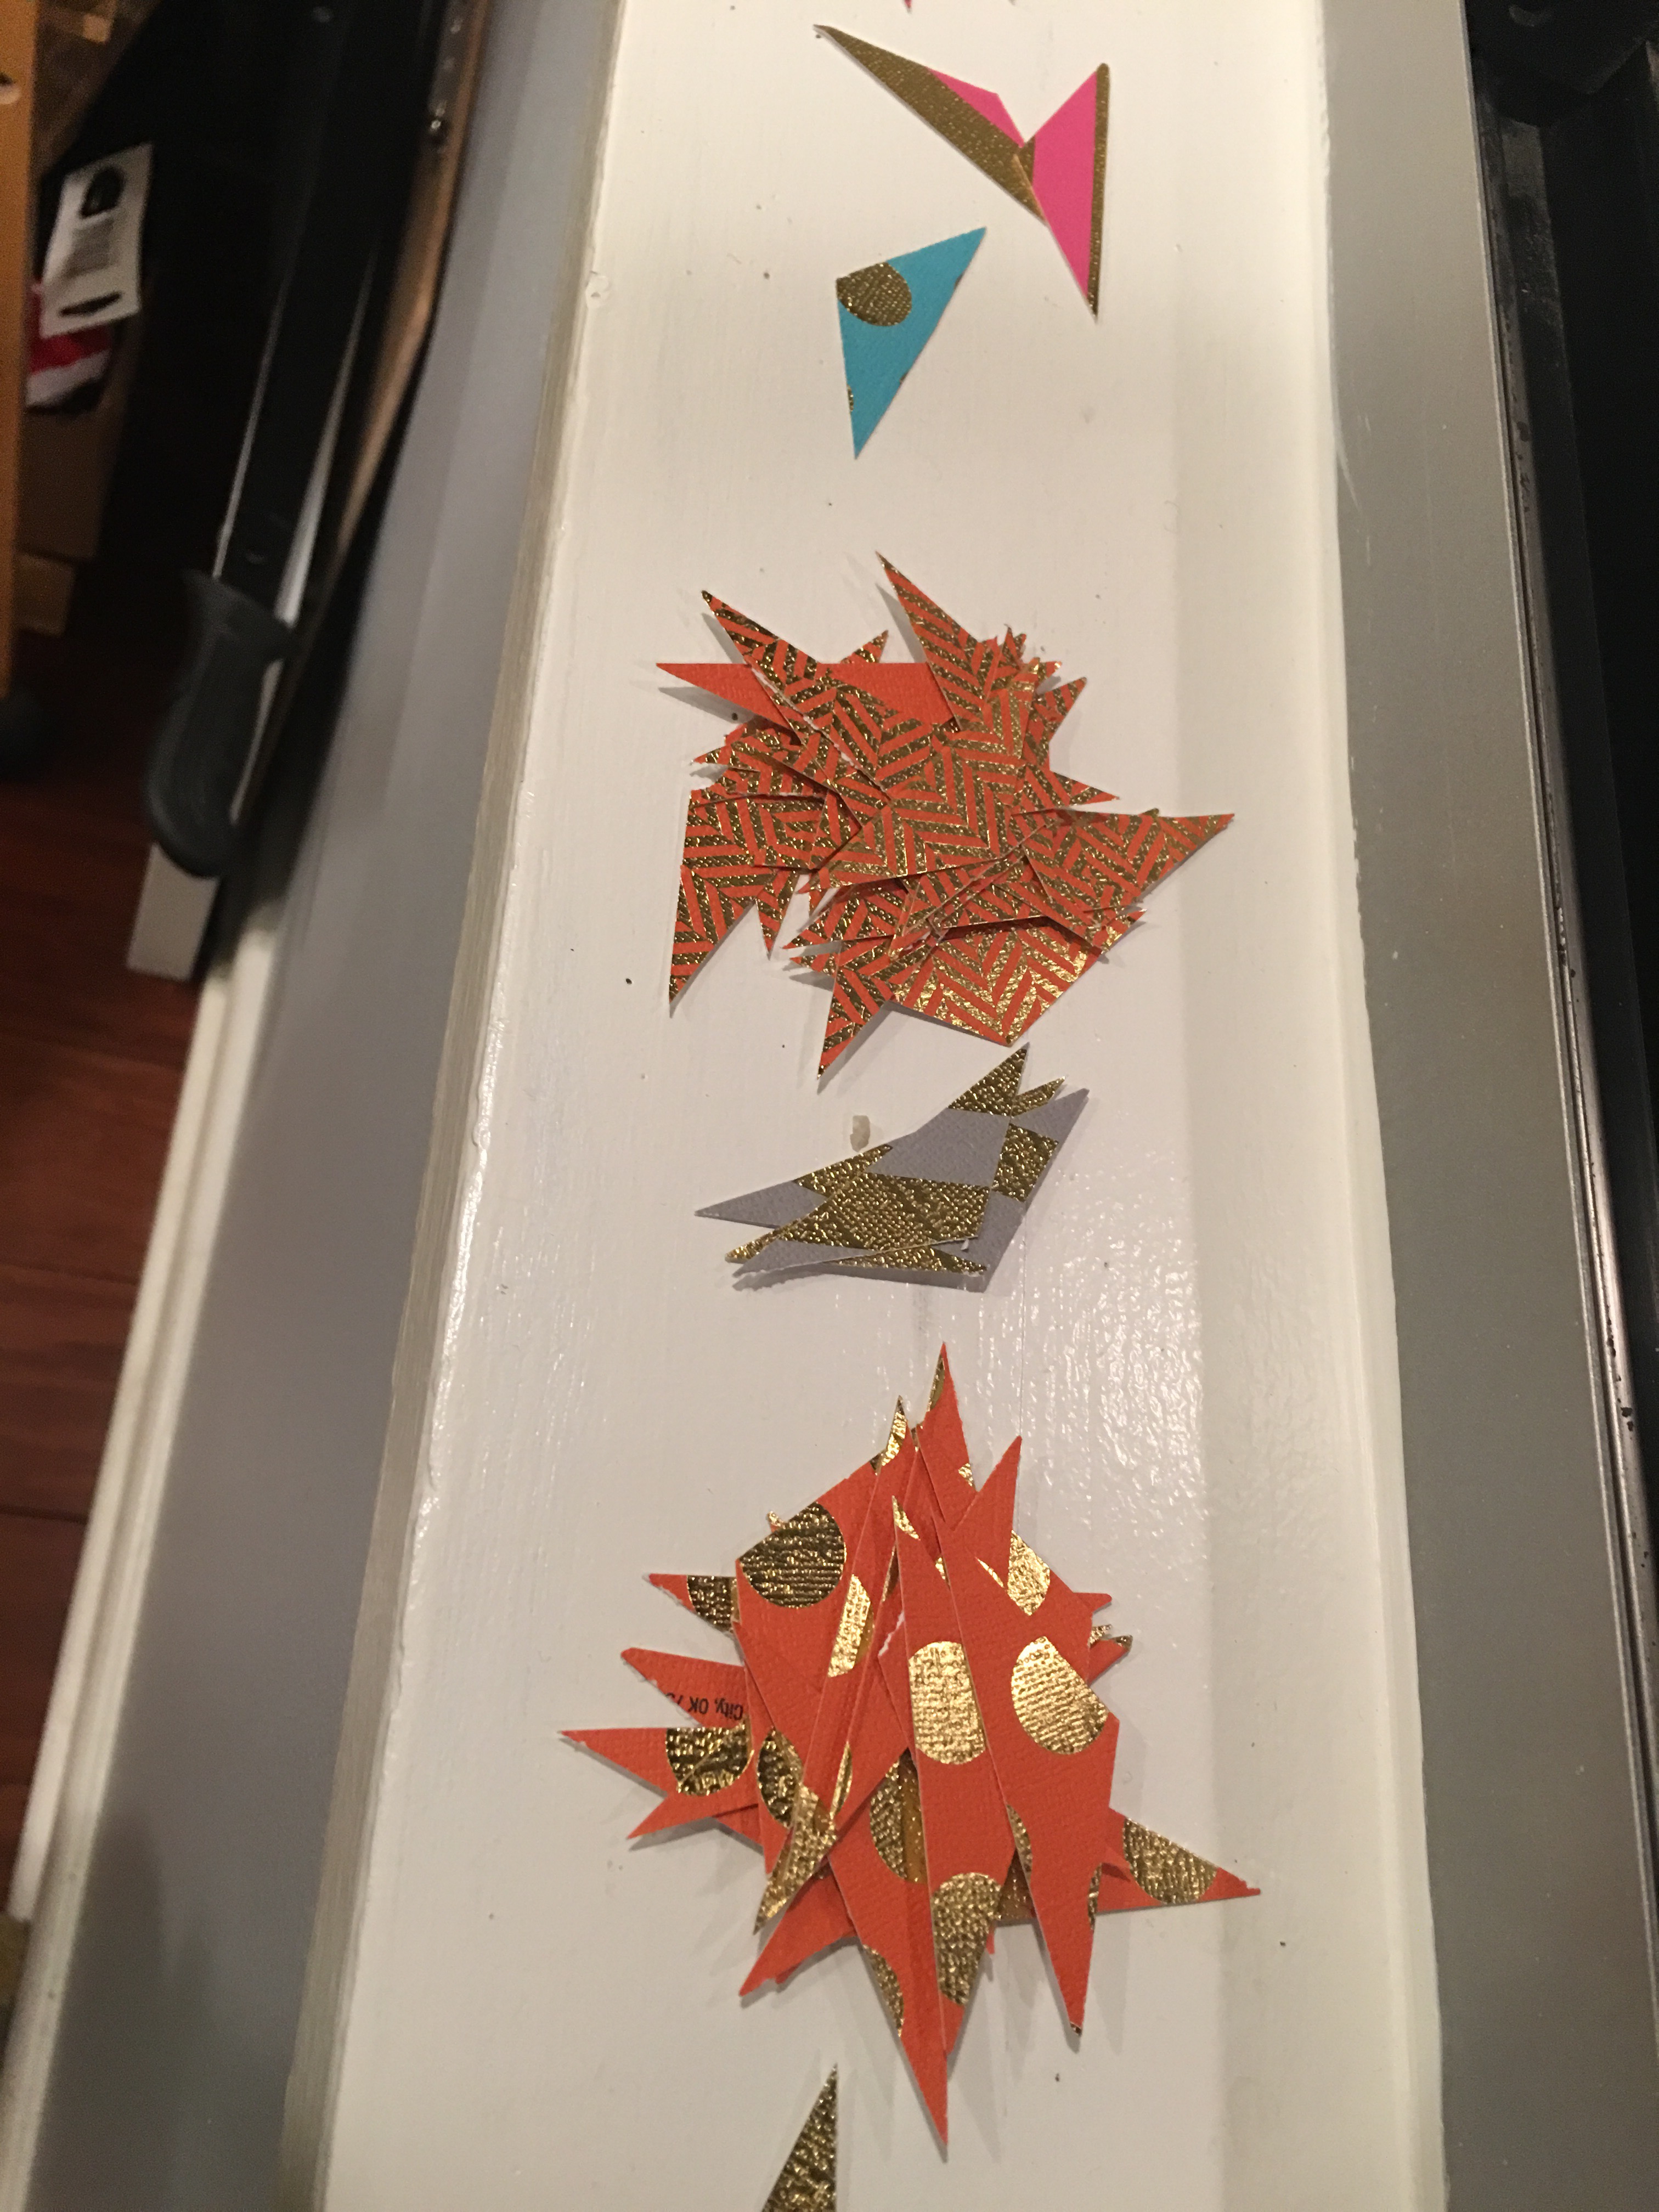
After dinner, I got back to it and began punching more diamond shapes out of paper and cutting them in half.
Unlike the previous night, I grouped the triangles by color and design so that I can alternate between different ones as I laid out the pattern on the wood.
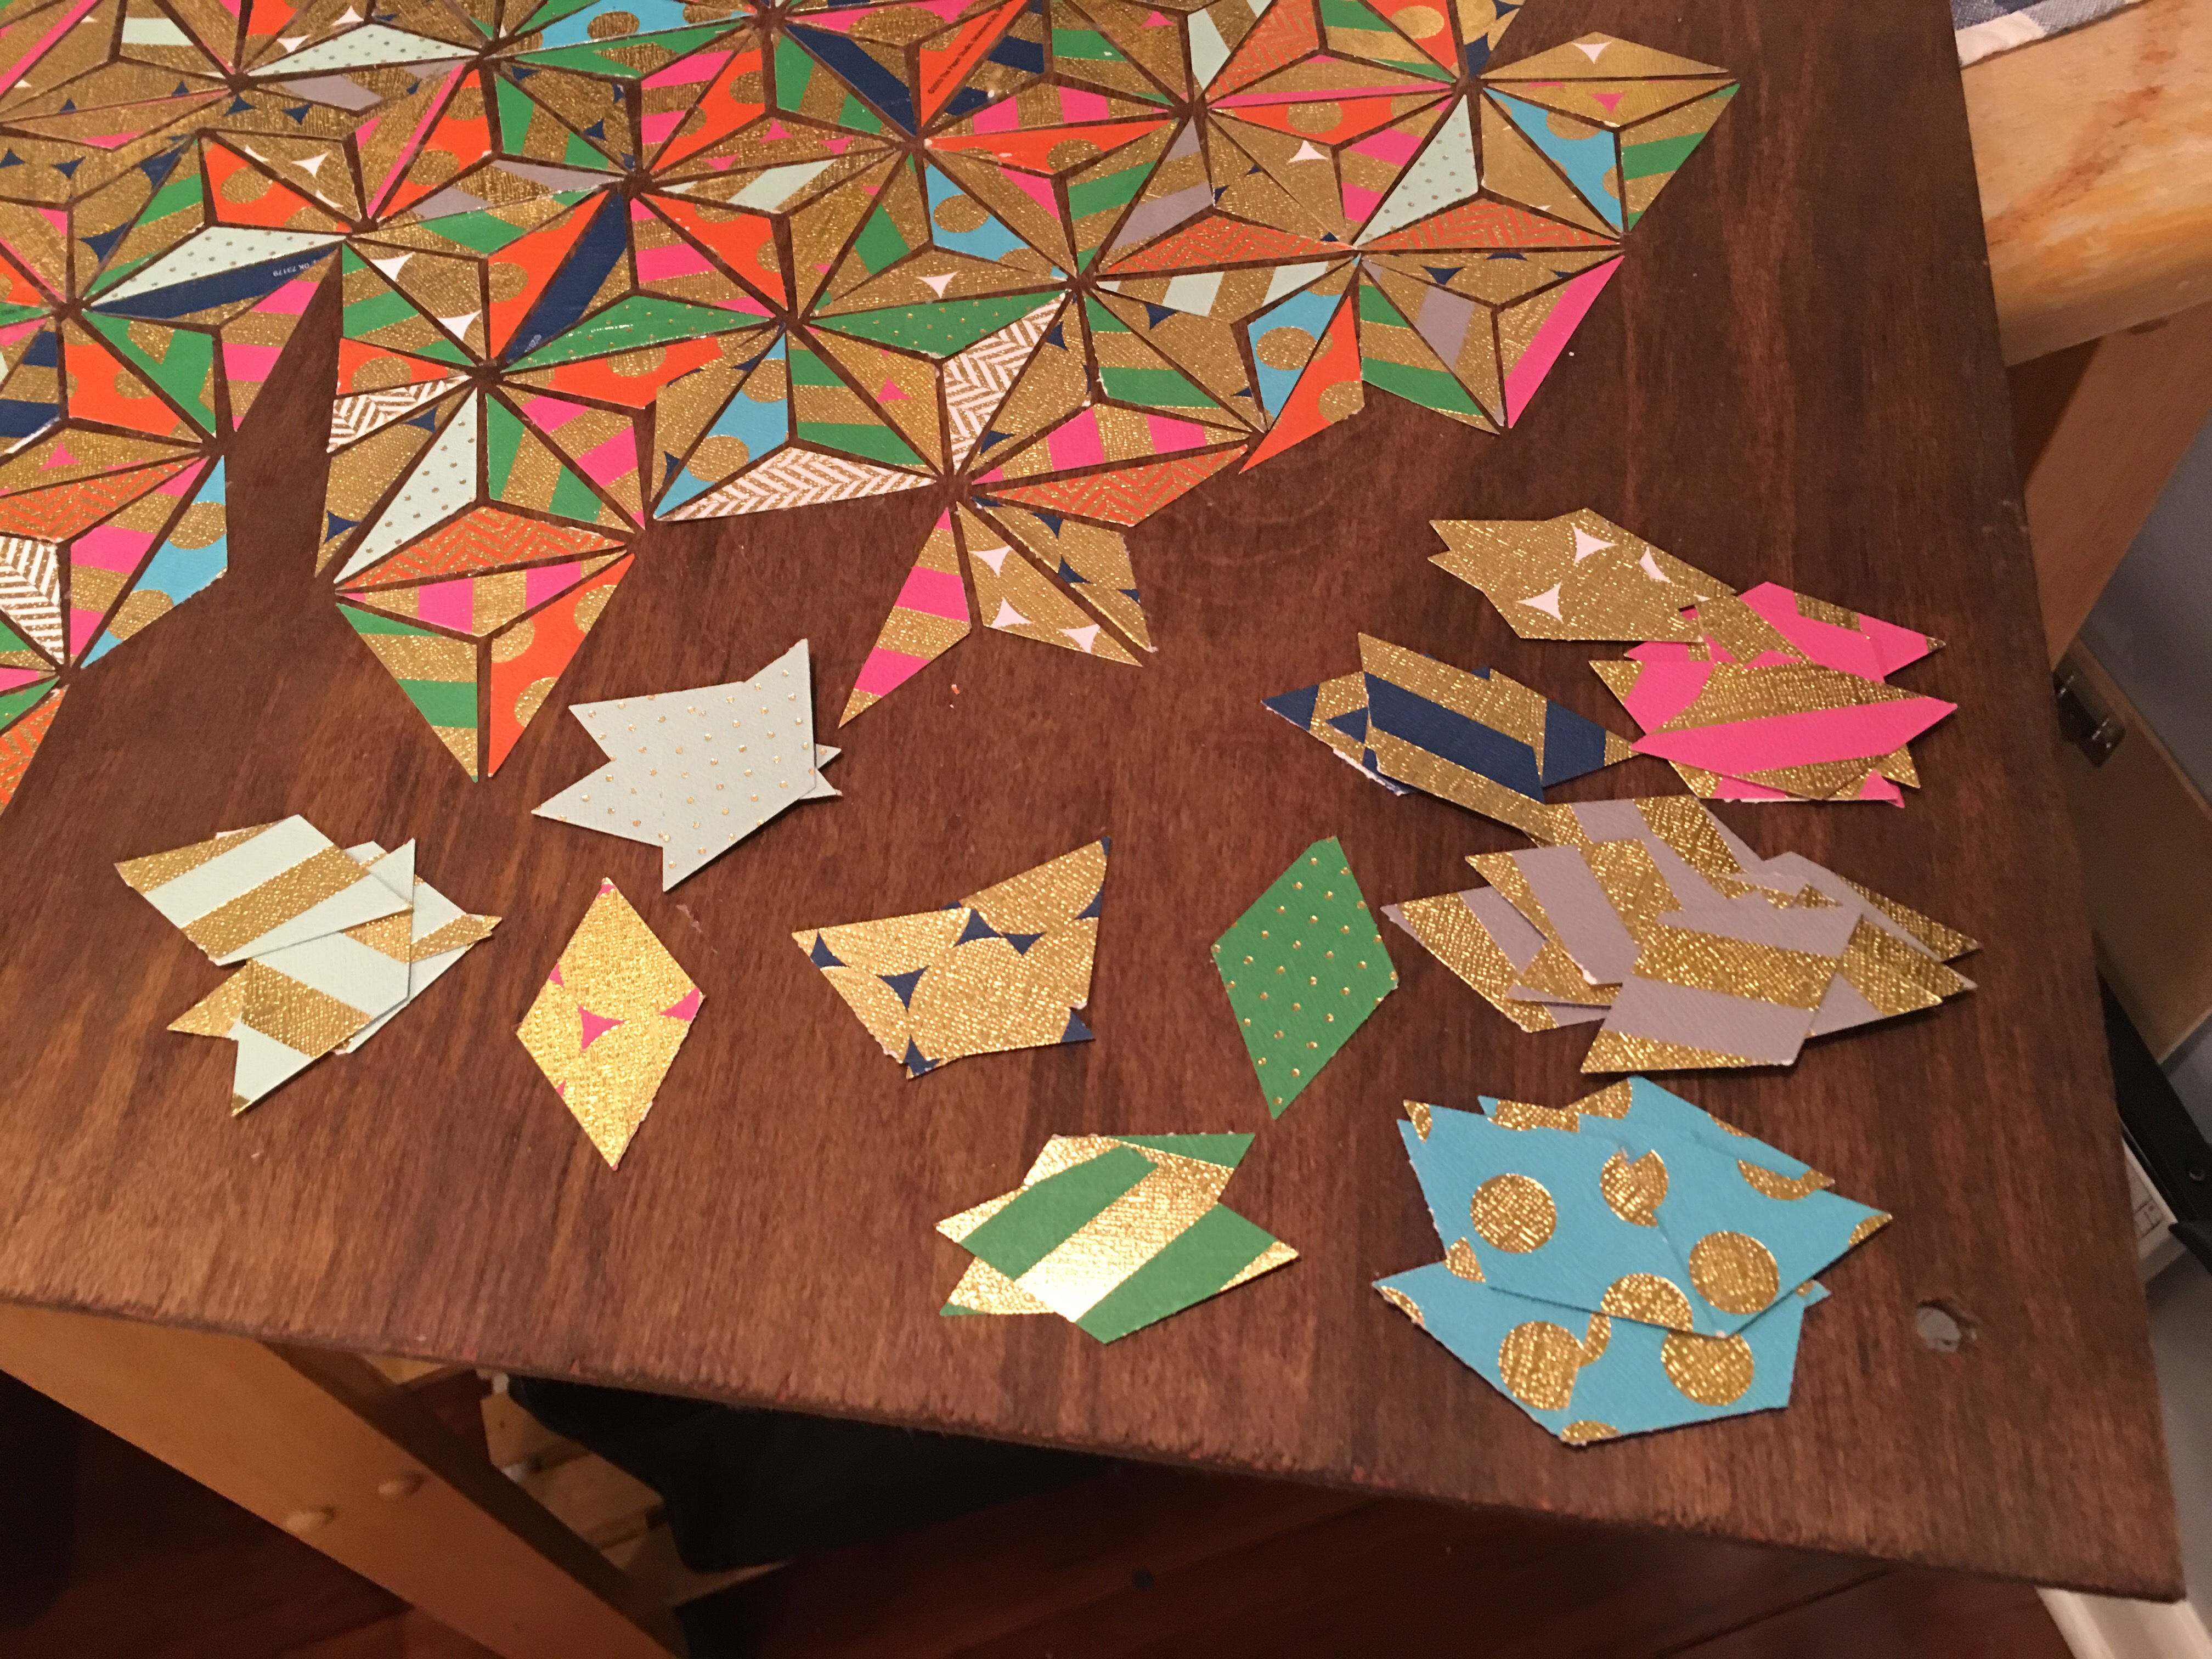
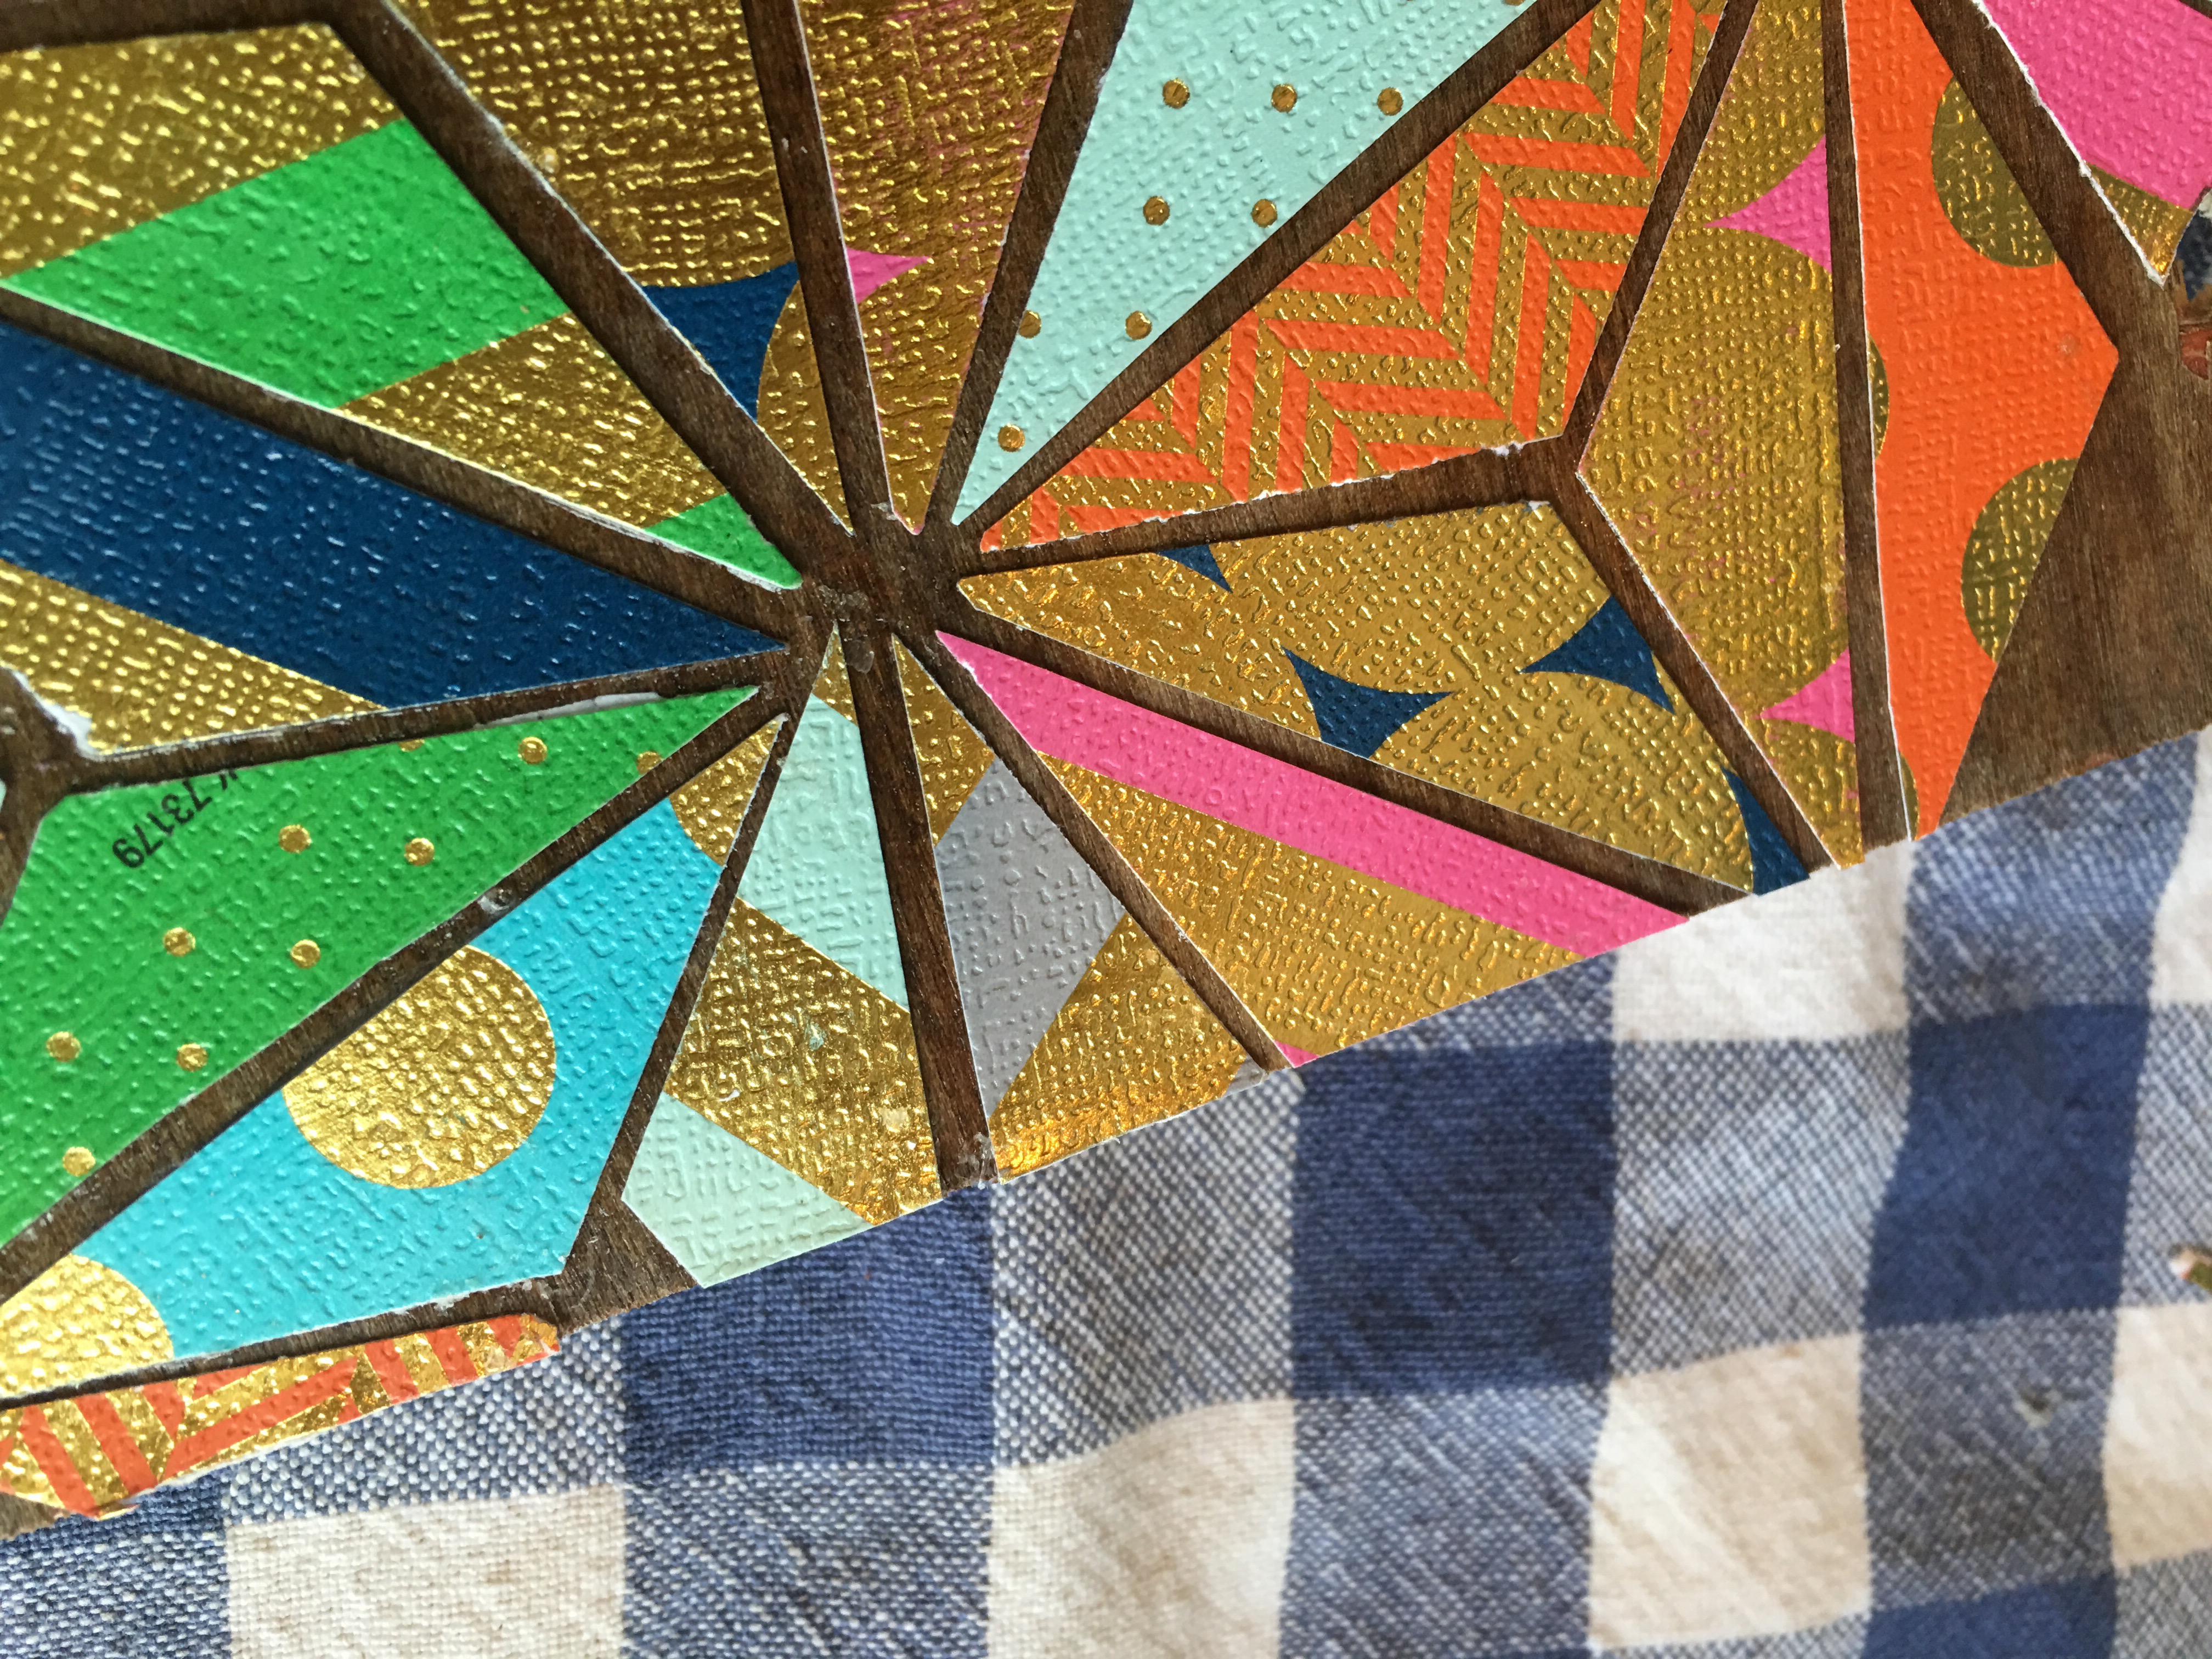
It’s coming together nicely! But as I progressed, I confirmed that the puzzle pieces went awry at some point. Suddenly, in different spots, I broke the pattern. Triangles would either overlap or start meeting each other in crazy directions.
I continued working with the pattern wherever I could until I reached the borders of the panel (gluing each piece with entire way). For the odd-shaped gaps, I used tracing paper and a pencil to trace the area.
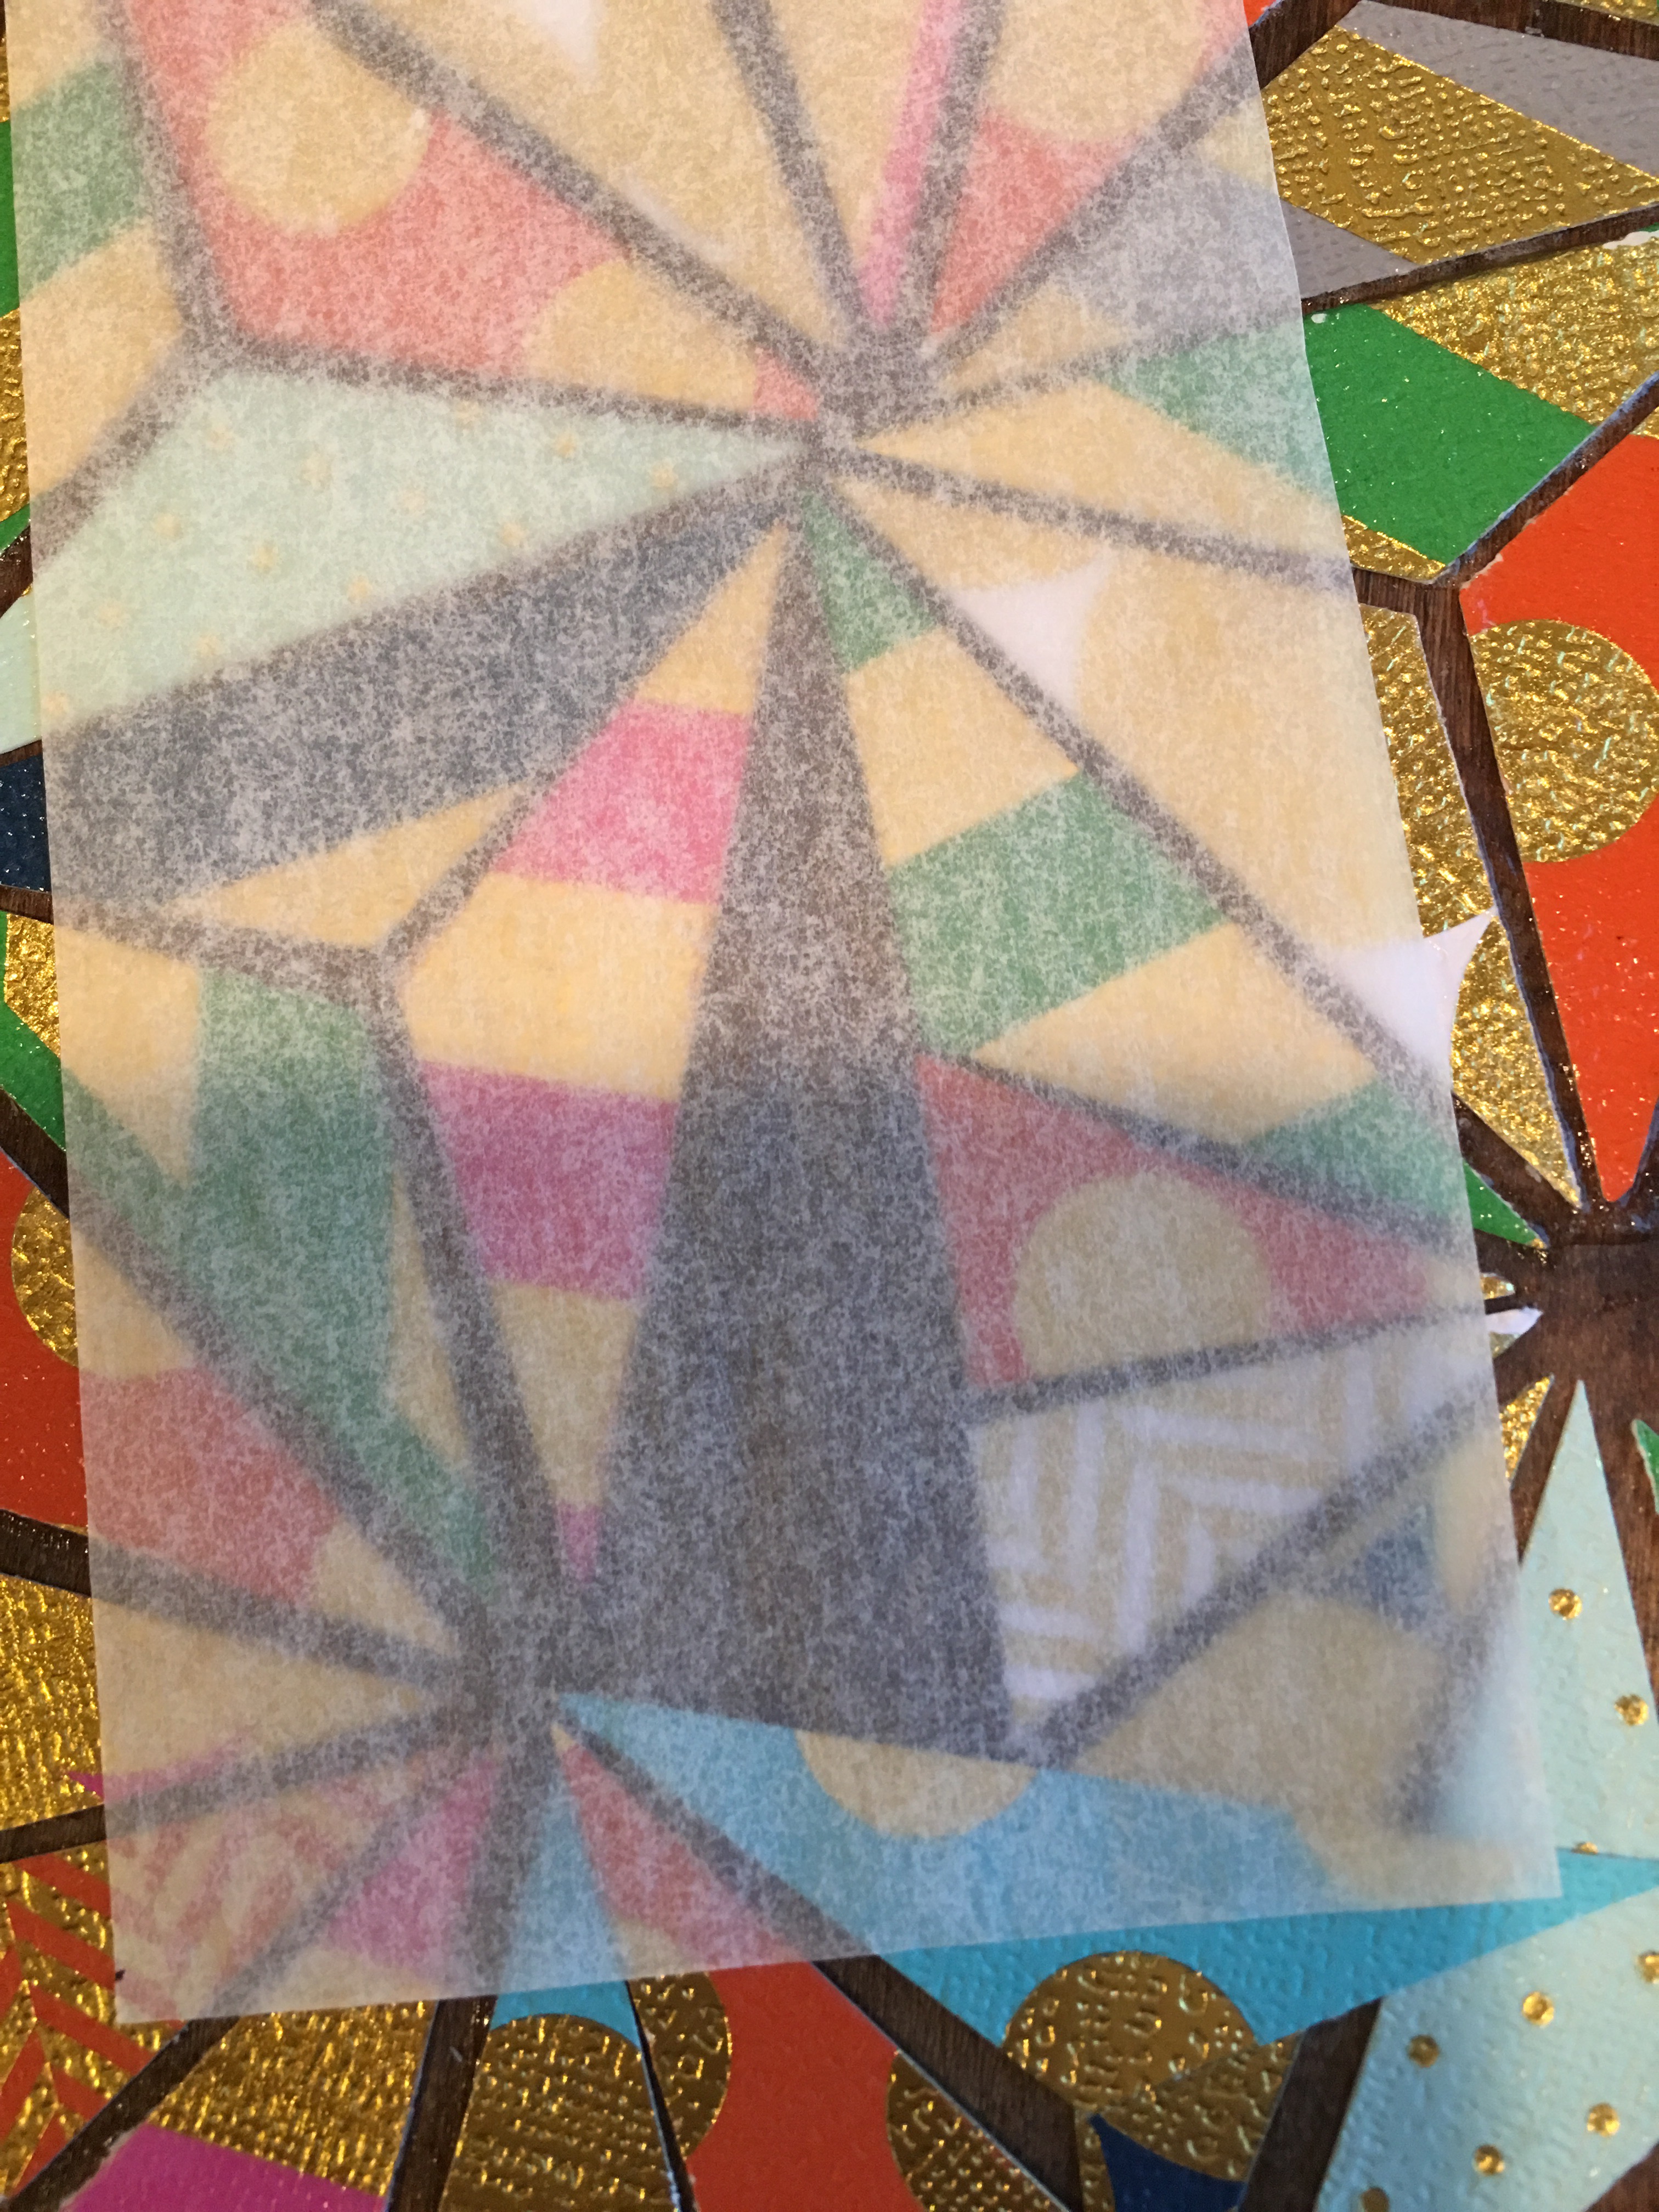
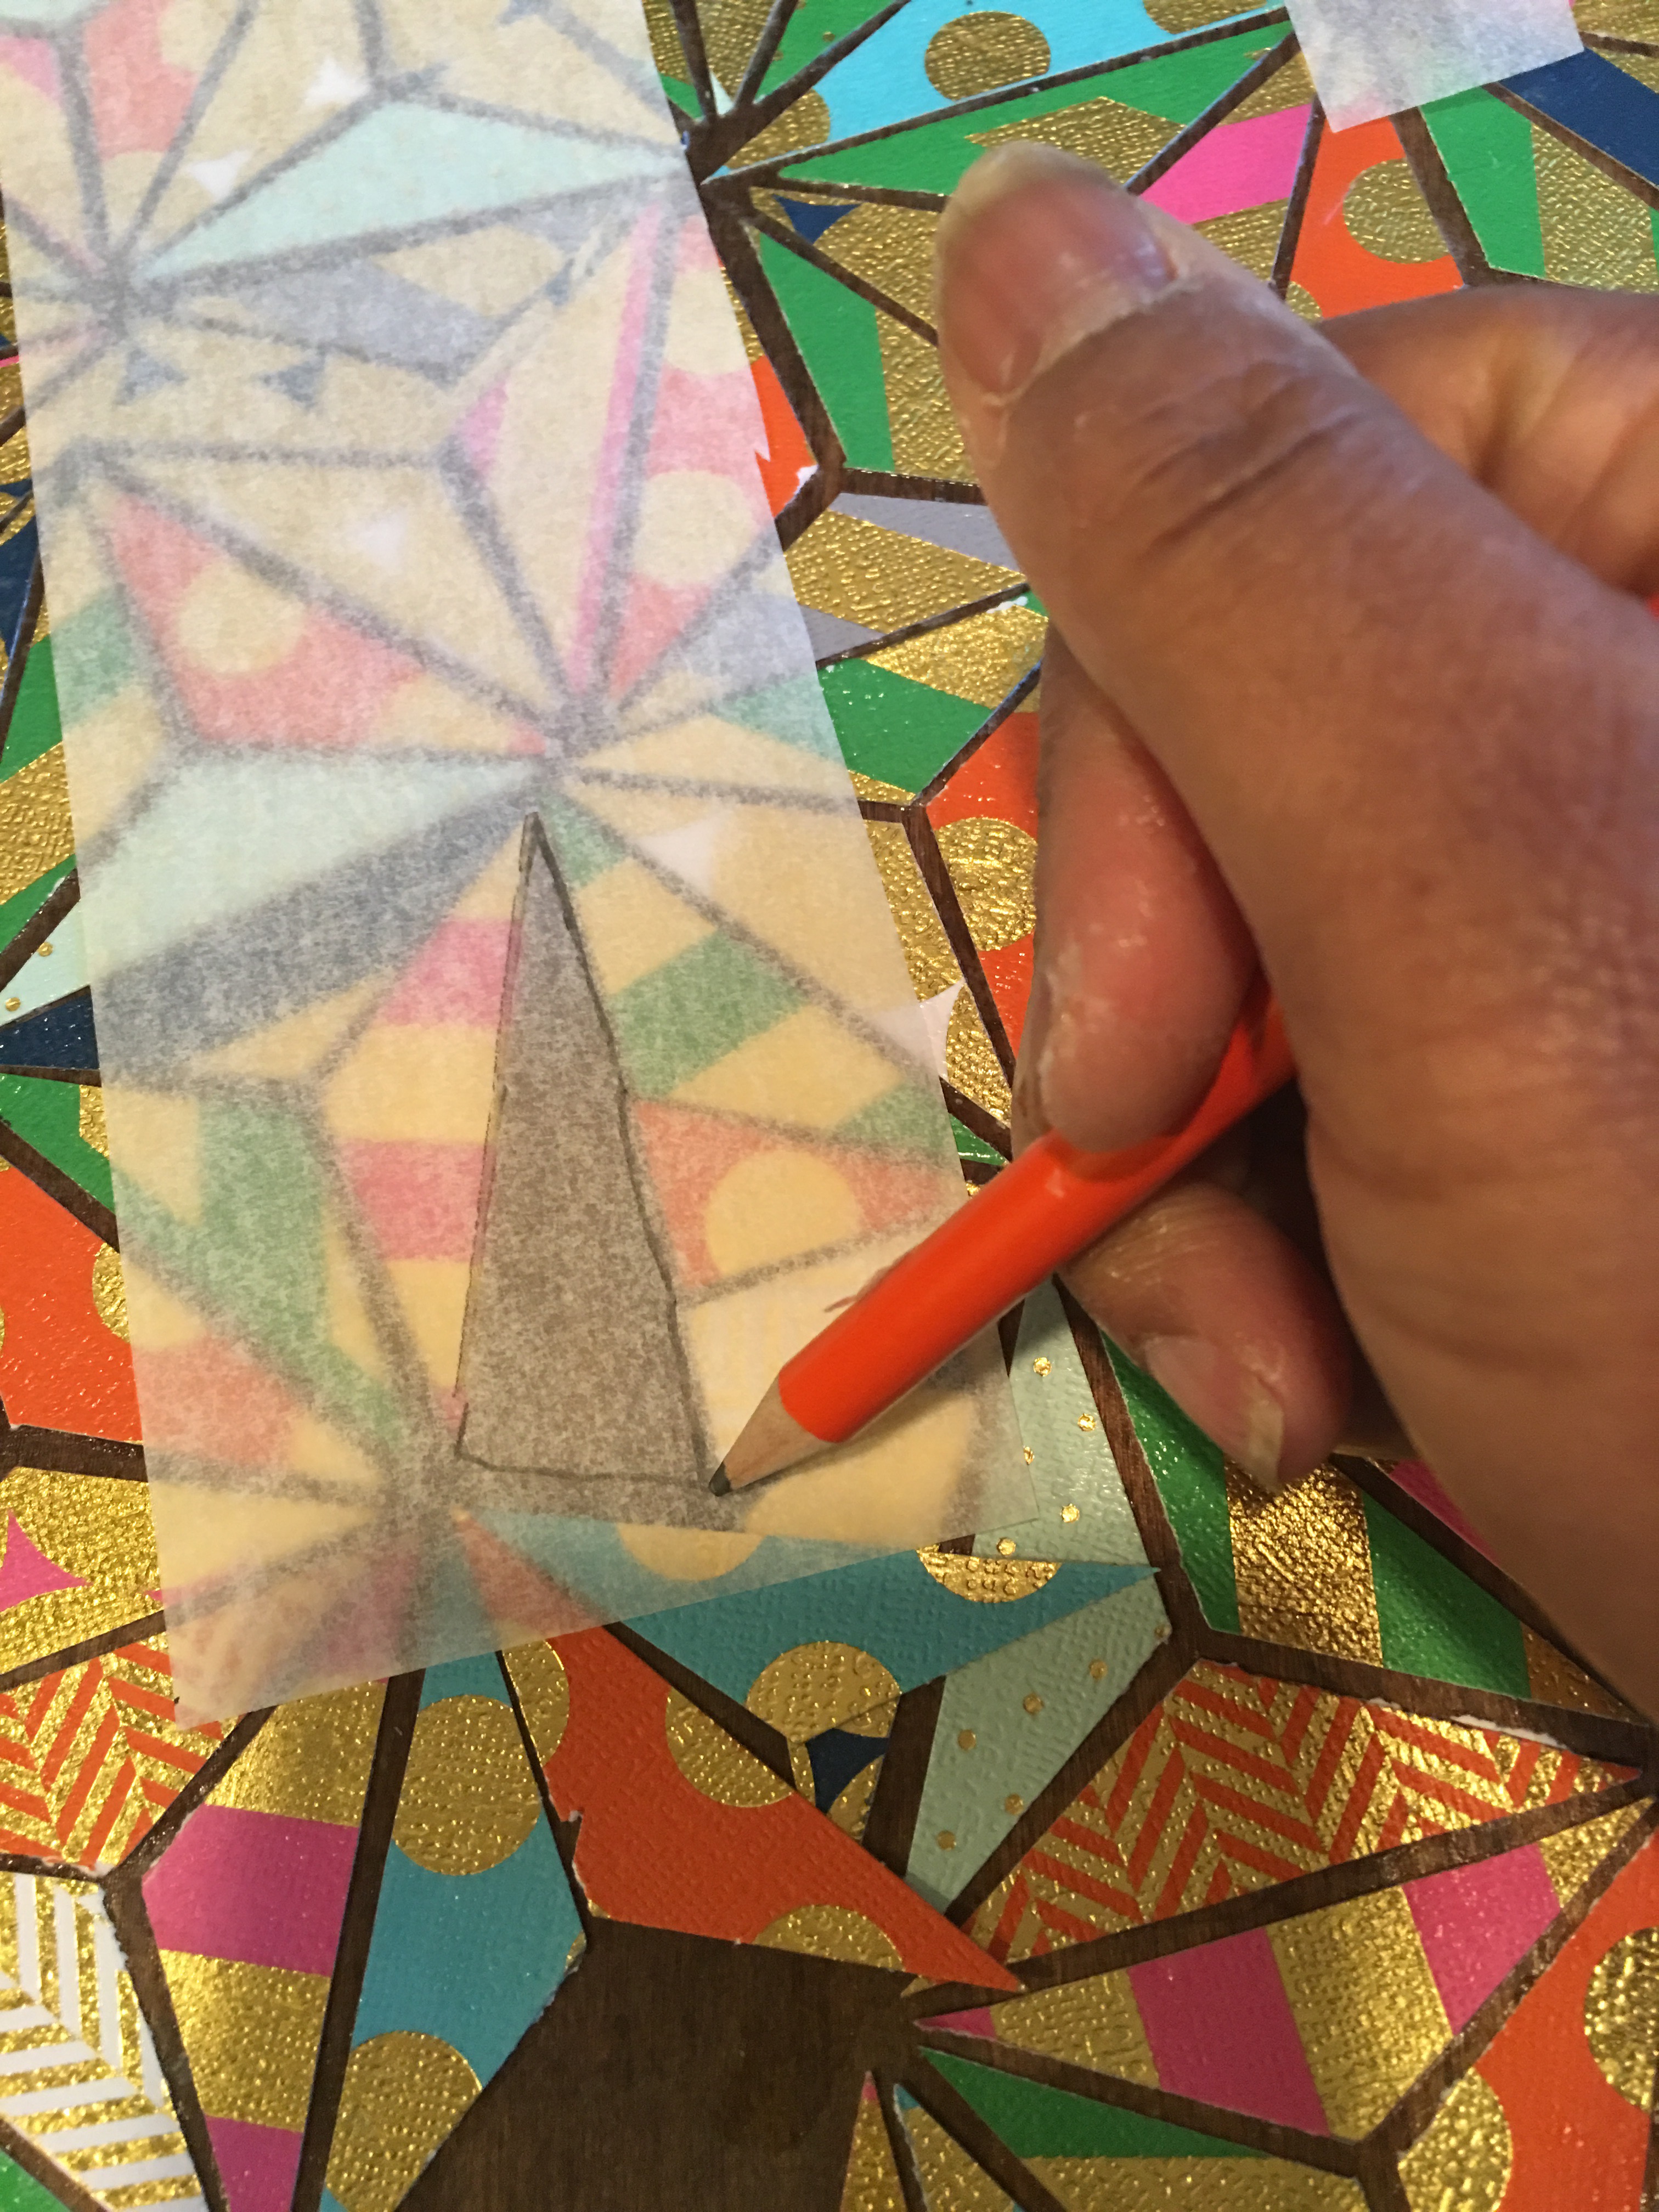
Then, I transferred the trace to an extra blank card and used it as a cutting pattern (cutting inside the line to make the shape slightly smaller than the gap.
I placed my patchwork cut in the oddly shaped puzzle gap to fill it in.
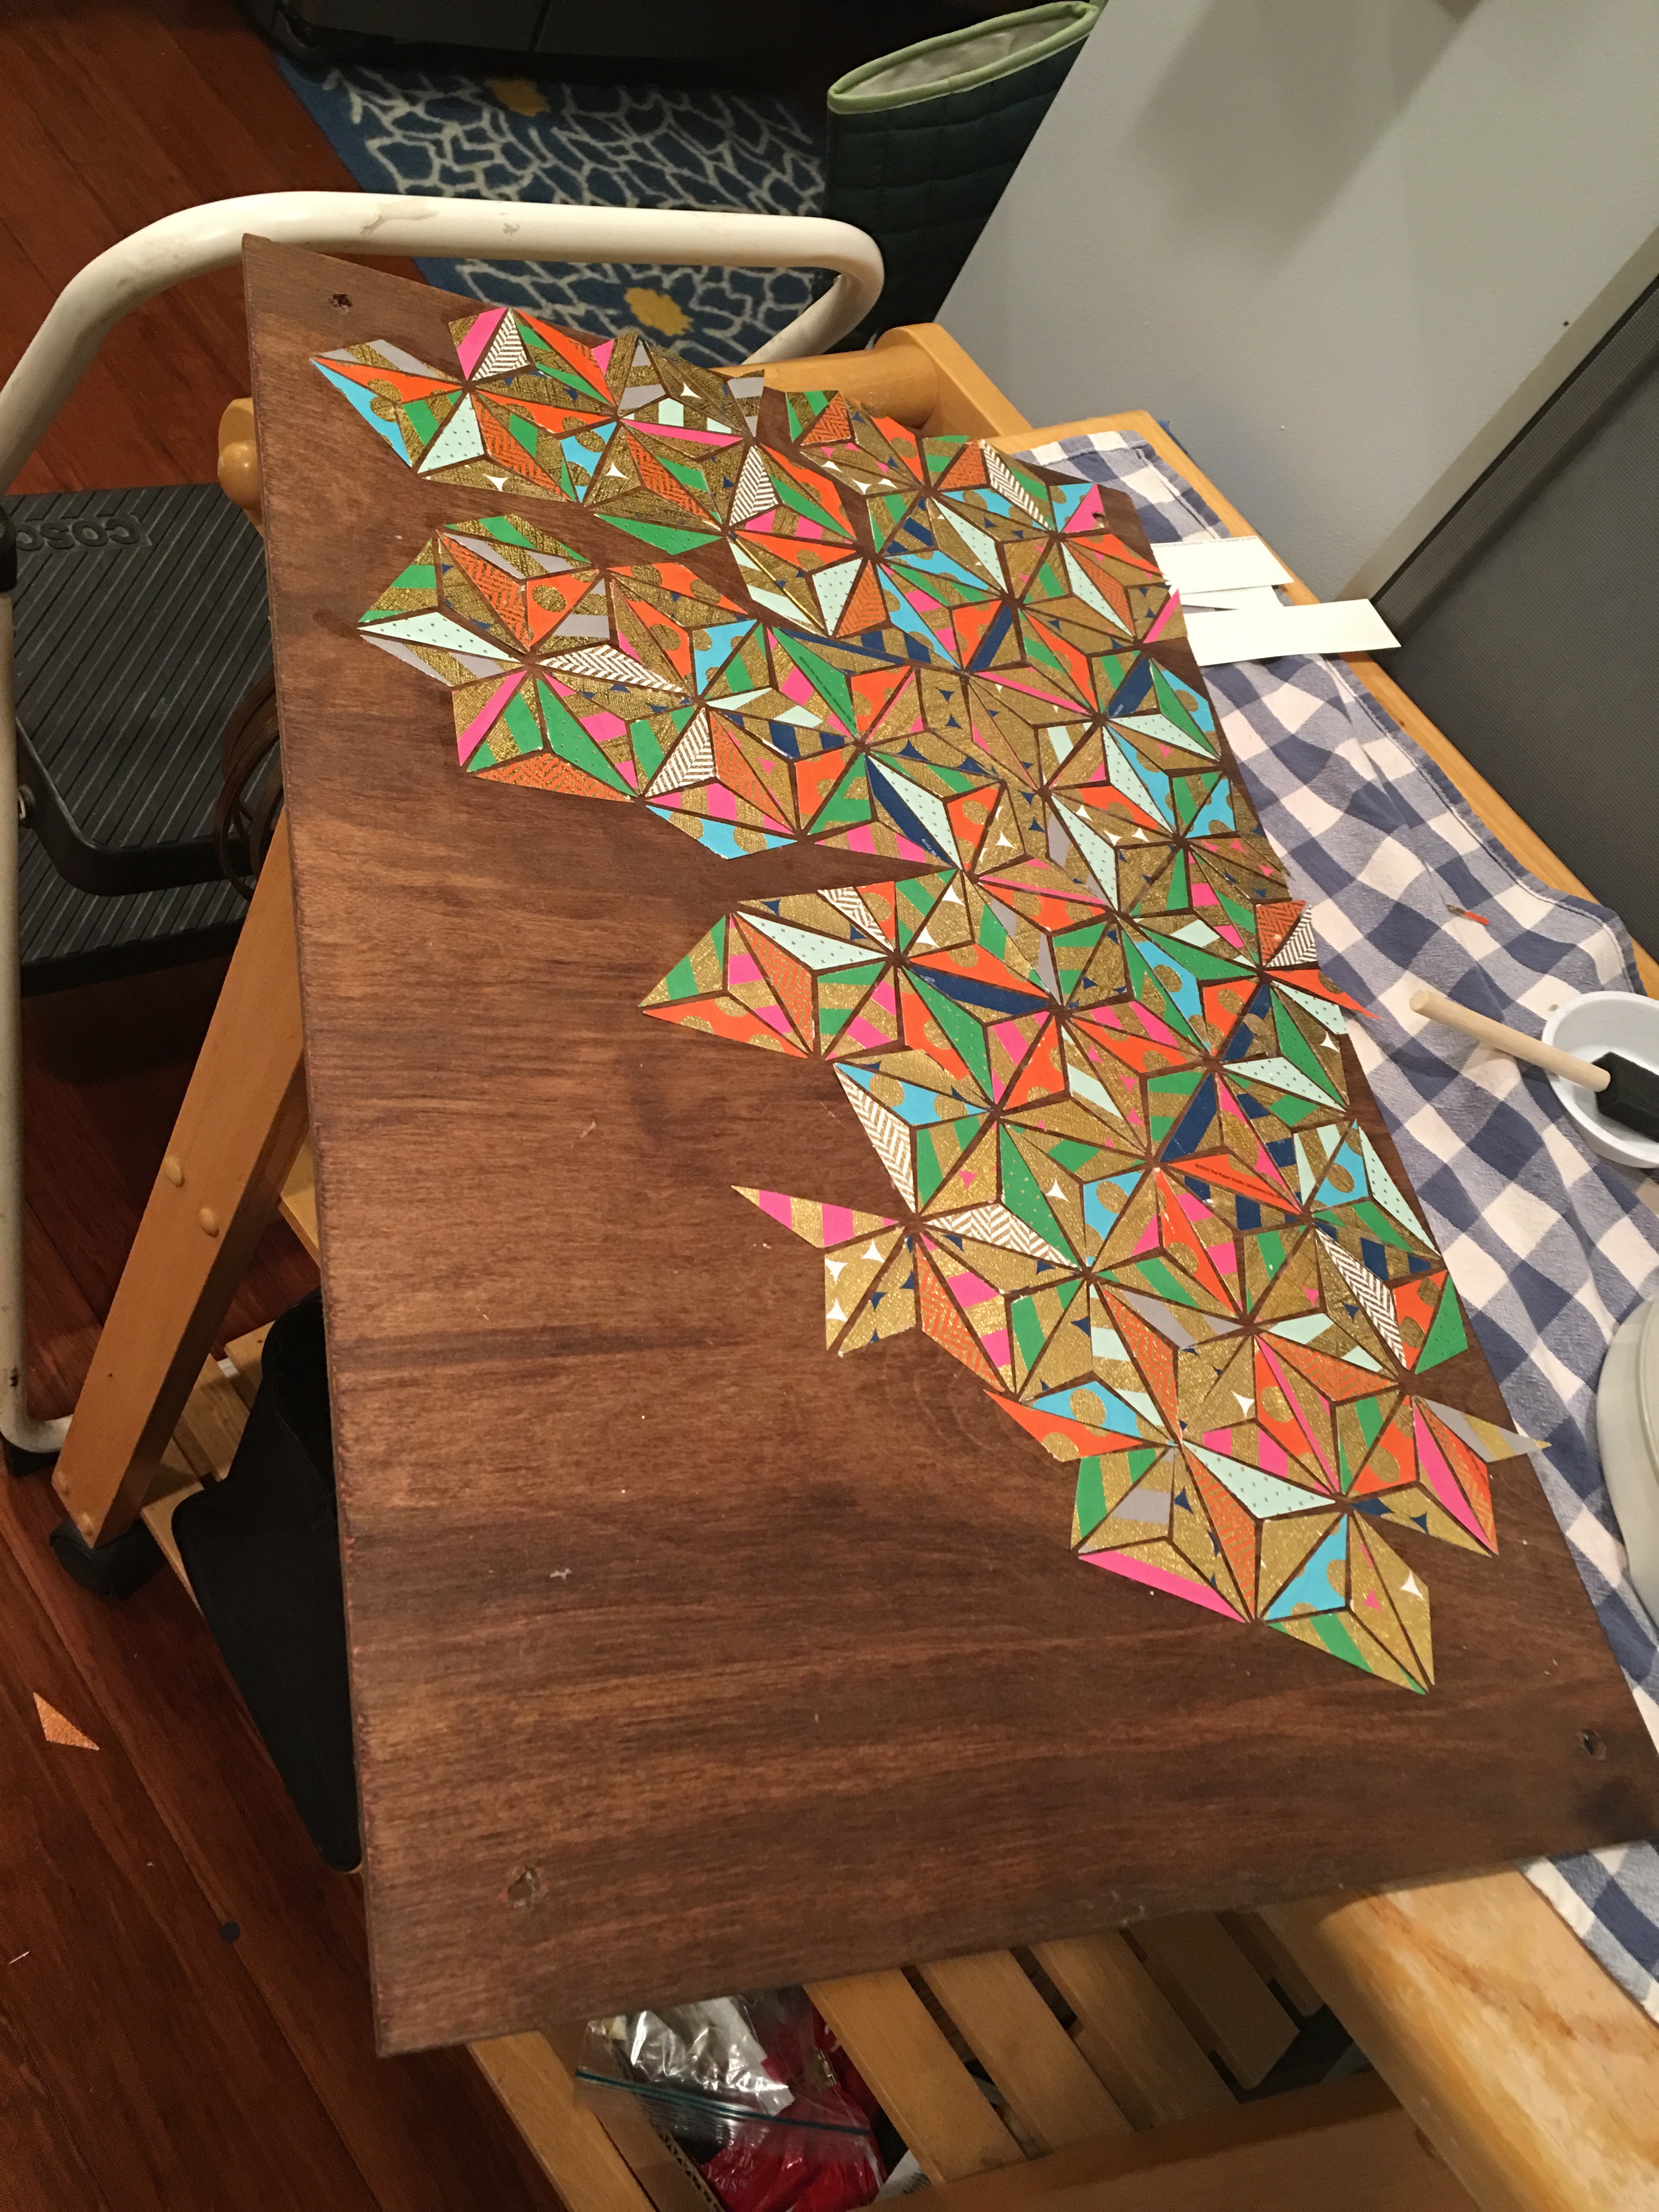
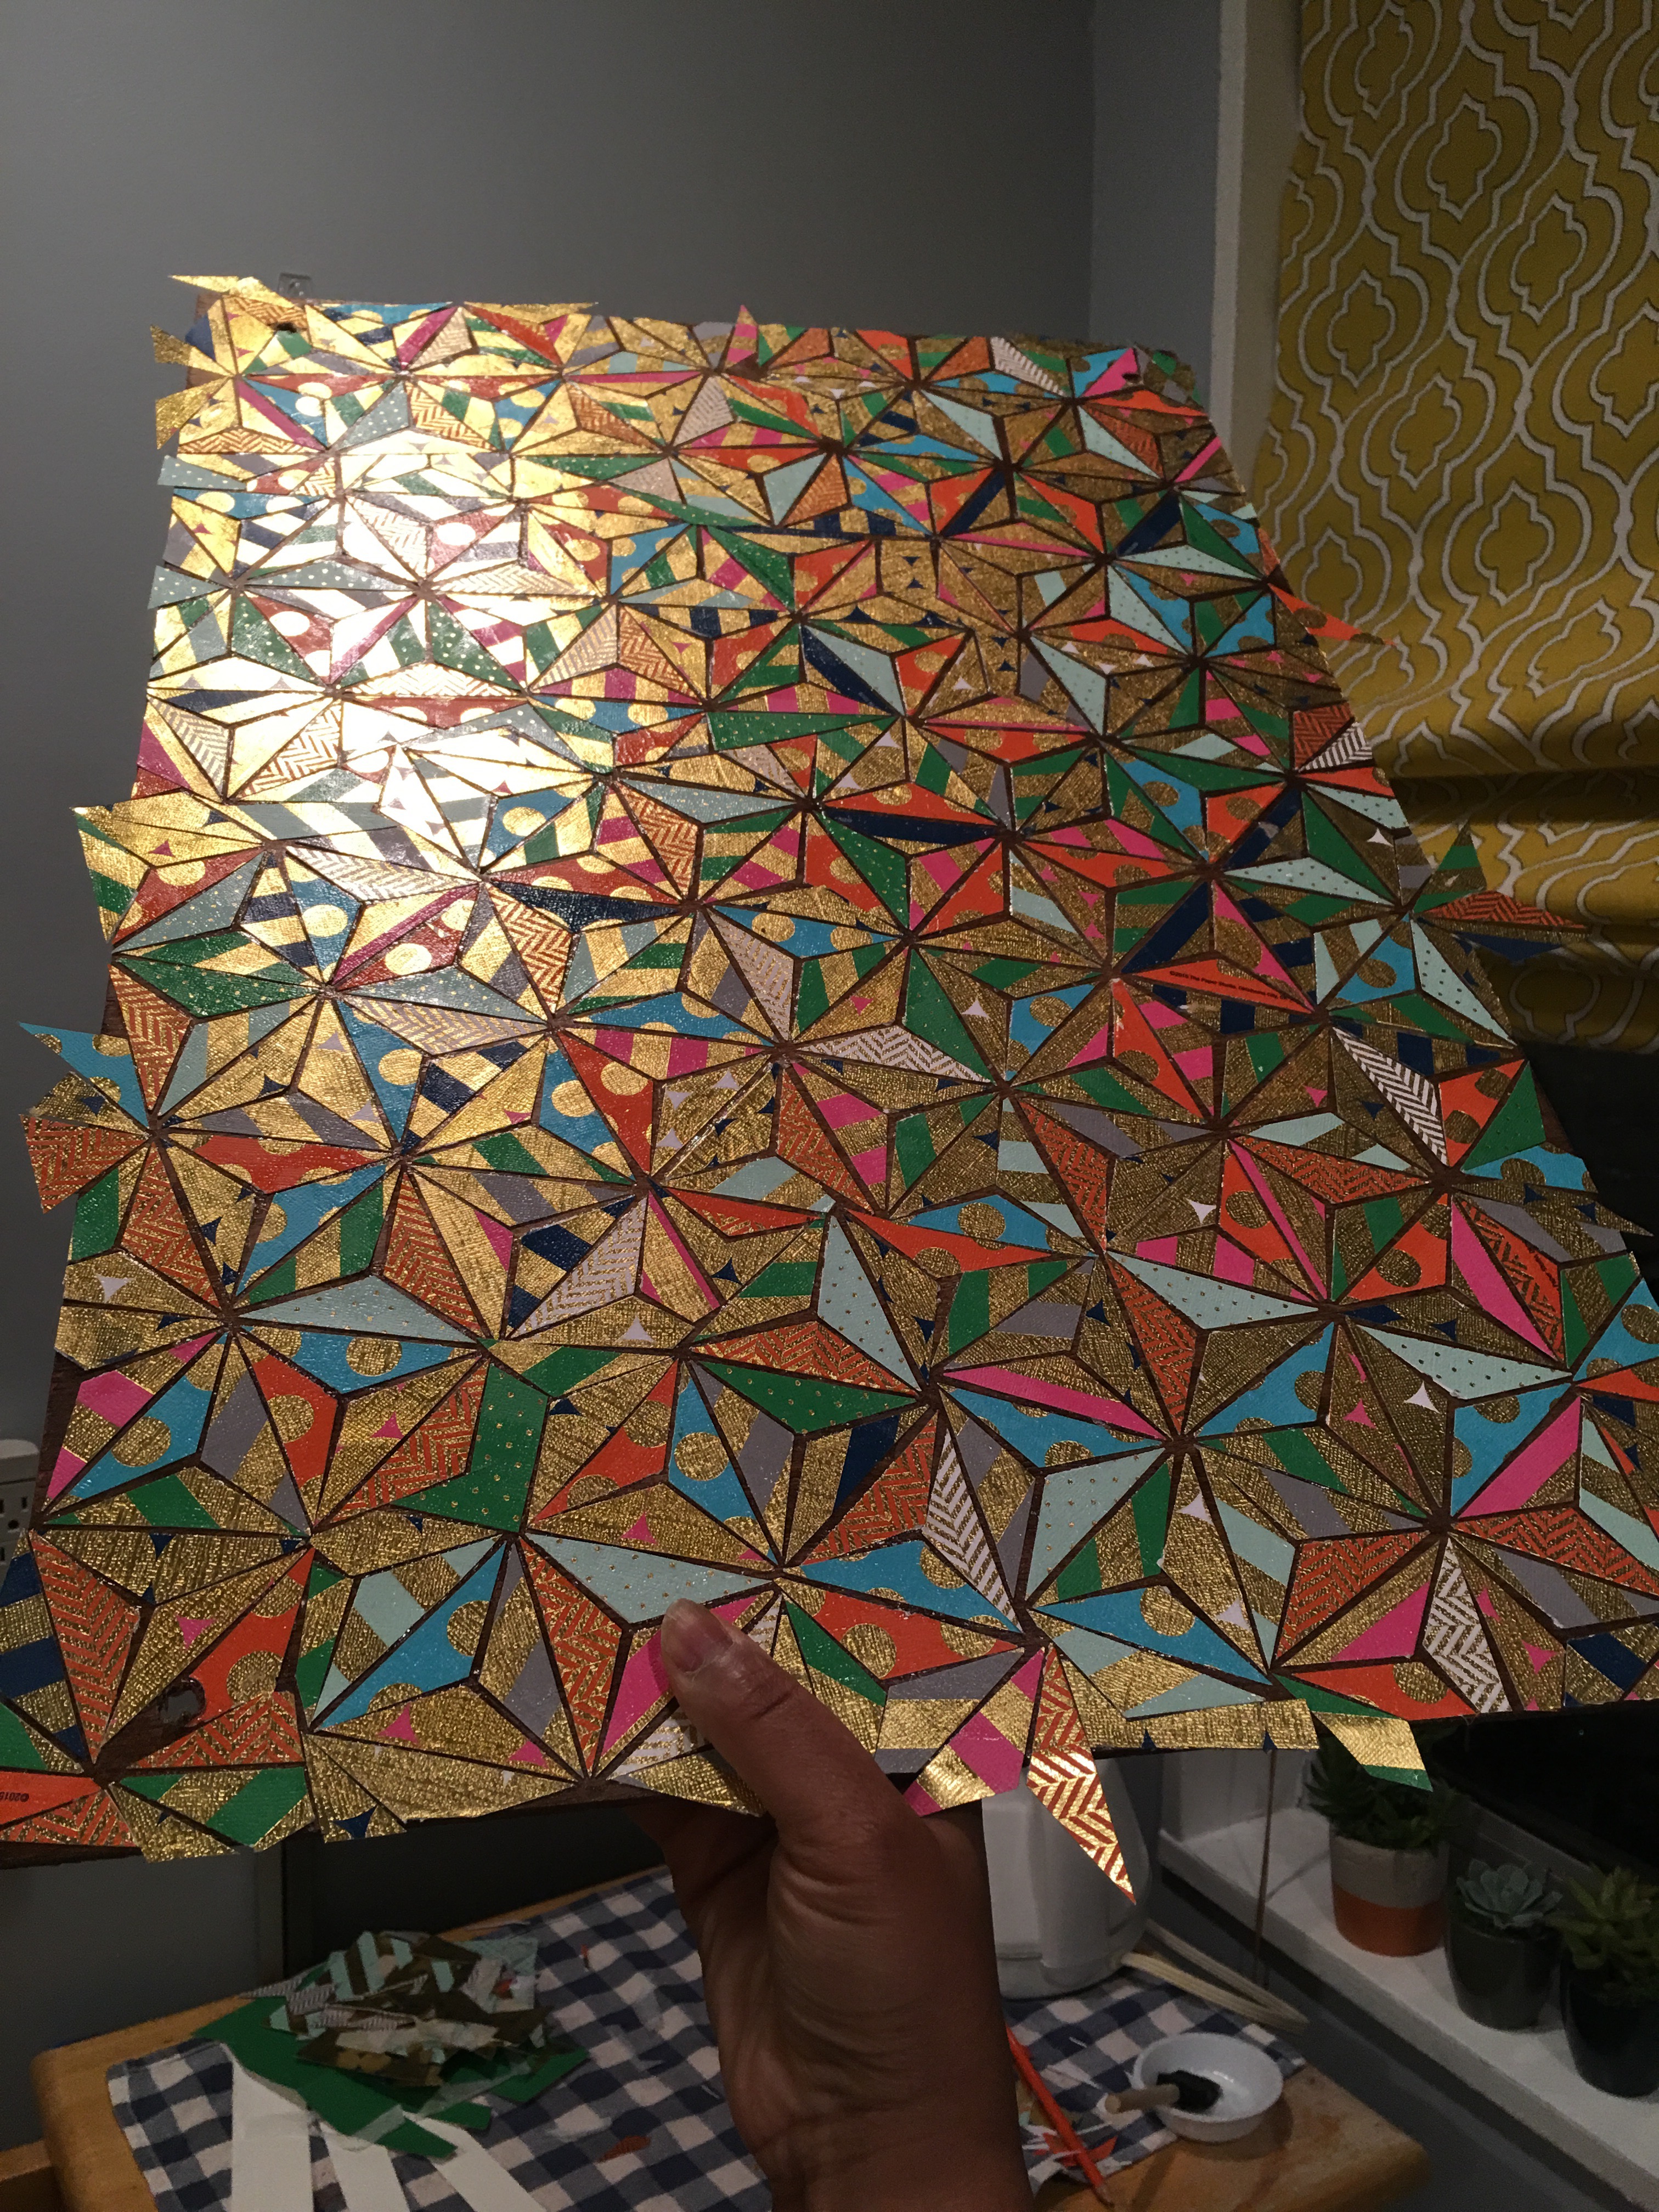
By late Wednesday, I successfully covered the wood panel. I left it overnight to dry.
Thursday Morning:
Today was an early morning for me, so I had to work fast! (Report time: 7:30AM). So I’m up at 5. Got my coffee, grabbed some scissors, got went to work on trimming the edges.
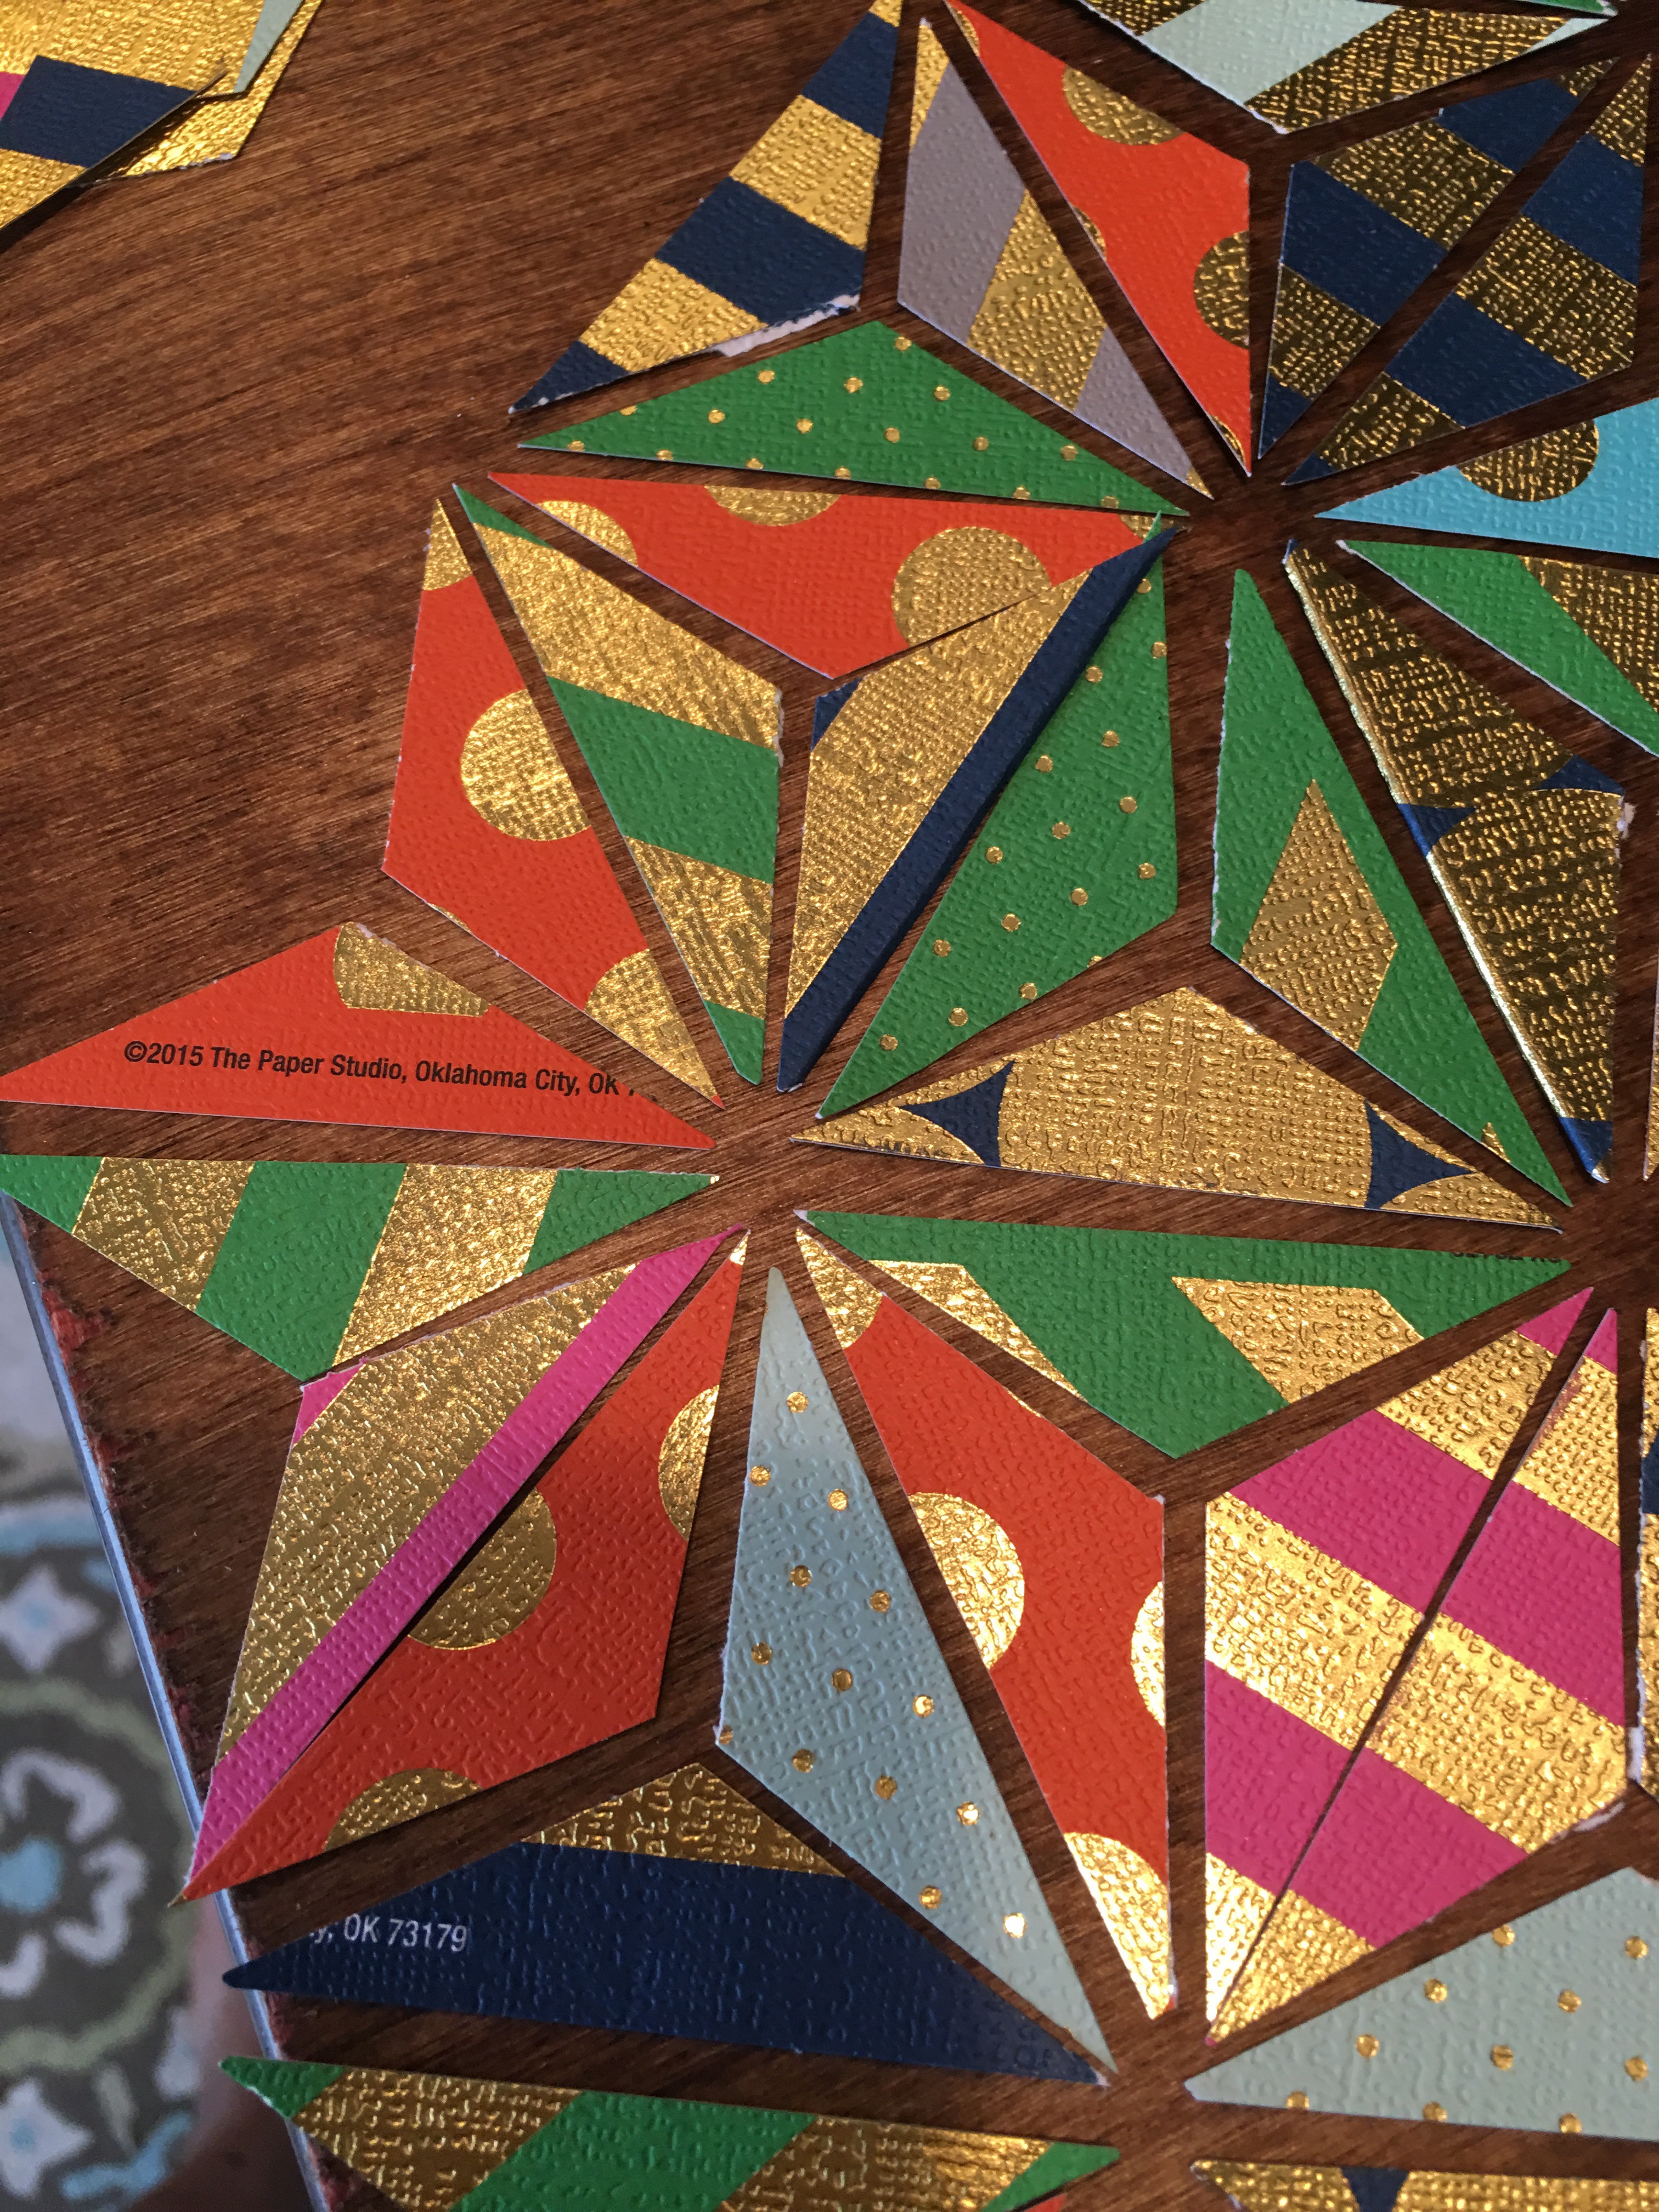
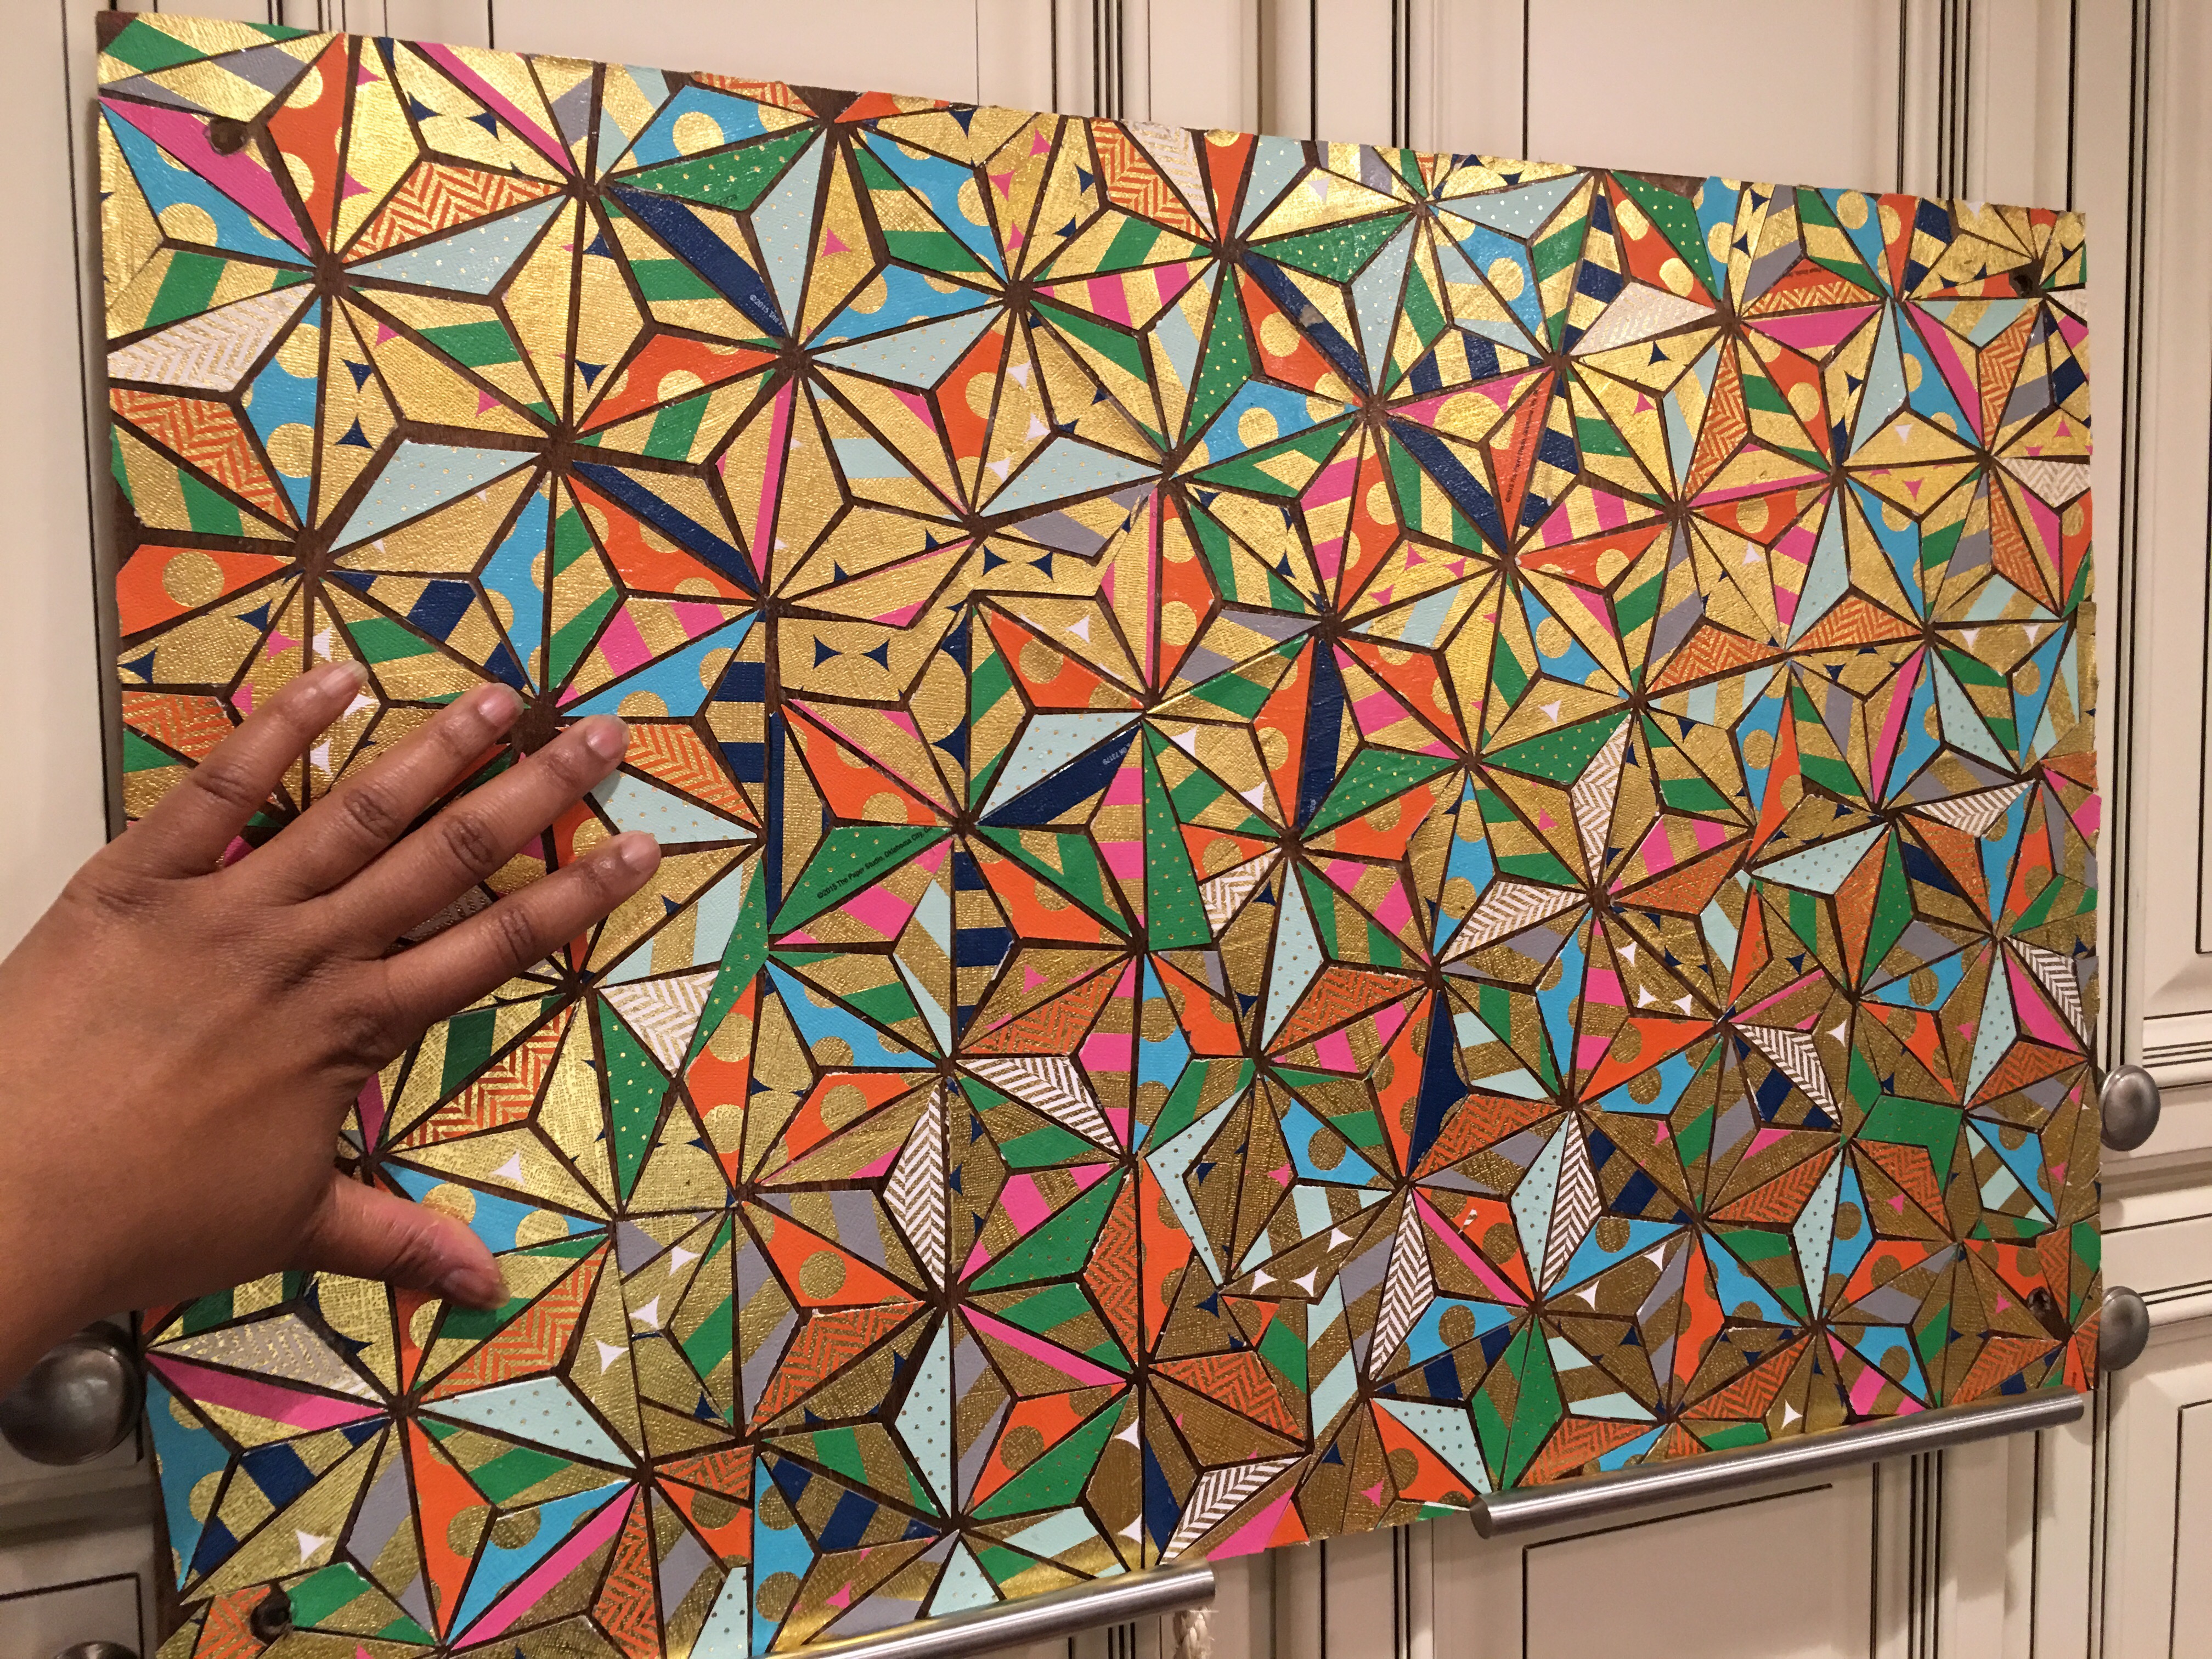
The decorated wood panel is complete. Of course, you can hardly tell it’s wood. But I think it came out beautifully. The mix of bright colors with the gold foil accents is a truly striking visual effect.
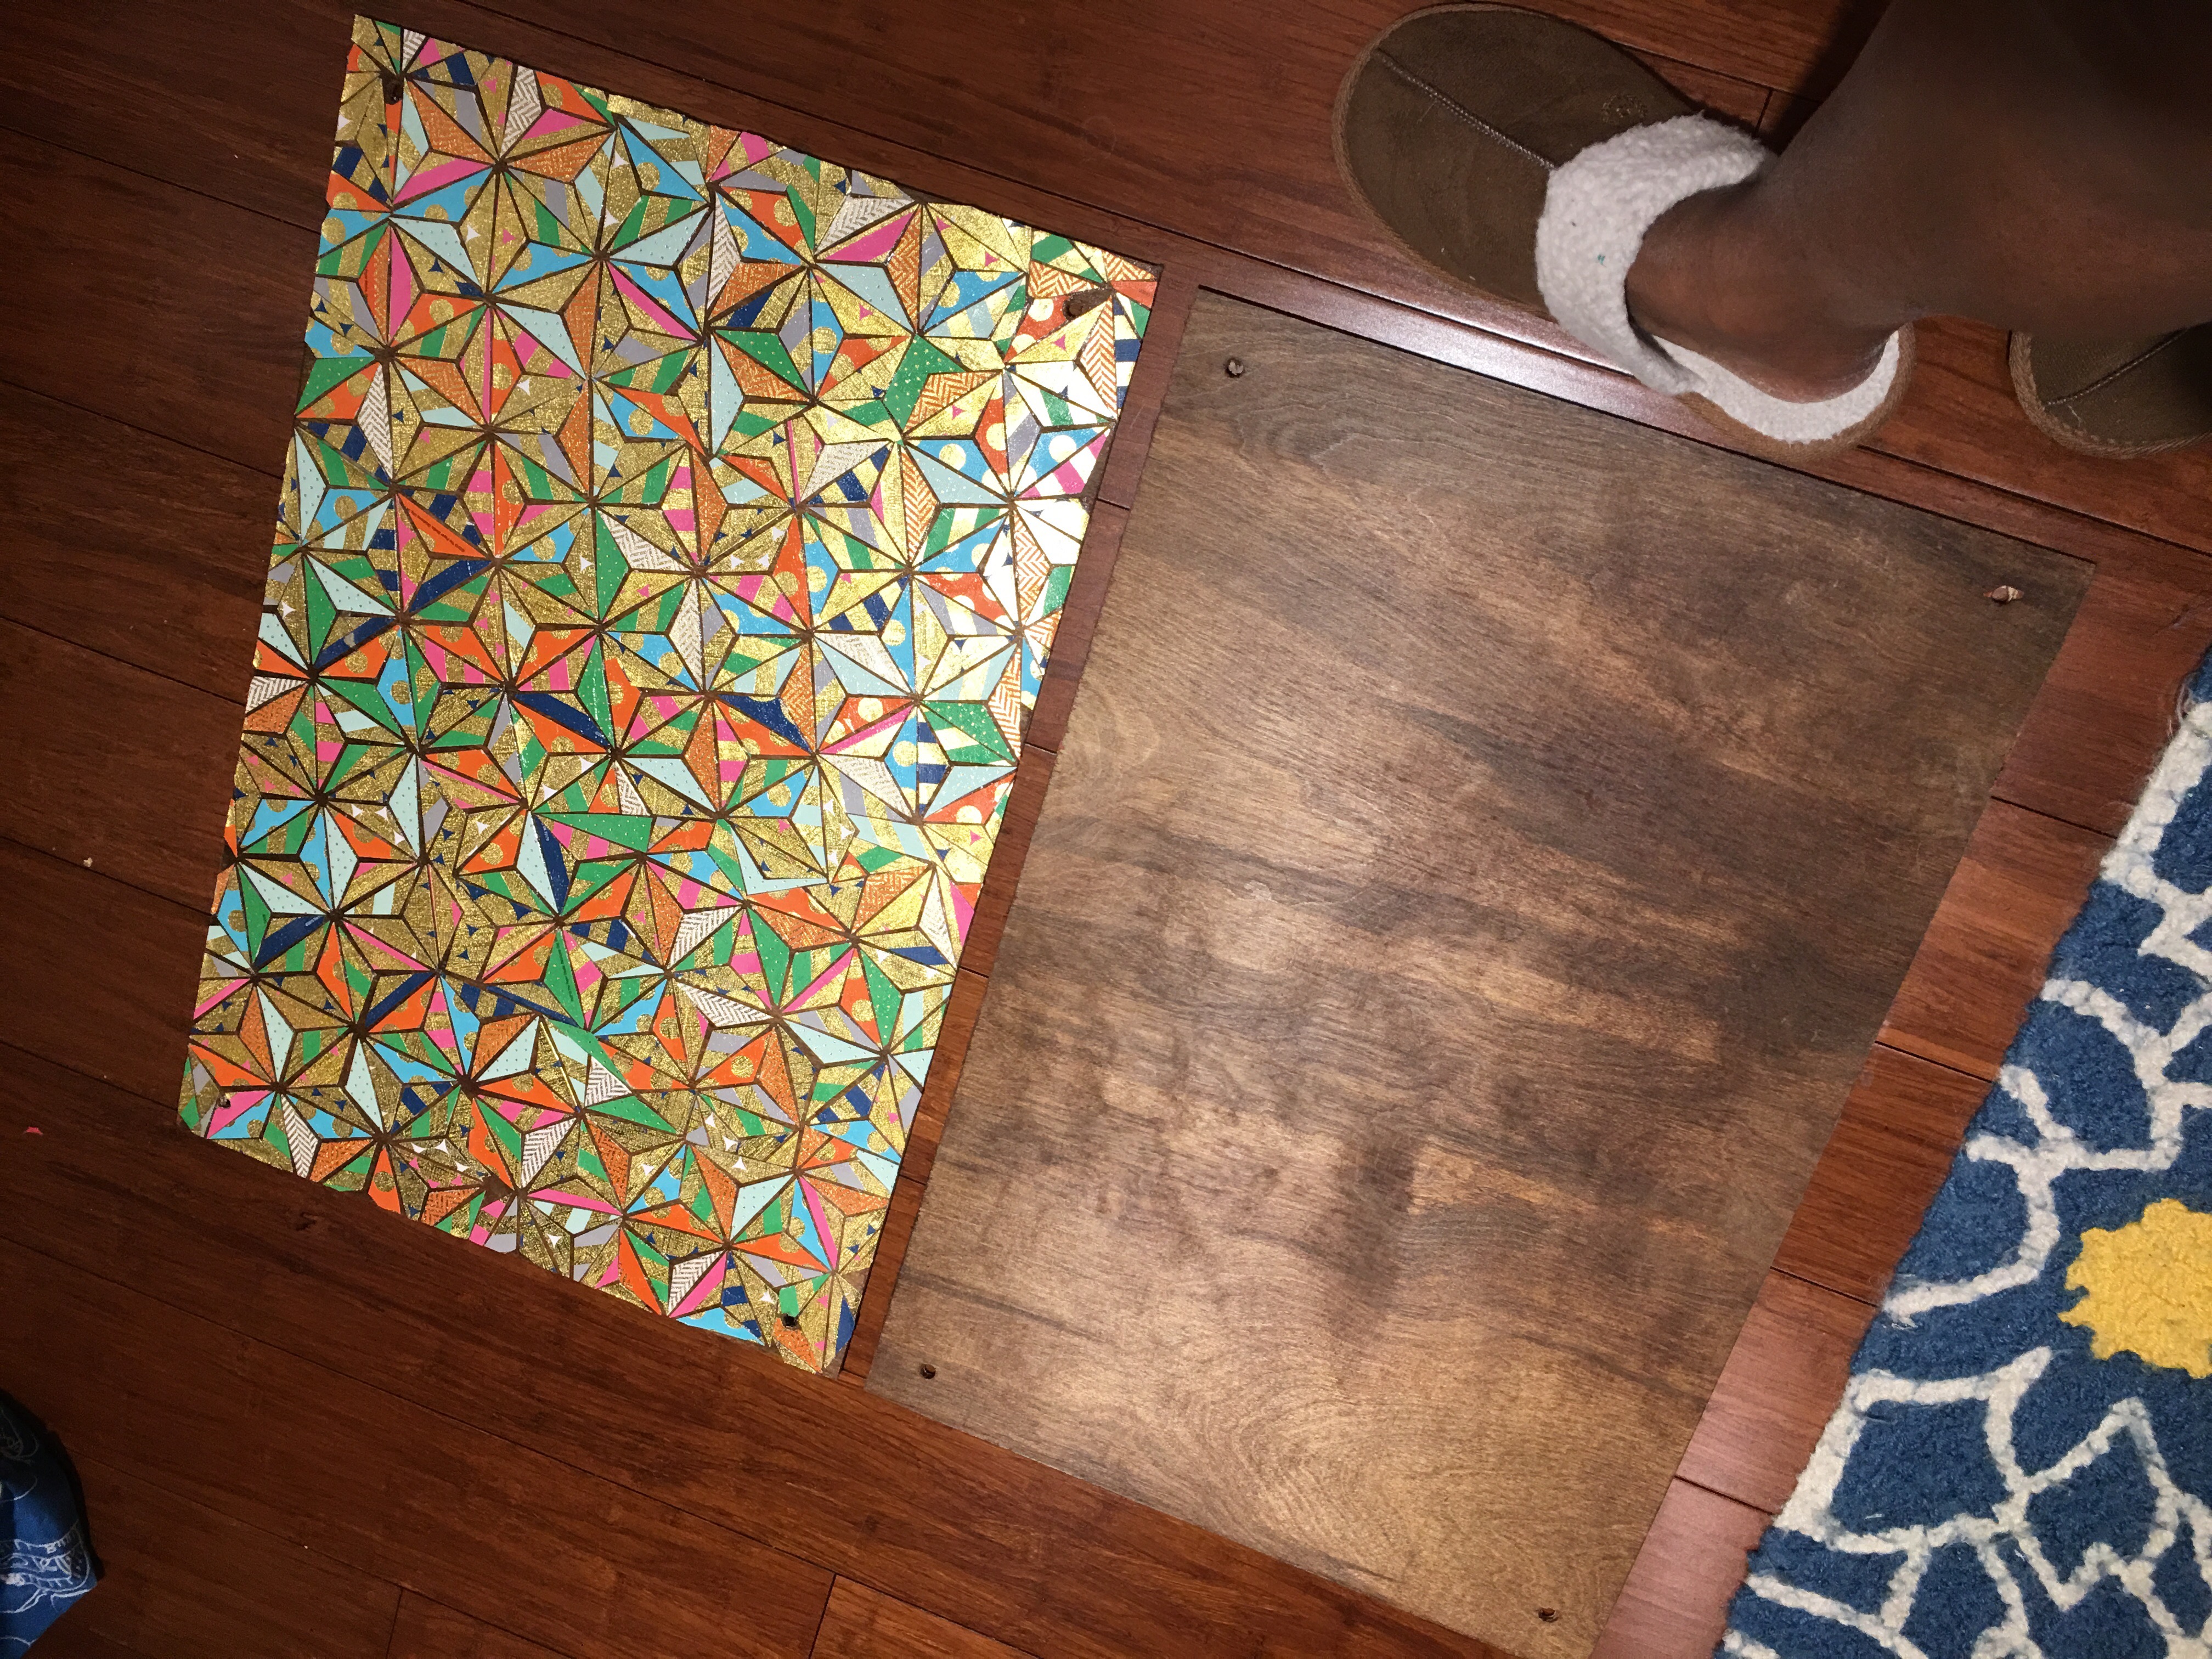
Here’s a comparison between a stained, unadorned wood panel and a paper decoupaged version. (Yes, chances are good to excellent that I will be decorating the other one as well.
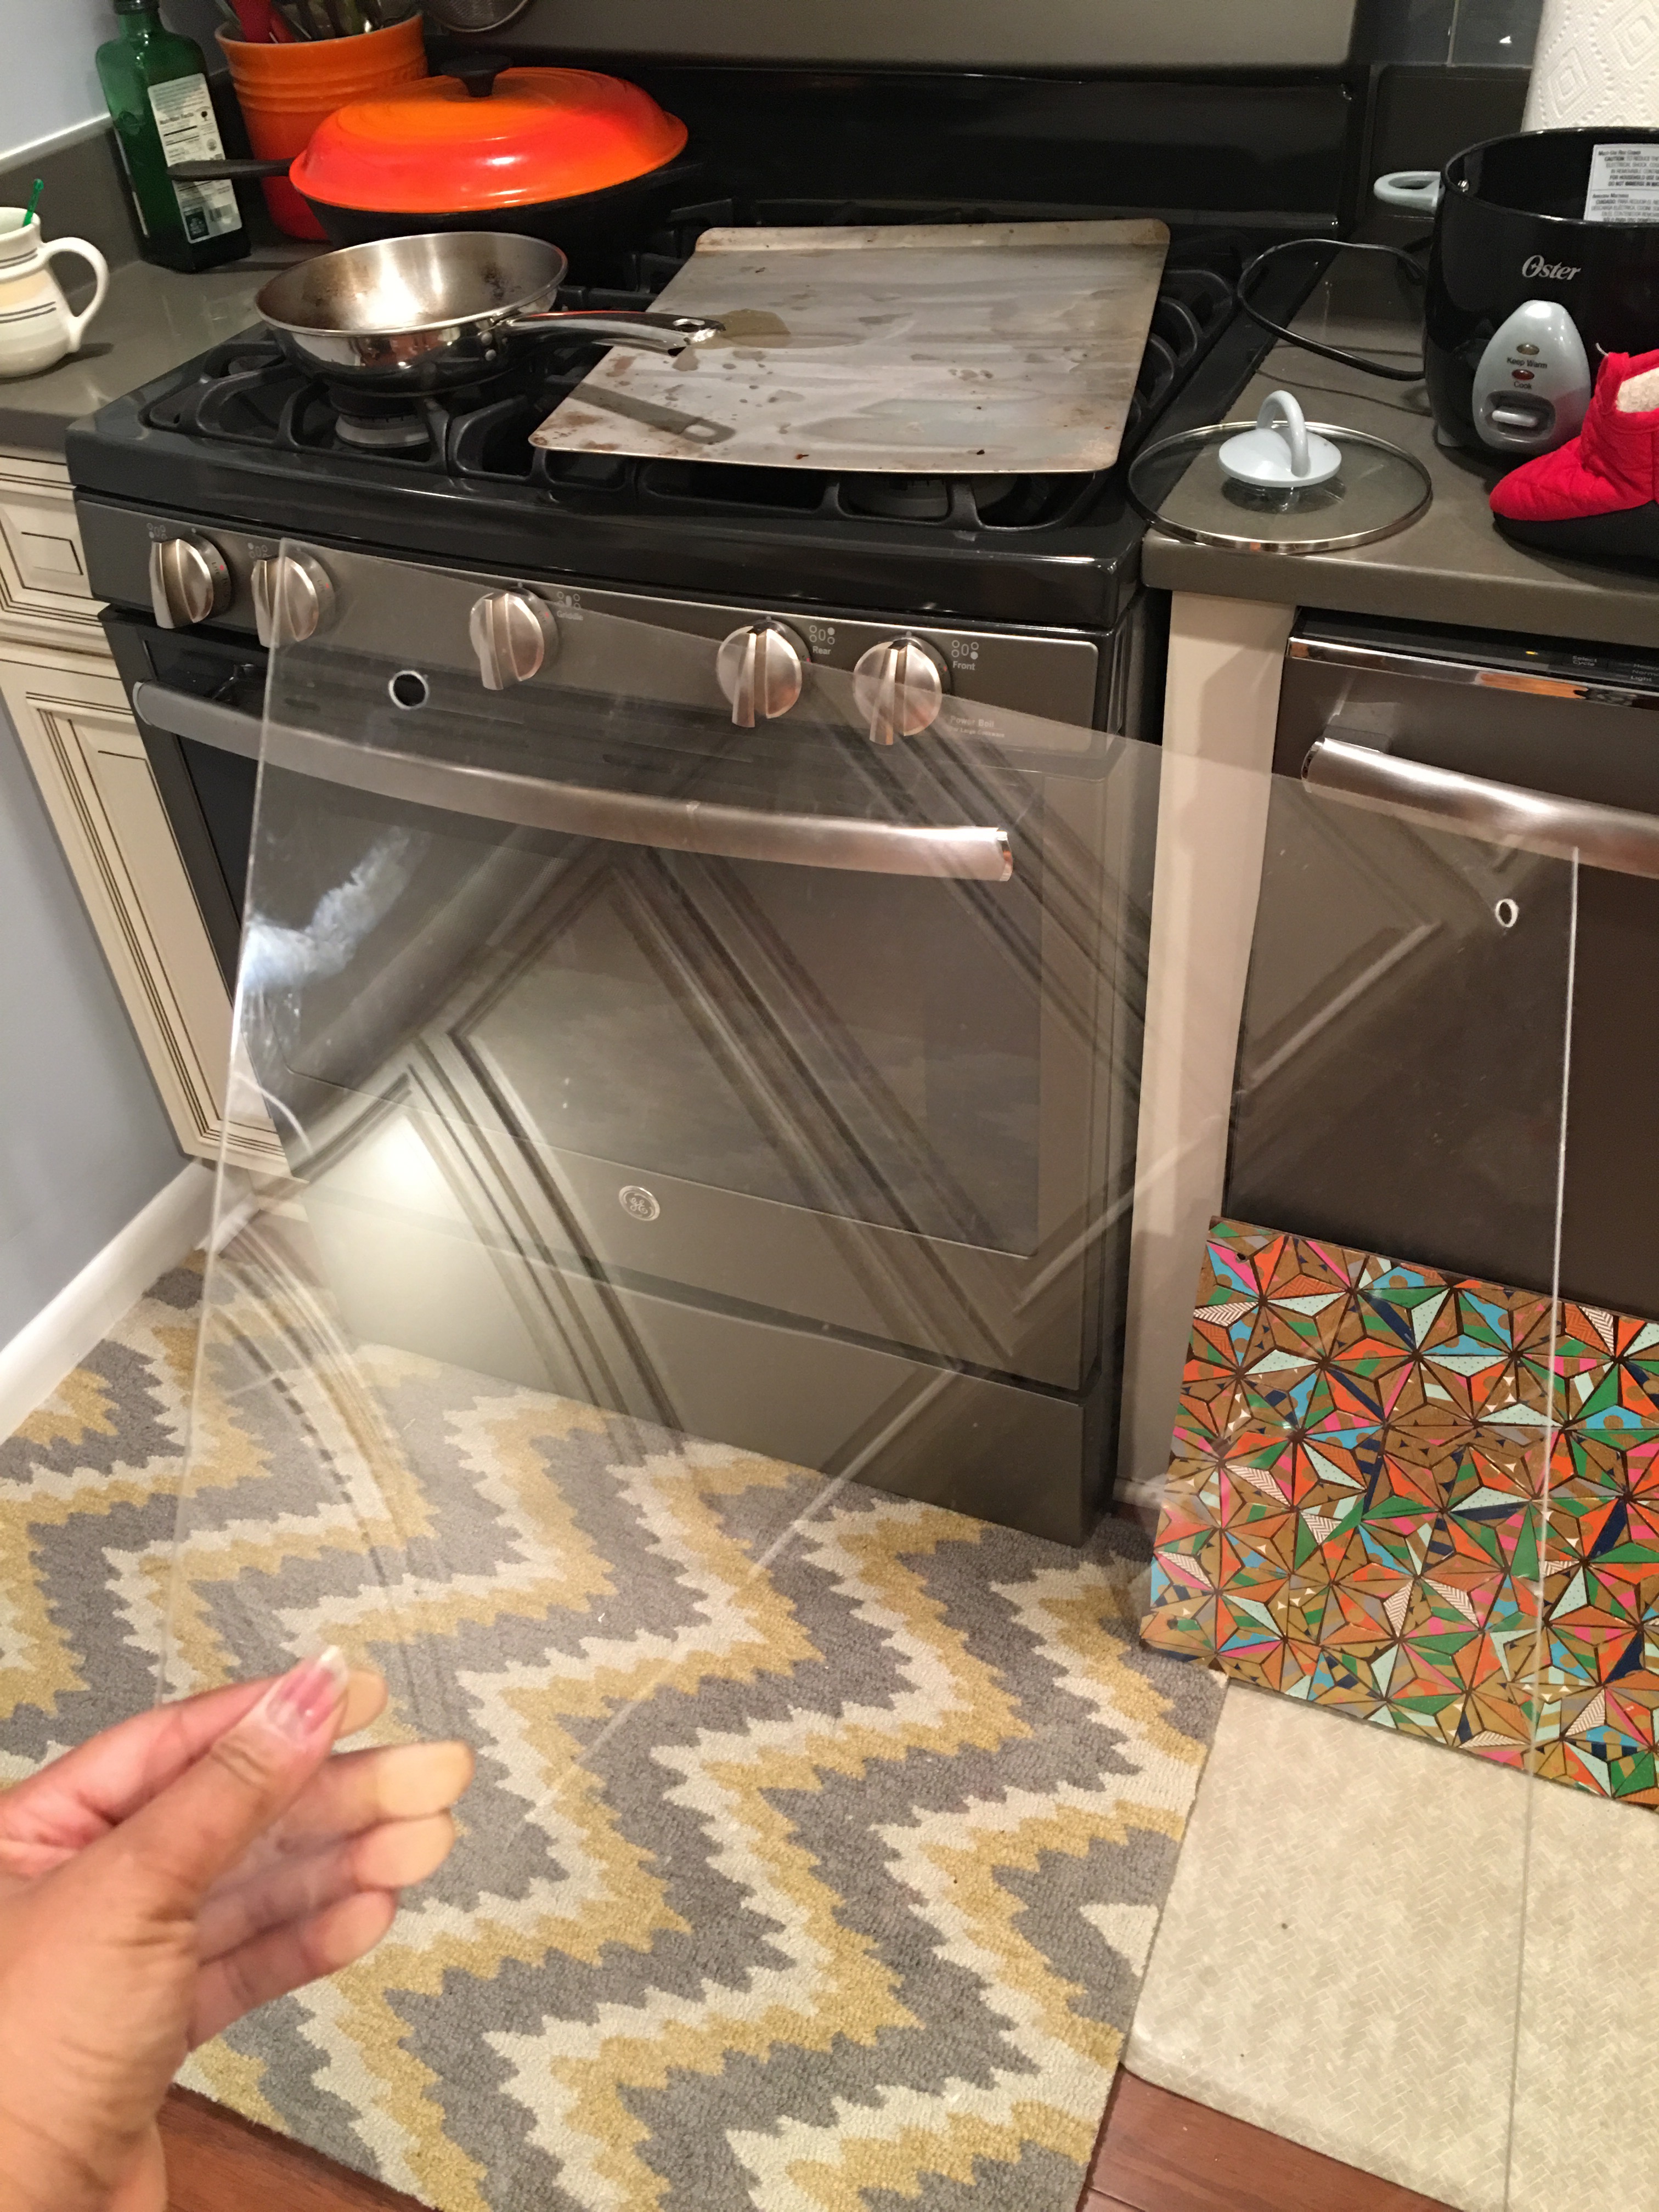
Now for the fun part! Adding the acrylic sheet with spacers, screws and nuts to create the floating frame.
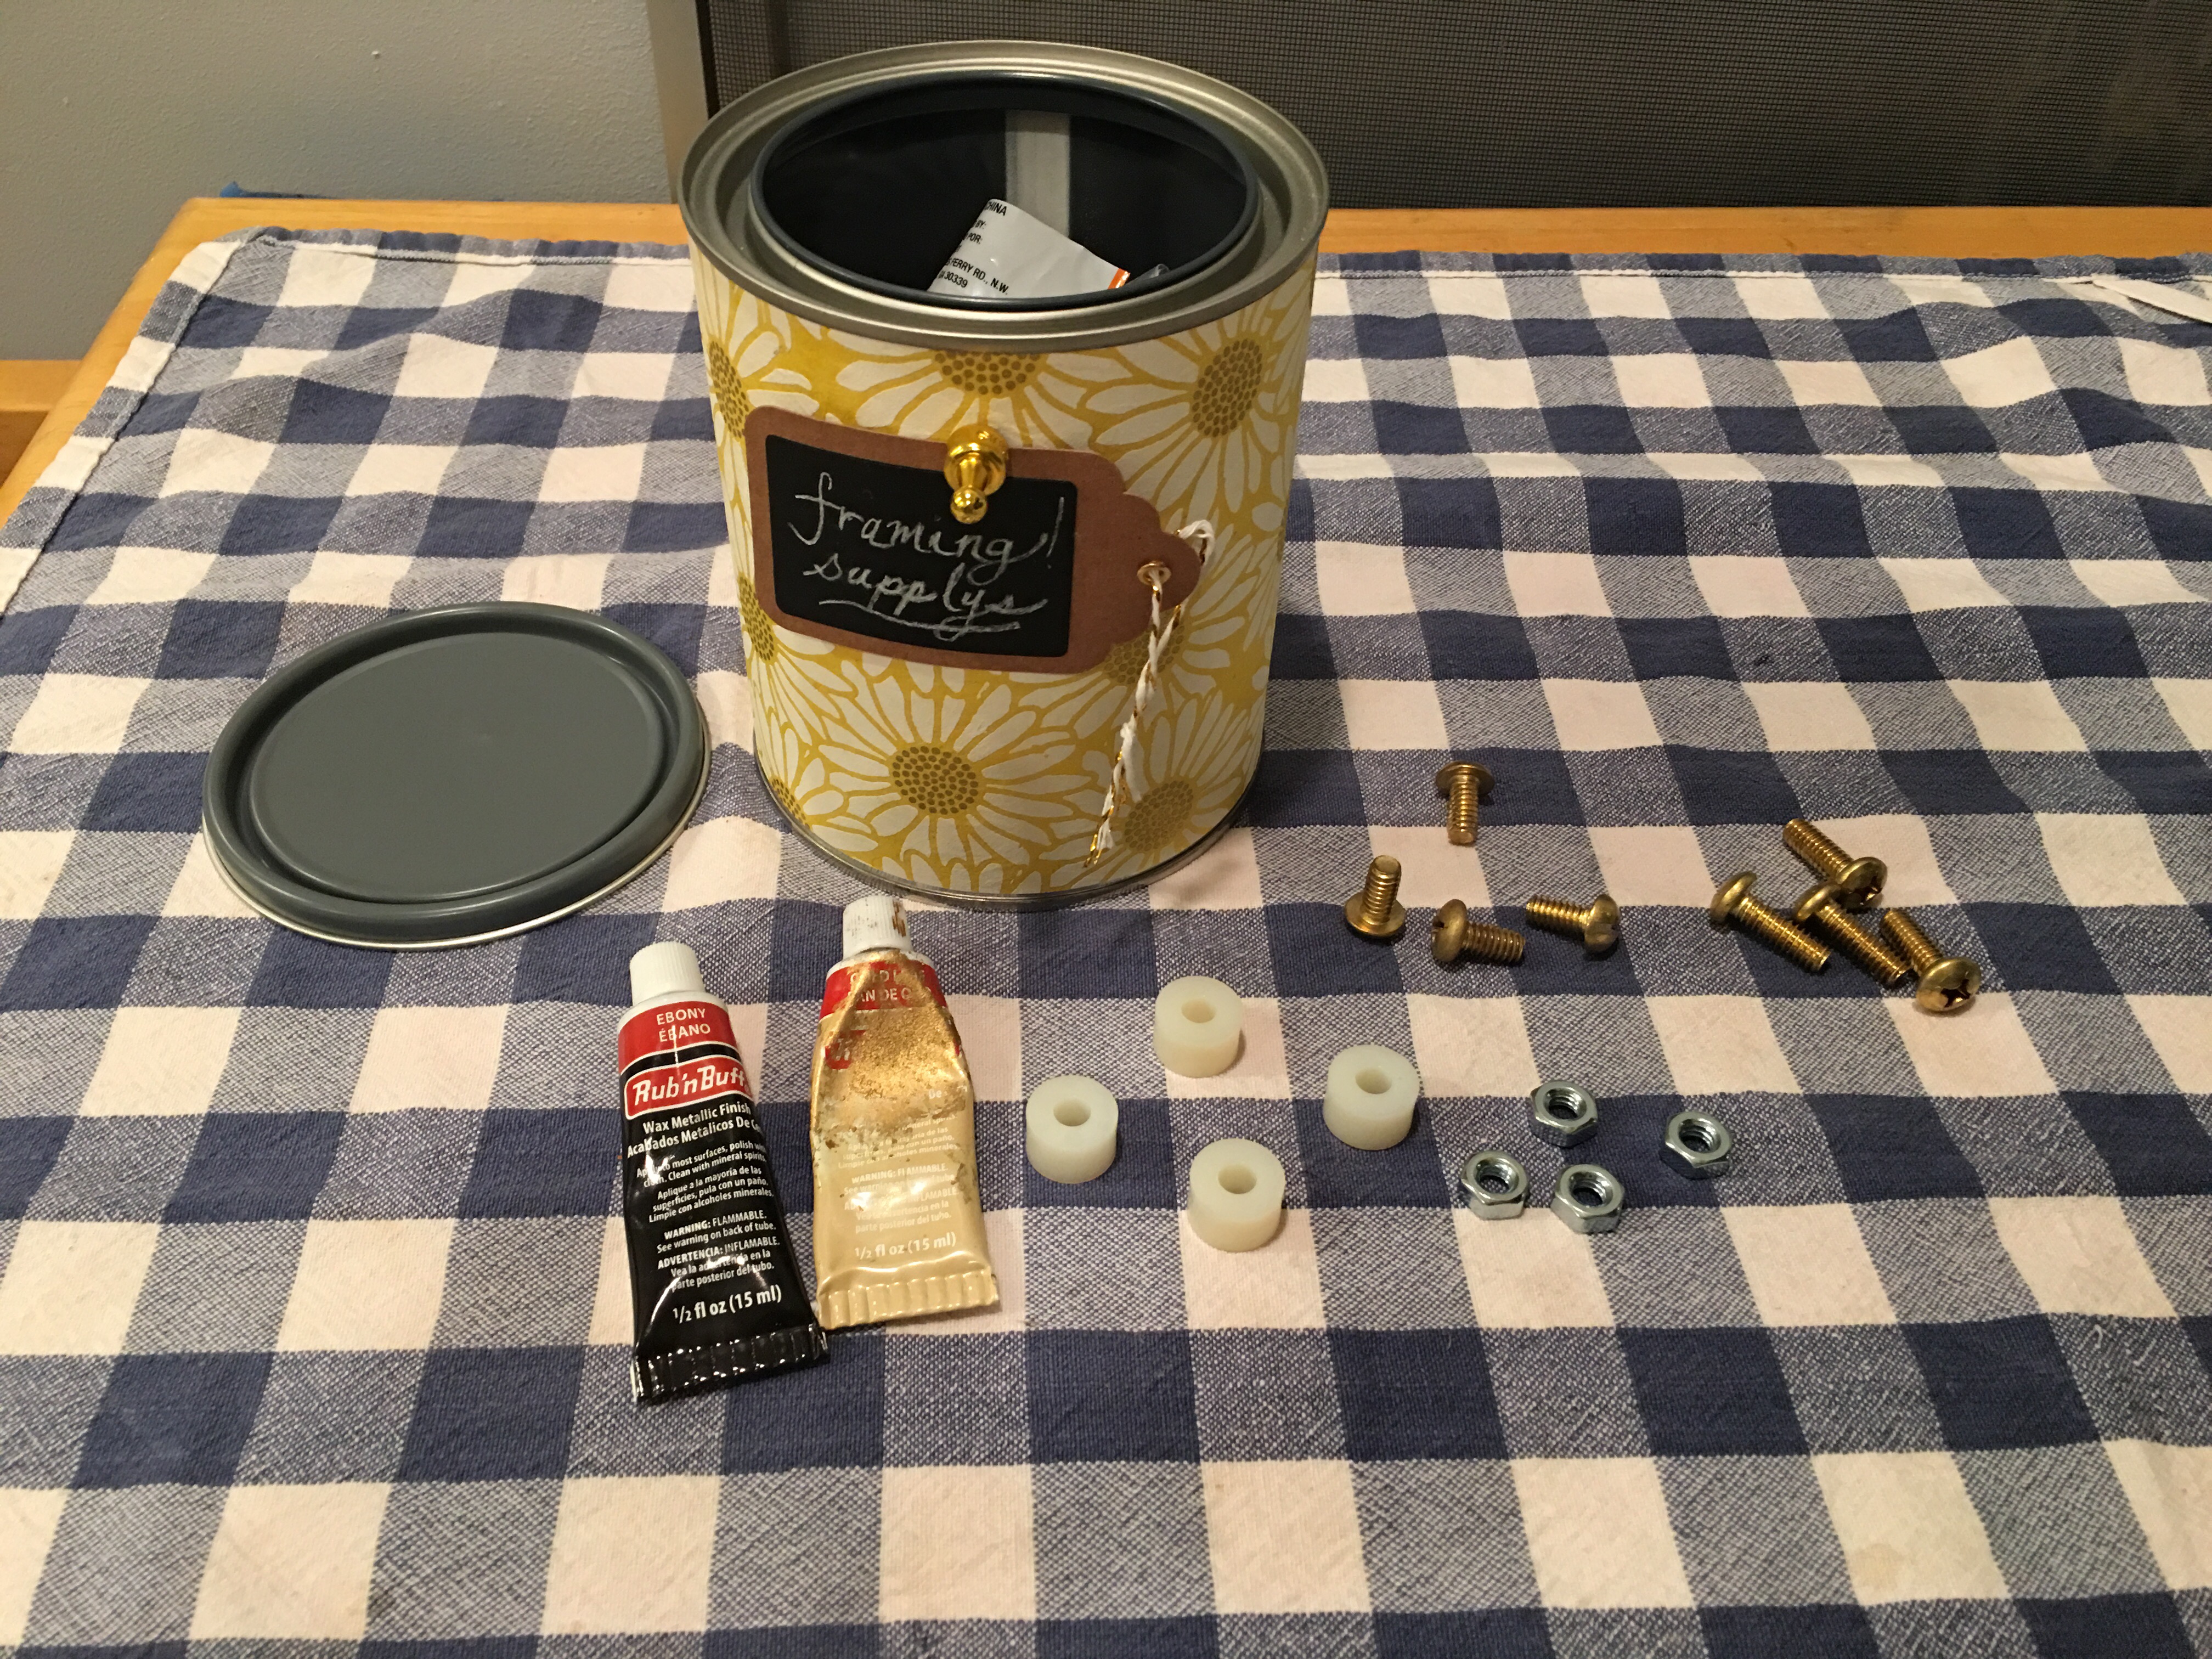
I used Rub n Buff gold leaf tube to decorate the spacers.
I was planning to use 1/2″ length spacers, but a quickly confirmed that the screws I had on hand would not be long enough to poke through the hole on the back of the panel. Good thing my framing supplies can had an extra set of shorter 1/4″ spacers (already covered in gold leaf, mind you! Pays to make extras along the way while doing projects!).
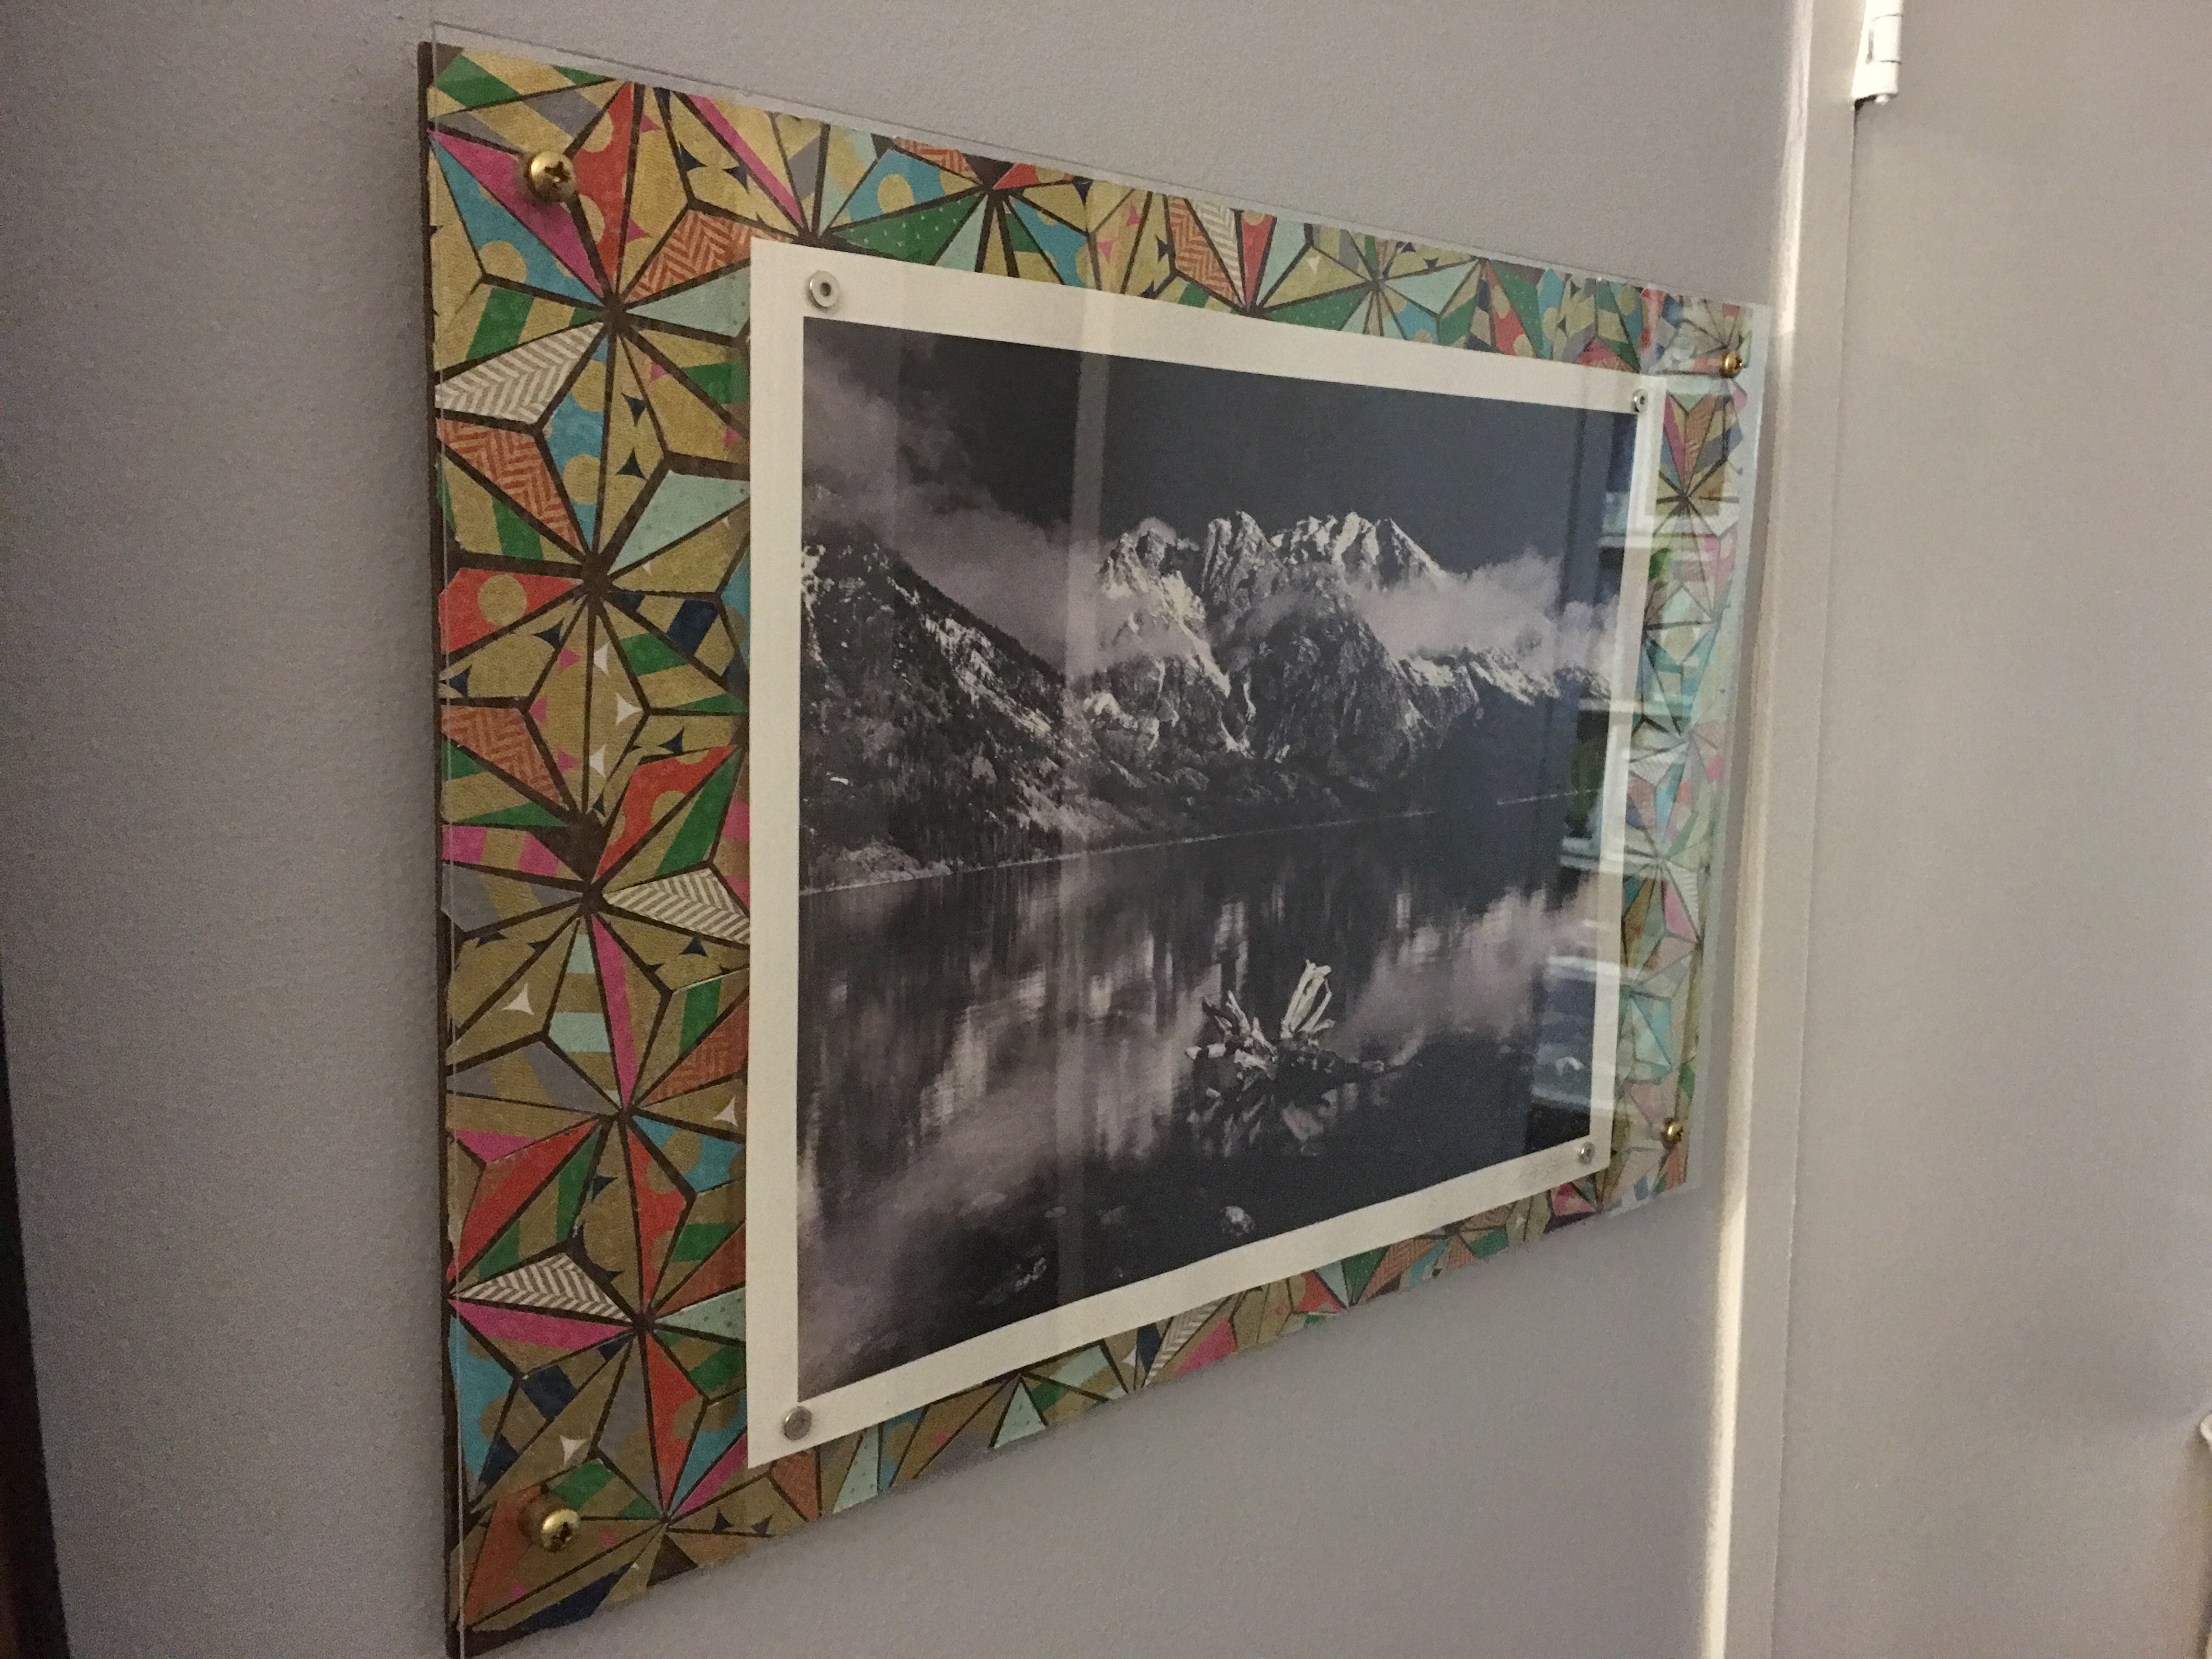
I placed a spacer over each screw hole on the front of the panel and placed the acrylic sheet on top.
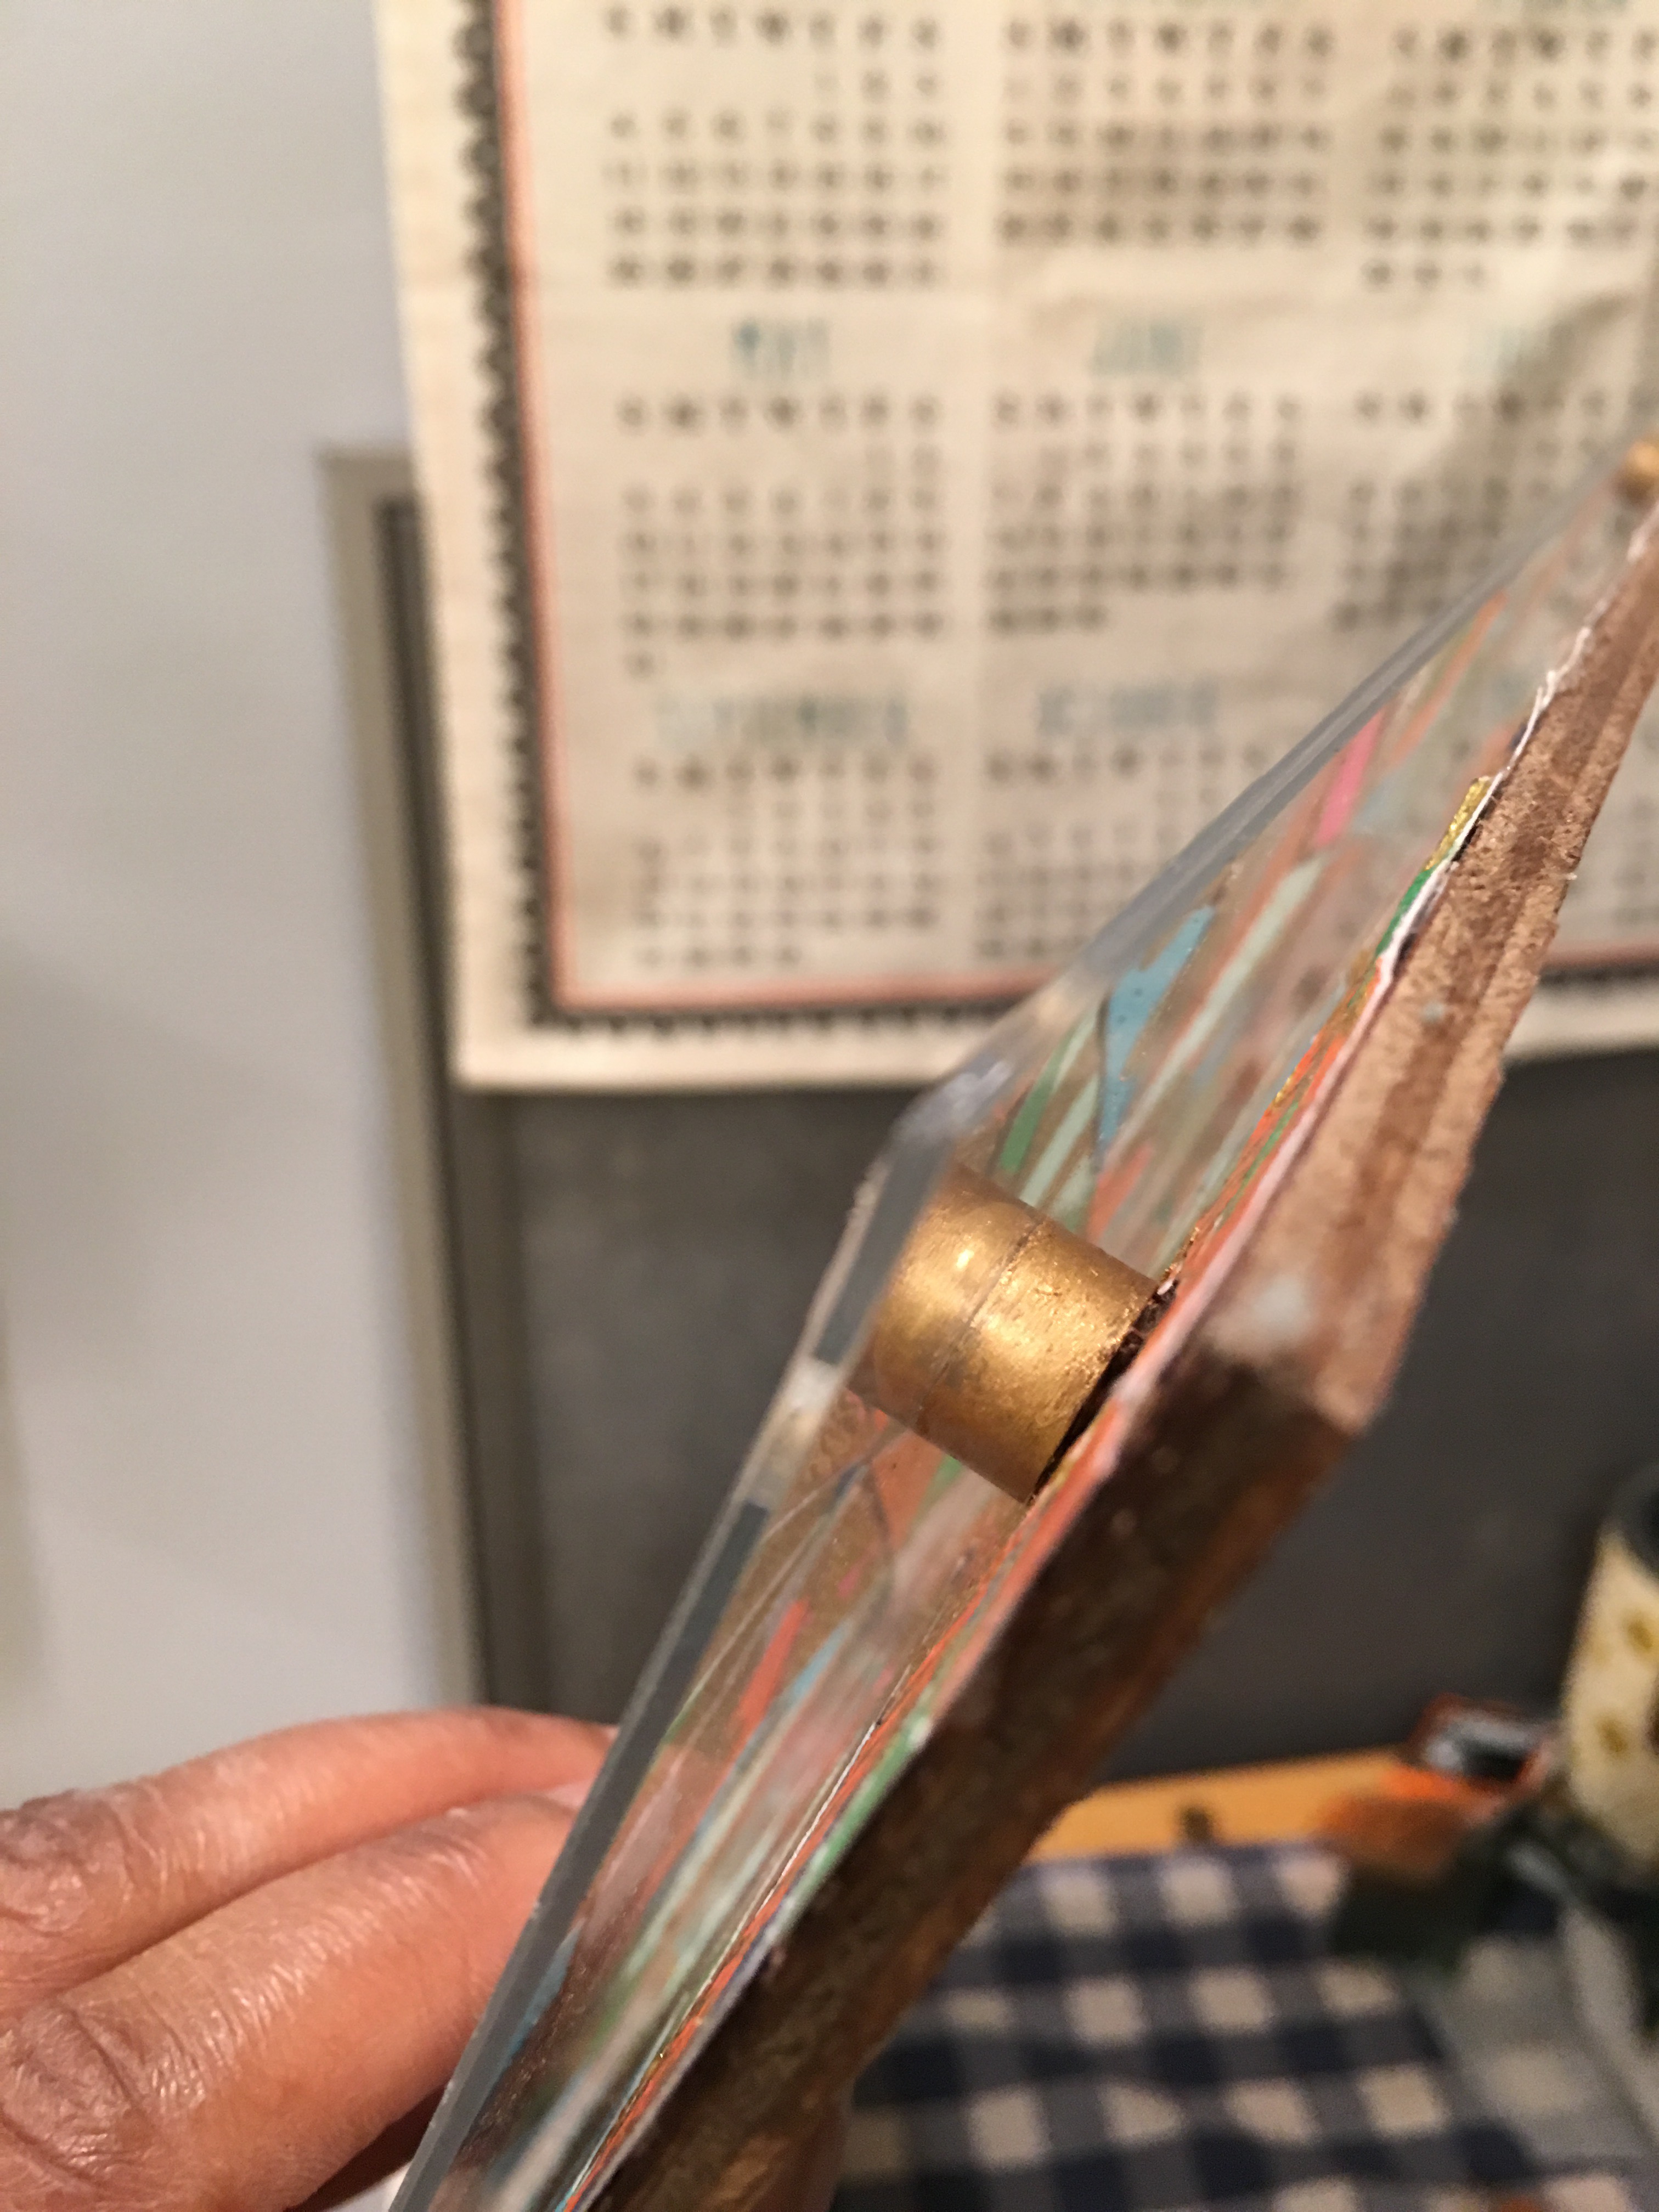
I used the 3/4″ brass machine screws to attach the acrylic to the panel by threading it through the aligned screw holes and spacers. I then used a bolt nut to secure the screw in the back.

Thursday night:
Time to add the lovely litho print that inspired me to power through this project. That’s where the magnets come in.

I used small ring magnets on the back and front of the print to hold it in place under the acrylic sheet. I started with one corner, moved to the other corner, then gently pulled the print downward under the acrylic to position it in the center.
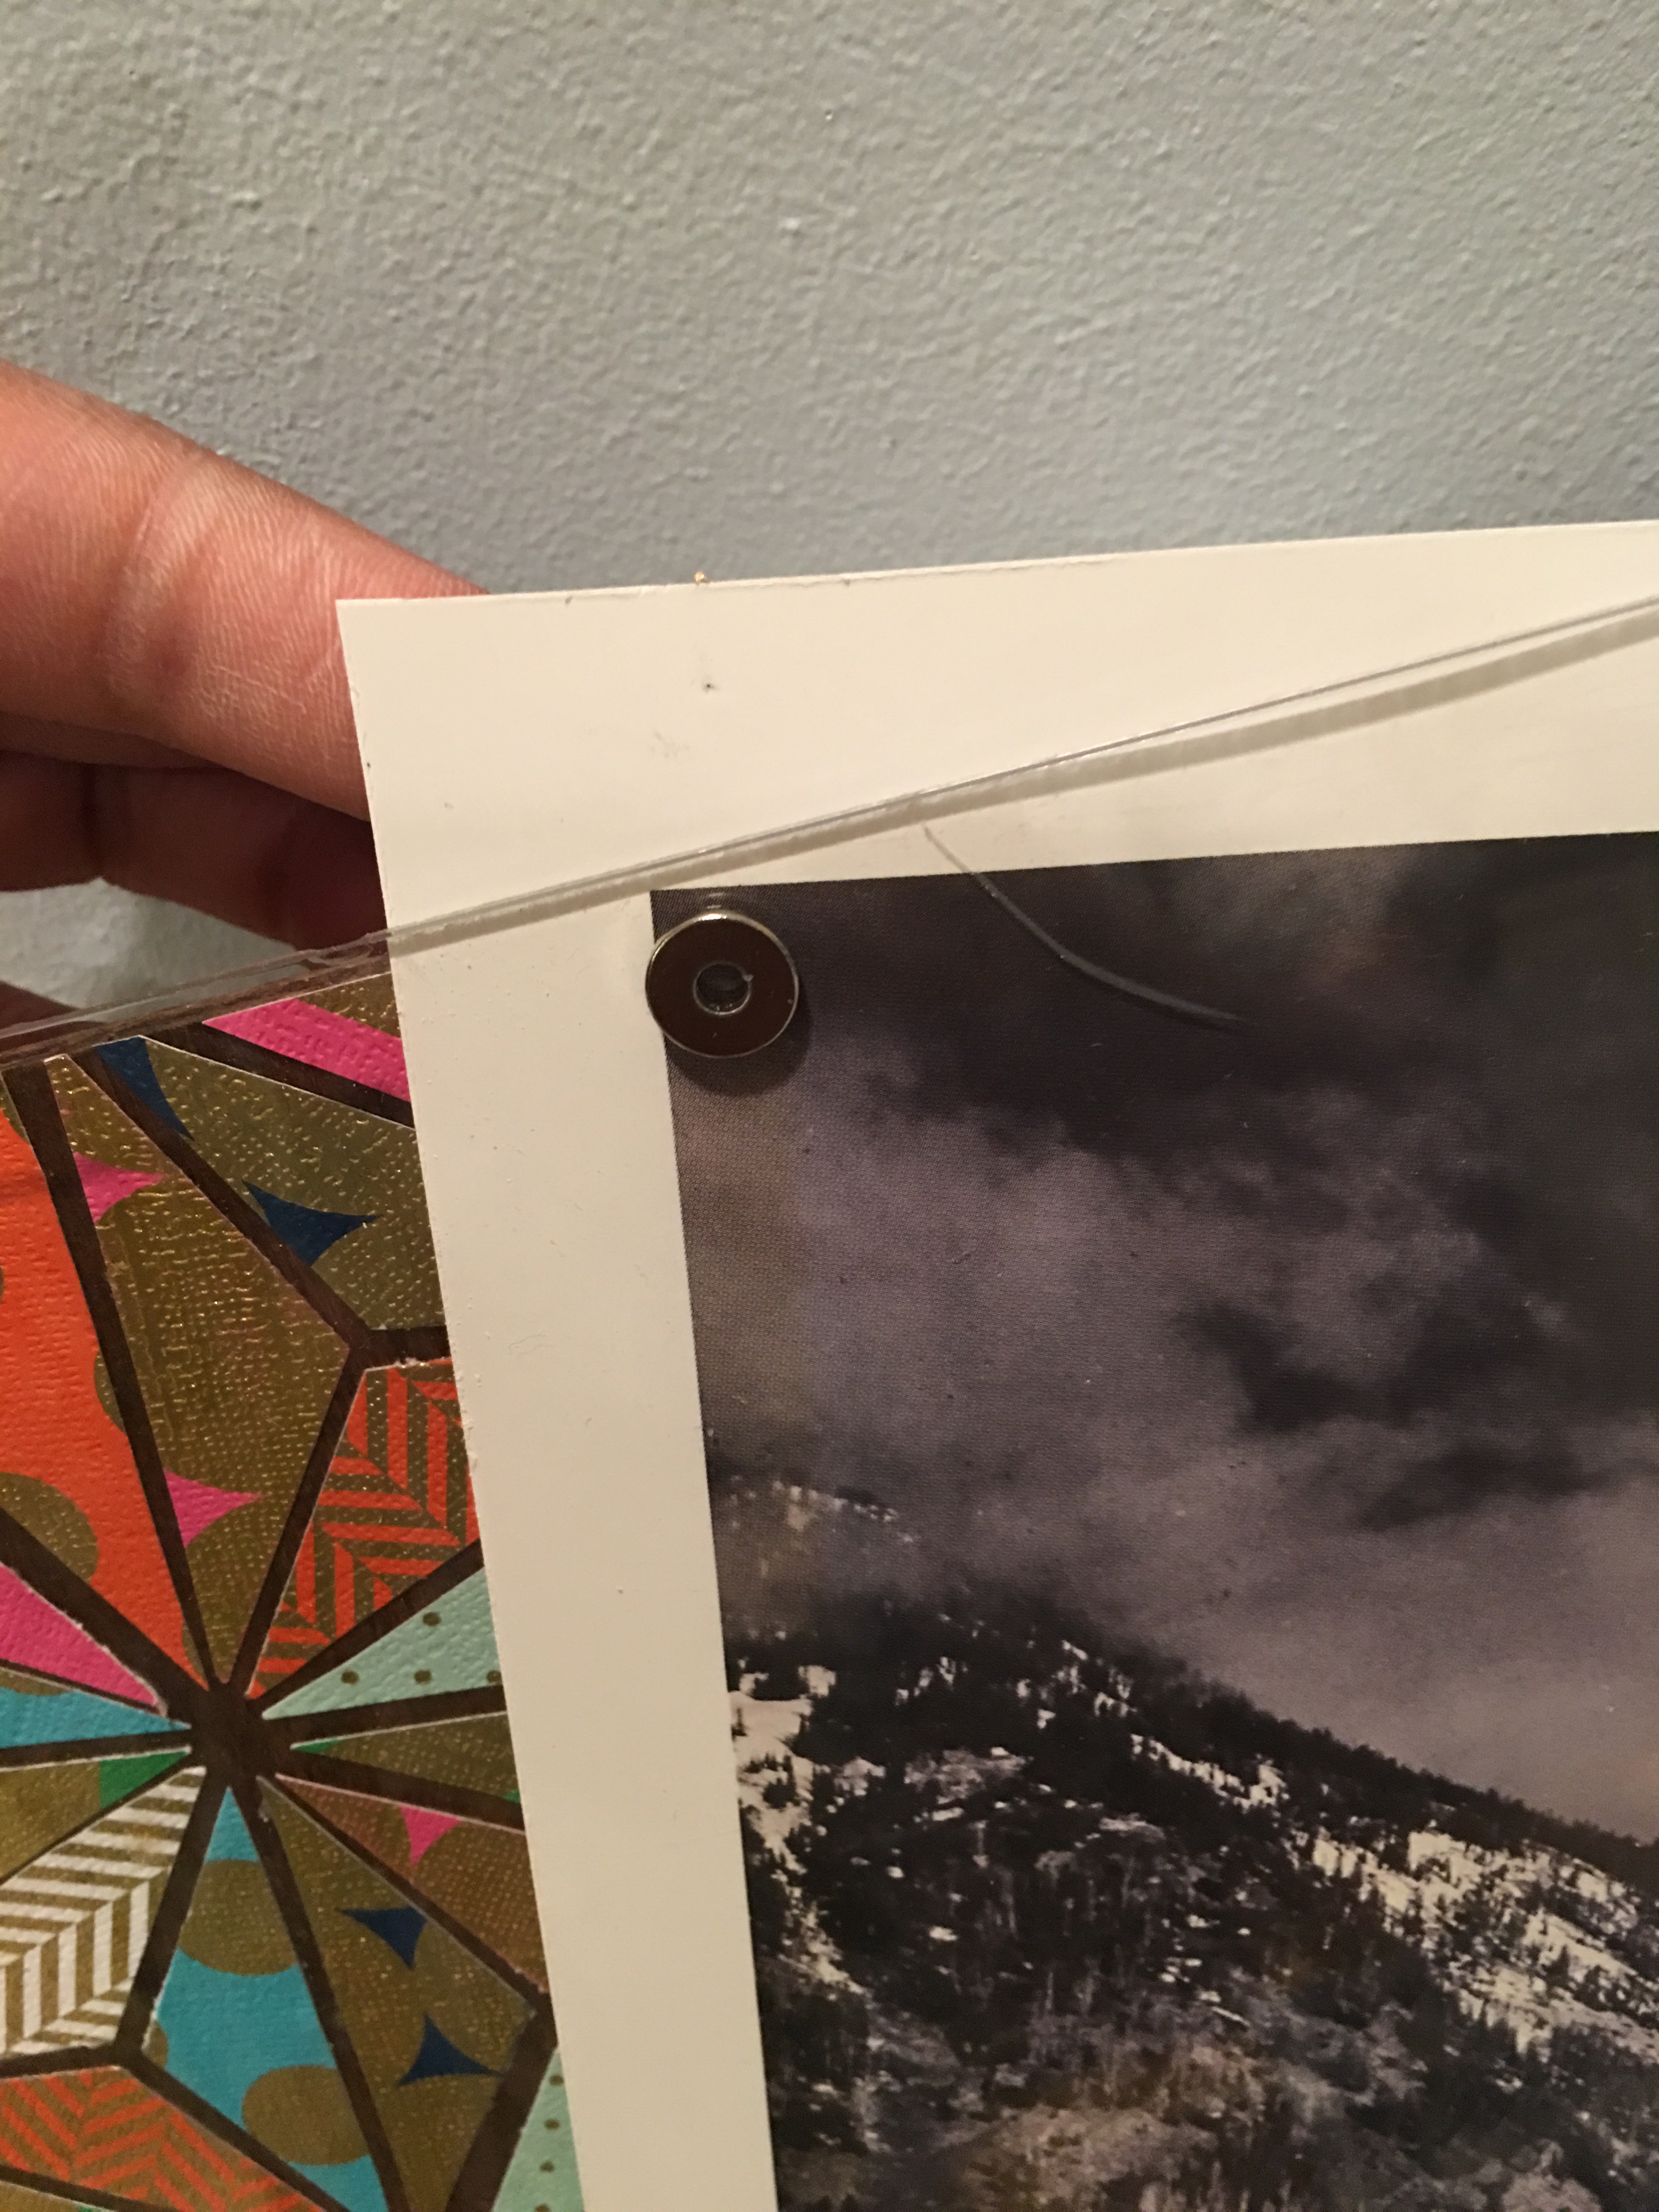
I used eight magnets total – two for each corner.
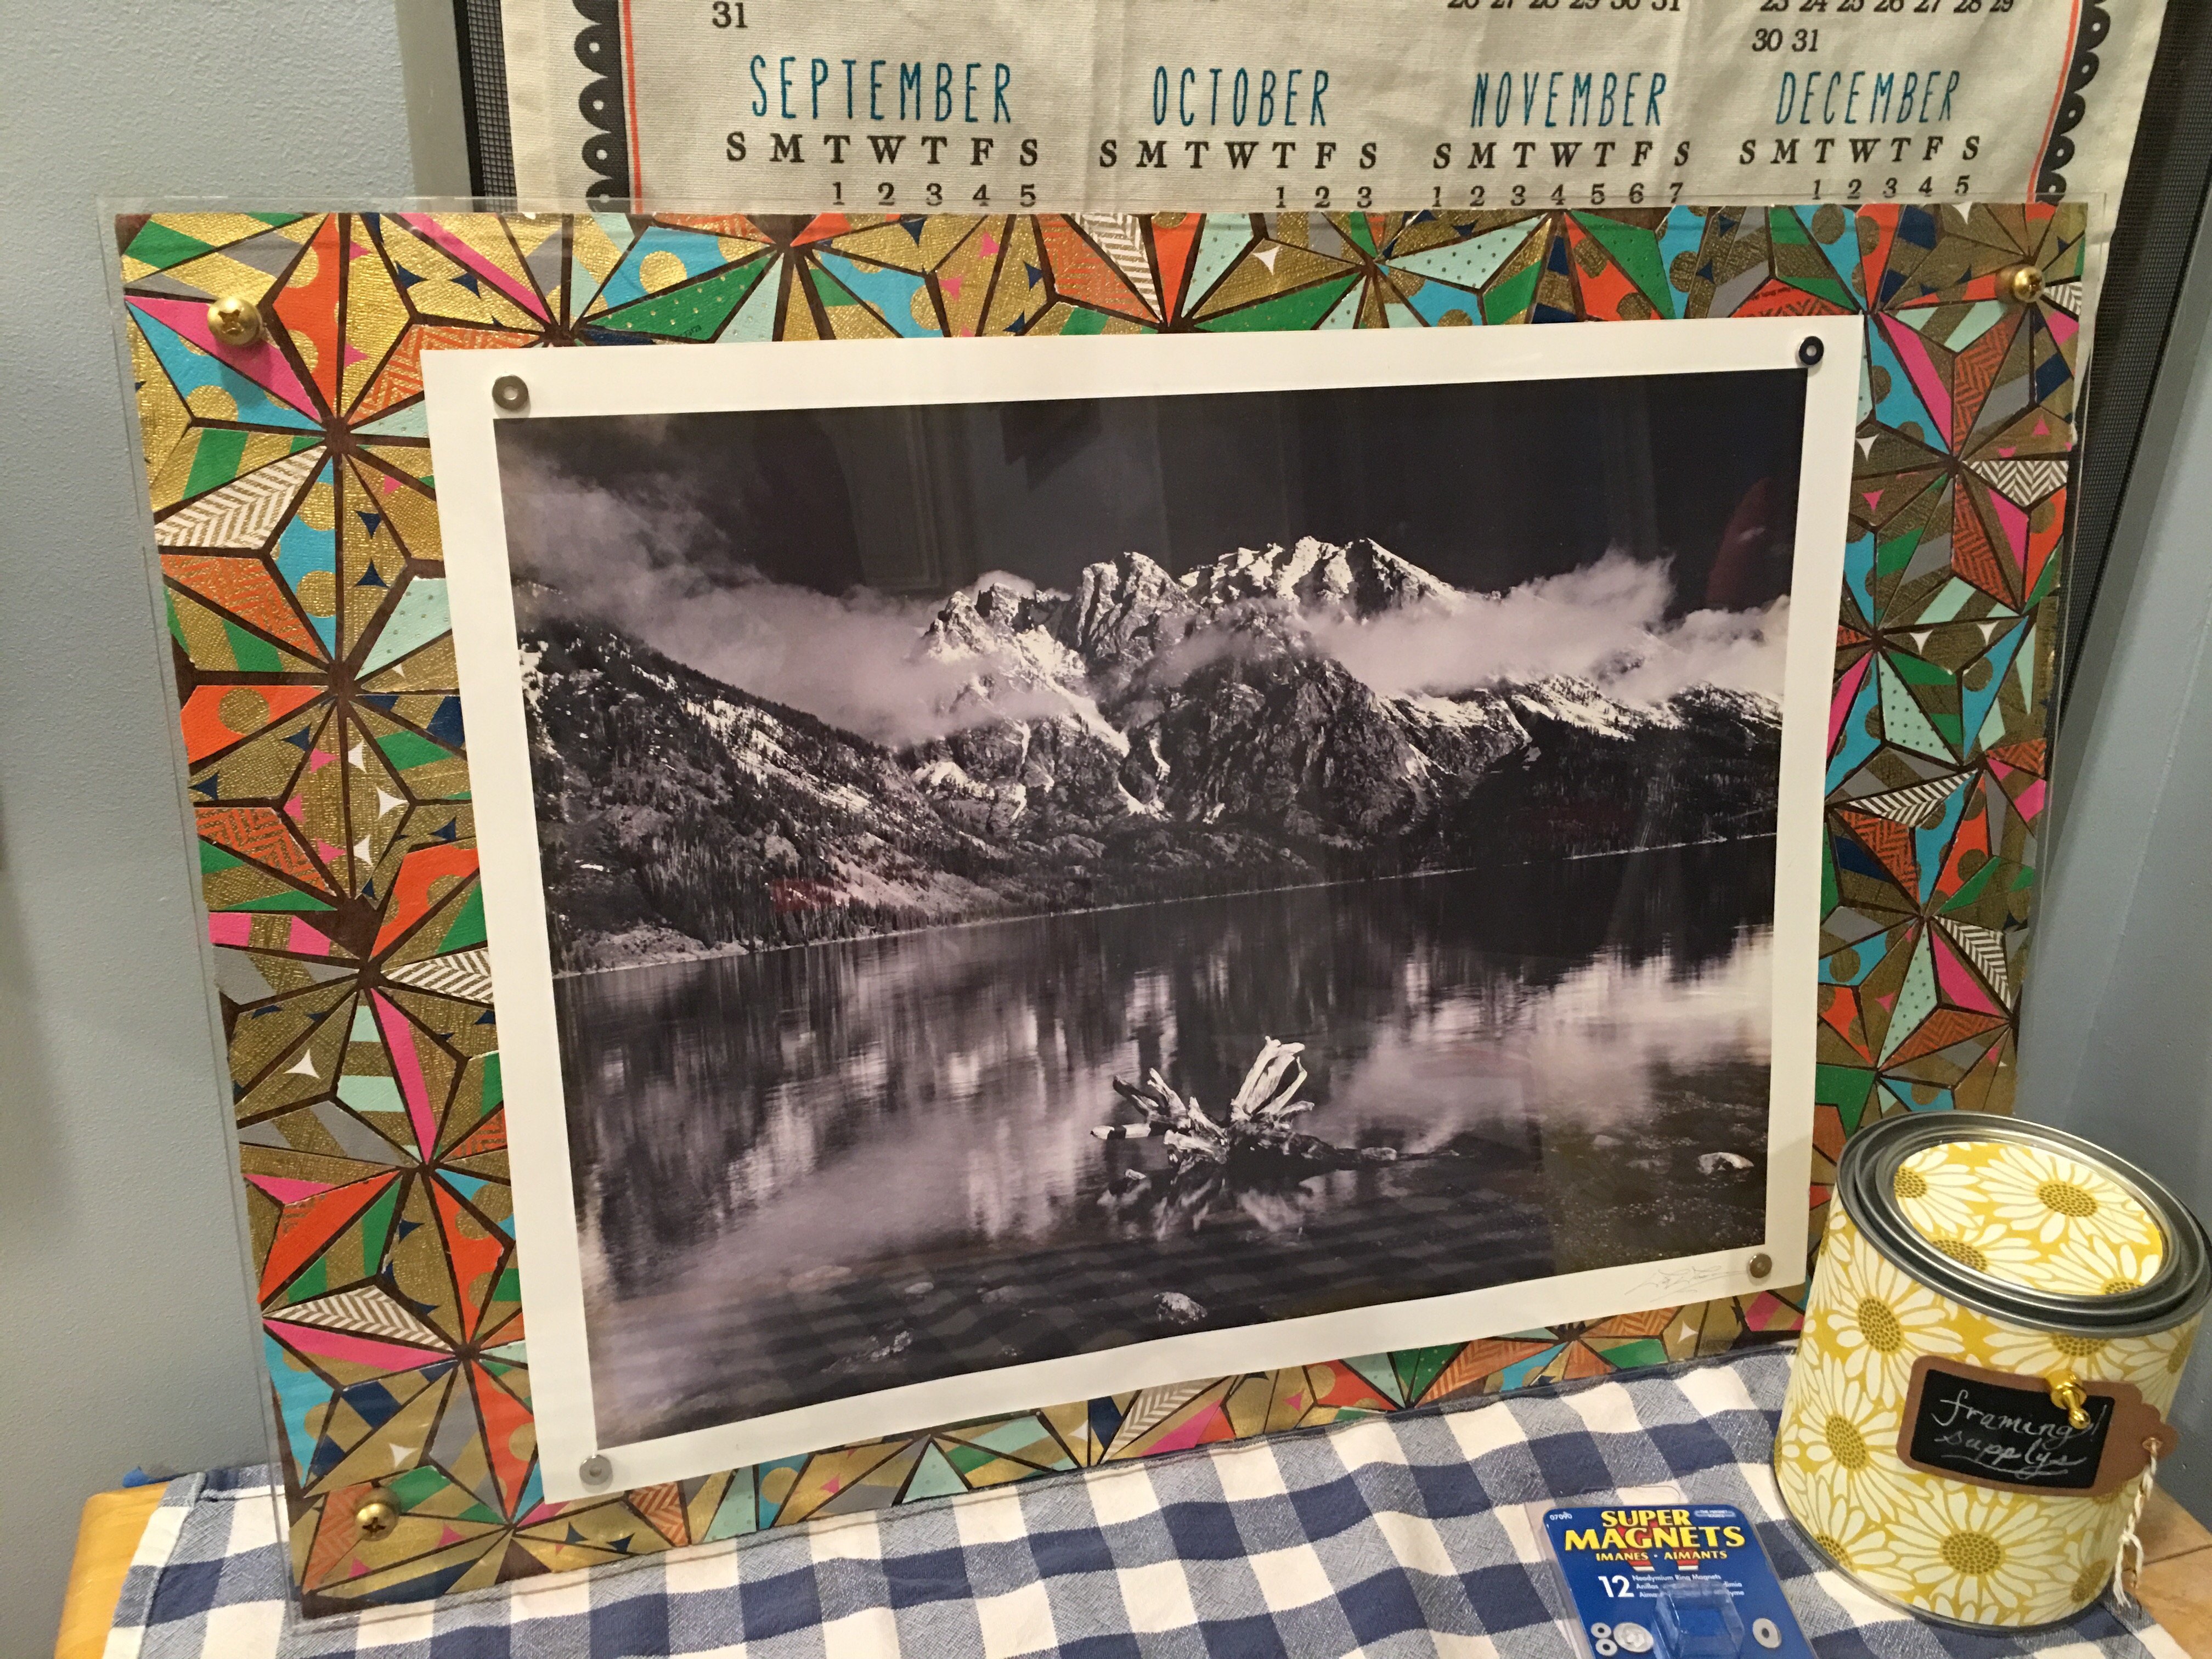
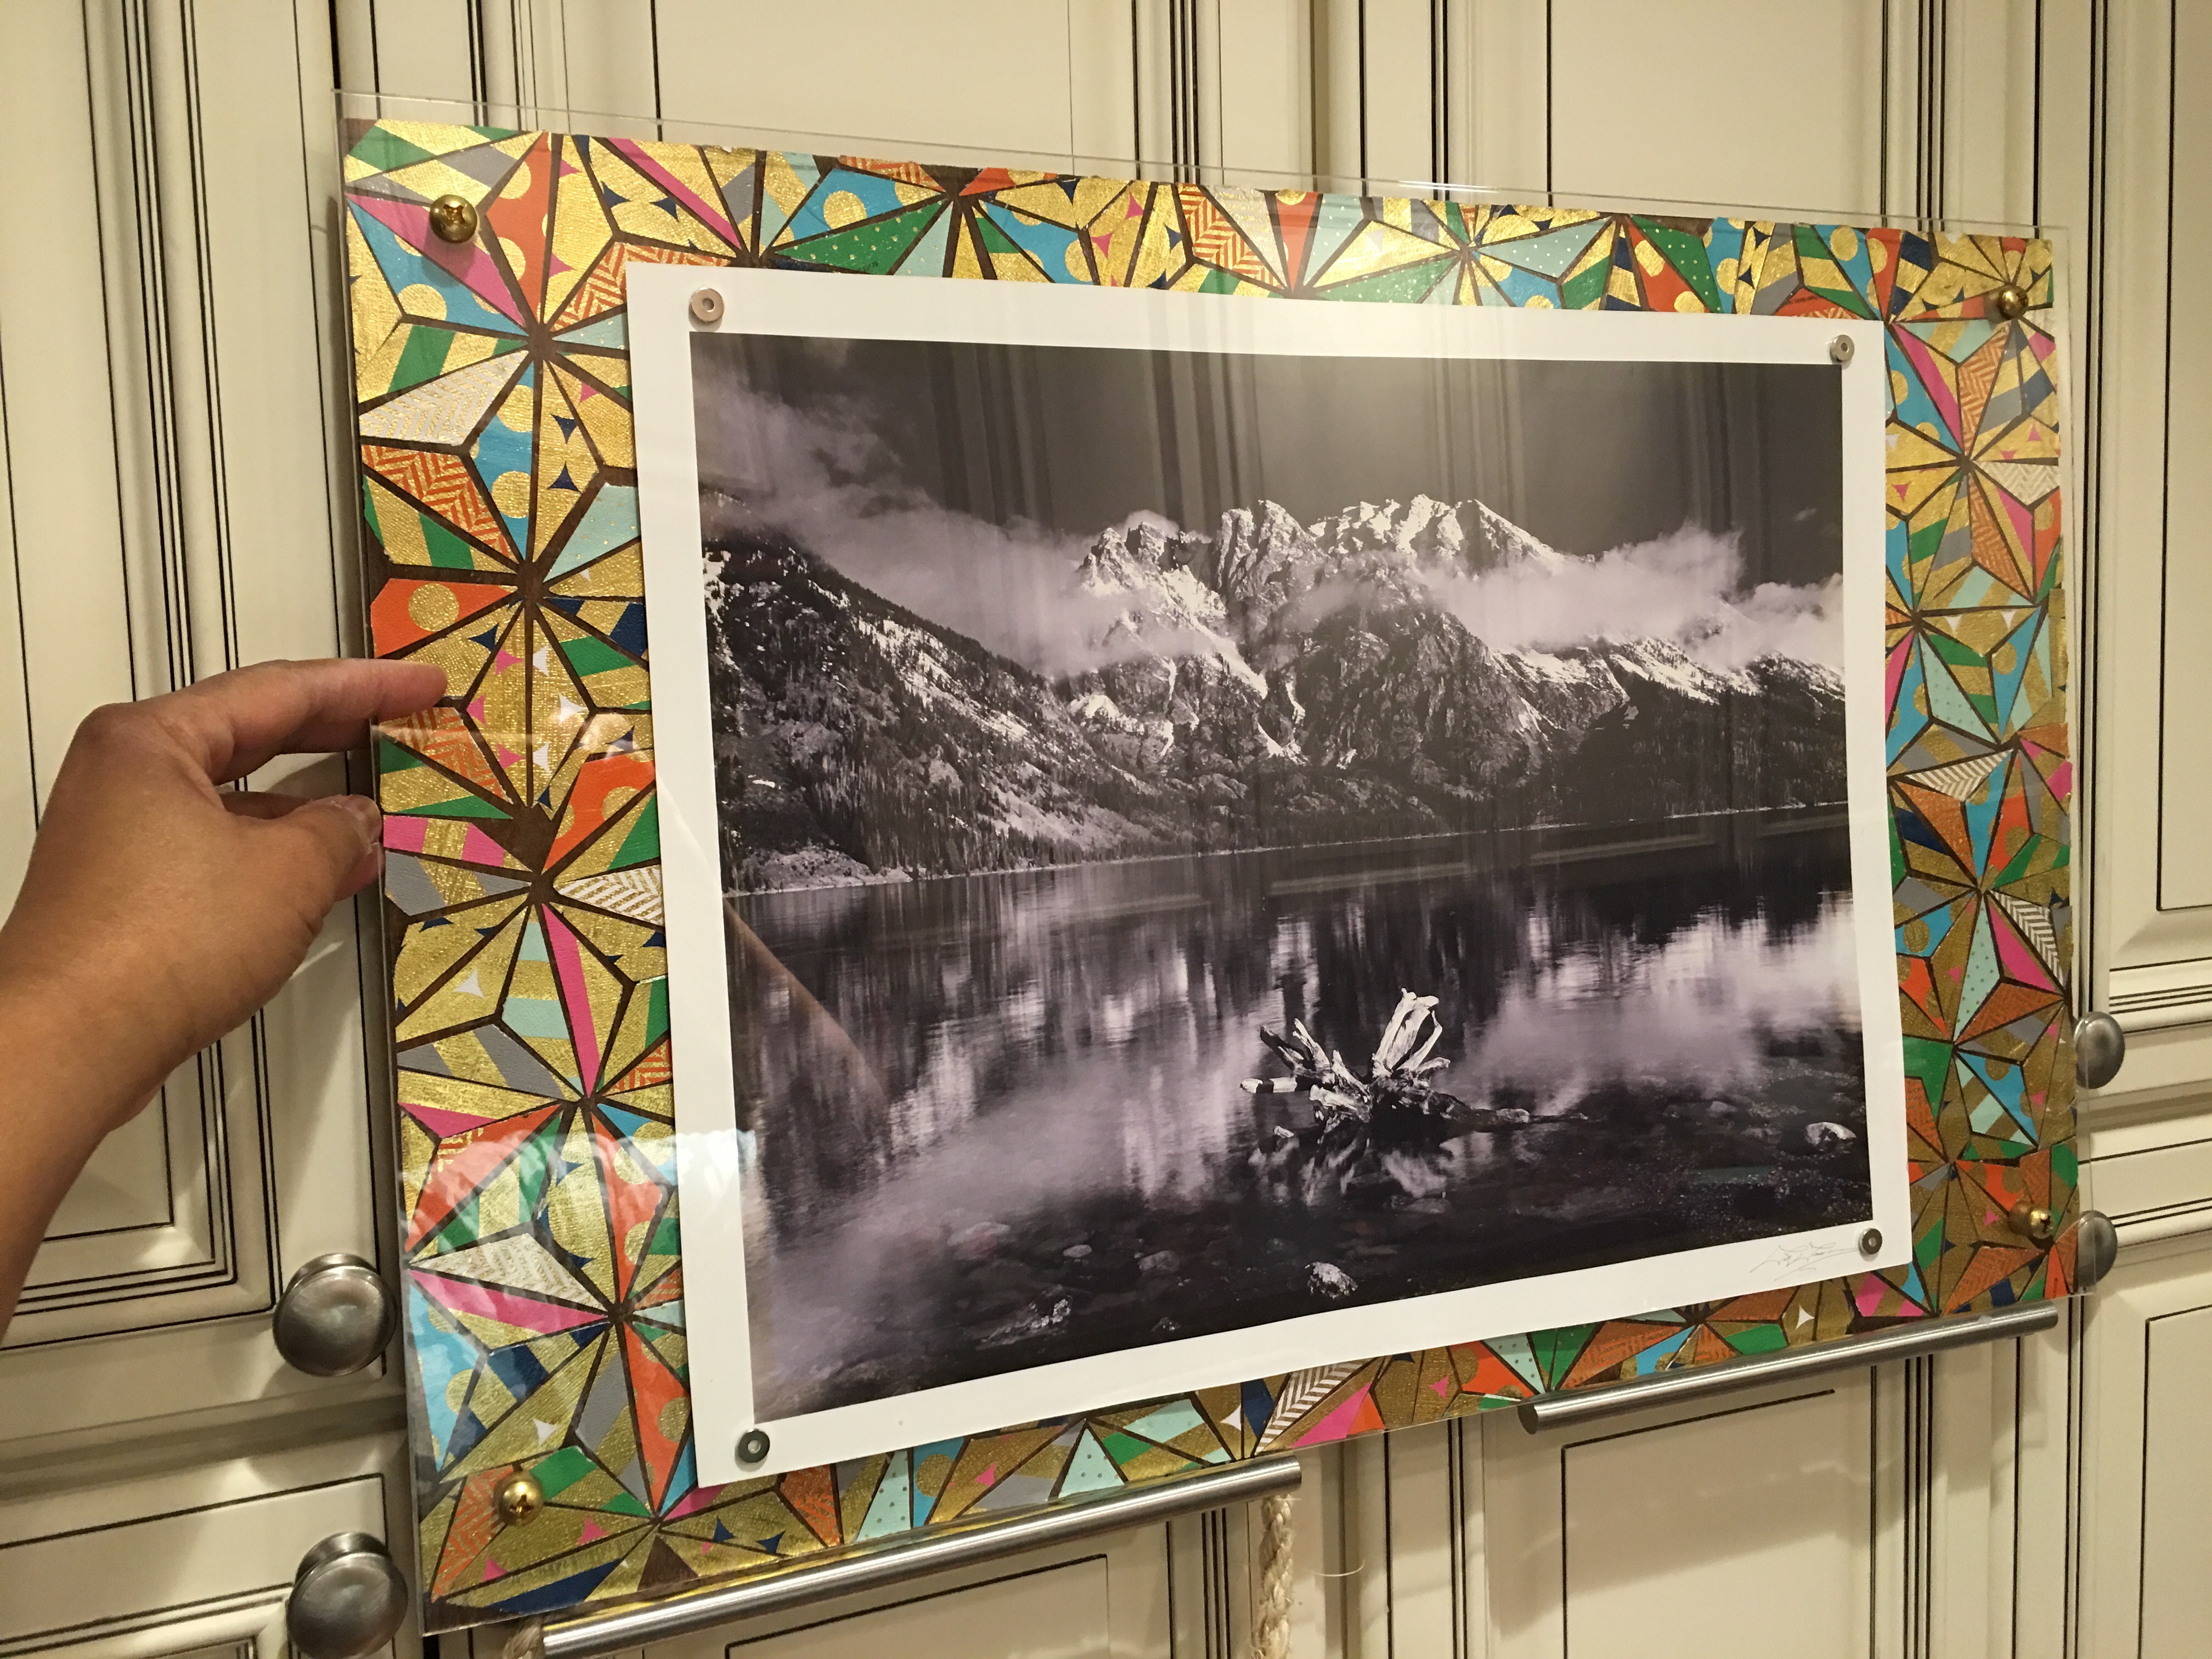
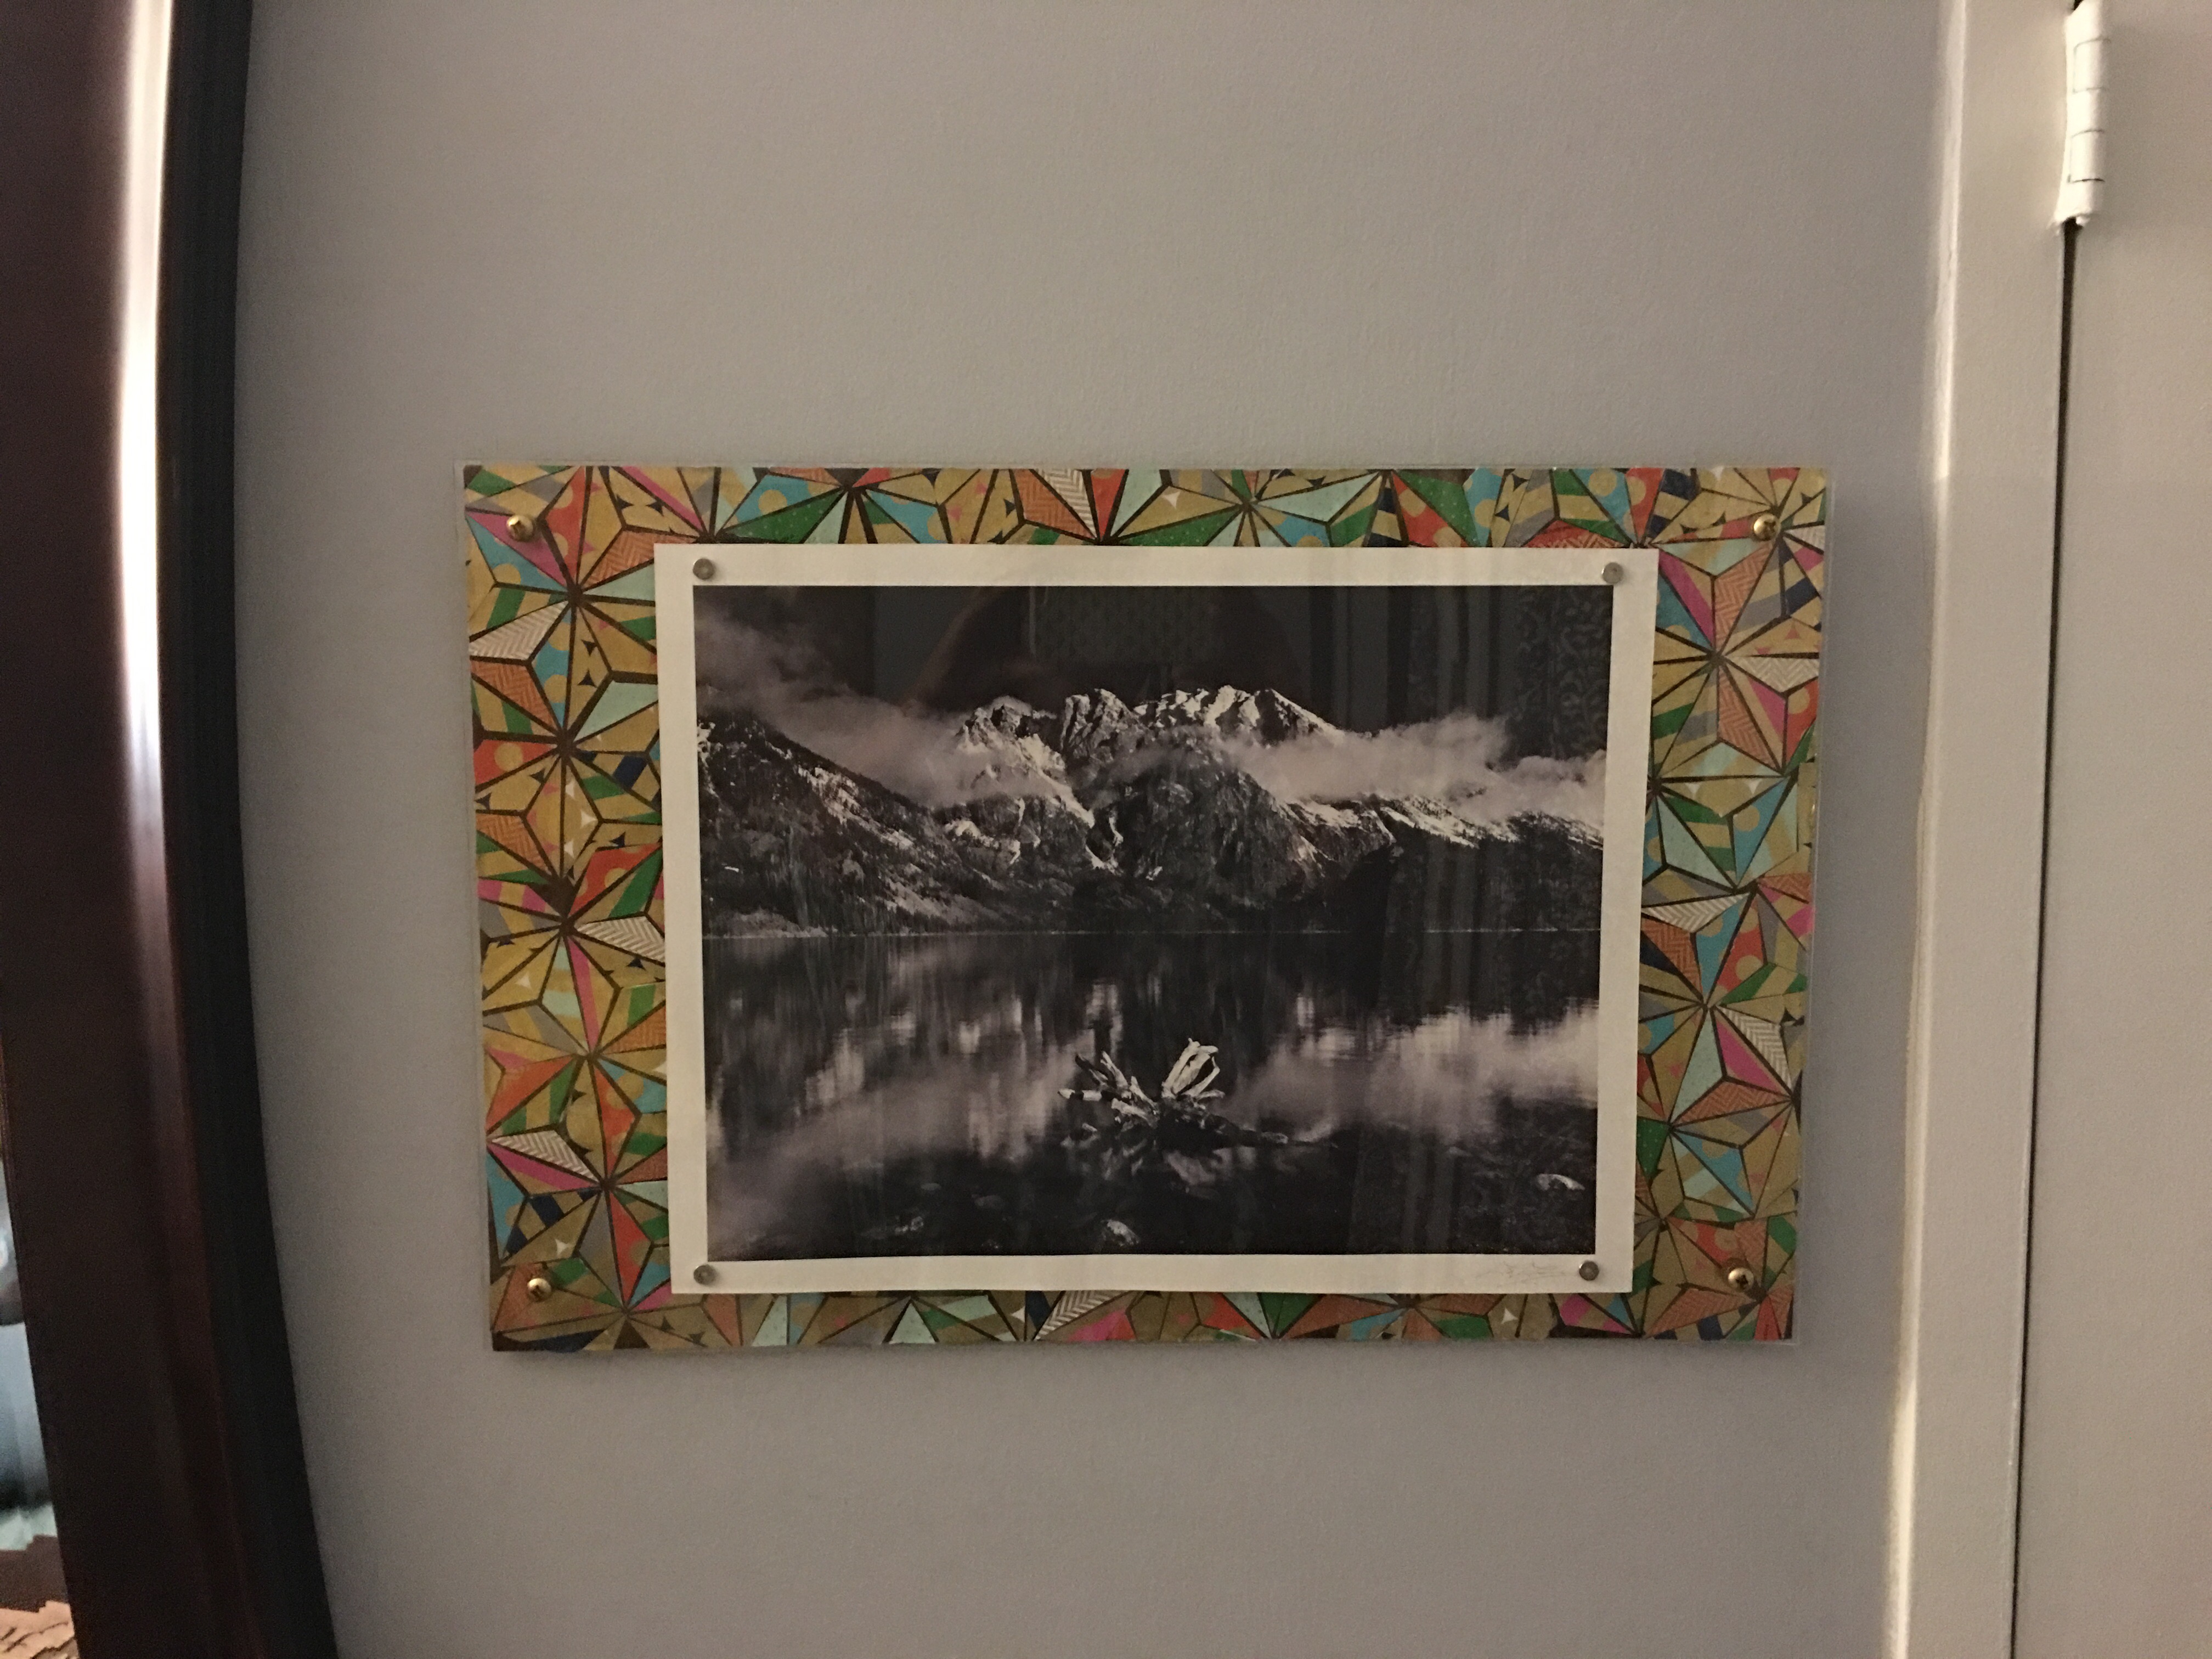
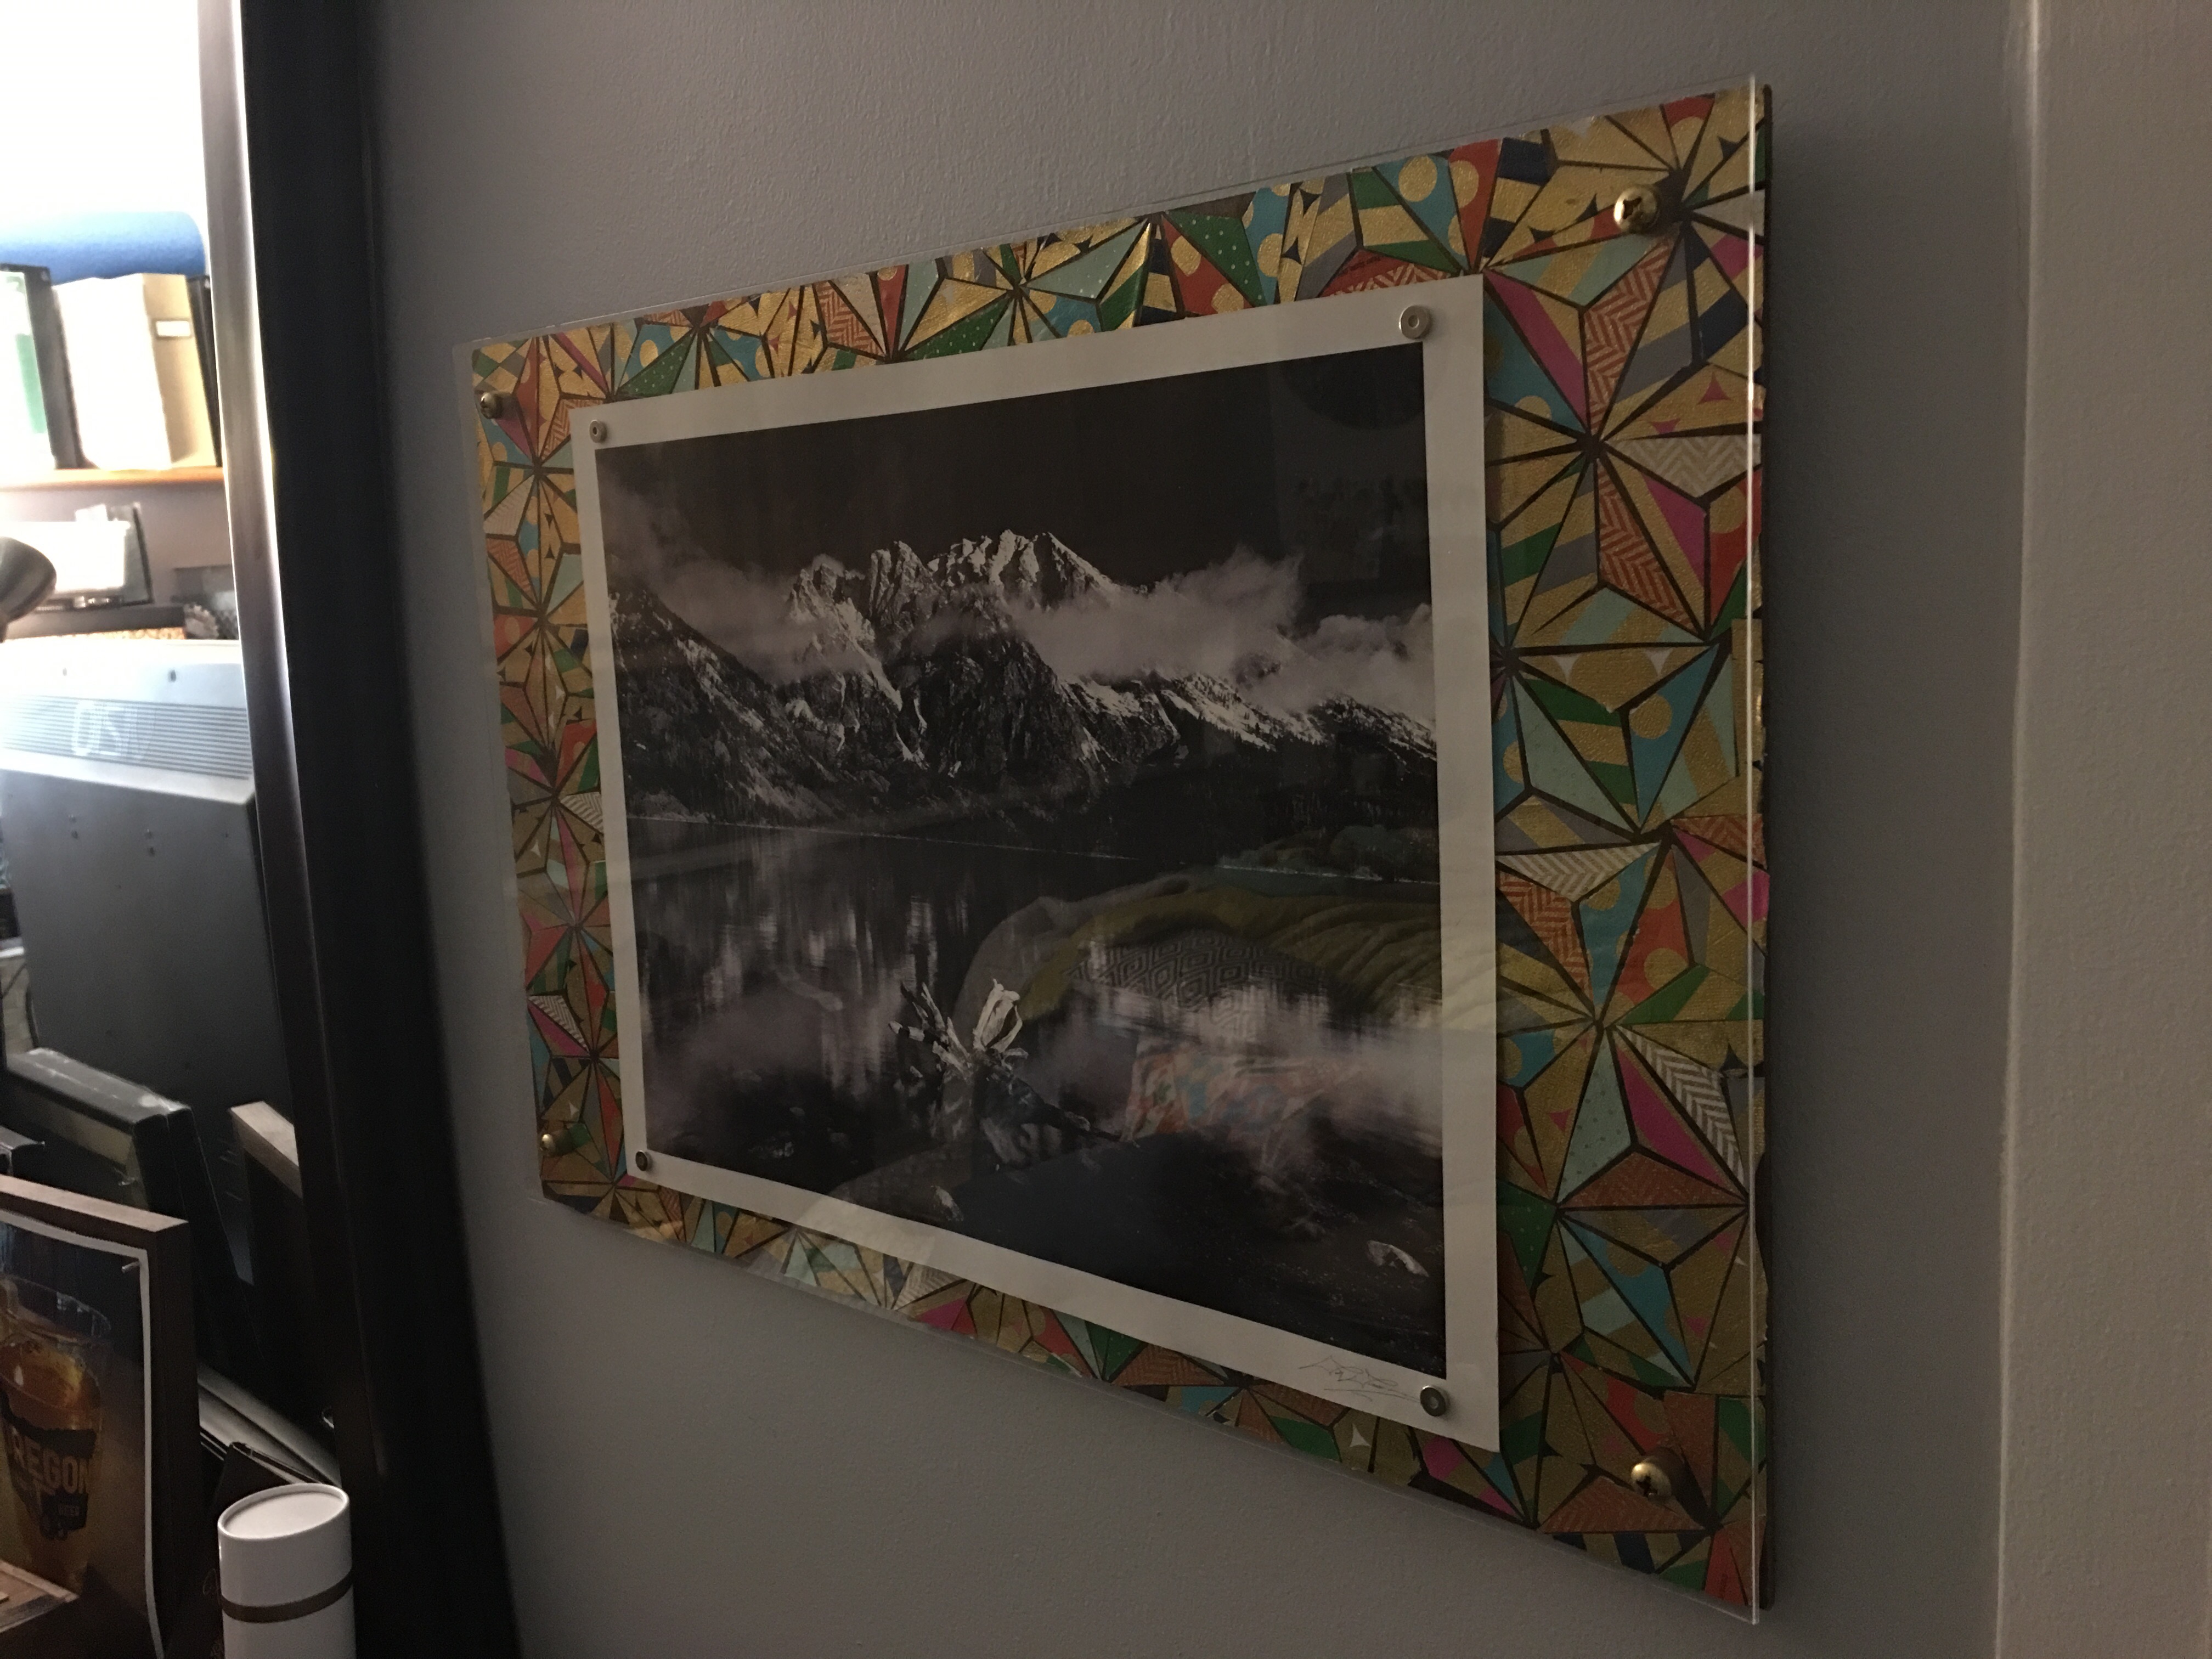
I attached a picture sawtooth mounting bracket on the back (top center). And after moving the finished floating frame around the condo in several places (this wall, that wall, this shelf, that shelf), I found it a new home on our bedroom wall. I swapped out my other paper decoupage frame project for this one (and found a new home for the other in the living room).
I absolutely loved how this project came out. I’m still amazed how fast I got it done. Gluing those paper triangles on a 16 x 24 board took a lot of time! But it’s well worth it in the end. My goal is to do the other panel using a different triangle shape pattern sometime before the month is out. V-