Kitchen Organizing: Storing and labeling spices in the pantry
You may also like:
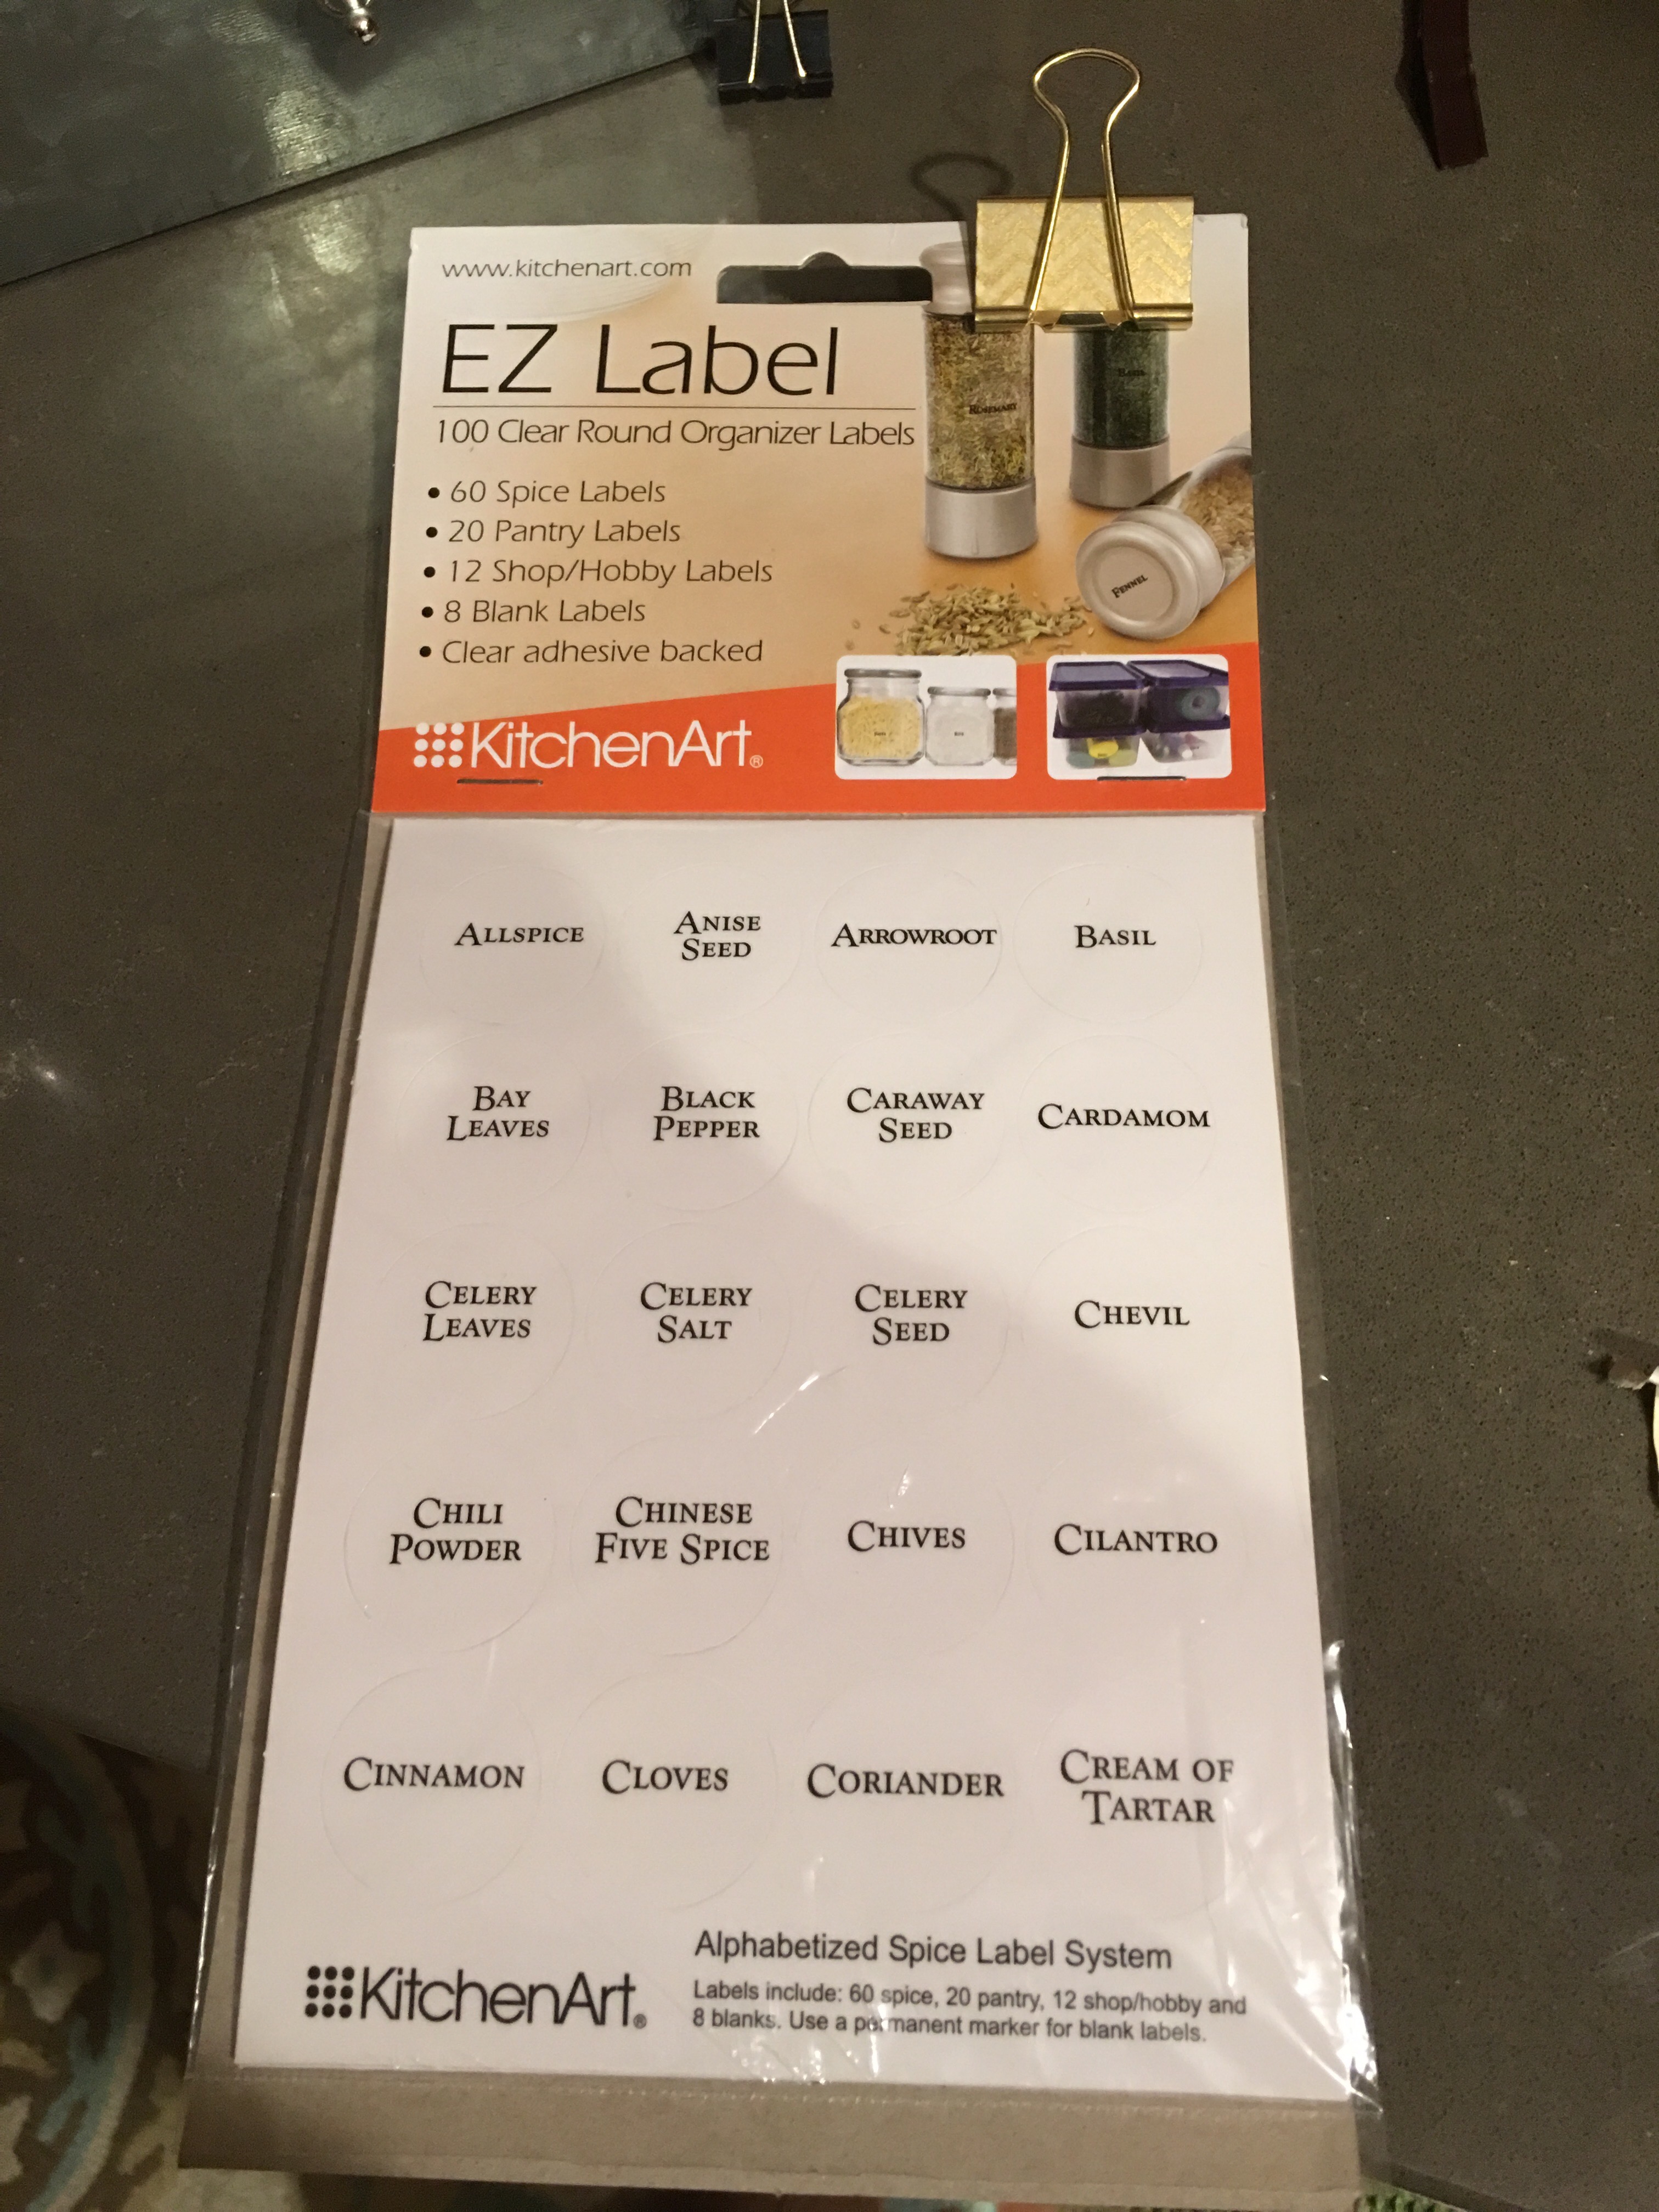
March 20, 2016: During my visit to the Container Store on Friday (3/18) in search for containers for my pills and vitamins, I came across these EZ Label stickers in the kitchen cabinet accessories aisle.
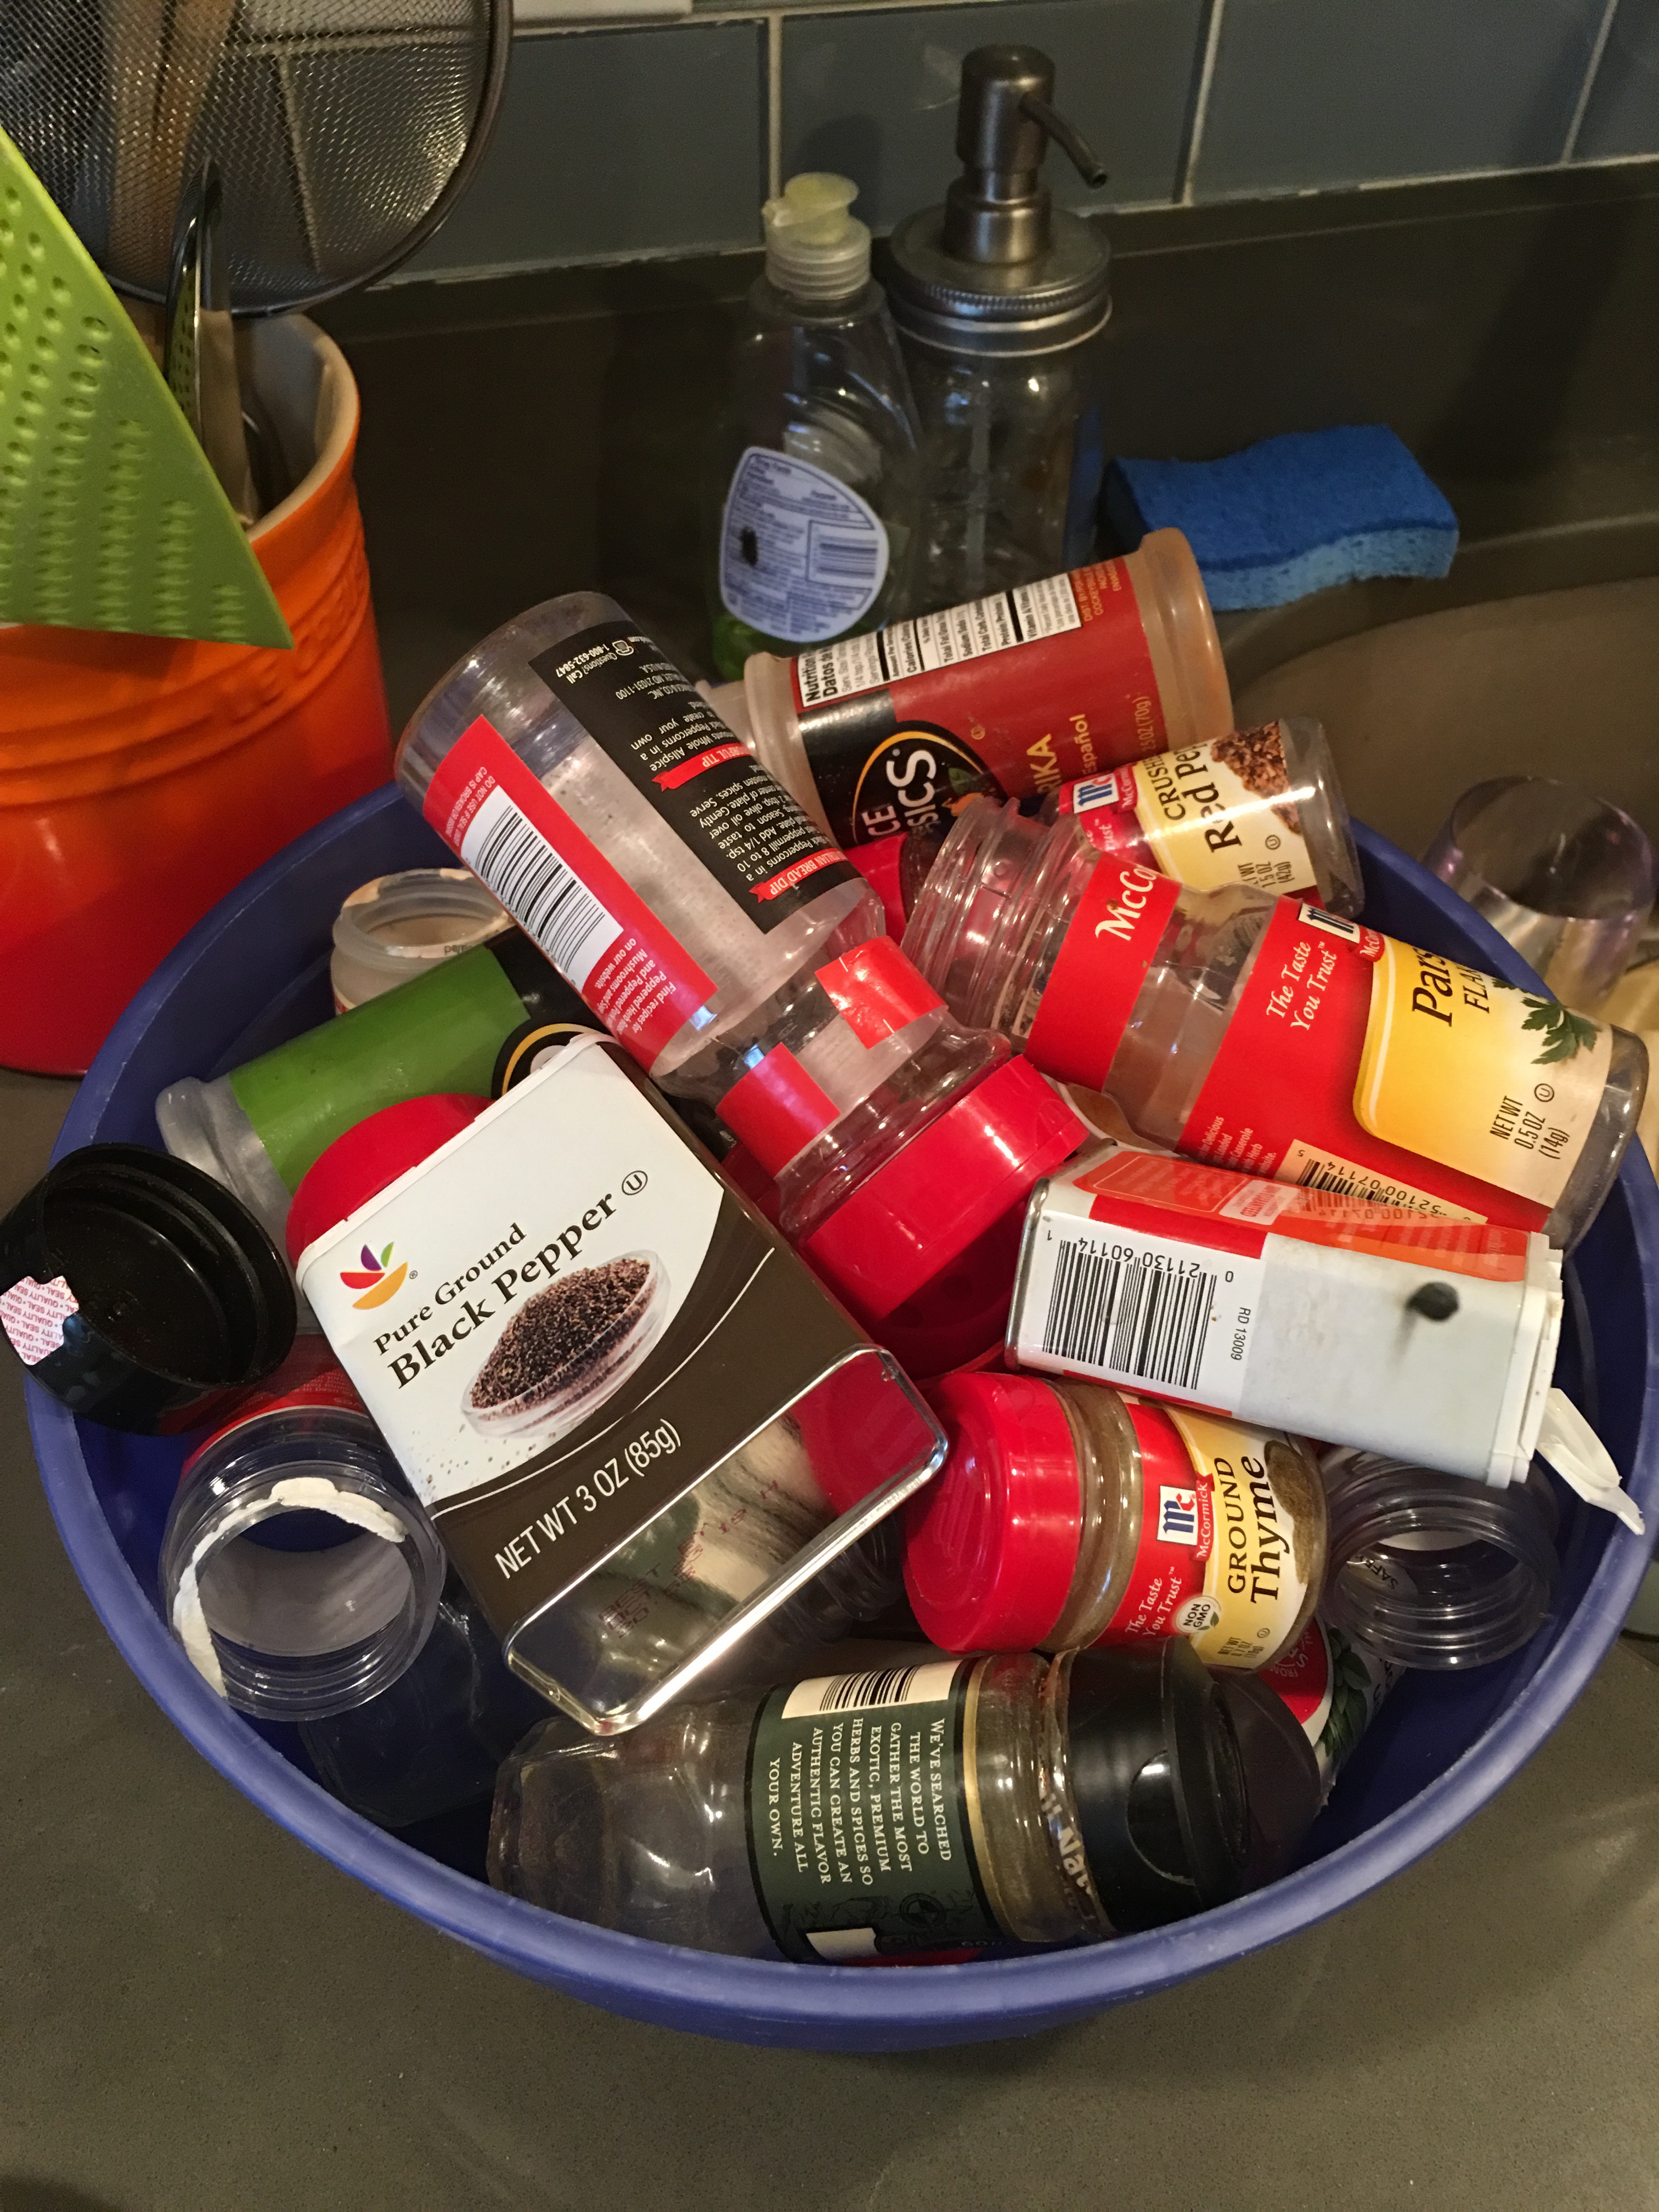
I thought about all bottles of spices strewned around our pantry shelves. Some in plain view on turntable platforms on the shelves. Many hidden away in a drawer box at the bottom of the same pantry cabinet.
I then thought about all the duplicate spice bottles we have due to not knowing whether or not we have something. Just yesterday I unearthed a spice that I went in search for months ago and ended up buying more because I couldn’t find it!
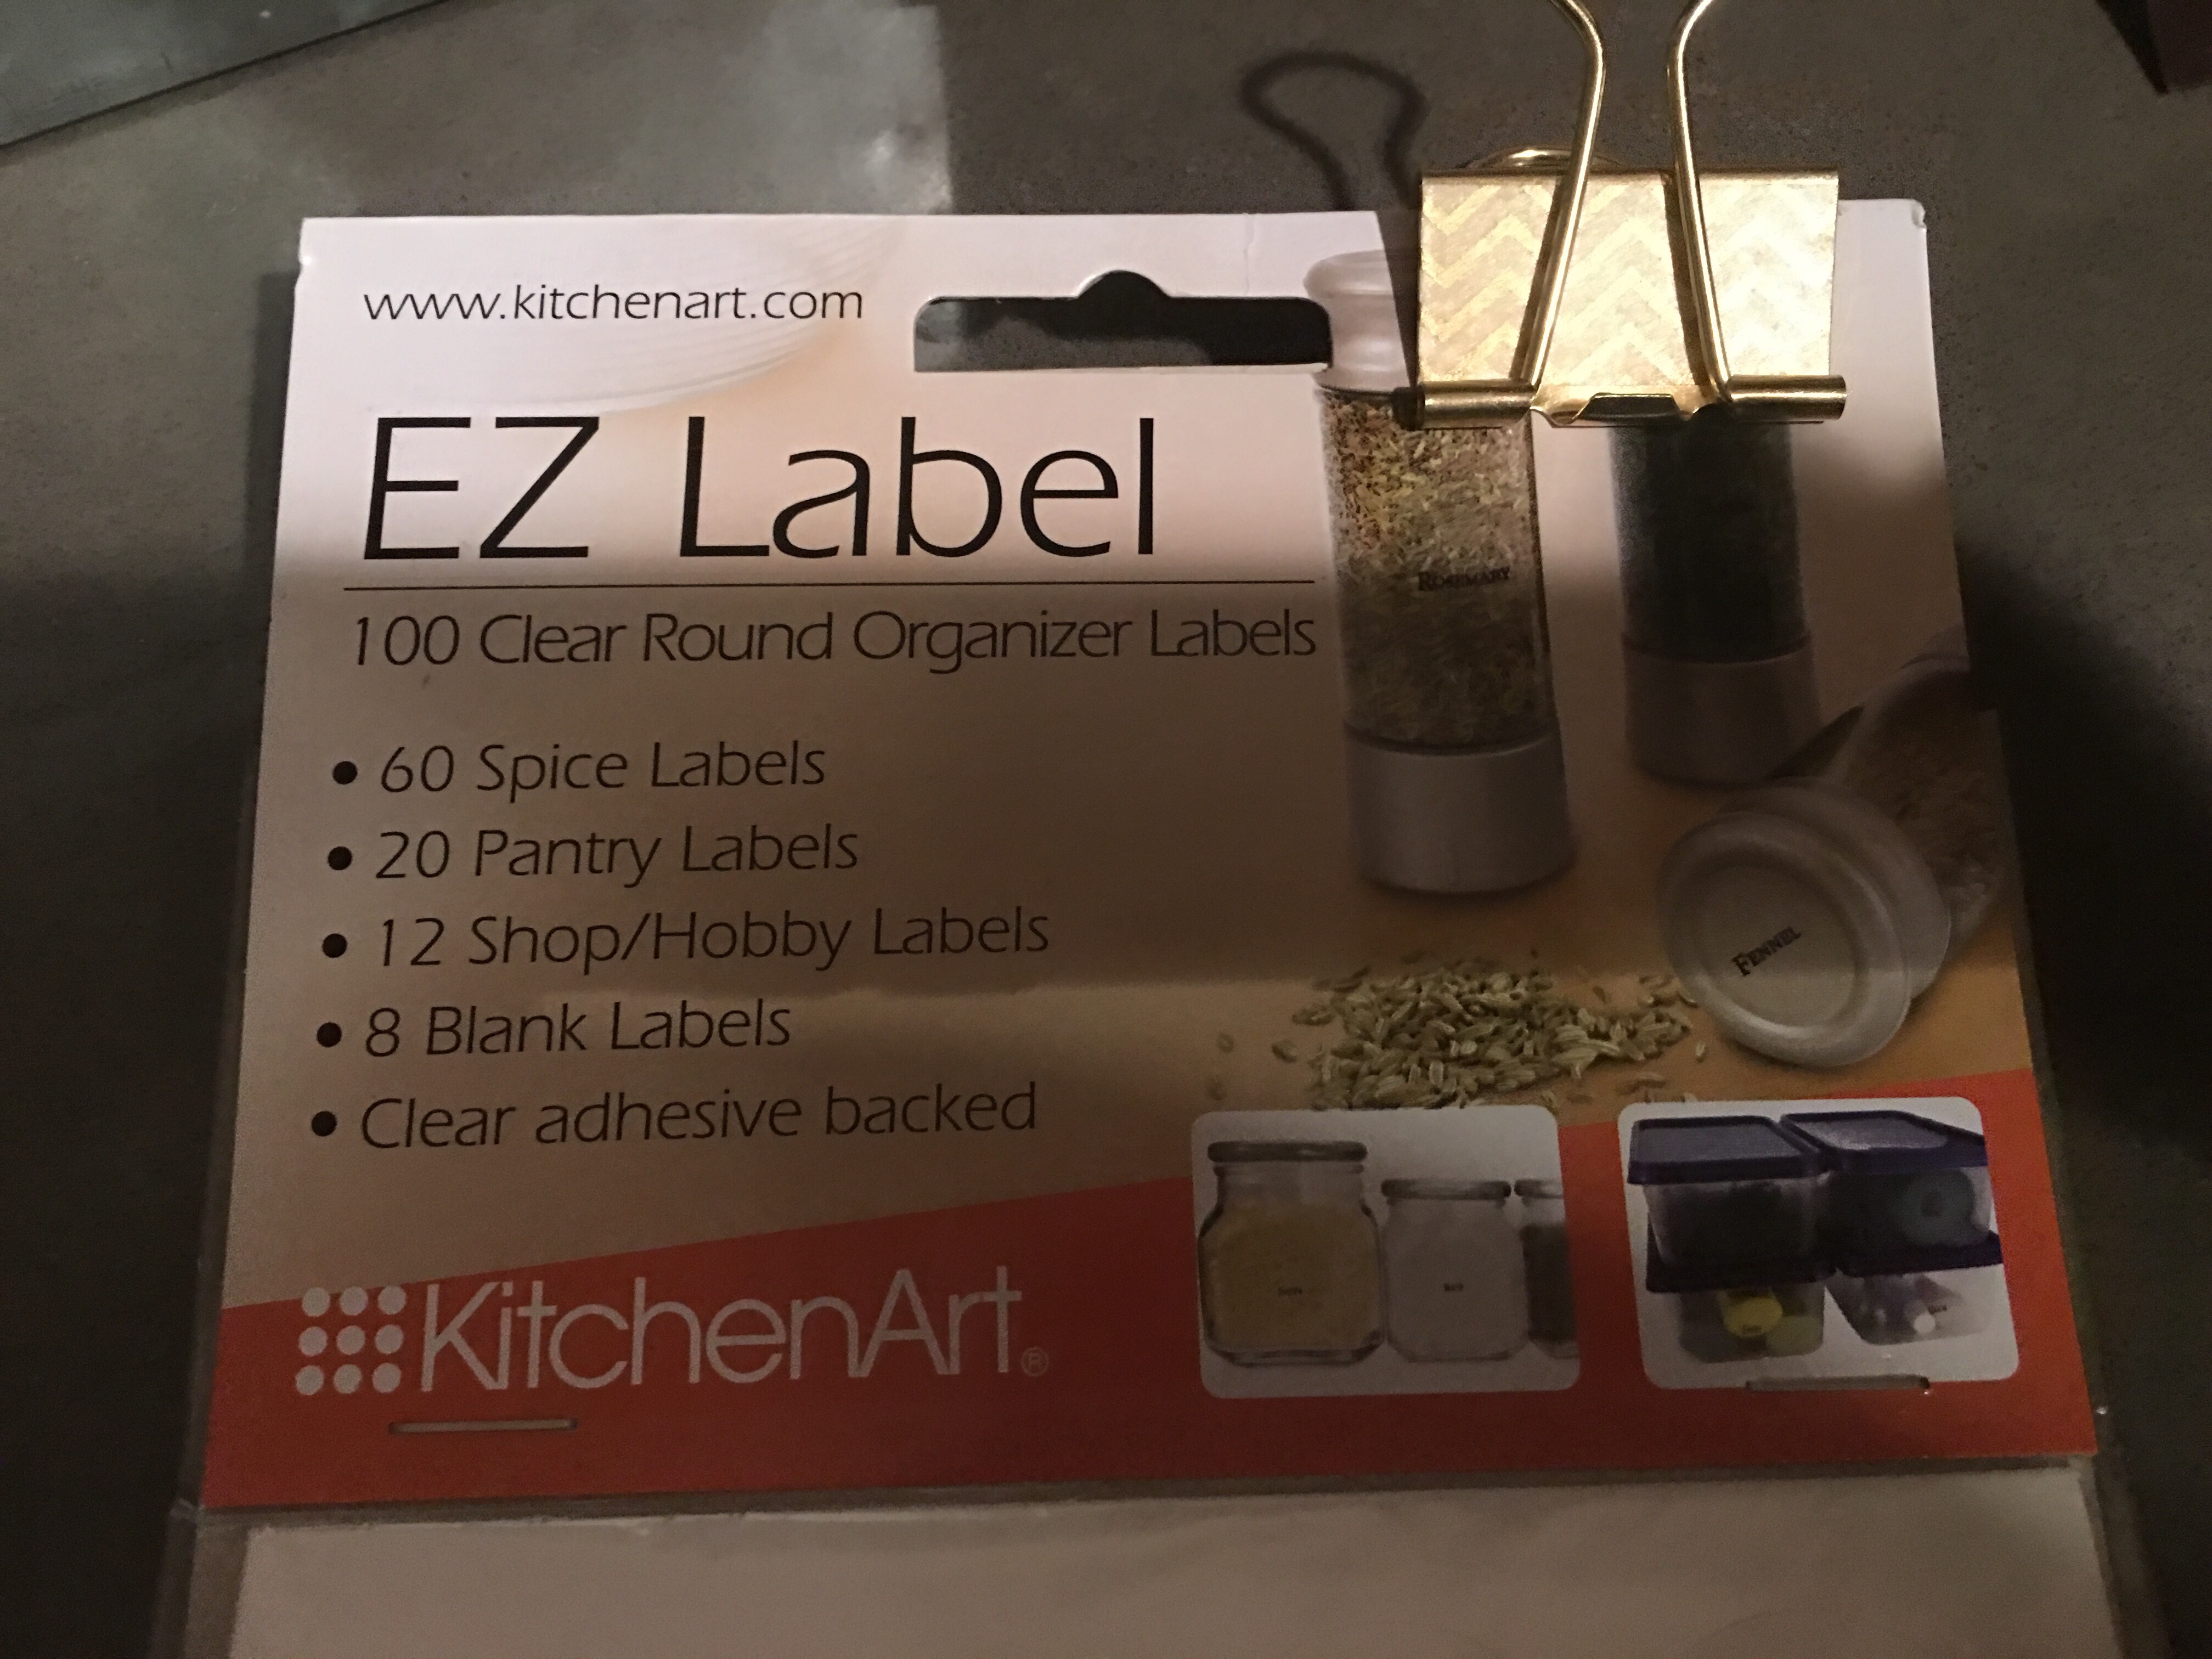
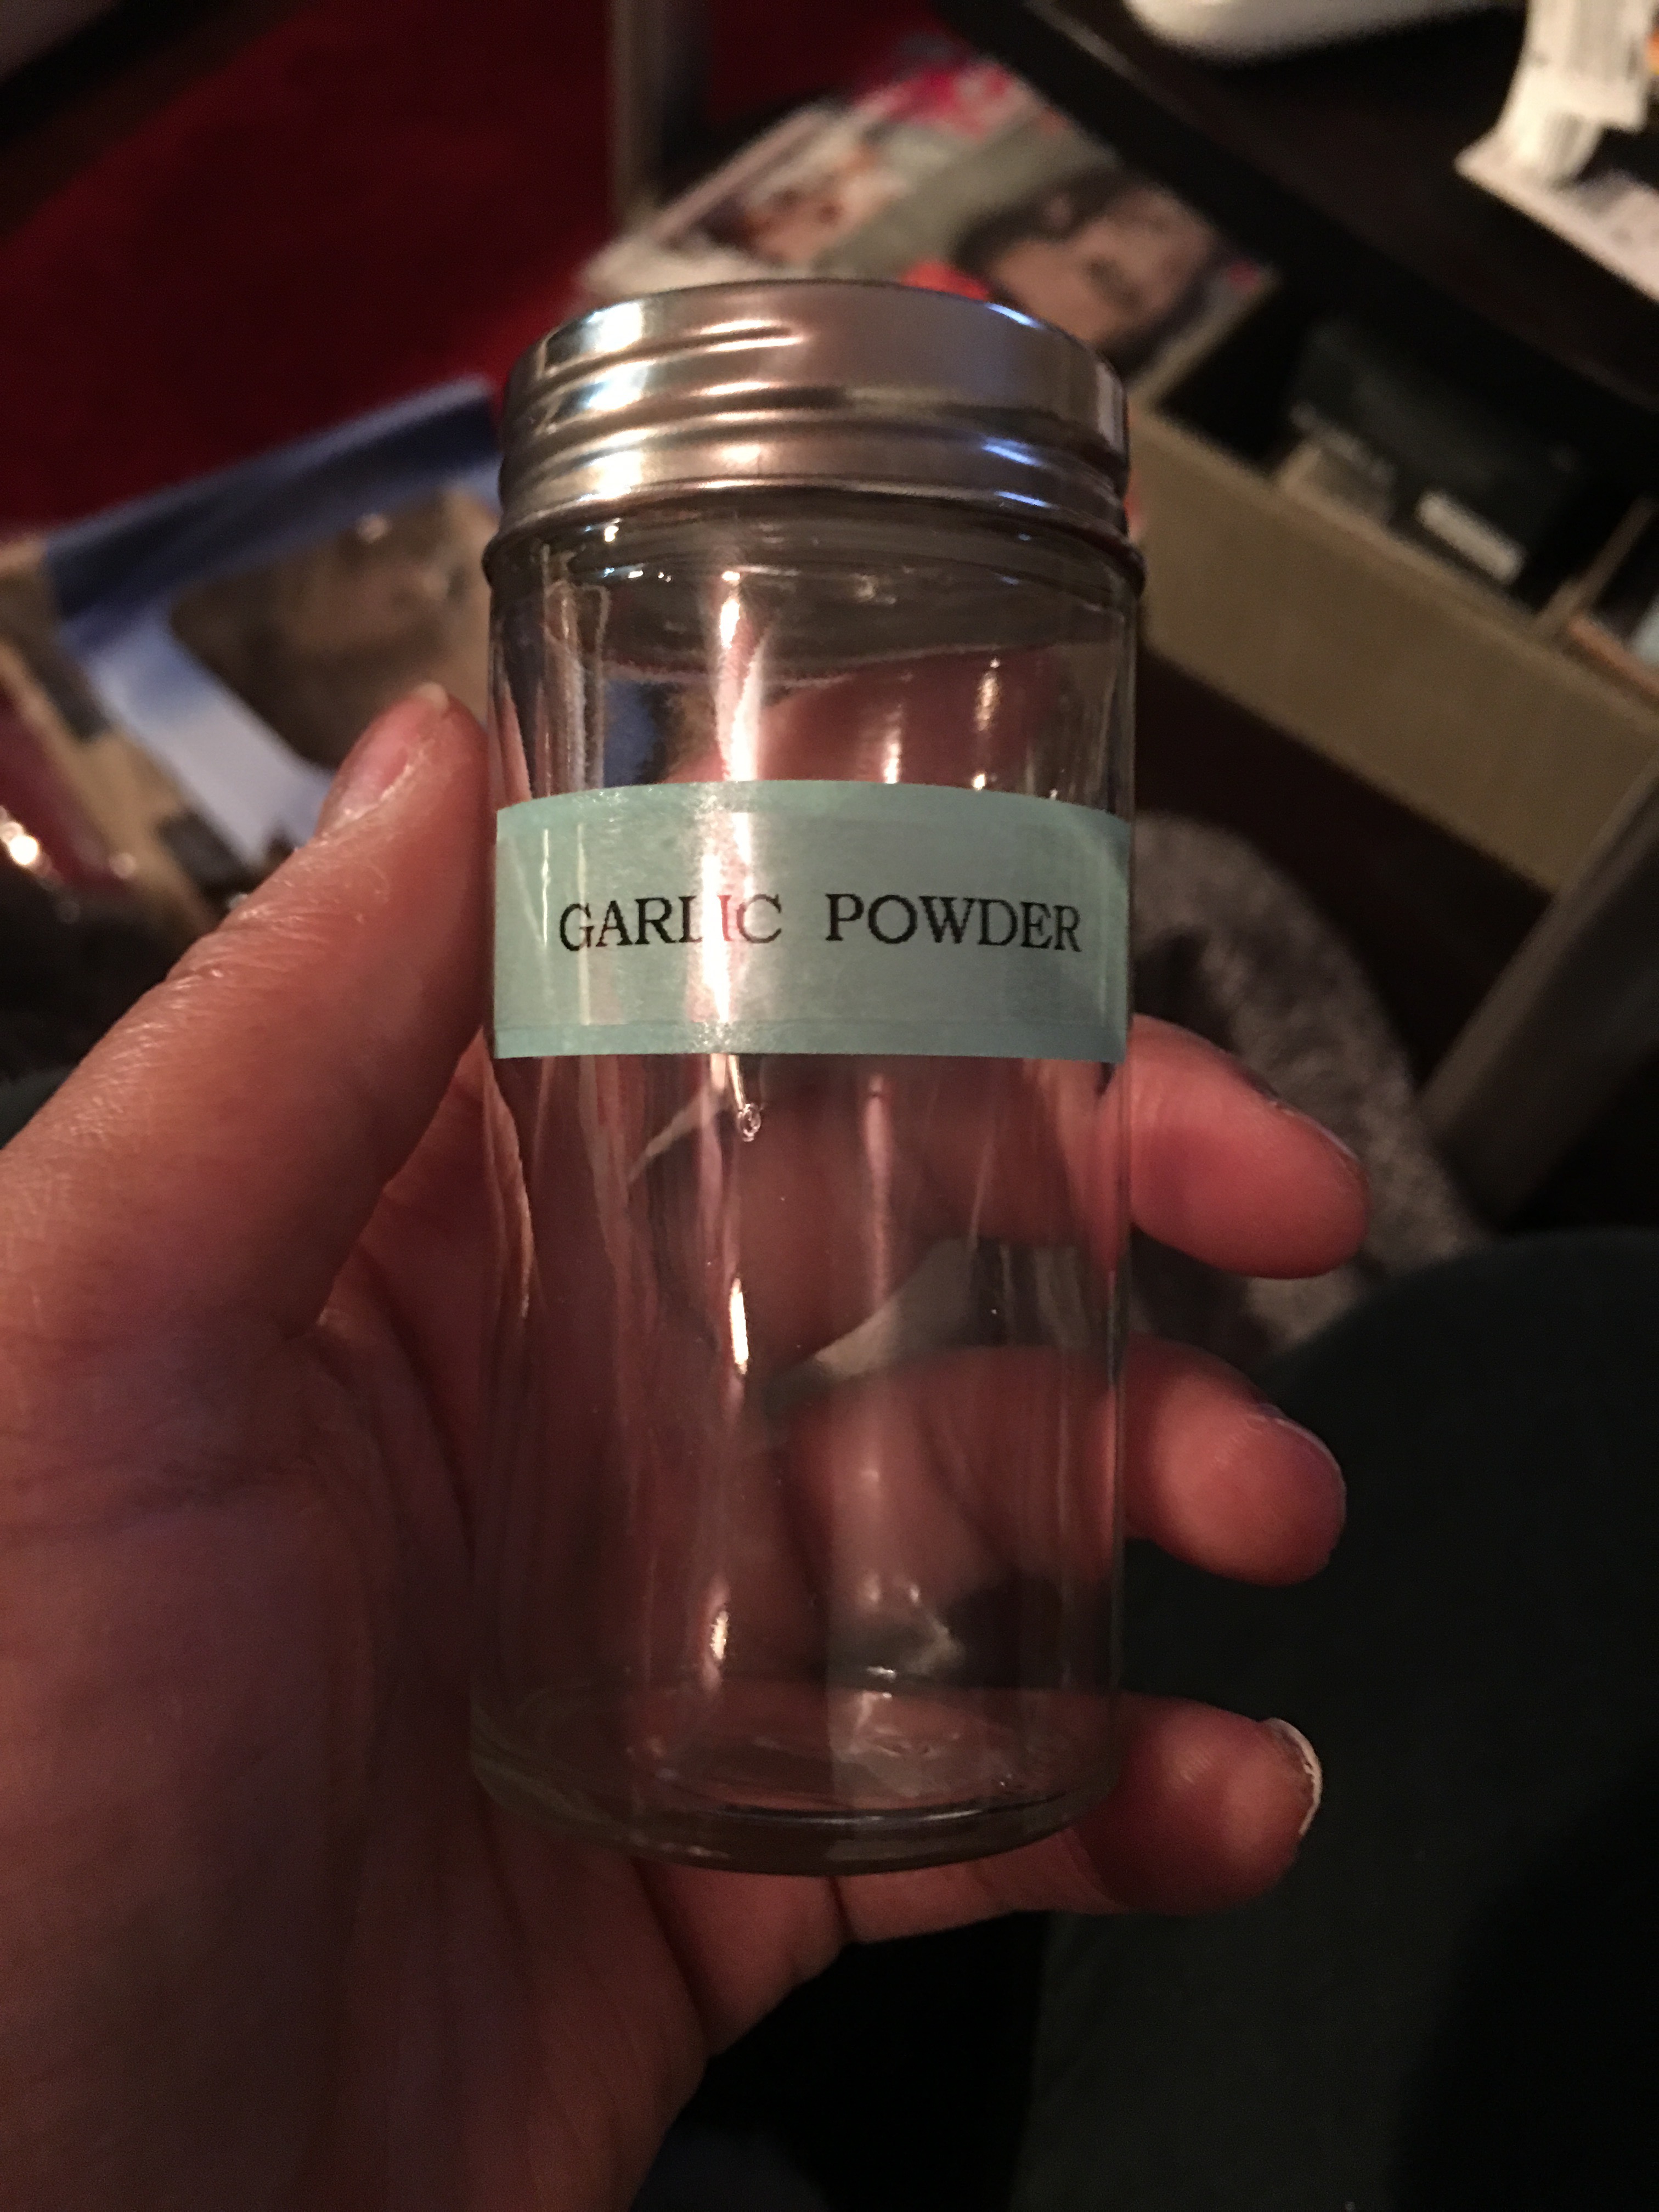
This pack of stickers are clear (with black printing) and includes 60 spice and 20 pantry labels.
I thought about how these can be used to organize my spices. I figured these labels would help me to:
- Identify the spices I don’t have and to fill out our spice collection in the pantry.
- Label the menagerie of spices already in the pantry and to organize them alphabetically.
Alphabetizing our spices is key because we need to be able to easily find them without rifling through bottle after bottle of options. That’s what I find so challenging about the whole “organizing the spices” project – you need a separate container for each and every one.
Speaking of containers…what kind of containers should we use? Glass or acrylic bottles? Jars? Or tins?
While I was still in the store the obvious solution came to me. Tins. Top to bottom, with all tin lids.
These would make our containers “stackable” by using then magnets between each tin. And we can label the front of each tin with the spice, then stack them top to bottom in sequence. Plus, they’re round rather than square, so they will fit more easily on the lazy susan turntables we like to use for the spices.
So using tins for spice storage are functional and space-saving! Perfect.
I went to the tins and boxes aisle, poked an arm behind the 4 ounce seamless tin stack and slid them all into my cart. I netted about 12 that evening.
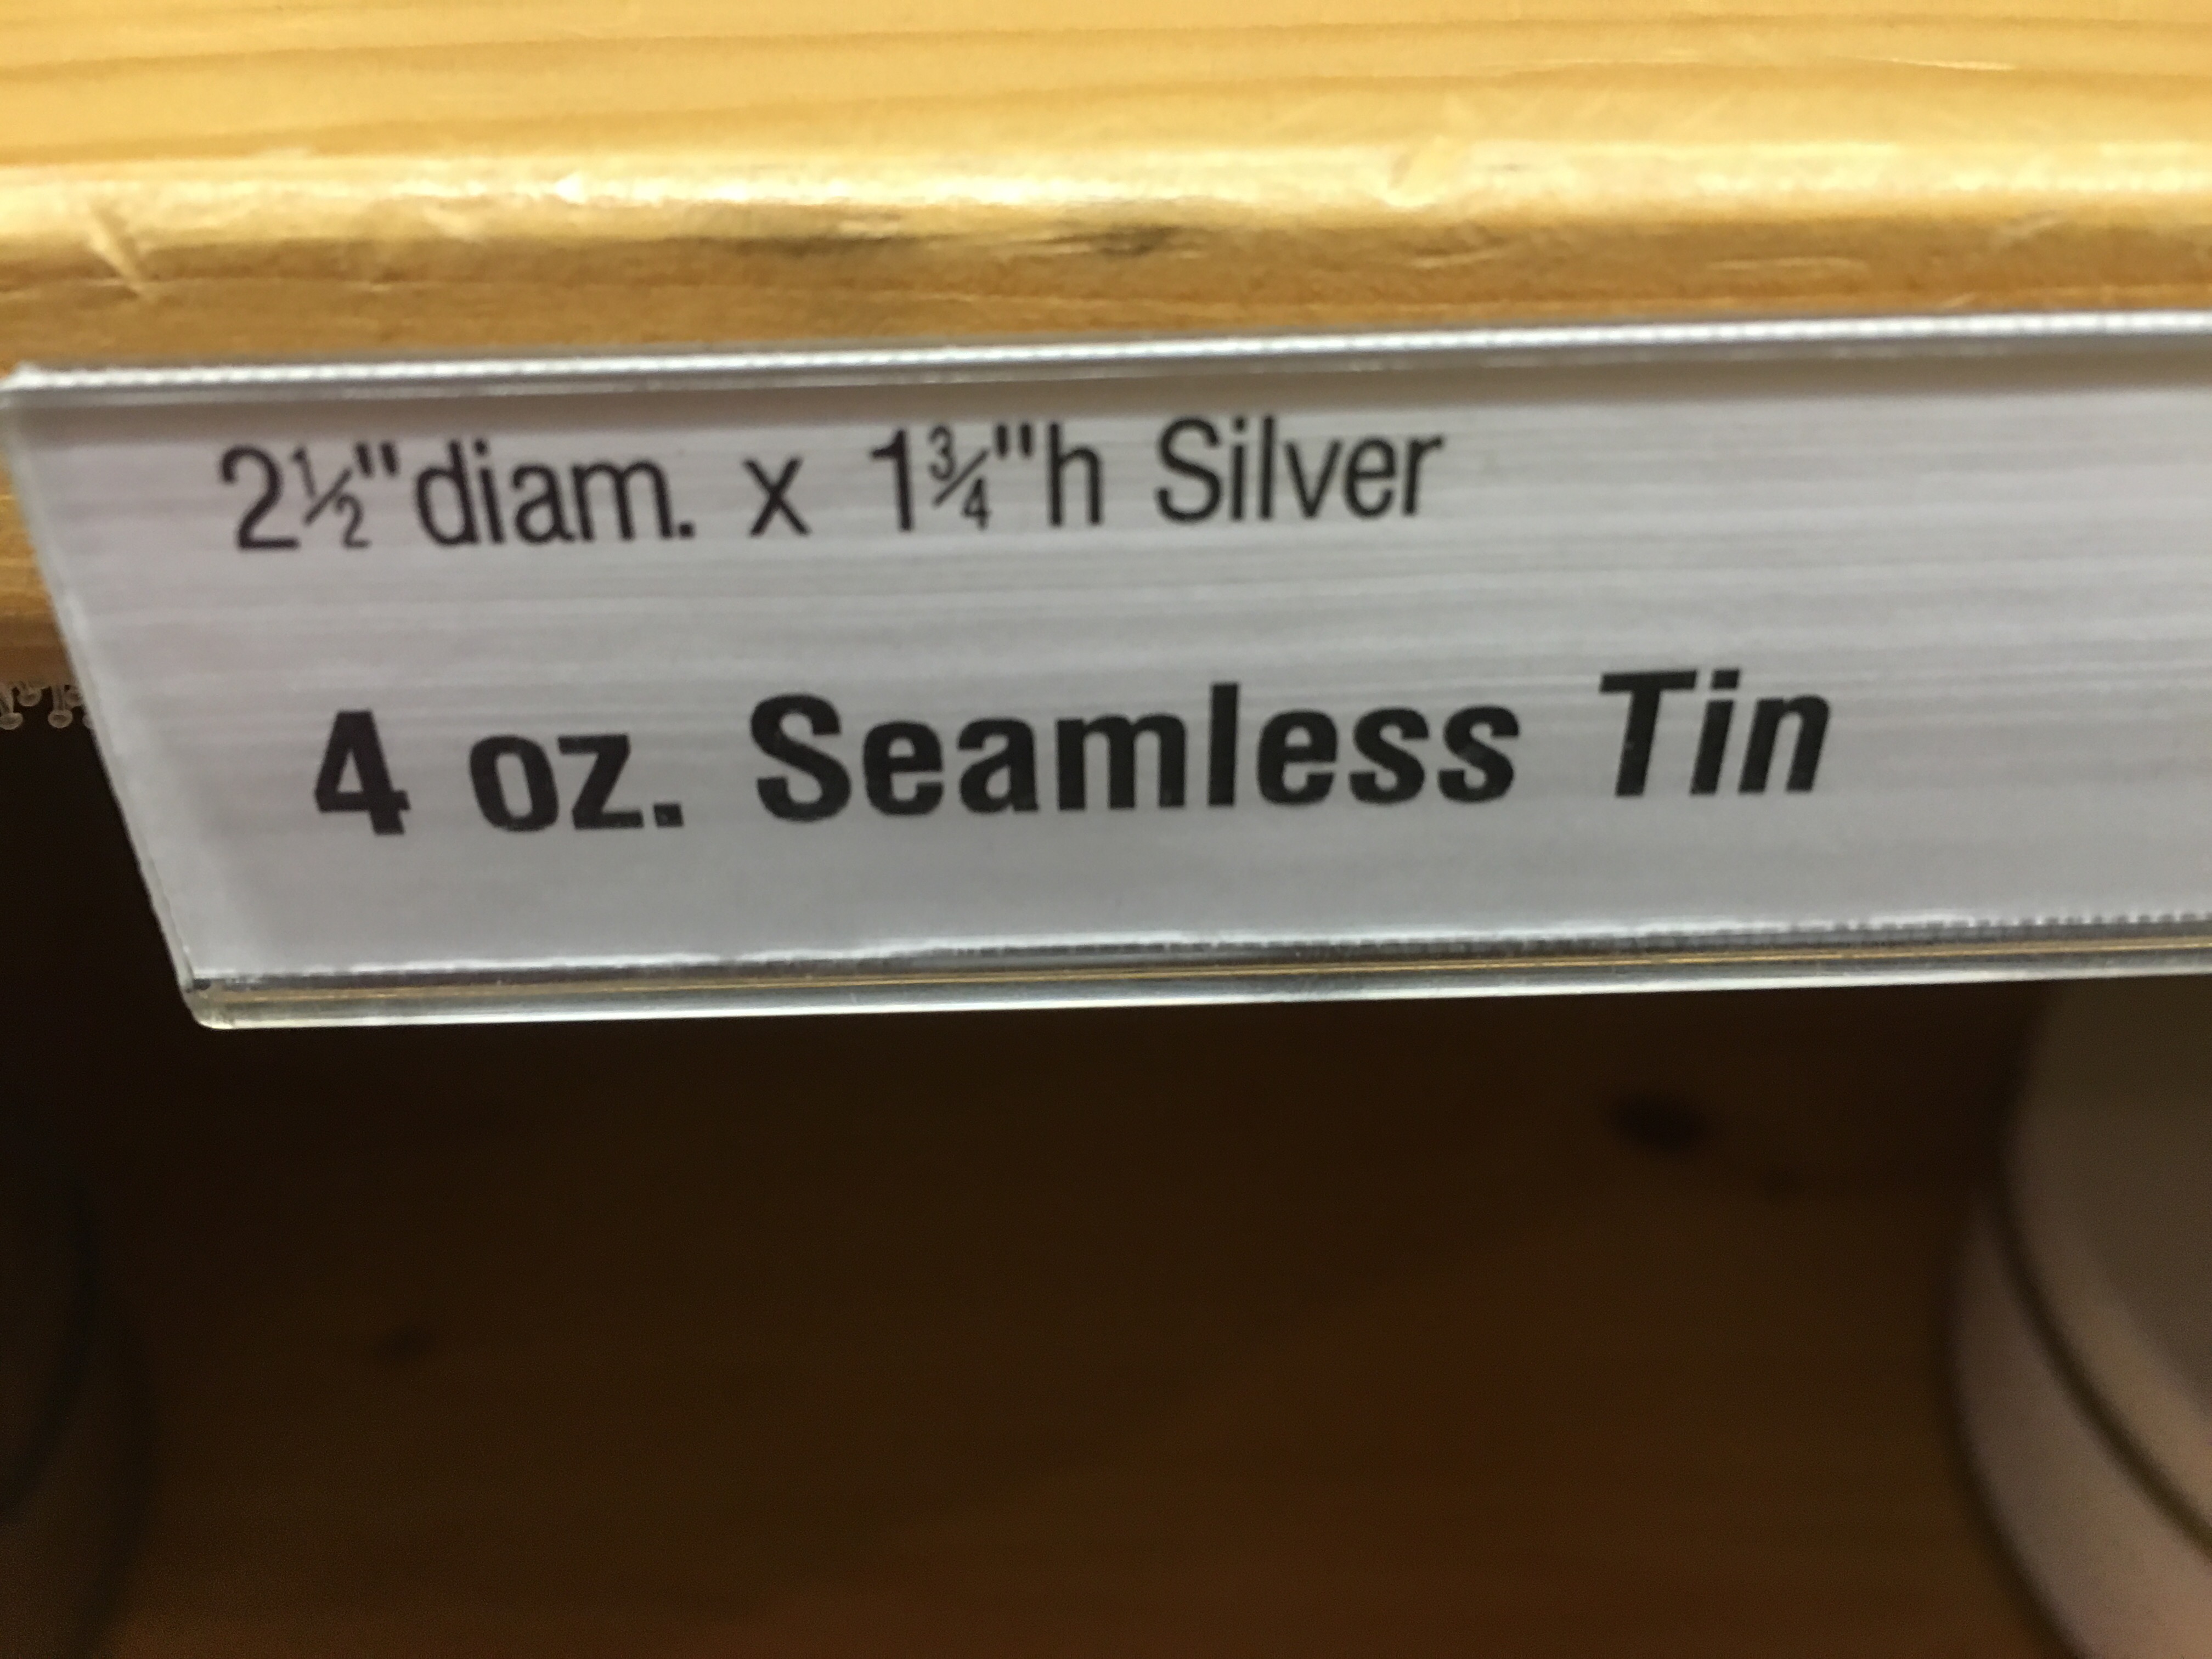
At $1.29 a tin I was making a serious investment in this idea (we have a lot more than 12 spices, of course, so I’ll be looking for more). But I’m convinced that the time and resources spent on this project will revolutionize our pantry…and the way we go about cooking in our kitchen.
So here goes…
Friday night – Test run with red pepper flakes and paprika.
I wanted to add a bit of color for the tins but I didn’t want to detract from the display of the spice labels. They needed to be clearly visible (and as utilitarian as possible).
So decorating them as I have other tins (the paper decorated tin cups and tin cans come to mind) would not work for these. Spice containers would be handled on a regular basis and a lot of paper or tape decoration would not stand up to usage.
Plus, the simpler the look, the more organized the look.
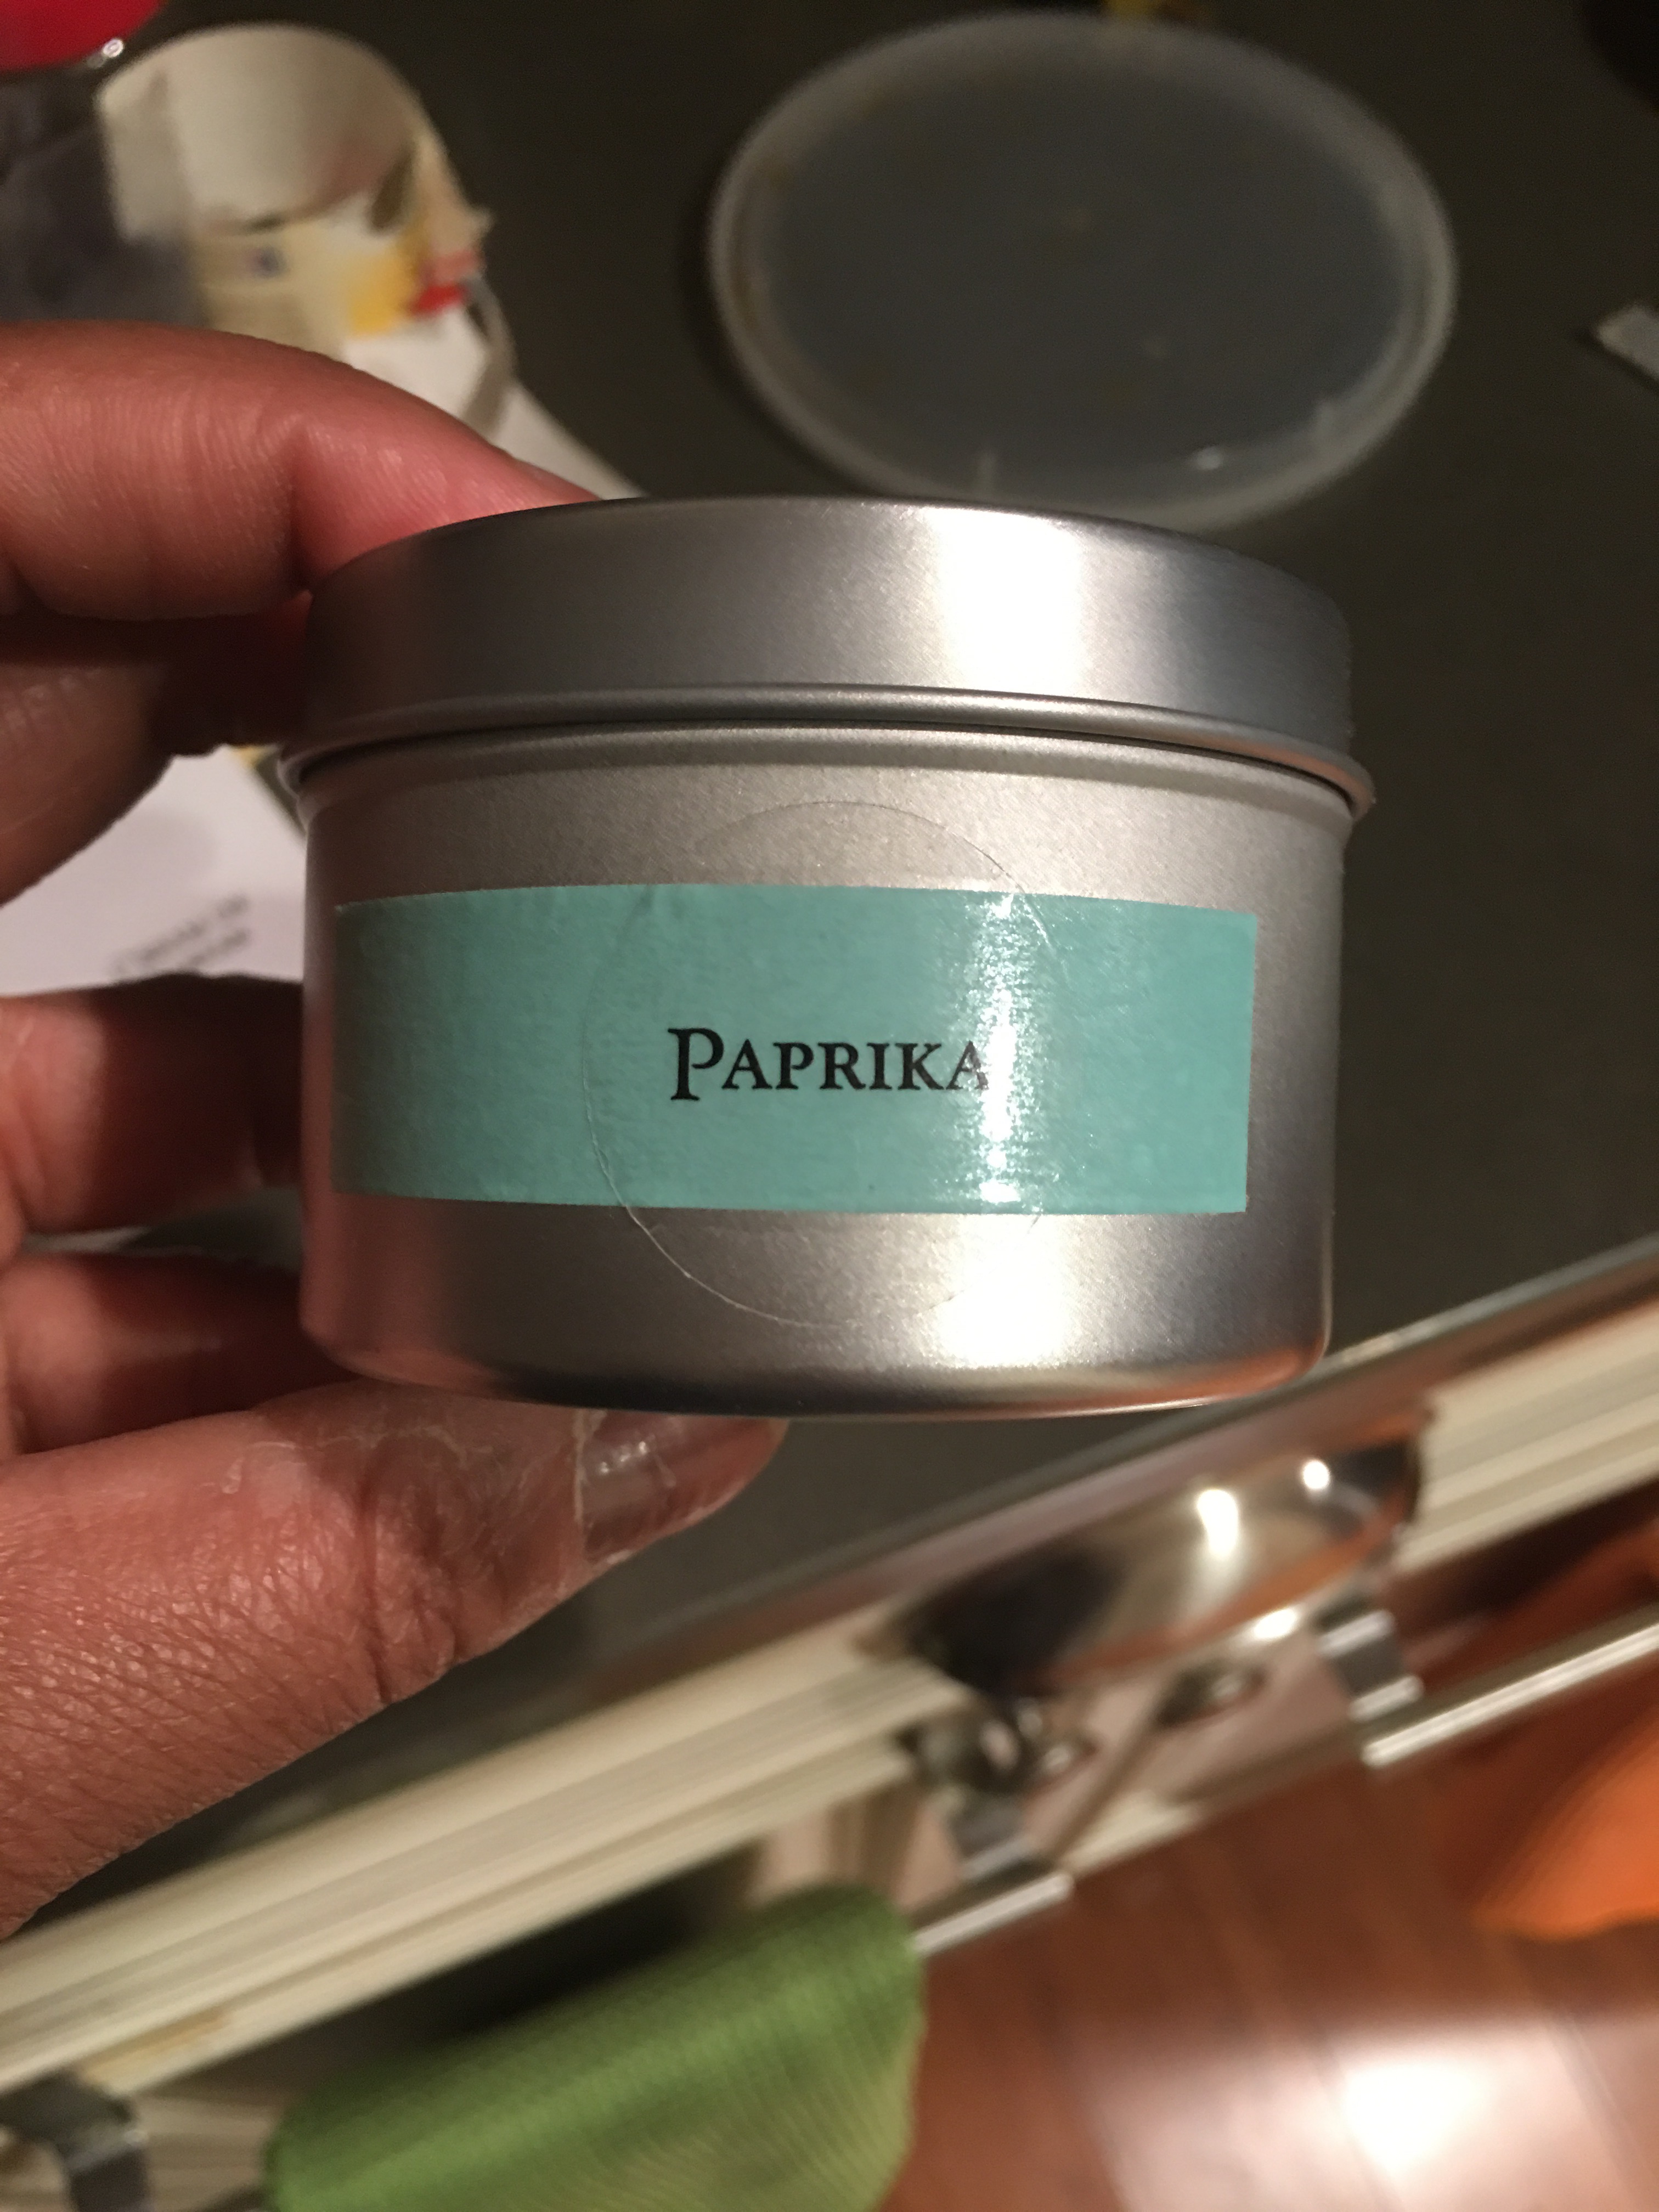
So I settled on using a small strip of washi tape (a solid, light color, where the printed label will be clearly seen over it). I went with the Scotch light blue tape.
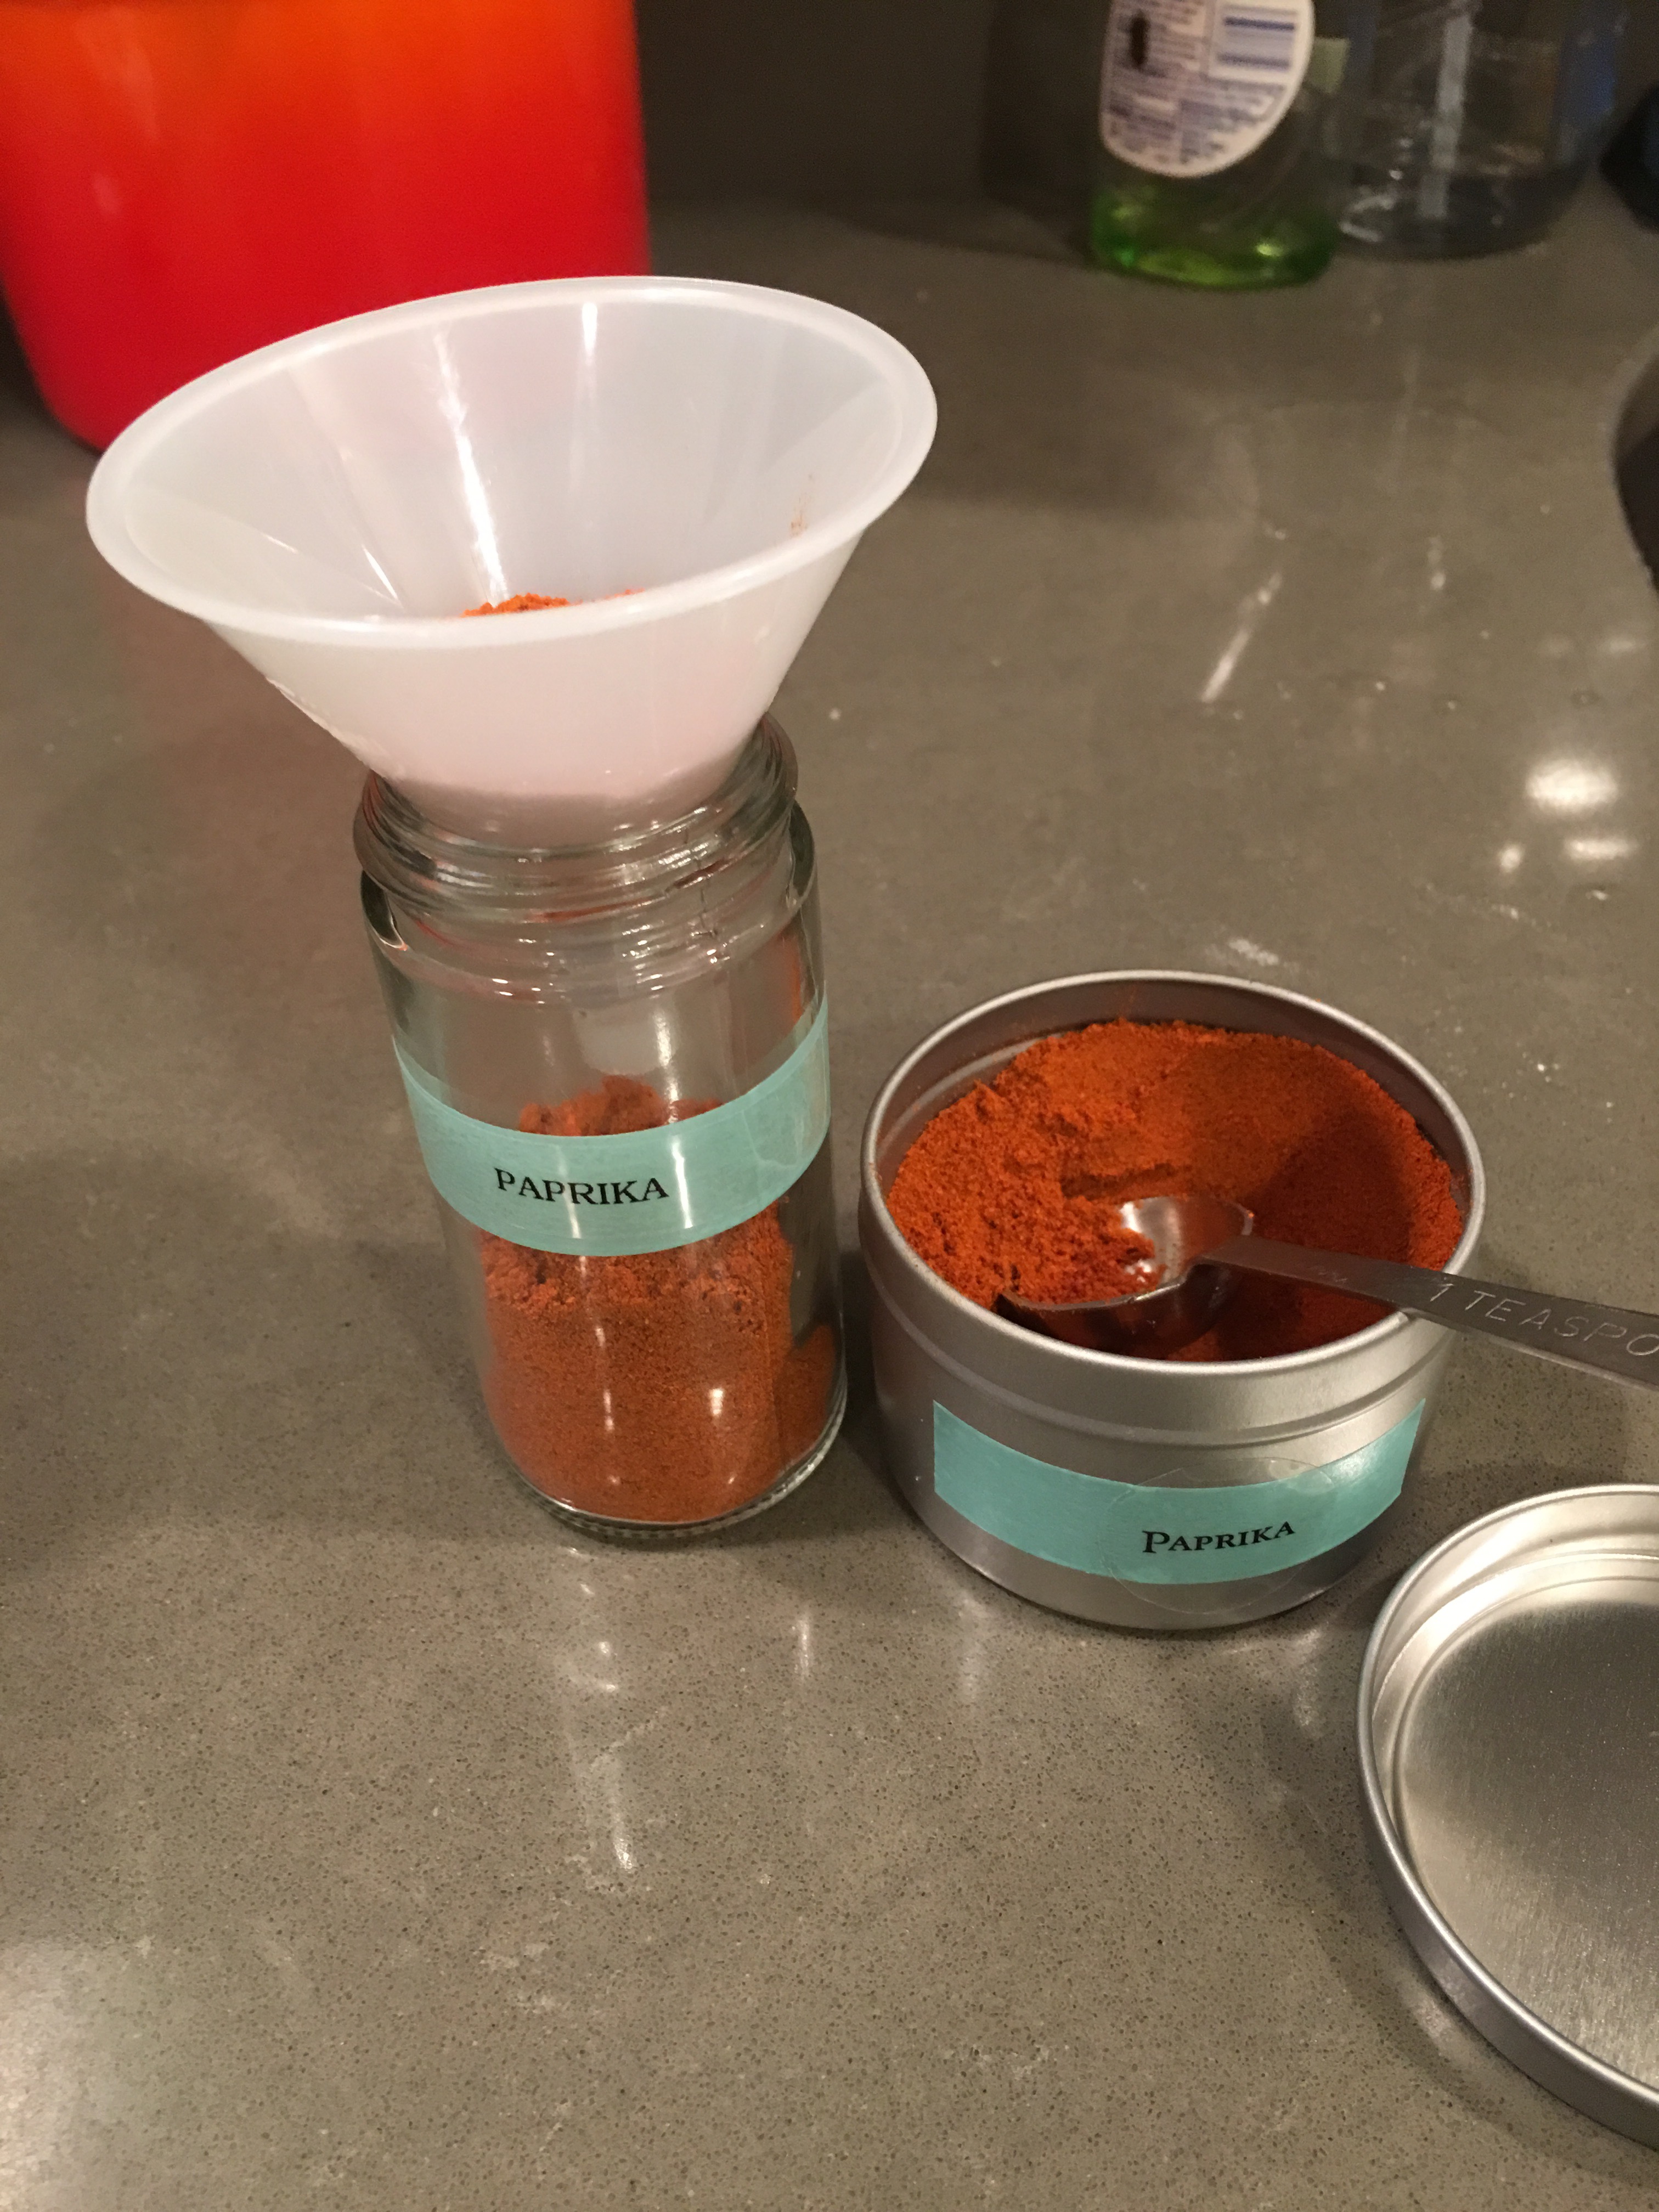
Here’s how a tin looks with the washi tape and label. This one is designated for (you guessed it) paprika.
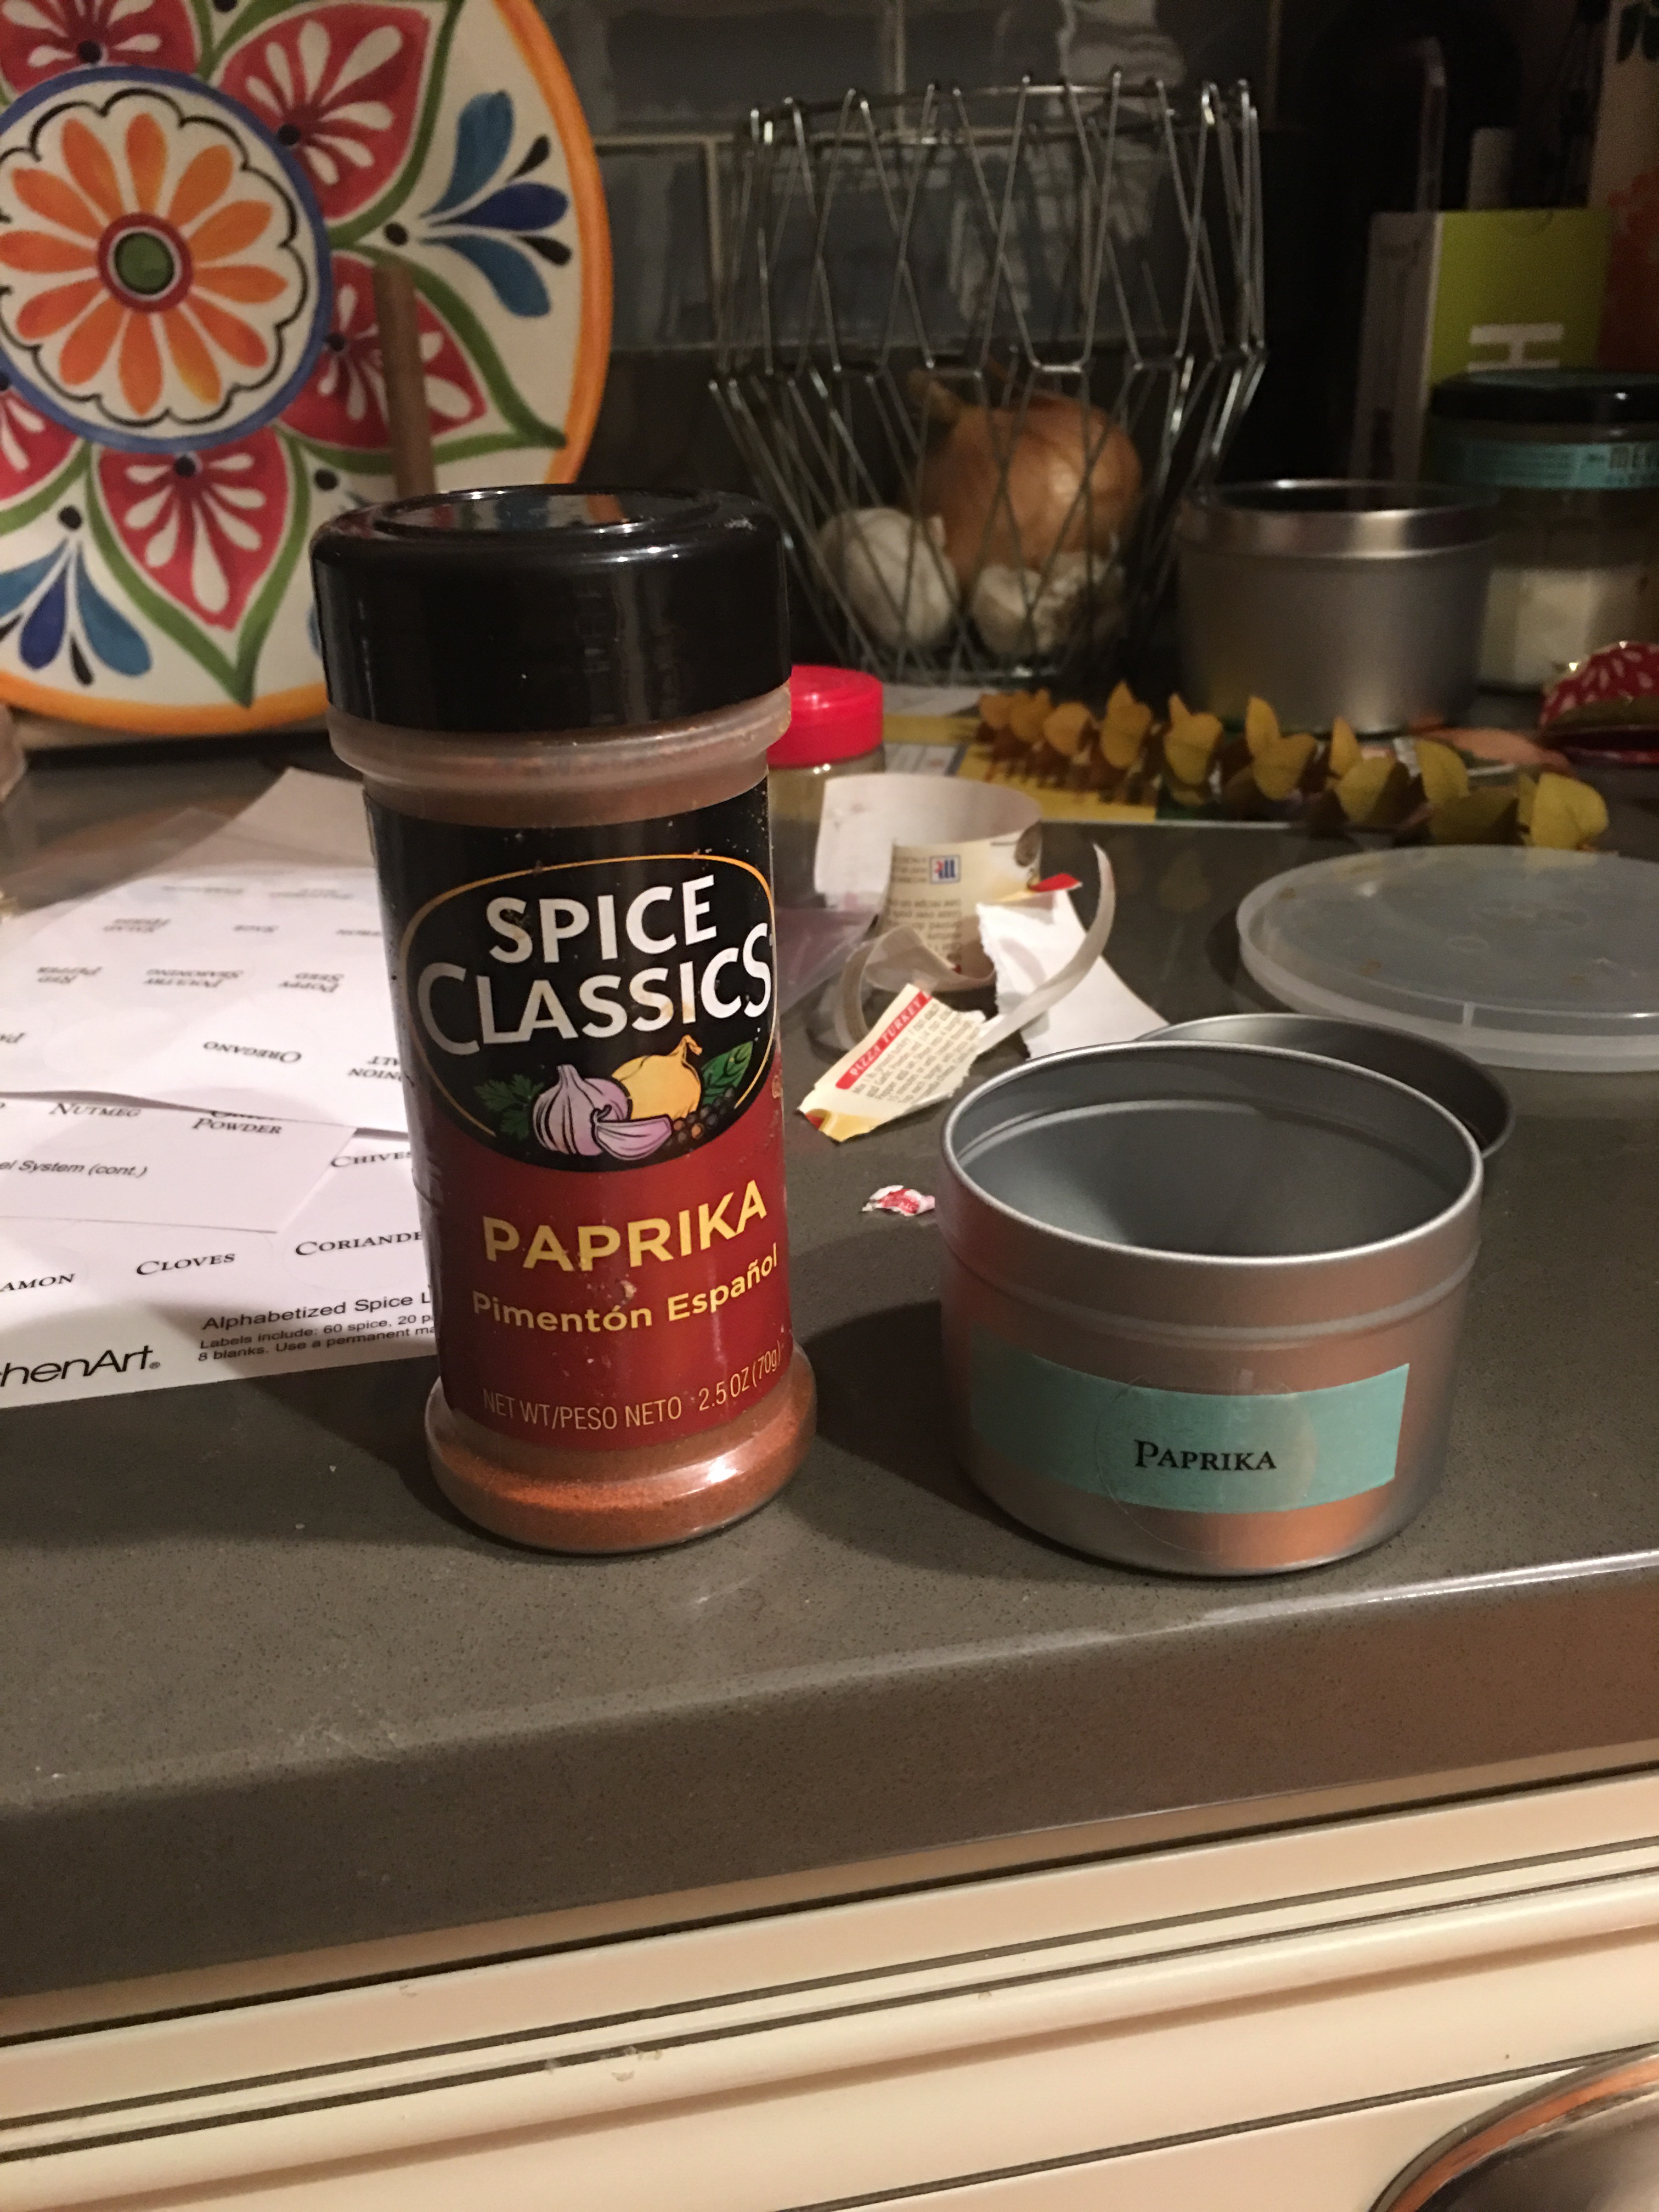
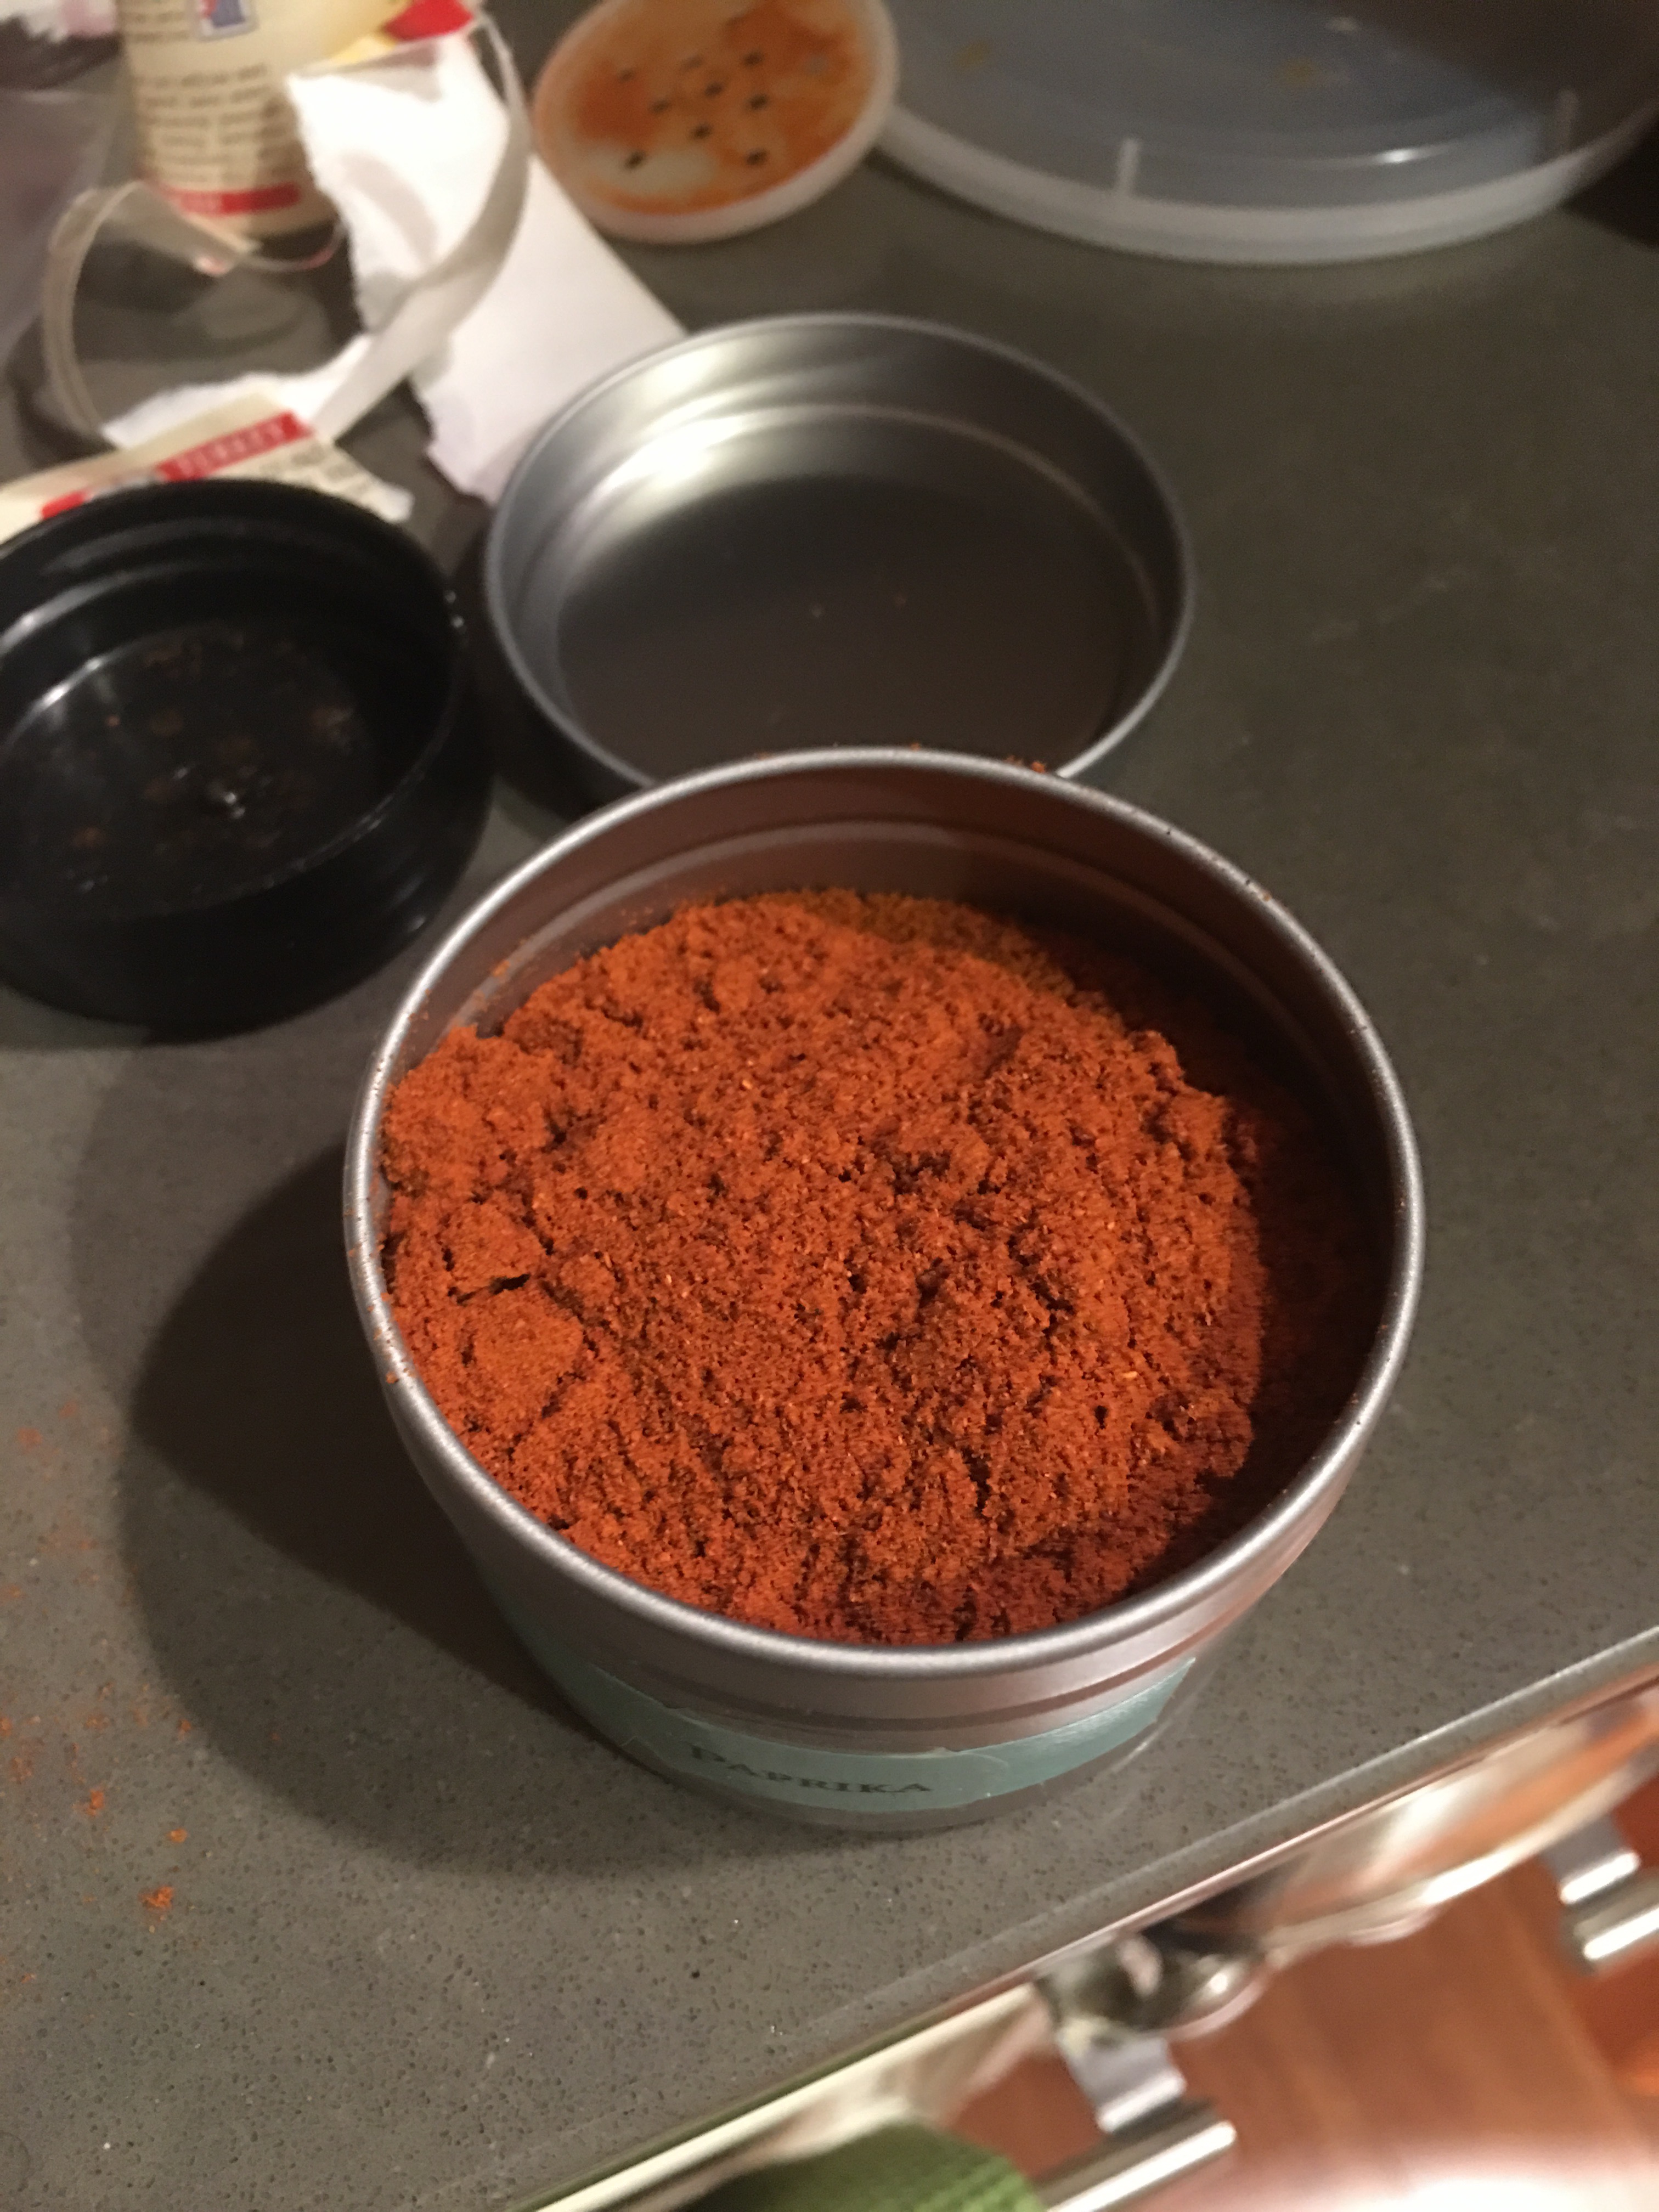
This 4 ounce tin held about 3/4 the contents of this full 2.5 ounce bottle (Hmmm…maybe the volume measurement for the tins is liquid?).
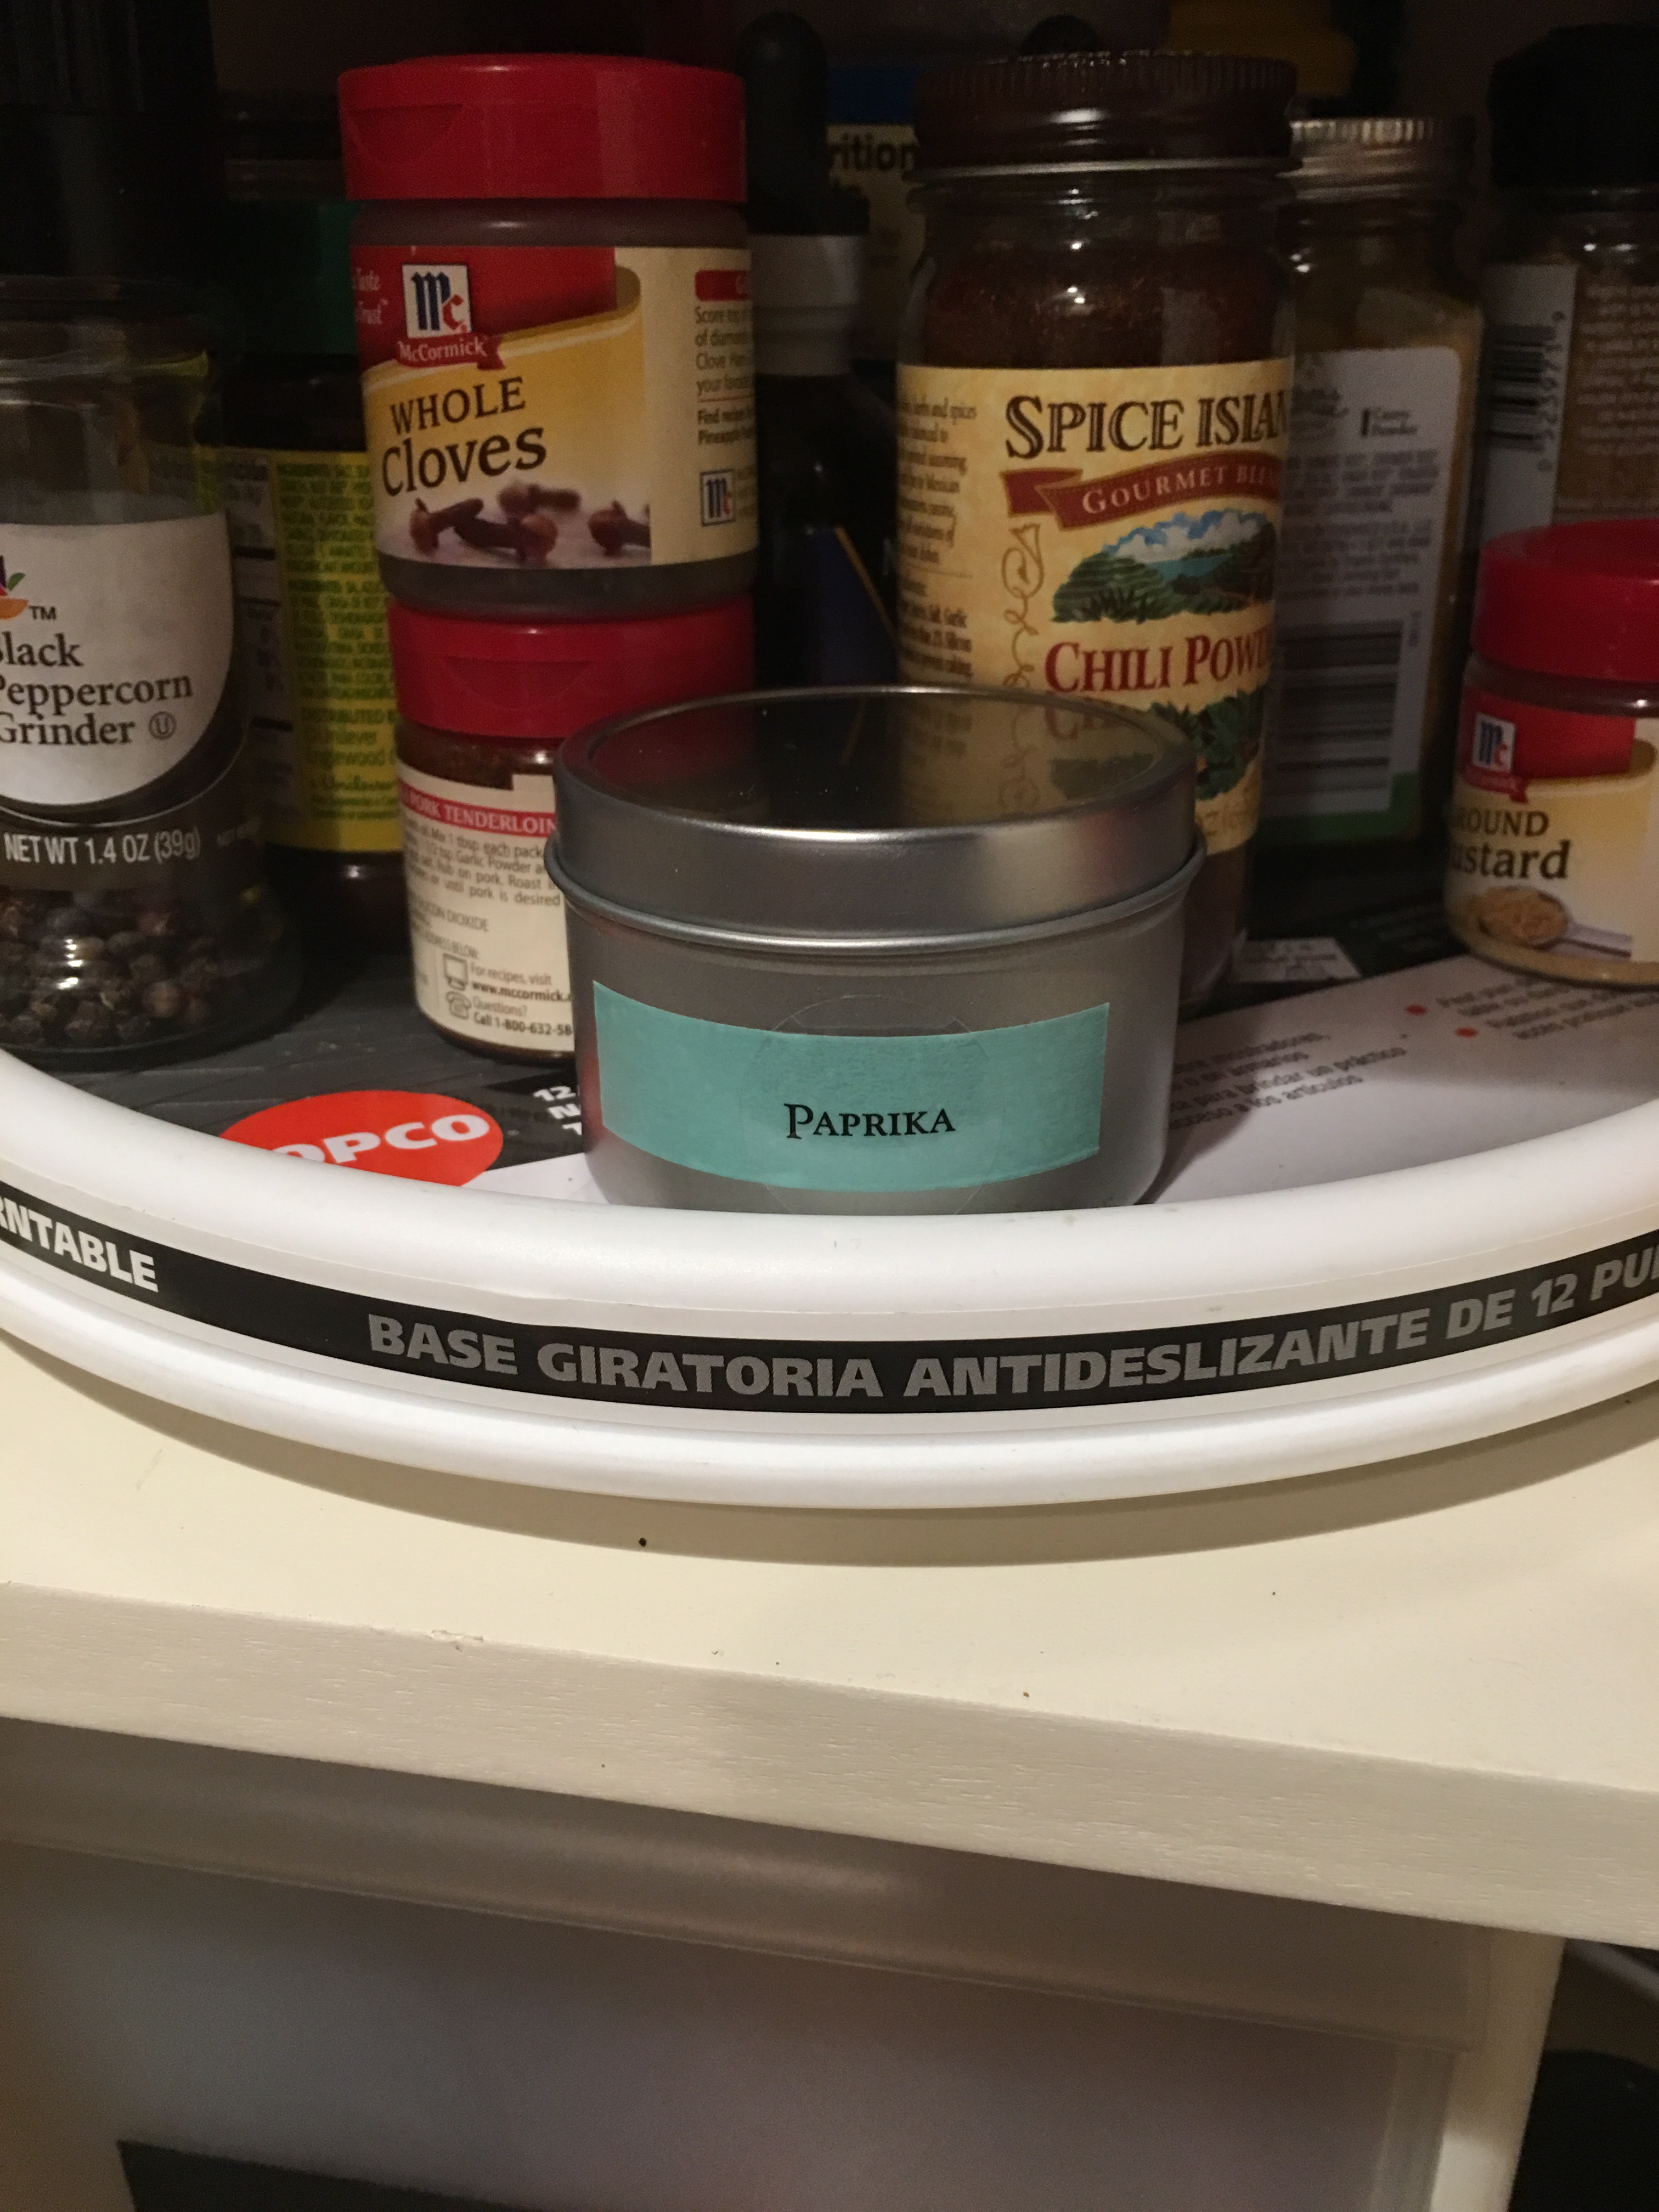
When placed in the pantry, you can clearly see that this tin takes up a lot less space on the turntable.
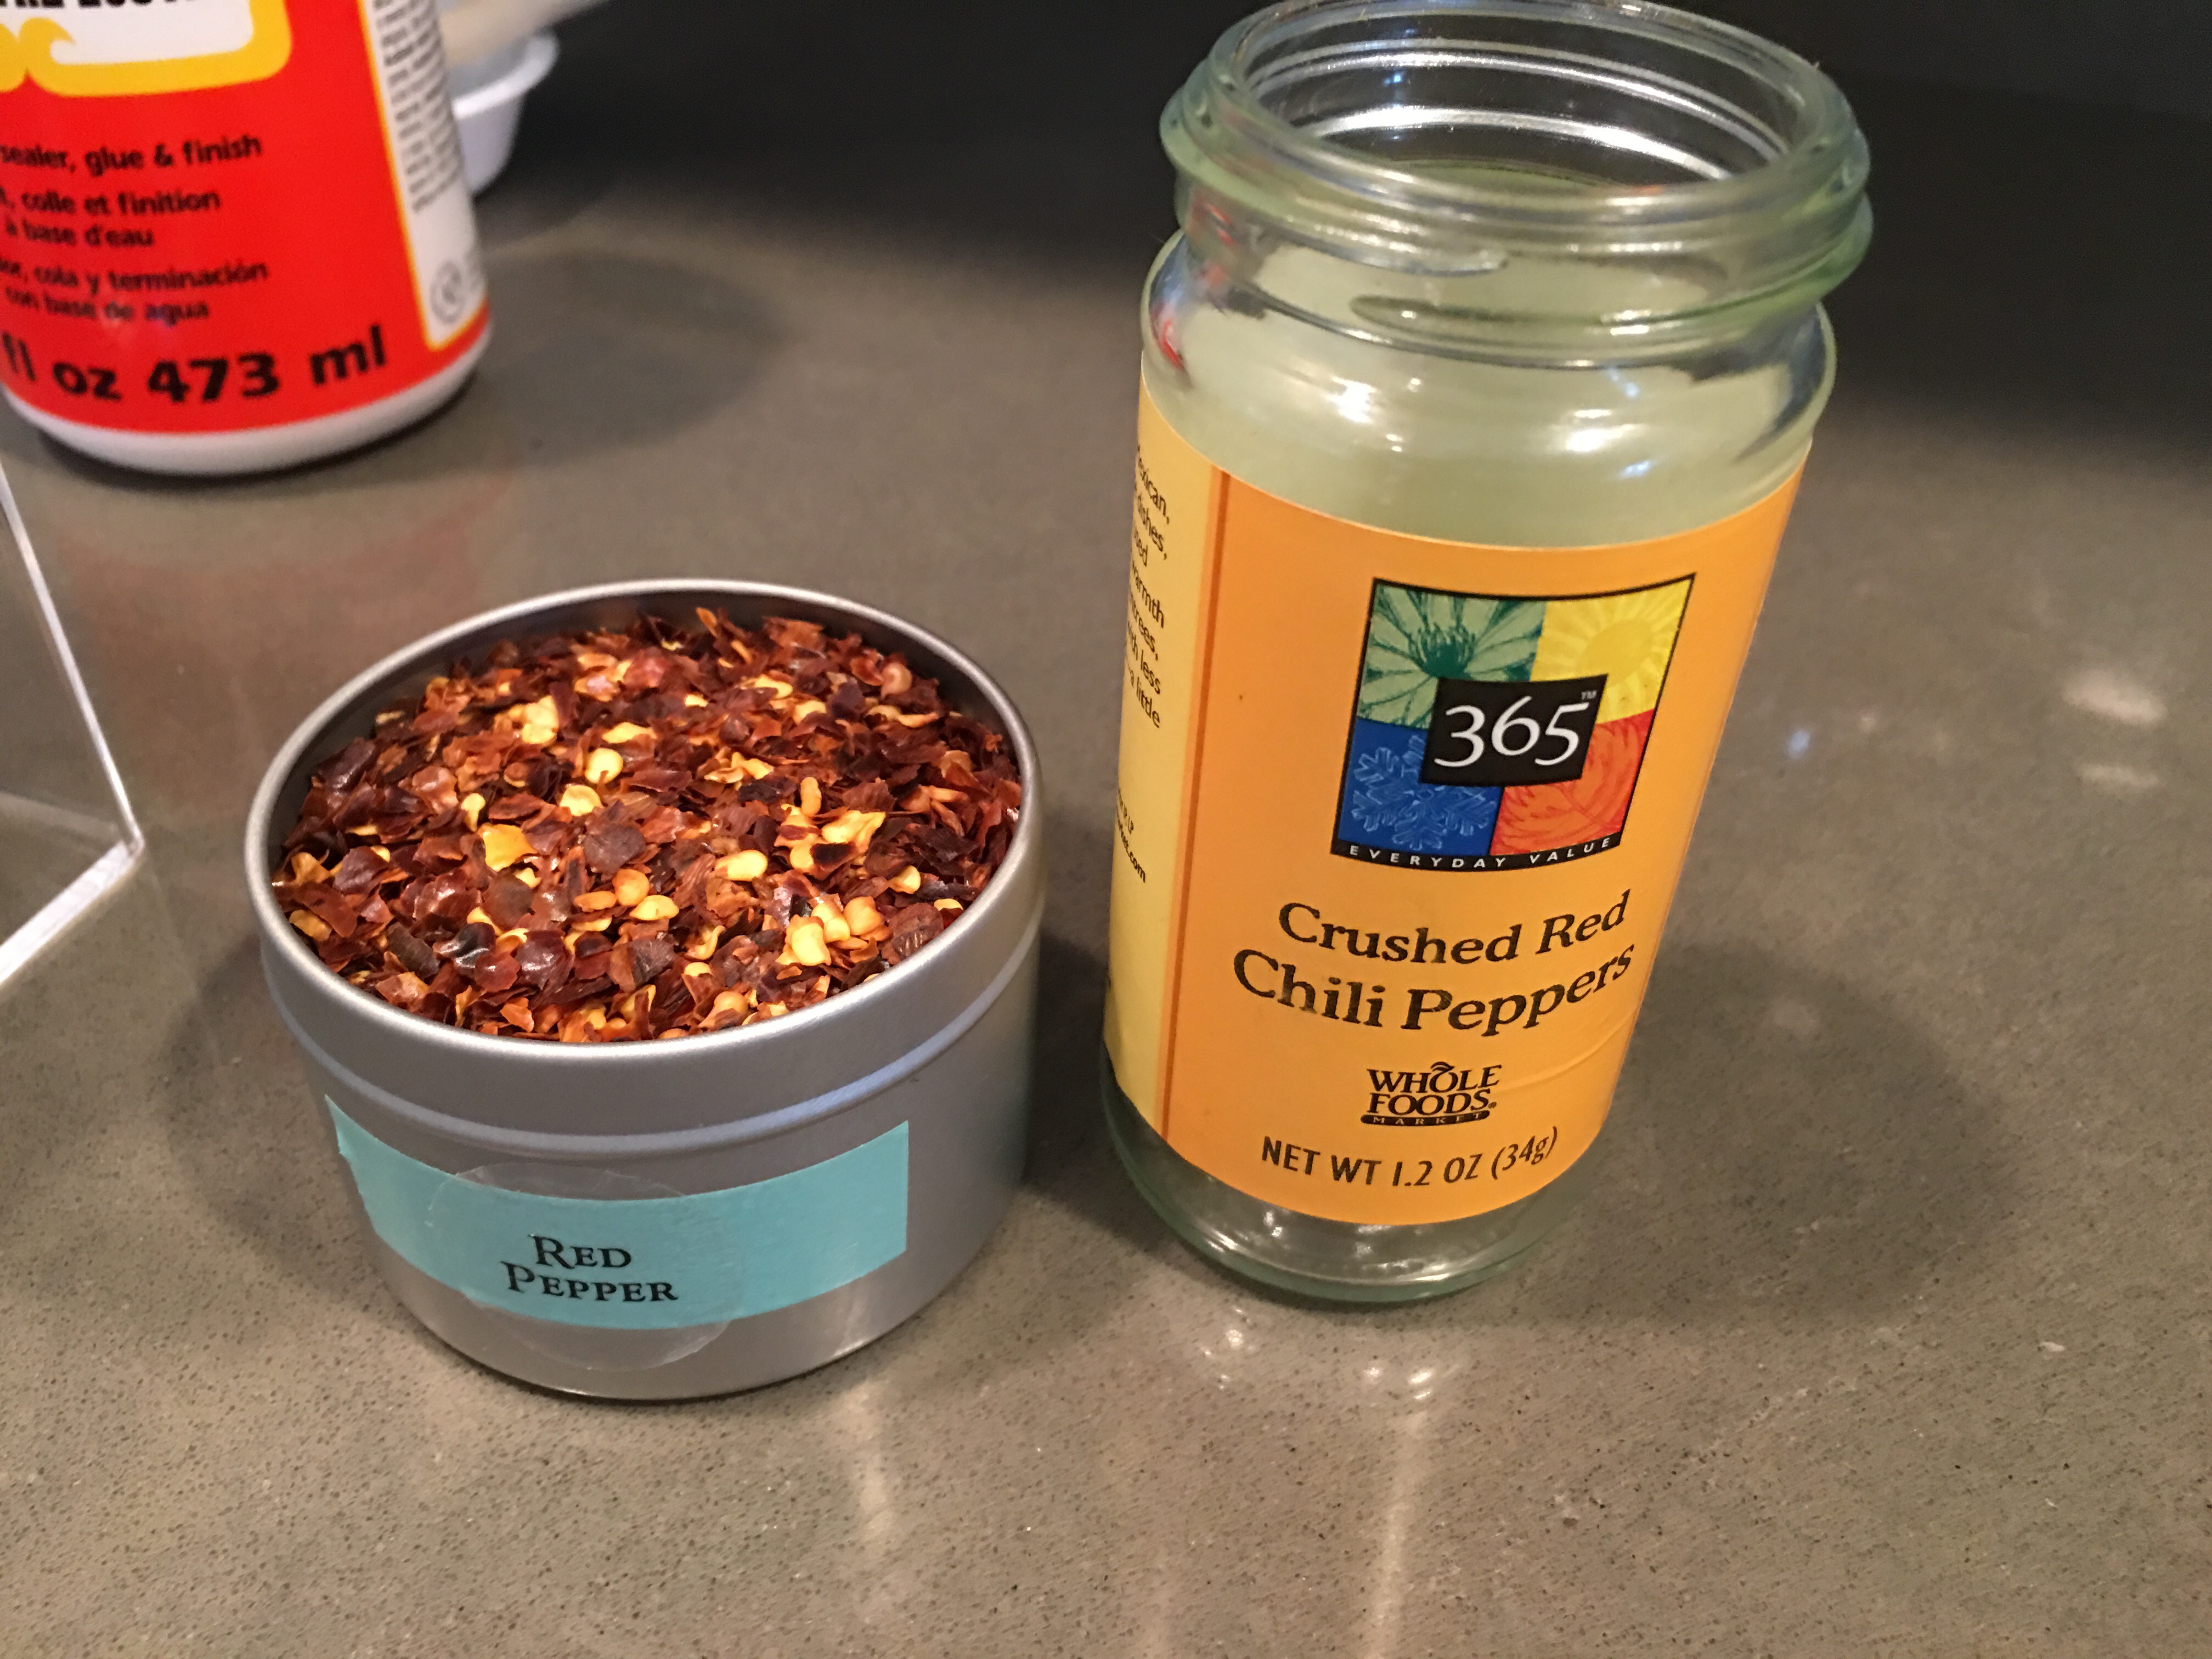
Here’s another tin that took the entire contents of the red pepper flakes bottle.
To stack them, I’ll use these tiny super magnets. I get 12 for $3.99 at The Home Depot.
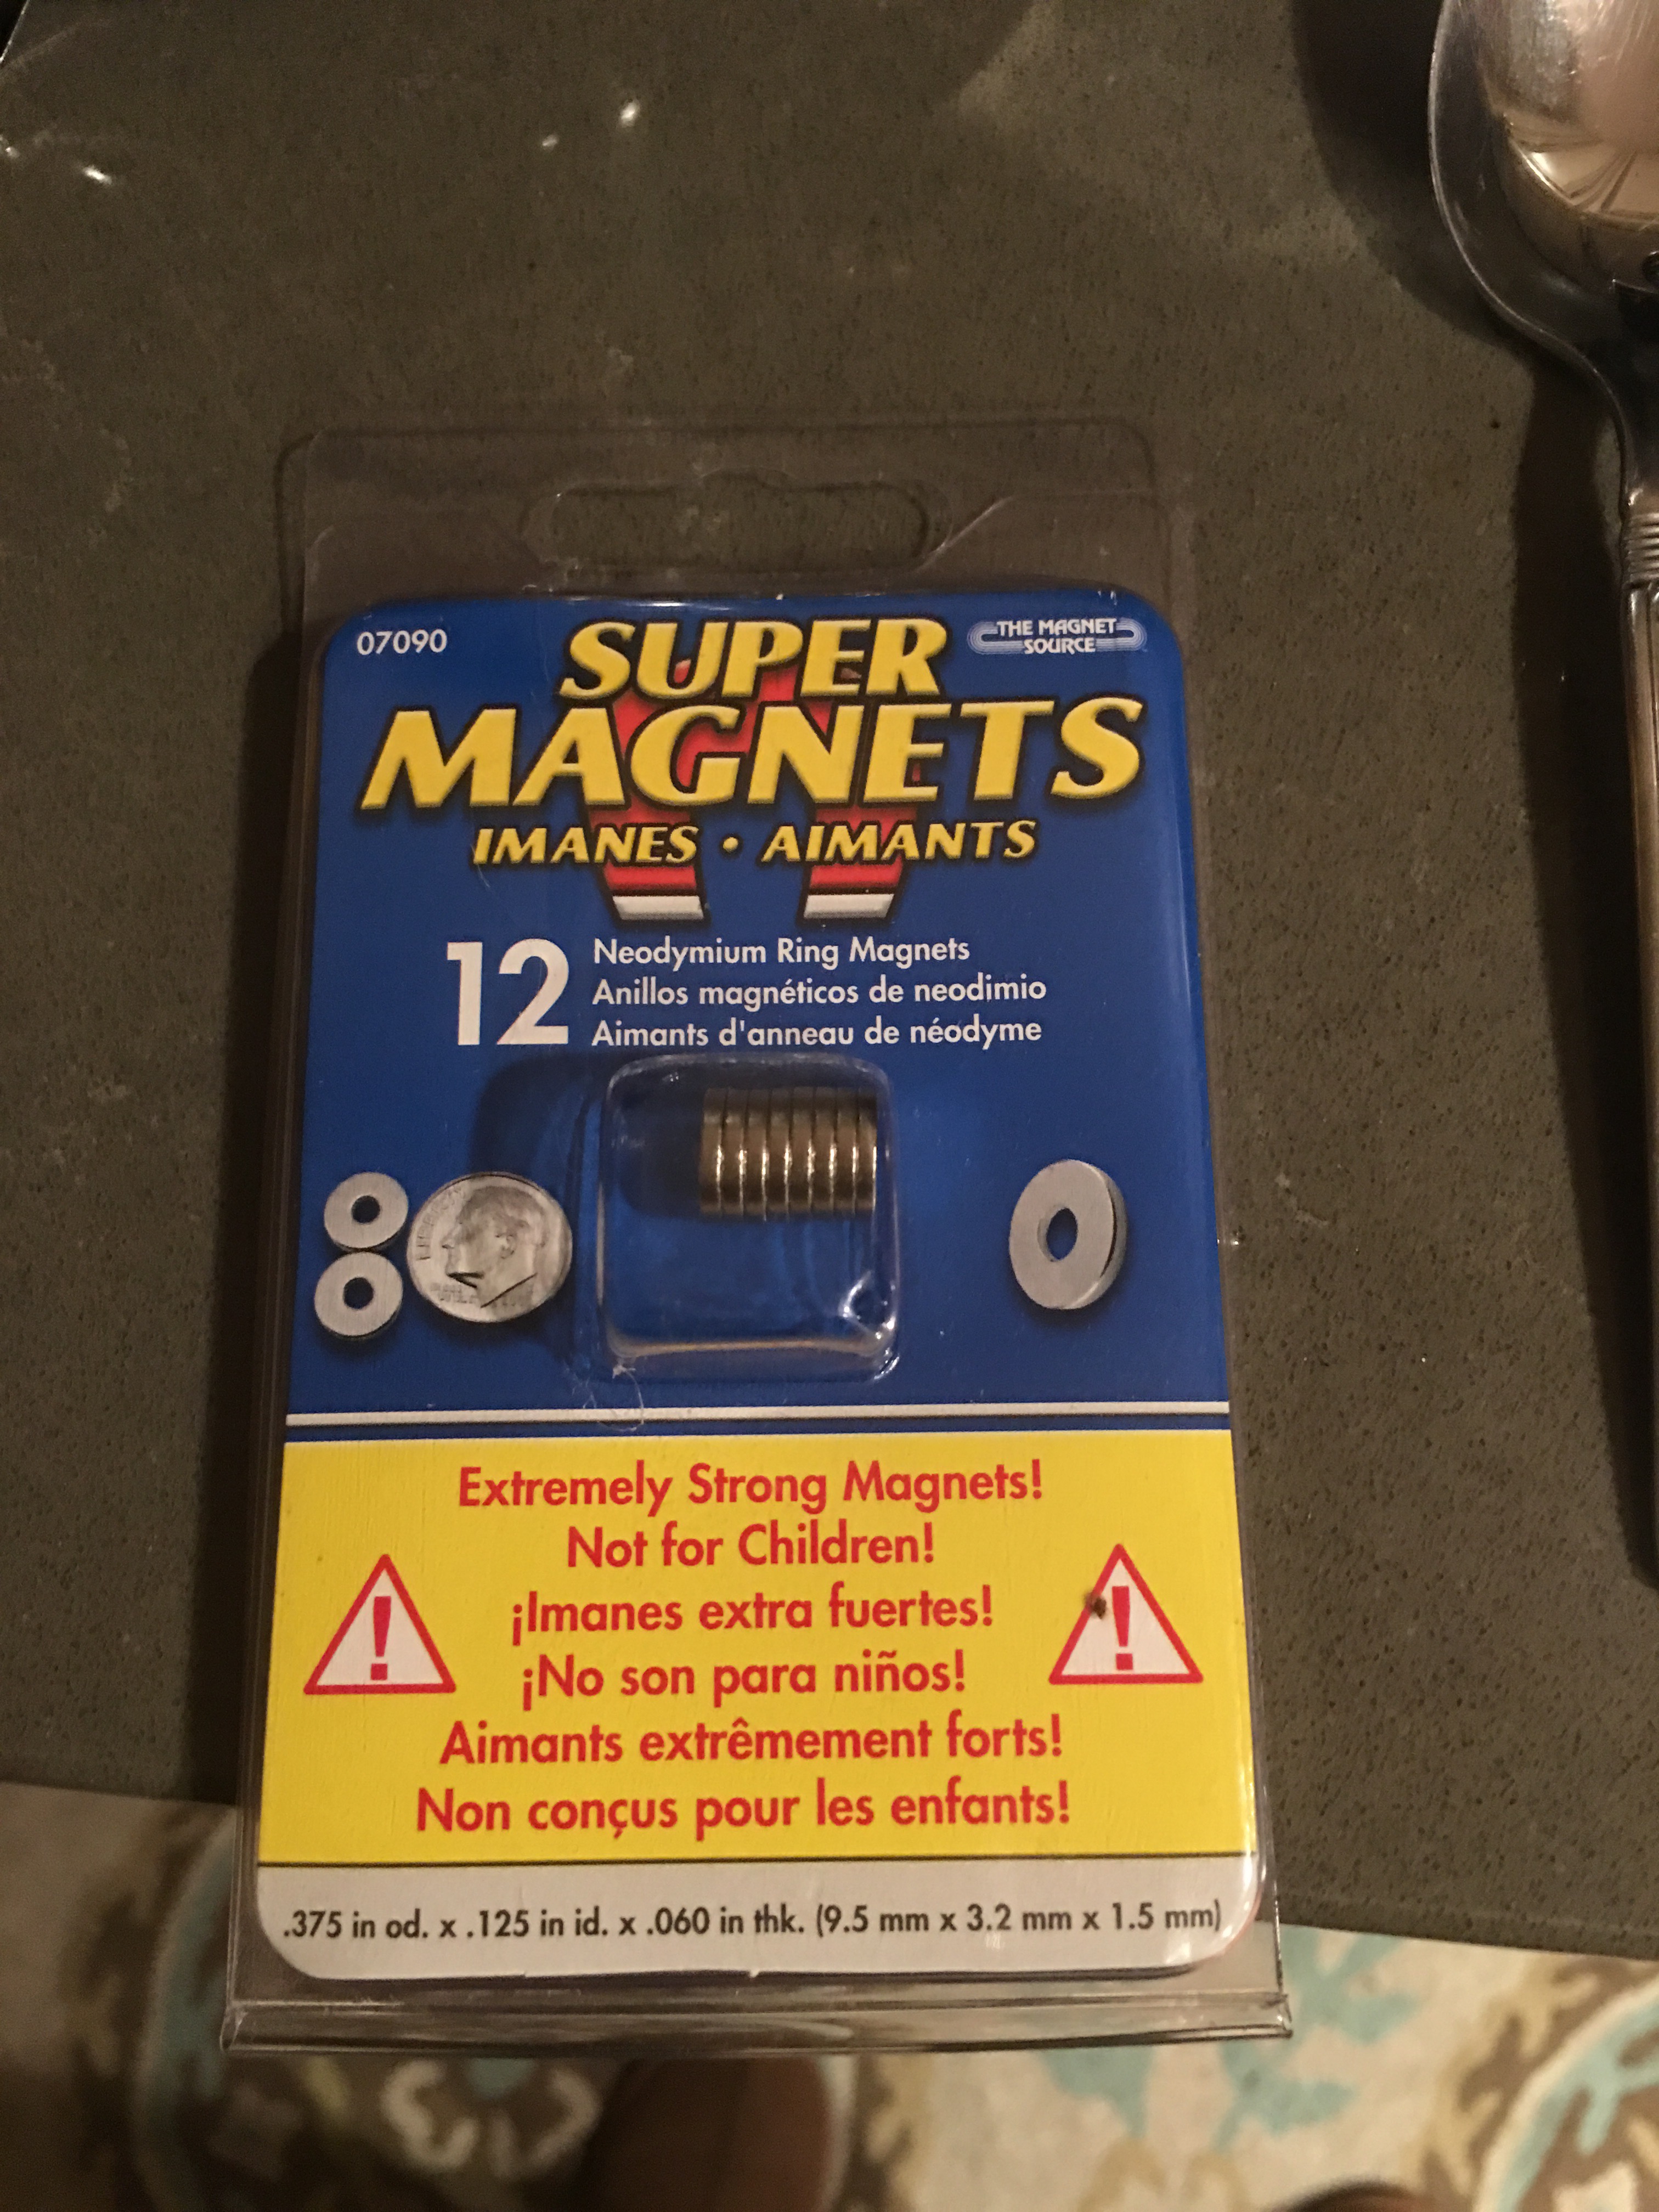
My plan is to place a slim magnet on the top of each lid, then stick another tin on top.
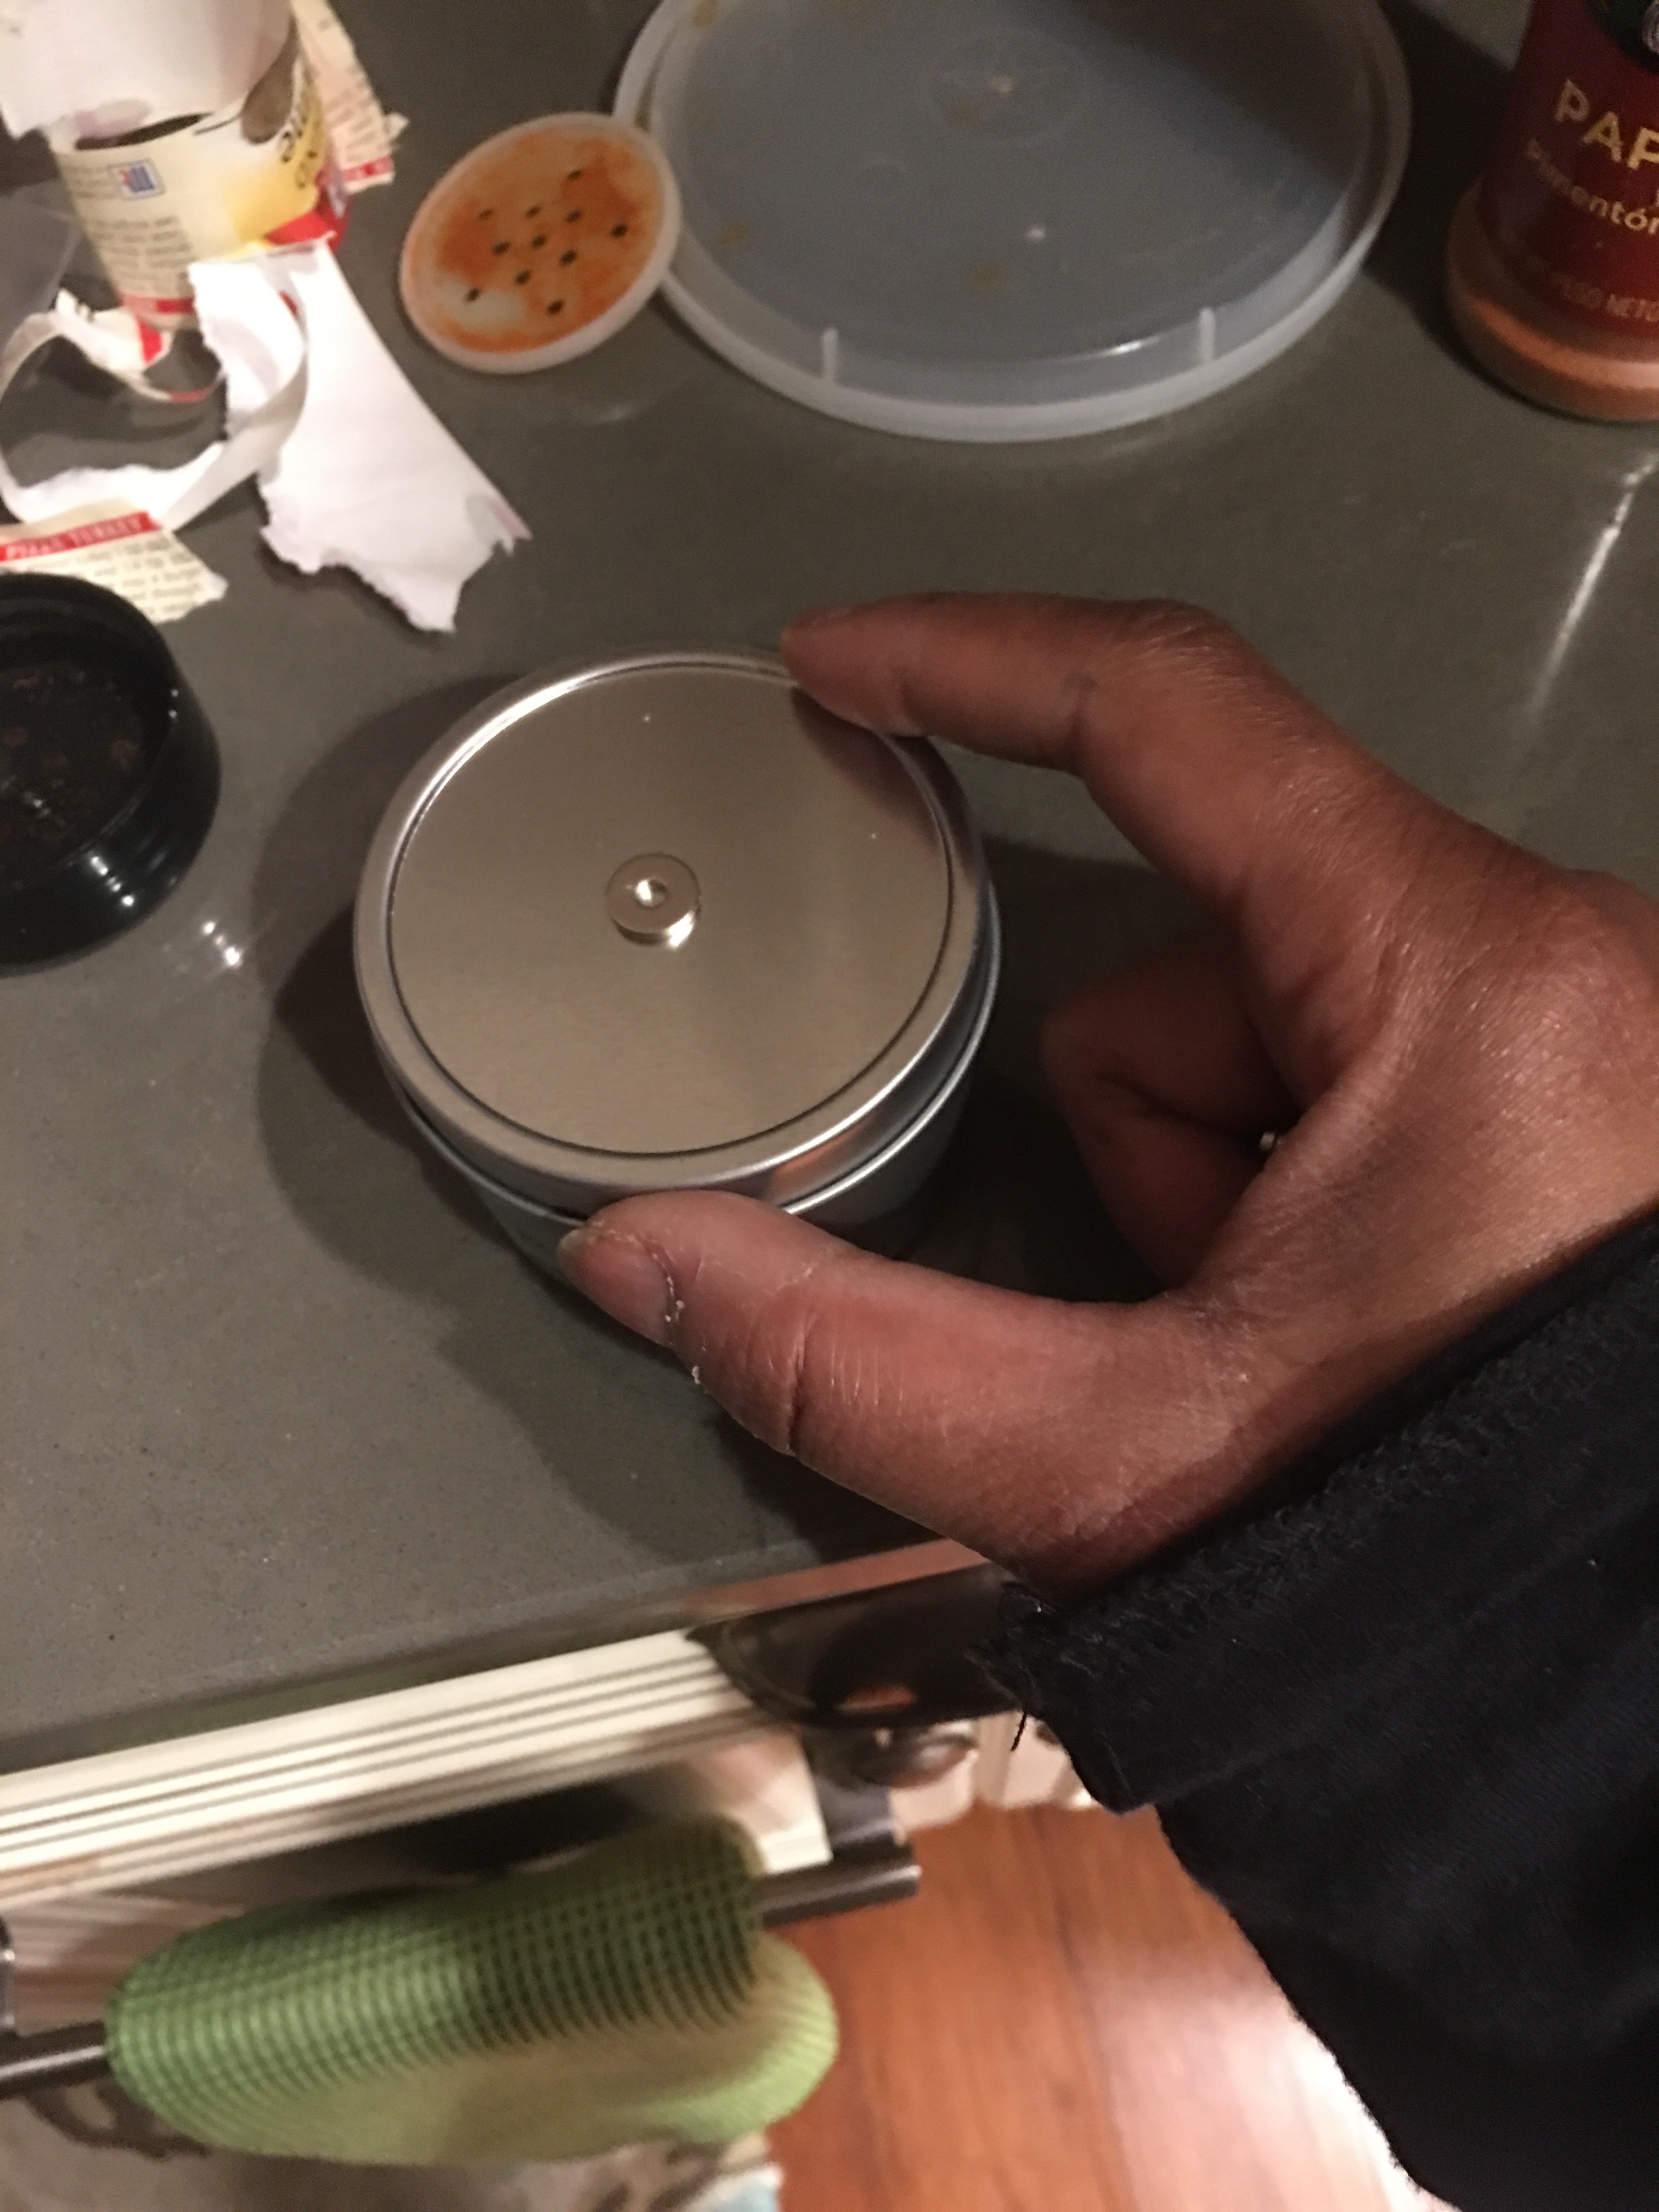
Tested and approved using the paprika and red pepper tins. To be continued in the morning.
Saturday Morning: Reviewing spice pantry contents and organizing them into tins.
Before continuing with spice bottle to tin transfer, I did a full inventory of our current spice contents.
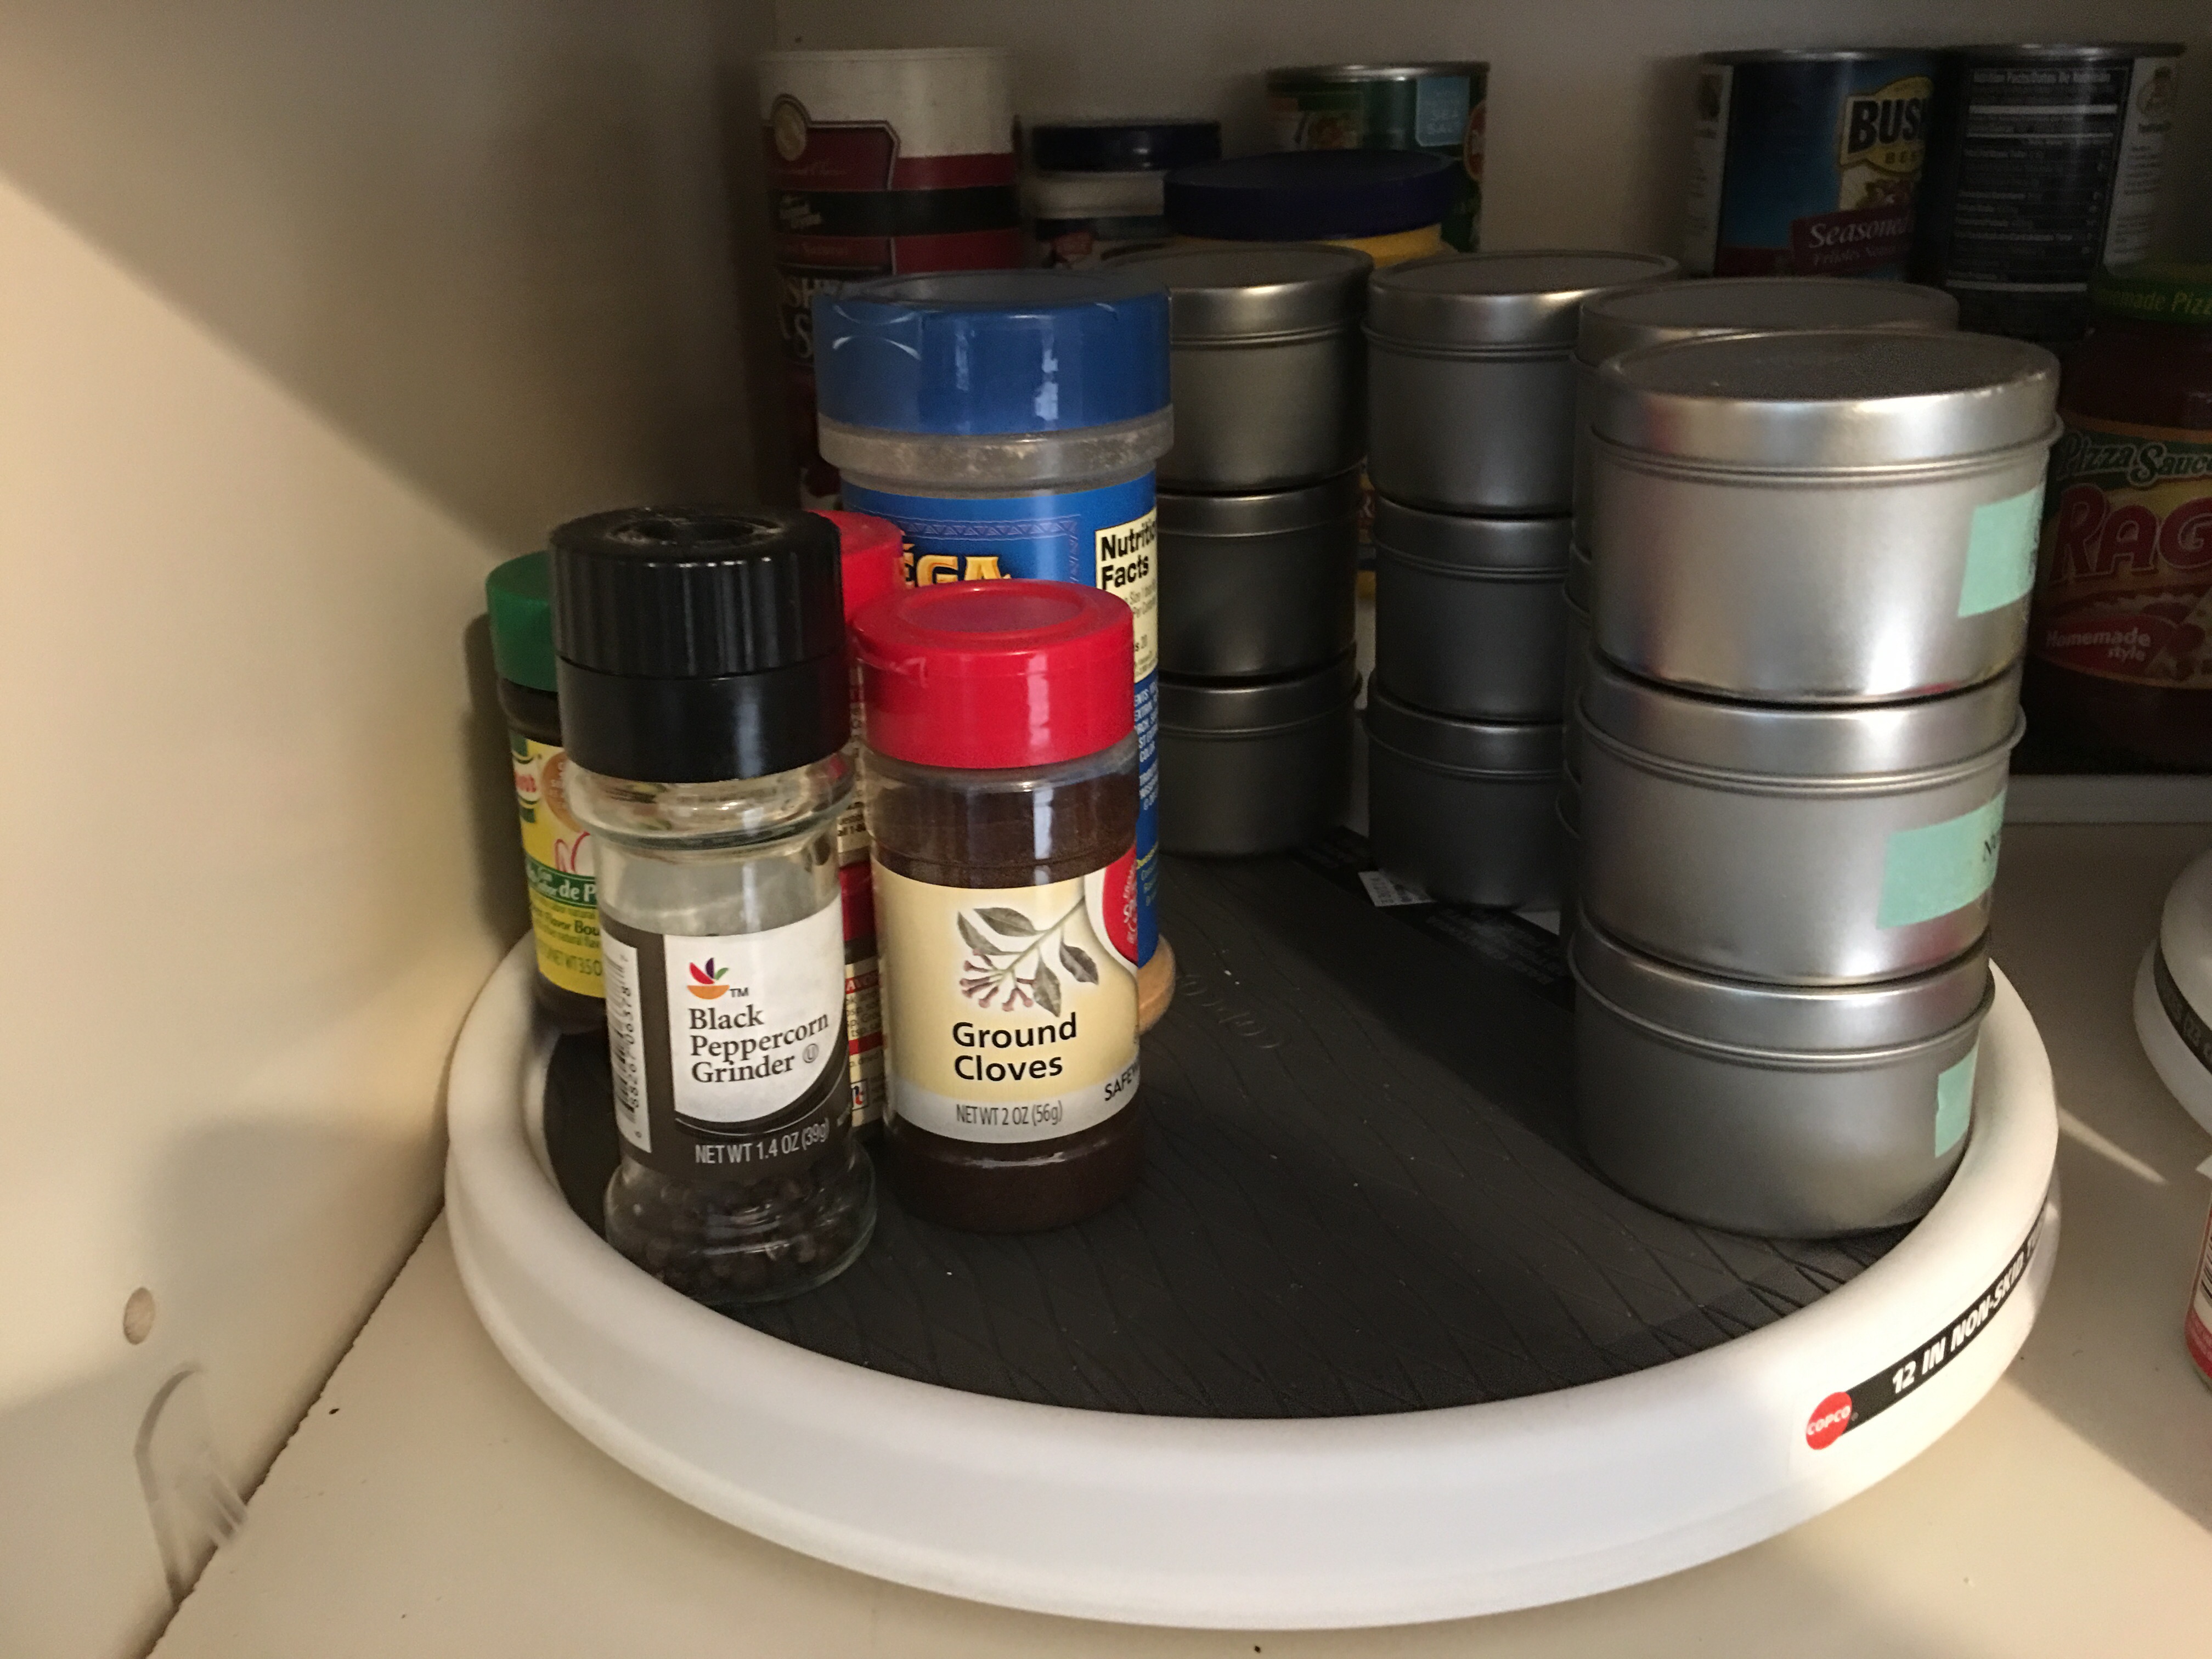
Whatever we don’t put on the shelf turntable platforms, we stash in this slide out drawer container.
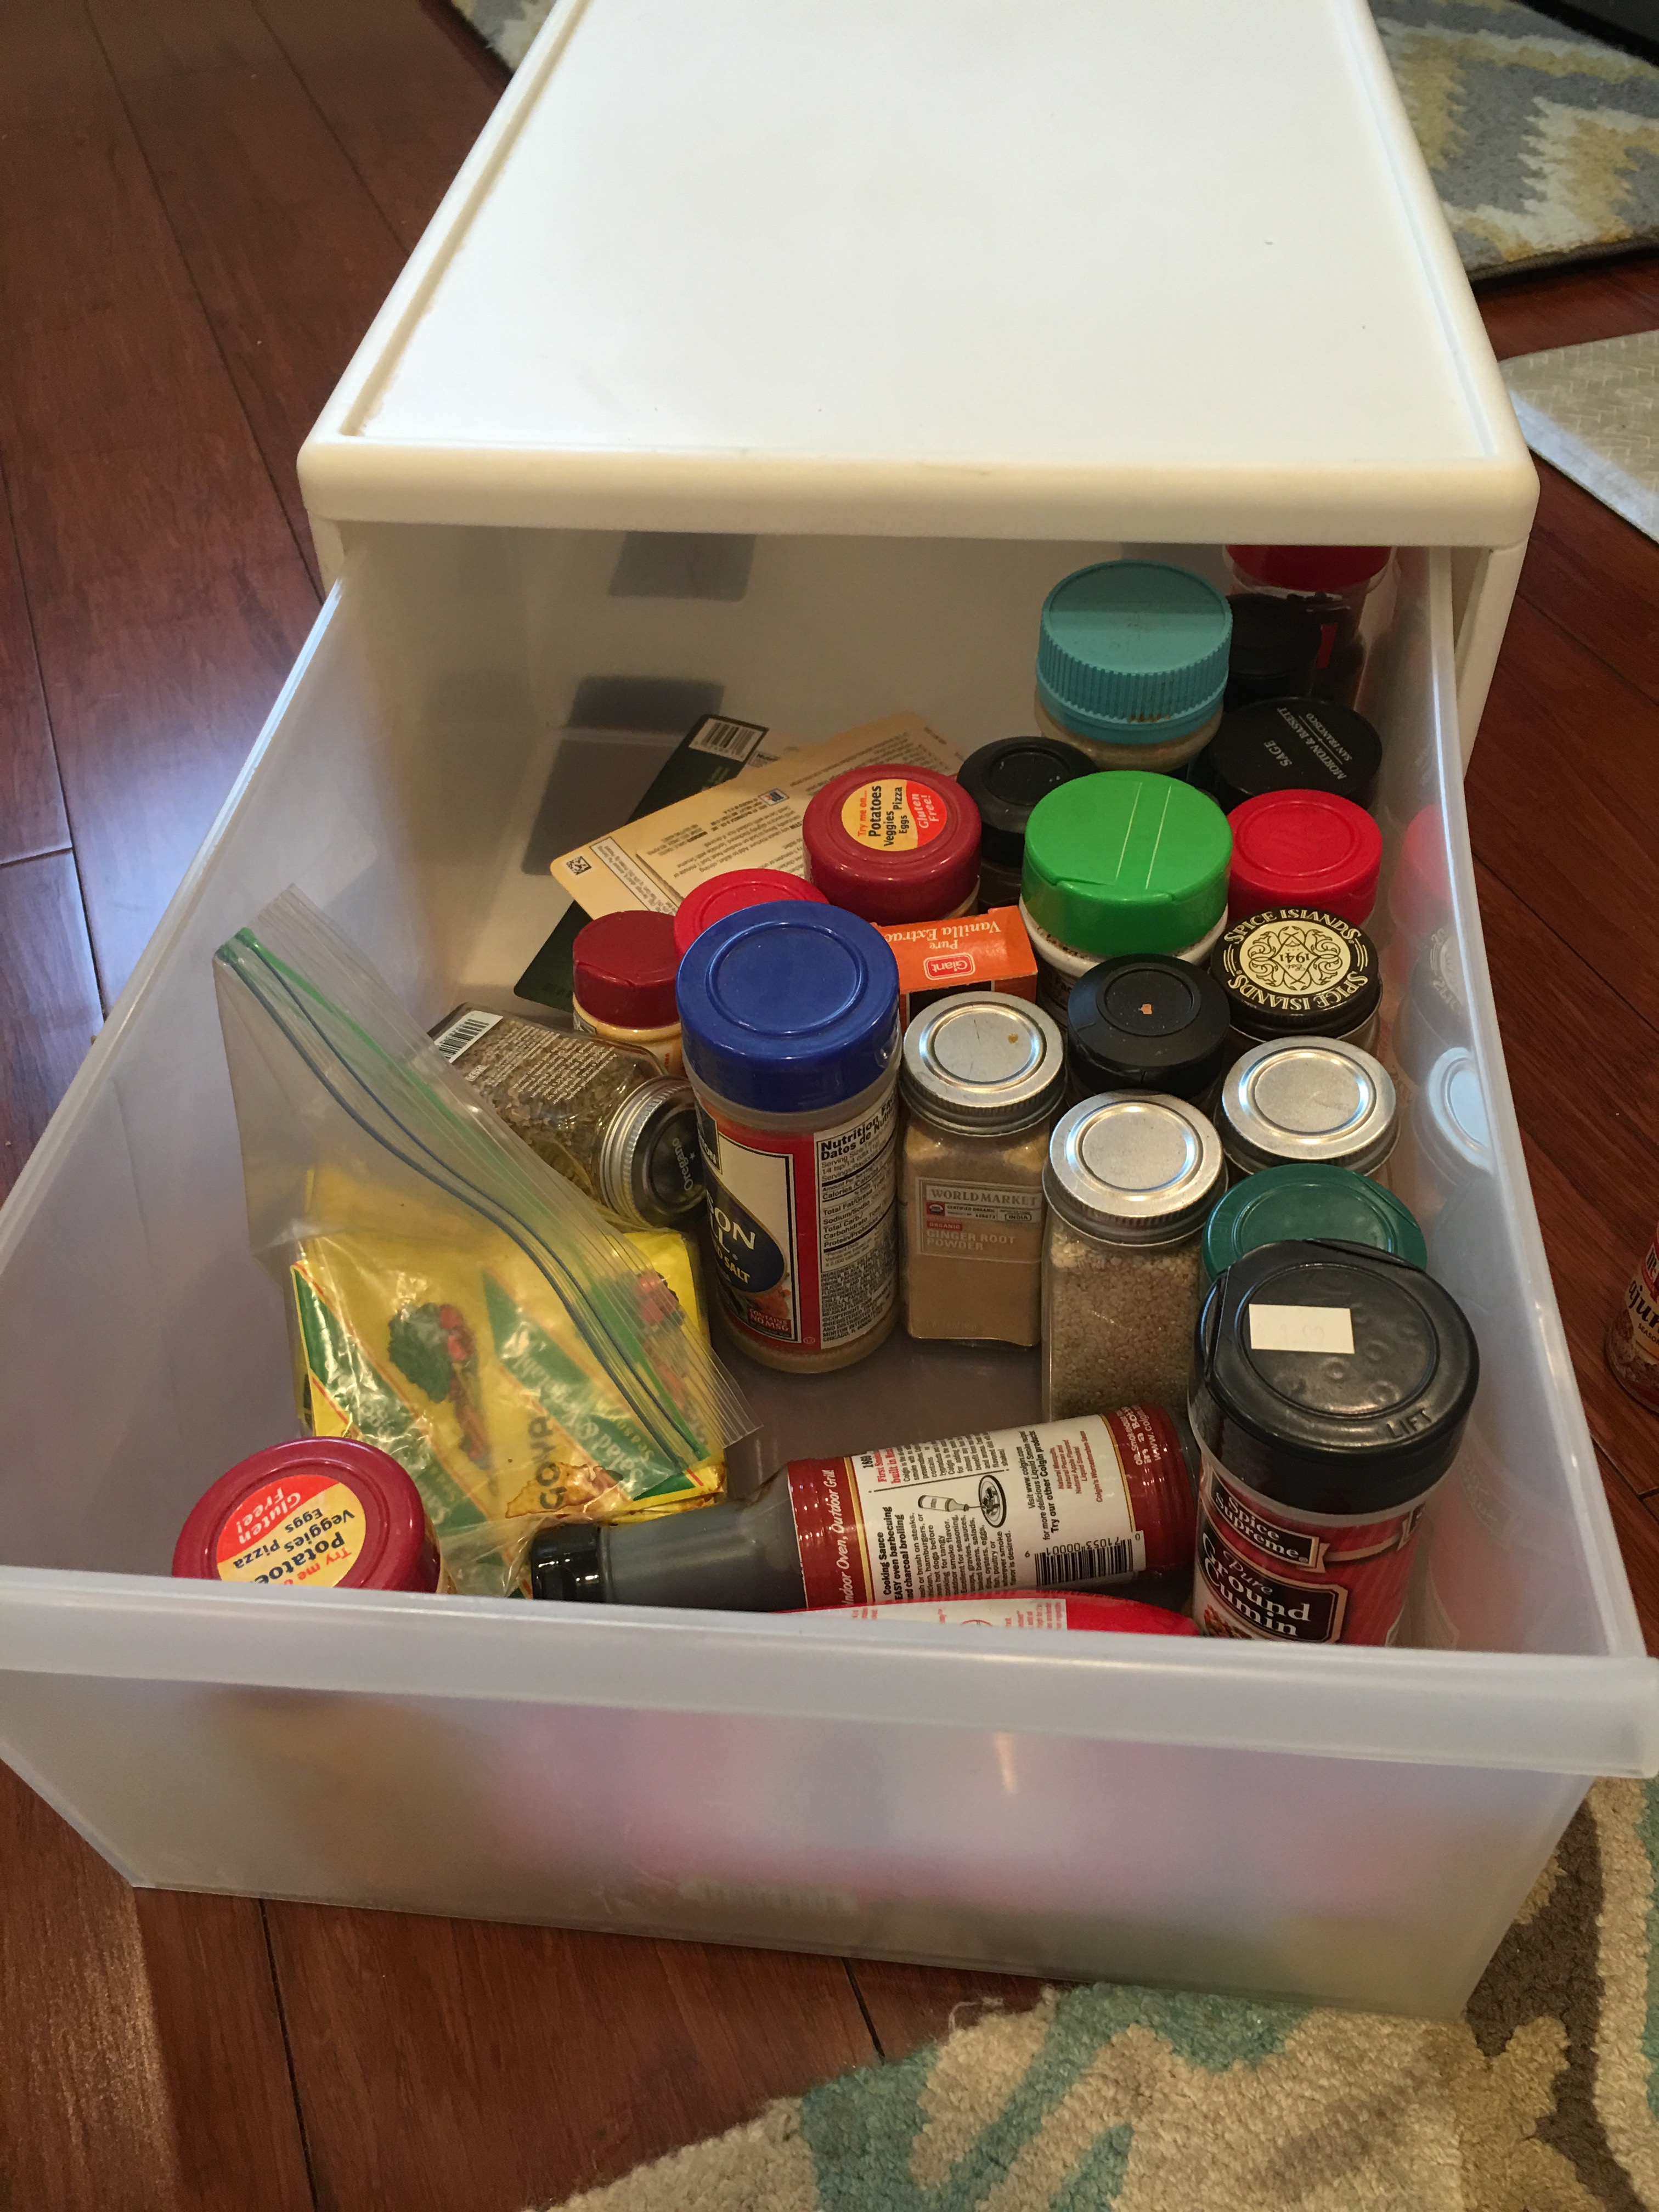
This is where a lot of our spices tend to get “lost”. We either don’t think to look here or we get tired of shuffling through the contents after the first 60 seconds and abandon the search.
My goal will be eventually to remove all the spices from this drawer and repurpose (or retire) it.
I made a list of “To tin”, “To buy” and “To shake” on my phone.
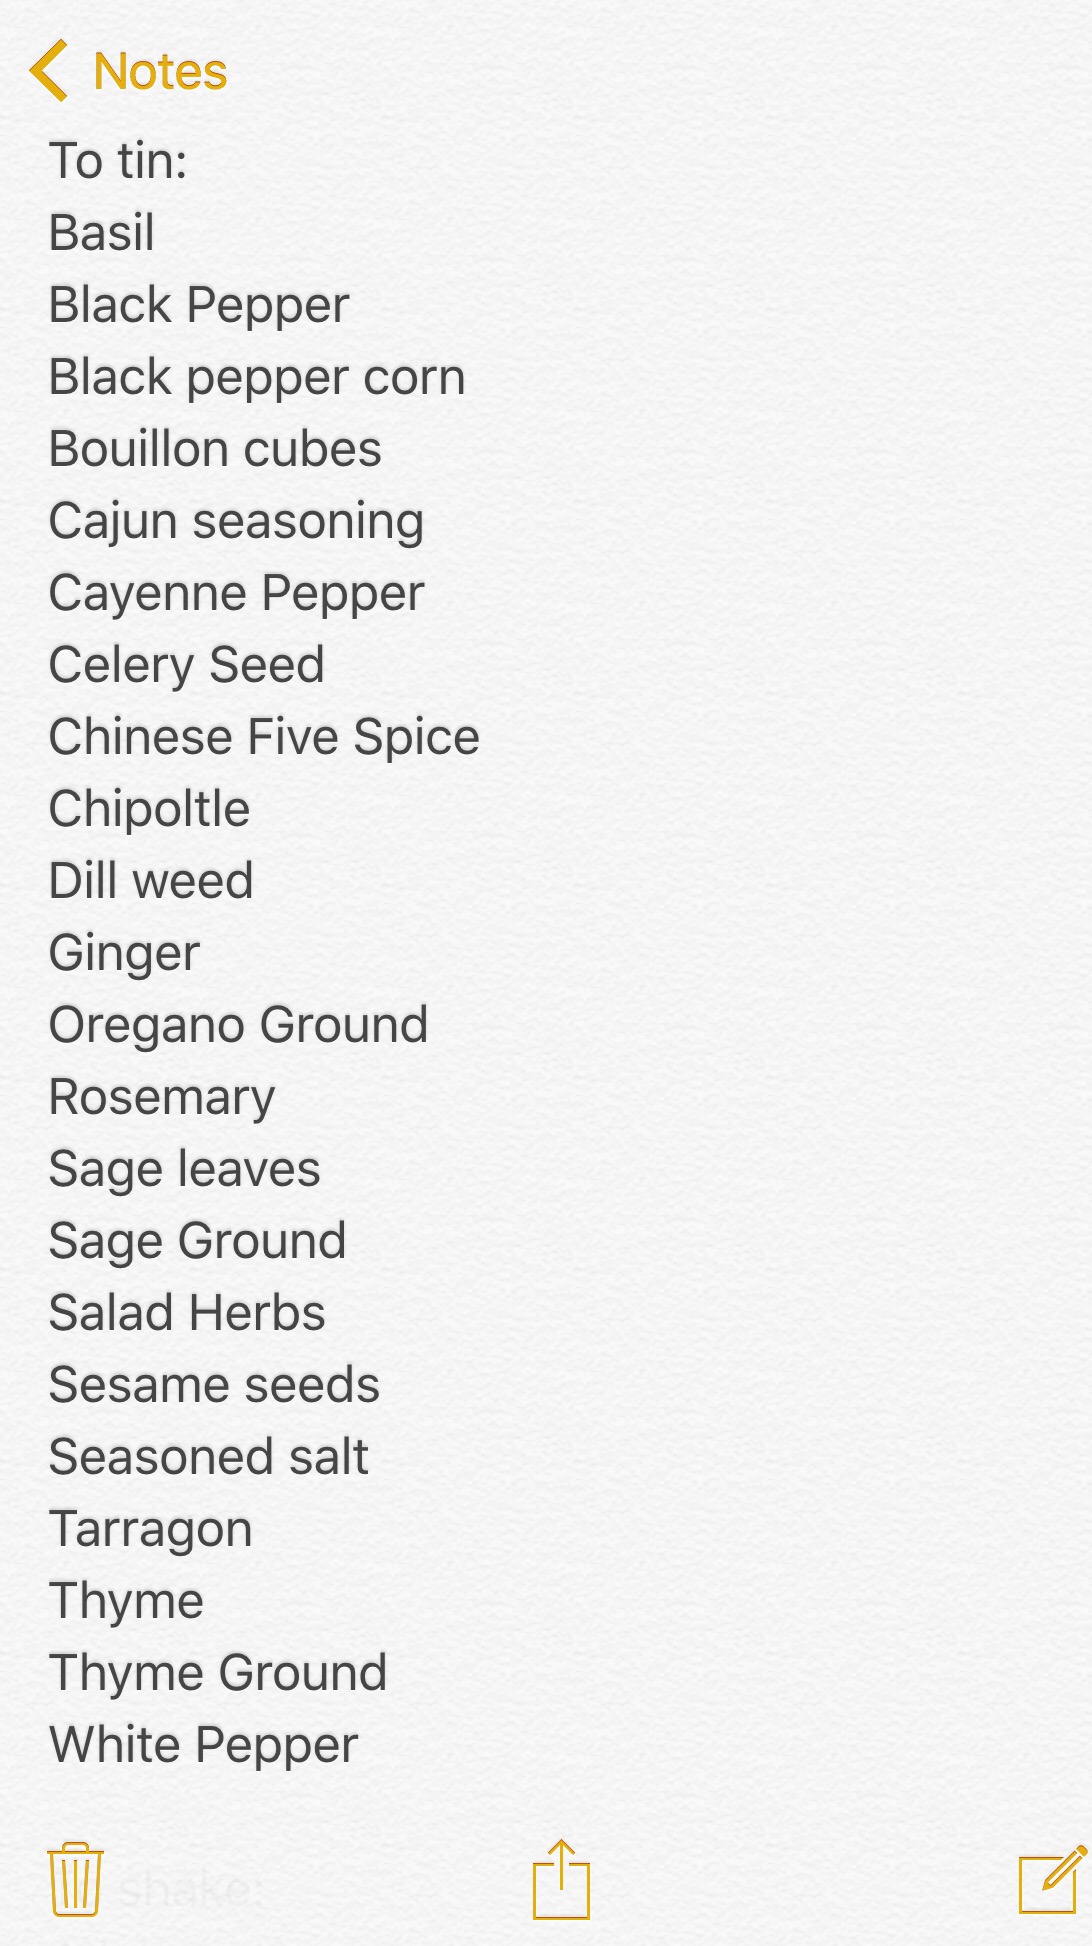
I used the EZ label sticker sheet to assess what we have in inventory and note what spices we currently don’t have. I also made note of the spices we have (and need to transfer to tins). And I noted those that we had duplicate jars of (and added them to a “Got plenty of” list). I want to add a printed list of all spices in our pantry to the cabinet door and color code the ones we need to buy and the ones we already have.
In other words a list that tells us “Do not run out to the store…keep looking!”
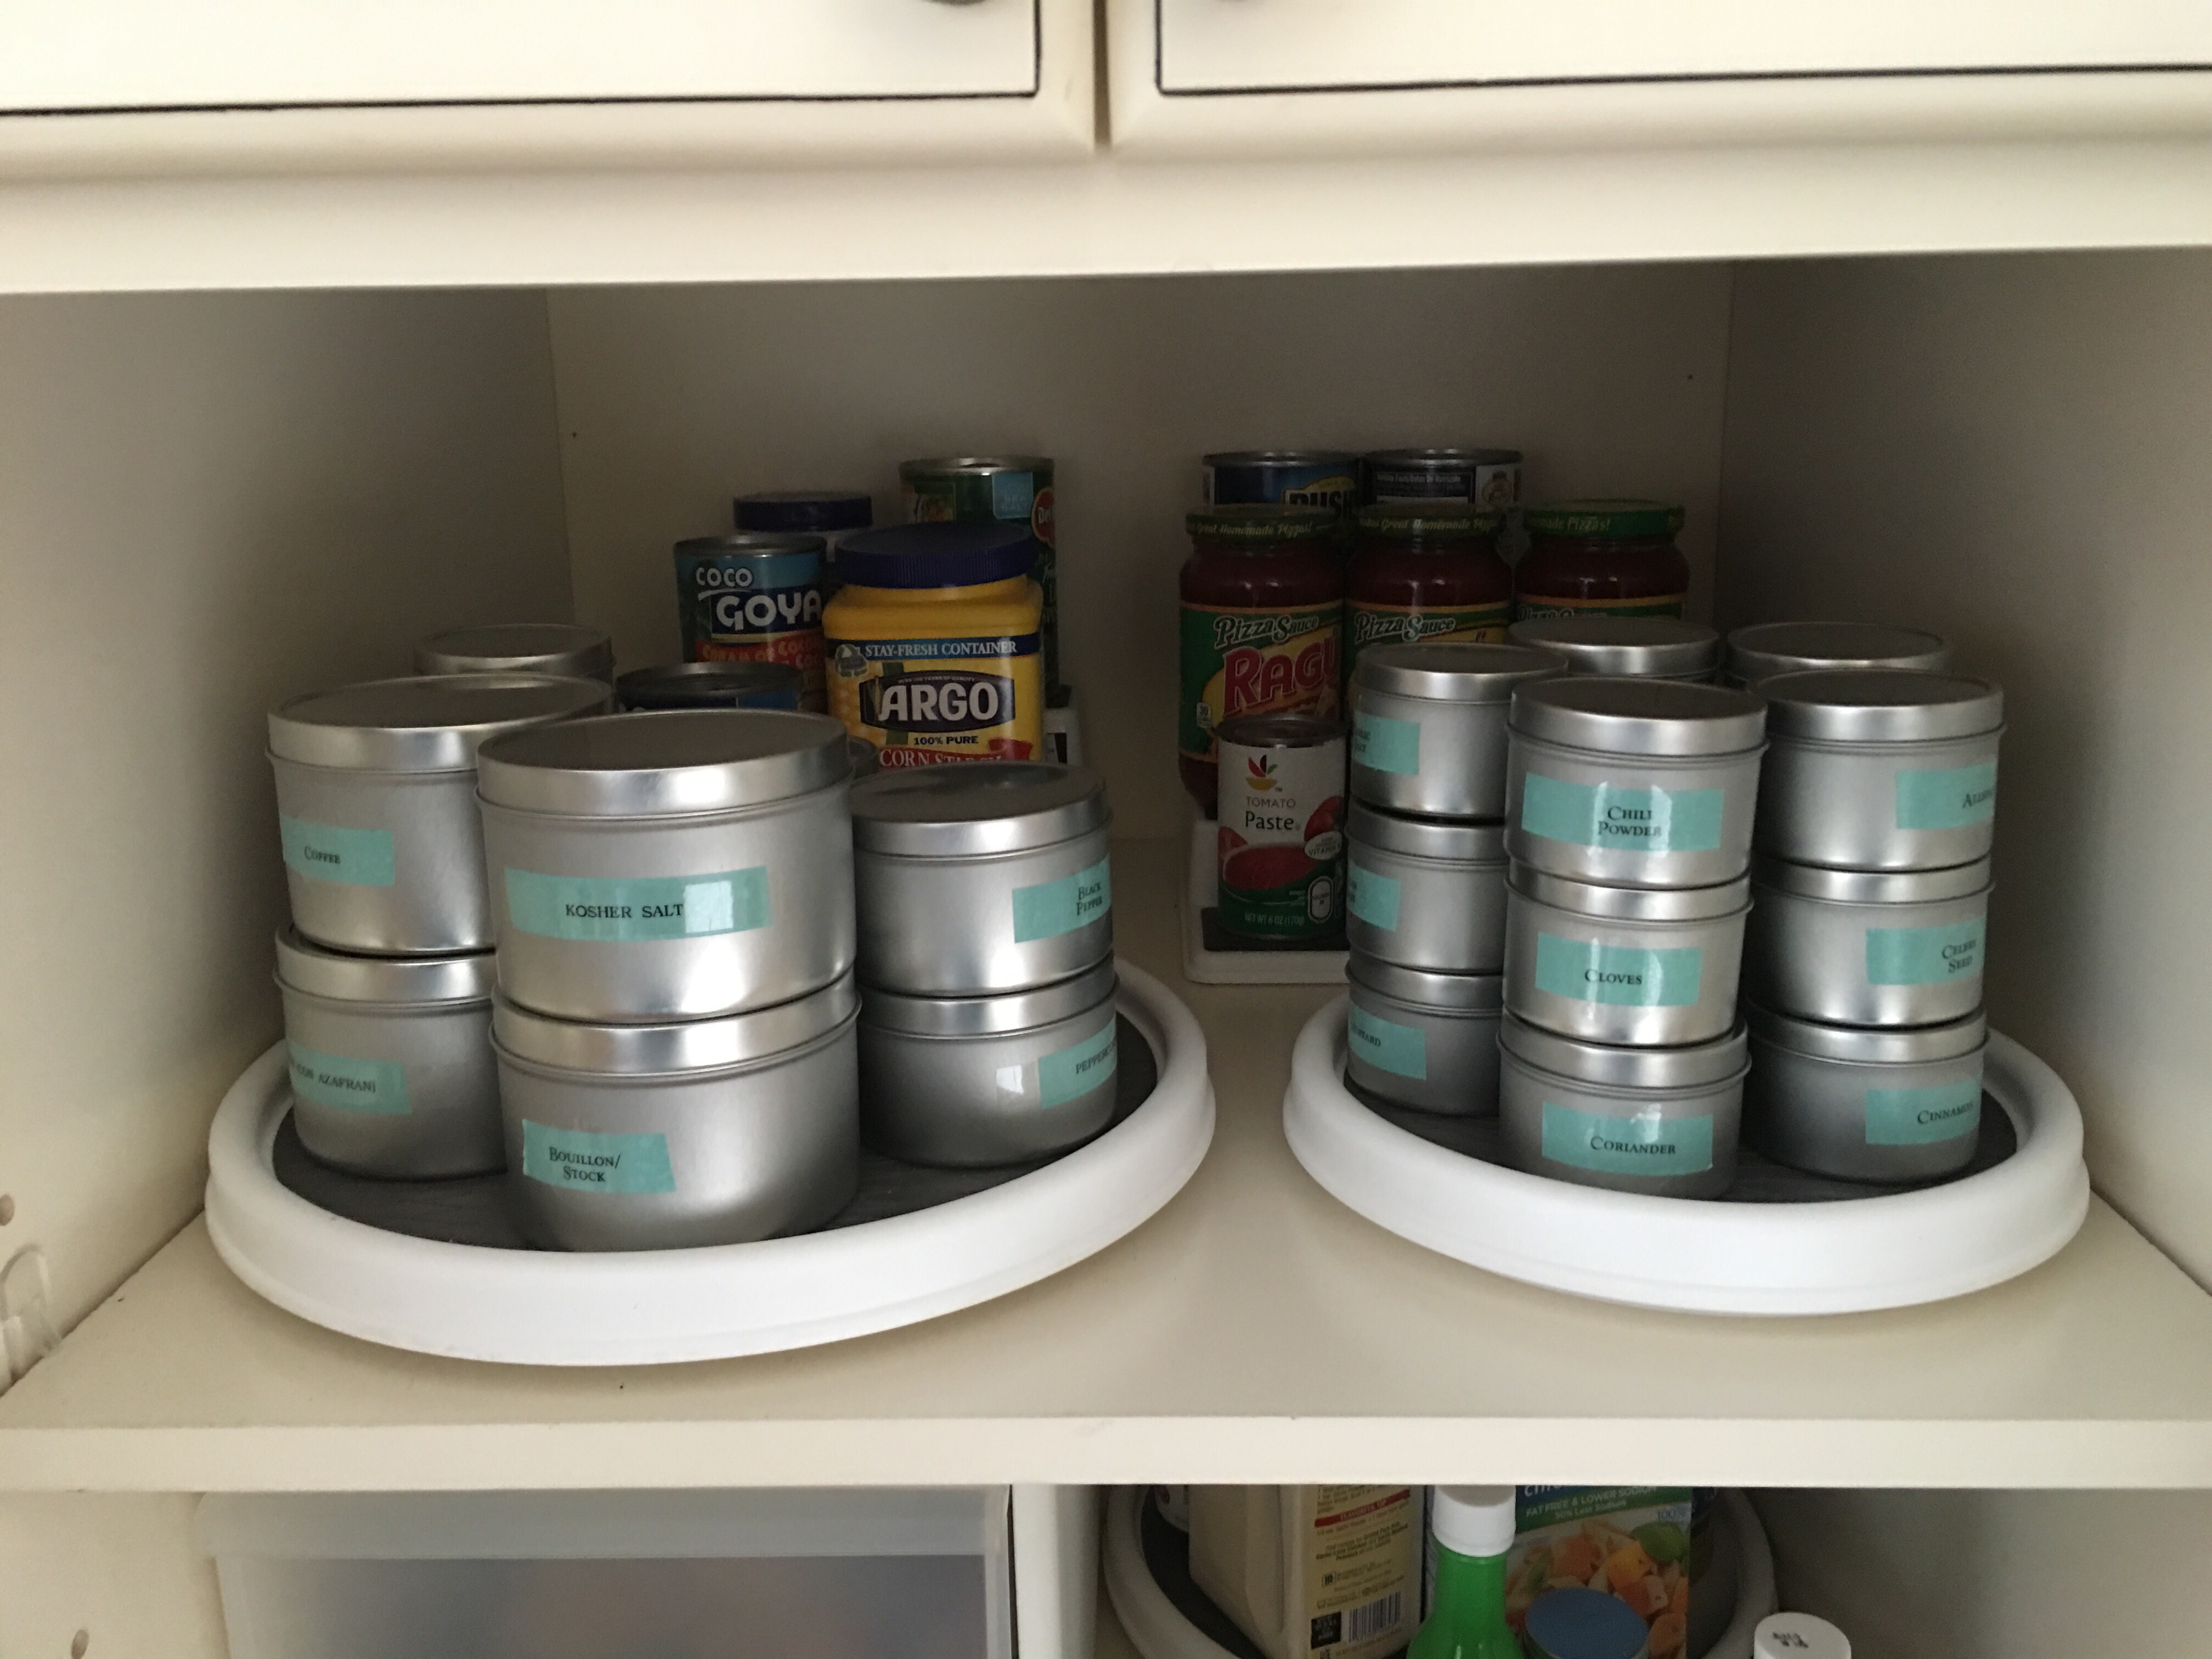
So here’s our the initial 12 tins look in our pantry so far.
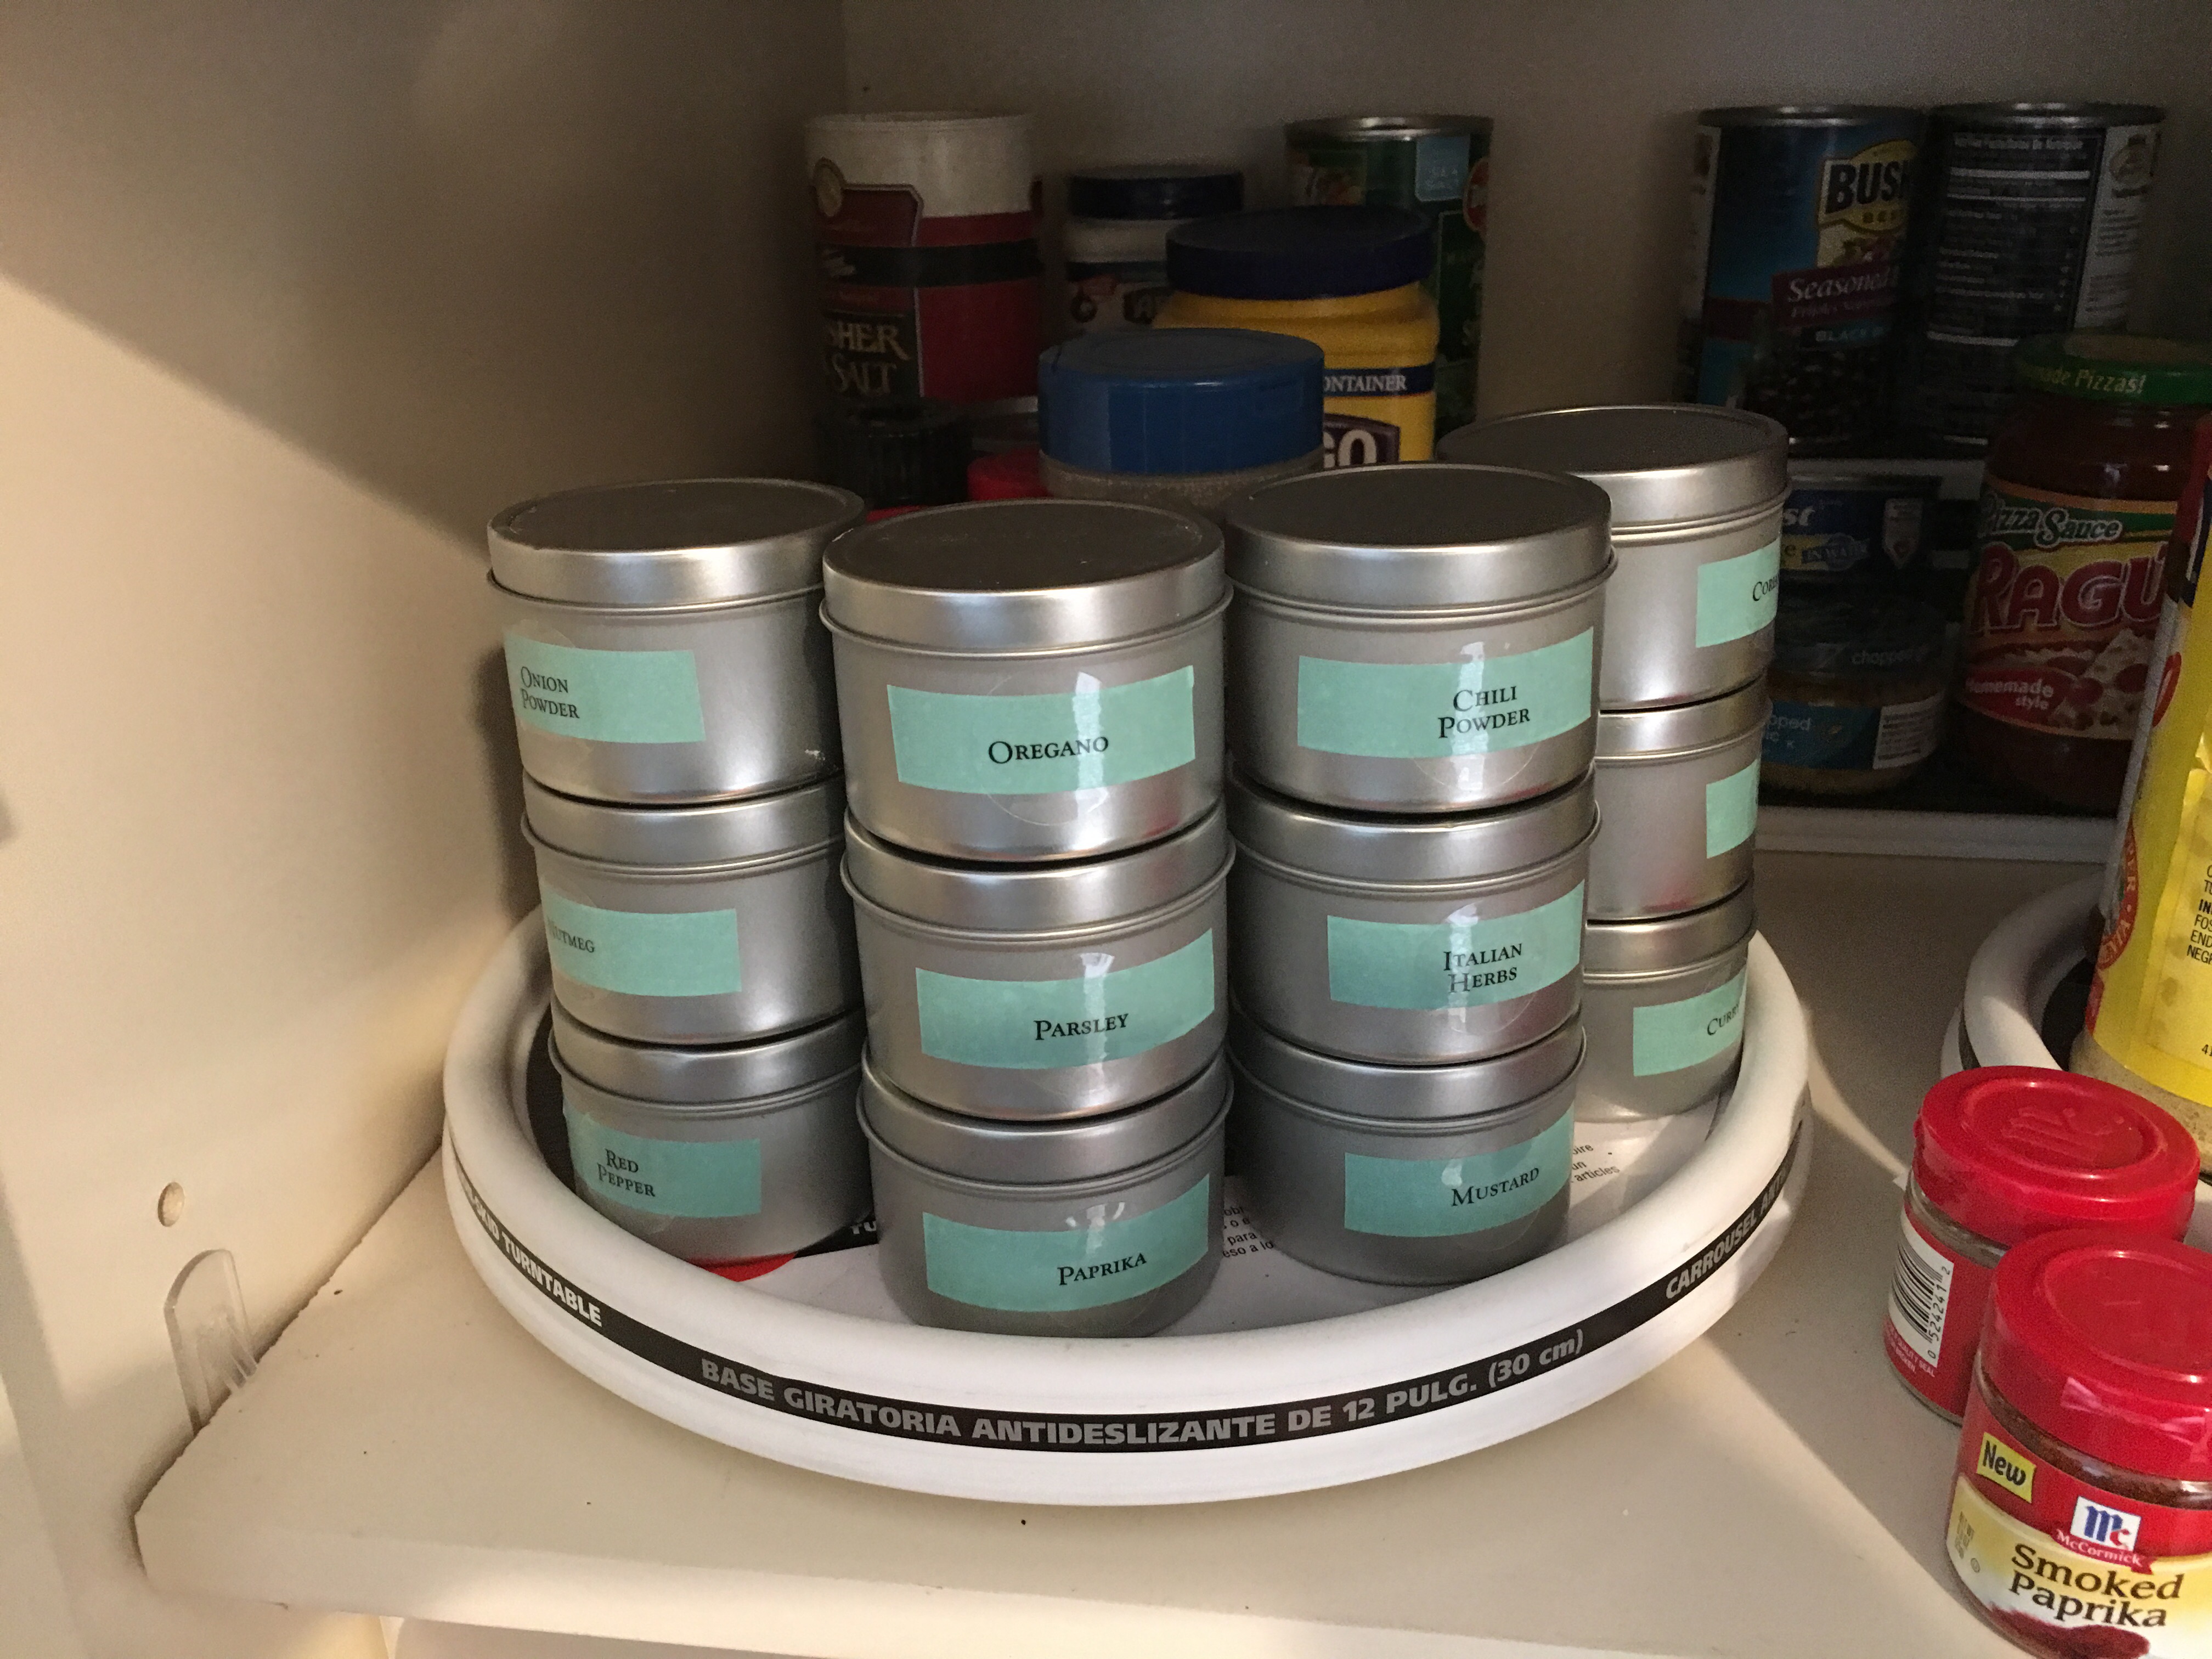
Note how much space is left on this 12″ turntable after adding the twelve 4 ounce tins (in stacks of 3).
Before the tin transfers this turntable was brimming with spice bottles (all shapes and sizes).
The next step in my “take charge of the pantry crusade” was obvious – get more of these tins! I knew I cleaned out the stock at the Rockville Container Store, so I’m now heading to the one in Tenleytown, DC.
Saturday night: Wall mounted spice rack organization with new P-Touch labeler.
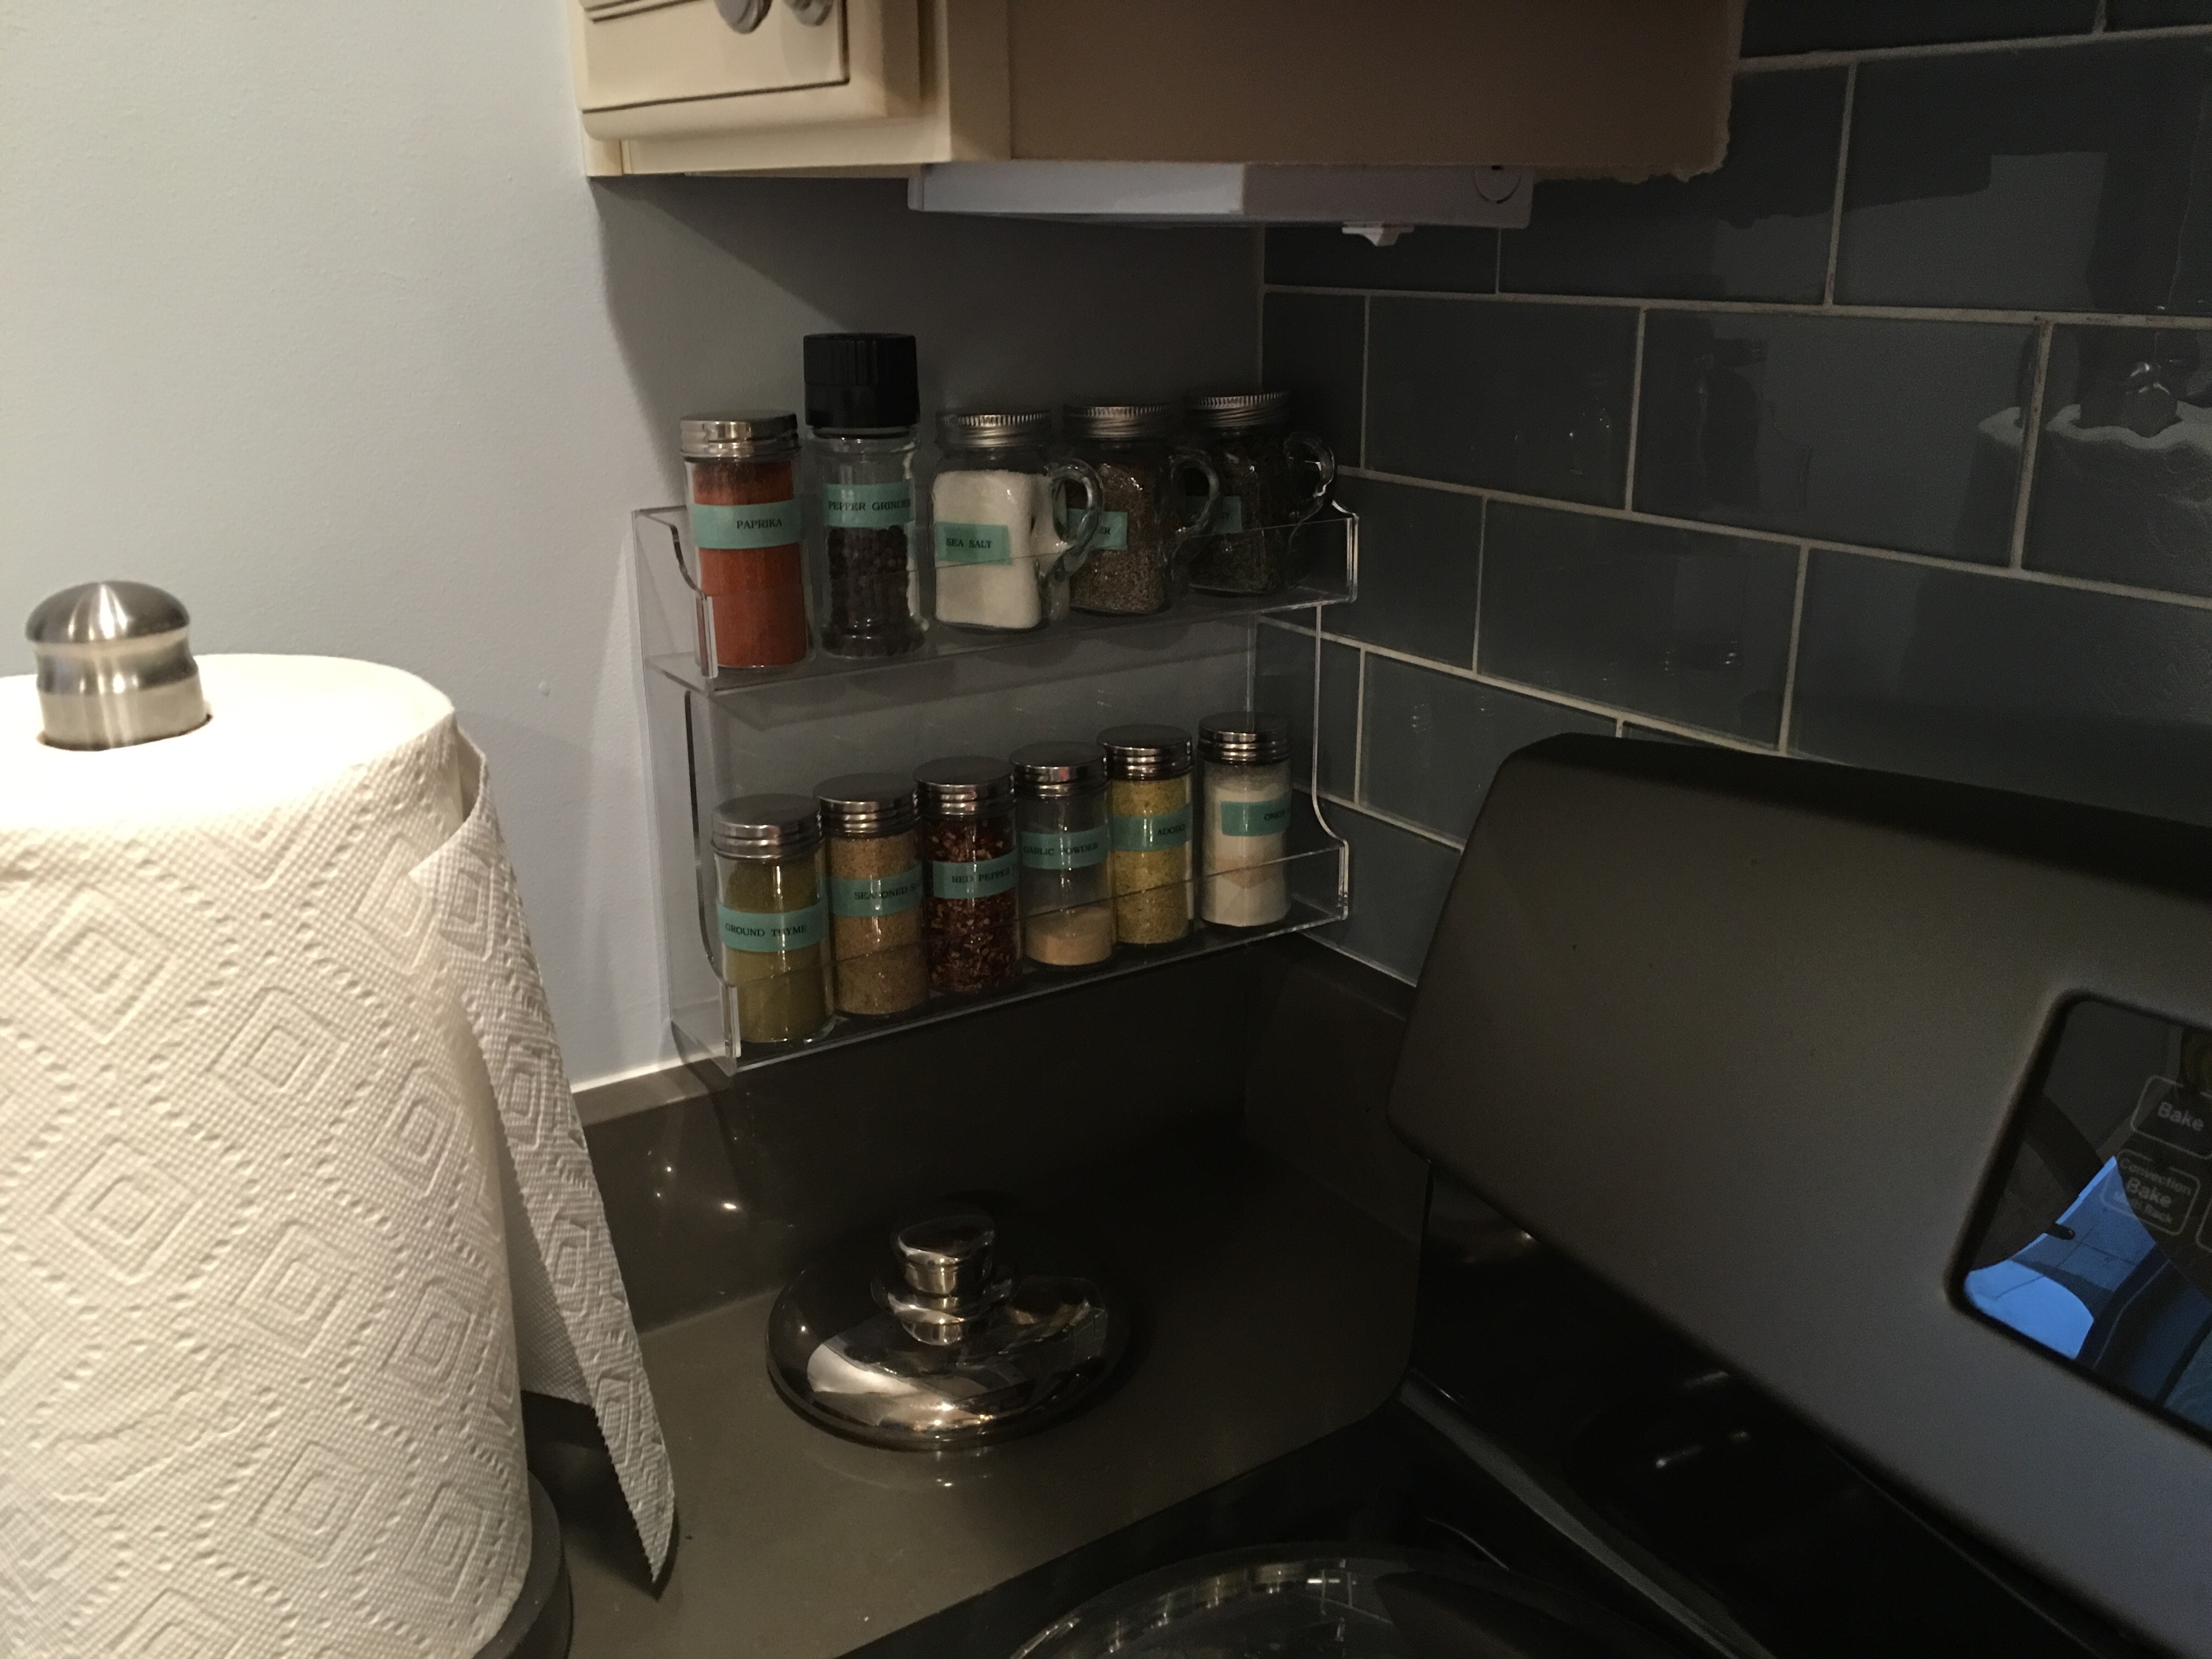
While trying to figure out the plan for my spice tin storage system, I’m also focused on adding a stove-side counter-top solution. I wanted a designated group of spices to be available next to the stove. This way, they are at our fingertips when we need to add more flavor to food as it cooks.
On Friday I bought hanging acrylic two-tiered spice rack at the Container Store (after eye-balling it for over 20 minutes and testing it out with various spice jars in the aisle). At the time I didn’t know whether it would be placed on the kitchen counter or tucked to the side in the pantry. I just knew I wanted it because it’s a great way to store and carry spice bottles (and I loved the clean look of the acrylic…I’m all about acrylic in the kitchen).
I eventually decided to mount the spice rack under the cabinet to the left of the stove (and the right of the kitchen window). As anticipated, it looks perfect above the kitchen counter. Because it’s acrylic it just “blends” with the decor of the counter and backsplash. Perfect.
So during my second Container Store trip, I picked up the spice bottles needed for the rack. I thought about repurposing bottles I’ve emptied out when I transferred the spice to the tin. But upon further thinking, I decided to buy the $1.99 spice bottles from the store so that the spice rack will have a more uniformed (and organized) look. So I invested in more bottles for this project.
And finally, I needed a labeling solution for the jars (and for some of my tins). Although the premade EZ spice label stickers covers many of the most frequently used spices, it is not an exhaustive list. Imagine my surprise when I could not find a label for “cayenne pepper”. Or “chipotle powder”. What about “Ground thyme”? Nope.
So I need a way to make some of my own labels for the tins and bottles.
This required a stop at my local Staples to pick up a Brother “P-Touch” label maker. This one (that uses TZ label tape cartridges) was on sale – $15 off. Sold!
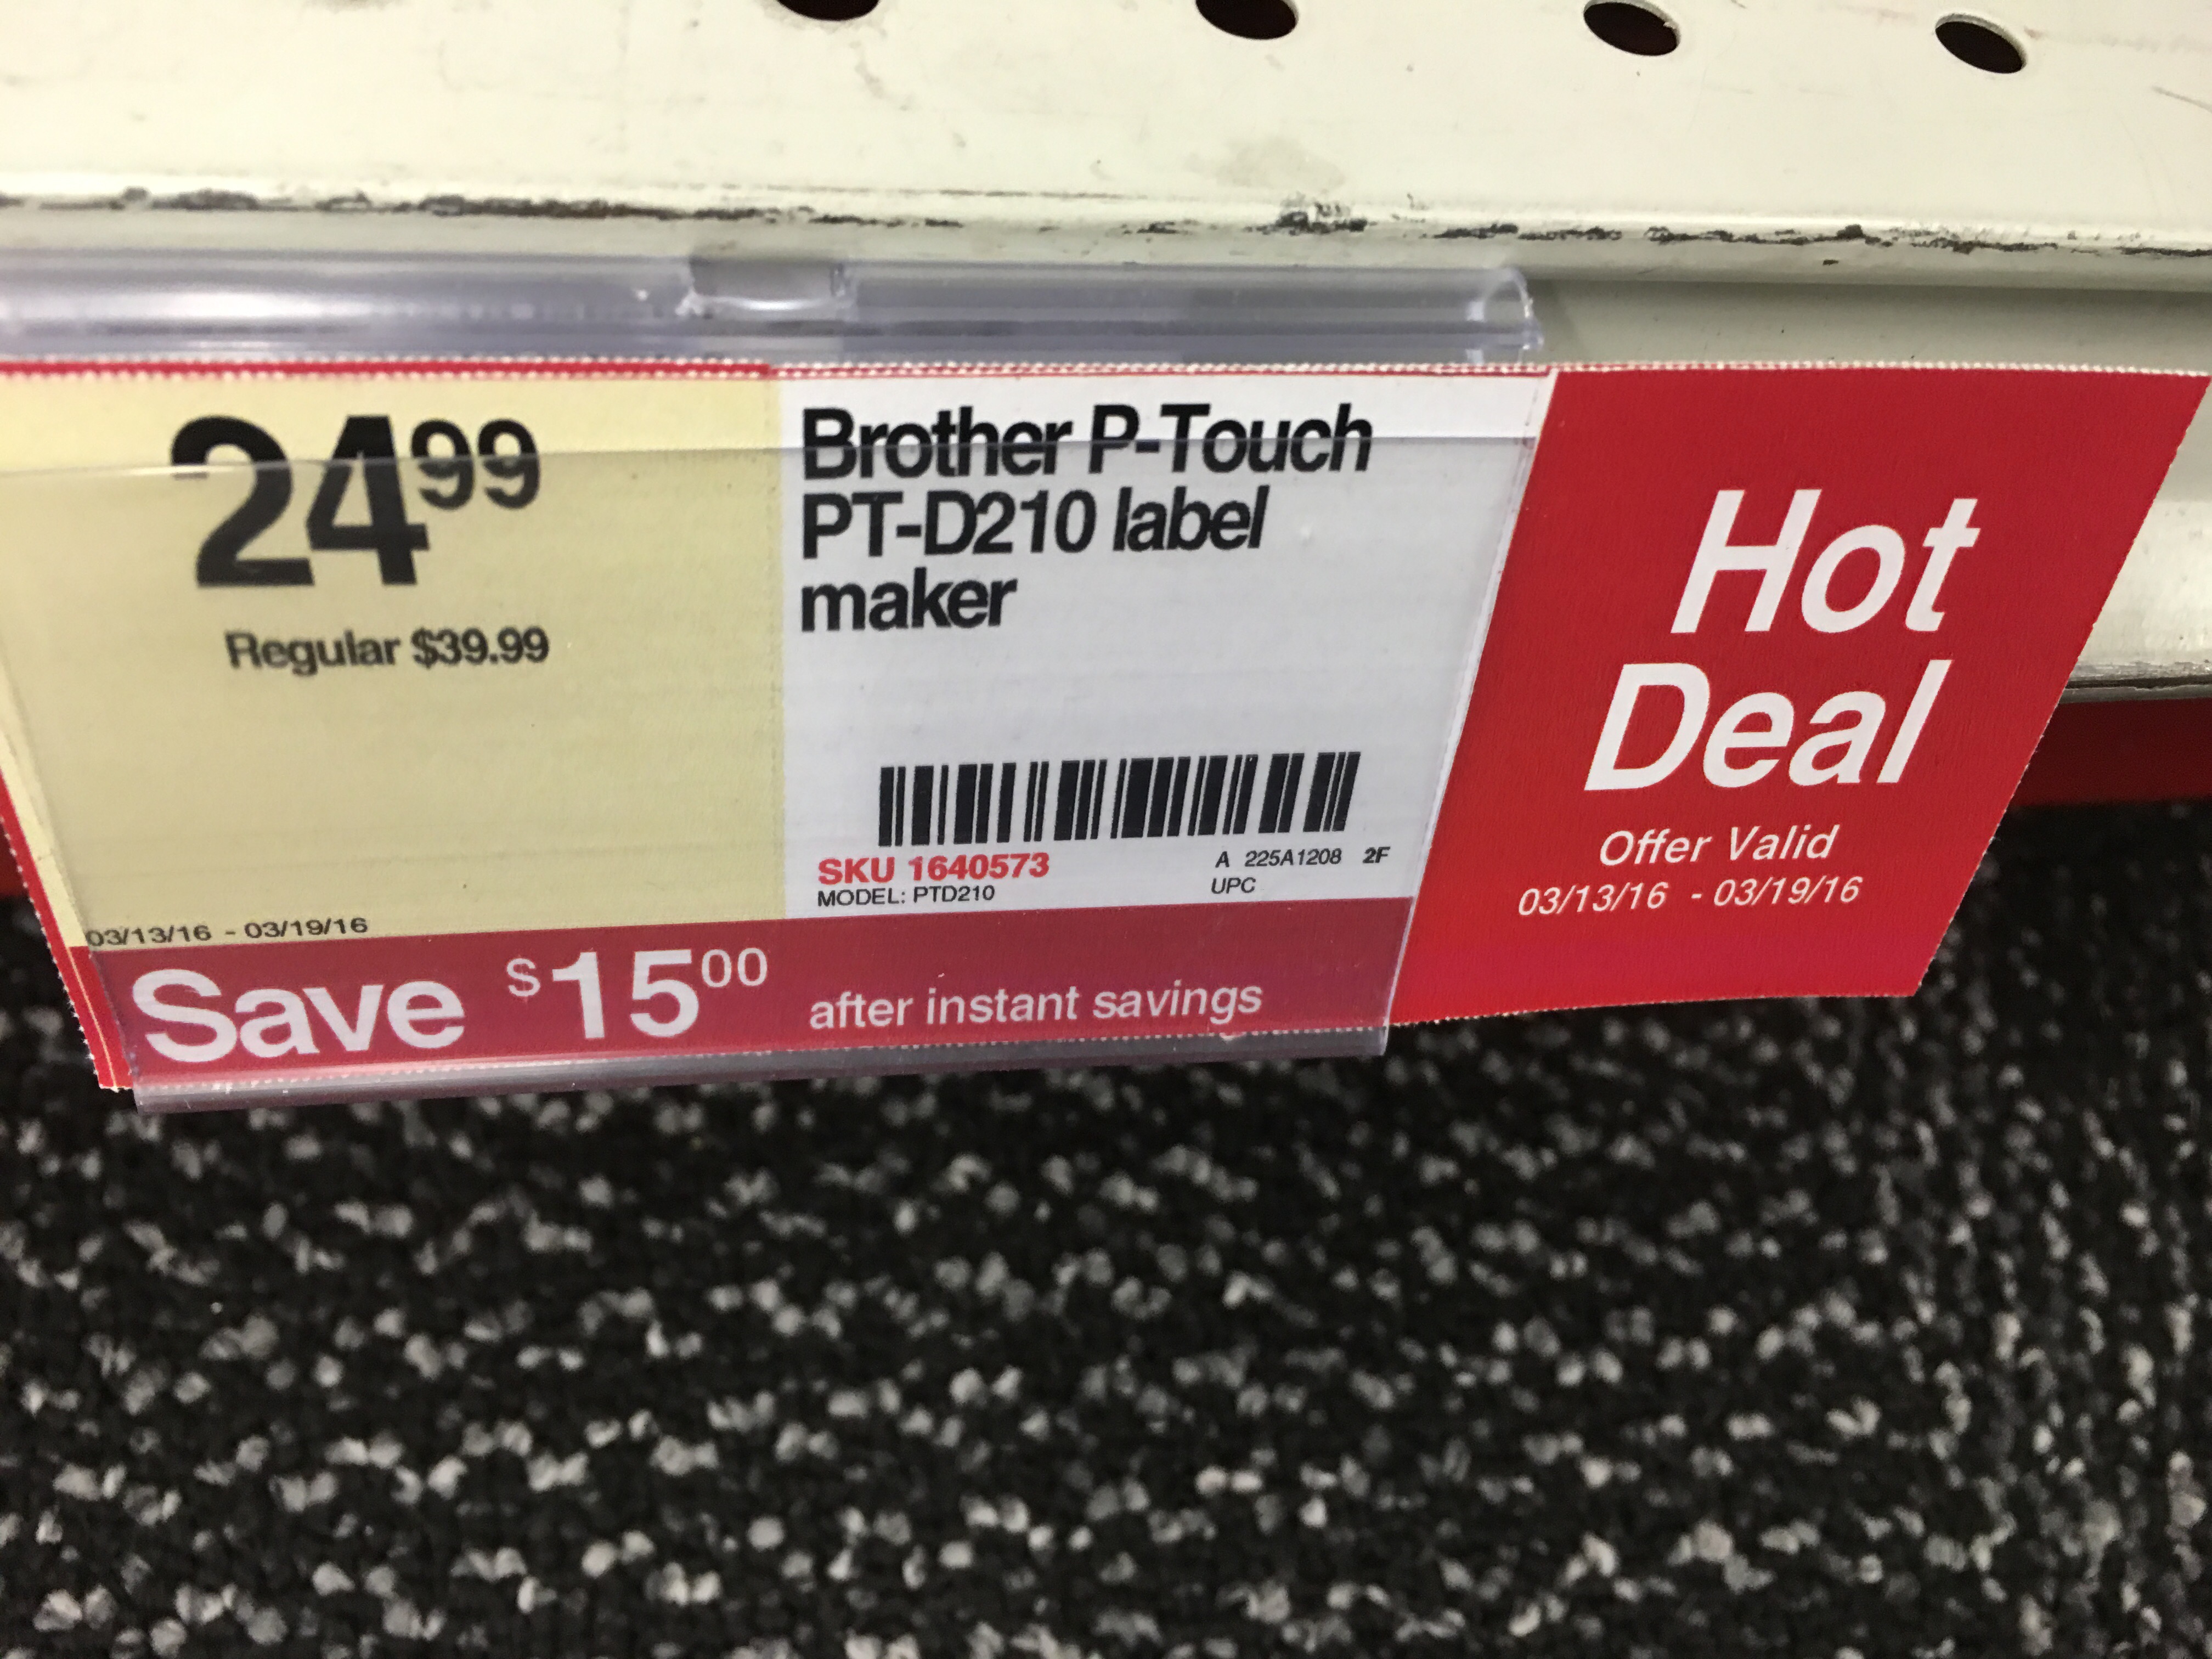
I picked this up with a package of “Black on Clear” 1/2″ label take and ferried everything home.
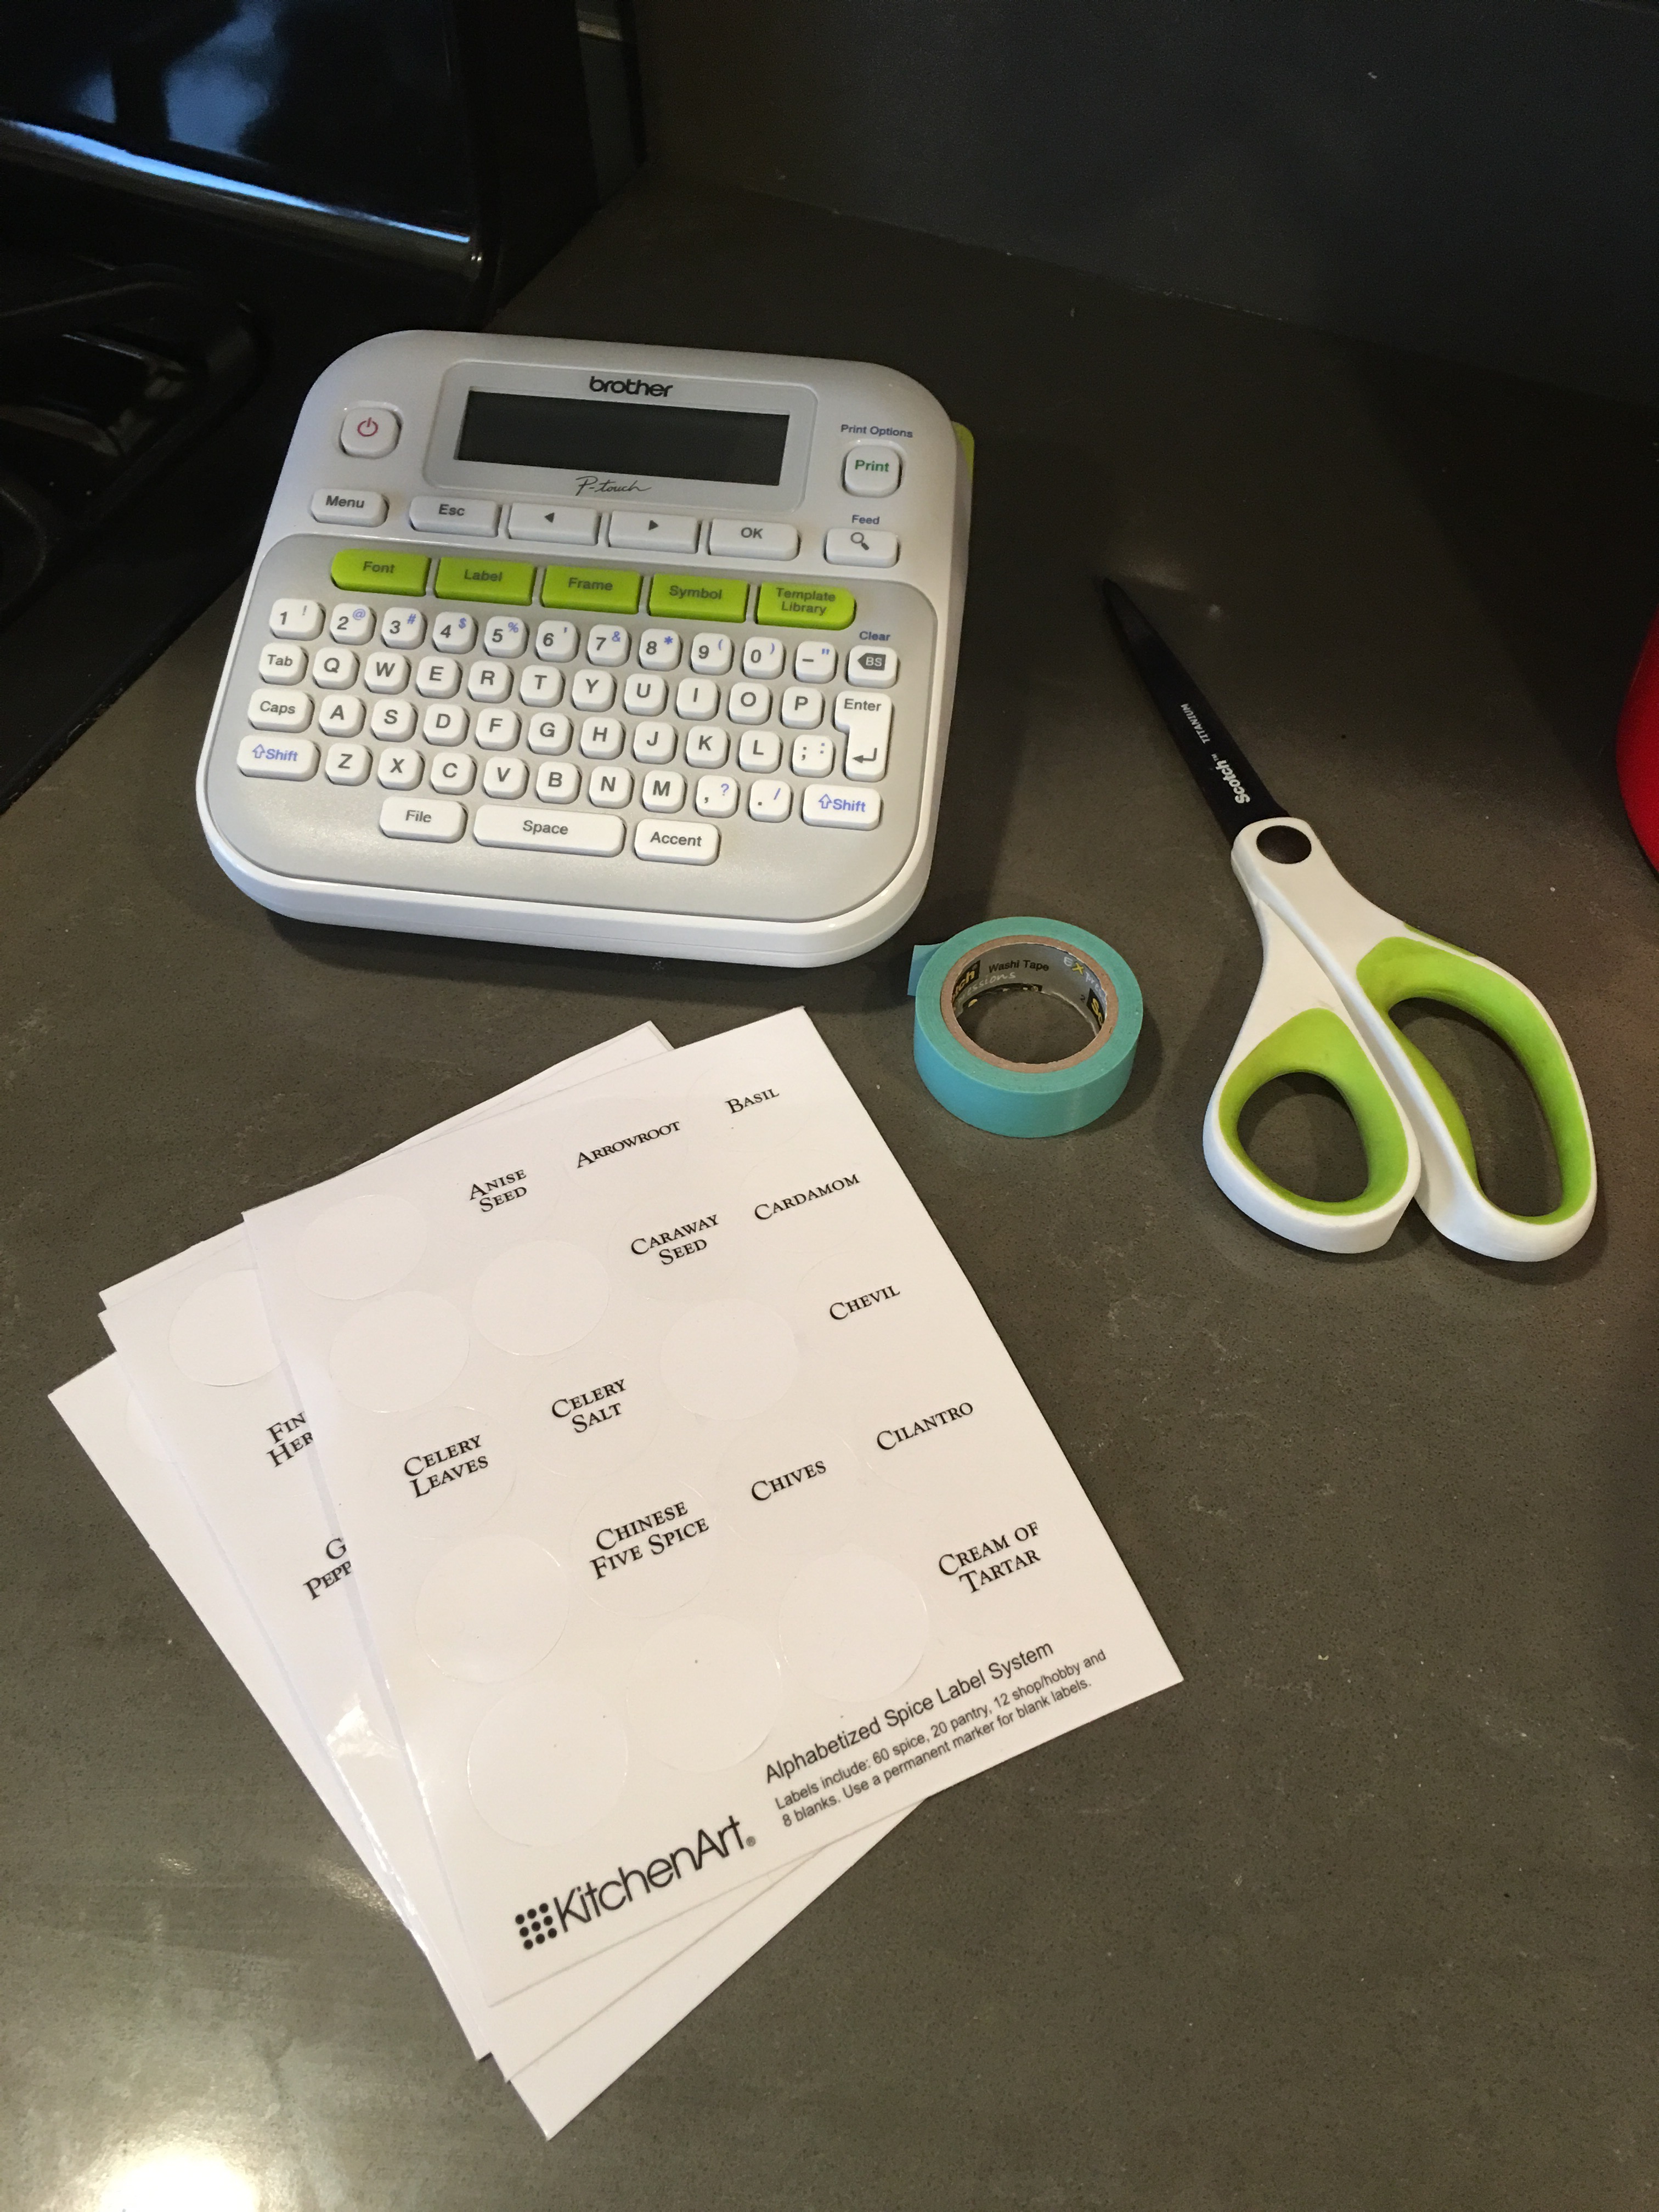
So here are my tools for the rest of this spice labeling project:
- P-Touch labeler (with clear on black tape)
- EZ kitchen label stickers
- Scotch washi tape
- Scissors
I love these P-Touch labelers…I use them all the time for work (to label servers, laptops and desktops, supplies, desk accessories, you name it). I never saw the need to invest in one for home…
…until now.
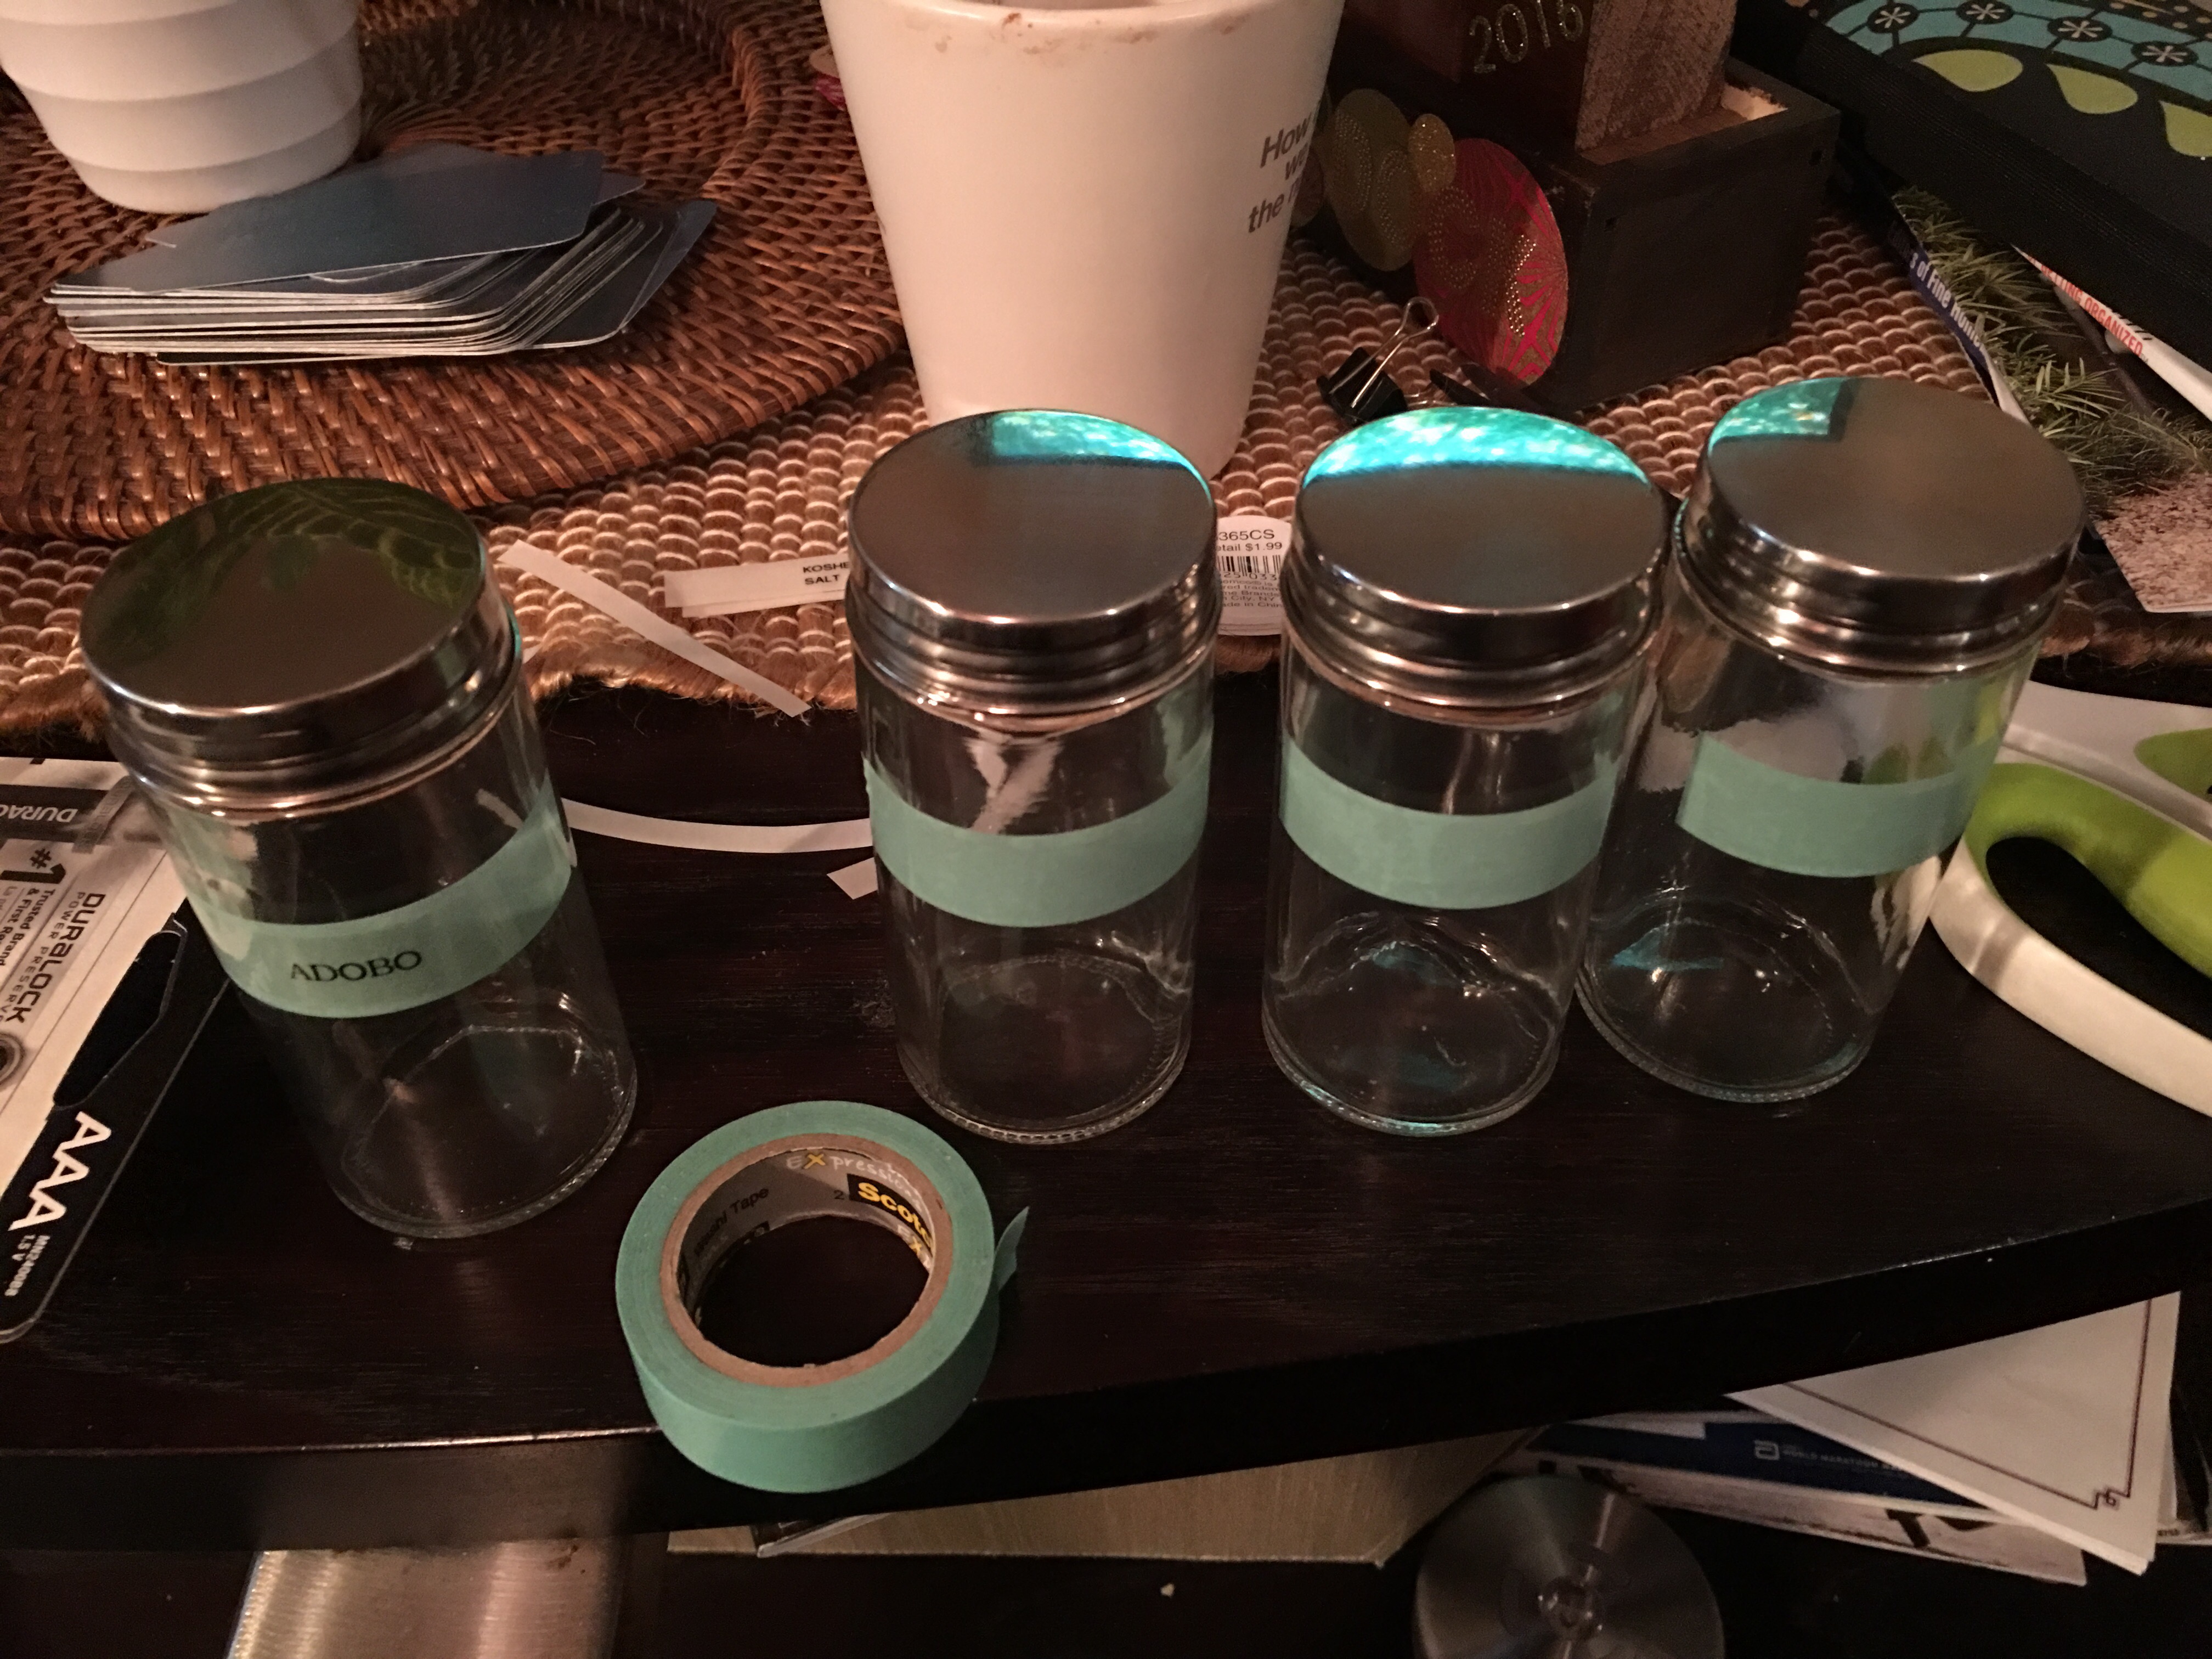
So here are my two dollar spice jars. I bought seven for the spice rack (and have a shortlist of spices I want to add to the jars). I want to store these spices in both the shake bottles and the tin containers.
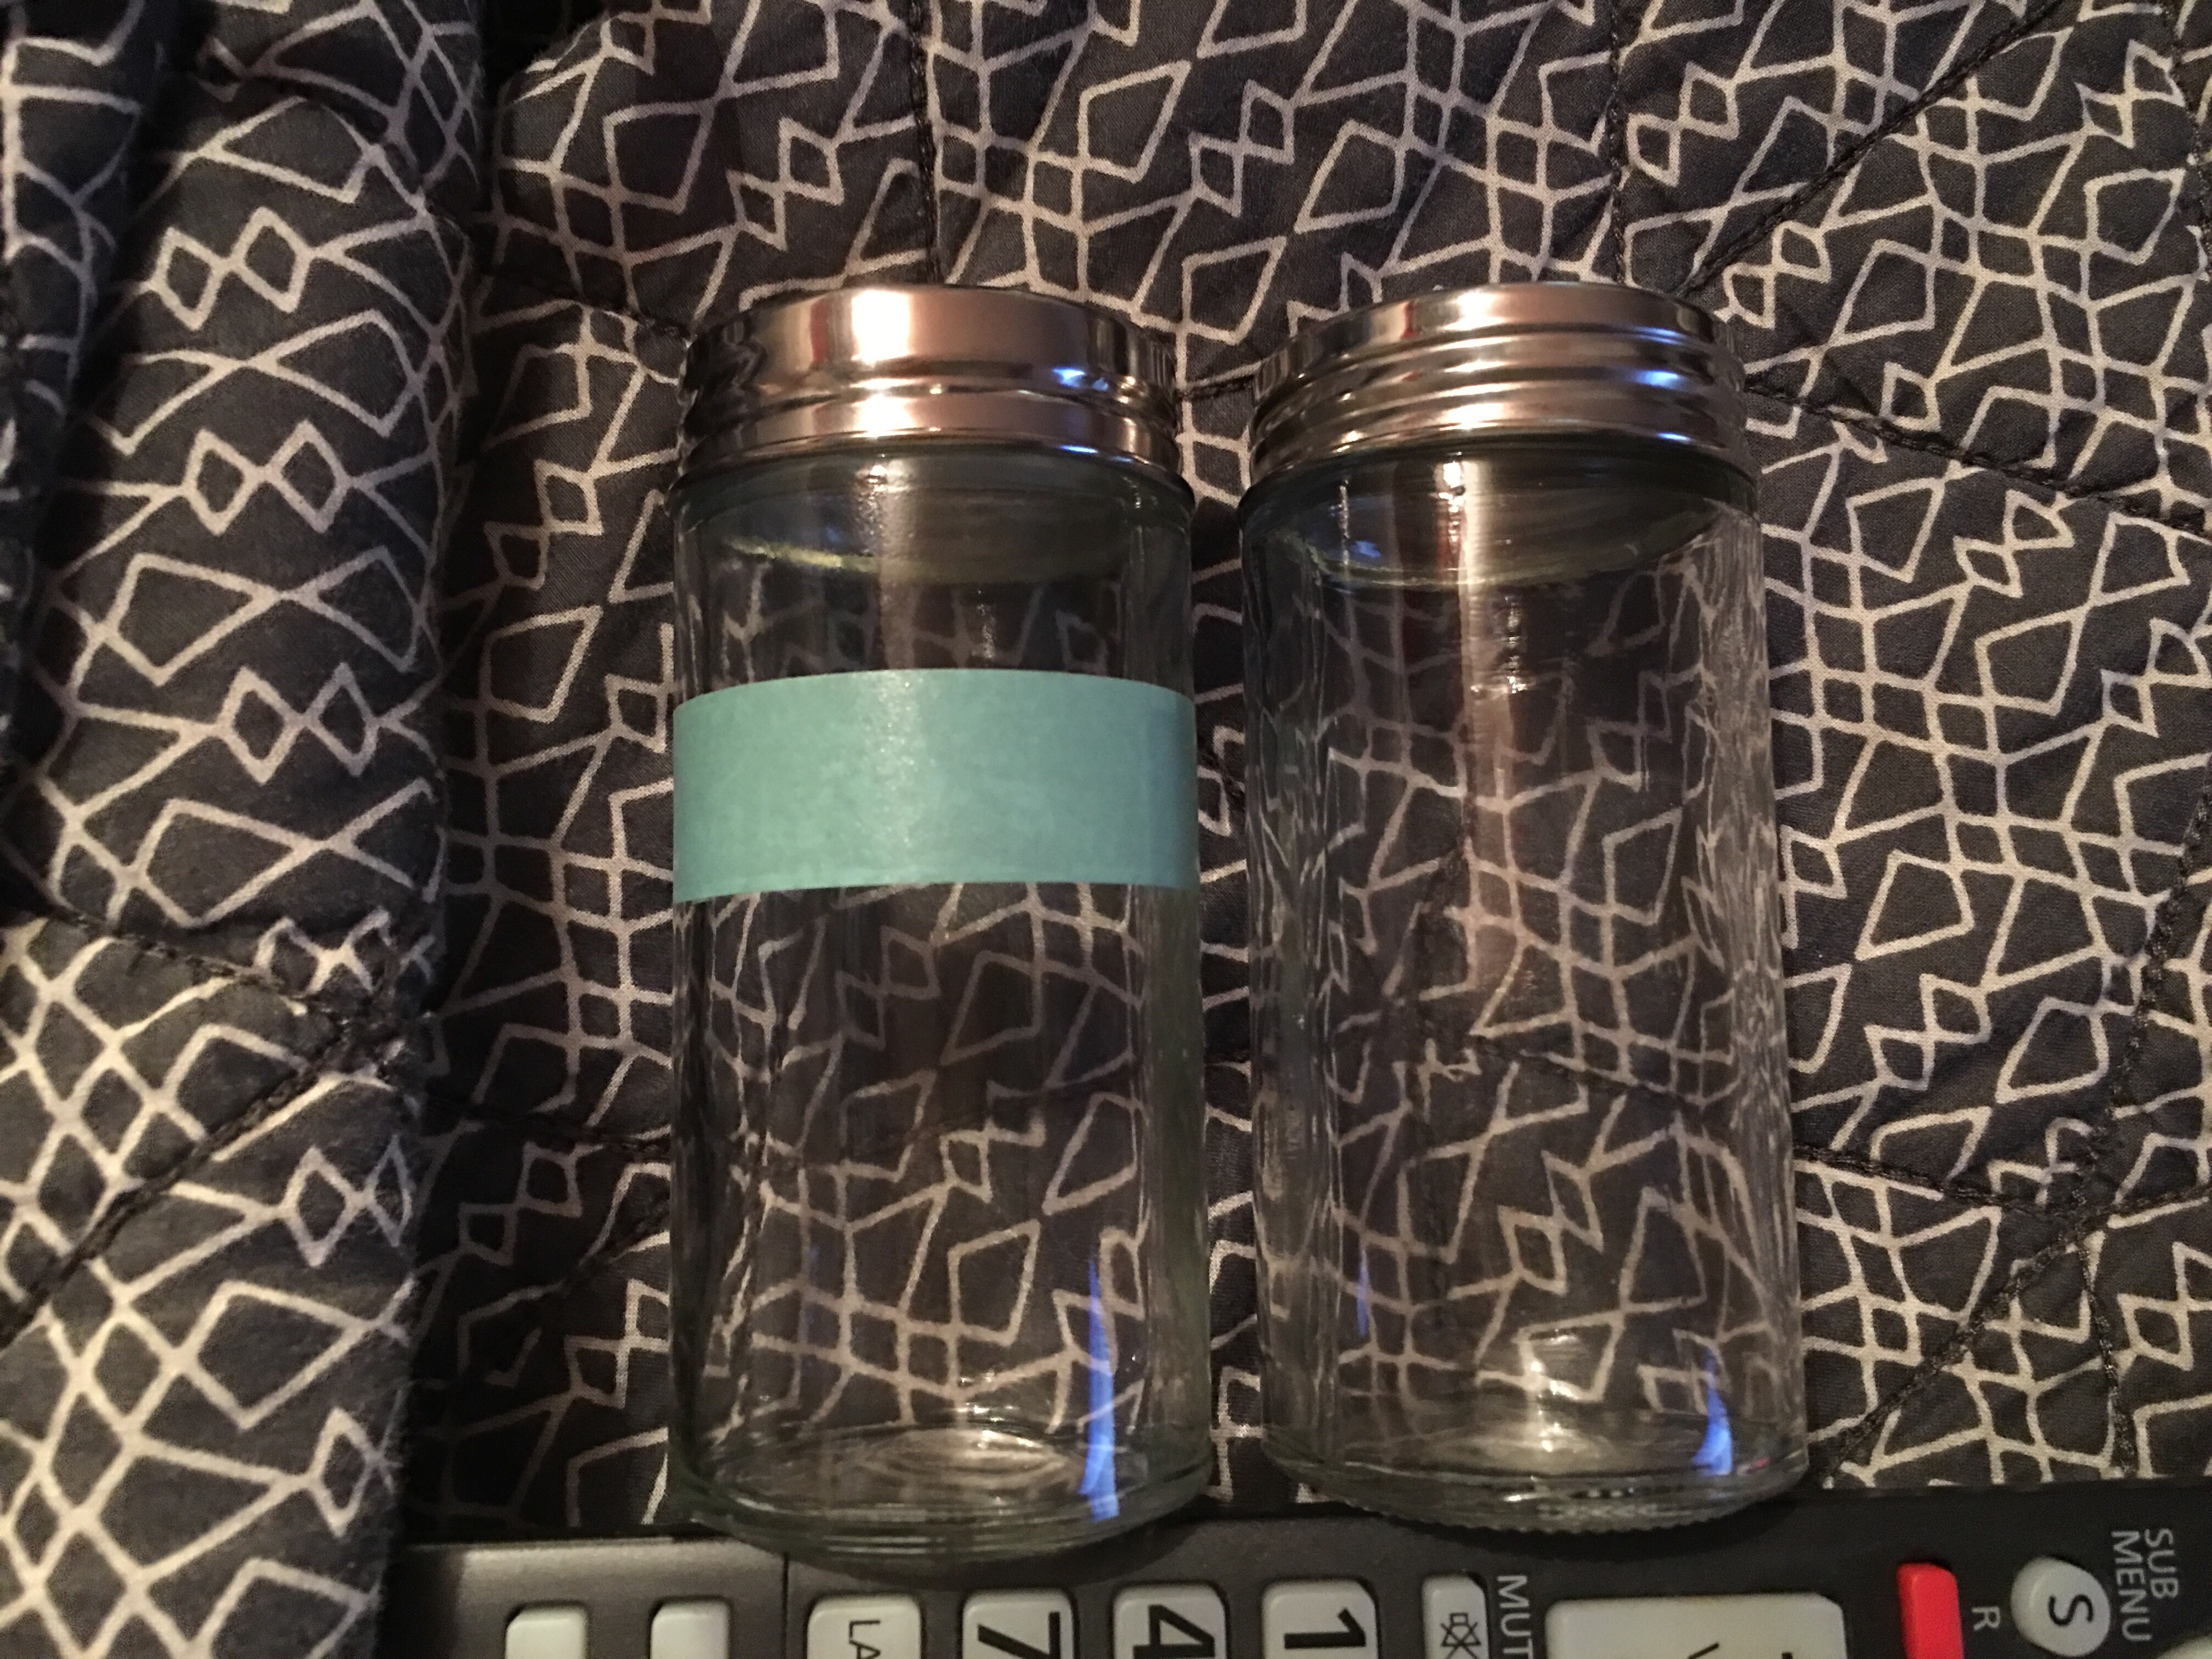
I lined the bottles up and placed a small strip of tape at the same position (so that the labels visually line up when the bottles are placed next to each other).

Yes, I’m using my remote control to line up my bottles for tape application 😉 And here’s the post-tape bottle the line up.
I use the P-Touch to create the labels.
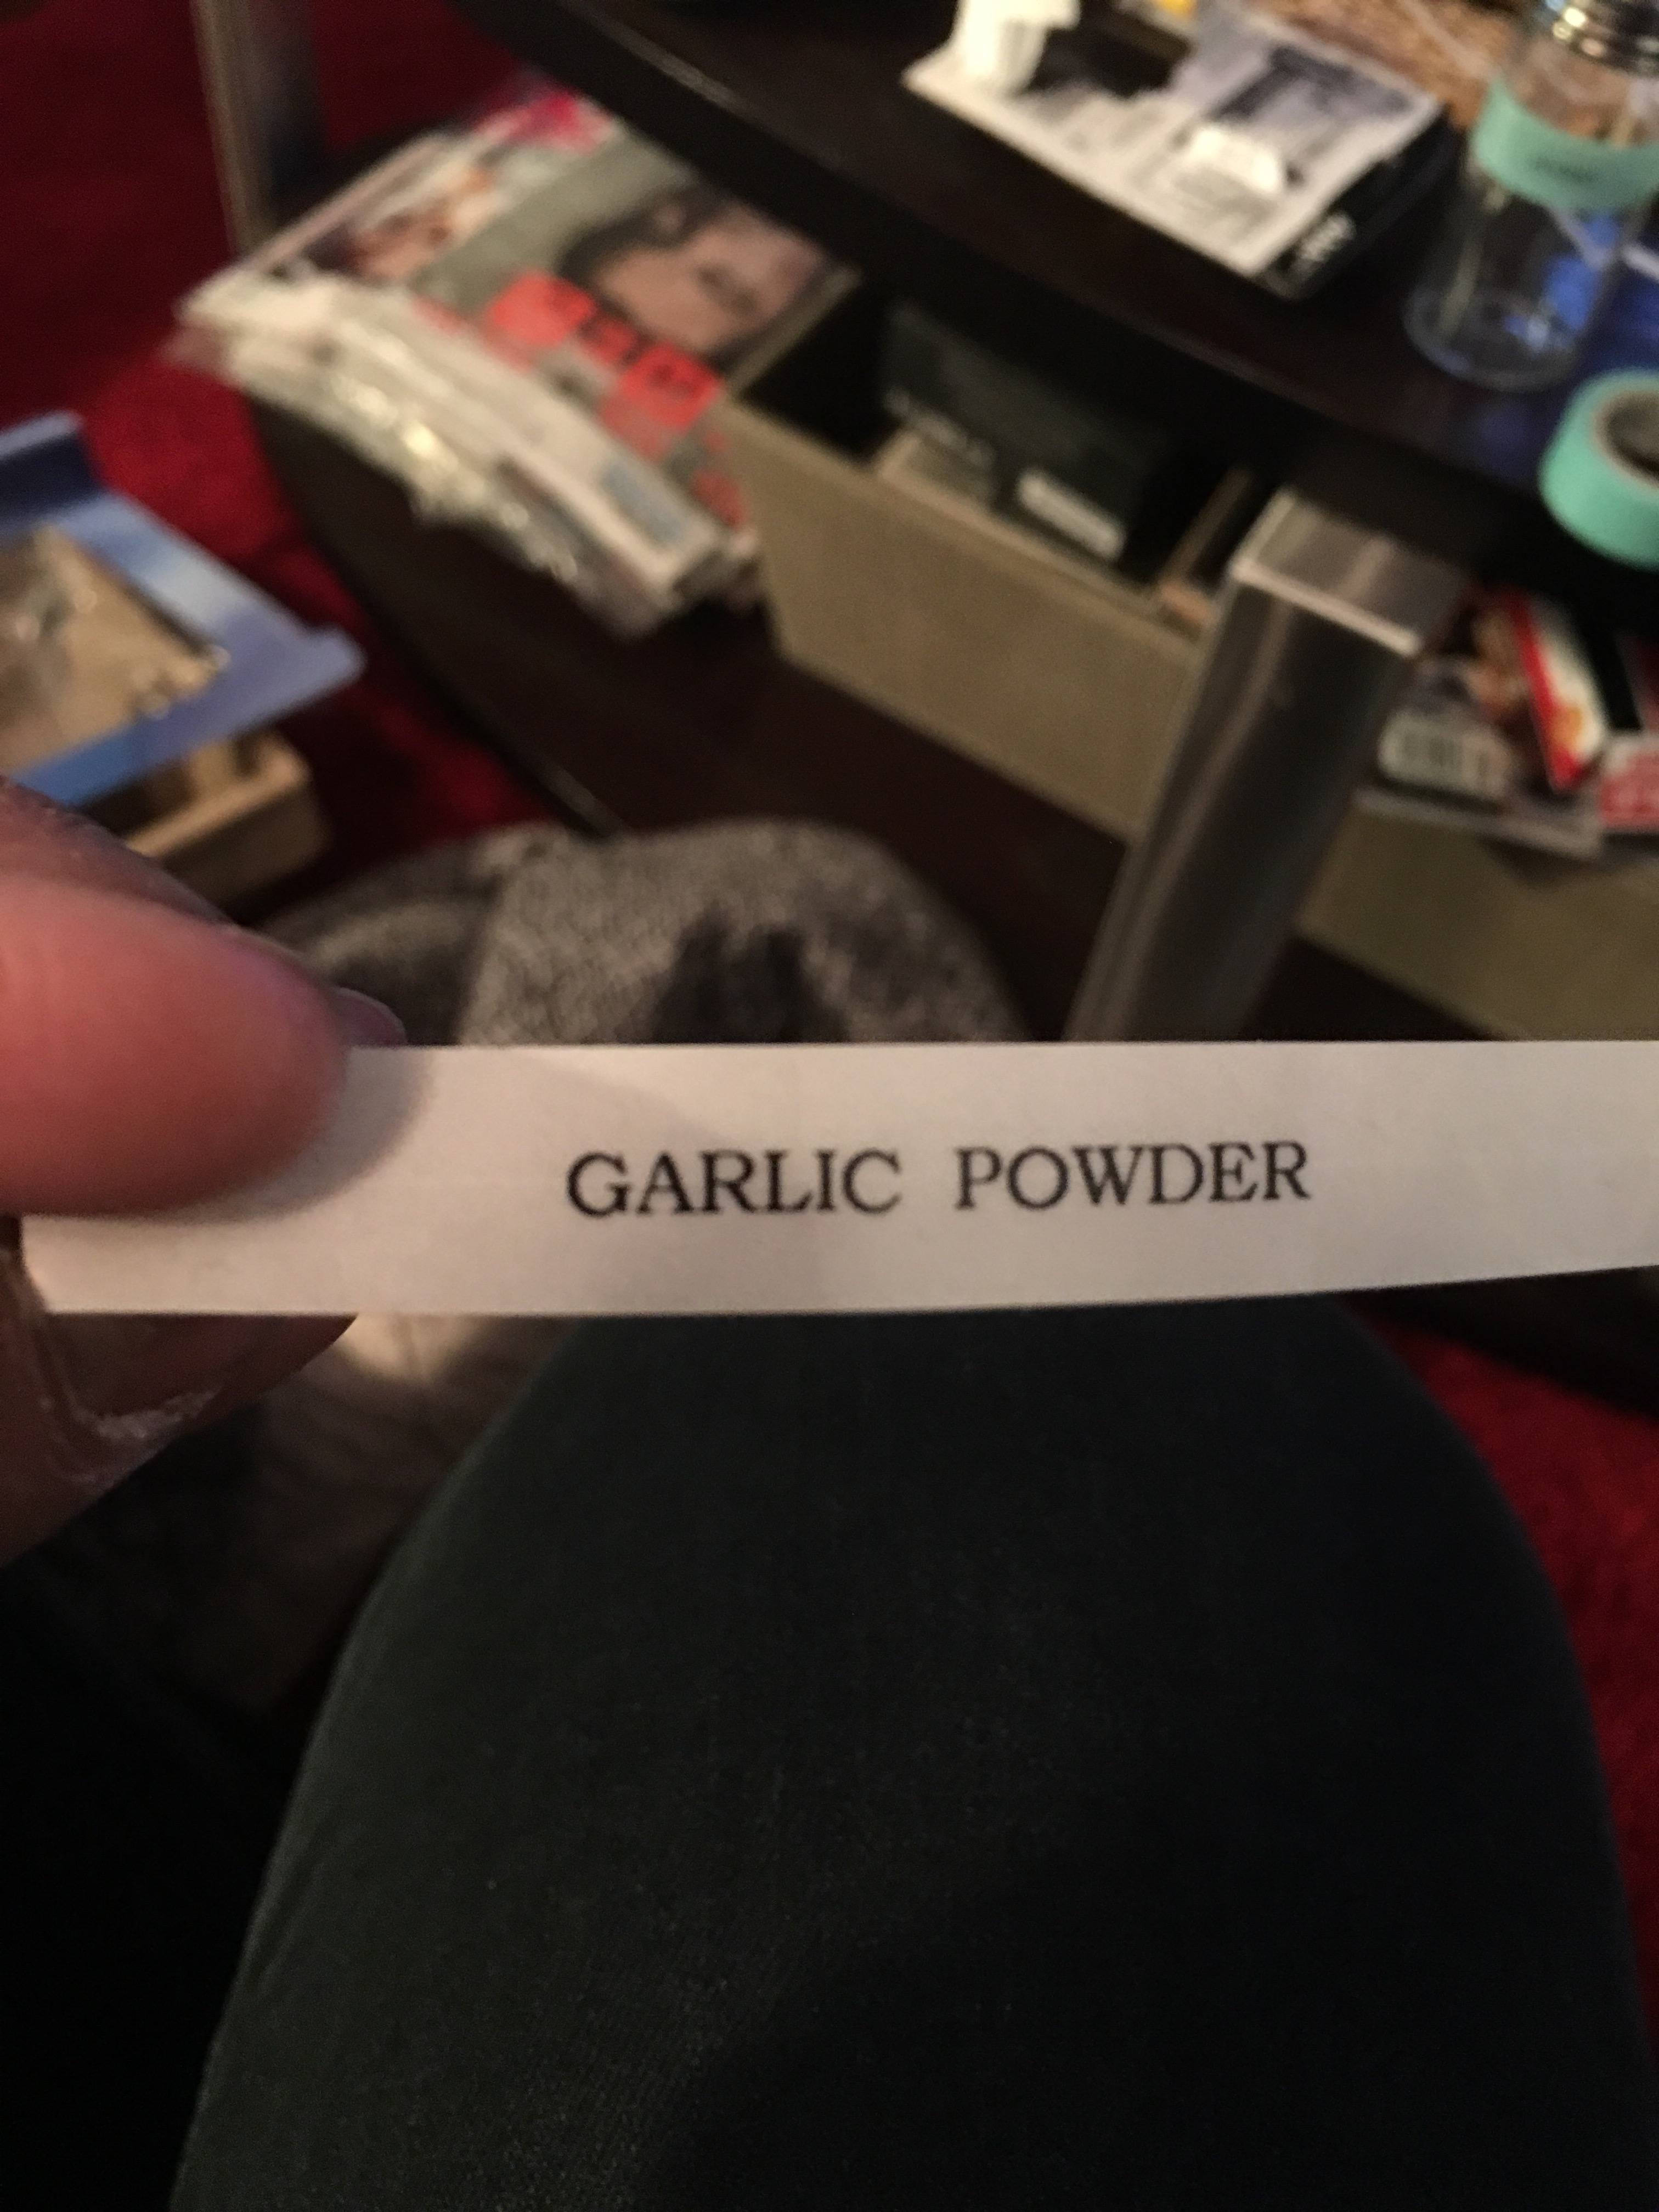
And here’s a bottle with the tape and label.
Sunday morning: Completing the spice rack and spice pantry organization (phase one).
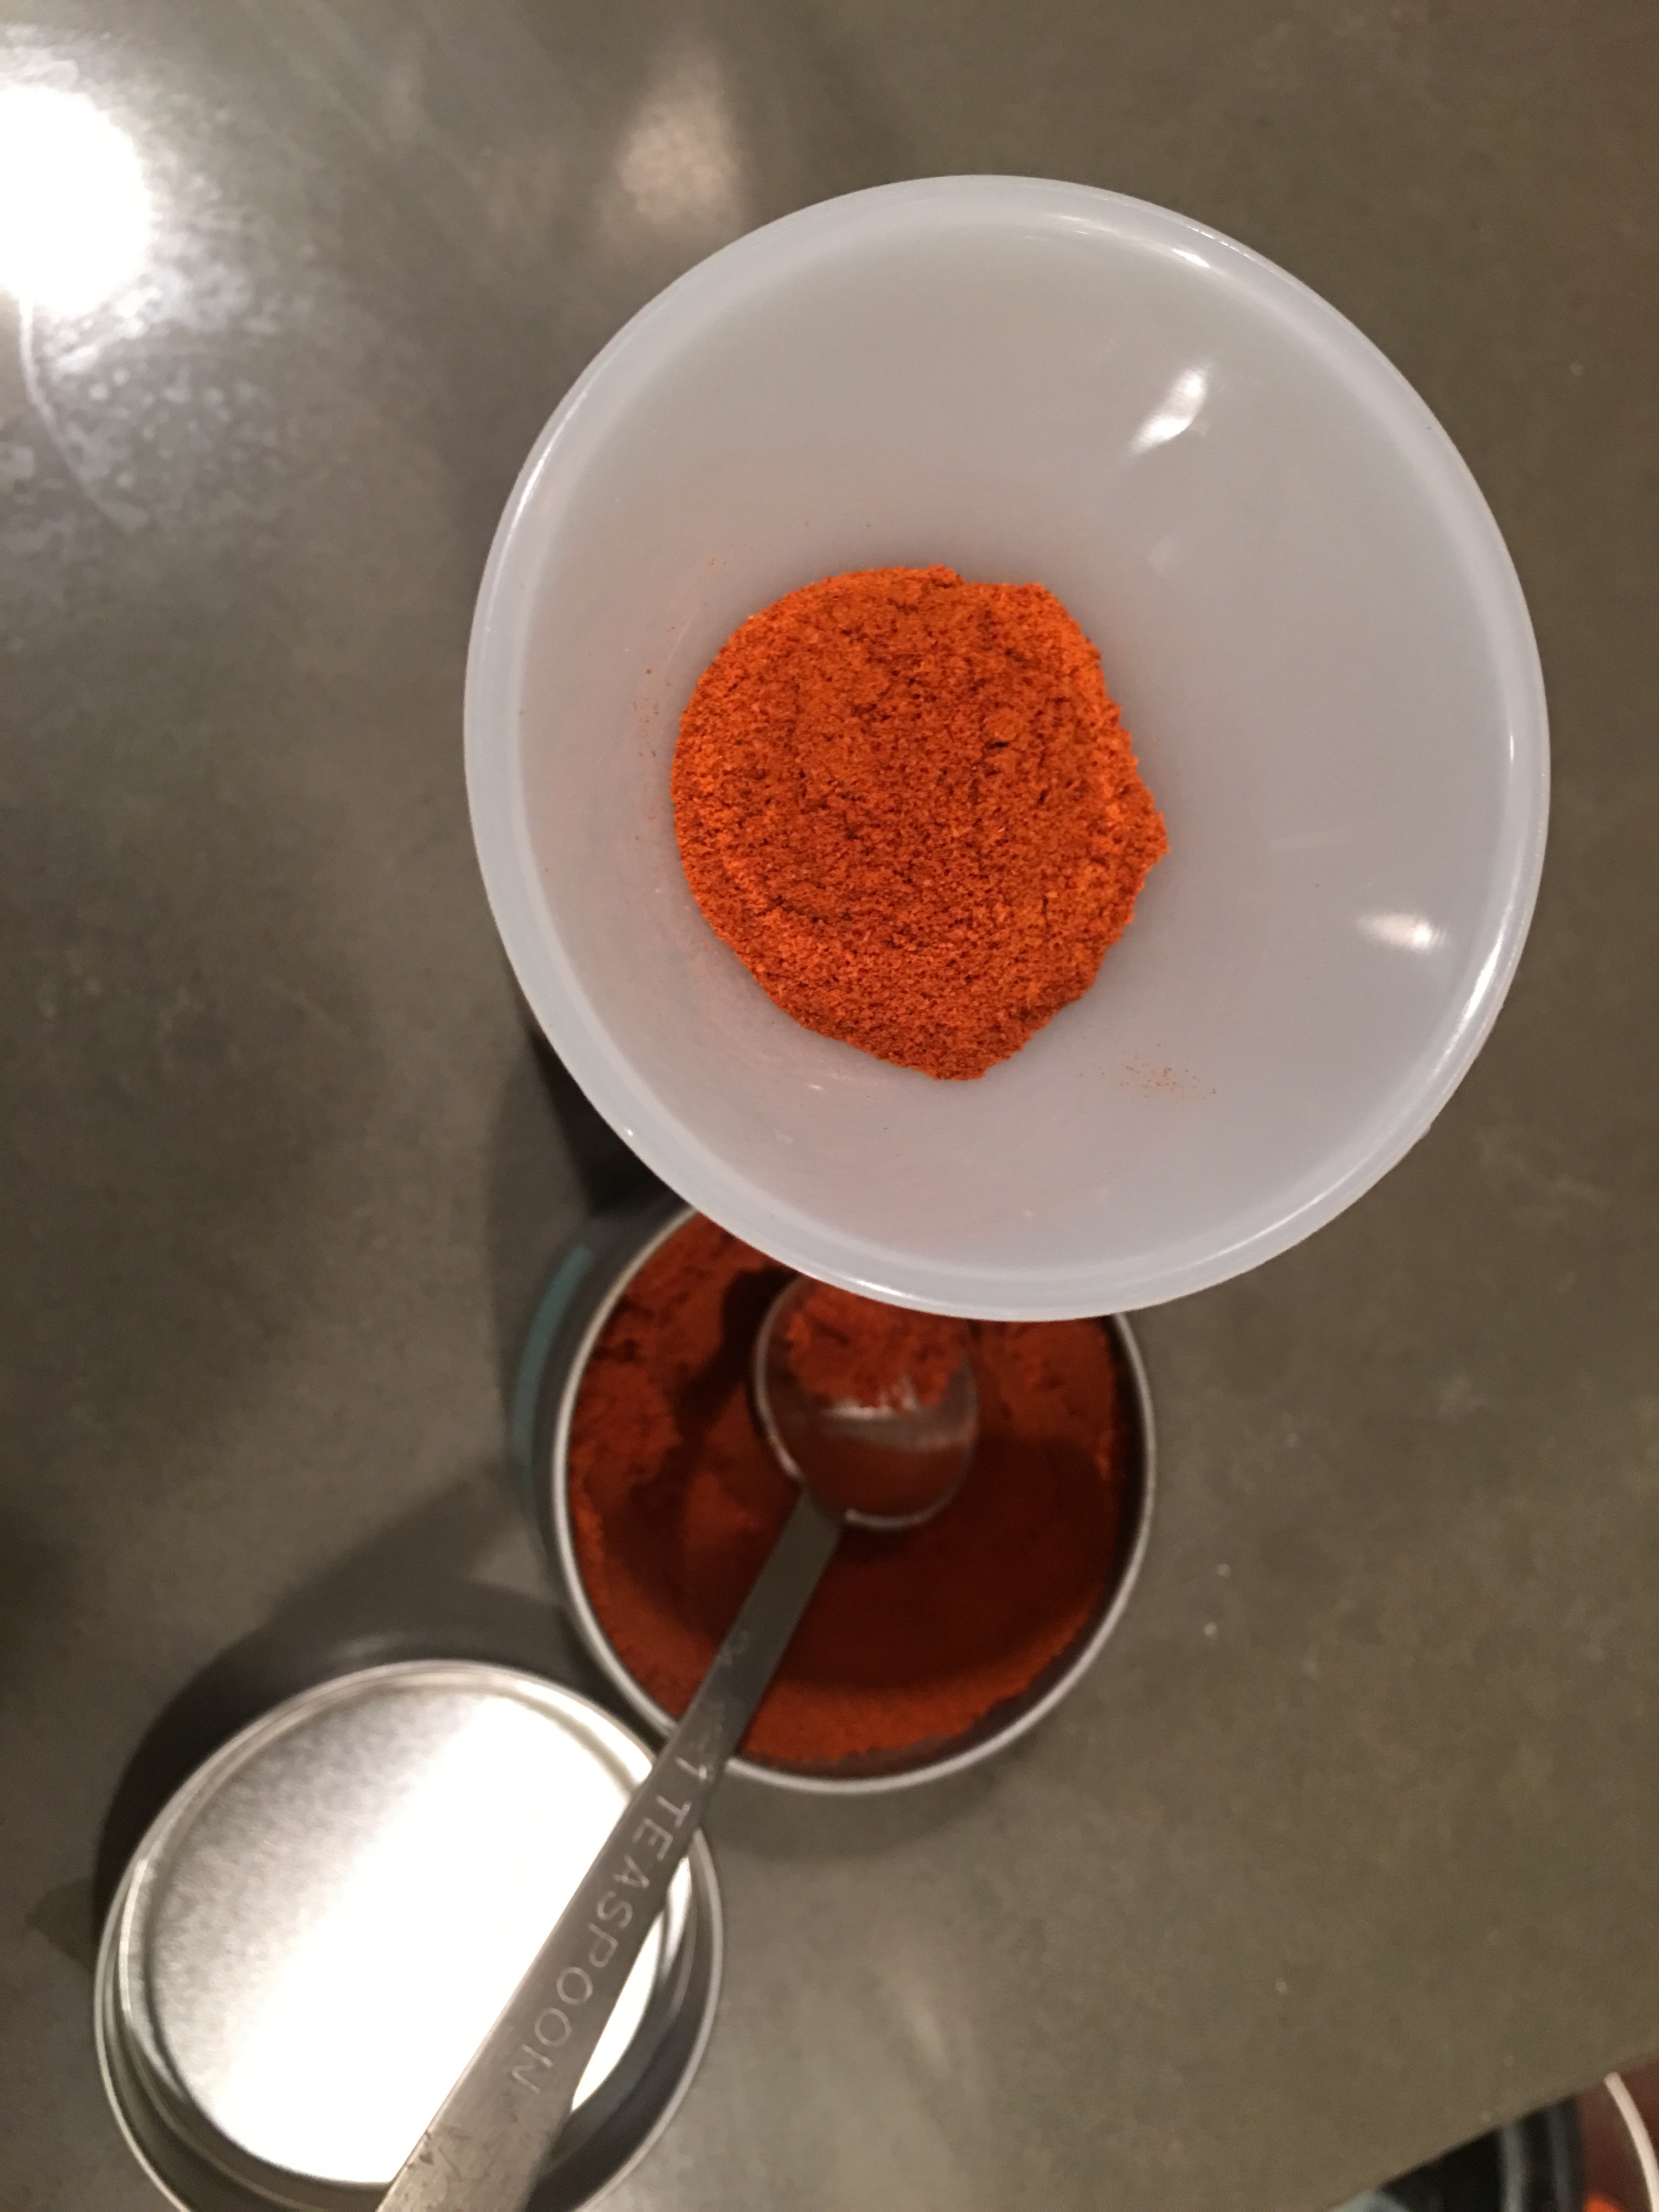
Time to fill ‘er up. I used the paprika tin and a tiny funnel to transfer spice from pantry storage container to shaker bottle.
If you recall from Friday, I also still had paprika left over in the store-bought spice bottle, so I transferred the rest into the spice tin. Another bottle gone.
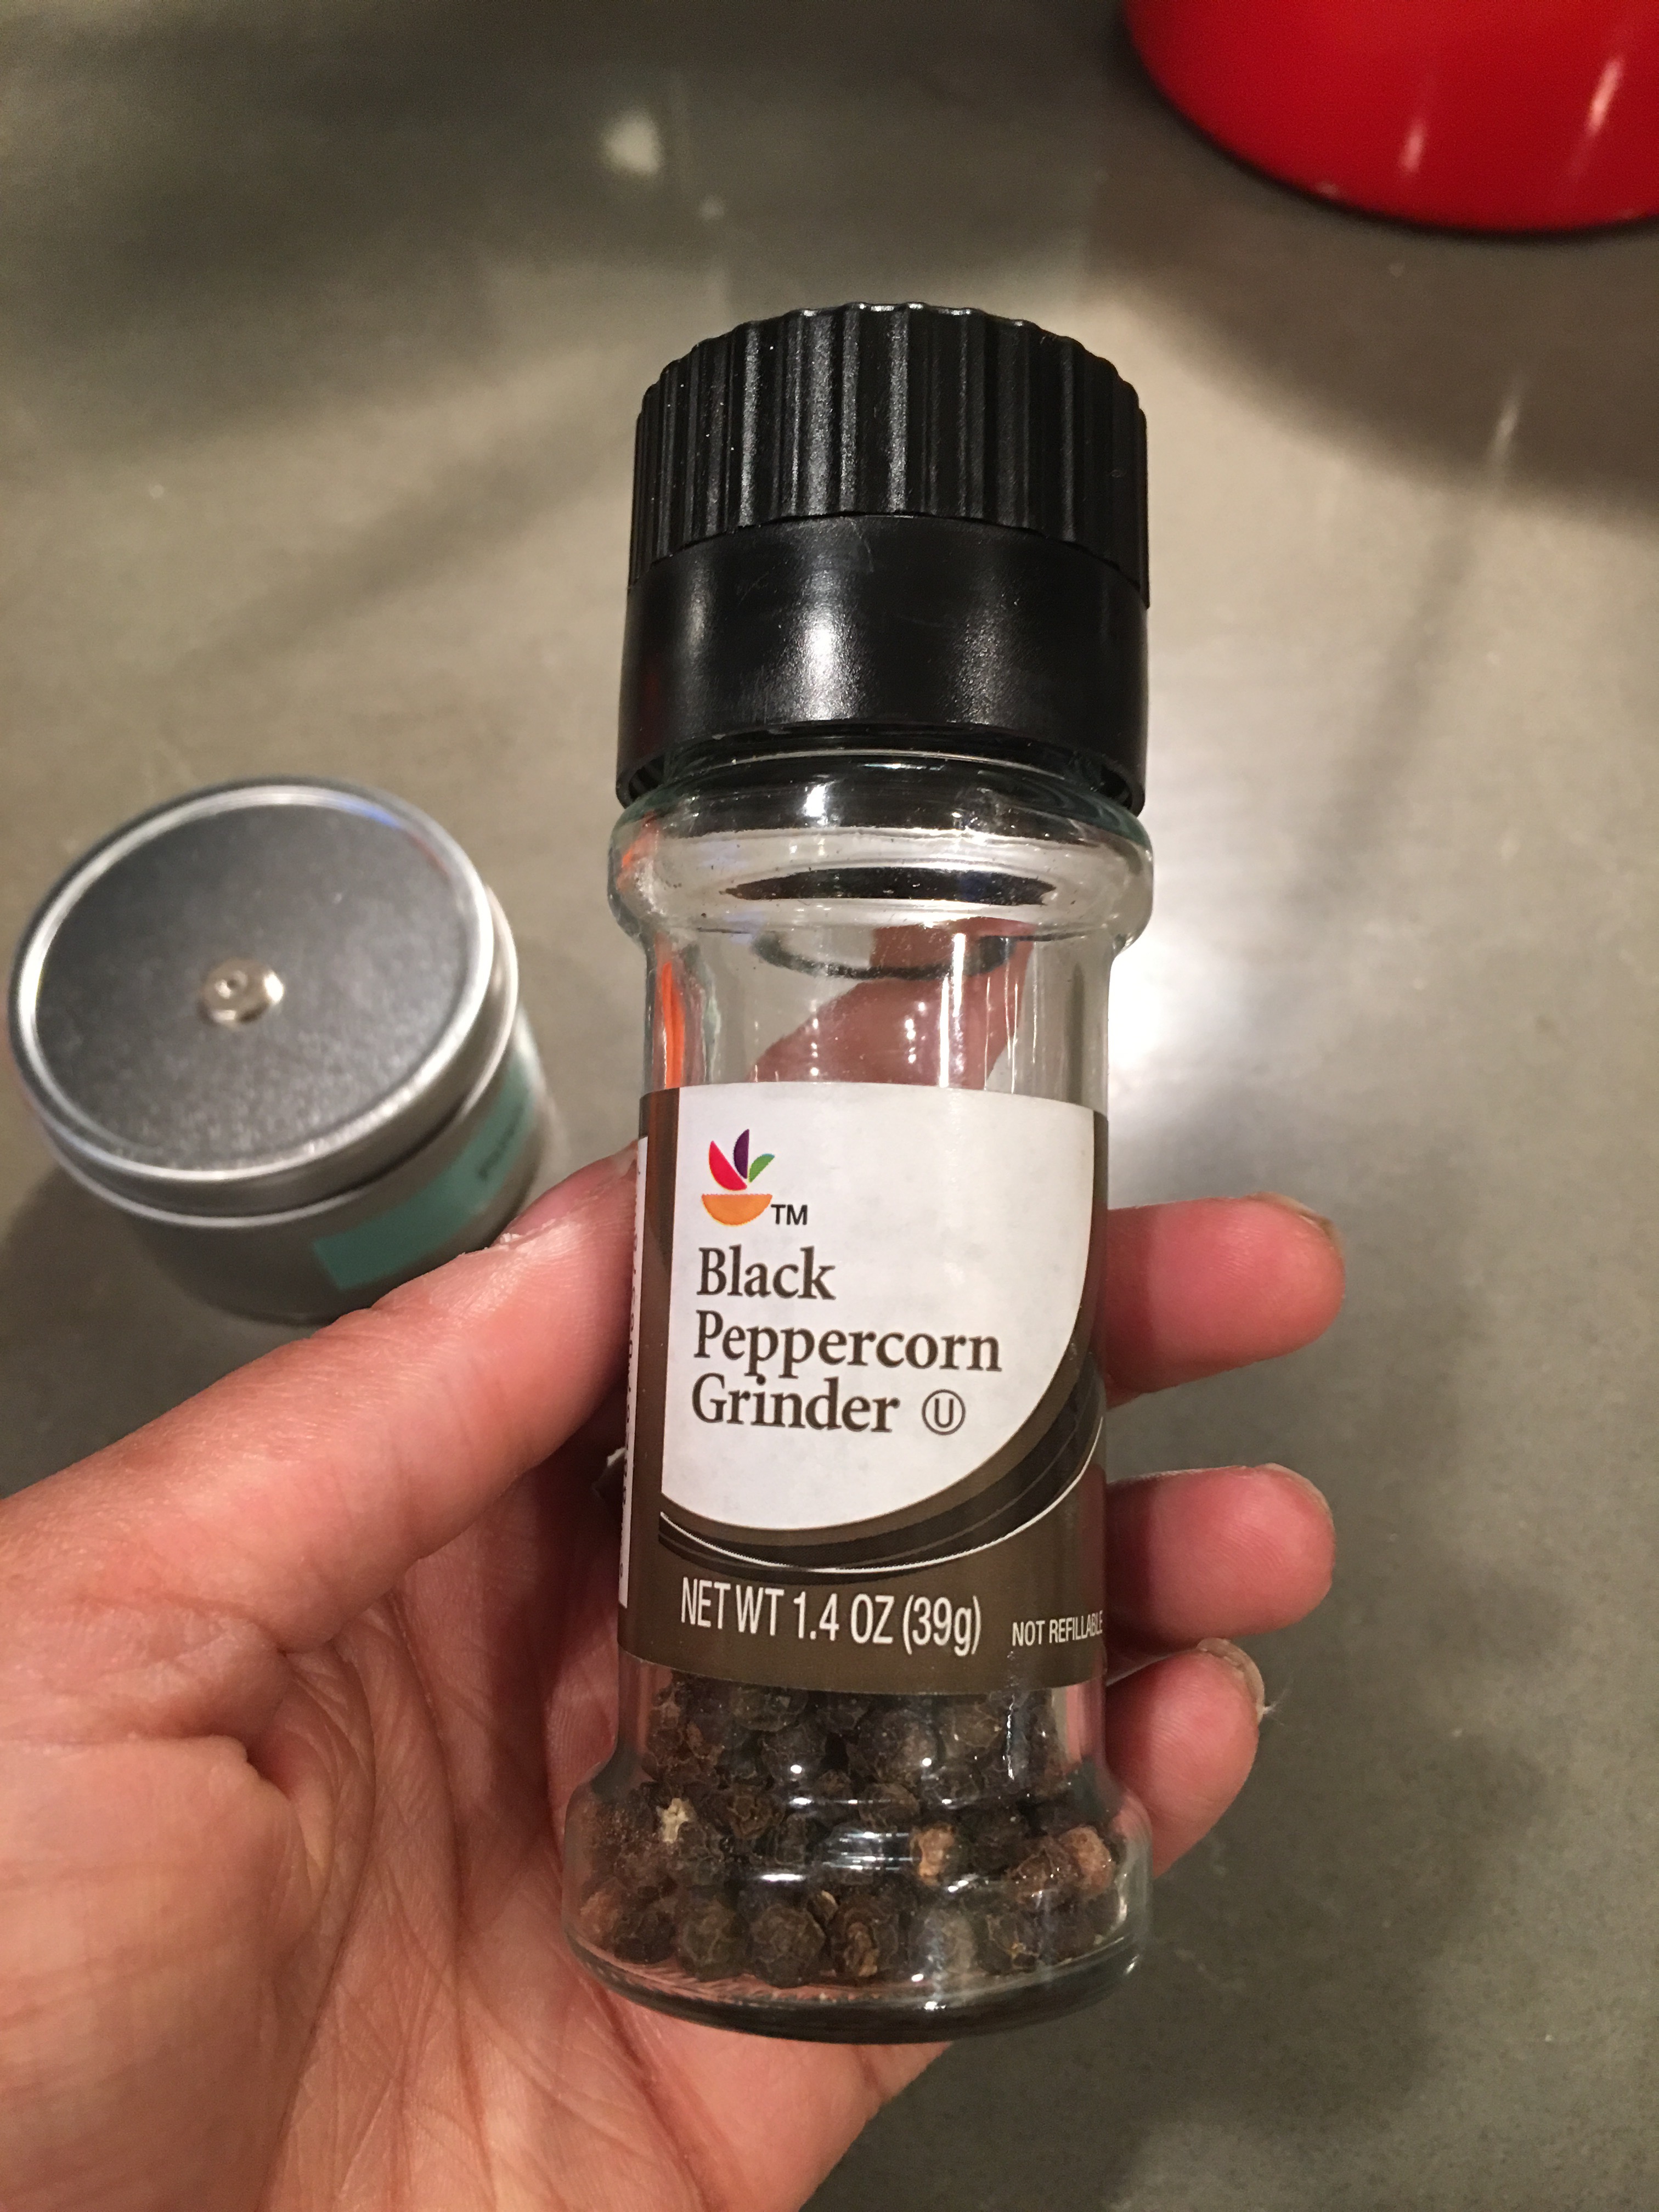
I also removed the label from the store brand pepper grinder bottle and added my own label so that it matches the look of the spice rack.
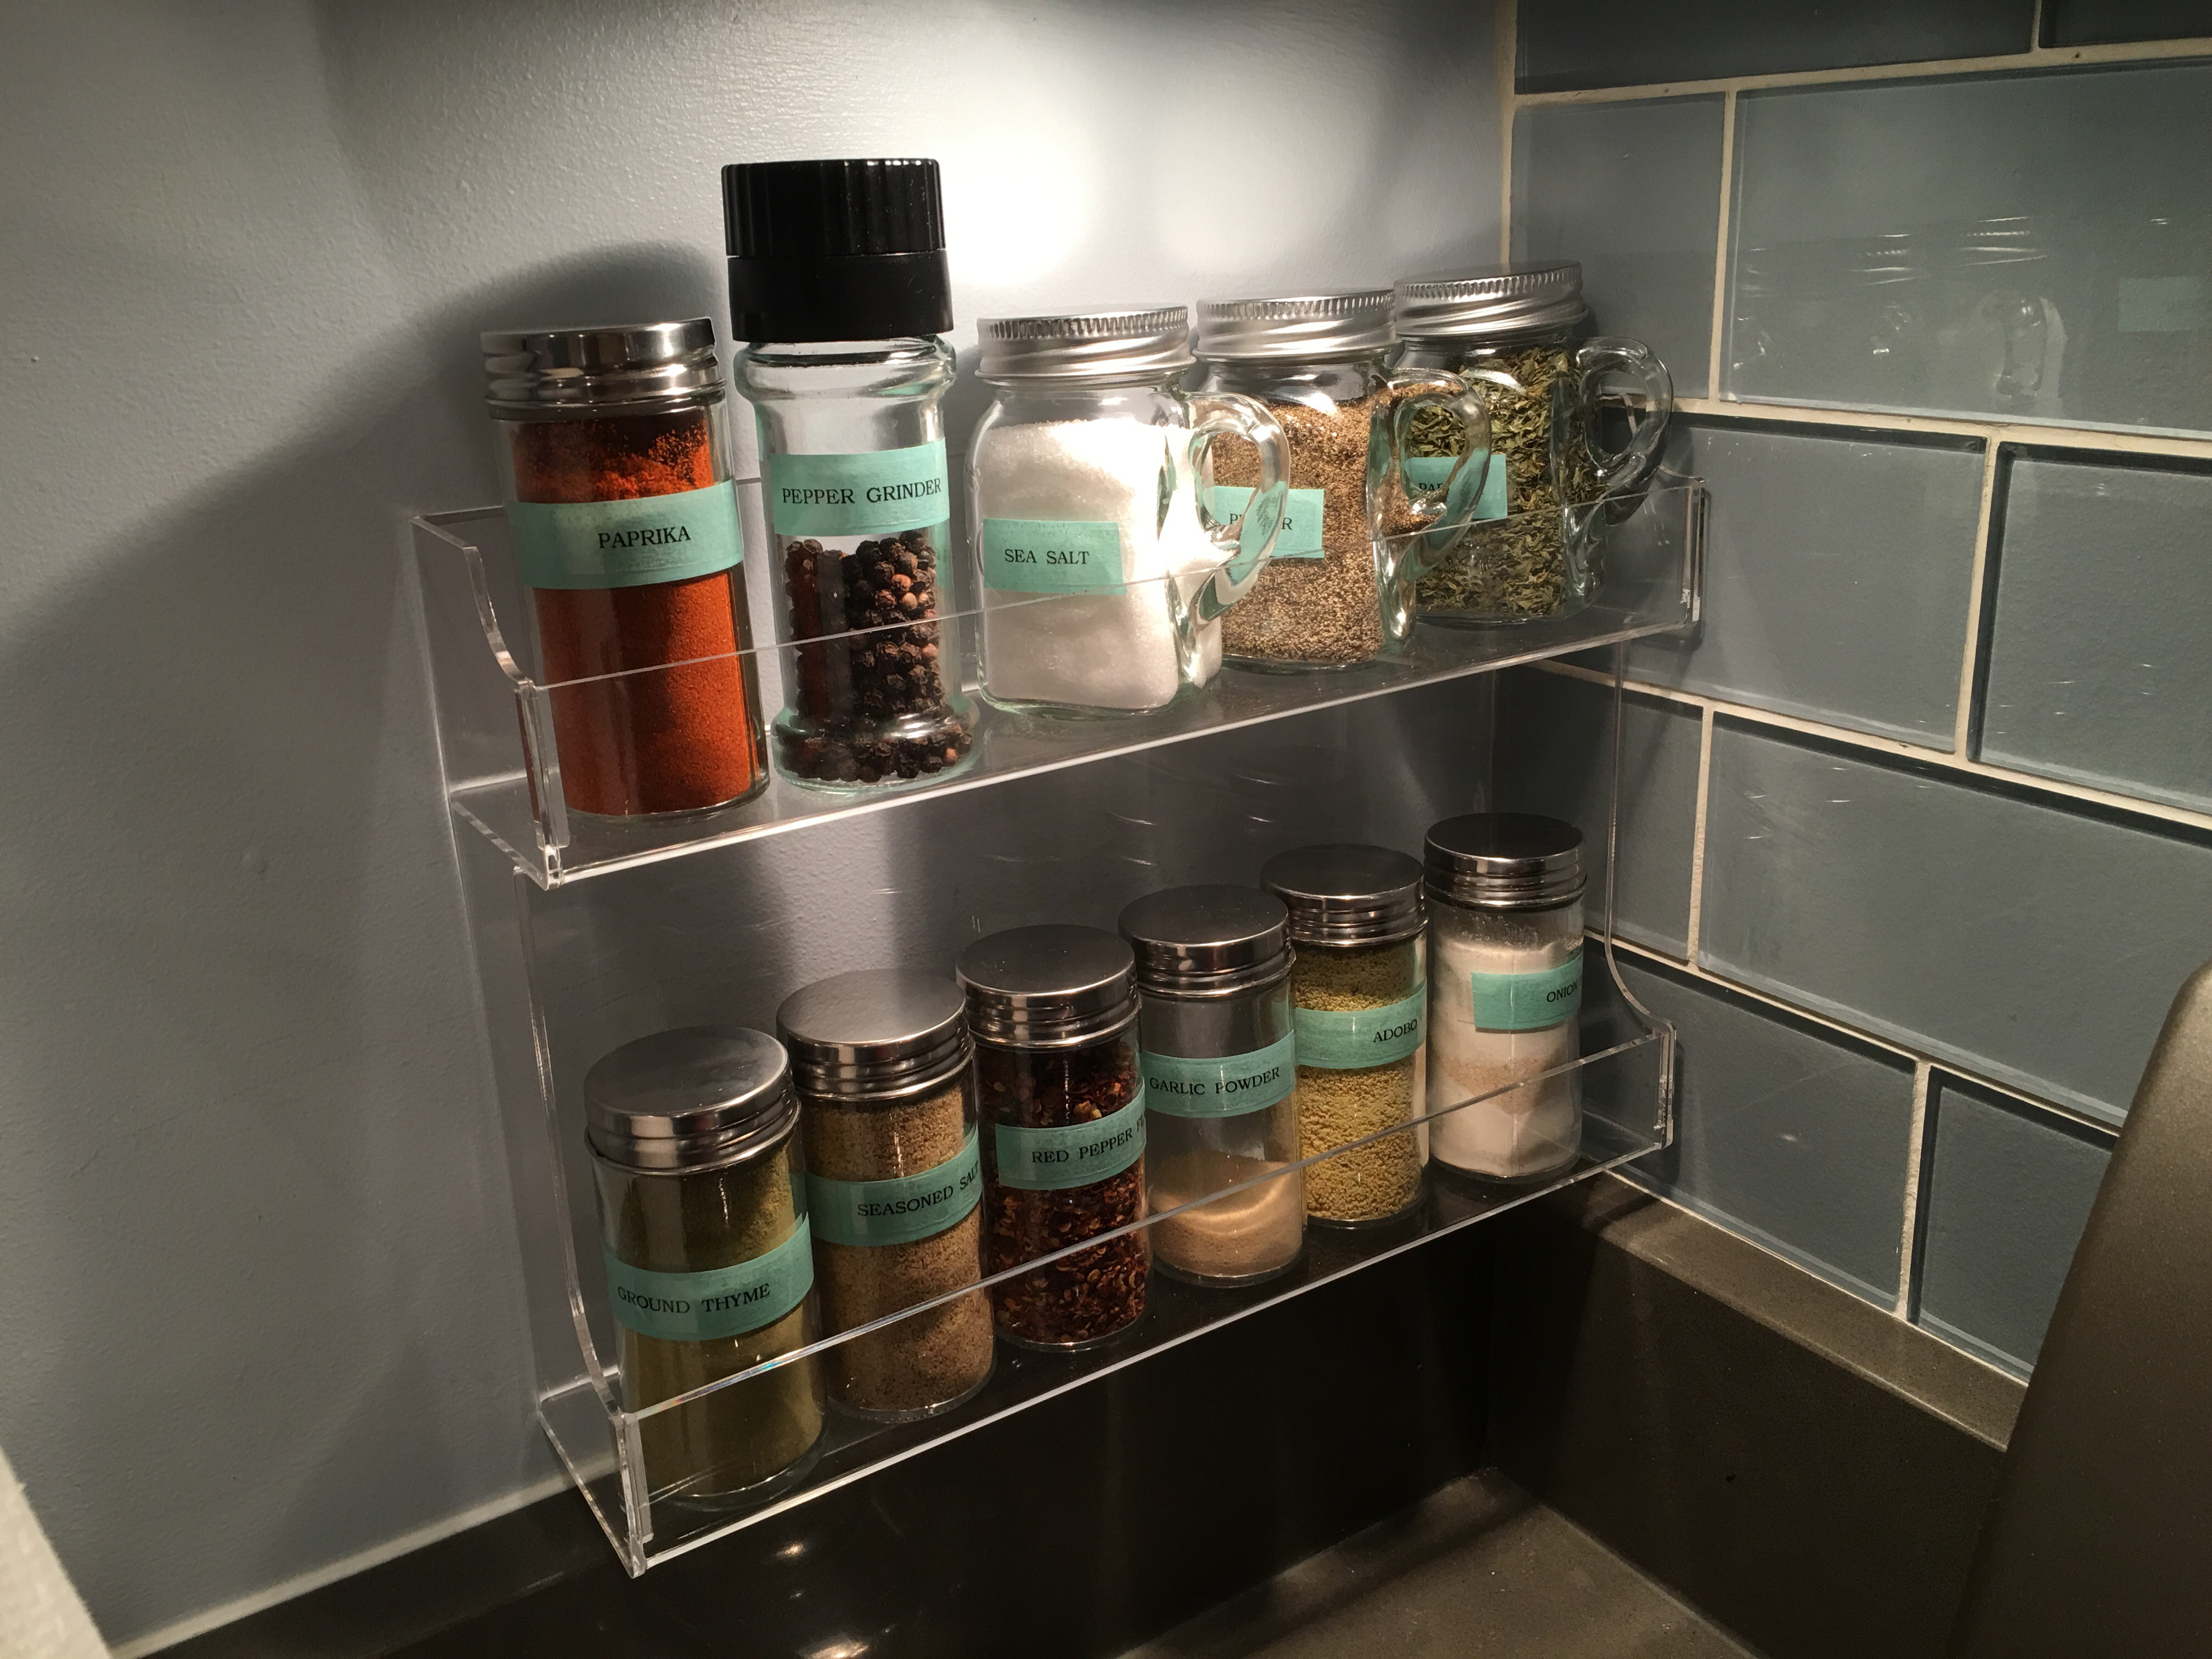
I also found these cute mason jar spice shakers at the Container Store. I added three to the spice rack – one for sea salt, one for pepper and one for parsley.
And here’s my spice rack reveal. Lights off…
…and lights on.
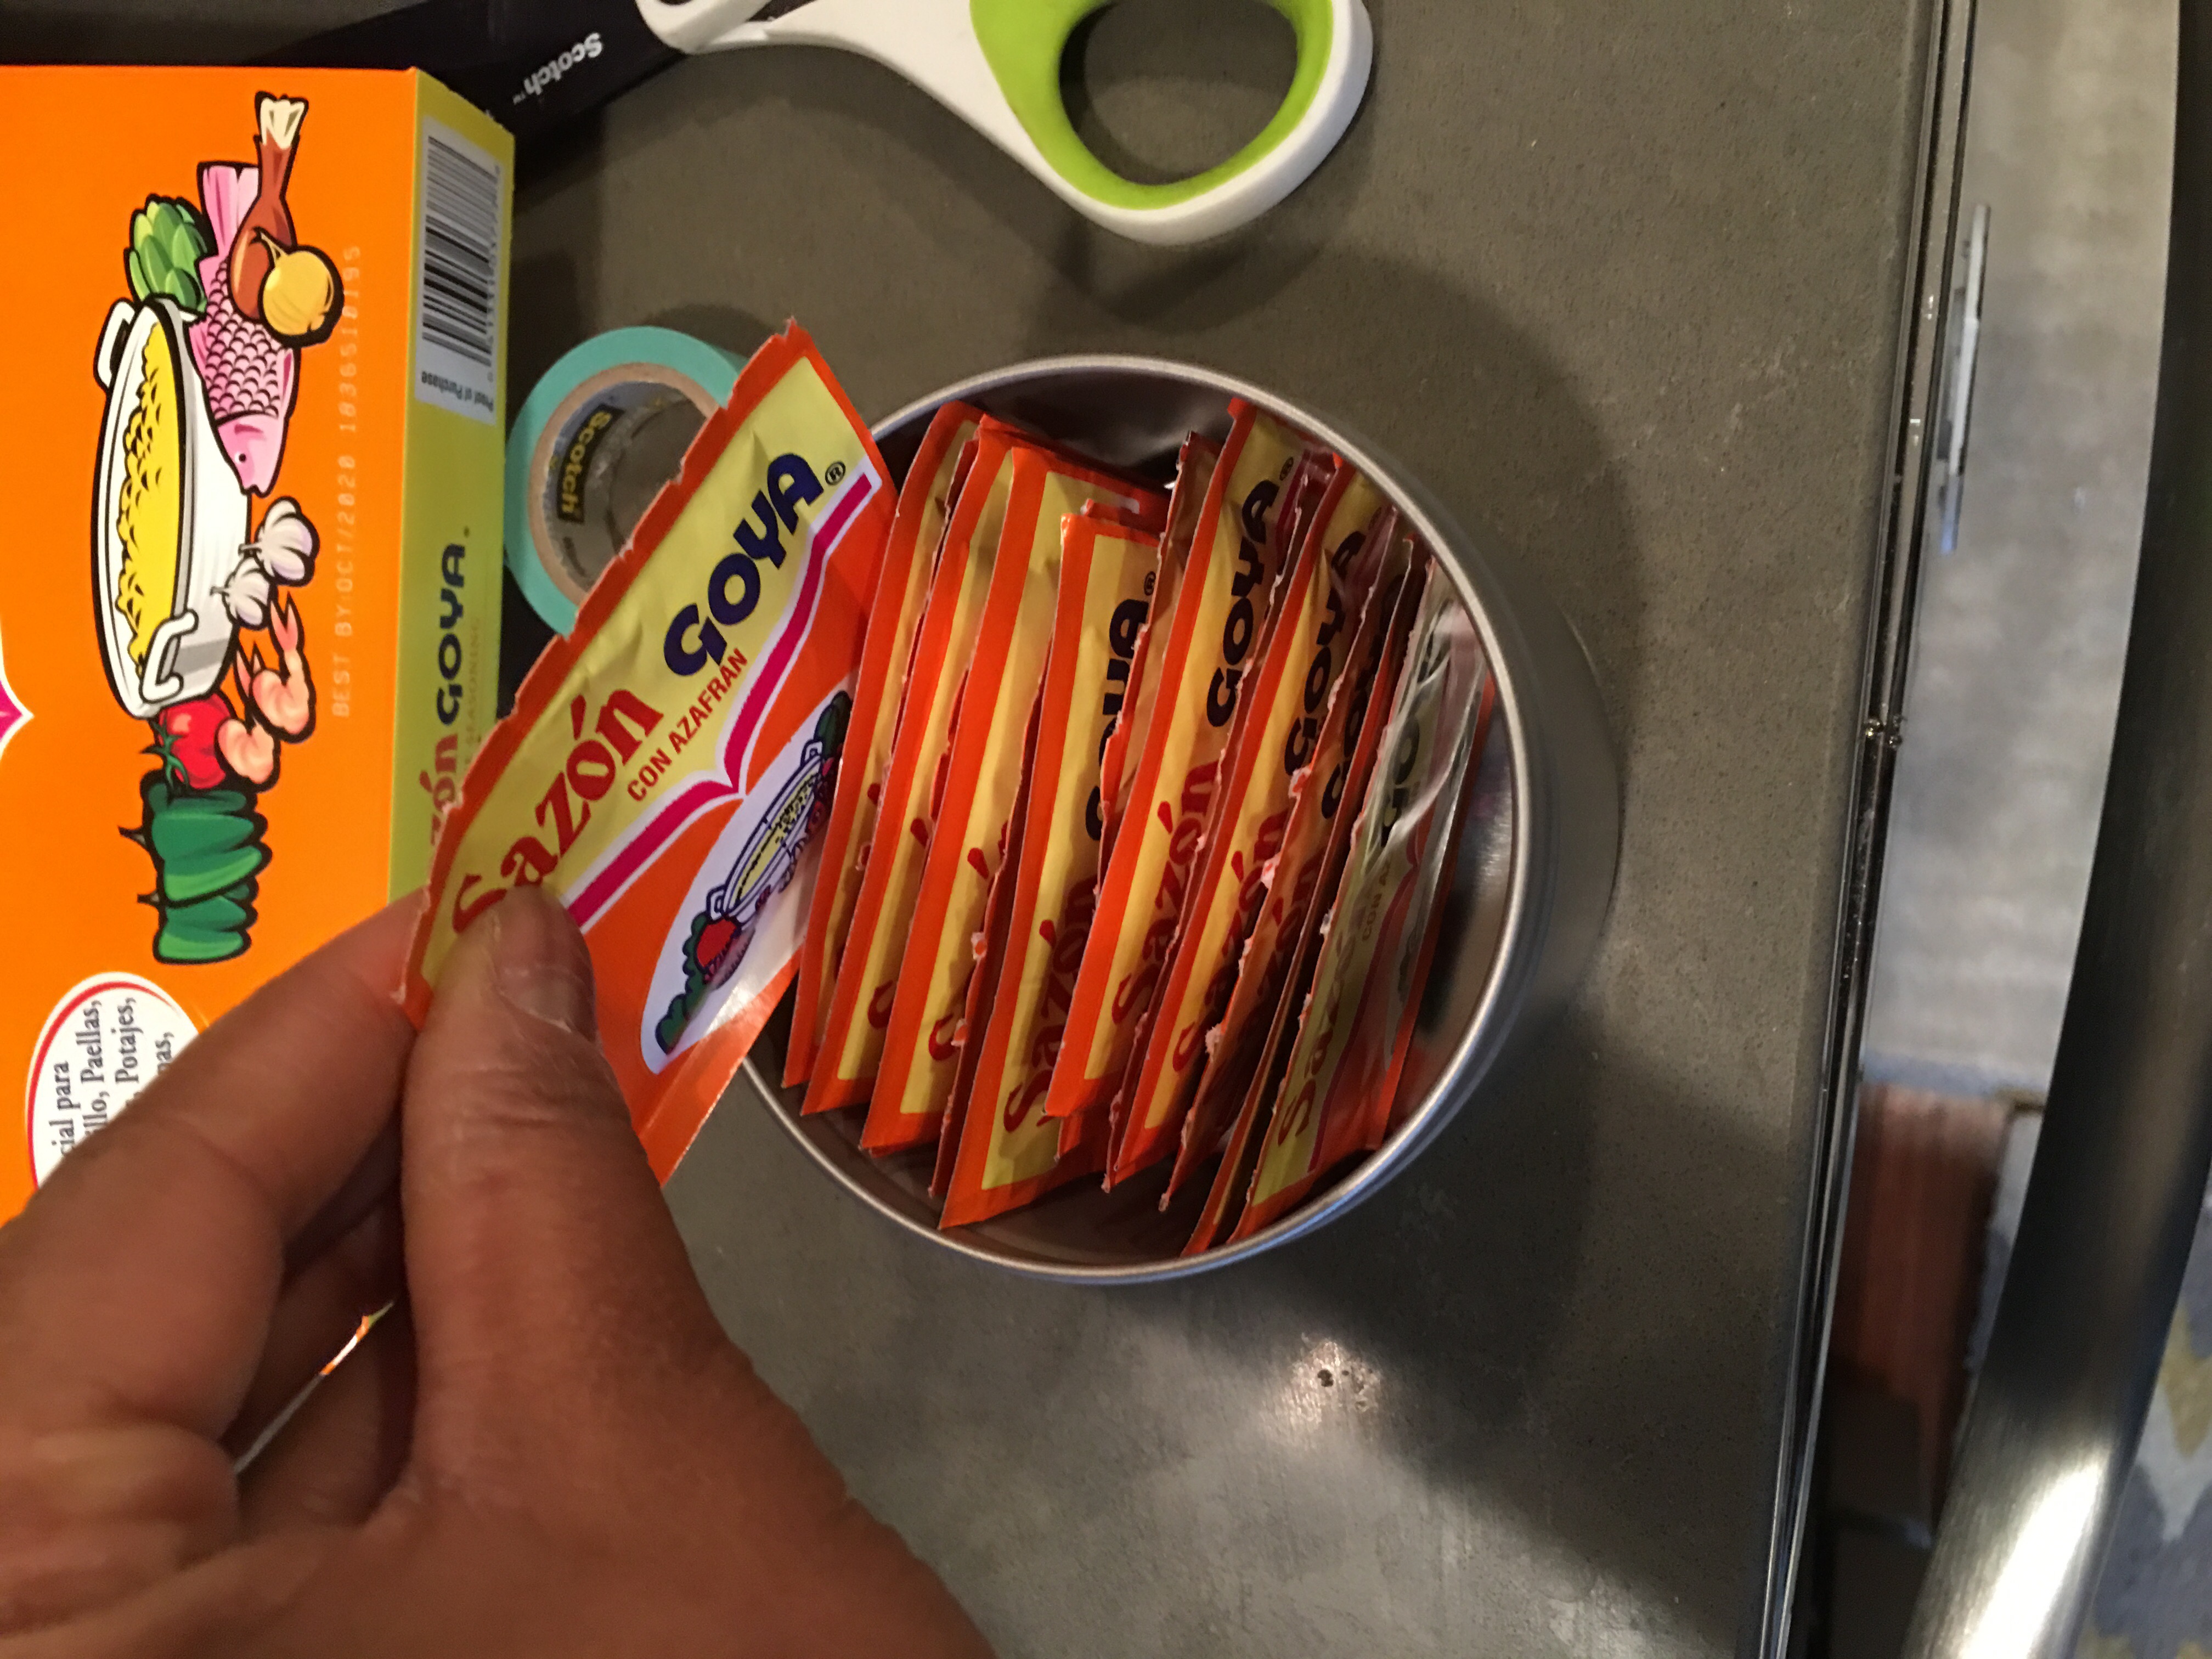
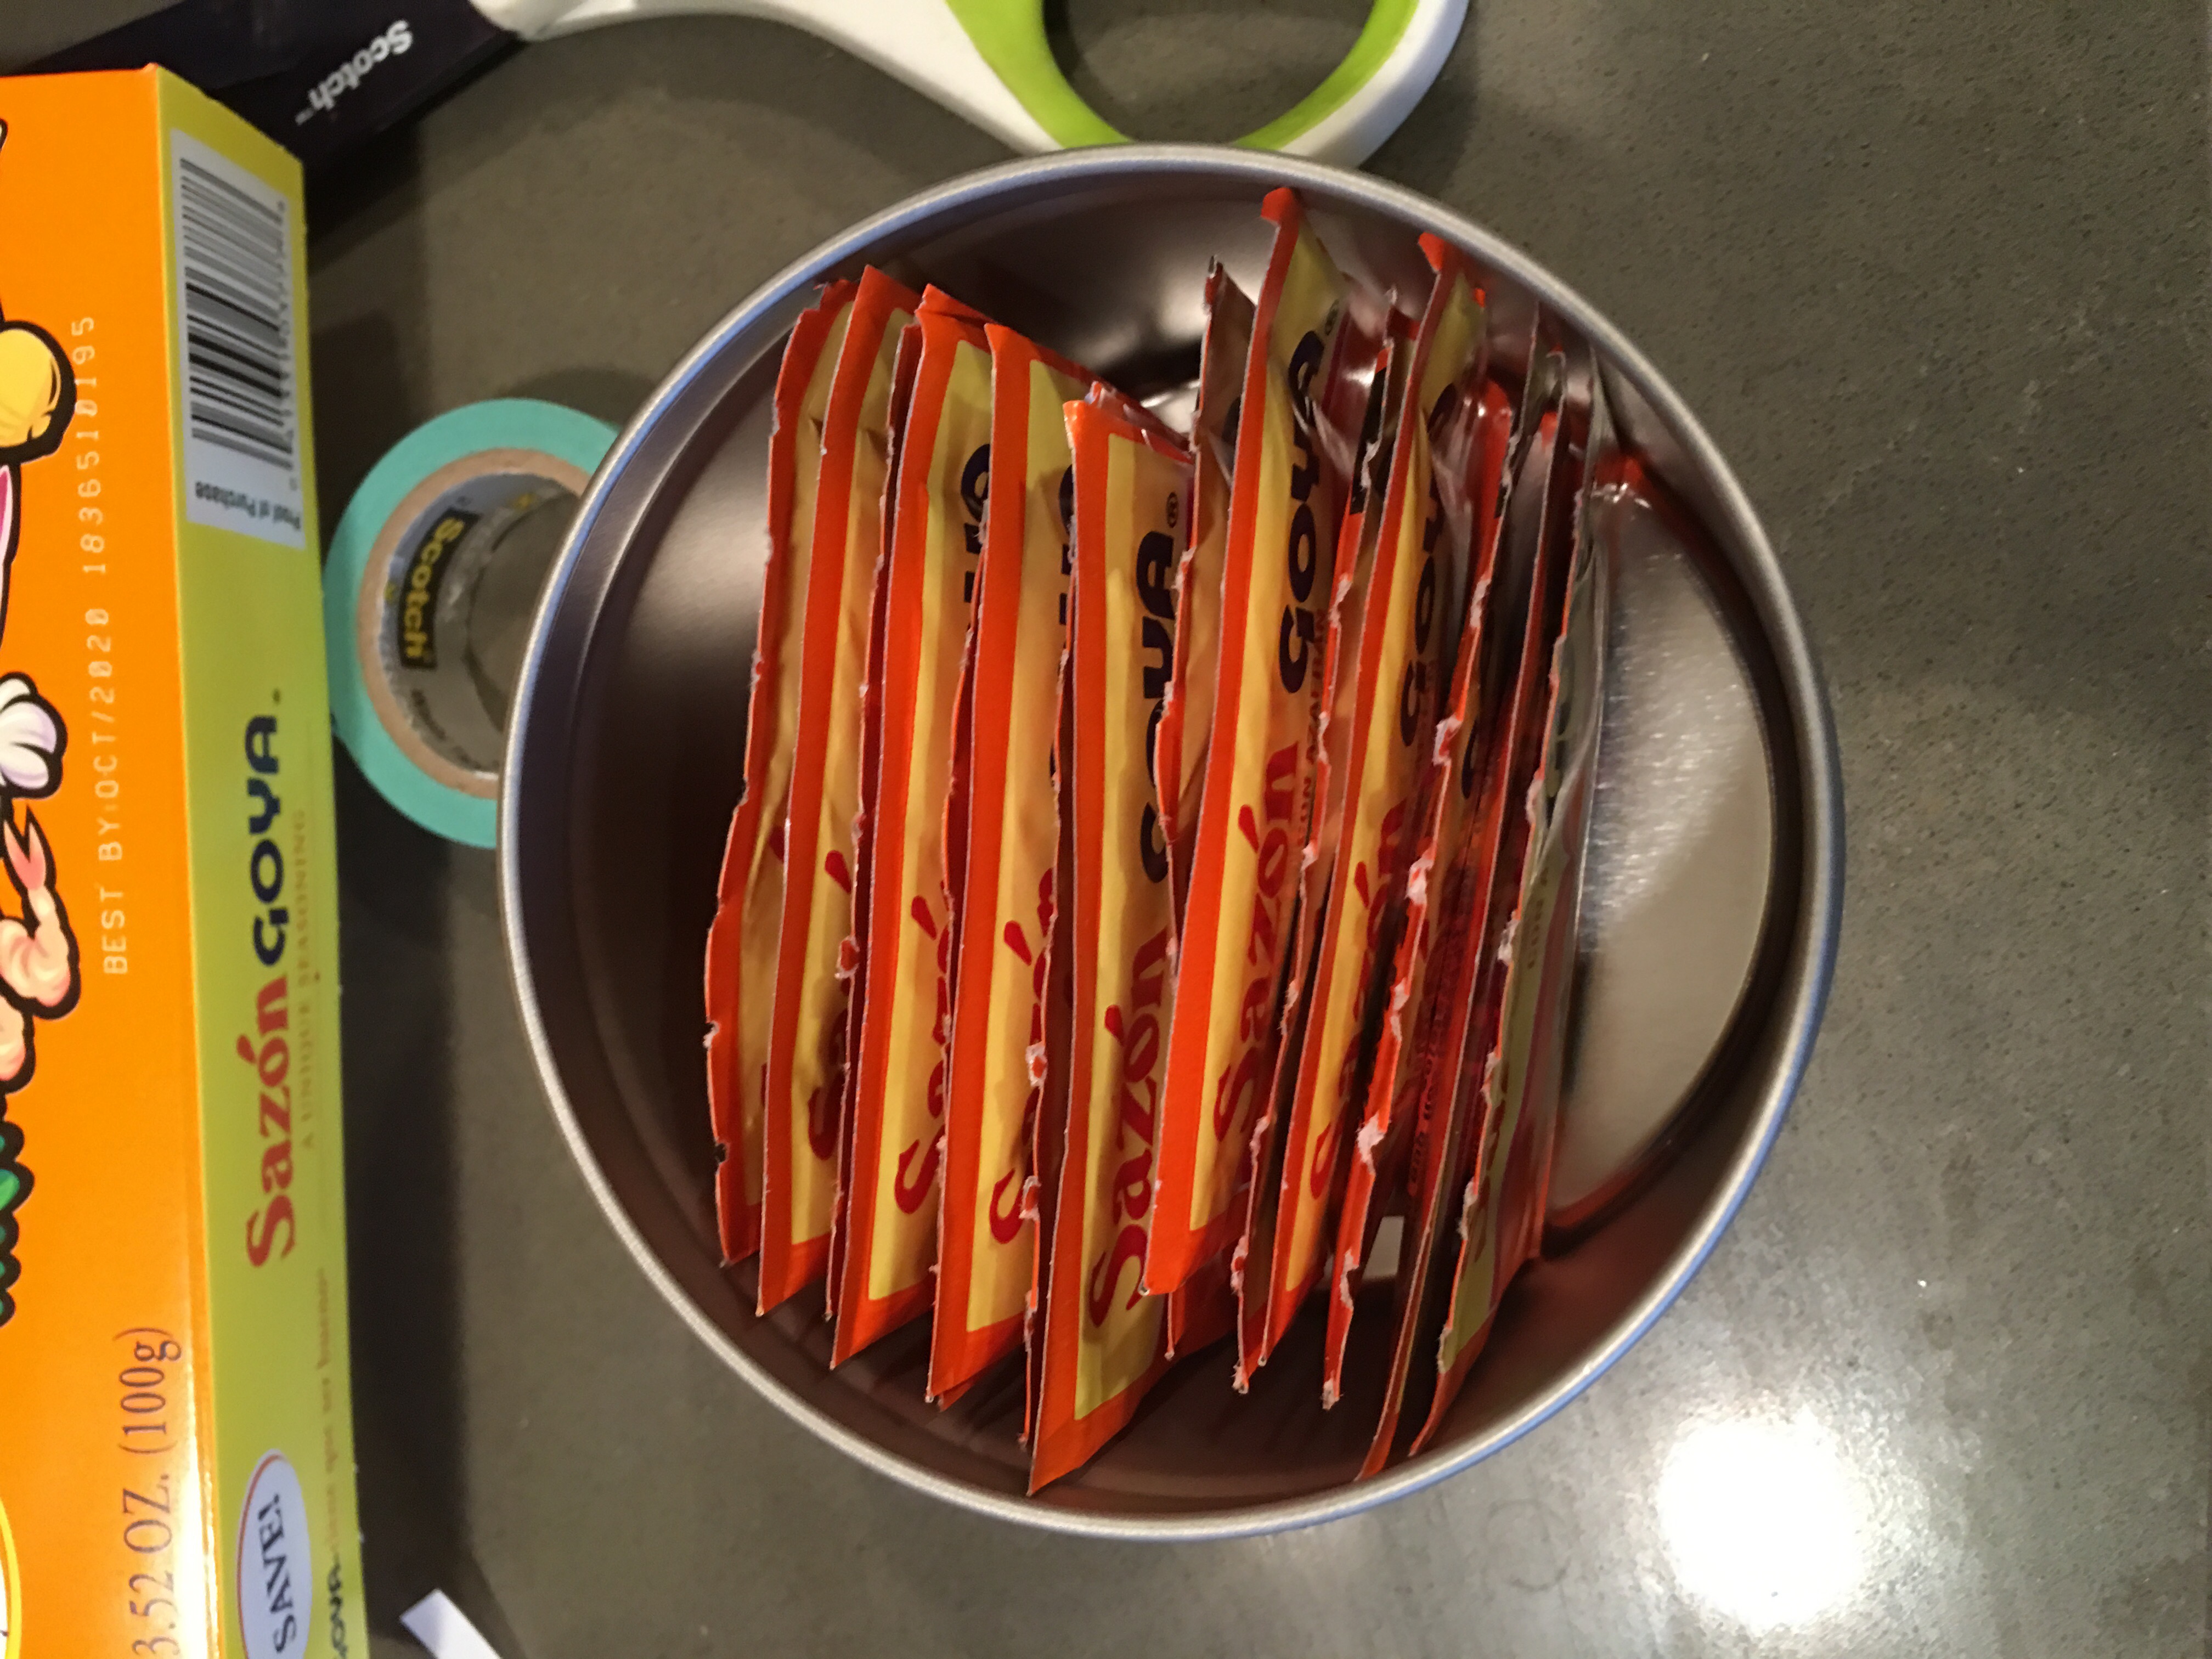
Back to the tins – note to my mom Xenia – Ma…you know how we usually have to squeeze in a big ole box of those Sazon flavoring packets?
Before…
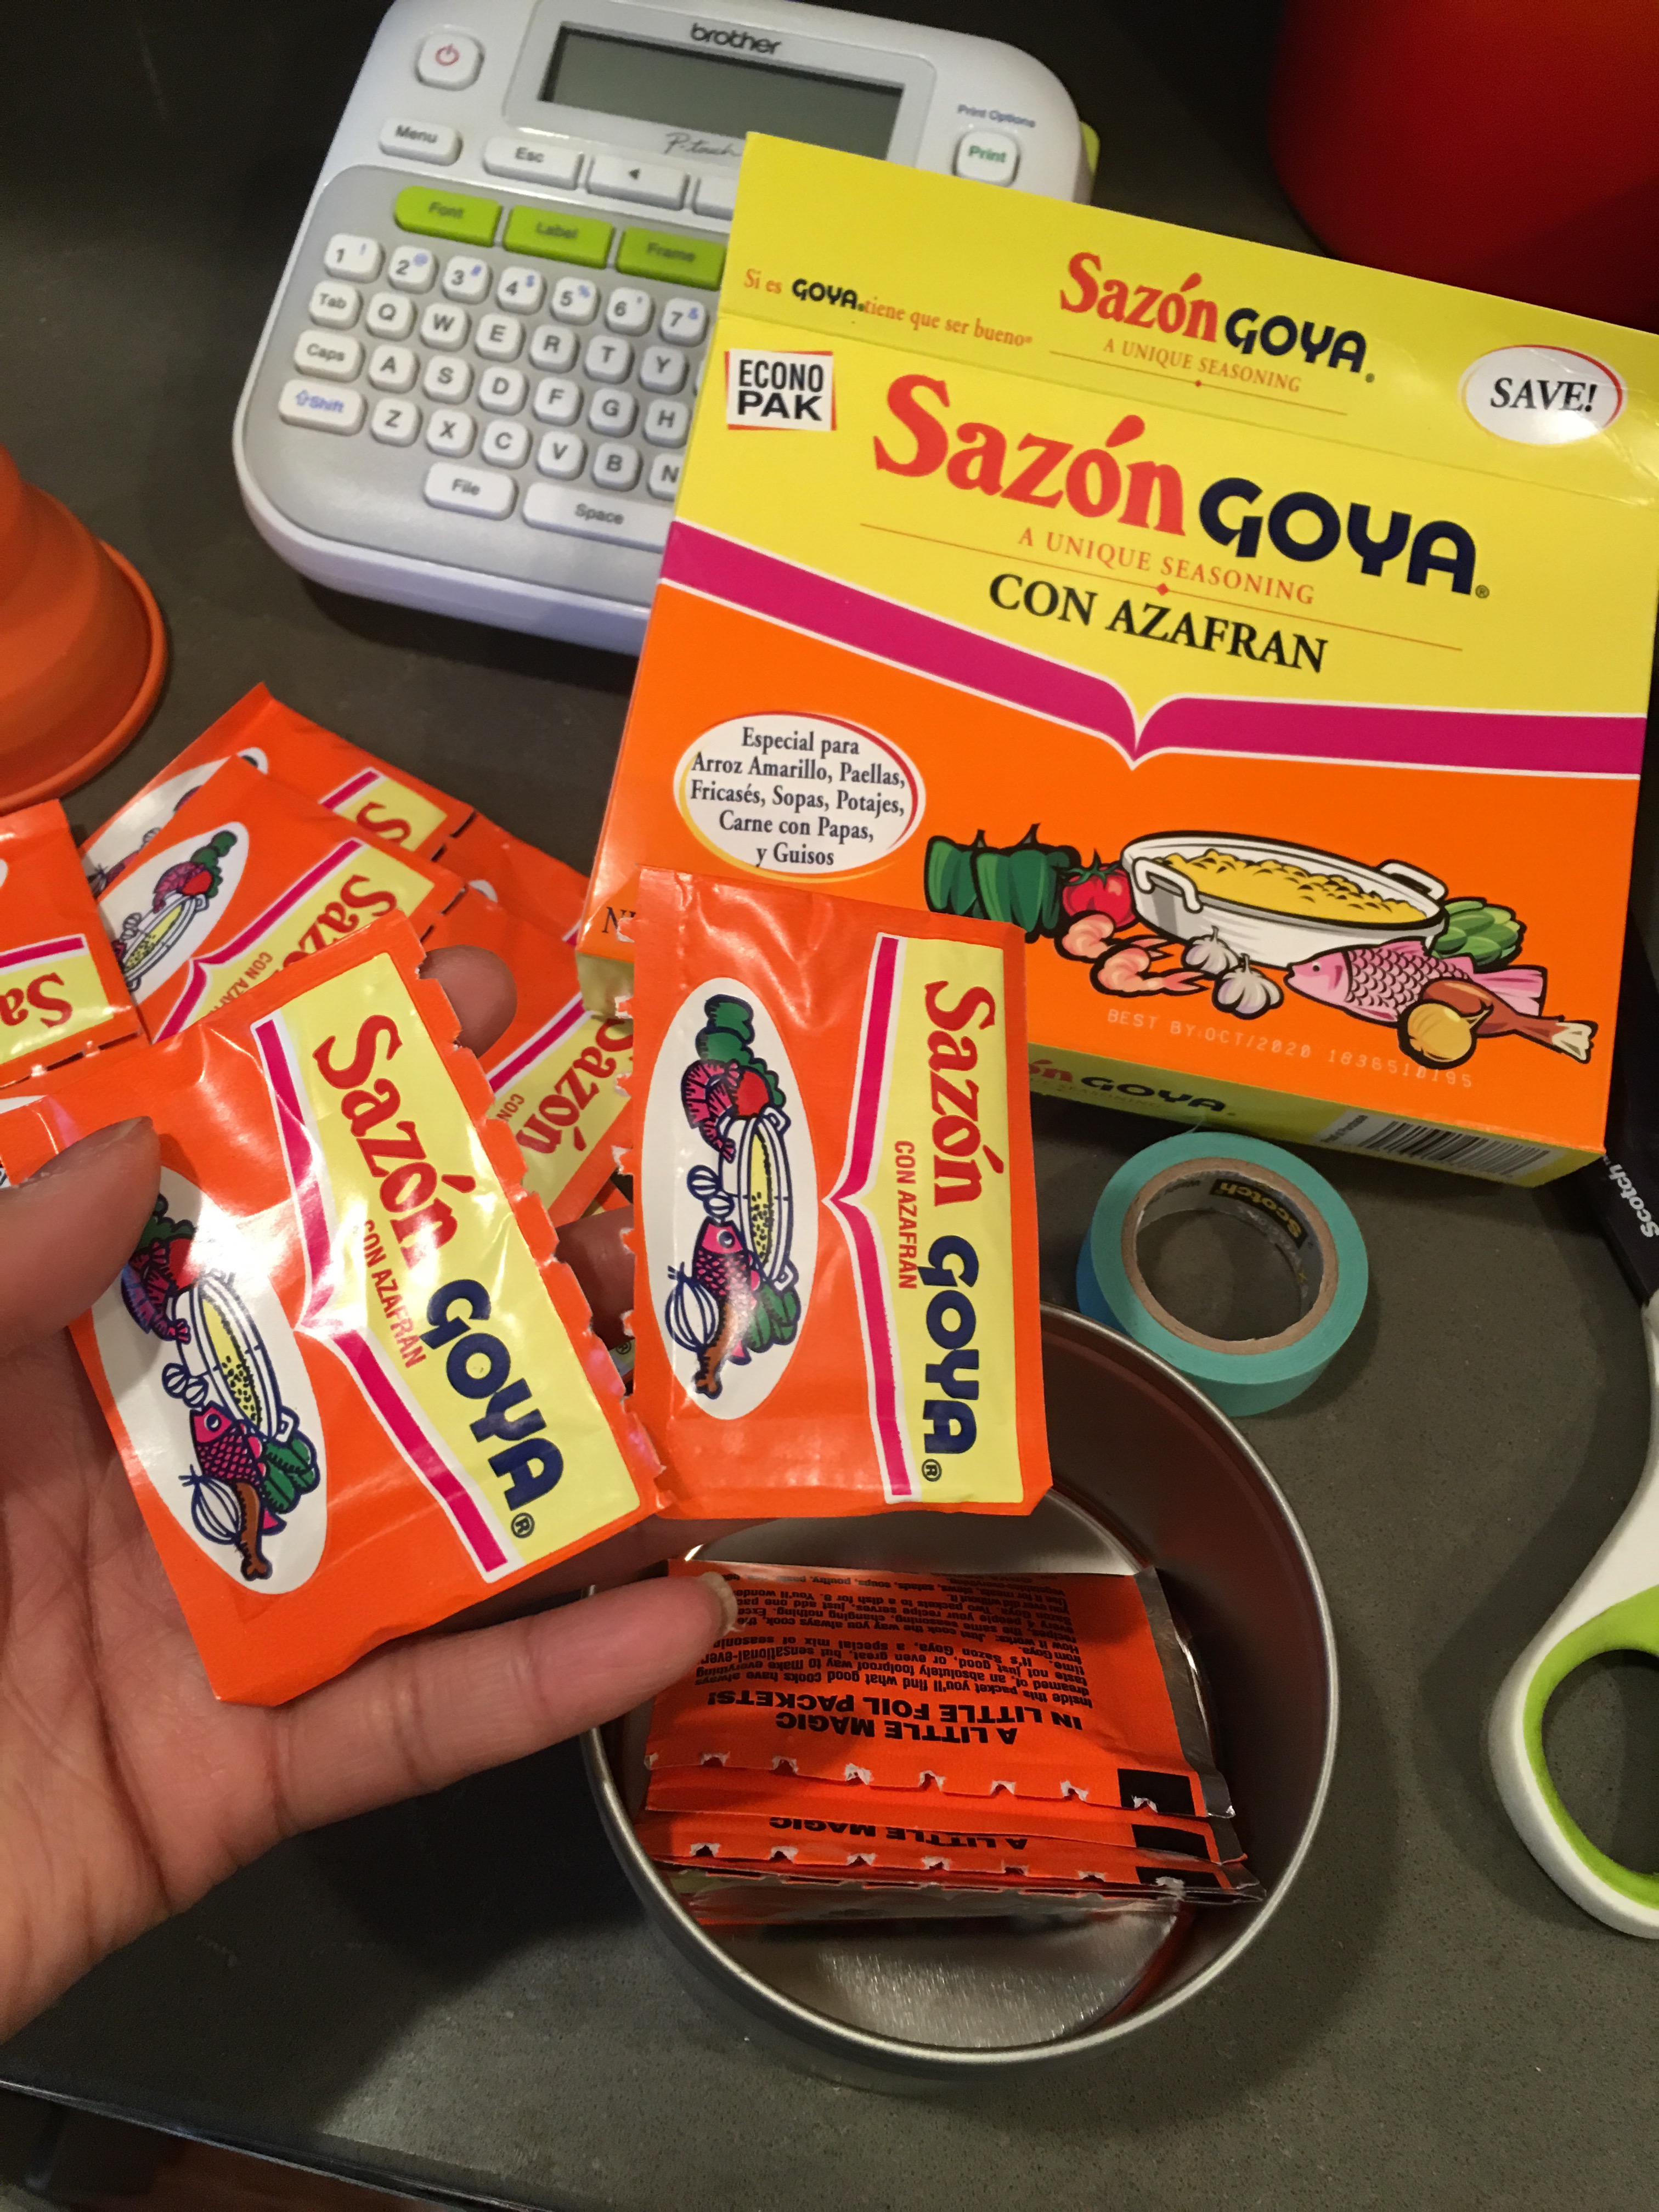
…and after.
In my excitement, I’m looking for something else to tin, to shake and to label…
…but I’m now out of containers. Boo! So sad.
I’m working on getting more tins to finish organizing the rest of my spices. In the meantime I shall enjoy the newest arrivals in the pantry…
 …and get to work with cleaning and recycling the occupants that are moving out. V-