
Paper Decorated Tin Cans
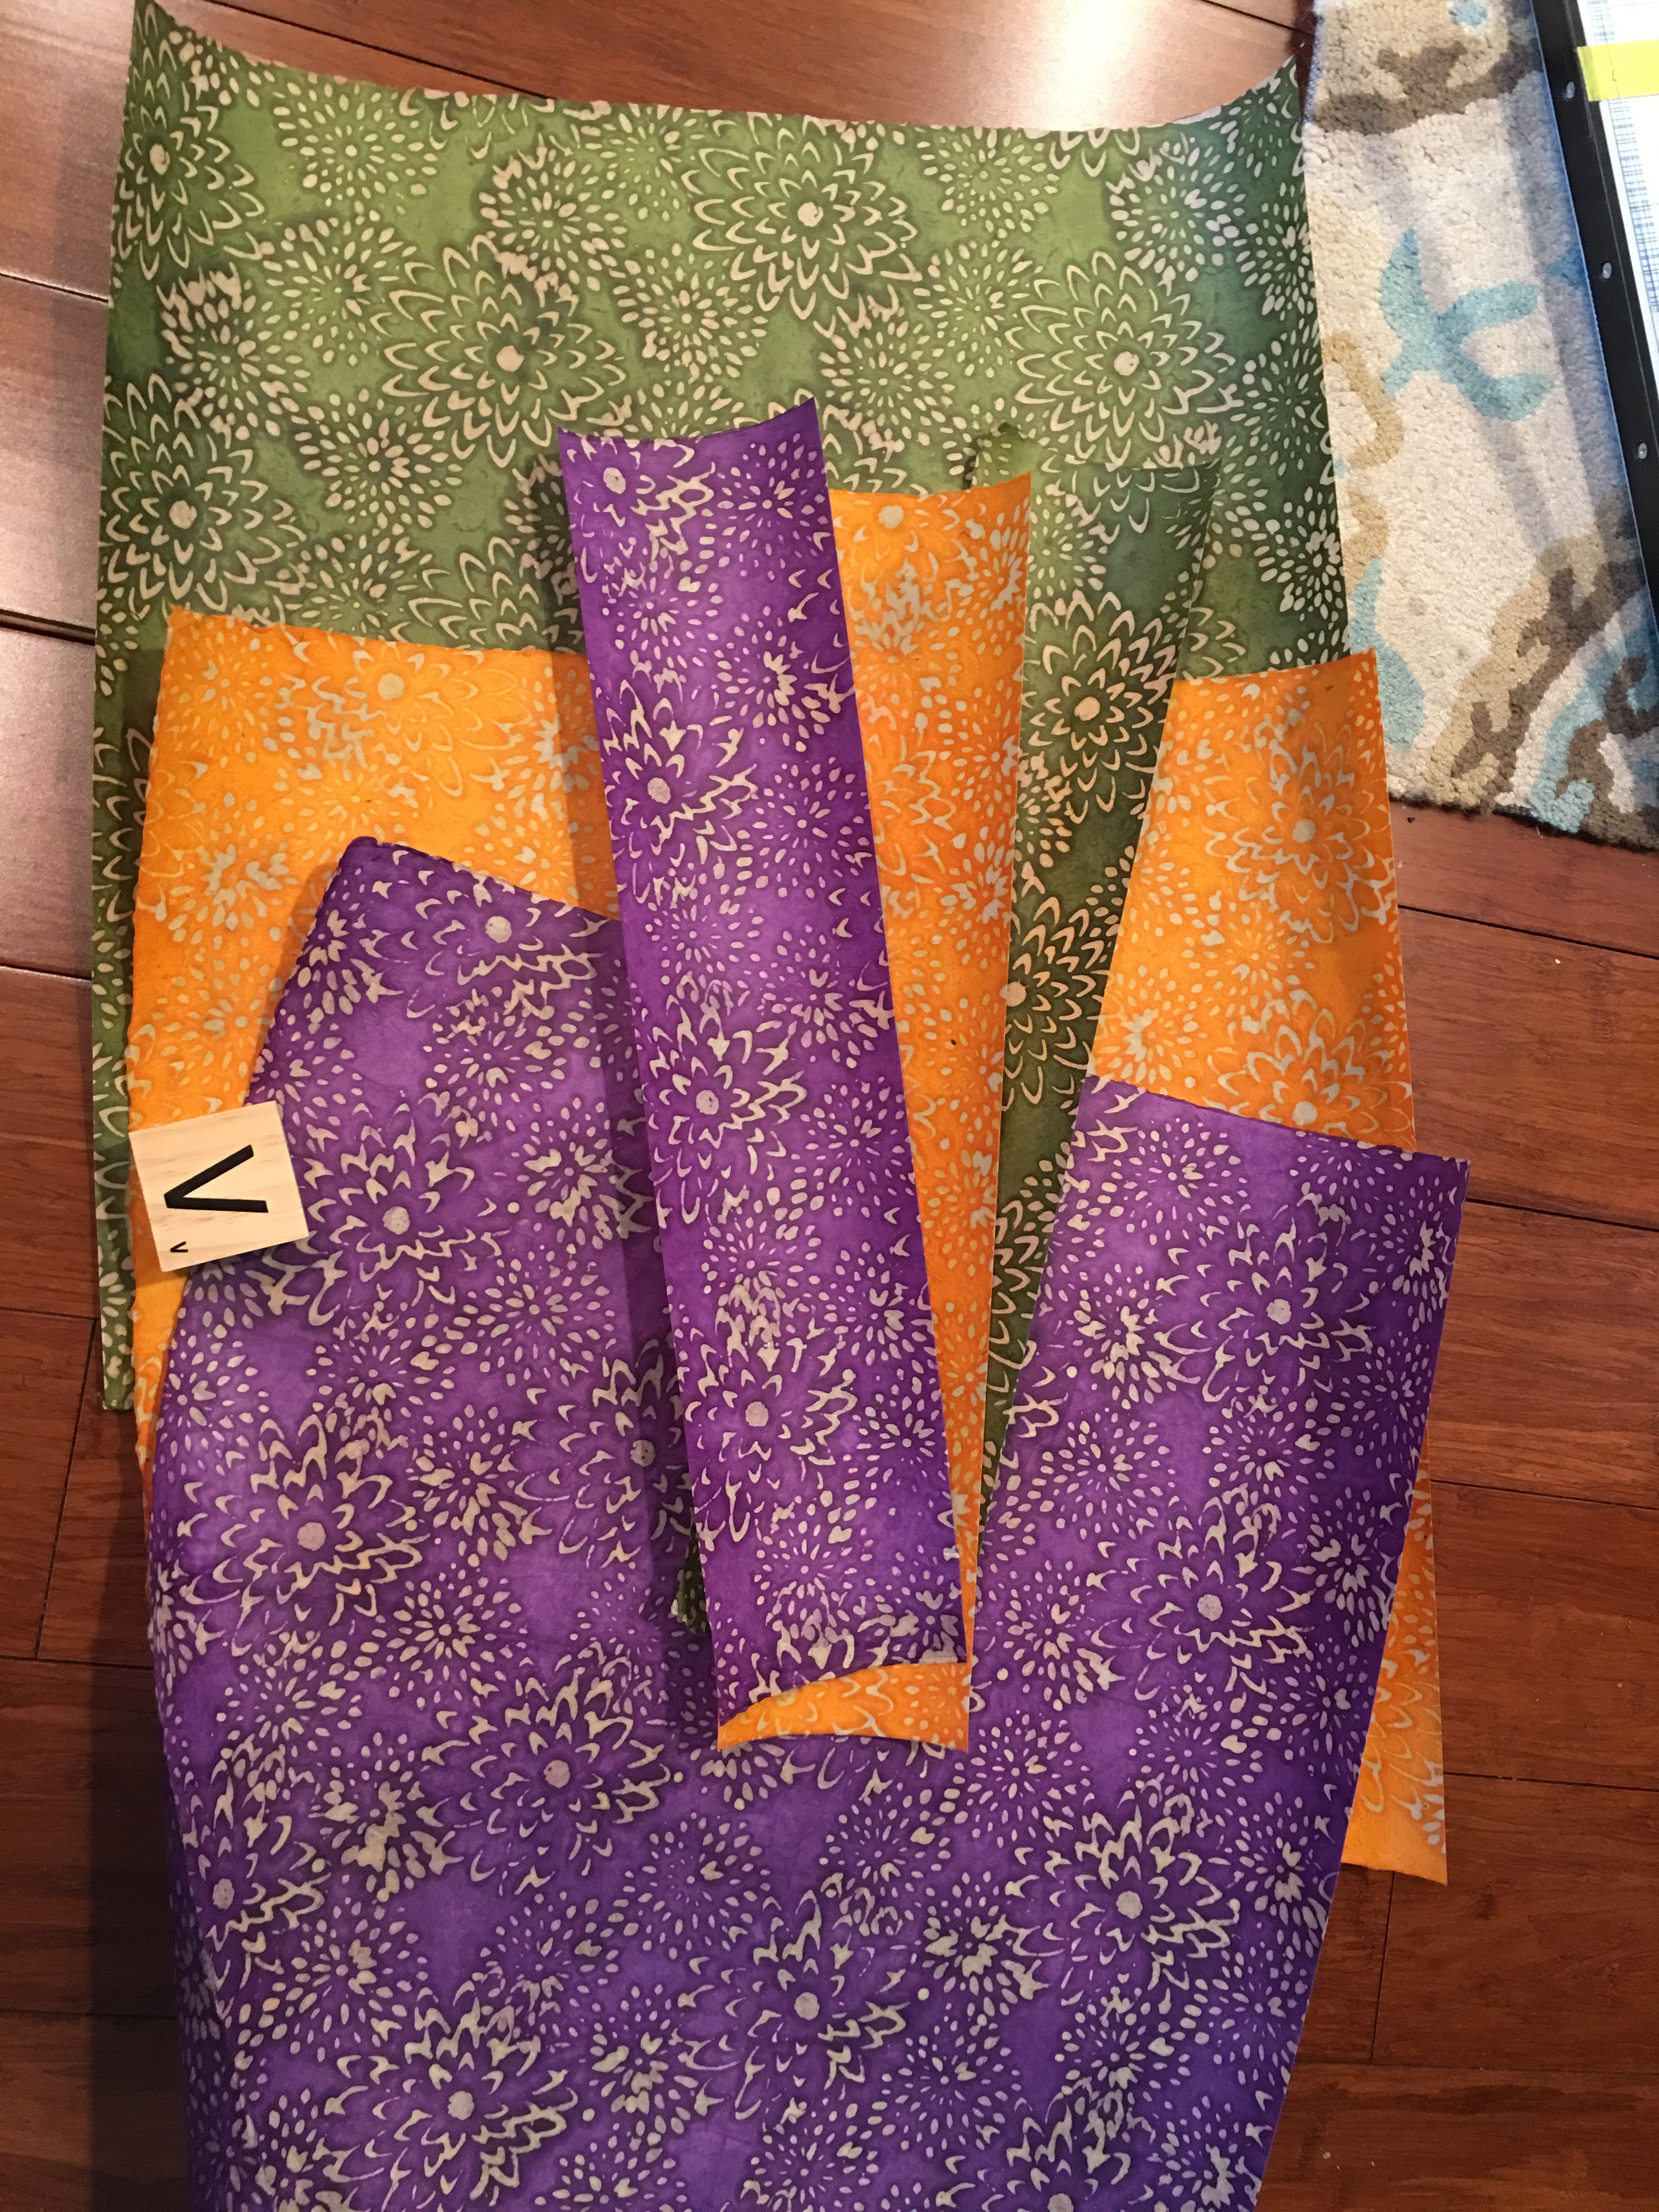
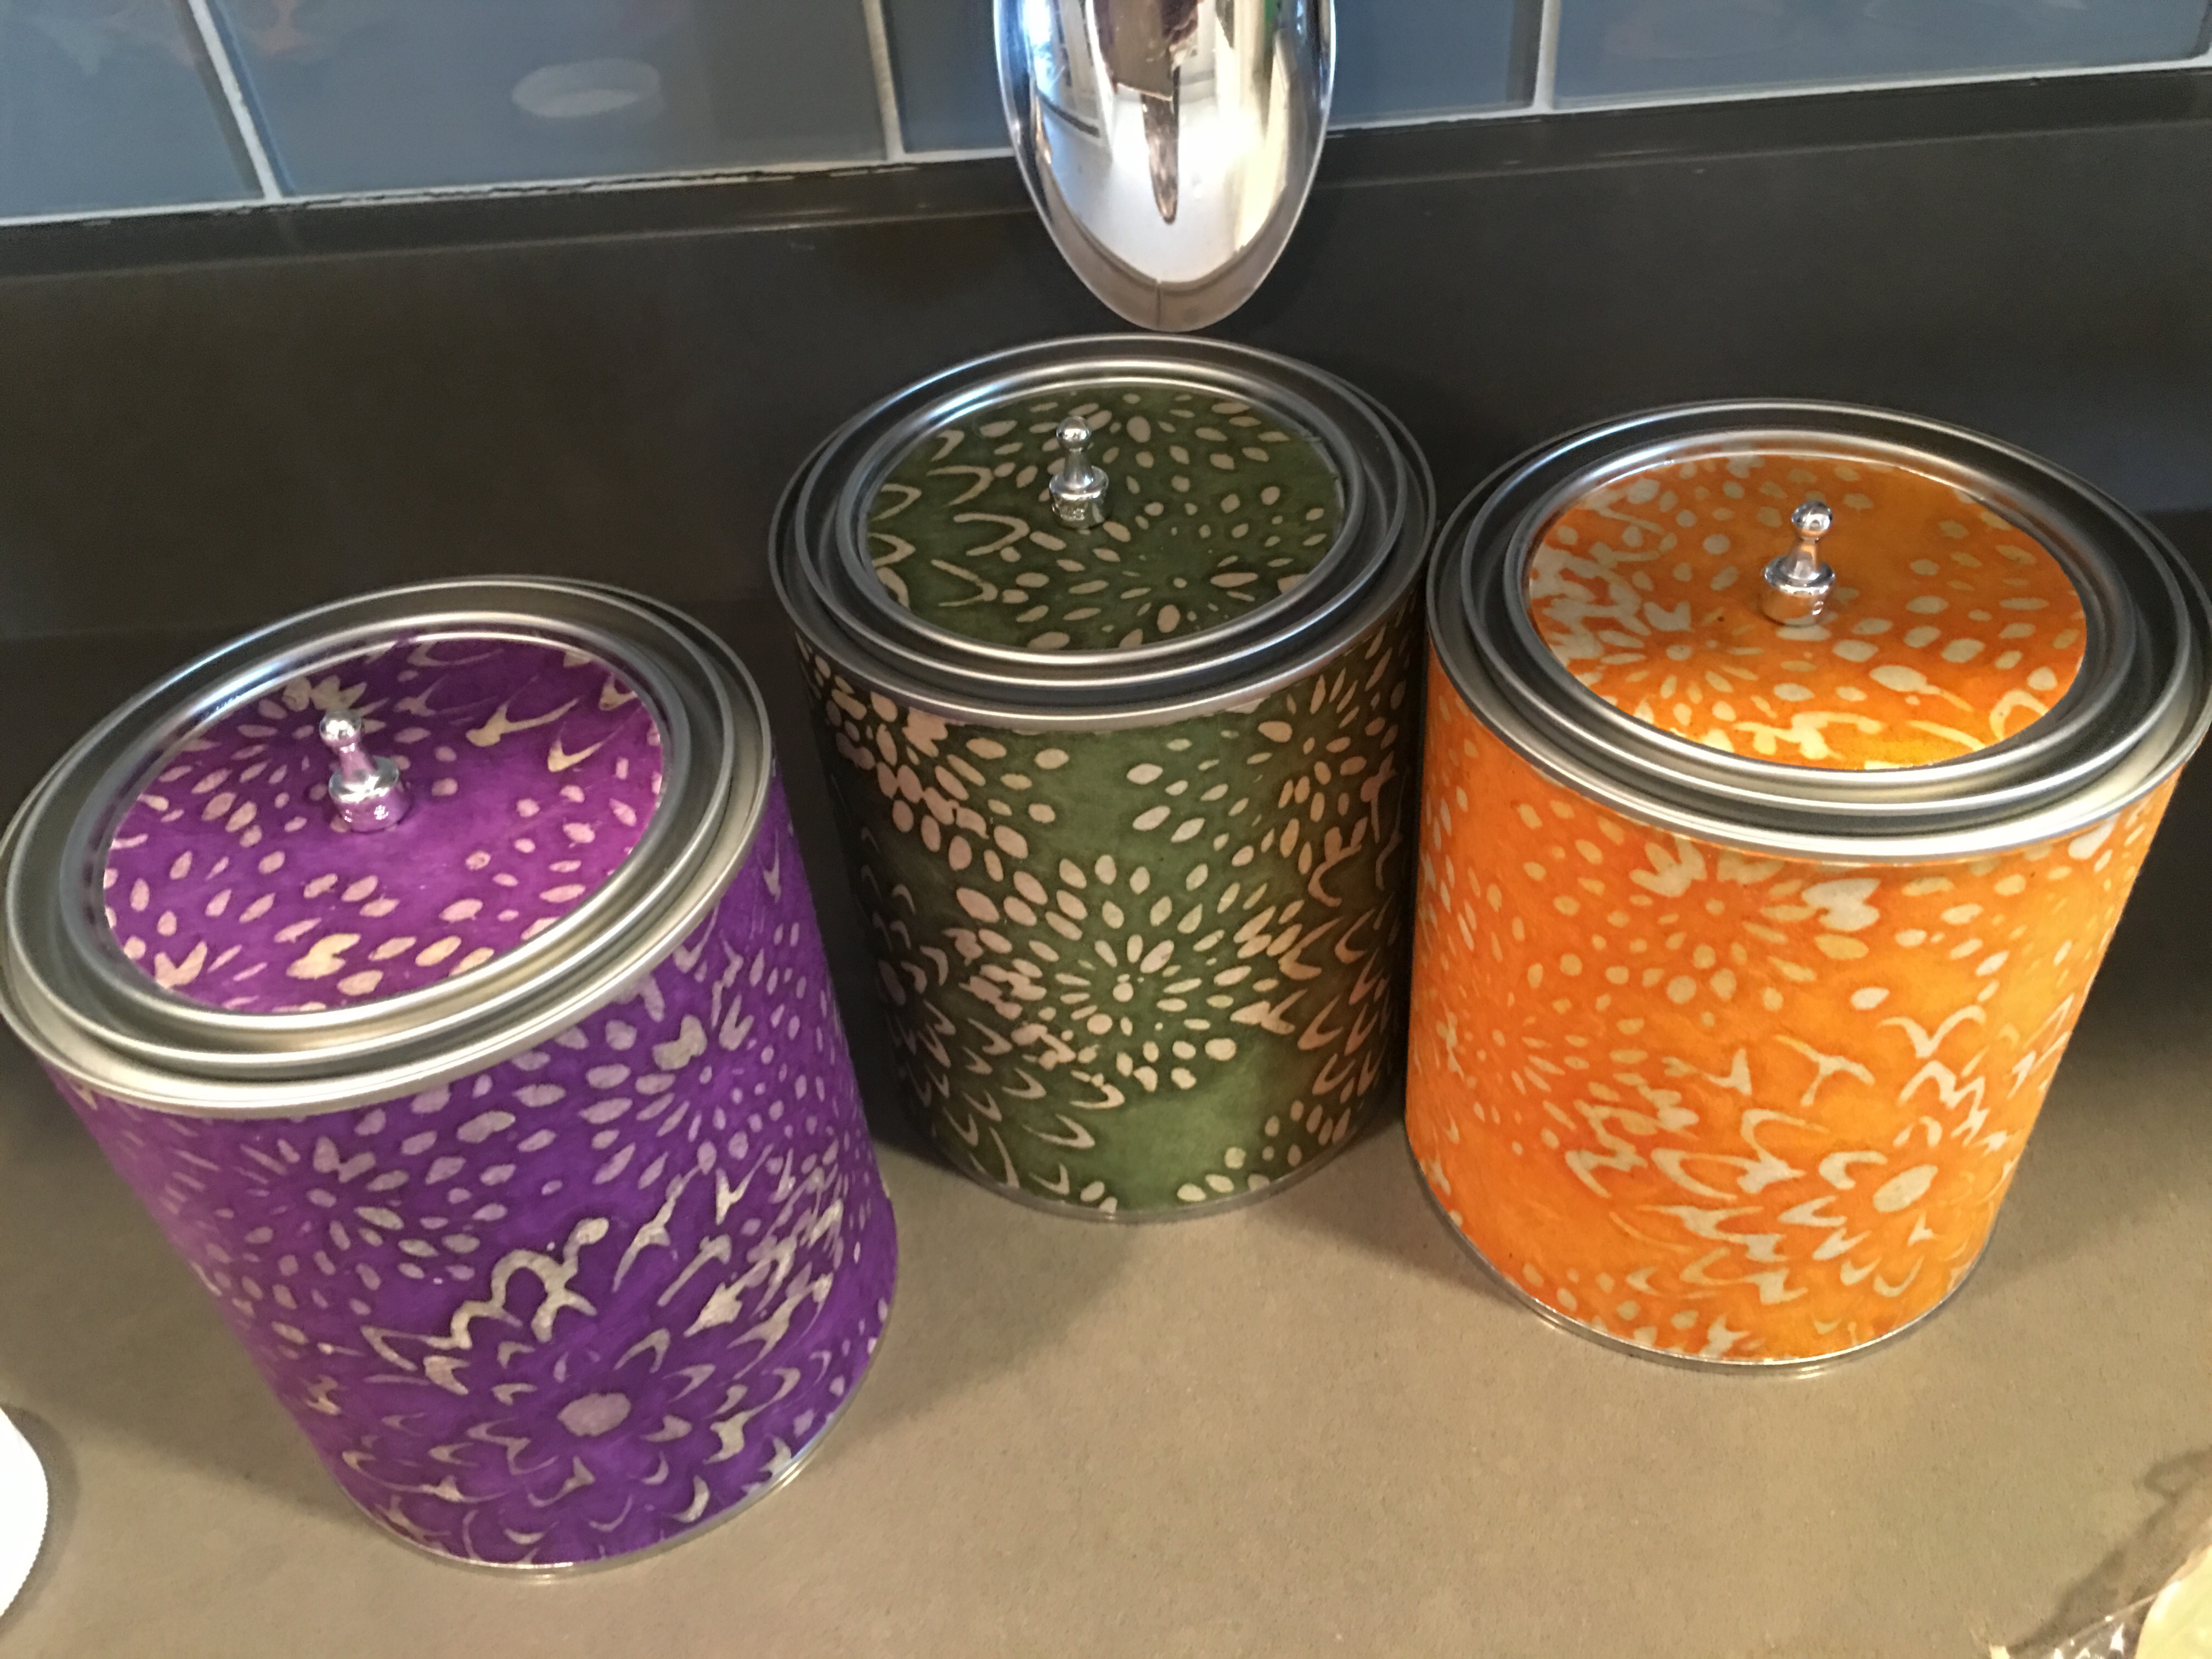
March 19, 2016: I got these beautiful new papers from the Paper Mojo in one of my most favorite textures and designs. I ordered sheets of Batiked Lokta printed paper in the mums design collection – Mums in Orange, Mums in Olive Green and Mums in Purple.
I first fell for these papers when I saw them in other colors at the Paper Source. I’ve since bought several sheets of the “Mums” and have used them in various VidaDIY projects (box decorating, wood decorating, wall sconces, etcetera).
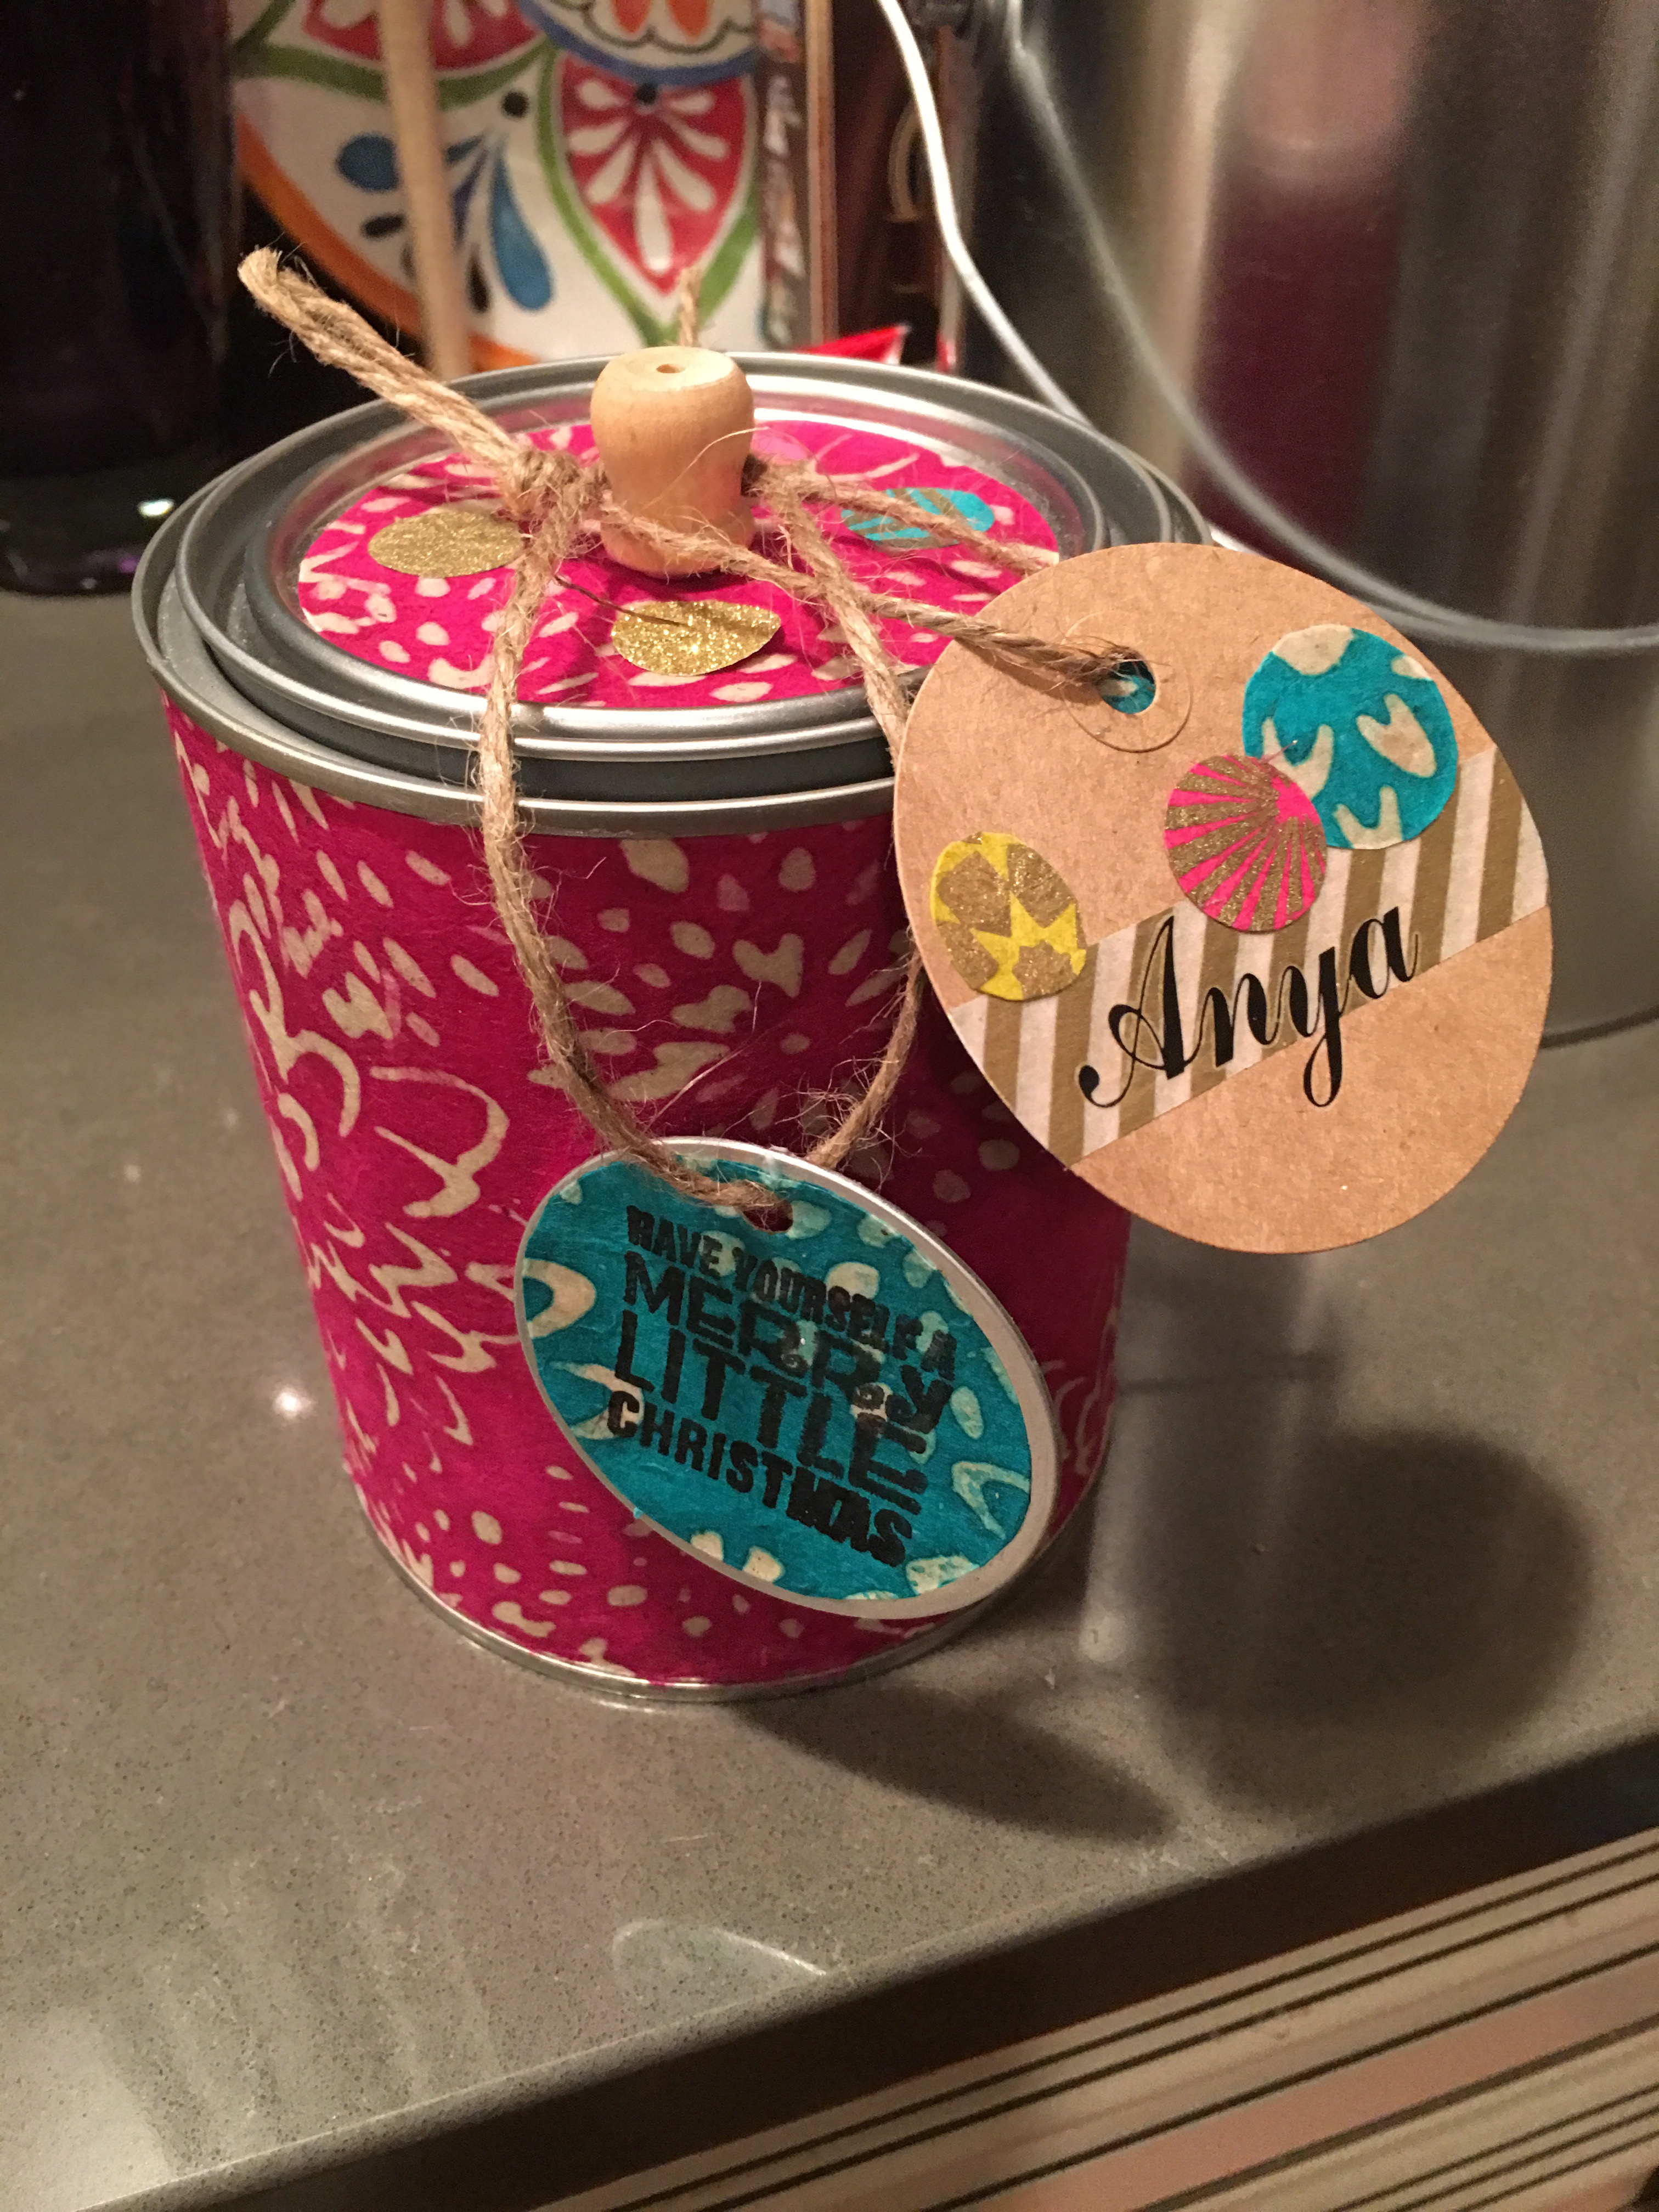
But one of my favorite uses for this paper is tin can decorating. I’ve done several paper decorated cans over the past few months (and have found many uses for them, chief of which is storing my various craft supplies). And I’ve gifted one of these cans to my sweet, young friend Anya this past Christmas (by making her an “Anya Christmas Craft Can”).
But it has taken me until now to realize that I’ve never captured the steps for decorating these cans! (Argh!) Well, no time like the present. Here’s the rundown on this quick and crafty project.
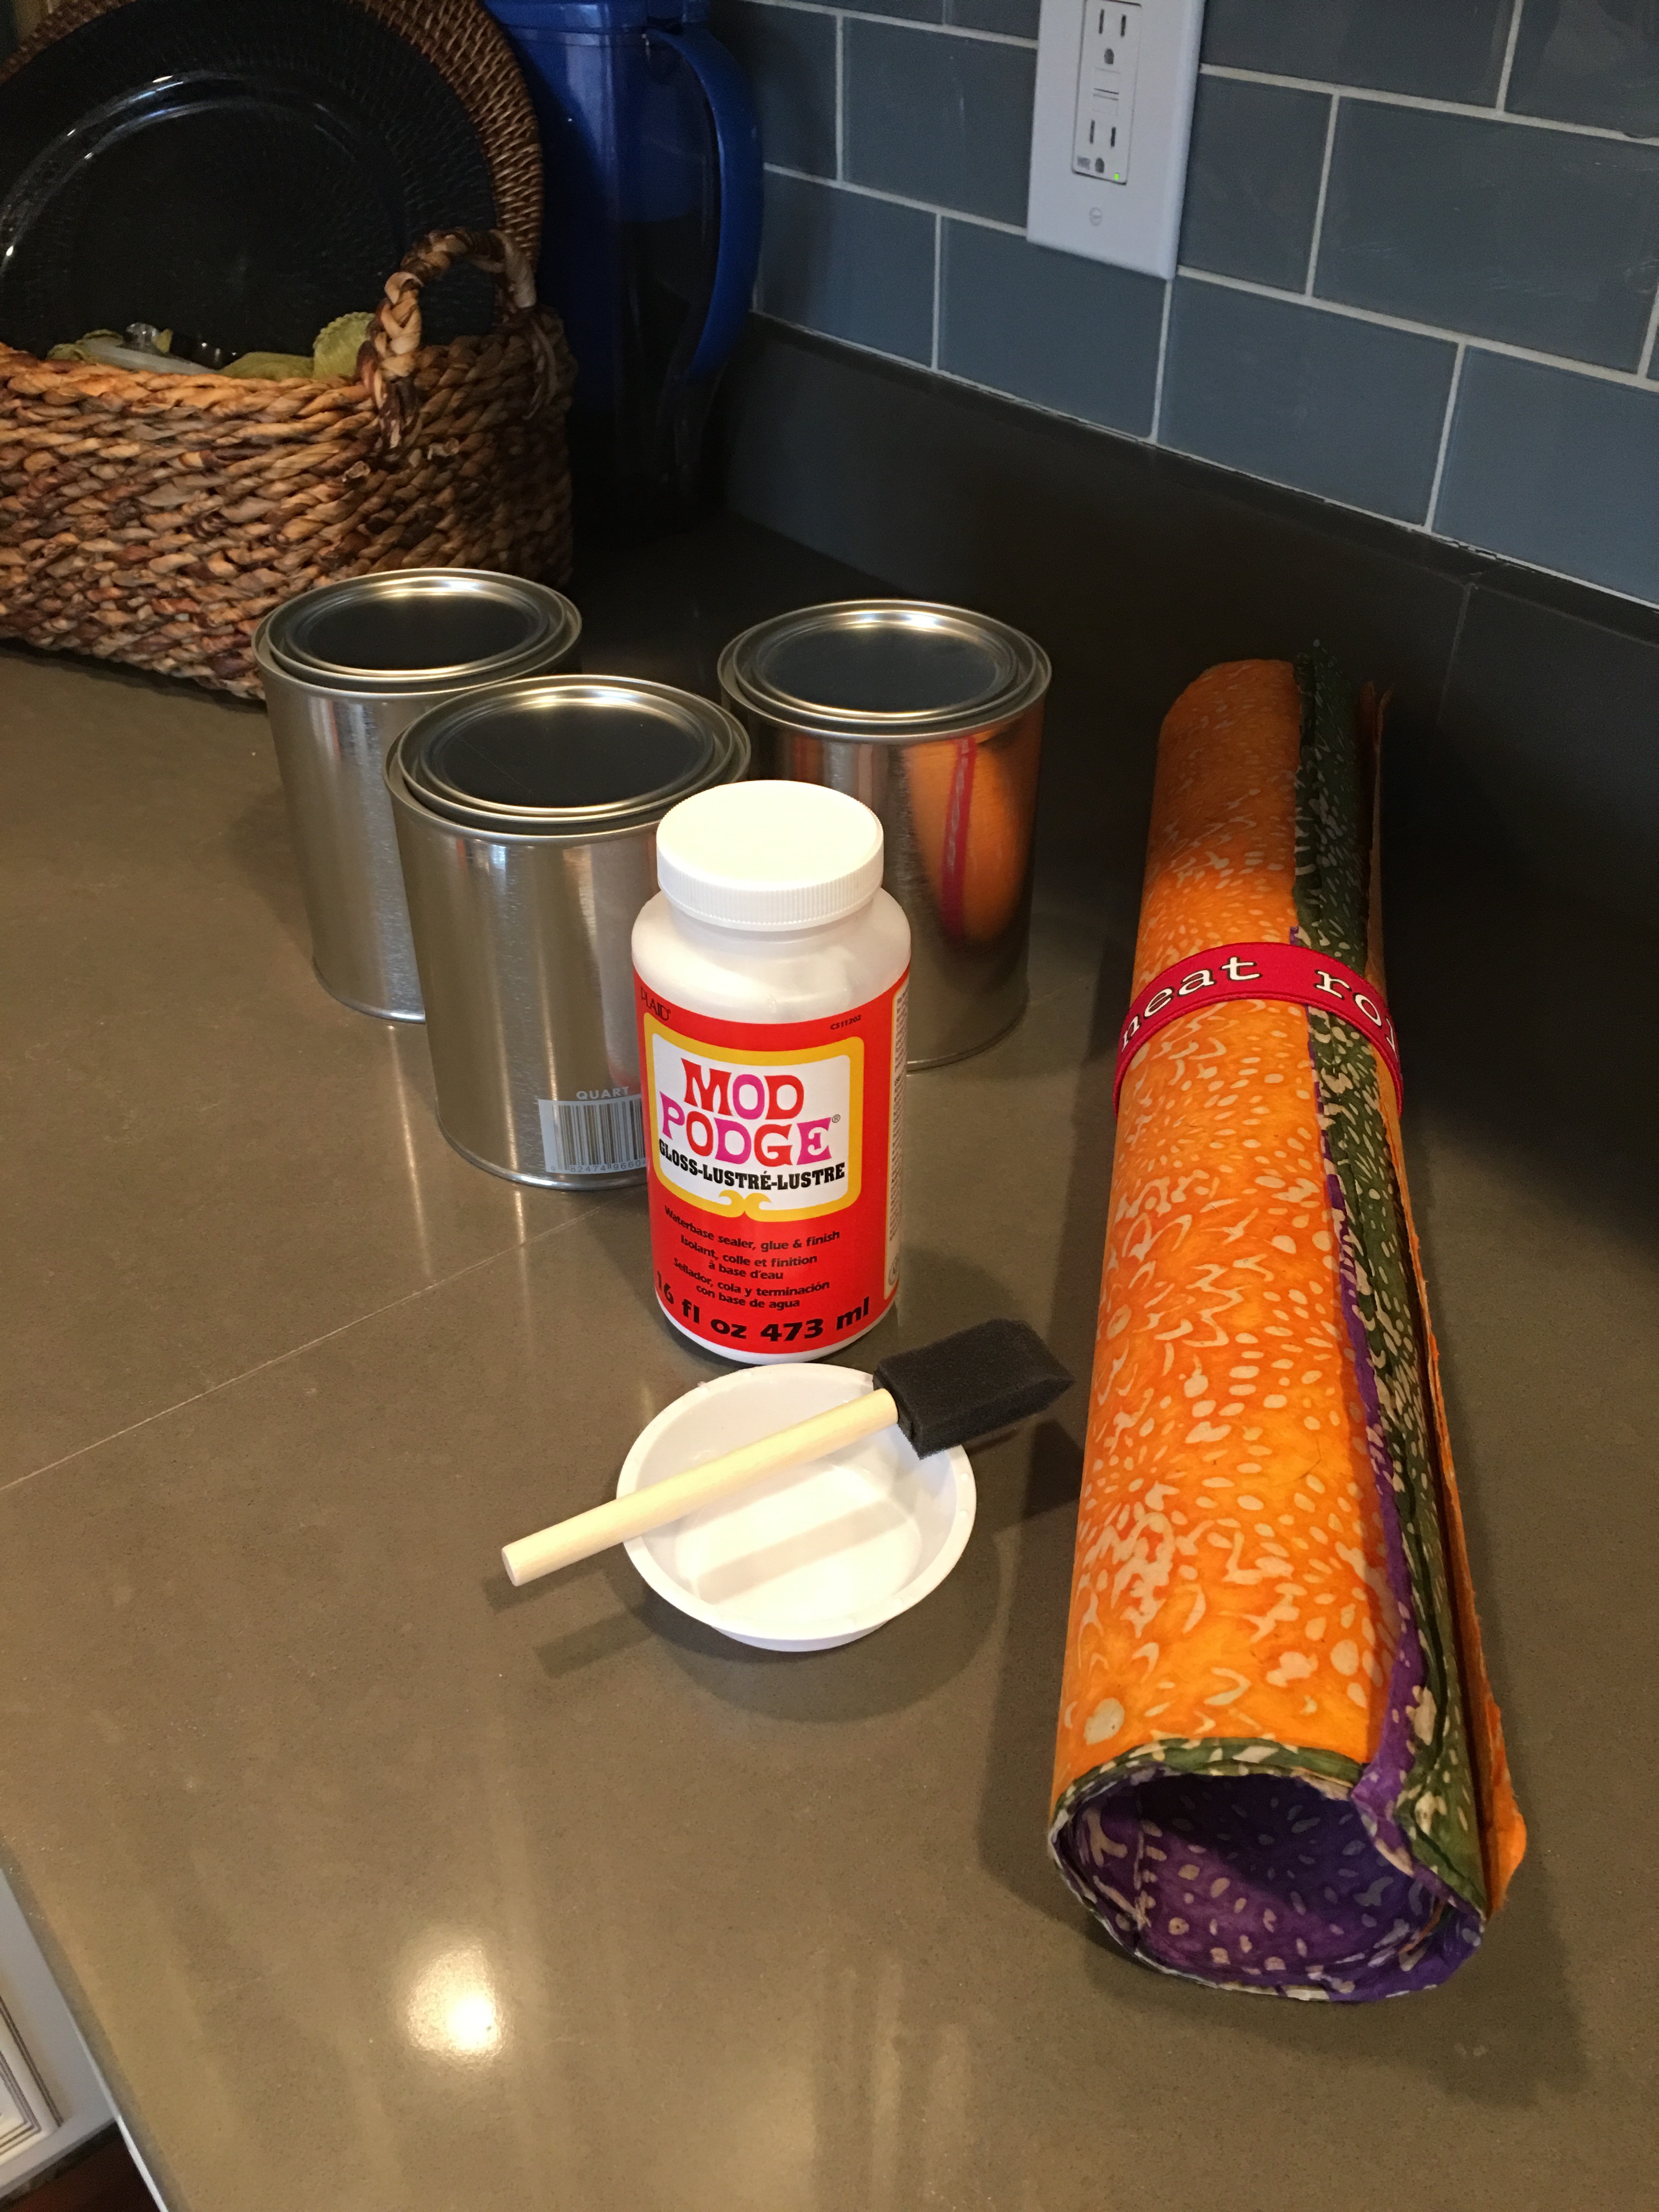
Project materials list:
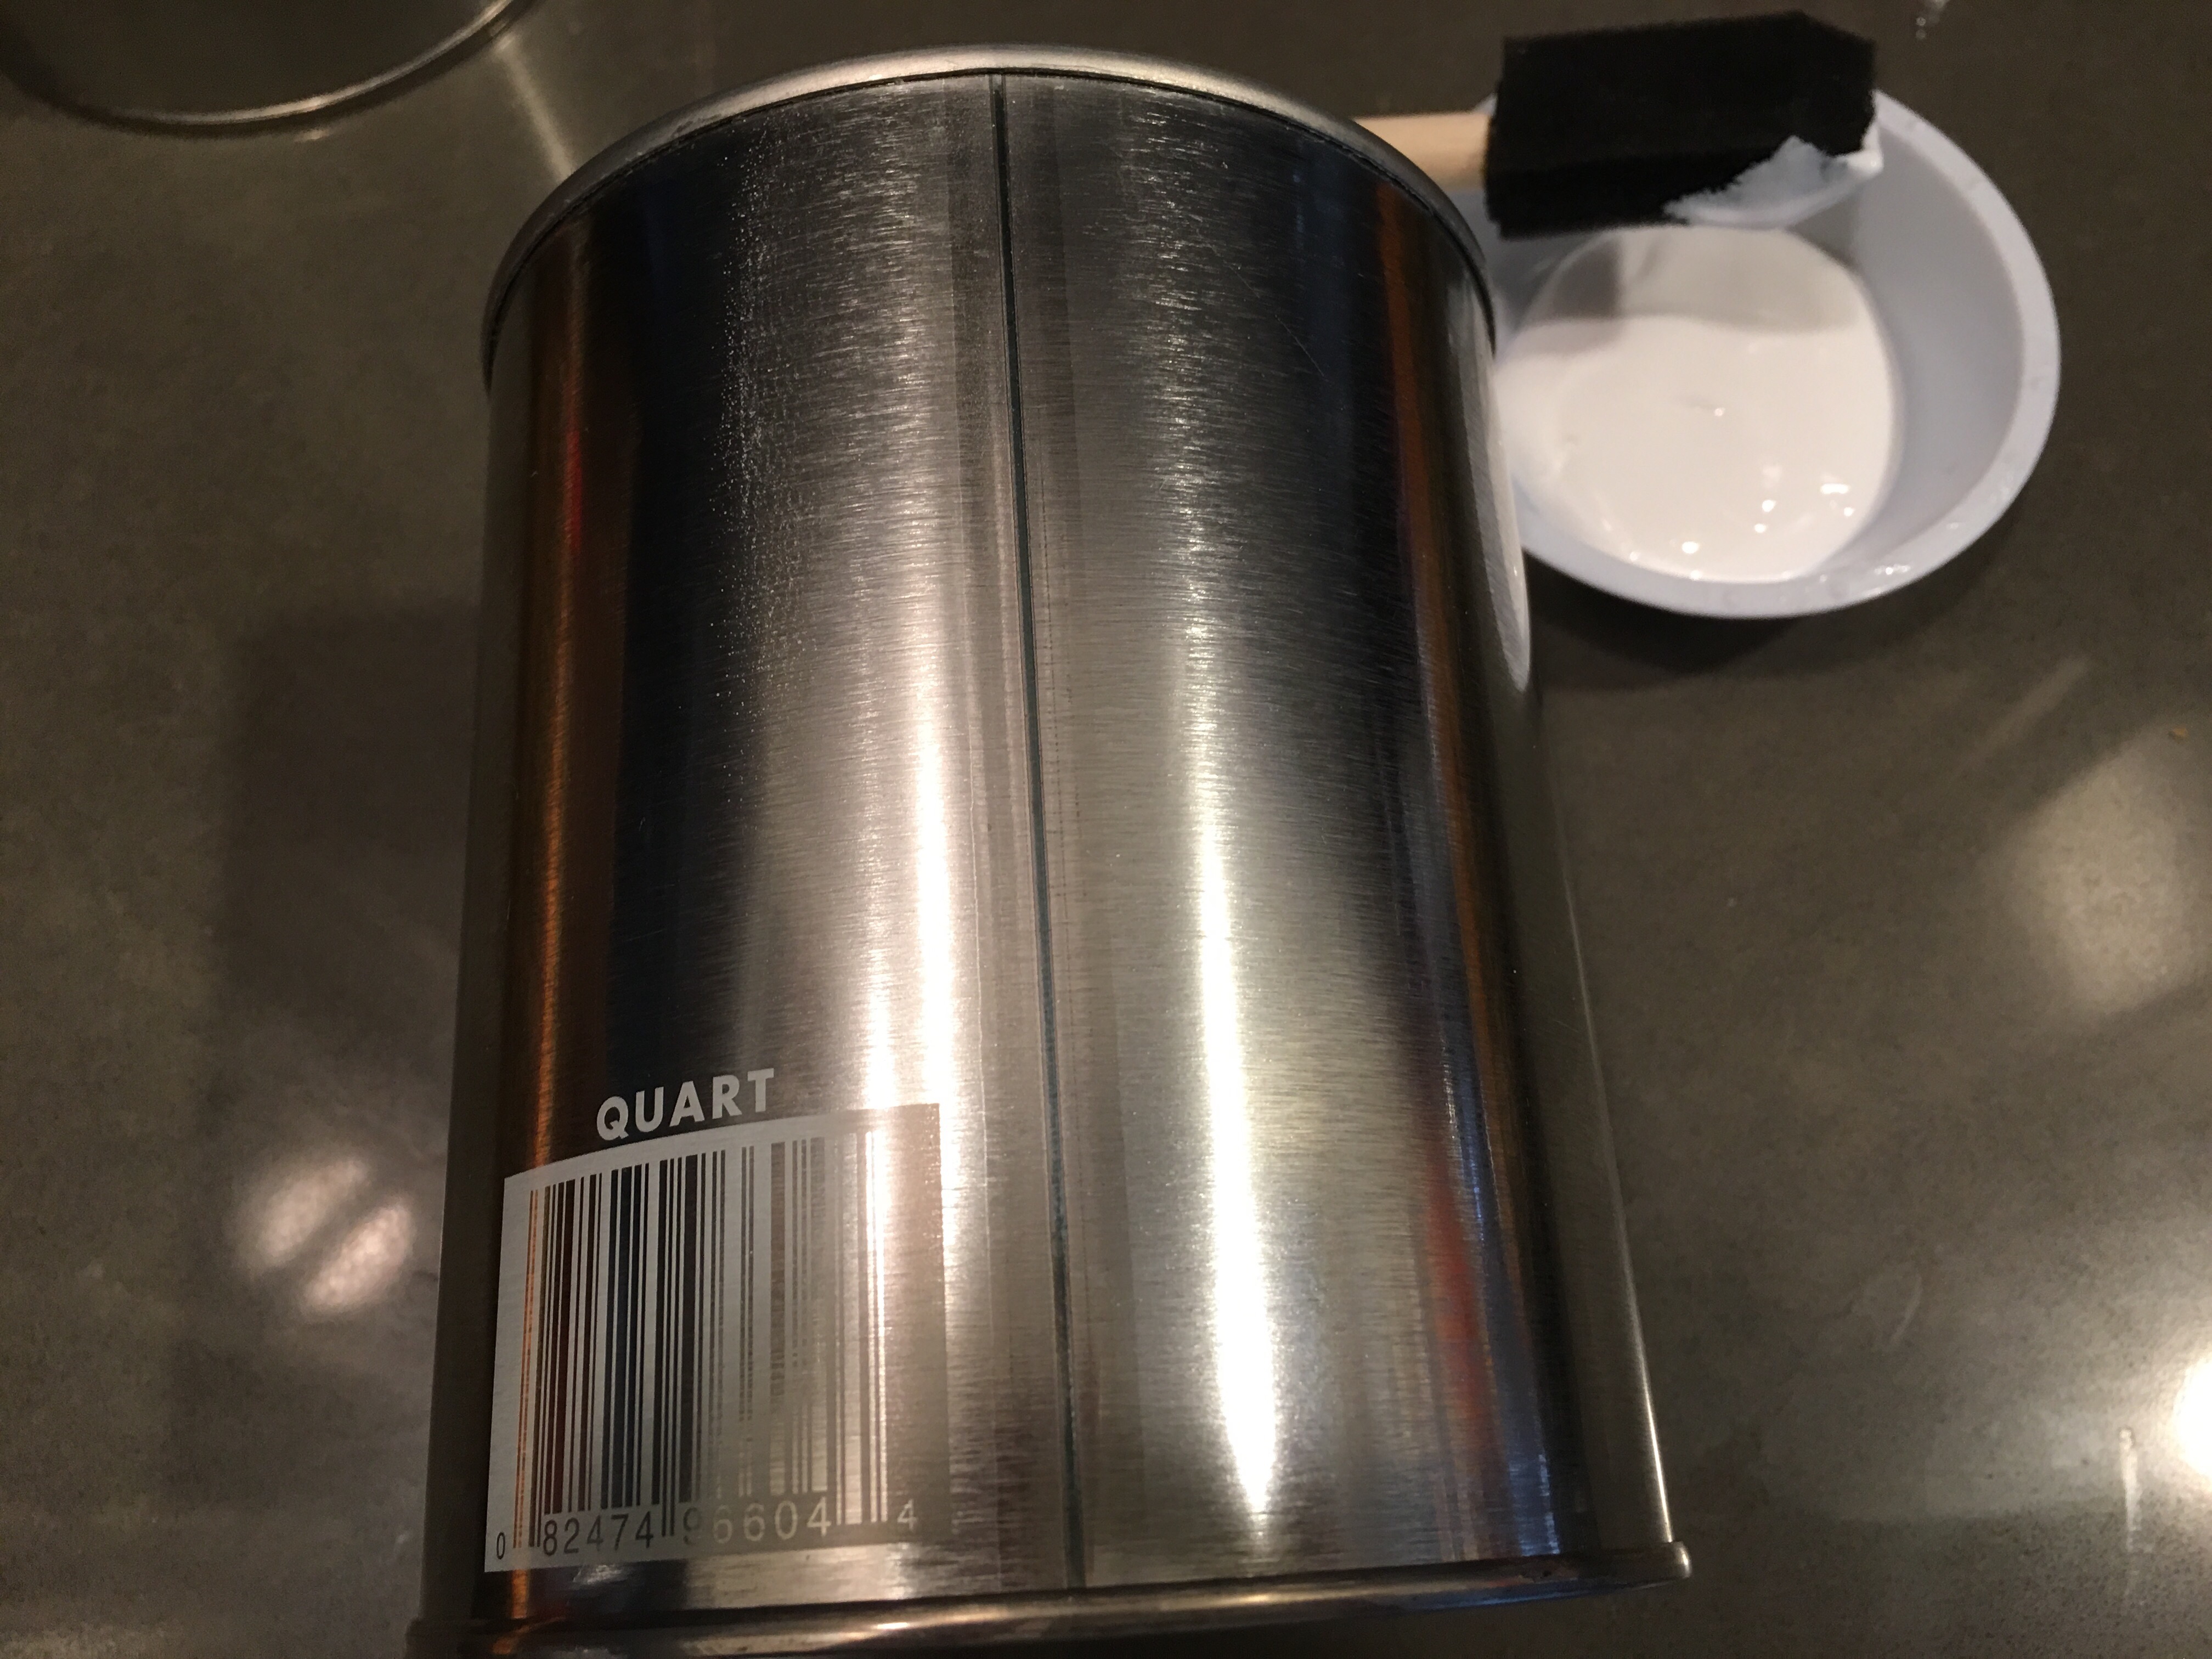
- Quart size empty paint cans. (Be sure to get cans without bucket handles).
- Pretty printed papers at least 14″ wide. (This could be scrapbook, gift wrap or fine printed papers. All will look great. But they must be wide enough for both ends the meet around the can.)
- Mod Podge (Glossy or Matte).
- Sponge brush (to apply Mod Podge to the cans and then line them with the paper).
- Scissors or paper trimmer (I recommend a trimmer if you have one handy.)
- Ruler (To measure height of the can).
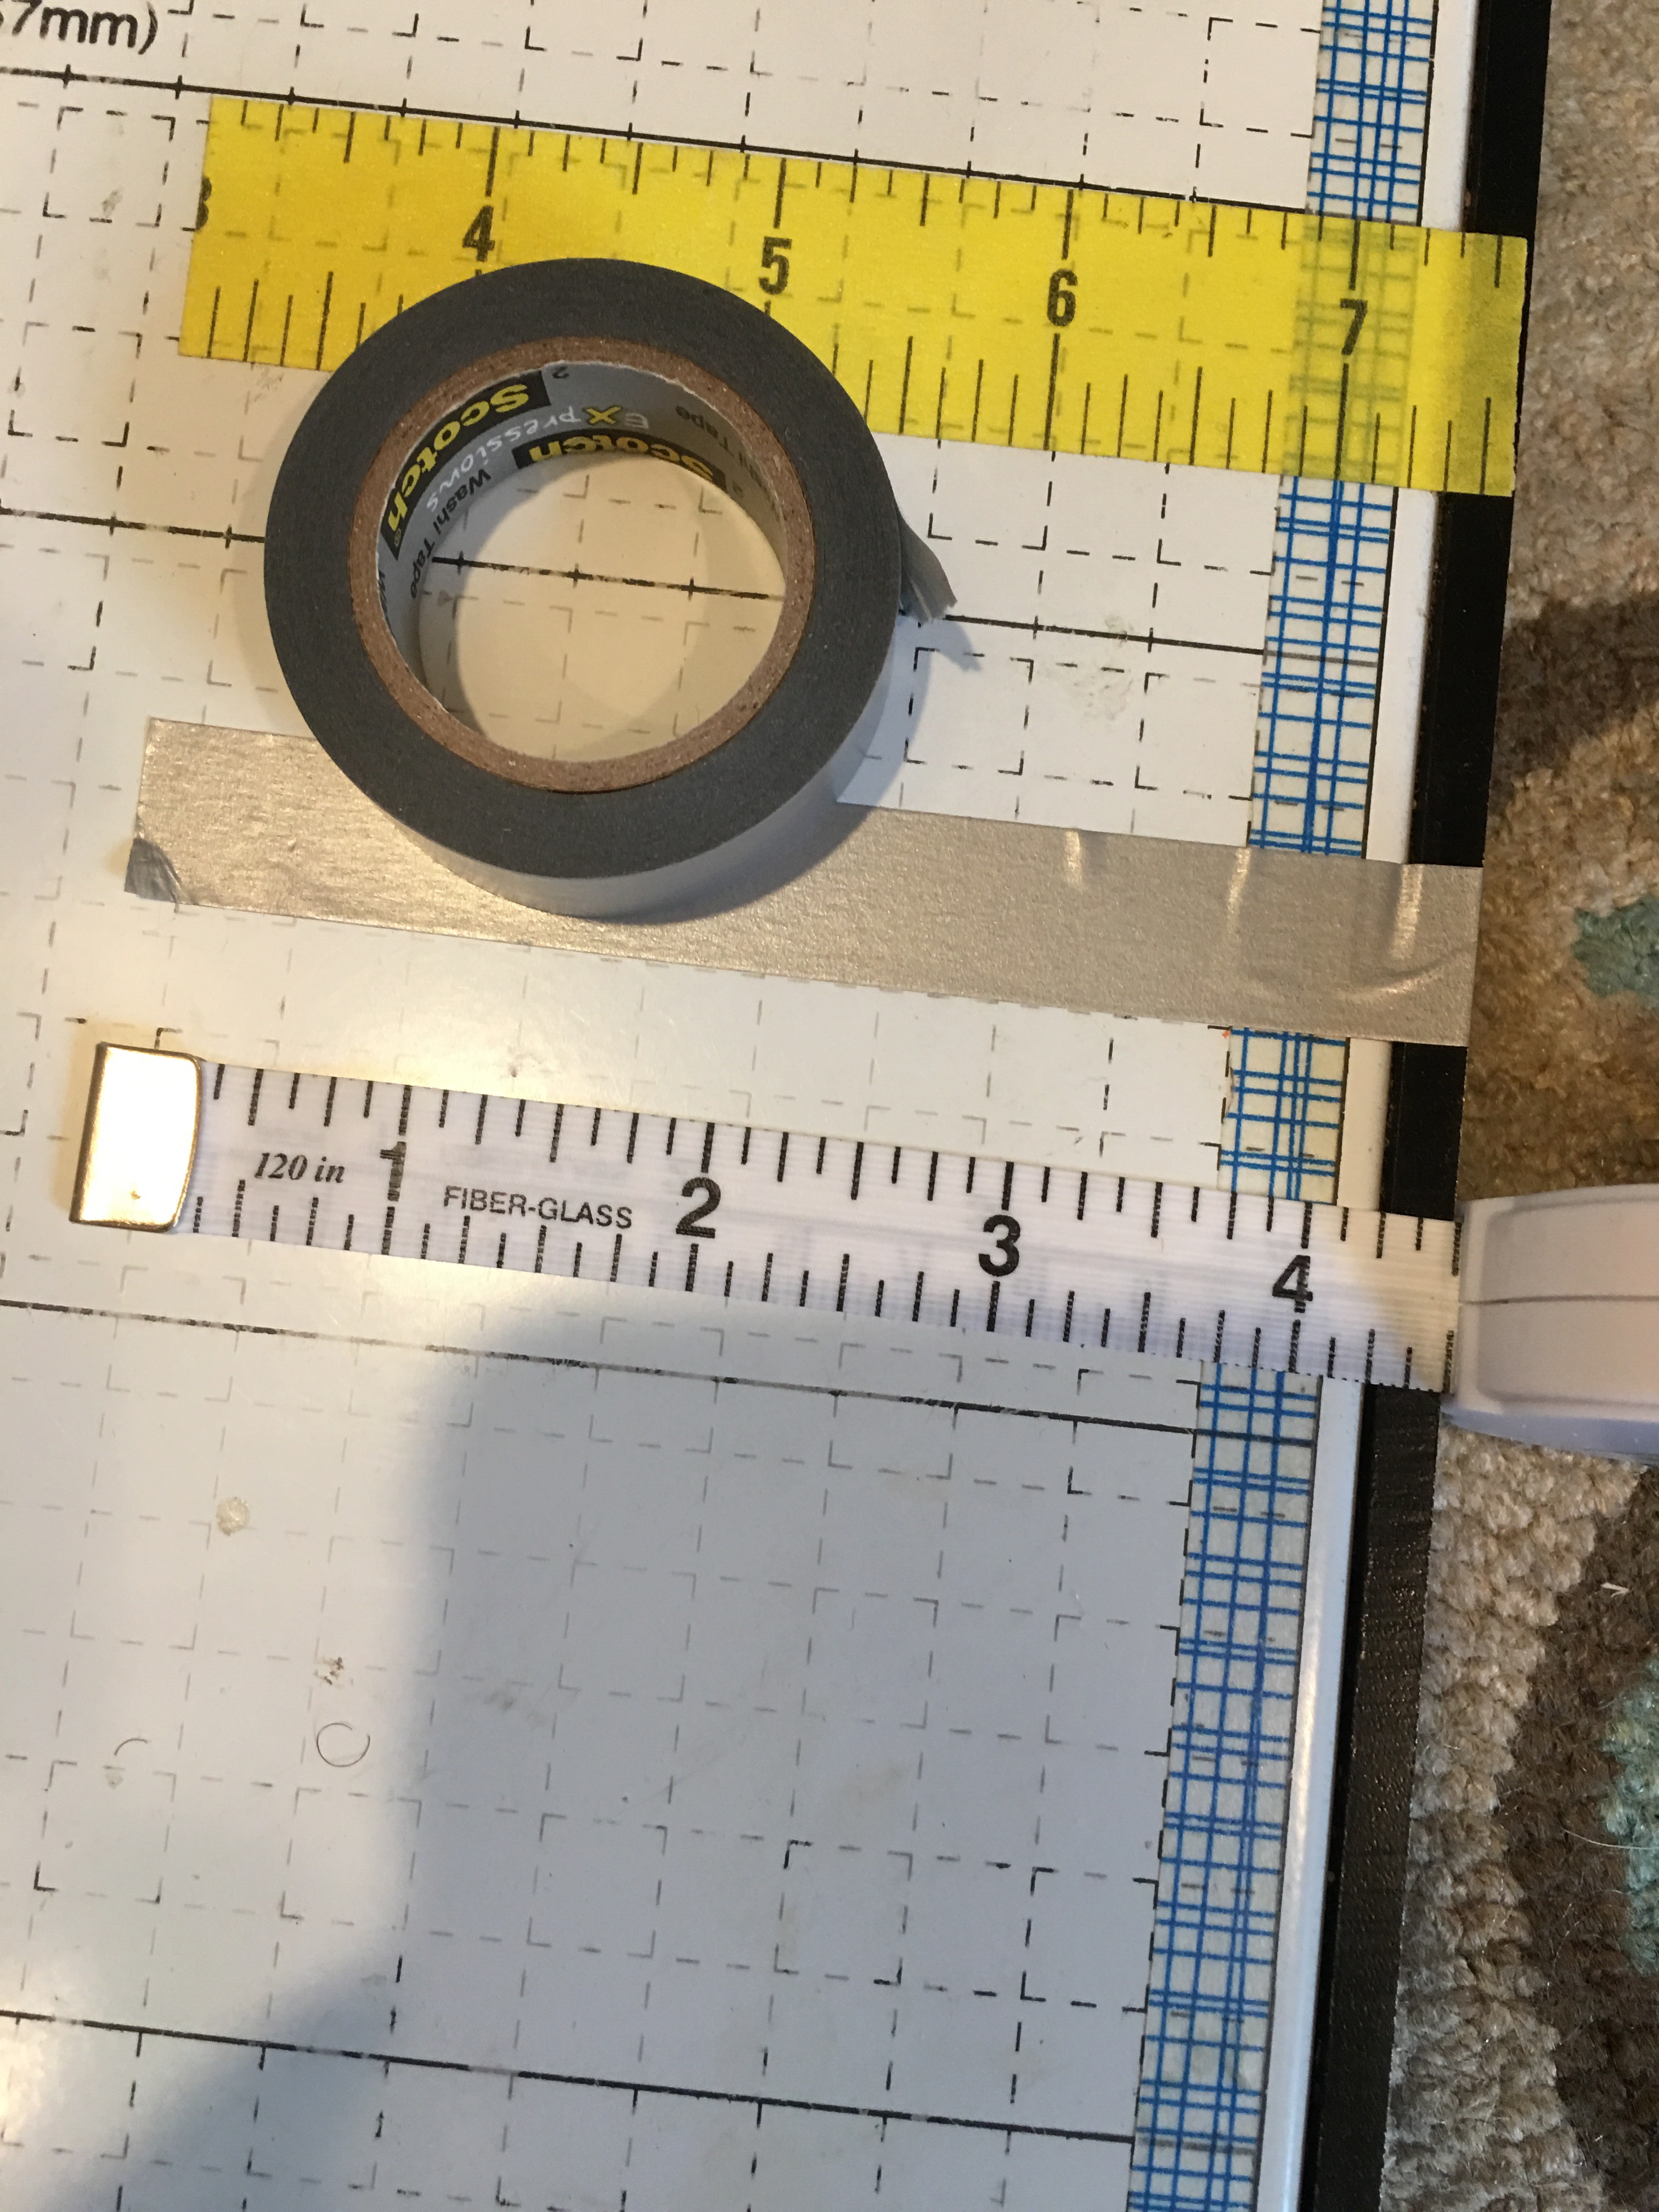
- Step 1: Use ruler or tape measure to measure height of the can. (The width will be determined by wrapping the paper around it and seeing where it meets.)
The cans I’m decorating are 4.75 inches from rim to rim. So I transferred the measurement to my paper trimmer and used washi tape to mark where the paper should be positioned for cutting.
- Step 2: Use scissors or a paper trimmer to cut a long strip of paper using the can height measurement.
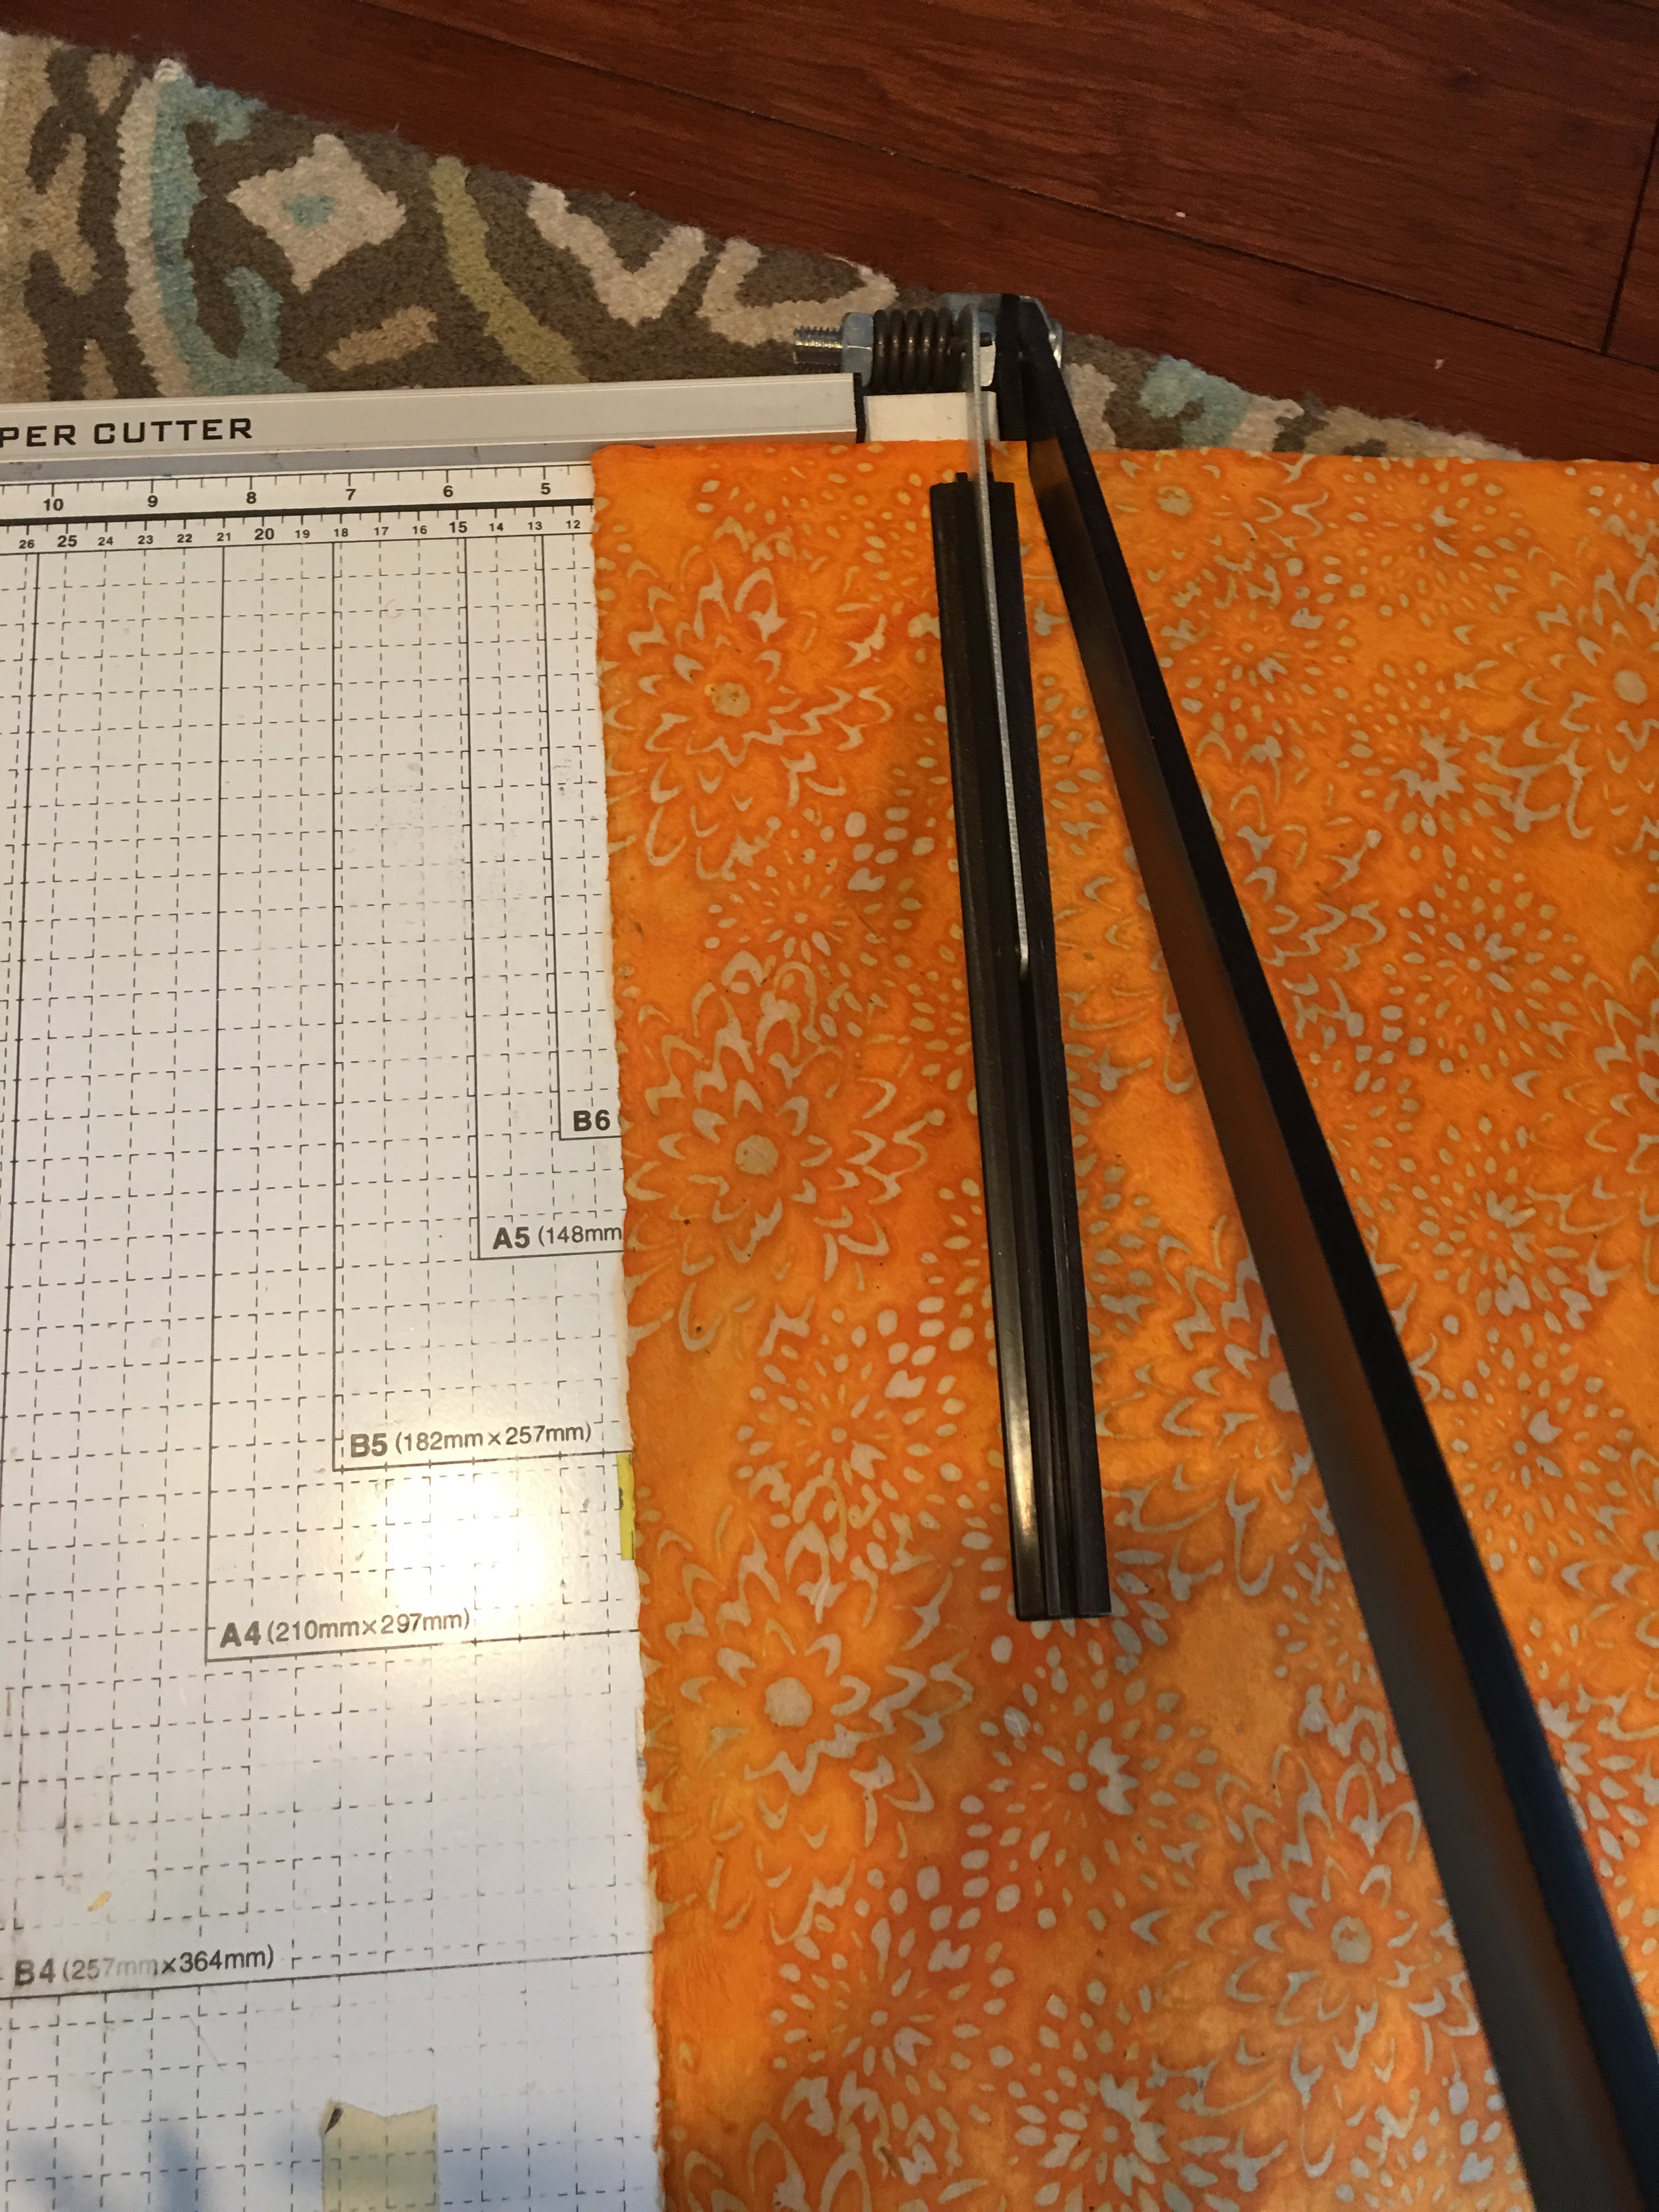
I’m decorating three cans in three colors. So I cut the strips I needed from all three sheets. These sheets were 20″ x 30″ in size, so each strip is 4.75″ x 20″.
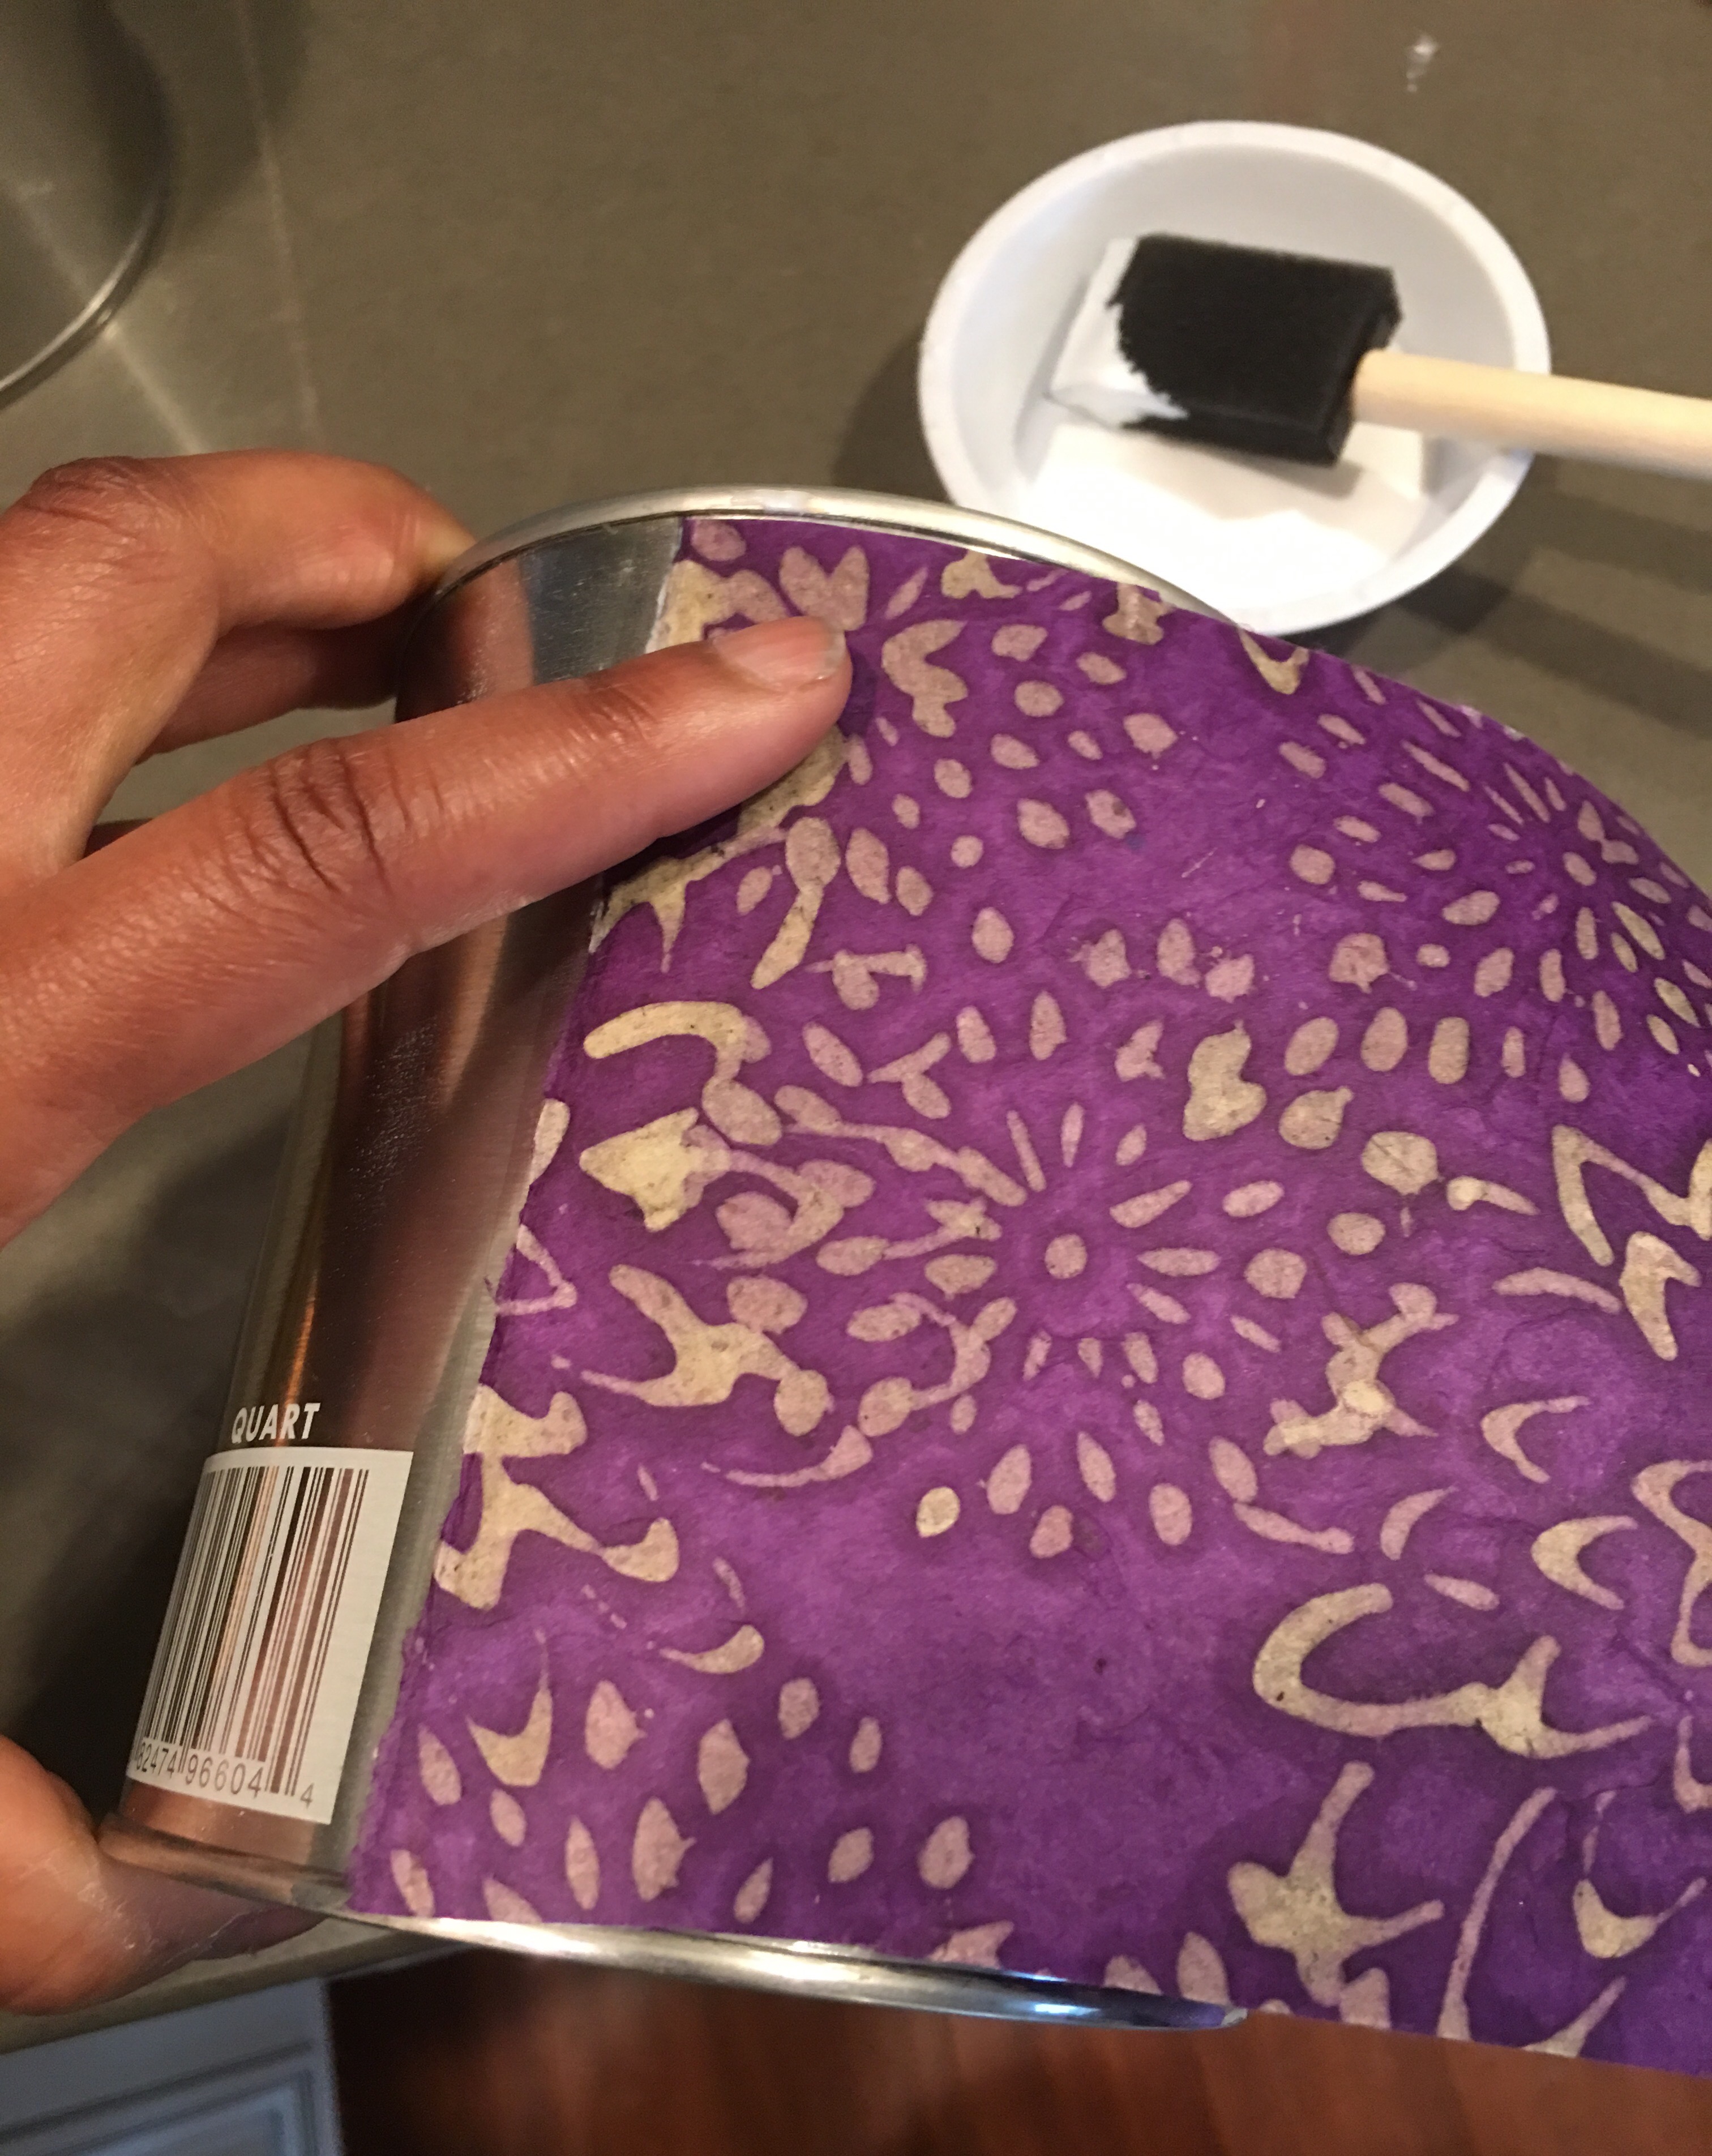
- Step 3: Using the vertical seam on the can, add Mod Podge along the seam, and then line up your paper.
Having this seam in the can is quite useful. This helps me to make sure I’m applying the paper as straight as possible. If your can does not have this vertical seam, line top or bottom edges of the paper to the rim of the can instead.
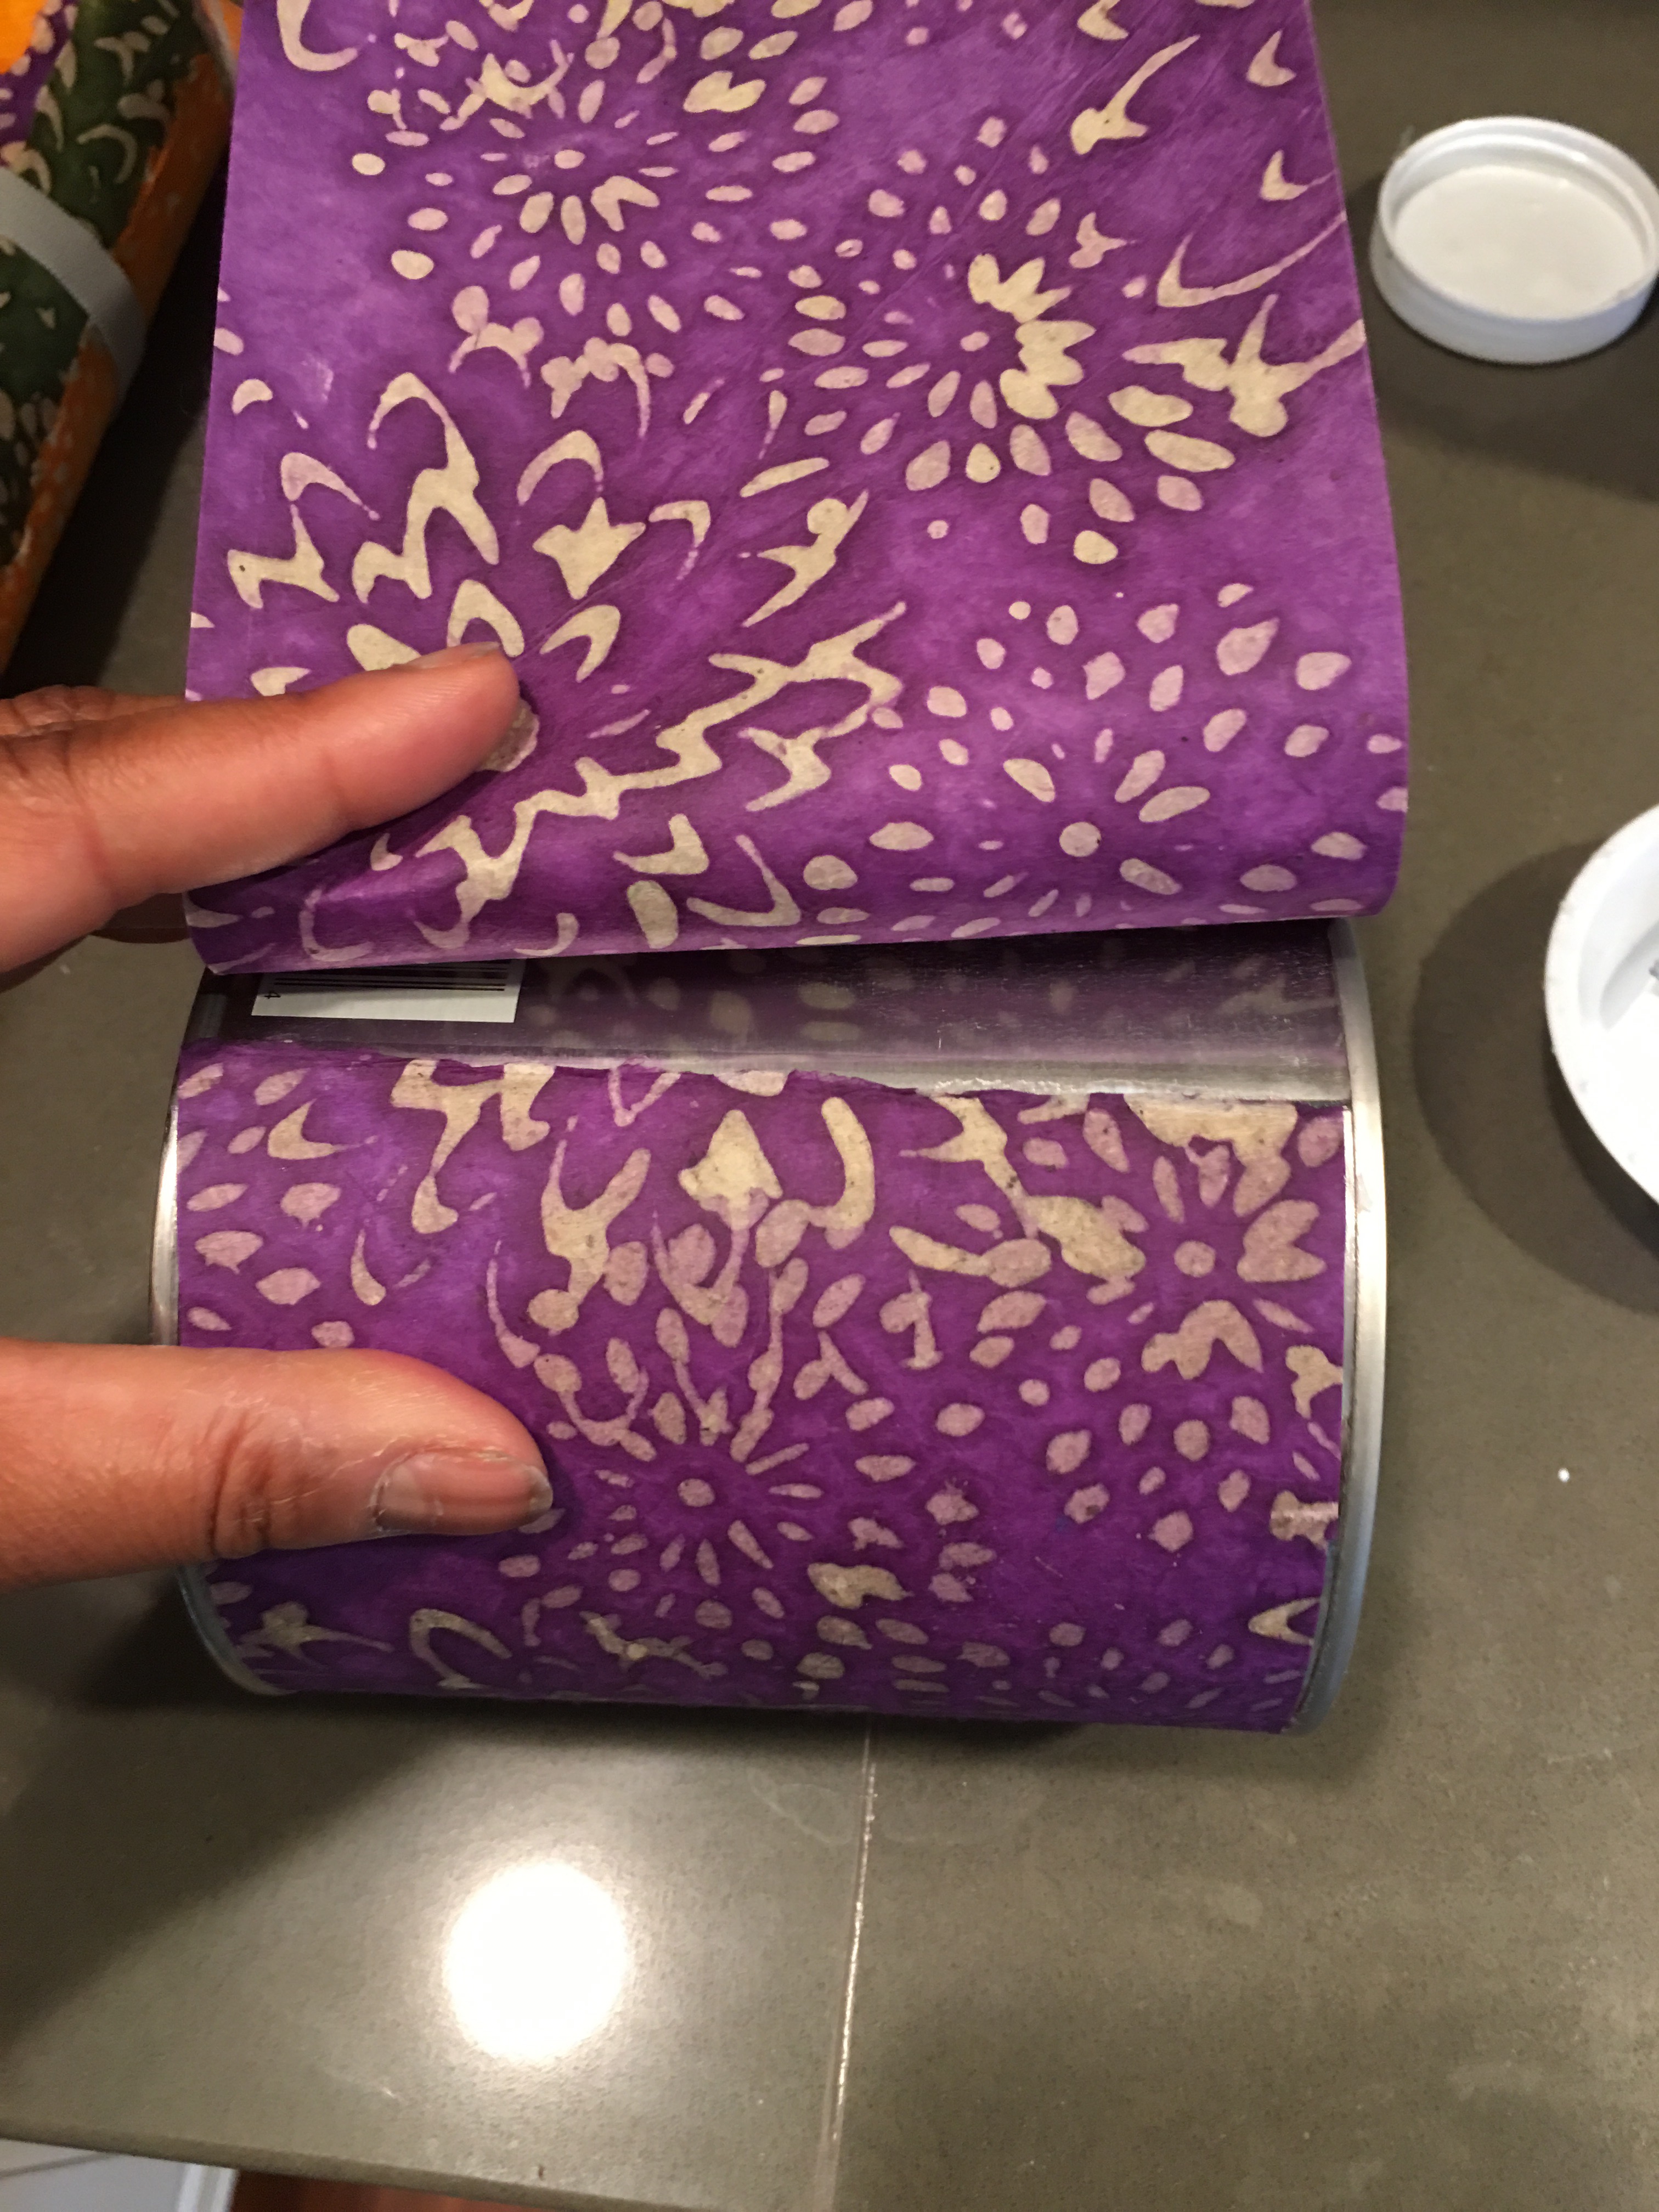
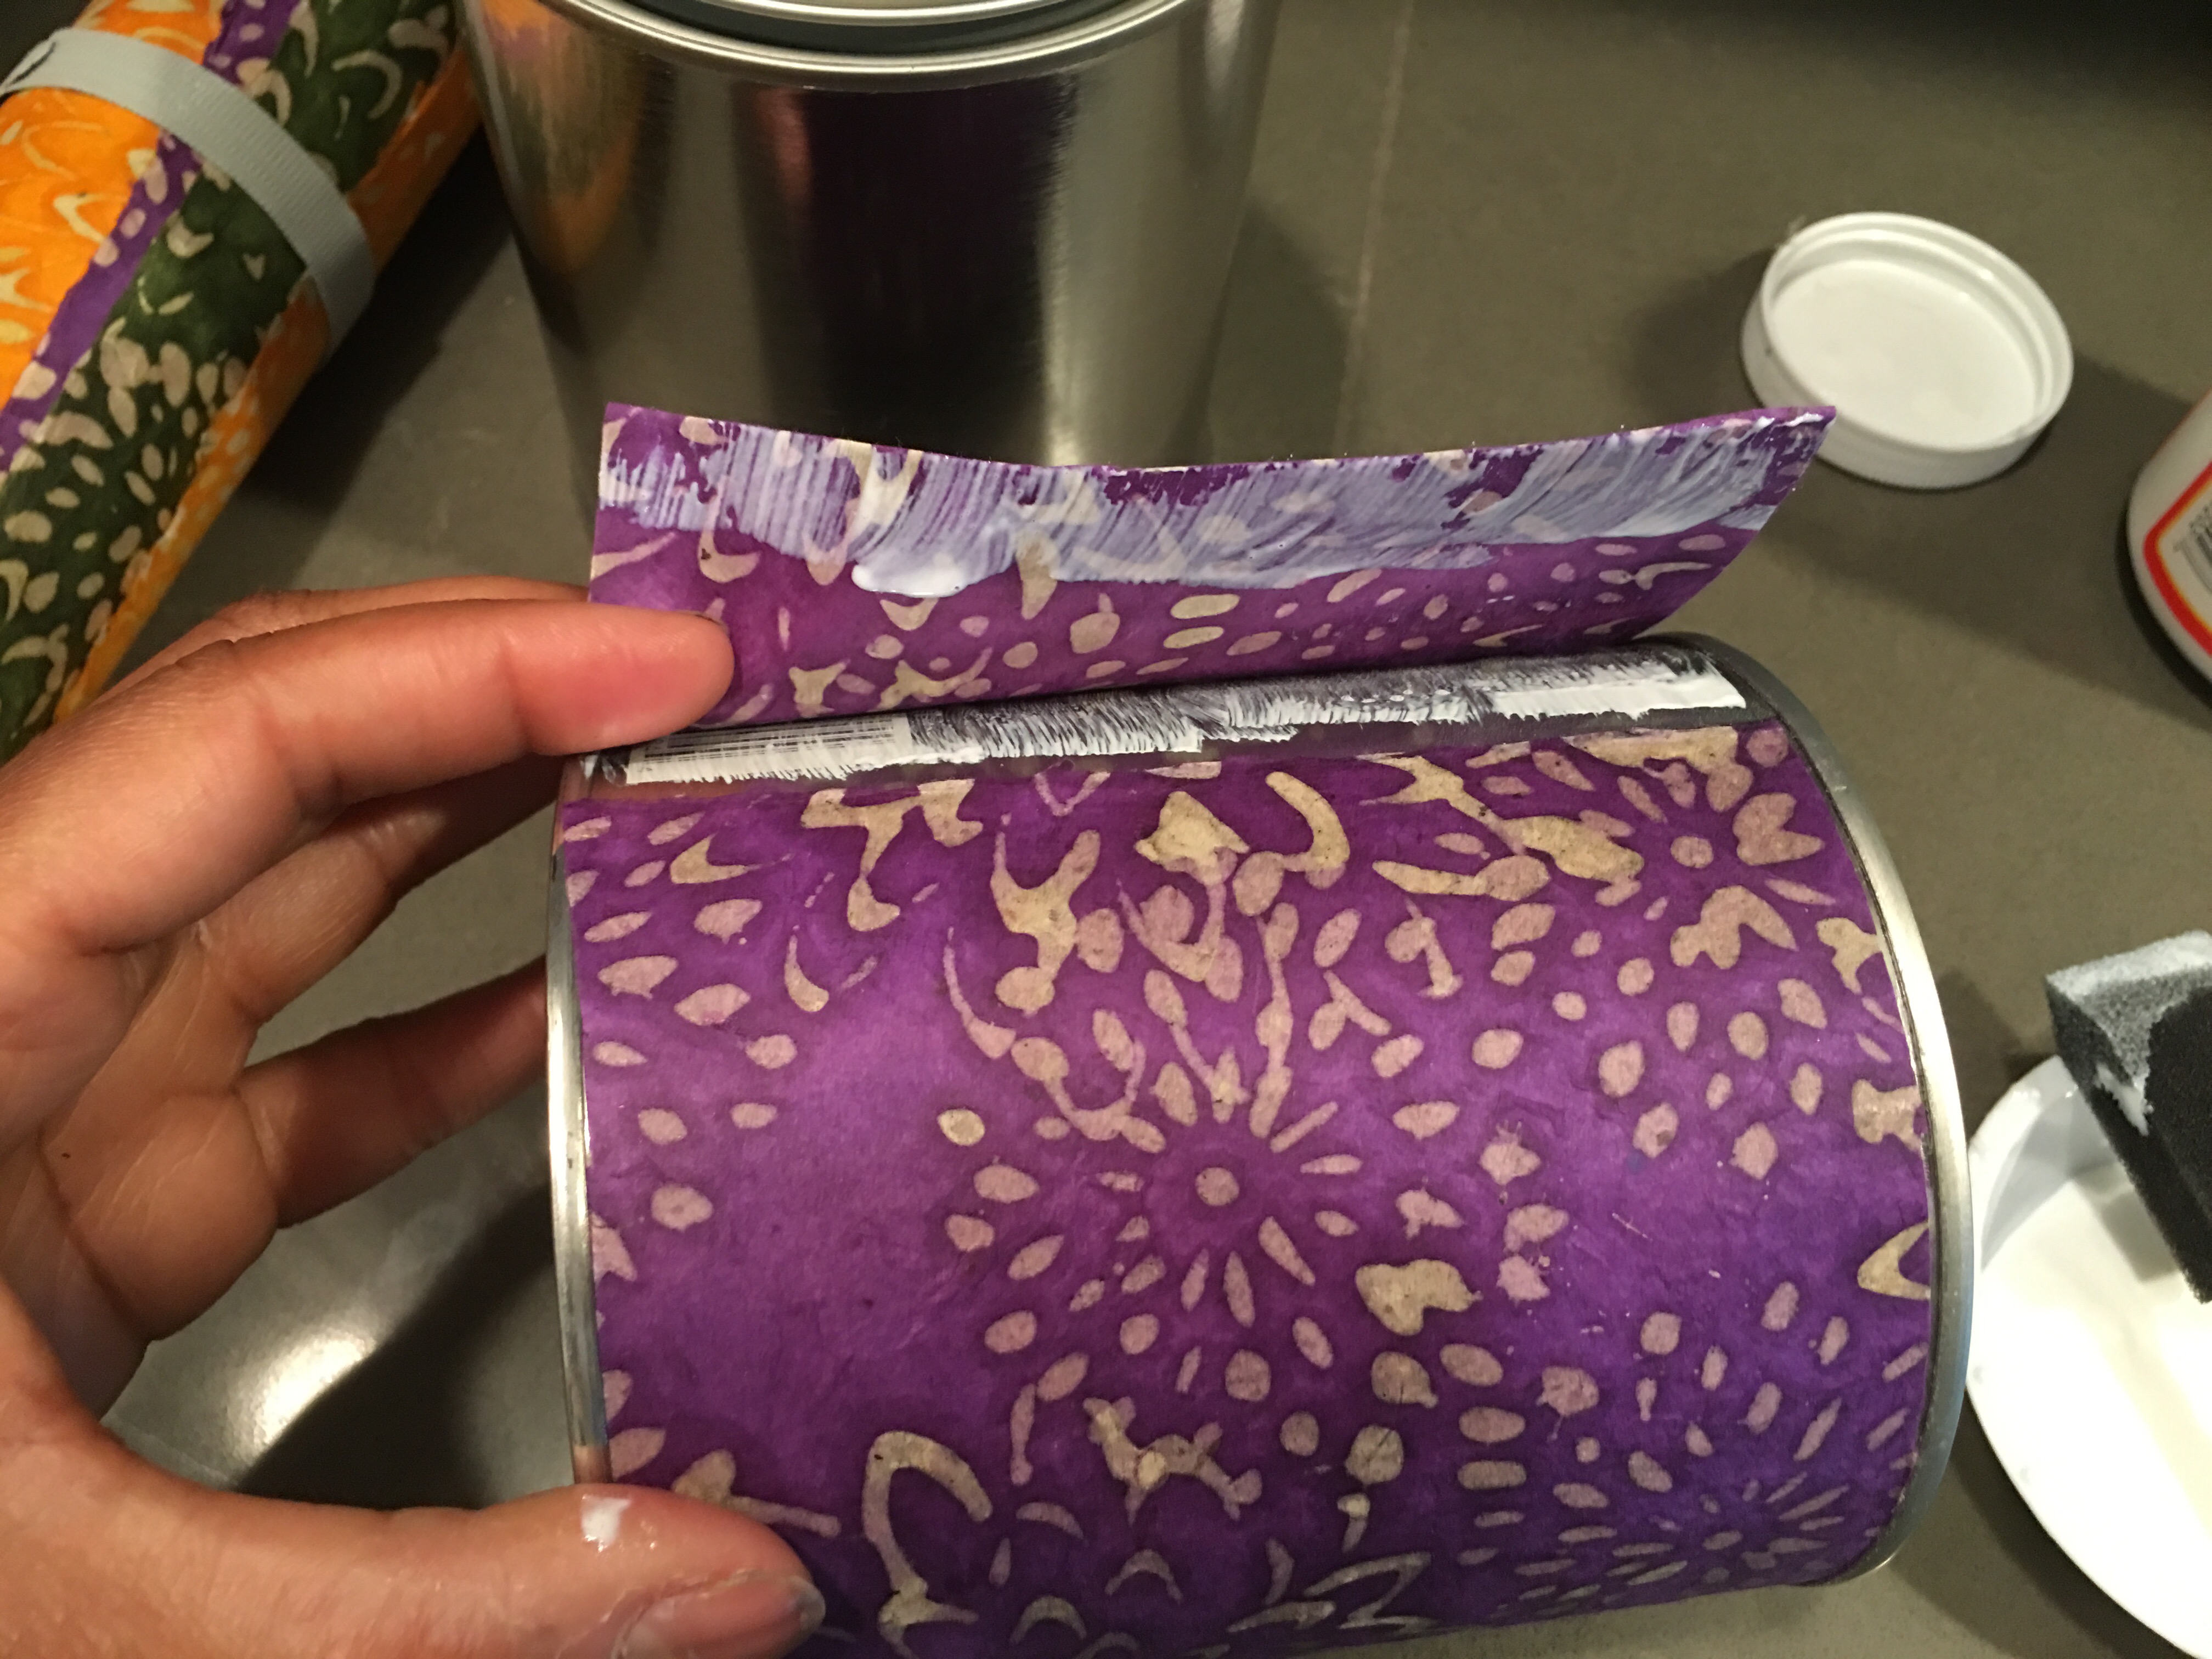
- Step 4: Wrap the paper around the can until the paper ends meet.
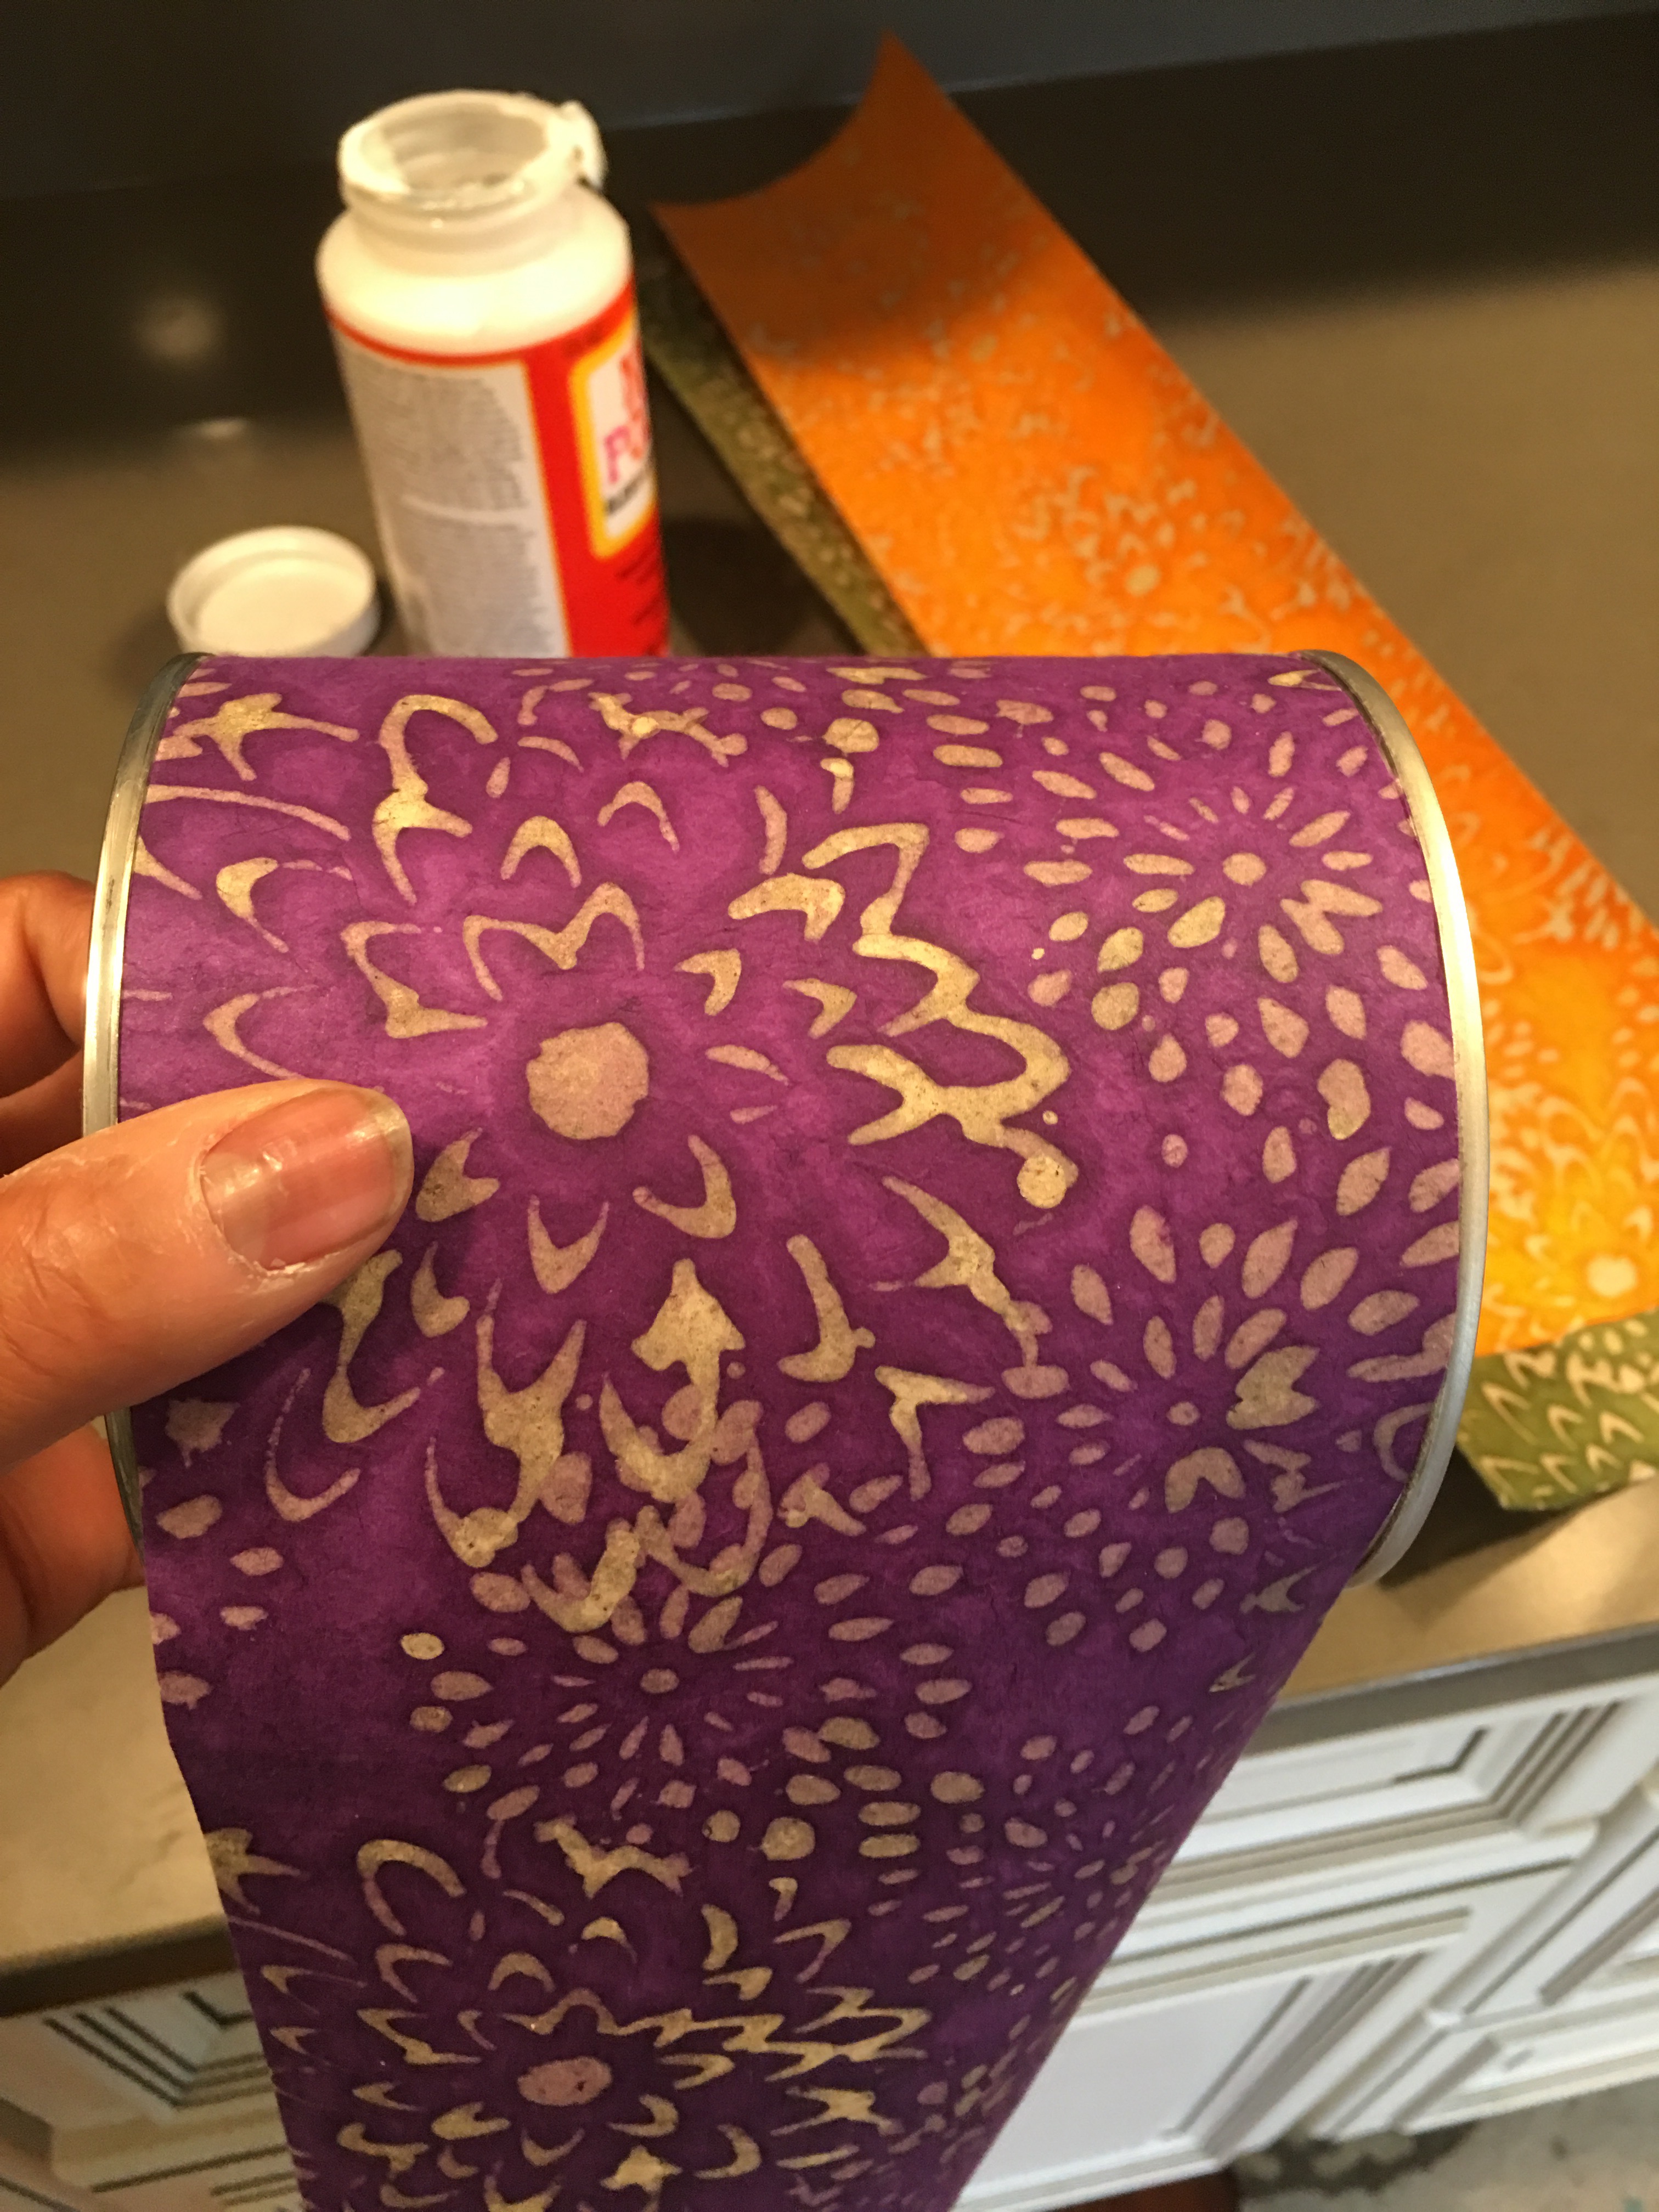
Once I wrap the can and reach the seam again, I overlap the other end by about a half inch.
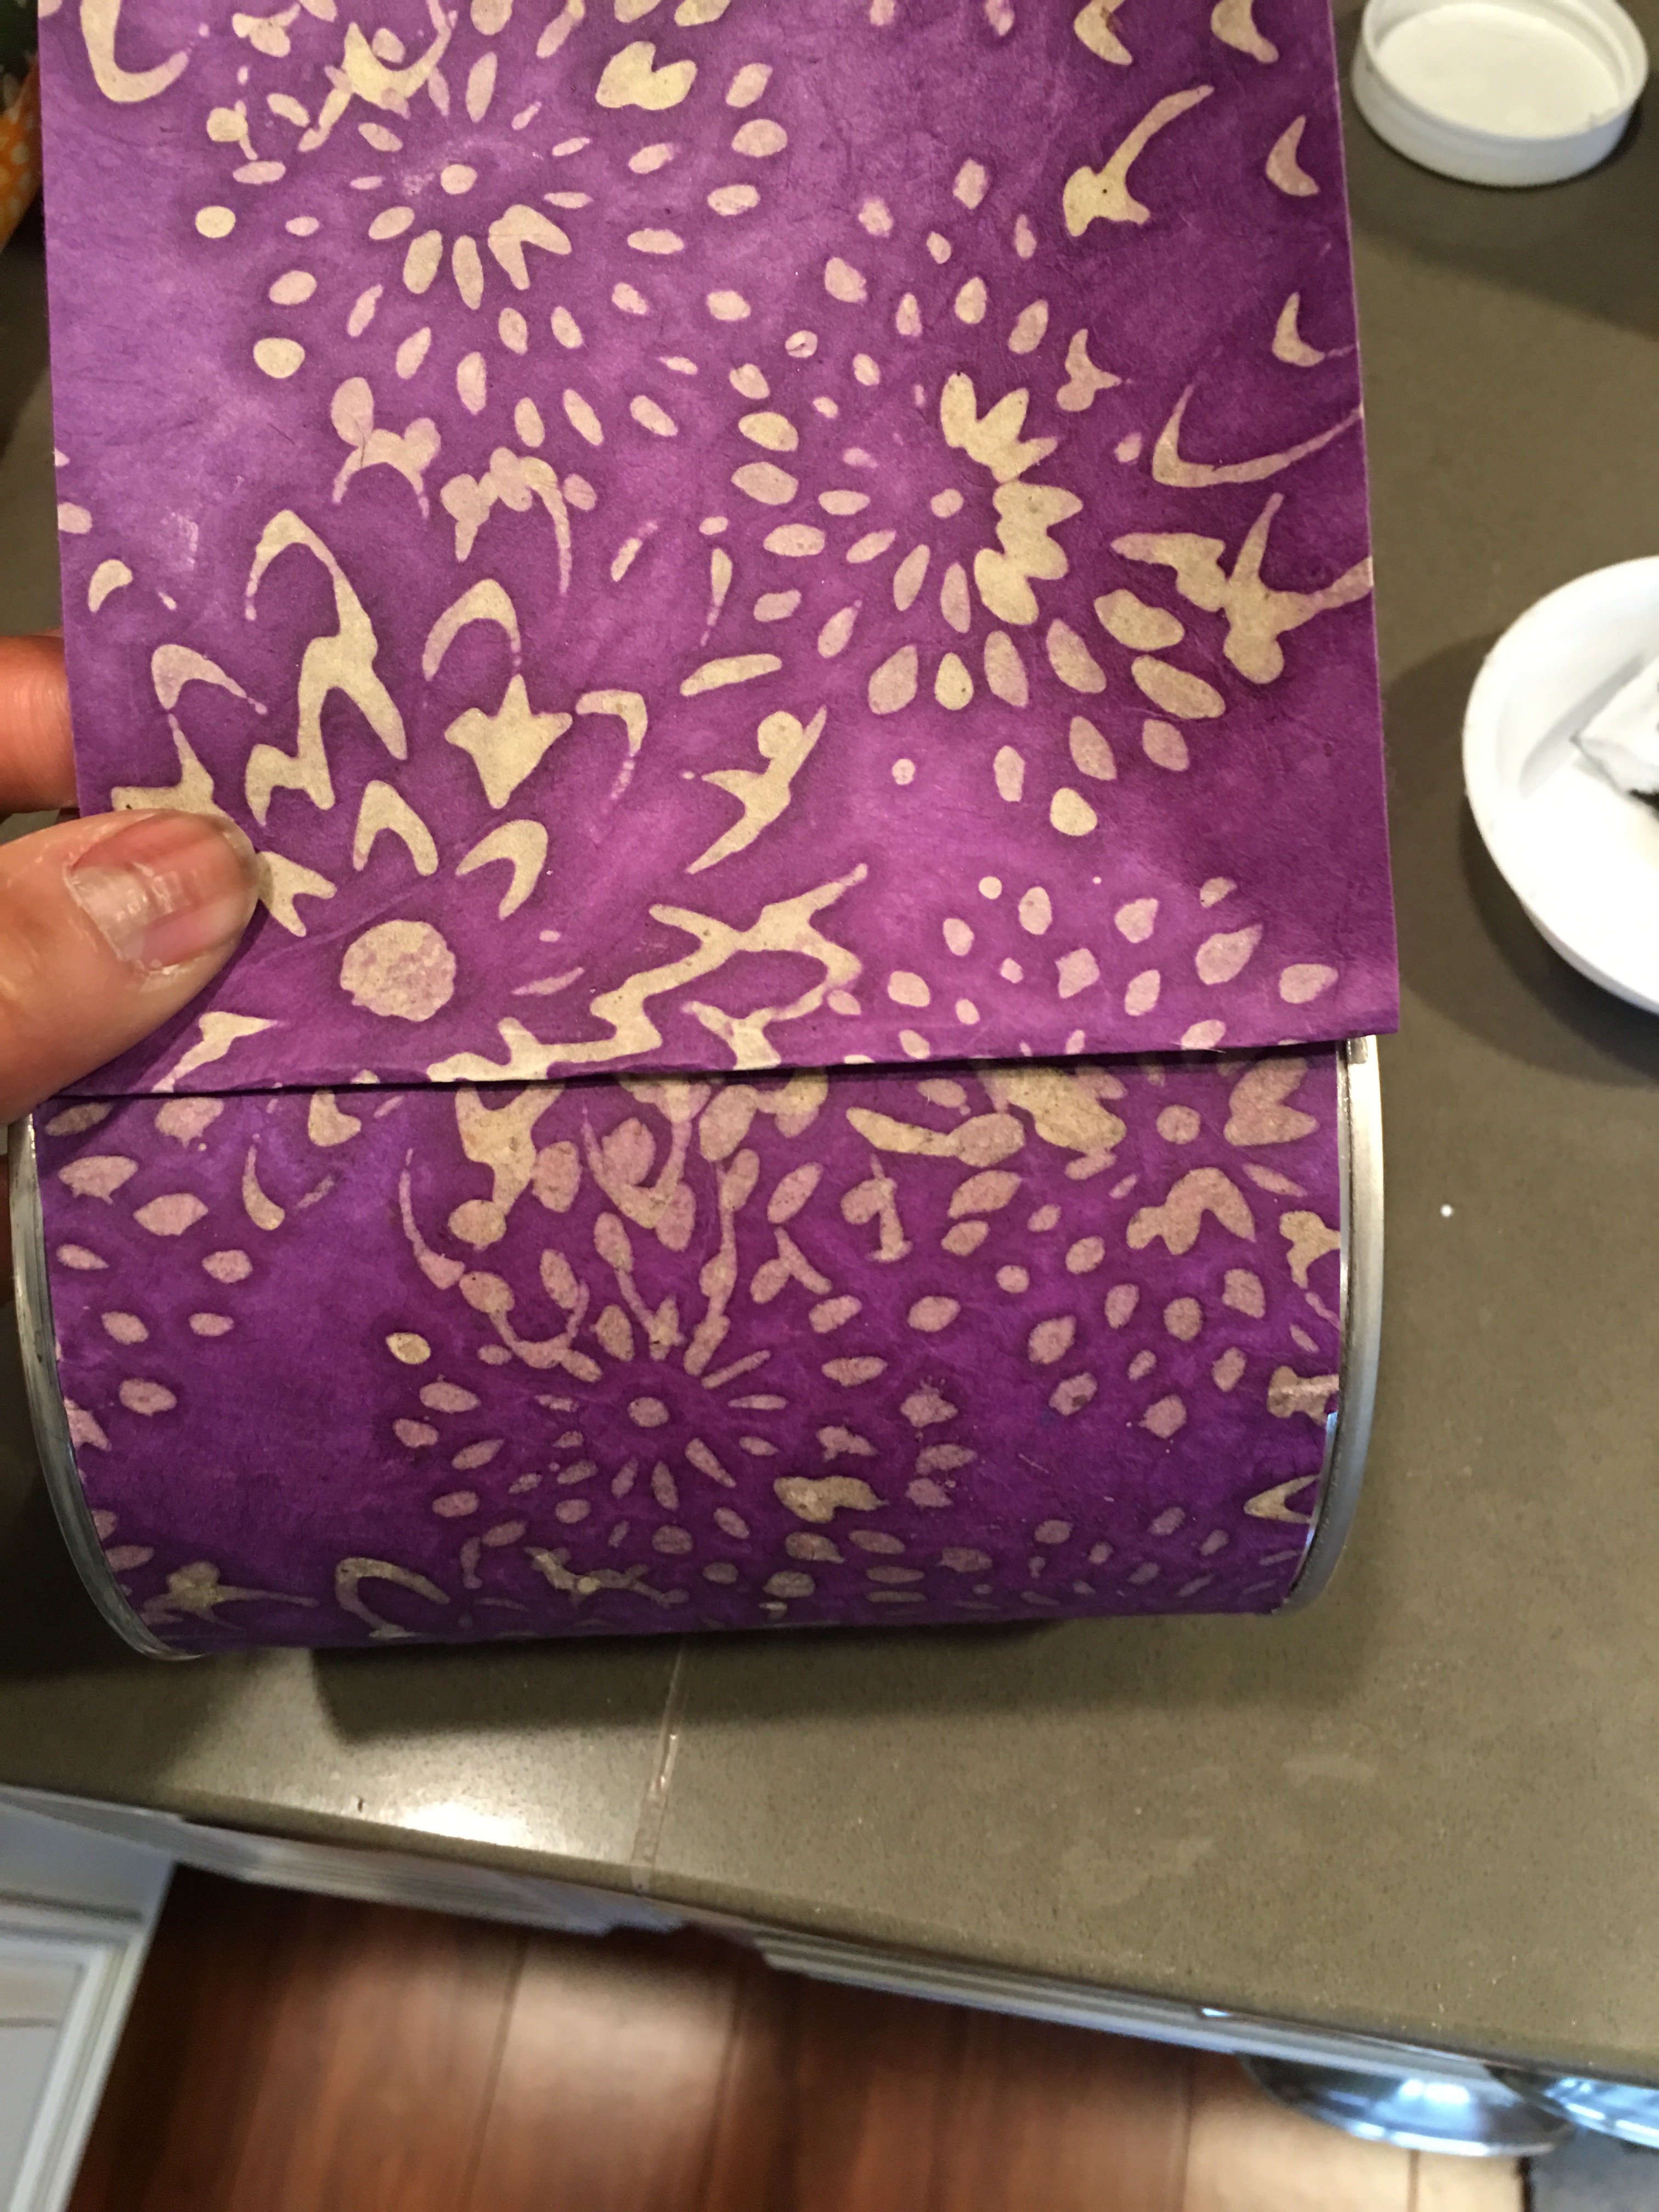
- Step 5: With the can wrapped, fold the excess paper along seam for trimming.
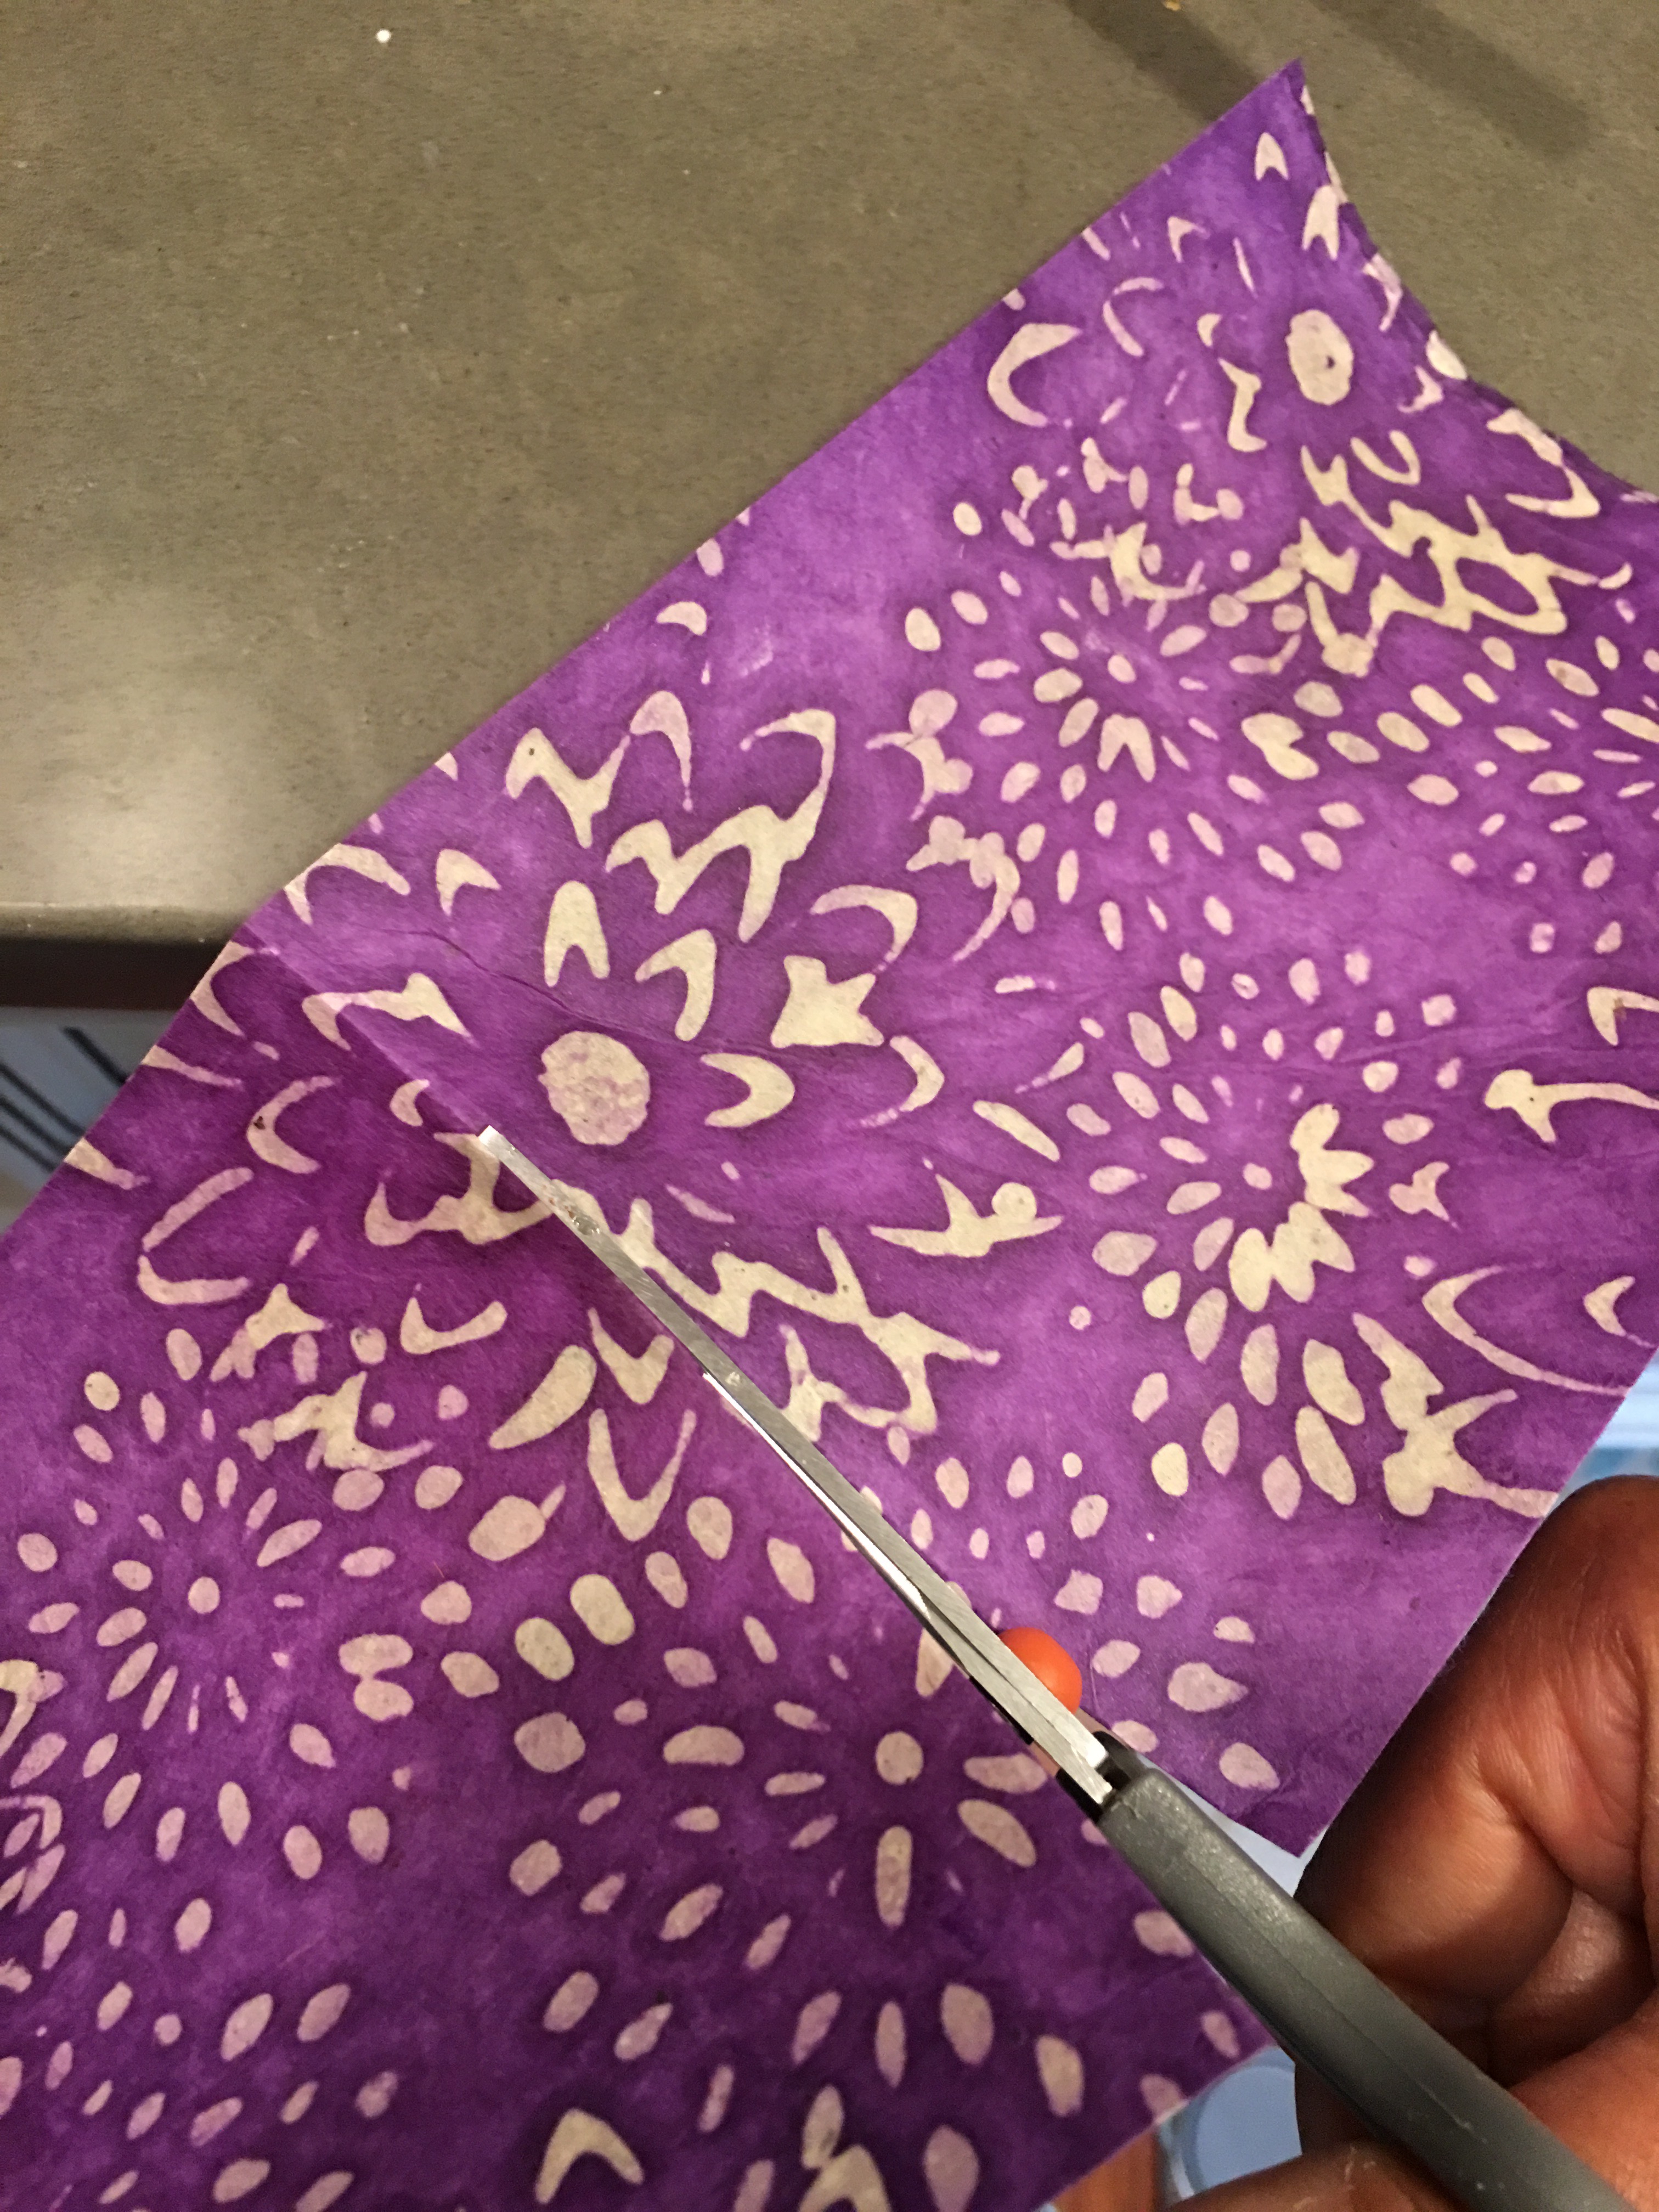
- Step 6: Cut along the fold to trim off the excess paper.
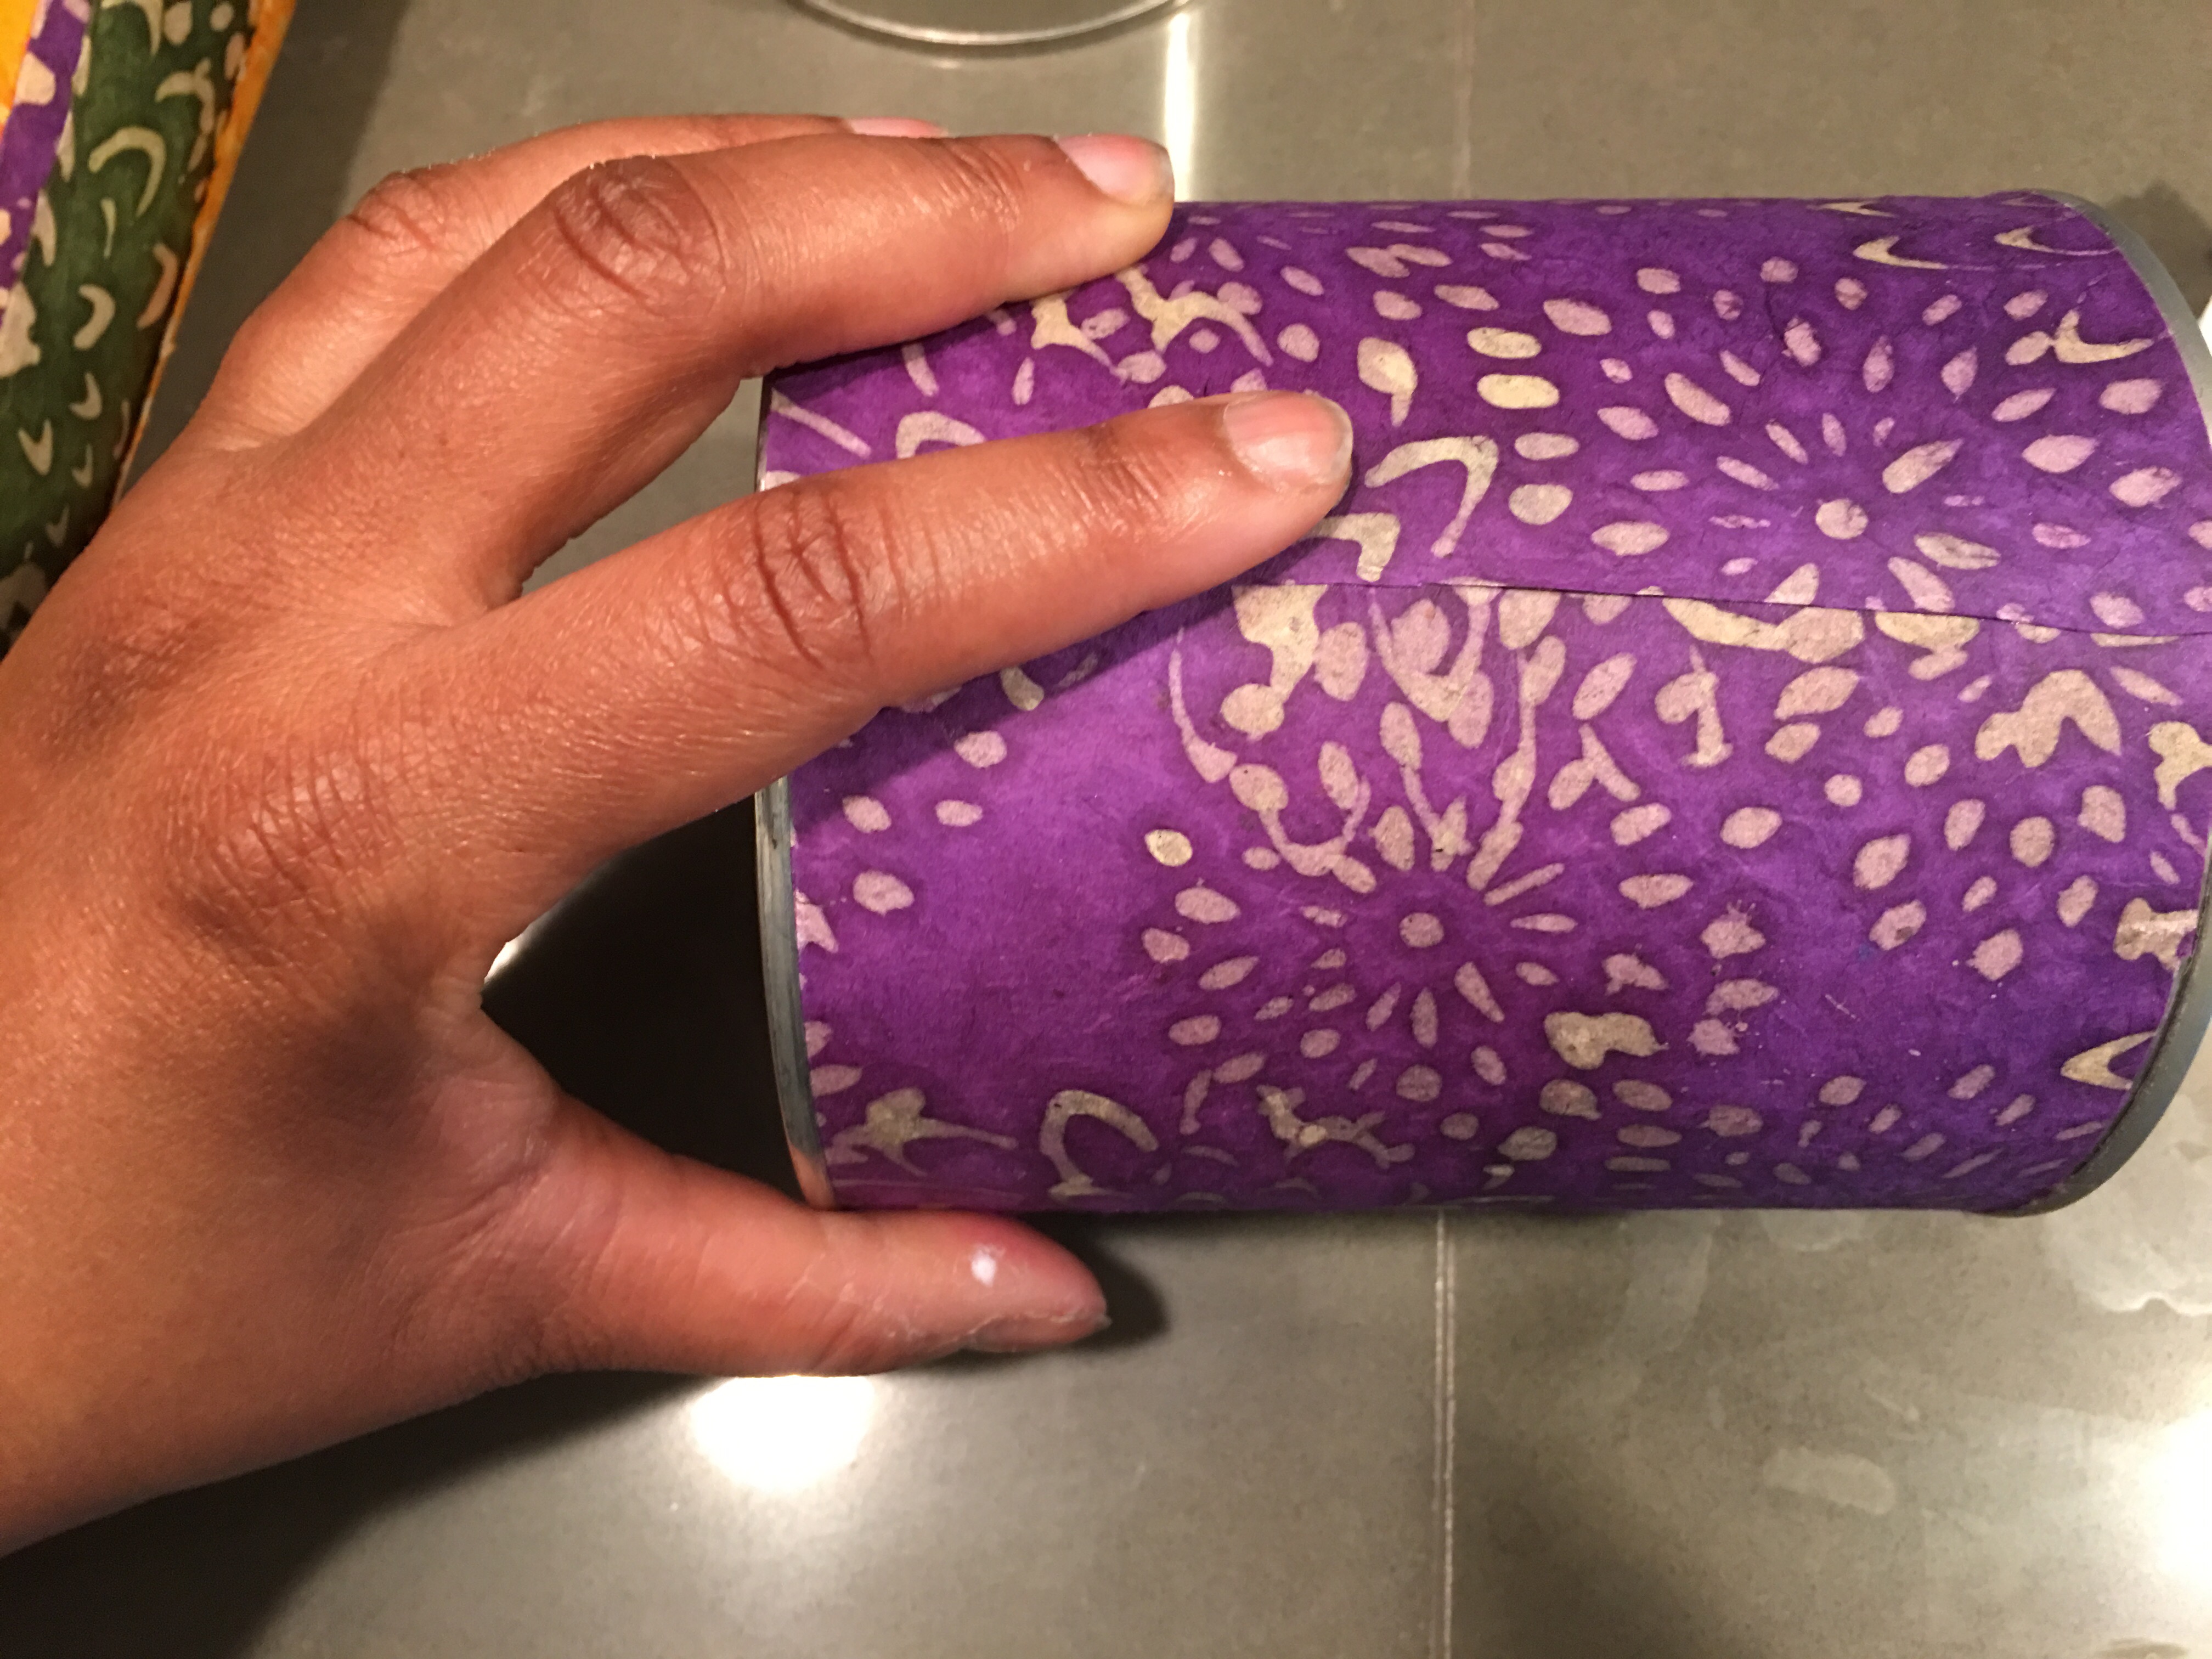
- Step 7: Pull the wrapped paper back, apply Mod Podge to the can, and then carefully rewrap the can over the Mod Podge.
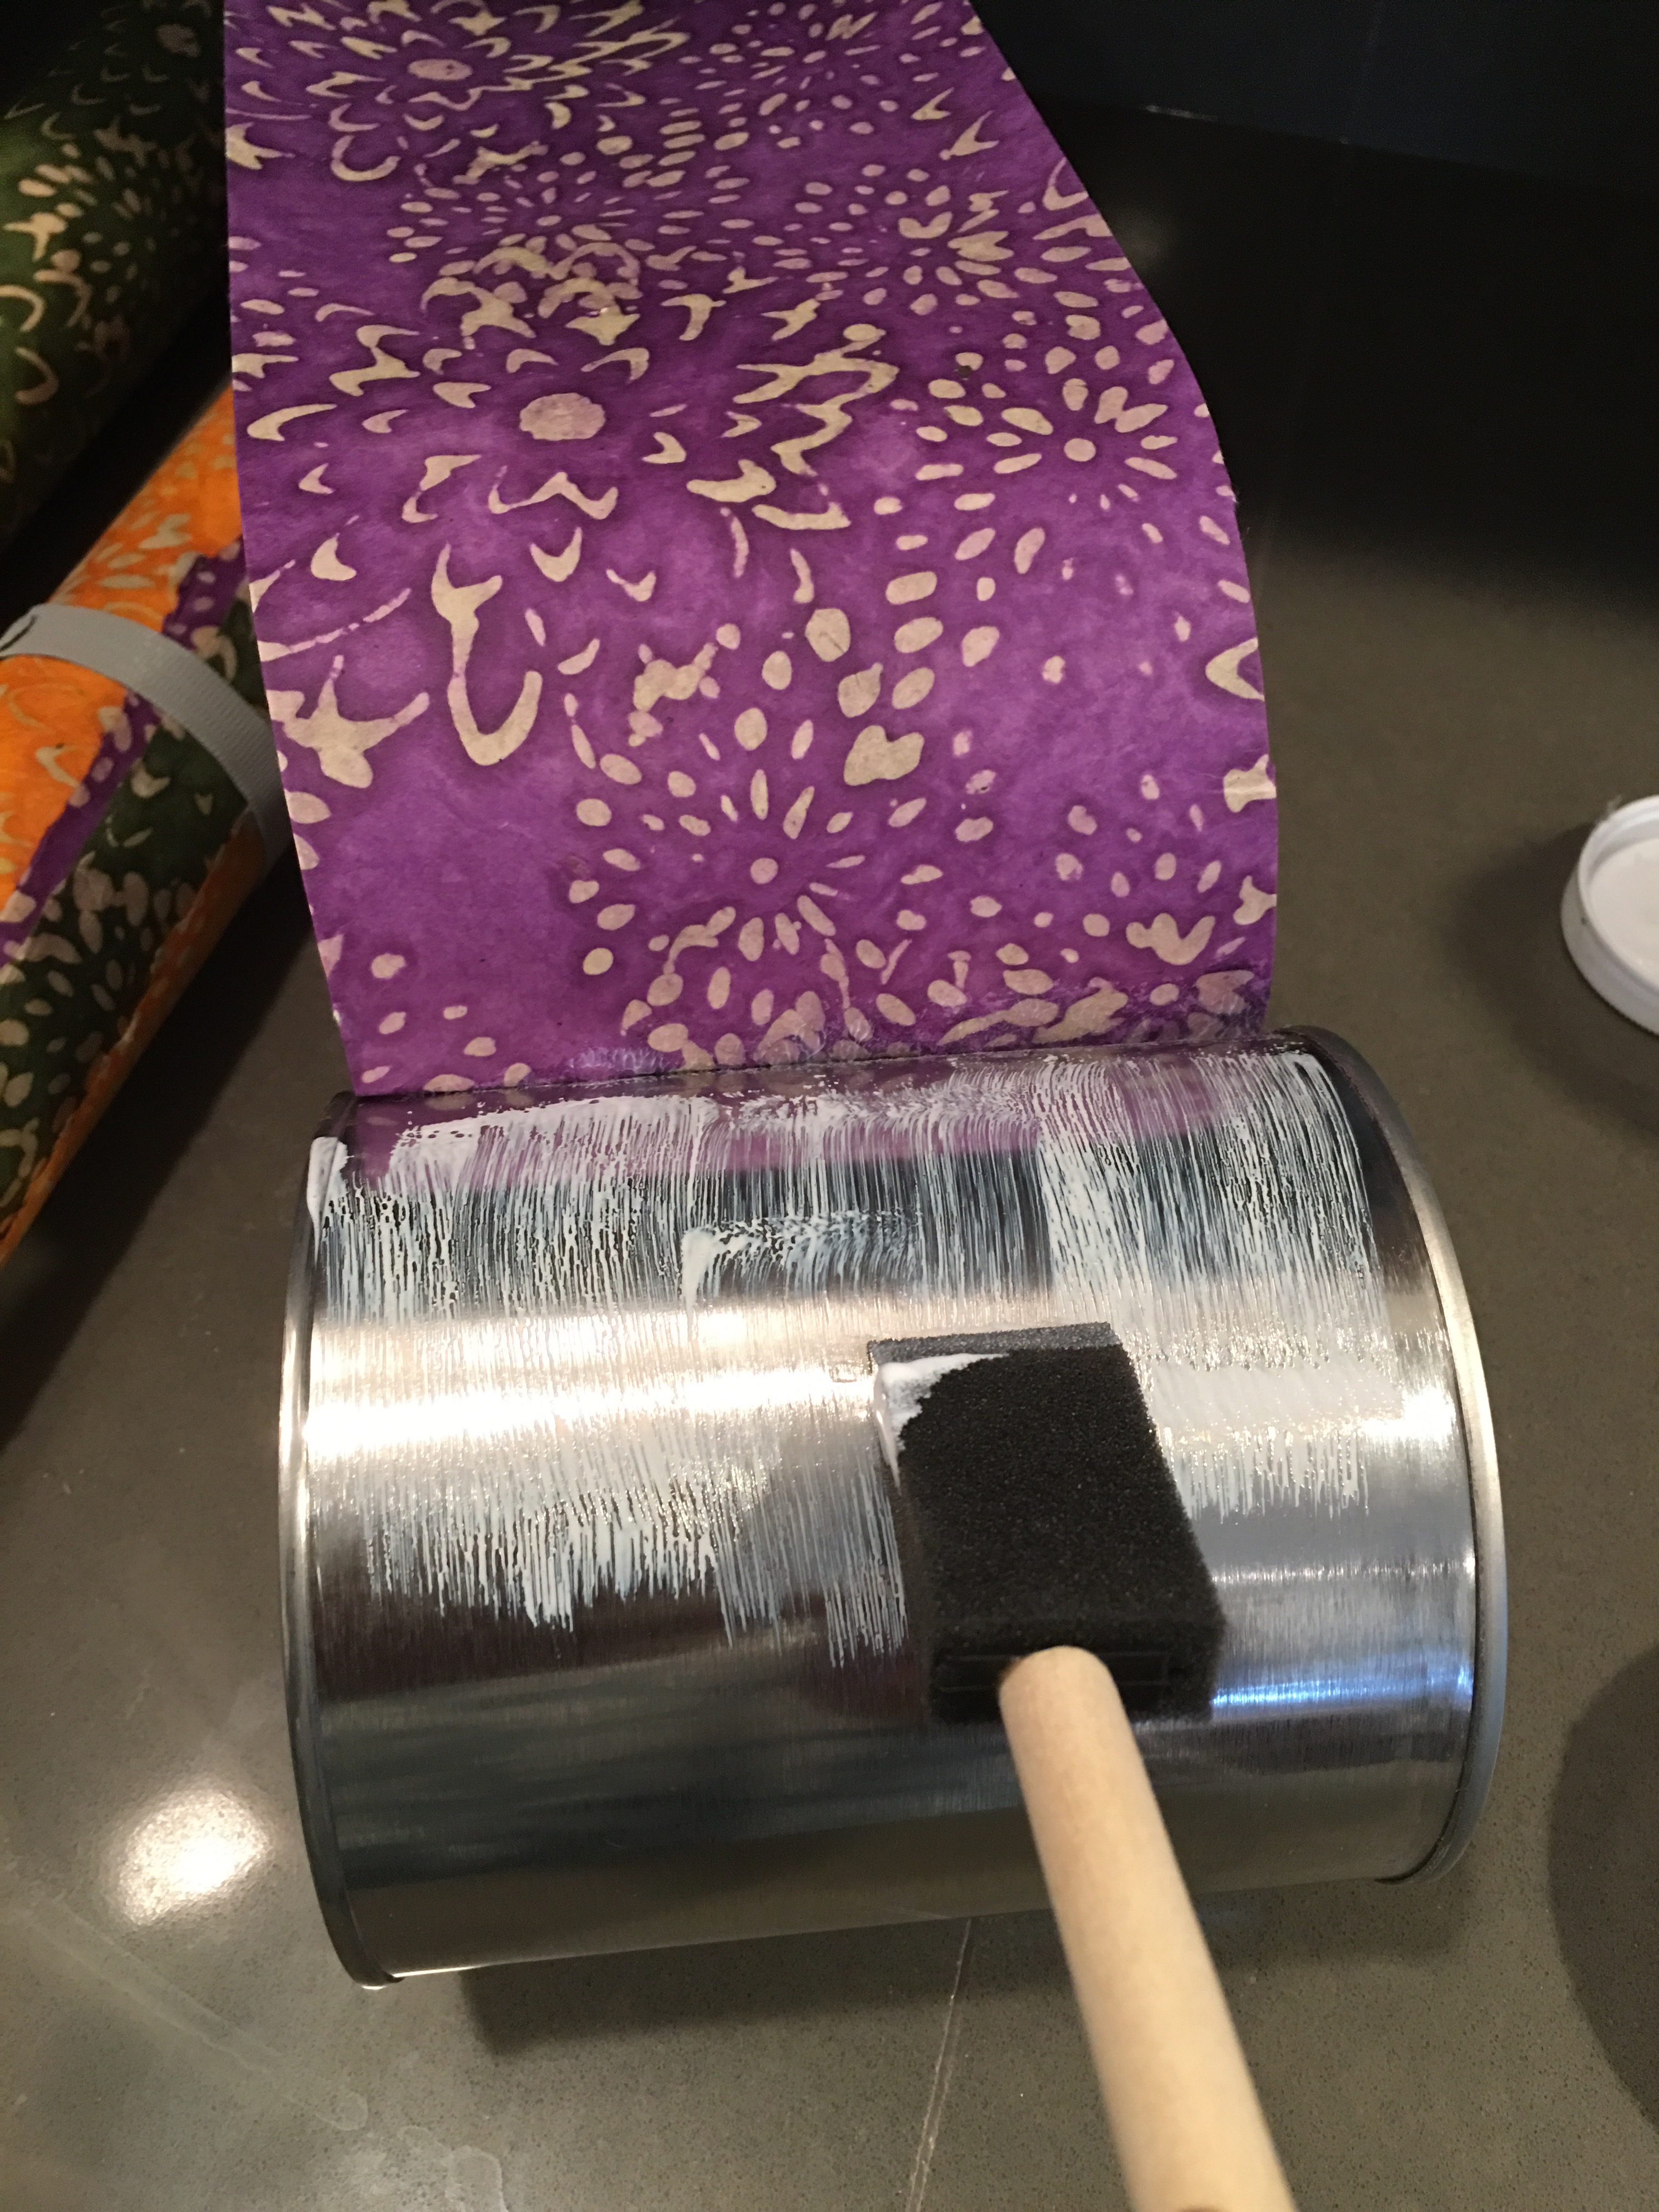
Now the above step is actually an optional one. You can simply use Mod Podge at each connecting end of the paper and still have a beautifully decorated can. But I like having my paper secured to the can as I wrap it around. One important tip for this step is less is more. Be very light-handed with the glue so that it doesn’t show through the paper.
- Step 8: Apply Mod Podge along the cut end of the paper, and then press and seal it to the can.
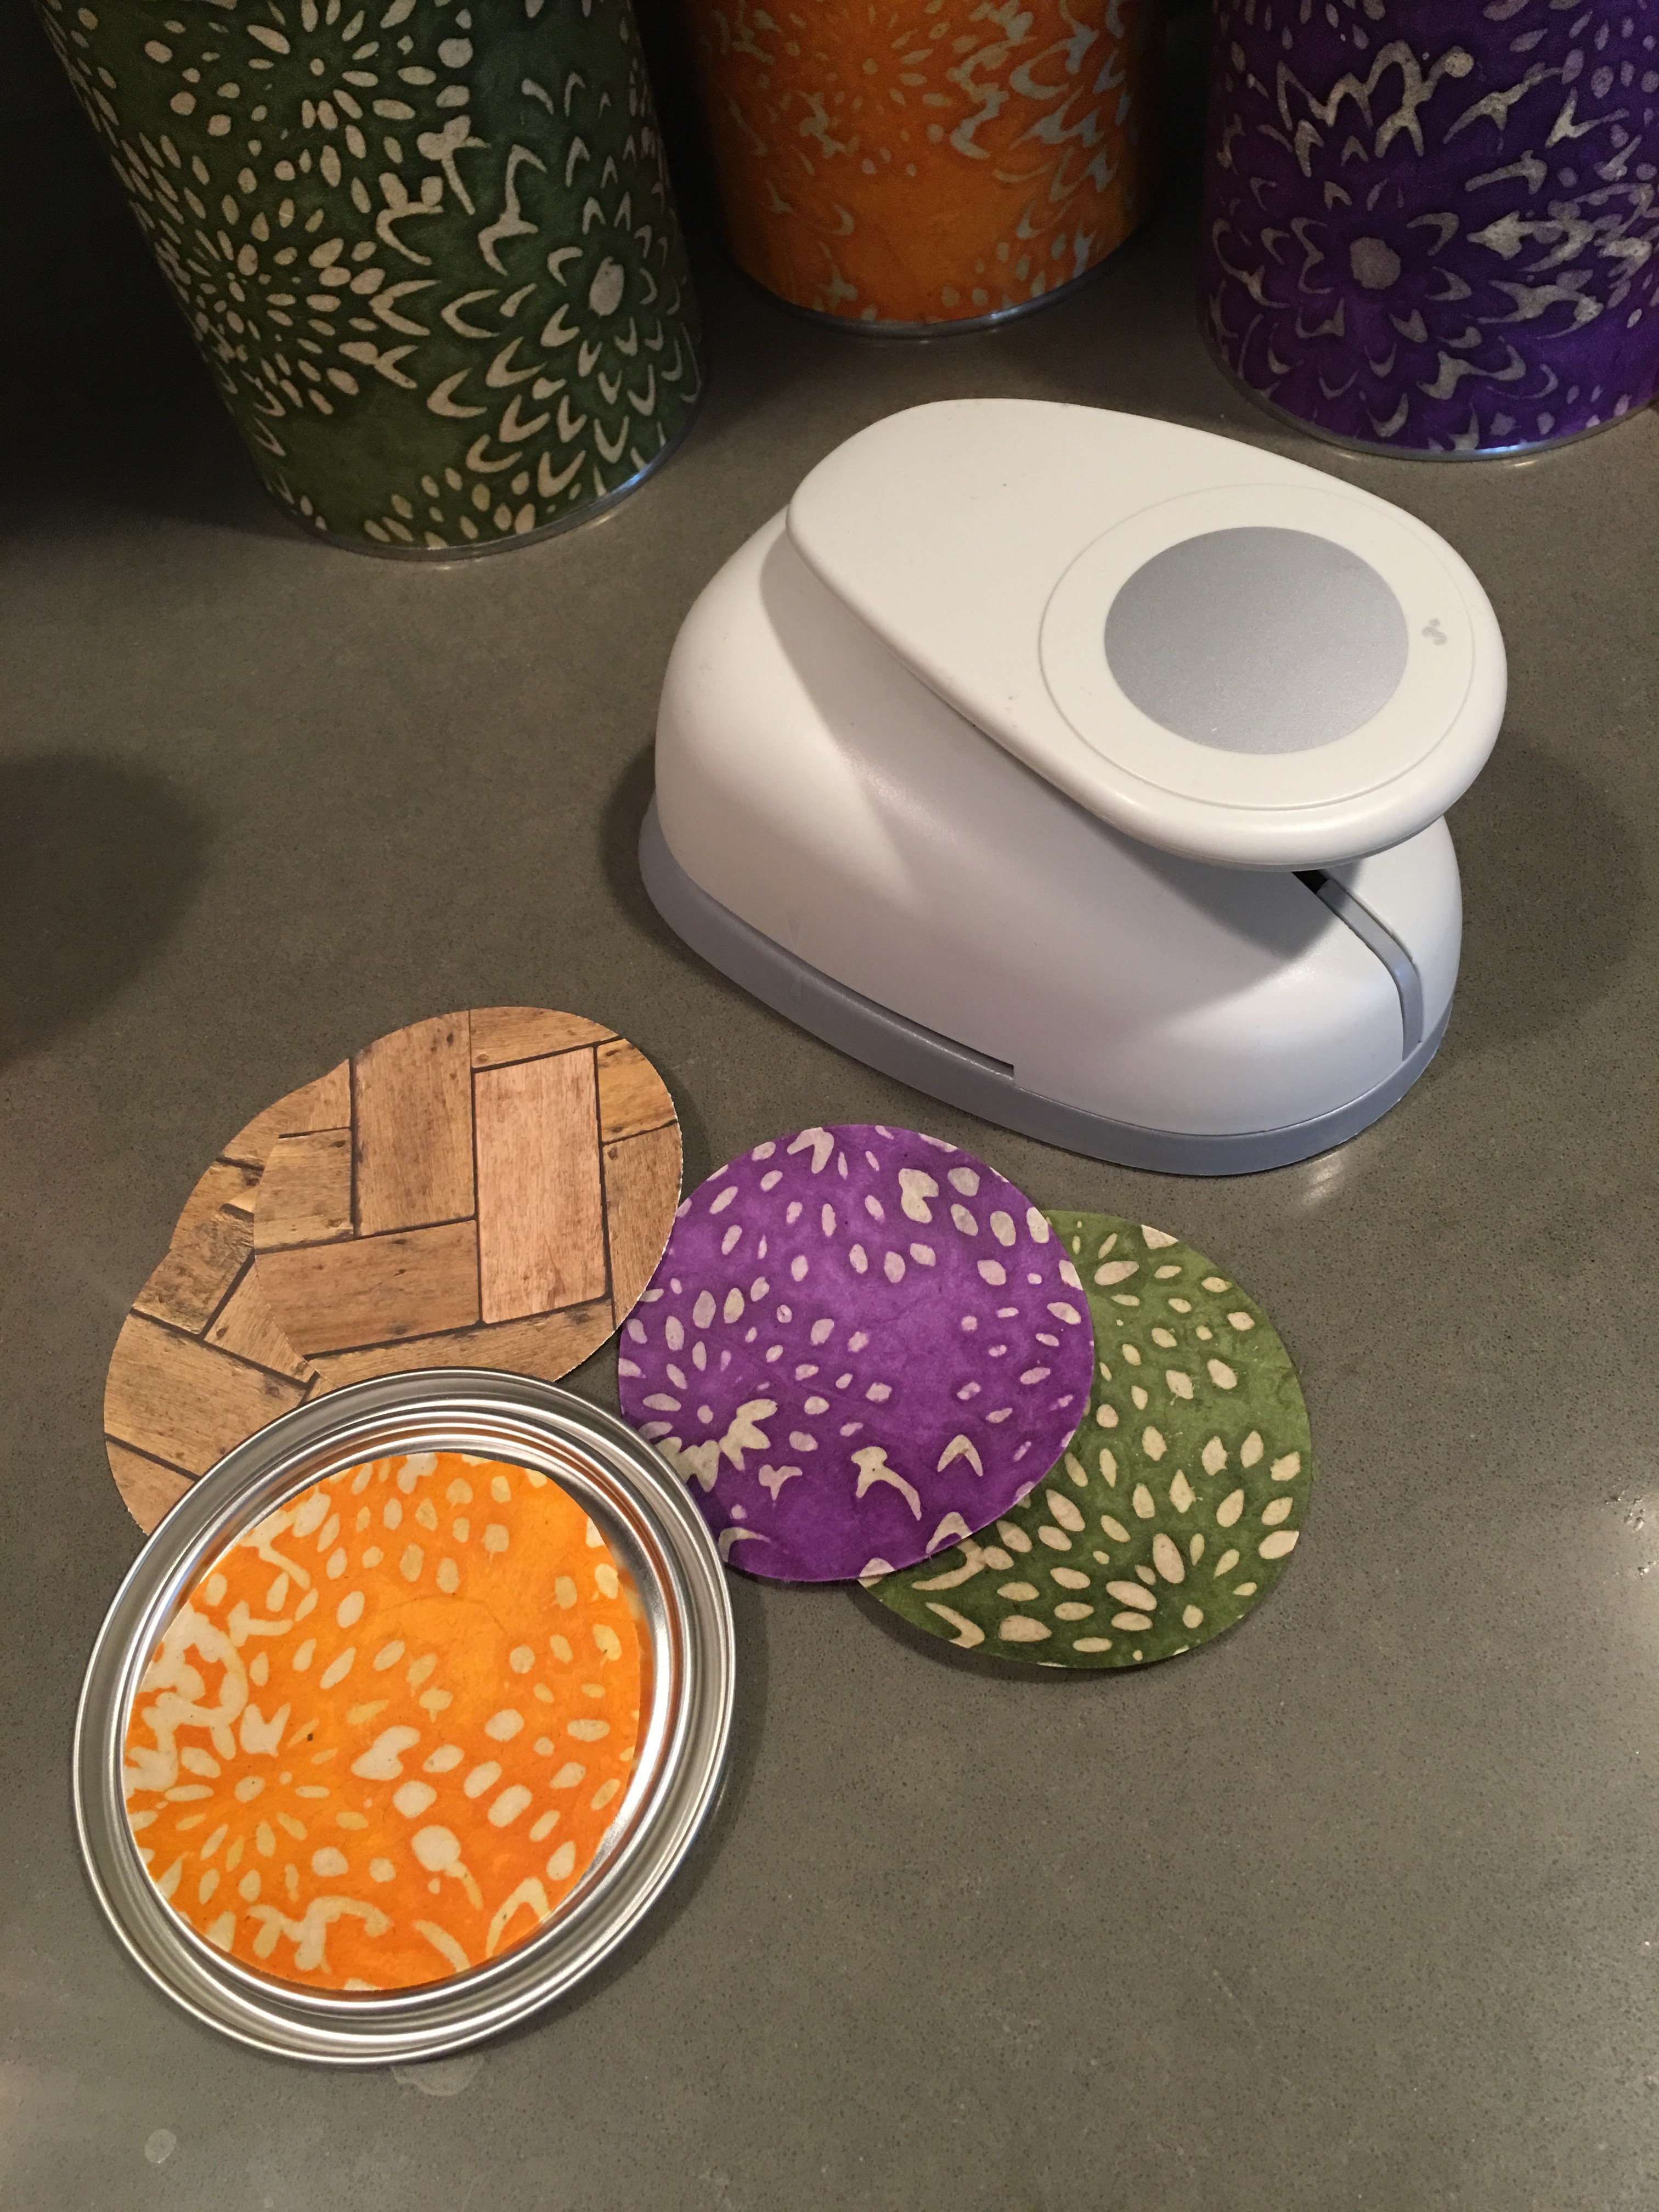
- Step 9: To decorate the lids of the tin cans I used a 3″ circle punch (which makes a circle paper shape that is slightly smaller than the lid top).
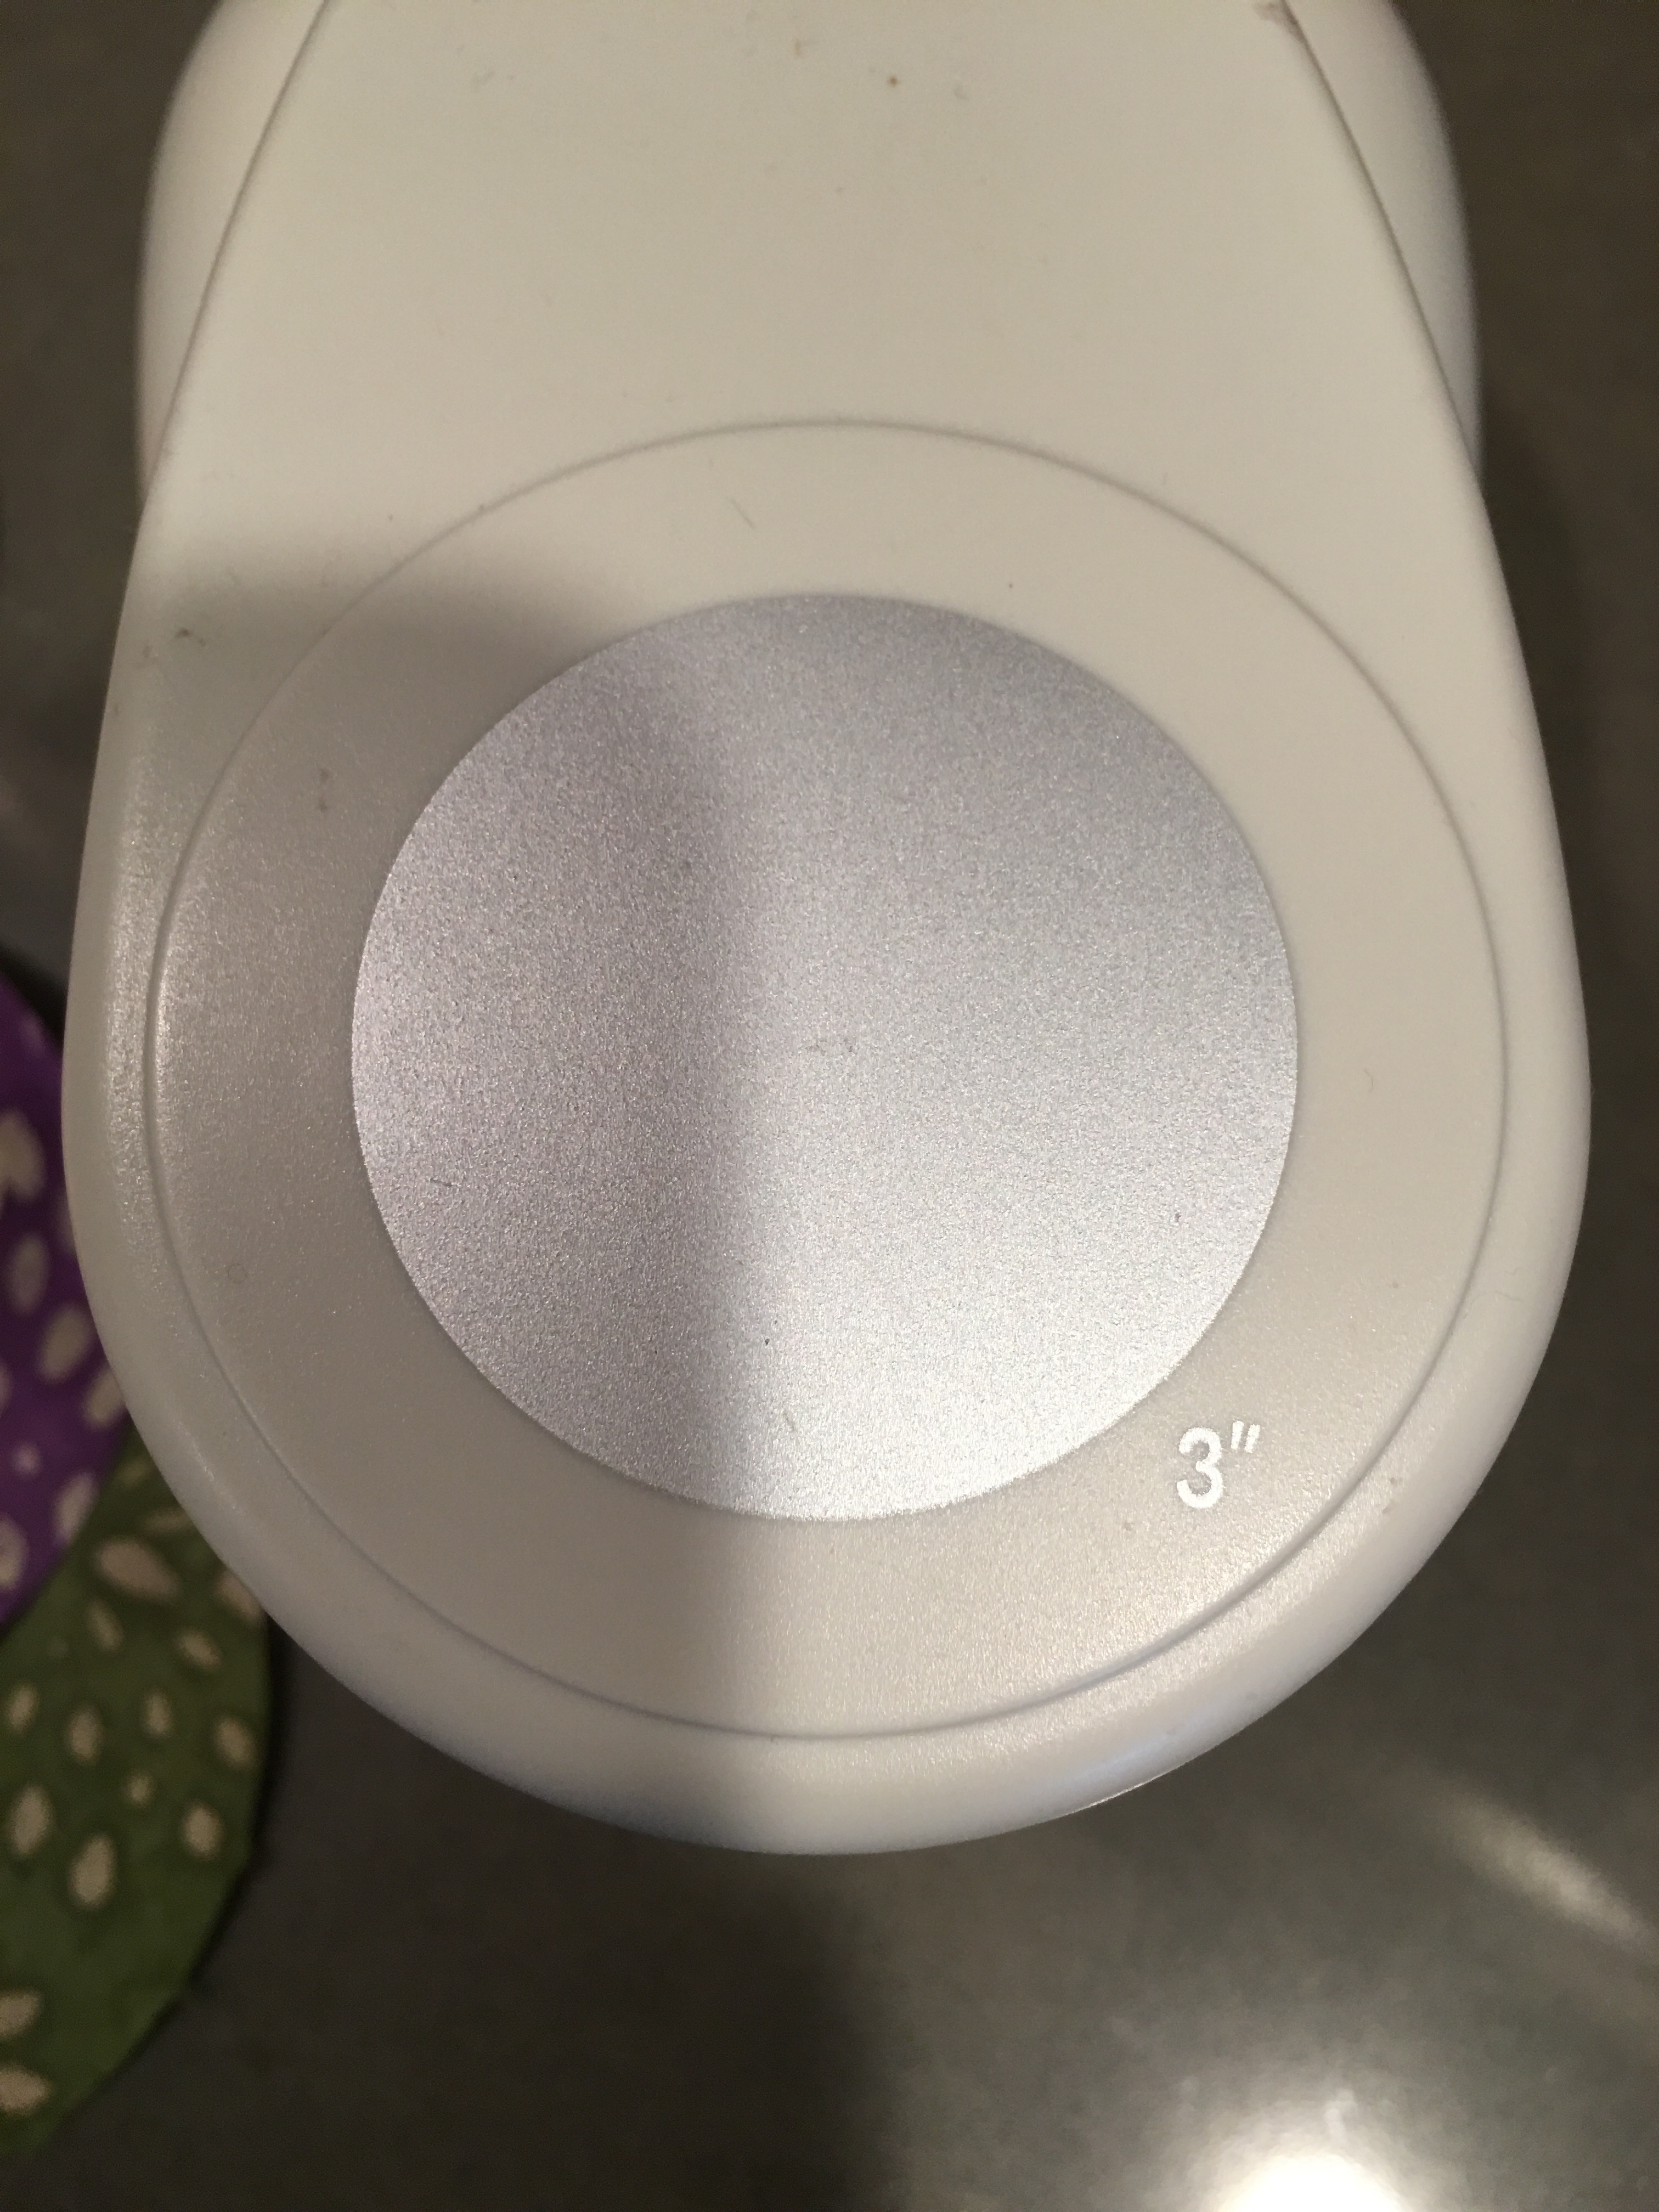
It’s important to use coarser paper (plain copy or, in this case, scrapbook paper) to assist with the paper punch process. The coarse paper allows the punch tool to clean cut across the finer grade of paper.

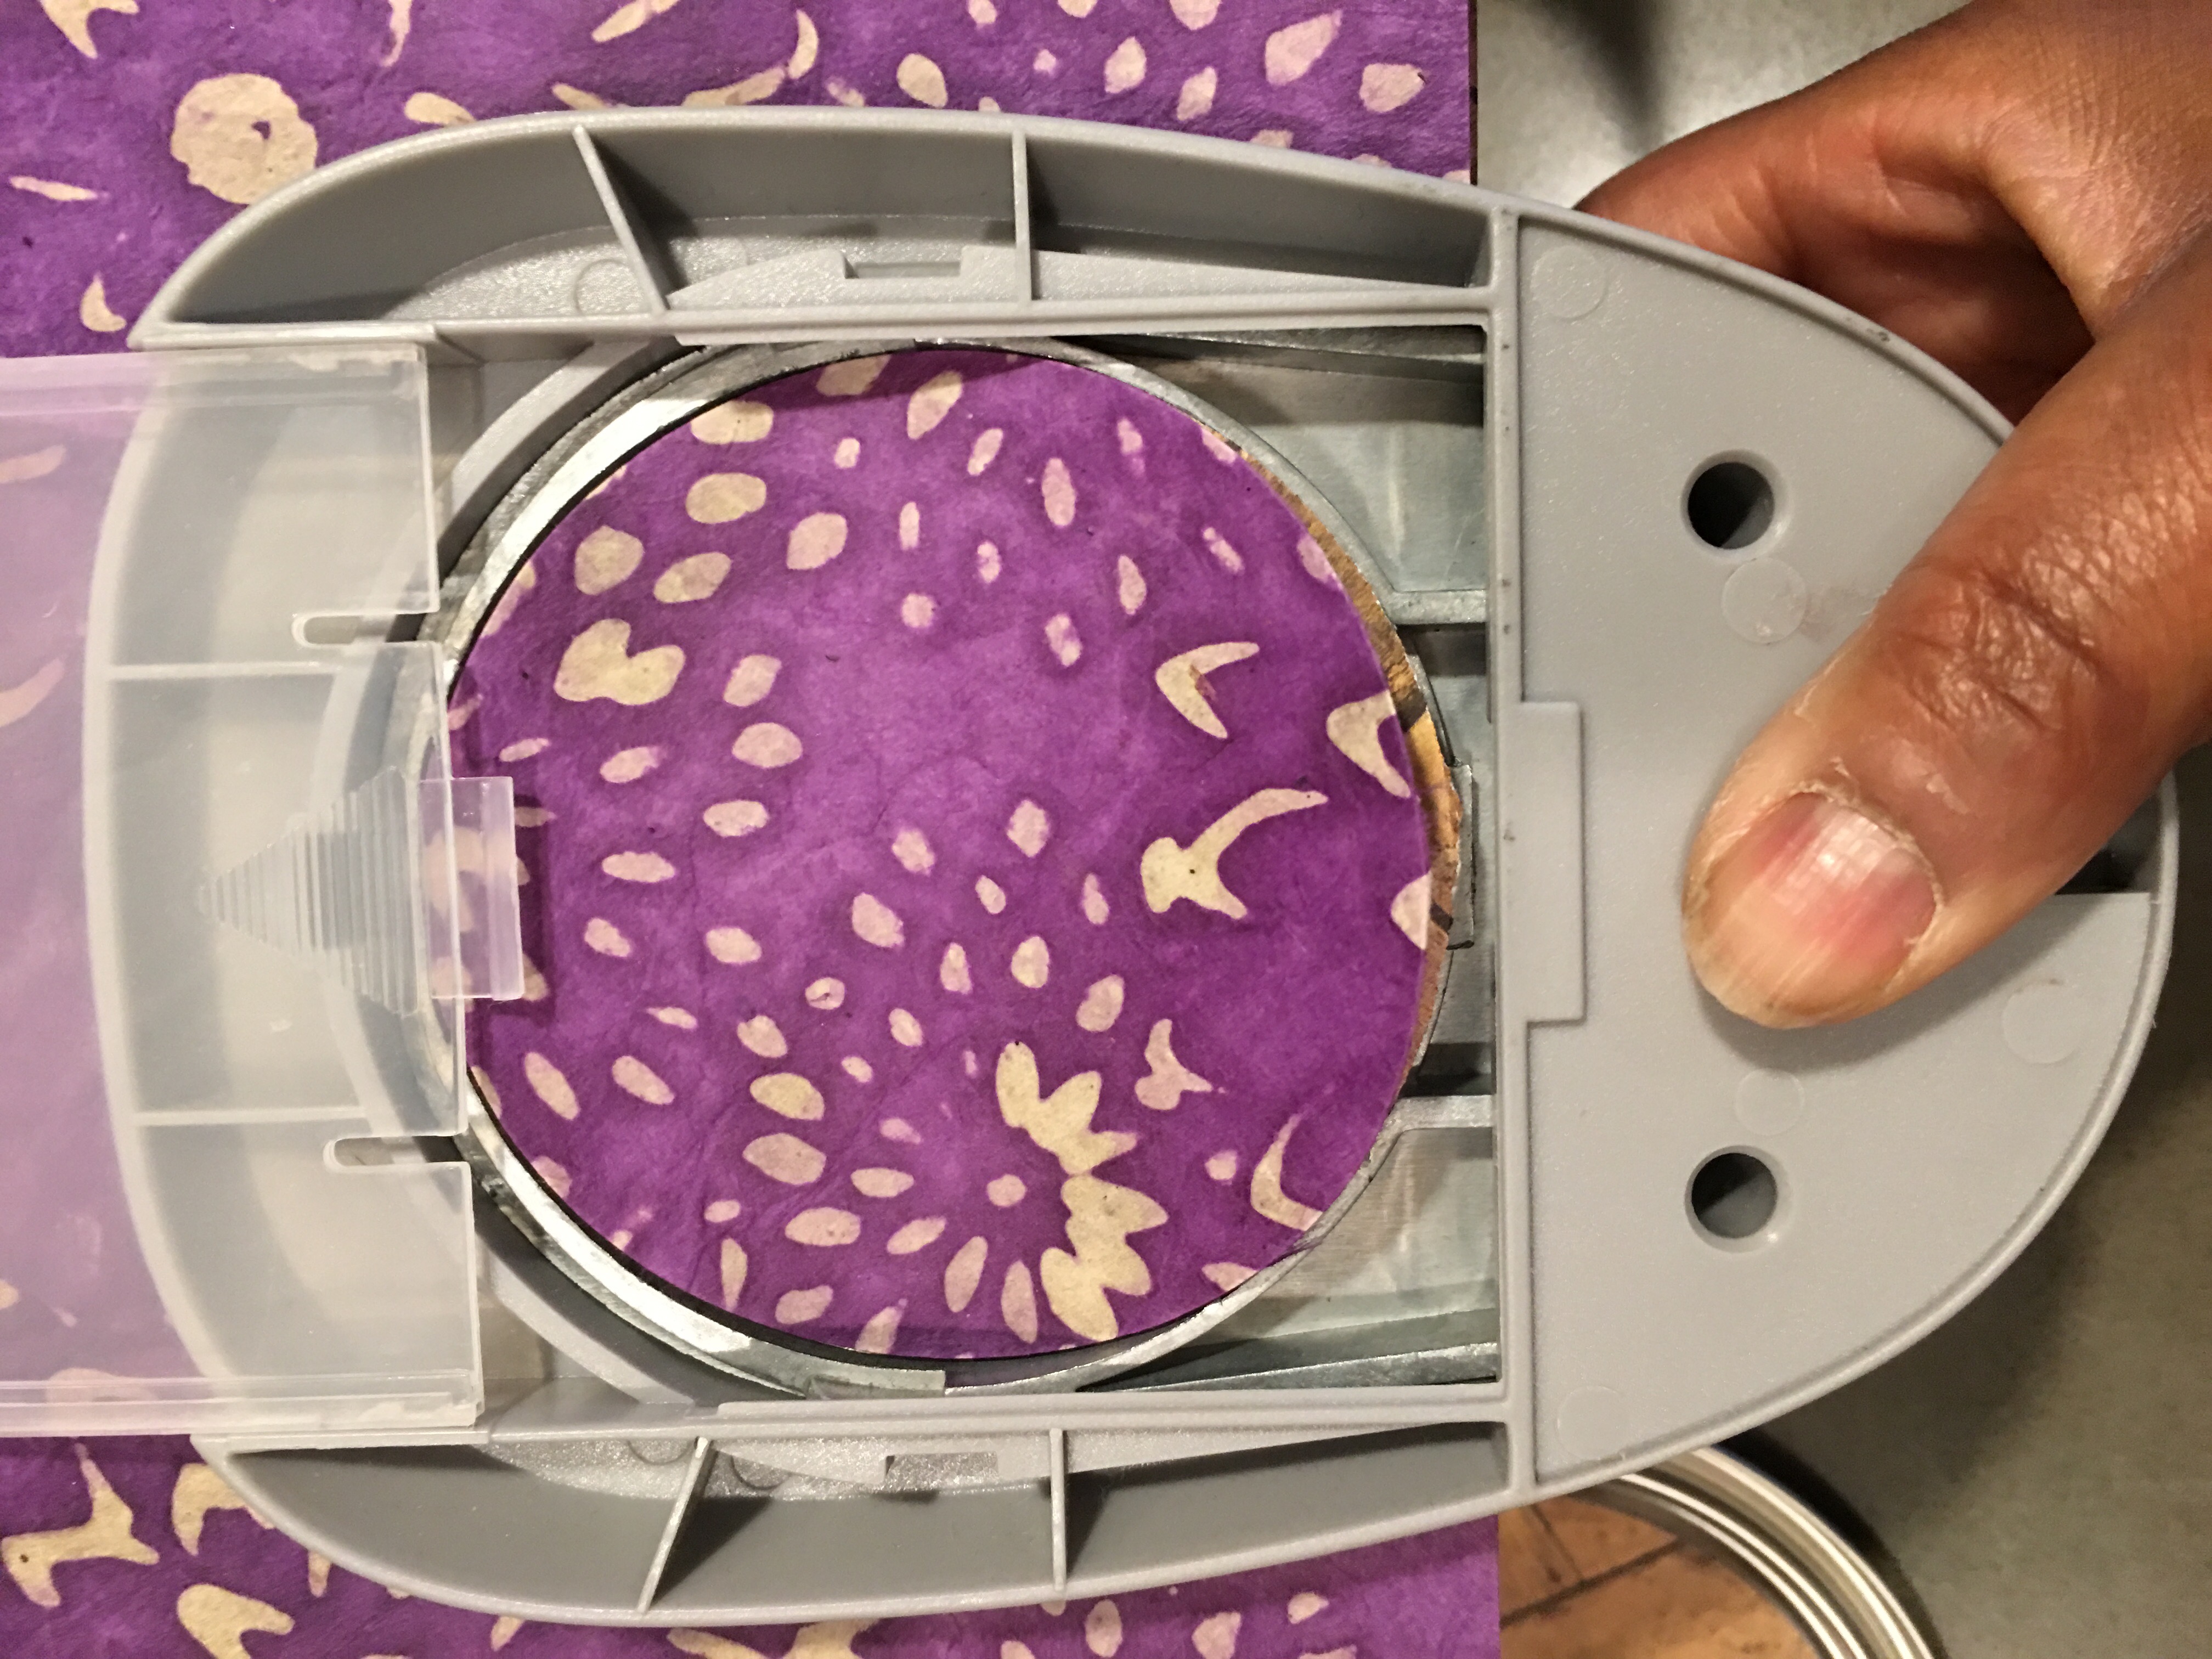
I punched 3″ circles from each of the decorative papers.
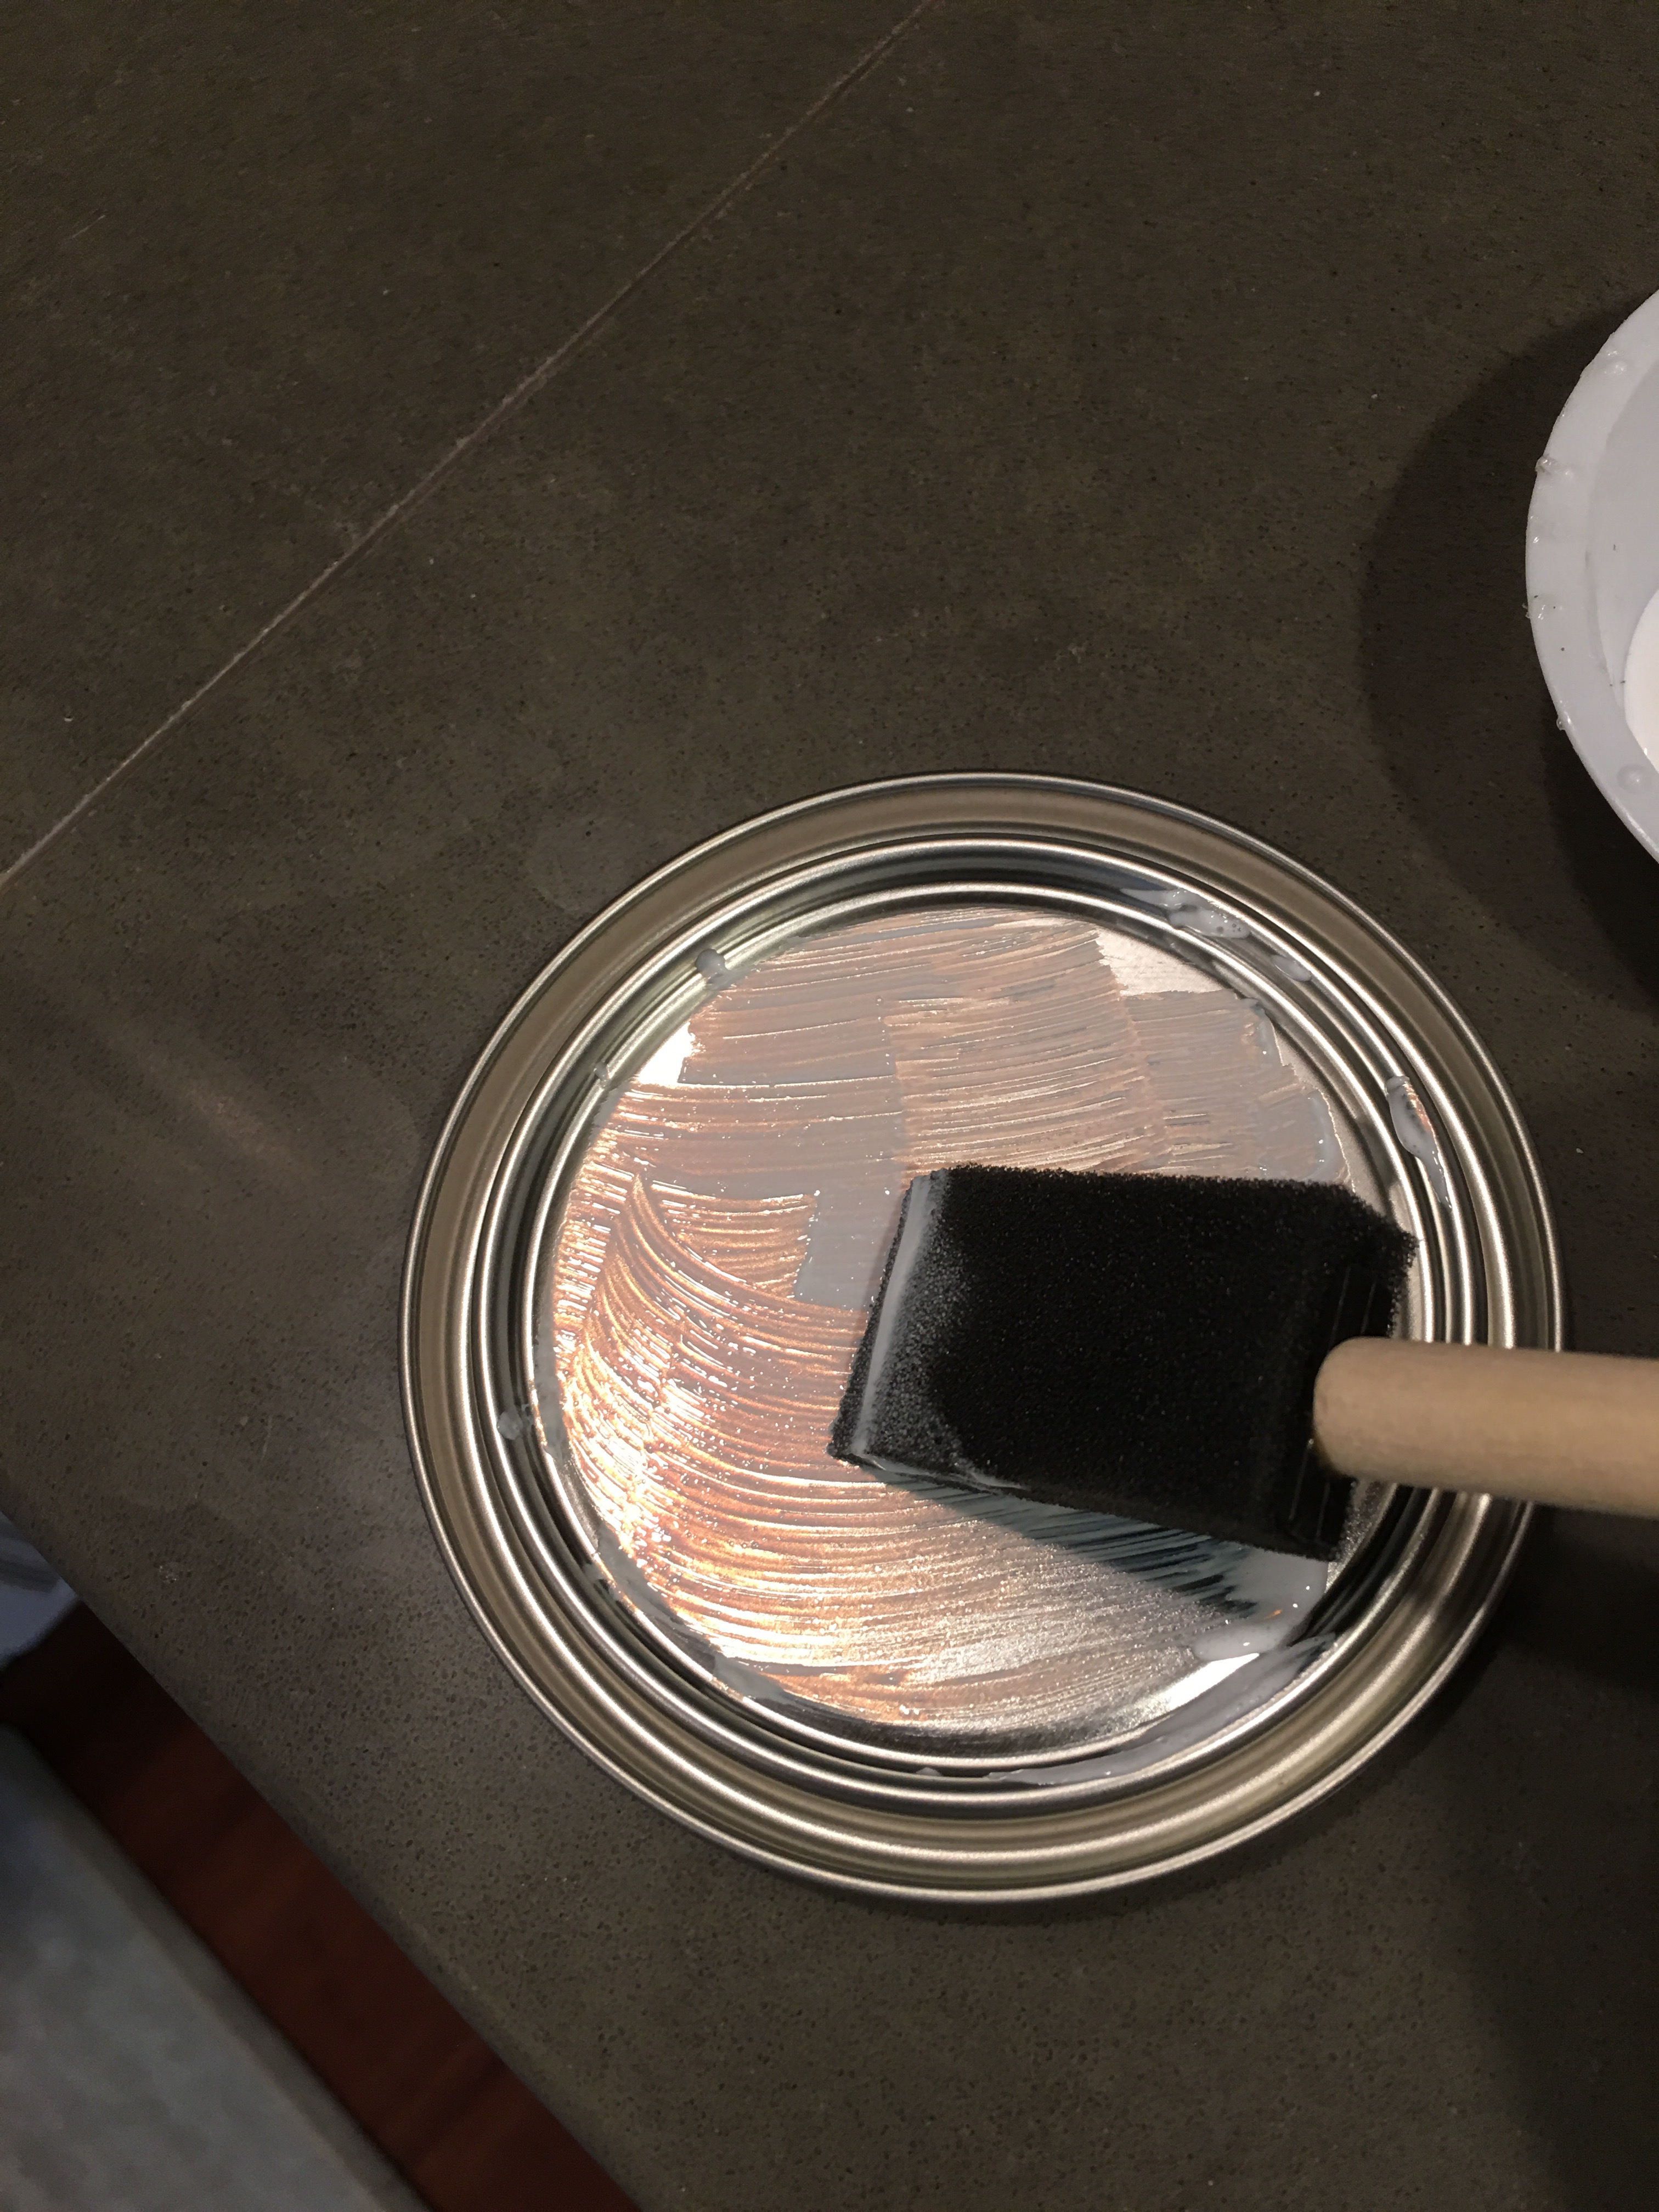
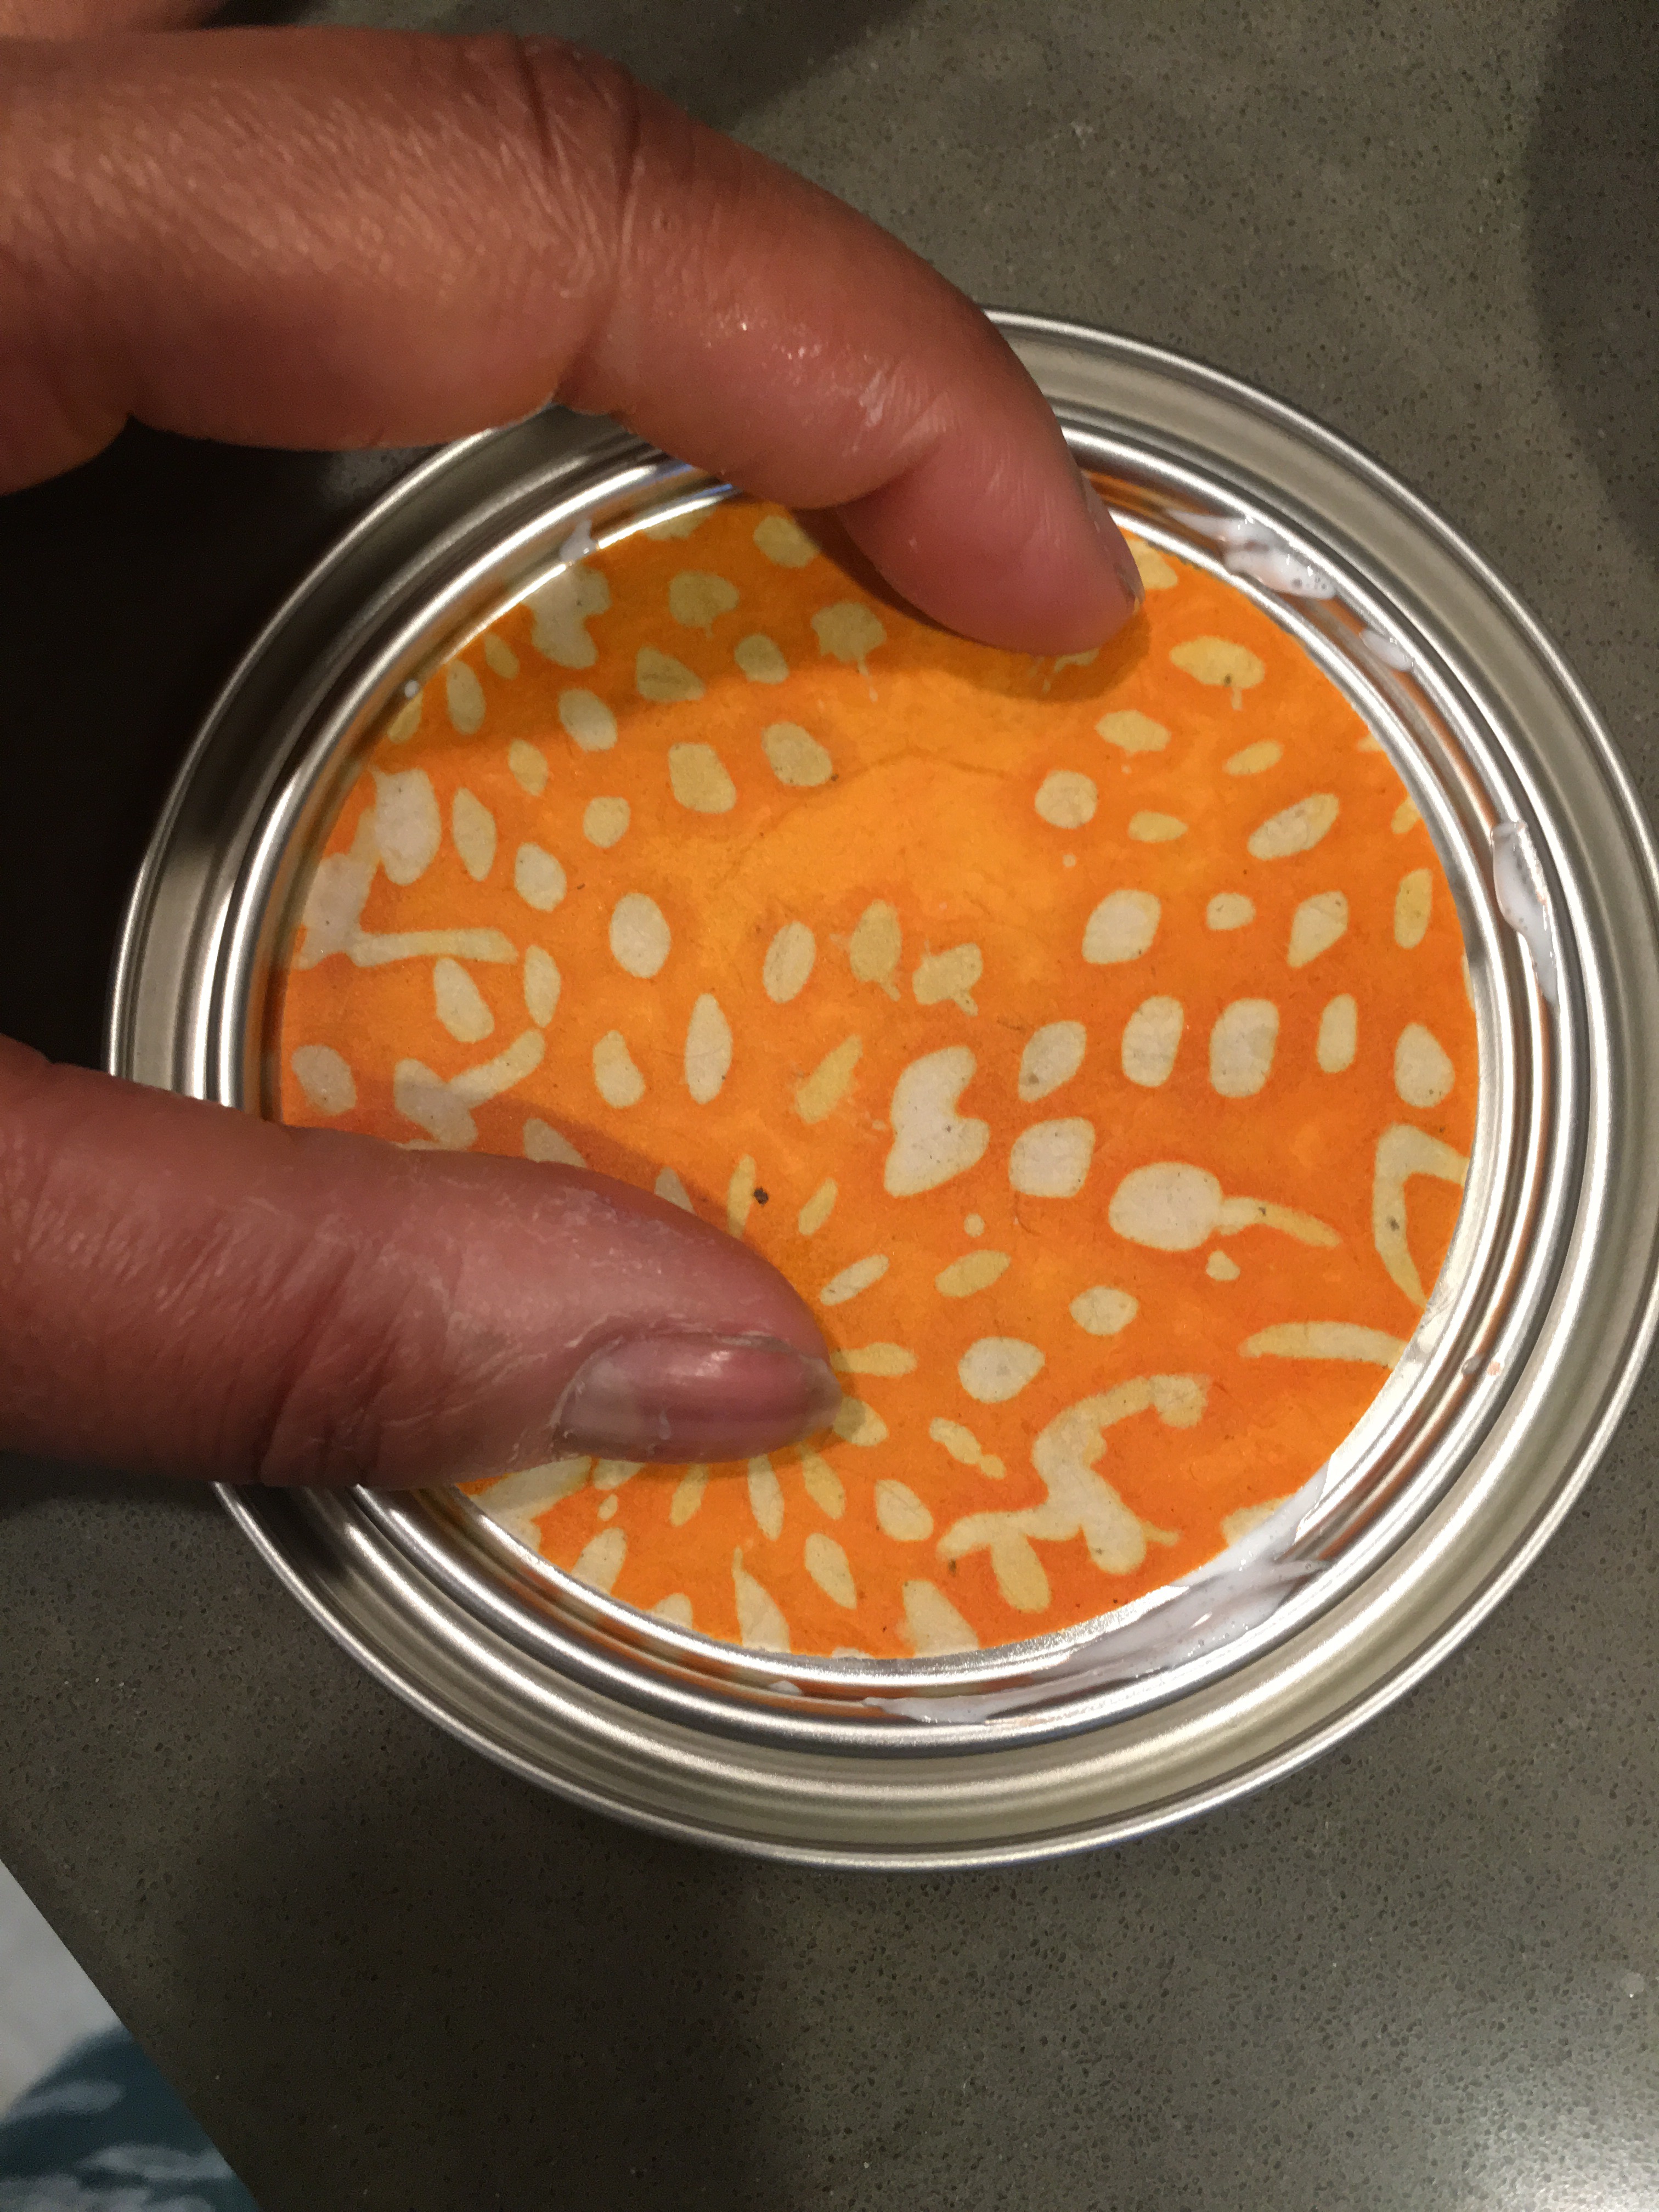
- Step 10: Using Mod Podge, apply the paper circles to the lid tops.
- Step 11: Place magnet push pins to the top of each decorated lid.
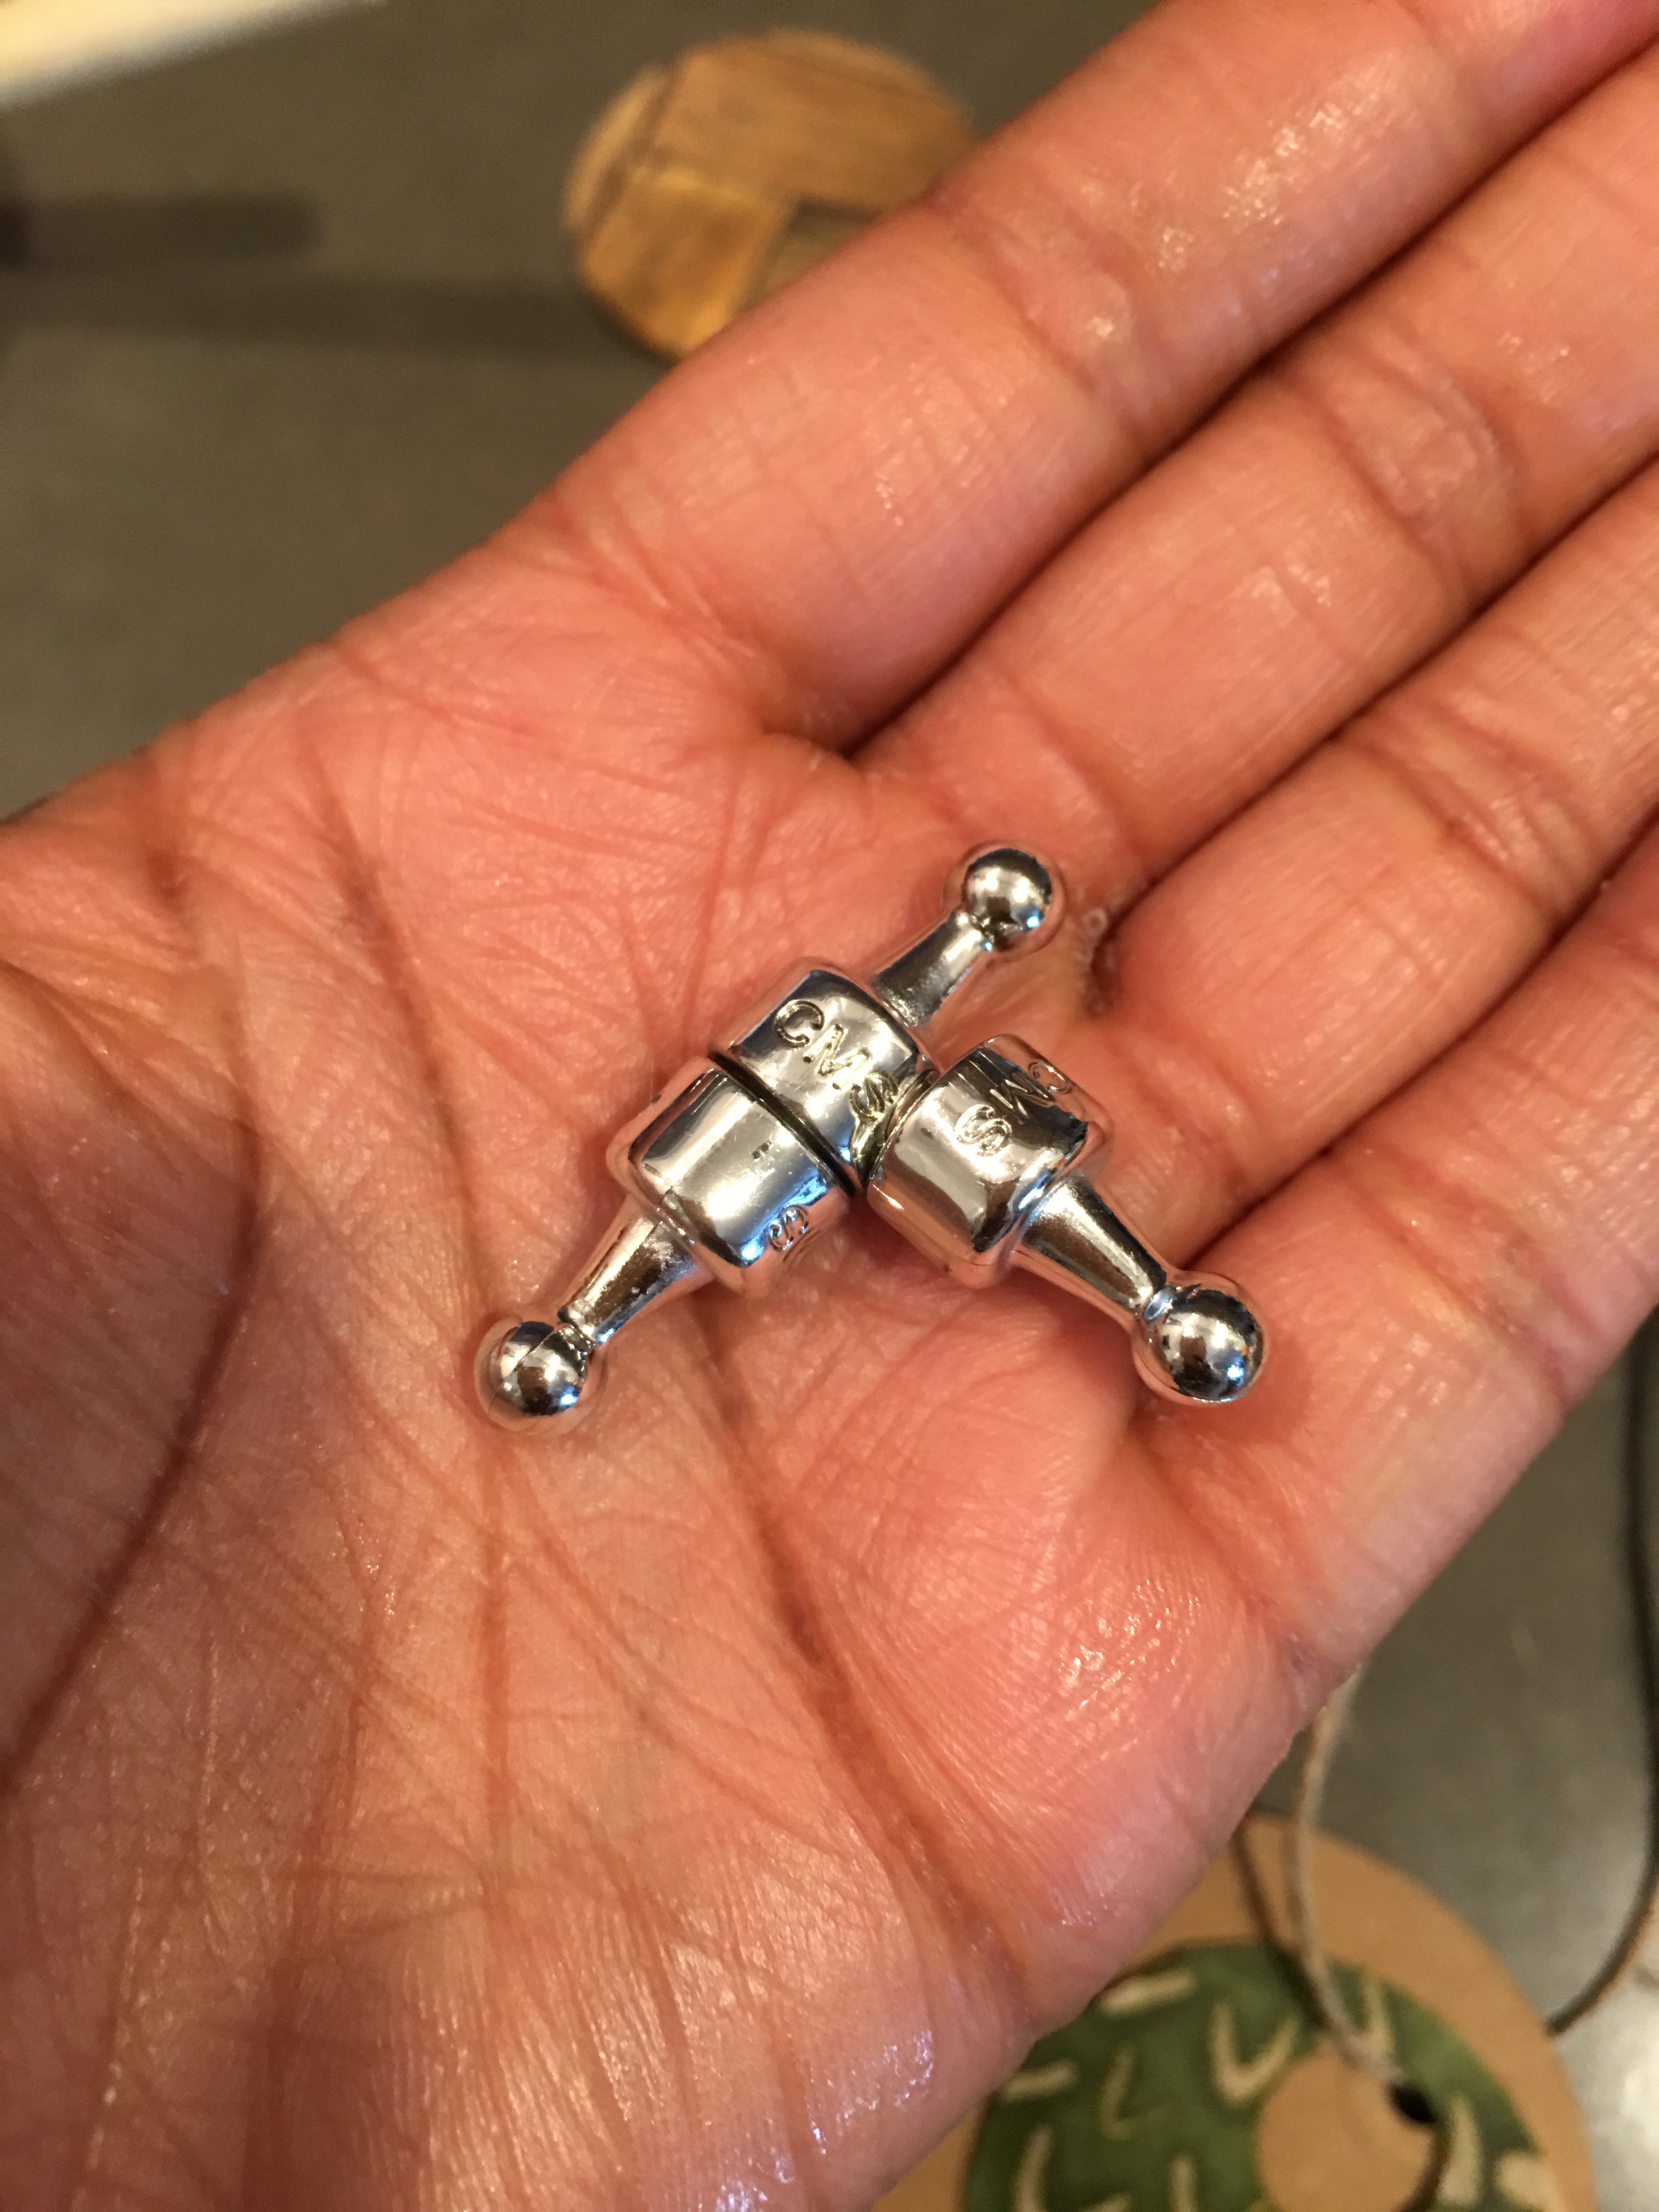
Using these magnets on the top lid of the can creates a nice handle for the can.
Just gently pull on the magnet to remove the lid and reveal the contents. 🙂
And those are the quick and easy steps for decorating the tin cans or canisters.
Making label tags for the cans
As far as labeling goes, tin cans are magnetic (yippee!). So one of my favorite ways to decorate the contents of the cans is to attach a labeled tag using a magnet.
But I also like to add tags to the cans for labeling and embellishment. So for these cans I’ll make tags with a twine loop so that they can hang off the side of the can. The “hook” for the tags will be push pin magnets. This is also a quick and crafty DIY.
Project Materials List:
- Craft paper circle tags (2.5″ diameter).
- 2″ circle punch.
- 5/8″ circle punch.
- Decorative paper. ( I used the scrap paper from my decorated cans so that these tags would match the same color and print).
- Plain copy or scrapbook paper. (To assist with the decorated paper punch-outs).
- Jute twine.
So here’s a quick rundown of making the tags.
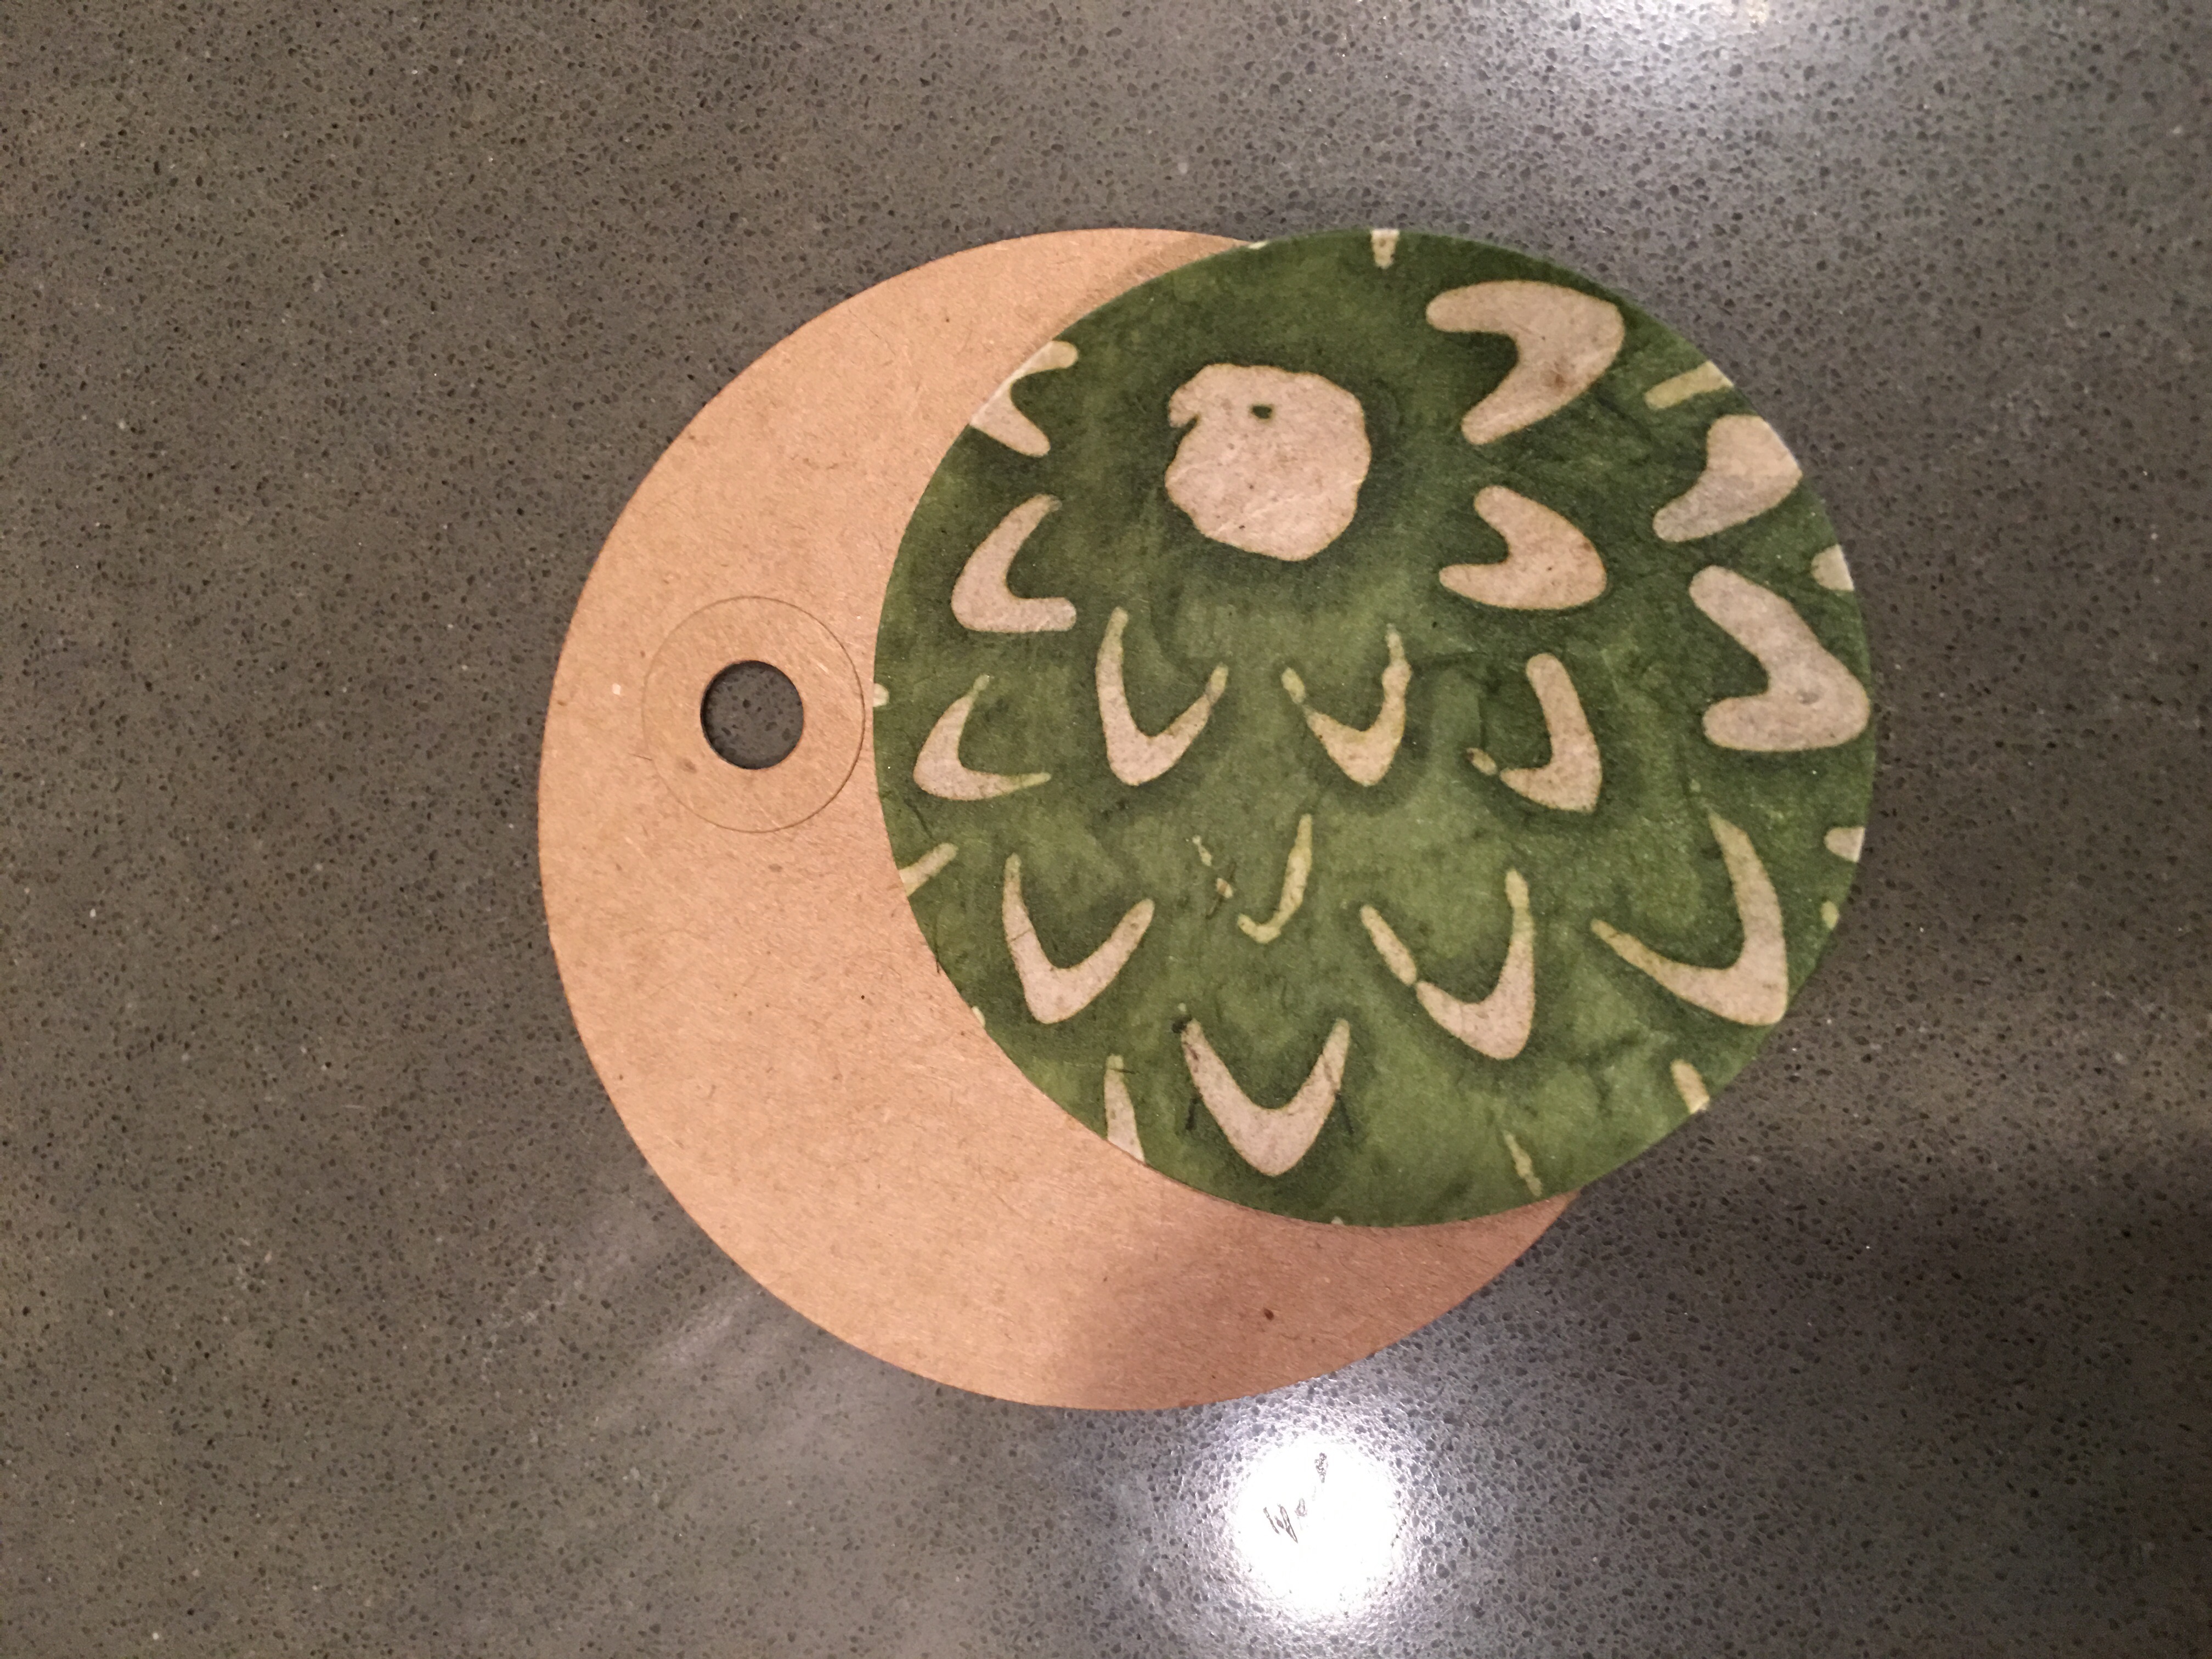
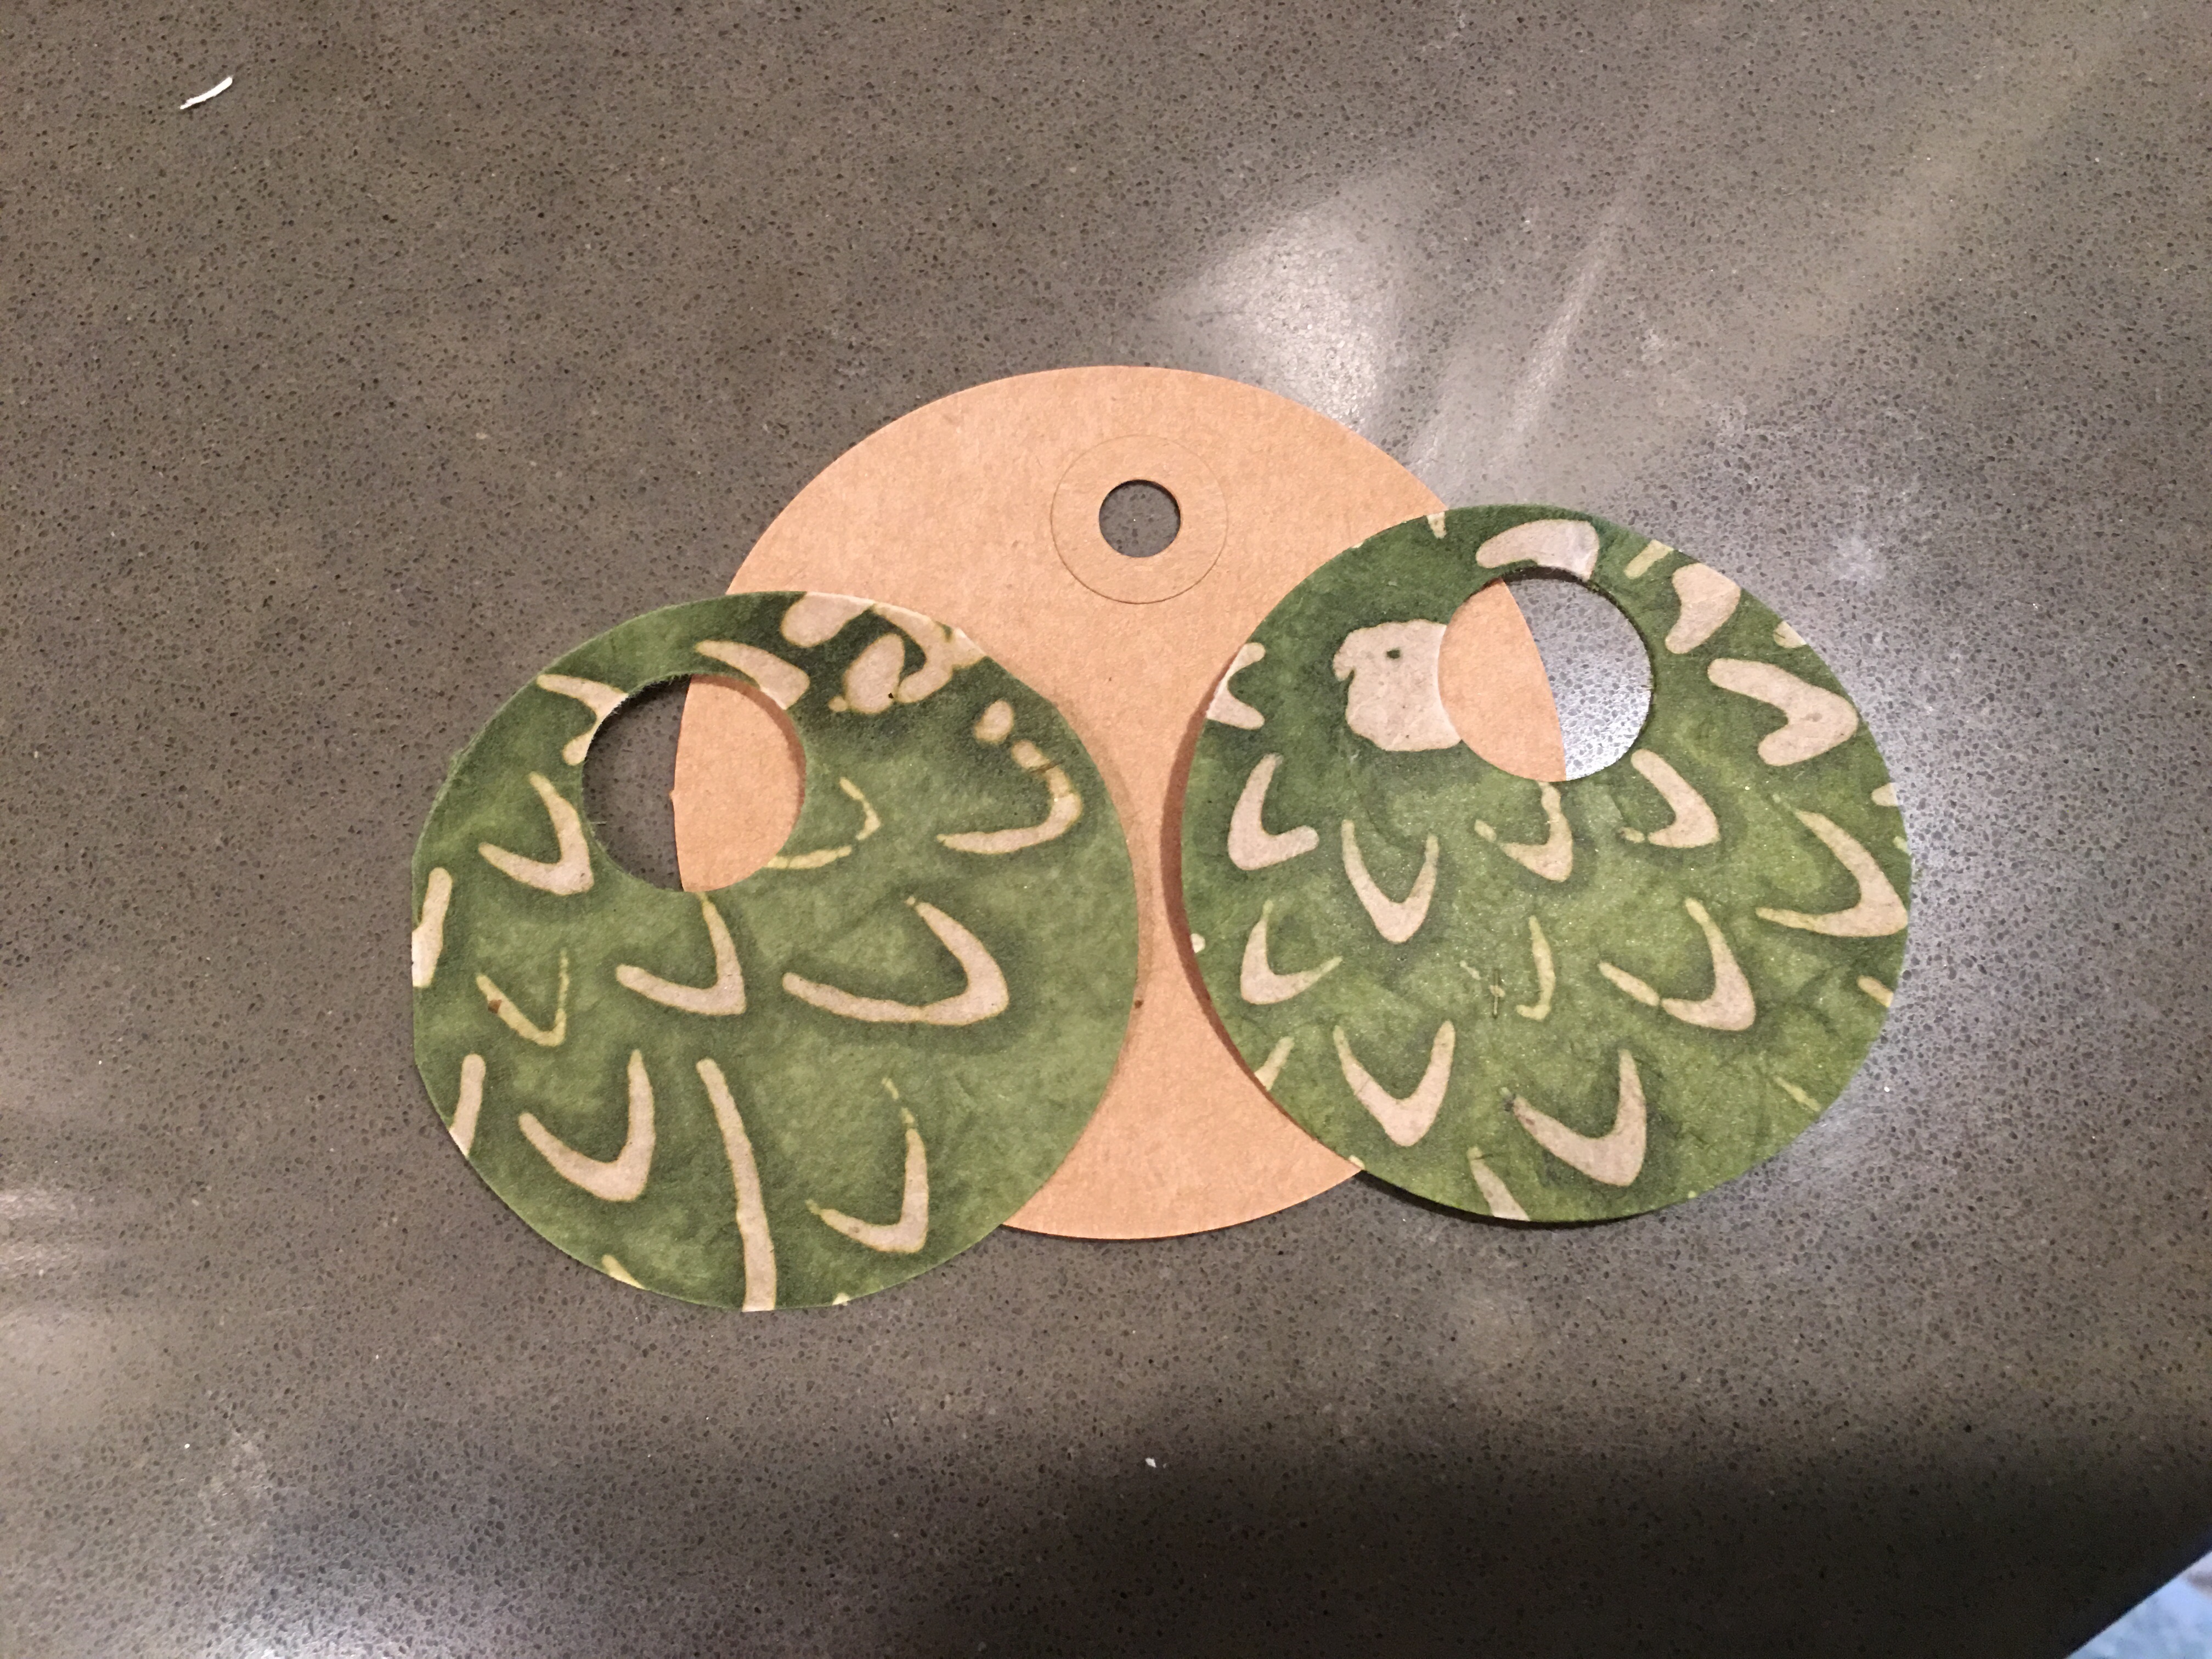
- Step 1: Make decorative paper circles using the 2″ circle punch. You need two of each color per tag.
- Step 2: Line up the 2″ circles with the larger circle tag (over the pre-made tag hole).
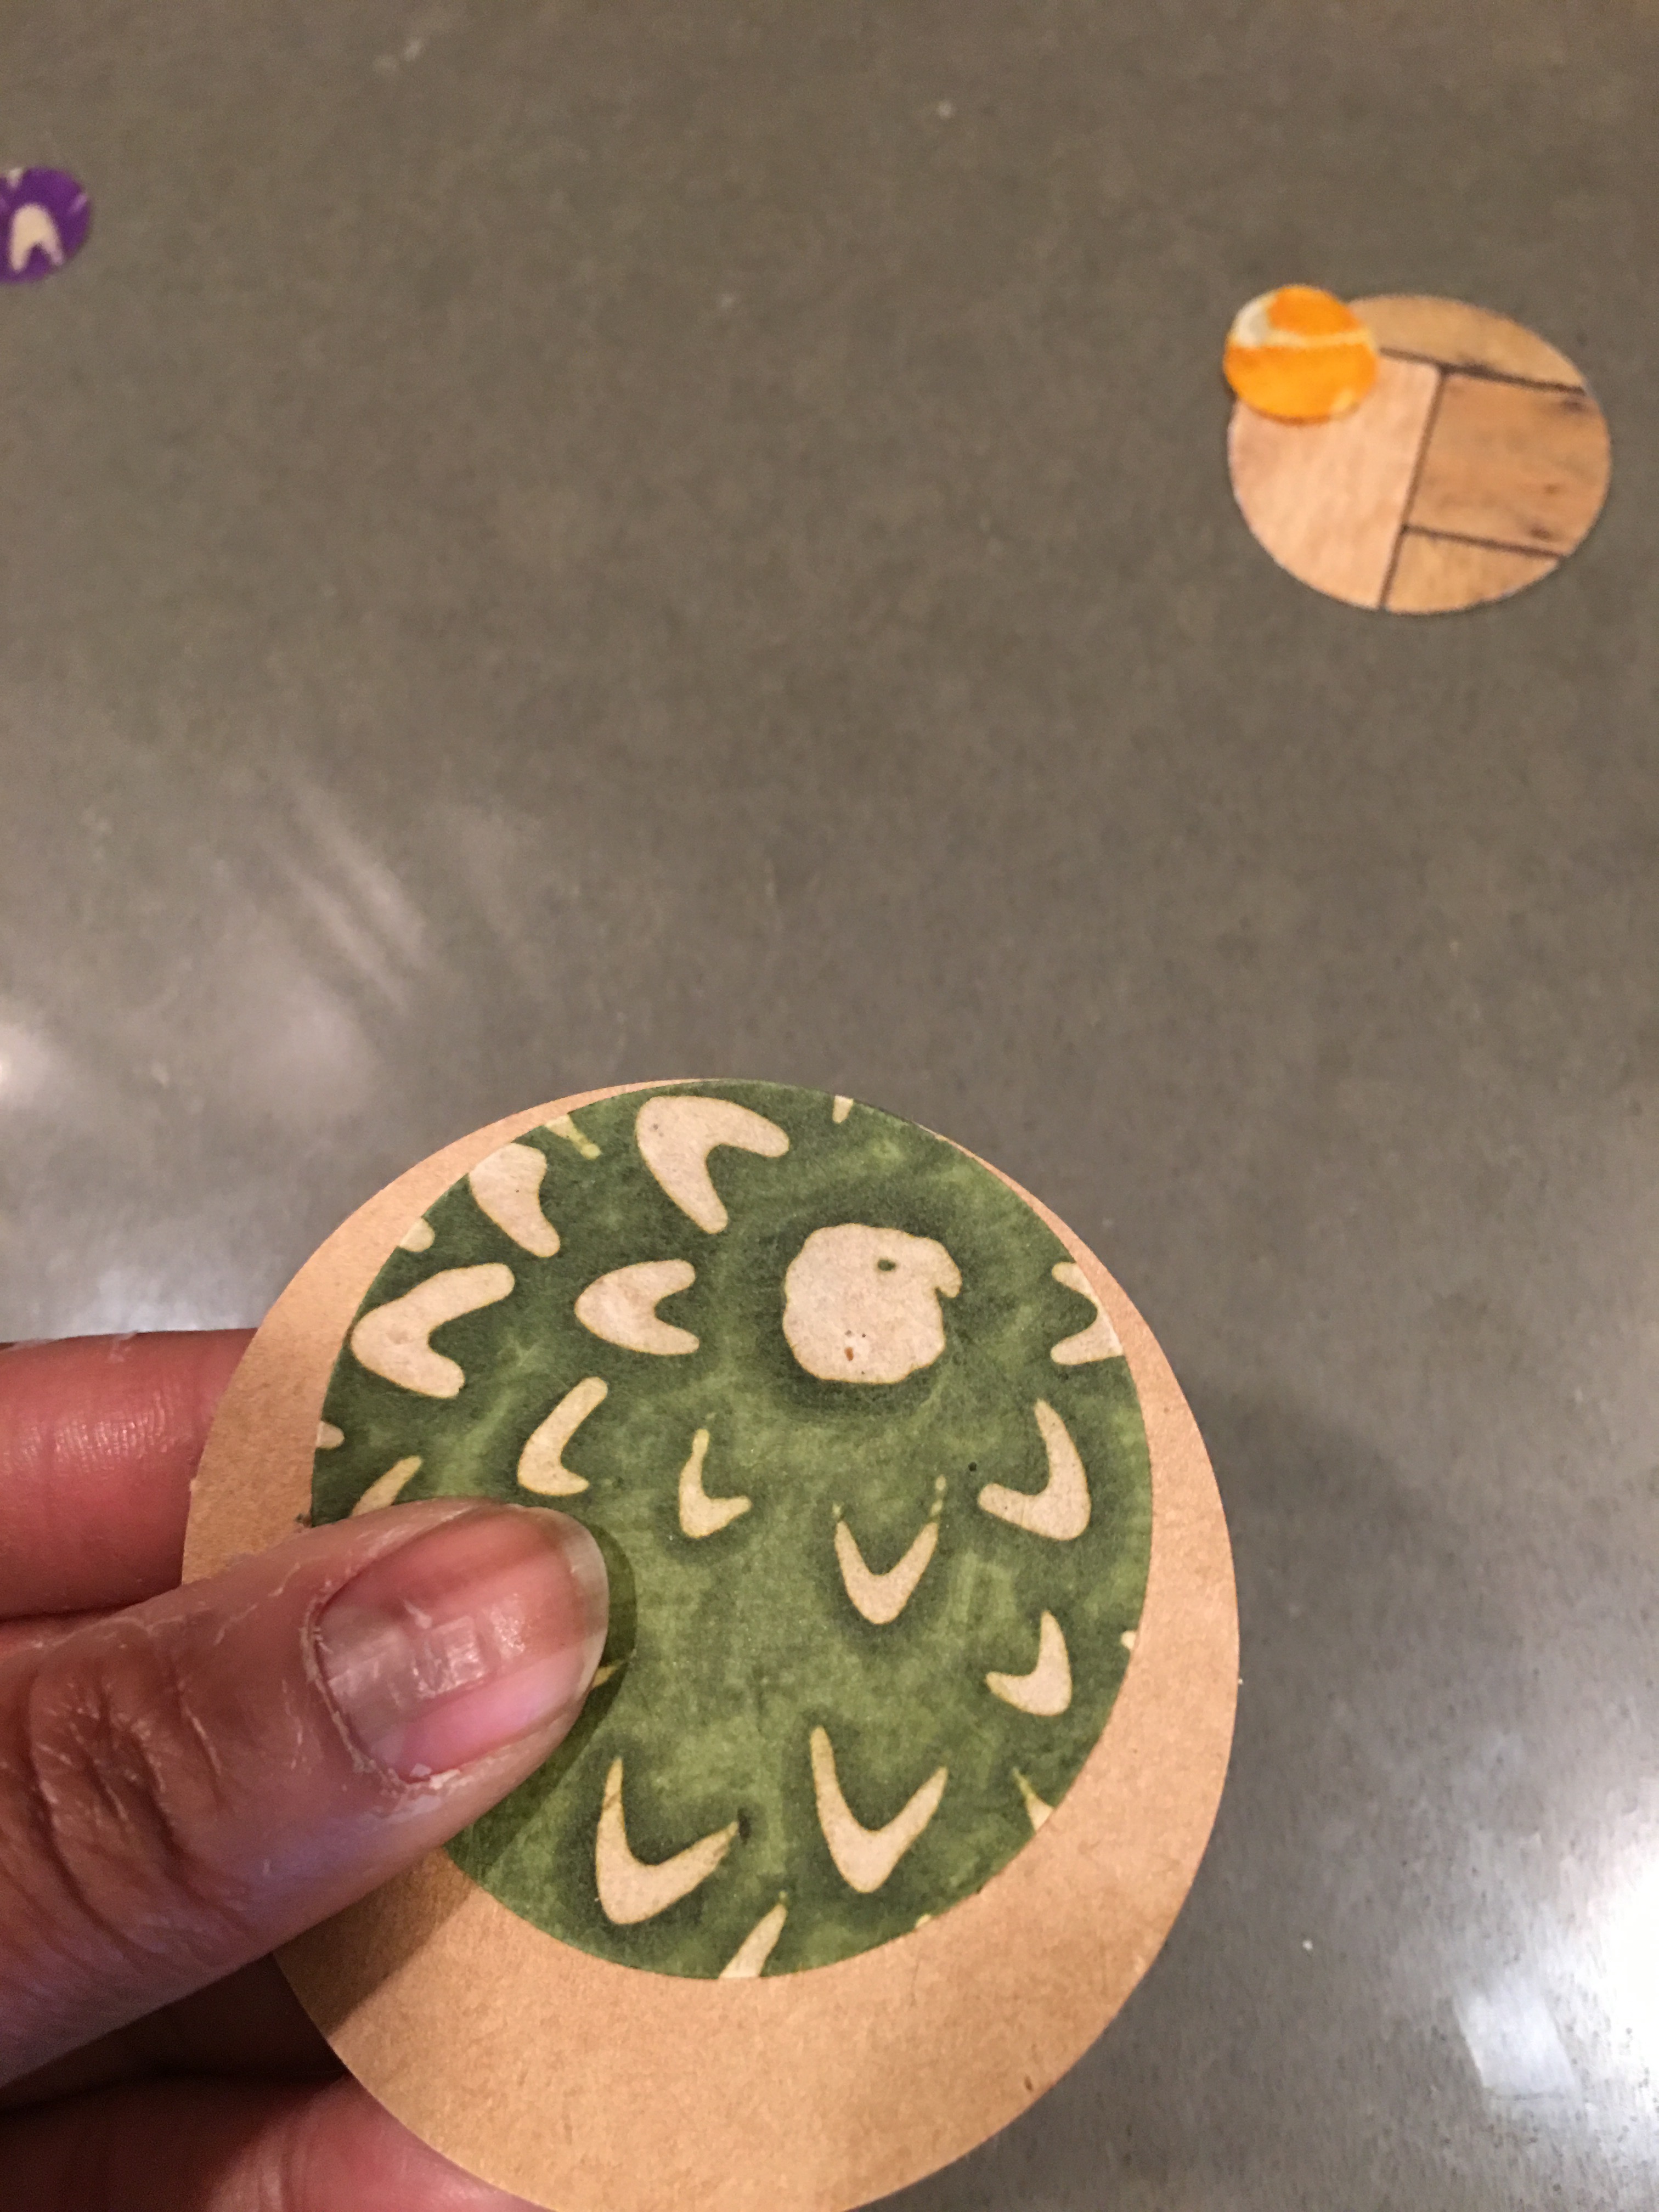
- Step 3: Using the 5/8″ circle punch, punch through the paper circles over the pre-made tag hole.
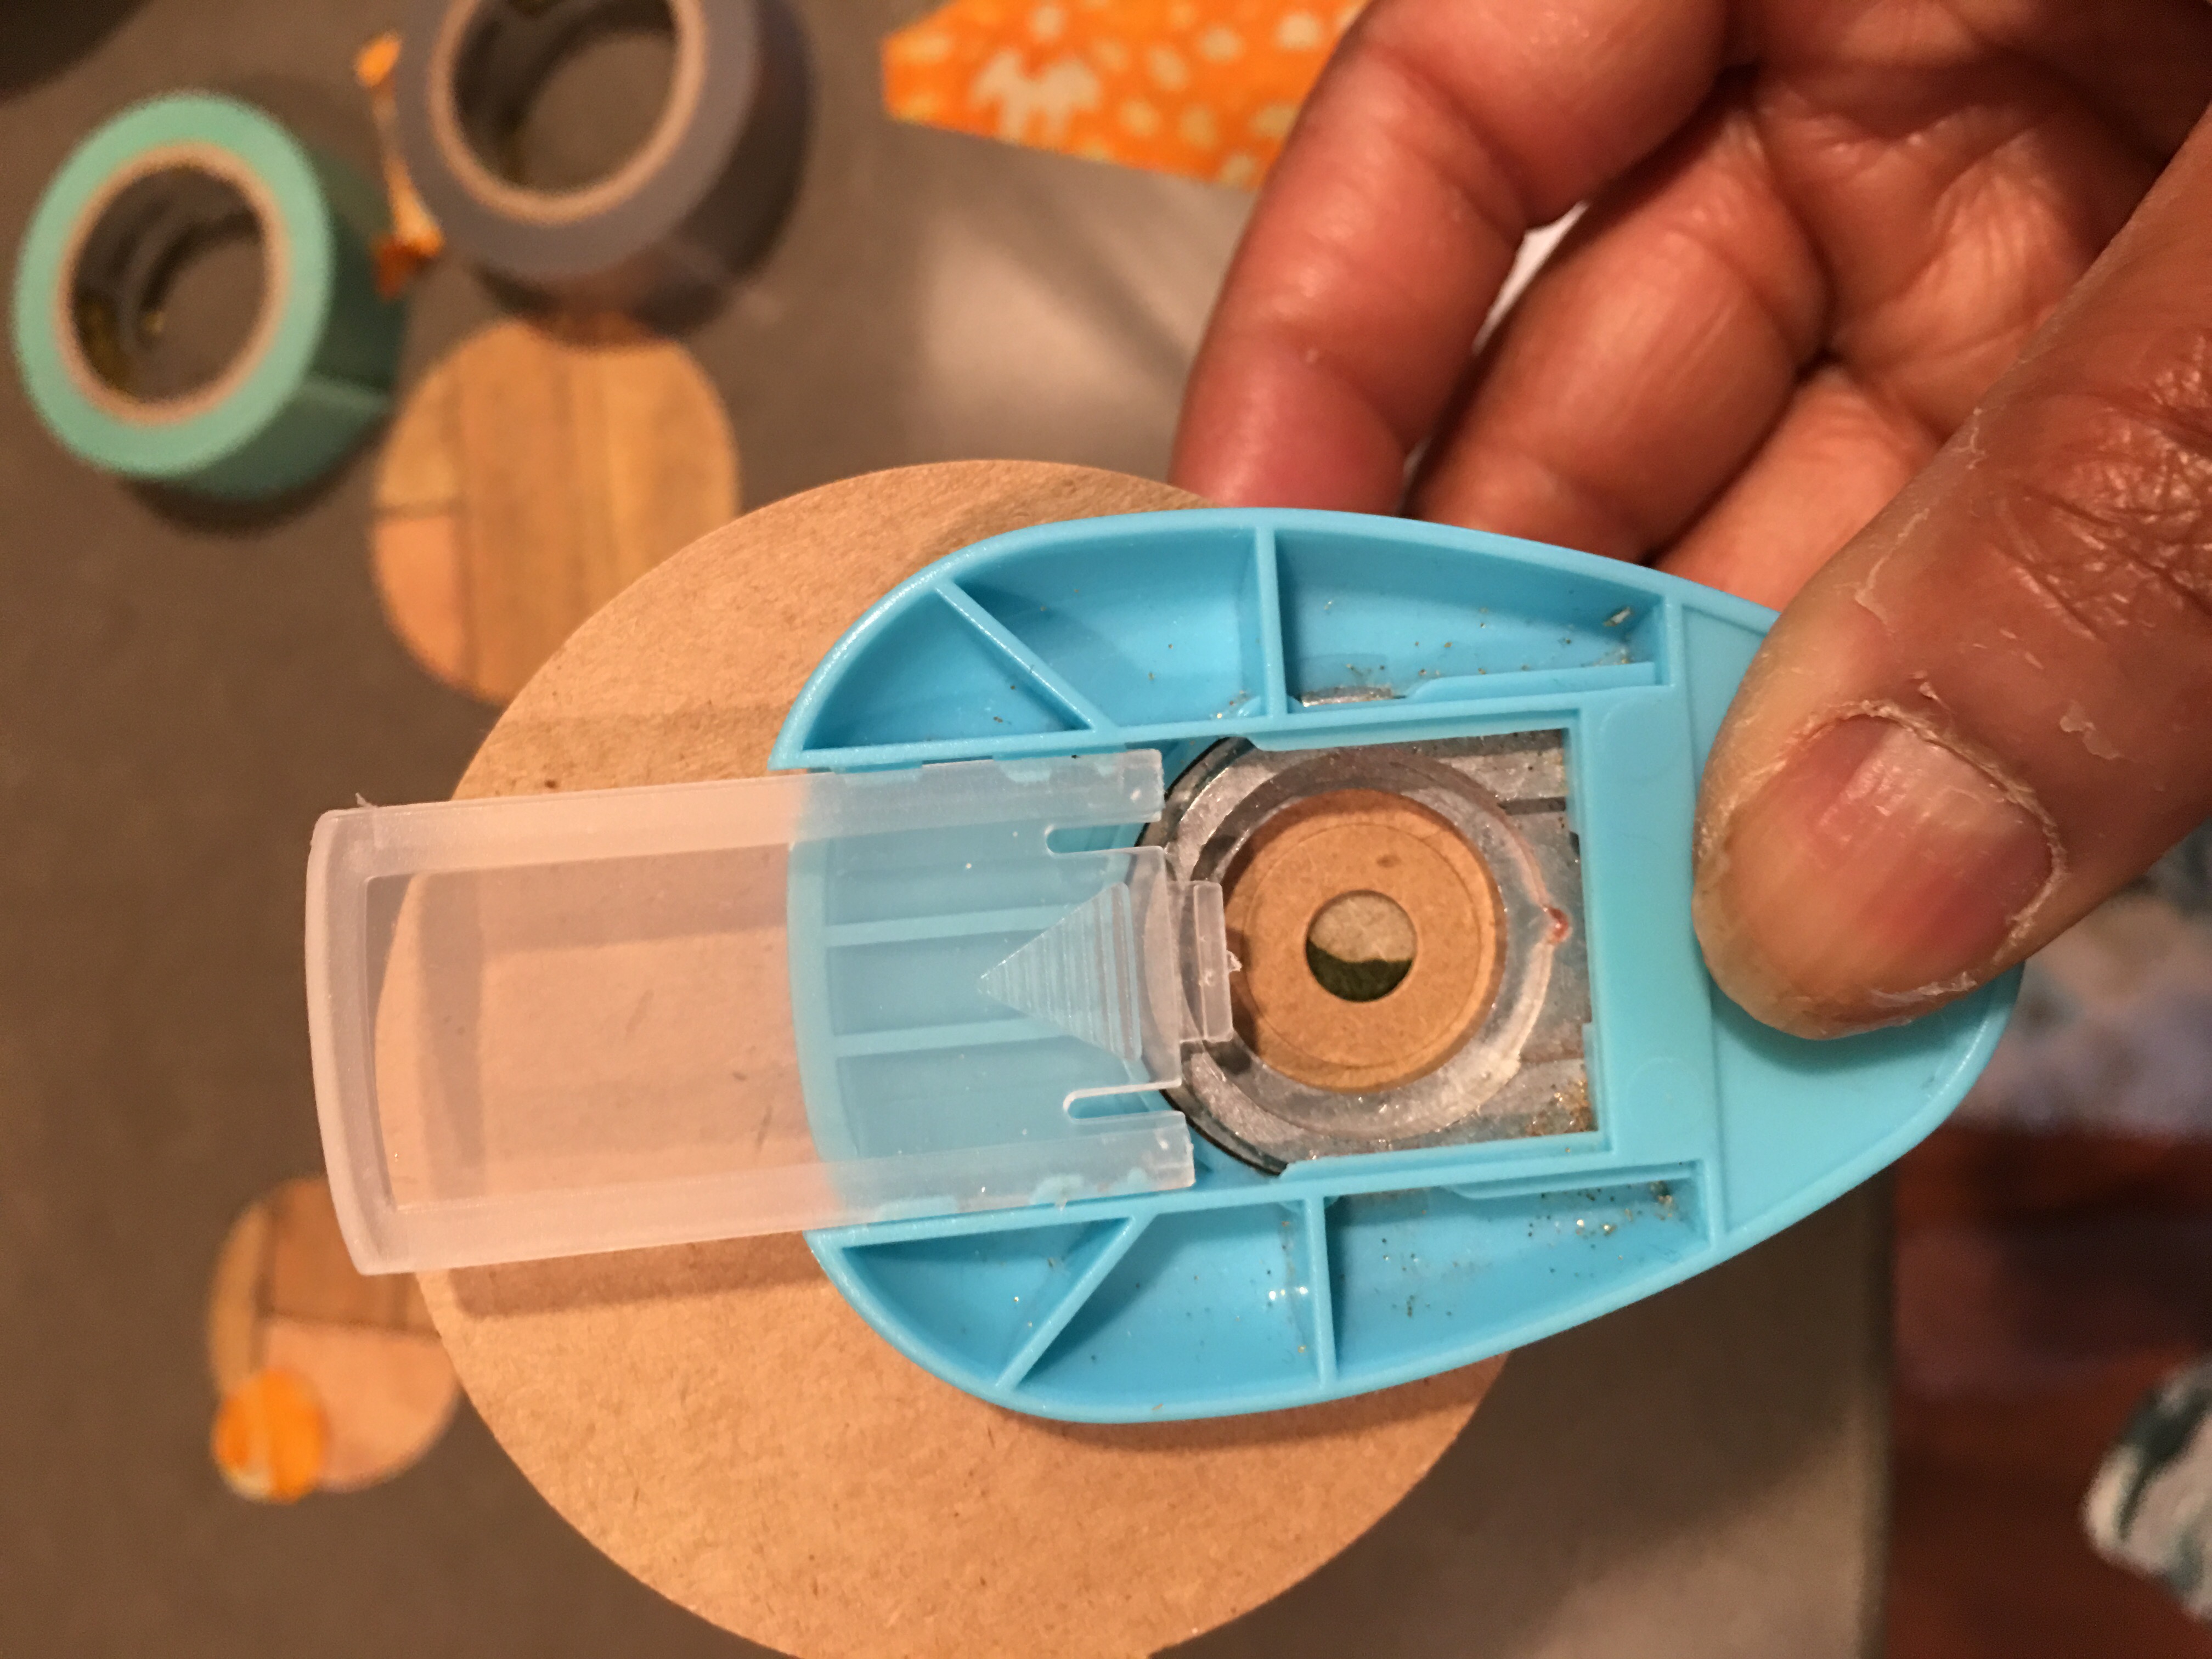
I used one circle tag as a template to punch these smaller circles. So for the decorated can tags, I used other circle tags with the pre-made hole intact.
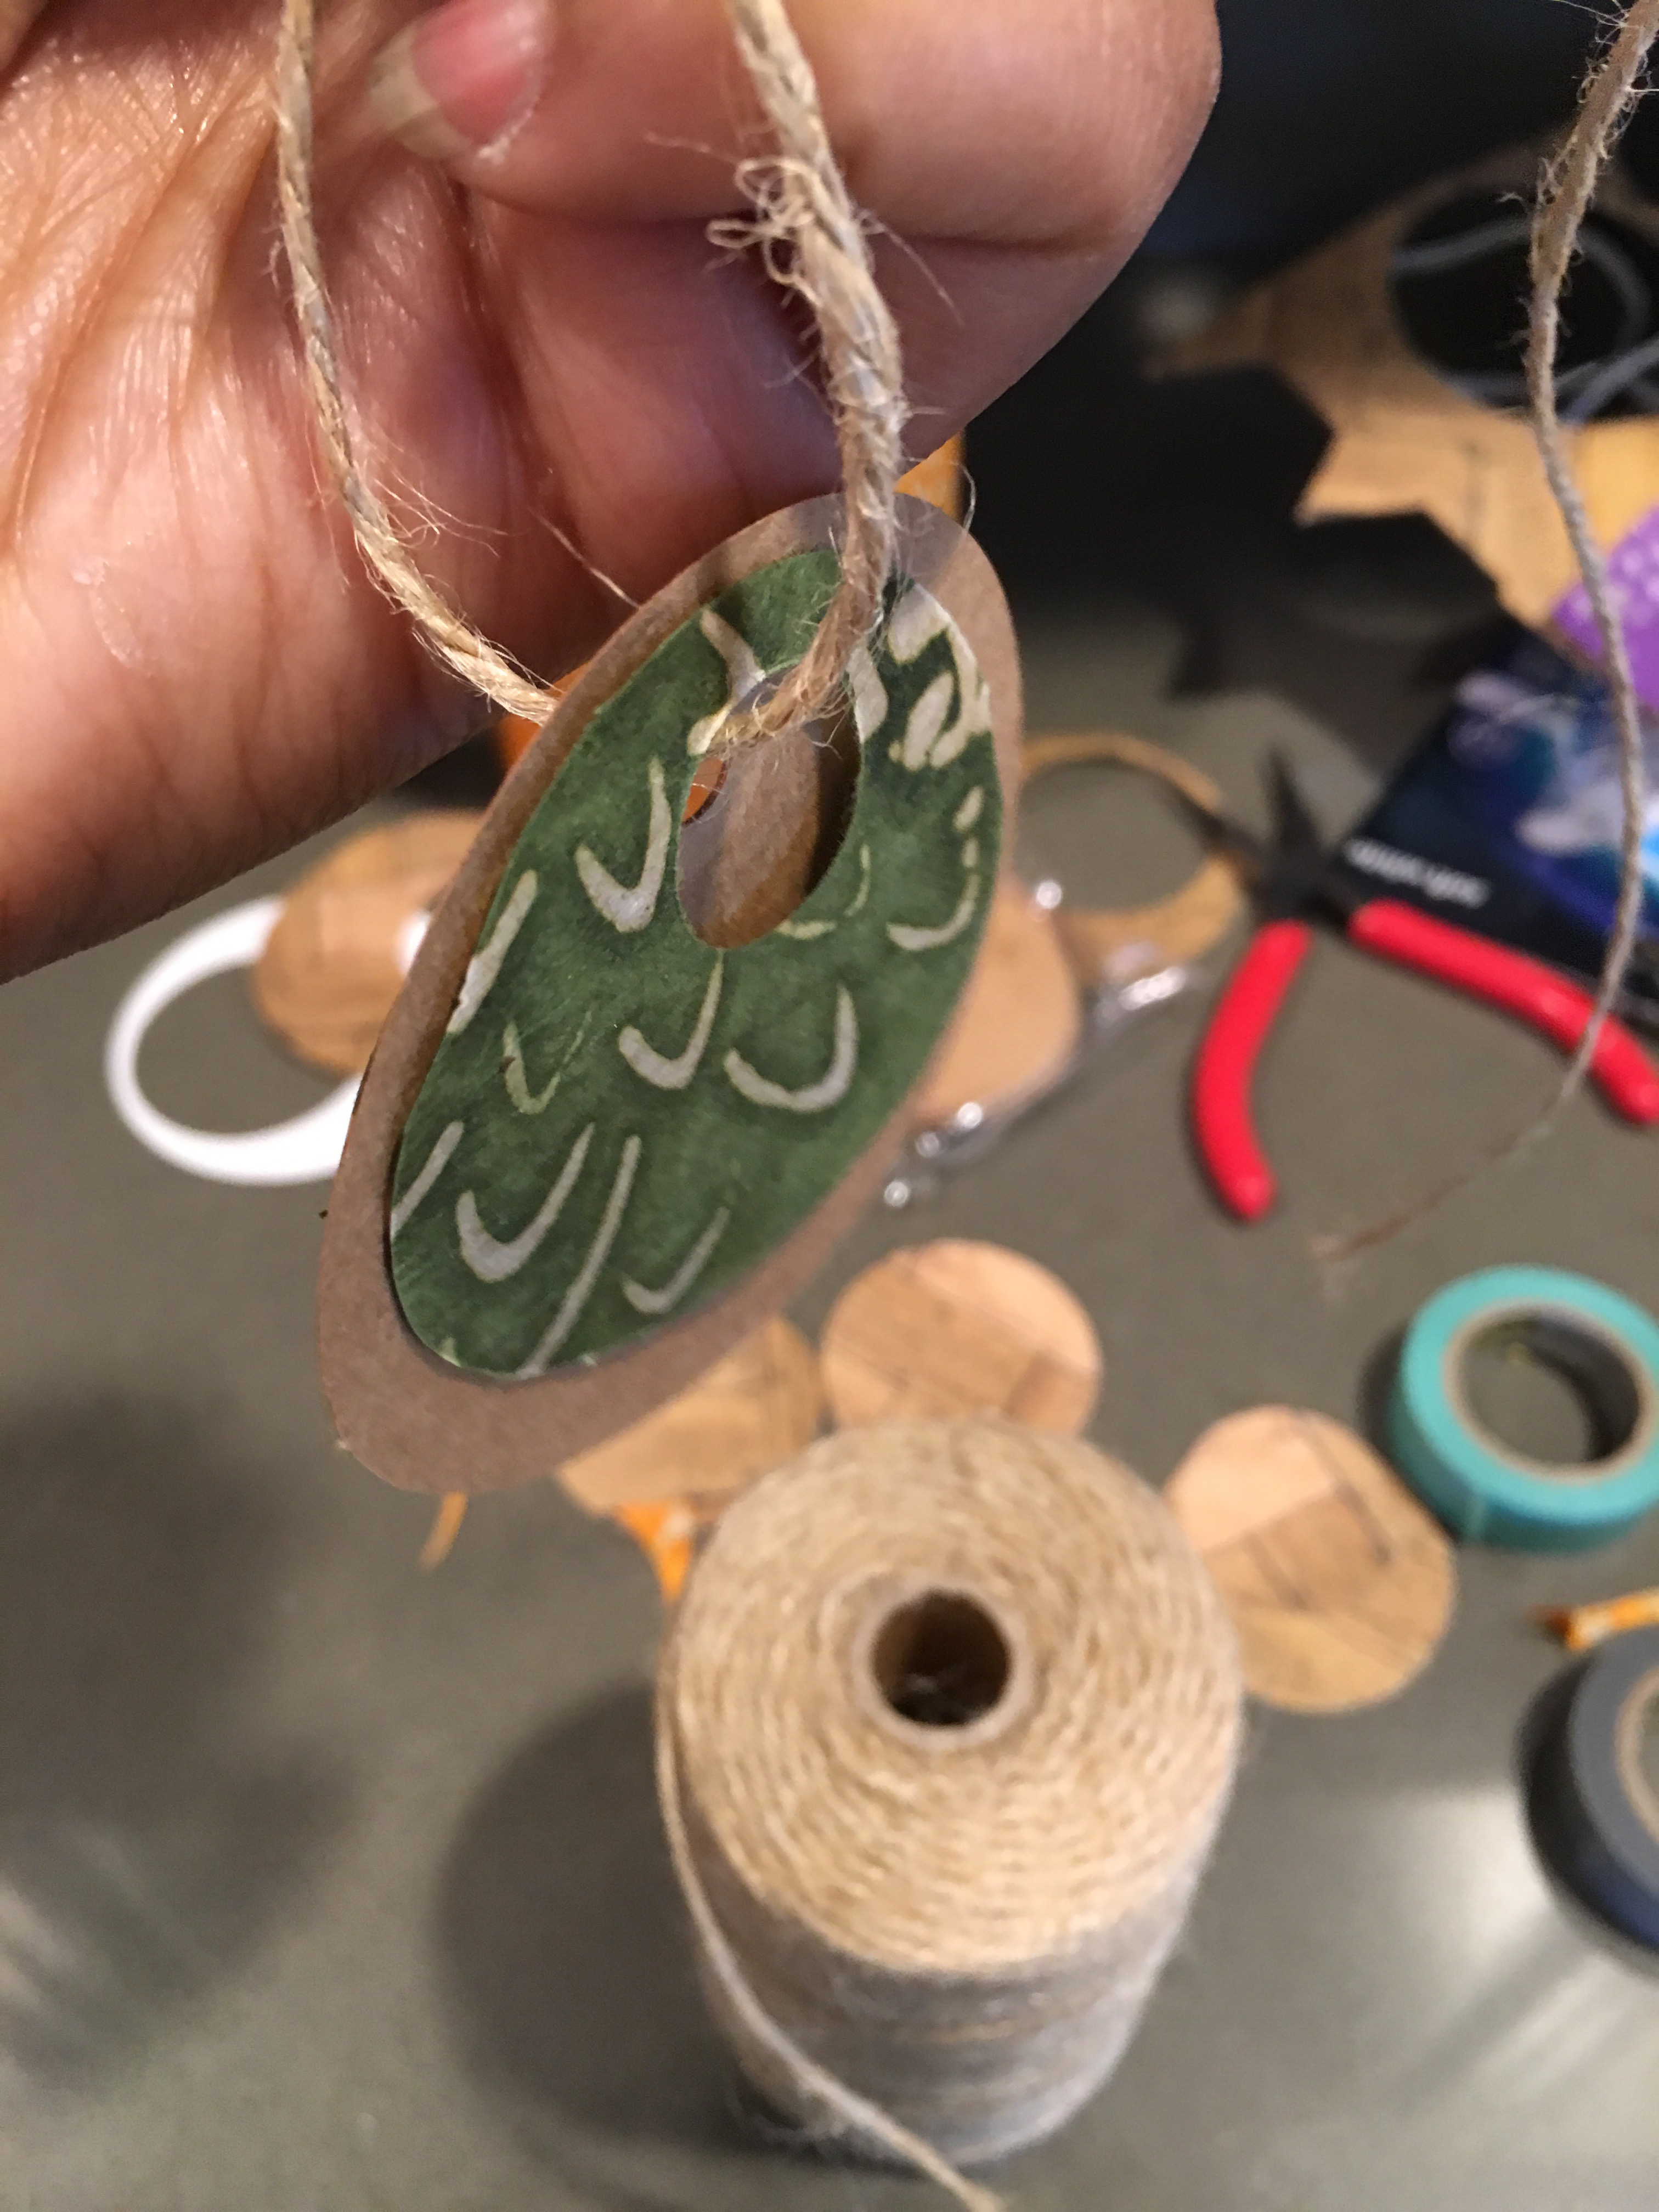
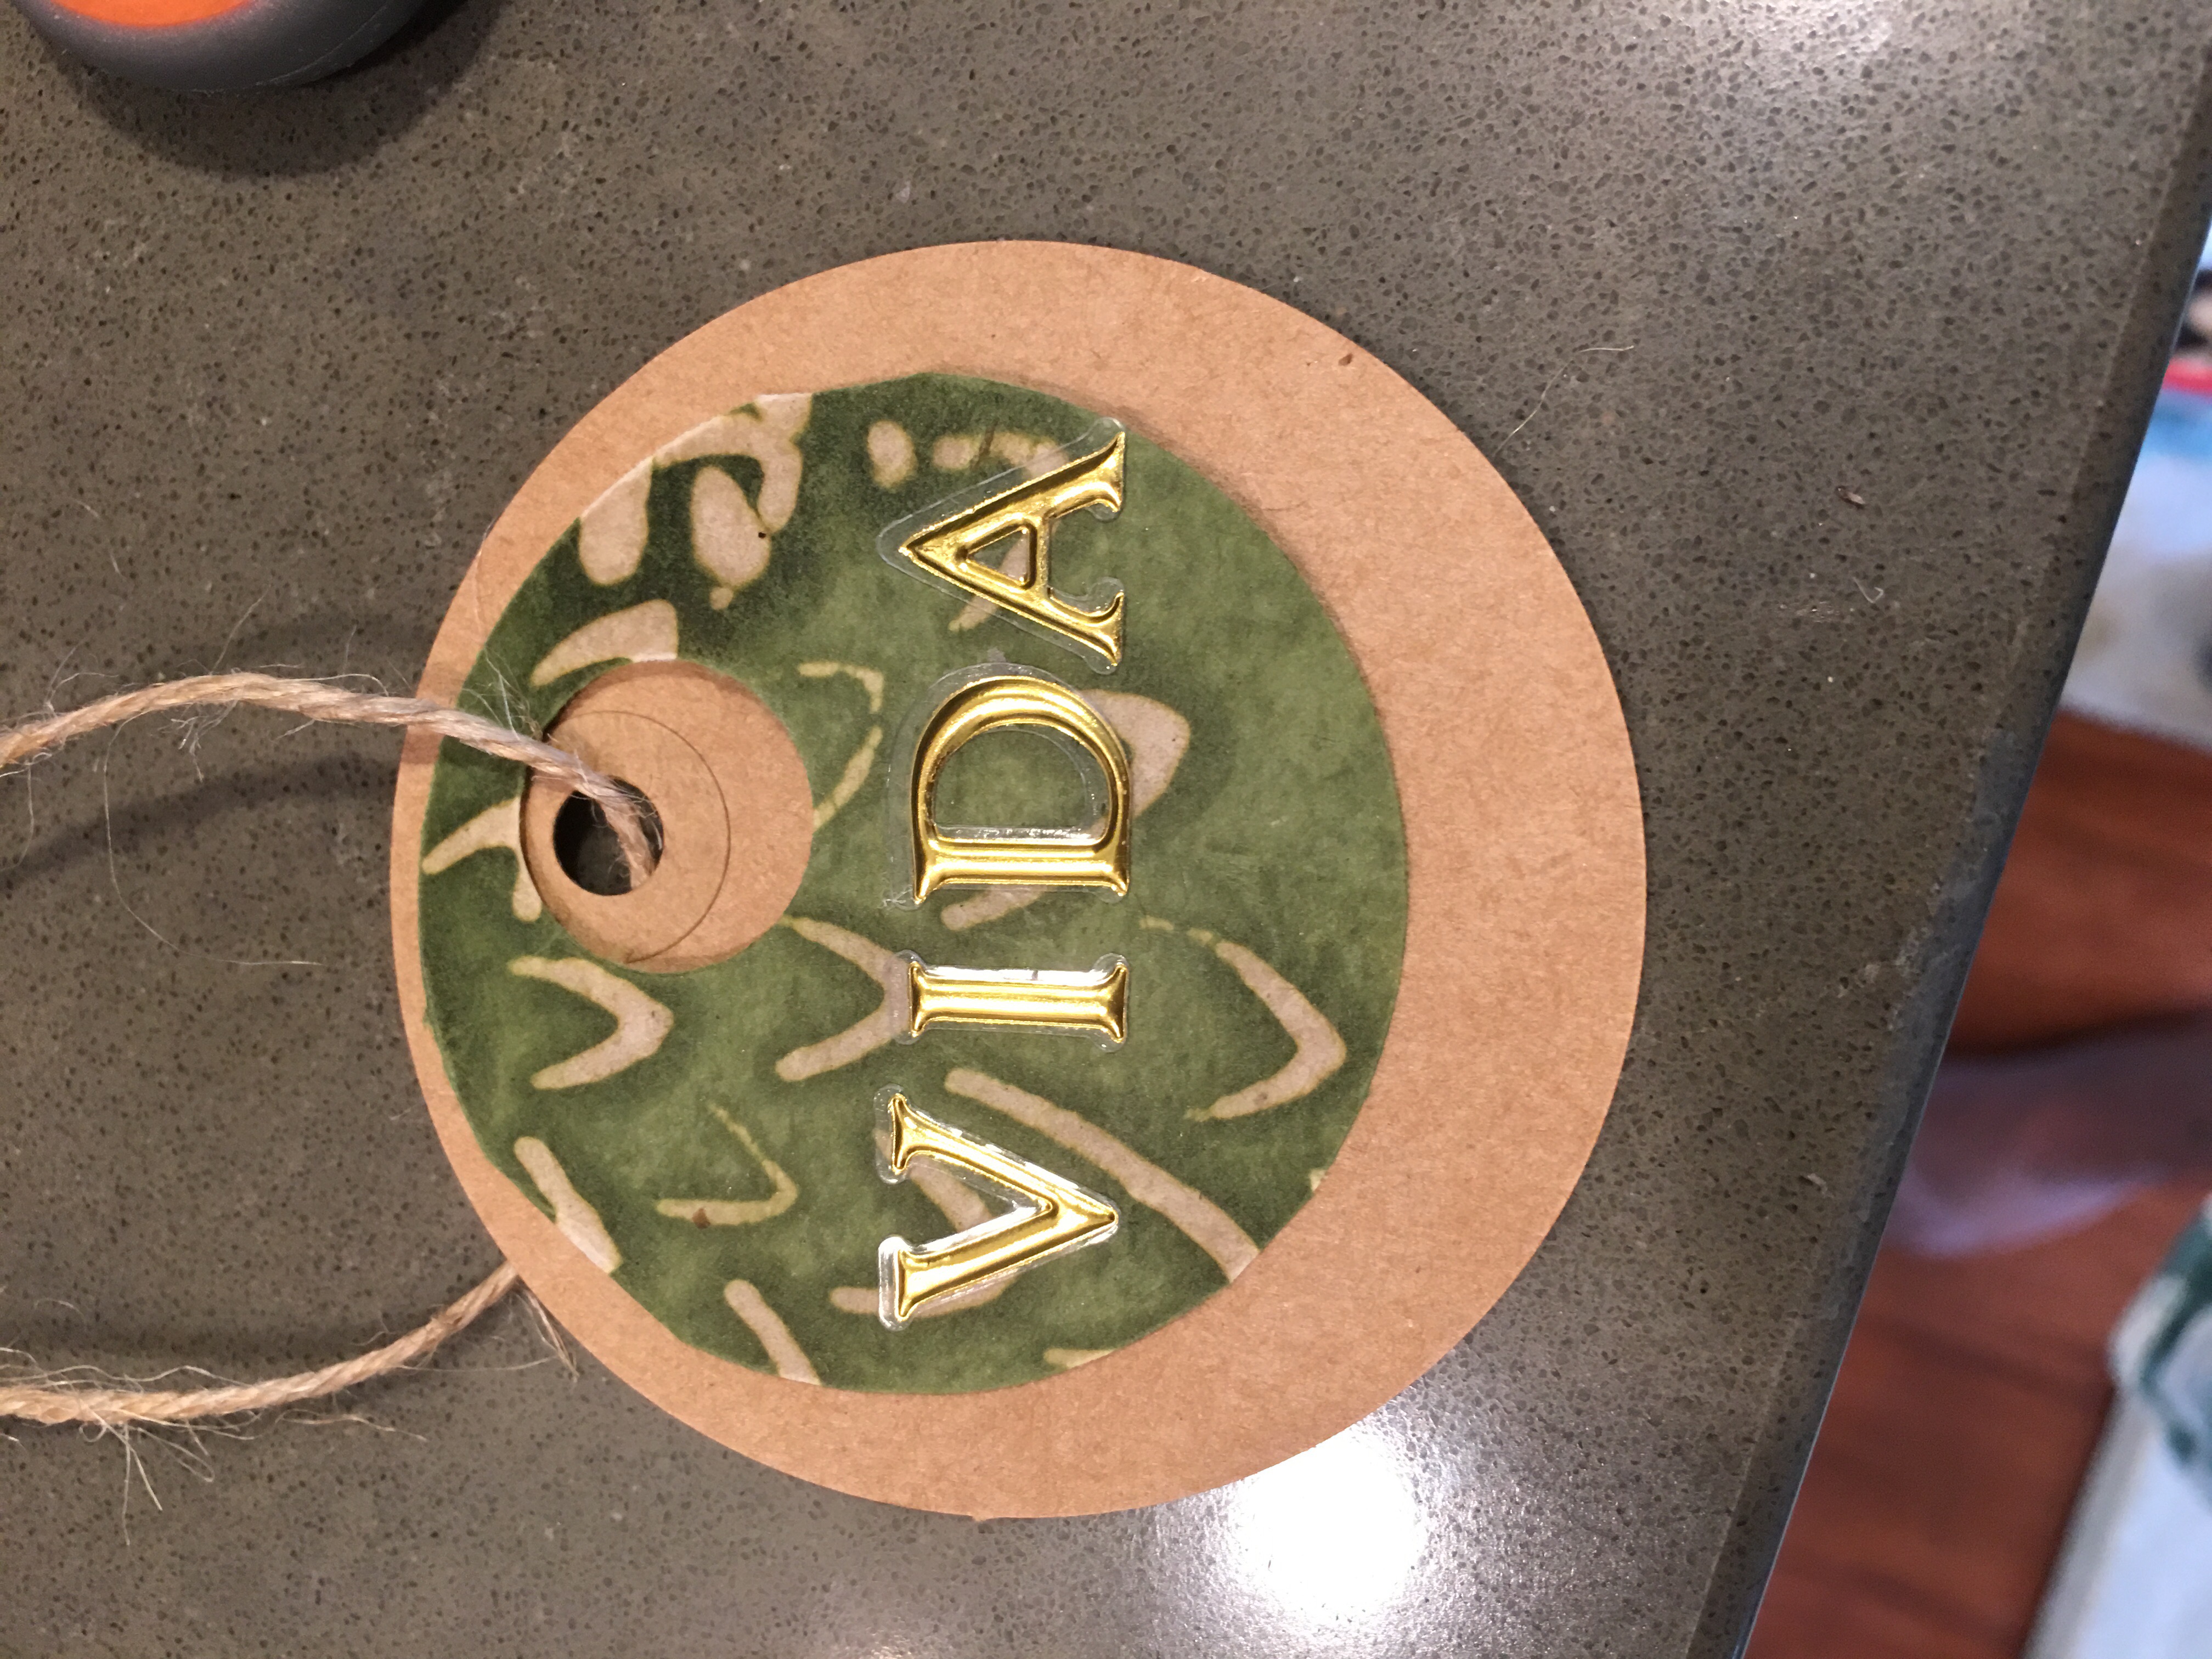
- Step 4: String the decorated papers and the circle tag together using twine (with the decorated paper on both ends of the tag).

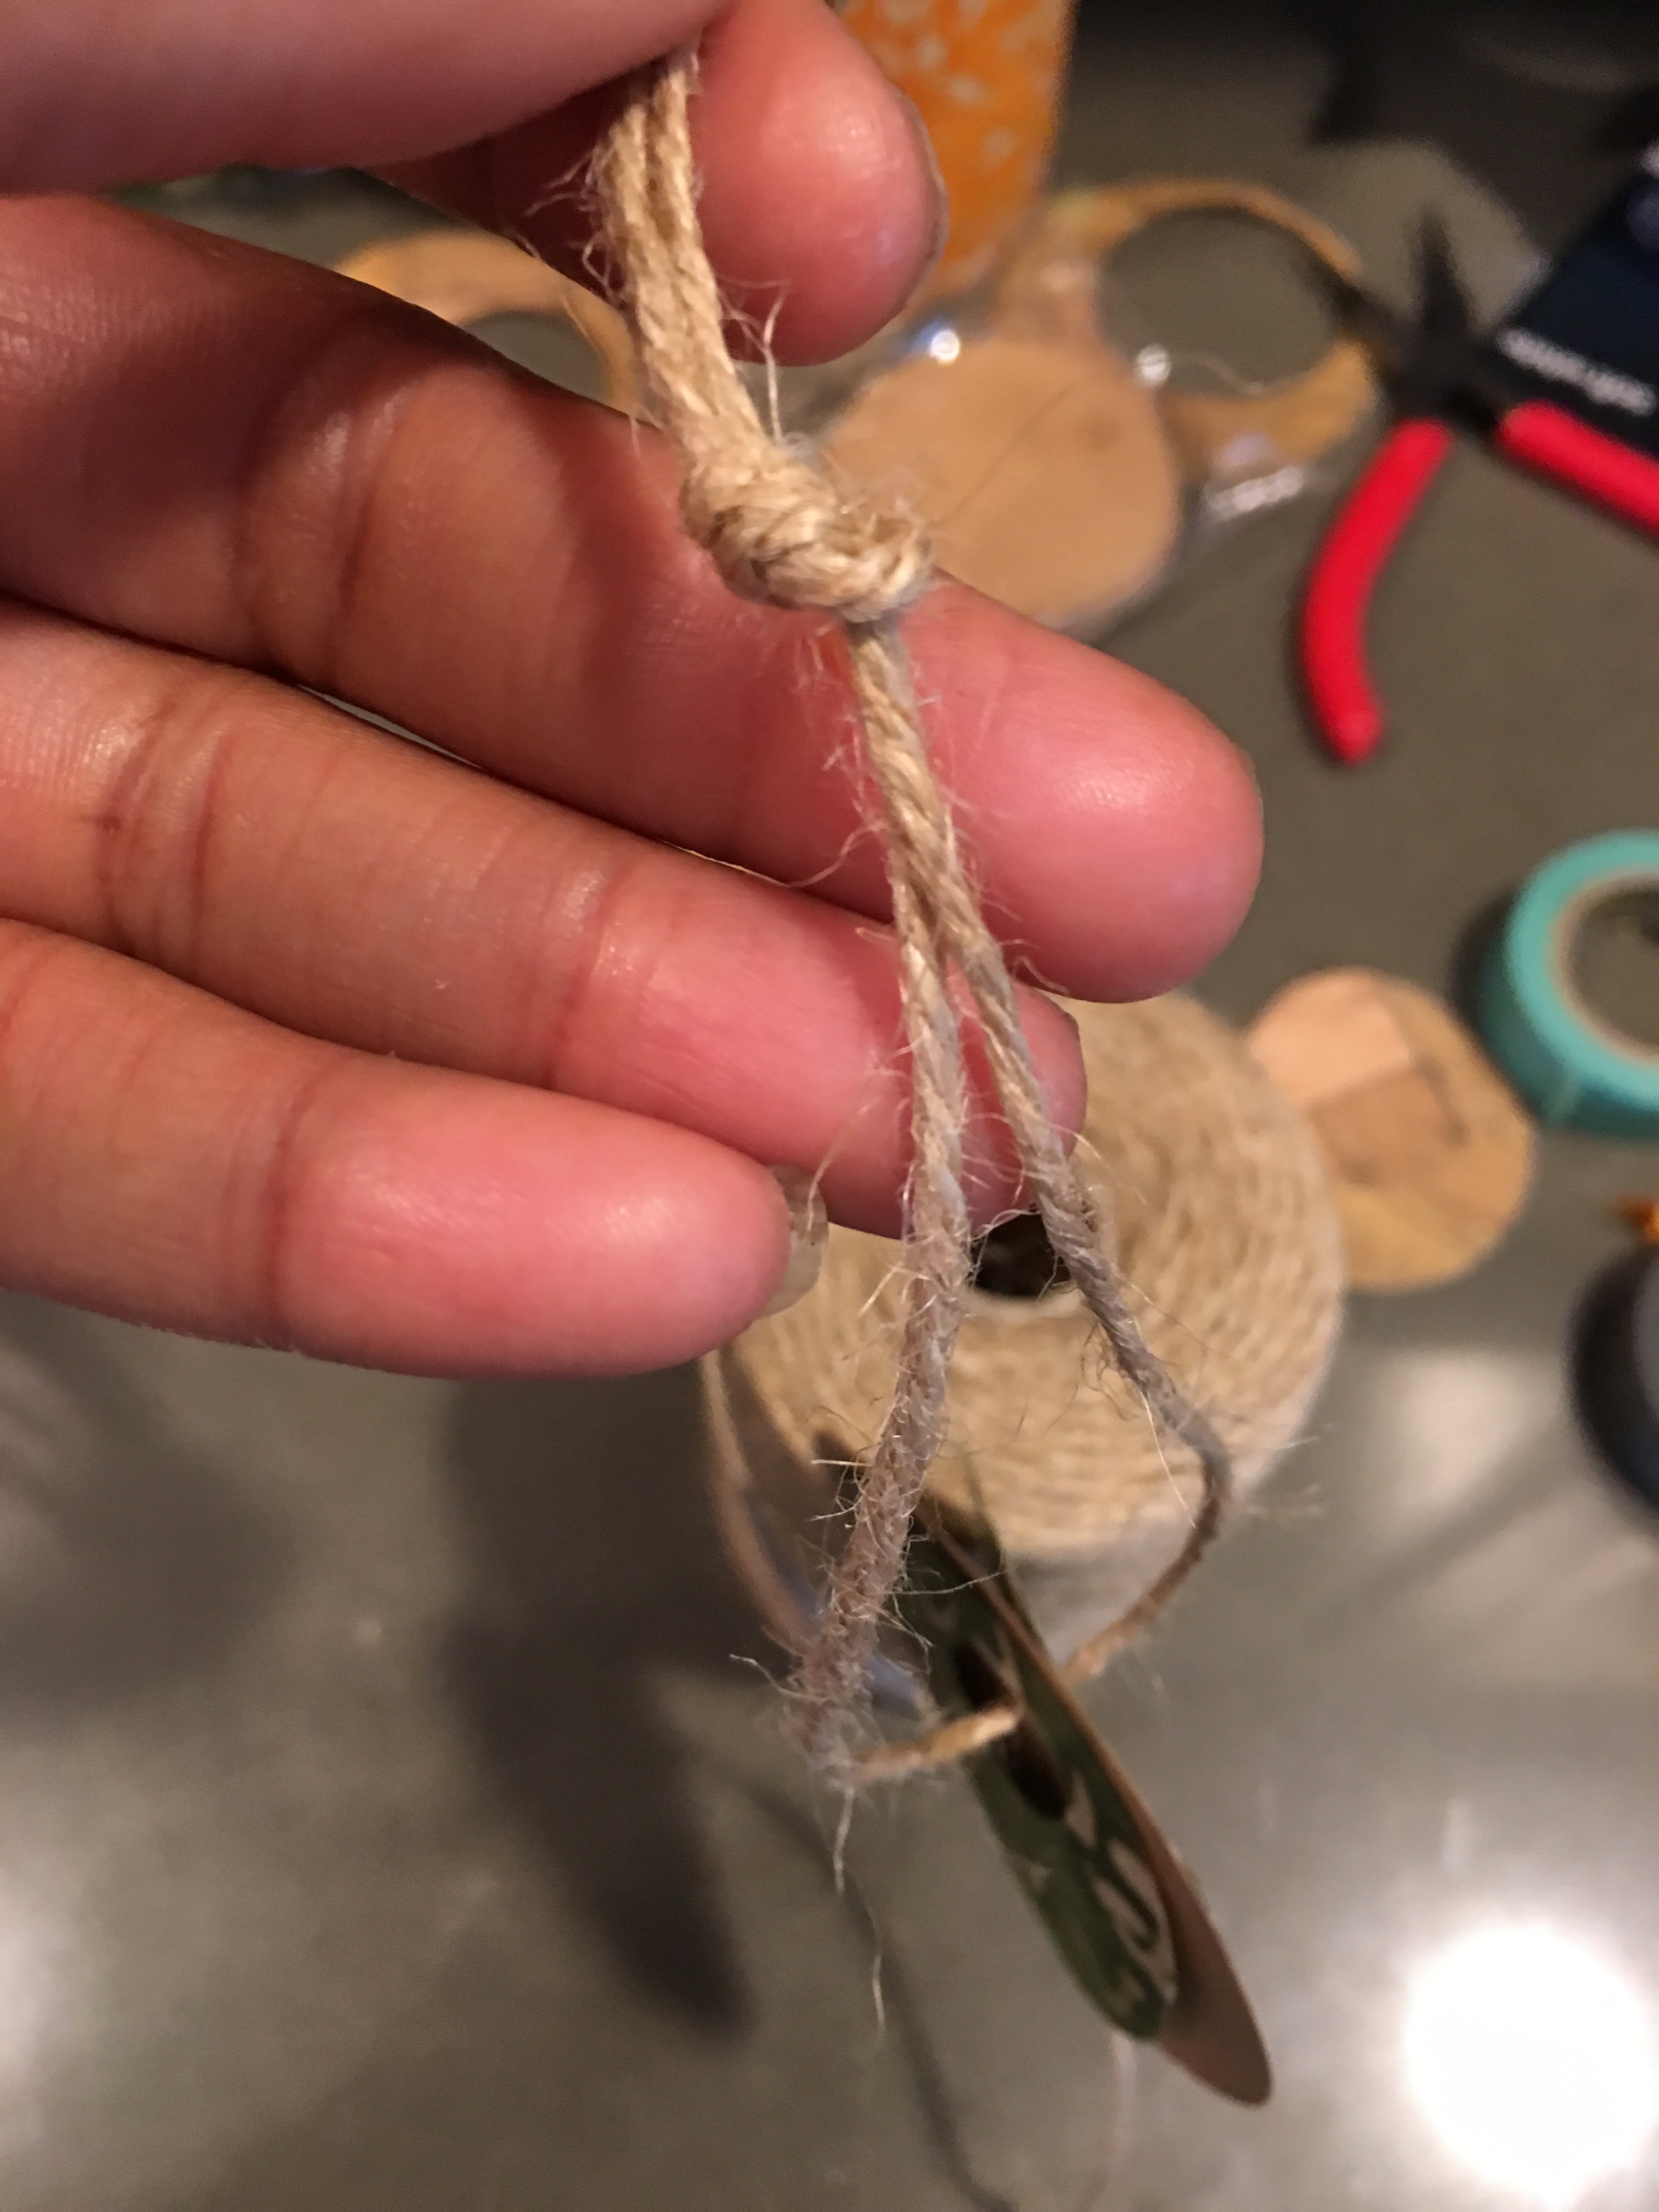
- Step 5: Tie the ends of the twine together to make a loop.
- Step 6: Loop a tag around the magnet on the can lids.
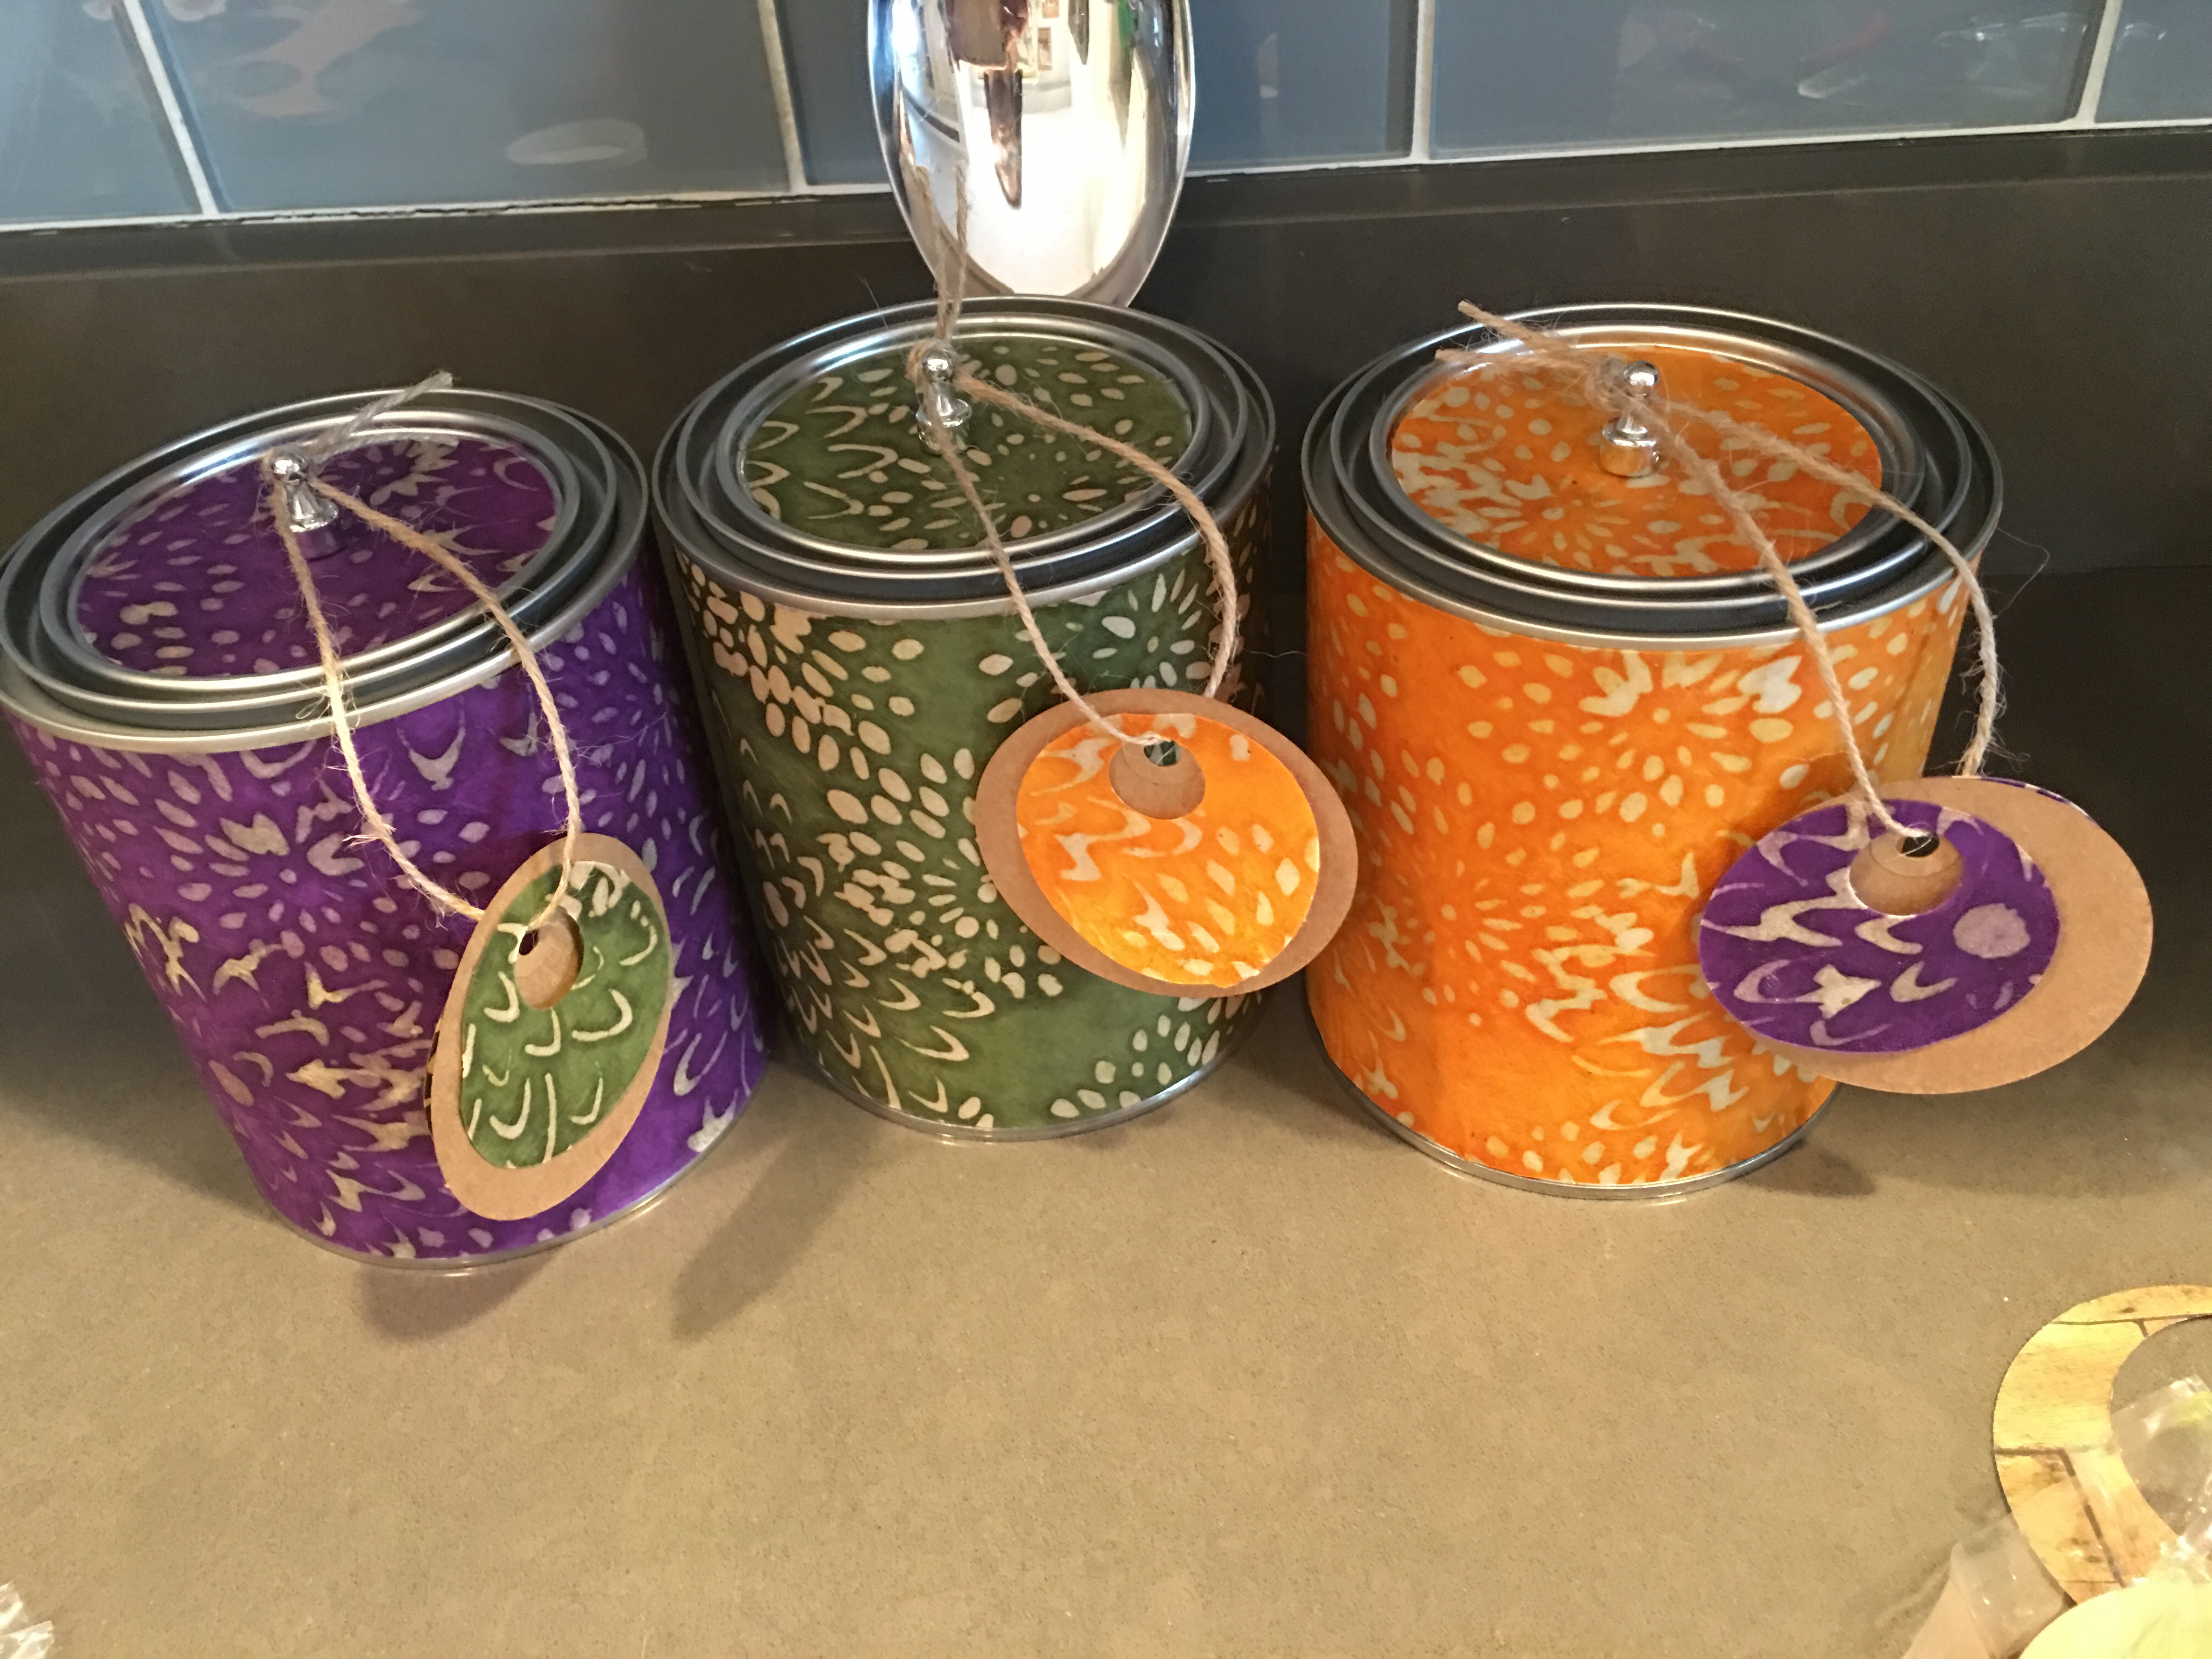
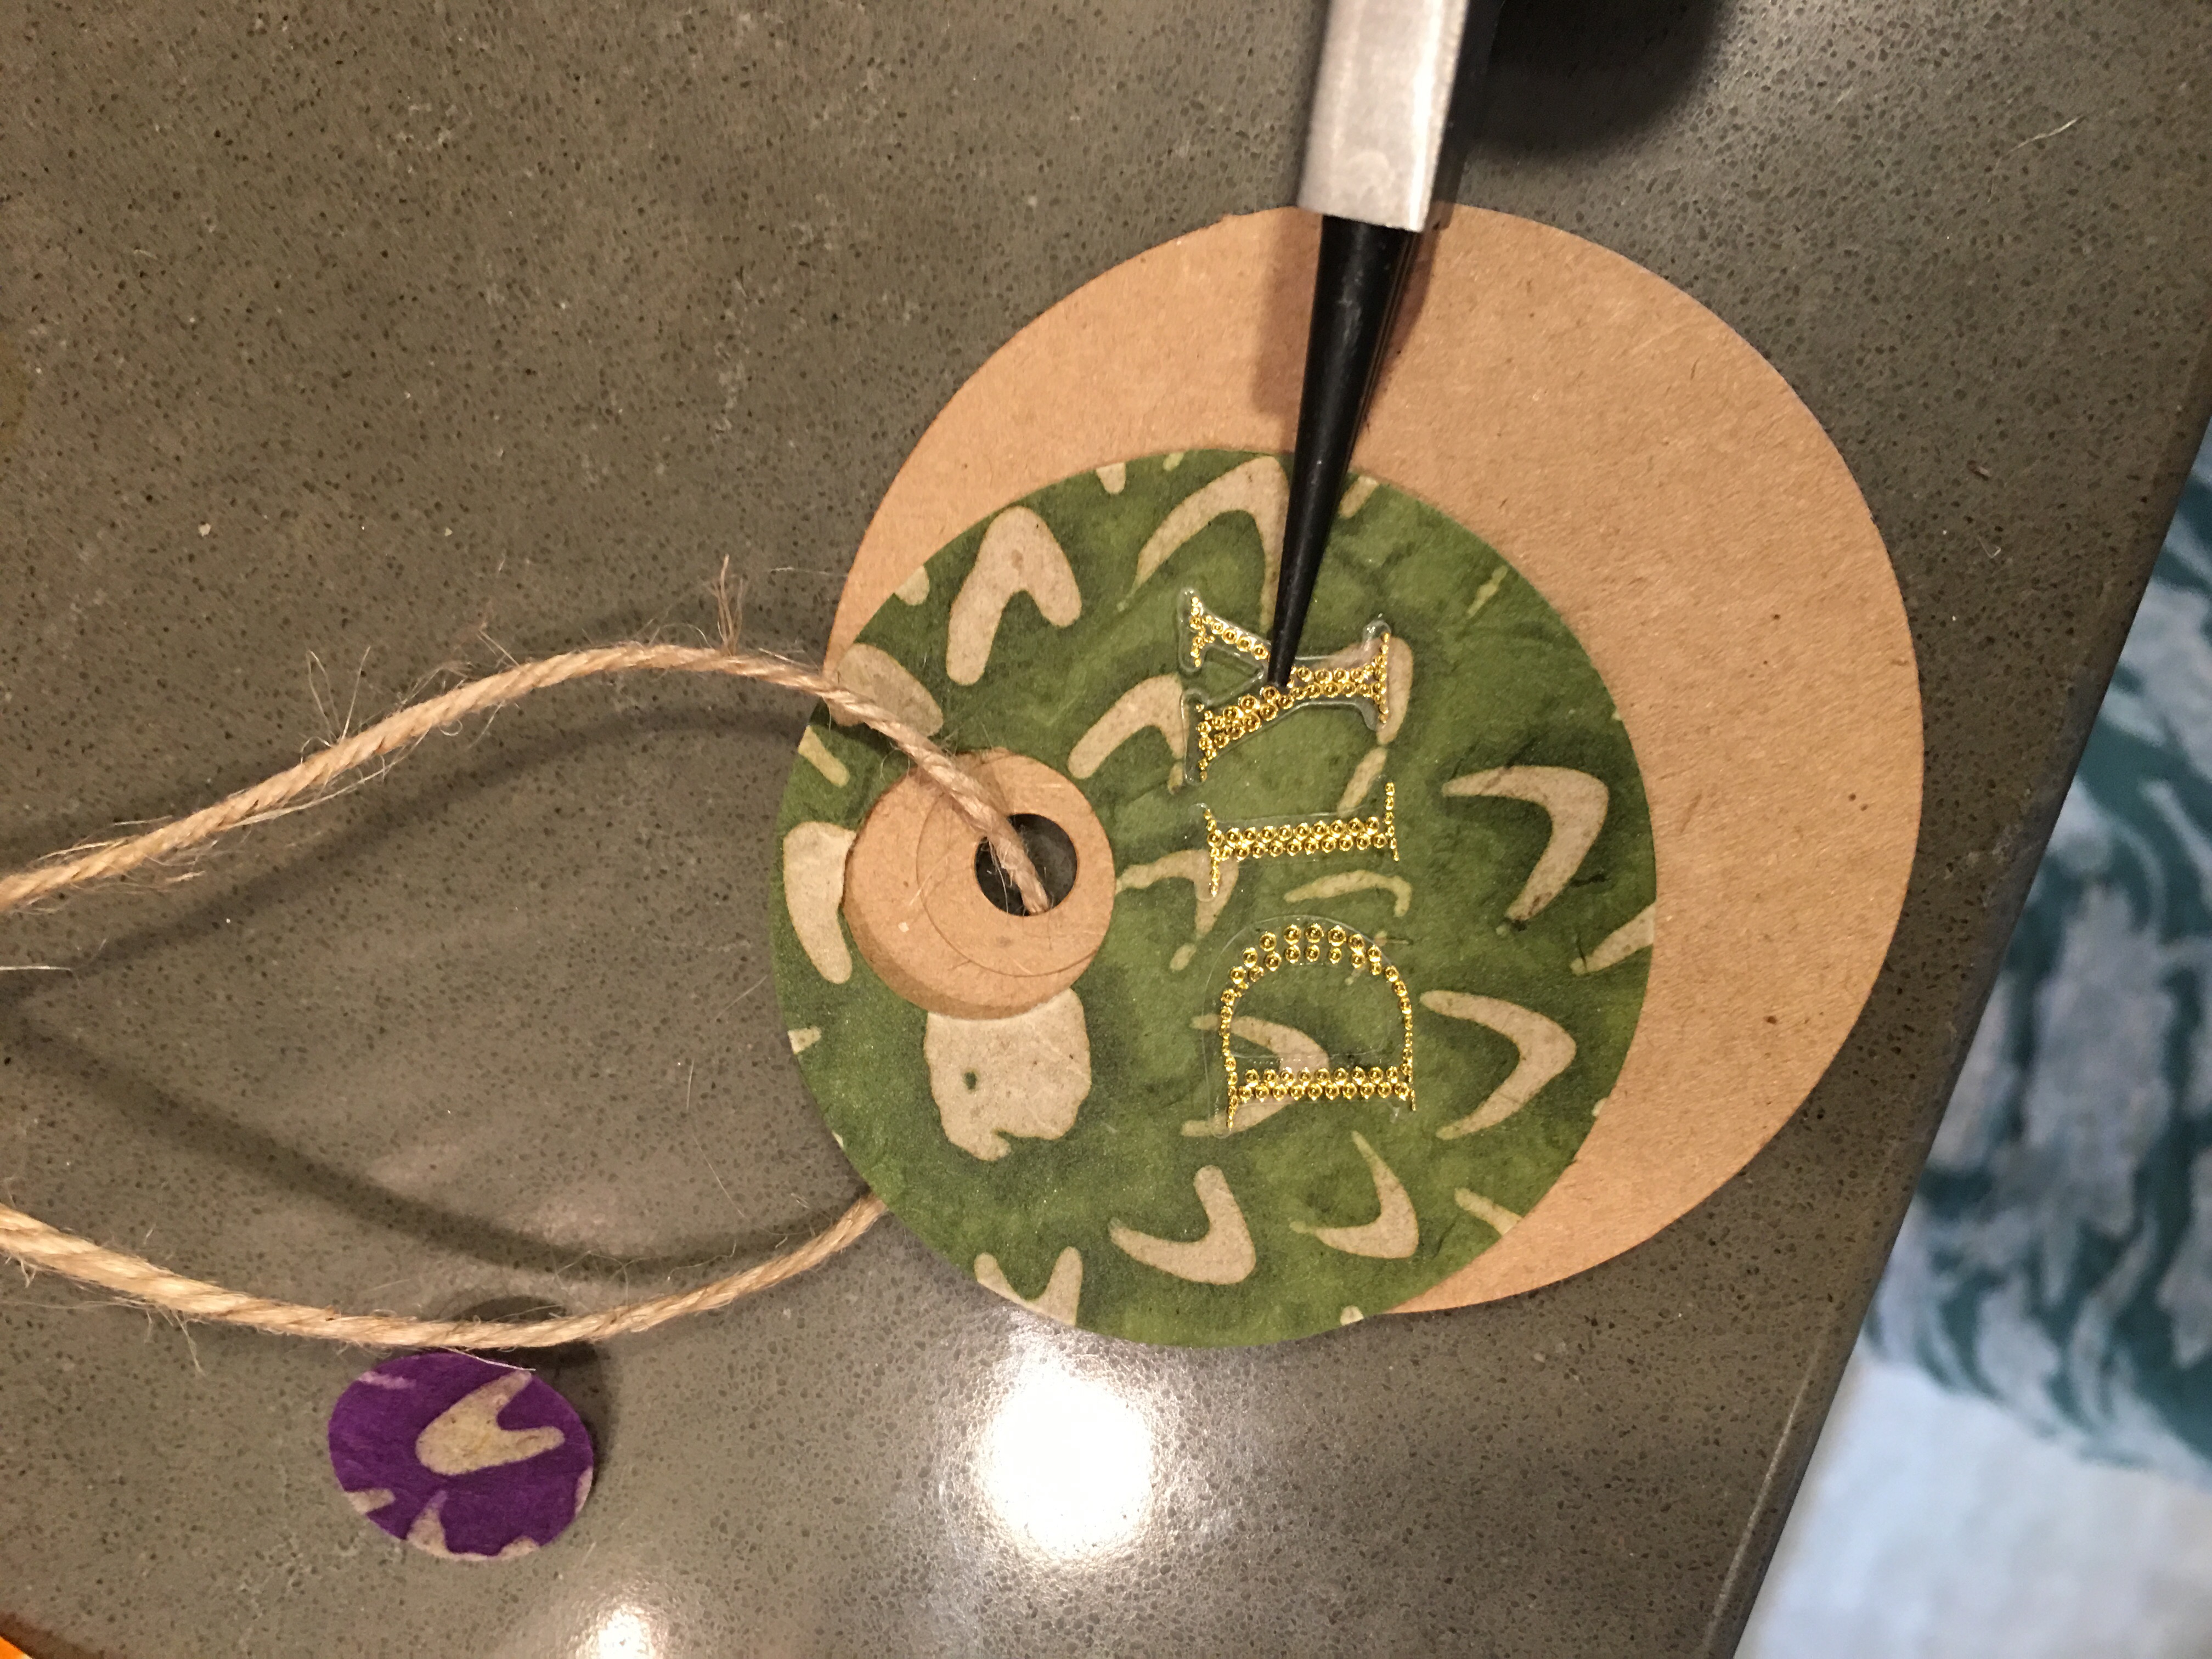
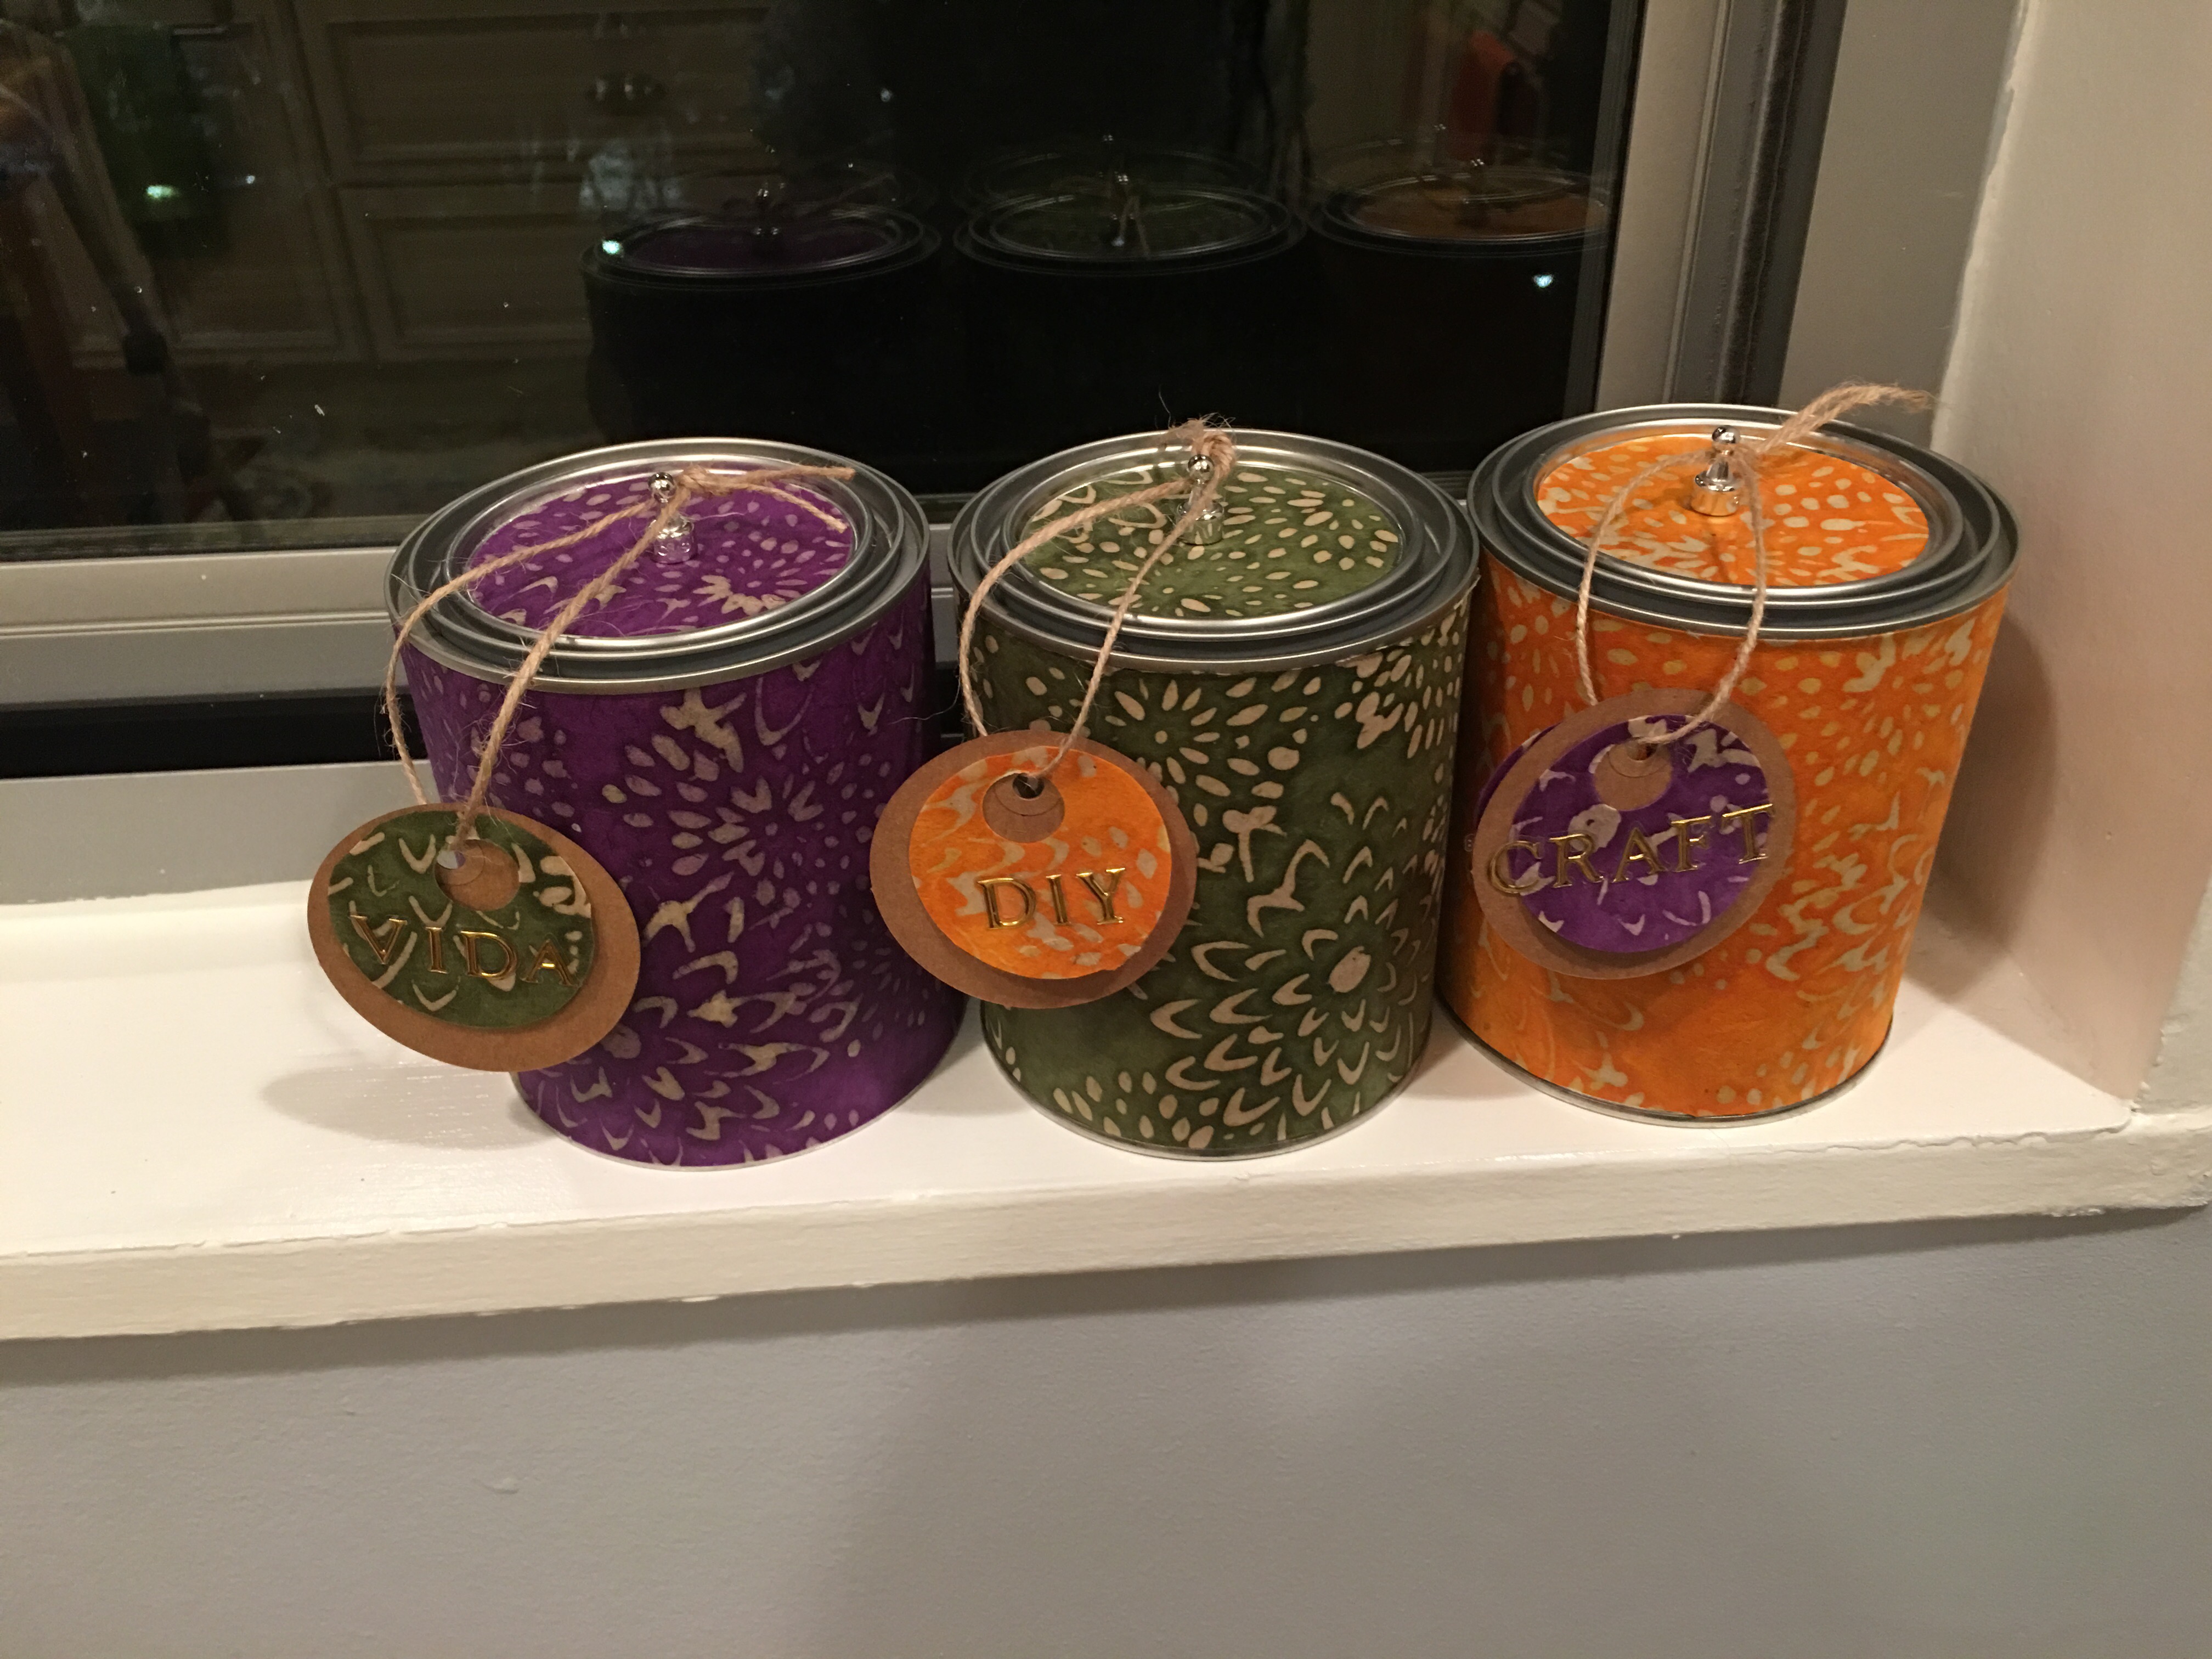
For added embellishment (and for labeling the cans), you can add stickers to these tags. I added the words “VIDA DIY CRAFT” to the tags – one word per tag.
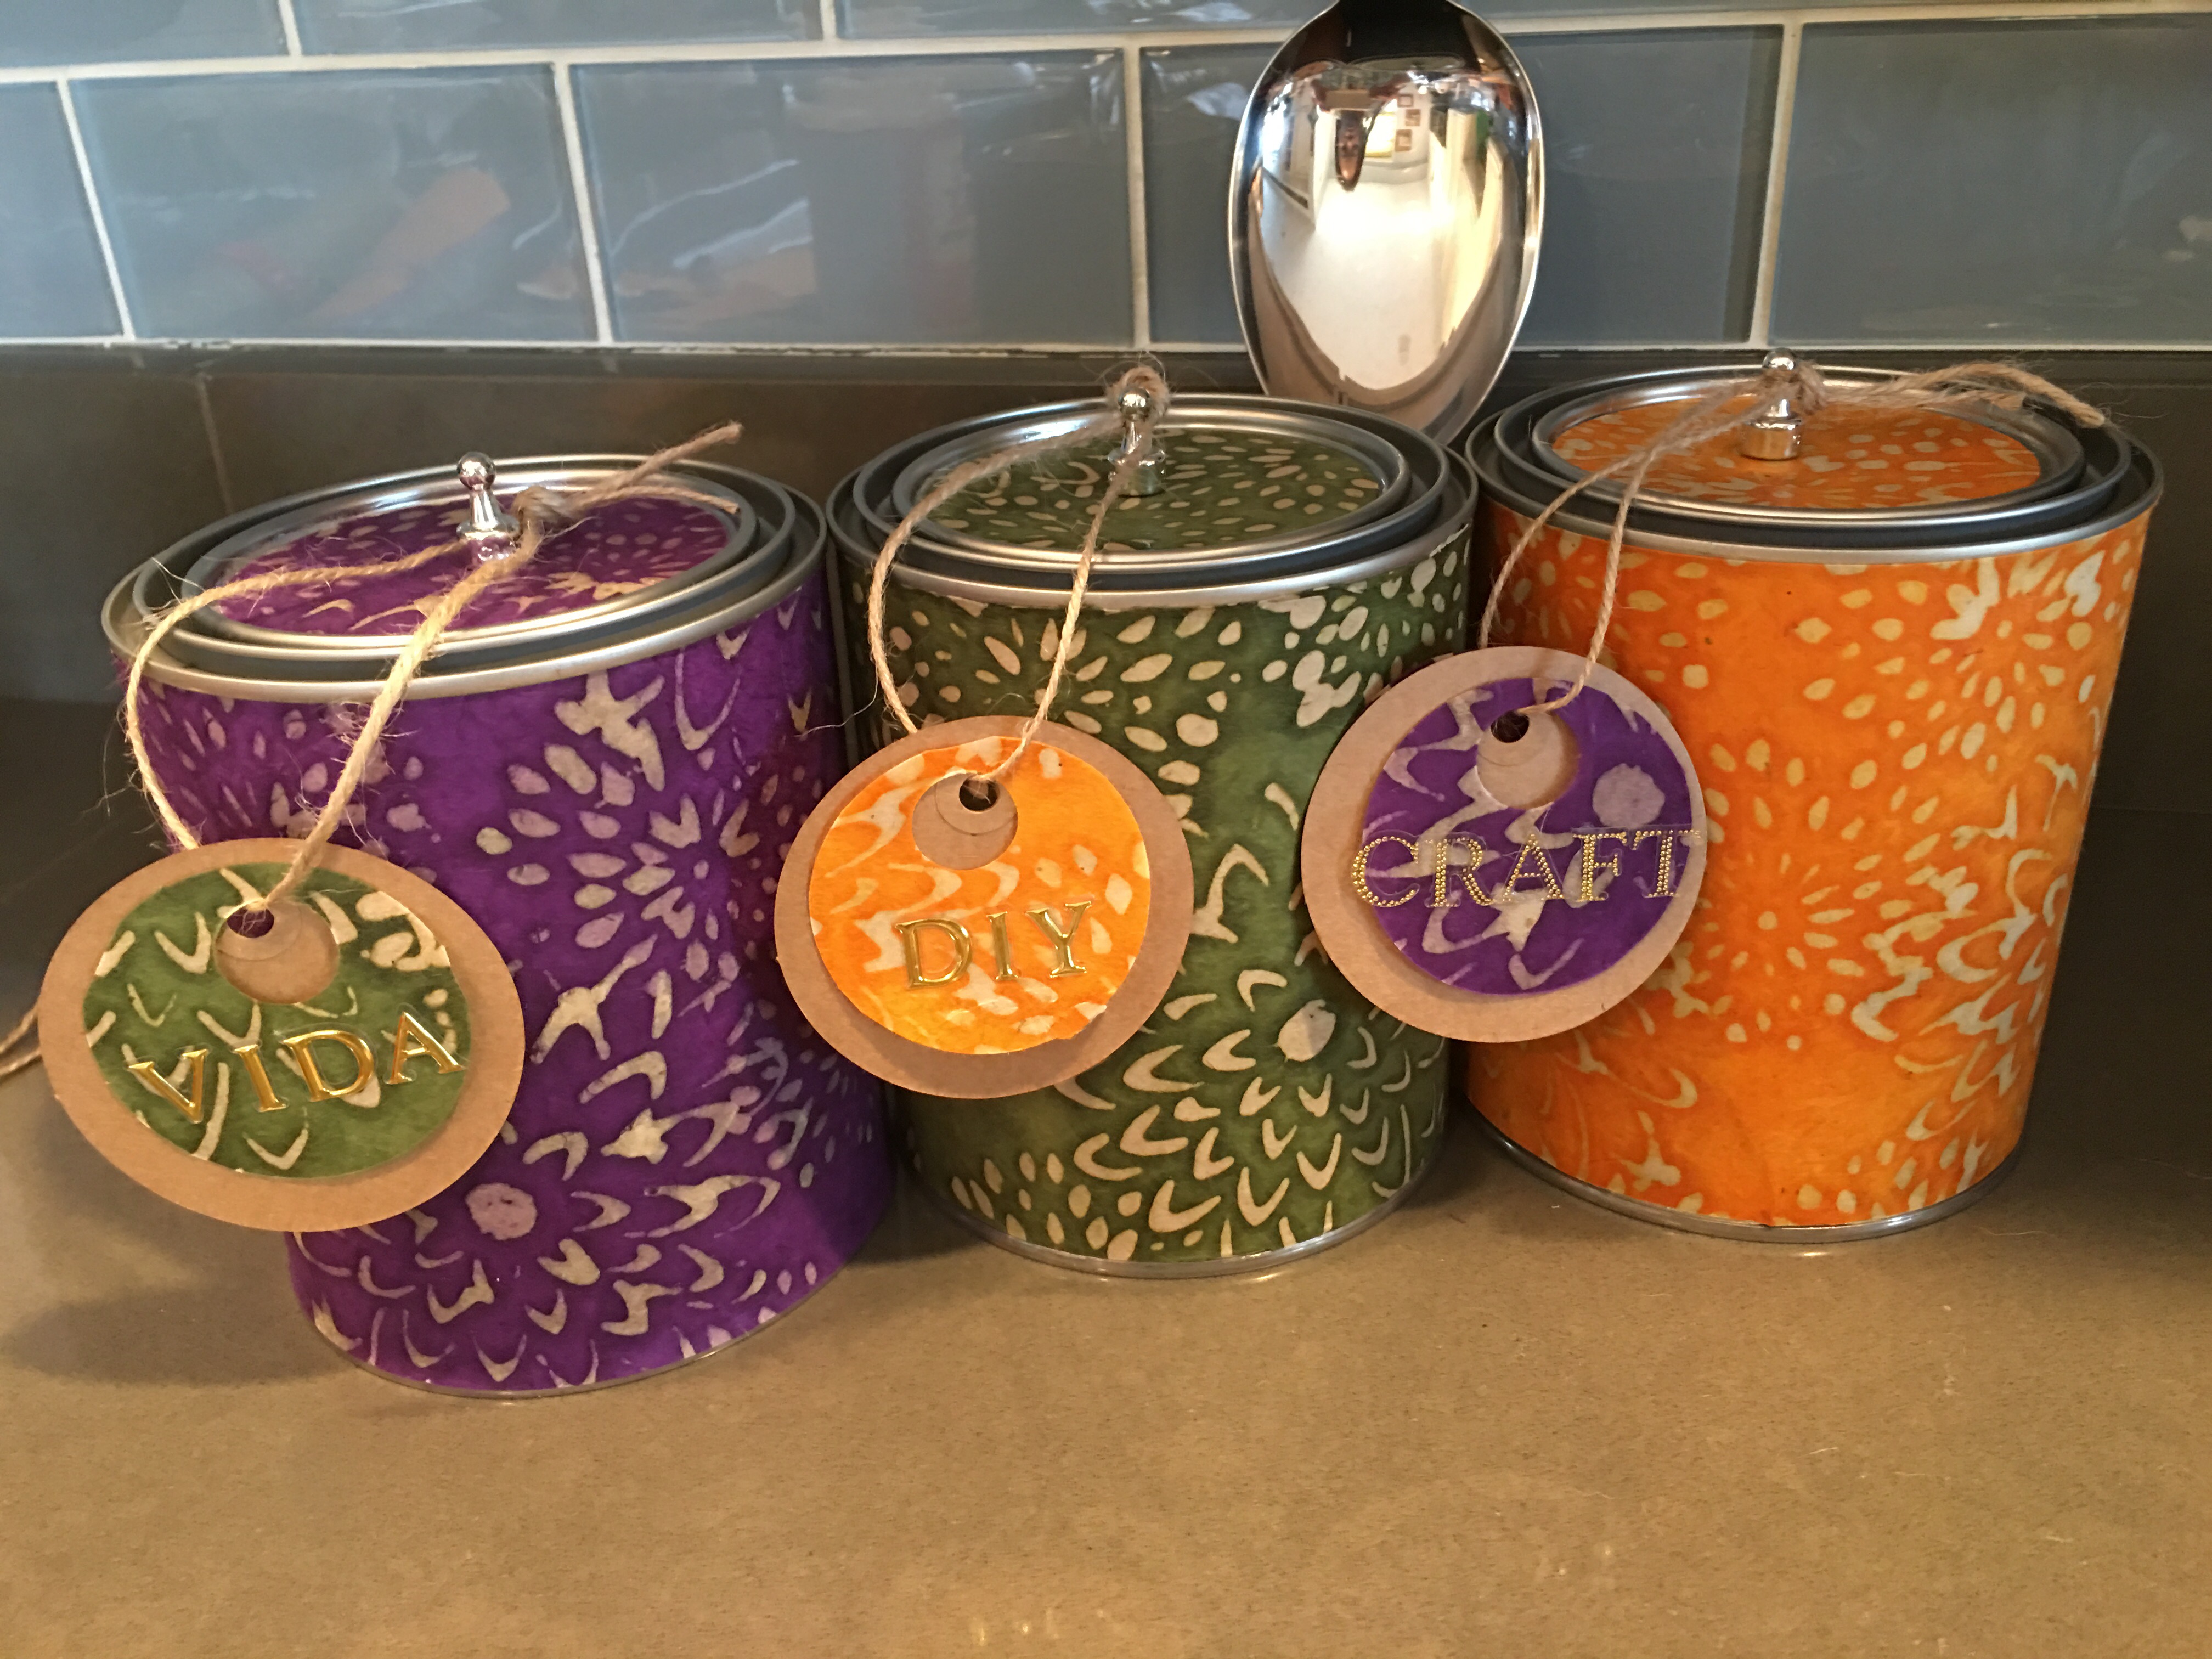
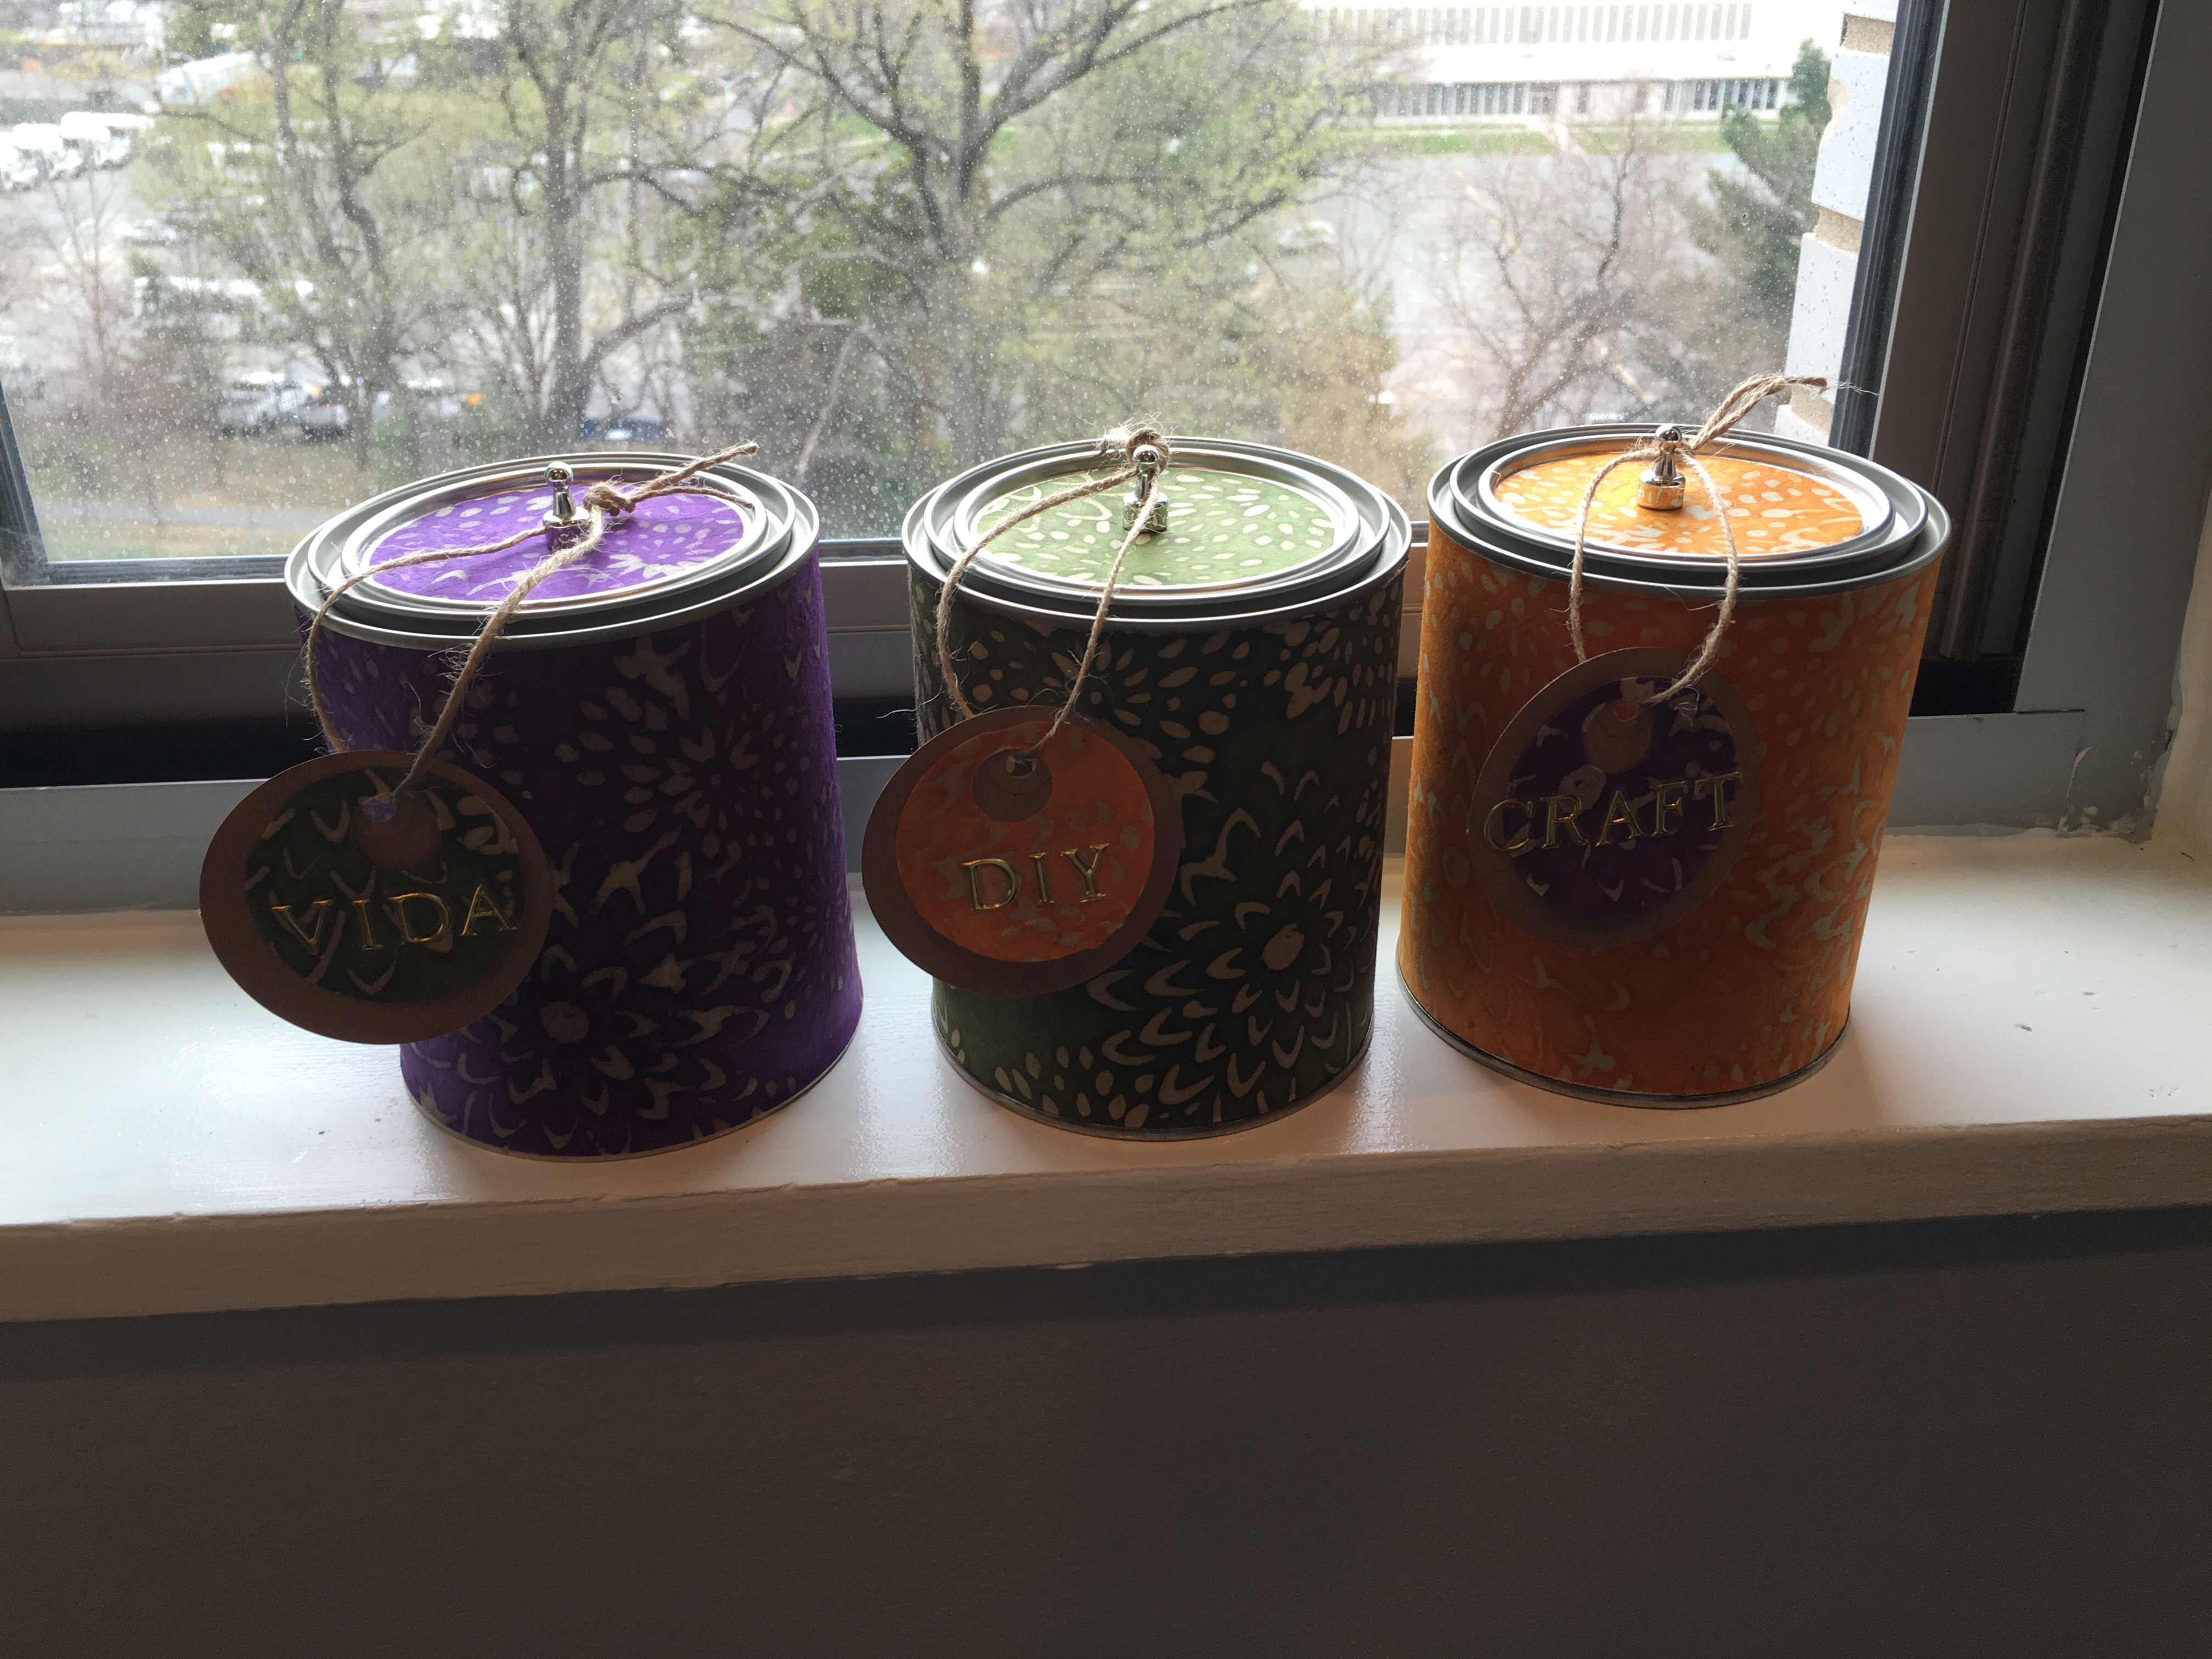
These cans no proudly sits on my kitchen windowsill. They’re currently decoration only (still empty). But what I love most about these cans is that they can be used as attractive storage containers in various places around the house. I have these cans tucked away throughout the living room, my craft work area, and the pantry.
What’s even nicer, as with the case of Anya’s Christmas craft can DIY, these can be given as gifts (and, in fact, used as the gift box itself).

The tag can be personalized for the recipient to make the gift extra special and unique.
Once I find a new home for these cans, I’ll do up another post to talk about where I keep these (and what I store). V-