
Perch Wood Plaque (Decorated with Paper)
You may also like:
March 14, 2016: It’s been a few months since I first completed my Urbio Wood Plaque. But only a few short weeks since I planted my tiny group of succulents in said Urbio vessel magnetically attached to the plaque.
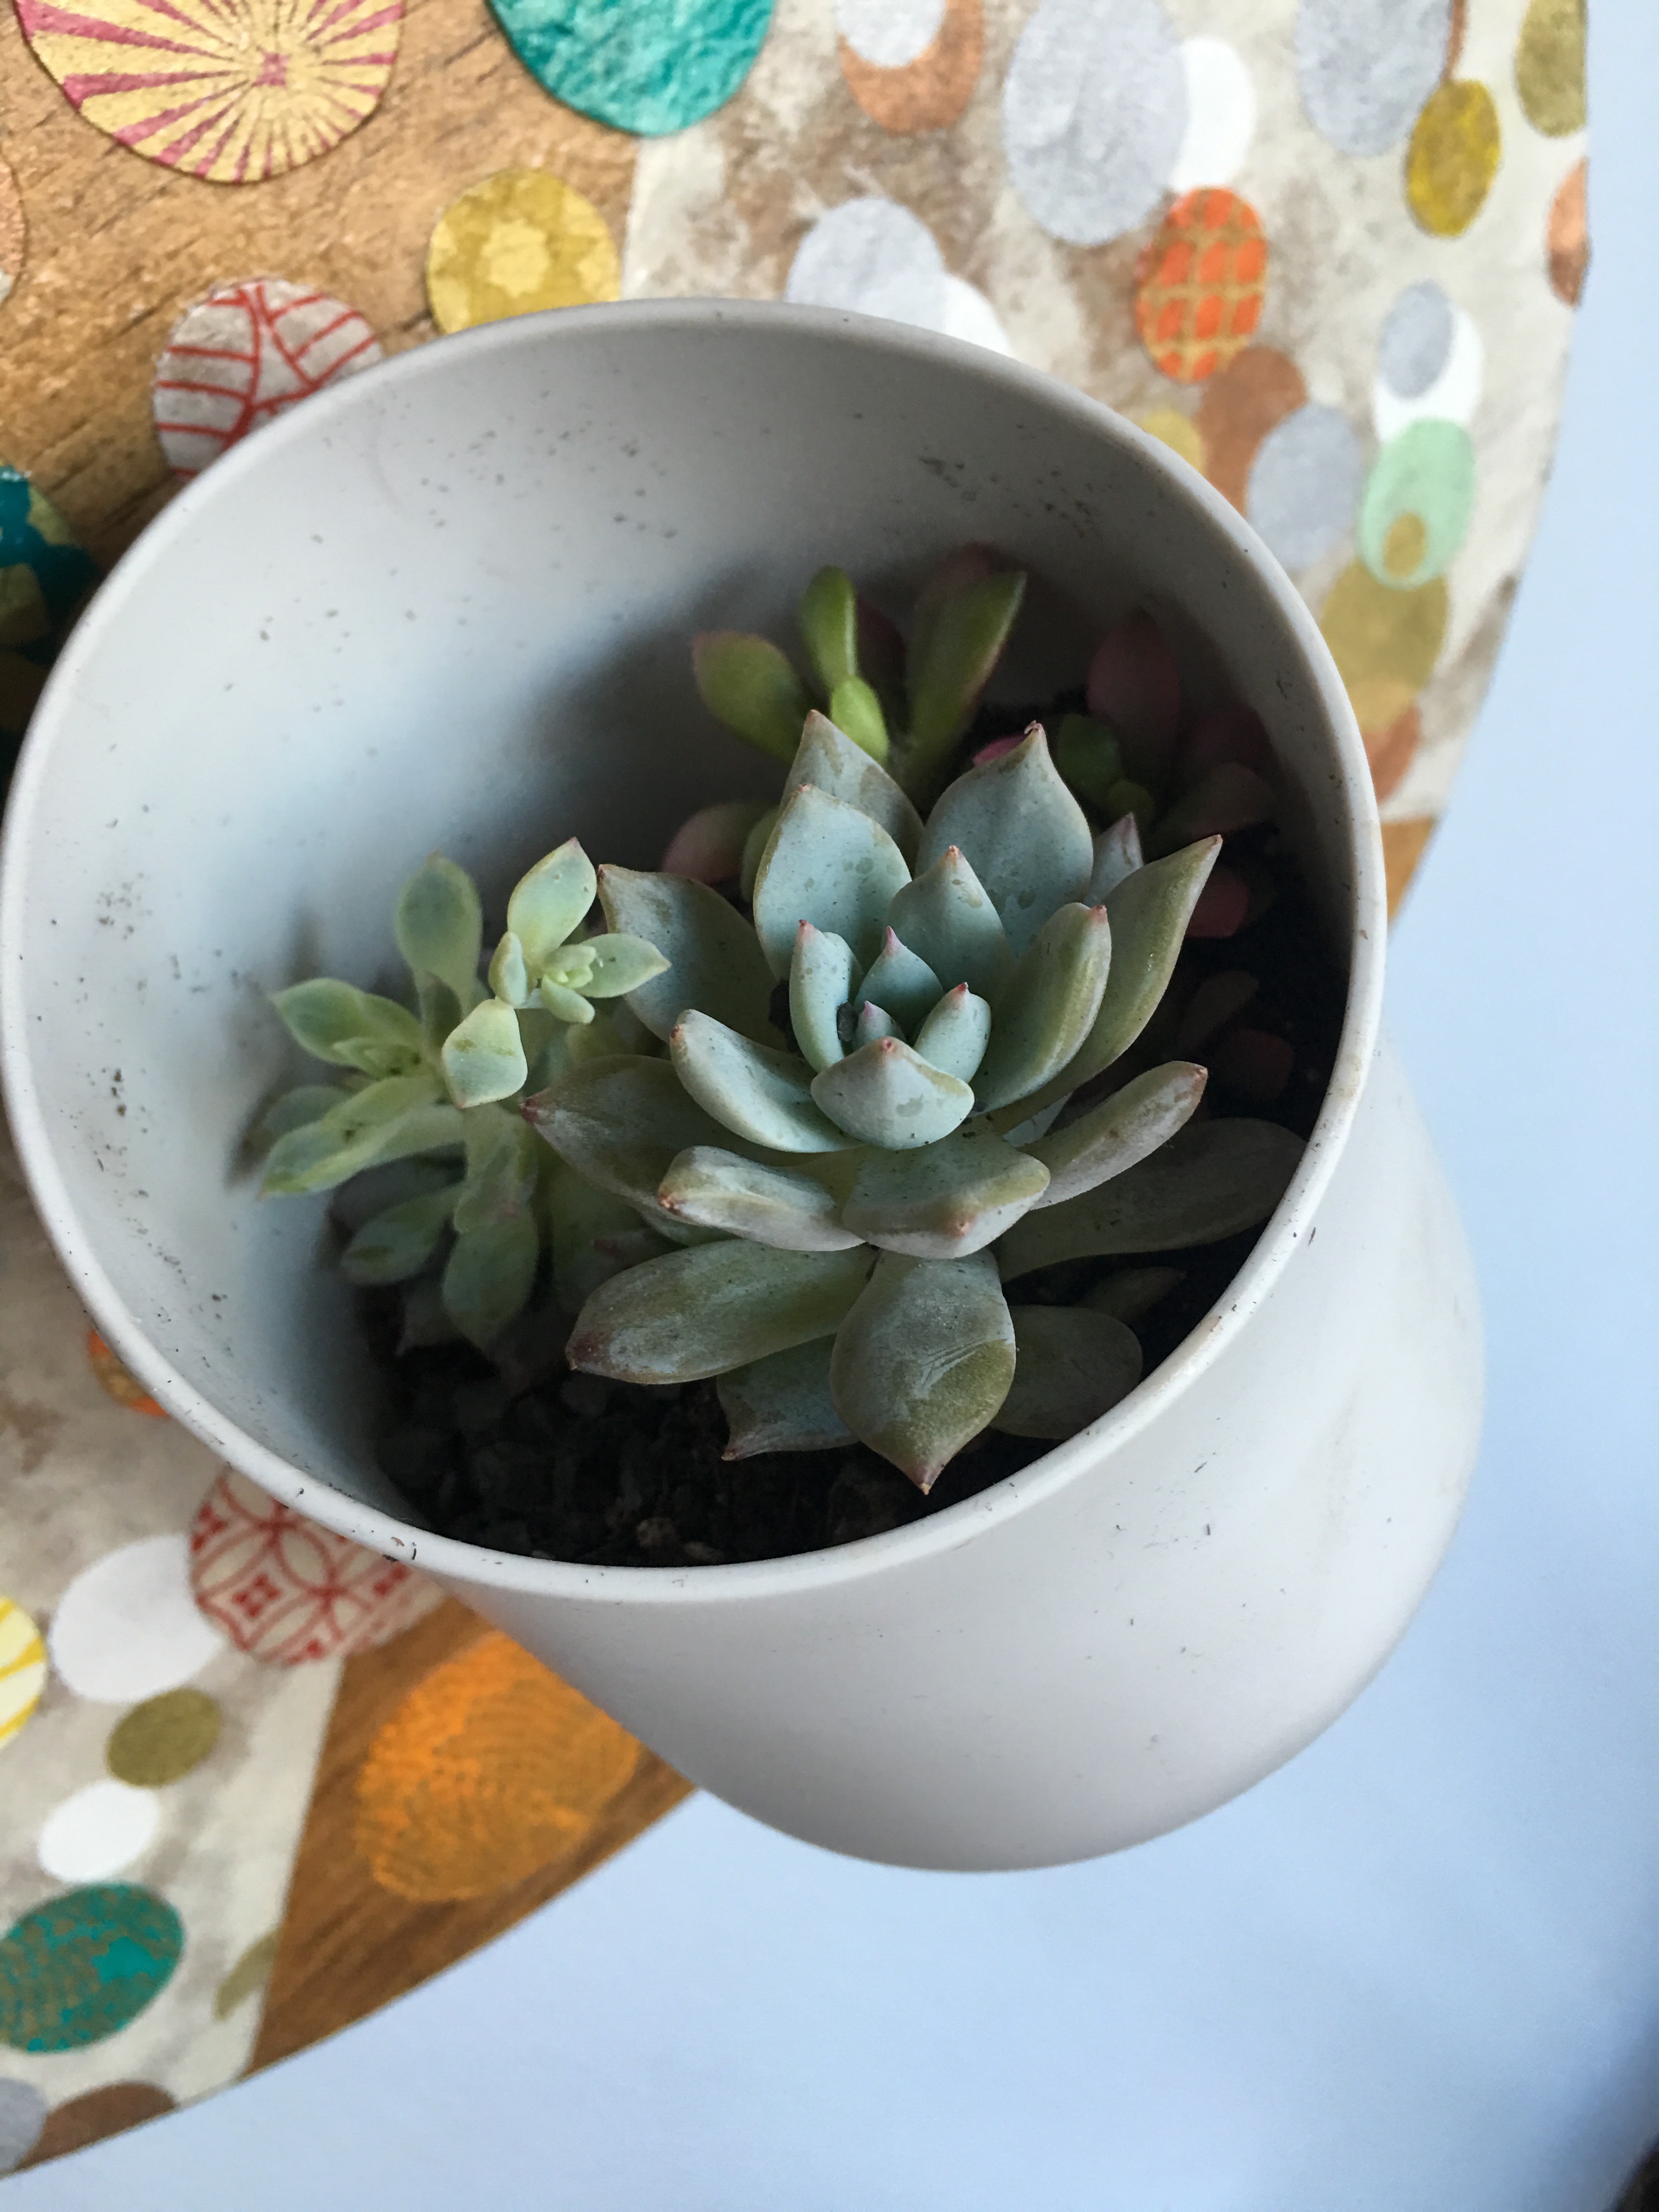
Here are my lovely succulent tiny plants in the Urbio vessel on January 20 (the Wednesday before the big Blizzard 2016).
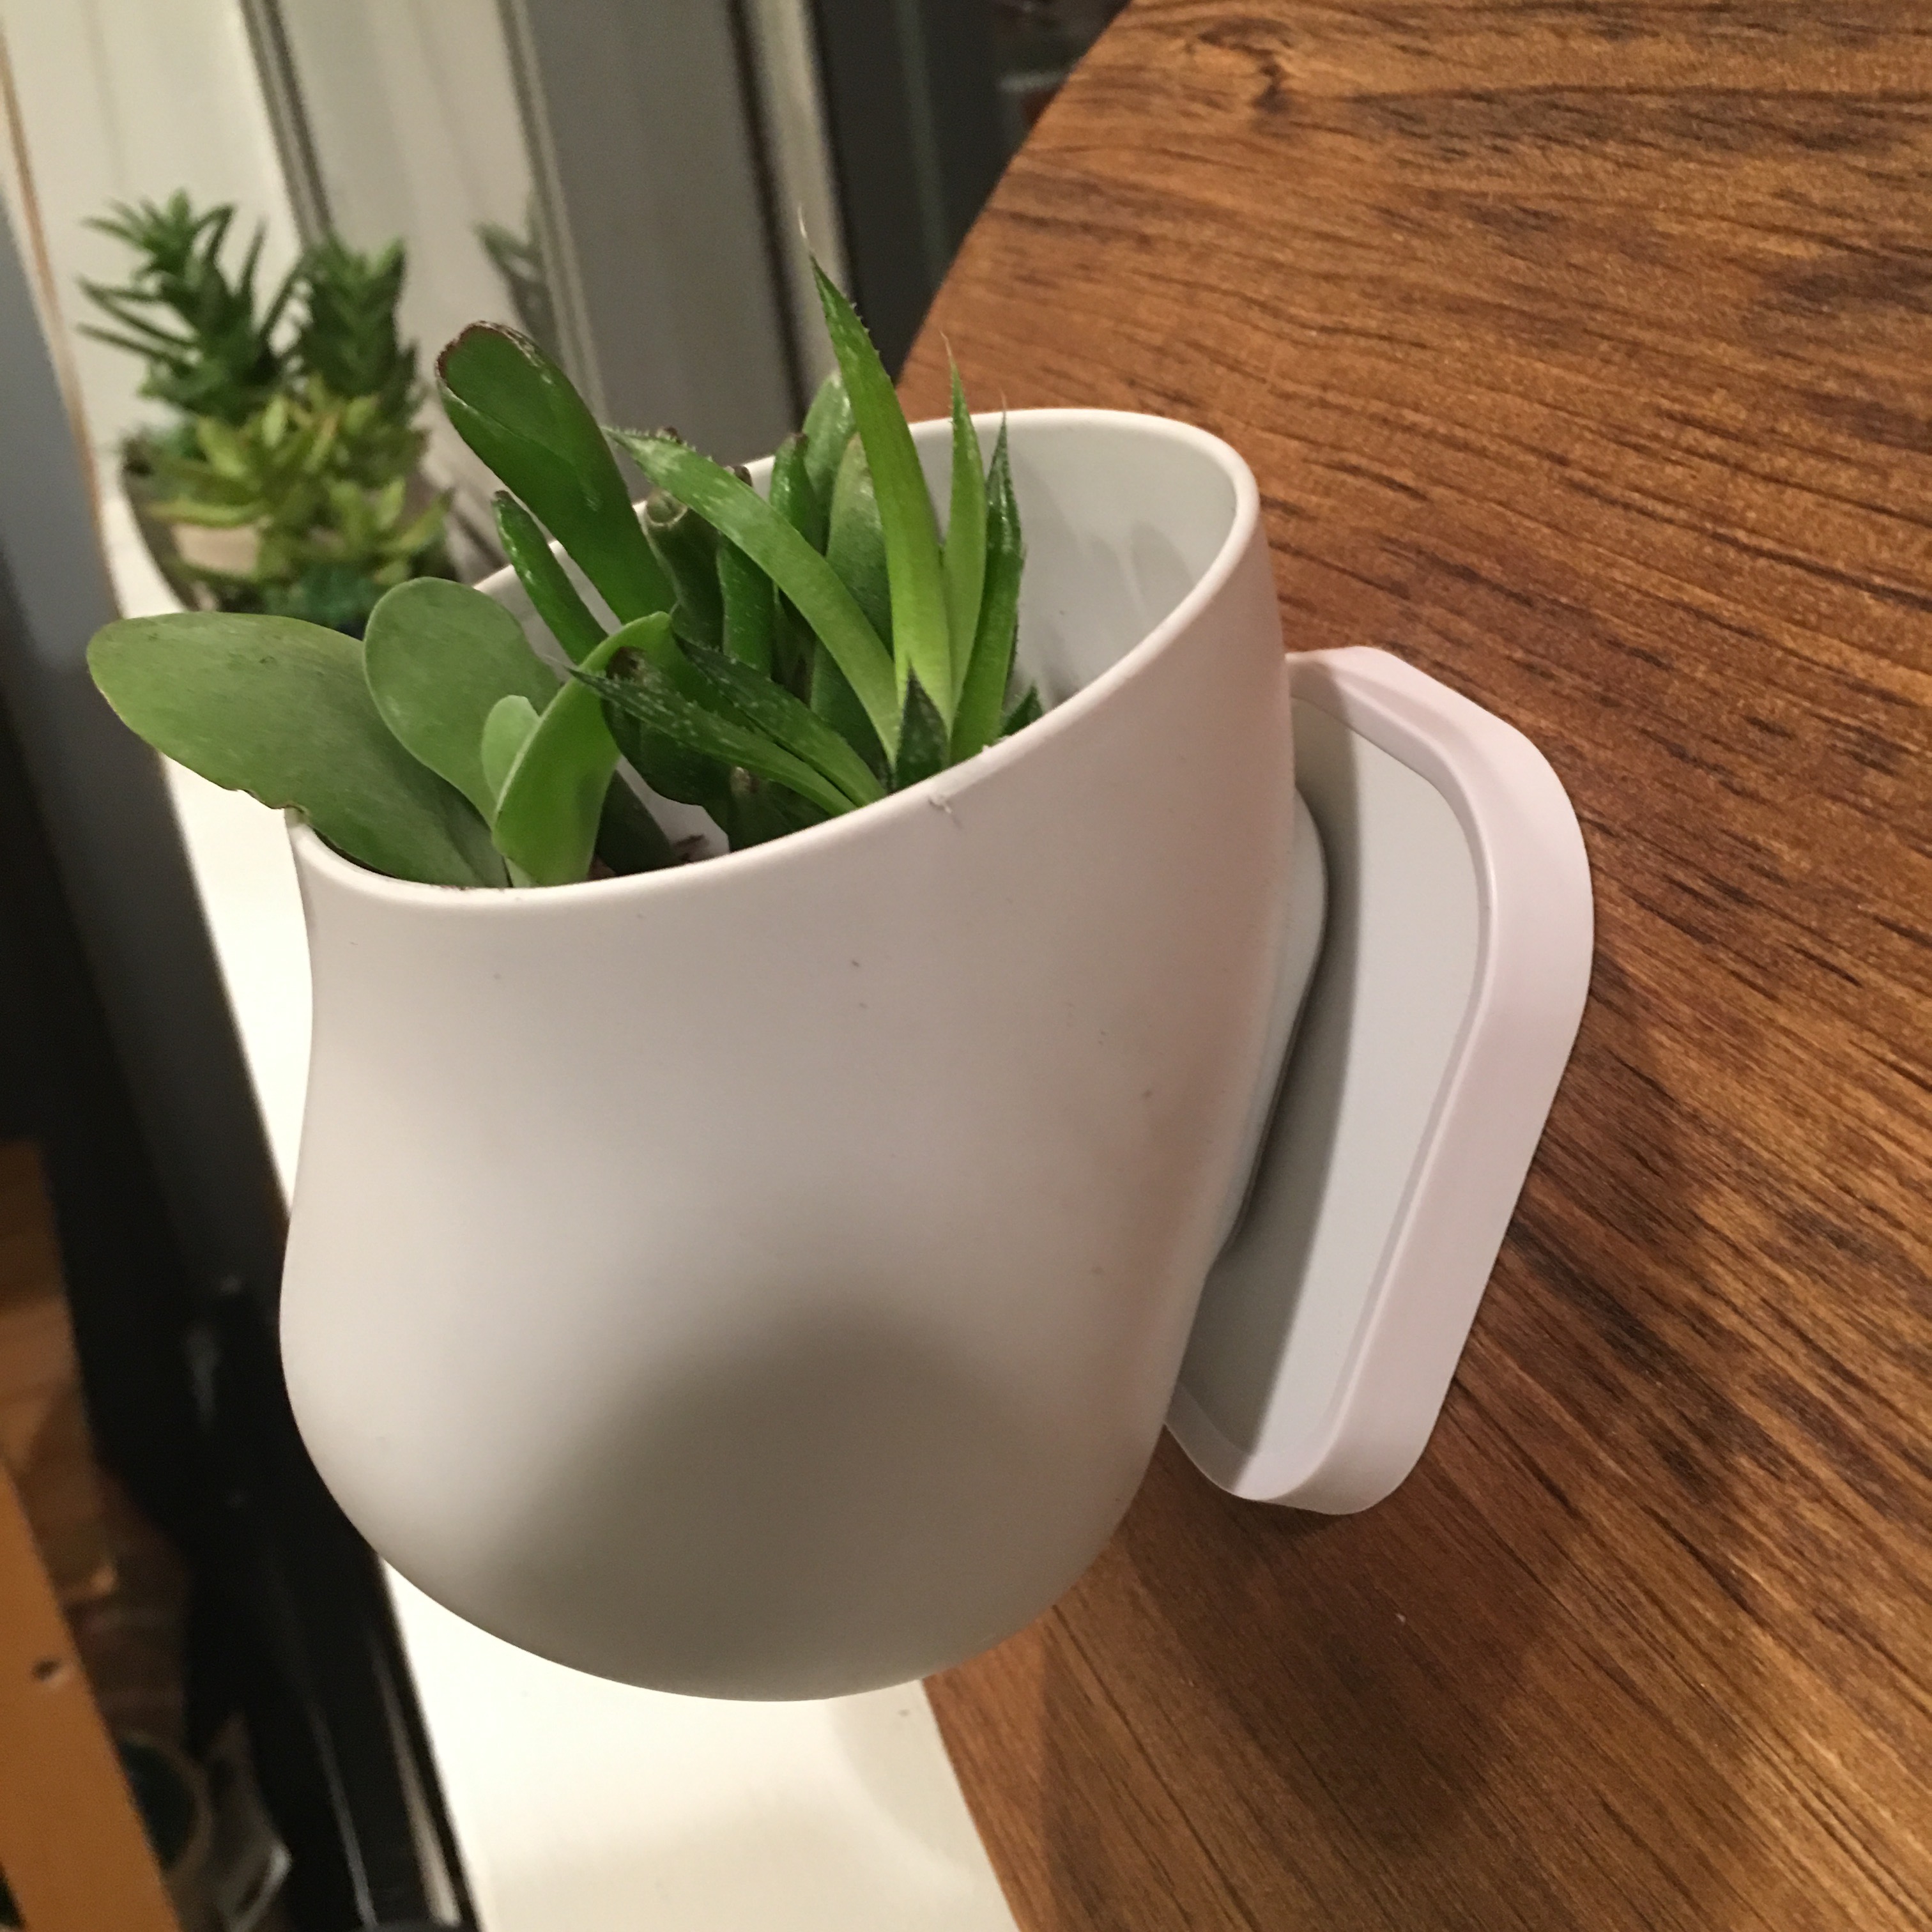
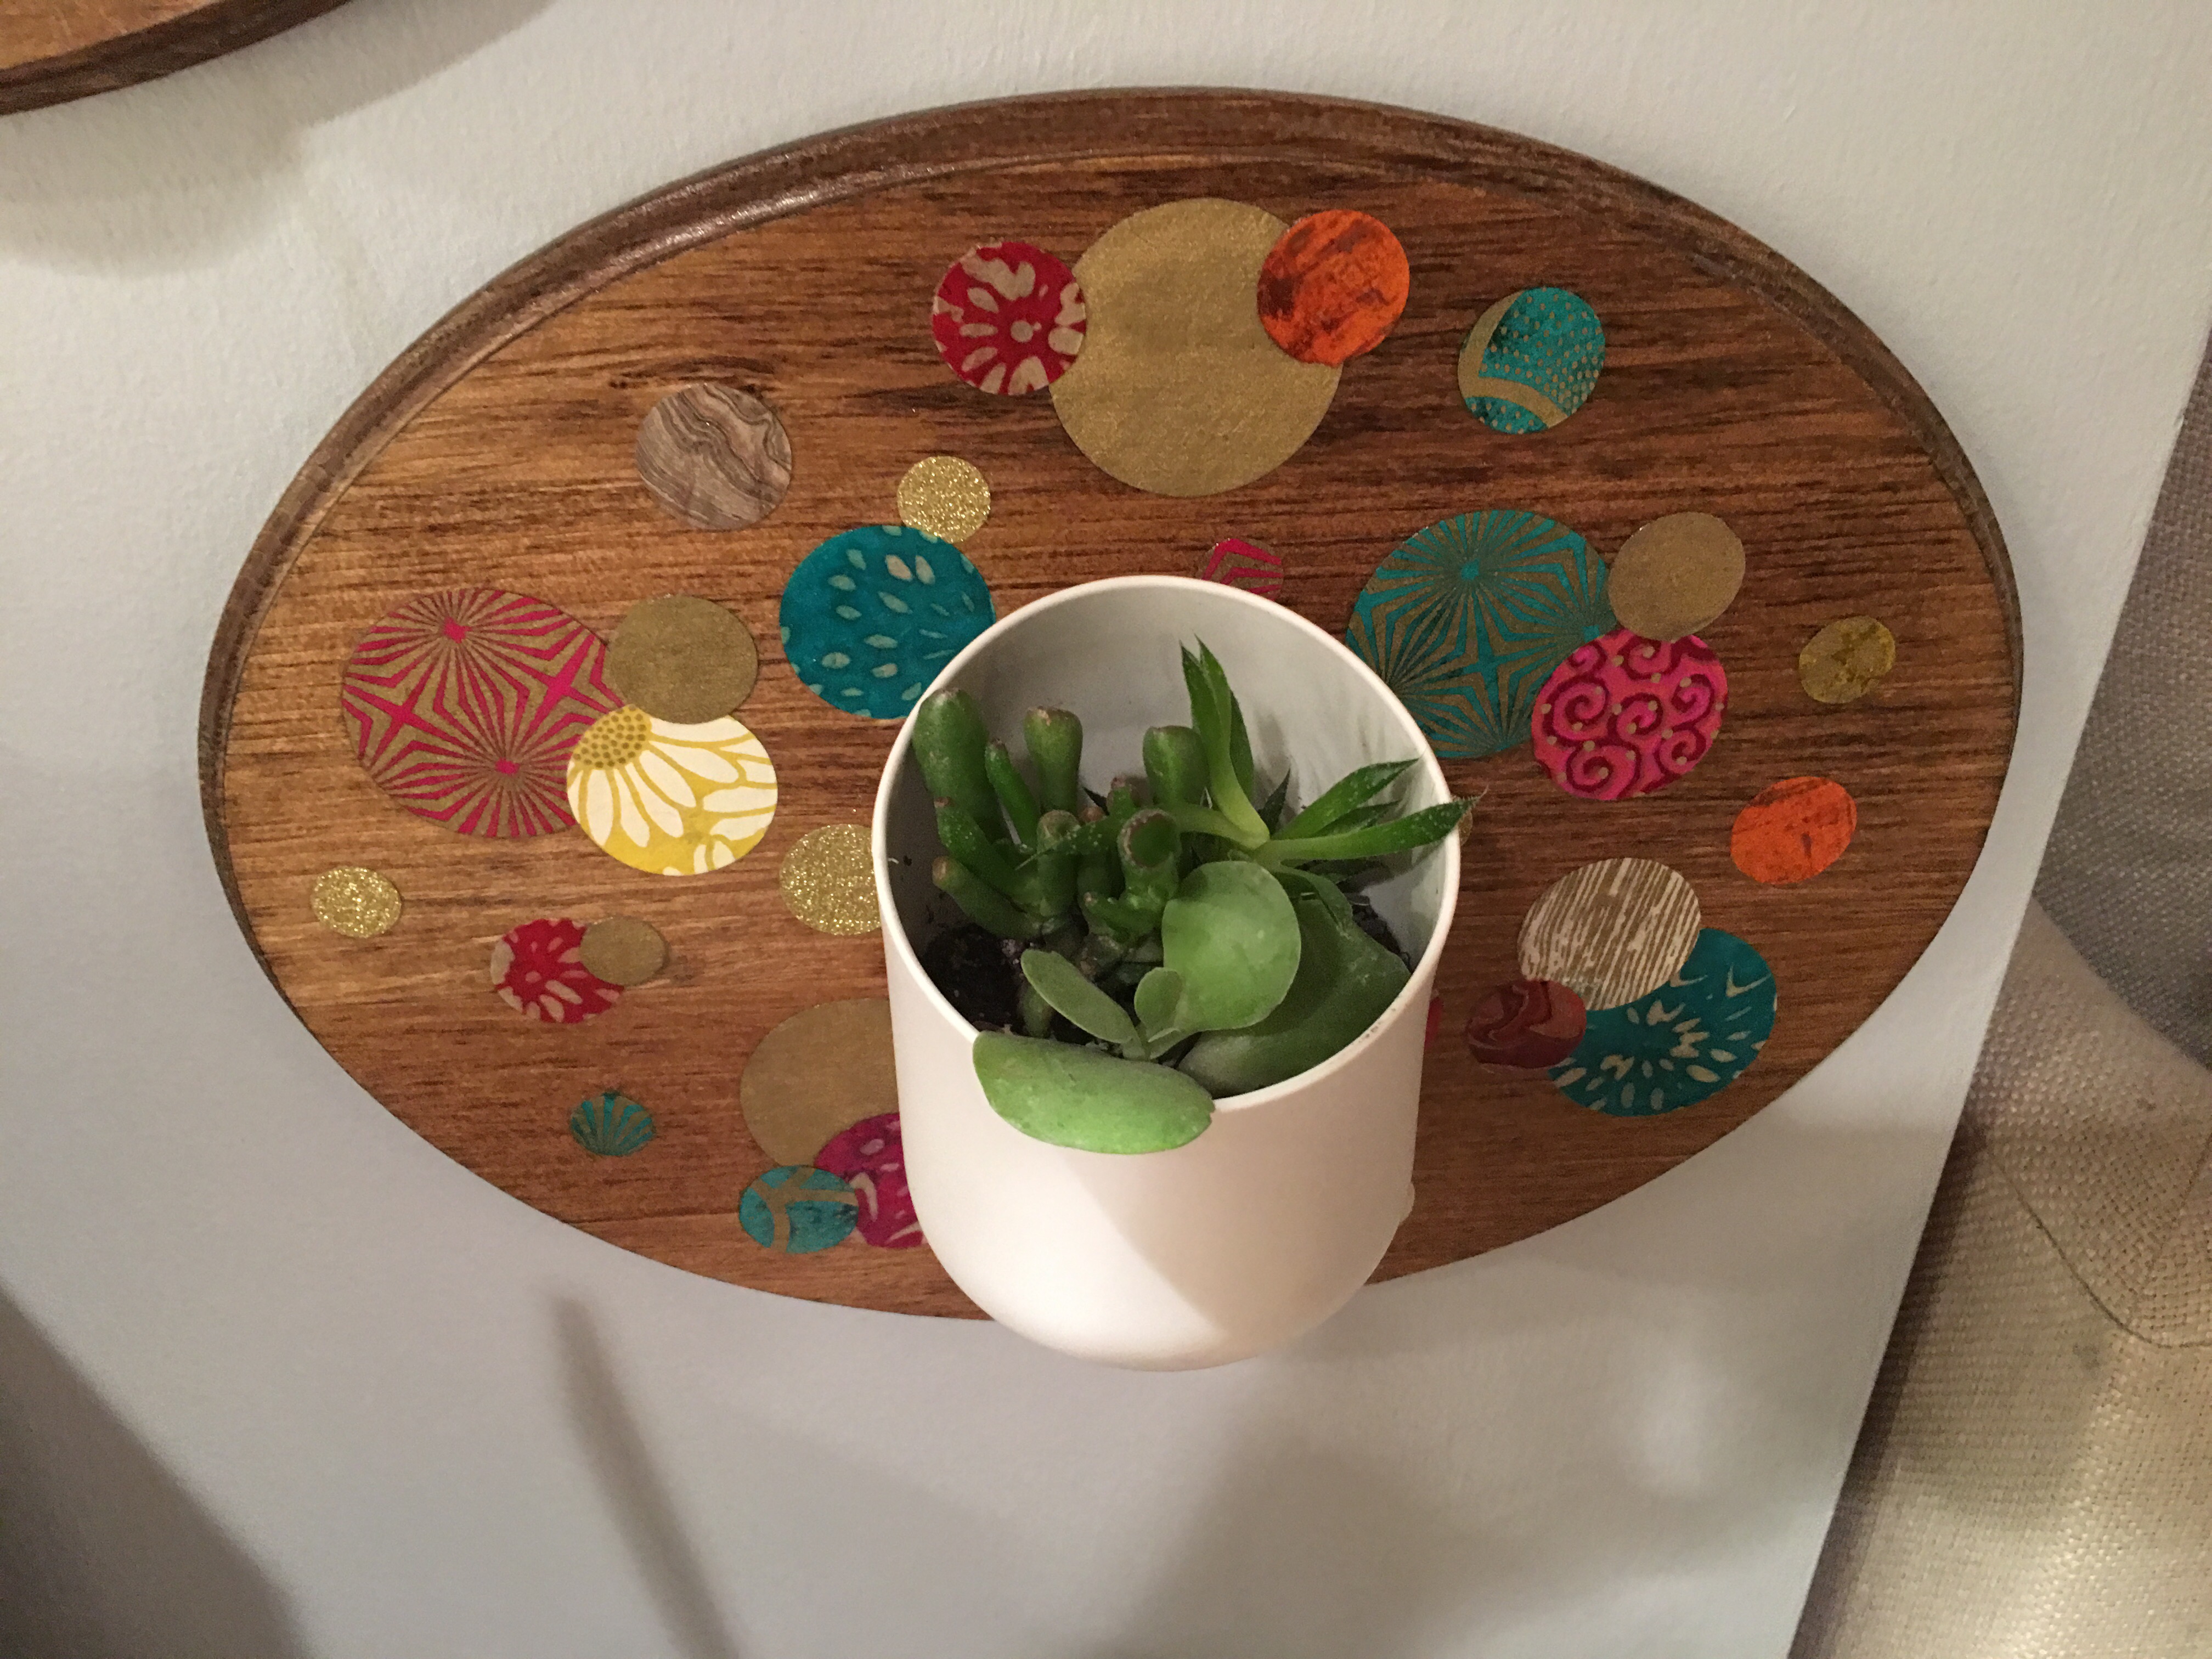
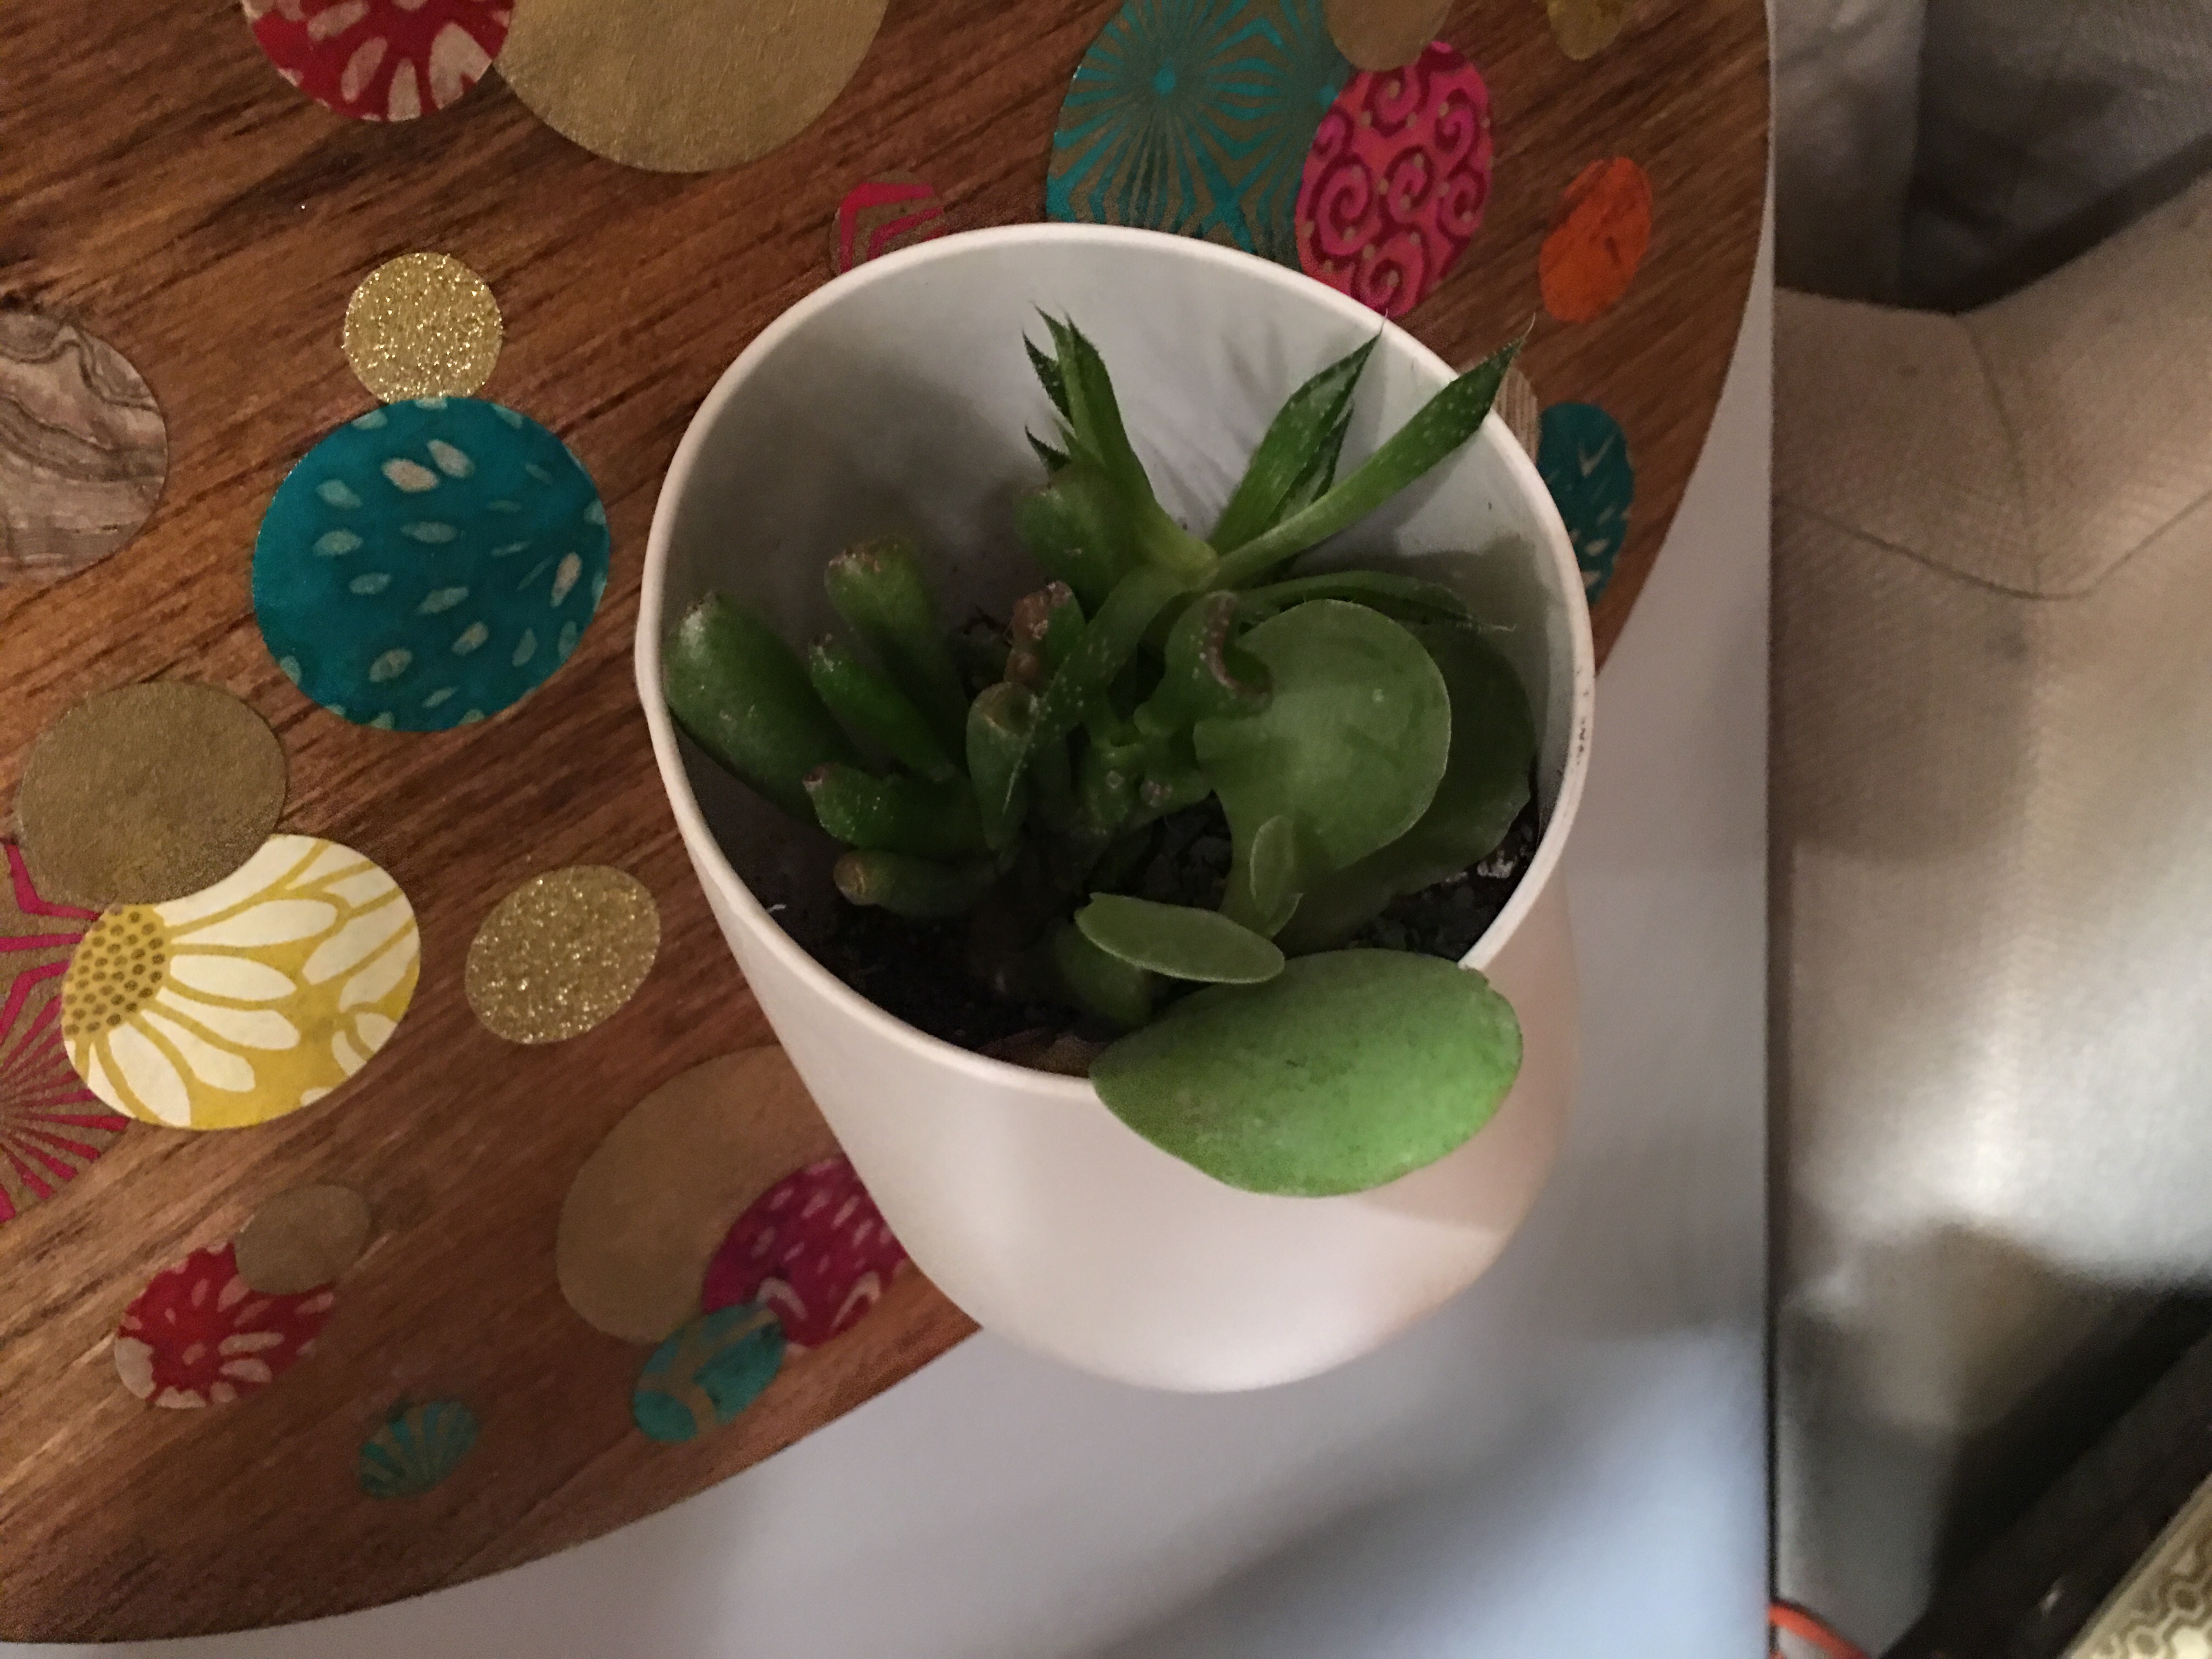
And here is the same Urbio vessel now, almost two months later. It’s thriving from its “perch” on the wall in my crafting desk area.
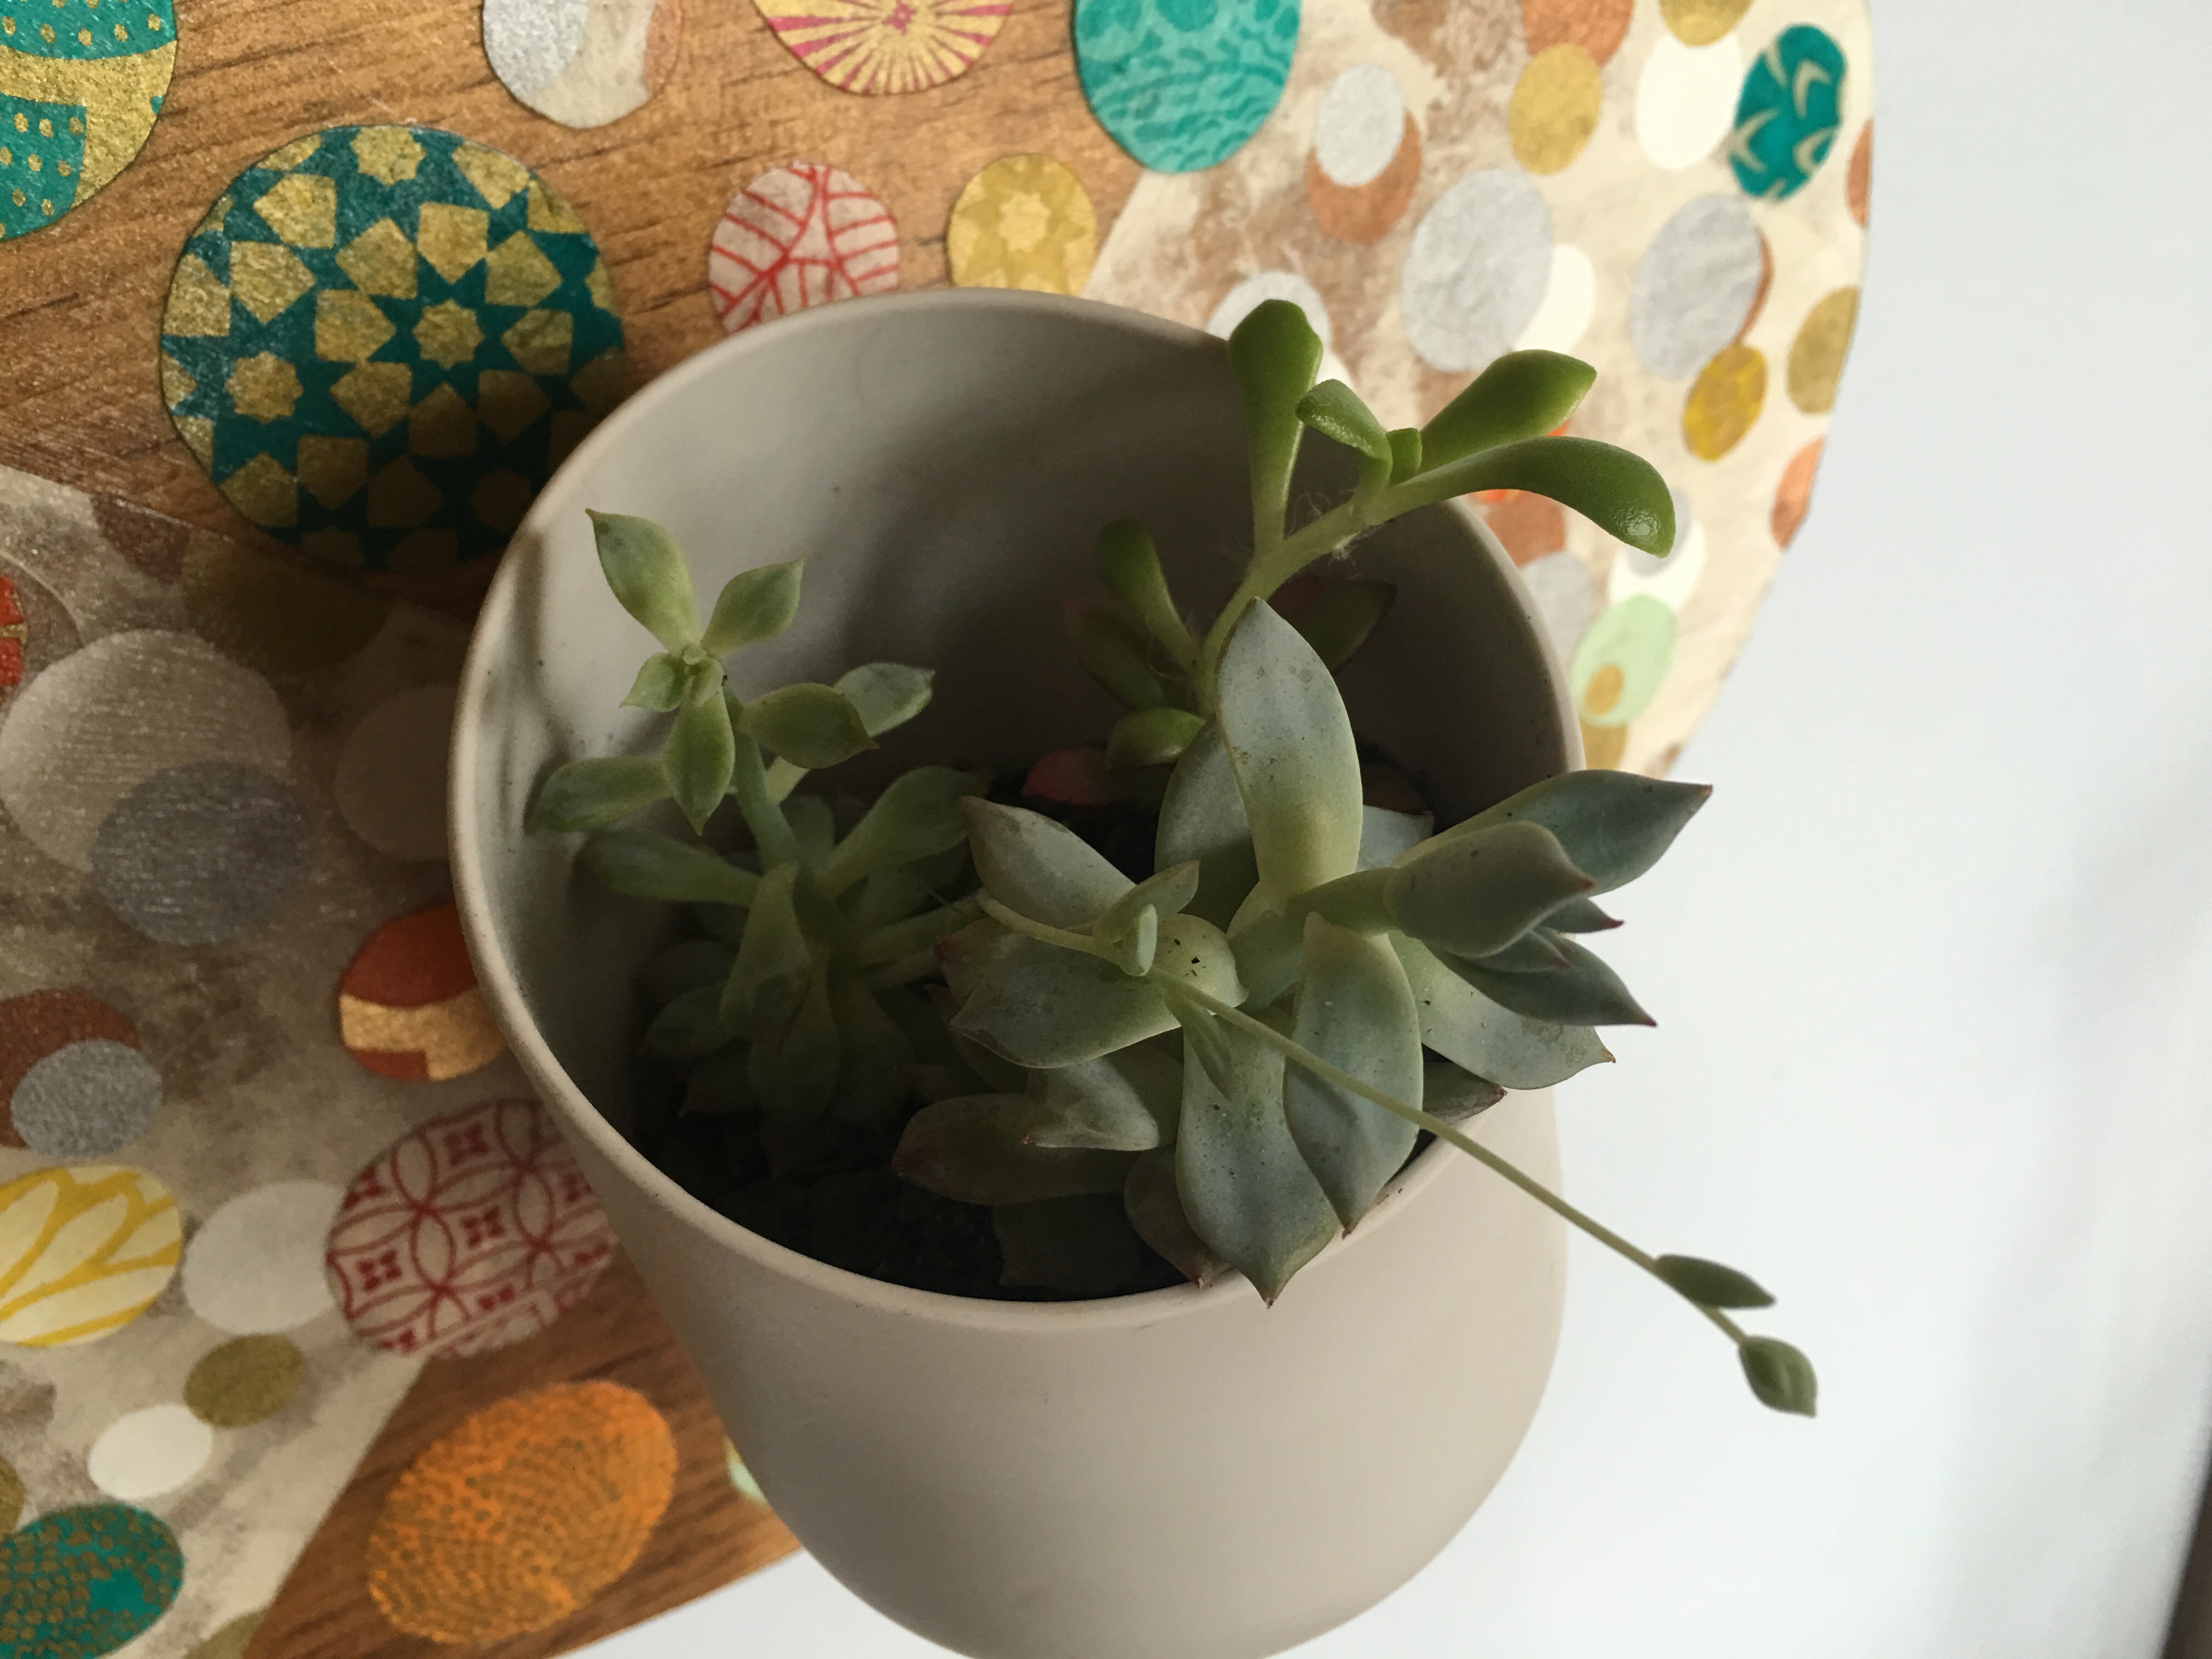
What was once barely seen inside the Urbio vessel is now spilling out over the sides. I’m as proud as a peacock!
My goodness. I may need to find a bigger planter soon for these succulents to give their roots more room to grow and bloom. But I’m so enamored by the beautify of my plants in the Urbio that I was inspired to get to work on my second wood planter plaque – this time using the Urbio “Perch” wall puck.
So here are my other plant magnetic pots on the side of our fridge. I’ve been meaning to take my other Urbio “Shorty” vessel (the one on the bottom) and find it a perch on the wall using a wood plaque.

I didn’t quite capture of the steps of making the first plaque in photos (bad Vida!). So I shall make up for it now.
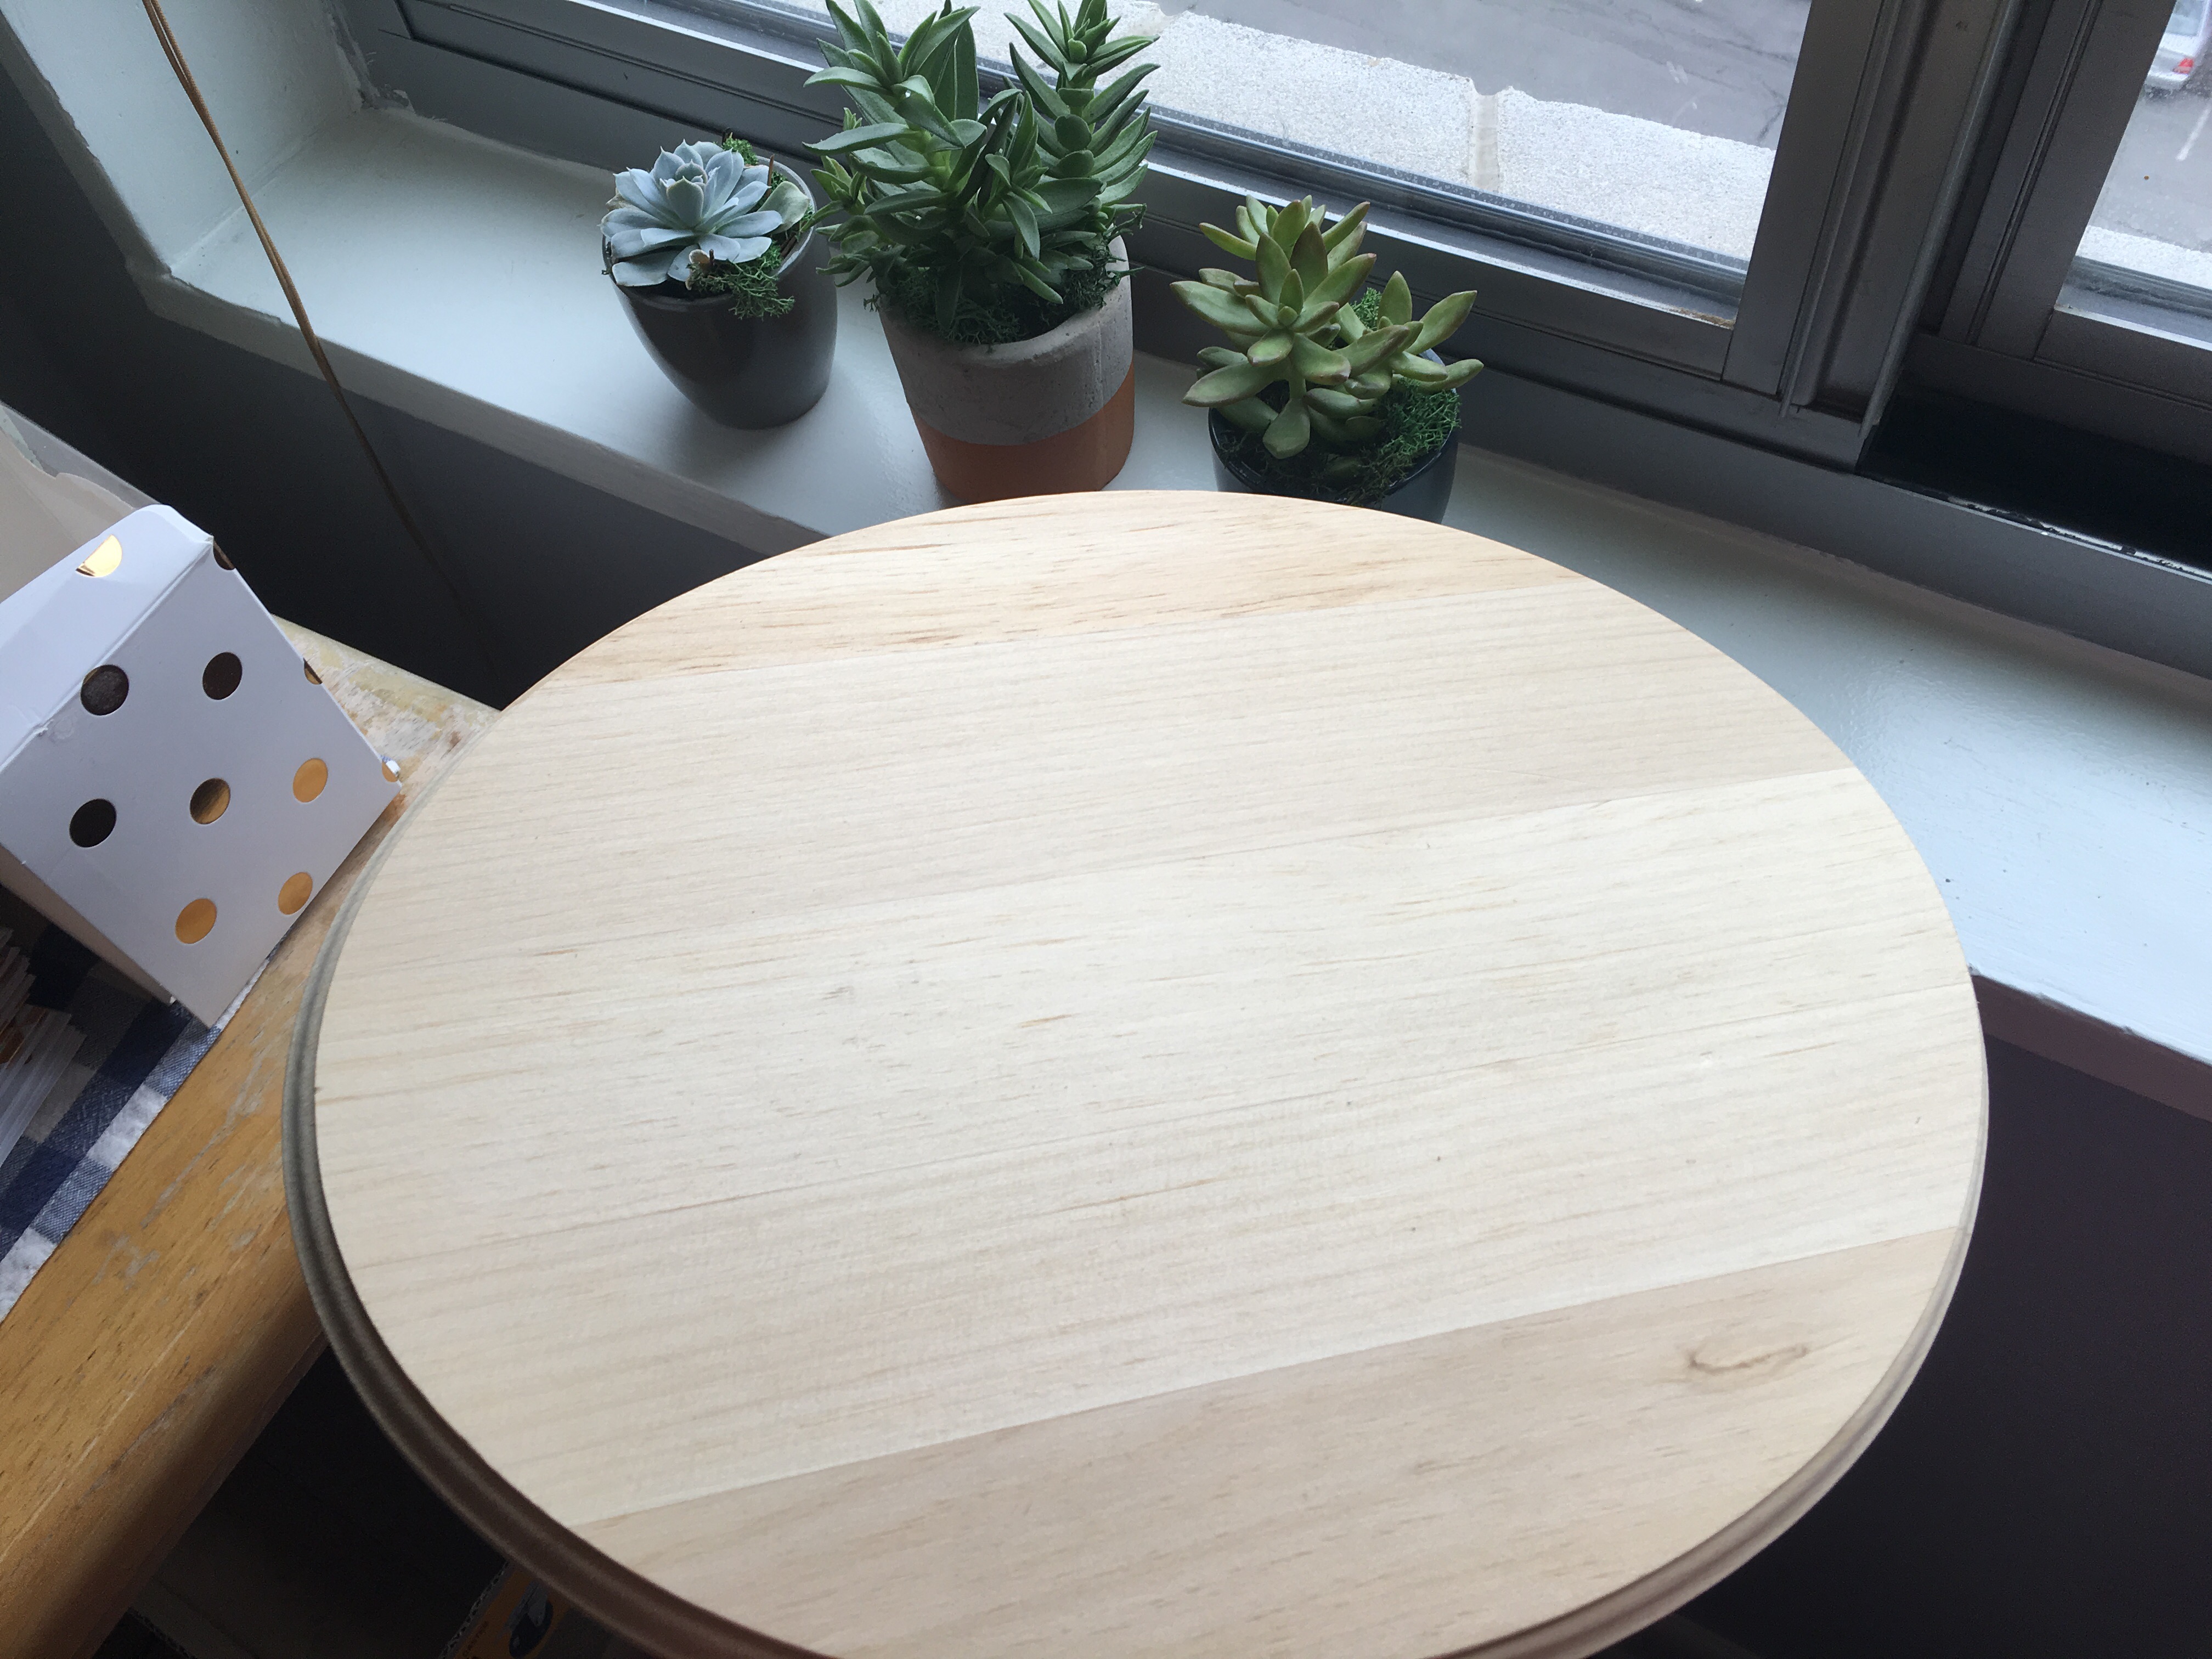
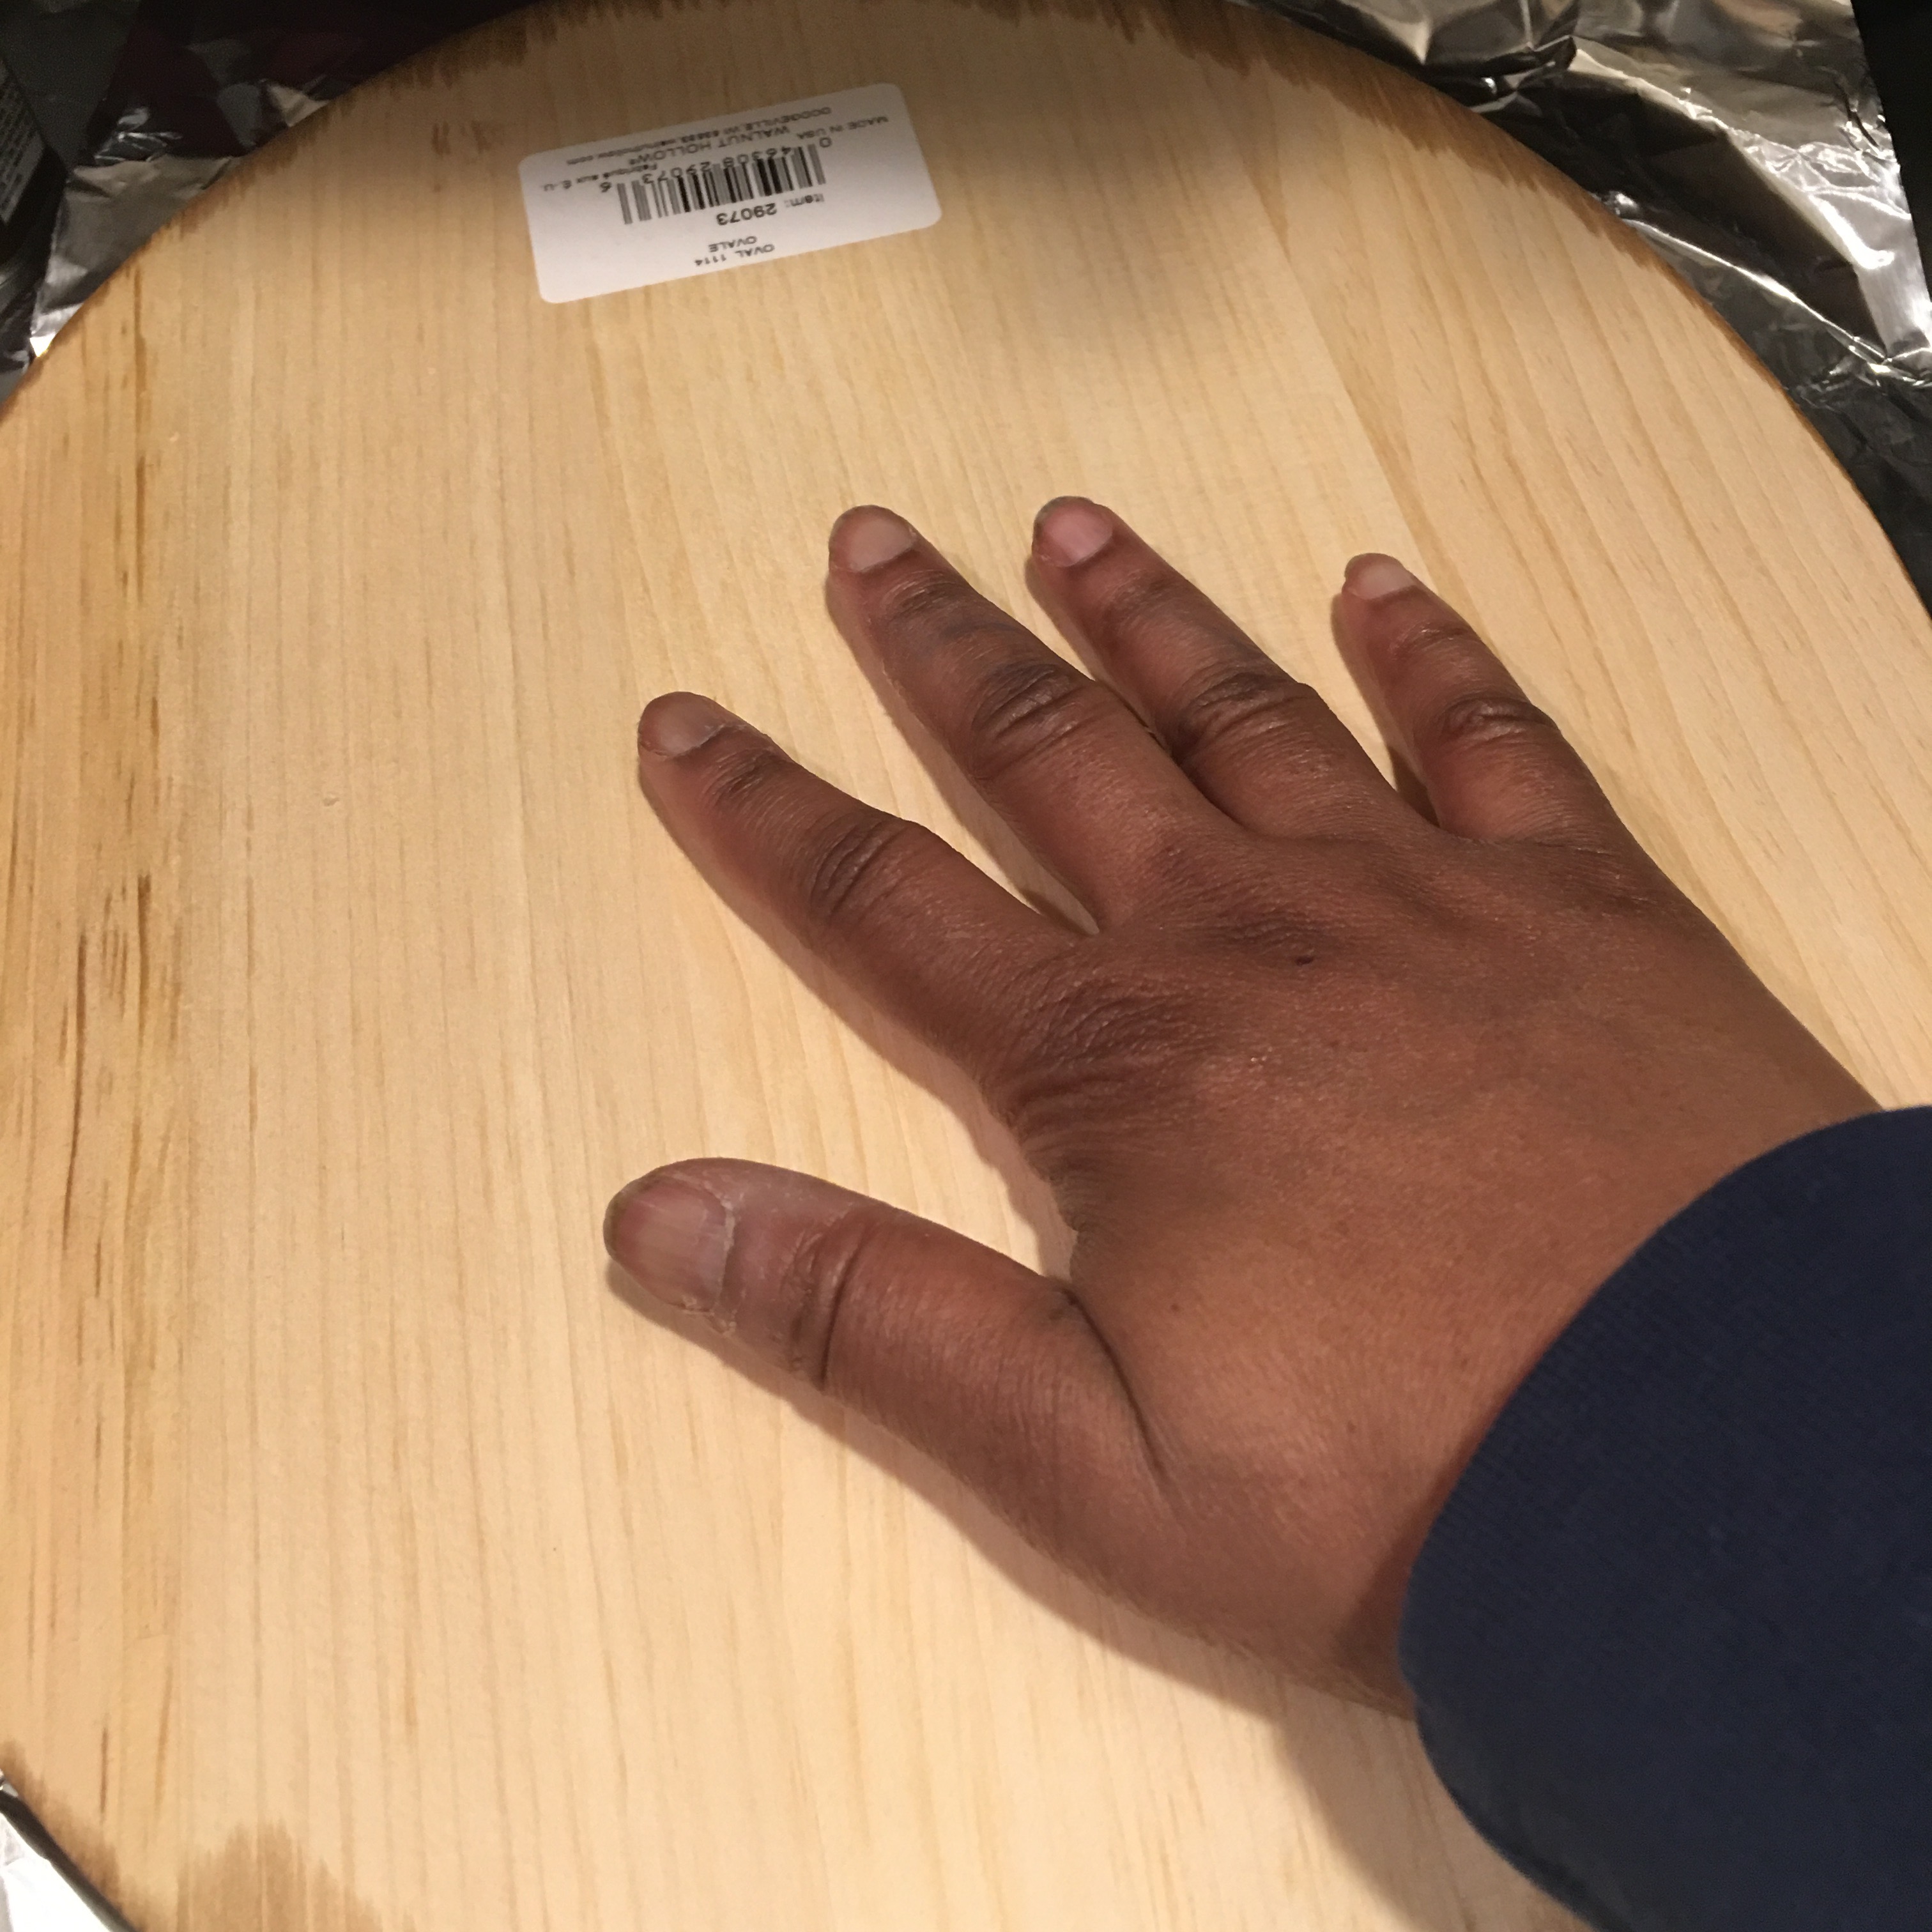
- Step 1: Start with a 12″ oval wood plaque (like this one by Walnut Hollow that I got from AC Moore for $4).
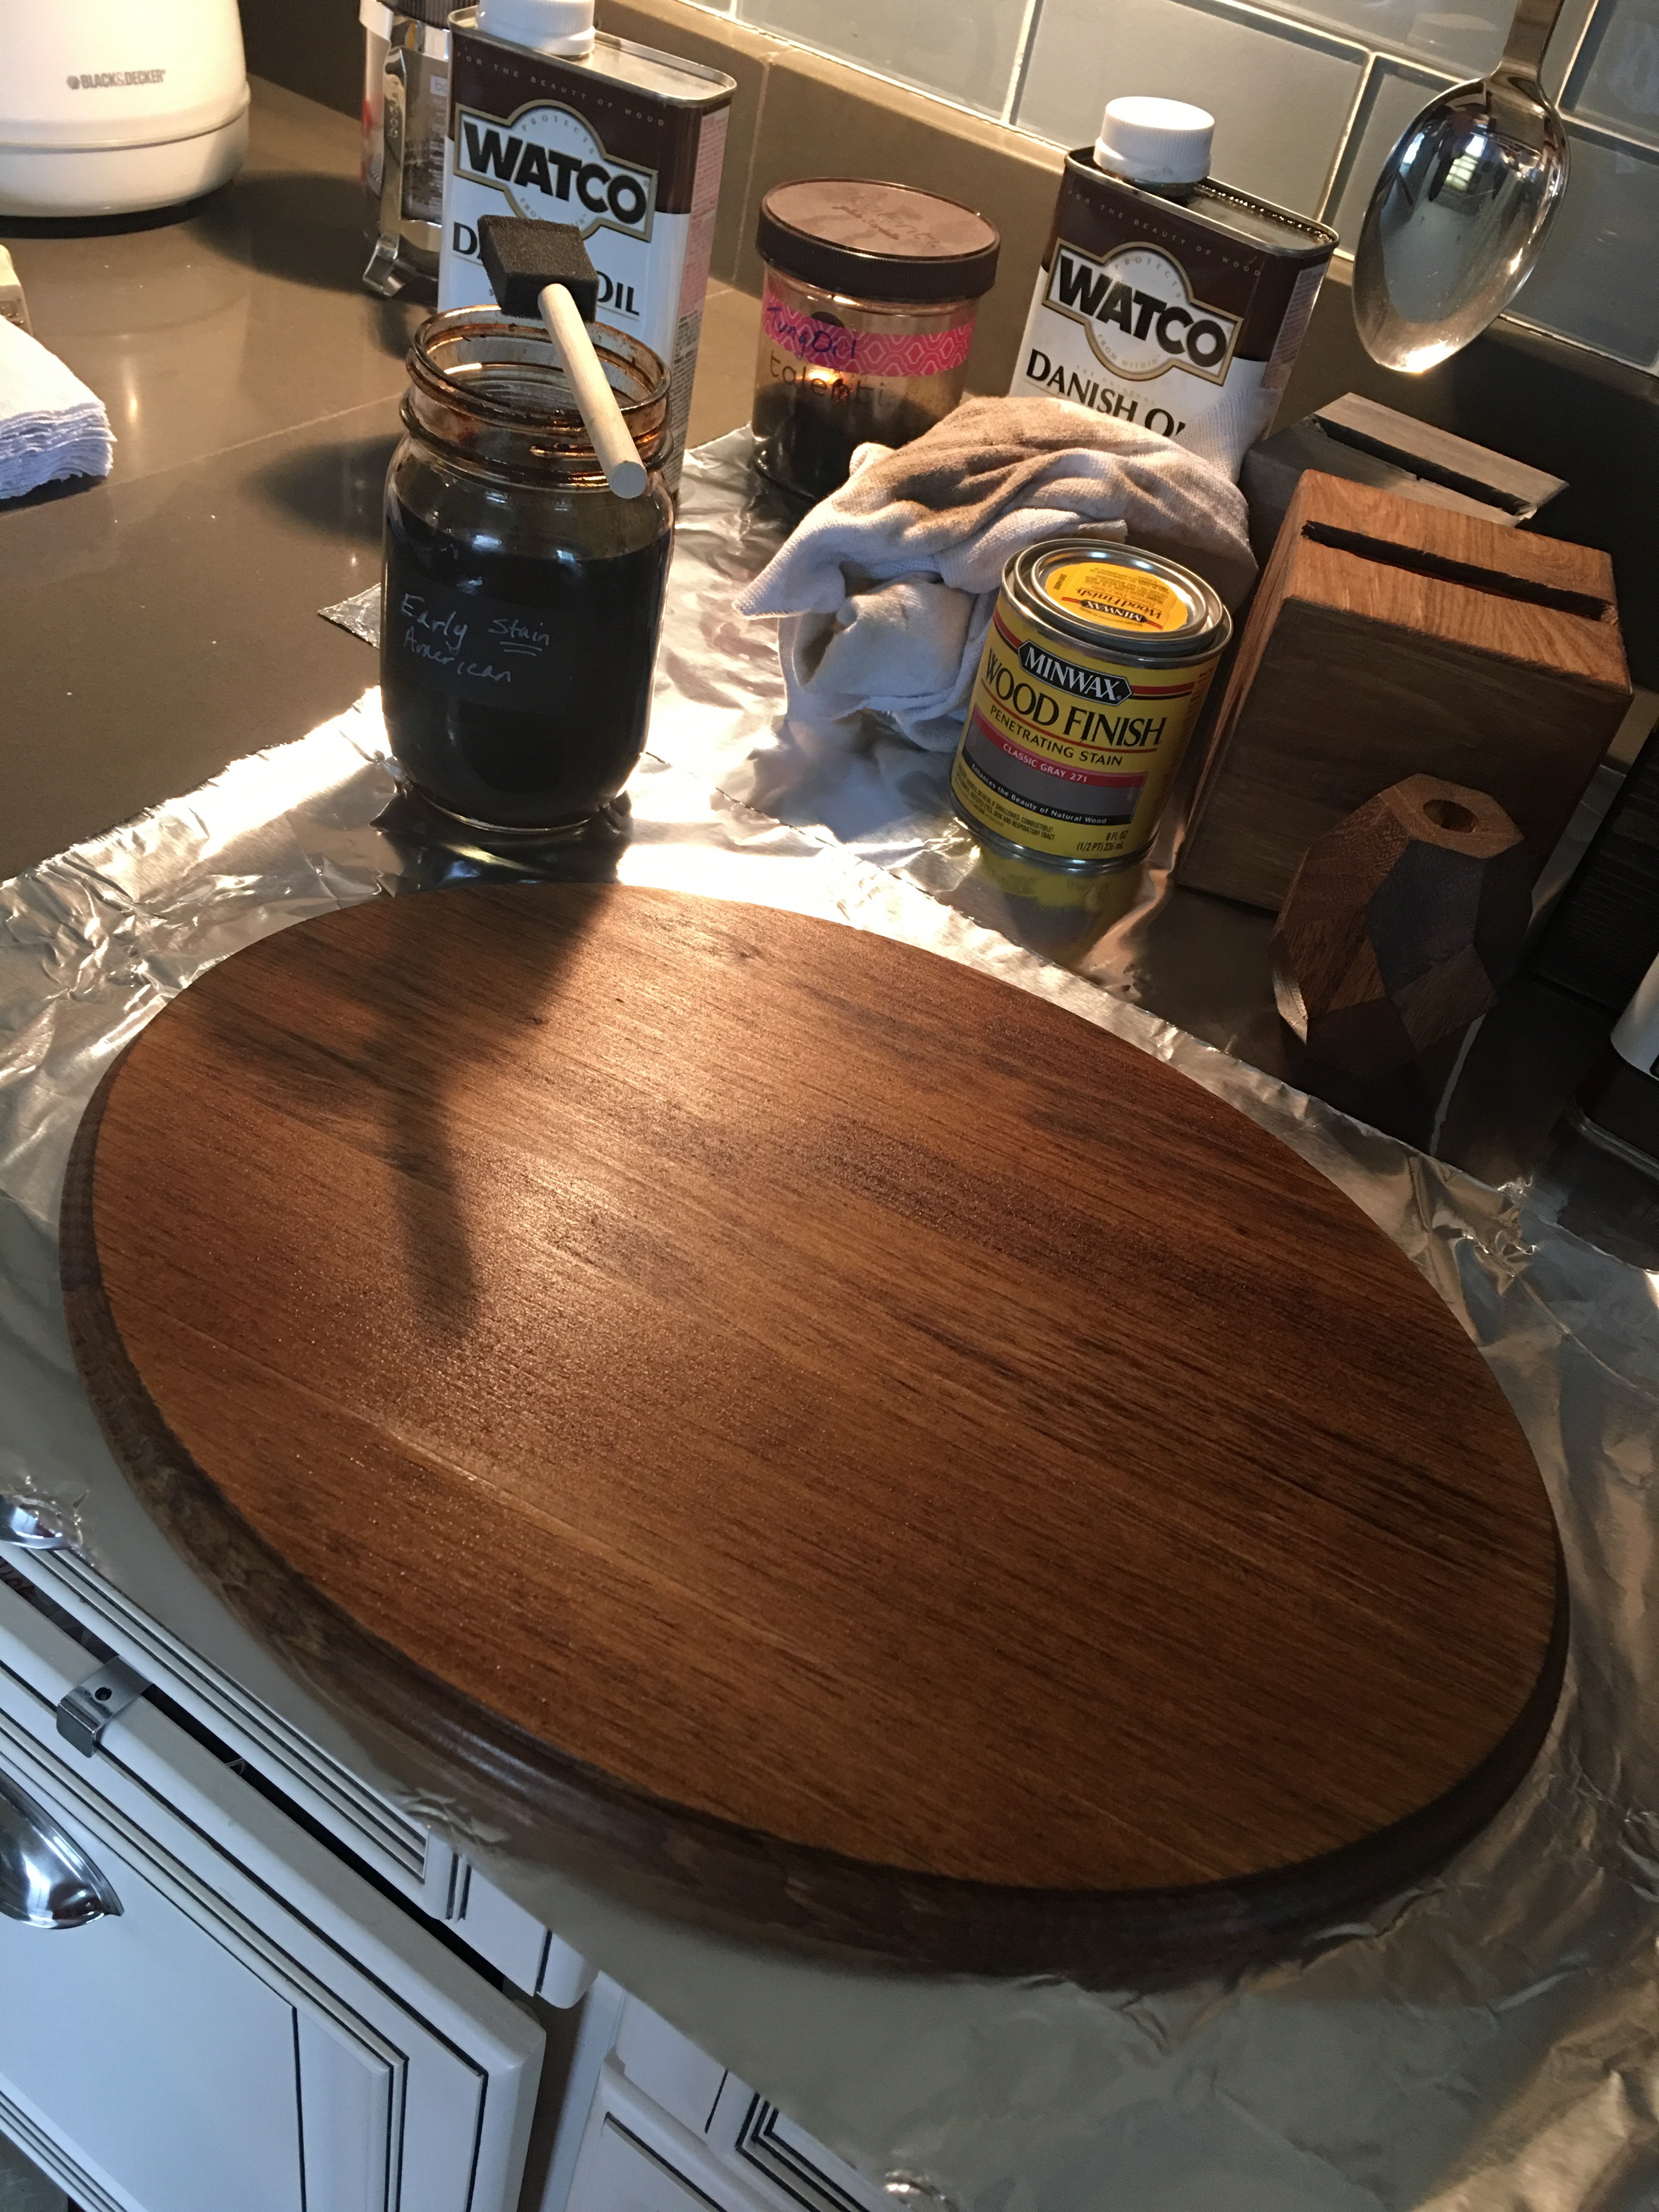
- Step 2: Stain the wood with your favorite wood stain color. (My favorite is Early American from Minwax).
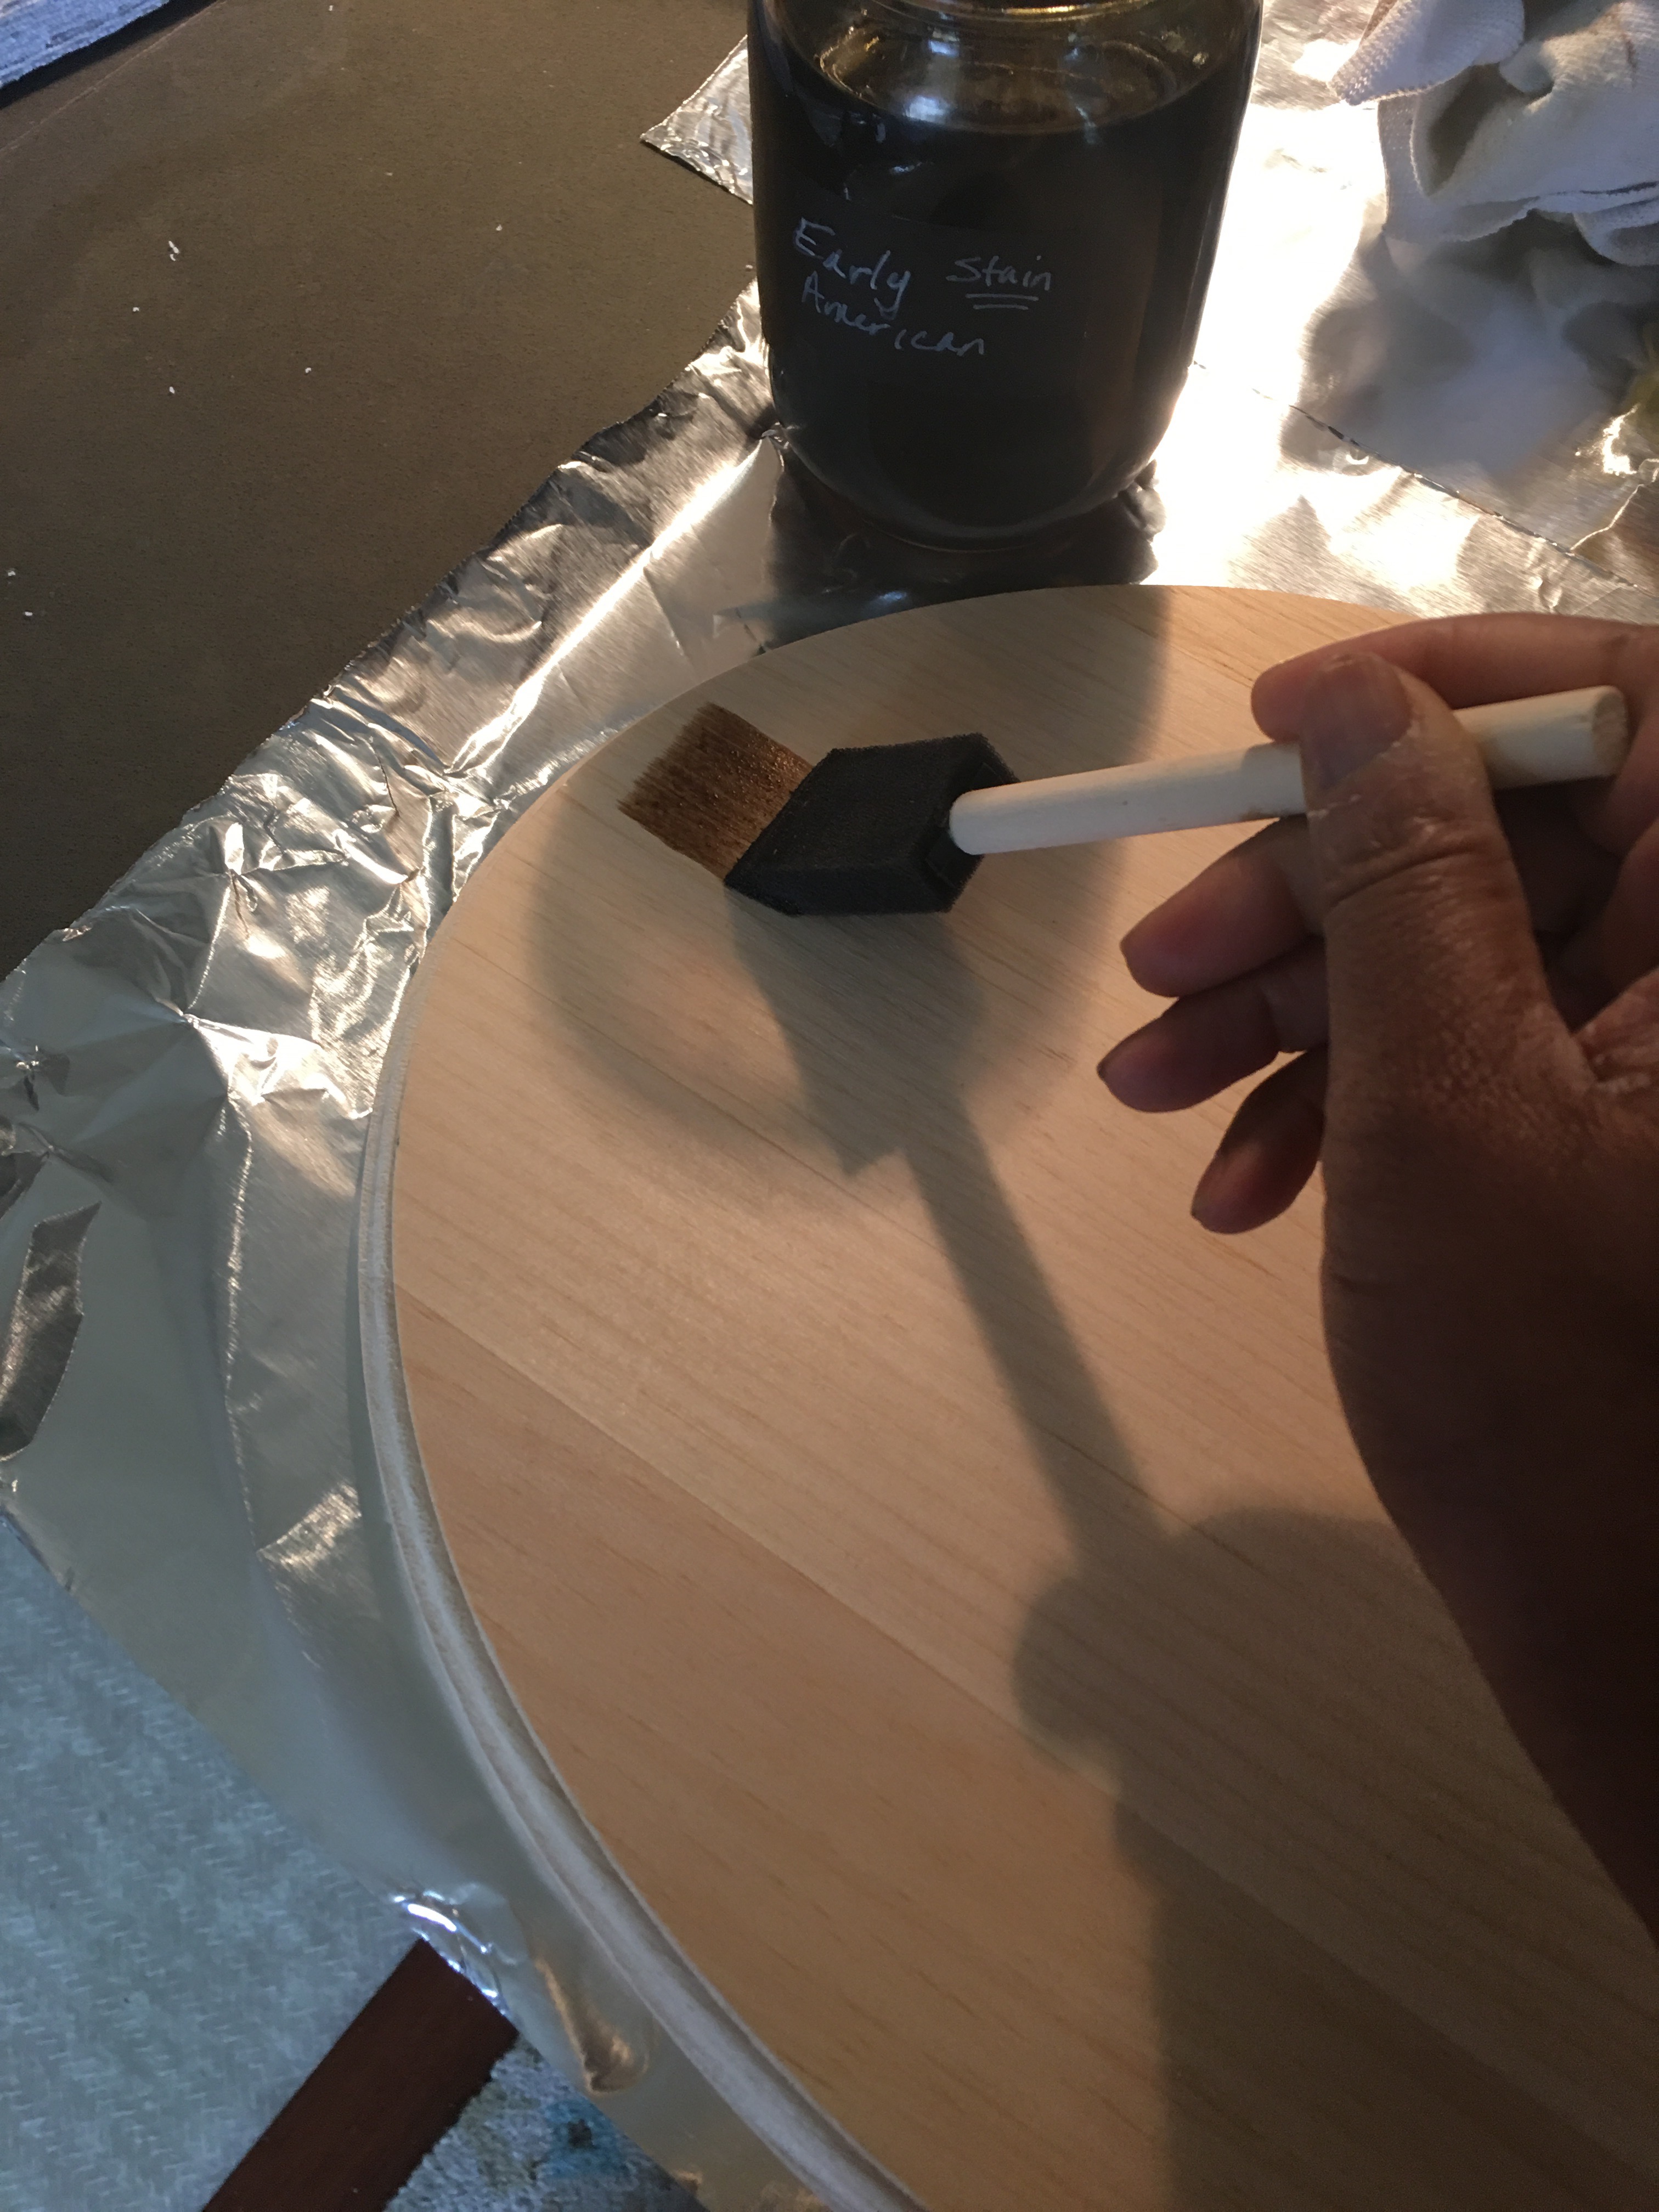
- Step 3: Allow stain to dry. I gave it most of the day while I worked on other projects. So this plaque was allowed to dry for roughly five hours.
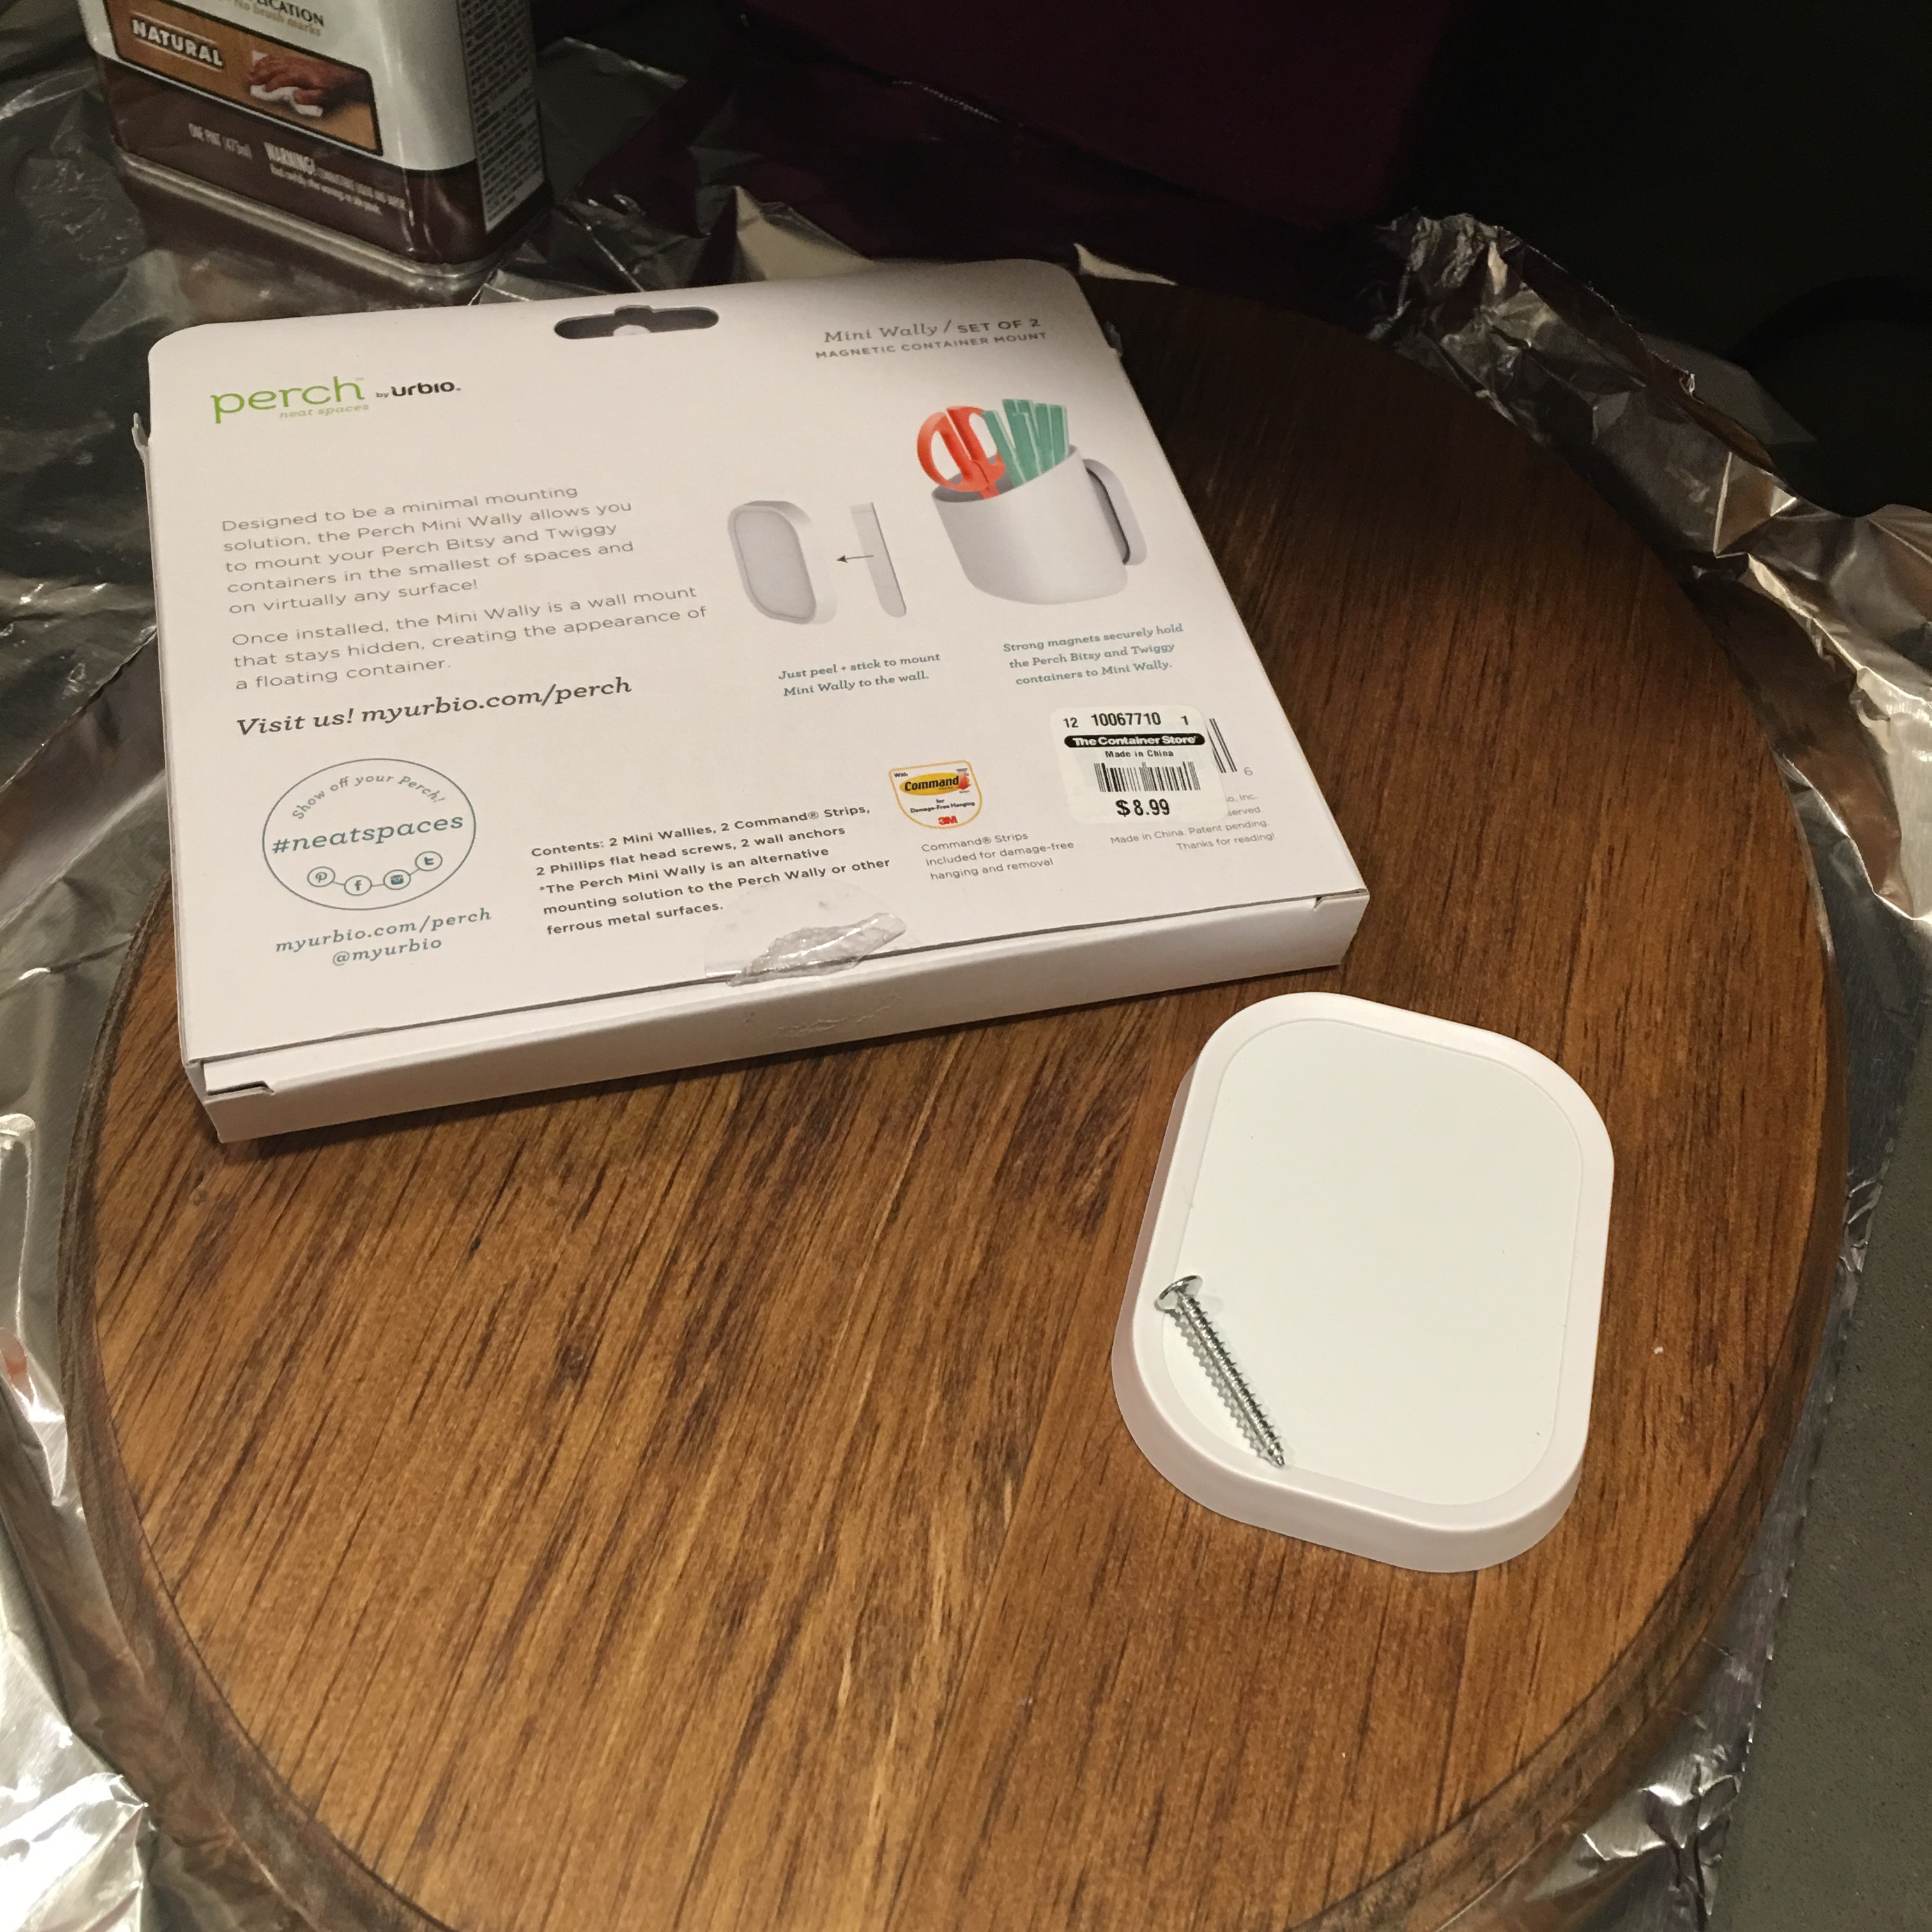
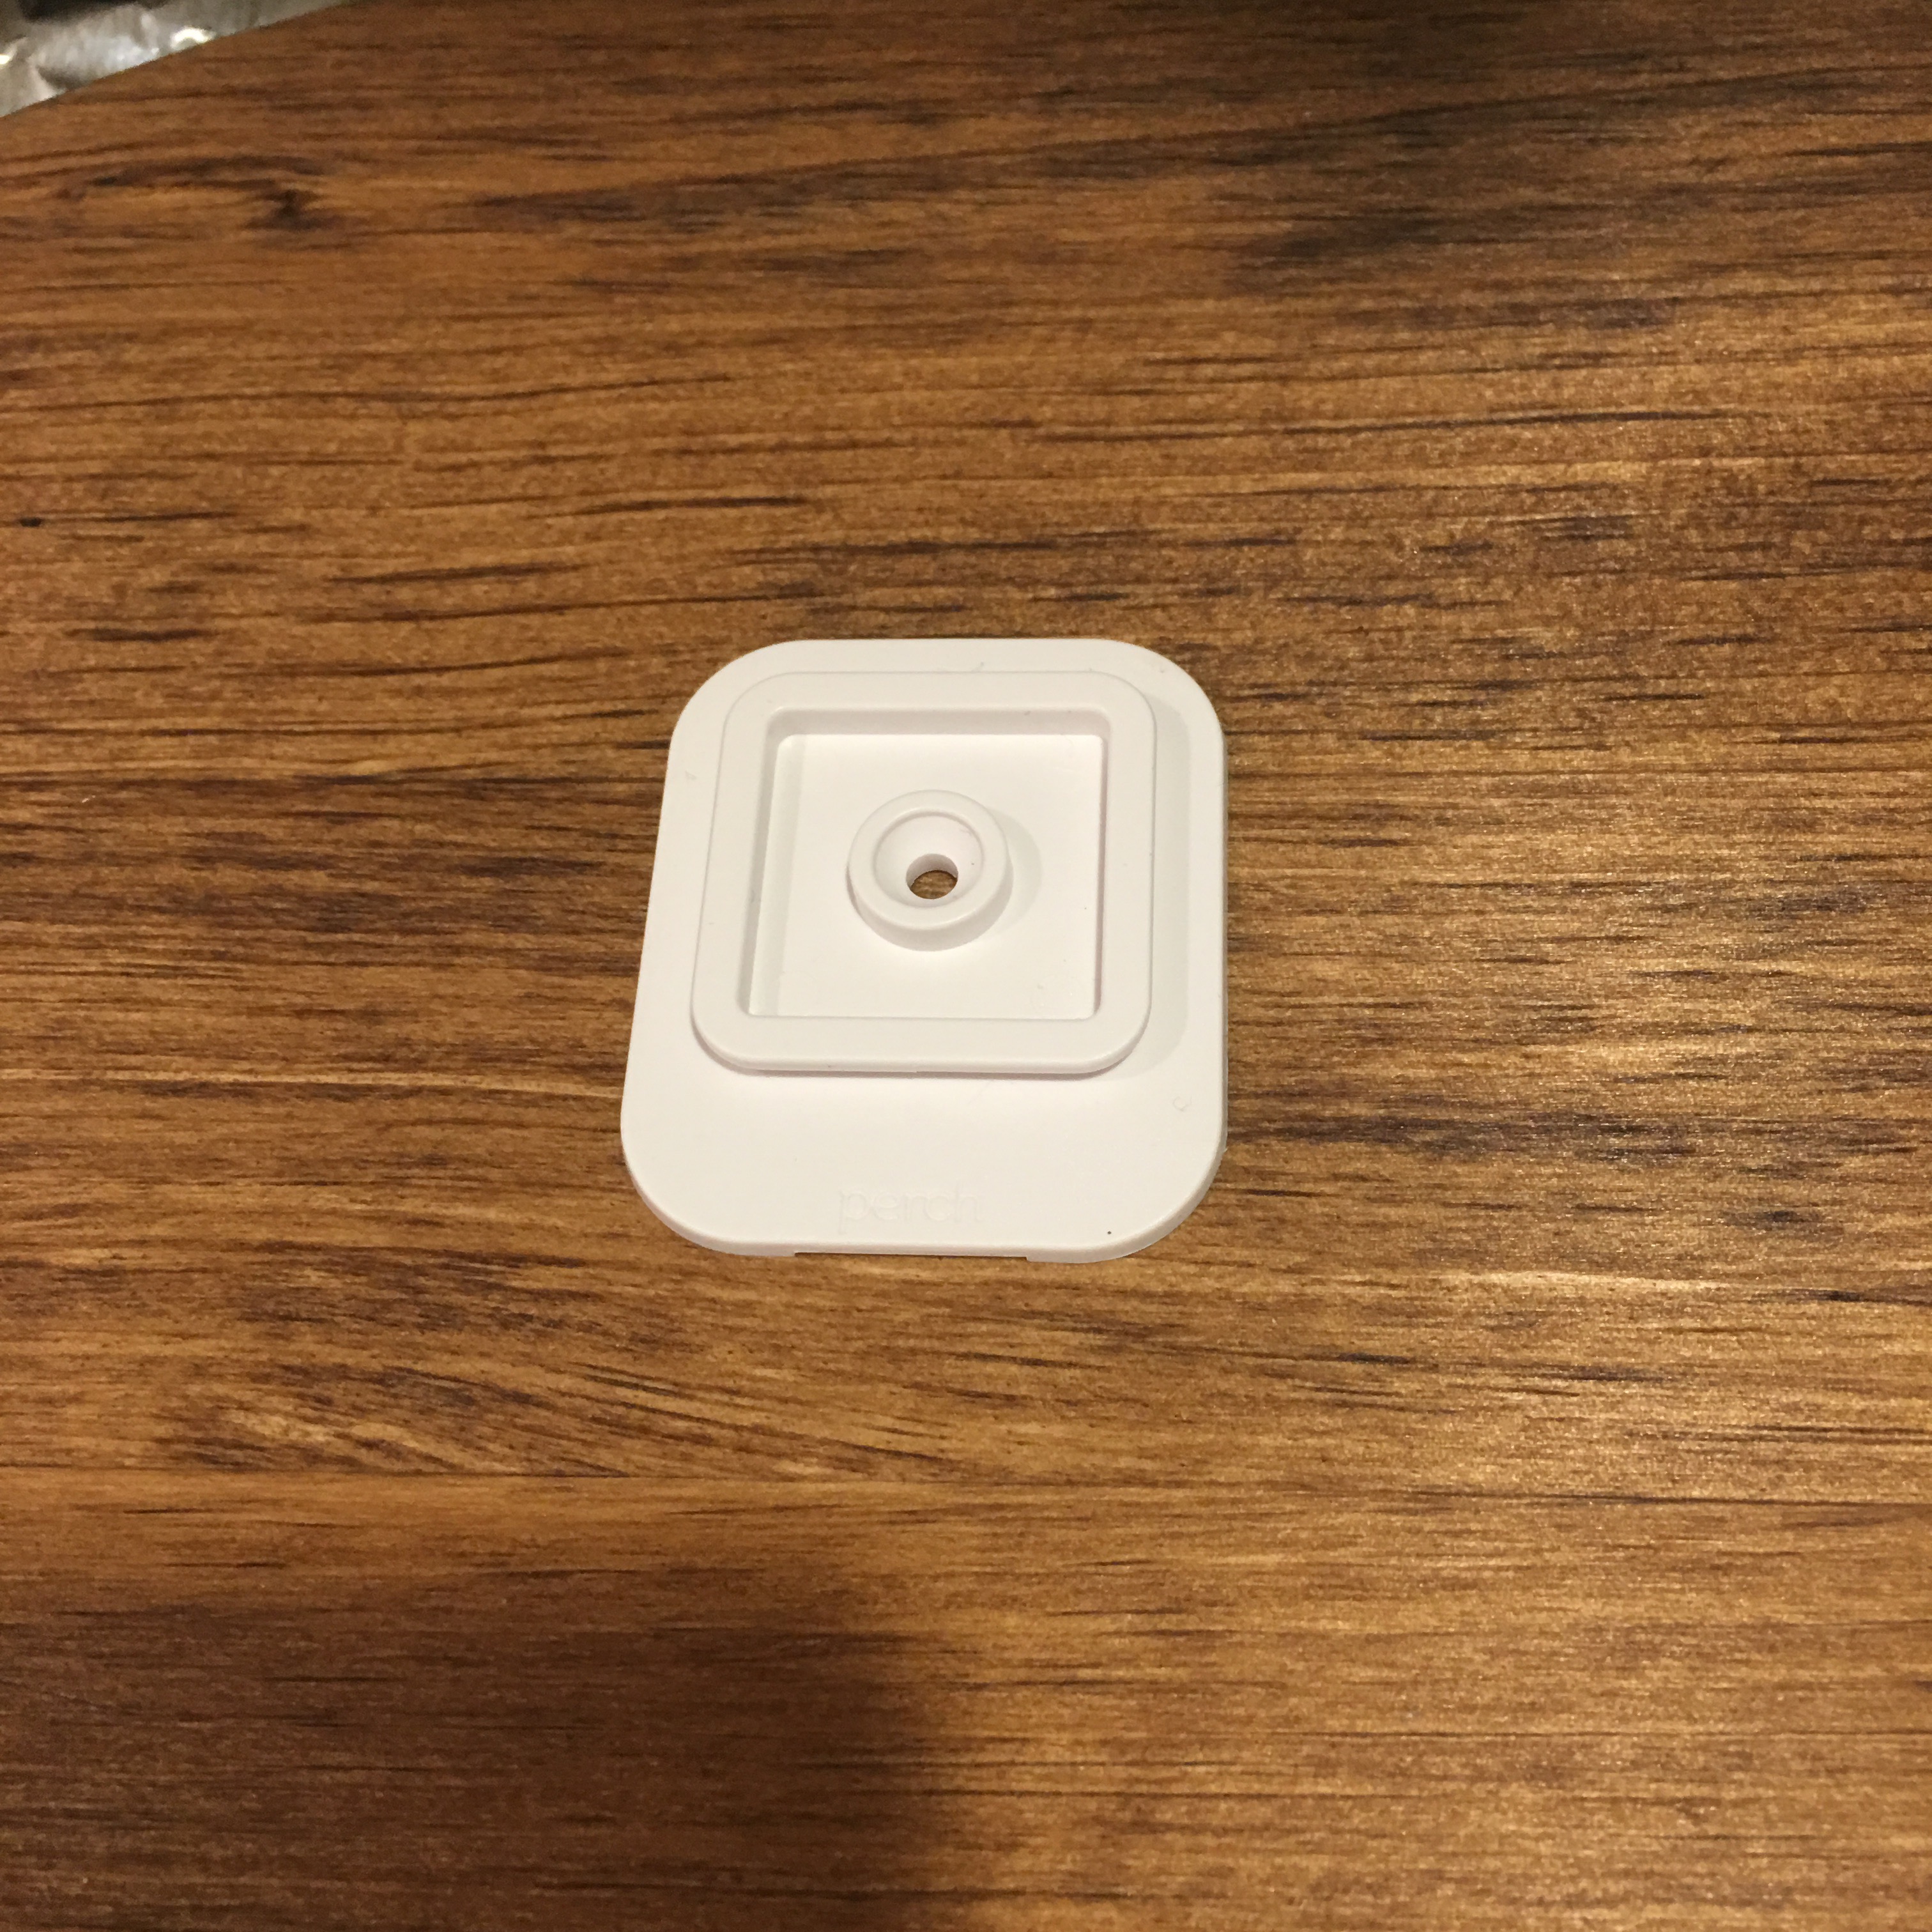
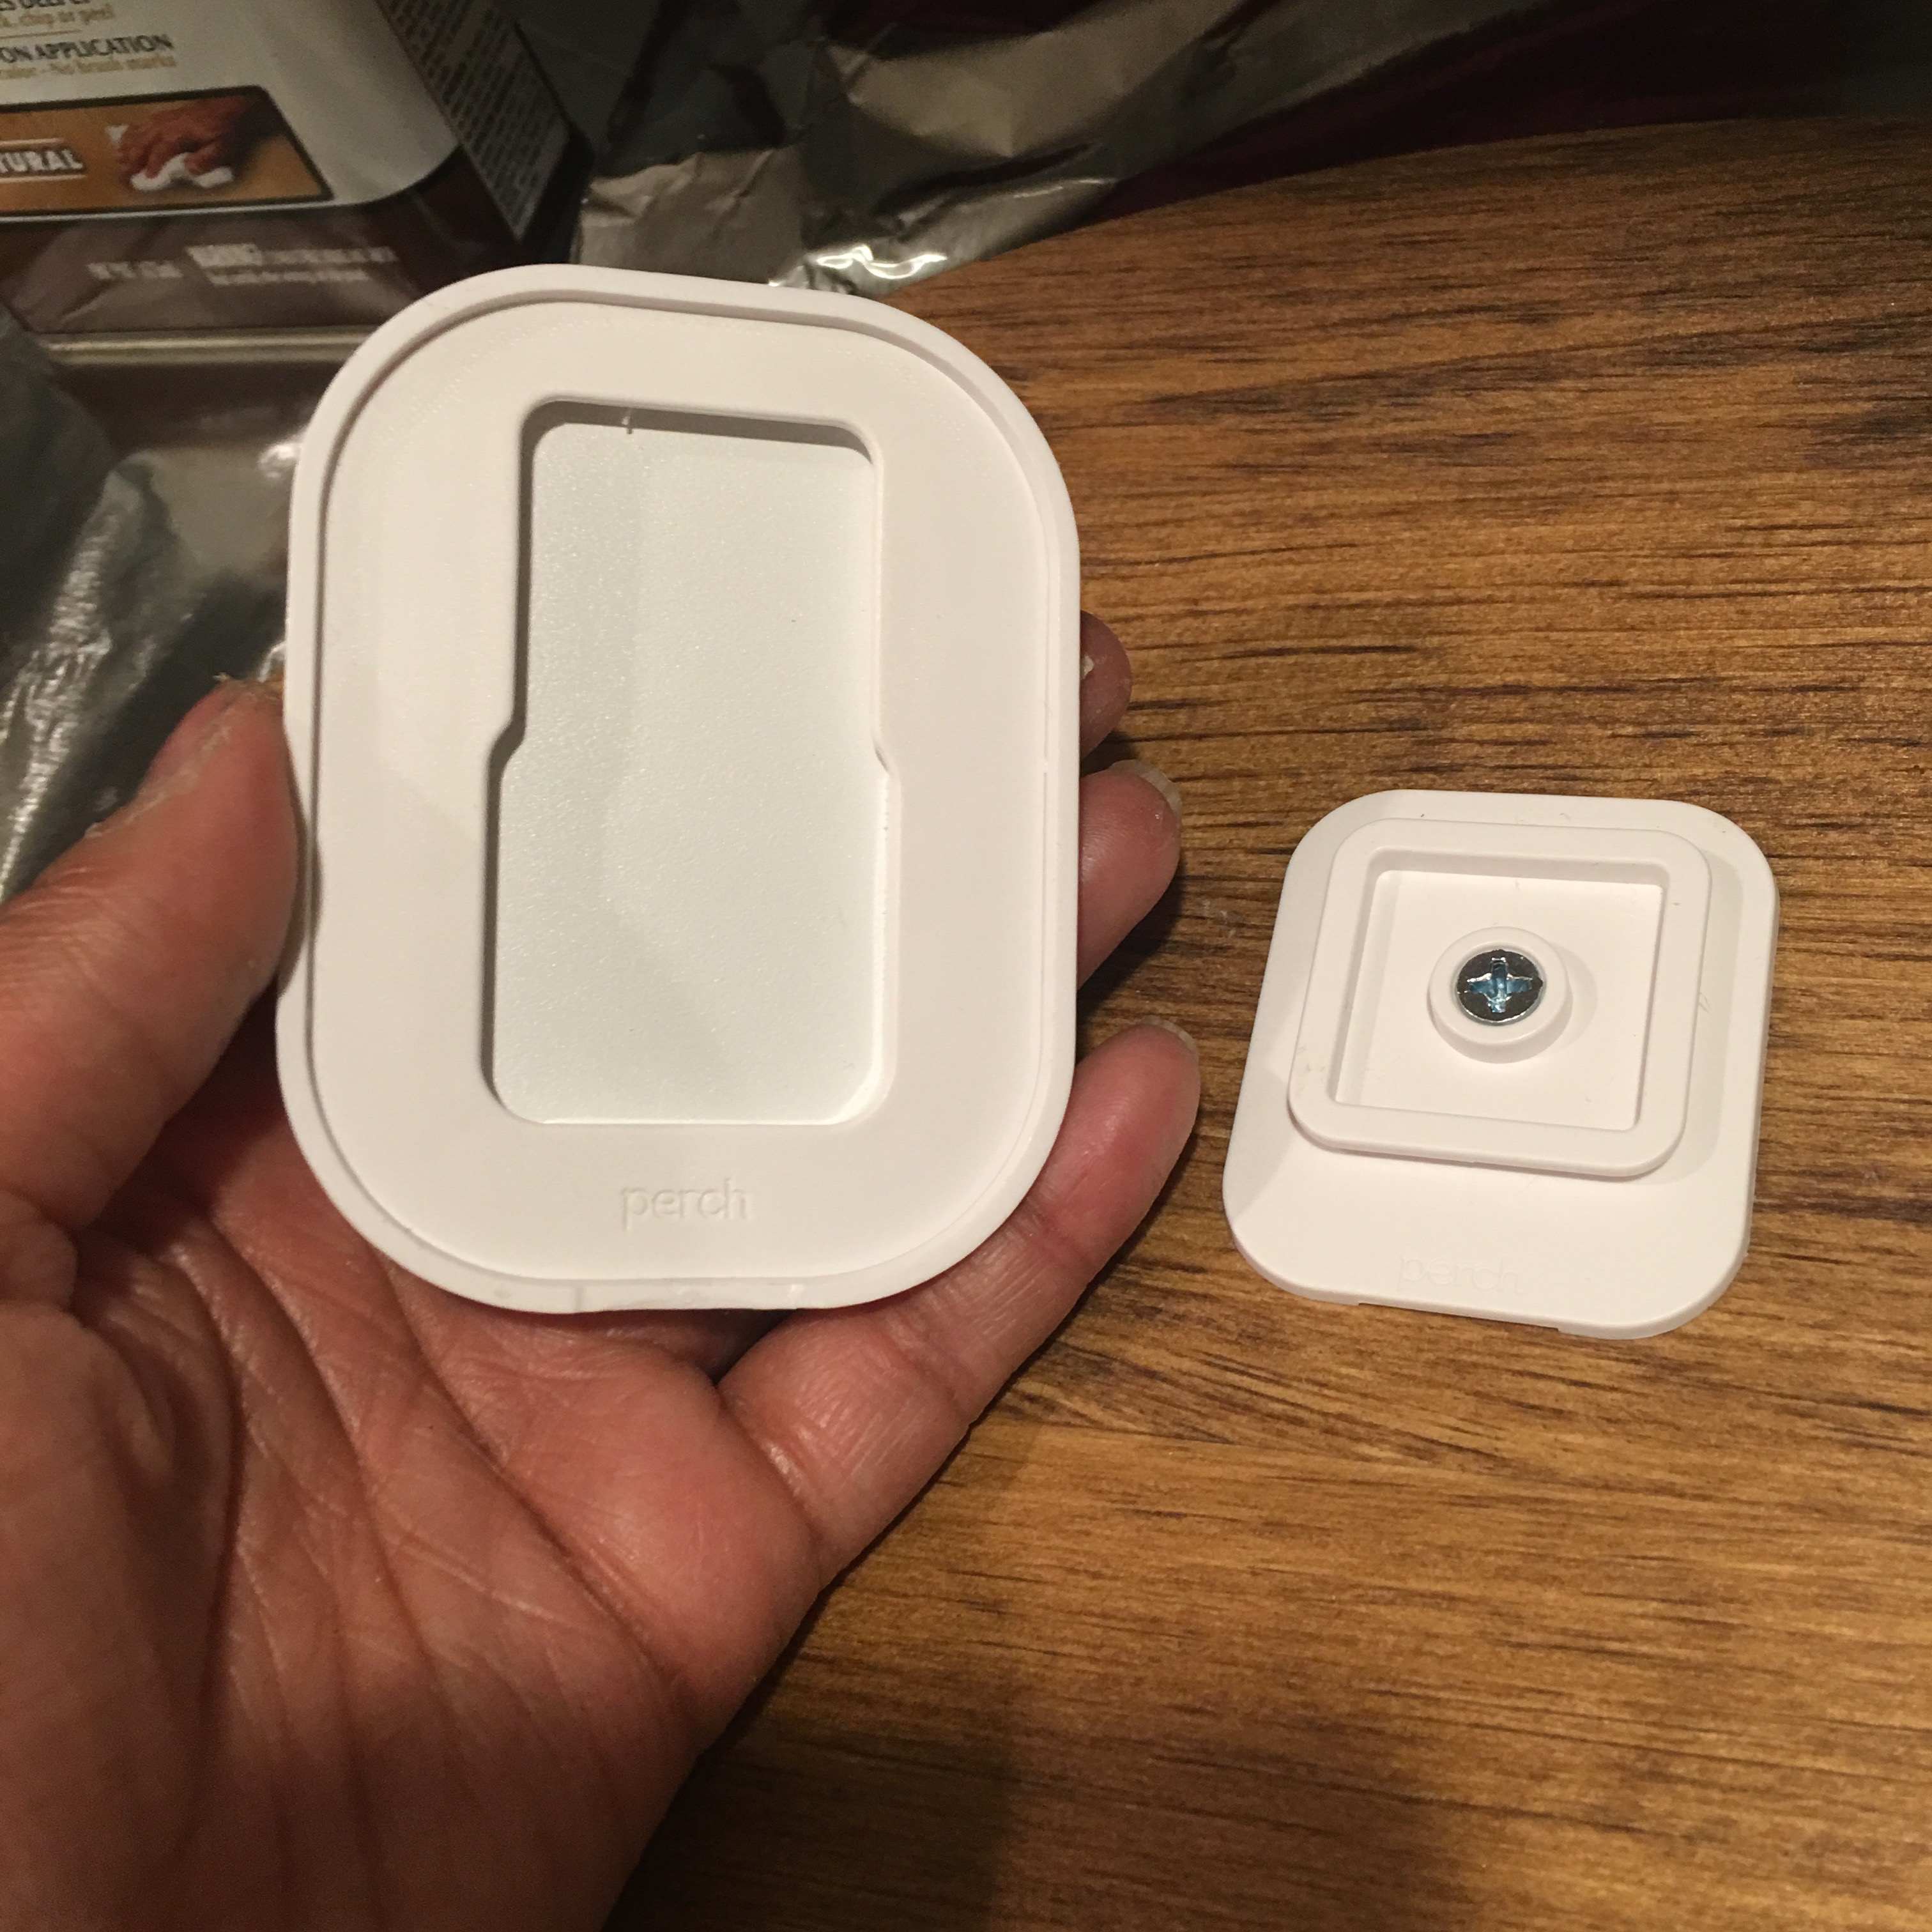
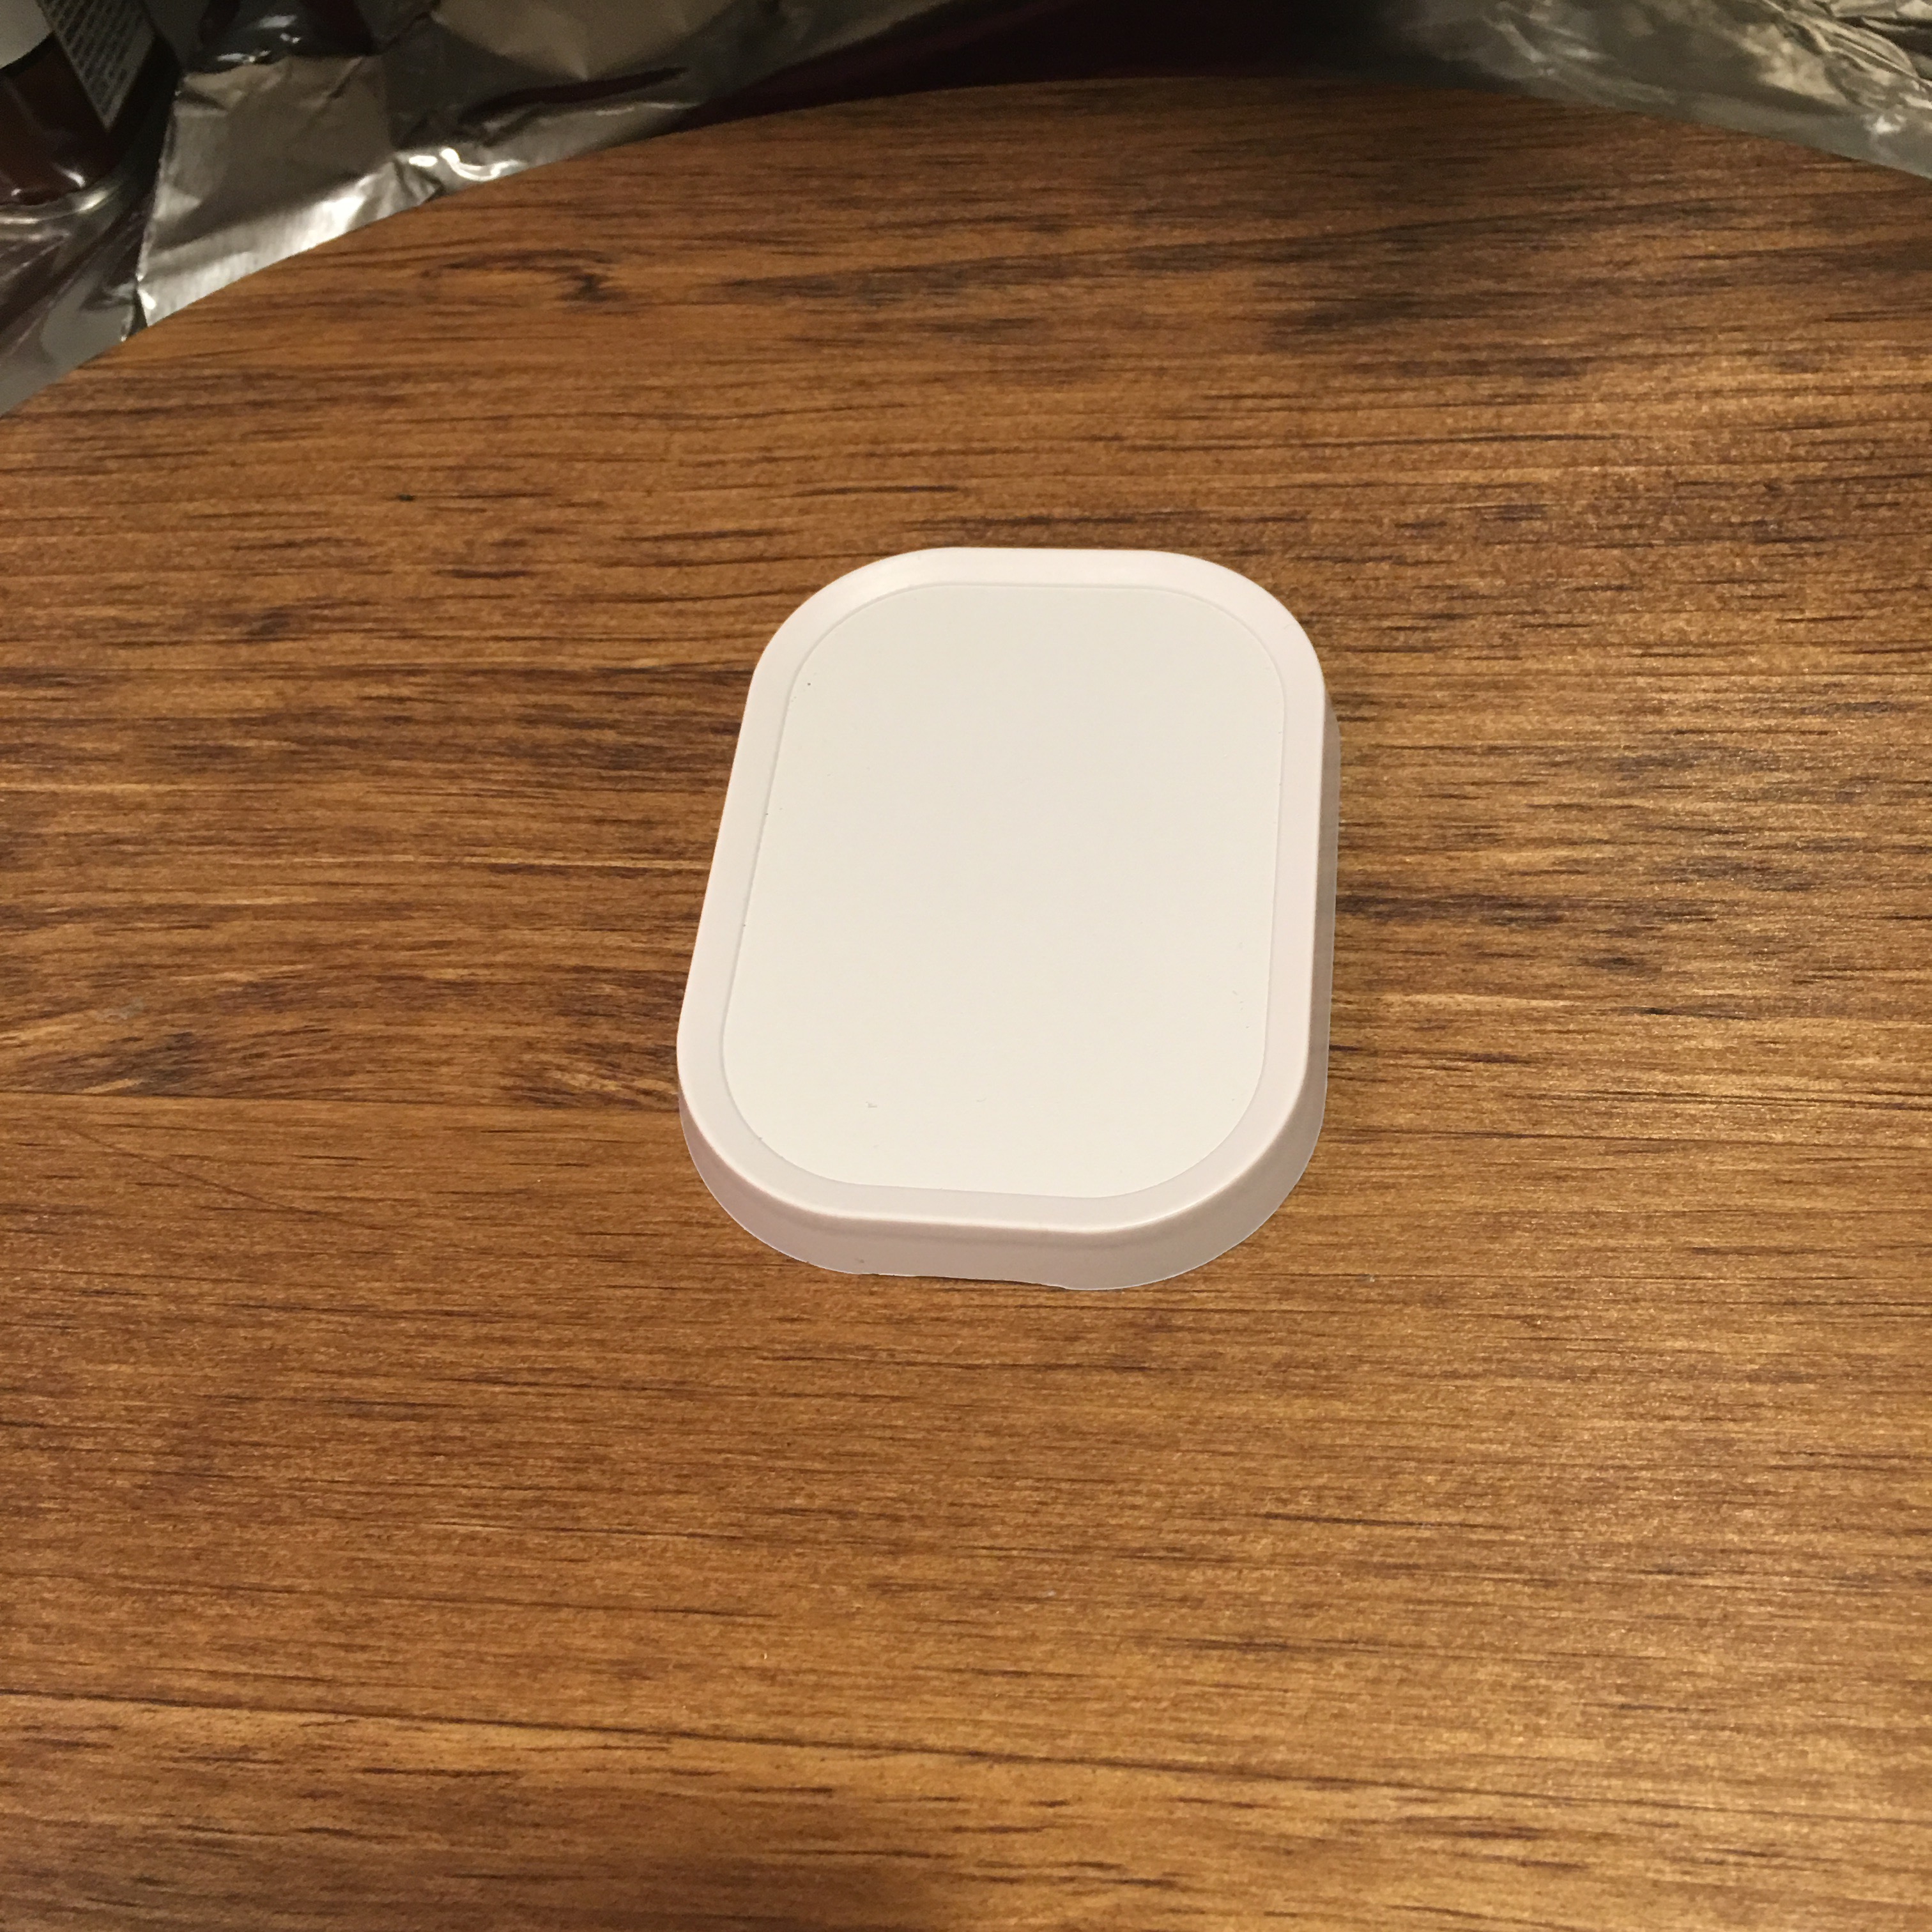
- Step 4: Reach for an Urbio Perch wall puck.
When I first wrote the Urbio Wood Plaque post in late January, I was in a desperate search for the original “Urbio Wall Puck”. I got my first (and only) set from the Container Store last year and simply loved how use of the wall puck on the plaque came out in my project.
So I planned at that time to make another plaque for the other “Shorty” vessel…but by then the Container Store no longer sold the original Urbio magnetic vessels, wall pucks and wall panels. Instead, the store carried the new “Perch” line which included all of the parts and accessories…except the wall pucks.
Argh!!!!!
I then went in search of metal plate alternatives to use instead of the puck (and eventually bought a plan B option from Amazon, which I will perhaps use in another project someday).
I did not use them for this one because, to my delight, during my trip to the Container Store last week, I found sets of “Perch Wall Pucks” for sale – two for $8.99. Sweet! I snapped a package of two up. Which of course means that I will be making a third planter plaque soon.
OK, back to project details.
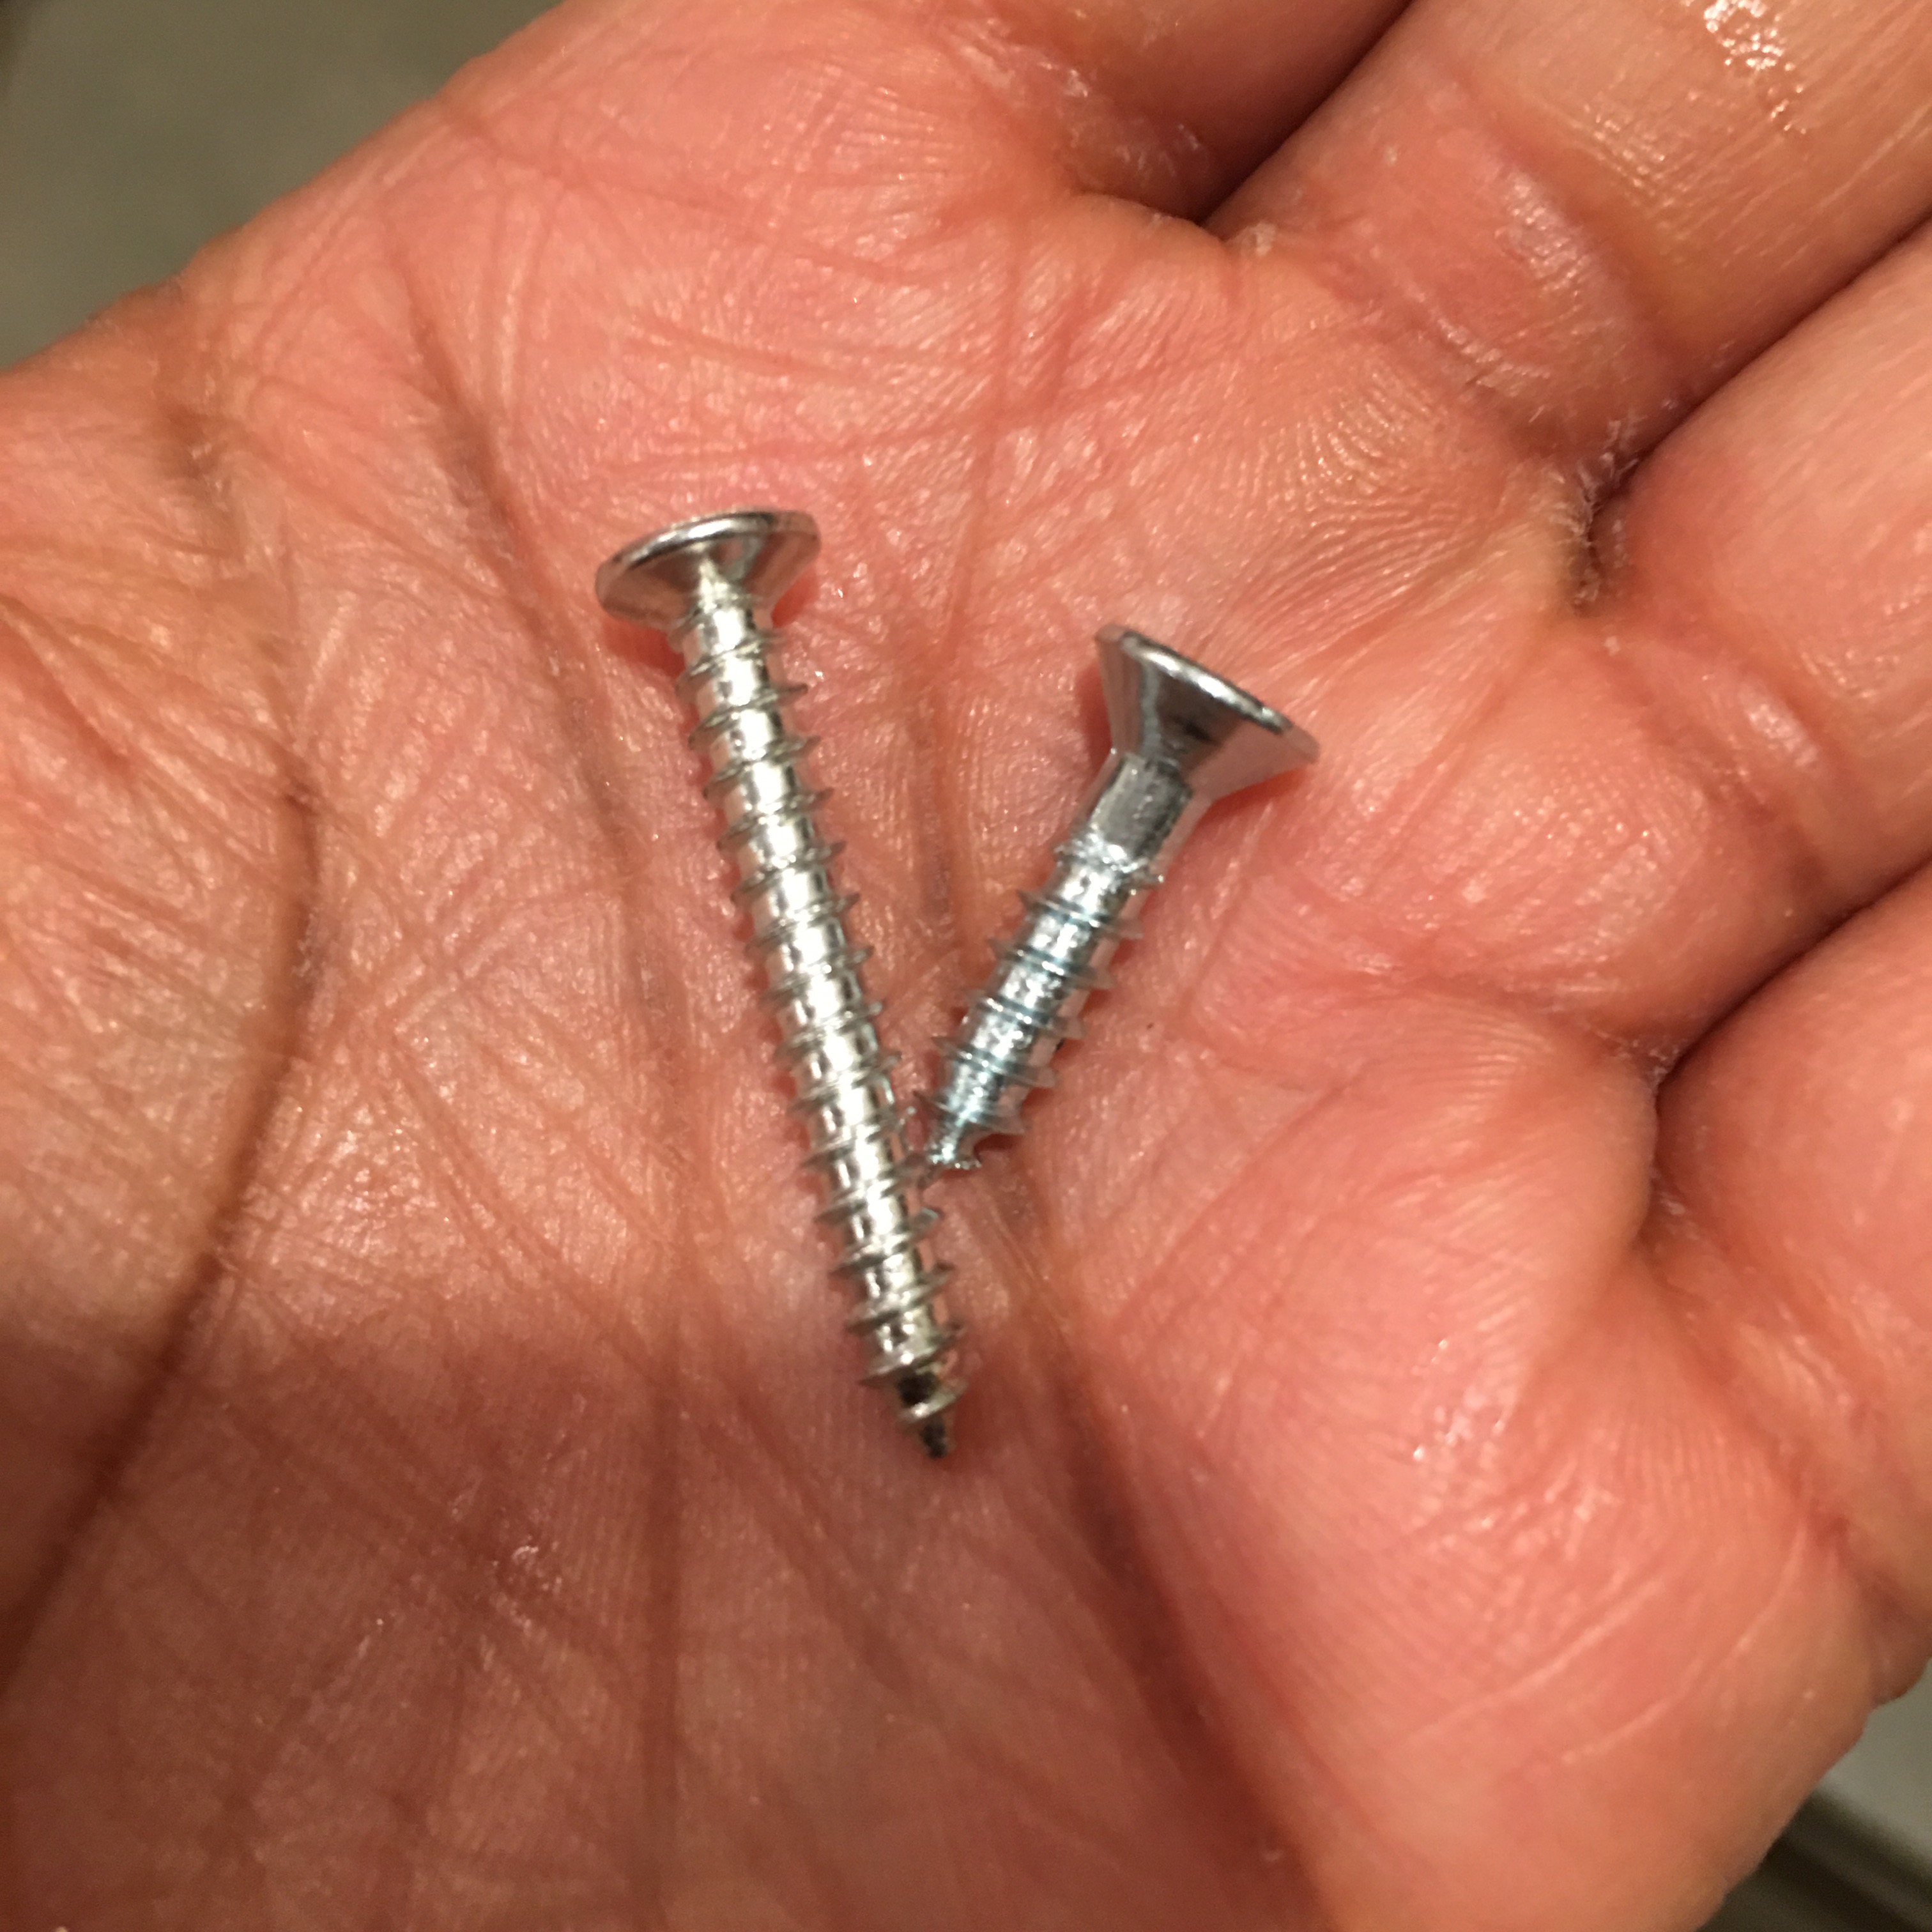
- Step 5: Reach for a flat head wood screw, size #8, 3/4″ in length. The screws that come with the wall puck are 1.5″. This is way too long for the wood plaque, which is an inch thick.
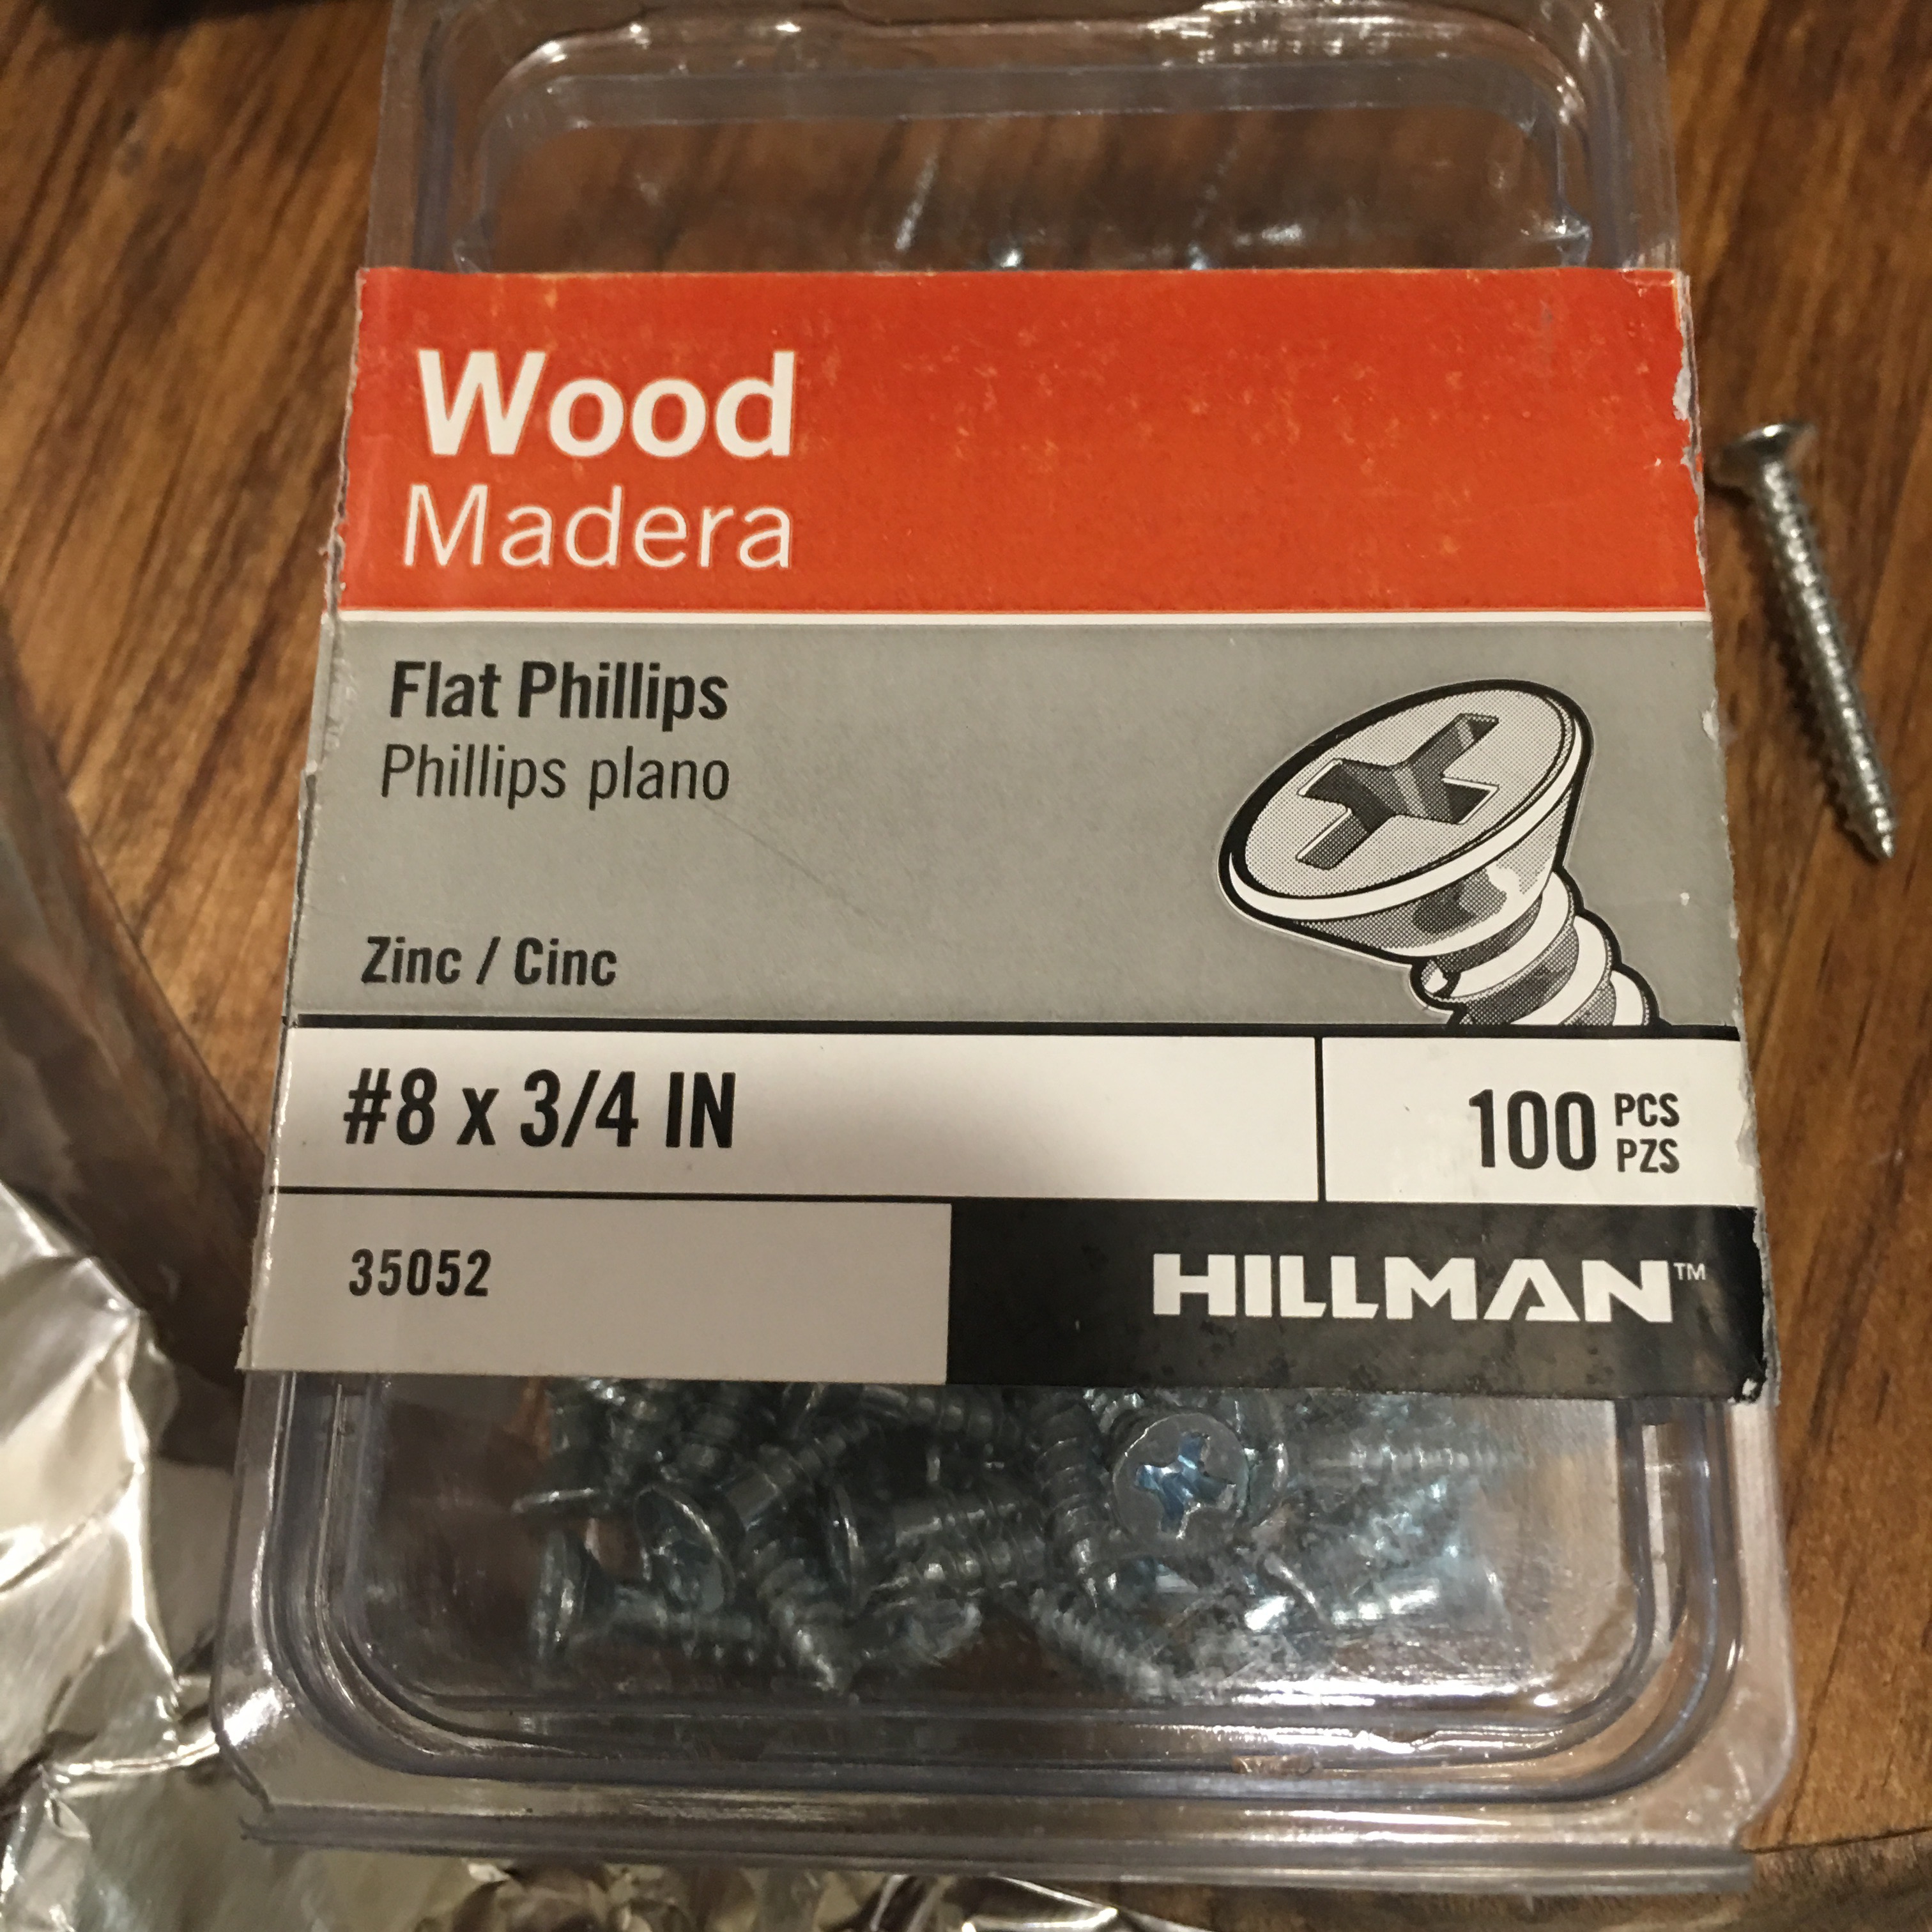
Getting a shorter wood screw is a very important step. Please do not skip. You need a flat surface on the back of the plaque for wall mounting.
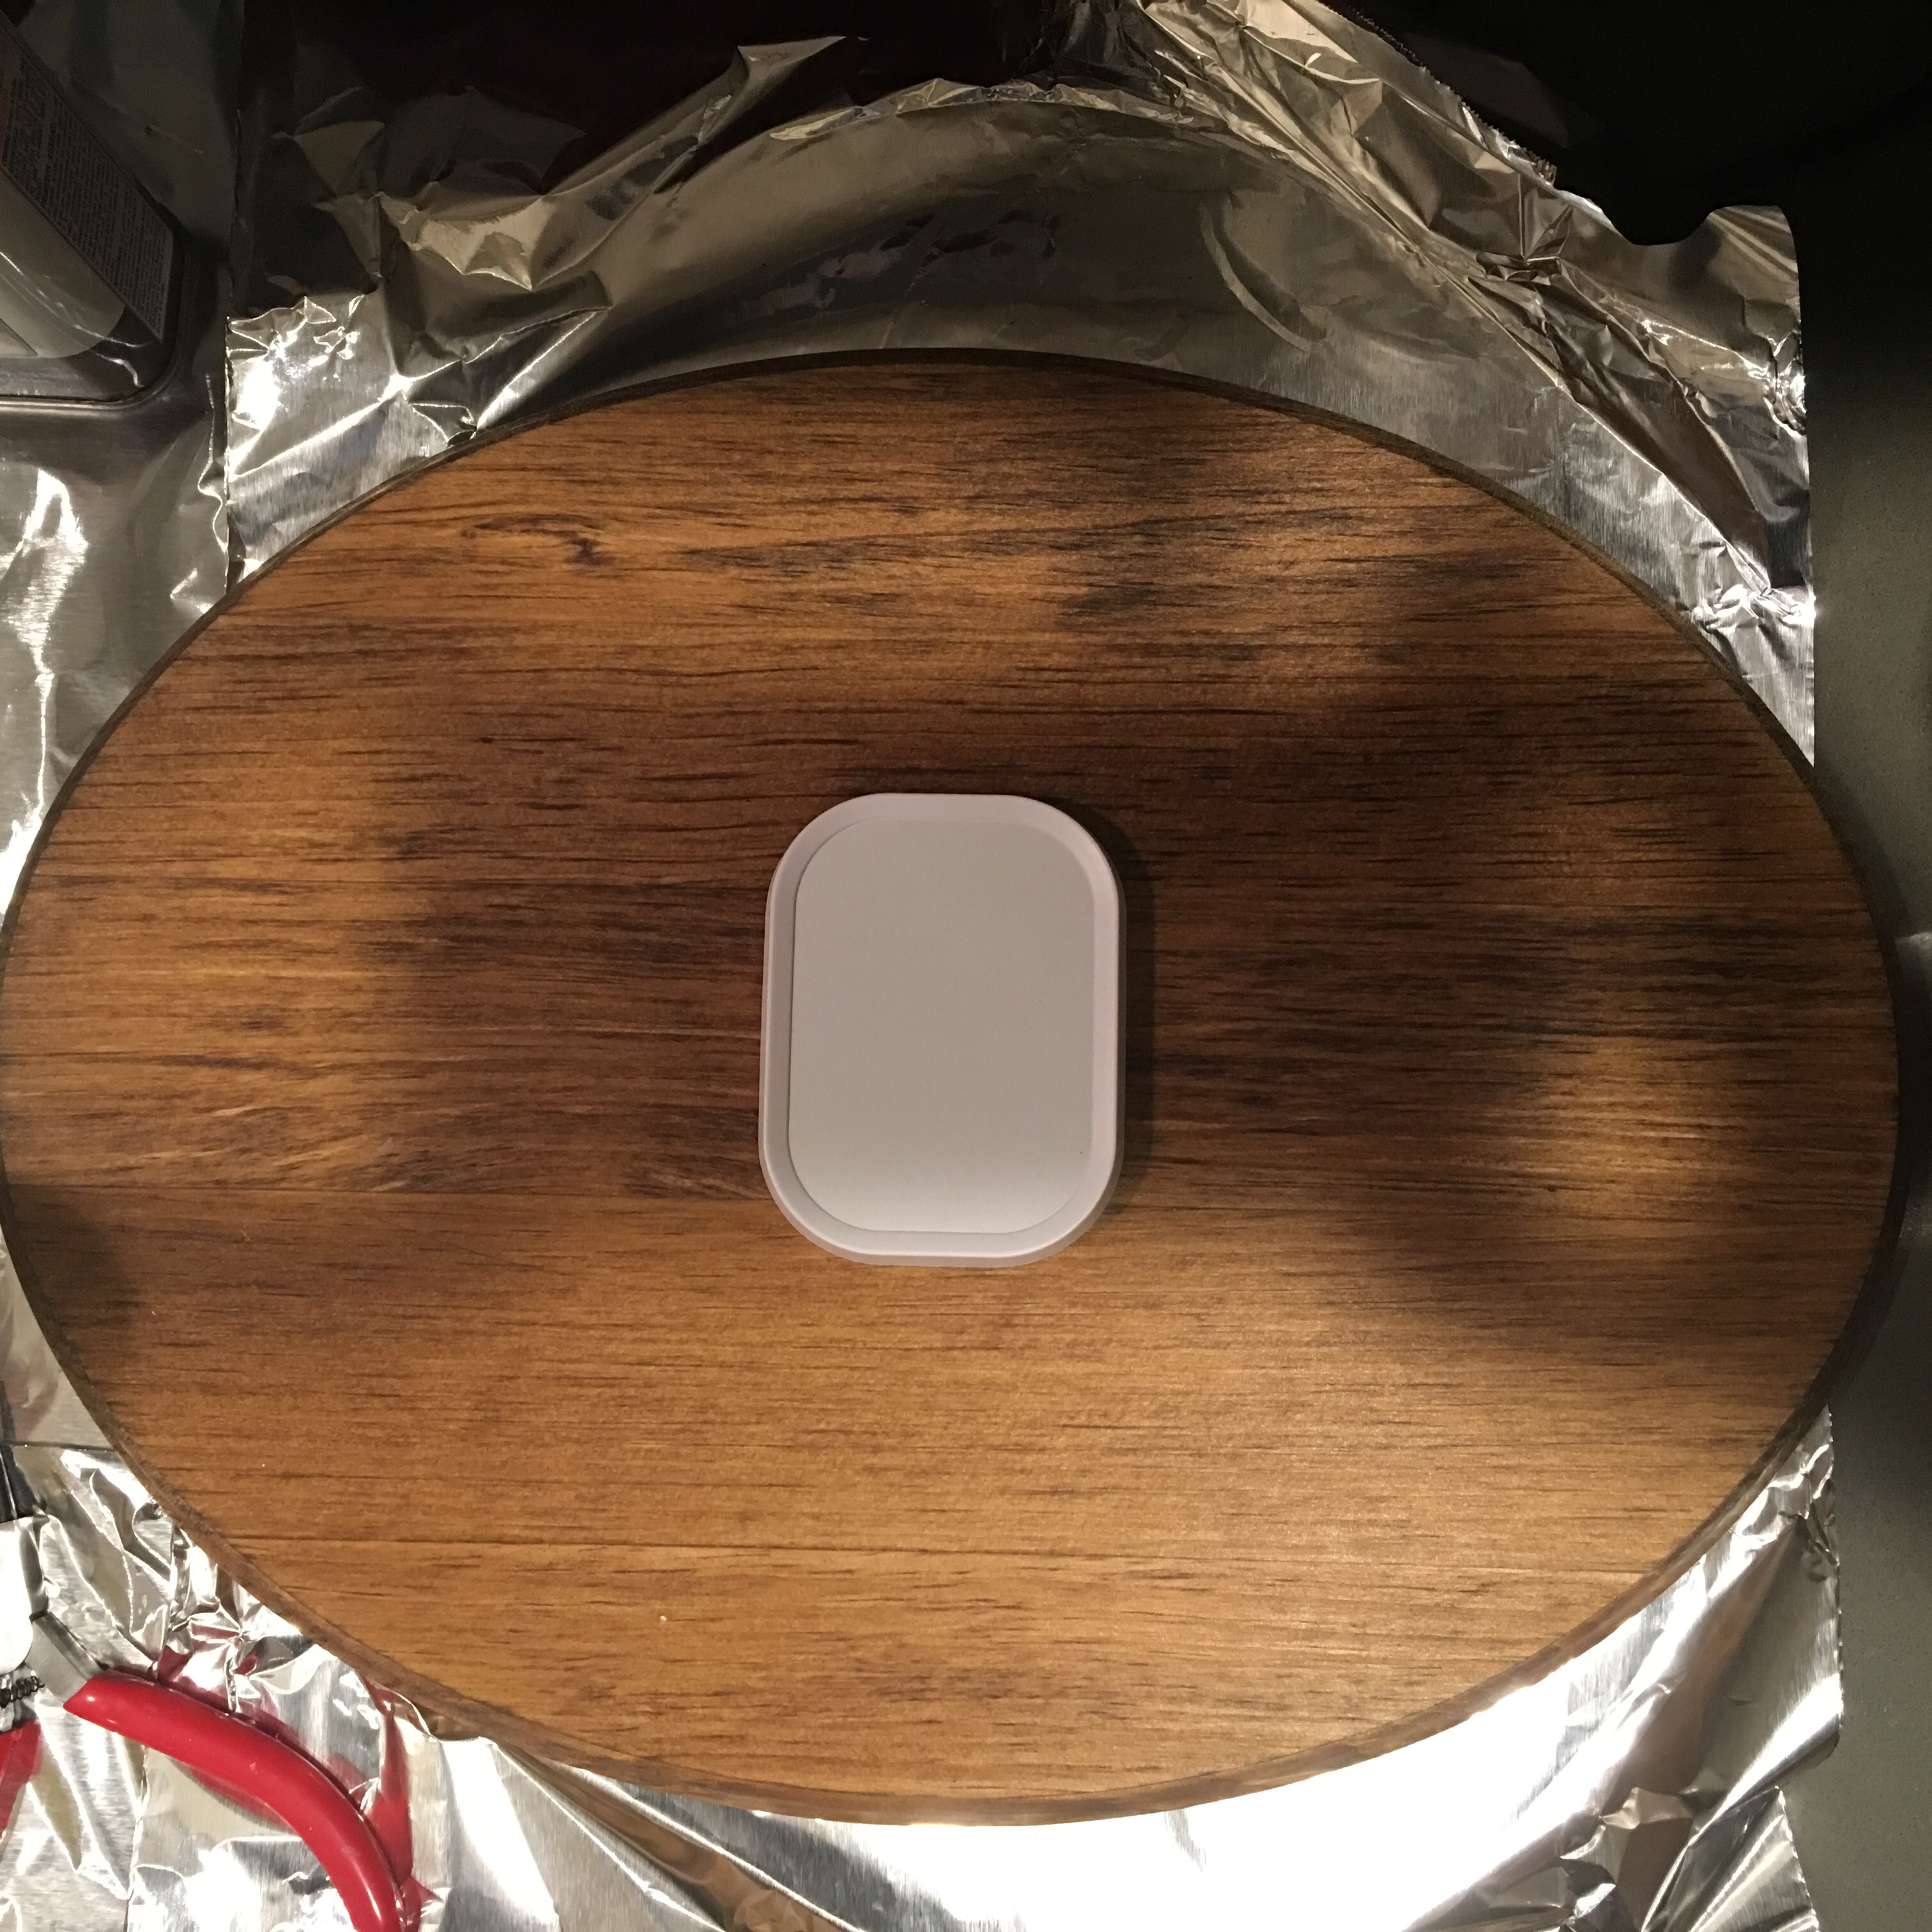
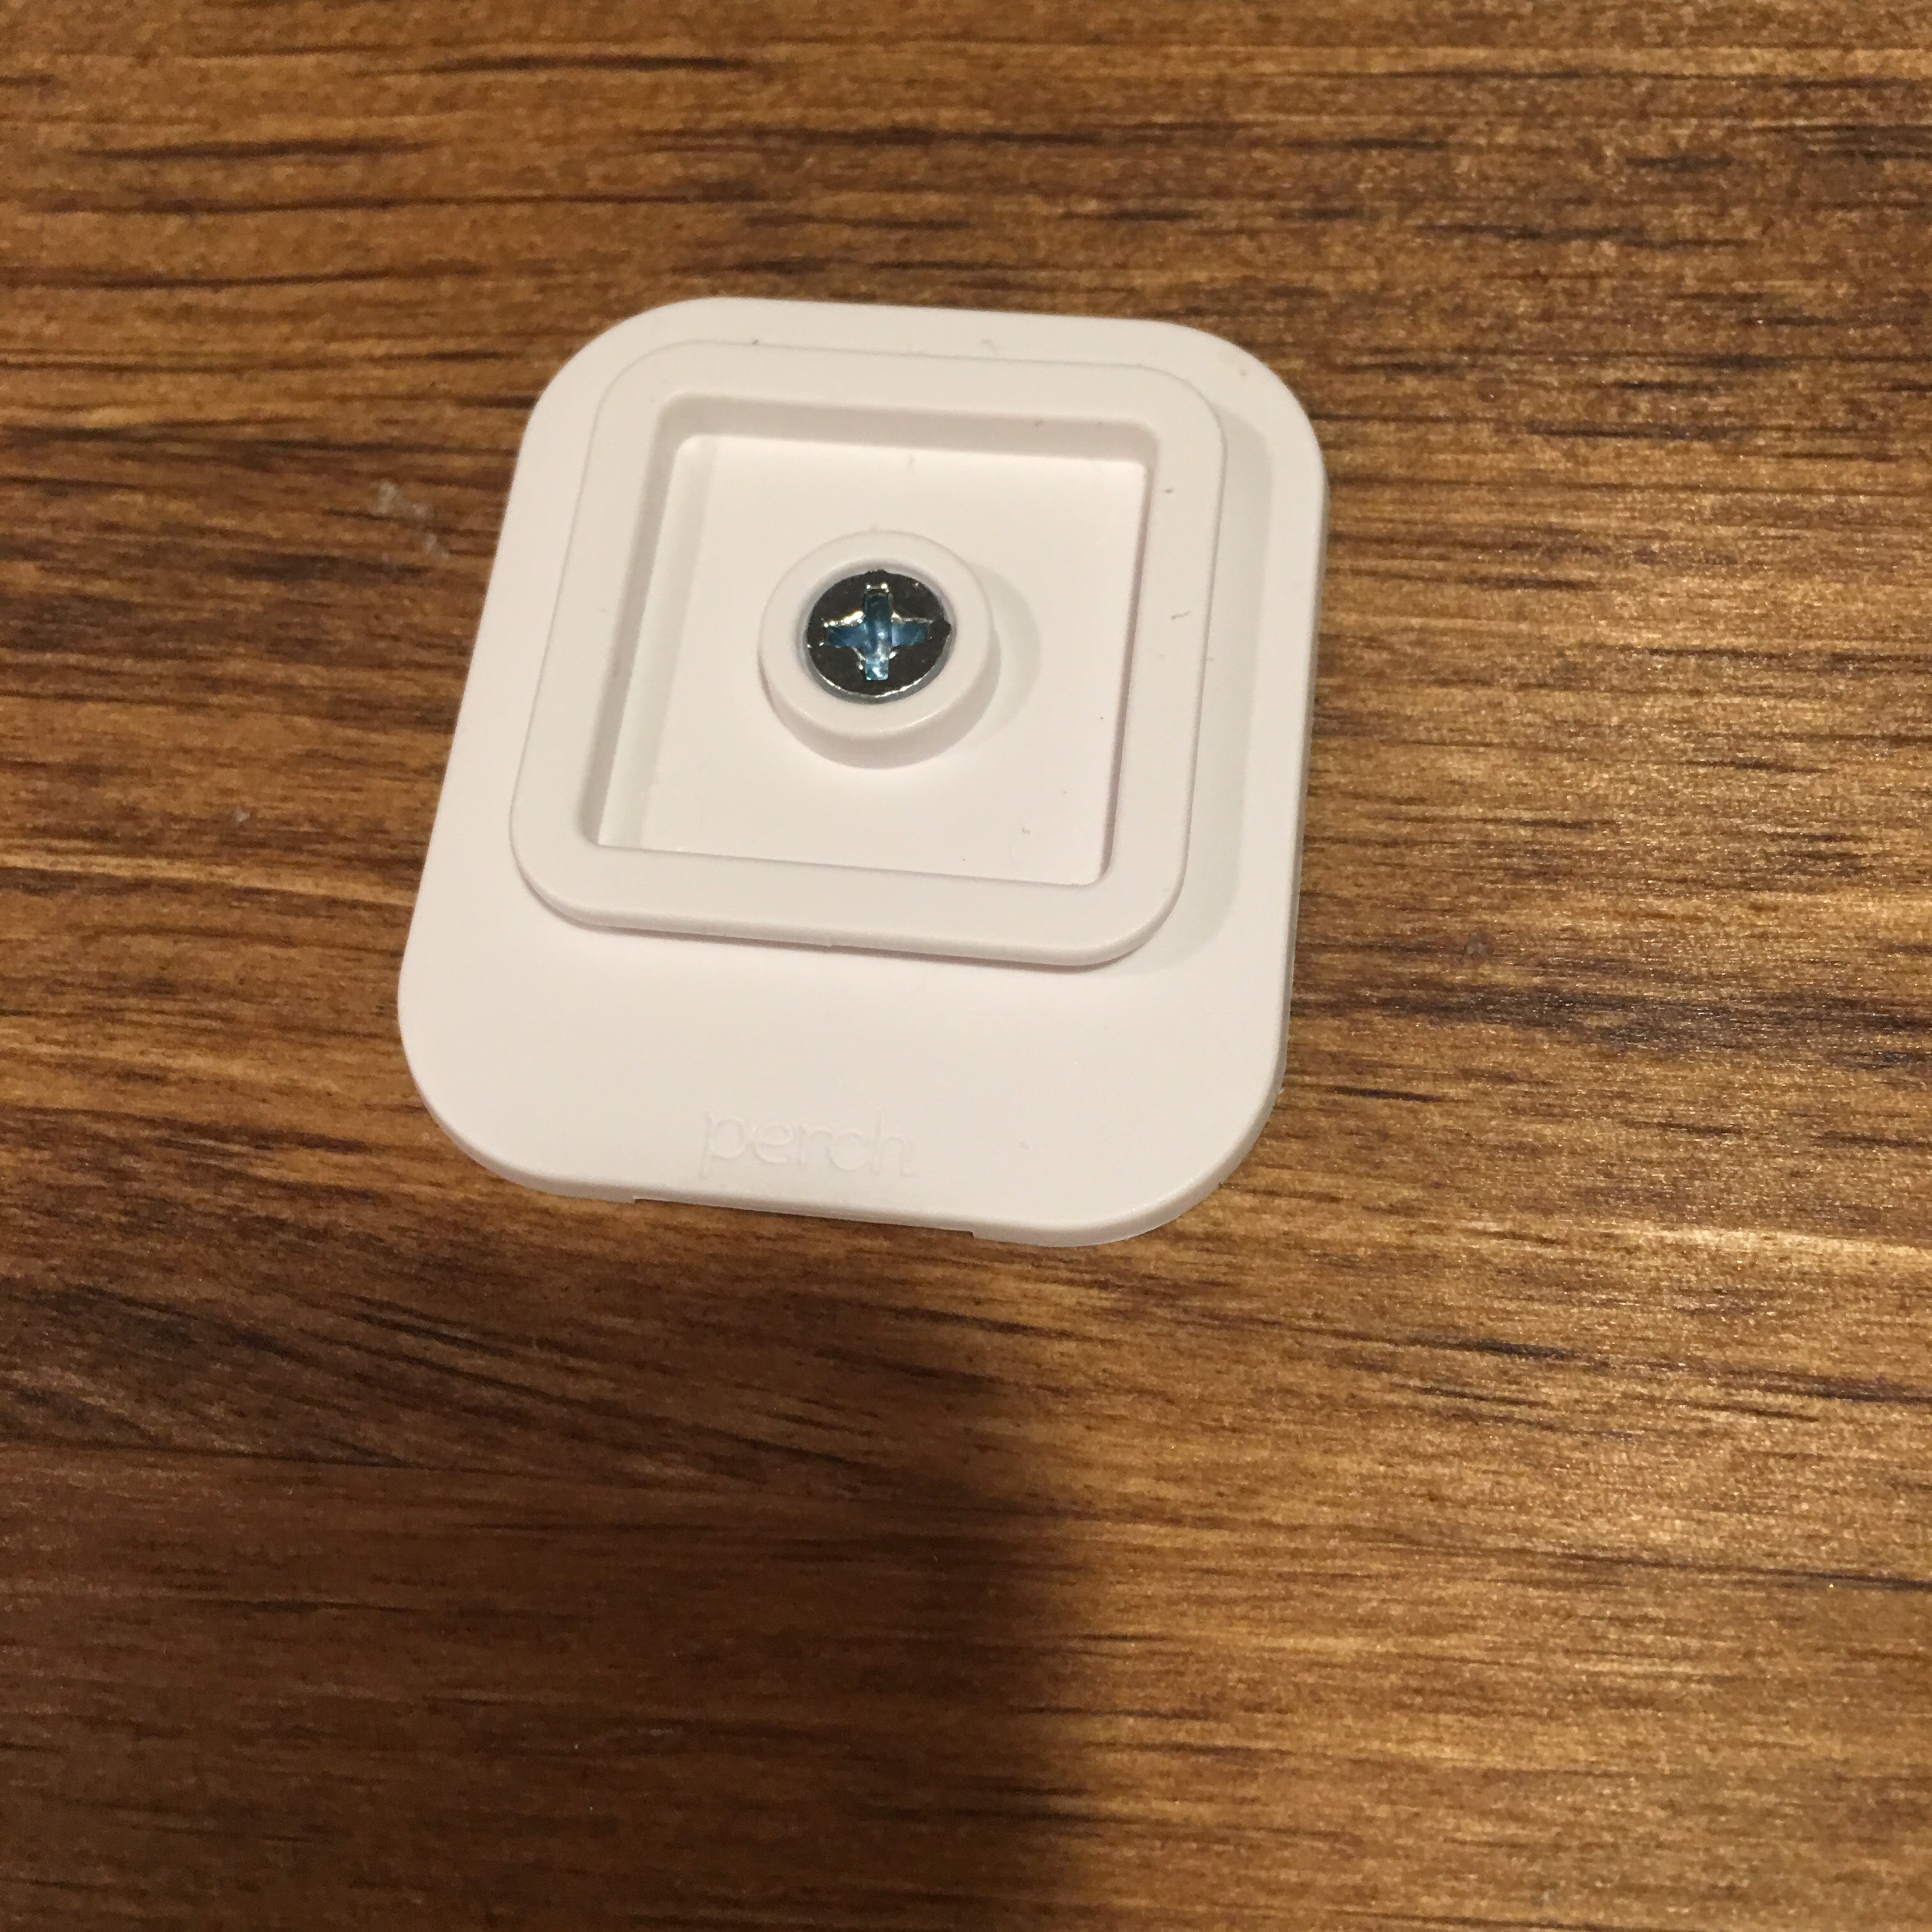
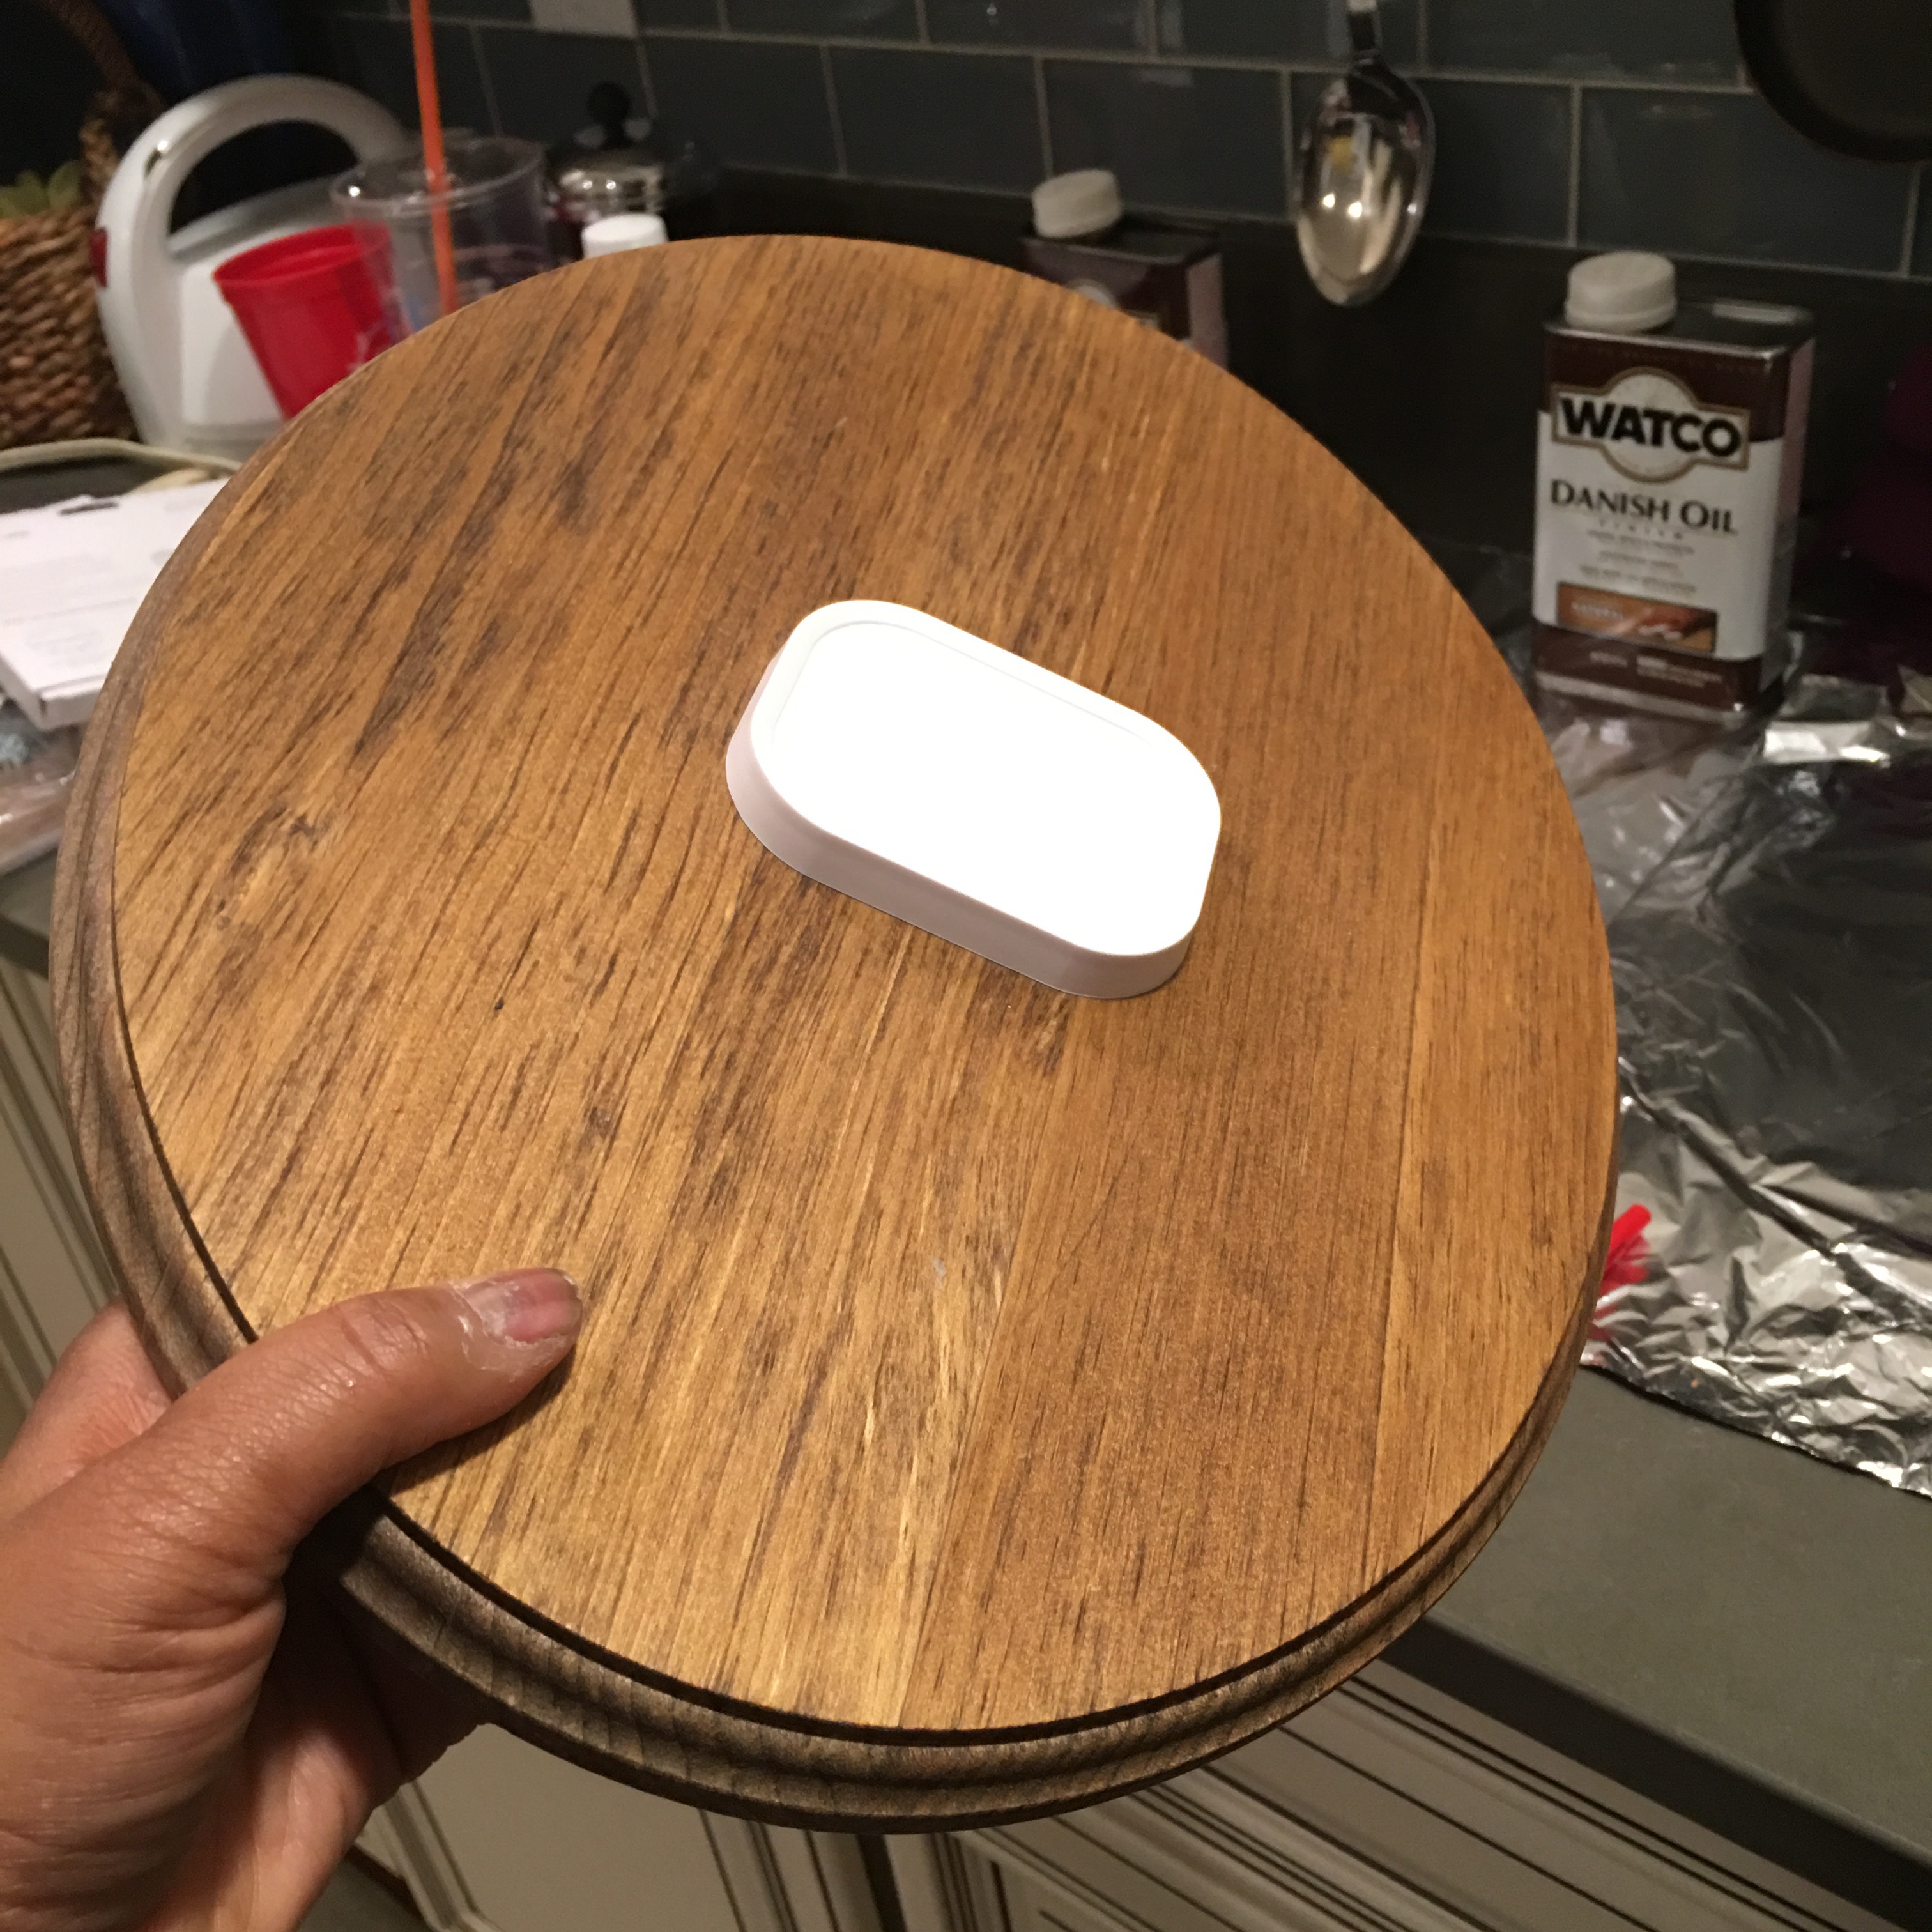
- Step 6: Position the Perch wall puck in the center of the plaque.
Step 7: Slide the face plate of the puck off of the bracket.
- Step 8: Mark your spot for your wood screw.
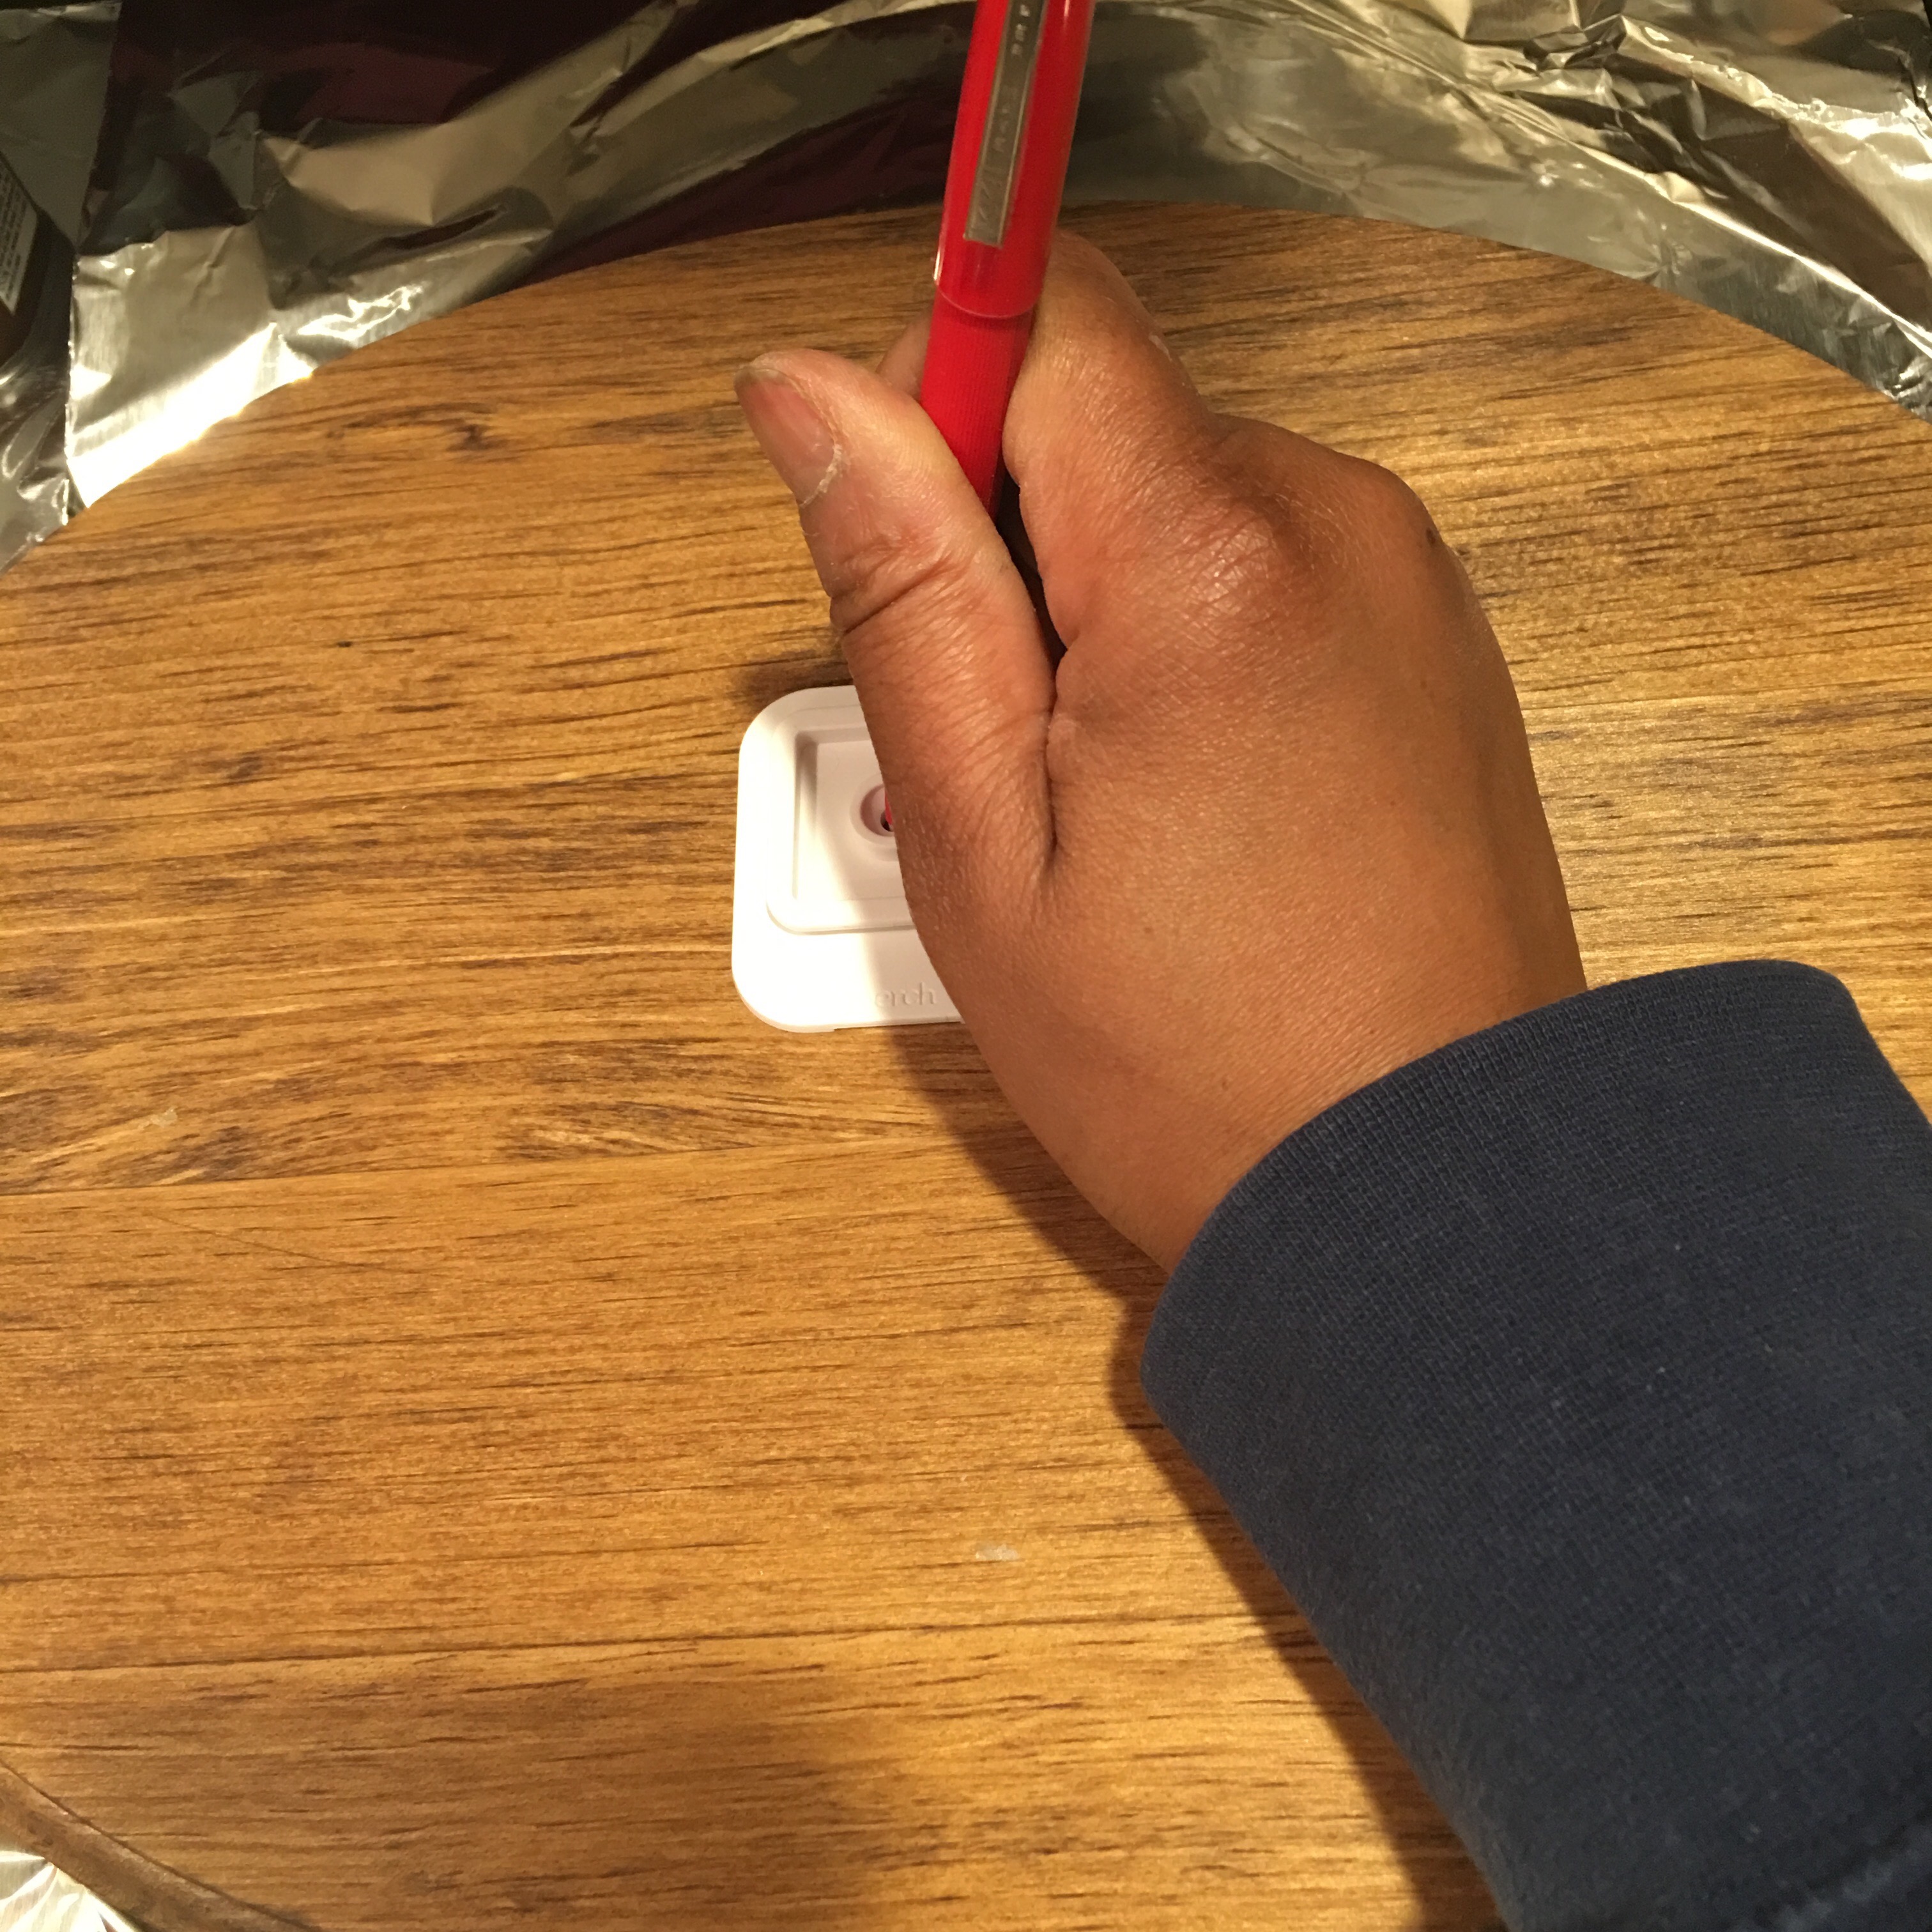
- Step 9: Tap and screw the wood screw in. You can also use a power drill to drill a small pre-drill hole first. But the wood in the plaque is pretty soft. So I just used the butt of my screwdriver to lightly tap the head of the screw into the wood, then screwed it in tight.

Note the smooth surface in the back of the plaque. Once again, don’t forget to swap out the provided screws with shorter ones.
- Step 10: Take the face plate and…
…slide it onto the bracket.
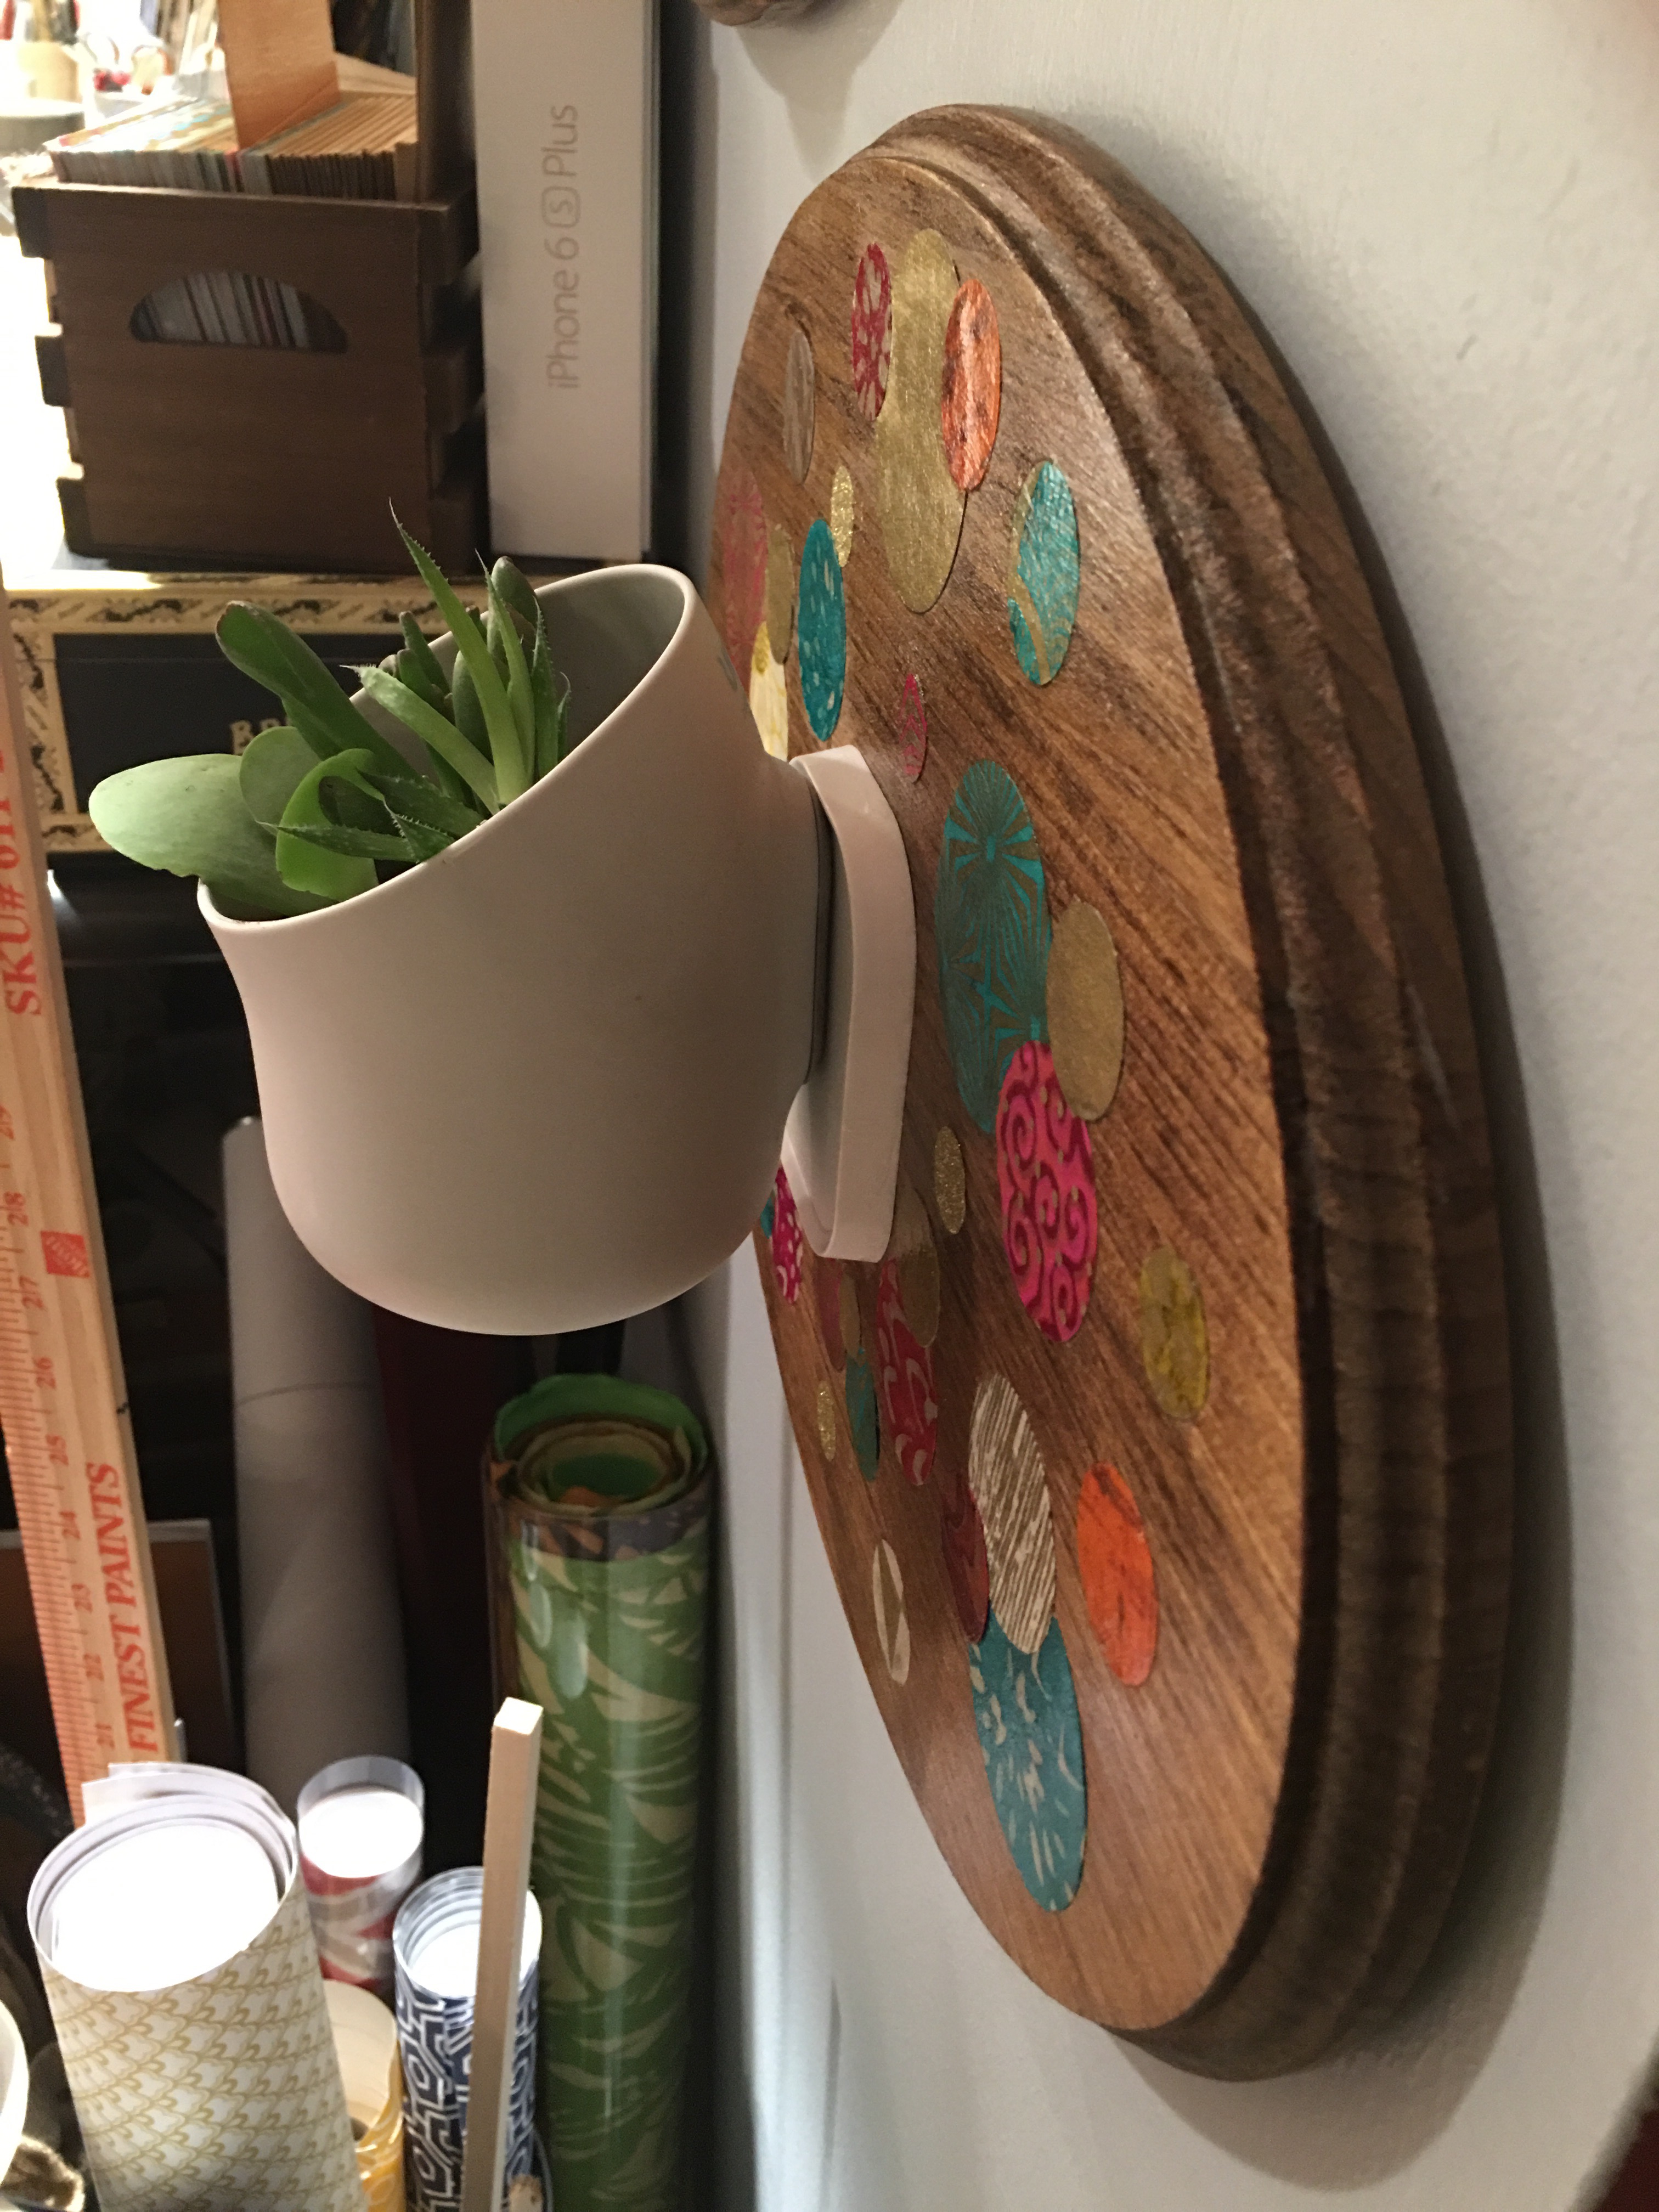
So here’s my plaque so far with the Perch wall puck attached.
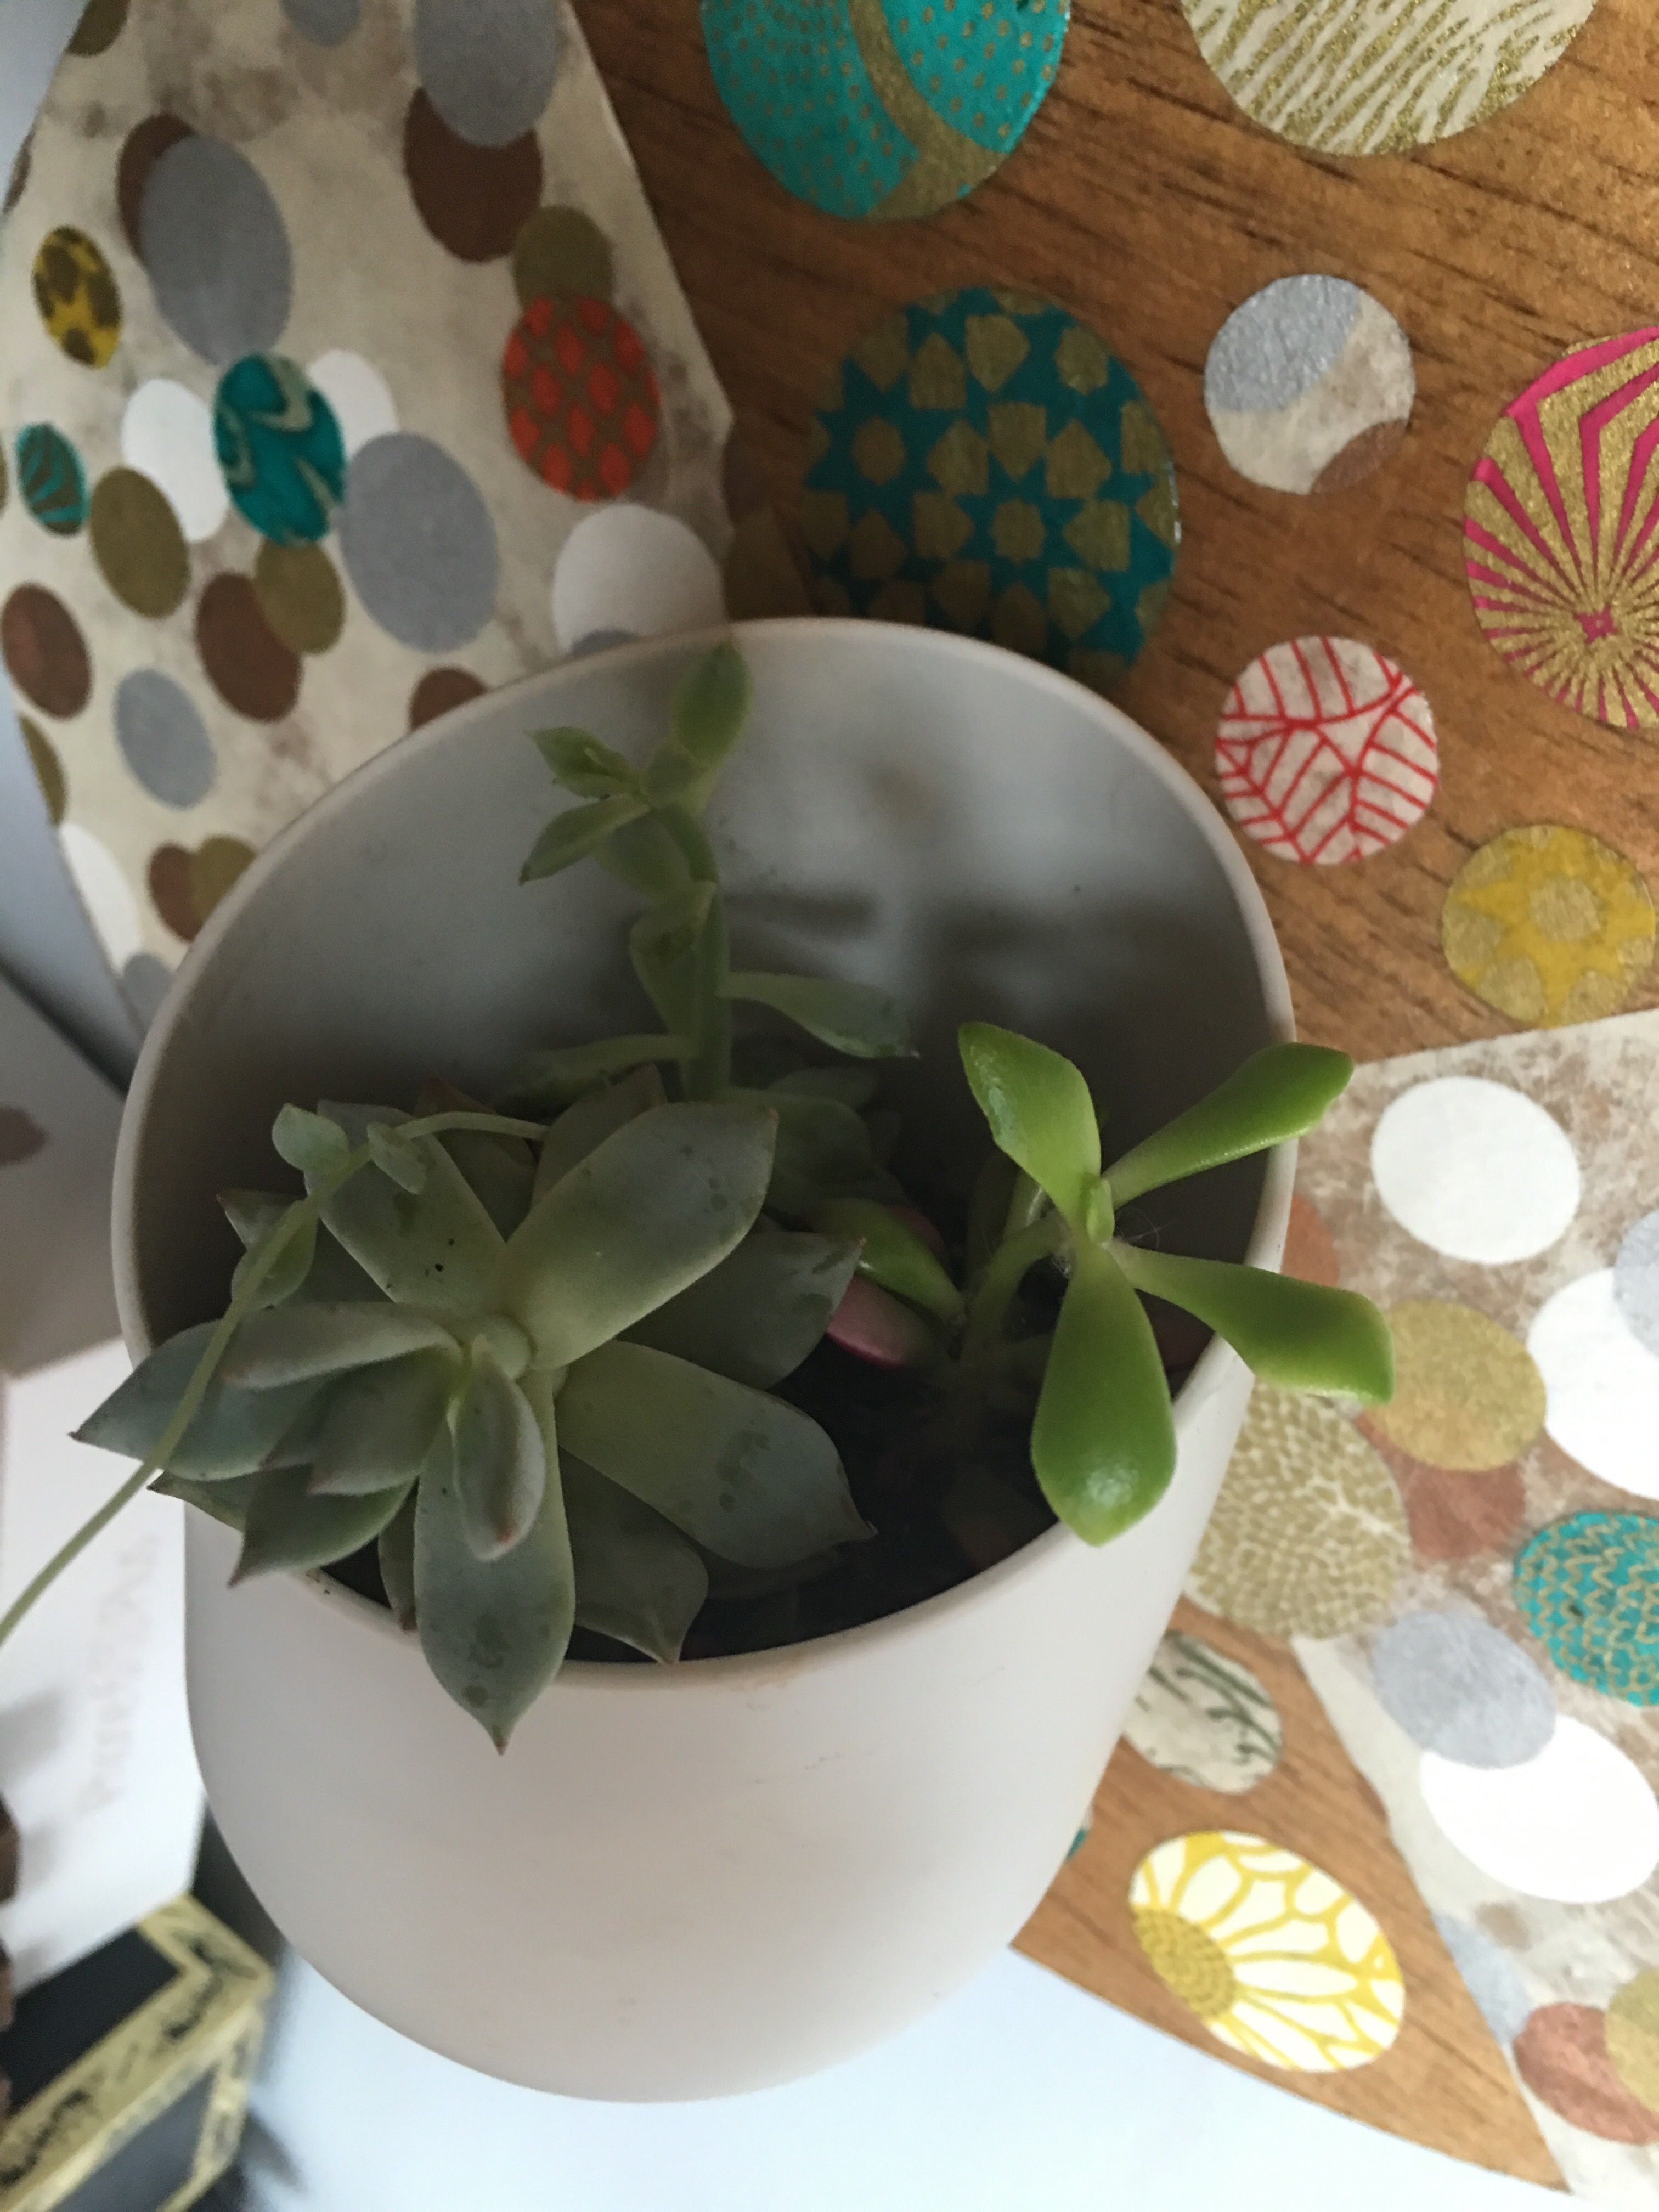
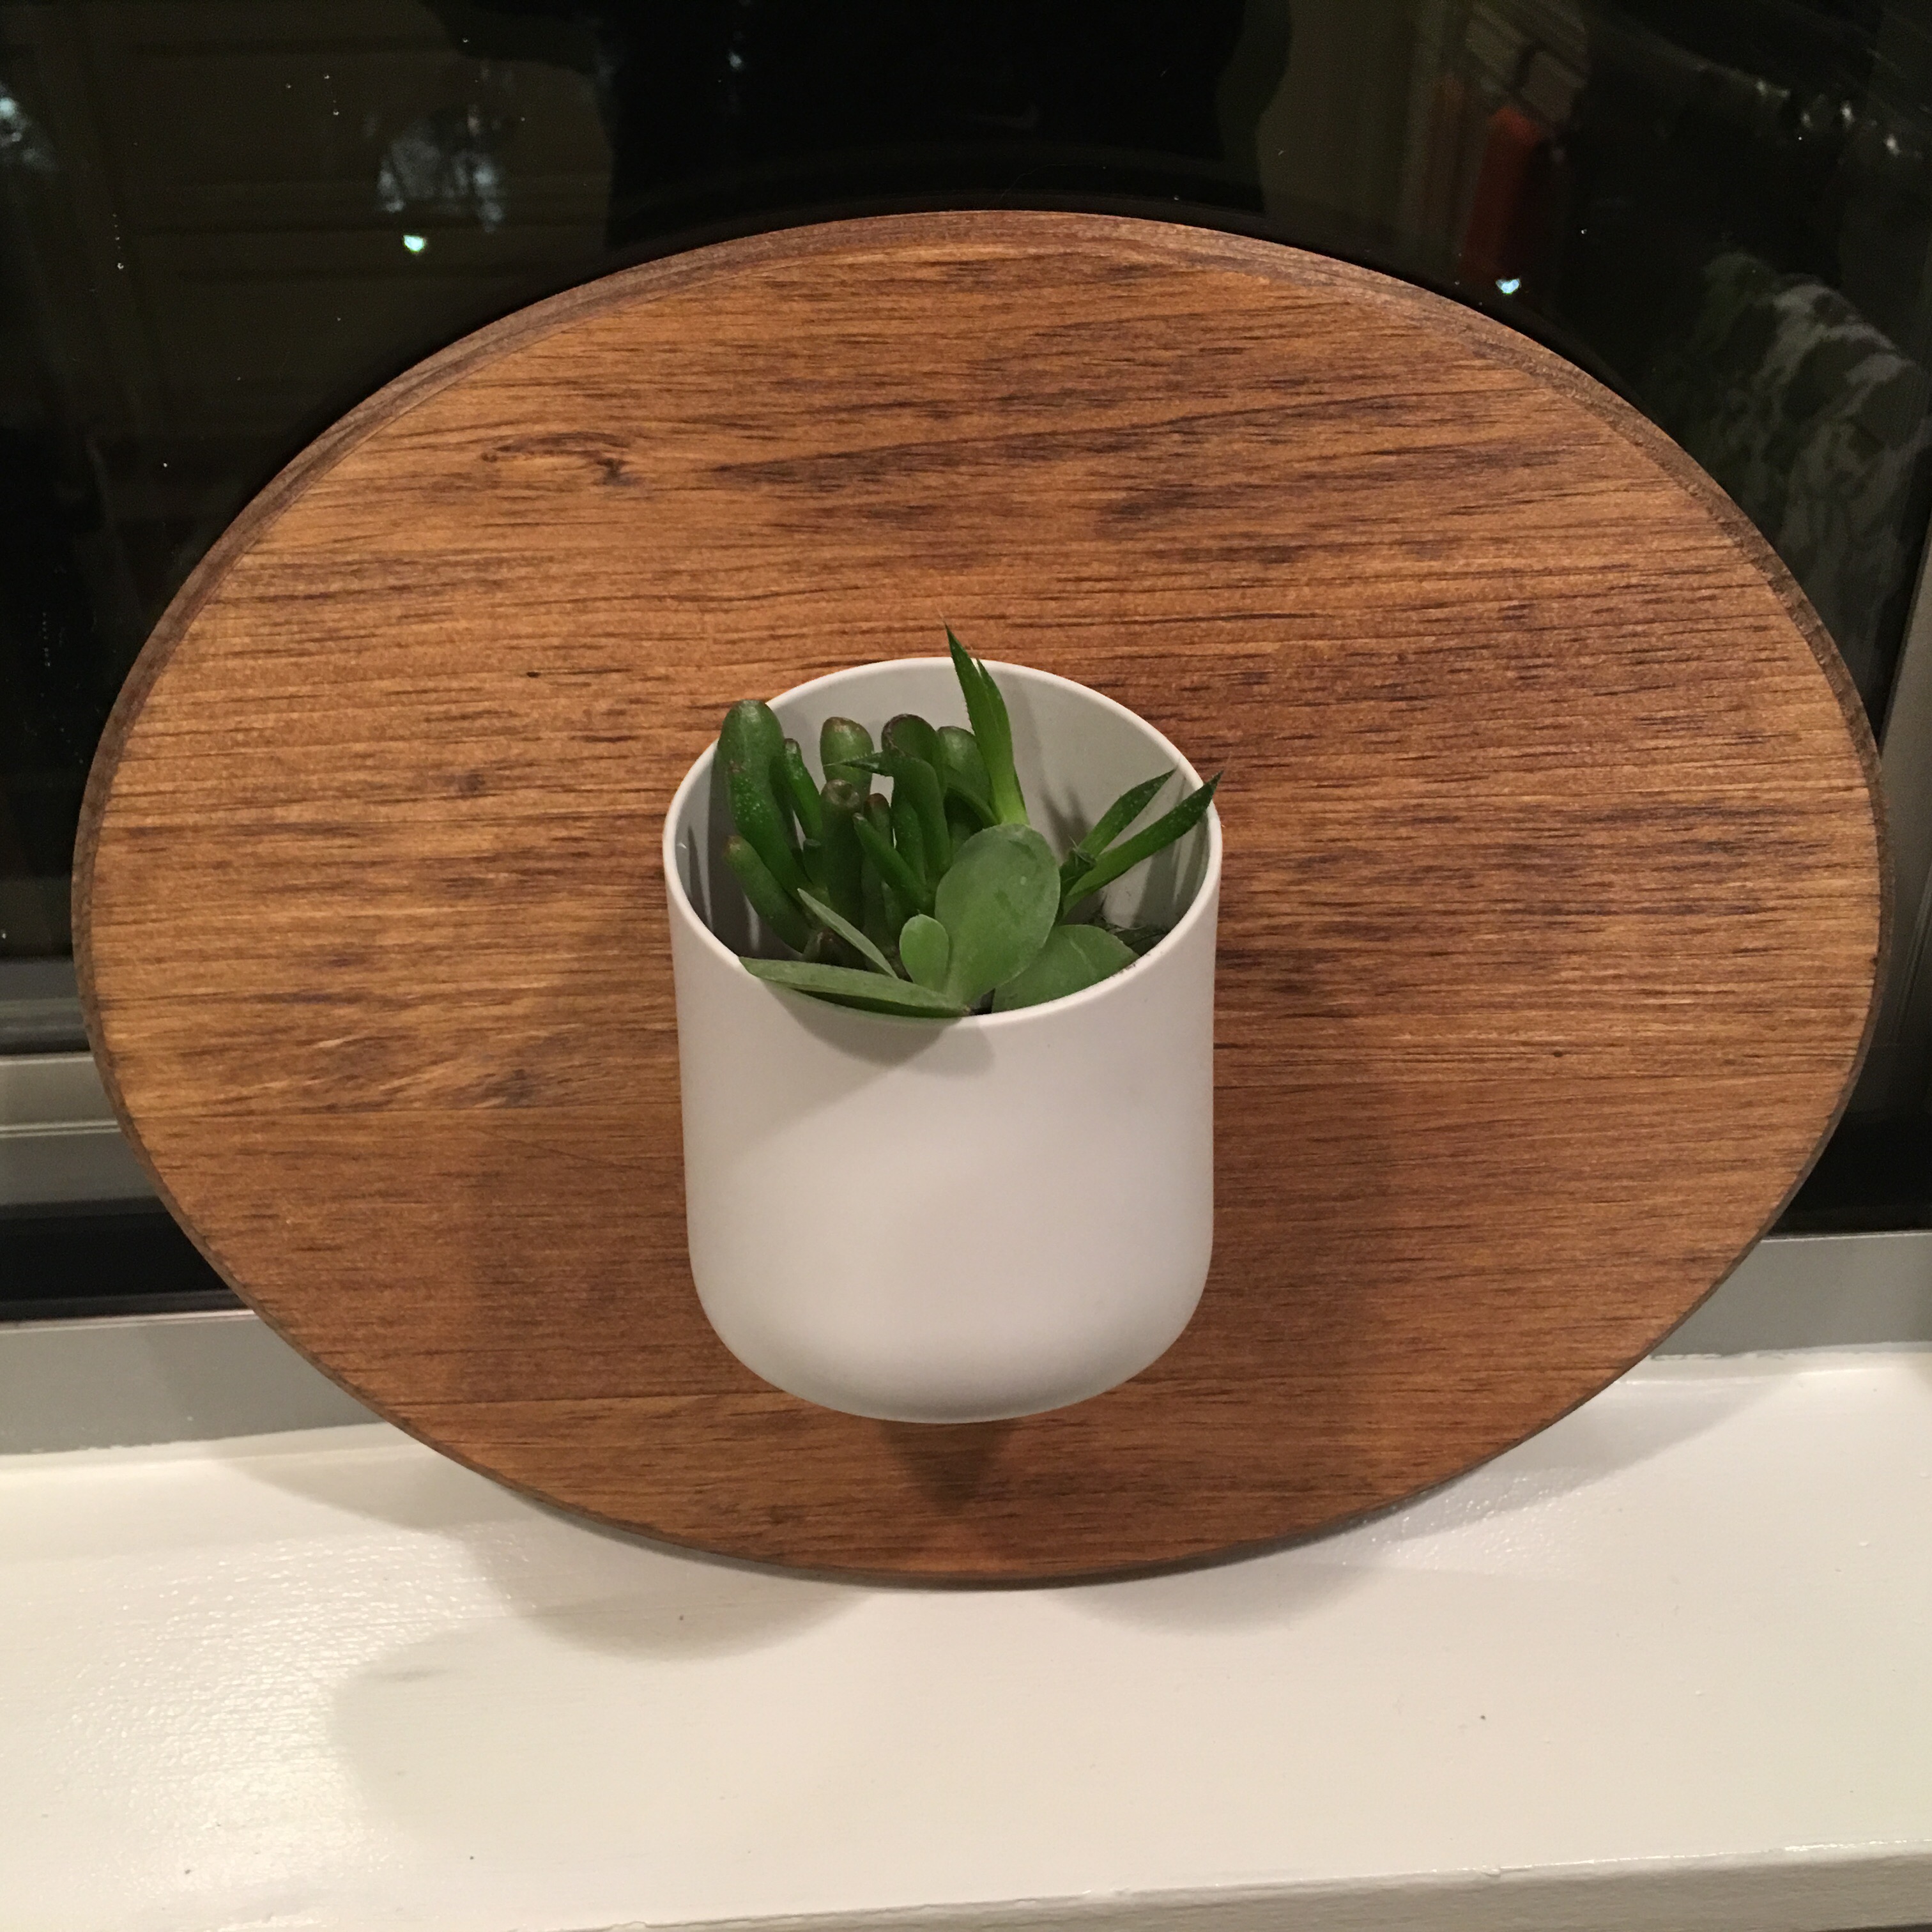
The Urbio “Shorty” vessel with my succulents looks pretty good. And there is a very strong magnetic hold. But wait…we’re not done.
Taking a moment to admire…
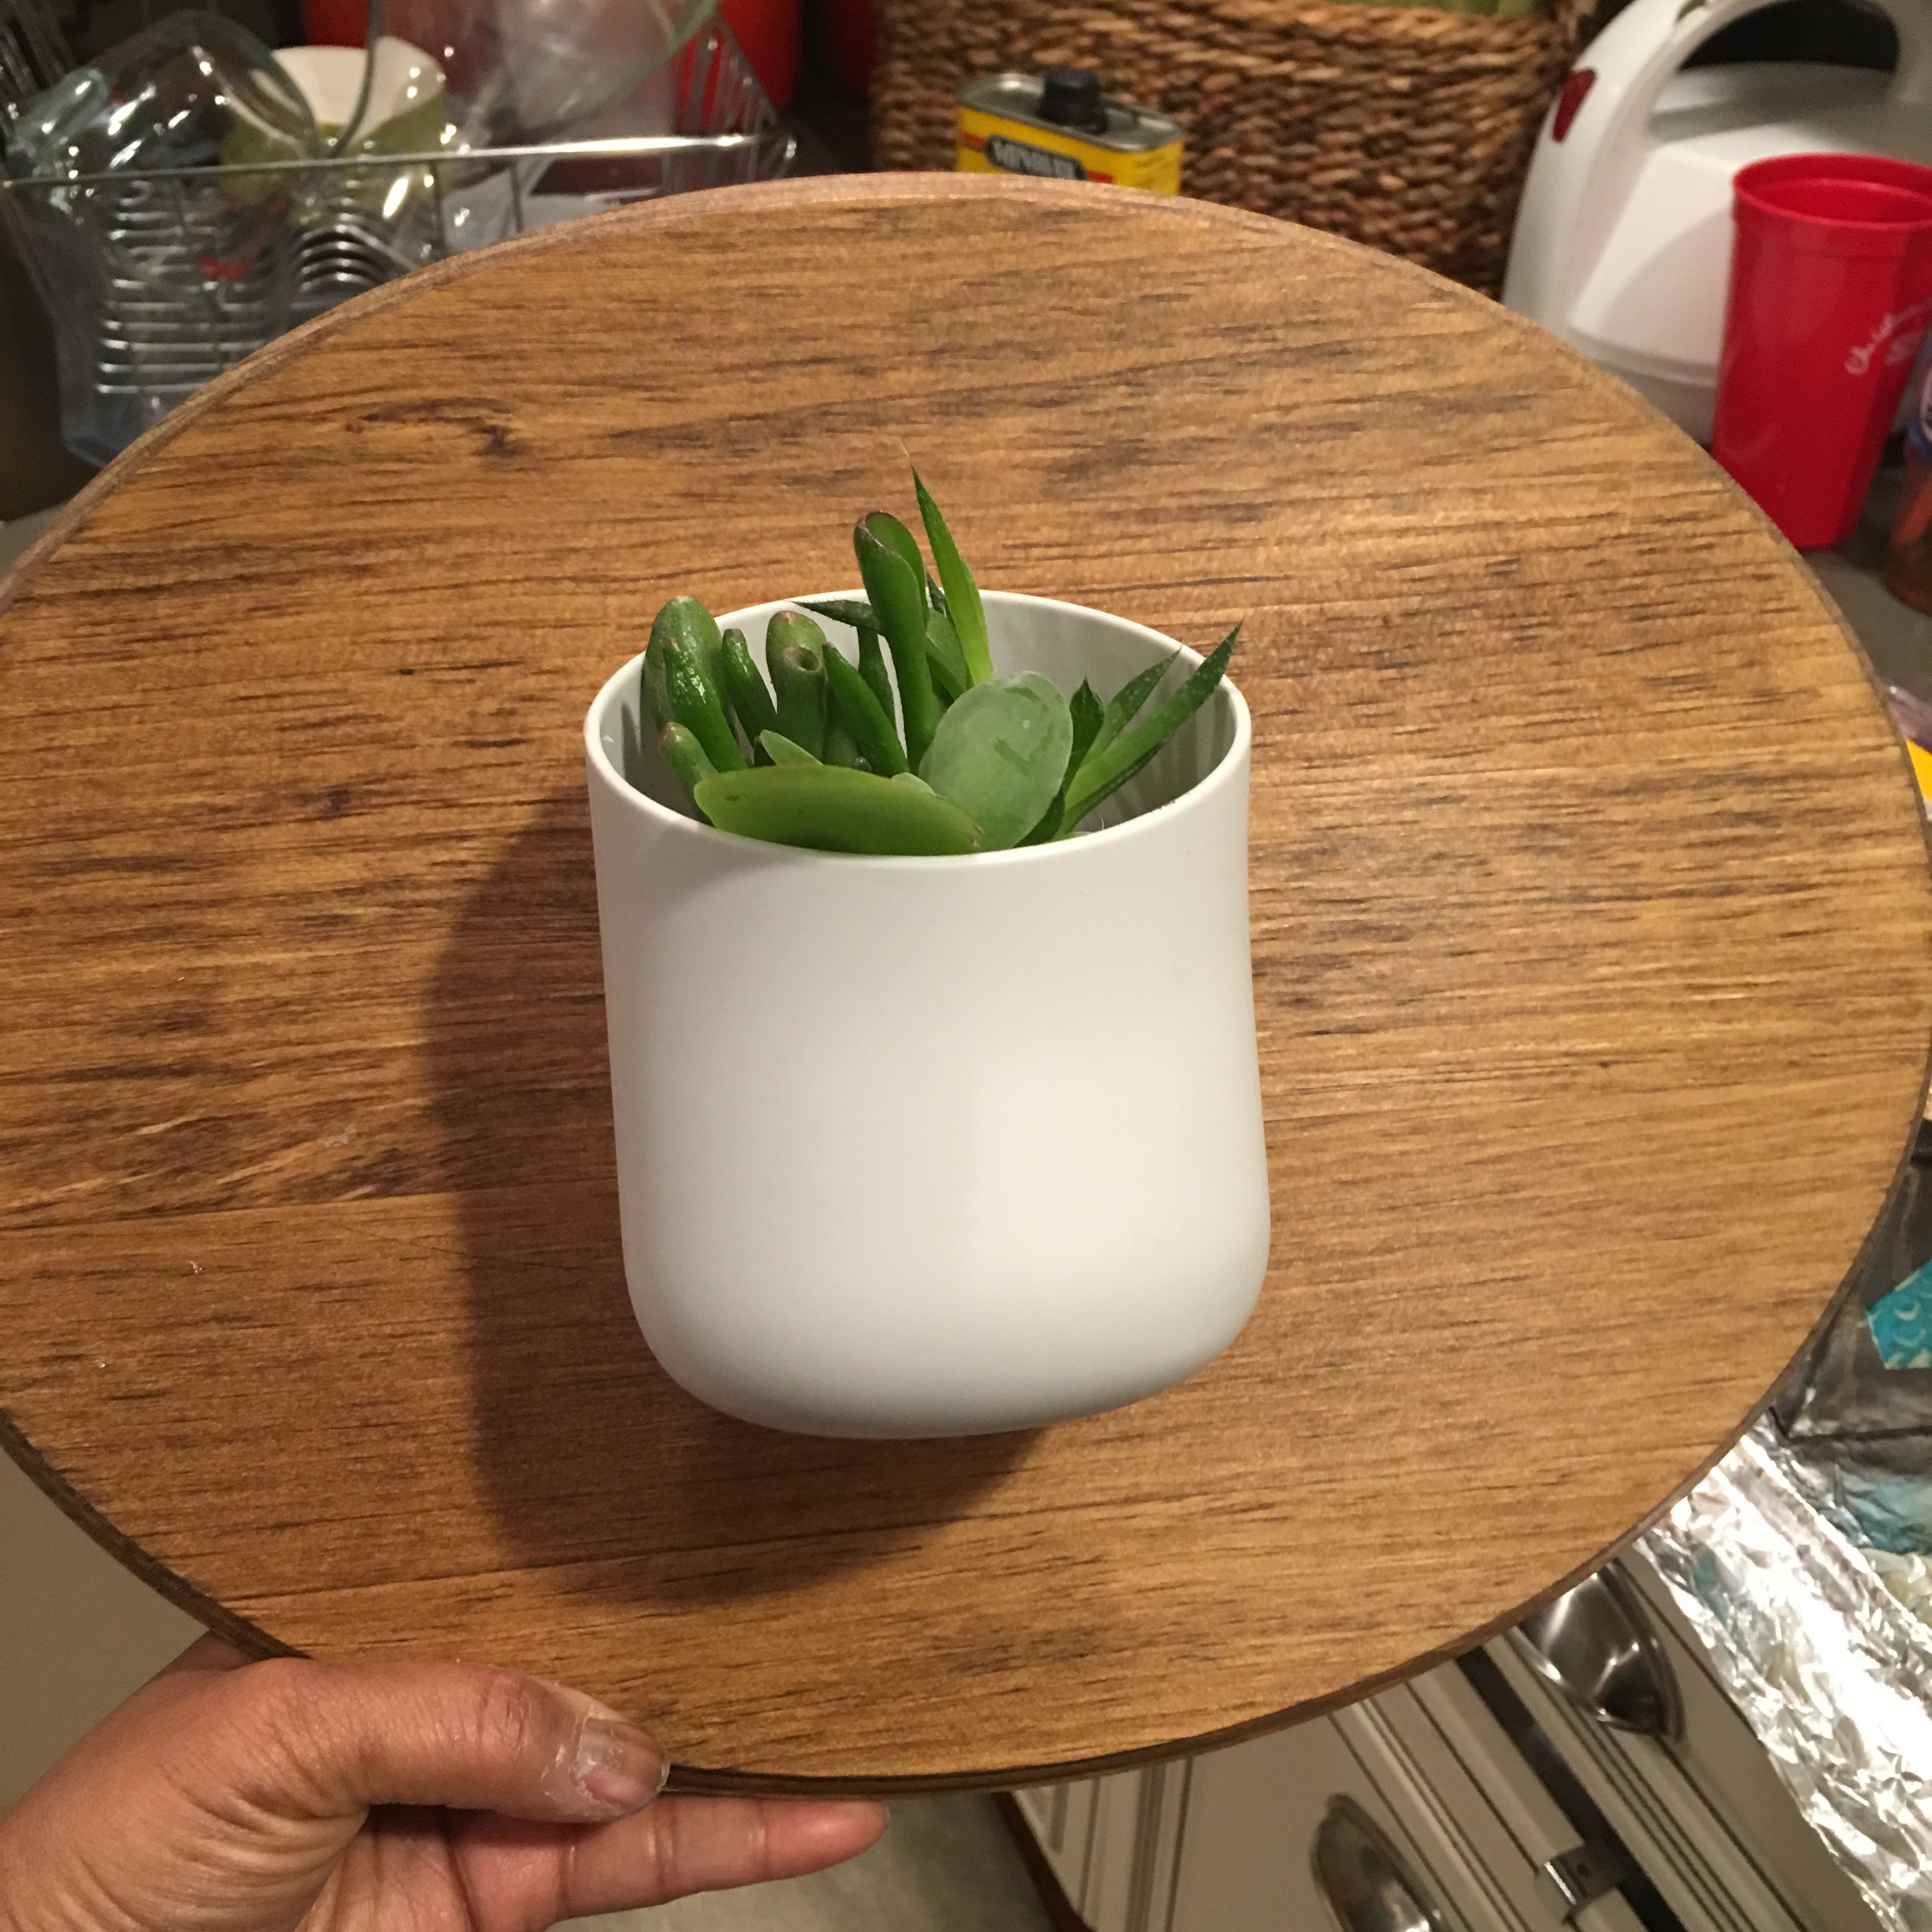
And another moment (enjoying the site of my healthy and much grown succulent plants…very happy in my kitchen).
Ok…back to work.
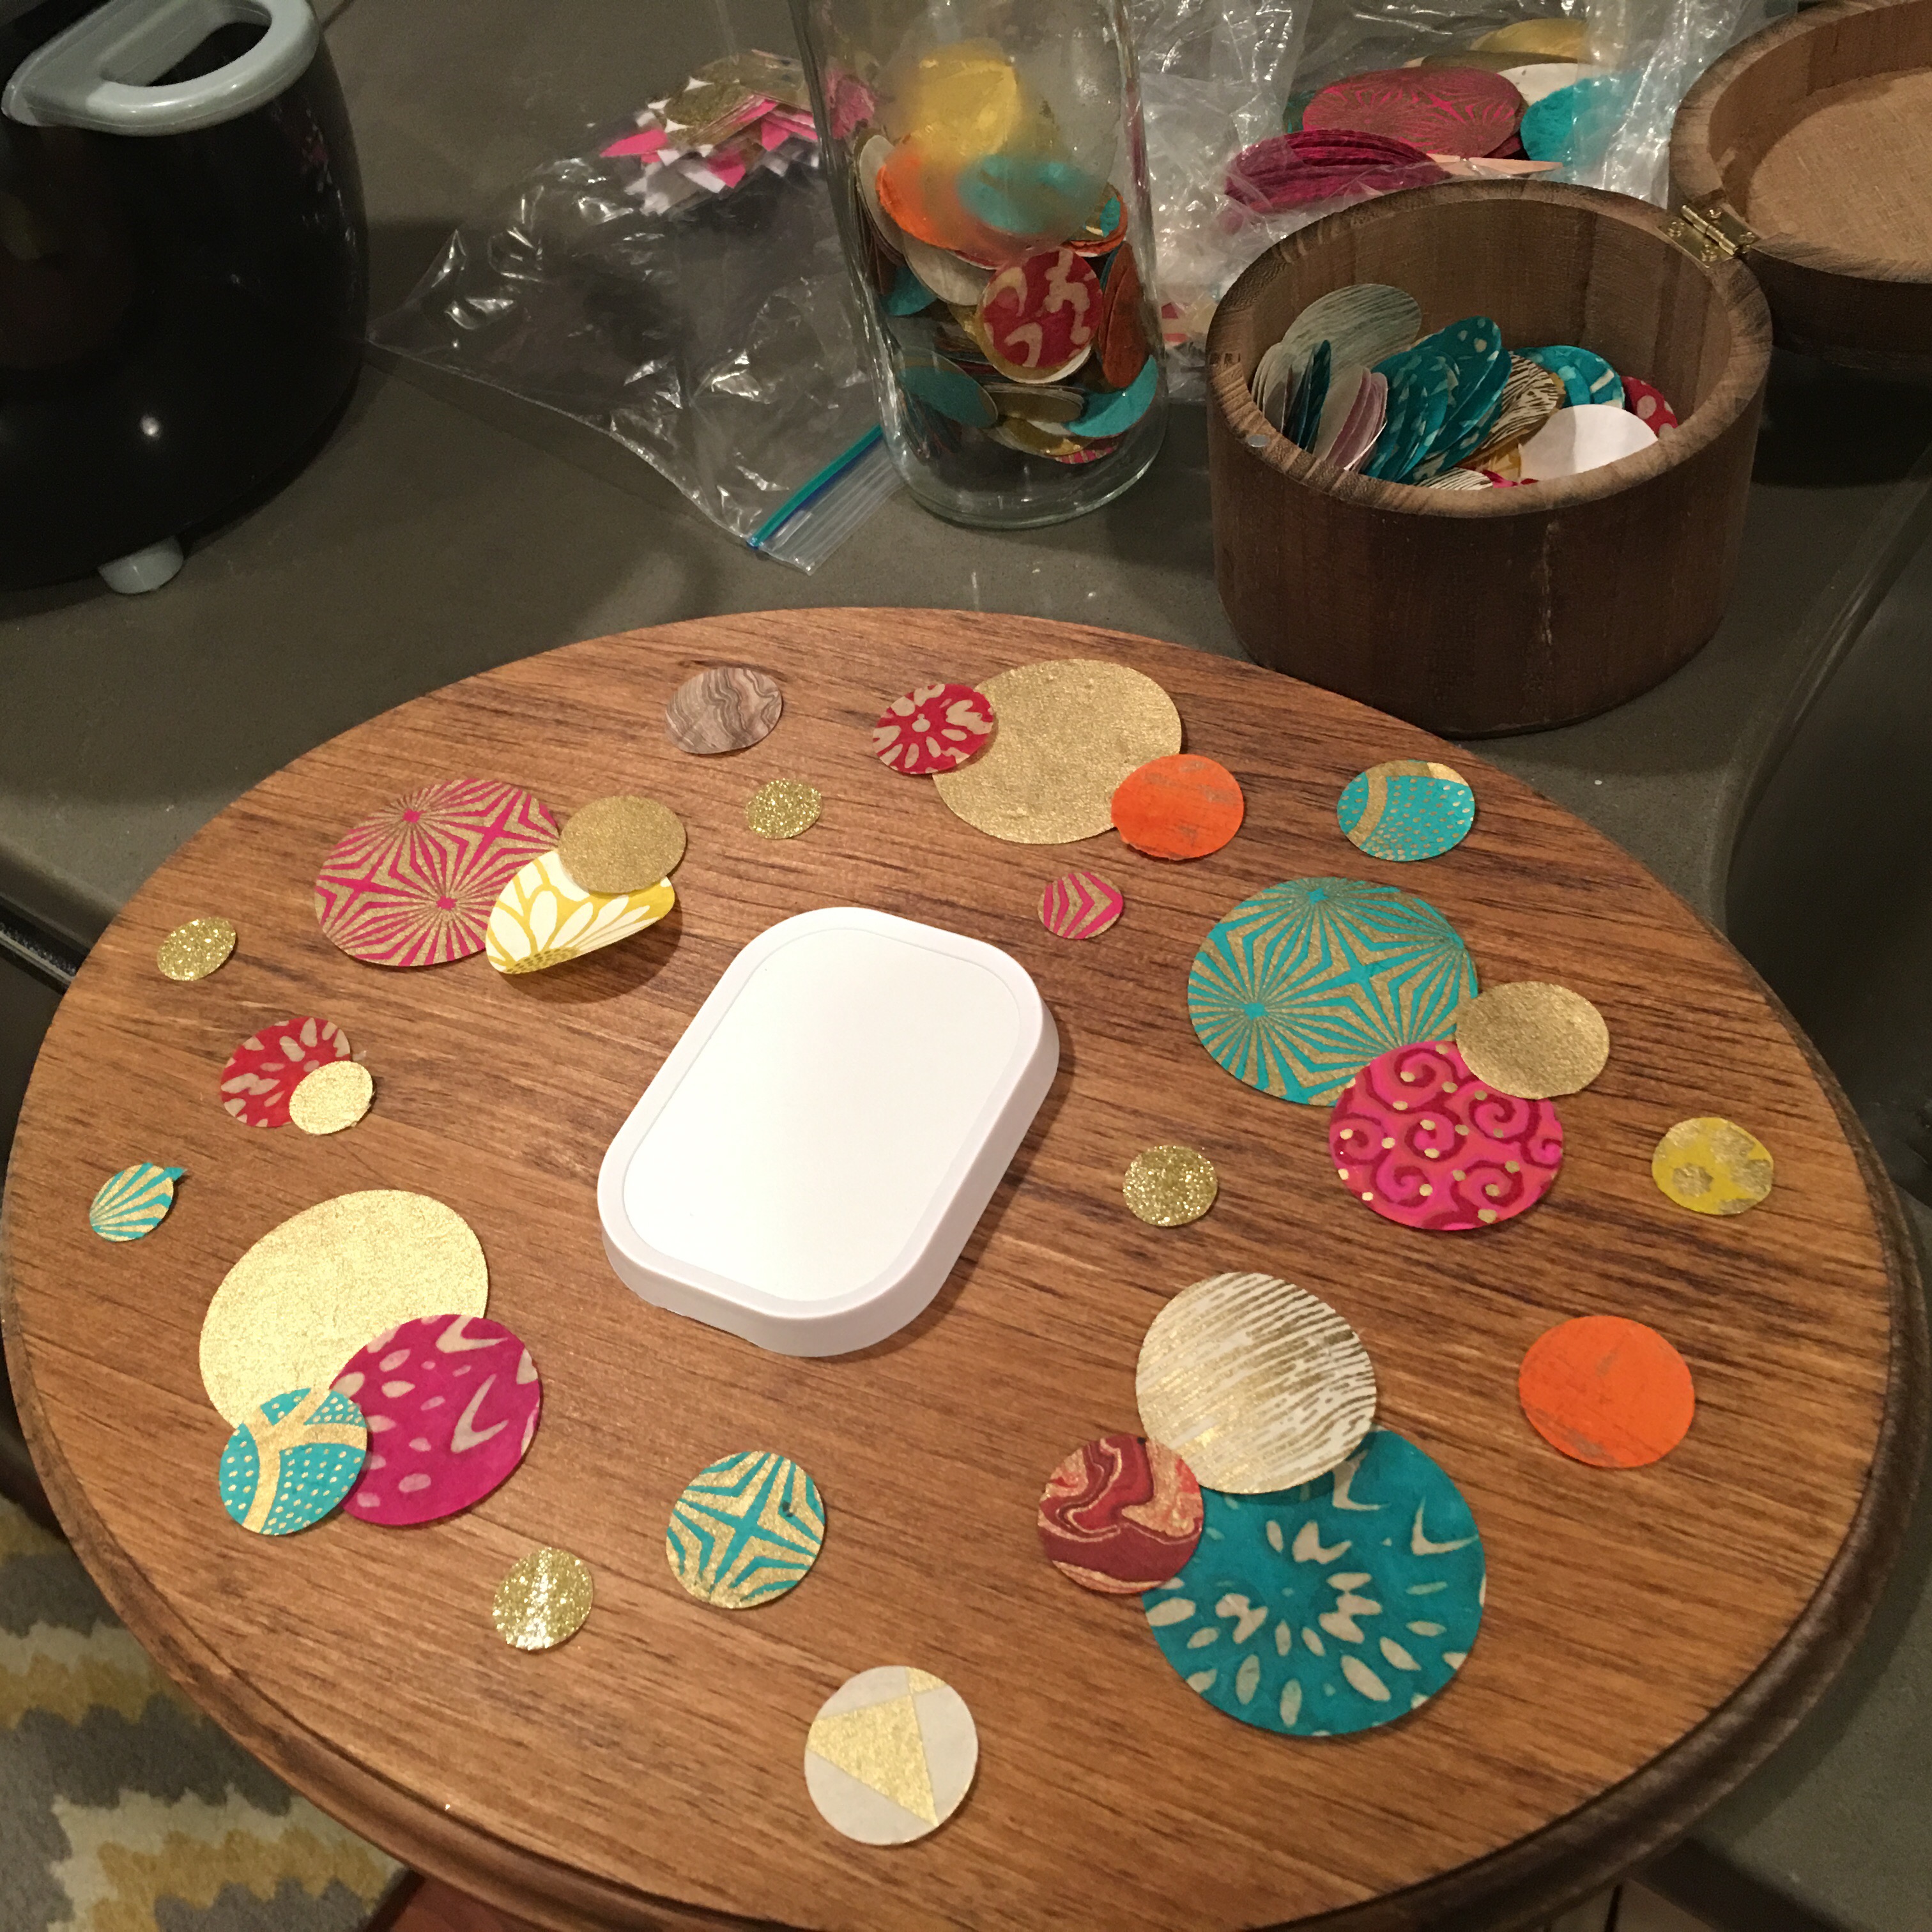
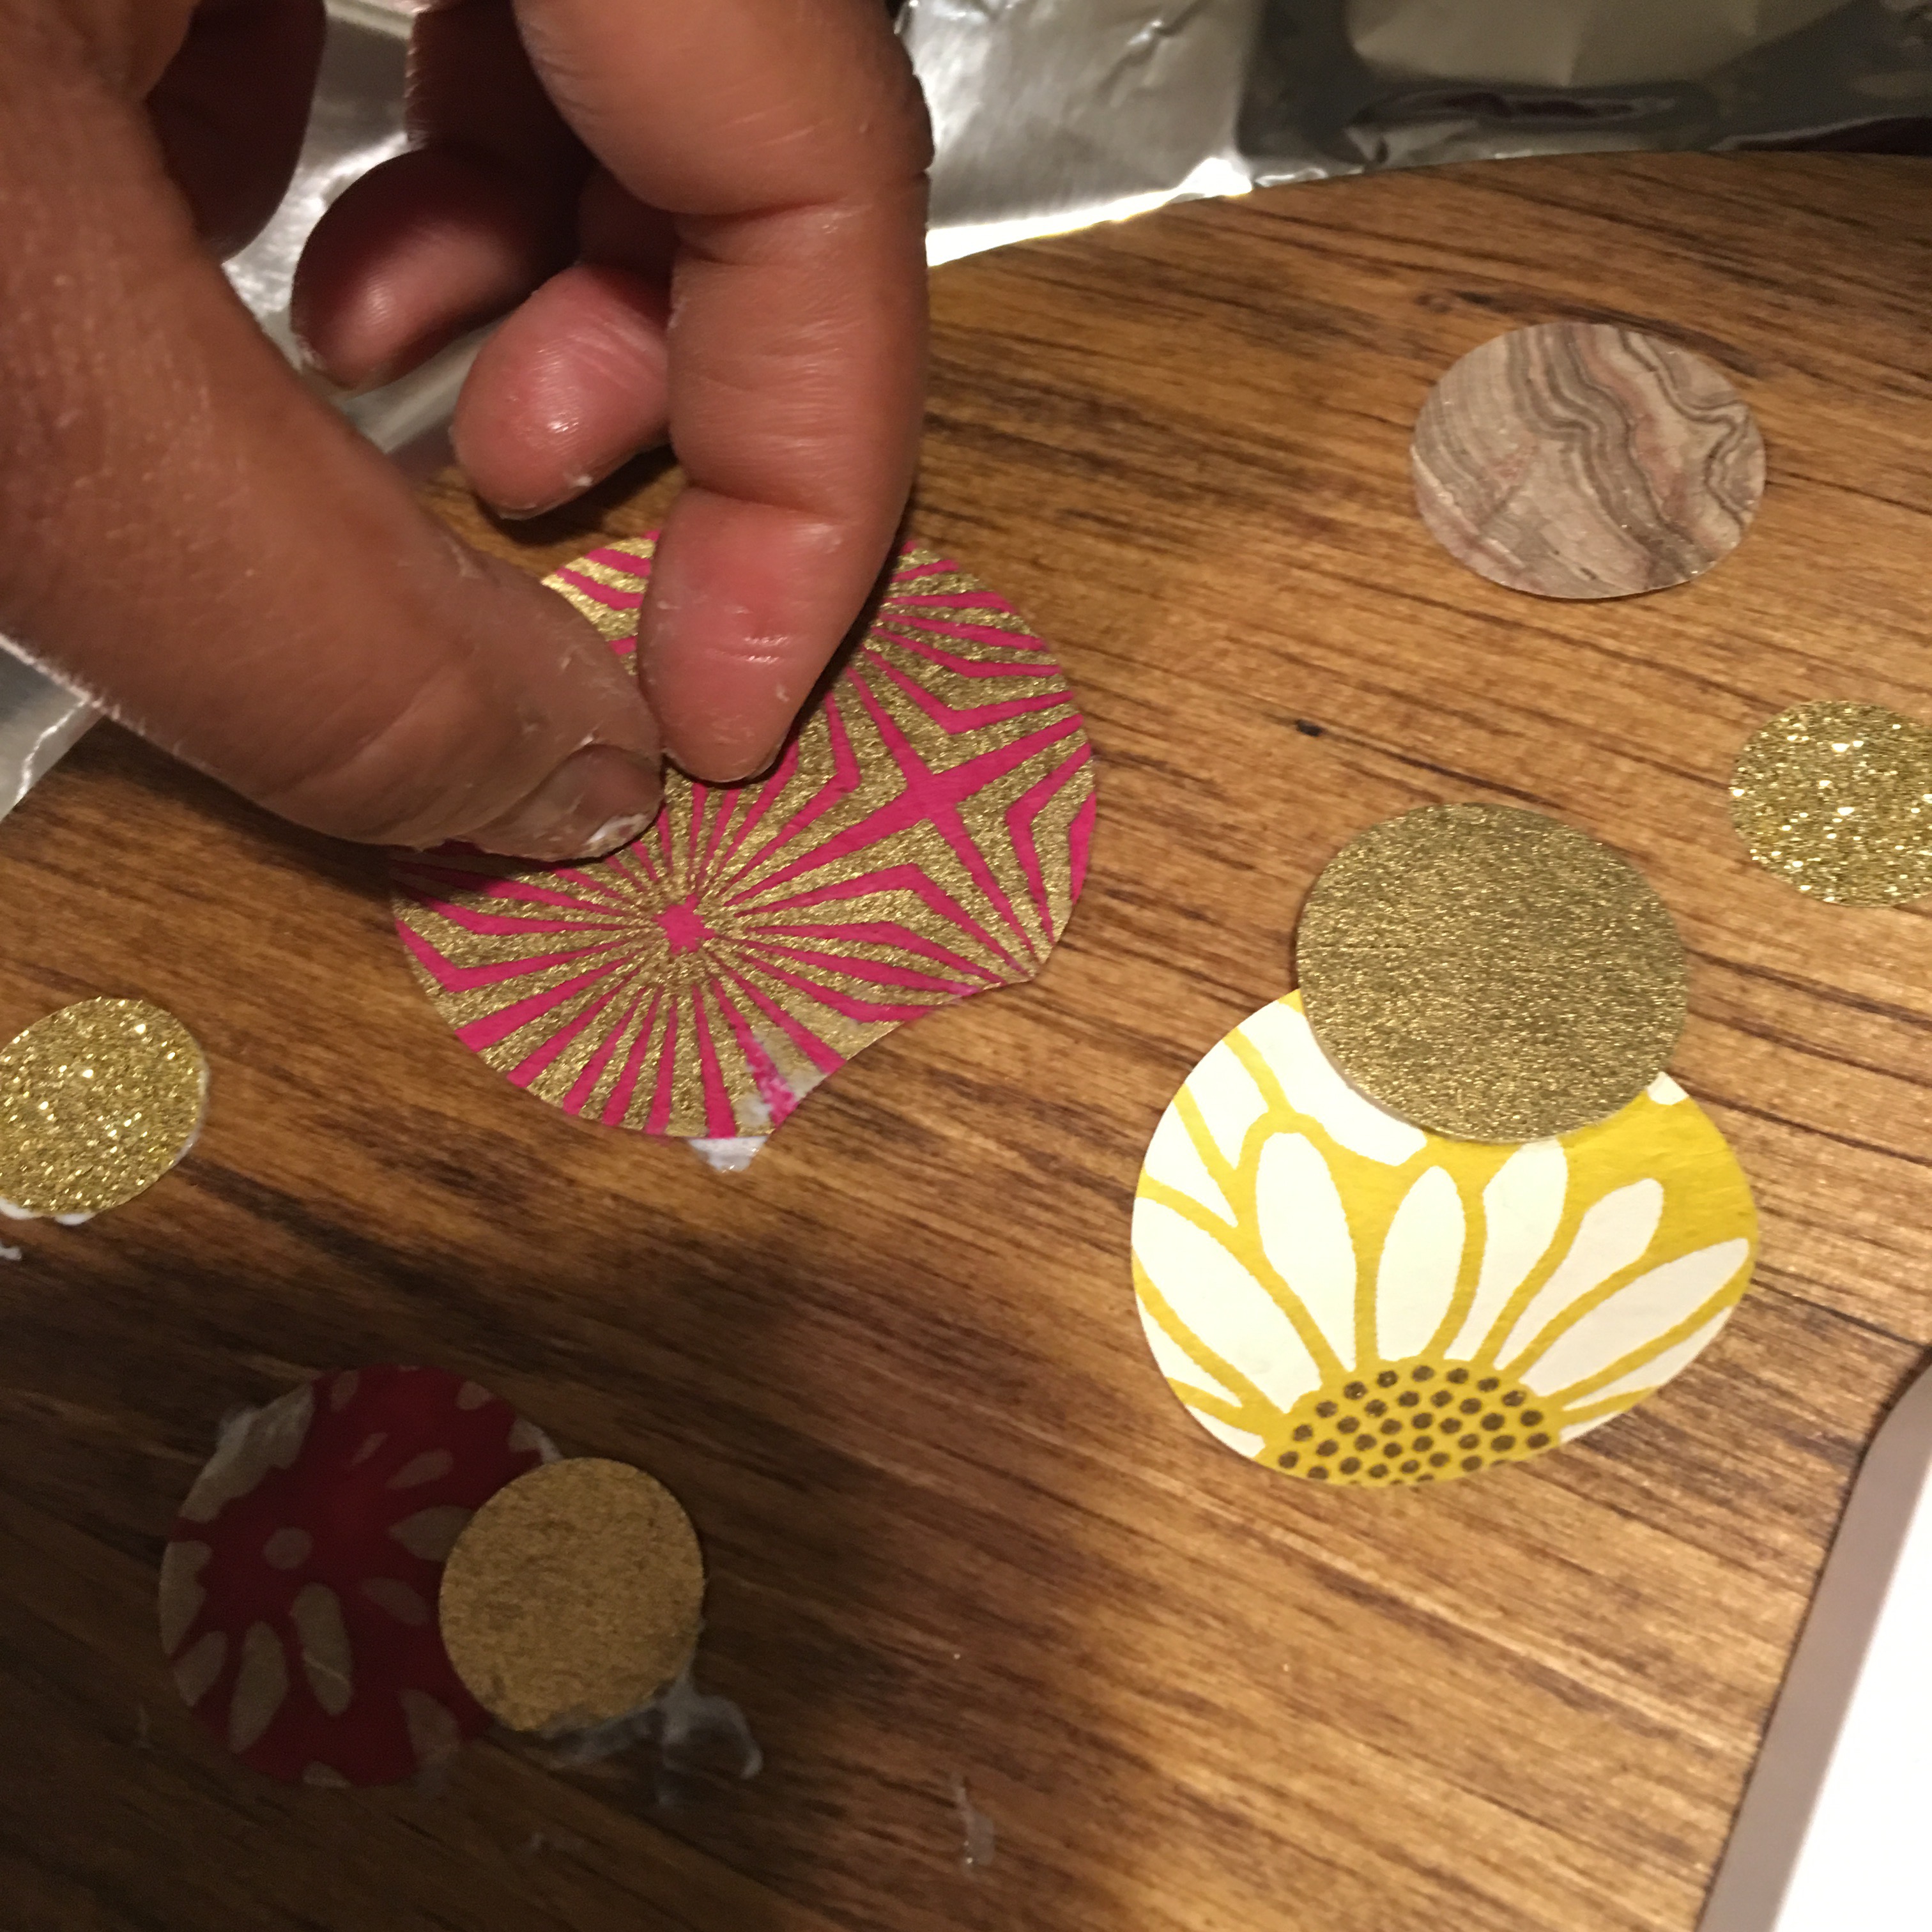
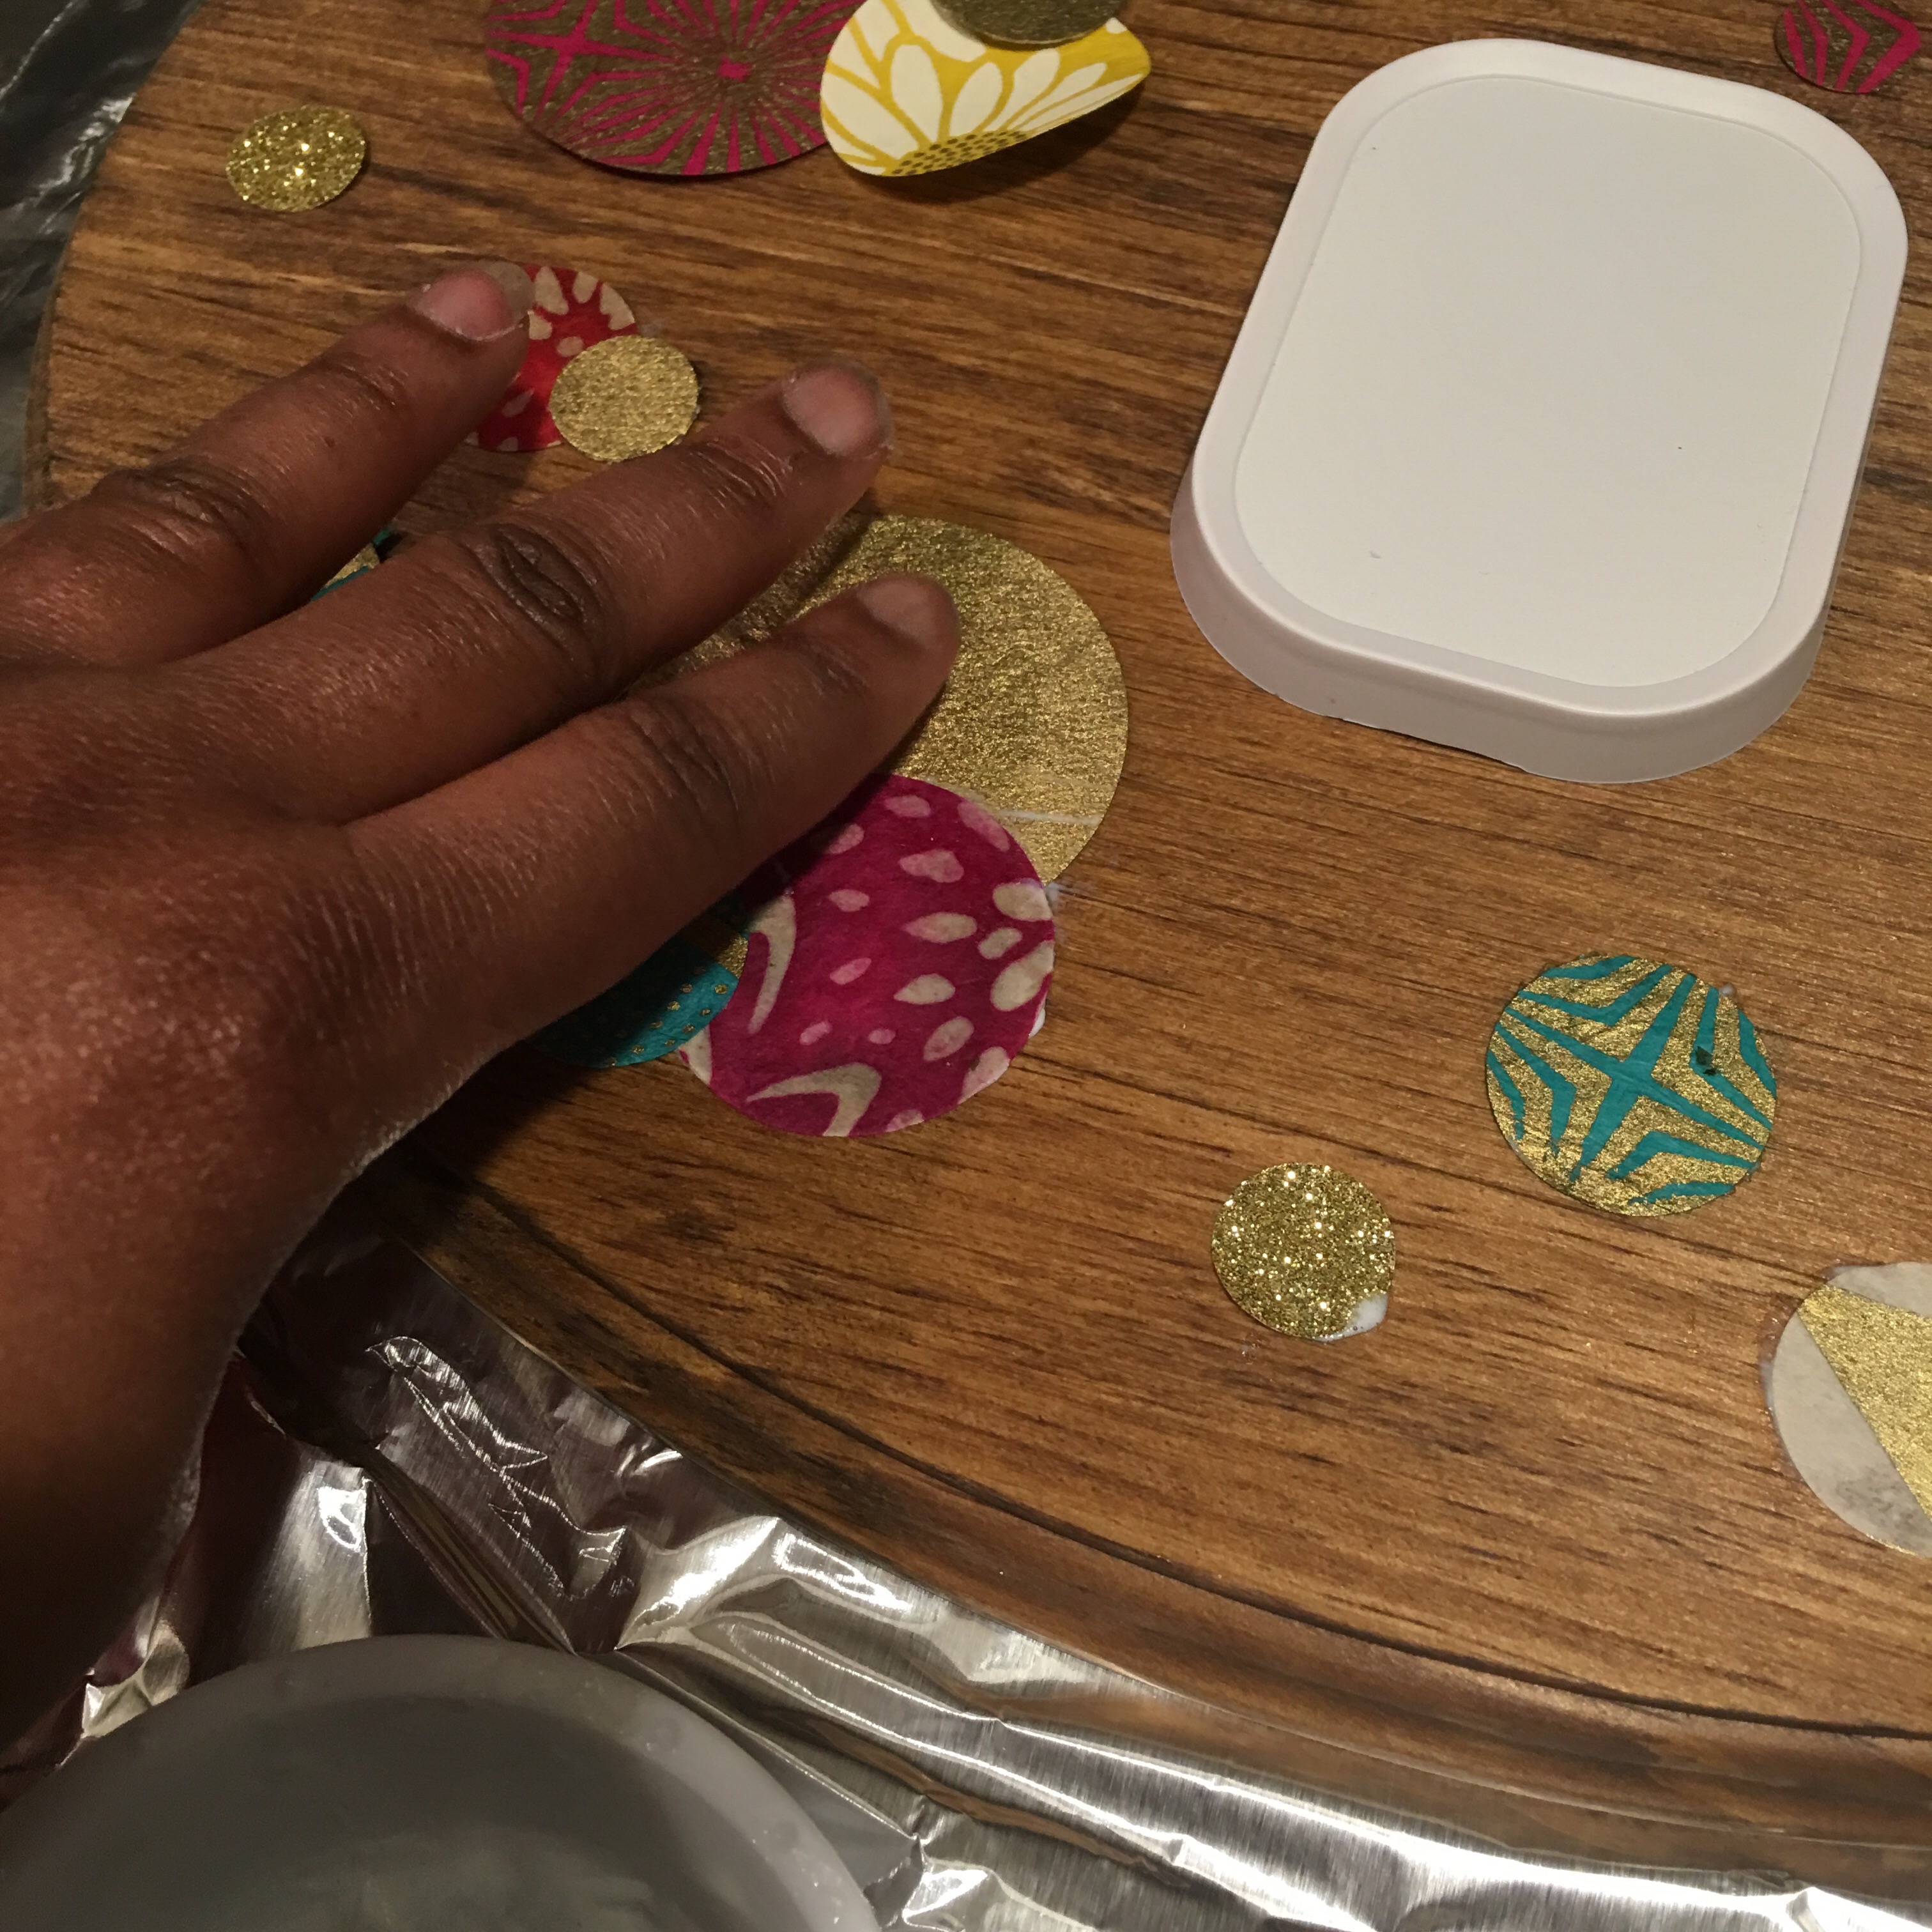
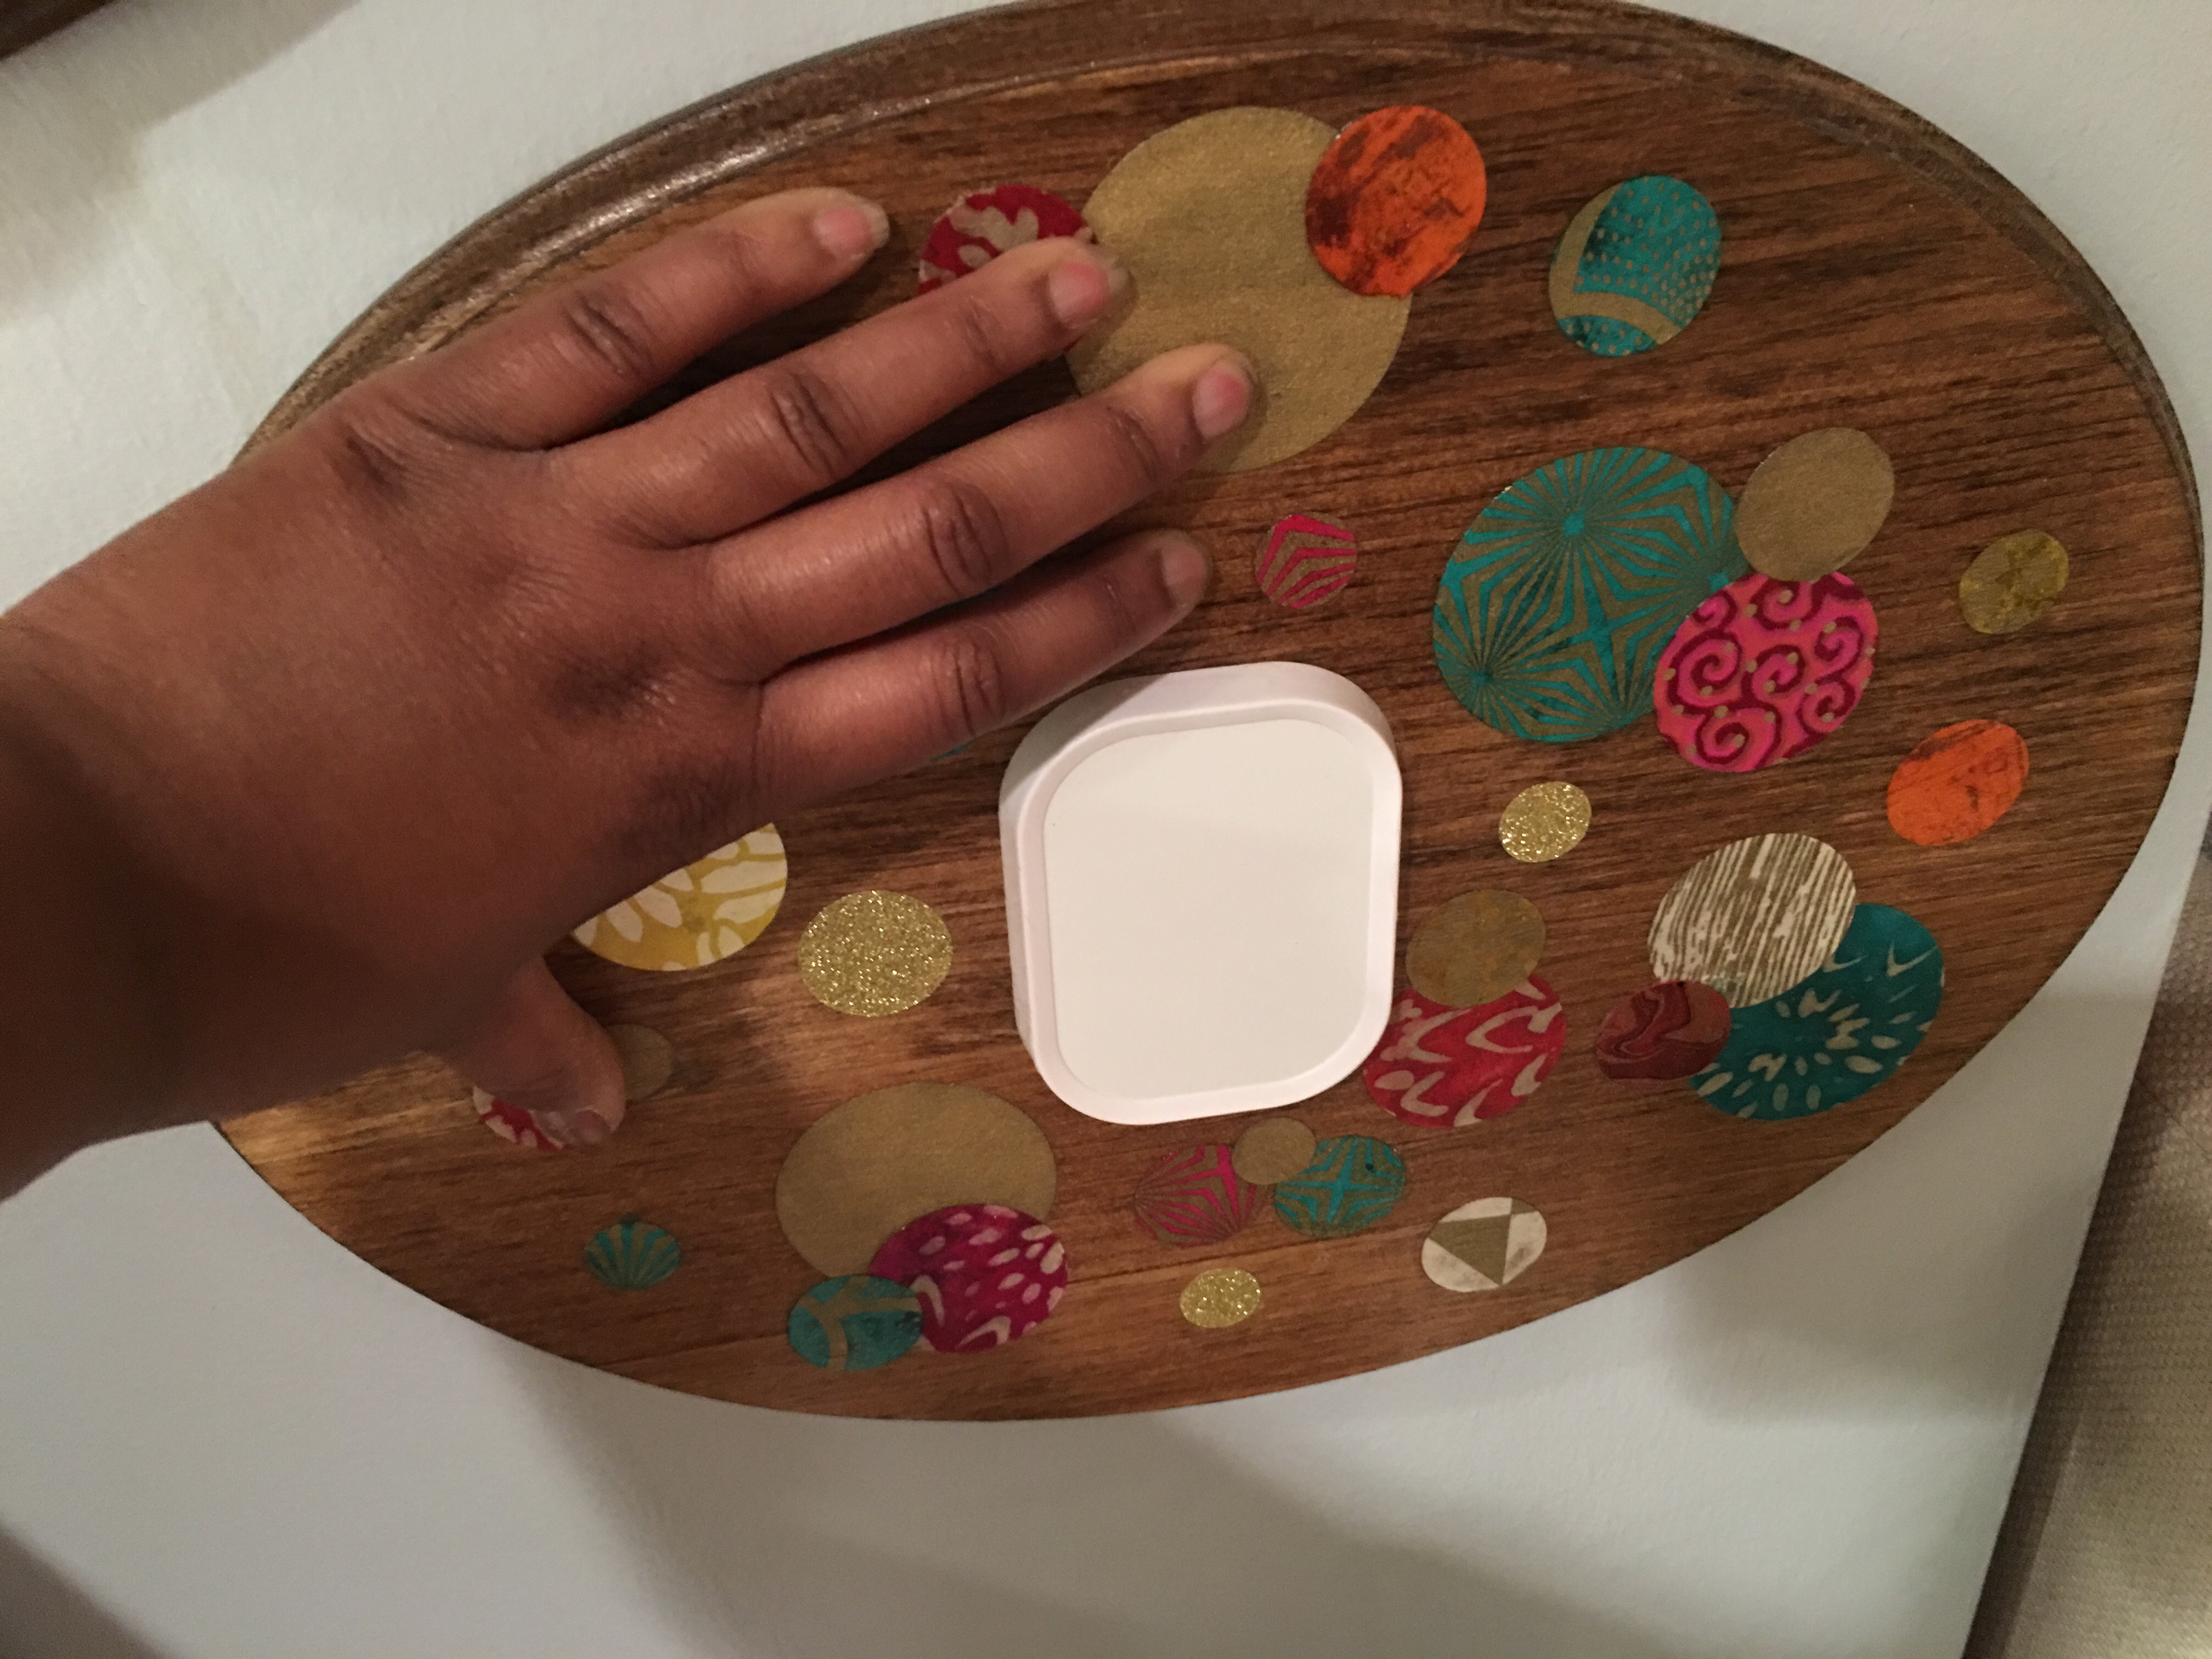
- Step 11: Position my decorative paper circle punch-outs around the middle puck mount to make a colorful, creative design.
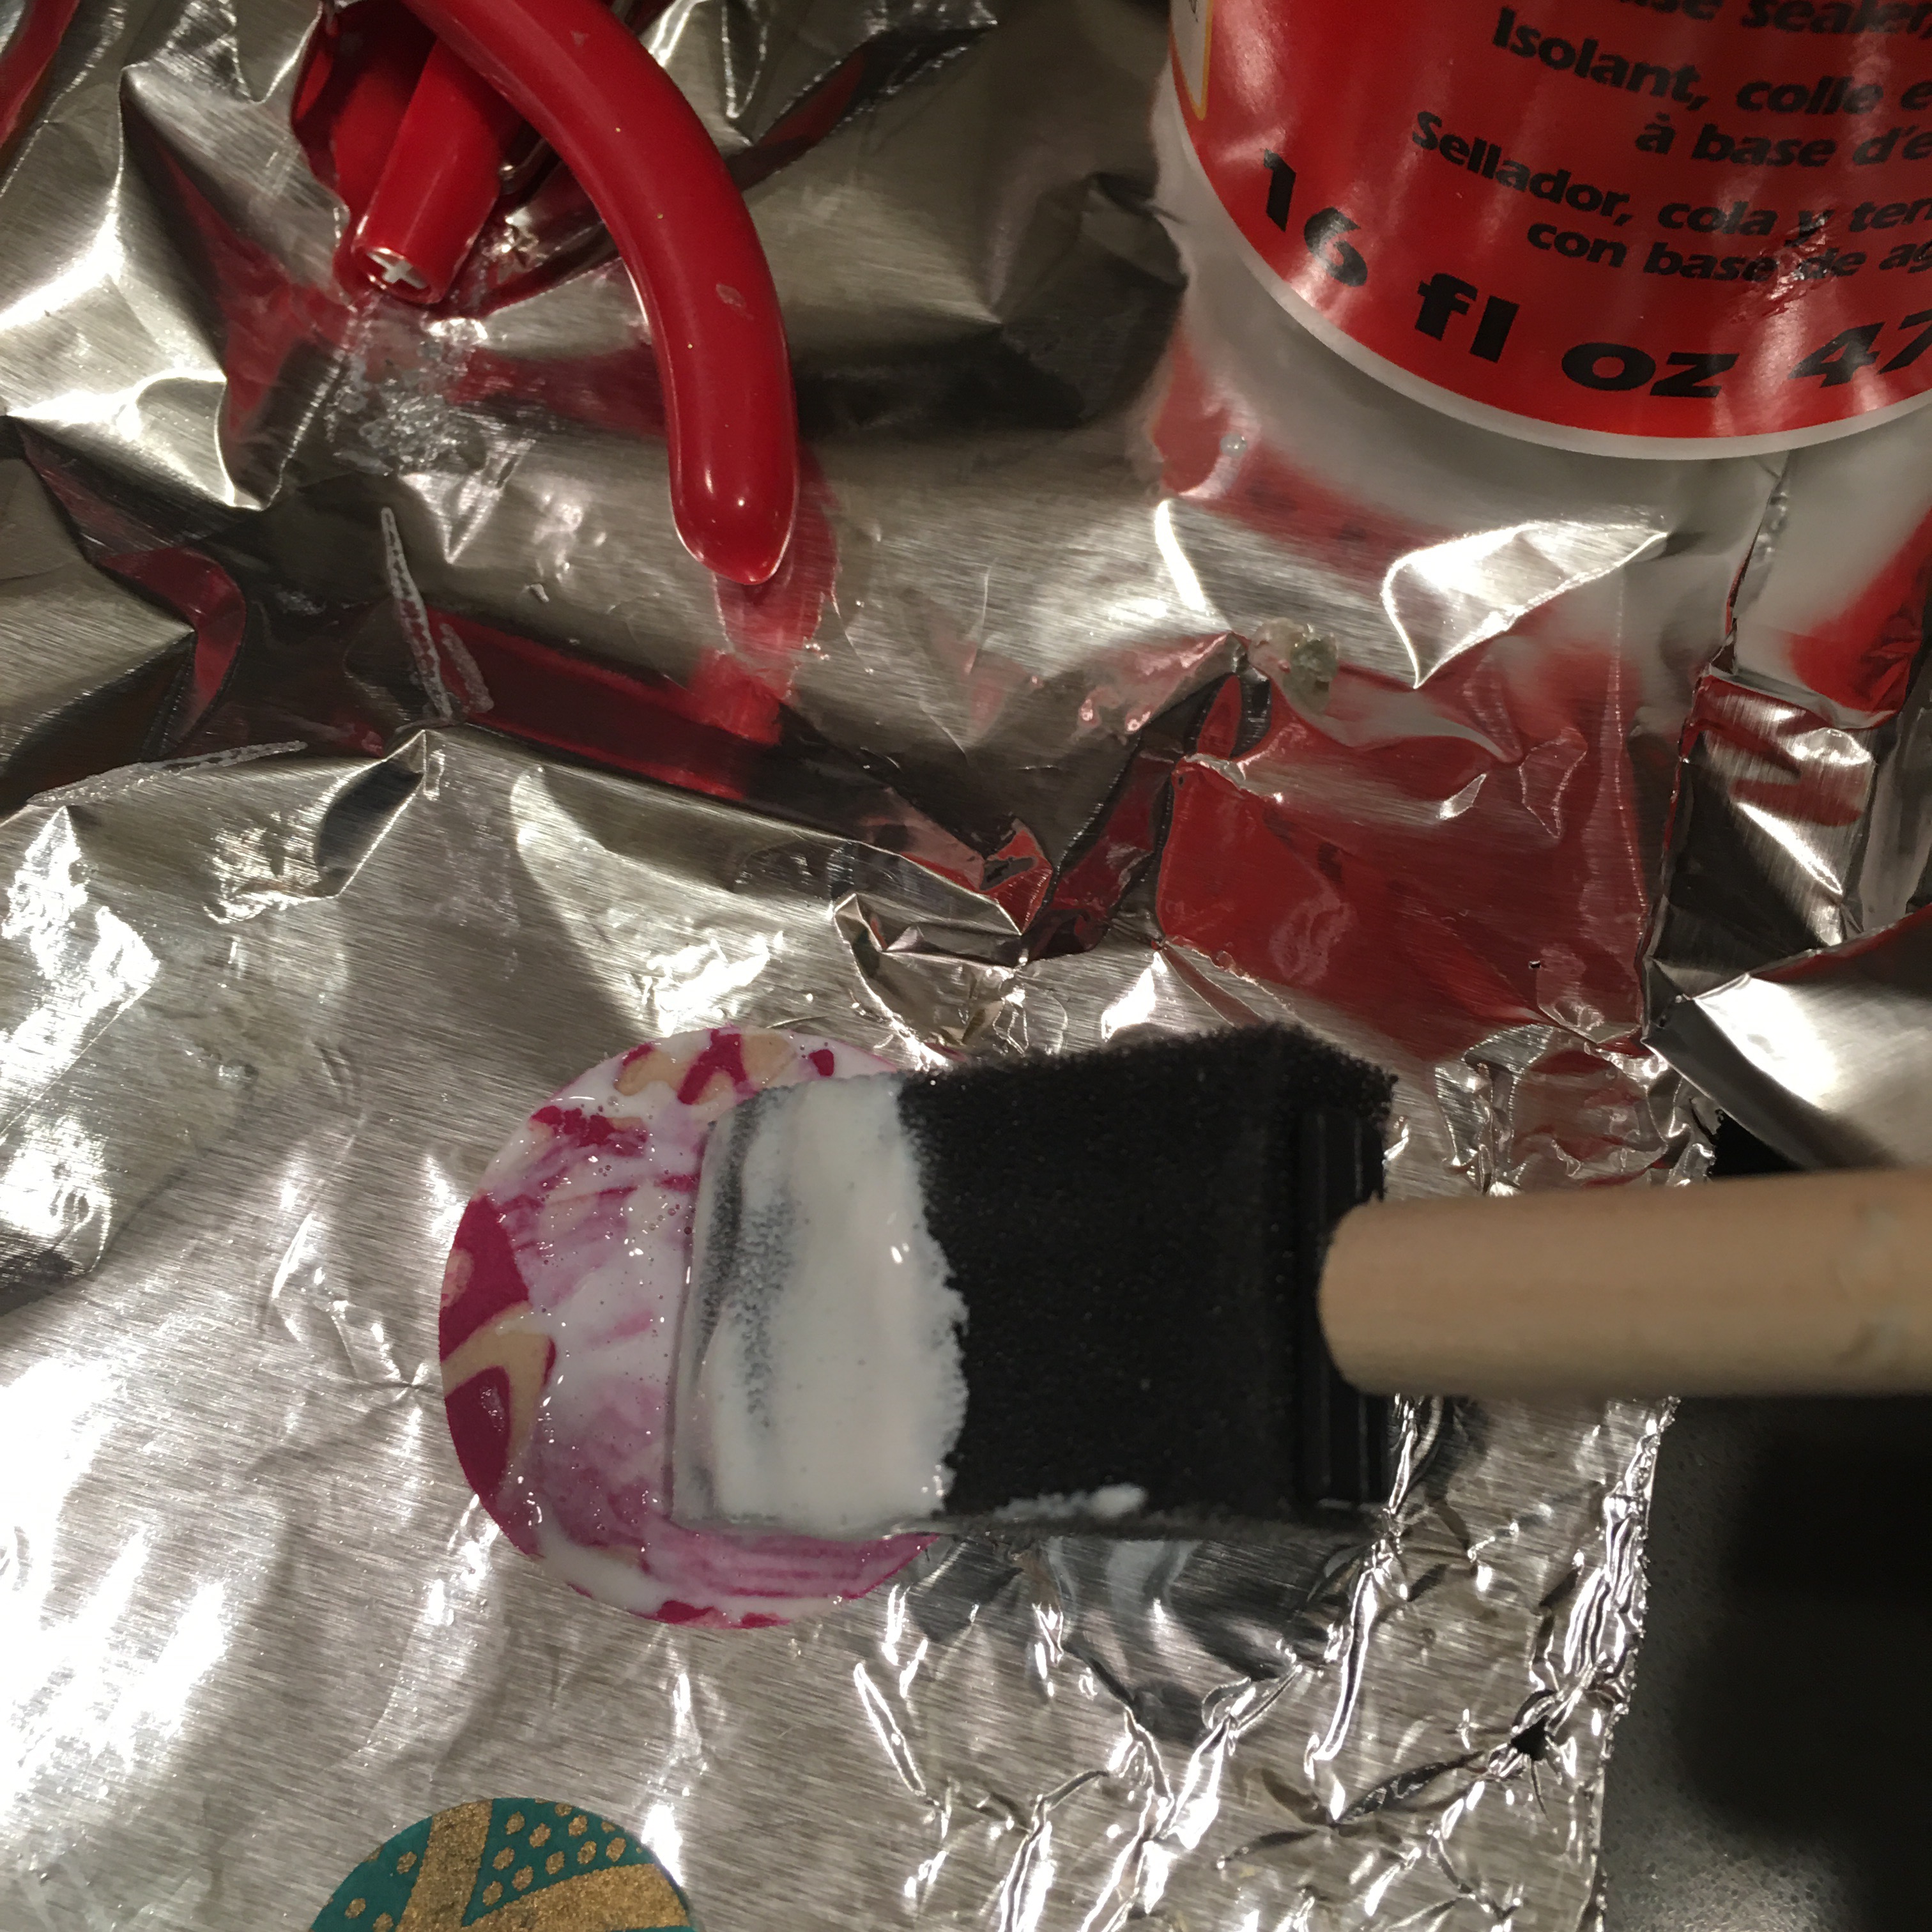
- Step 12: Use Mod Podge (Glossy) to decoupage the paper circles onto the wood.
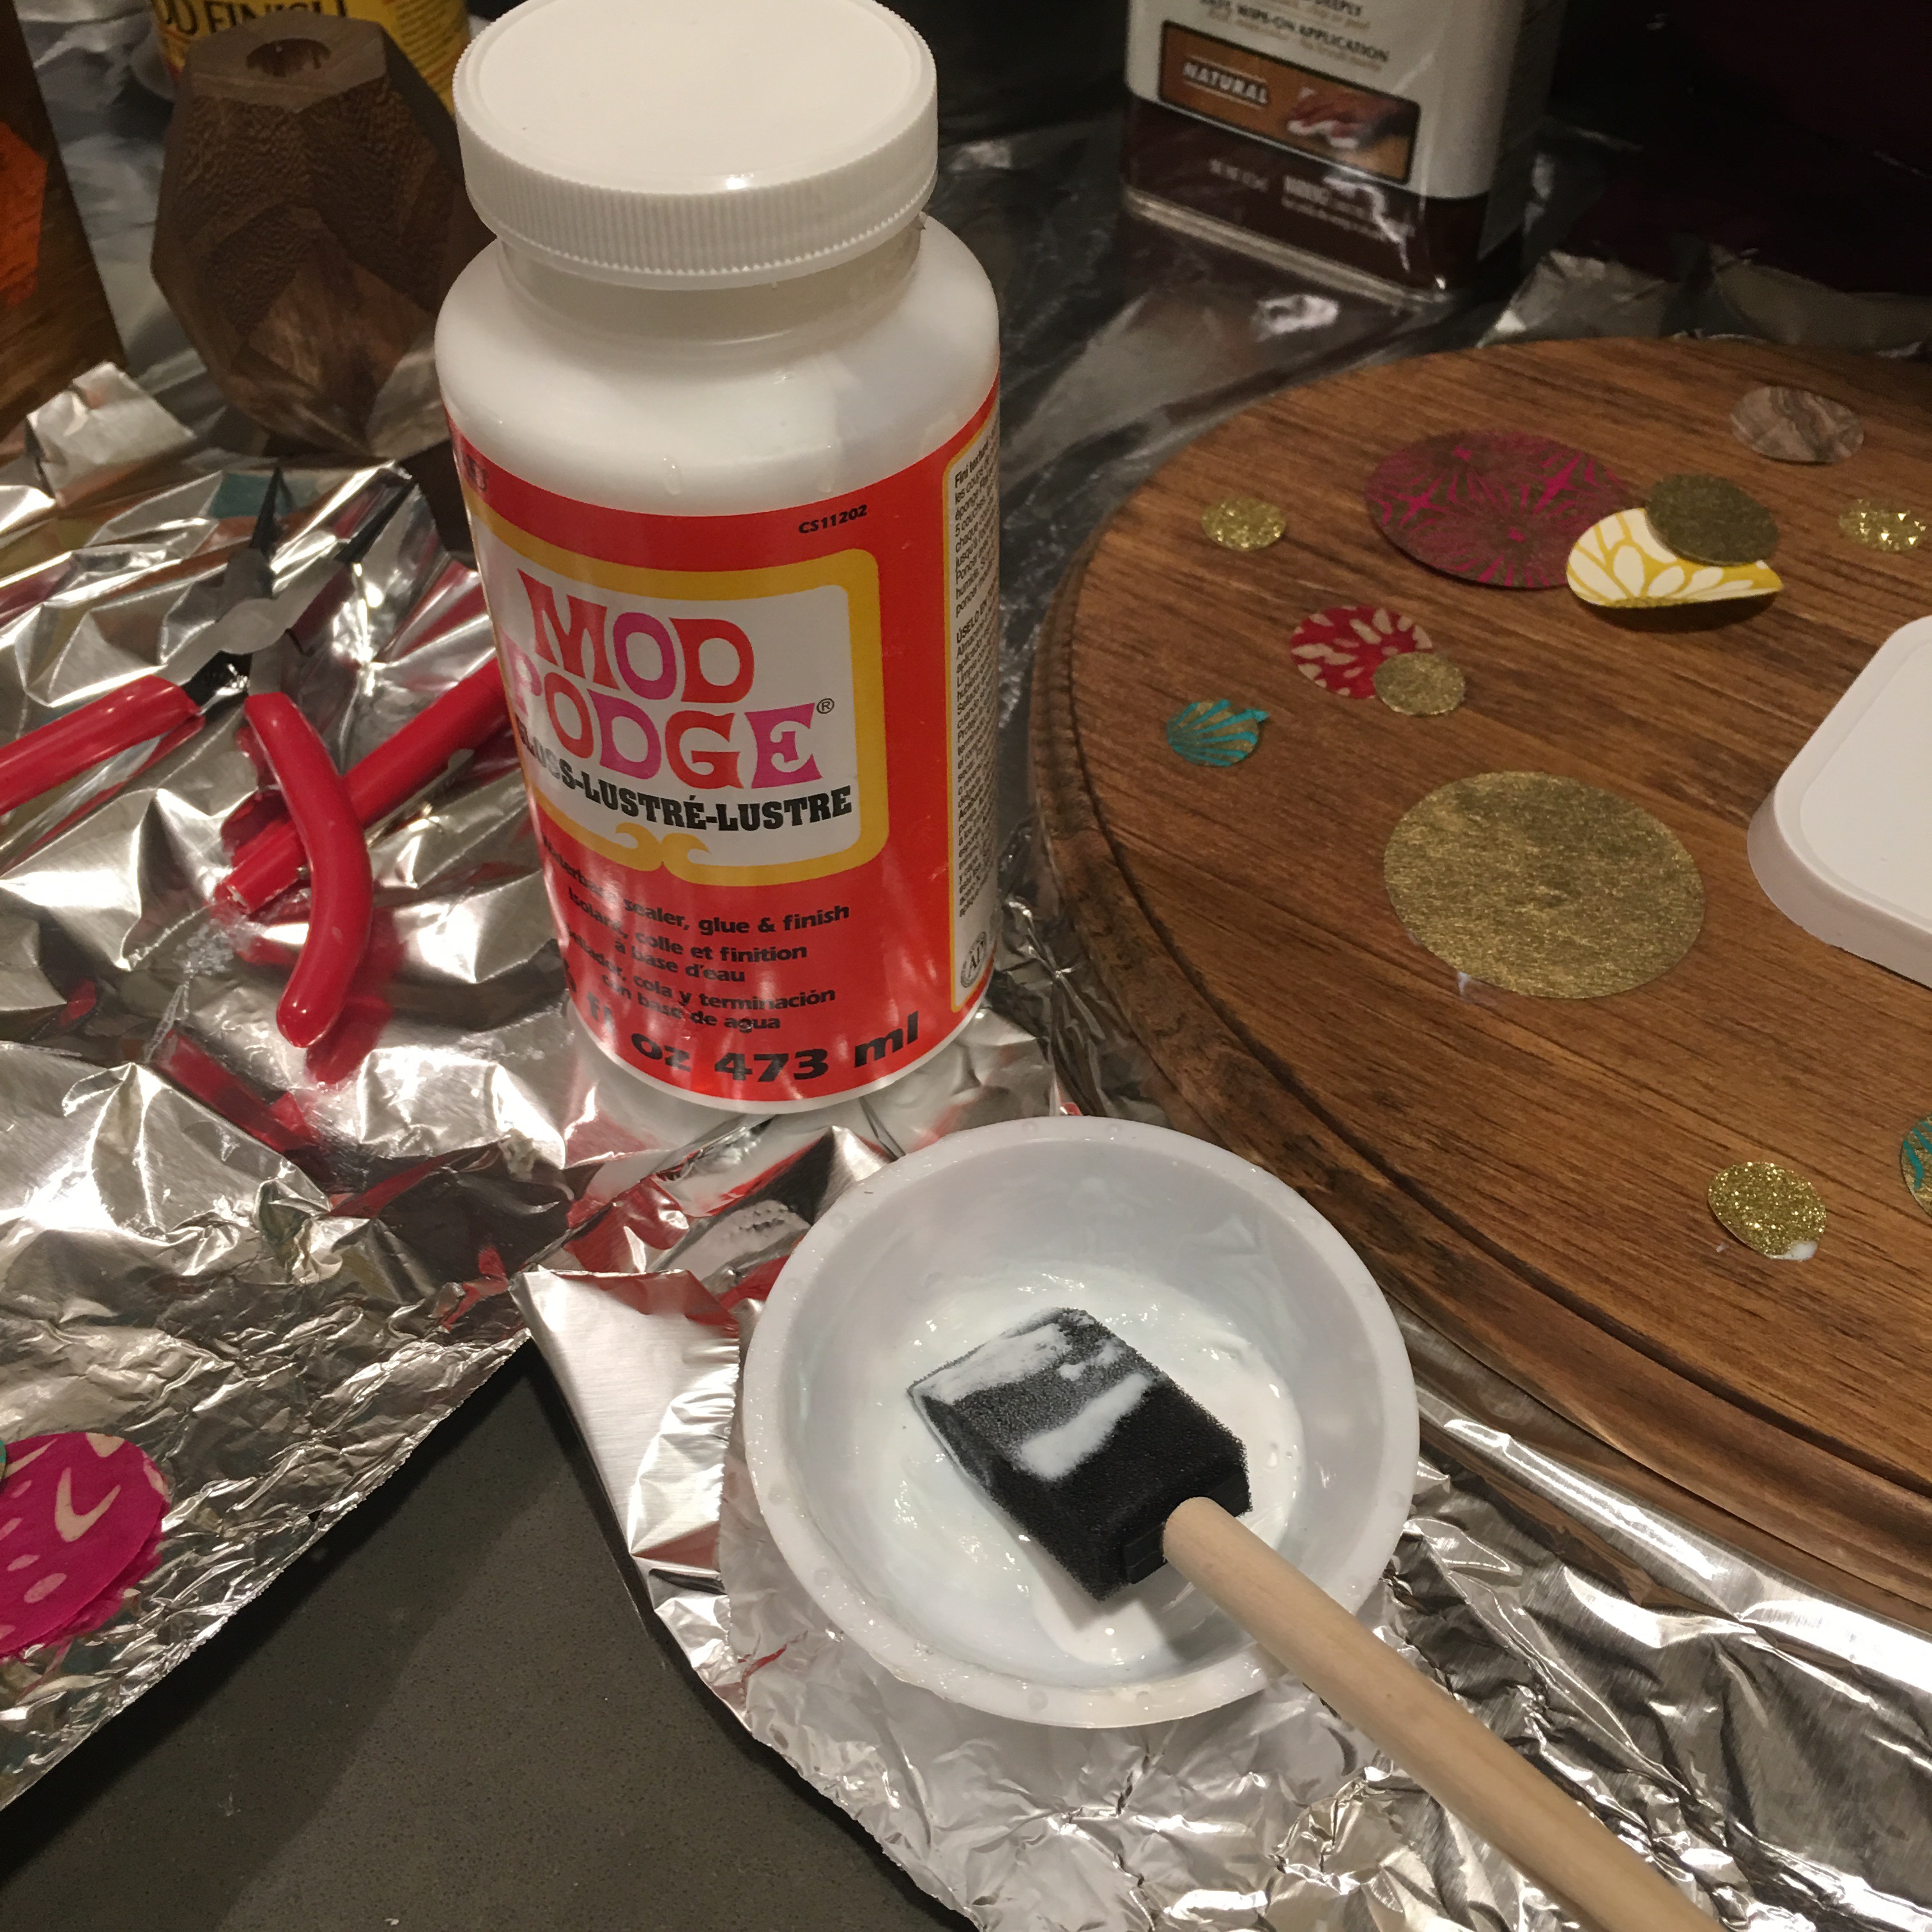
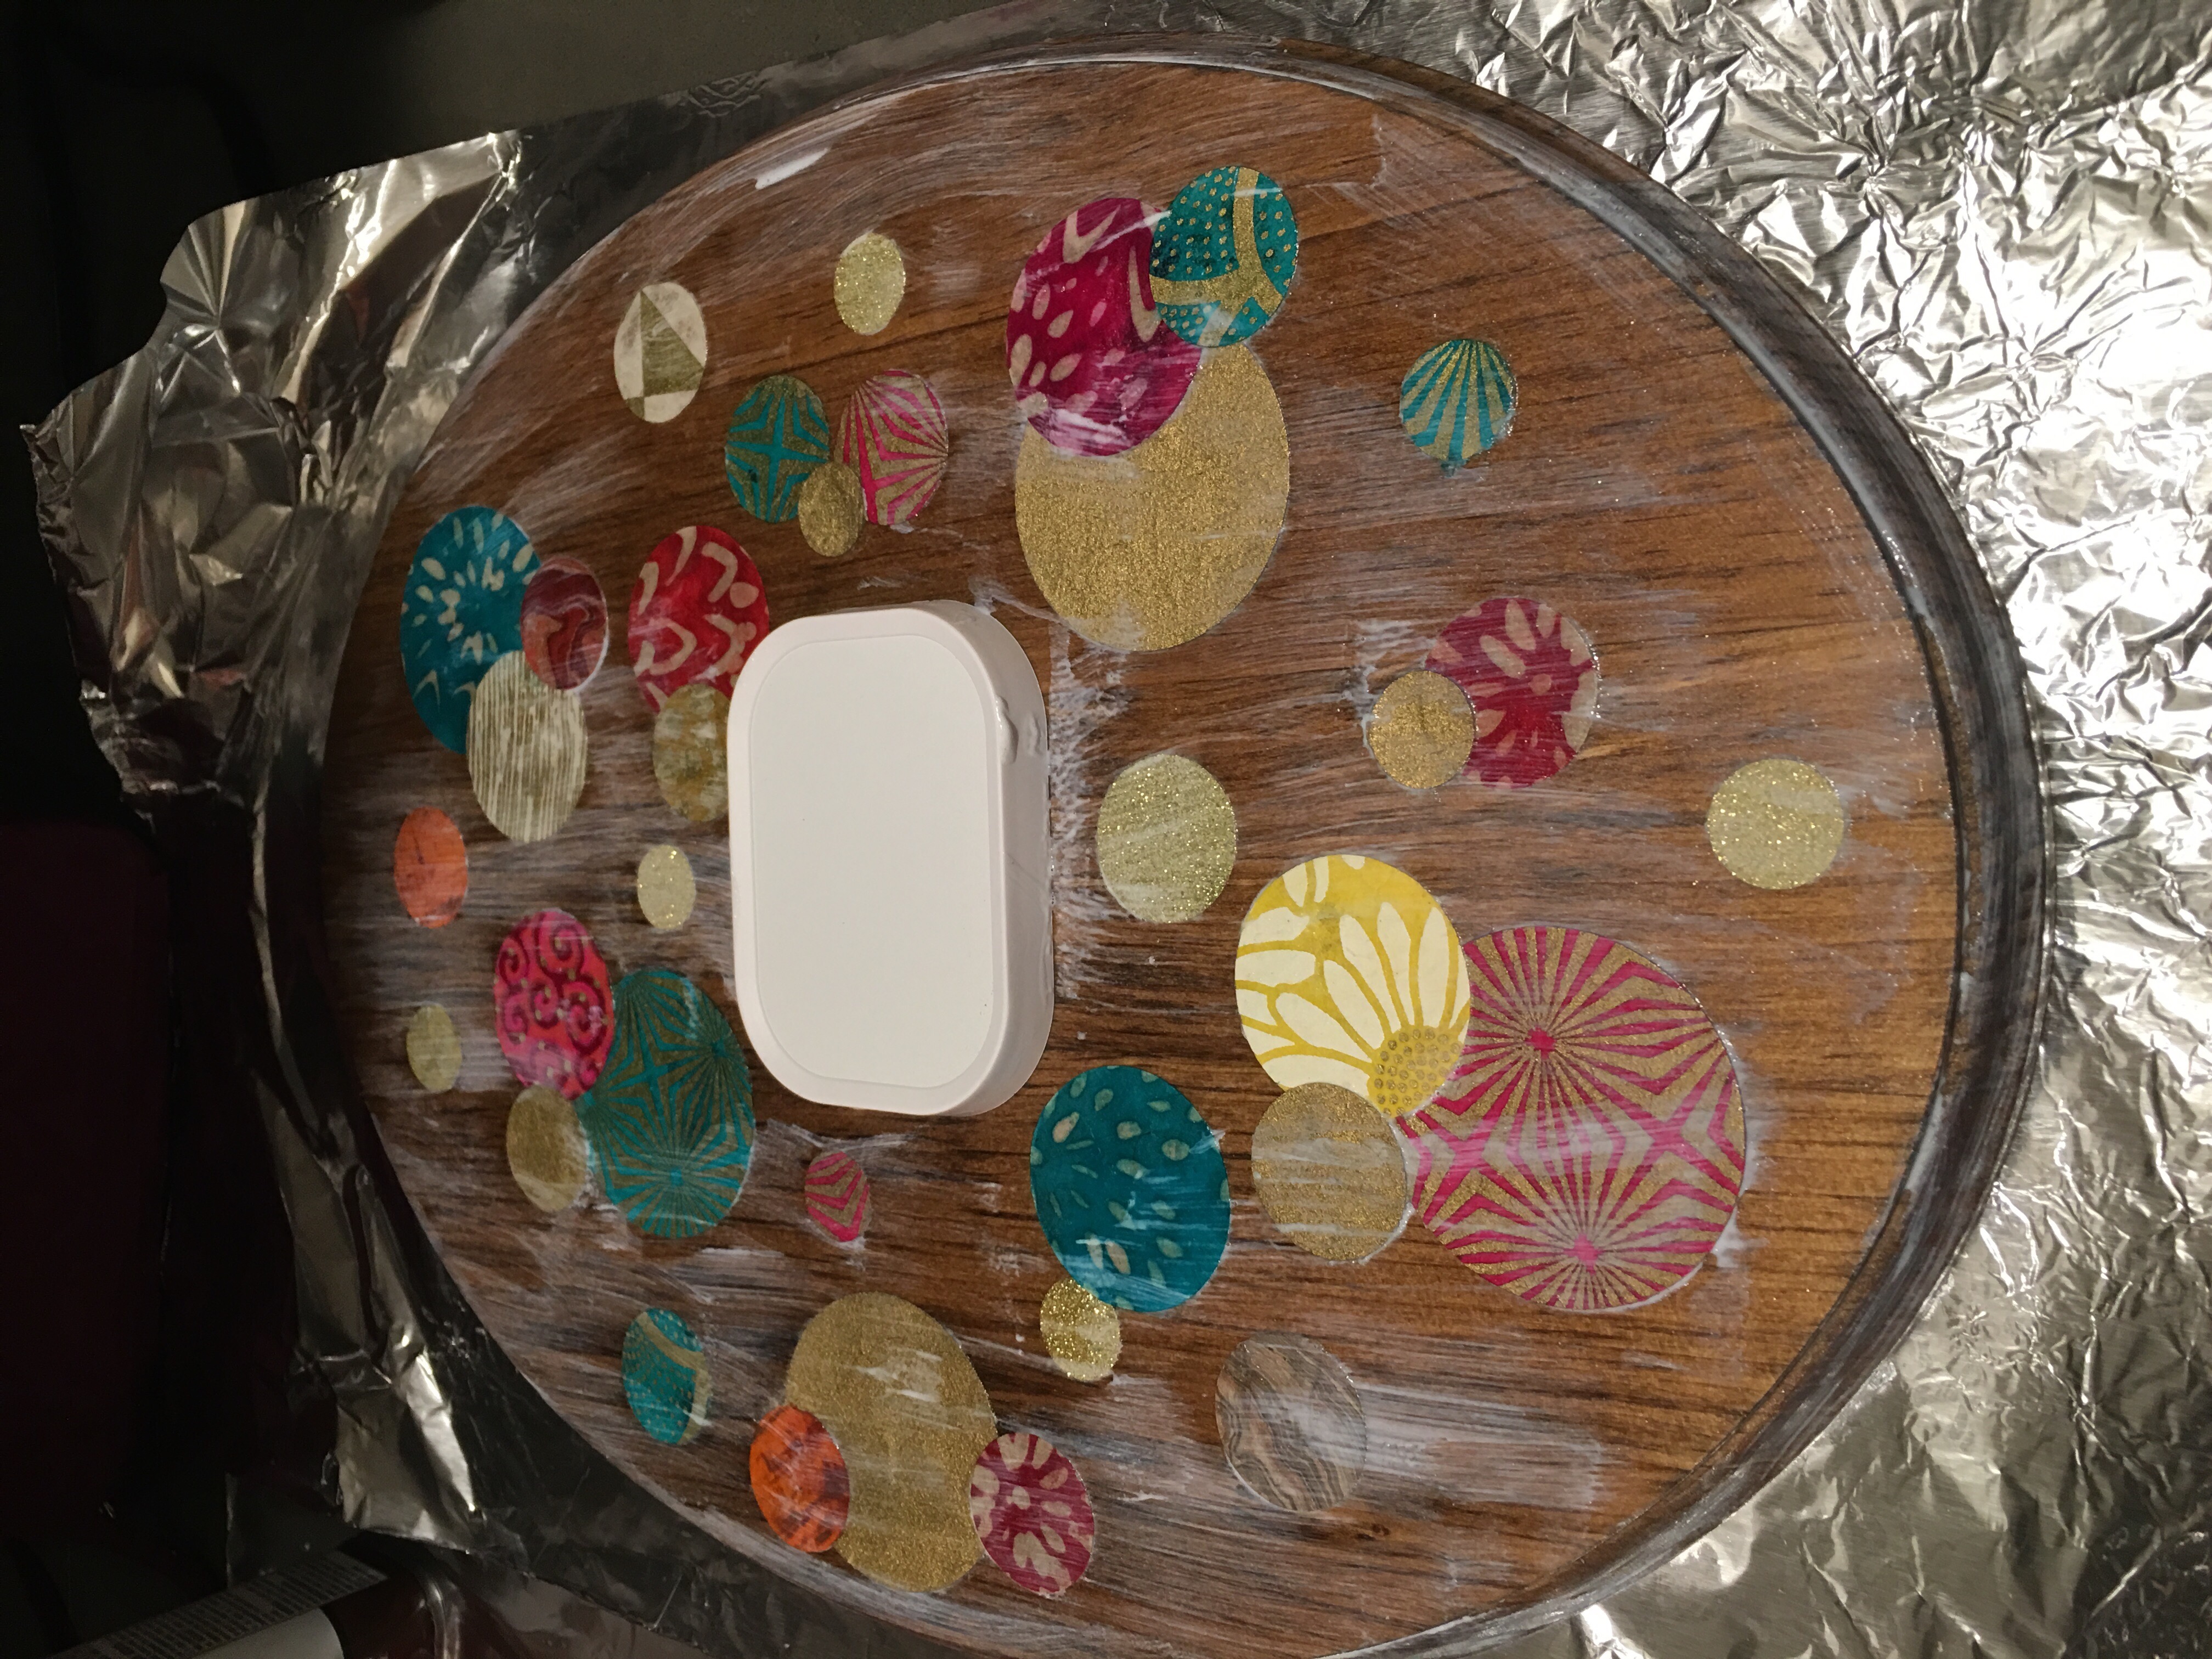
- Step 13: Use the Mod Podge to coat the entire decorated plaque (to add a glossy seal and finish).

- Step 14: Apply two or more coats of Mod Podge.
- Step 15: Once the plaque is dry (I waited overnight for drying to complete), I reached for recycled and new Command large picture strips for mounting the plaque.
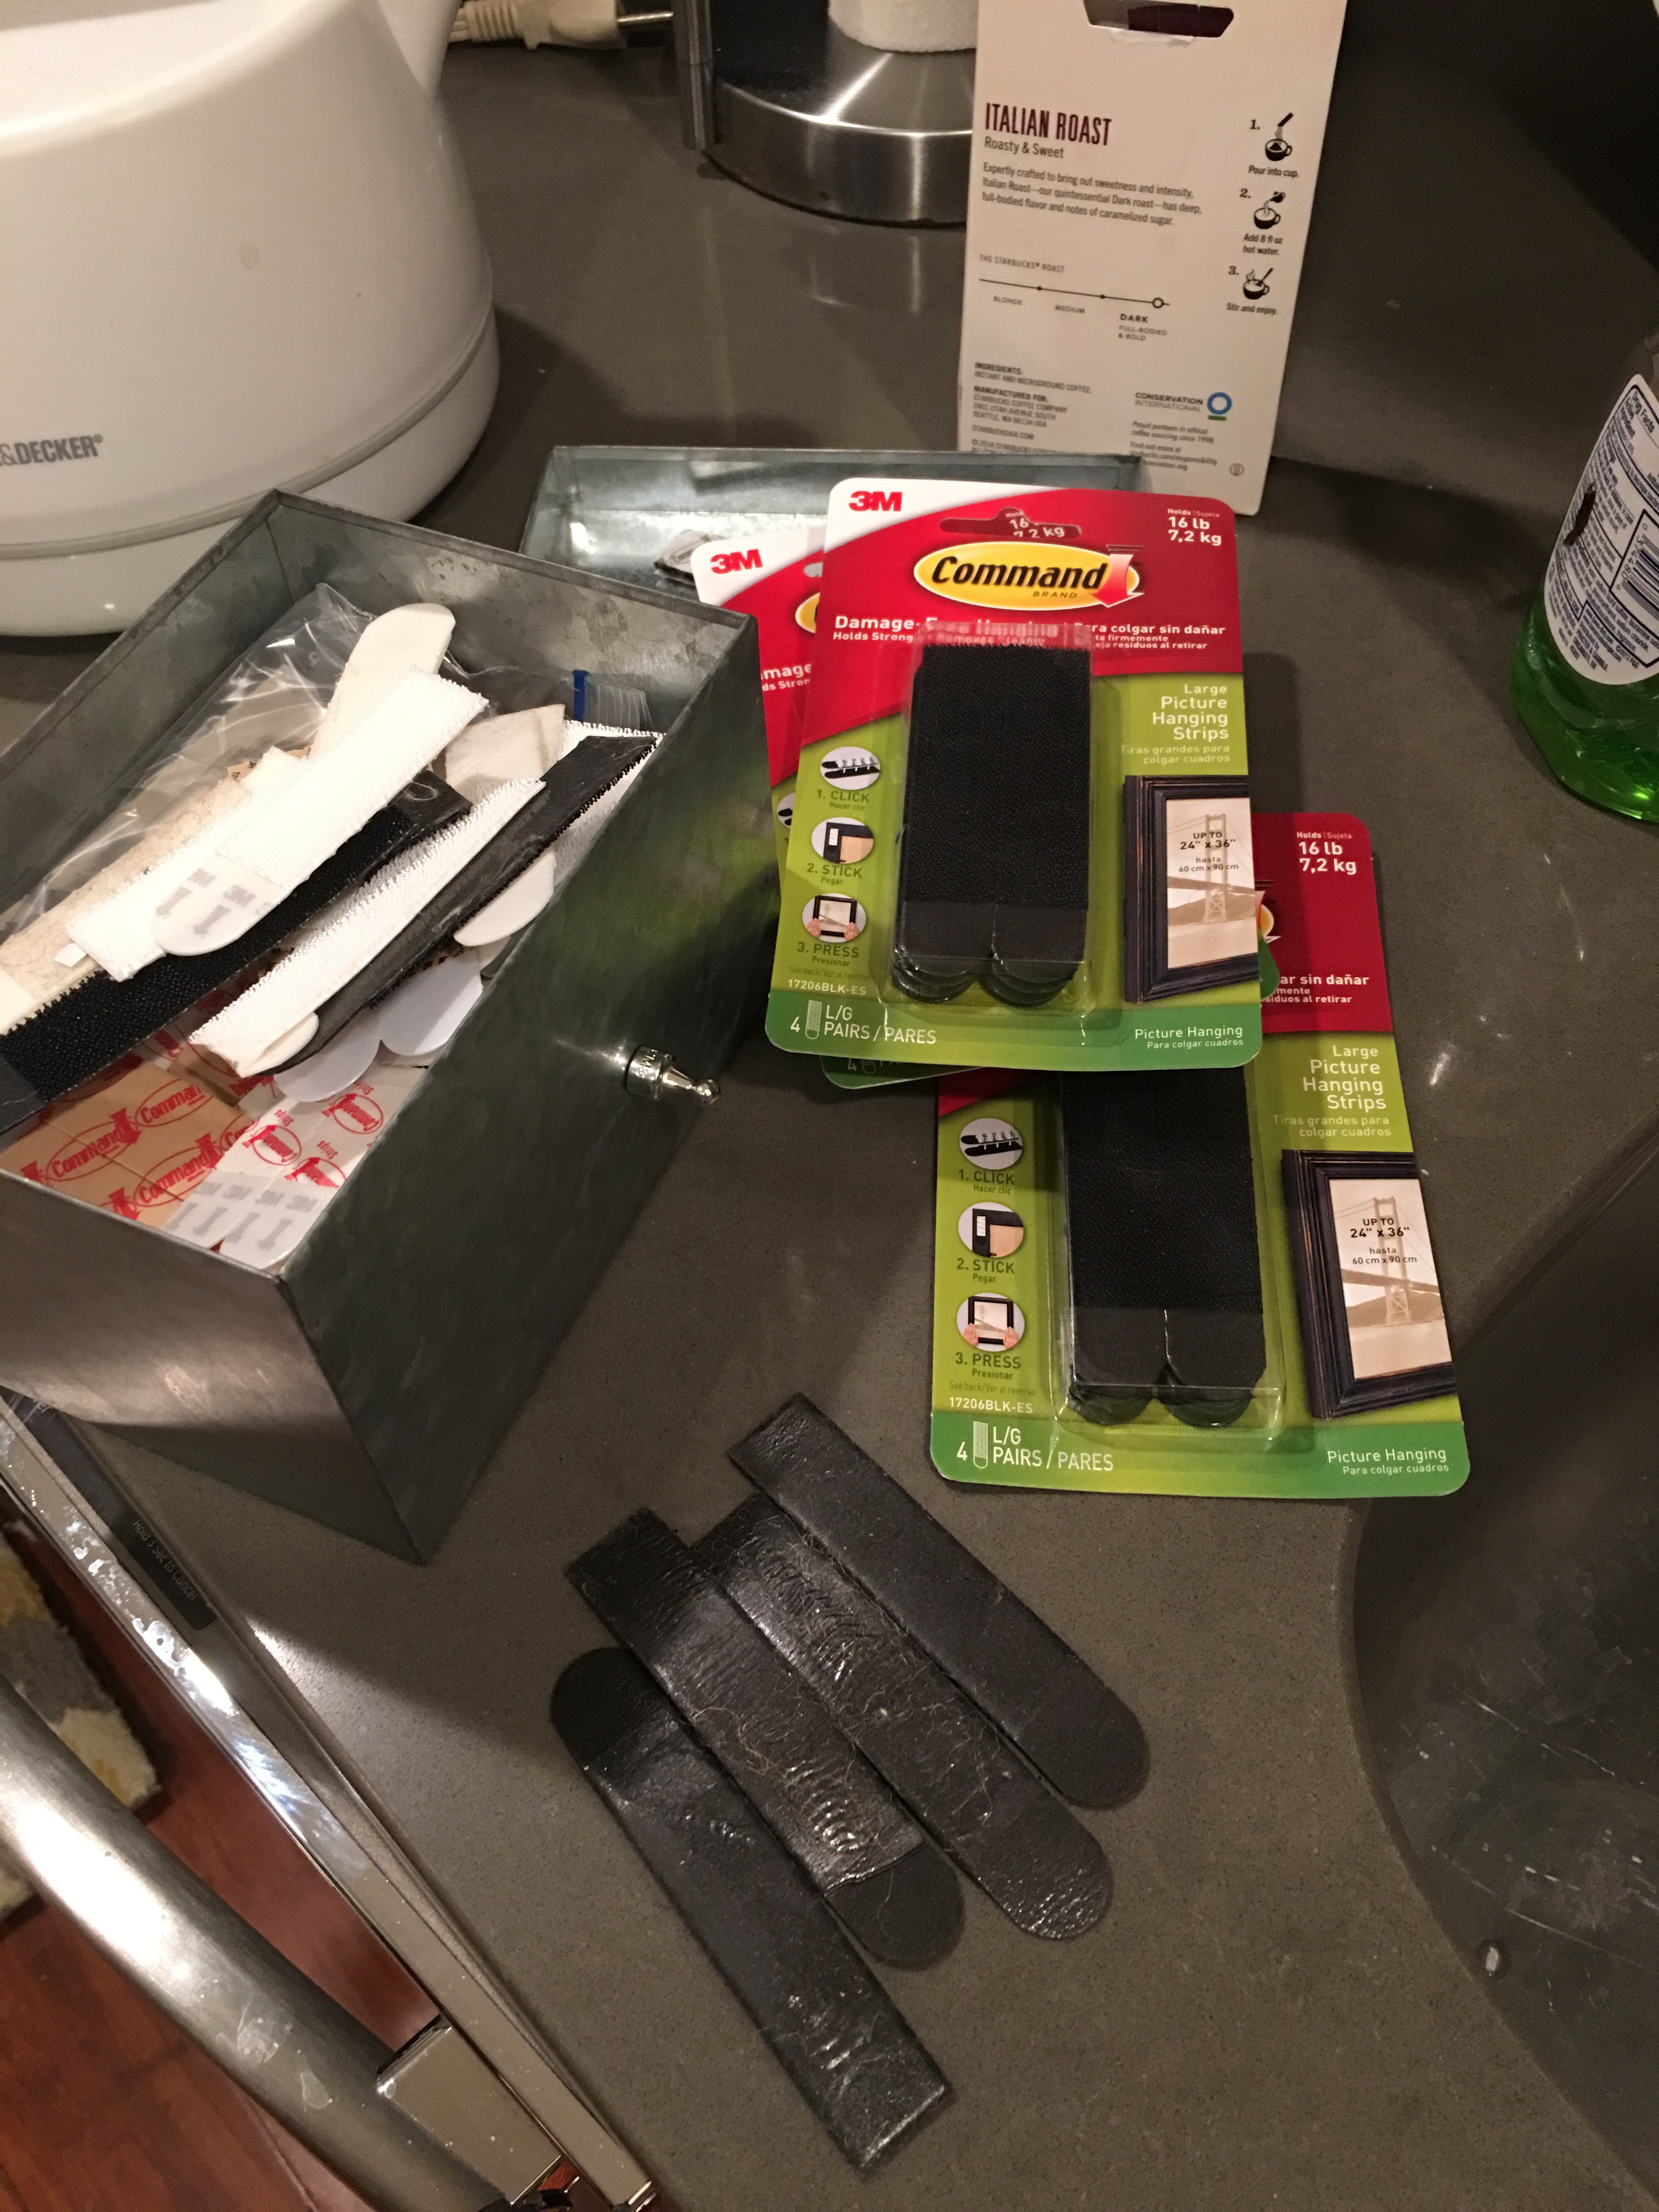
- Step 16: Hot glue four used Command picture strips to the back of the wood plaque.
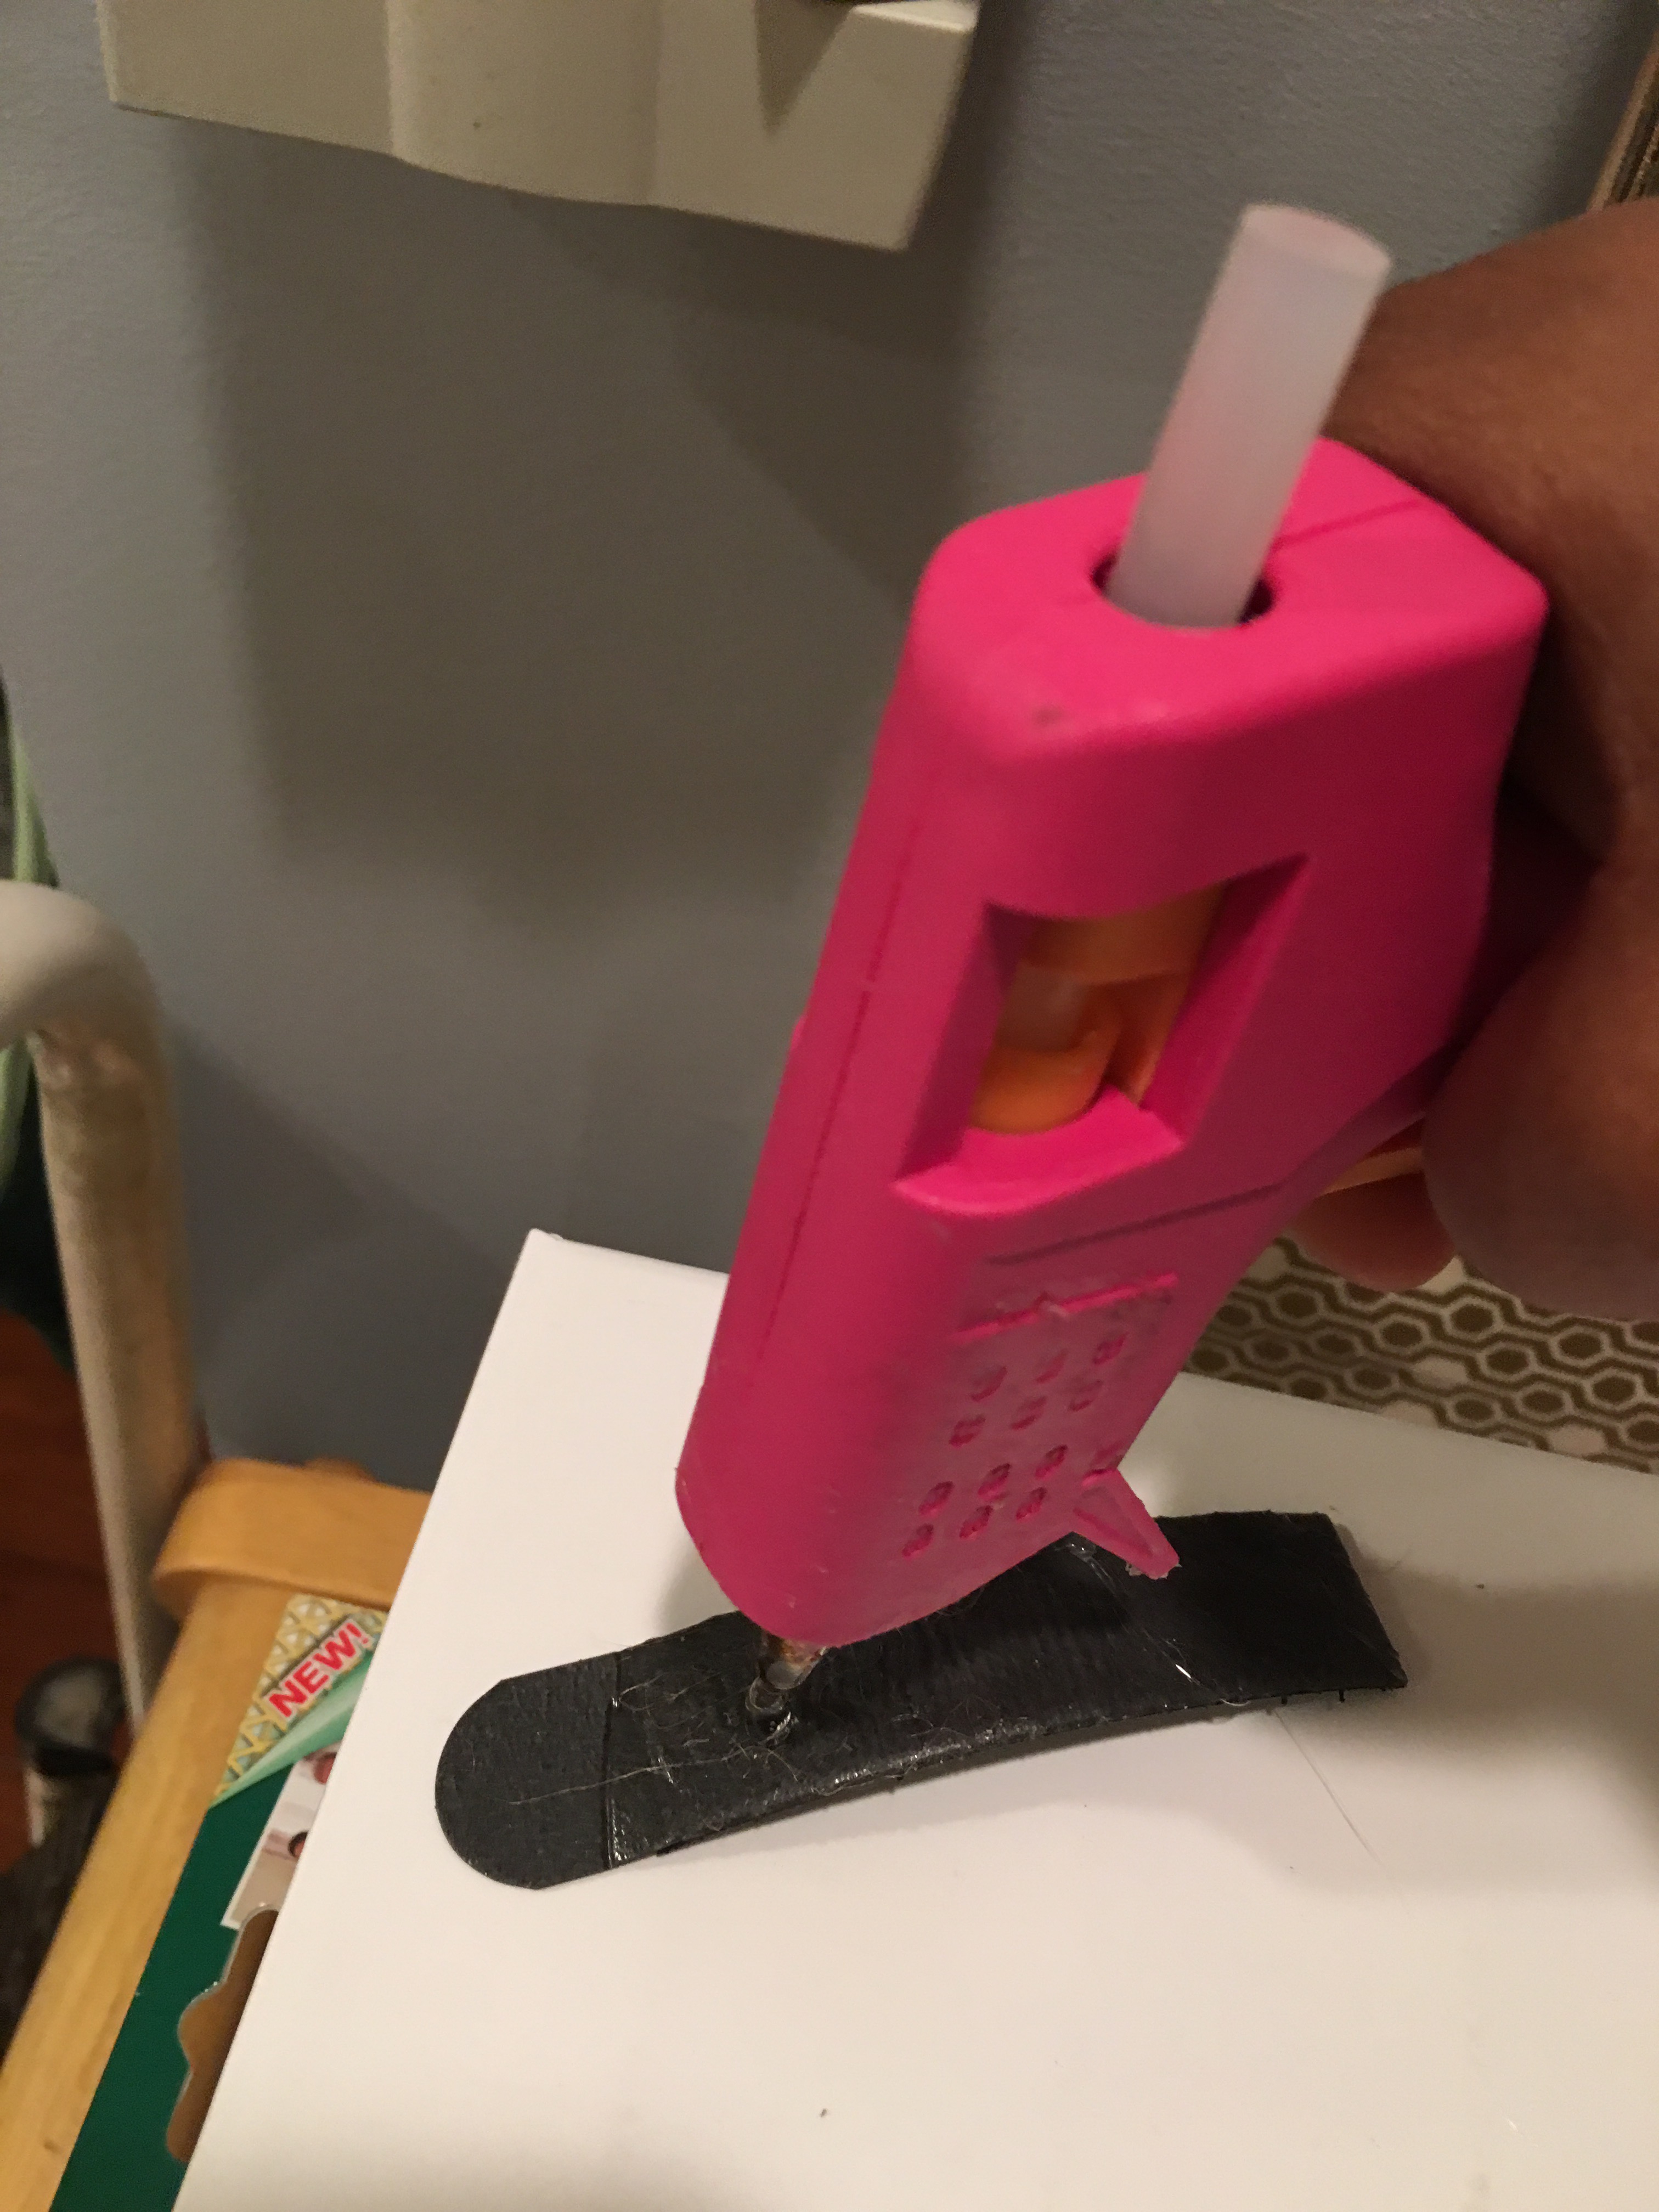
These must be hot glued onto the wood because the Command adhesive strips do not easily attach to wood surfaces.
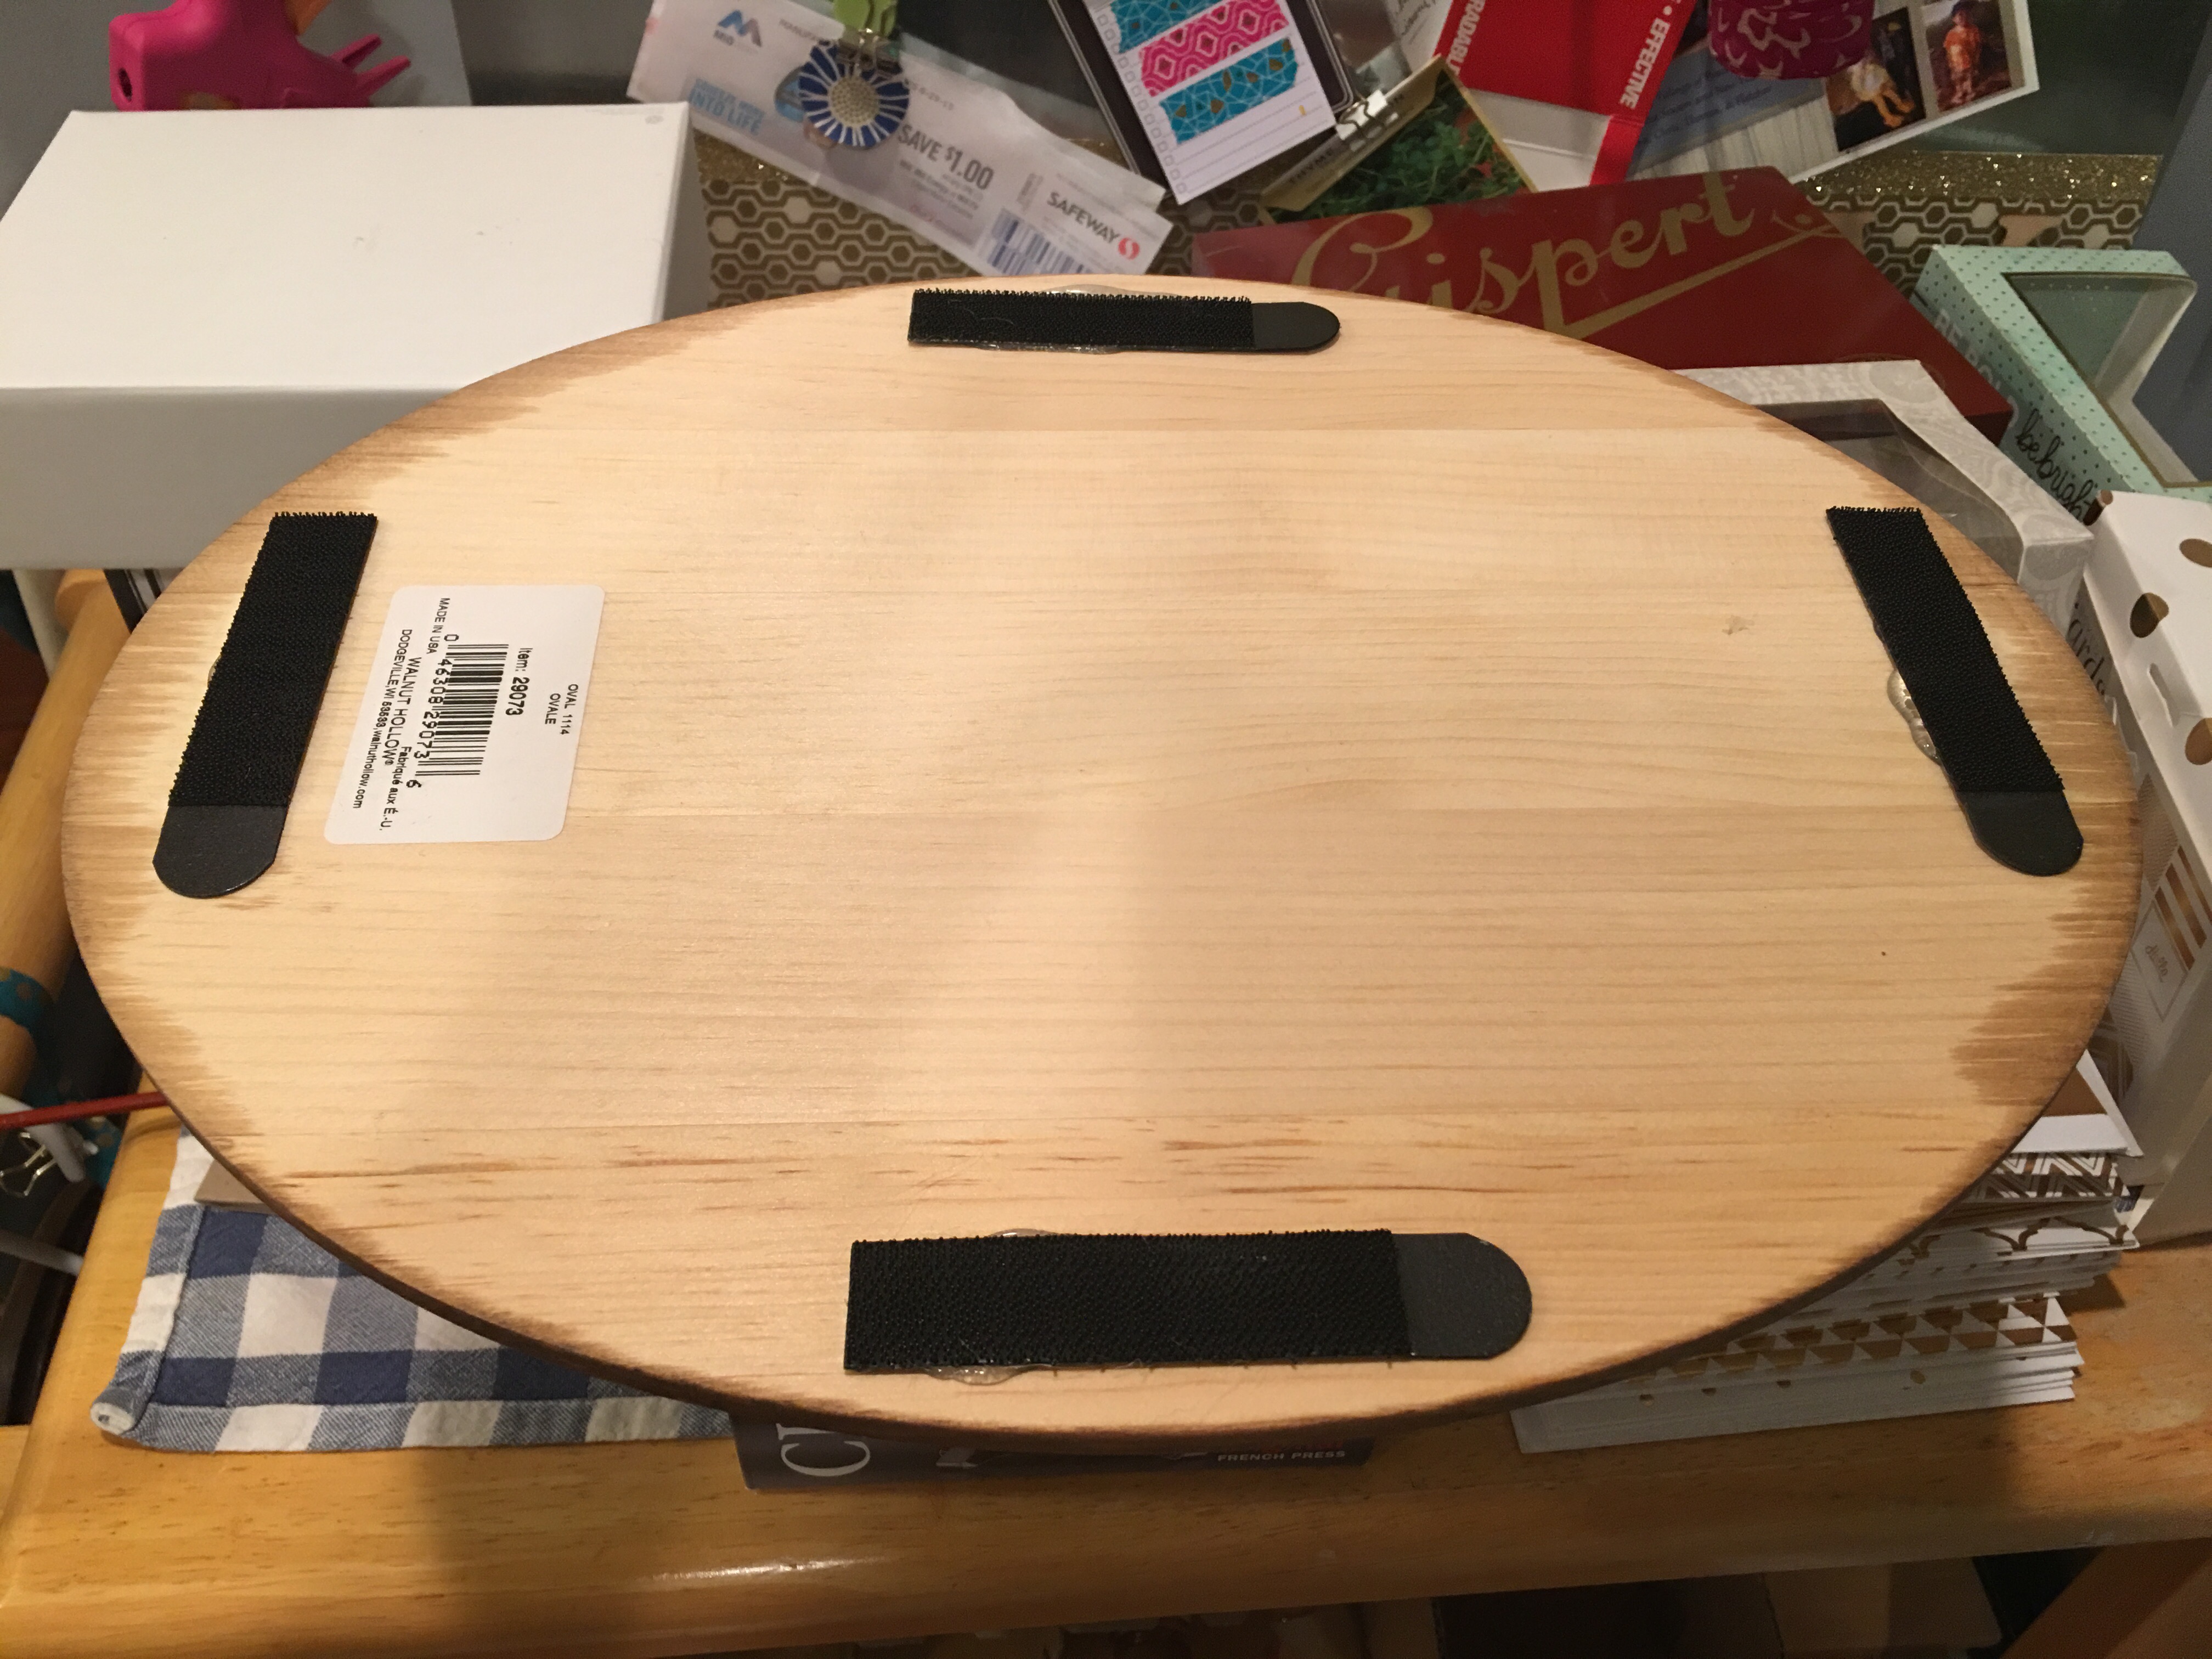
Step 17: Add four new Command picture strips to the ones already attached to the plaque and press firmly.

- Step 18: Flip it over. And decide where to hang it.

- Step 19: I had the mount location pretty much covered. I peeled of the adhesive paper for the wall side of the strips and pressed the plaque firmly to the wall.
Now 3M recommends peeling the item being mounted from the wall at first install so that you can get a good stick. They also recommend that you rub the wall area with alcohol to get a good clean surface before adding the wall mounted item with the strips.
But I’ve done this before (and even with the vessel, the plaque is super light). So i skipped these two steps and went right to hanging. We’ll see how the mount does when it gets more warm and humid (Will let you know!).
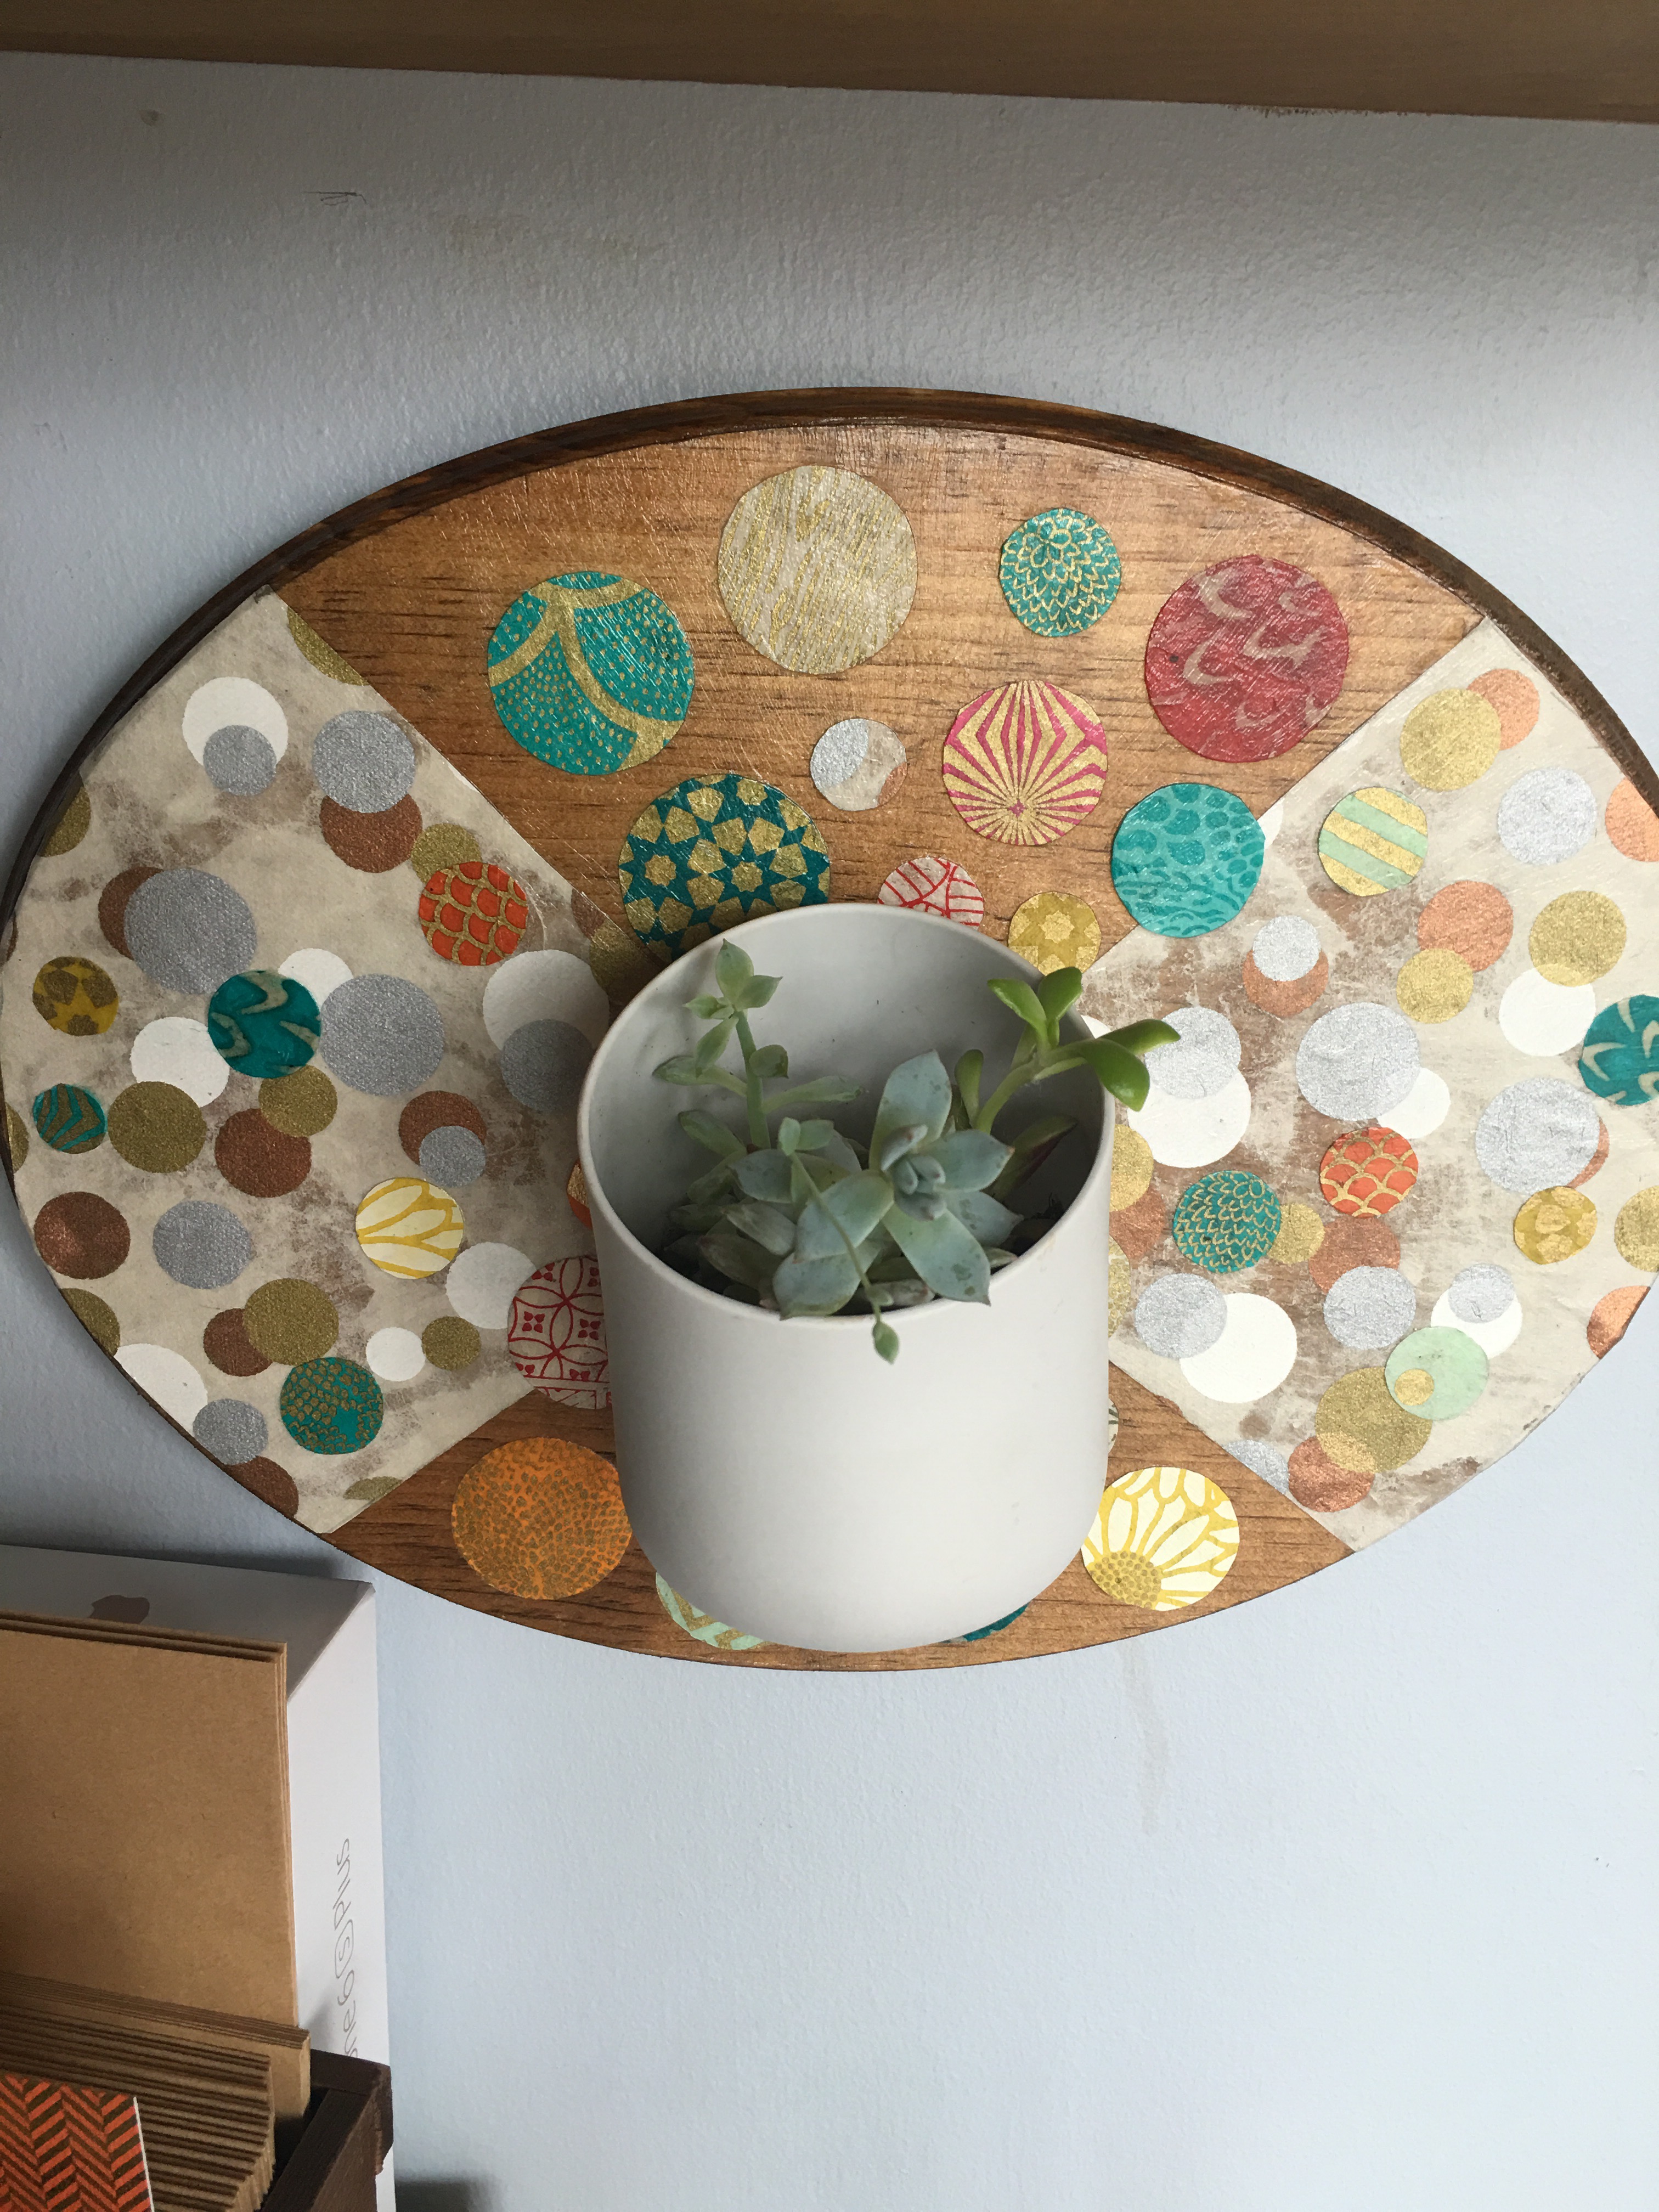
- Step 20: Final step. Add your Urbio vessel.
So besides the succulent plants, what’s inside the vessel? A good bit of lightweight soil (roughly 3/4 of the vessel. And some rocks. Pretty much what came in the tiny pots with the succulents (with a bit more fresh soil added in, but not too firmly packed to add weight).
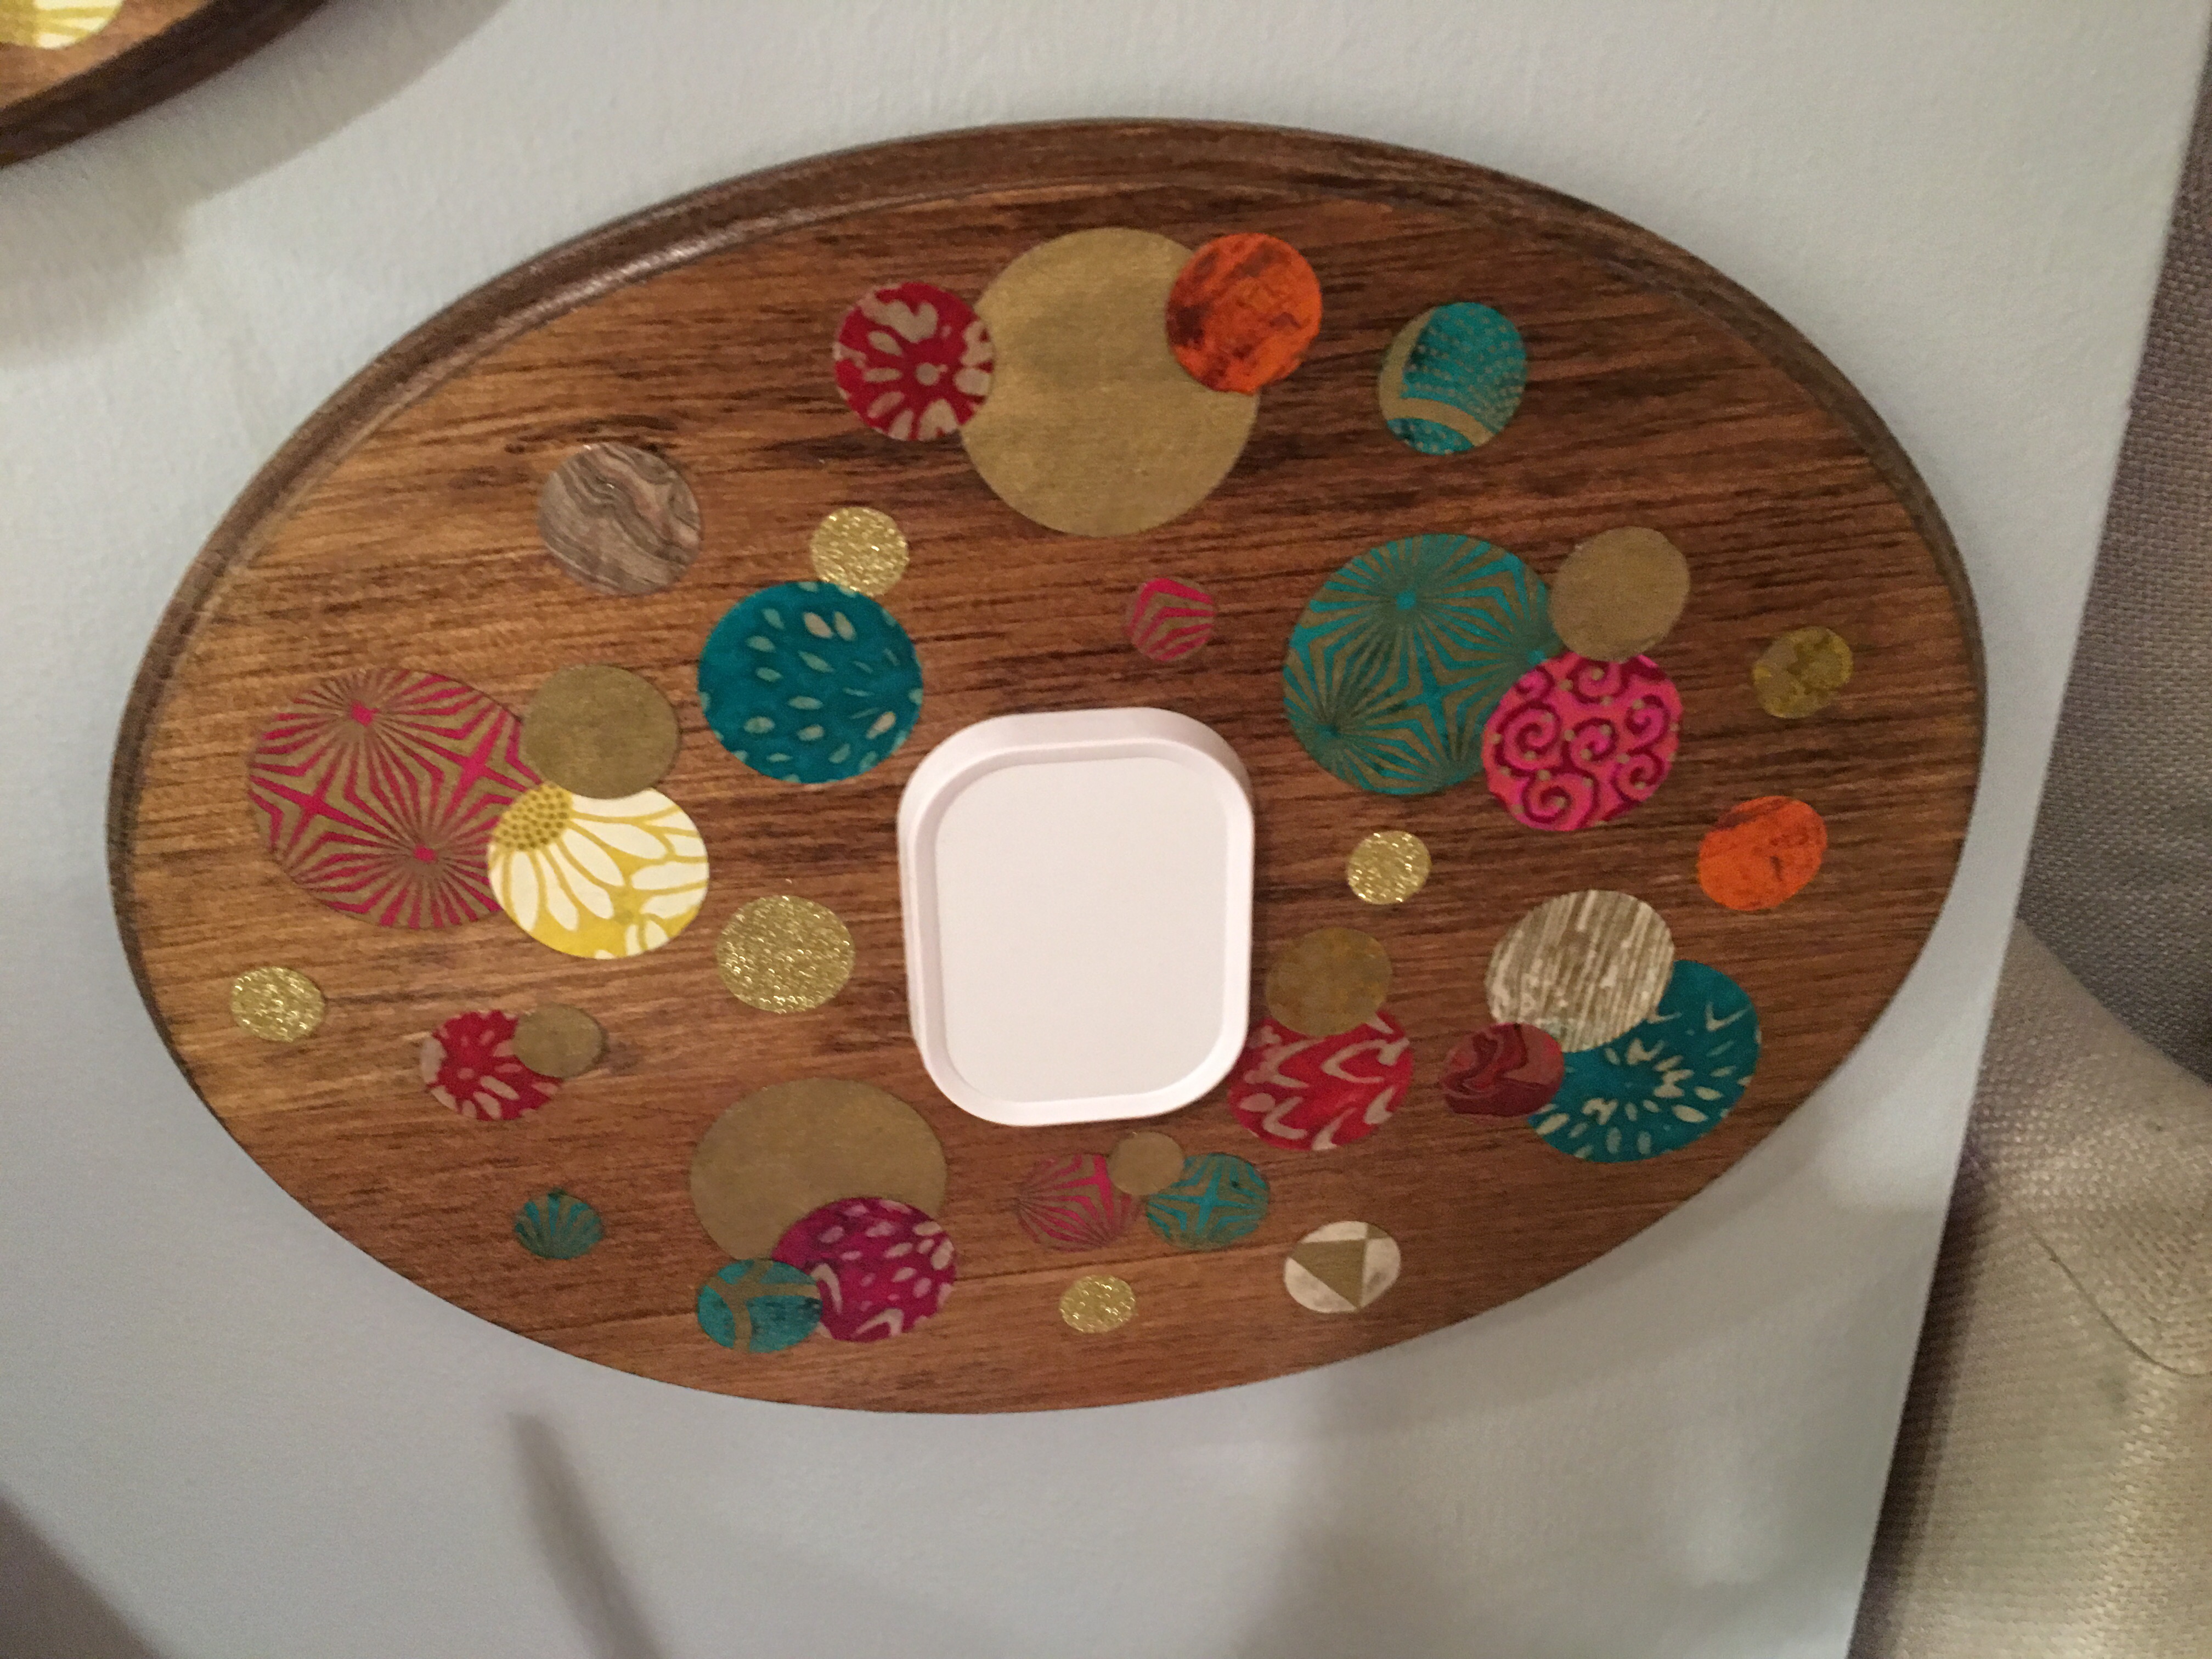
So now my Urbio wood plaque has a Perch wood plaque companion. I think they look good together. Which do you prefer? The one with the triangle sides or without?
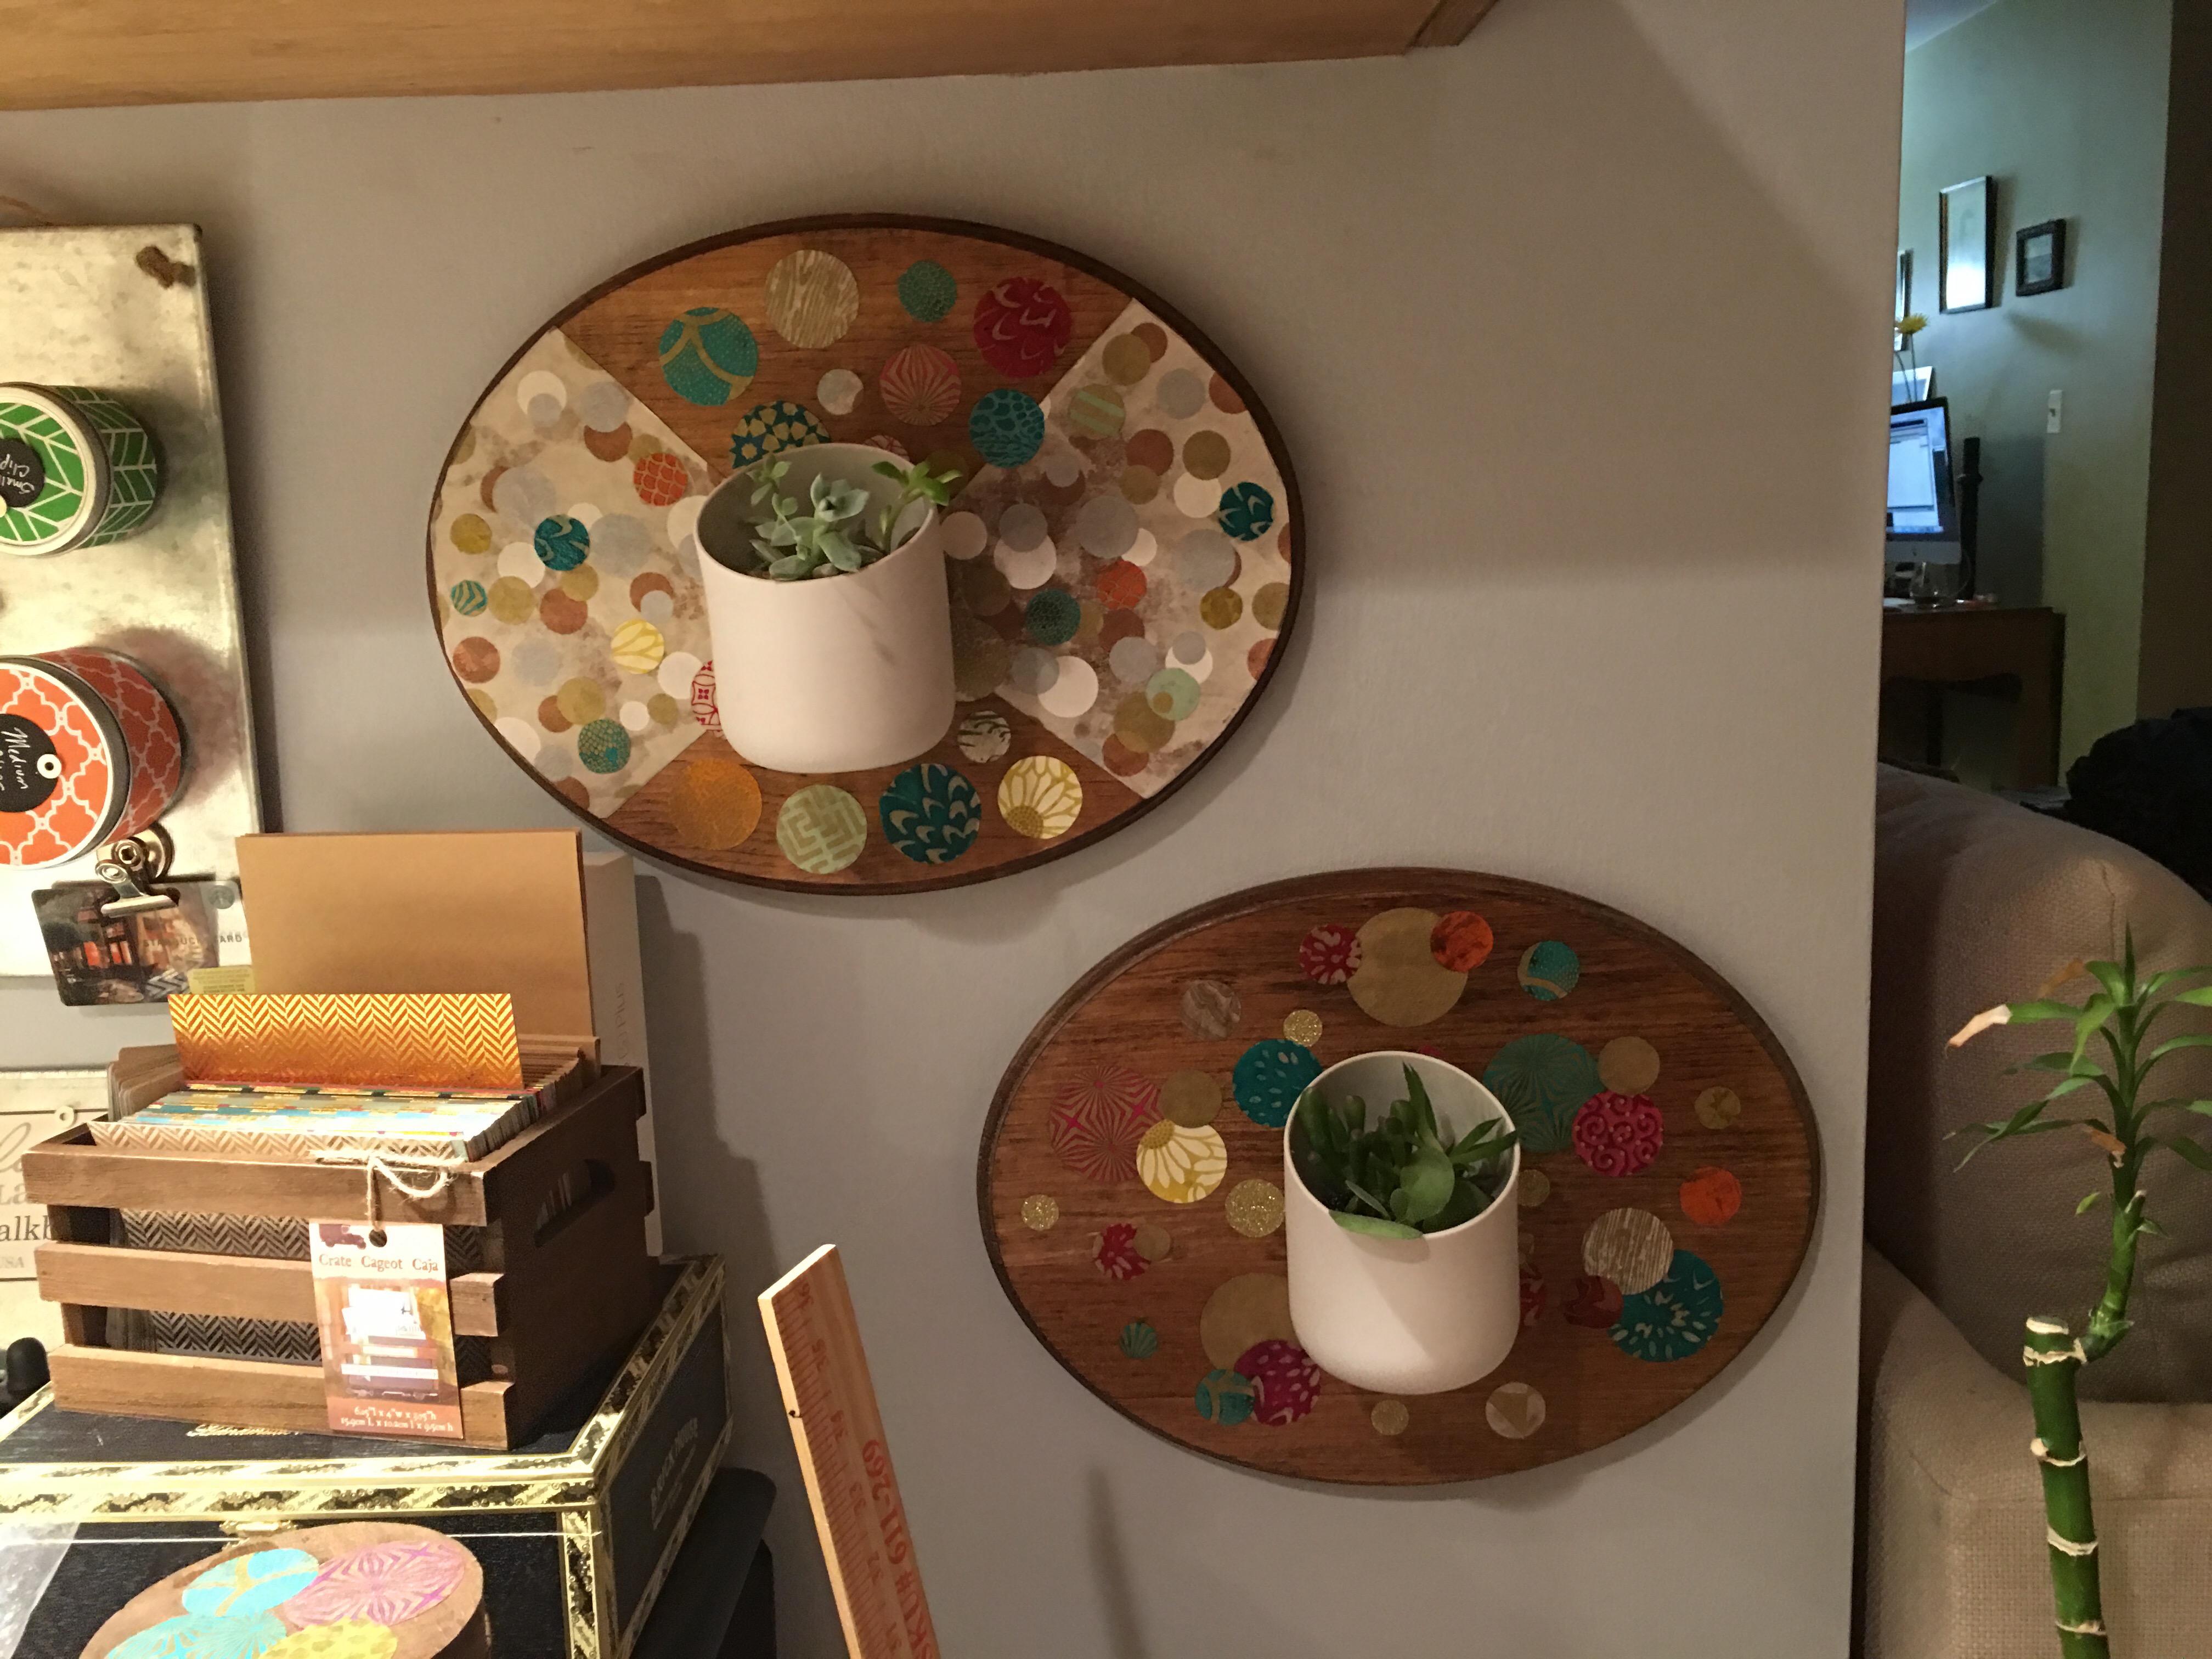
Well I think the one “without” looks pretty darn good. Welcome to my wall my lovely.
Time to go shopping for another vessel and plaque. V-