DIY Wood Block Calendar (Part 3)
You may also like:
March 13, 2016: Happy DST folks!!!
Today is an ideal day for making more calendar sticker blocks (and include labels for special days and events like this one).
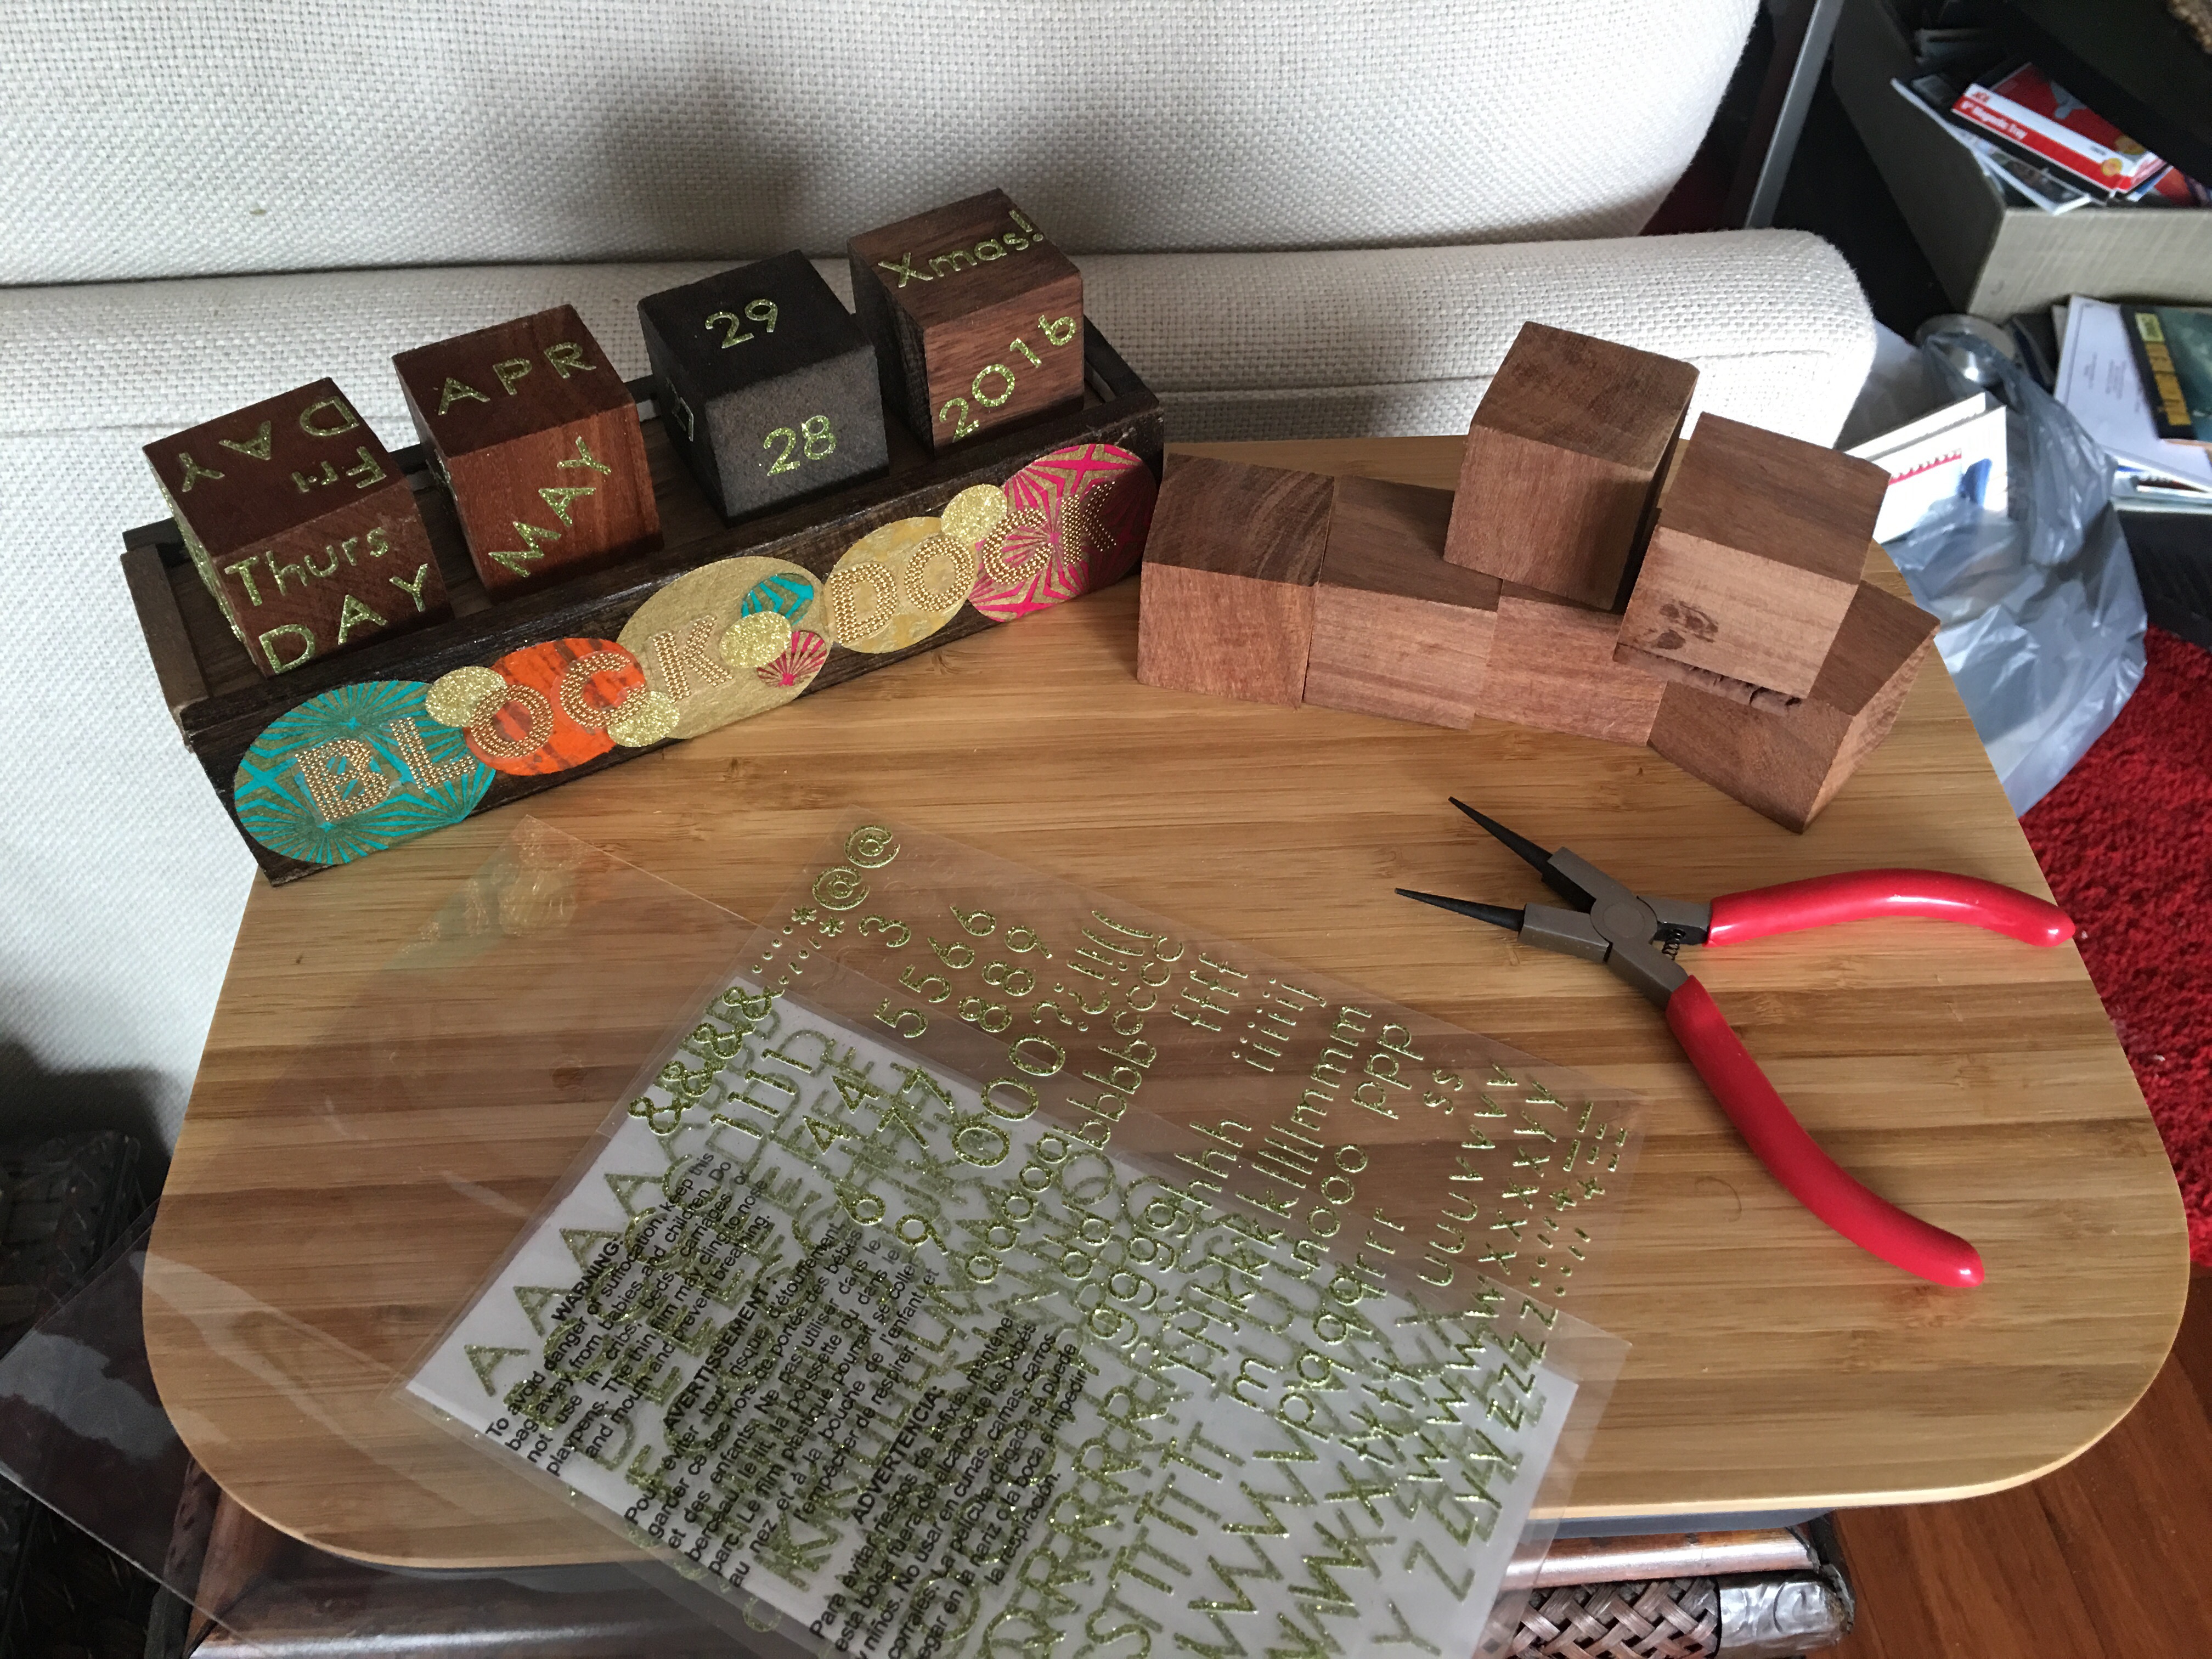
So first I gathered up my collection of wood blocks and decided on which ones I’d decorate first.

I’ve been picking up blocks from AC Moore and Michaels for the past several weeks. During each visit, I toss a few in my cart. AC Moore blocks are less expensive ($.89 for 1.5″ blocks – the ones I need for my wood calendar “Block Dock”). The same size blocks from Michaels are a bit more expense – $1.39. But I like the look of these so much that I happily pay the extra $.50 per block.
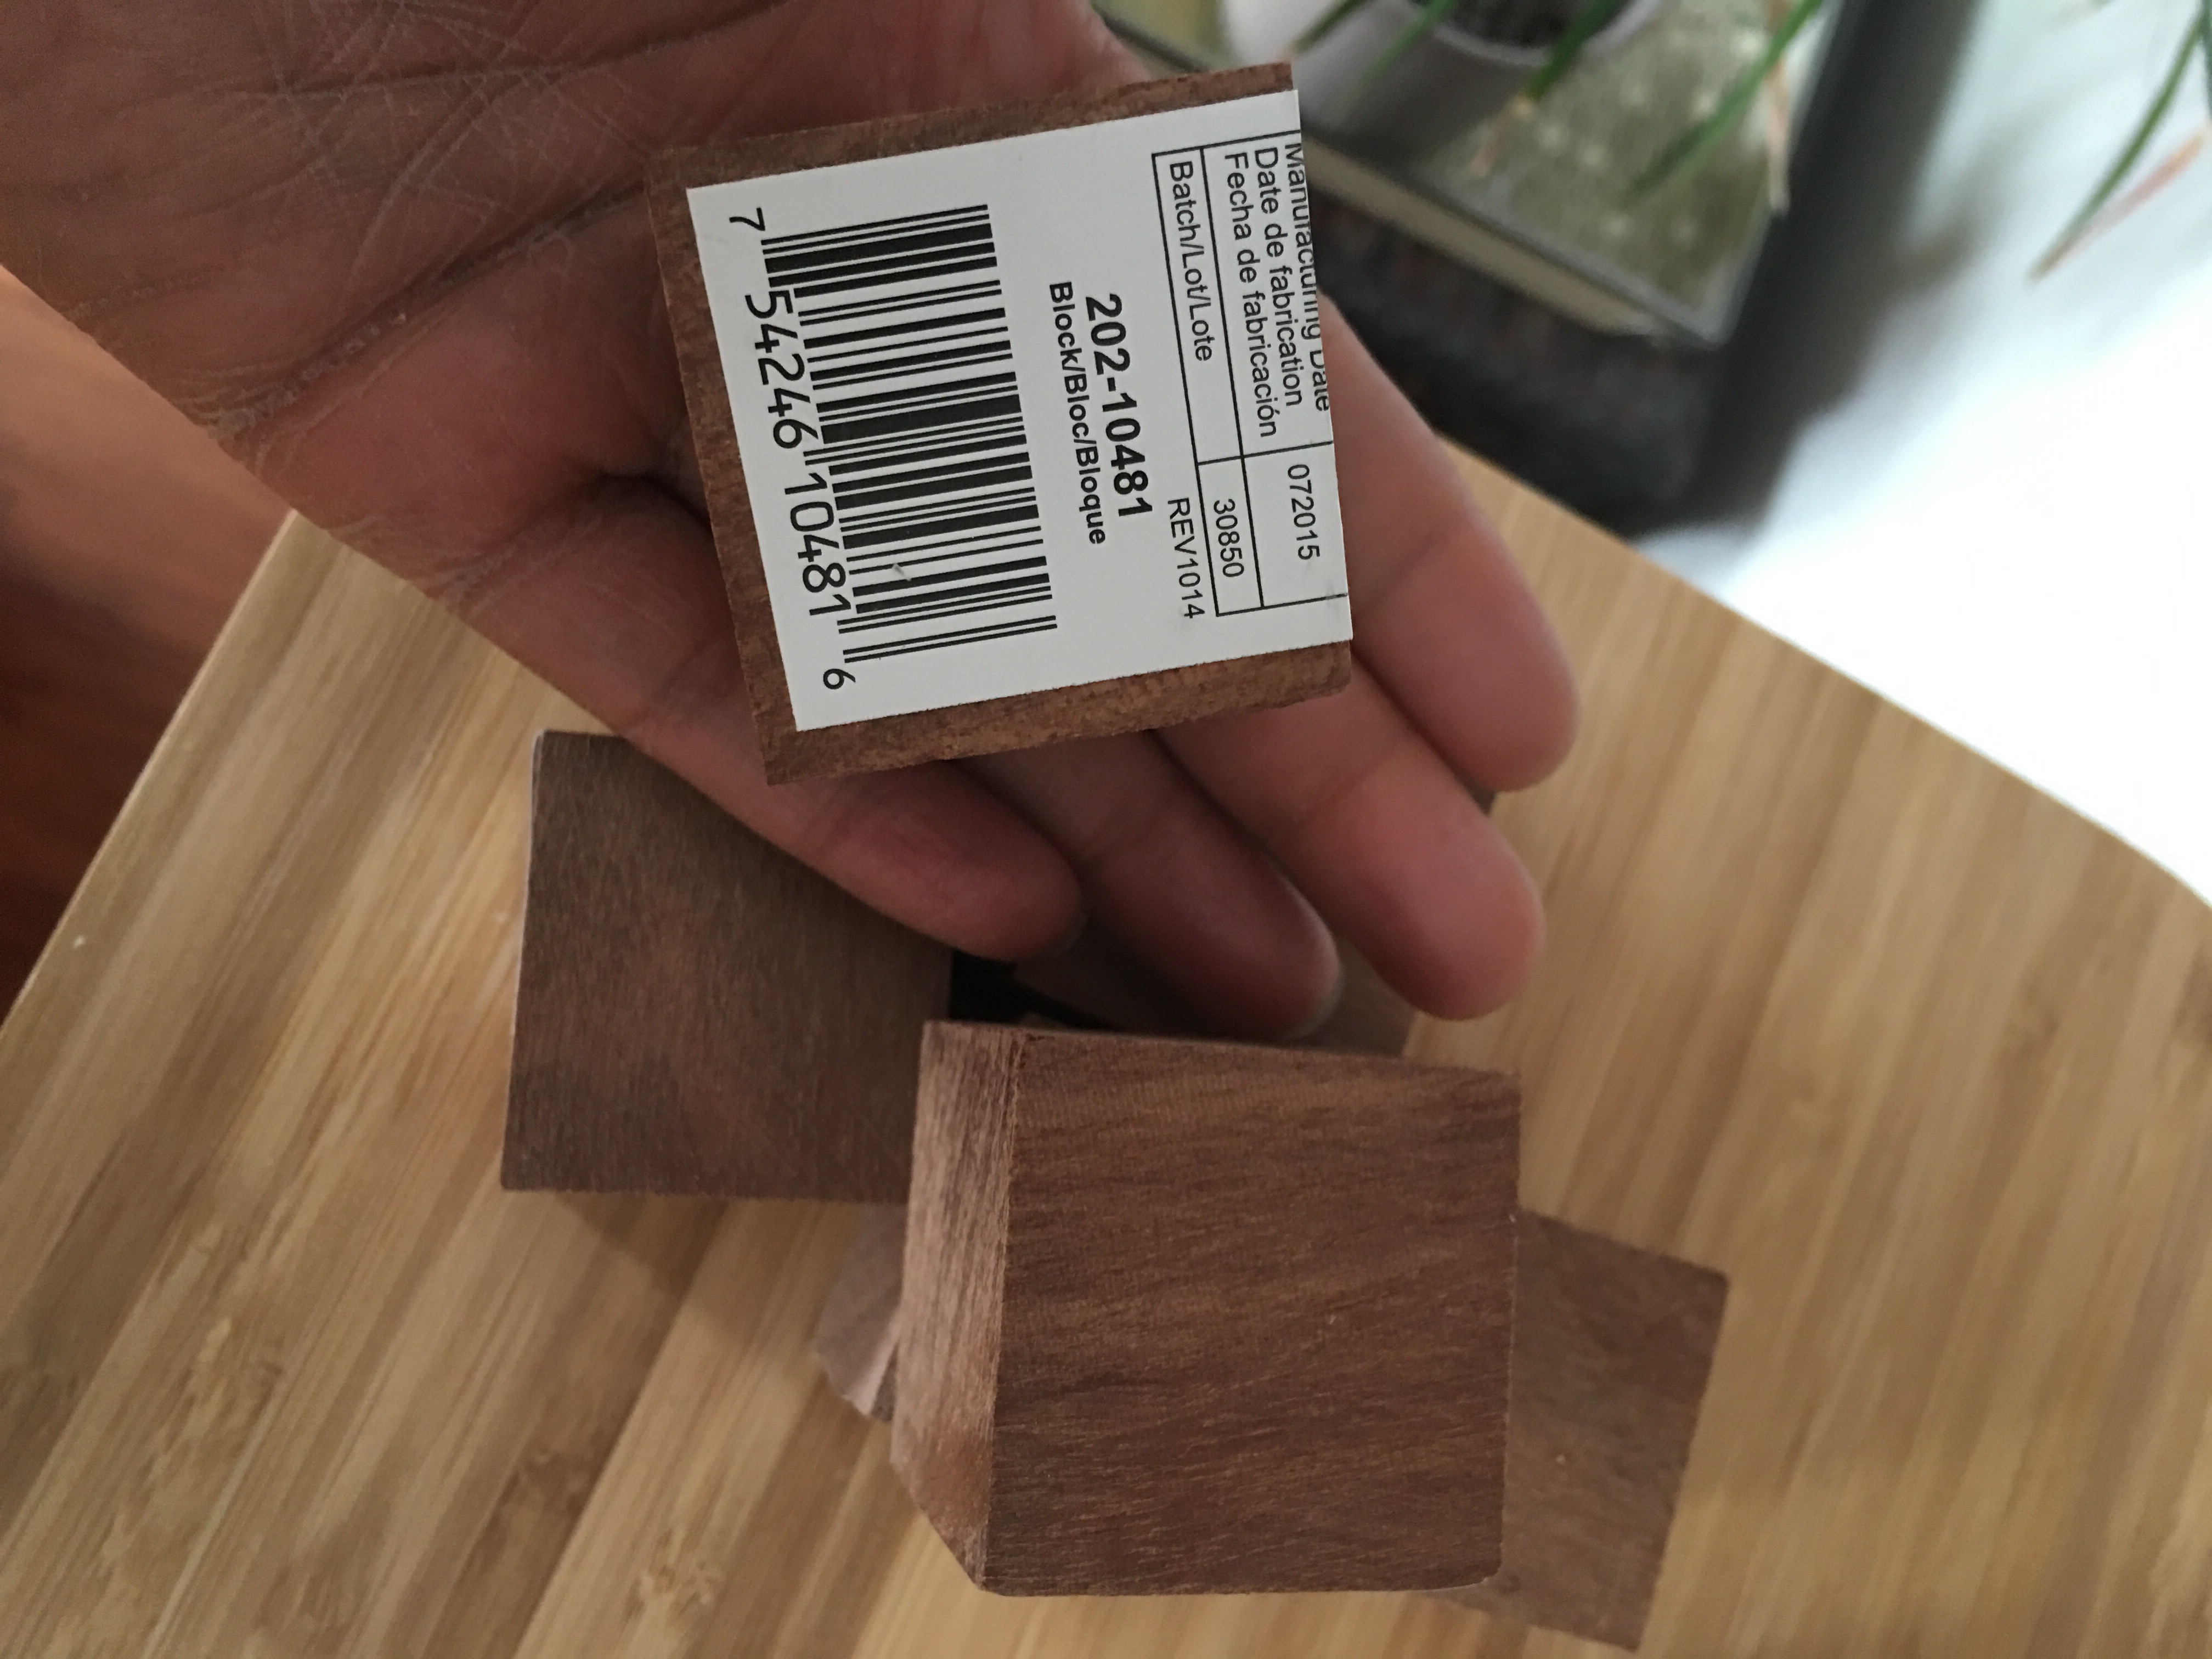
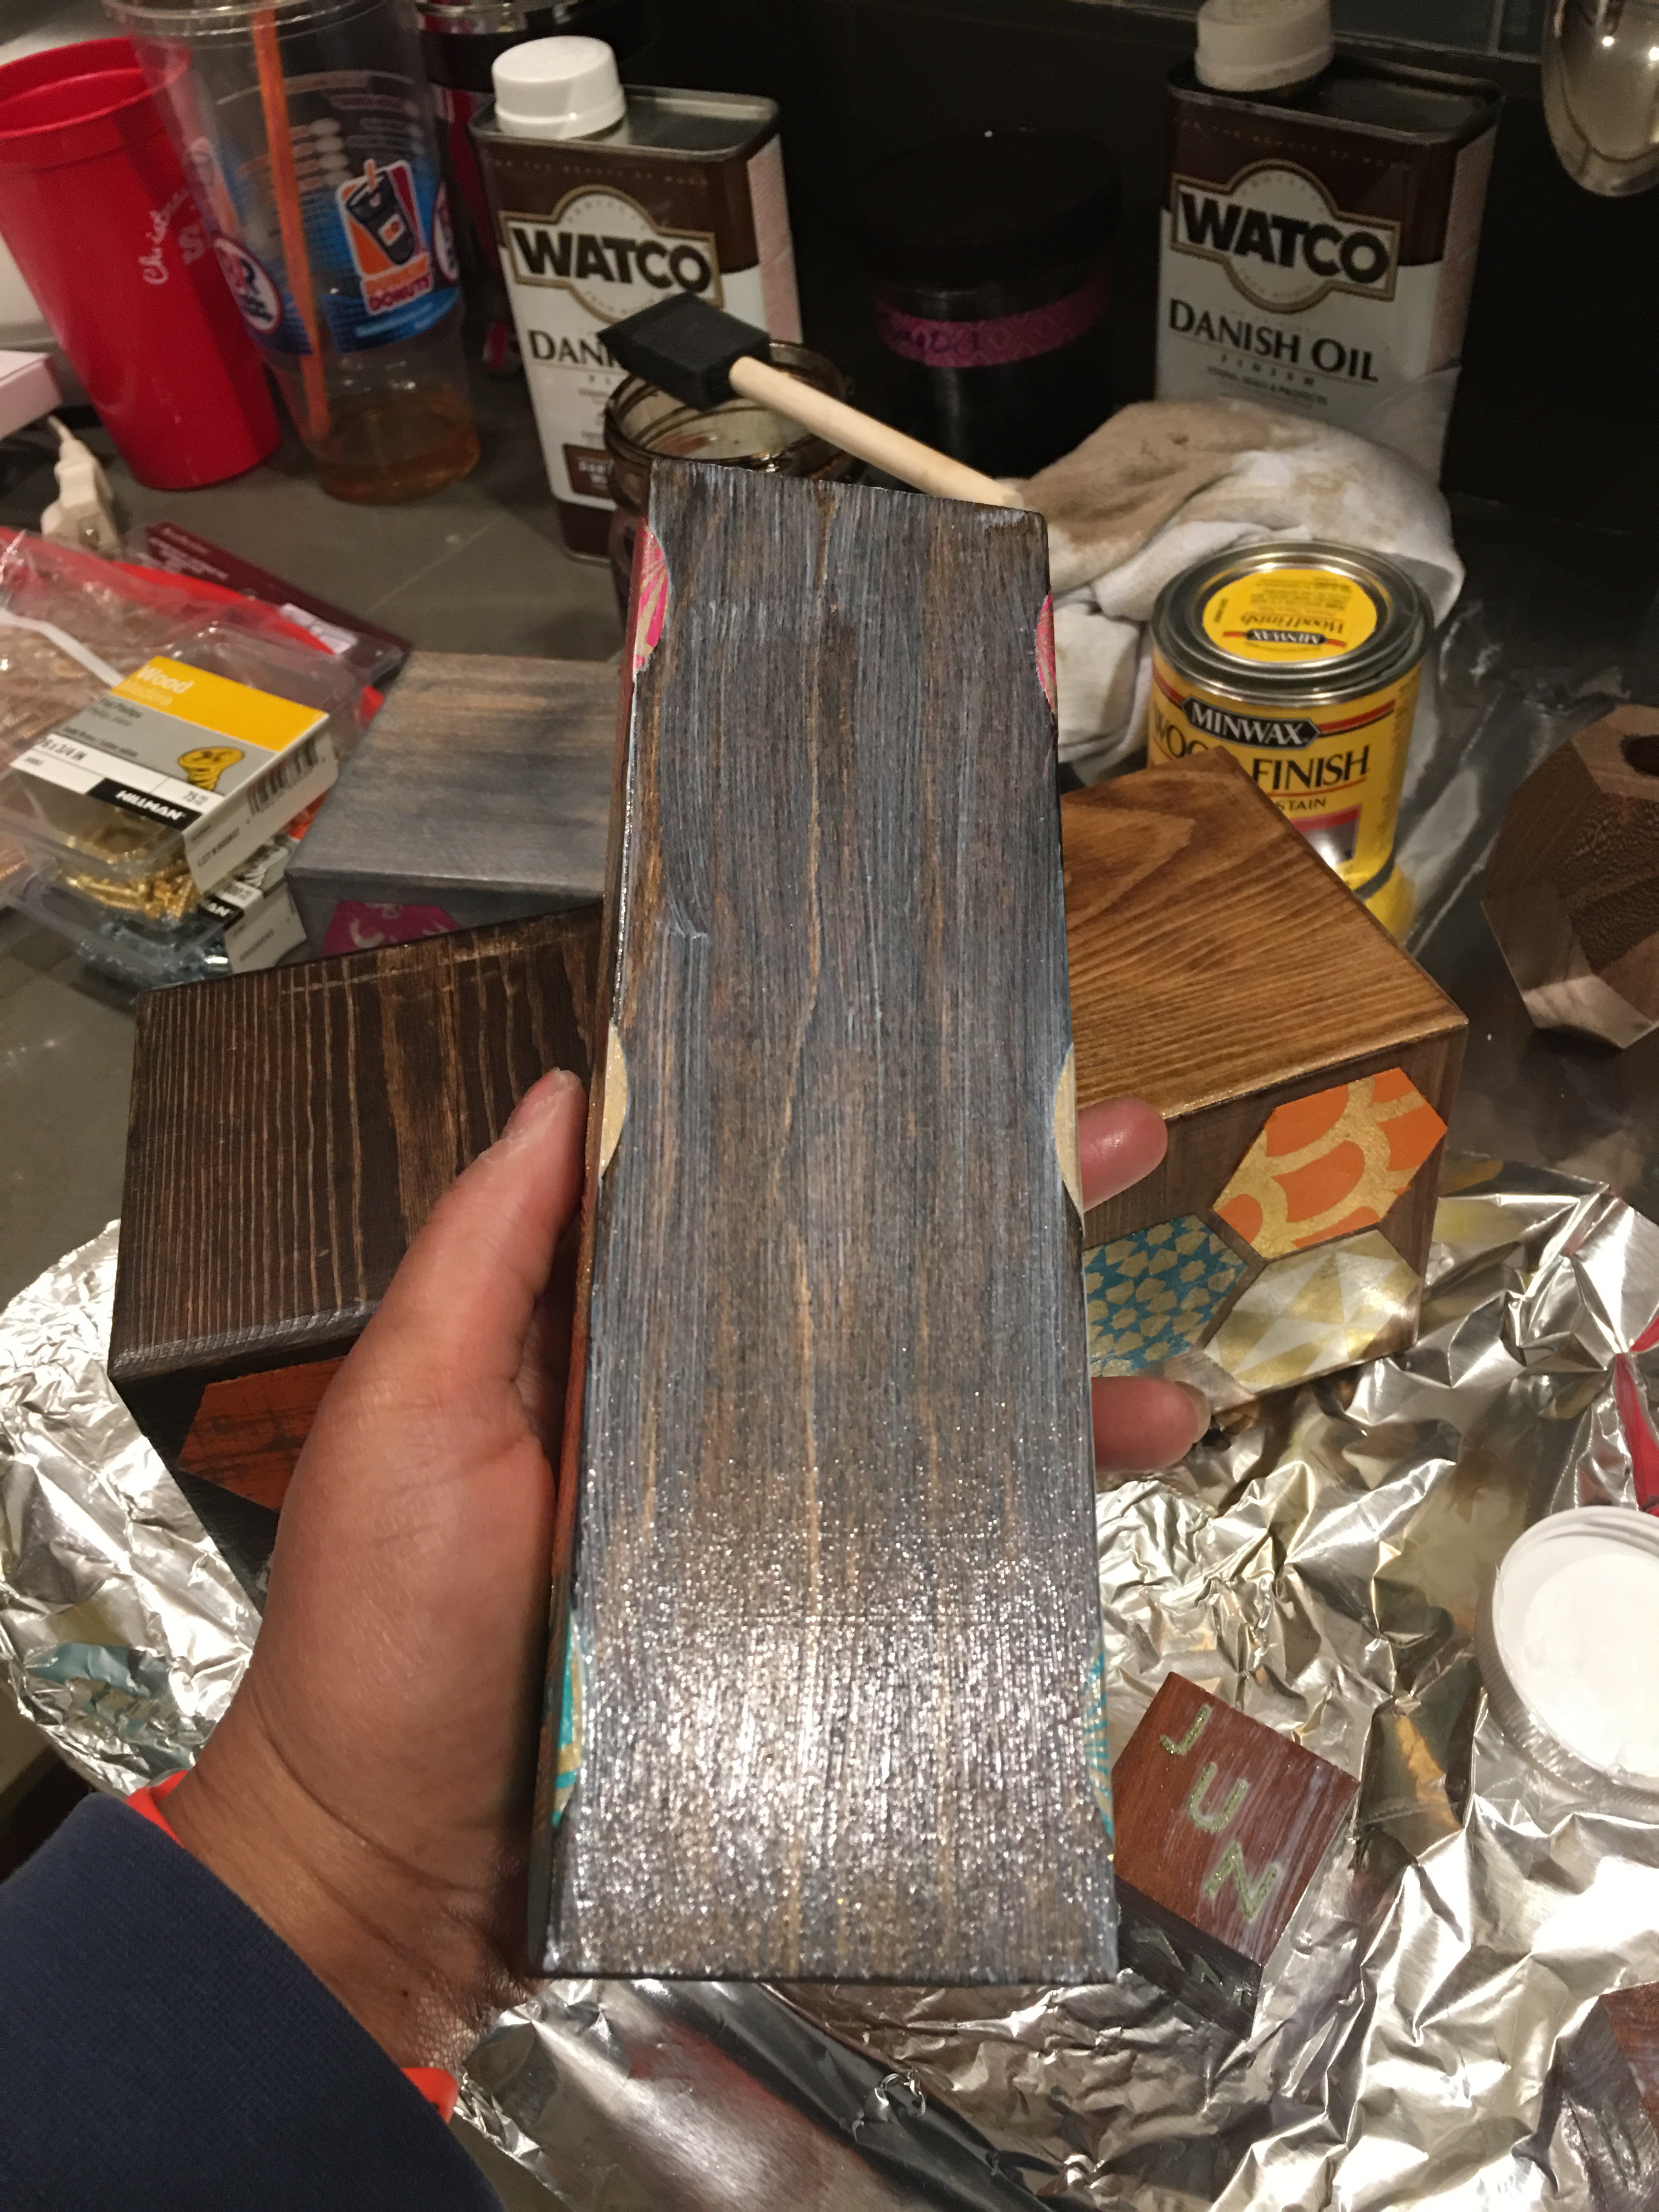
These 1.25″ blocks are available from Michaels. I like working with these because they have a natural dark color. These blocks I recently picked up look more like cedar than pine.
Rather than stain these blocks a darker color, I will just add stickers and then use Mod Podge to bring out the beautiful natural color even more.
I gathered up my stickers and needle nose tweezers and got to work with making a full month set of these blocks.
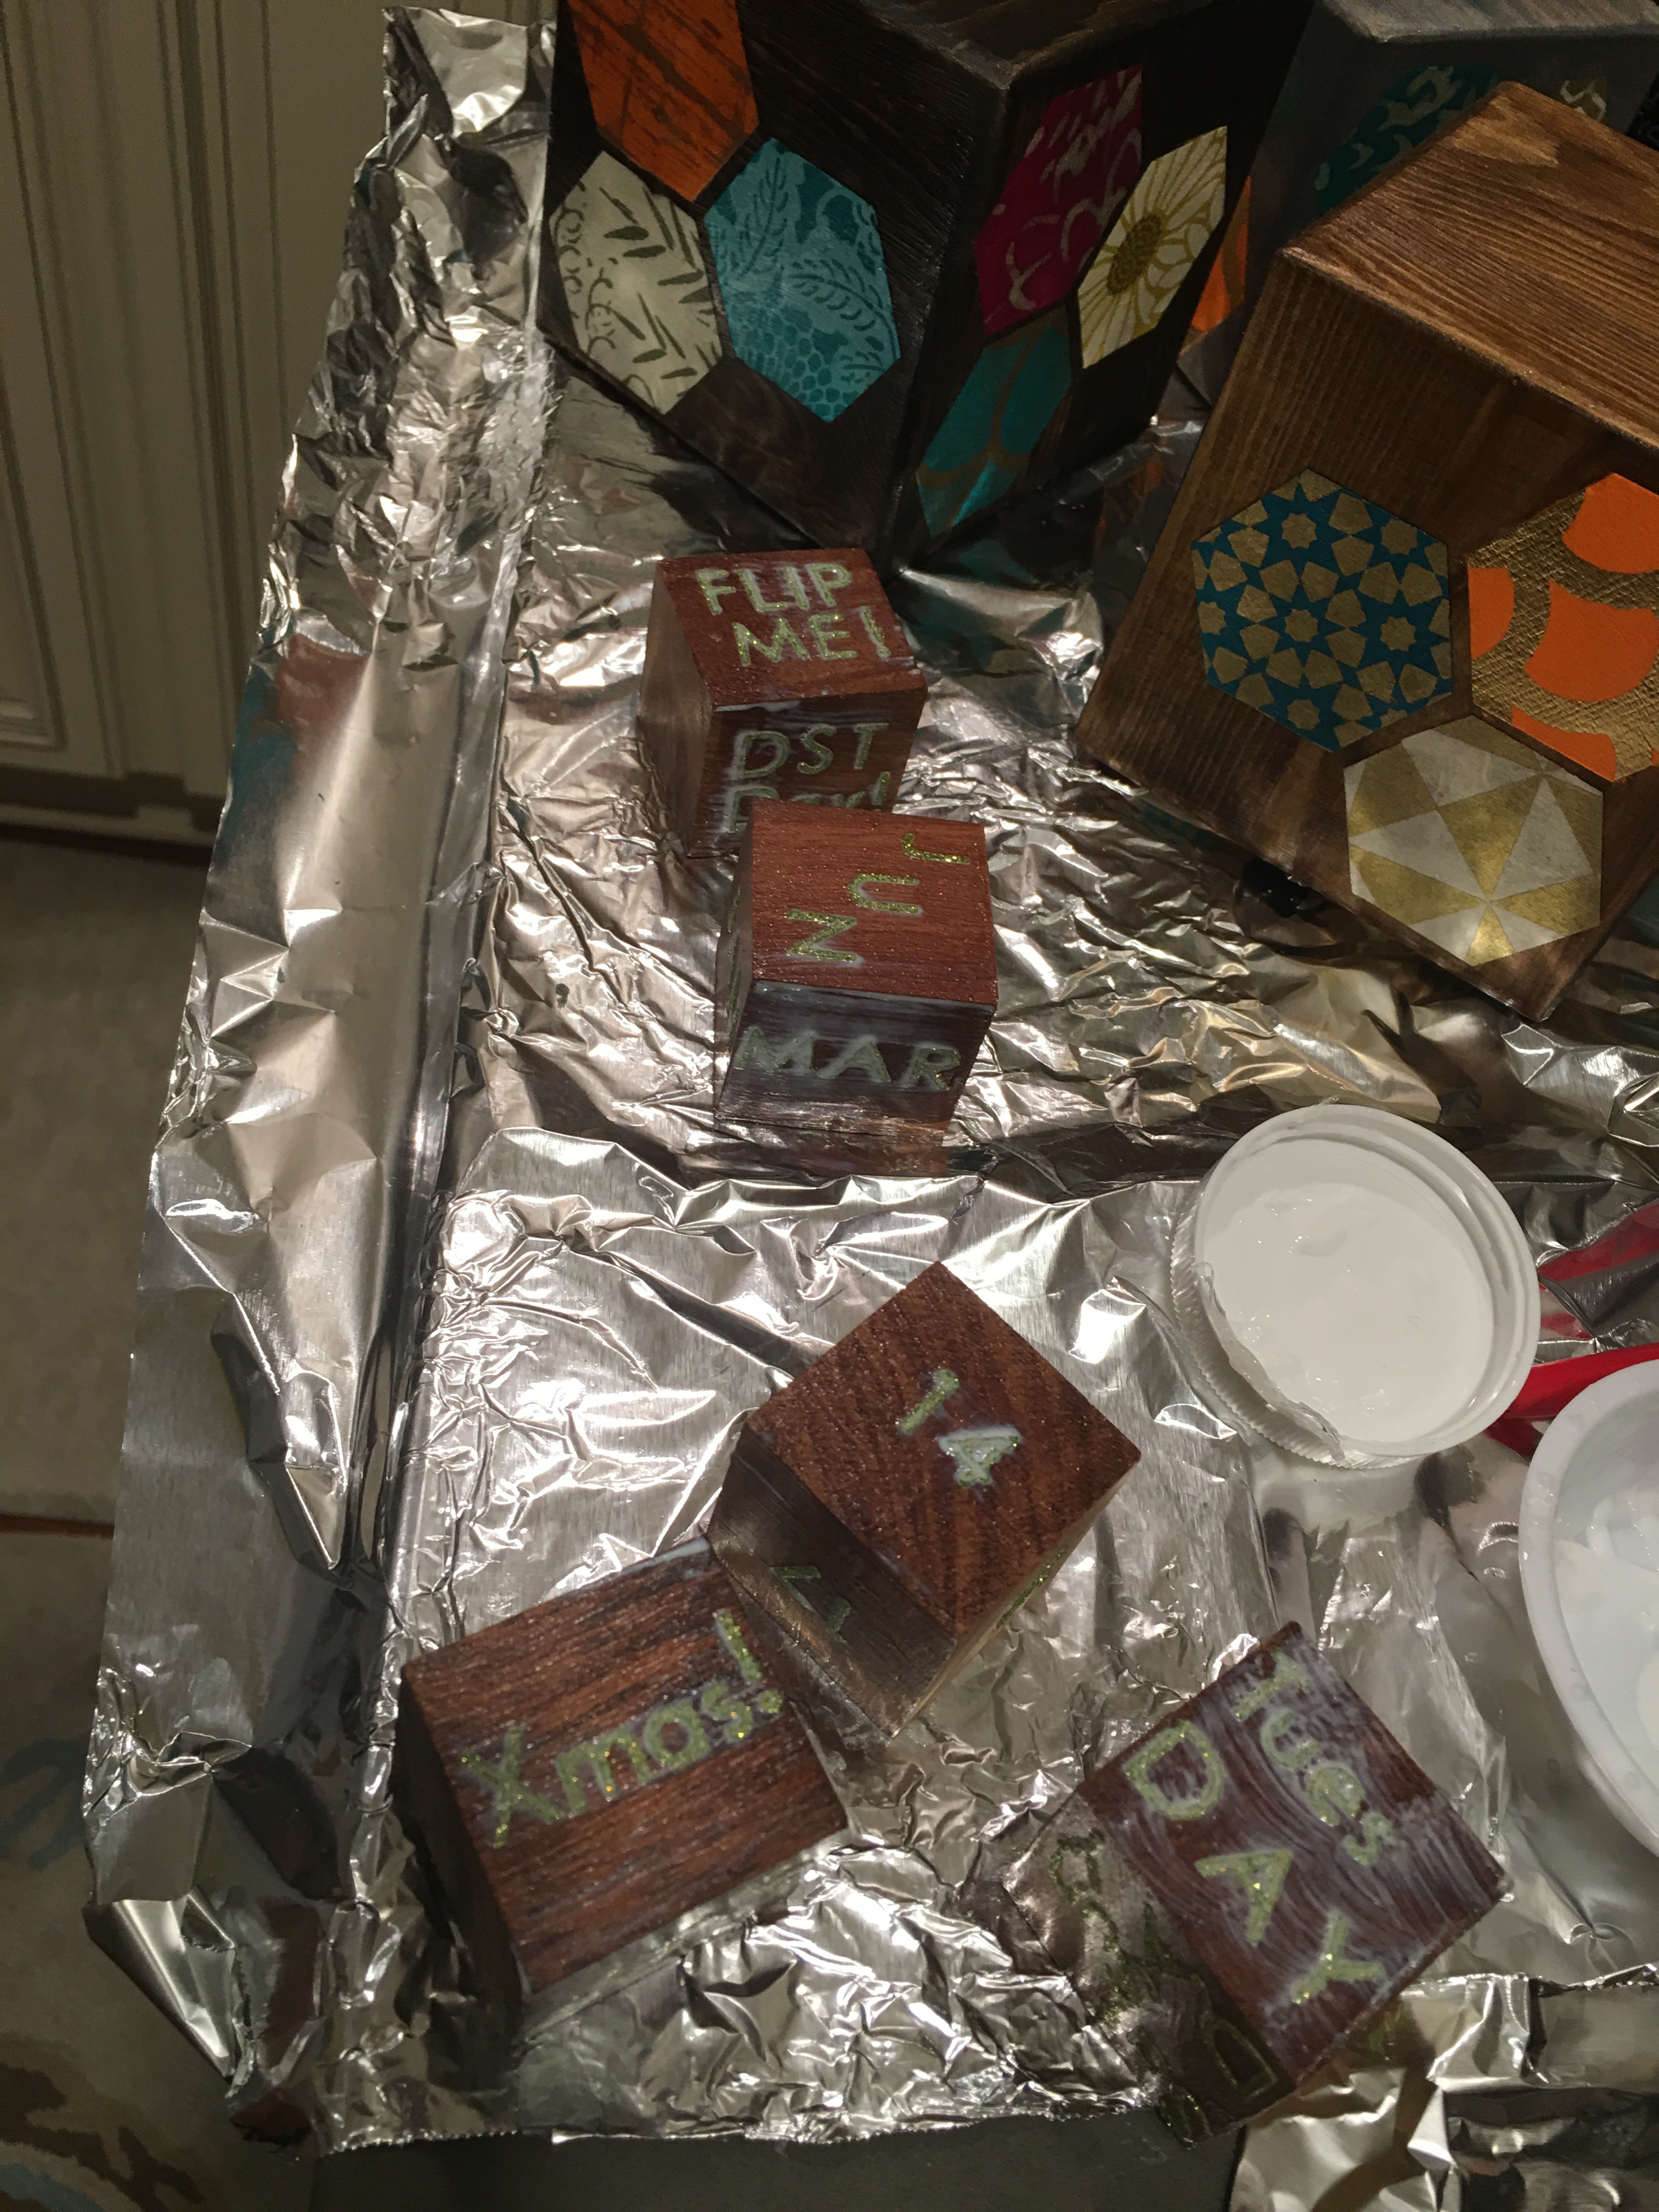
Today, I focused on making six blocks of numbers – 1 thru 31 – six numbers per block. I stopped at 30. For 31, I’ll combine a one-sided number with event days or cute short sayings on the other five sides.
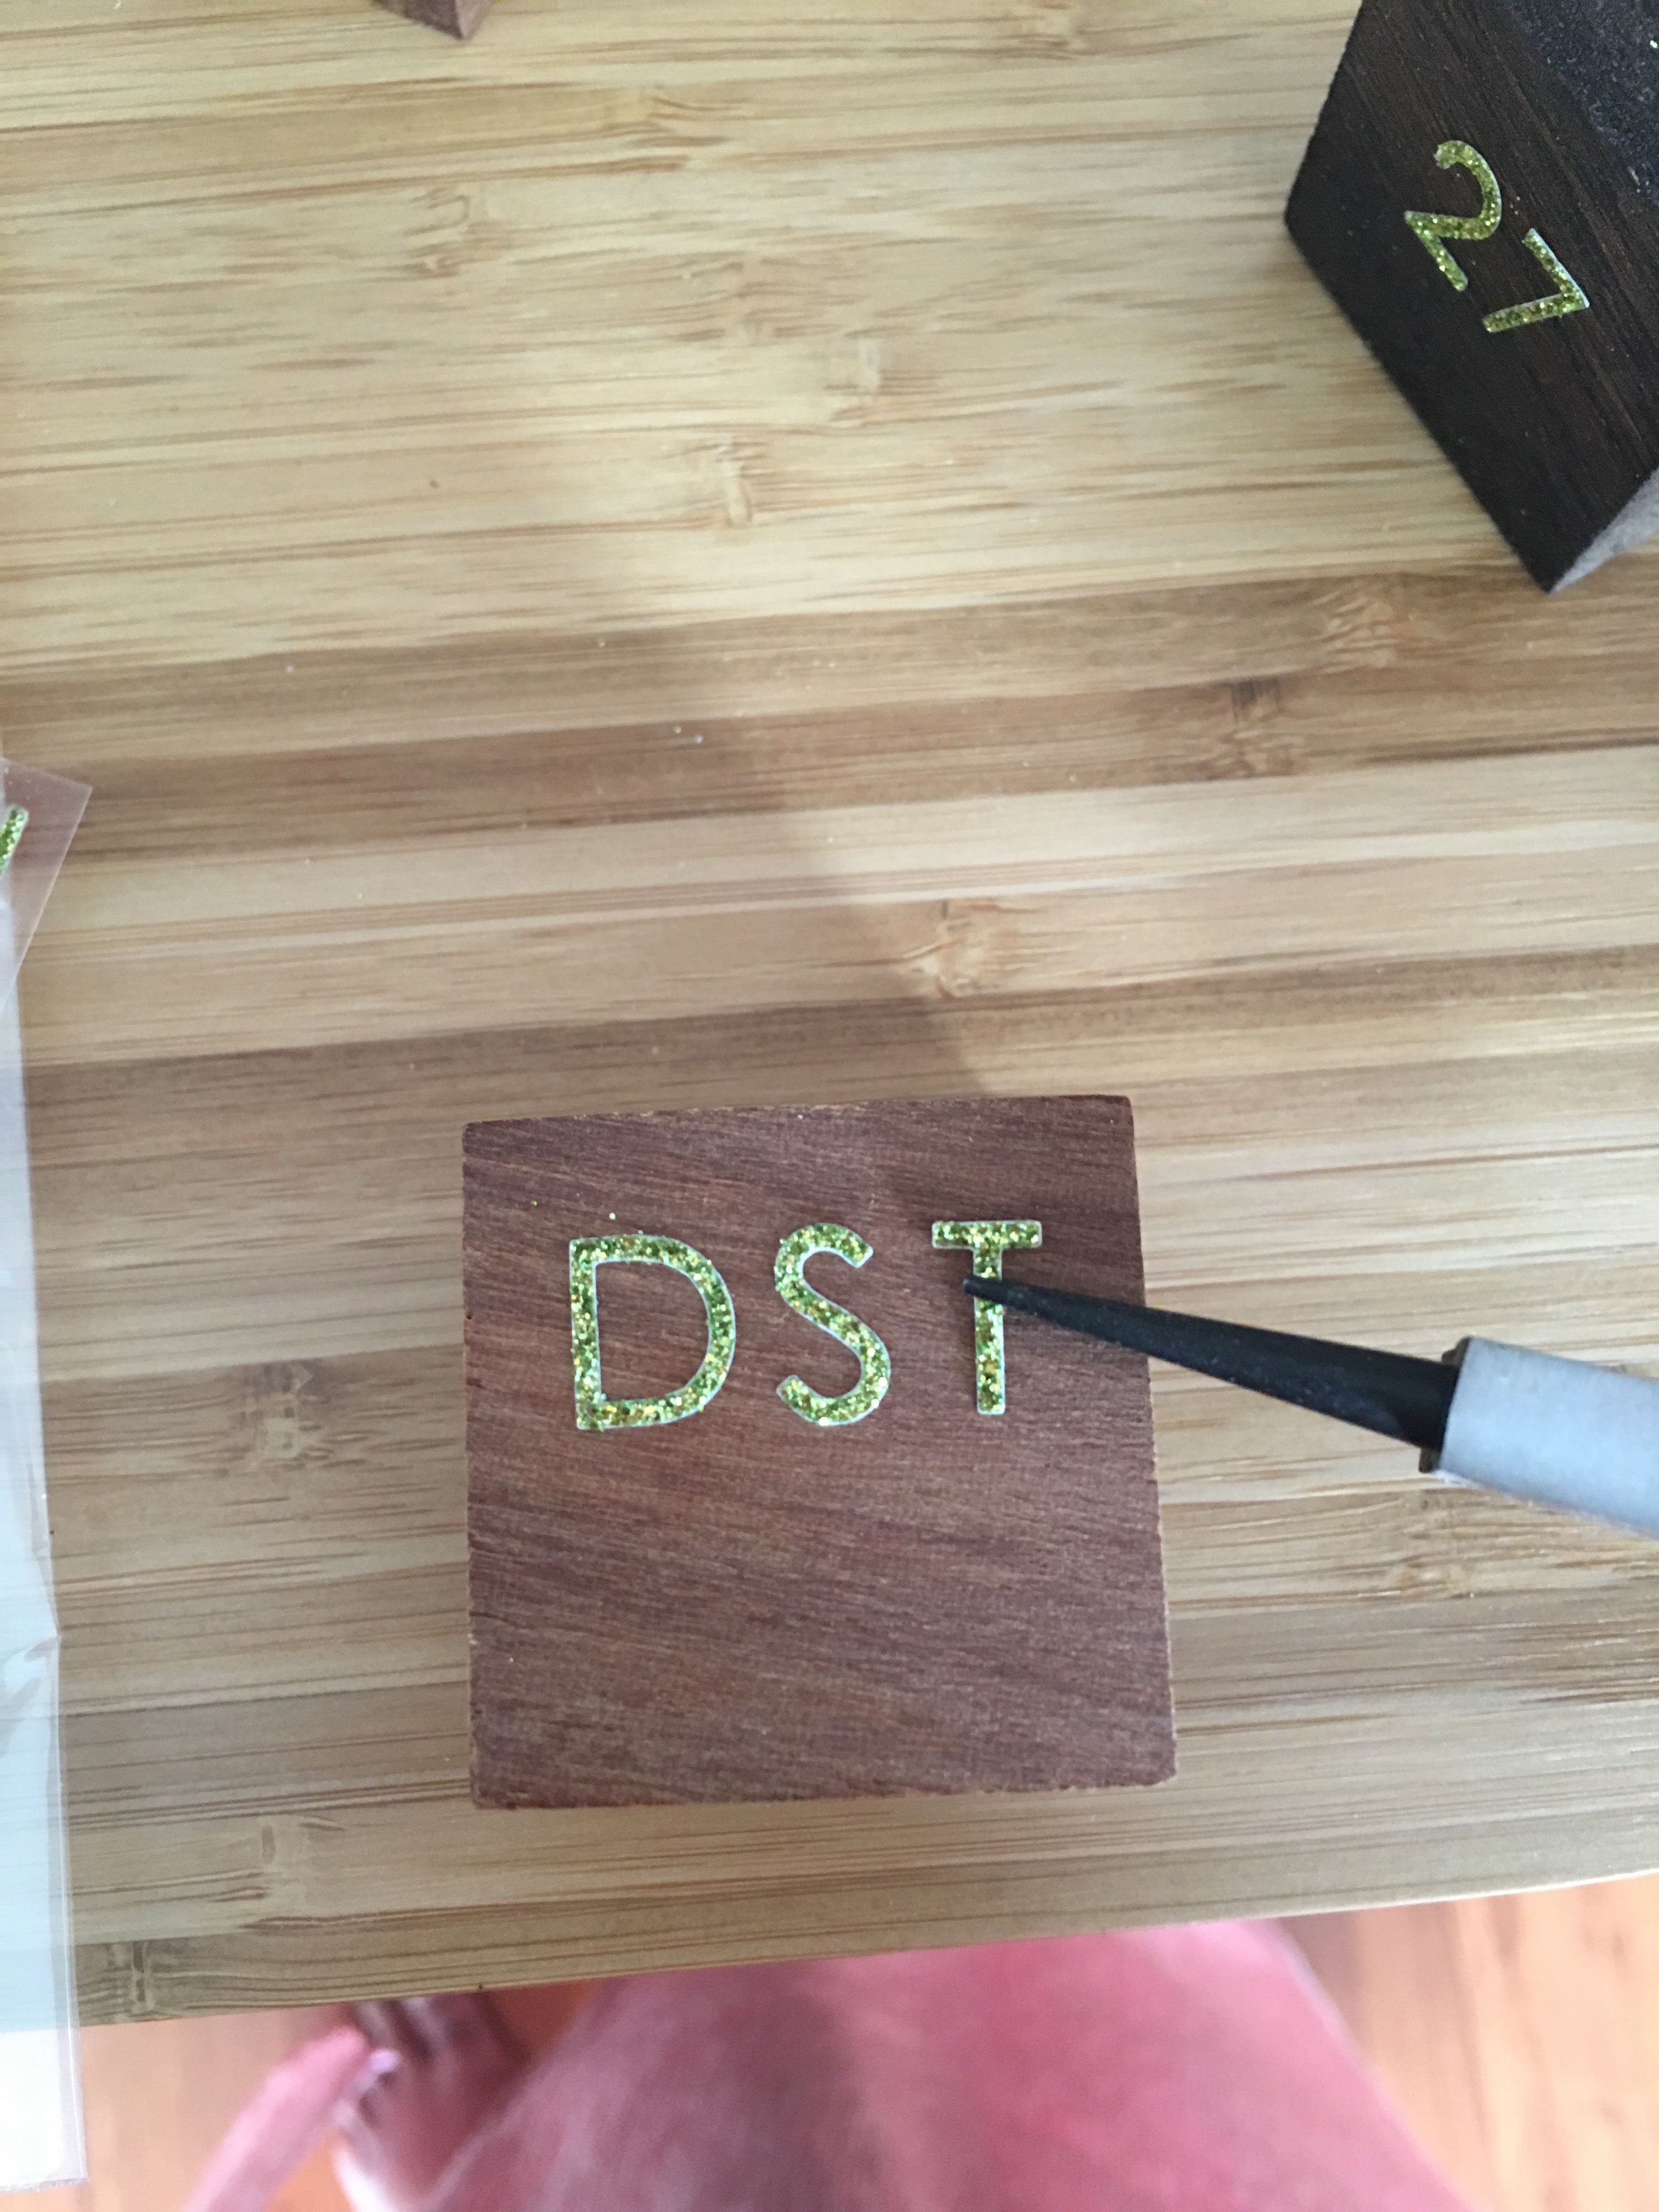
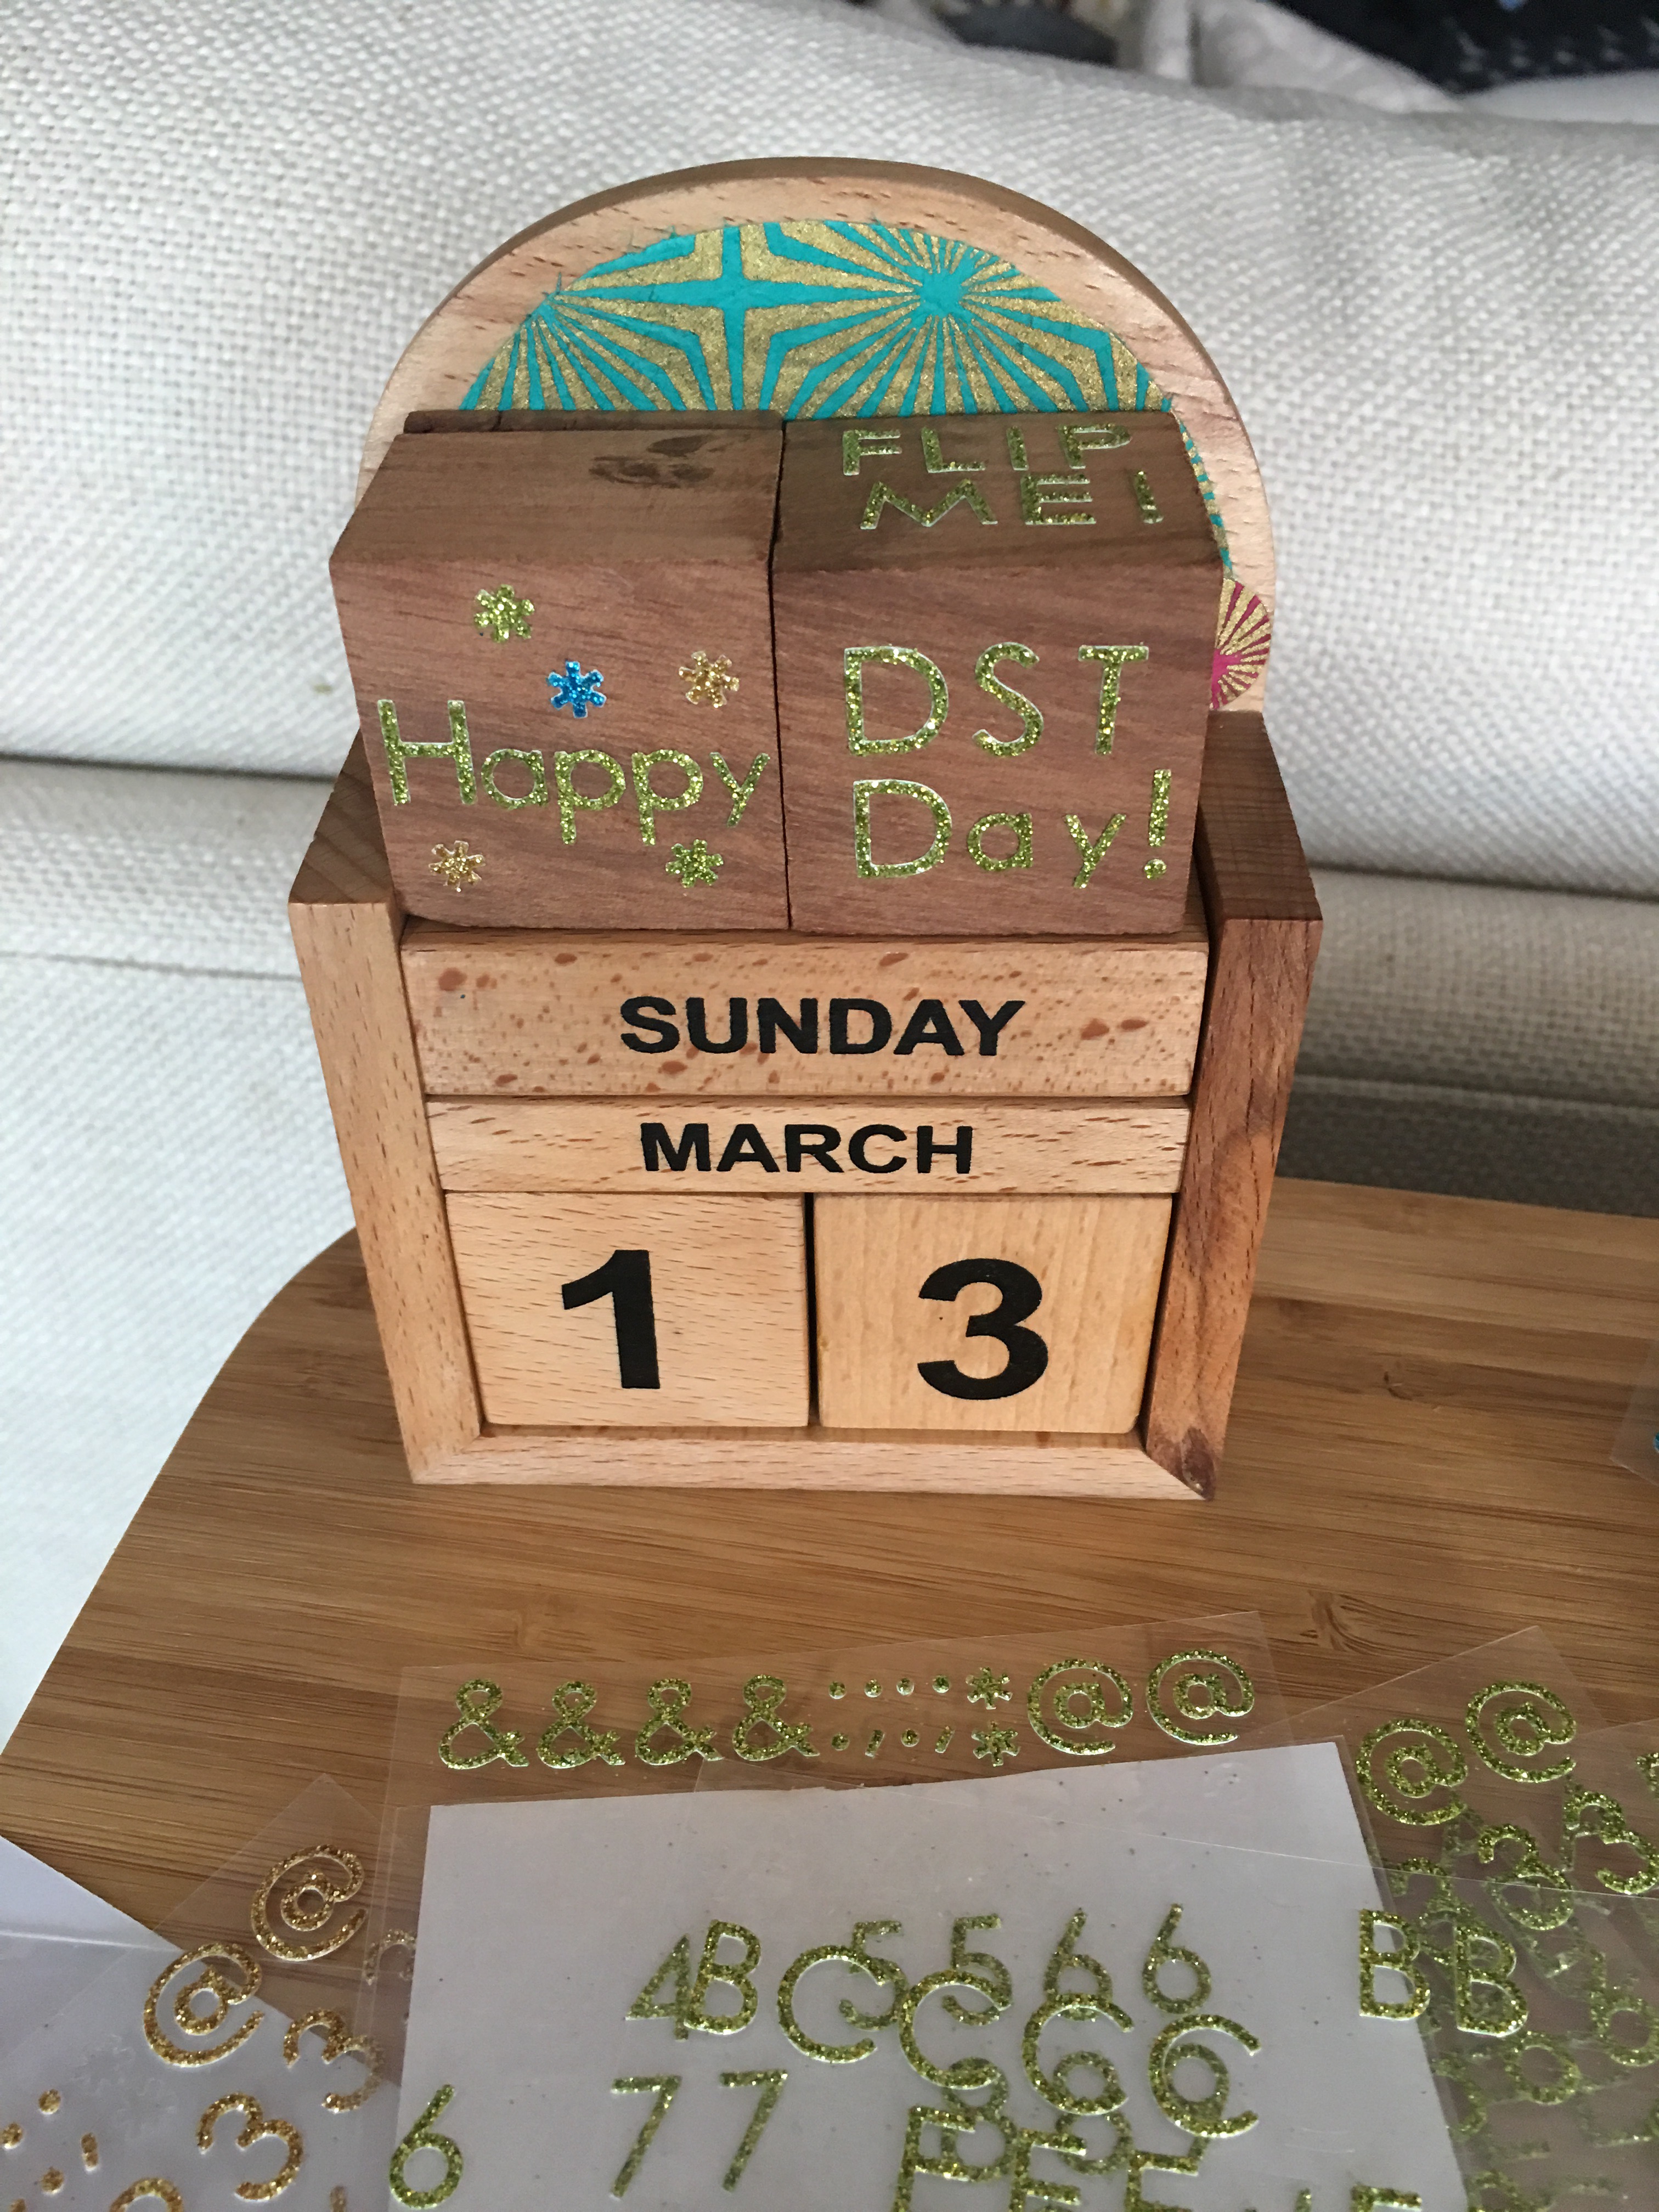
To mark the occasion, I created a “DST Day” block.
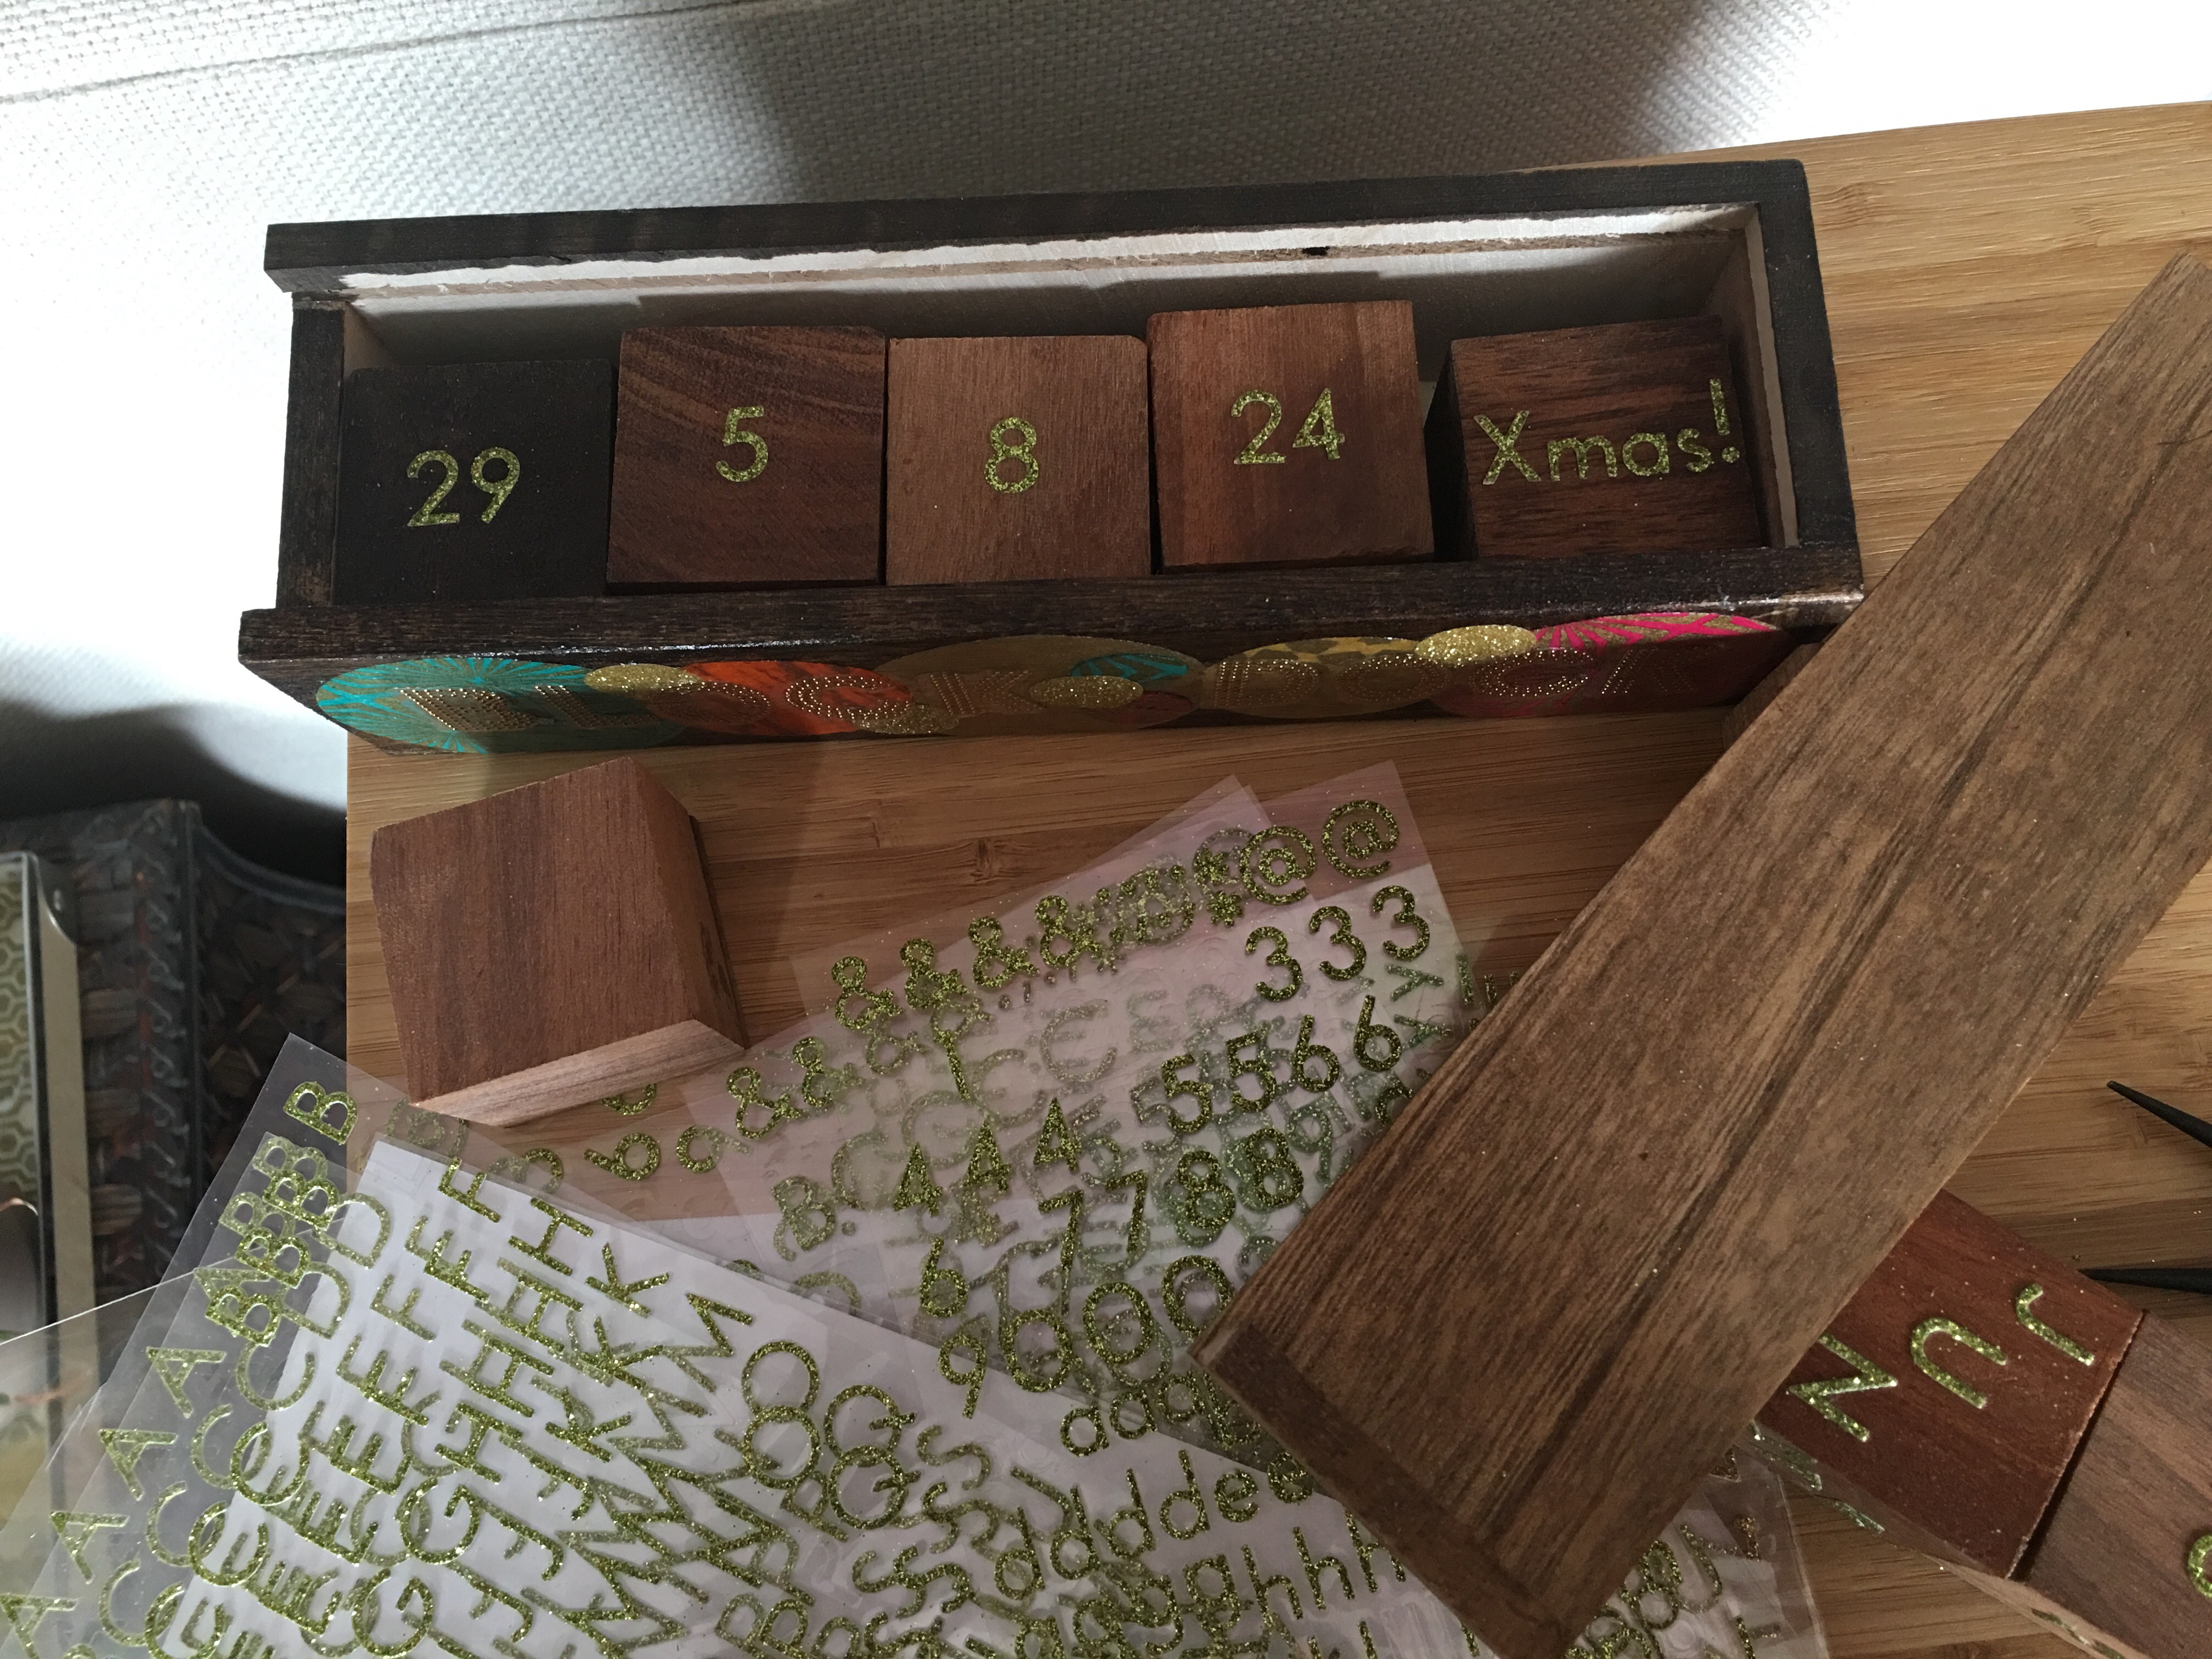
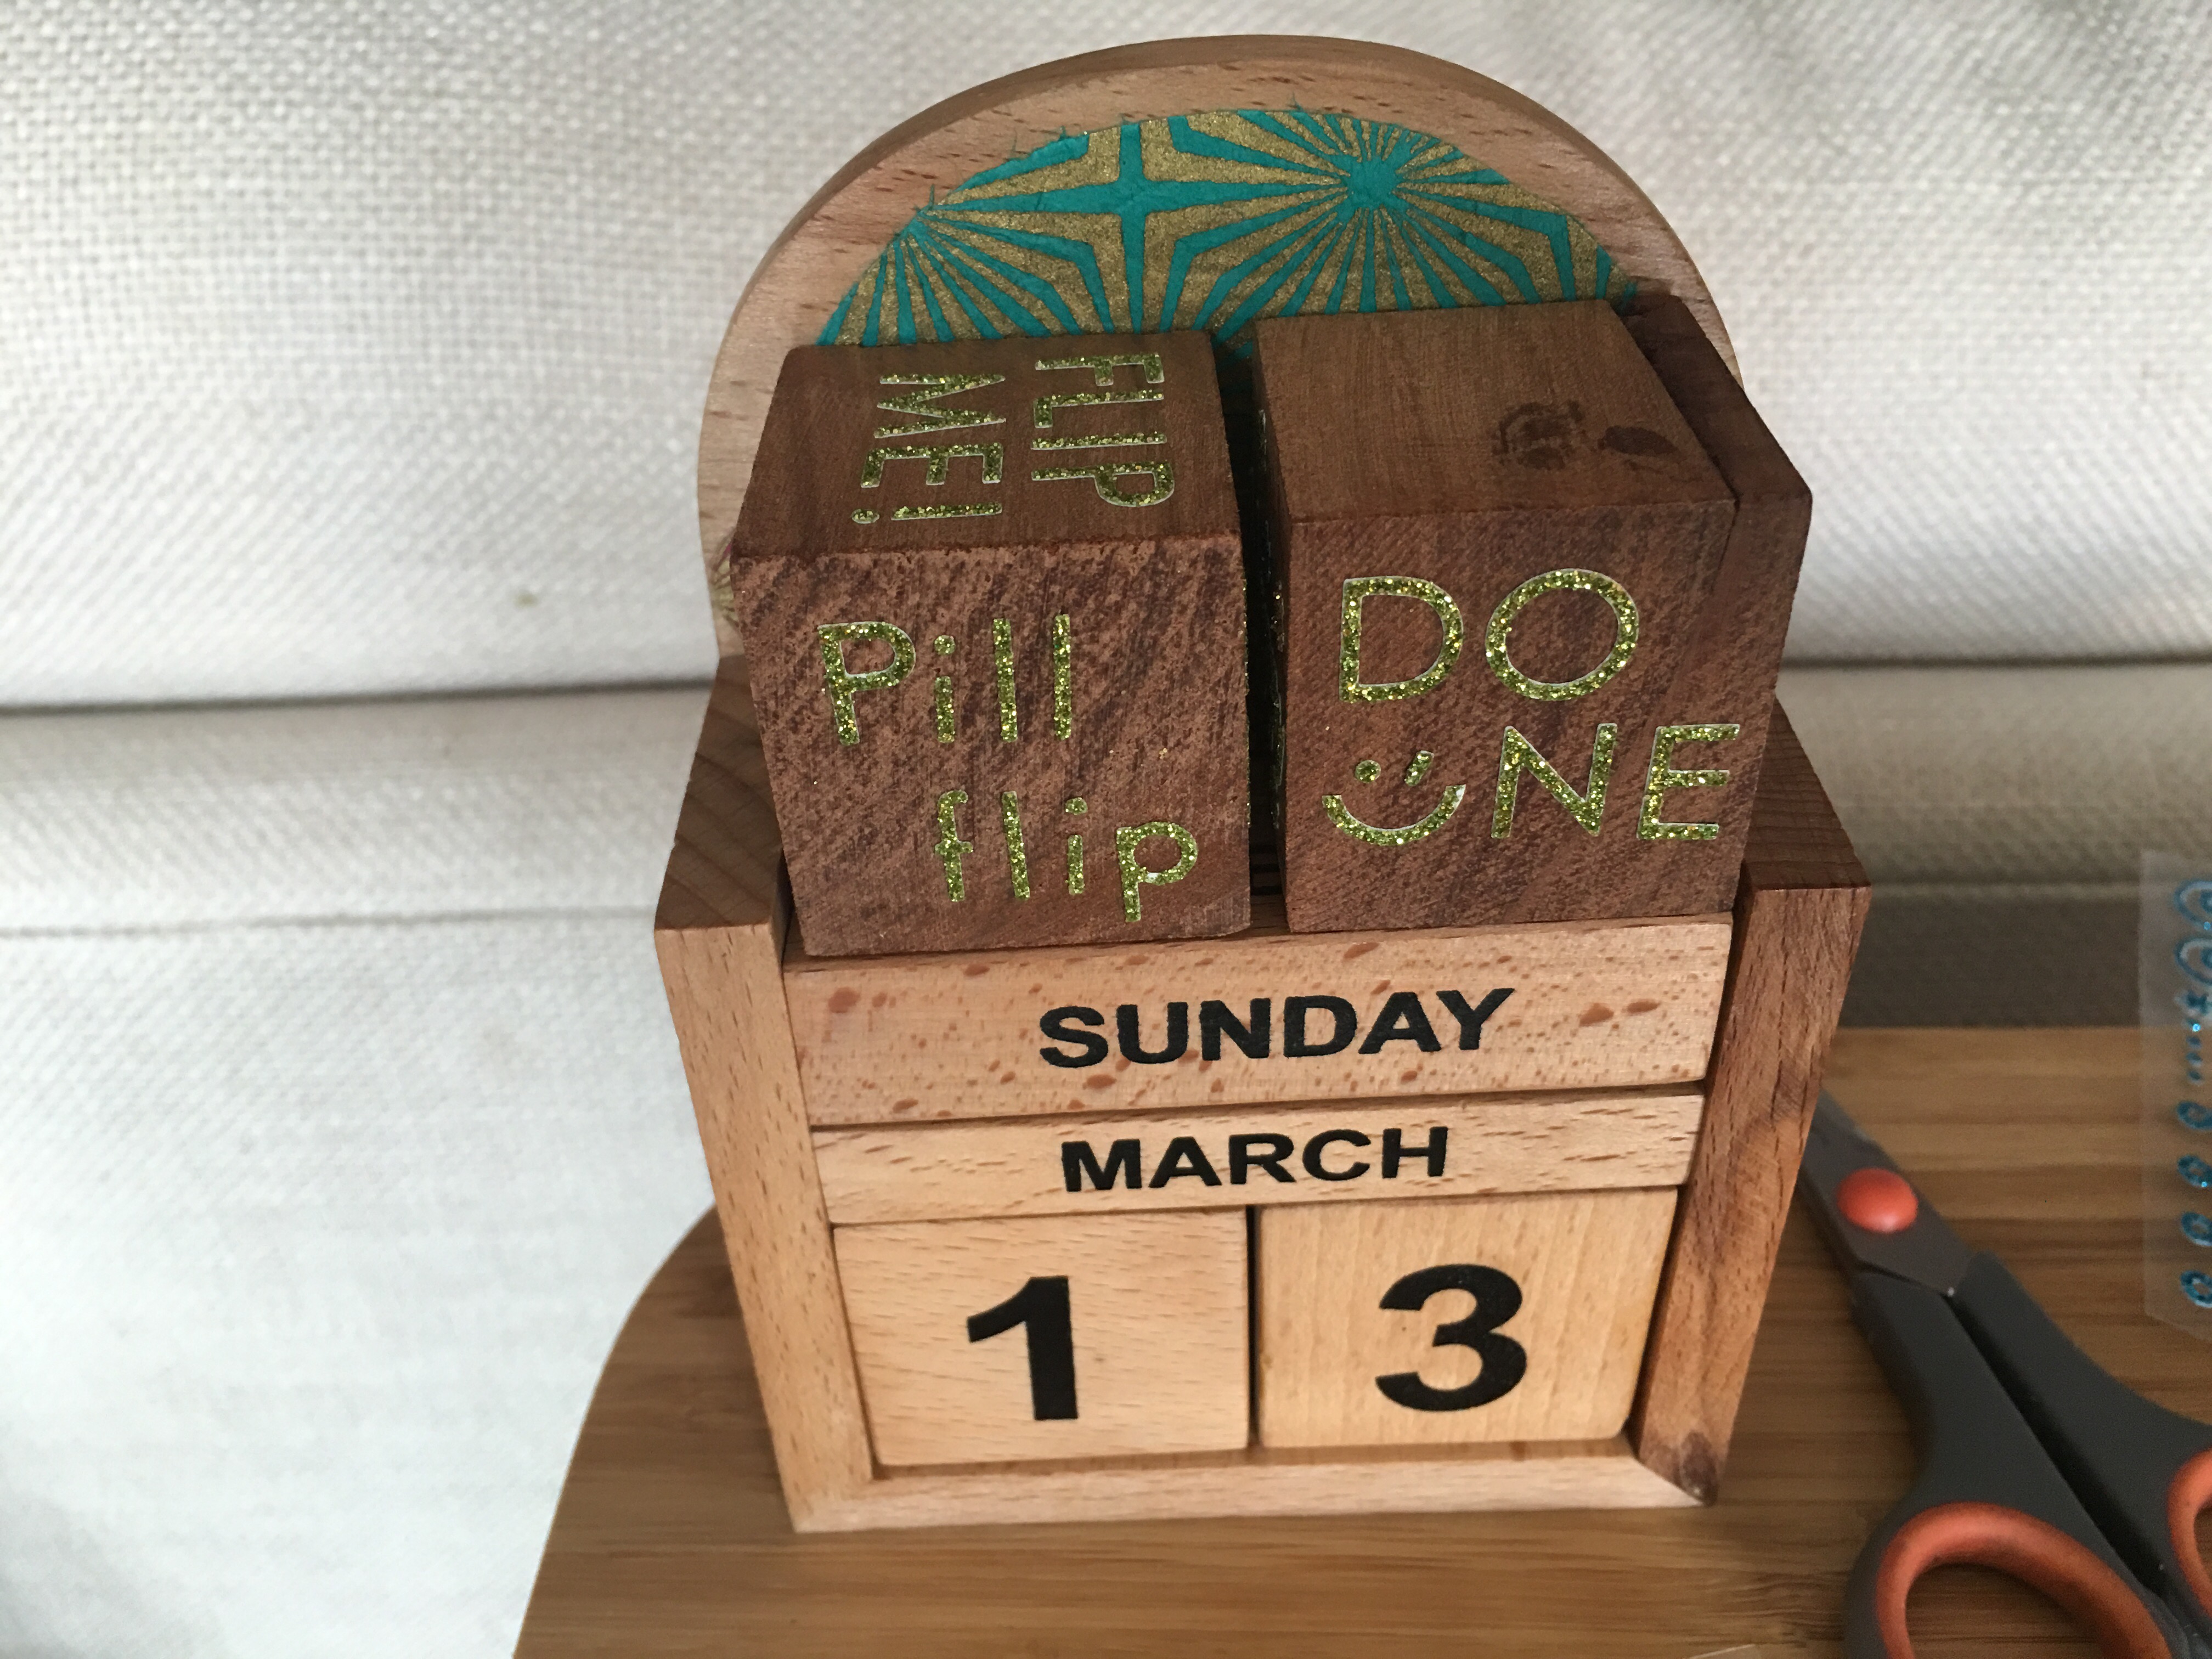
I took the “Block Dock” that I decorated while out at the Deep Creek cabin during vacation and tested out block storage via the sliding top door. These wood boxes are truly great…and are only $1 at AC Moore.
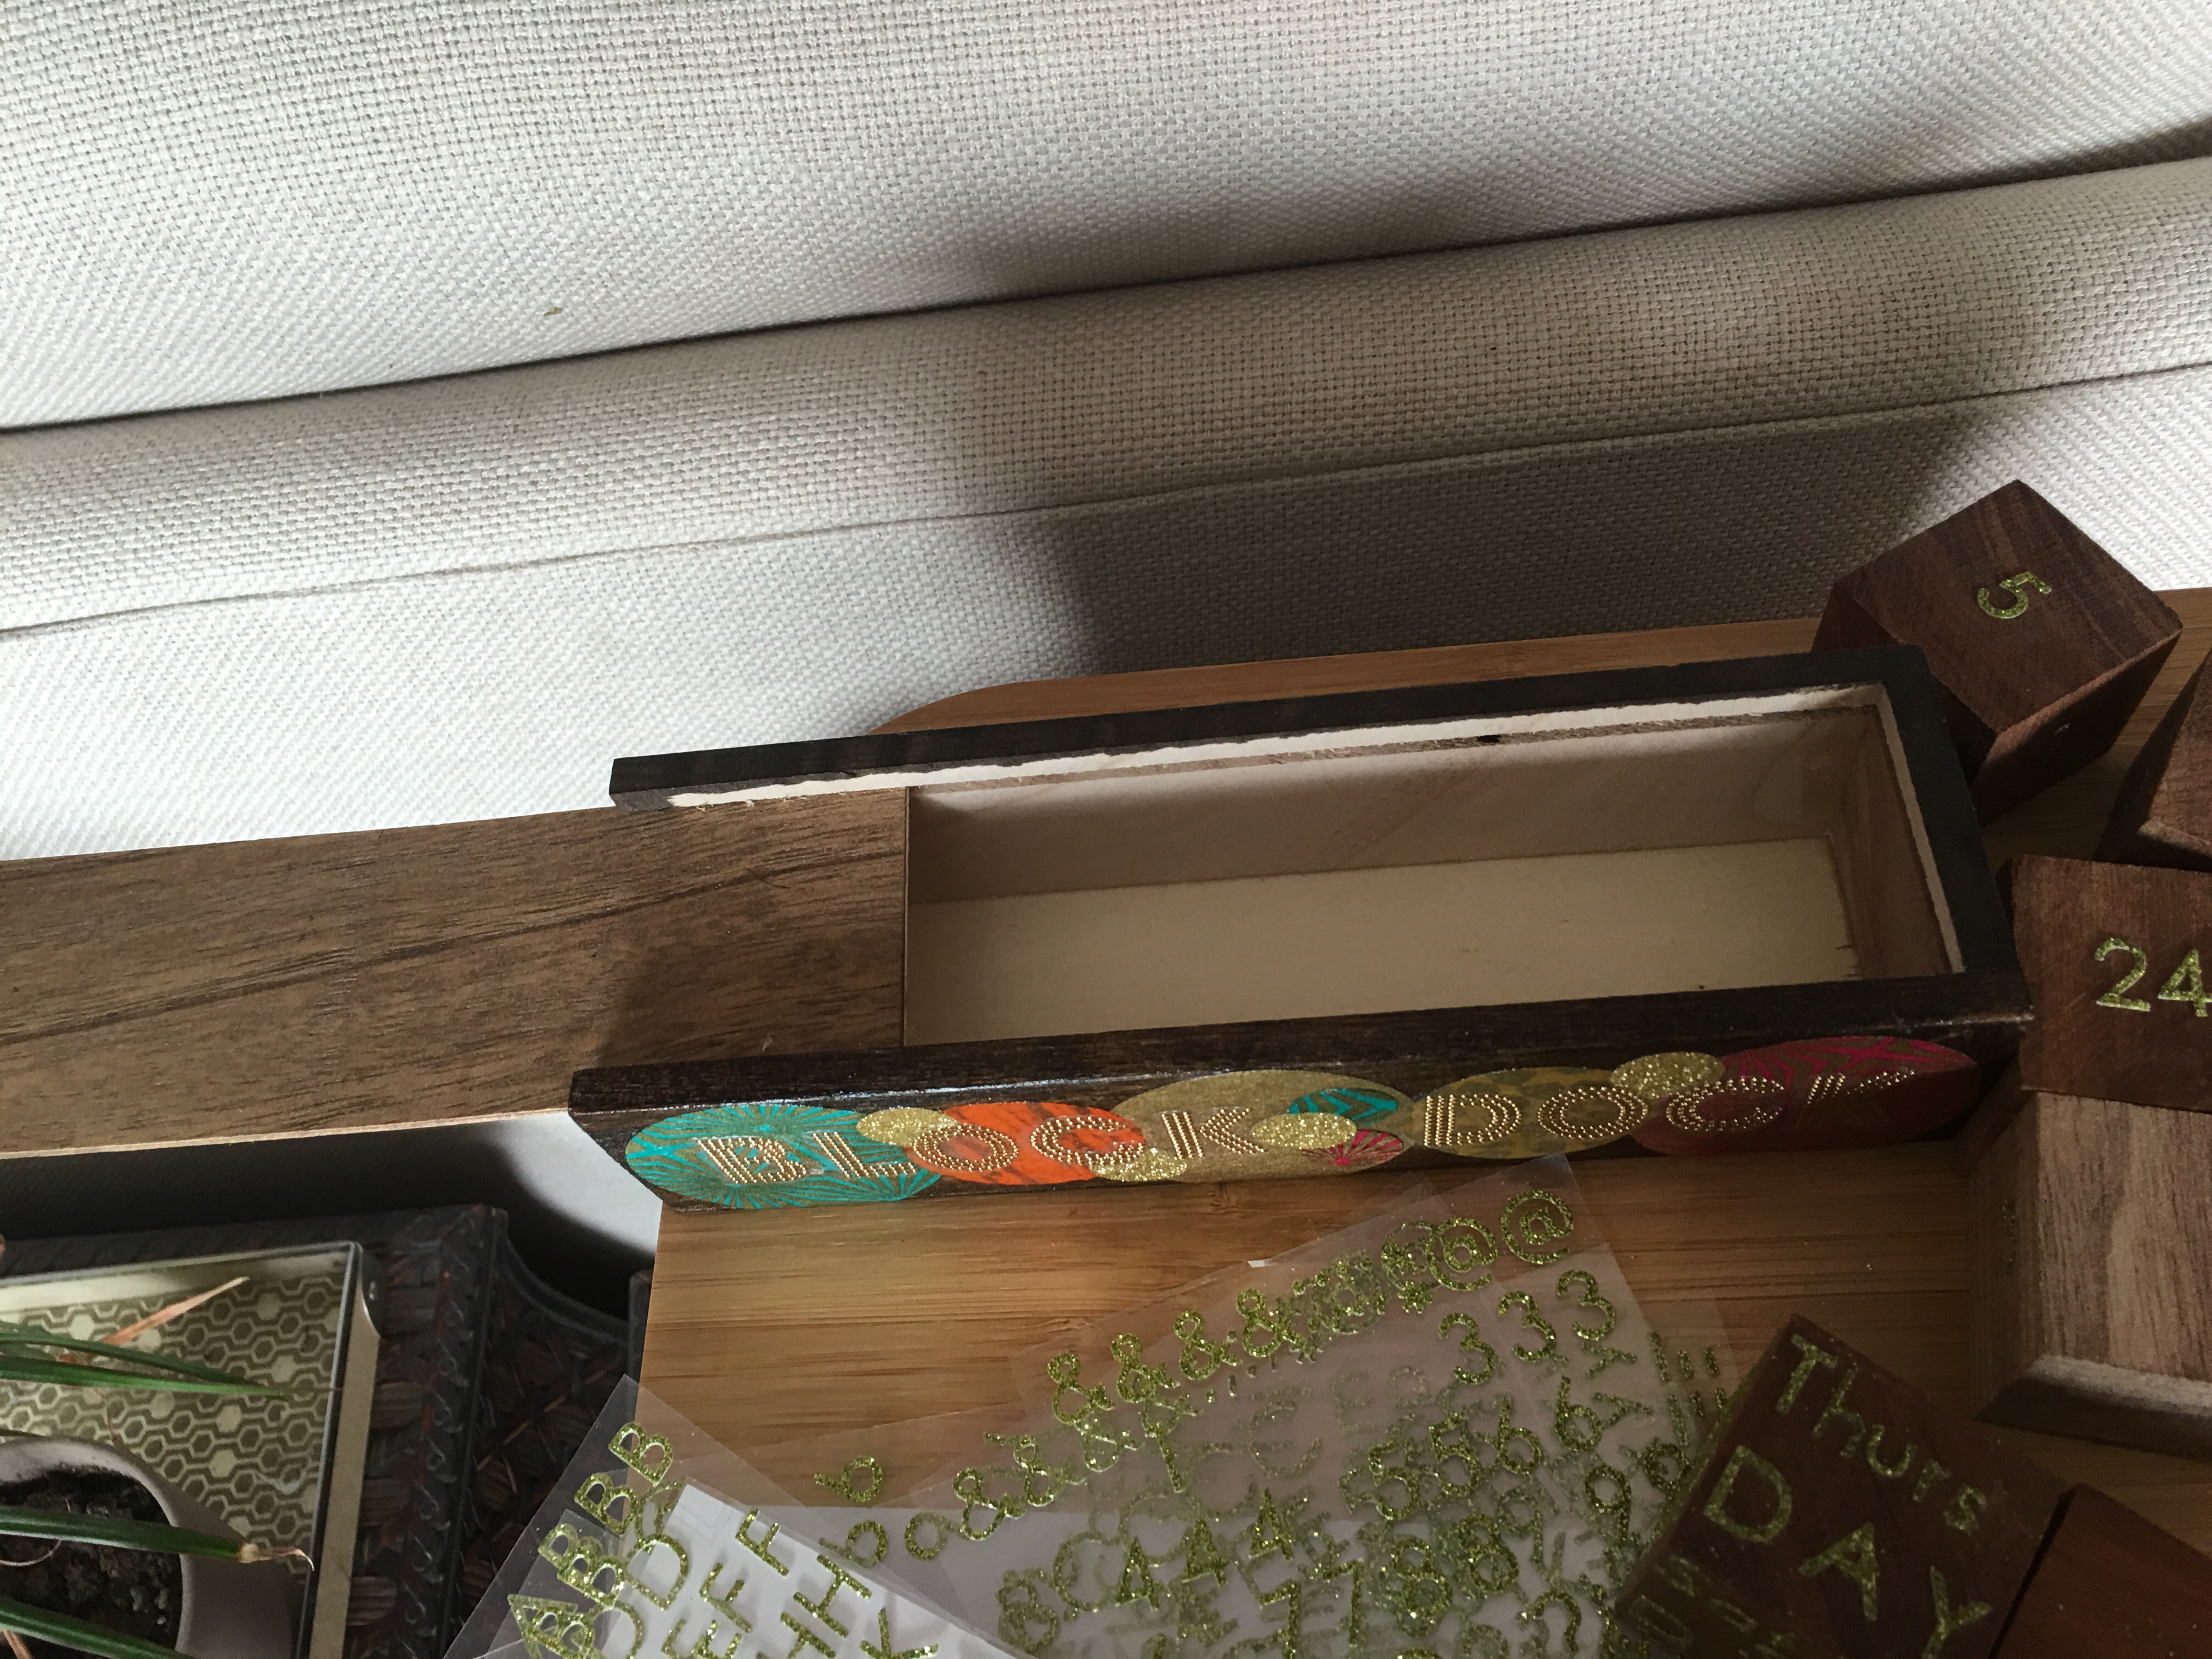
Up to five 1.5″ blocks can be stored inside the box. It’s a little snug once stickers are added, but you can easily side the Block Dock box open and closed.
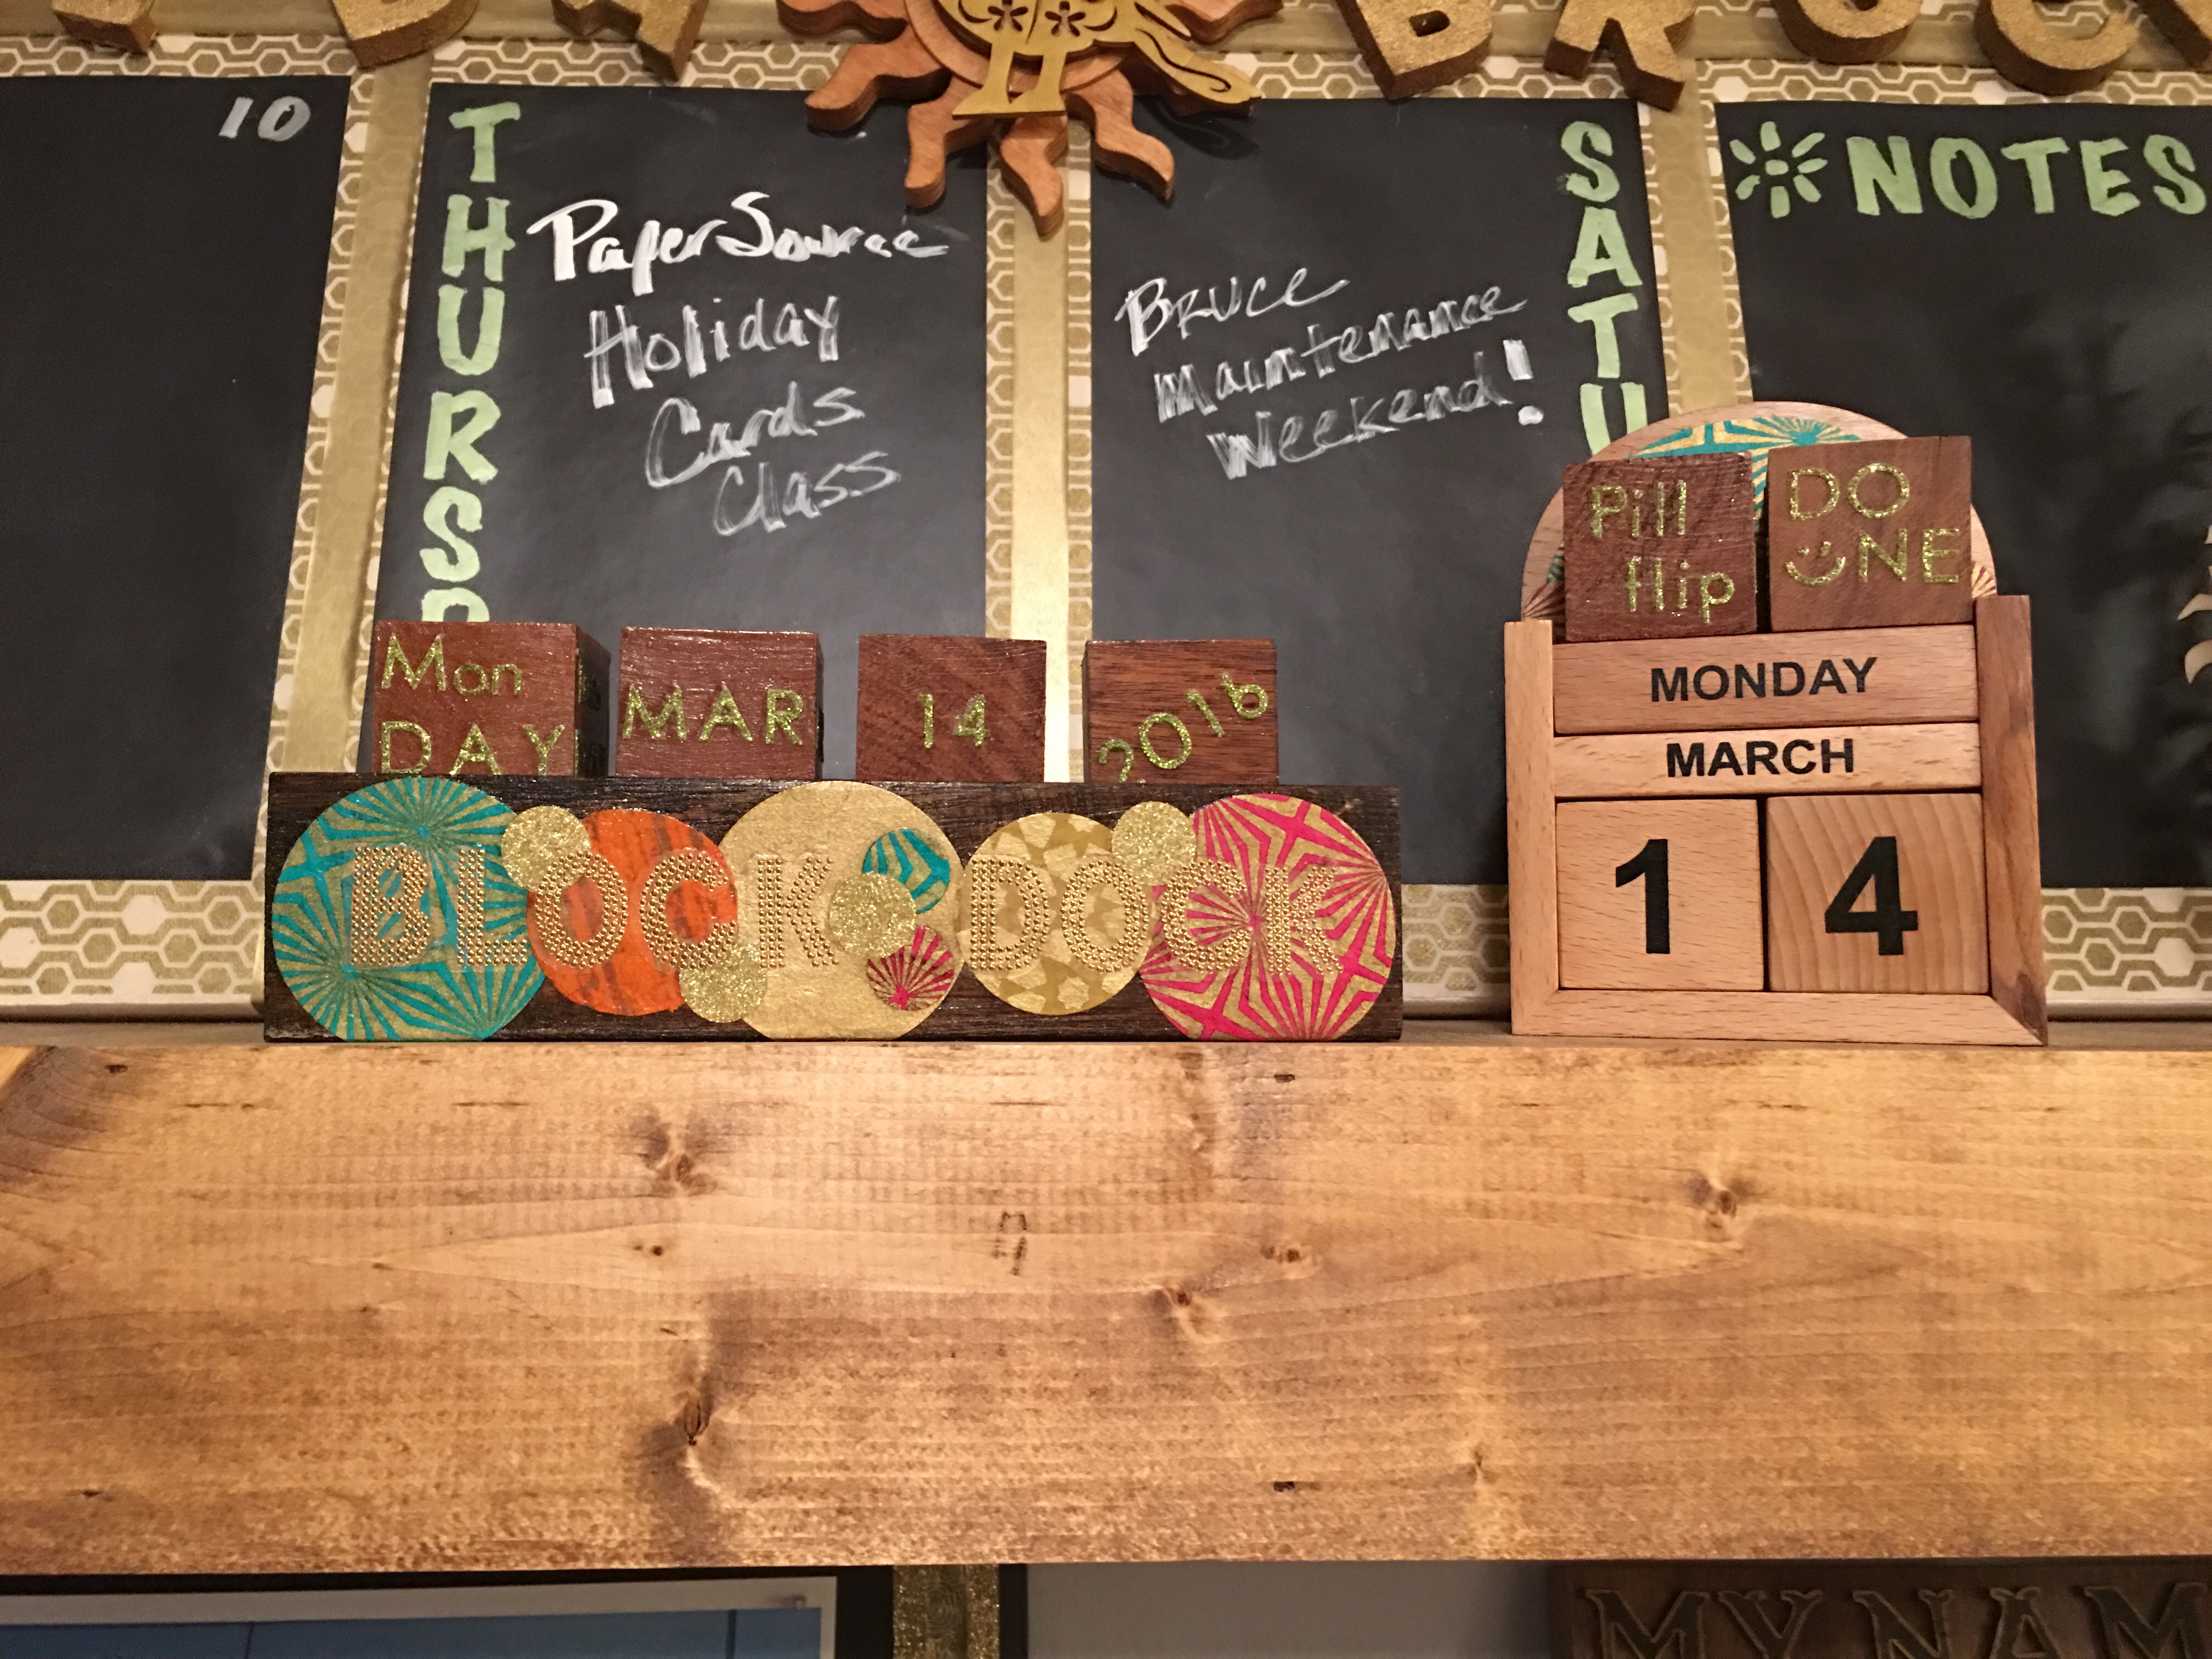
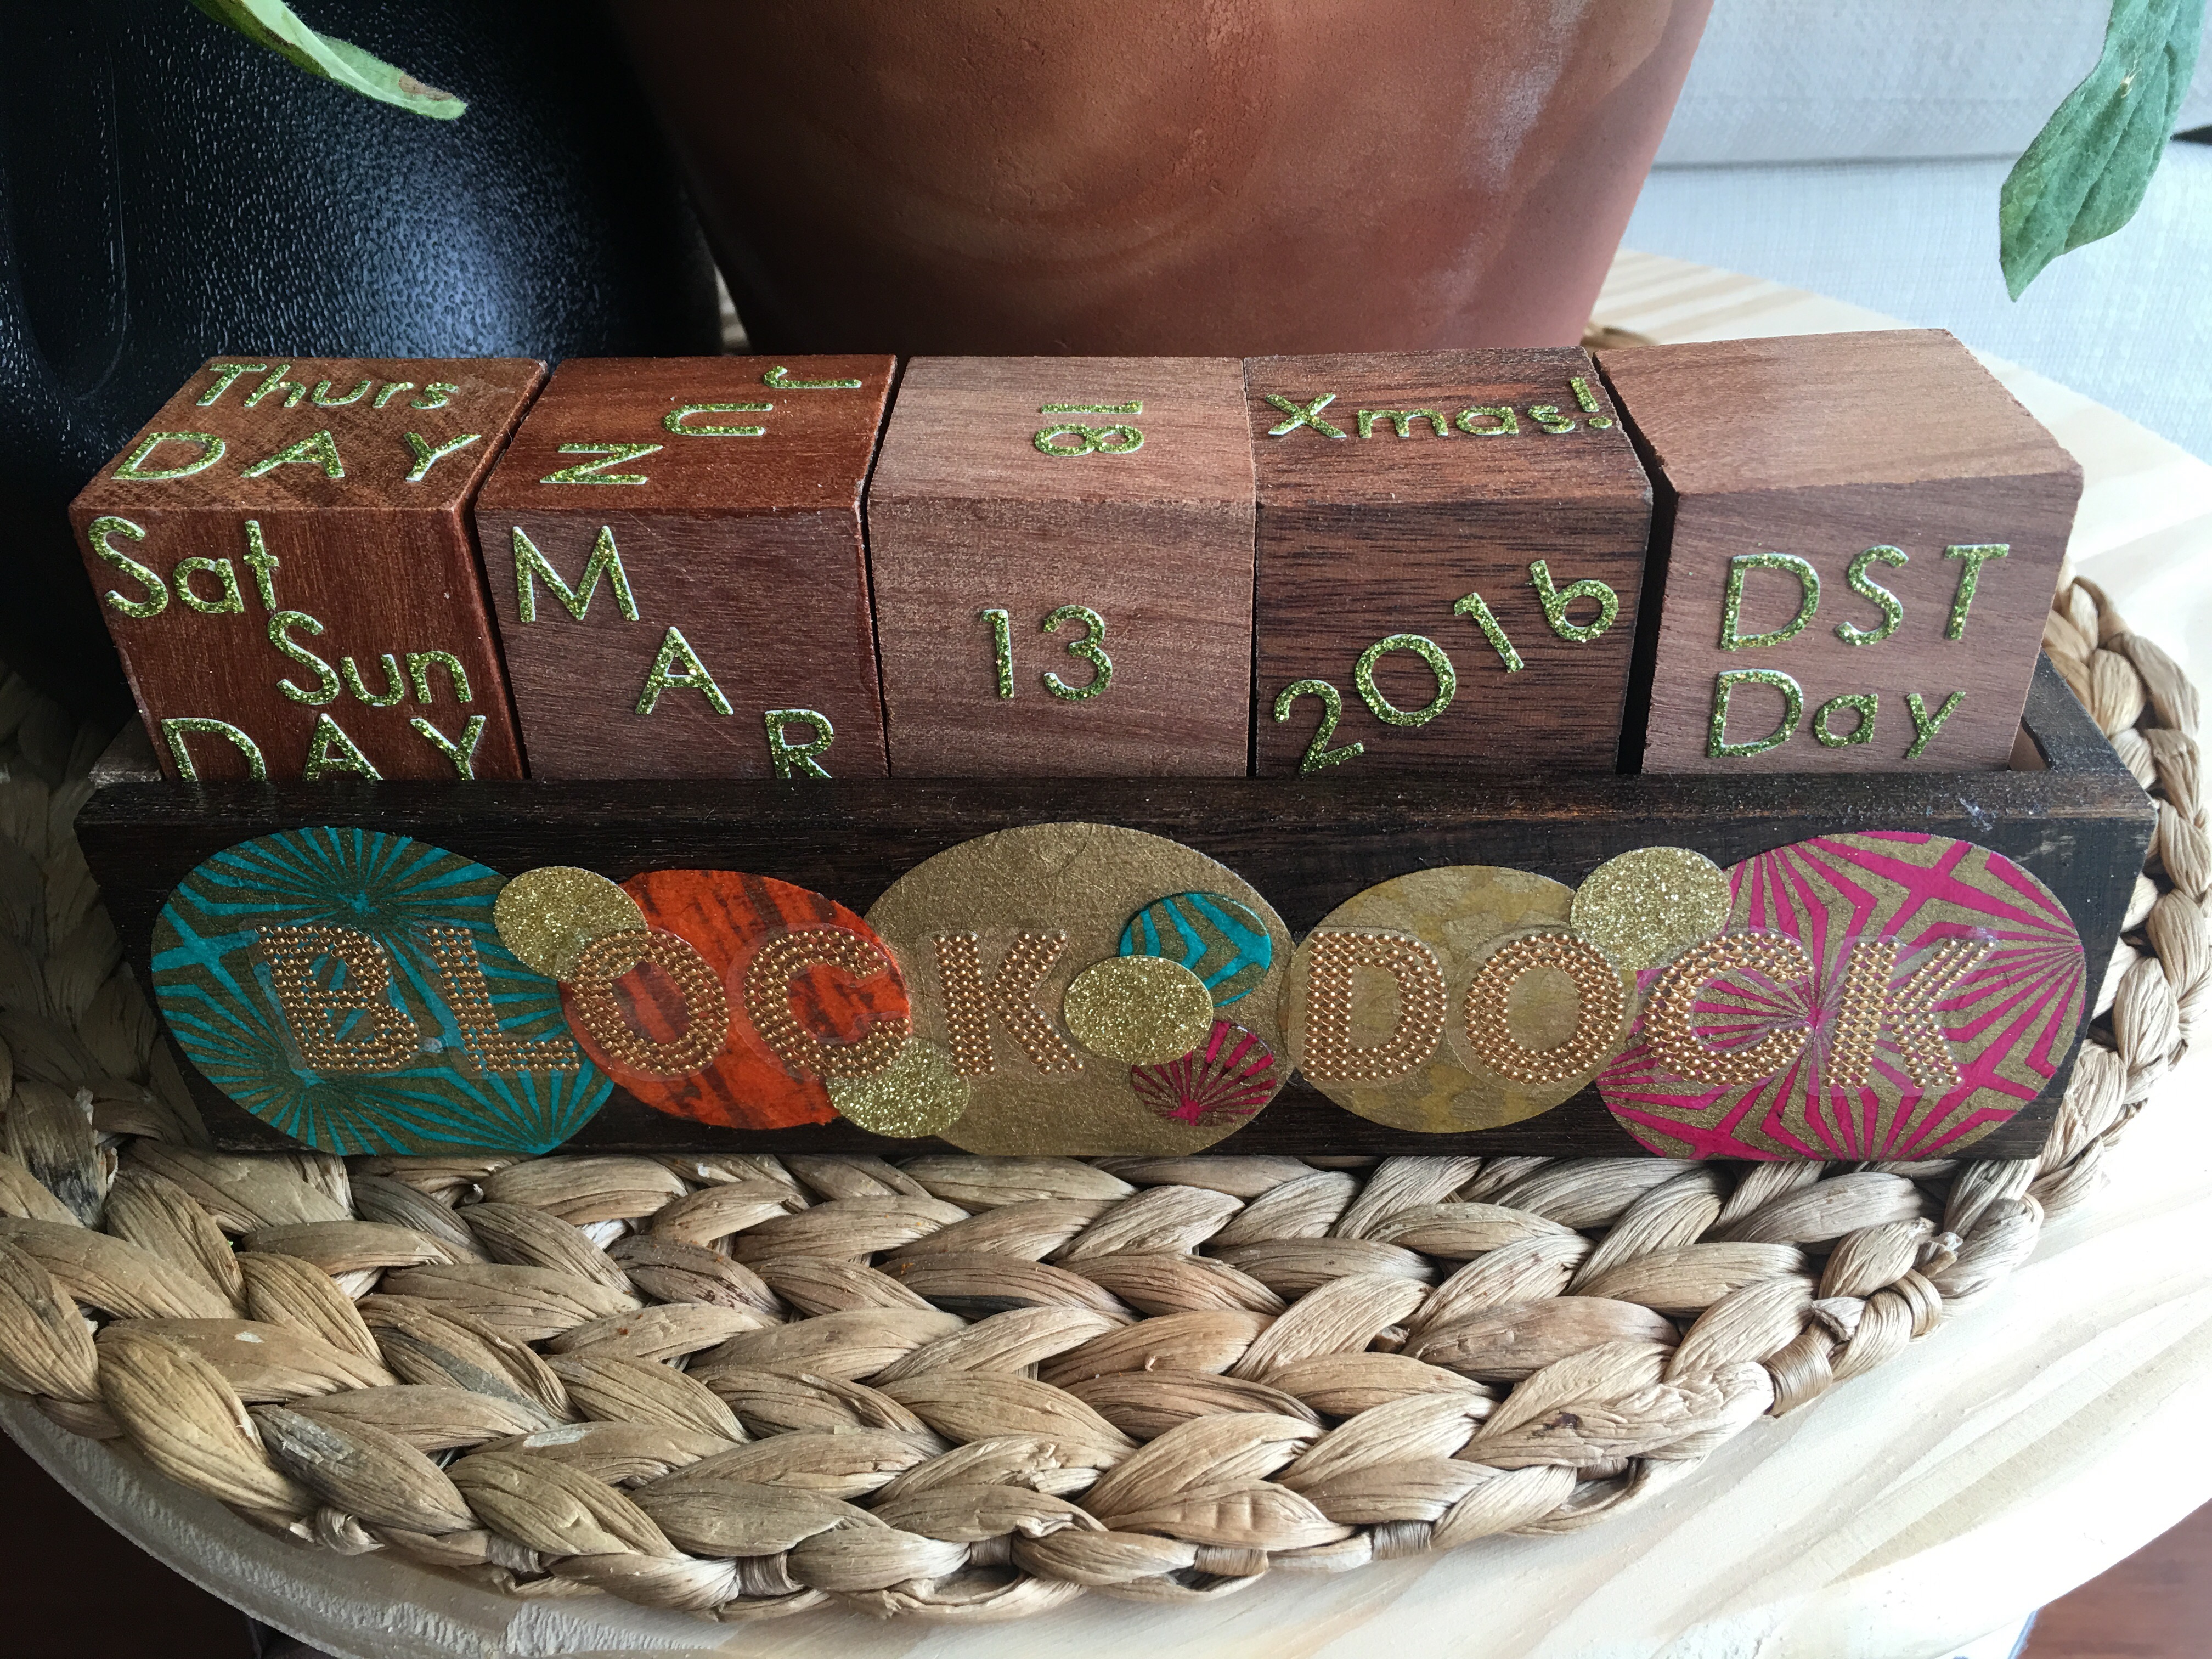
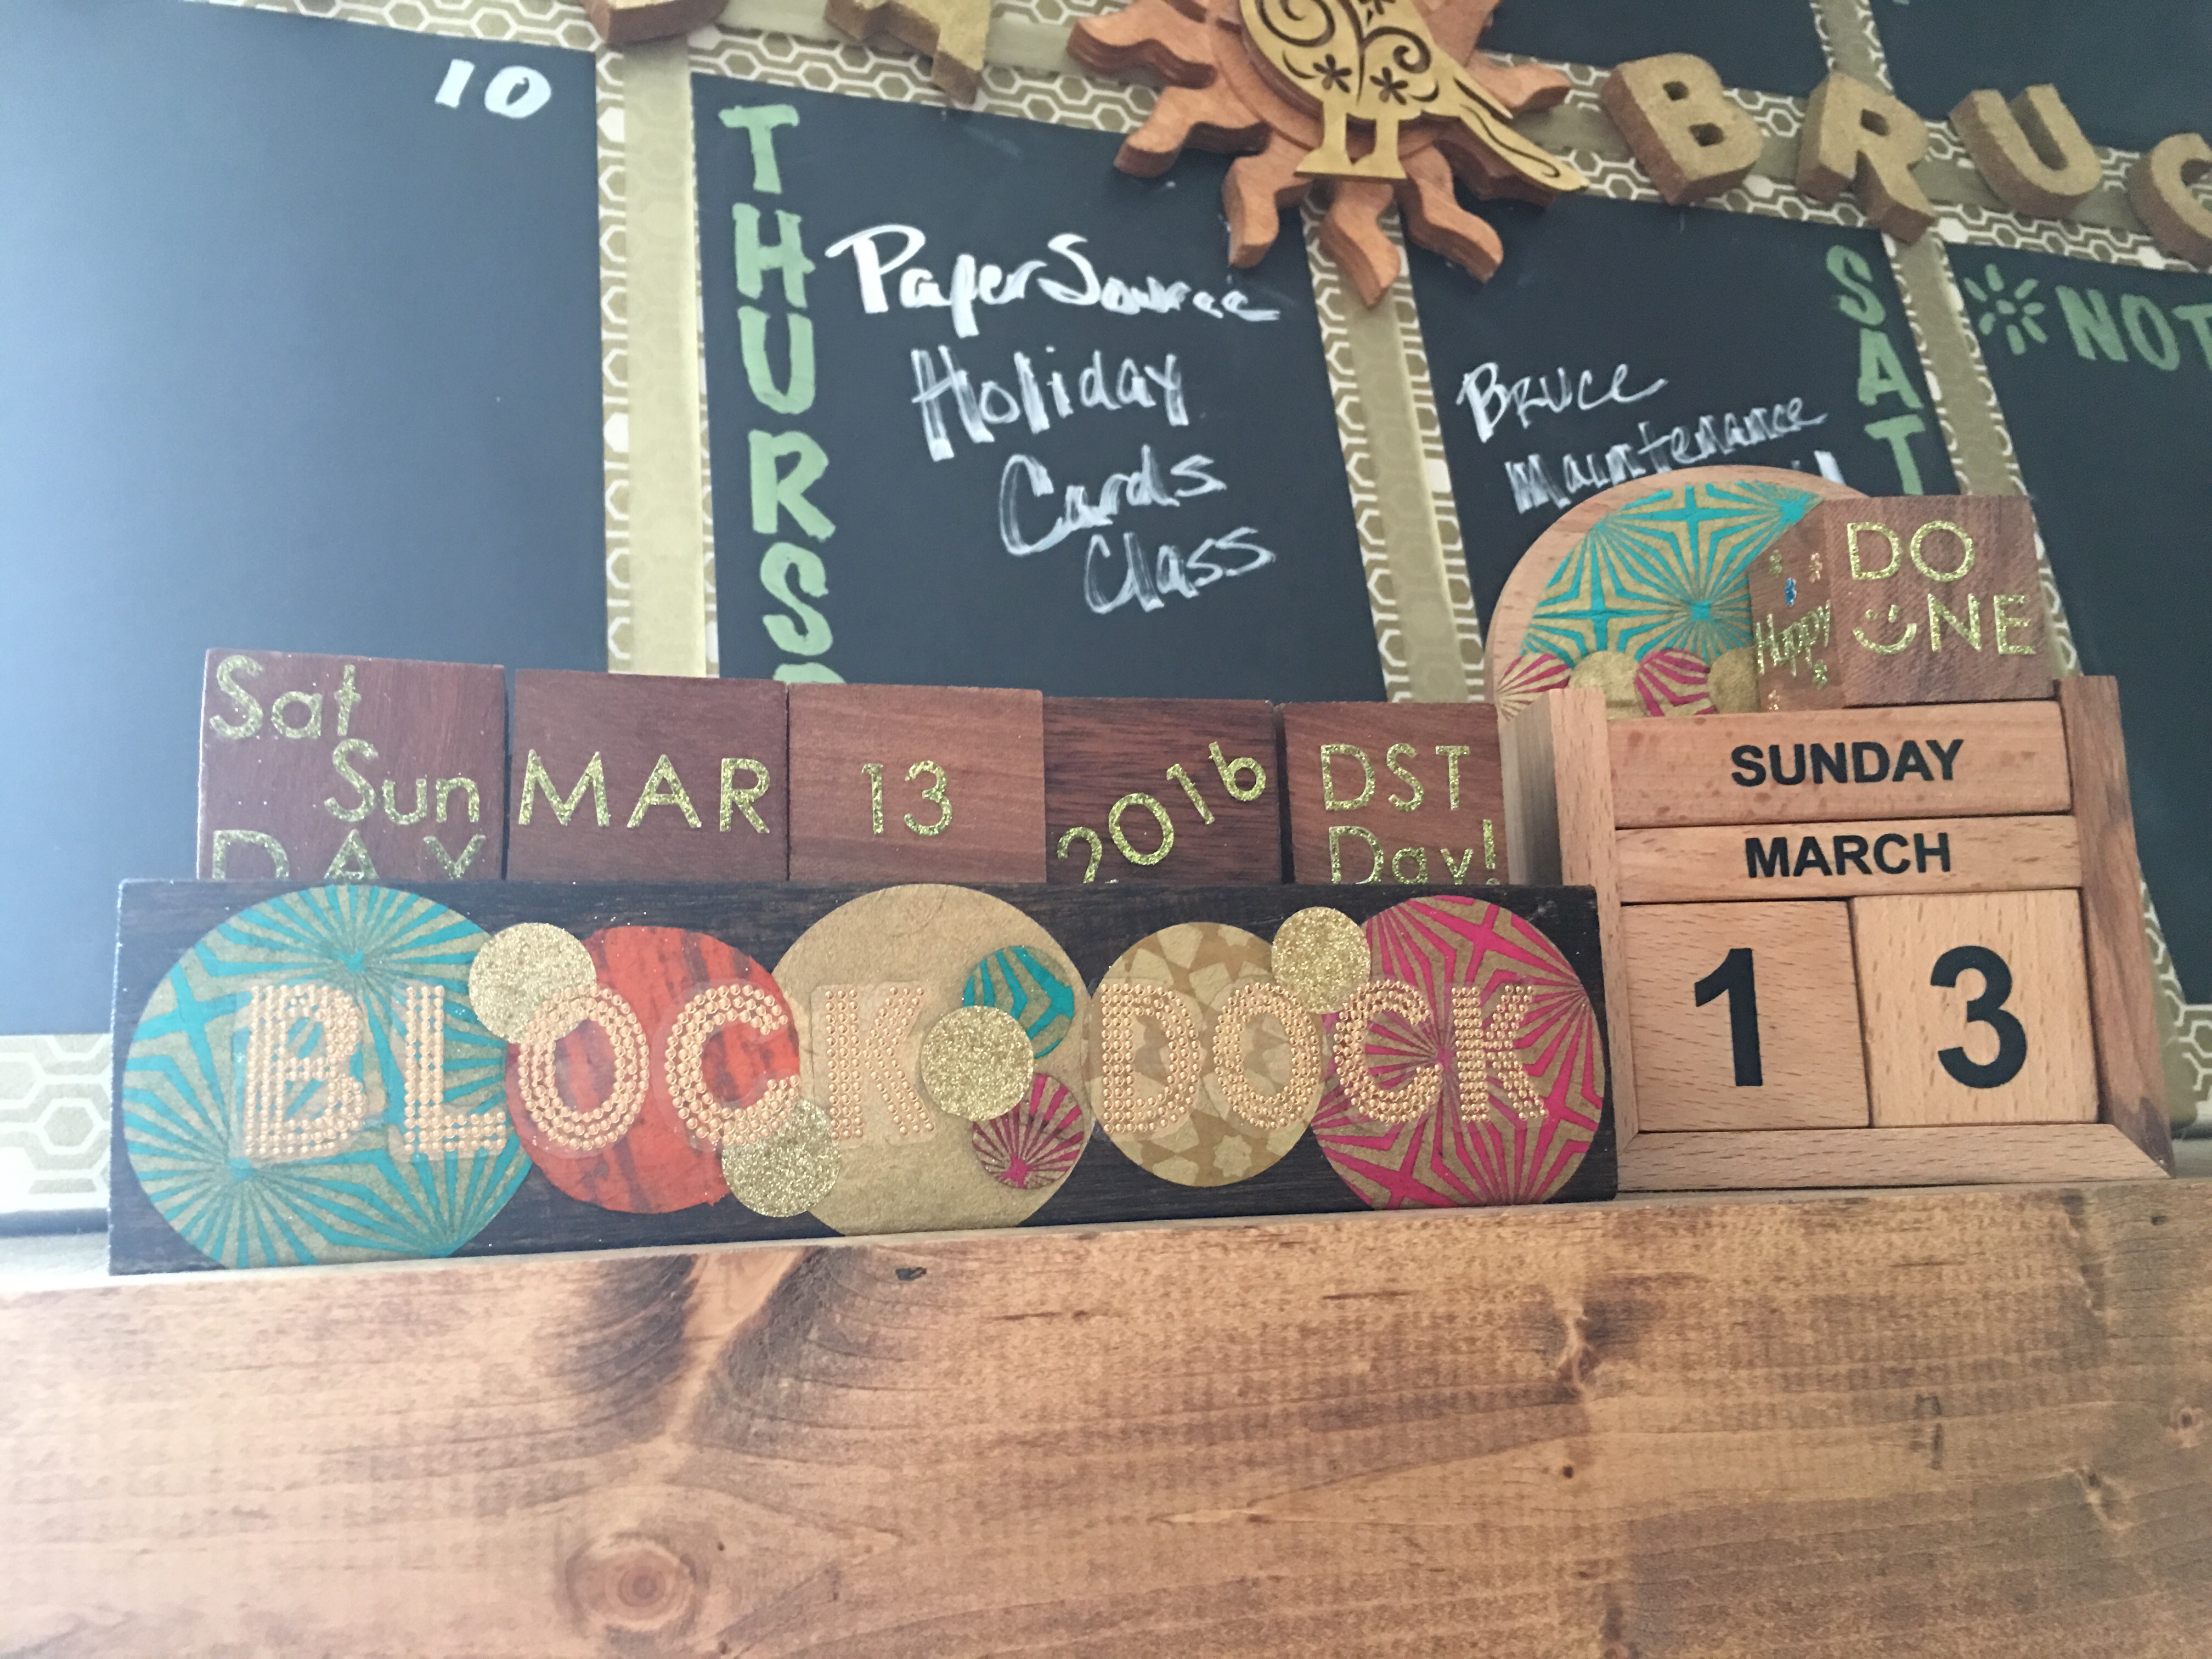
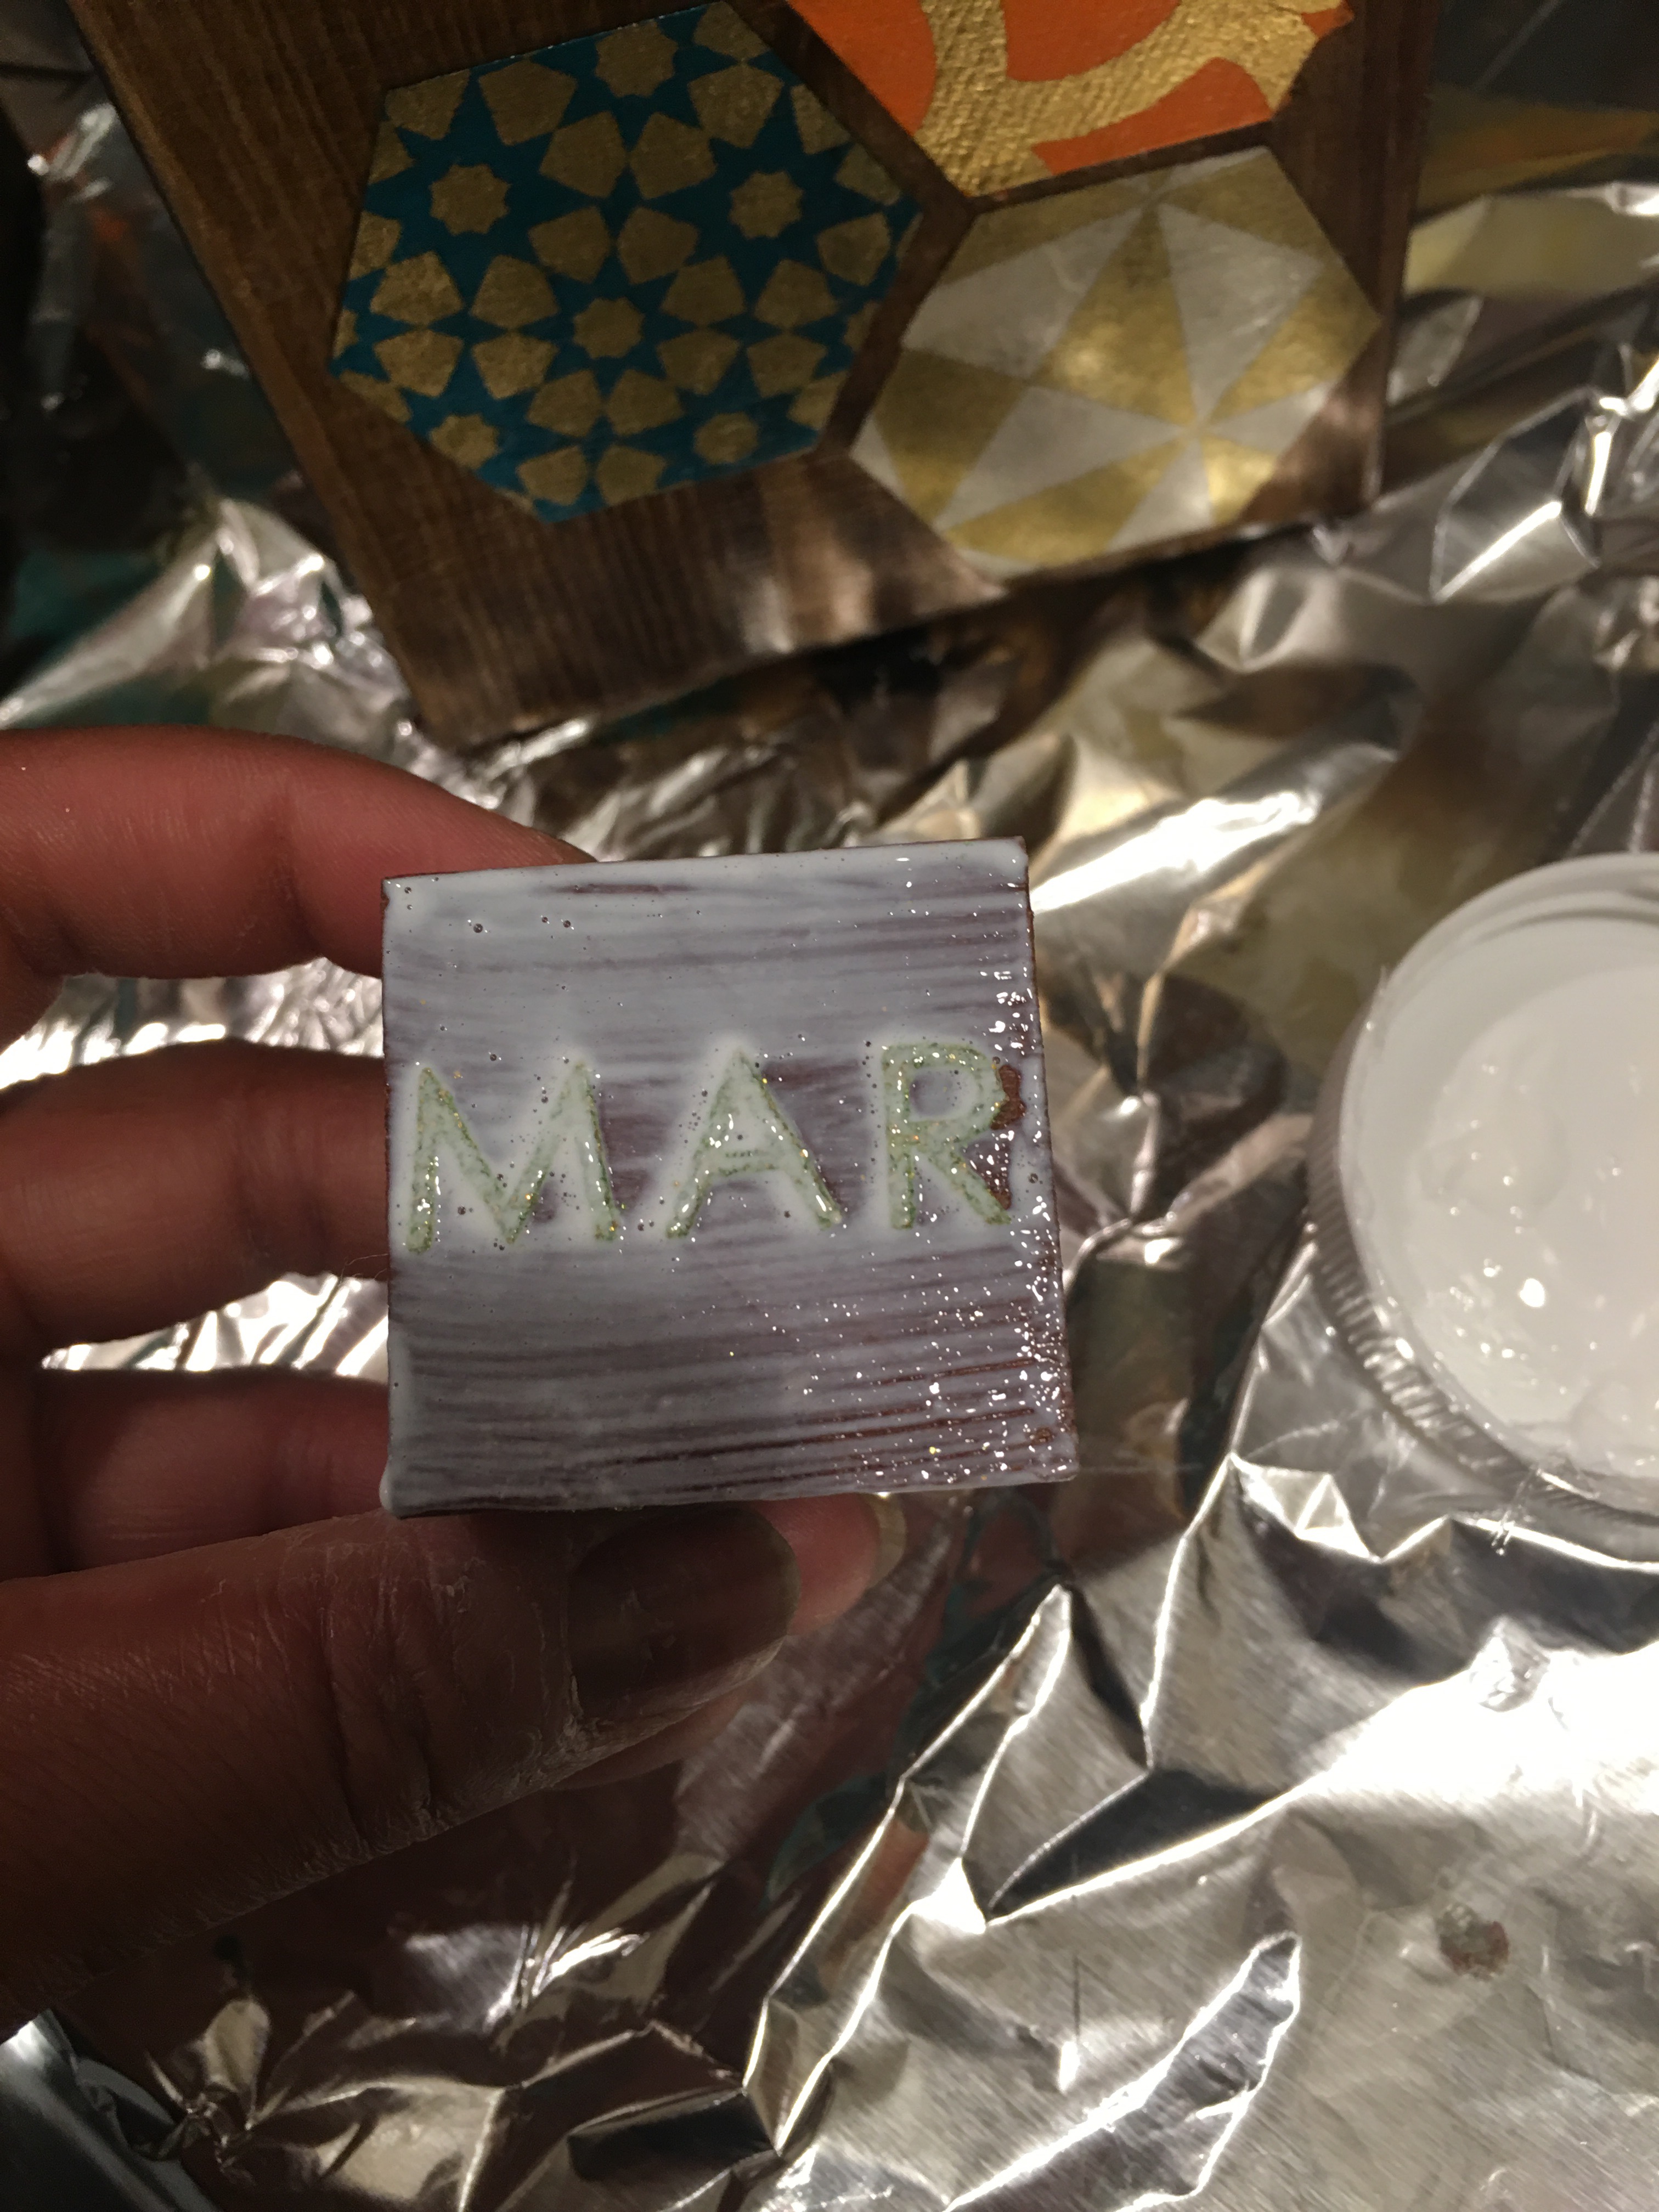
Here’s my DST Day calendar rack up. I did eventually change the position of the “MAR” stickers so that it is displayed horizontally across the block (and is not cut off at the bottom of the block dock.
I had another block available for greeting words. So I added “Happy” to the block and will eventually add “Merry”, “Guten”, “Feliz” and other “Happy” sayings.
Yes, there will be foreign language blocks. That’s a given. 🙂
One of the key ideas I had for these blocks were to create reminder blocks. One happy discovery I made with my “Elephants Never Forget” wood calendar blocks was how effective it was when used in conjunction with personal daily reminders. Pills that I never seem to remember on a consistent basis were suddenly a routine habit that I engaged in without fail. I just trained myself to flip my wood calendar blocks after taking my pills and vitamins.
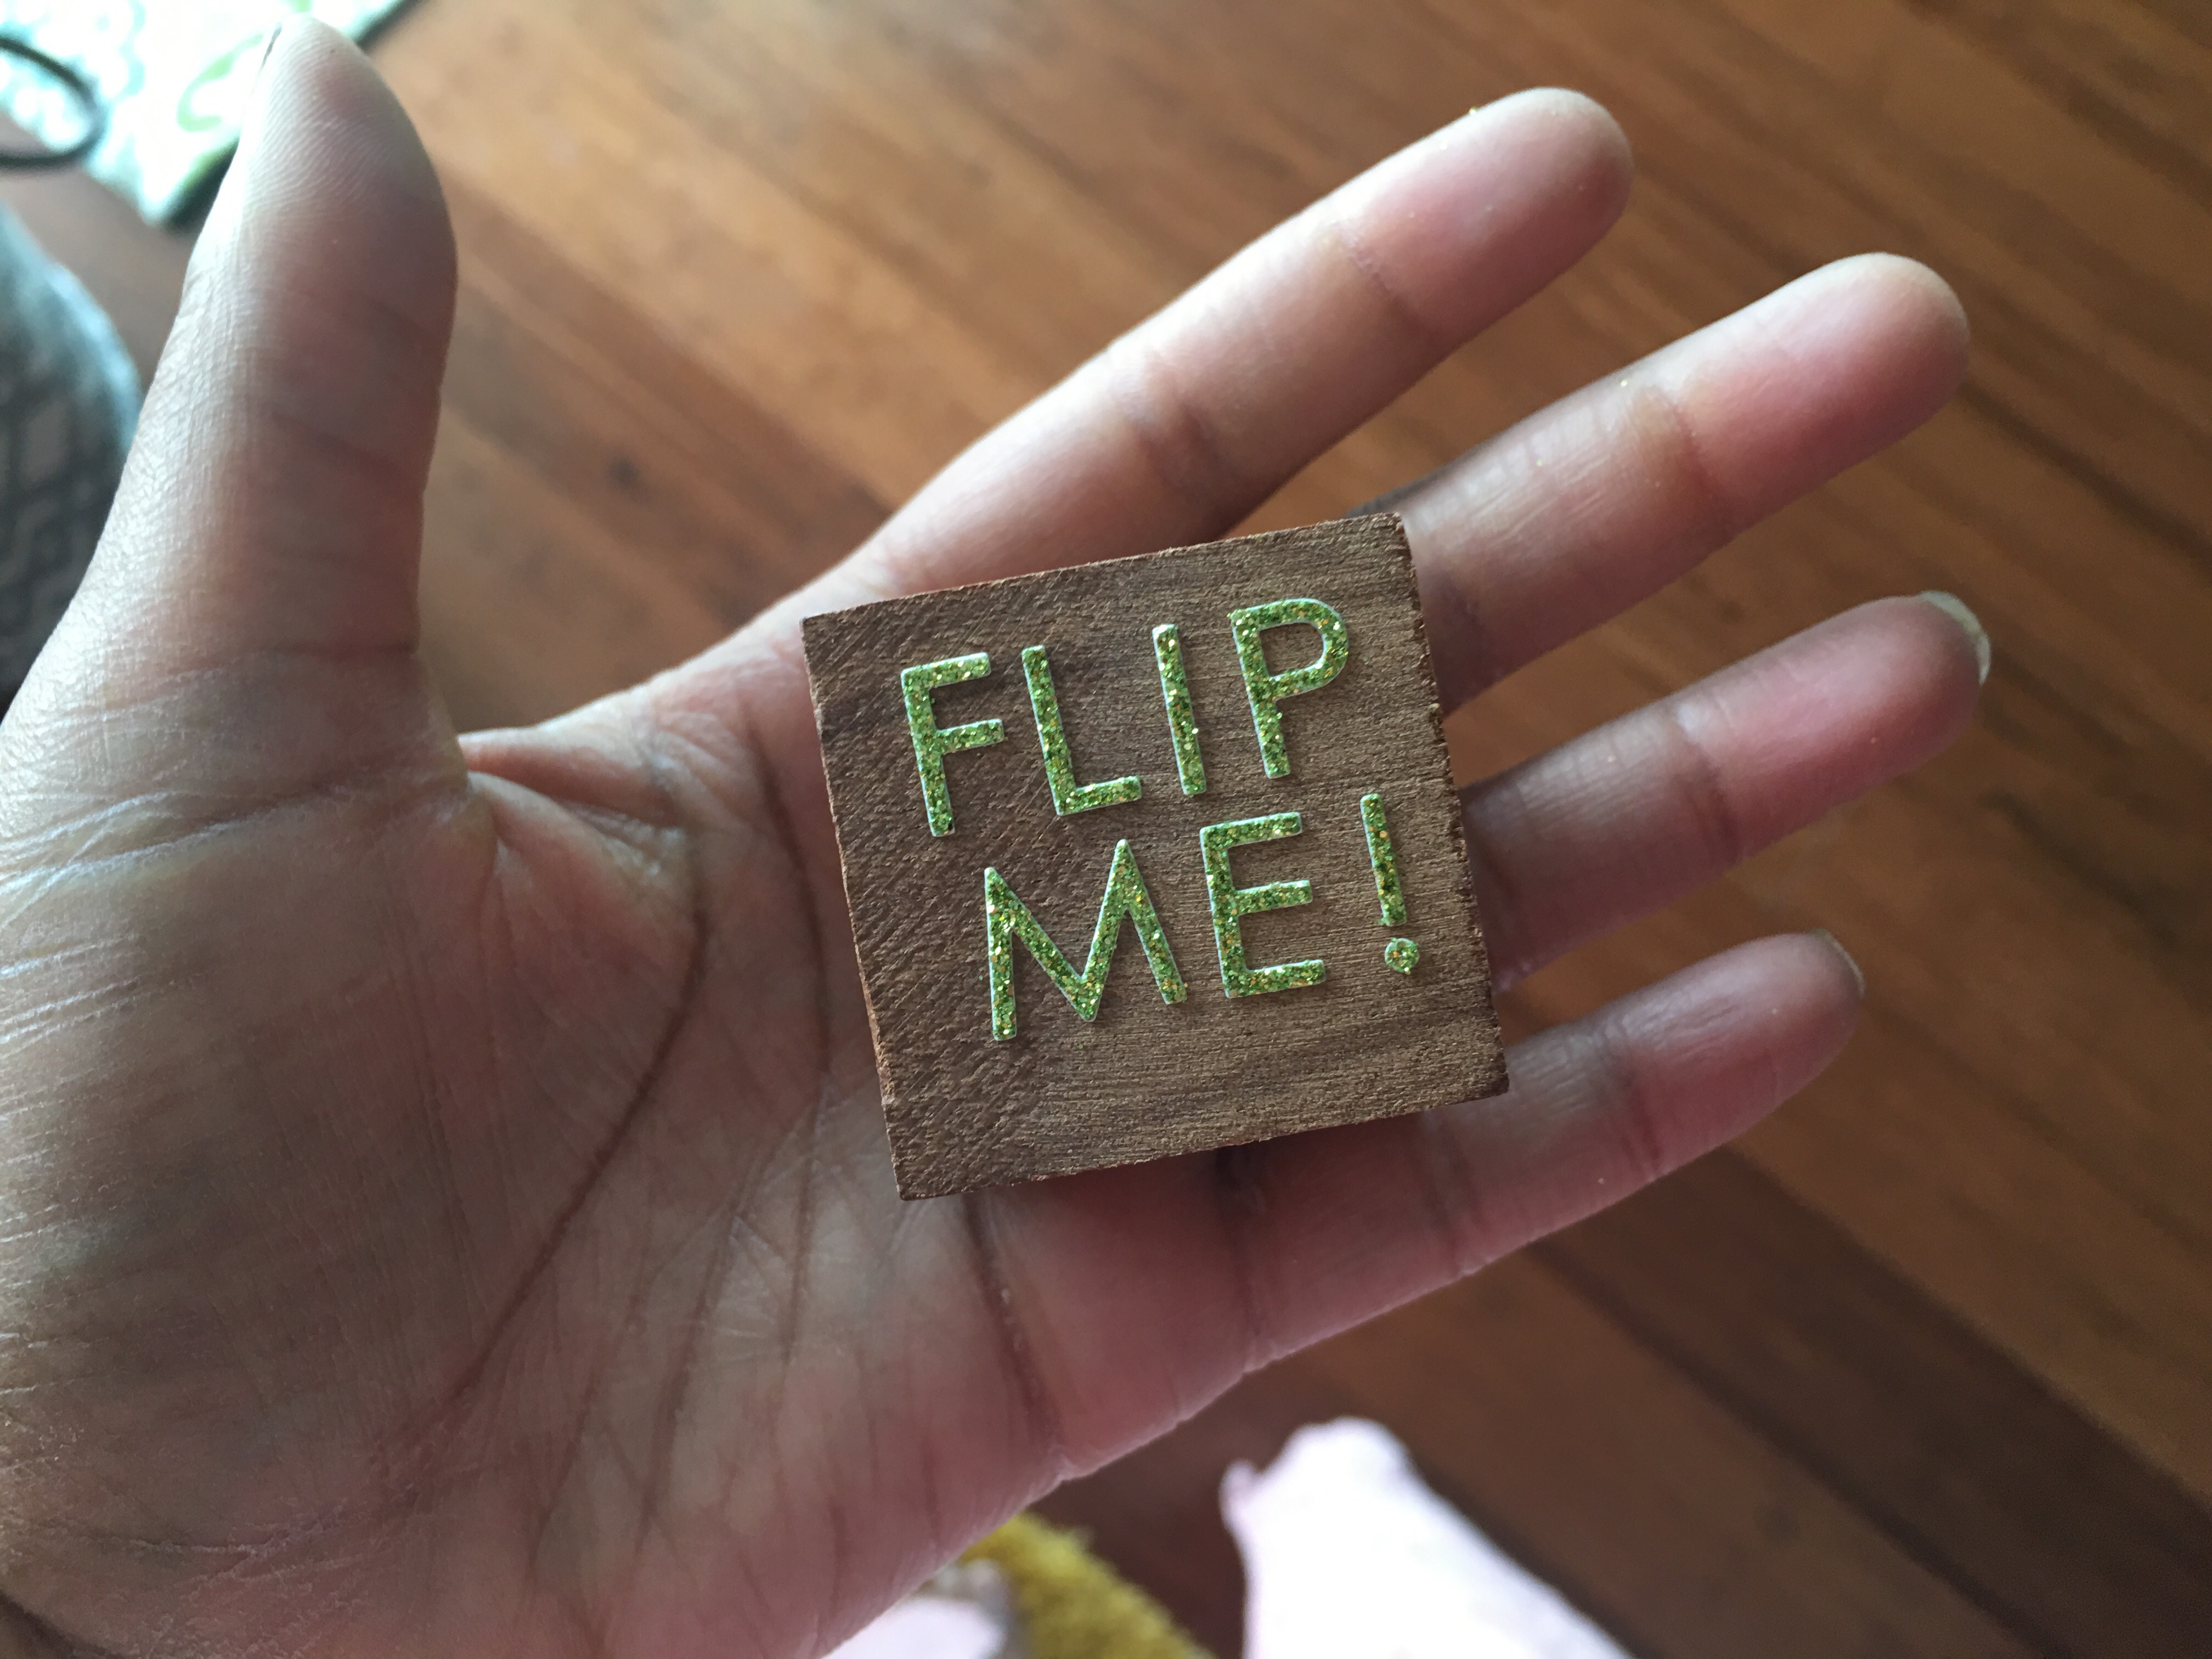
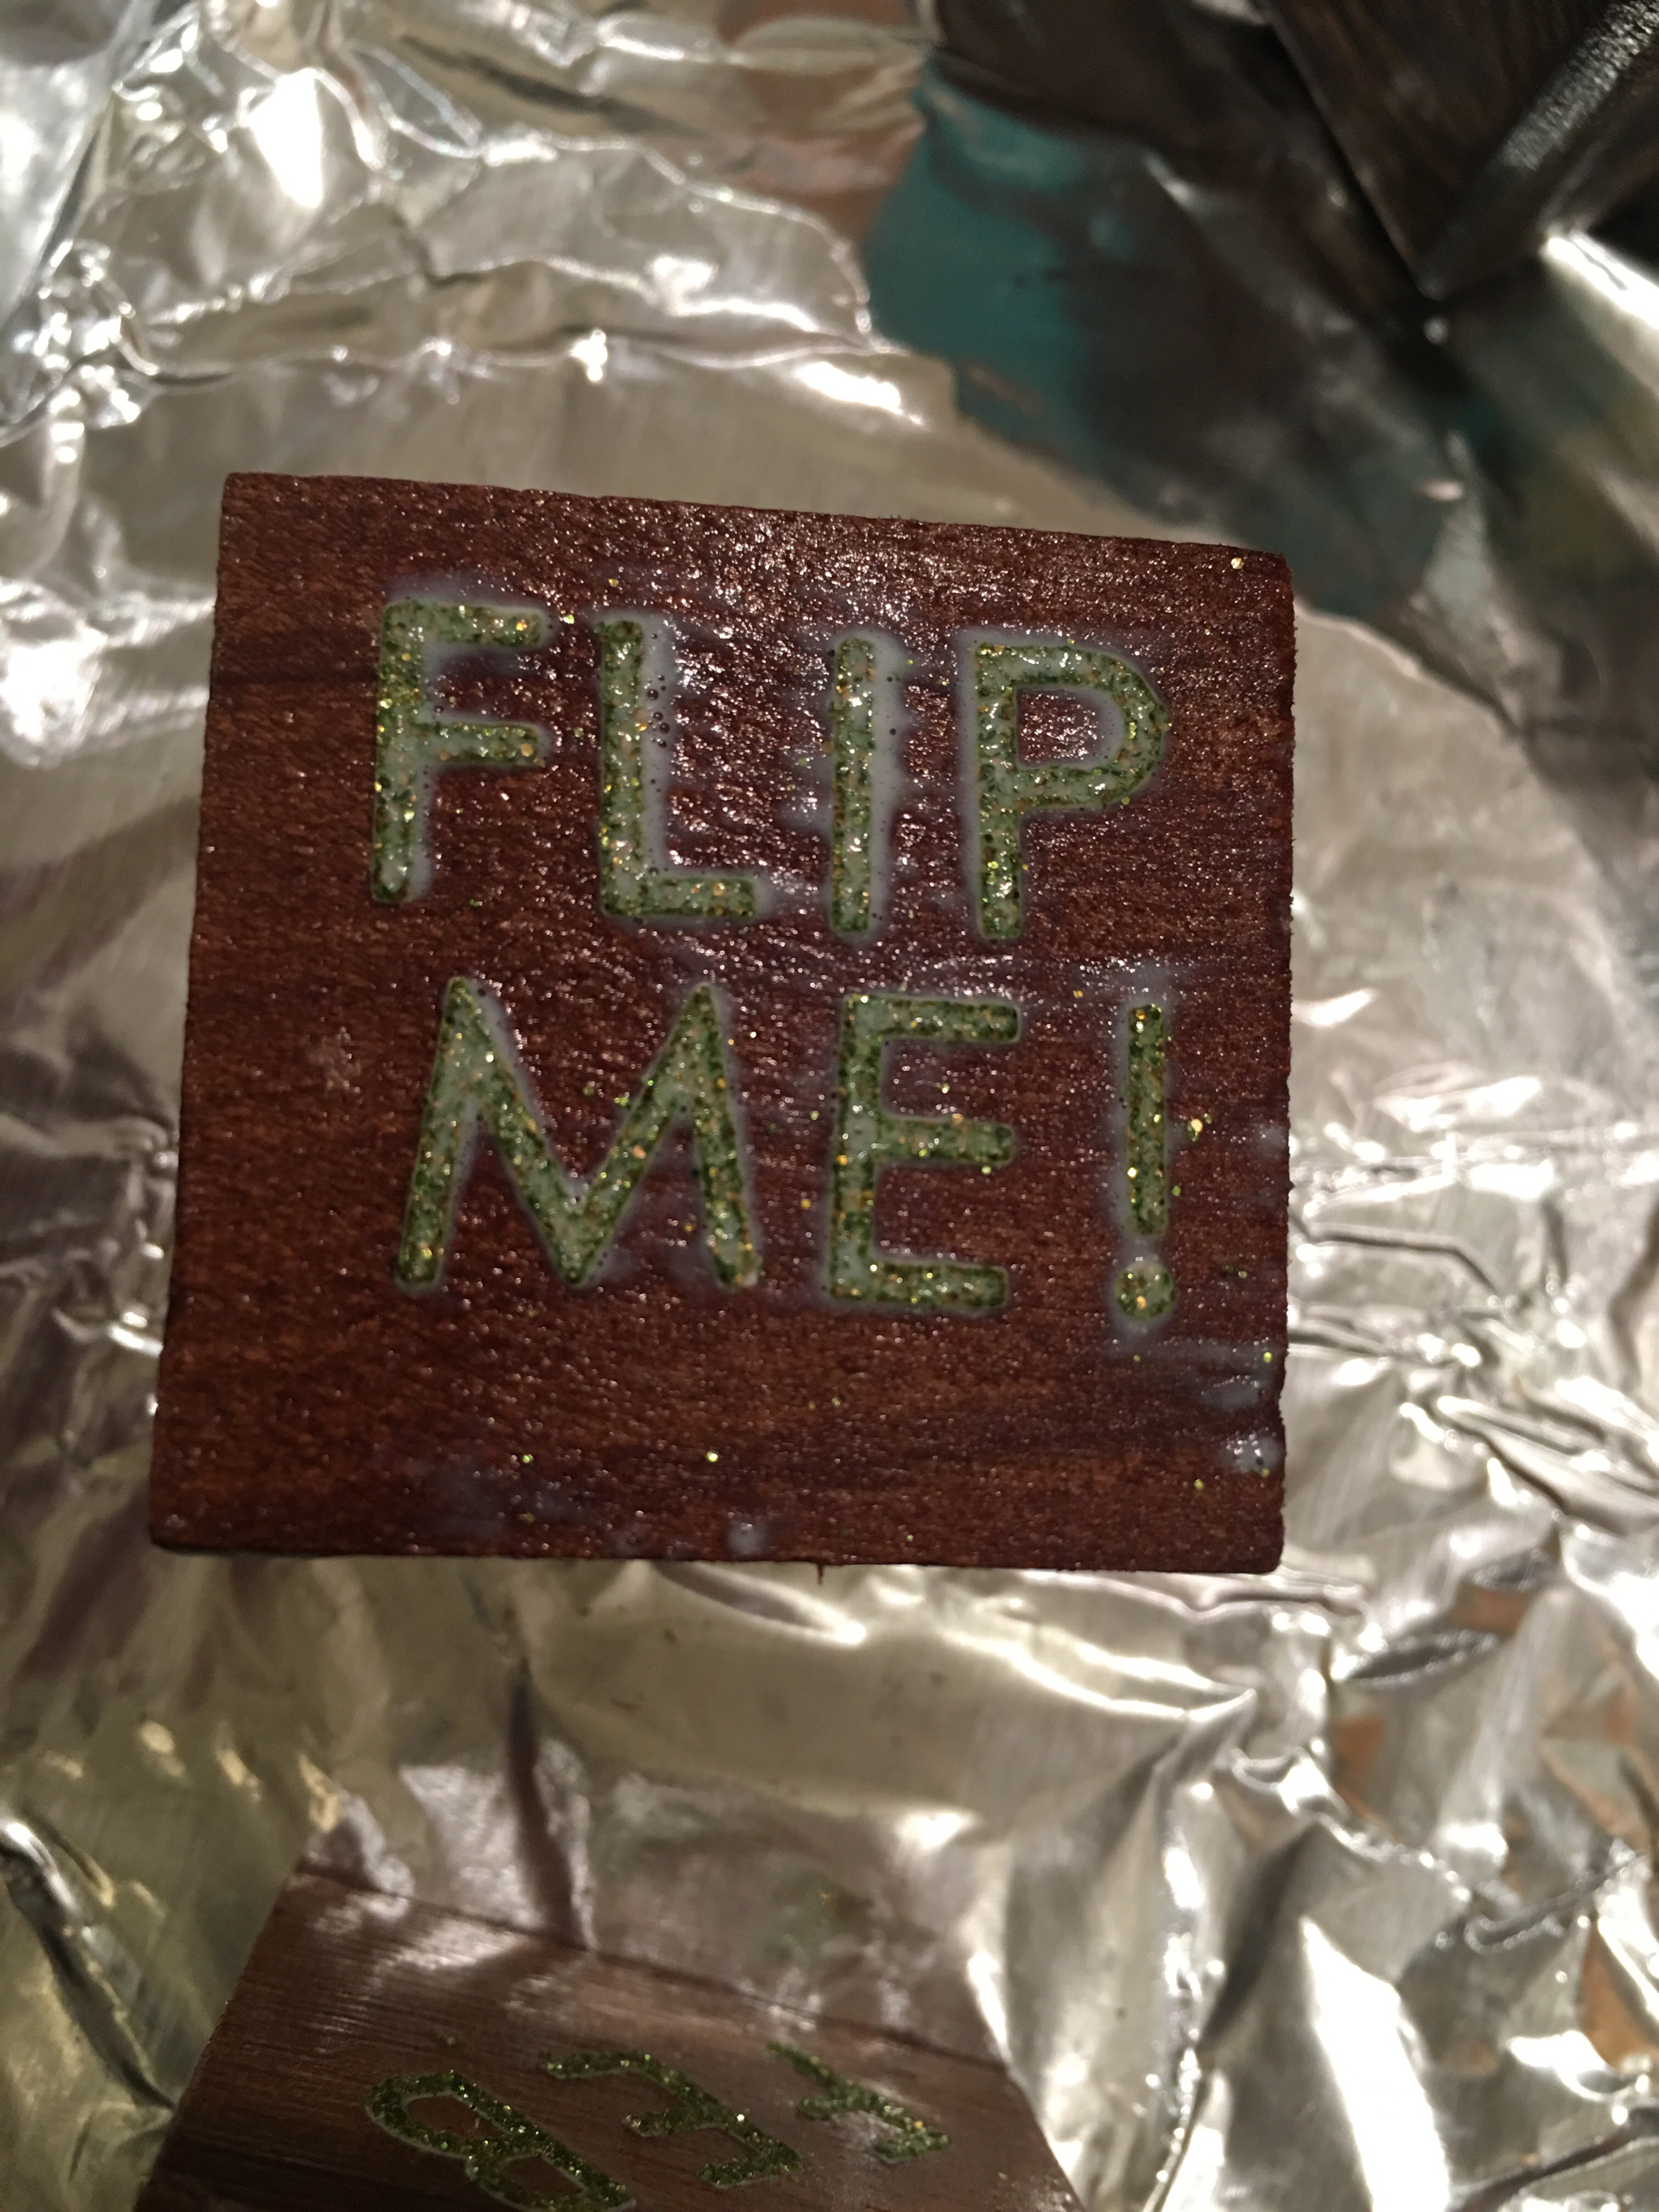
So, taking it to the next level, I created this “Flip Me” side to a block.
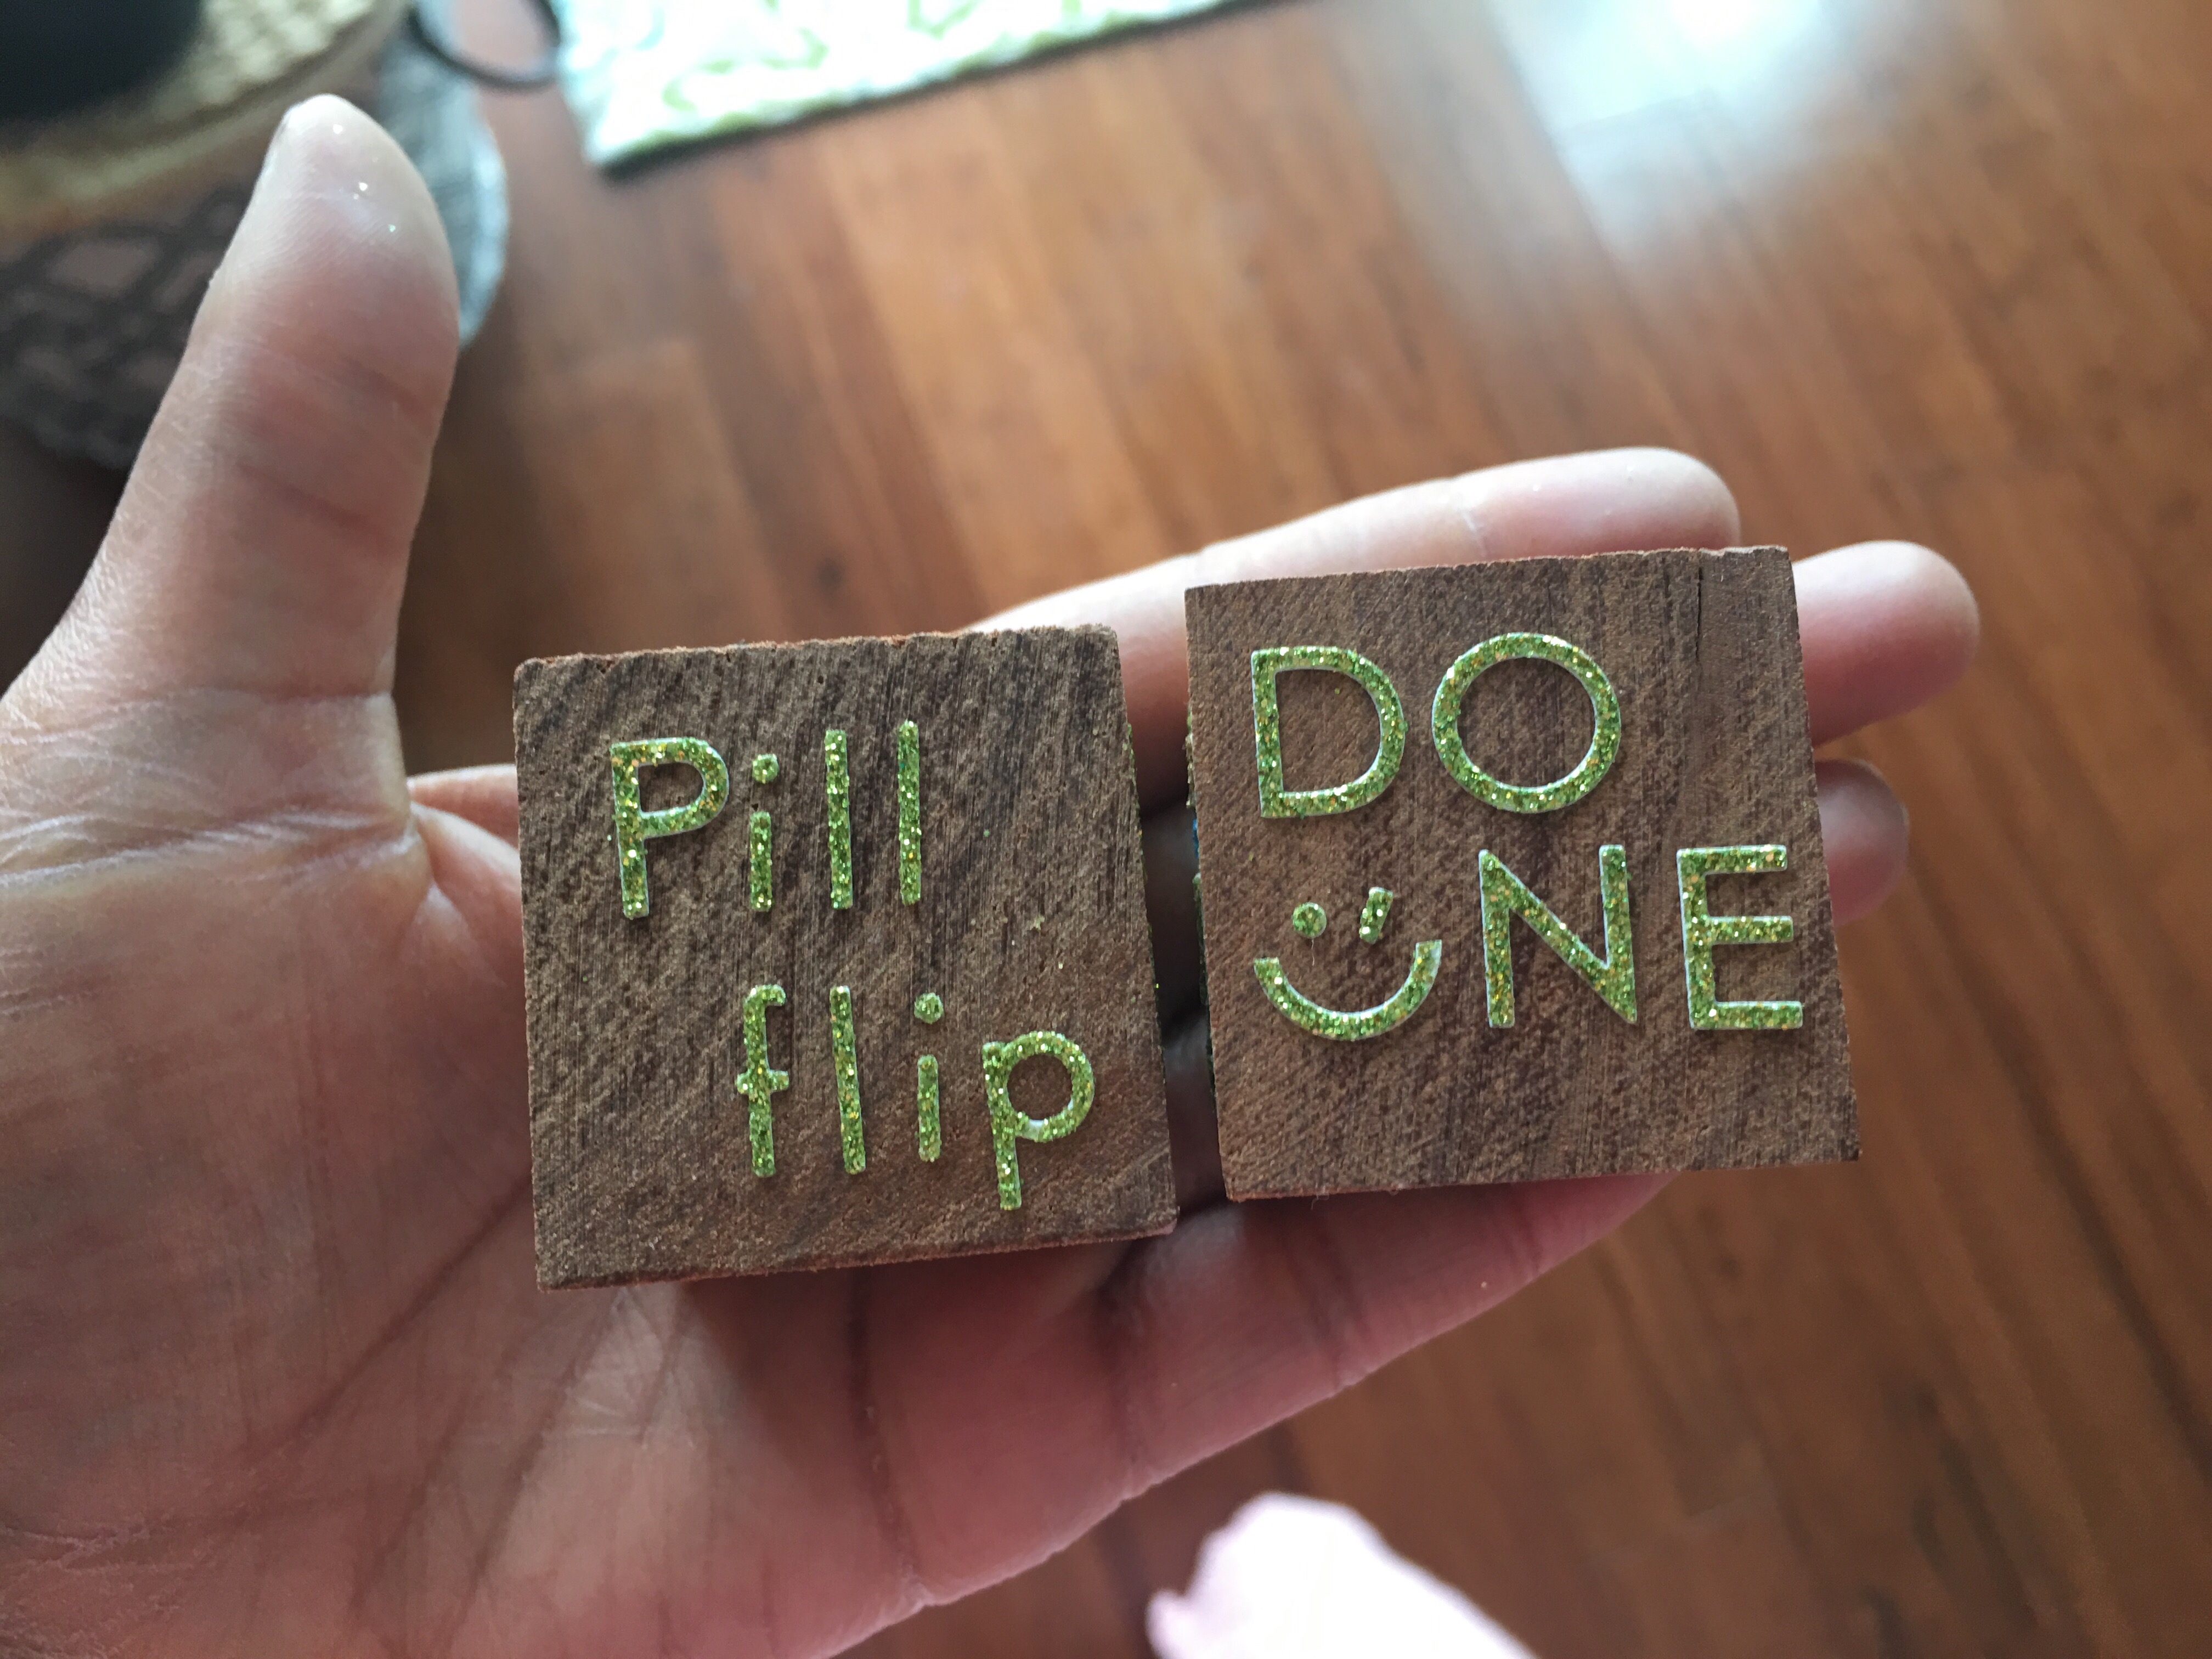
Once I do the task that I’m using the reminder block for, I flip the block to reveal that the task is “Done”. Mission accomplished.
These blocks can be used in my DIY “Block Dock” or in my Elephants Never Forget wood calendar block set (that enjoyed one of my trademark VidaDIY makeovers.
I find that have visual cues are very effective for me and increases my desire and motivation to complete a task. Also, it’s something creative. Something that I can see and touch. Using reminder blocks works far better for me that seeing a text-based reminder pop up on my computer or phone.
Of course, to keep the stickers from falling off (and to bring out the rich, natural dark color of the wood), I sealed the blocks with Mod Podge.
Sealed the all important “Flip Me” block. I just need to remember to flip to this block the night before so that when it’s time for my morning coffee, I will see this visual cue to take my pills, then flip!
I made sure to seal all my made up blocks with decoupage glue. These will be sure to last me a good while.
Something I failed to due up to this point, I took a moment and sealed the underside of the Block Dock wood box.
Monday, March 14 2016 never looked so good. And of course, my “Pill Flip” is done. V-