
The hazards of hammering in the condo
You may also like:
April 18, 2016: So yesterday I assembled my new NORDEN Gateleg table (purchased from IKEA on Saturday). I needed a table to do my crafting and DIY projects on. I made a deal with Bruce that I would not do my hot gluing, staining, Mod Podging, drilling, sanding, project cutting on the kitchen counters any longer.
Something about wanting to use the kitchen for its intended purpose…to cook.
Well, I had no problem with agreeing to another dedicated work surface for my condo crafting. And as a bonus, we can use it as actual dining space. Yes, we have a leaf dining table that I got from Pier 1 Imports, but it’s in use as my work desk (which, once again, is incredibly cluttered with craft supplies right now).
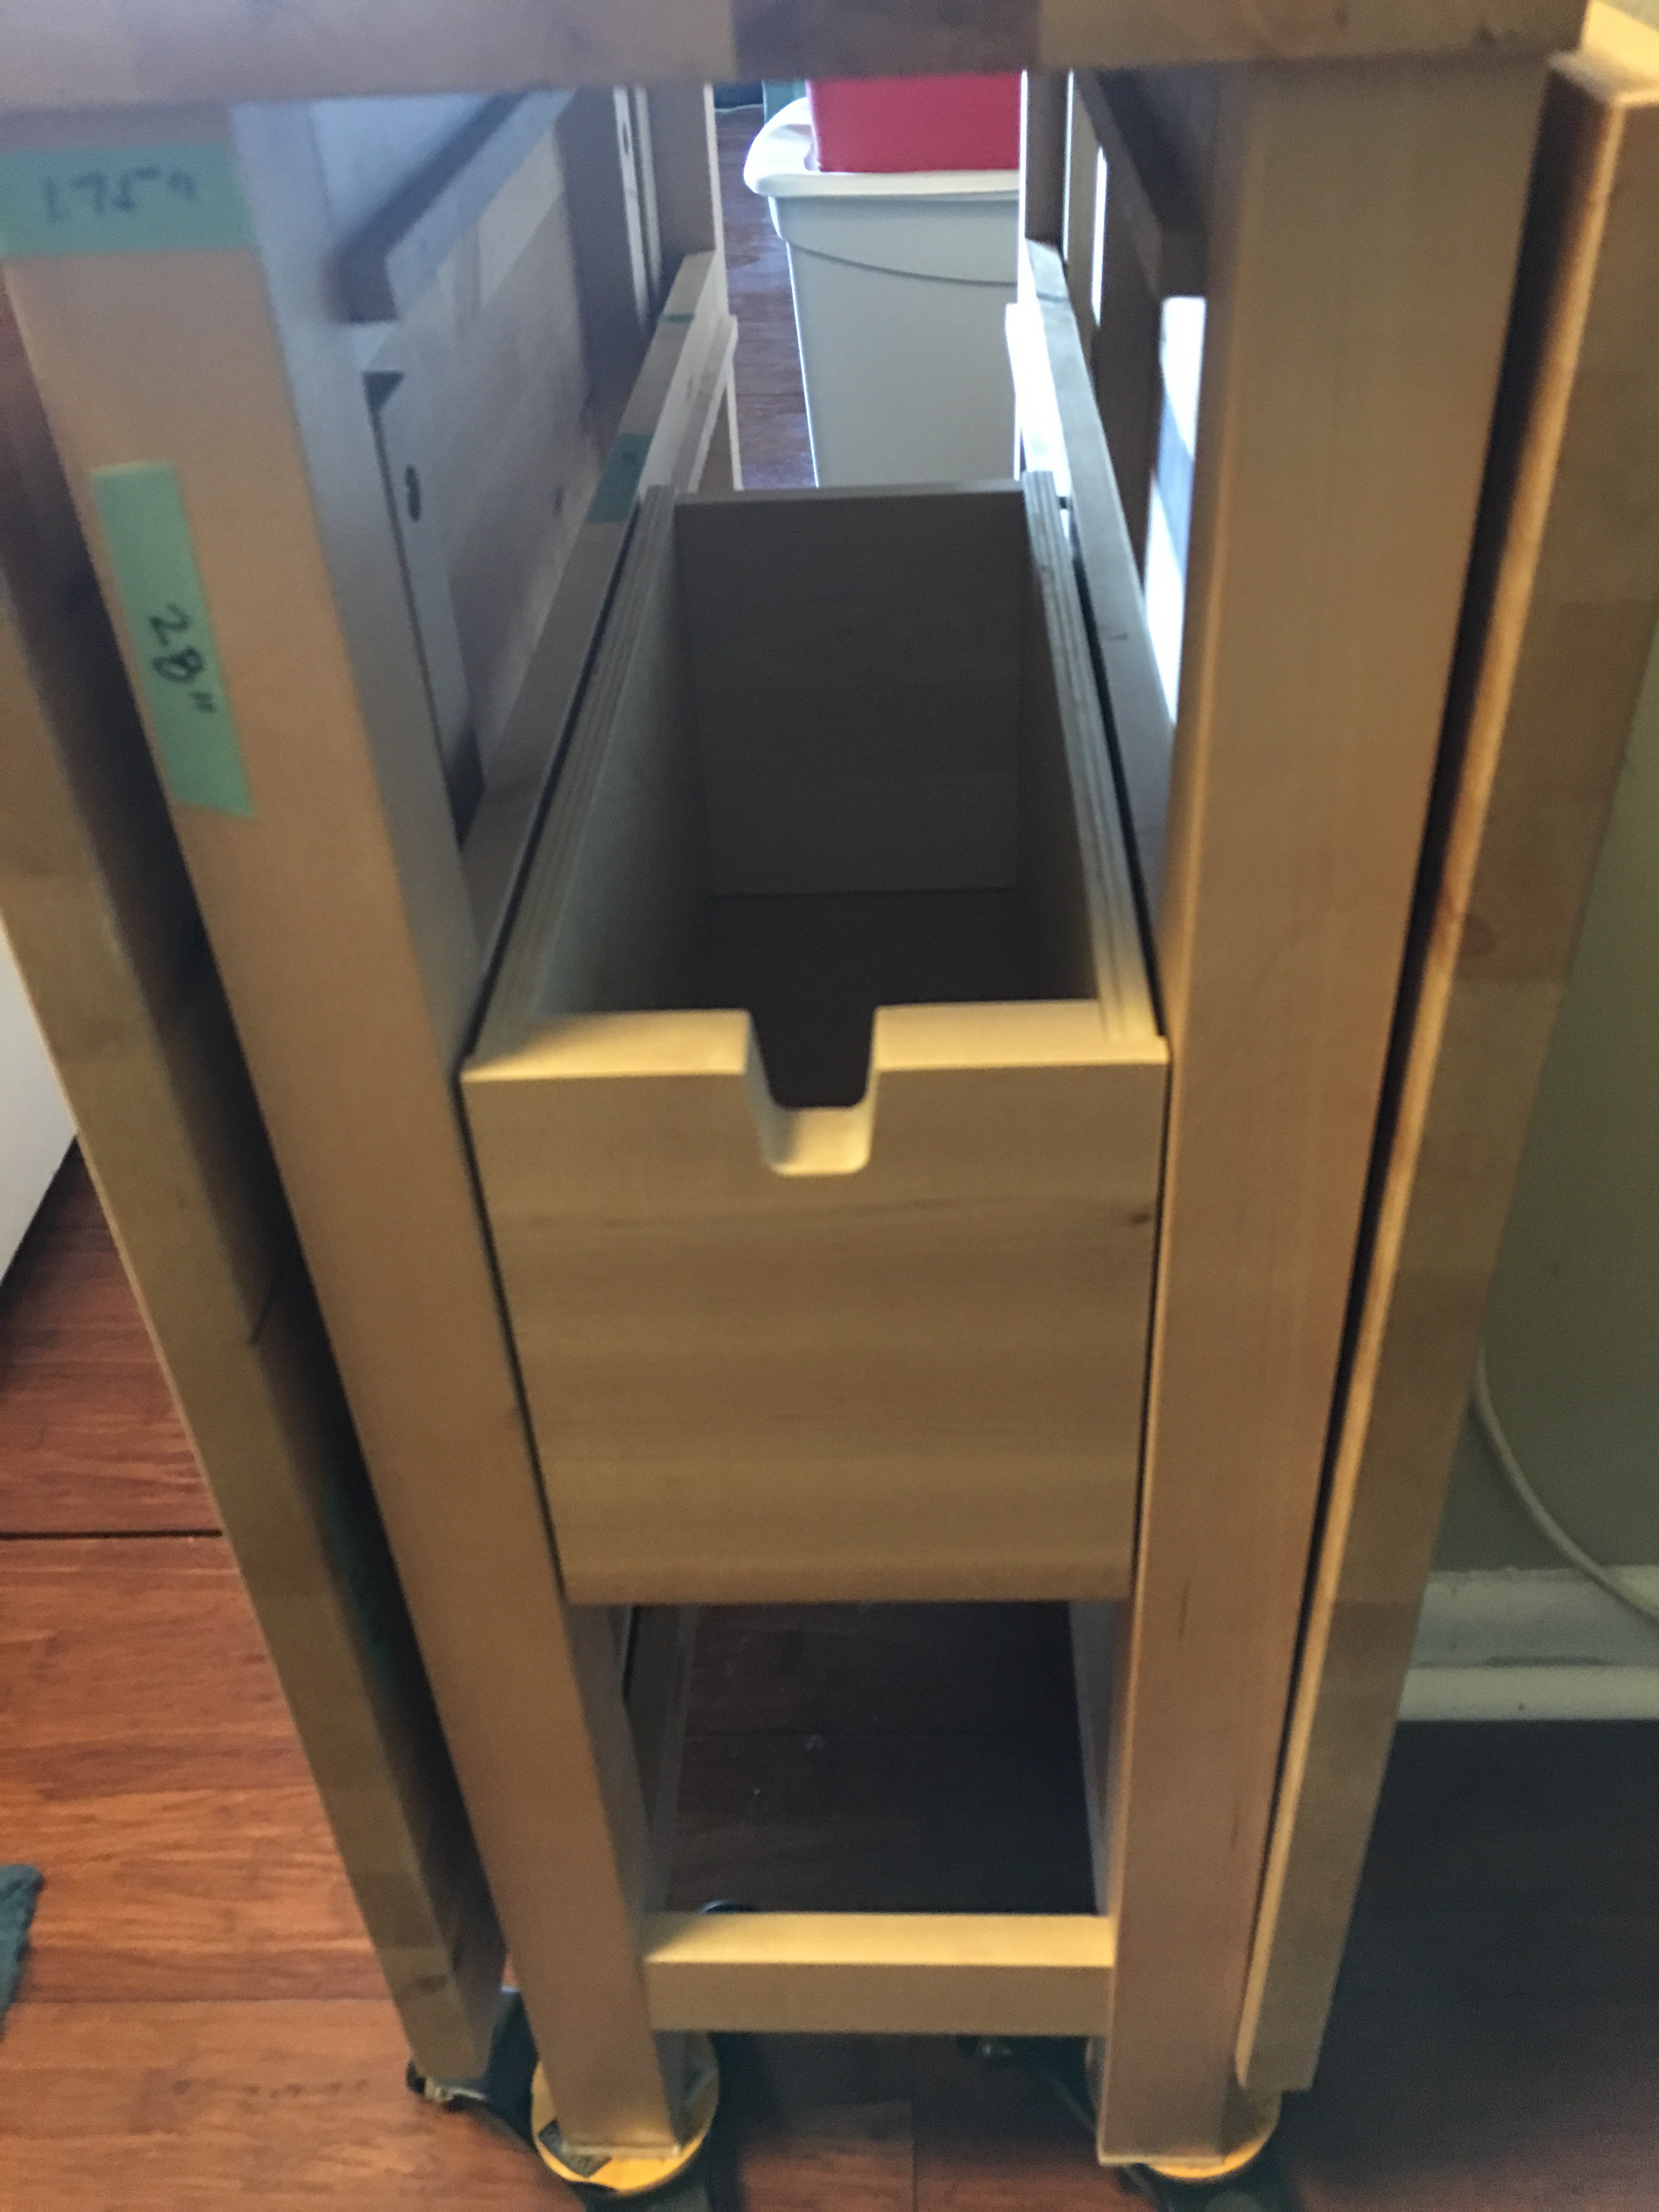
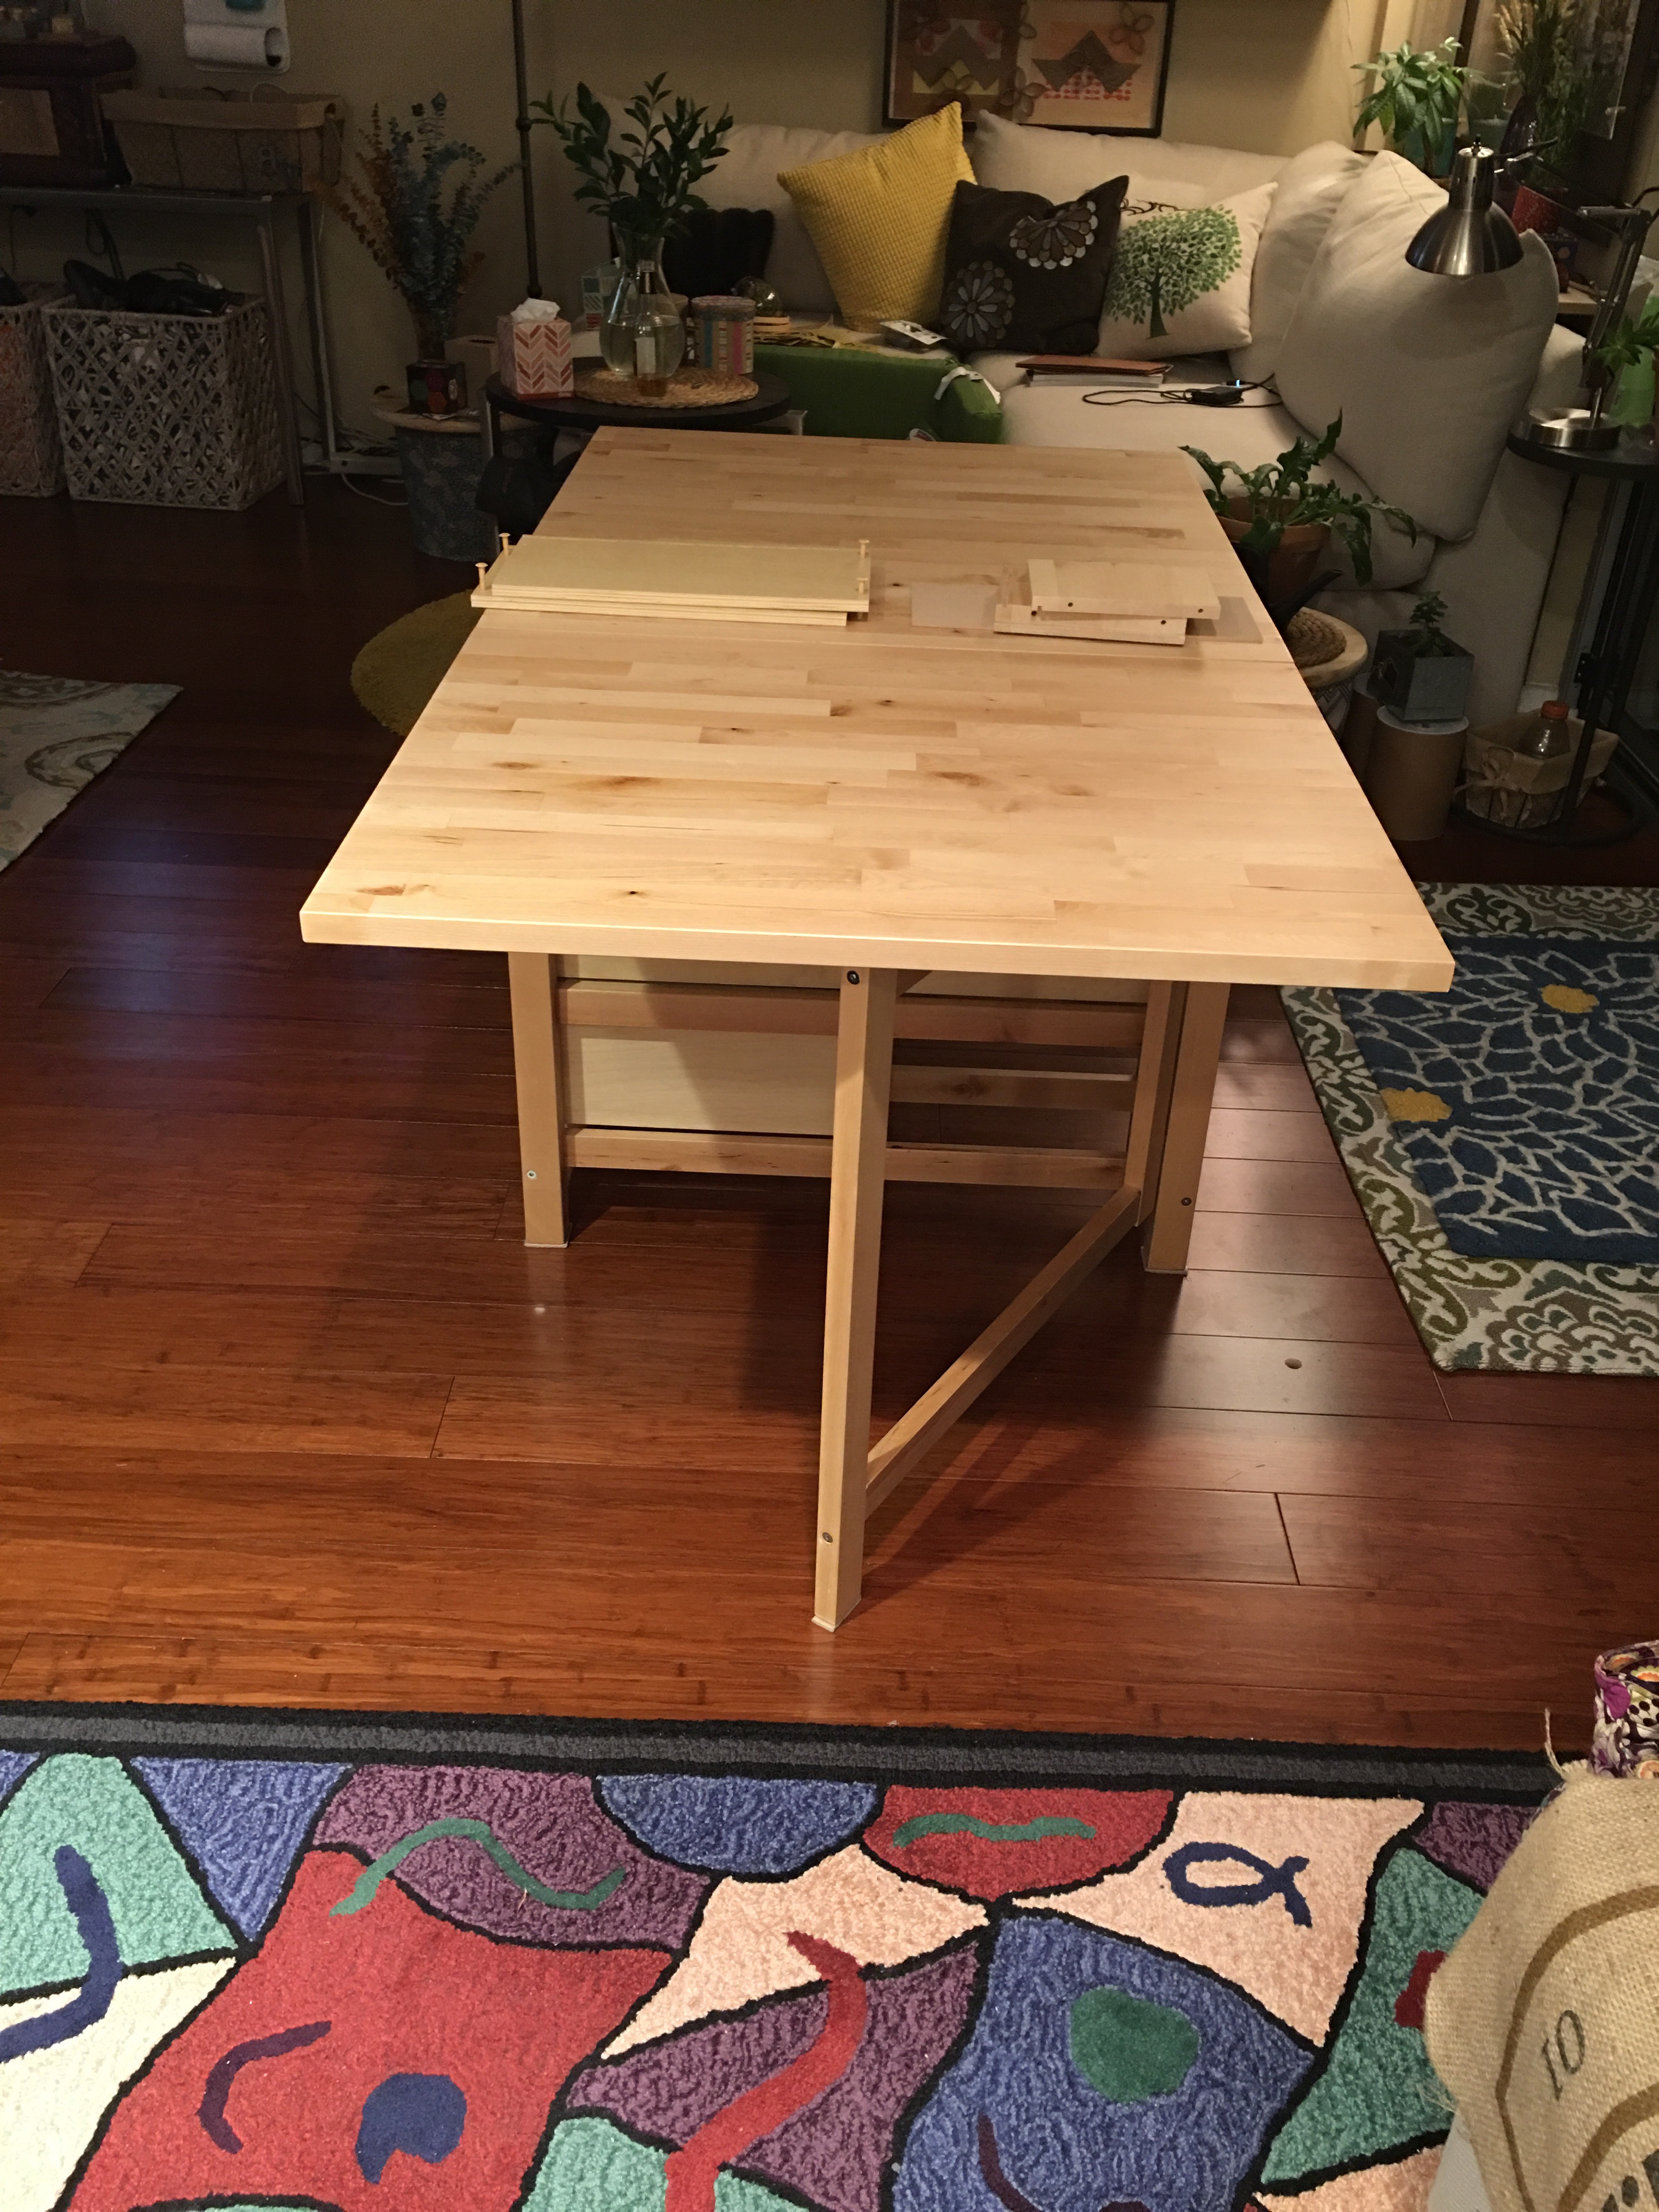
So I went about assembling the table and have it currently standing up in the den. Before it’s truly complete, I had to assembly and add the drawers.

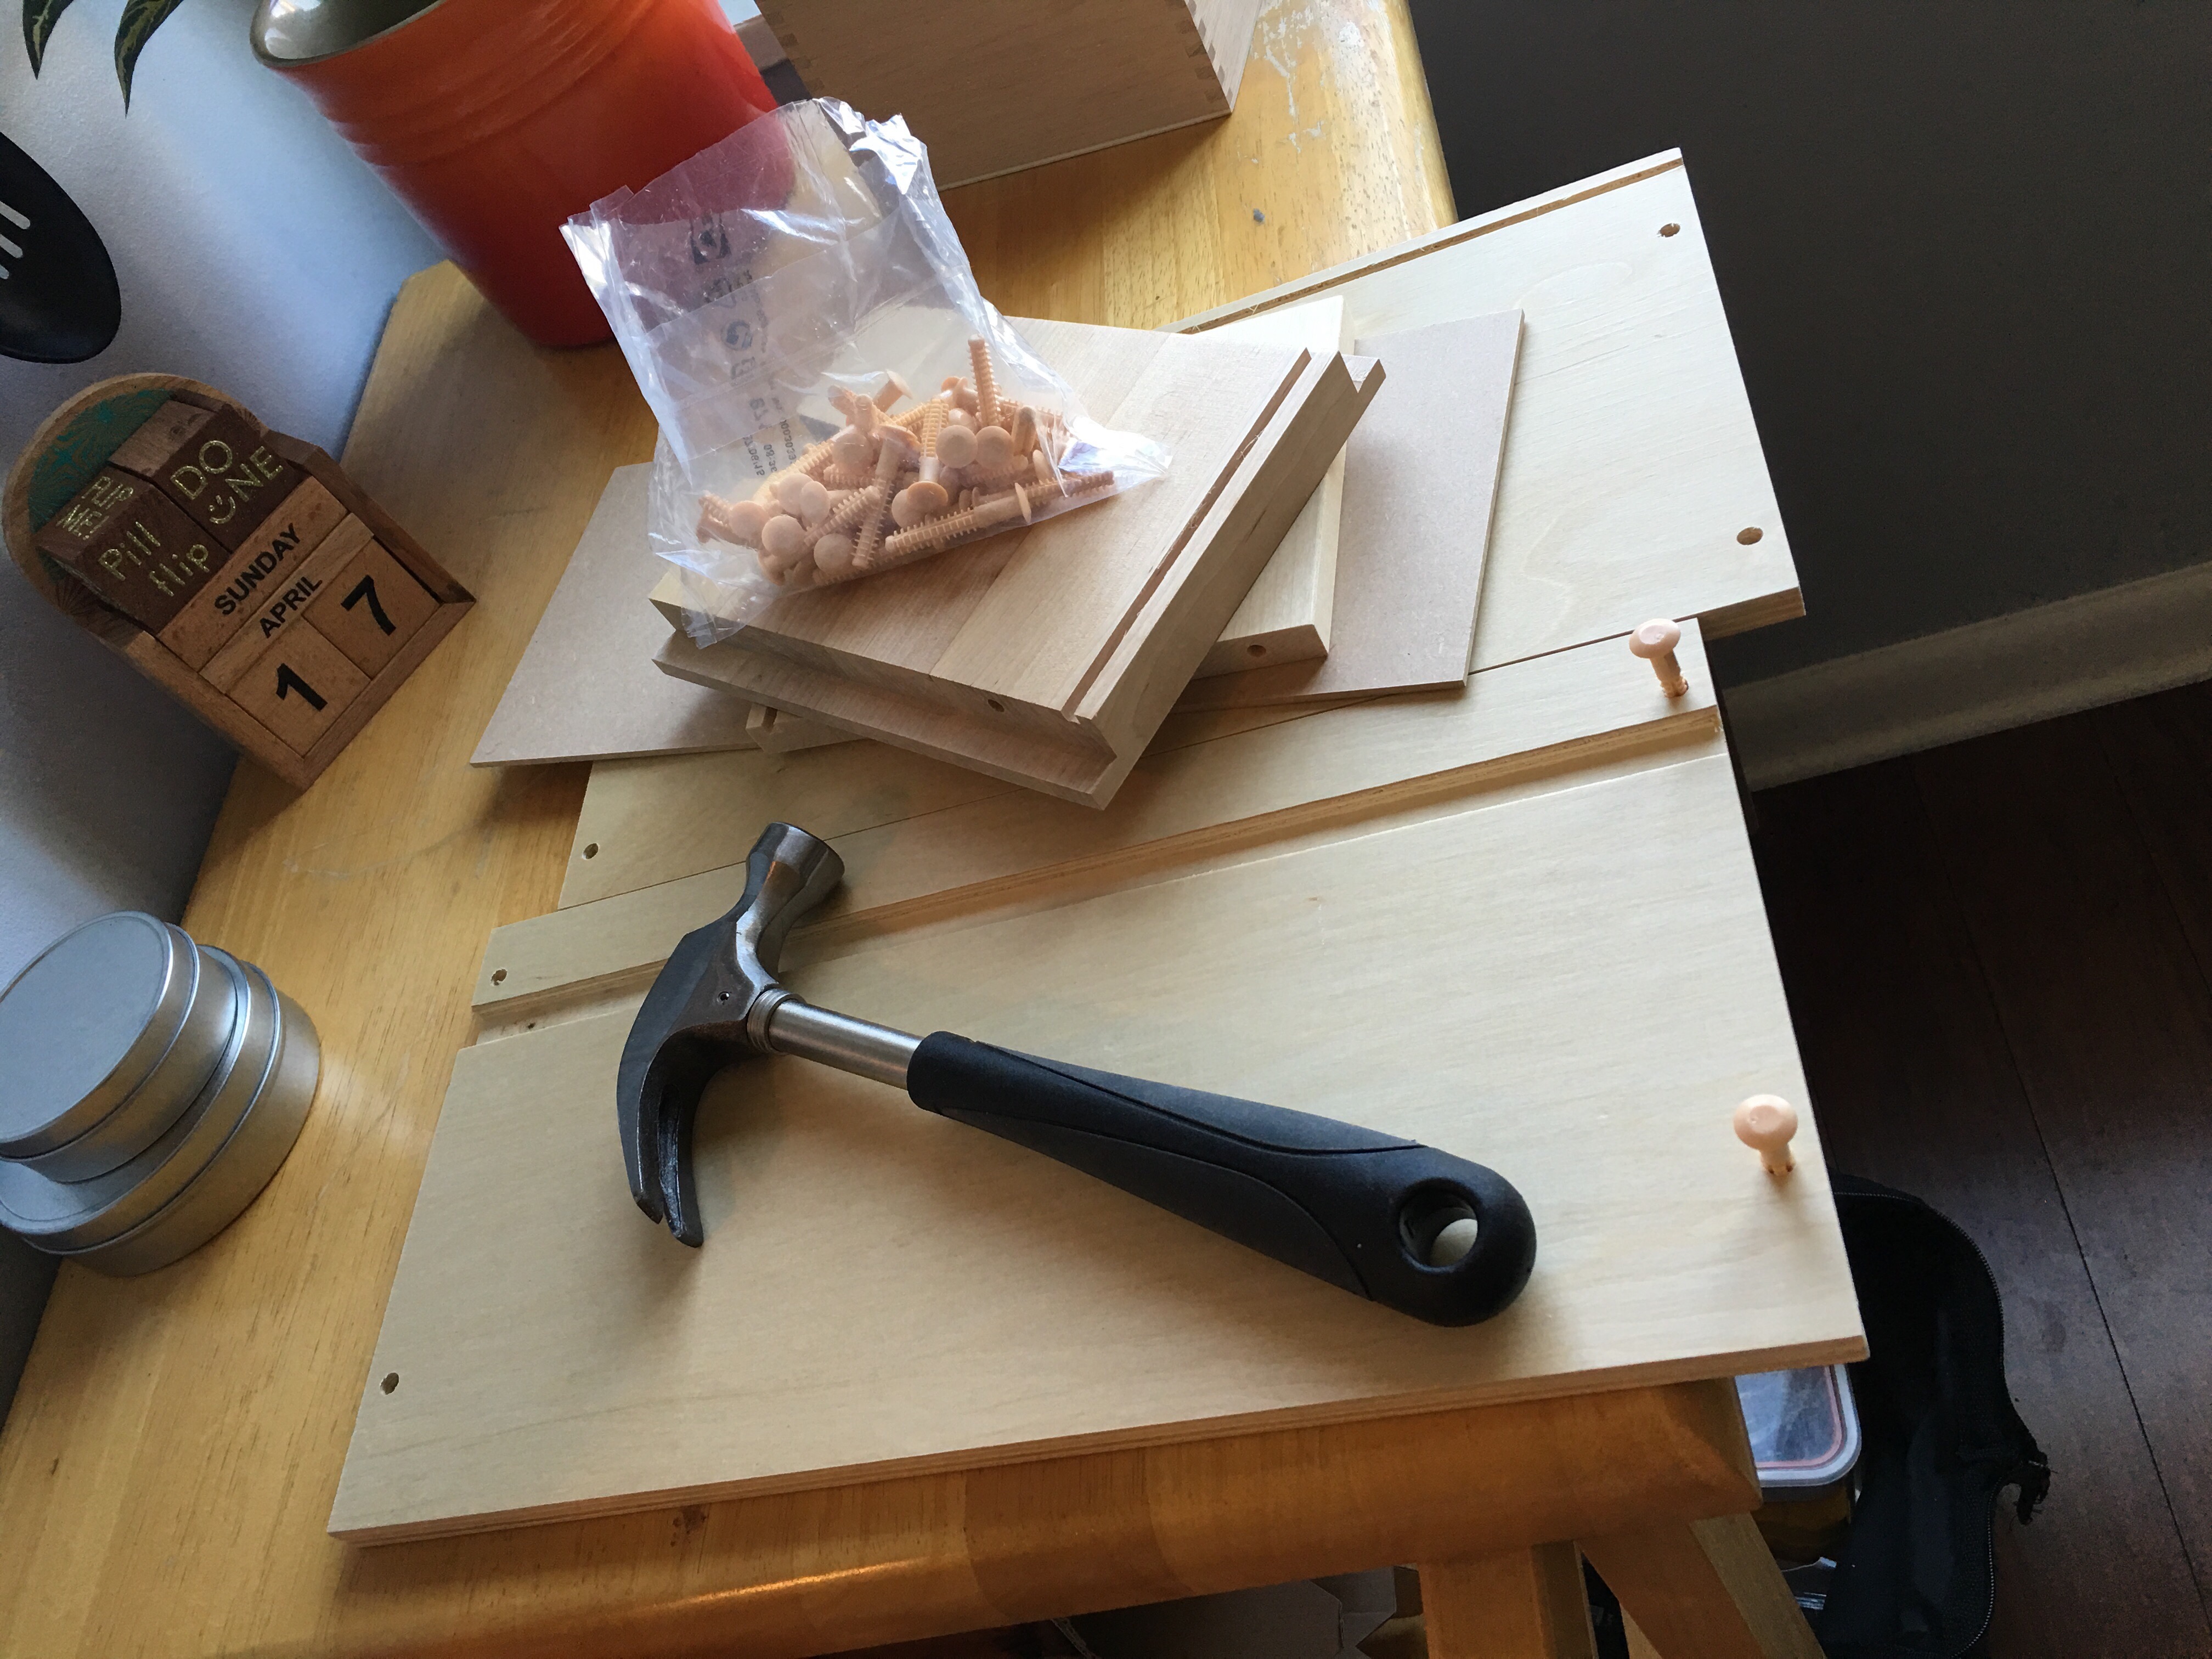
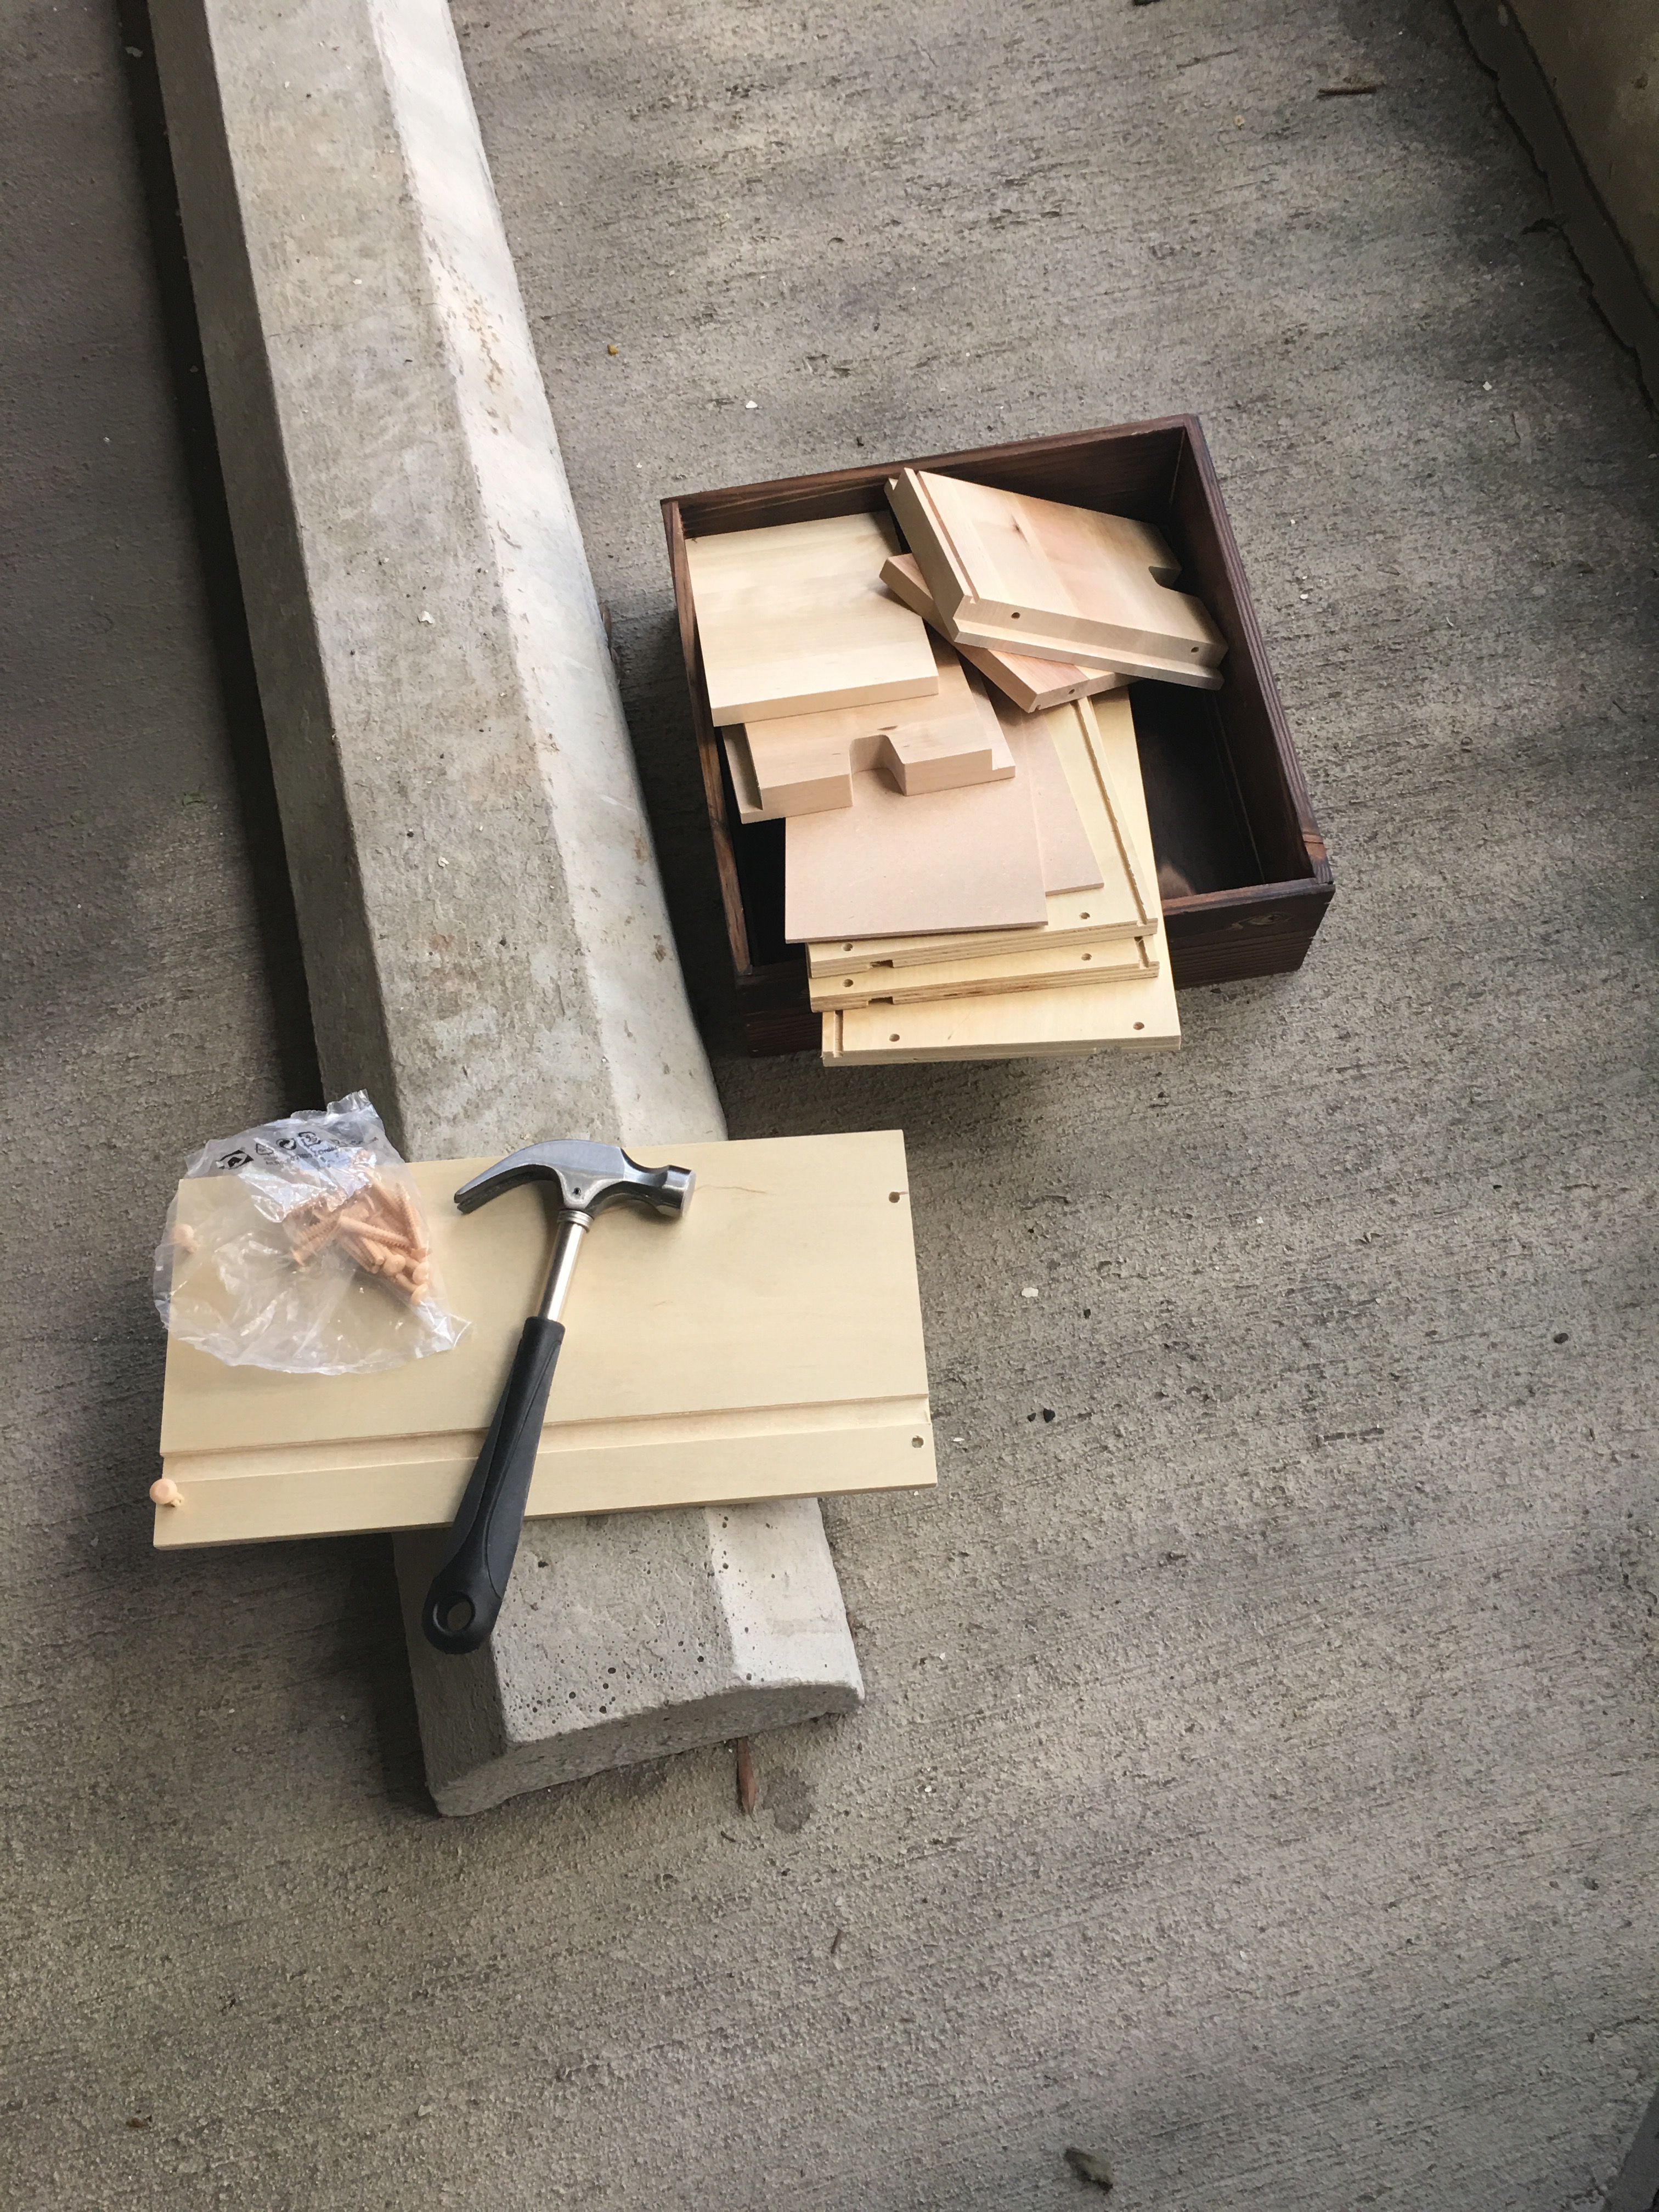
And this required that I use the hammer to put the six drawers together.
Gulp.
Now let me explain the hazards of using a hammer in the condo. It’s loud. VERY loud. So loud that neighbors take notice. And yes they complain.
And the neighbors that live below us has made it clear numerous times that they find the drilling and hammering that sometimes accompany DIY build (or furniture assembly) projects quite unacceptable.
This is why I waited until we were away, up in the mountains at Deep Creek Lake, to use the hammer and chisel for the metal bases needed for the DIY sconces. My first attempt at making the sconces in the condo resulted in a call to property management (which was funneled to me through Bruce). There is just no way to dampen the sound.
Well…I have six drawers to make. And it’s a Sunday afternoon. Maybe I can get this done if I make it snappy.
Let’s go.
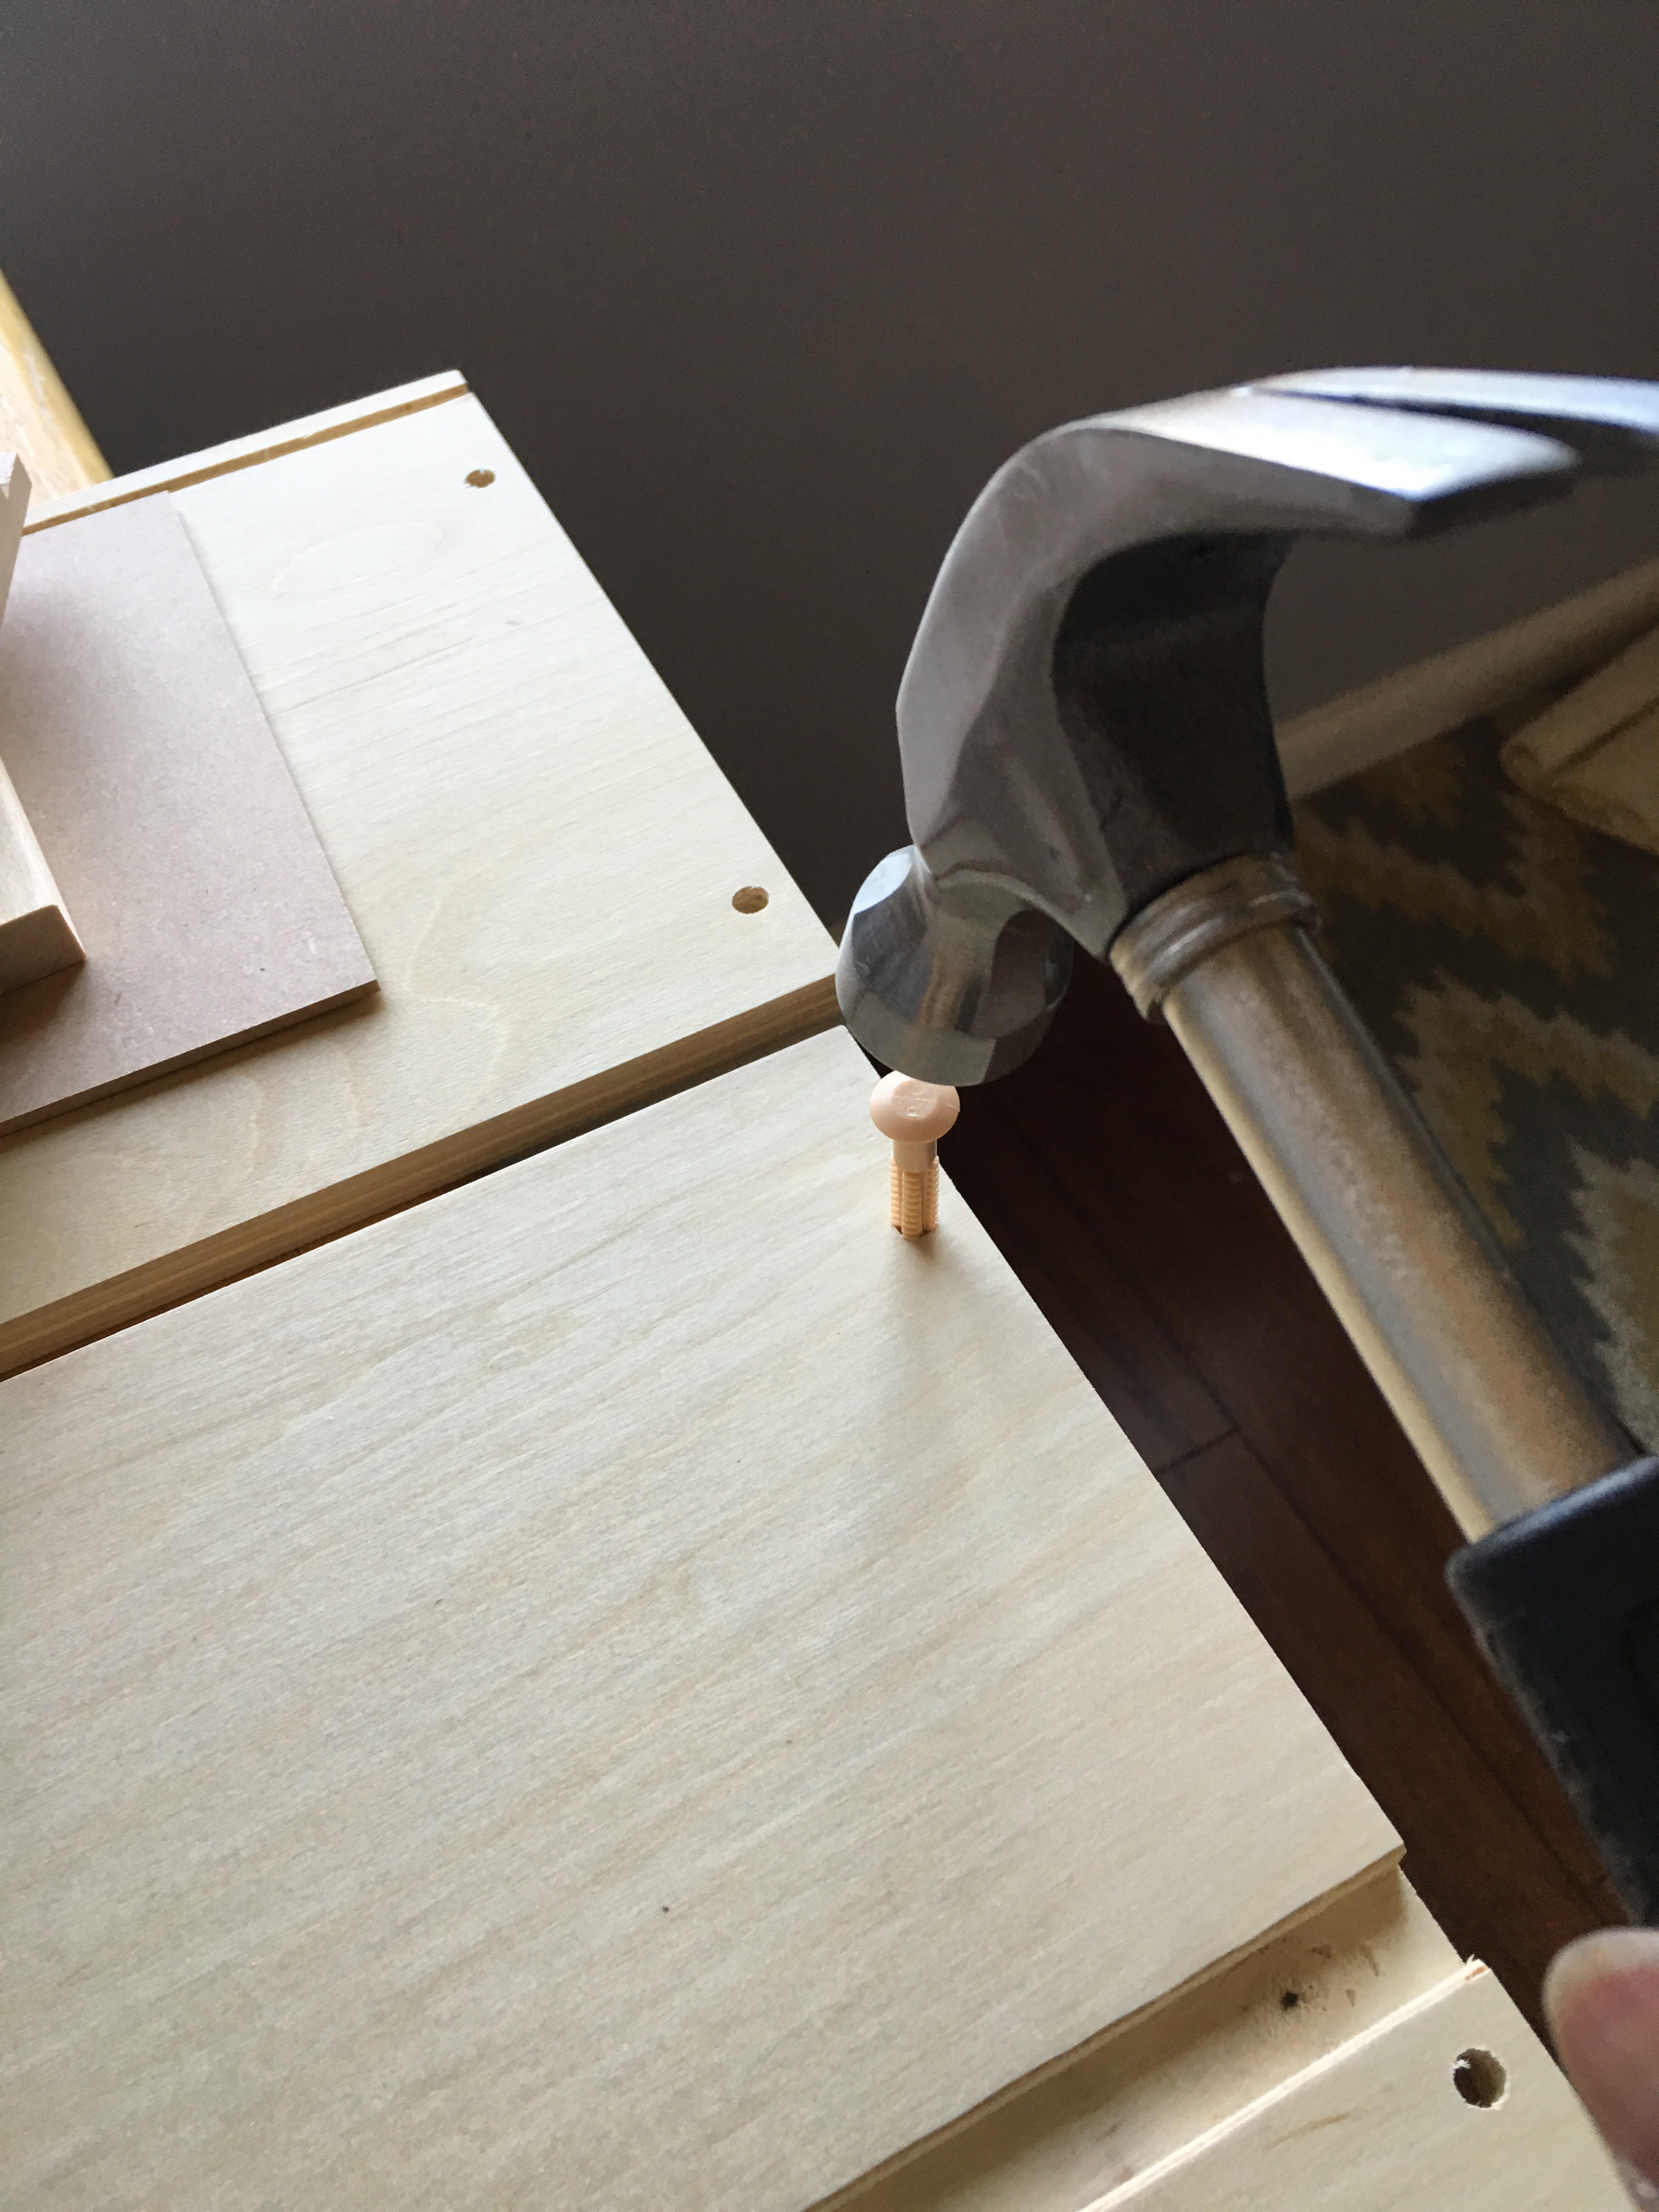
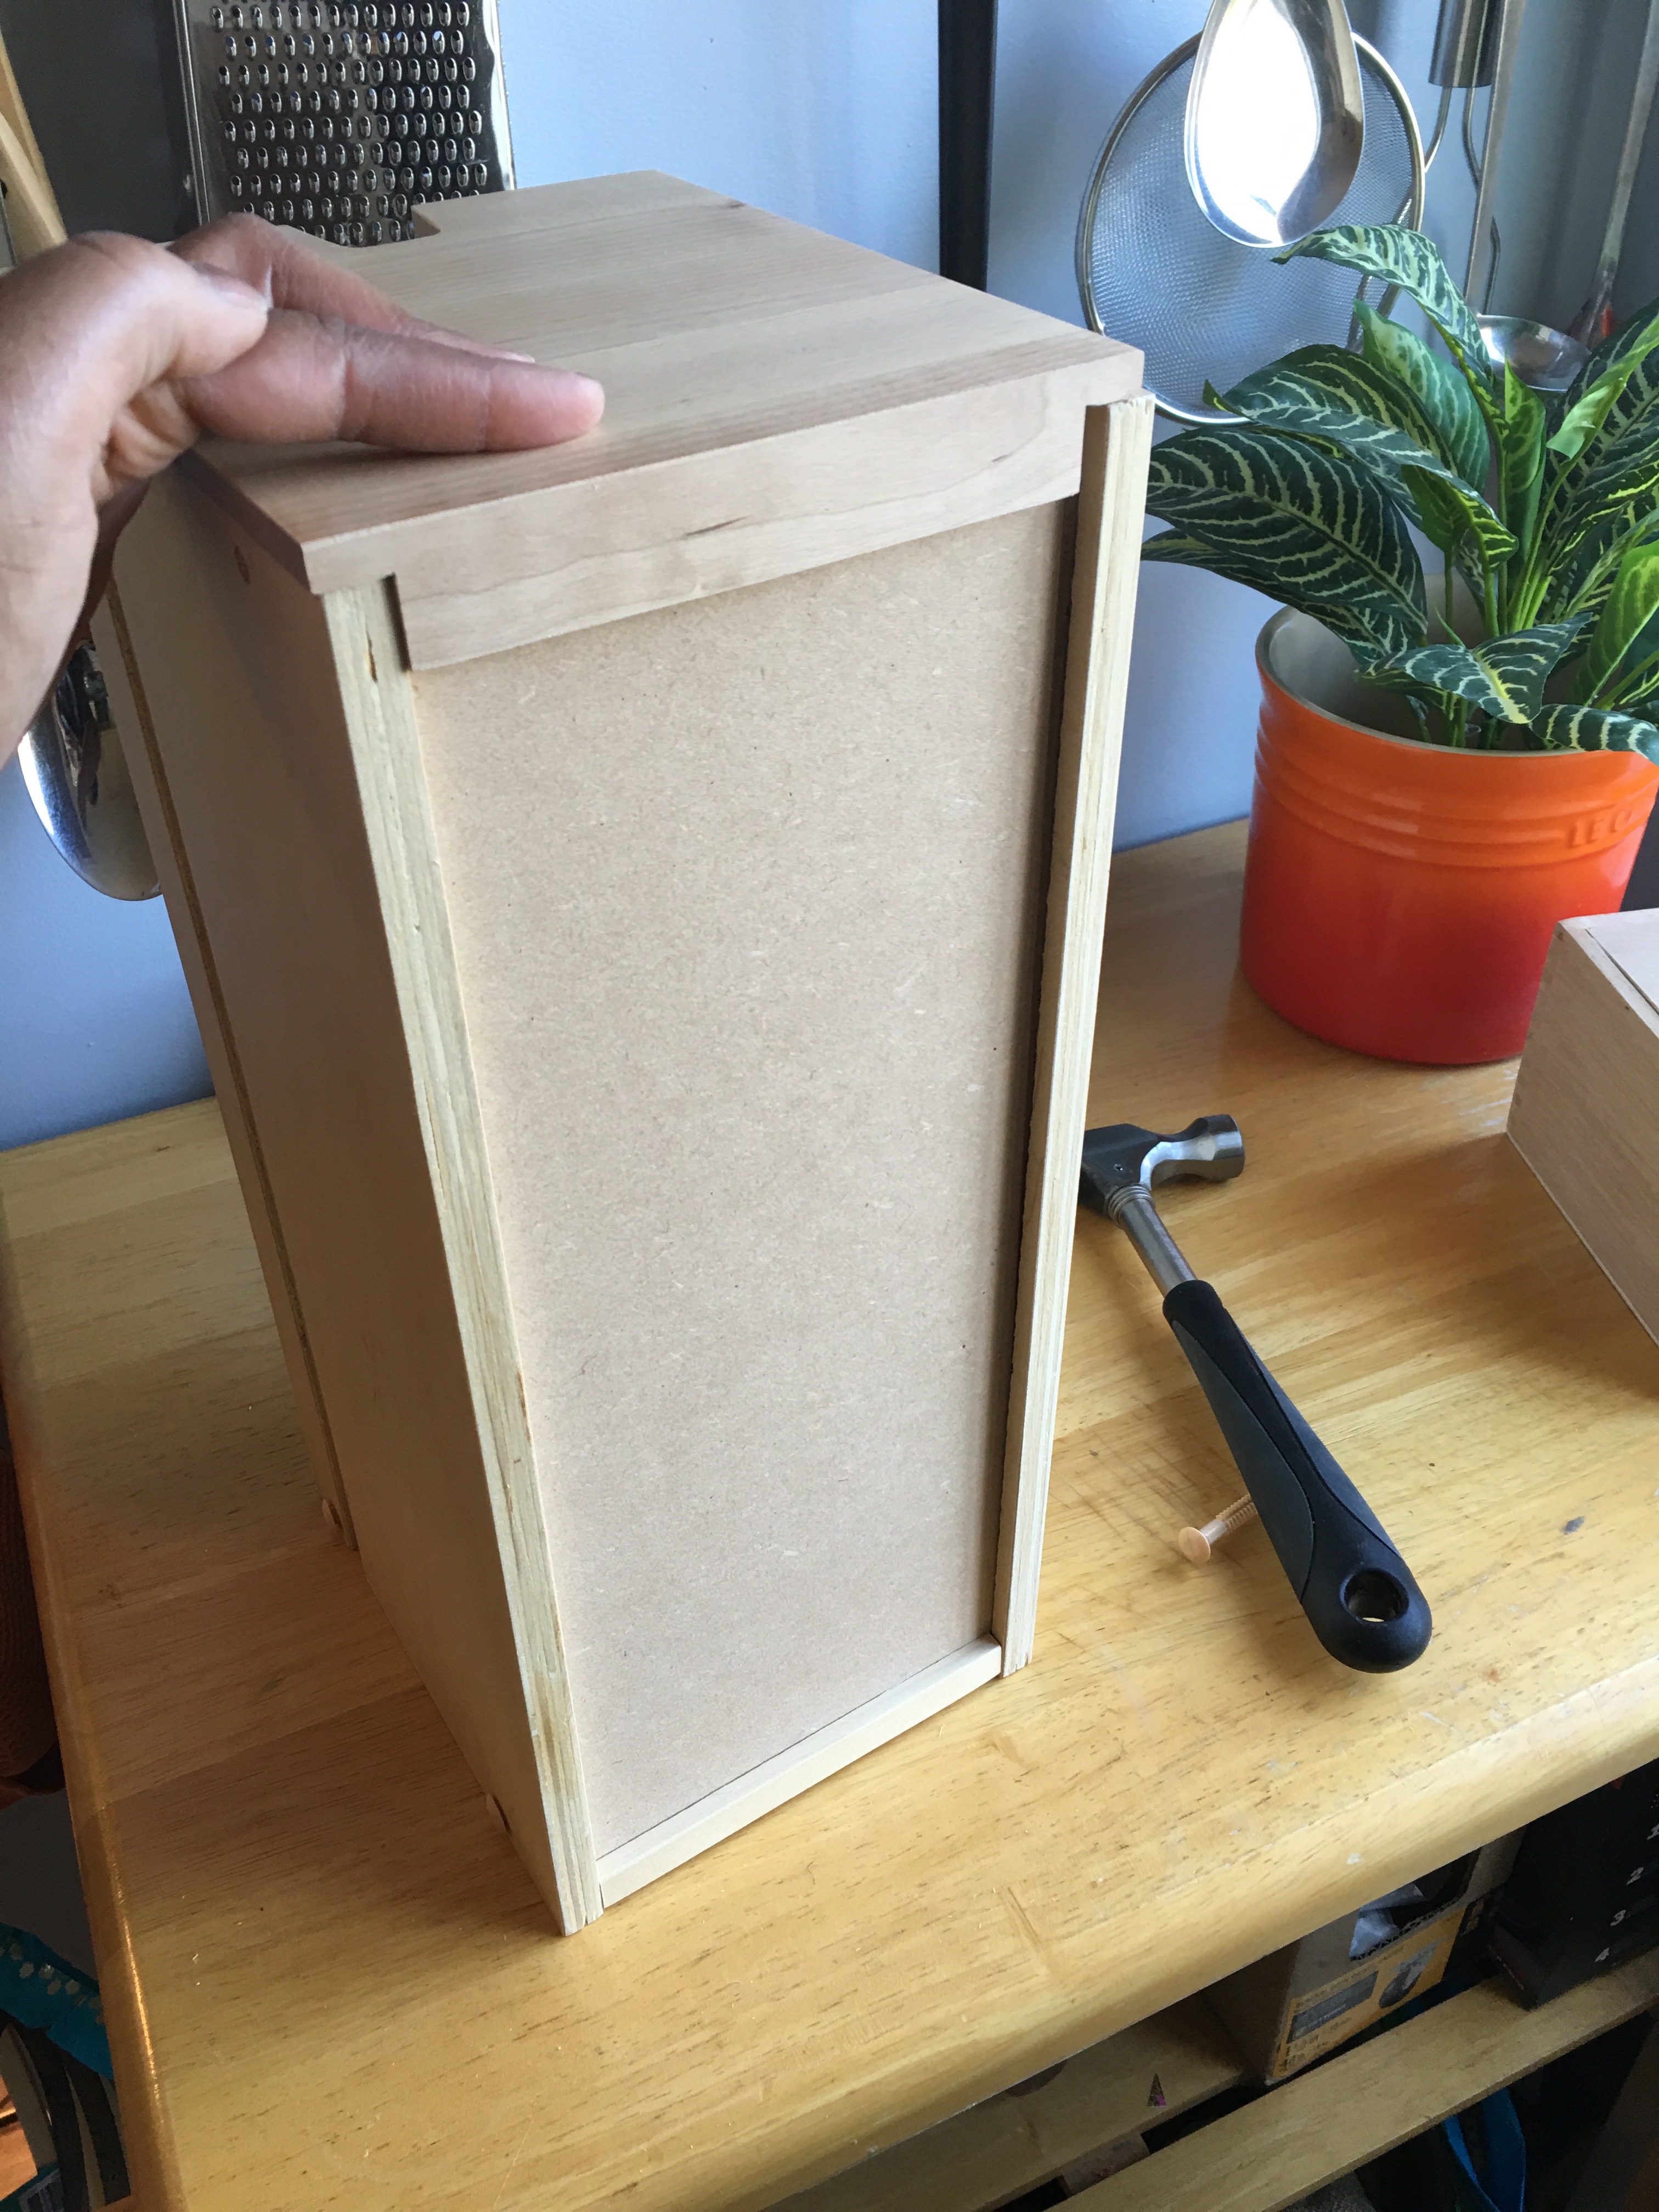
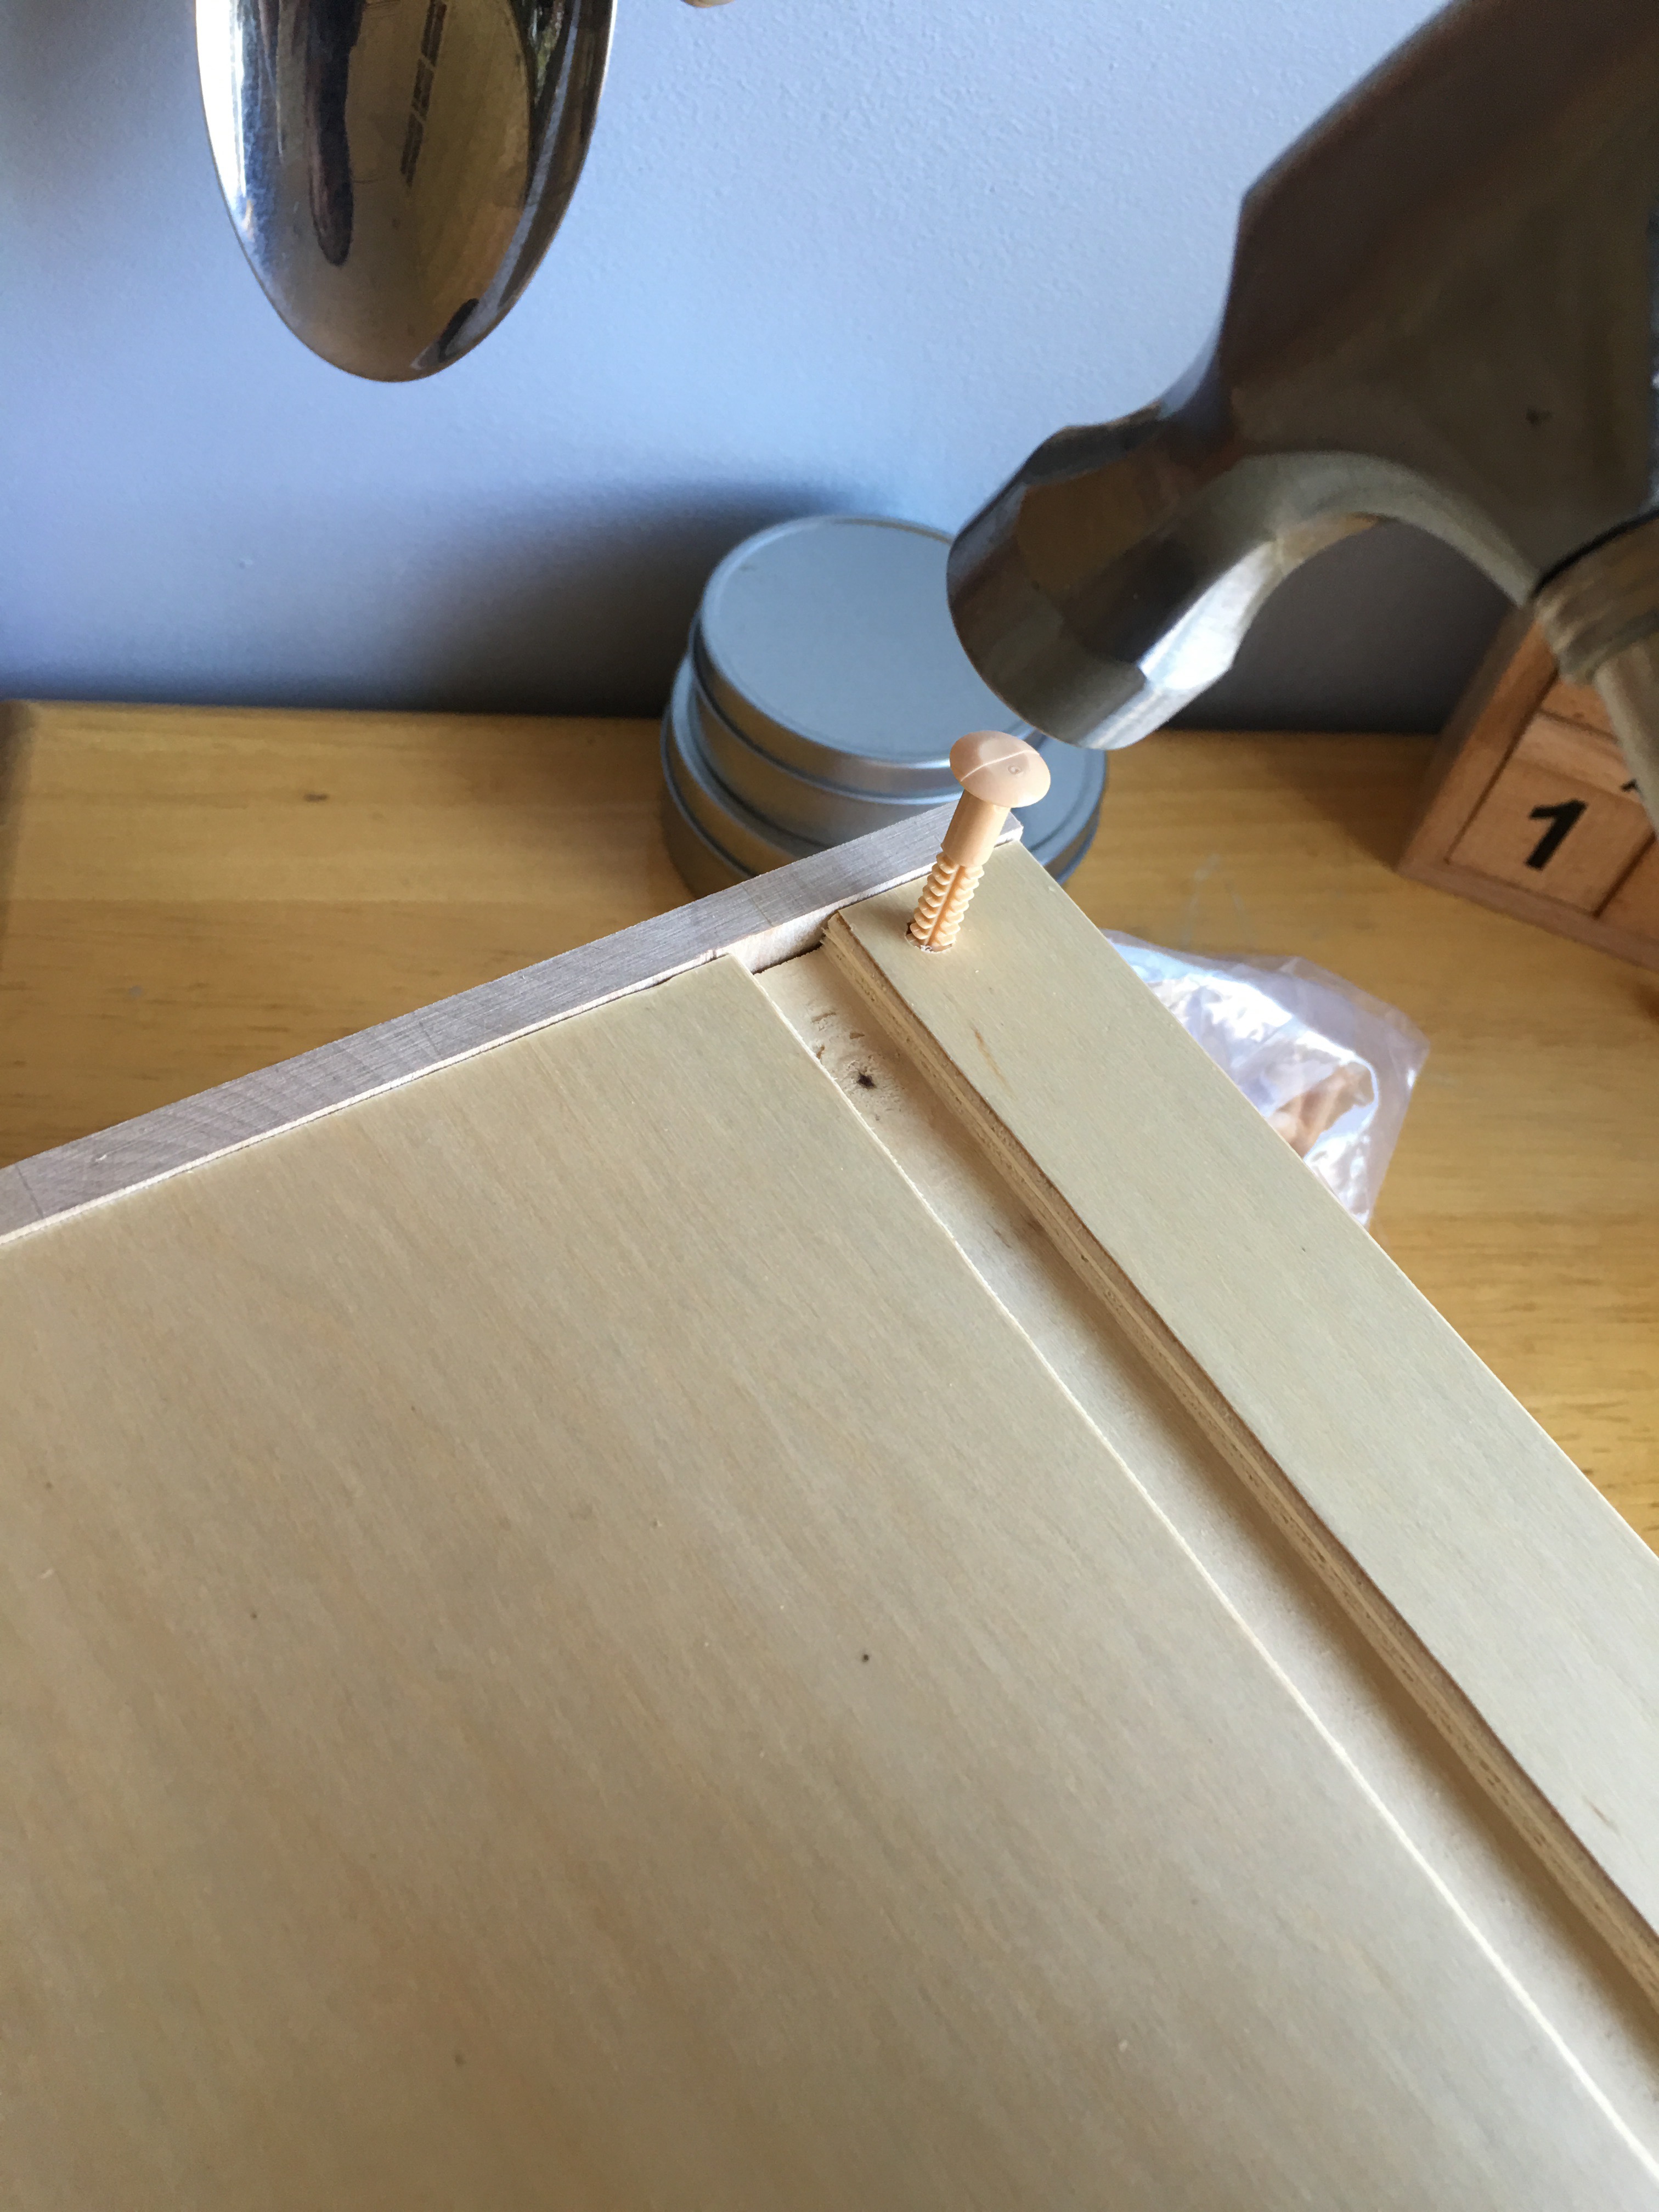
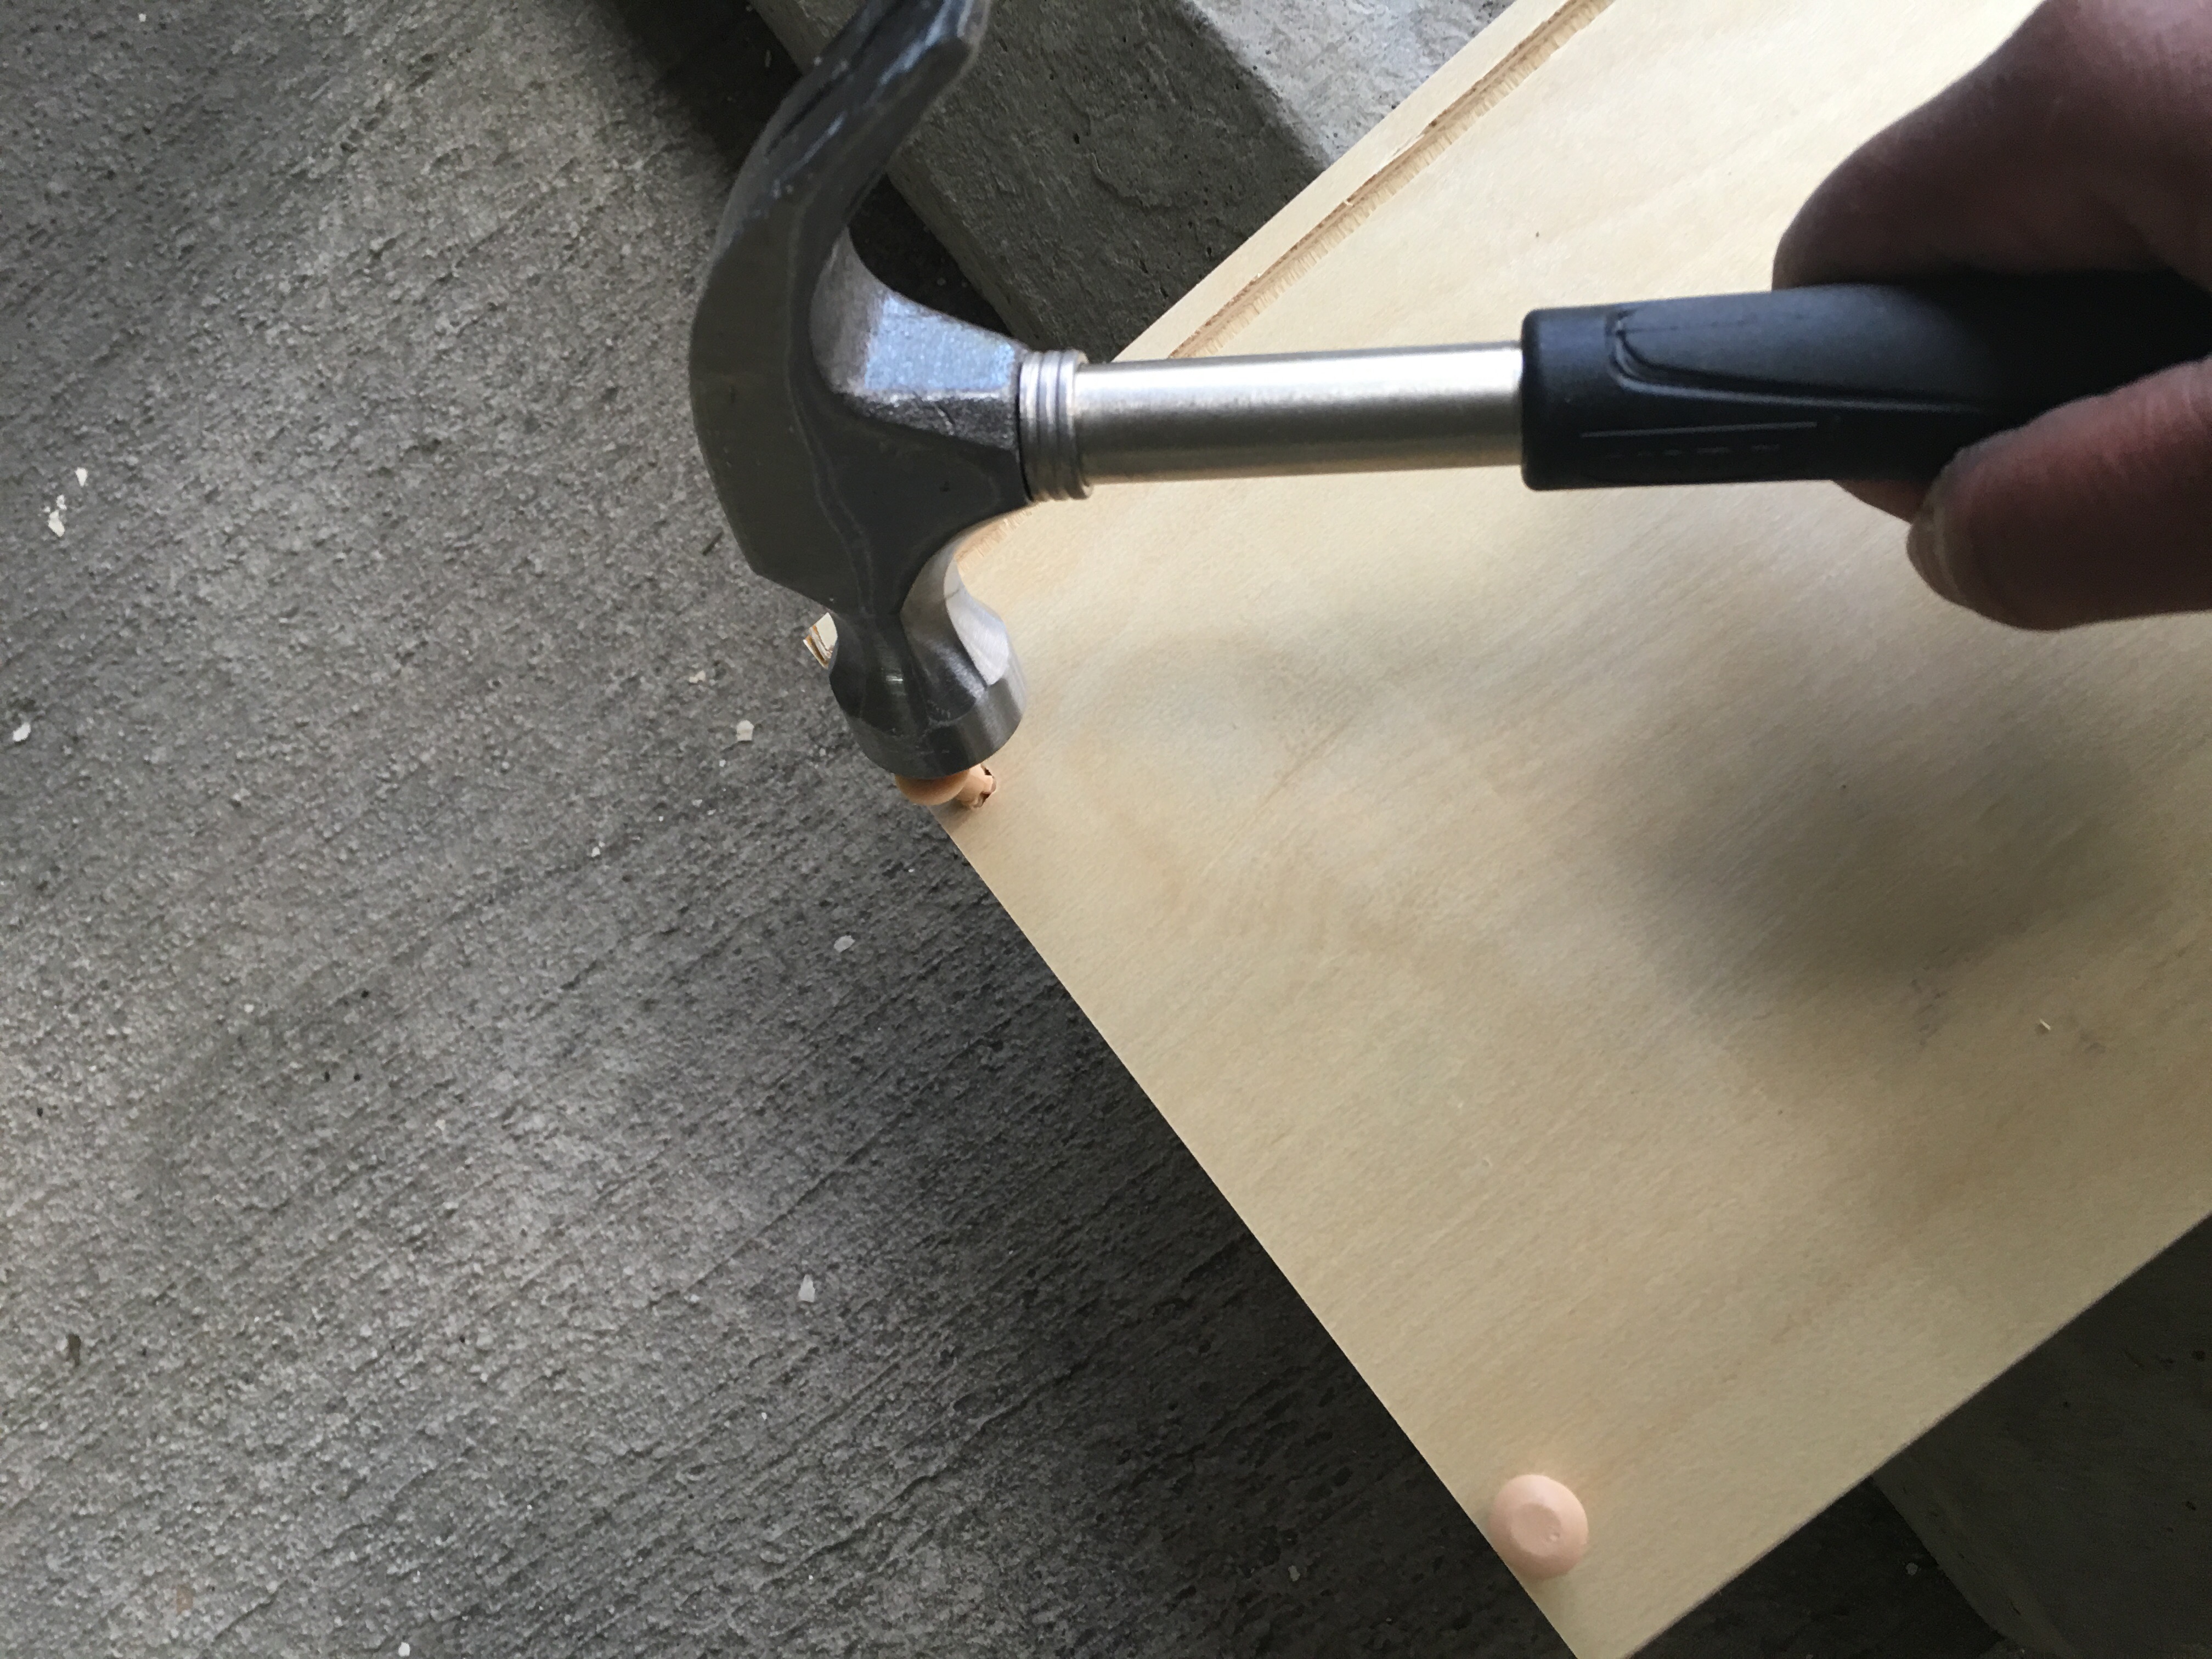
IKEA includes these plastic, ribbed nails for the drawer assembly. After hammering the nails in each of the drawer side pre-drilled holes…
…I added the back middle piece…
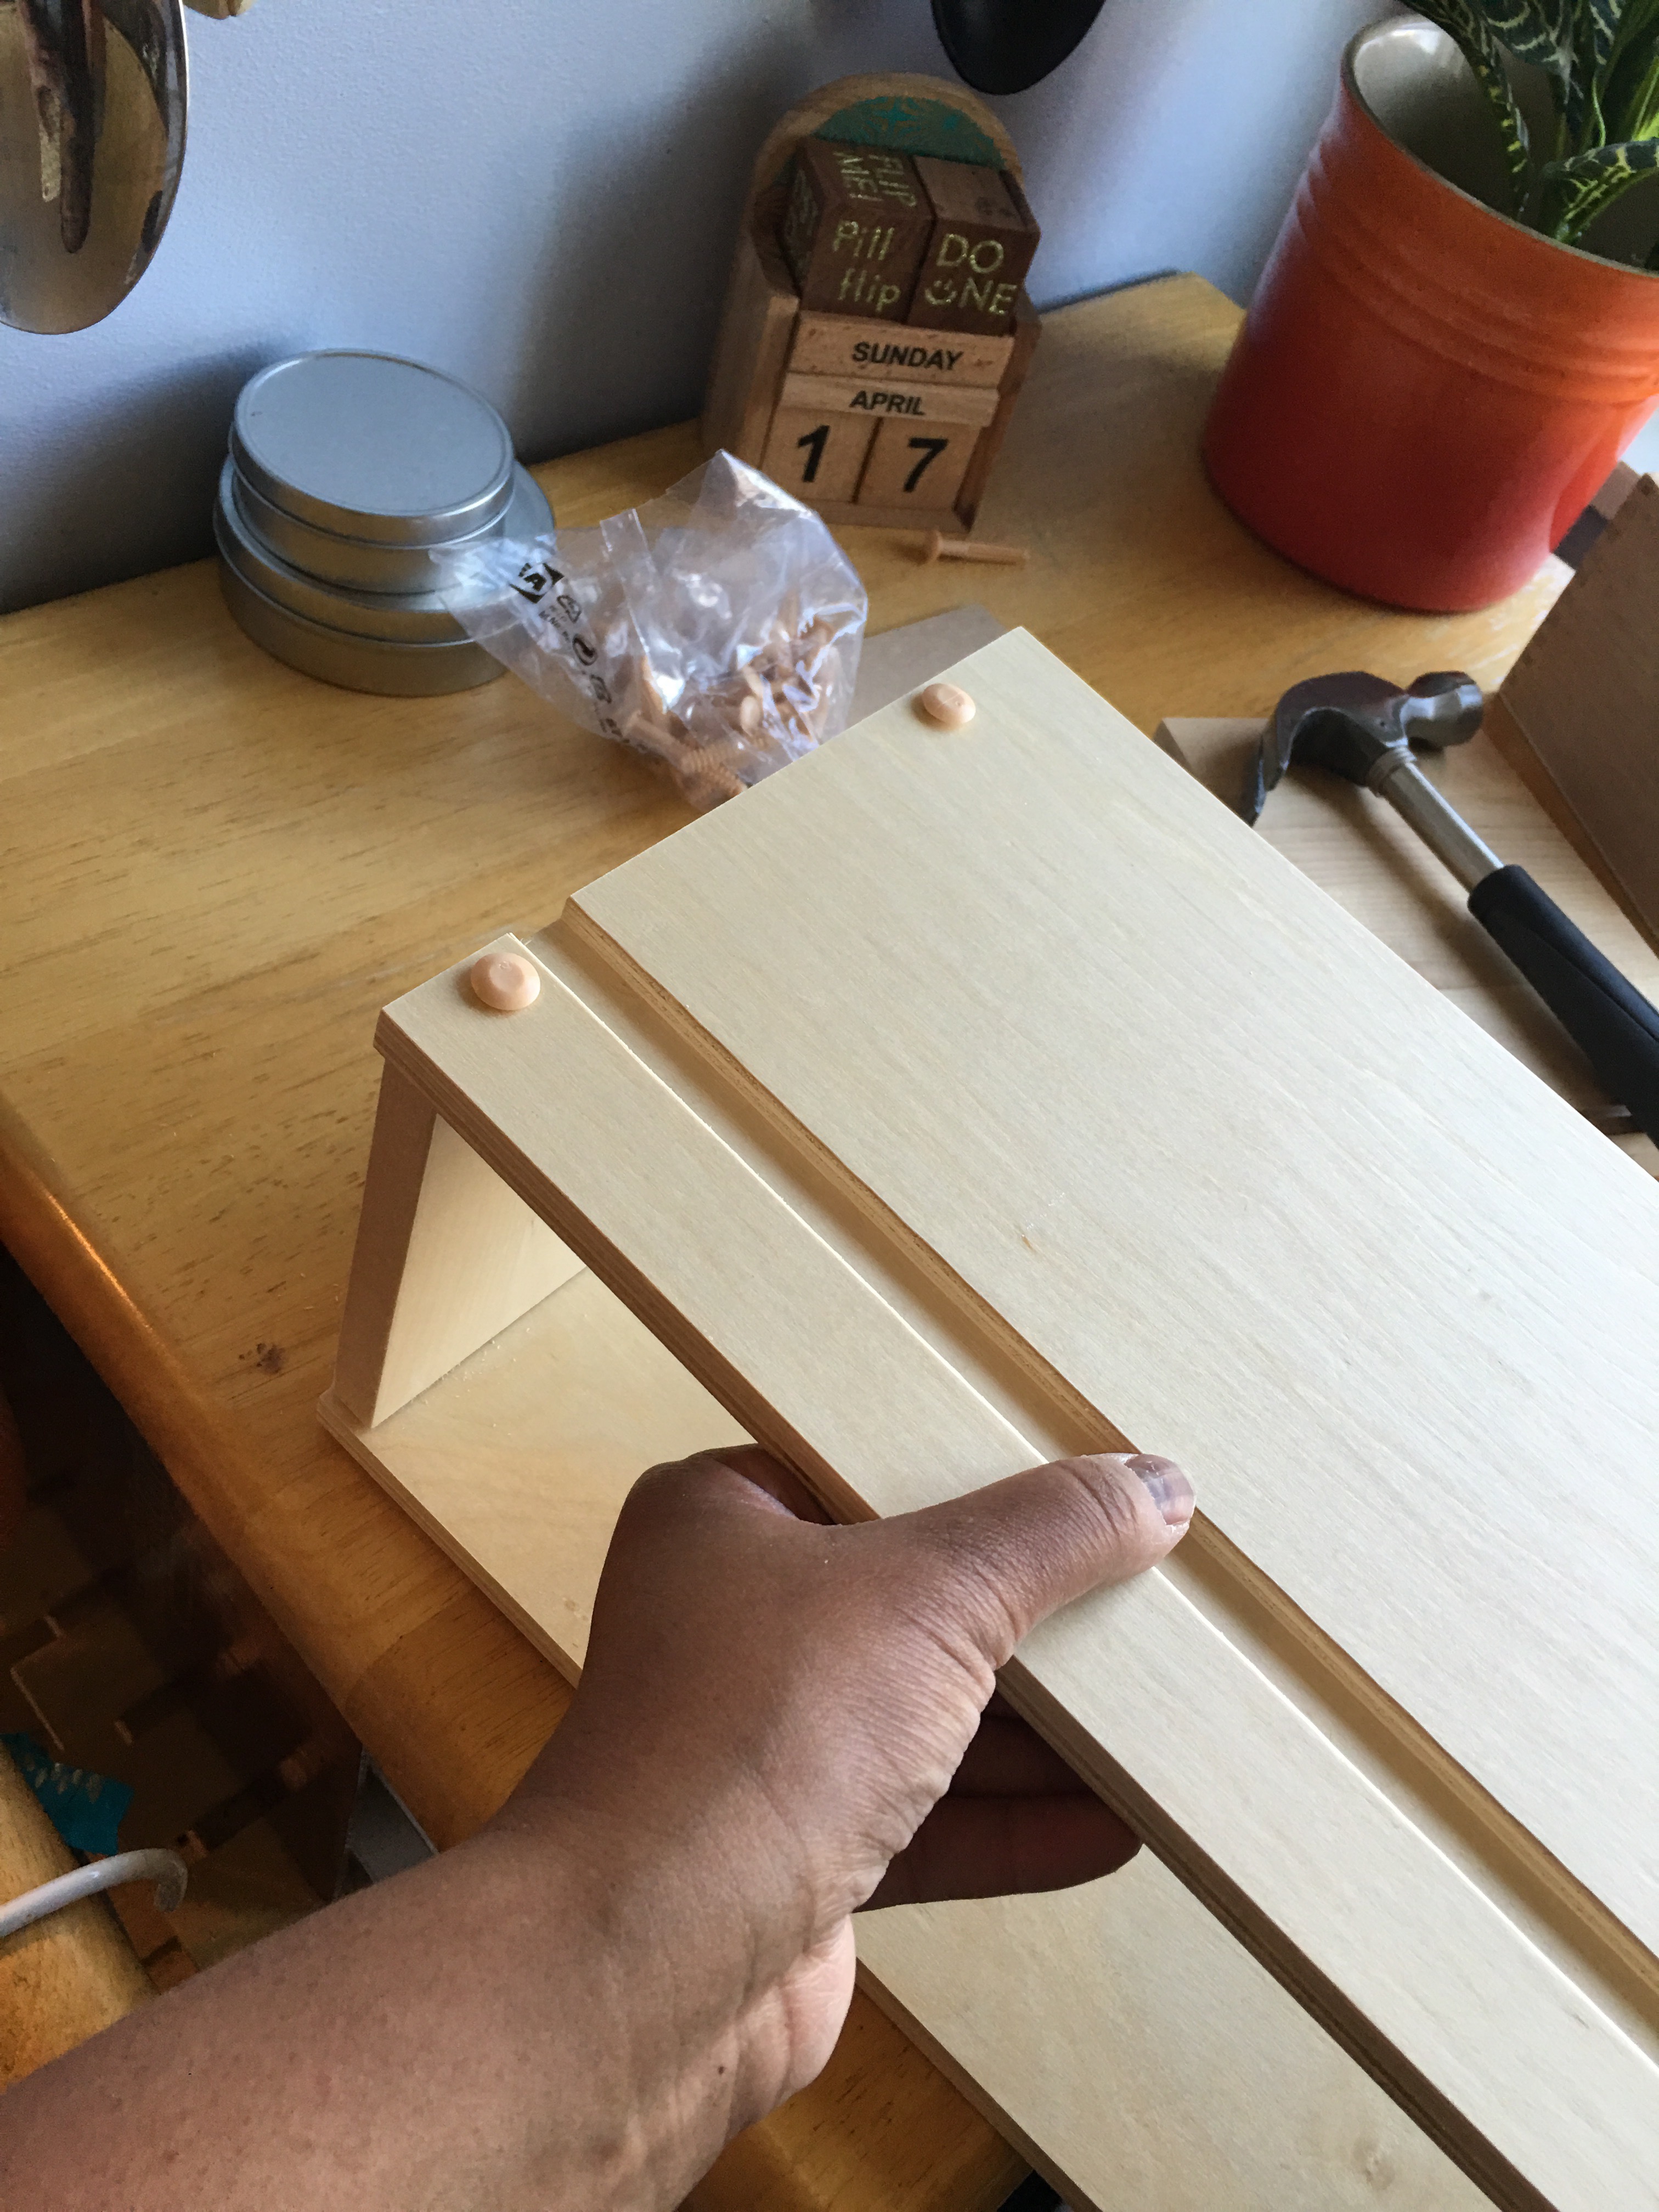
…slid the bottom panel in using the grooves…
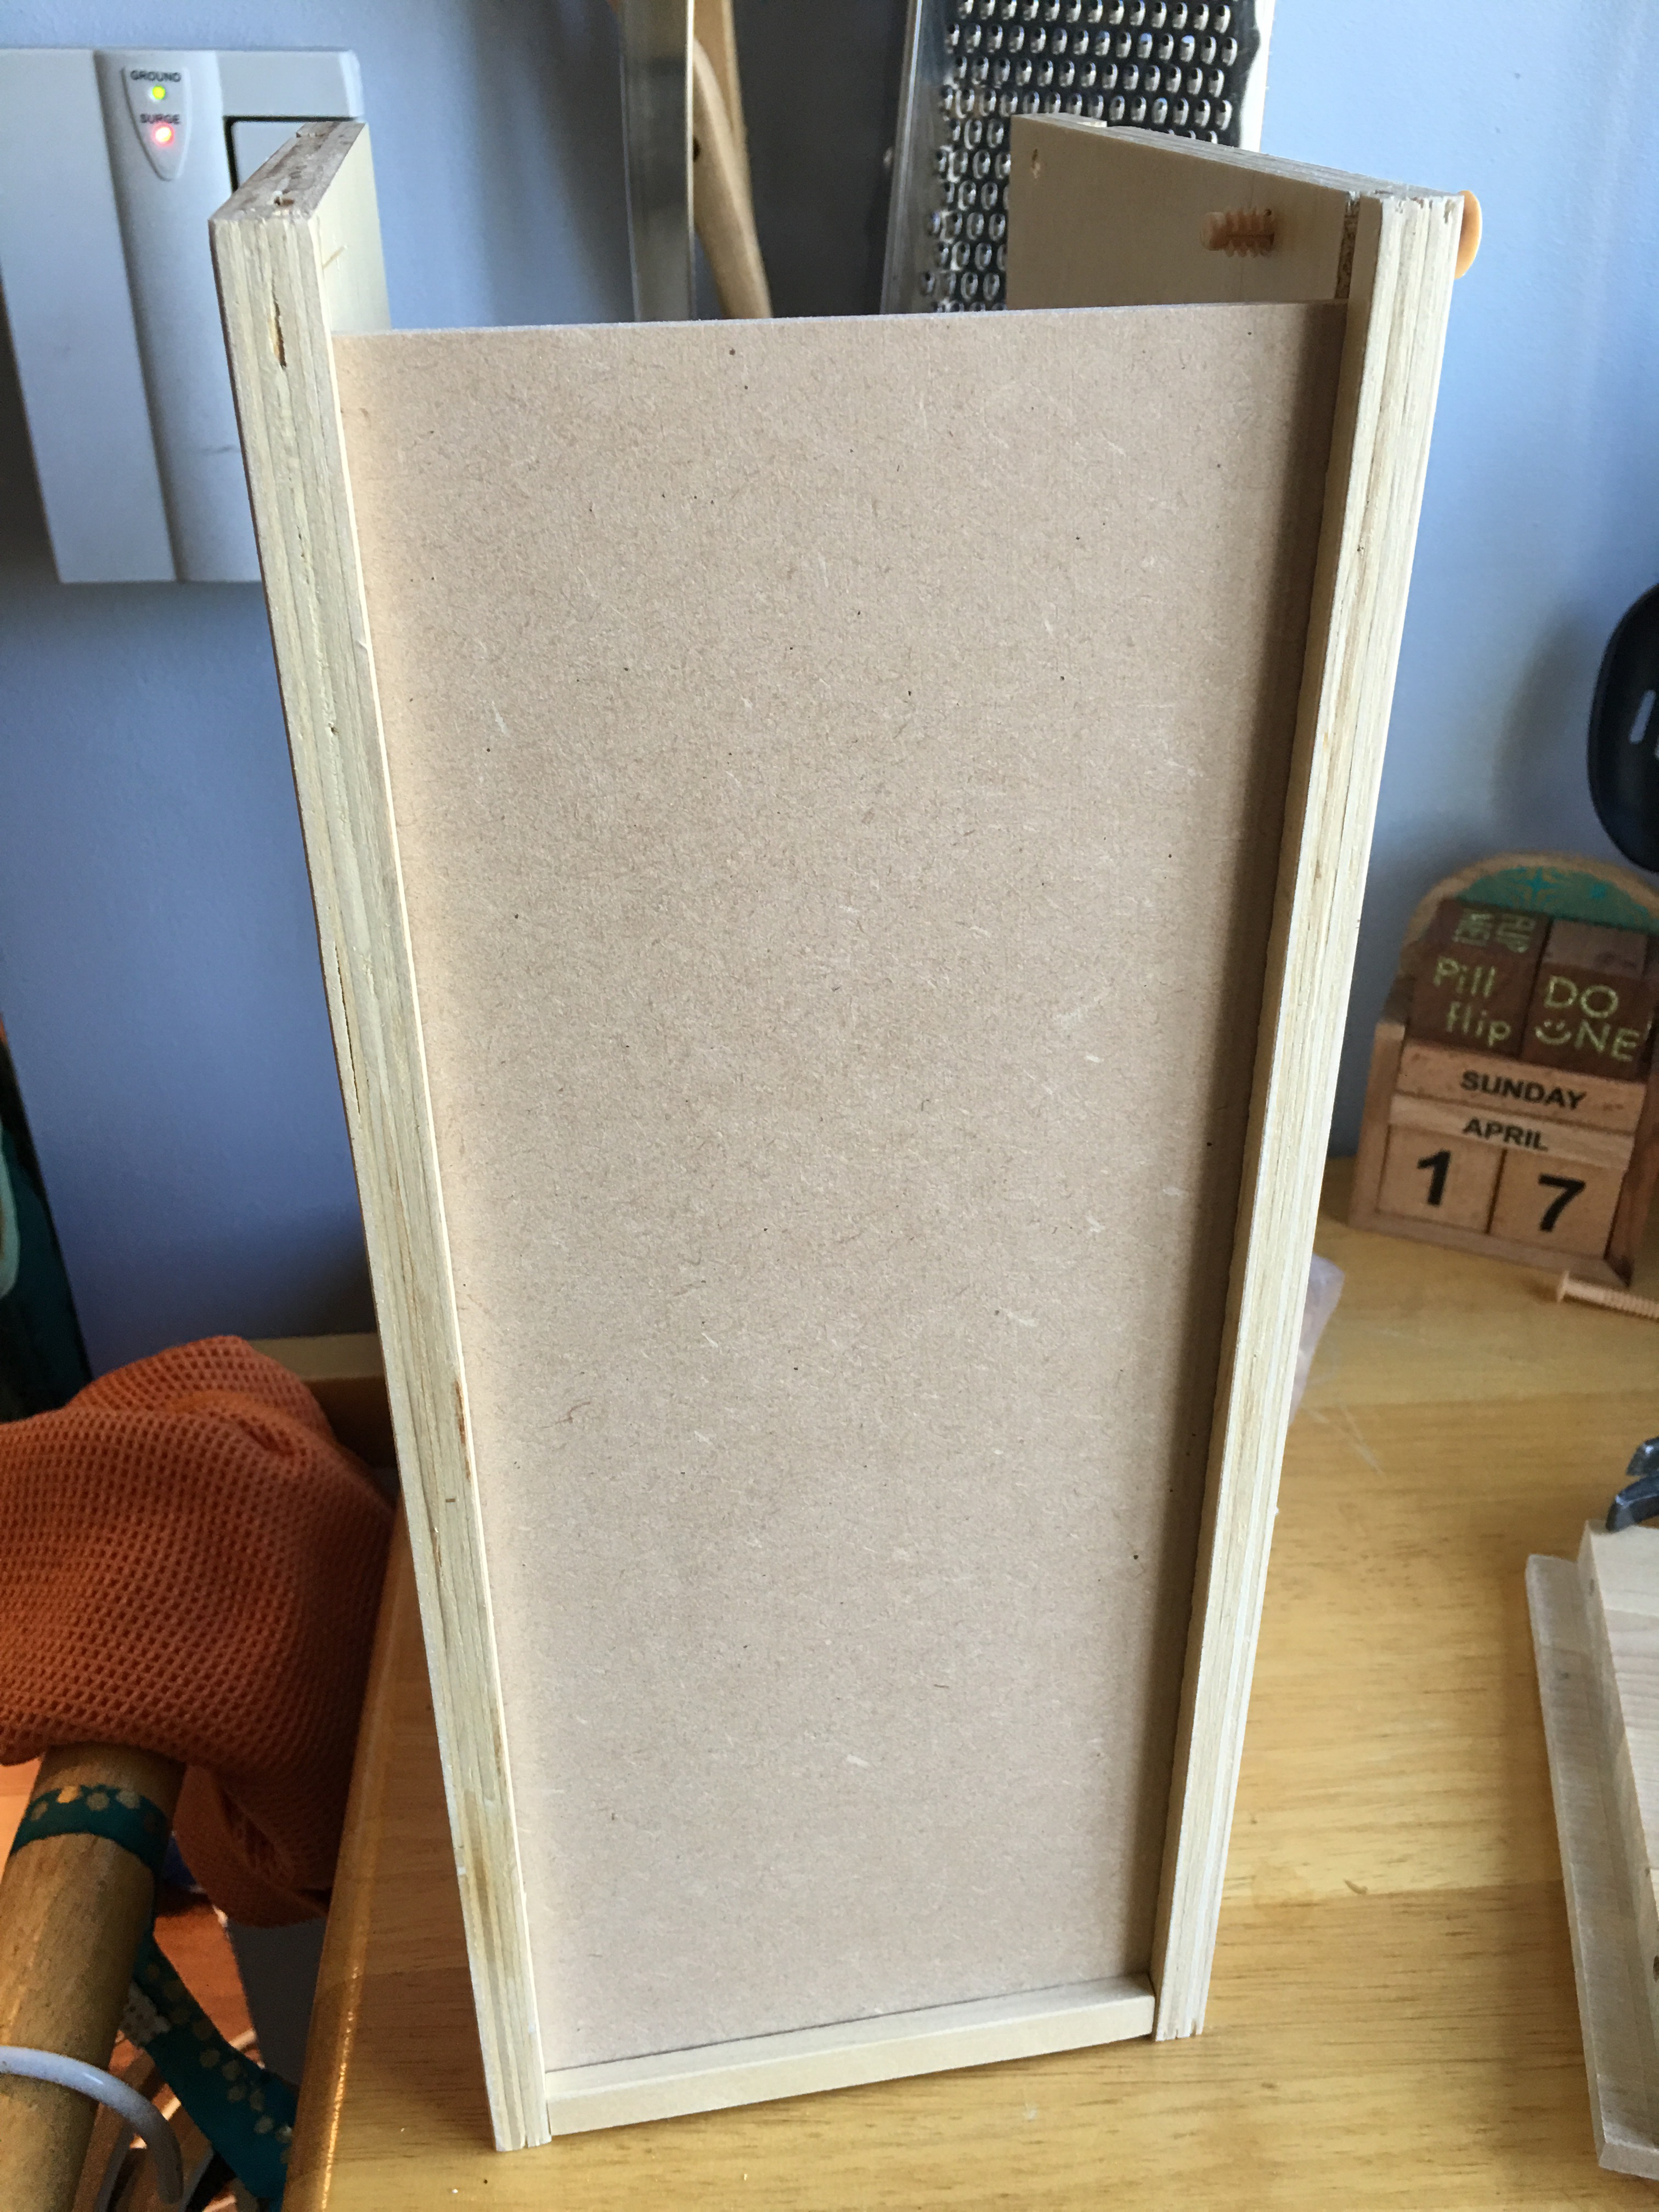
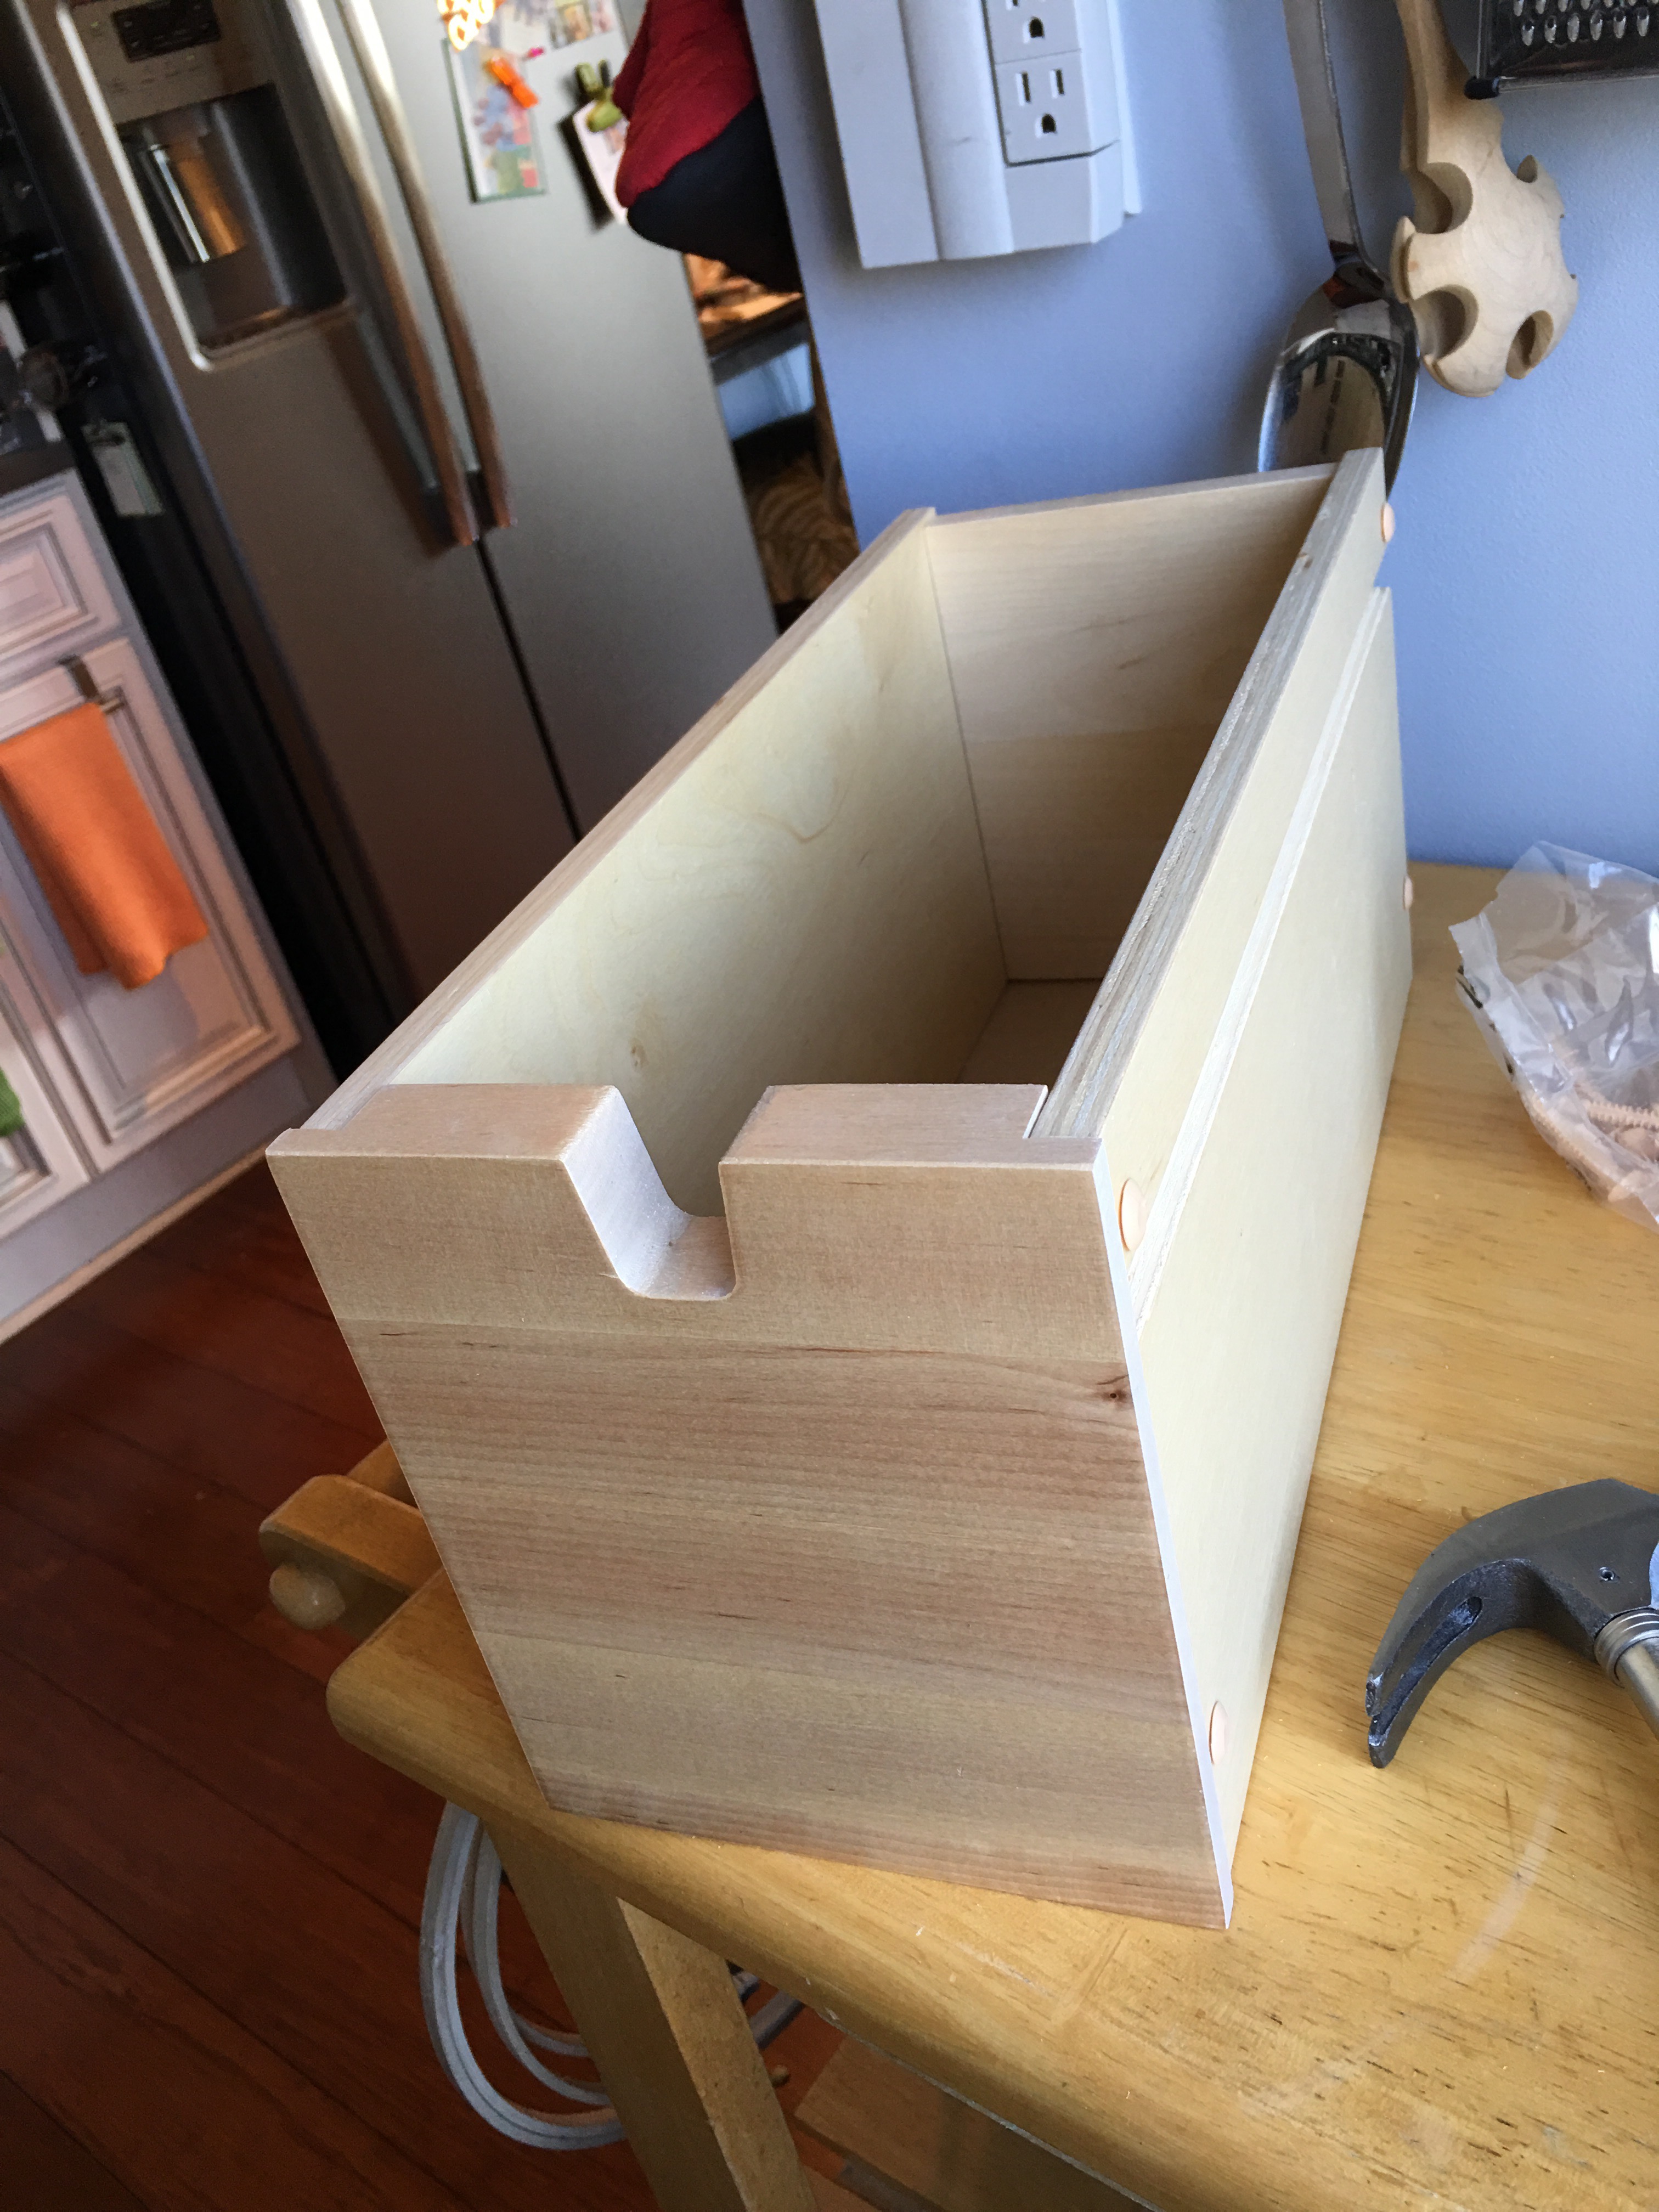
…and snapped the drawer front in place.
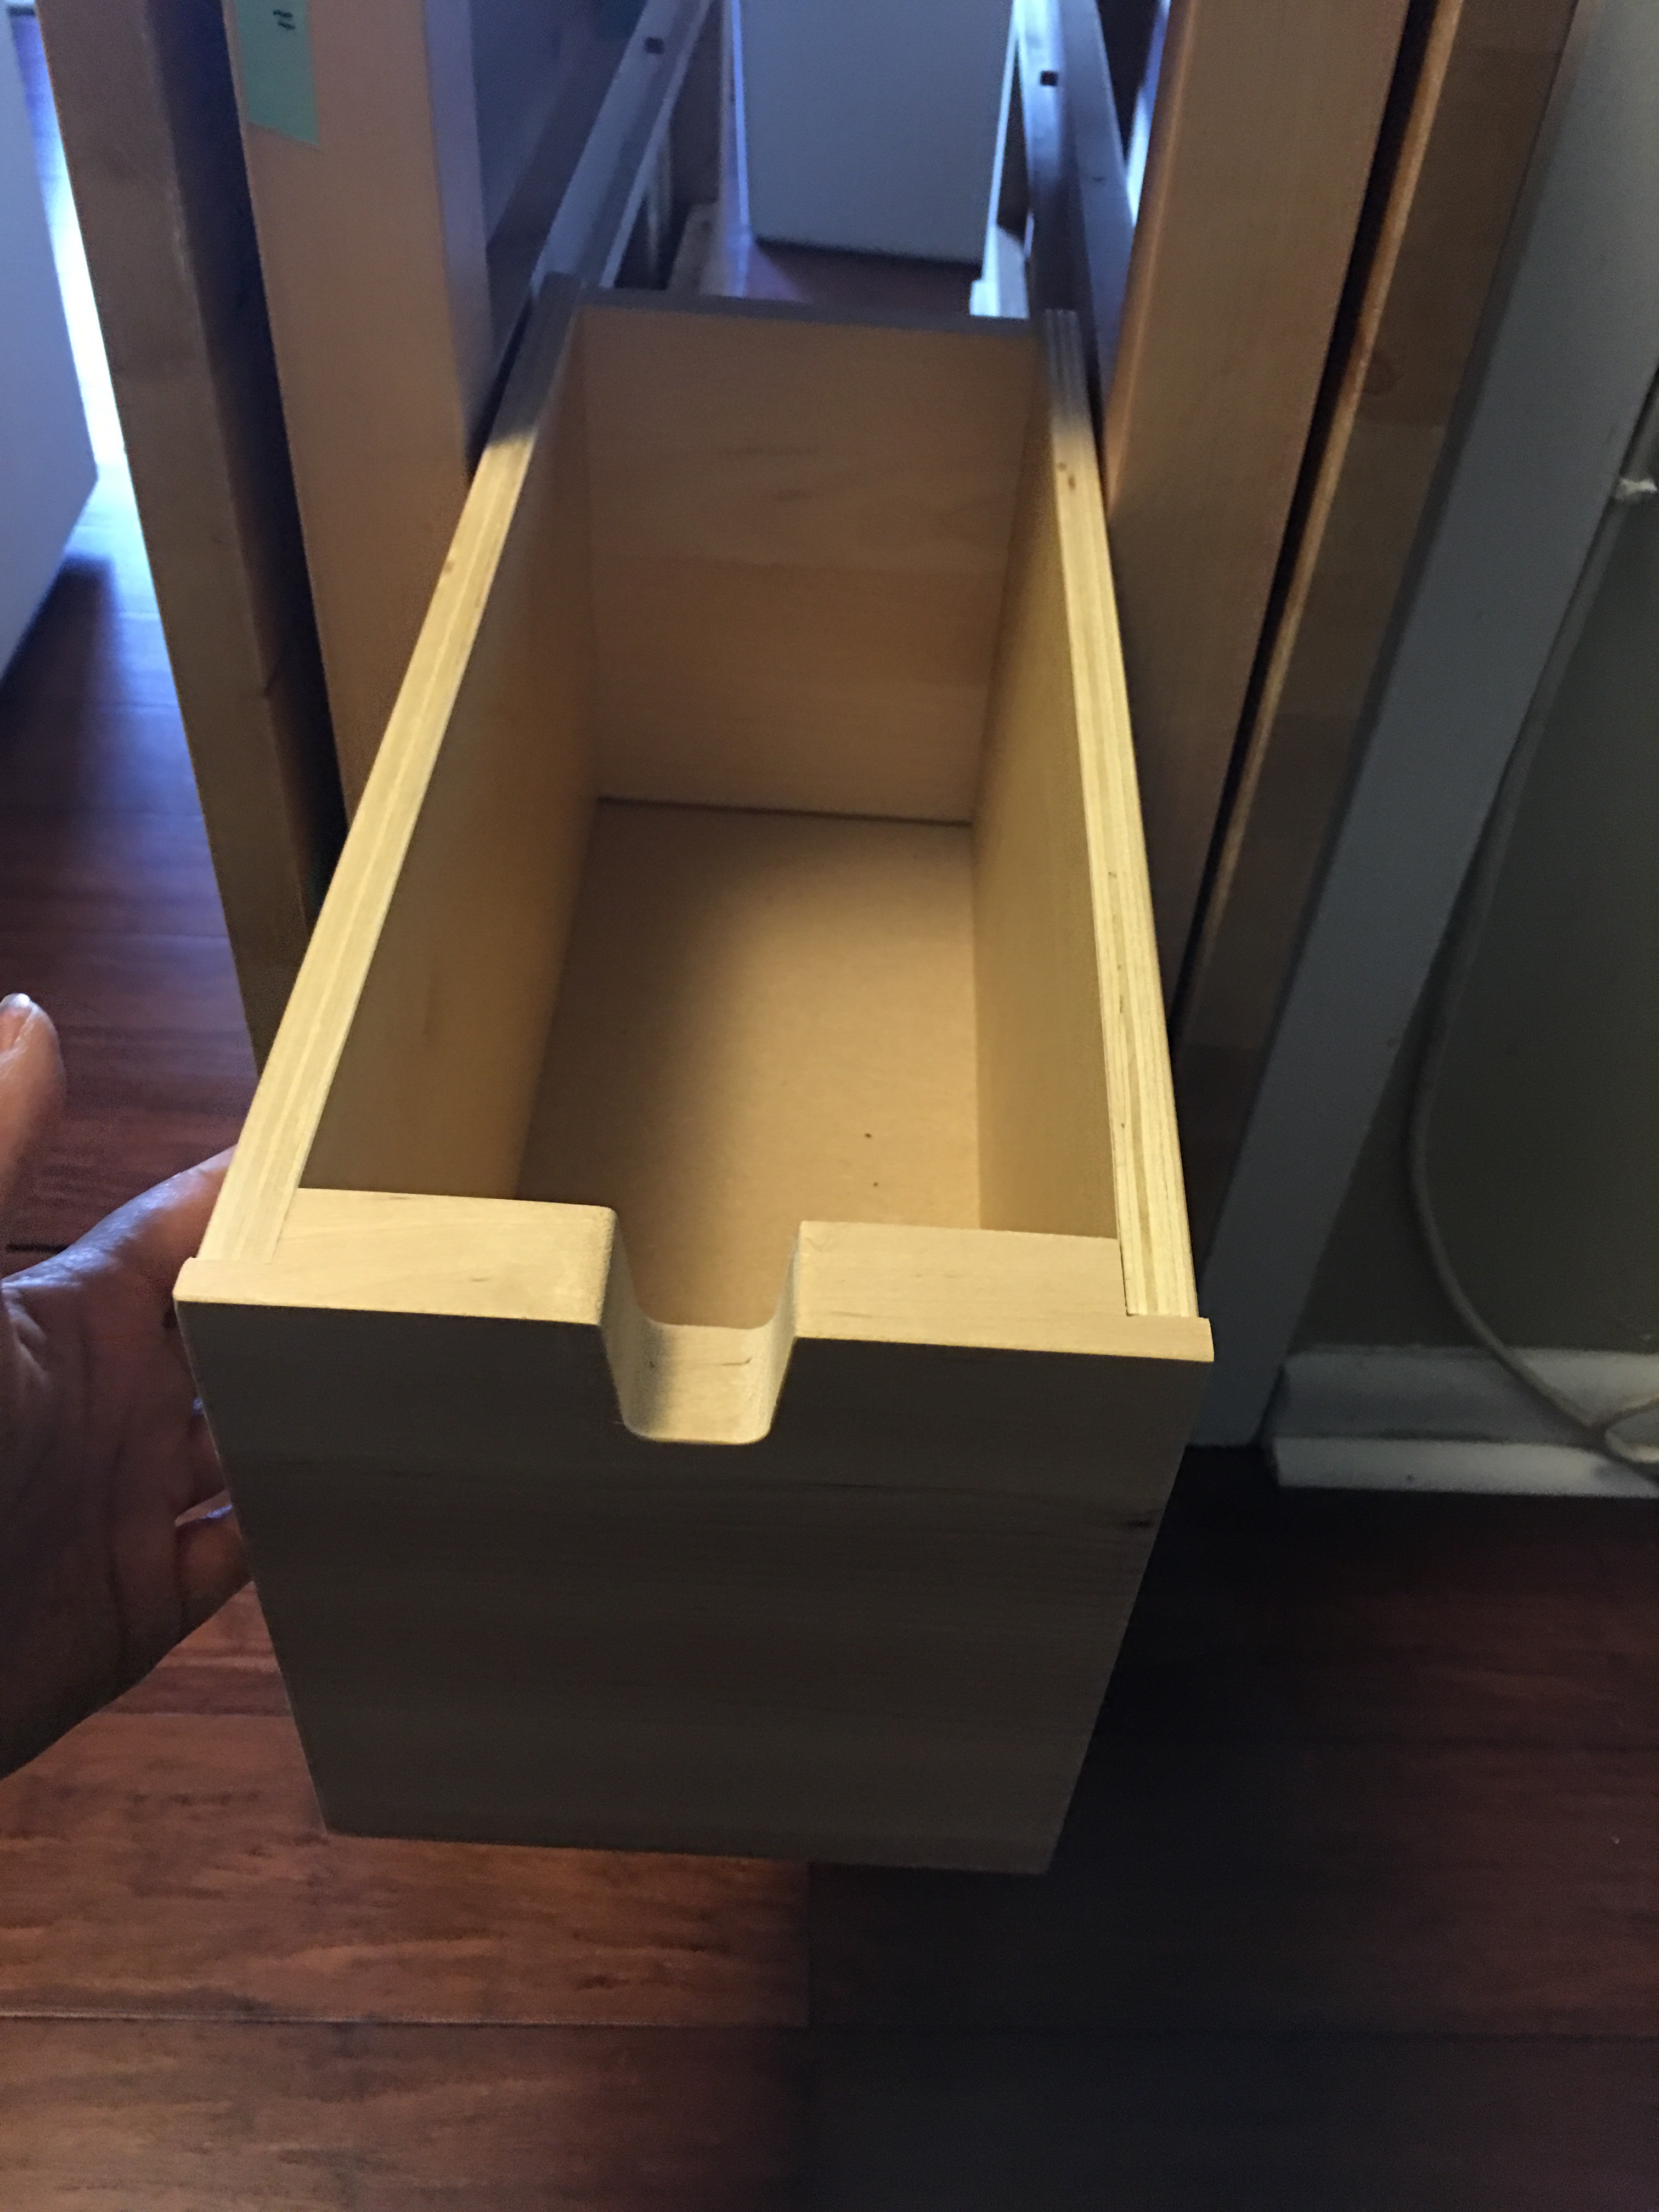
I hammered the last two nails in to complete the drawer.
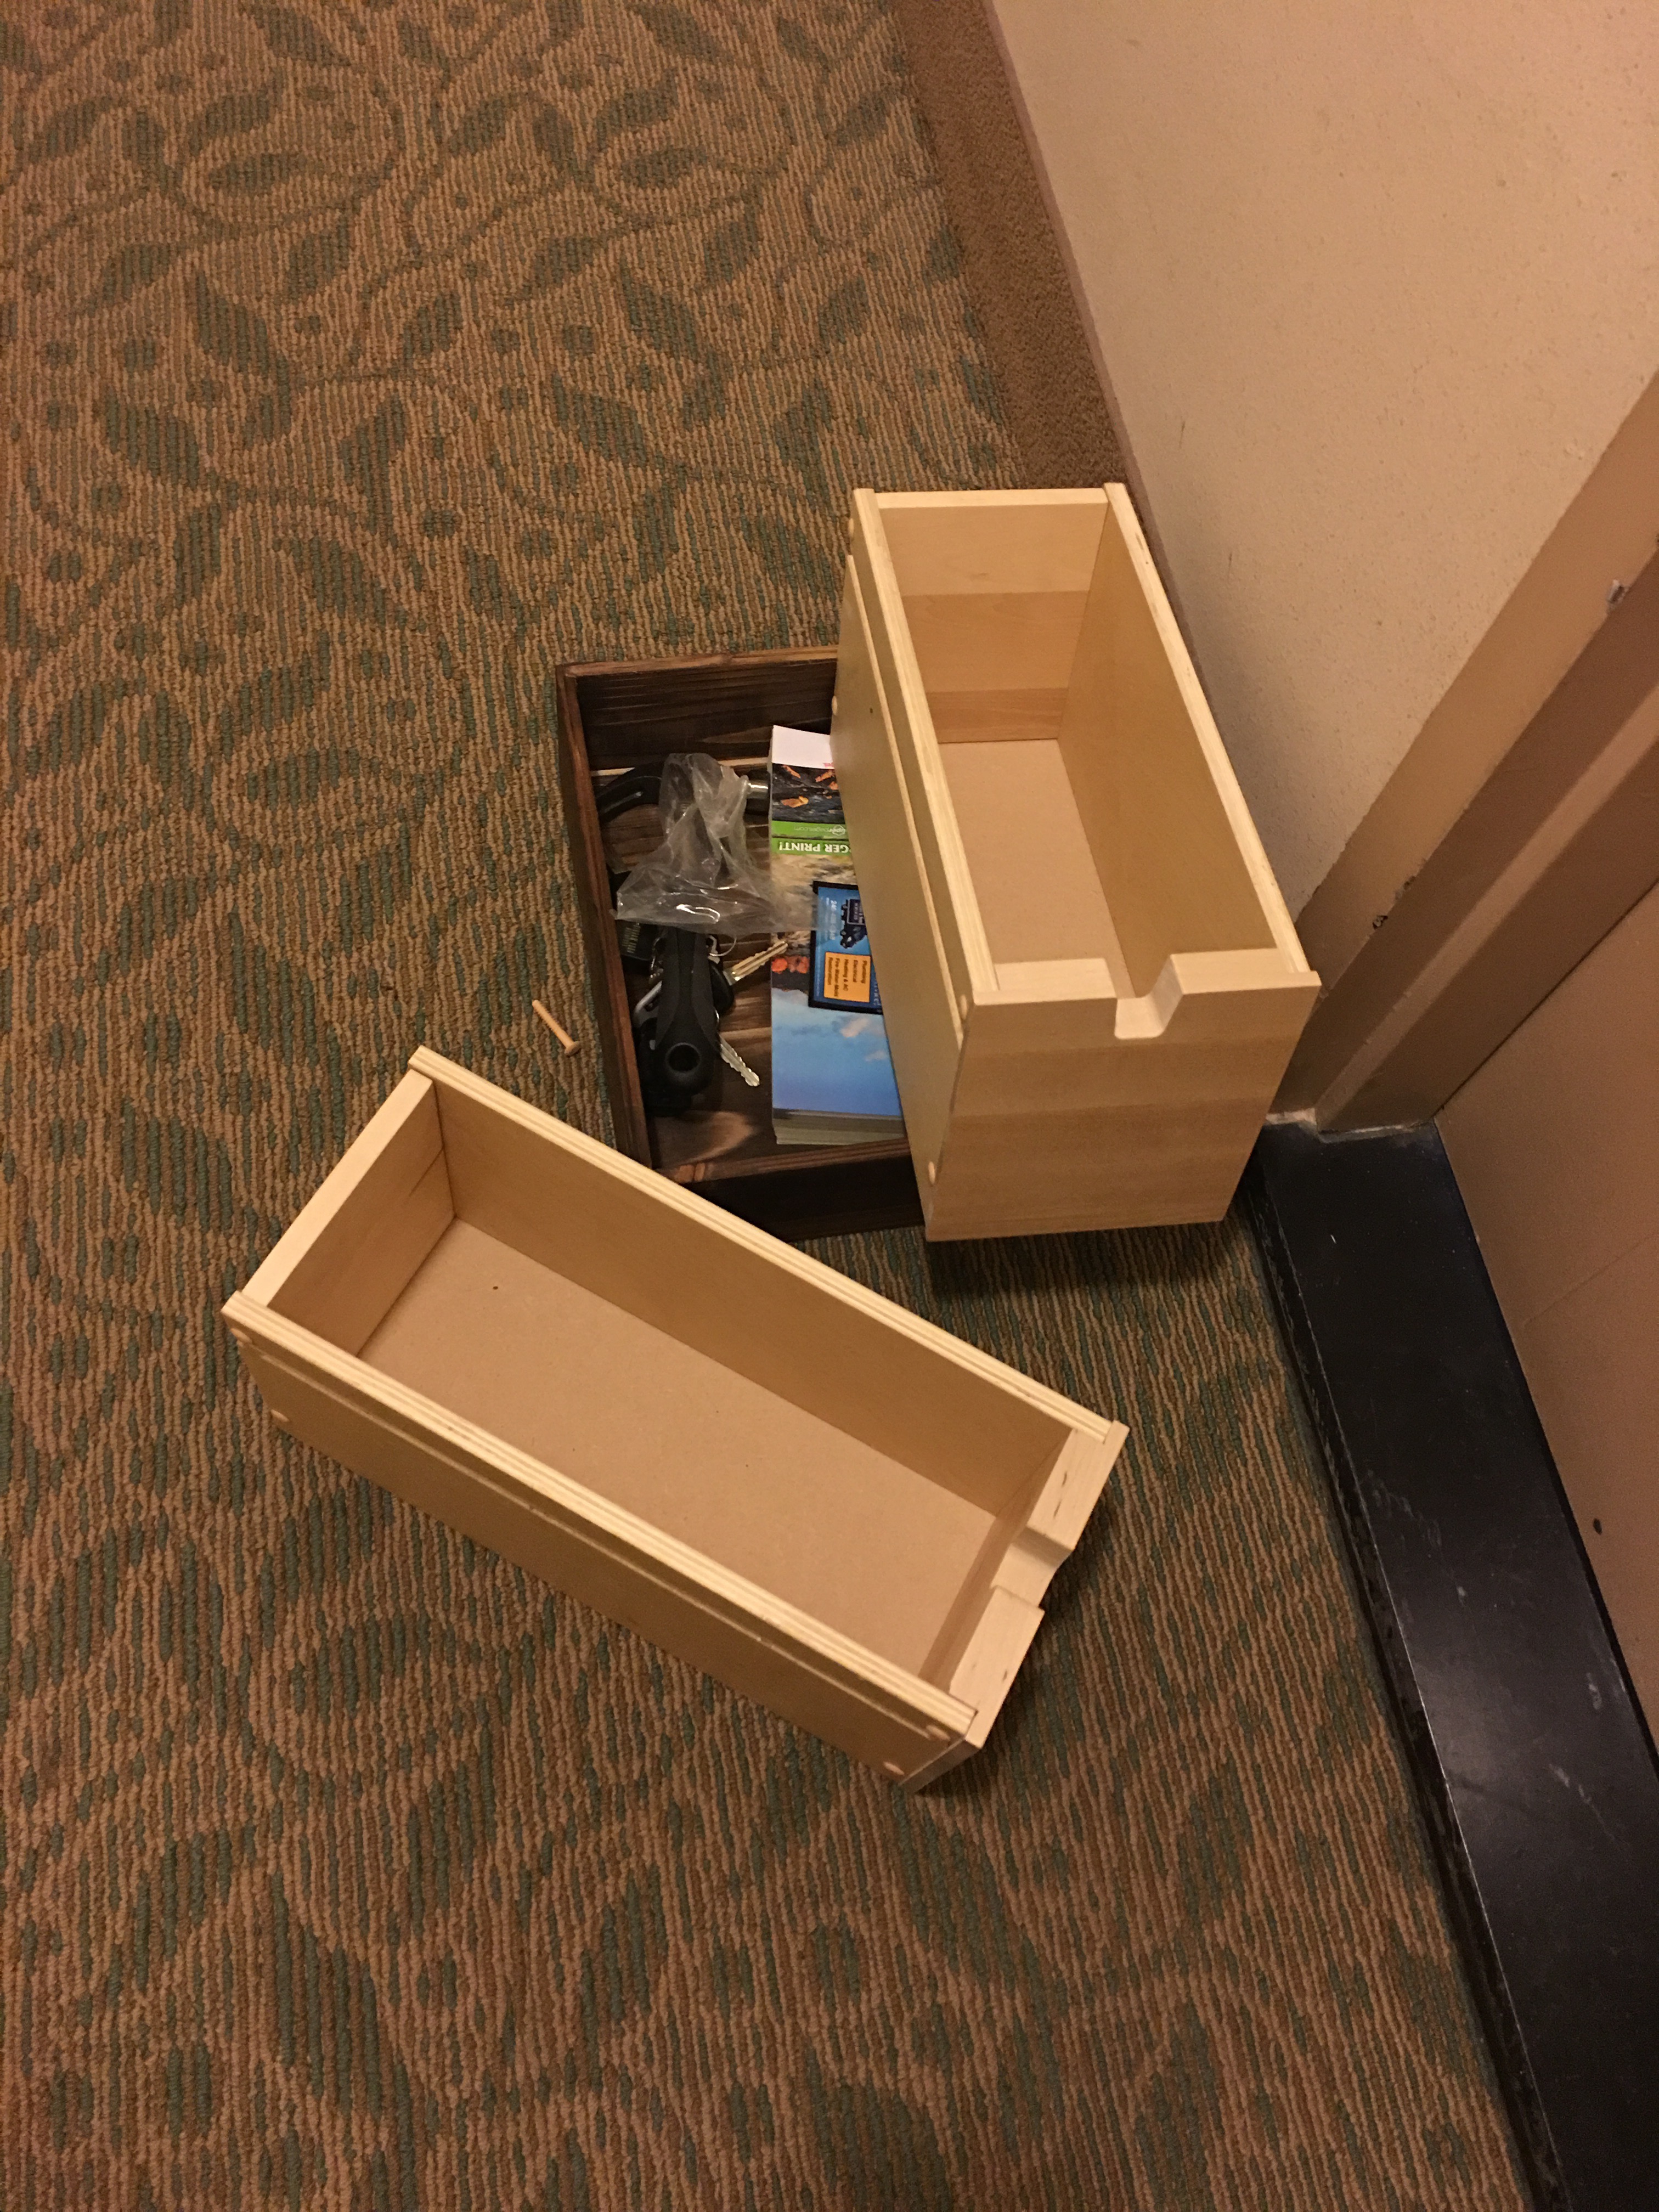
One down. Five to go.
The drawers slide in between the brackets in the middle of the table (under the top between the table leaves).
Encouraged with the way the table with the drawers were taking place, I gamely reached for the hammer again to get the rest of this job done.
I was four drawers in when my phone rang. I saw Bruce’s name pop up on the caller ID.
Property management called. I’m making too much noise. The neighbors below are unhappy.
Sigh…
So I put away the hammer and immediately shifted gears. Rather than a table assembly operation, I’m now on a “Sorry I am such a bad neighbor” greeting card track.
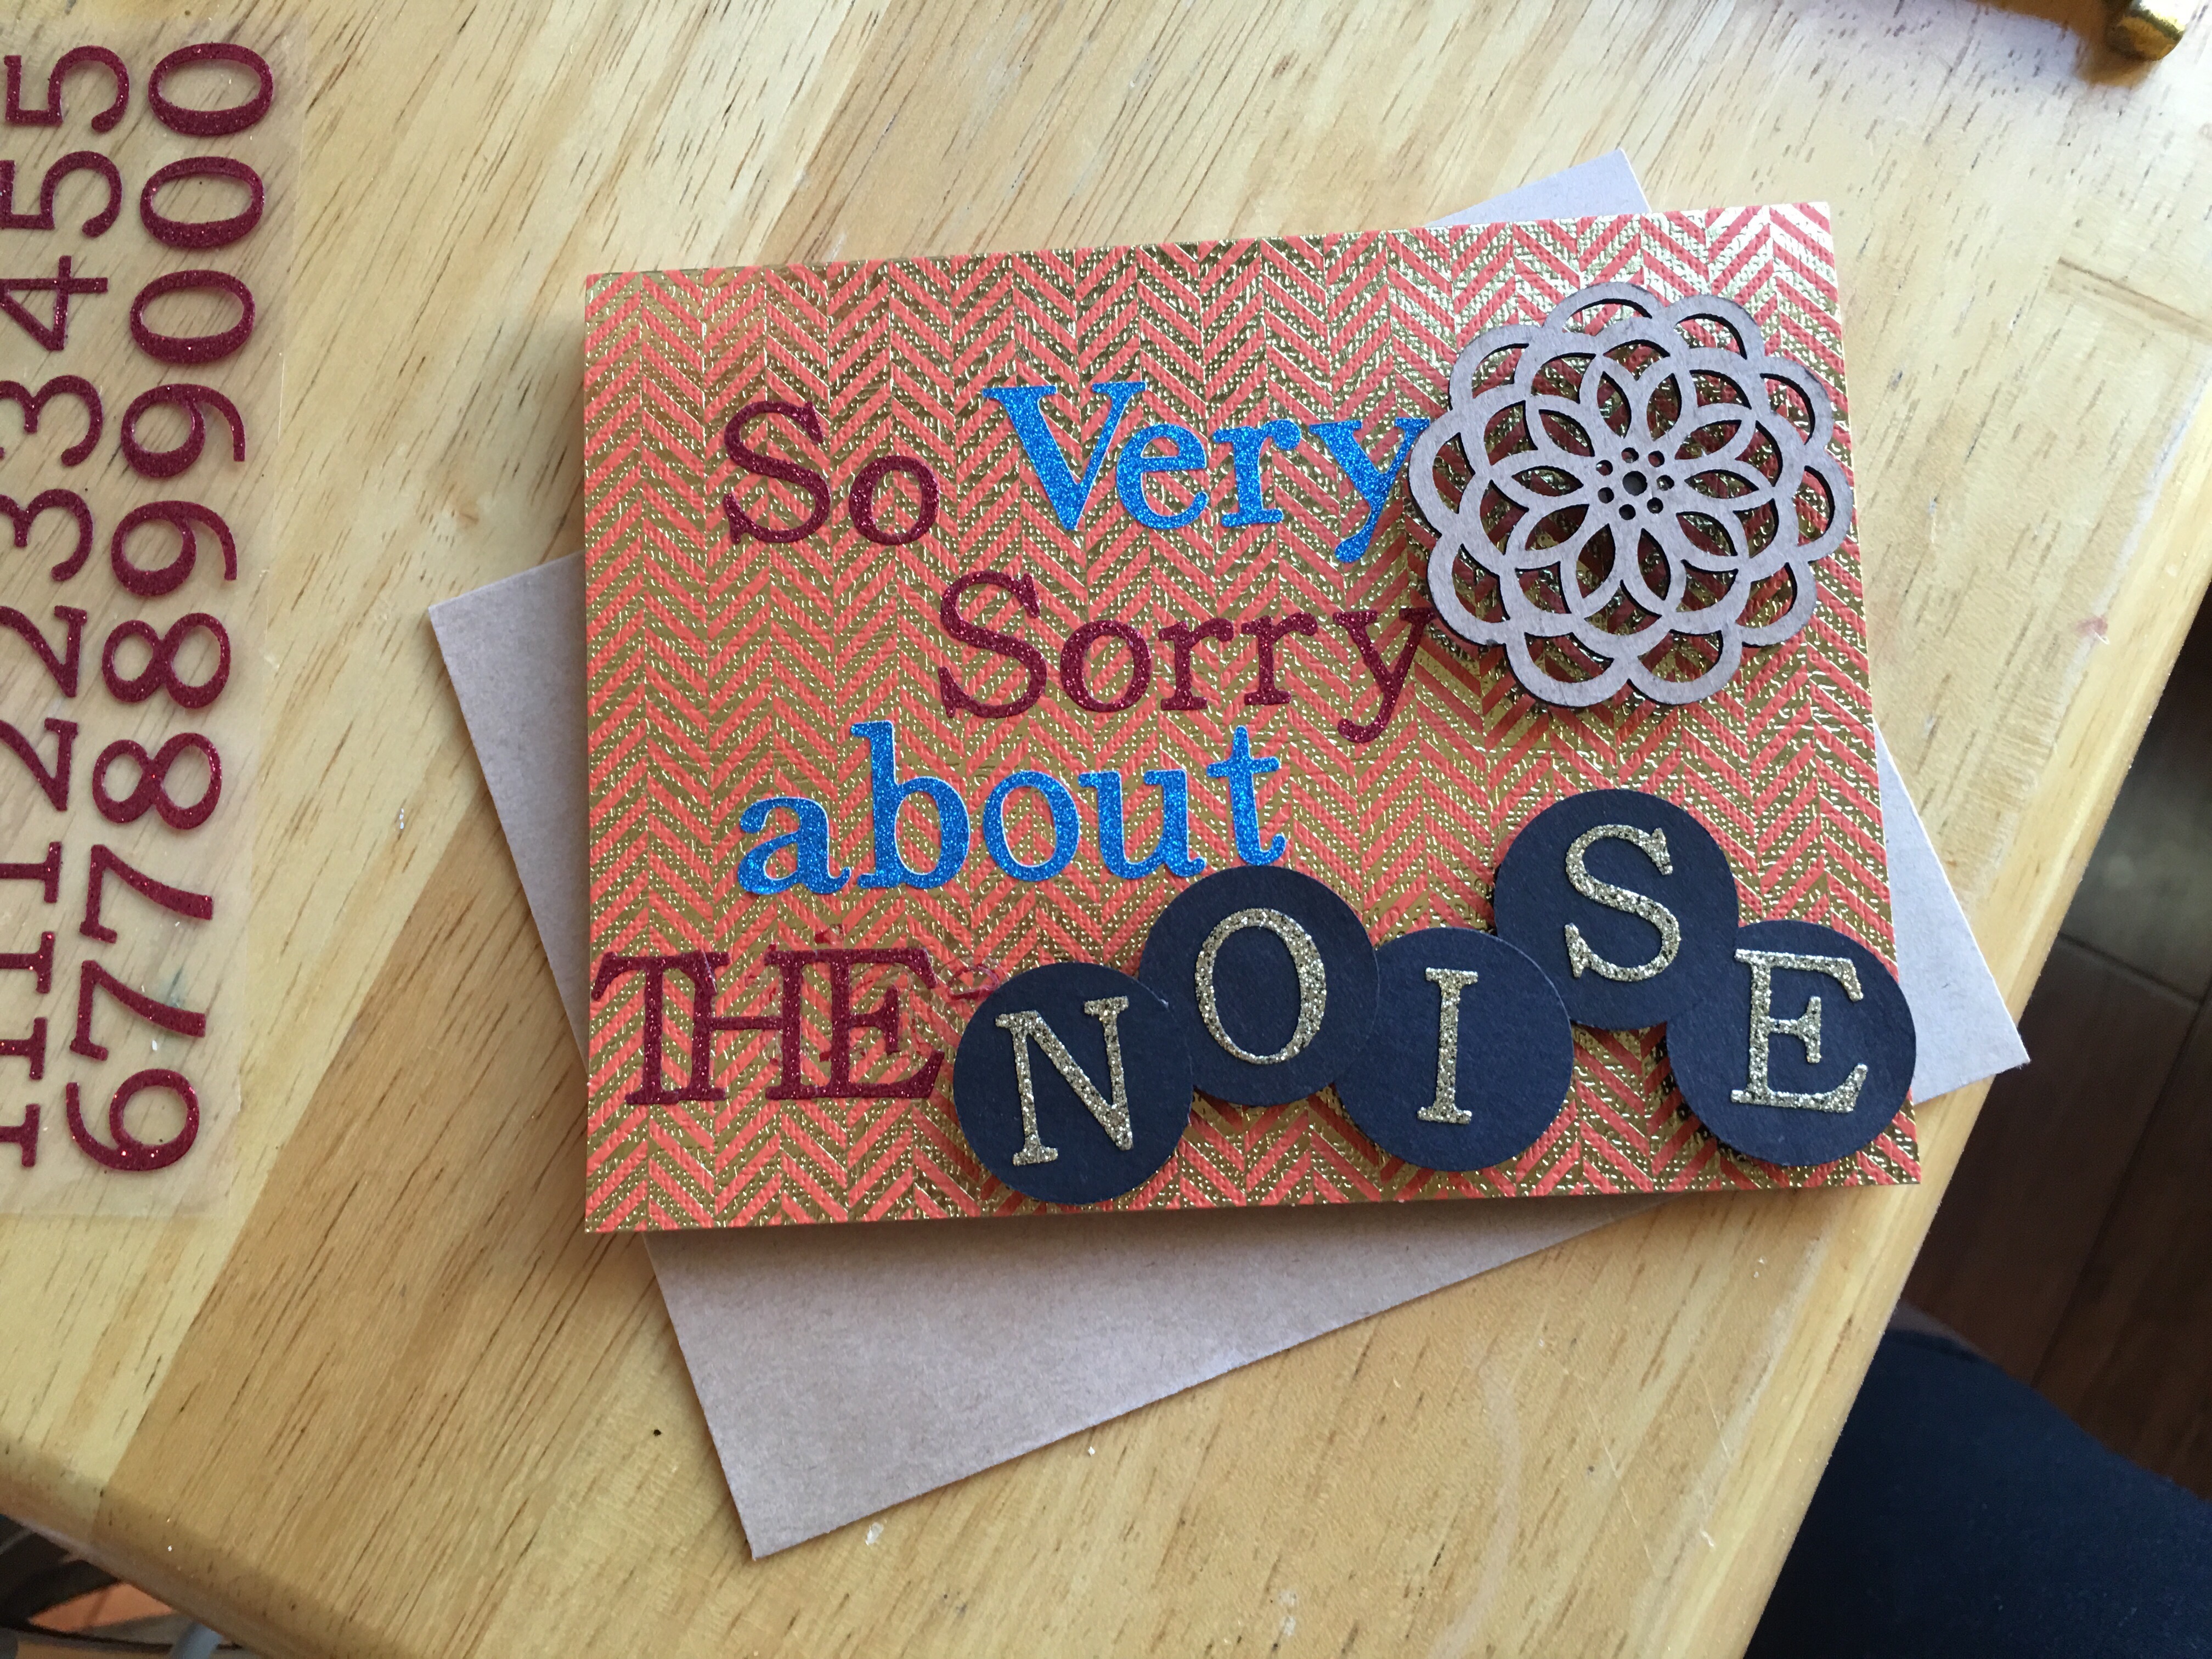
I reached for one of my blank Be Bold Be Bright foil textured cards and added the following words on the front with stickers:
“So Very Sorry about the NOISE”.
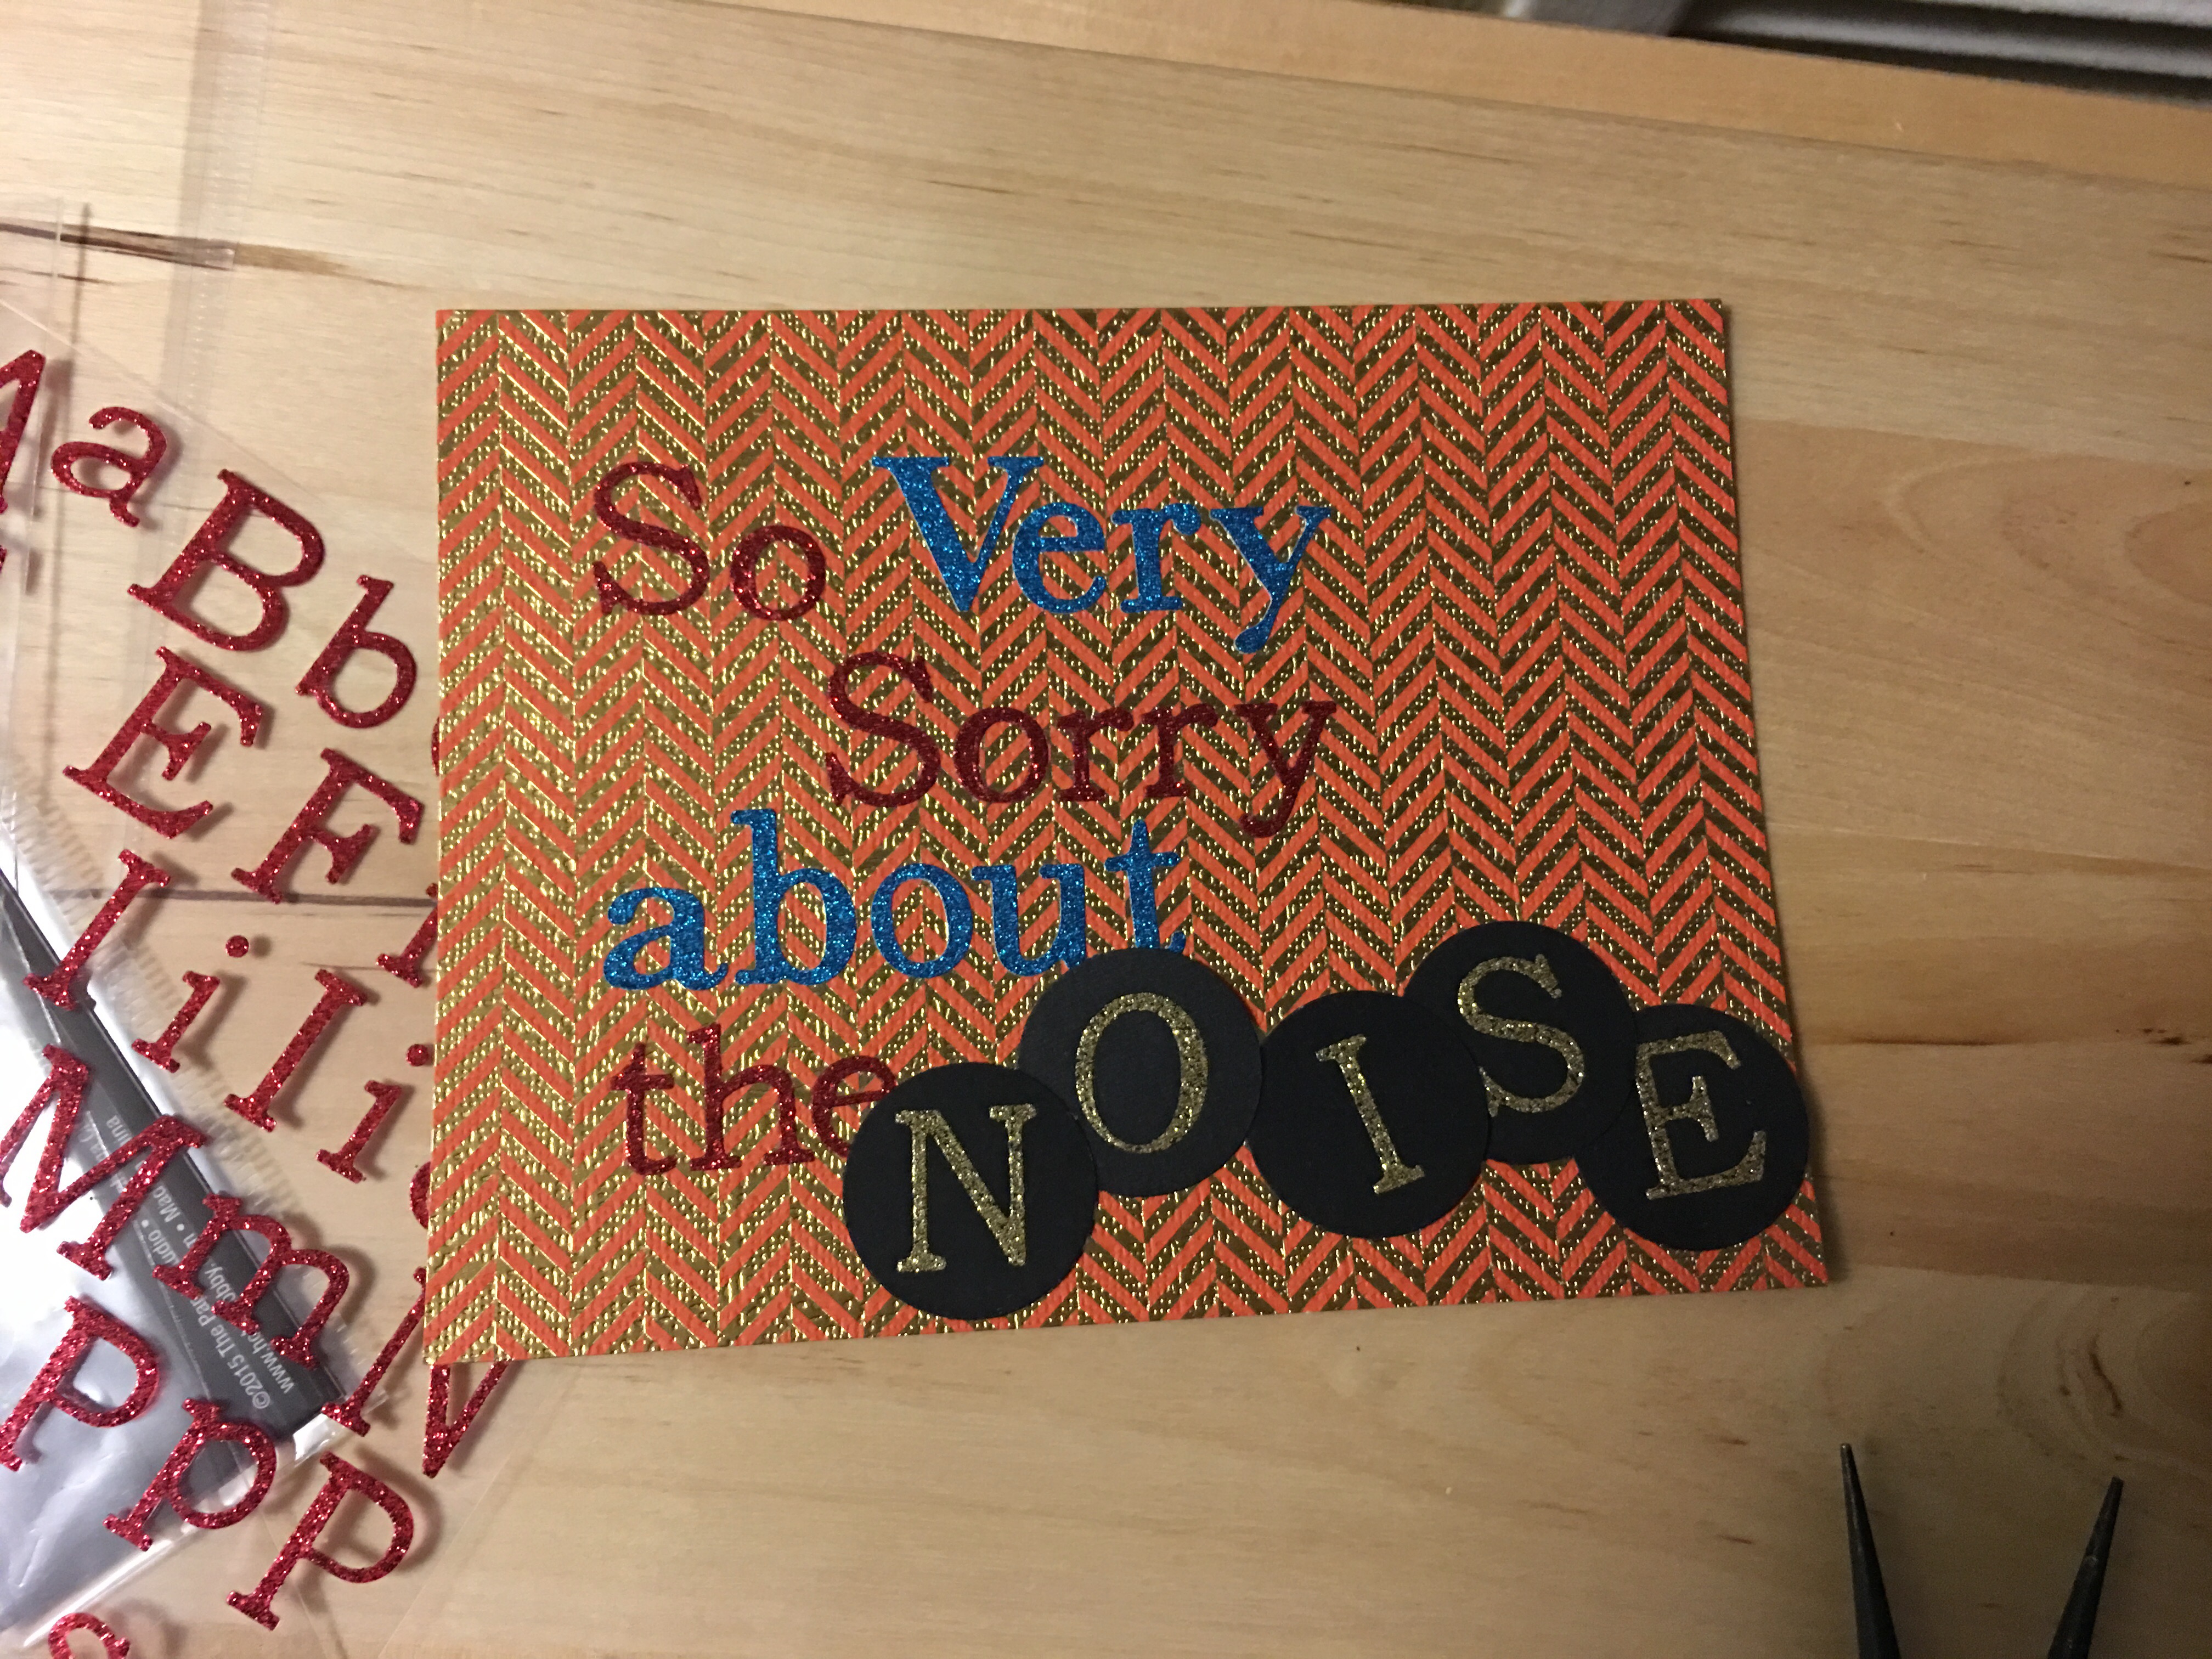
To accentuate the word “NOISE”, I added black circles as a background for each letter (made with my 1″ circle punch).
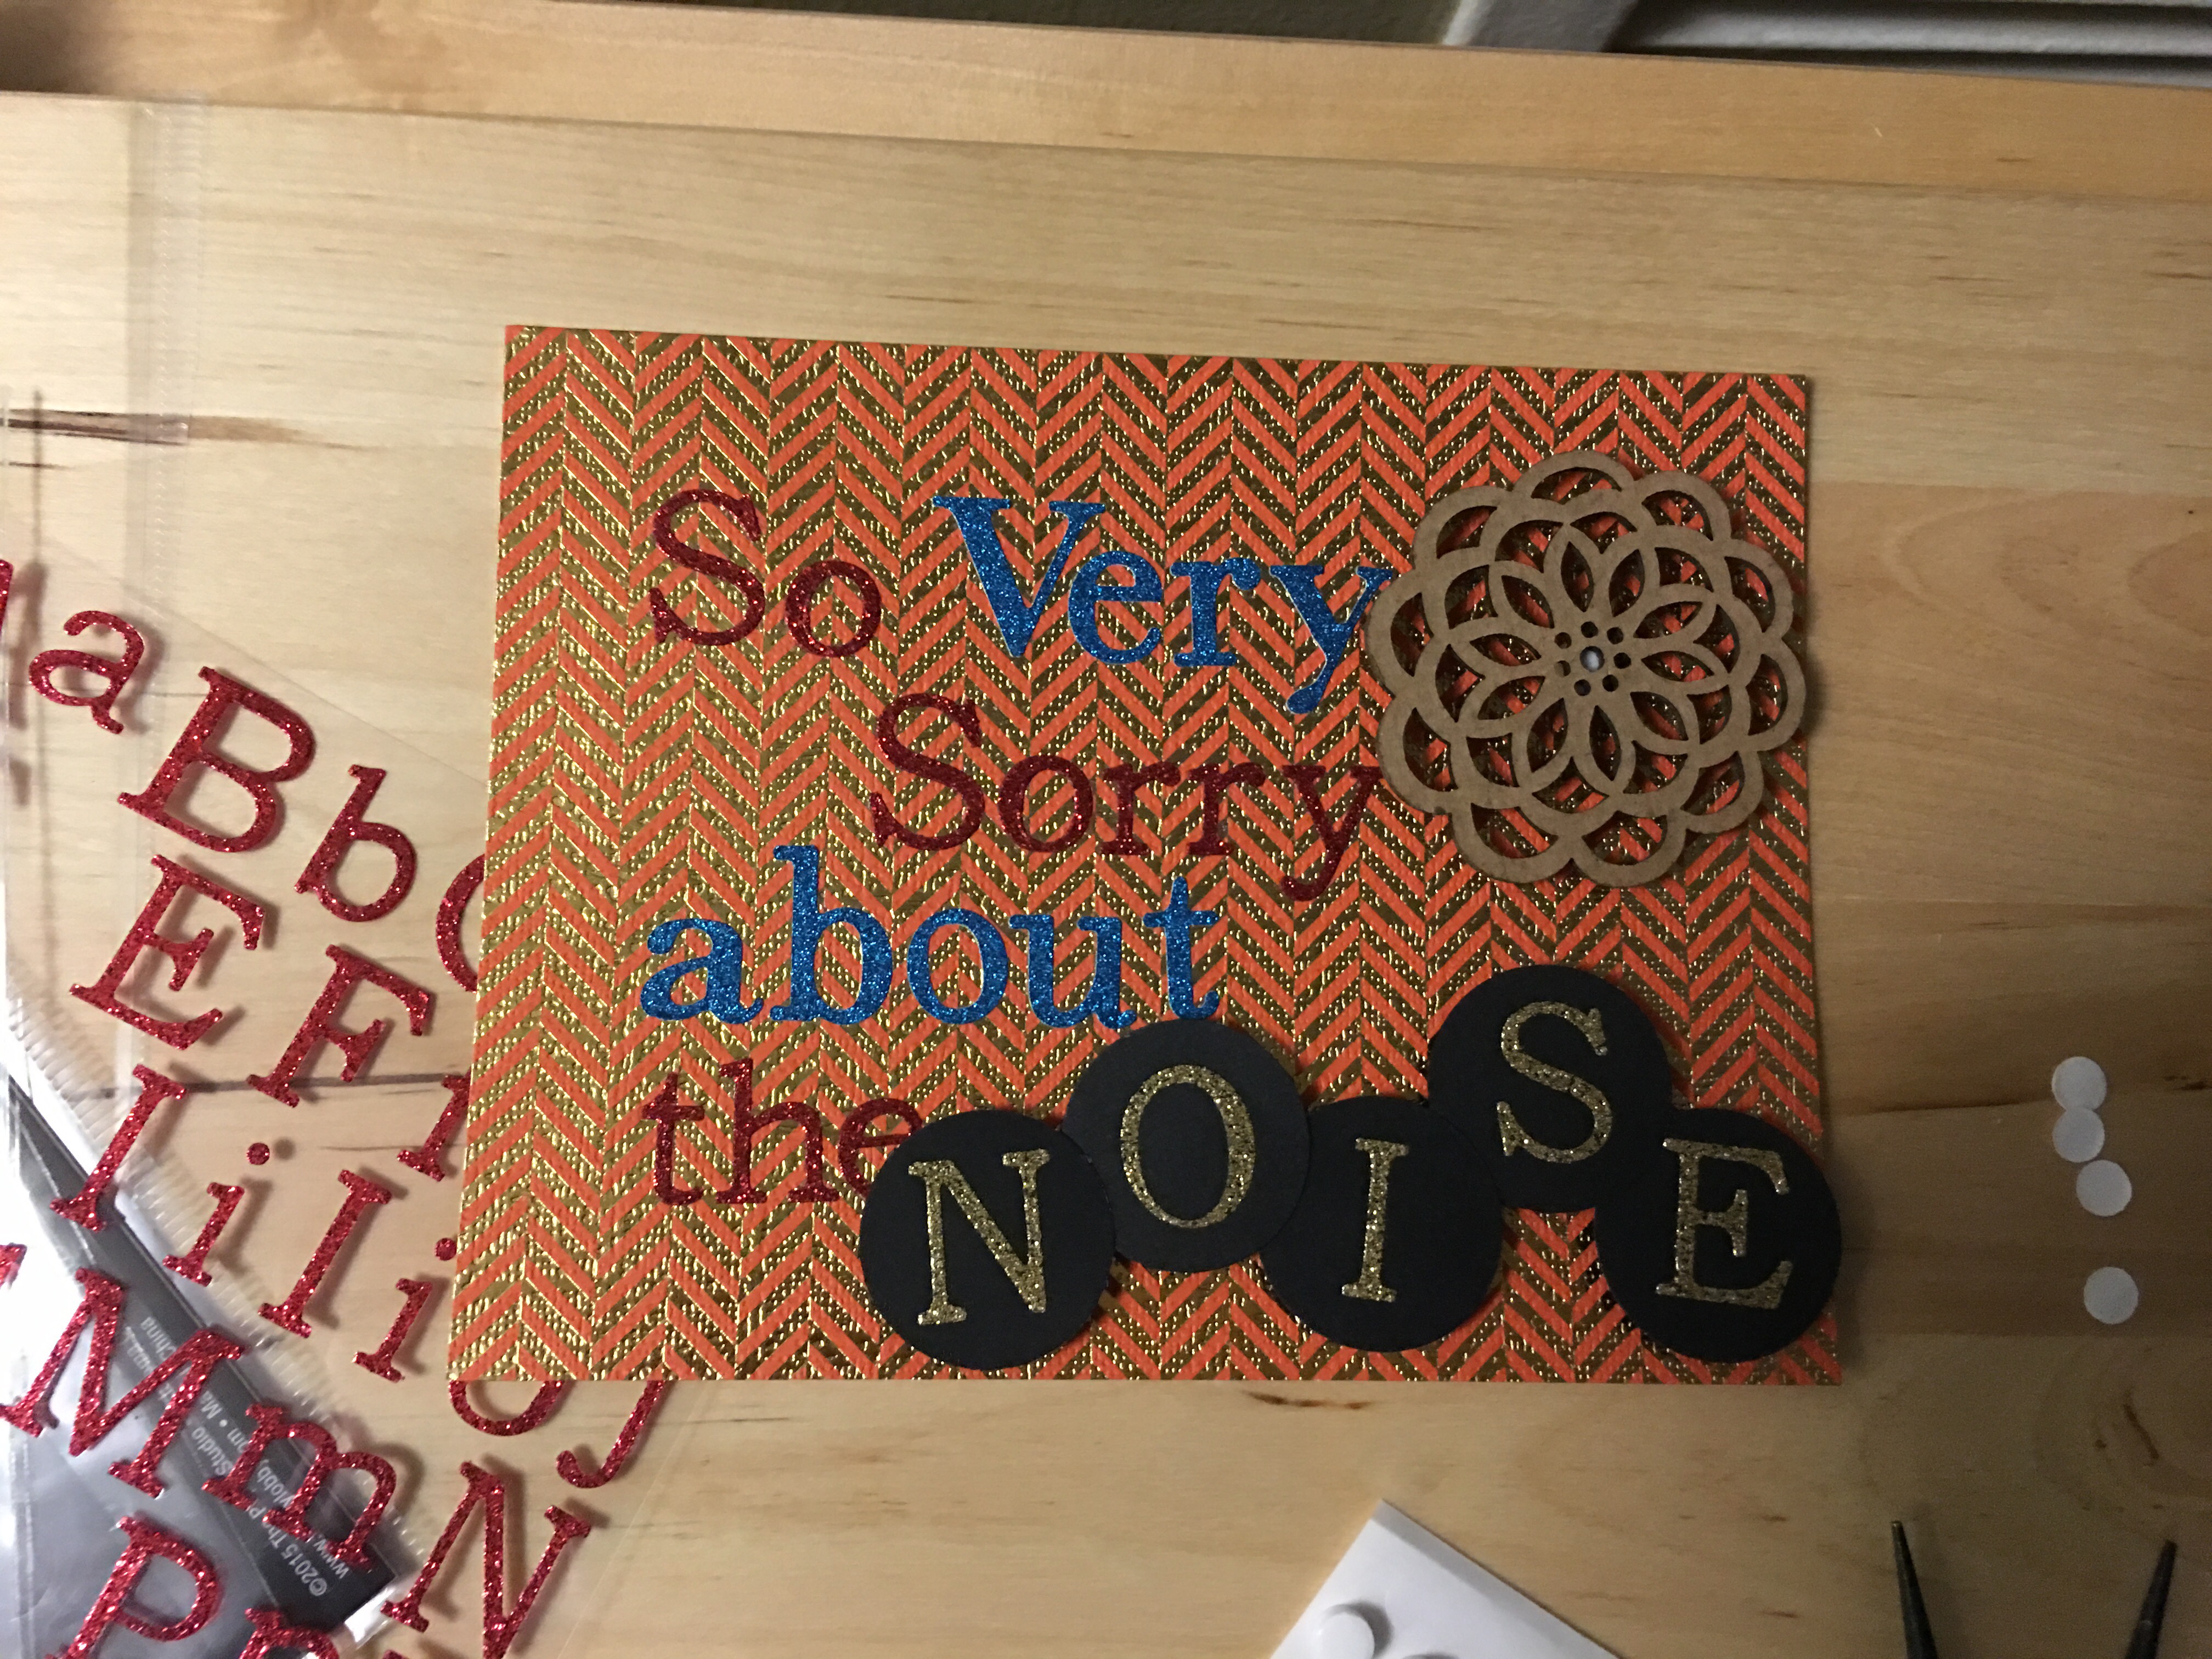
I added the letters with circles to the front of the card using foam dots. And I added a wood die cut embellishment with a foam dot as well.
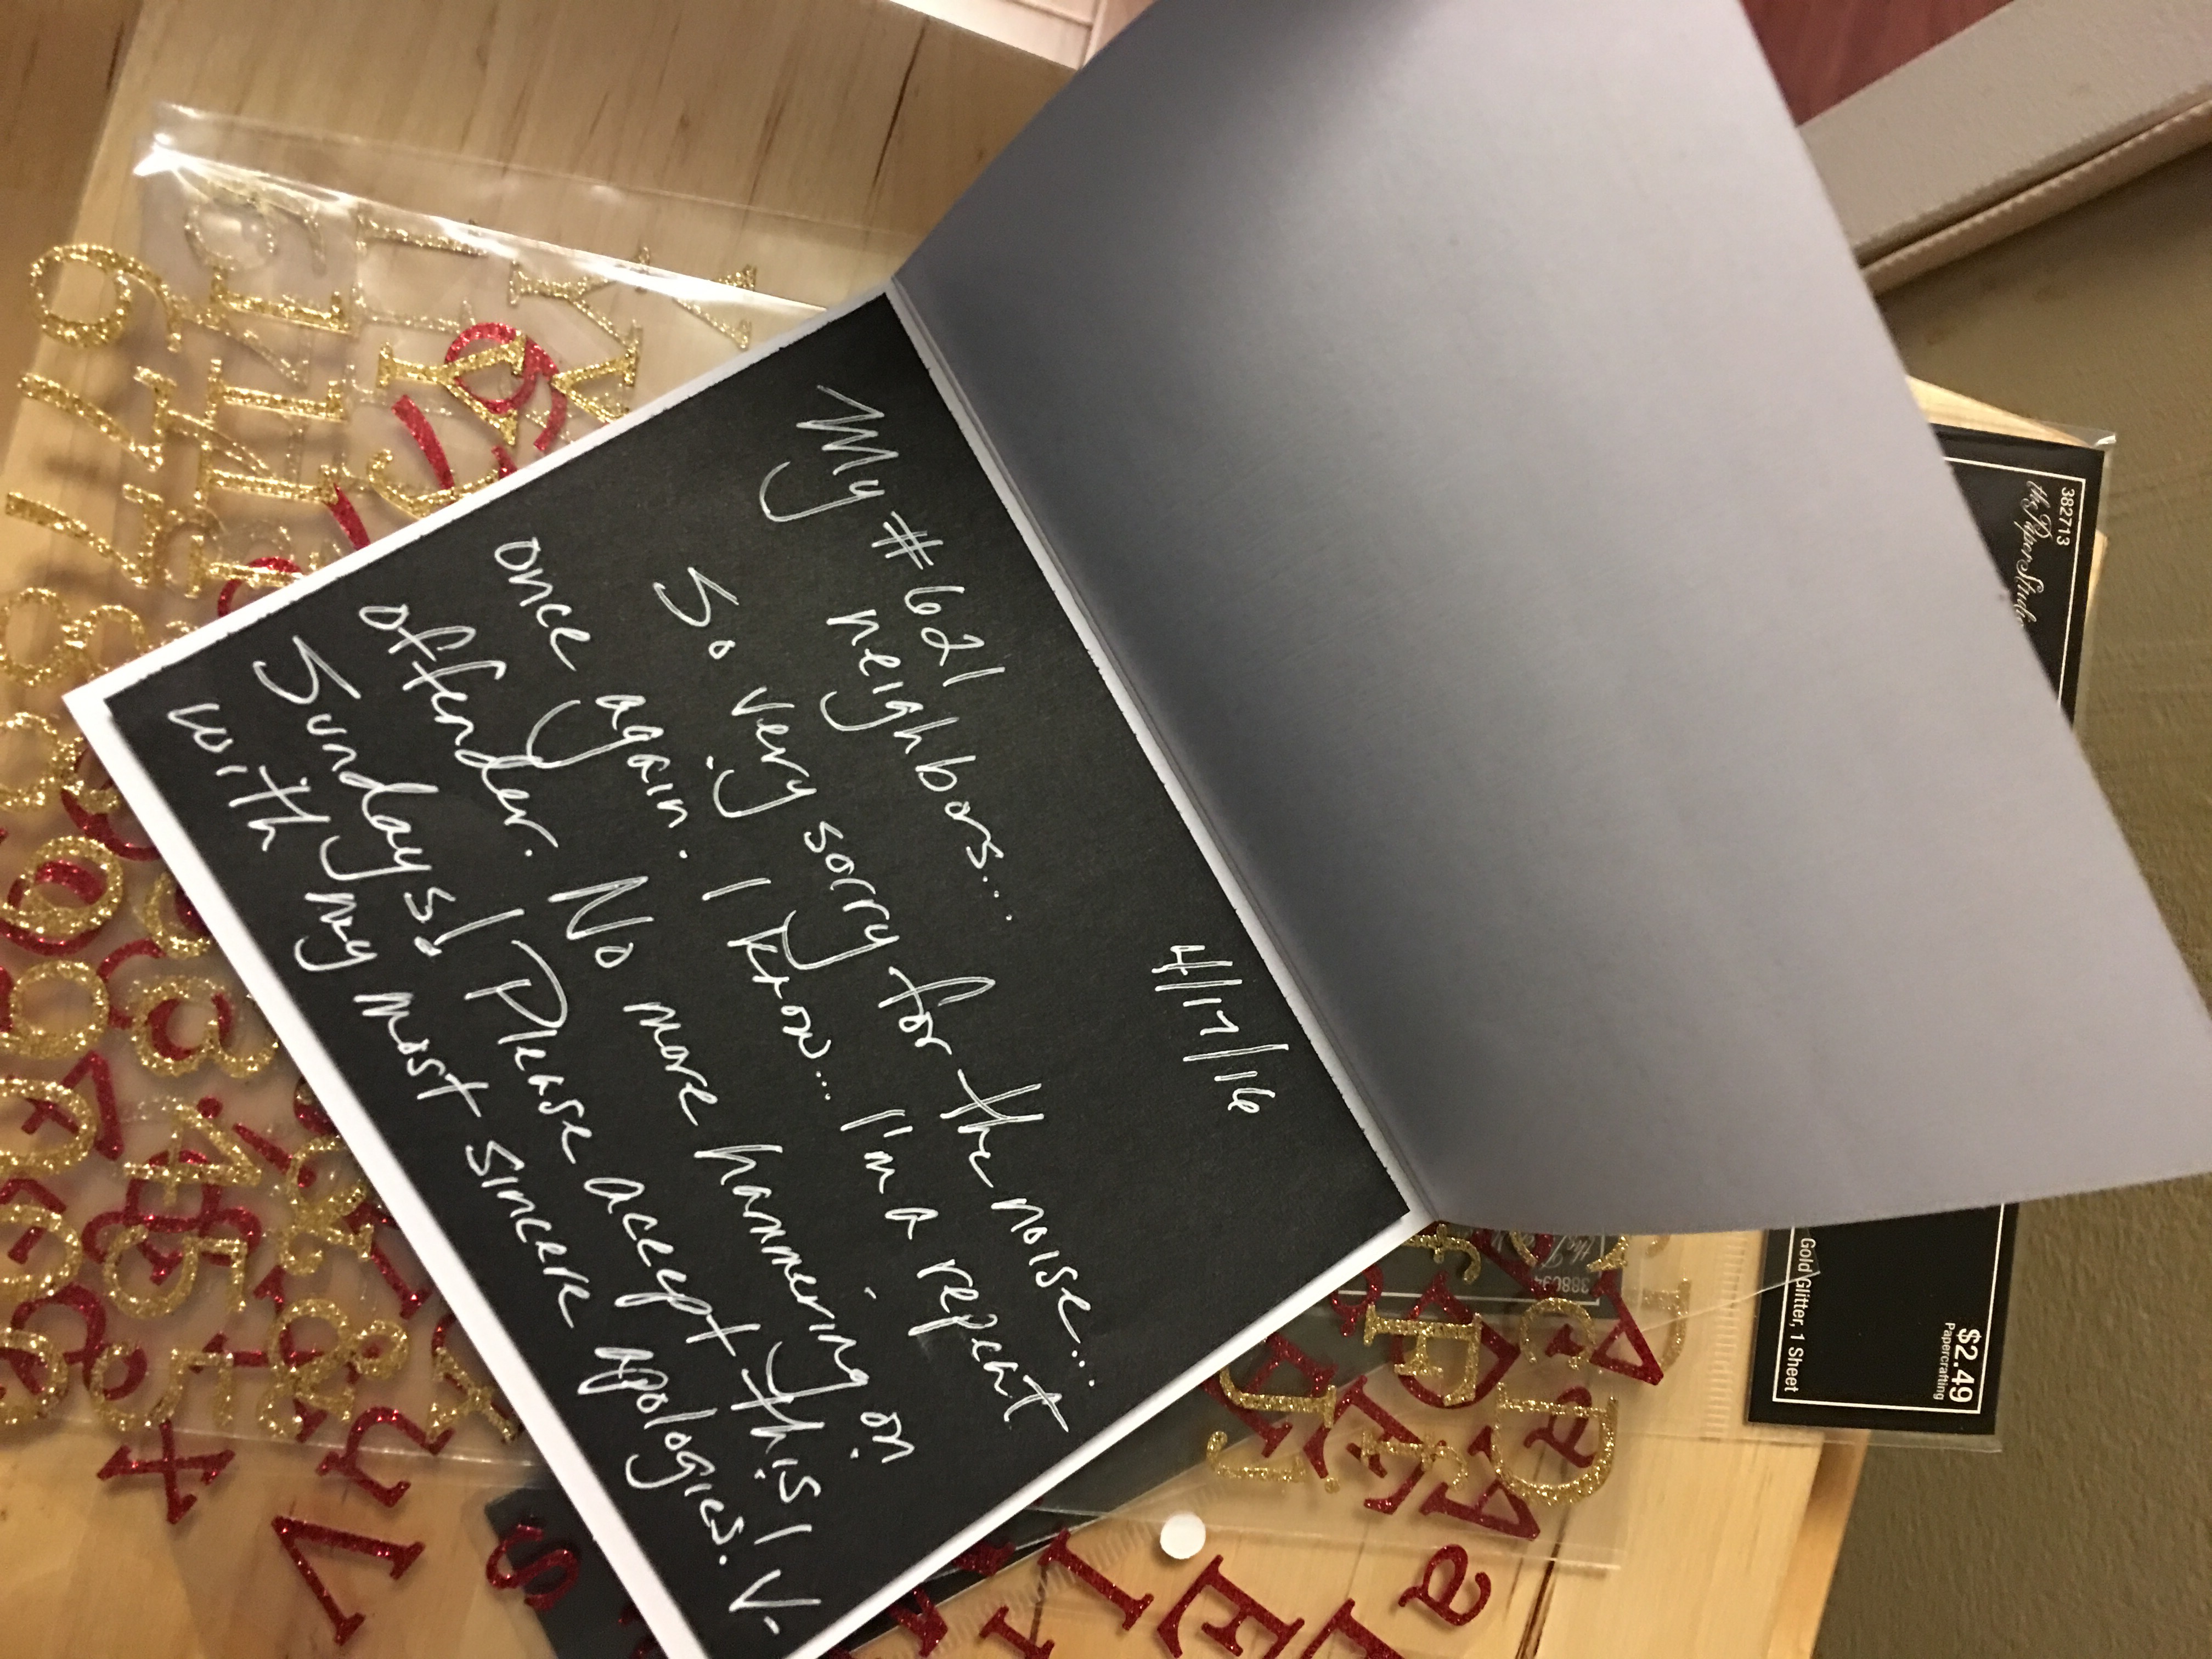
I like writing notes on black paper with white gel pen. So after cutting a piece of black cardboard paper (so that it fits inside the card), I penned the note…

…added four foam dots on the back…
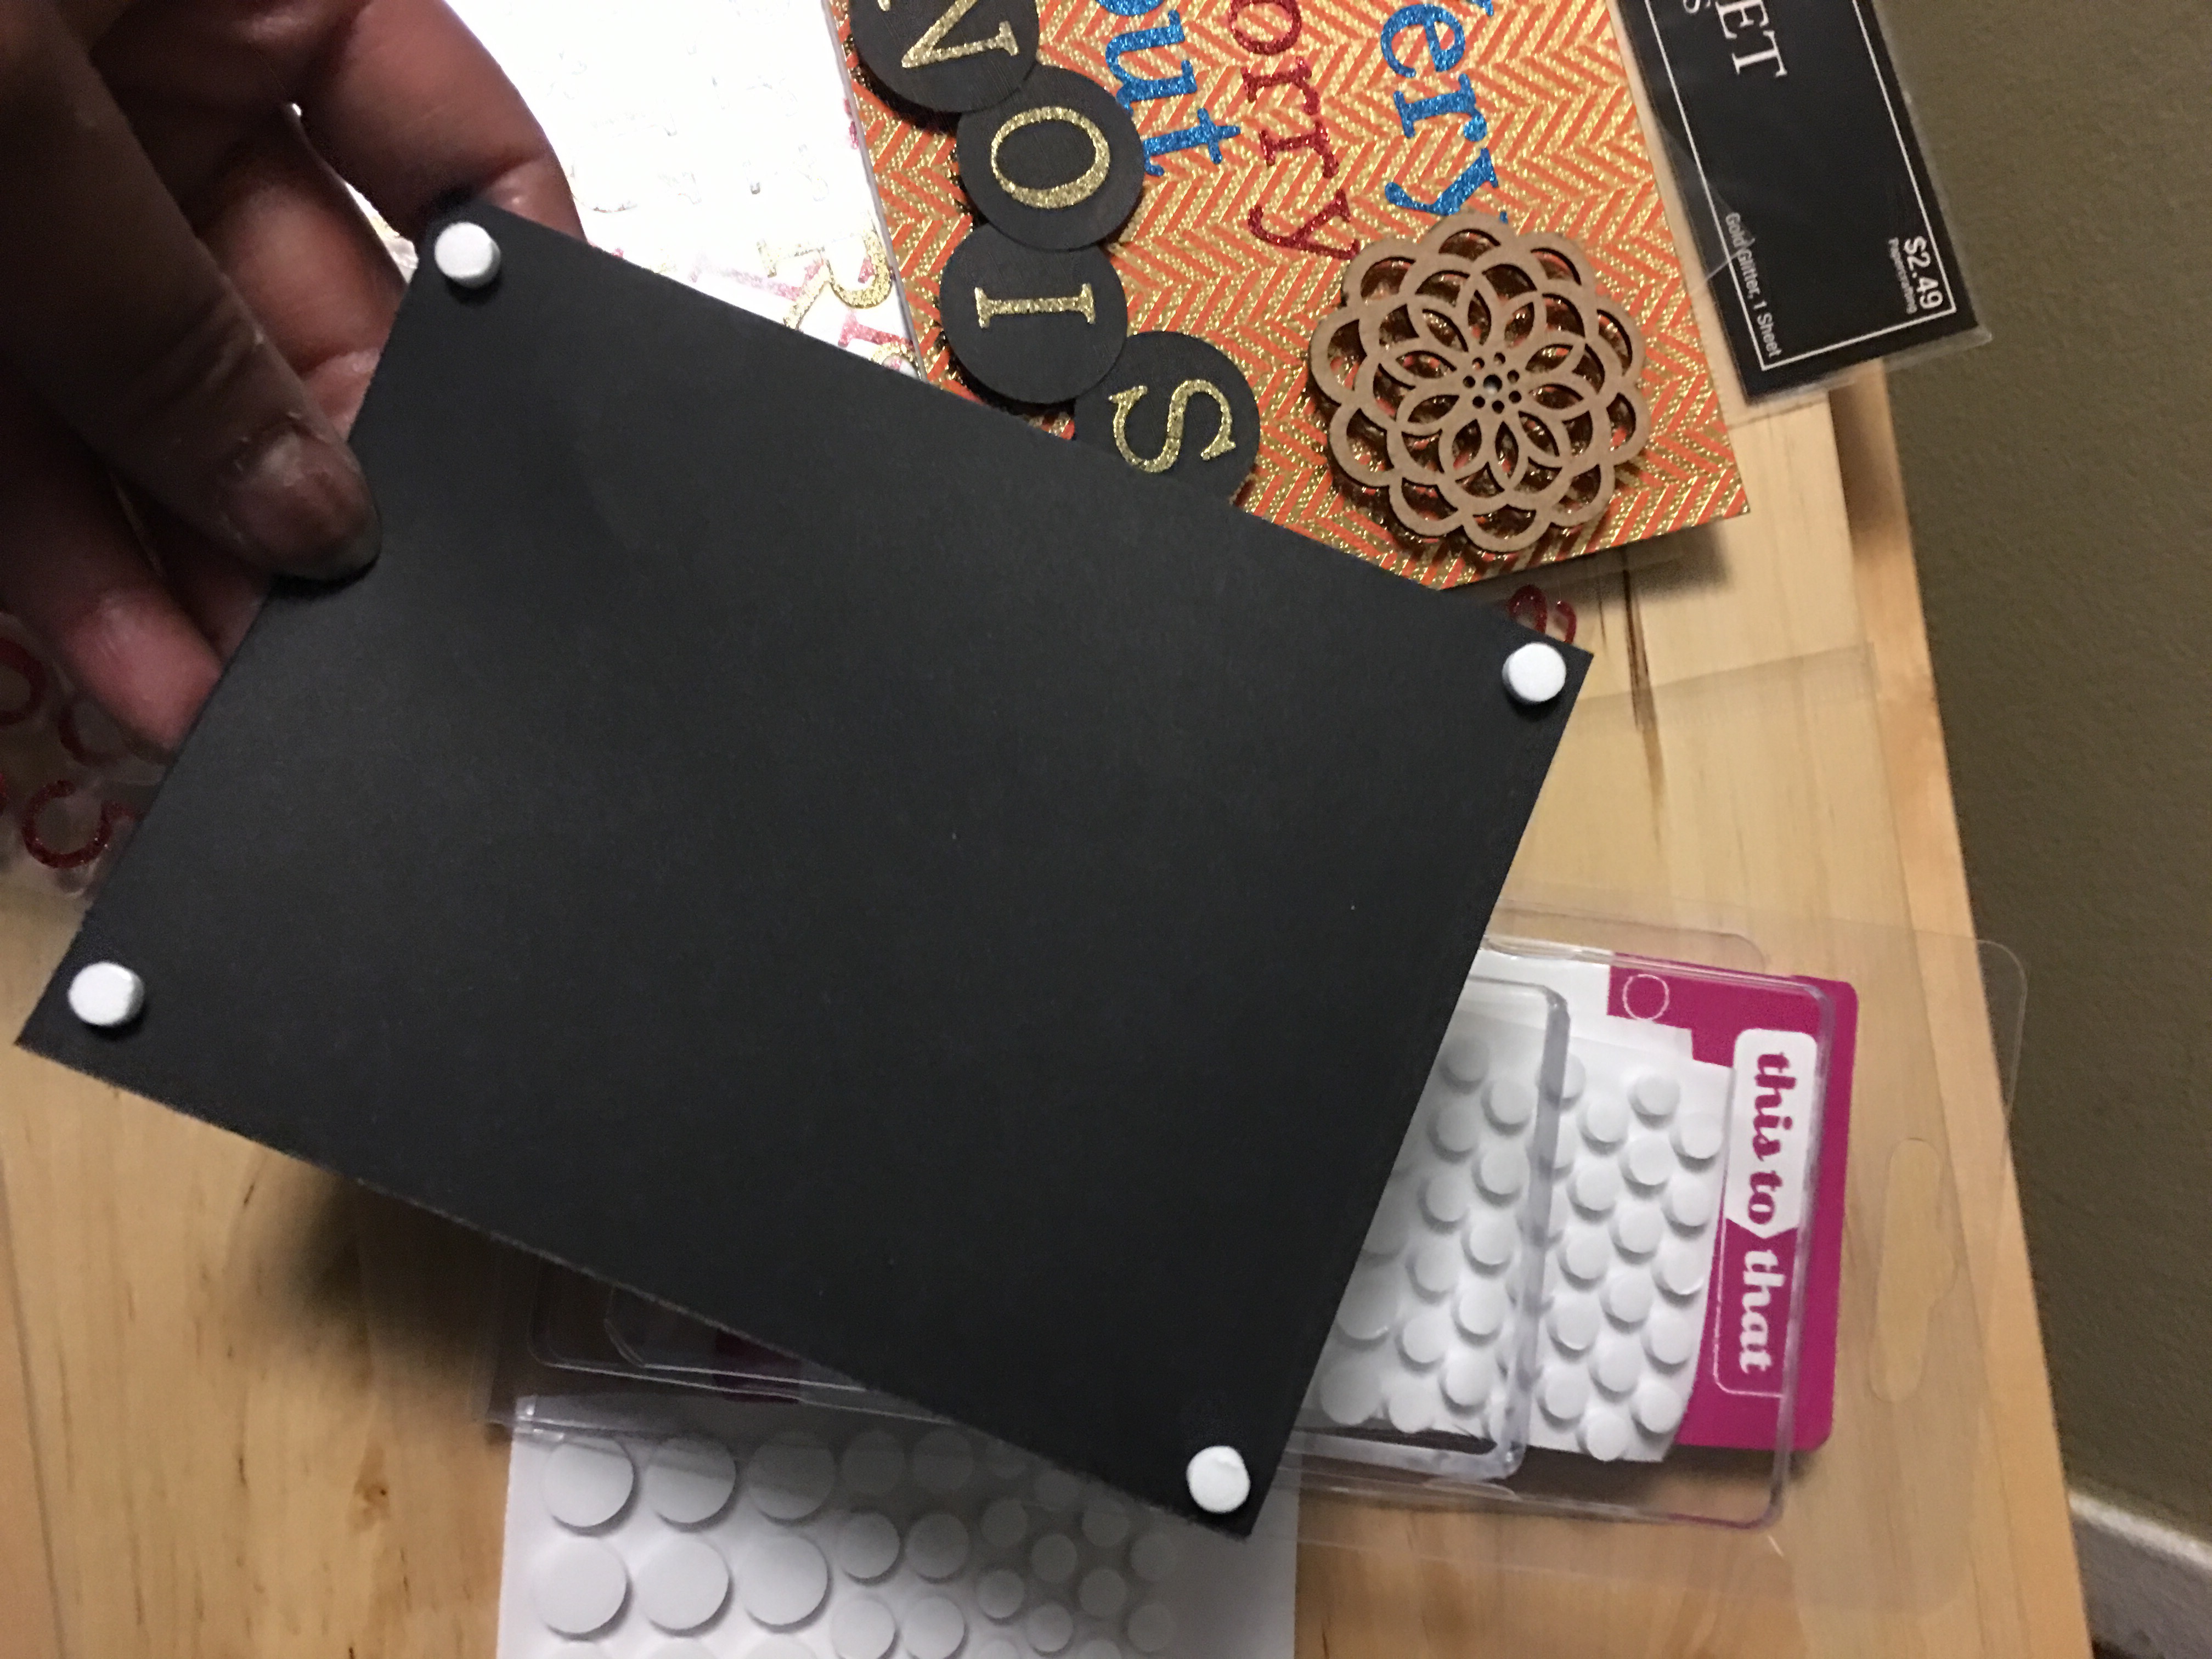
…and added it to the bottom of the card.
To add to my apology, I took two Starbucks cards I had on hand (which were also, as it so happens, sorry cards from Starbucks…what I get when they mess up my reduced turkey fat with no cheese order).

I used an adhesive pocket that I picked up from the Container Store (made by Studio Calico).
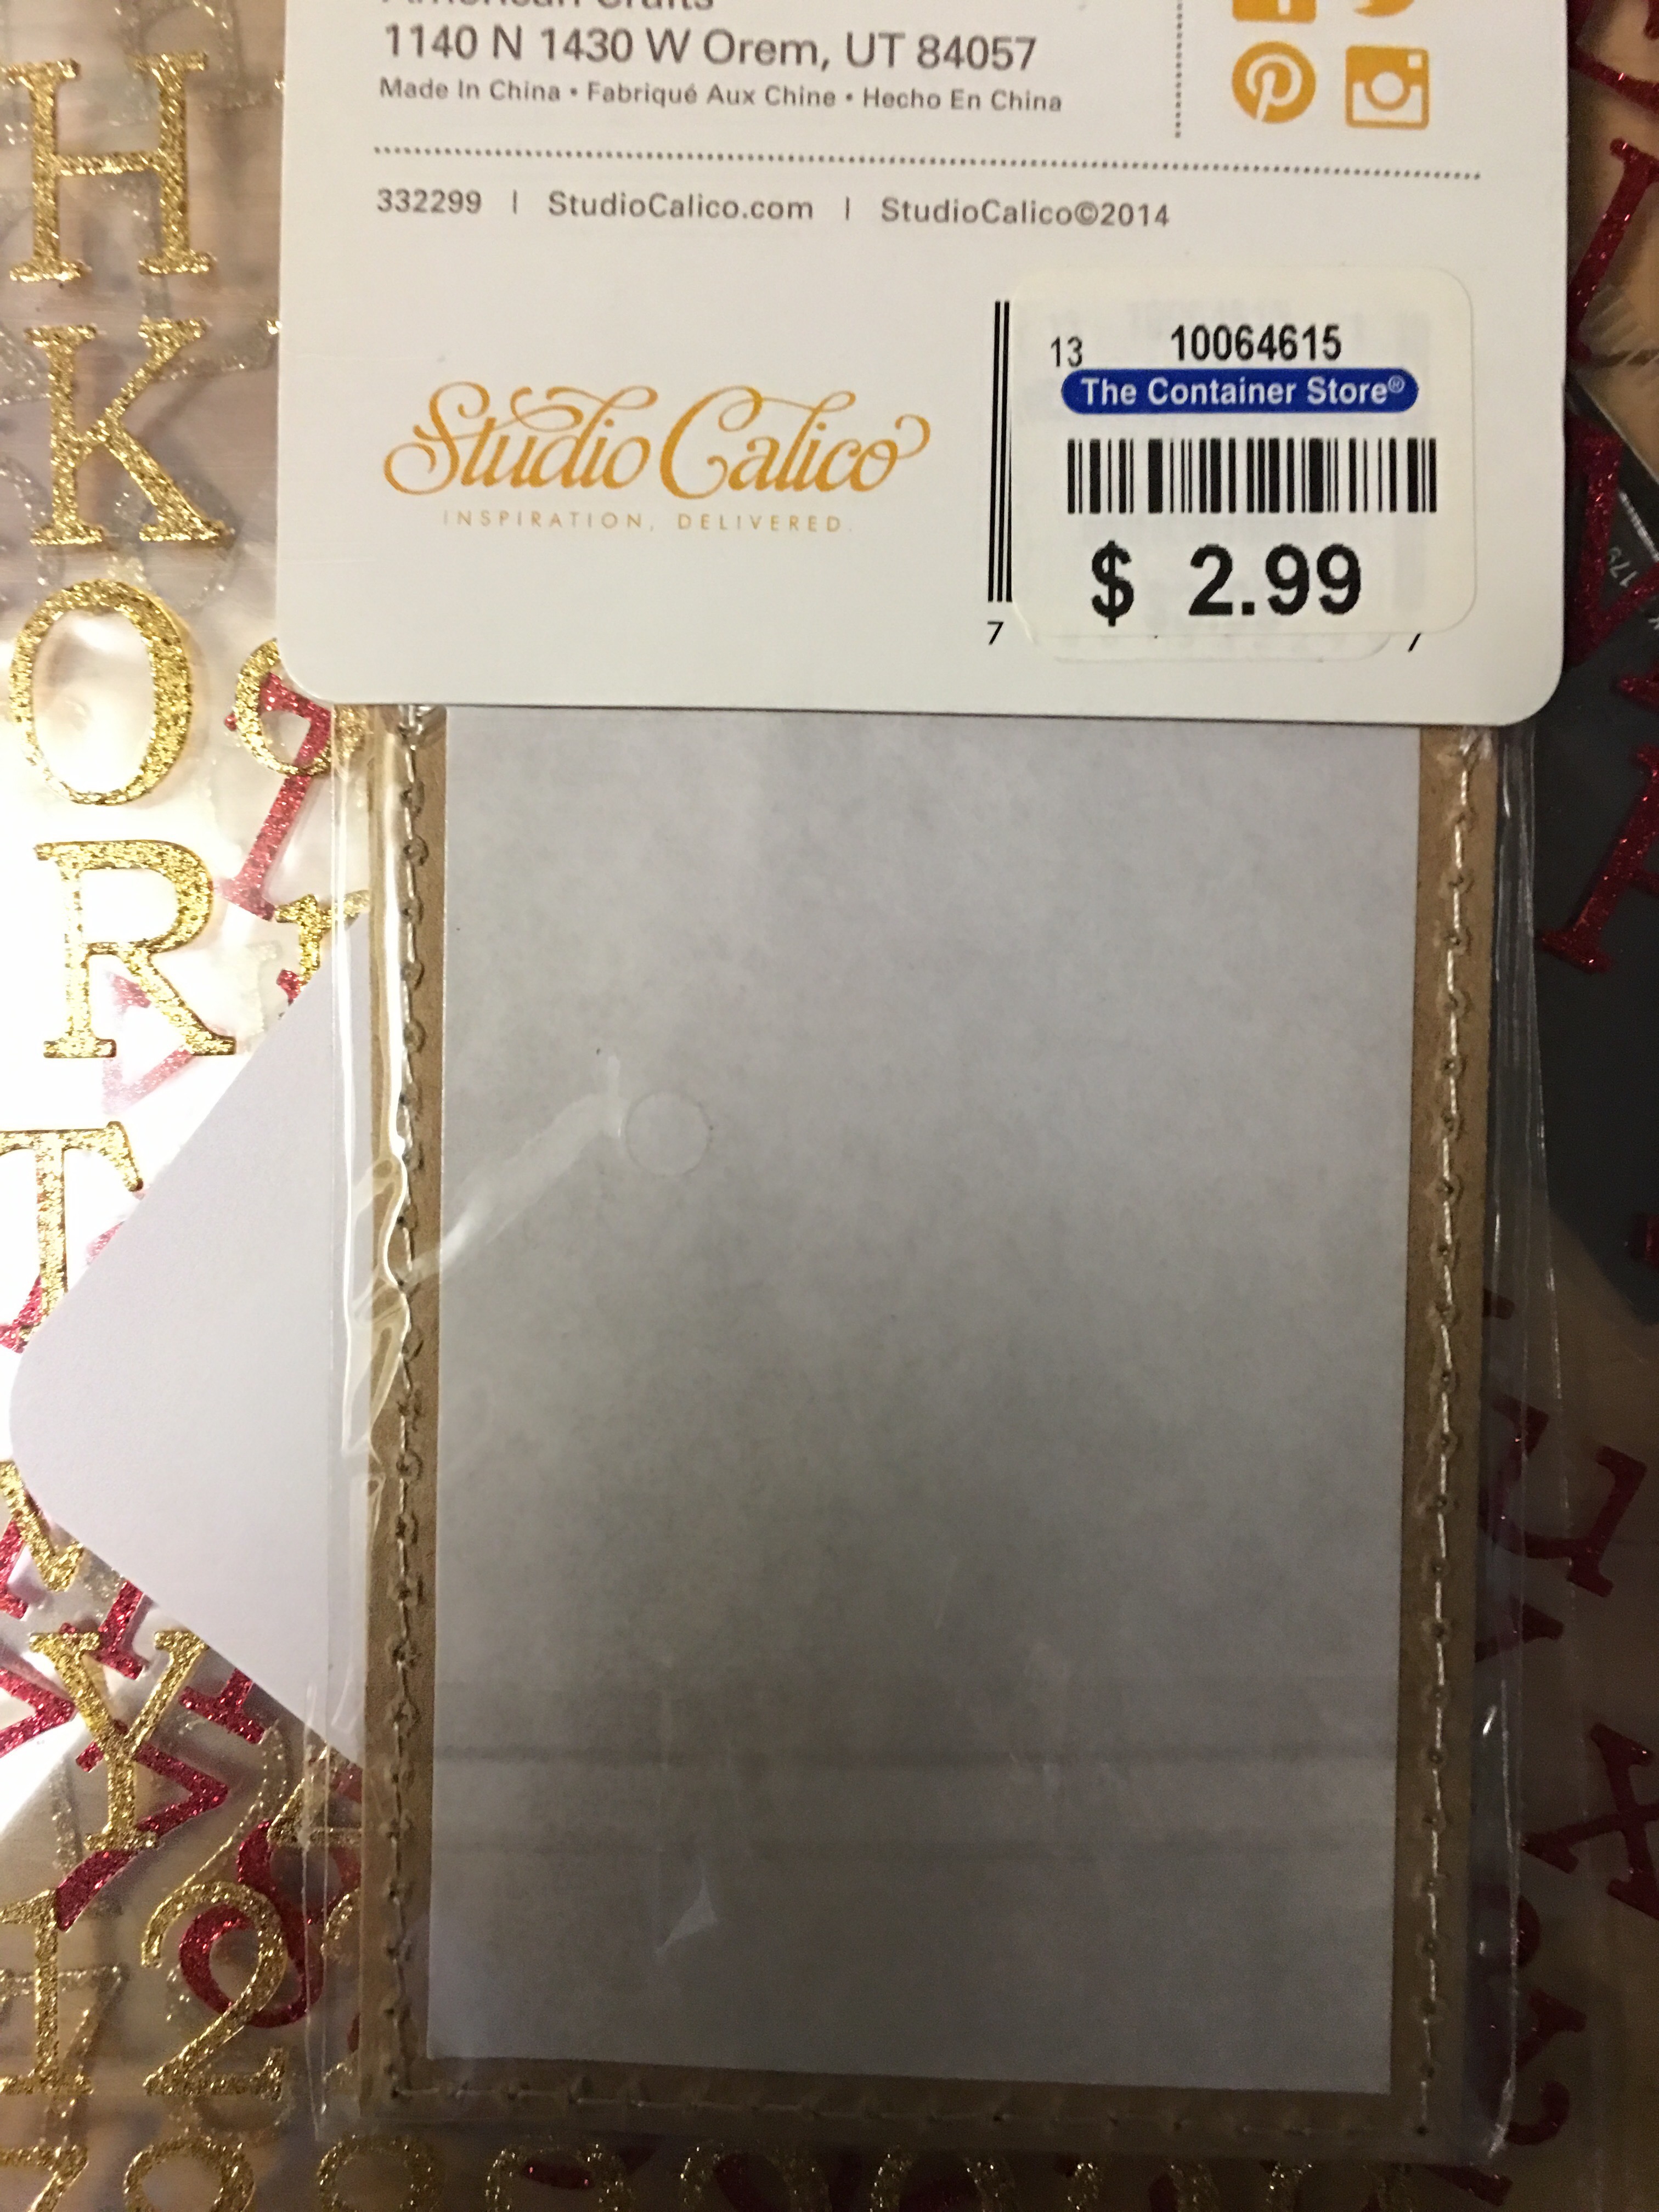
These pockets are intended for adding to bins and boxes for labeling. But I figured they would do nicely as a giftcard holder in a greeting card.
I slipped two Starbucks sorry cards in the pocket…

…strip off the adhesive from the back…
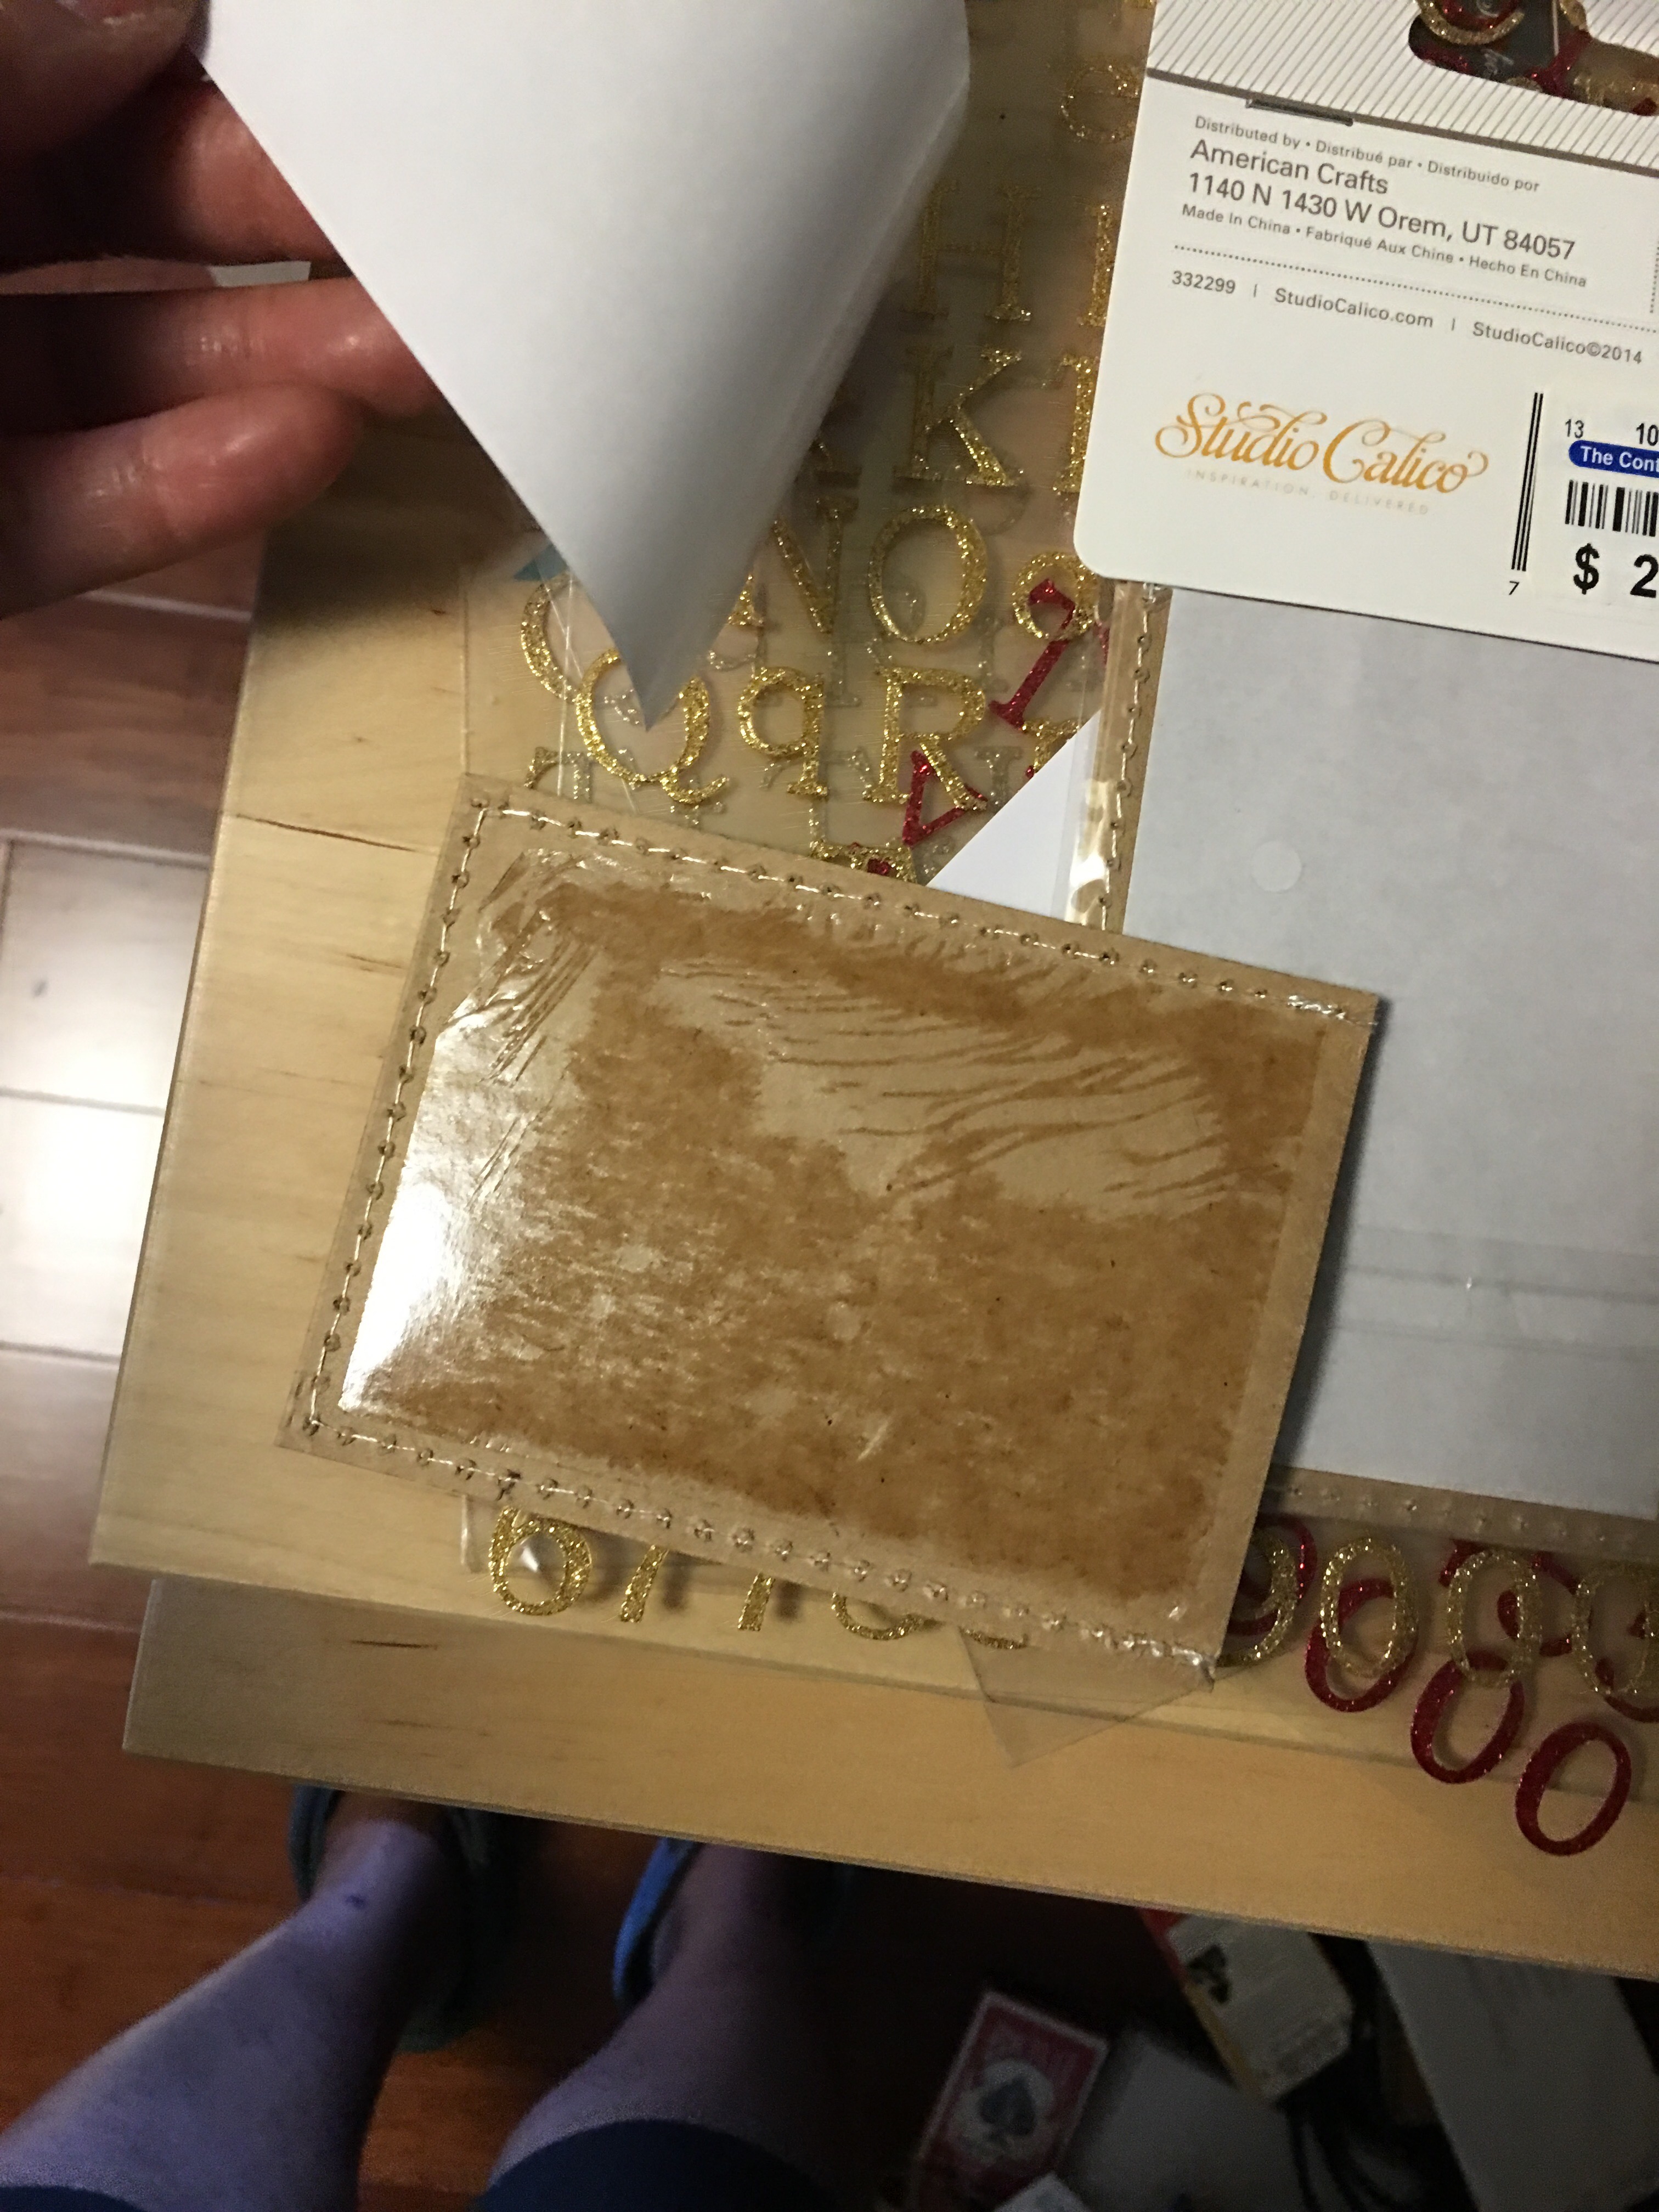
…and add the pocket to the top of the card.
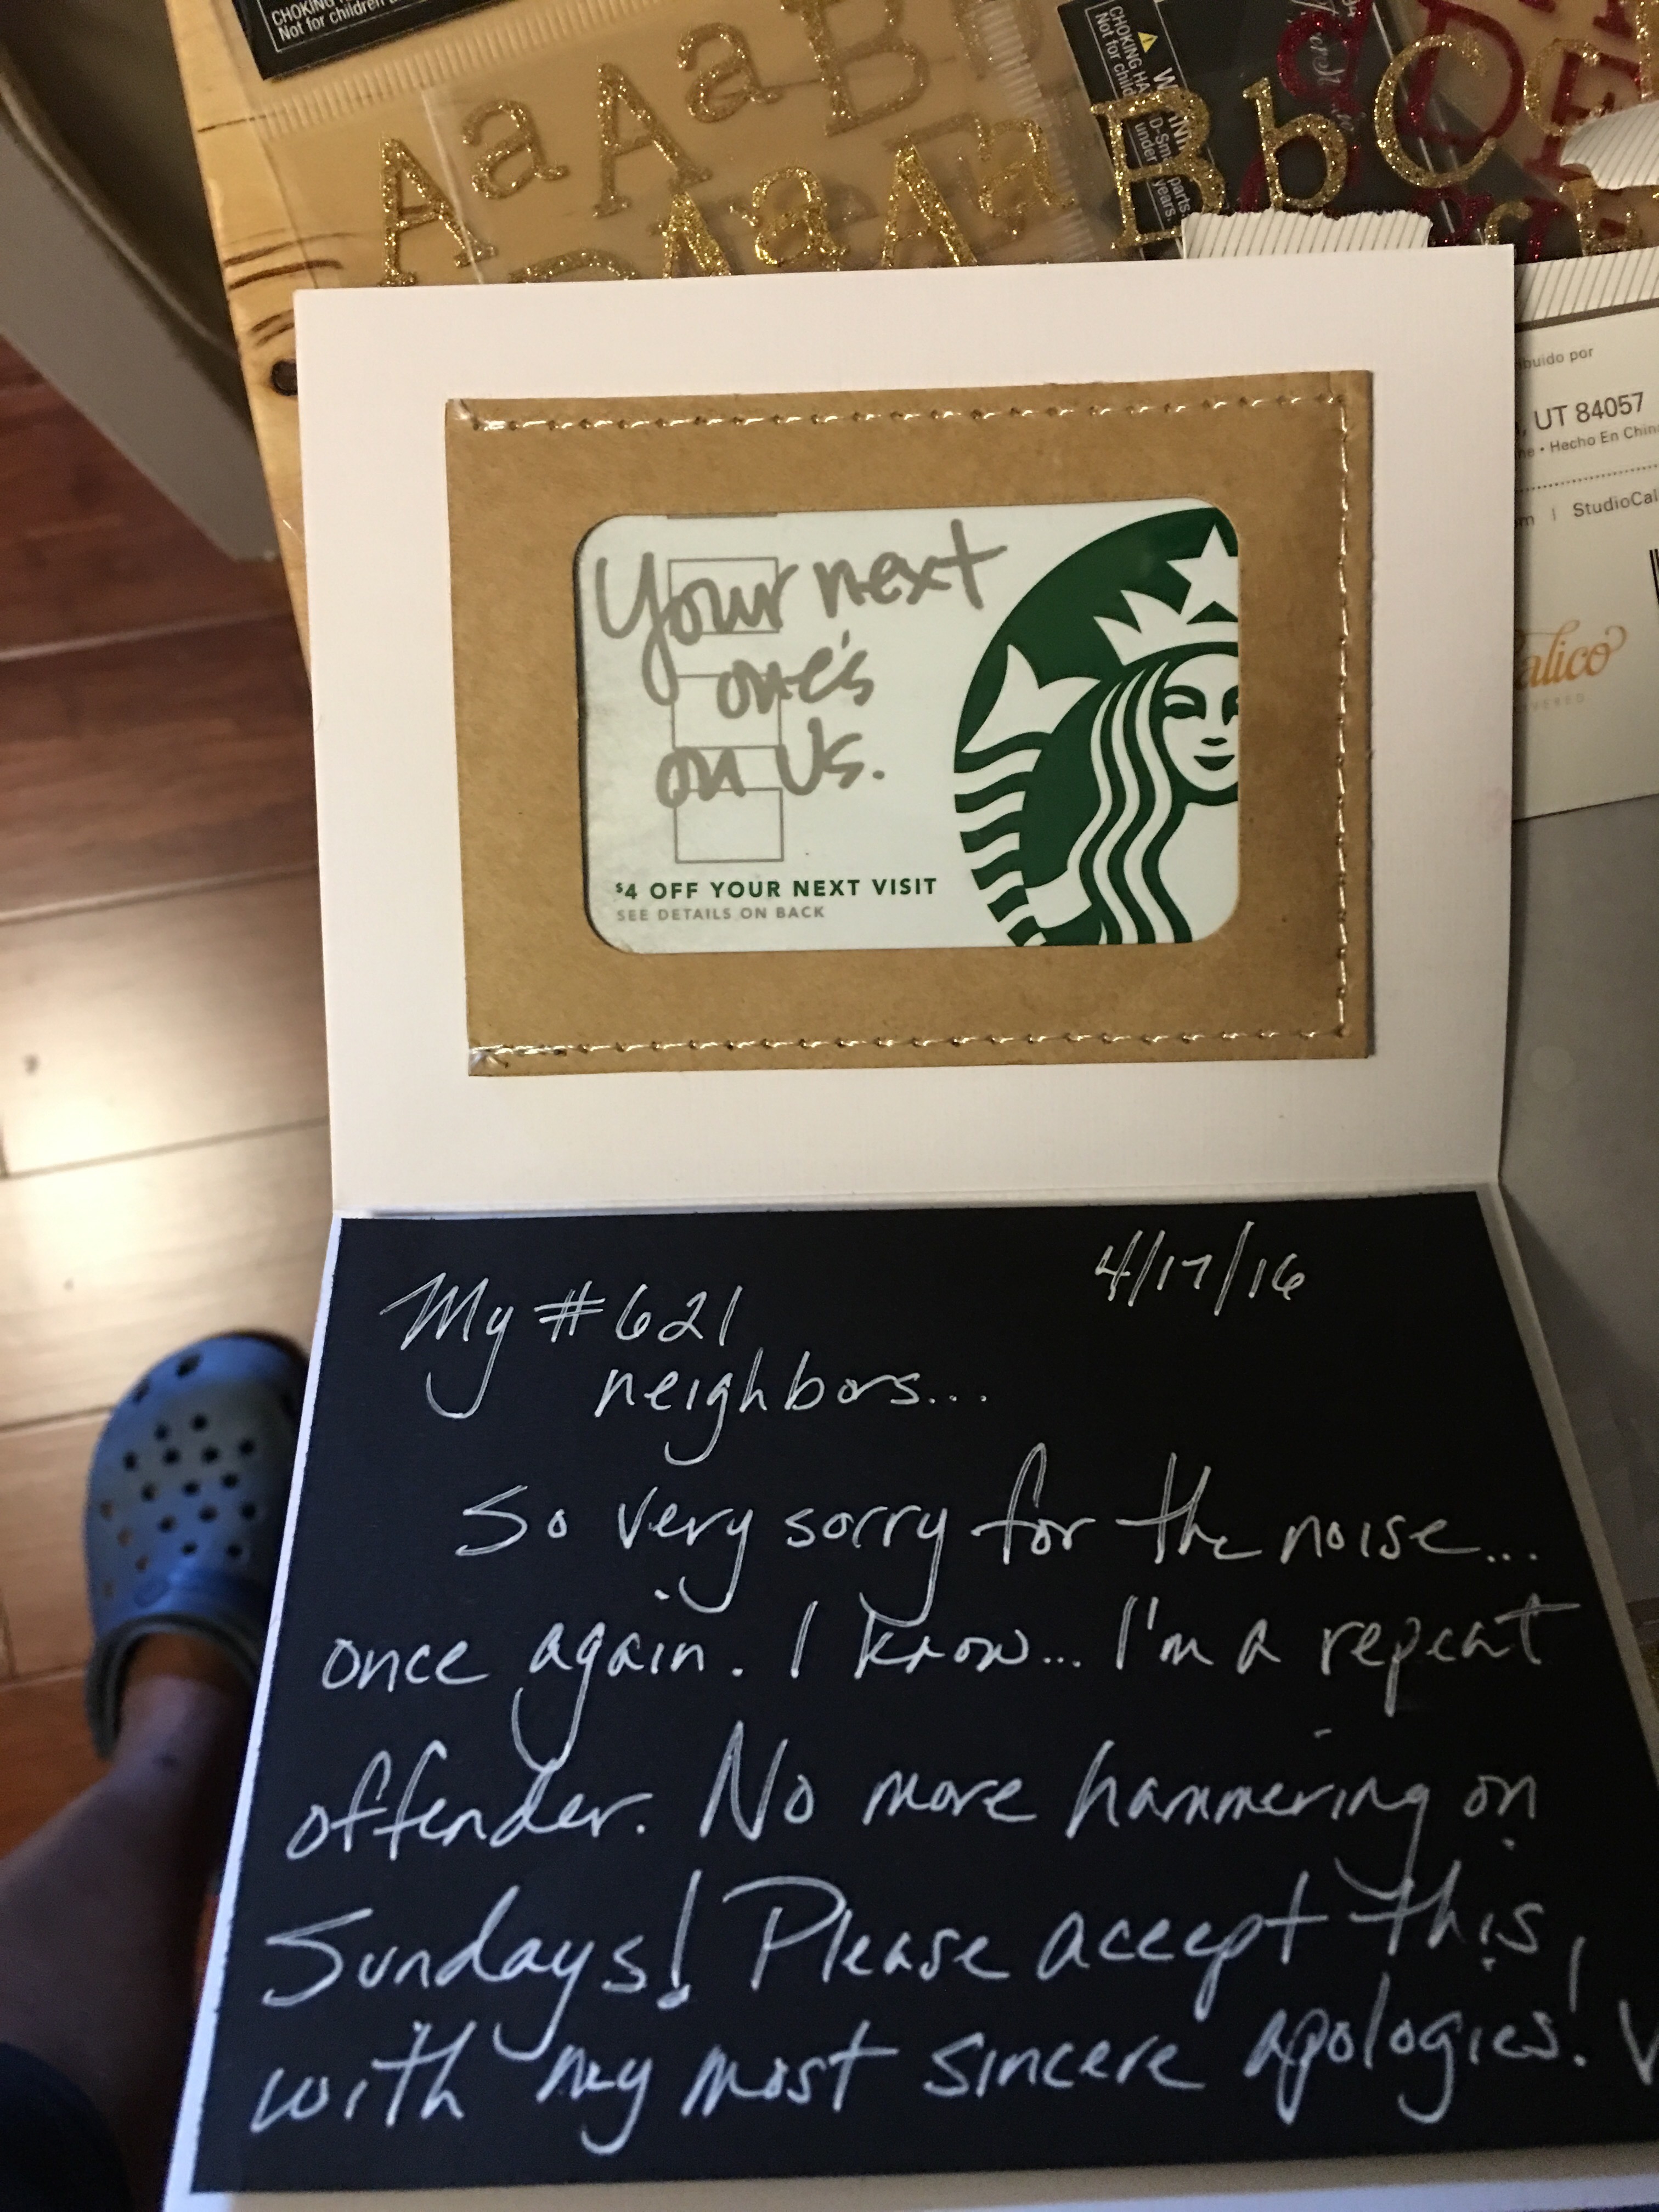
So the card for the neighbors are ready to go.
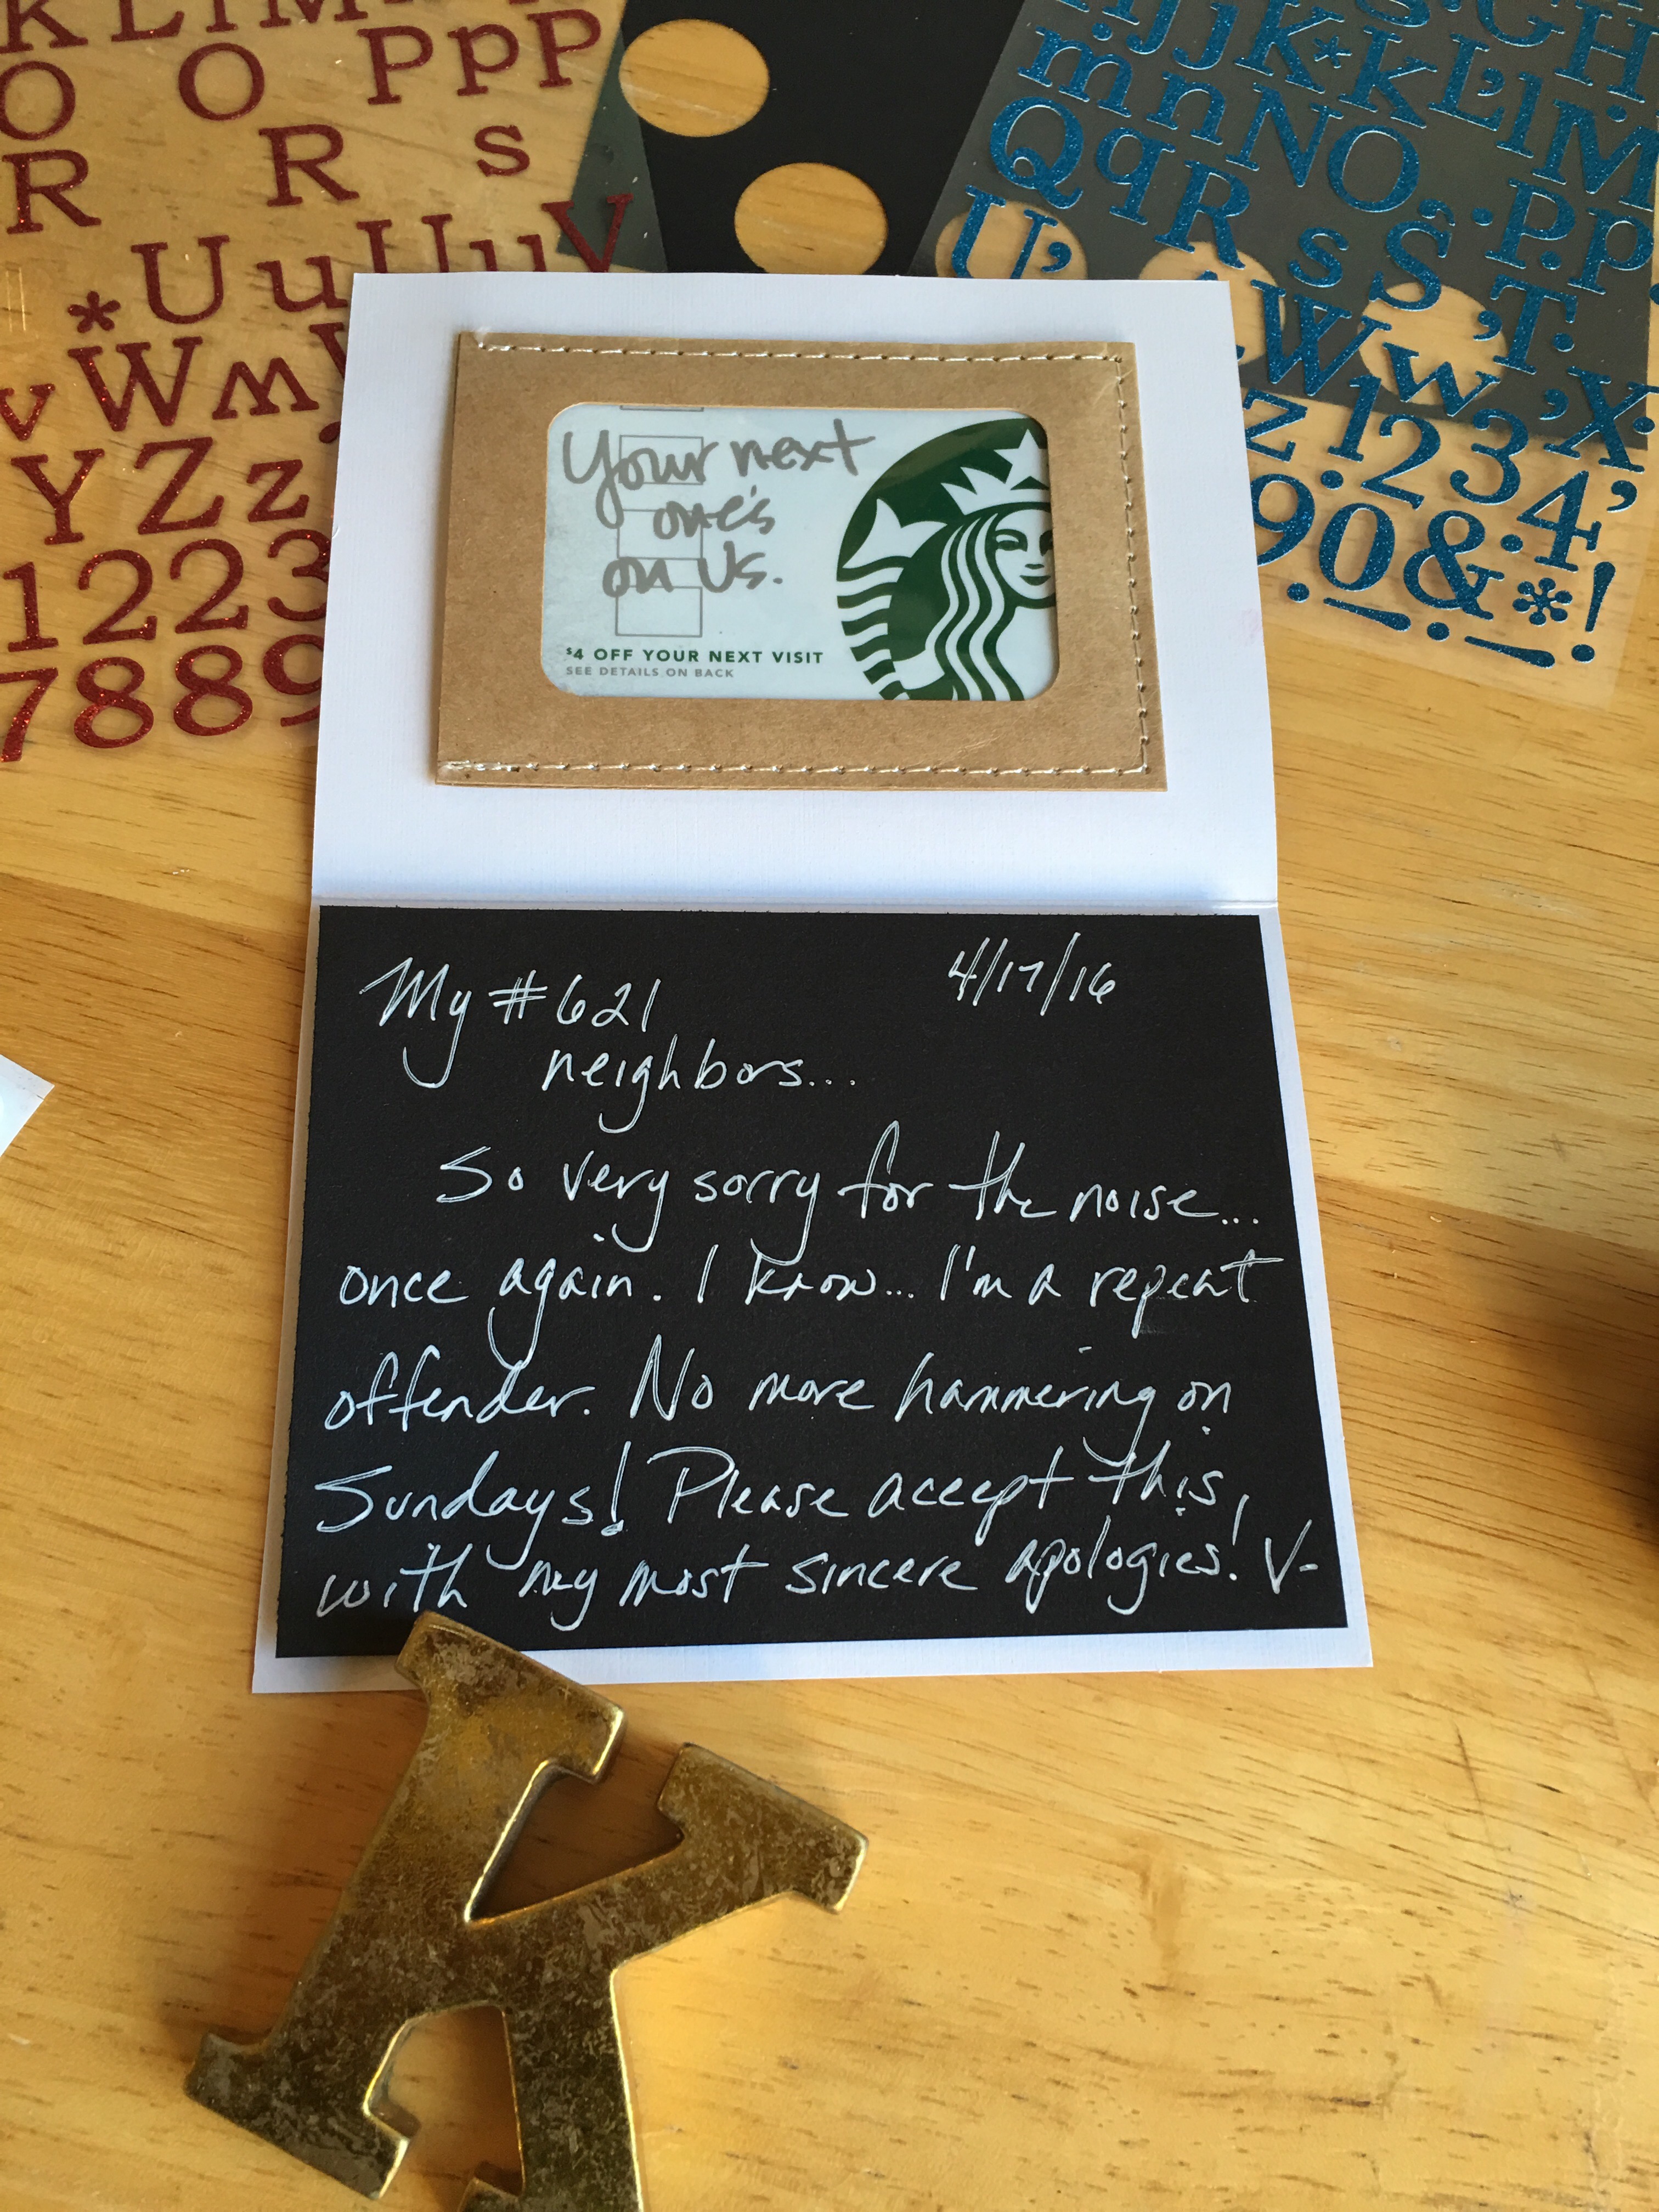
I slipped it in an envelope and headed downstairs to deliver the card in person (with my promise to no longer hammer on Sundays).
For the rest of the evening, I enjoyed using my table (sans two drawers).
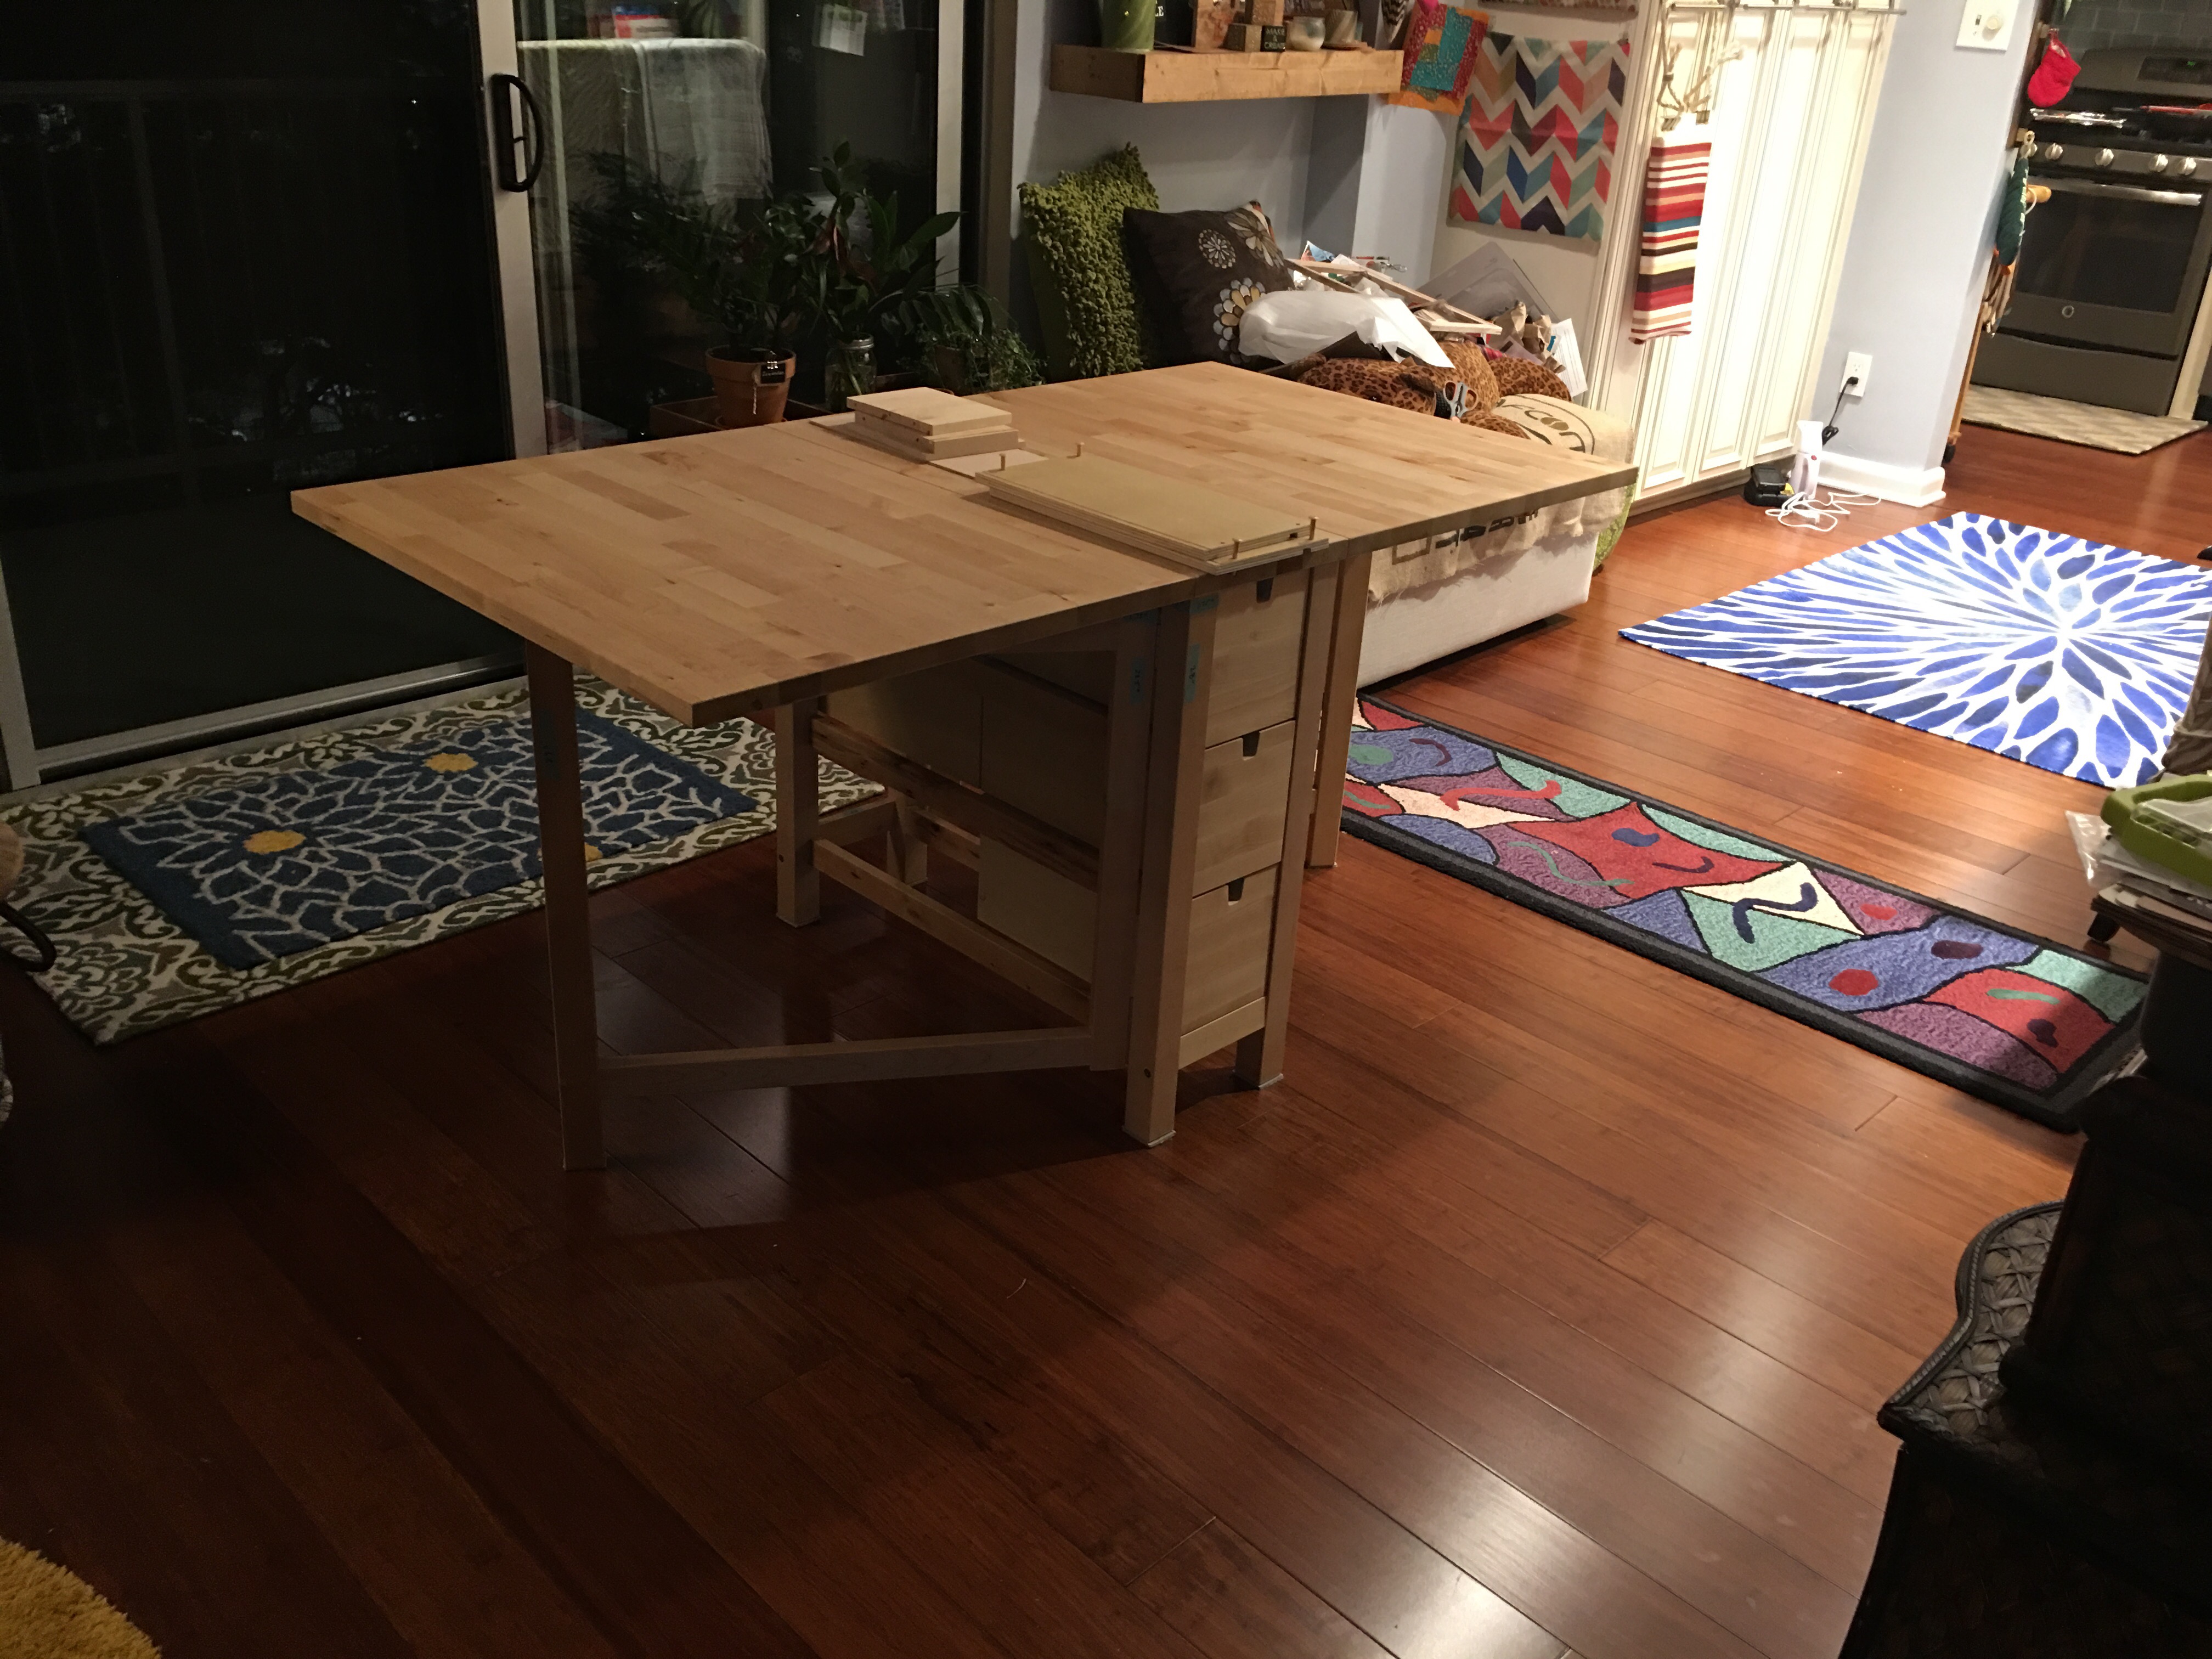
Here’s how the table looks fully extended (60″ x 31.5″ total).
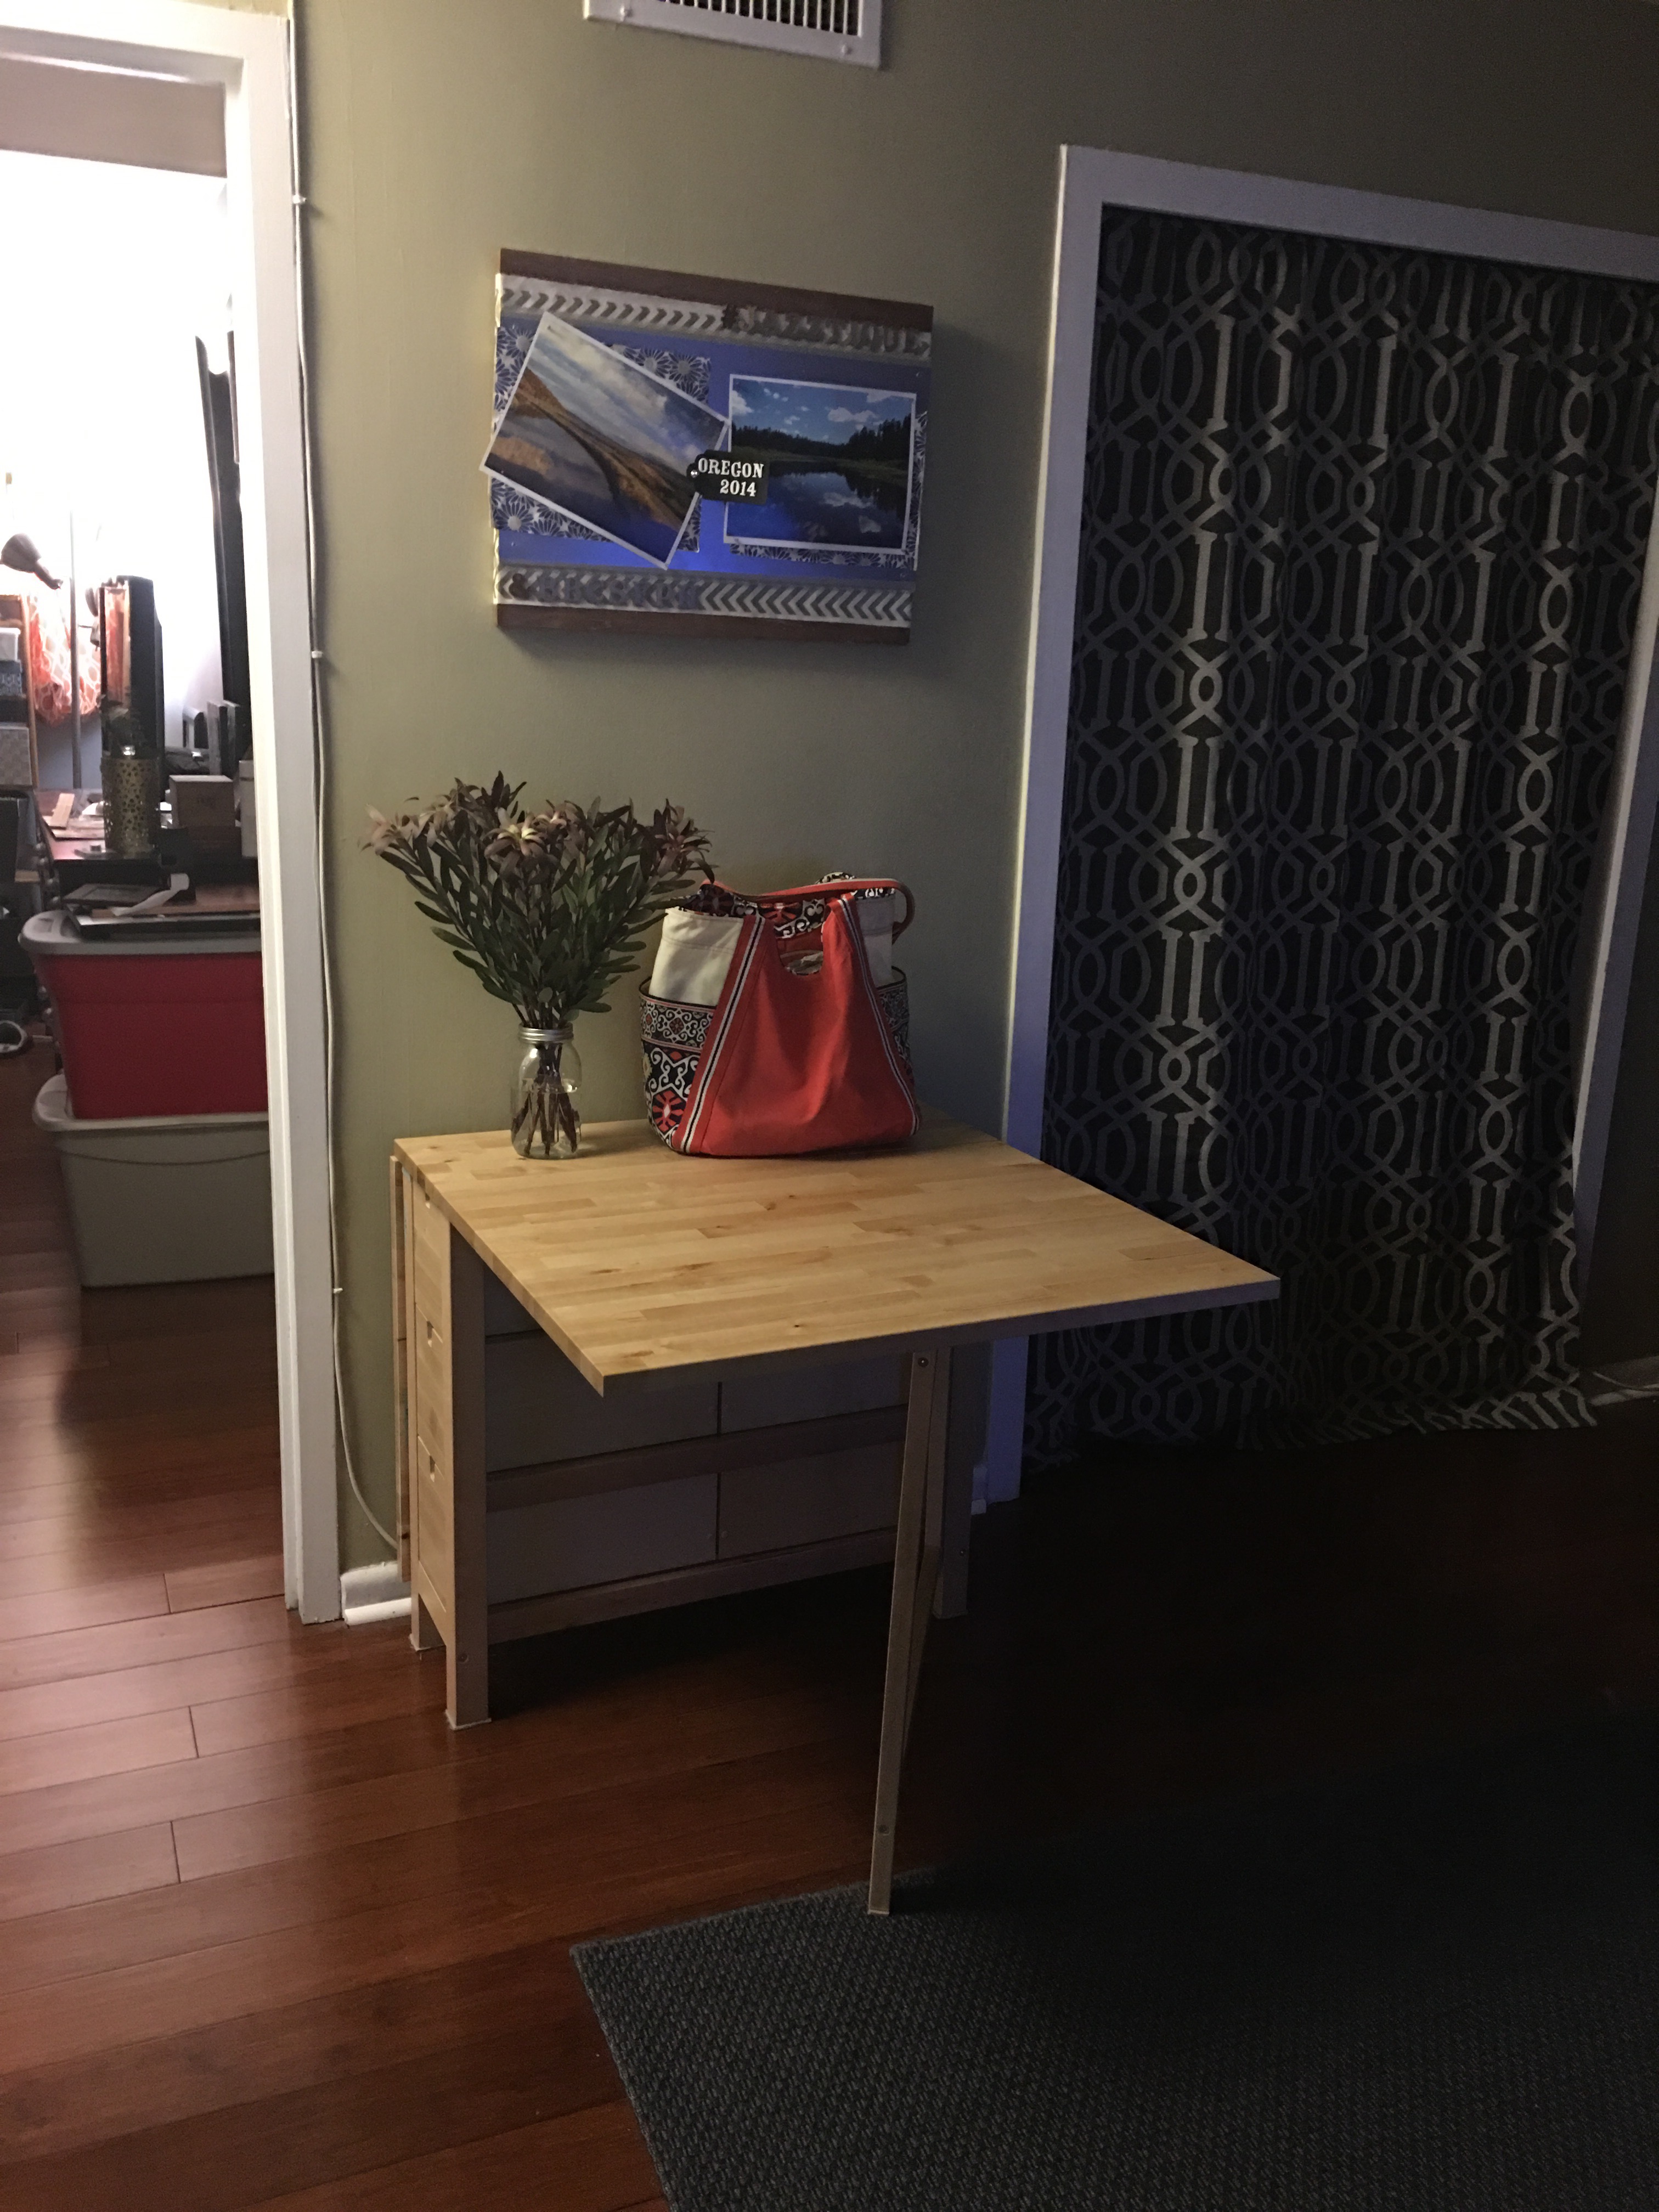
Here’s the table with both leaves down. I love its compact size with folded. Twelve inches deep. That’s it.
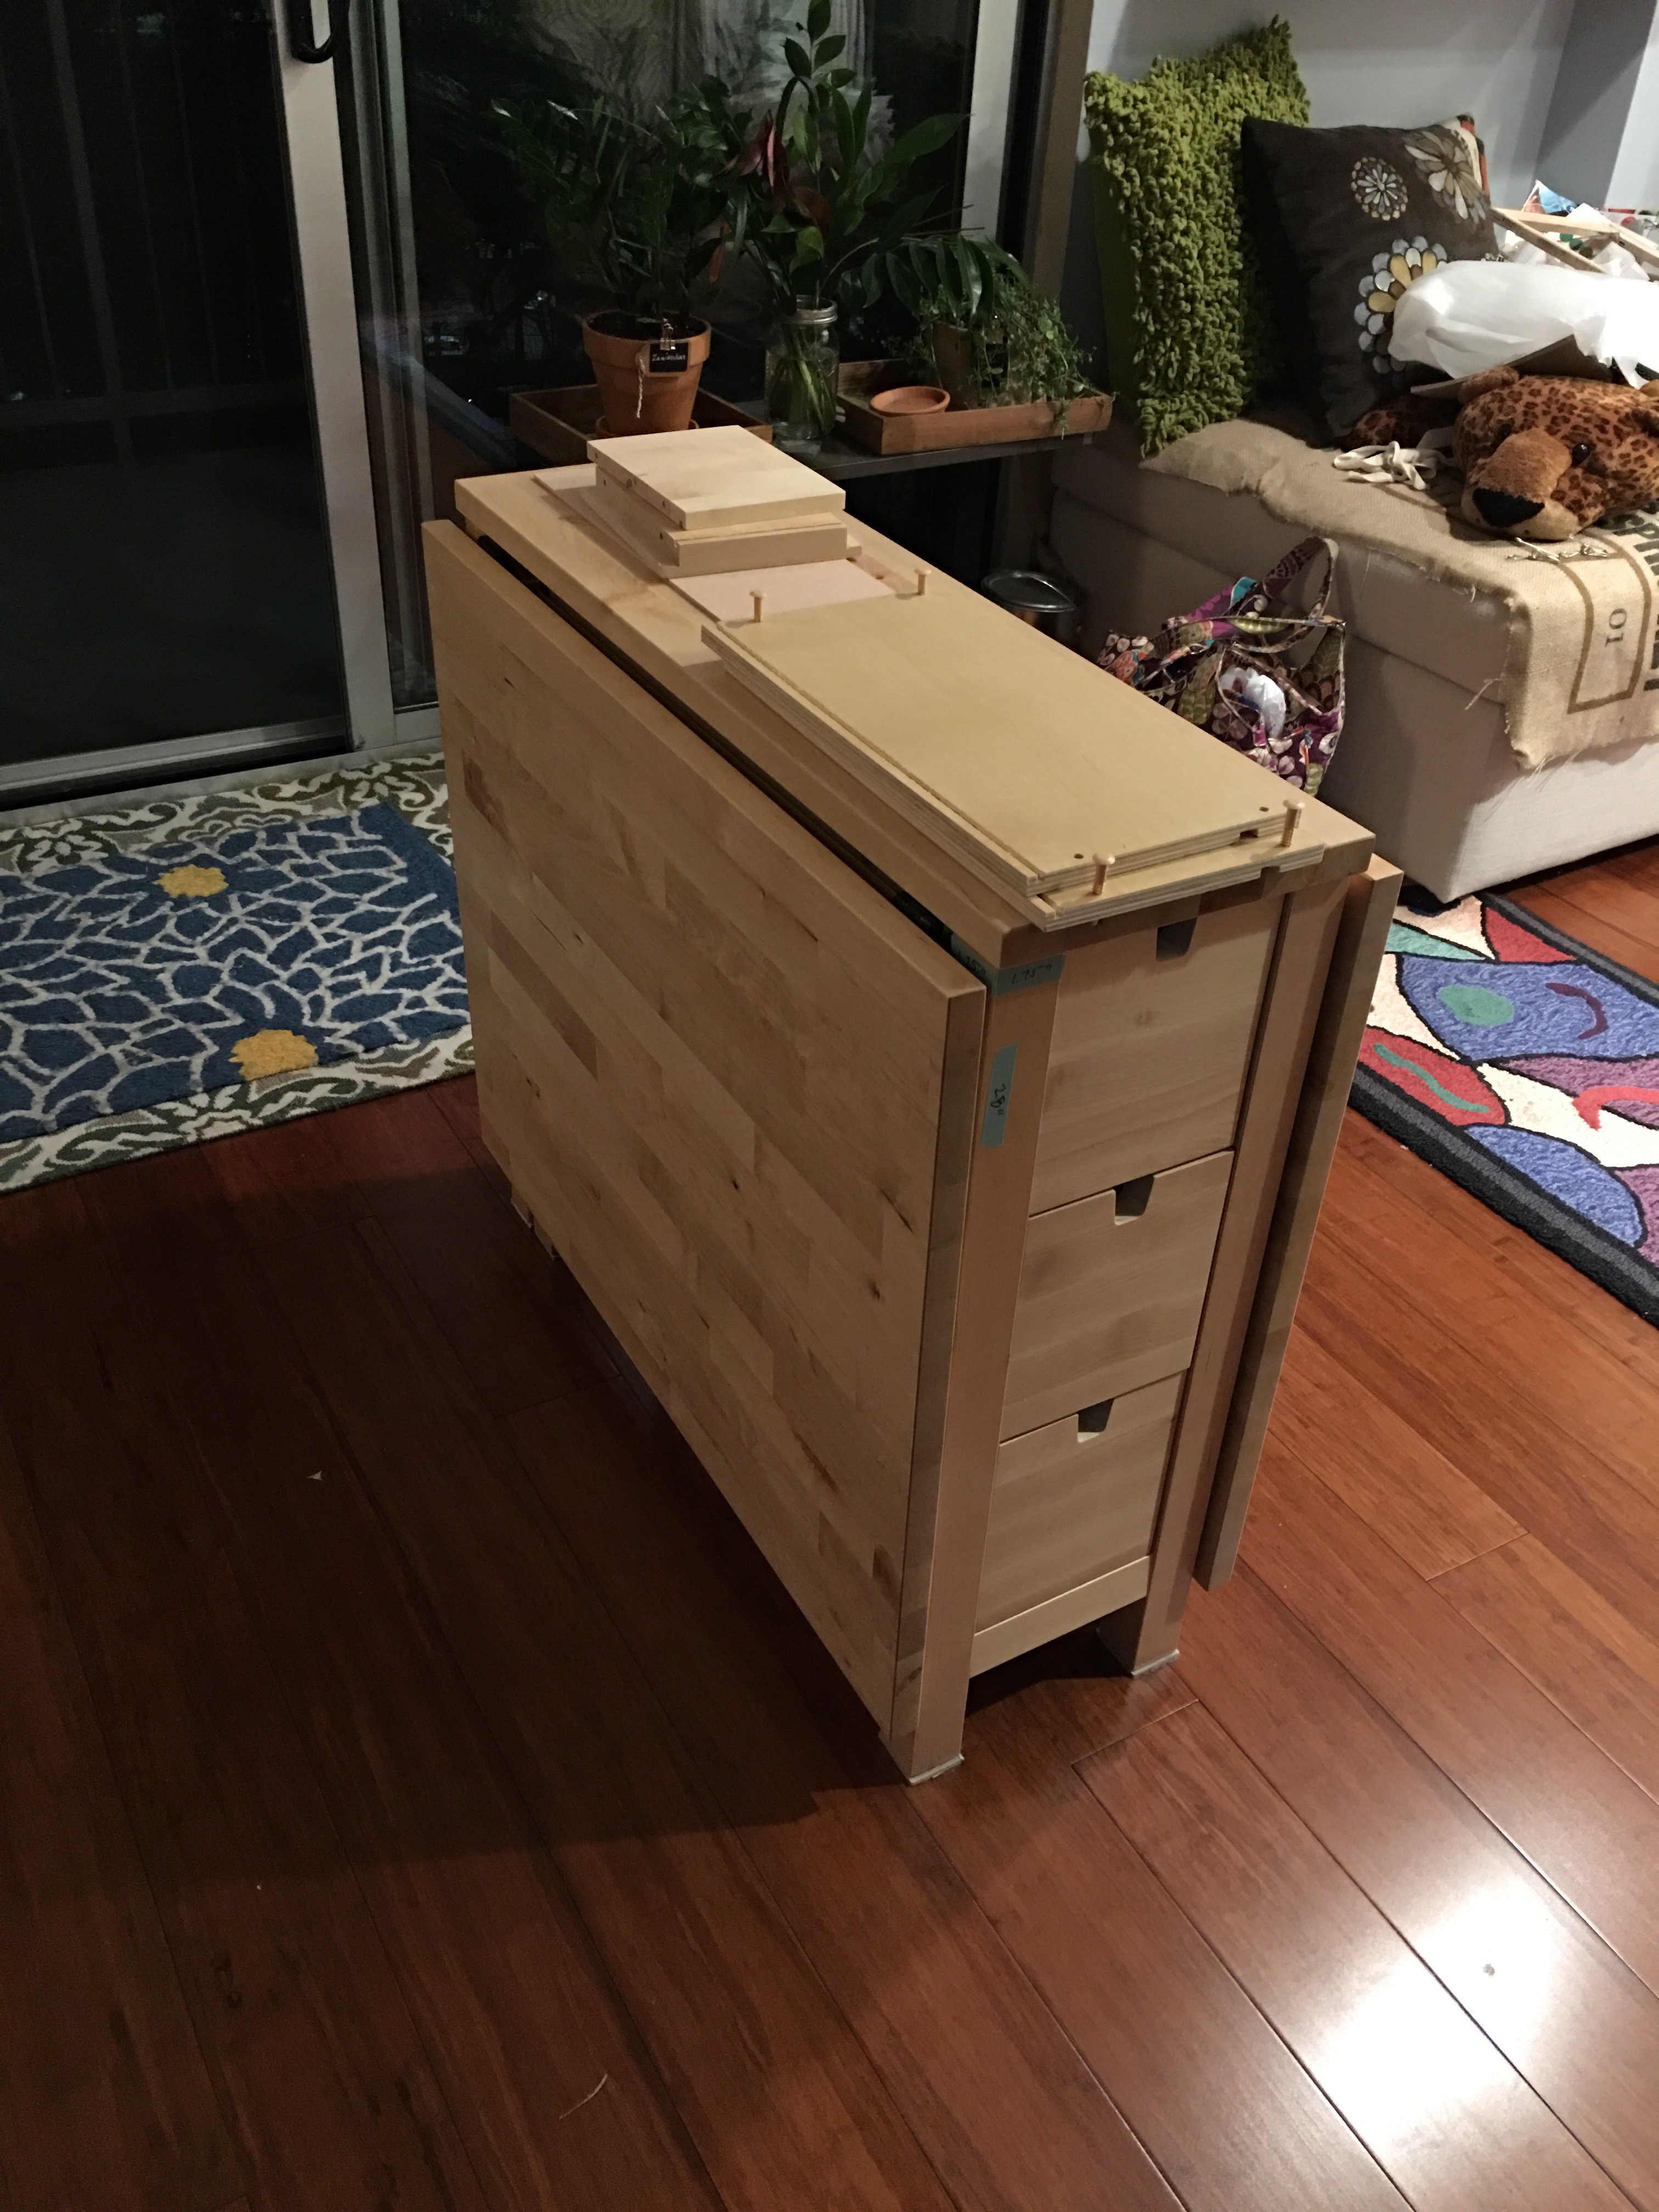
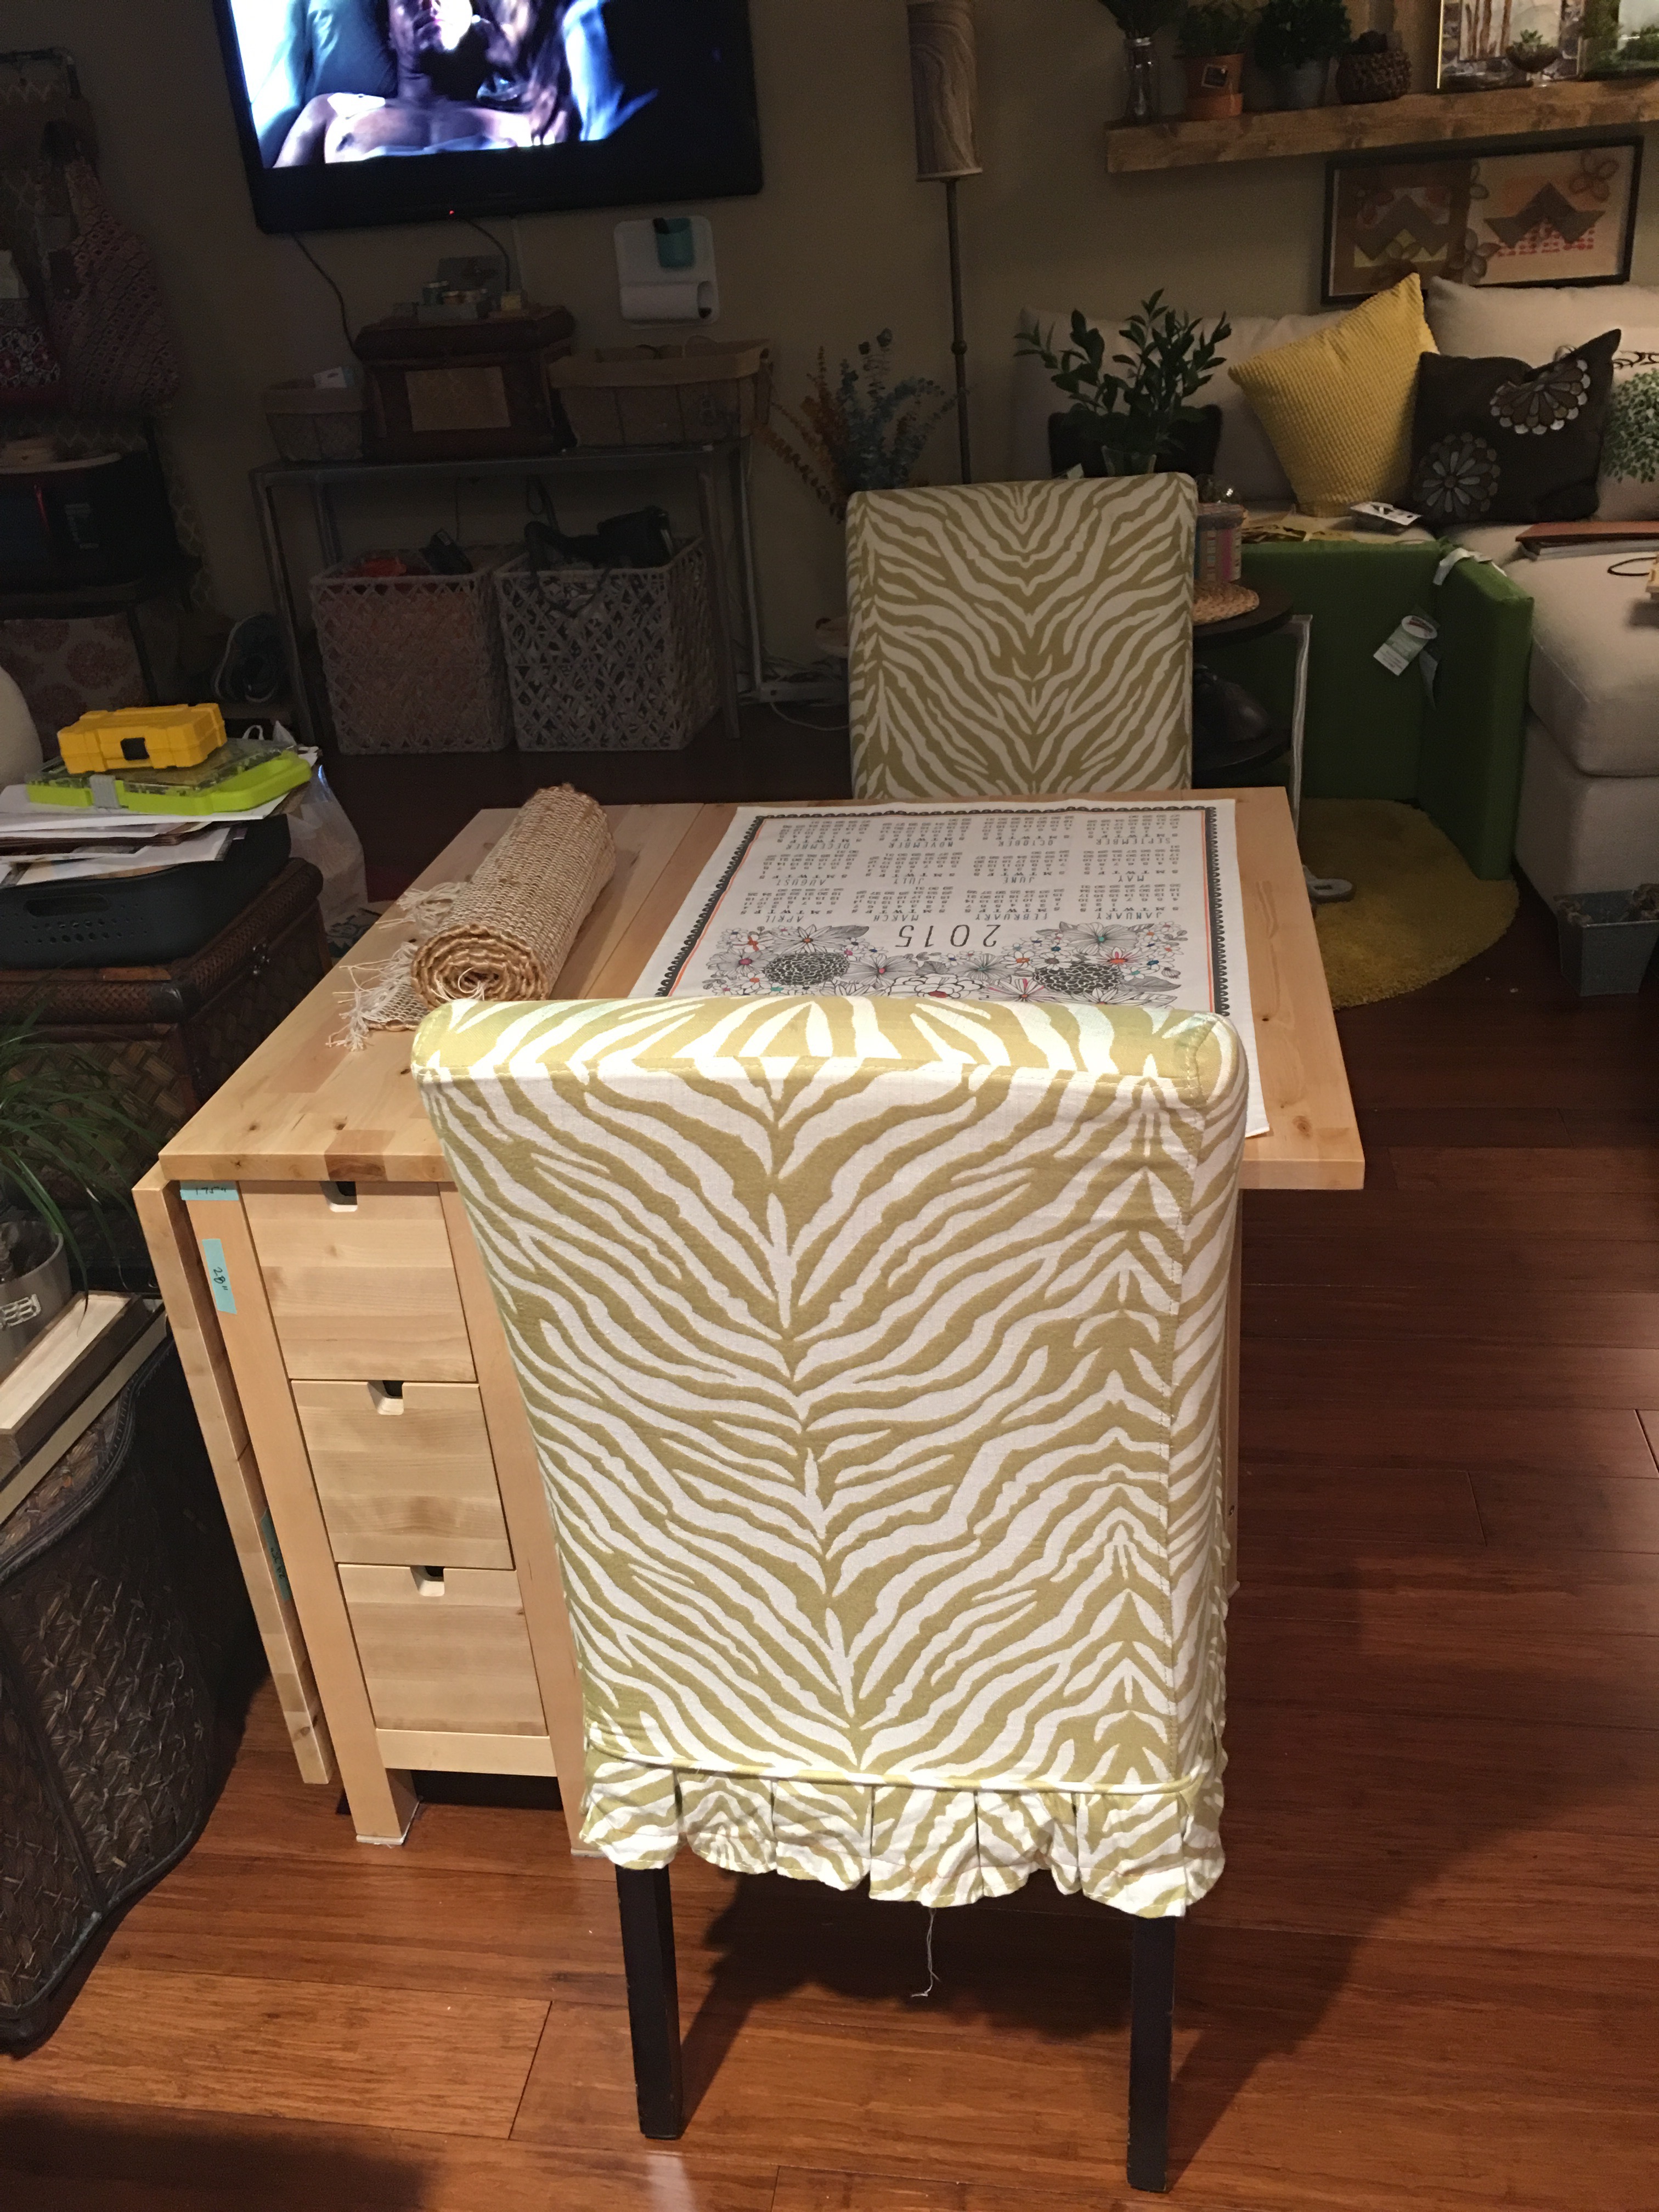
Another view of the table from the side. Along with the messy, cluttered living room.
To celebrate, I made the table up for Sunday night dinner. Only one leaf required for this set up. A nice, cozy dining space for two.
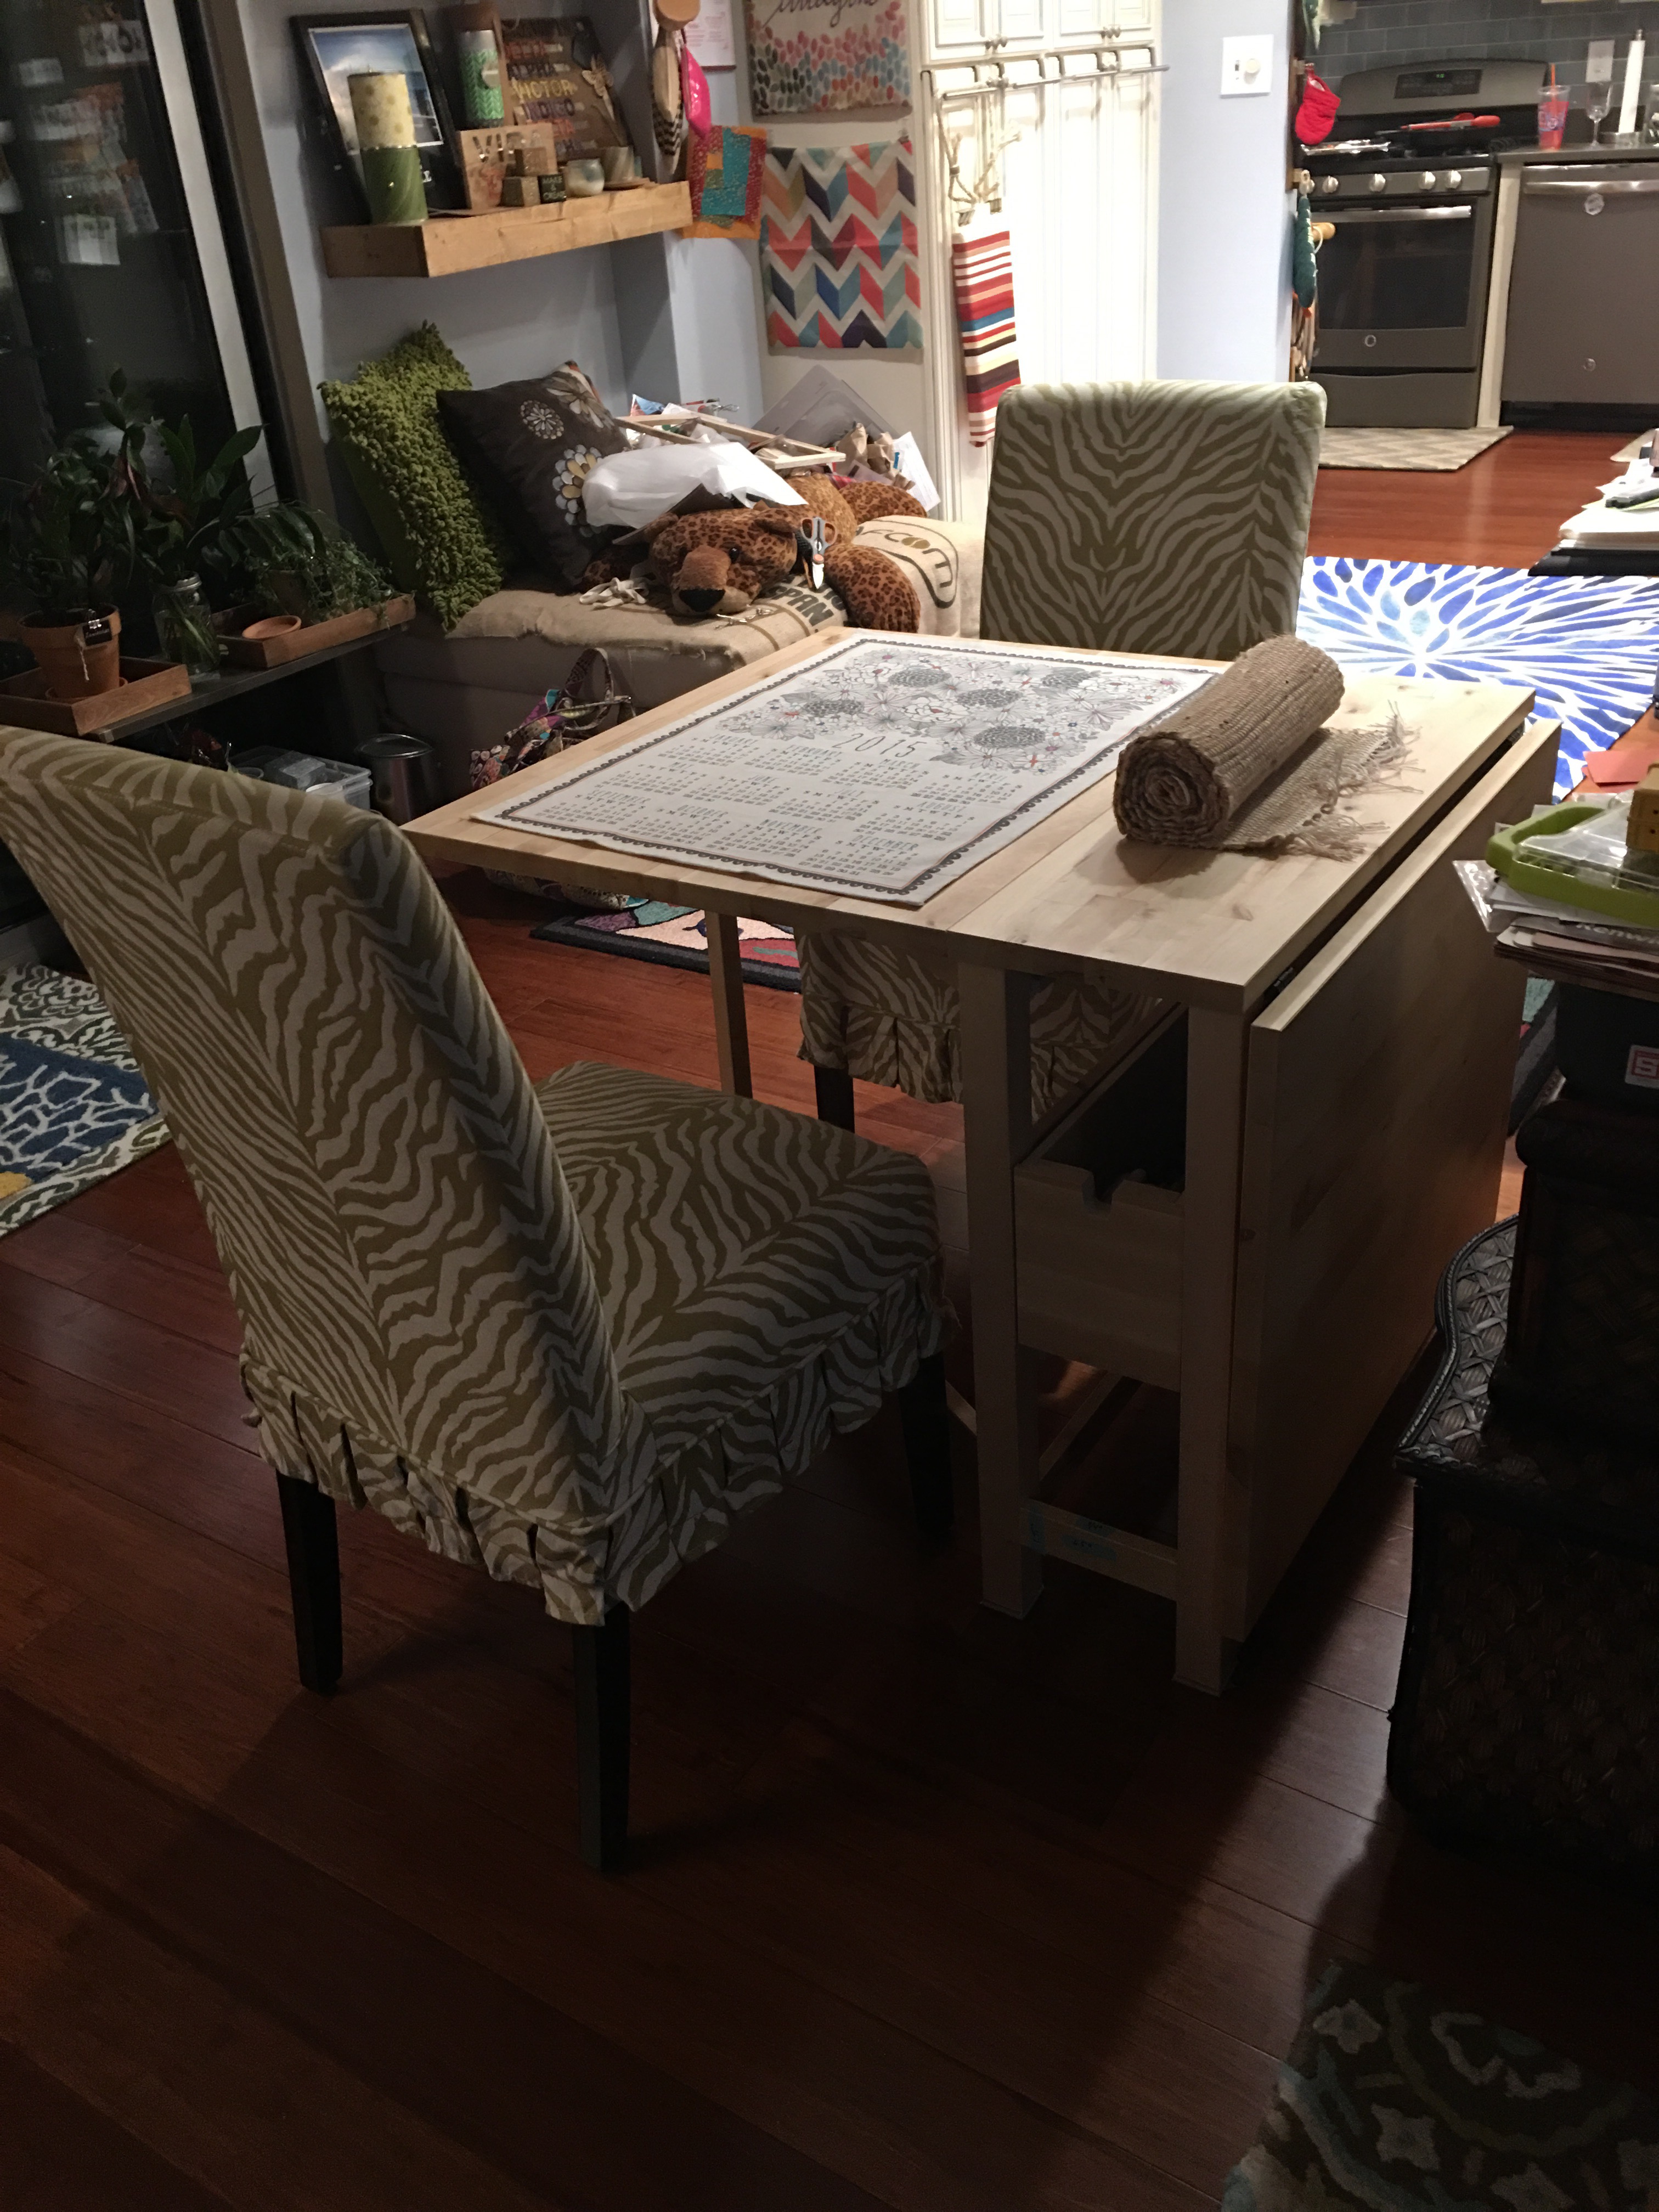
The dining chairs are from Pier One Imports (which I got for my other leaf dining table under my floating shelves). Another excellent view of our very cluttered condo. Enjoy.
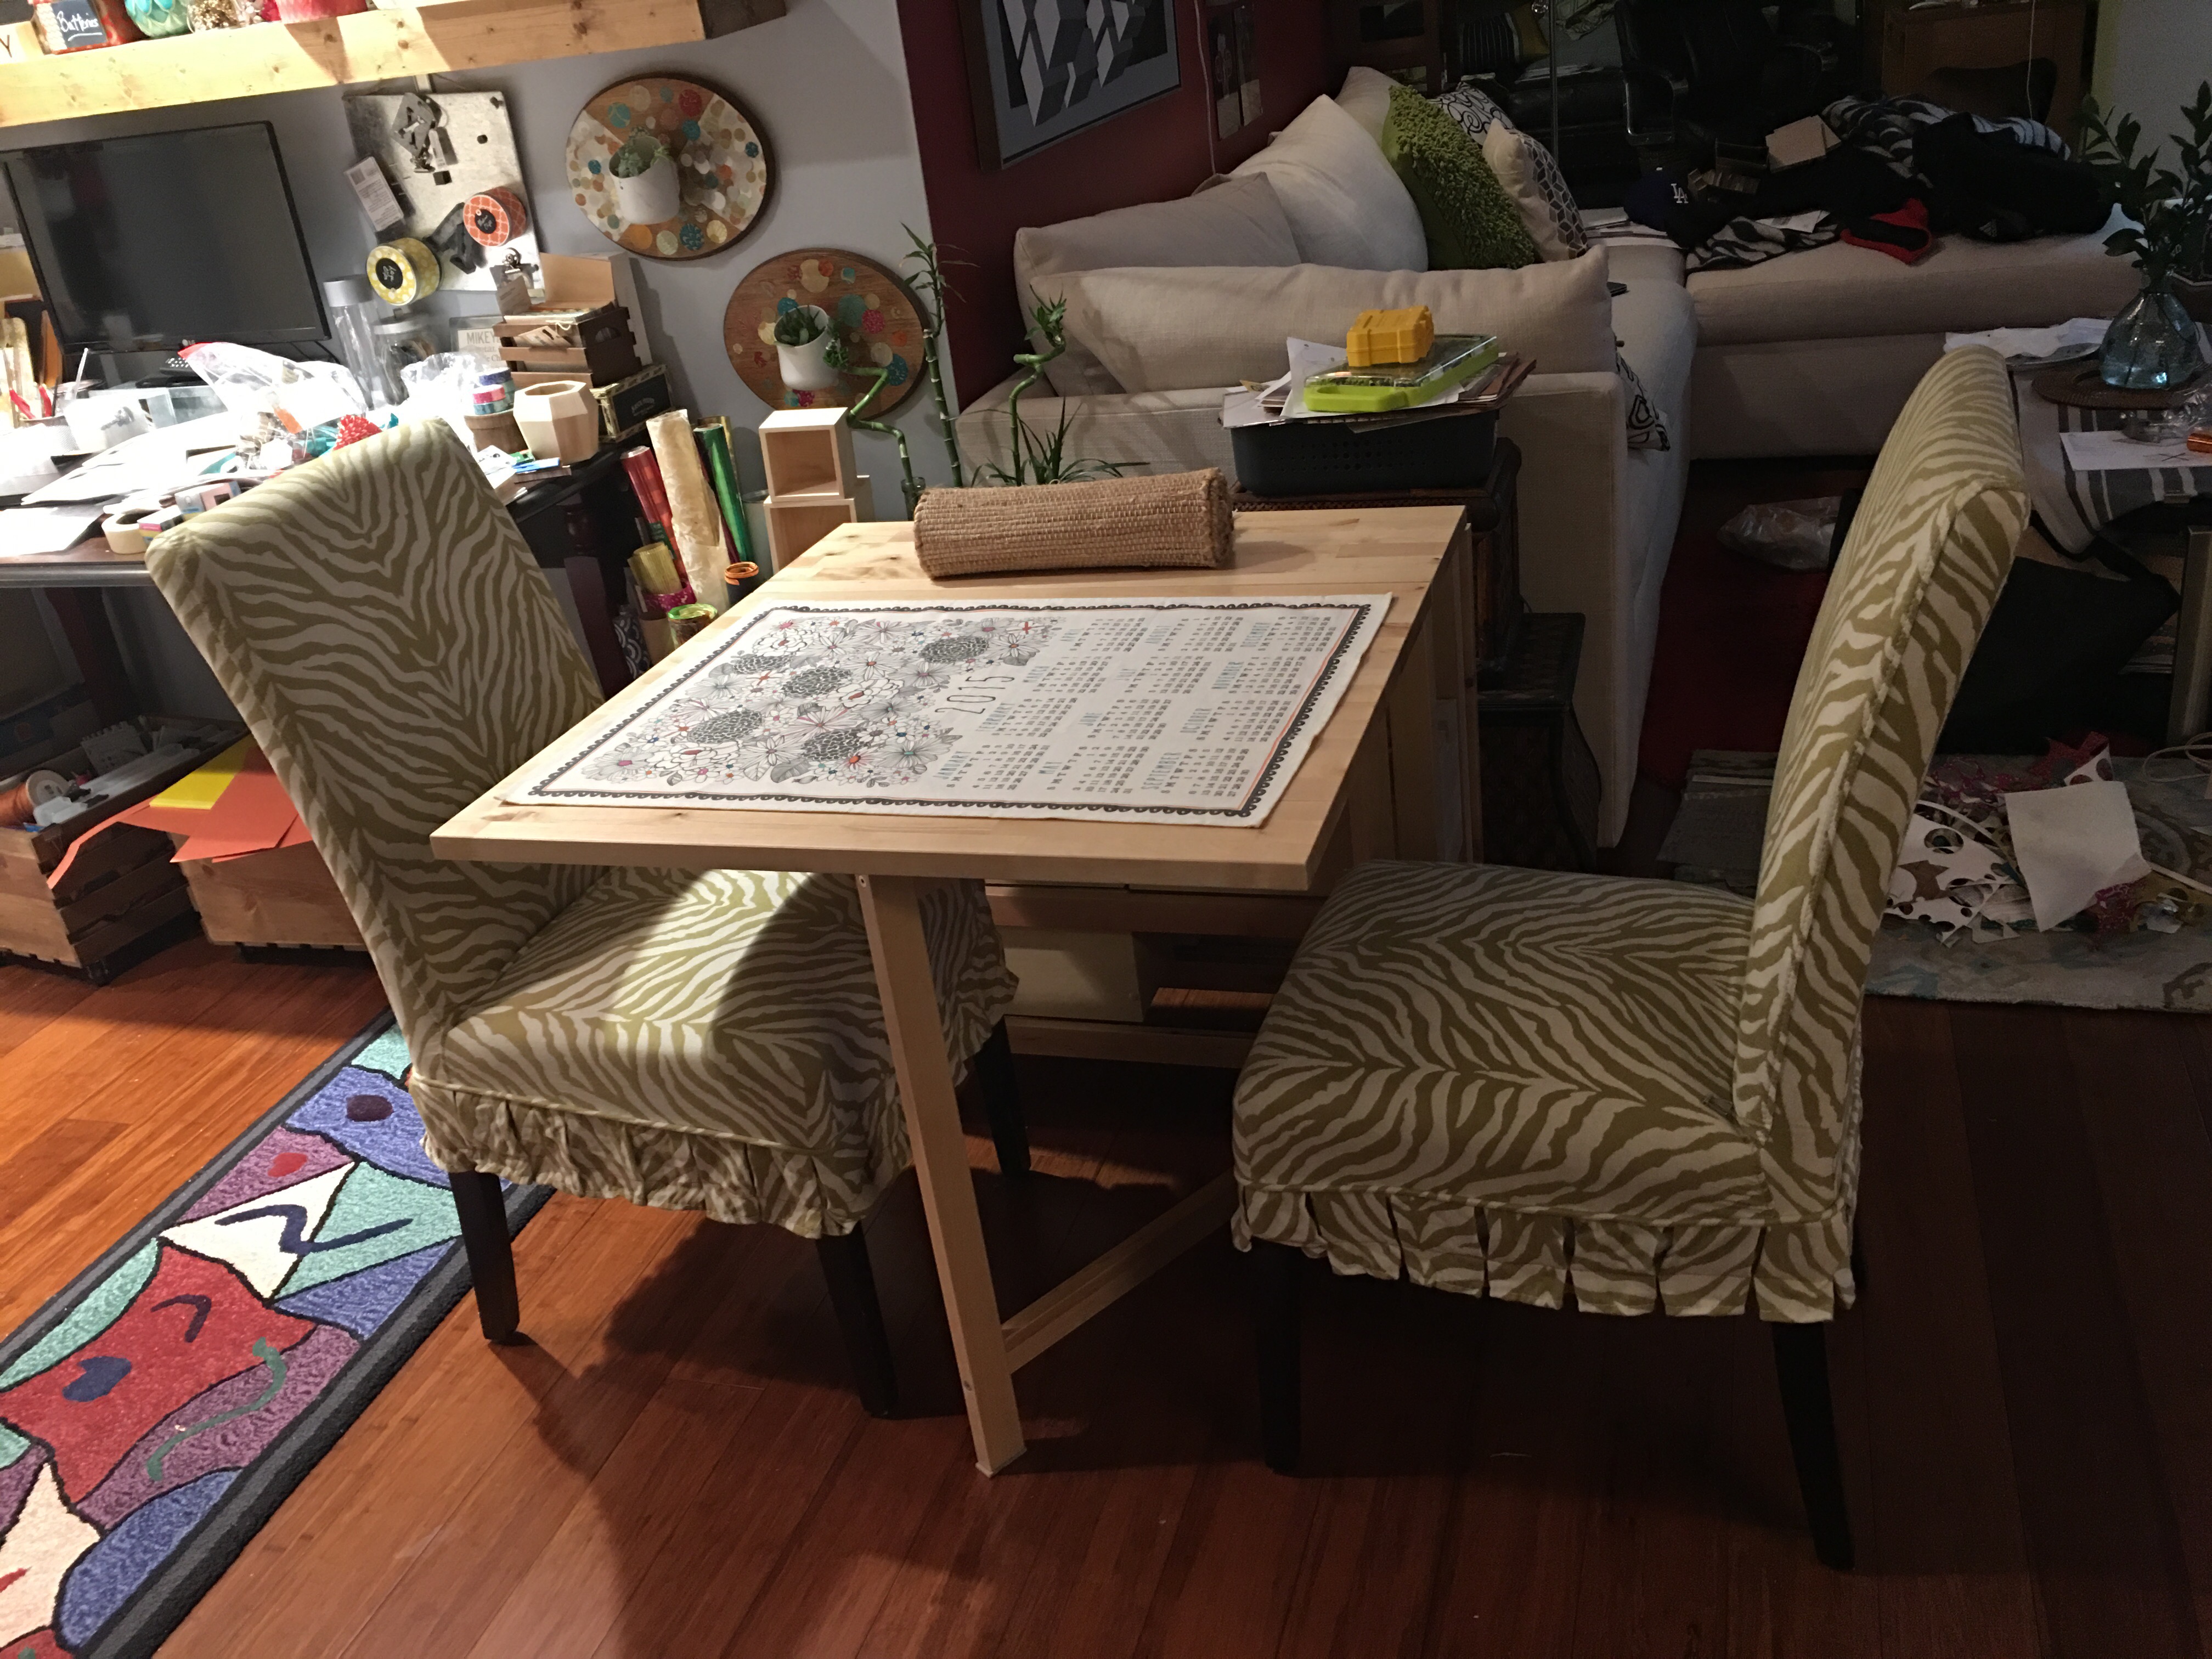
Dining table for two setup from another angle. Mark Walhberg movie in the background.
Next day: Hammering in the condo…the sequel!
OK, this time I wasn’t taking any chances. Because I didn’t get home from work until after 5pm (after the permitted hours for condo unit construction activities), I took my remaining drawer pieces and my hammer to the covered garage building next door.
I pounded away with the hammer there between car arrivals and exits.
This took no time at all. In less than 15 minutes I was back upstairs with my two assembled drawers.
And now for the big reveal…
Here’s where my new DIY and crafting table lives. In the den next to the bedroom.
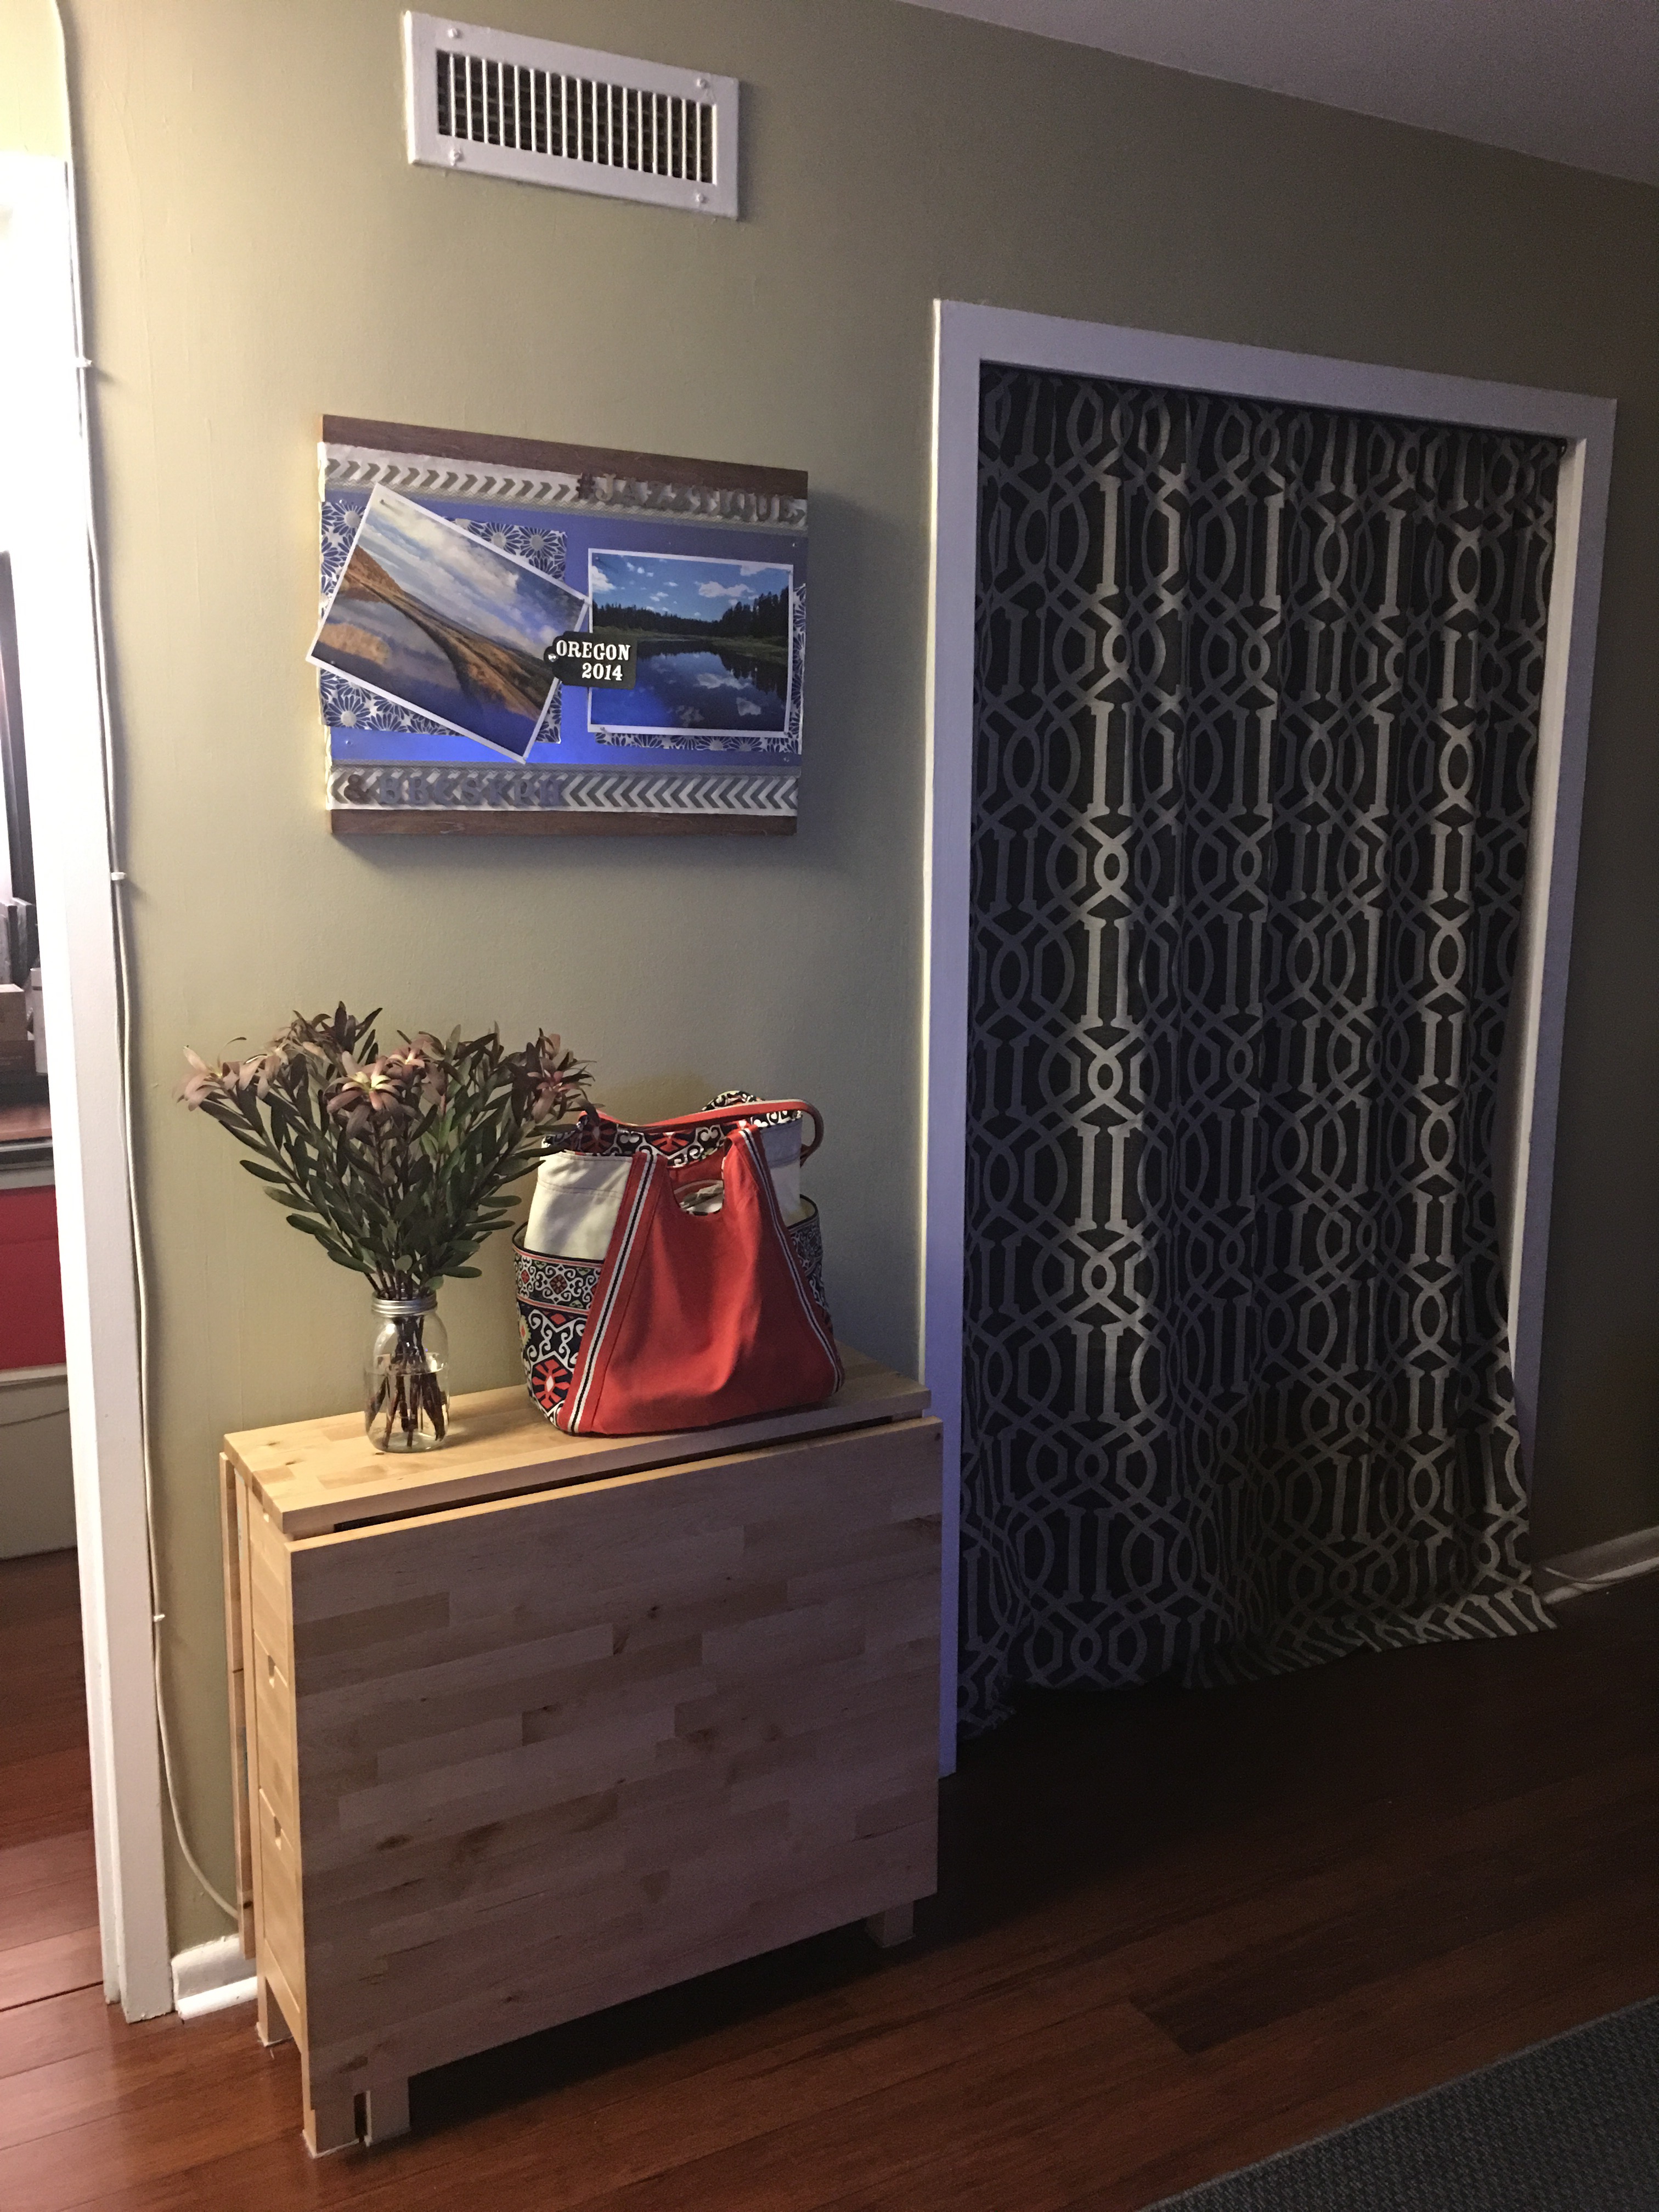
And same table with one extended table leaf.
I look forward to making many special crafts and builds using my new table (including a DIY table very similar to this one). And we may occasional use the table for actual sit down dinners for two (or more)! This is a sweet addition to the condo. V-