Balcony Love: Hanging Rail Planters
You may also like:
July 18, 2016: As I continue to makeover the balcony (from a blank canvas of an empty and windy box surrounded by railing to an outdoor condo oasis), I contemplated about how best to decorate the space.
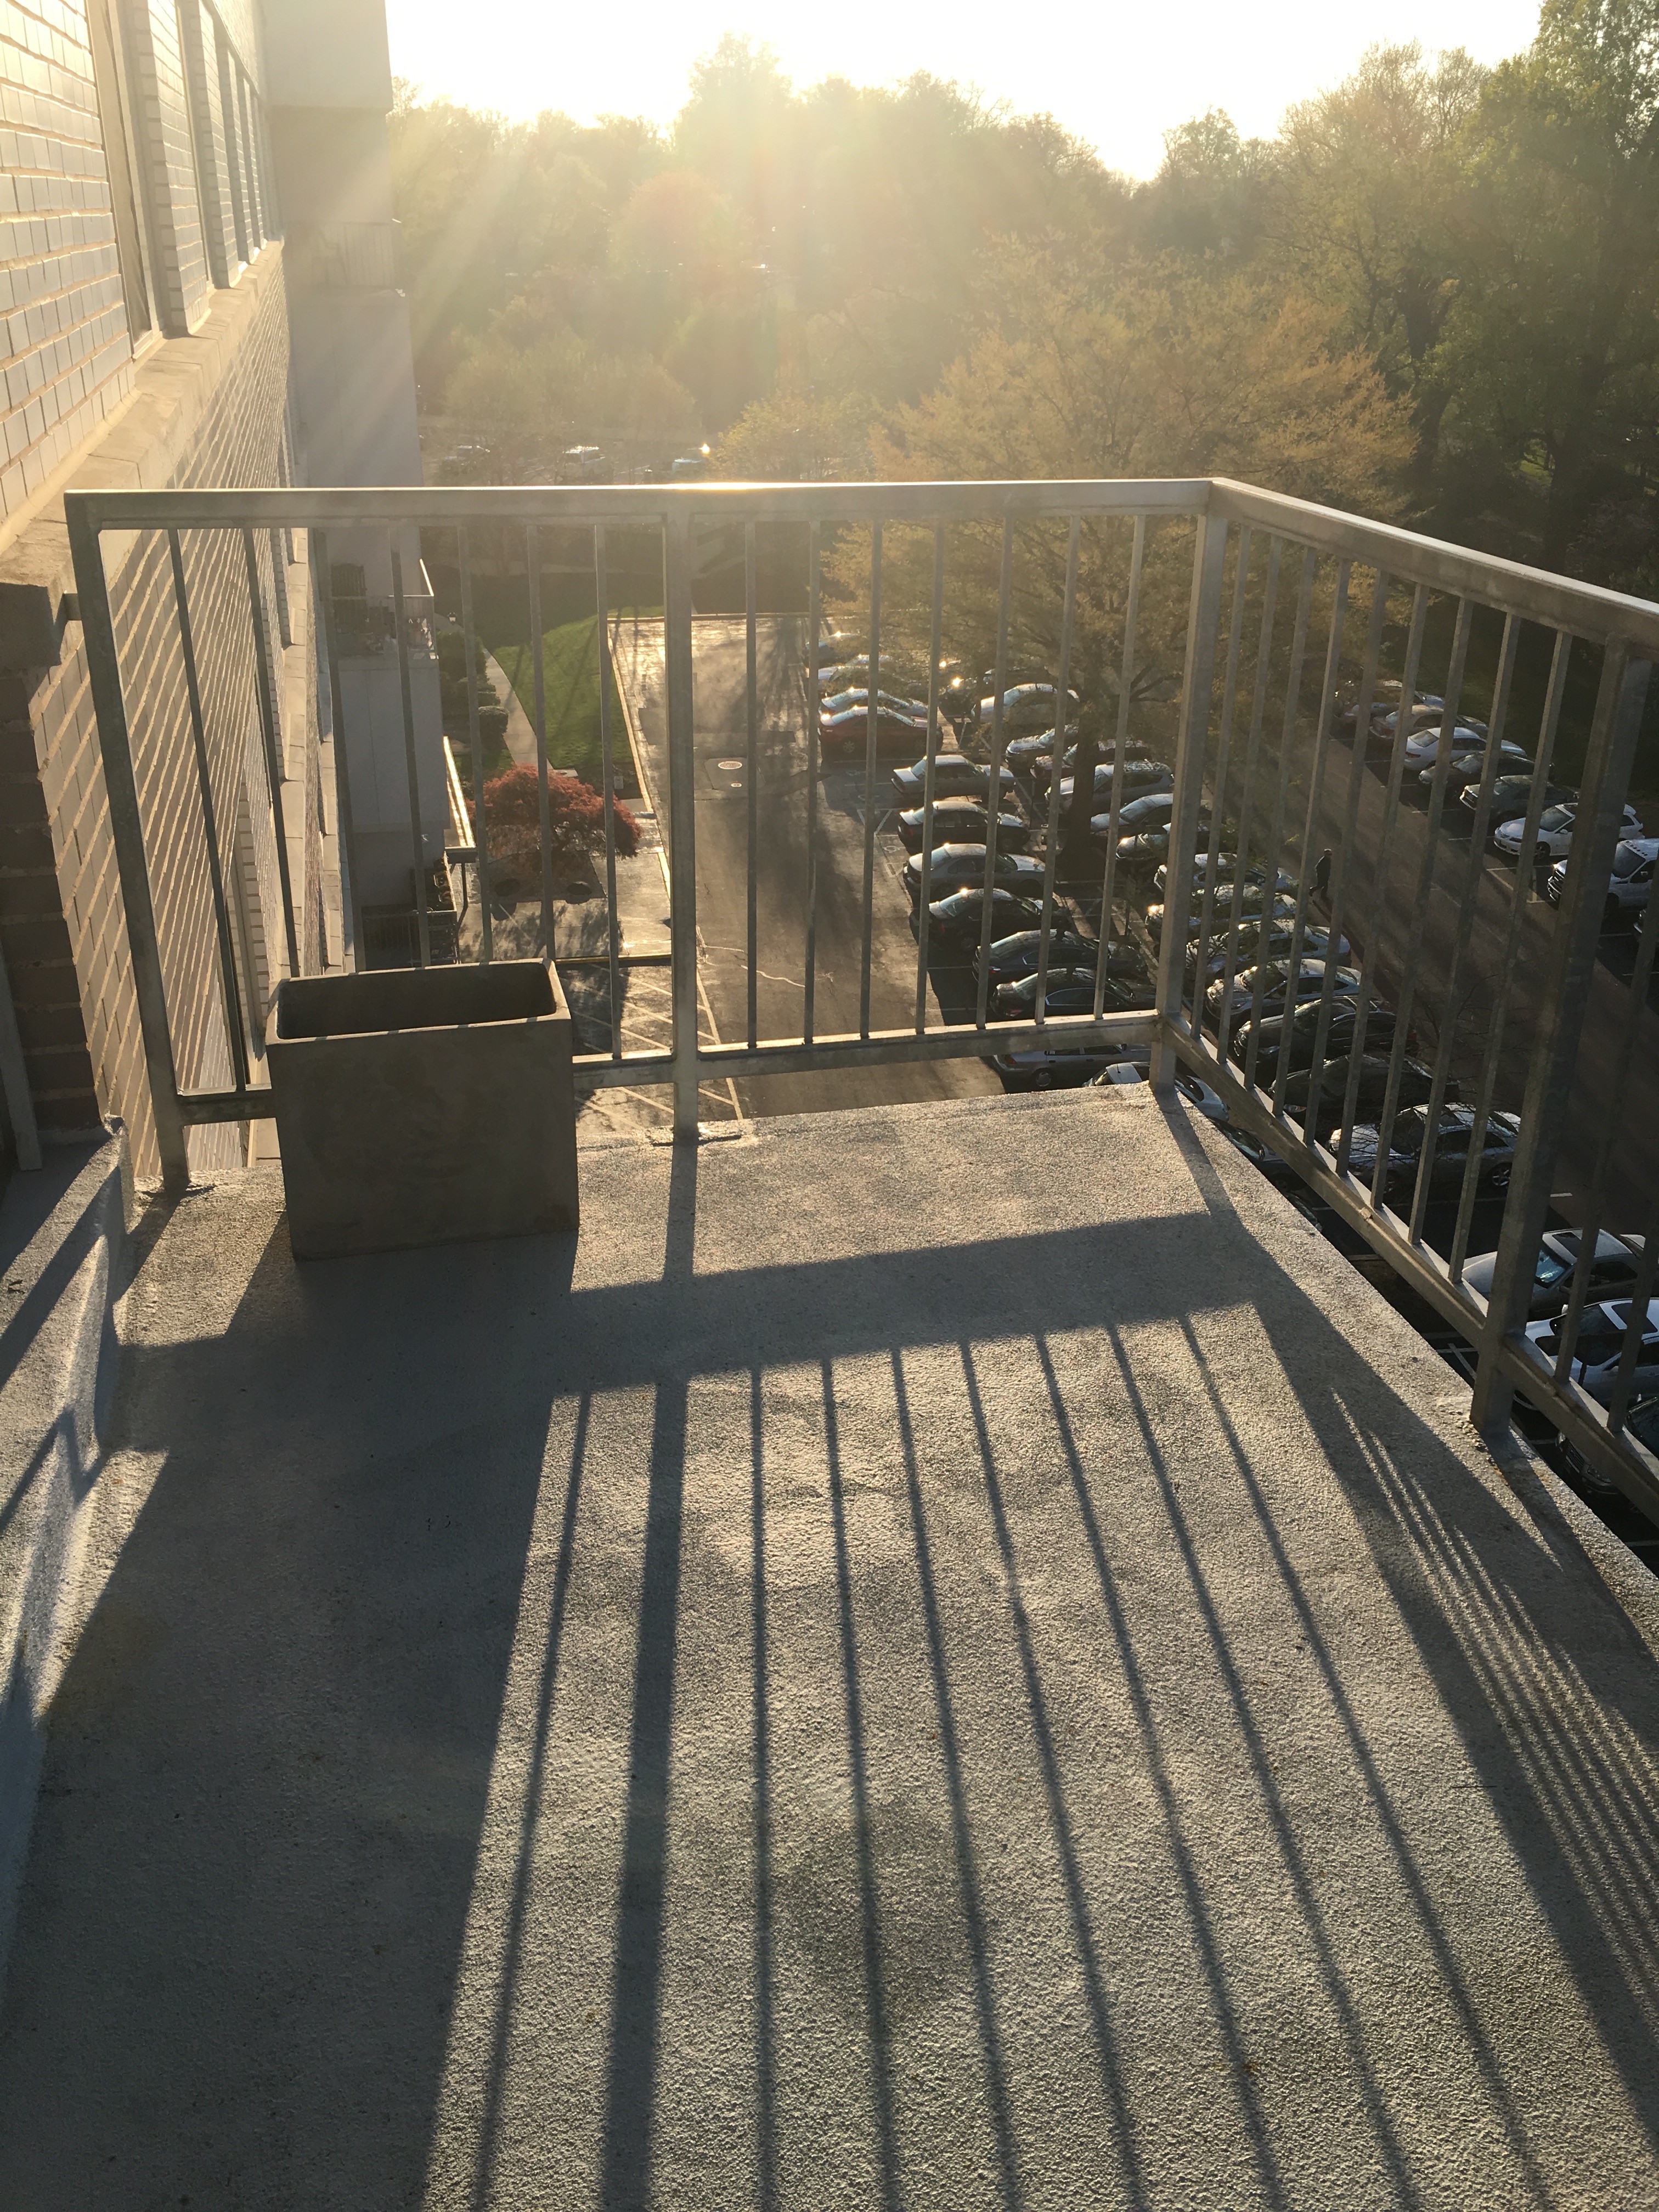
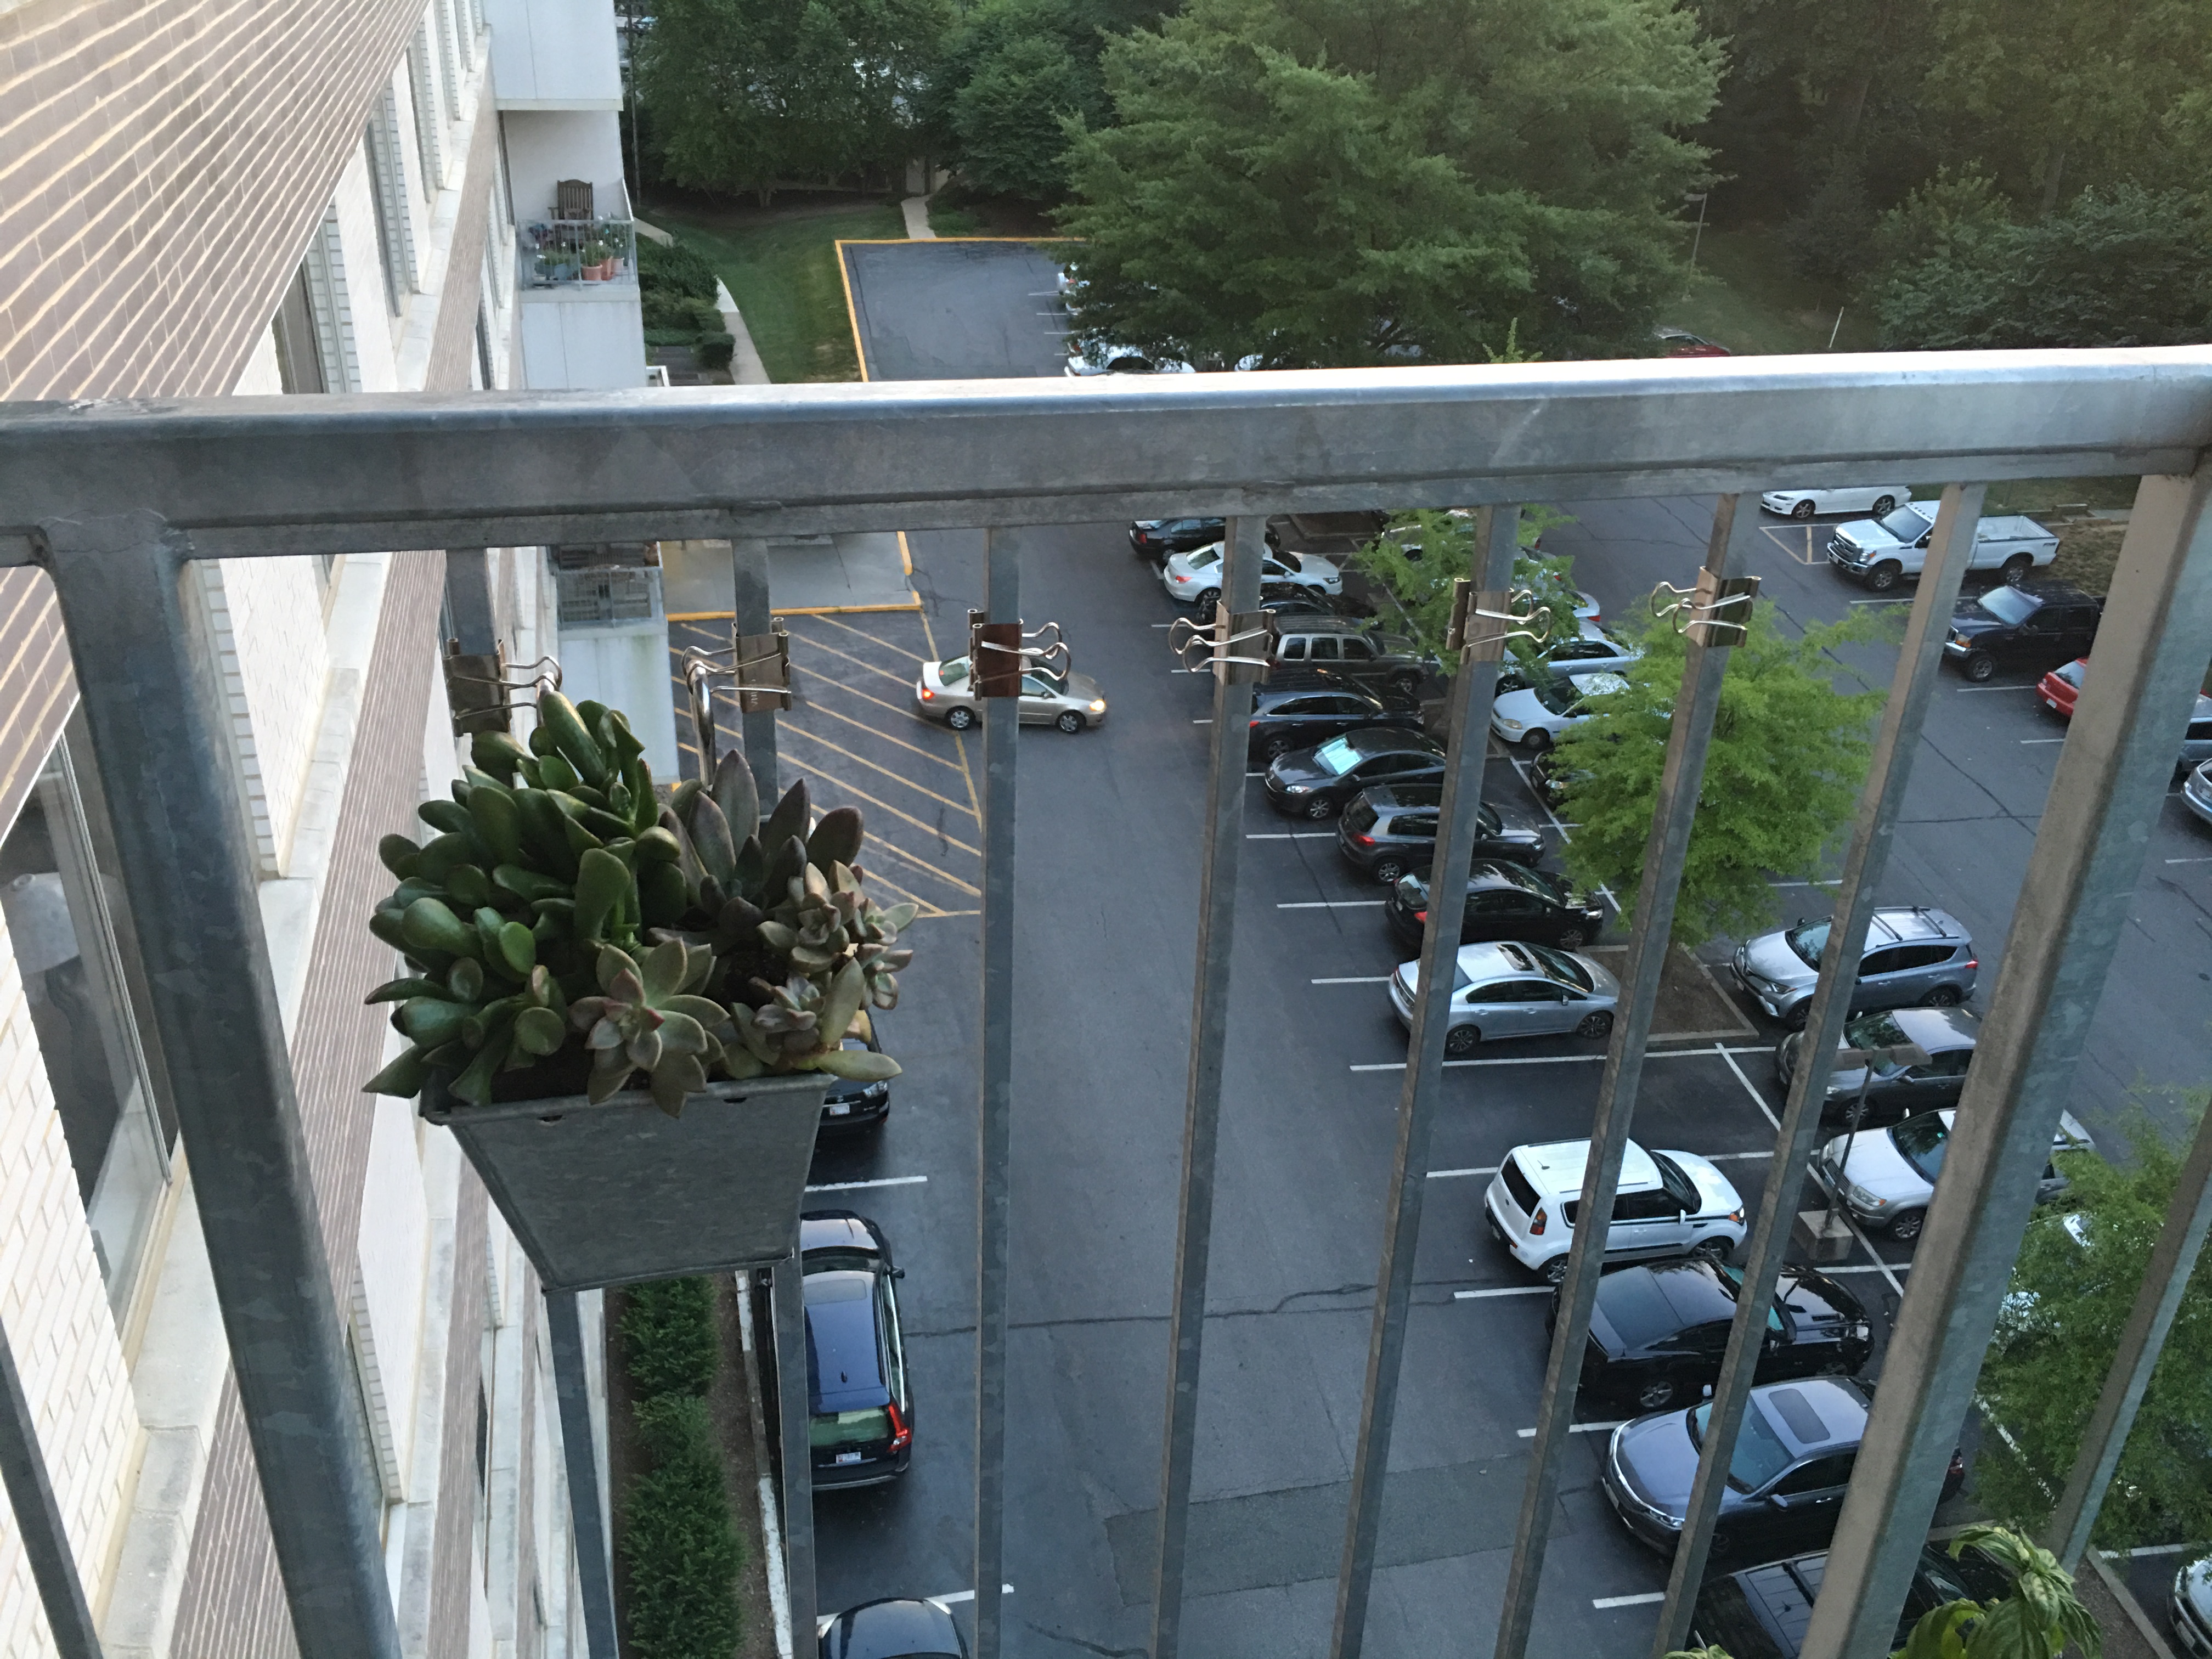
Other than a bench and a few hanging planters (using my DIY binder clip and S hook mounts), I didn’t have much by way of decor on the balcony. We have somewhere to sit. We have something under our feet (Envirotiles). But how else to add personality and beautify to our balcony.
I pondered on this for awhile (Lights? Burlap ribbons? Lanterns?). Until I focused on what we want most out of the balcony.
To enjoy the fresh air. To enjoy the view. And to enjoy our growing balcony garden.
As with most things, the most simple approach is the answer.
Fill the balcony with beautiful blooms. And start with the railing.
Binder clips and S Hooks abound
The first step is to add more succulents using the square metal planters I picked up from Target.
Step-by-step details on how I hang these to our railing are in this post.
But here’s a quick primer on how it’s done.
Step one: Add medium (or large) size binder clips to two rails, prongs facing each other.
Step Two: Slip 3″ S hooks through each prong.
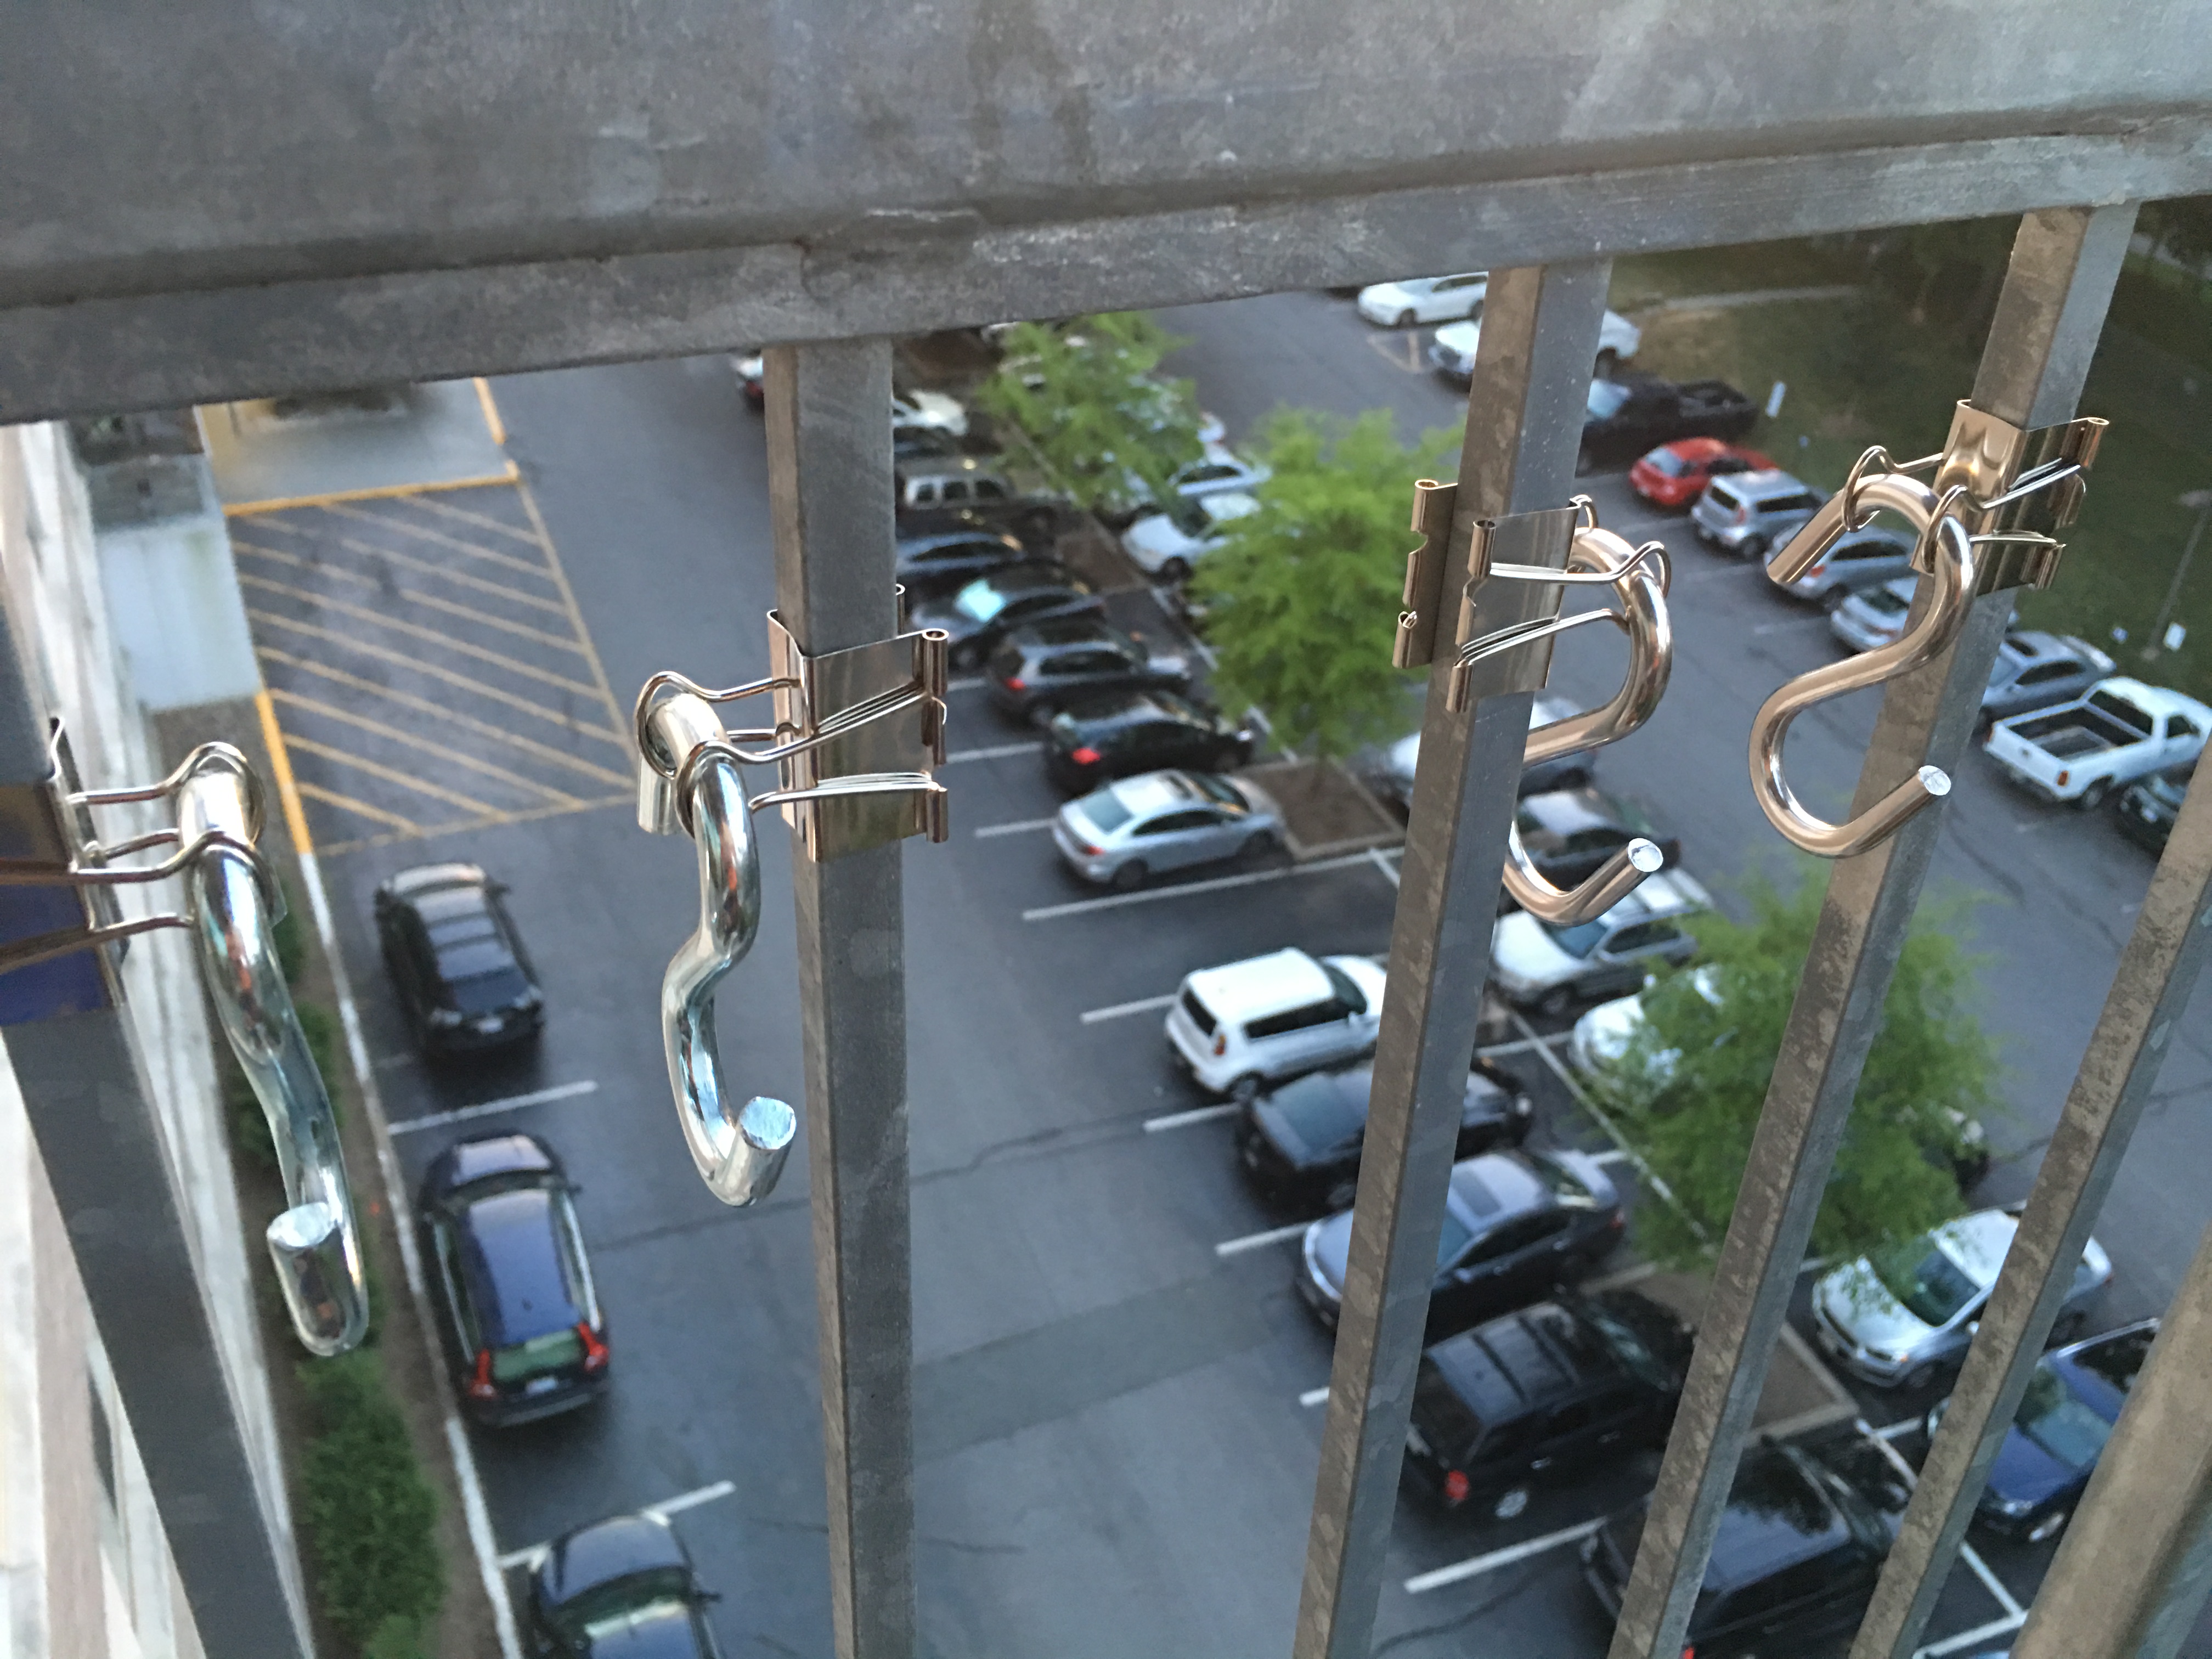
Step 3: Slide the planter onto the S hooks using the pre-drilled holes.
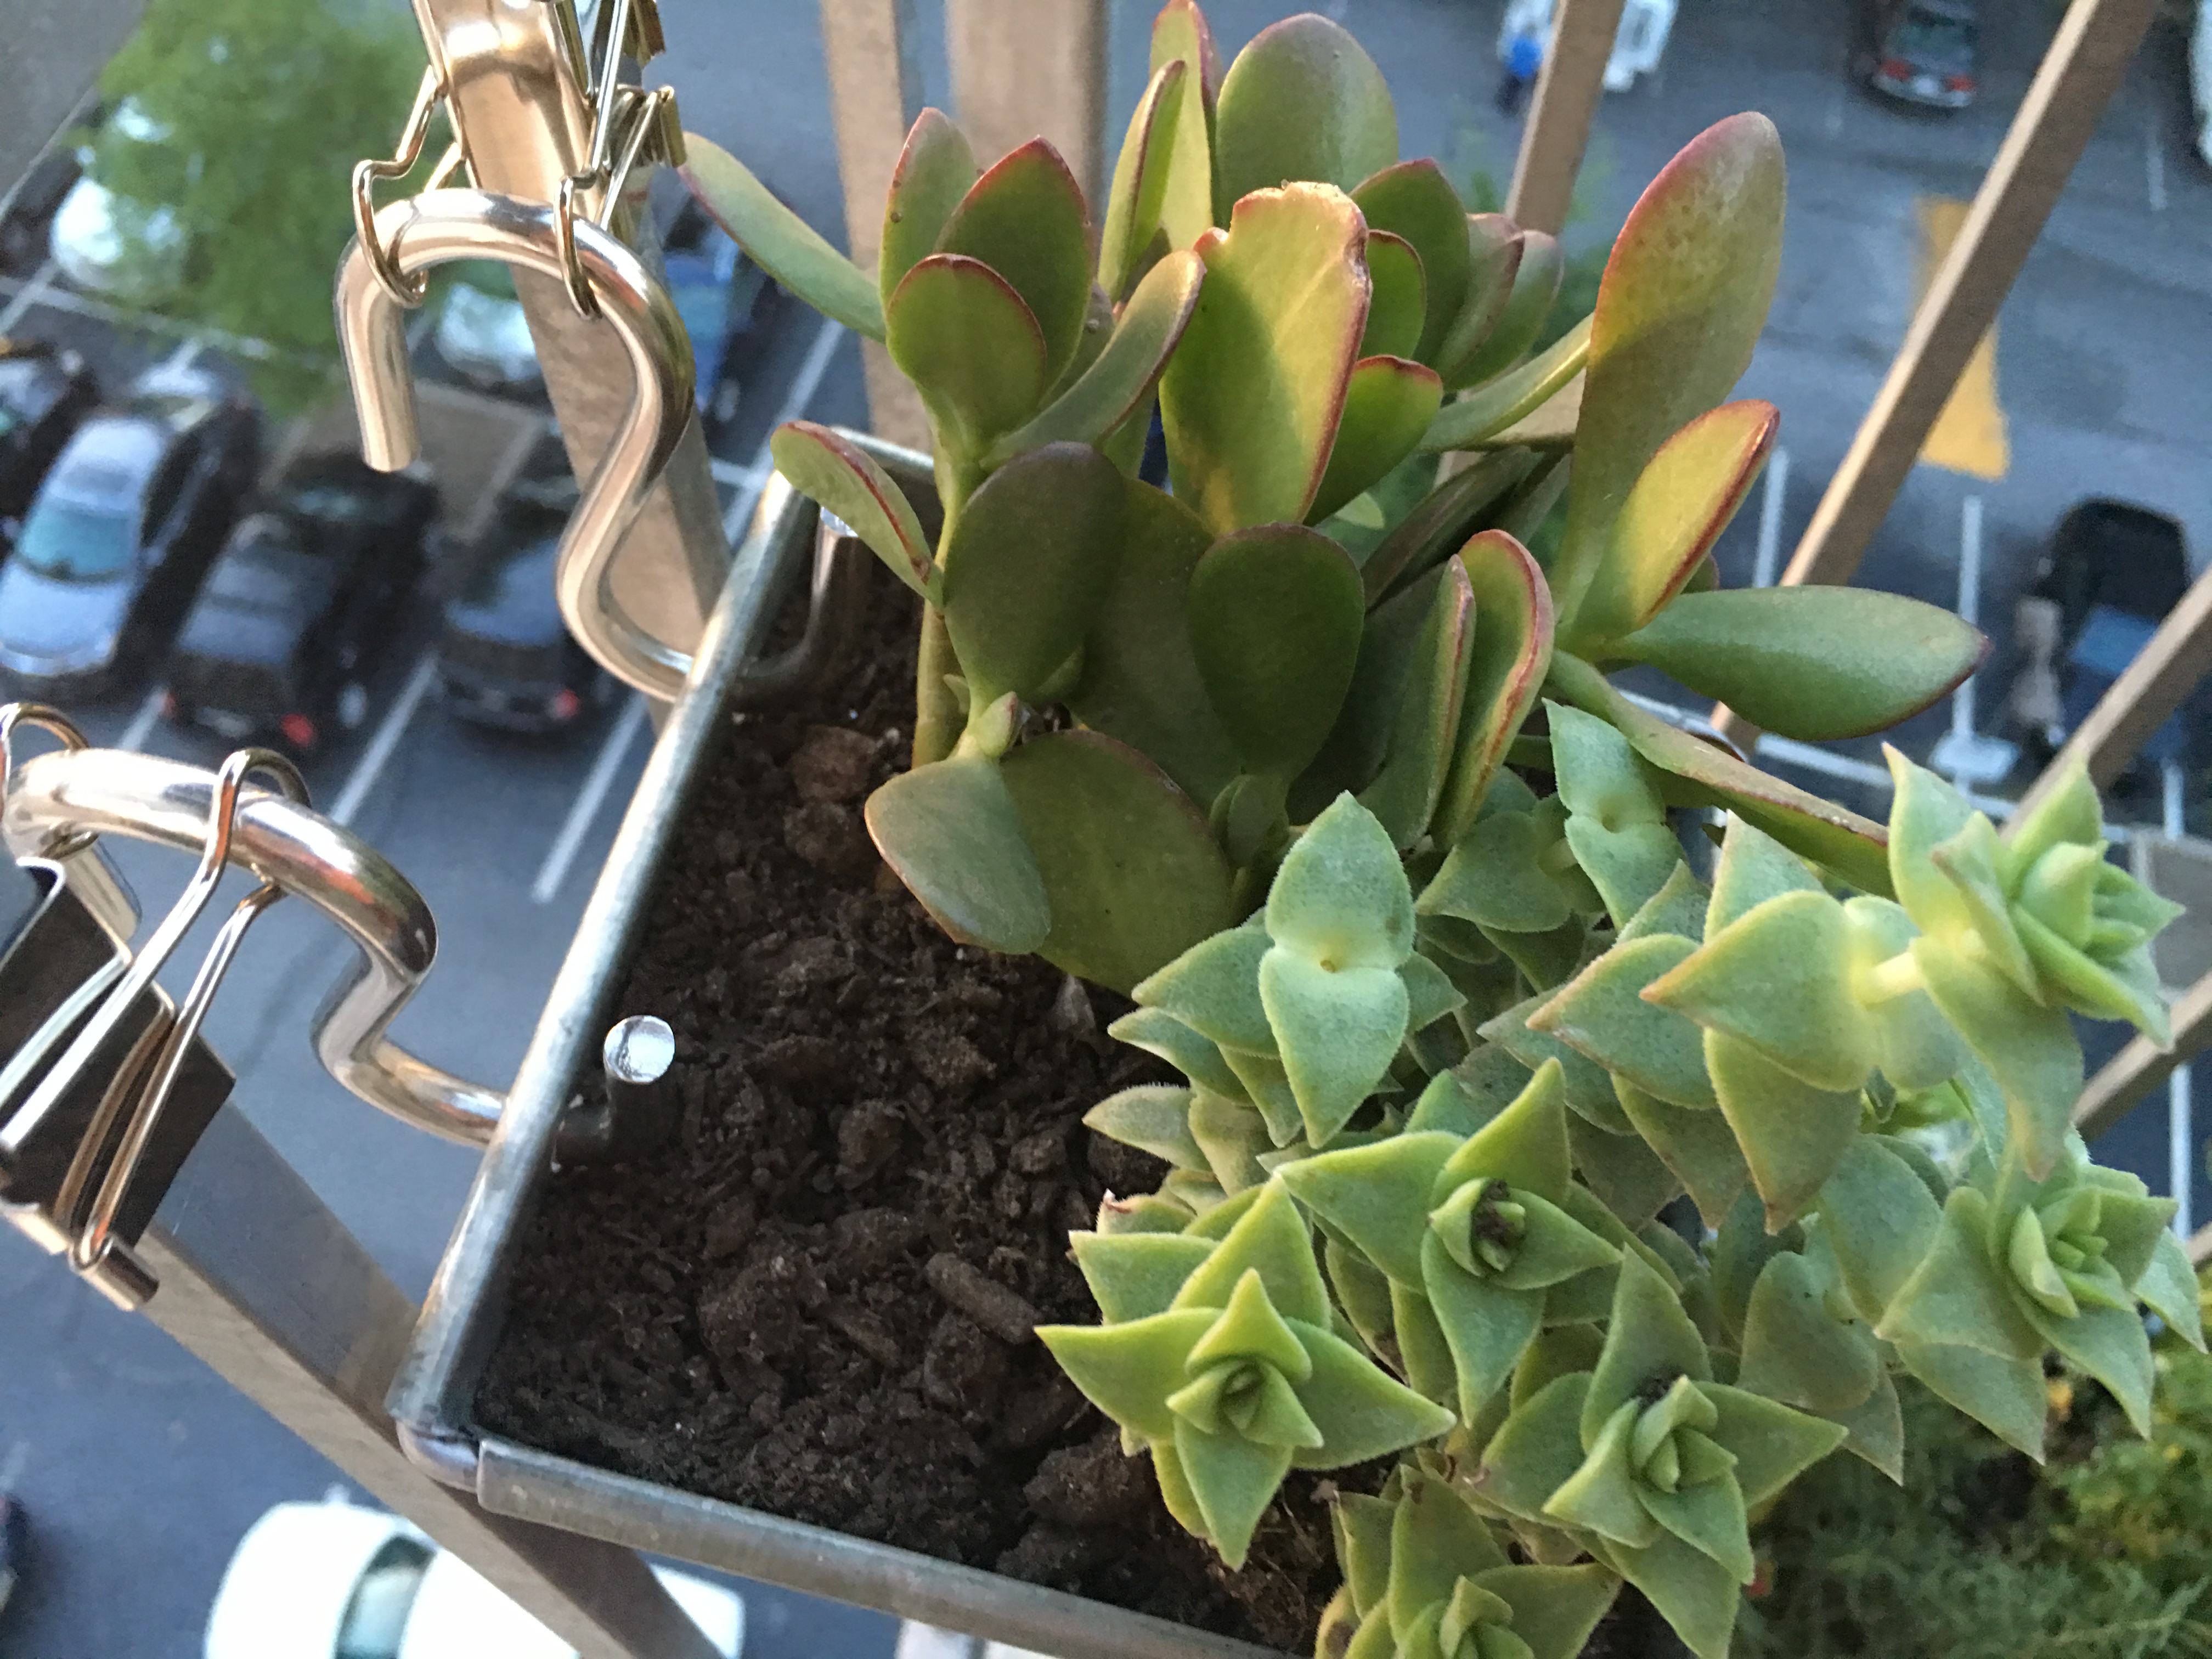
The planters from Target had sisal rope threaded through the holes (so you just remove the rope). You can also drill your own holes (roughly 1/4″ diameter) in the back of other planters. Just be sure to measure hook and hole placement first.
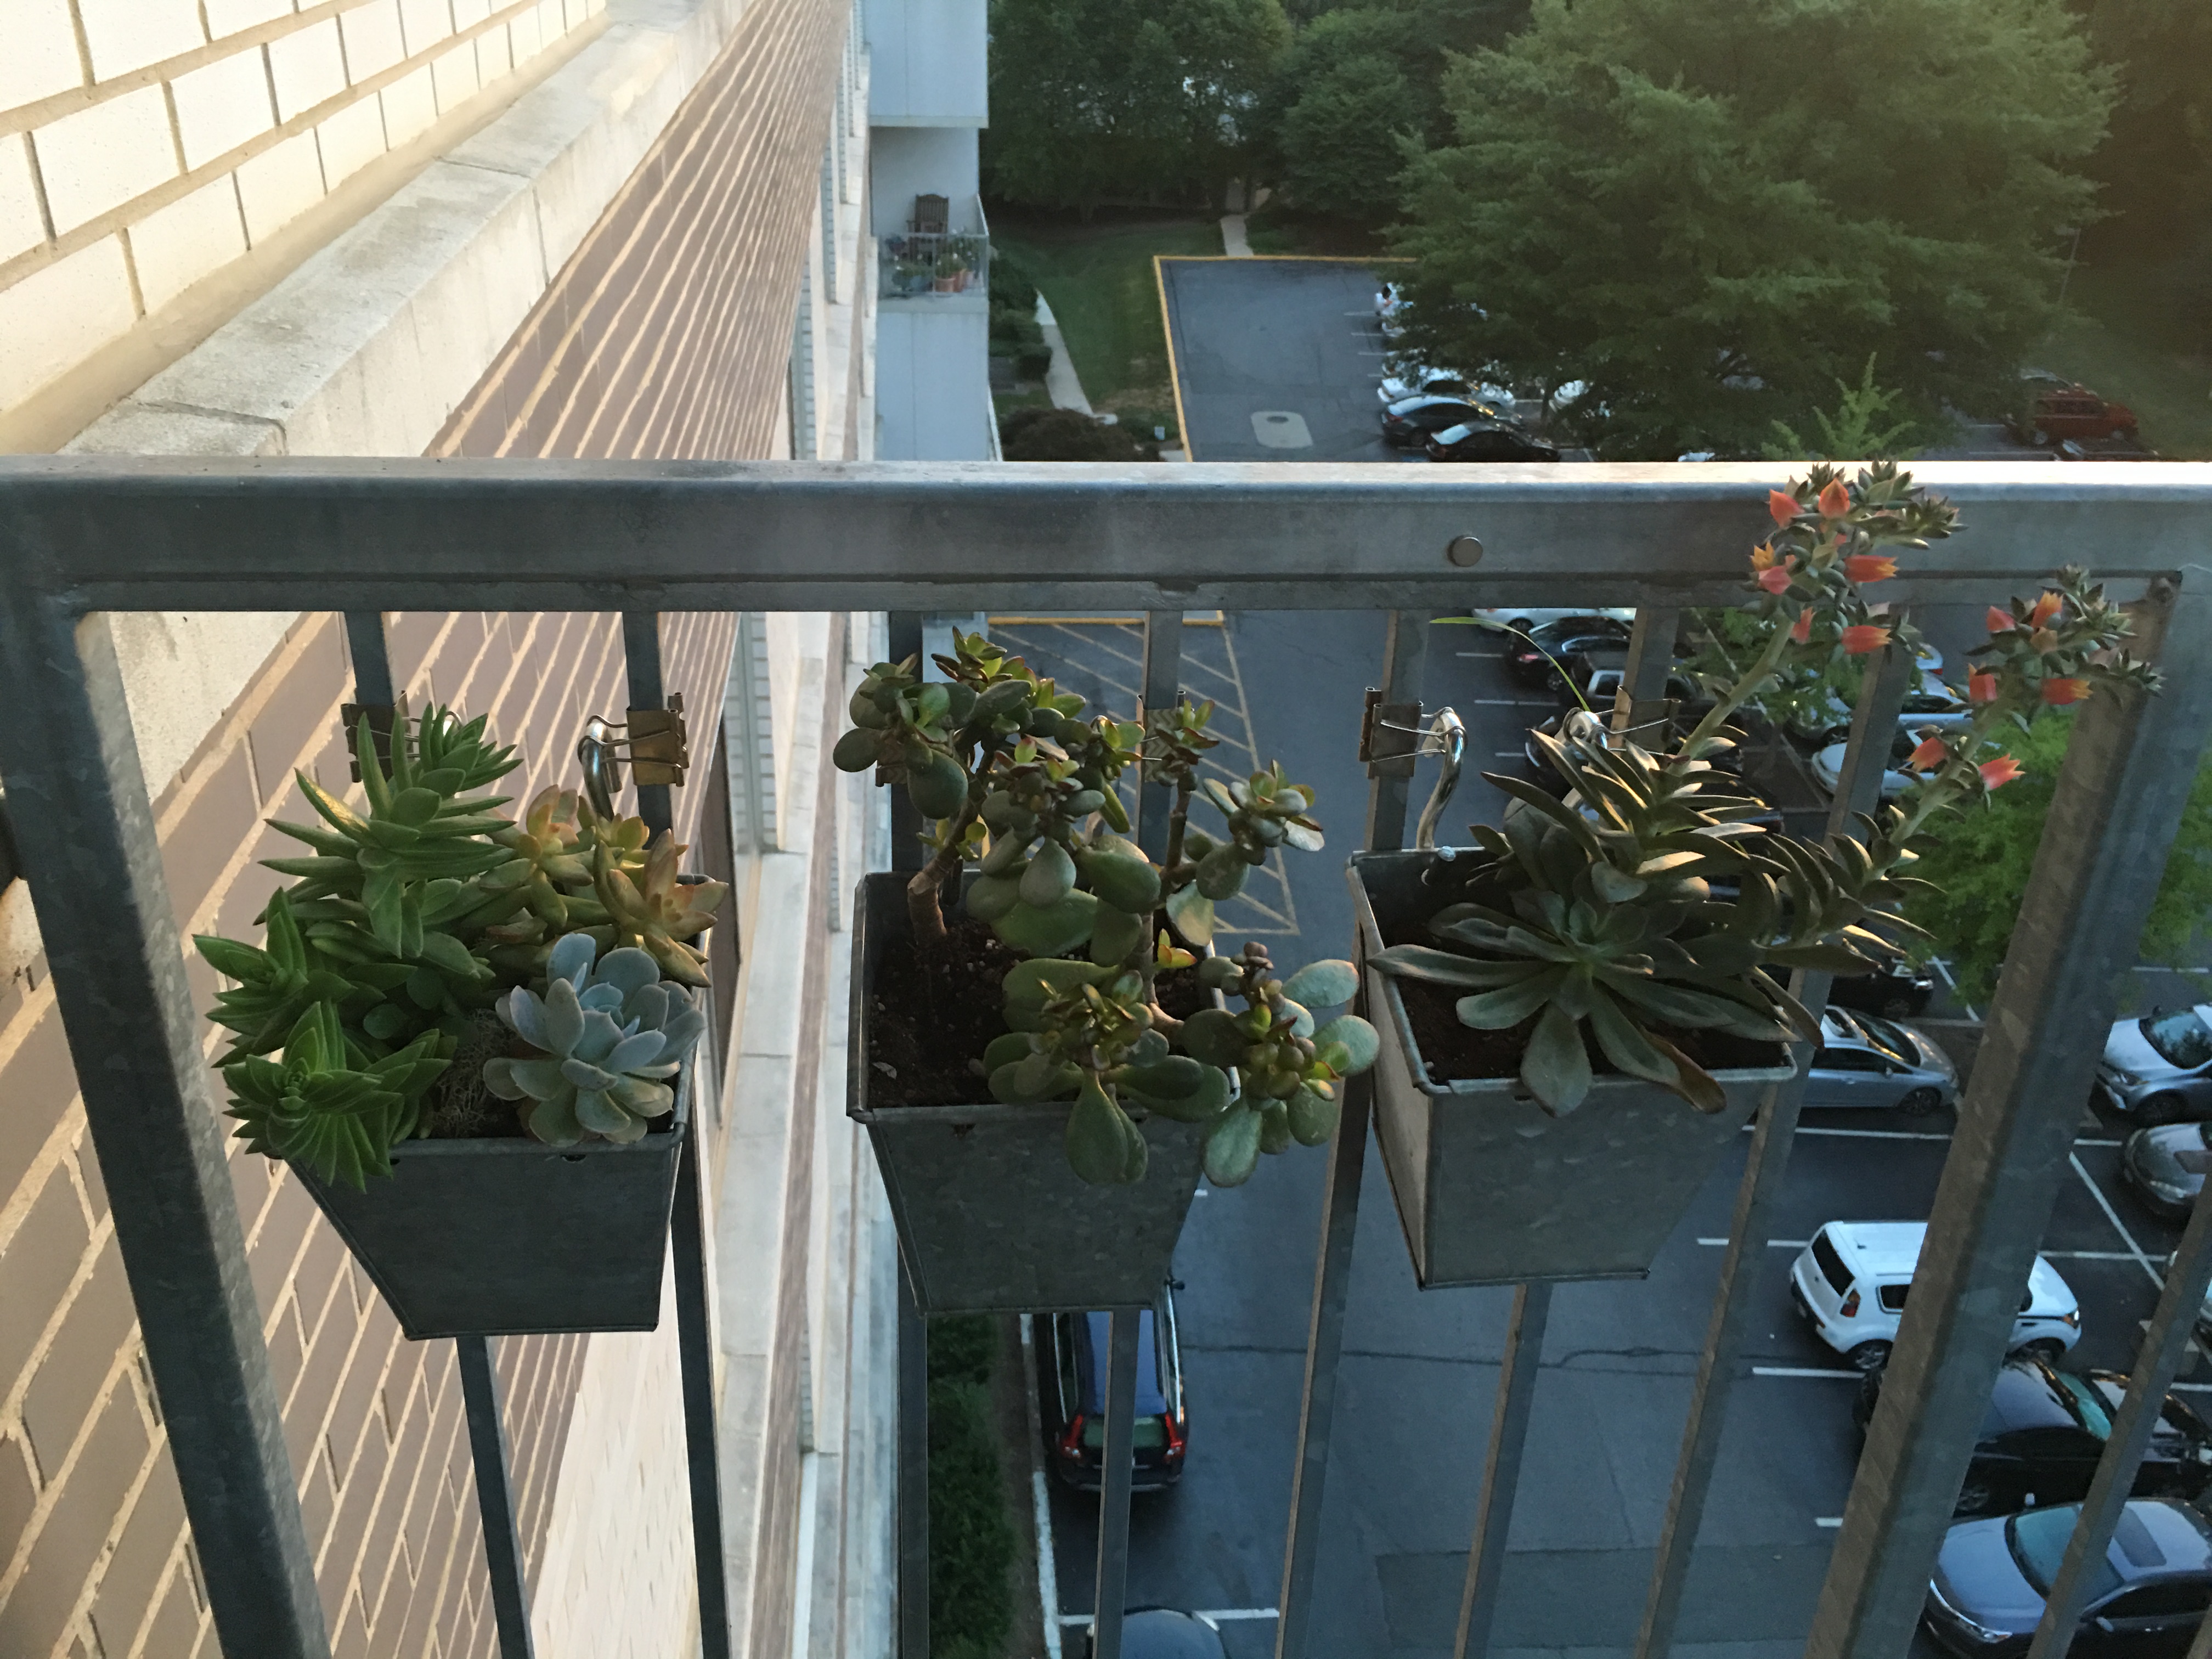
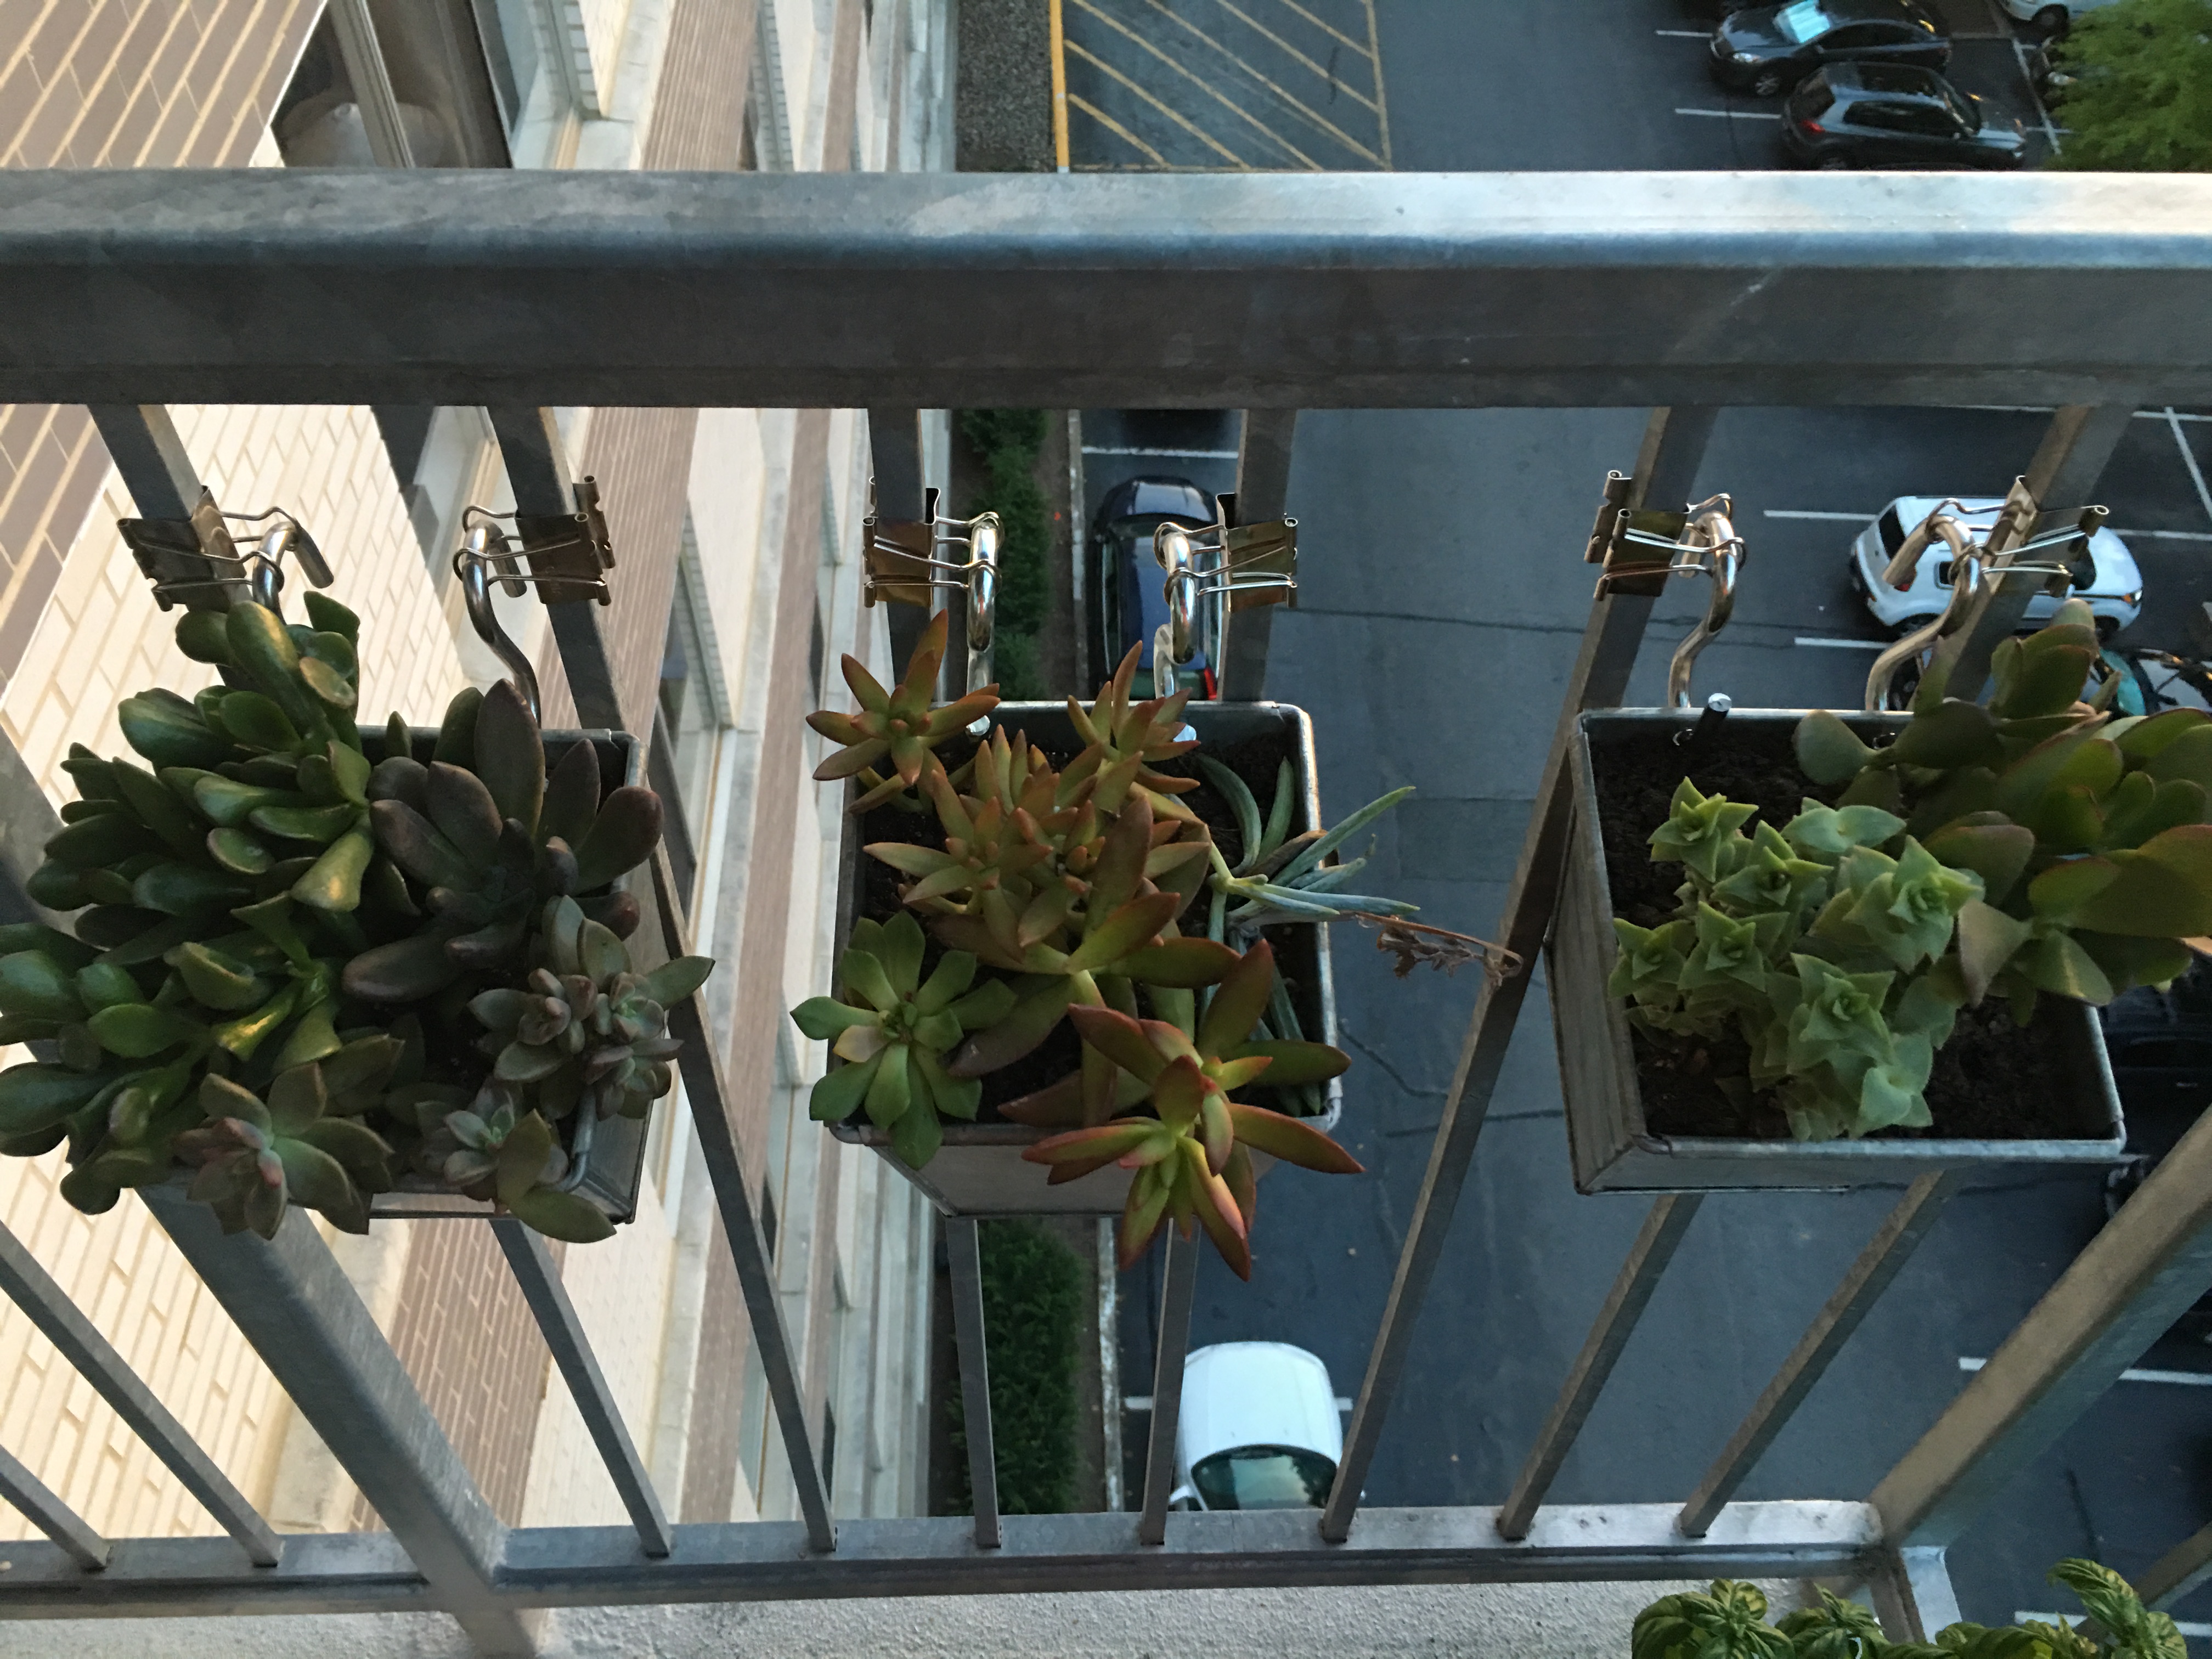
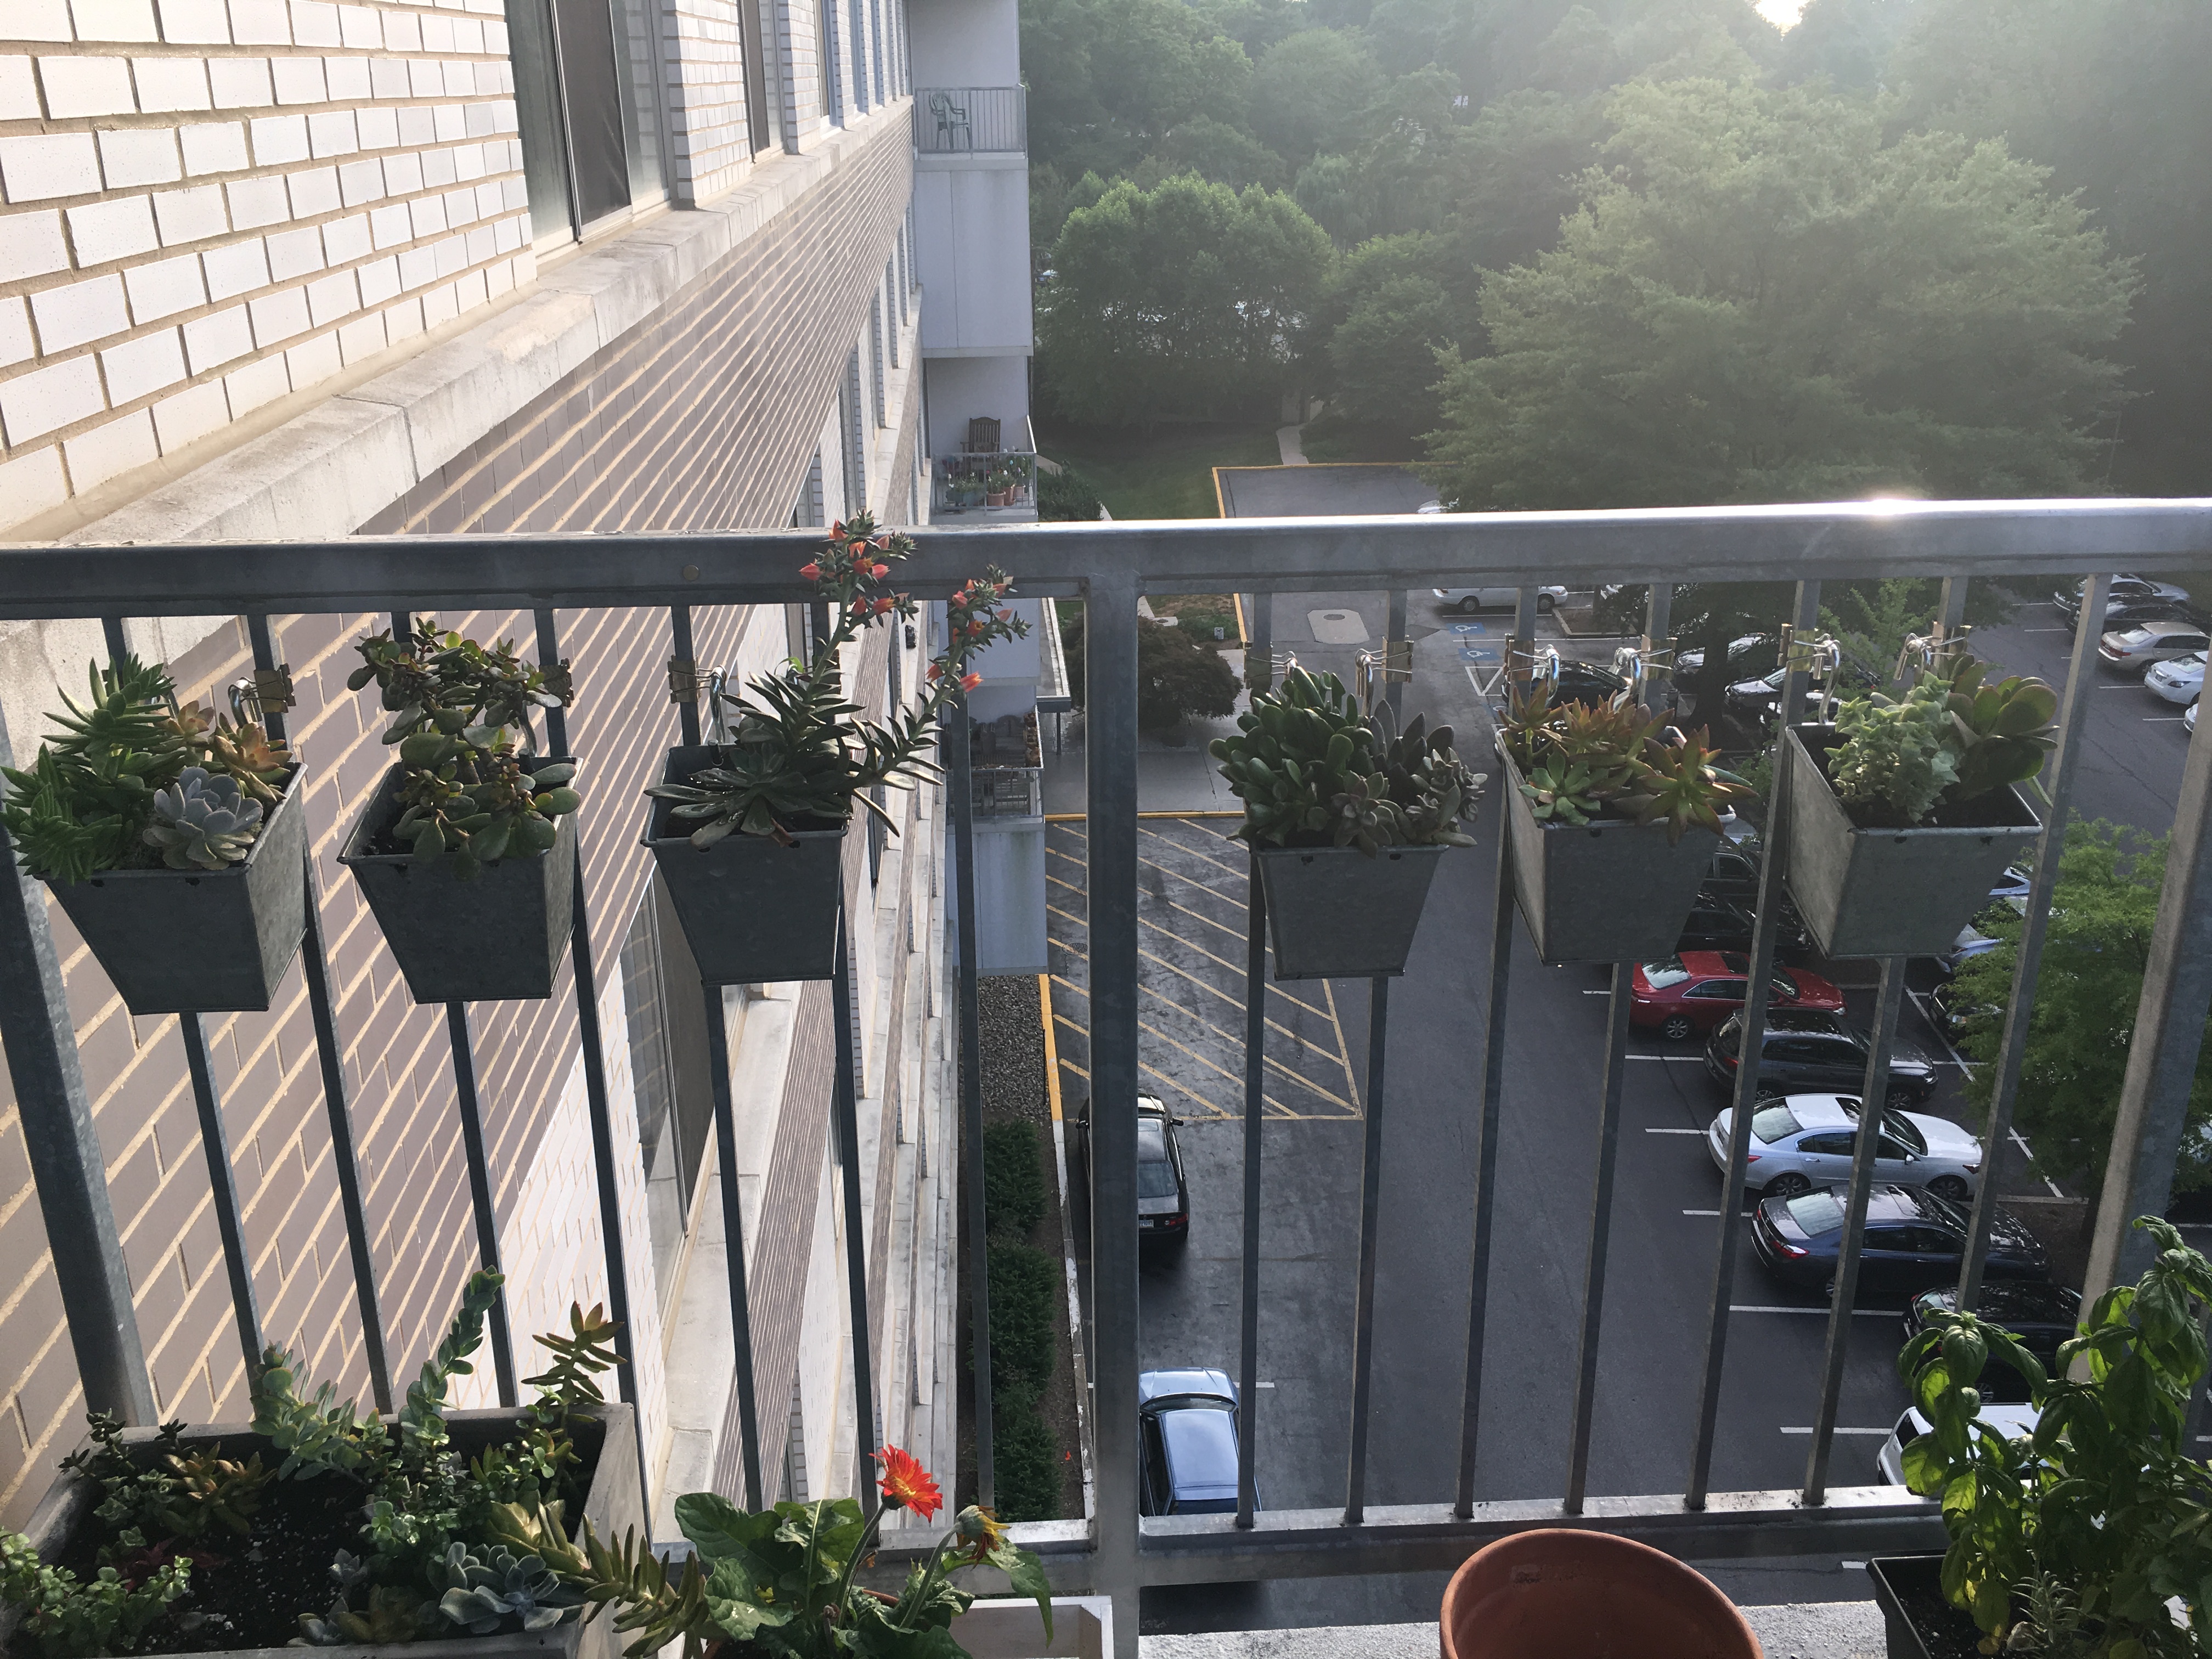
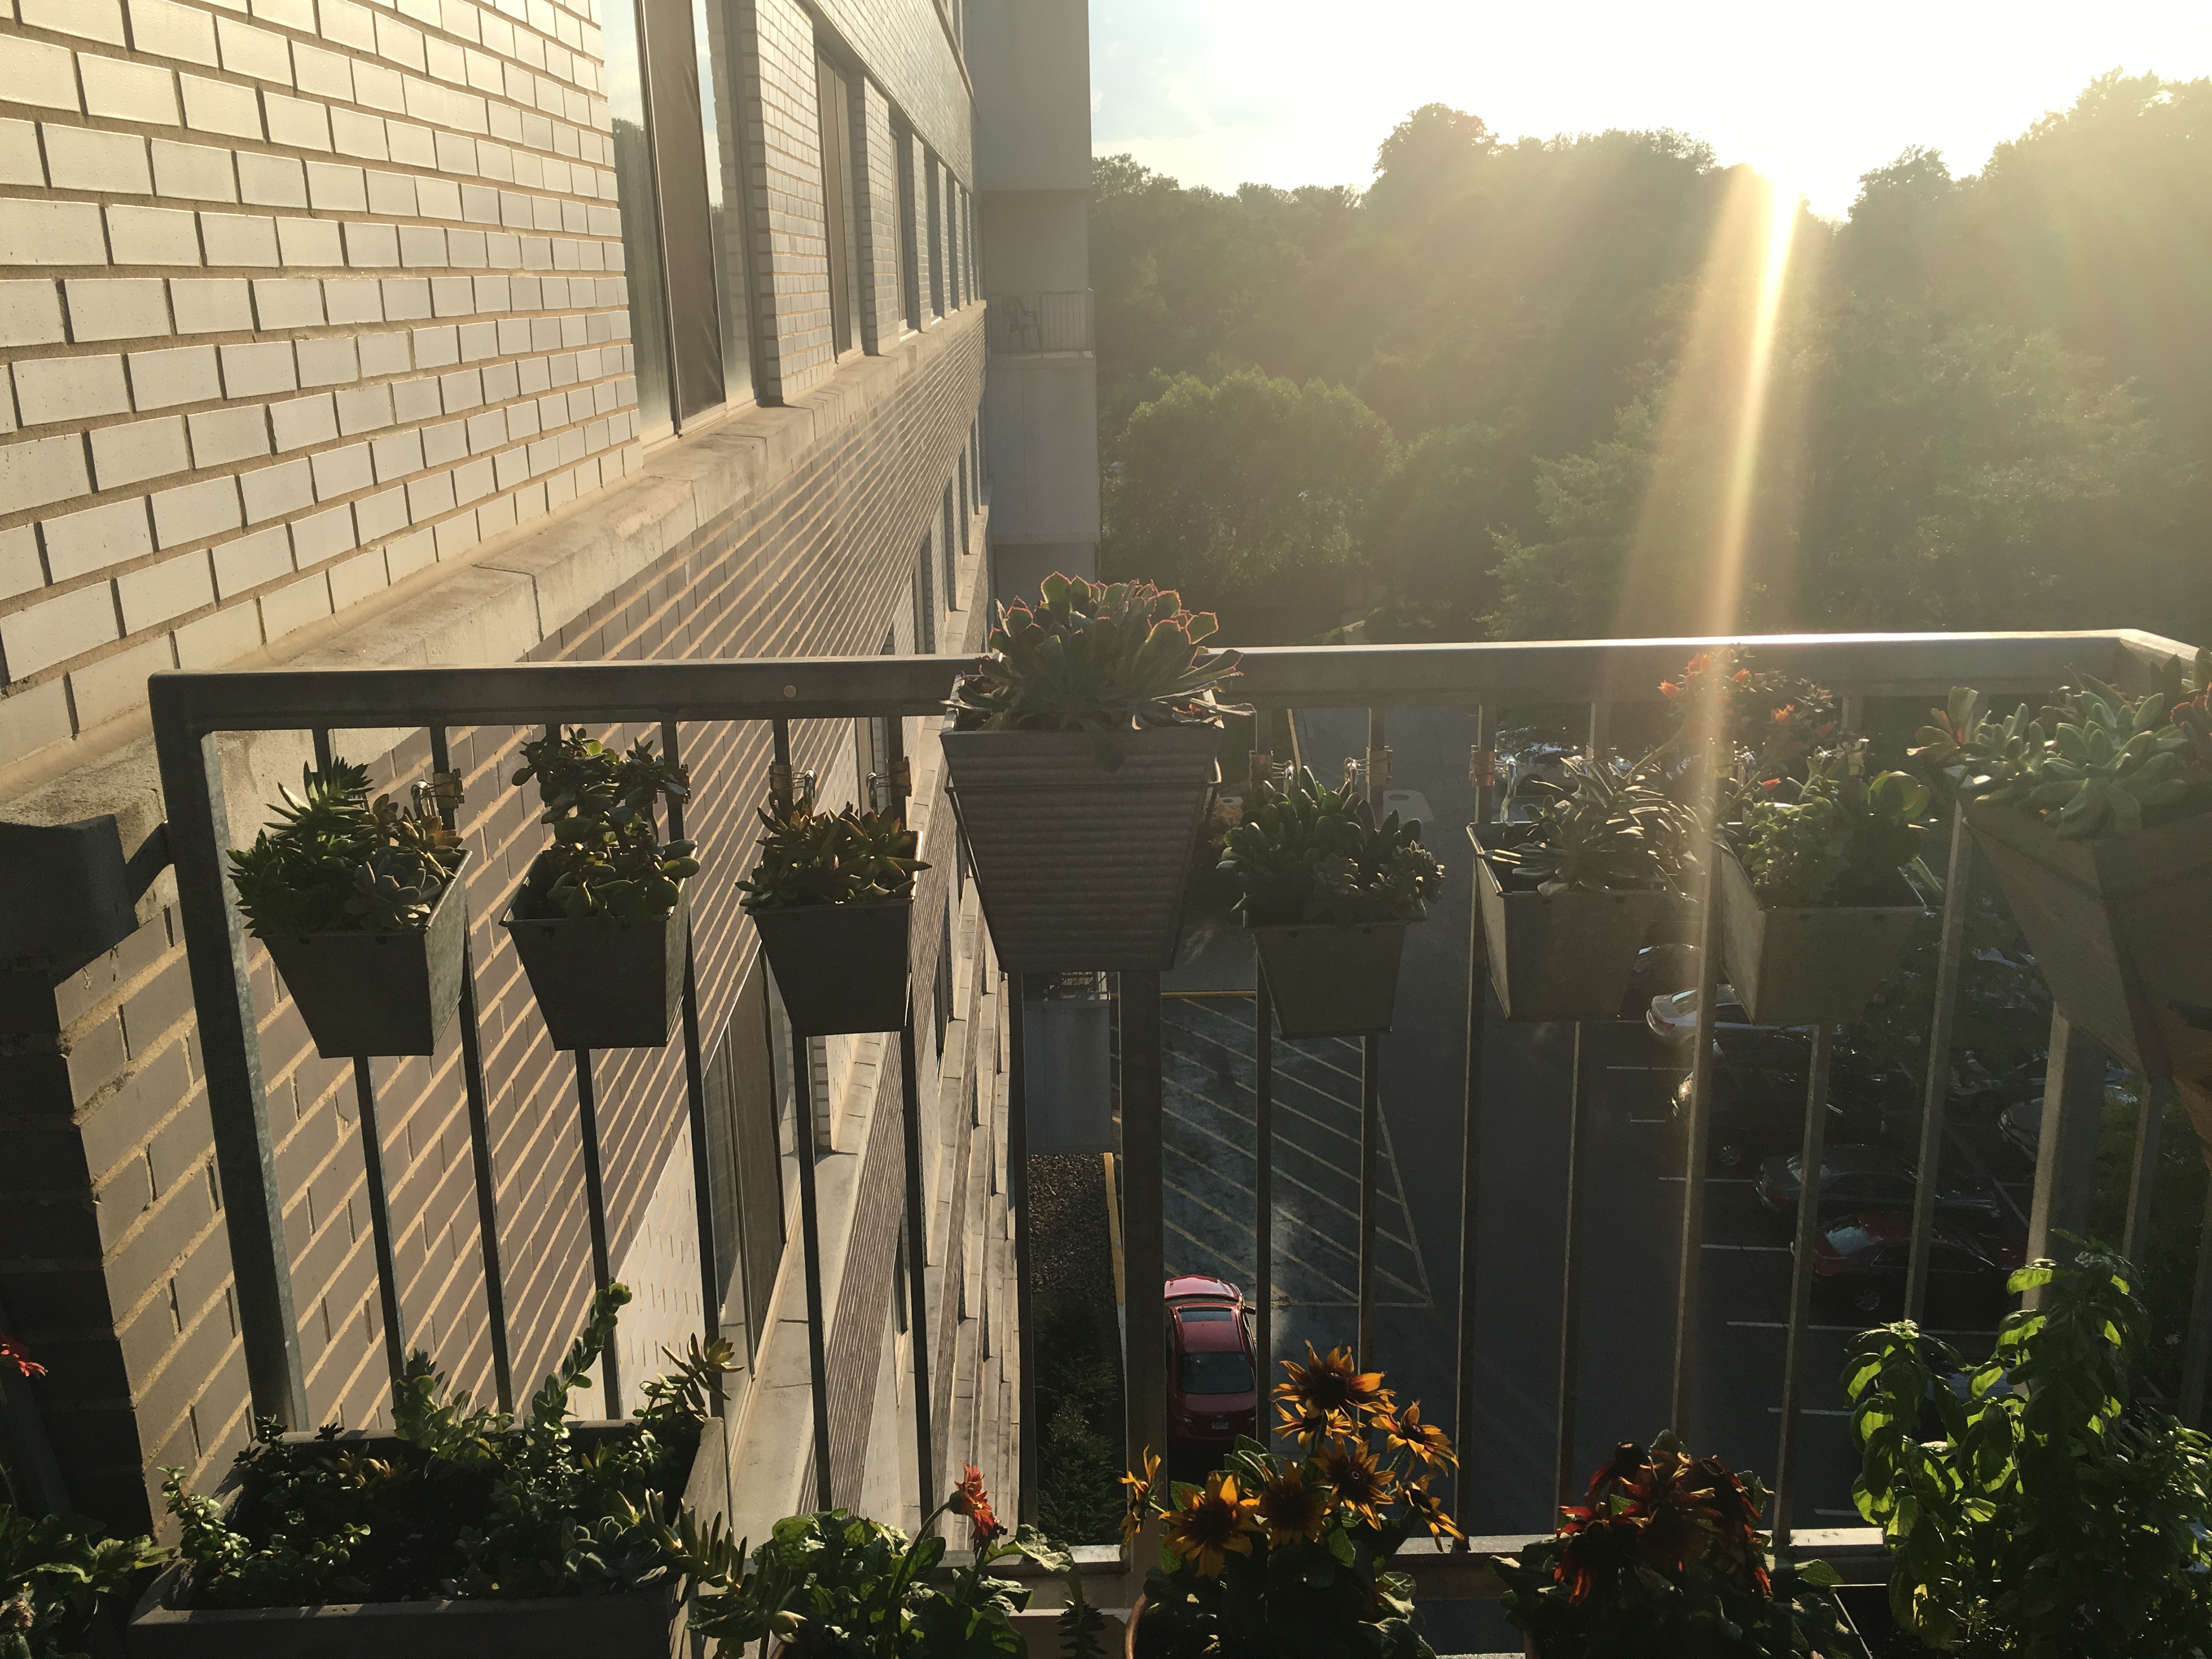
On the left side of the balcony, I mounted six square planters – each brimming with beautiful succulent blooms.
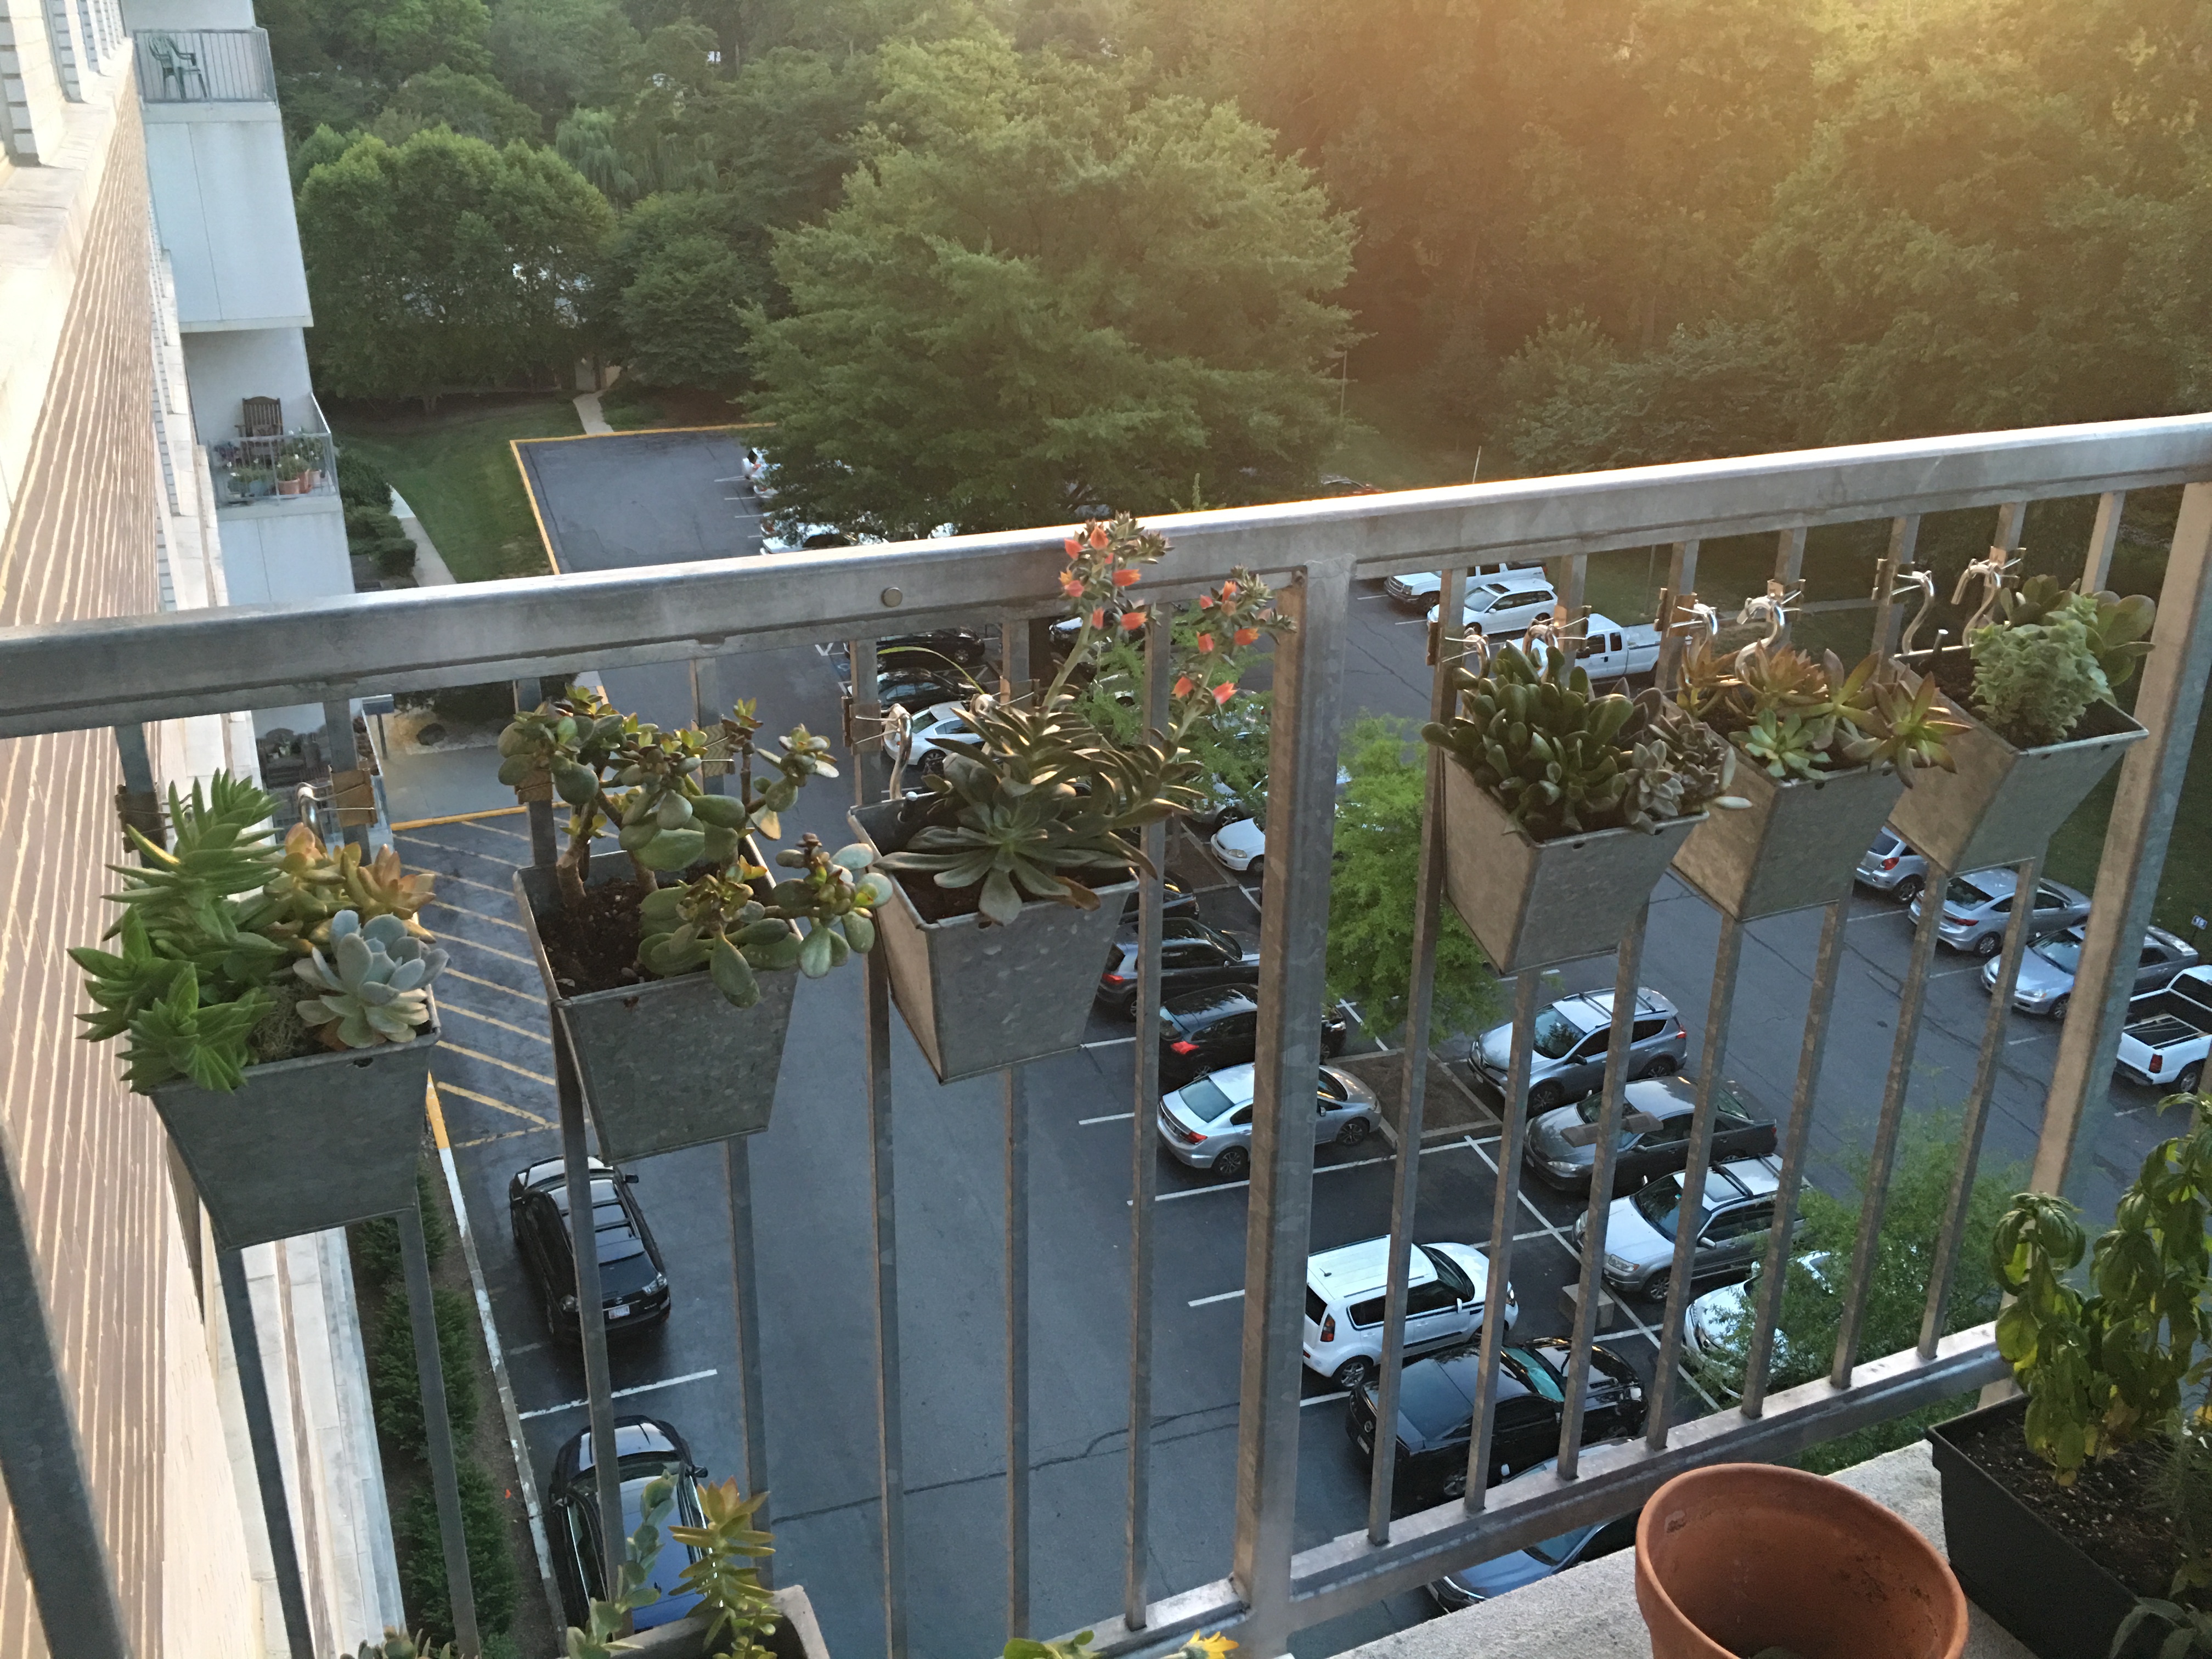
Some have warned me about hanging planters to my balcony railing using this method (cheap binder clips made in China and S hooks will not support the weight and/or will rust and disintegrate). But I’m here to tell you that these hanging planters have been completely stable and solid. They’ve withstood heavy winds, rain, cold April/May weather, blazing sun, you name it without so much as a tilt.
And the plants are thriving in this pots. Never imagined they would be so happy hanging out on the railing.
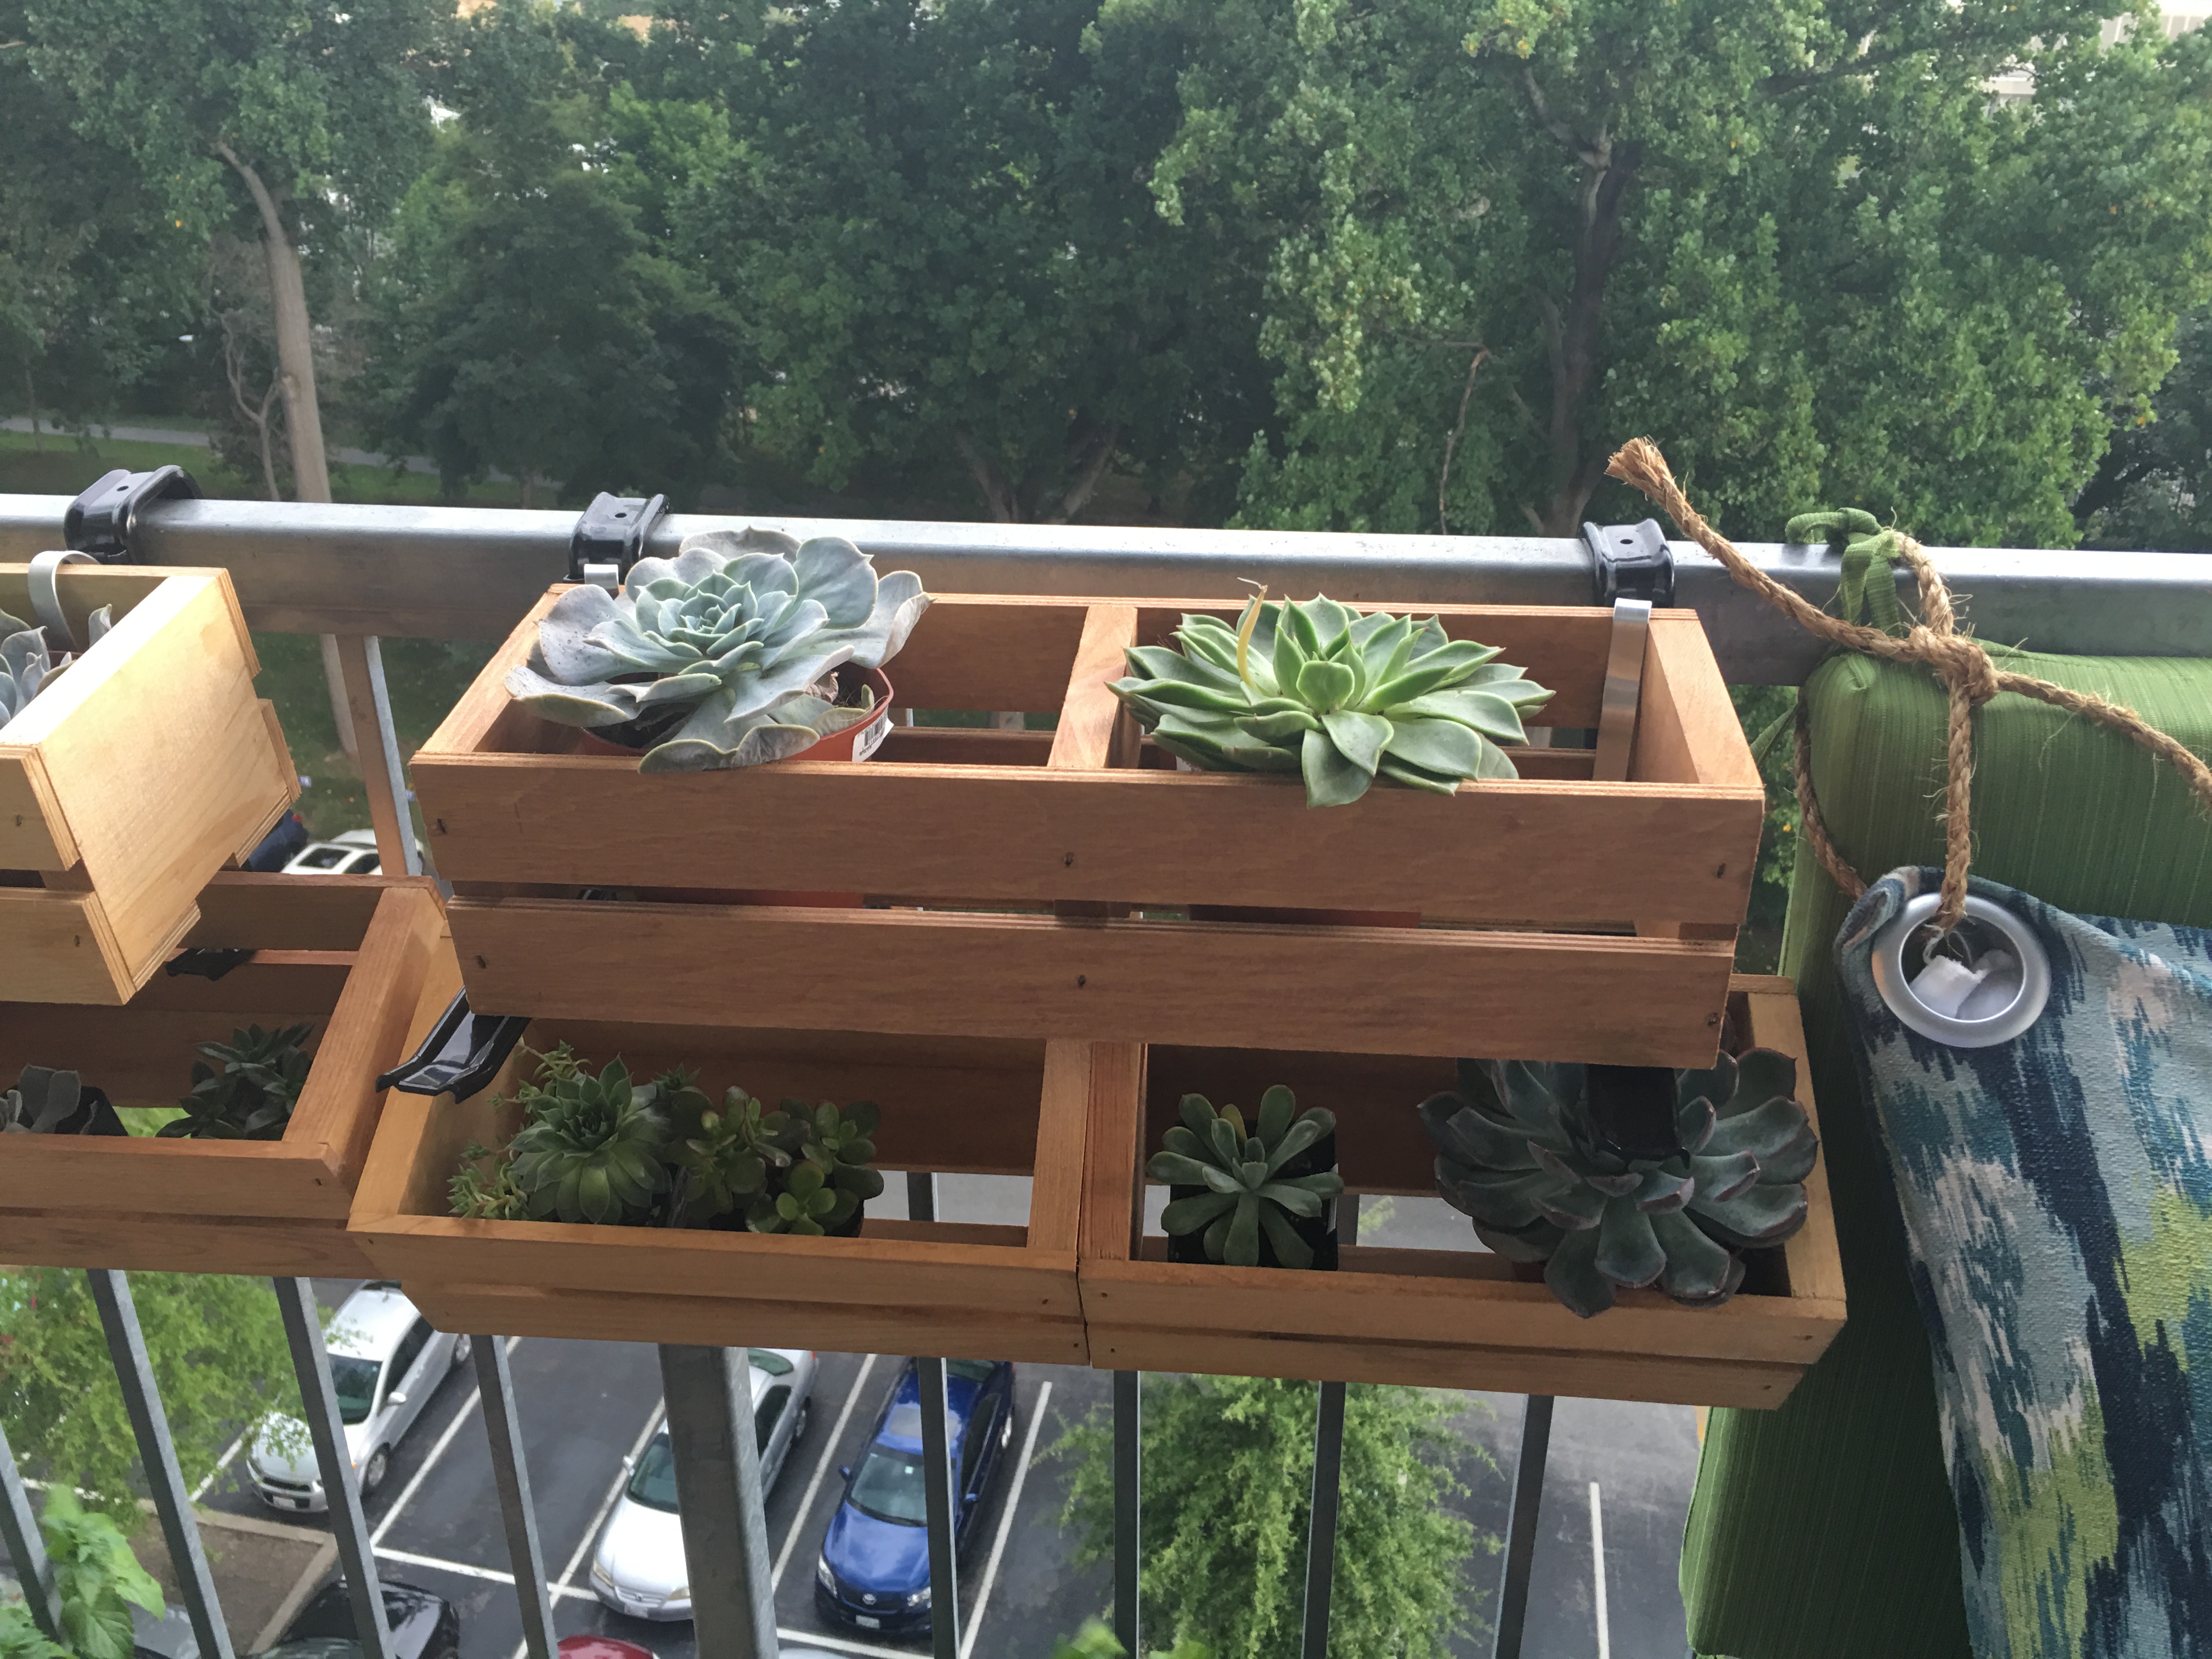
Wood crates on rail brackets
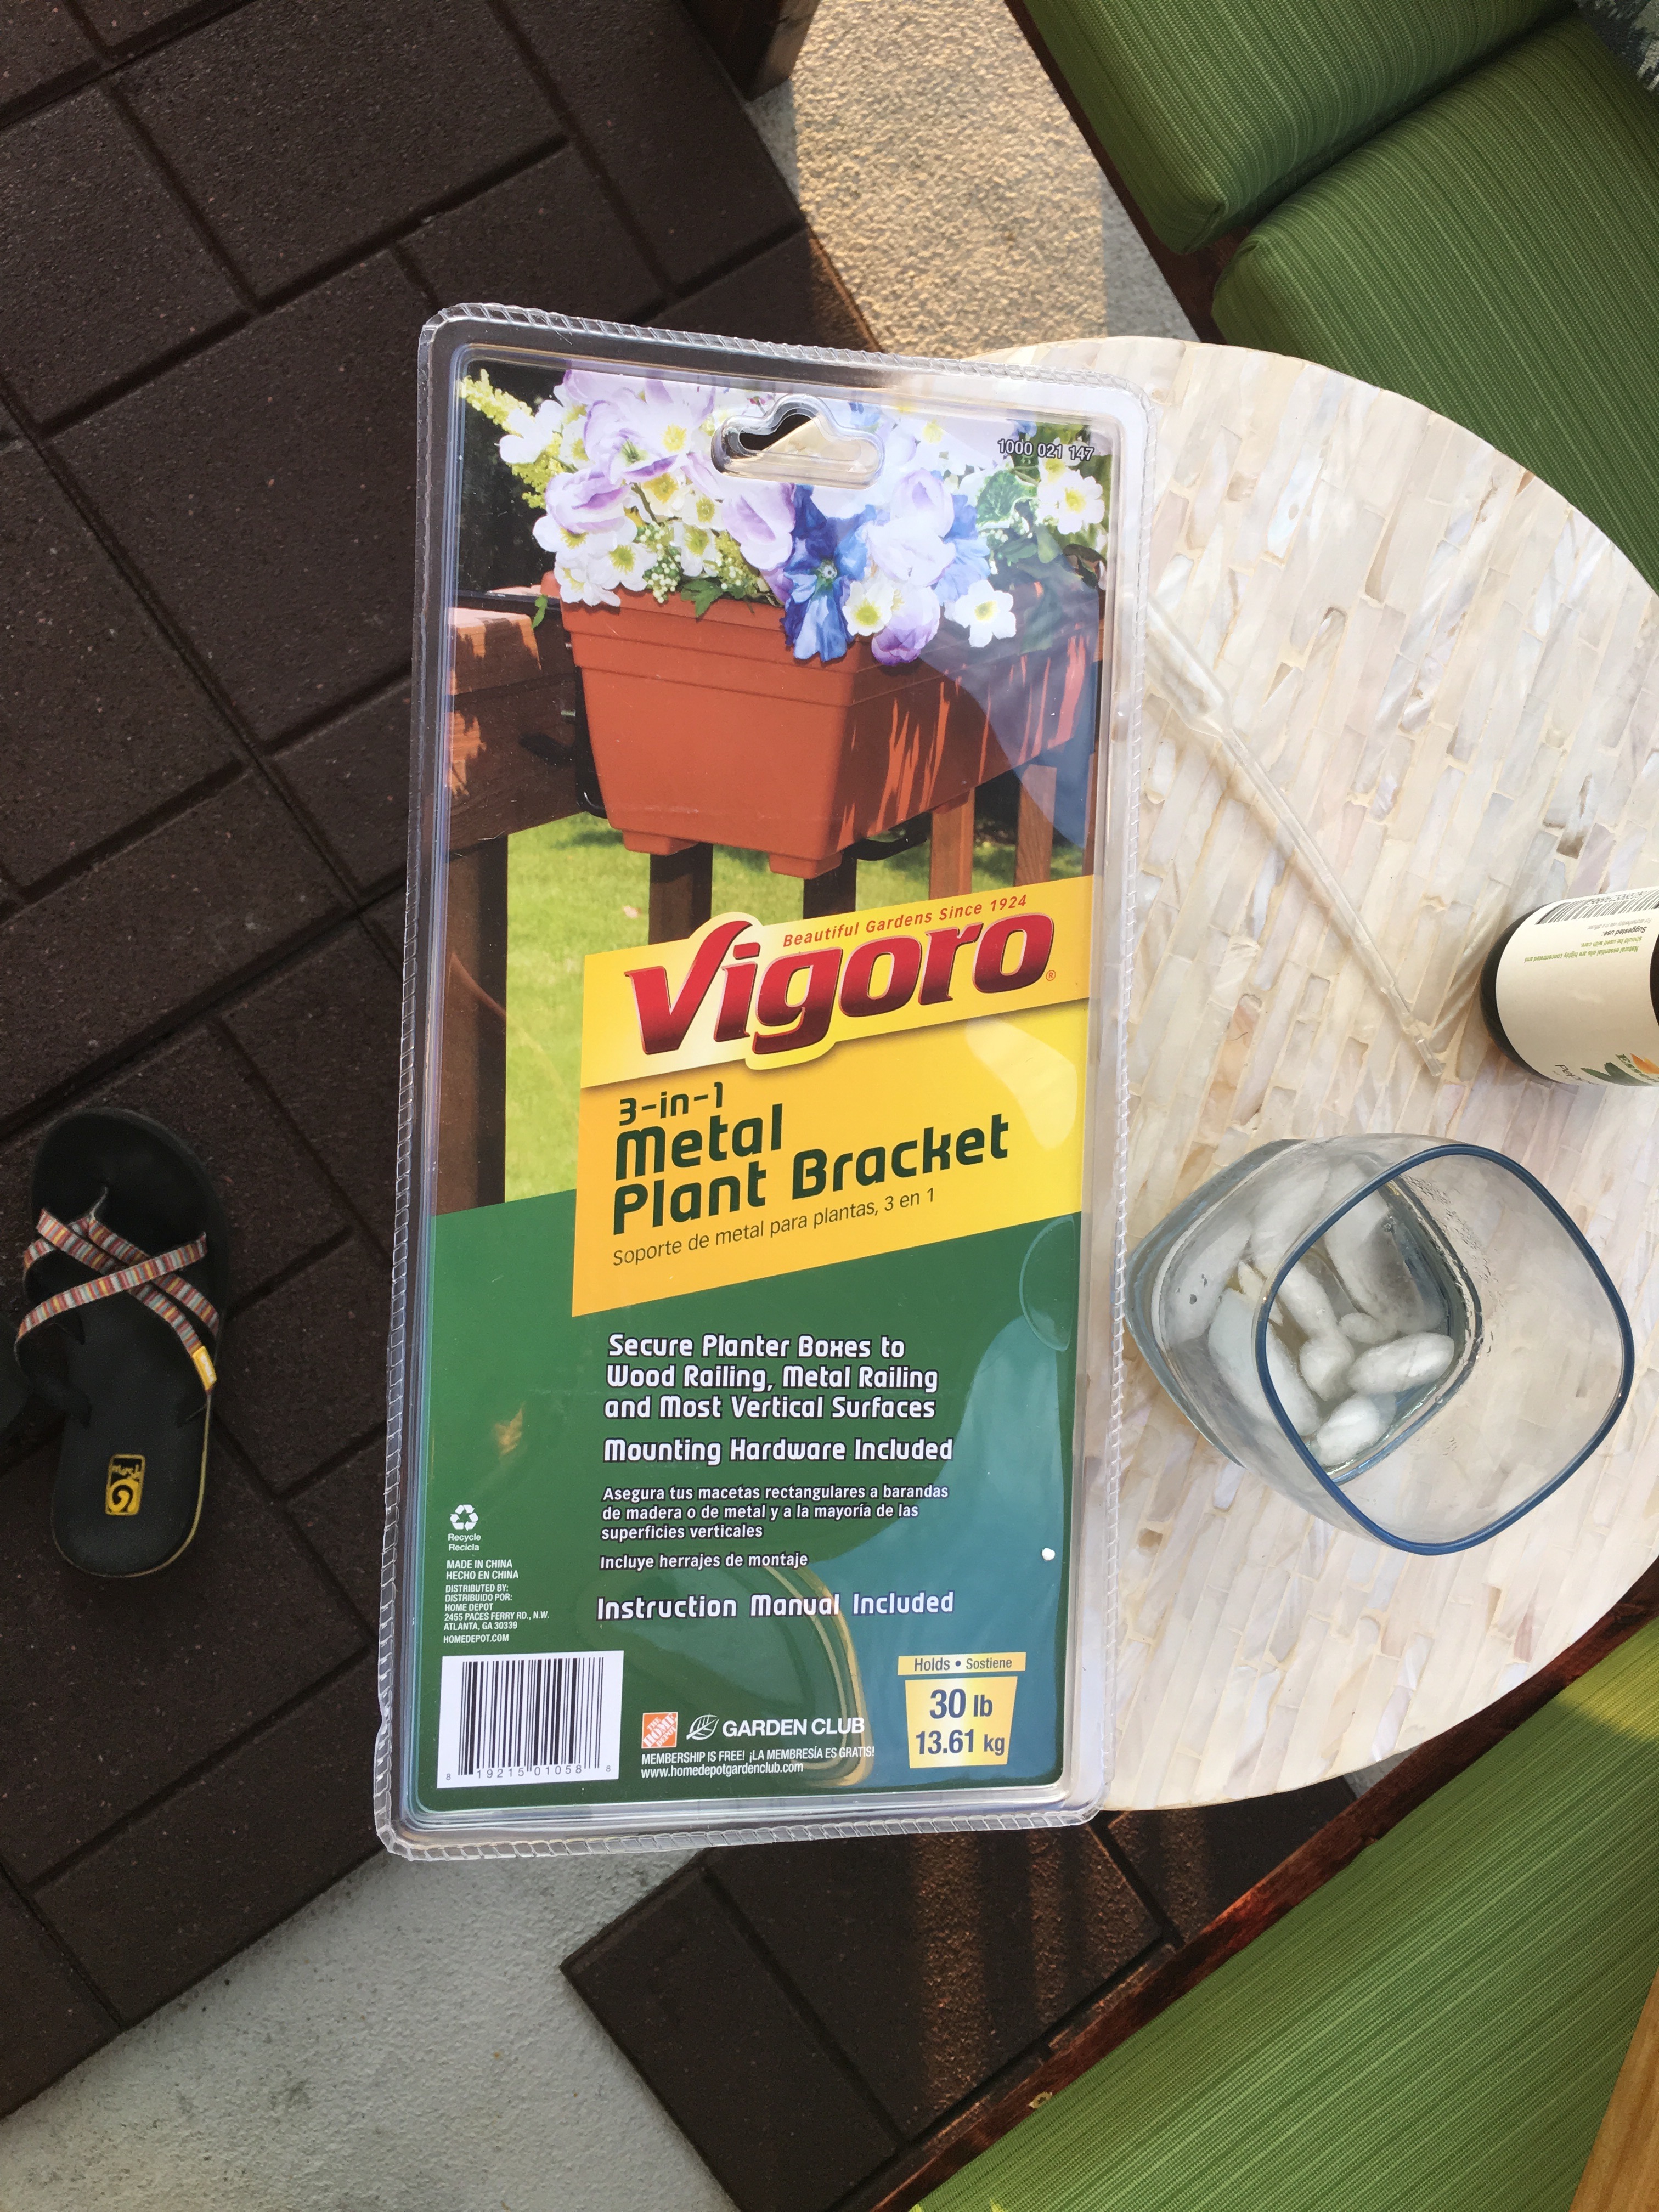
The next step is to add some crates for flower pots and herbs. I originally got a couple of Vigoro metal plant brackets and huge, black plastic planters to mount on the railing.
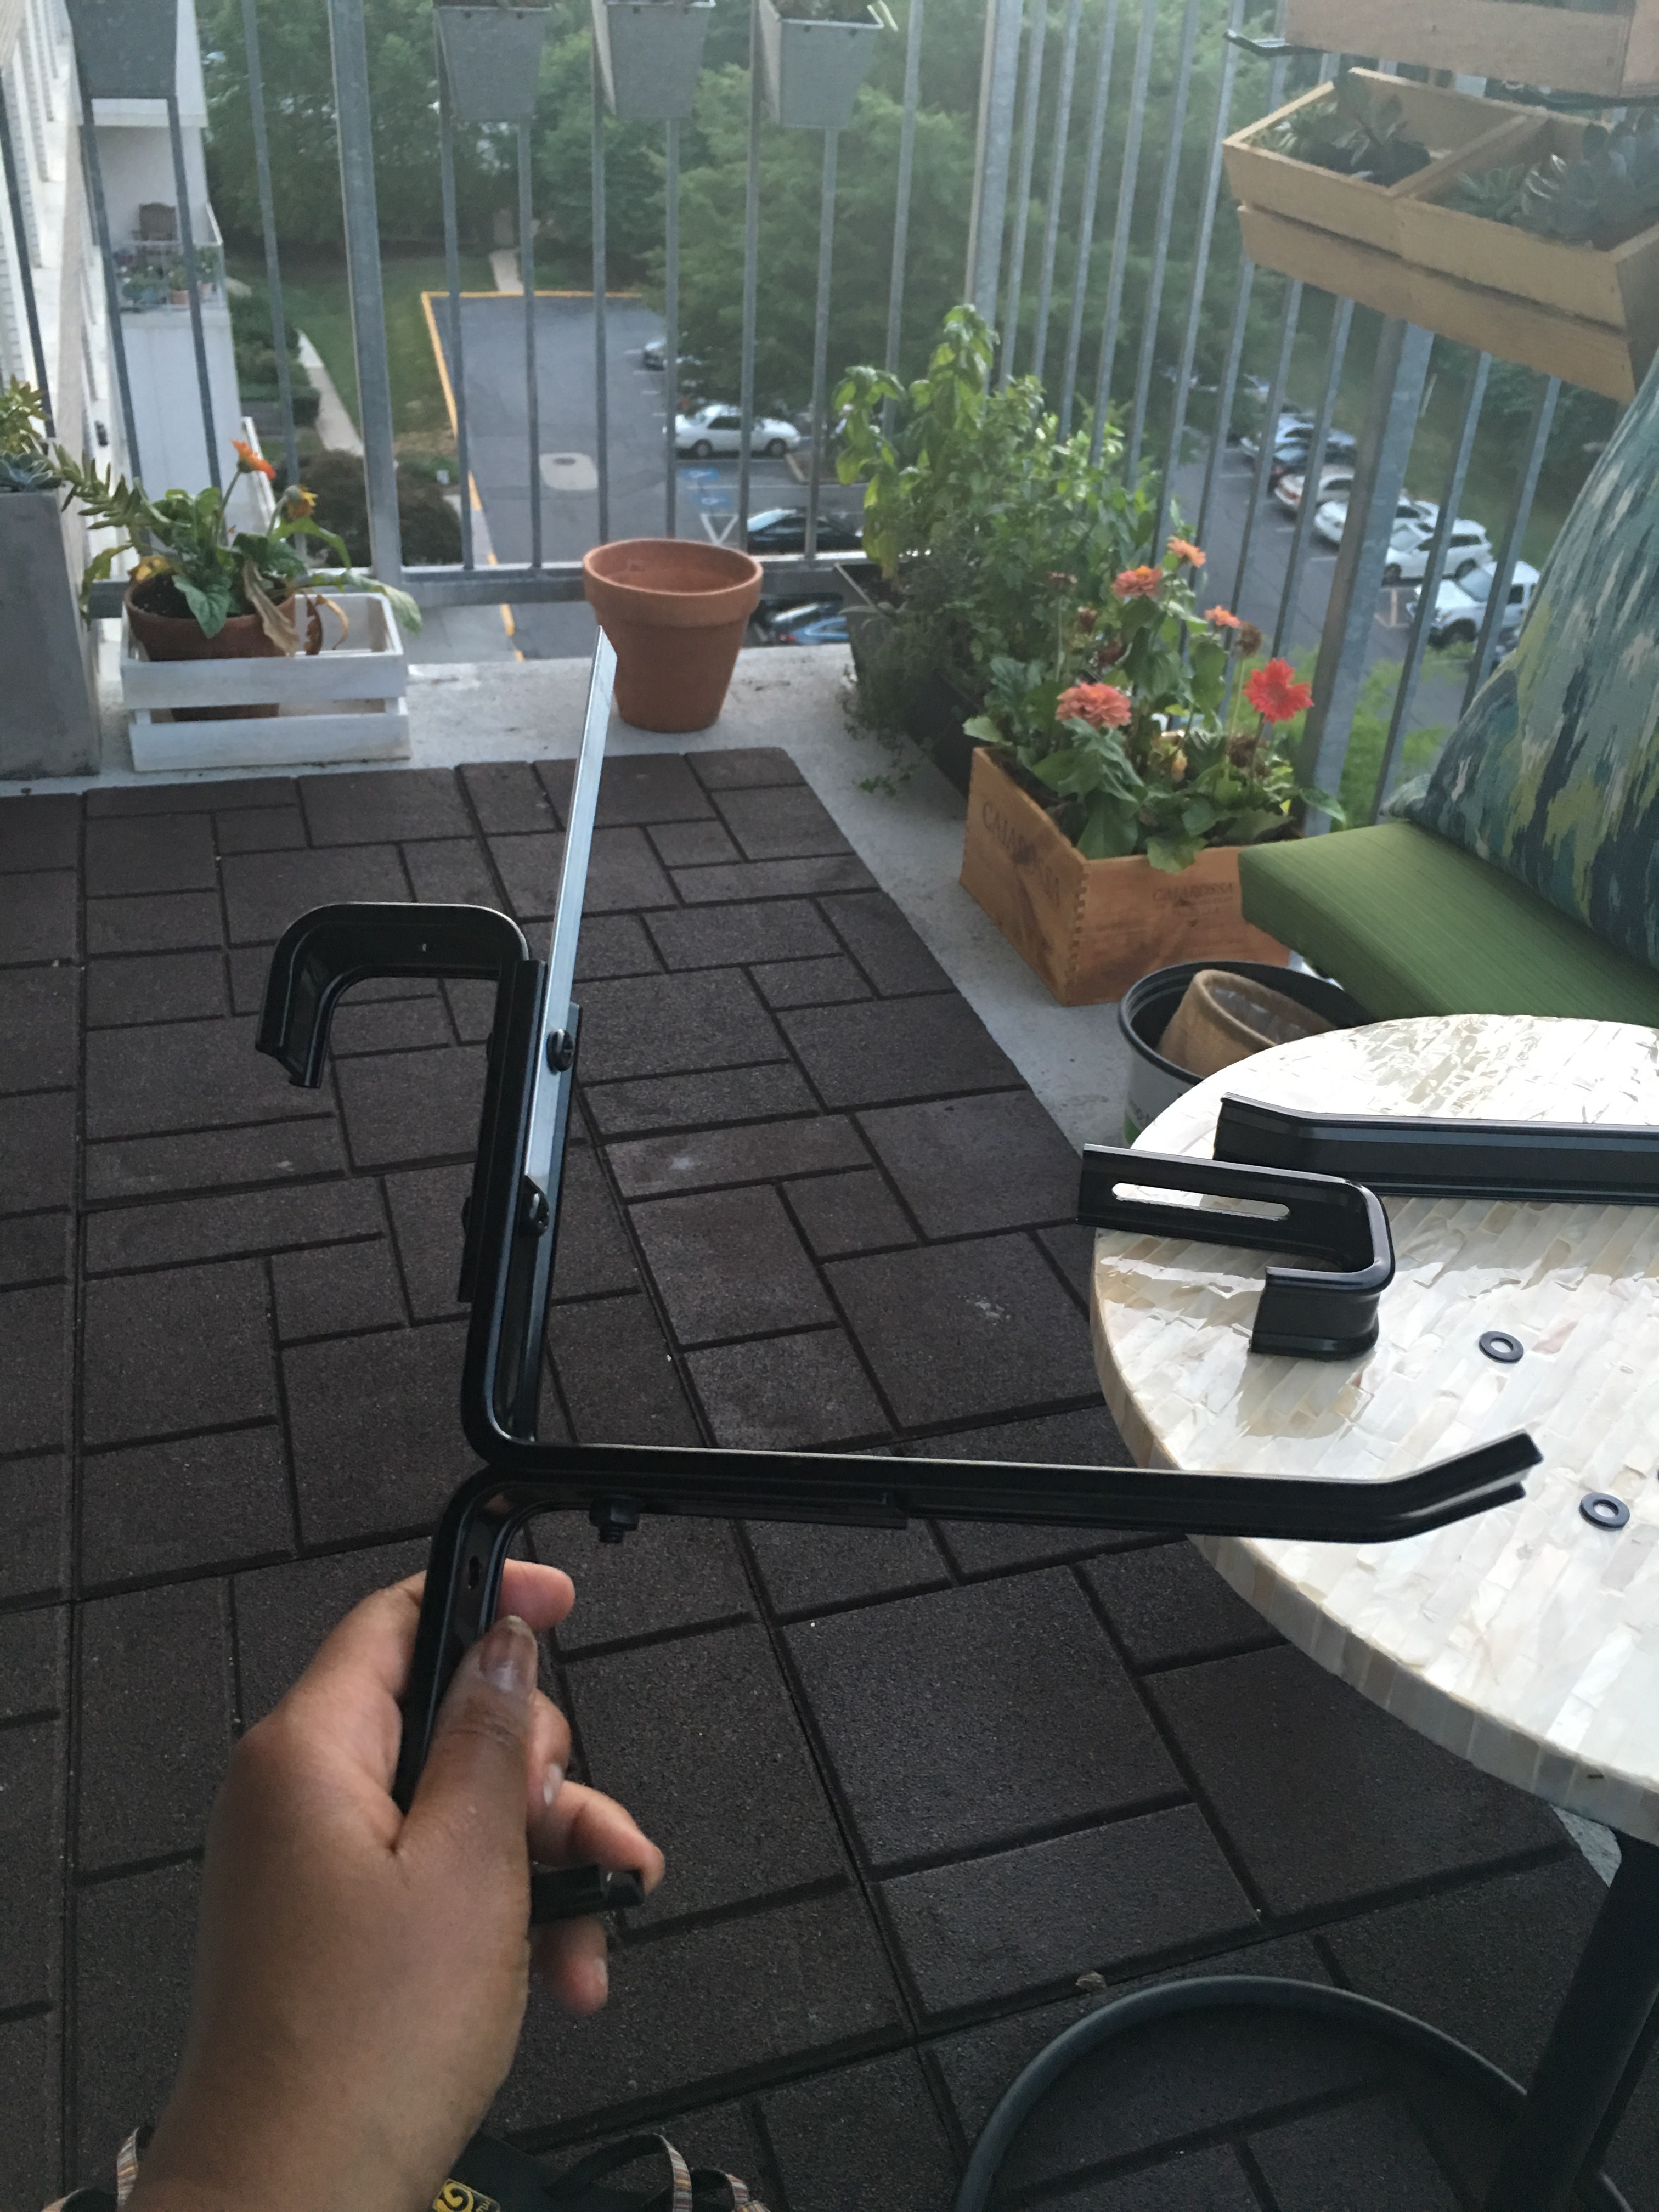
Assembling the bracket is pretty simple (no tools needed). There are three different ways to assemble it depending on the type of mount you need. This is the assembly for a metal rail.
After assembling the first bracket, I decided to try adding one of my flower crates to it (to see how it looks).
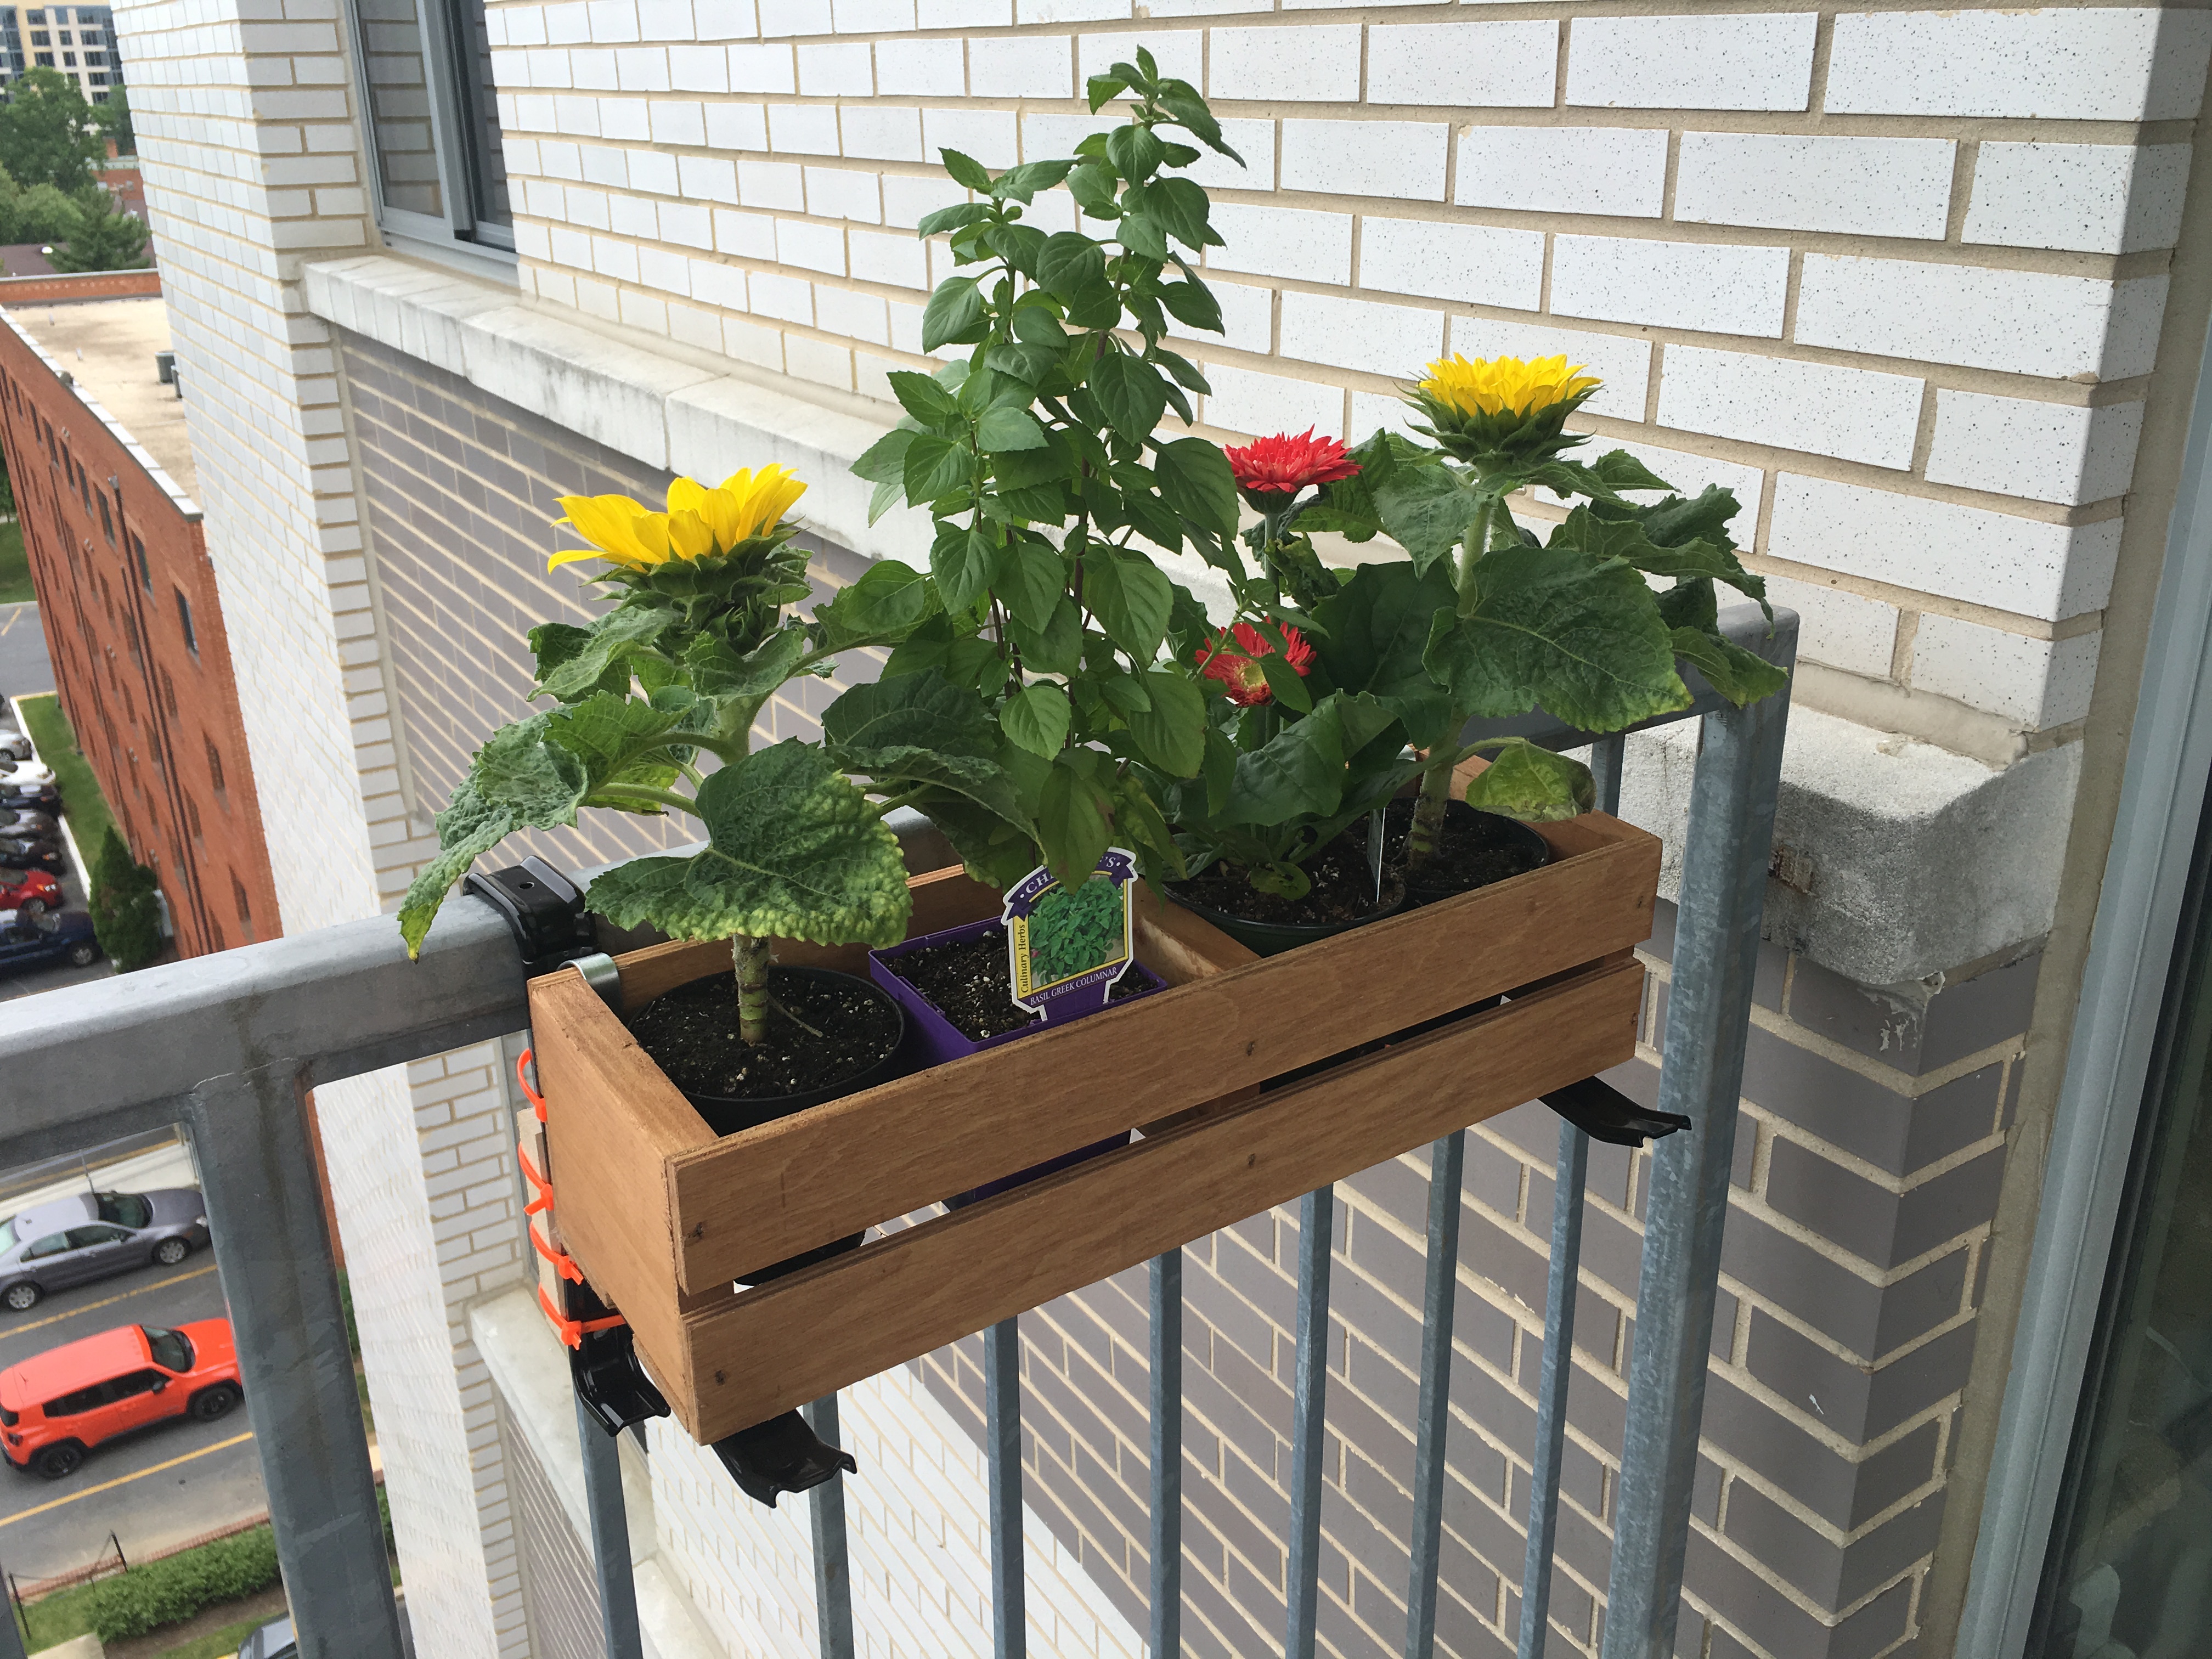
Needless to say, I absolutely love this look (and this use of my flower crates). So I added two to each bracket.
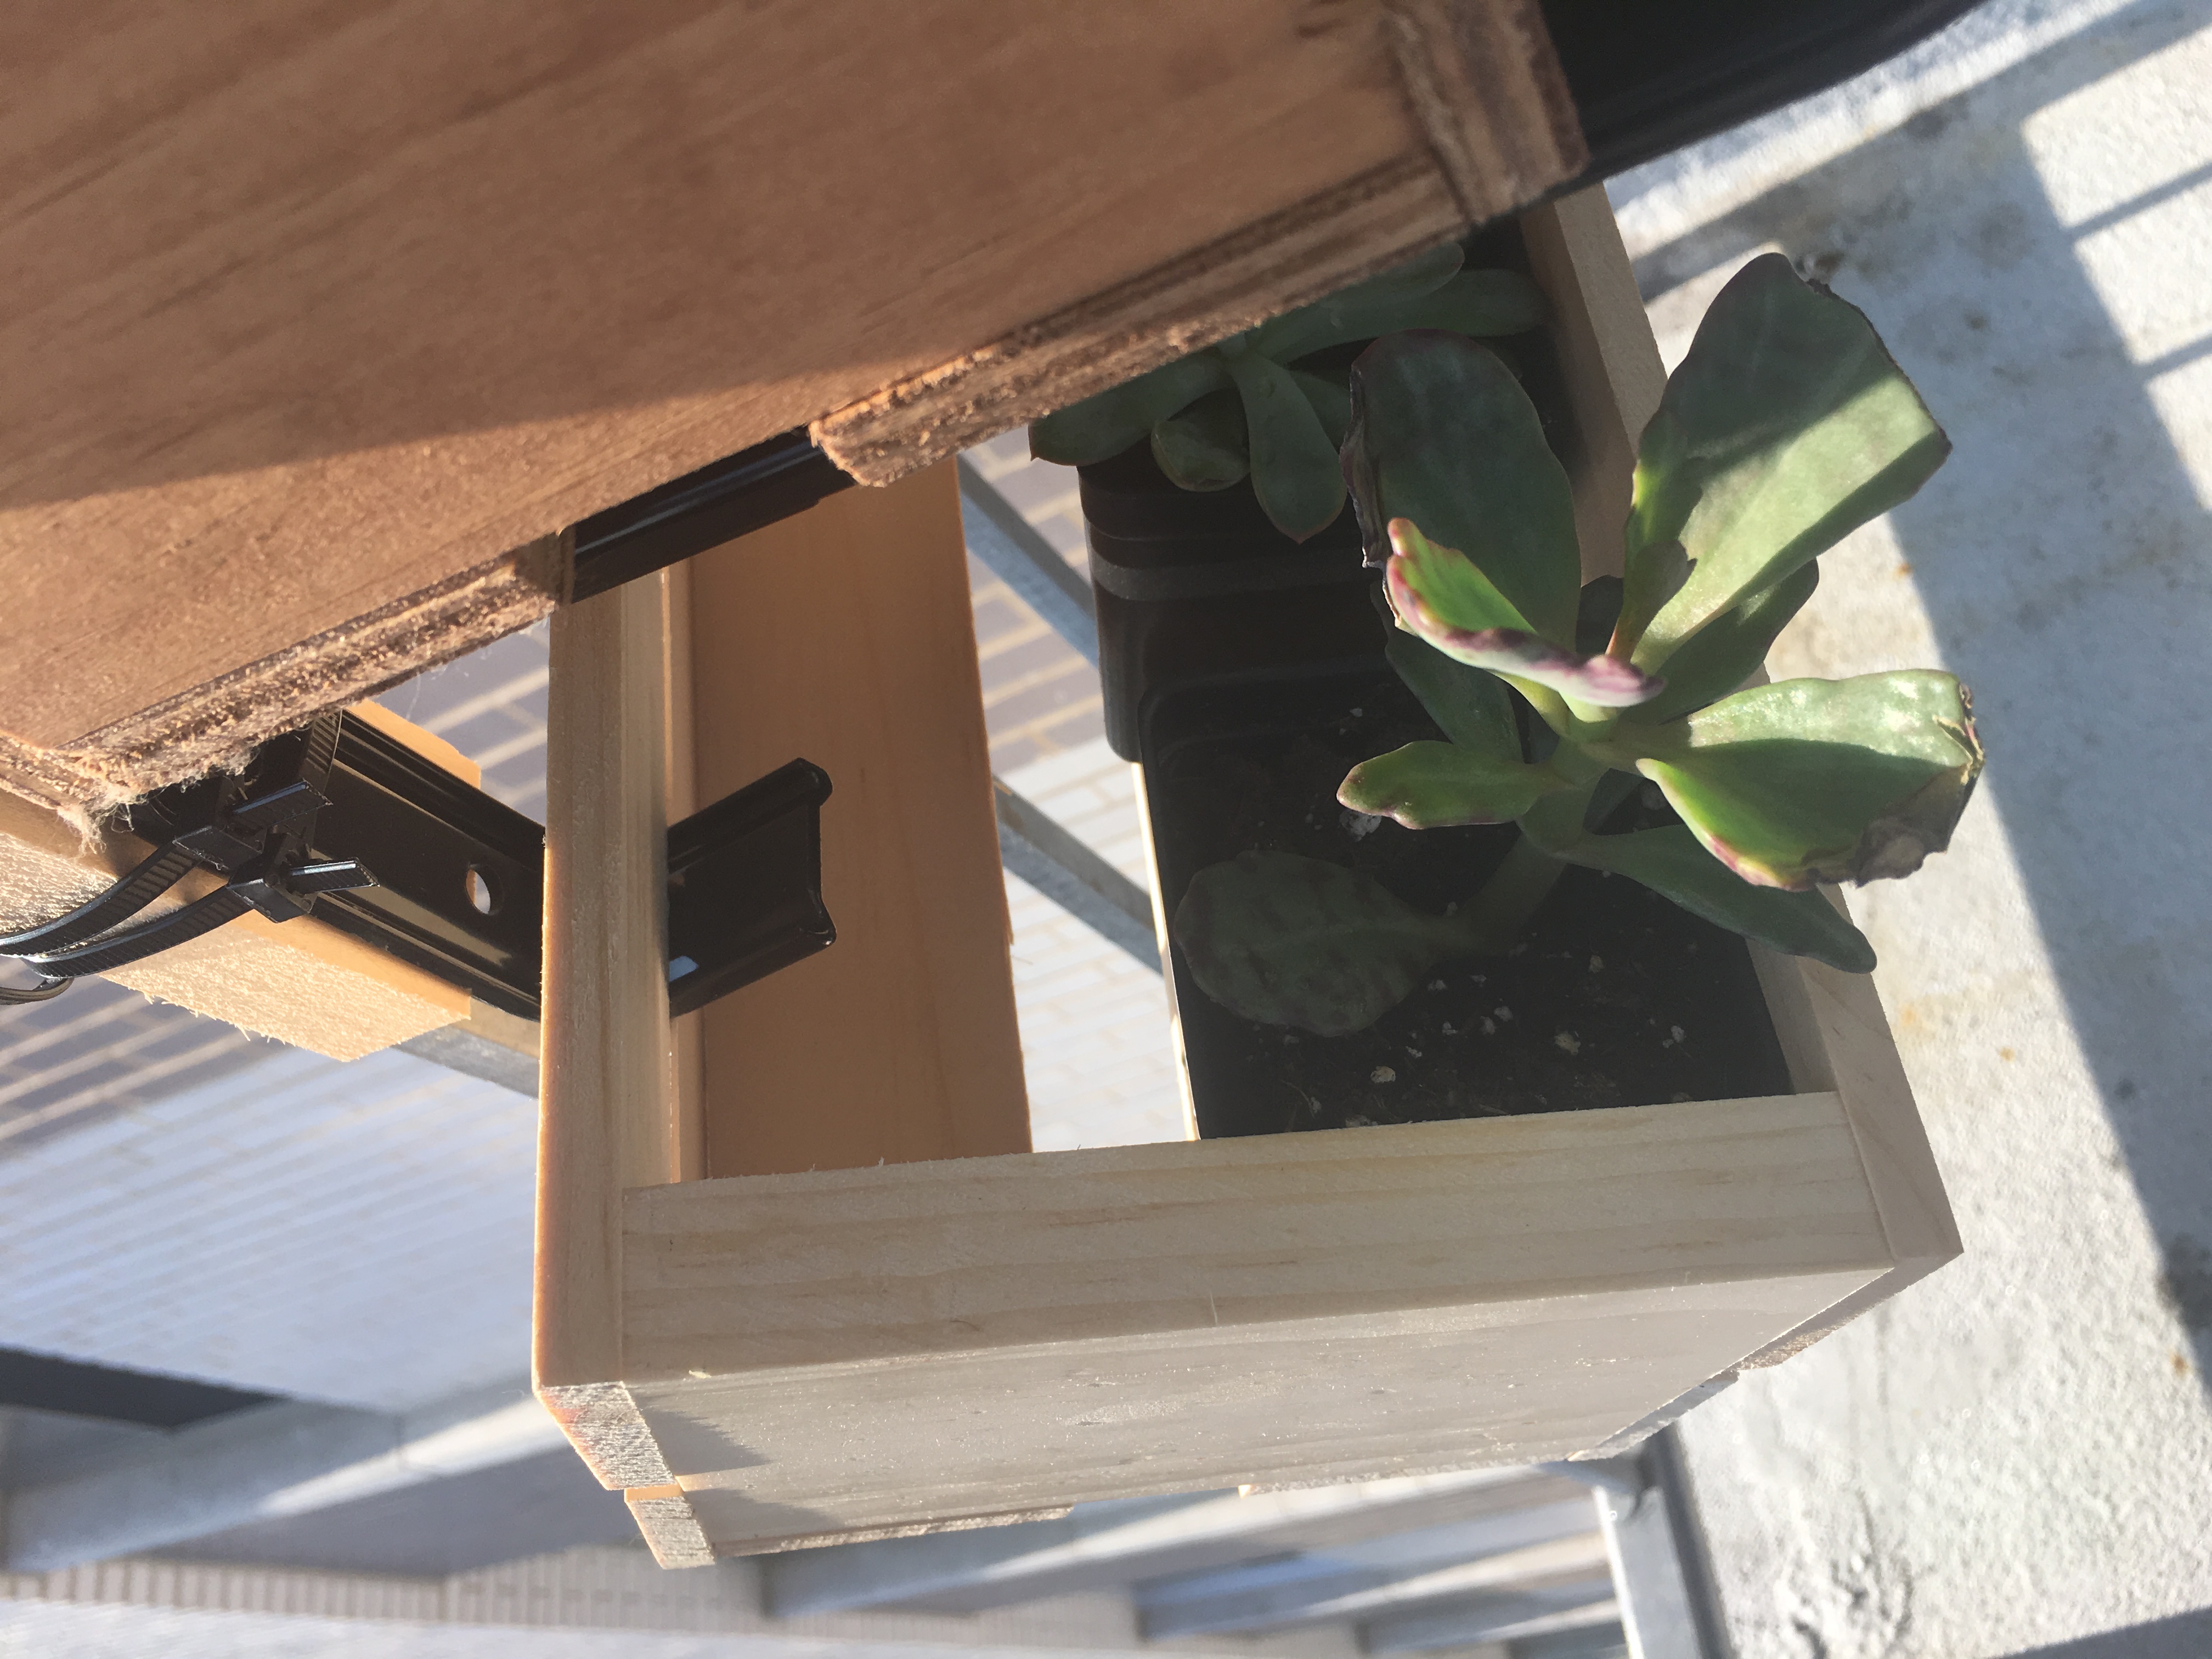
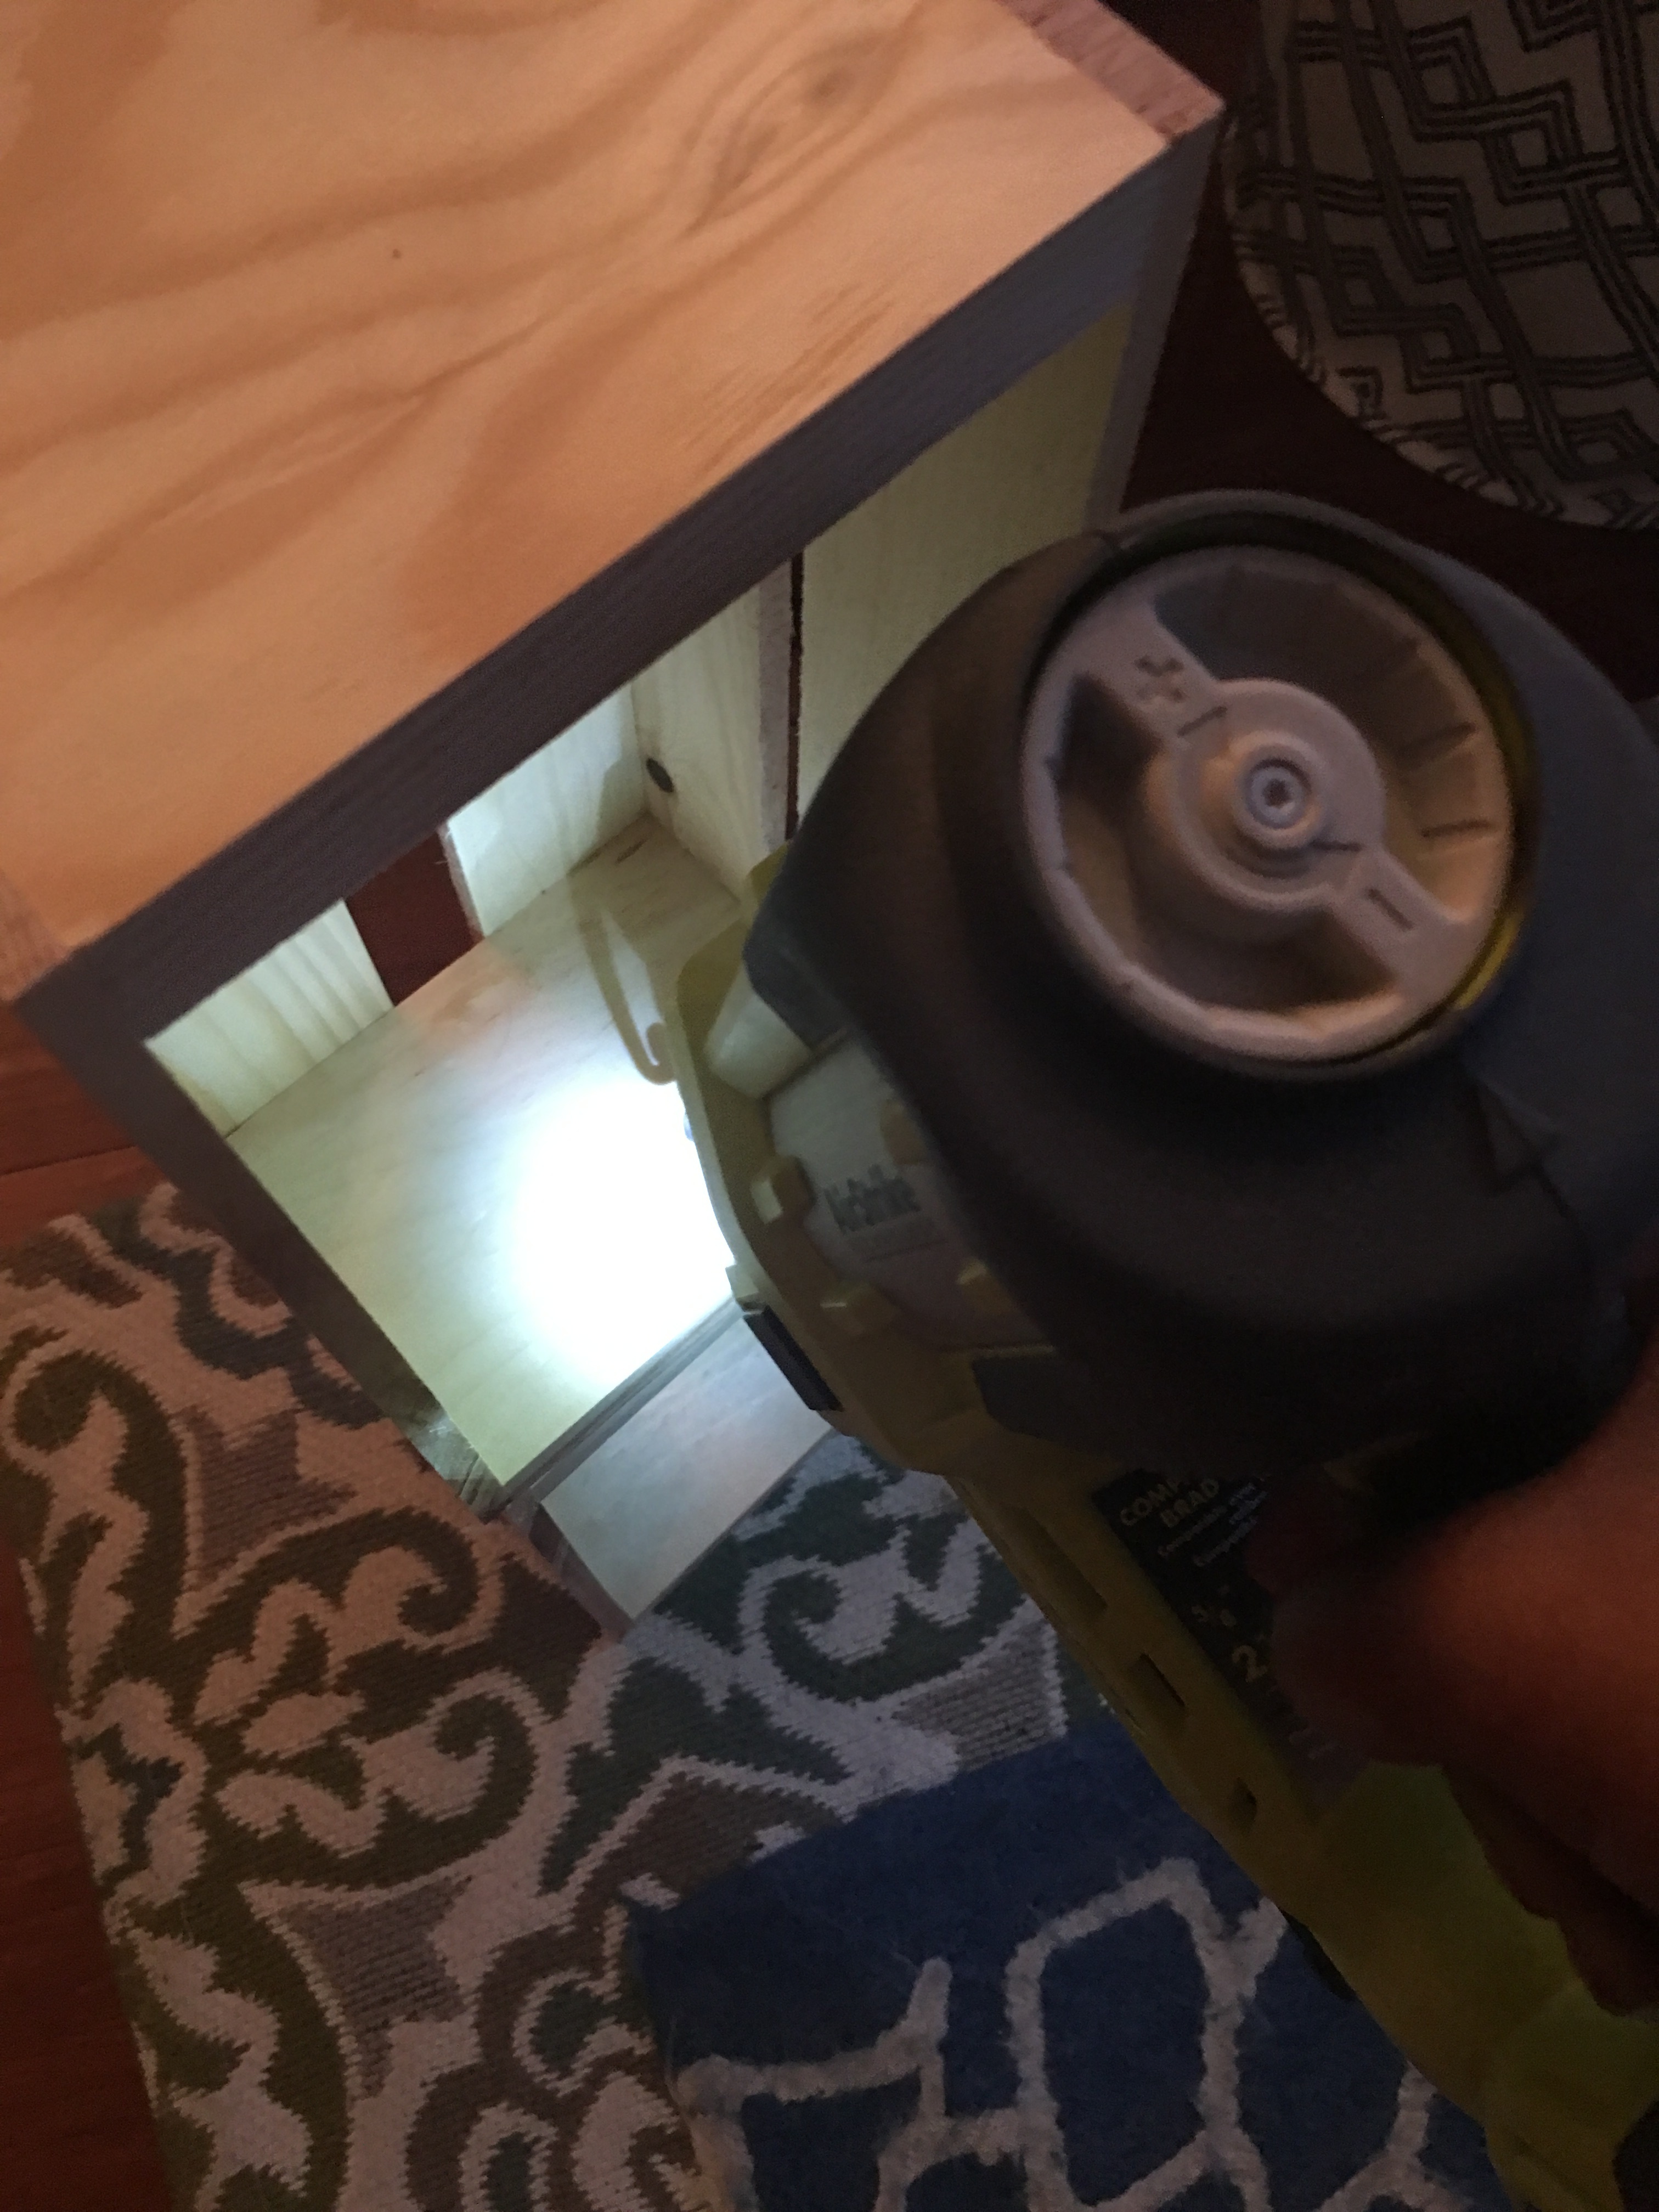
I decided to create a longer crate for the bottom hooks of the bracket.

I simply slide the crate onto the bracket hooks on the bottom. And it’s securely mounted. Rain and wind tested.
I’ve been using pre-assembled project wood crates from A.C. Moore.
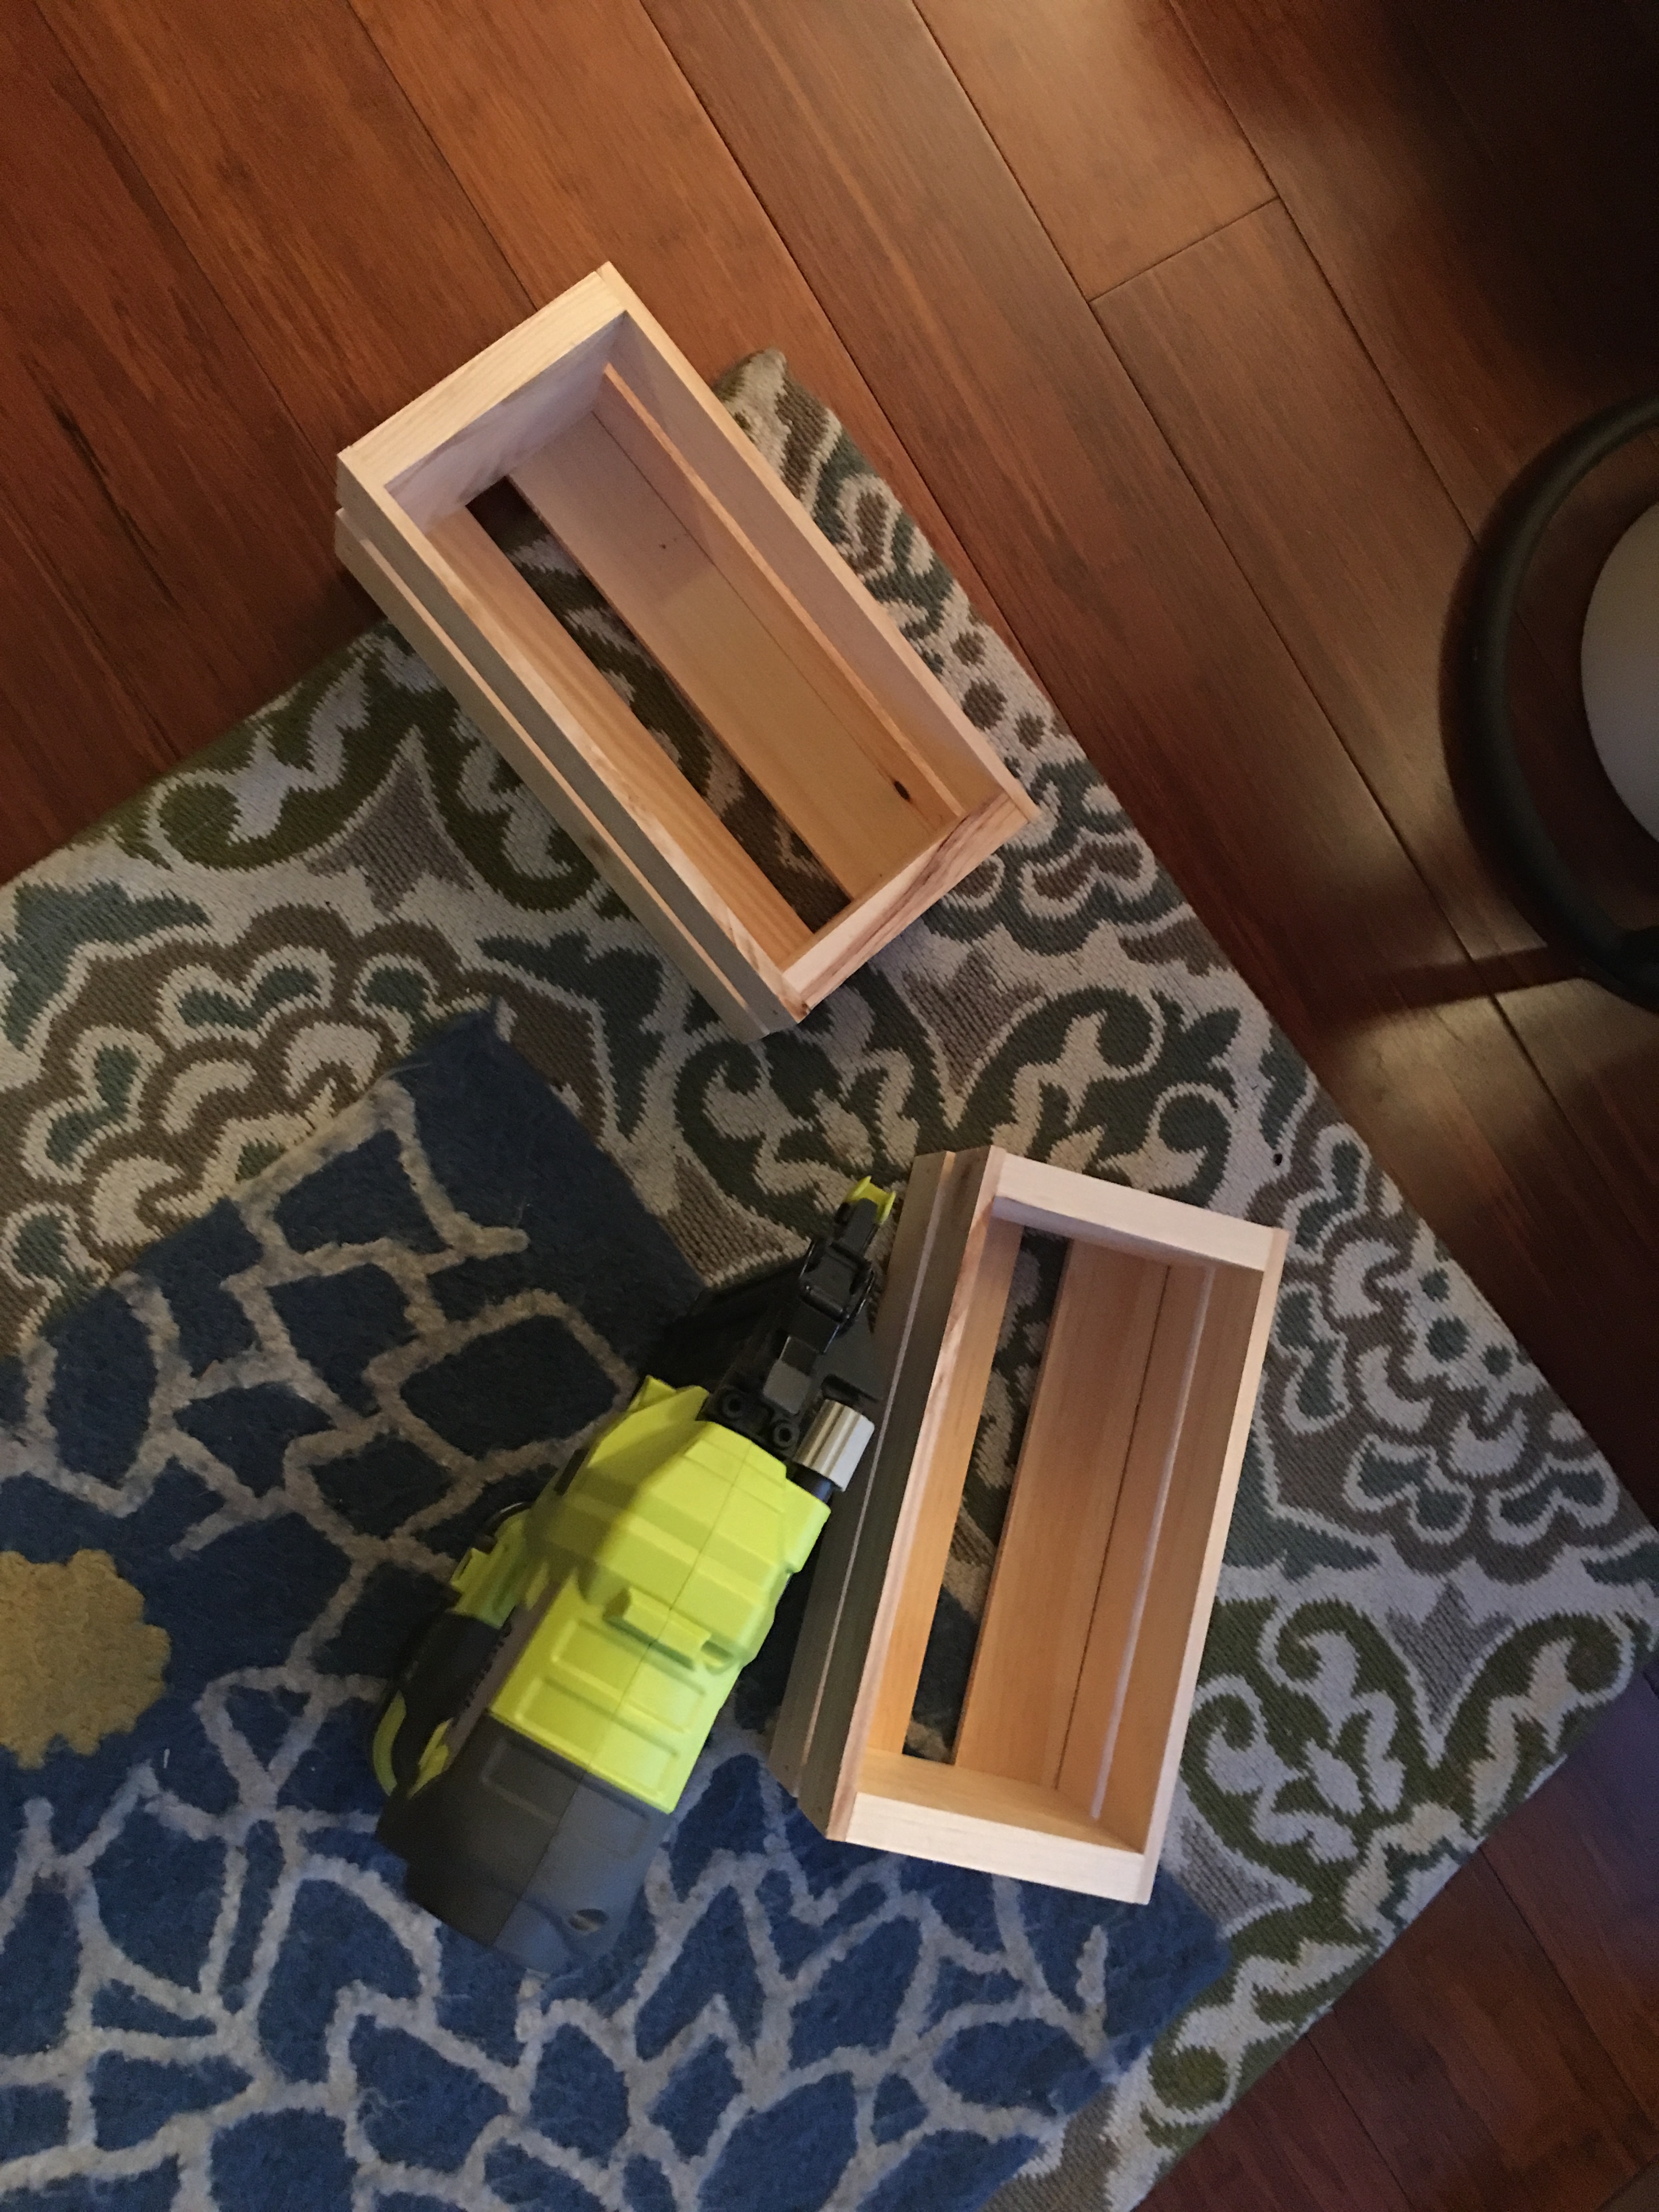
For the longer crate, I used a nail gun to staple two crates together.
And they are perfect to put up to four 4-5″ plant pots in (or several smaller pots).
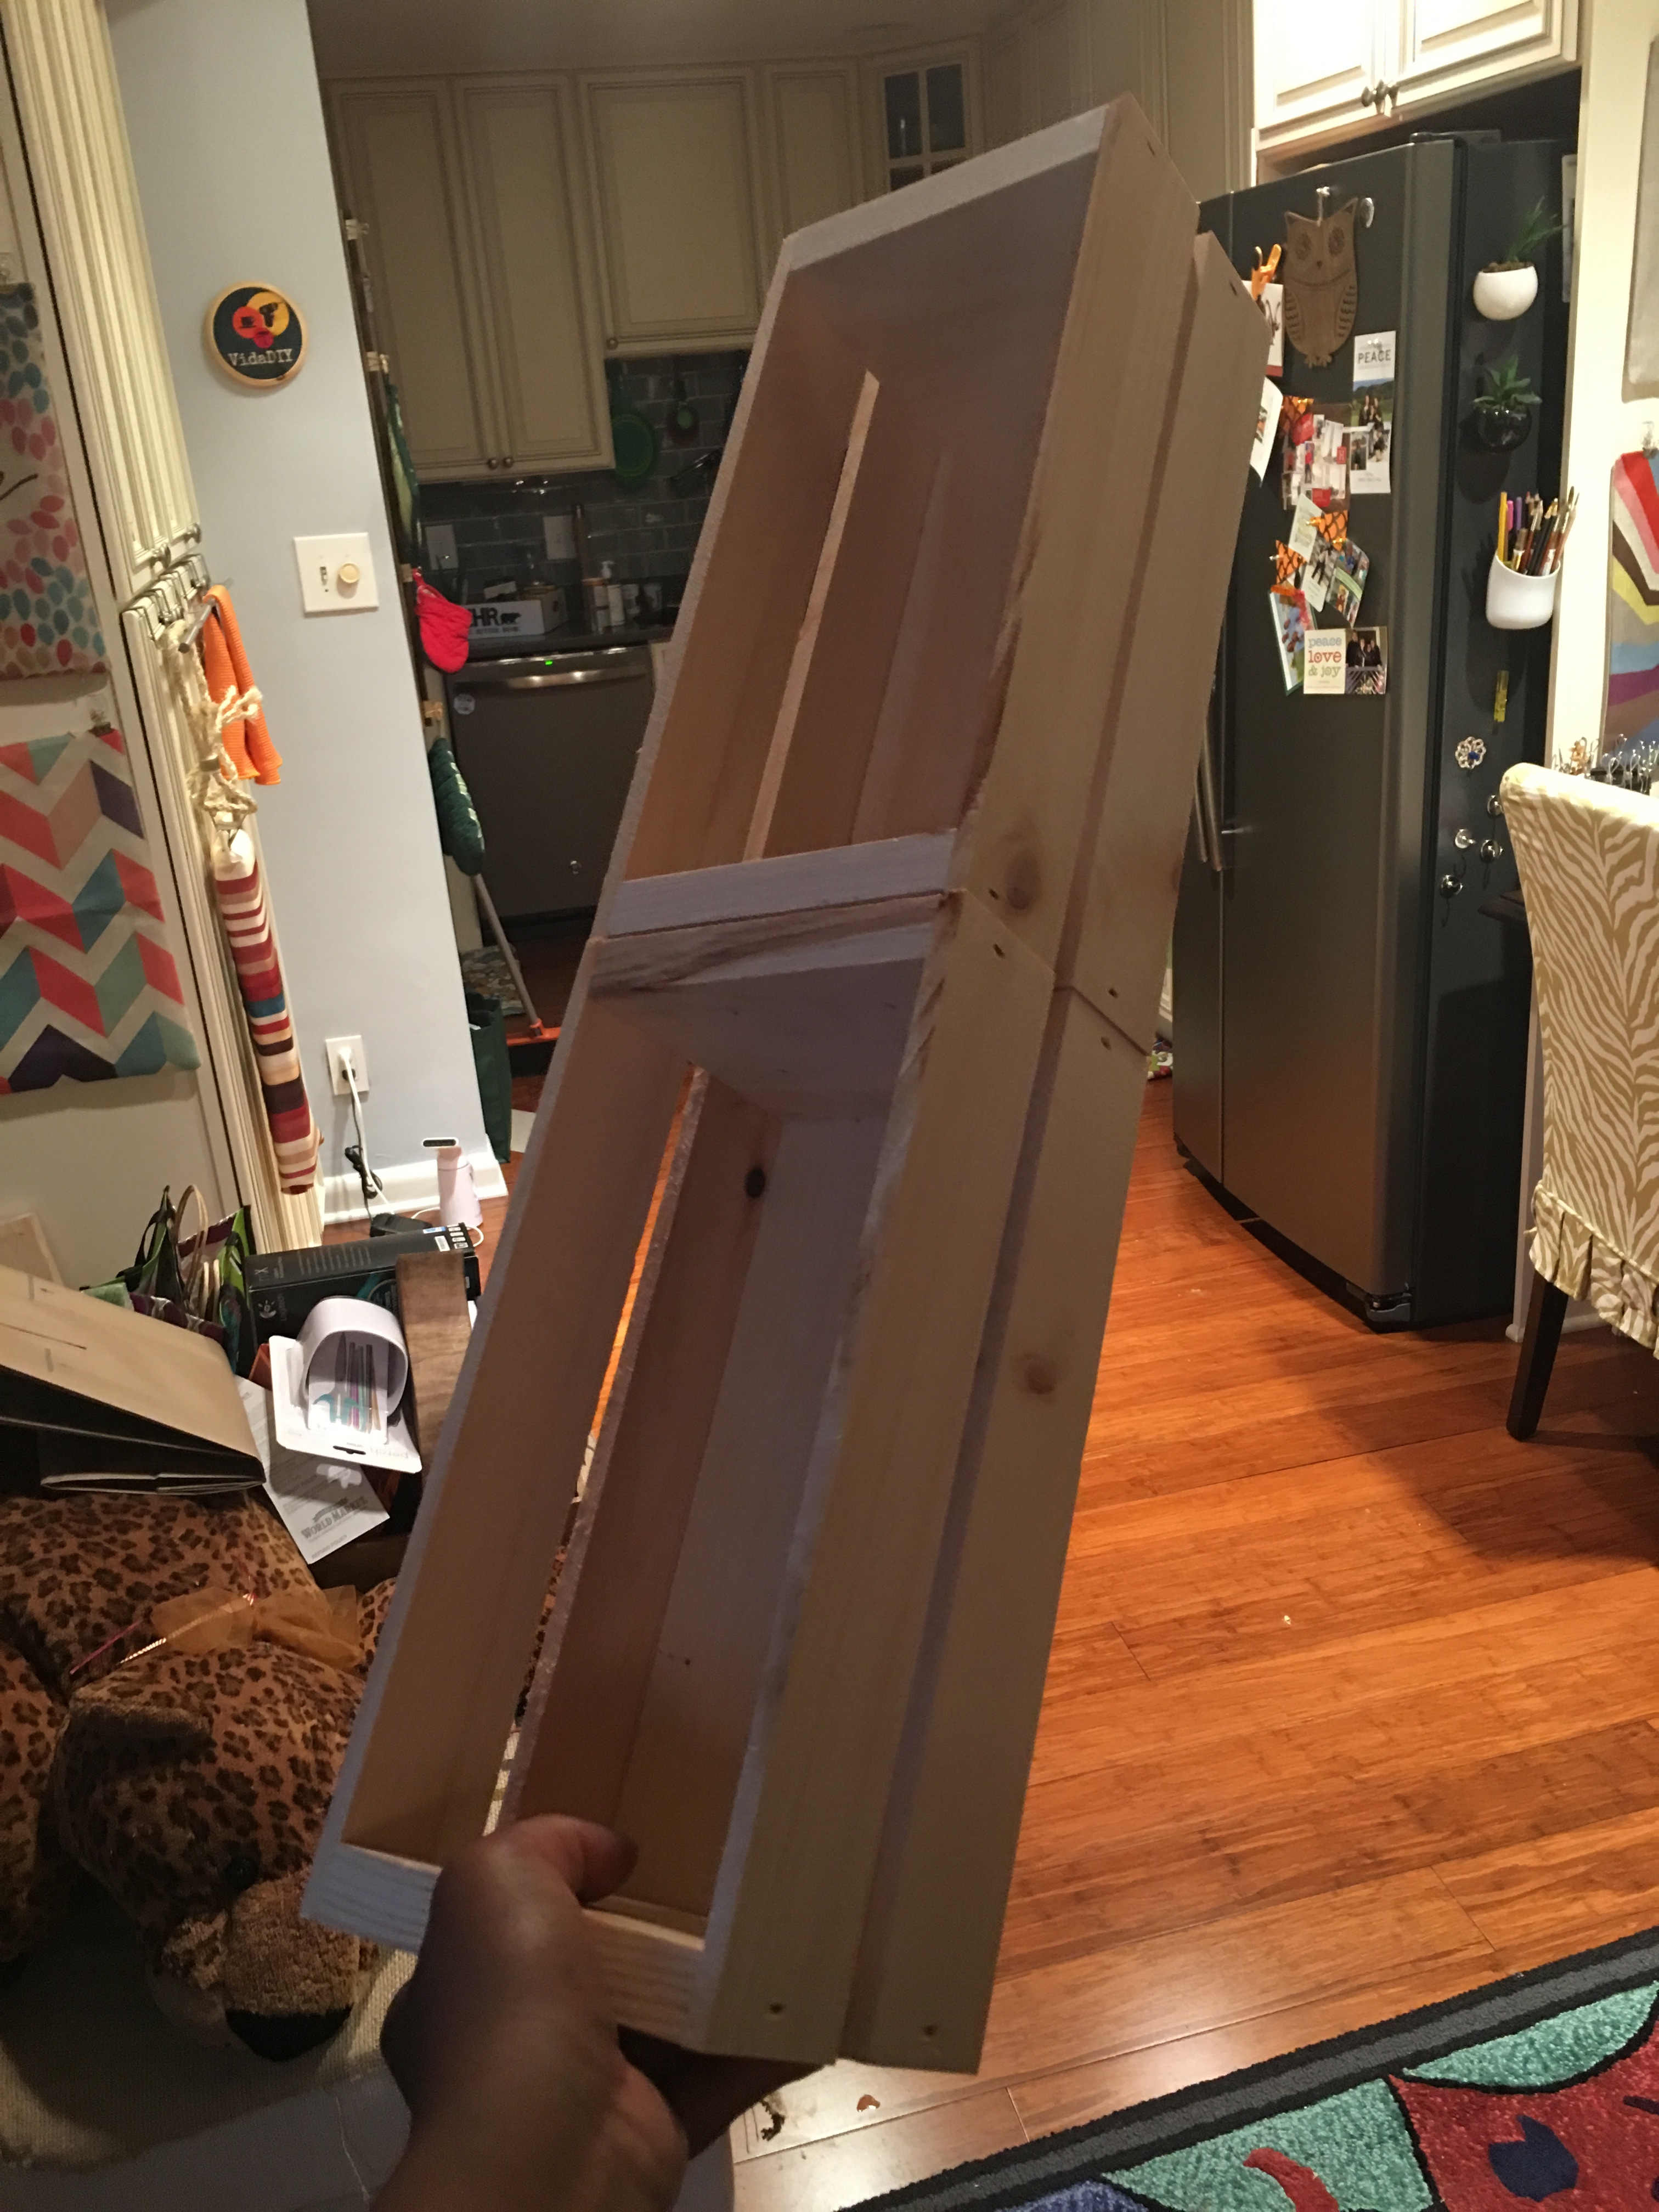
I stained the wood crates with the same color as the wine box (Minwax ipwich pine).
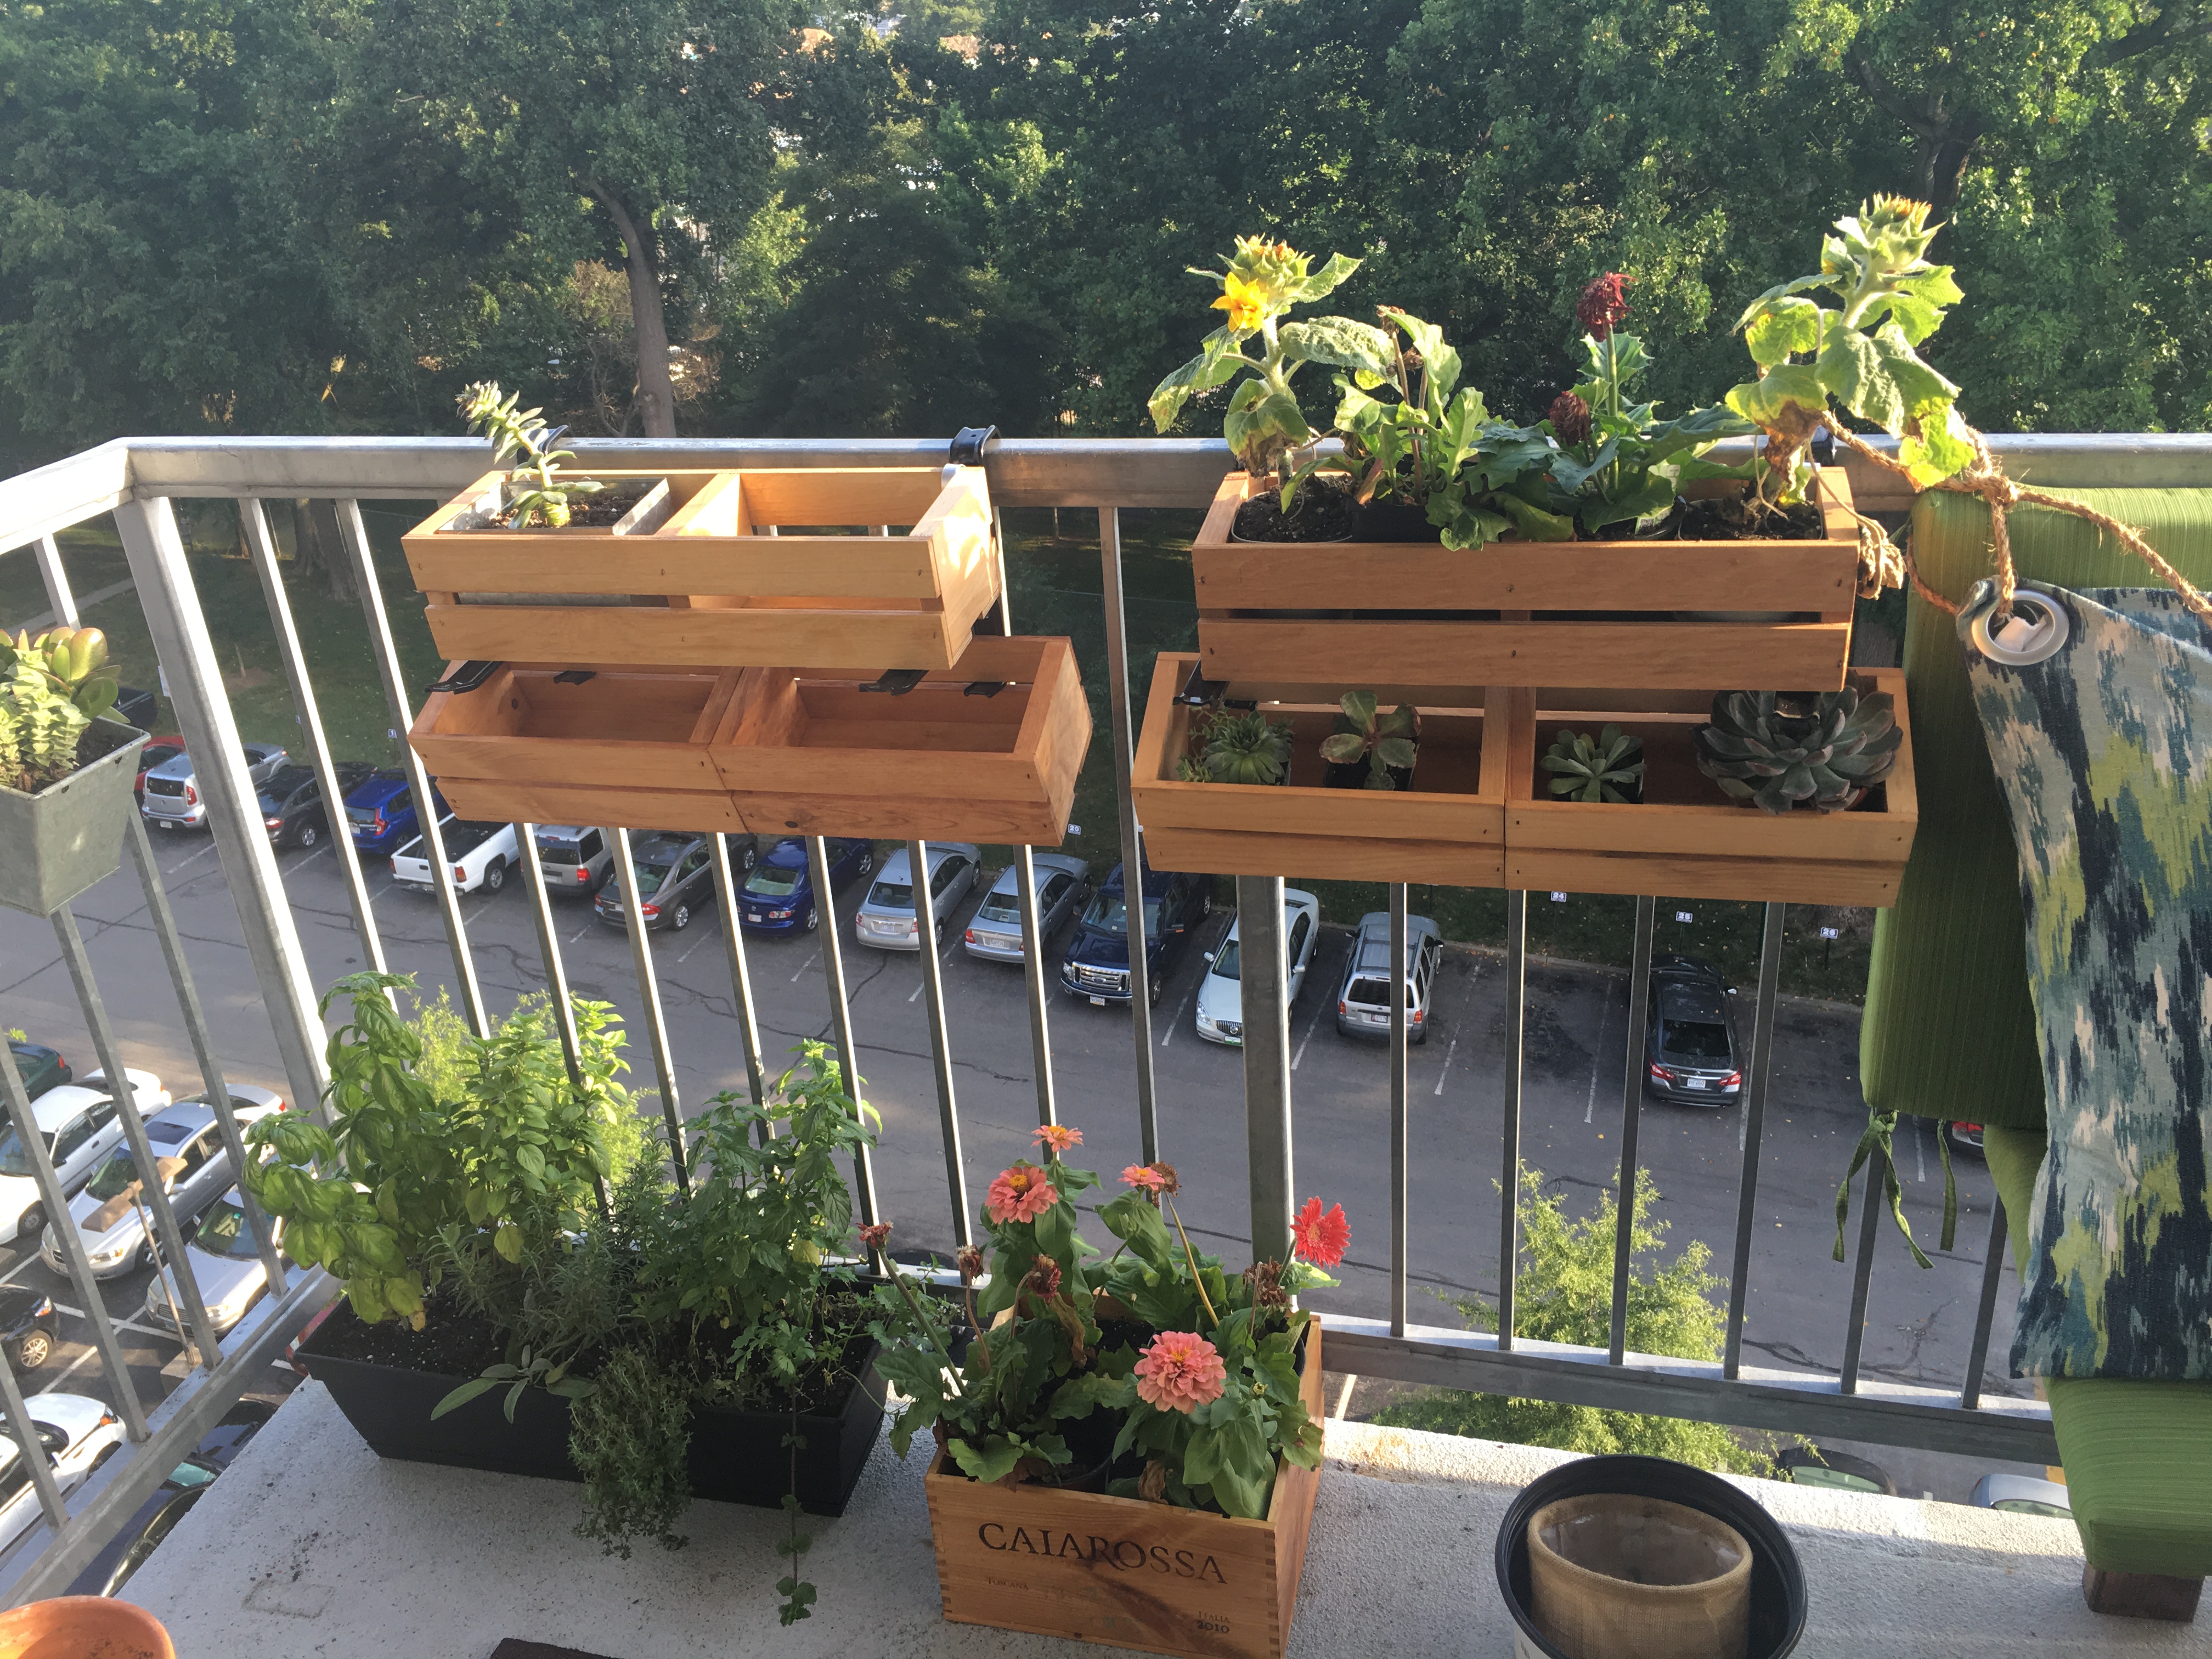
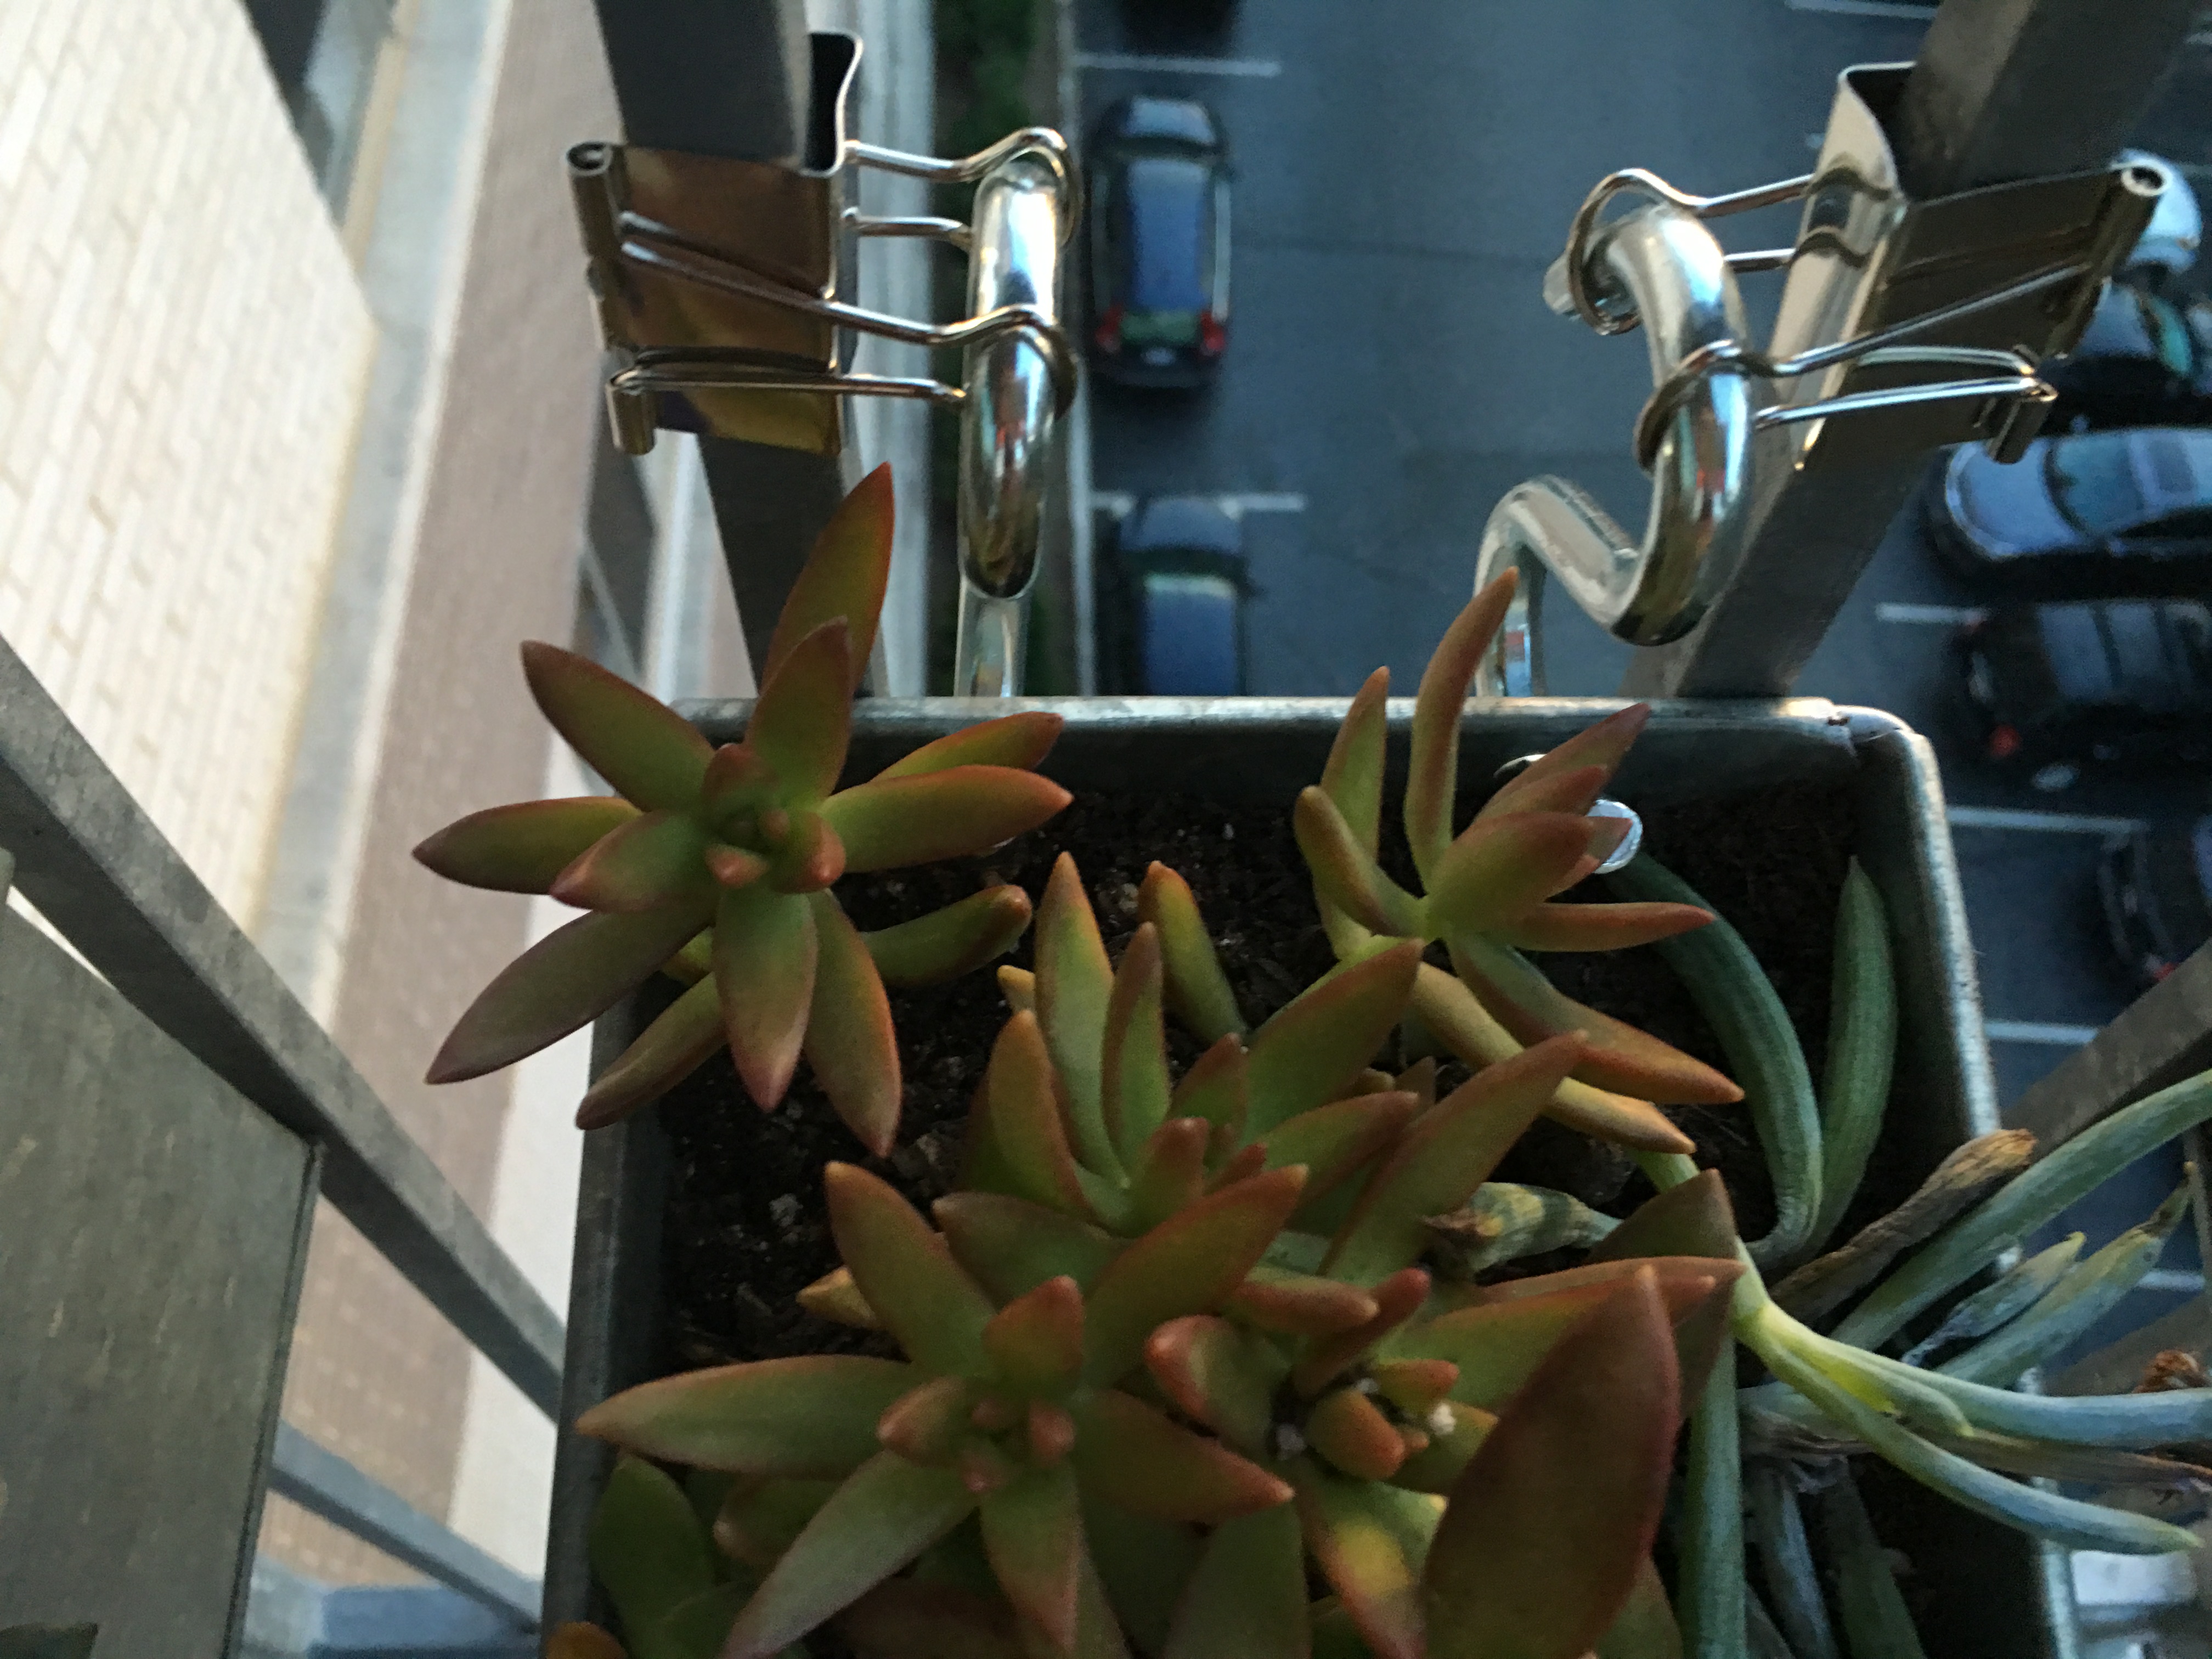
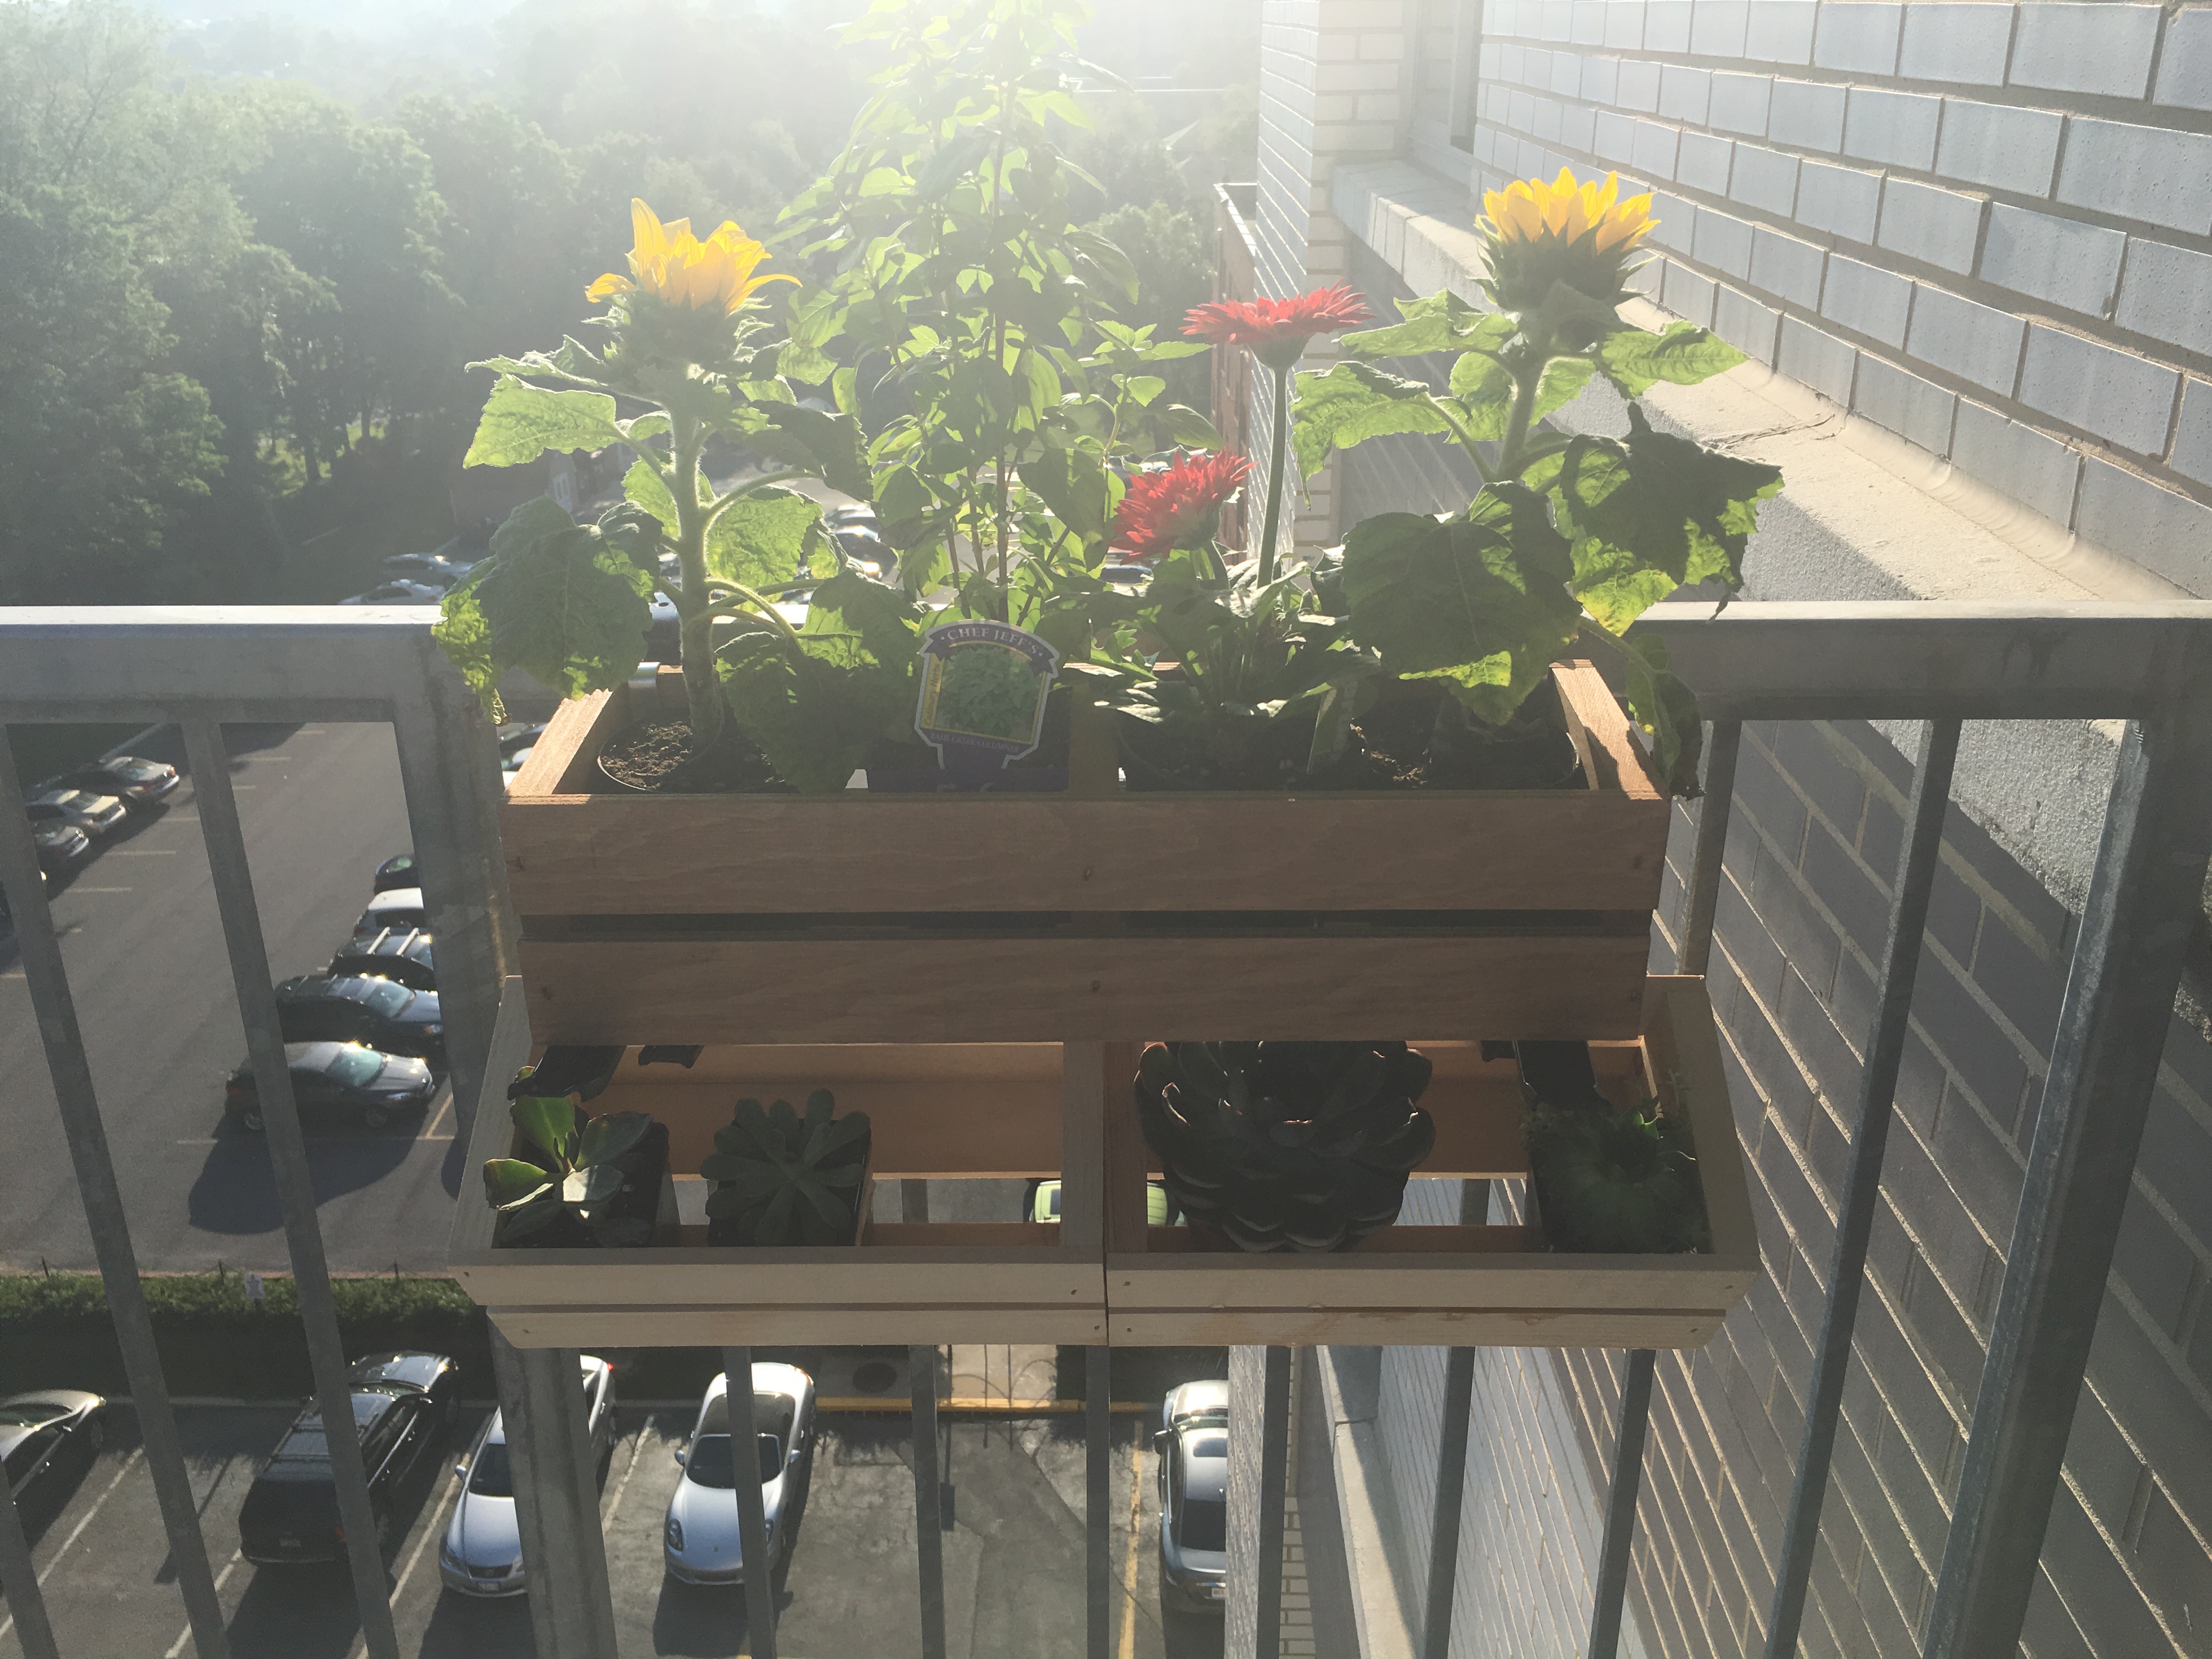
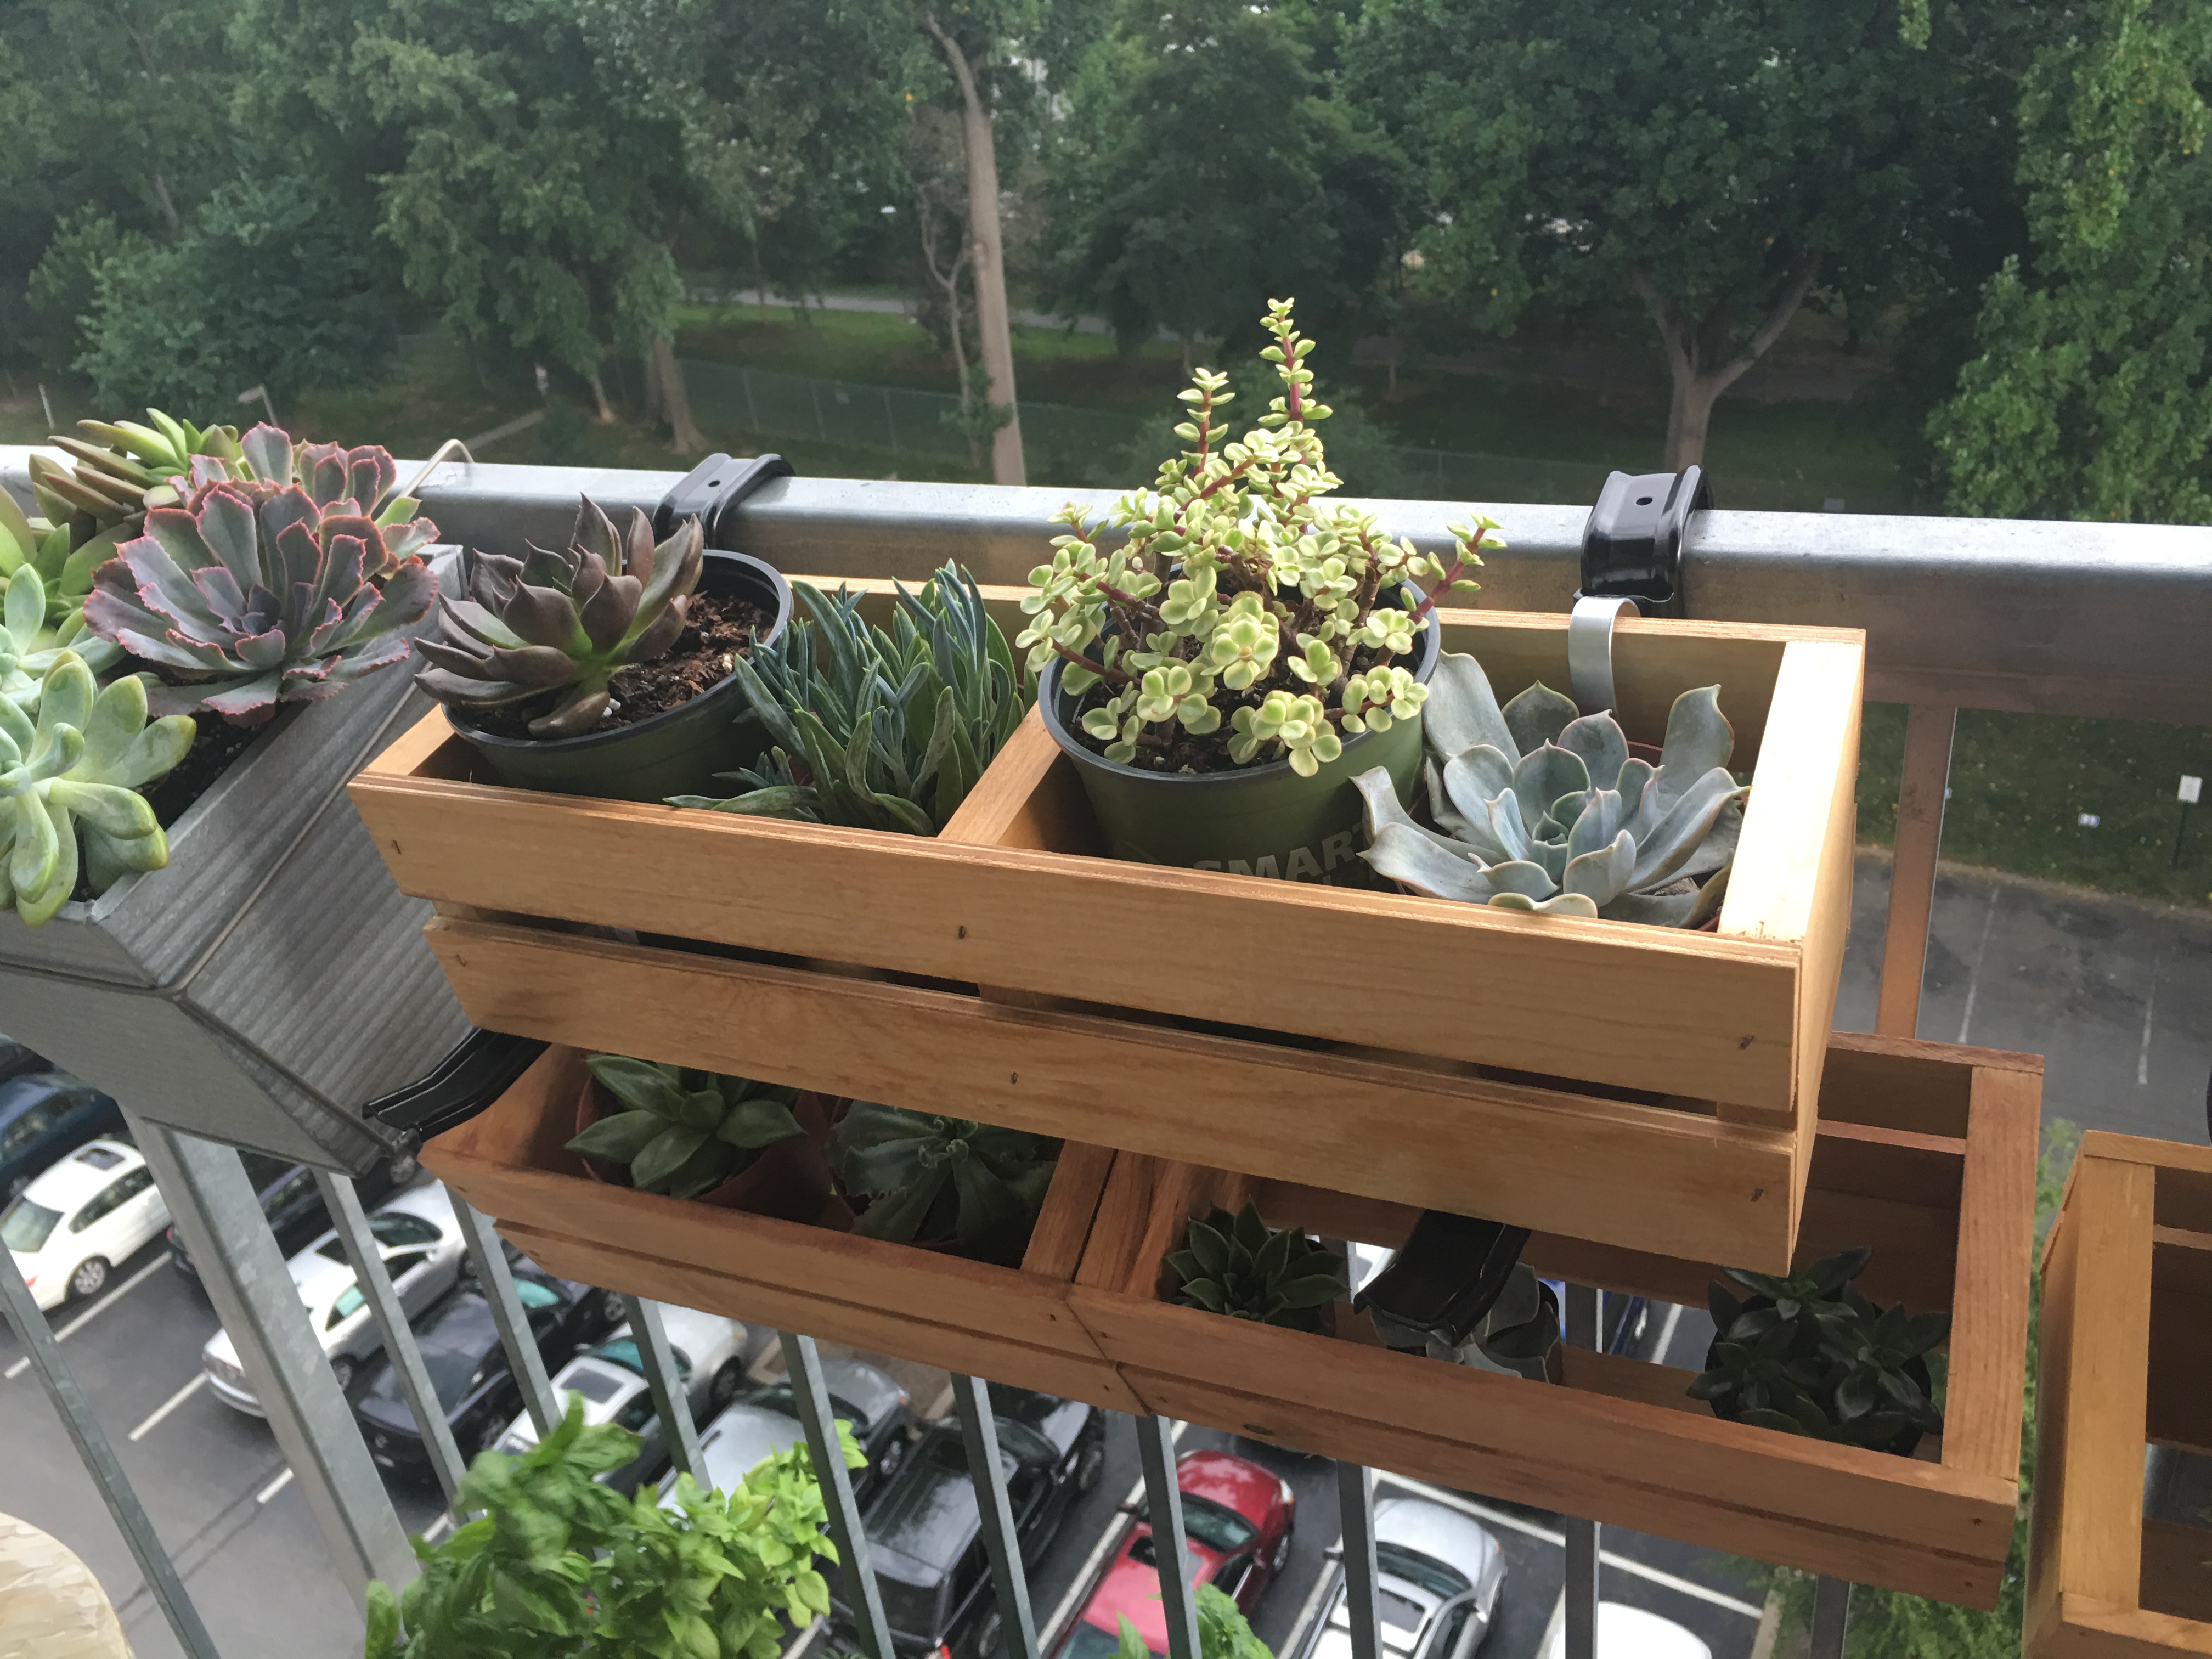
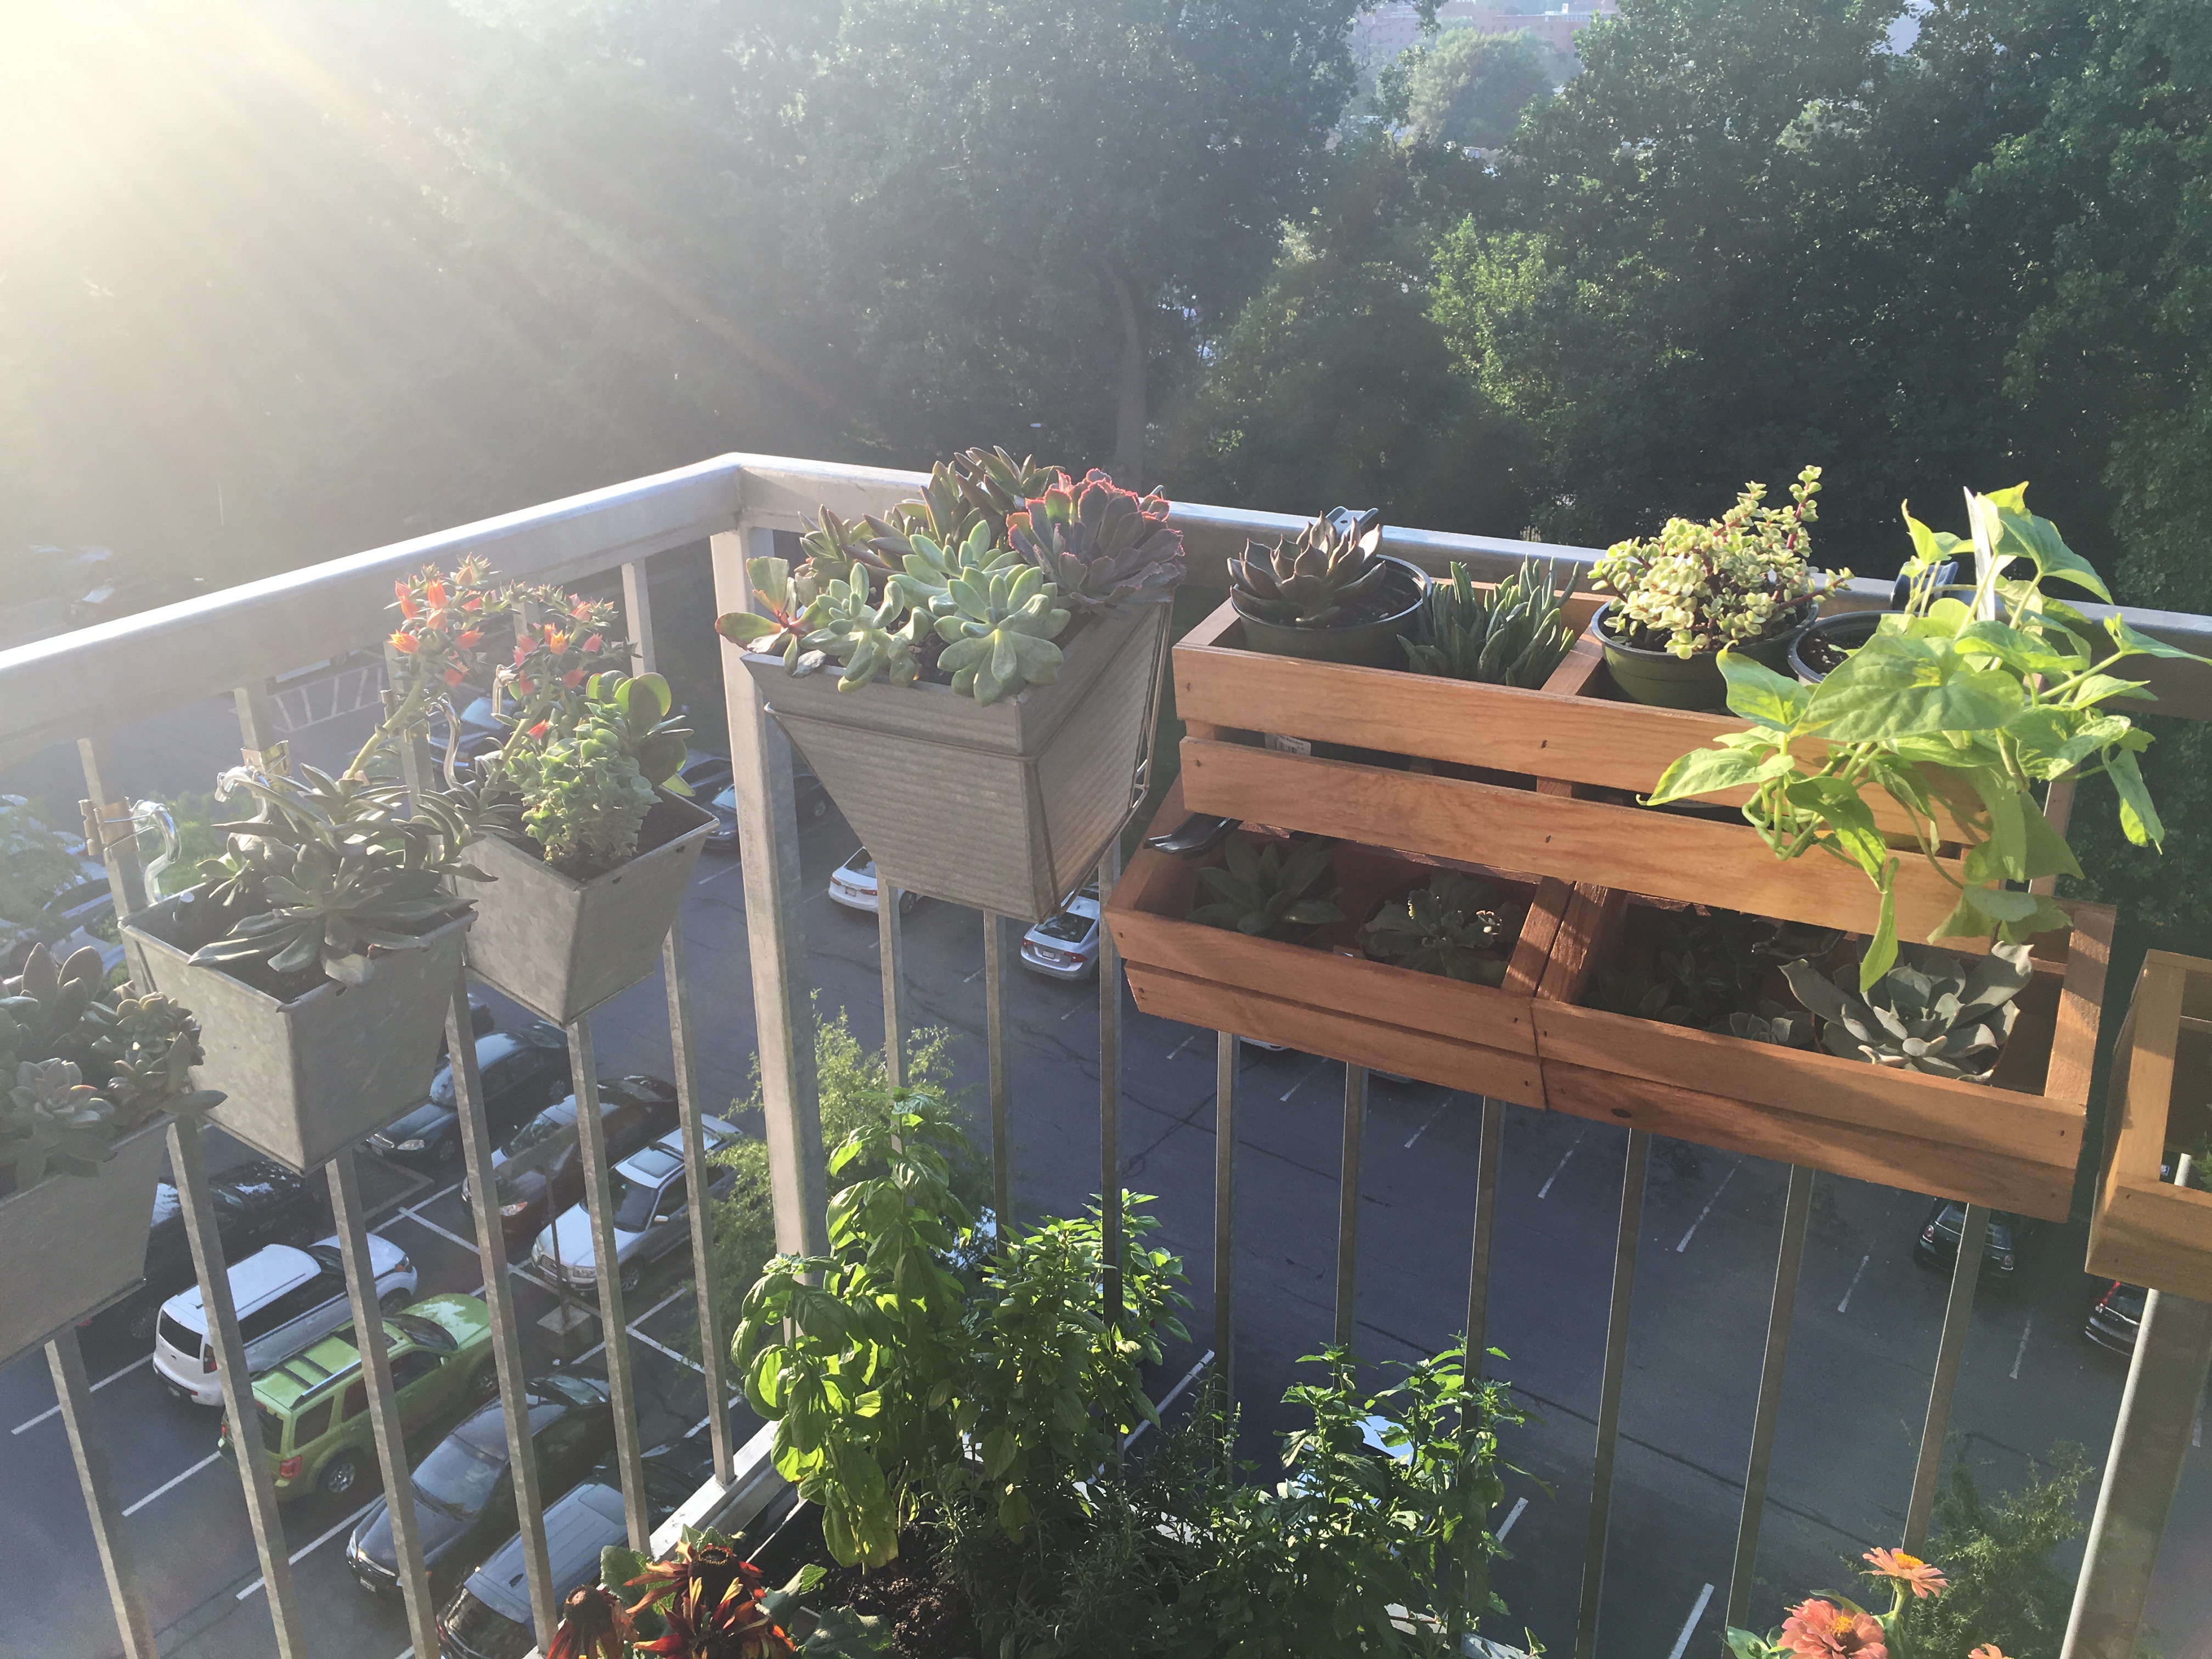
I first tried having sunflower and gebera daisy plants in the rail mounted crates at the top (and shorter succulent pots at the bottom. But as you can see in this picture, the taller plants took quite a beating by the rain and wind (and sun).
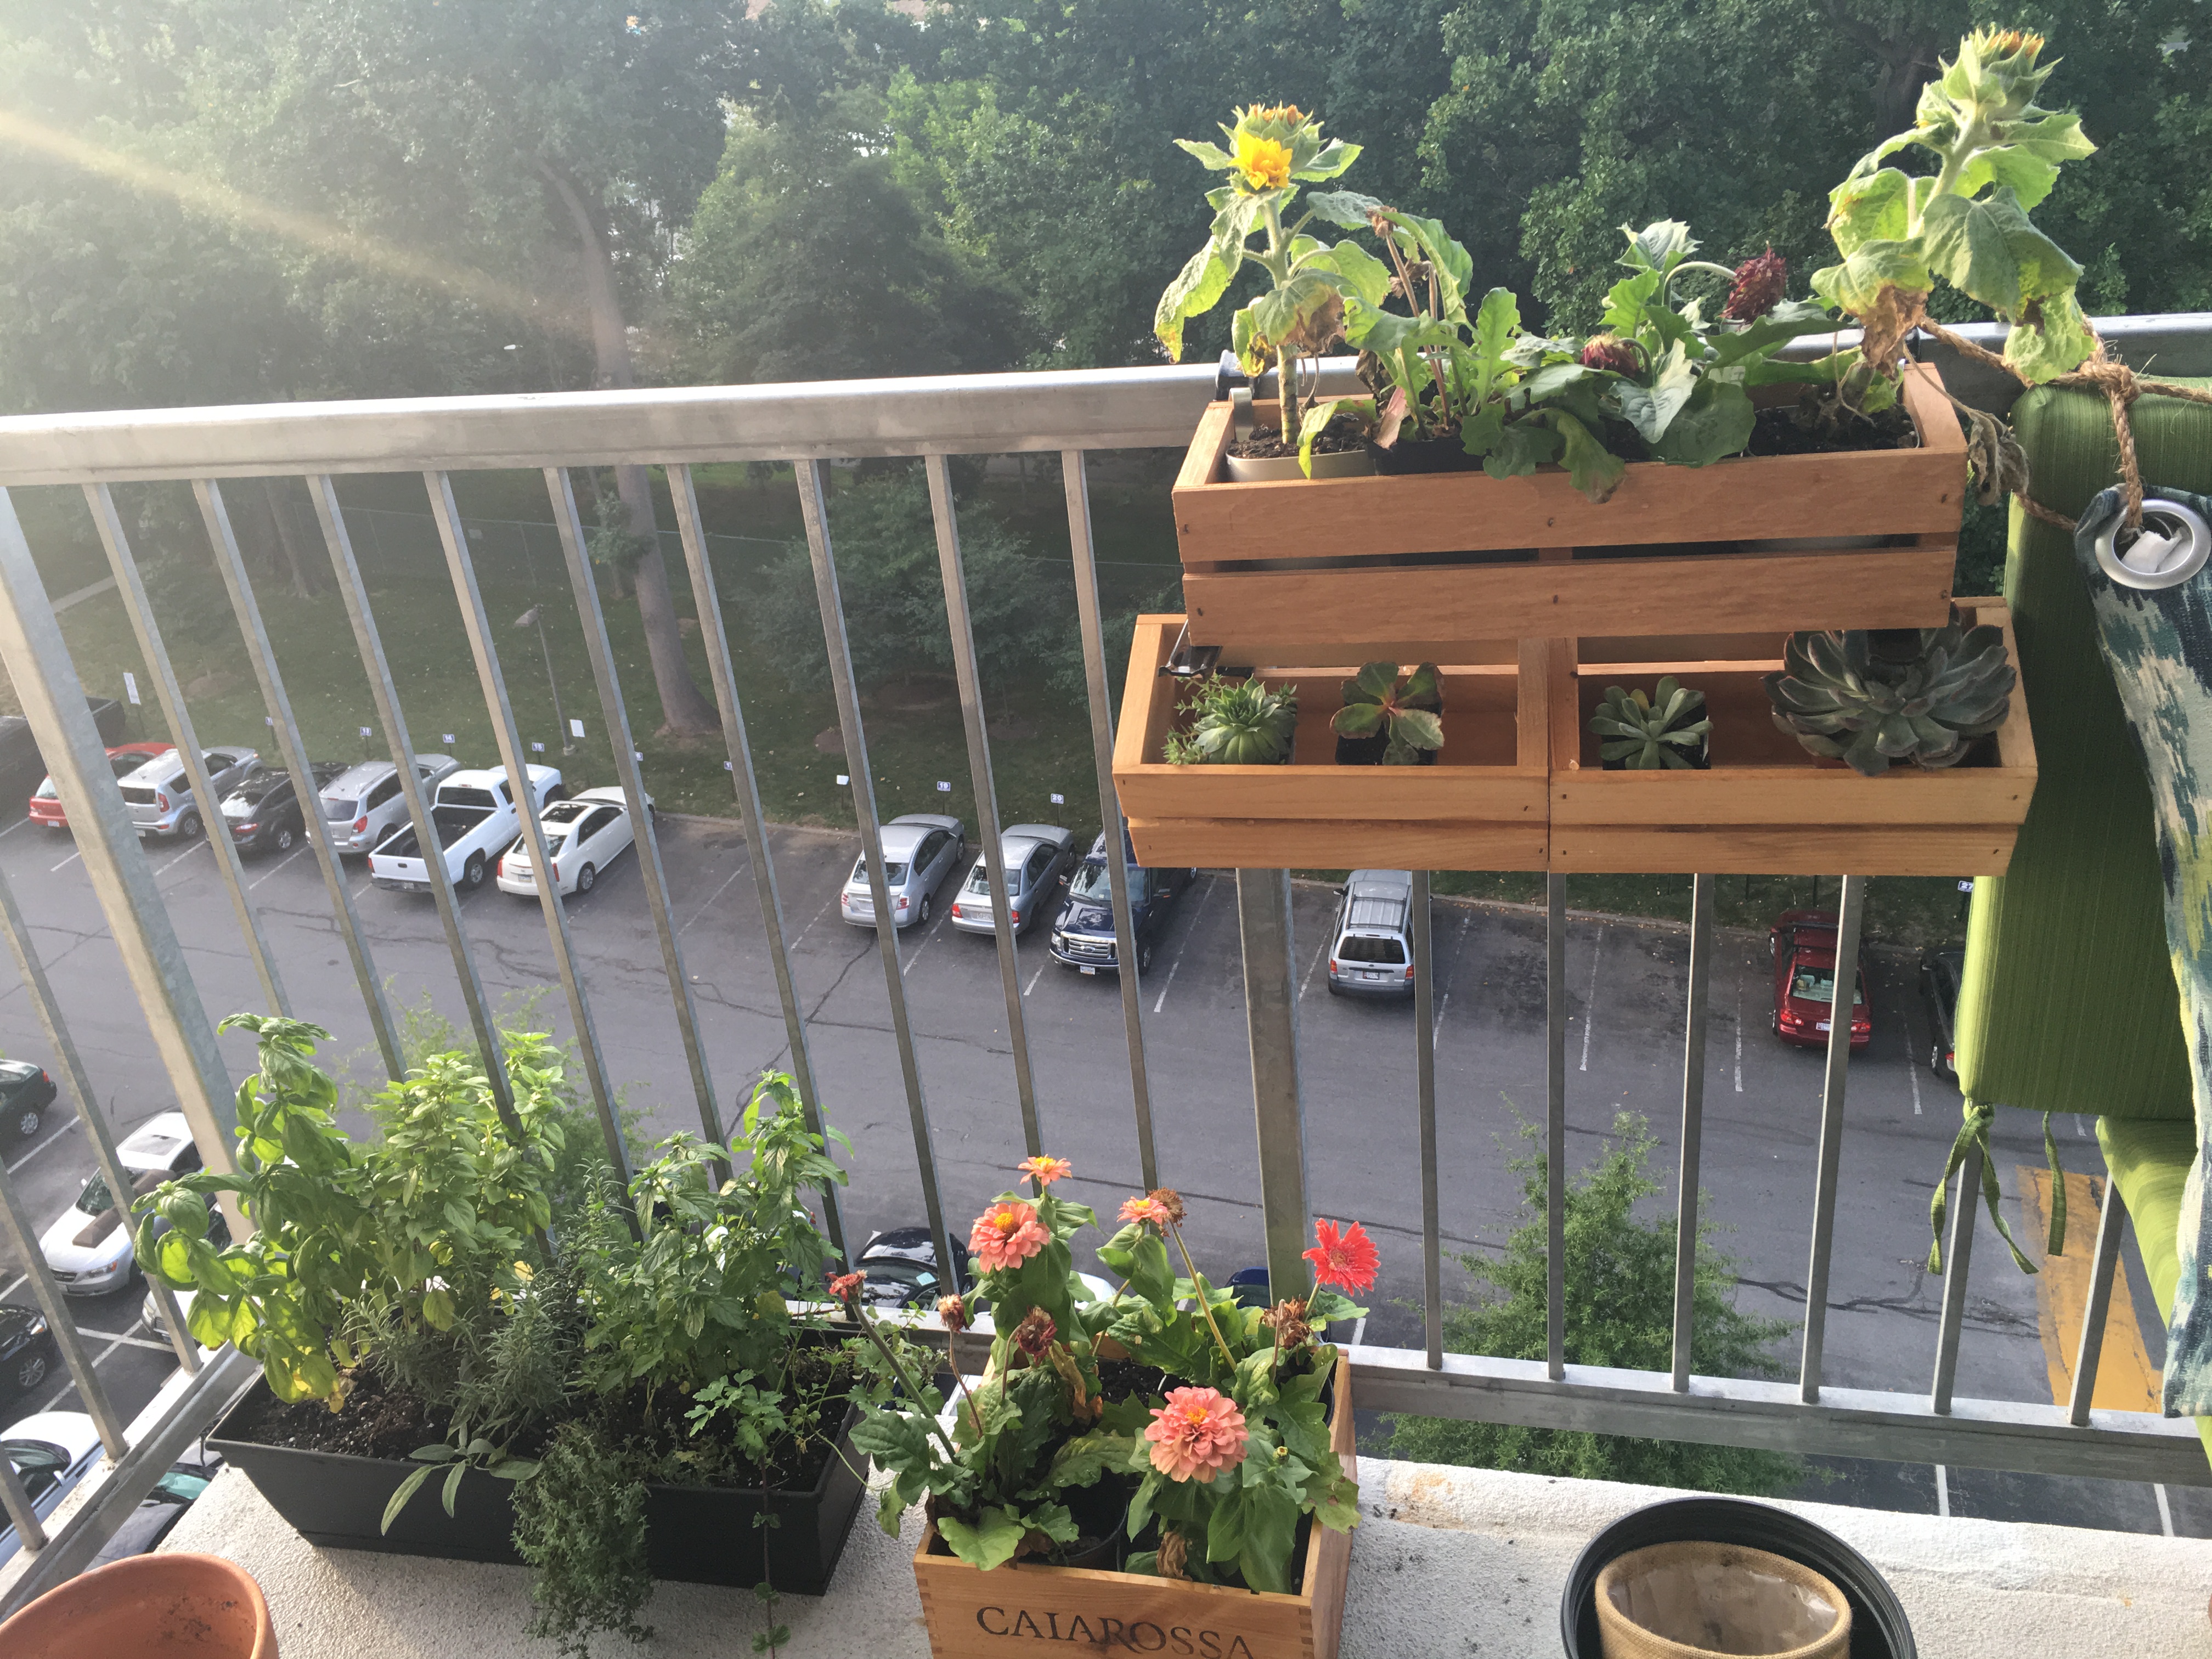
So I moved the taller plants out of the crate and onto the balcony floor (for more shade and rain and wind protection). I now have plenty of succulents in these crates because they can better withstand the elements and is loving the sunshine).
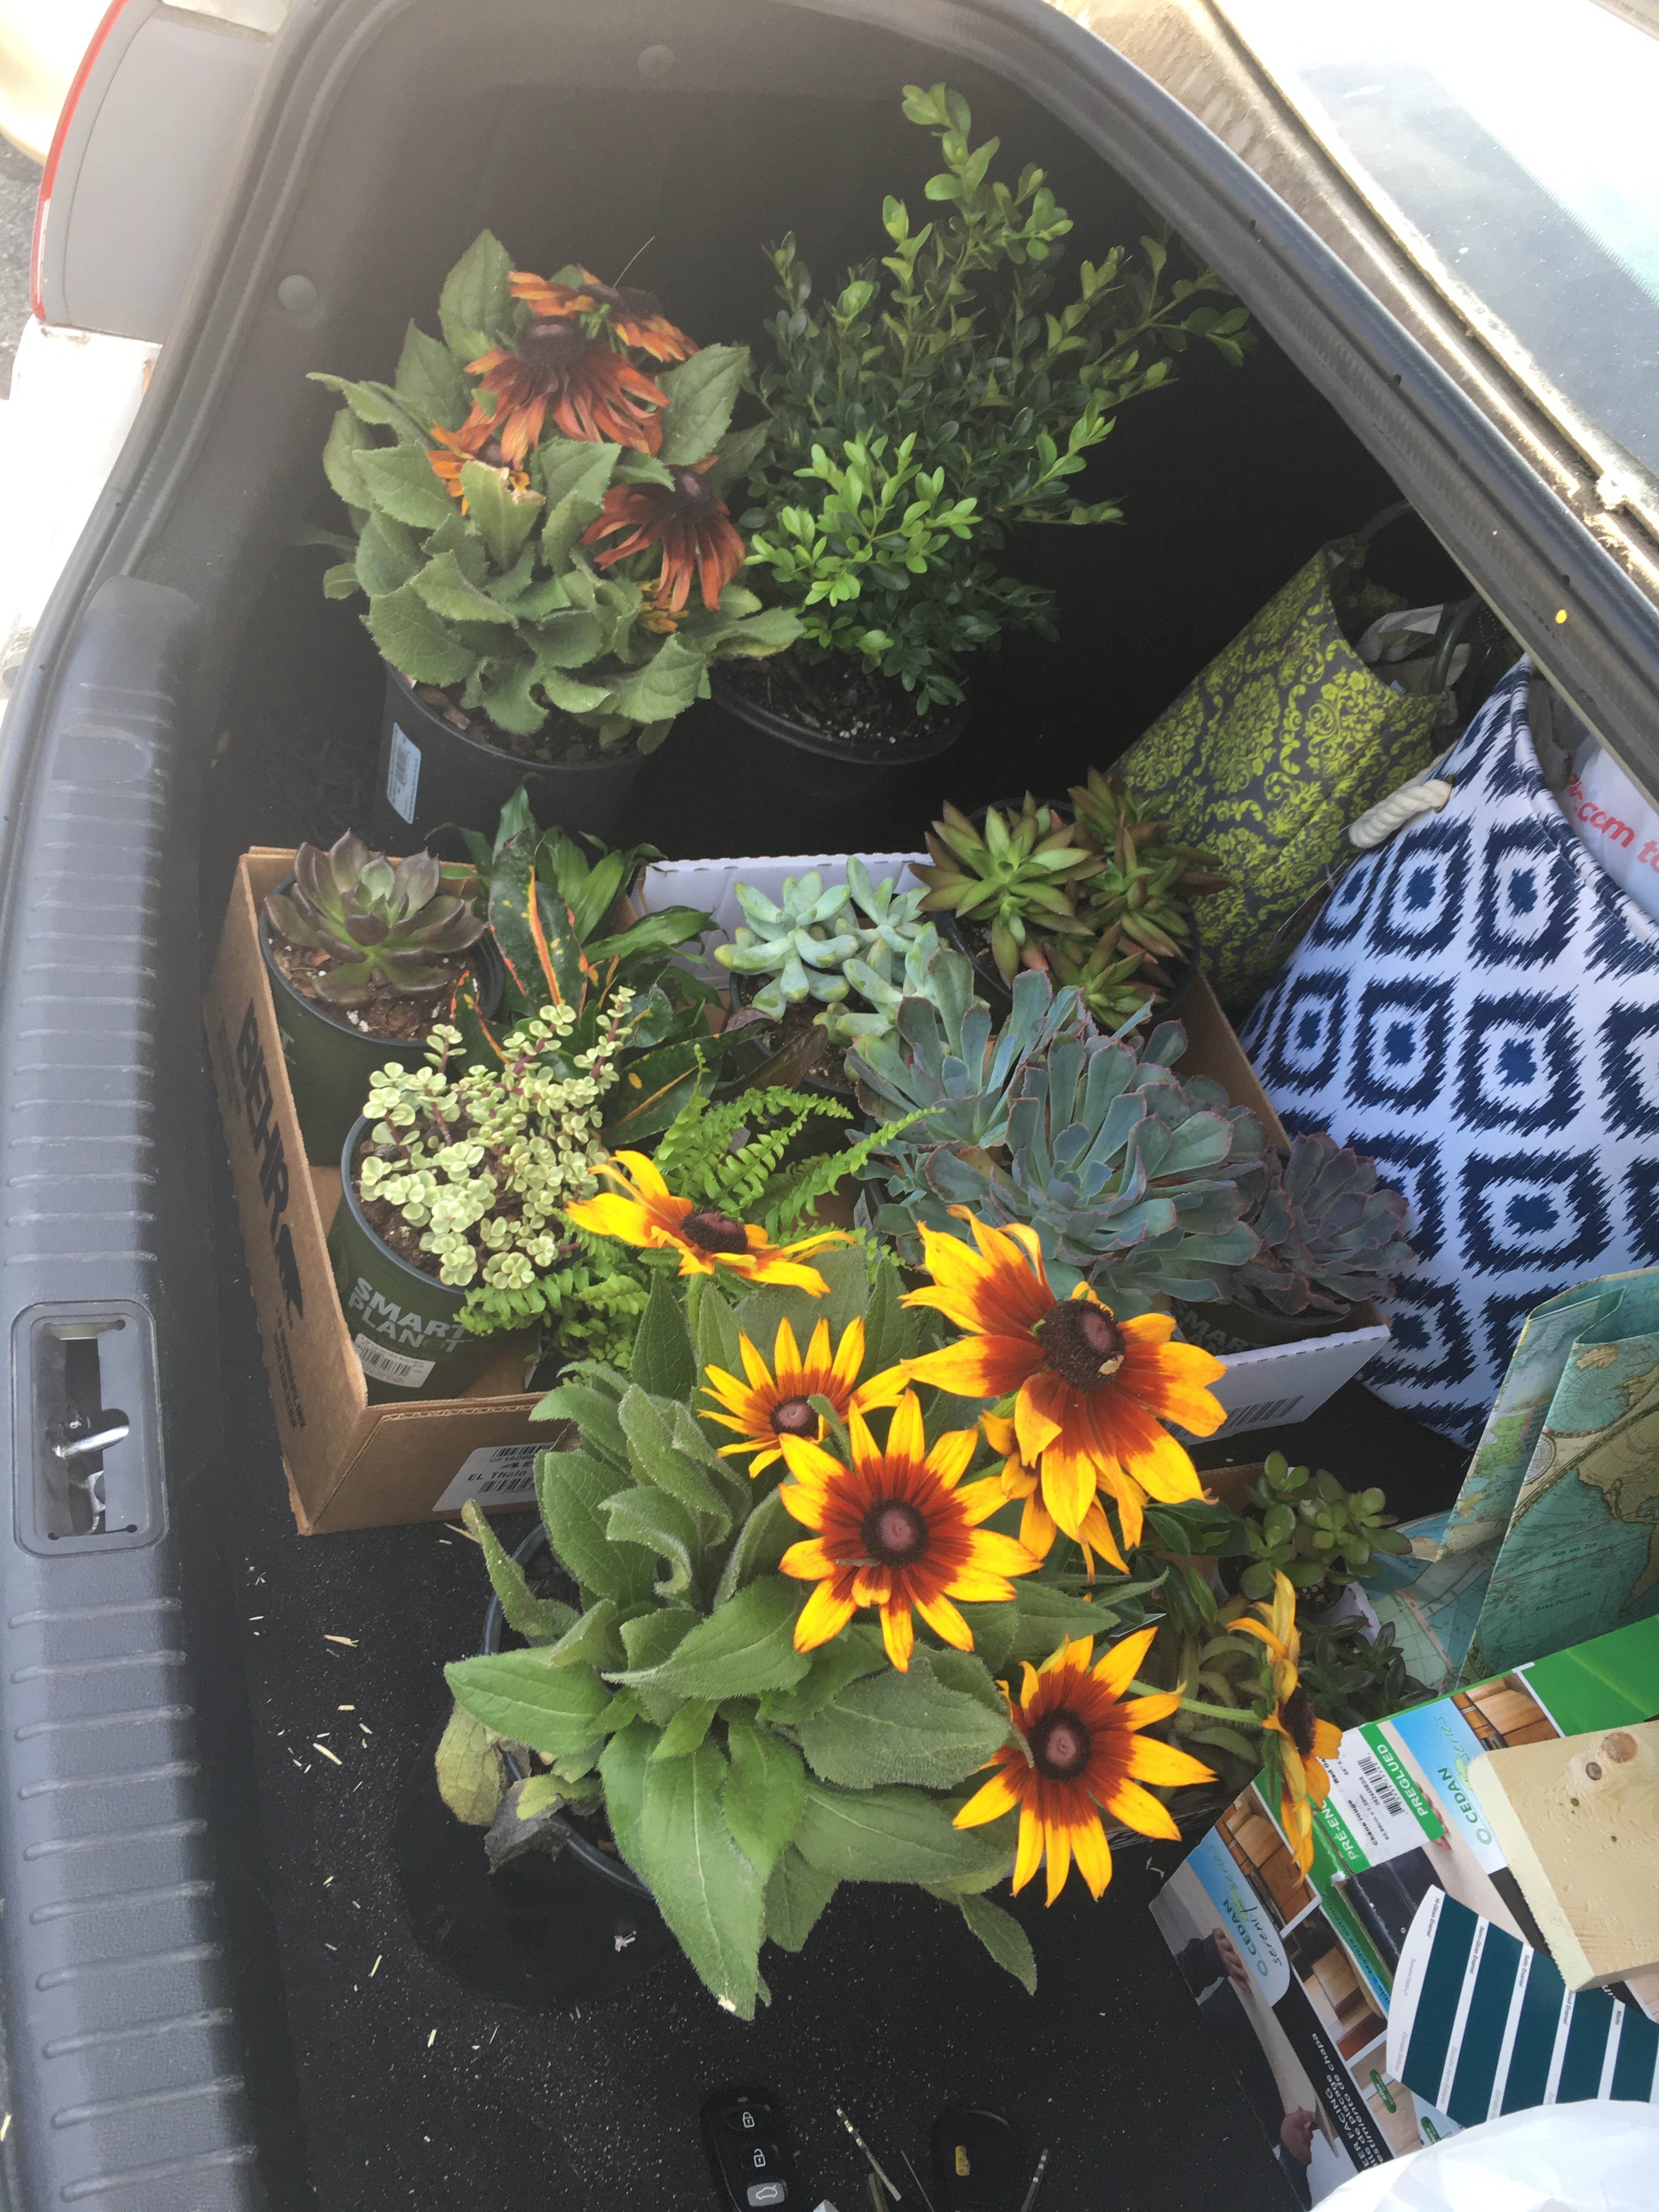
Let’s just say I adopted plenty of new succulent plants from the Home Depot this past weekend.
CB2 Oscar Babe planters
I stumbled onto these over these rail metal brackets and square planters while browsing the CB2 in Georgetown.
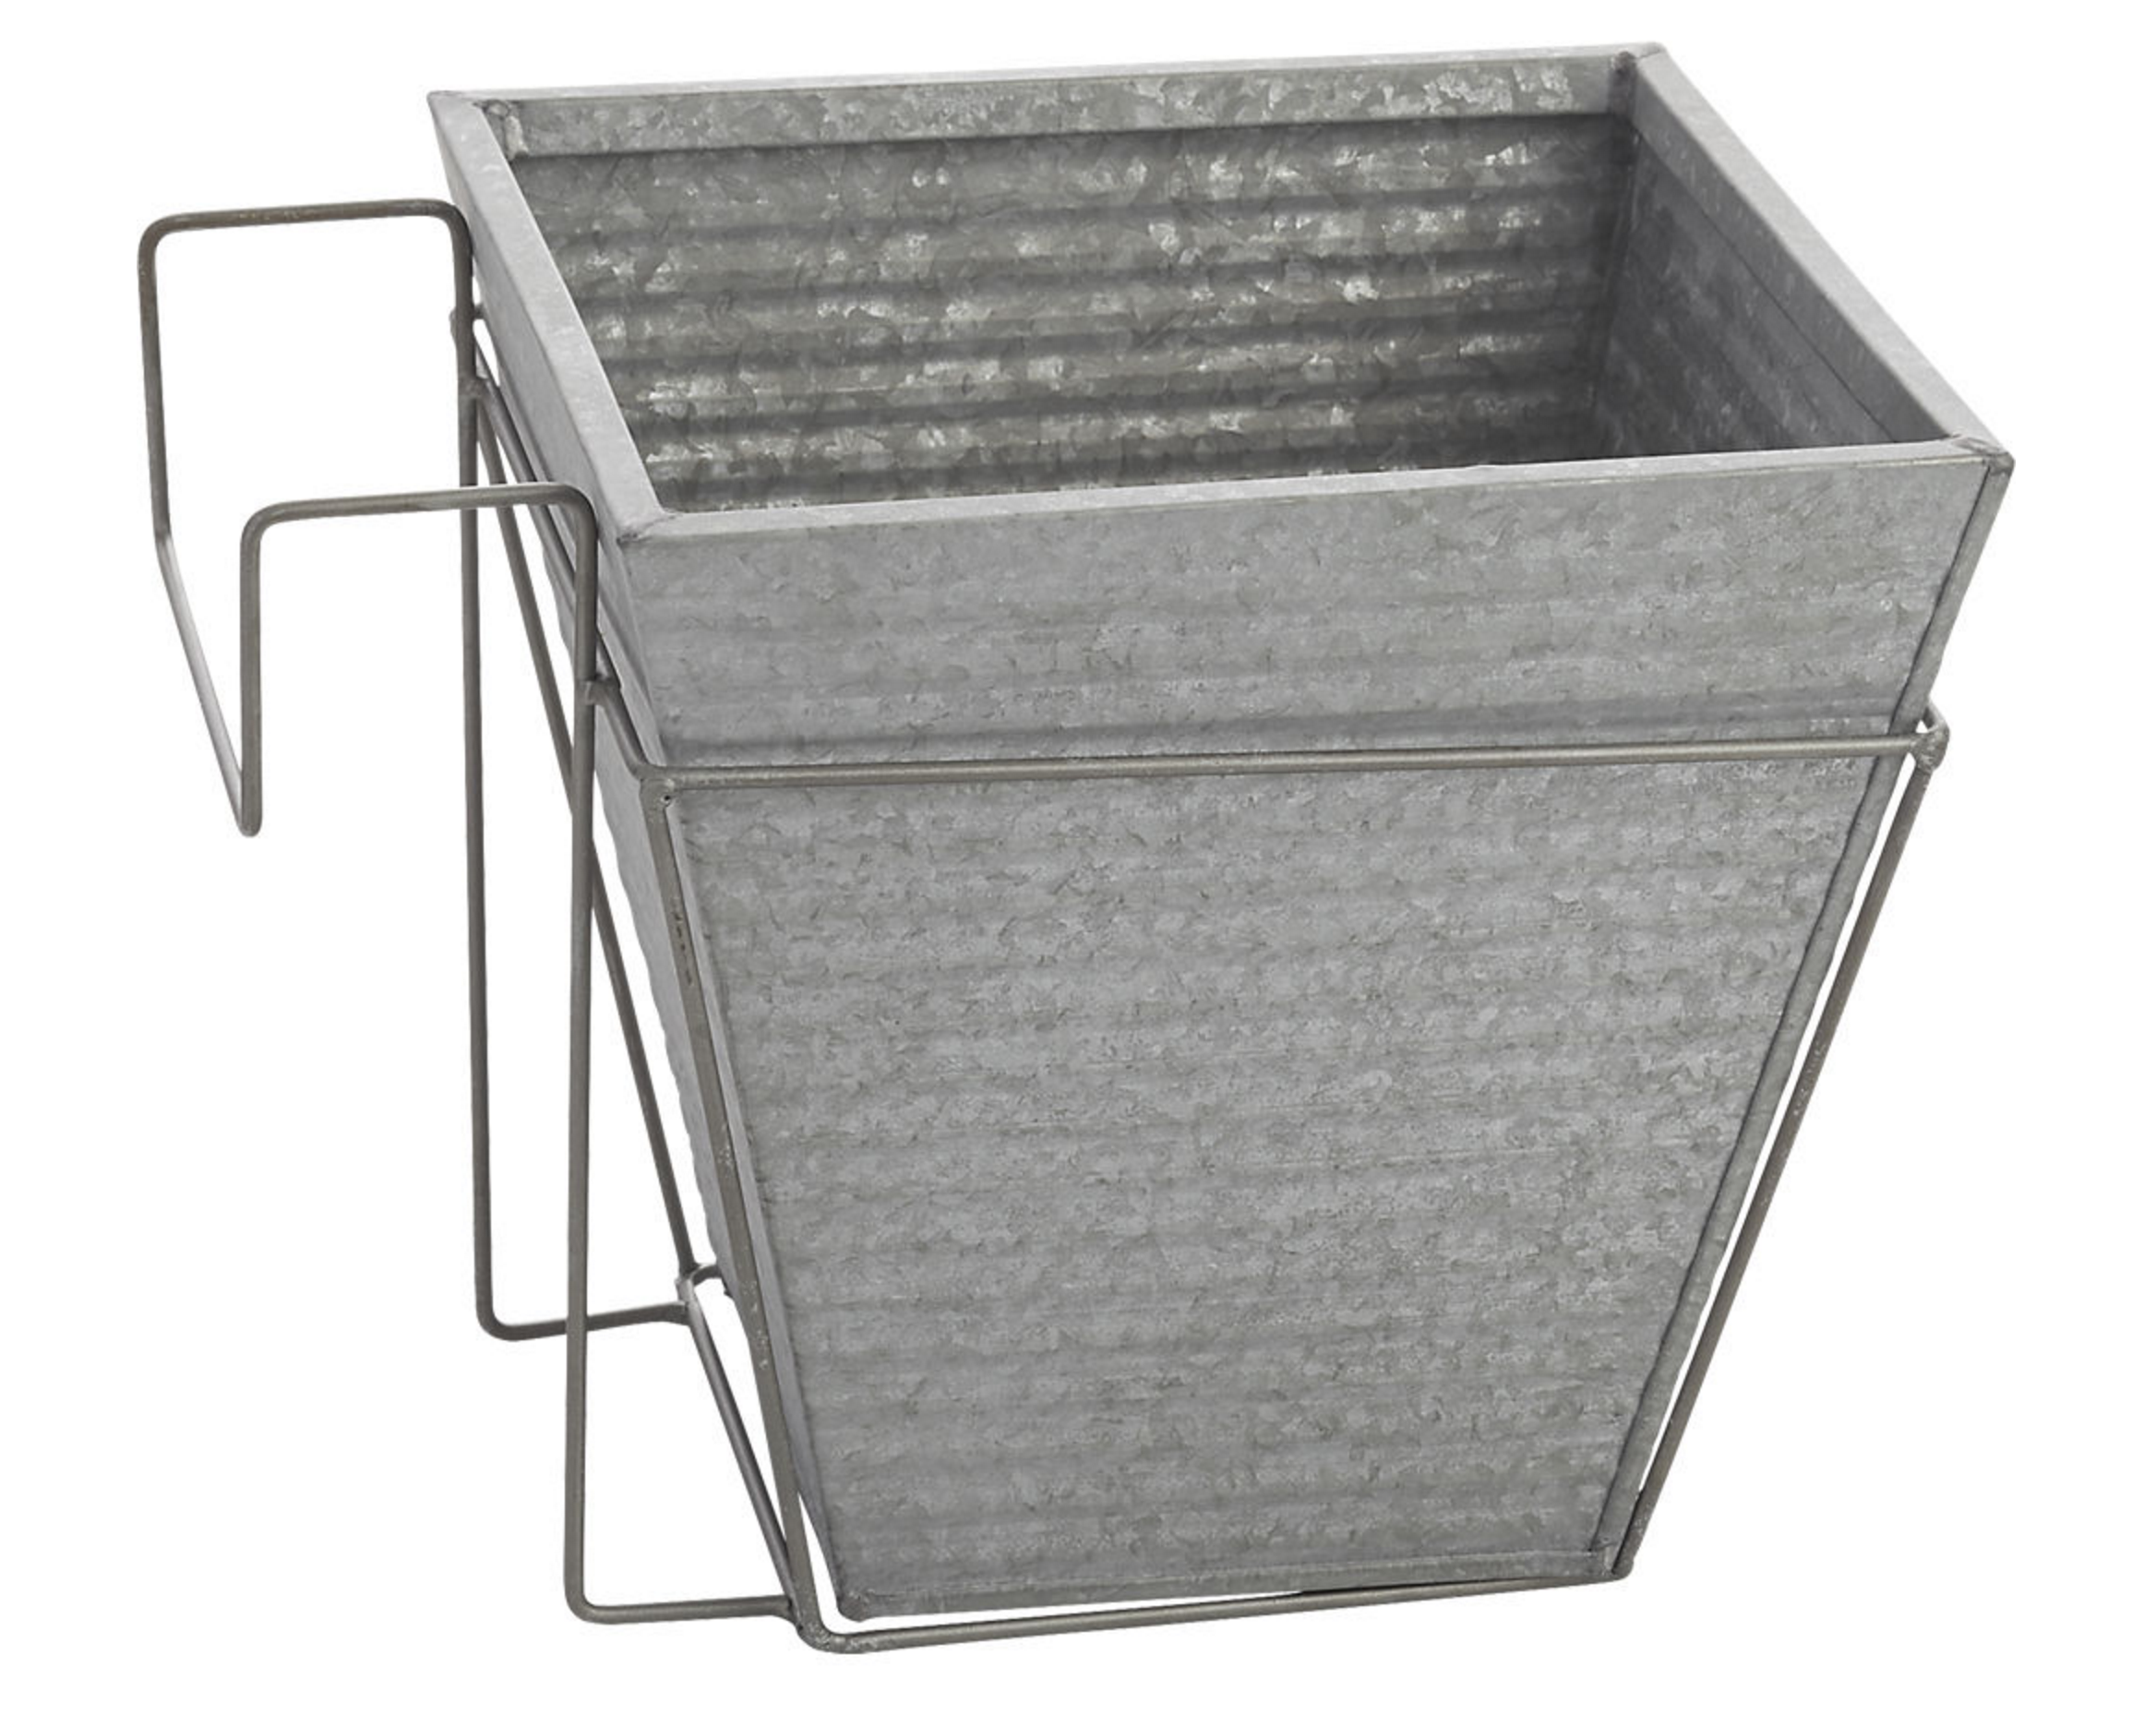
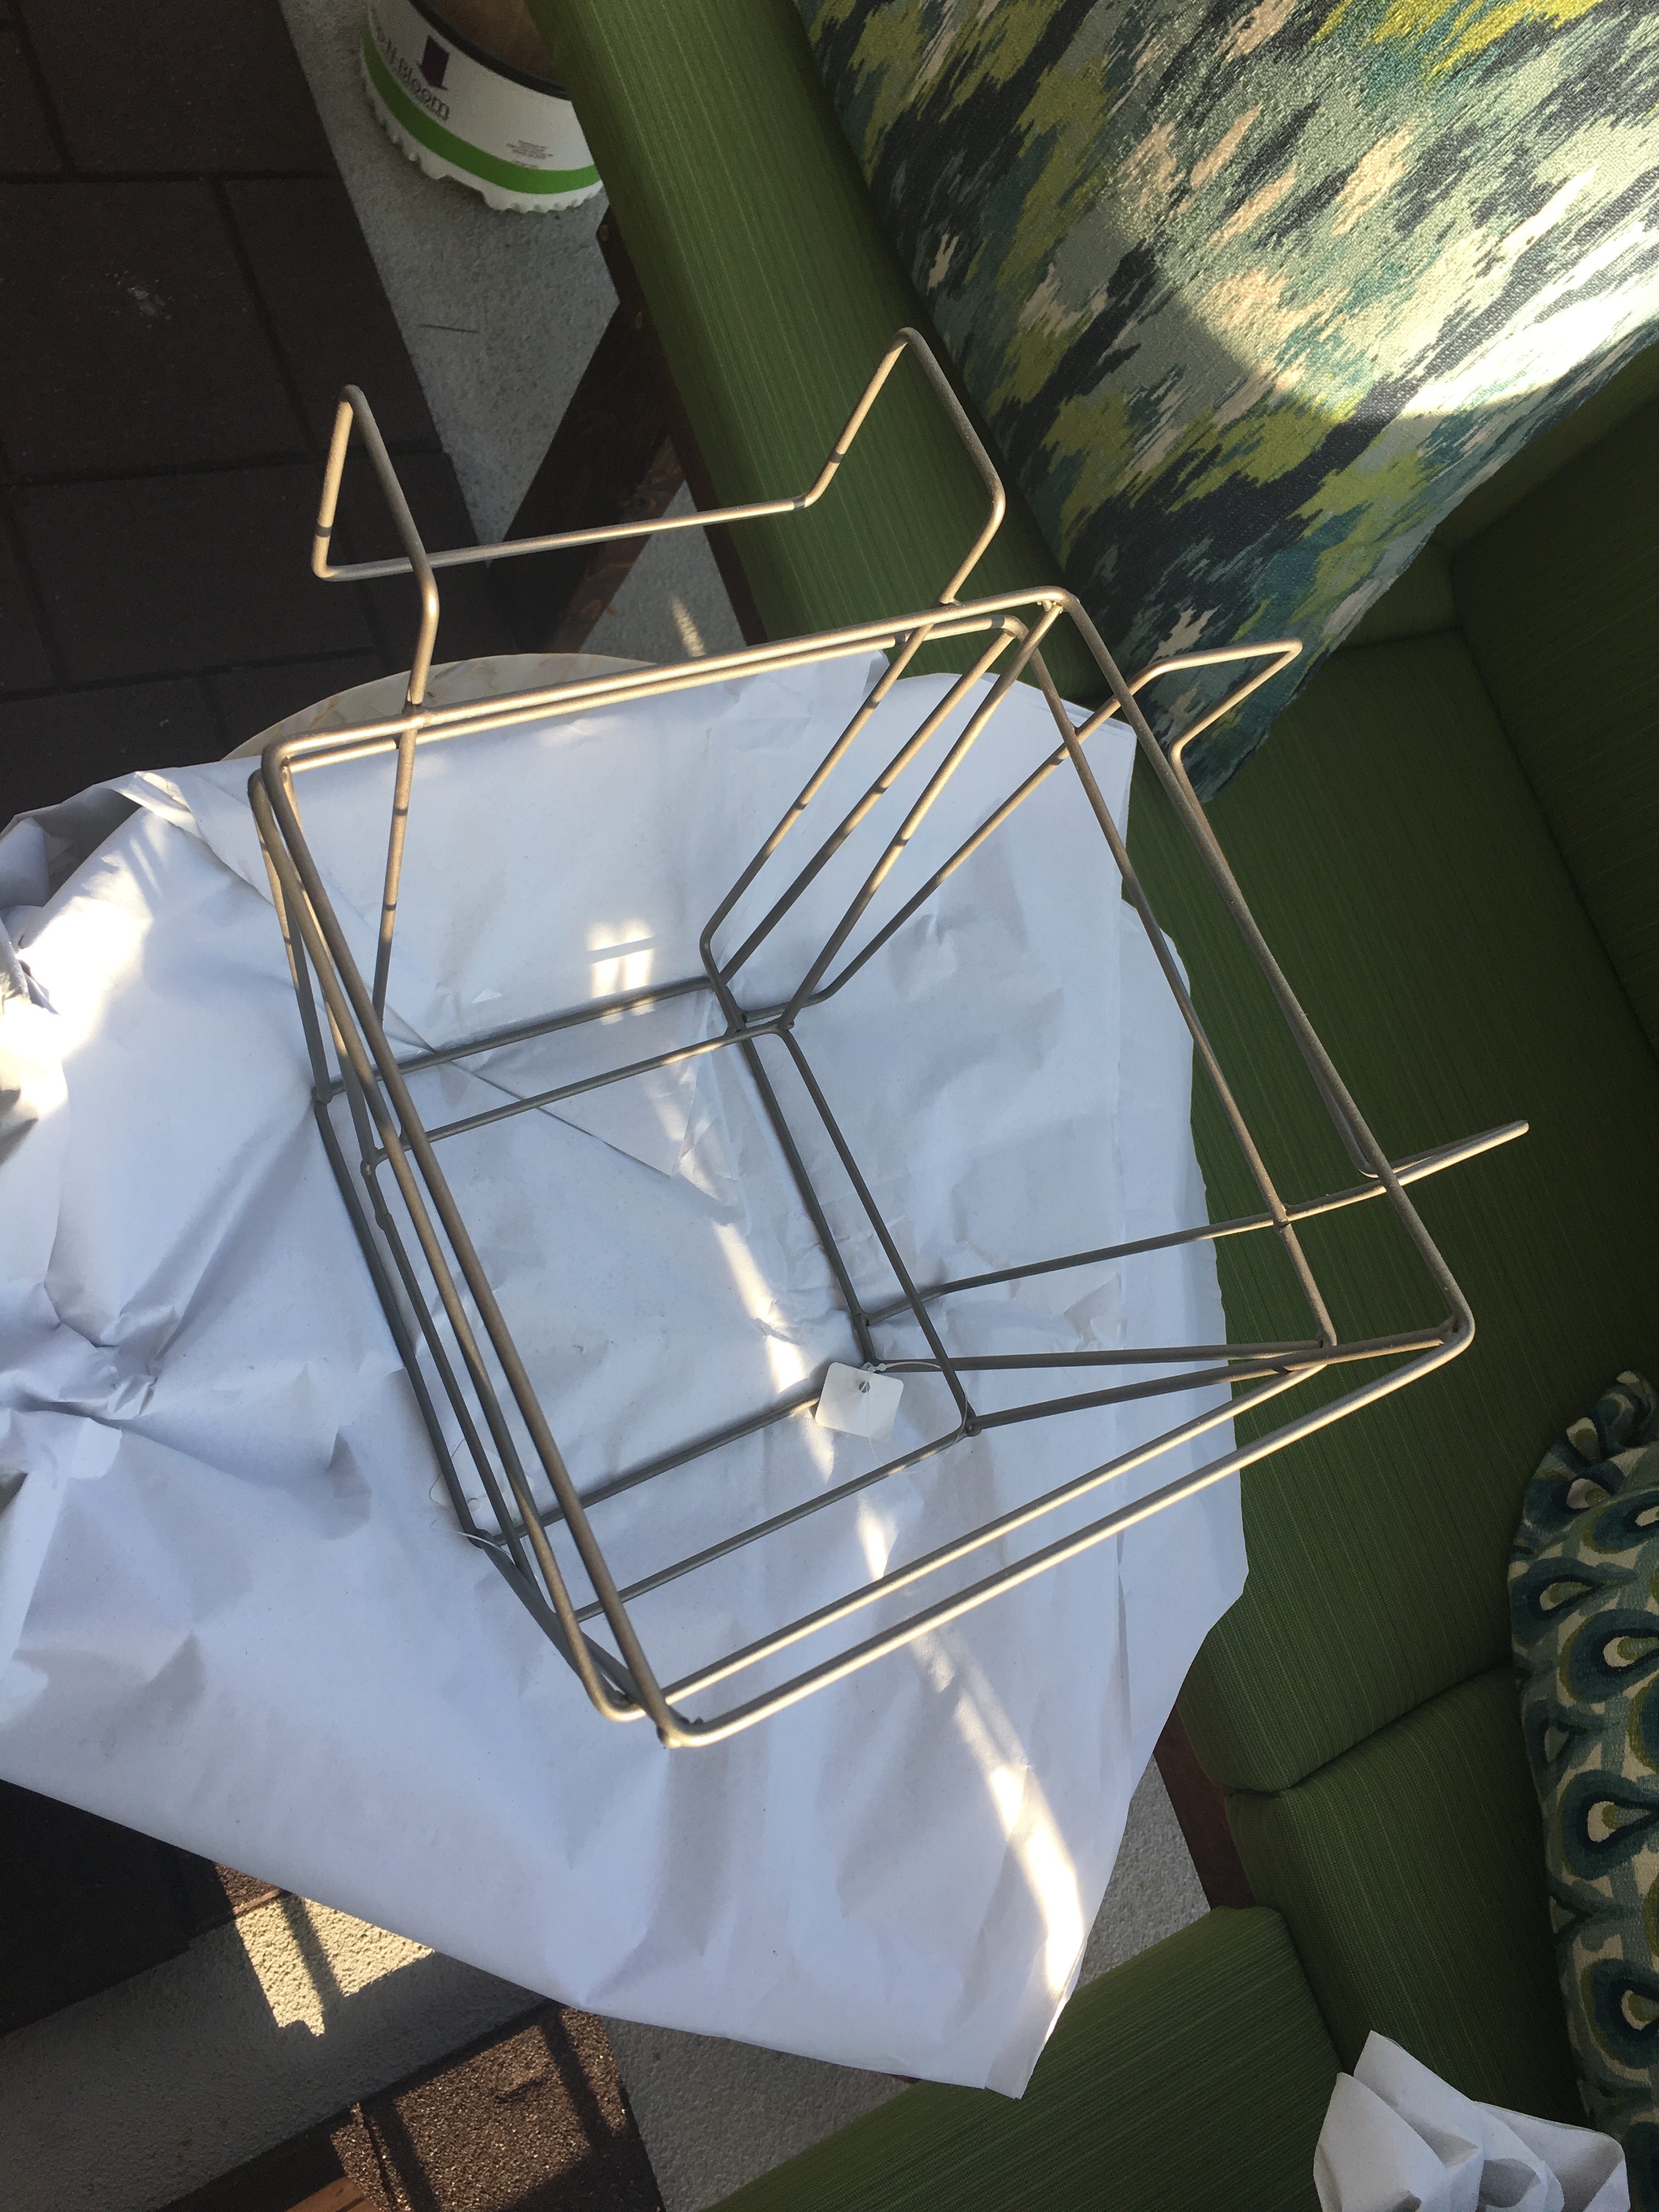
I first saw the brackets and figured I could put my own pots in the holders (as long as they were absolutely huge.
But a helpful sales associate went to get the matching square planter in the back. I was instantly sold when I saw these together.
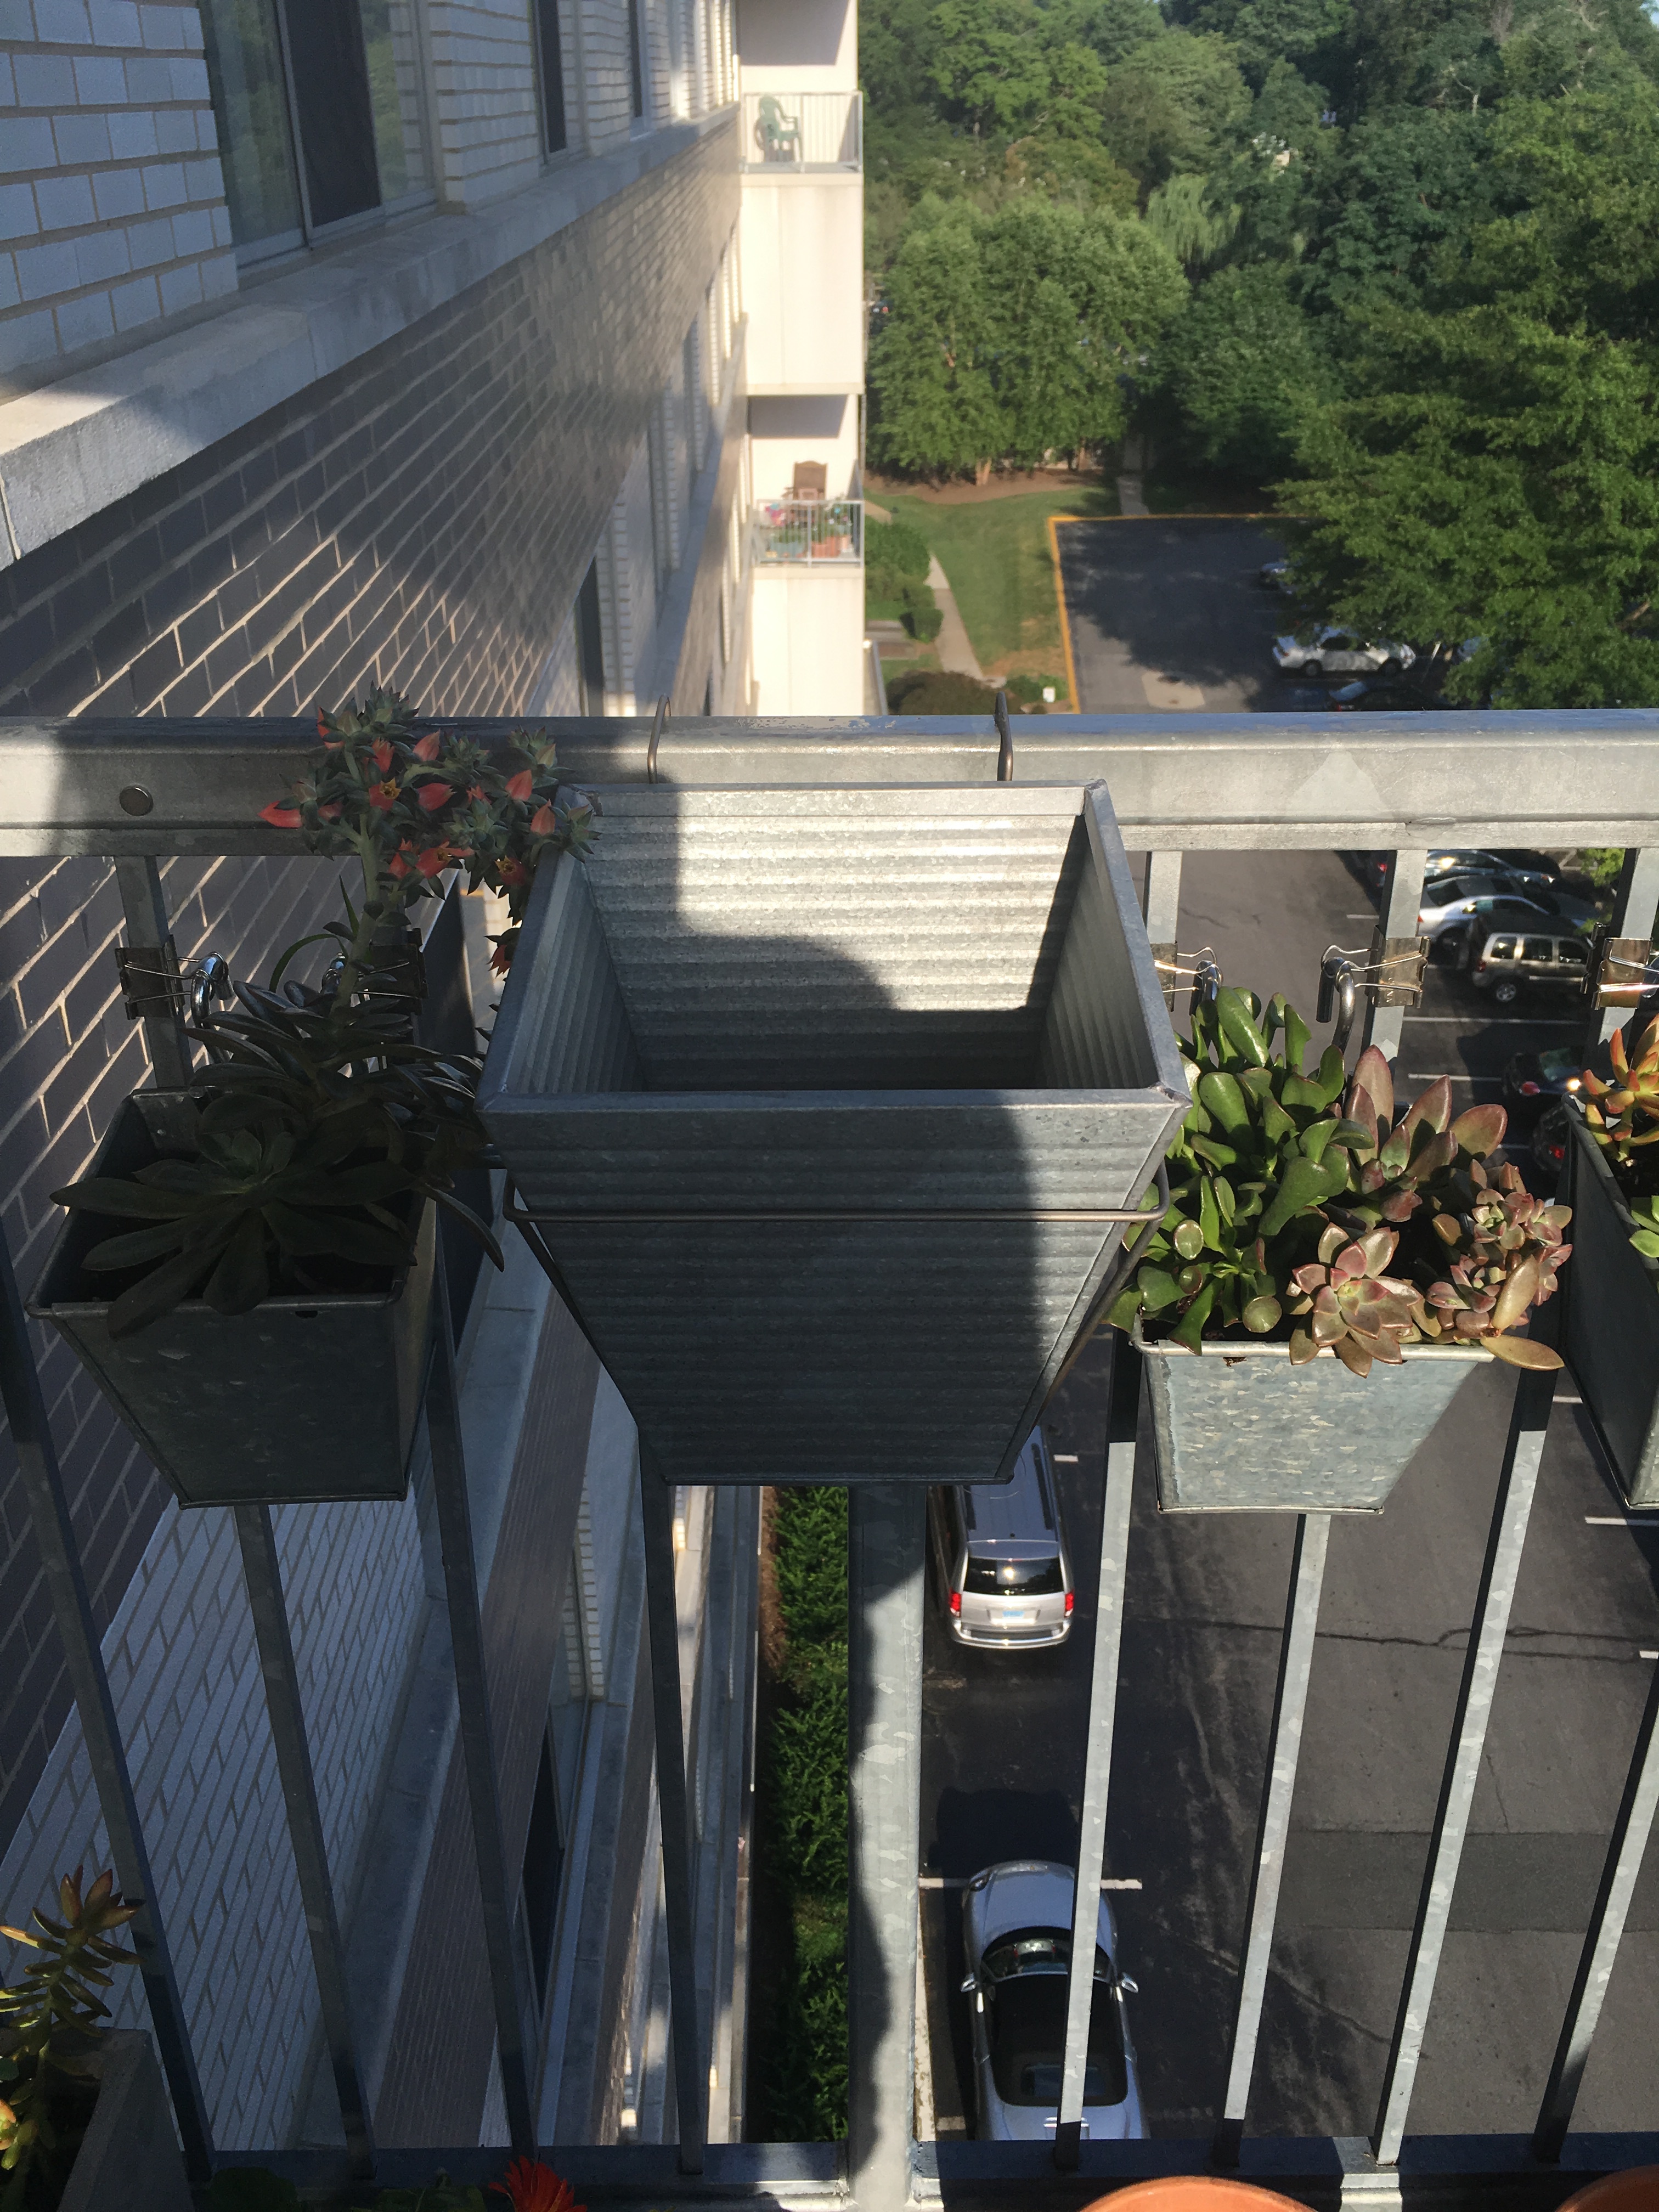
I thought about moving the smaller square planters down farther on the railing and mounting the bigger Oscar babe planters above them. But in the end, I decided to leave the smaller planters where they are and slip two Oscar Babe planters in between.
So what comes next? Well more gorgeous succulent plants of course!
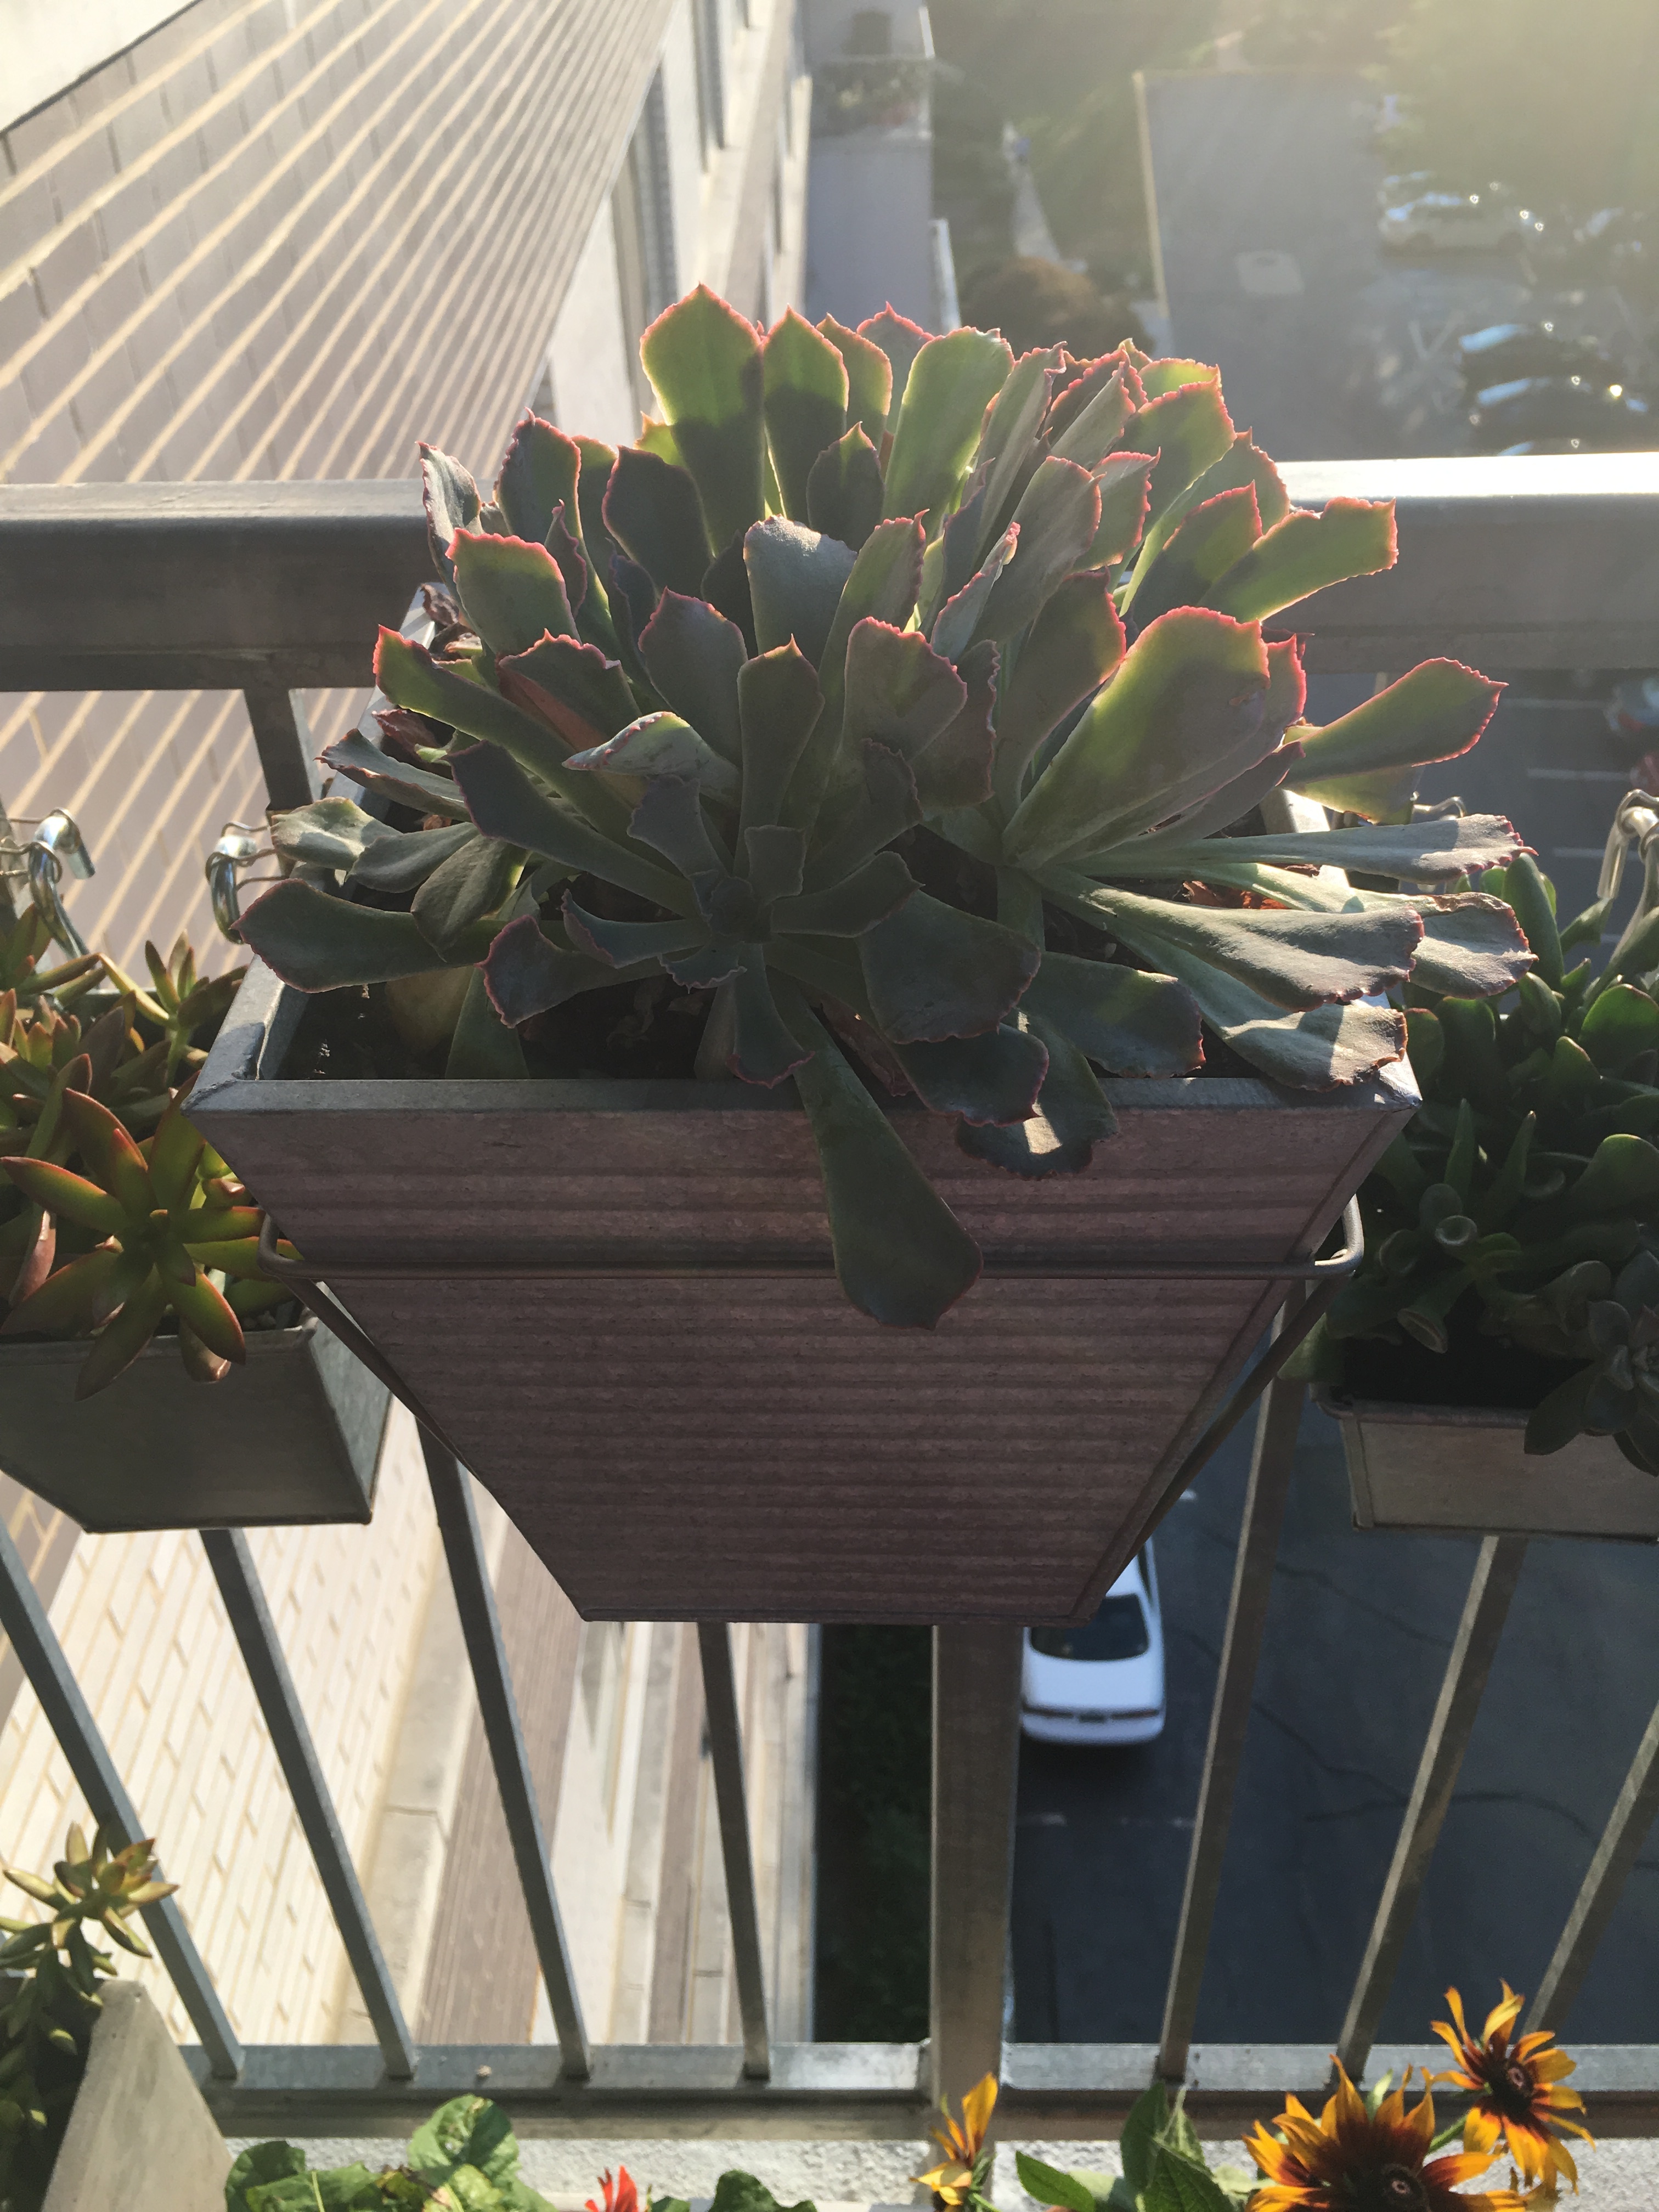
I chose one large succulent bloom to fill one pot.
I did not have one large bloom for the other planter. So I needed to add four different medium to large size plants to fill the pot.
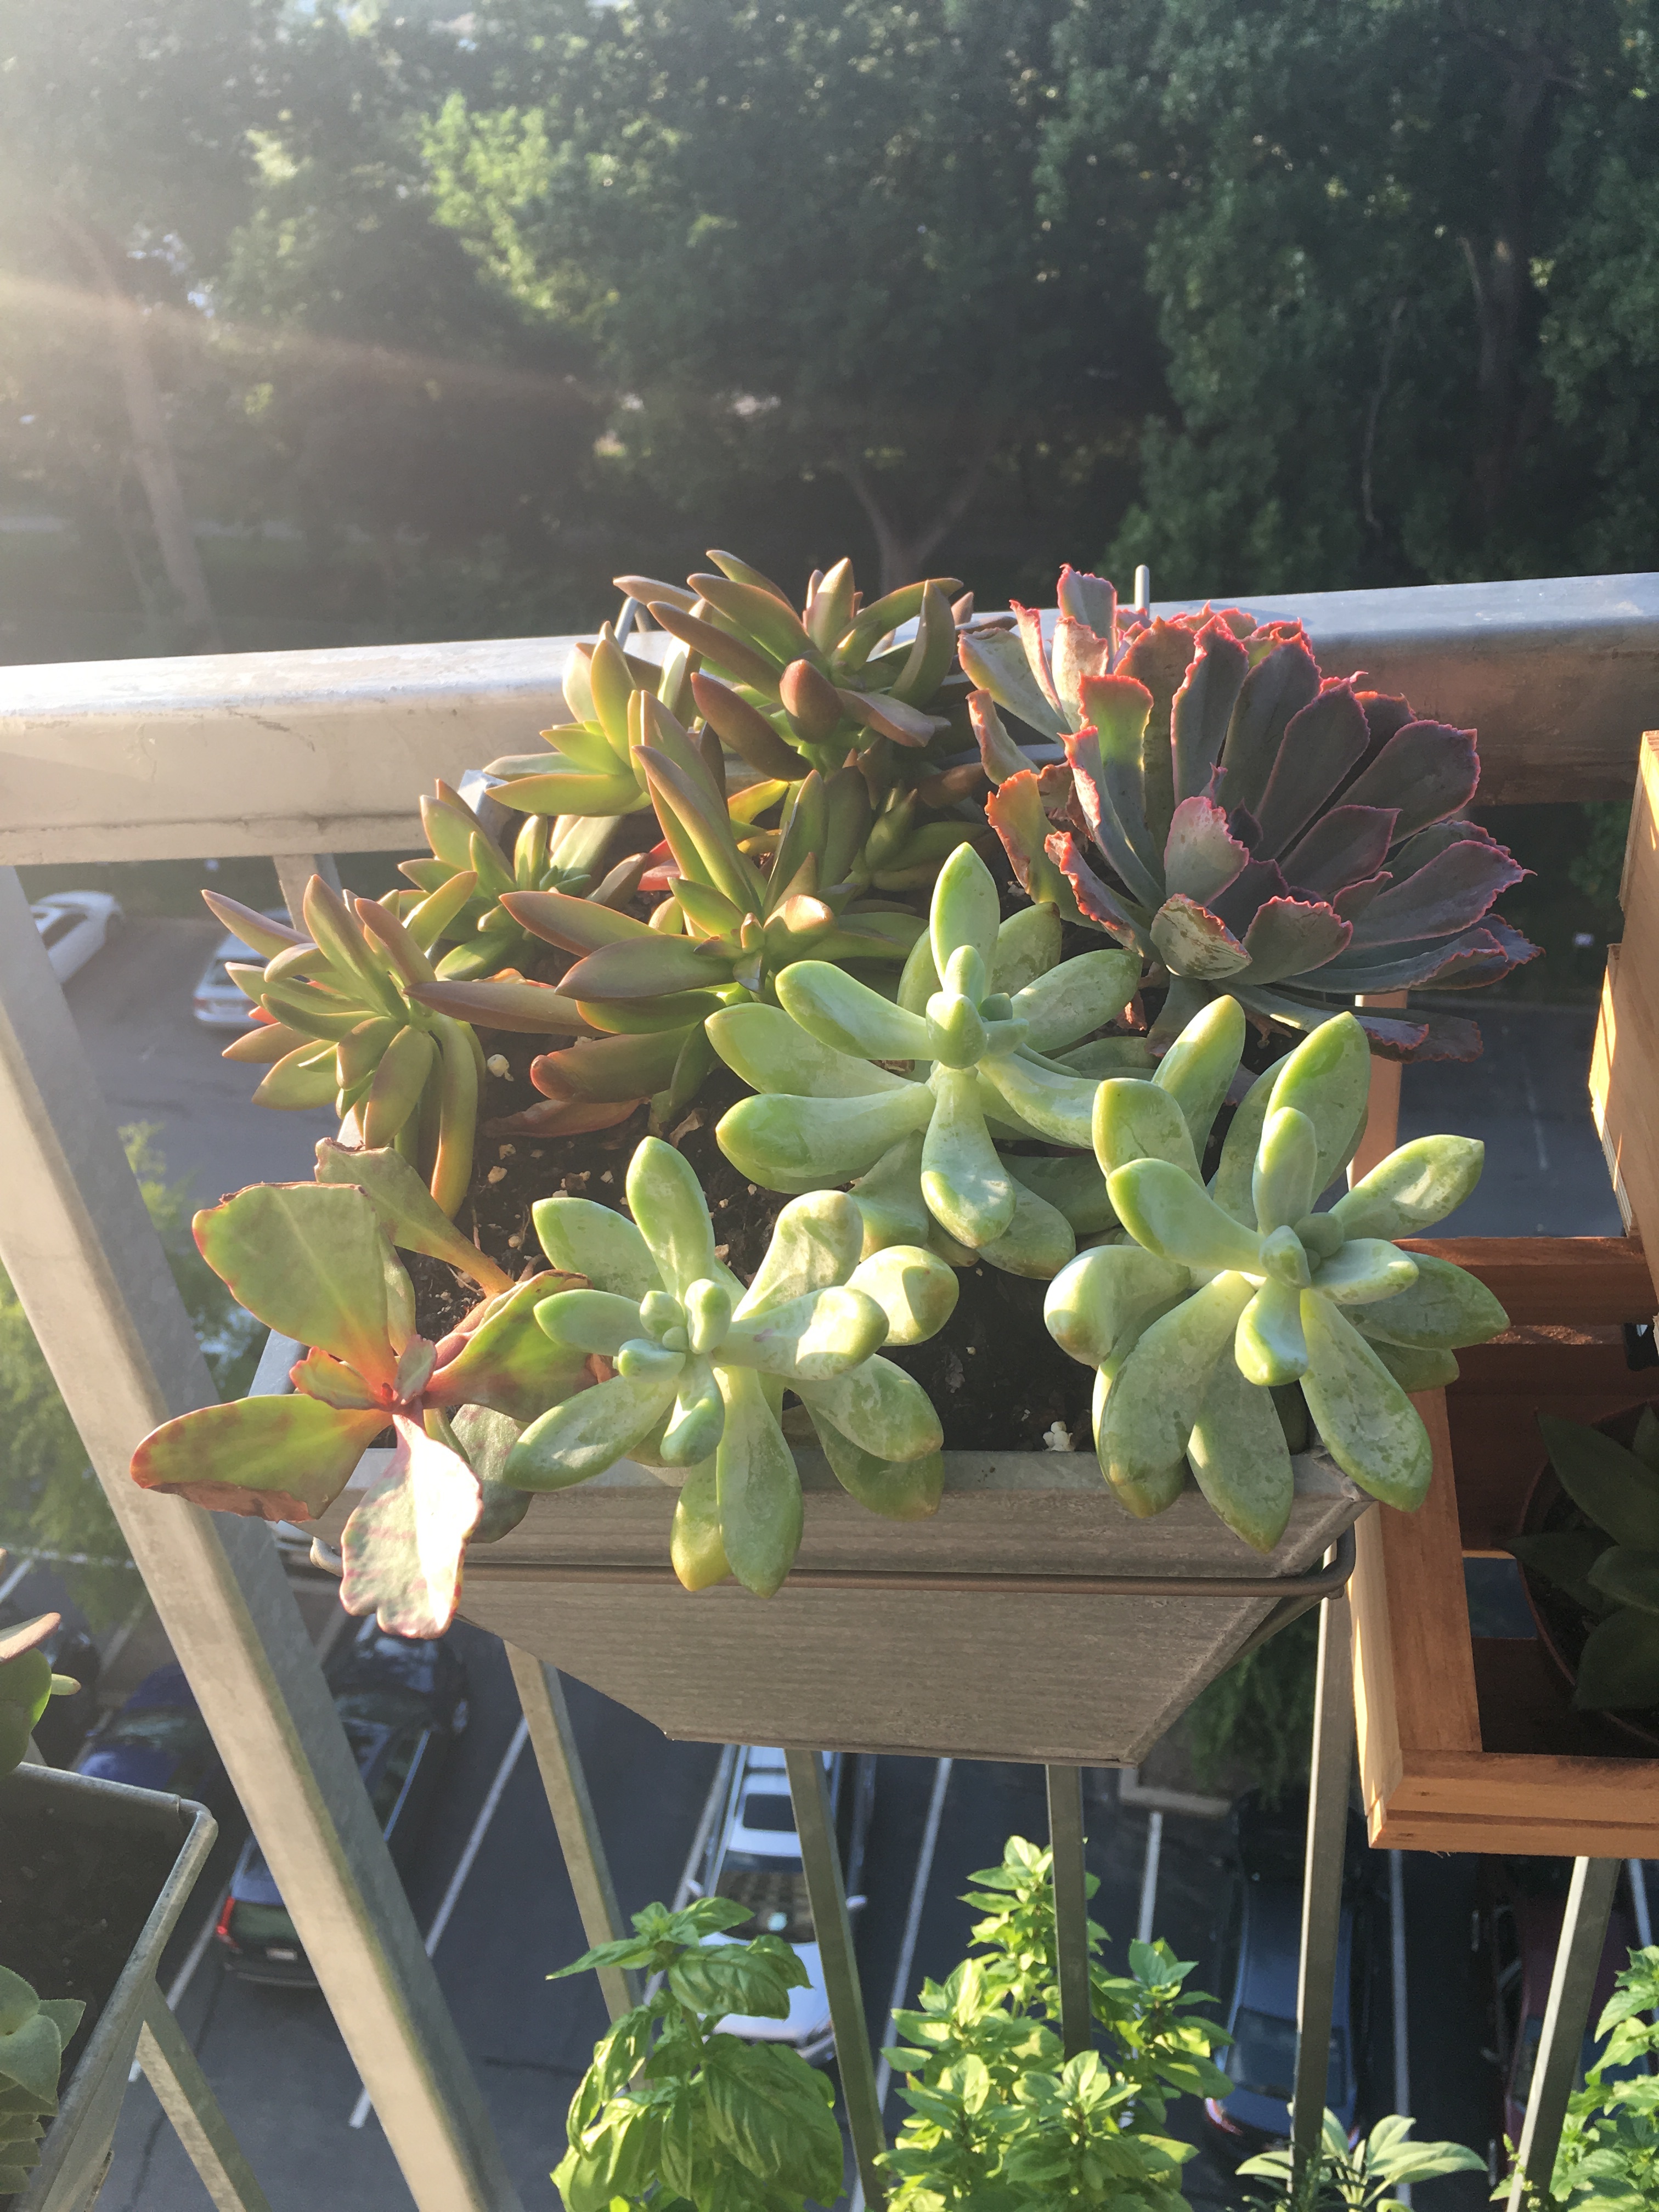
Here’s how the Oscar Babe planters fits in with the other rail inhabitants.
I love how it perfectly complements the other metal square planters and blends in with our other blooms effortlessly.
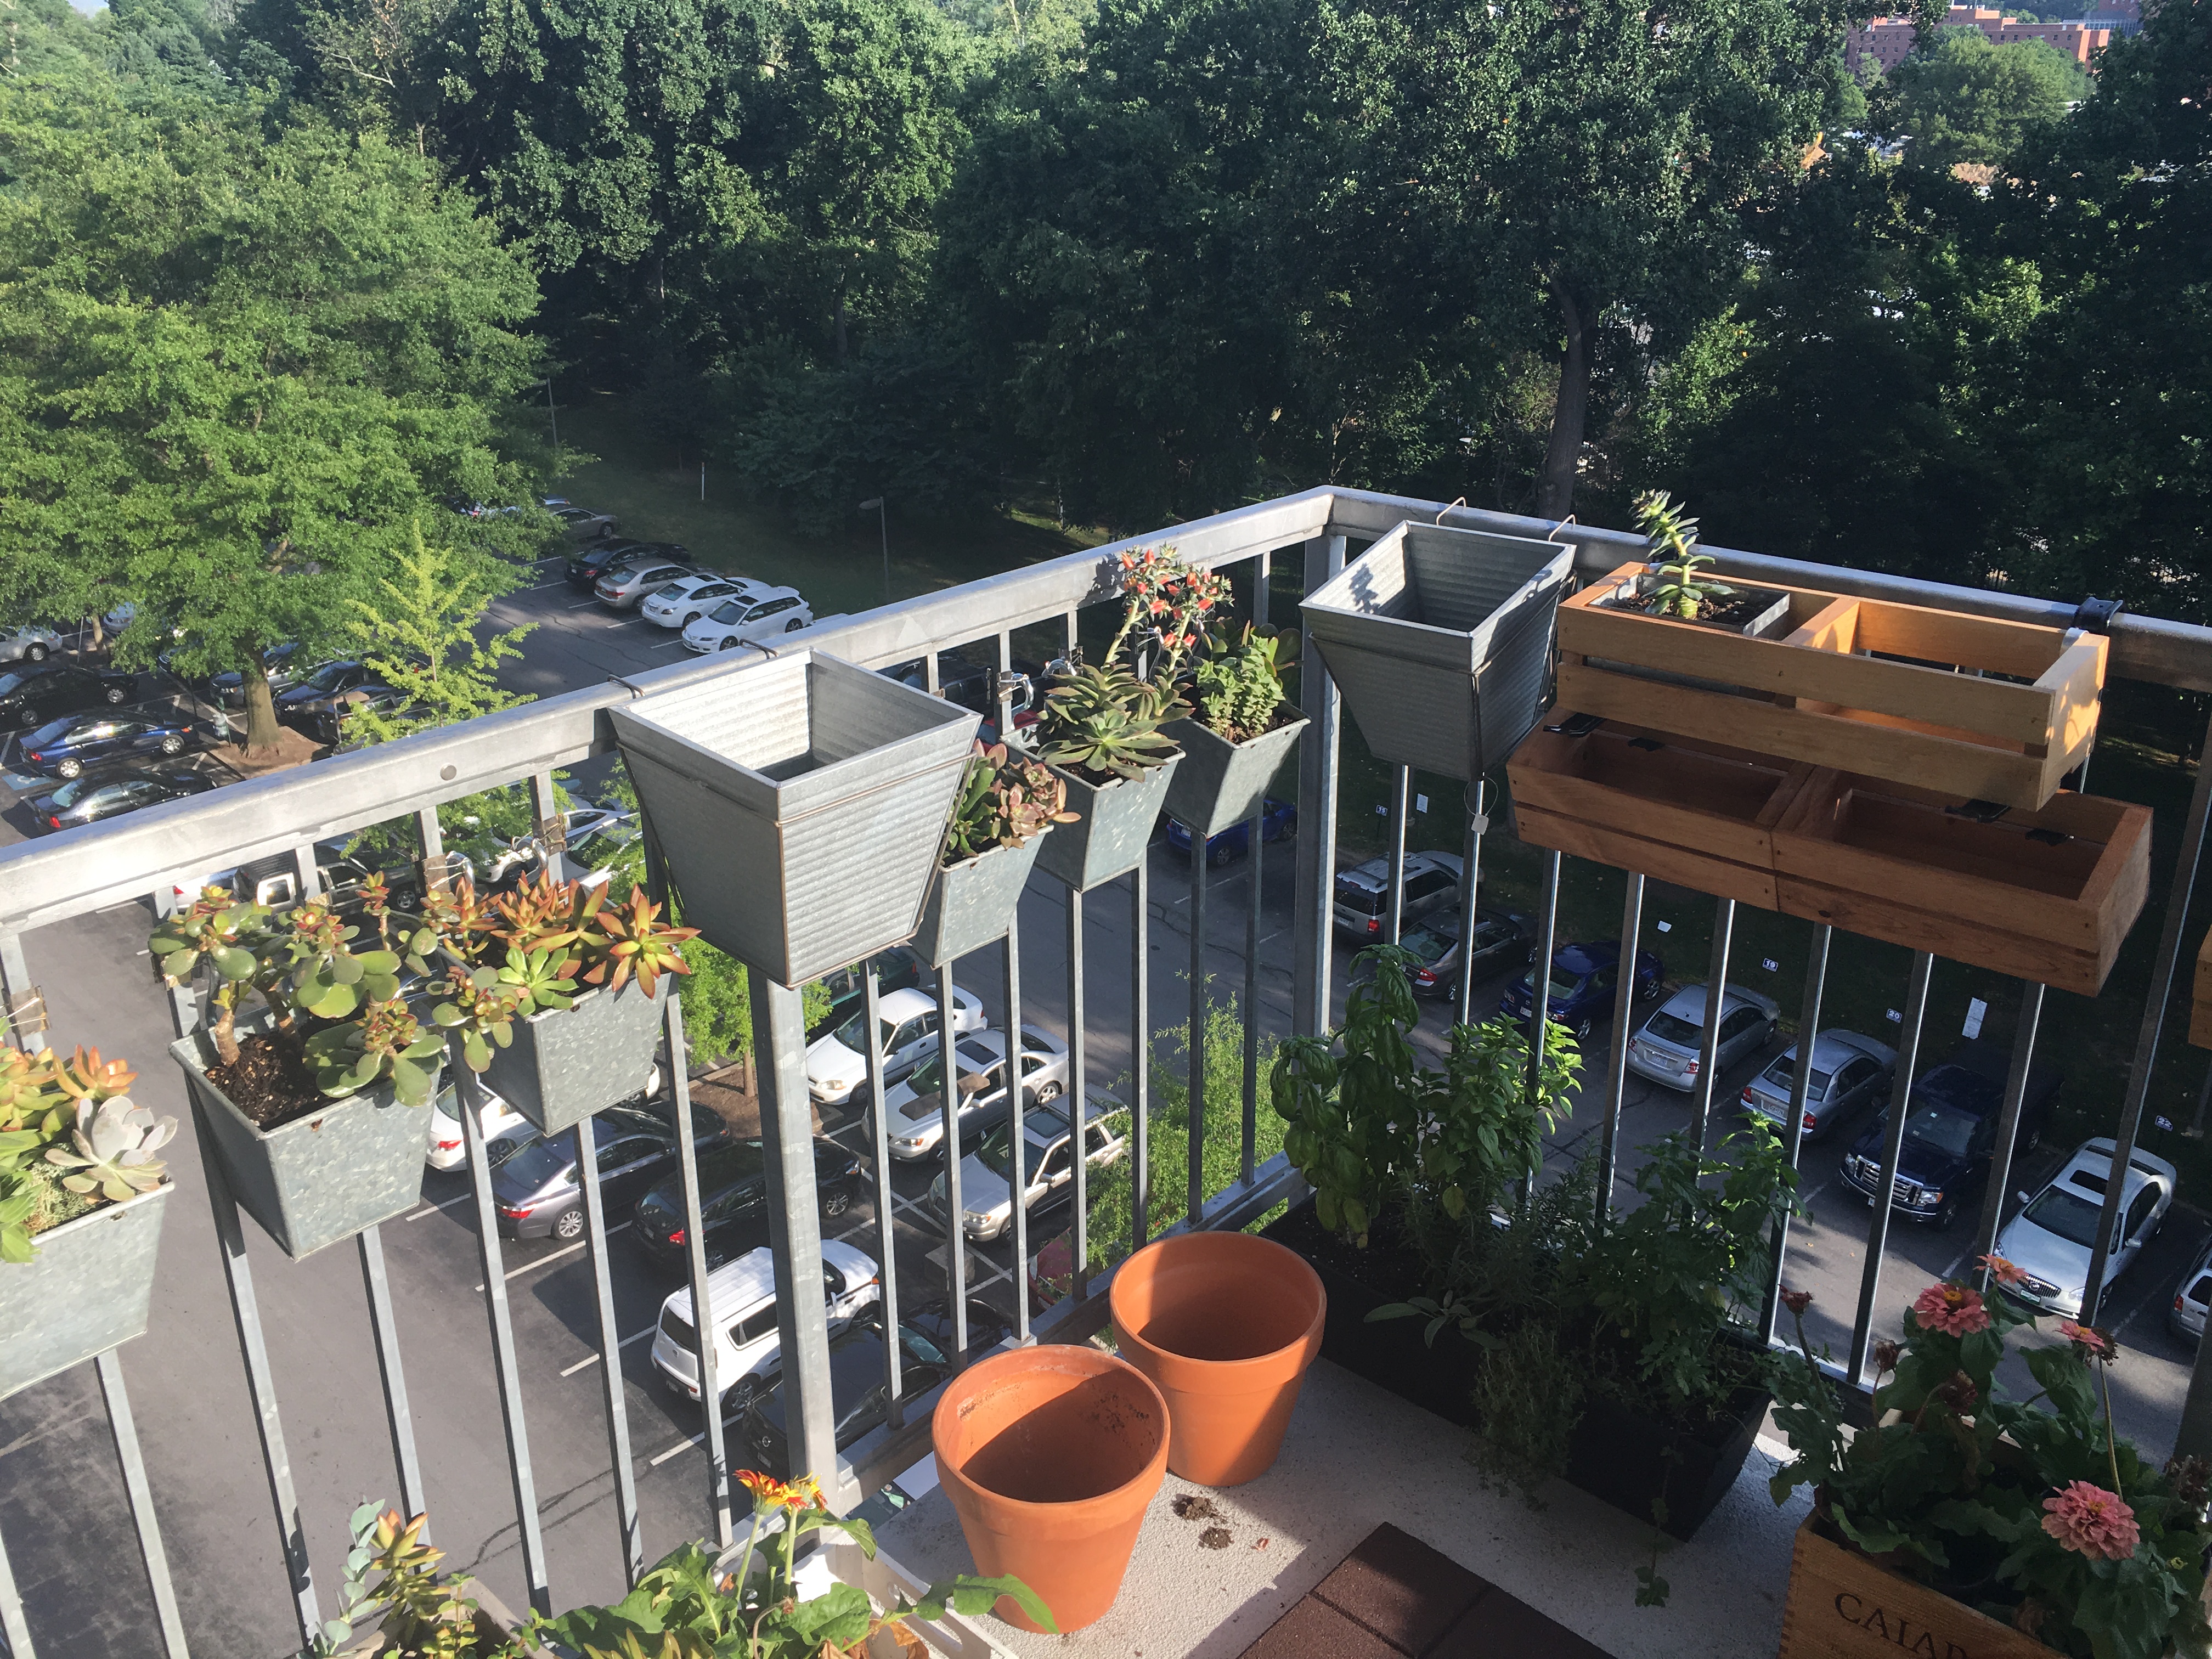
So when we step out onto the balcony, here’s what we see when we look to the right.
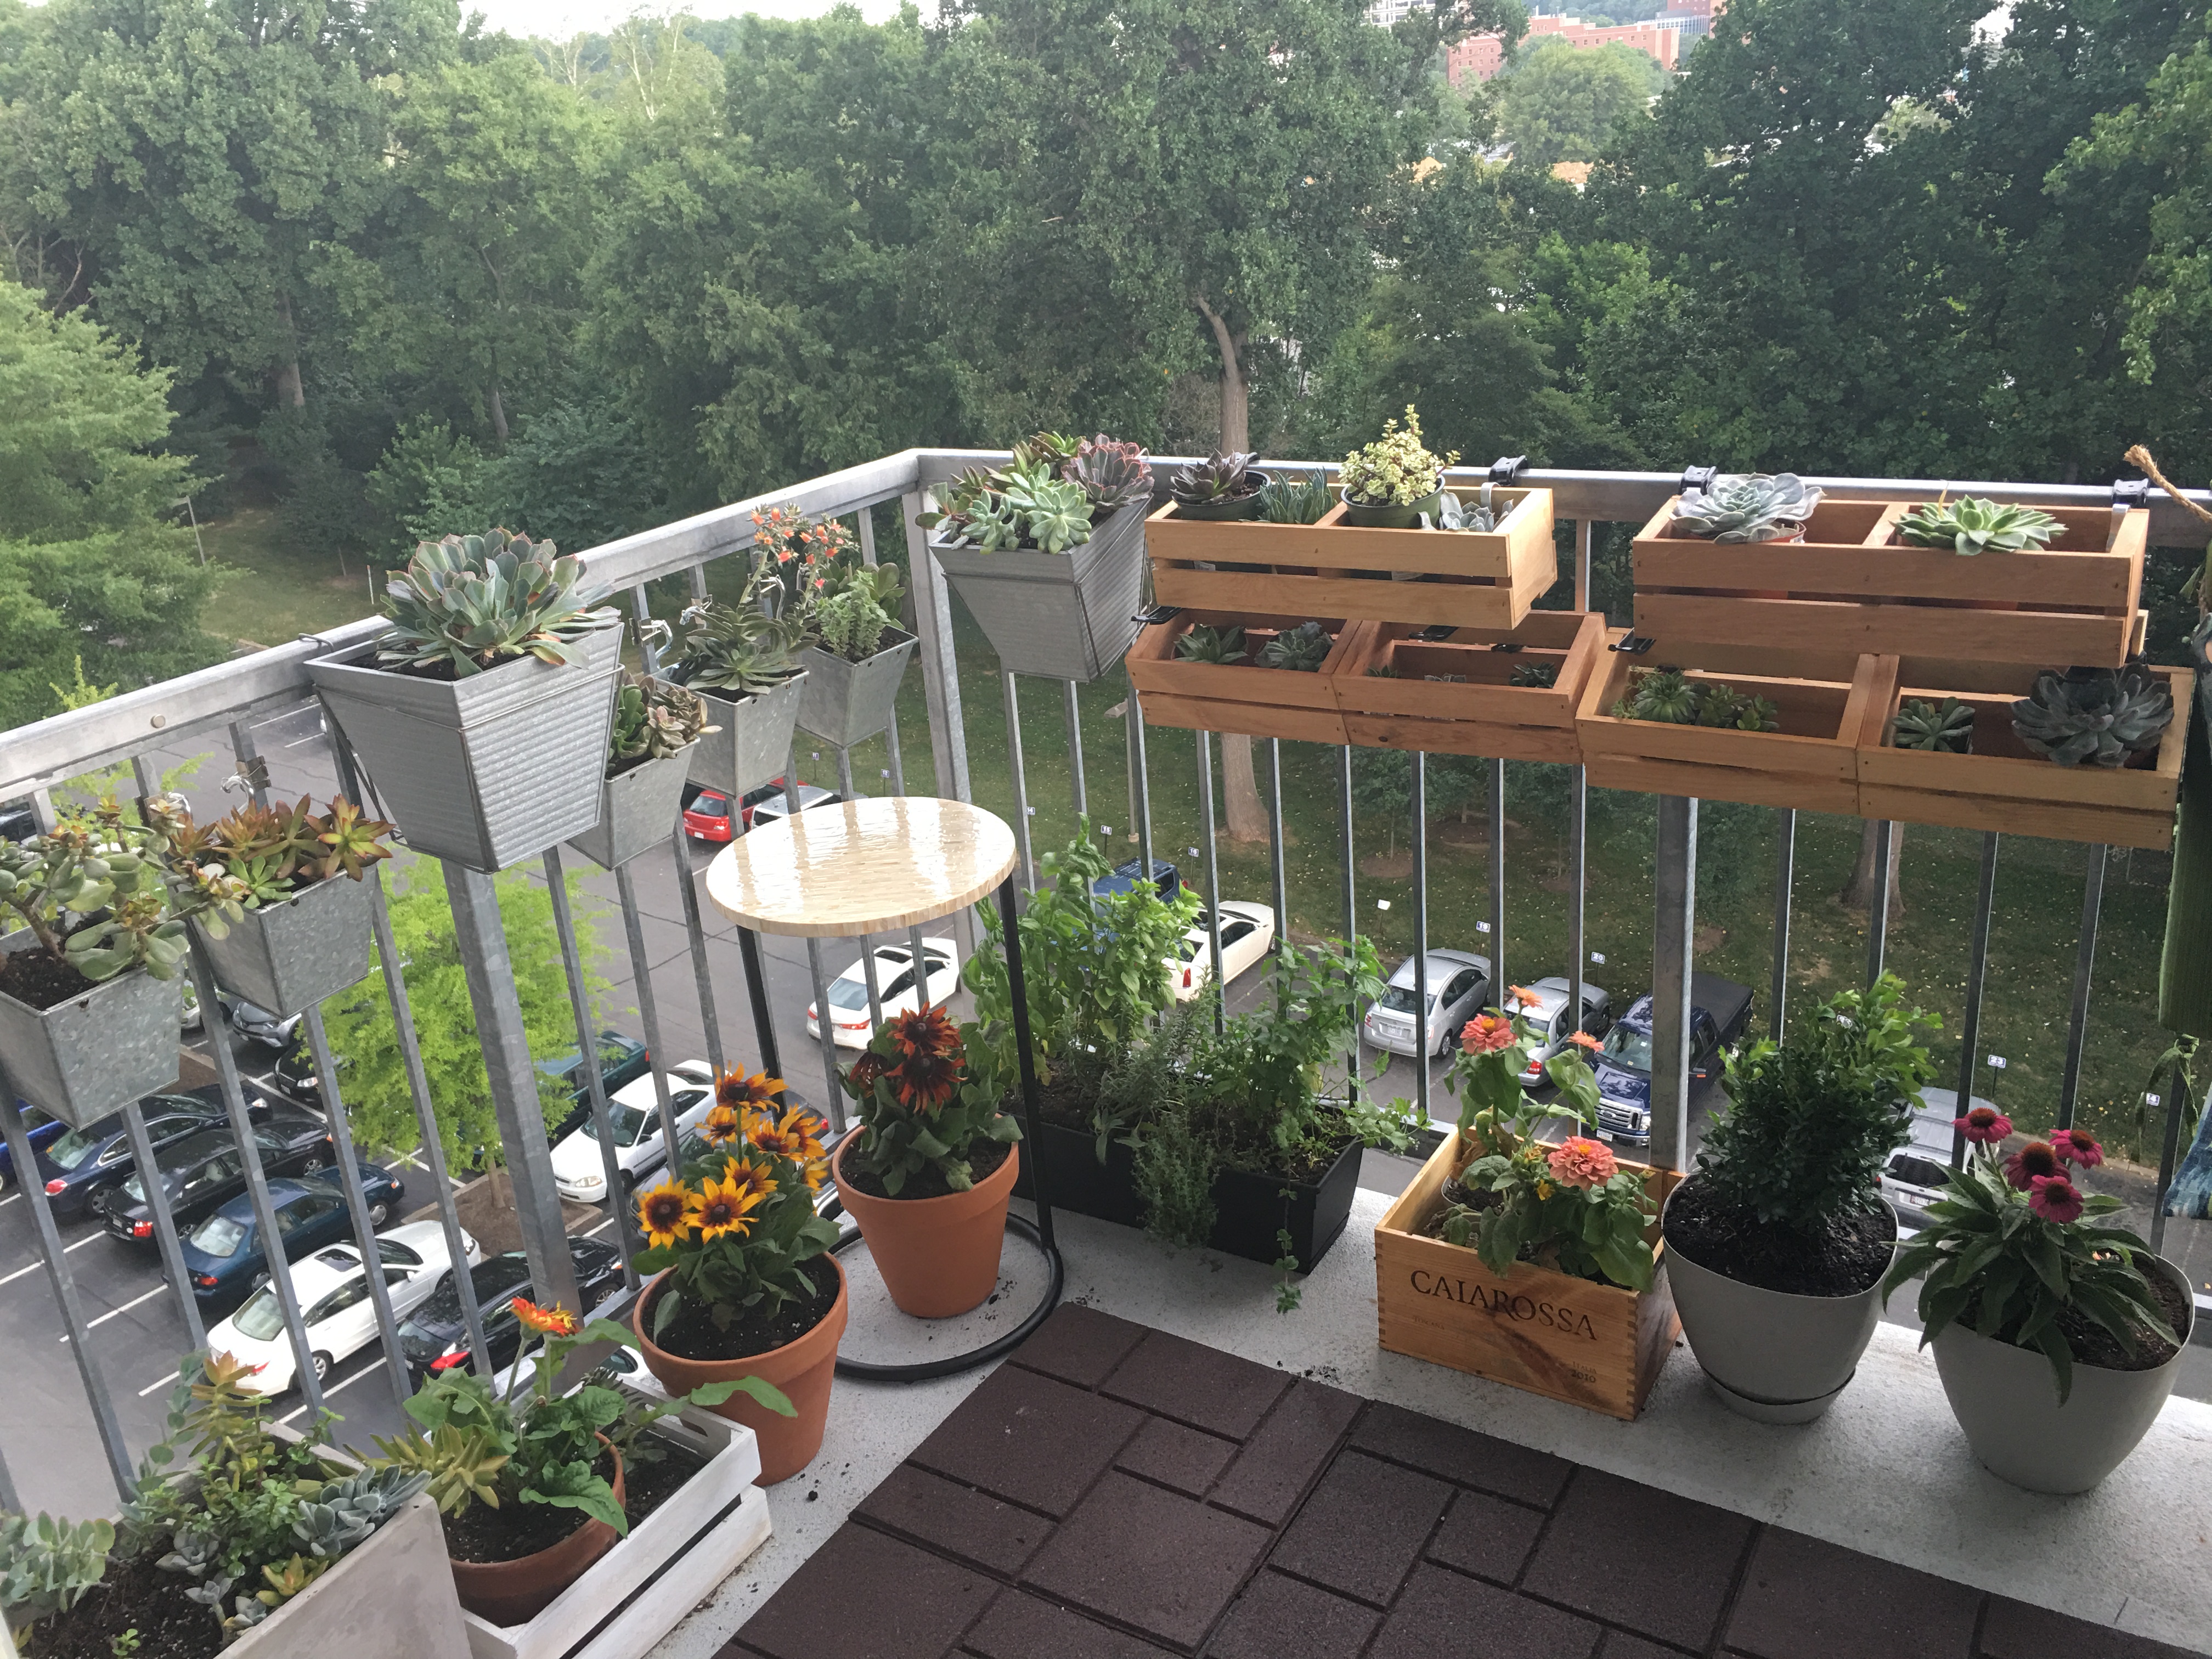
I know, right?!!! There is no better way to decorate that railing! 🙂
Next up on my “Balcony Love” series is the corner bench seating (for our outdoor dining space). It’s pretty sweet. Can’t wait to show it to you. V-