
Balcony Love: Creating an outdoor corner dining area (Part 1)
You may also like:
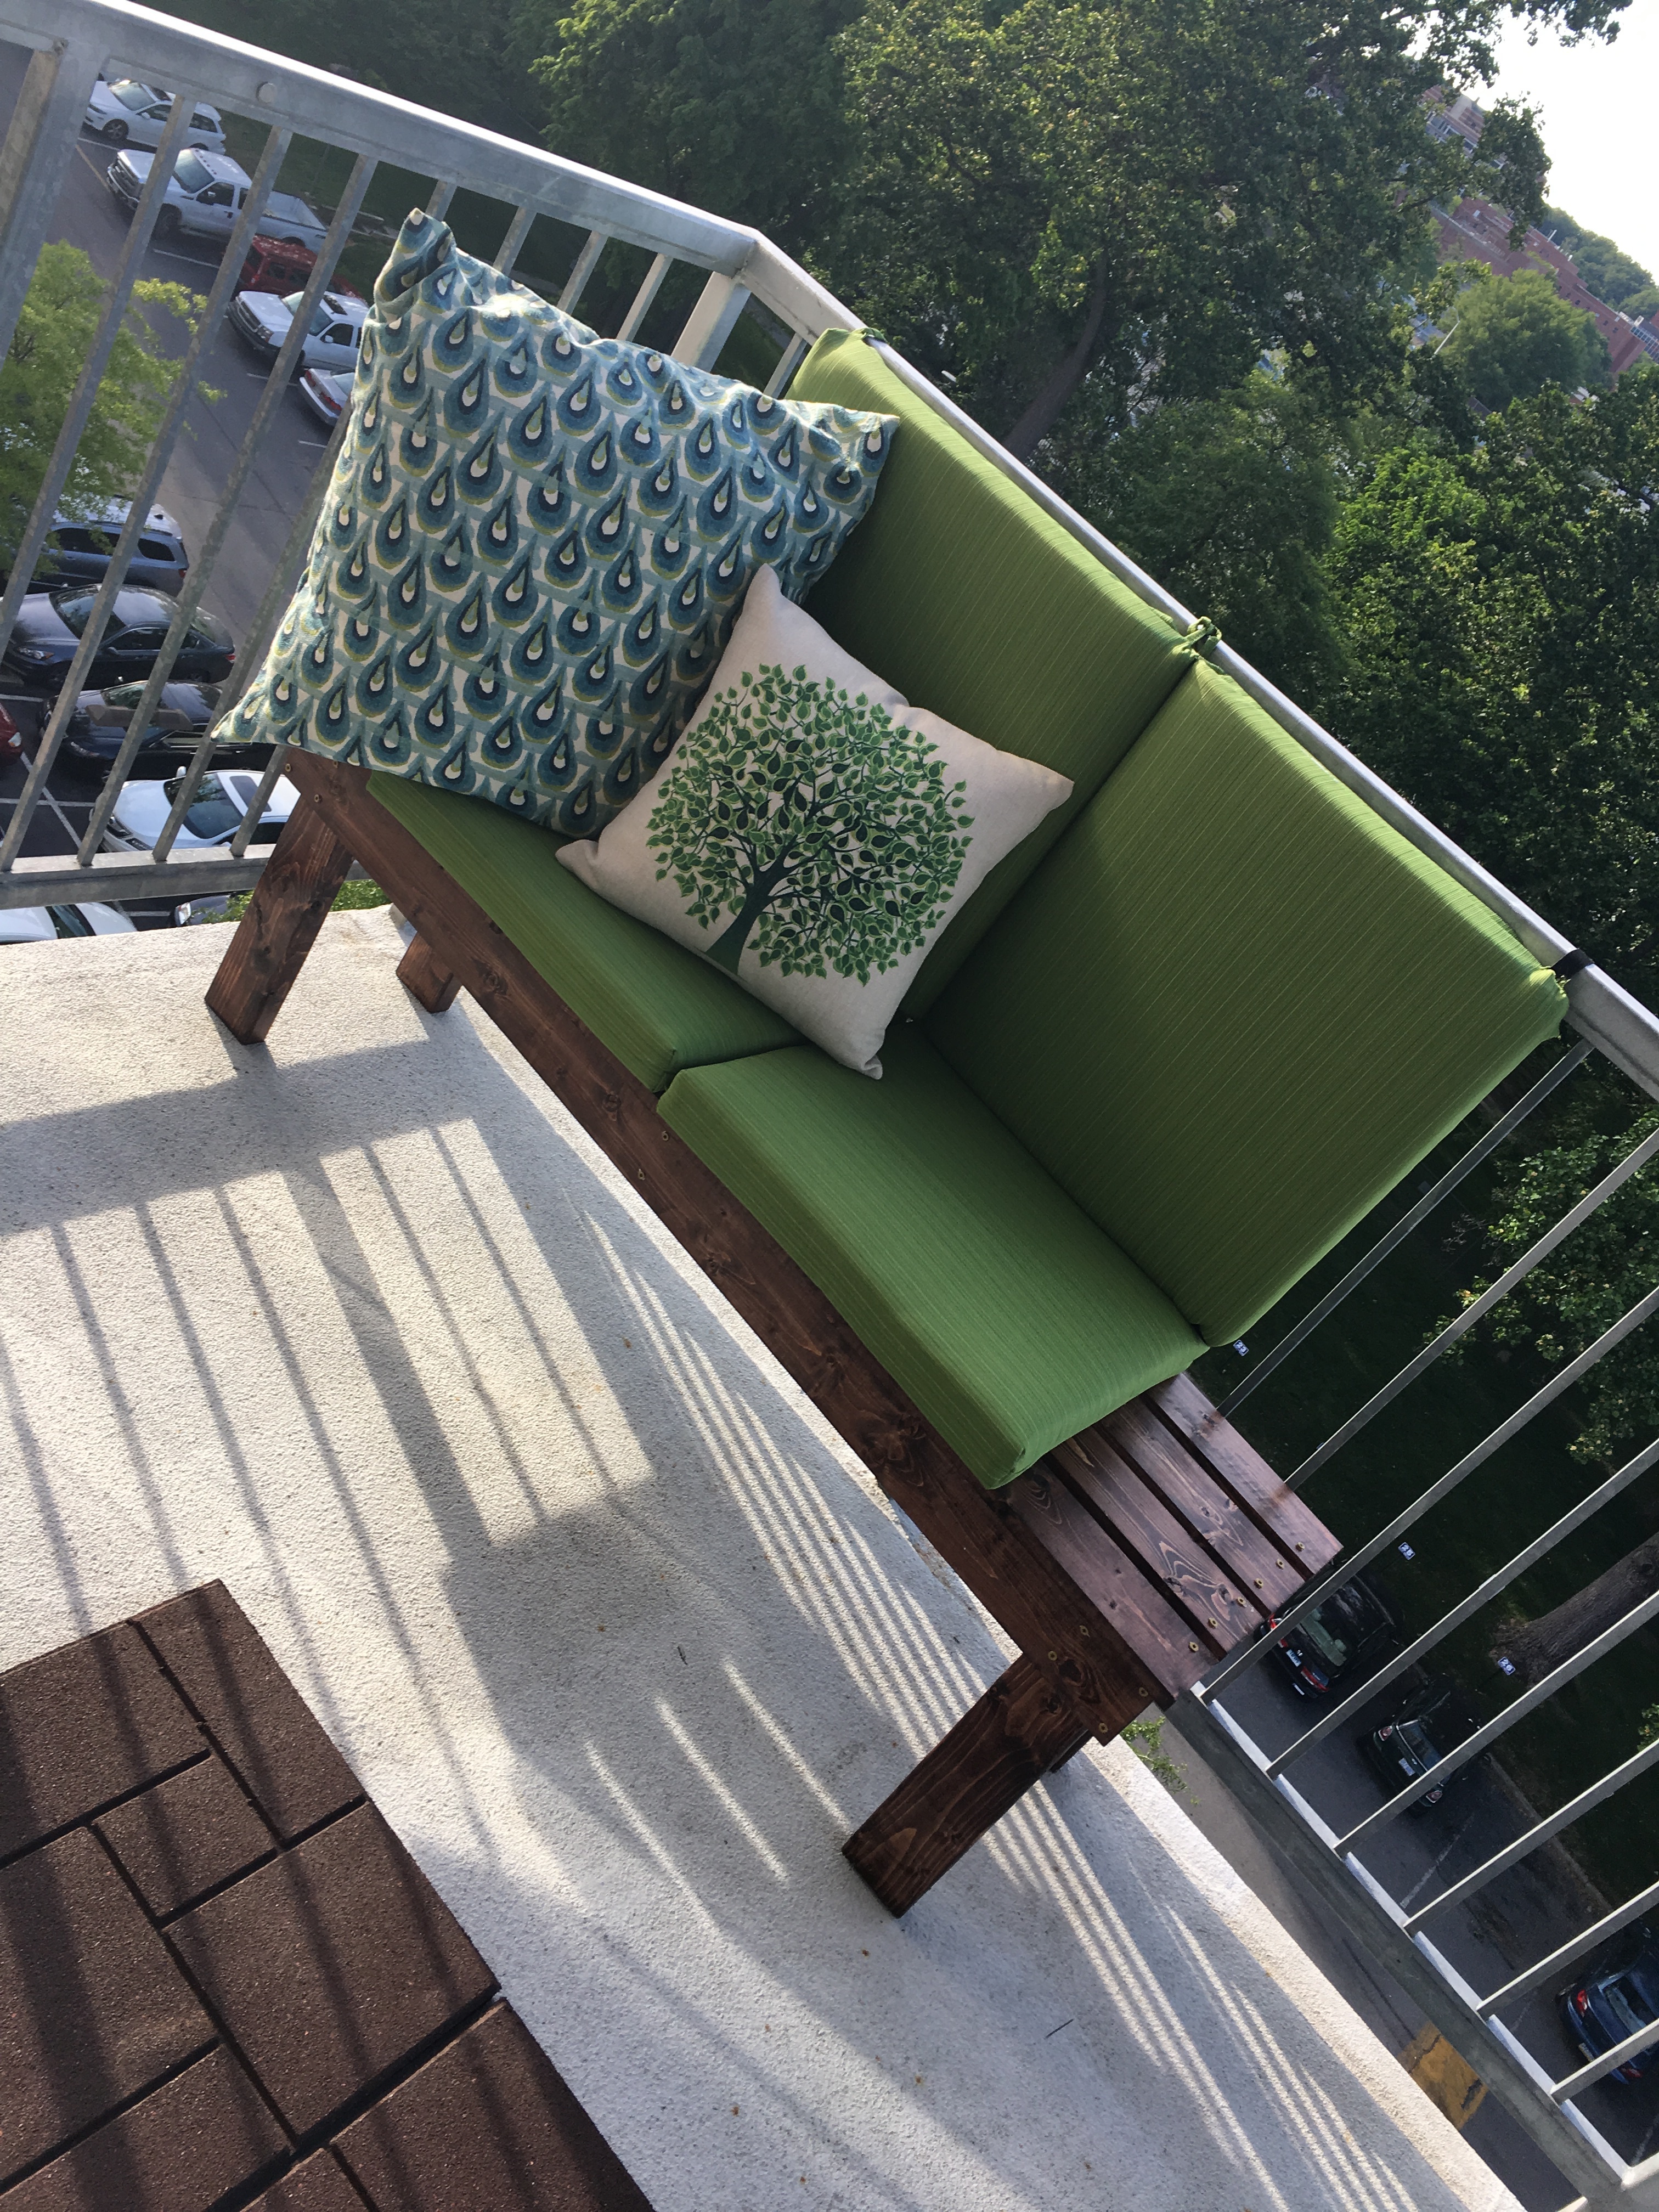
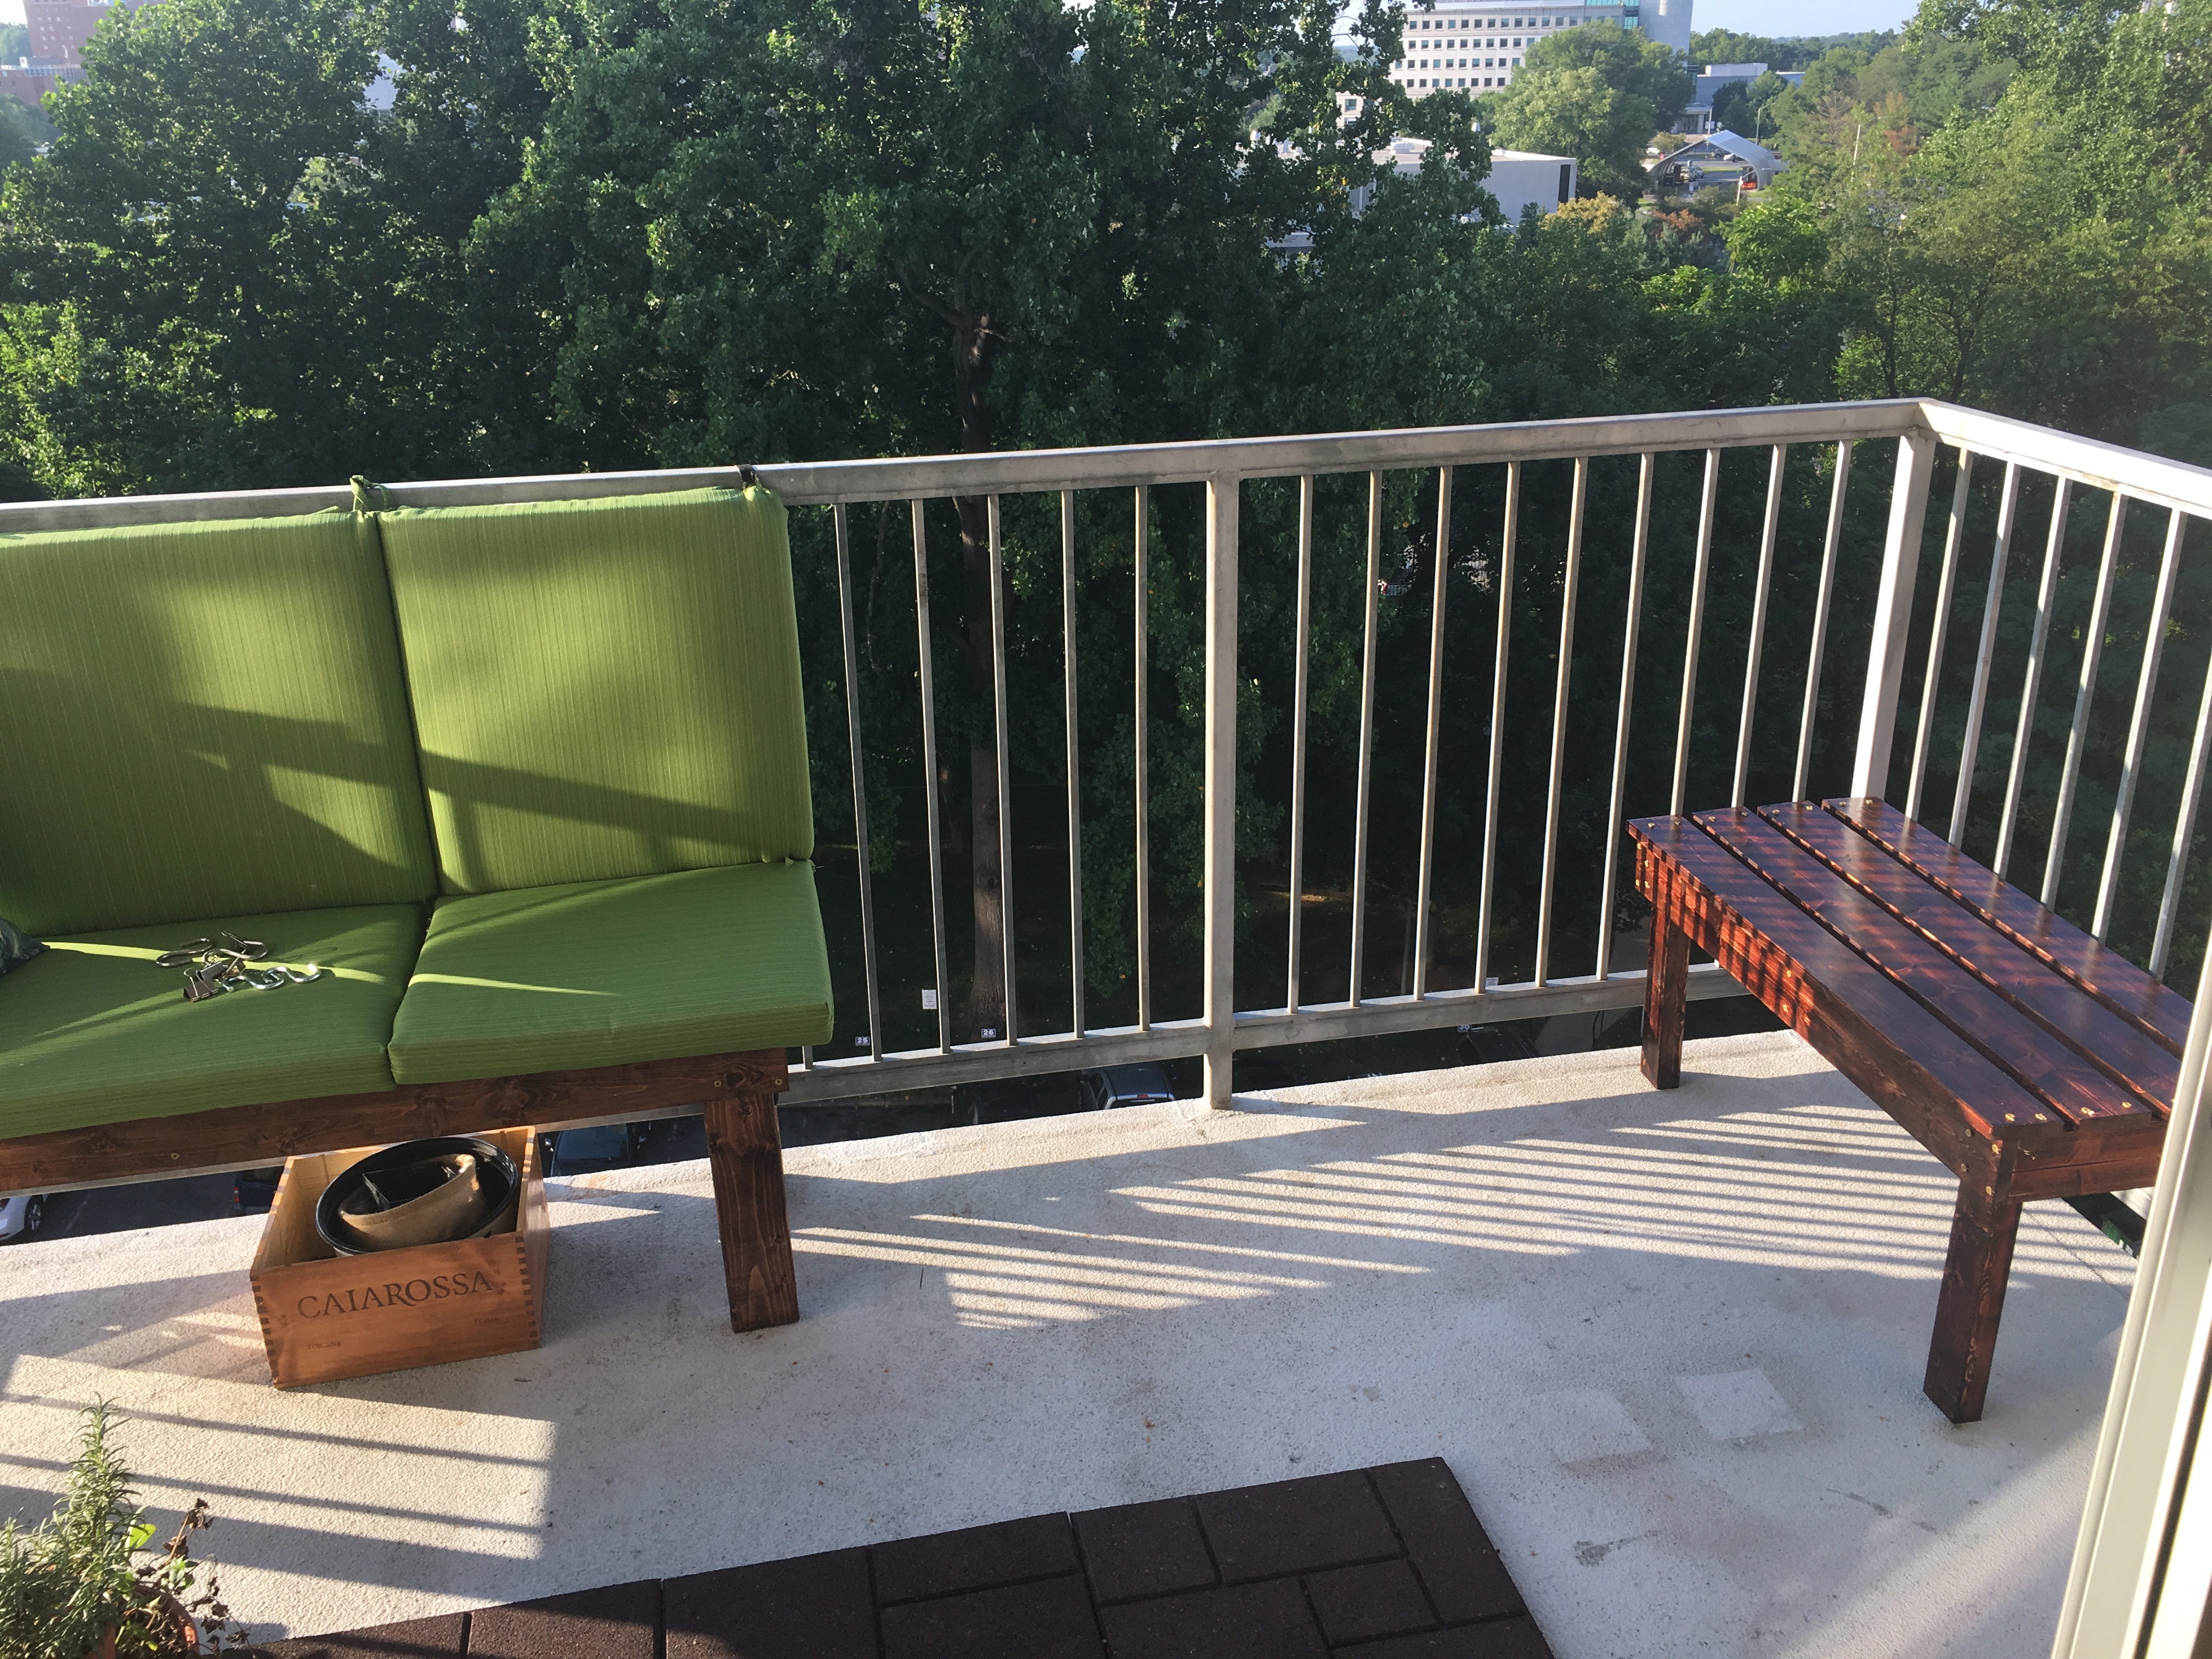
Back in May, I decided to begin adding items to our condo balcony to make it more of a warm and inviting space. To start, I built a DIY balcony bench with pine boards and decking screws using the Engineer Your Space (EYS) build plans.
And I added some Envirotiles to the balcony floor – recycled rubber tiles I picked up from Home Depot ($7 a tile).
The EYS build plan for the balcony bench is part of a larger outdoor dining area project. The dining area consists of two benches (1 large and 1 small) and DIY privacy fences that are tied to the balcony railing.
My plan was to do the entire project for our balcony. But after talking to the condo property manager about what I had in mind (and going a few rounds with Bruce about the safety risks and insurance implications) I decided to forego the privacy fence build.
Instead, I will proceed with the DIY corner dining area build using two benches, chair cushions from Target, and DIY convertible accent/dining table. The balcony railing will serve as the base for the back rest cushions.
But first we need another bench.
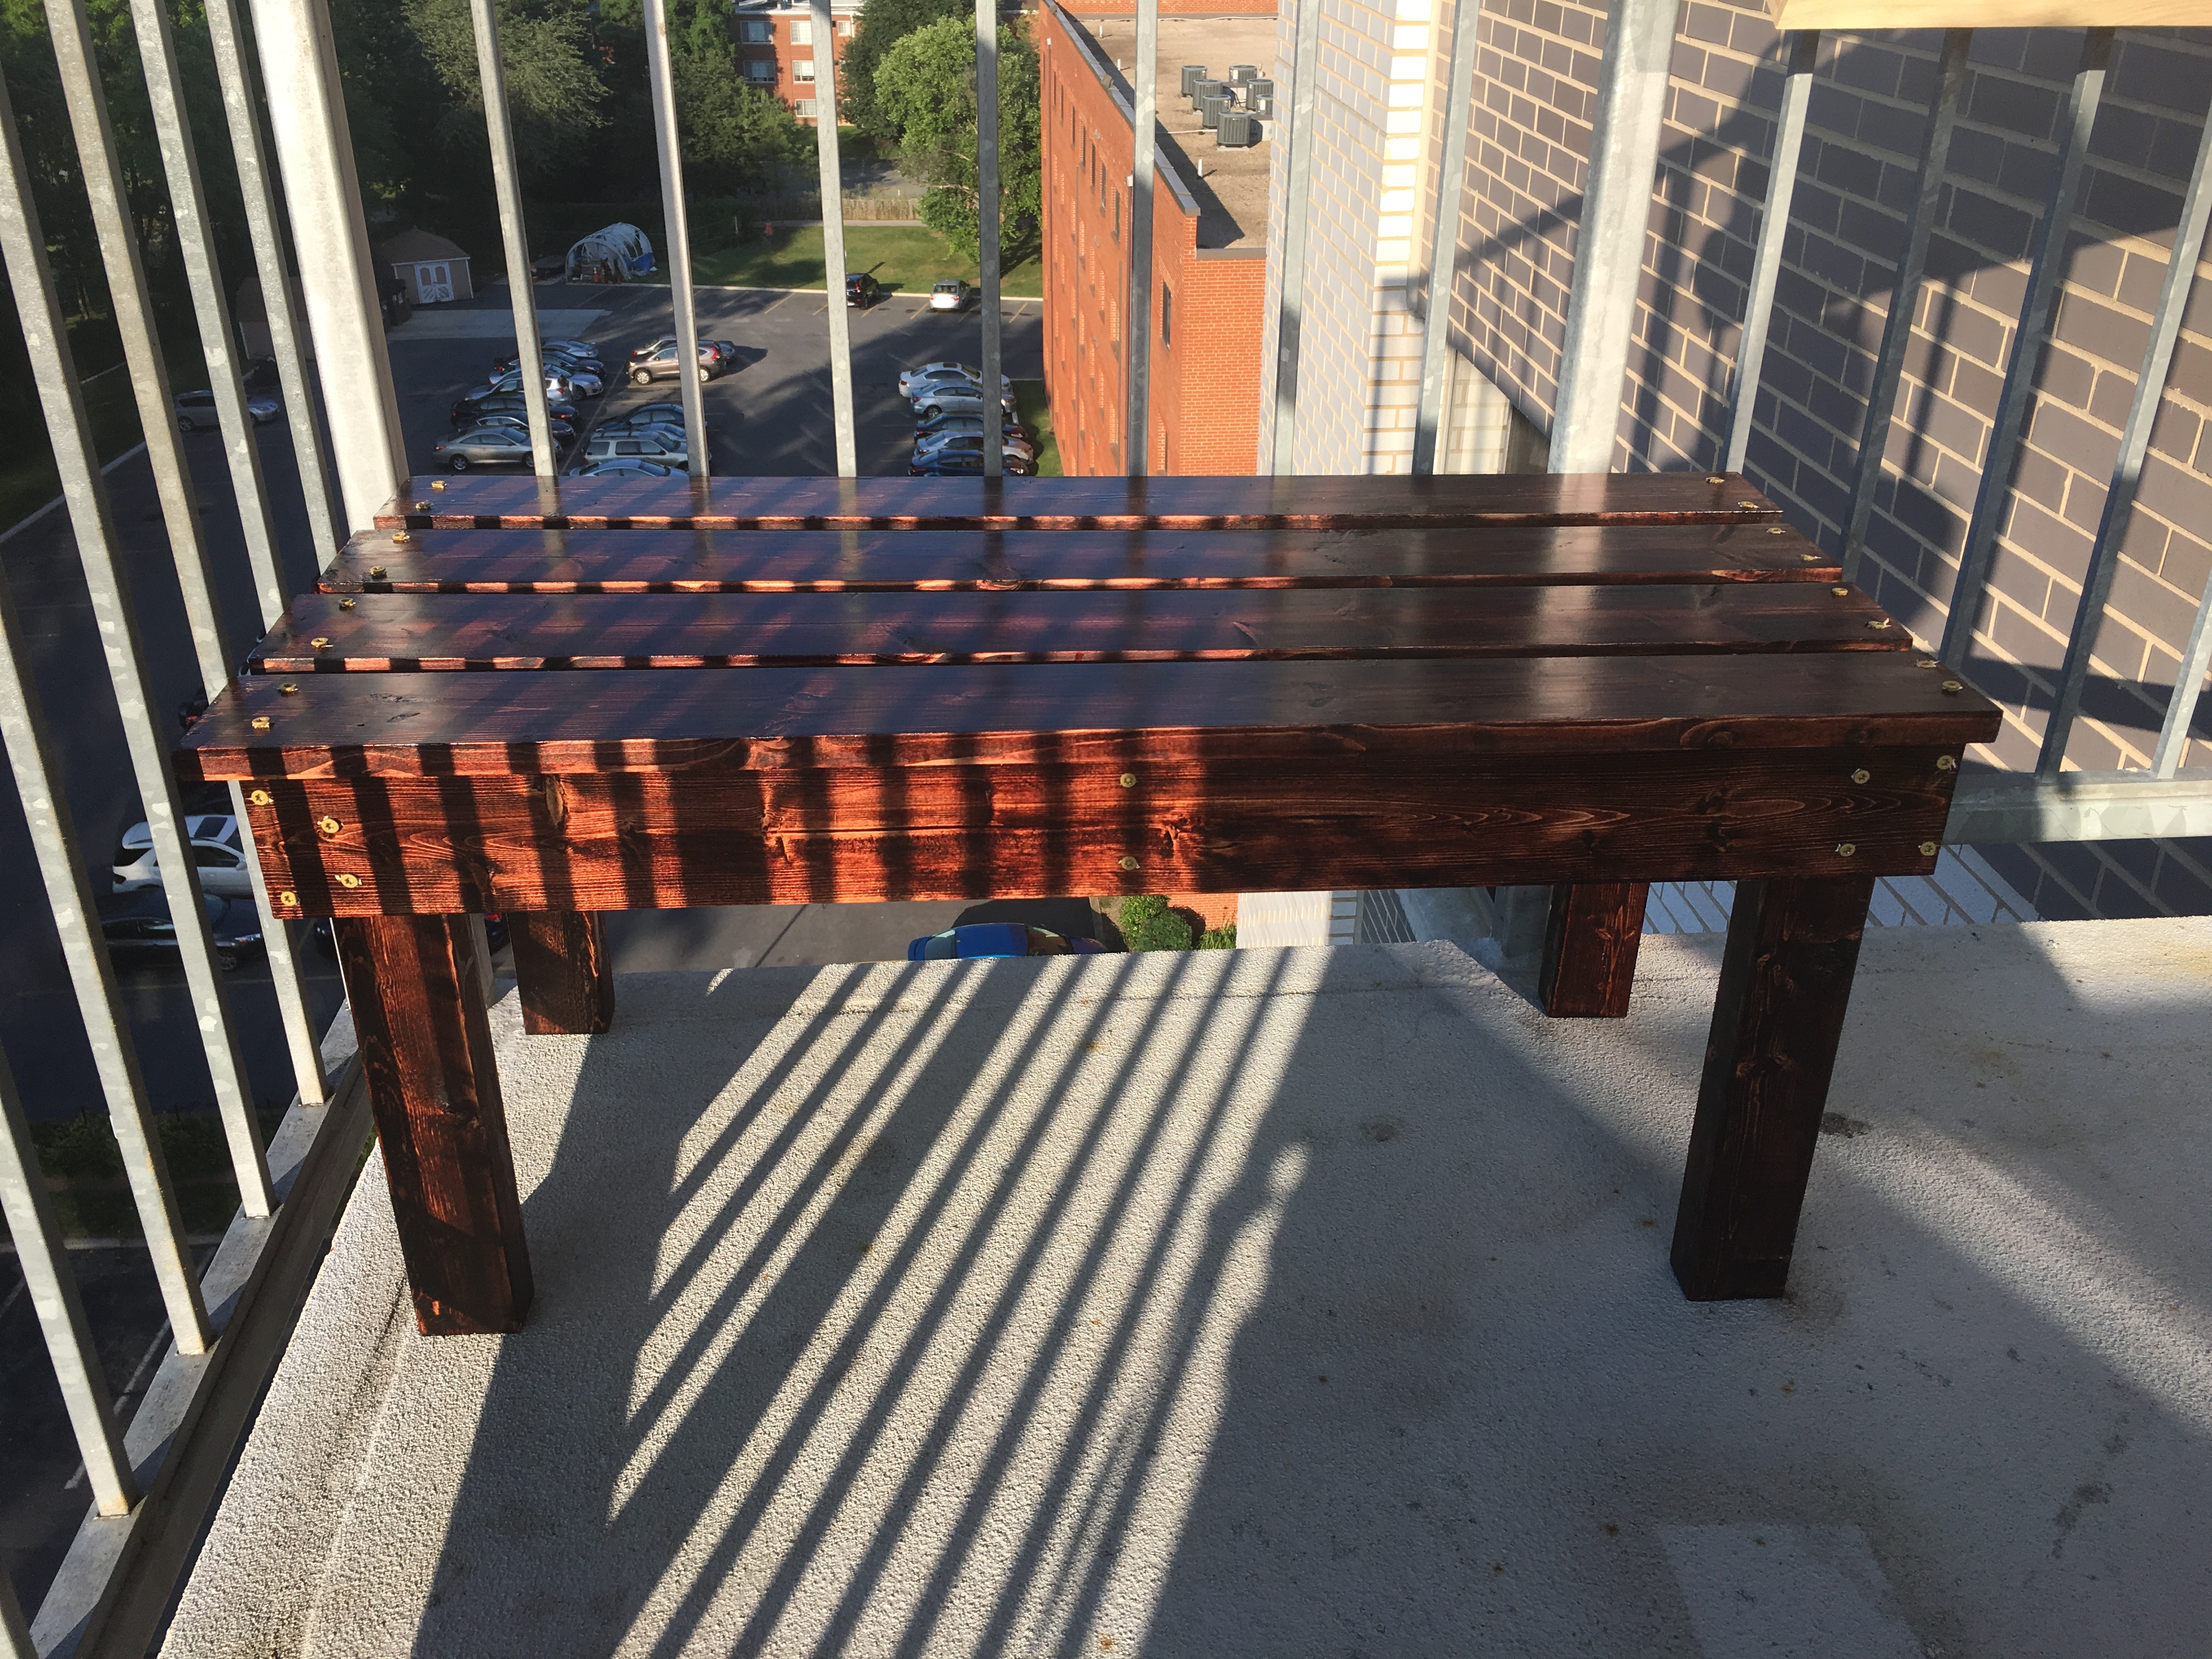
I picked up the pine boards for my small bench build July the 4th weekend. That weekend last year was my first major DIY build weekend. So, to continue with tradition, I decided to do a build, any build, big or small. The small bench build for the corner balcony cafe made the most sense, so I went with that.
On July 7, I finished up with sanding, staining and sealing each pine board piece for the small bench over at Tim’s (my workshop in a friend’s garage).
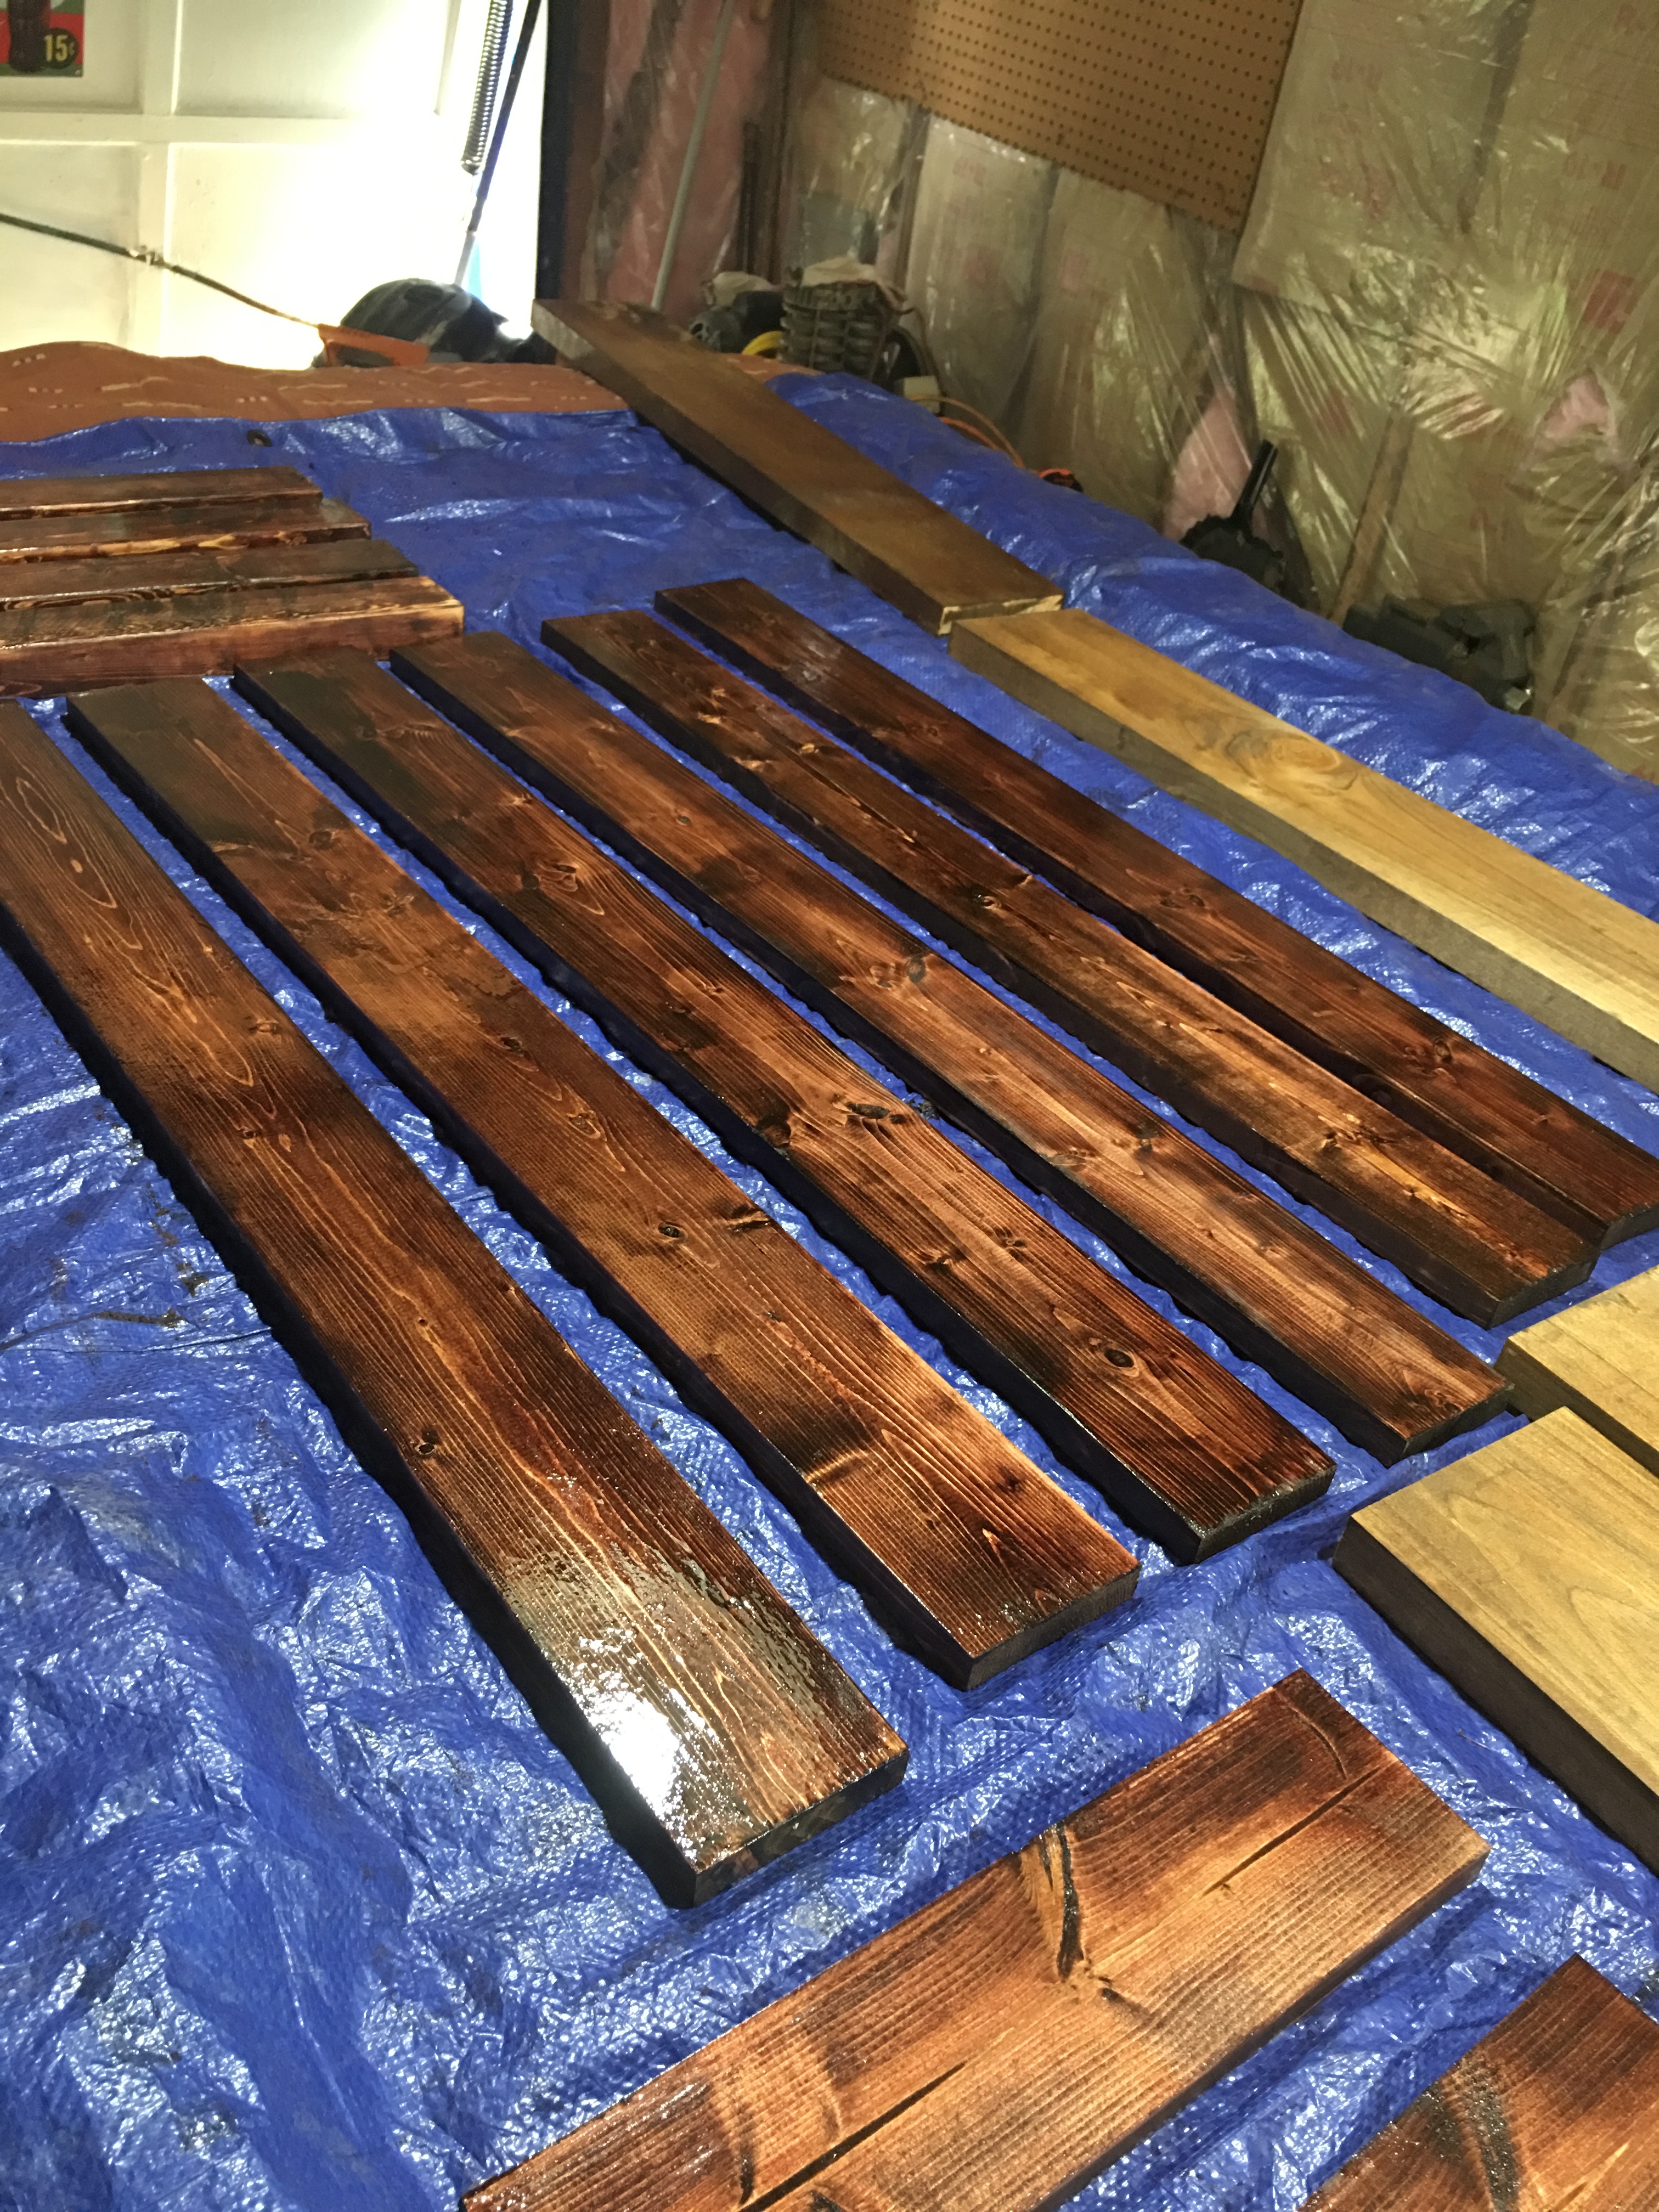
For the small bench build, I used:
- Two 36″ 1×4 pine boards
- Two 37″ 1×4 pine boards
- Three 13.75″ 1×4 pine boards
- Four 17″ 2×3 whitewood pieces (for the legs)
I sanded and then stained the wood using Minwax Red Mahogony wood stain. I then added three coats of Minwax Helsman indoor/outdoor spar urethane (satin sheen) to seal the wood and make it waterproof.
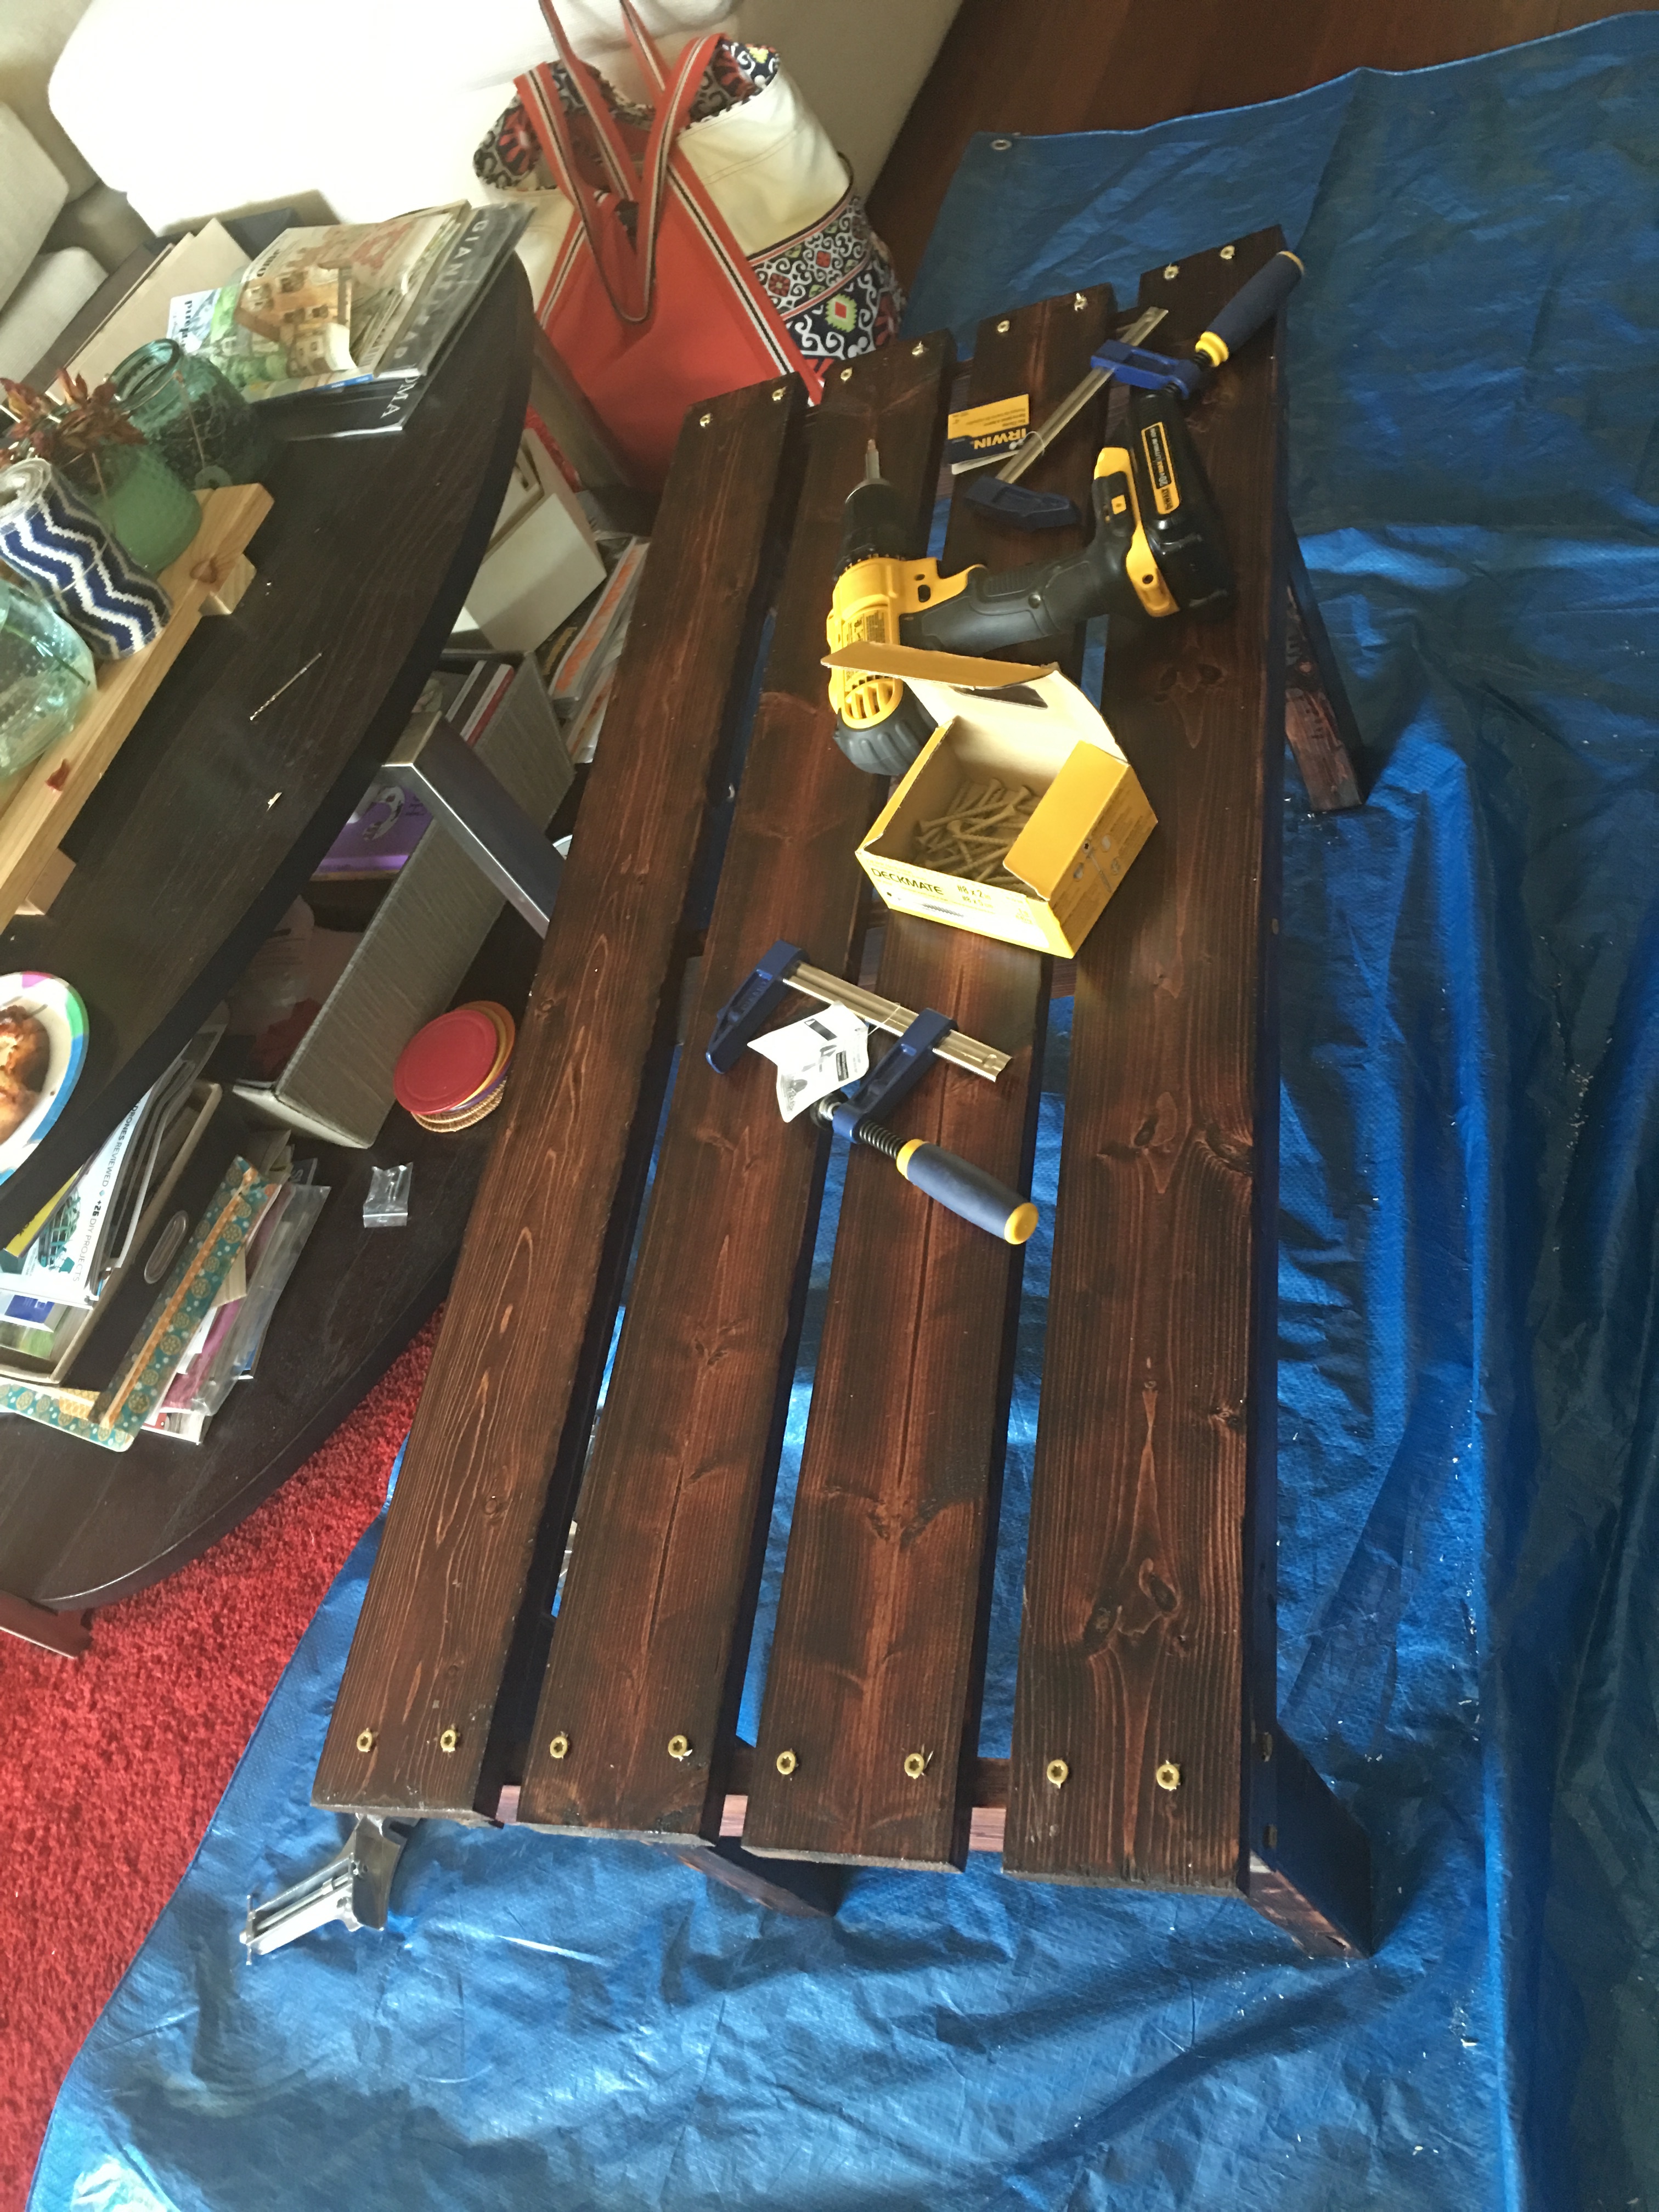
I brought each piece back to the condo for assembly.
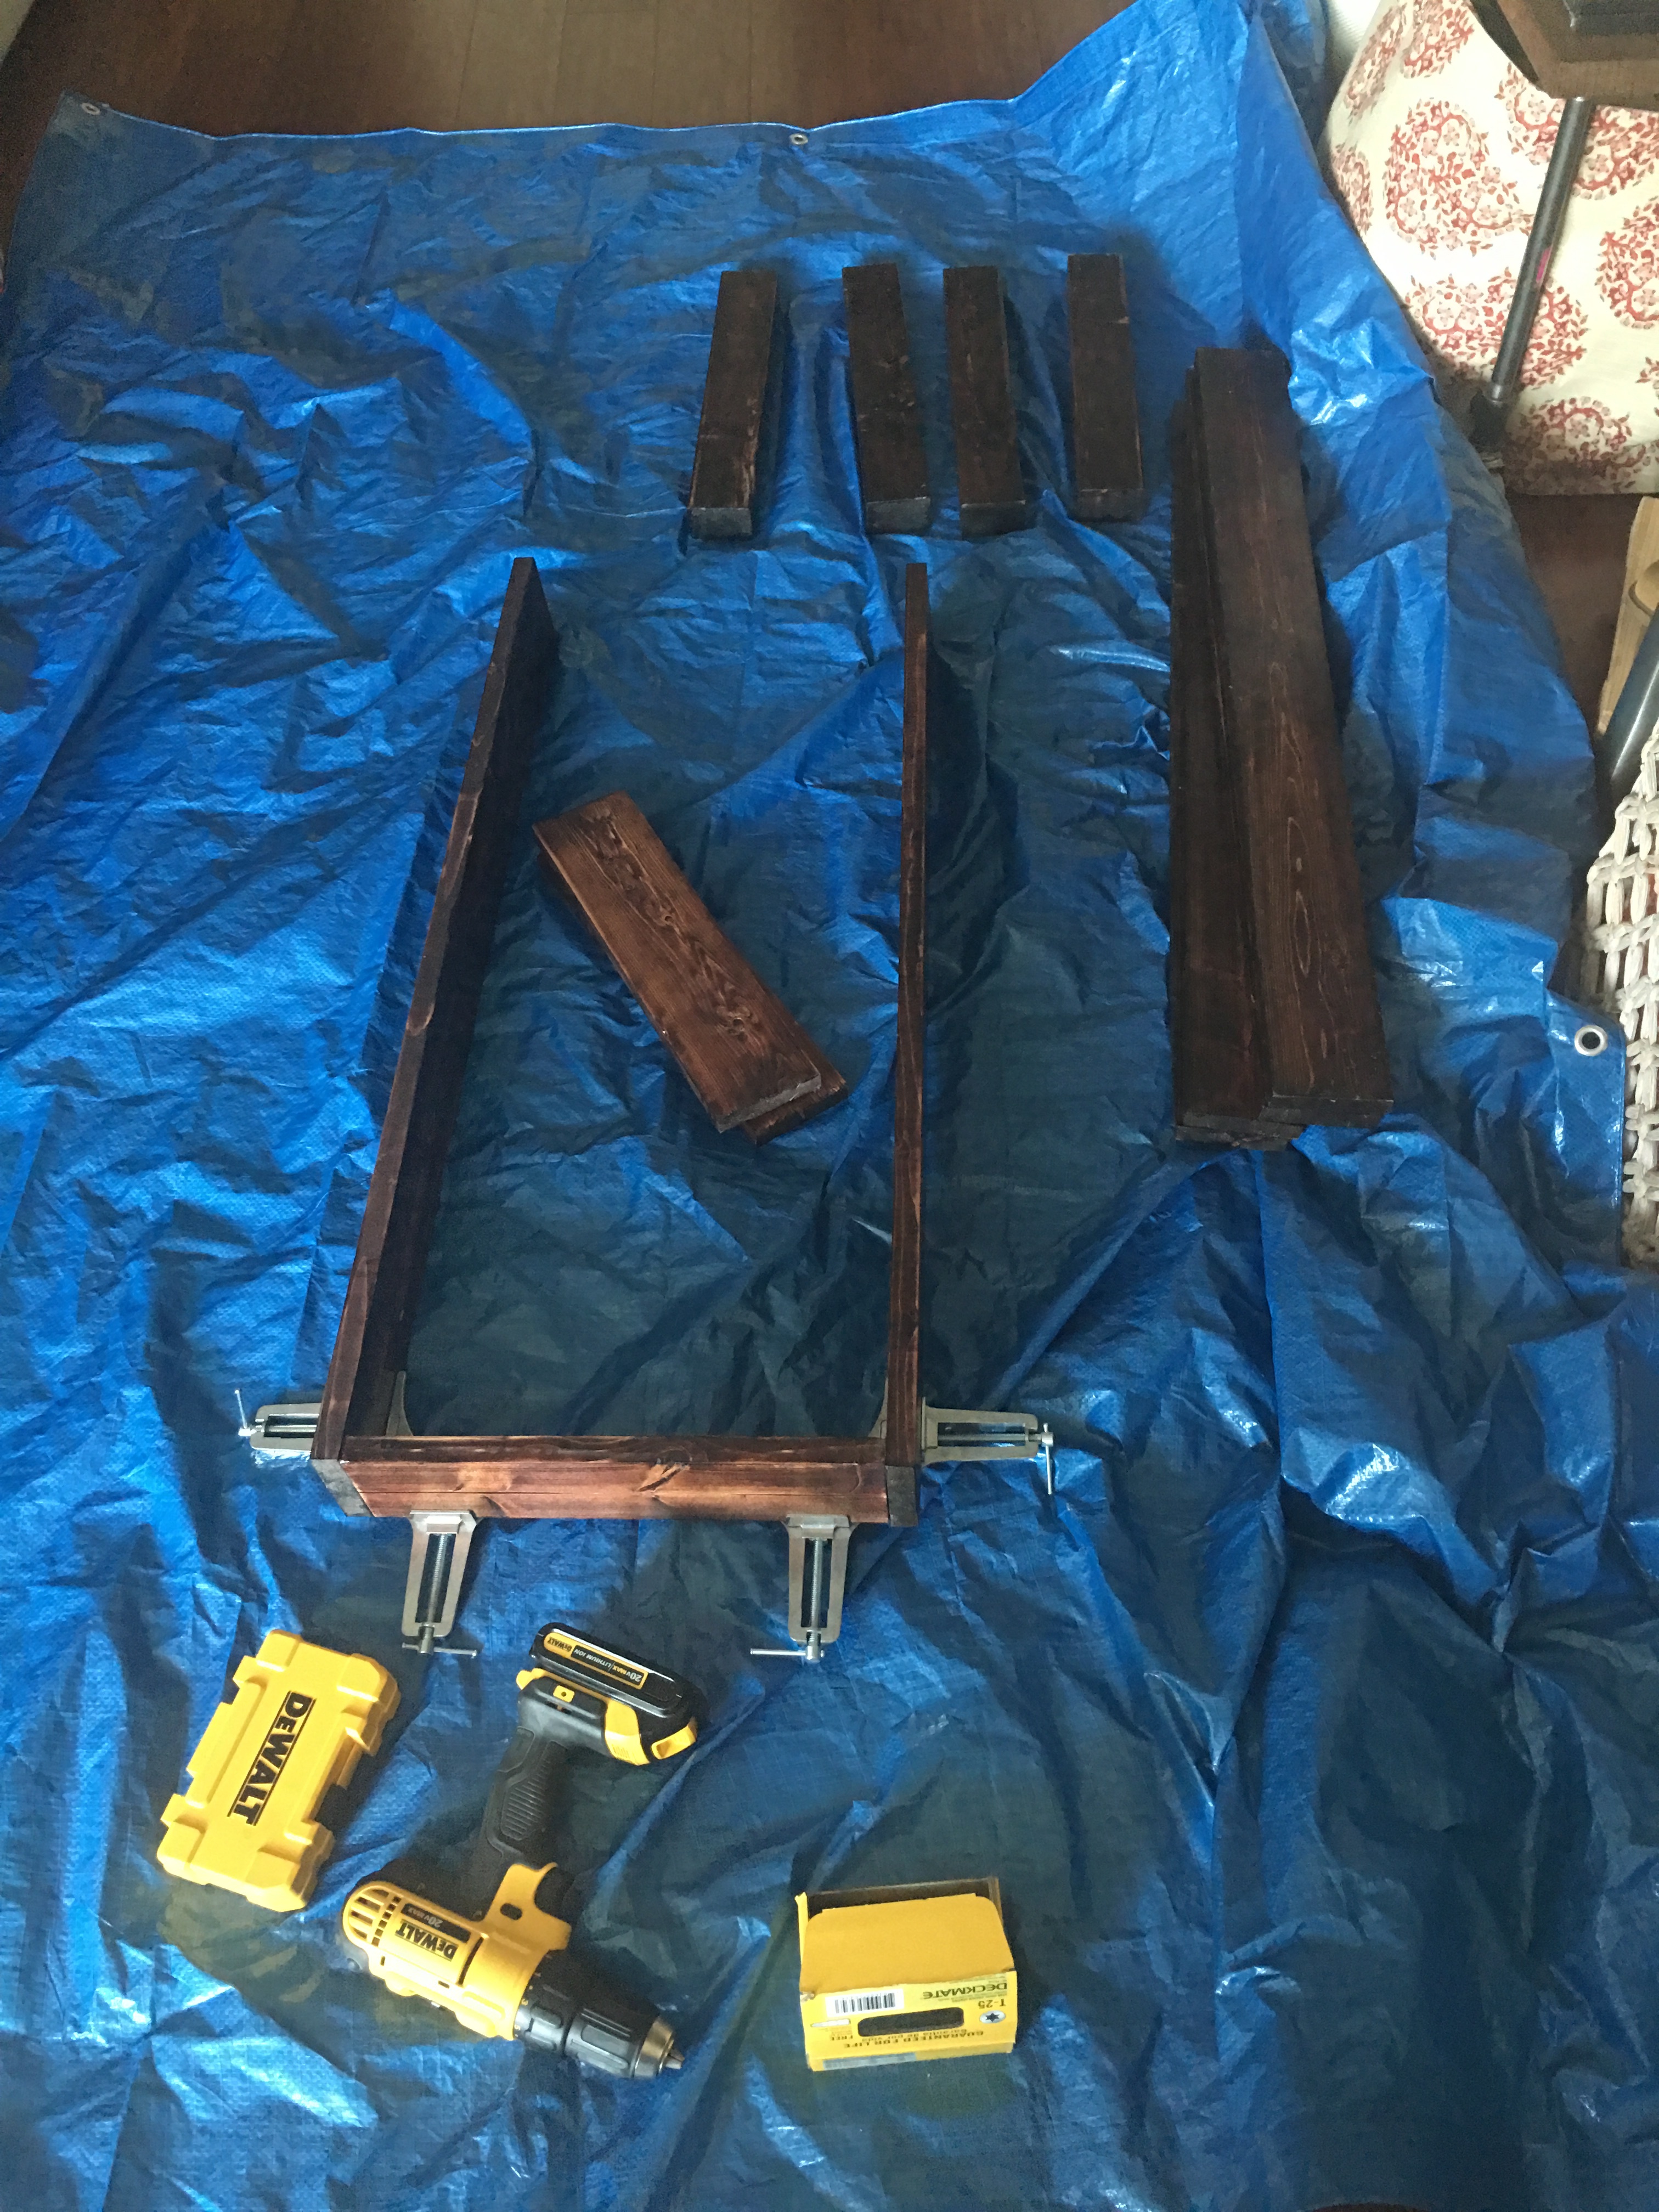
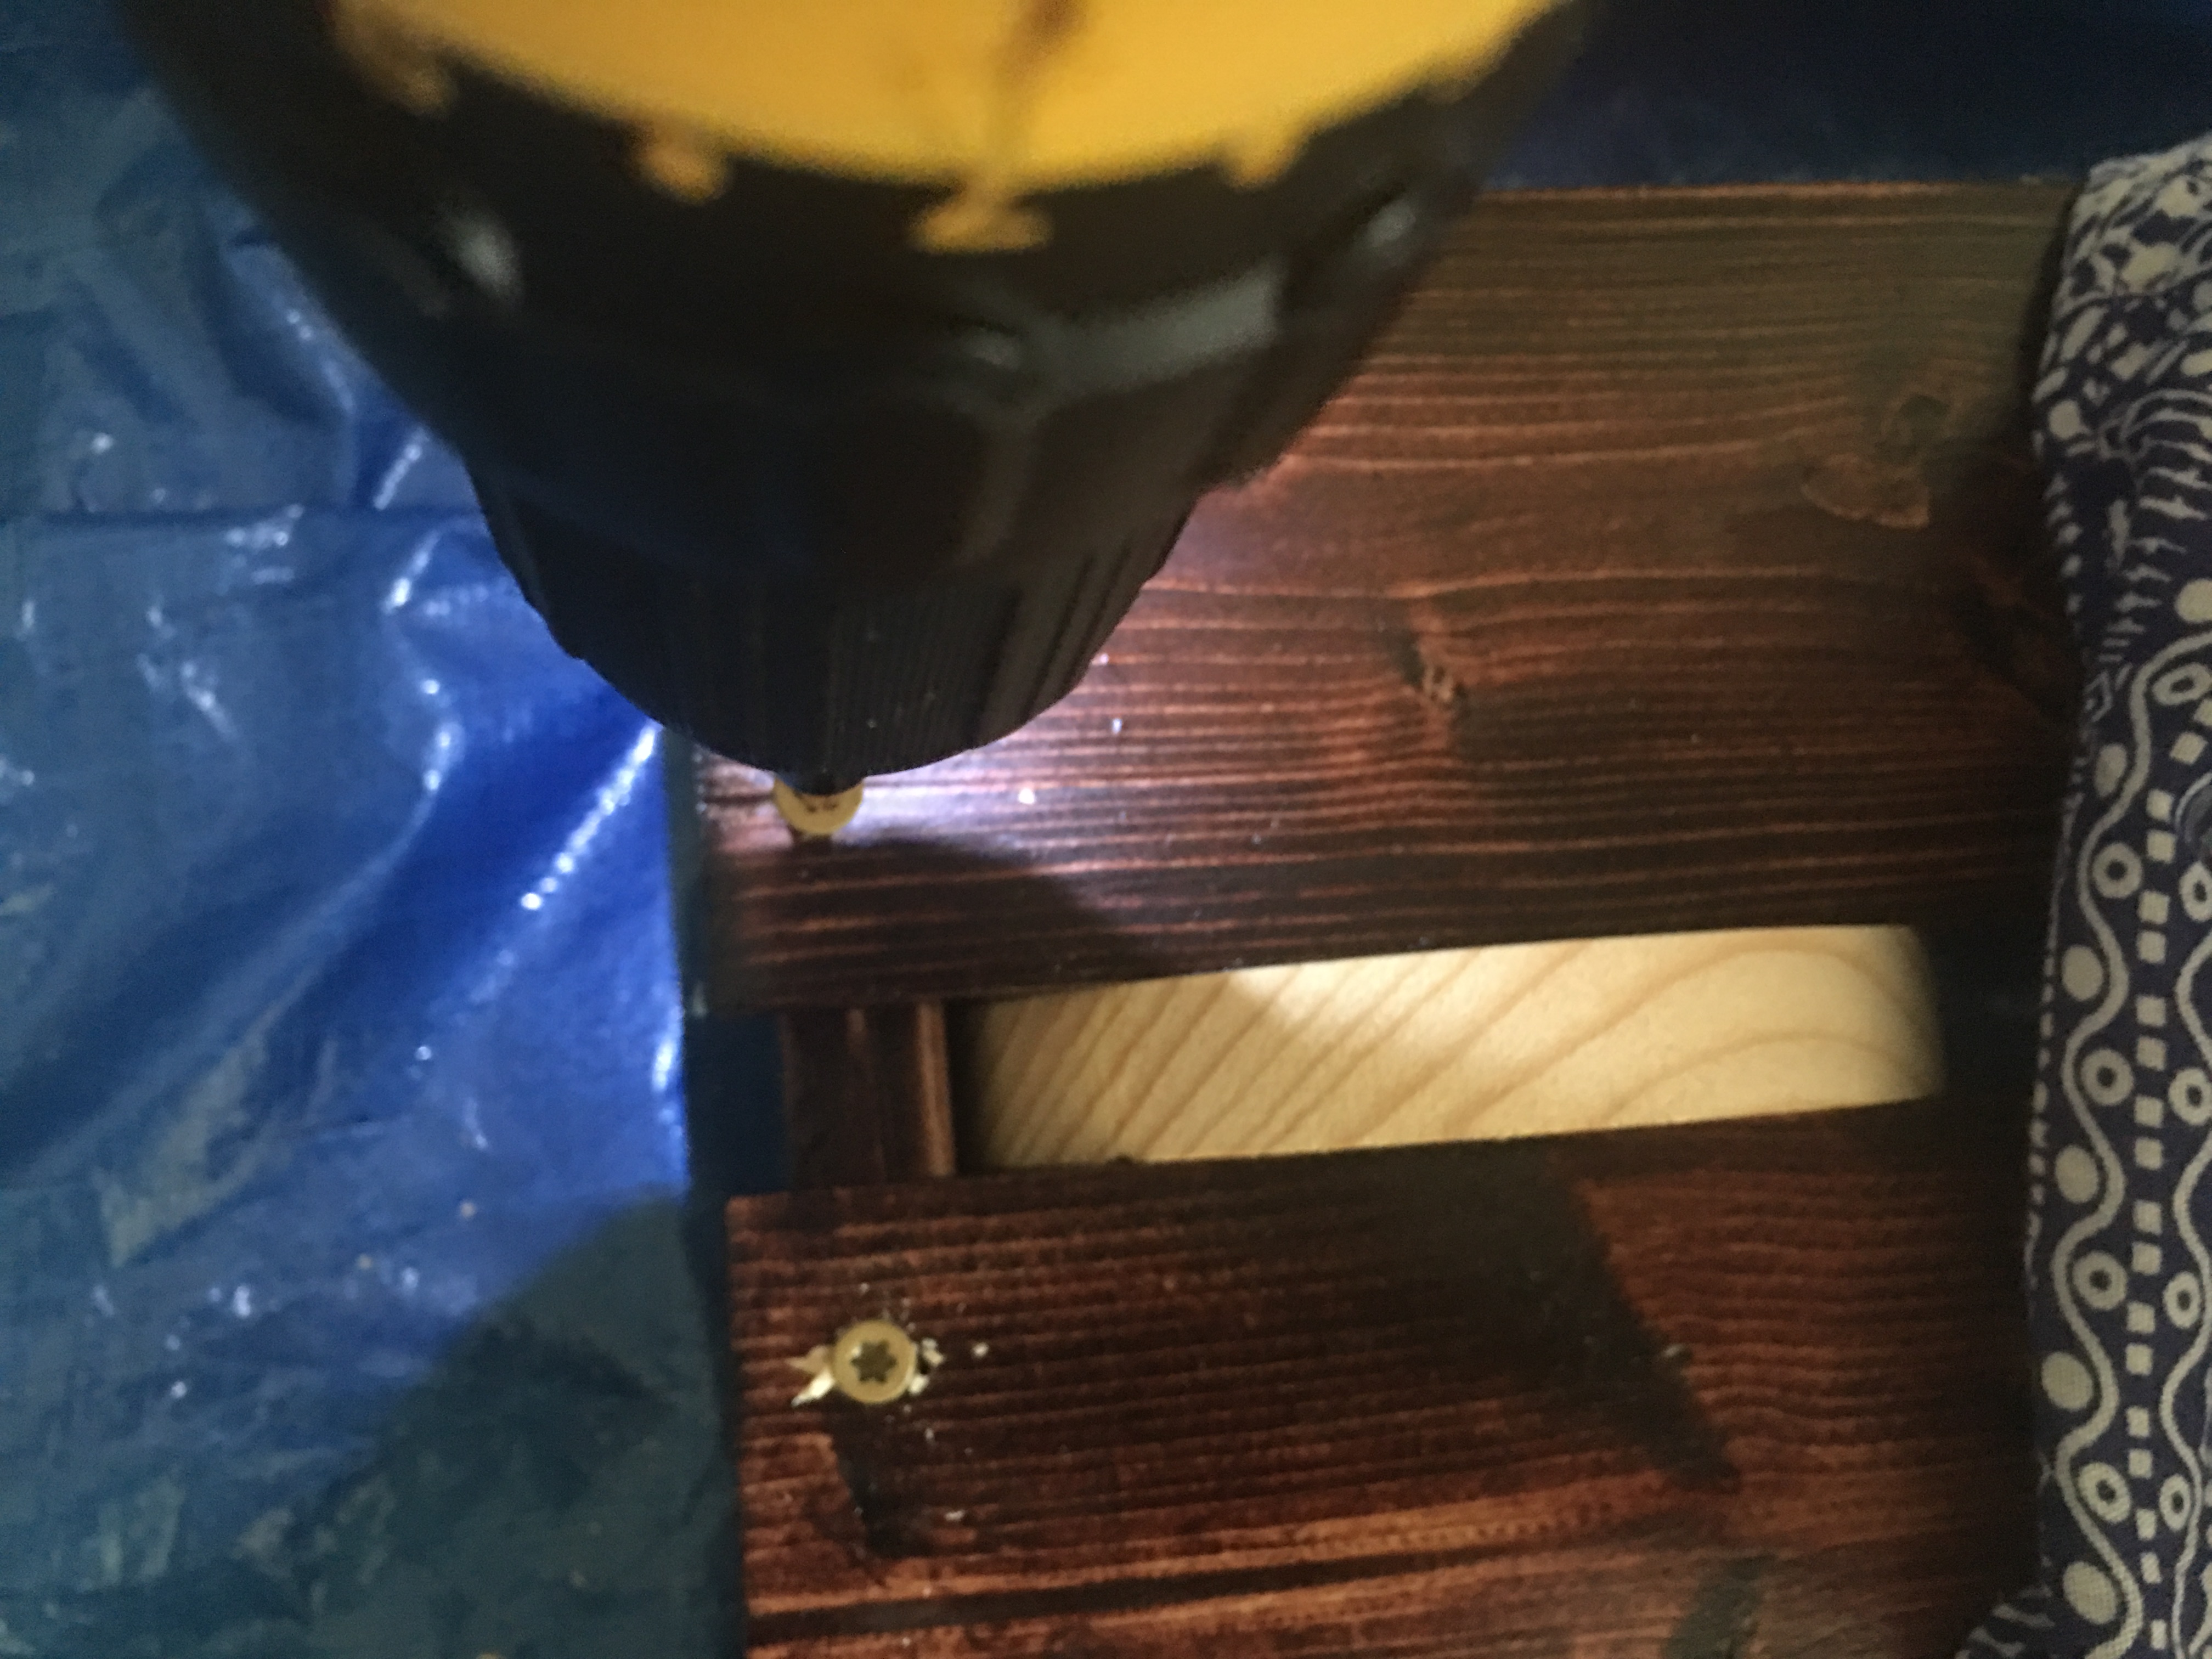
Using two corner clamps, I built the frame for the bench using the two 36″ pieces and the three 13.75″ pieces.
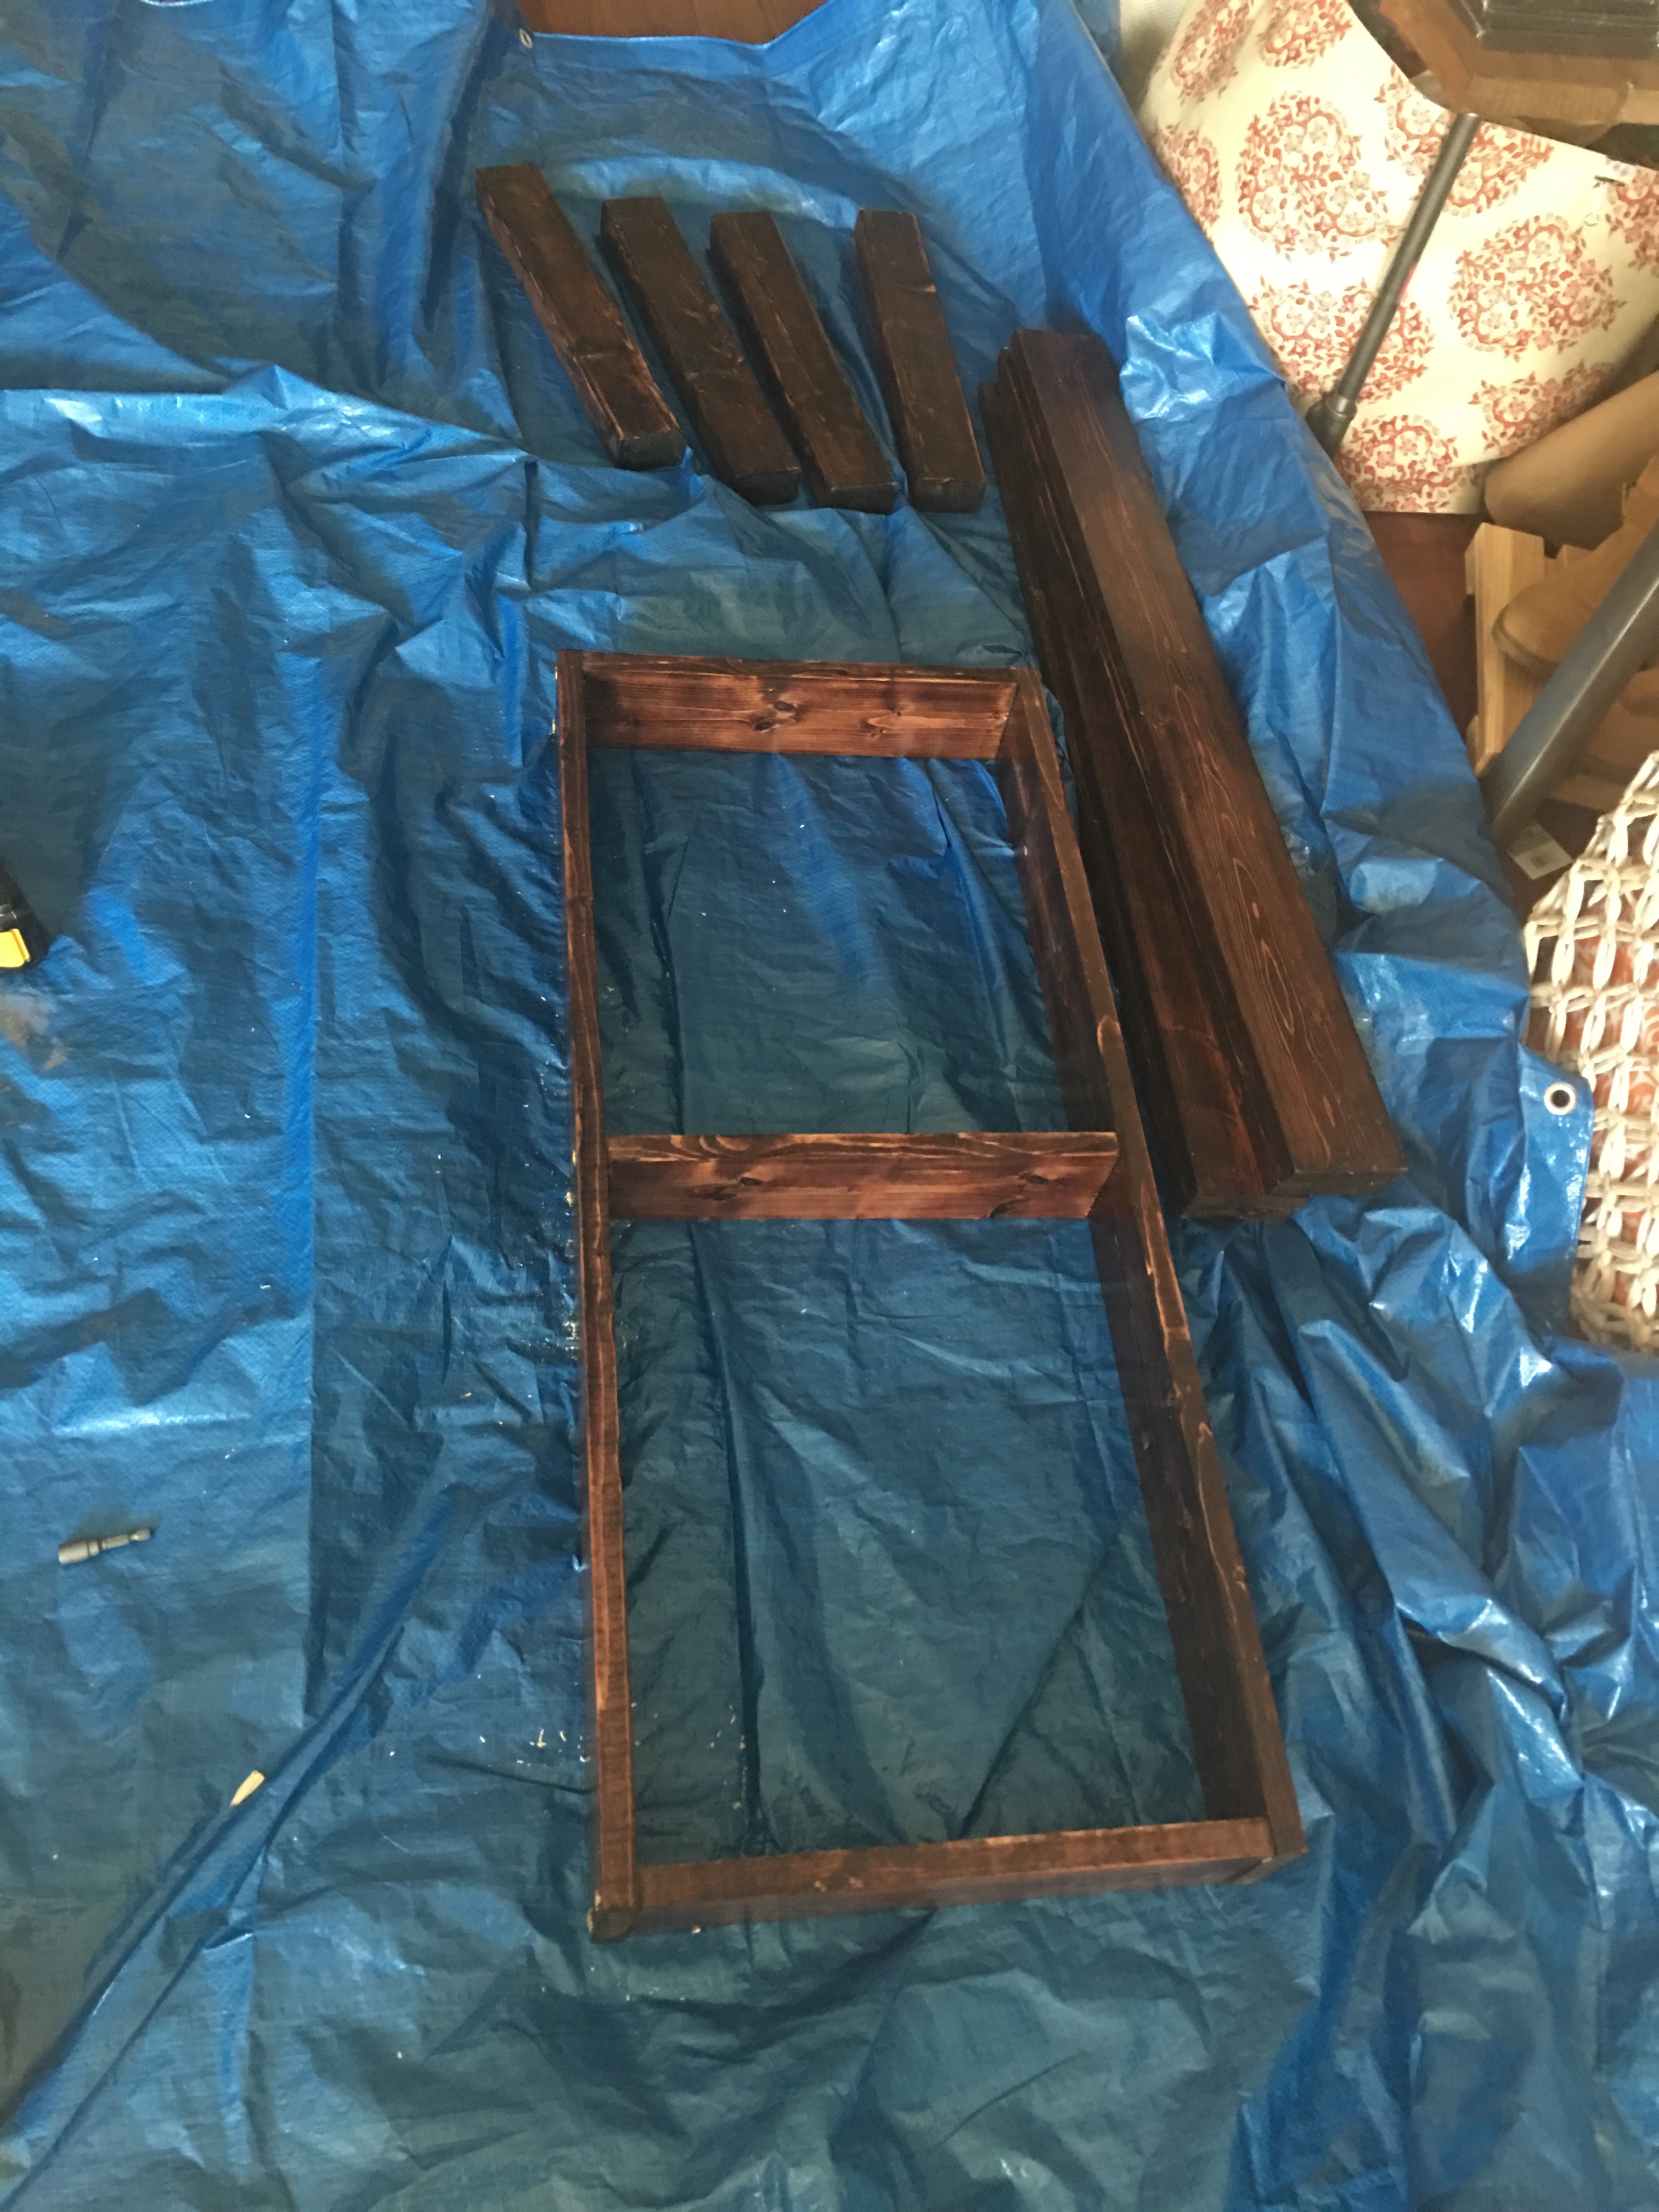
With the frame in place, I added the four 37″ pieces to the top of the frame (using a 1×4 scrap piece as a spacer).
This completed the top of the bench.
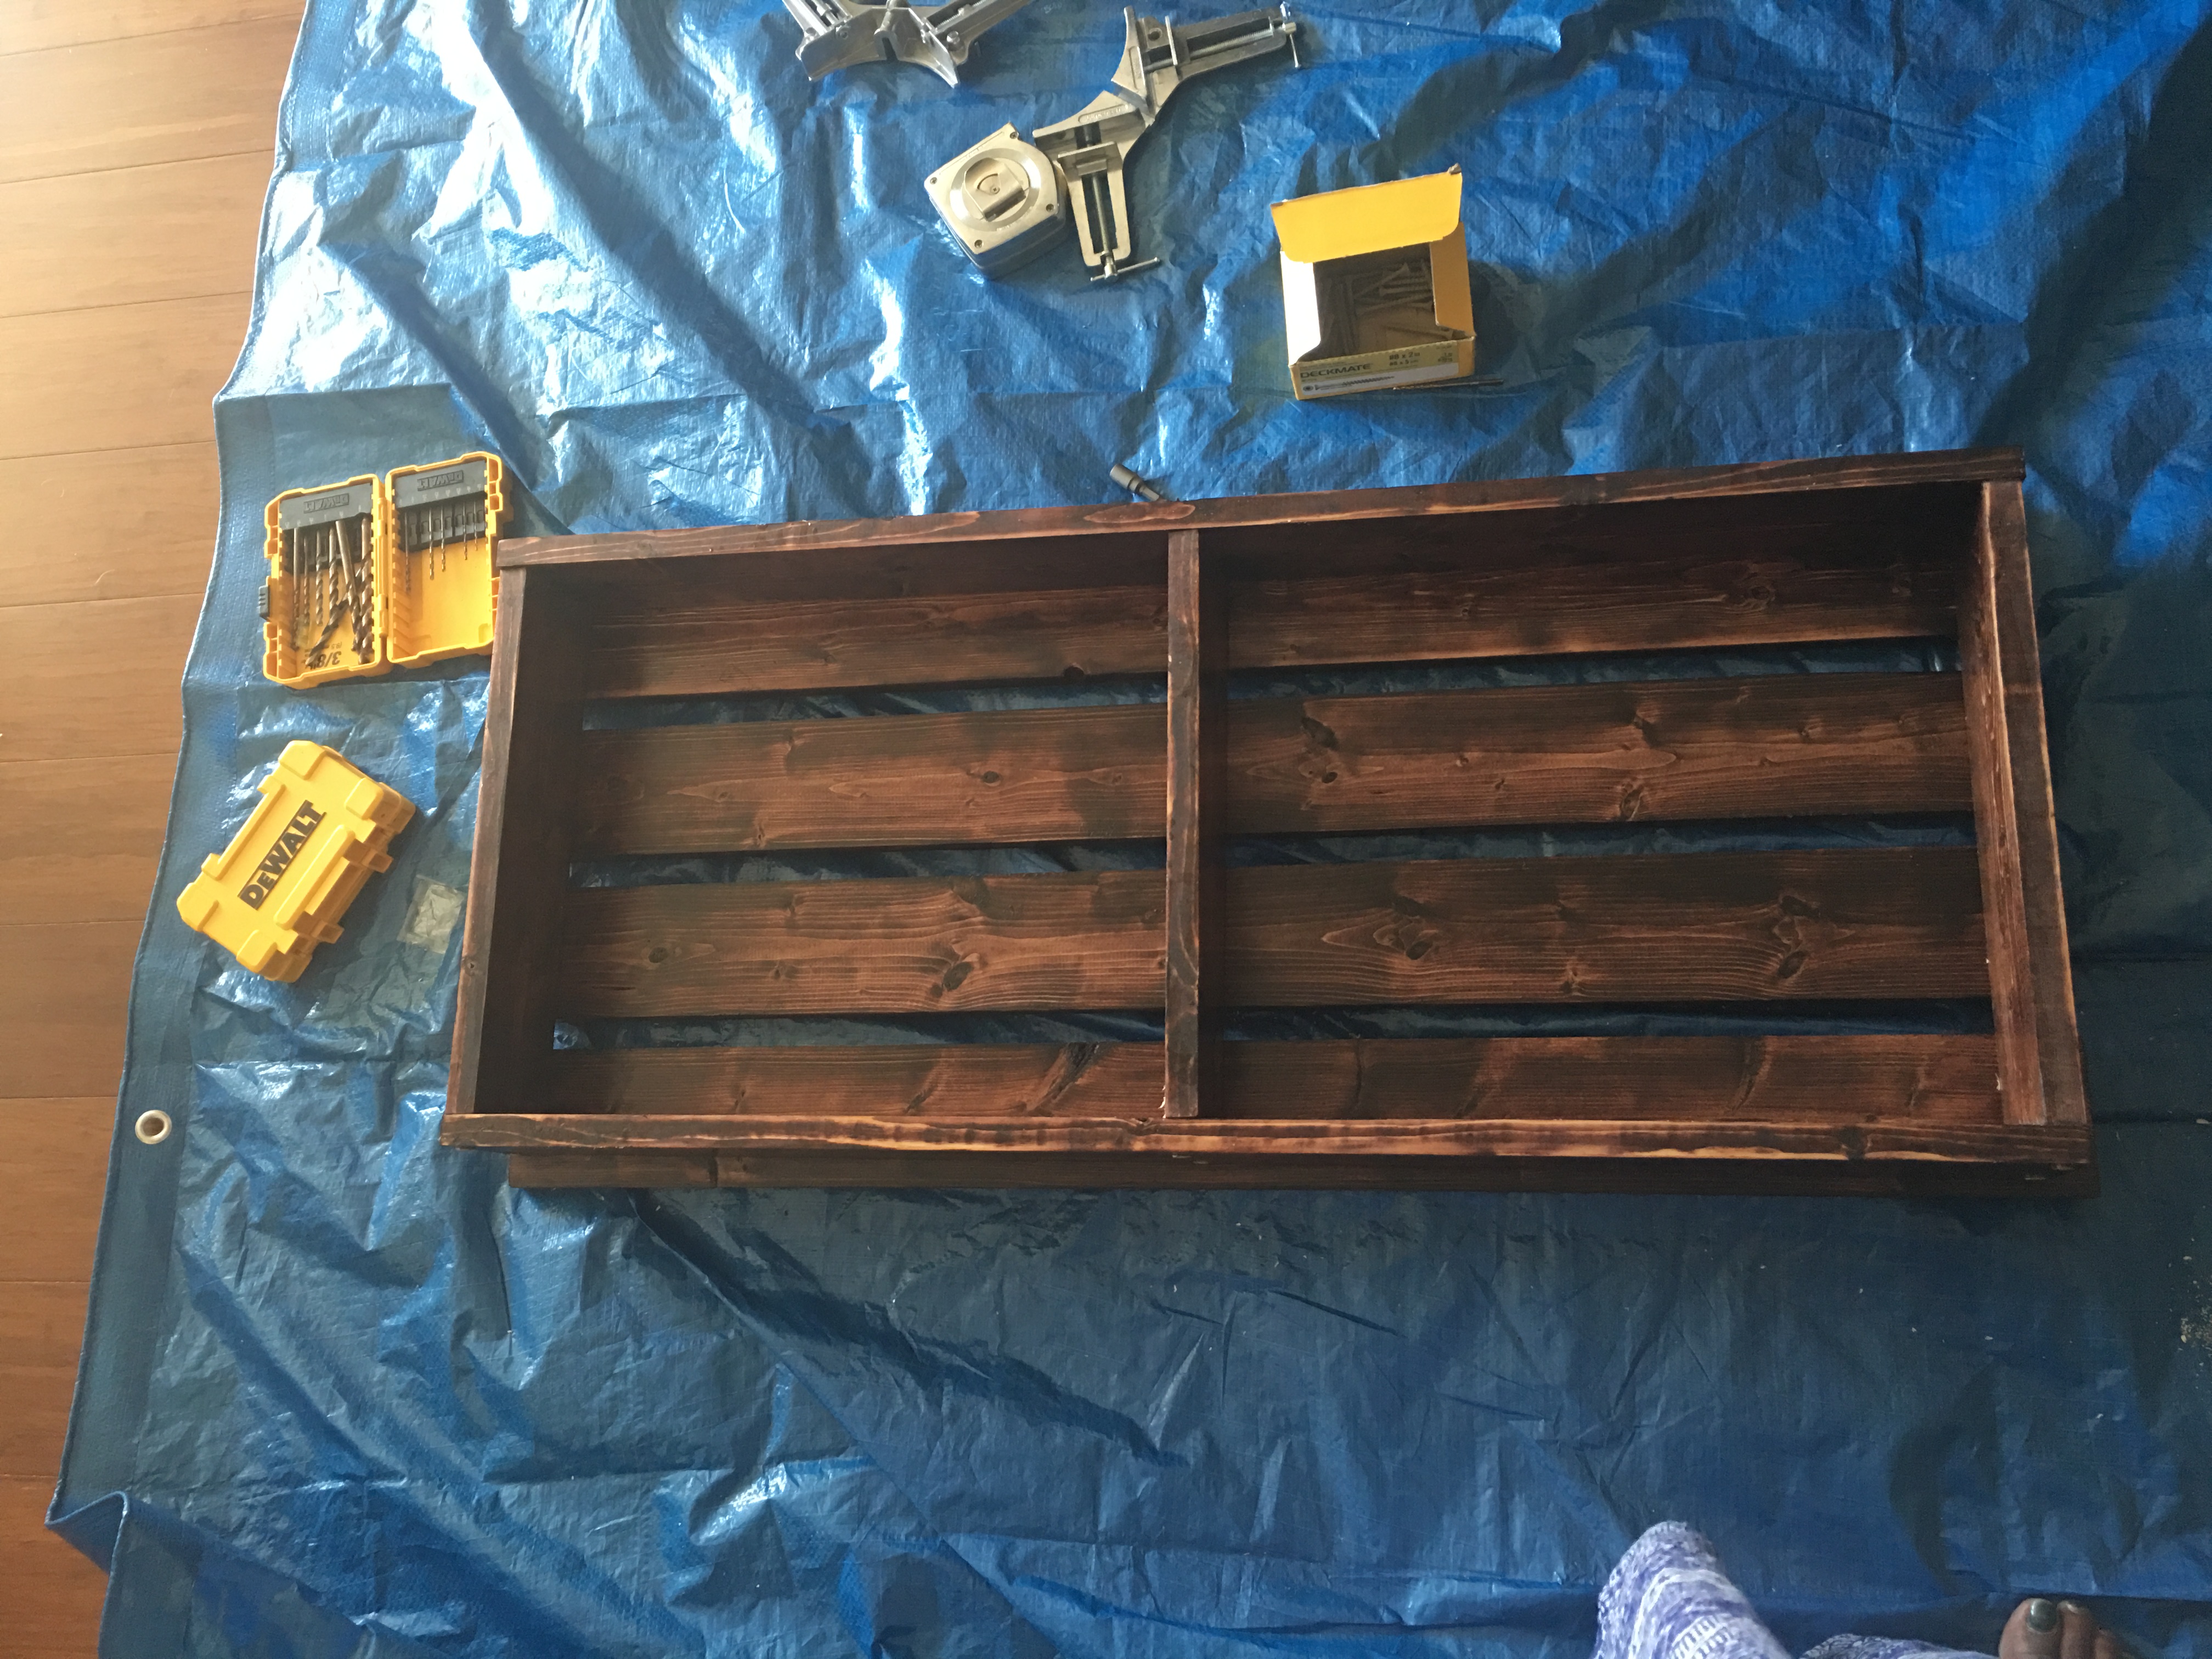
I added the four 17″ 2x3s for the legs (using the clamps to hold them straight and in place). And the bench assembly is complete.
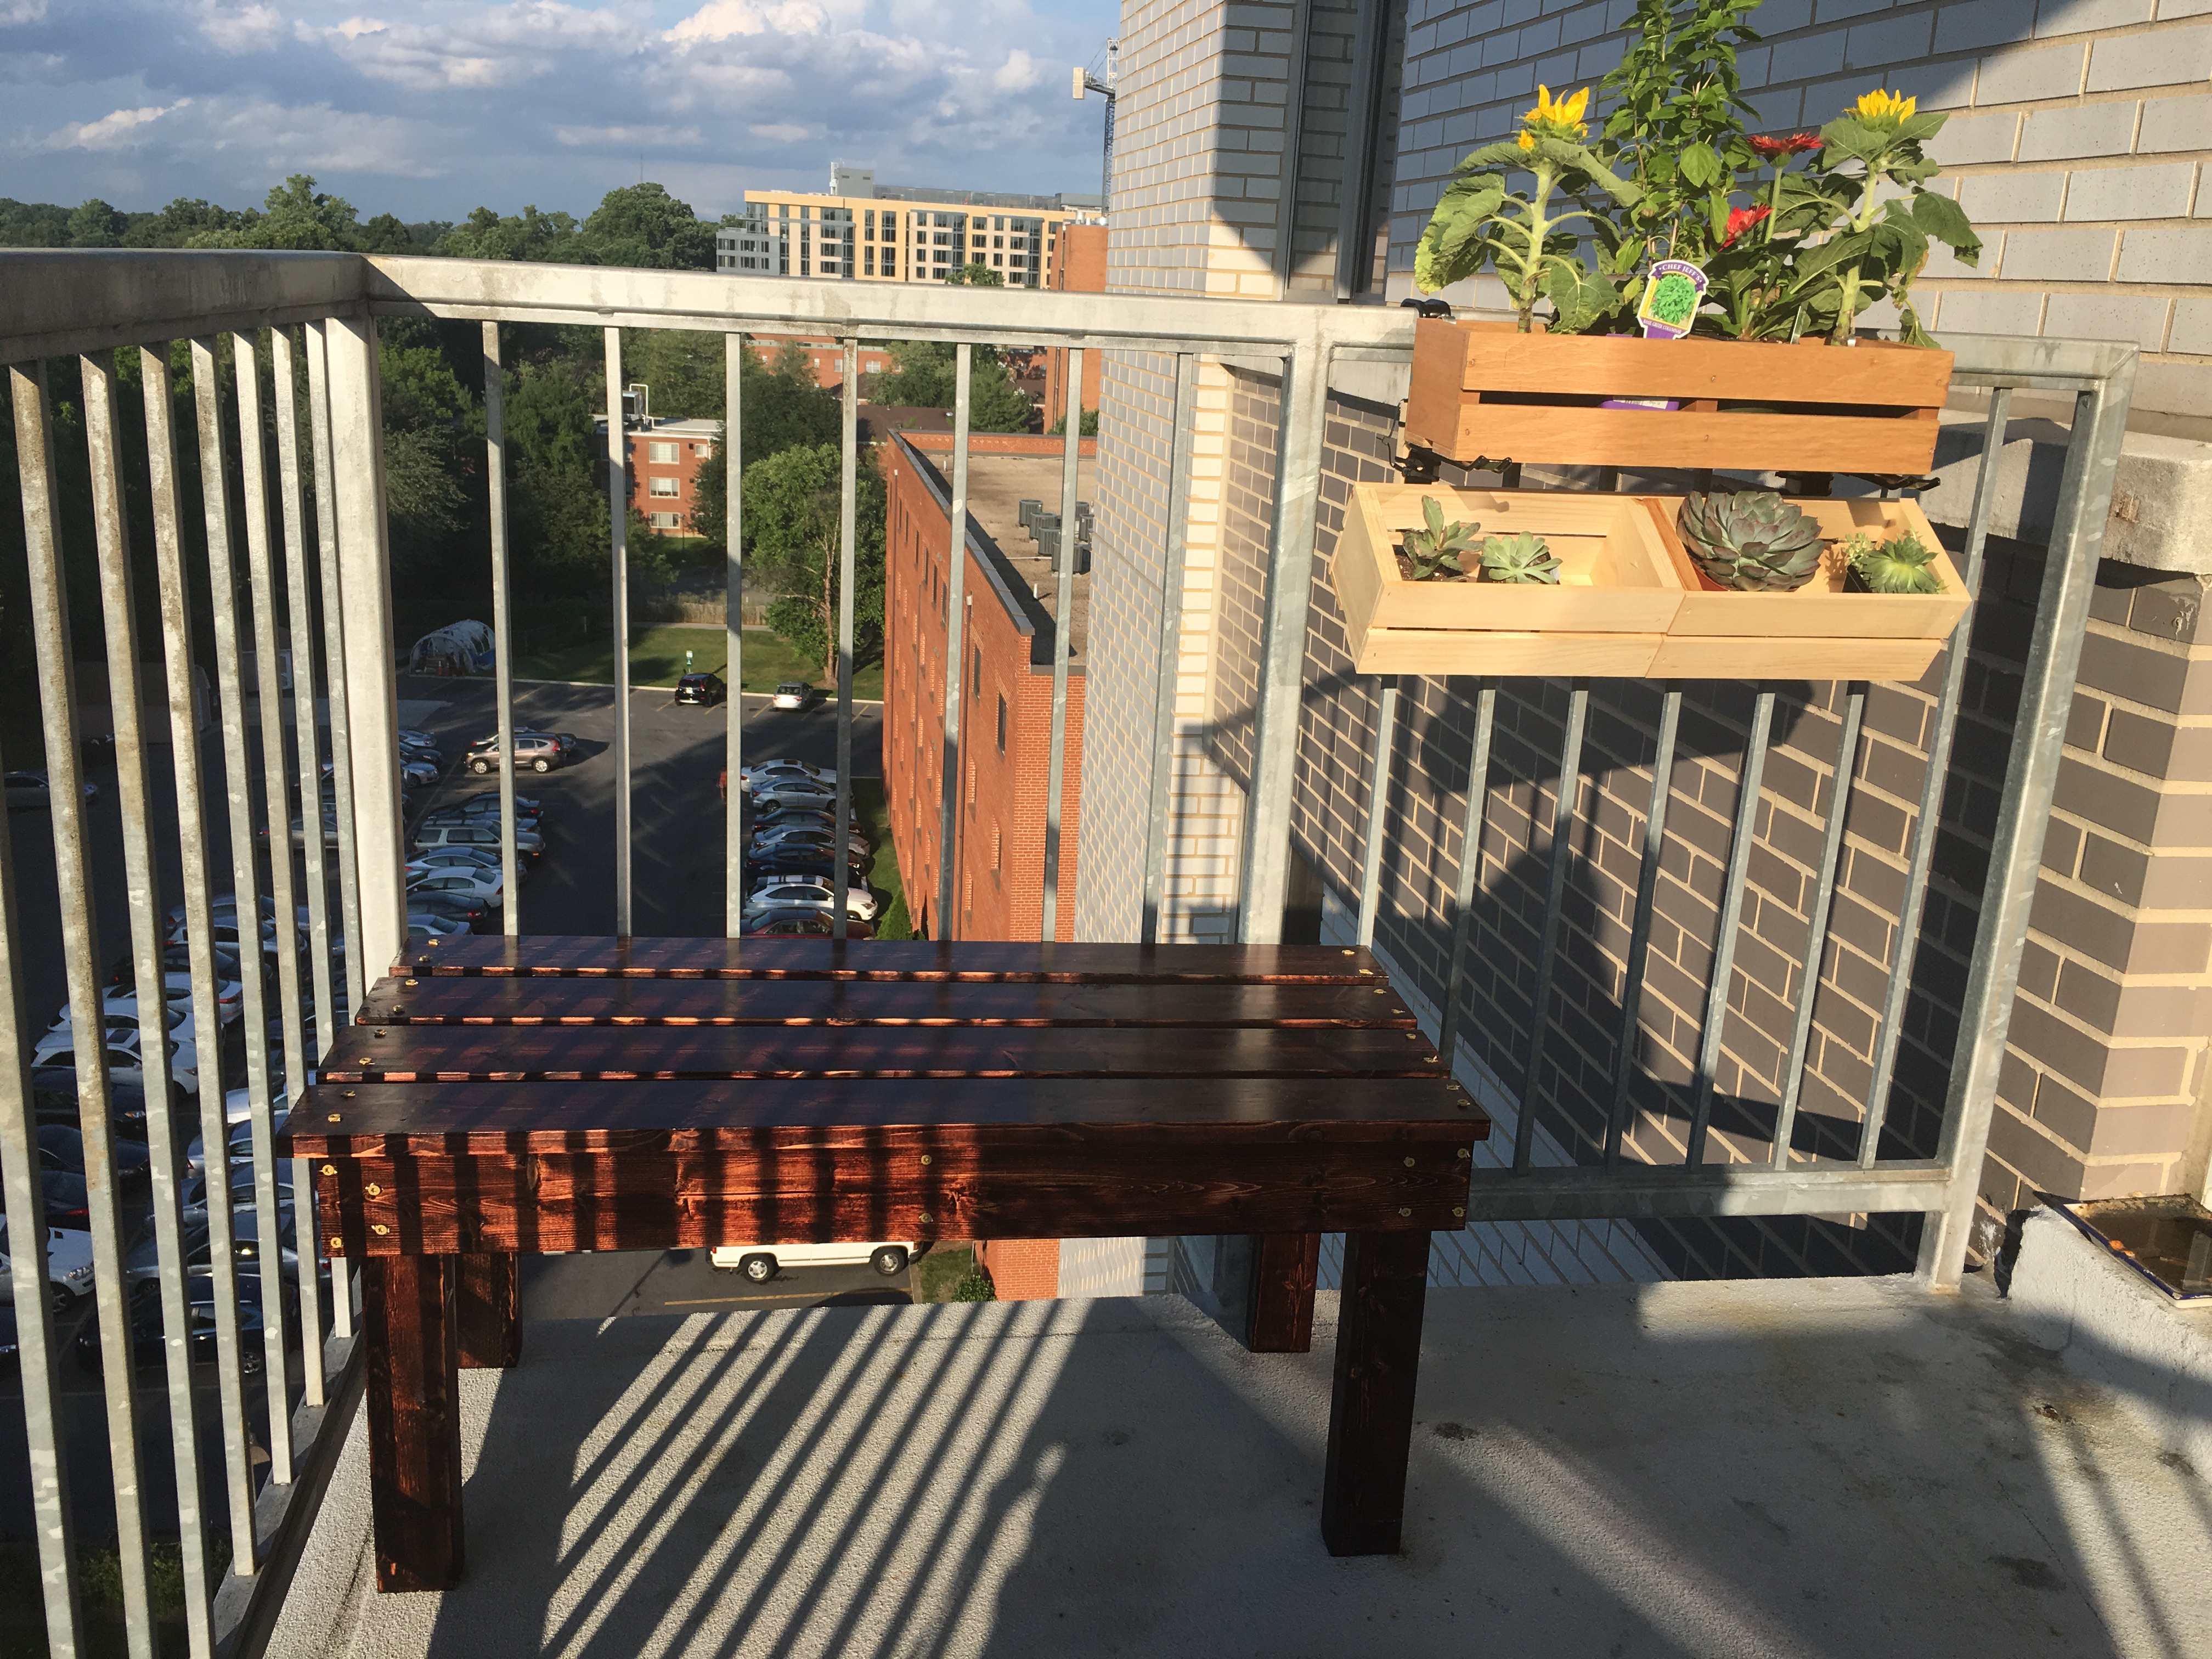
I placed the small bench out on the balcony on the far right side (whereas the large bench was positioned to the left).
The small bench looked brilliant on its own. I love the sheen of the stain and spar urethane. The color came out even richer with the small bench than it did with the large.
Of course, to start, I began staging that side of the balcony featuring the small bench on it’s own. I added a small DIY flower box to the railing to the right of the bench.
Once I got my pictures however, it was time to put the corner dining seating together. So I moved the large bench over to the other side of the balcony.
And here’s how it looks on July 8.
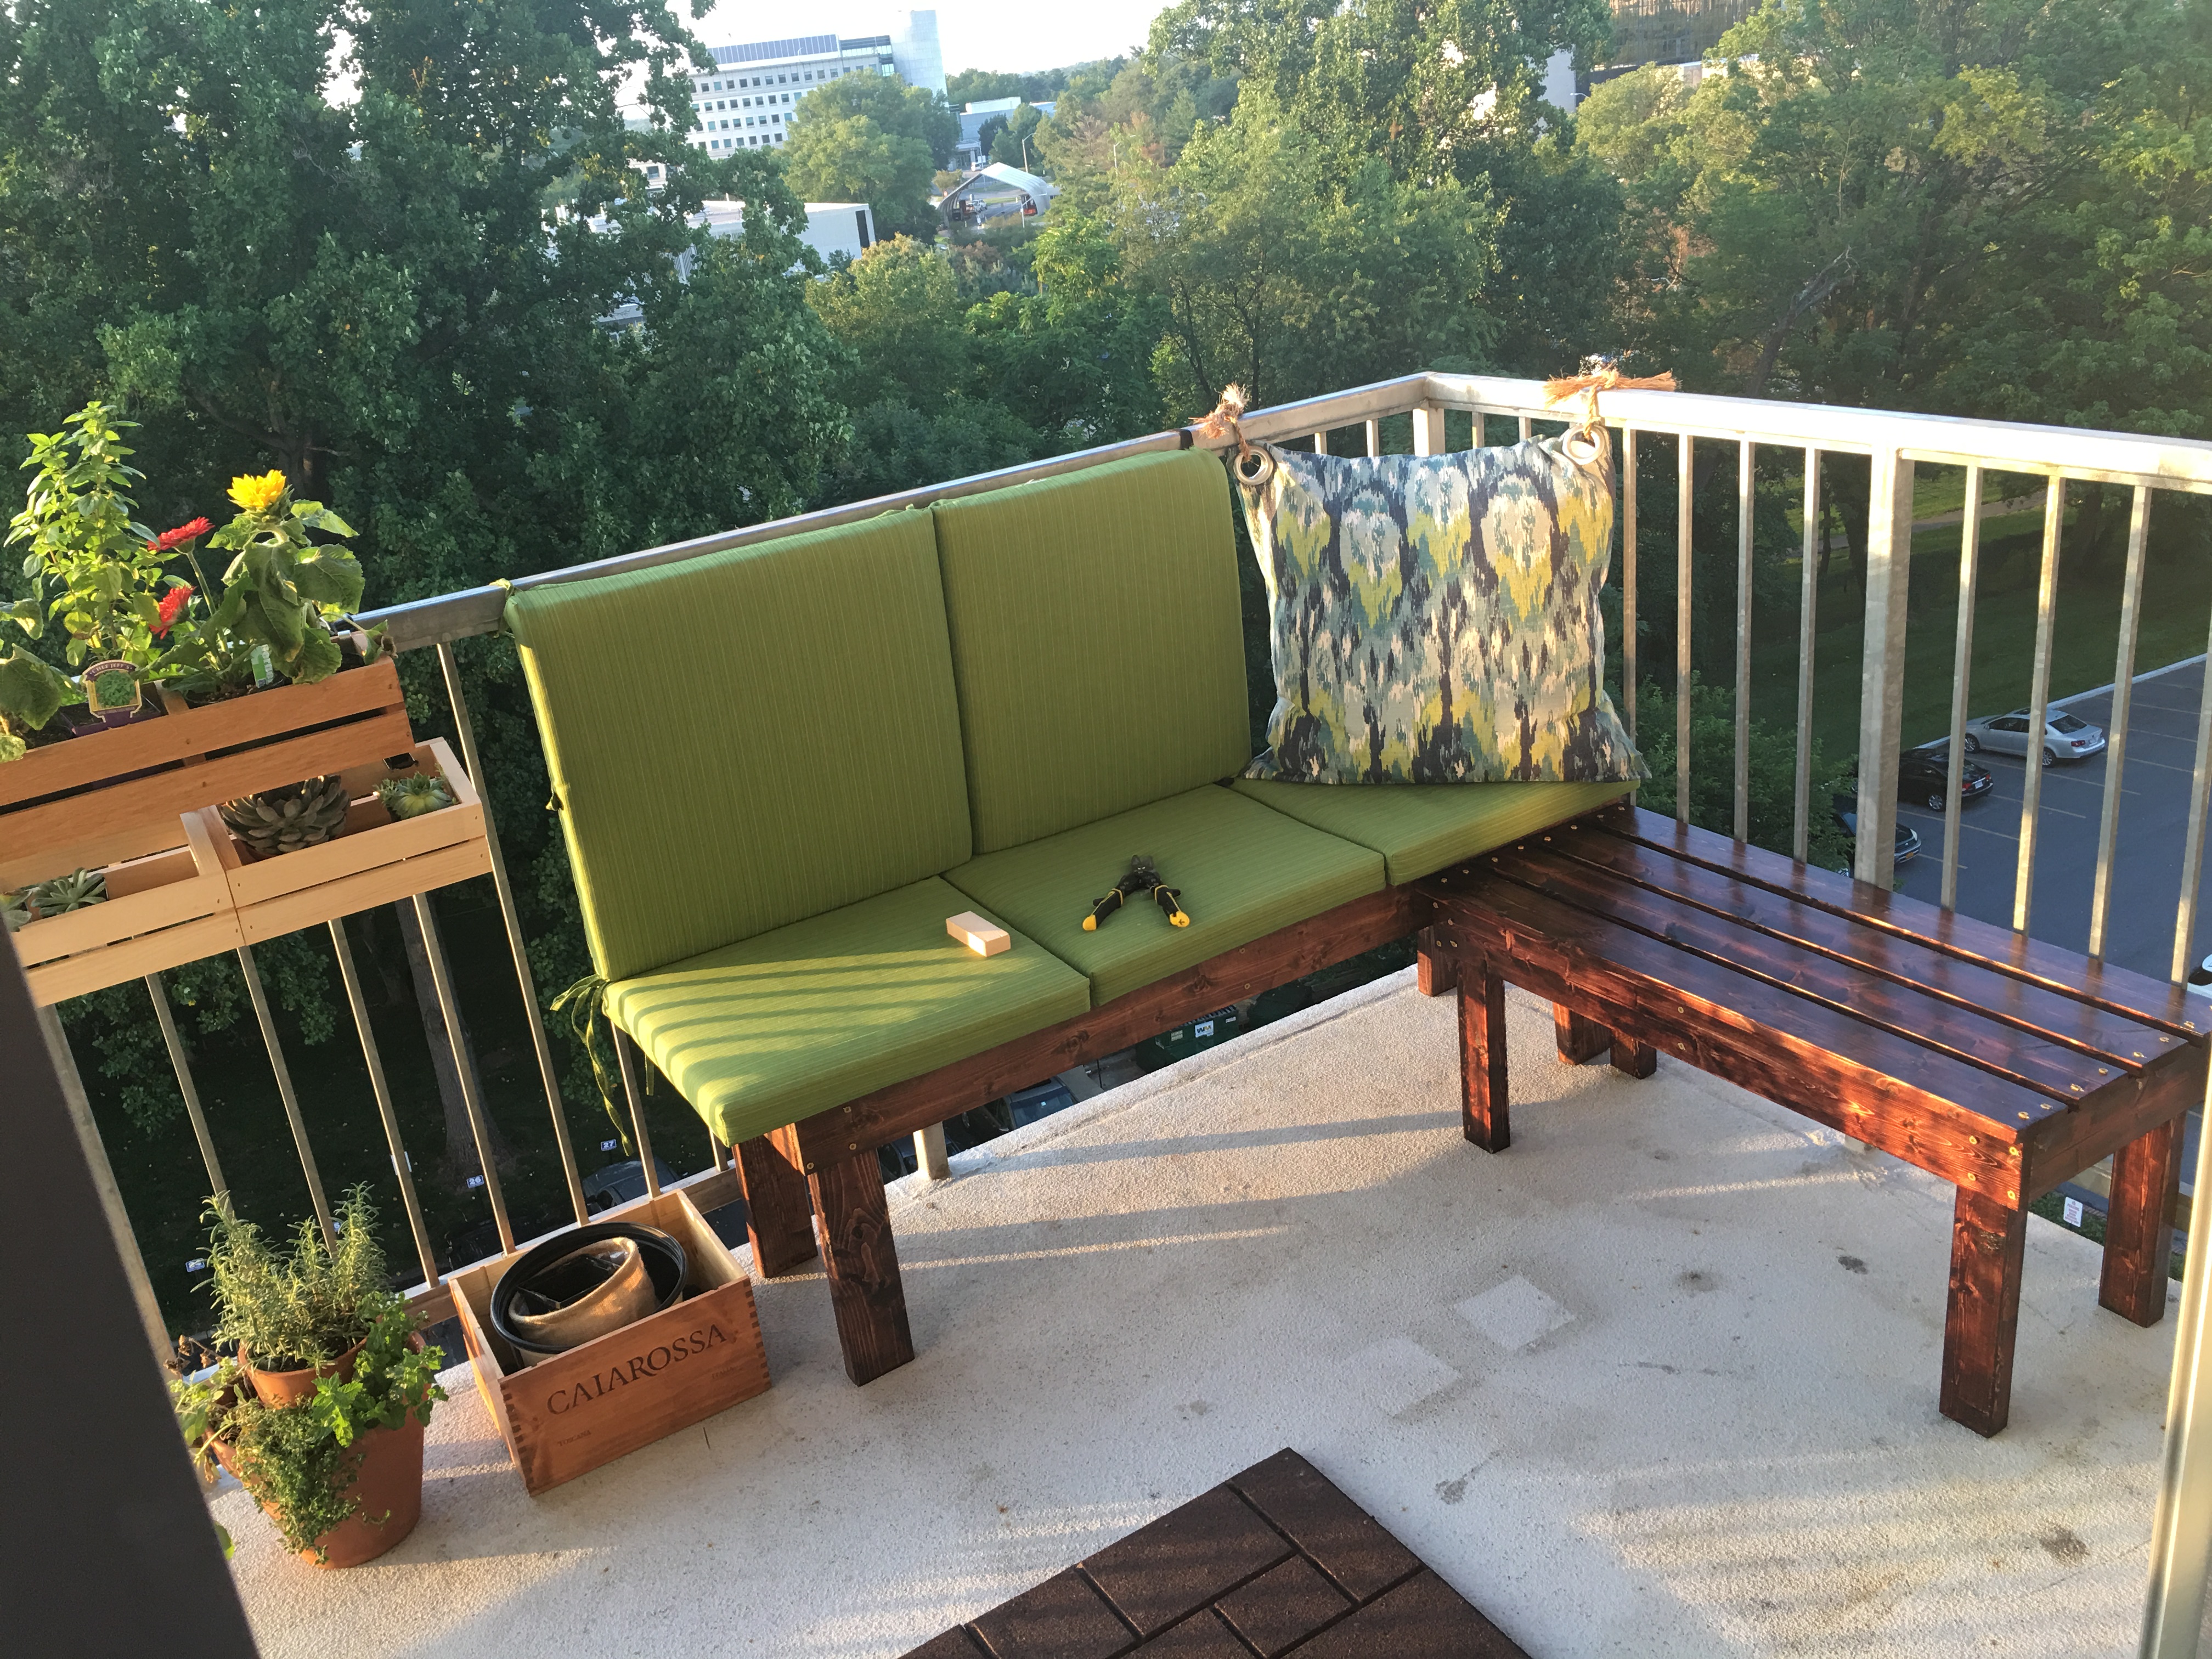
Yes, I know. Need more cushions. On it. V-