A “Bloom Box” for my DC tech office space
You may also like:
June 10, 2016: Although June (and summer in DC) is in full swing, I still have May flowers on my mind. I’ve made DIY flower box gifts in May for my mother Xenia and my Aunt Betsey.
I loved the Flower Dock and Power Plants boxes that I made for Xenia…

and the “Betsy’s Blooms” flower box I made for Betsey.
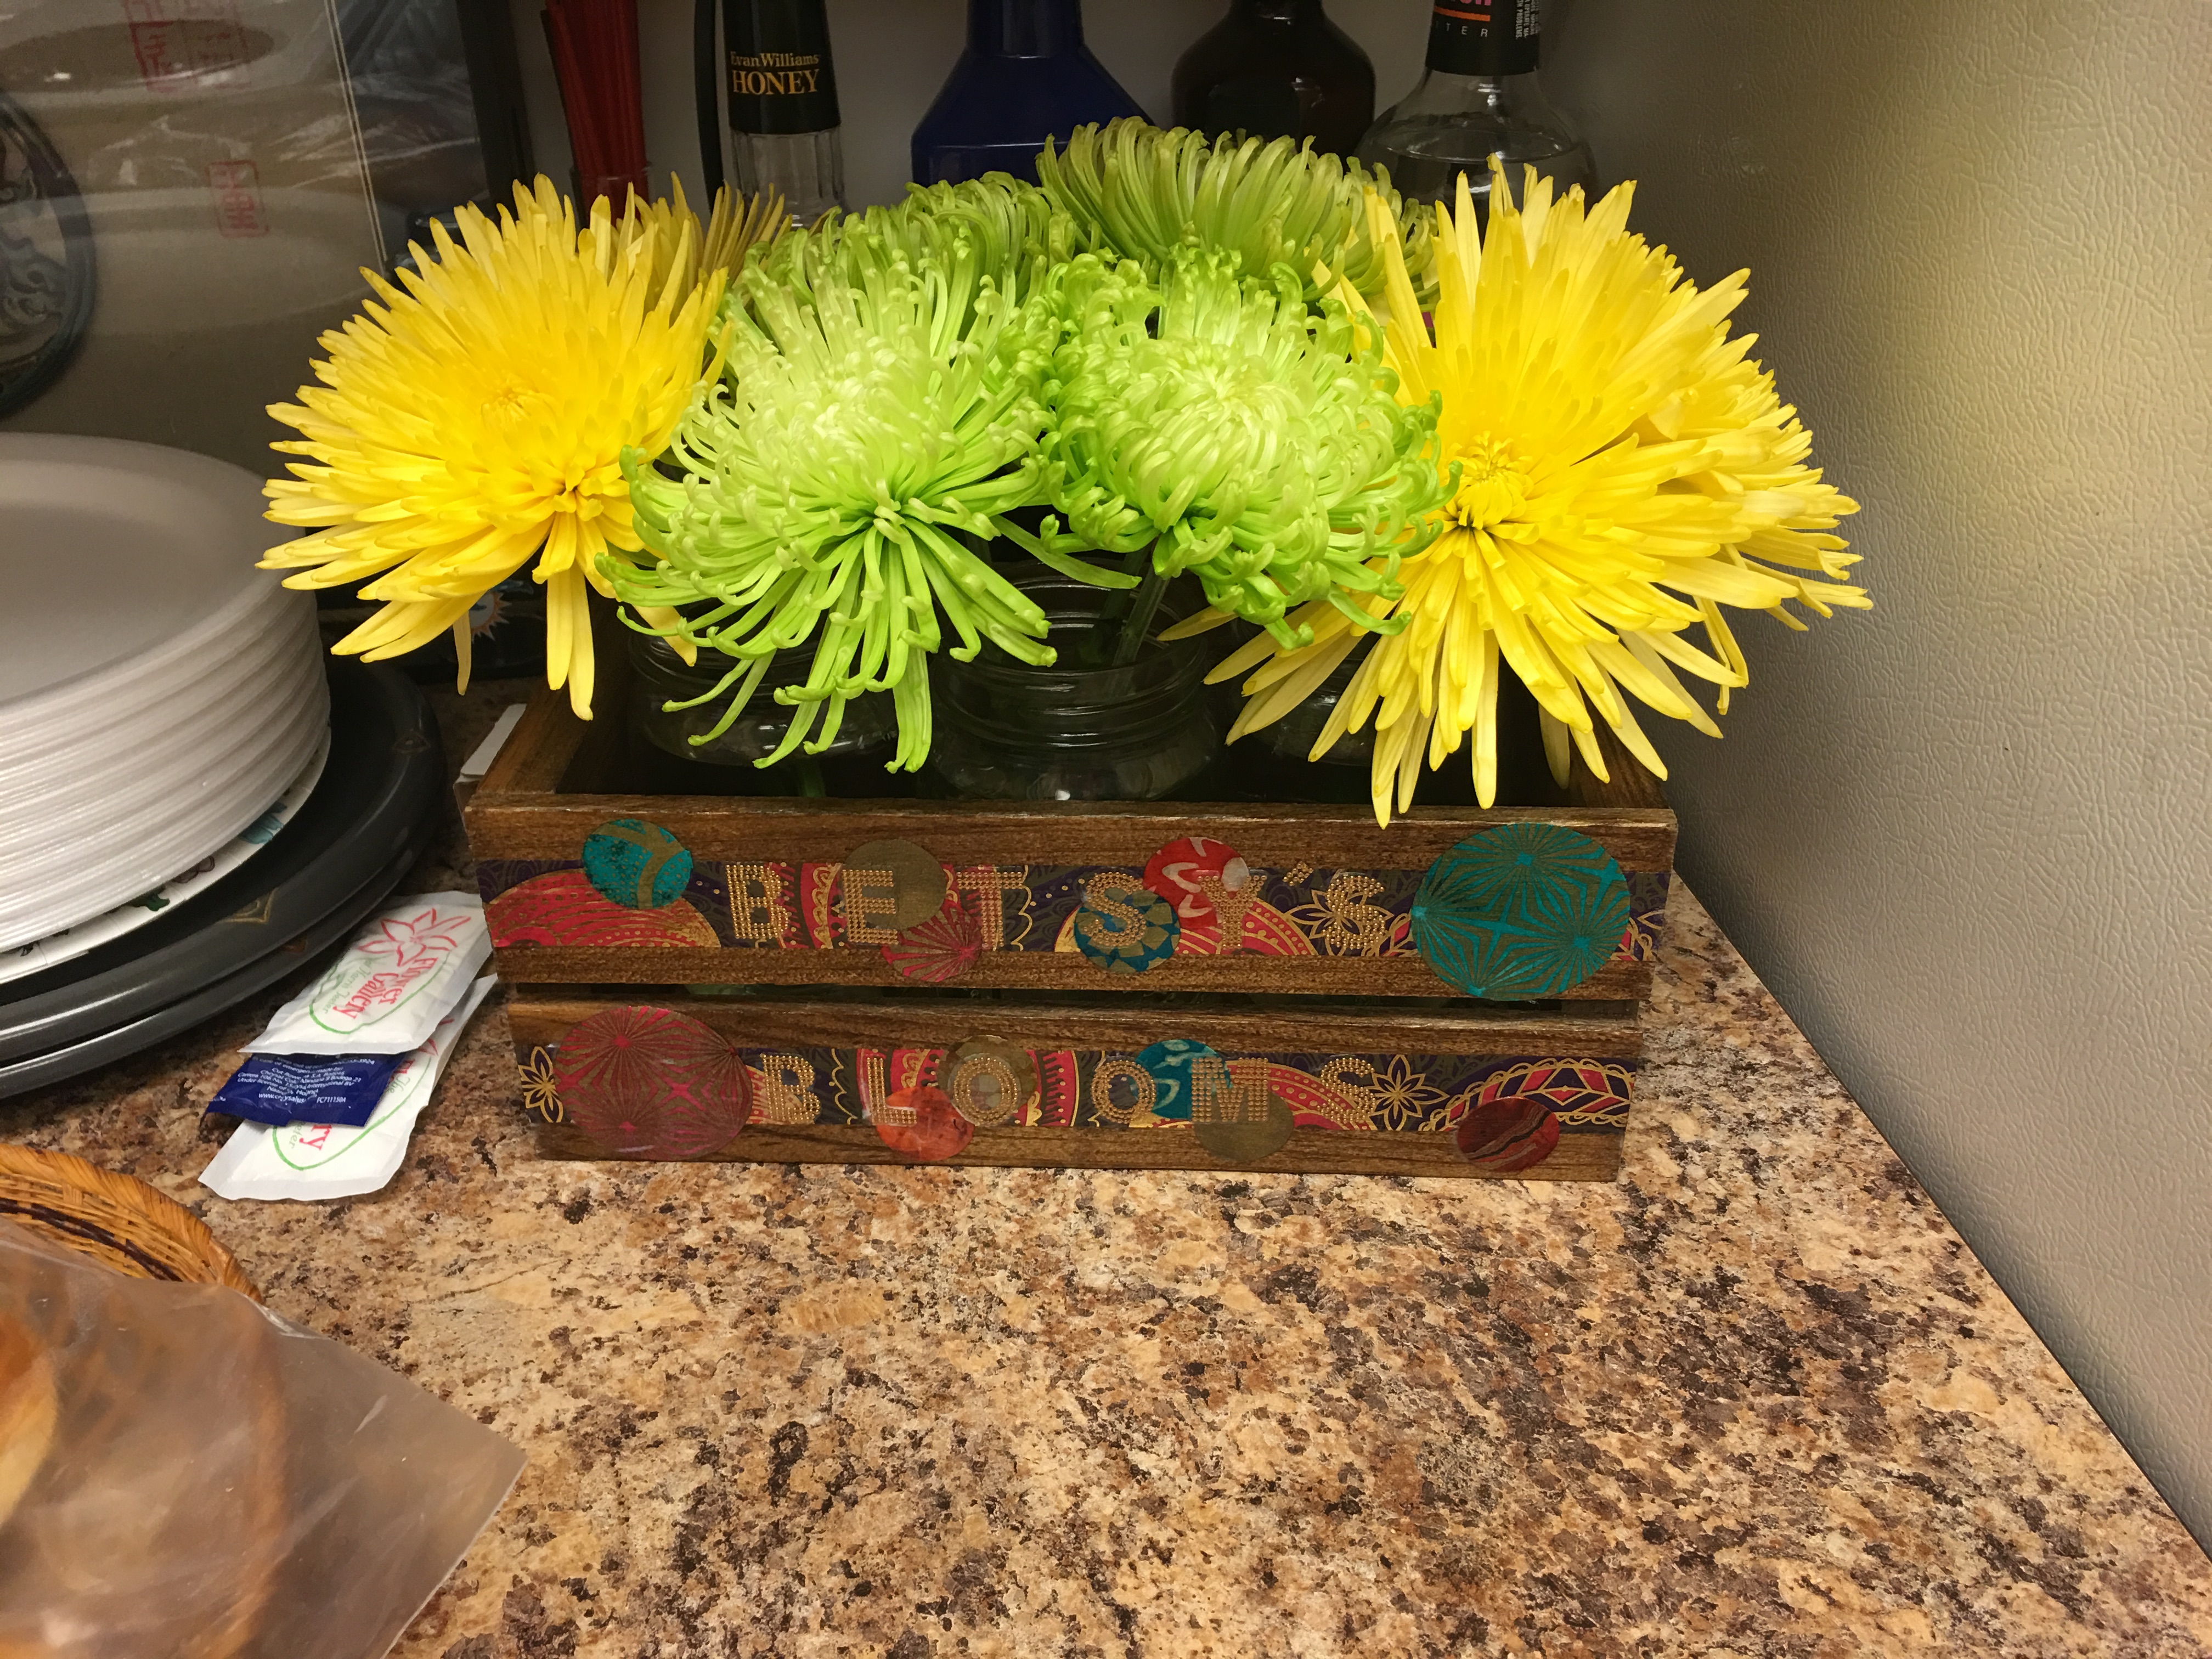
What I love most about these flower boxes is that it’s so easy to swap out your blooms with fresh ones. Just pick up a fresh bunch from the local market, strip down the stems, cut them to size, add them in cups of water, and add the cups to the box. Done!
I decided to make more of these and will start with one for my DC office space. And that it shall be called the “Bloom Box”. It’s time that I start having fresh flowers in my tech office space on a regular bases (which it desperately needs!).
I describe all the steps for making these in detail in the “Decorated wood flower boxes for my mama” post. But in this post, I’ll skip ahead to the decorating step. 🙂
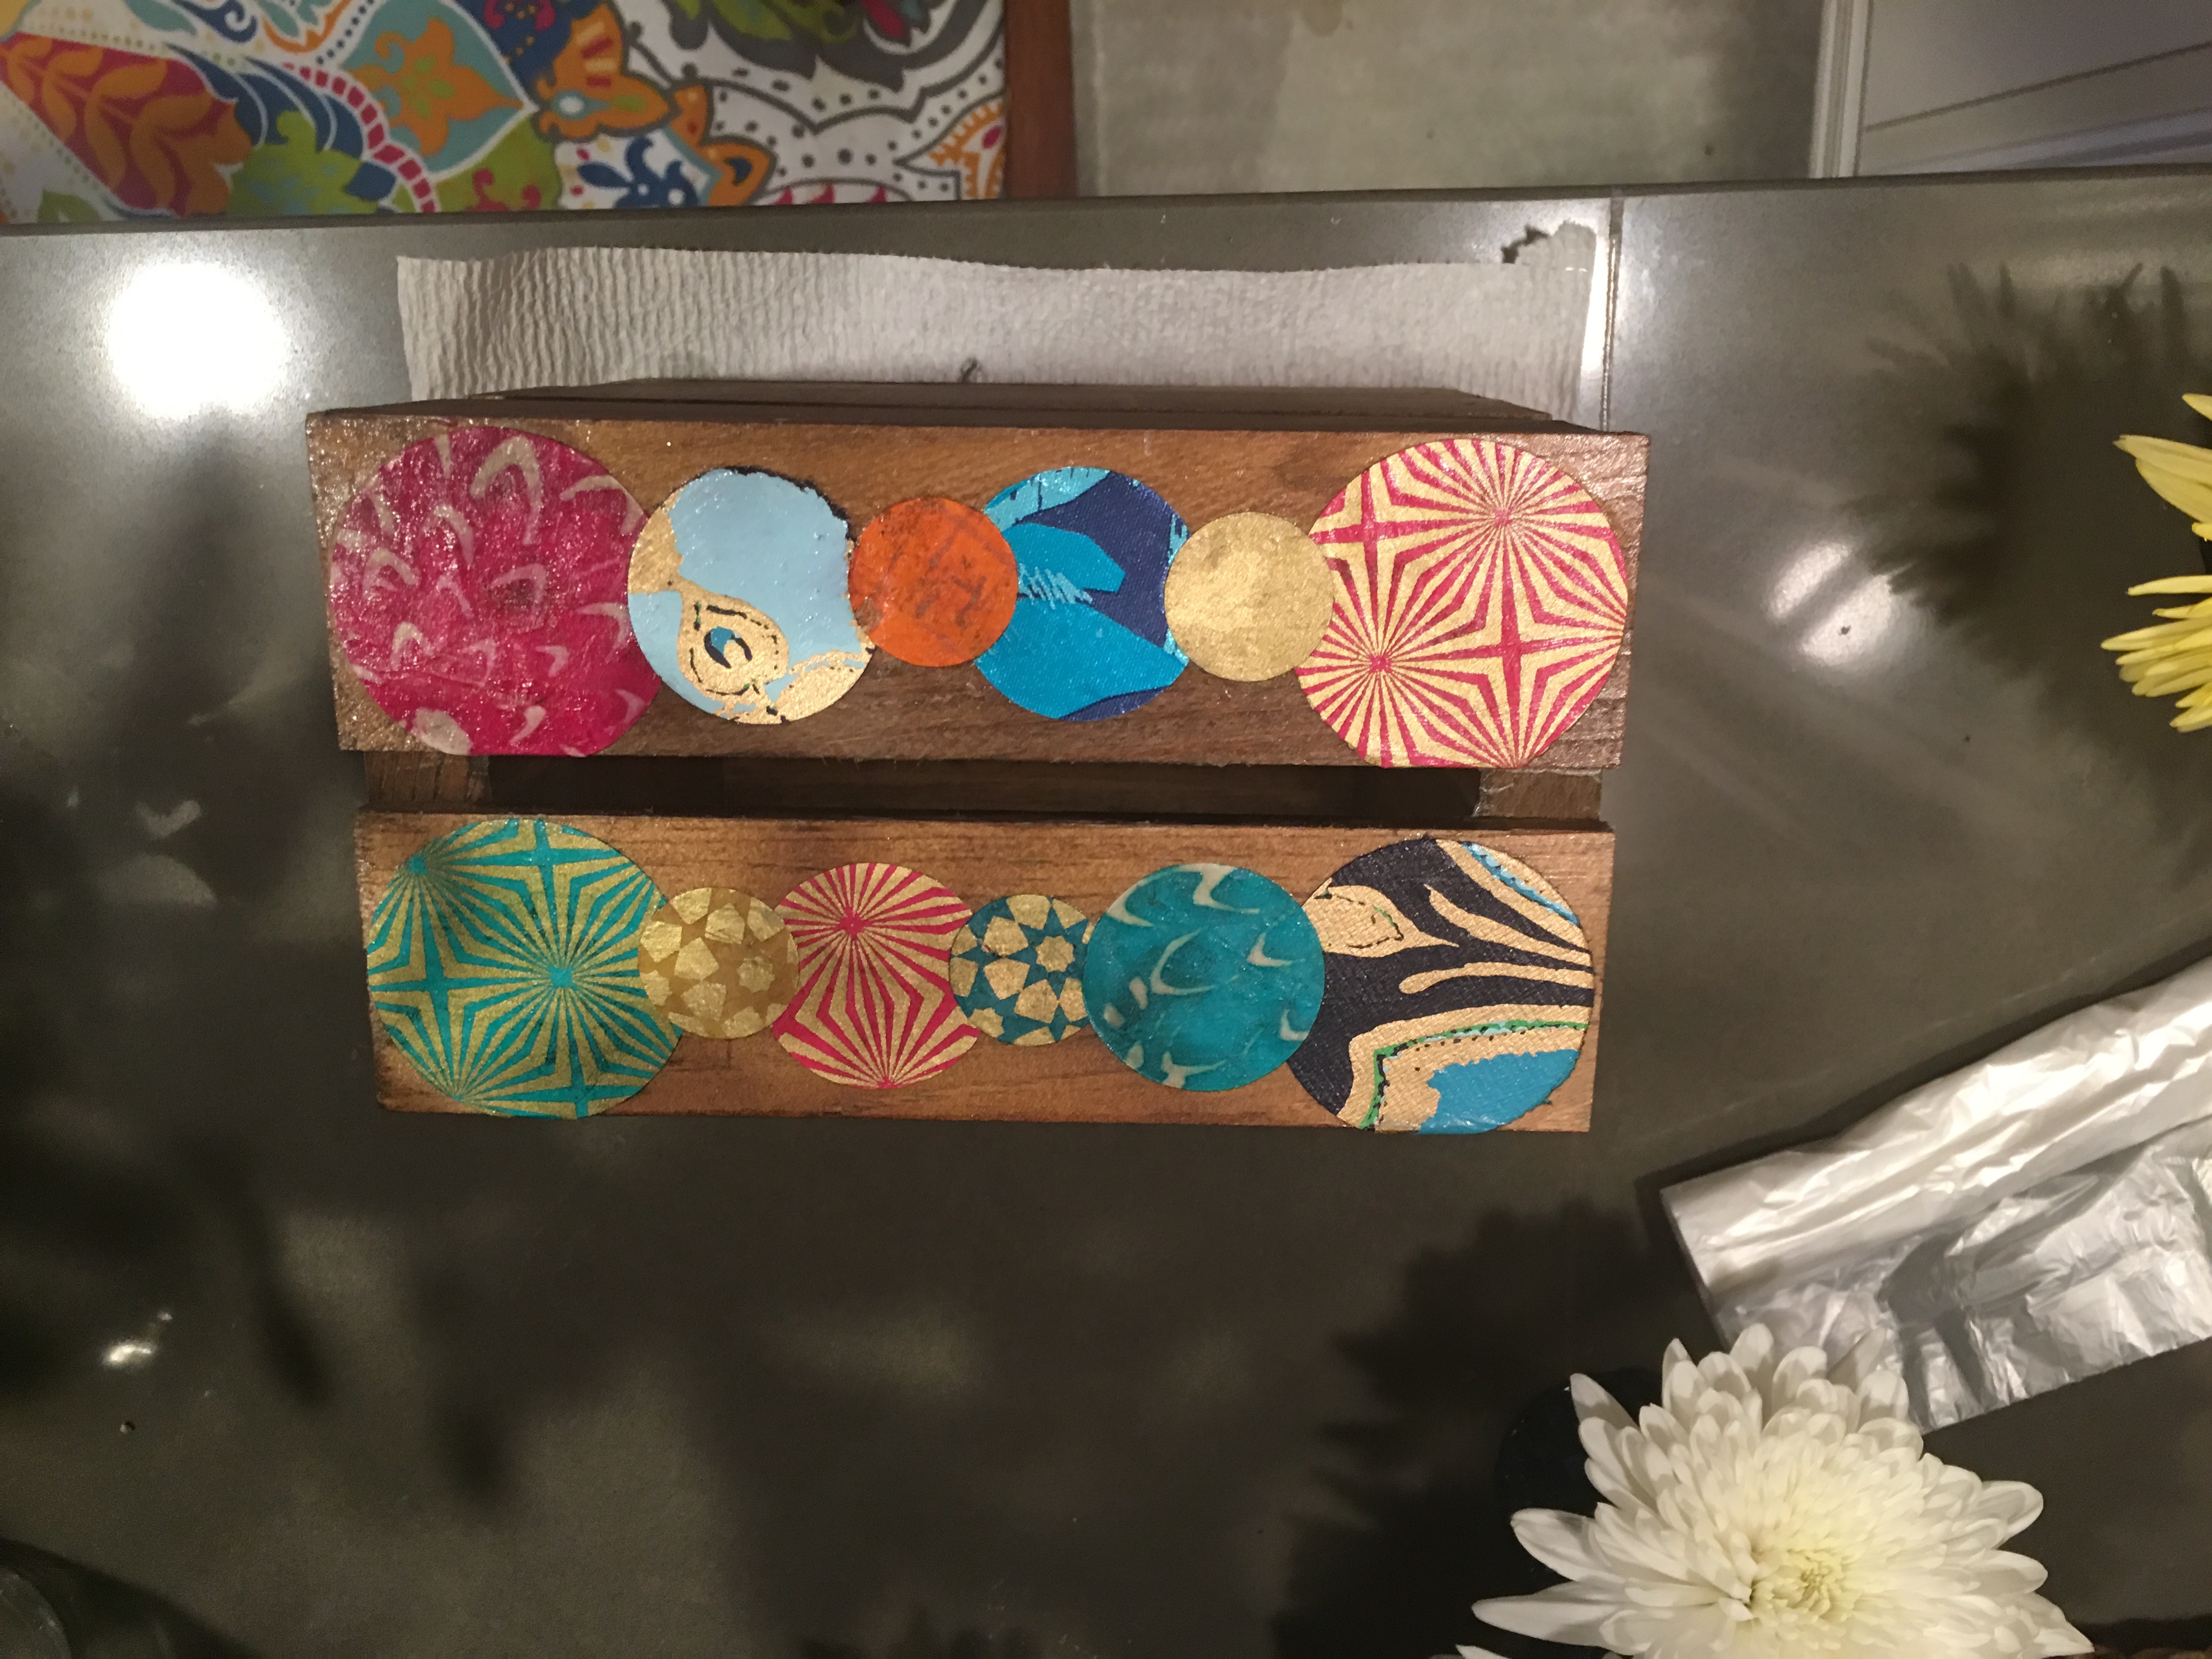
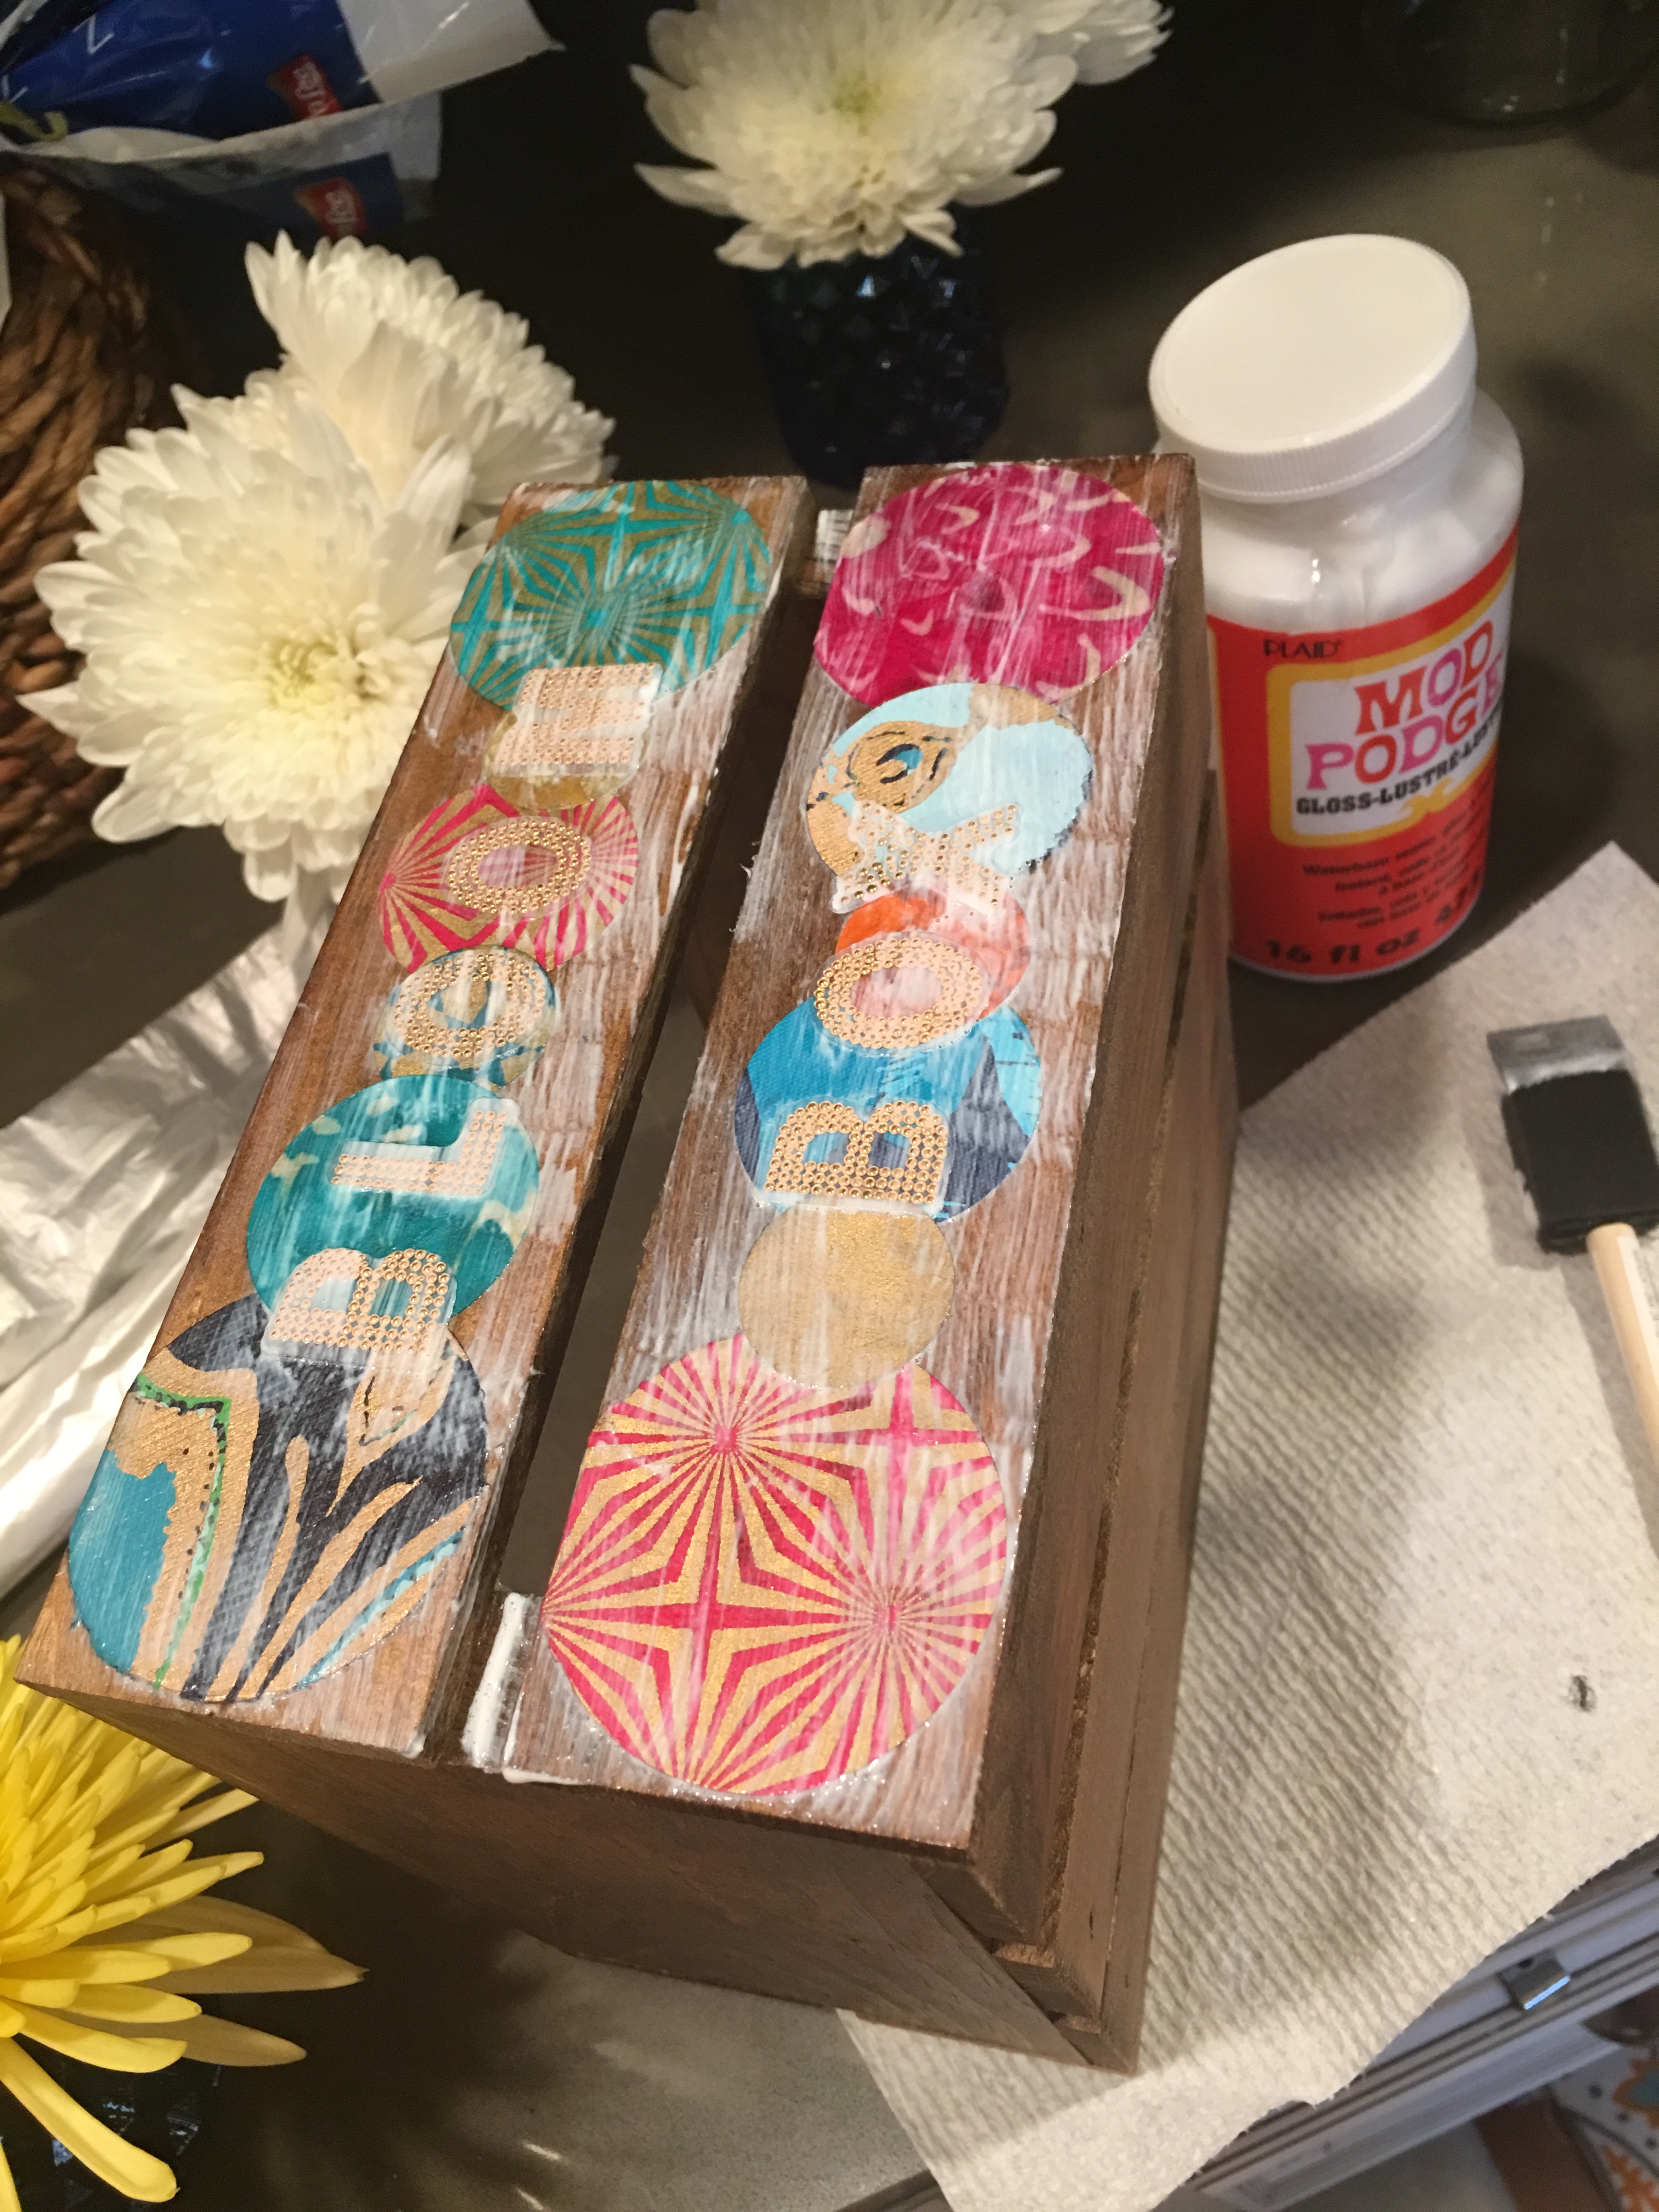
As a shortcut, I buy the unfinished version of the crates at A.C. Moore. After staining the boxes in the prettiest wood stain color (Minwax Early American), I use Mod Podge to decorate the front of the crate with various size decorative paper circles.
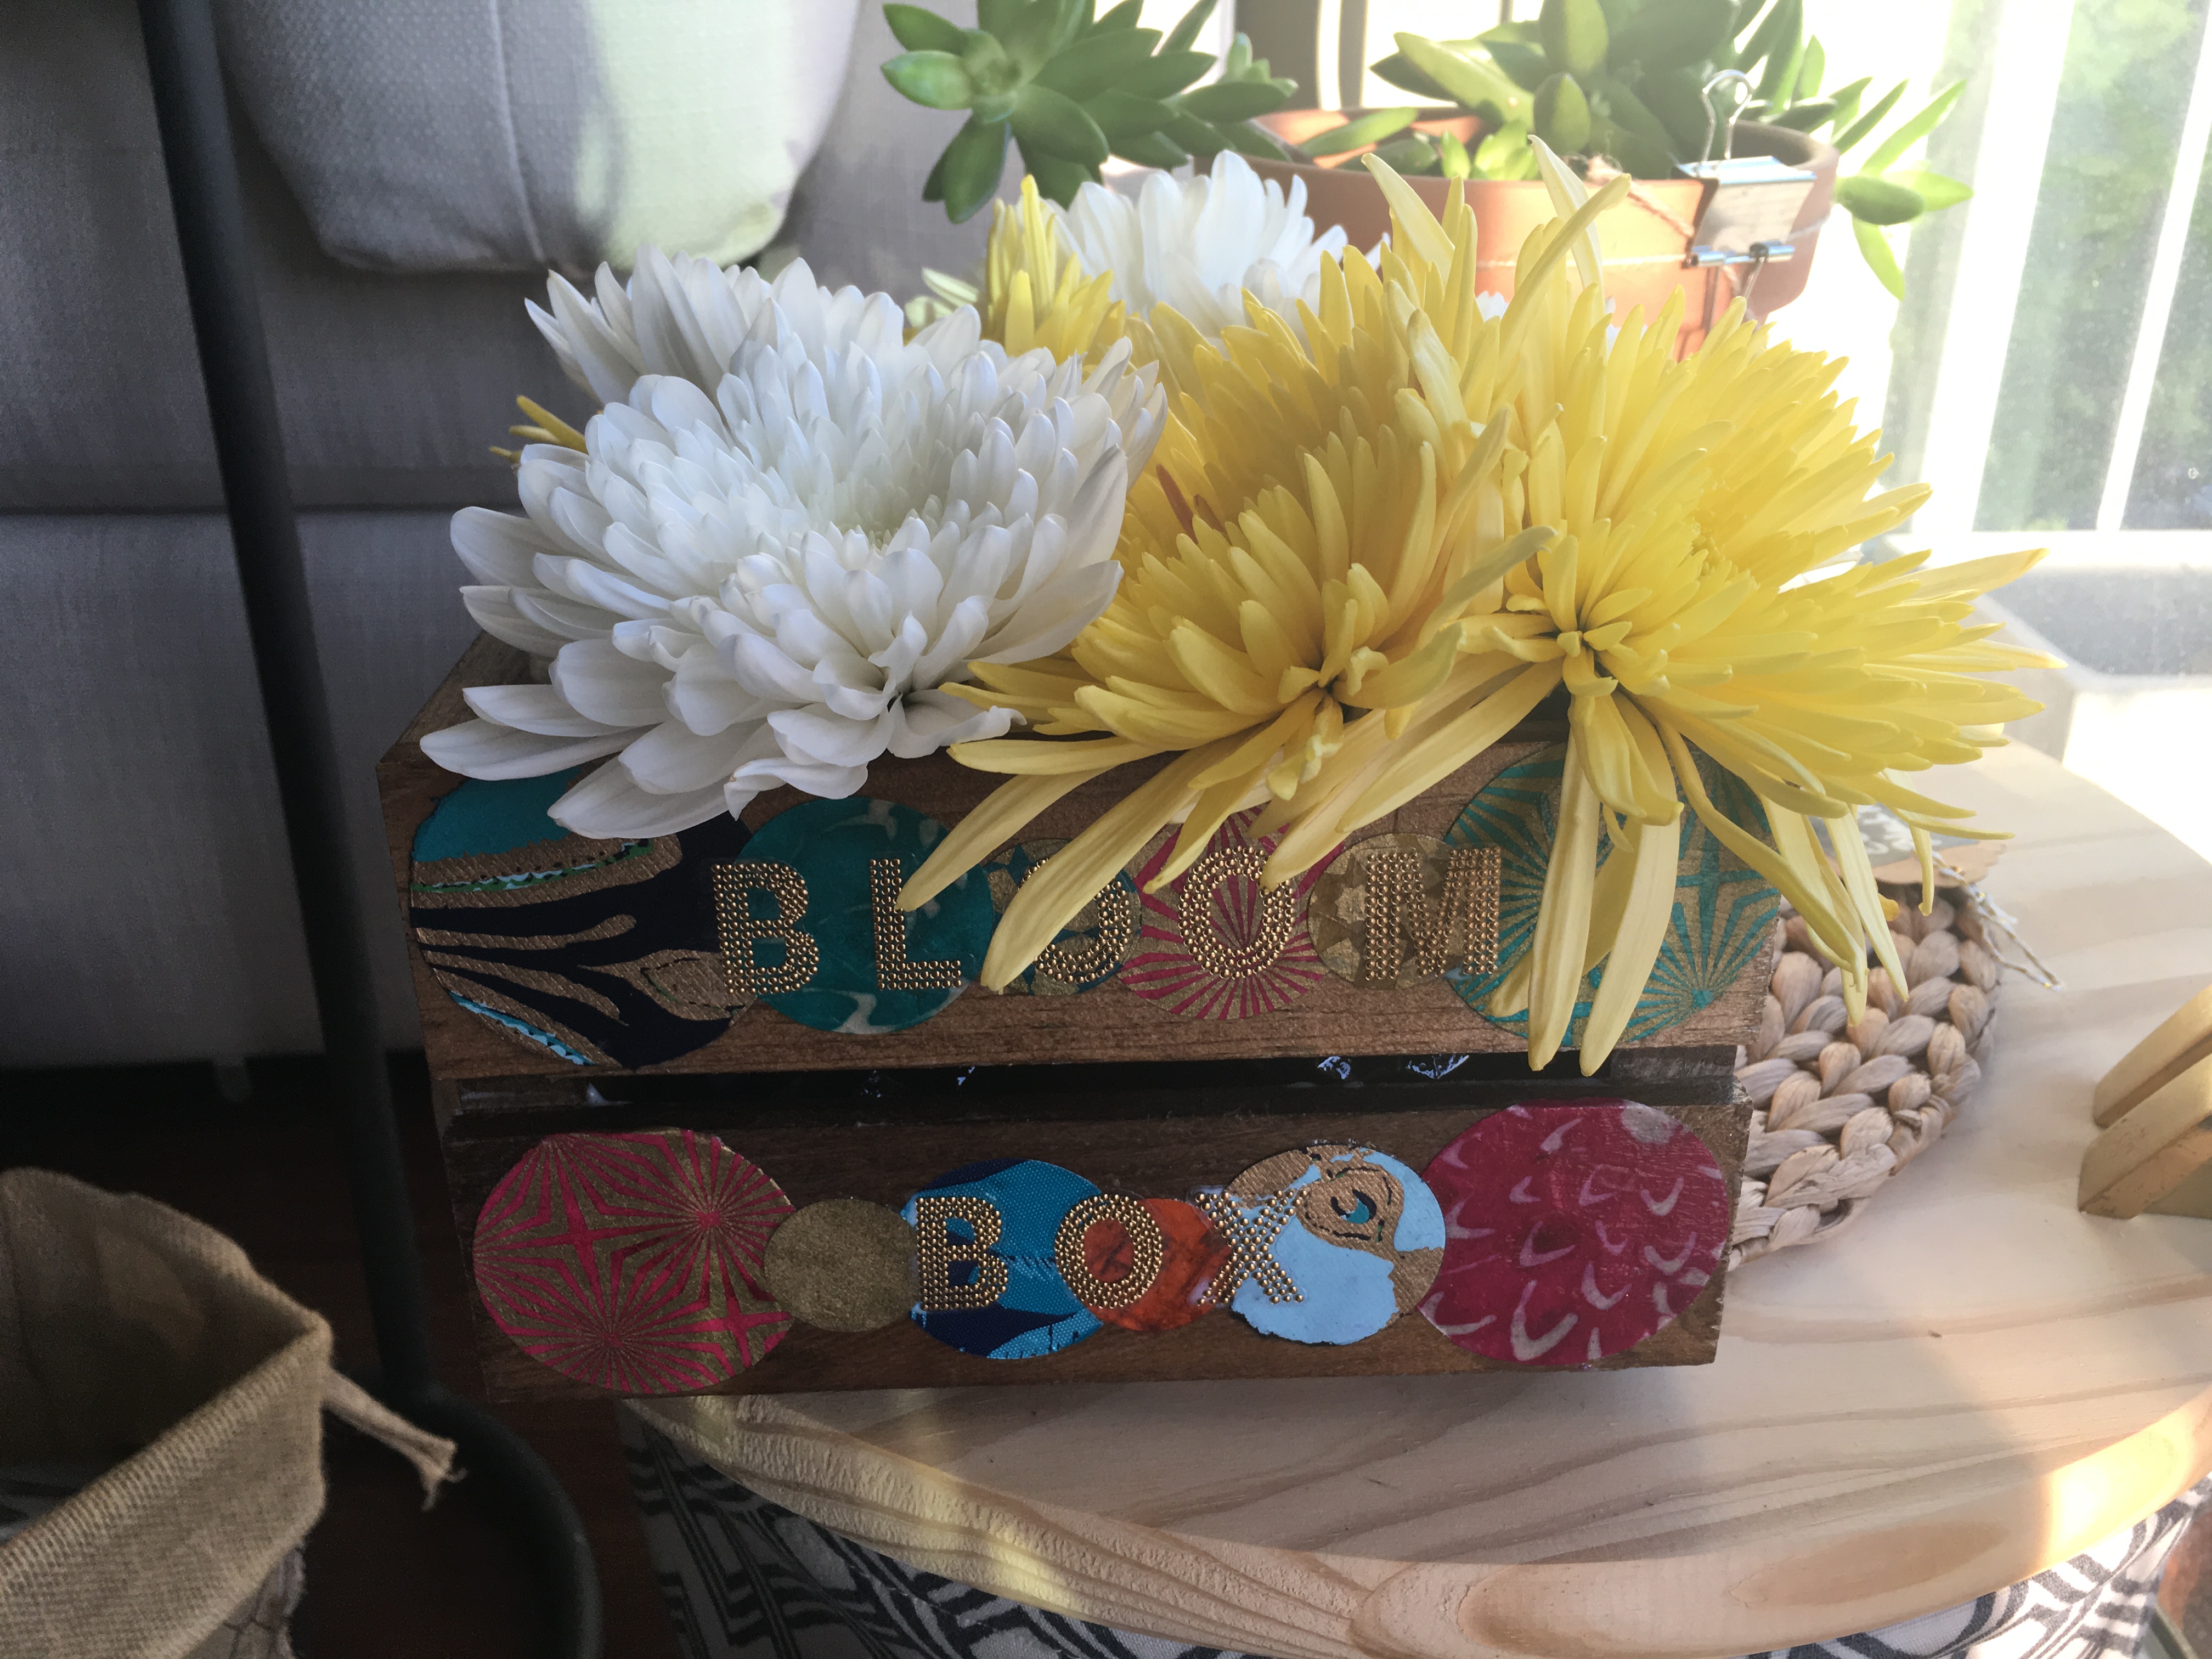
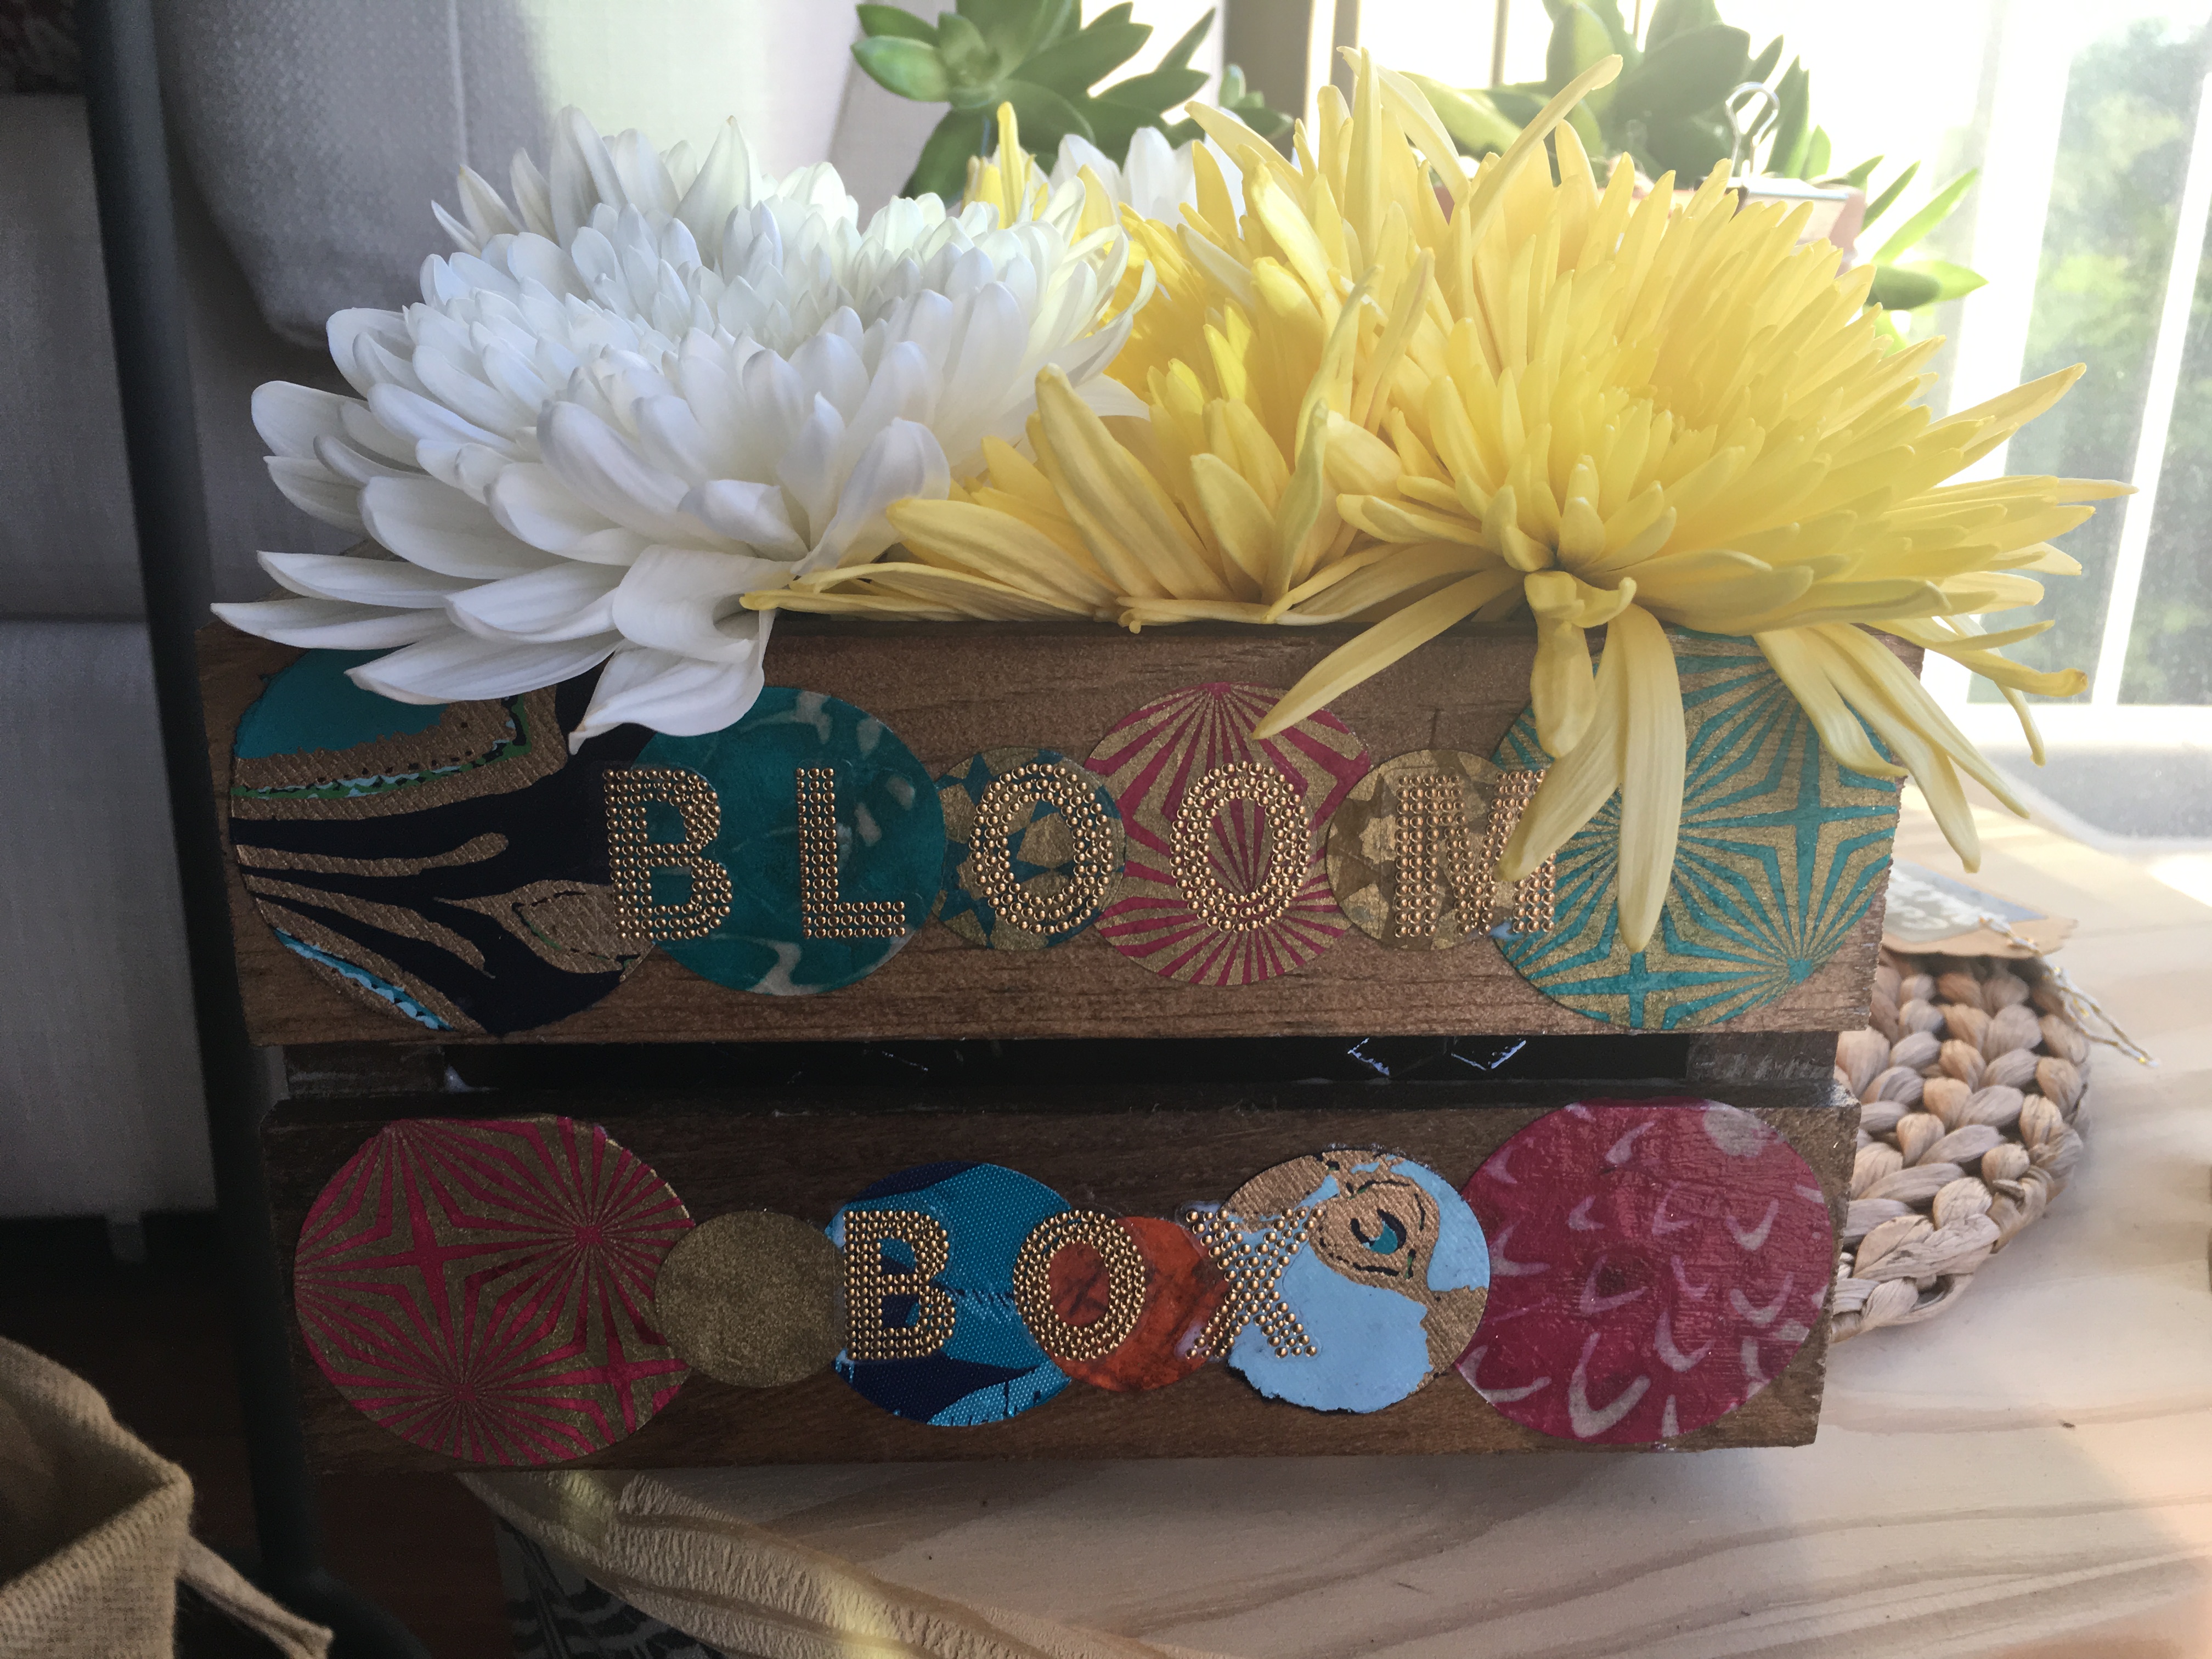
I add the words “Bloom Box” to the front of the crate using gold foil embossed alphabet stickers
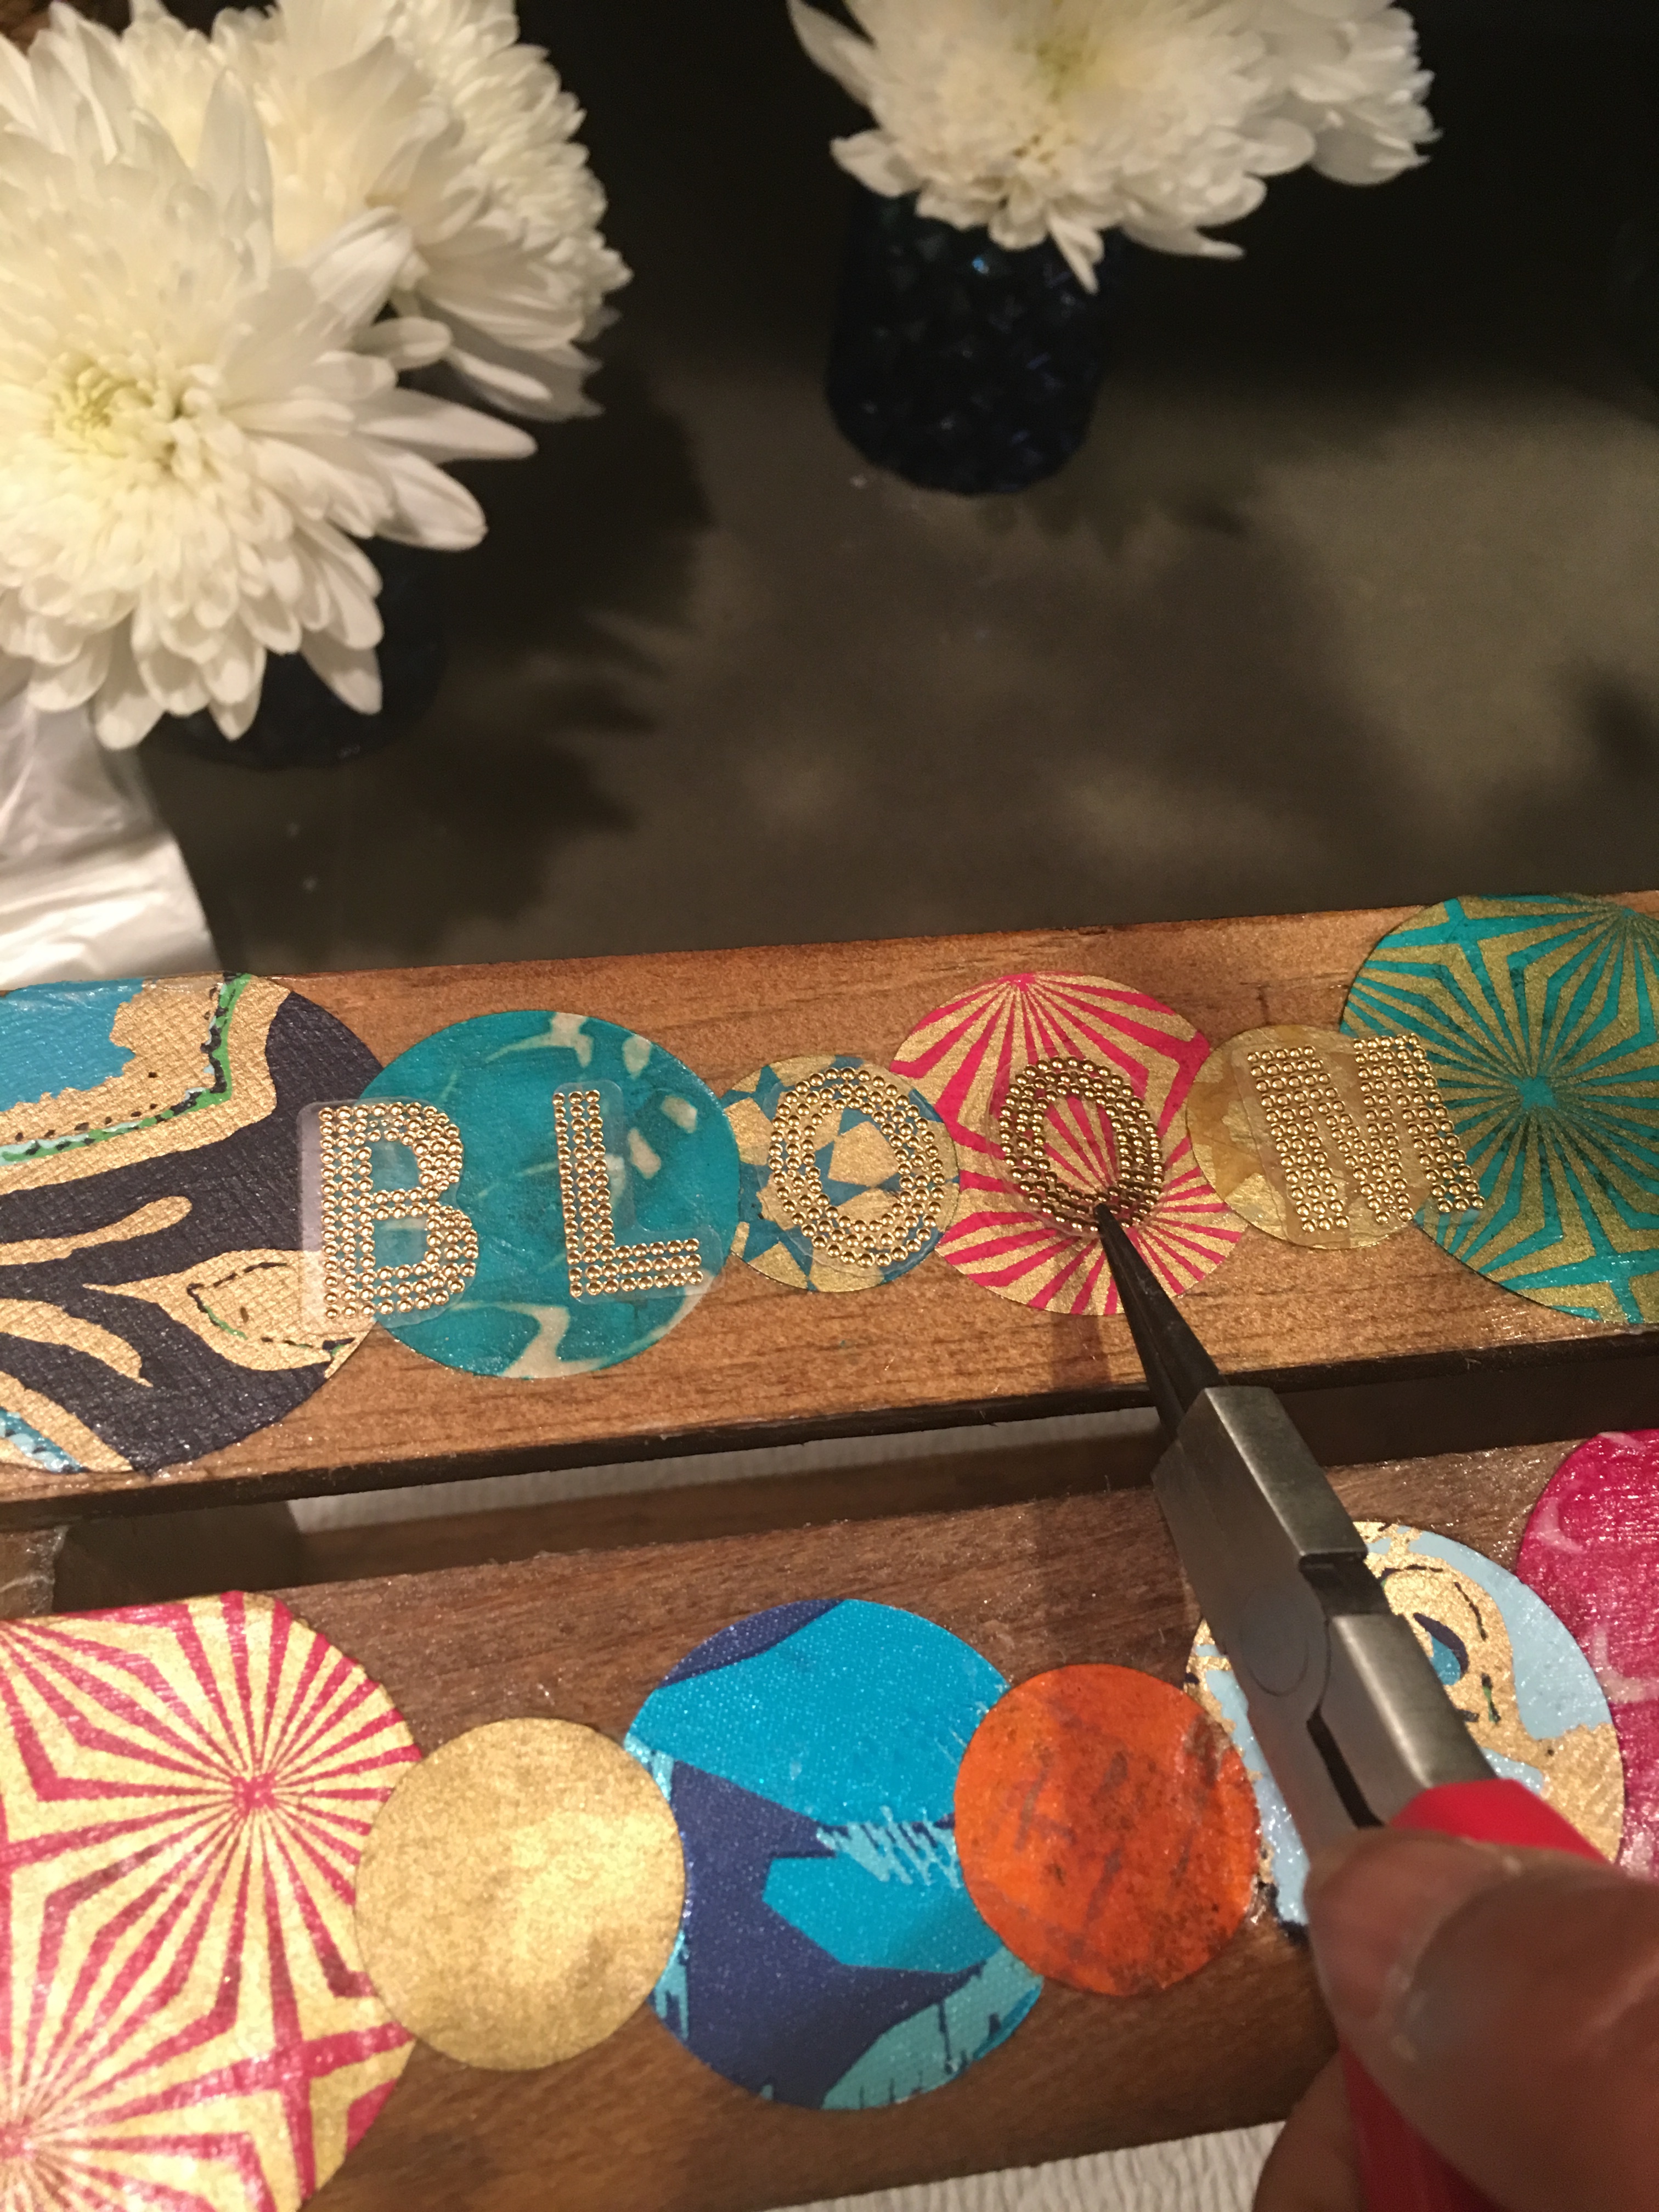
Once all the letters are added, I added another coat of Mod Podge to seal the front.
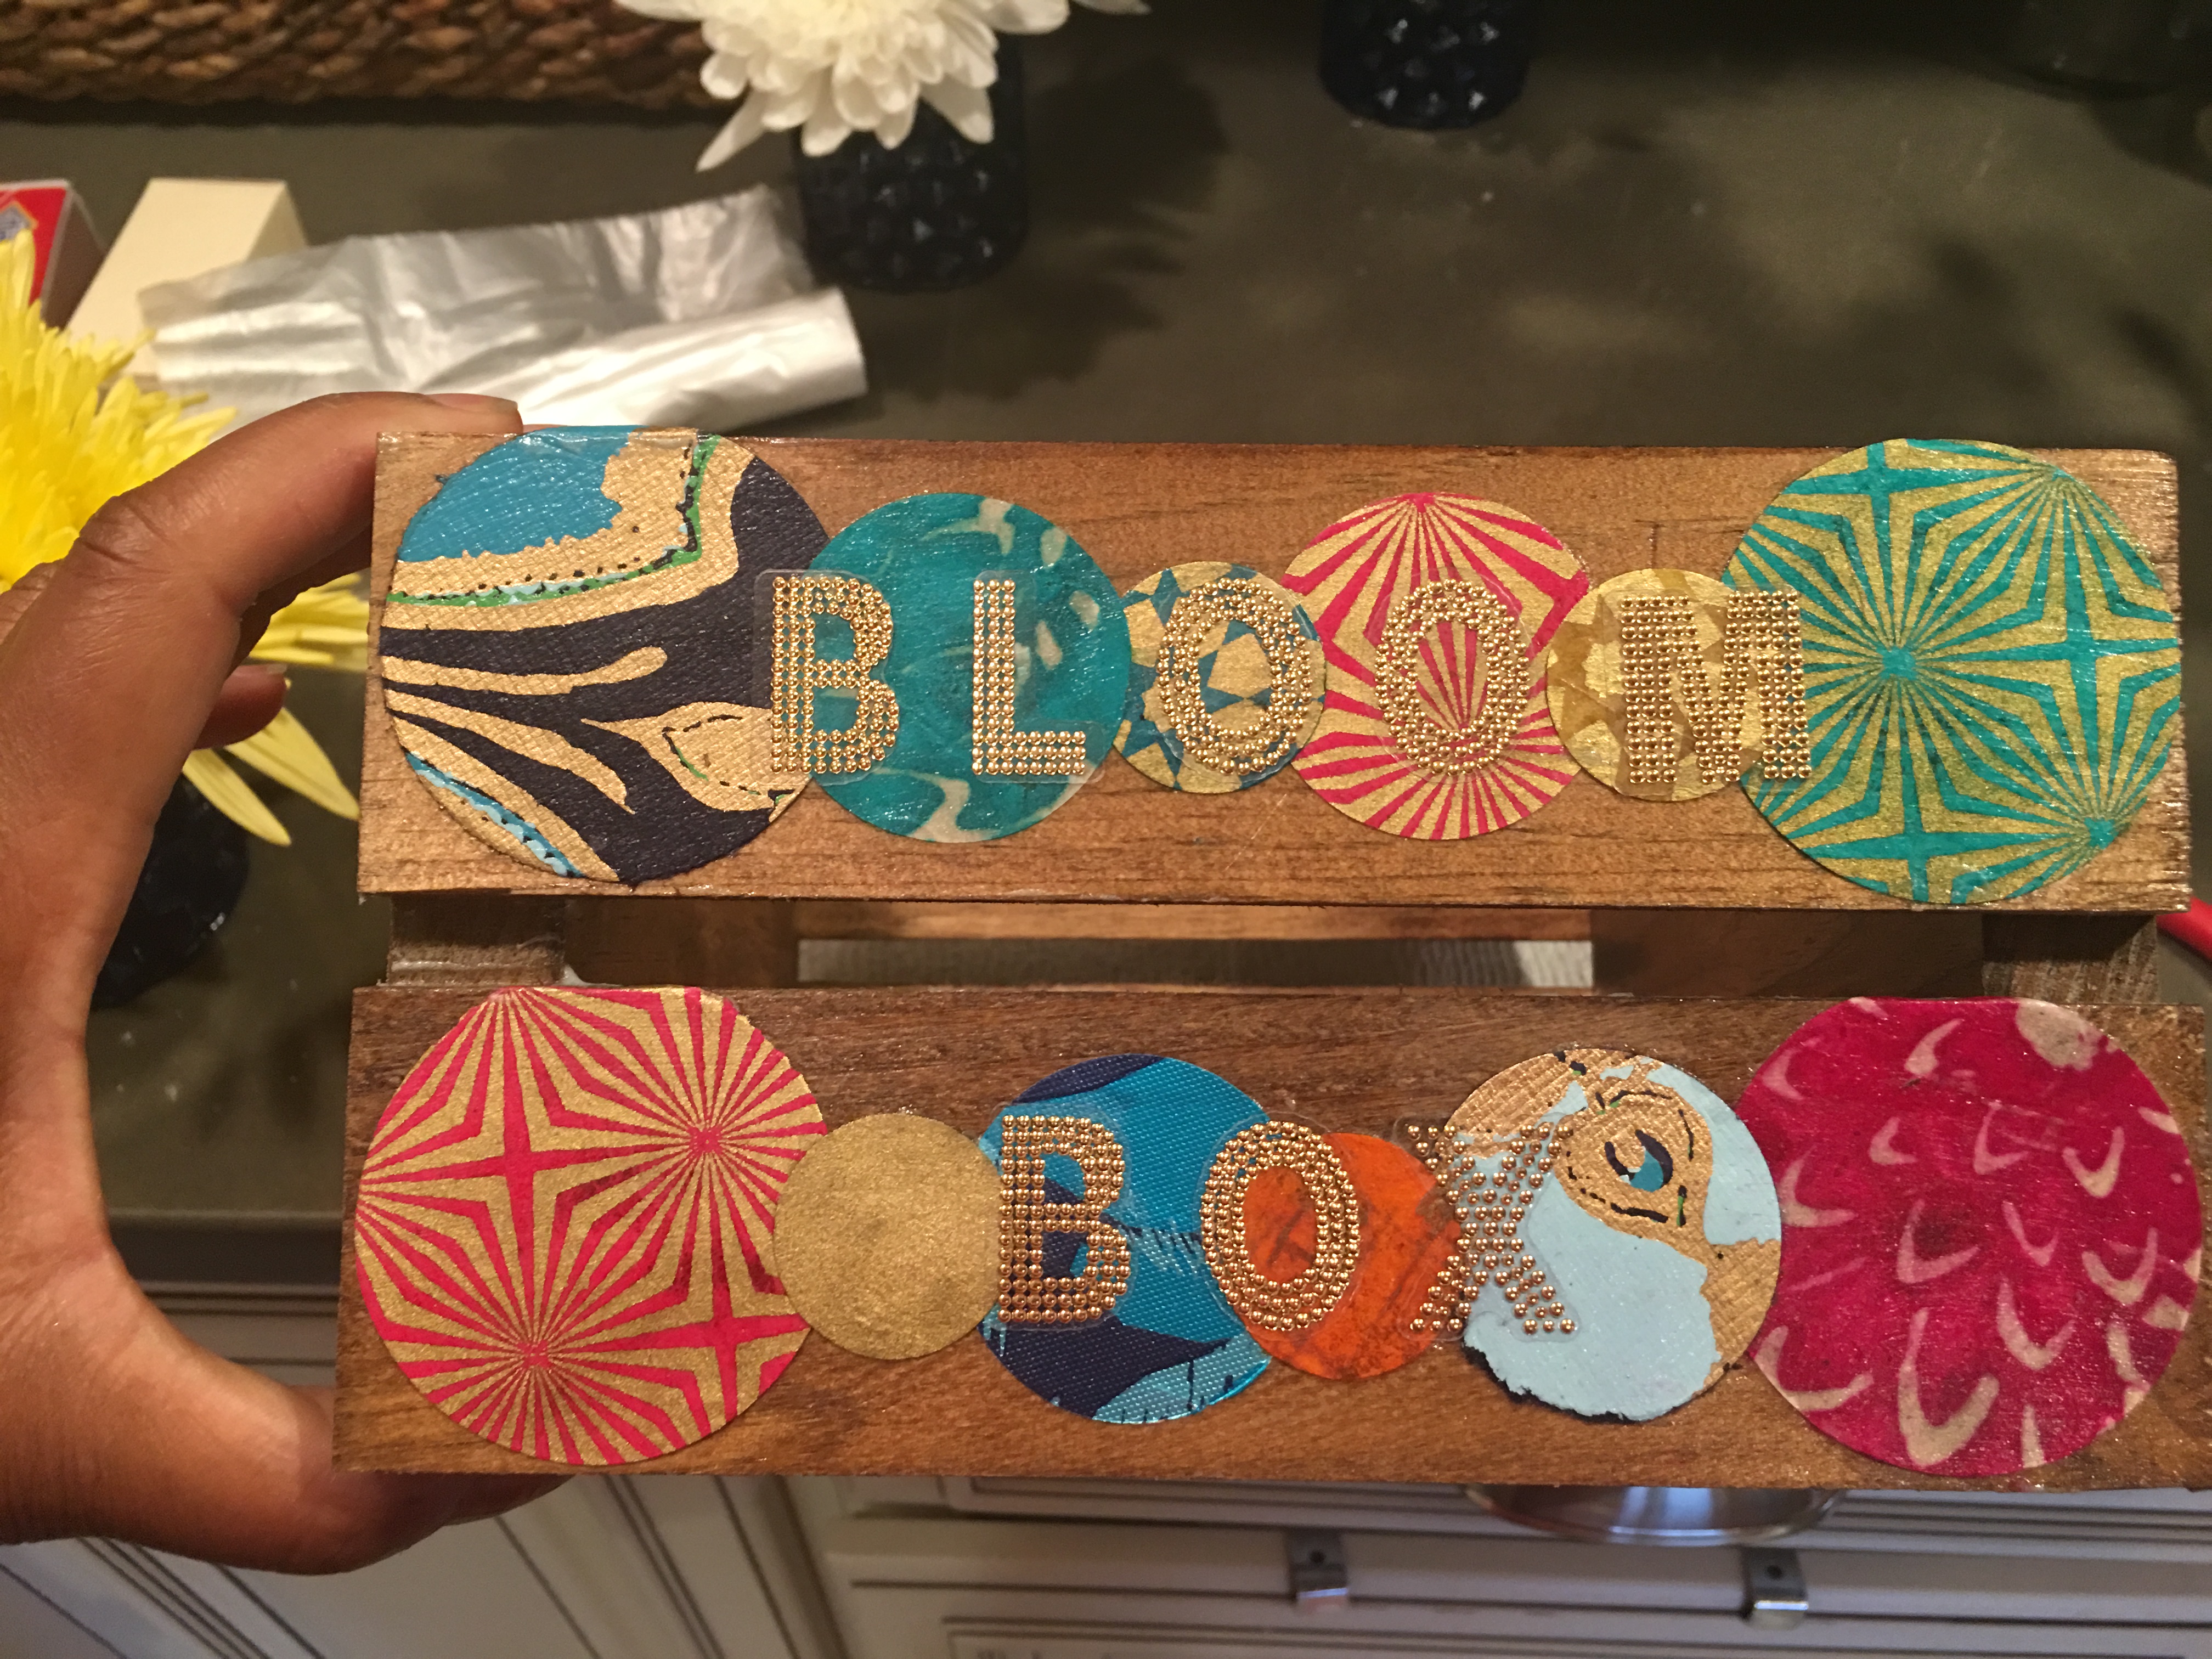
Once dried, here’s the decorate wood crate for my office blooms.
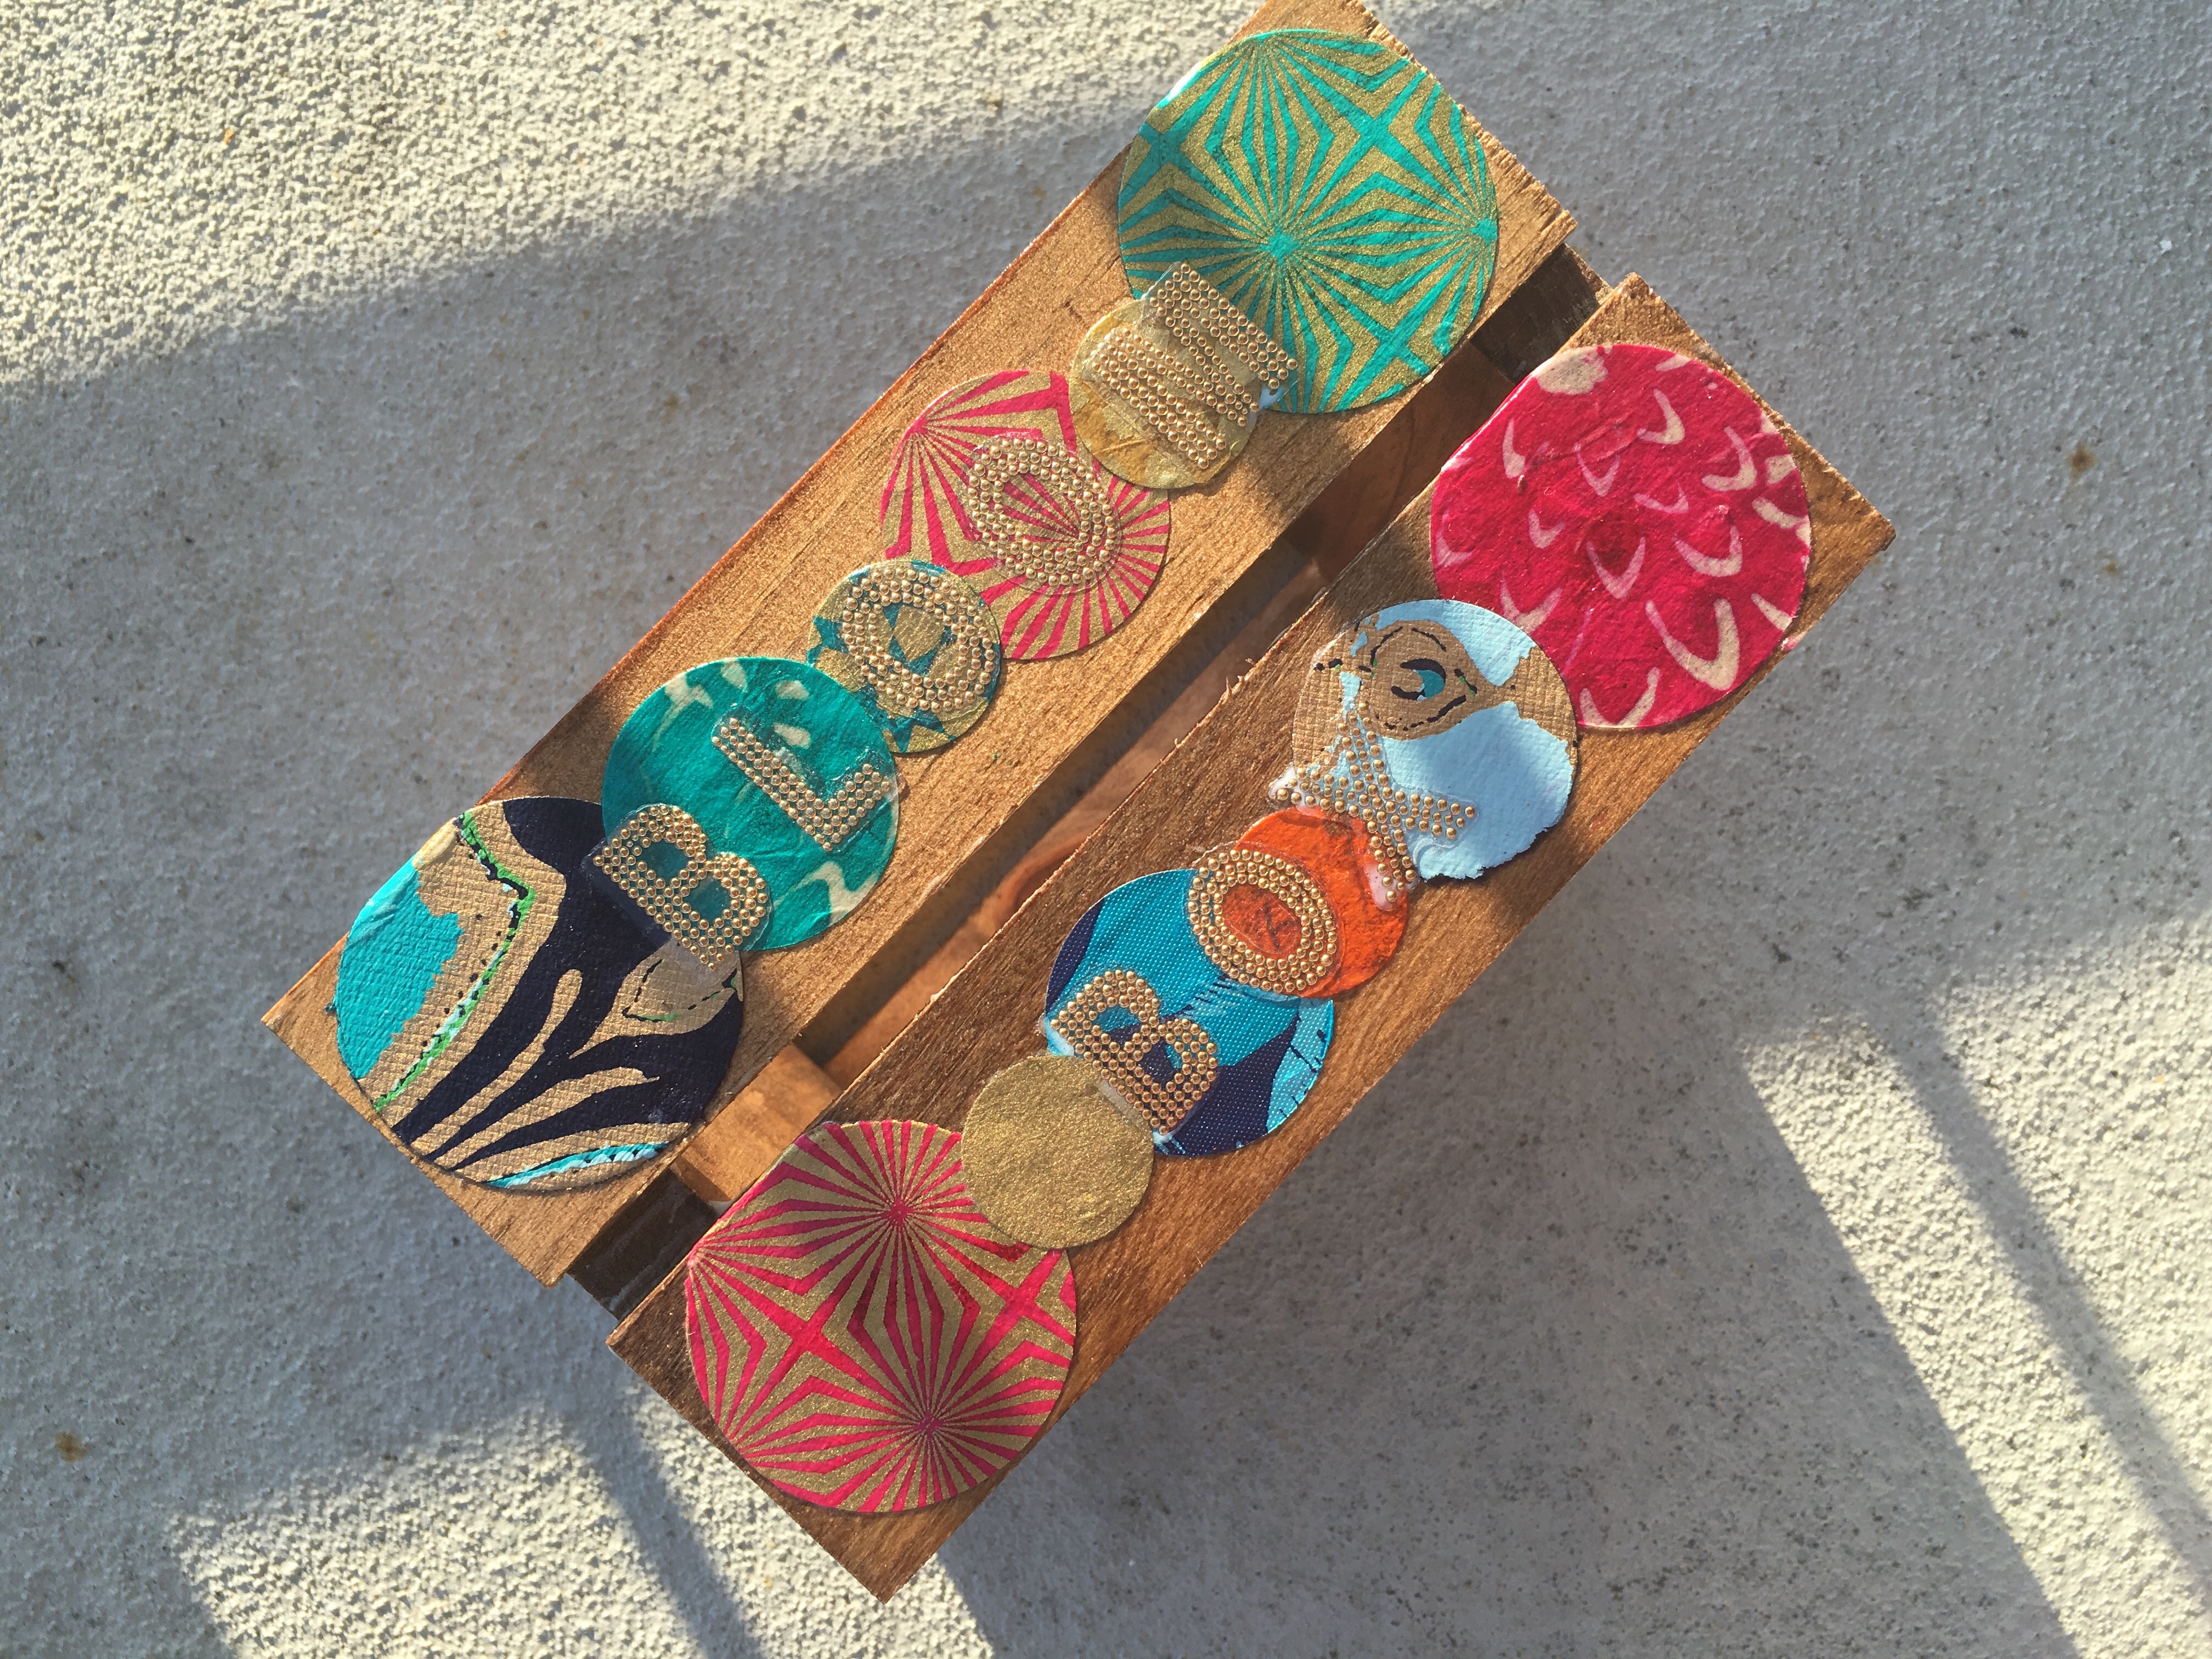
It’s almost ready for action. I take it out to the balcony to put a few light coats of polyurethane sealer on the box (so any water spillage will not do any damage to the wood or to the decoupaged decor).
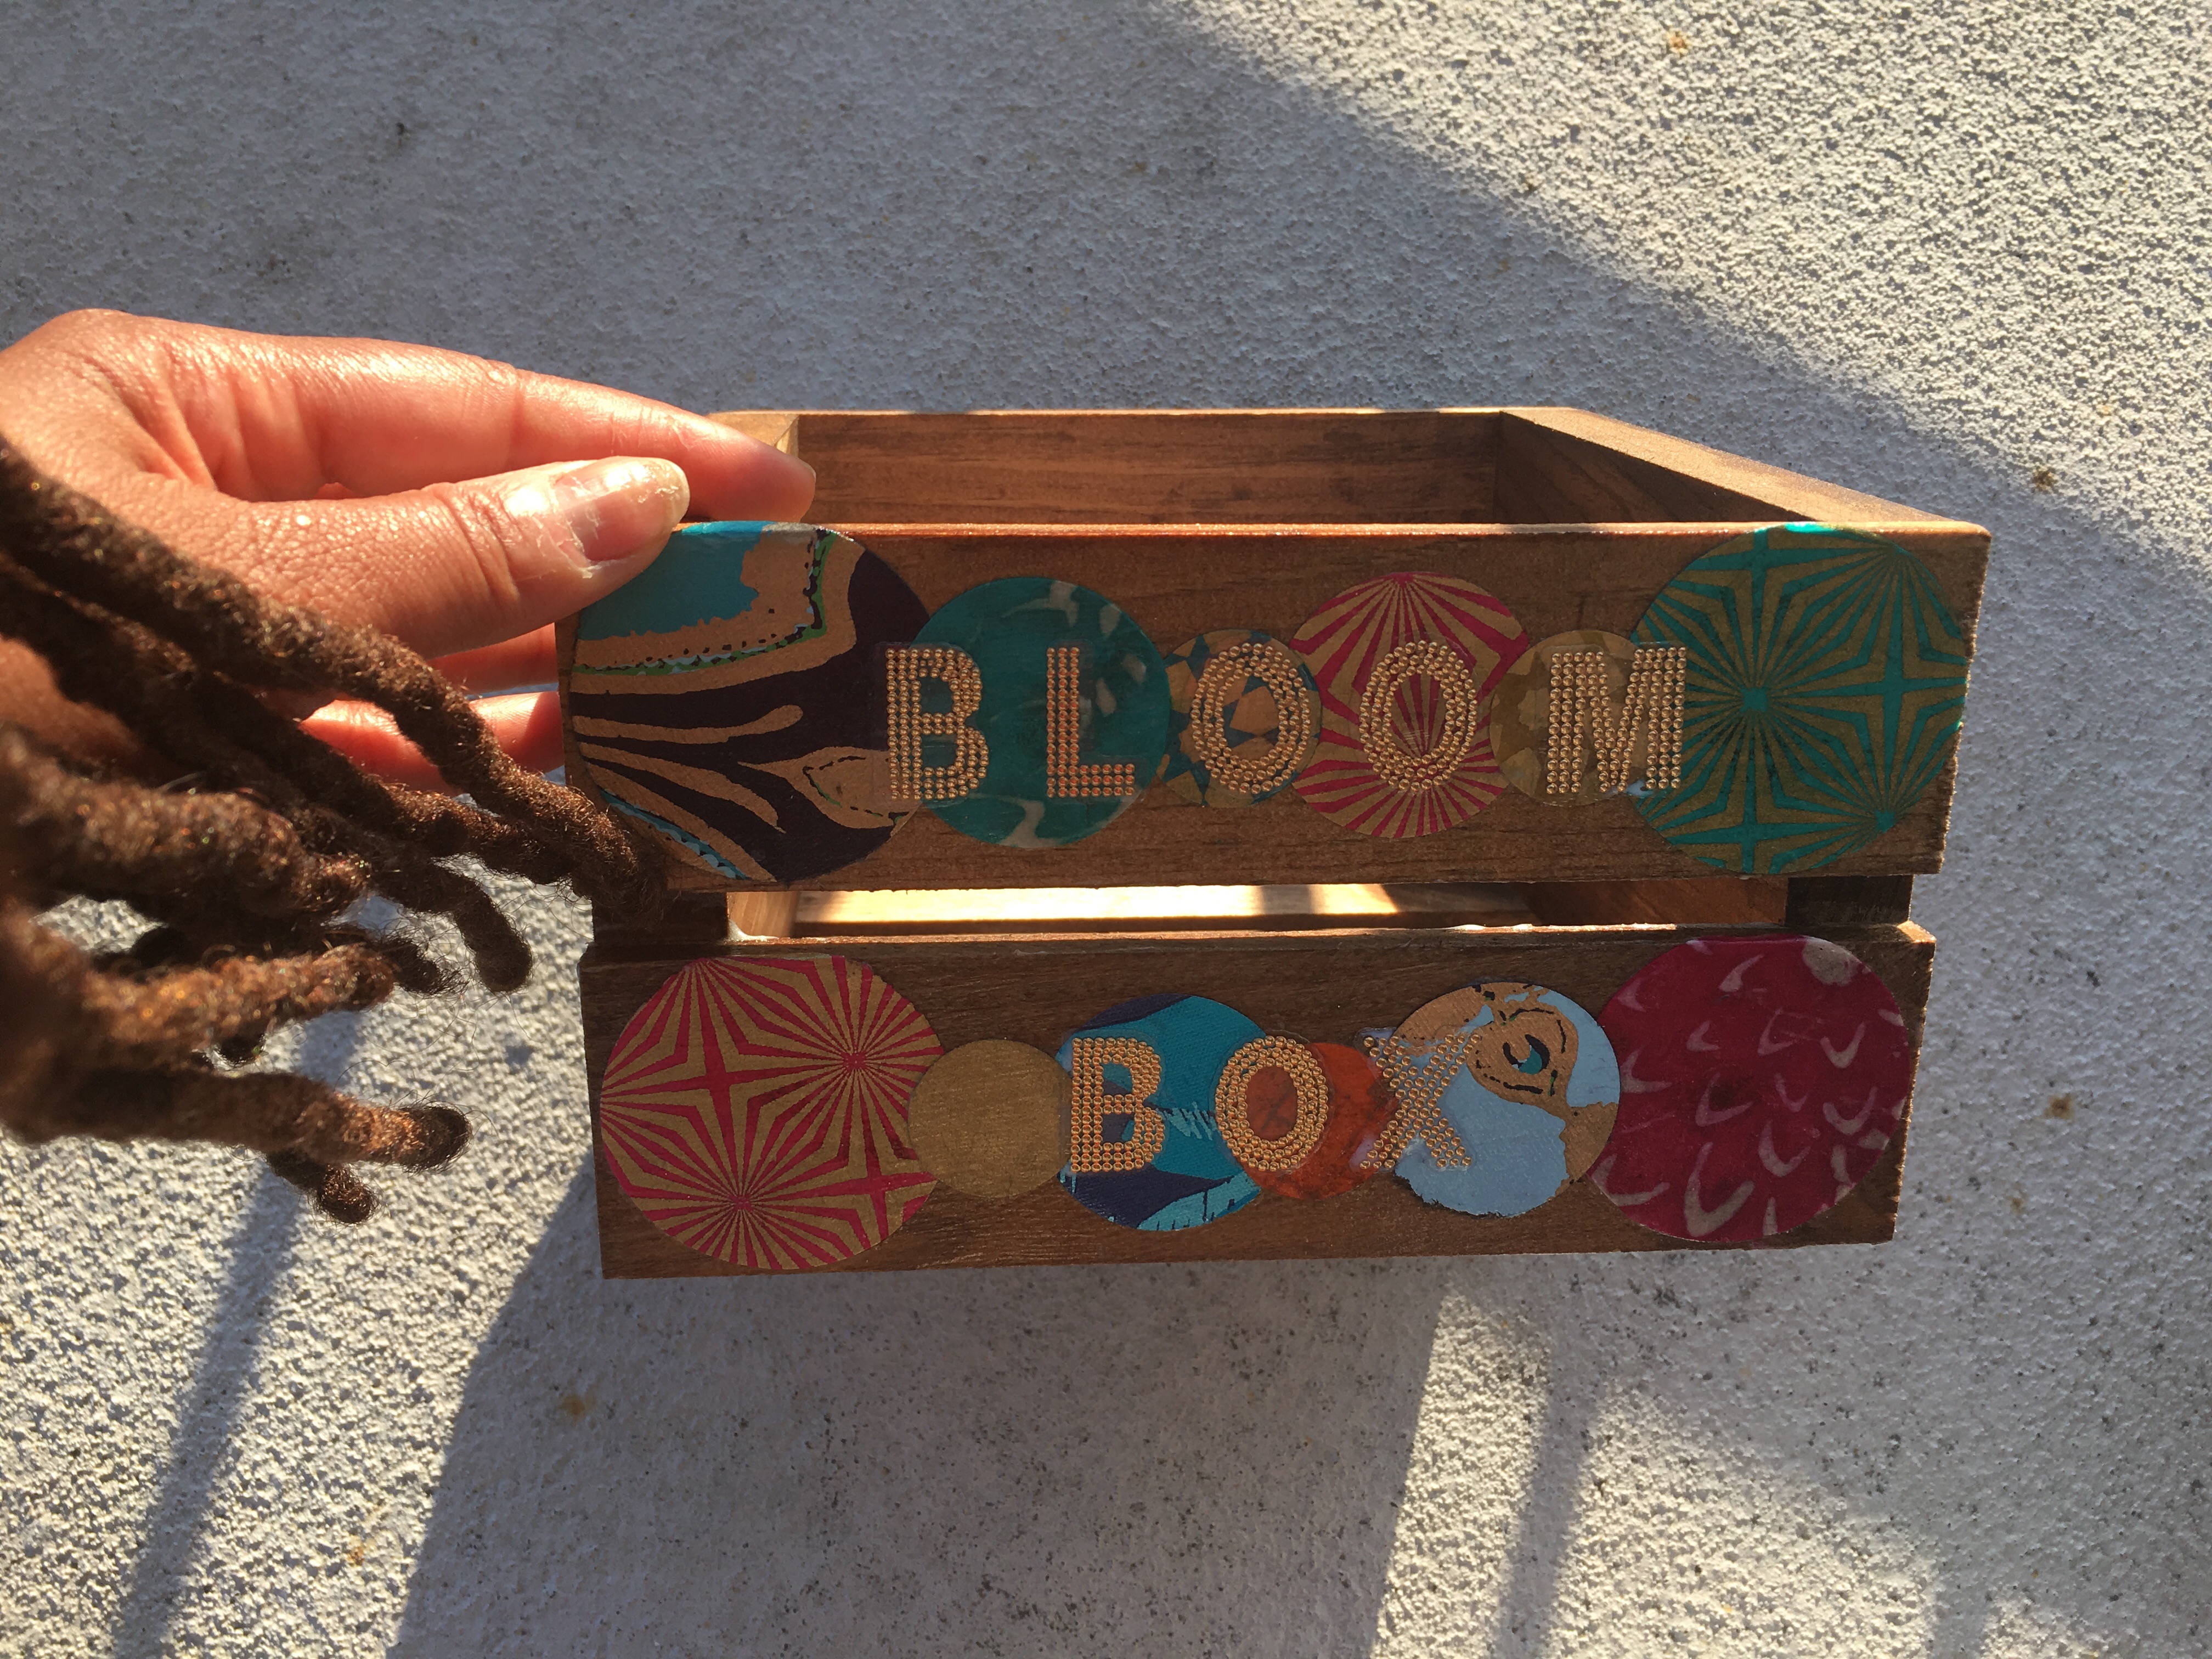
I left the box outside to dry for about an hour after adding the extra sealer coats.
While making the box, I prepare the flowers. I picked up two bouquets of five stem disbud blooms – one in yellow and one in white.
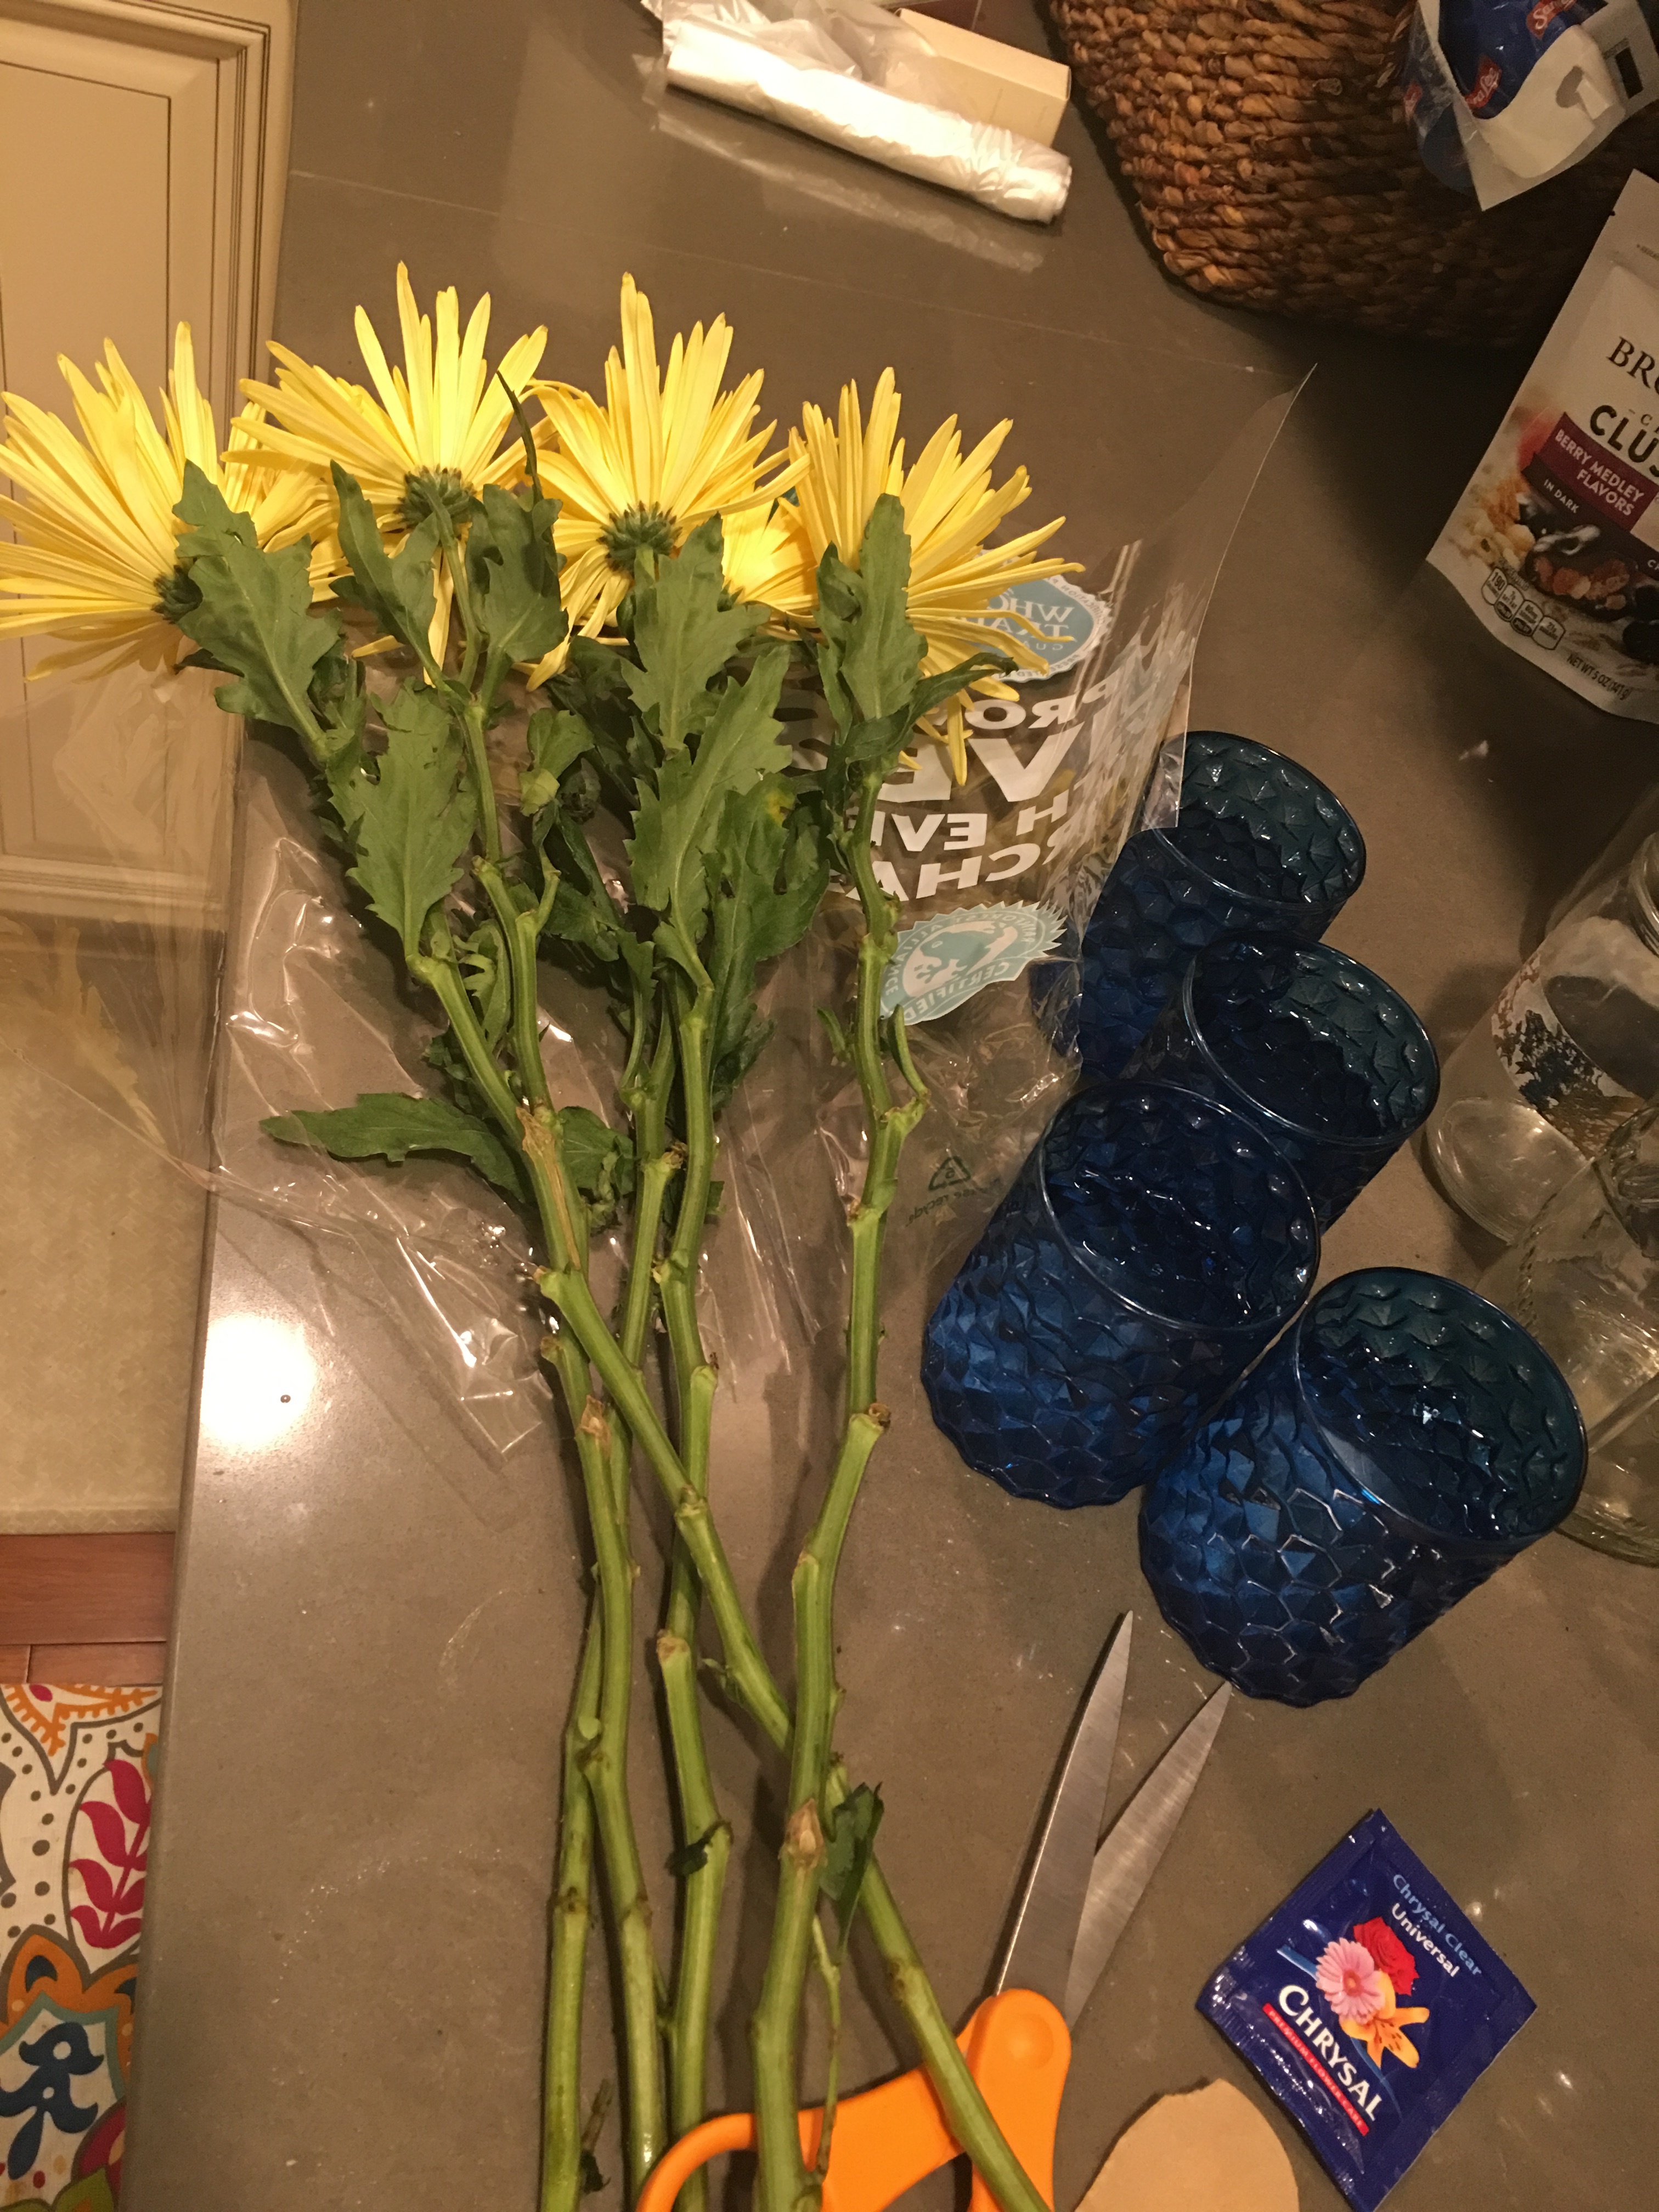
I stripped each stem of its leaves and cut the stem down to size.
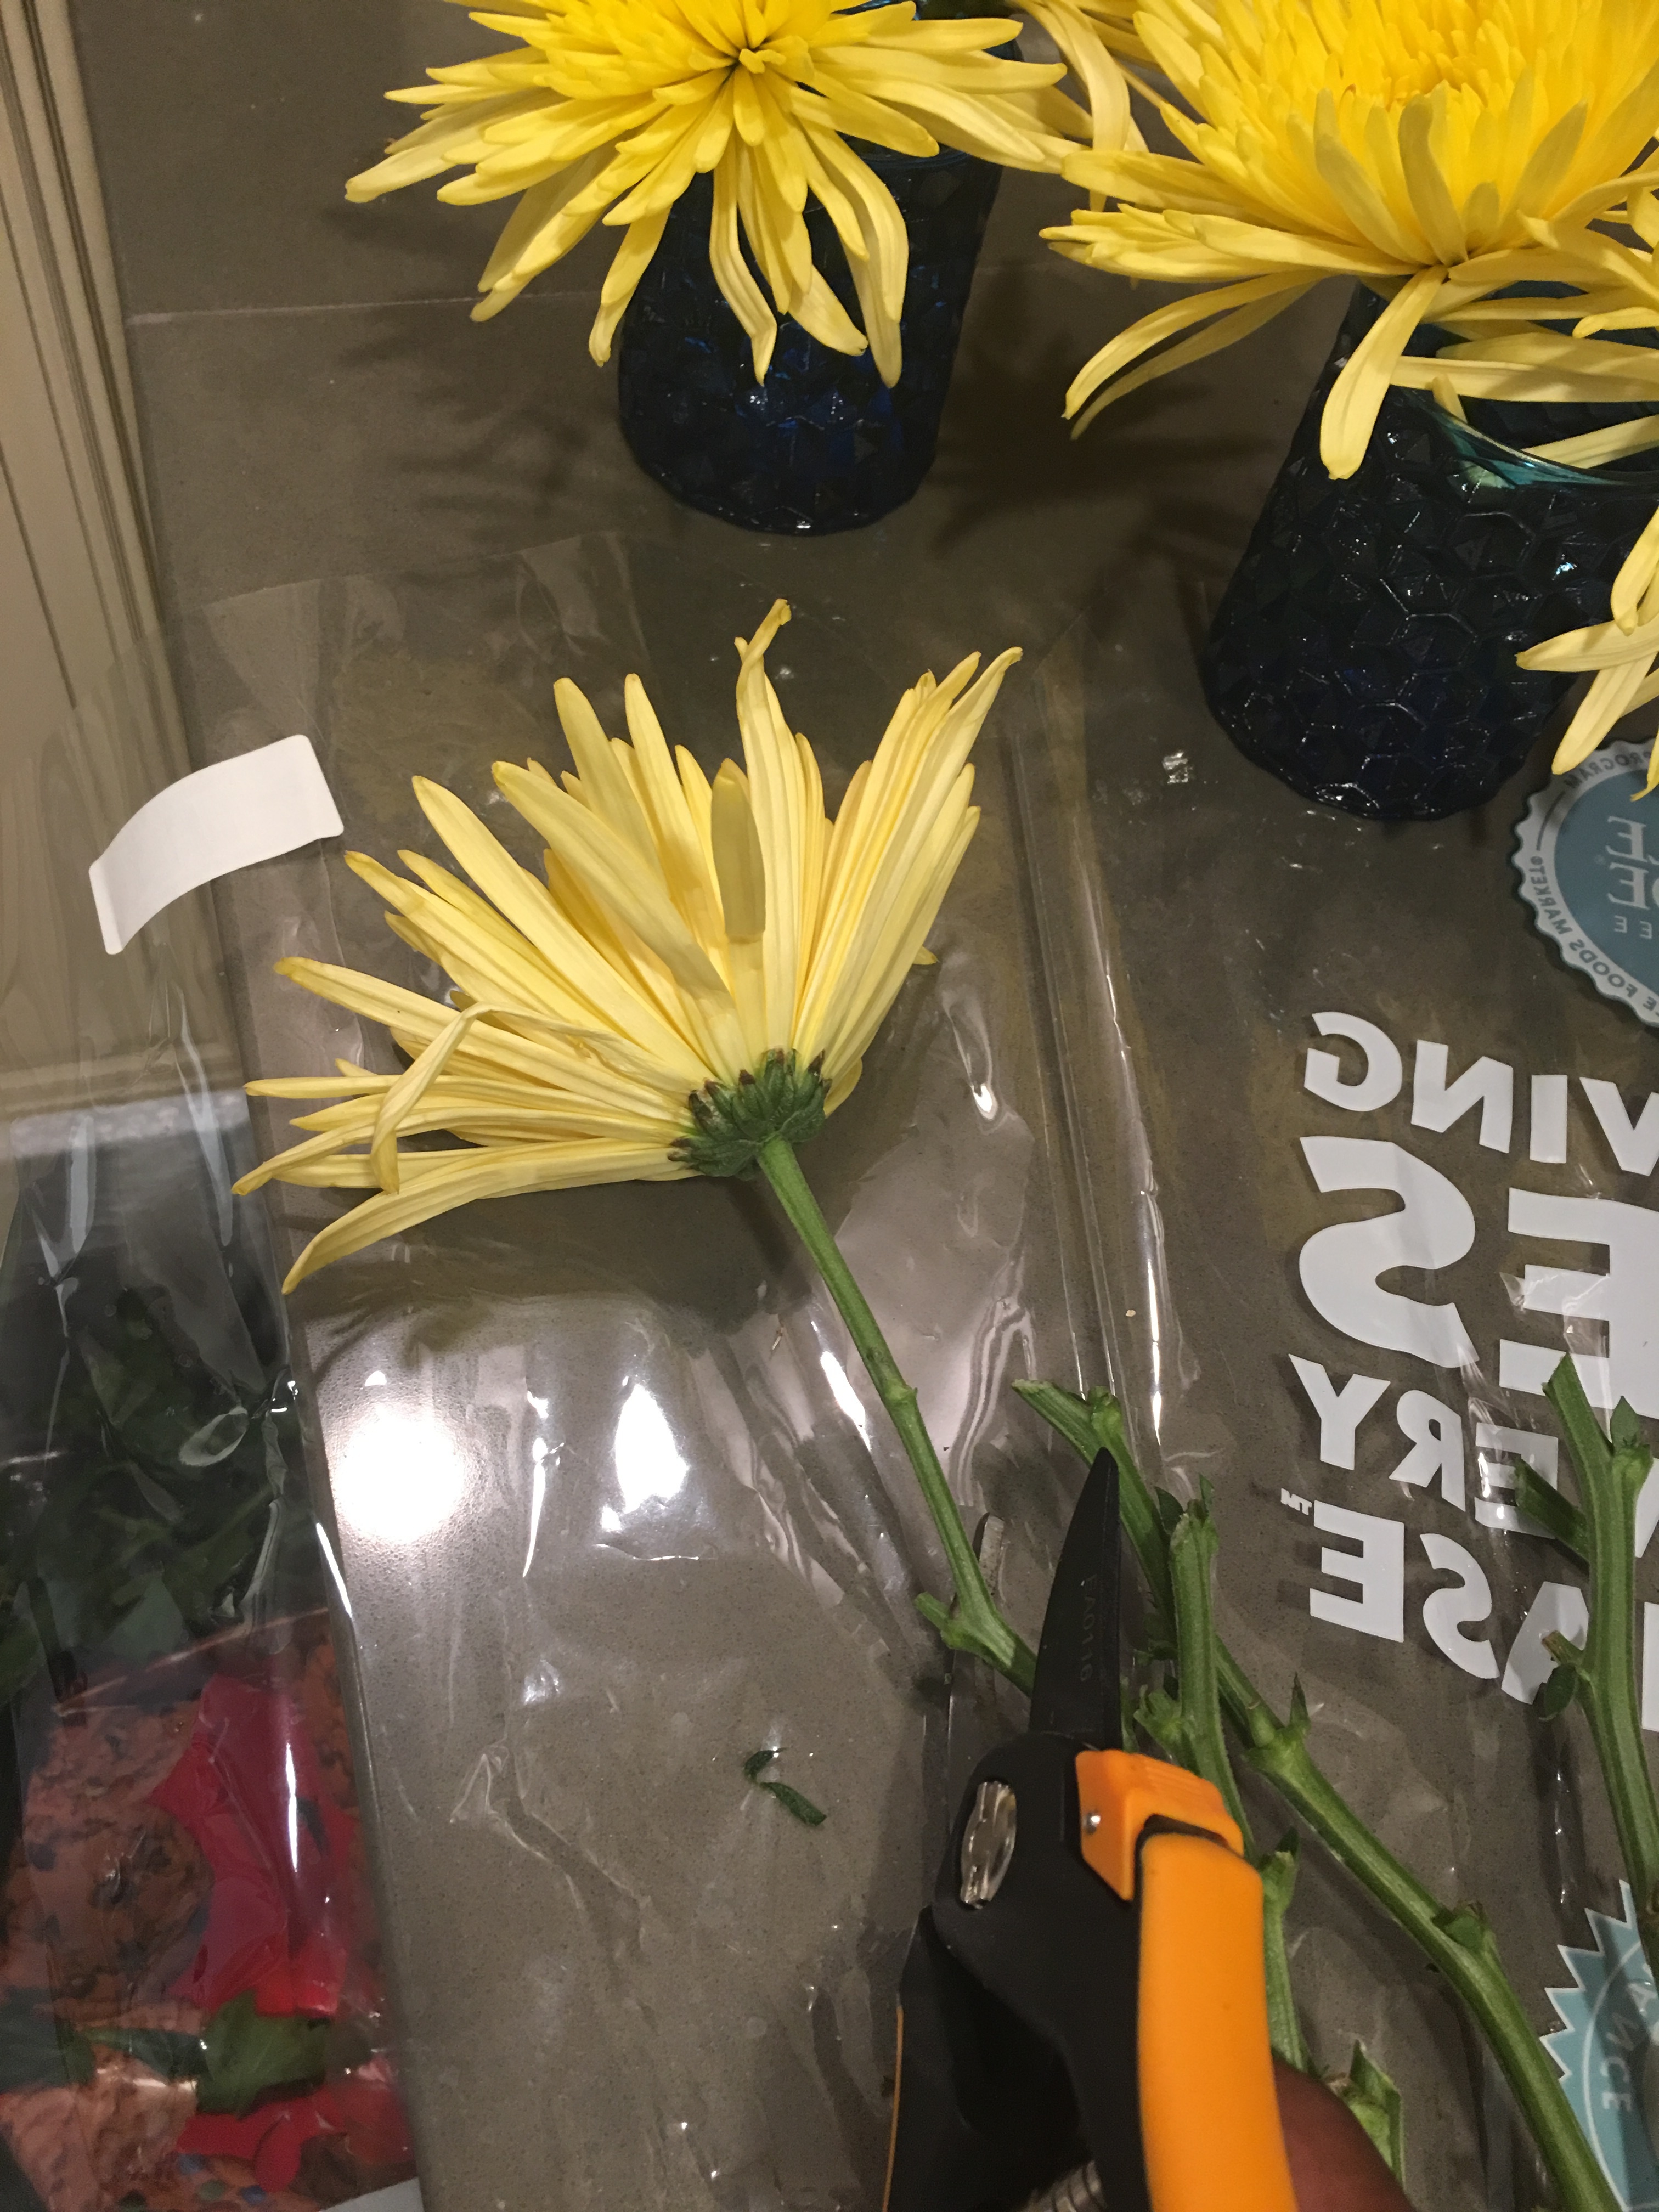
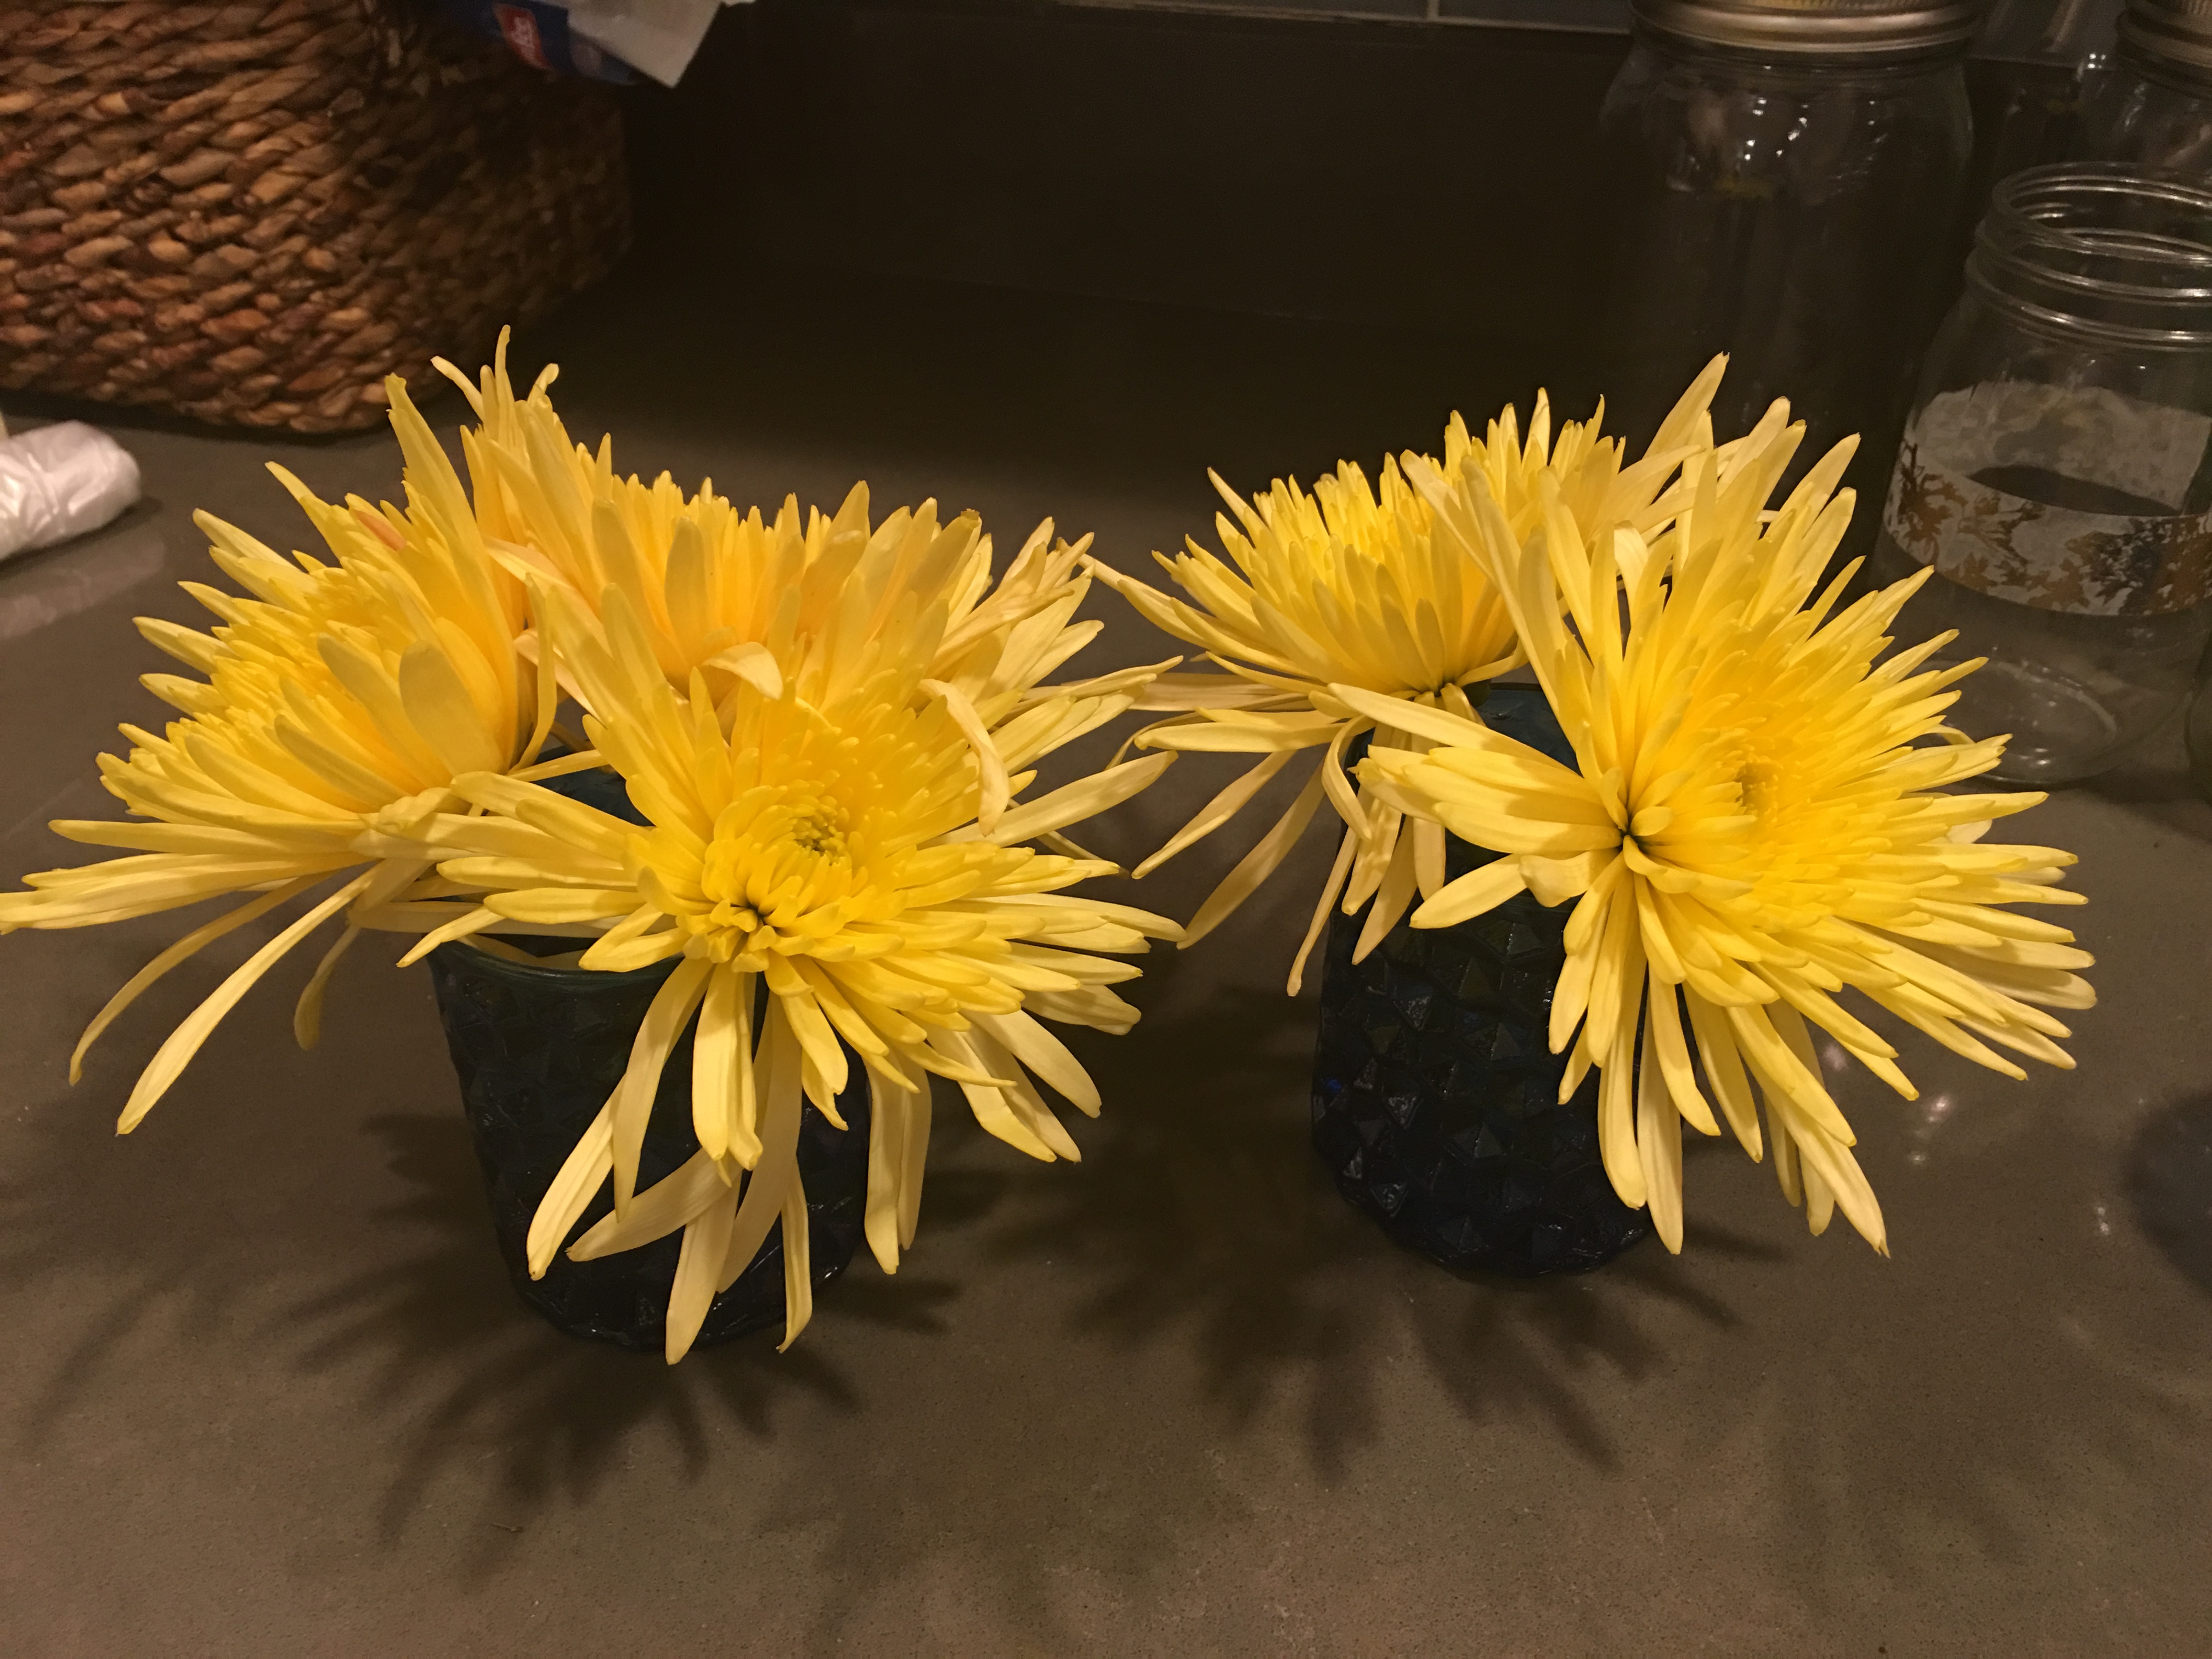
I then inserted two or three stems in small votives of water.
And here’s the “Bloom Box” all dressed up and ready to go.
And this is the part where I get photo snap happy. I never grow tired of these boxes.
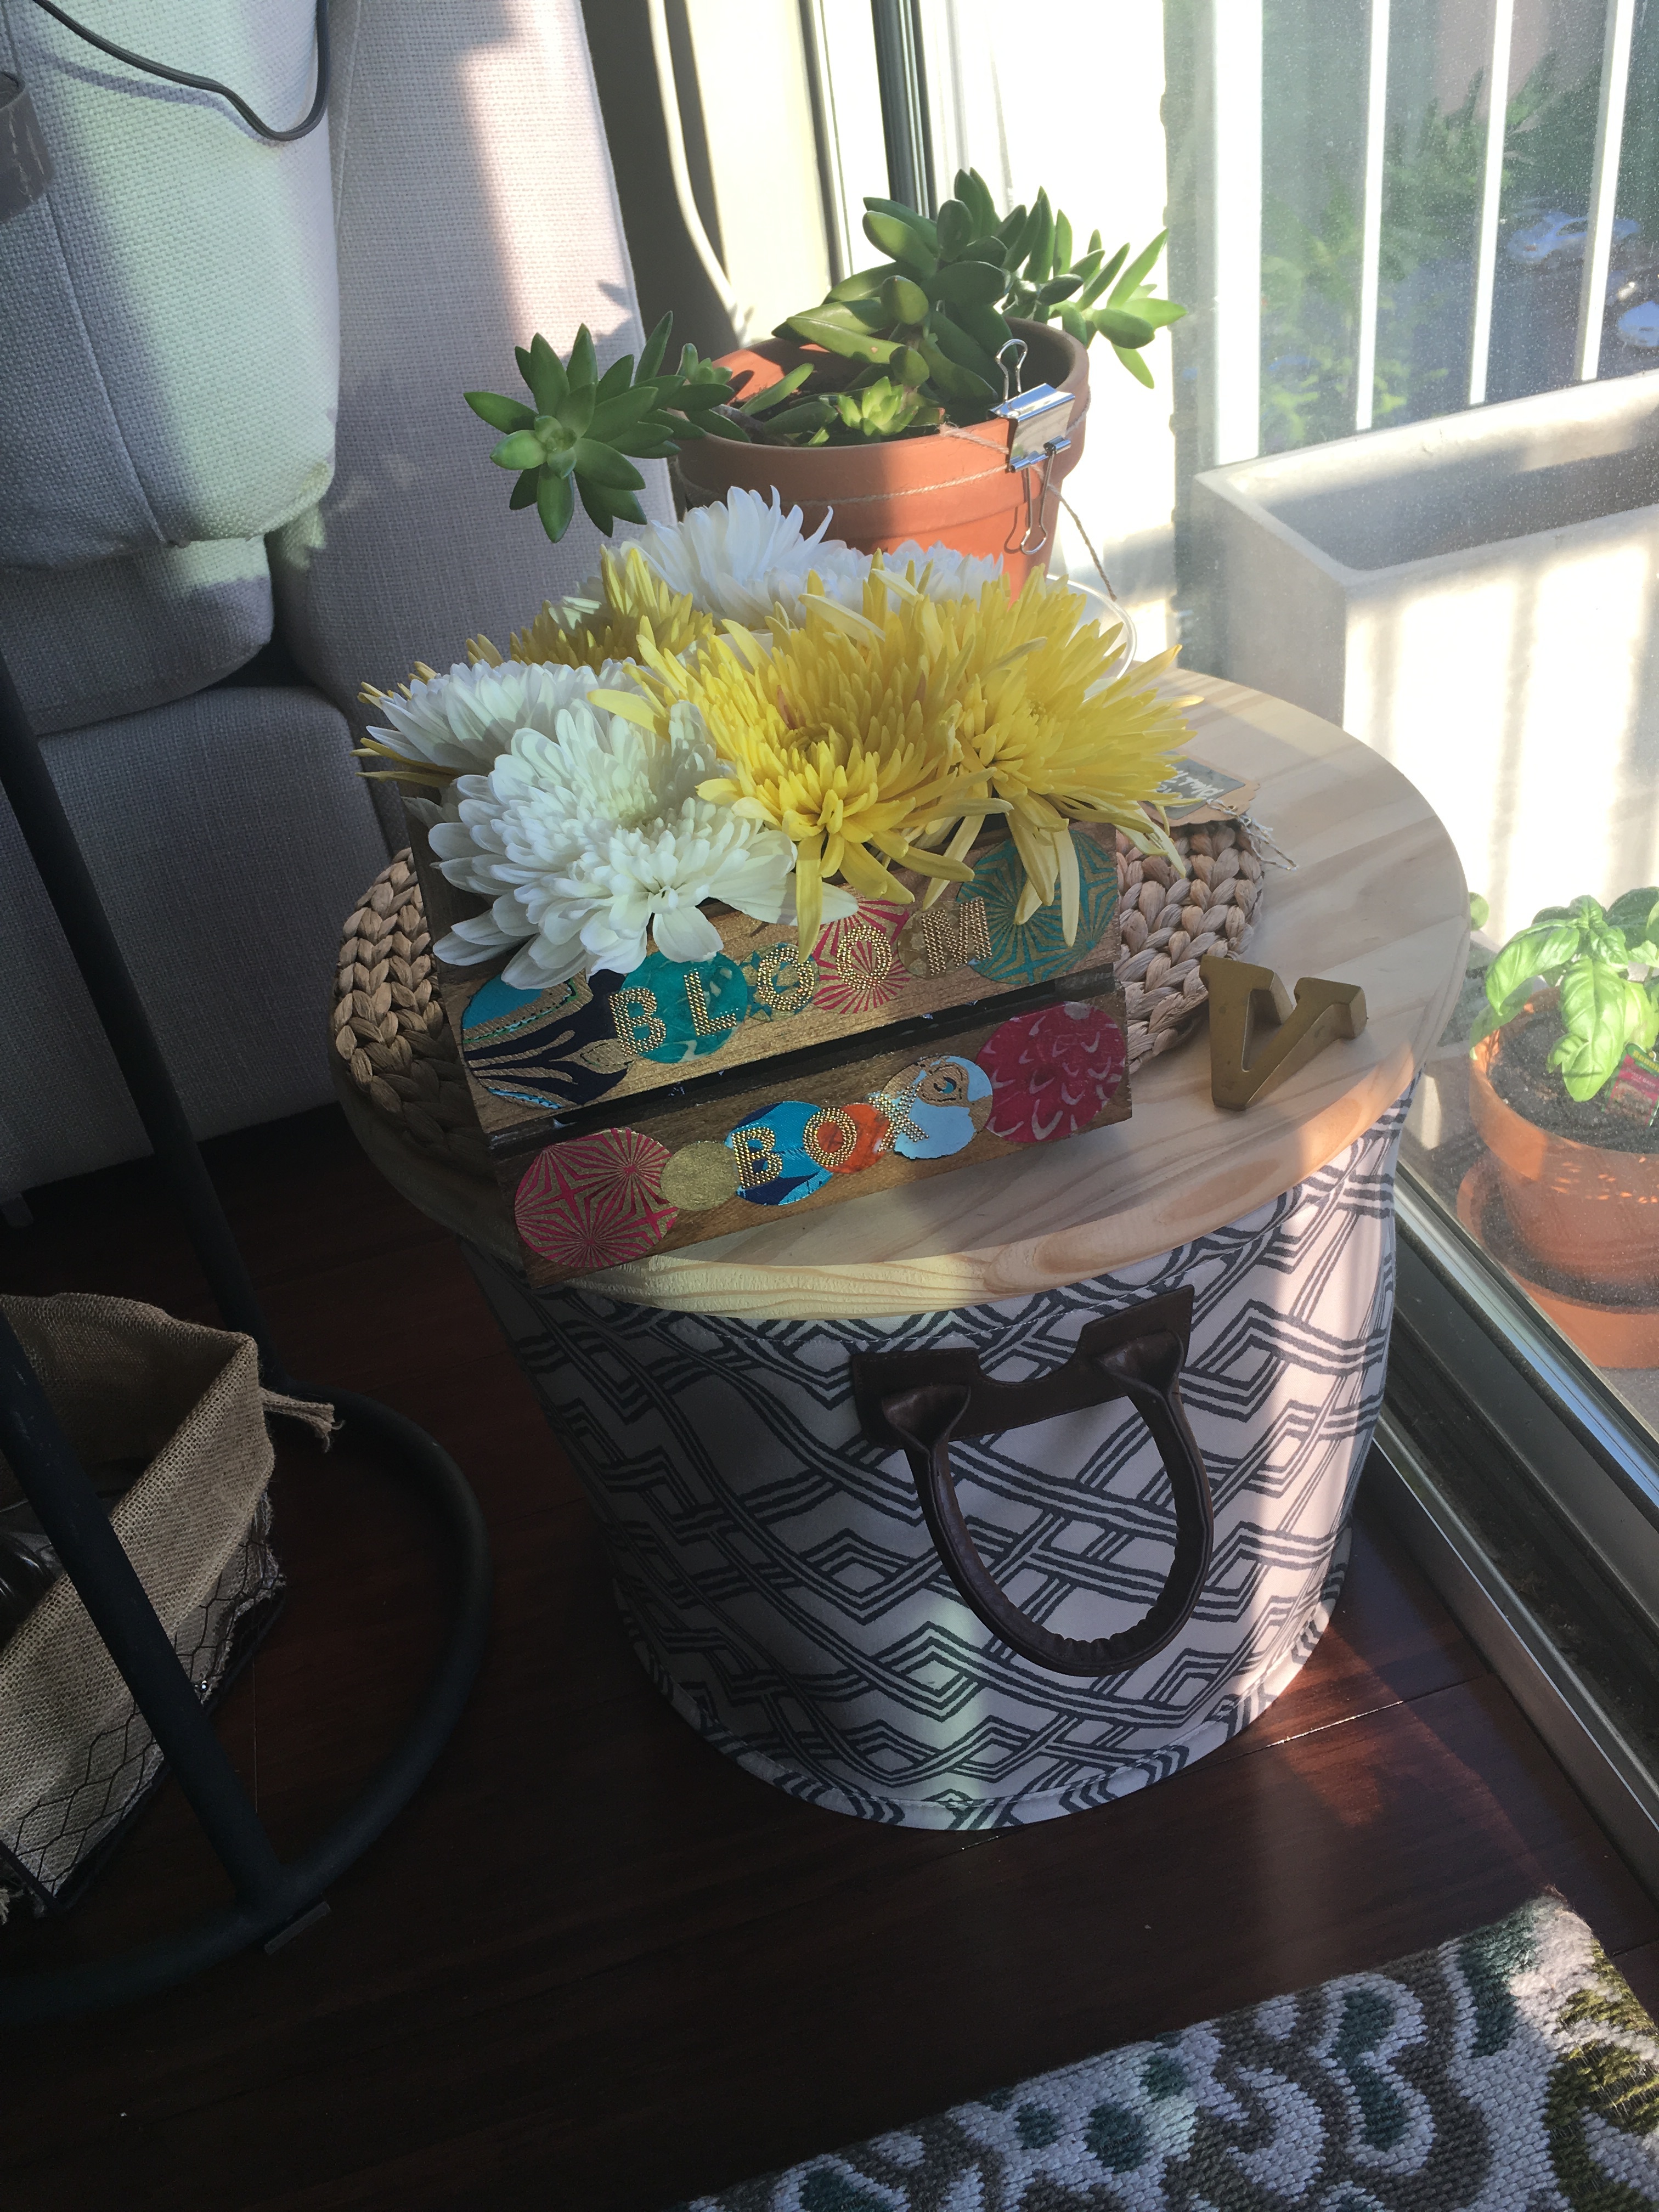
Hello sunshine! Welcome to the condo!
As much as I love this in my home space, I decided that my tech space at work in DC needed a bit of springtime sunshine more (no light, no windows, no nothing there except big screen computers and various VidaDIY crafts).
So I packed it up, carried it protectively while riding the Metro to work, and added it to my DC workspace (giving it a place of honor next to by Dell All-In-One work PC).
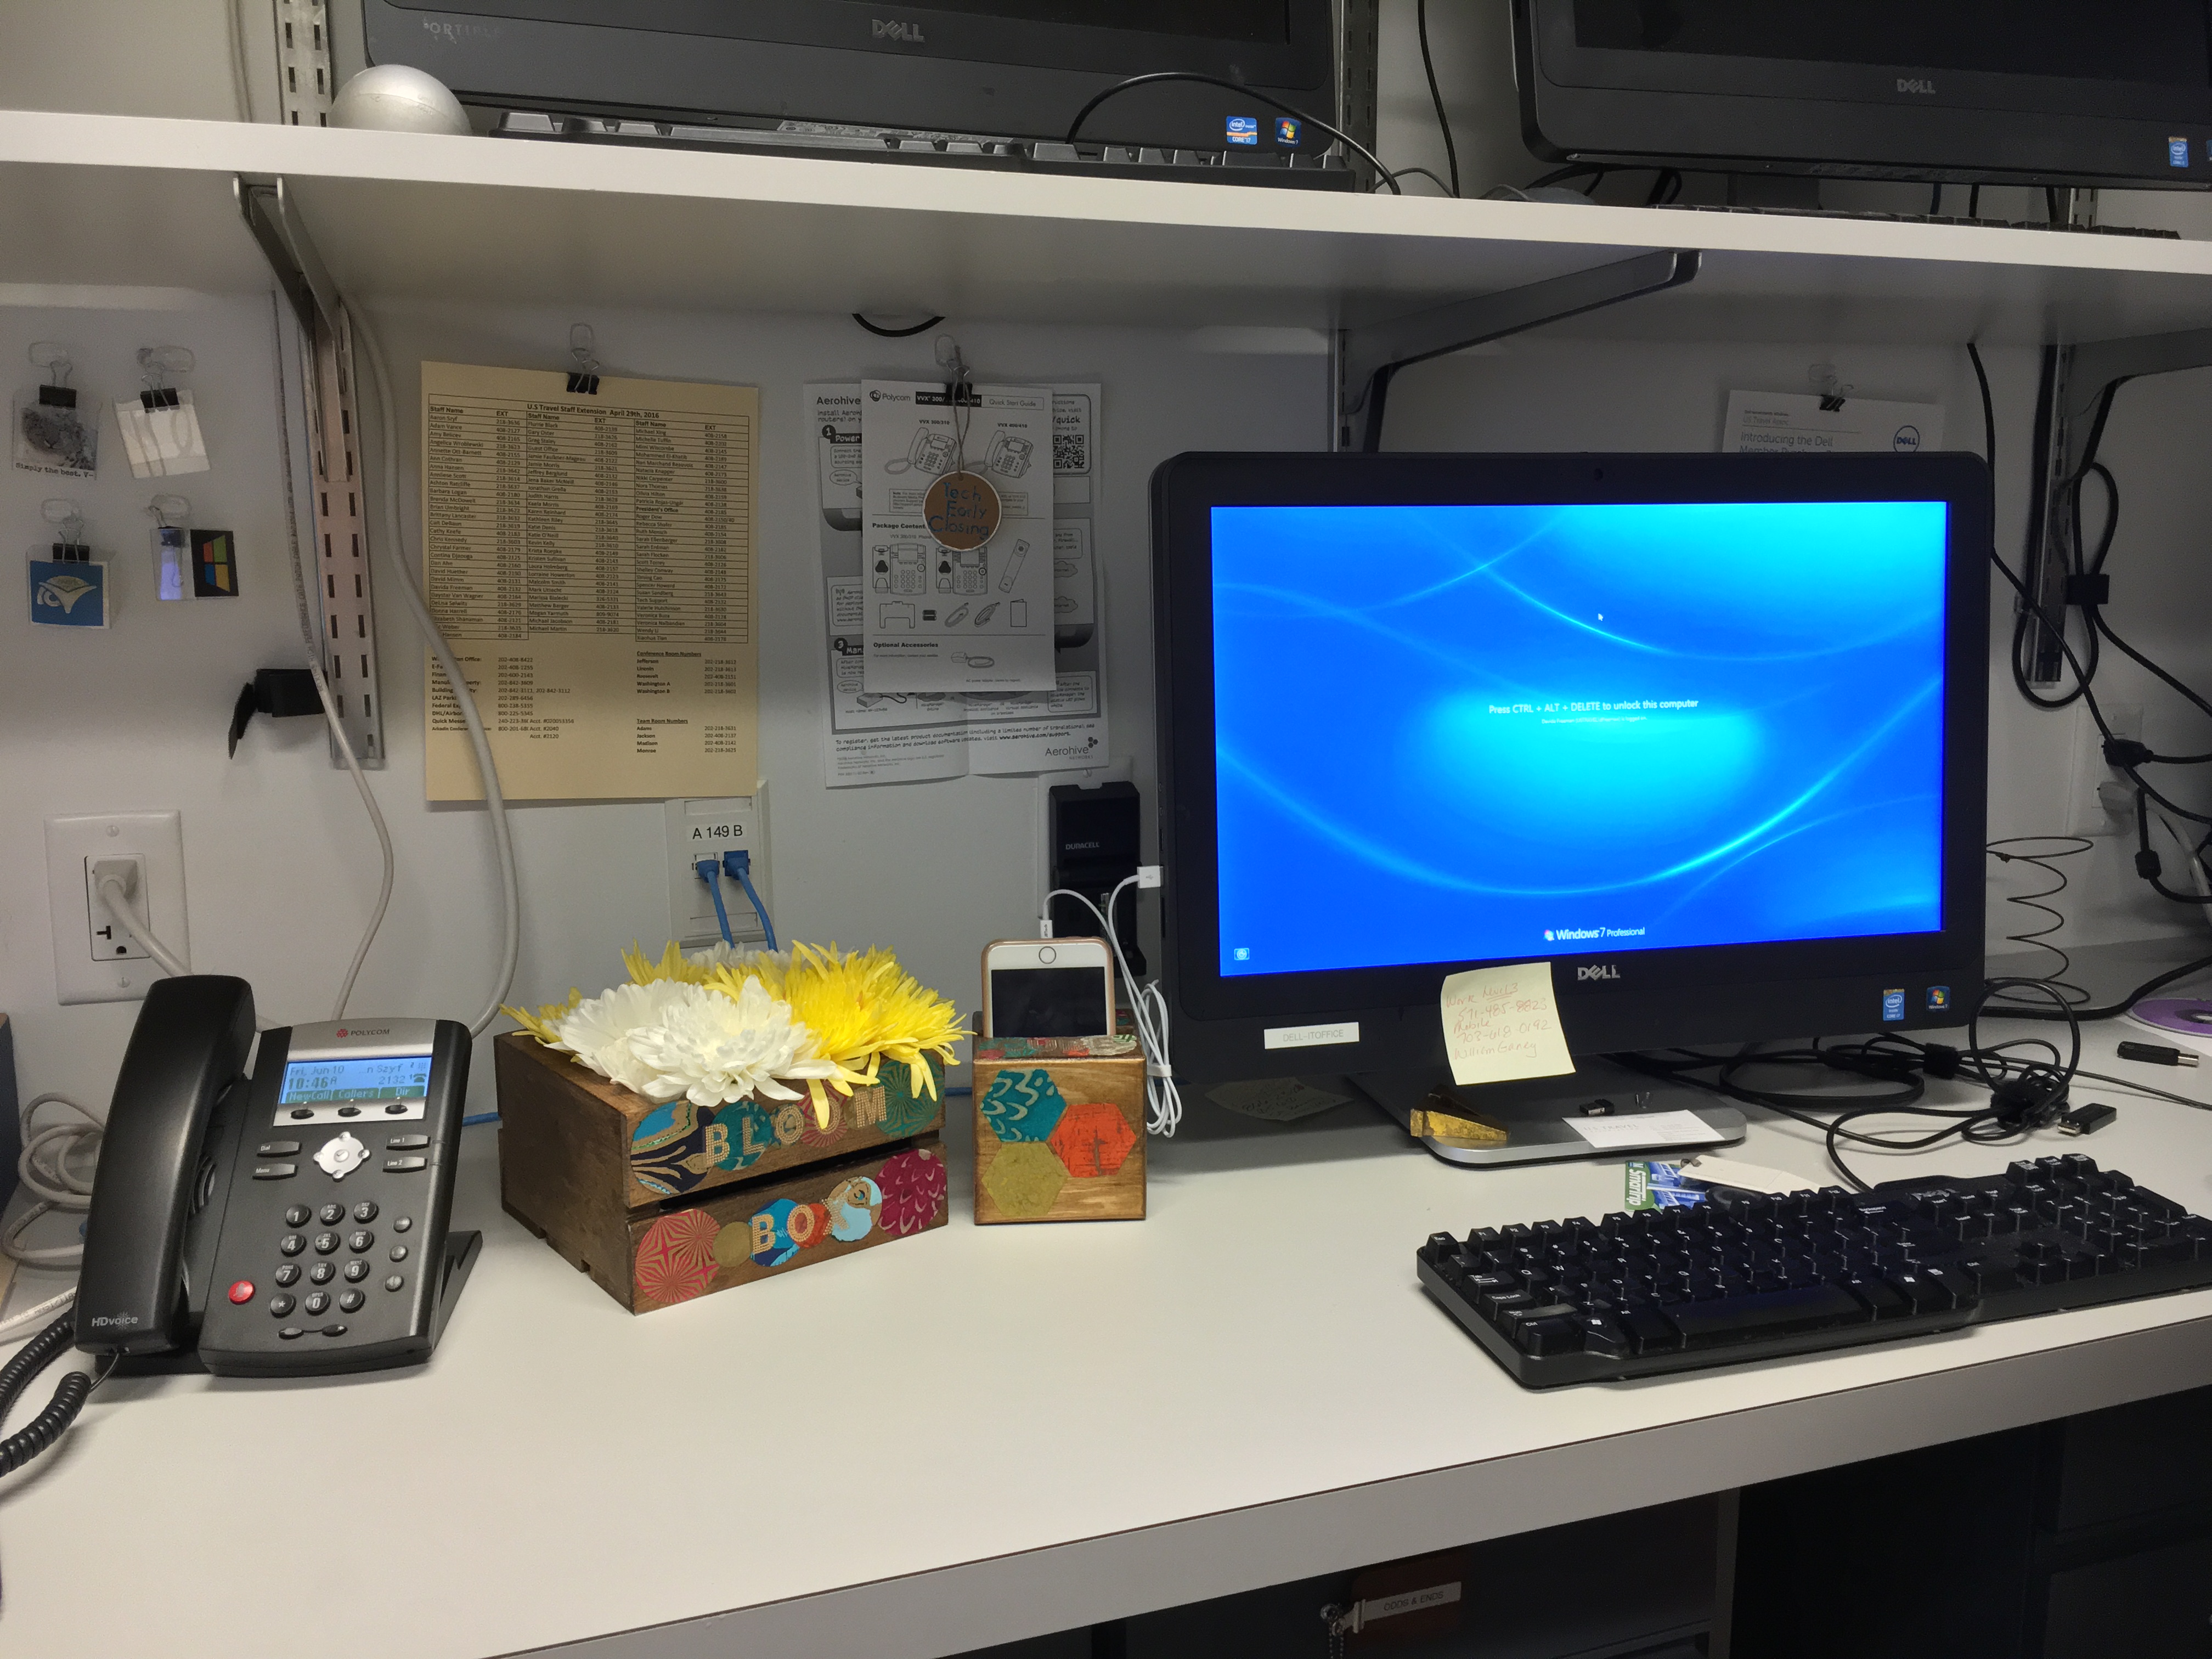
And it accompanies my “Phone Cube” decorate wood box which serves as my phone box.
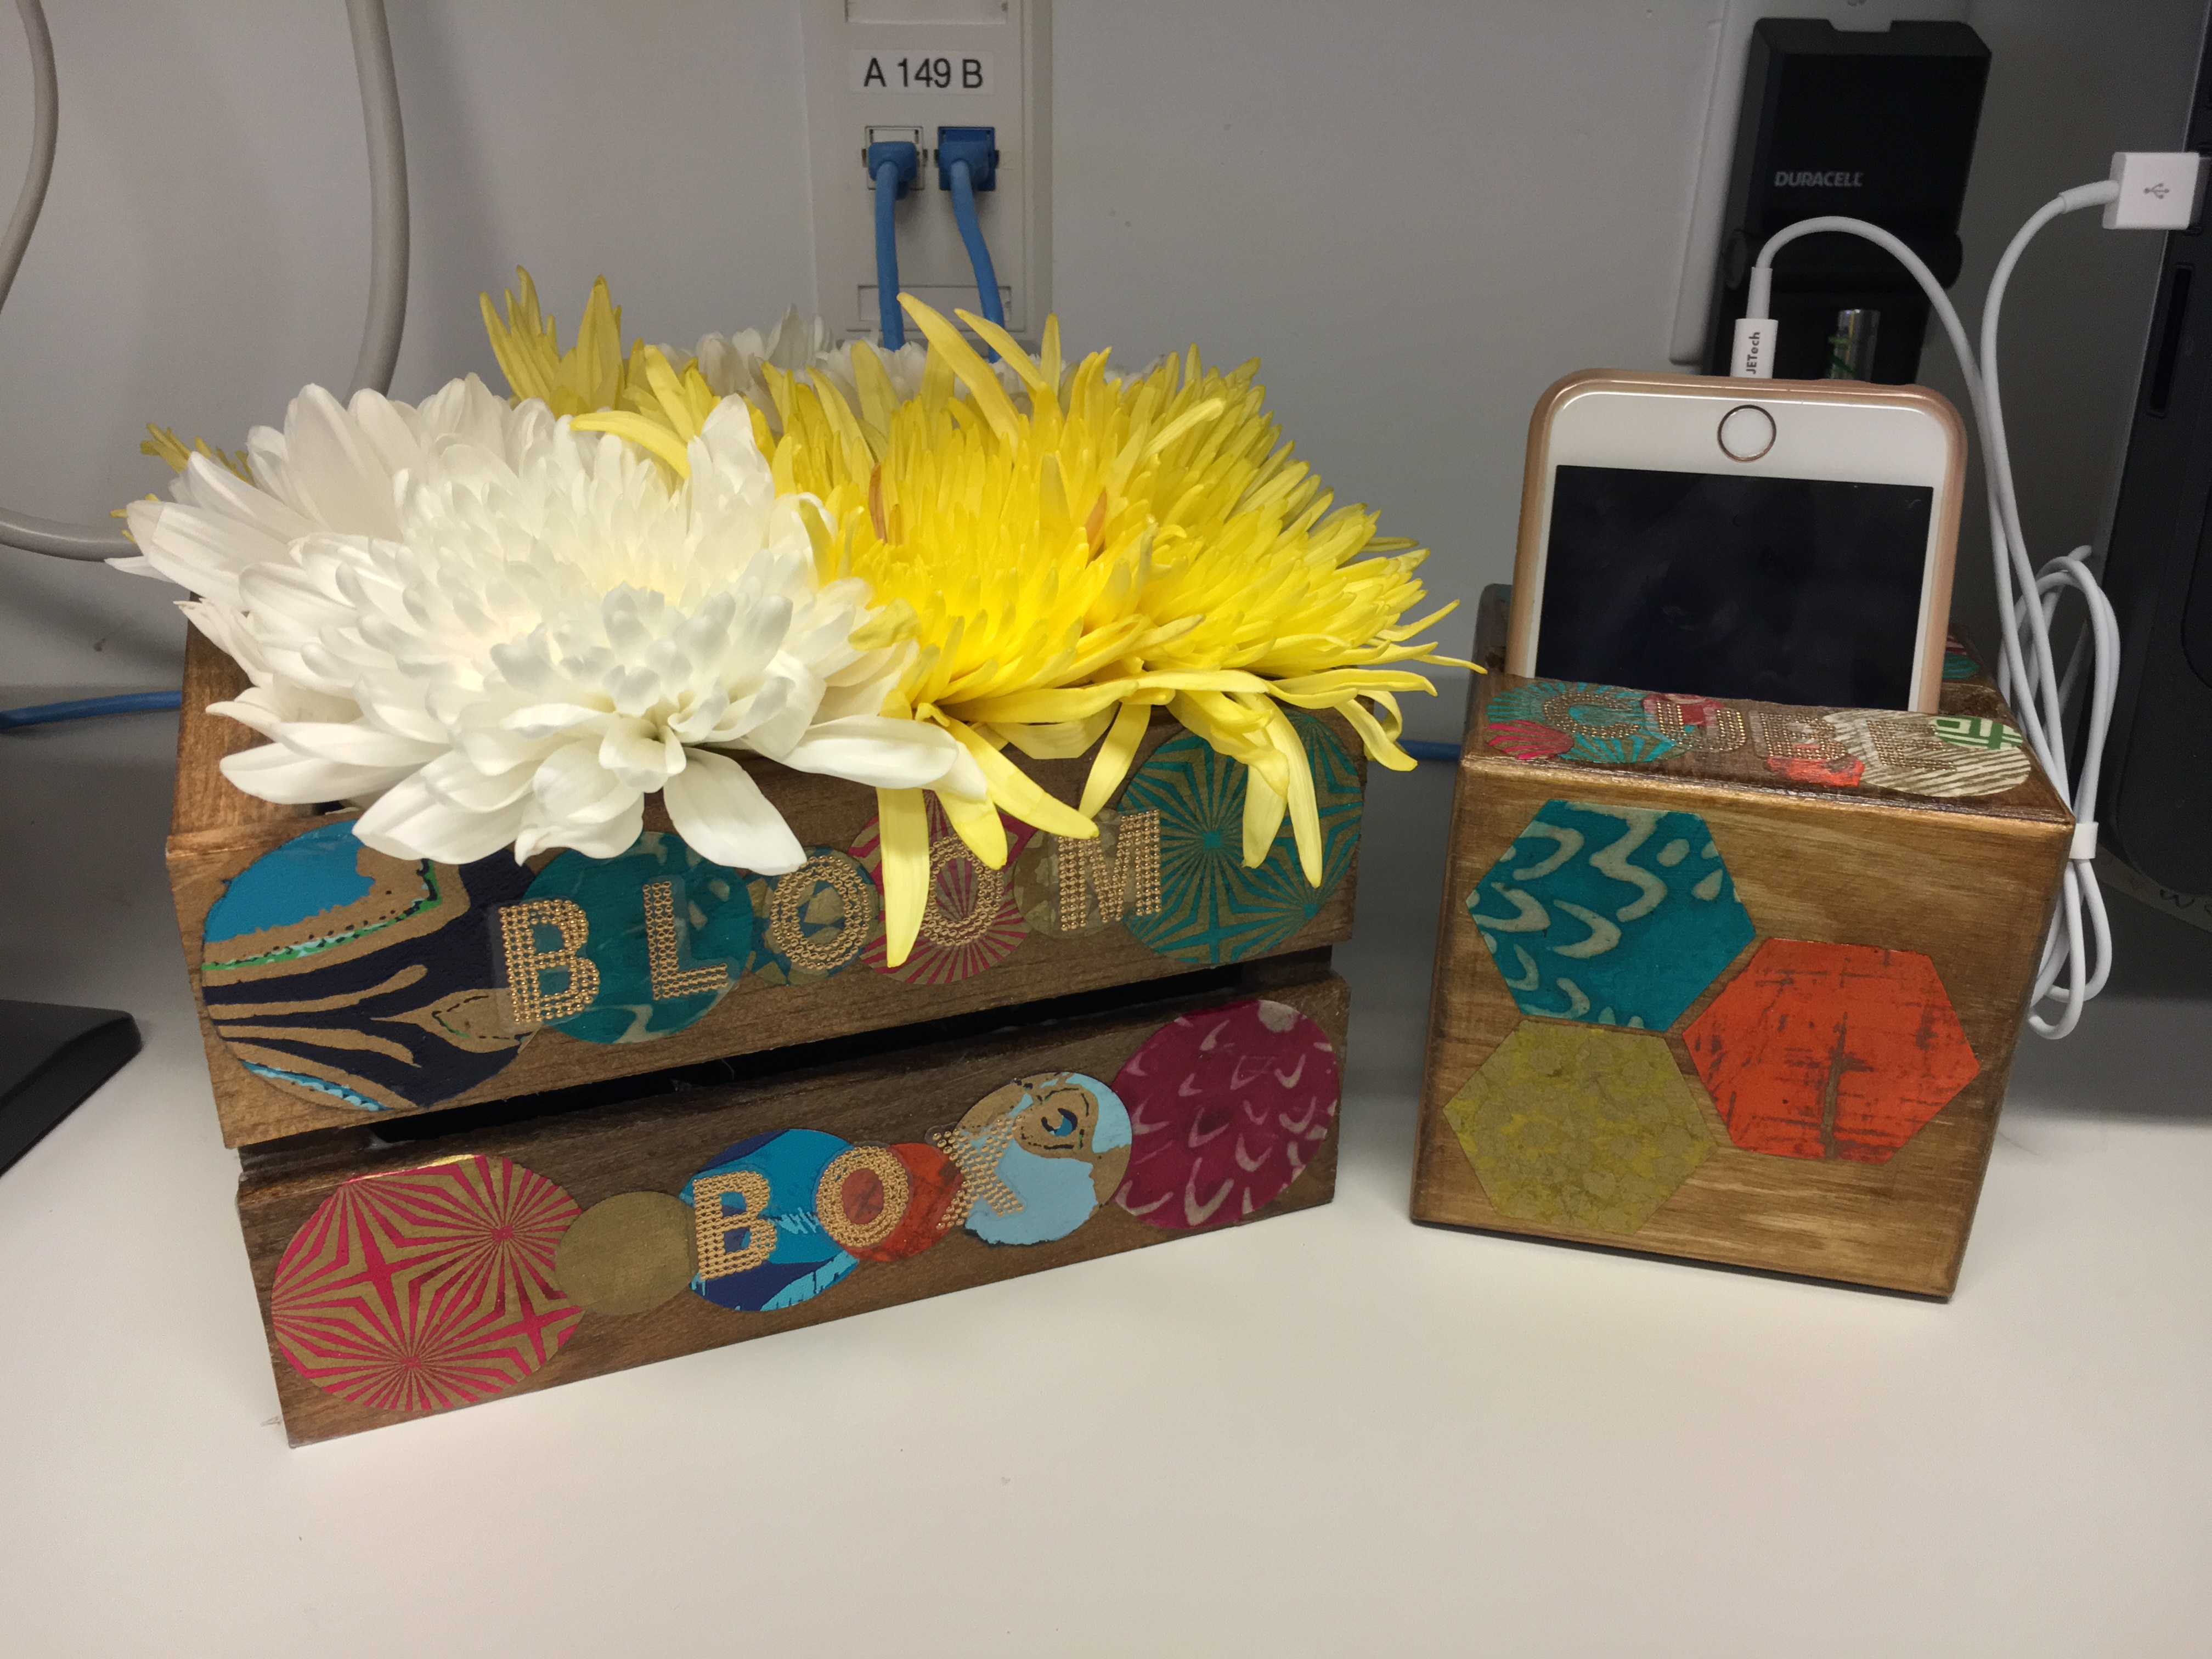
I’m slowly adding to my collection of beautiful, yet functional, decorated wood accessories. Love them all! Especially when they’re featured in my workspace! V-