Hexagon wood wall planters for the condo (Part 1)
You may also like:
May 16, 2016: While browsing Instagram, I came across this incredible DIY idea from lovecreatecelebrate.com:
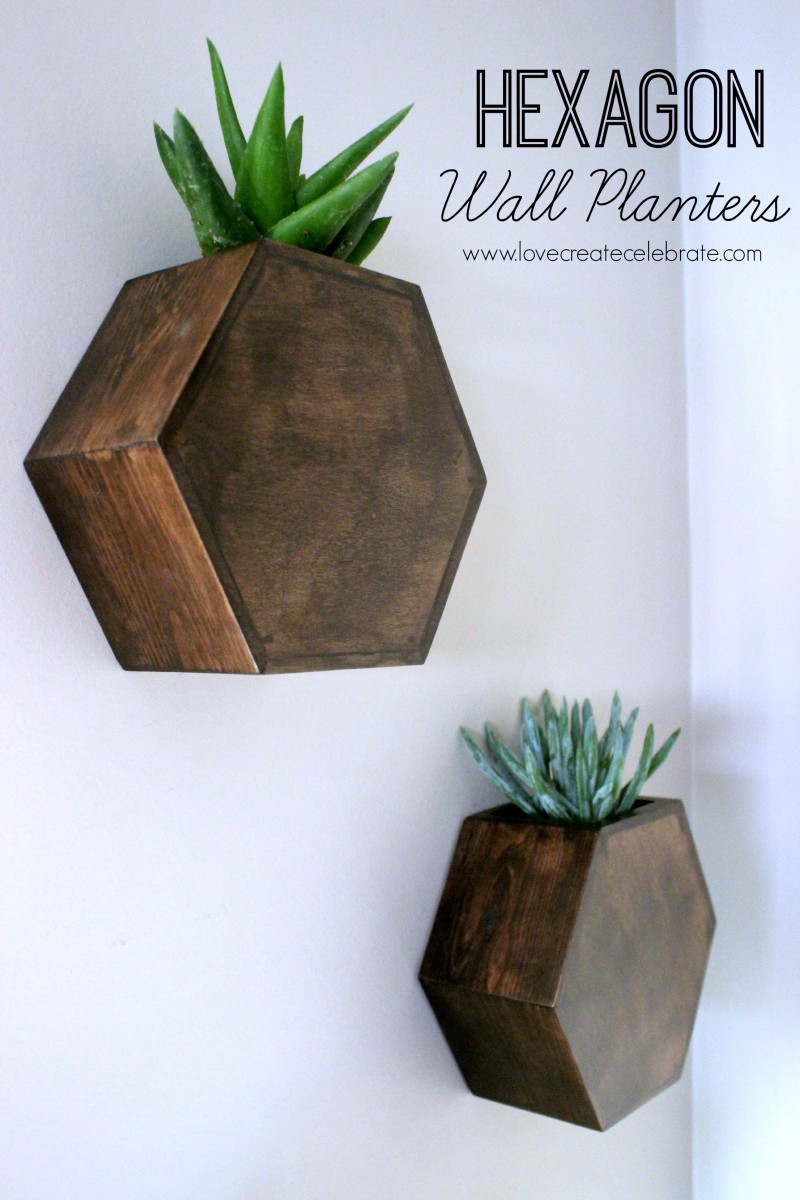
Aren’t these gorgeous?!!! I immediately reached out to Lindi who posted the picture. She graciously gave me details about how she made these wood hexagon wall planters and referred me to the tutorial that she shared on her site.
It reminded me of my wall mounted Fee Fi Faux Fum vase. But this planter features real succulent plants. I wanted to figure out a way to make my own version of the hexagon planter and add living plants to it.
As it so happens, I had some hexagon project wood on hand – something that I had brought home from Michaels a few weeks ago.

In true crafter tradition, if something catches my eye at the arts and crafts store, I just add it to my cart (even if I don’t have a project in mind). My favorite projects are those that I come up with using items that I already have in the condo. Sometimes I ruminate and ruminate on a craft supply item until I come up with the perfect plan for it.
And sometimes one just falls in my lap (like this one).
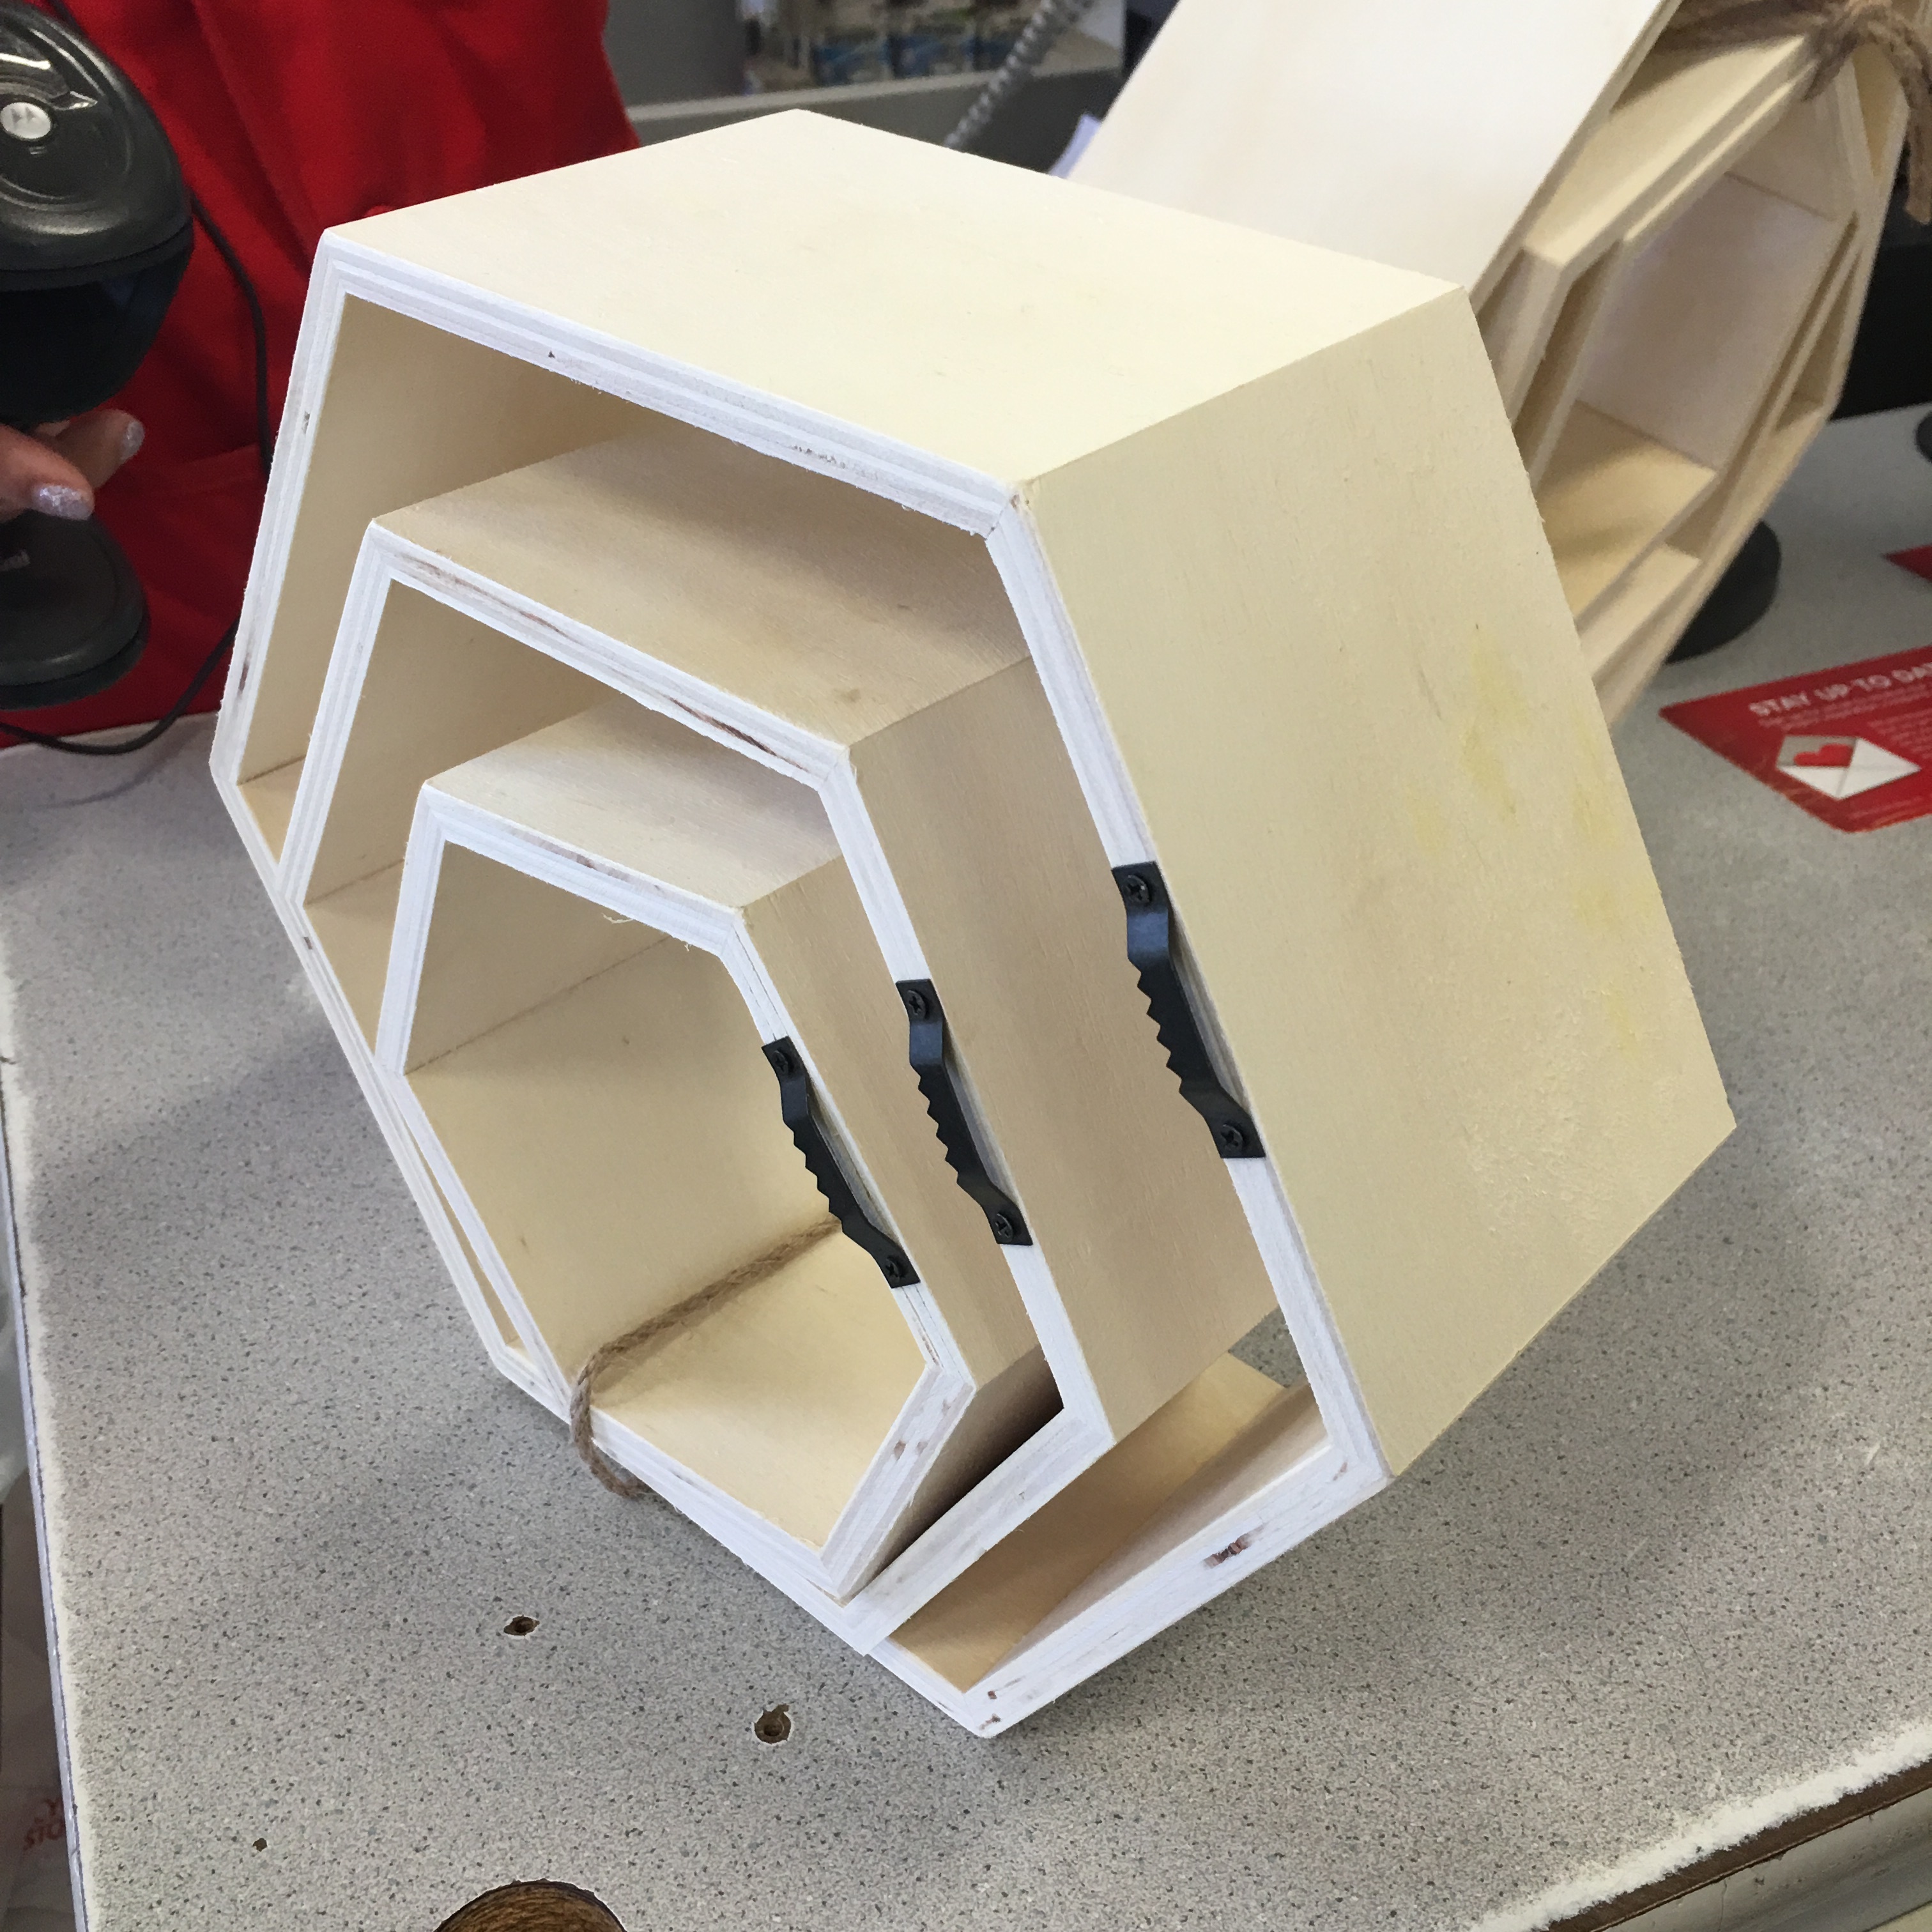
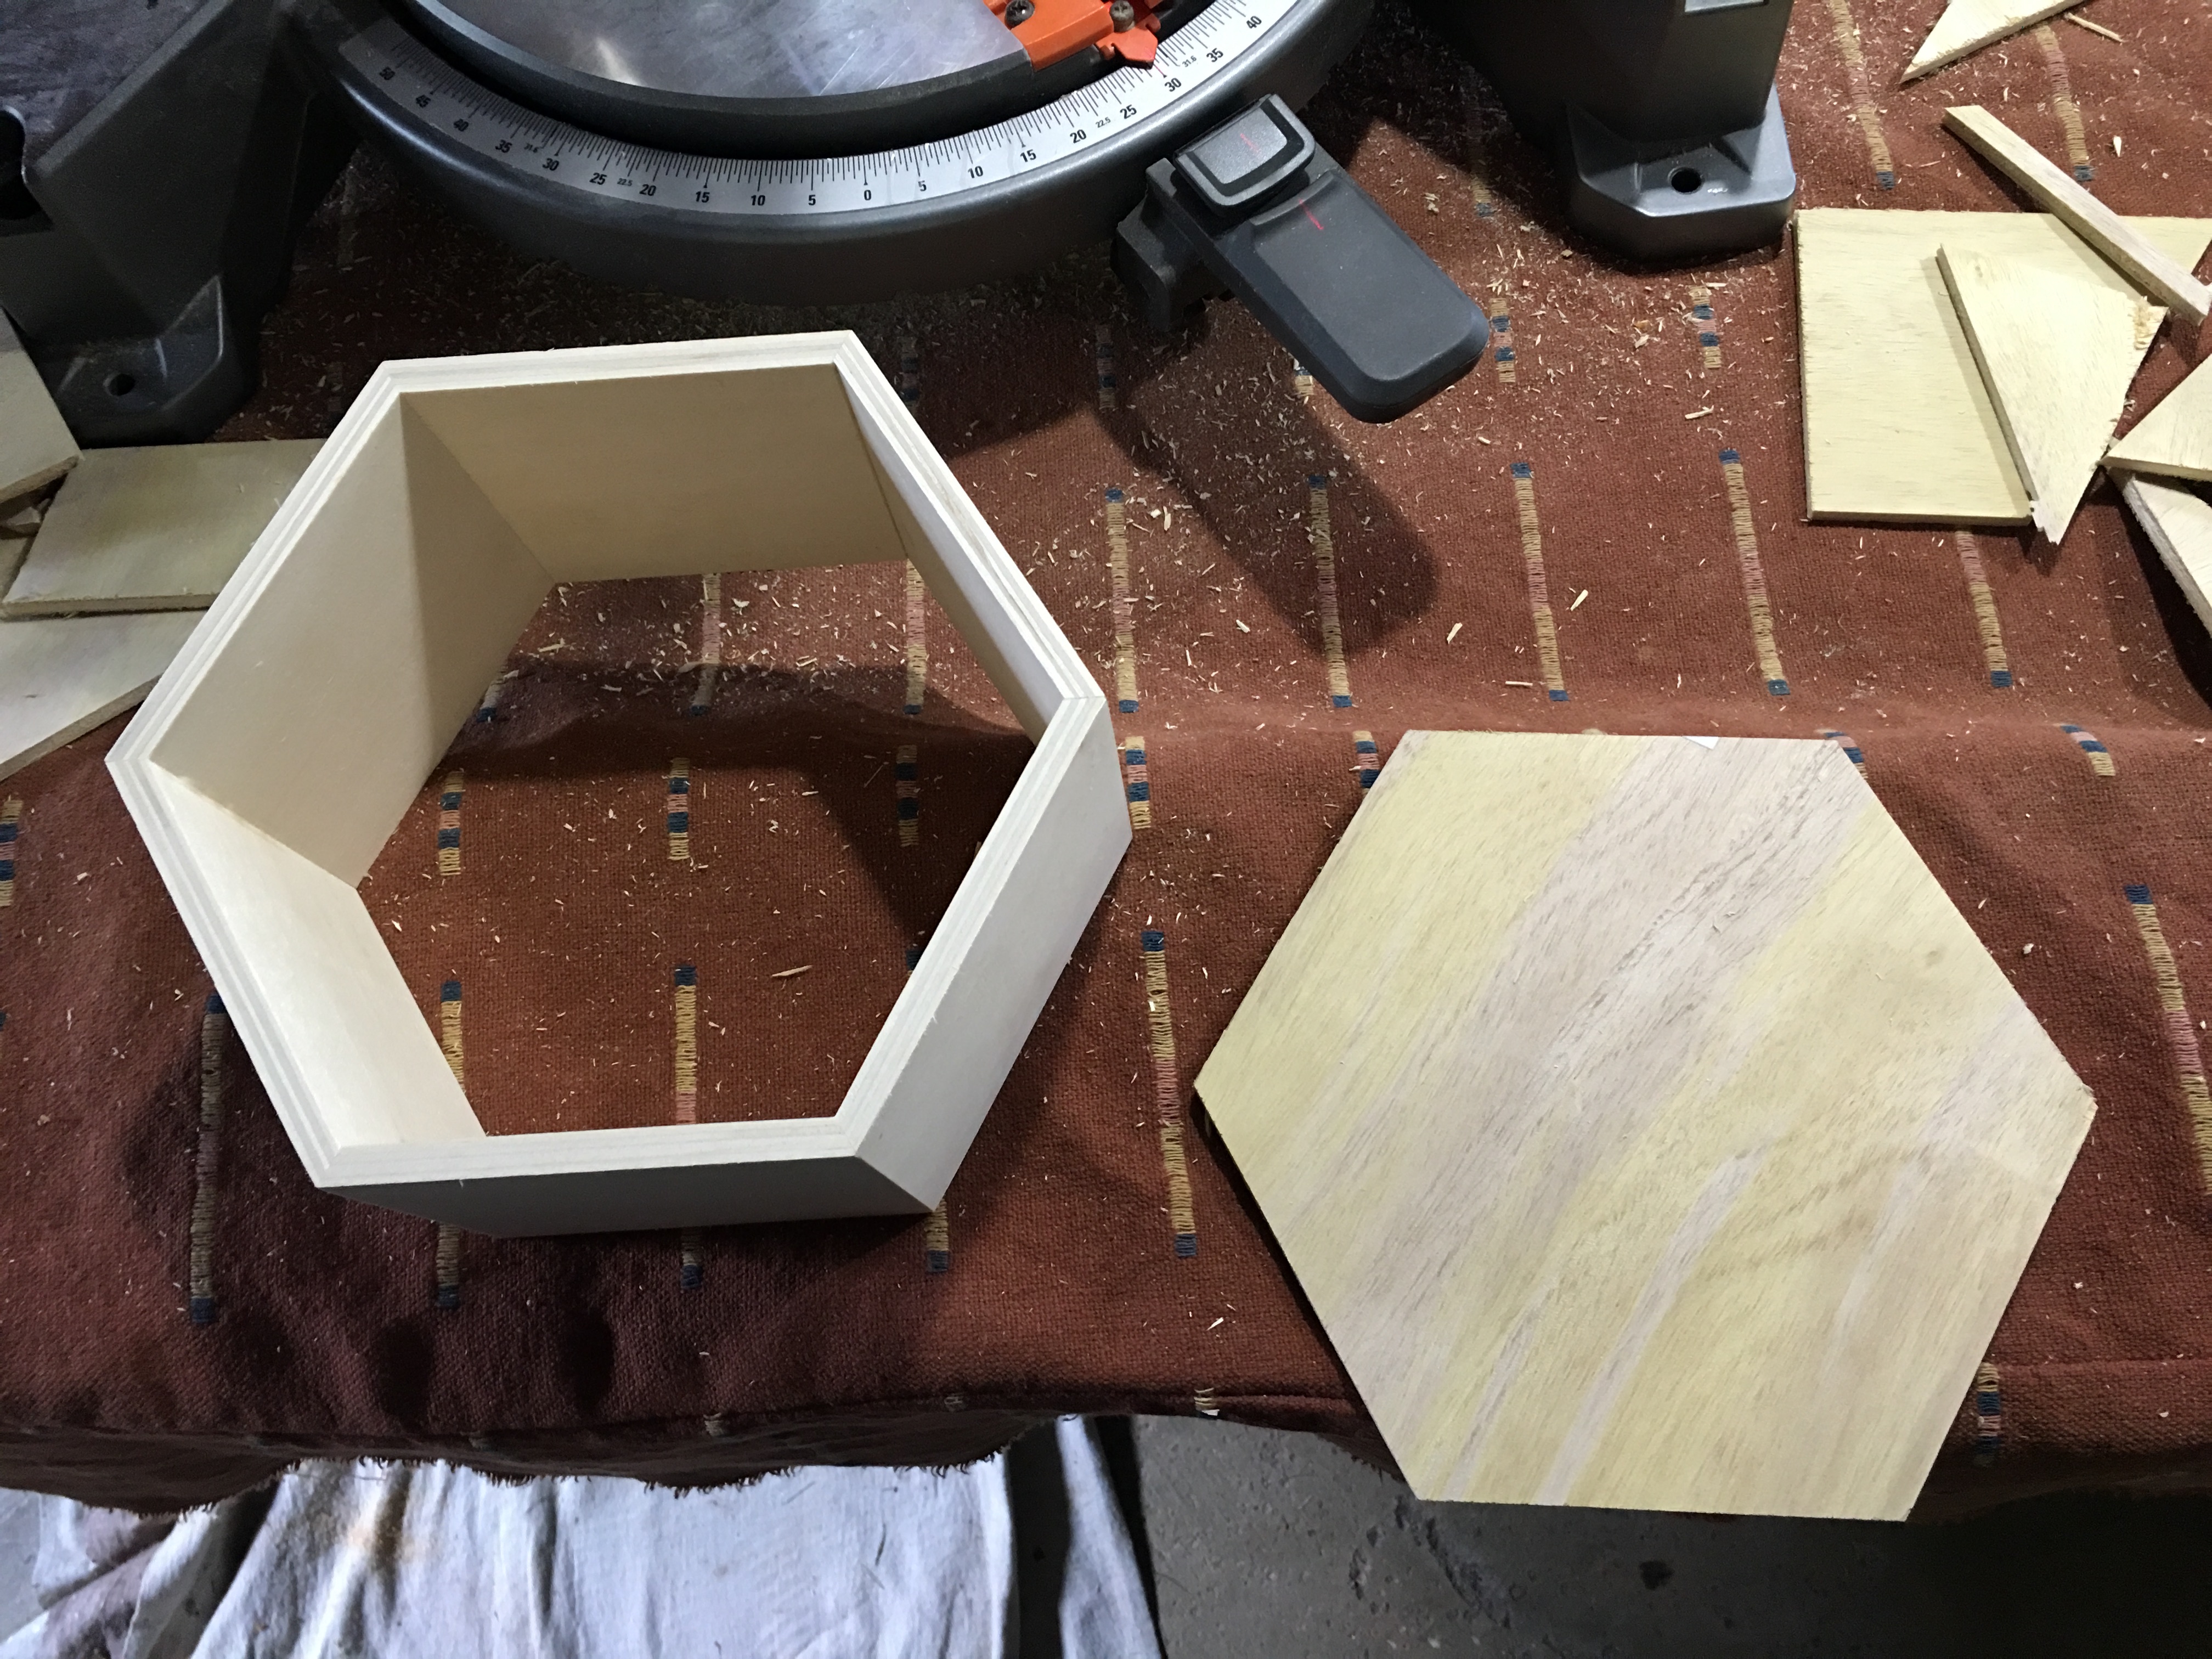
These hexagons are perfect (and already ready for wall mounting with the included sawtooth hangers). I decided to make planters out of these open hex wood shapes by gluing on a plywood face (cut to the same shape and size).
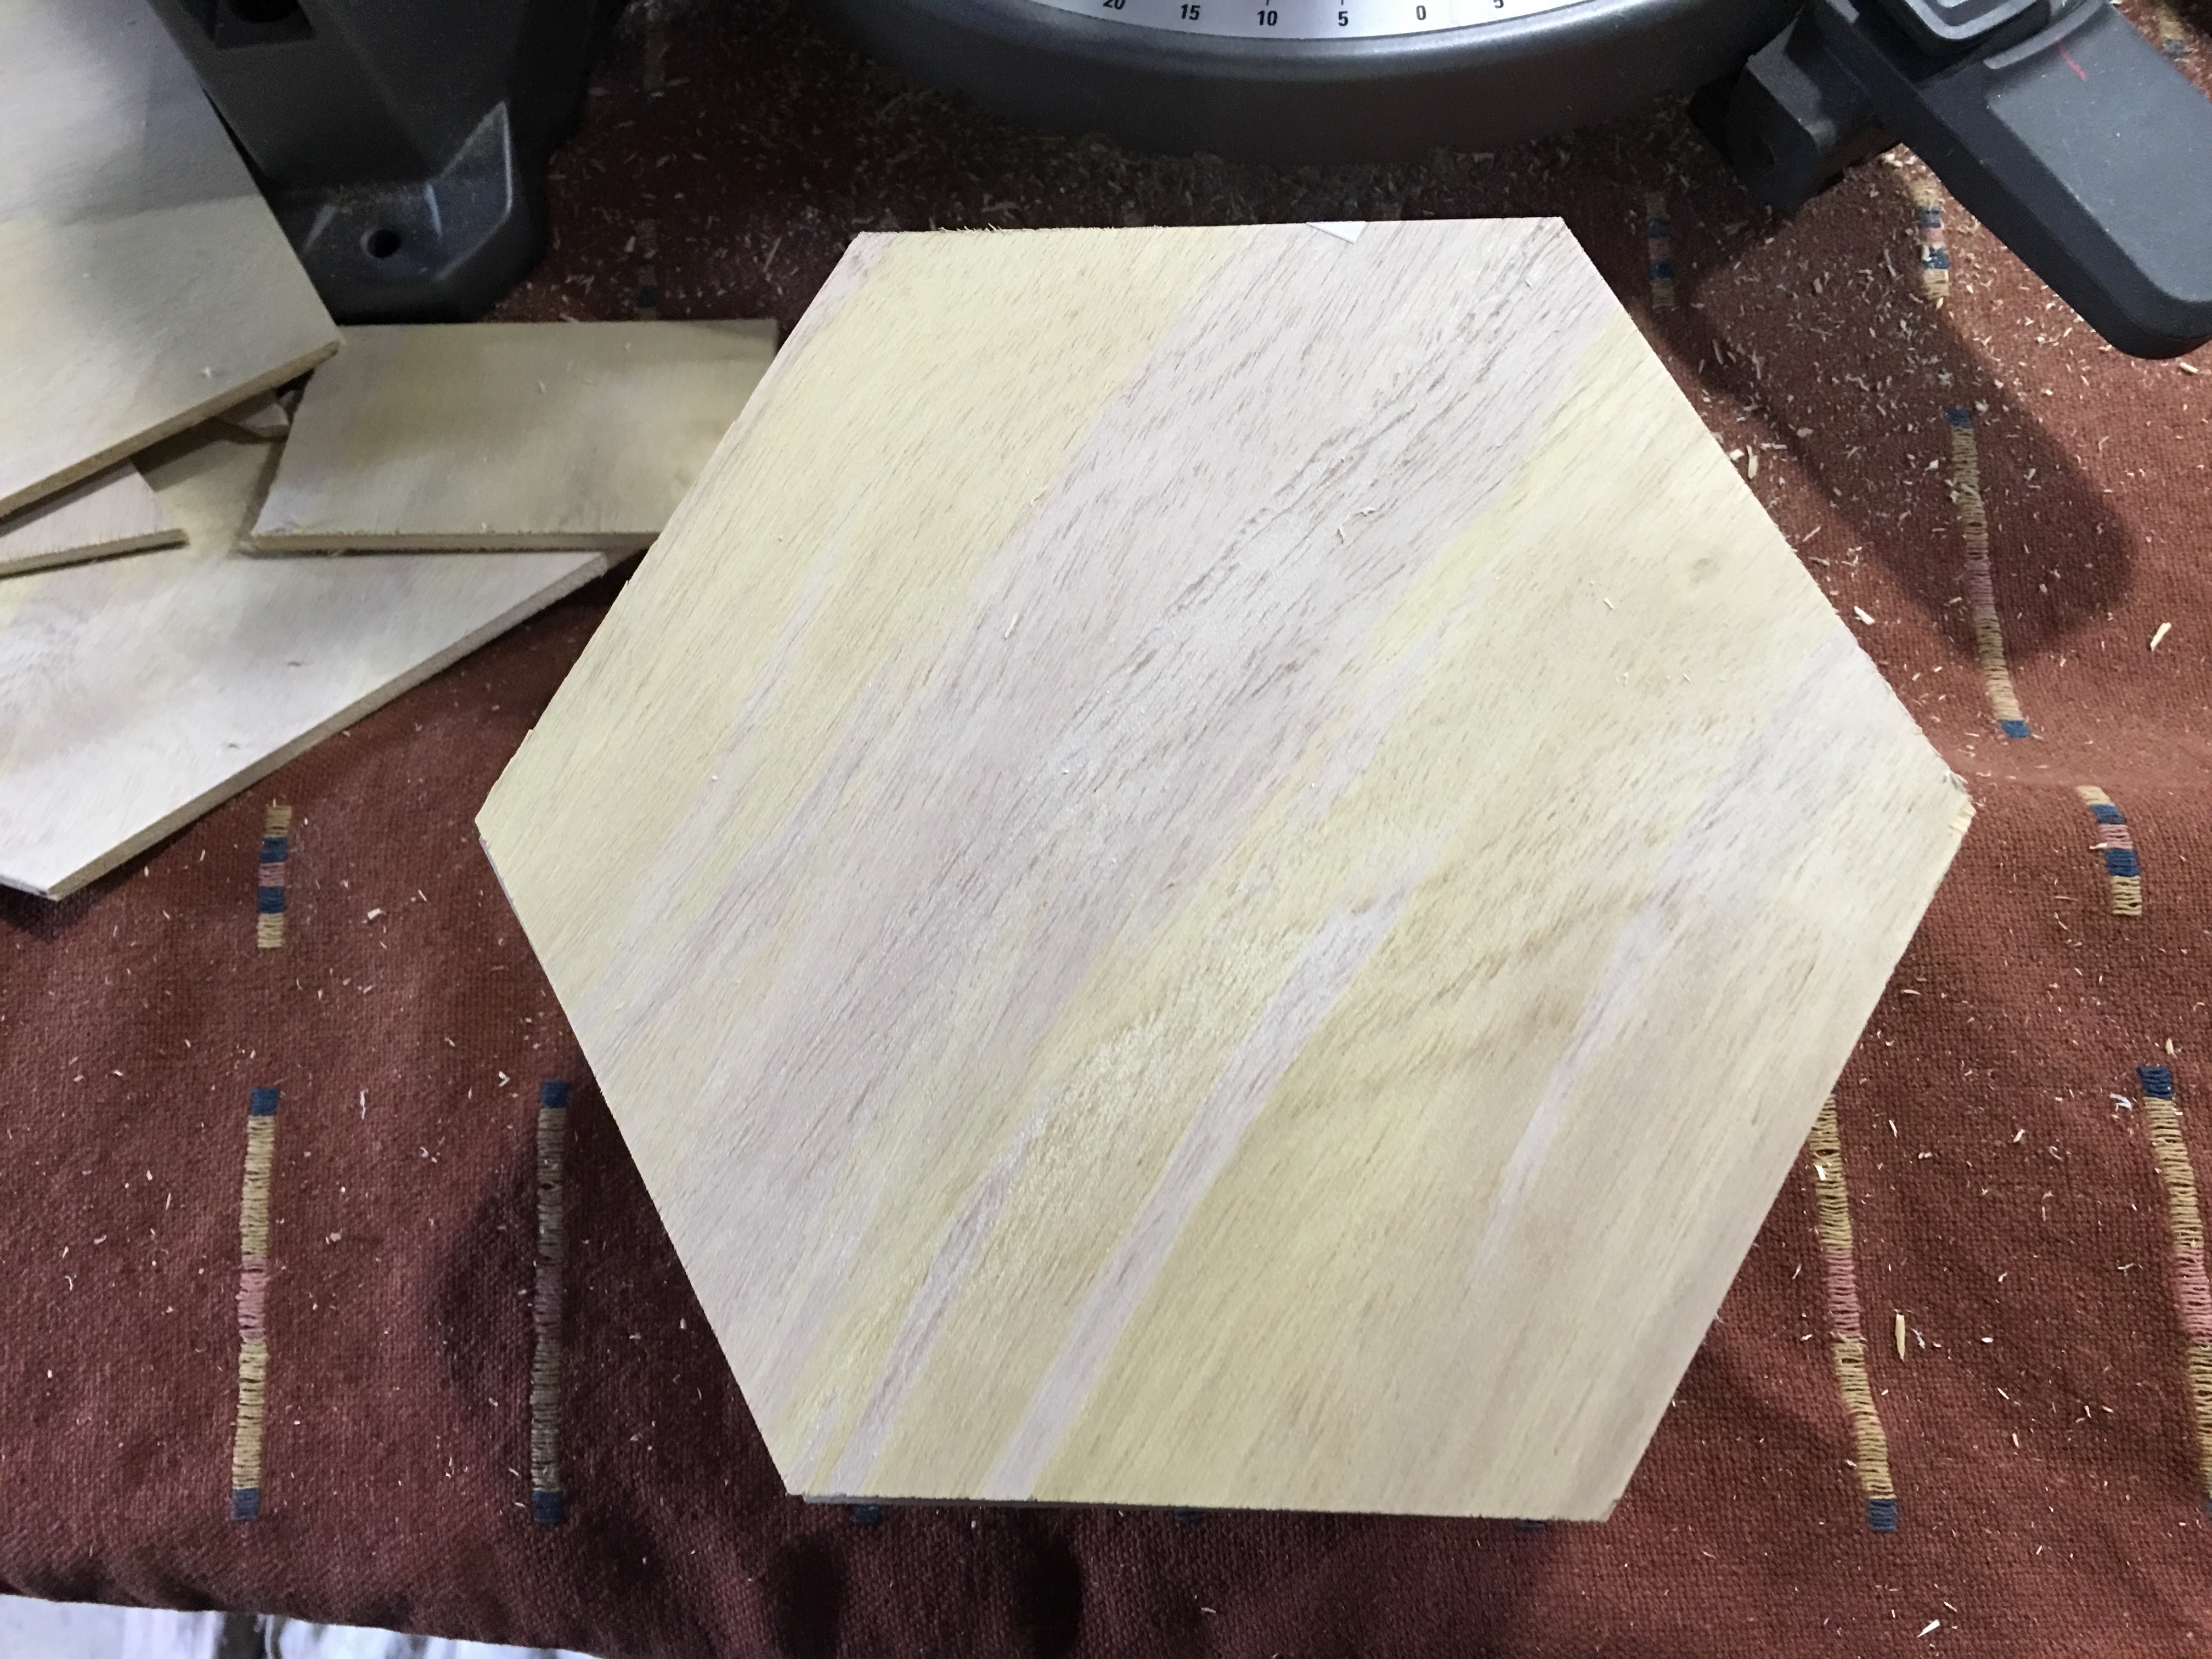
After measuring out the shape on a 1/4″ piece of 12×12 plywood, I used my new Rigid miter saw to cut out the shape (each side at 30 degree angles).
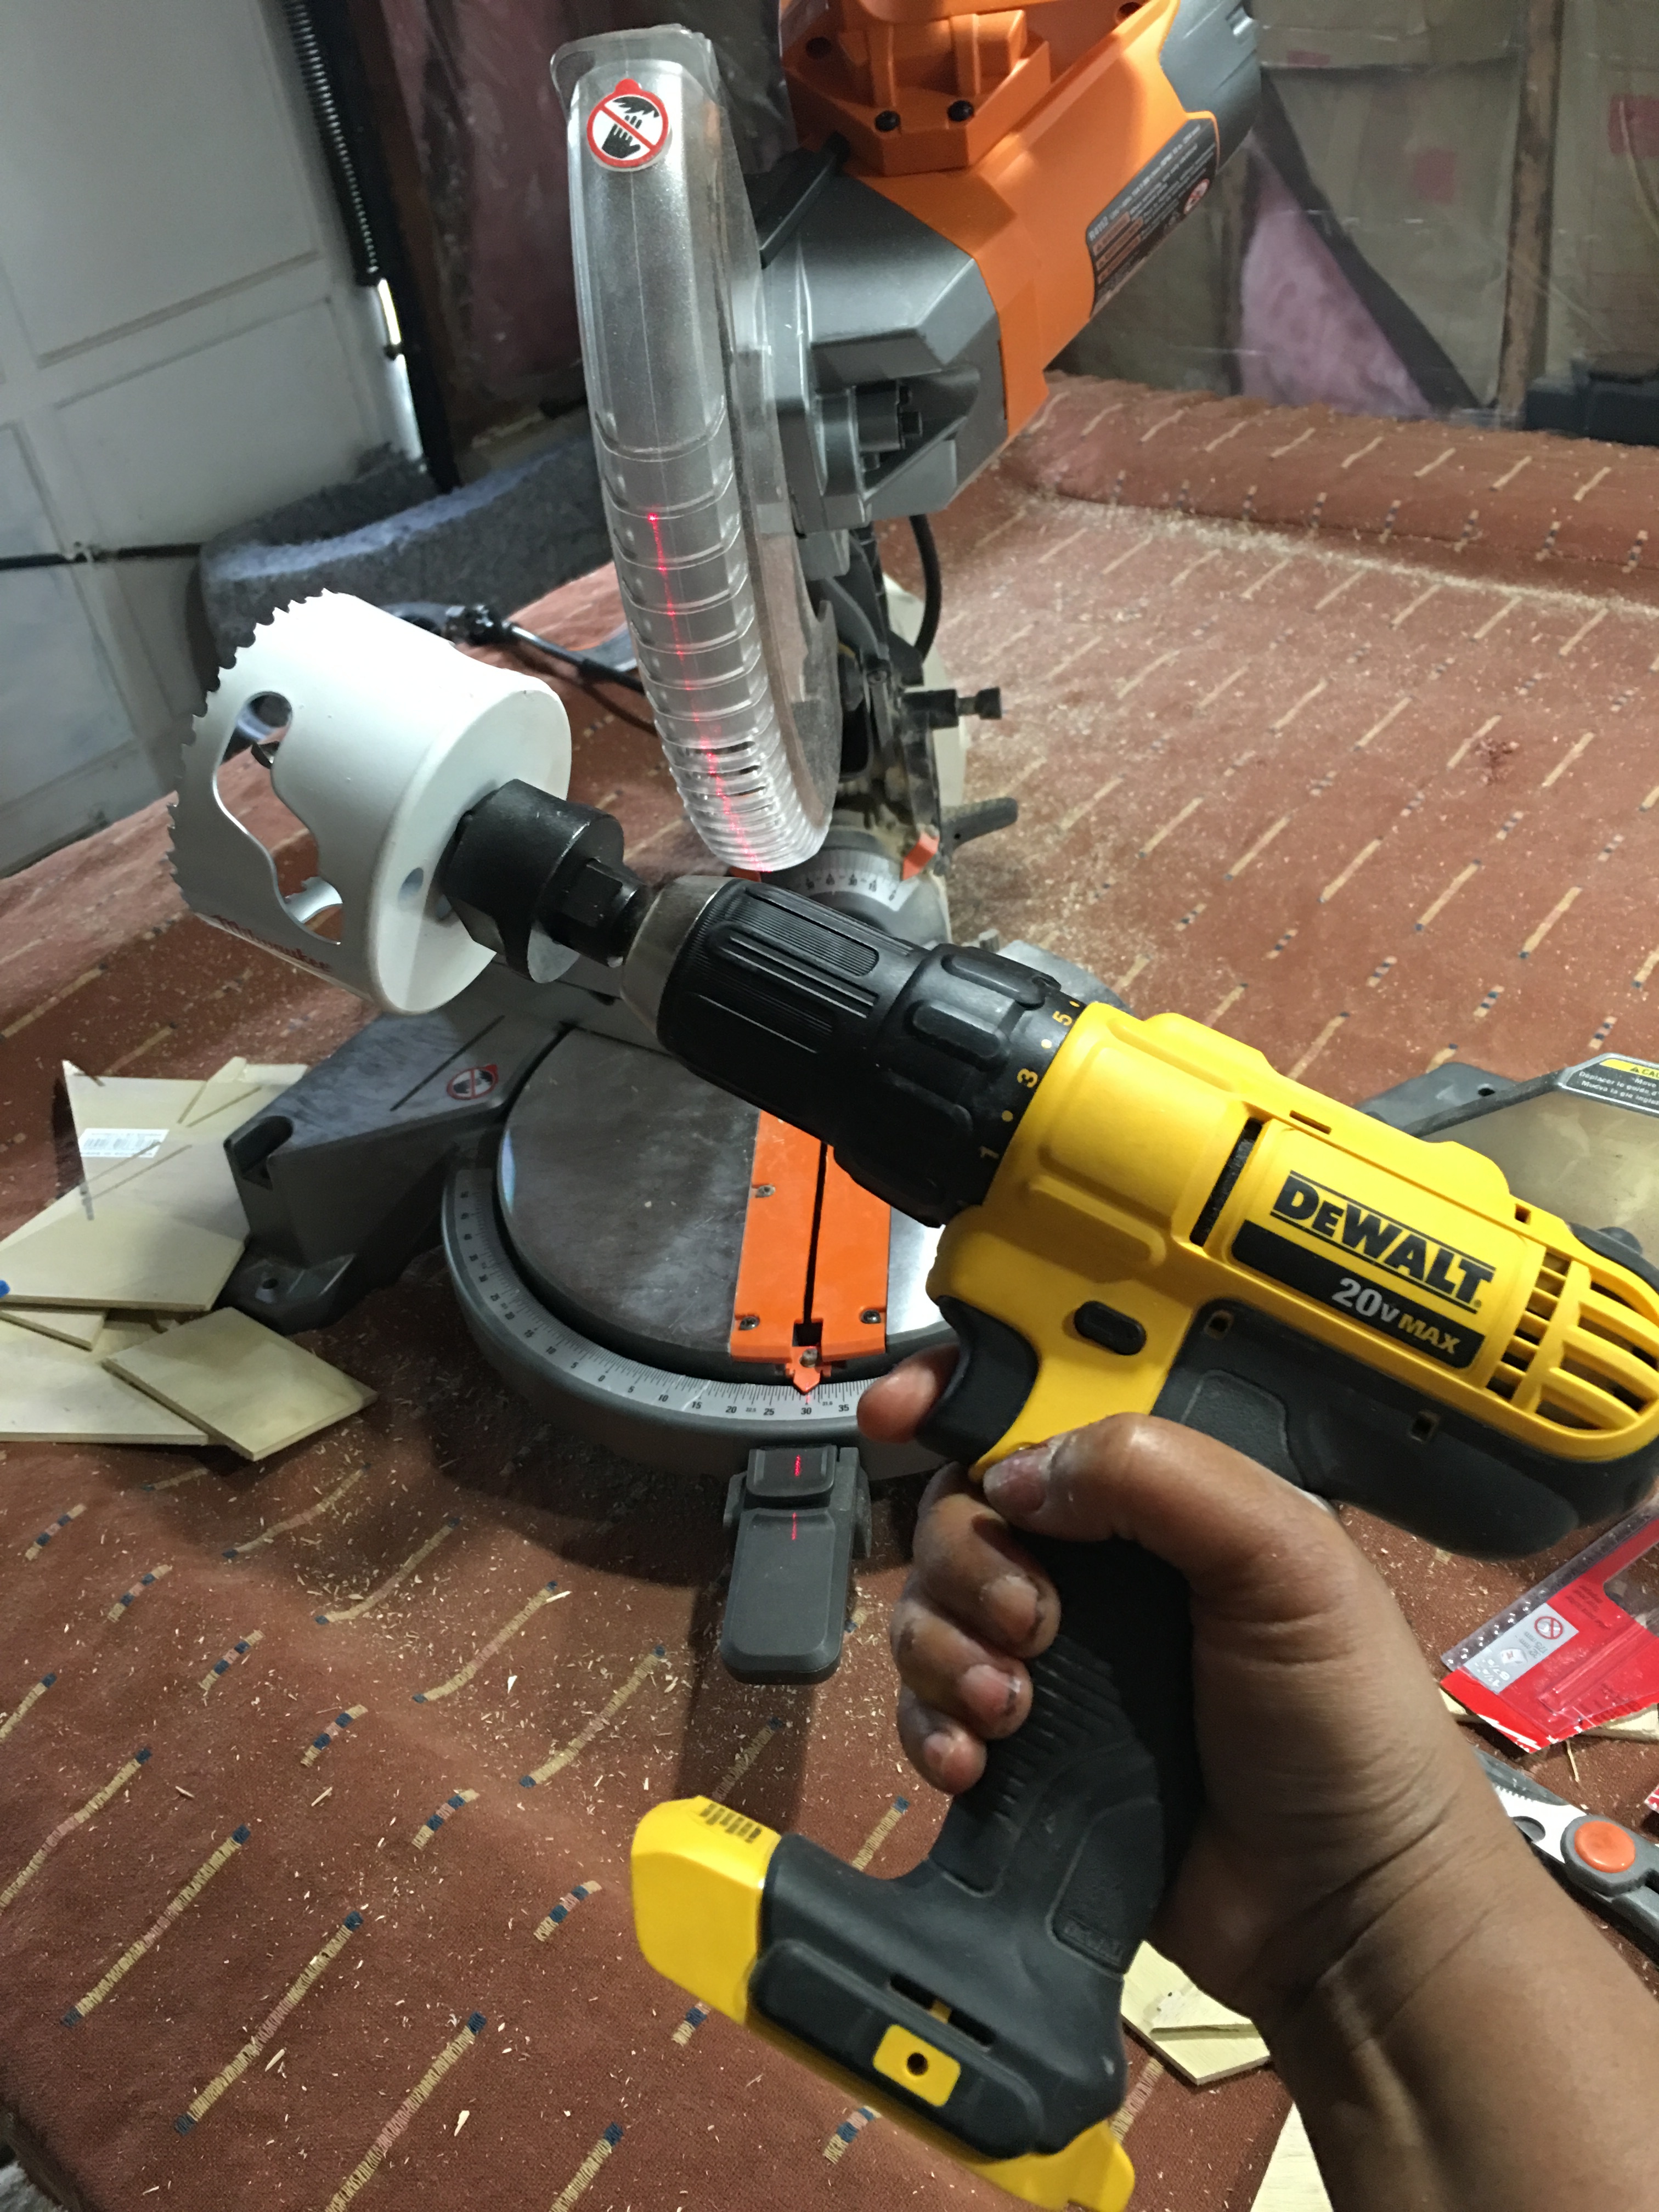
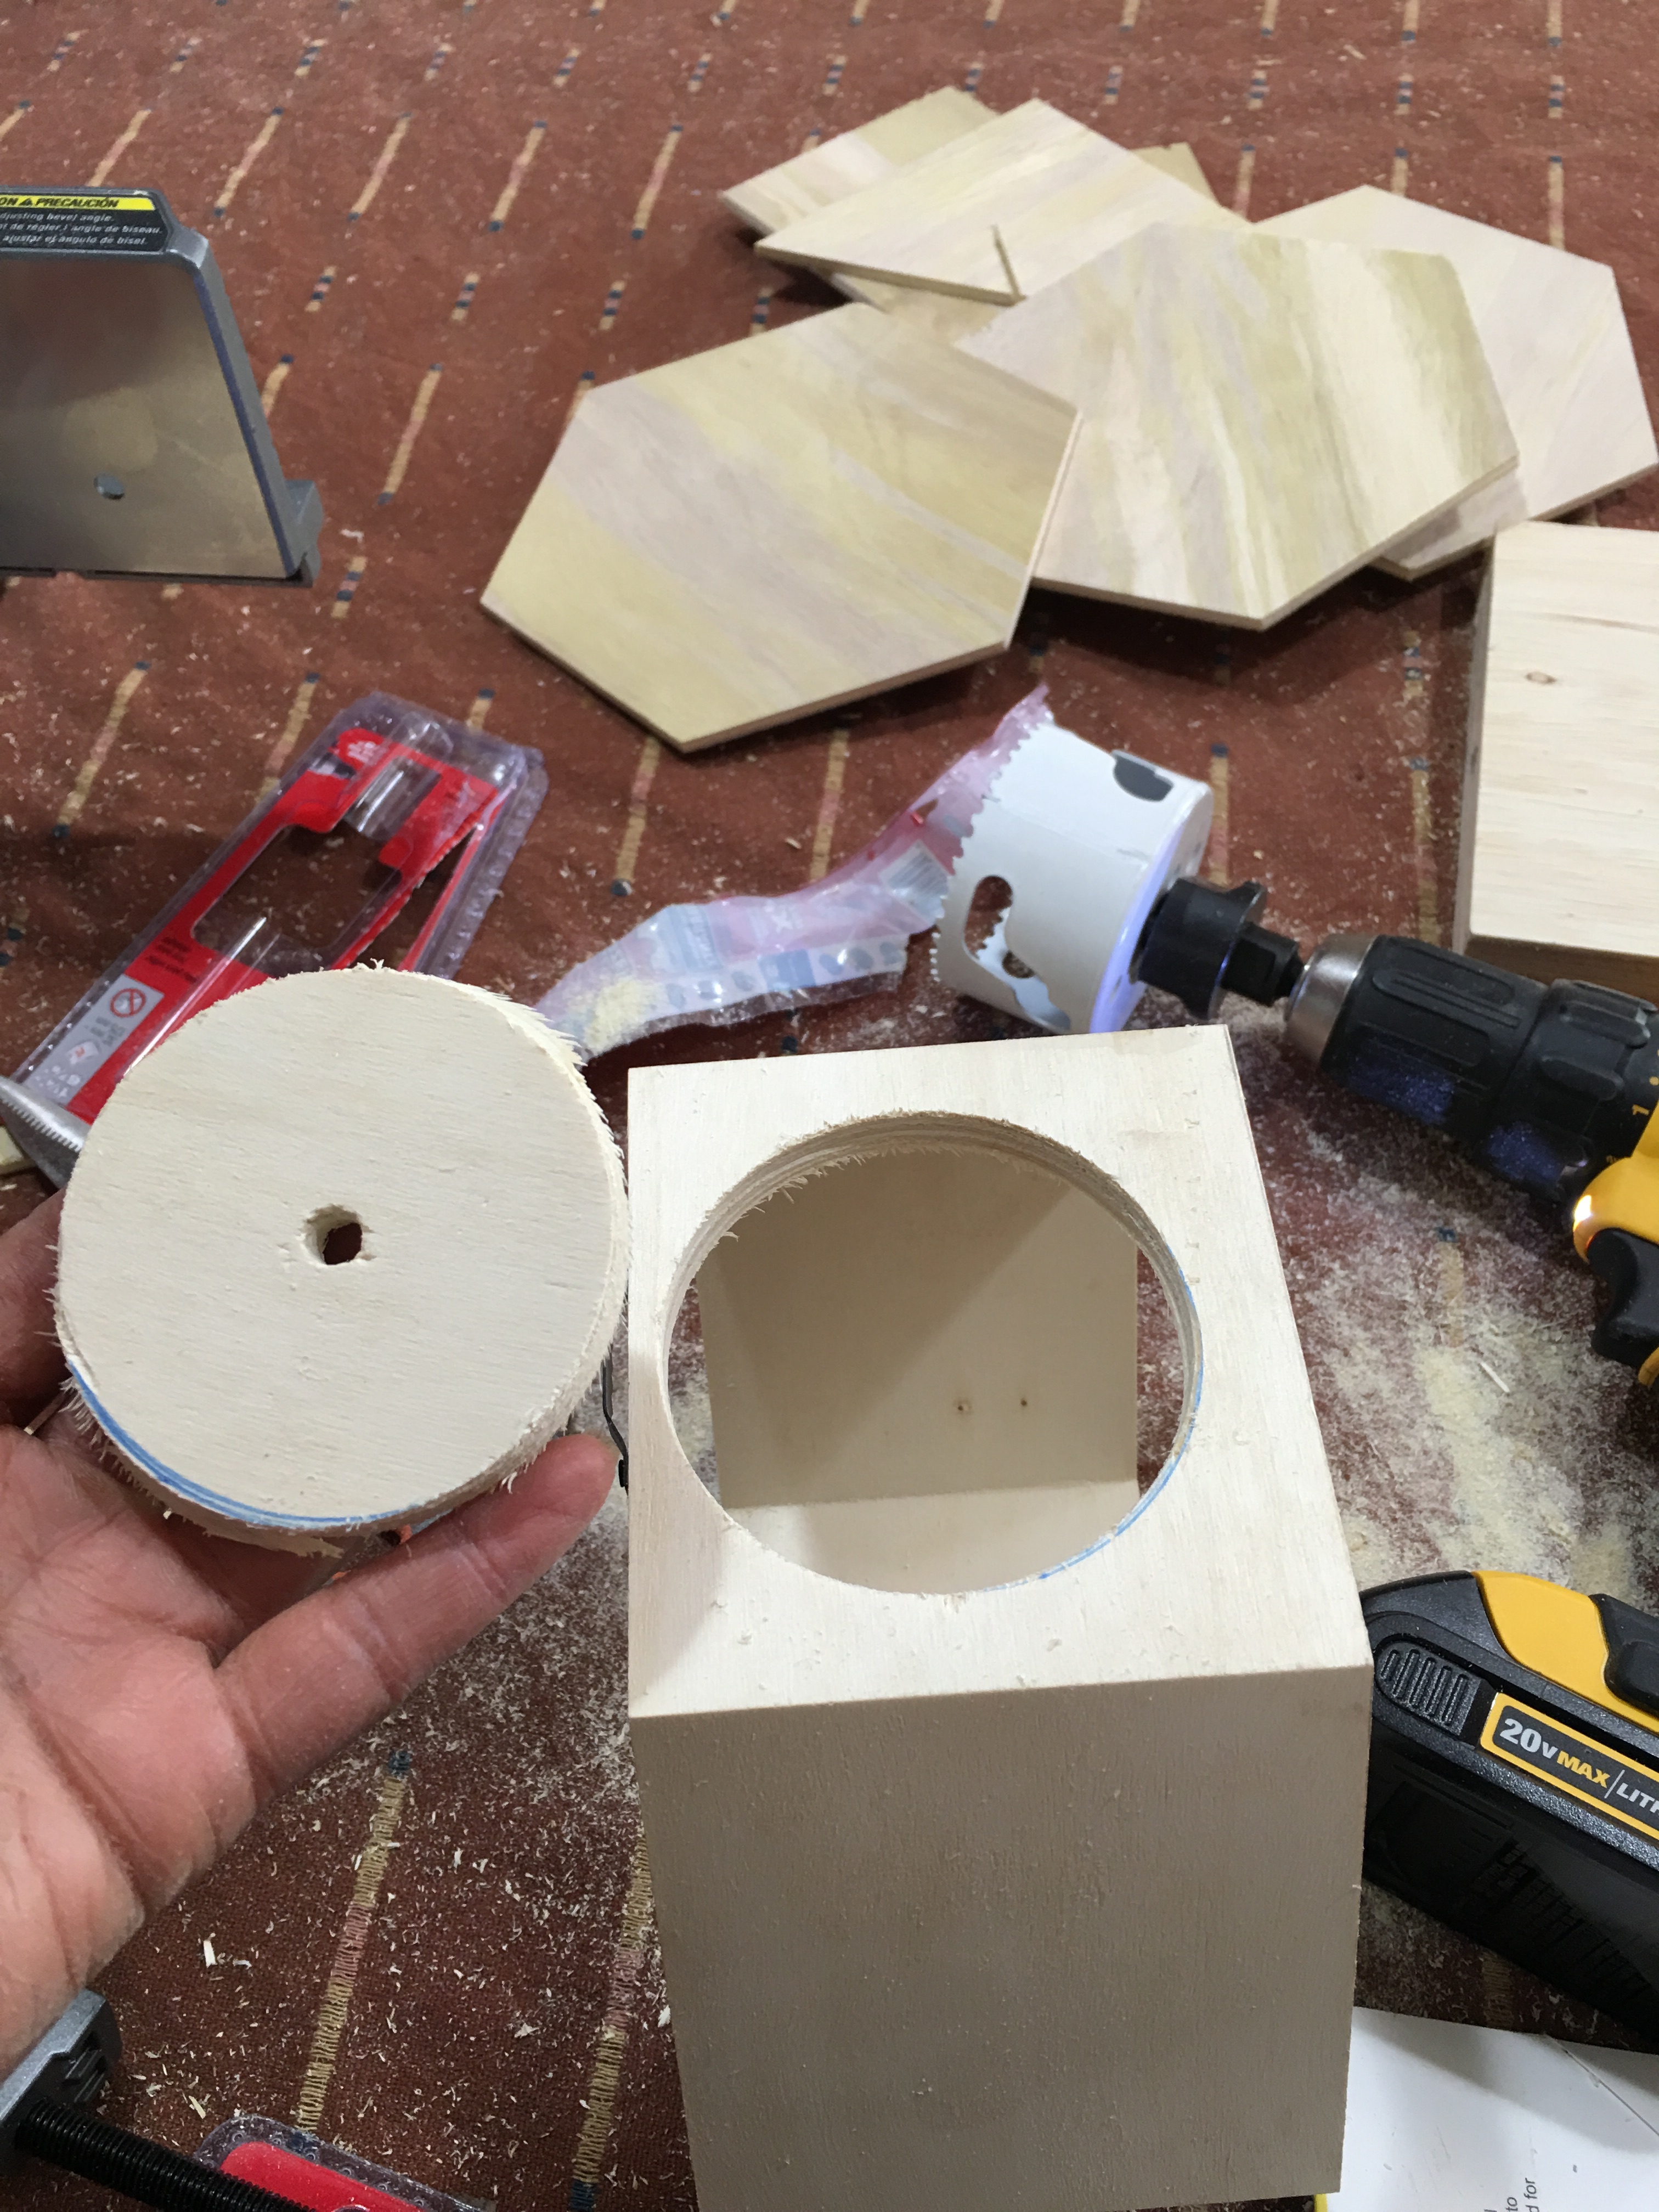
I then used a 3″ hole saw bit to cut a circular opening on top of the hexagons.
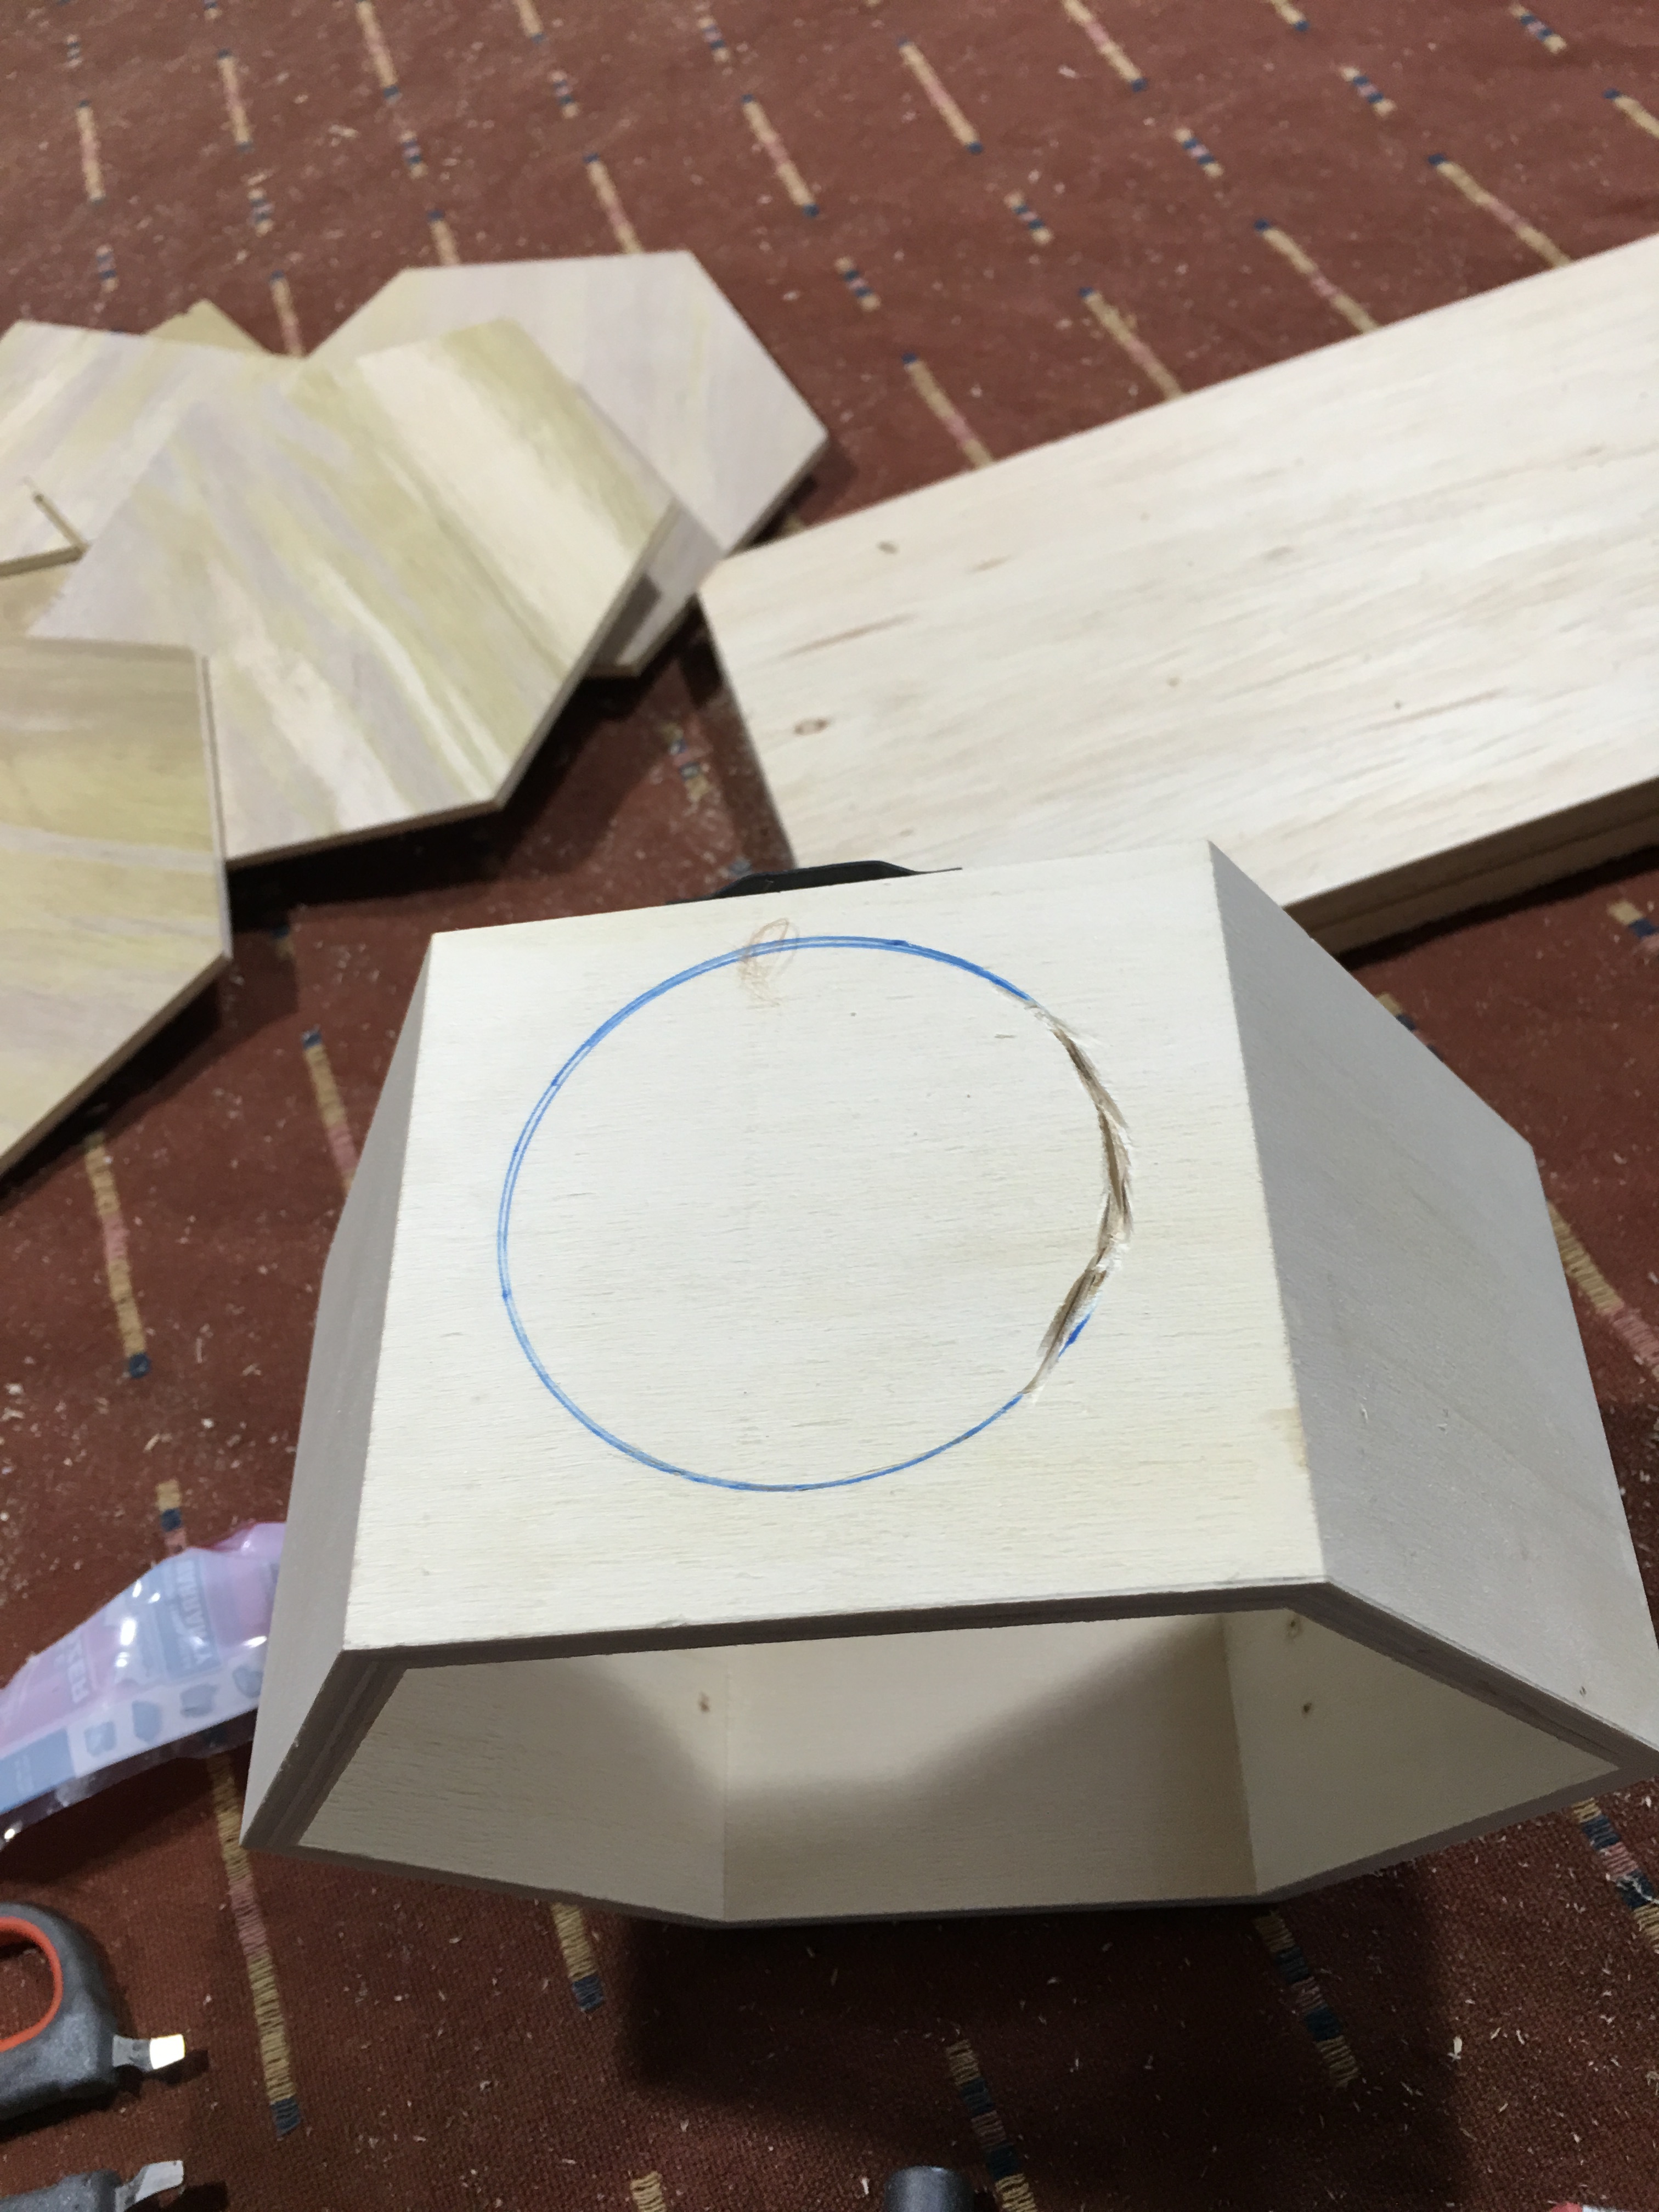
I traced the circle on top of the wood to make sure the size worked well.
I then slowly sawed my way through the top with the hole saw…
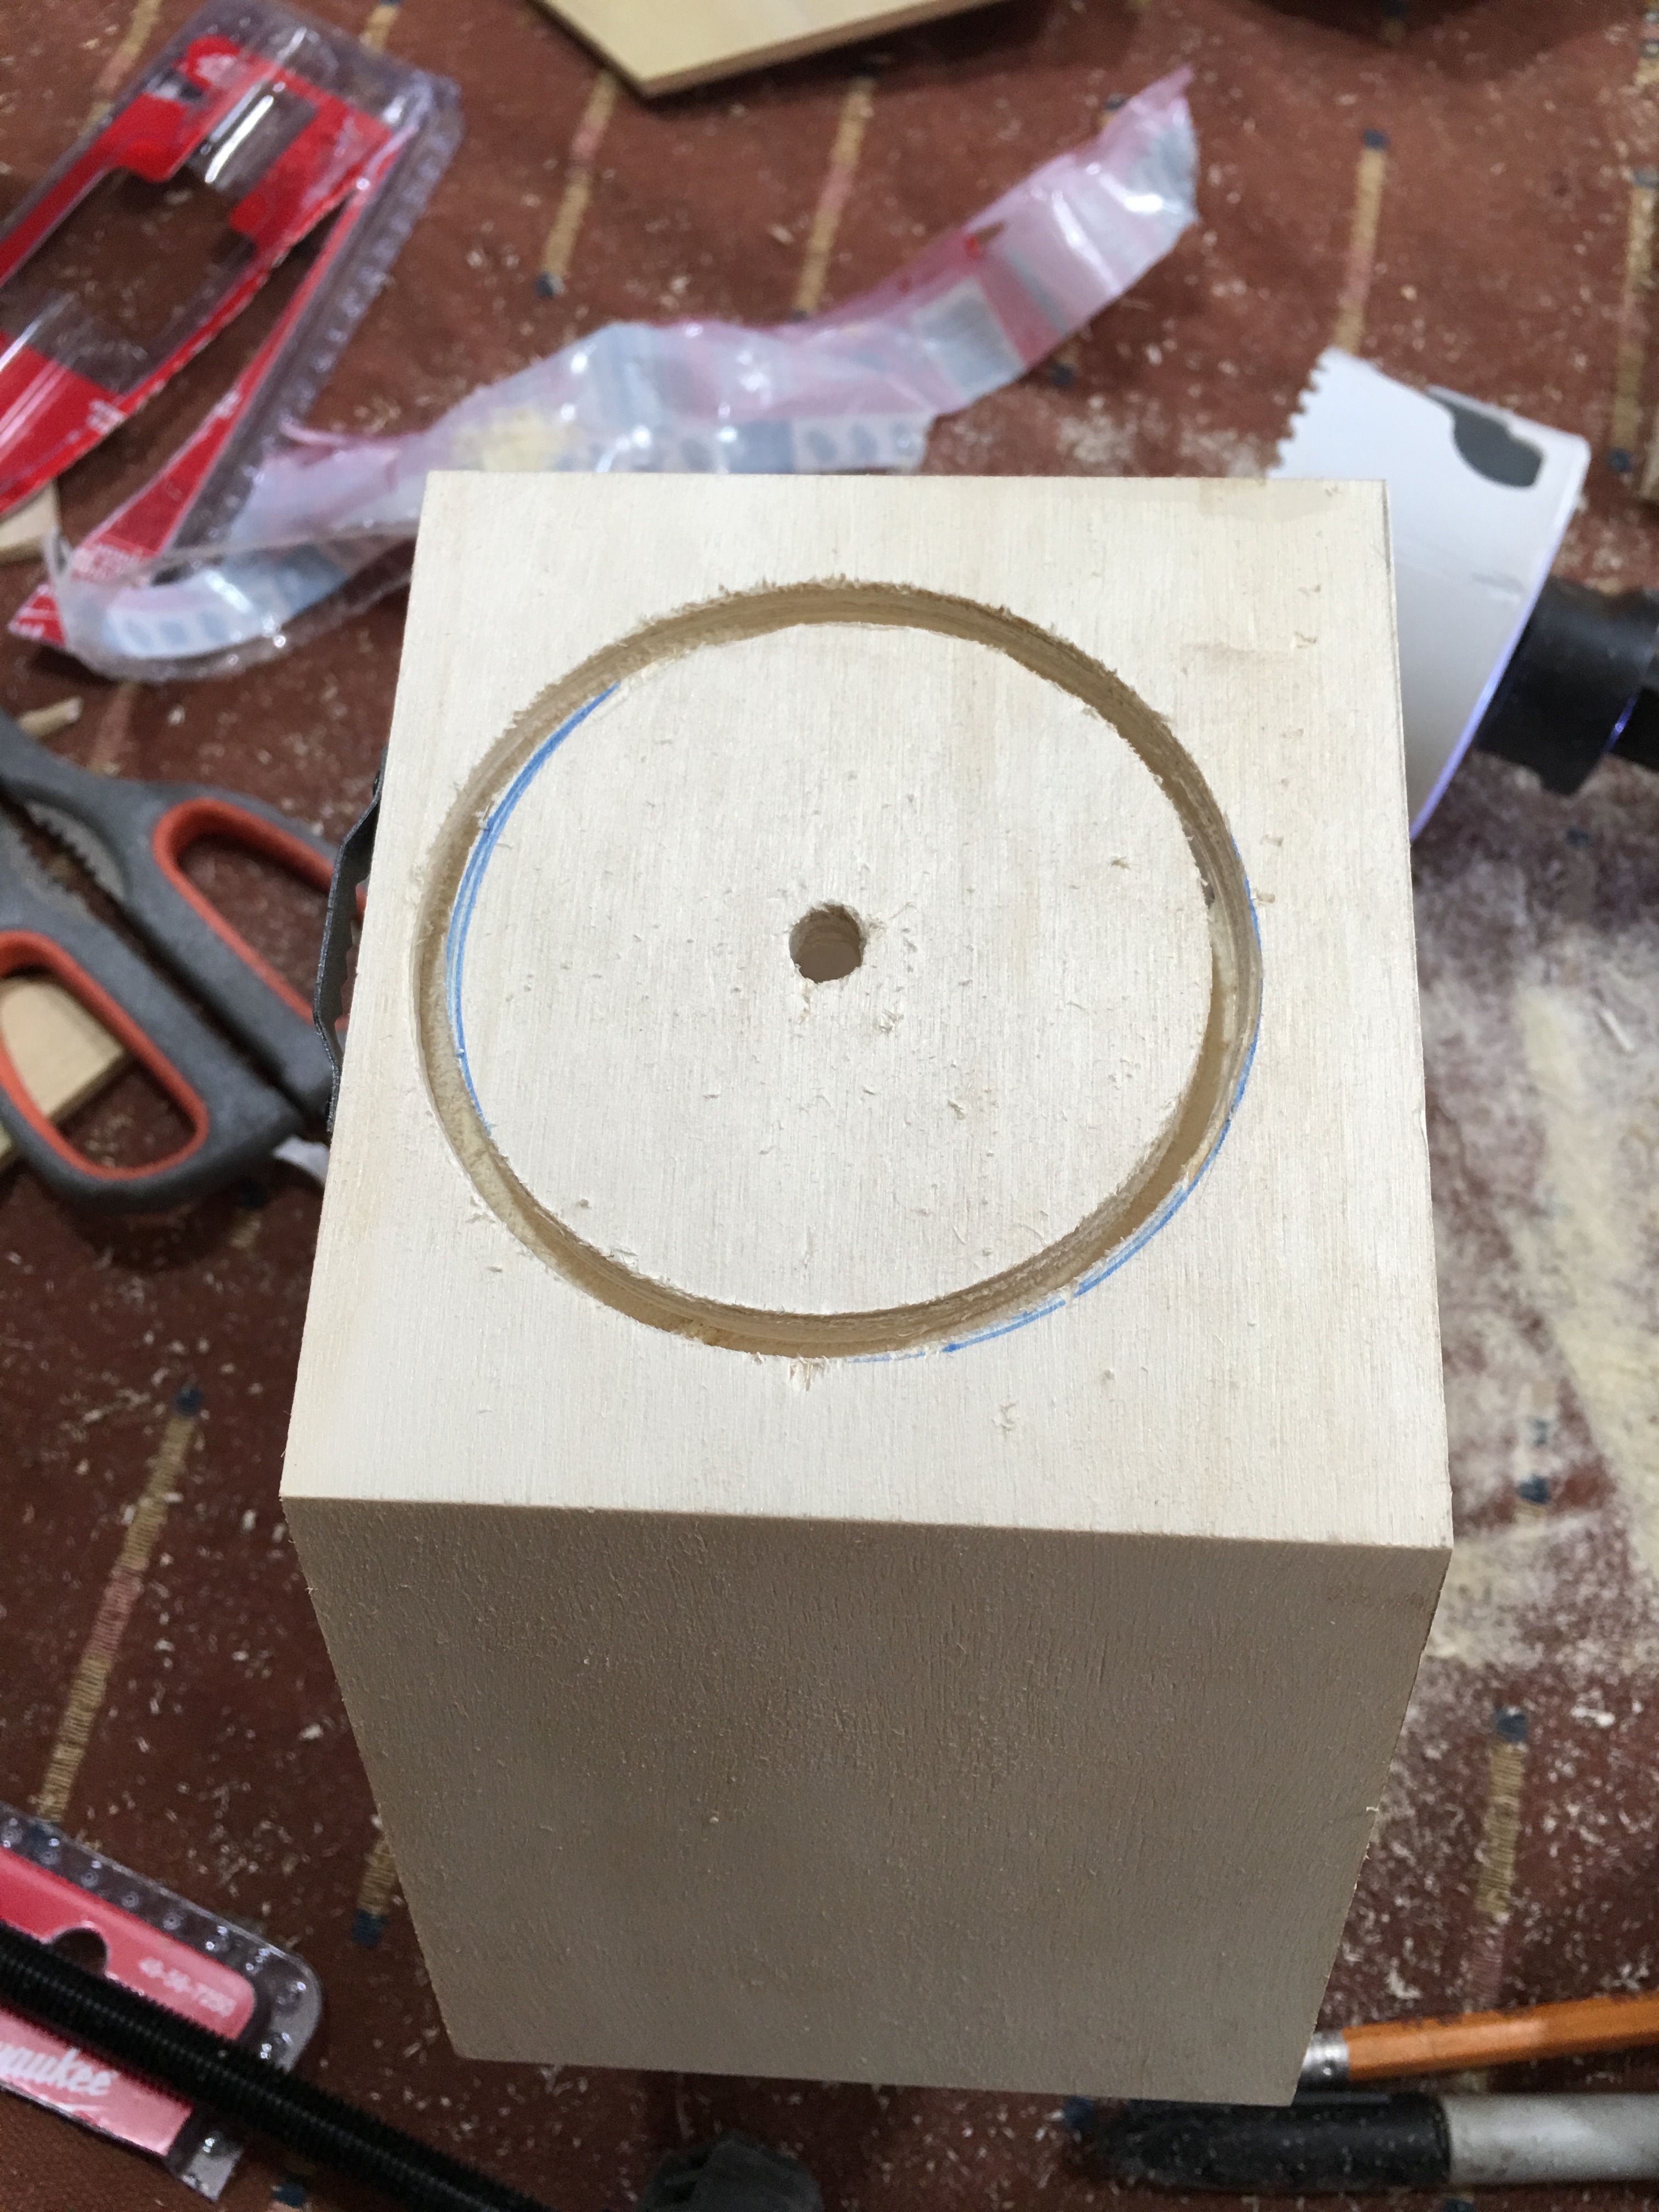
…until I drilled my way through and removed the top. Perfect circular opening.
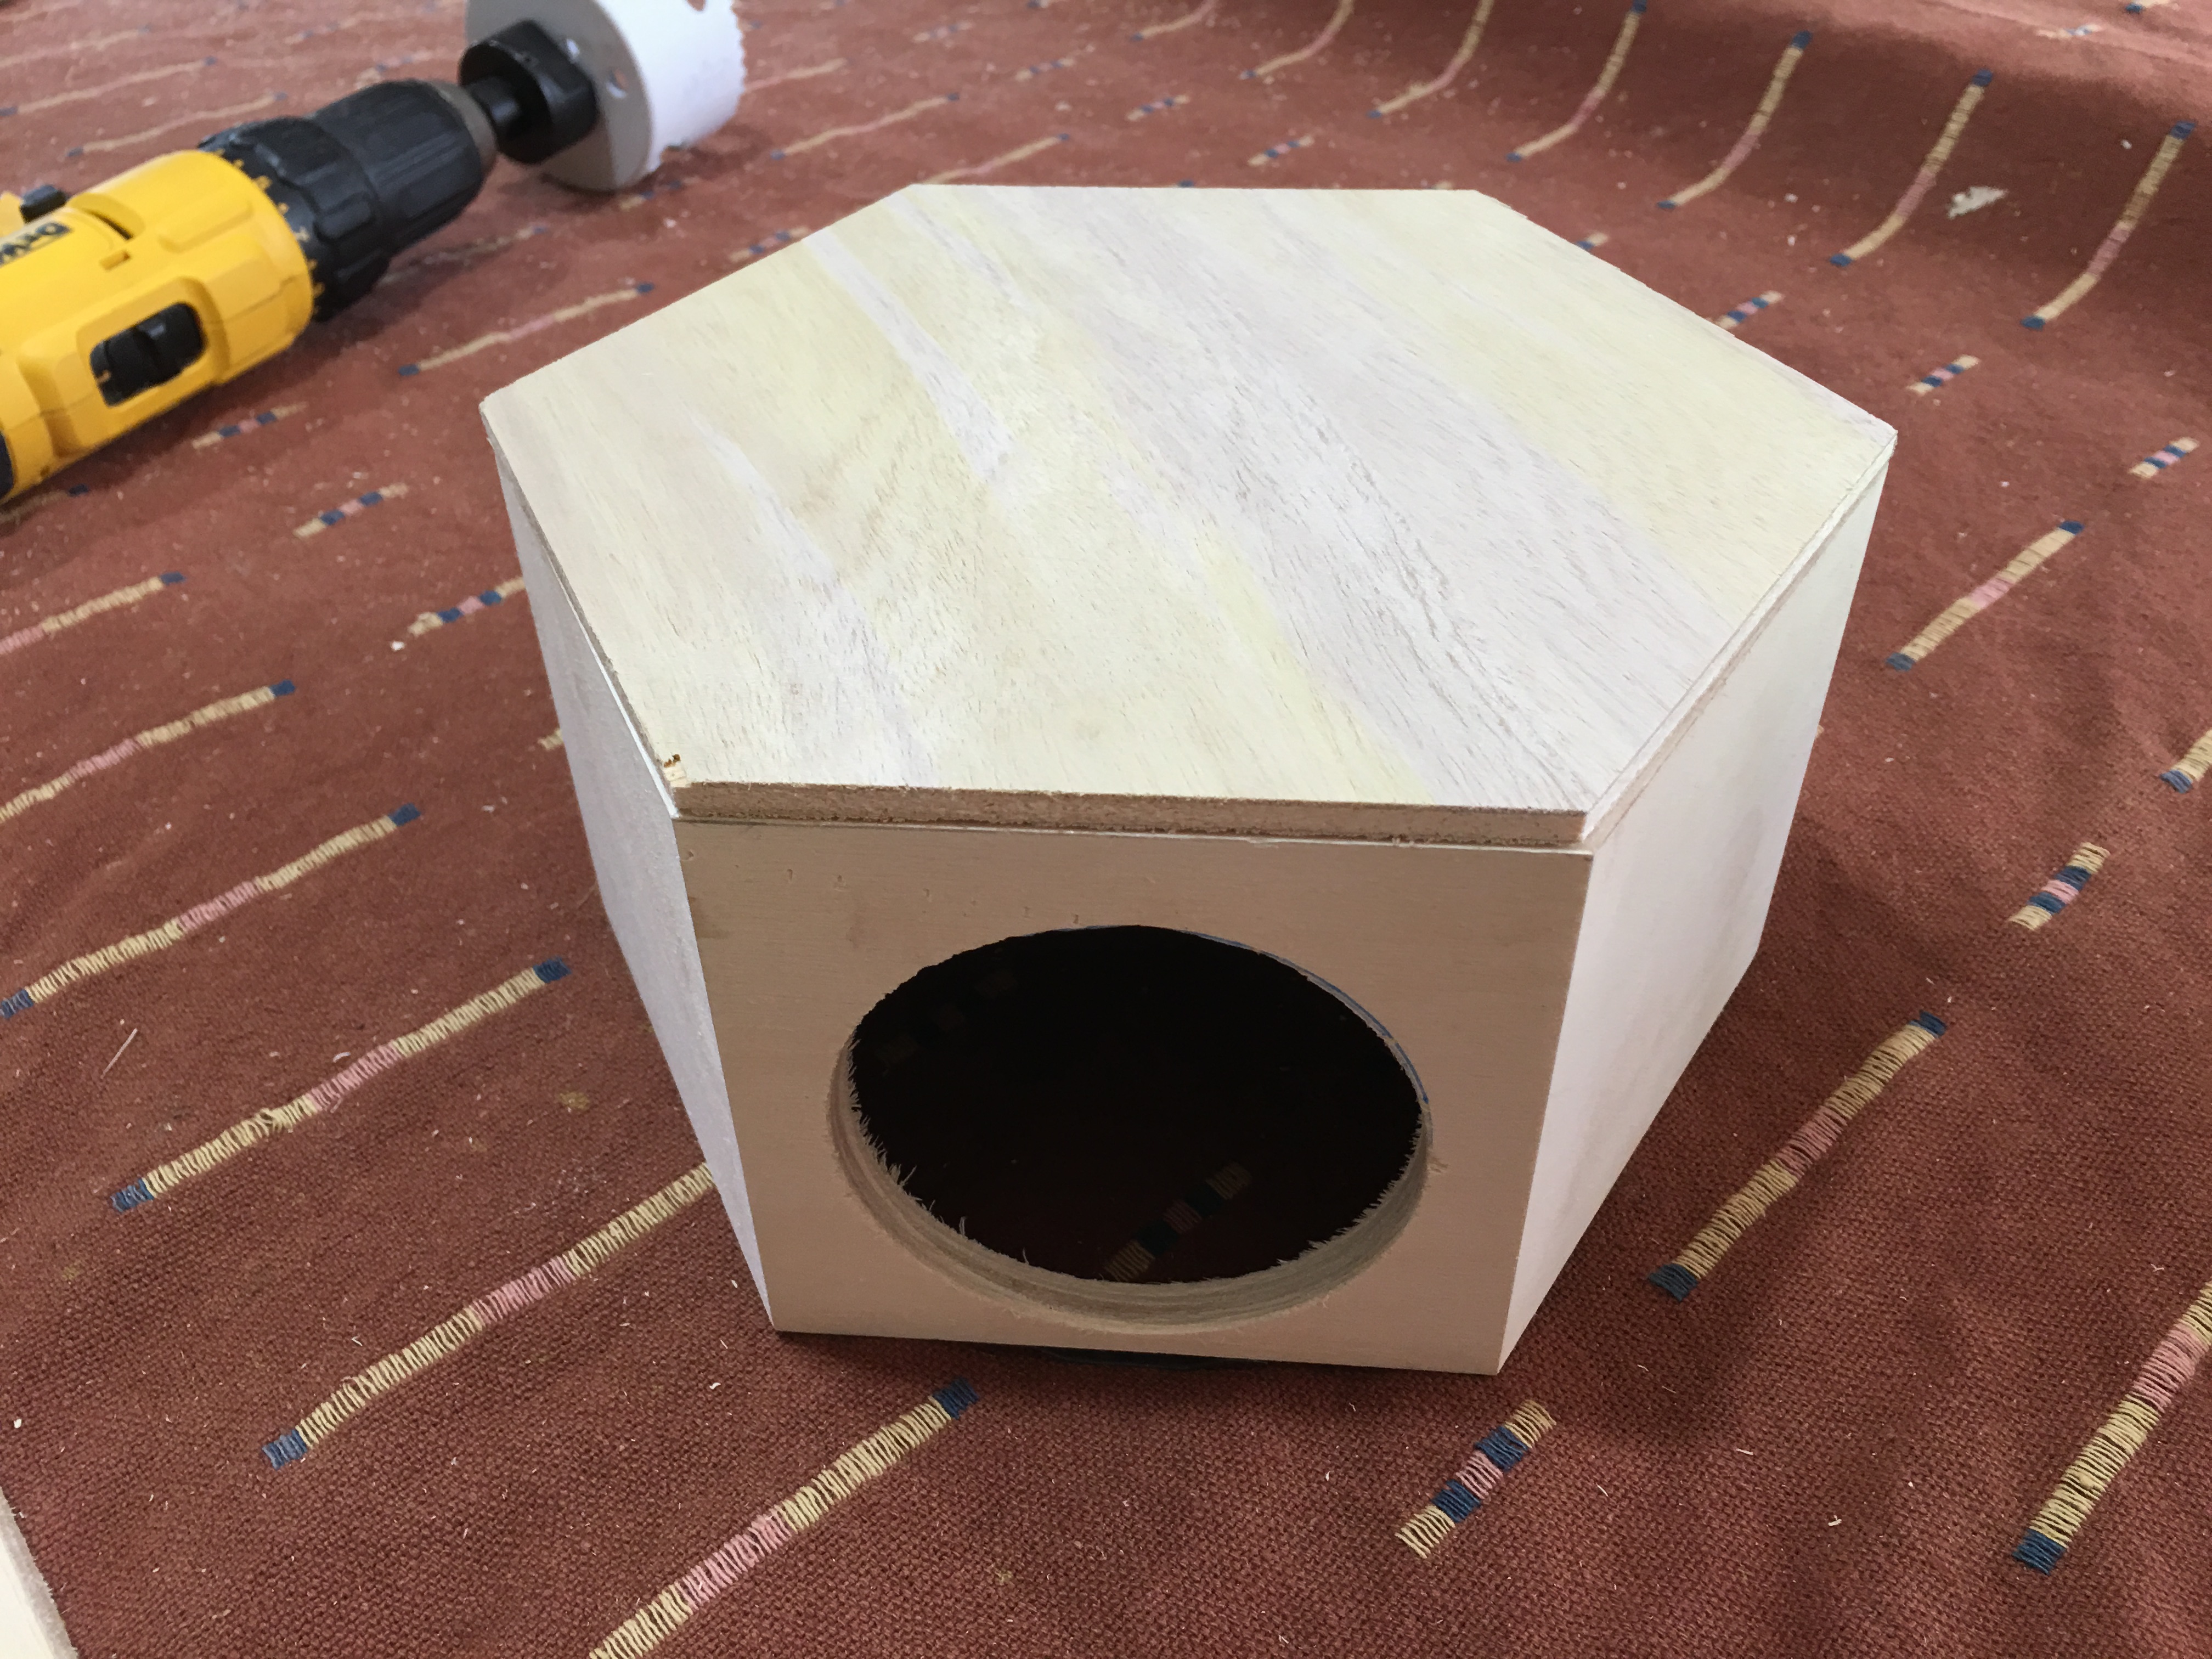
I placed the plywood face to the hexagon shape to make sure the cut worked well and created a nice clean box.
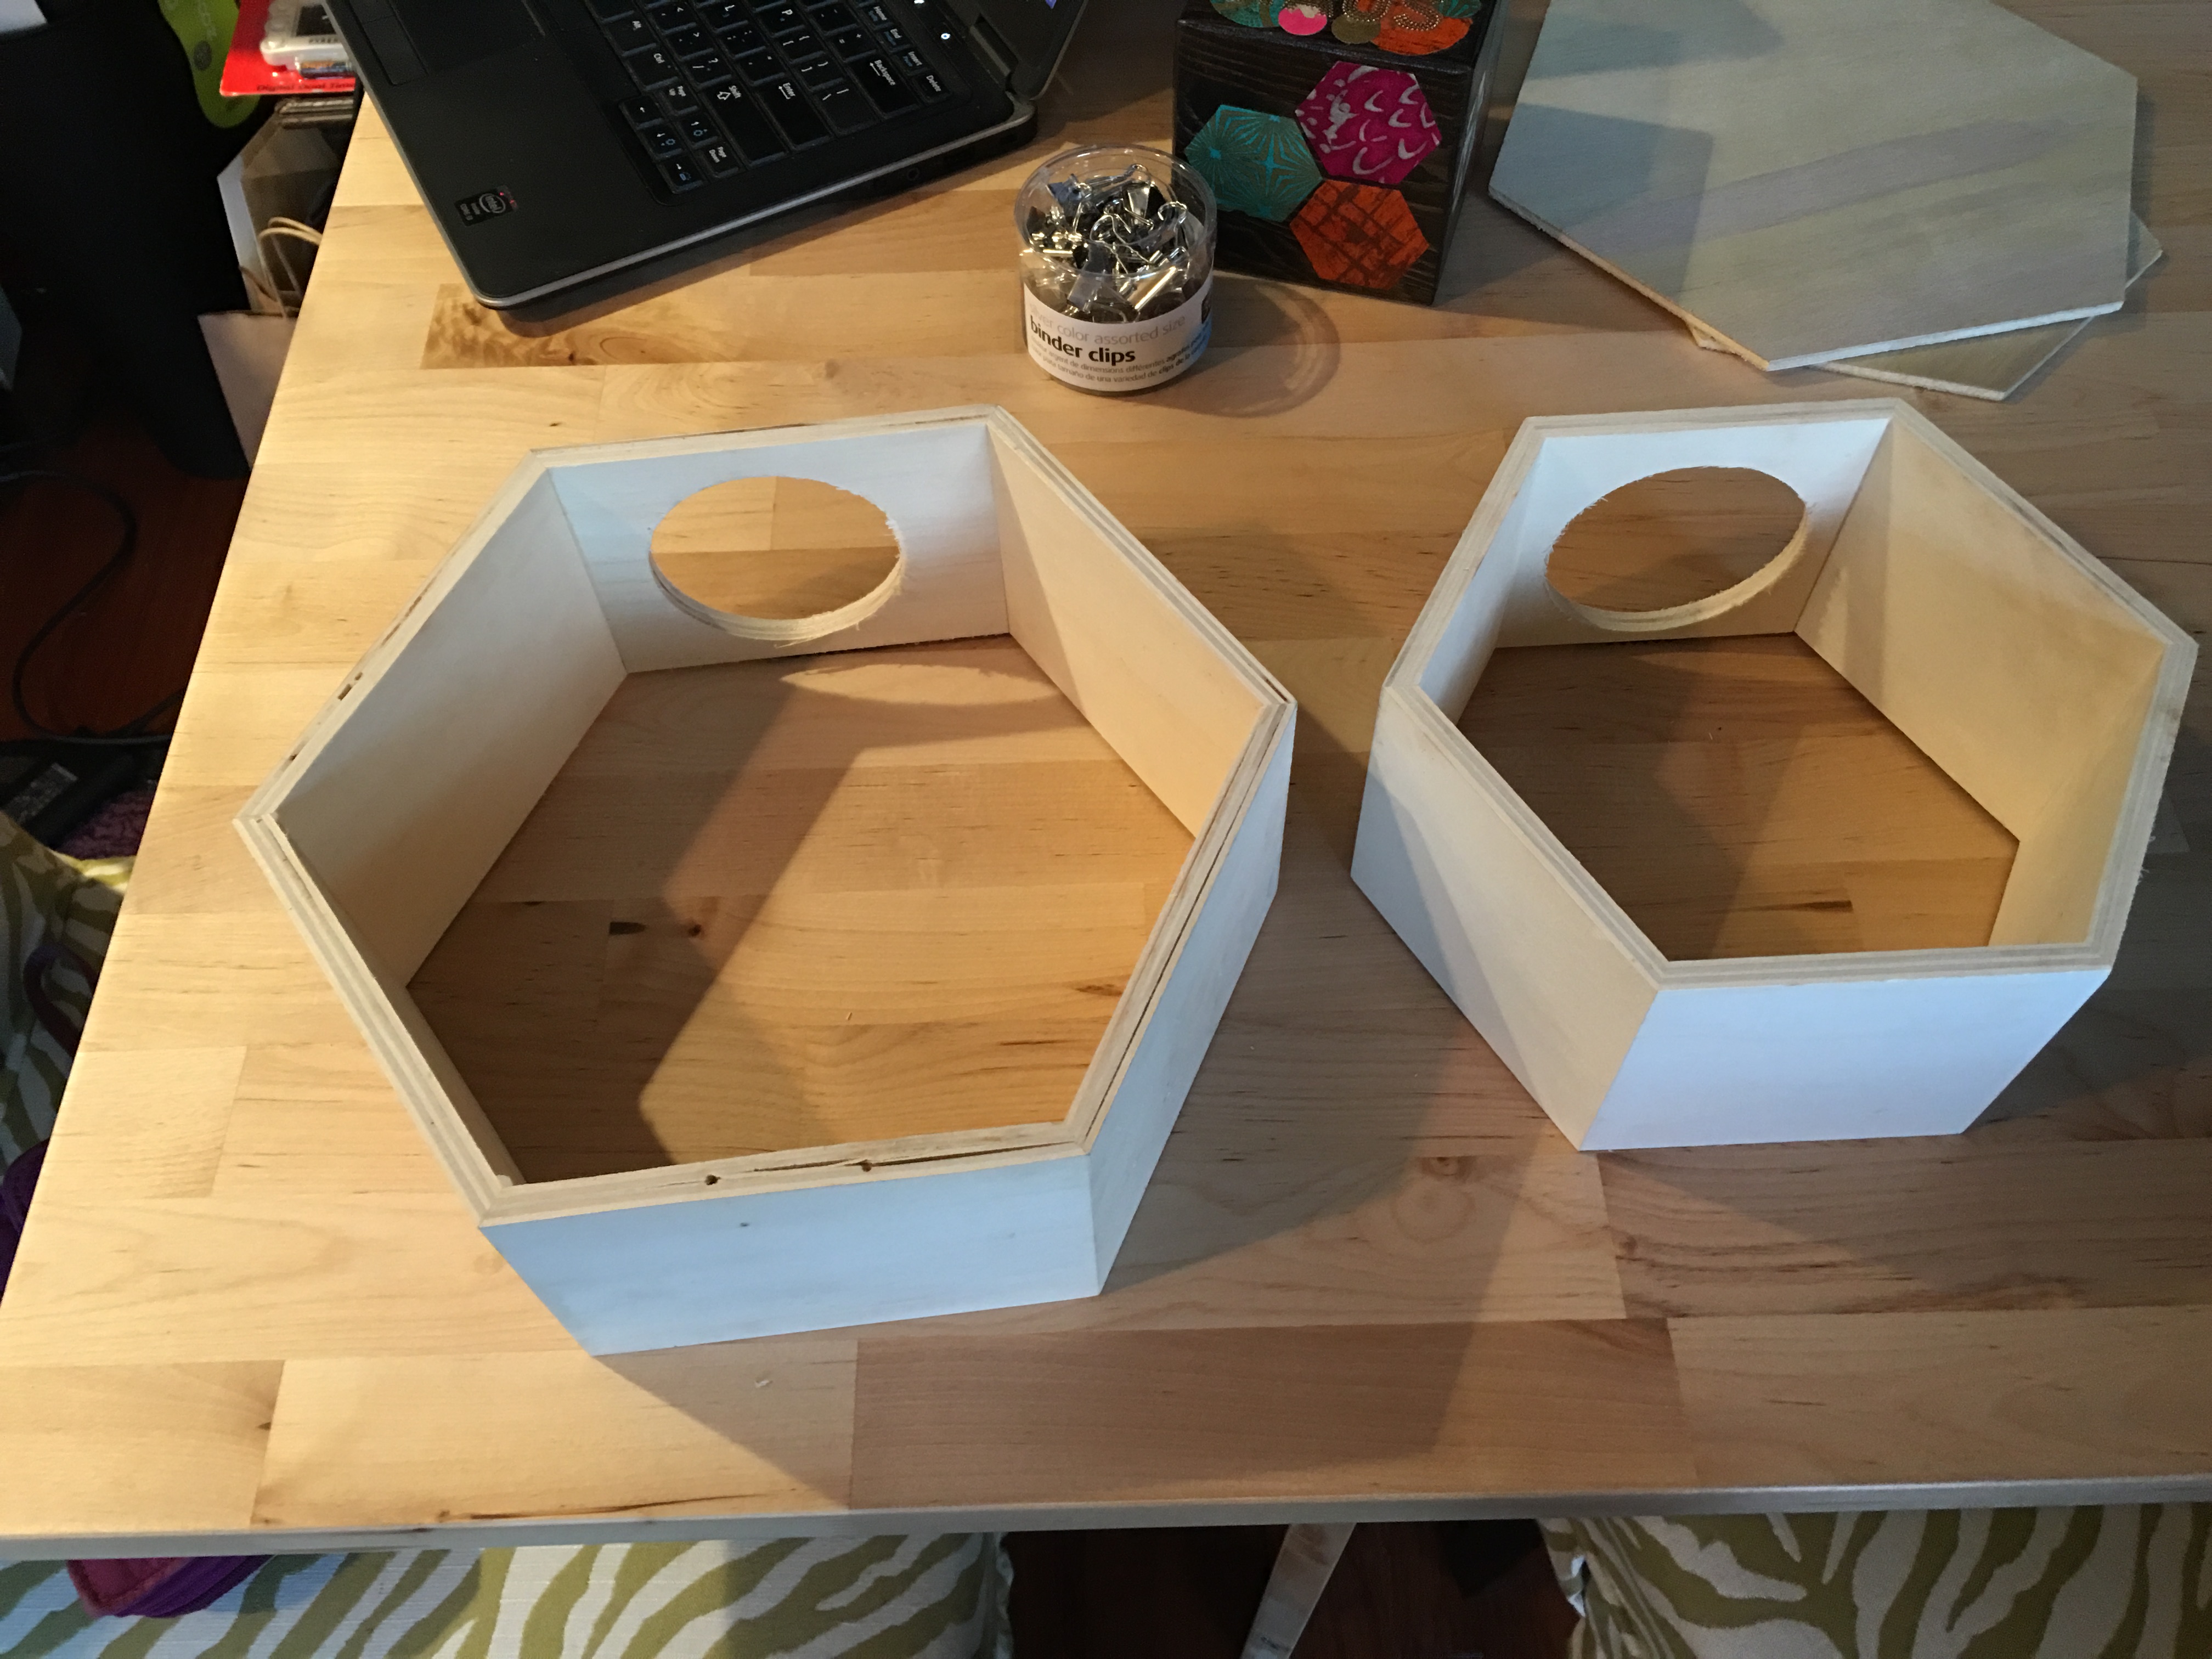
I decided to use the same hole saw size for the medium and large size hexagons.
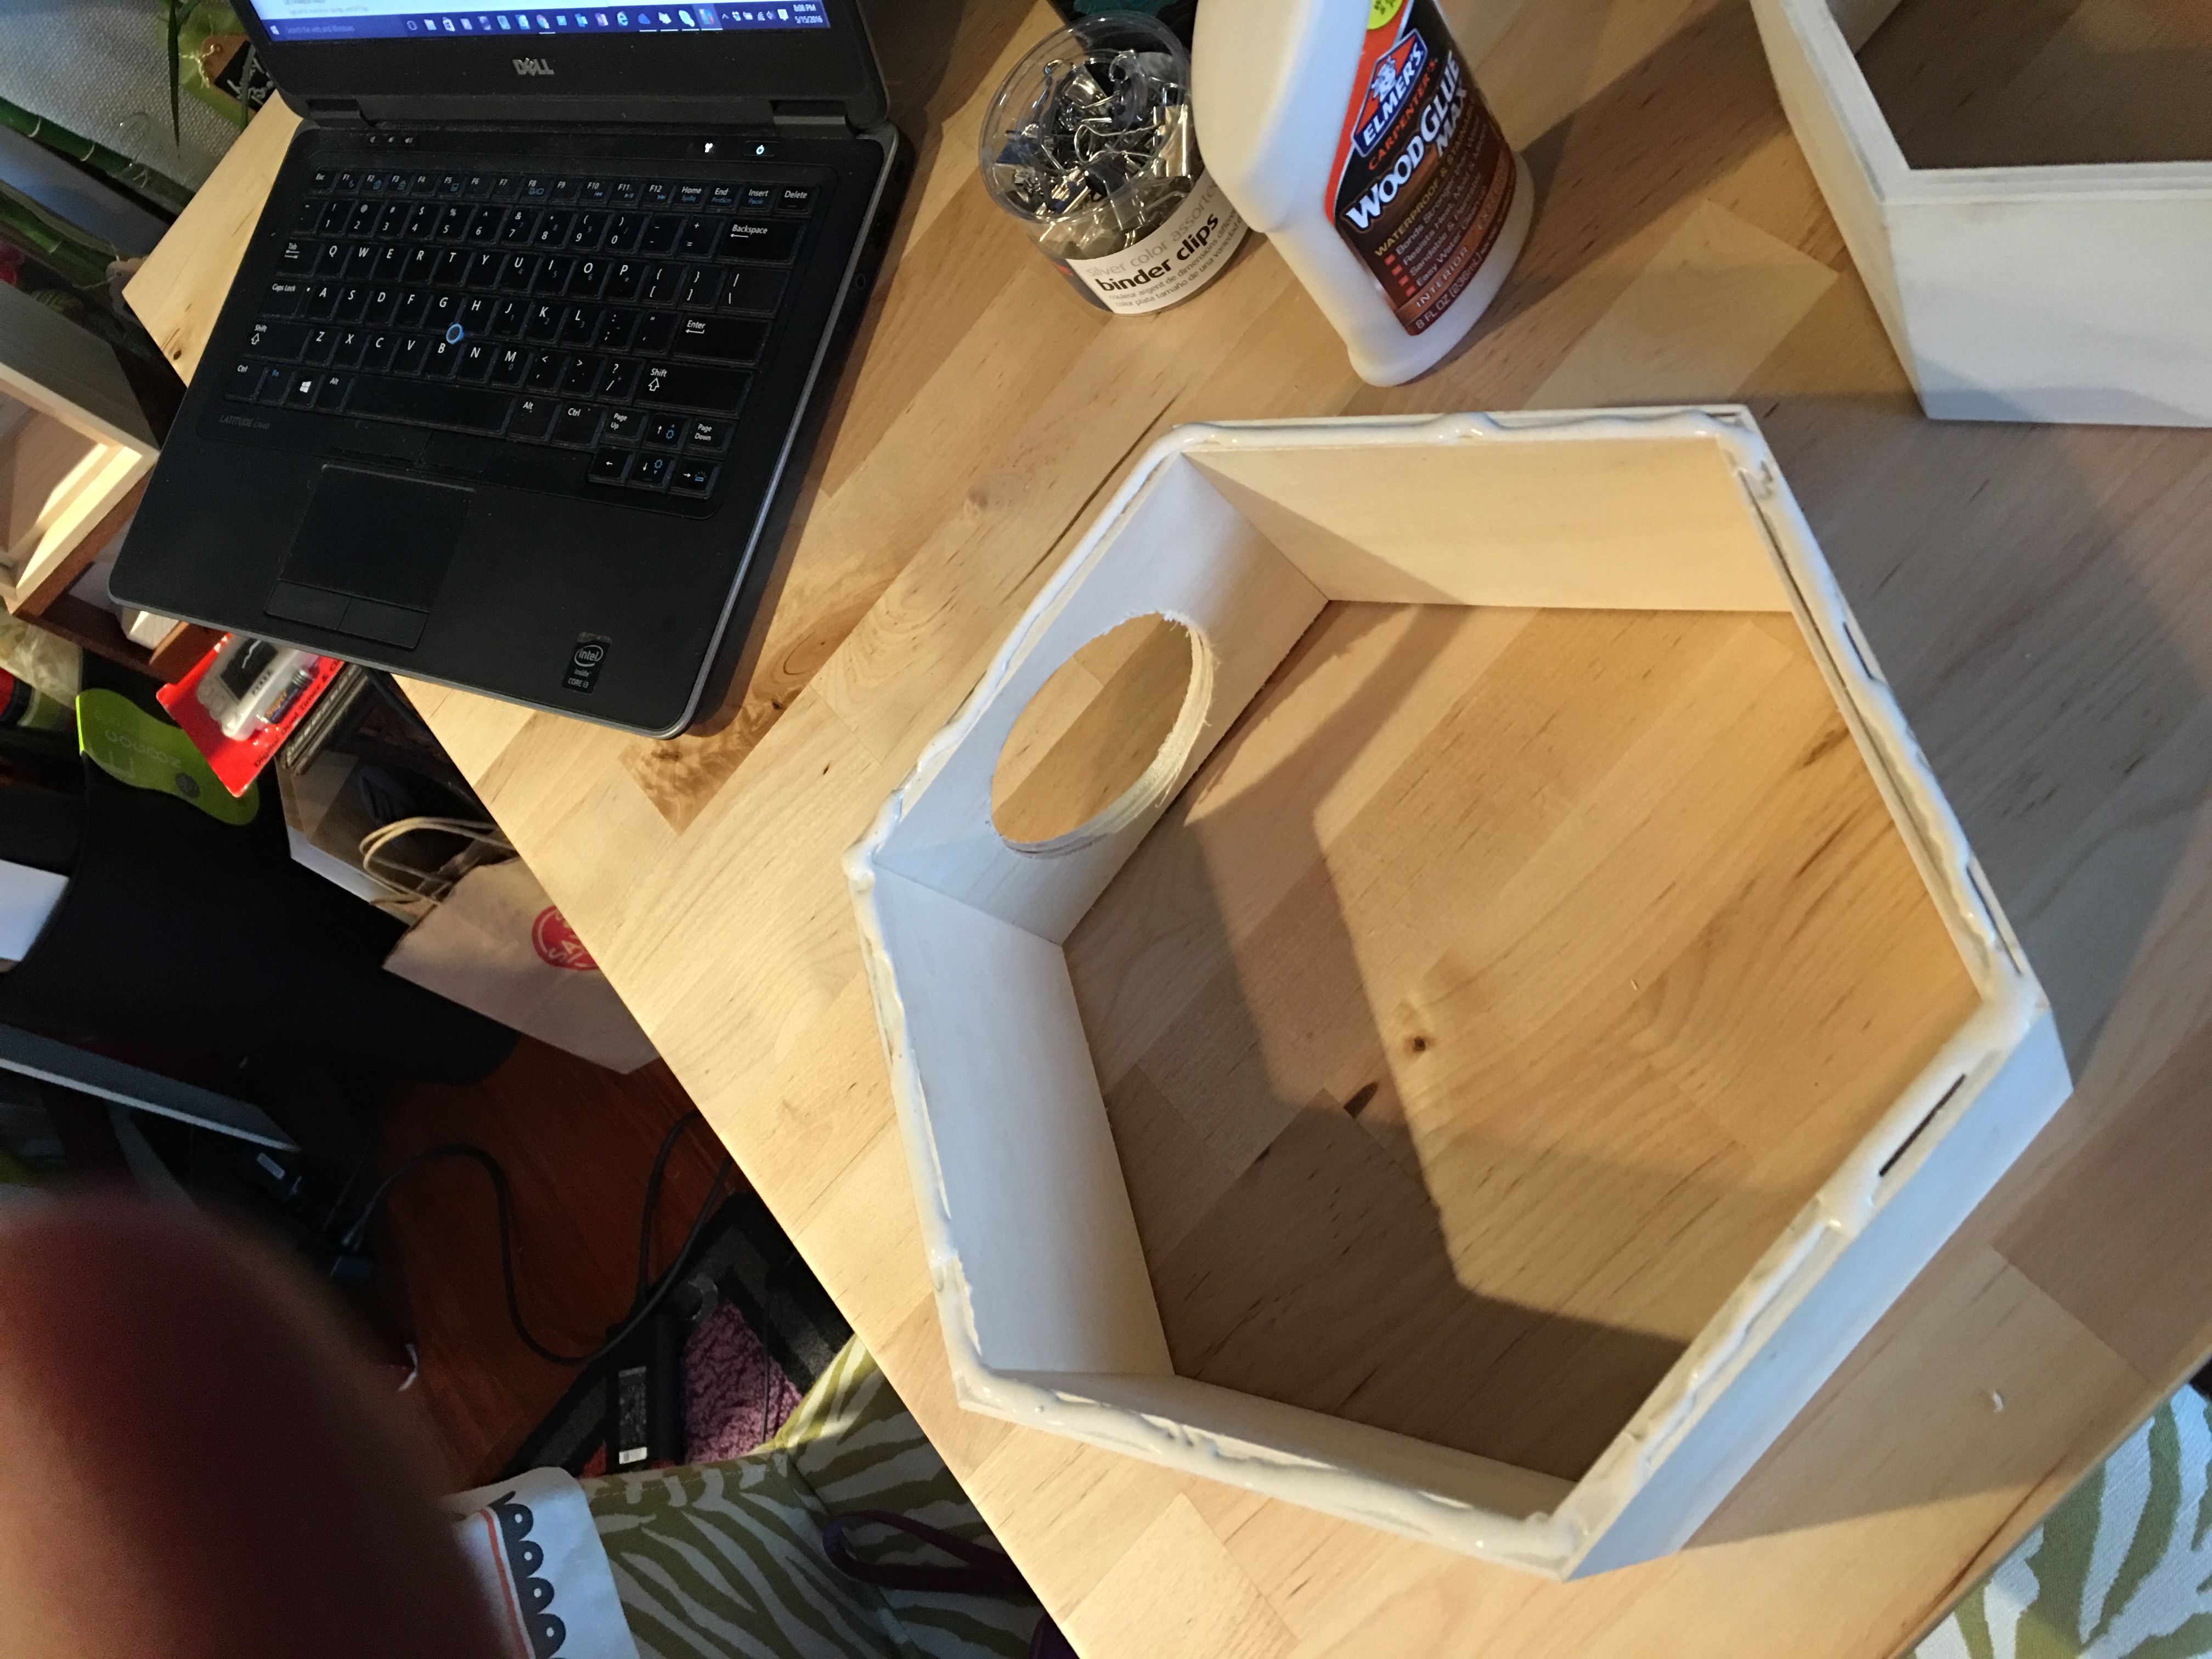
I used Elmers wood glue to add the plywood cut out to the front of the hexagon shape.
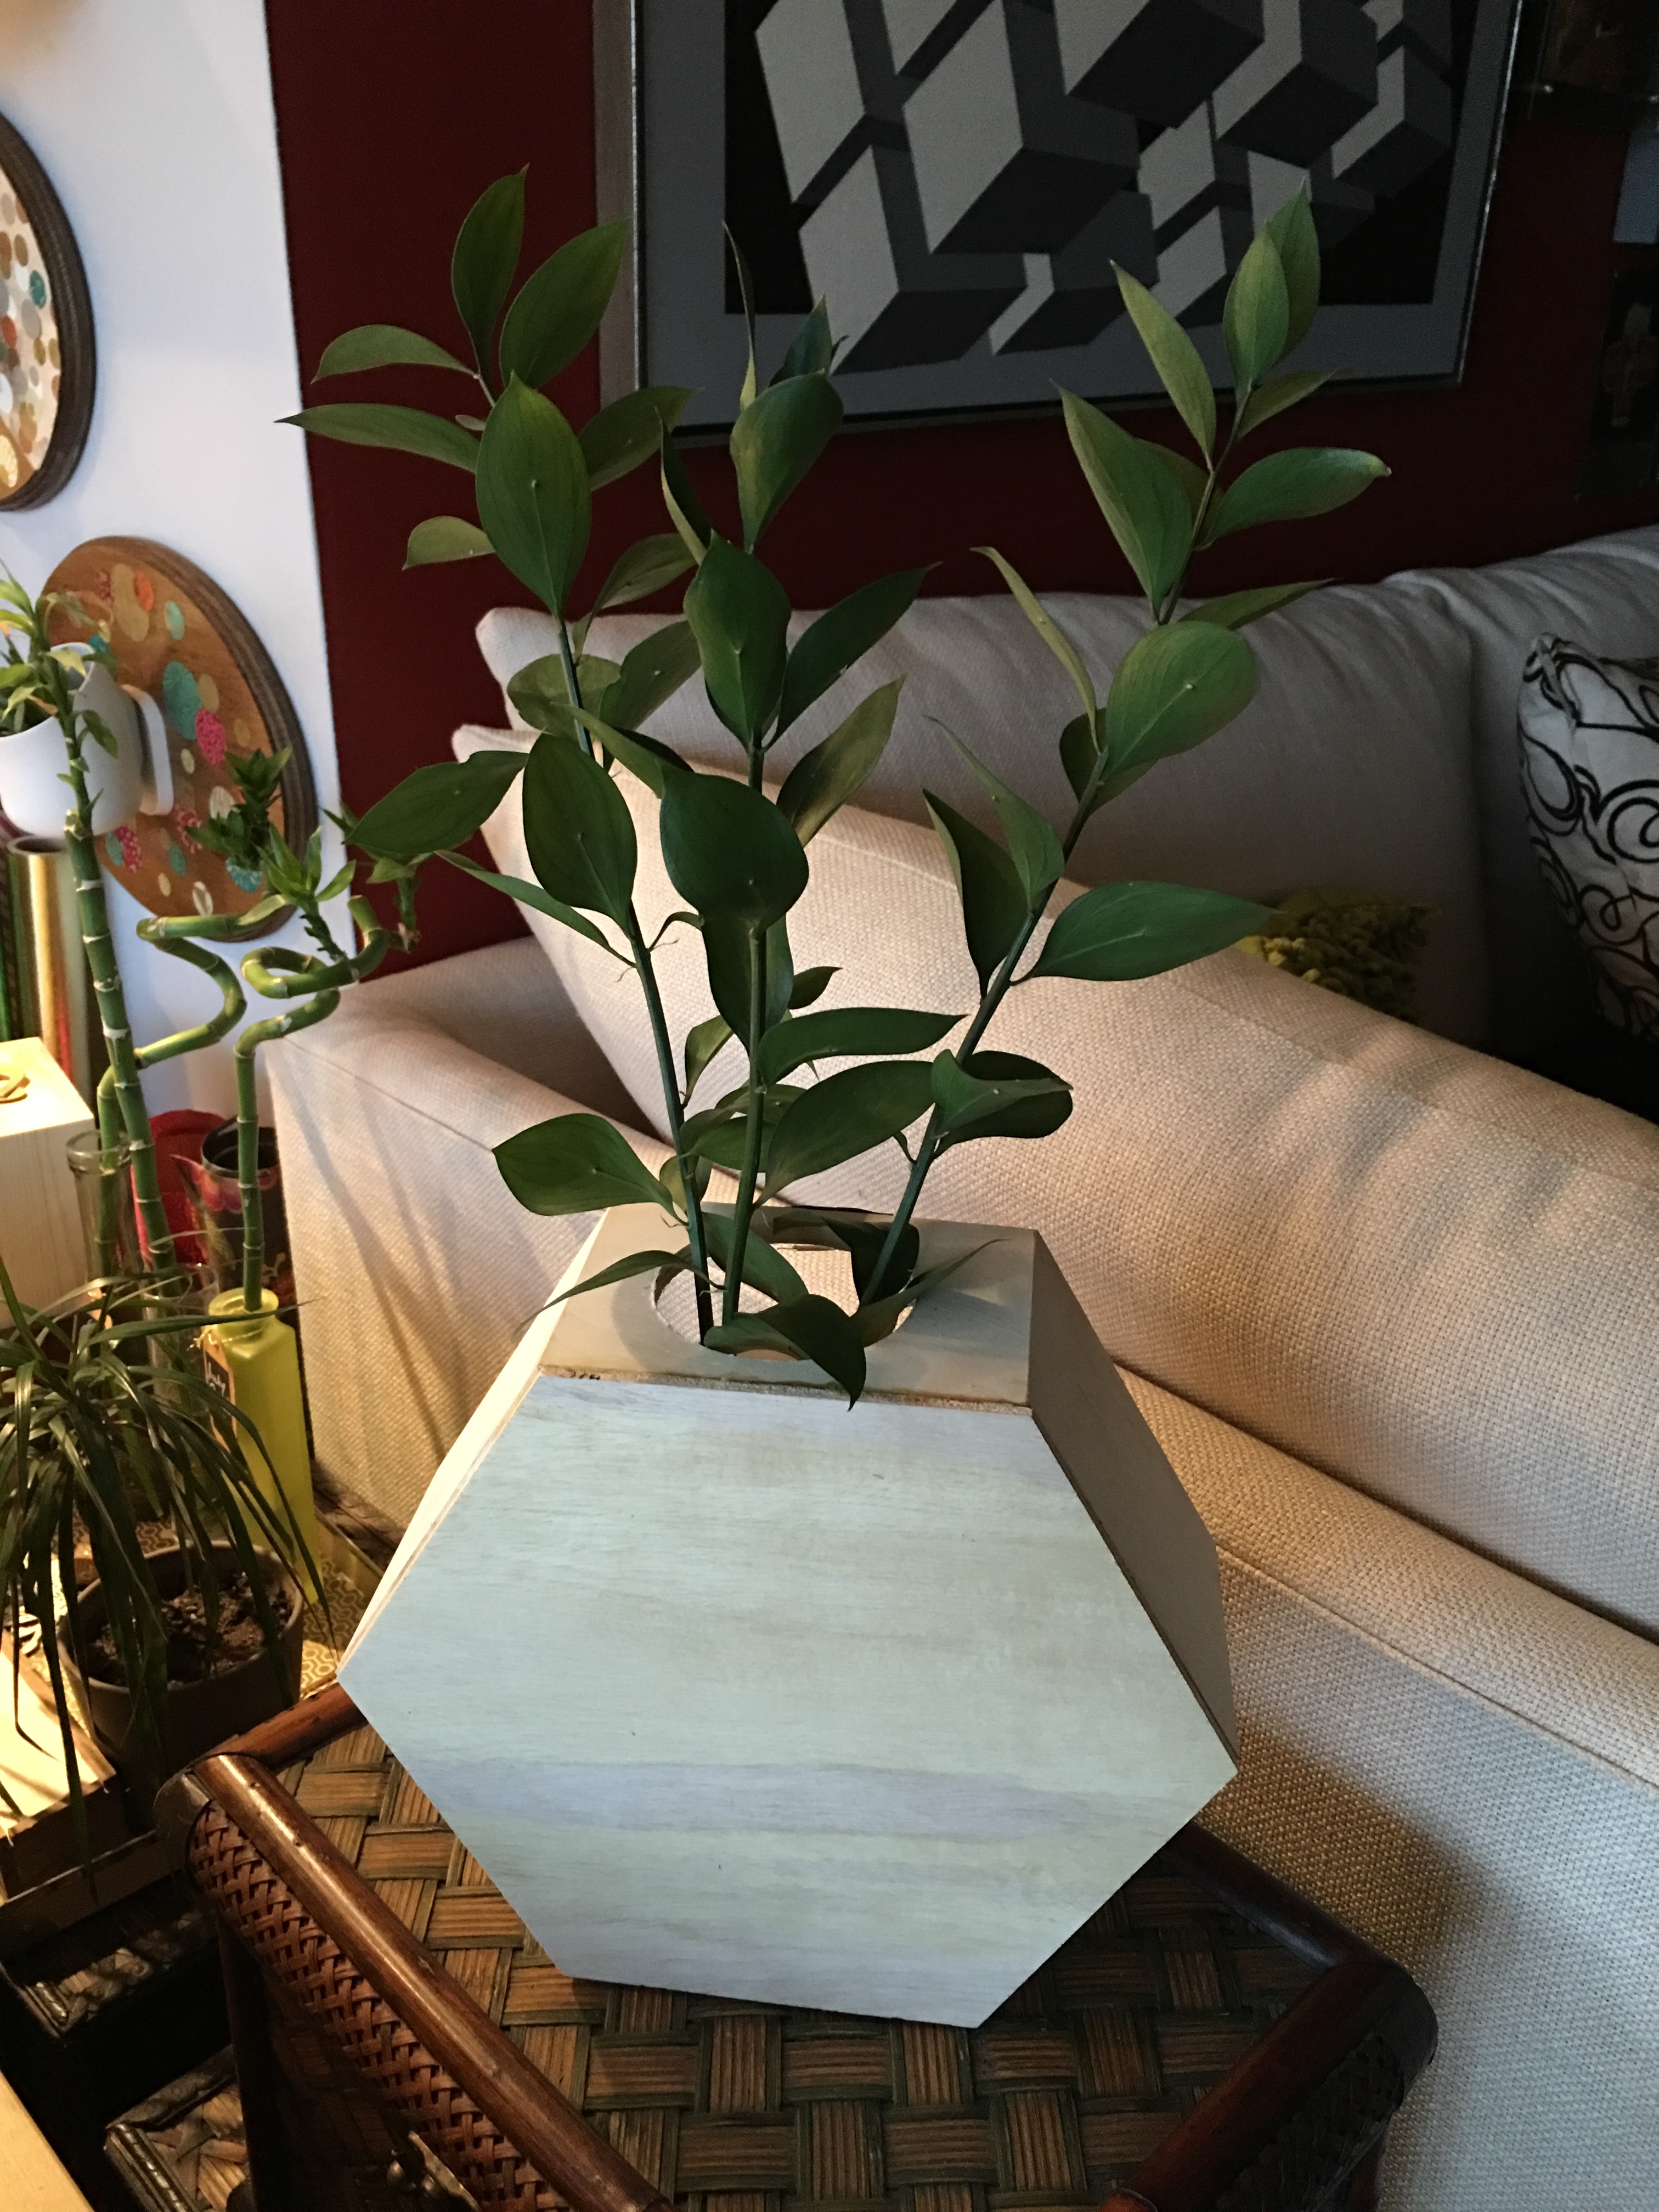
And, once dried, I added a cut inside the hexagon, and then added my blooms.

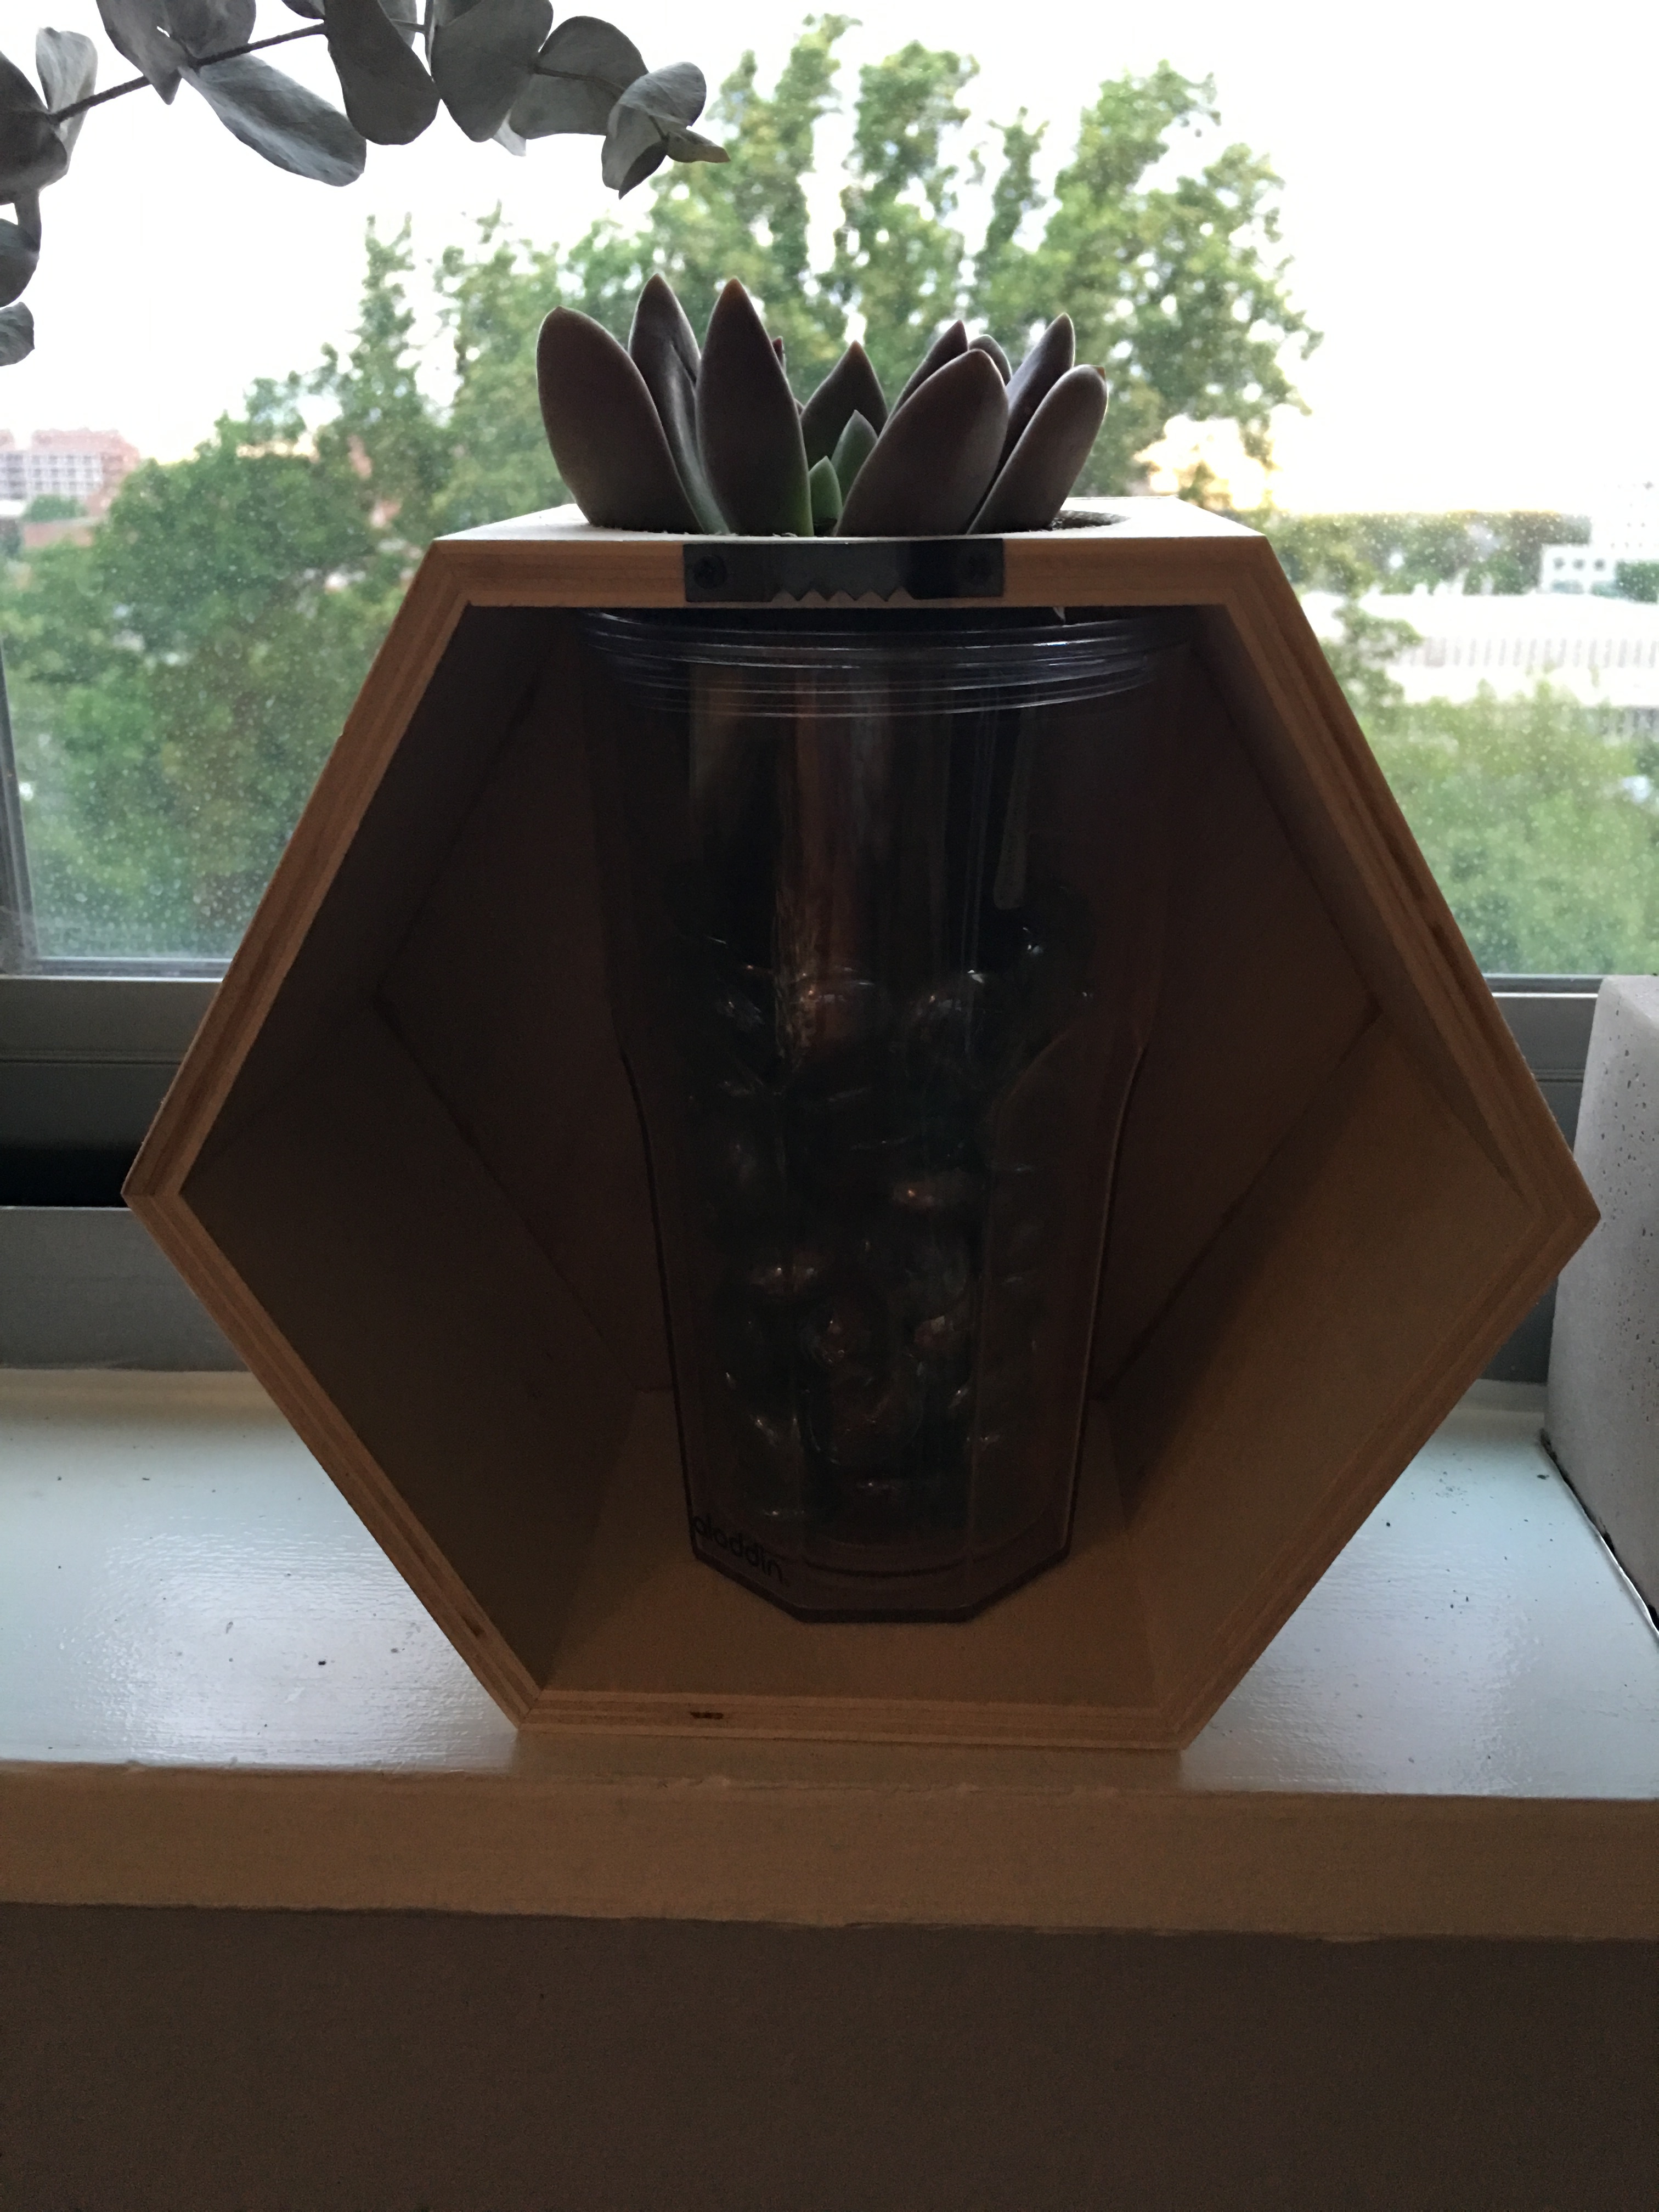
Real plant, folks. An old drinking cup (that we never use nowadays) filled with marbles is the base for the succulent plant that peeks over the top of the medium hexagon.
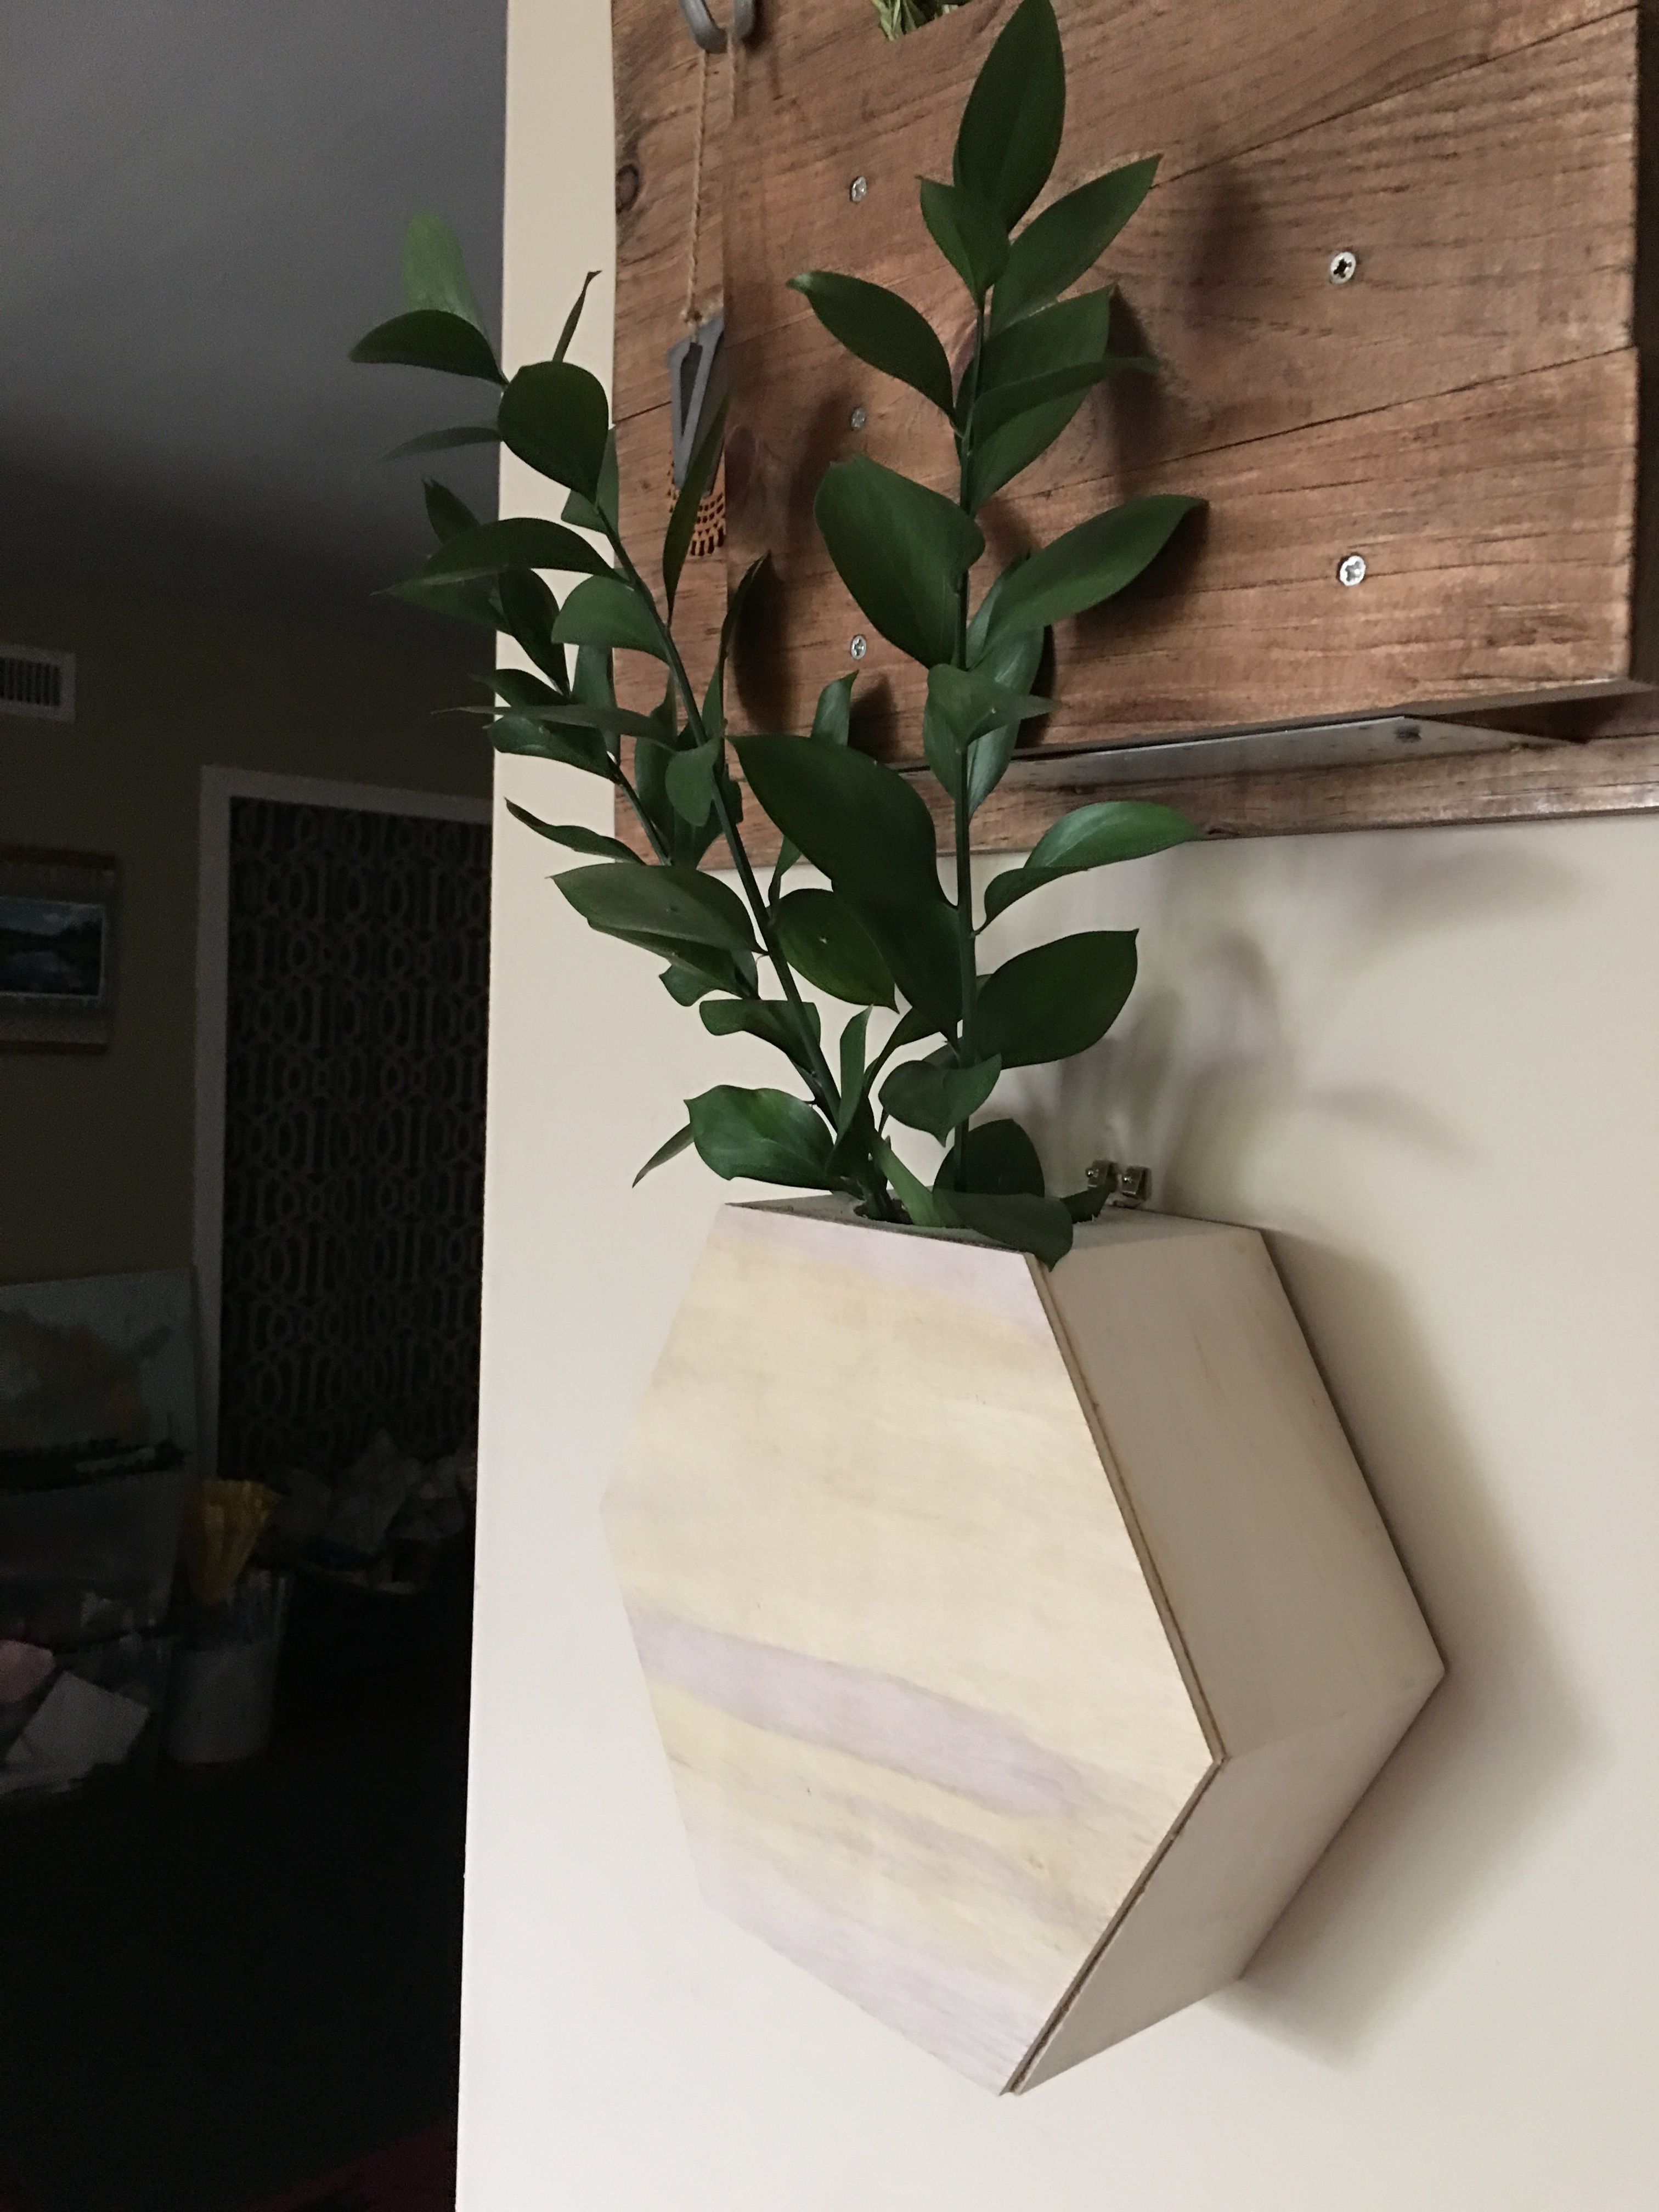
And a big plastic bottle serves as the vase inside of the large hexagon planter.
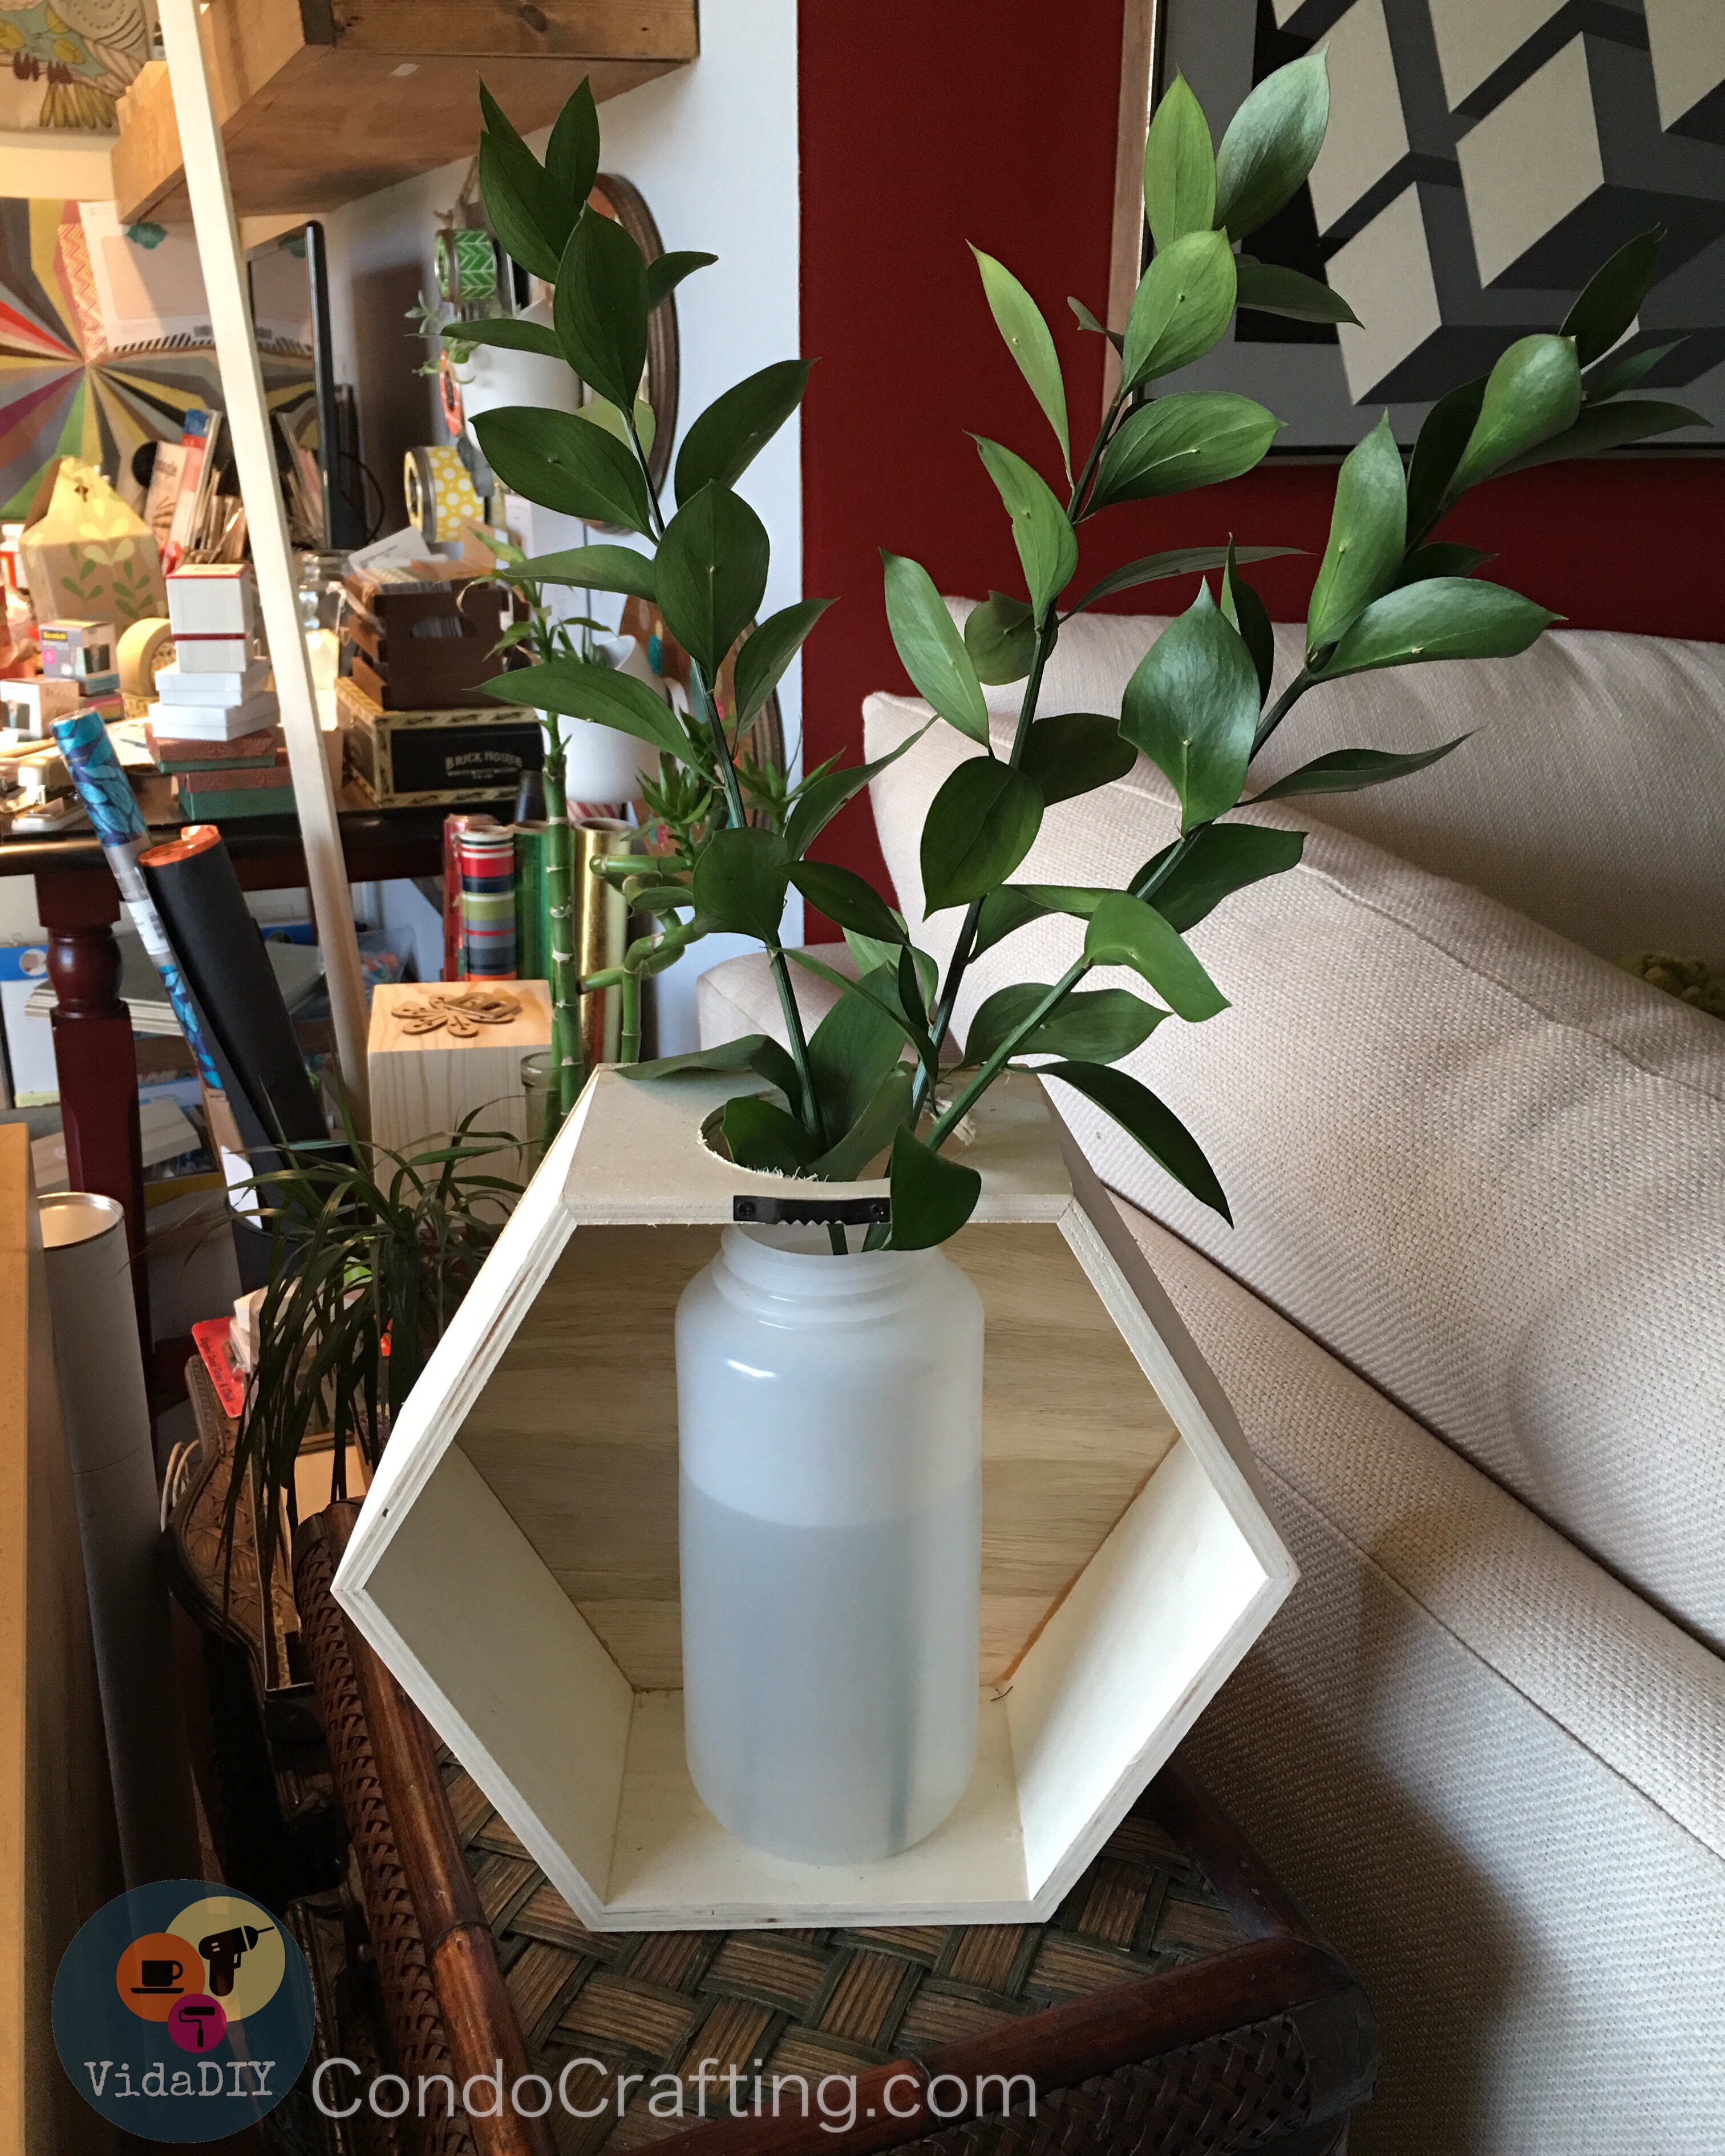
Small succulent plants didn’t quite look in proportion to the much larger size of this hexagon. So I decided that this would work much better as a vase.
I was eager to try these hexagon wall planters out. So I hung the large hexagon up on the wall between the den and entryway.
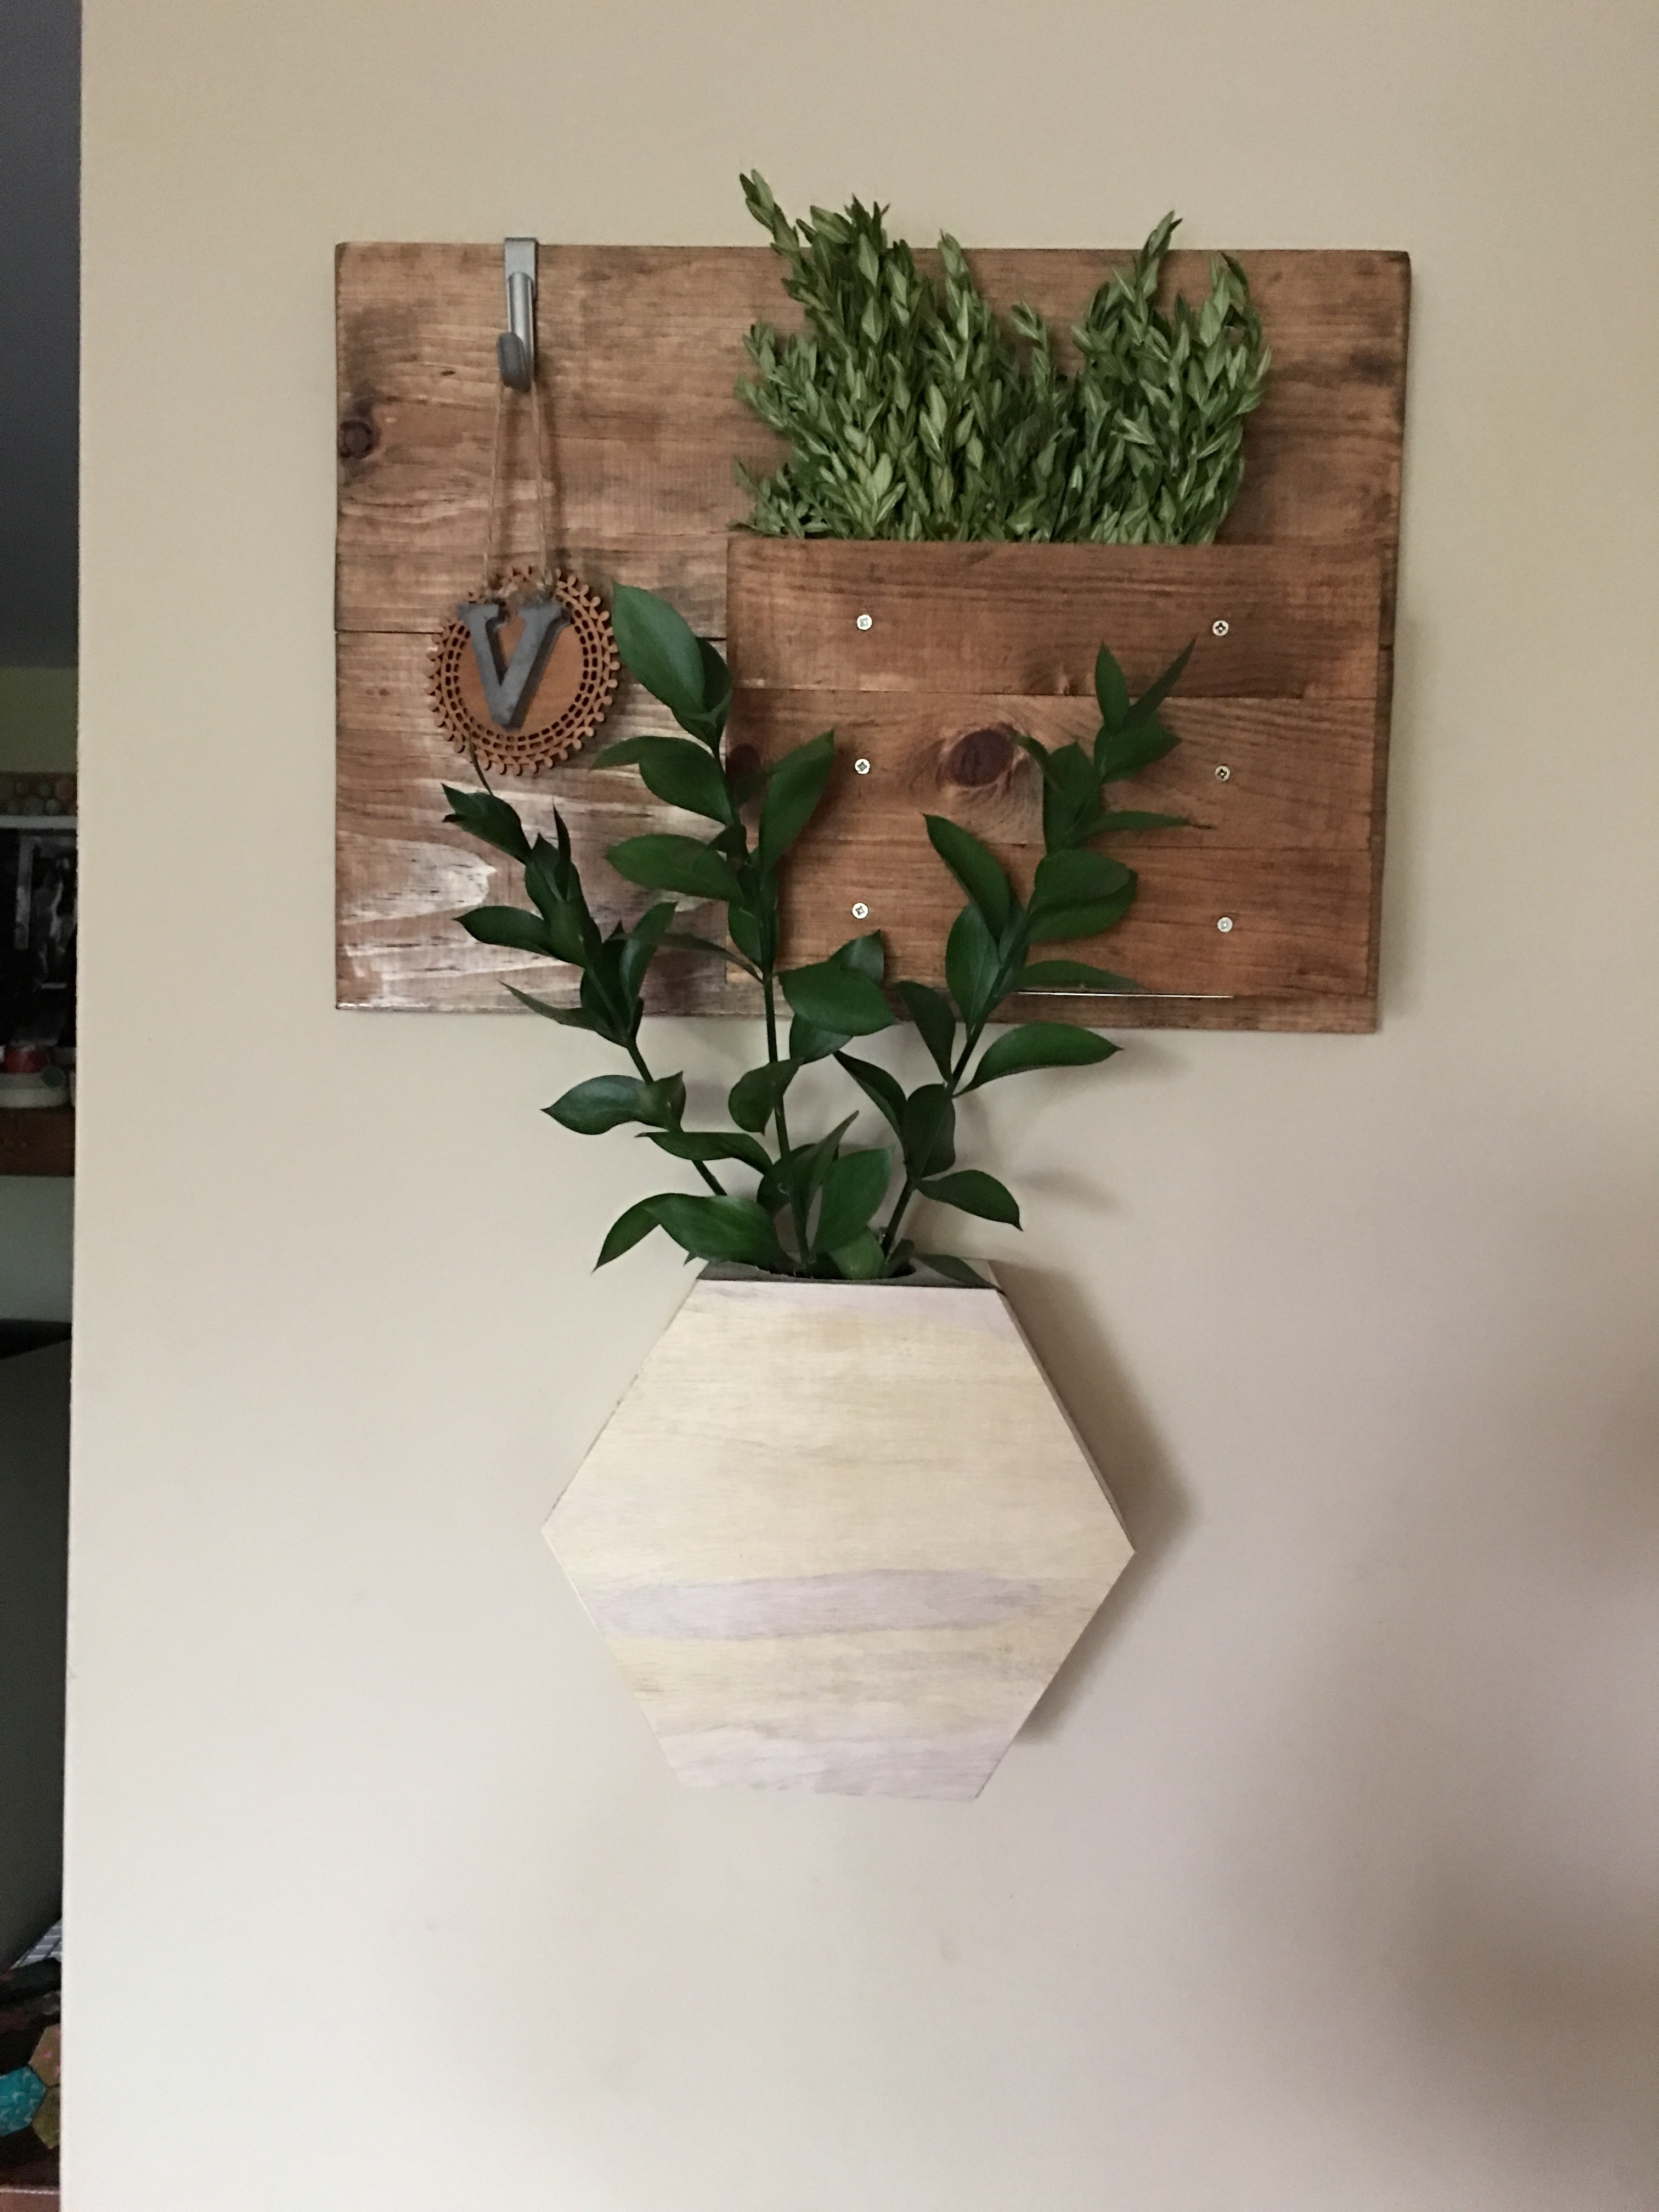
Absolutely loved it!
I’m looking forward to decorating the hexagons and finding permanent homes for each on my wall. I absolute loved this project. I post details on how I finished and displayed the hexagons in my Part 2 post.
Thanks again to Lindi from lovecreatecelebrate.com for the fantastic idea. One of my most favorite DIYs so far. V-