
Building an outdoor bench for the balcony
You may also like:
- Pipe and wood shelves for Xenia’s bedroom
- DIY Centerpiece Wall Sconce Part 2
- DIY Centerpiece Wall Sconce Part 1
- DIY Floating Frame Panels with sconces finally mounted!
- Building out more floating shelves
- DIY Mobile Pipe Hall Tree
- A hanging organizer for my pipe hanging bar
- Building a floating shelf for the den
- DIY hanging wood shelf (and wood picture ledge)
May 16, 2016: Just in time for May mild weather! My EYS (Engineer Your Space) balcony bench is built and on the balcony at last! For such a simple build, it took what seemed to be a lot of blood, sweat and tears getting this puppy done.
Months ago I discovered this YouTube channel hosted by Isabelle LaRue: Engineer Your Space (EYS). I stumbled upon her channel when I was looking for details for using an IKEA Kvartal room dividing system. I loved the way Isabelle used simple explanations for doing DIY projects at home (and especially in small apartment spaces). And I especially loved how she demonstrates seemingly complicated projects (while breaking it down in easy to tackle steps).
Before we knew it, I had the EYS episodes in constant rotation. Both Bruce and I became very familiar with the projects, the steps, and the upbeat, funky theme music for “The Isabelle DIY Show”.
One project I became obsessed with building for the condo is the Season 1, Episode 14: How to create an outdoor dining area for a small balcony.

My girl transformed a small, NYC apartment balcony into an oasis by building two privacy fences and two benches using furring strips and 1×4 pine wood.
Isabelle made it seem so simple! I told Bruce back in October 2015 that I want to do this project for our condo balcony.
But I had two major obstacles to doing this build (other than the winter cold and my growing list of work and personal projects).
- The condo board. Building privacy fences is a risky proposition. Especially when it involves tying tall wood structures to balcony railings, 7 stories up.
- Bruce. During a major storm he witnessed his adirondack chair fly off the same balcony and crash land several hundred feet away in the neighboring property parking lot. I hear about this story. A lot. Especially when I bring up my desire to put anything out on balcony.
So I put this idea on hold for several months while I worked on other projects (including another Isabelle LaRue inspiration: DIY wall sconces for my living room gallery.)
In March, I revisited the balcony project idea with Bruce. He referred me to the condo building property management office. And, after promptly informing me that tying structures on the balcony railing is prohibited, the property manager suggested I petition the condo board when I requested a written rule reference.
Yes, this is turning out to be a serious campaign. The condo rules state restrictions to tying items on the exterior of the balcony railings. But I want to tie the fence to the interior for this build.
So I picked up a condo board architecture change request form and filed it away. I decided to pick my battles. For now, I will start with building one of the benches.
In April I picked up lumber from Home Depot to build the long bench of Isabelle’s outdoor dining area build. It’s a really simple build with a short cut list and a small handful of materials.
Project Materials List
- Two 1×4 pine boards, 55″ length
- Four 1×4 pine boards, 56″ length
- Three 1×4 pine boards, 13.75″ length
- Four 2×4 whitewood, 17″ length
- Waterproofing wood stain (Or indoor wood stain and exterior water proofing urethane sealer)
- 2″ deck screws
- Power drill with deck screw bit
- Sander
- Velcro (A Bruce stipulation. So that the bench can be secured to the balcony and won’t fly off into the neighbors parking lot!)
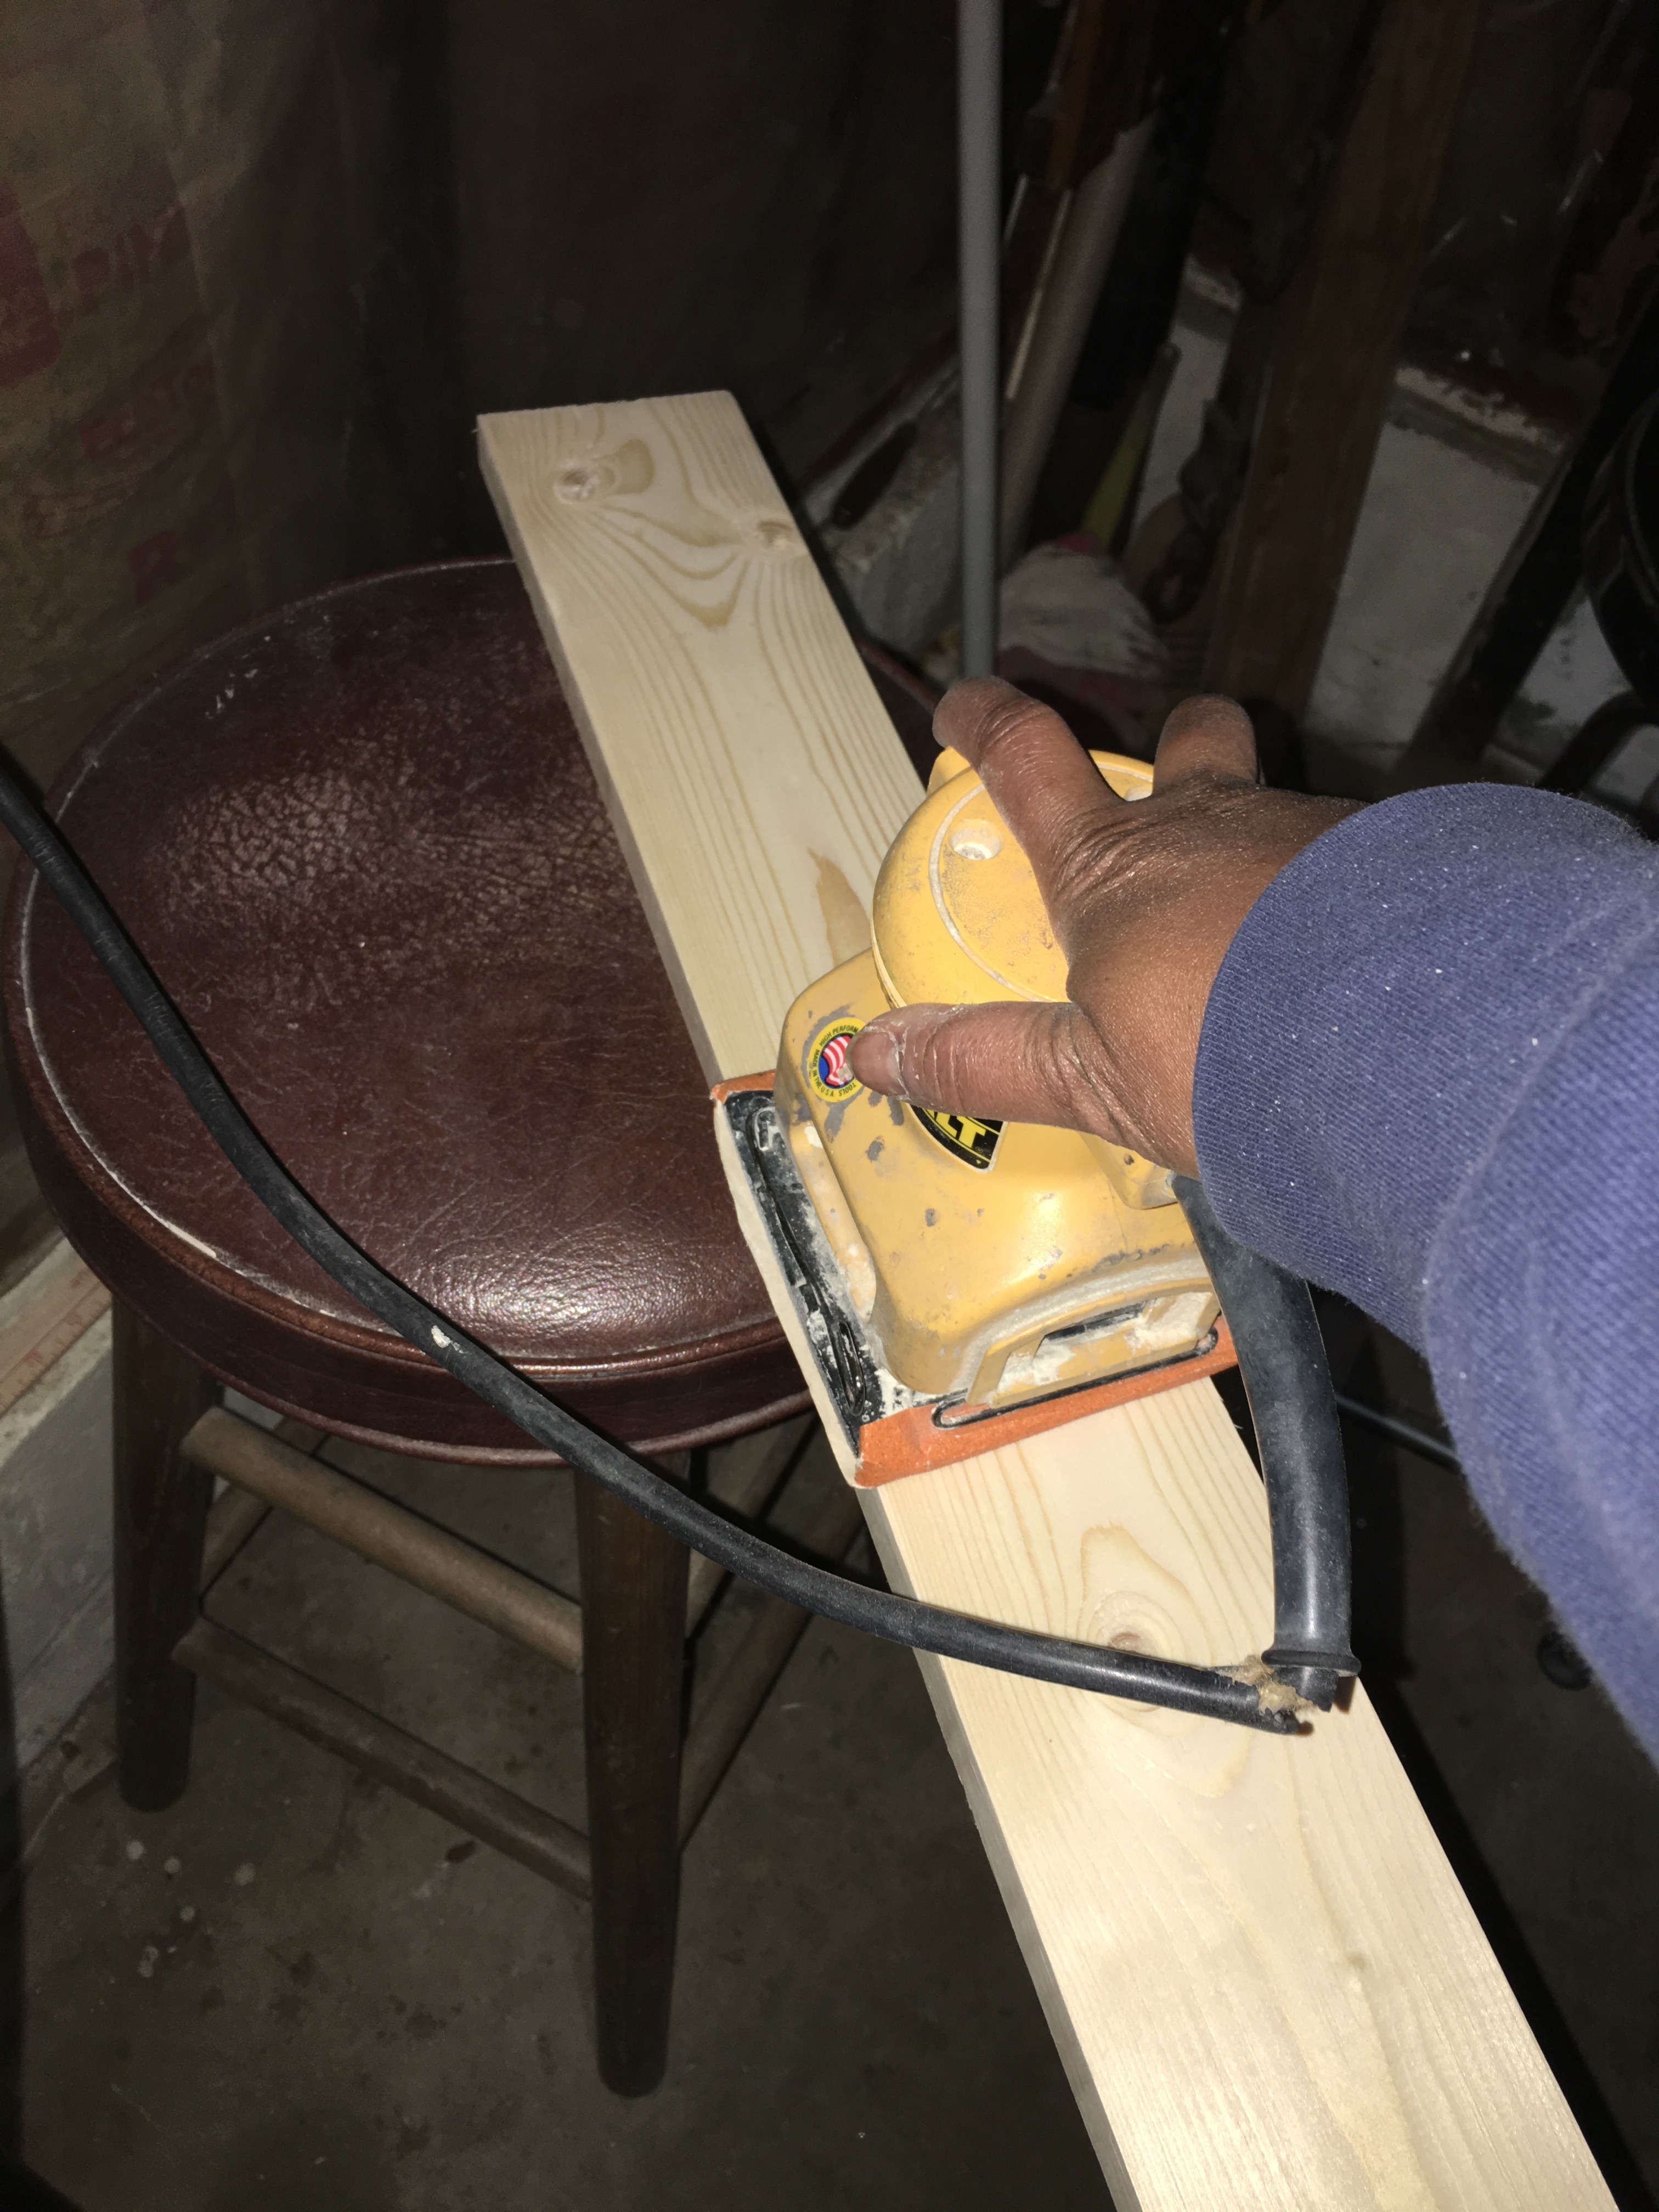
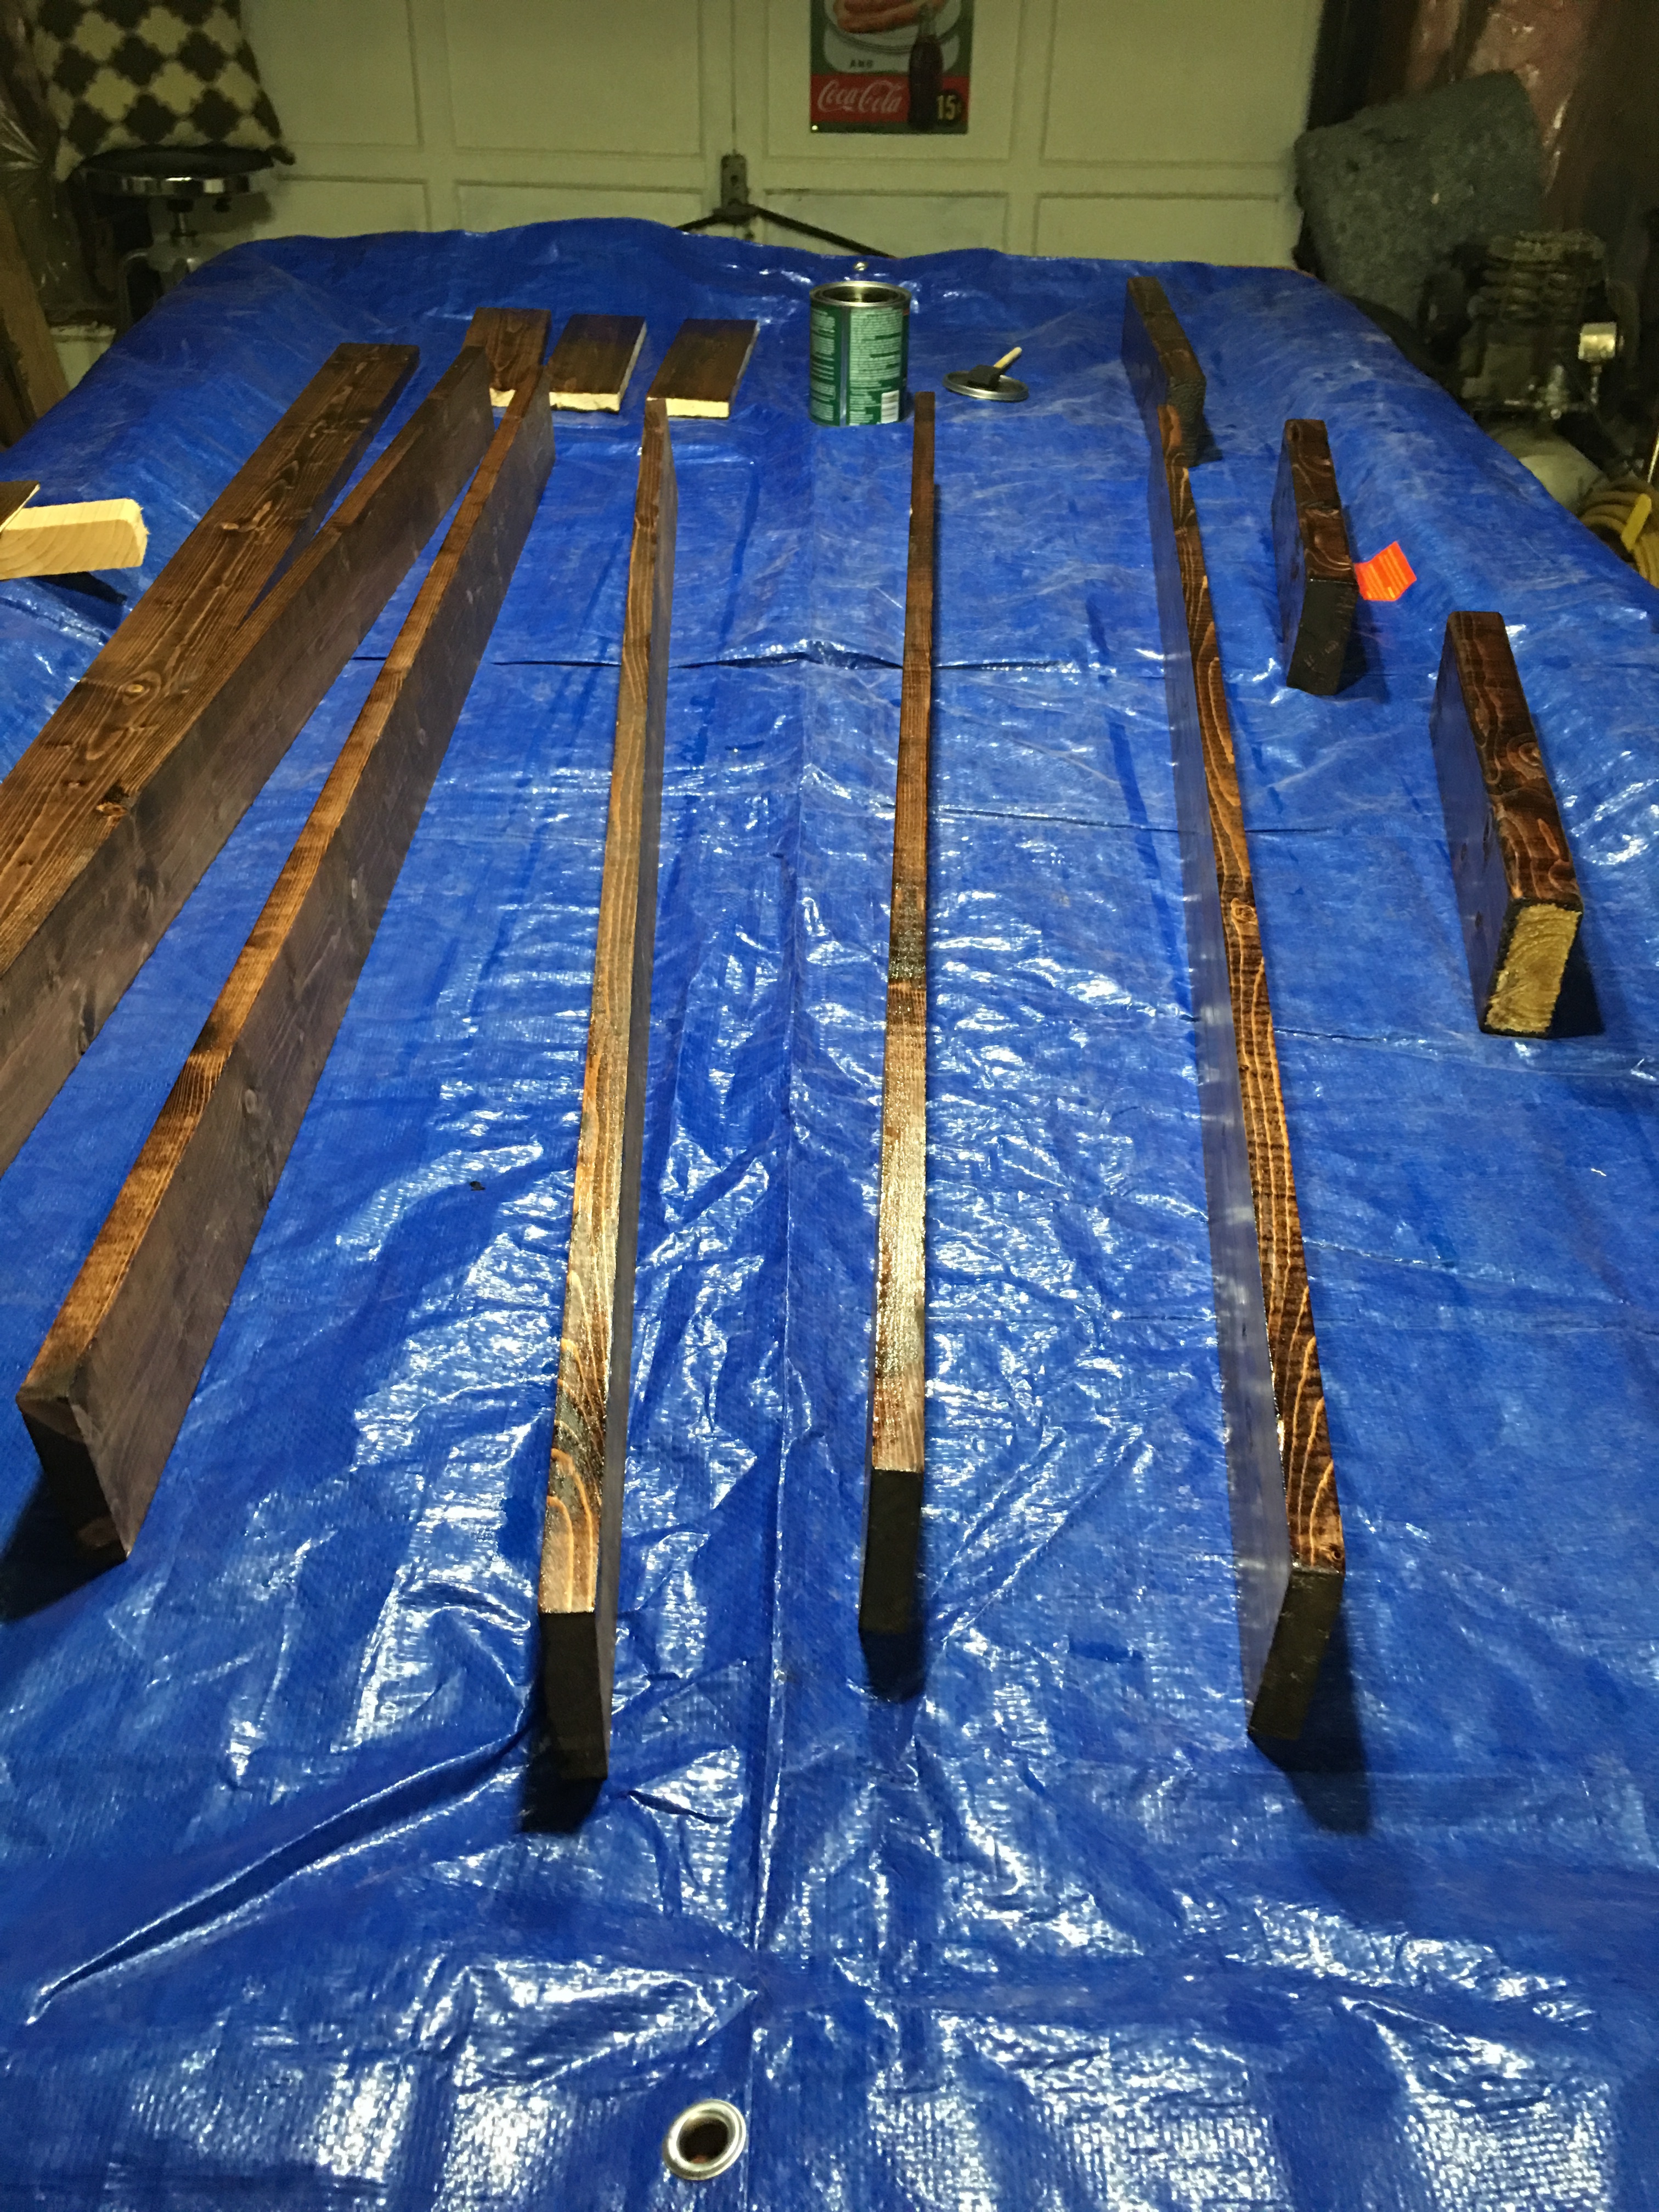
I brought my cut wood for the project to my workshop (aka my friend Tim’s garage) to sand and stain each piece. I used 60, and then 150 grit sandpaper with Tim’s Dewalt orbital sander to sand down each board.
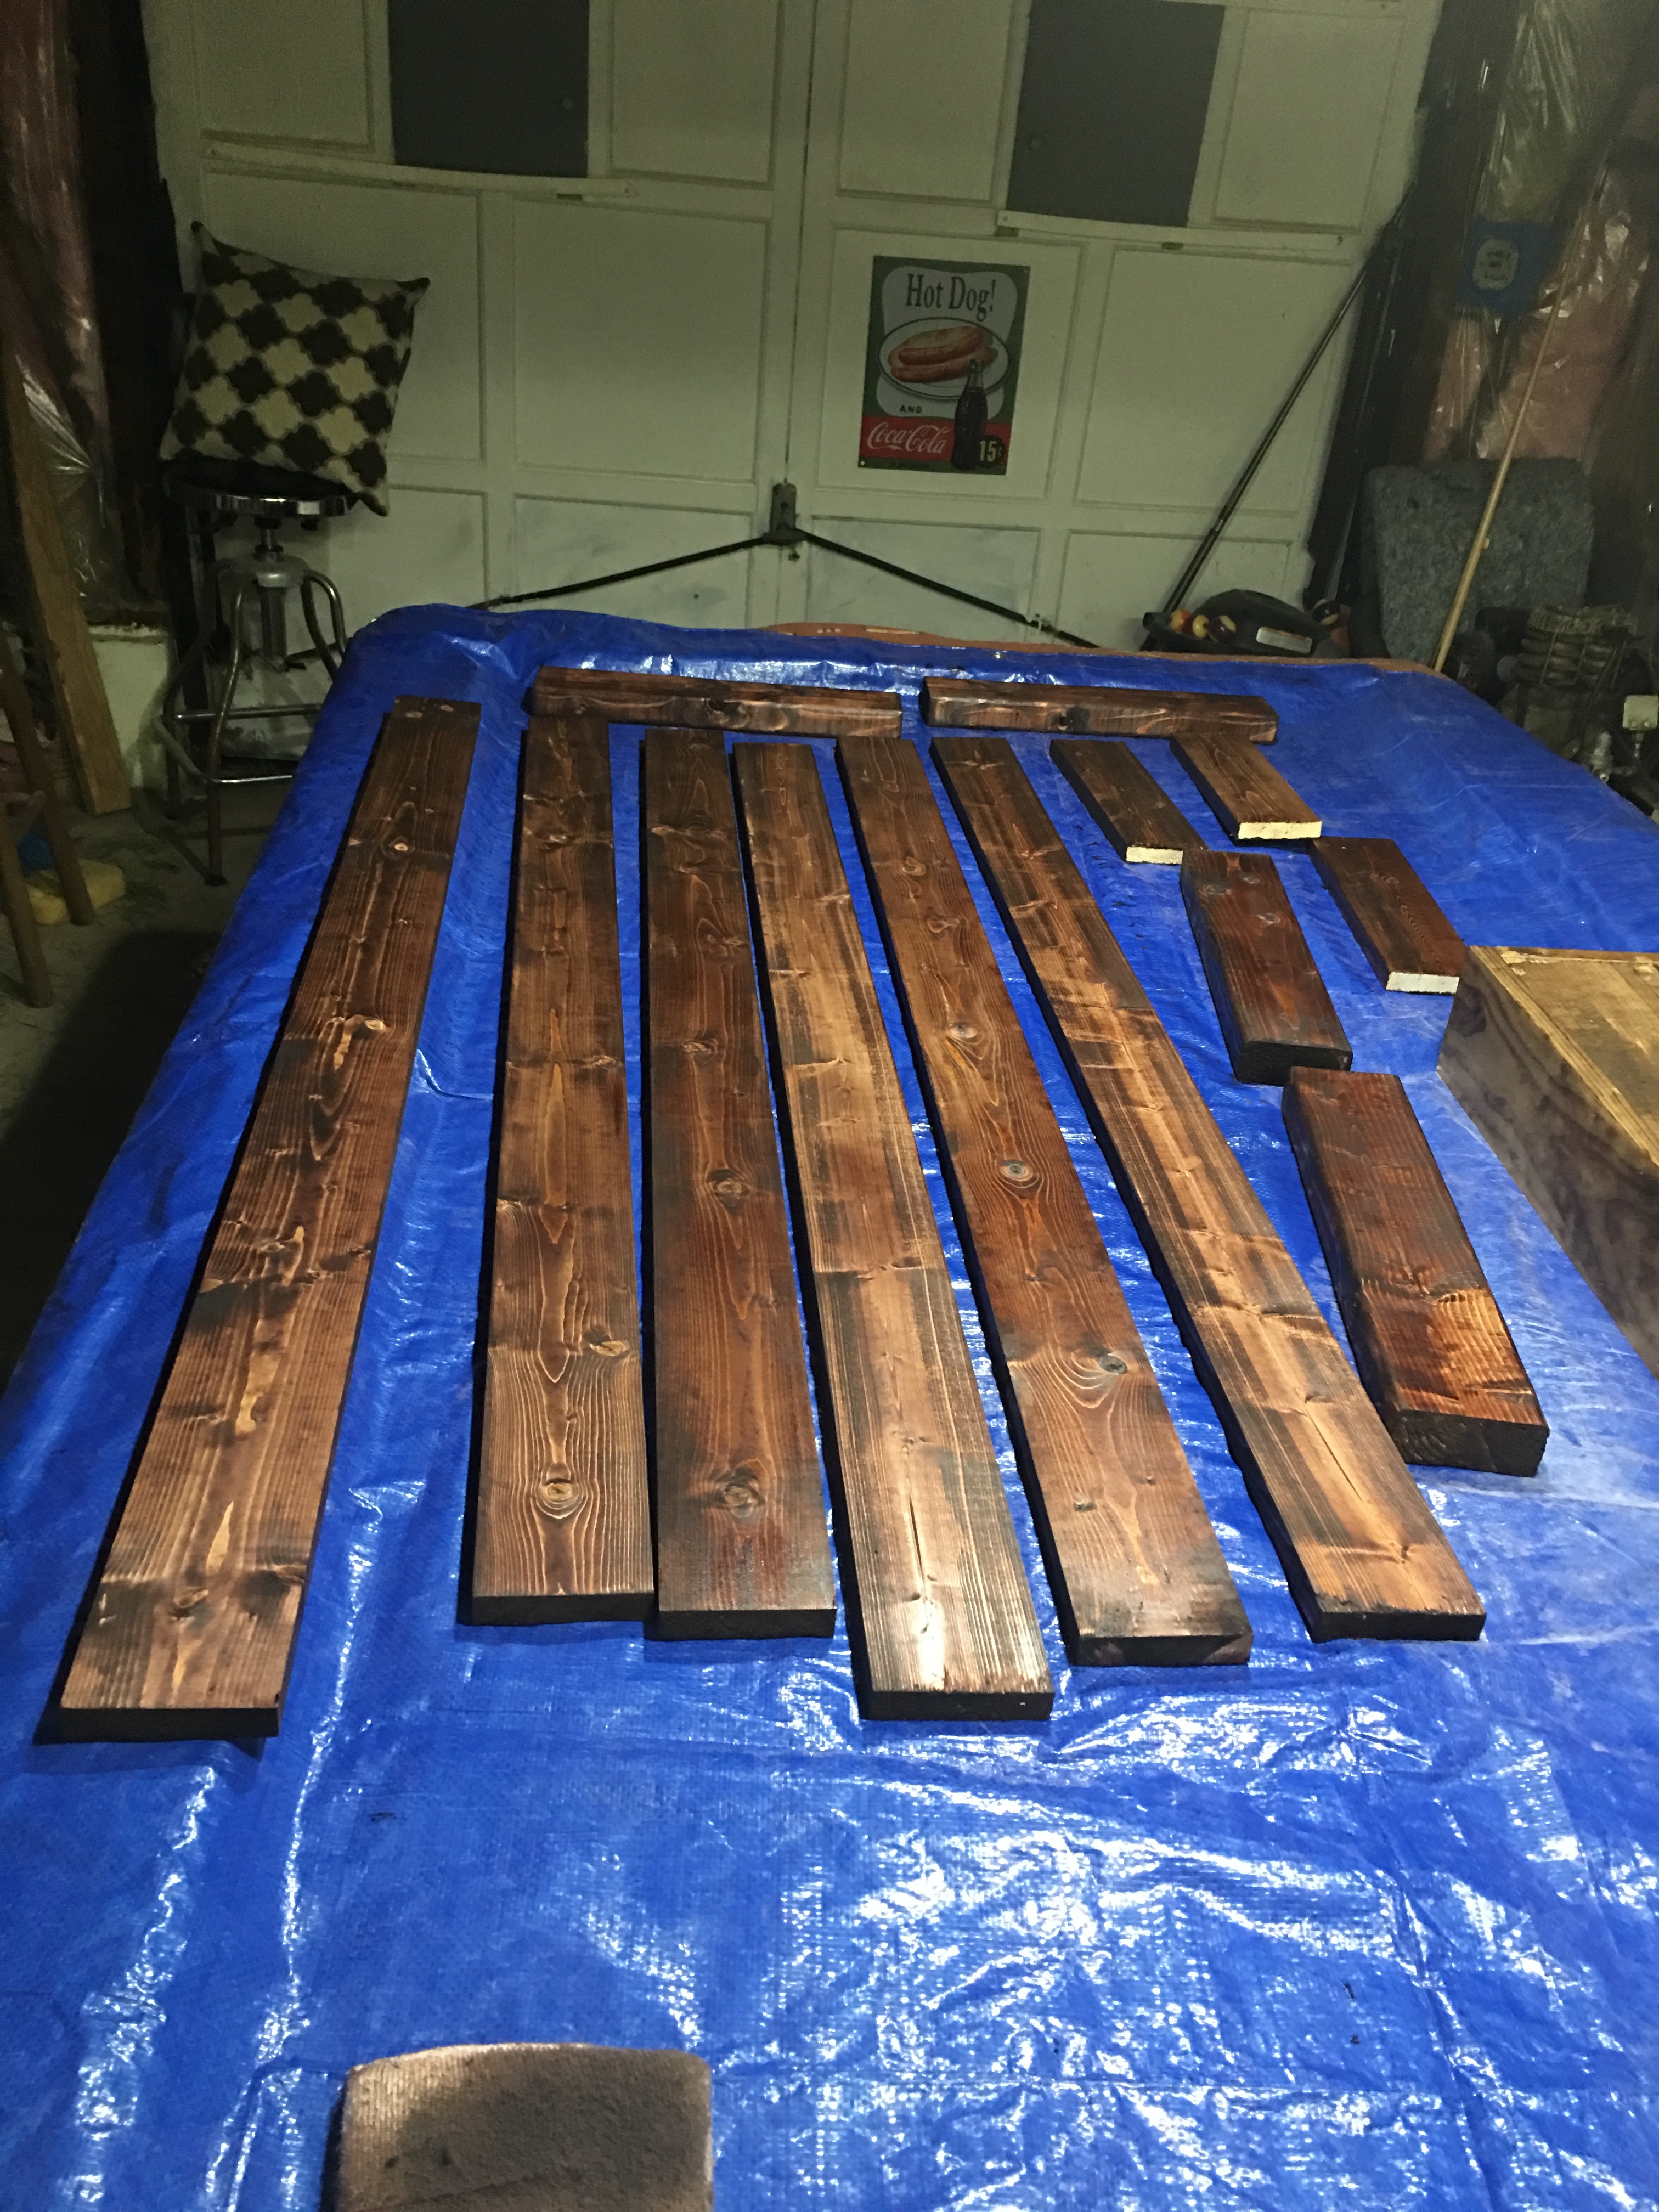
In Isabelle’s plan, she used Behr WaterProofing Semi-Transparent wood stain (primary used for decks). I picked up a sample of this stain in Coffee and Cordova Brown. I stained some sample wood with two coats and then waited to see how I liked it.
Although it looked pretty nice, I prefer the look of indoor wood stain (such as my go to favorite – Minwax). So I chose the Minwax Red Mahogany stain for the bench (and will later seal it with an outdoor, waterproofing coat of urethane).

This is the first time I’m working with this color, so I was thrilled to see how great it looked once I was done staining the wood. Excellent choice of color for the bench.
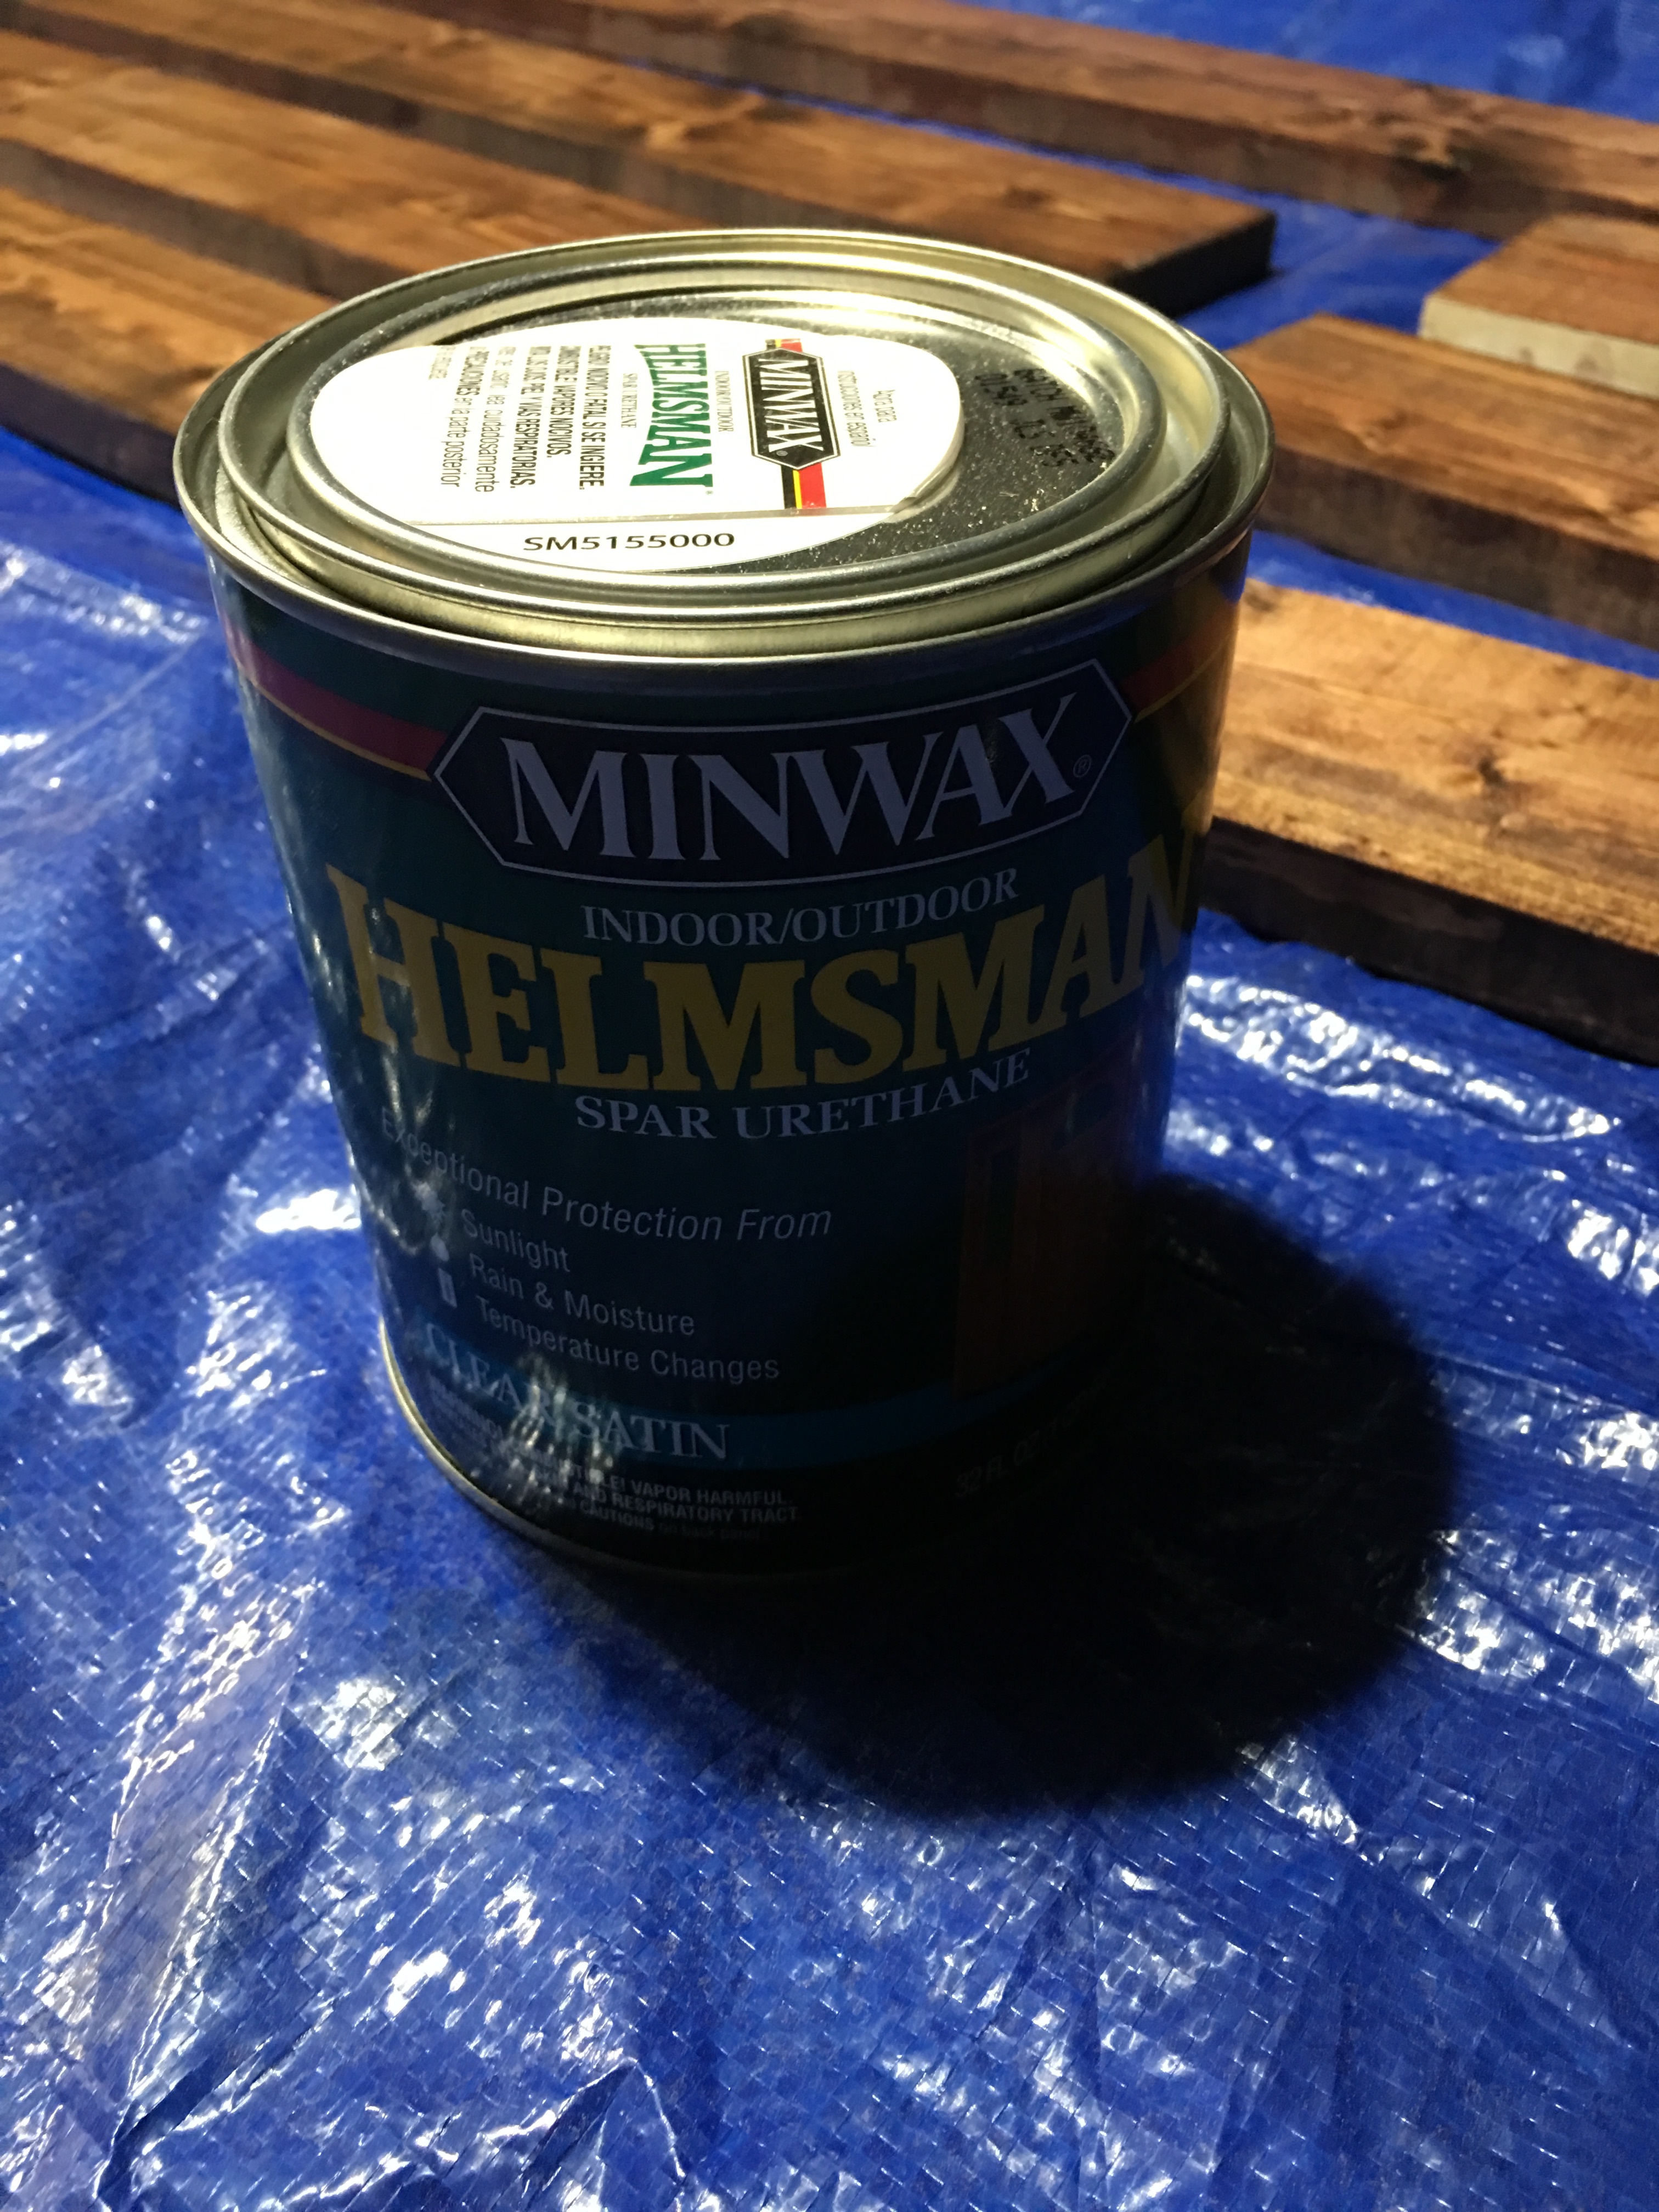
The step that took the longest was adding the spar urethane coats to seal and waterproof the wood. I used a another Minwax product, Helmsan Spar Uretheane Clear Satin to add the sealer coats.
It’s recommended that you add three coats of the urethane to your projects using a natural bristle brush. But being the rebel I am, I used what I had on hand – my crafting sponge brushes of course. Here goes!
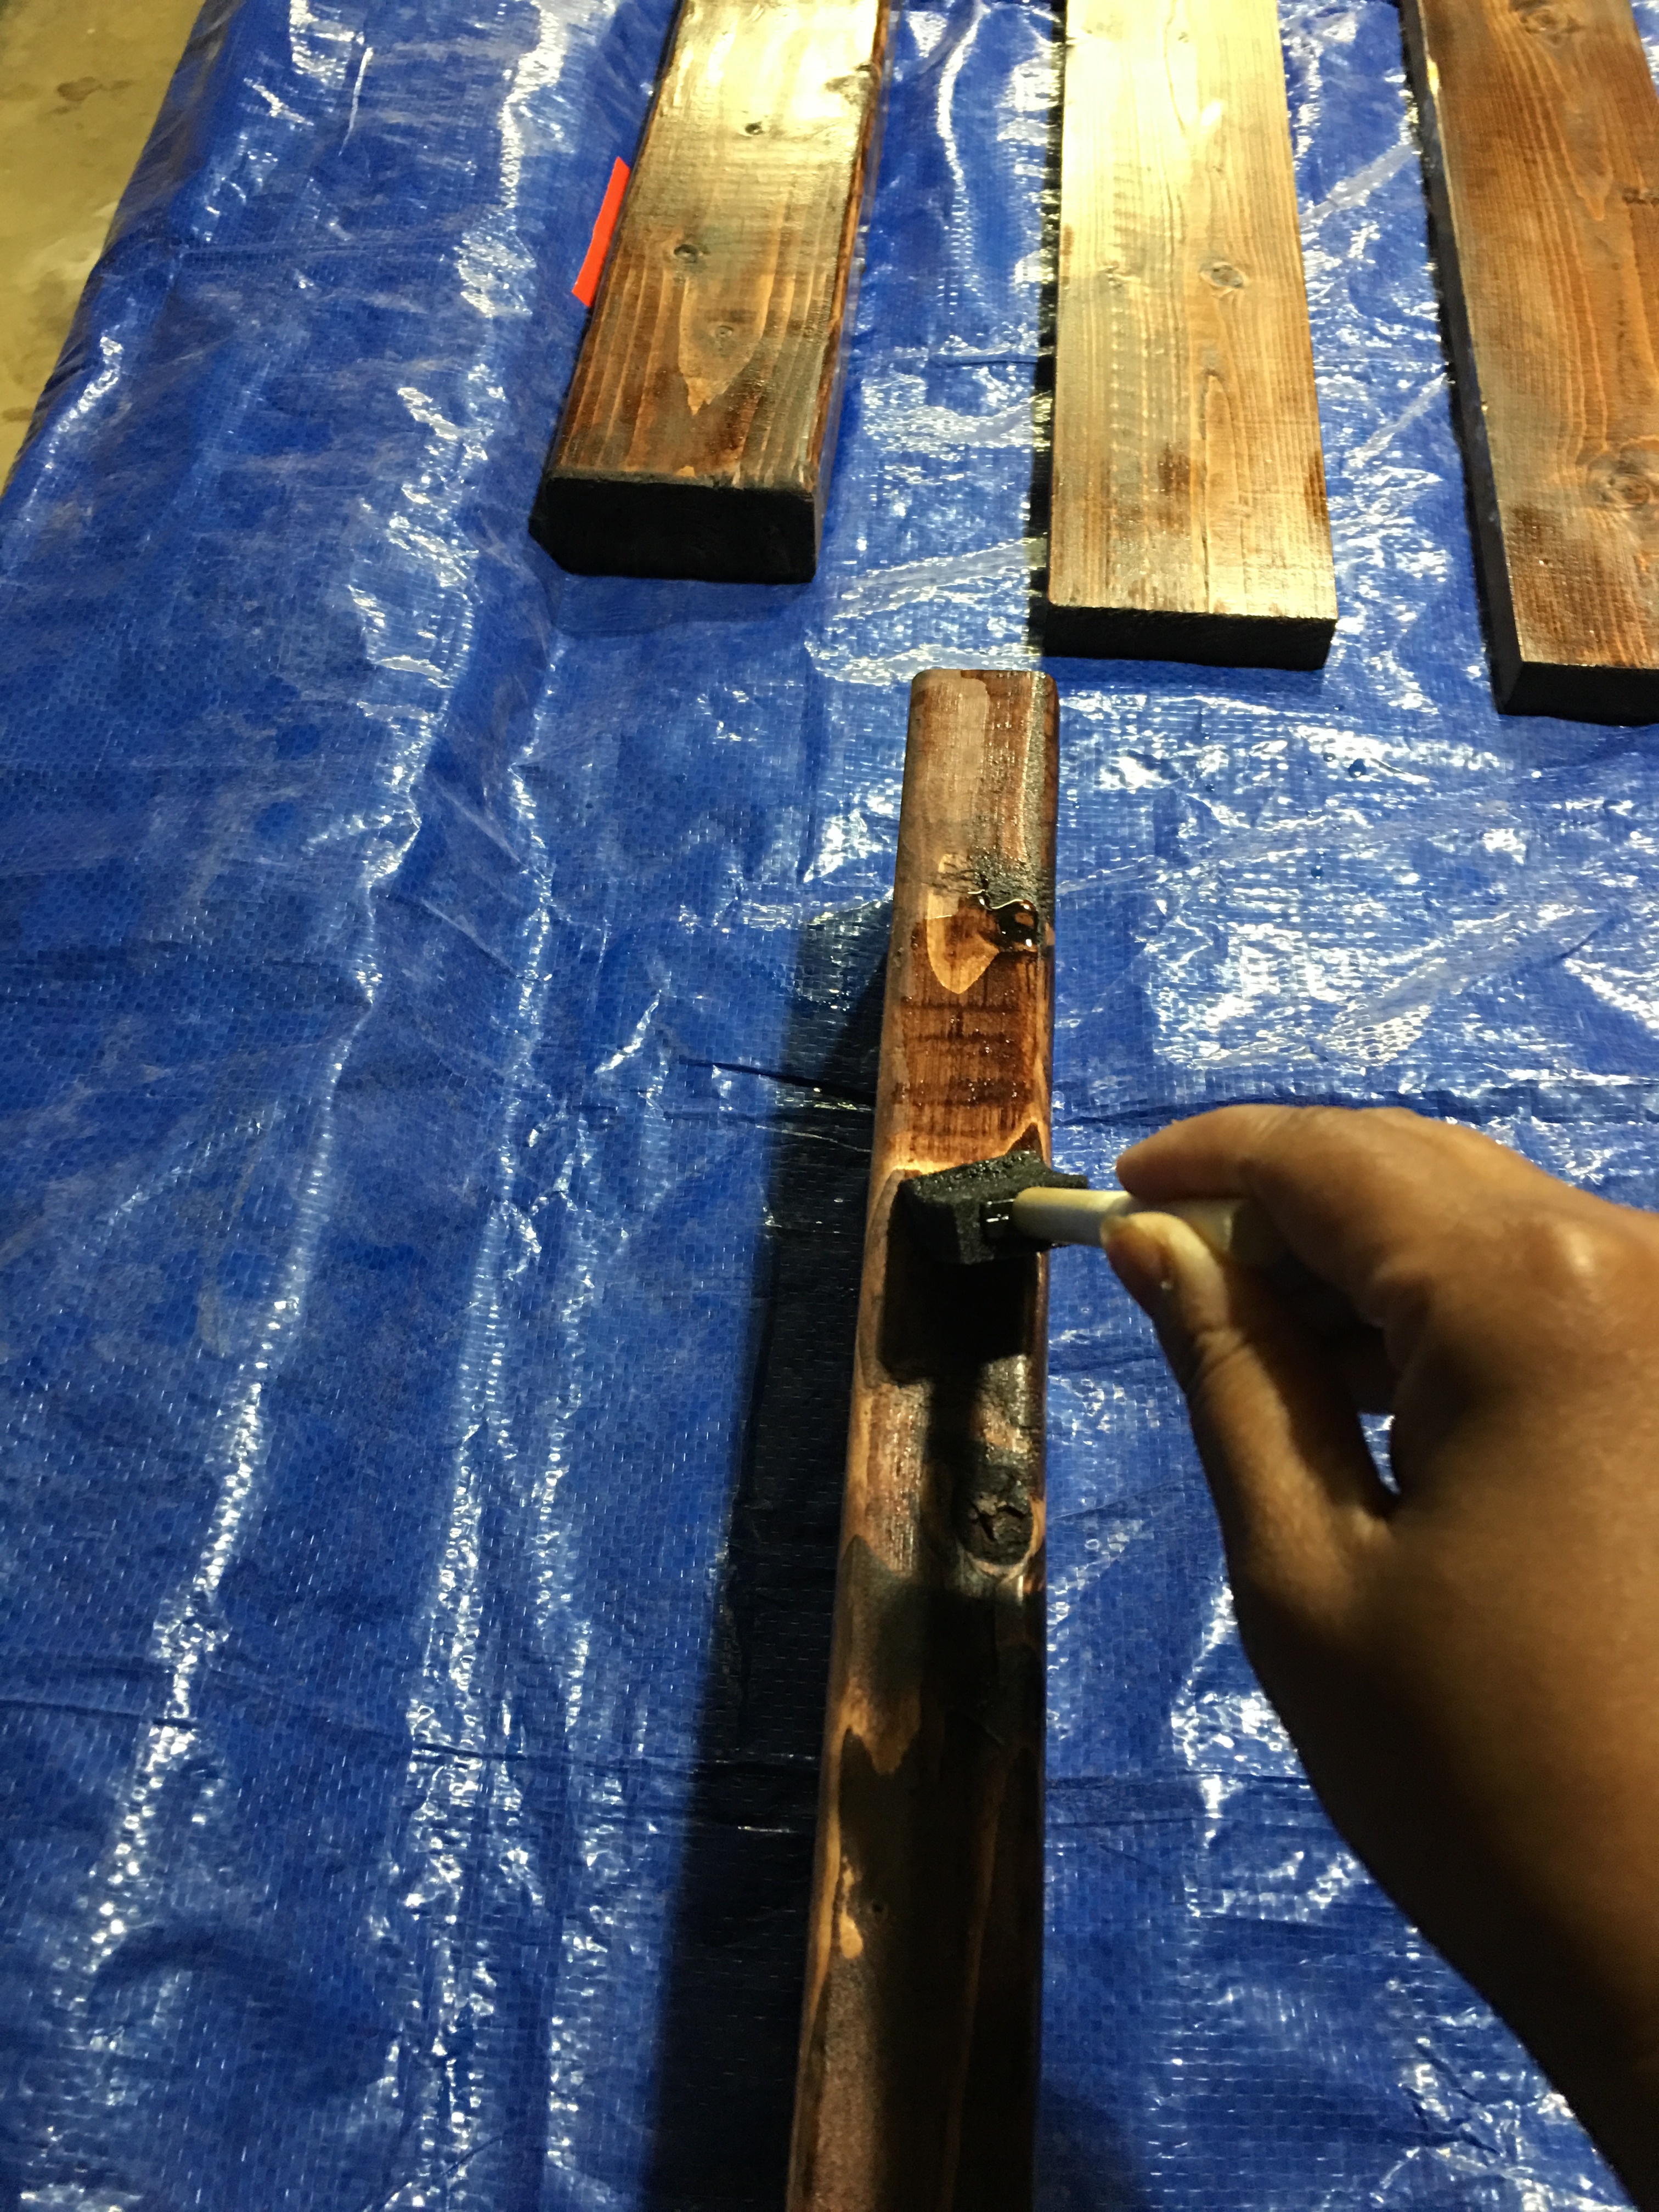
I left the wood to dry in the workshop (and returned twice more to add additional coats). This step had to be carefully coordinated with Tim since the garage is my workshop by day and a pool hall/clubhouse by night.
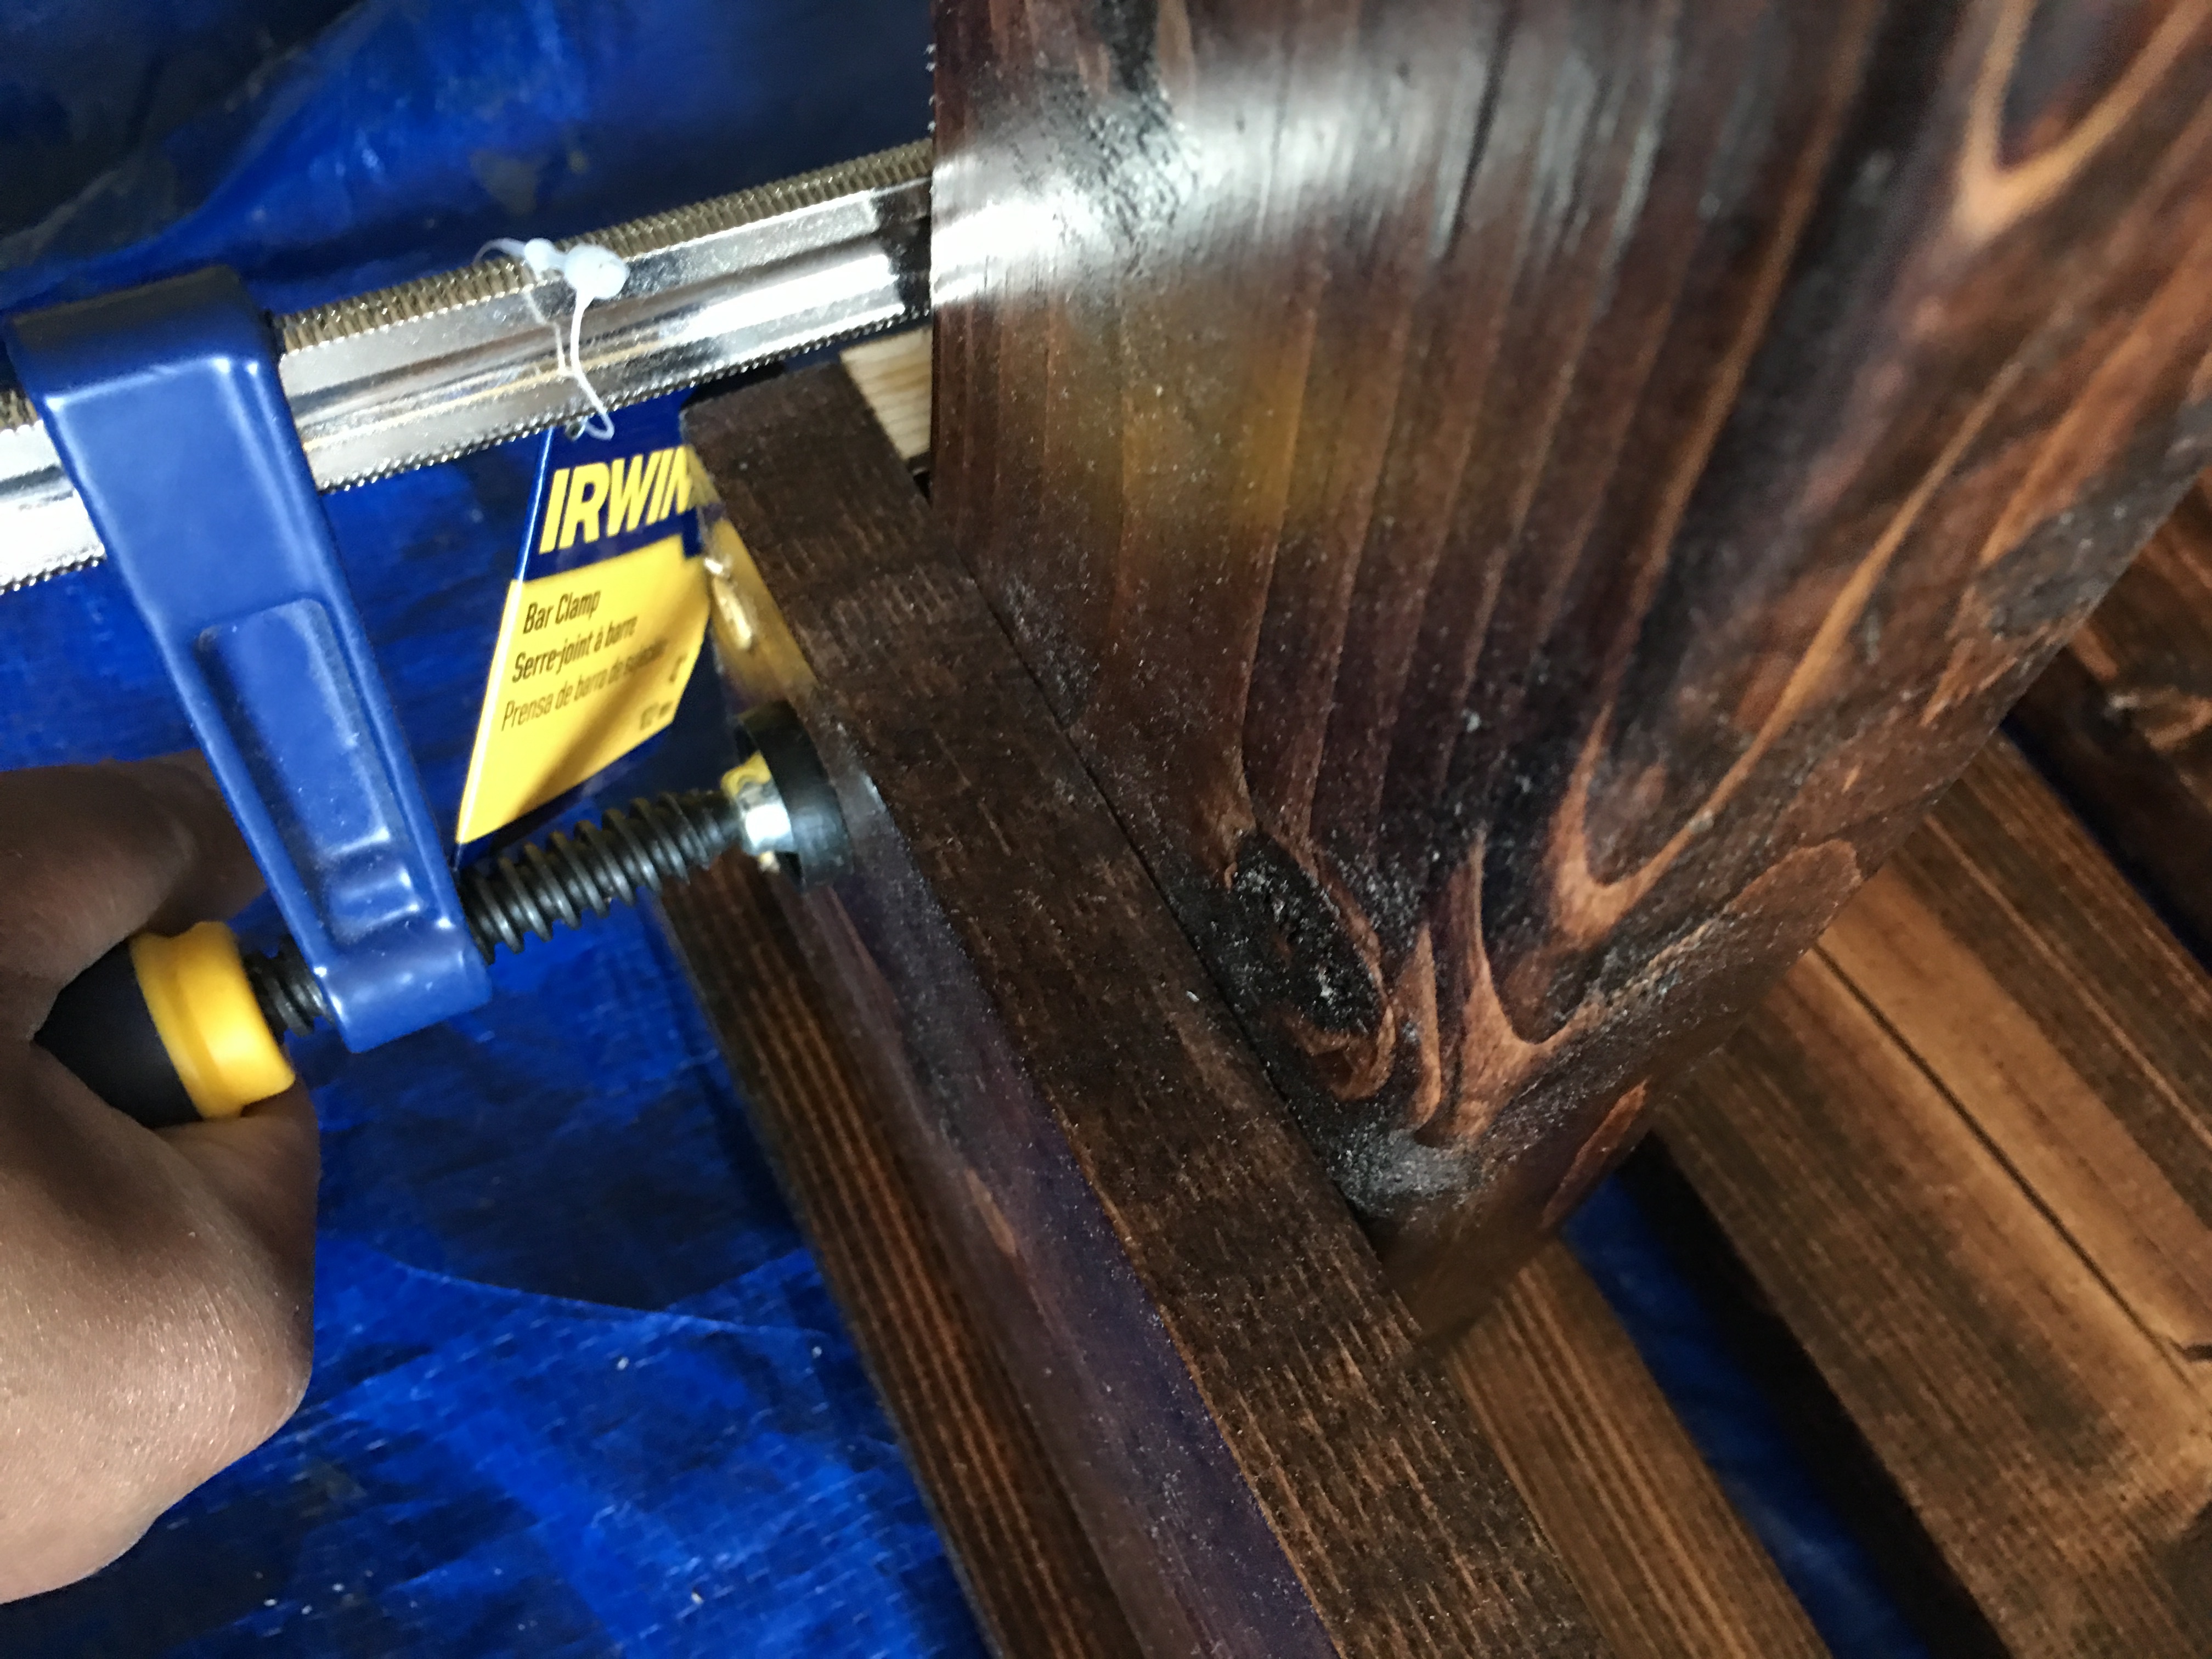
Days later, back in the condo, I used two corner clamps to construct and hold together the bench frame.
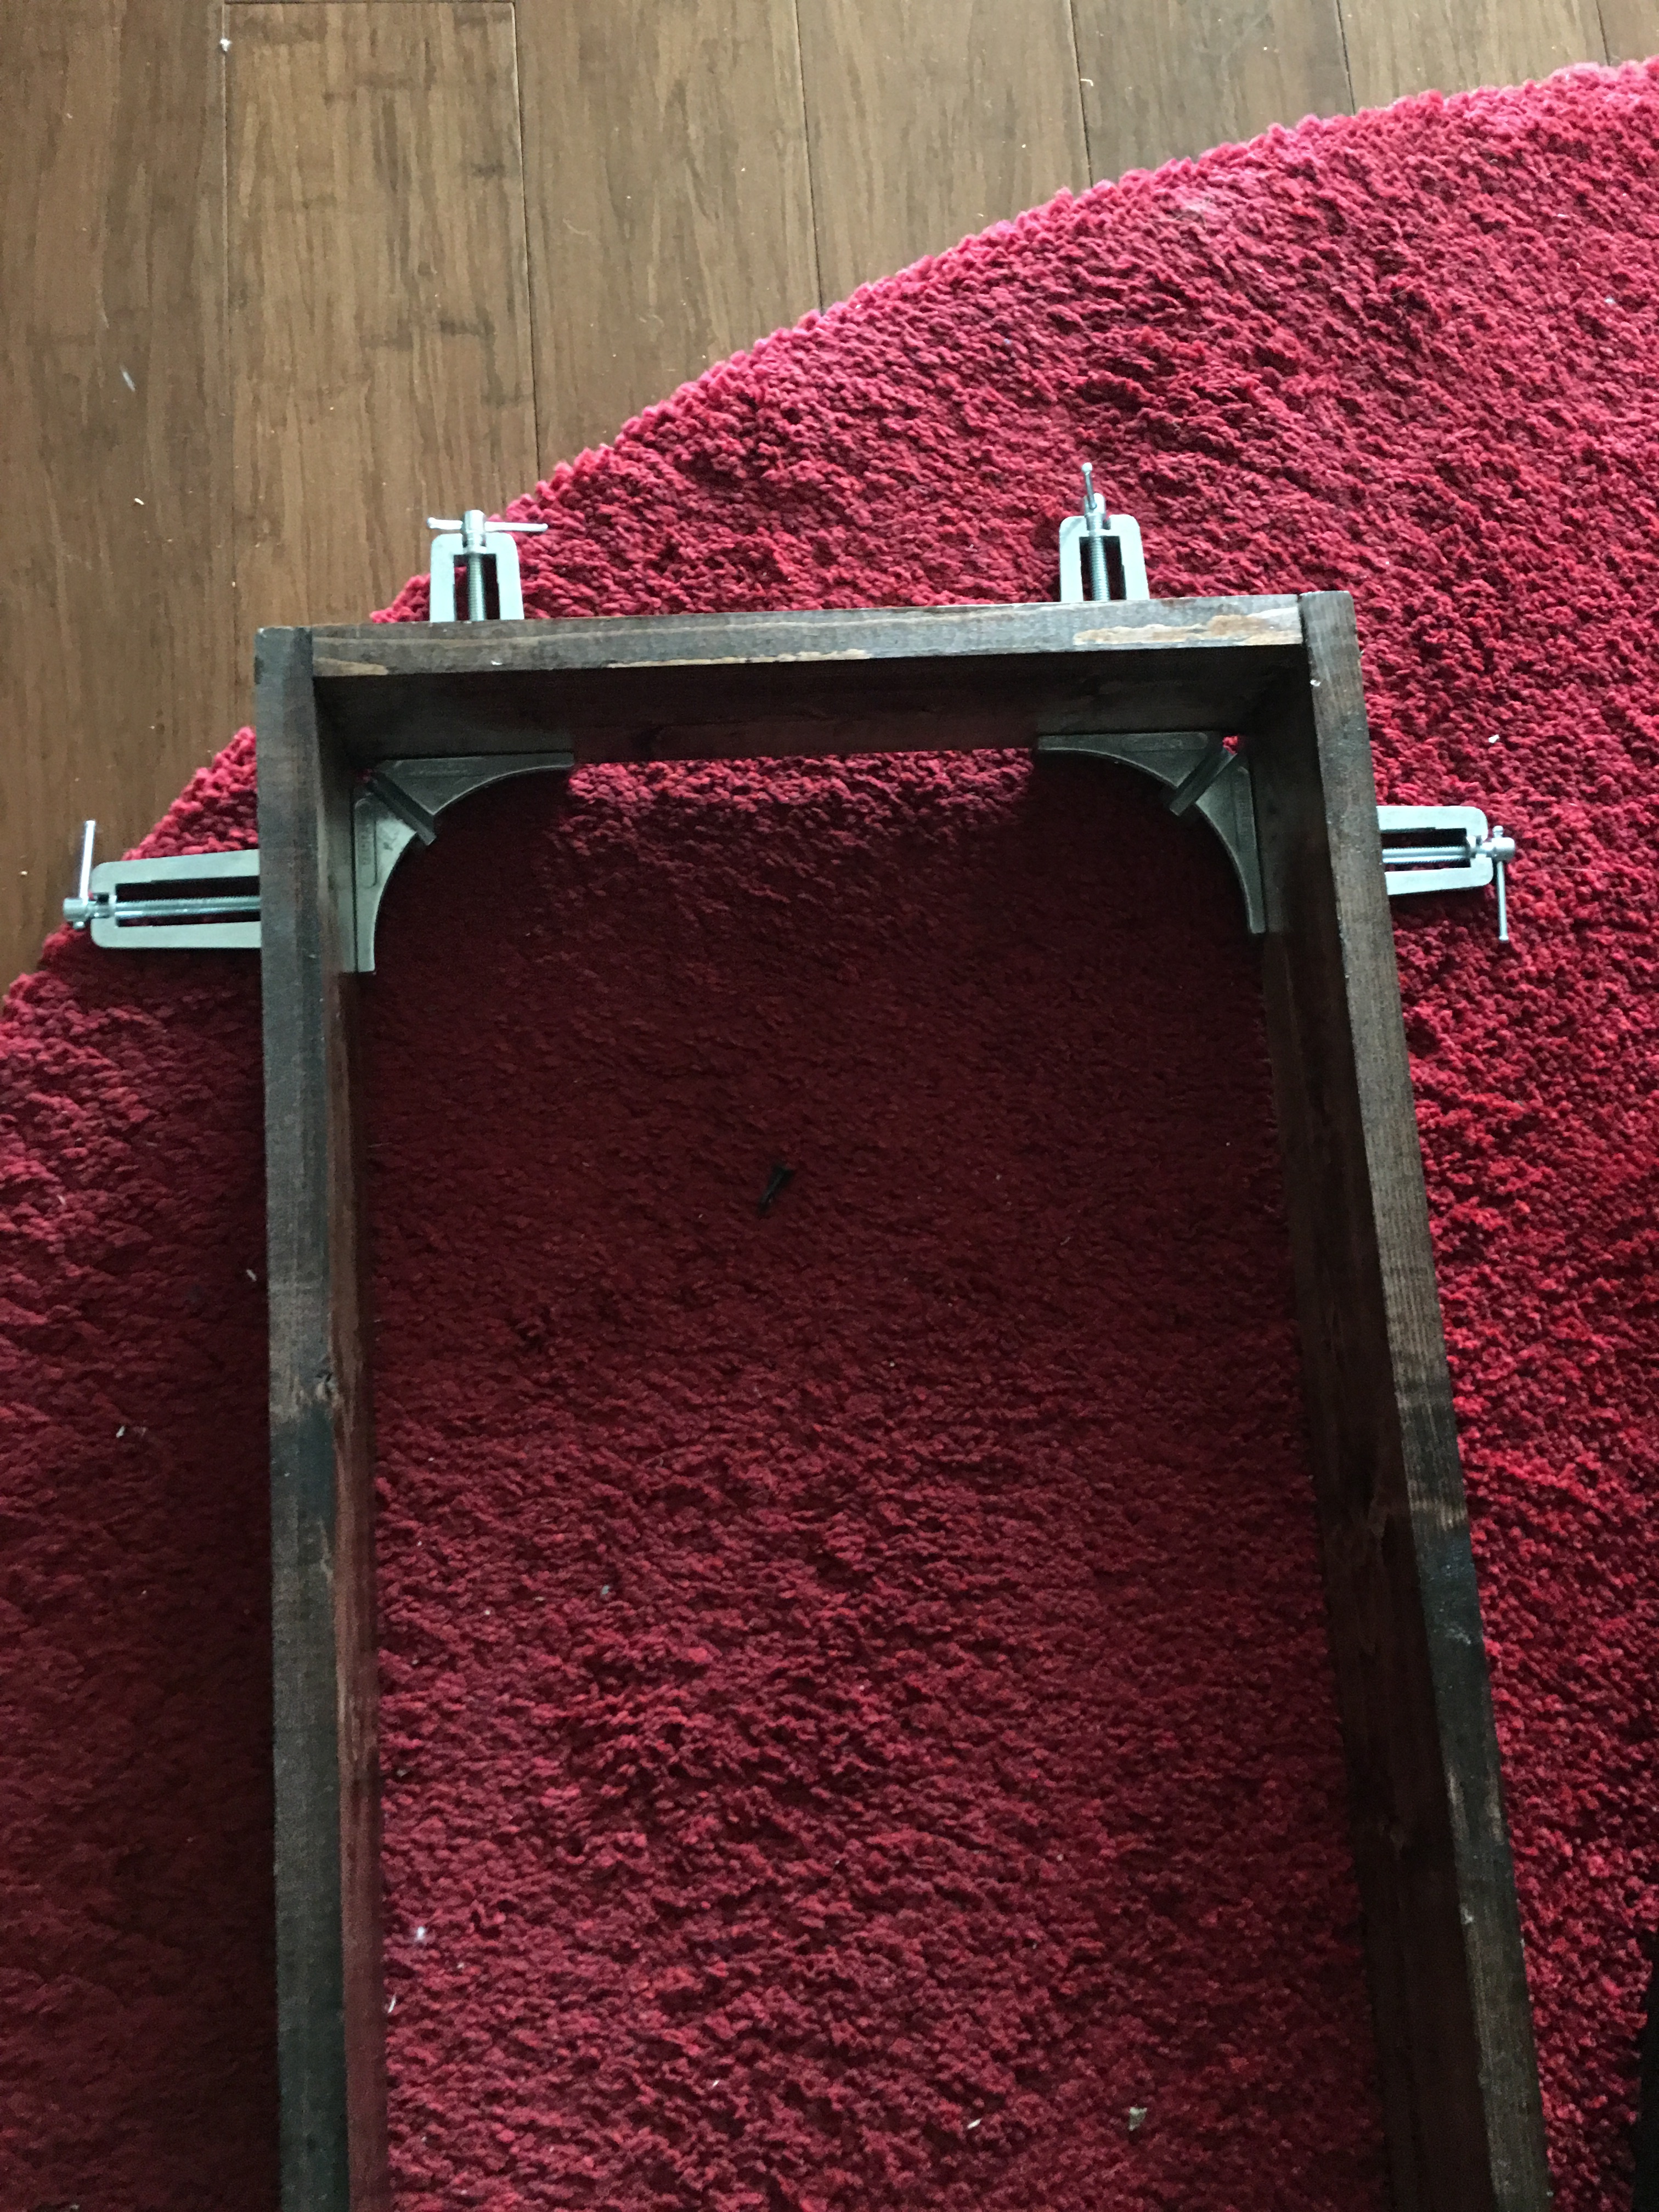
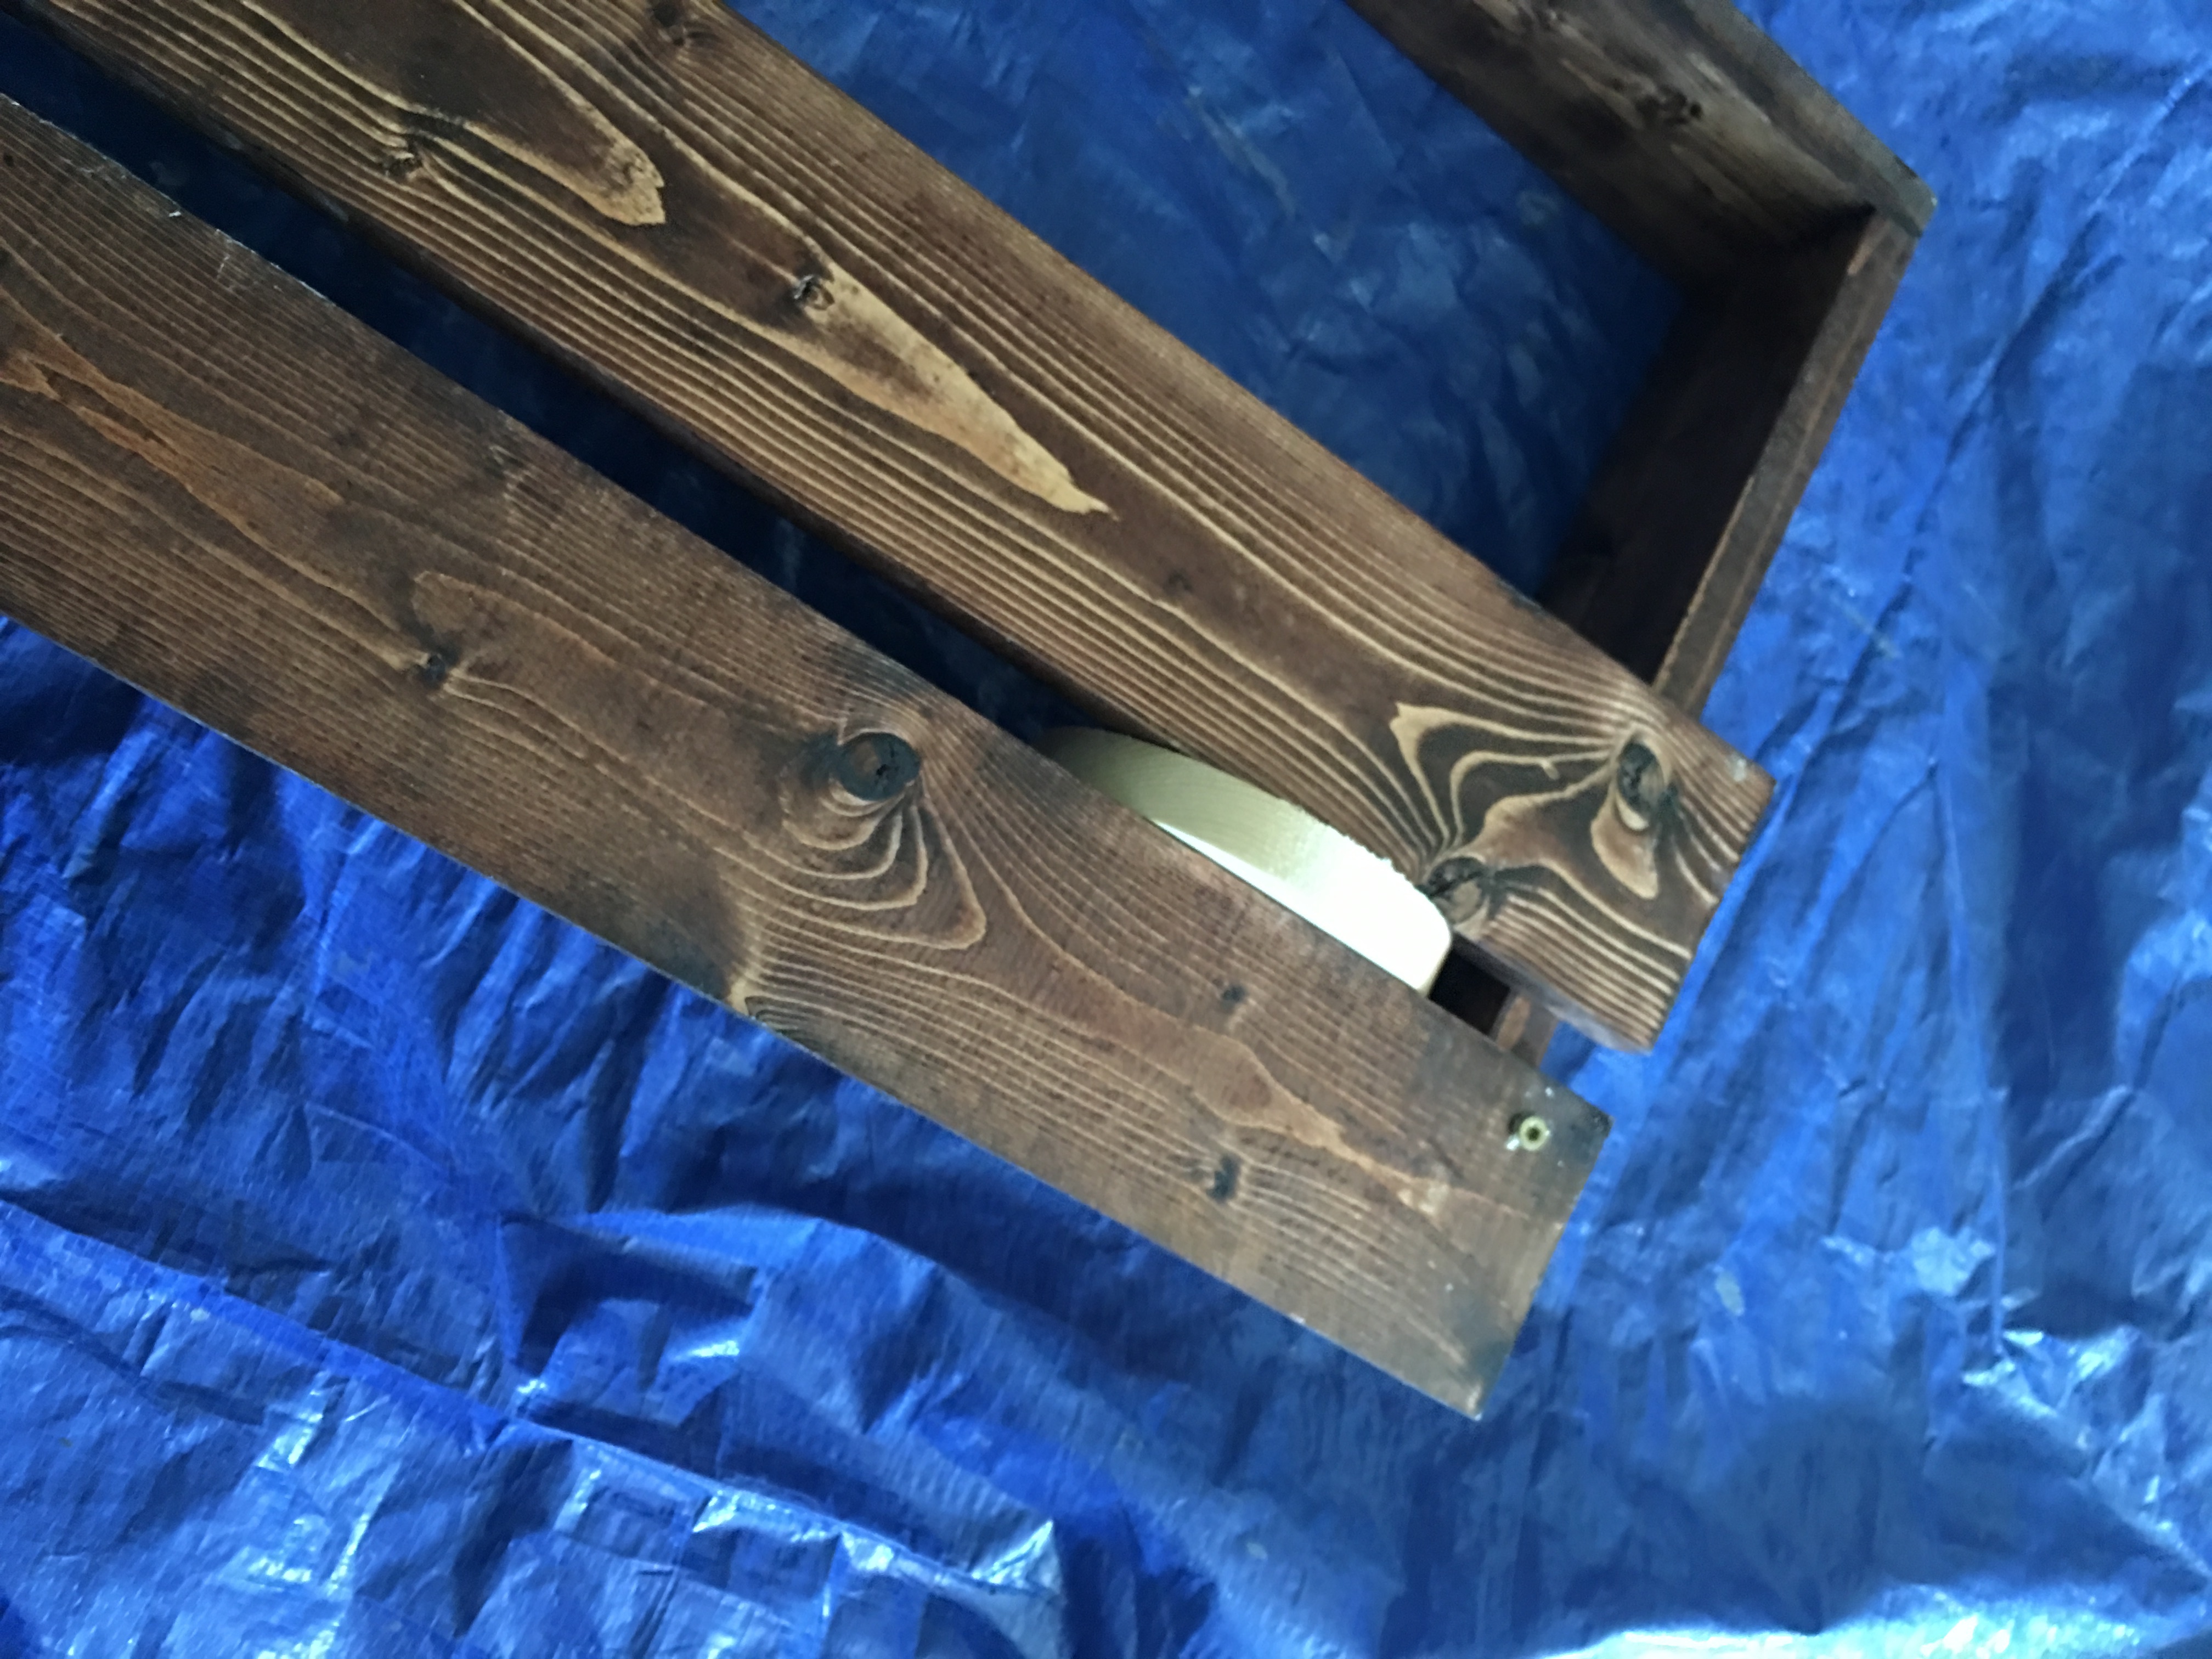
The two 55″ and three 13.75″ boards are used to make the frame of the bench. I screwed together each piece using 2″ deck screws.
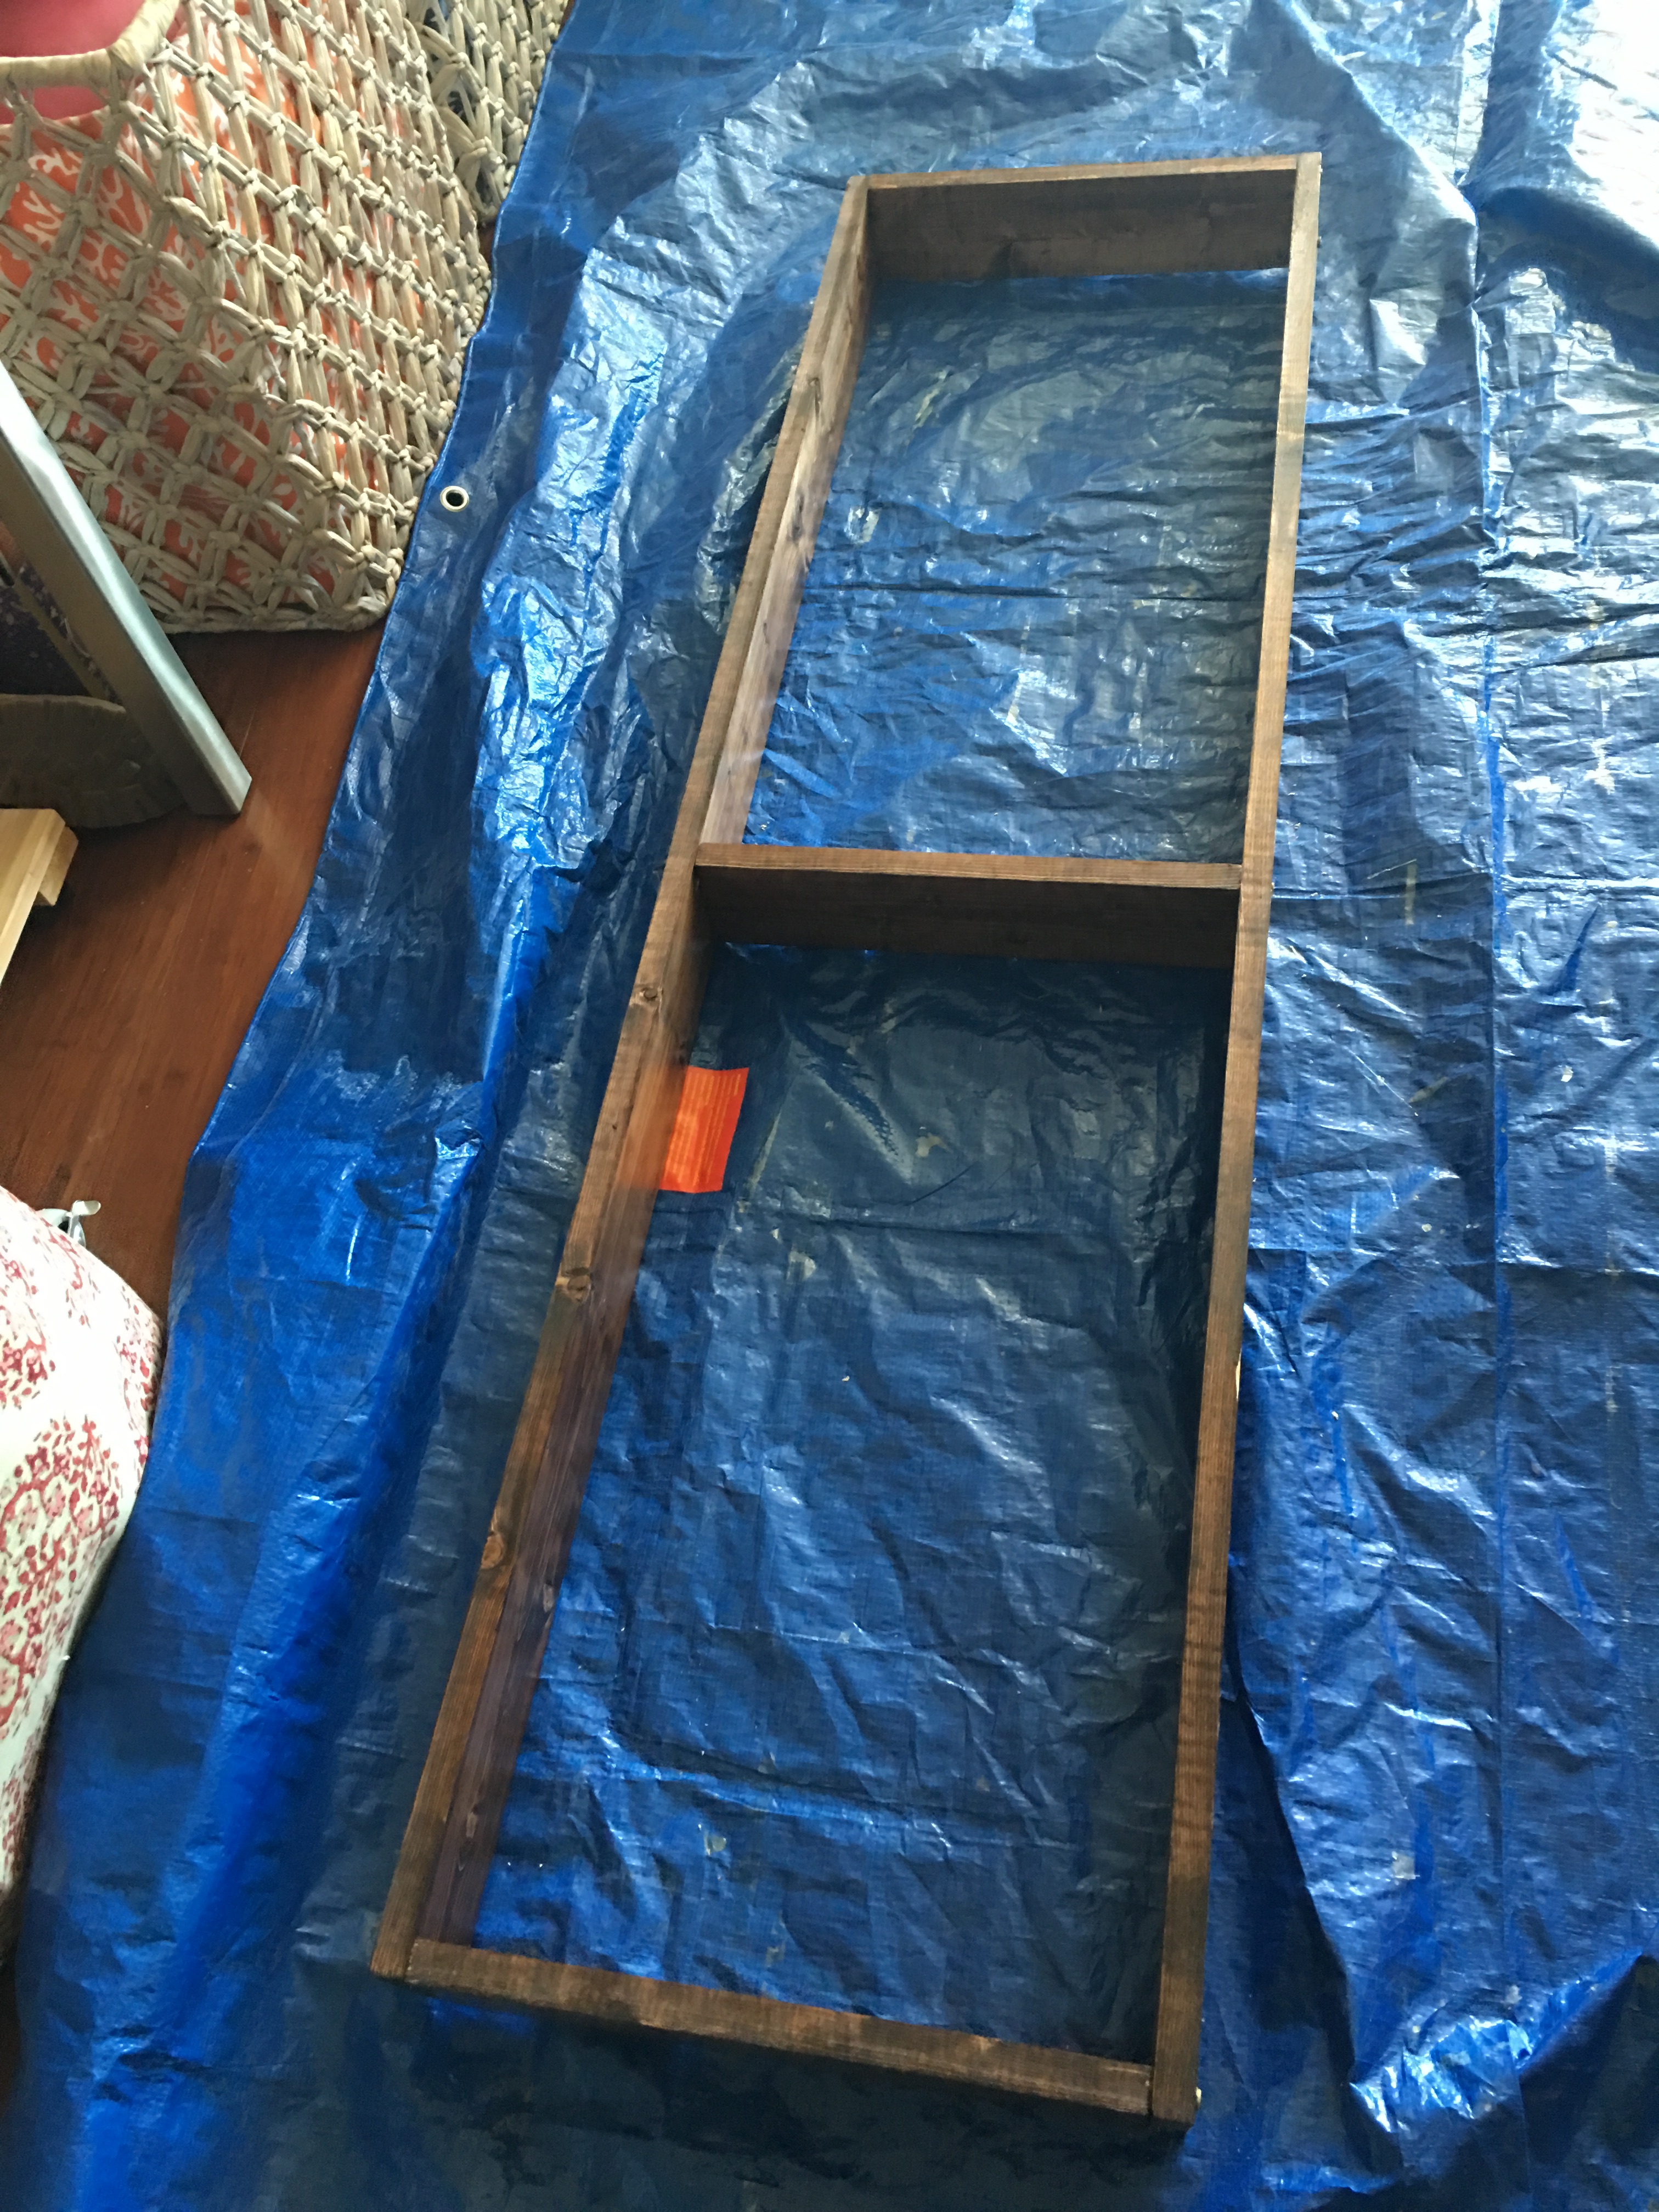
Using a round 1×4 wood piece, I spaced out the four 56″ 1x4s that covers the top of the frame. I screwed the boards into the frame using the deck screws at the ends and the center.
Now that the top of the bench is assembled…
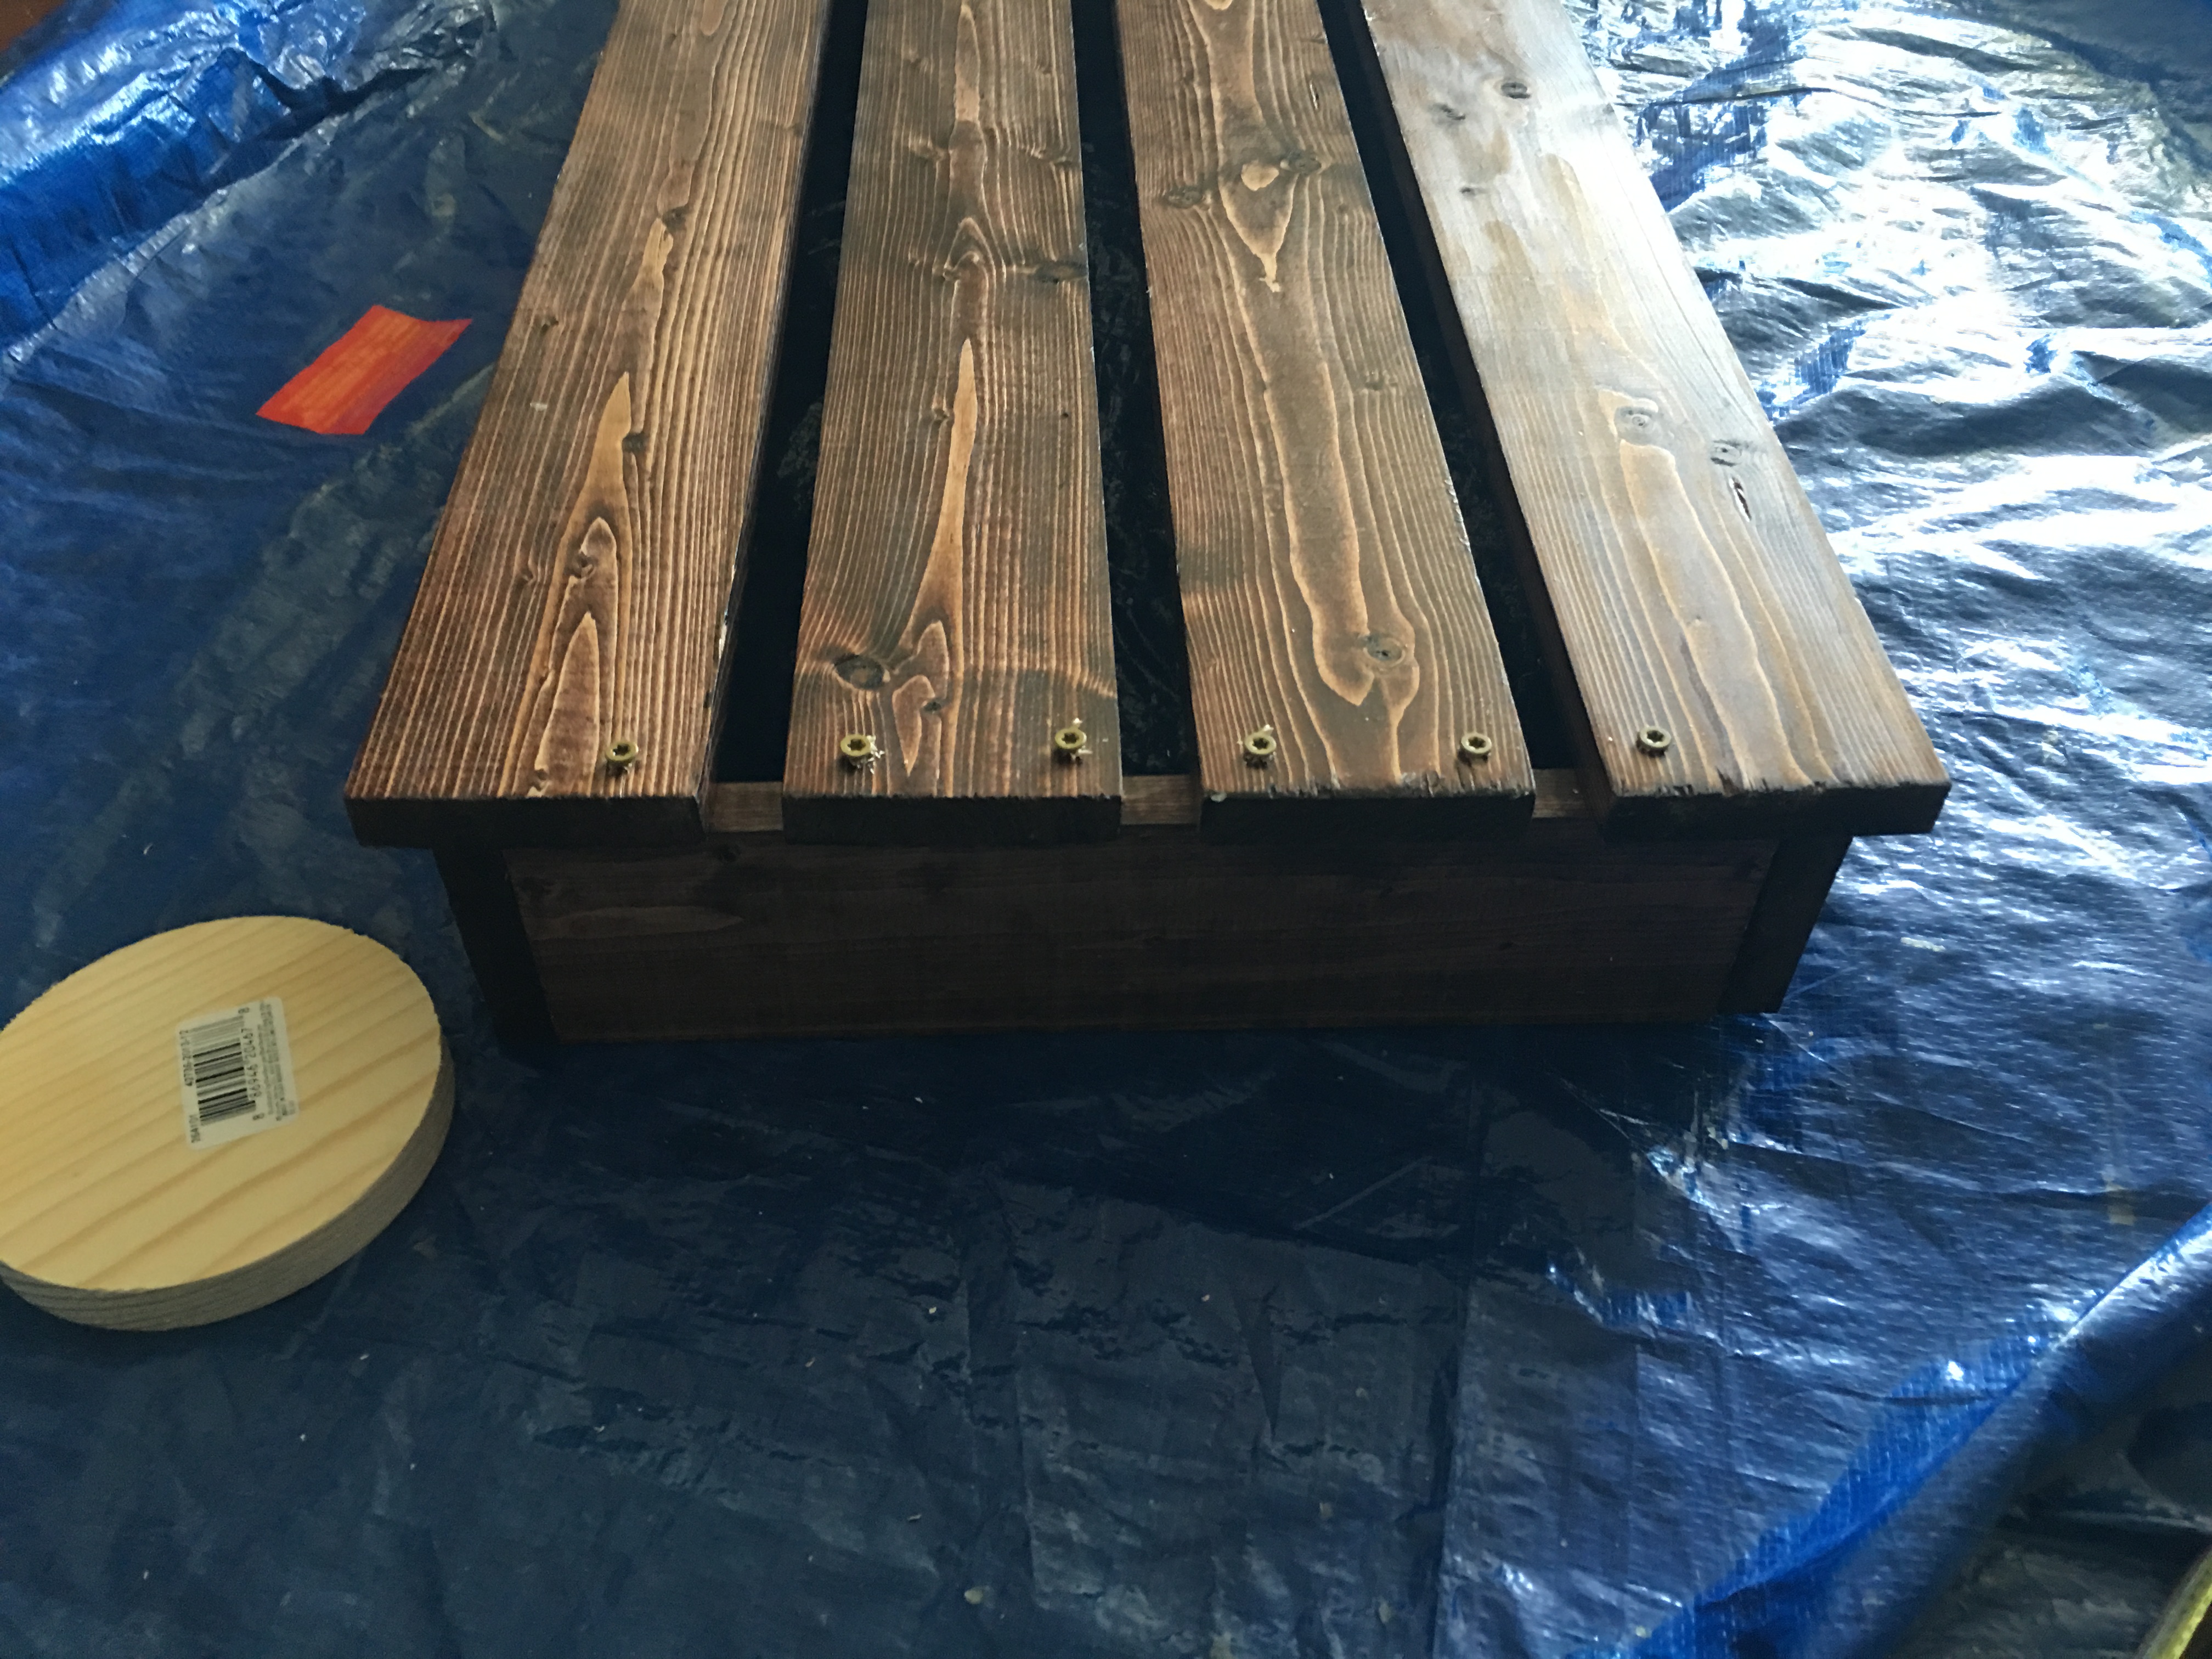
…it’s time to flip it over and add the 17″ 2×4 legs. Using a clamp to hold each leg flush against each corner, I attached them to the frame using the deck screws.
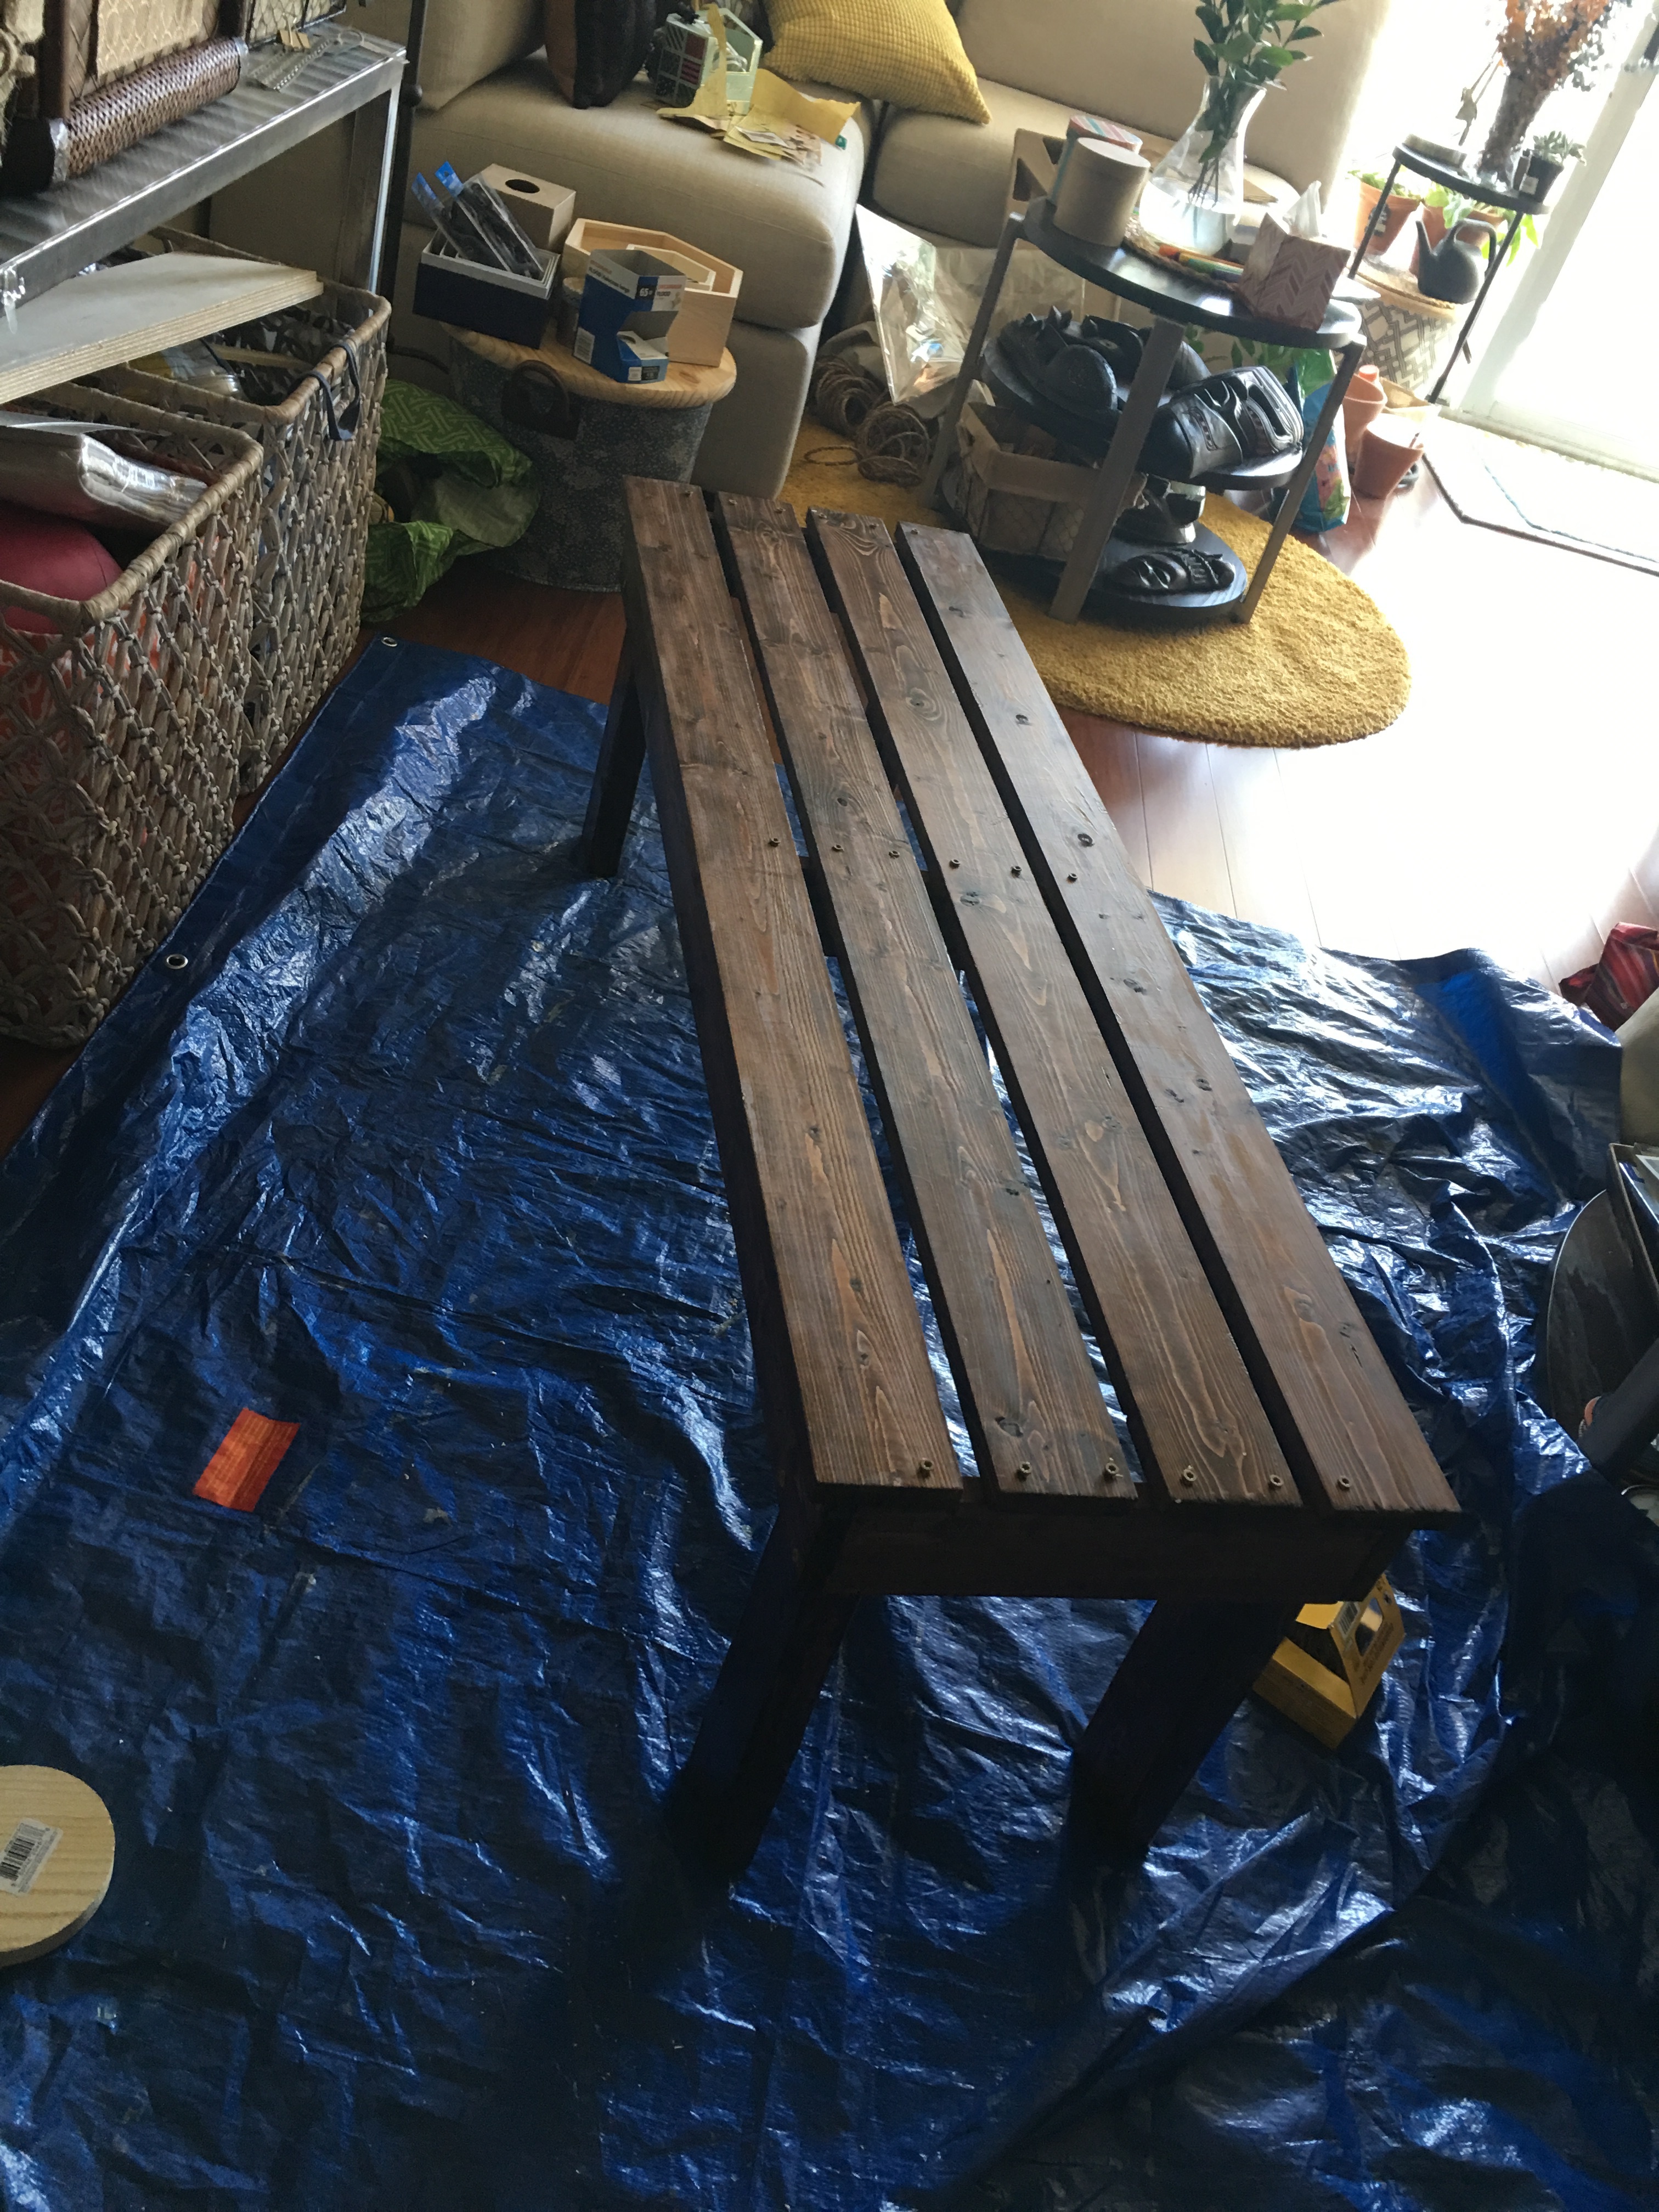
Bench is assembled and ready to be placed on the balcony.
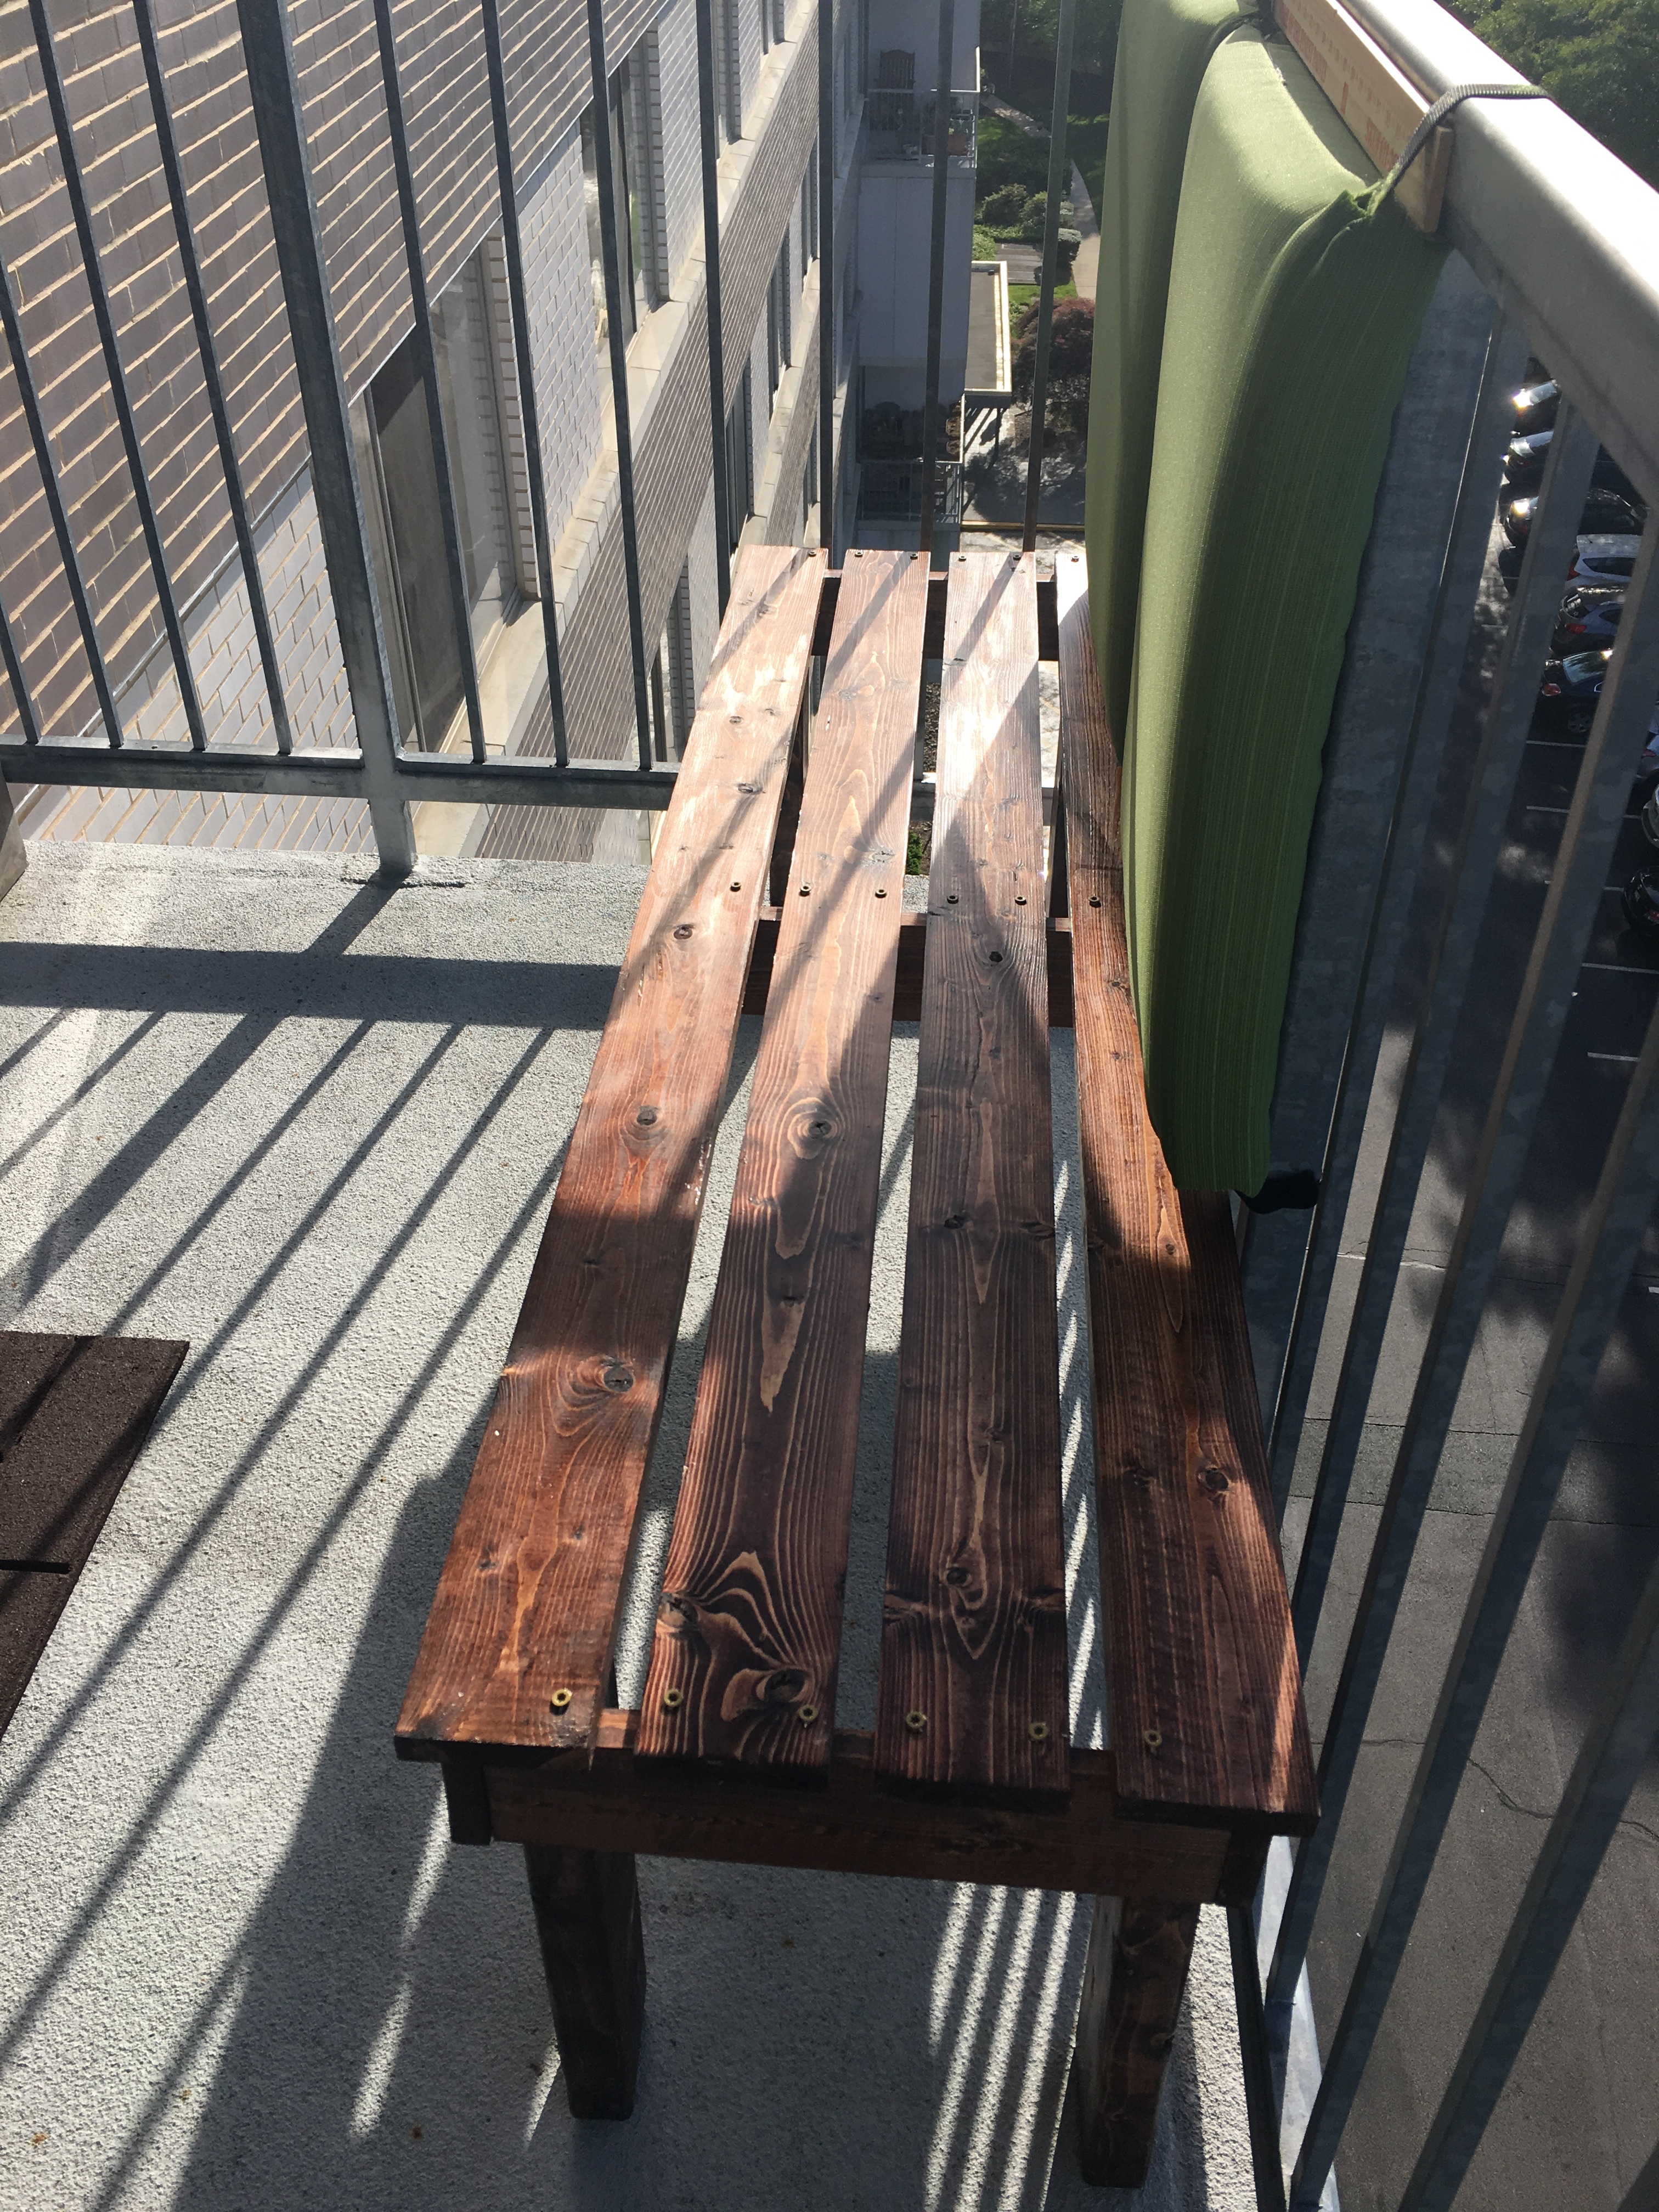
I placed the bench in the far corner of the balcony facing the condo (in the same position as Isabelle’s dining set plan). Because I did not get “condo board approval” for the privacy bench, I tied a seat cushion I got from Target to the railing instead to add a backrest for the bench.
And here it is with seat cushions and throw pillows I had on hand in the condo.
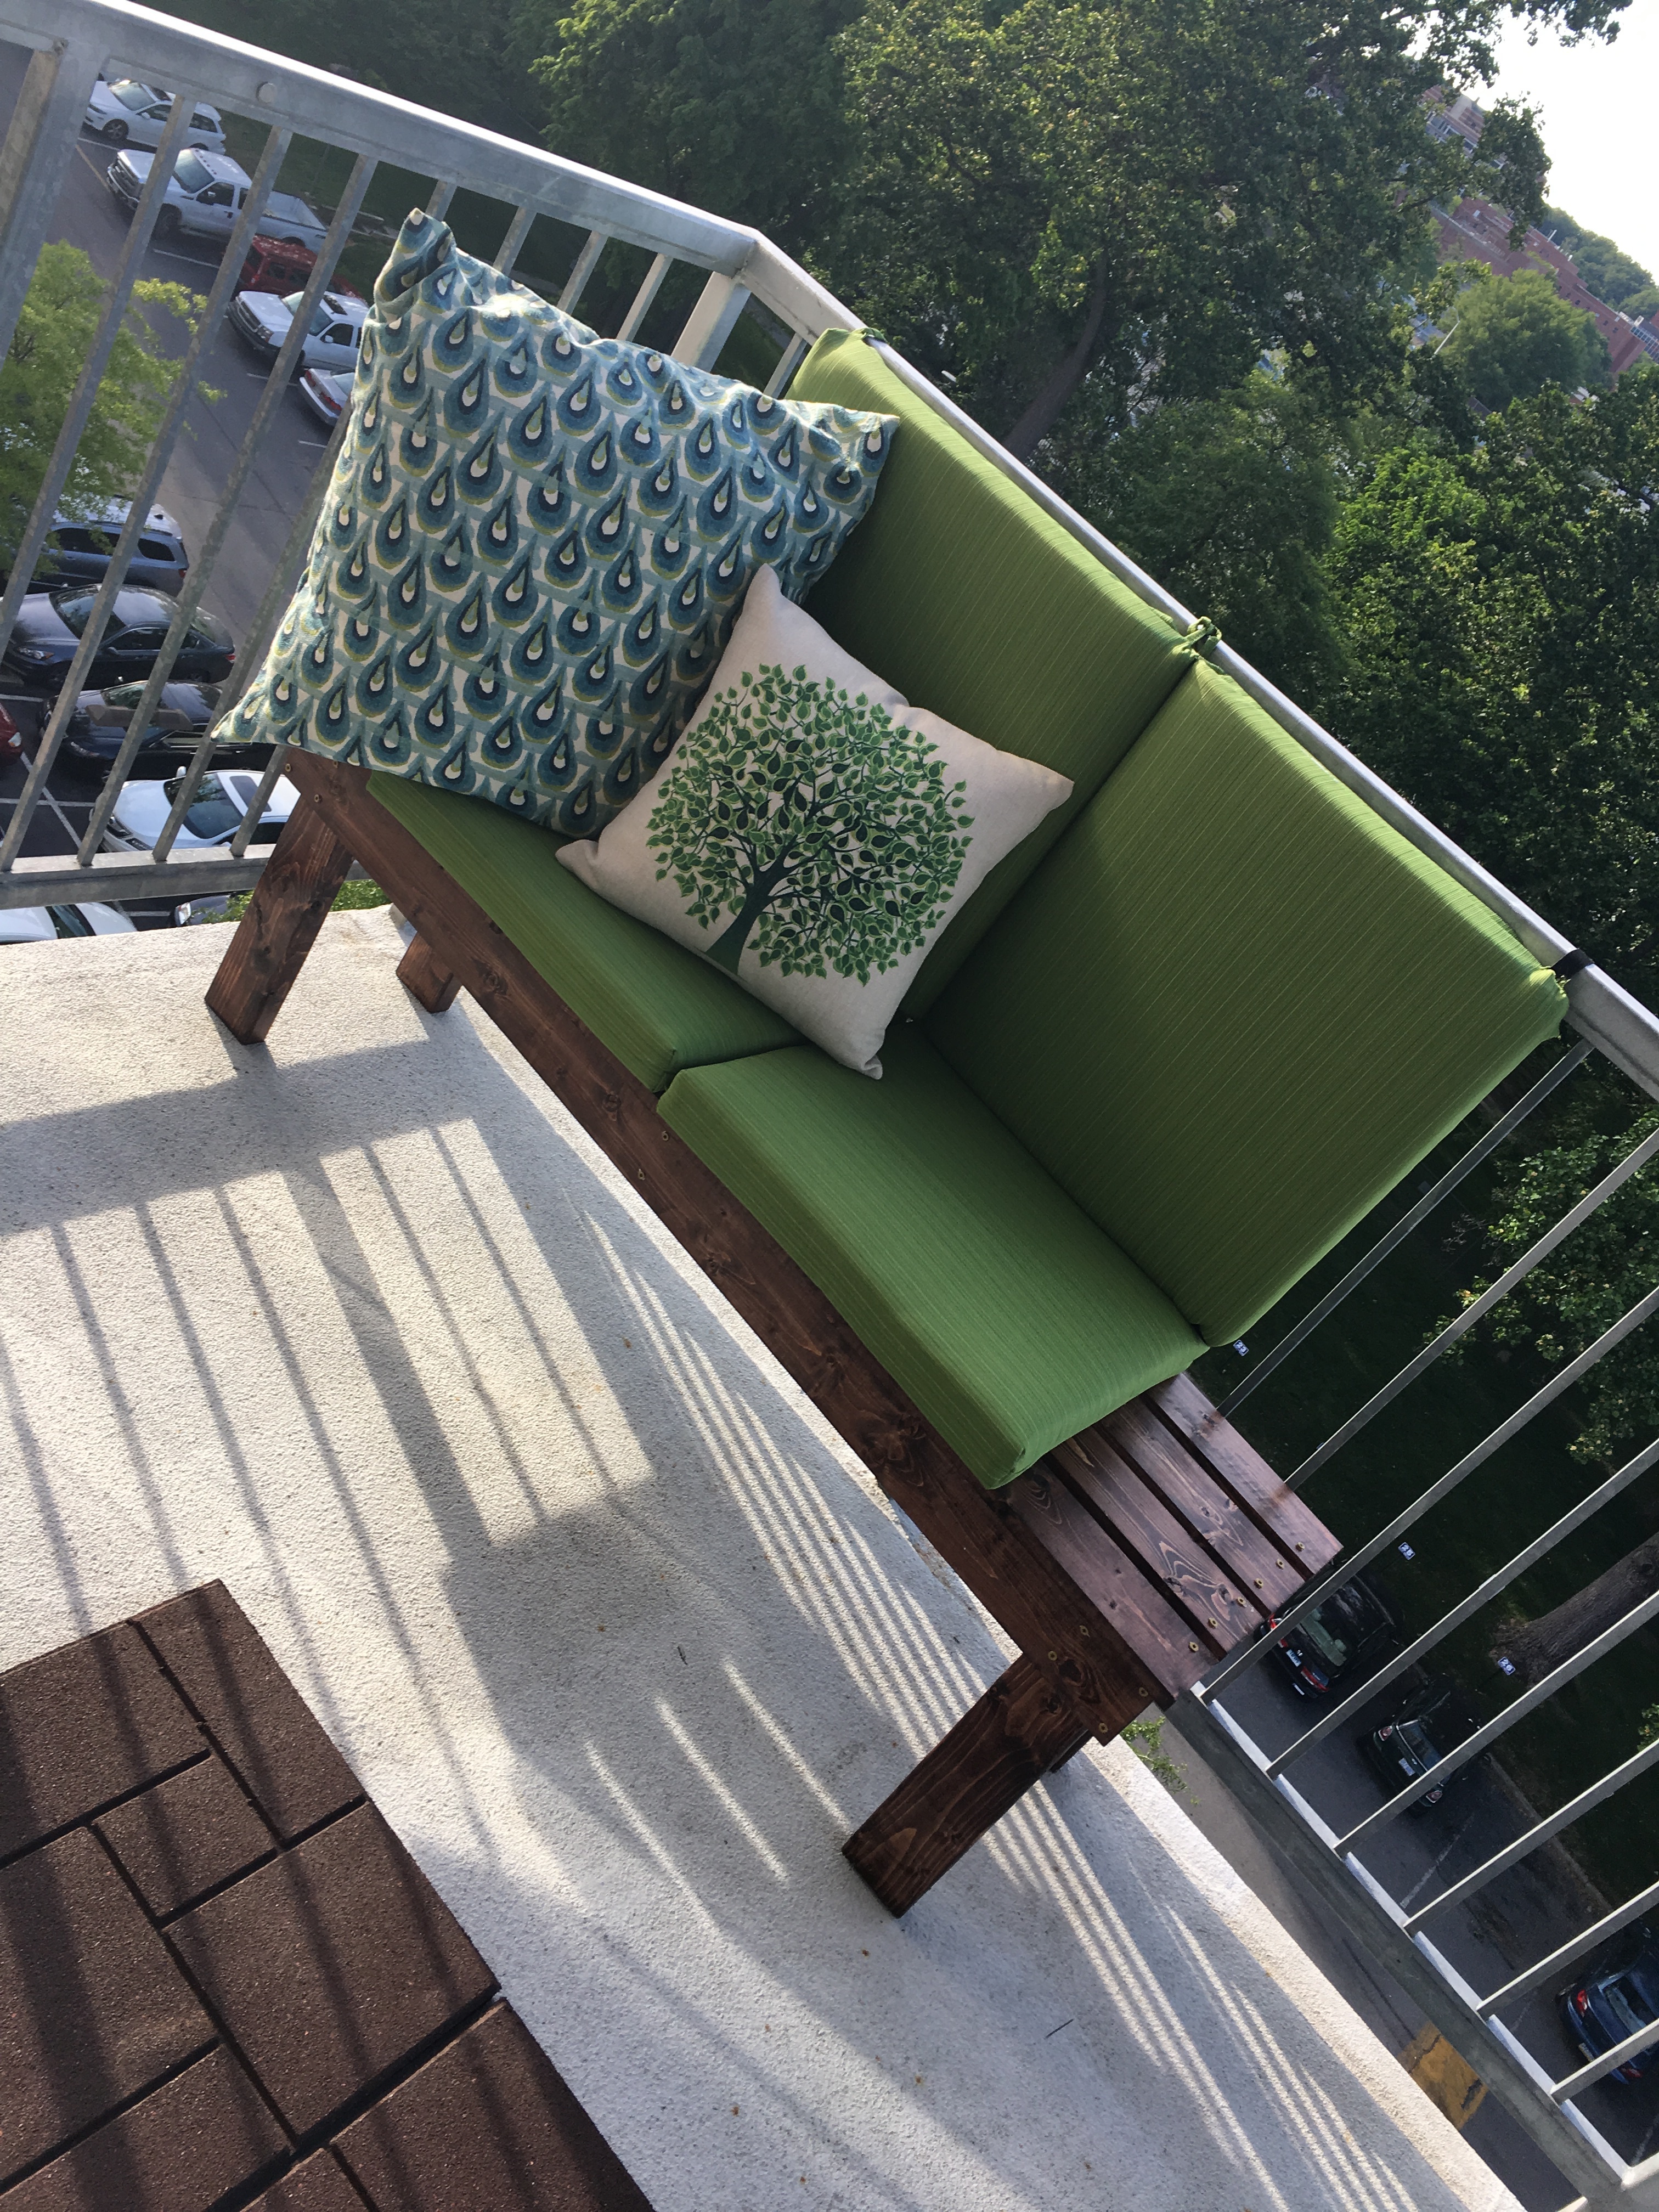
I plan to pick up one more seat cushion and add more pillows (after using some Thompsons Fabric Waterseal).
As a semi-final step, I used Velcro straps to tie the back legs of the bench to the railing (a Bruce provision). He plans to take it further by drilling holes through the legs (eek!) and threading zip ties through it for a more secure railing mount. I reluctantly gave him my blessing for this.
I’m still holding out hope for completing the project with the addition of privacy fences. I’m on the “fence” however about building the smaller bench to complete the corner seat design. I kind of like just having one bench out there. But I need to decide fast before Bruce zip ties the chairs. We may want to change the direction of the bench so we can better enjoy the view. V-
You may also like:
- Pipe and wood shelves for Xenia’s bedroom
- DIY Centerpiece Wall Sconce Part 2
- DIY Centerpiece Wall Sconce Part 1
- DIY Floating Frame Panels with sconces finally mounted!
- Building out more floating shelves
- DIY Mobile Pipe Hall Tree
- A hanging organizer for my pipe hanging bar
- Building a floating shelf for the den
- DIY hanging wood shelf (and wood picture ledge)