Repotting perfectly happy succulents
April 3, 2016: Happy Sunday!
The time has come to bit the bullet and separate the two succulents that have been living happily together in the same tin container since last May. It will be almost a year for these little guys. I’m very proud…they’ve survived and thrived in the condo due to a lot of sun and a little water (for me, the trickiest part of the formula). I’ve also been an optimistic cheerleader and supporter in the background “Go Nuss! Go BP!!! You’ve got this!”
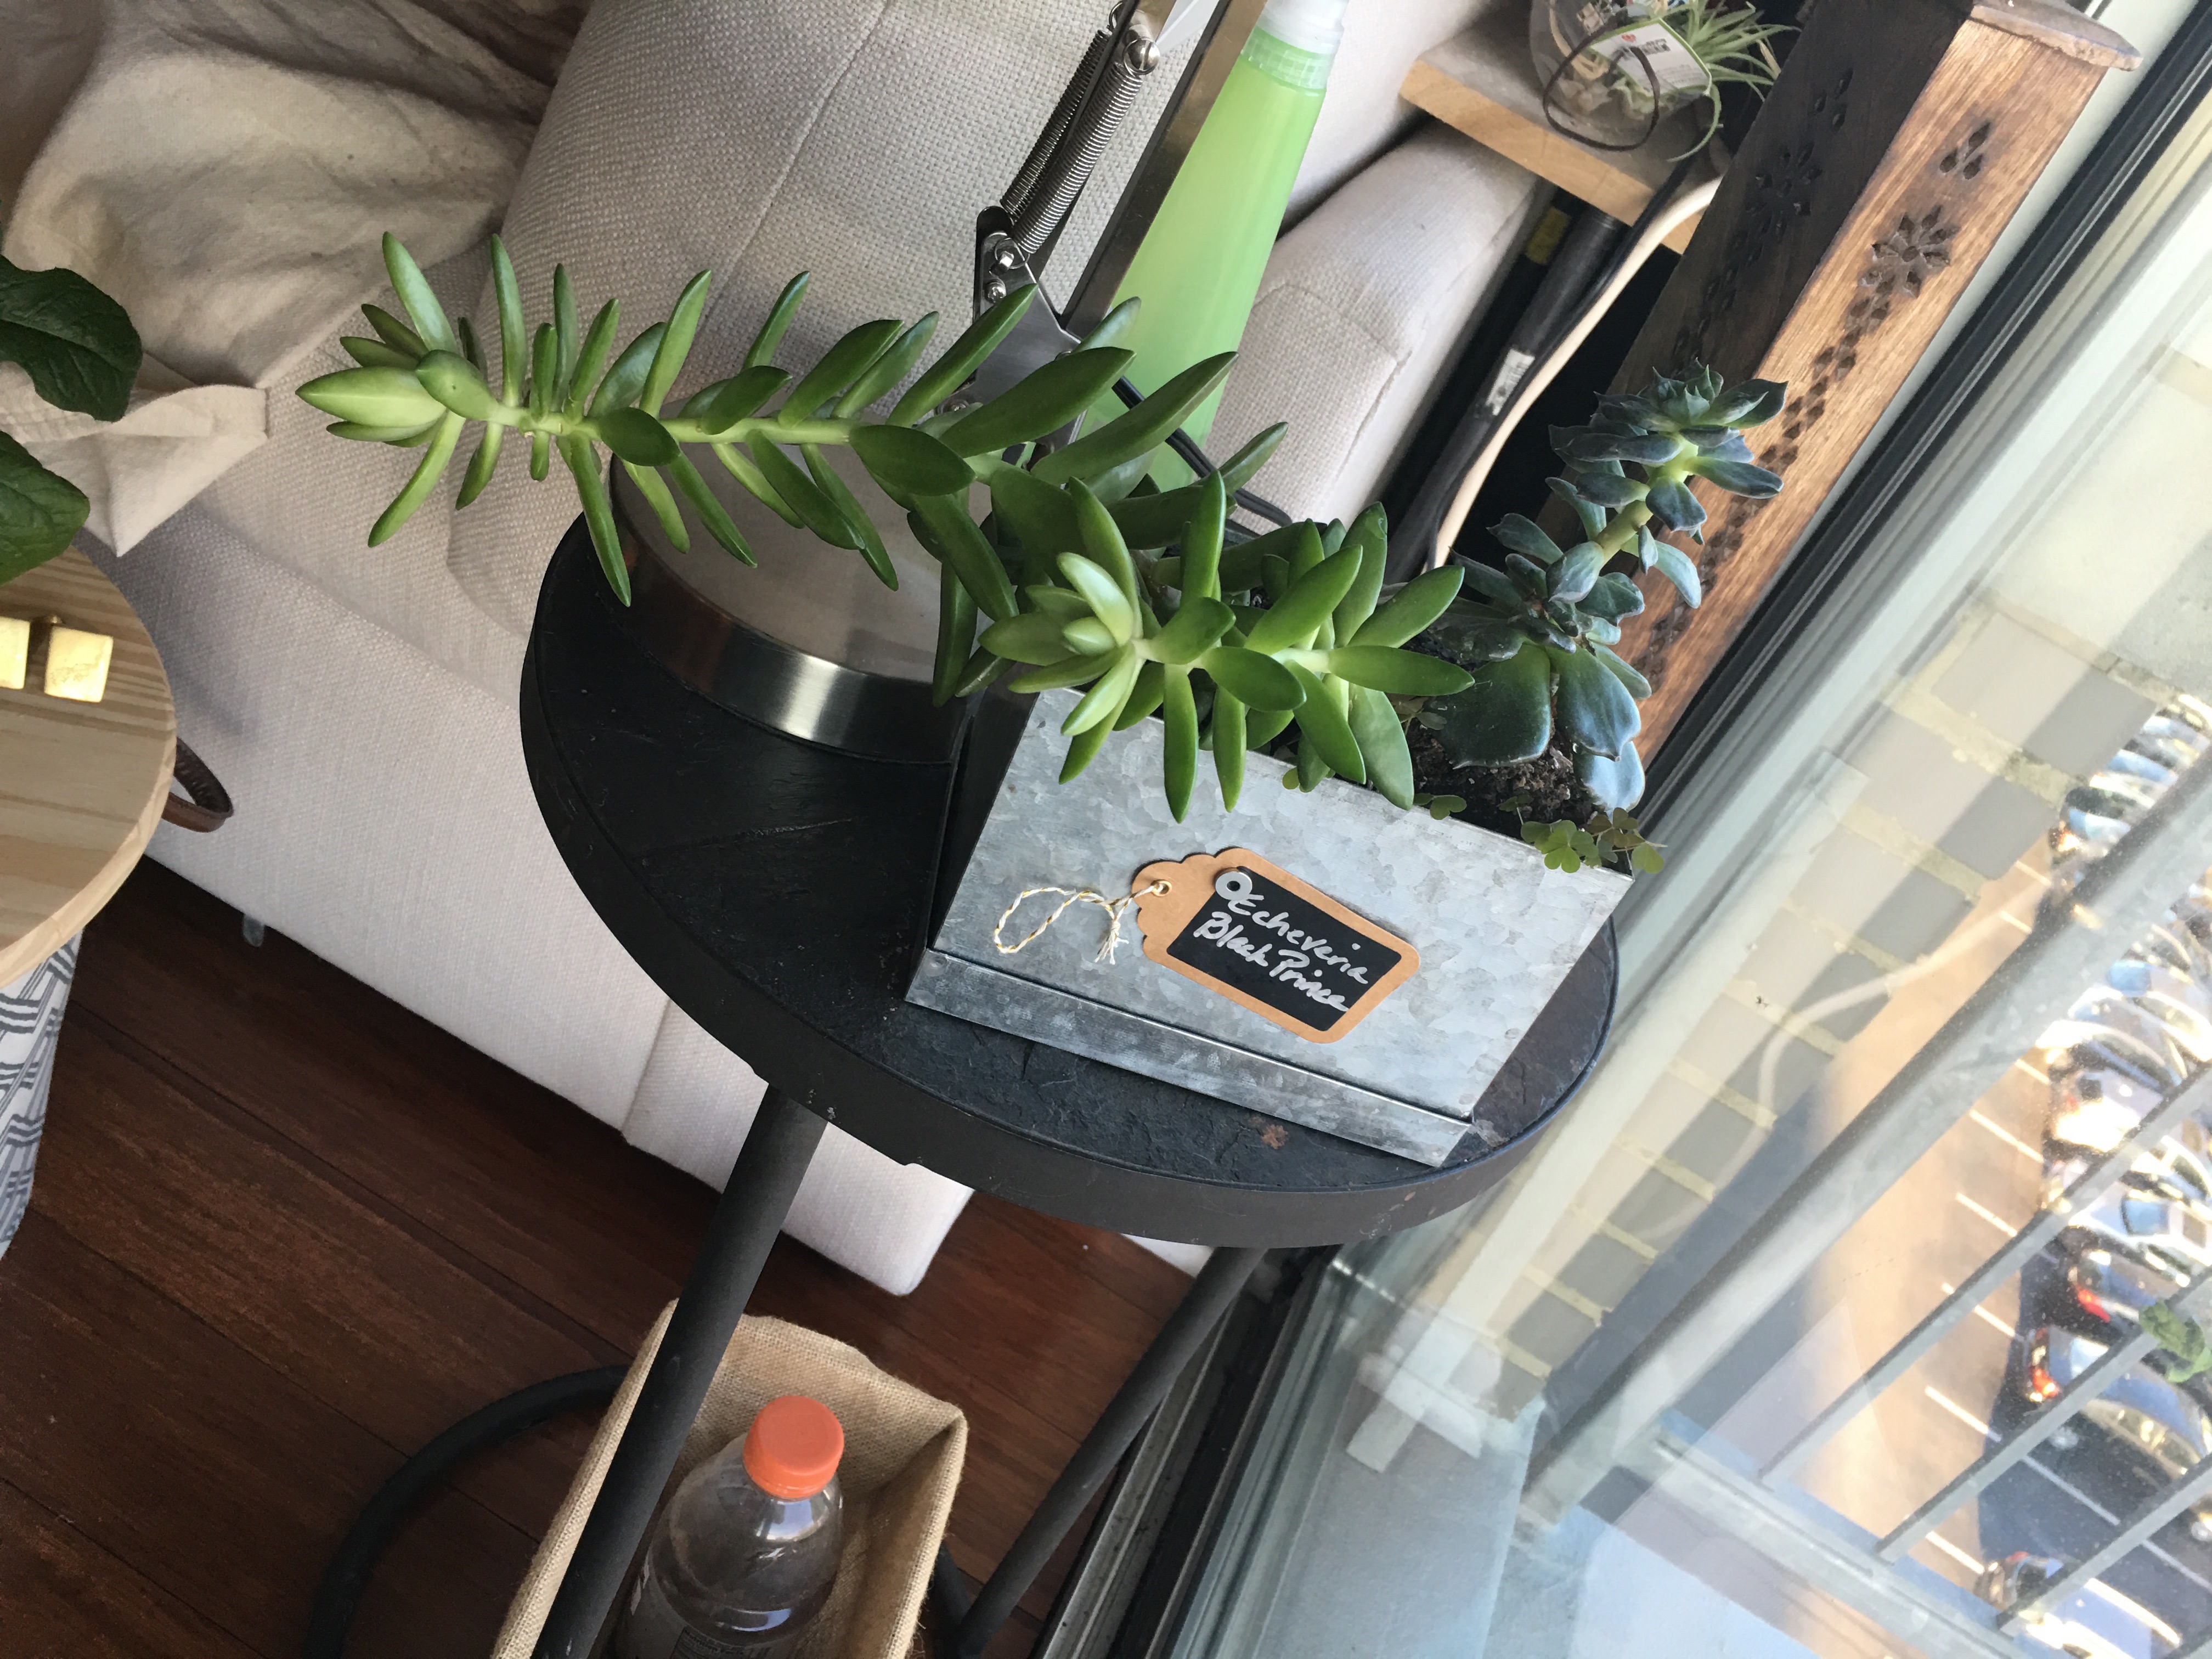
But now the sedum nussbaumerianum (the long green cactus on the left) is hanging over the sides and has no room to grow. So I will transfer it to a new, larger, terra cotta pot. And will replant the Black Prince in the same tin container. My fervid hope is that I will not destroy any roots during the transplant operation.
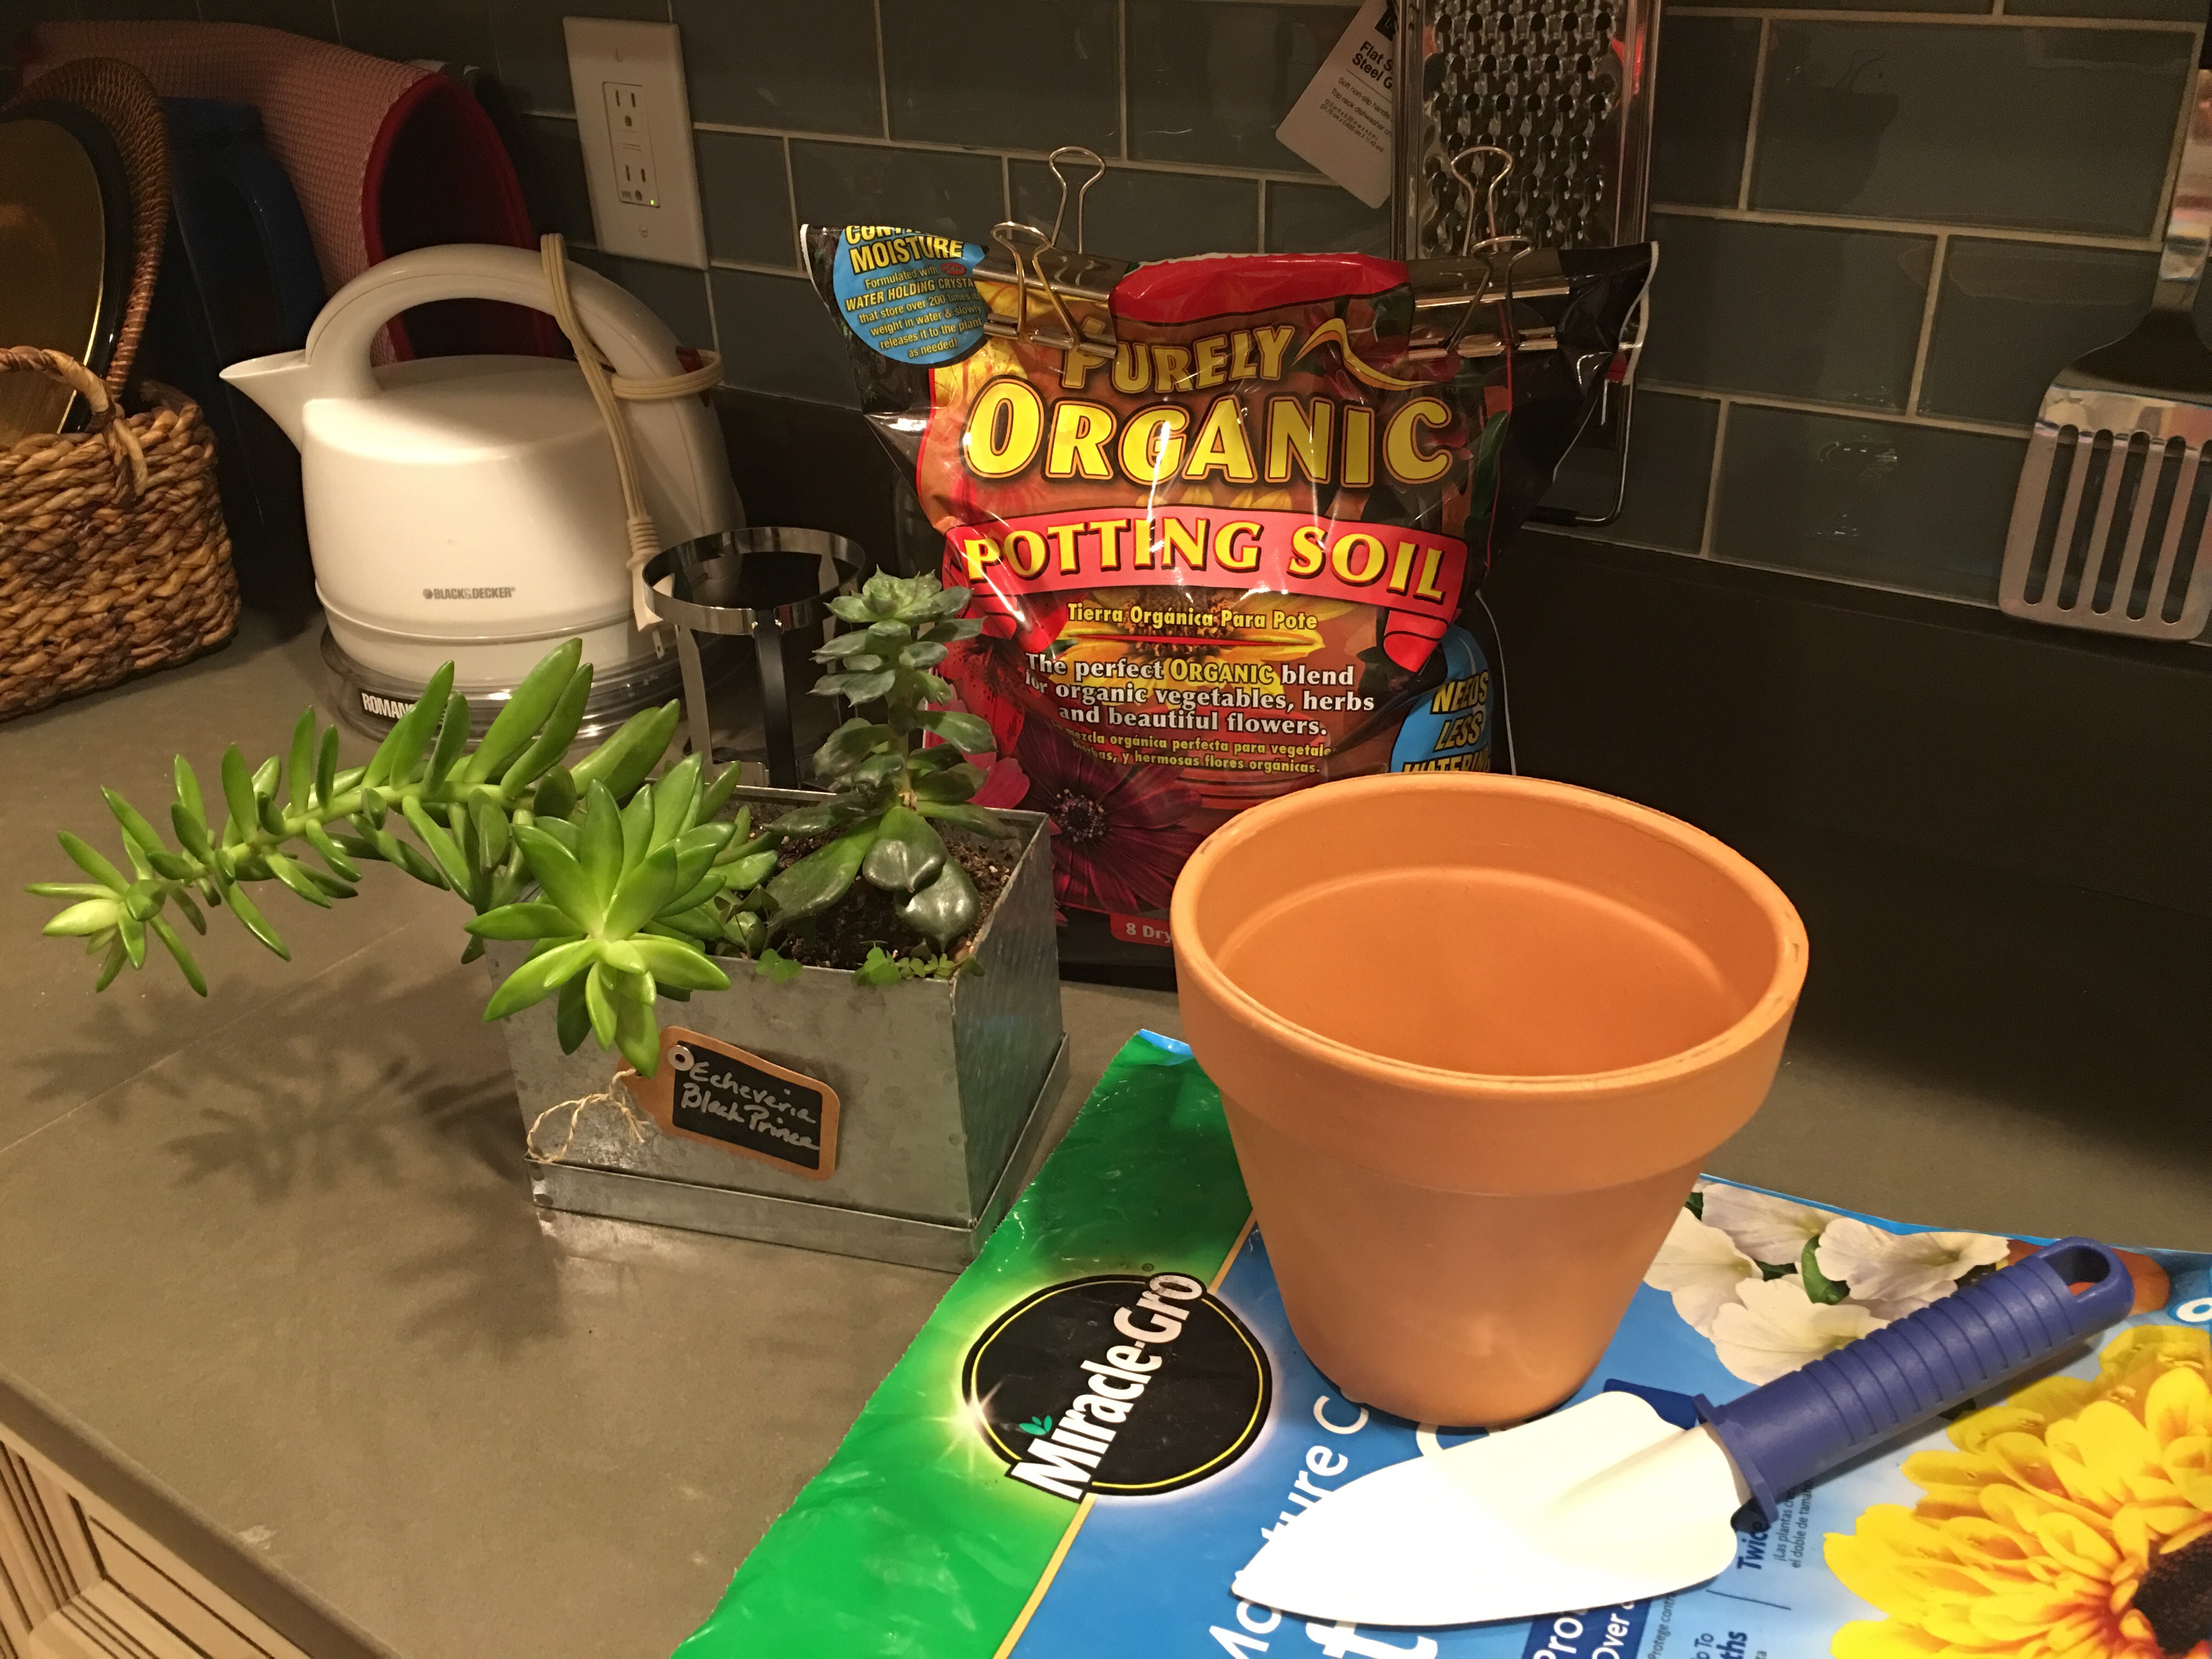
So here’s where we start…new big pot. My trowel. Fresh soil. And my happily situated plants in their tin container home for the past 10 months.
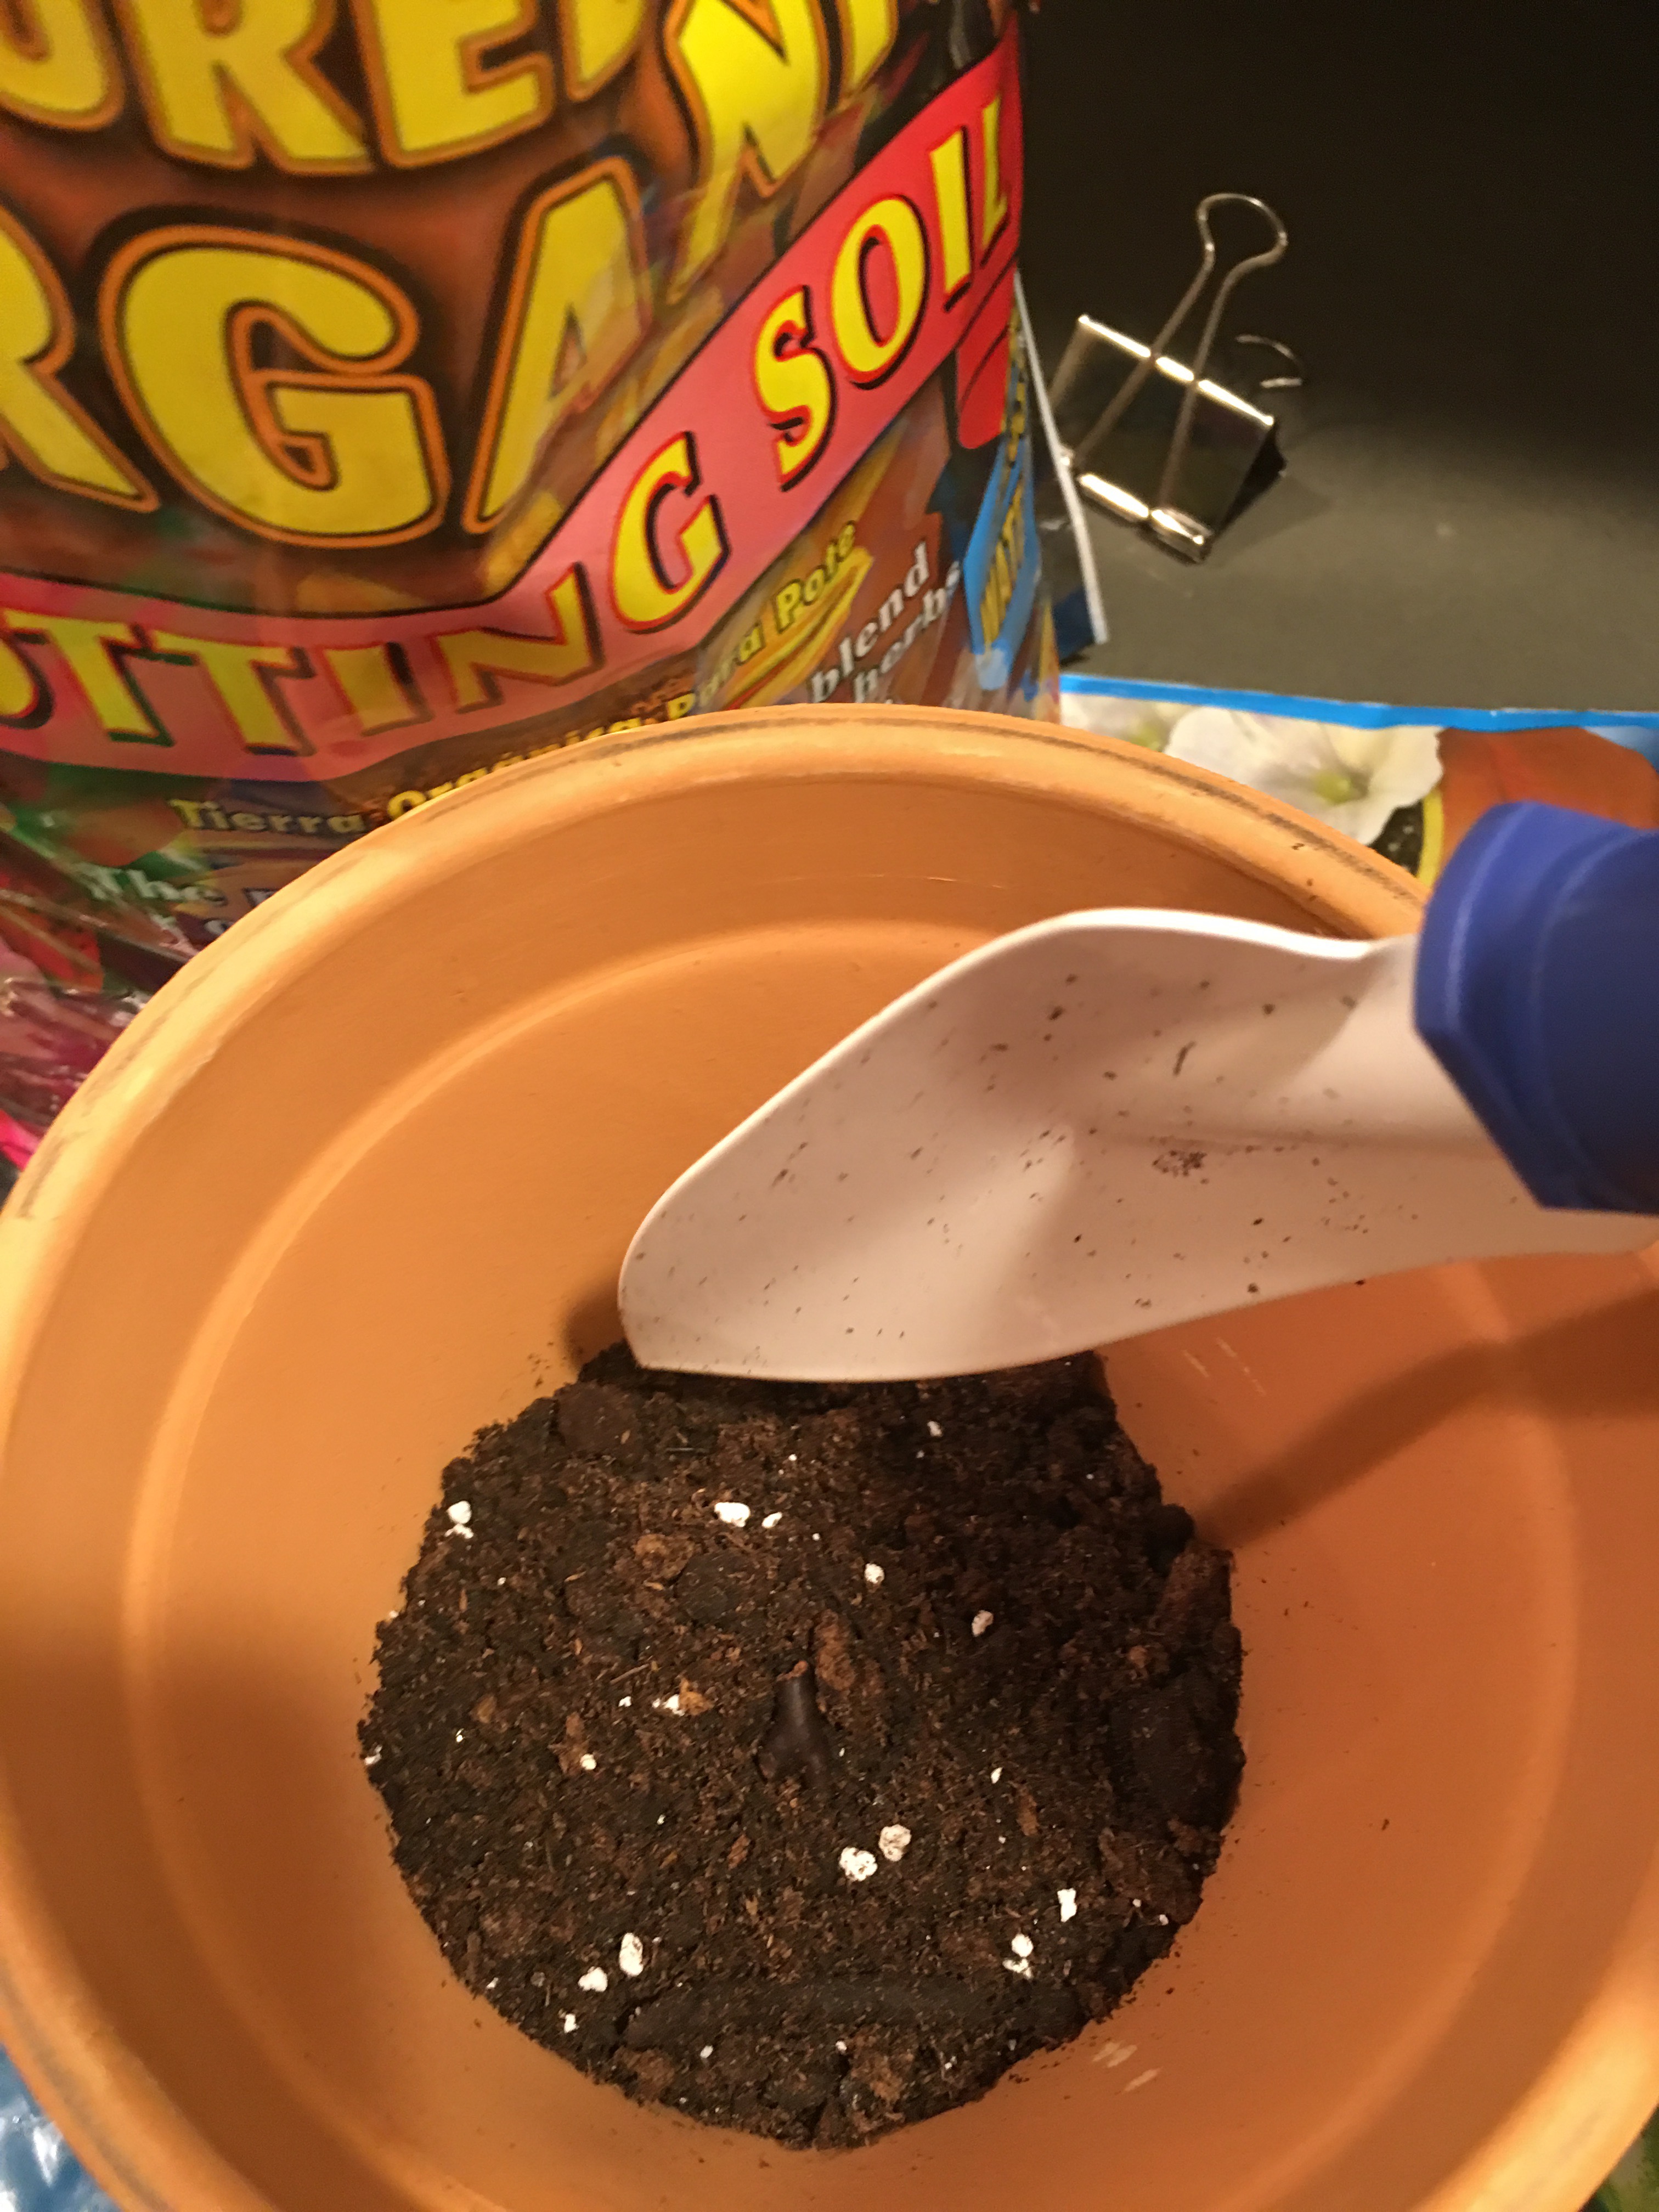
Some fresh soil…
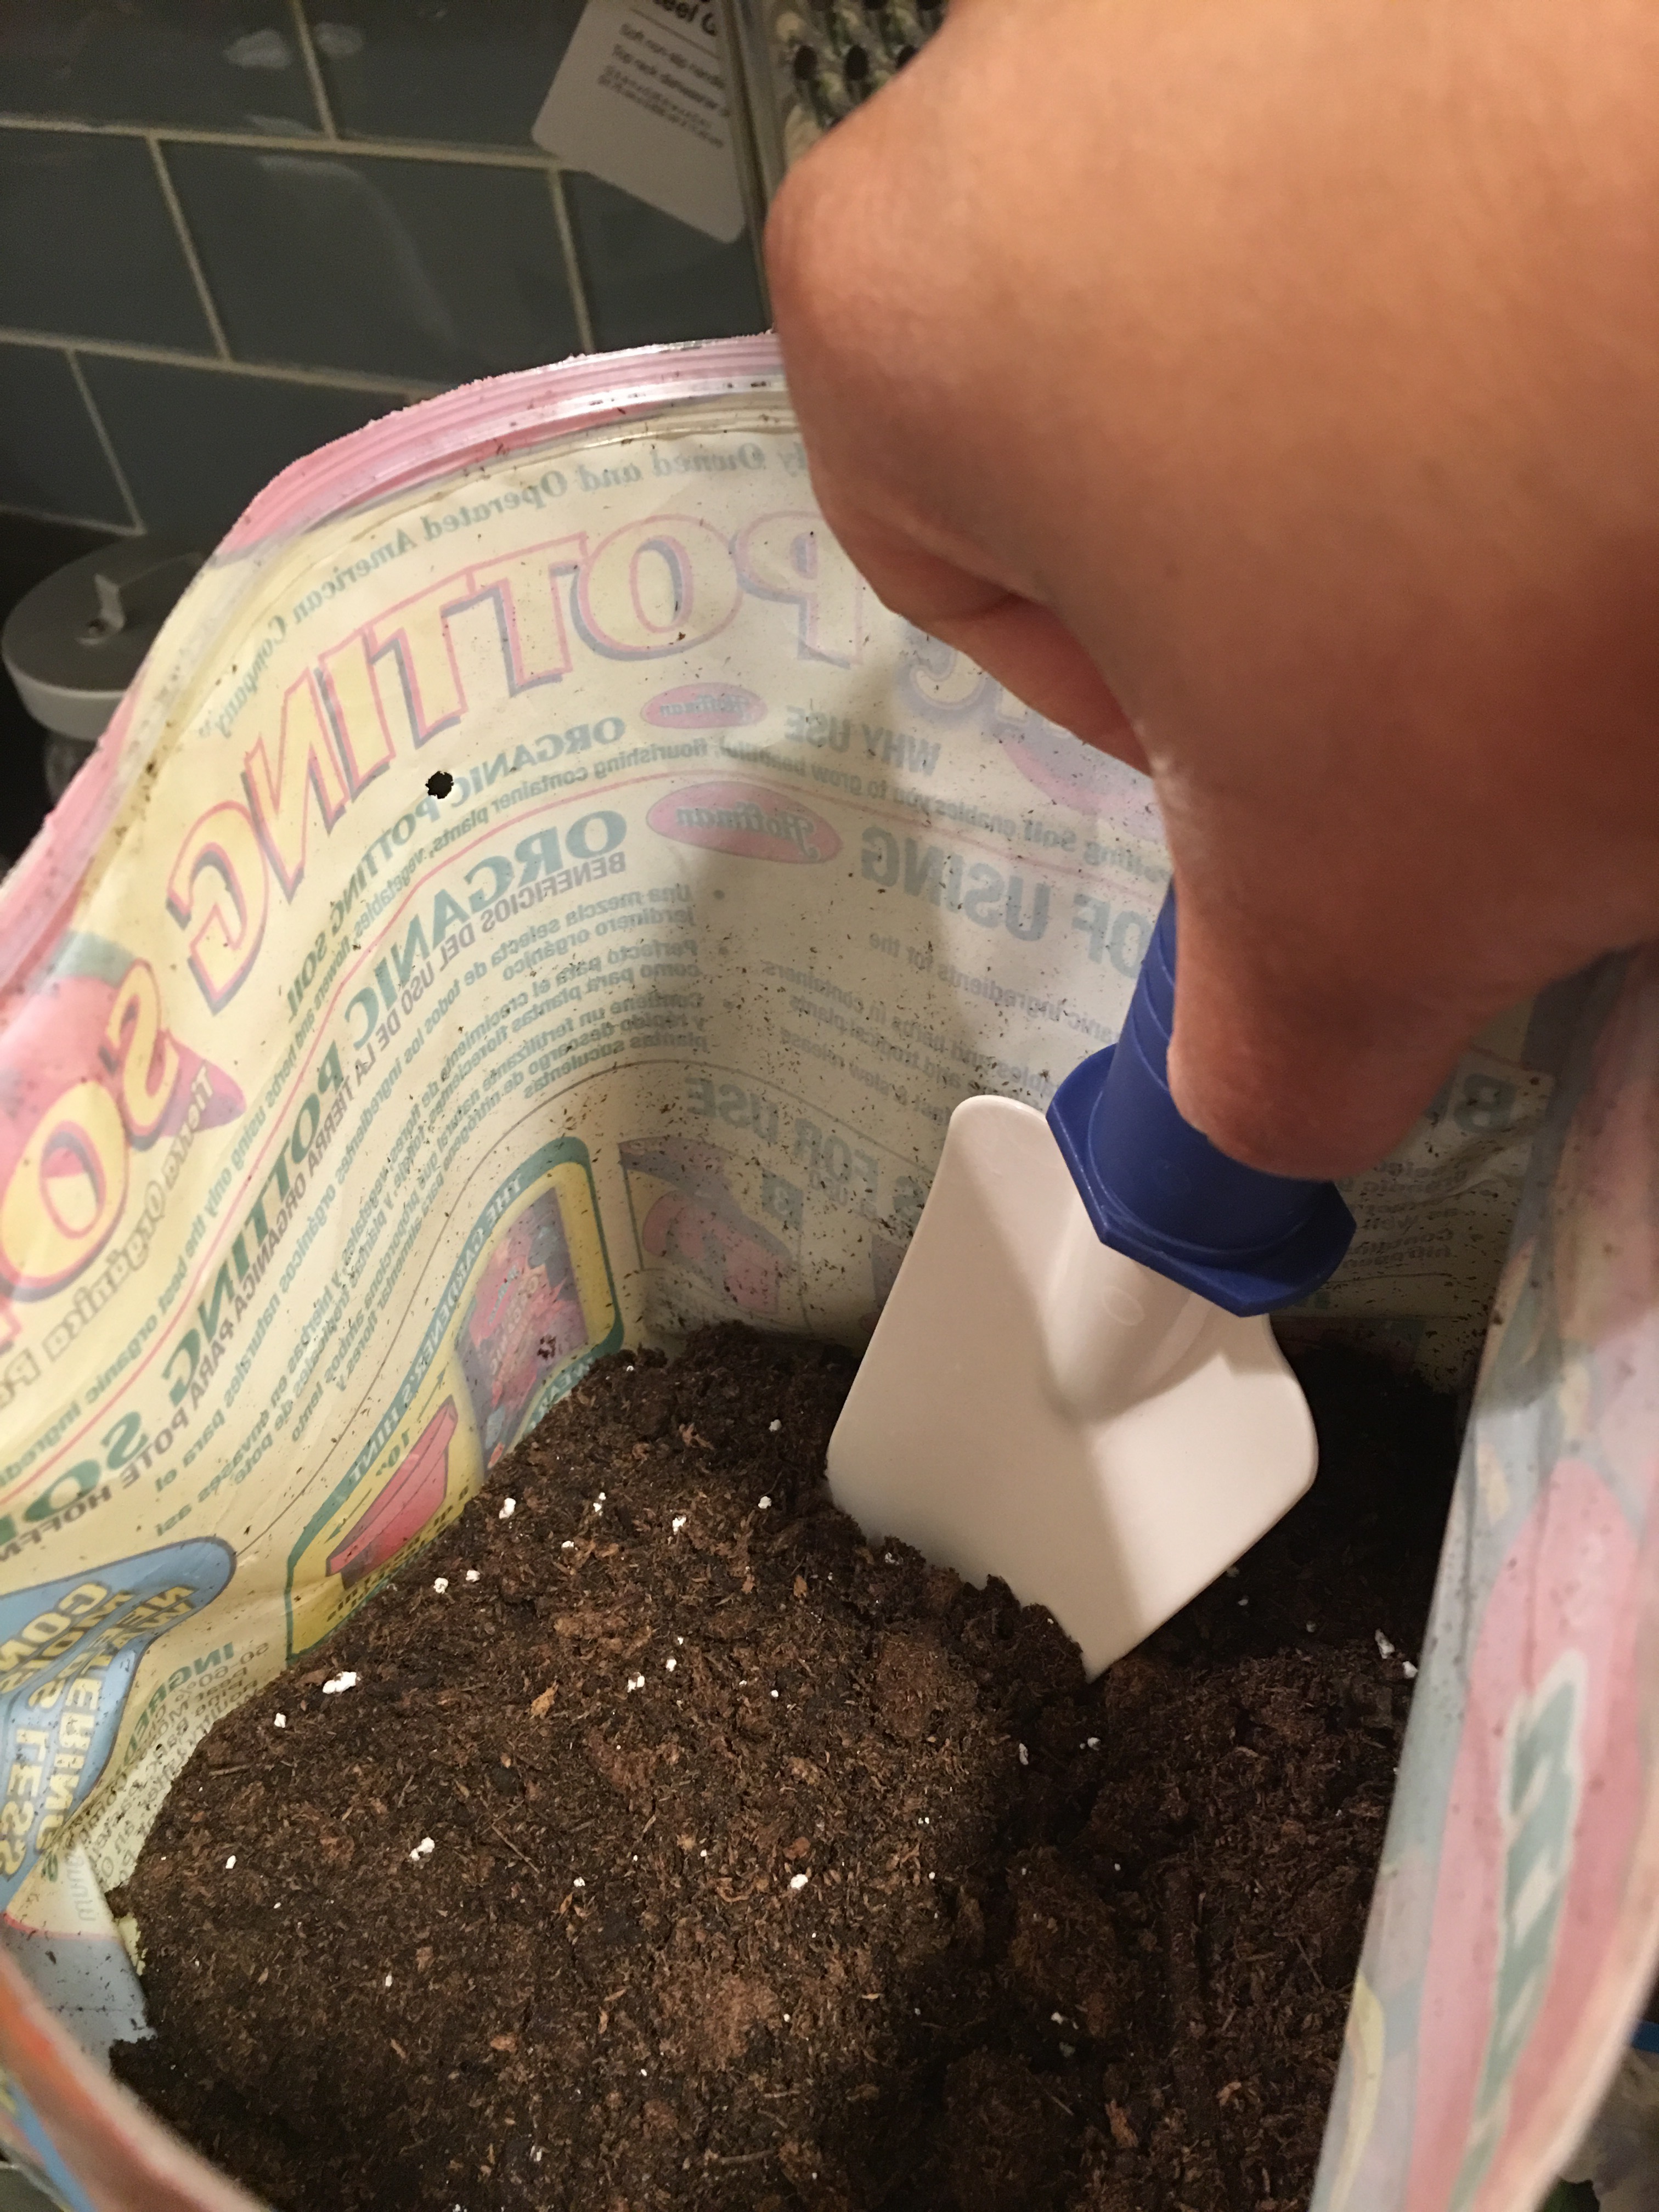
…in the pot.
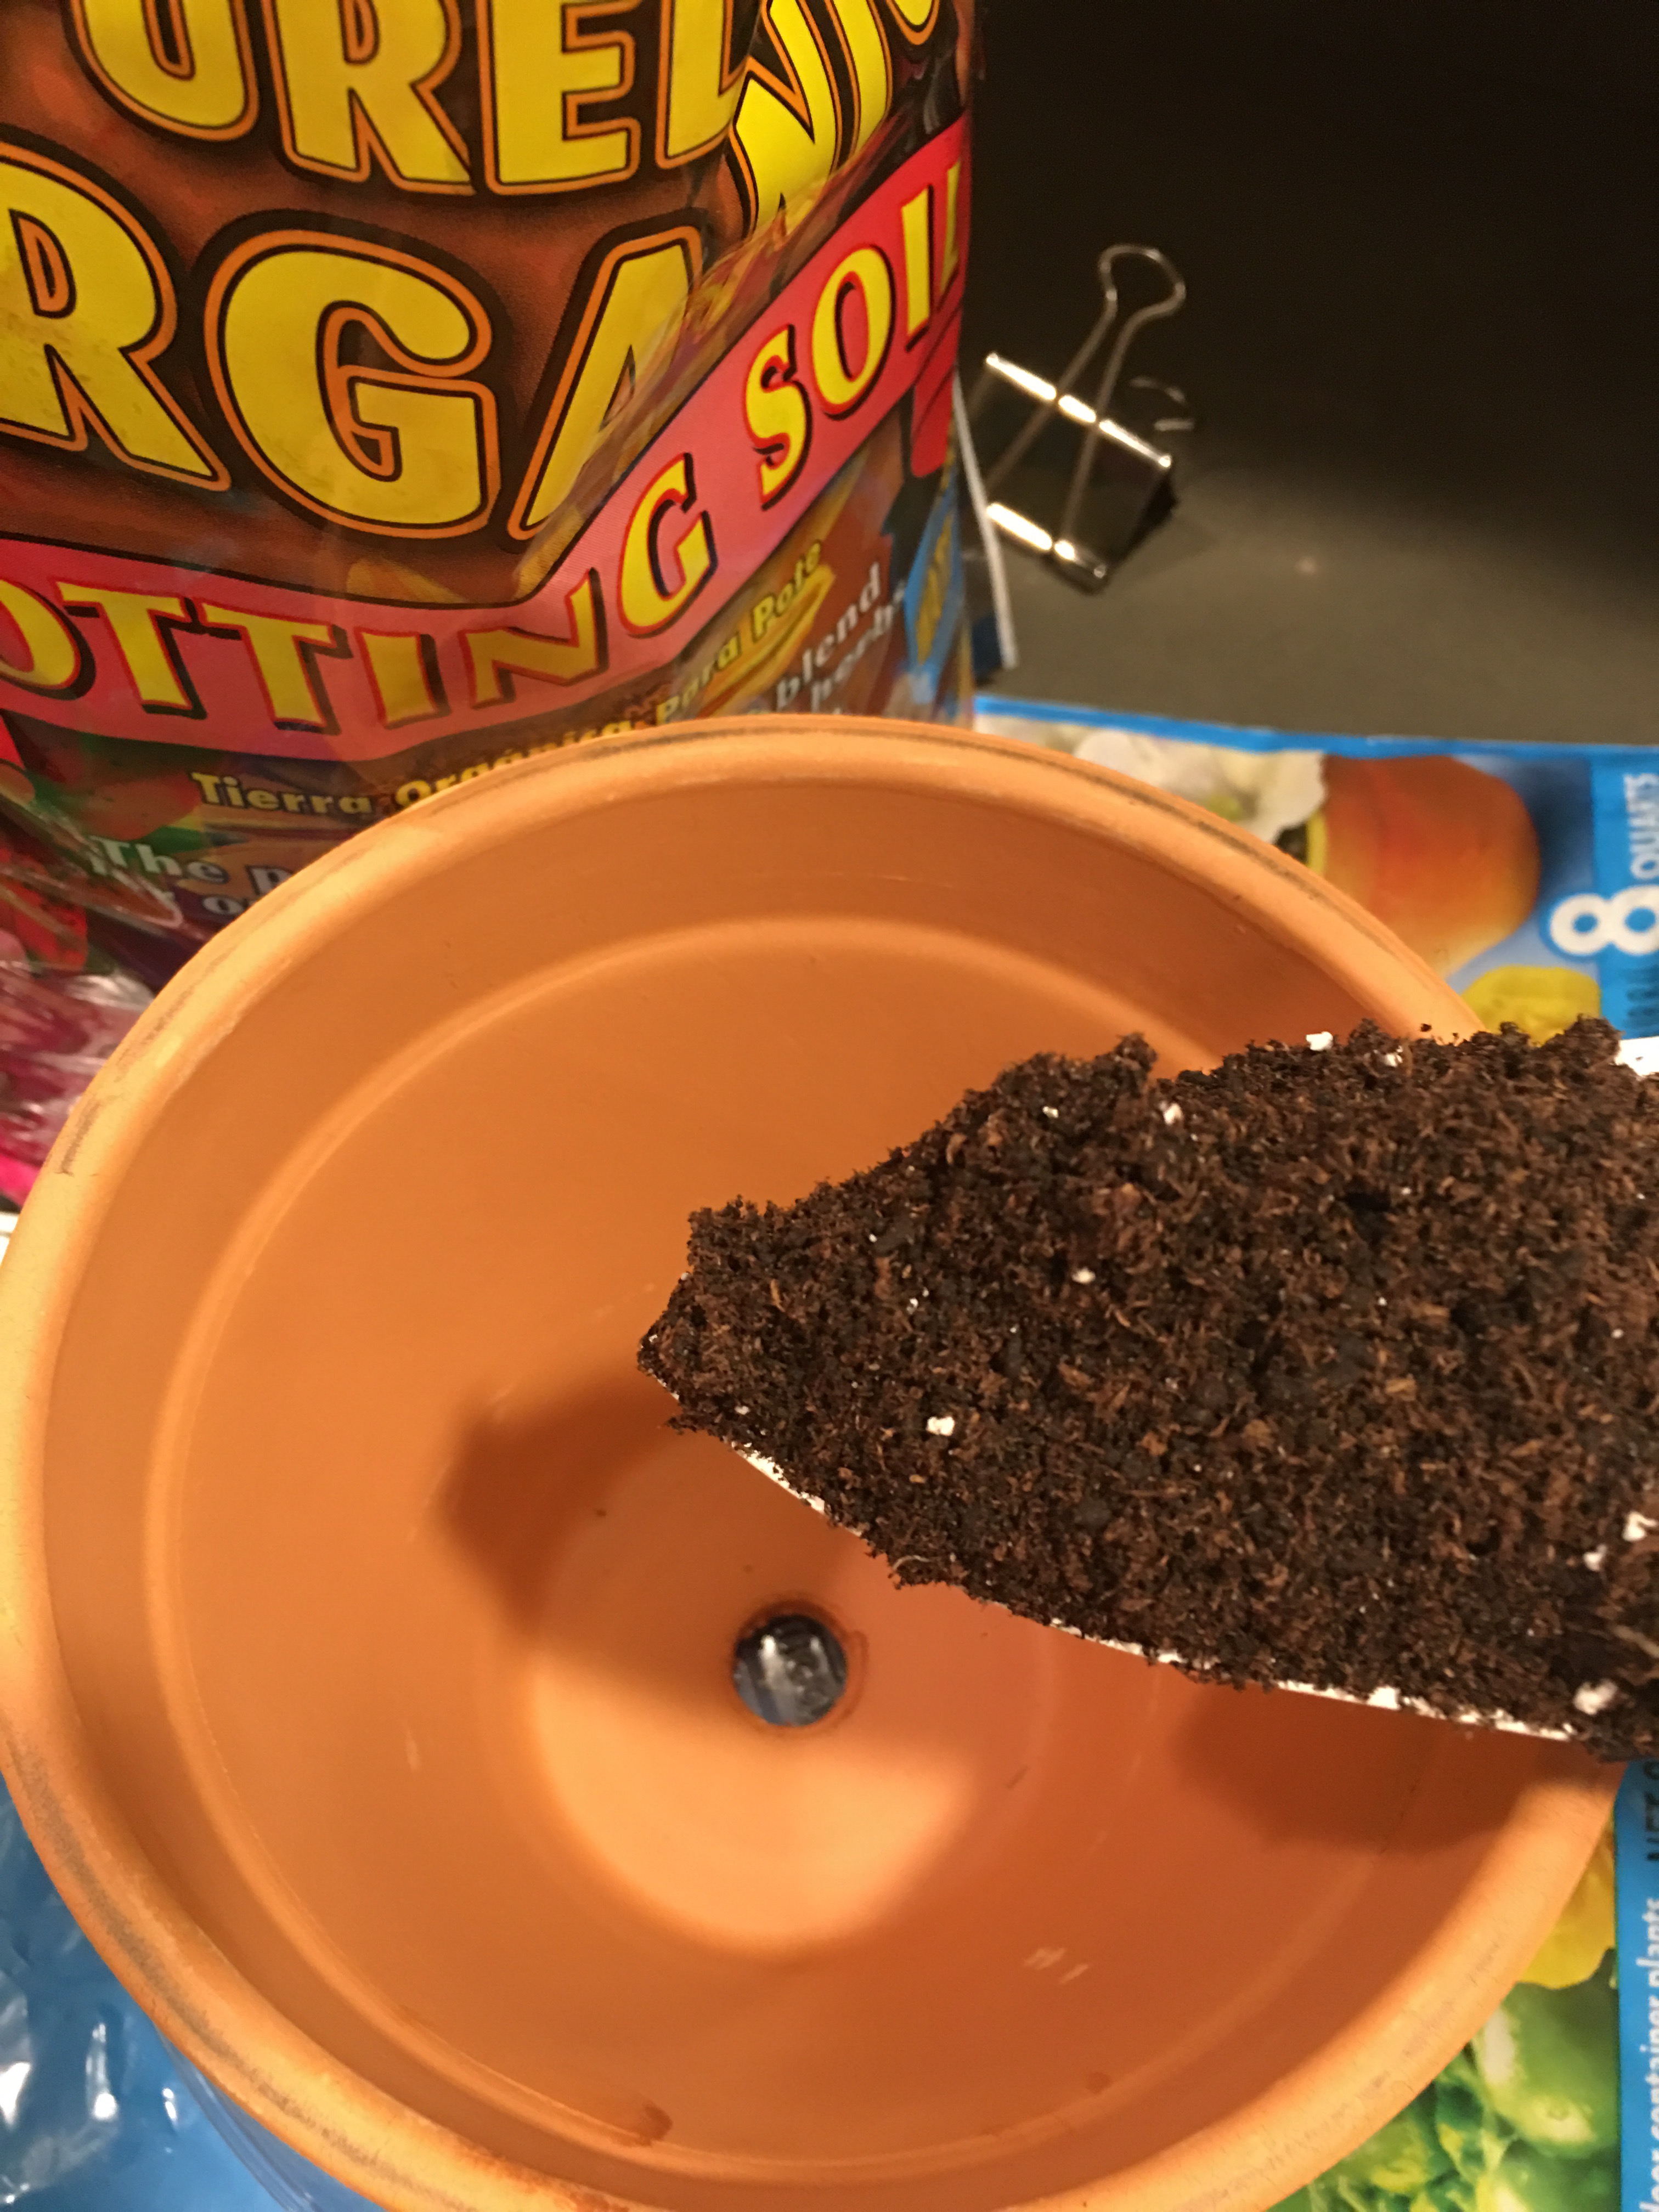
Fill it up about two thirds so that there’s room to add Nuss and its roots.
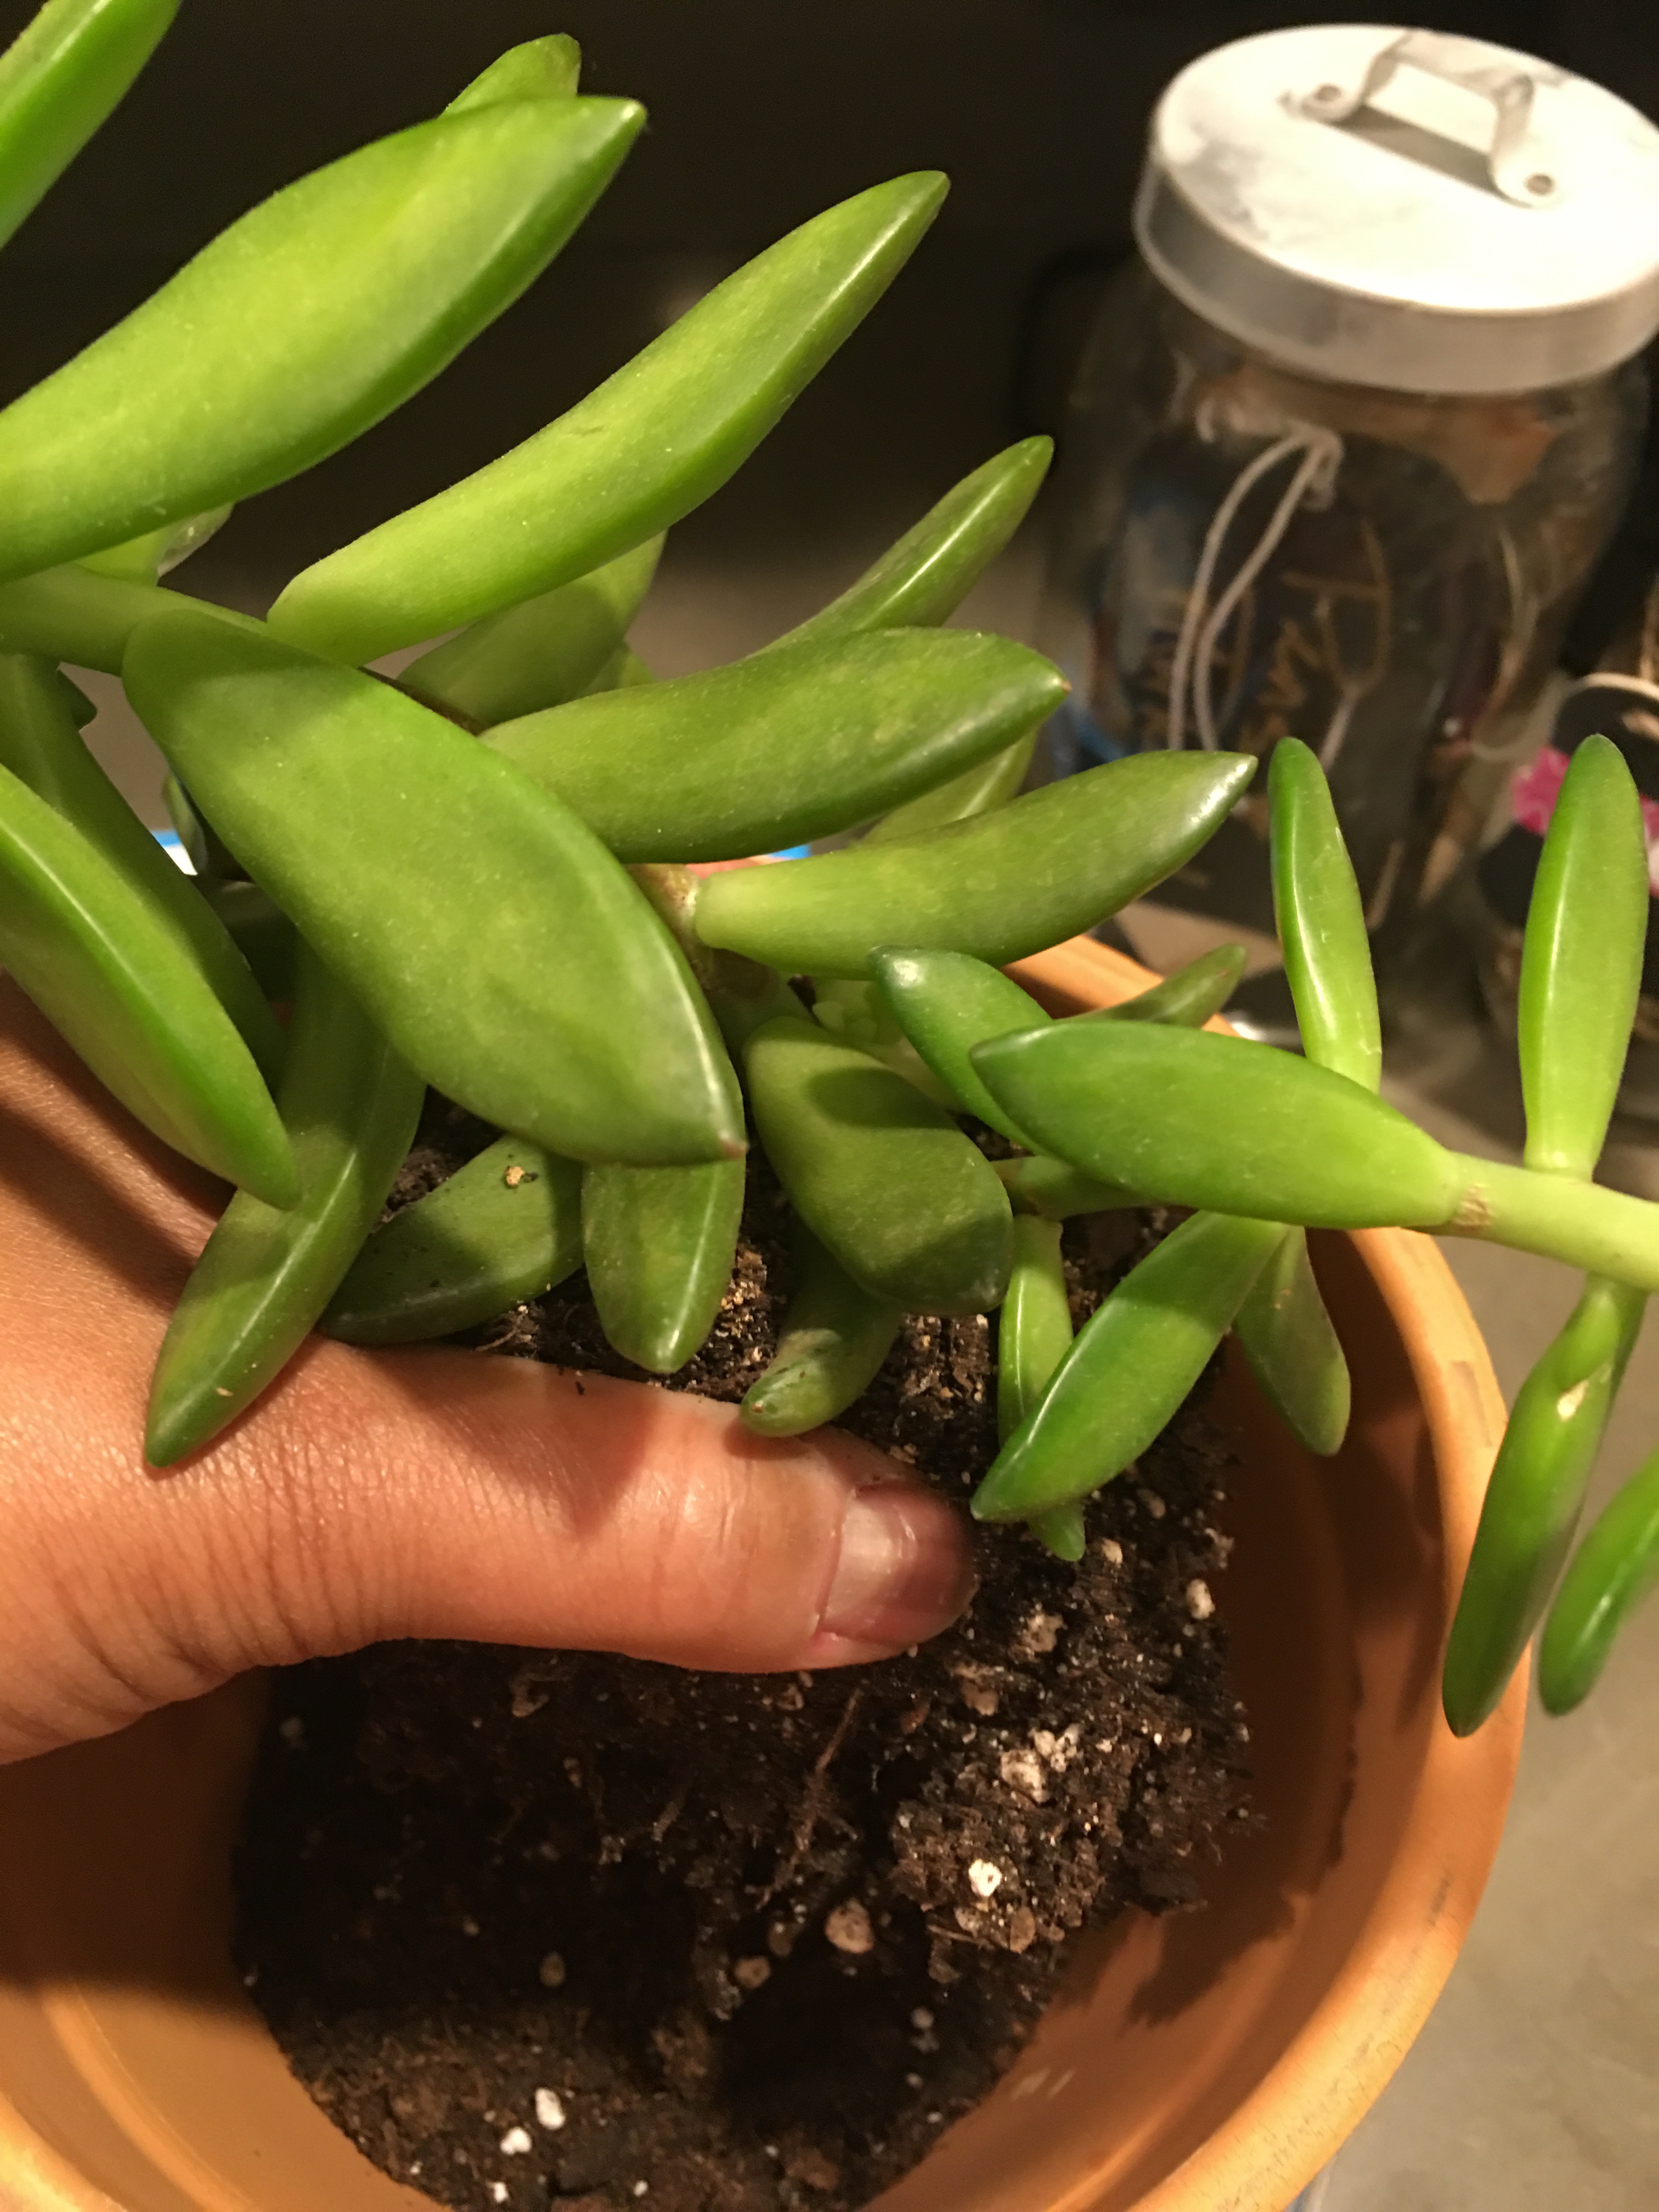
I then use the trowel to nudge Nuss out of its current spot. The soil is pretty dry (which makes me a bit nervous about screwing something up as a result).
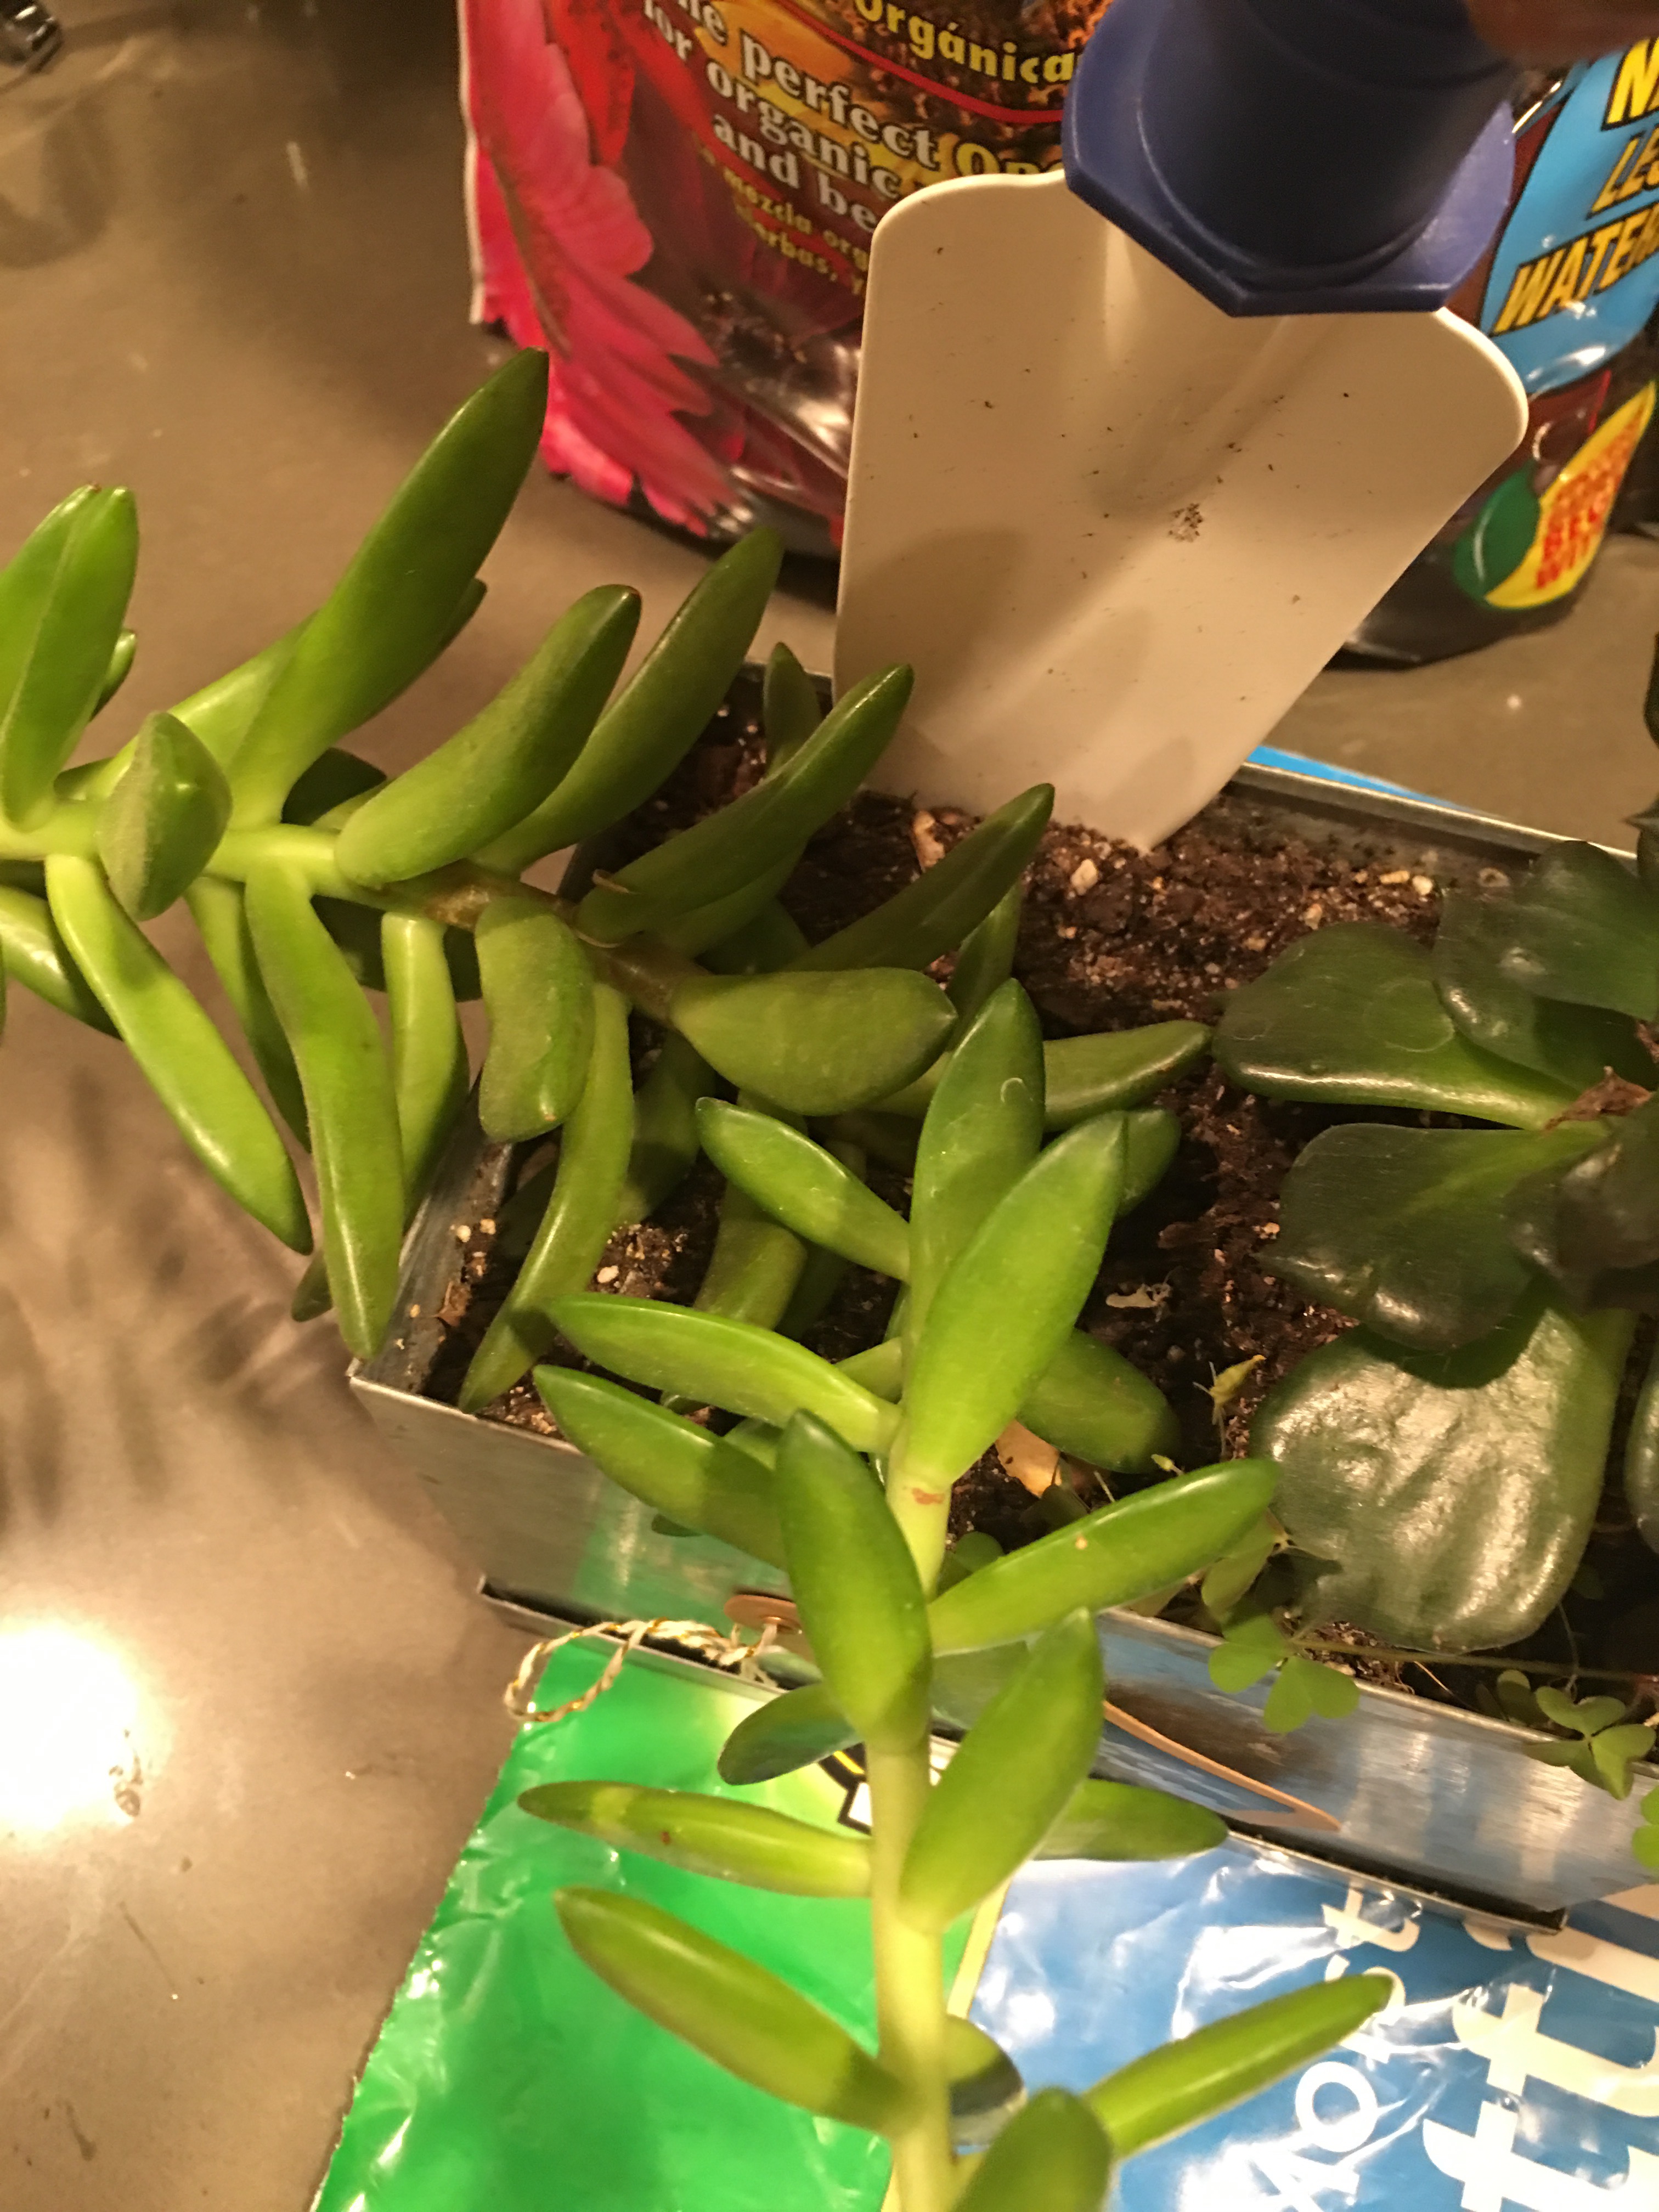
I carefully carve my way around the plant and do my best not to cut or chop any roots.

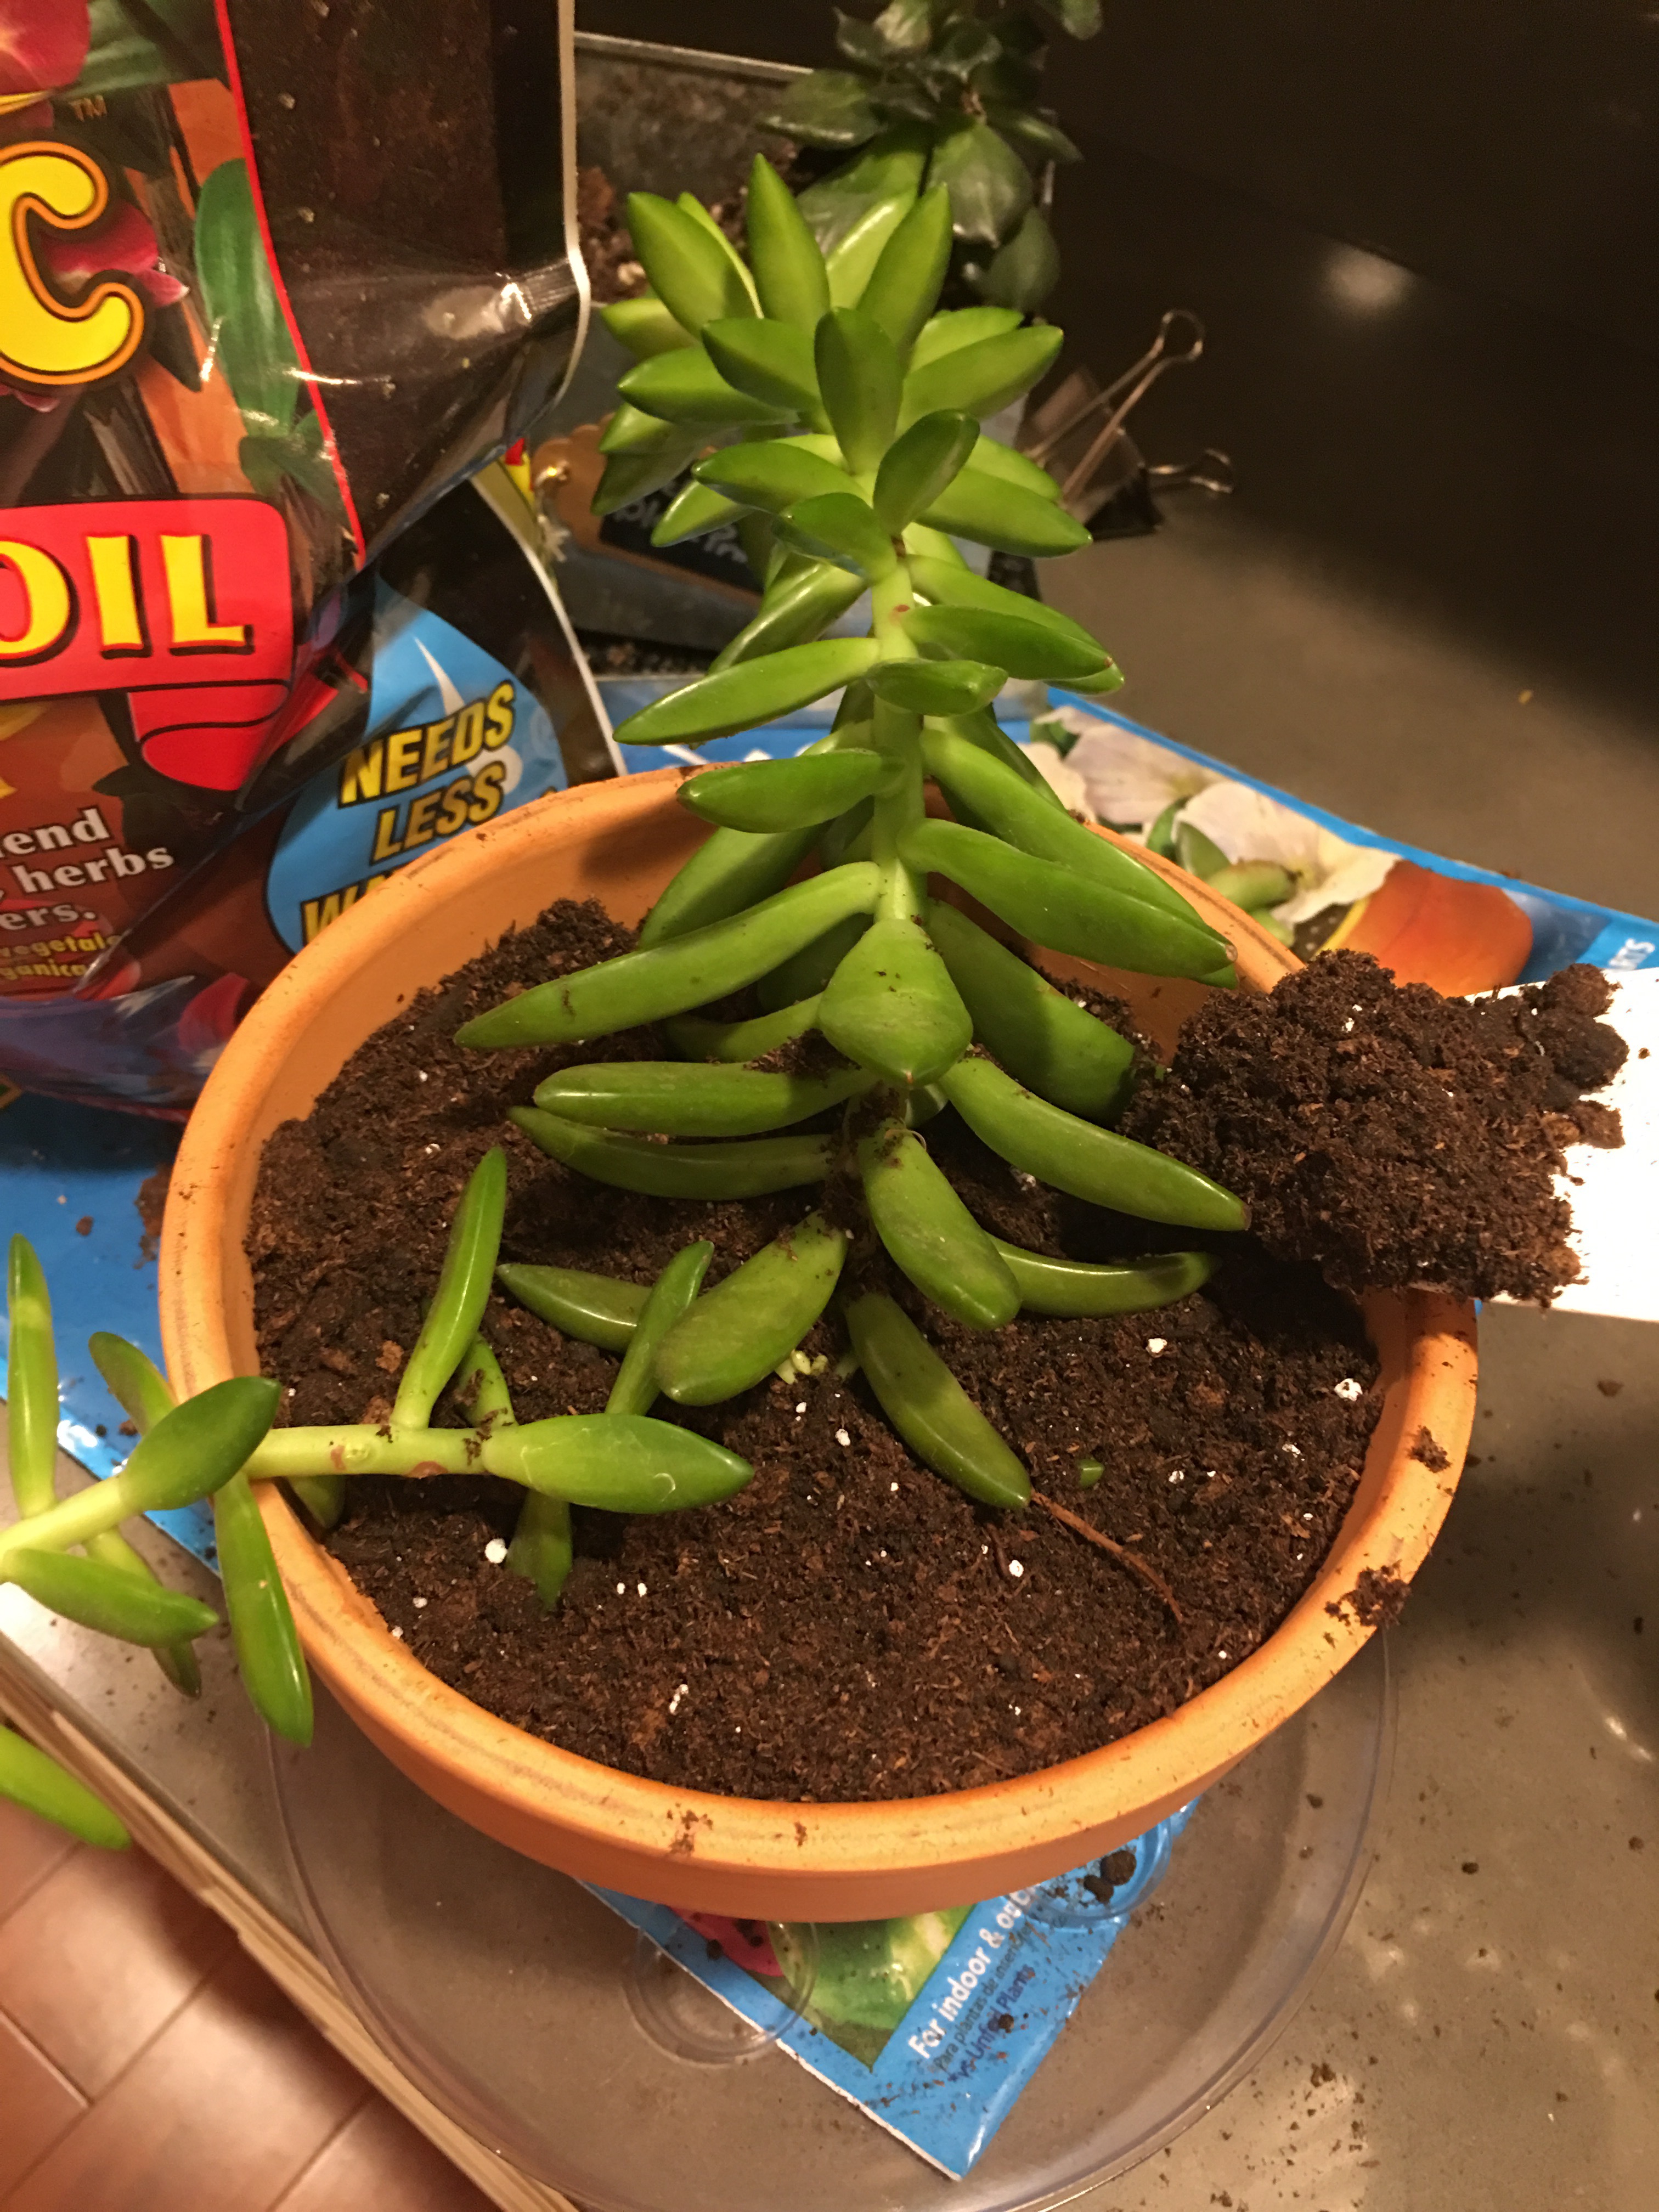
Once I loosen and dislodge a good mass of soil and roots from beneath the plant…
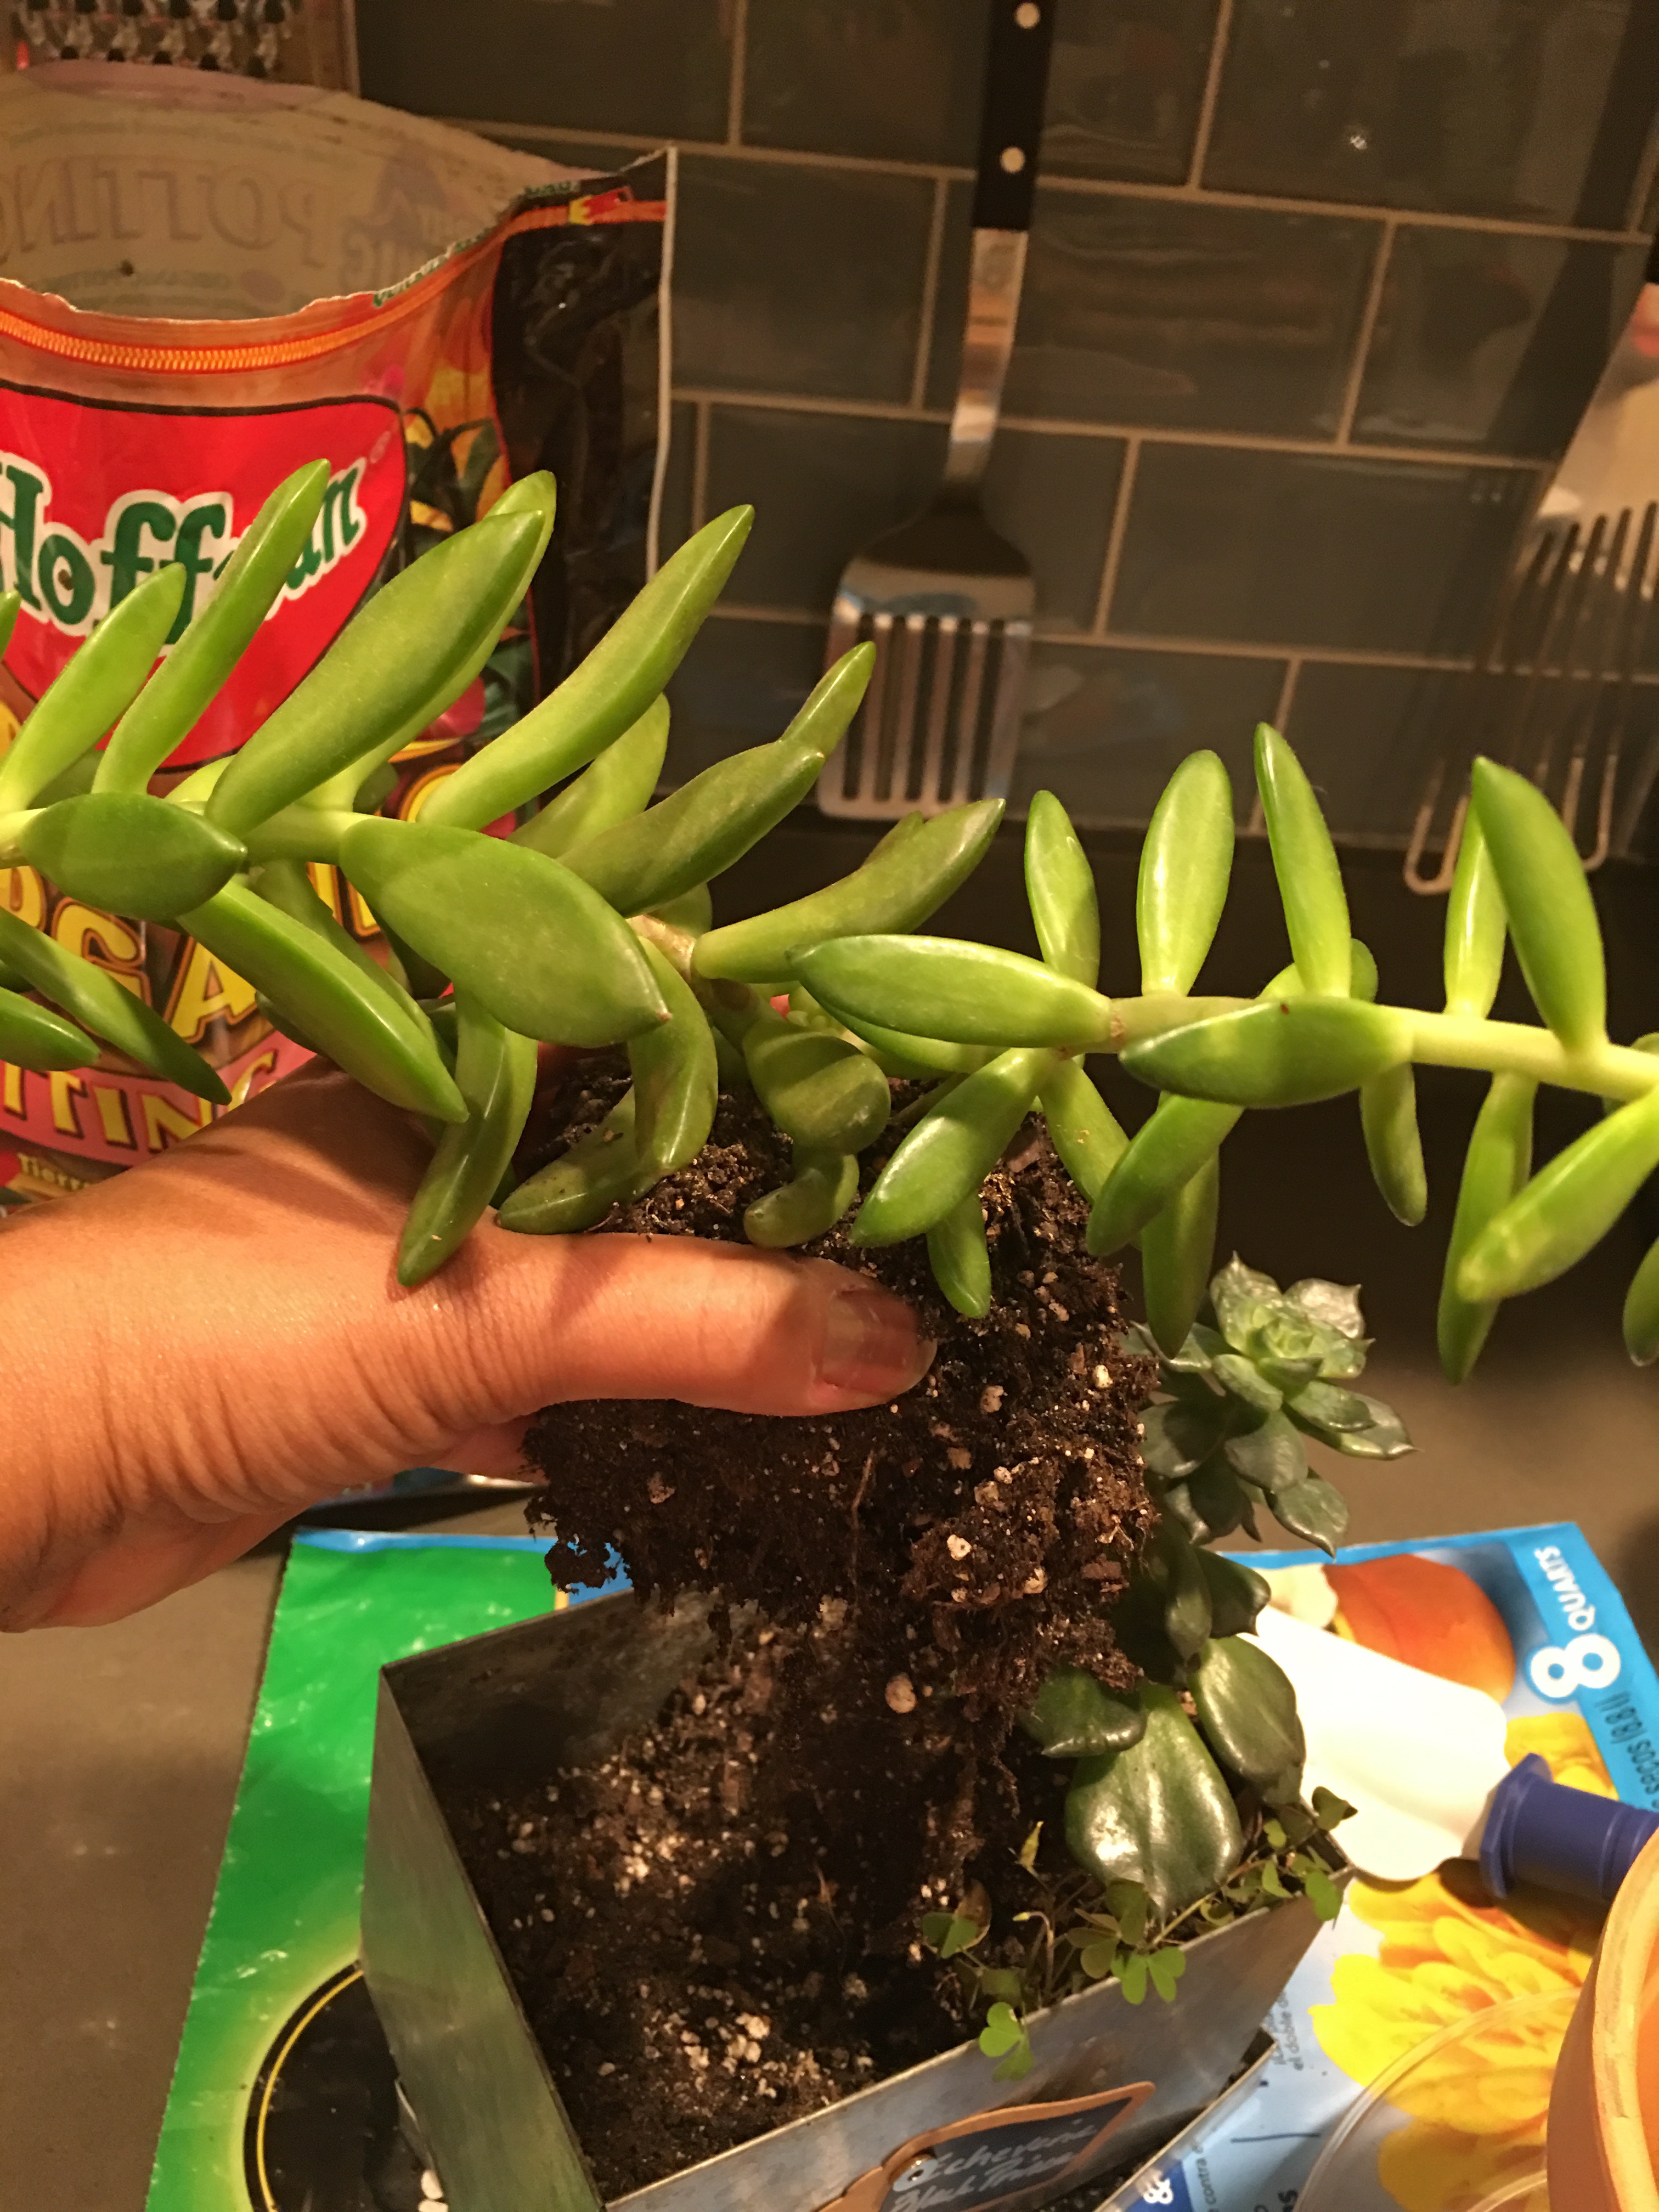
…I move it over to the new pot…
…and begin immediately adding more soil on top to stabilize the plant.
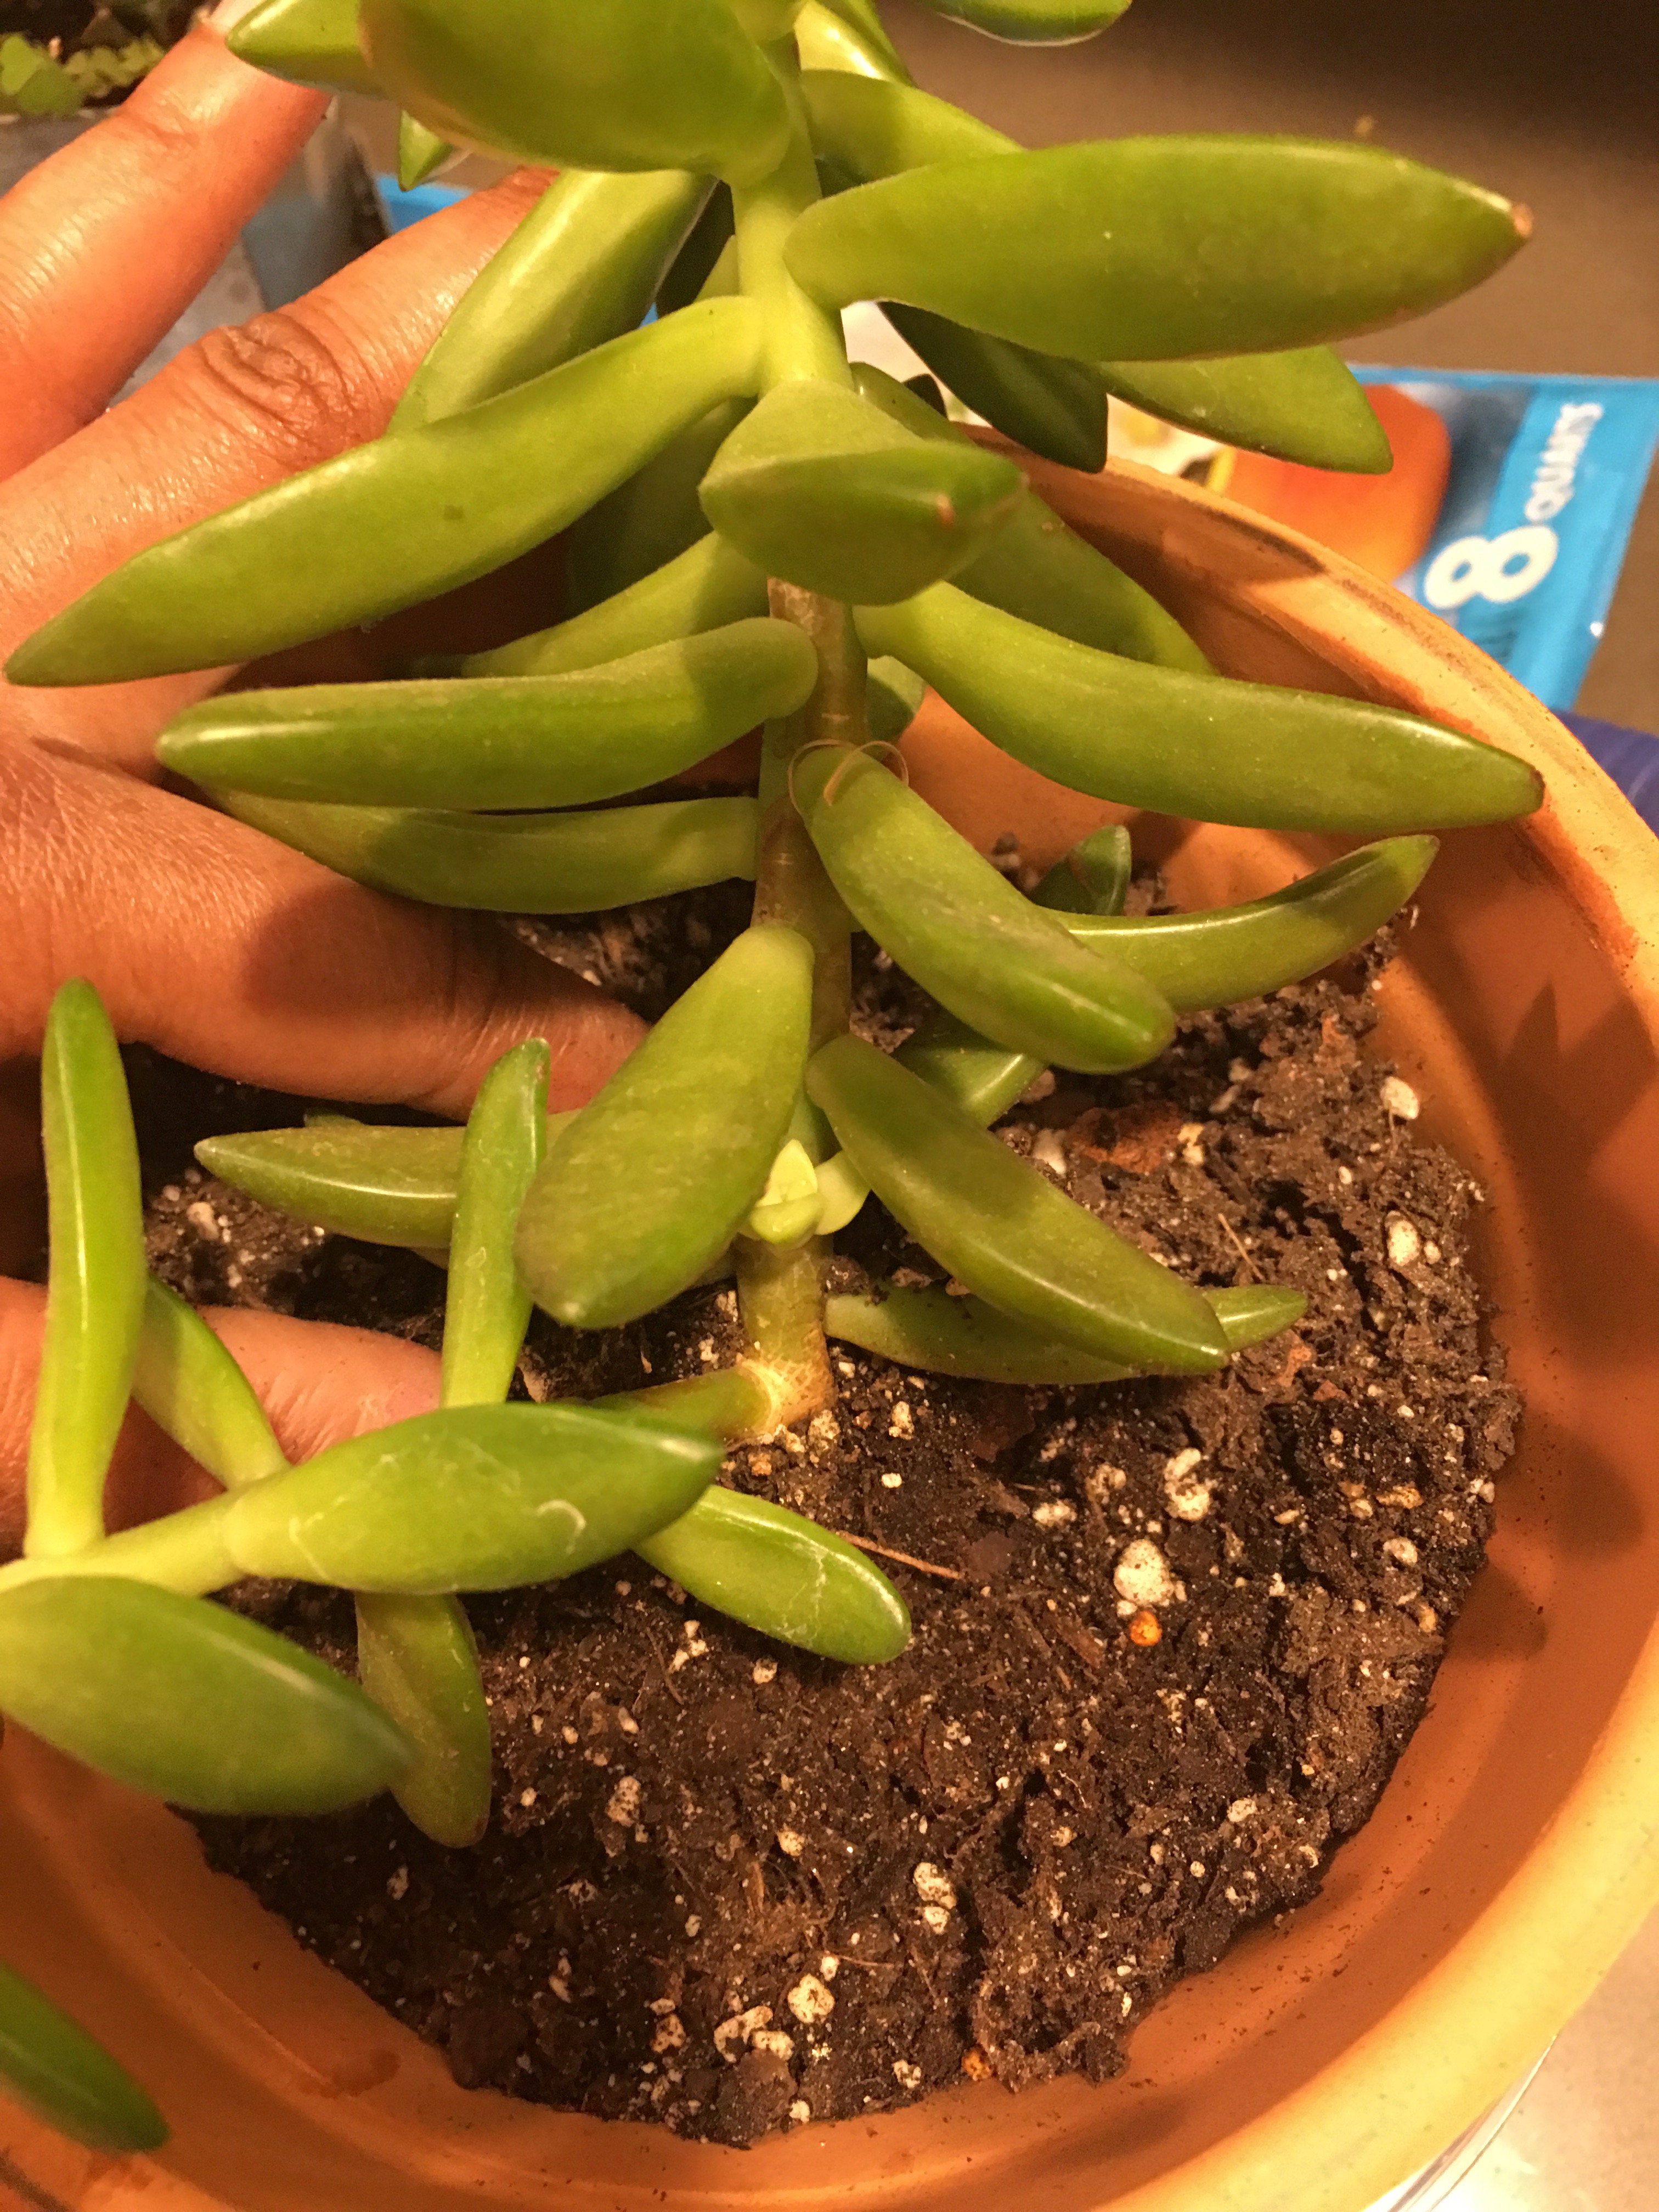
There wasn’t nearly enough soil in the pot (and Nuss was swaying precariously in the center of a now much larger vessel).
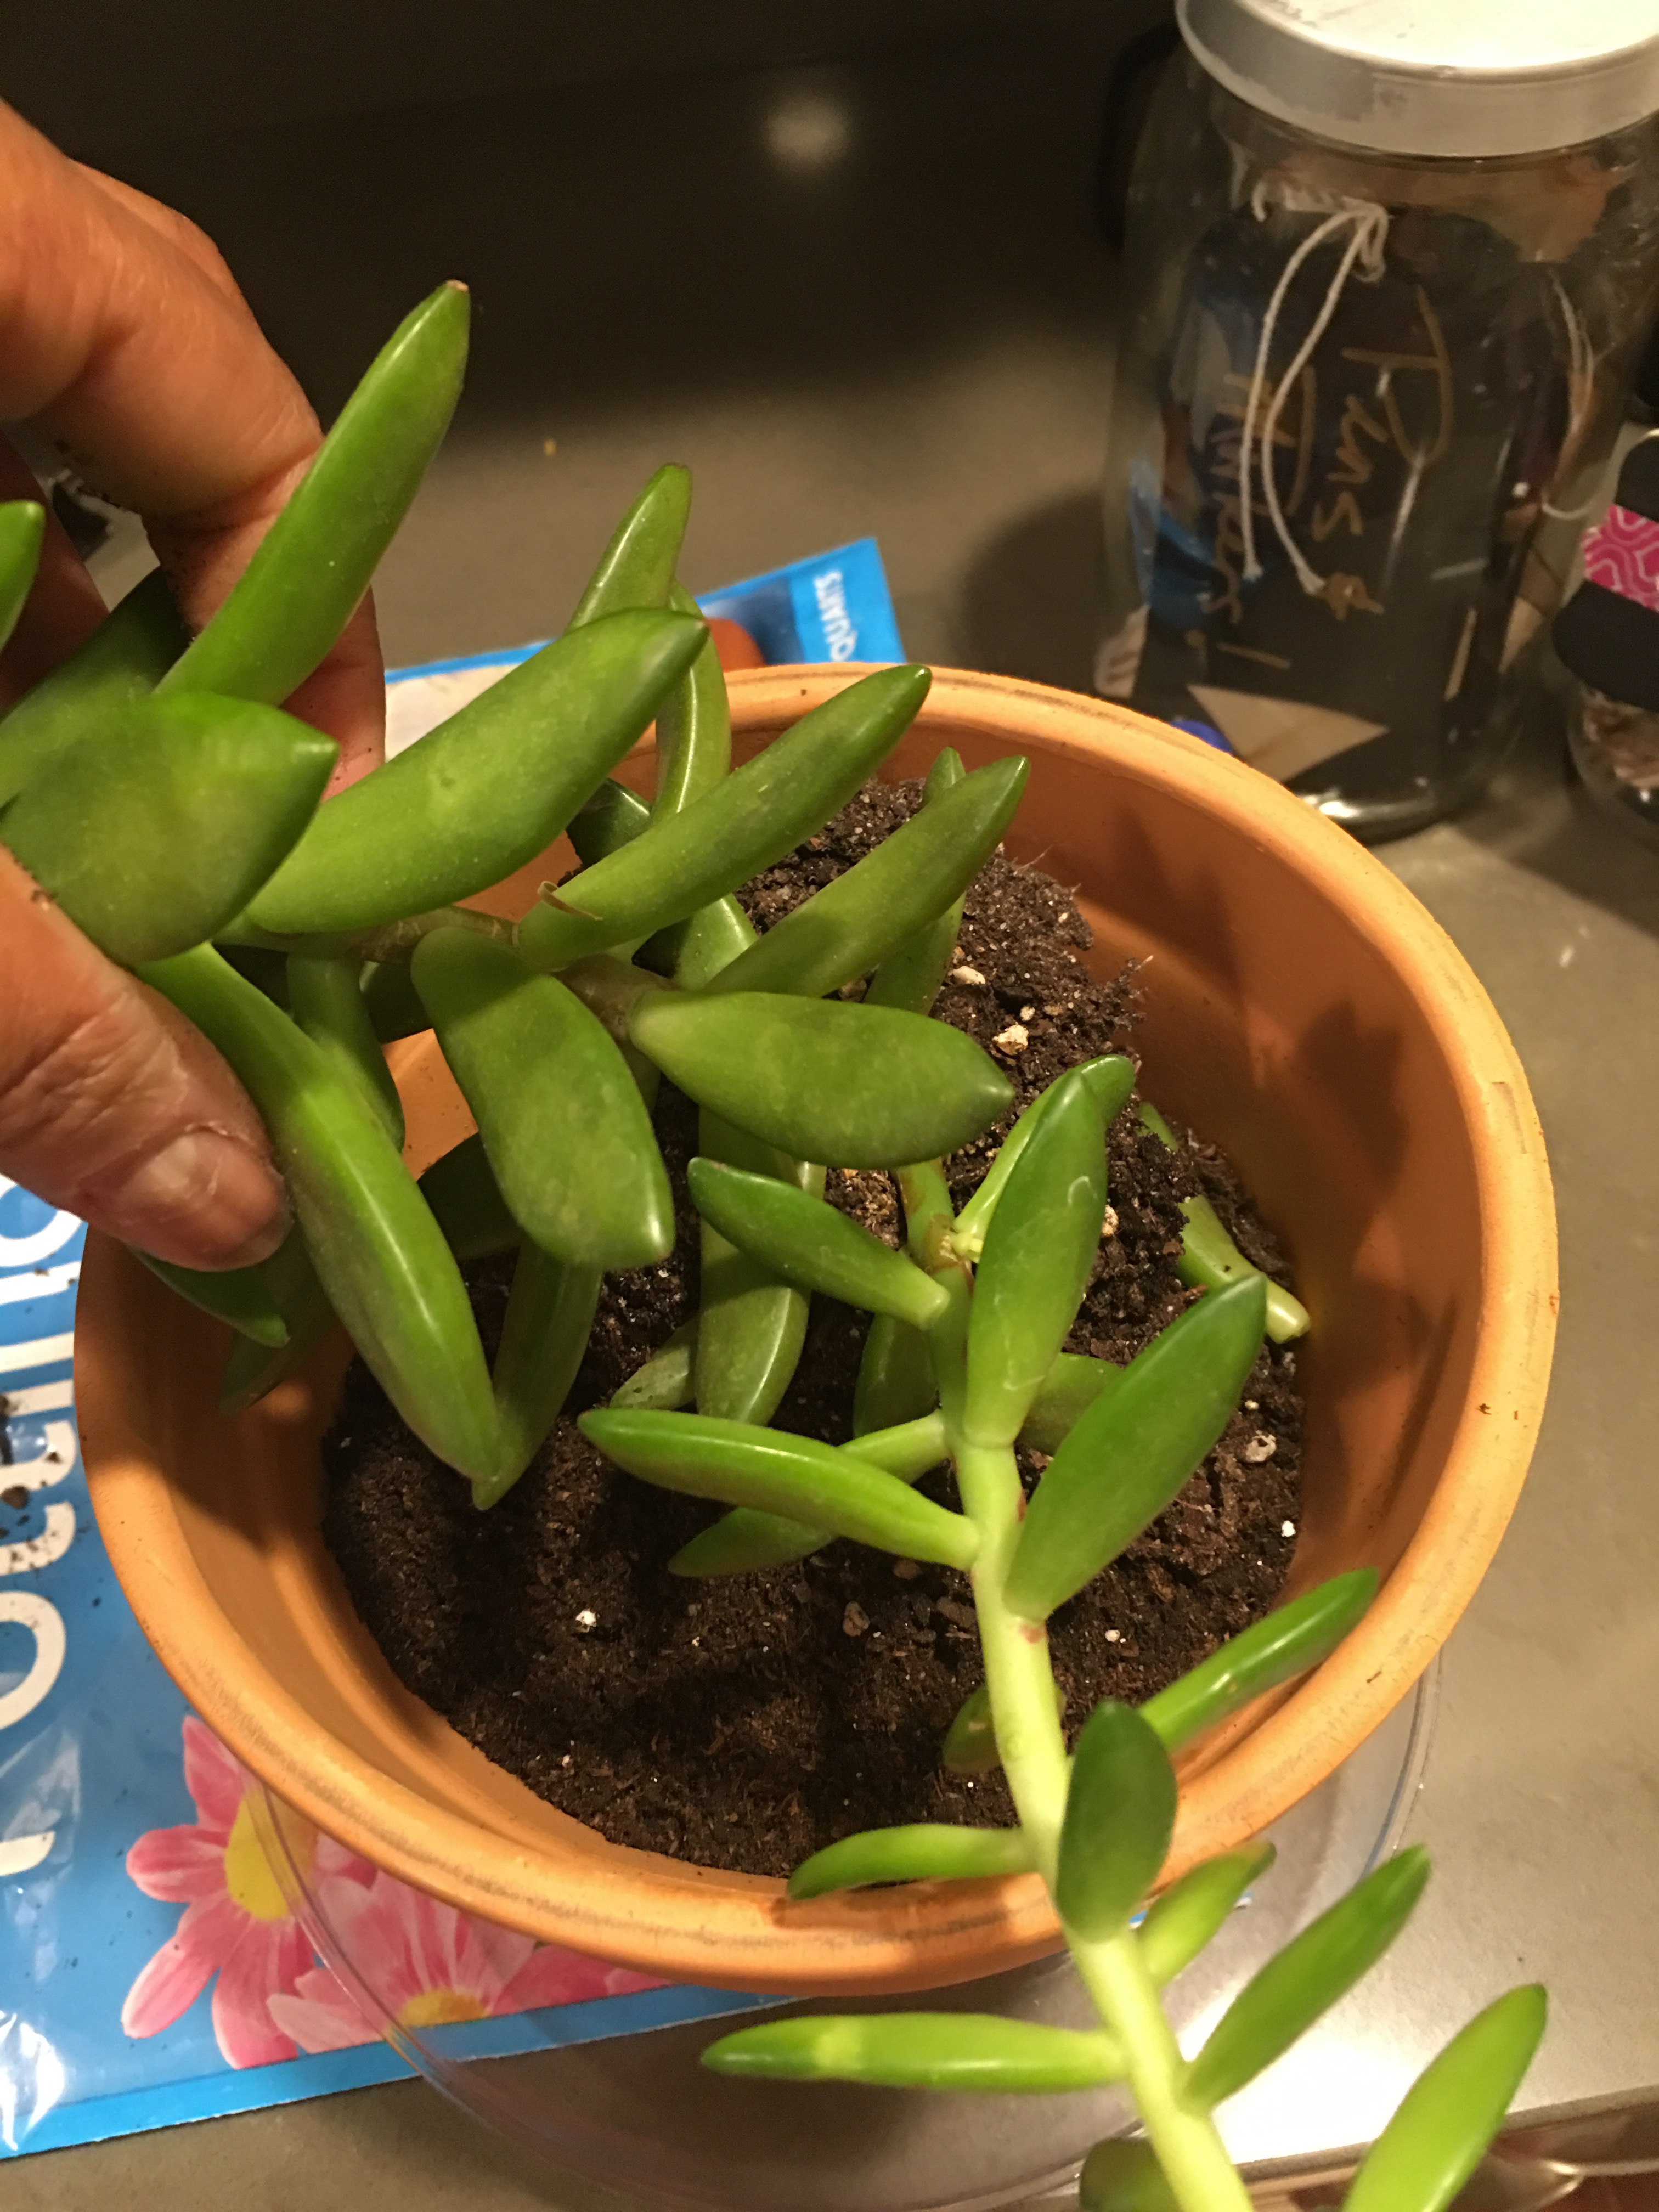
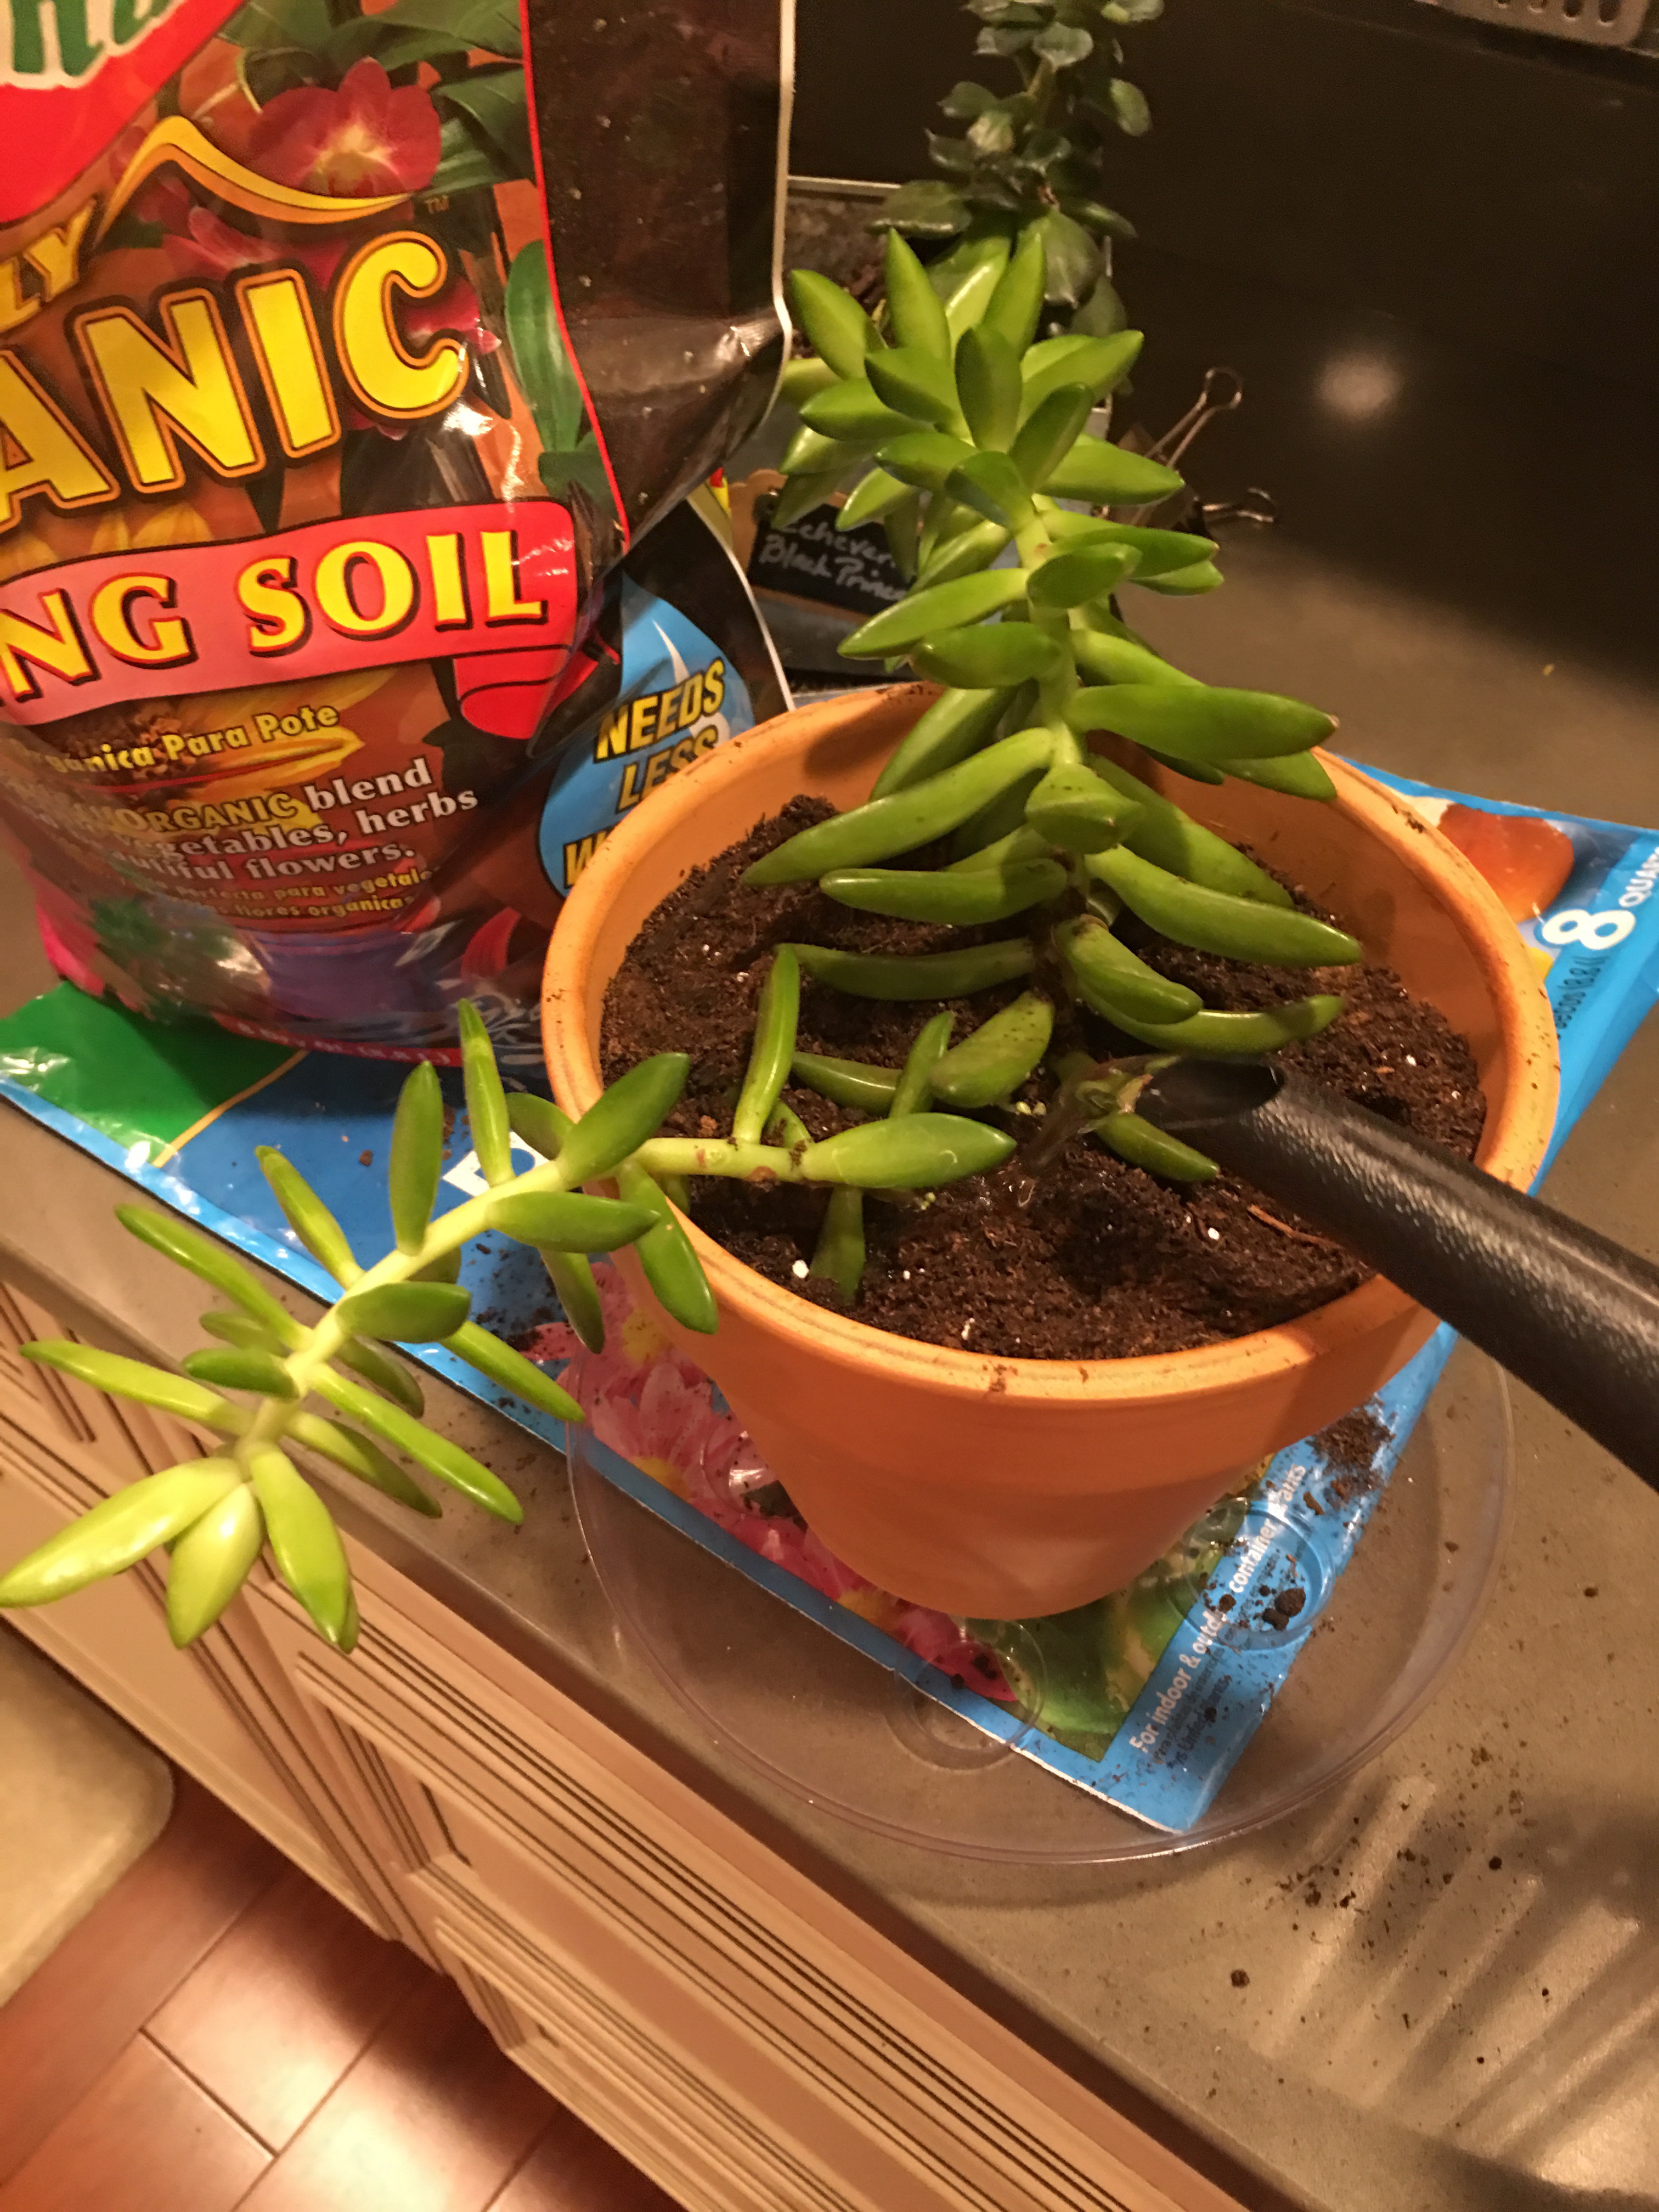
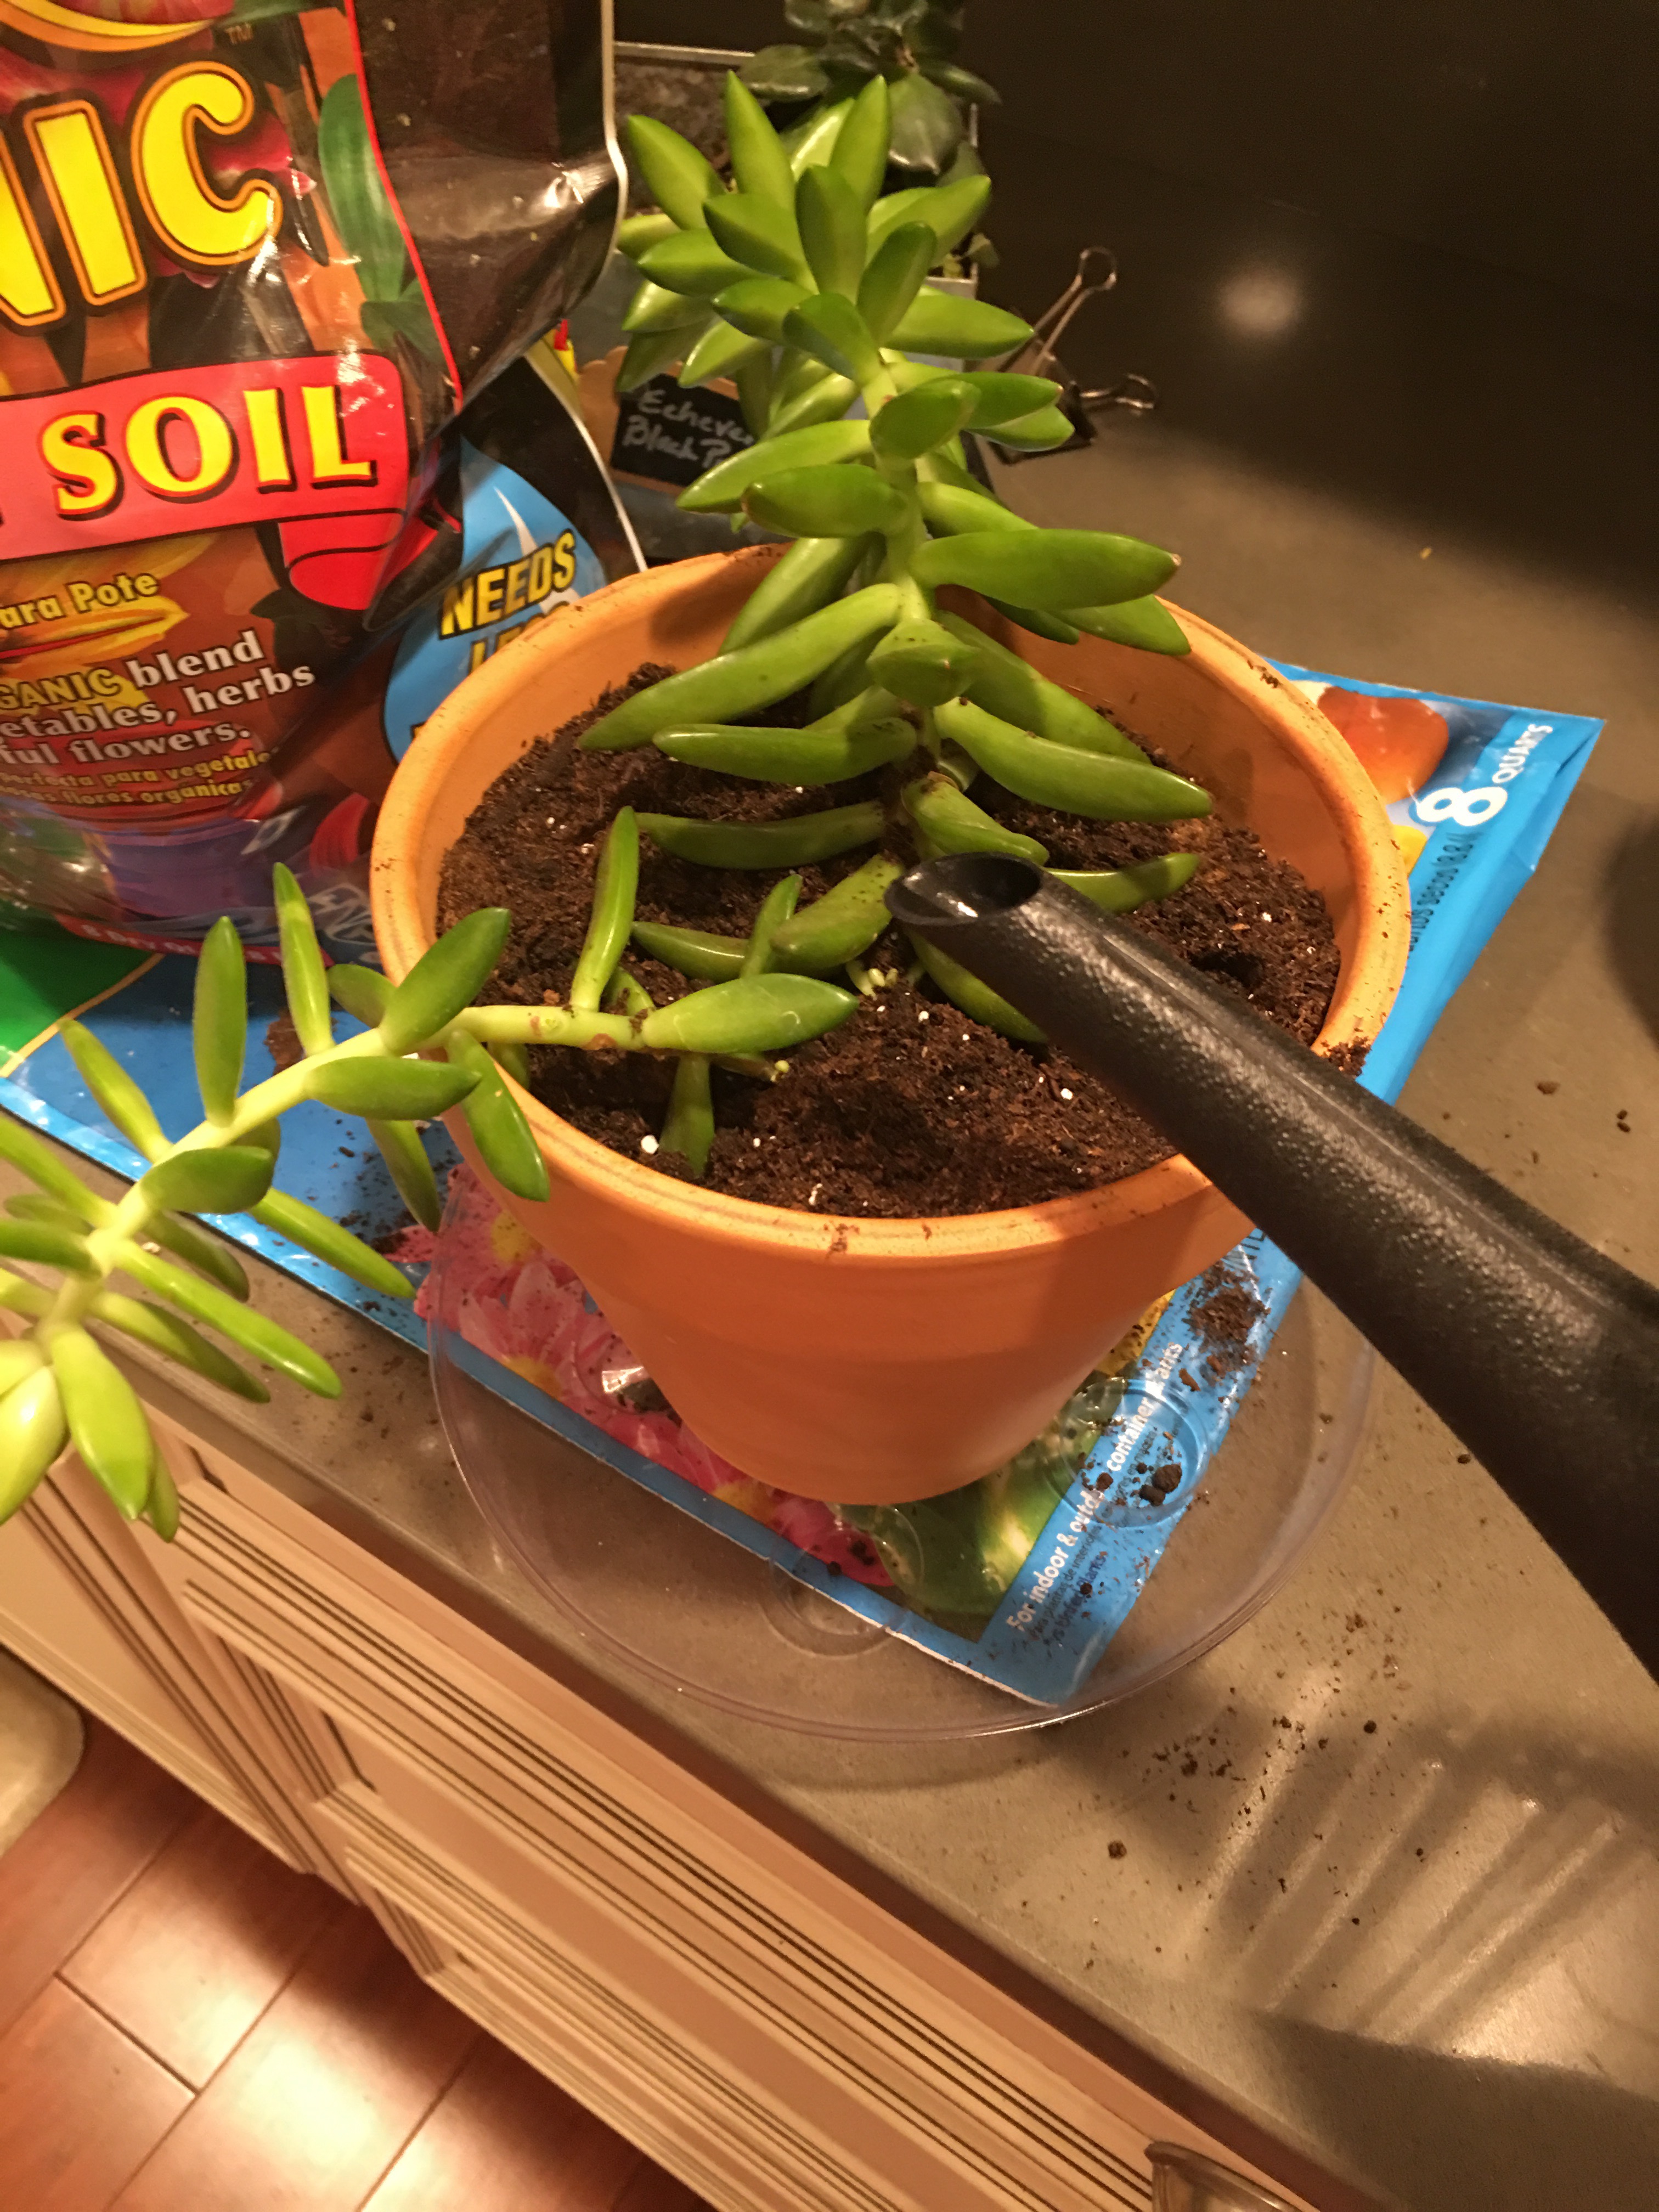
So I packed in more soil until it could stand on its own.

The soil level went from this (2/3 high)…
…to this (practically to the rim).
I added enough water to moisten the soil and to help the roots acclimate to the new container. But I was careful not to put too much water in this first time out. I already learned from painful experience that overwatering these cacti plants leads to a very bad end. Because the leaves are already so filled with water, over-watering these plants literally drowns them from the inside out…and the water-logged leaves fall to their deaths.
The worst part? The leaves look no different. But they fall away from the stem at the touch…
…or you get ghastly visual cues of translucent leaves that’s more water than flesh, telling you right there they they’re days are numbered…
Yes, I’ve witnessed the disturbing sight of beautiful succulents as they were being murdered by my over-watering hands. But I digress…back to carefully watering Nuss.

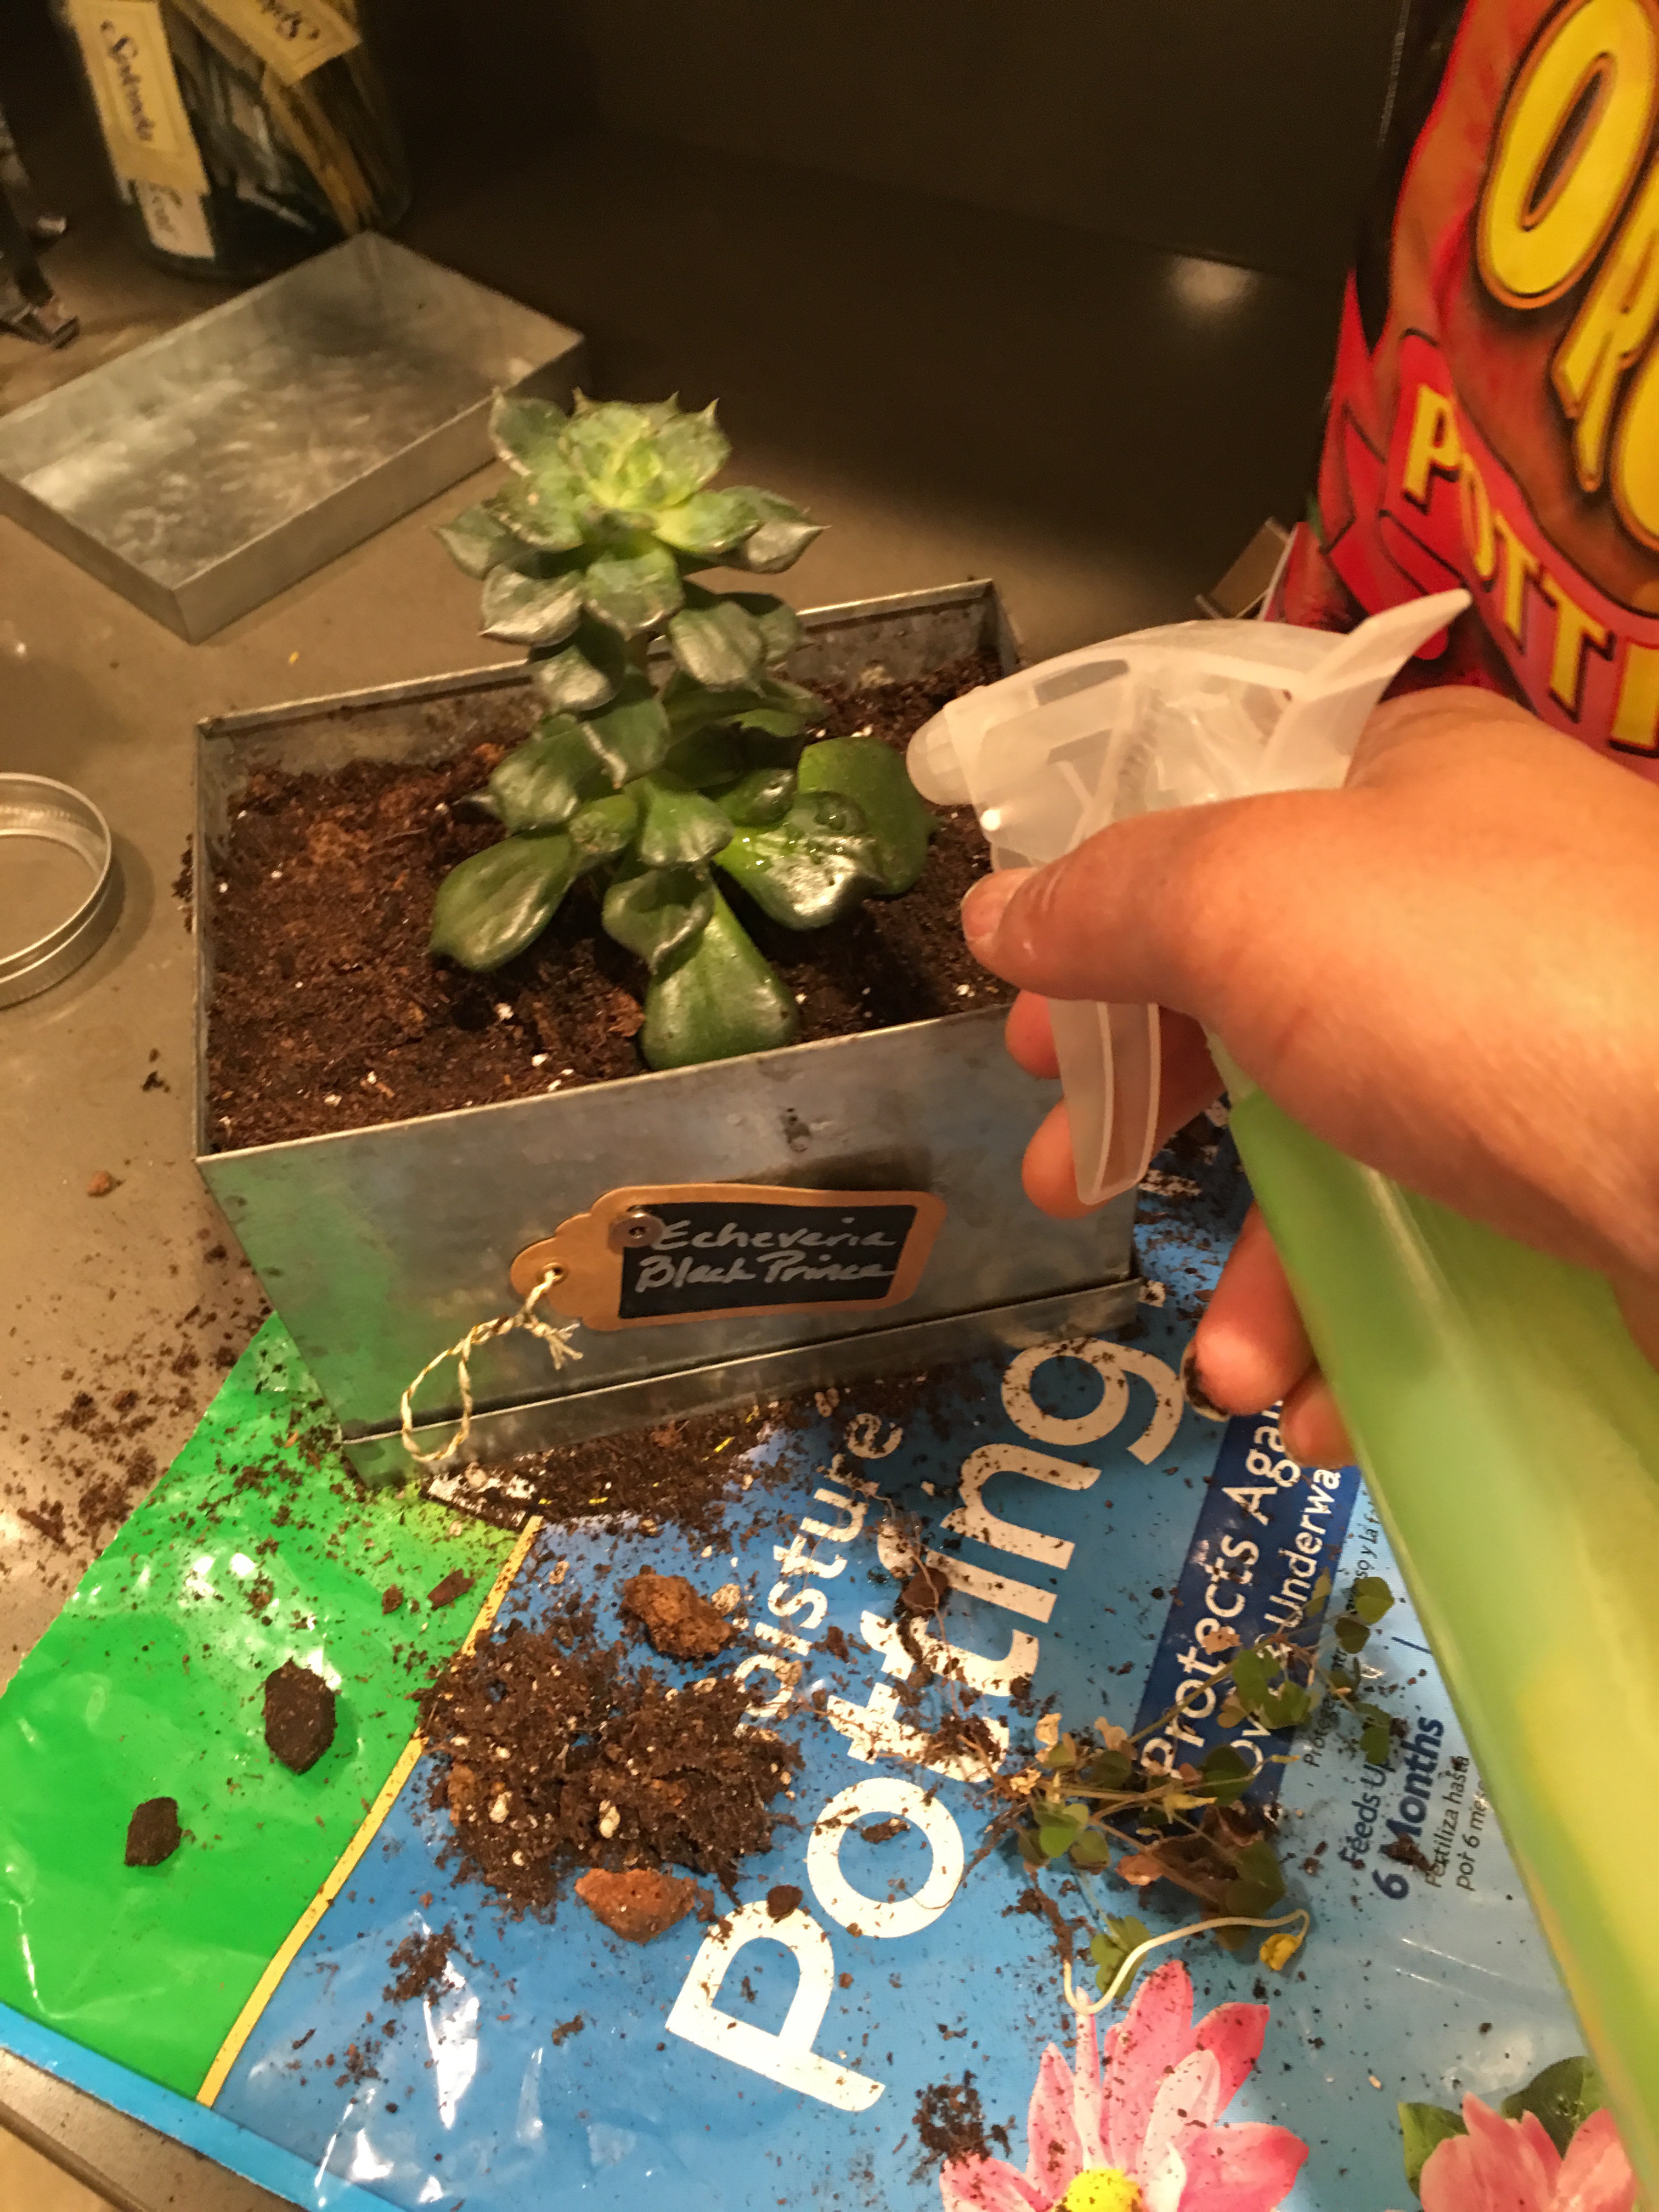
I use a water spray gun as well to lightly moisten the plant and the soil around it (without overwatering the plant).
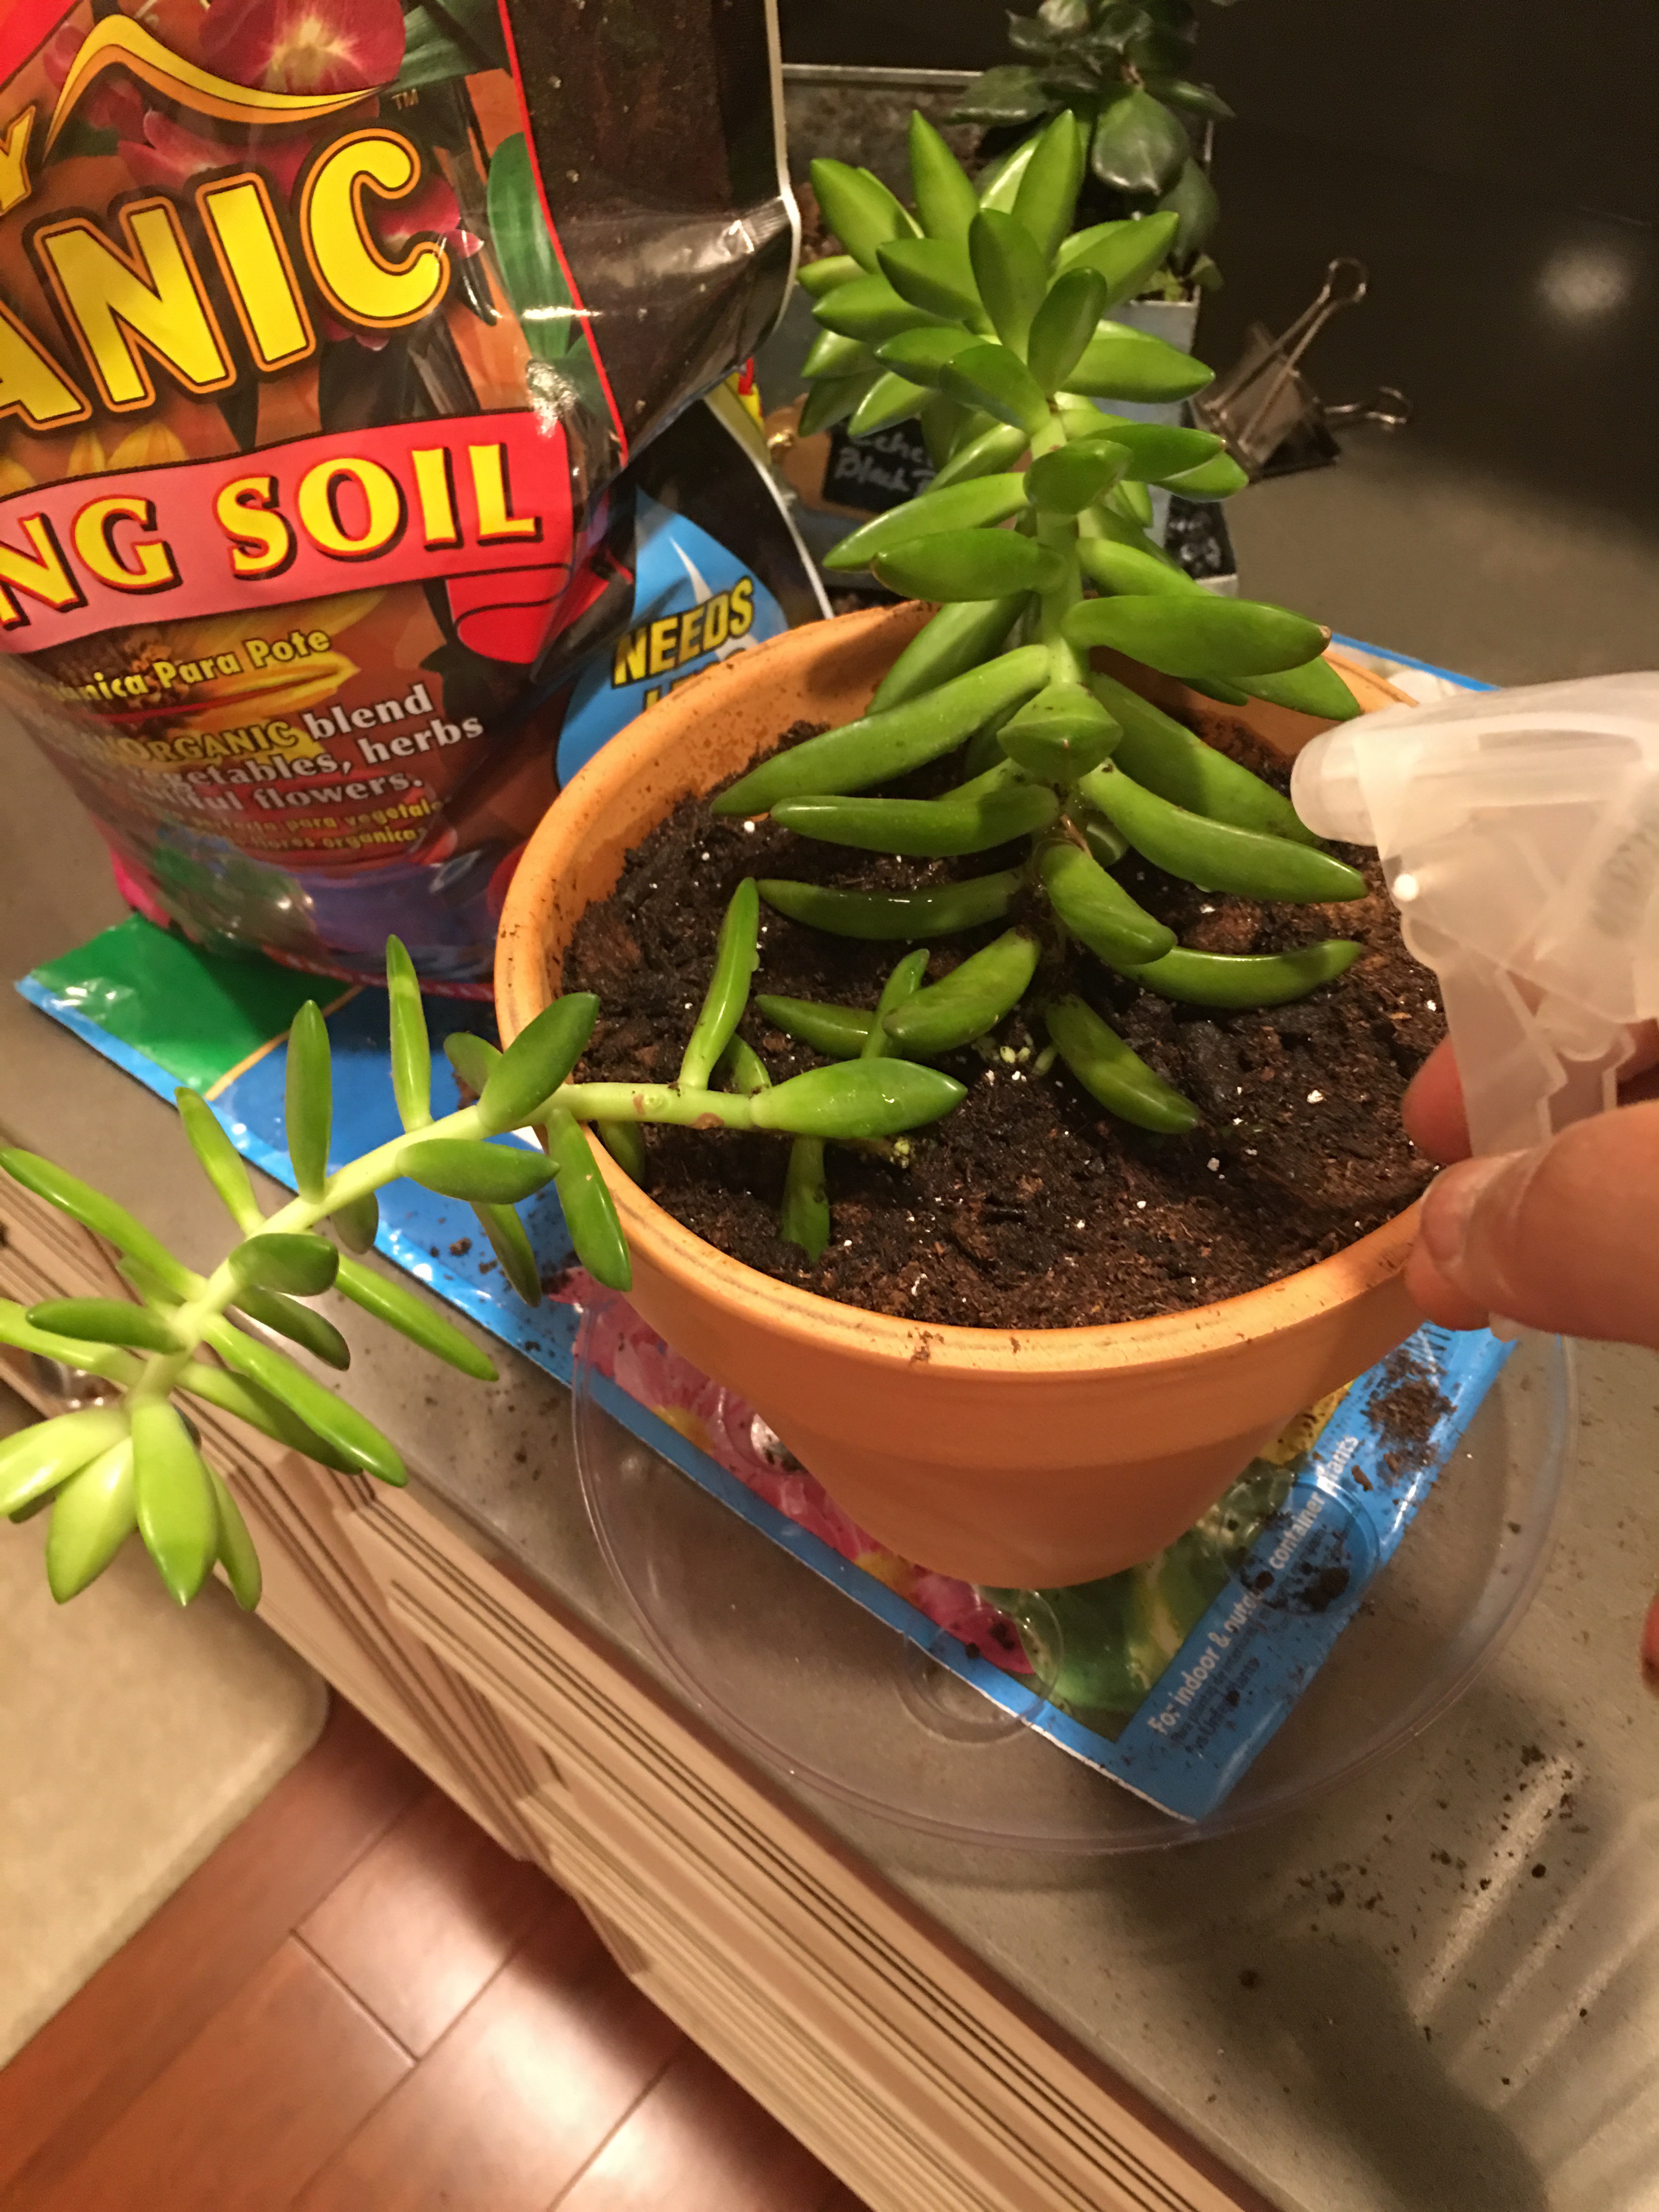
Spraying some more…
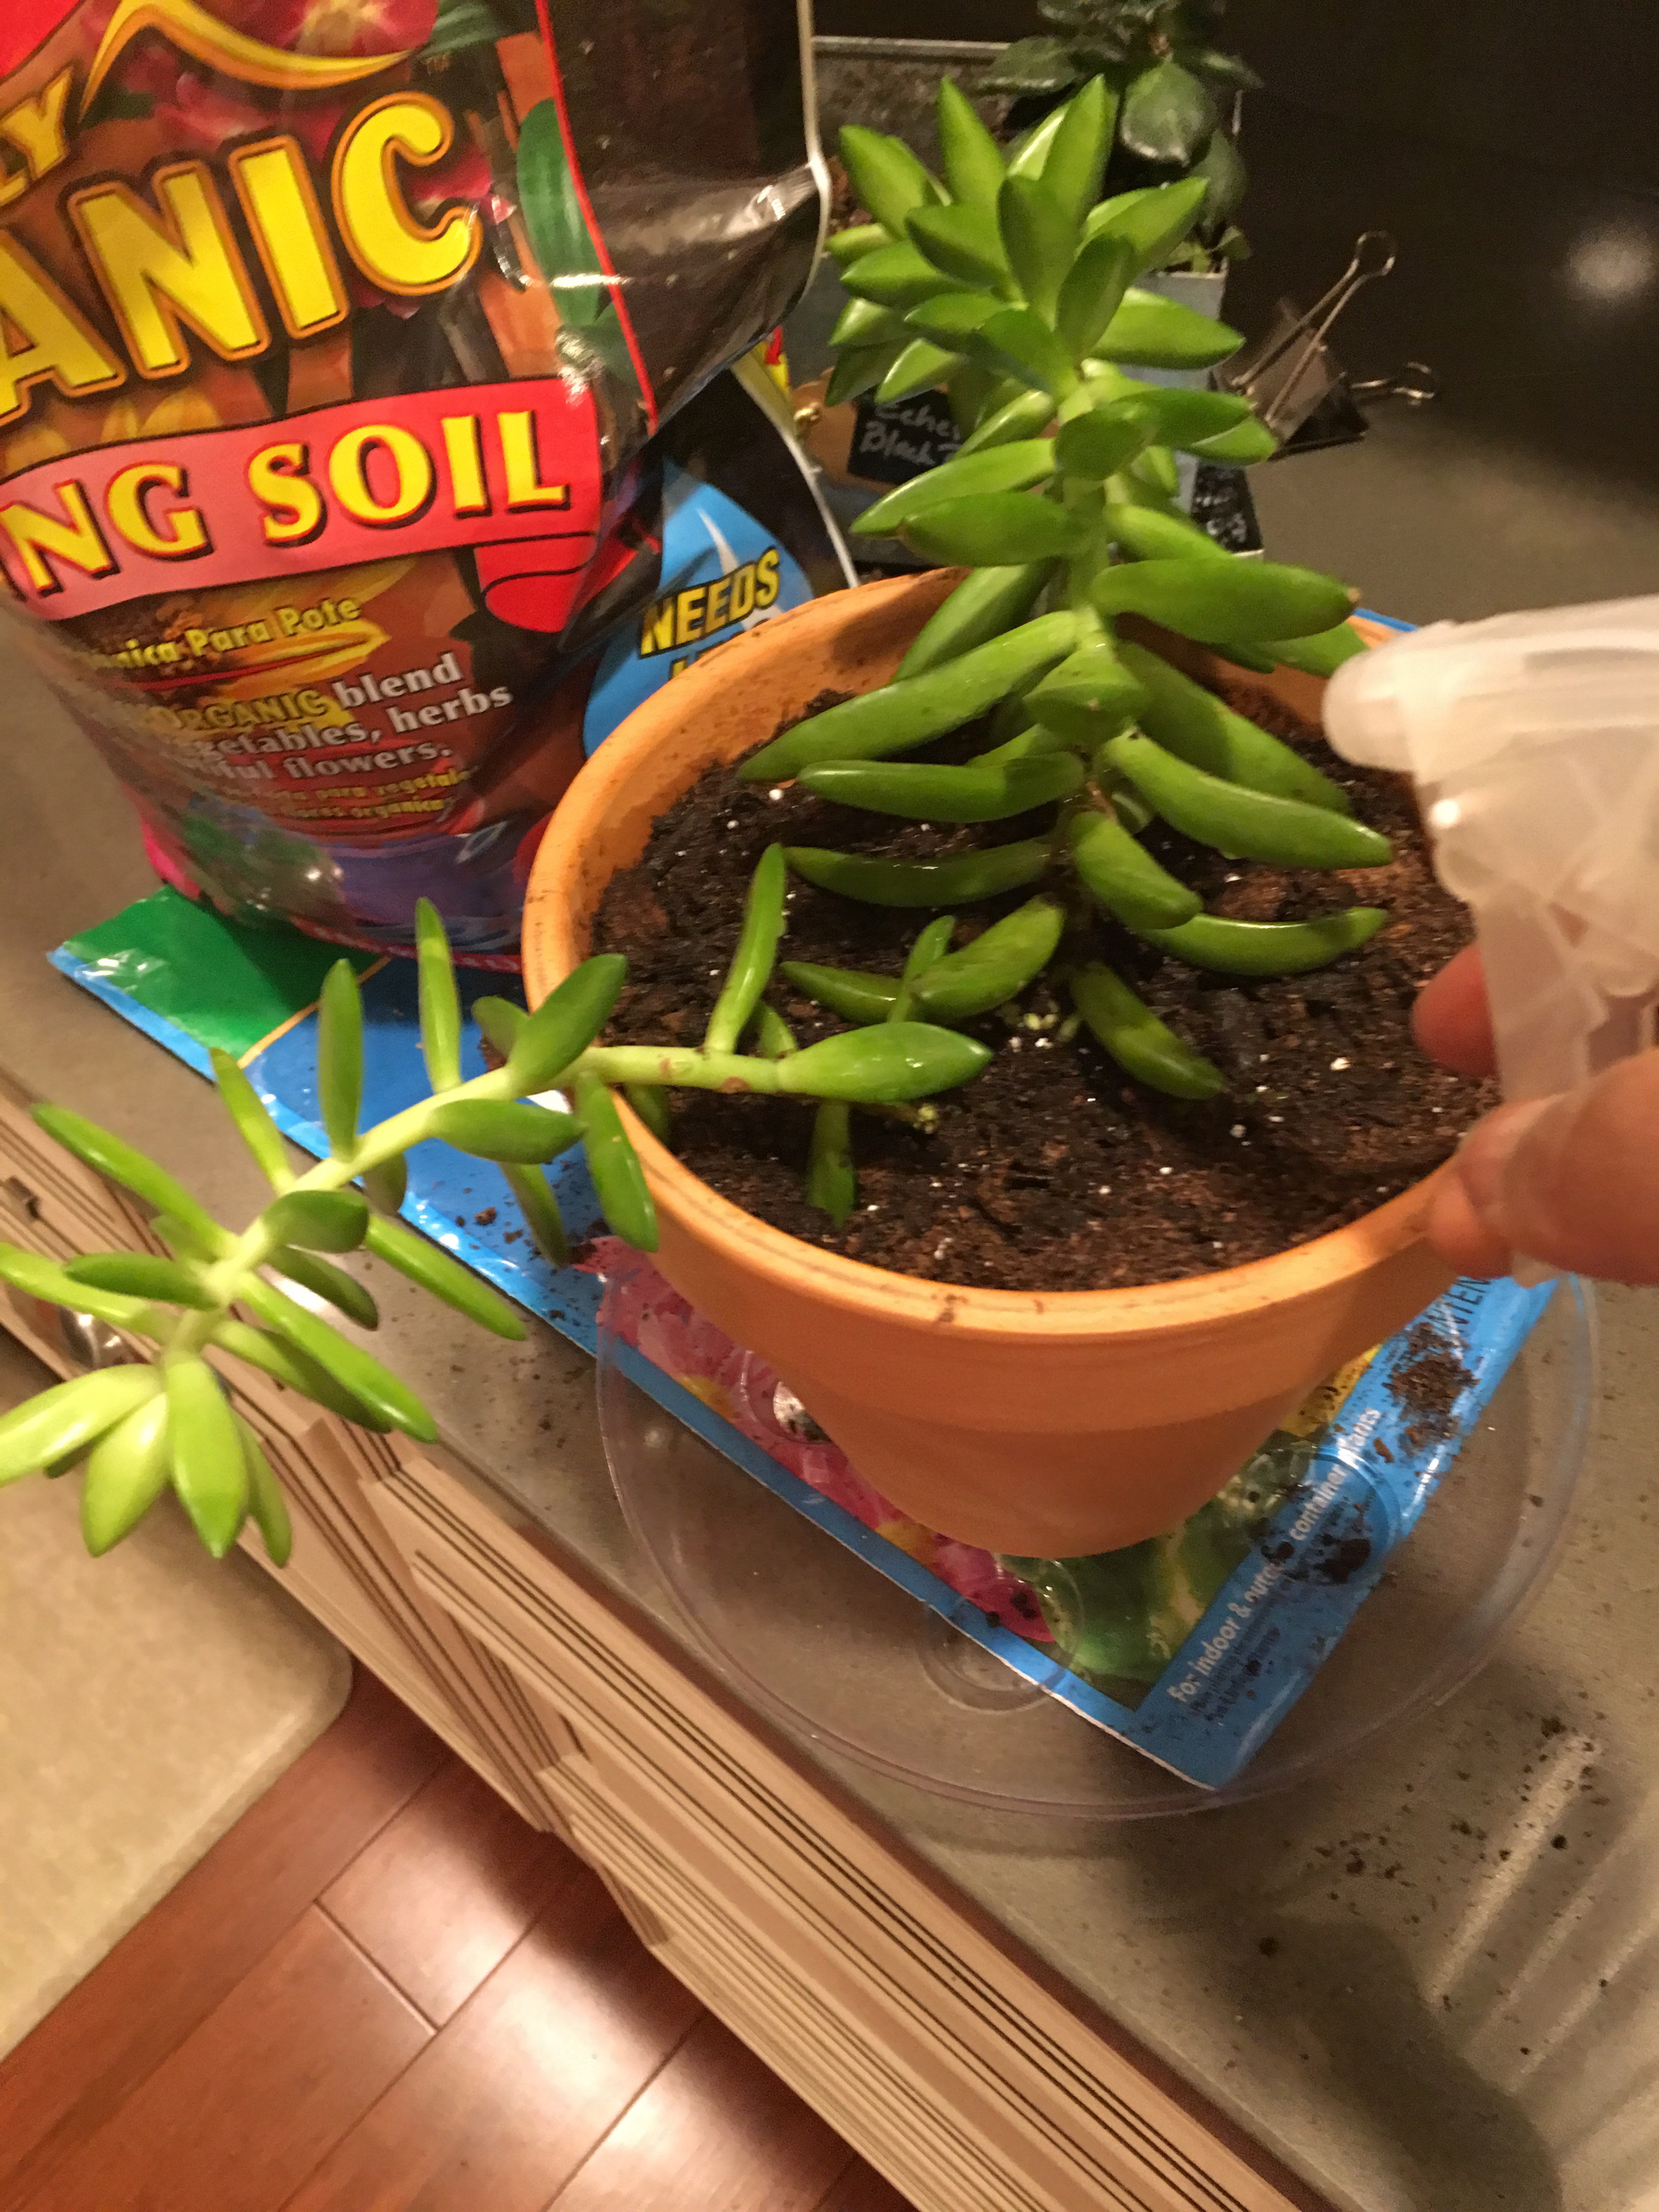
OK…Nuss is in it’s new home. Please pray for Nuss. Moving on to labeling the plant.
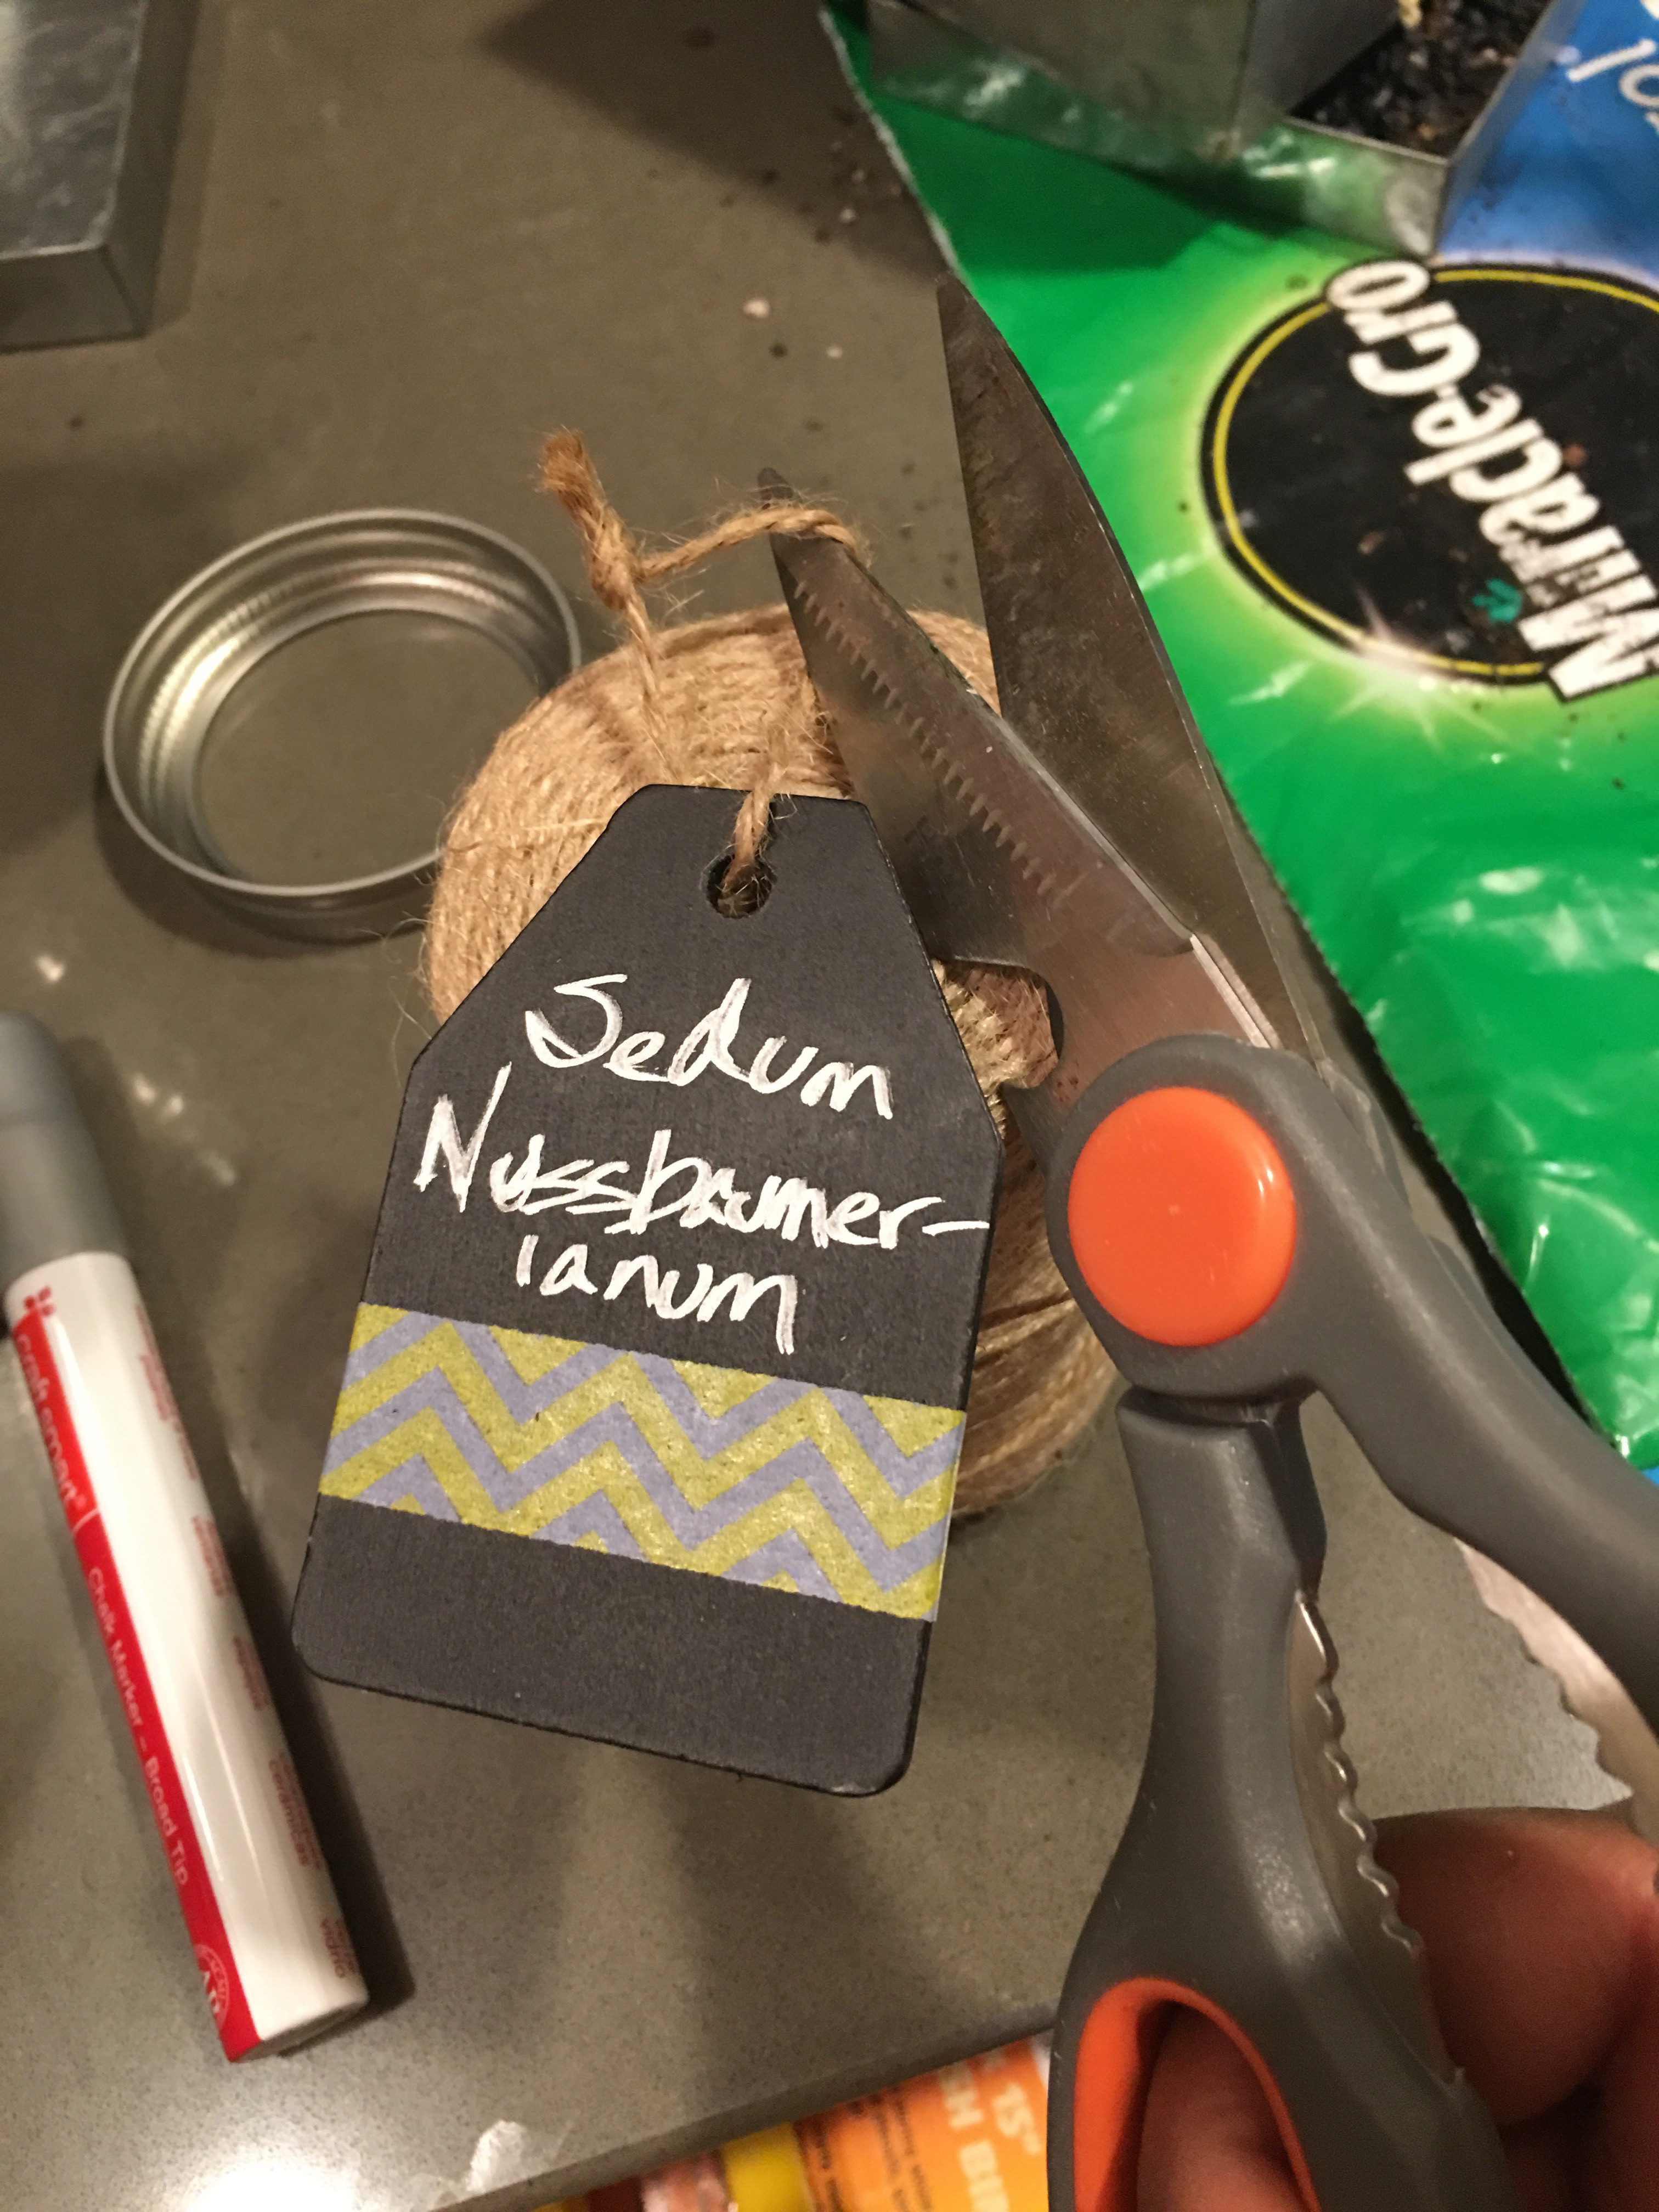
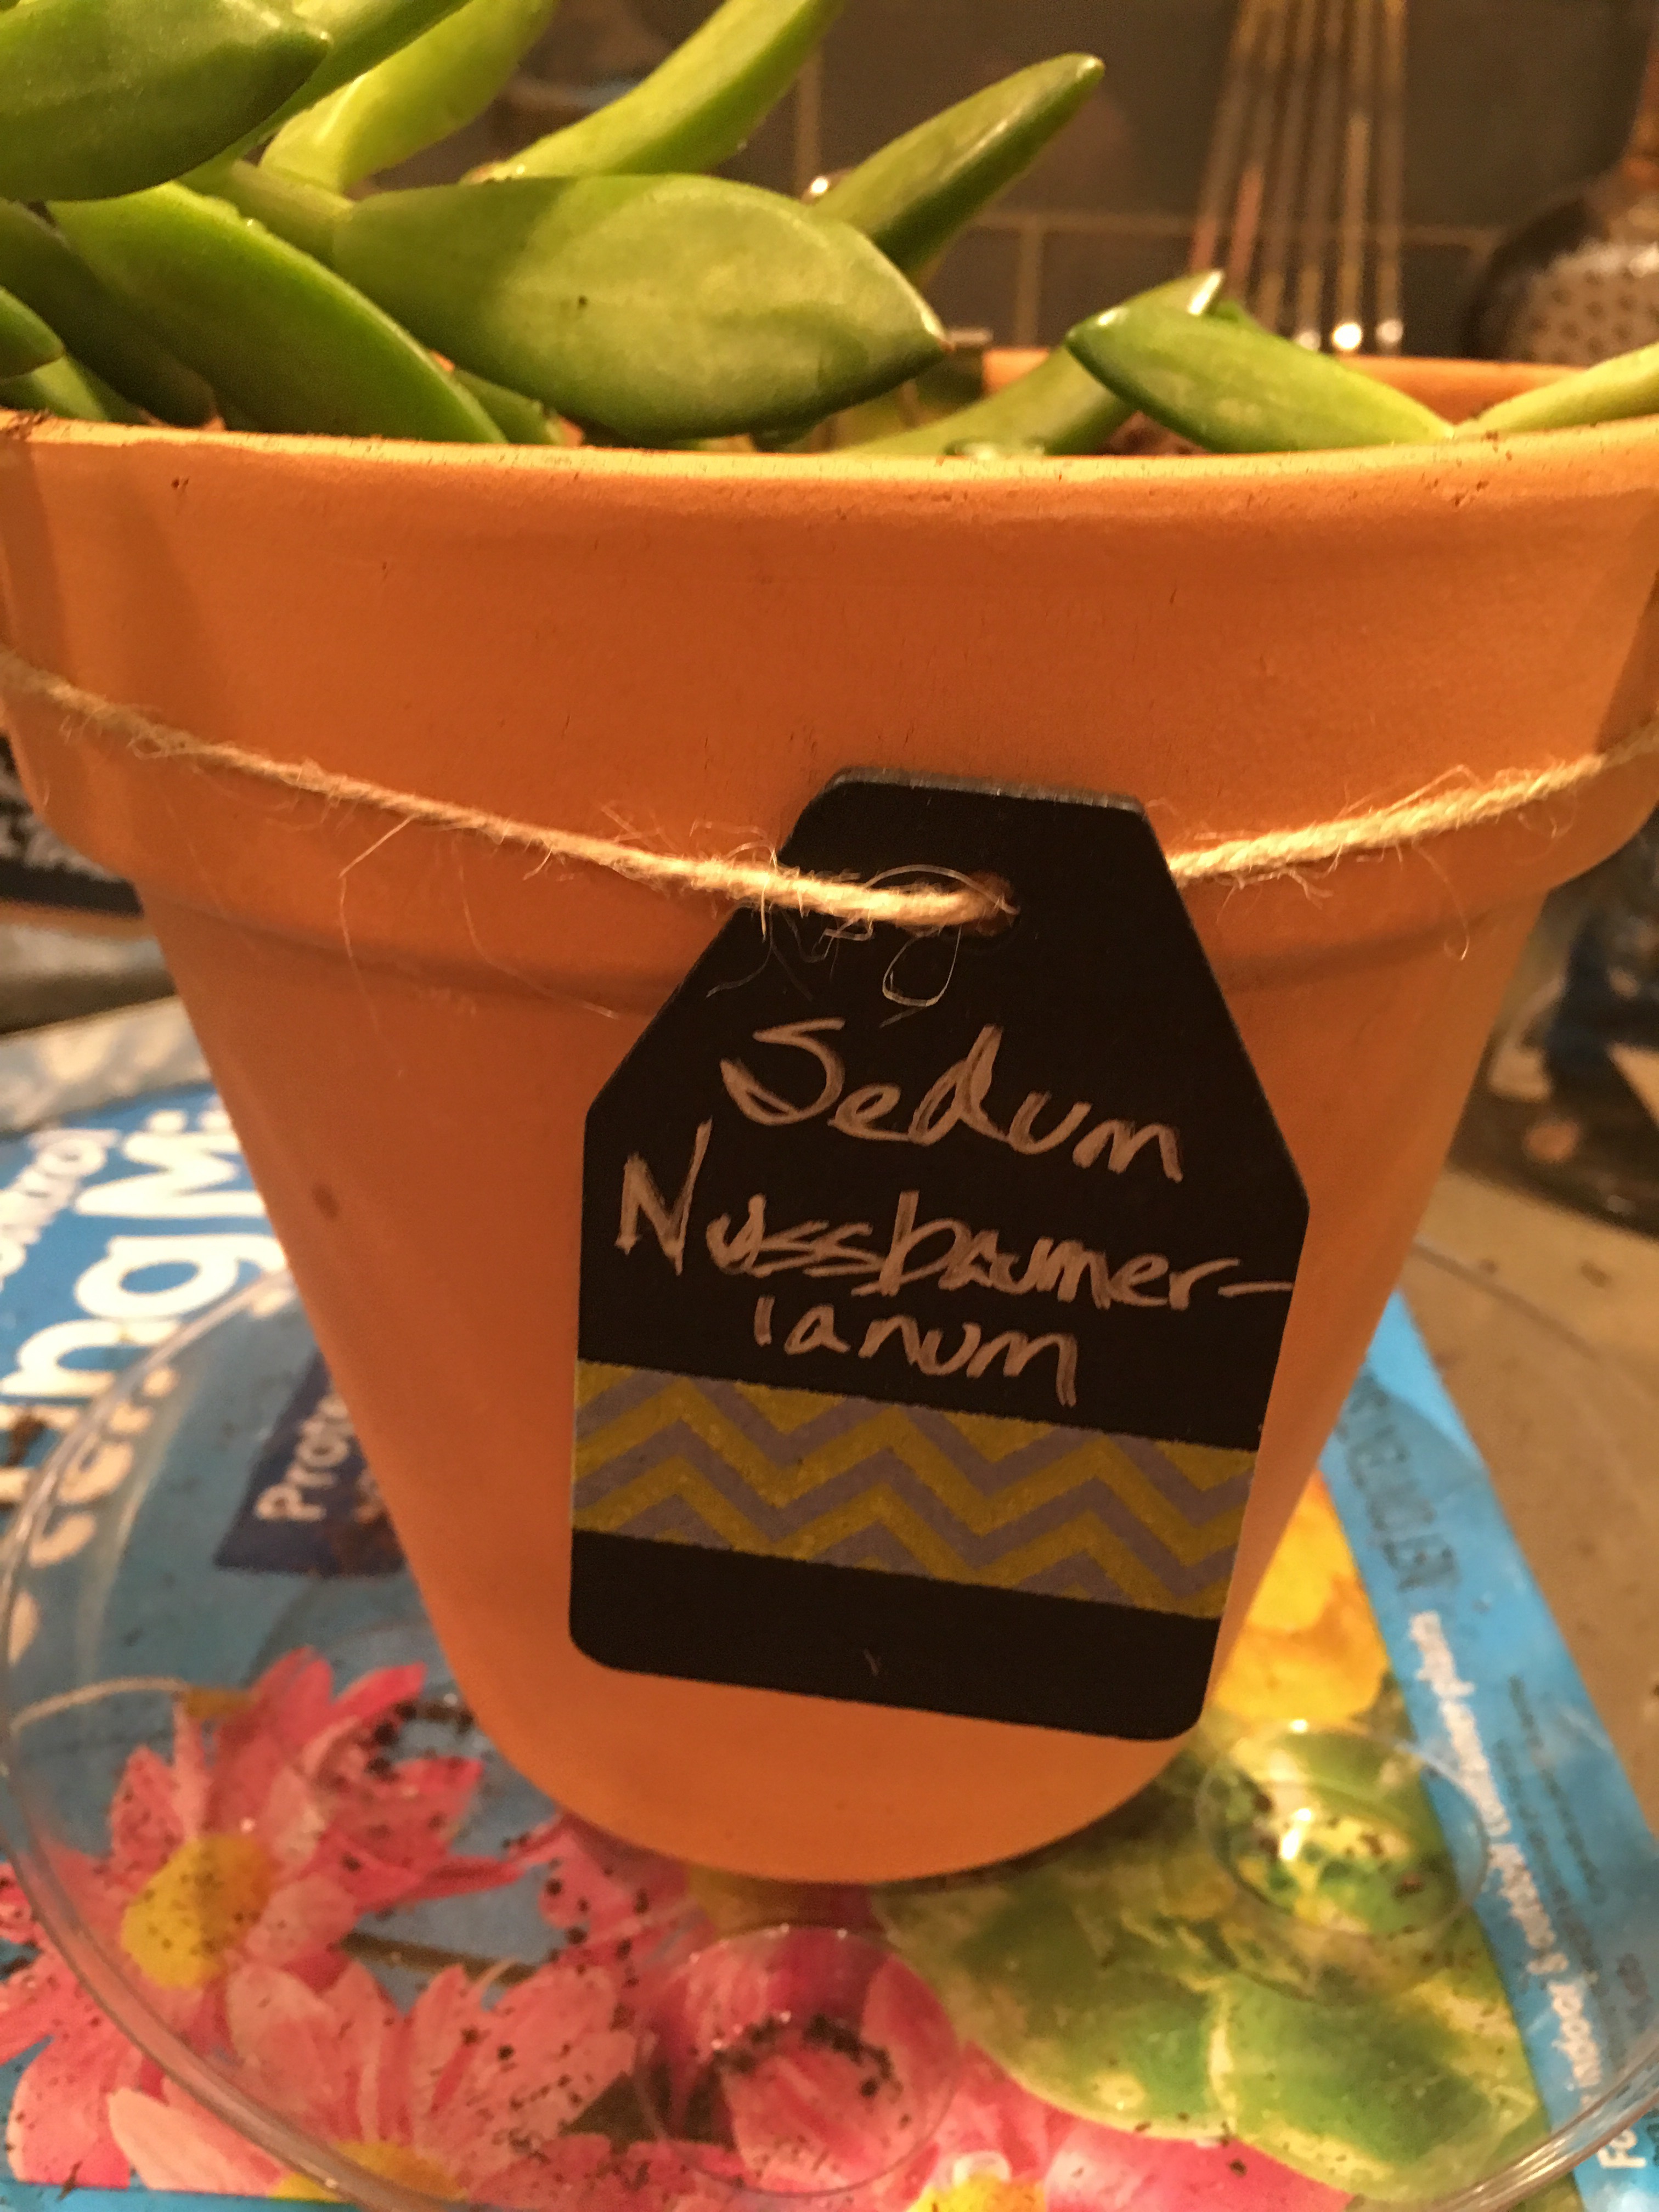
For this terra cotta pot, I’ll add a chalkboard tag with twine. This is a tag I have on hand (already decorated with some washi tape).
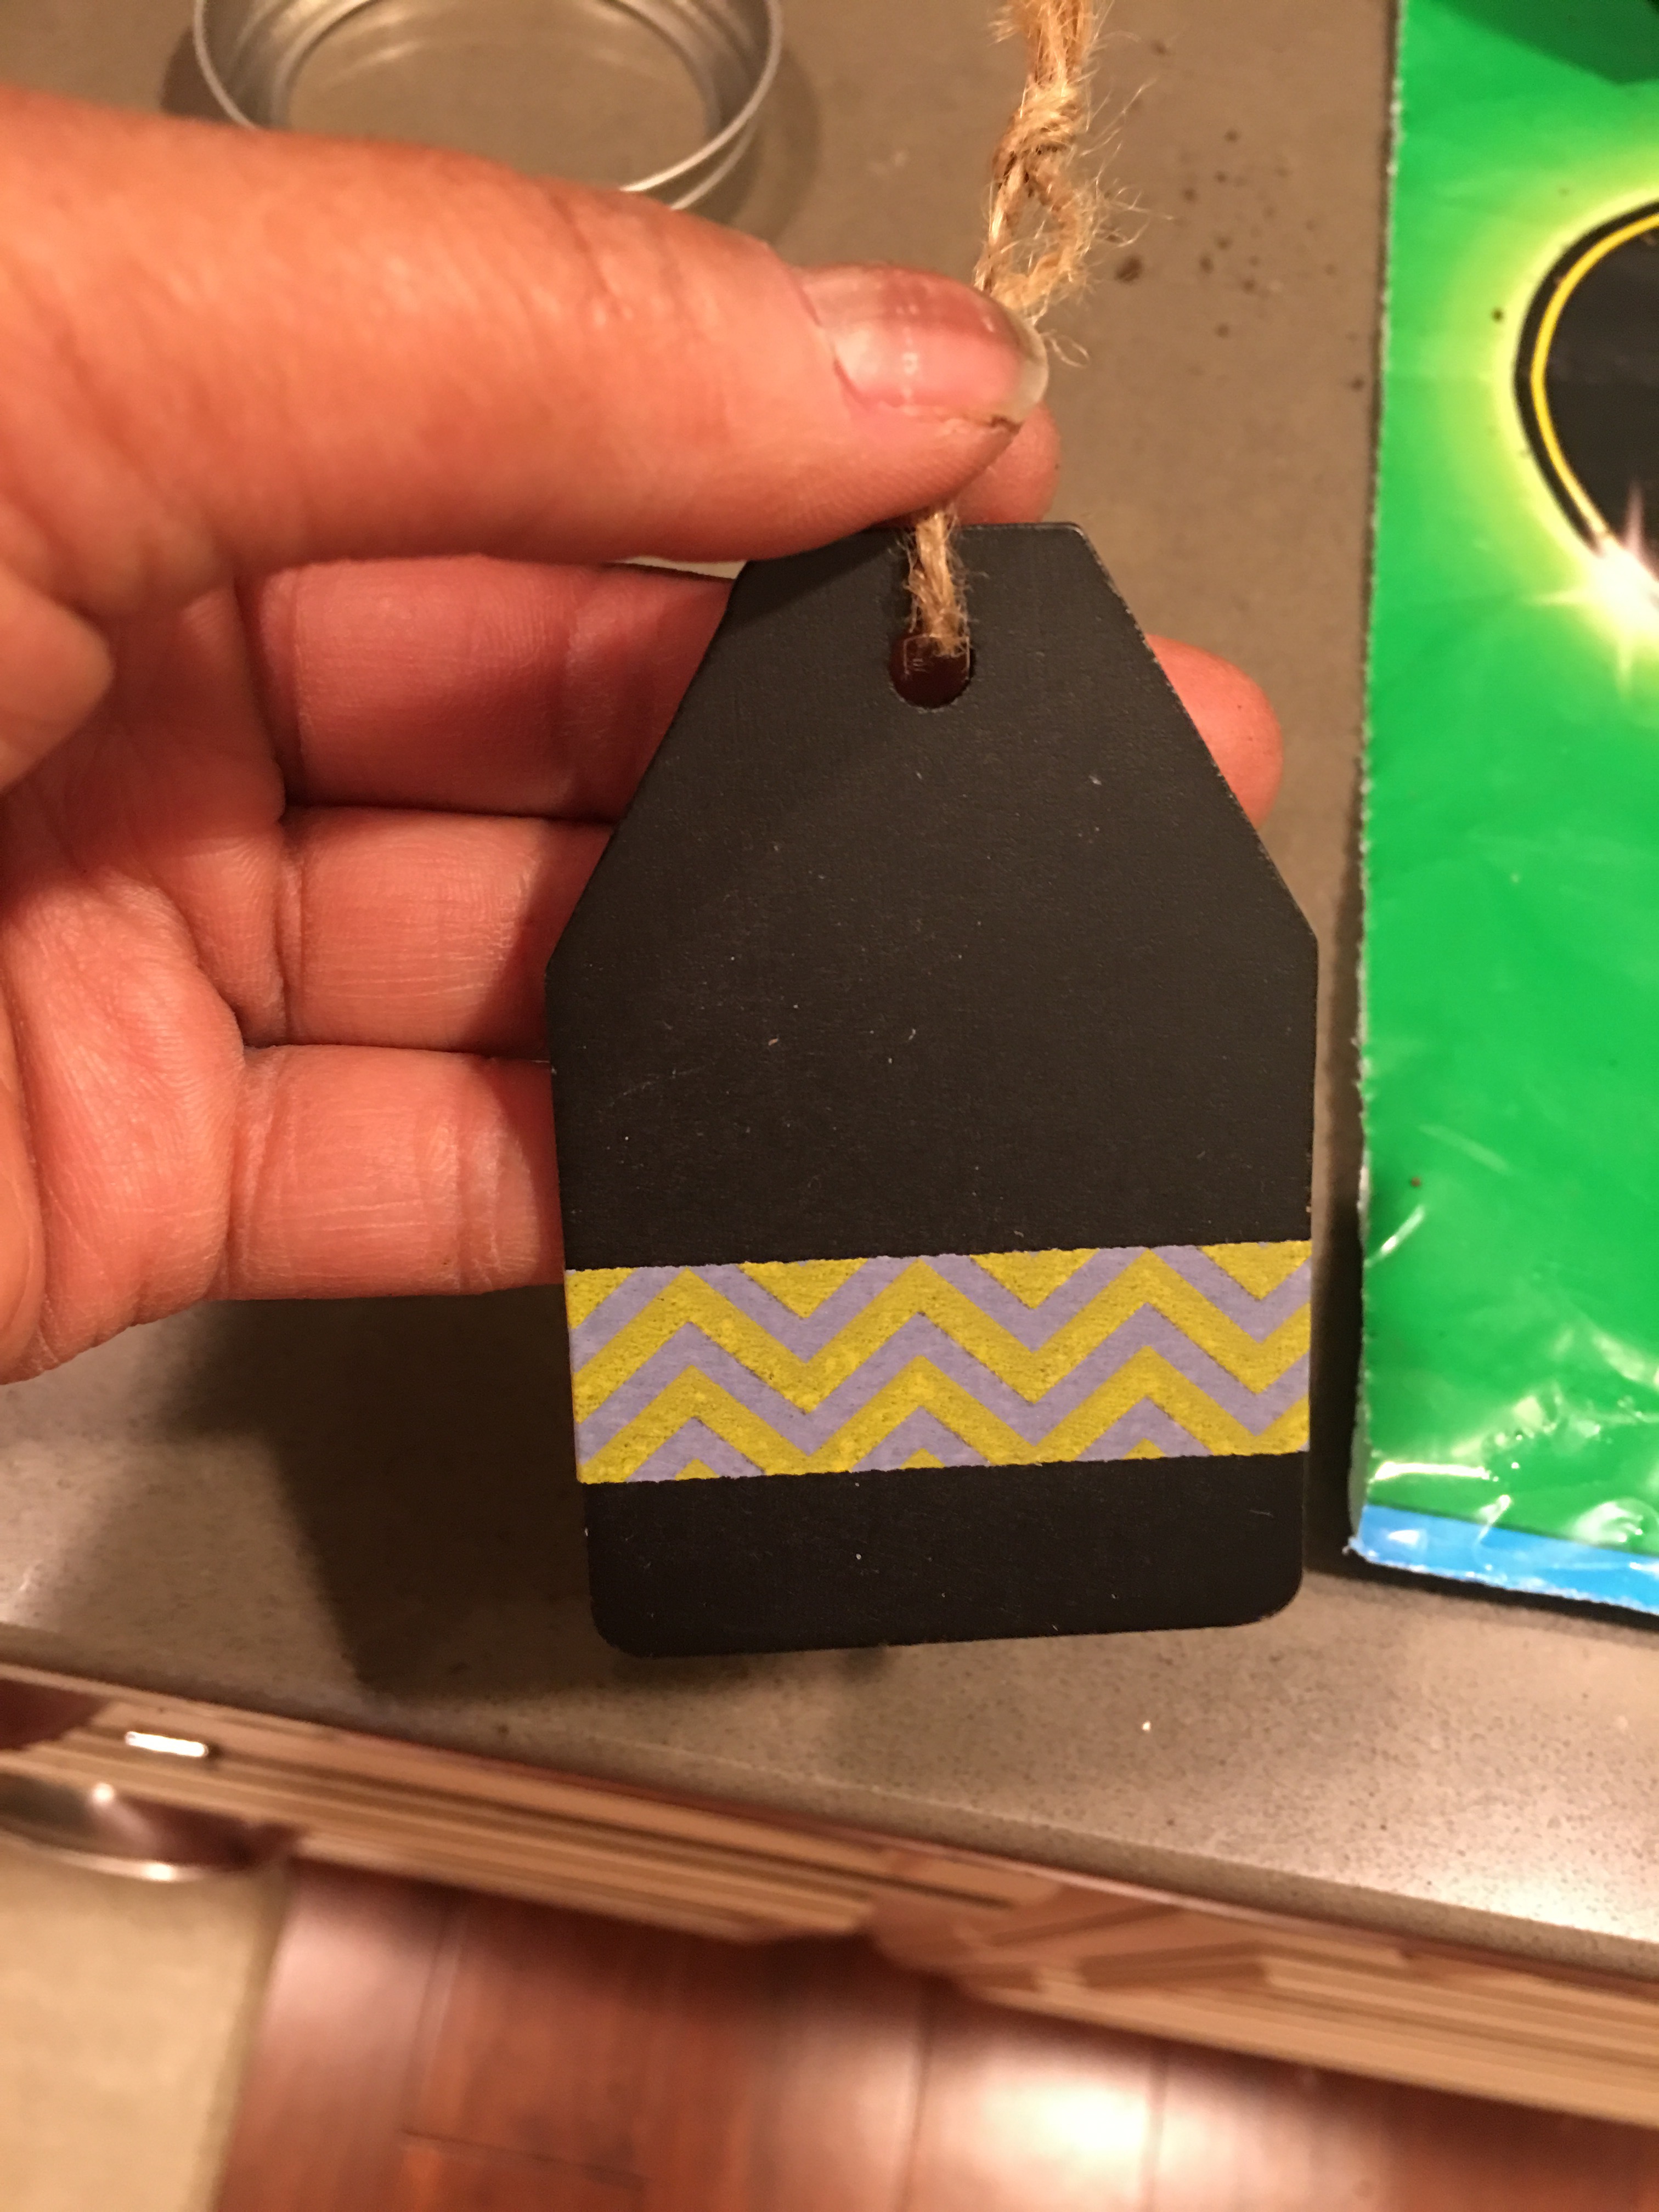
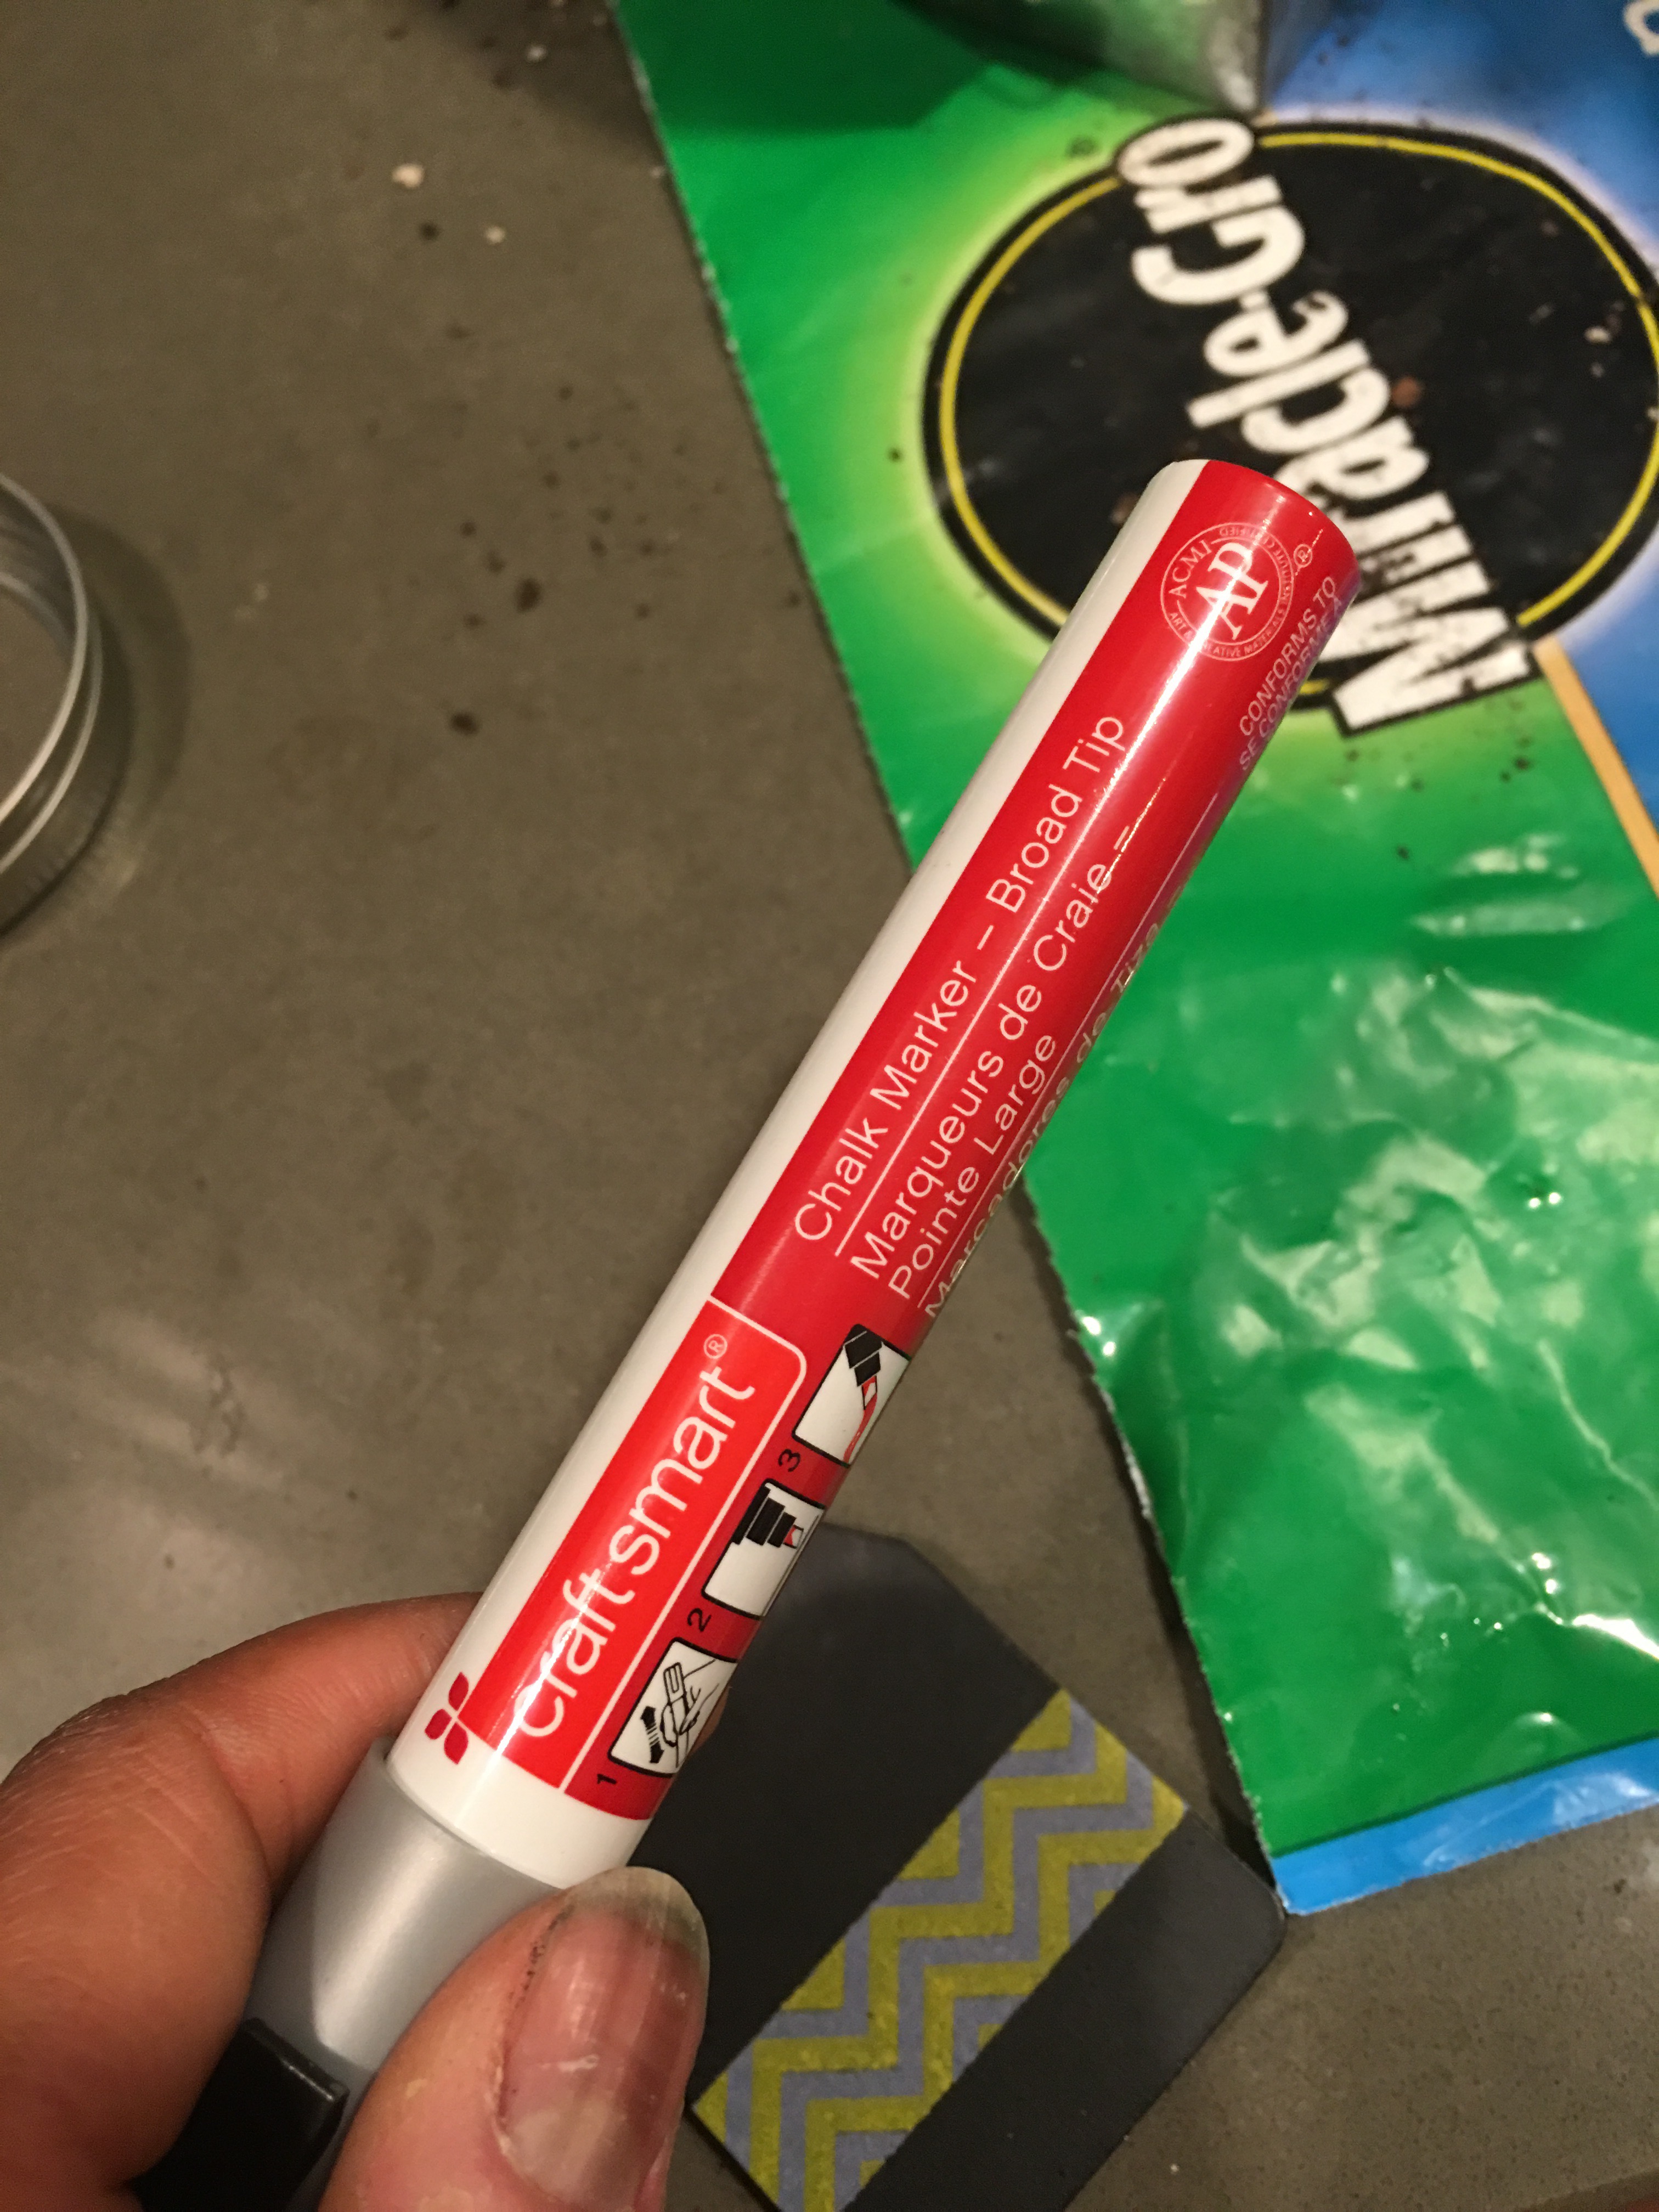
I’ll label the tag with chalk marker. Craft Smart is a brand available from Michaels.
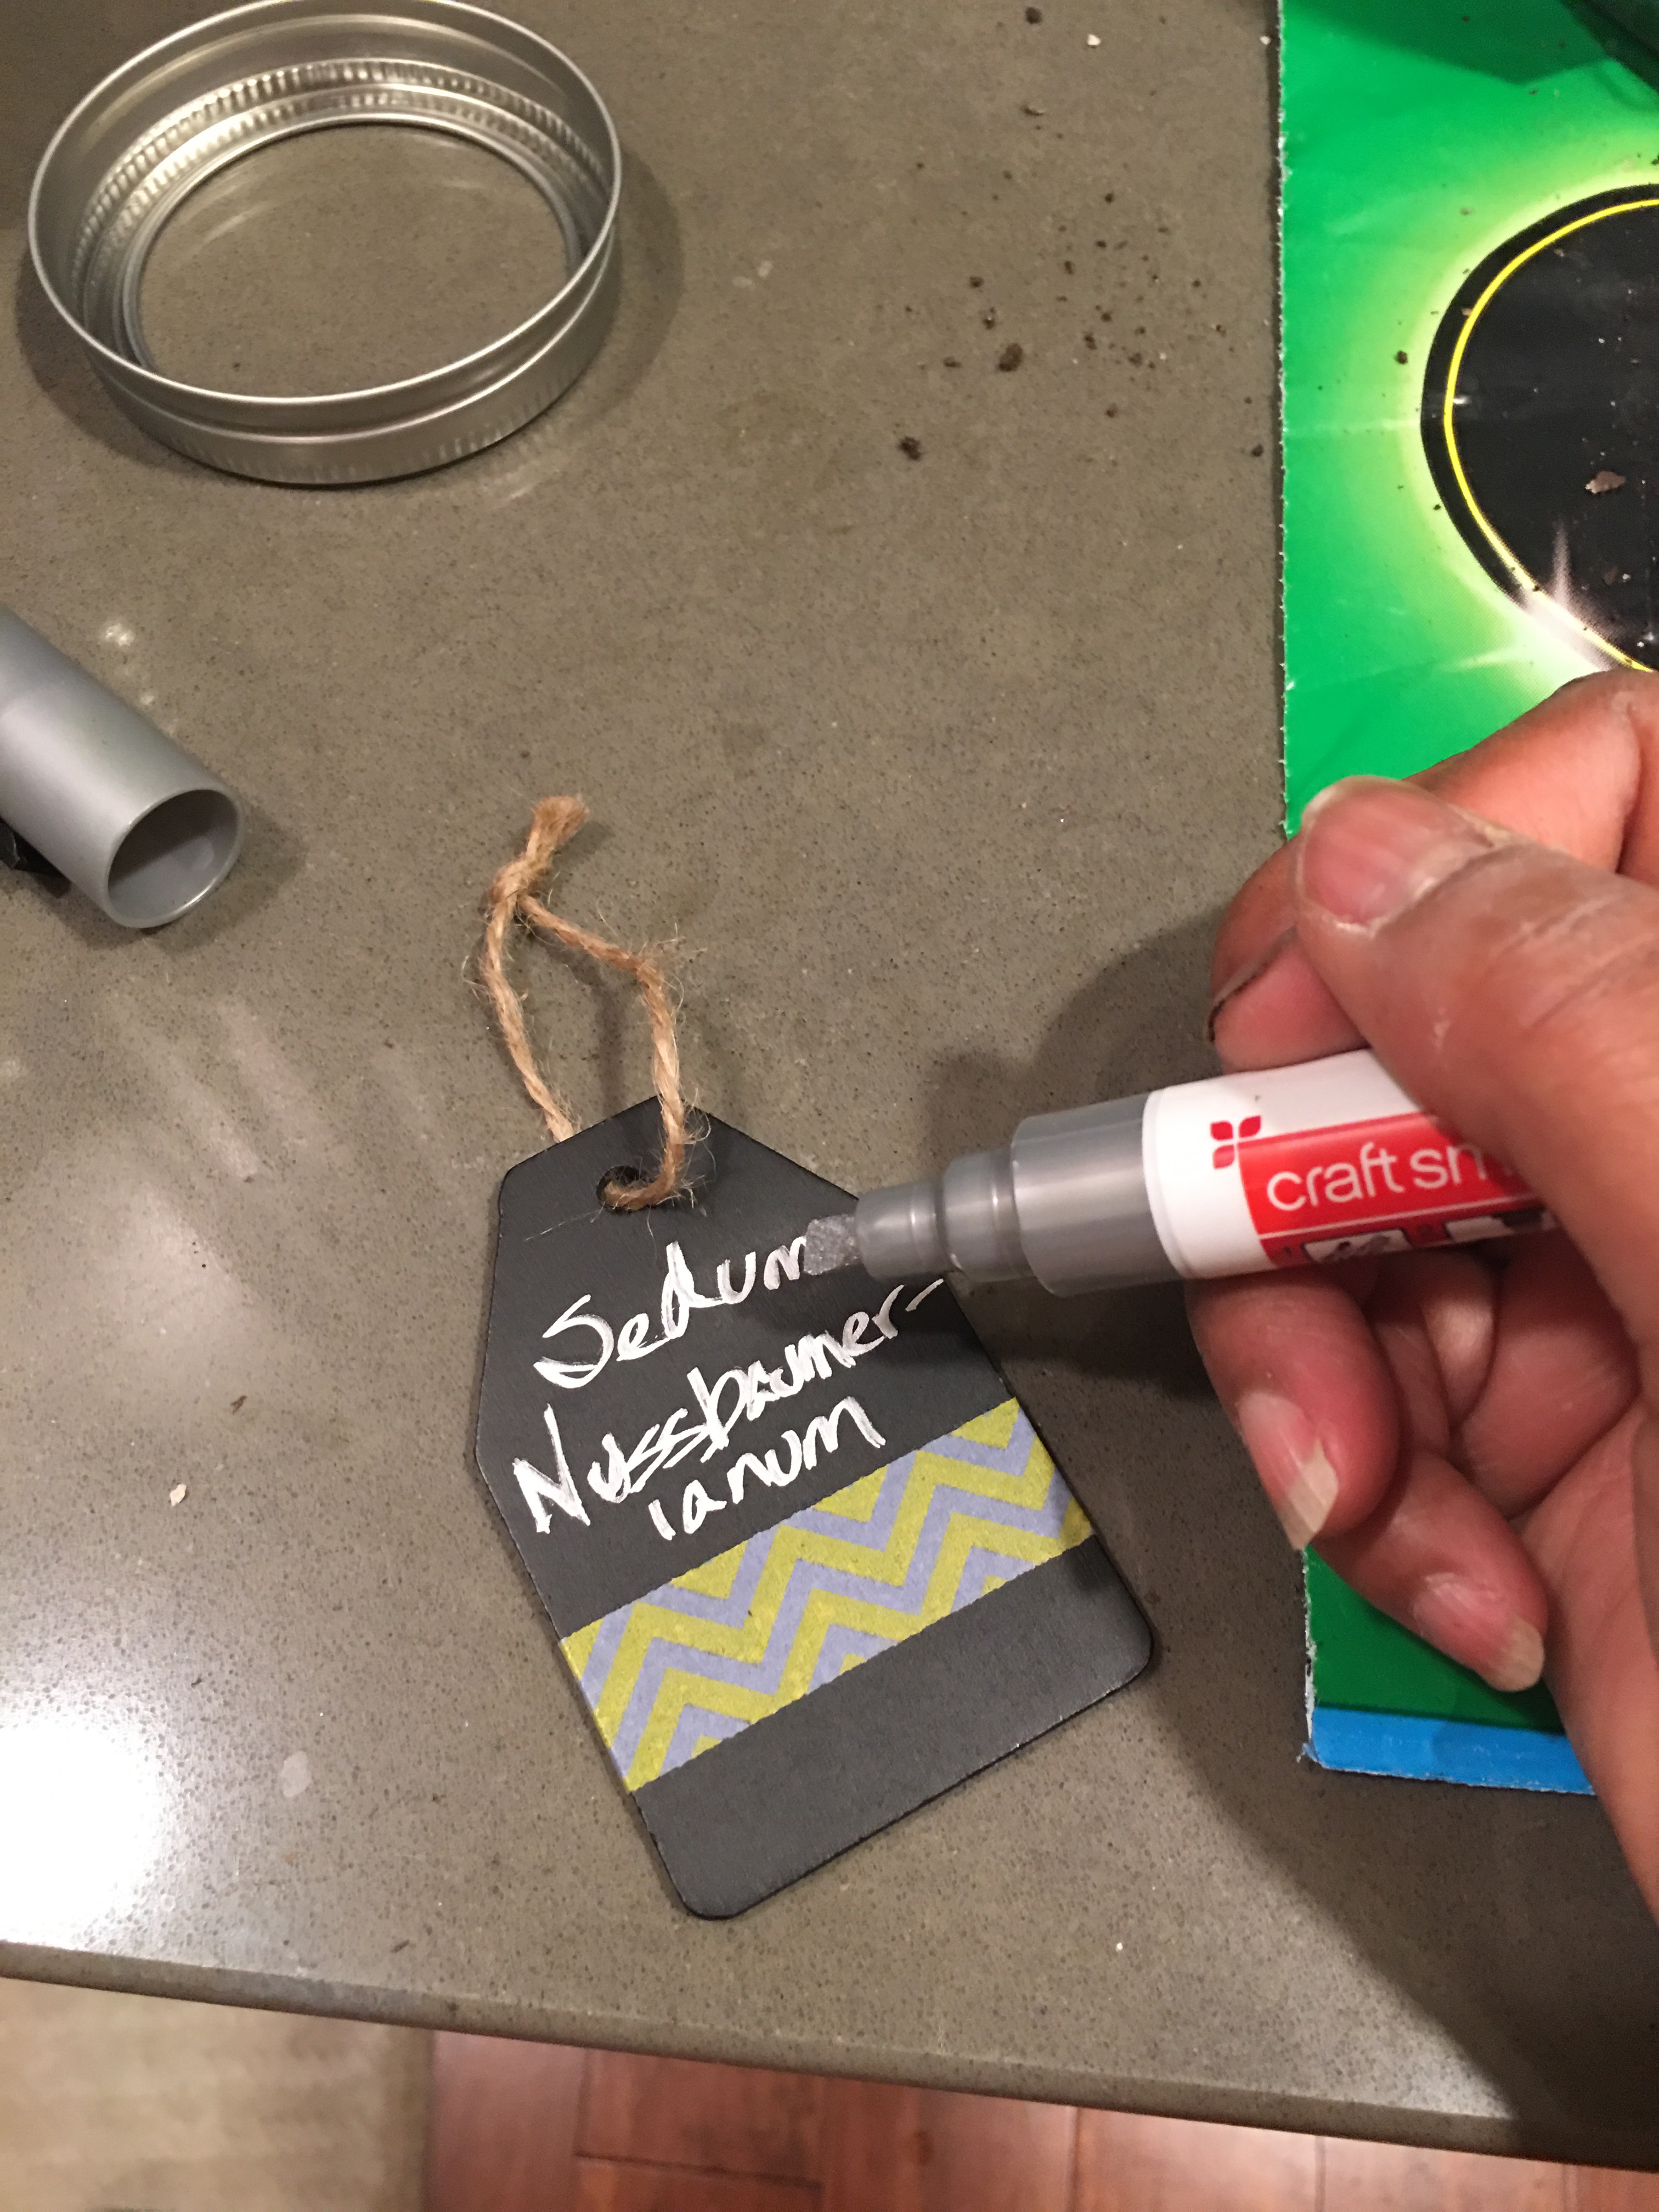
Because I’m a nerd, and I will never remember the scientific names of each plant on my own, I like to label each potted plant with their official names.
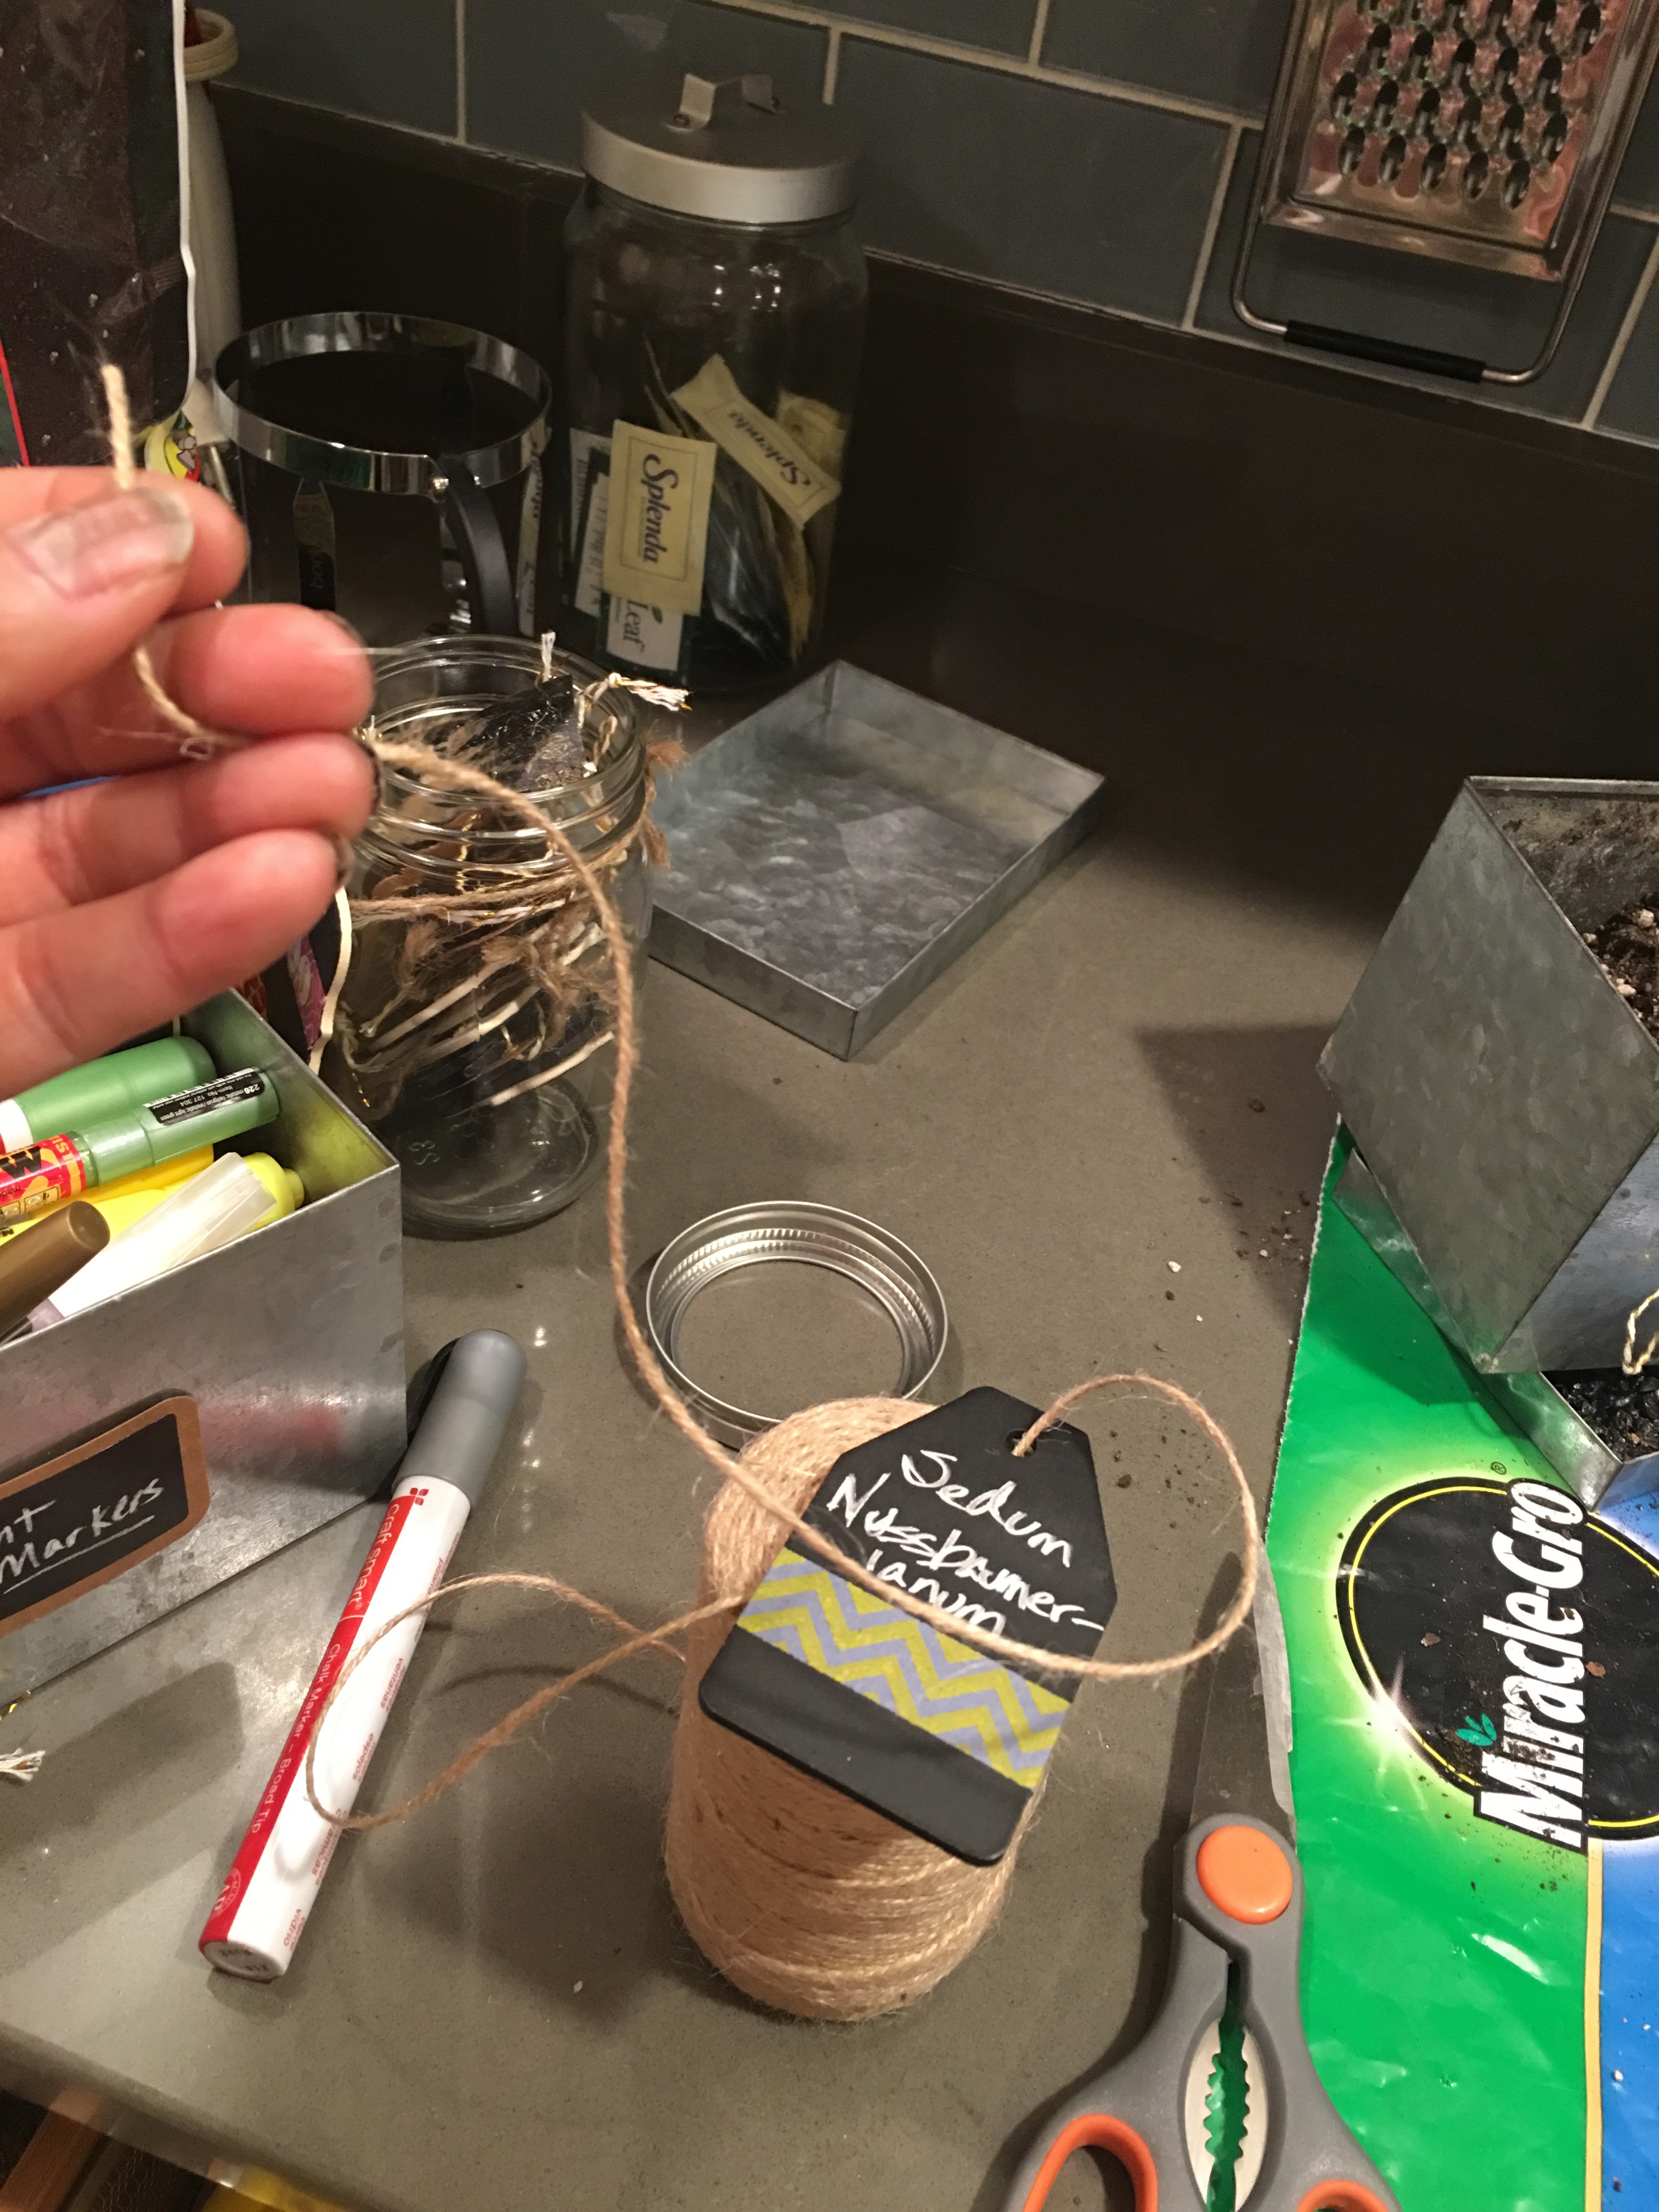
I first cut the existing smaller twine loop from the tag.
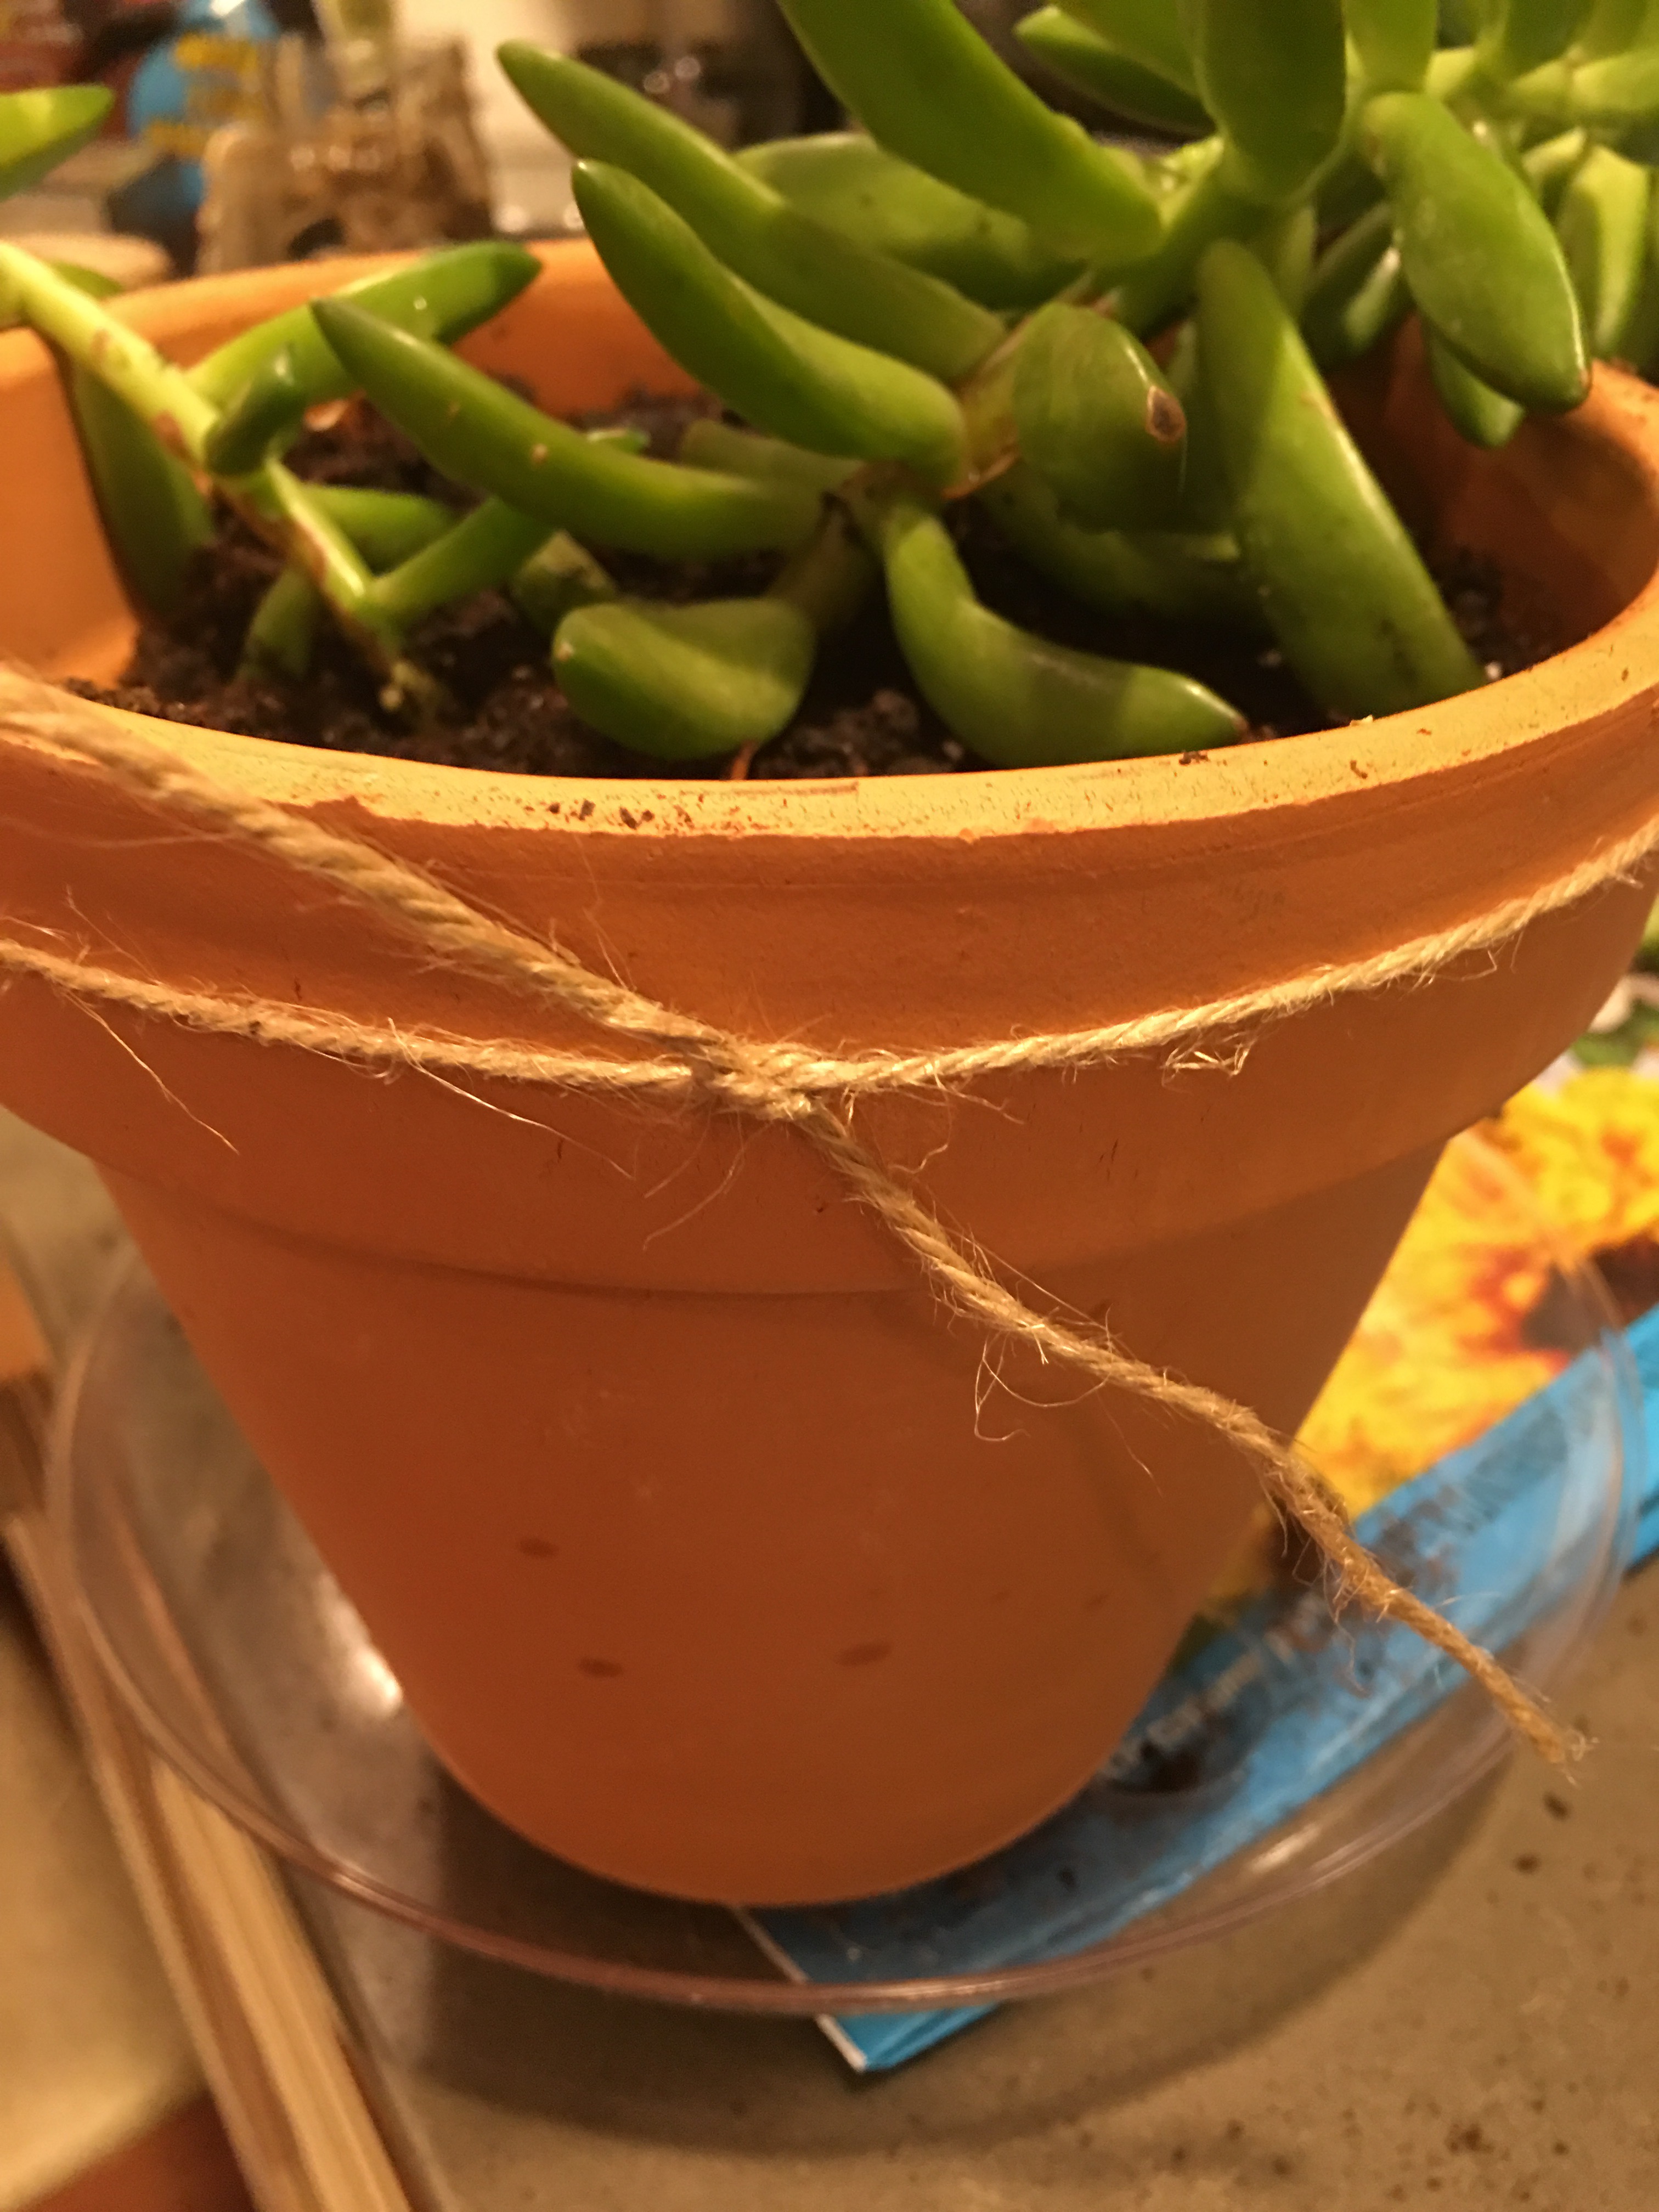
After stringing twine through the chalkboard tag…
…I tie it around the rim of the terra cotta pot…
…and secure the back with a binder clip so that it doesn’t slip.
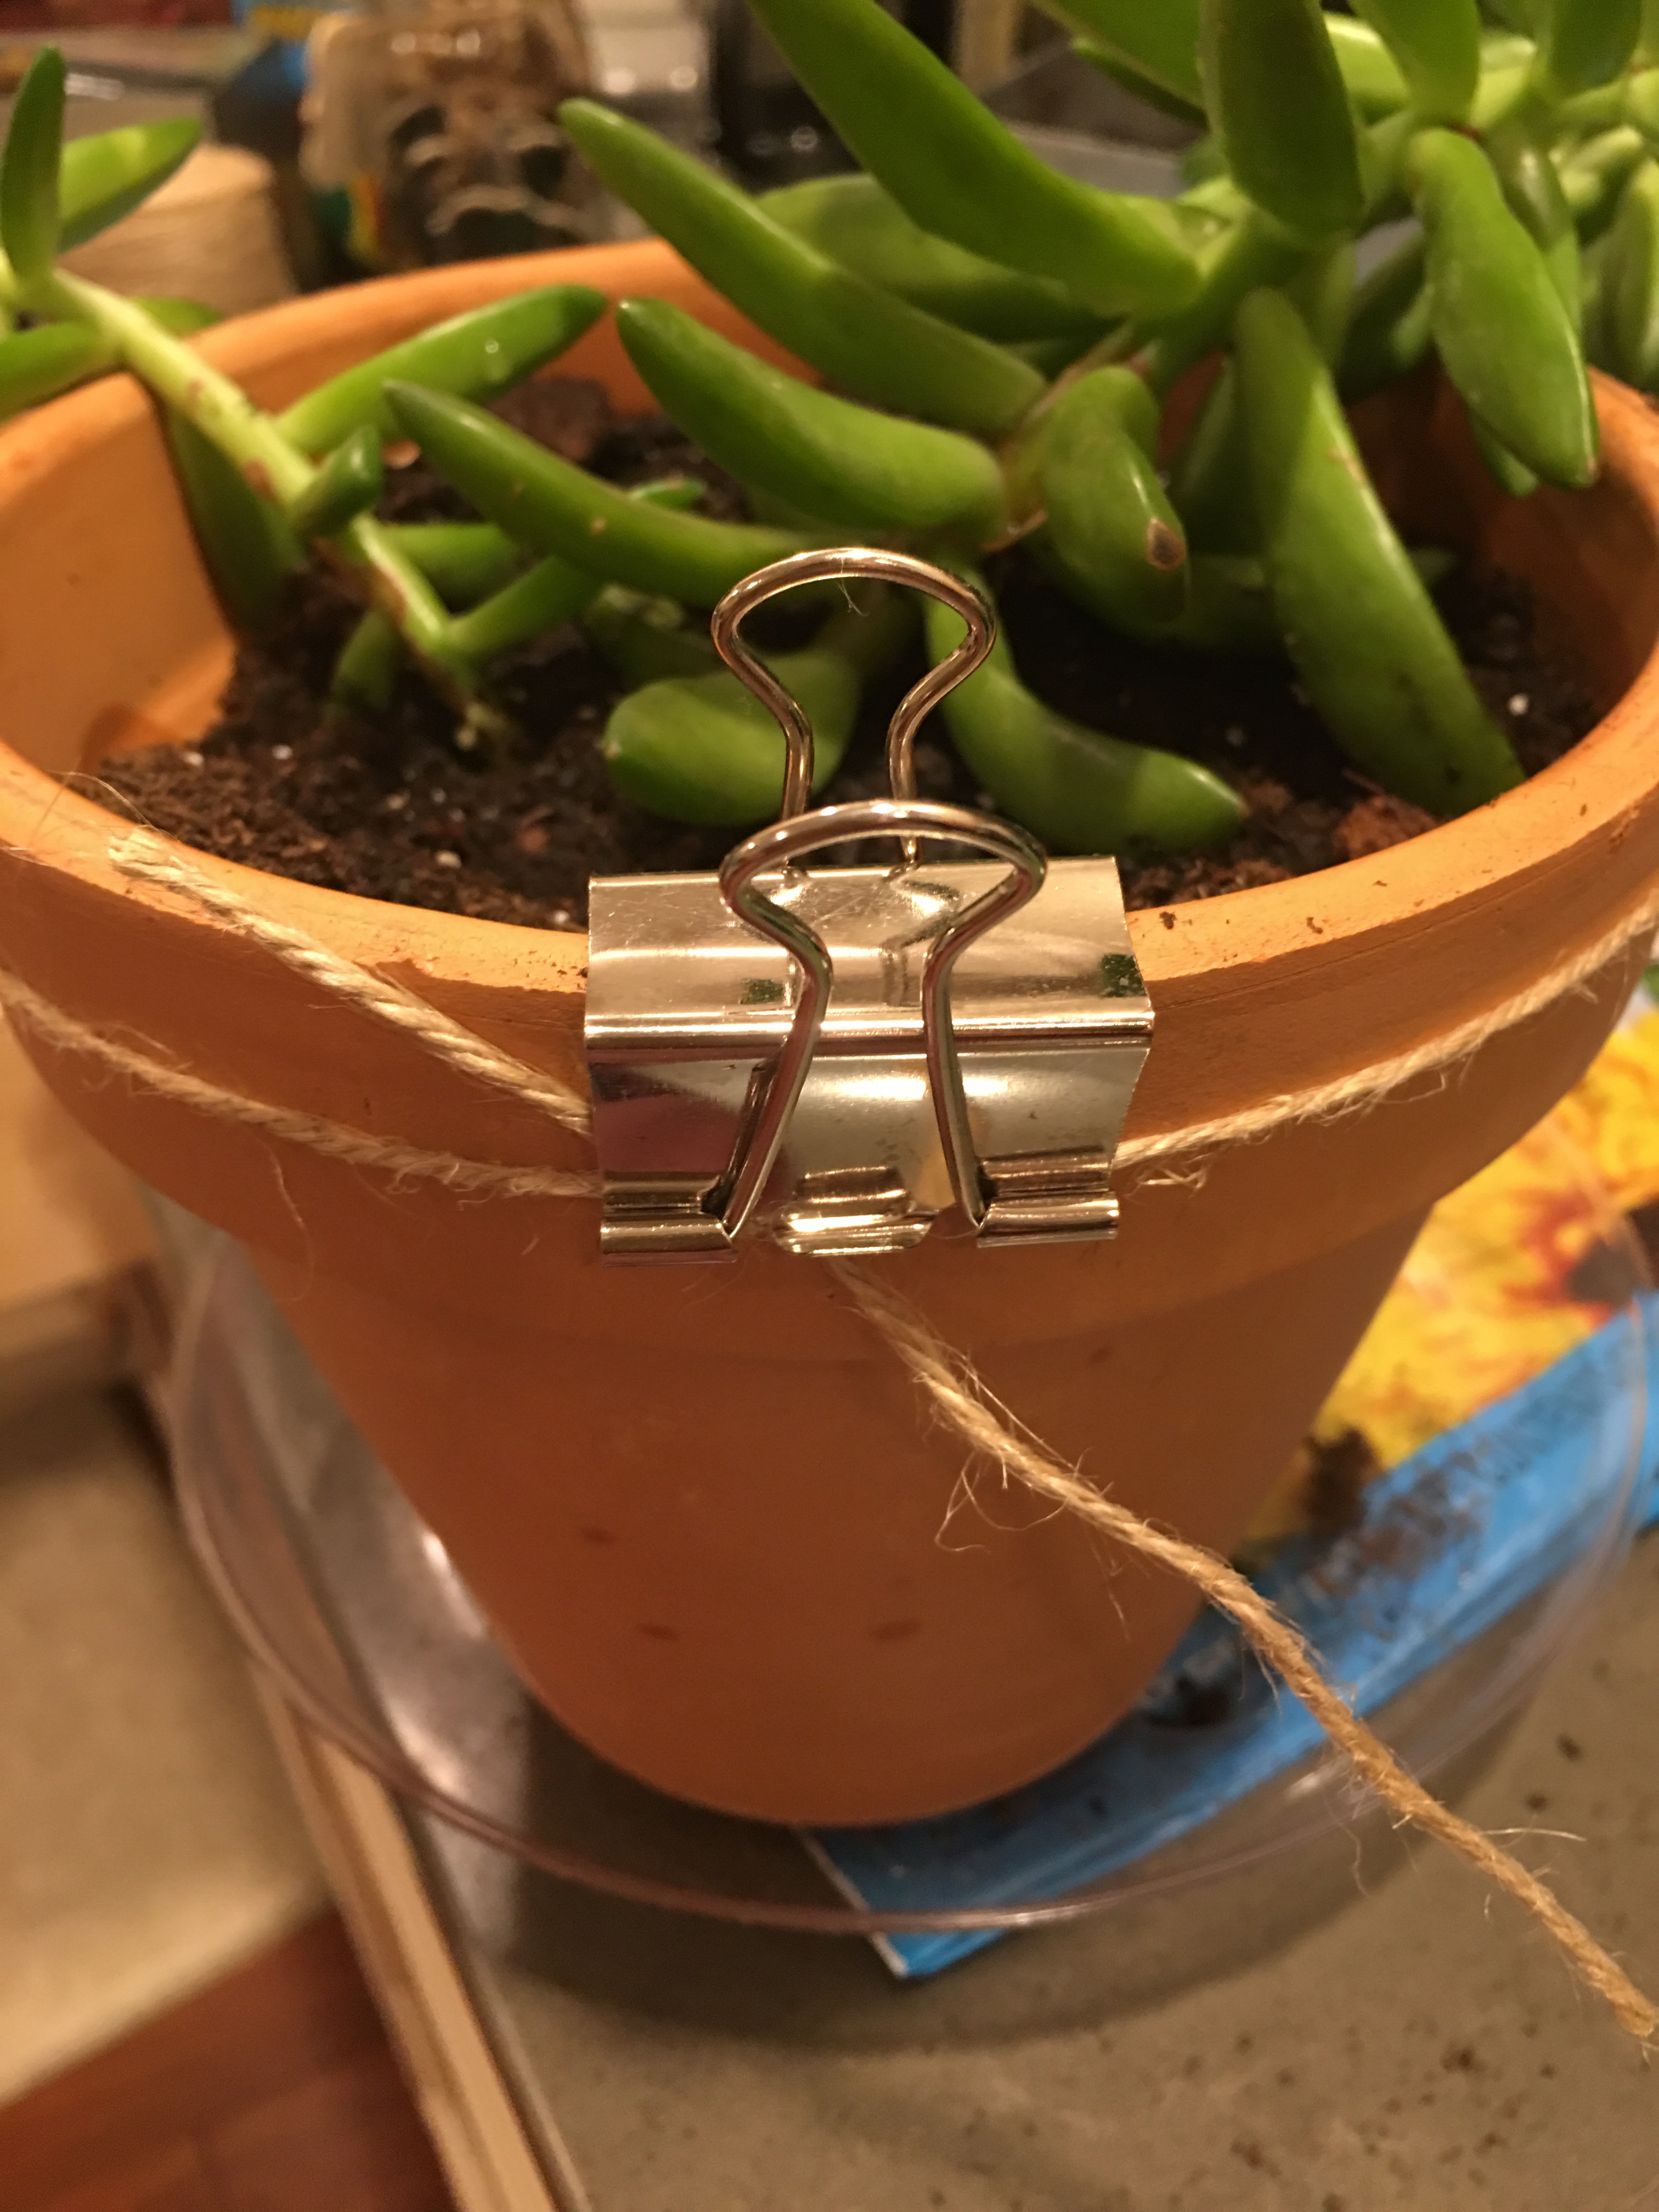
Perfect.
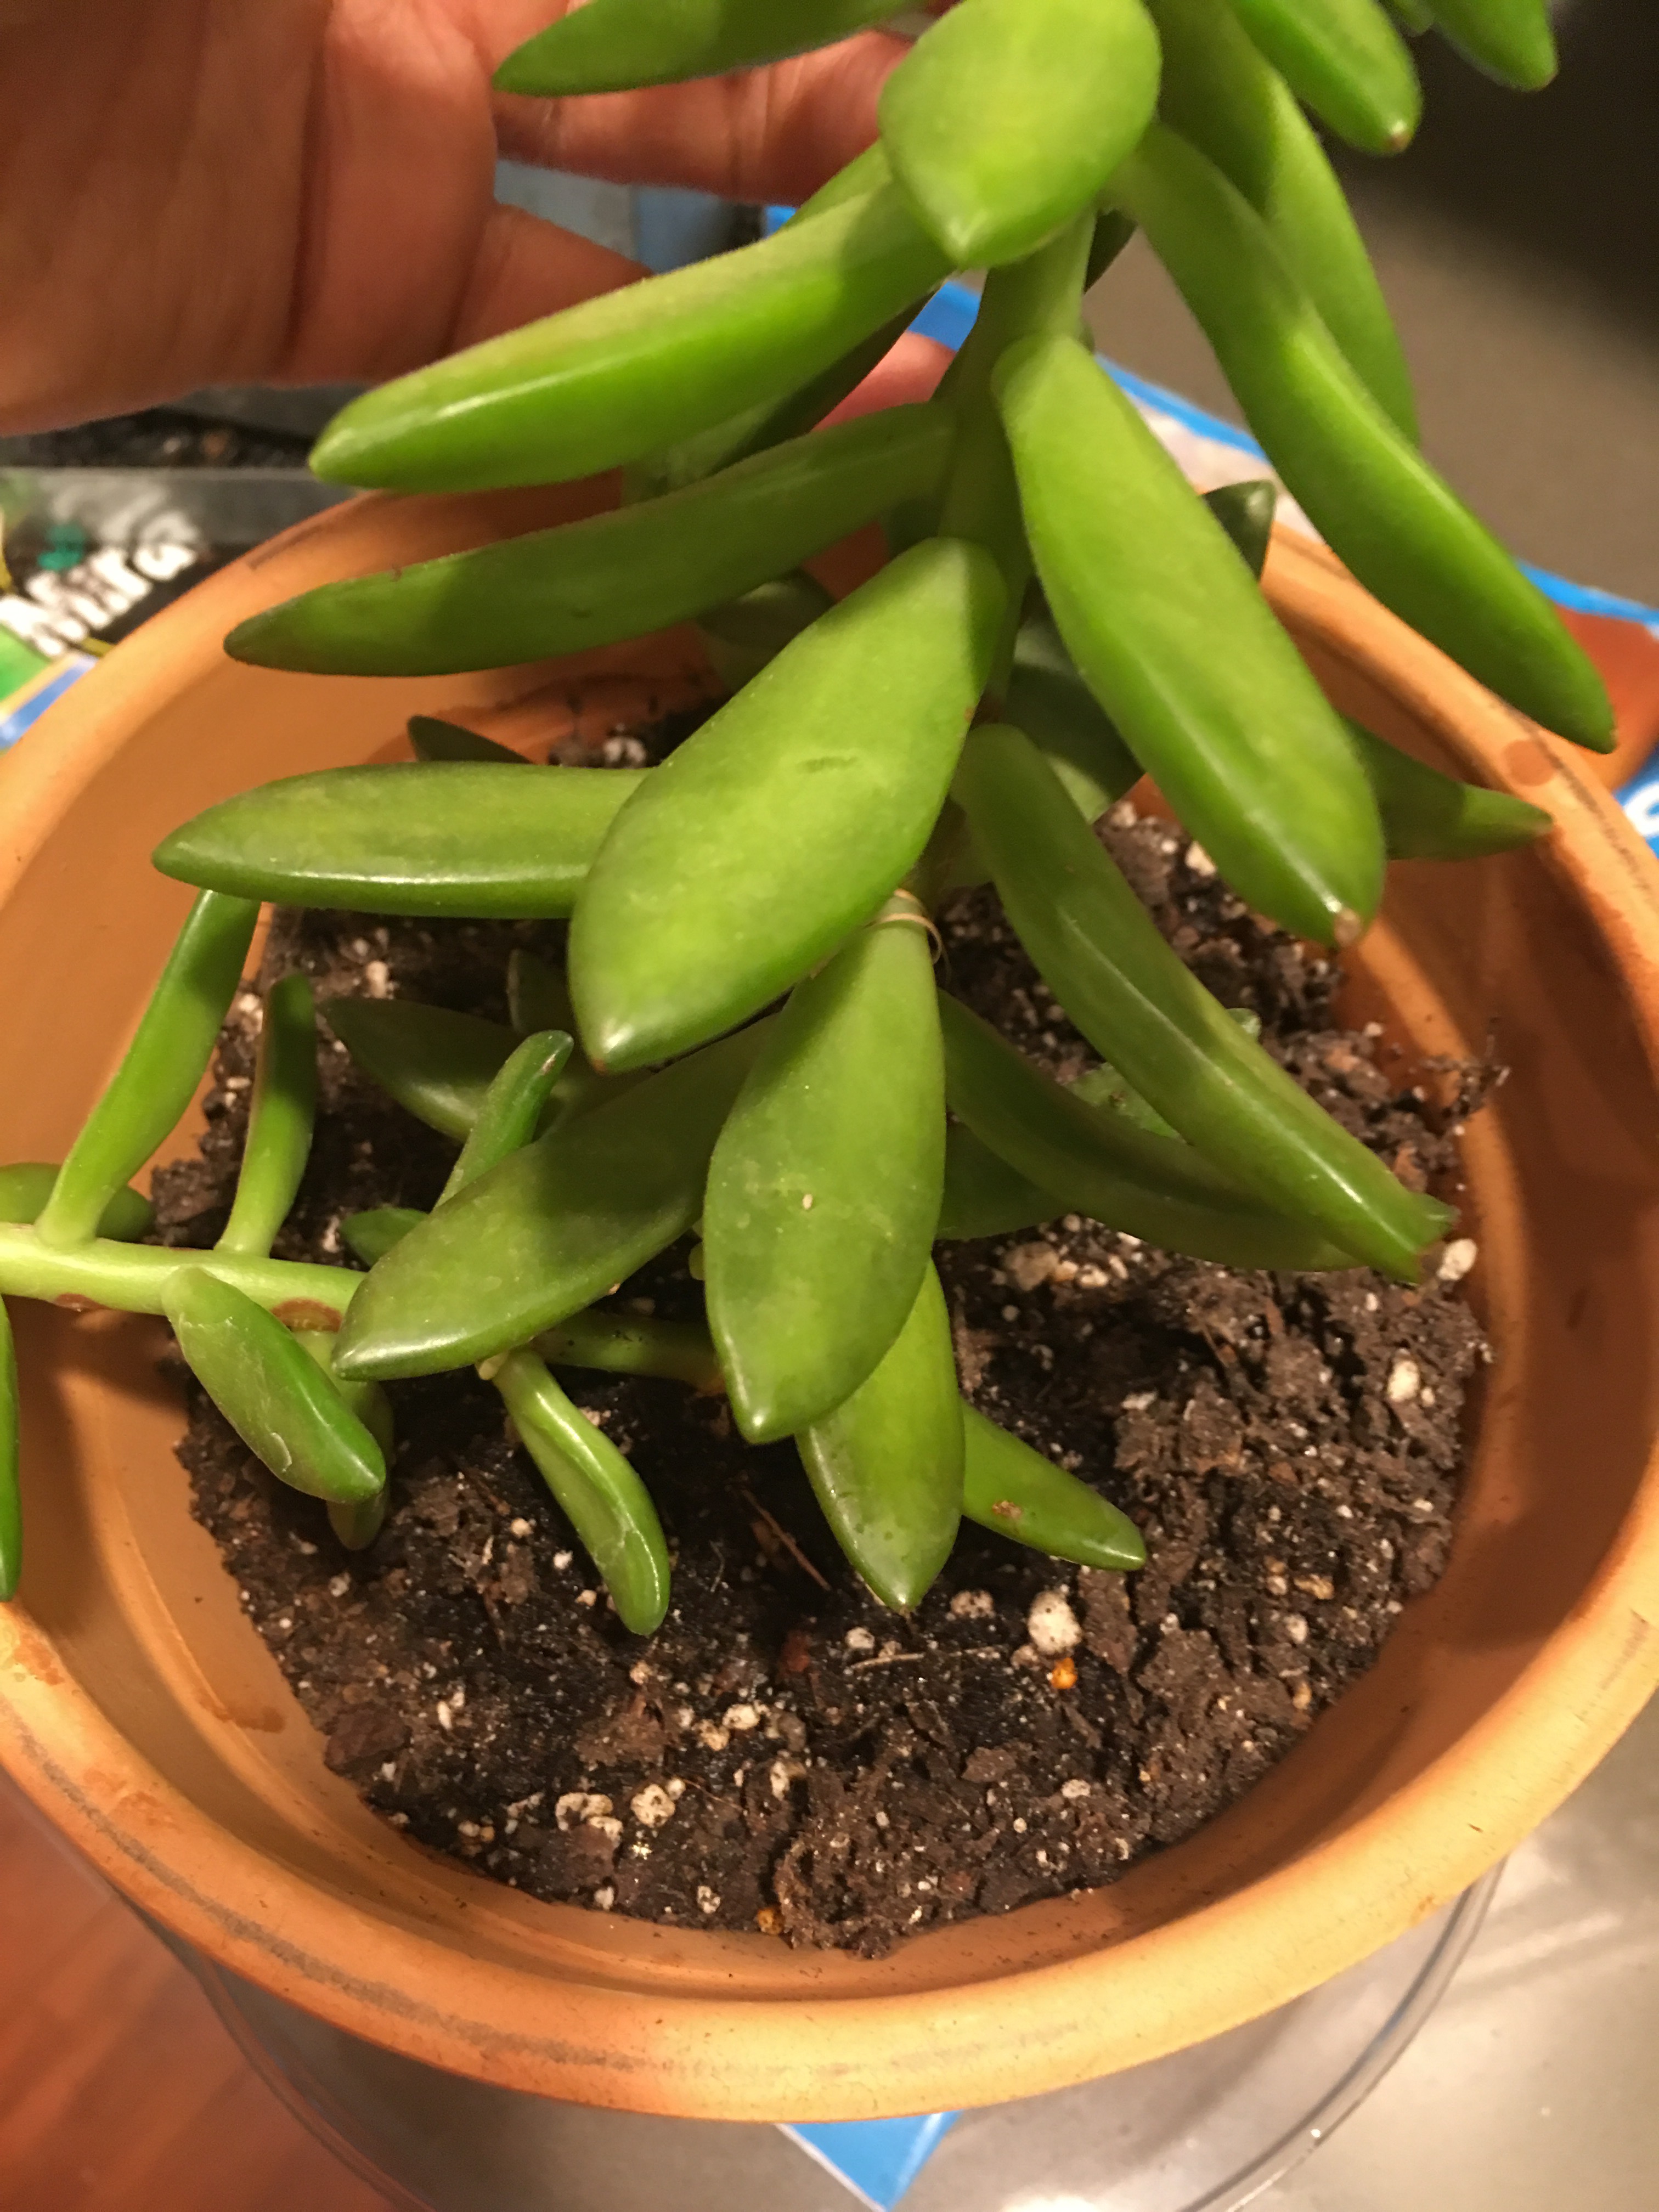
And here’s my newly transplanted (rabbit-eared) Nuss!
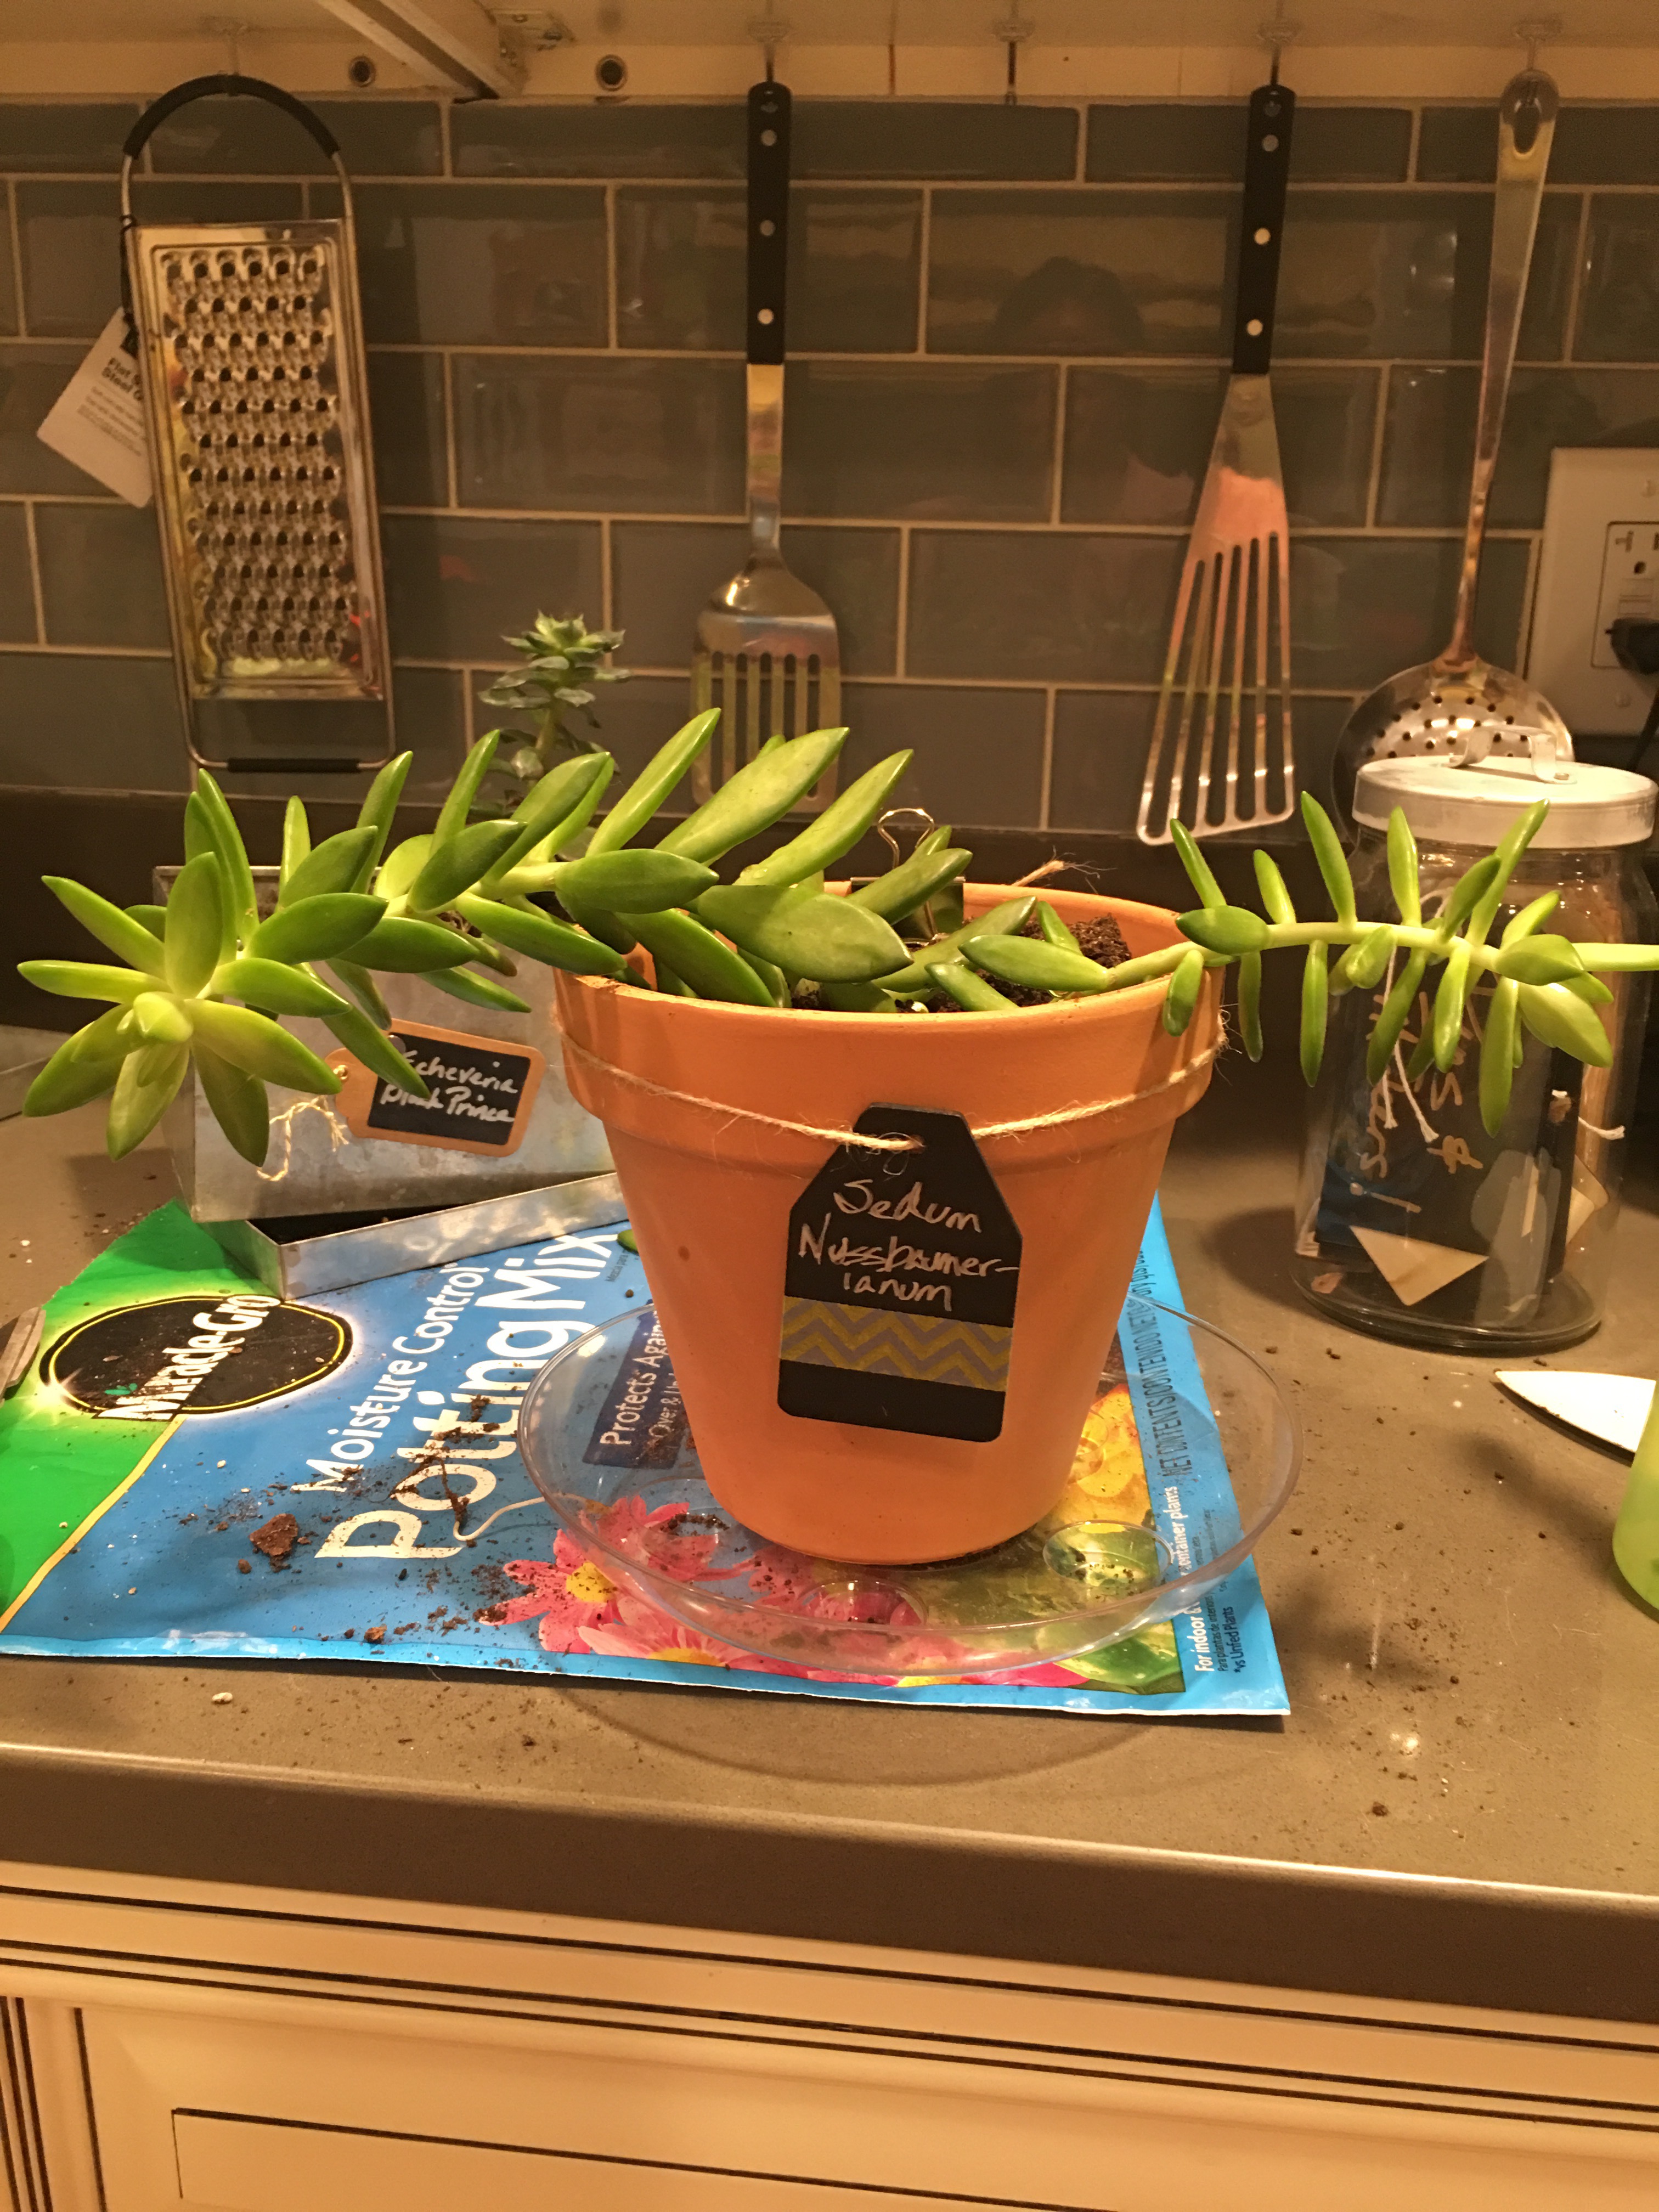
Yeah, I know…it looks kind of funny. No telling what it will look like in another month. I’m hoping I made the right decision with the pot size. Time will tell.
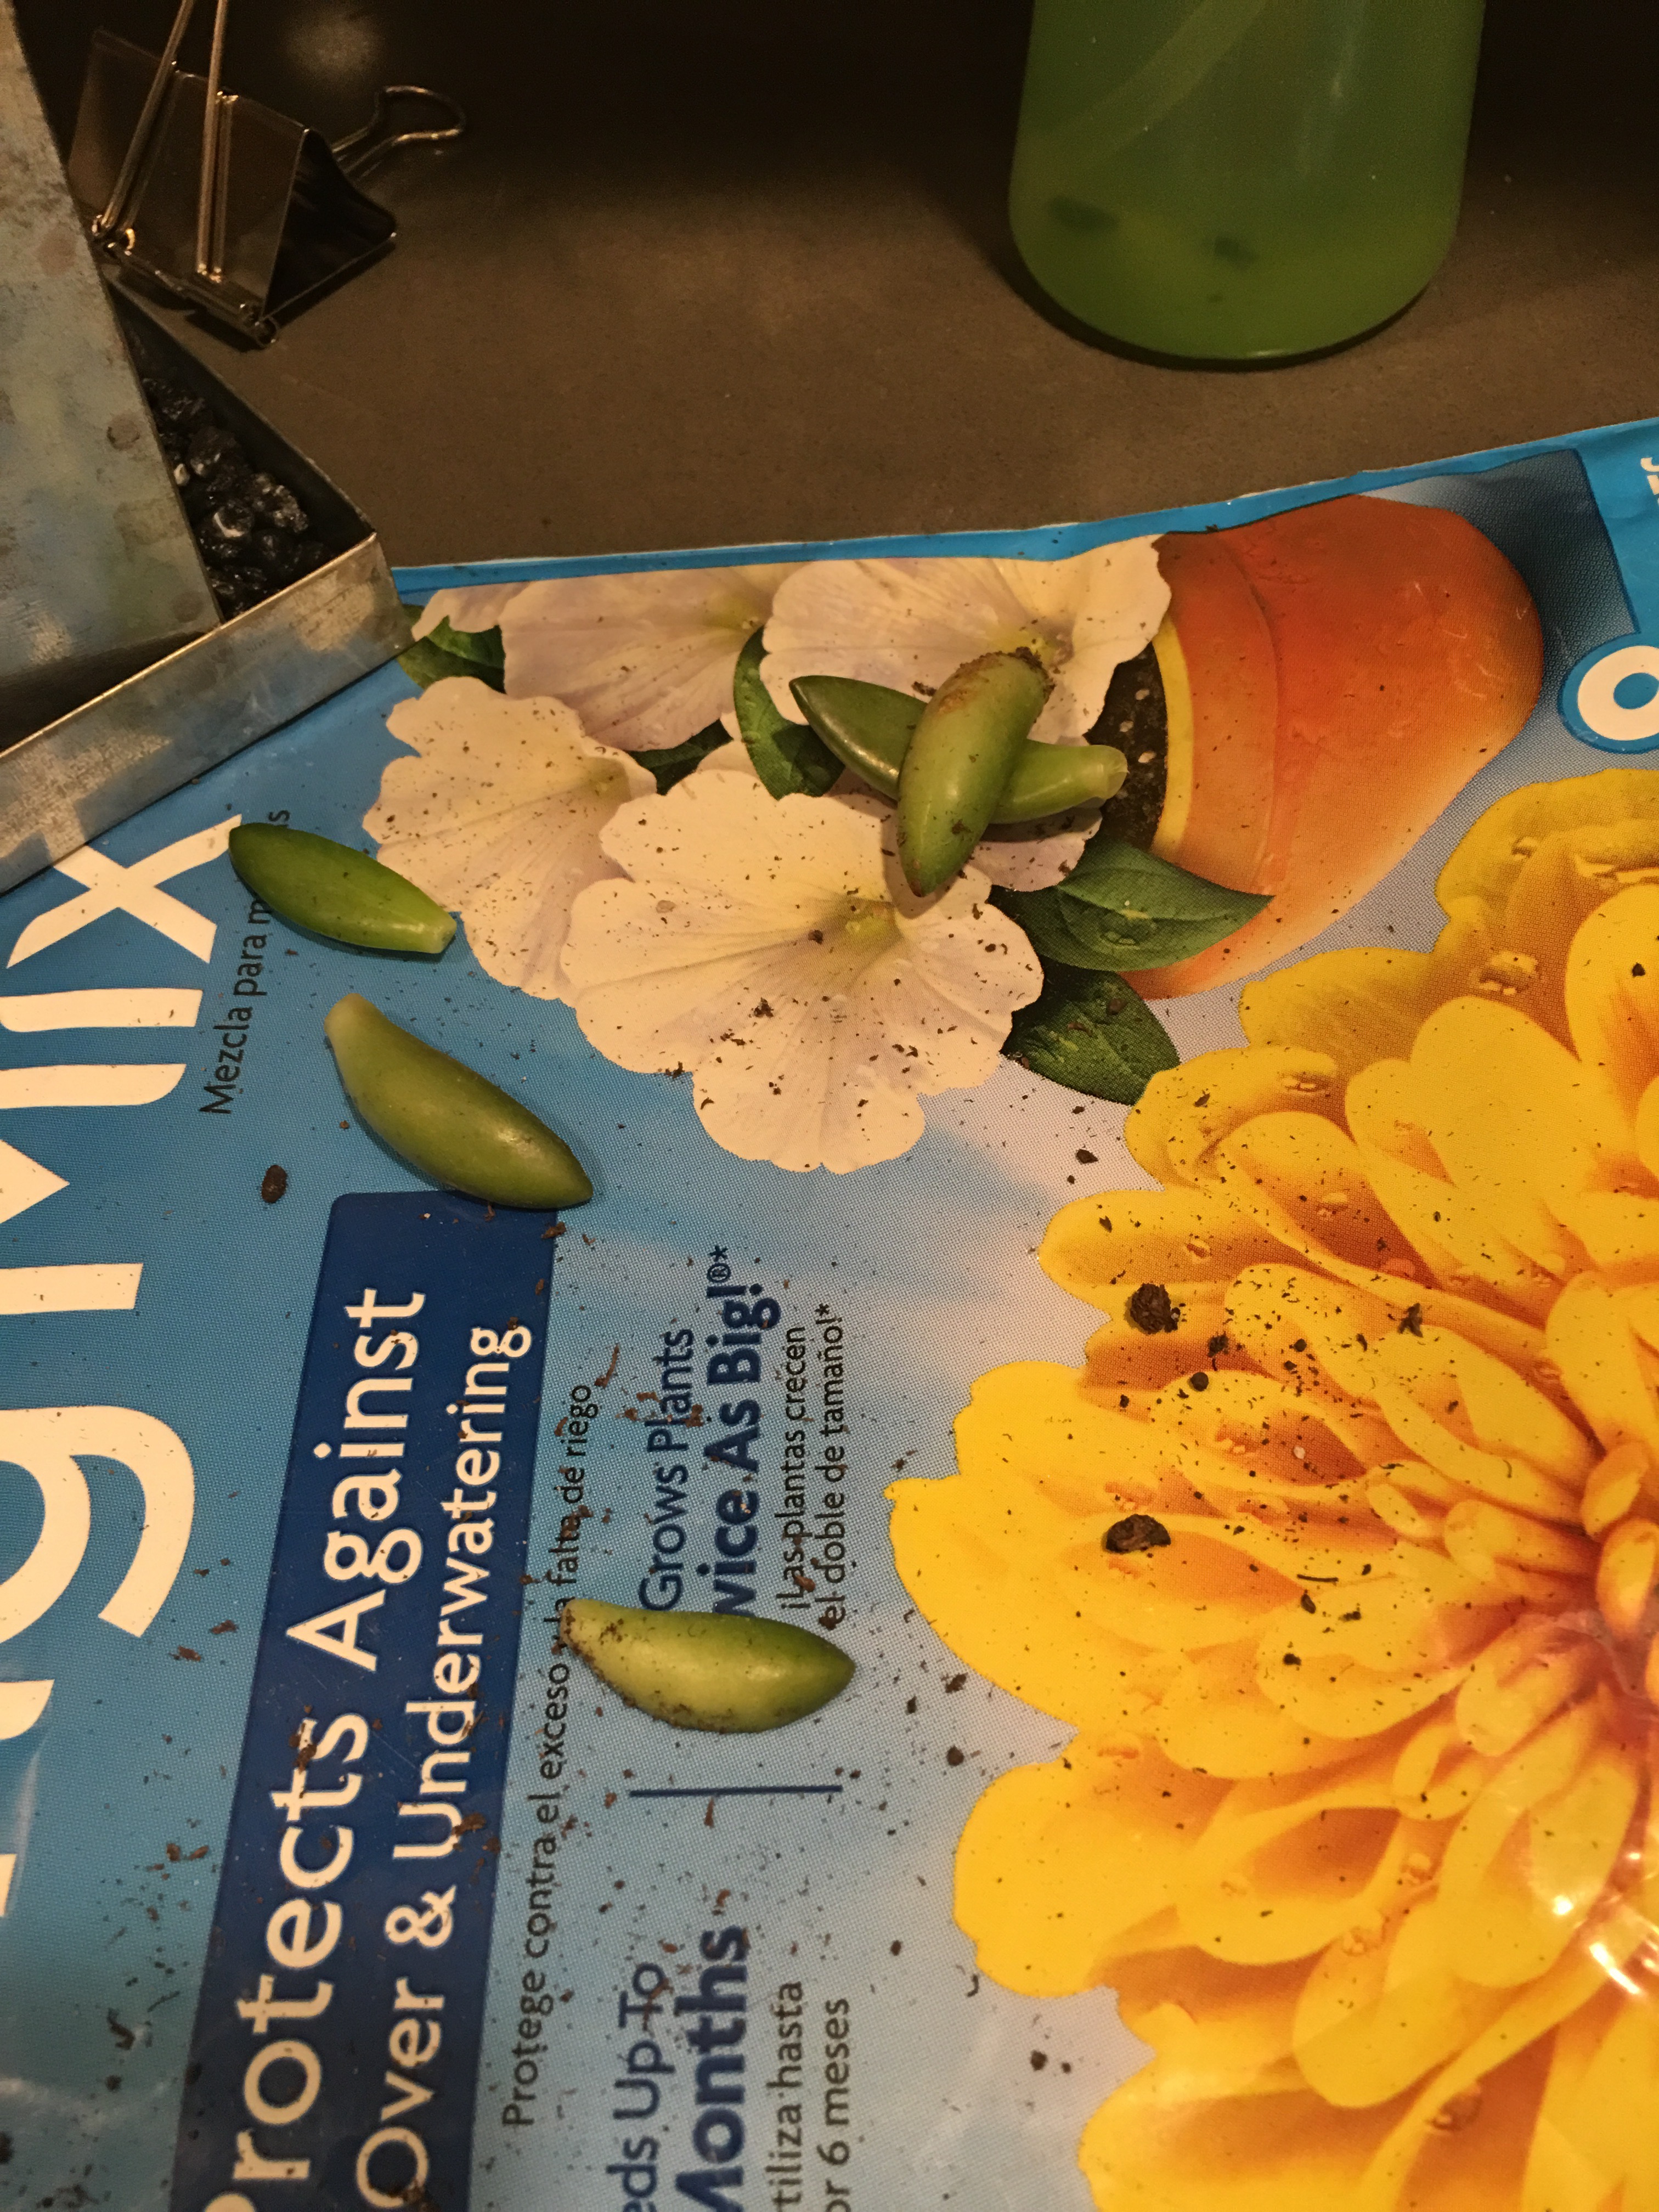
A few leaves lost in the process. One of these days I will read up on how to propograte more succulent plants using the leaves.
OK, moving back to the tin container which now only houses the Black Prince. As shown below.

I use the lid of the tin box as a pebble drainage system. Holes were added to the bottom of the tin box using a power drill.
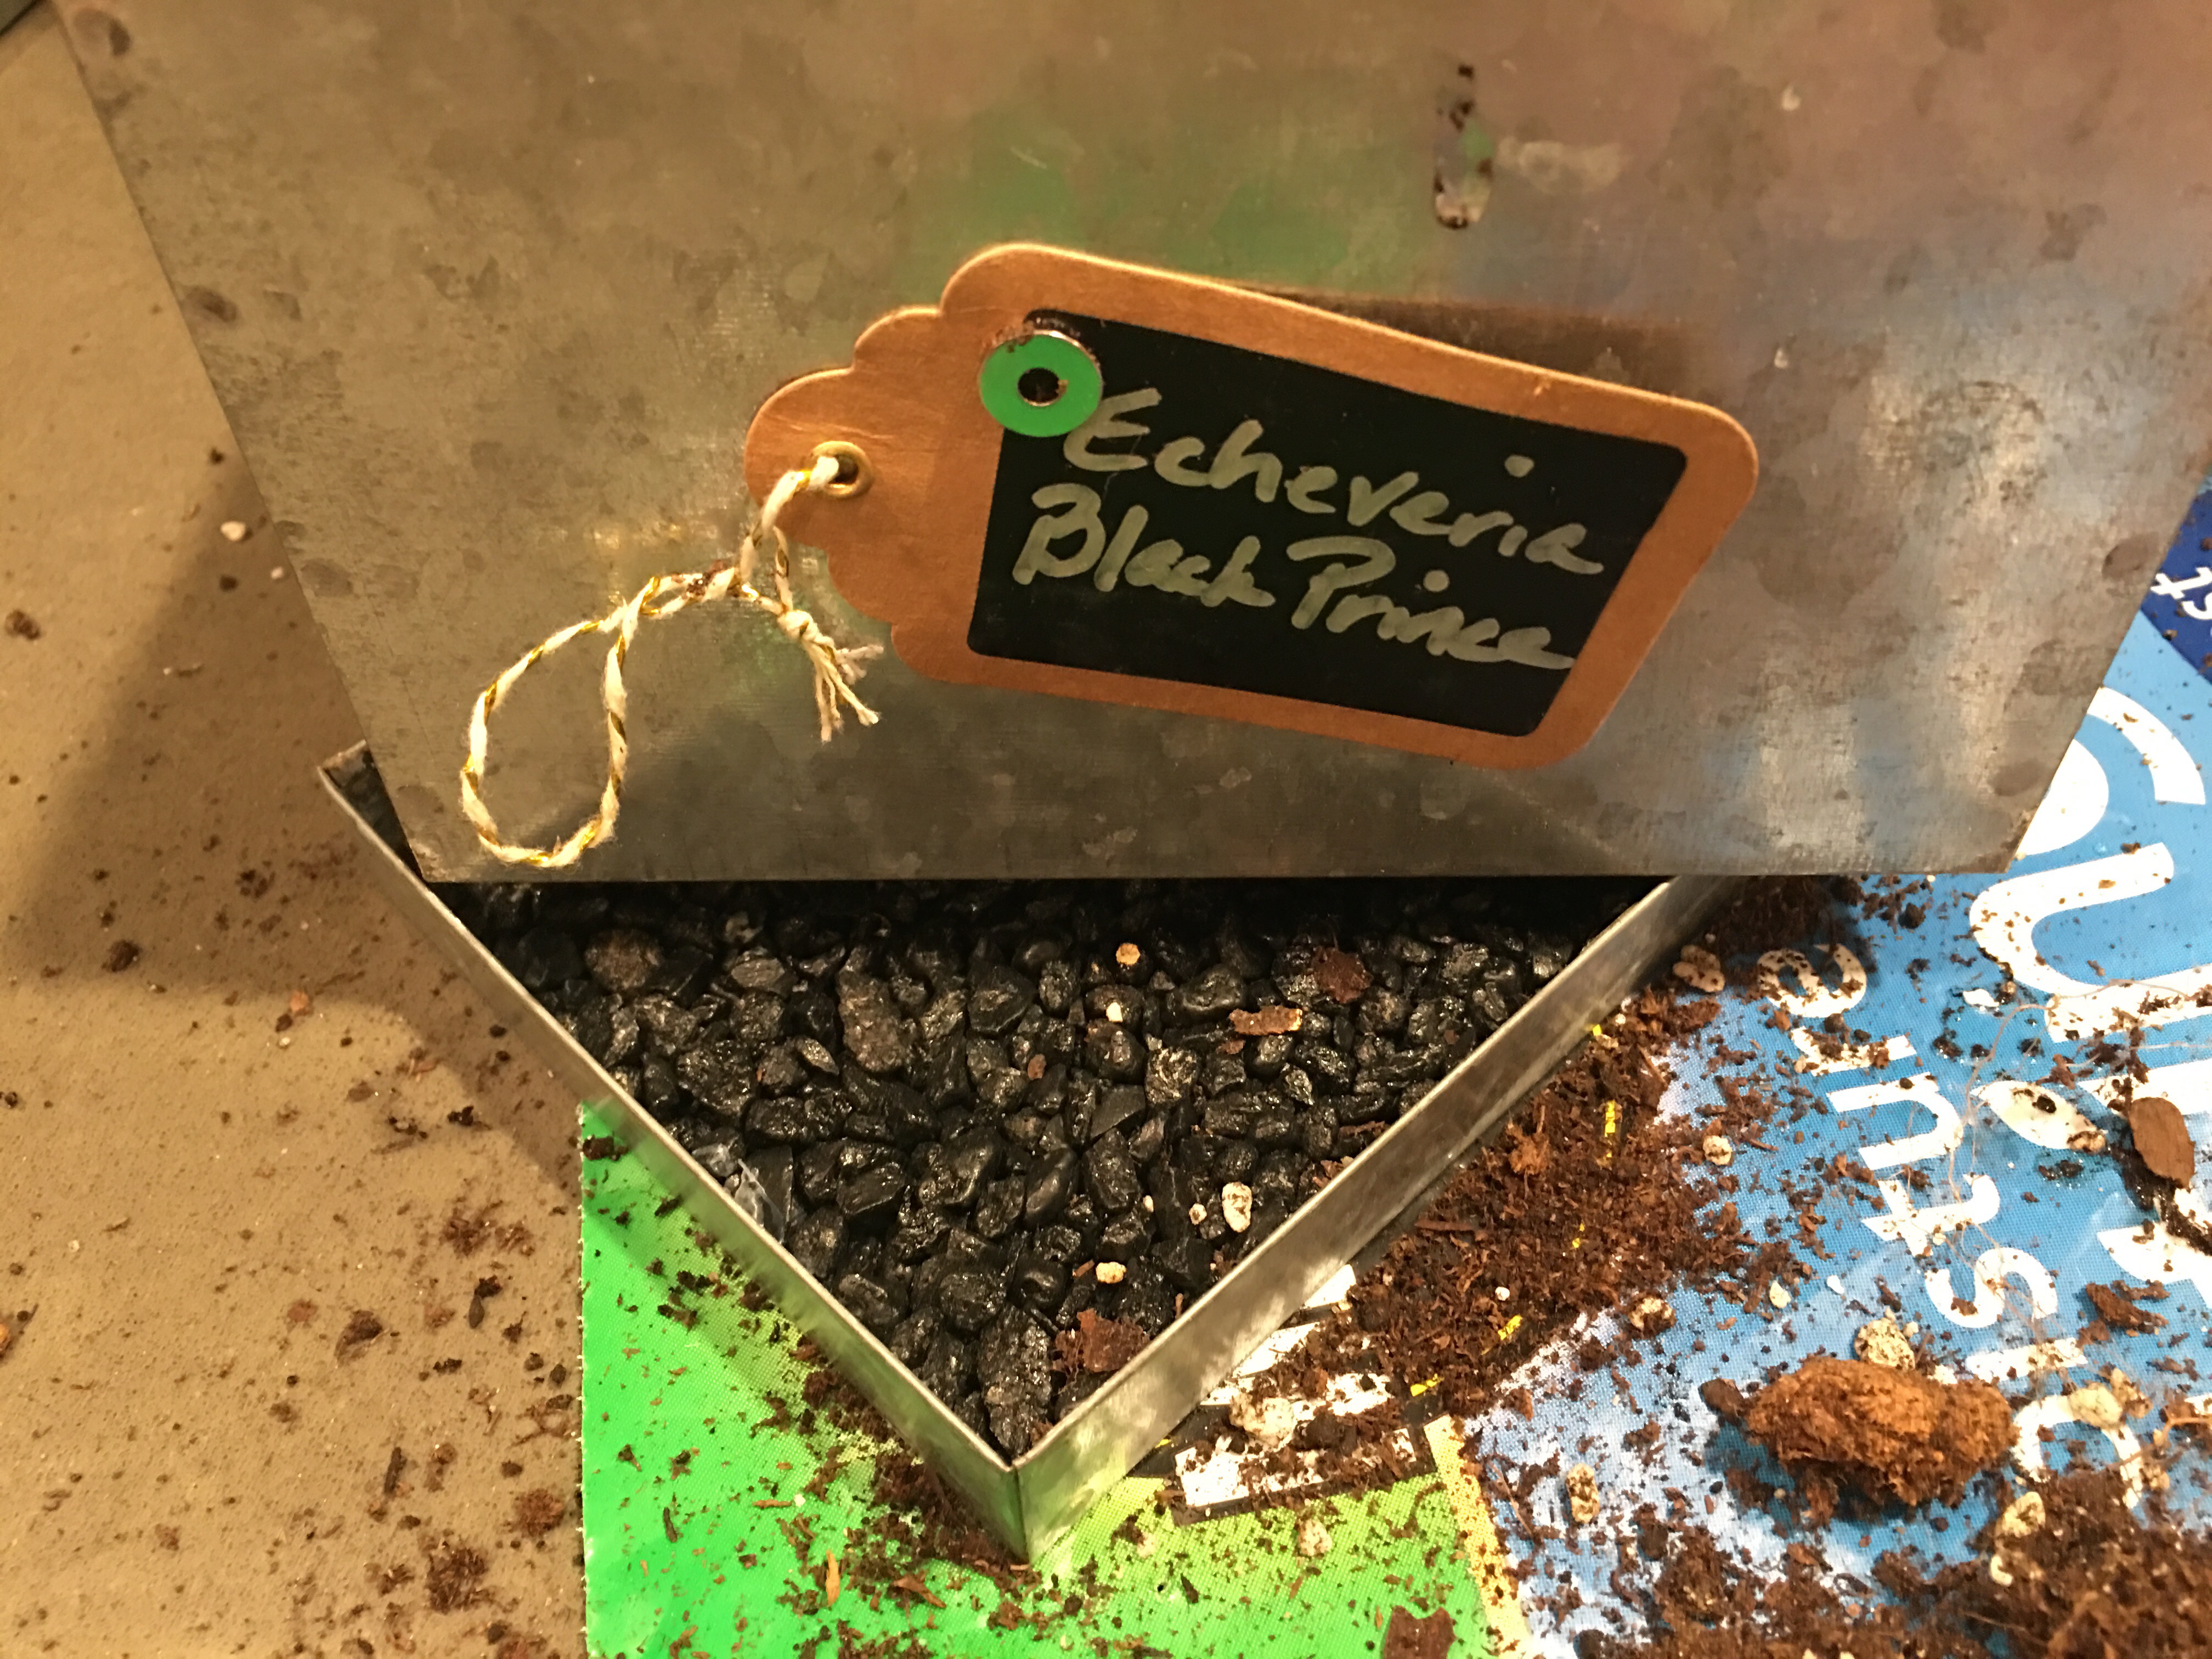
I like using tin containers for potting plants. And these plants did quite well in this one. So I’ll keep the Black Prince in the same container (this time to live on its own).
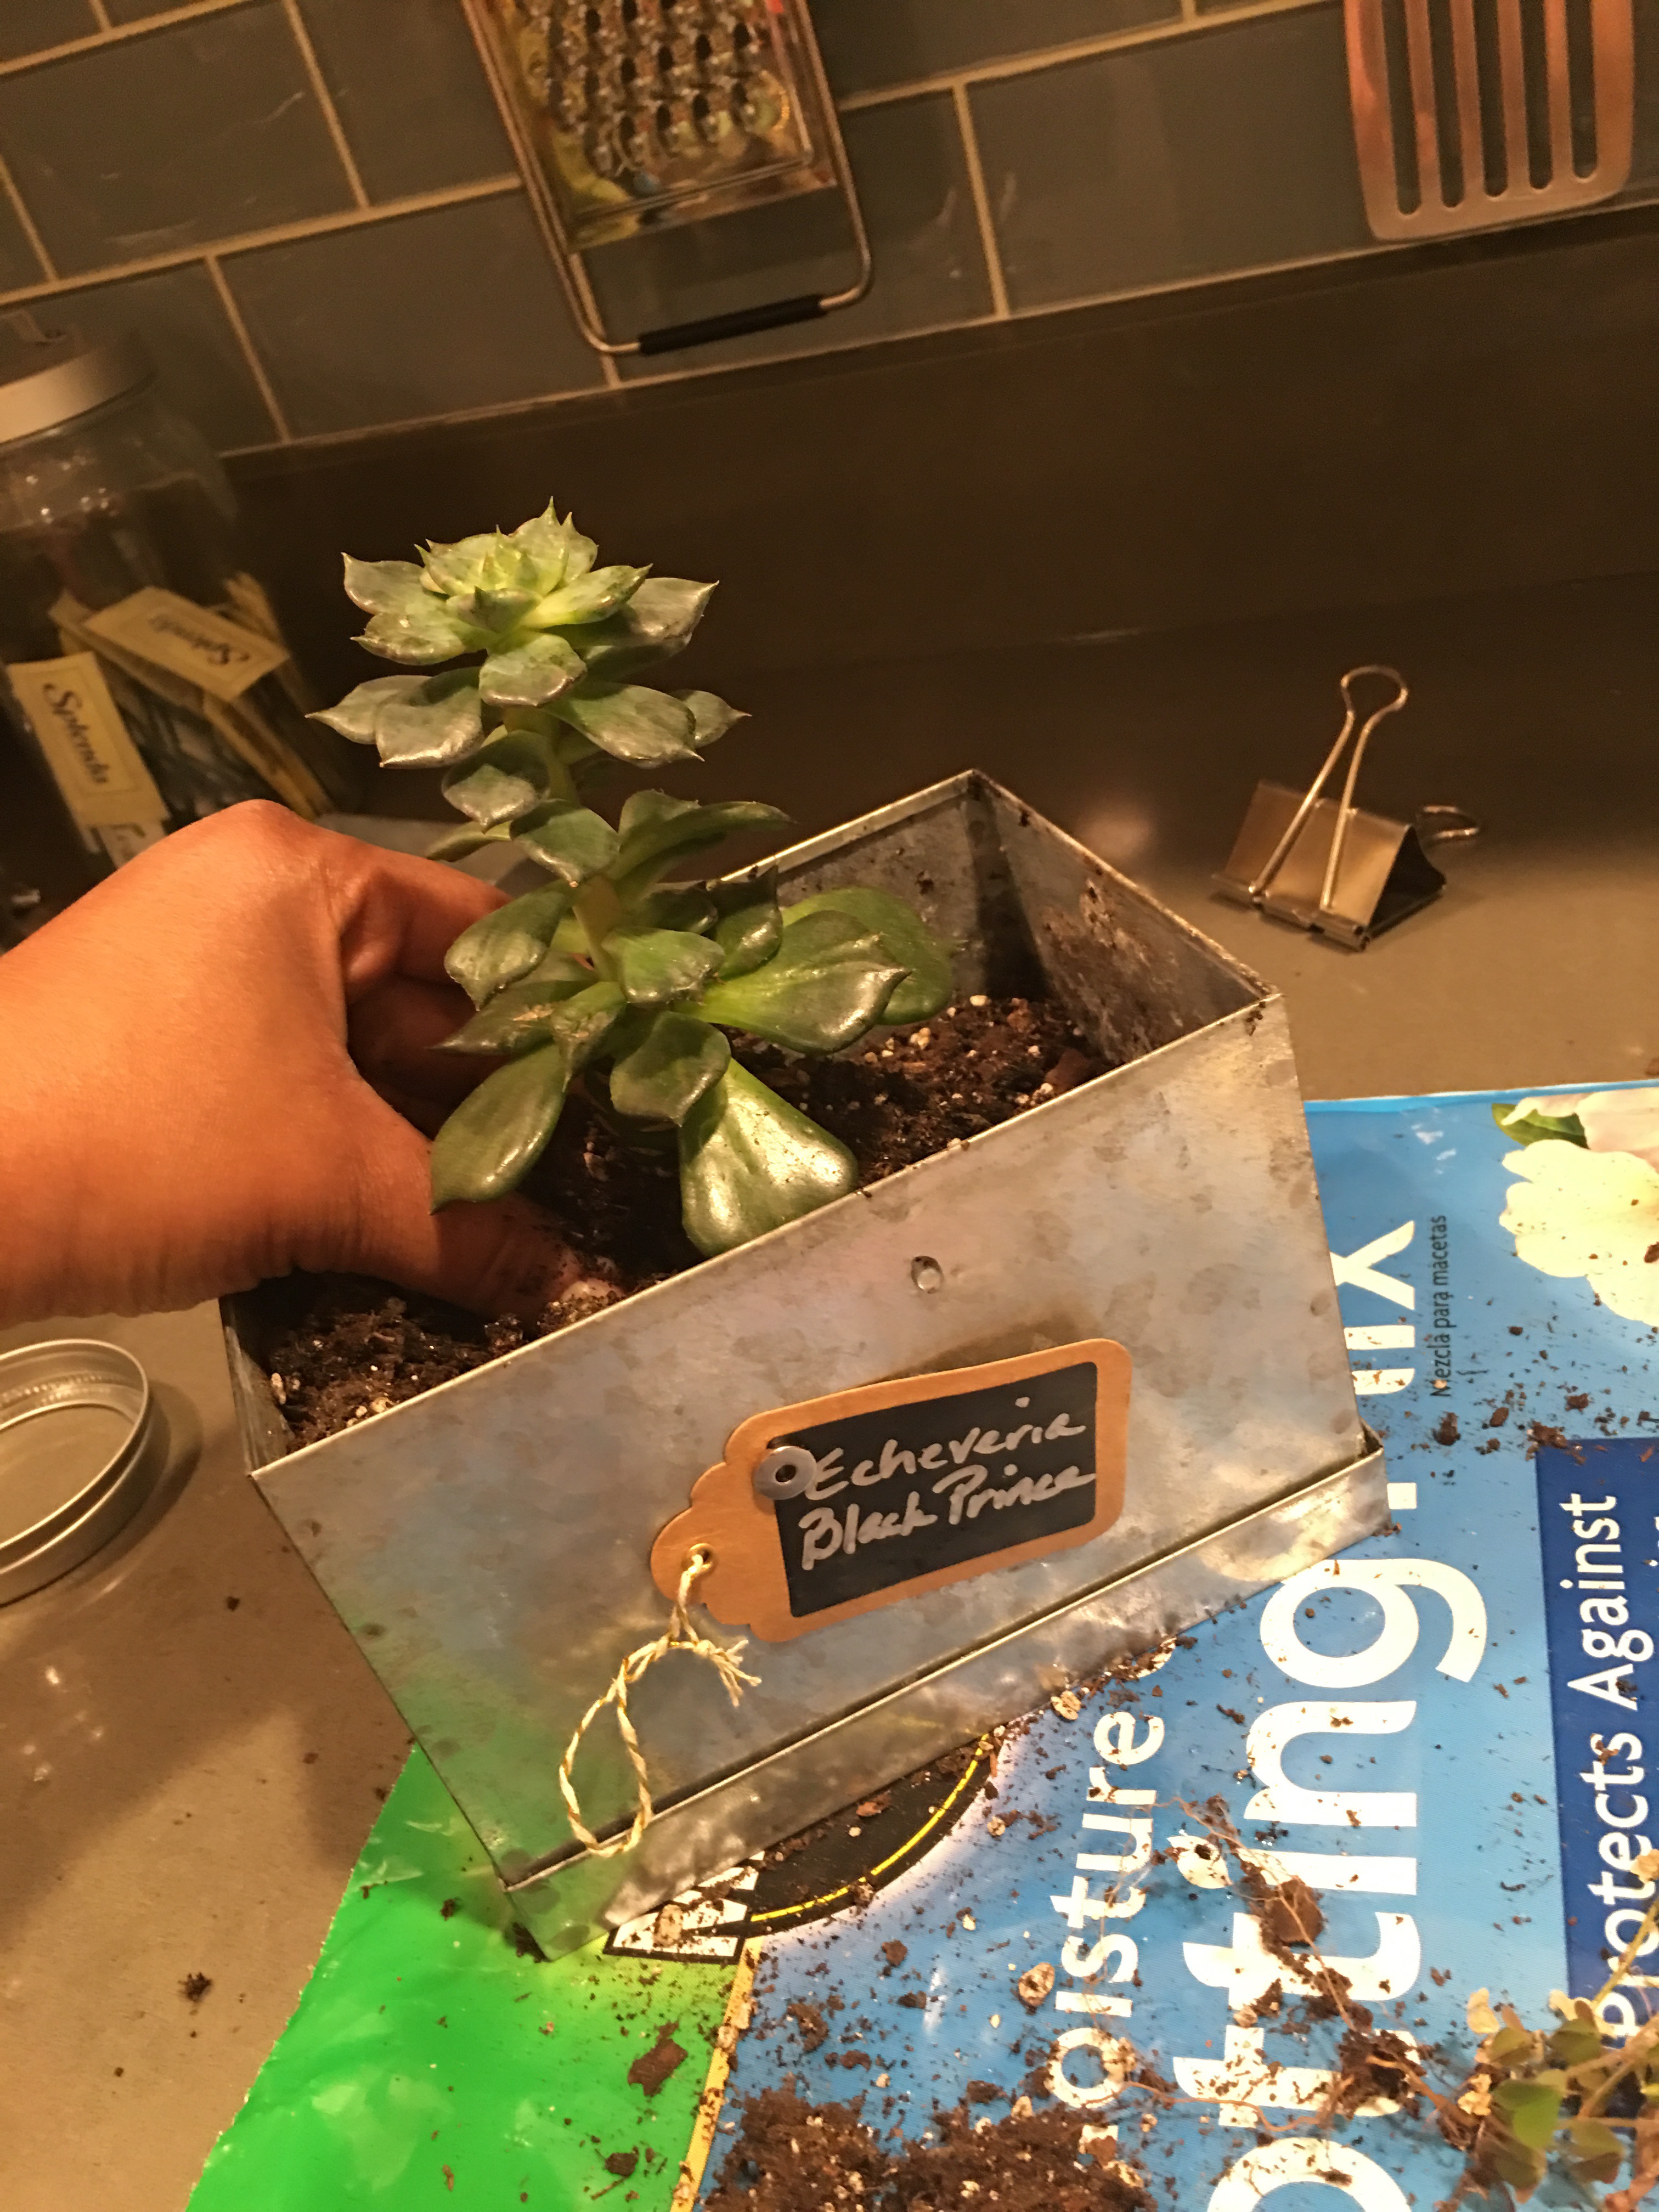
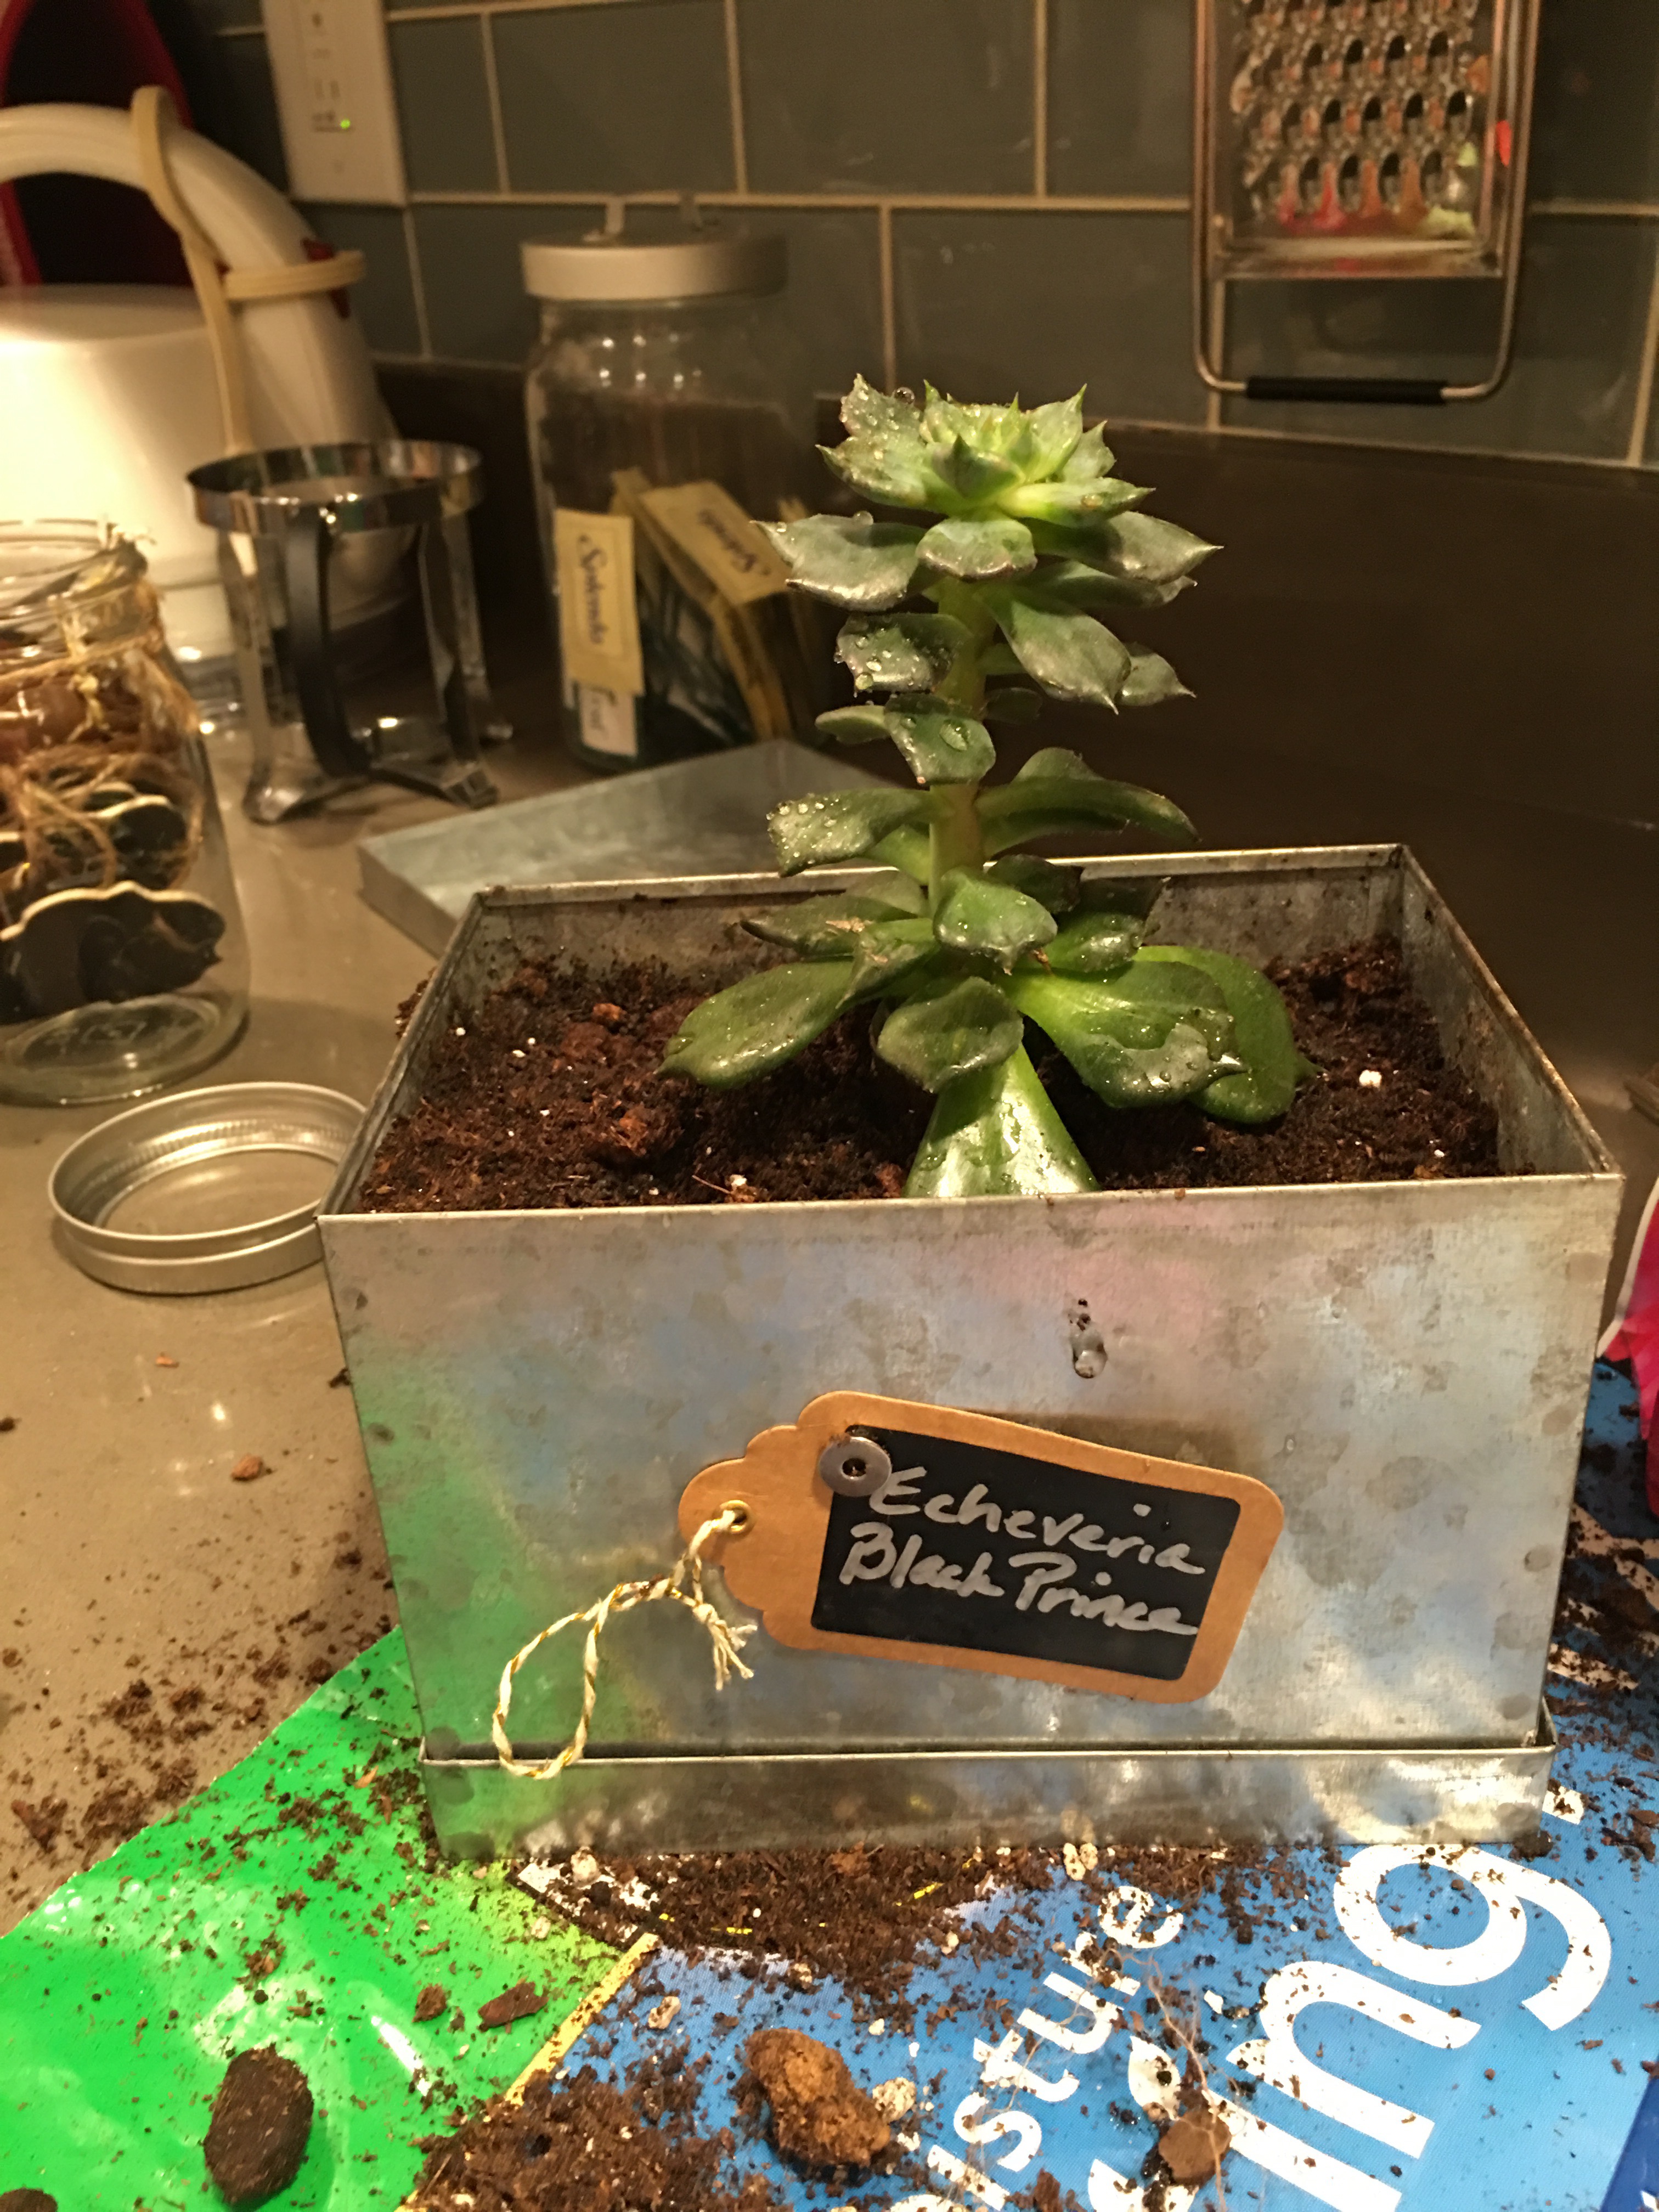
After loosening up the plant, I moved it to the middle of the container and added fresh soil.
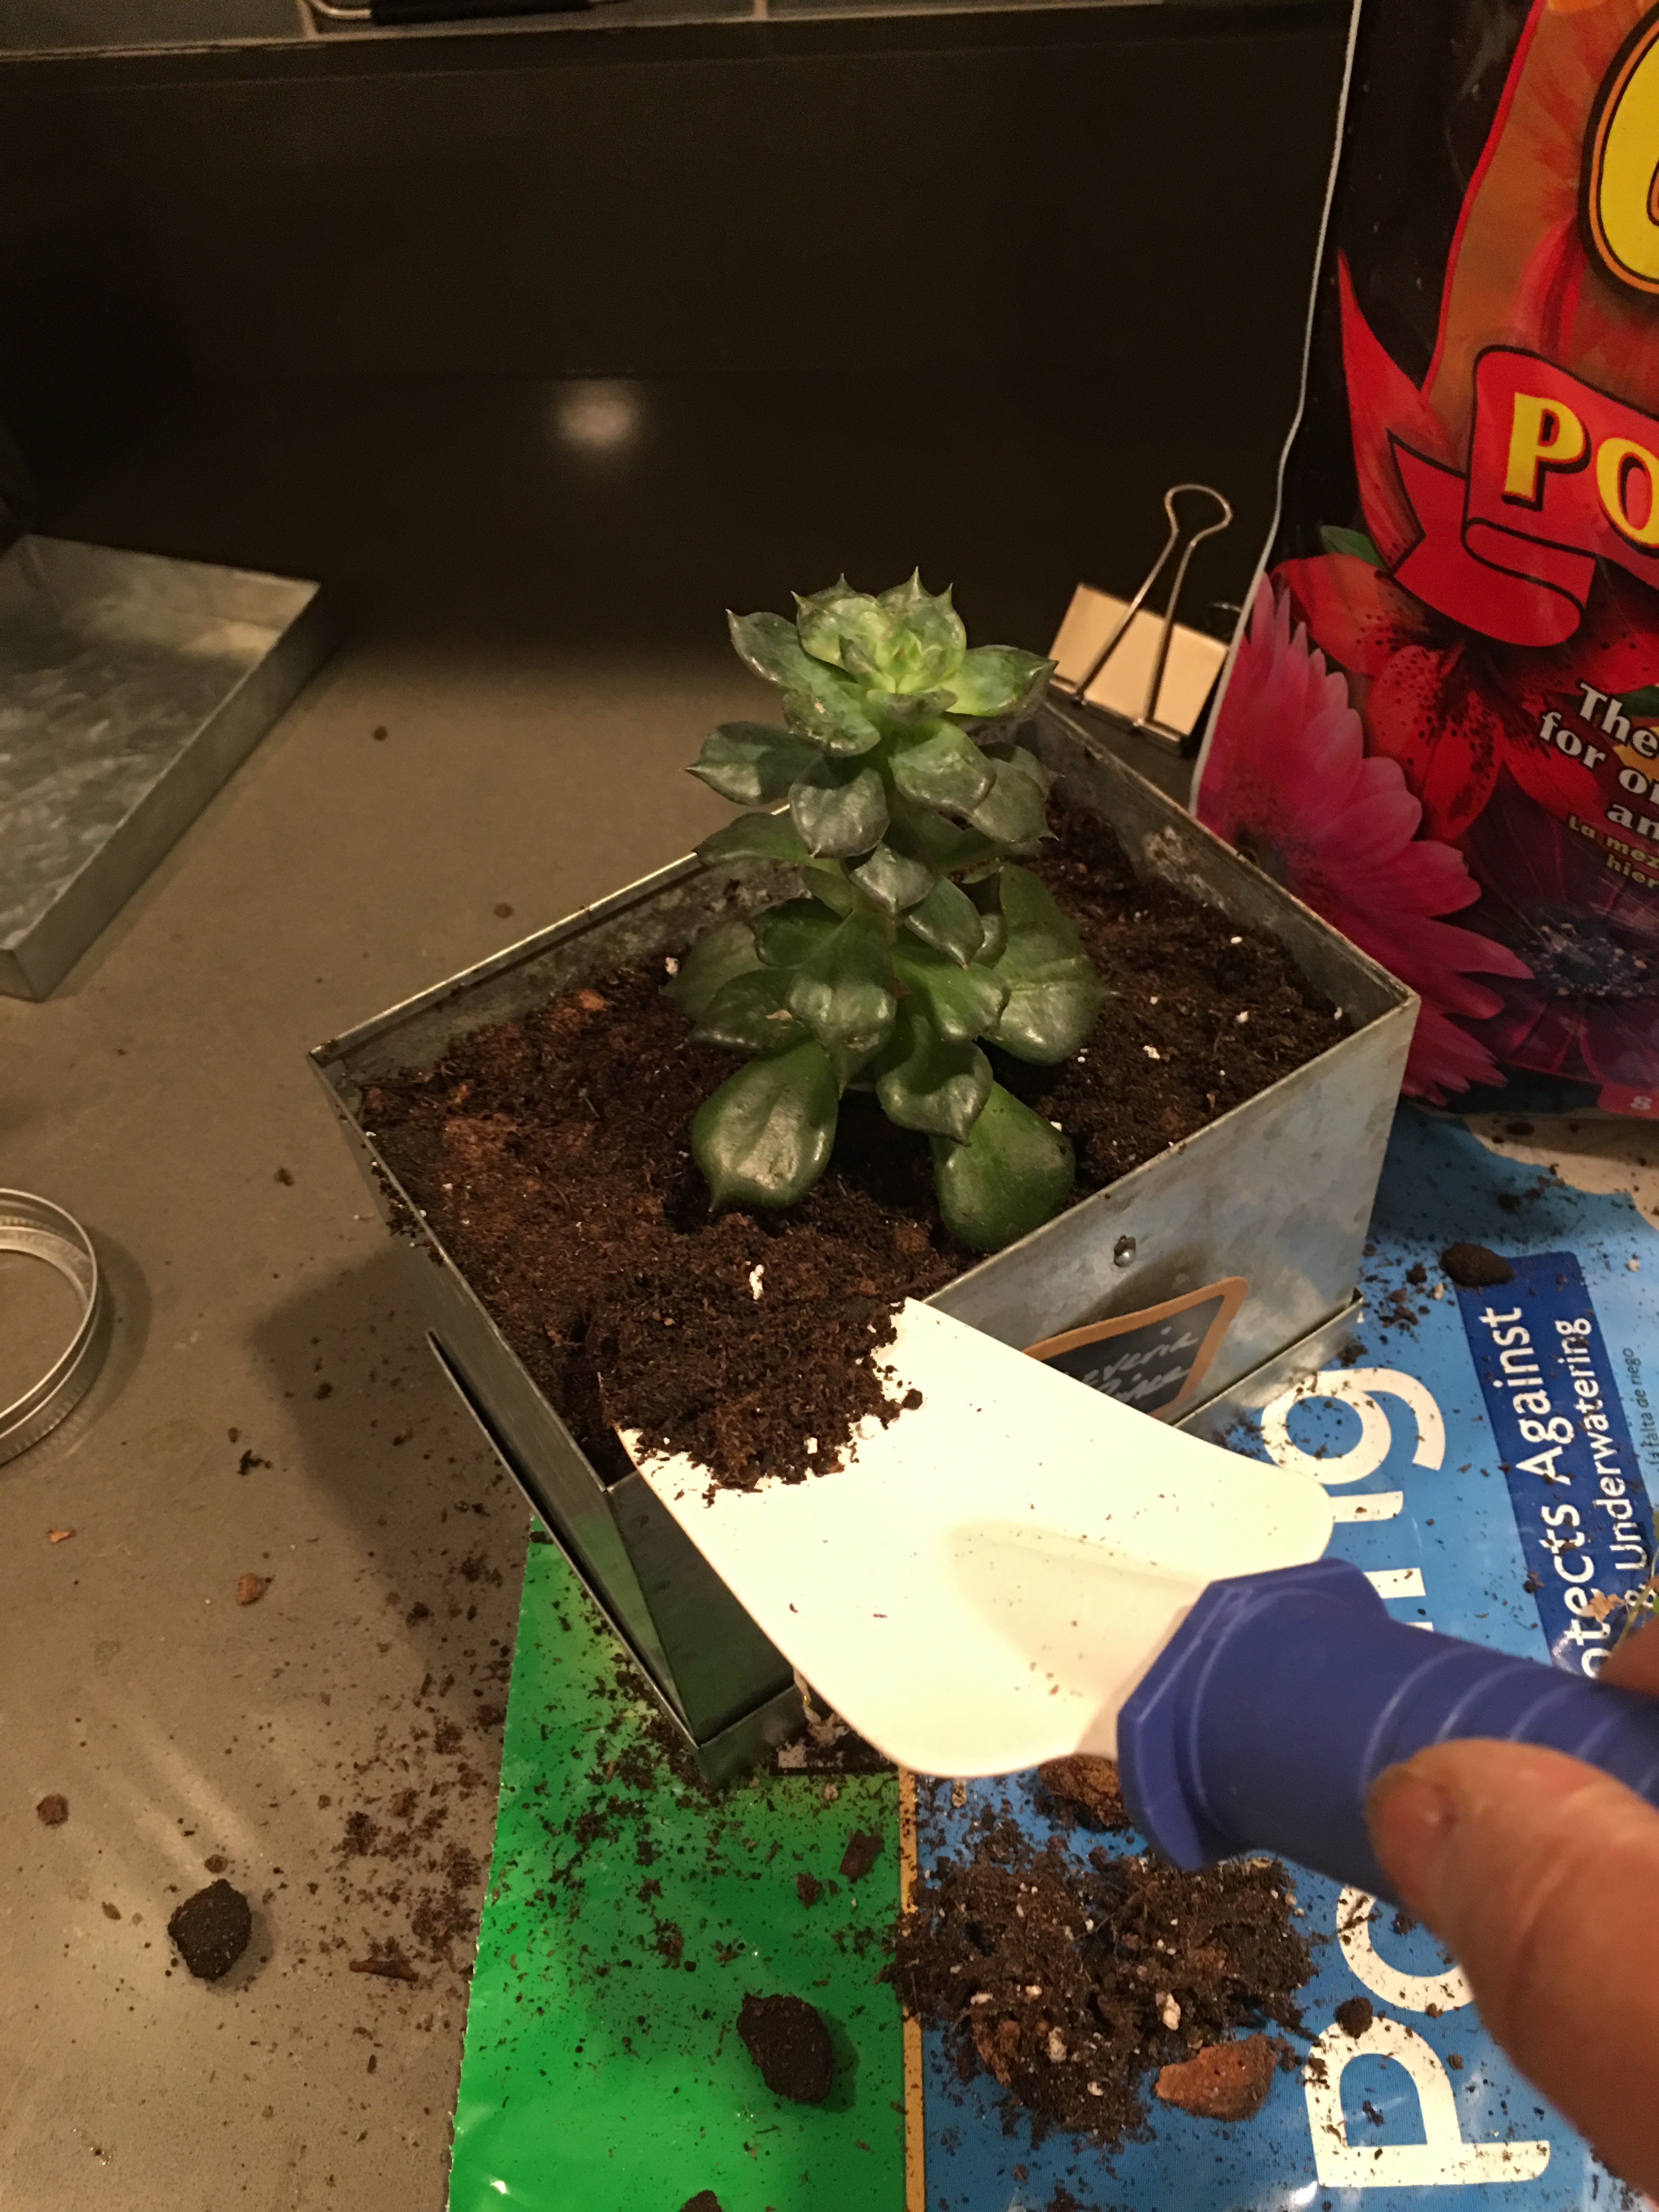
I made sure that enough soil was firmly packed around the plant.
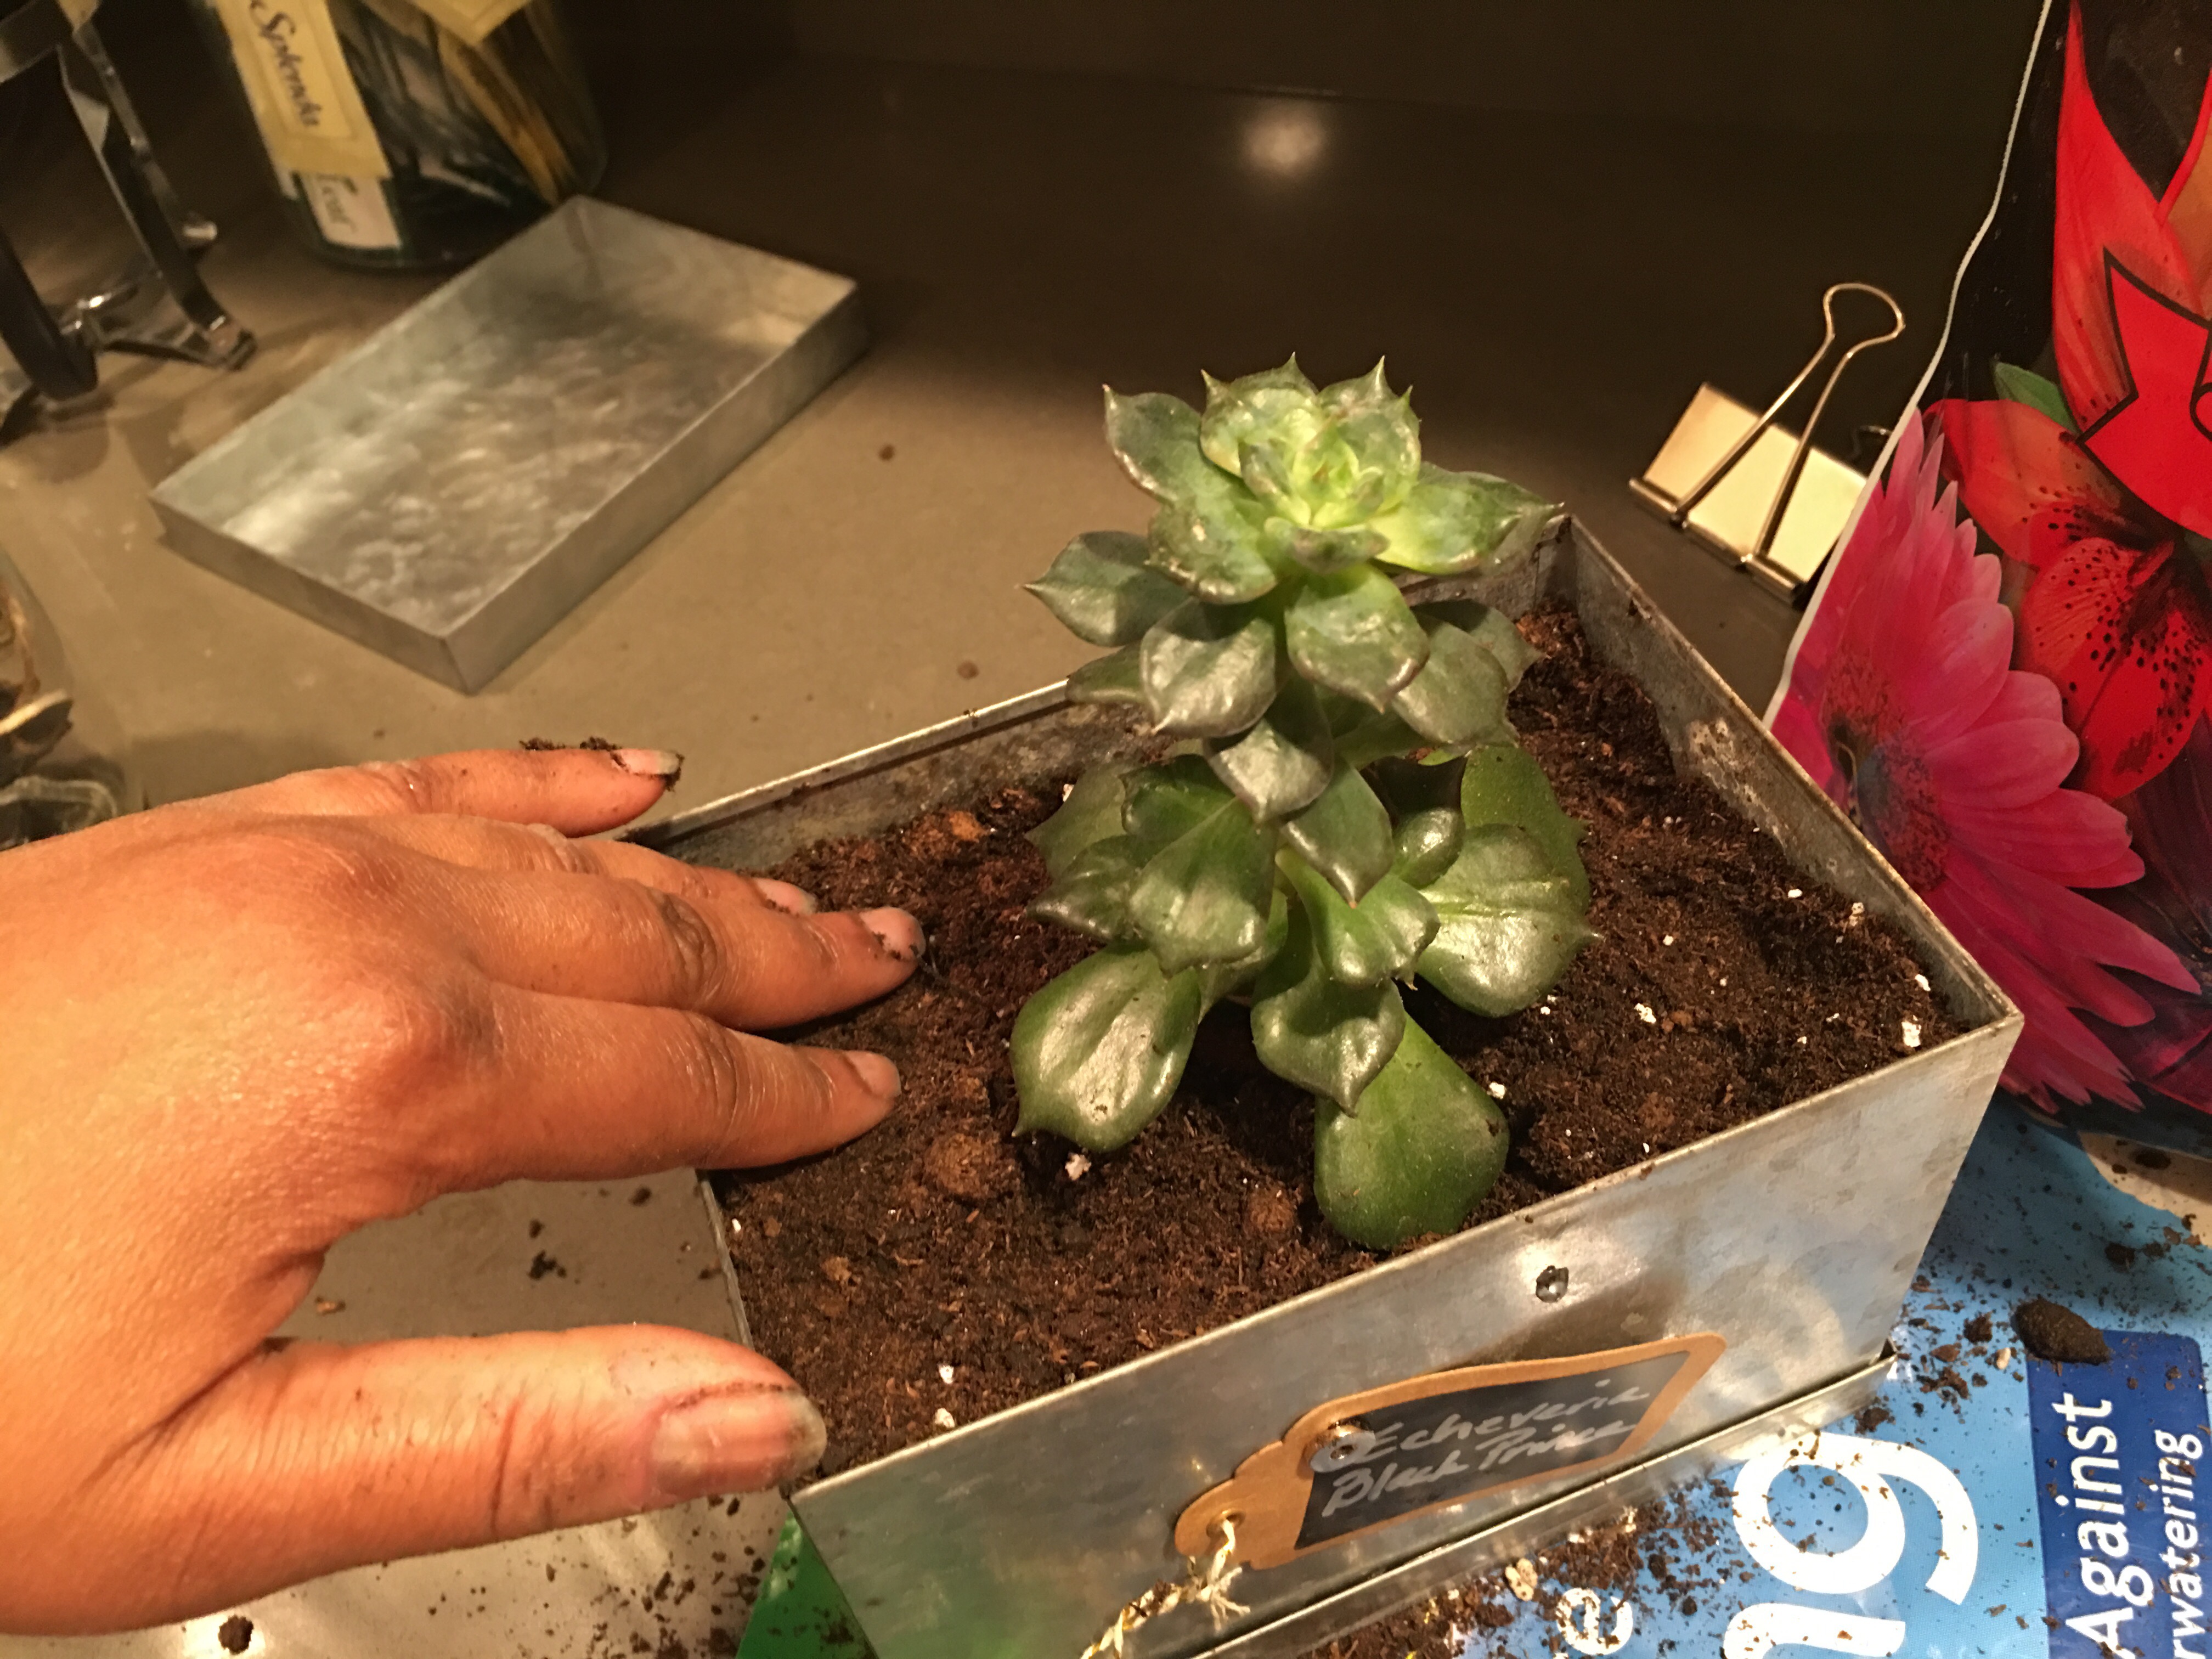
Out came the spray bottle again to carefully moisten the soil and the plant.
Looks good!
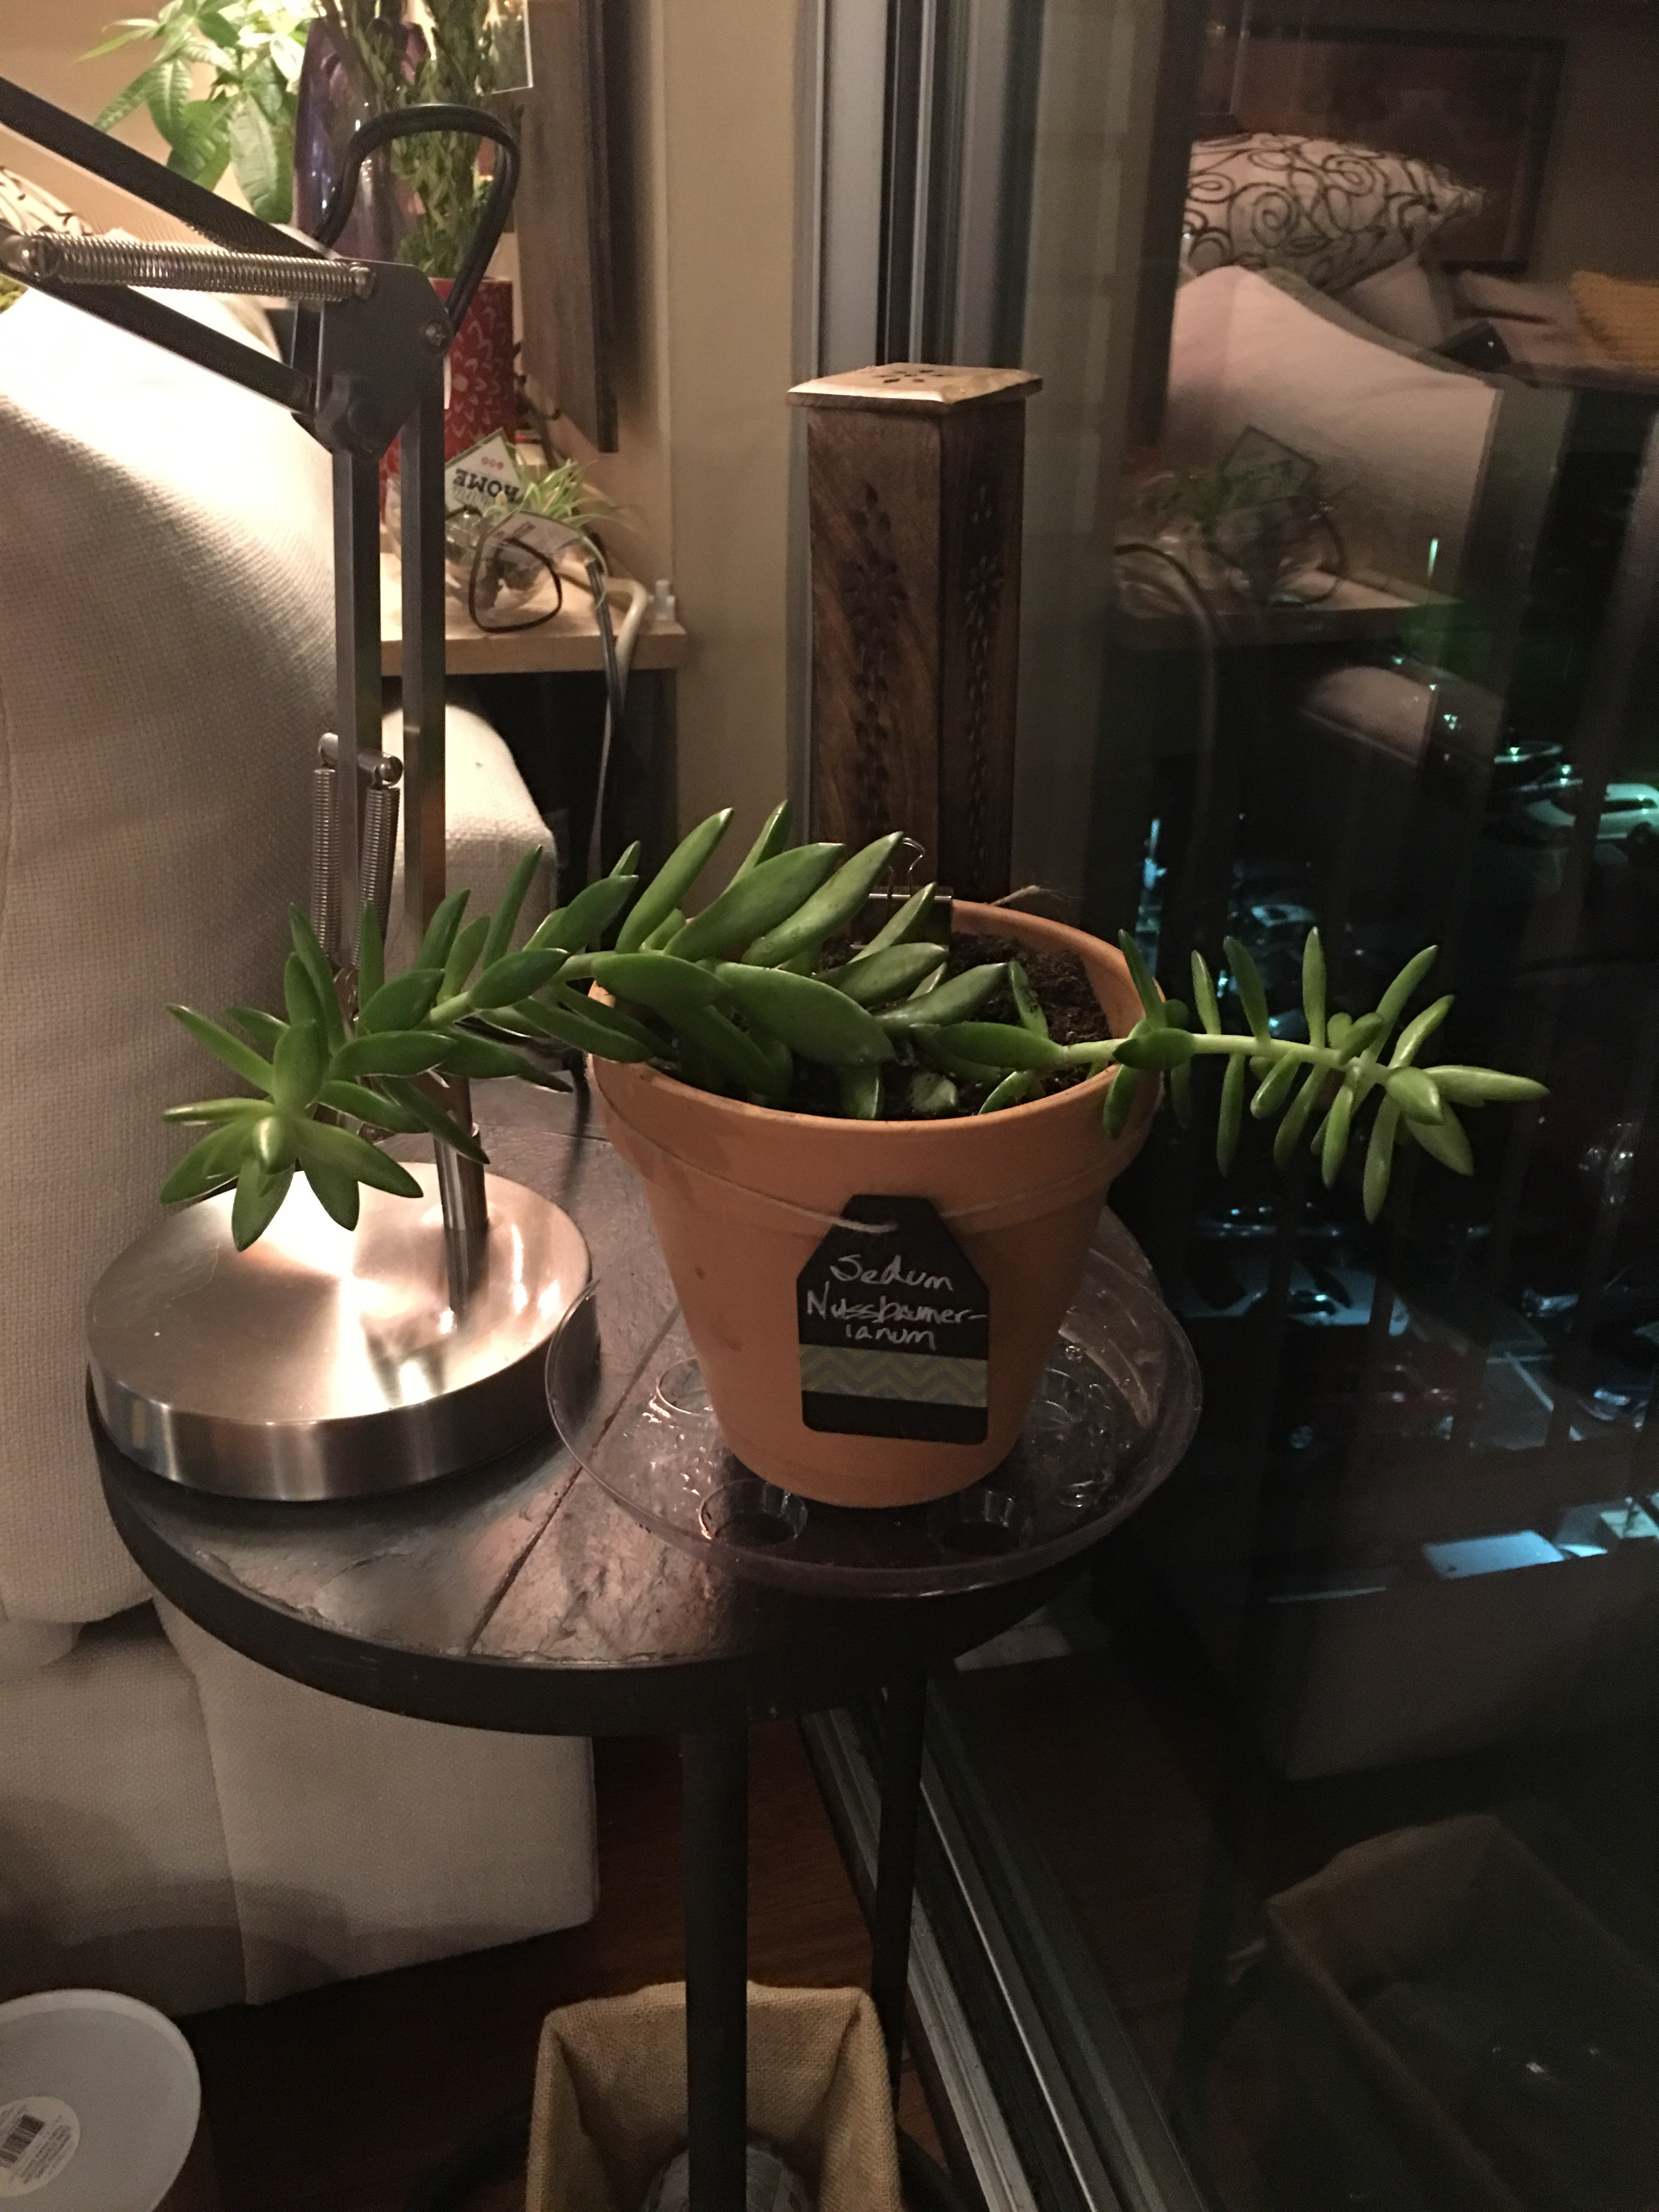
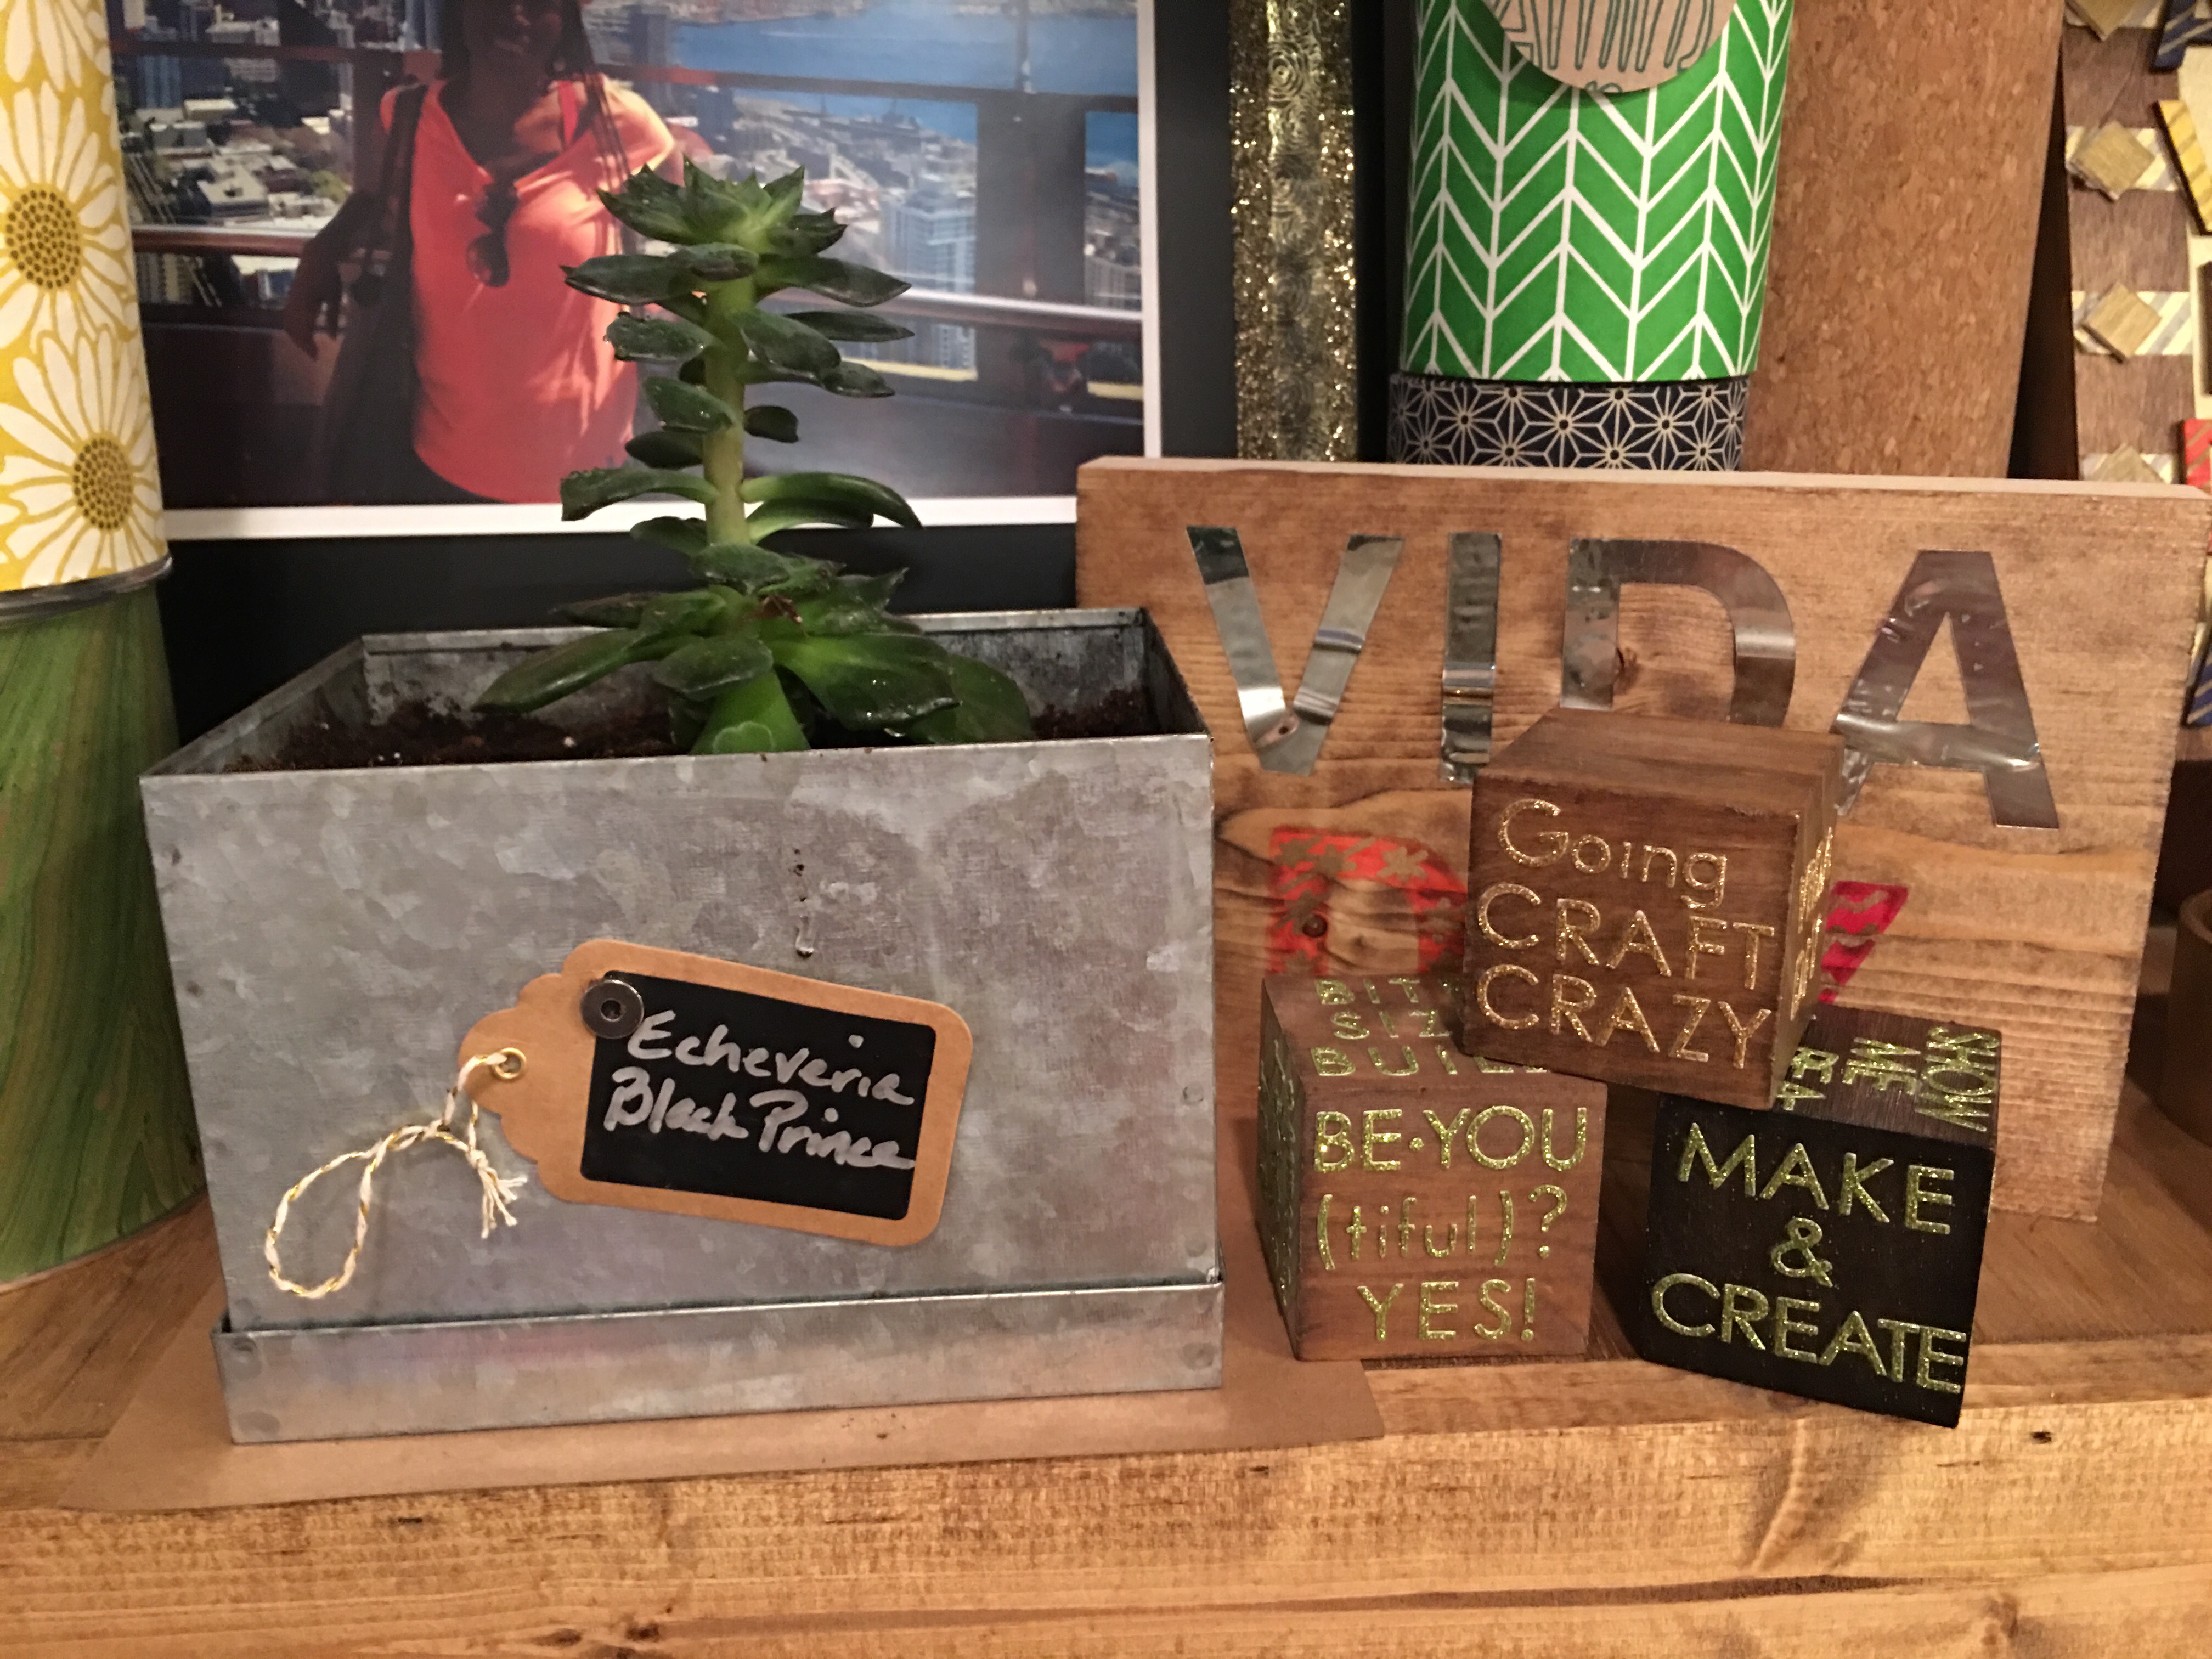
I moved BP to my bottom floating shelf over the kitchen annex ottoman. Looks great there.
And all that was lost in the process were some weeds.
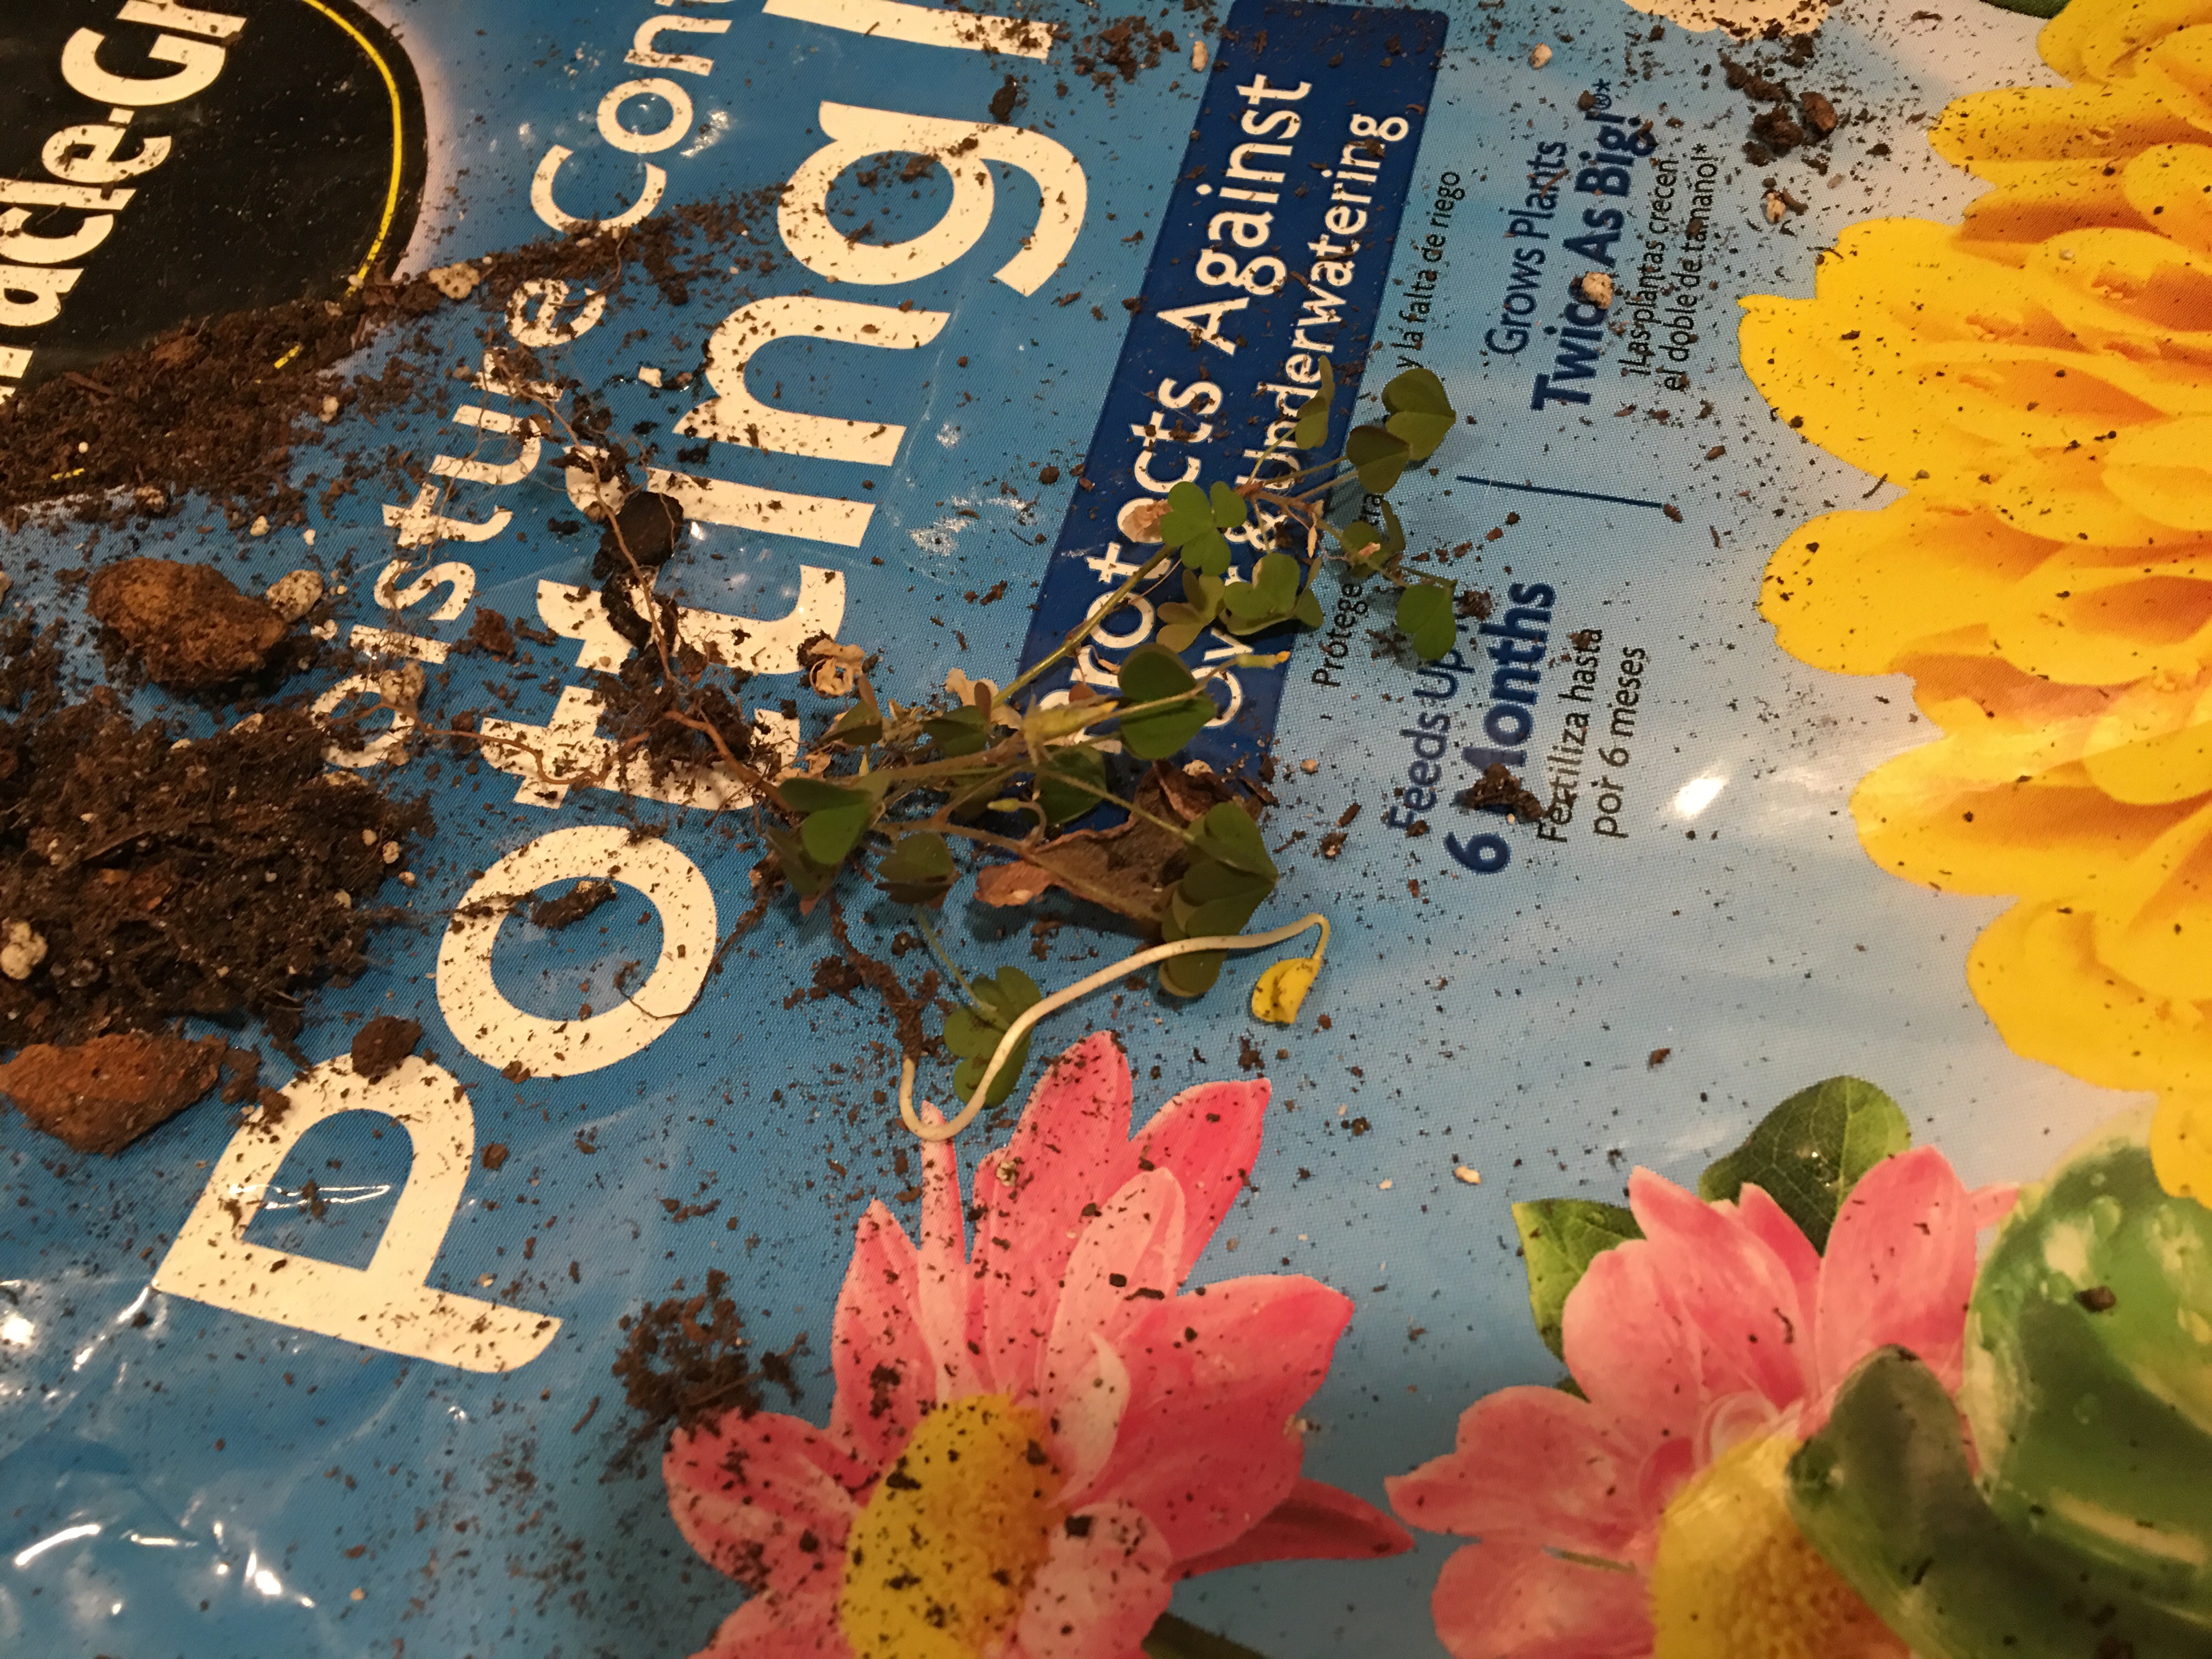
Mission accomplished! V-