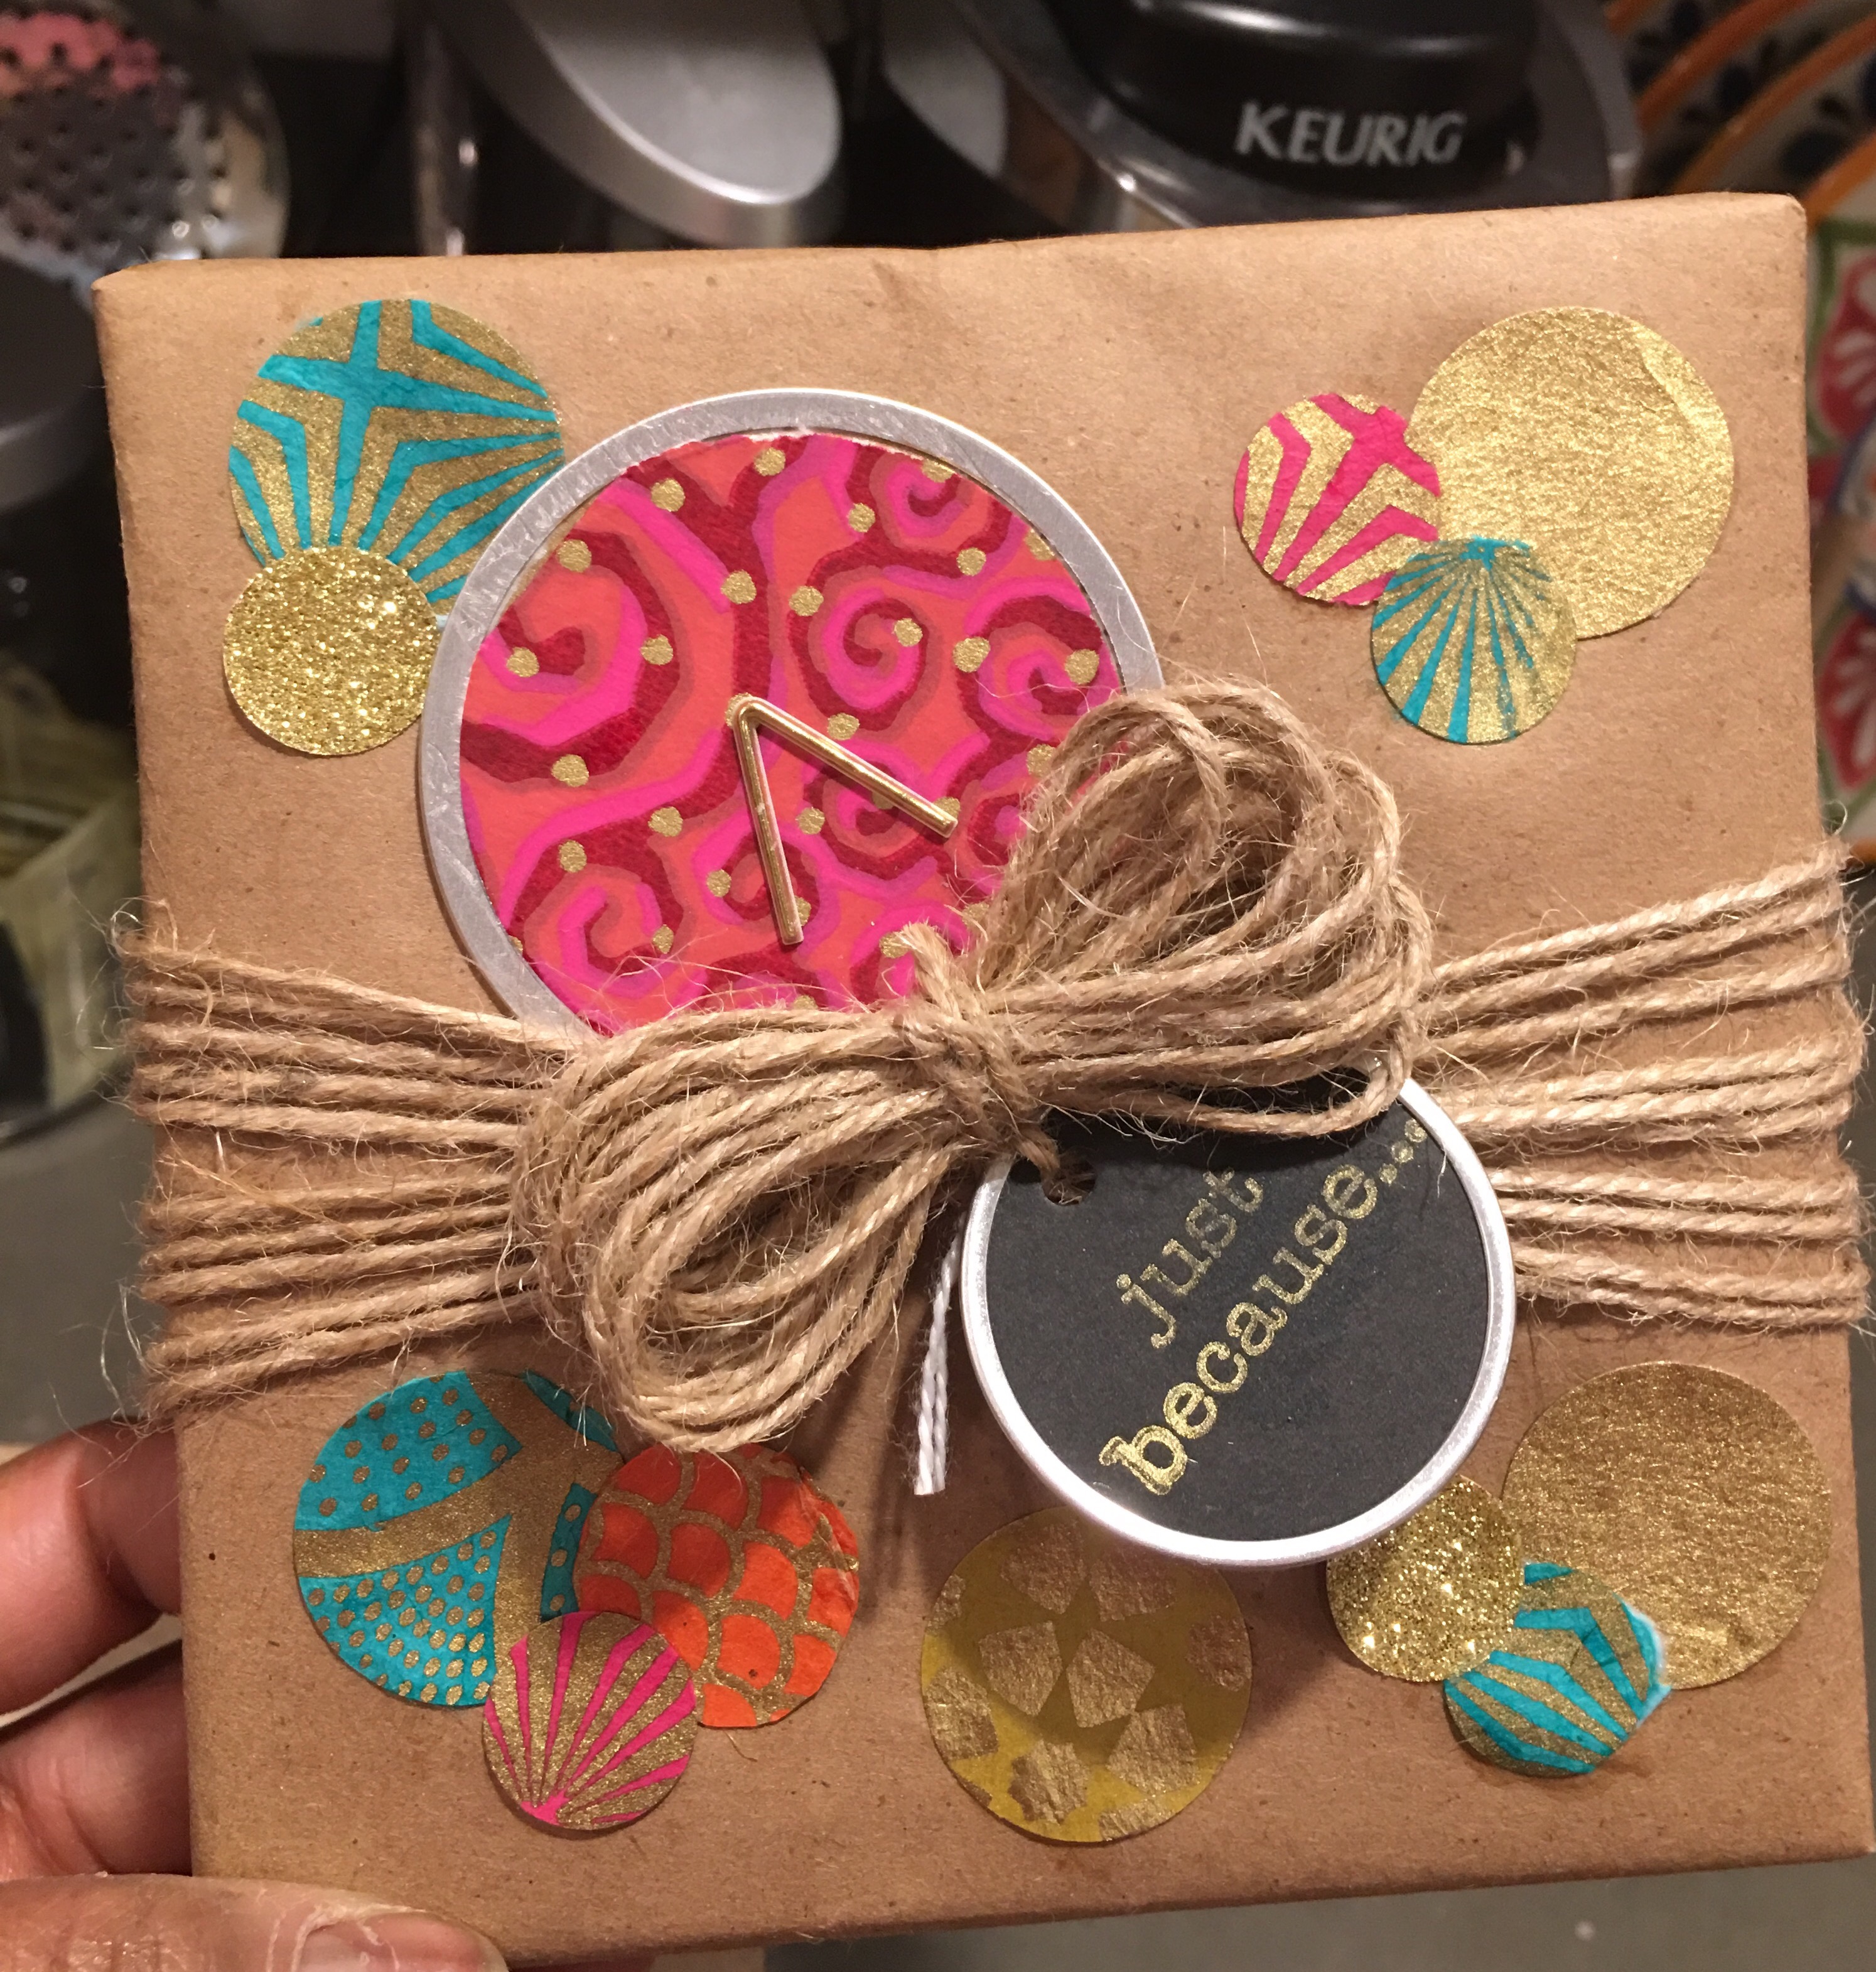
A “Just Because” gift wrapped box
You may also like:
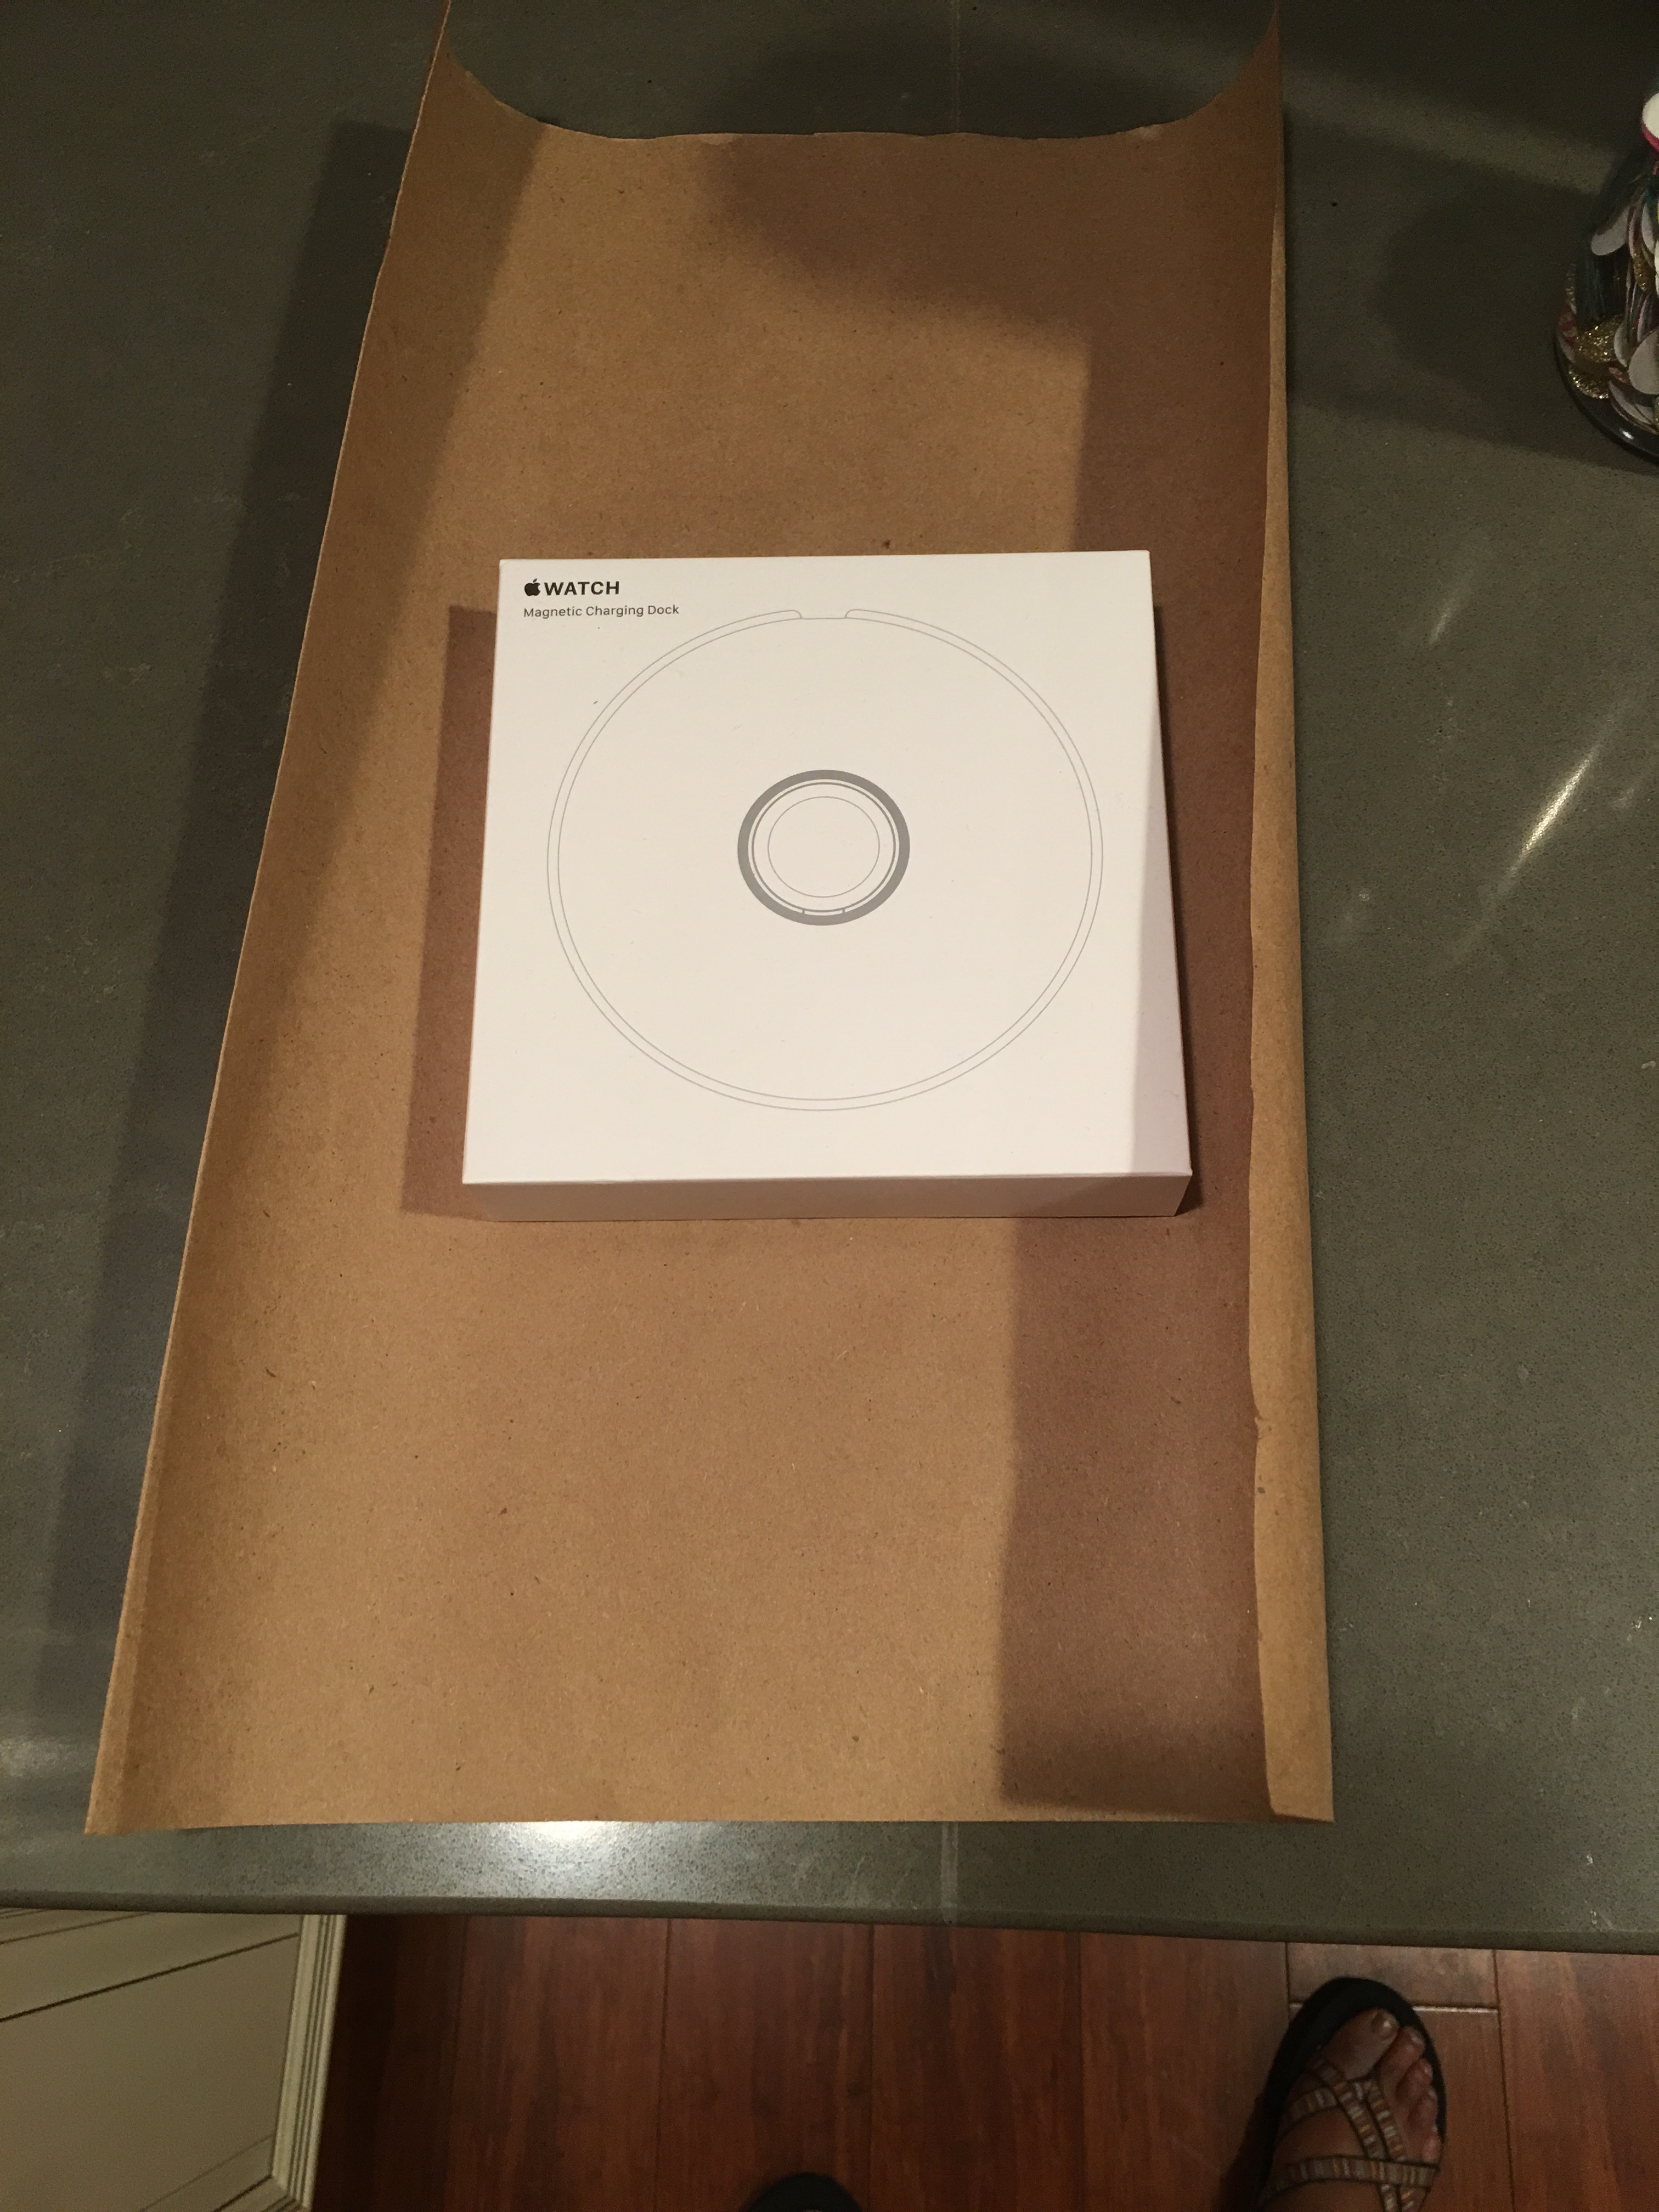
March 28, 2016: Back in mid-December, I wrapped a Christmas gift shipped to me by Bruce’s dad, Norman. He shipped me an Apple Watch and an Apple Watch charging dock.
Each came in their own box, so I had two boxes to decorate for Christmas.
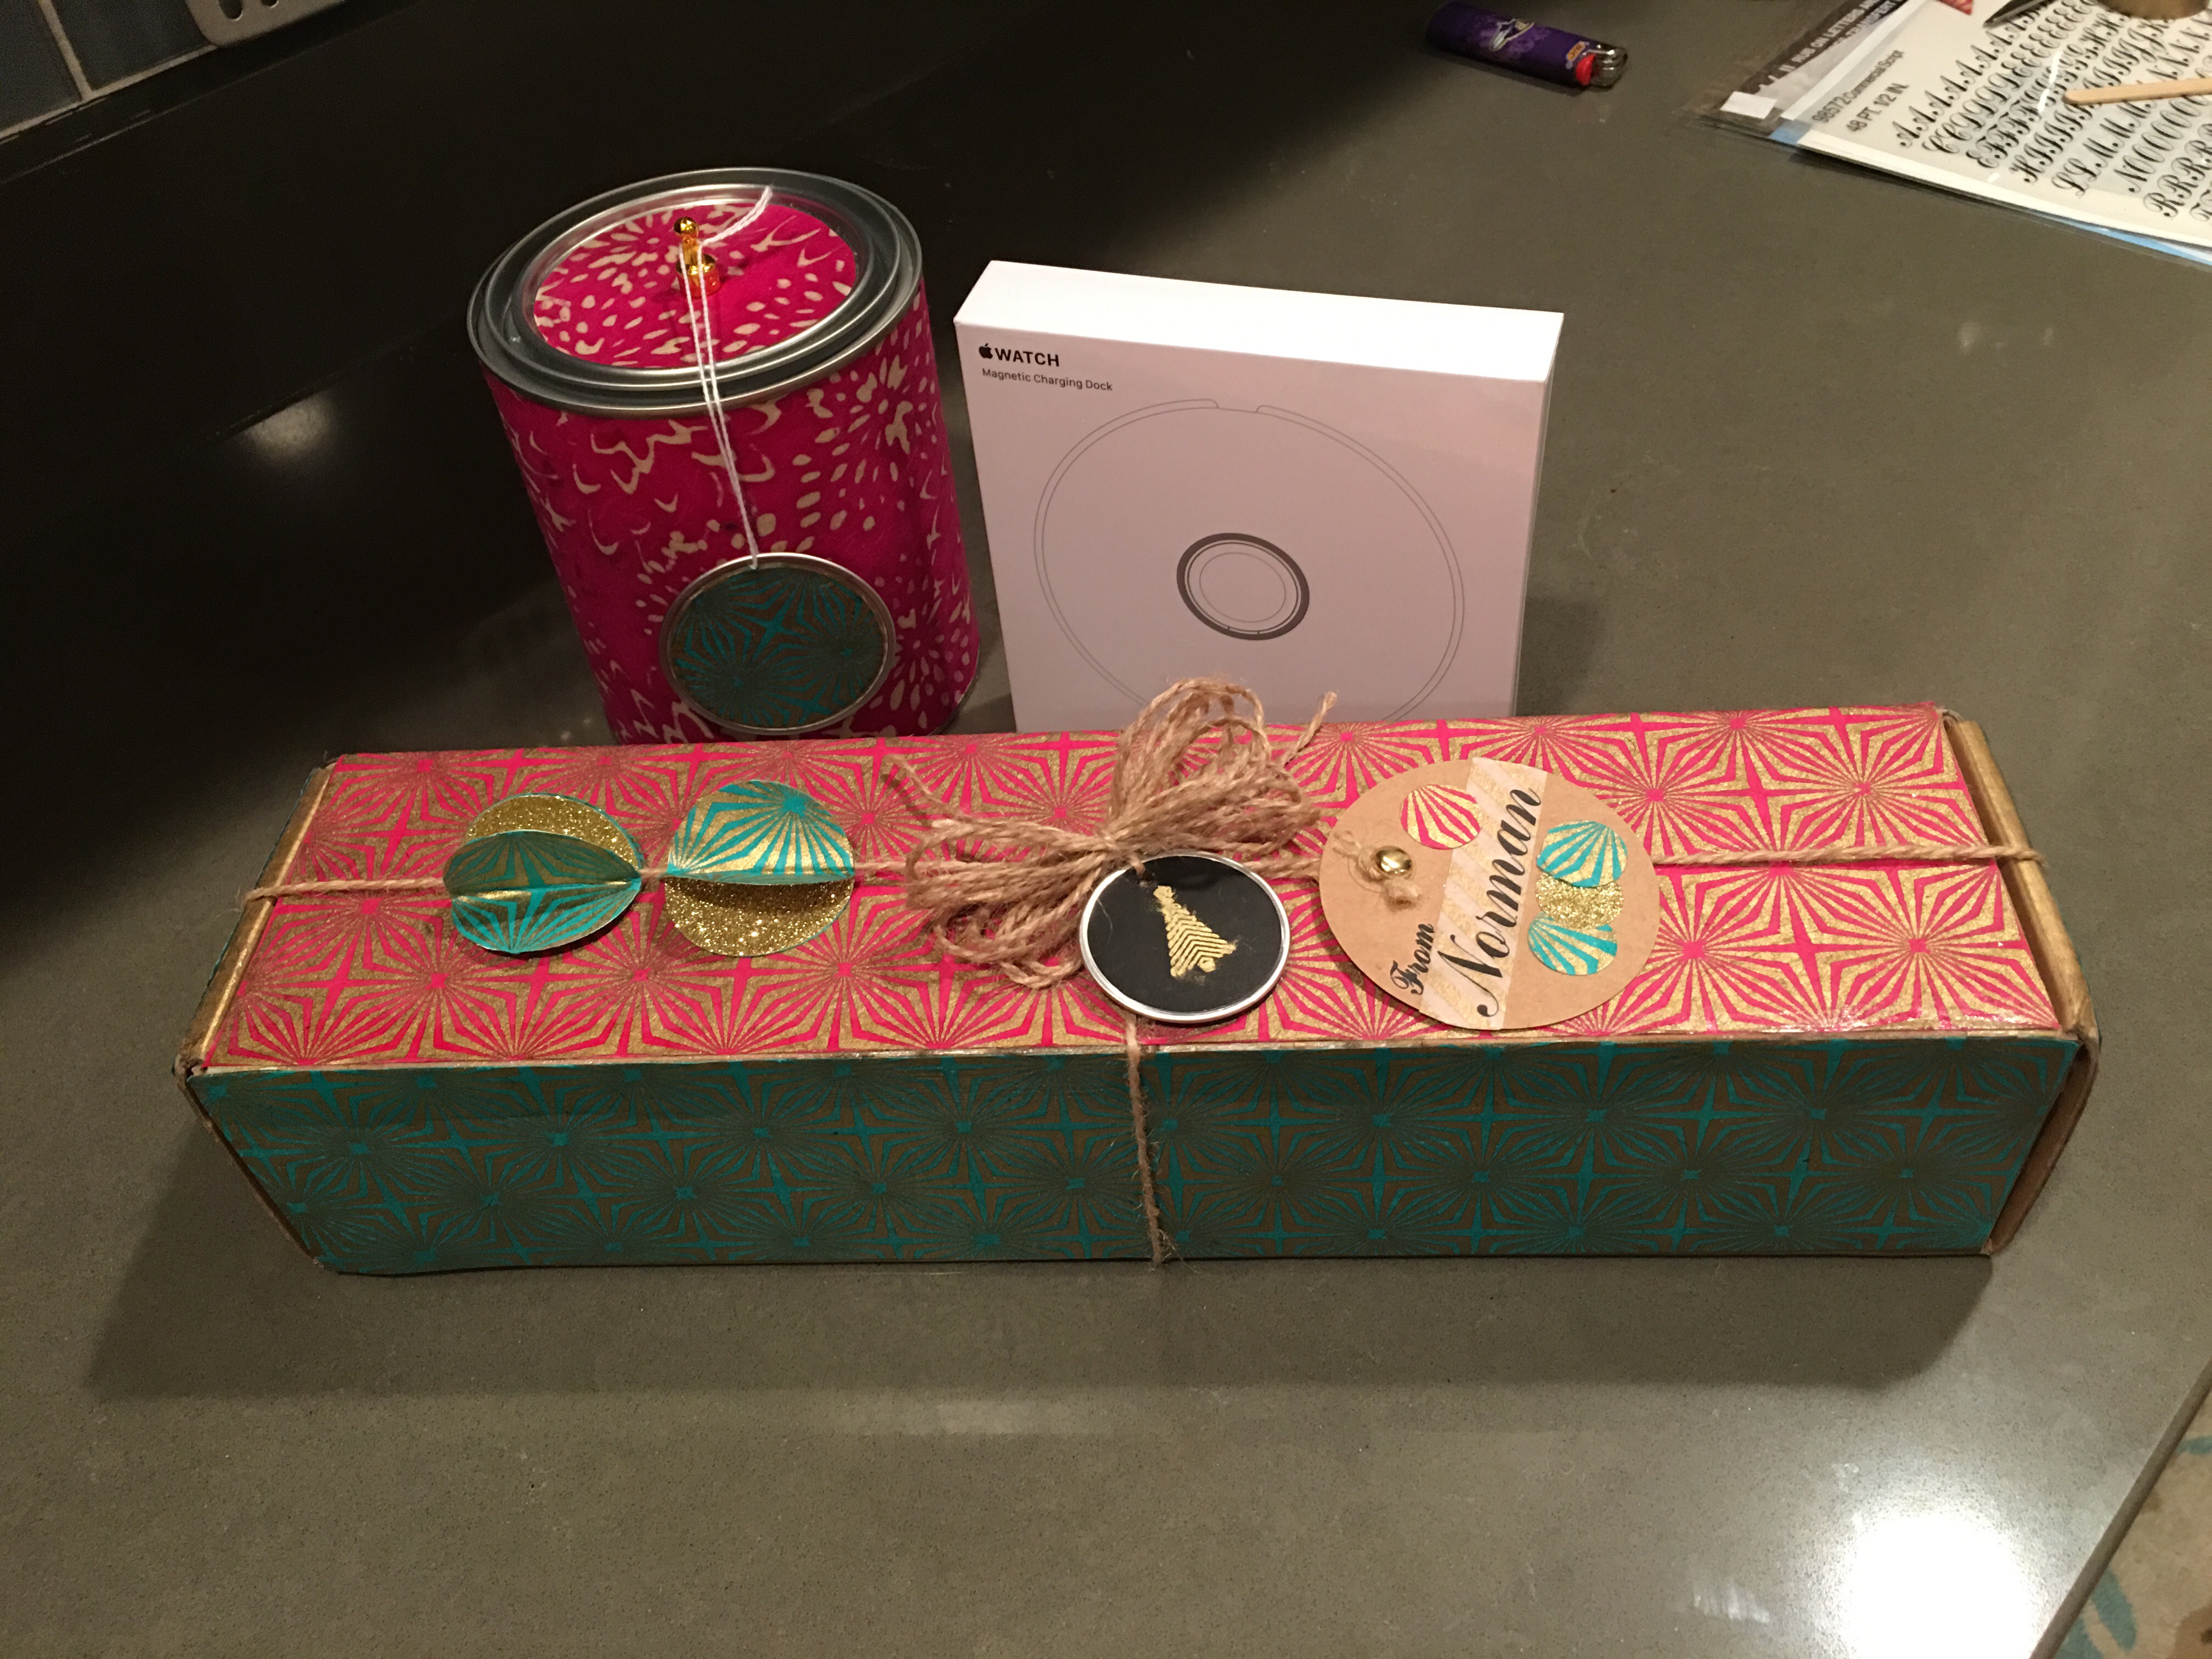
After decorating the box for the watch, I proudly took pictures of my handiwork. Later I decorated the smaller box for the charging dock (which also came out beautifully).
But did I take any pictures of that box for show and tell? Nope. Not one. I kept the box decorated and unopened for weeks (and didn’t open the package until February). And, in all that time, I never snapped a pic.
The box has long since been unwrapped and opened. The packaging (other than the ribbon) was tossed away long ago. The opportunity has passed. That ship has sailed.
Wow…still in shock.
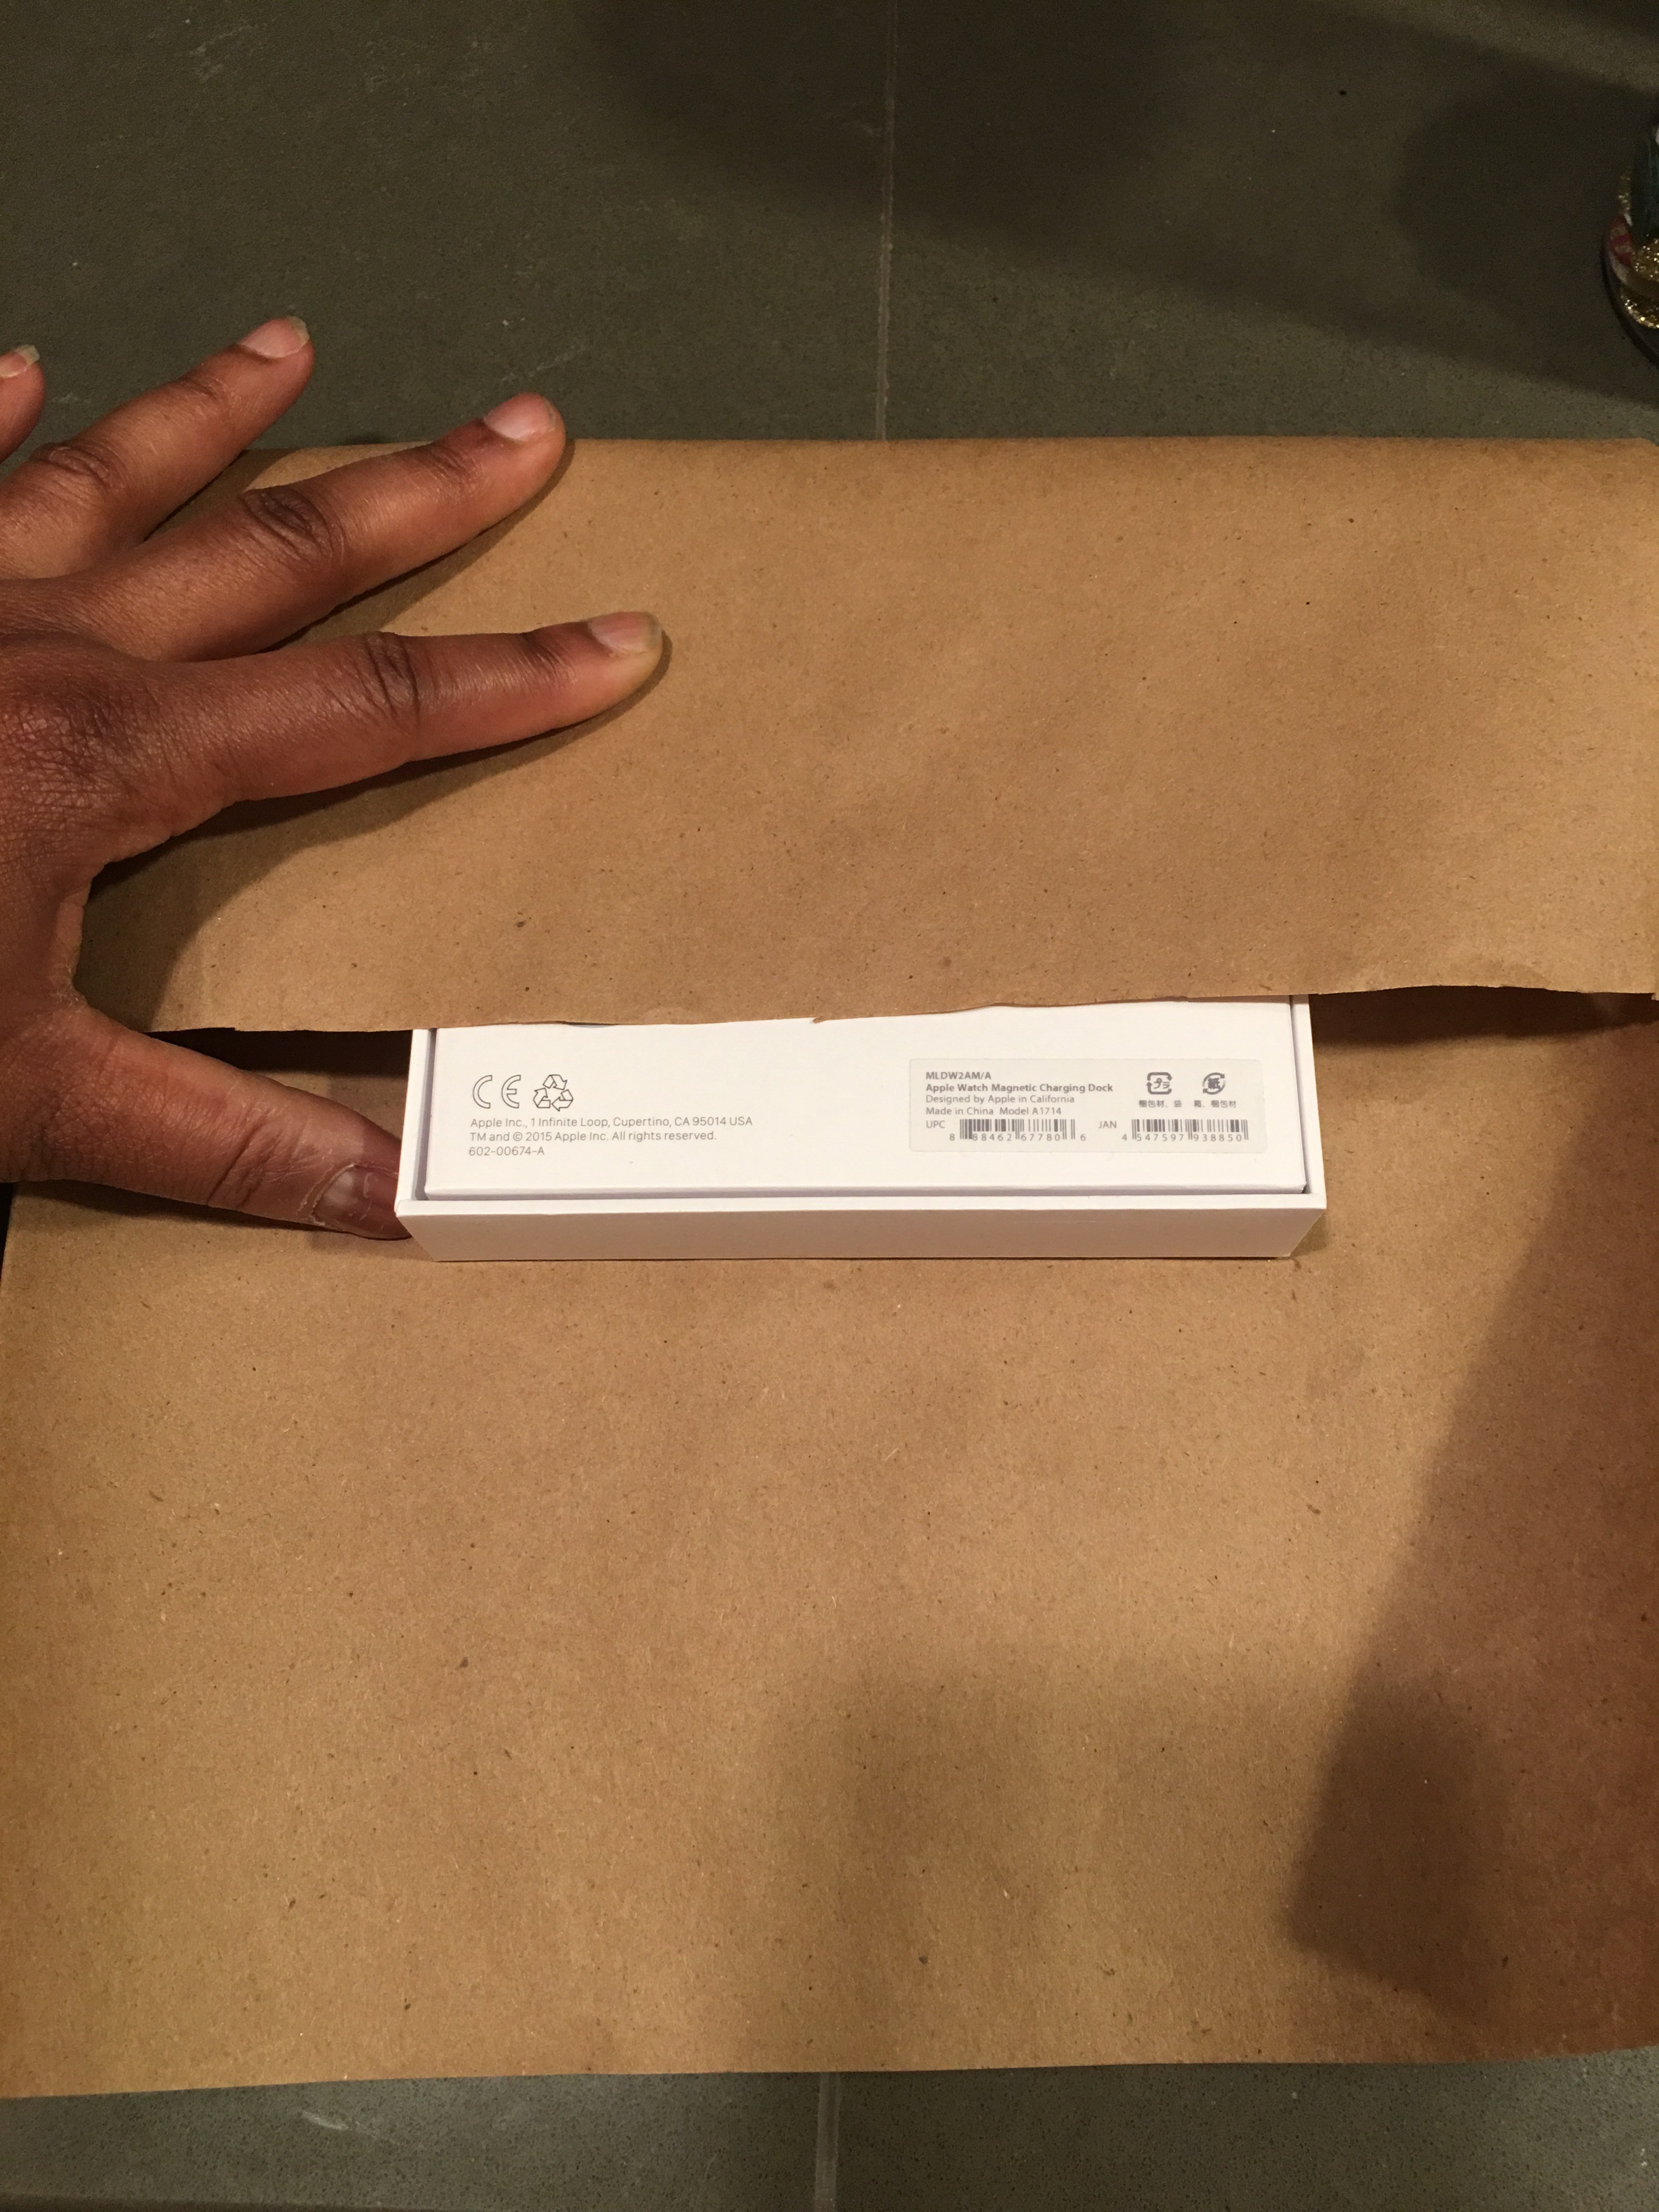
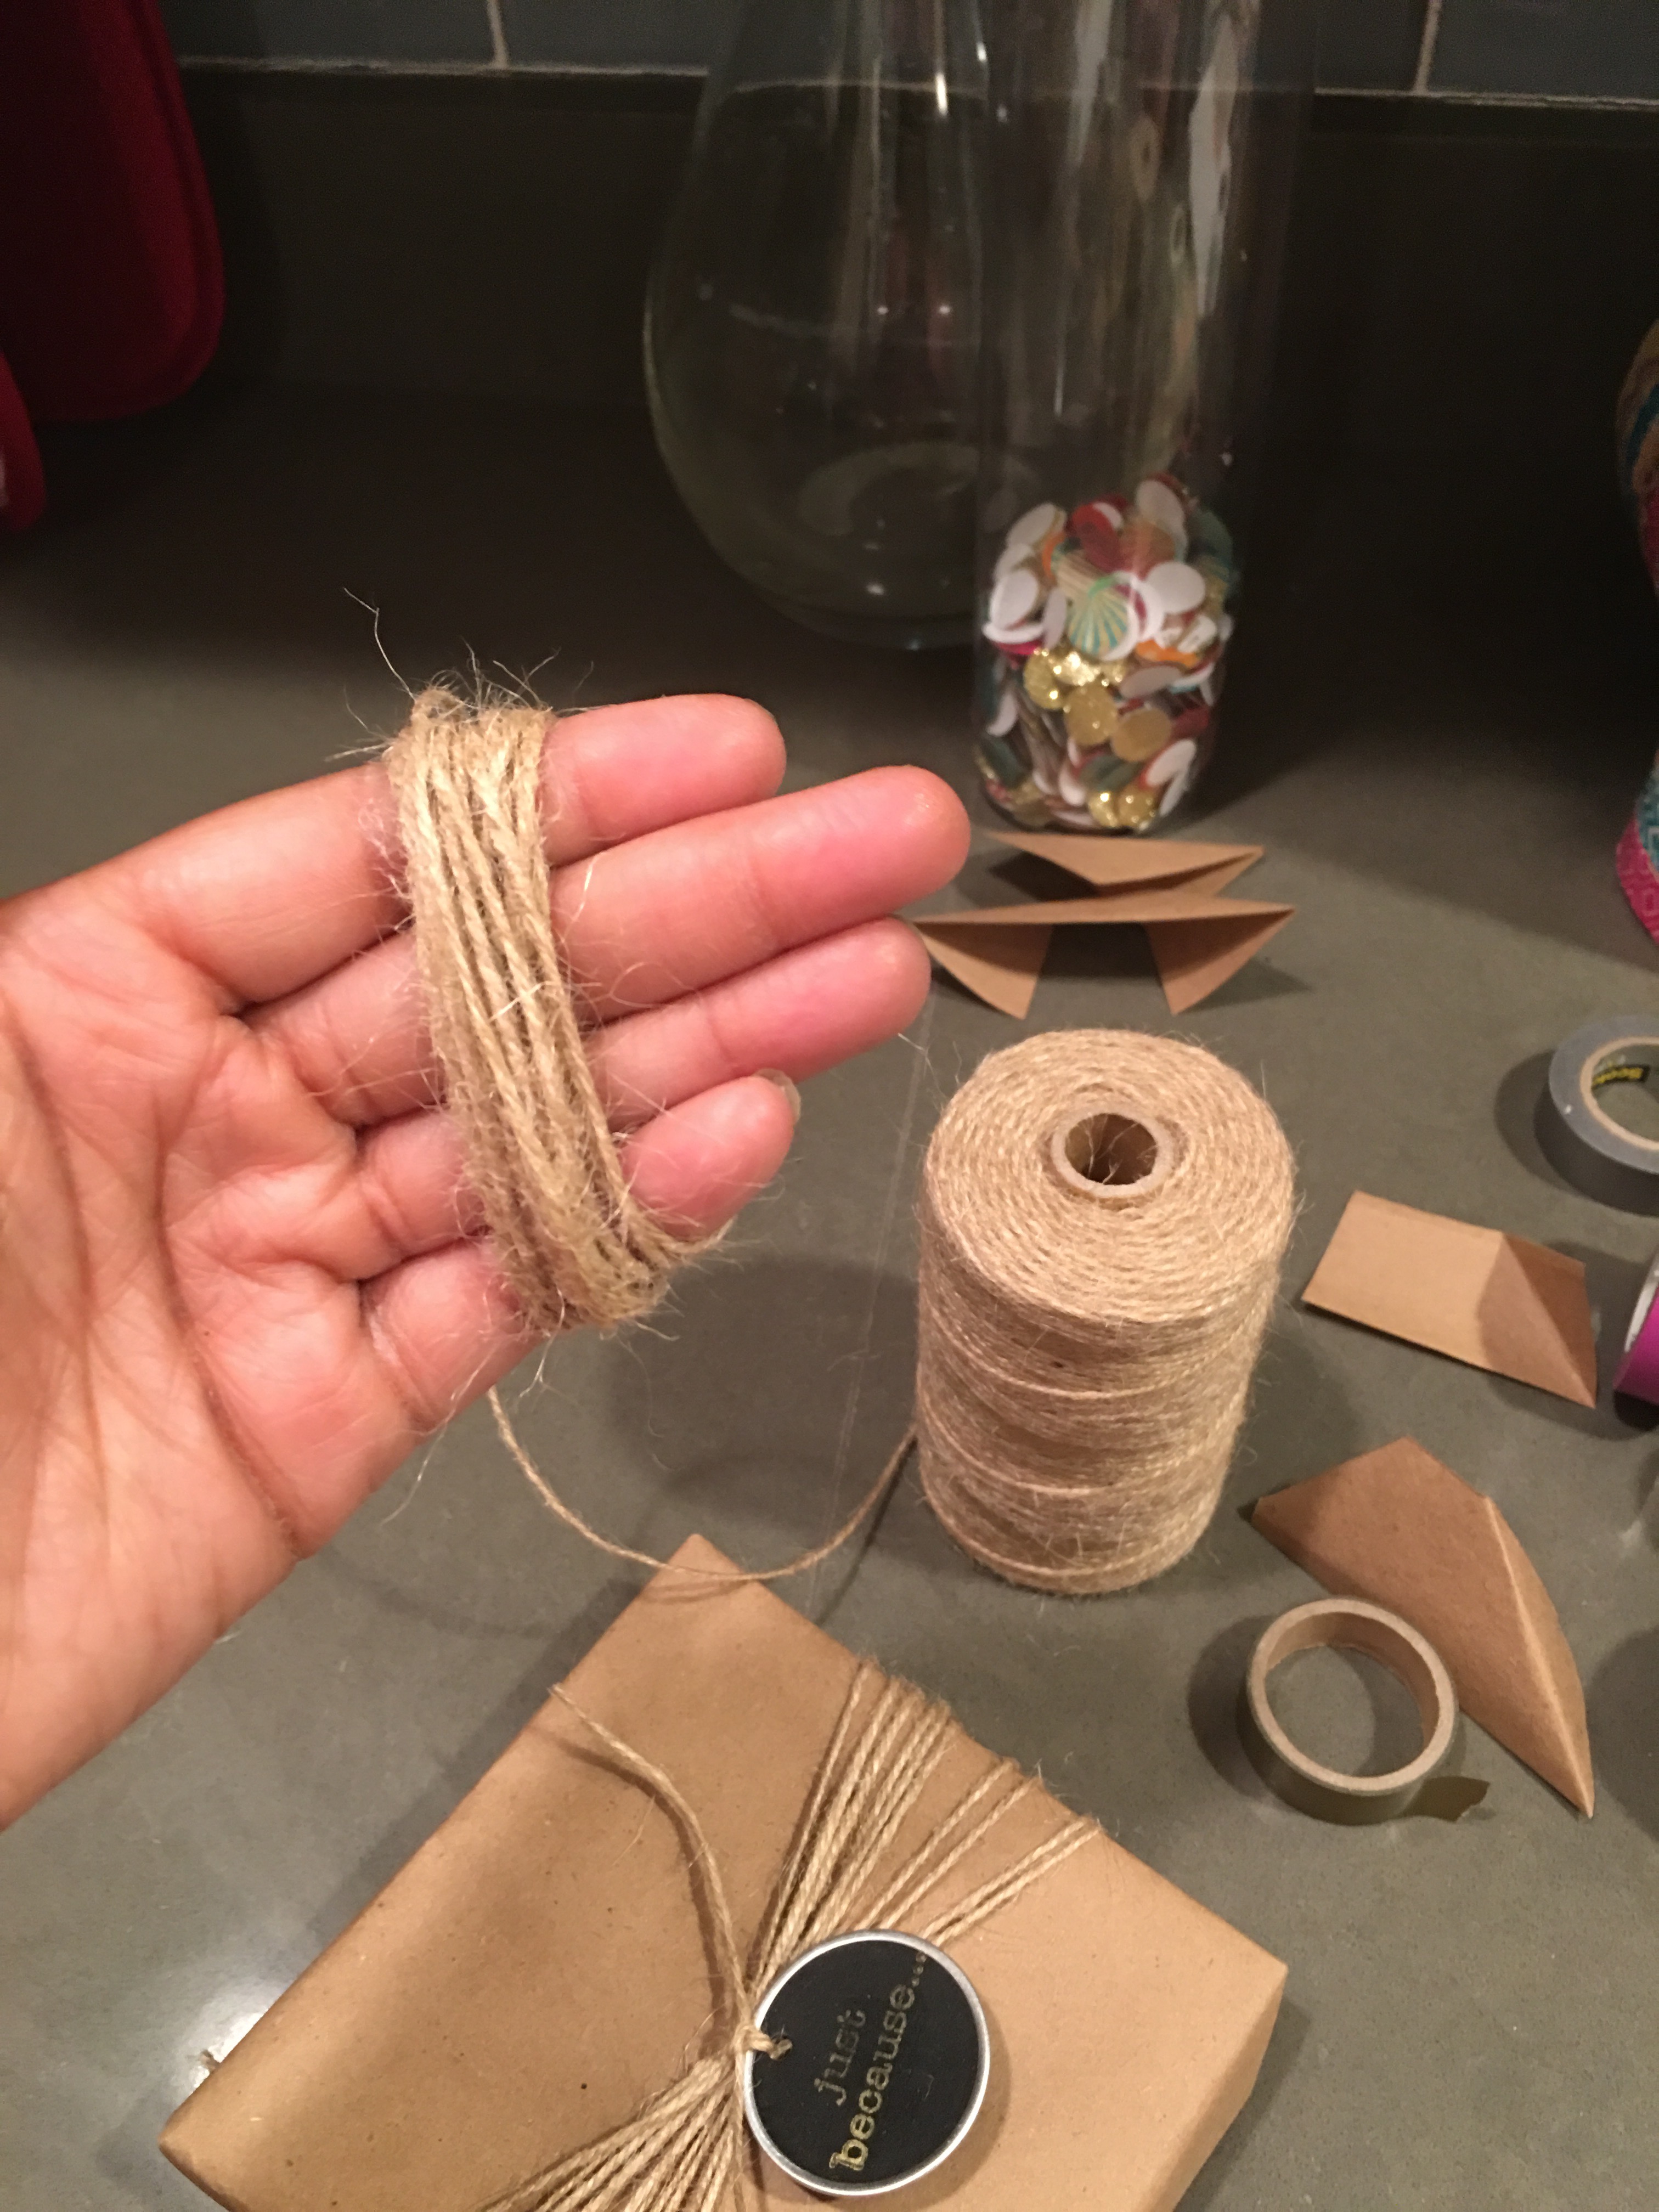
Well I’ve mourned the loss, and vowed to do the wrapping project again (using the exact same, now empty box). Here are my supplies.
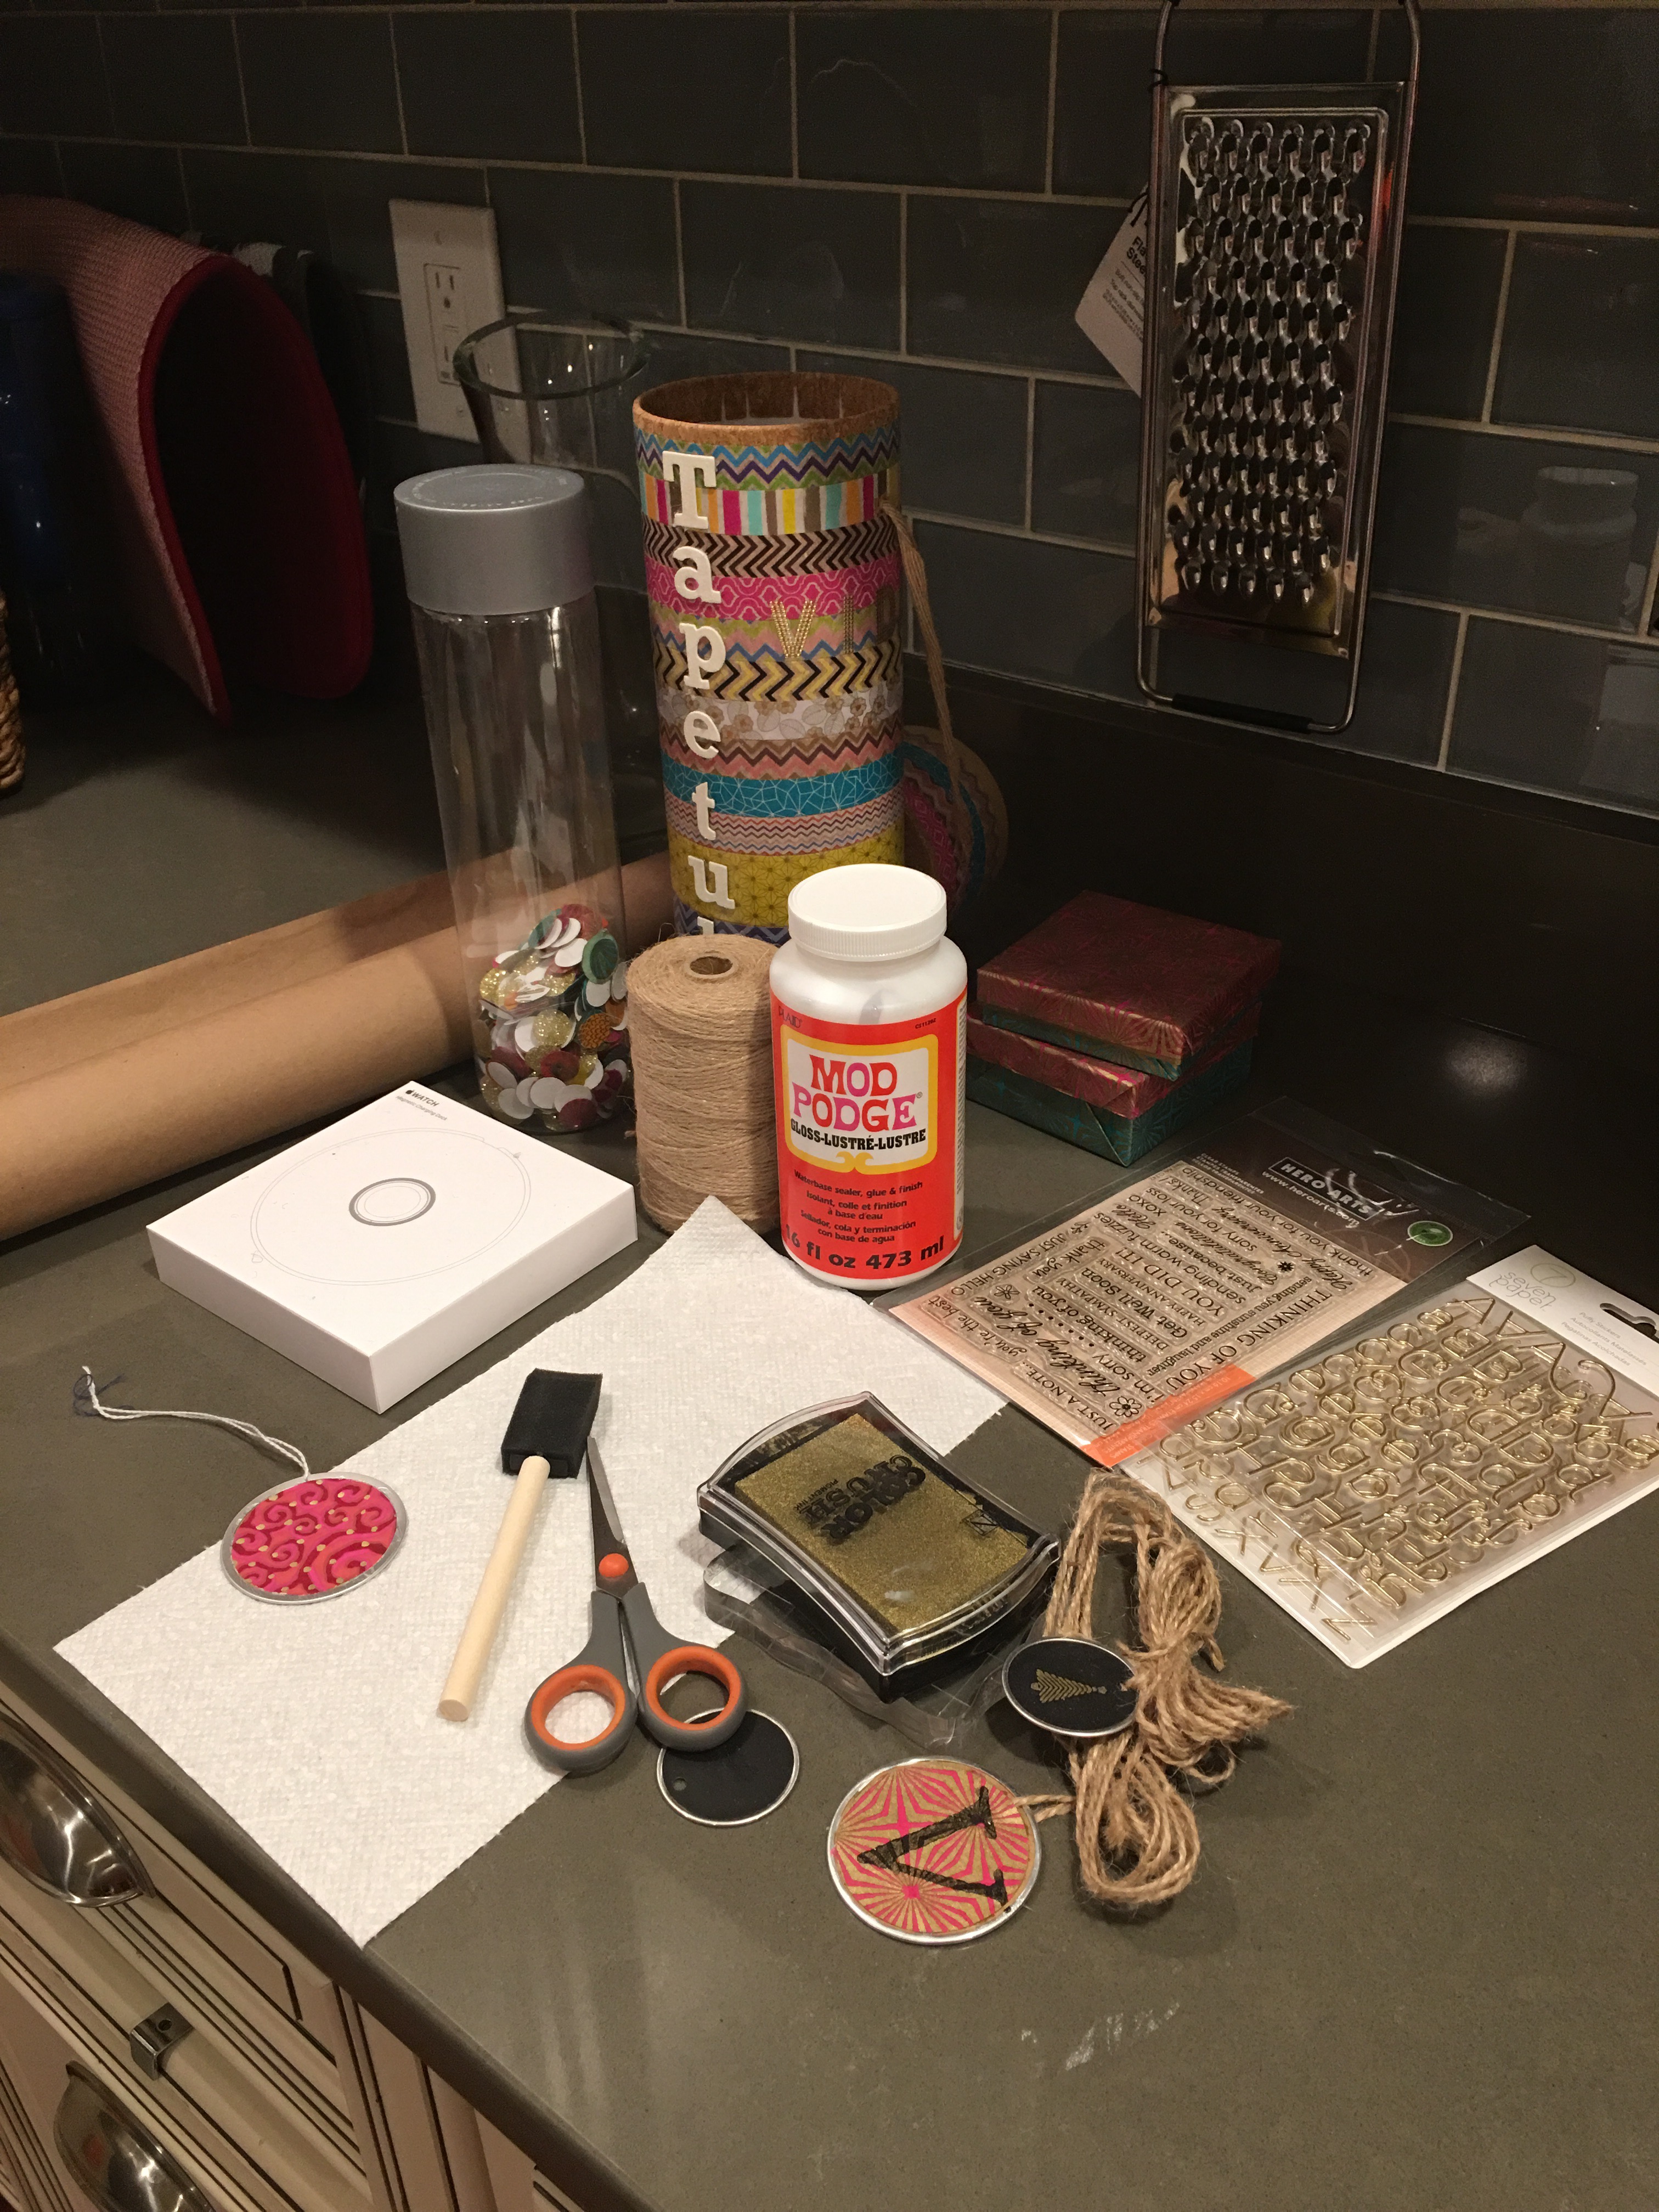
- Brown craft paper.
- Decorative paper circles (two sizes – 3/4″ and 1.5″).
- Washi tape (for wrapping and taping the box with brown paper).
- Jute twine.
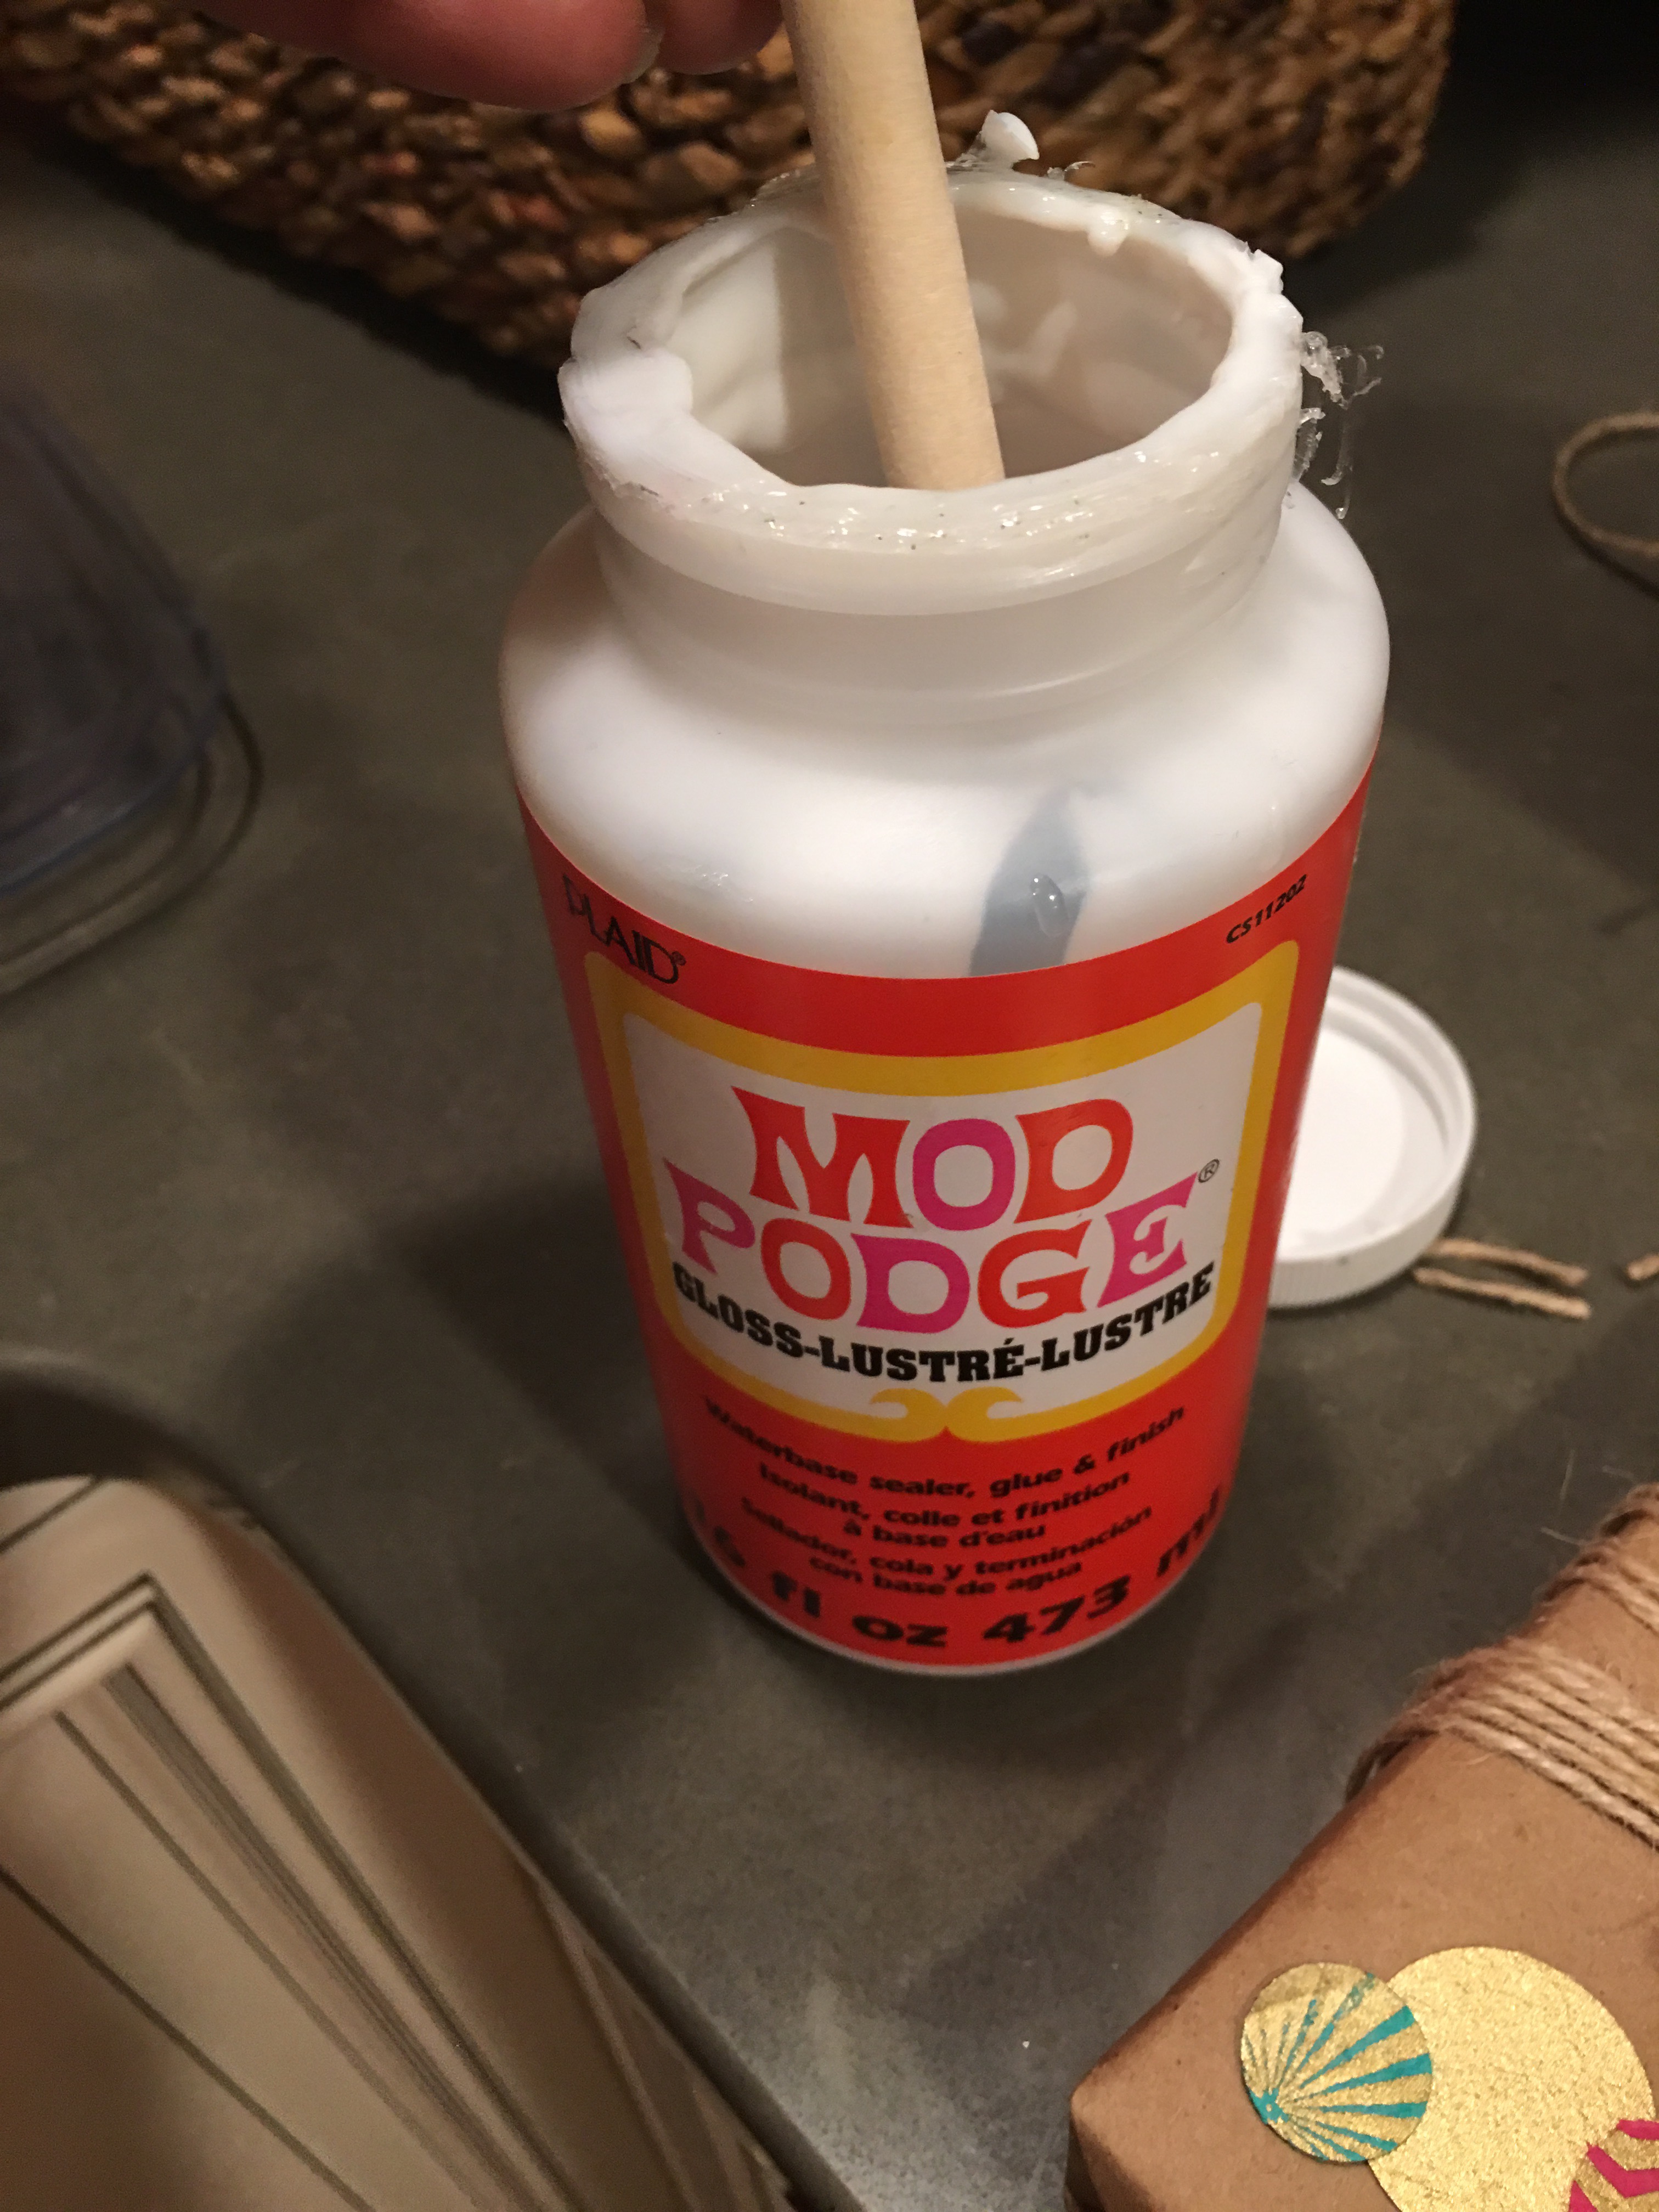
- Mod Podge glue and sponge brush.
- Gold stamping ink.
- Small clear stamps and an acrylic stamping block.
- Key tags – one small, one large.
- Alphabet stickers.
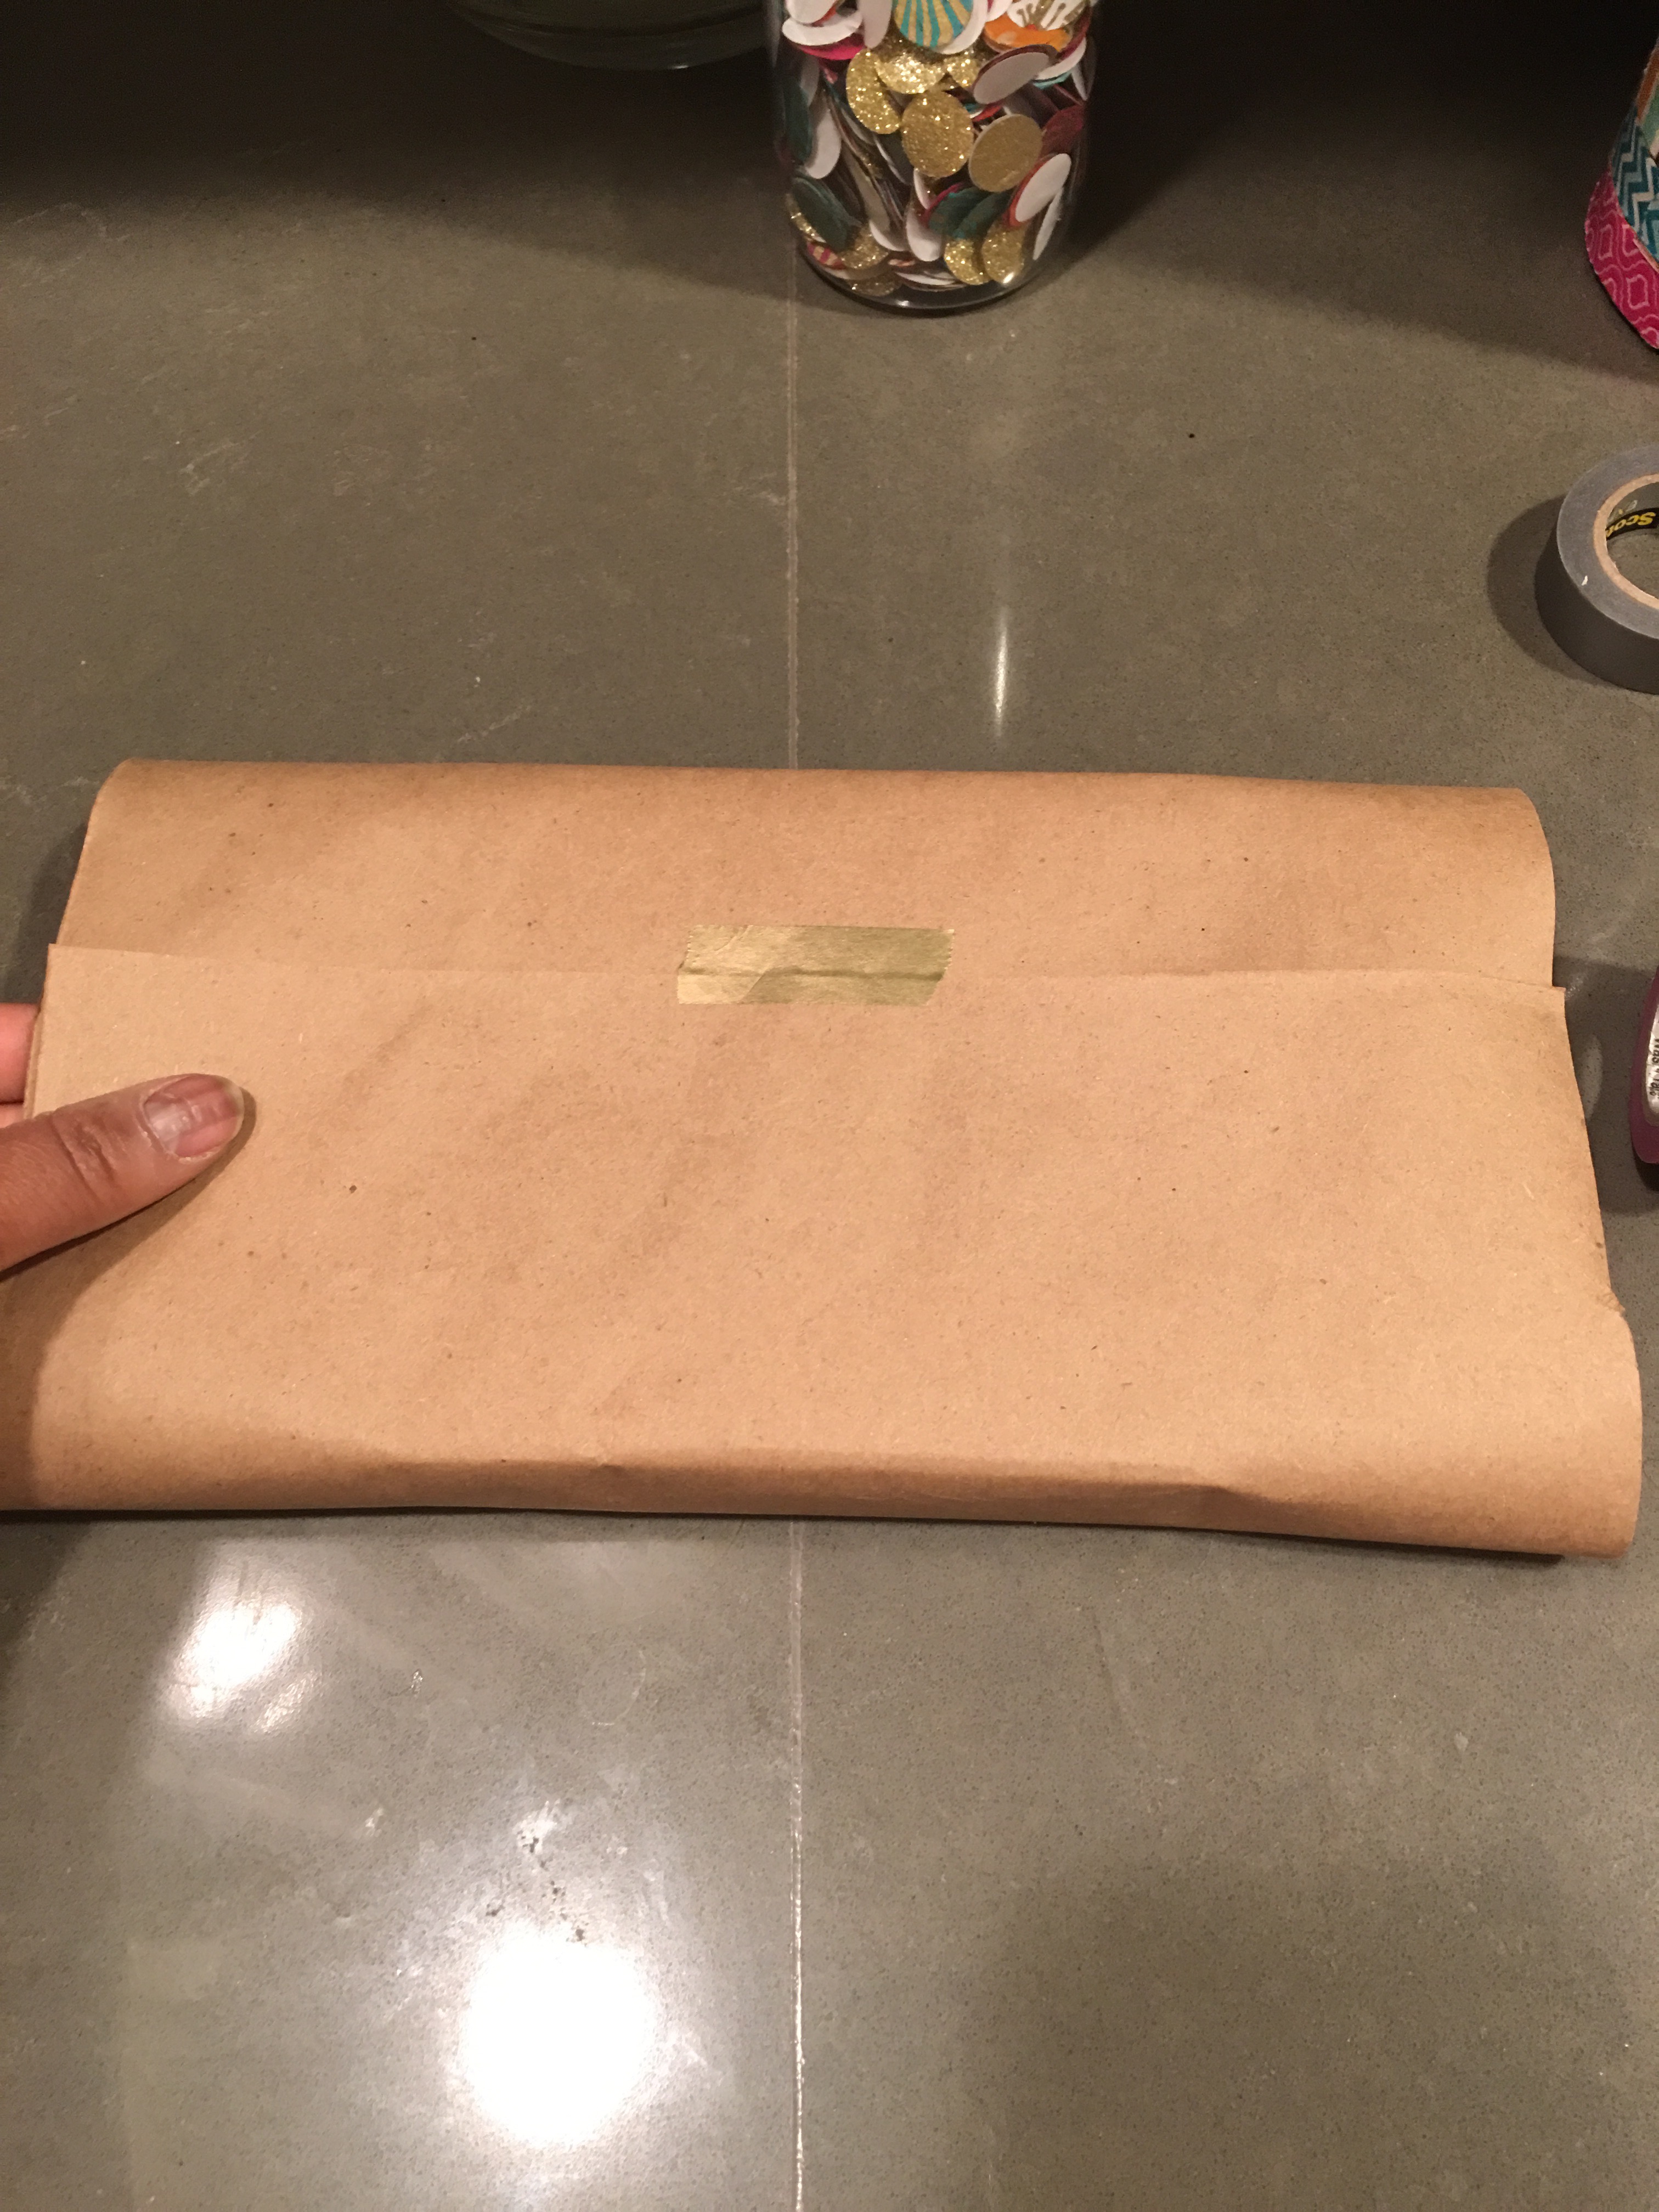
As in December, I reached for some leftover crafting paper to wrap the box.
I used the brown craft paper rather than the fancier Starburst gold accented Lotki paper to create some contrast between the large and small boxes. And to not use up all of that fancy, expensive paper.
I wrapped the box in the paper the same way I typically wrap a gift. I folded the paper over the box horizontally, overlapping the ends (pulling tightly), and securing the seam with tape.
For the sides, I like the short end tuck method. After tucking in the paper along each short edge of the box, I make a triangle crease along each long edge to complete the fold.
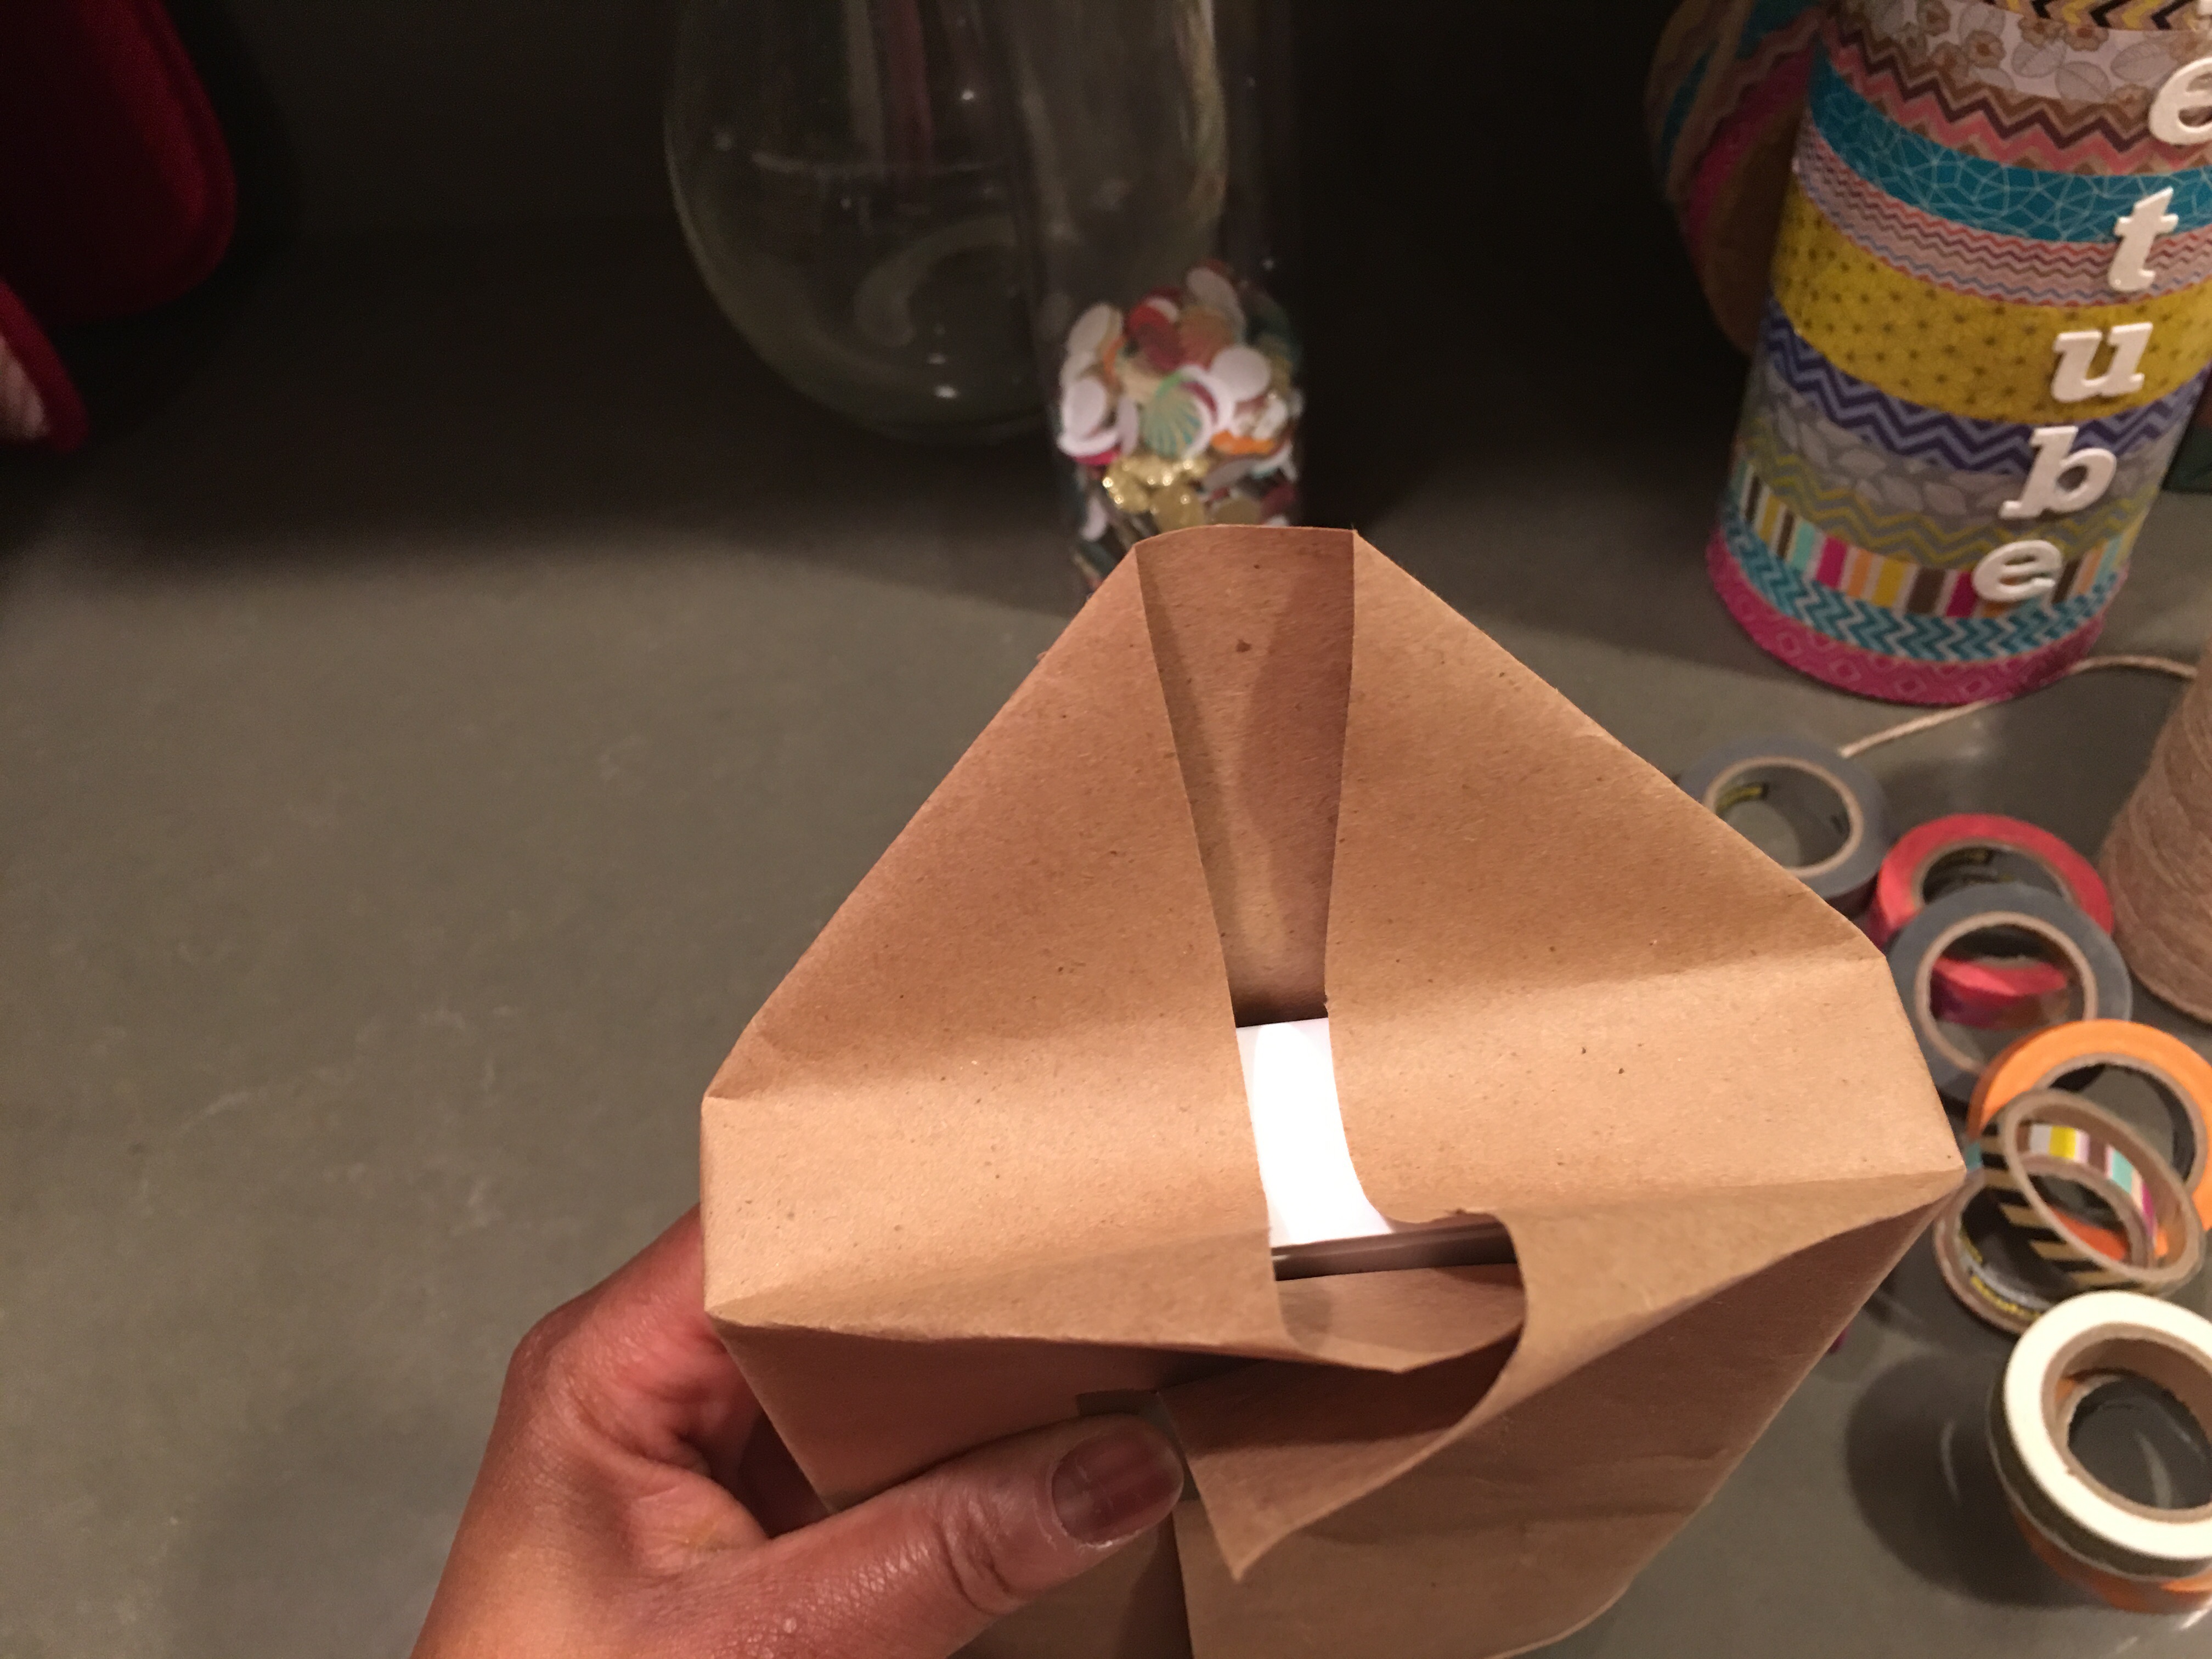
I cut down the height of the triangle so I can make a clean tuck and fold from each long edge of the box side.
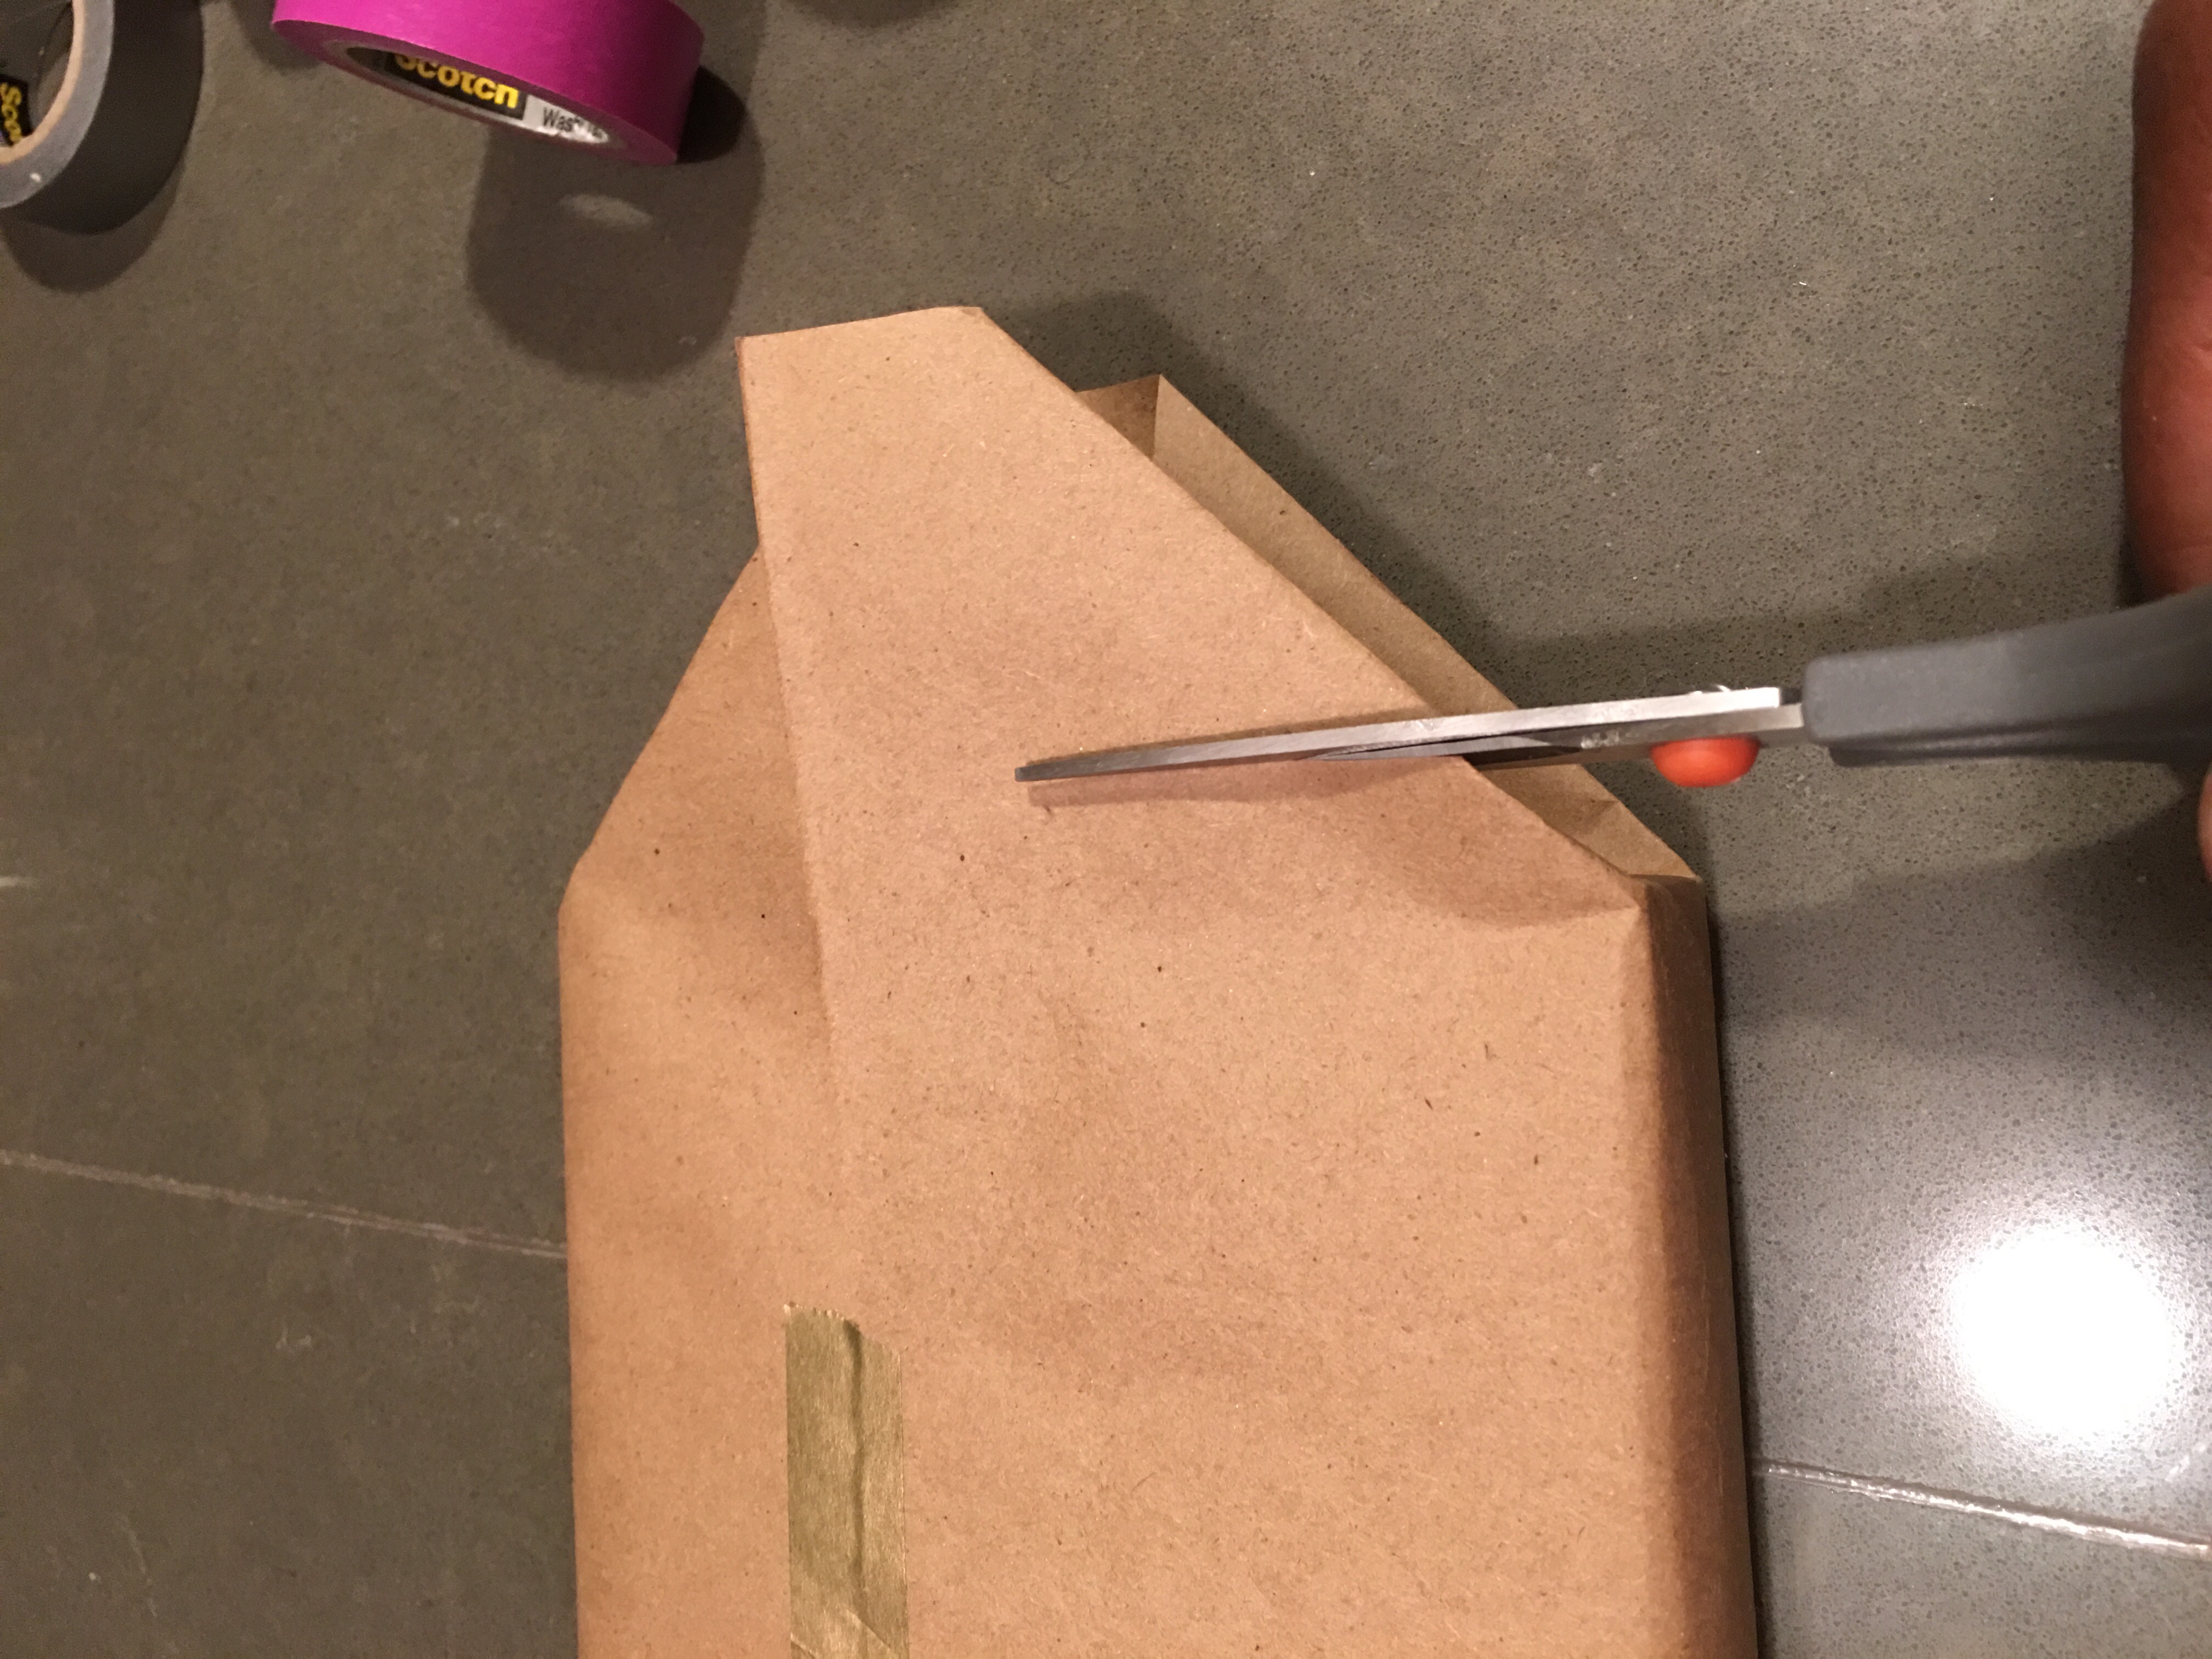
After covering the sides, I secured each end with tape.
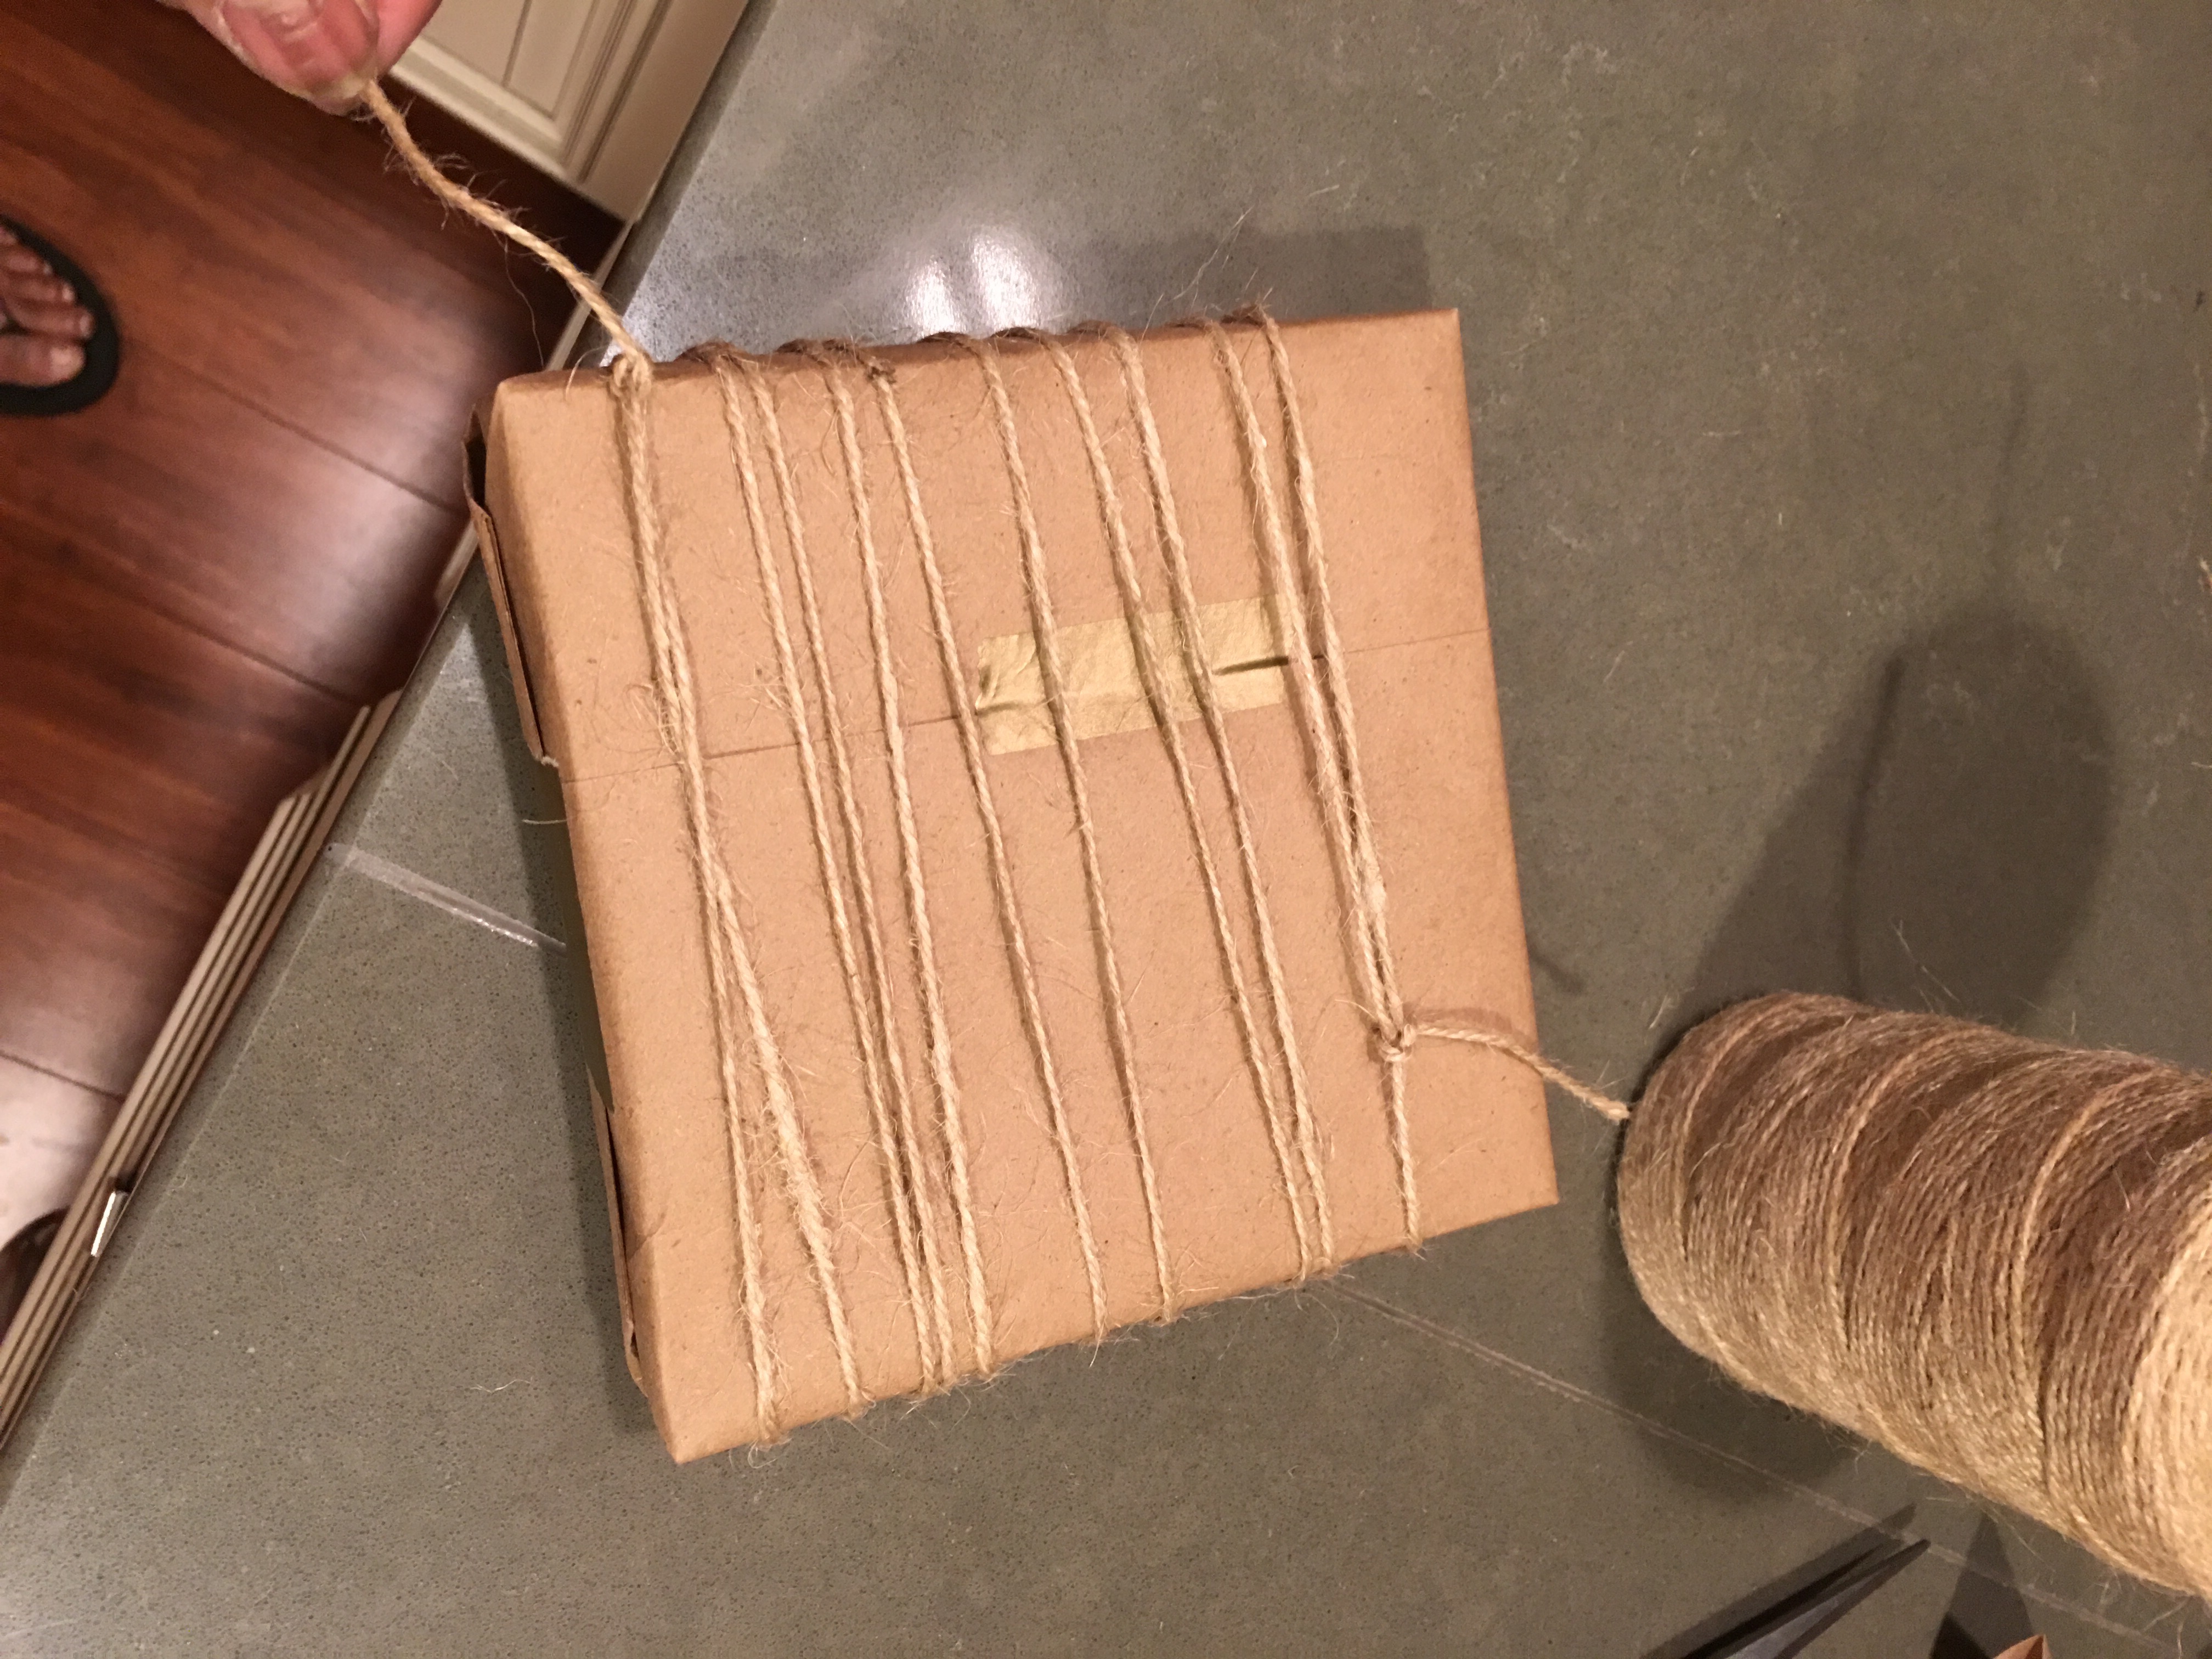
Next step – wrap the box with twine.
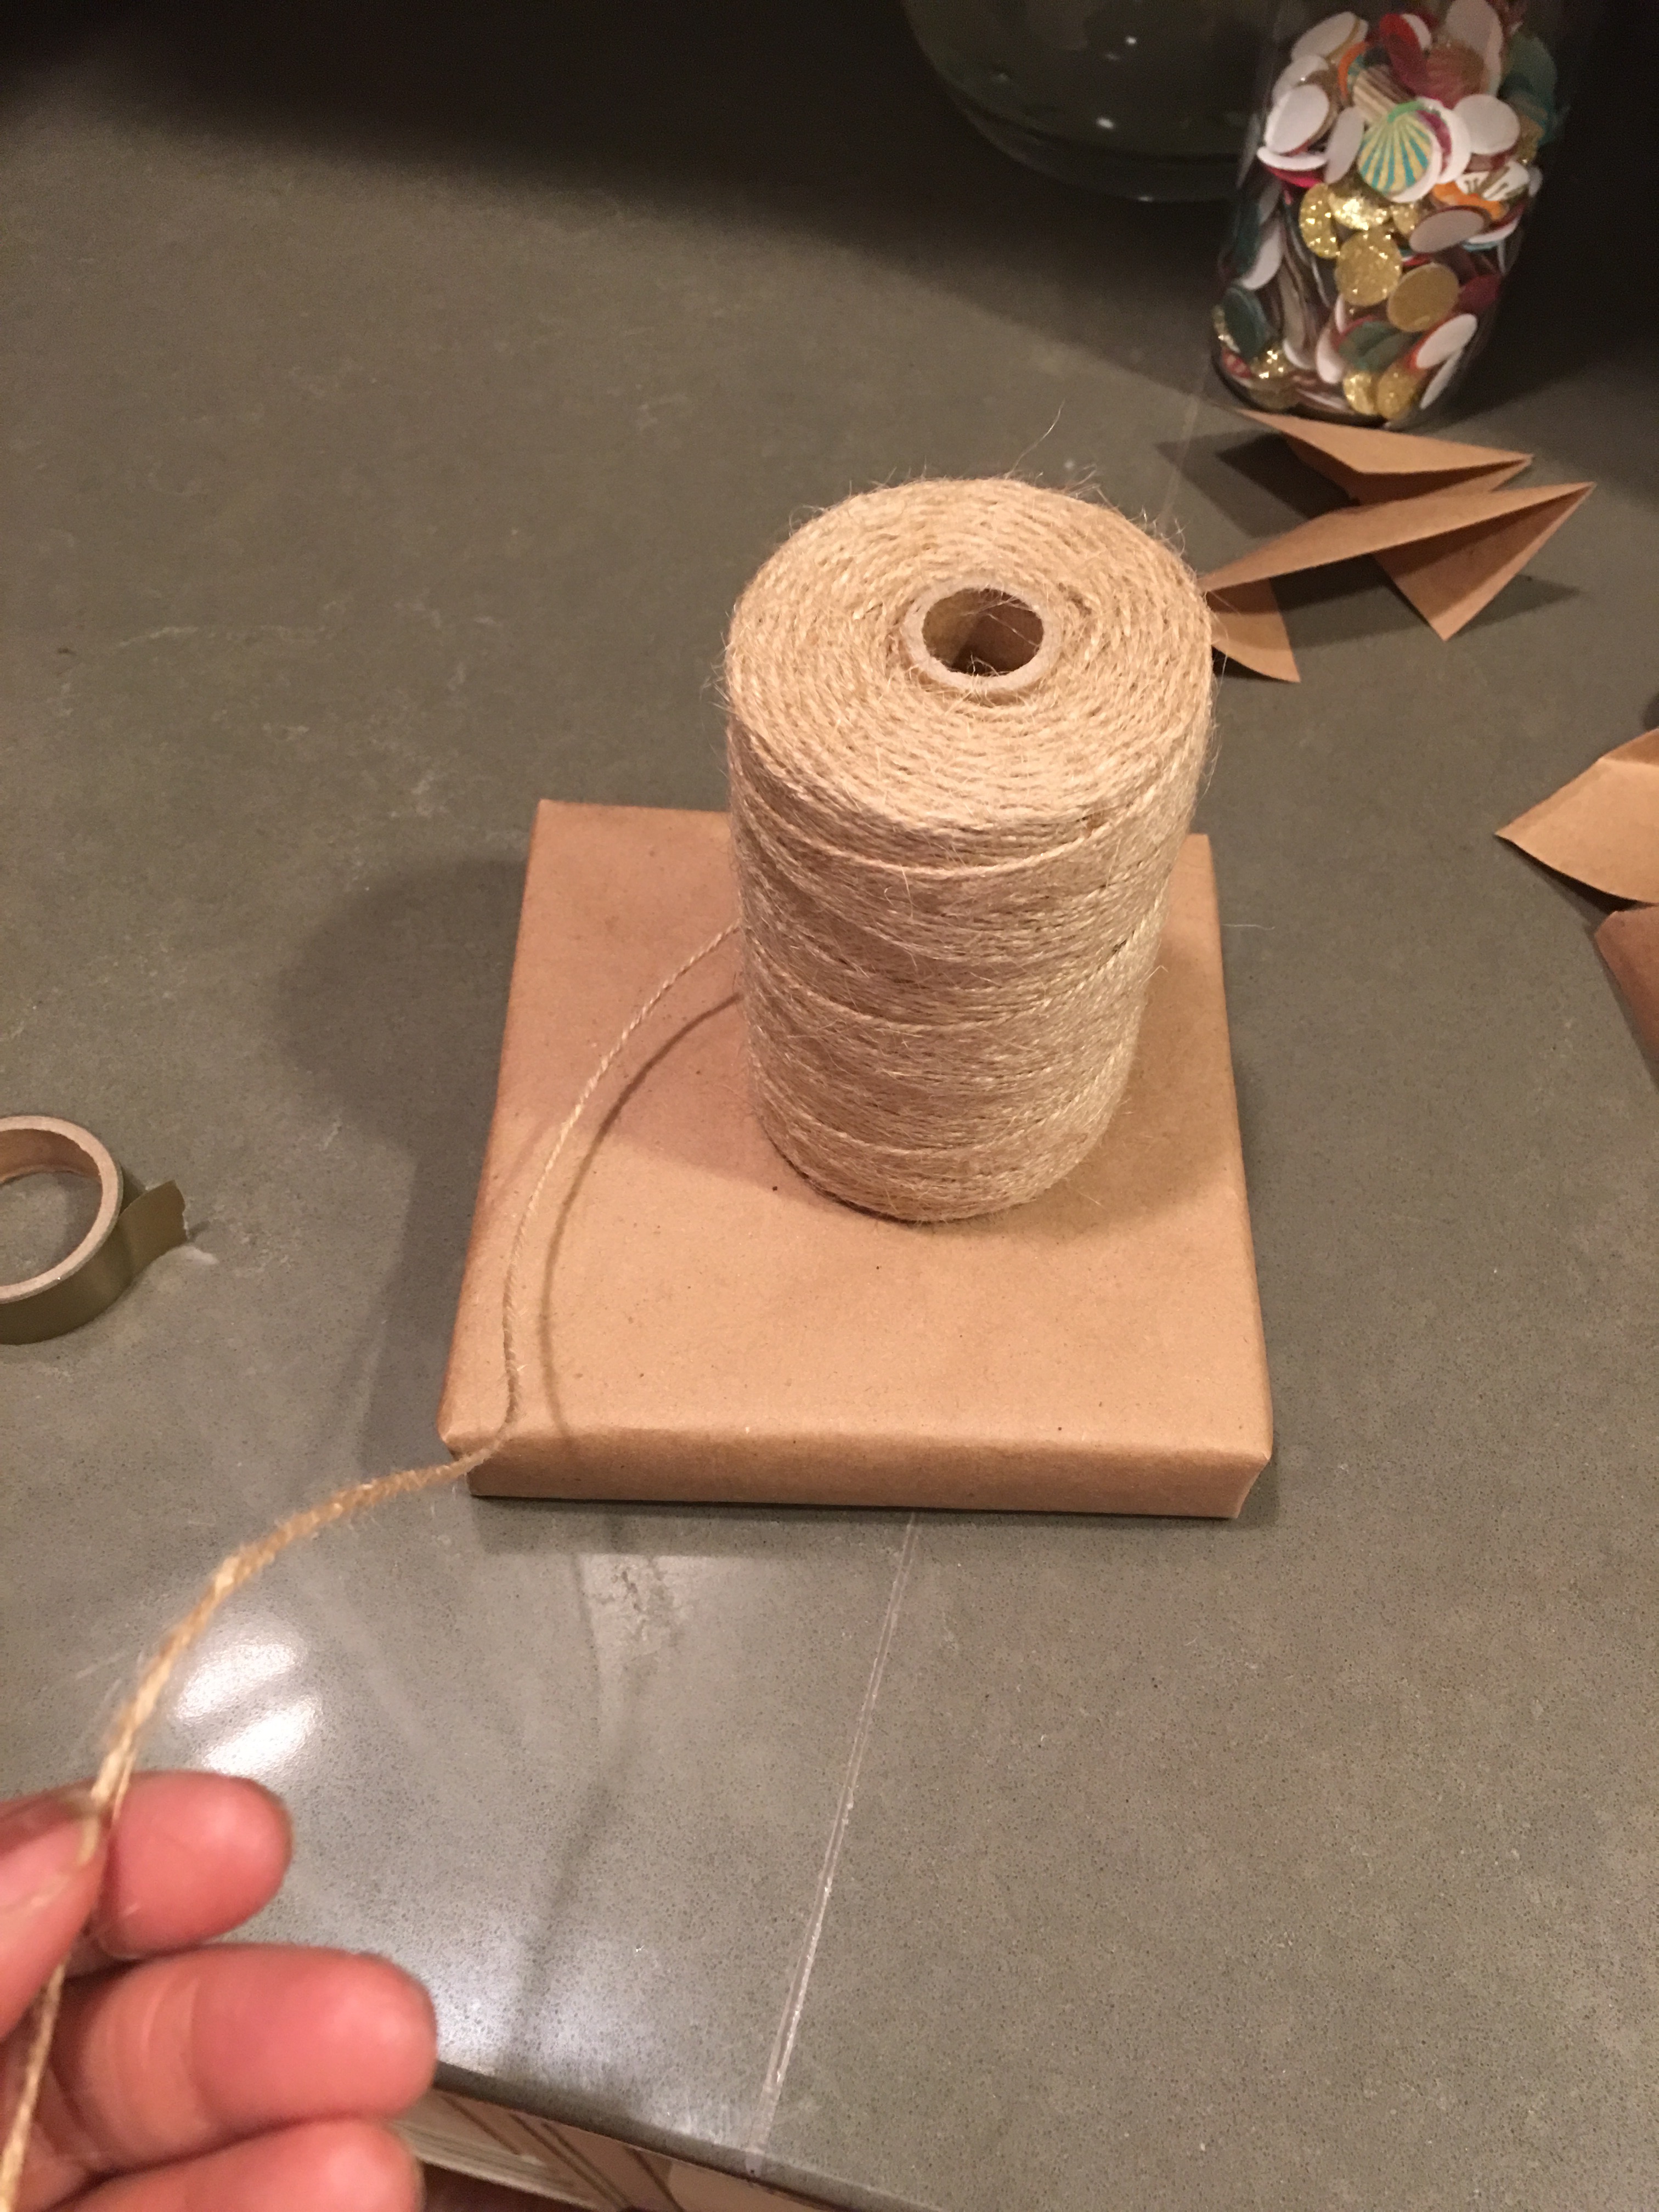
I wrapped the twine around one side of the box and tied the end.
I made sure that the loop was tight enough to stay on the box, but not so tight that it didn’t have any give.
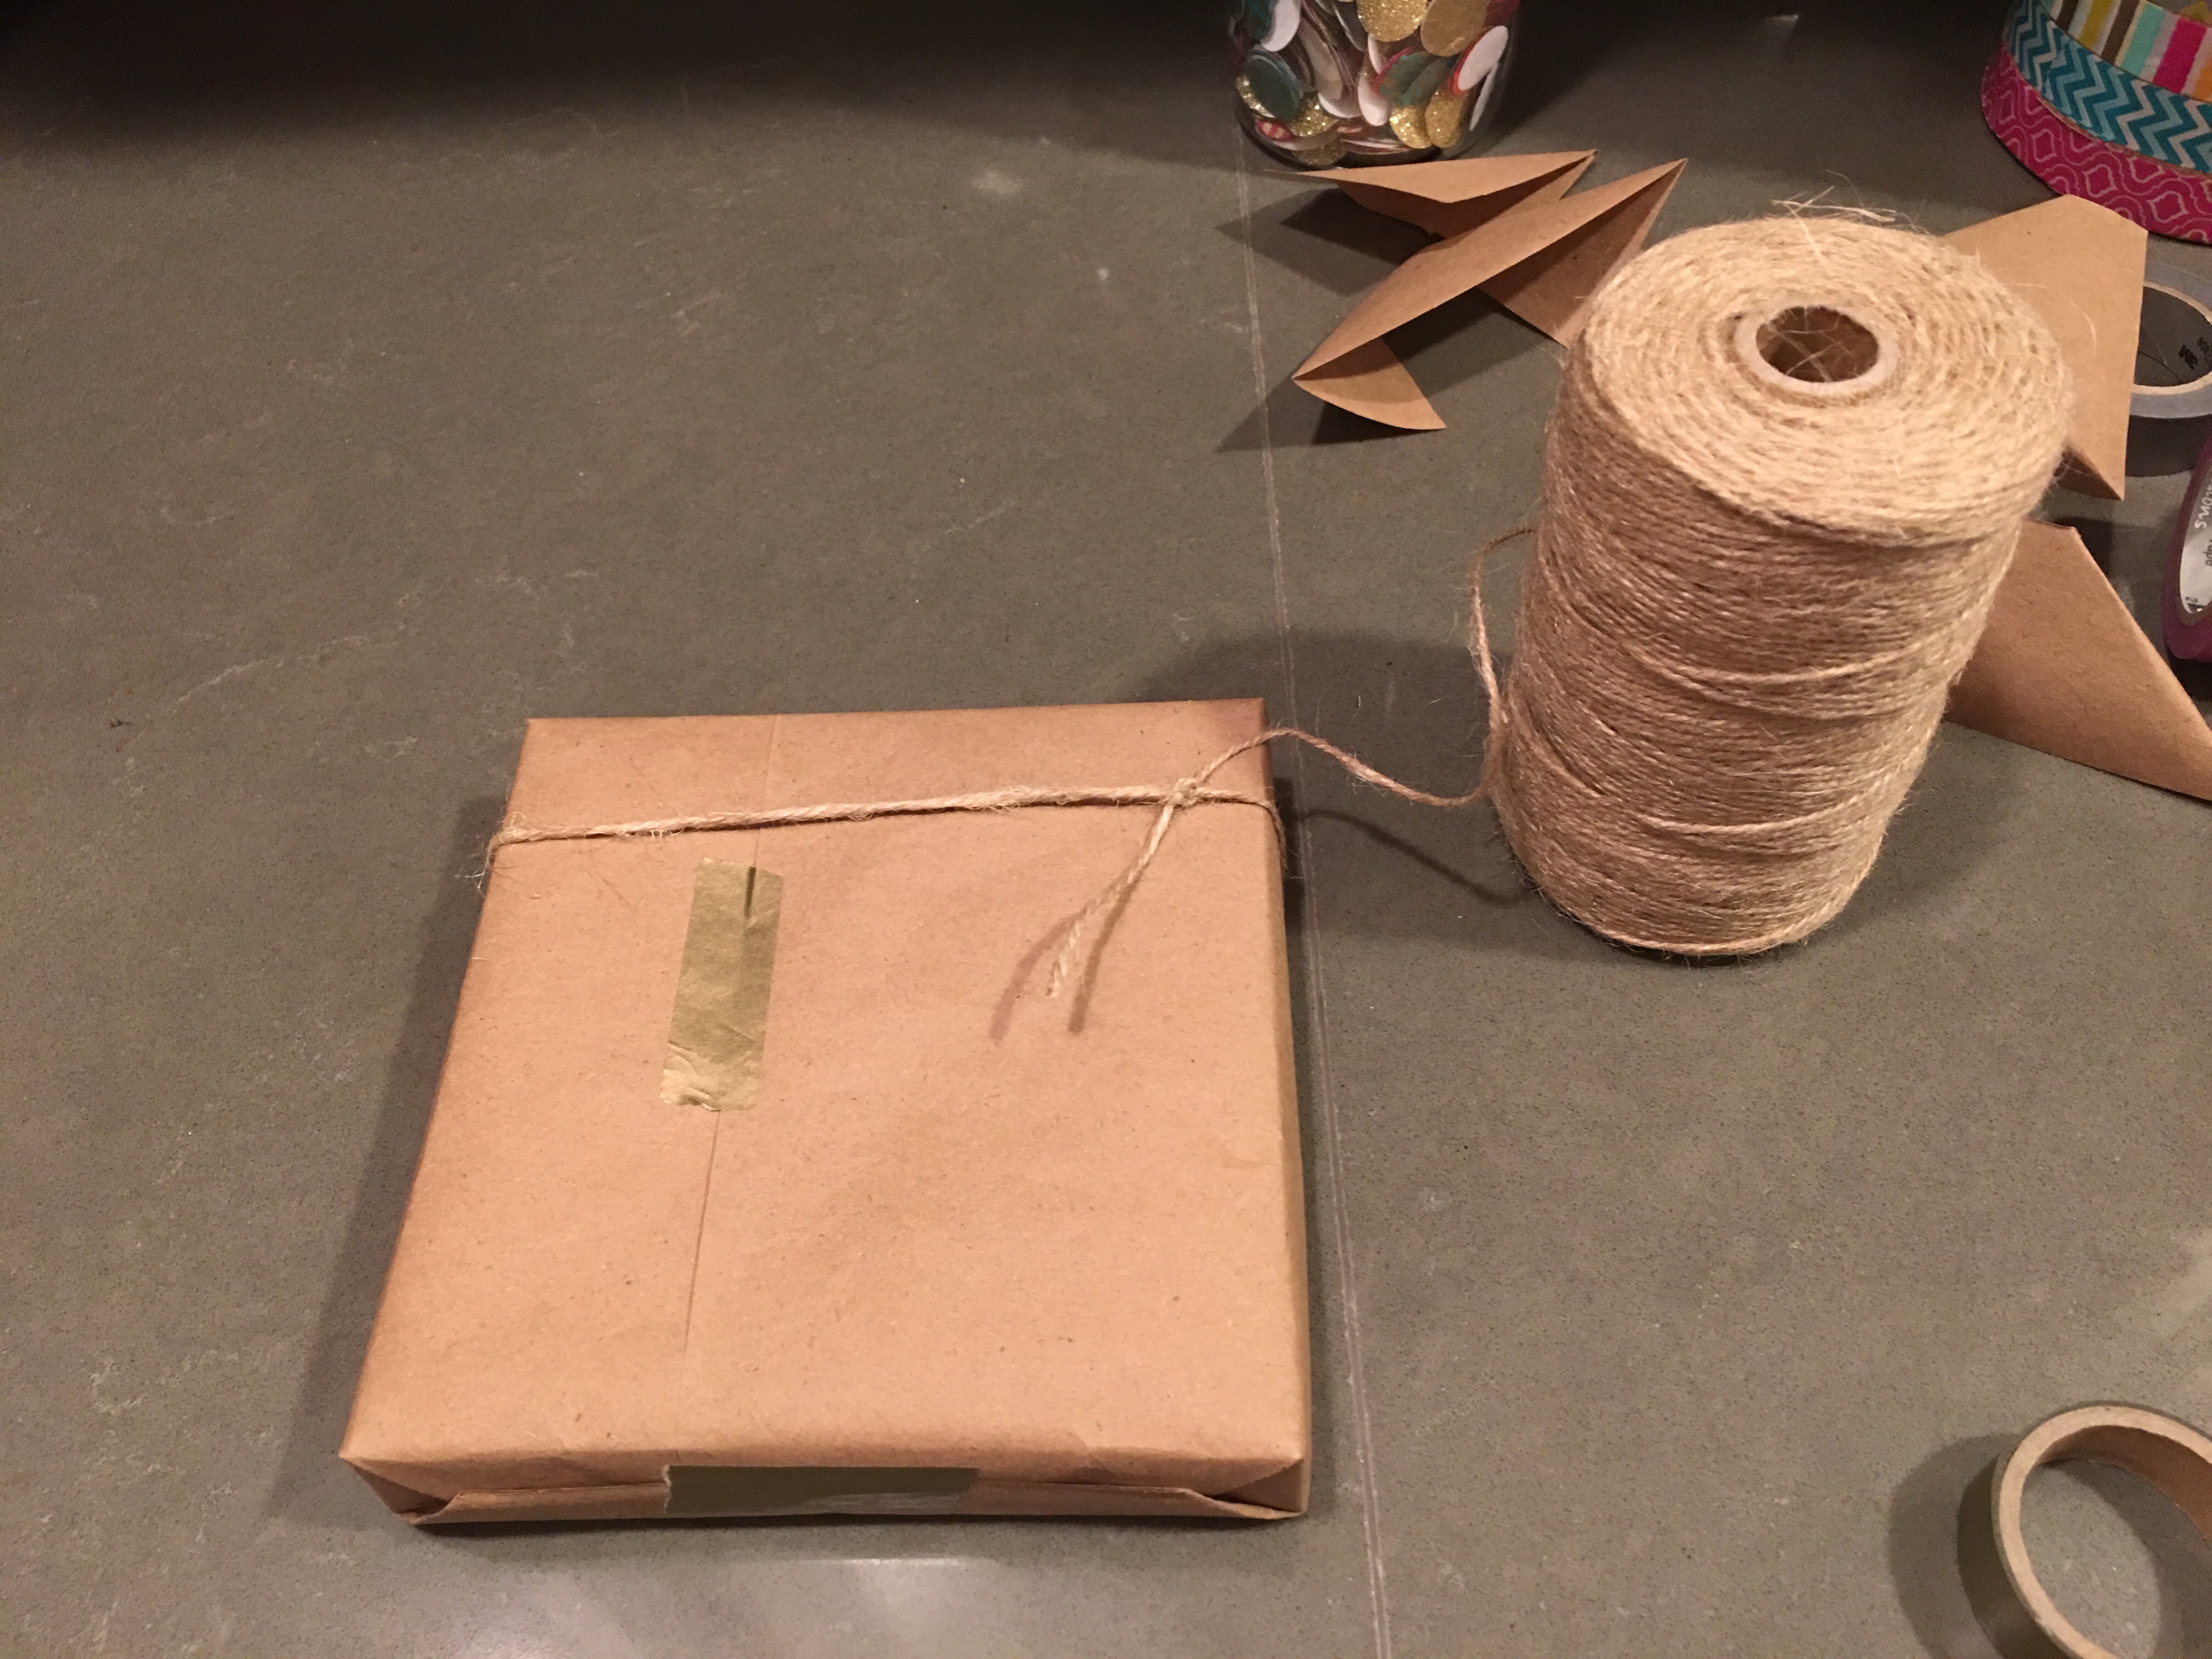
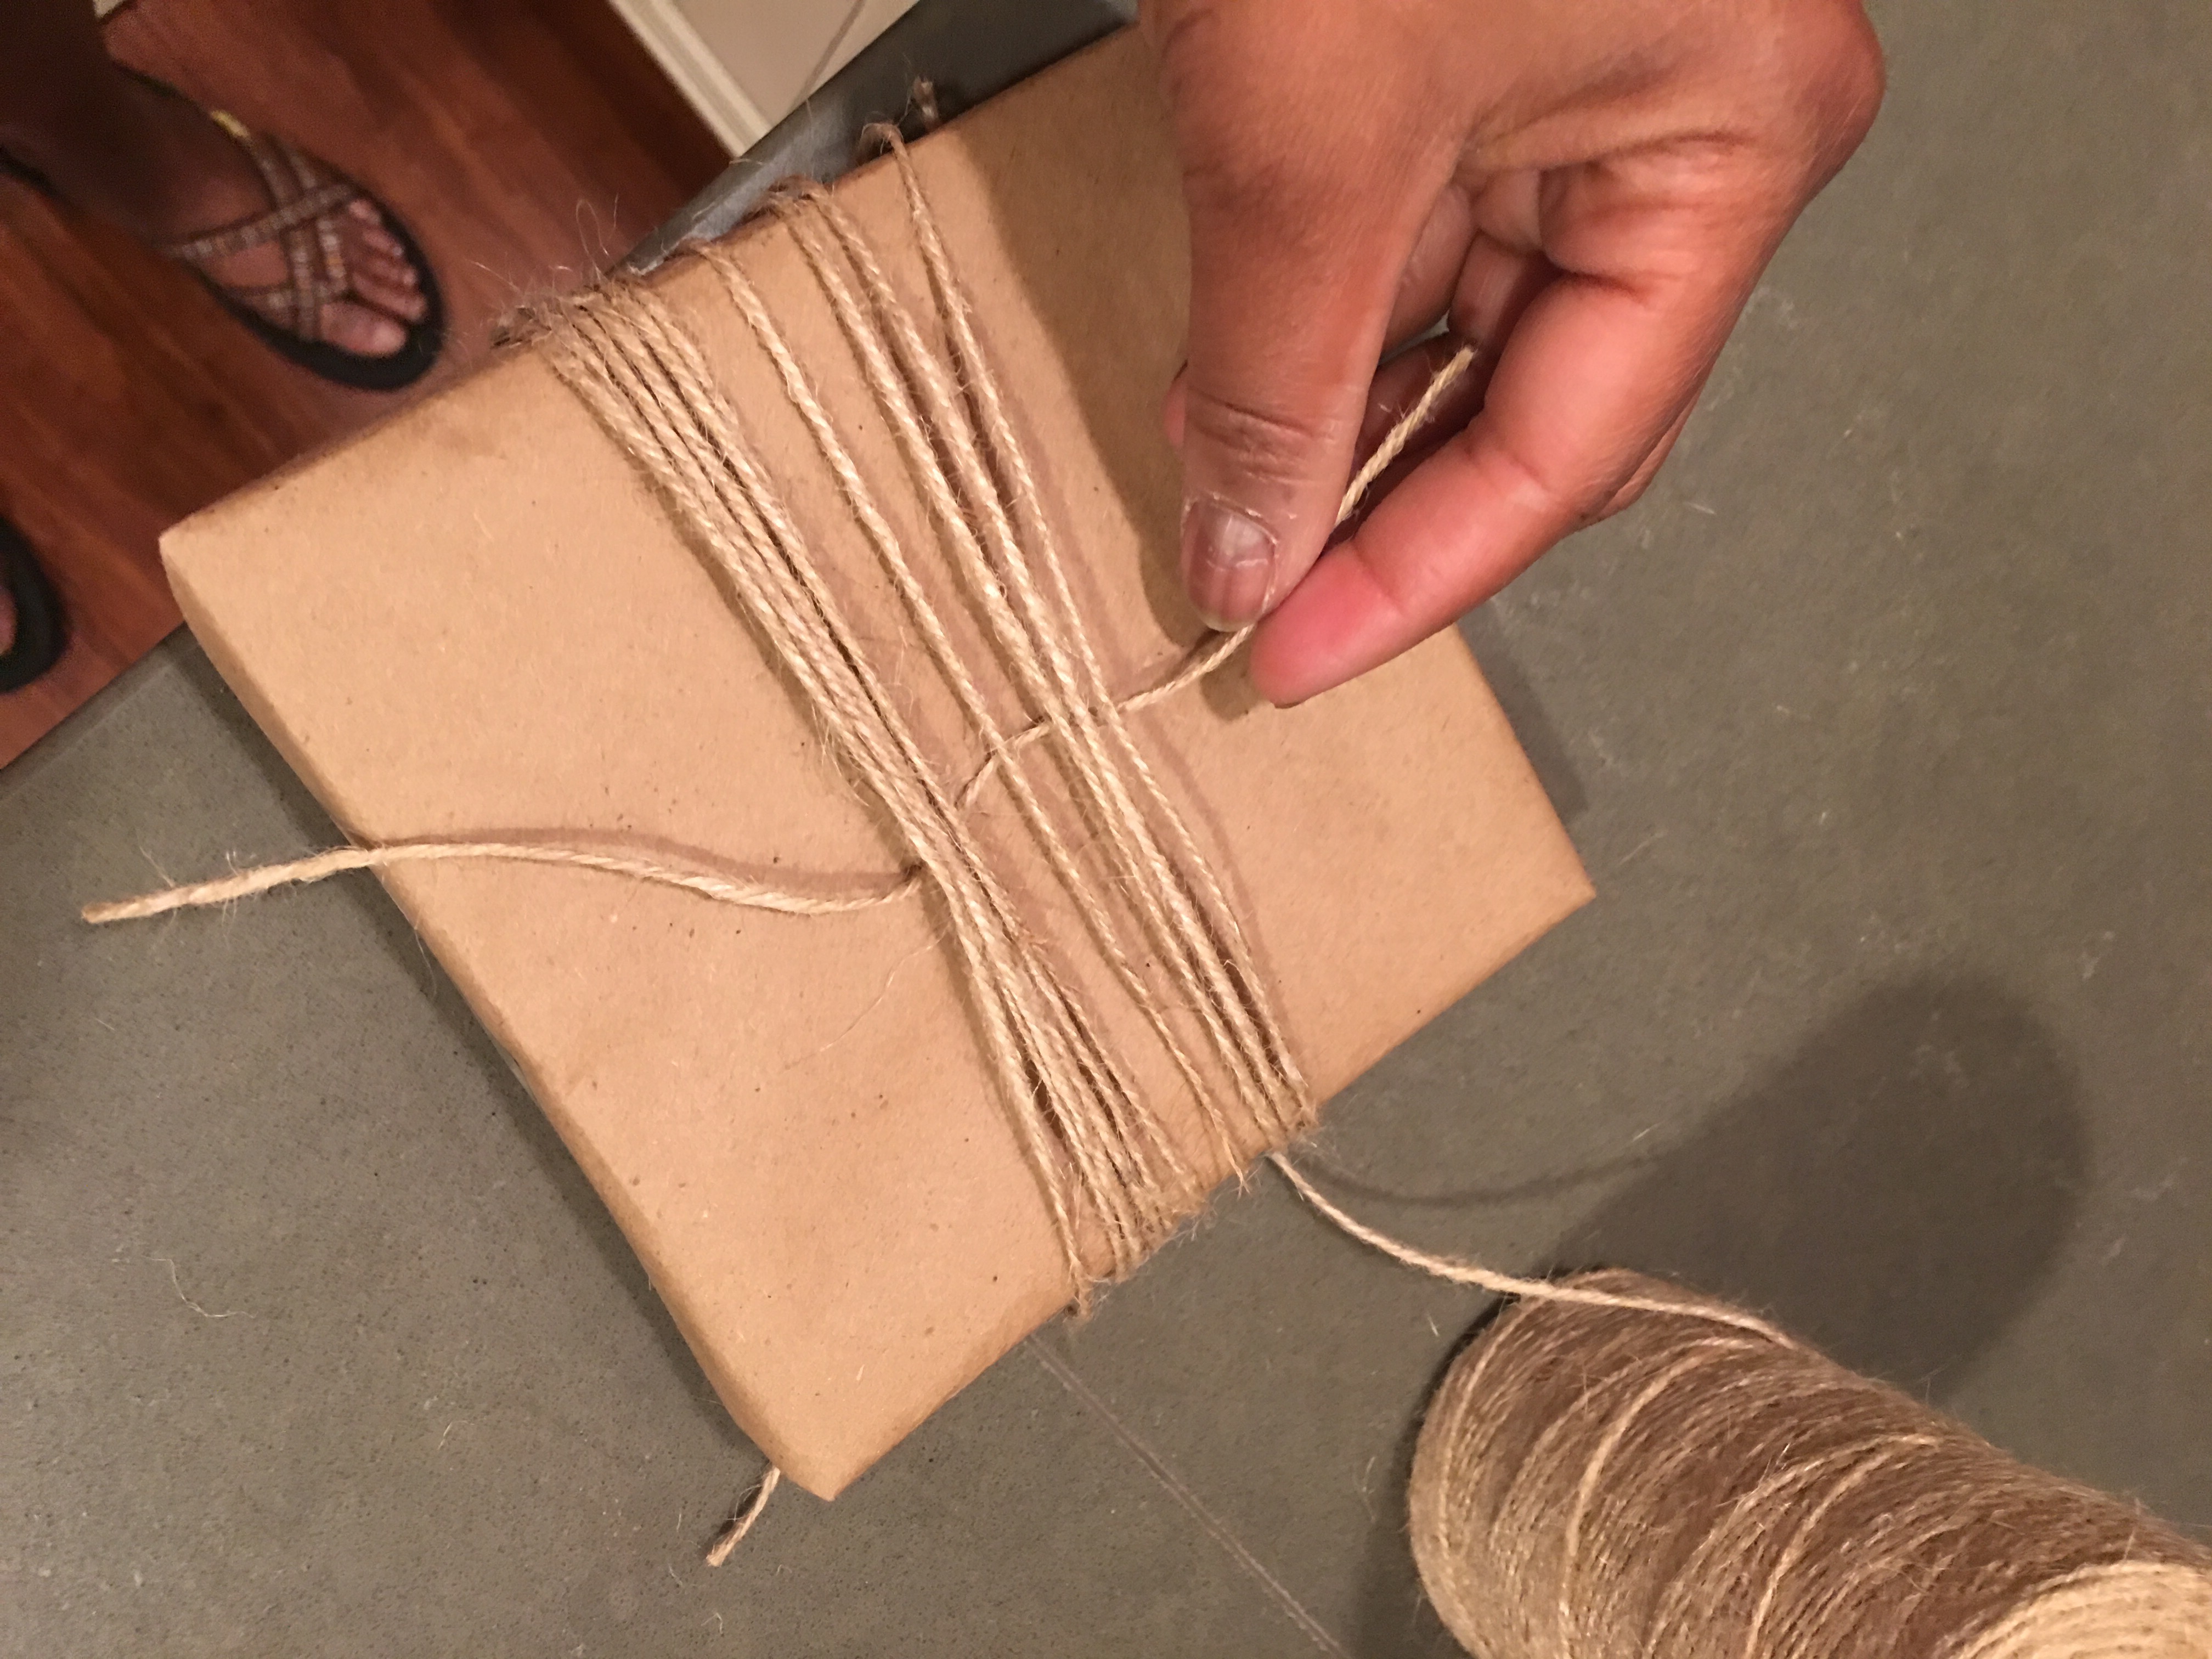
I then continued to lightly wrap the twine around the rest of the box.
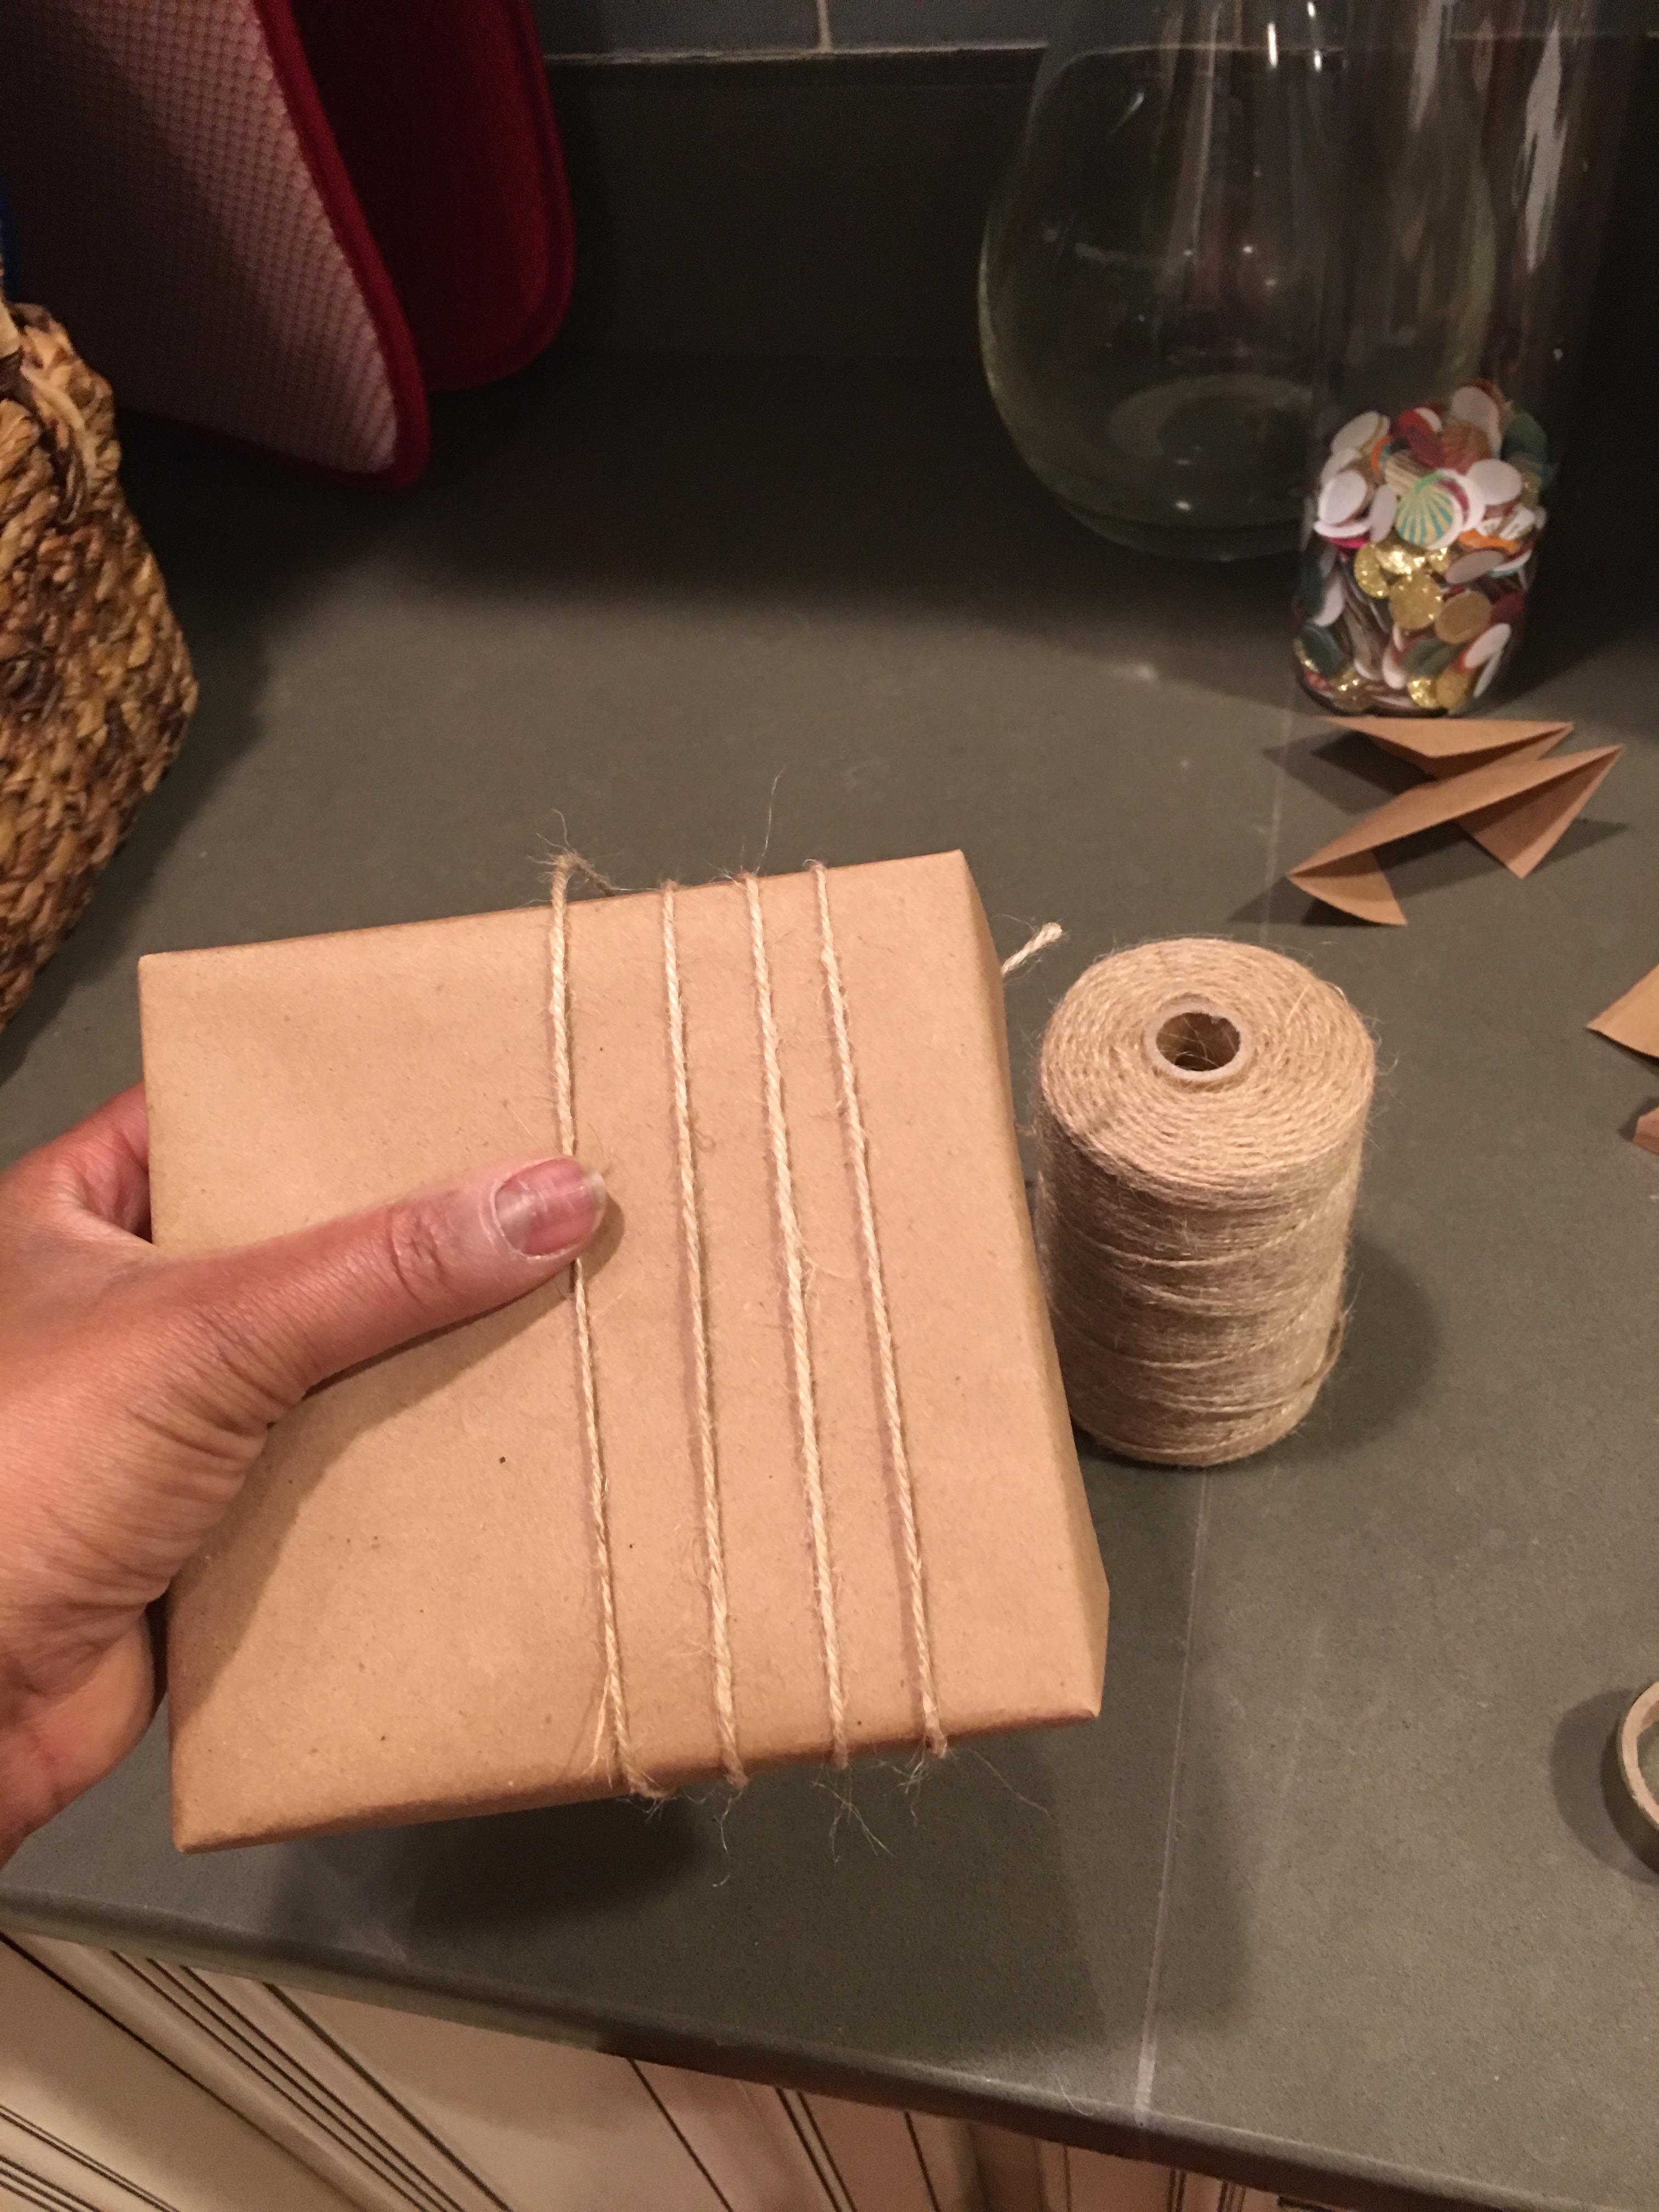
Once done, I snipped the twine and tied off the other end to the last loop (on the bottom of the wrapped box).
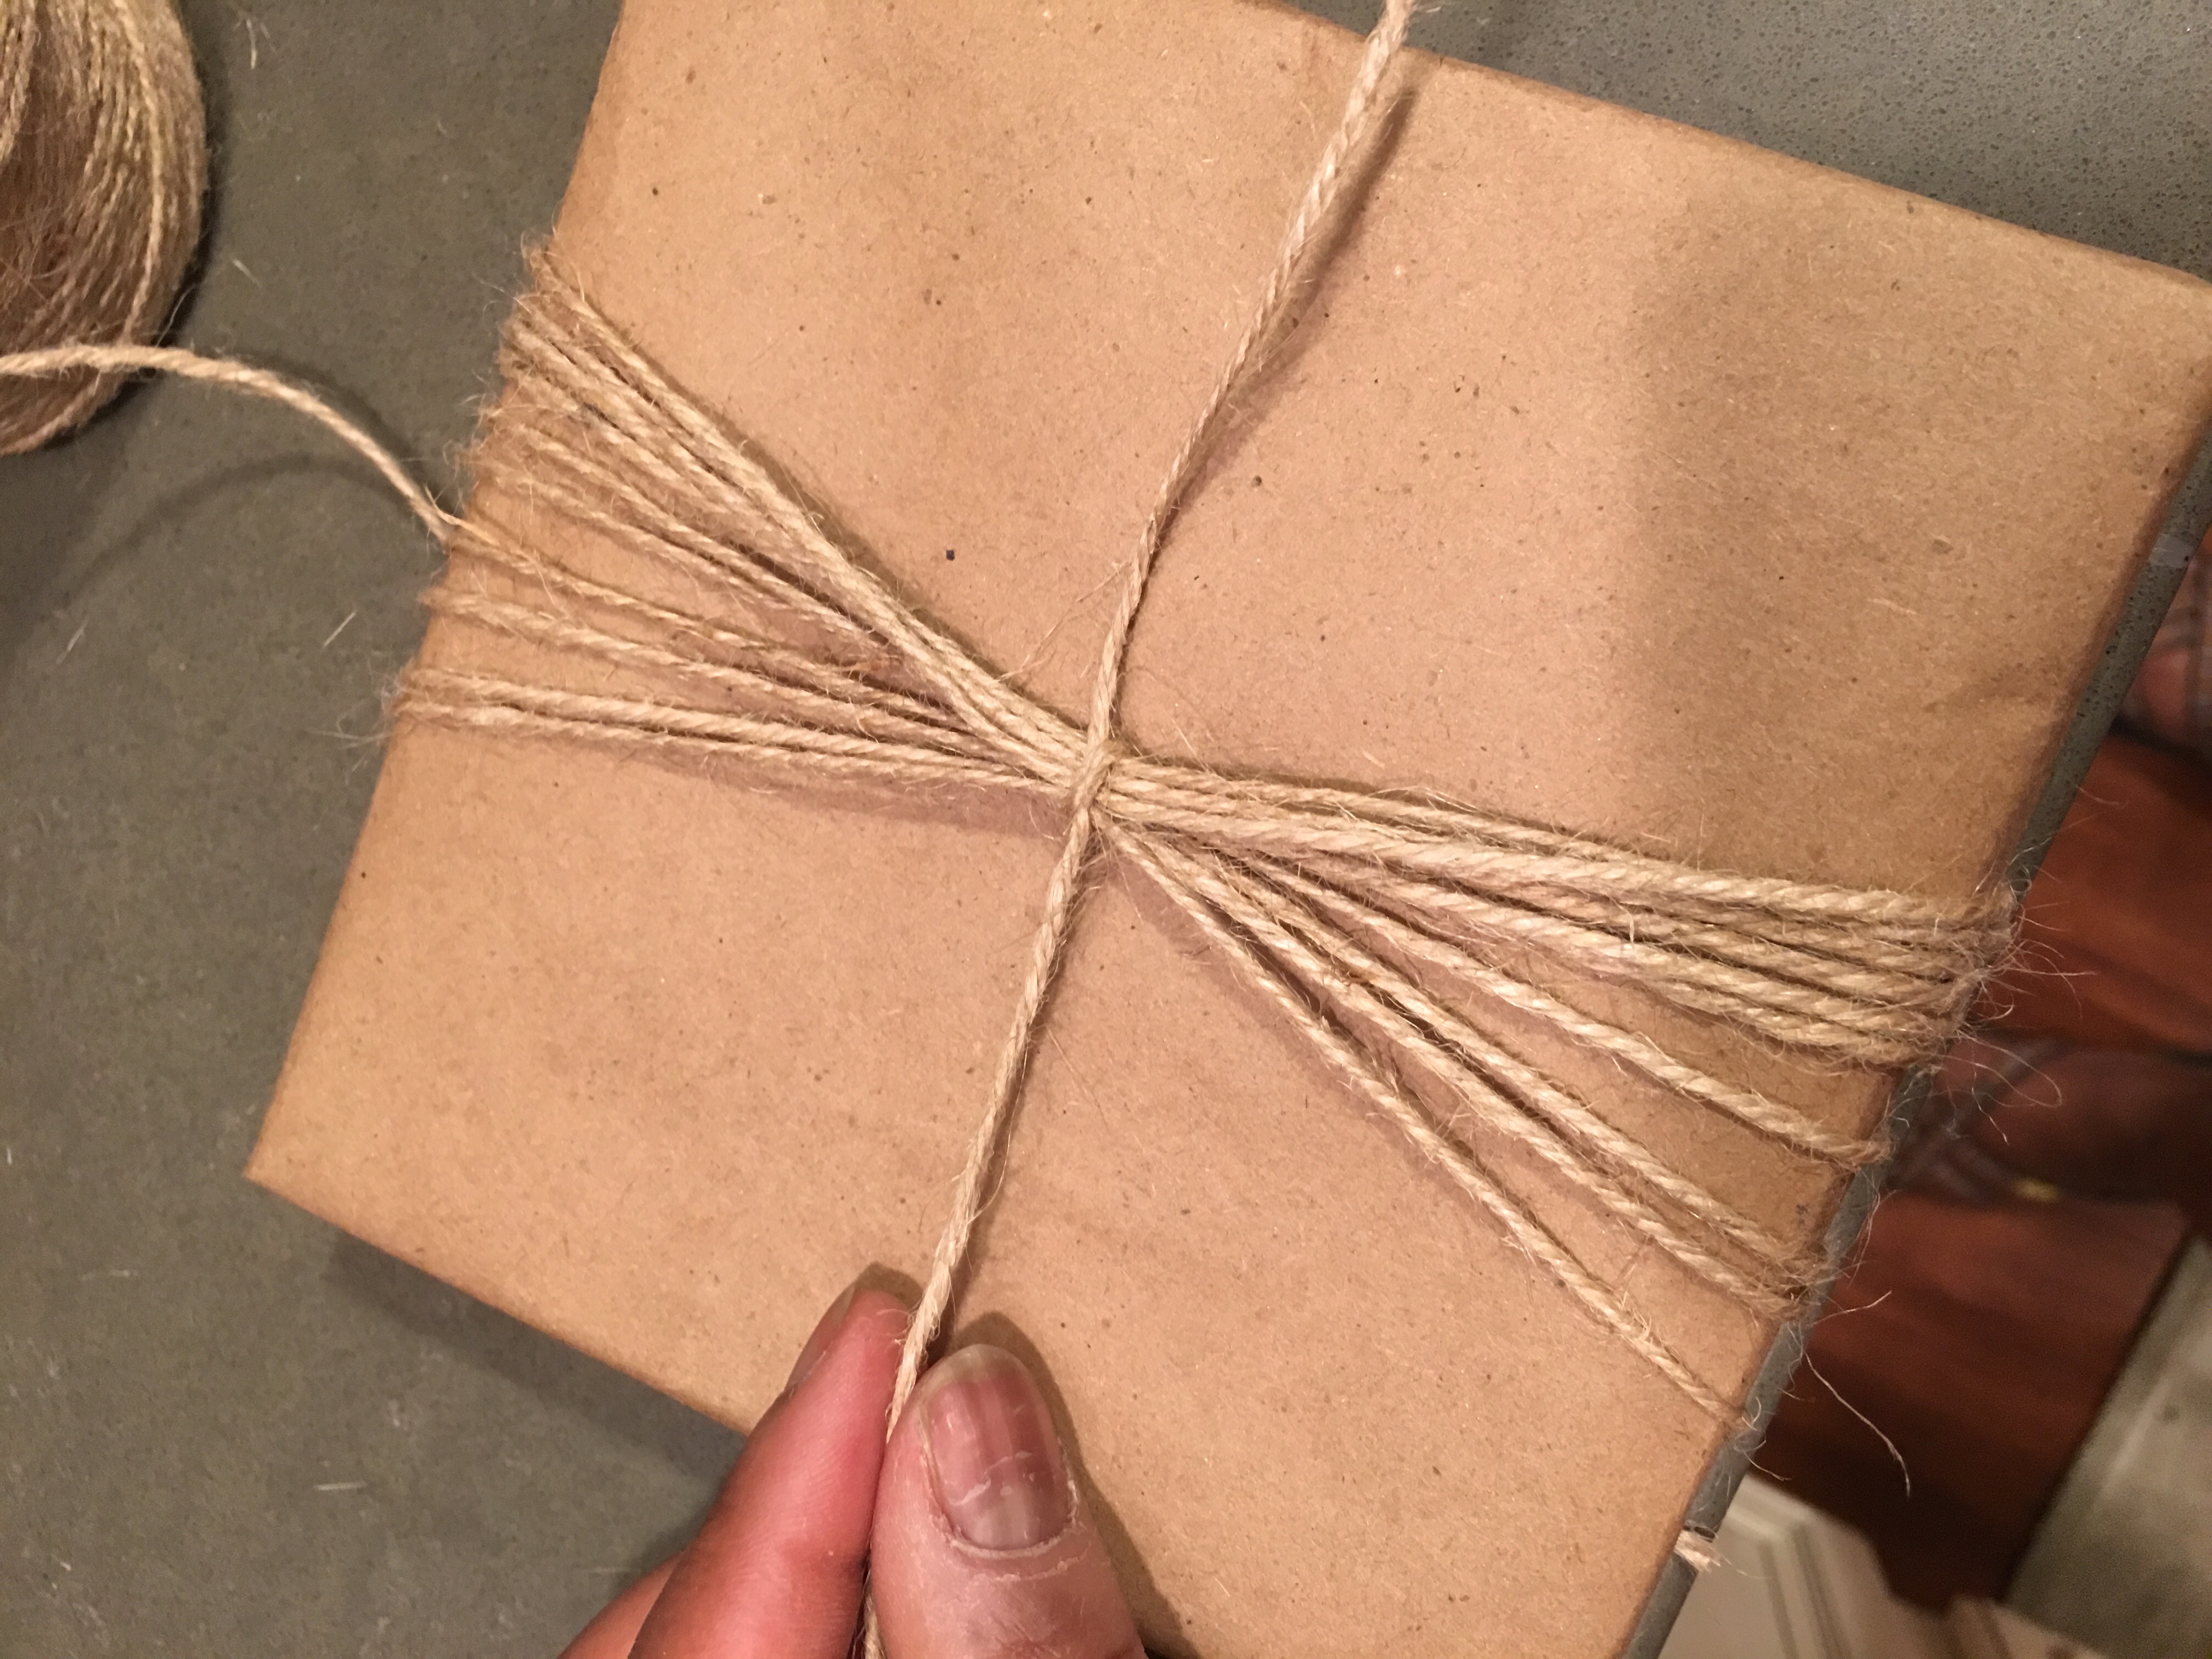
I flipped the box over to work with the top. After snipping off another small length of twine, I threaded it under the twine wrapping the box…
…and used it to gather and tie the twine sash on top of the wrapped box.
Next, I reached for my Hero Arts greetings clear stamp set. I needed a stamped phrase on my small black chalkboard key tag. And I needed something small enough to fit.
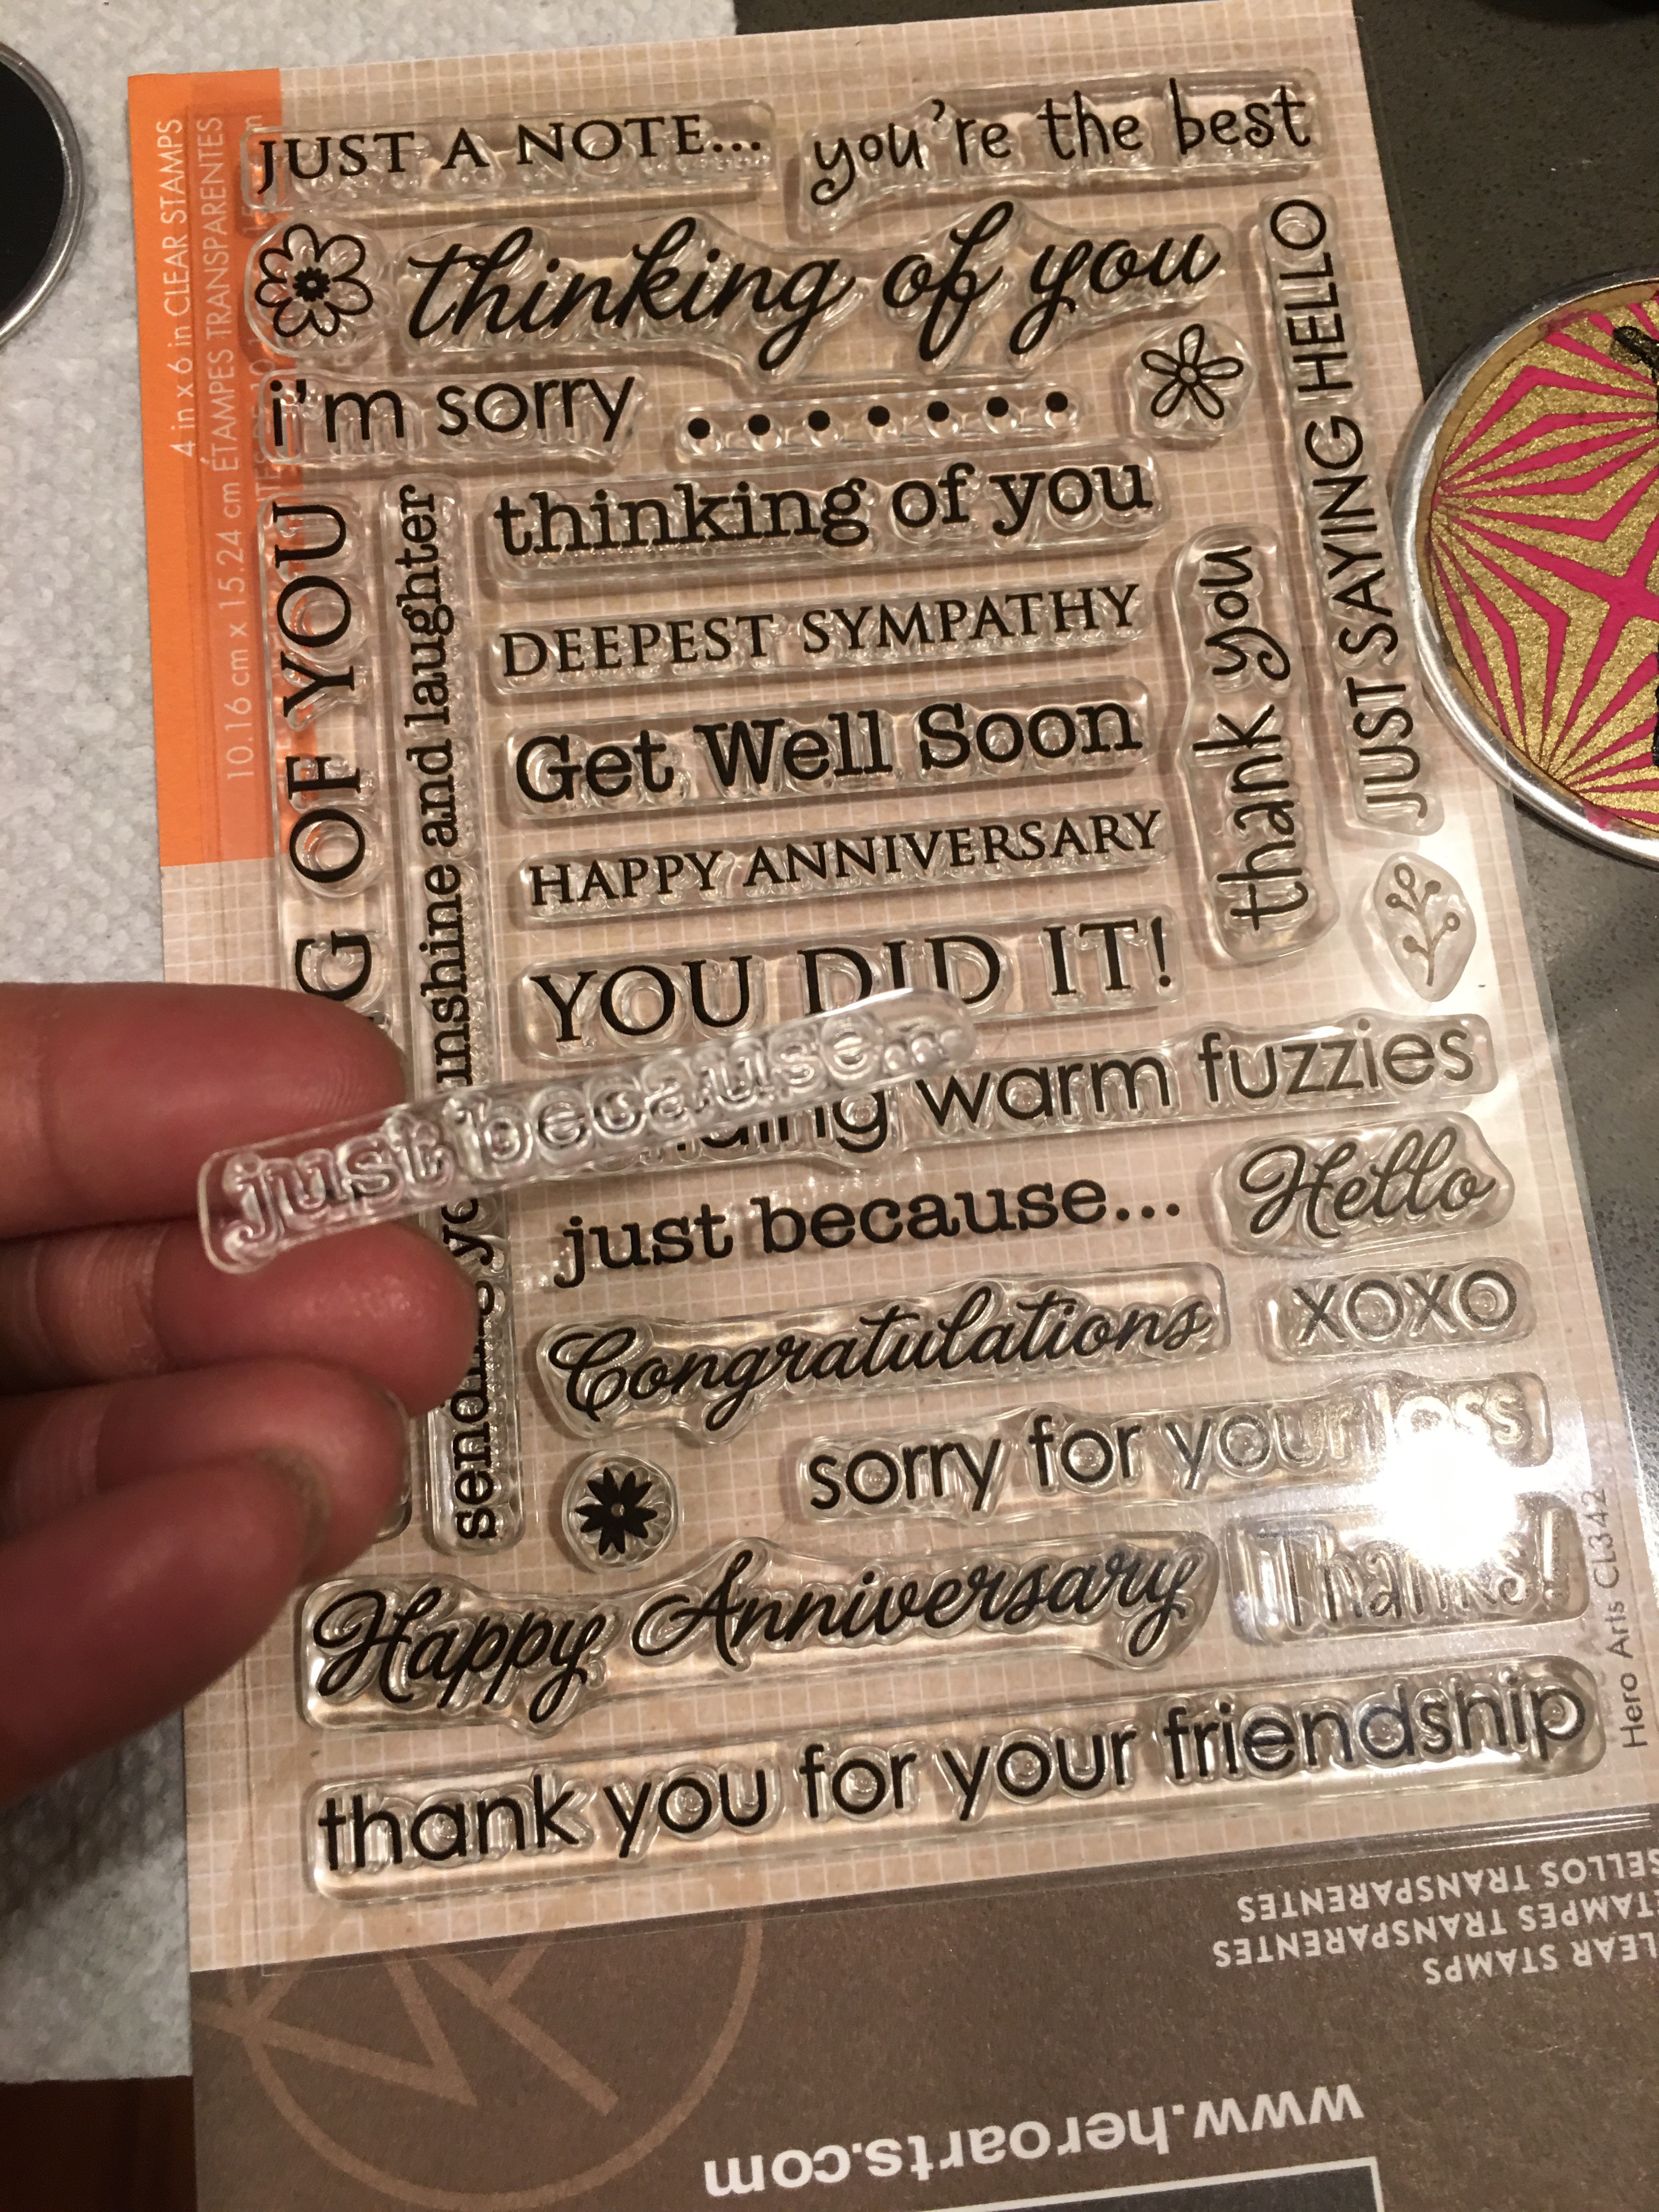
I chose the “Just Because” phrase…because it suited the theme of this project perfectly. 🙂
Plus it was small enough to fit on the tag.
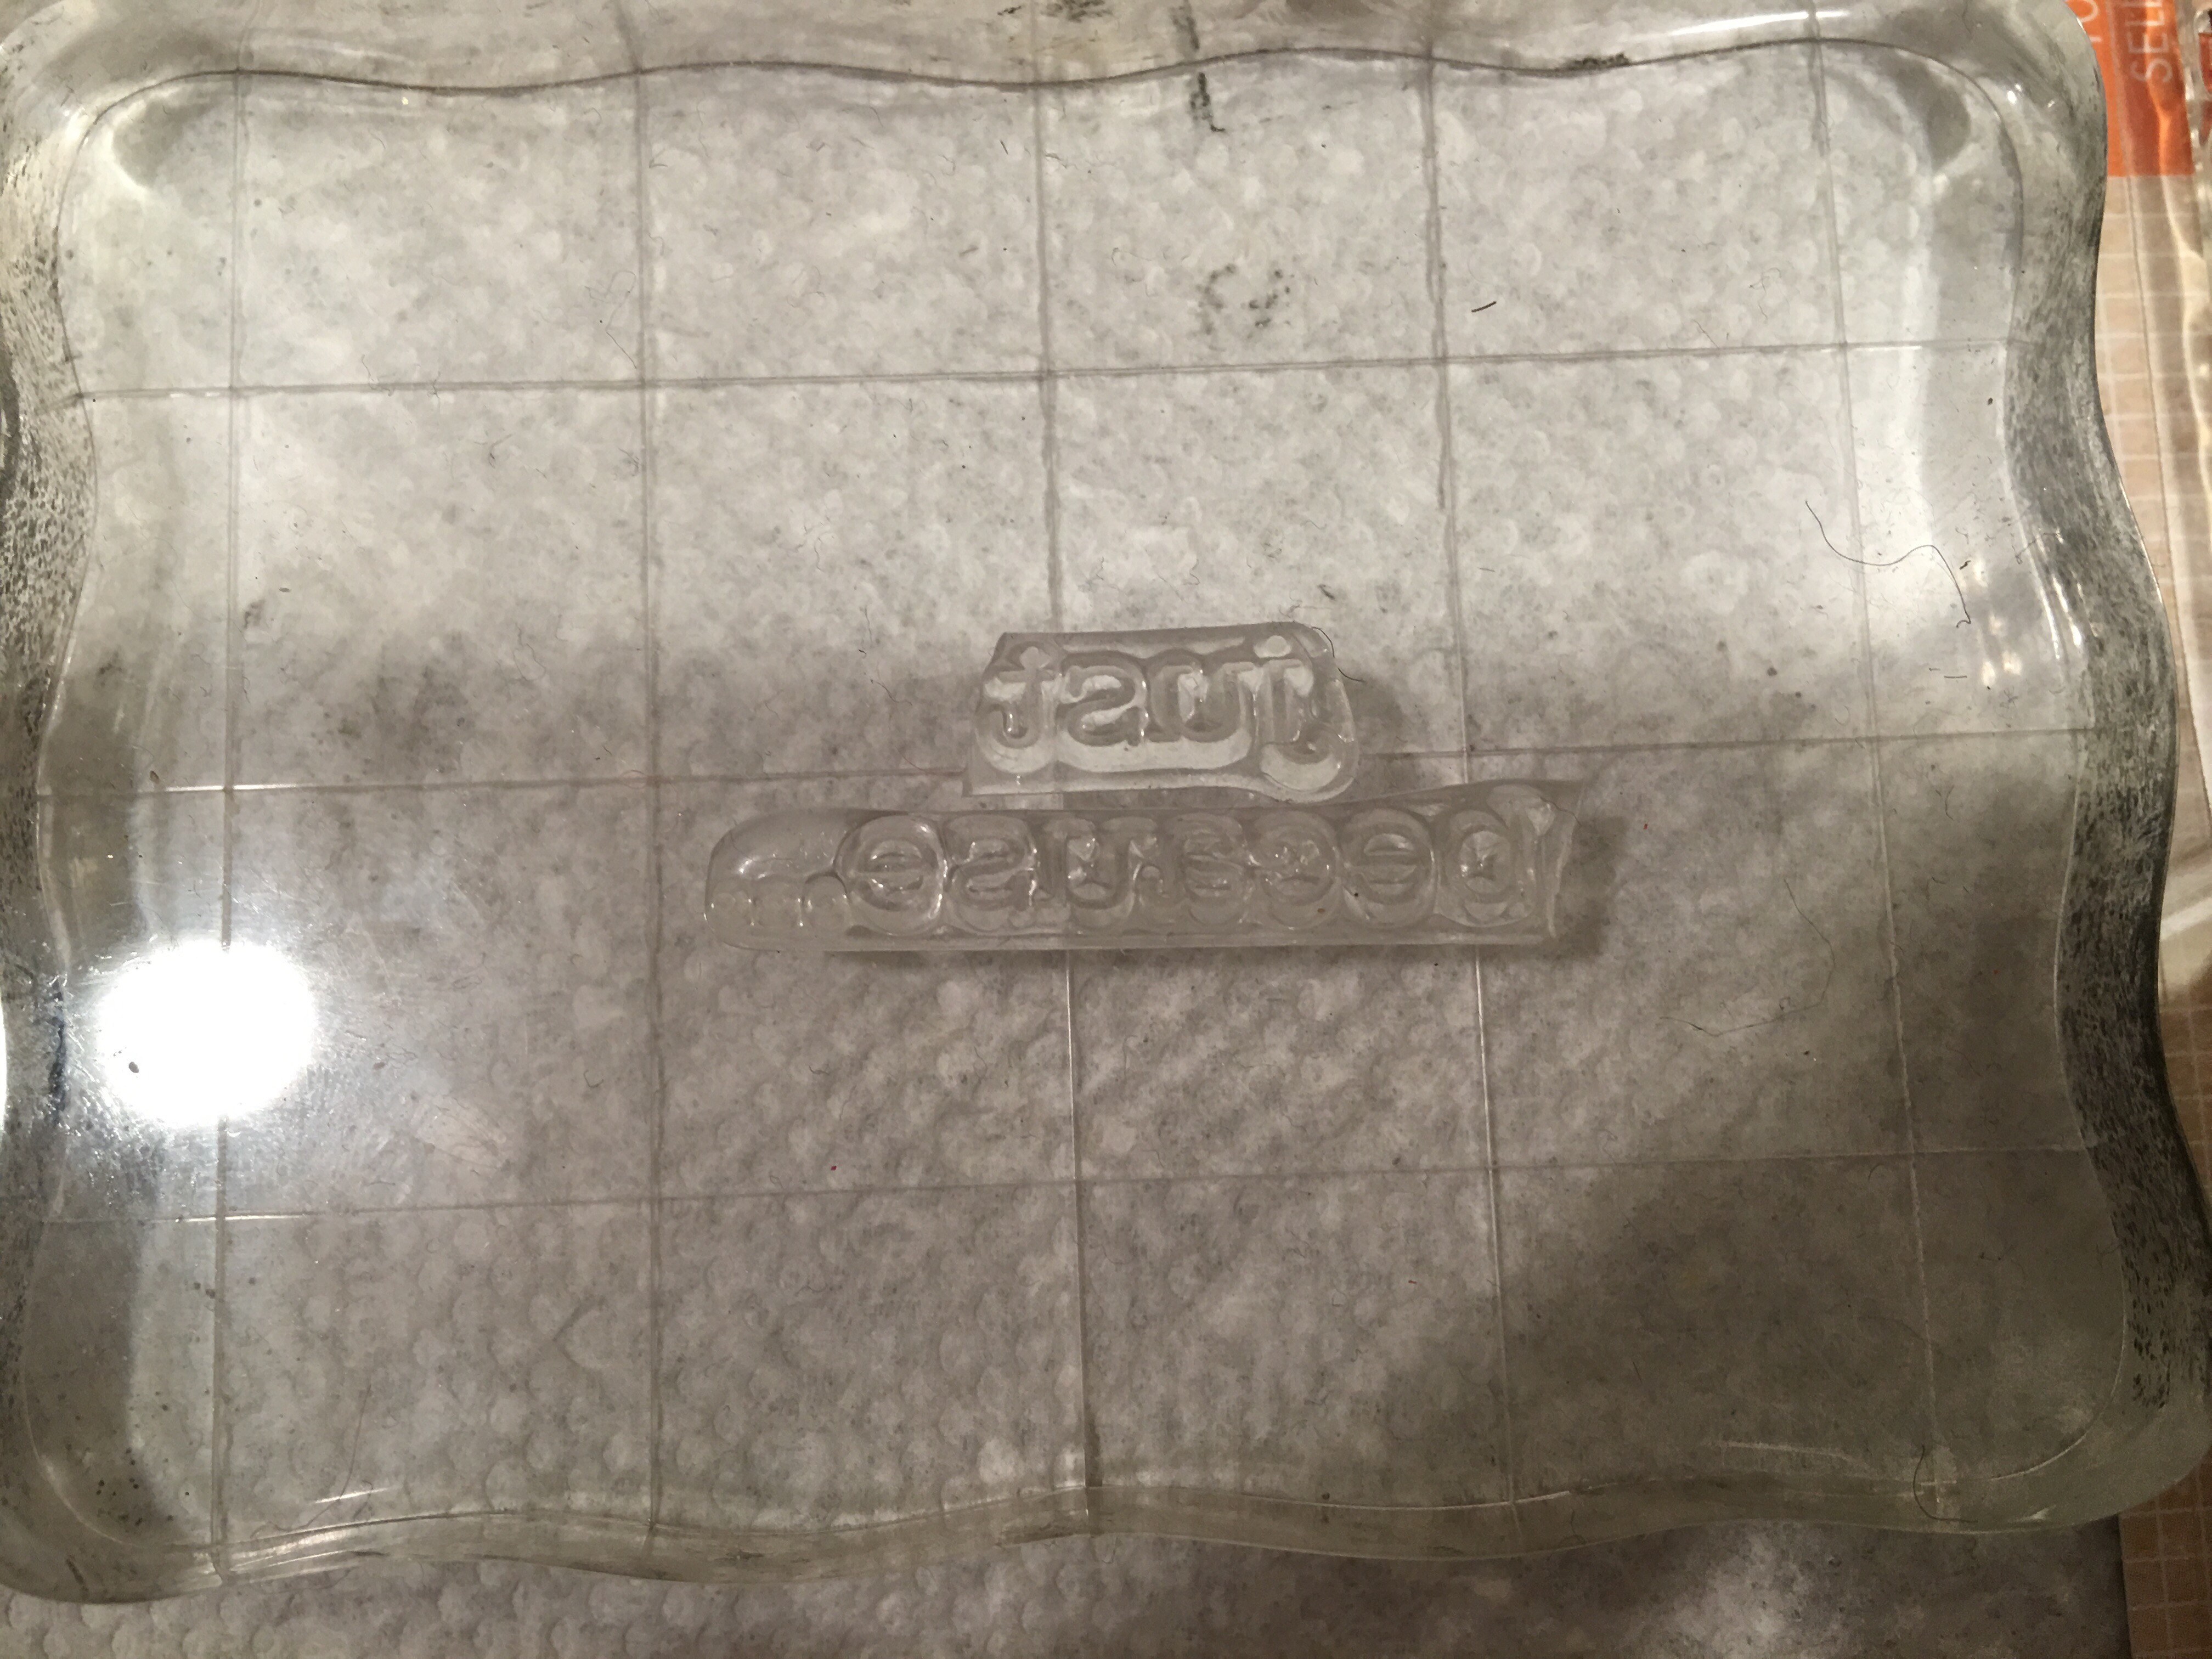
What’s great about these clear stamps is that to can cut them with scissors in case you need to change your layout. So I cut the words “just because” apart so that I can position them one on top of the other.
I then placed the stamps to my acrylic stamping block. No adhering substance needed…they naturally cling to the block.
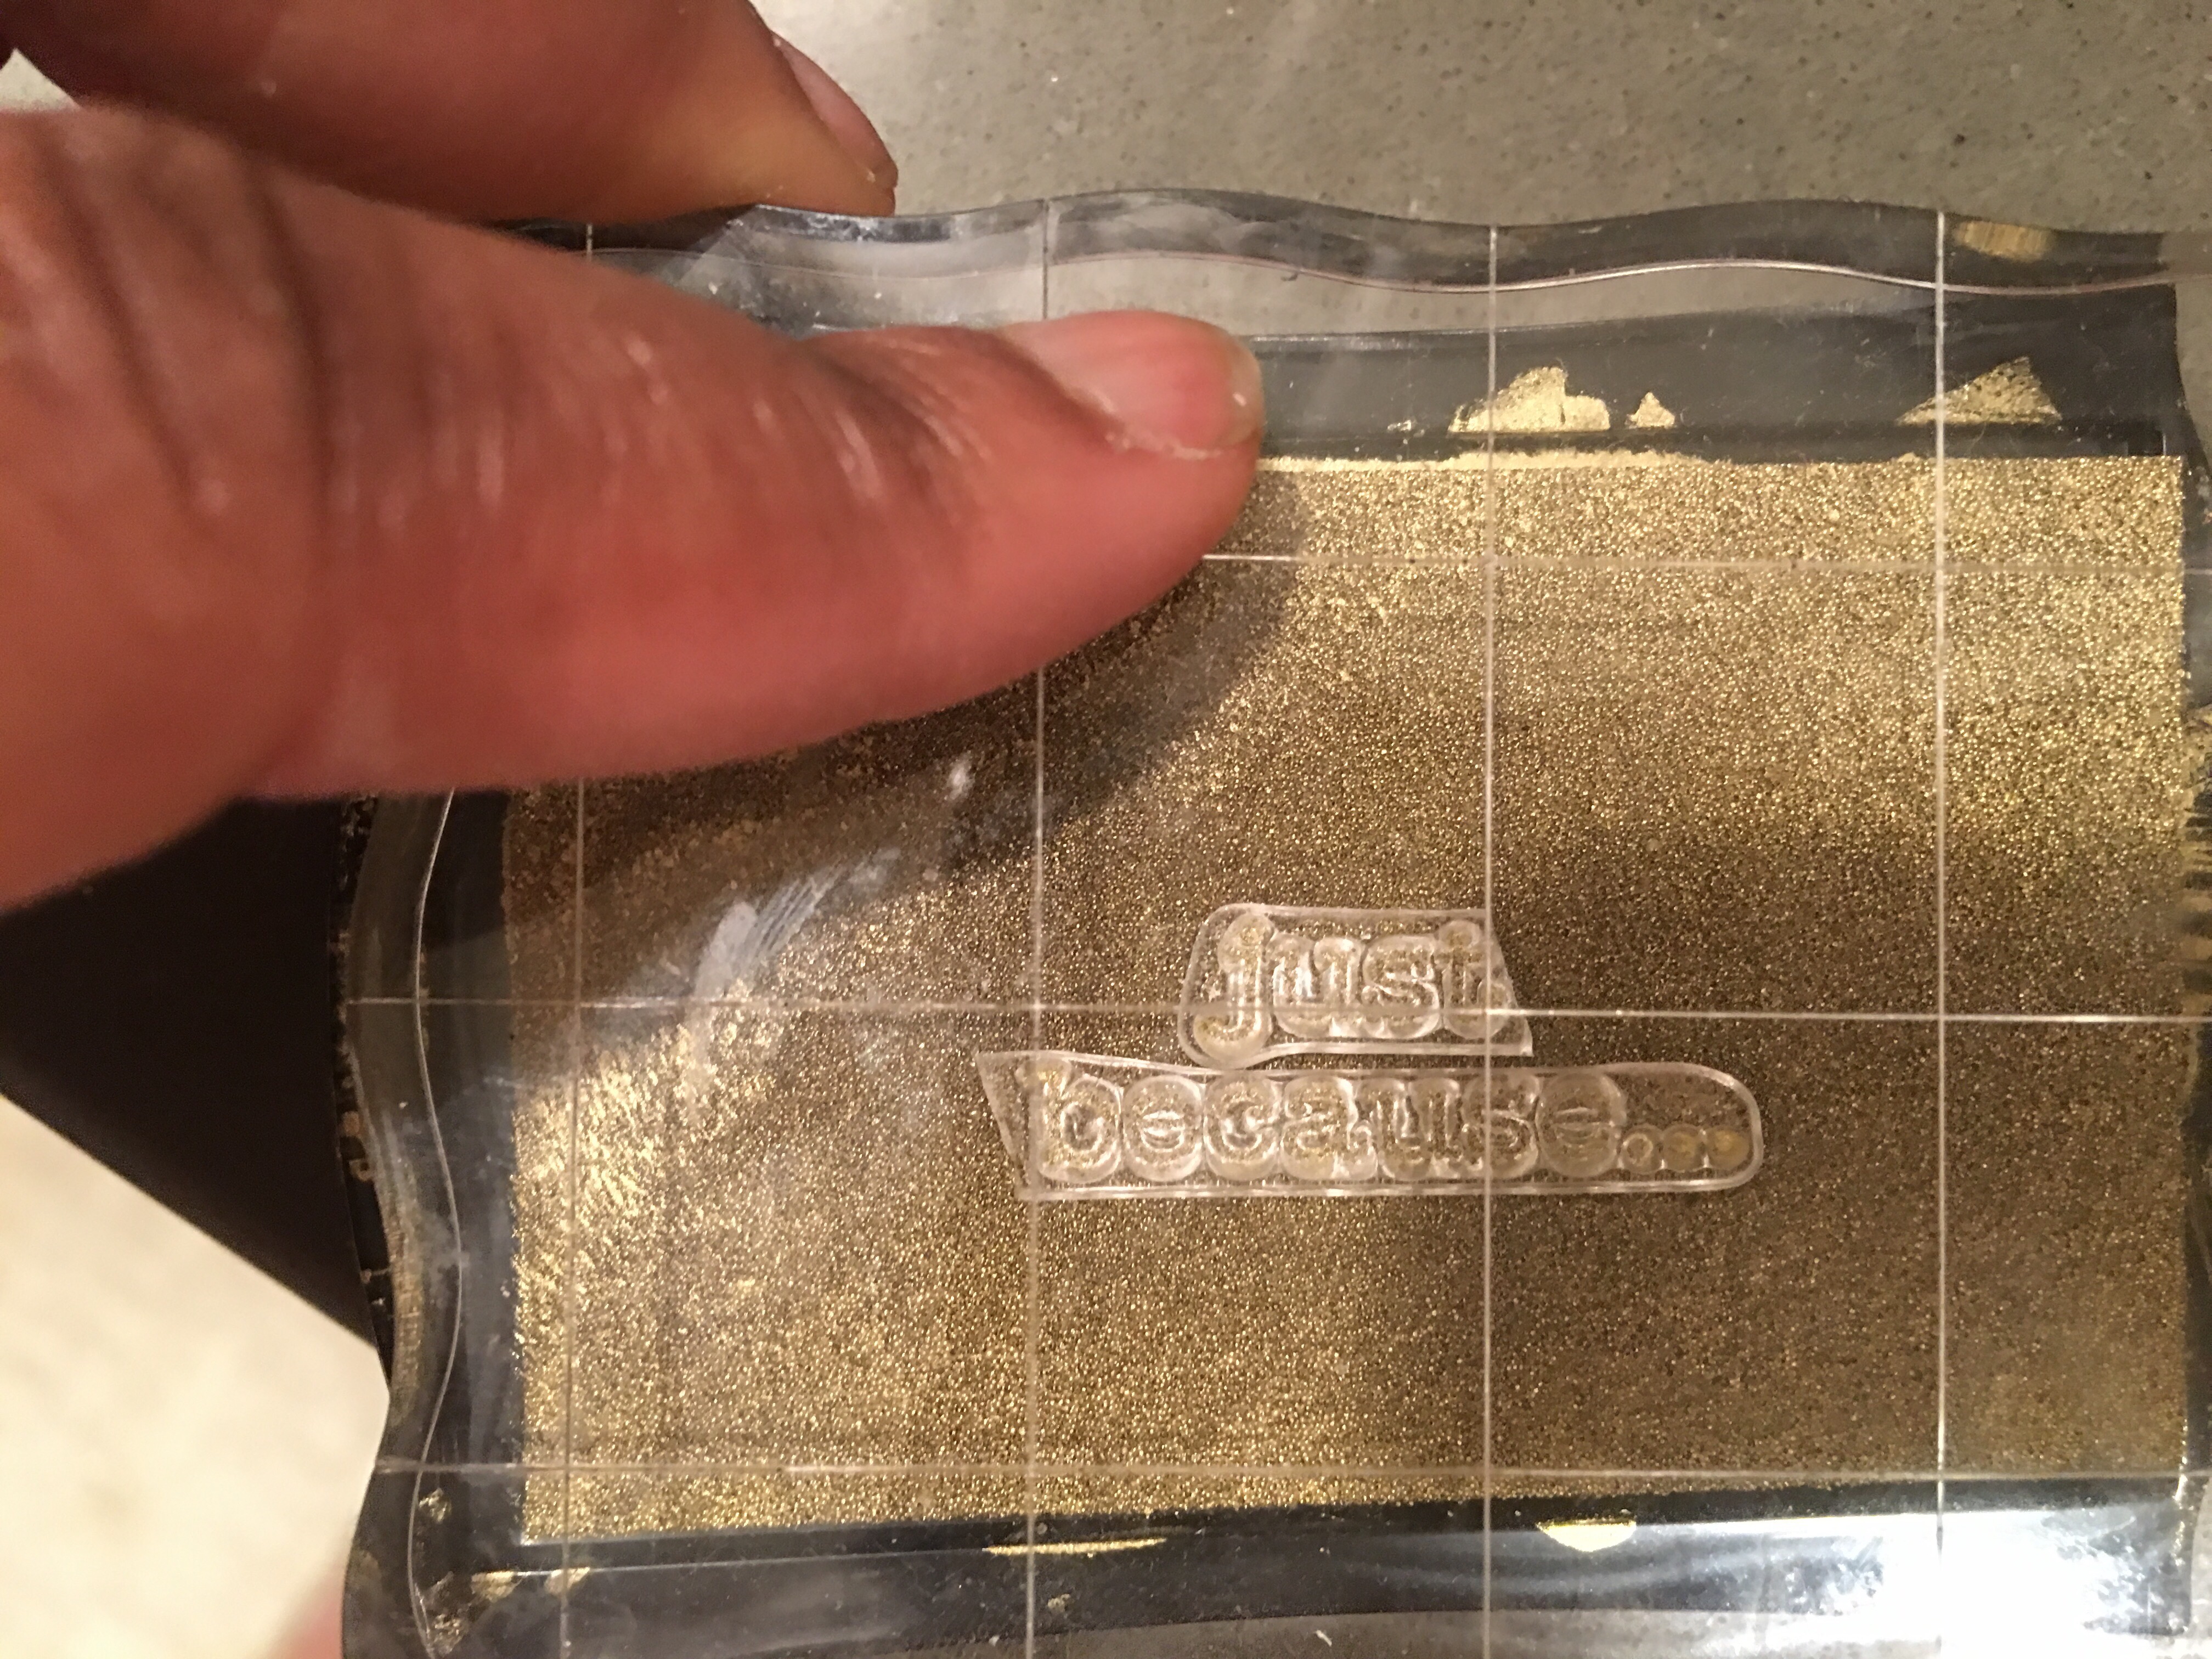
I used my gold ink stamp pad to add ink to the stamp.
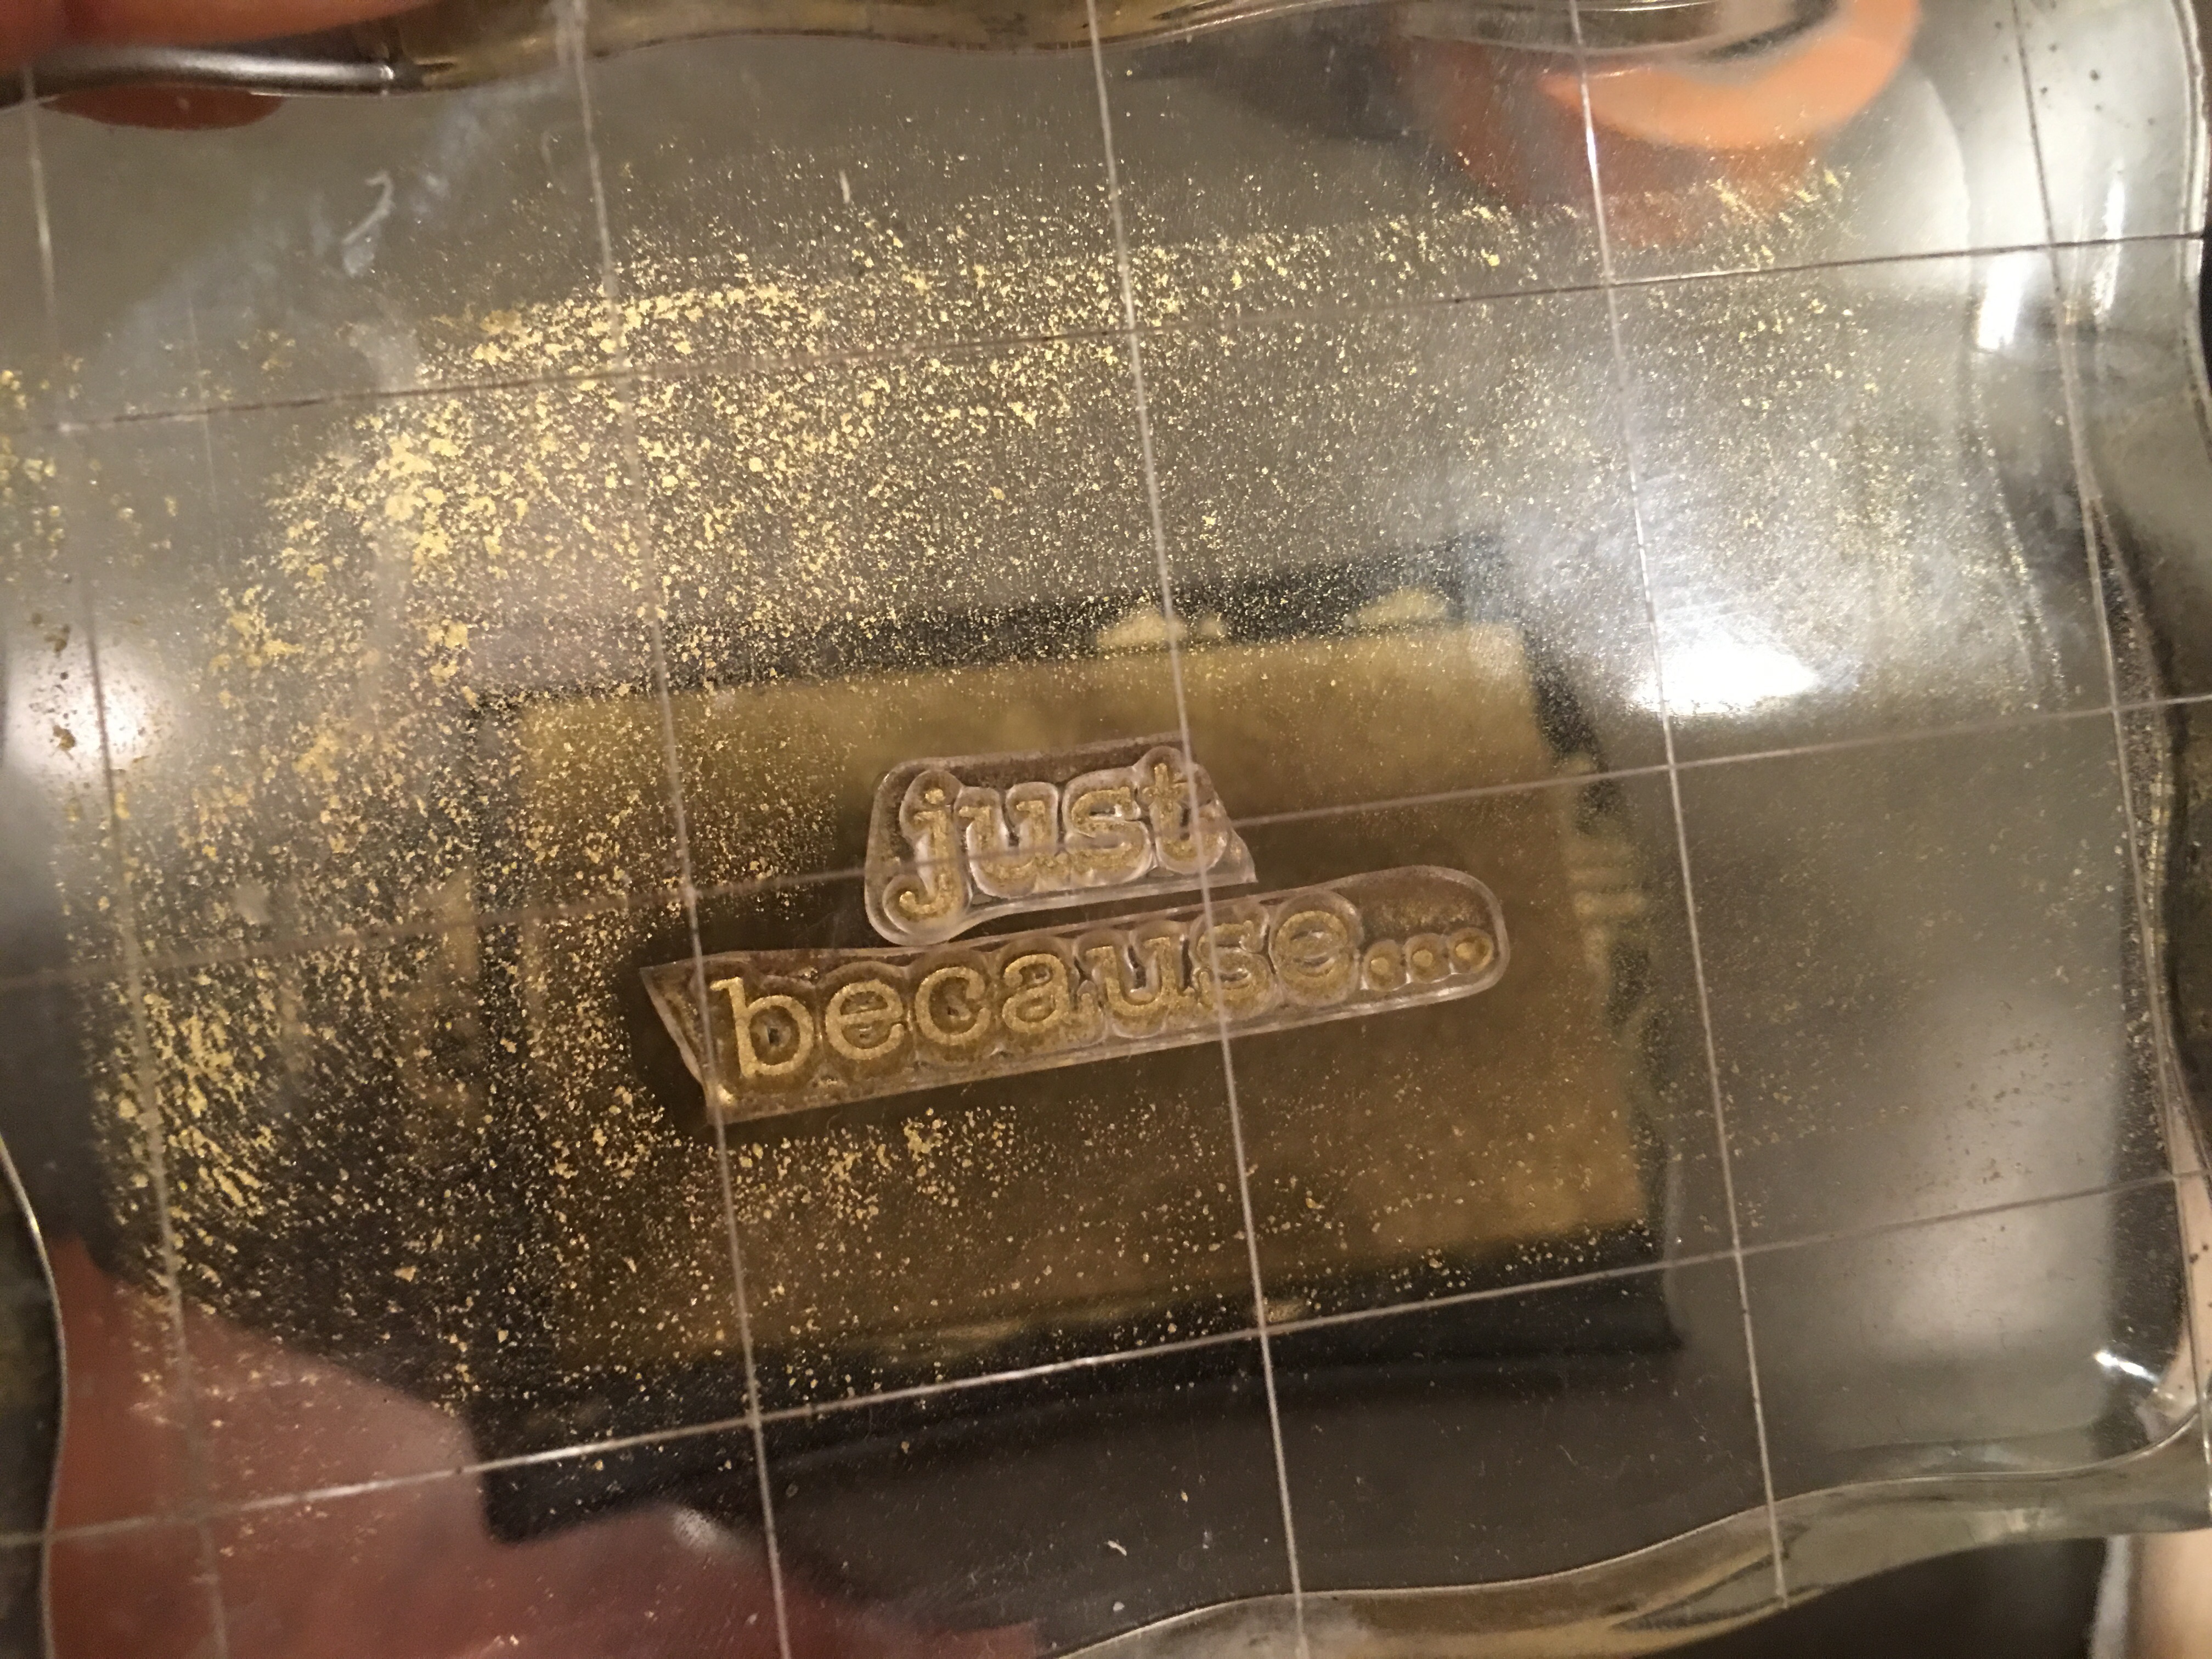
Once I was satisfied with the amount of ink applied to the stamp…
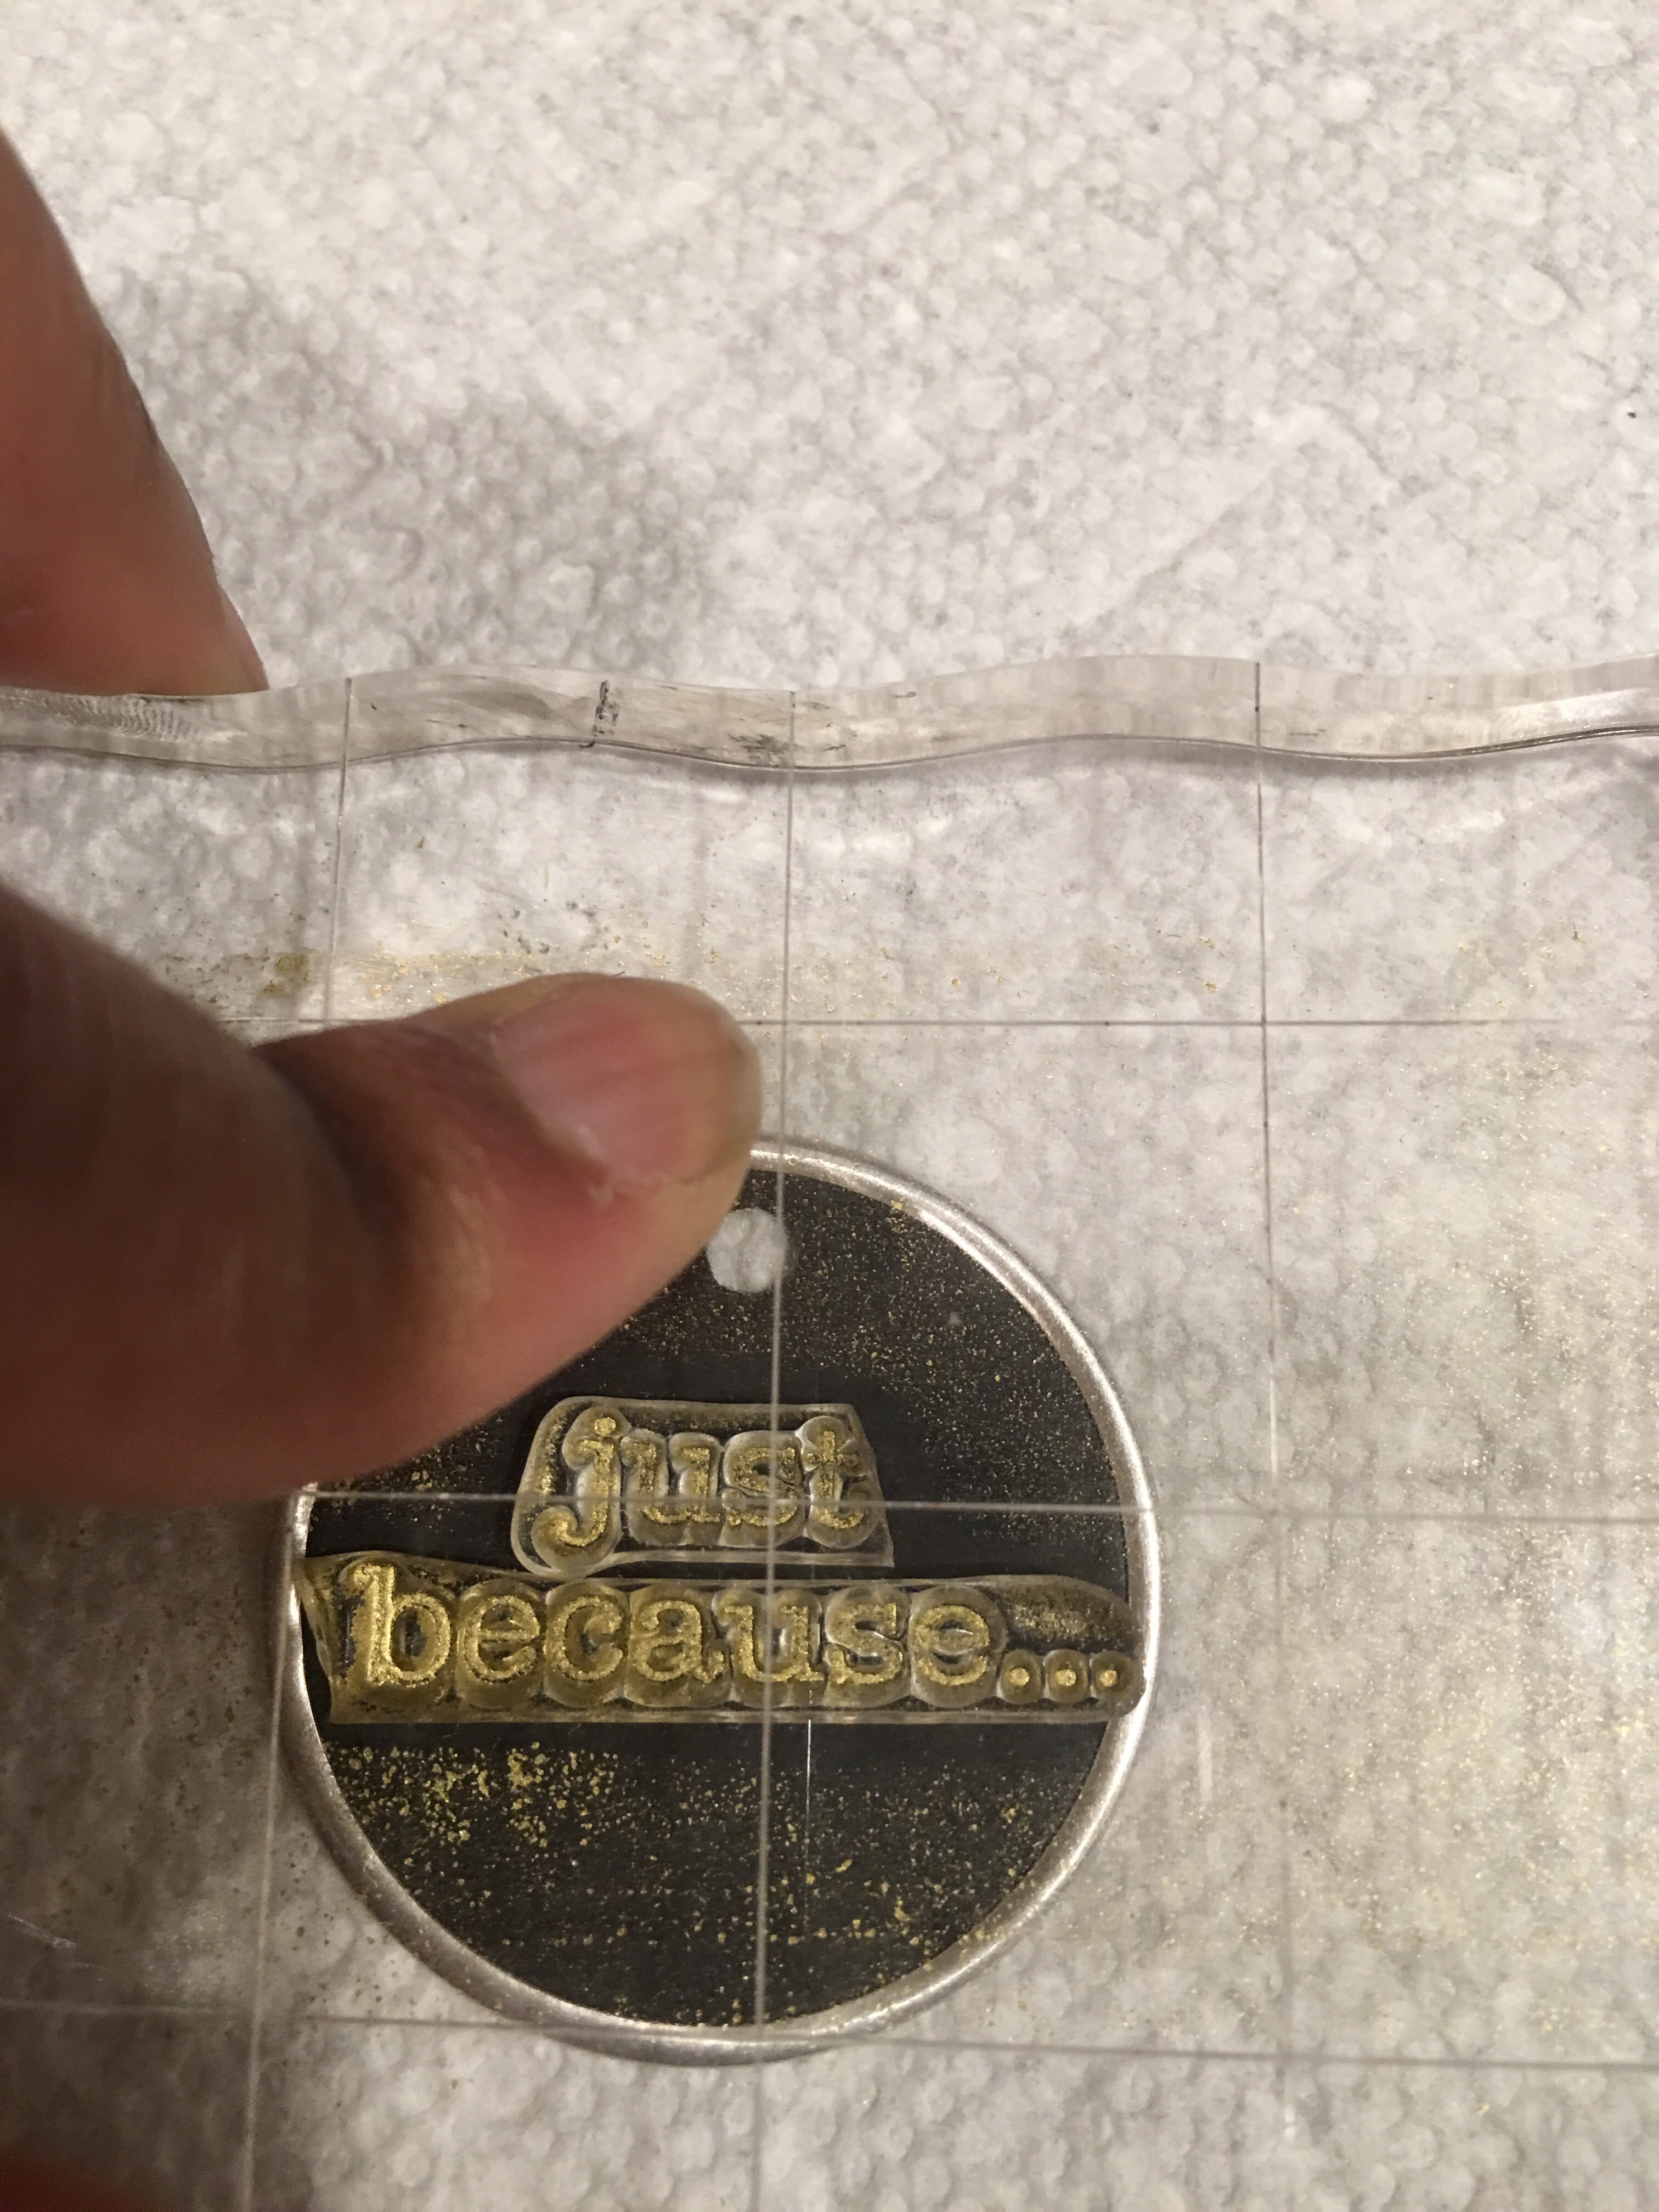
I firmly pressed the stamp to the black chalkboard key tag.
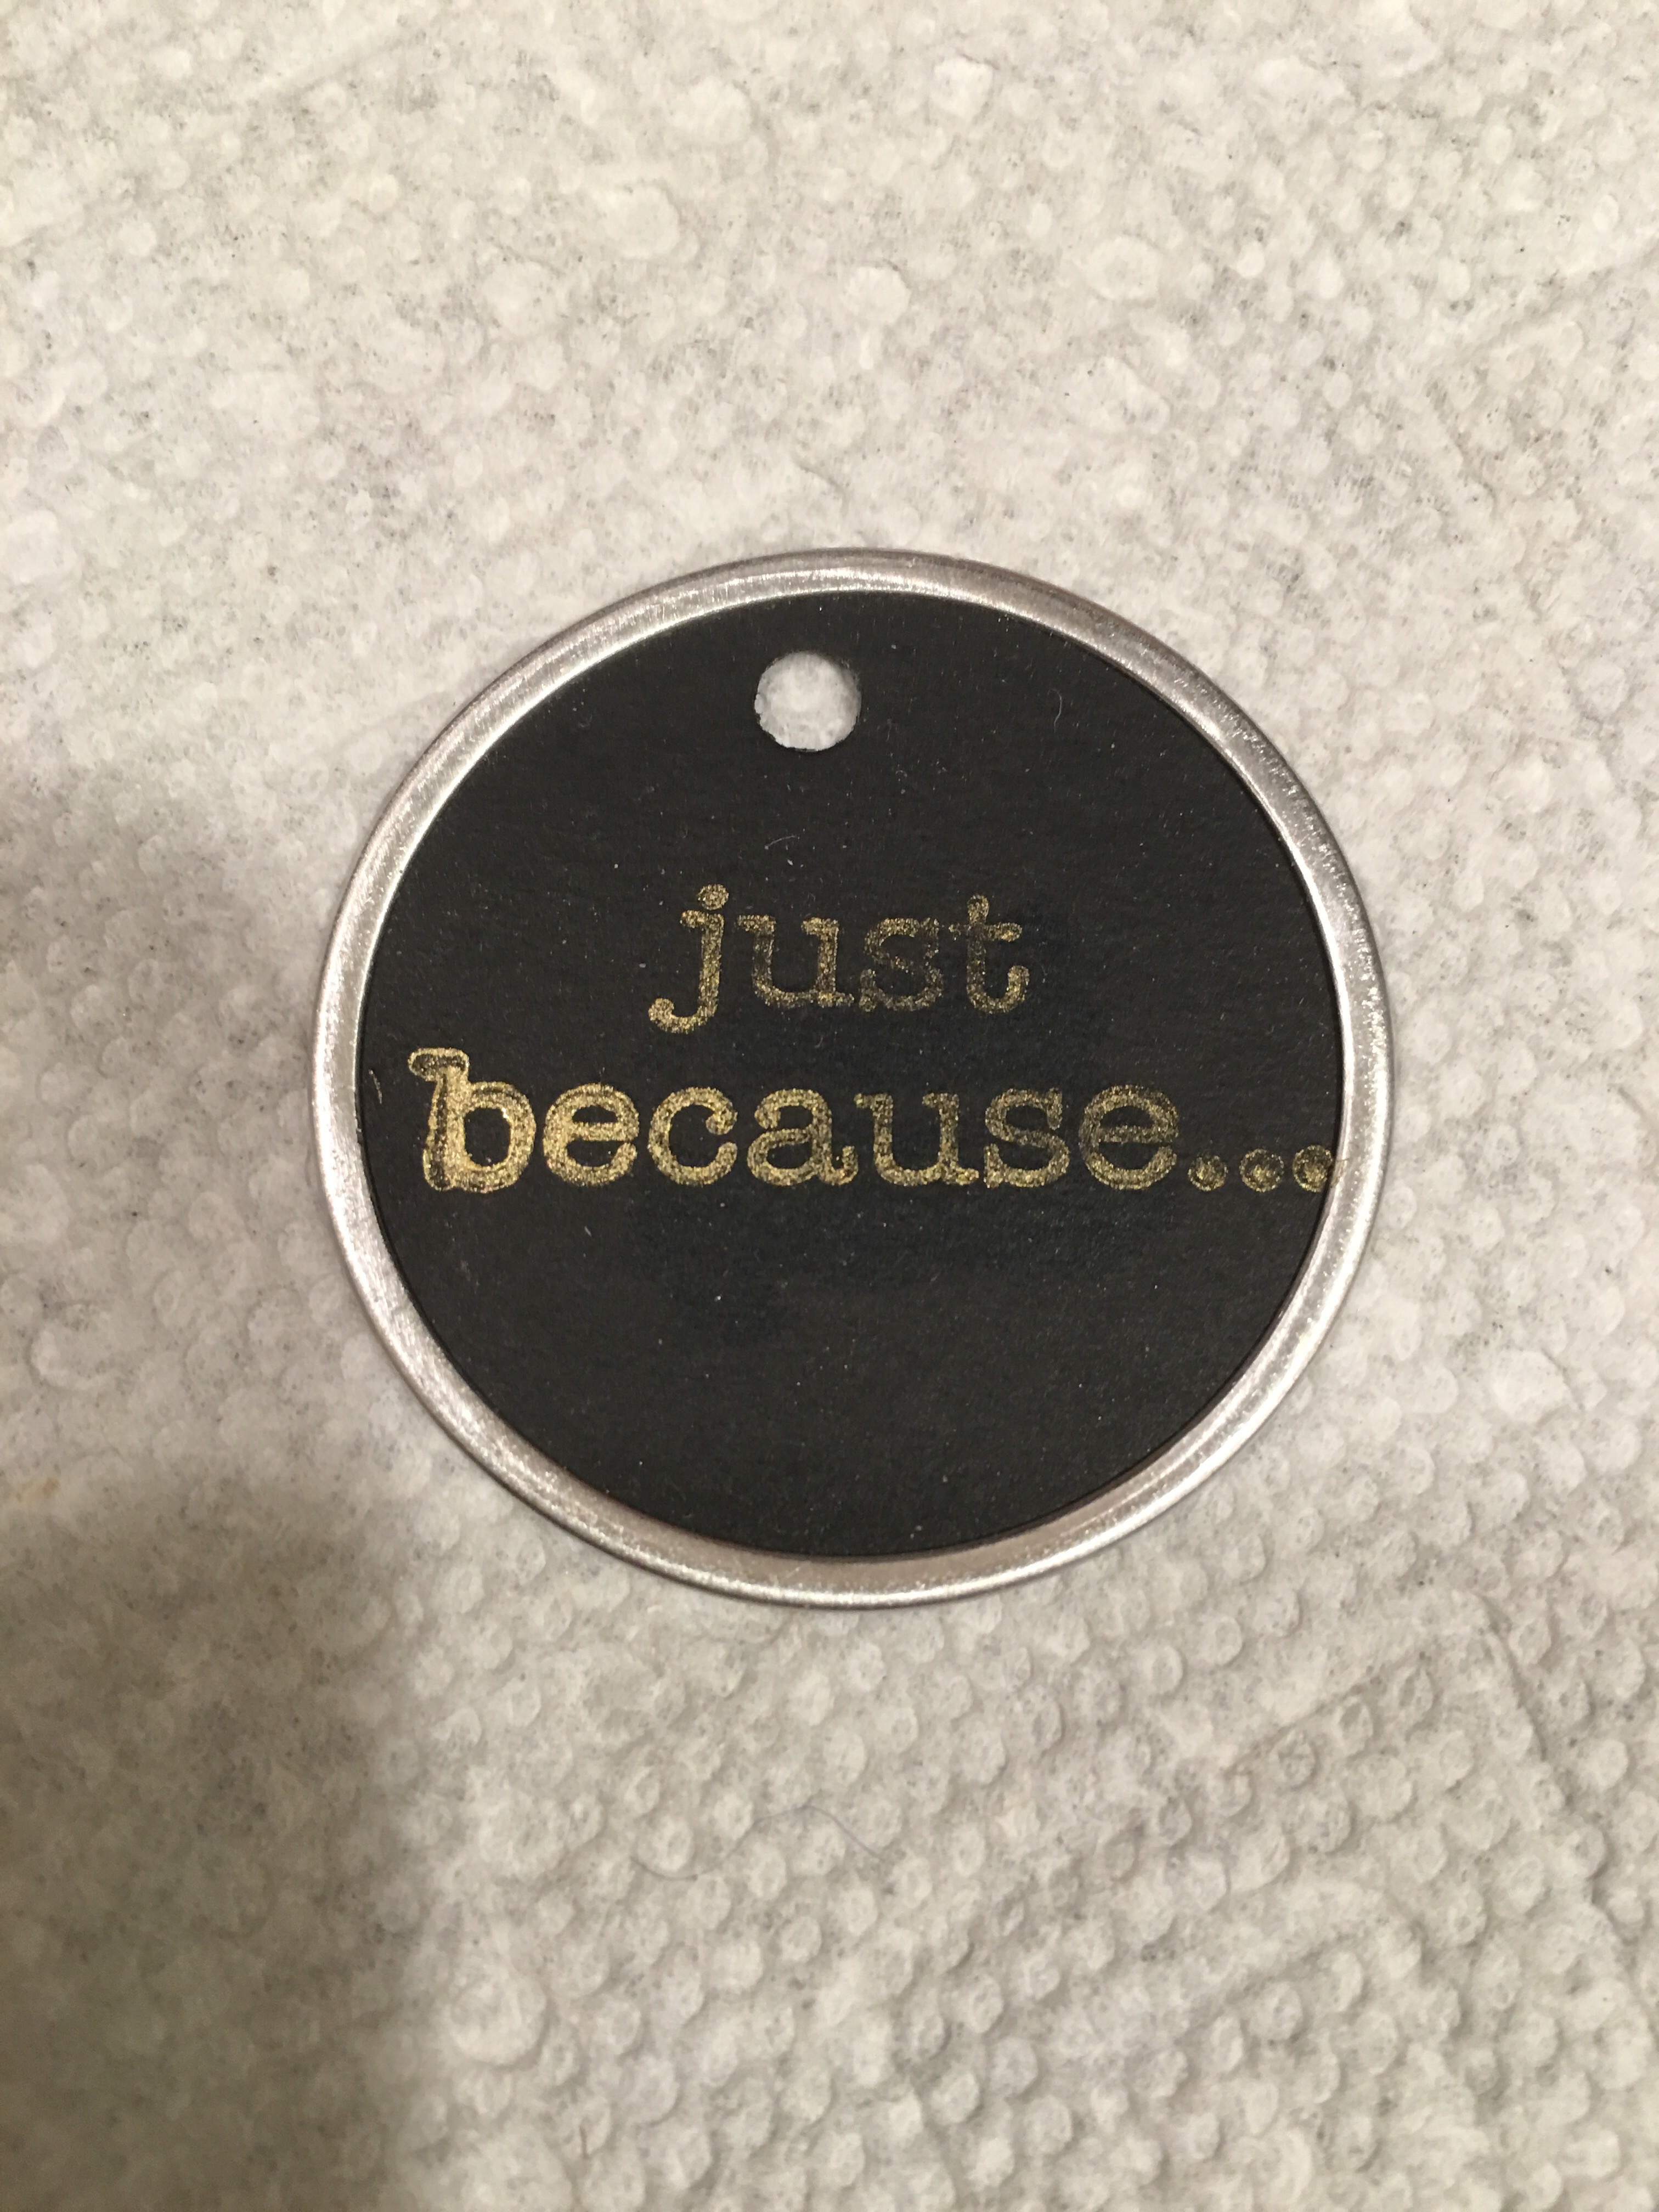
Done. Now I have a pretty, key tag greeting to tie to the box.
I looped one end of the twine through the key tag hole…
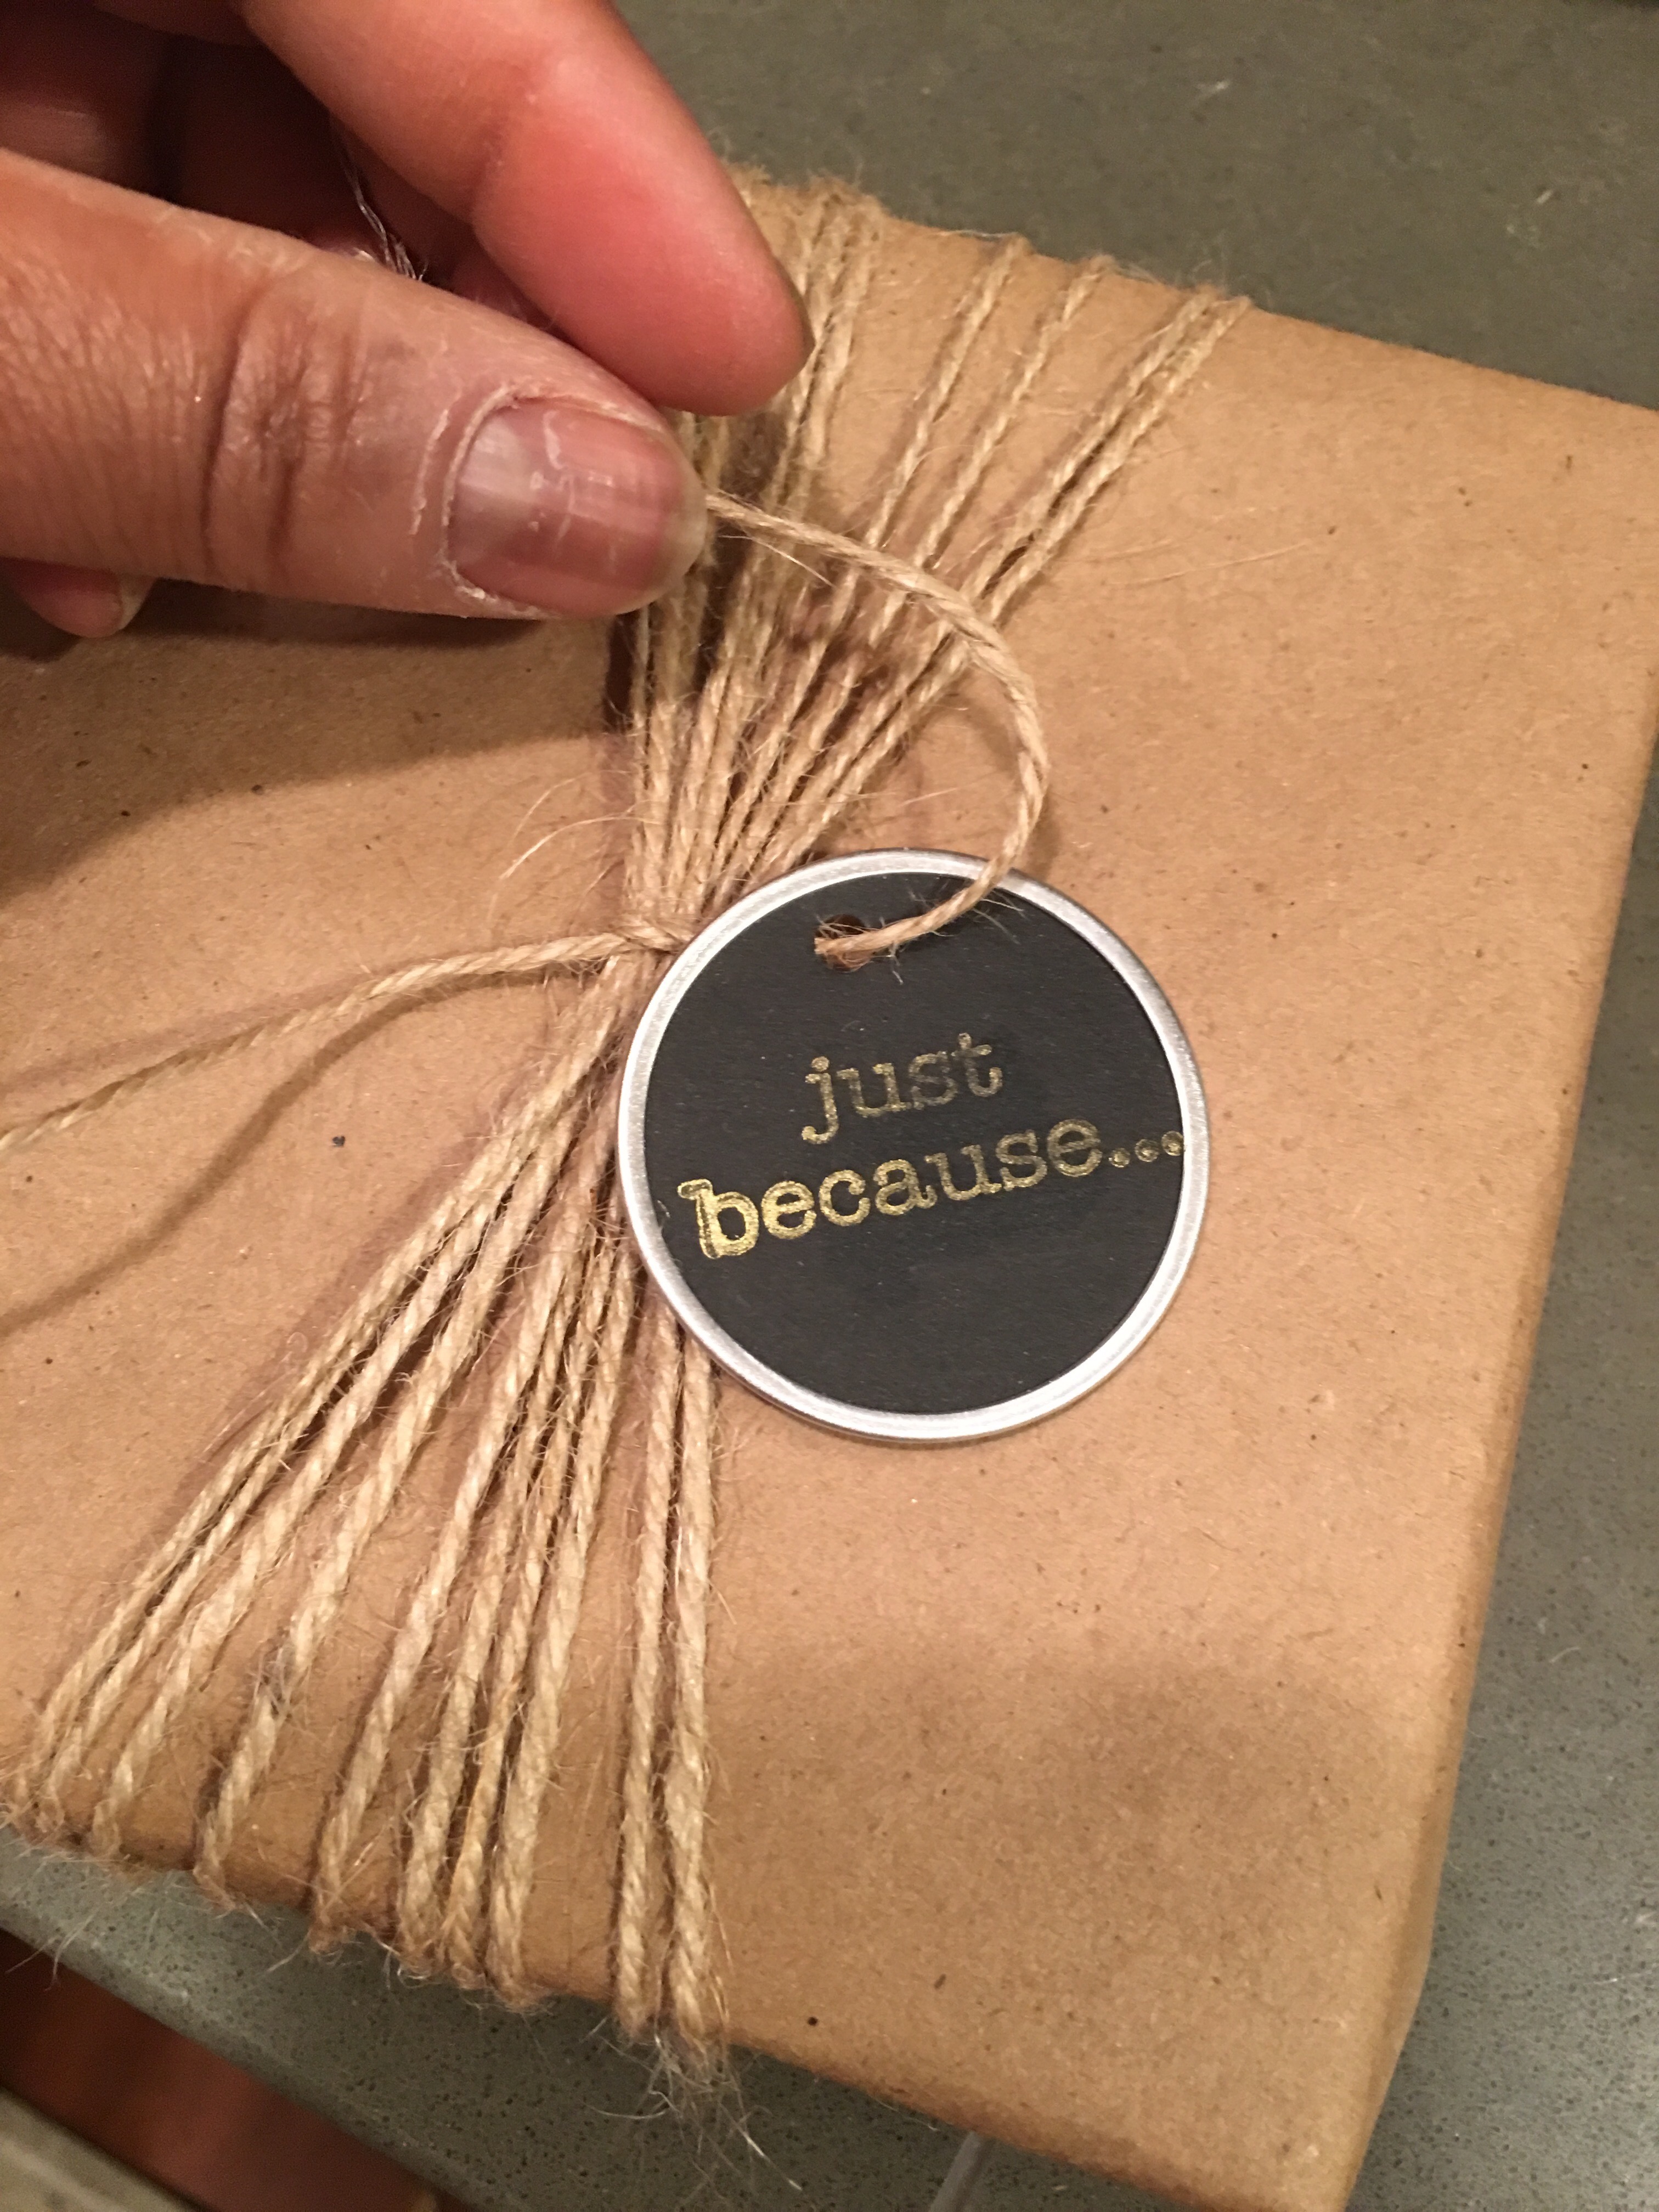
…and tied the key tag in place.
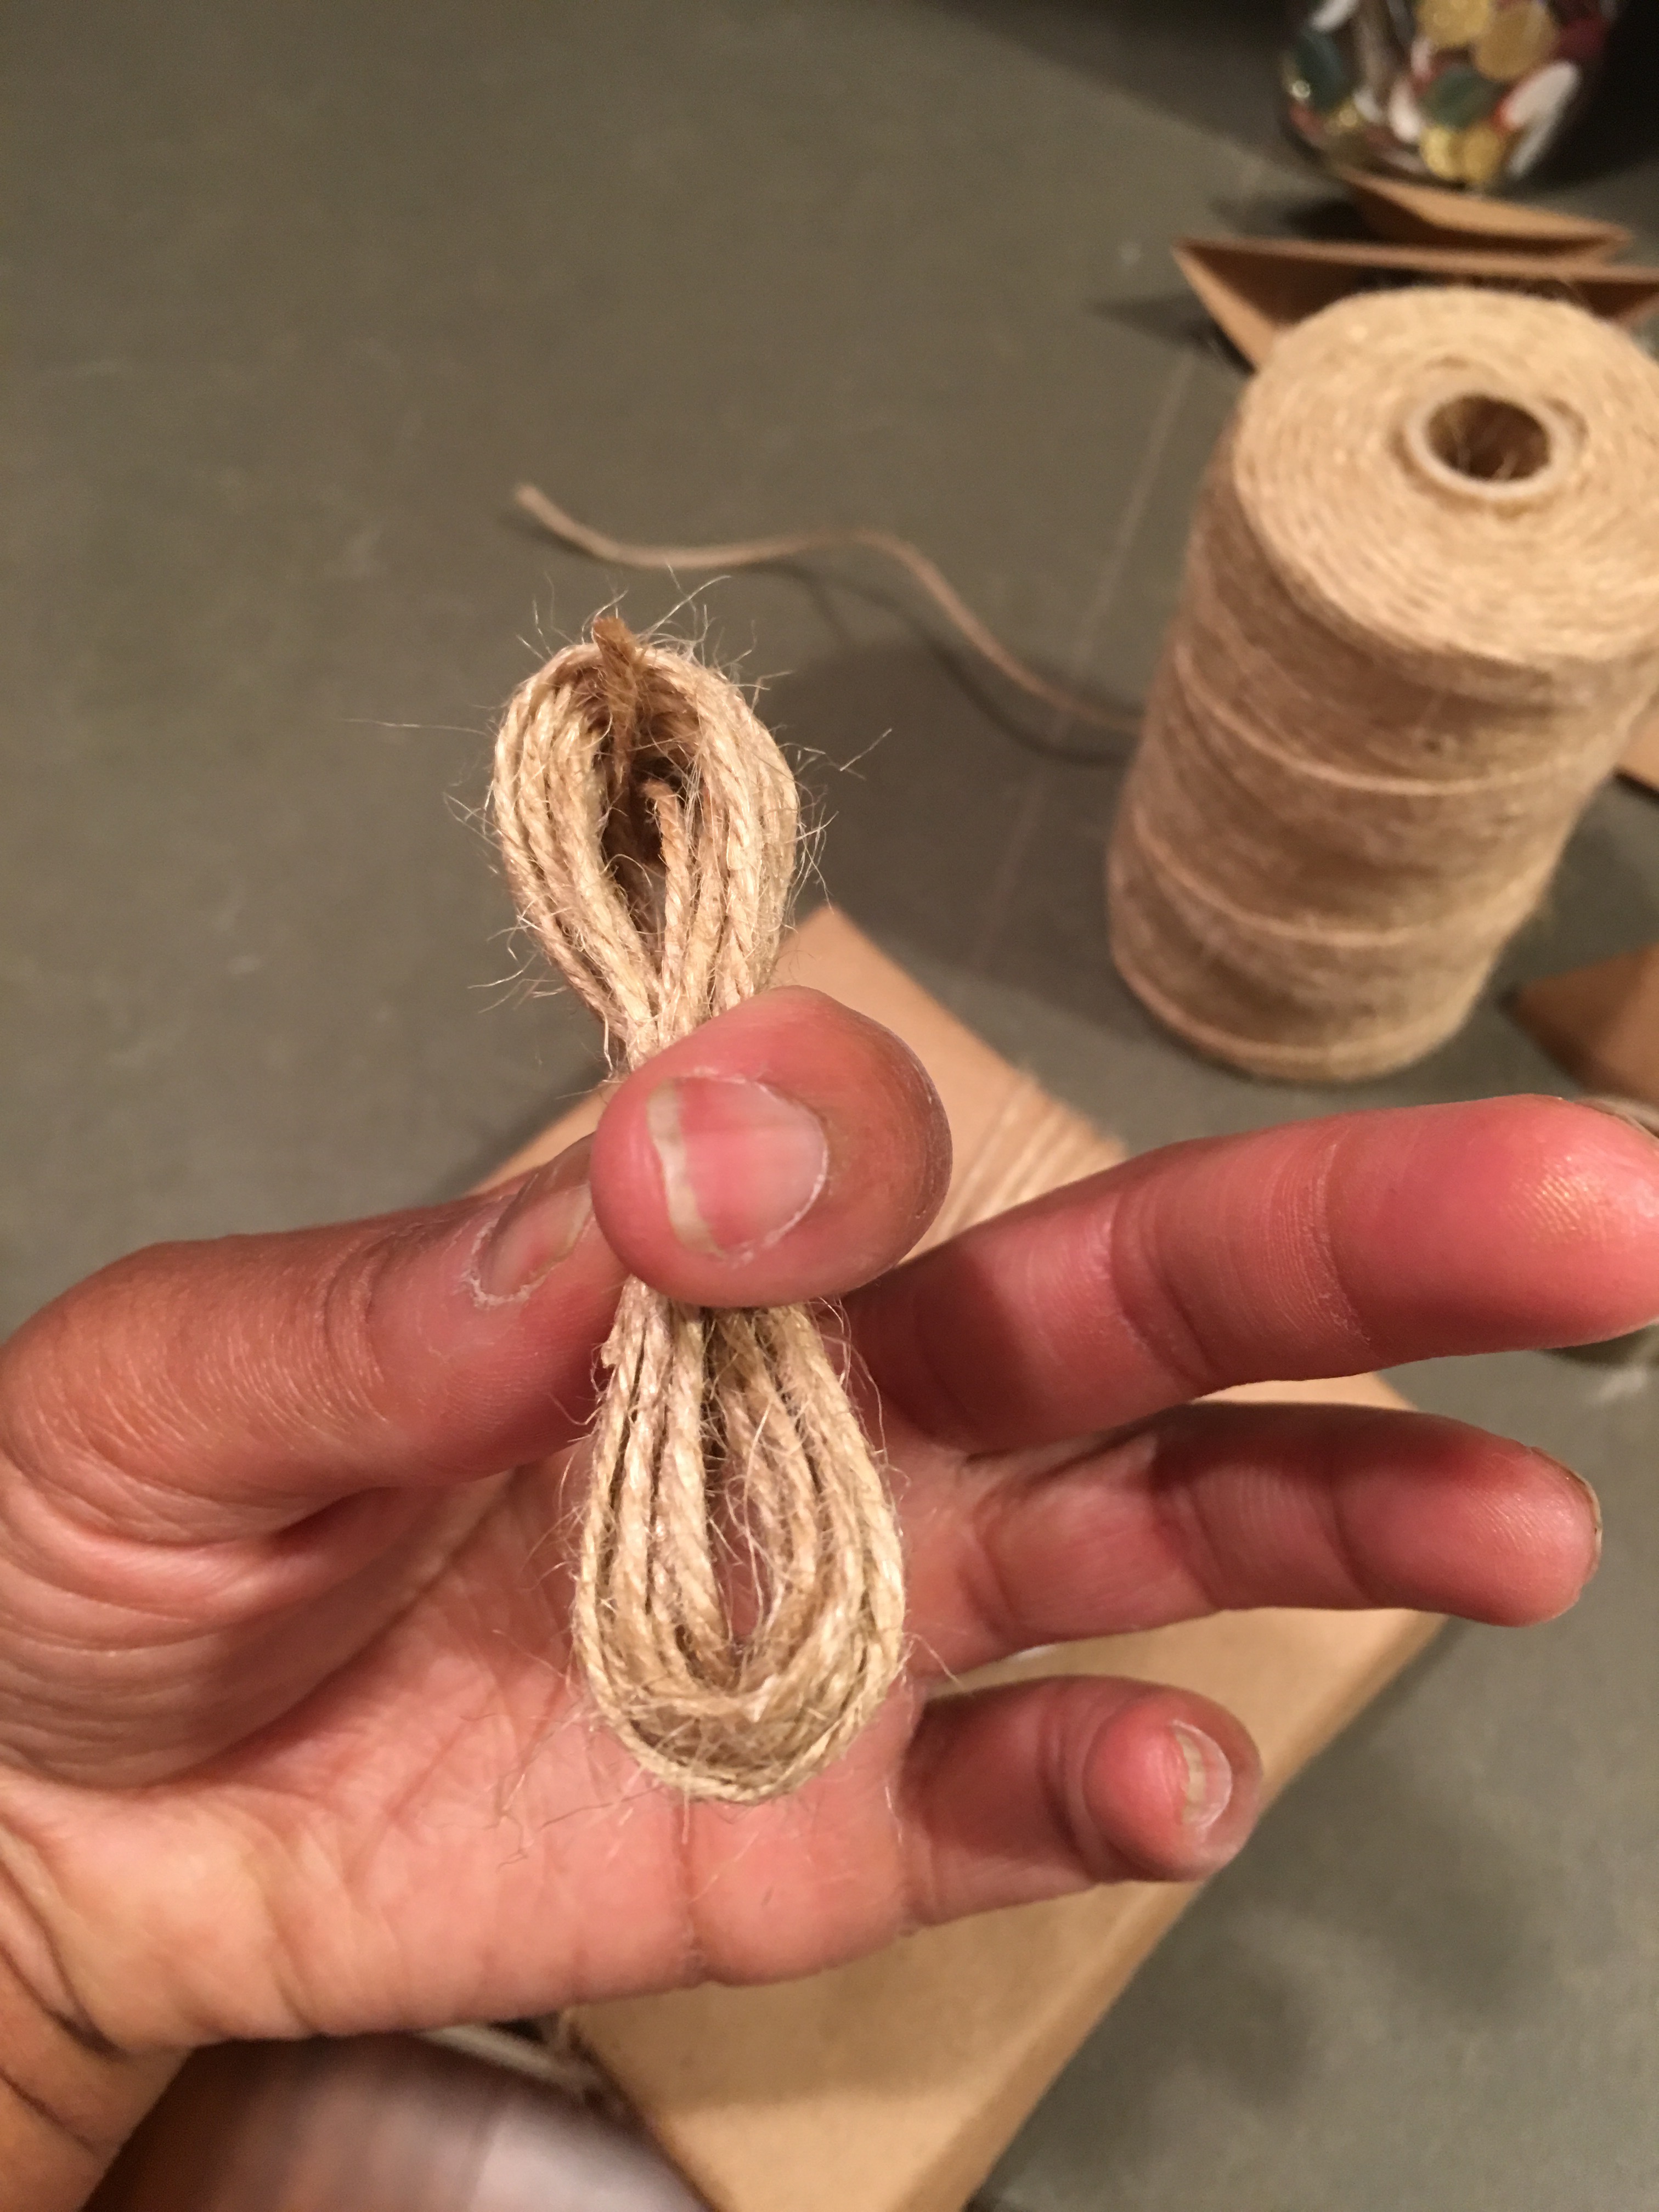
For the twine bow tie, I wrapped twine several times around my hand…
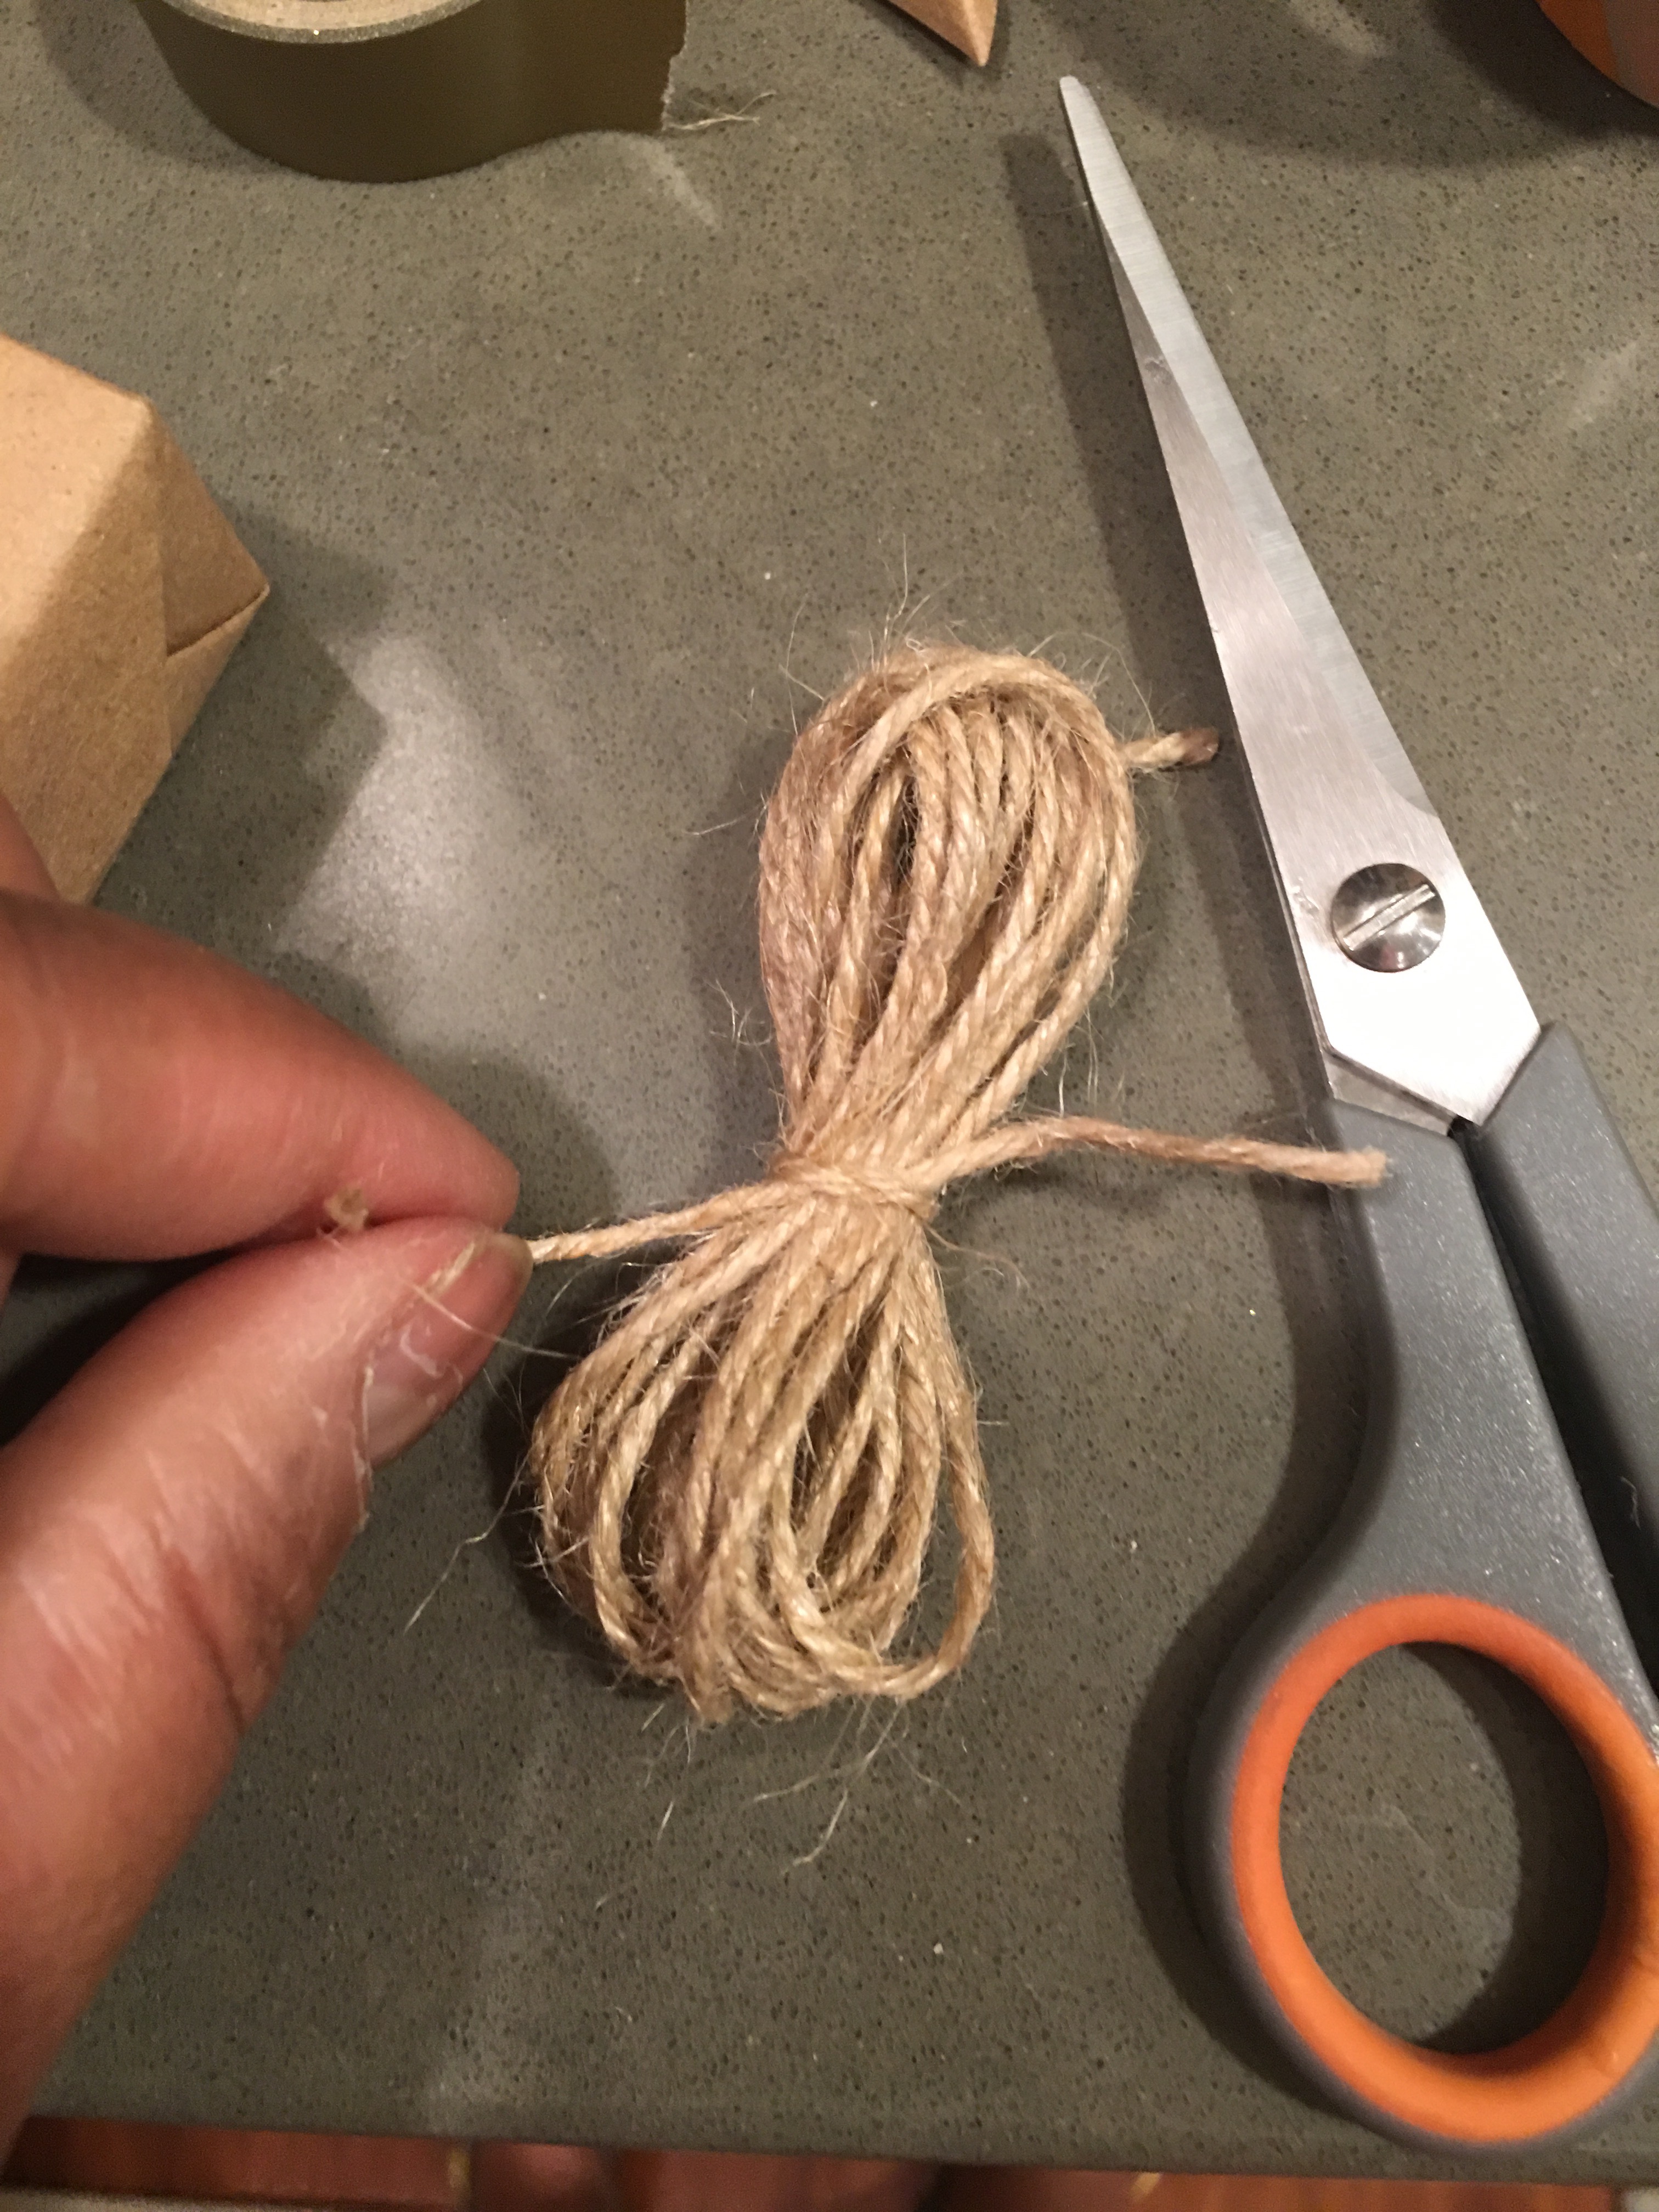
…then, after snipping the twine, pinched the wrapped bundle in the middle.
After snipping off another small piece of twine, I used it to tie the bundle.
After placing the twine bow tie on the box top…
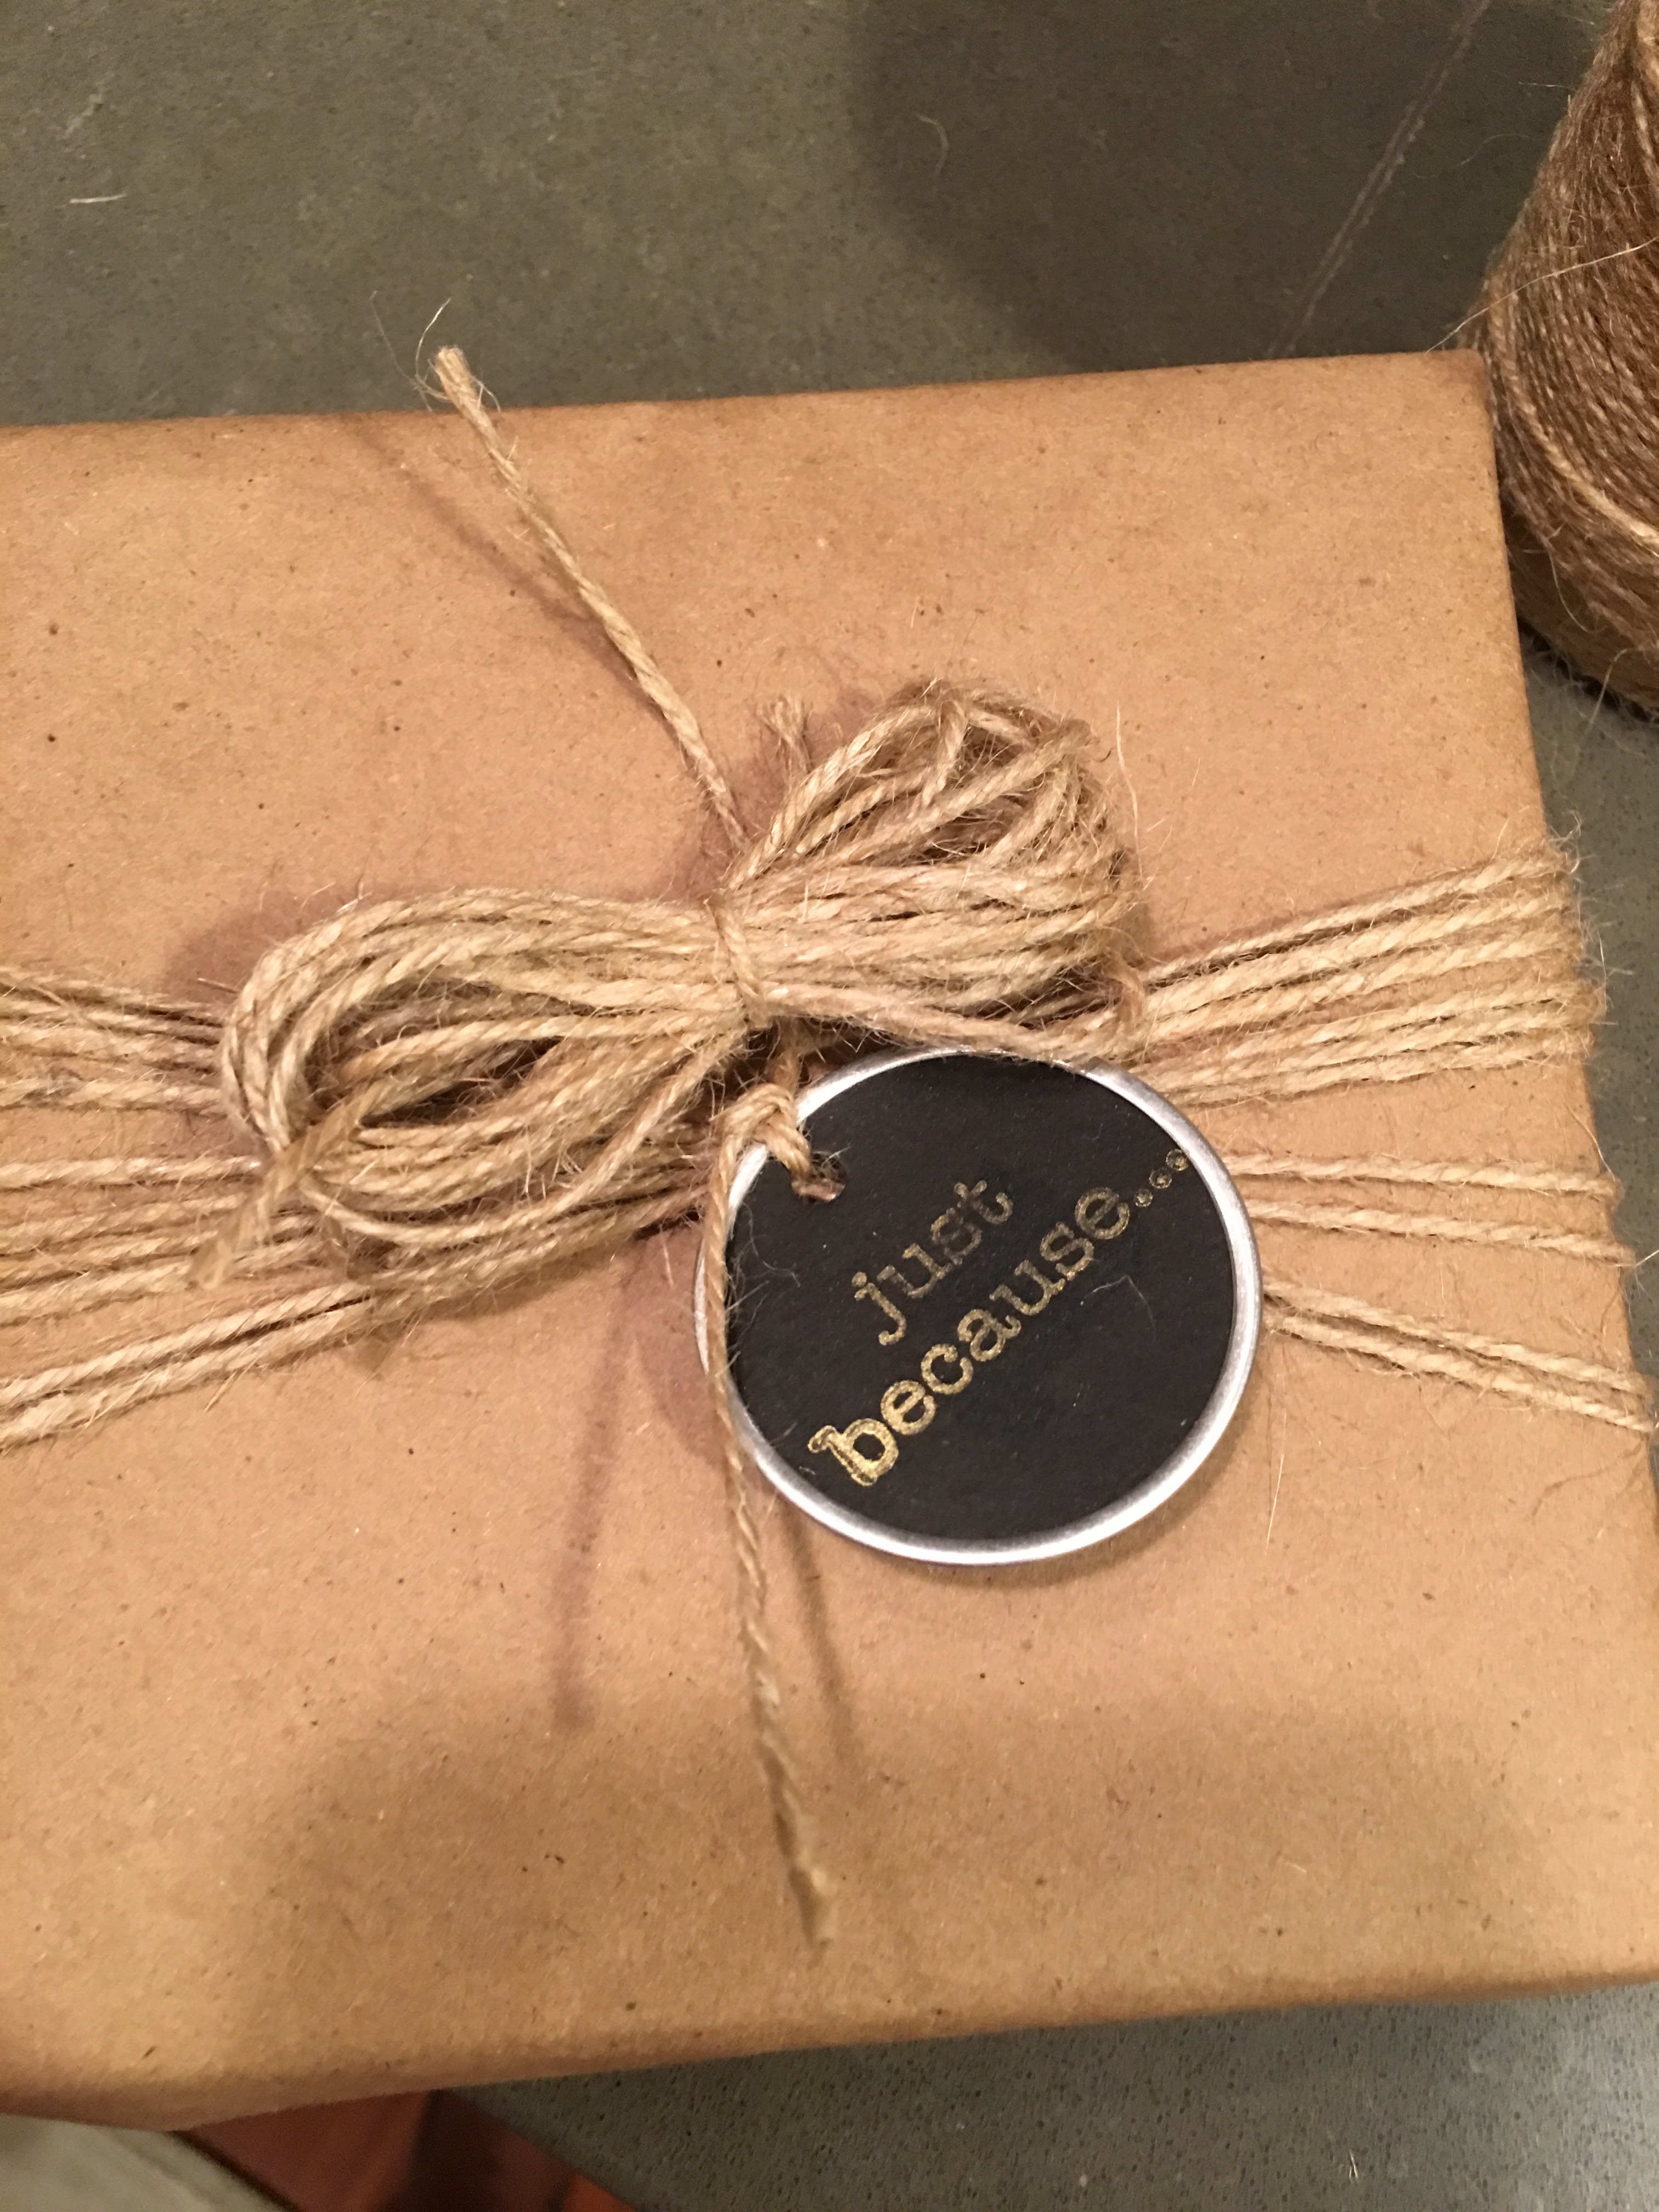
…I used the ends of the twine attaching the tag to the twine sash to also tie on the bundle.
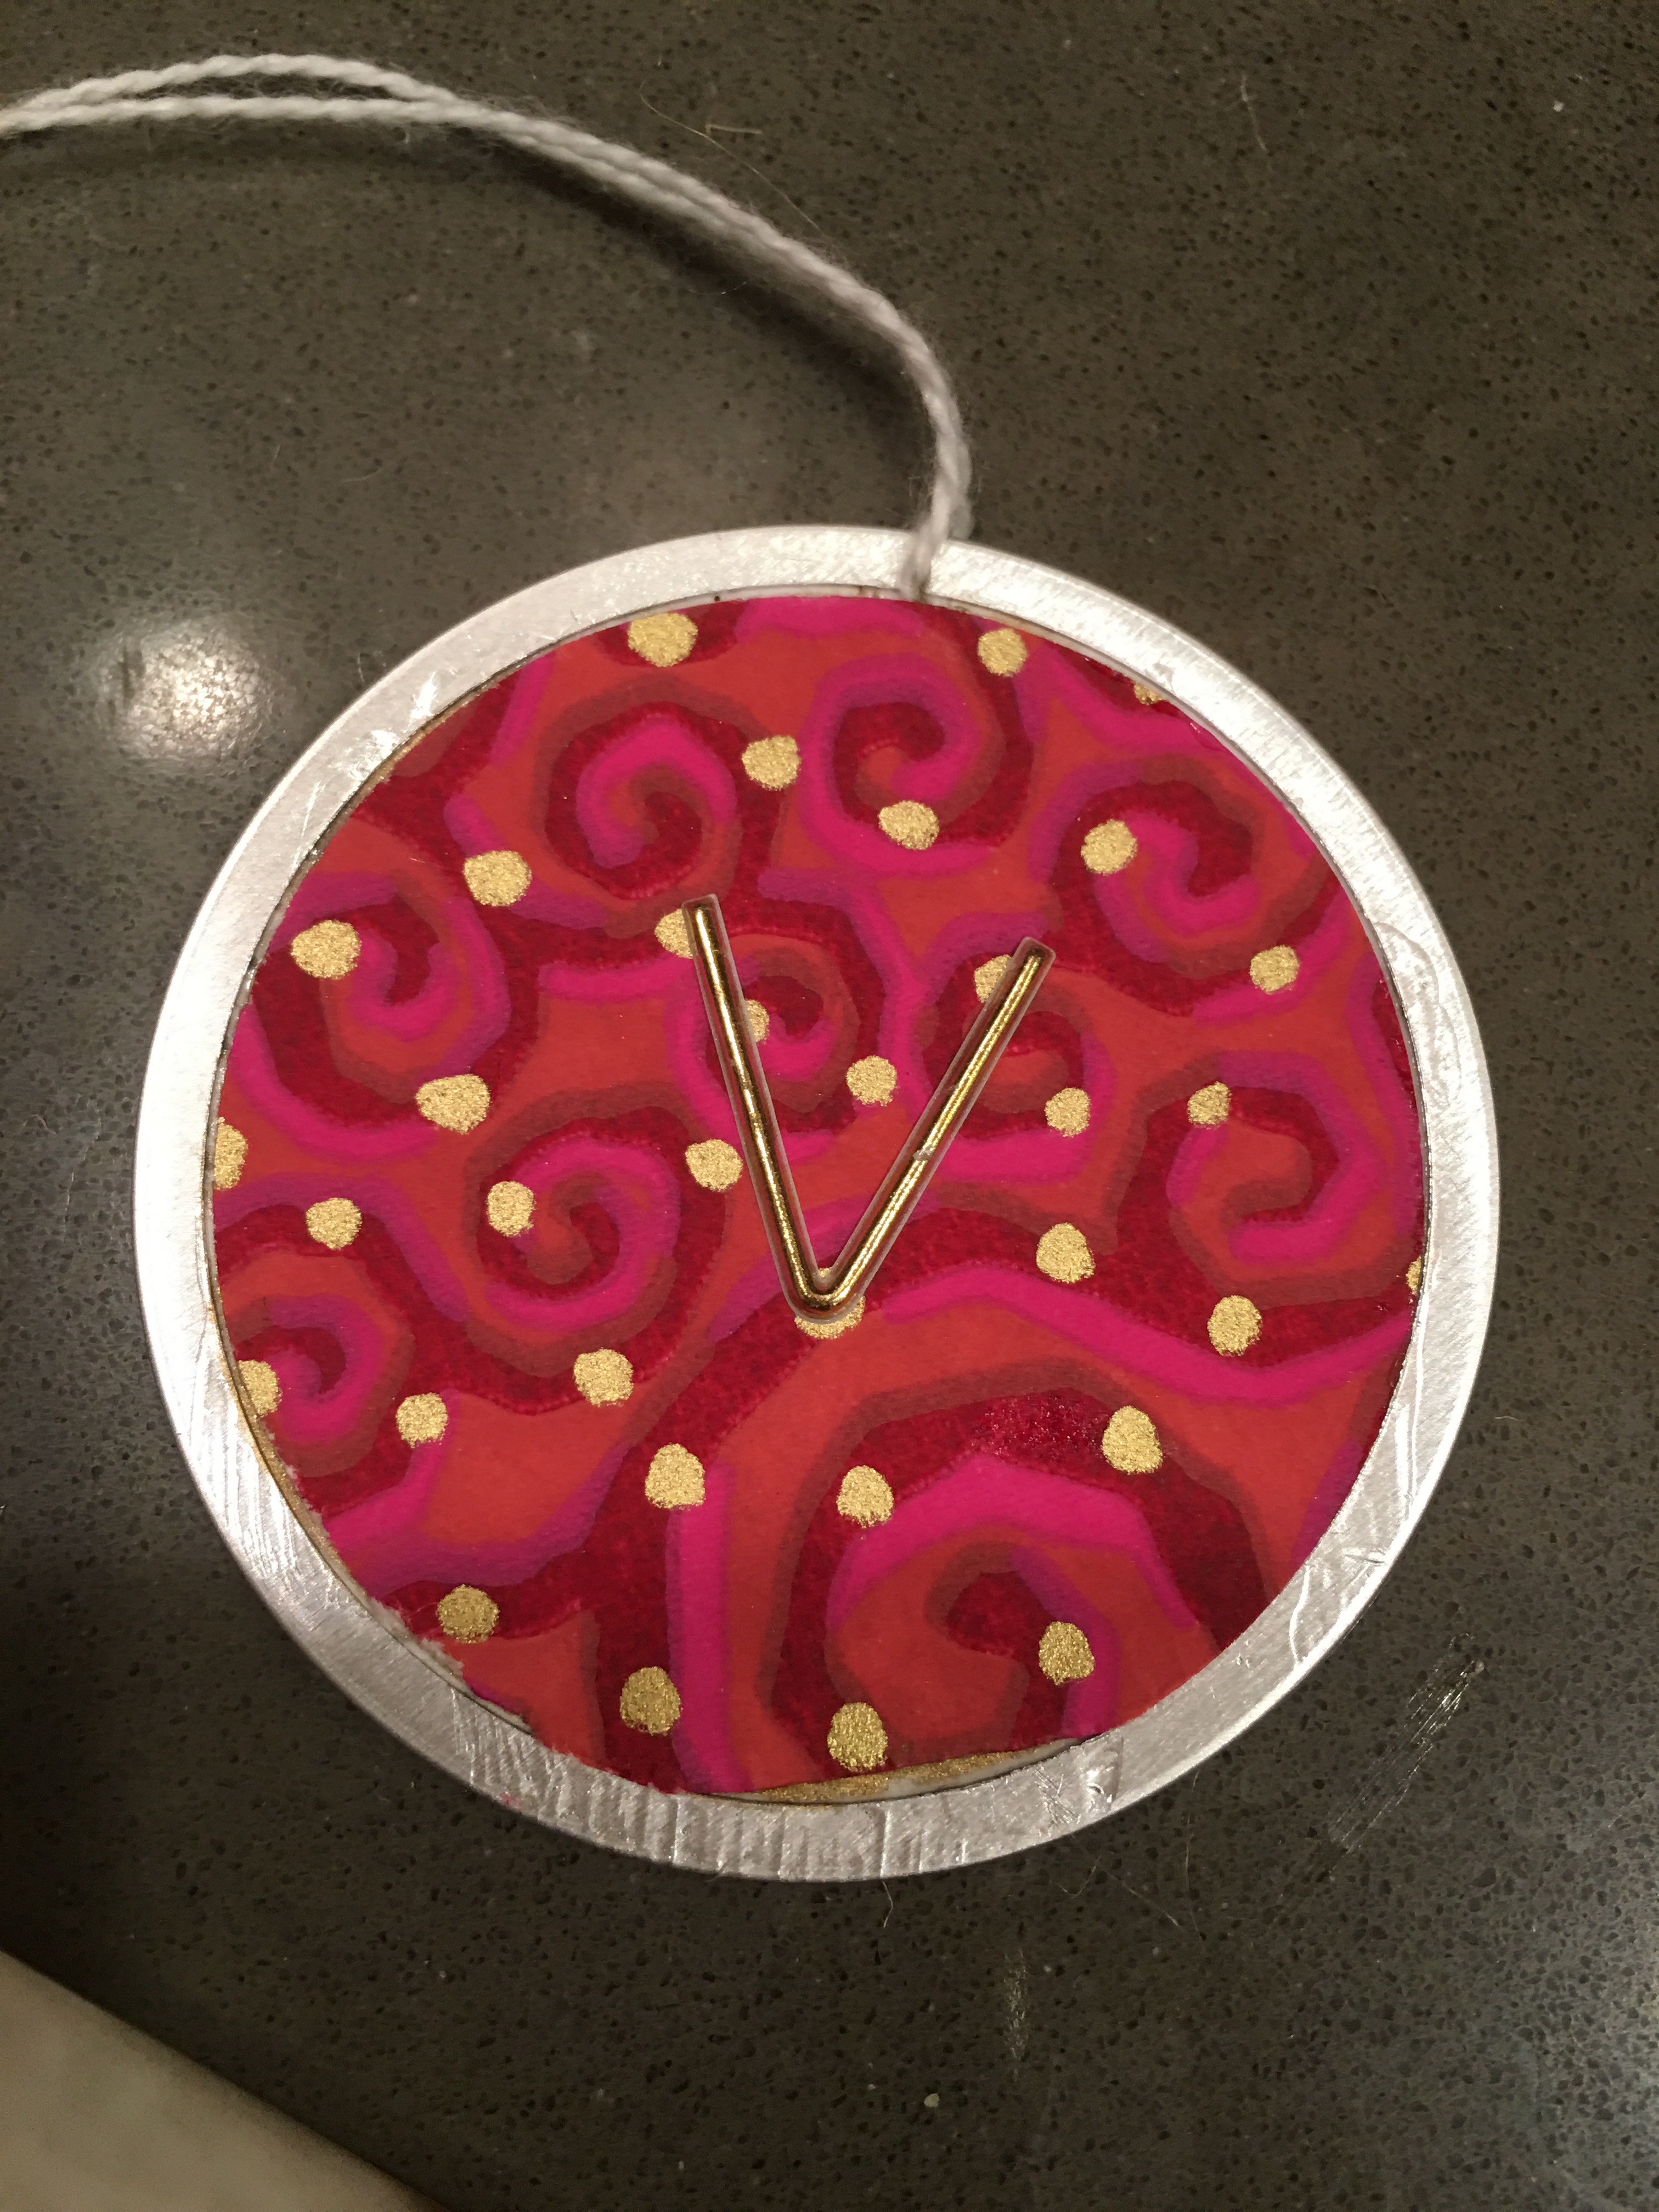
To personalize the wrapped box, I add a larger key tag – one that is decorated with colorful fine paper I picked up from the Paper Source.
I added an alphabet sticker from the Seven Paper Puffy Stickers set (also obtained from the Paper Source store).
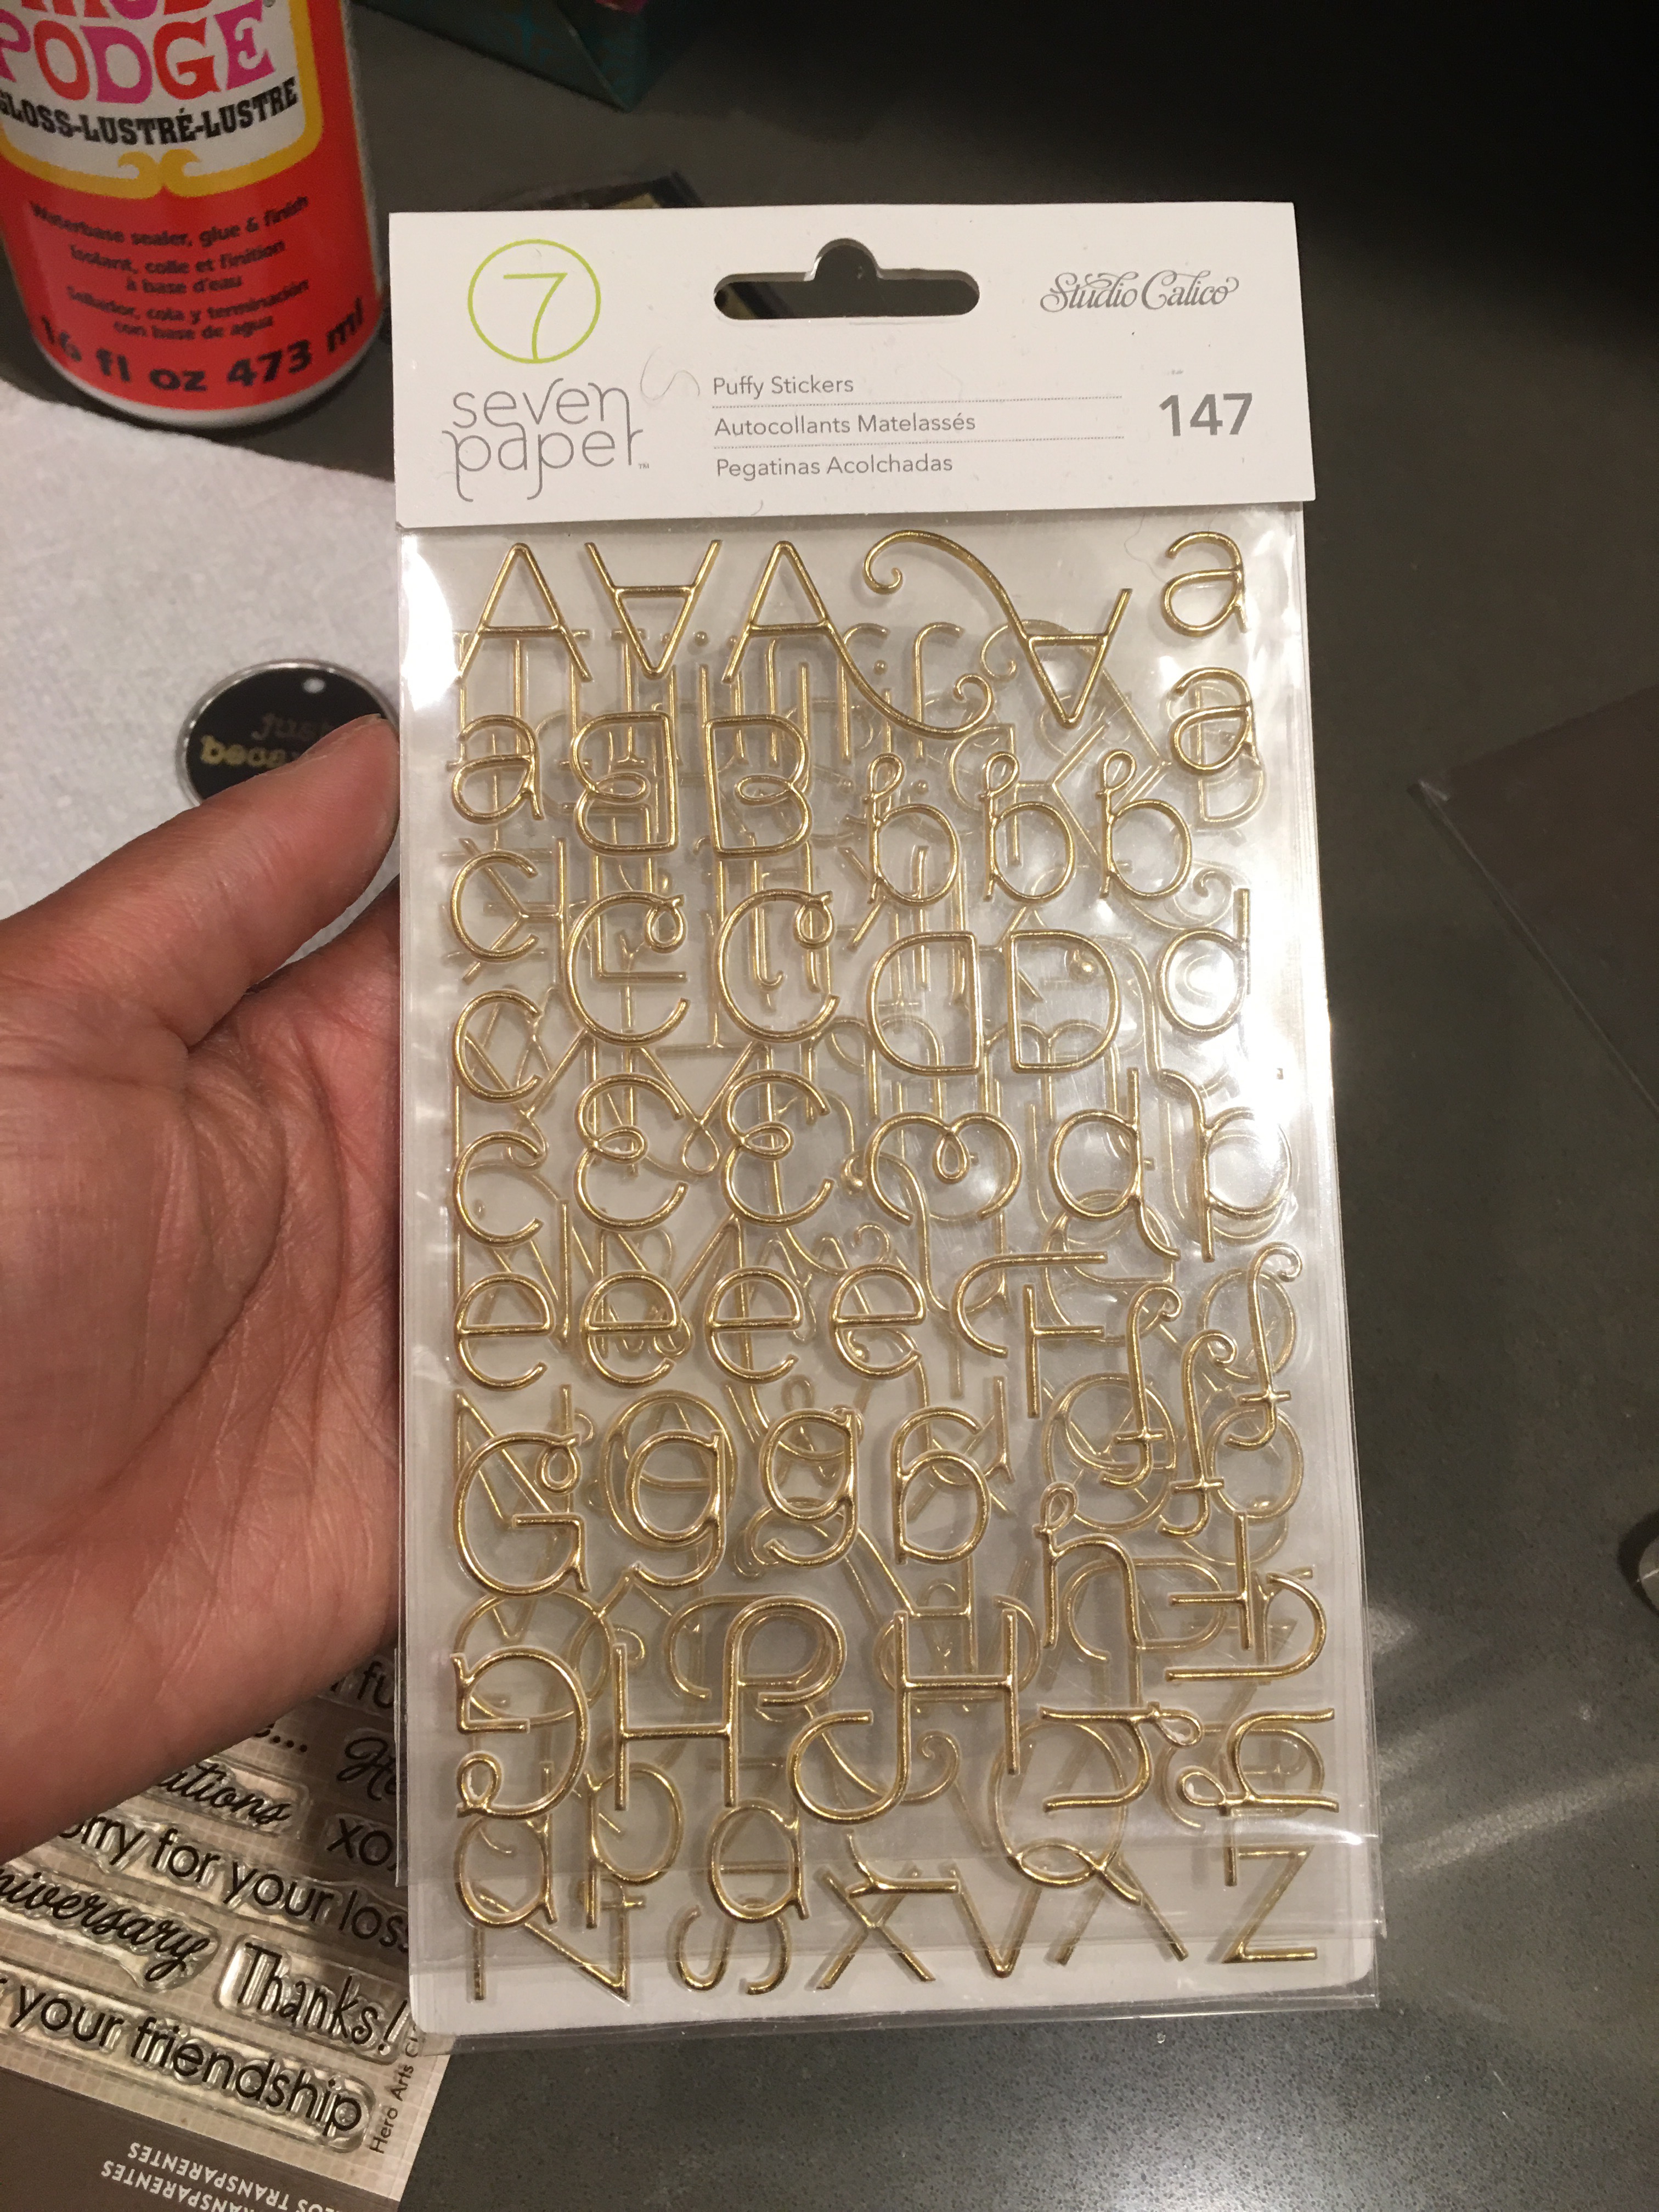
After selecting my chosen letter (V, of course), I added it to the key tag to make a monogram gift box ornament.
I tied the large key tag around the twine sash and bow tie…
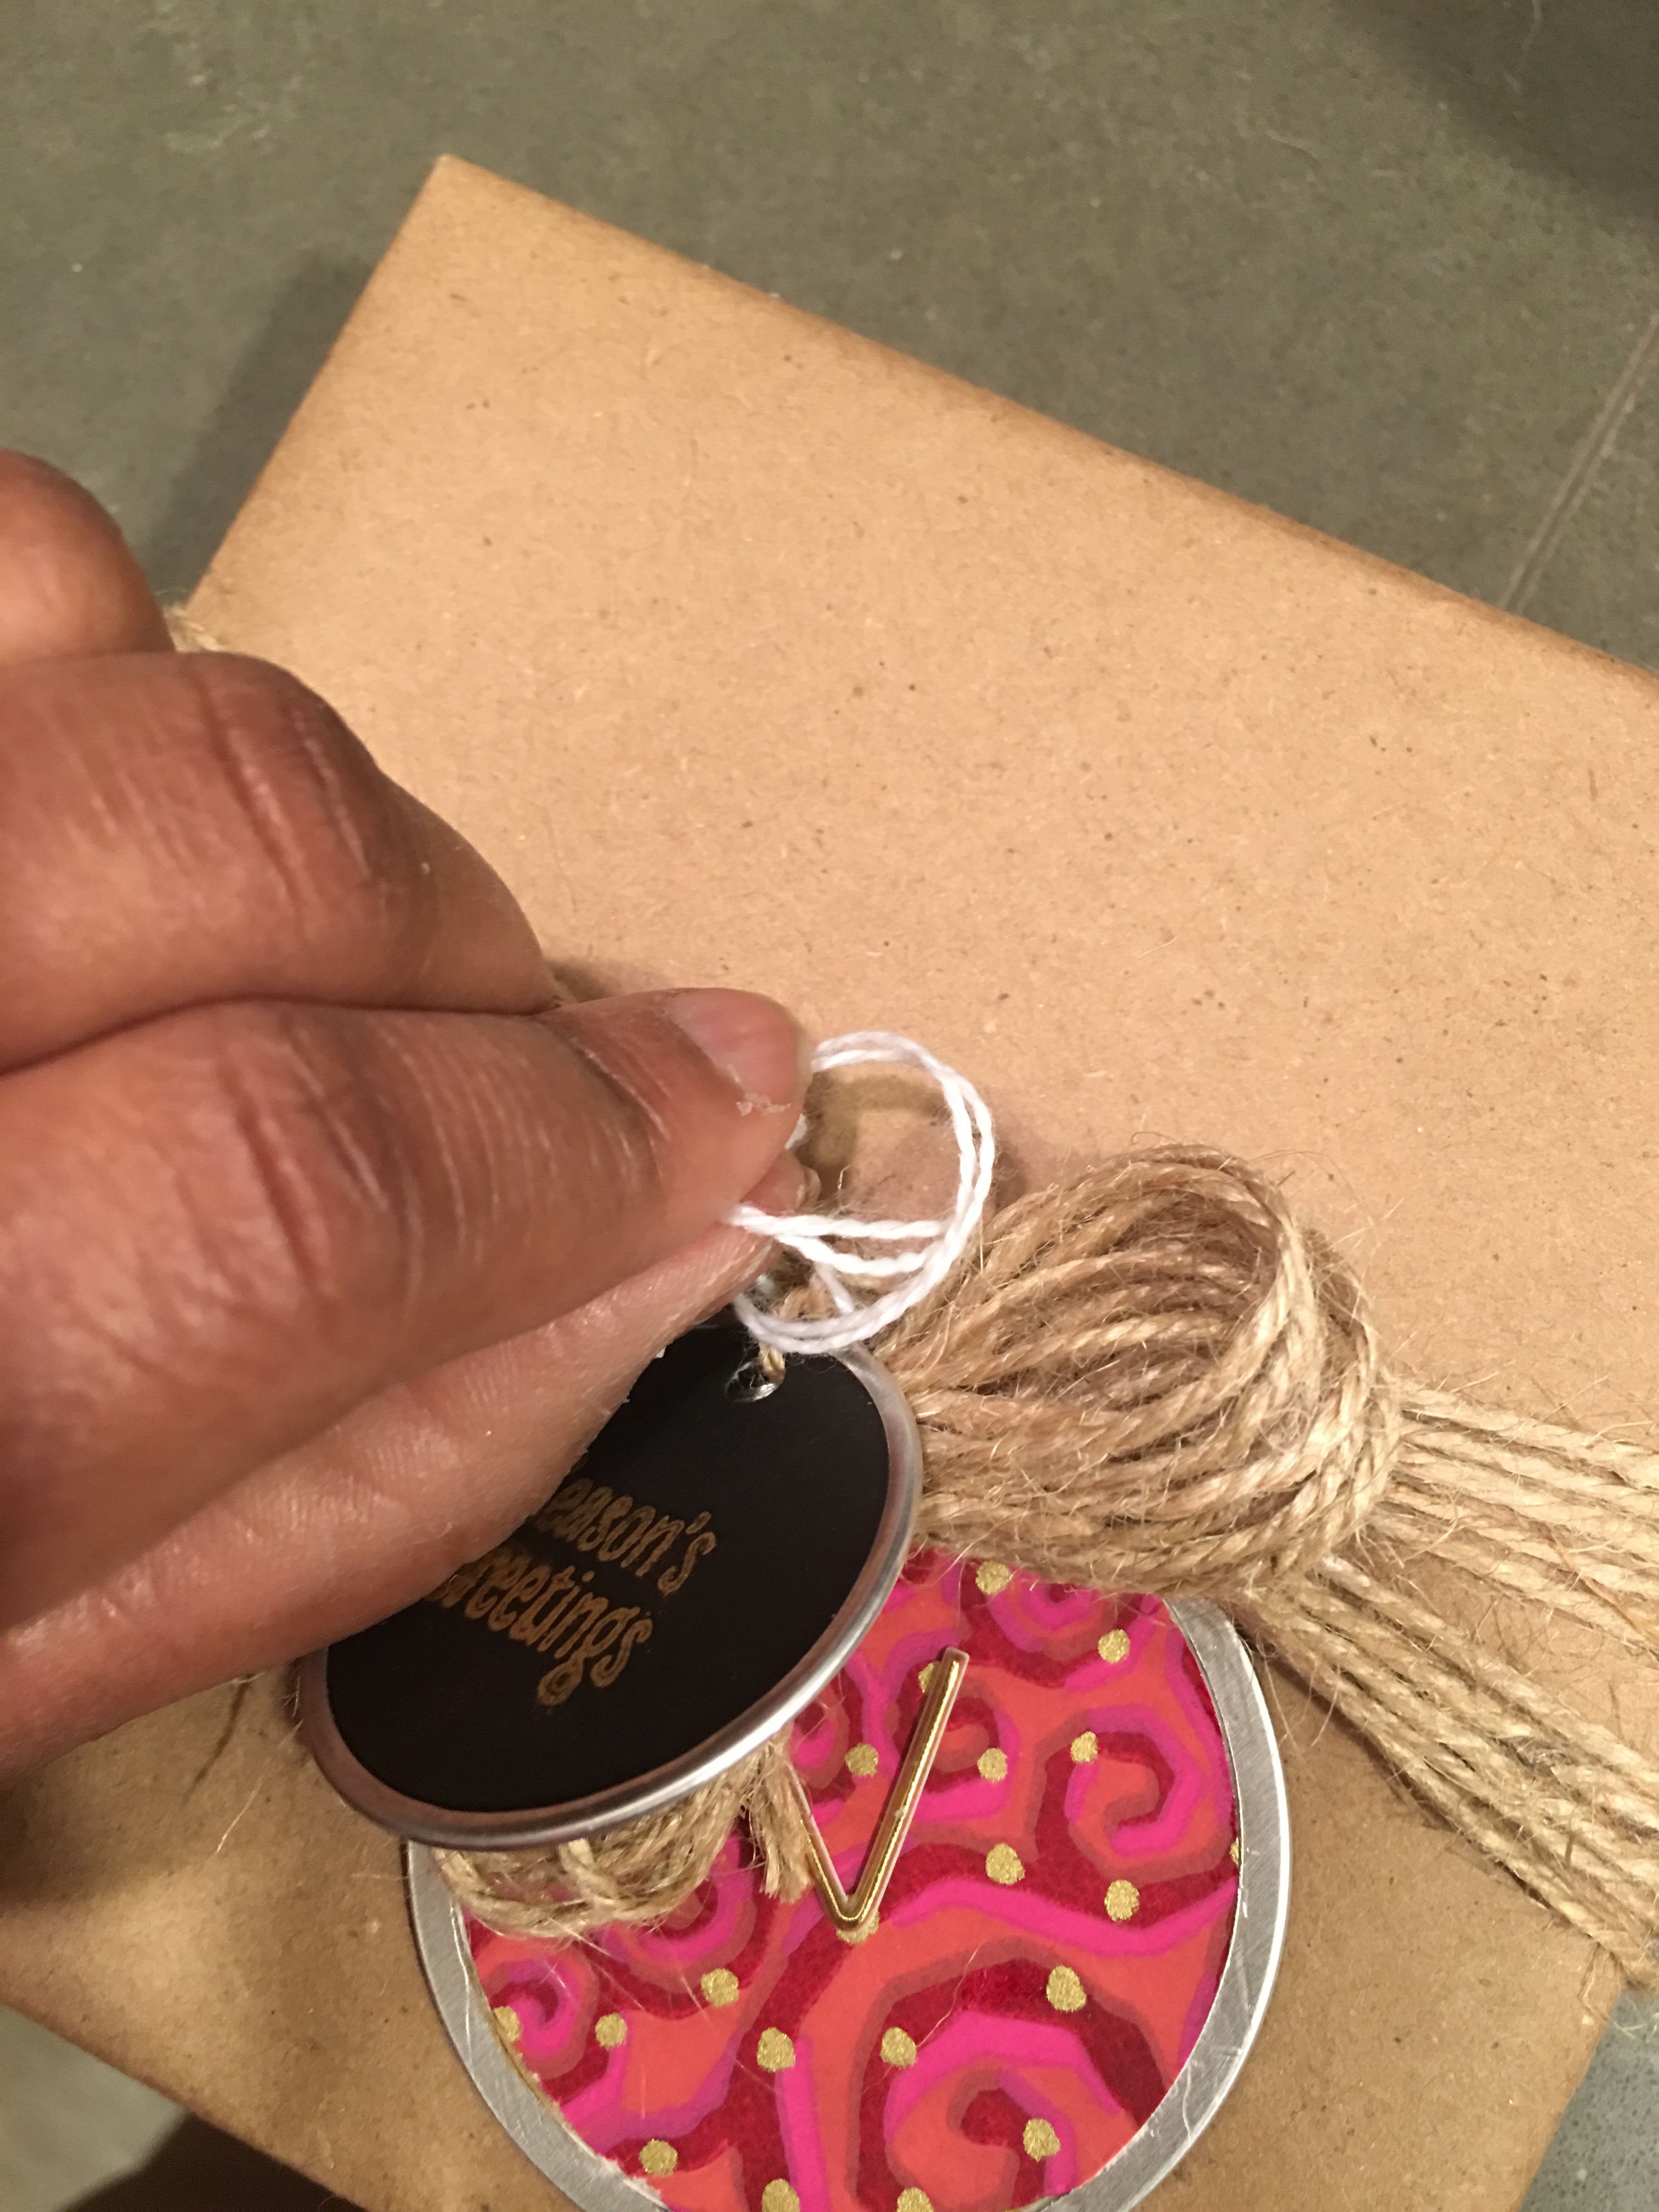
…to secure it to the box.
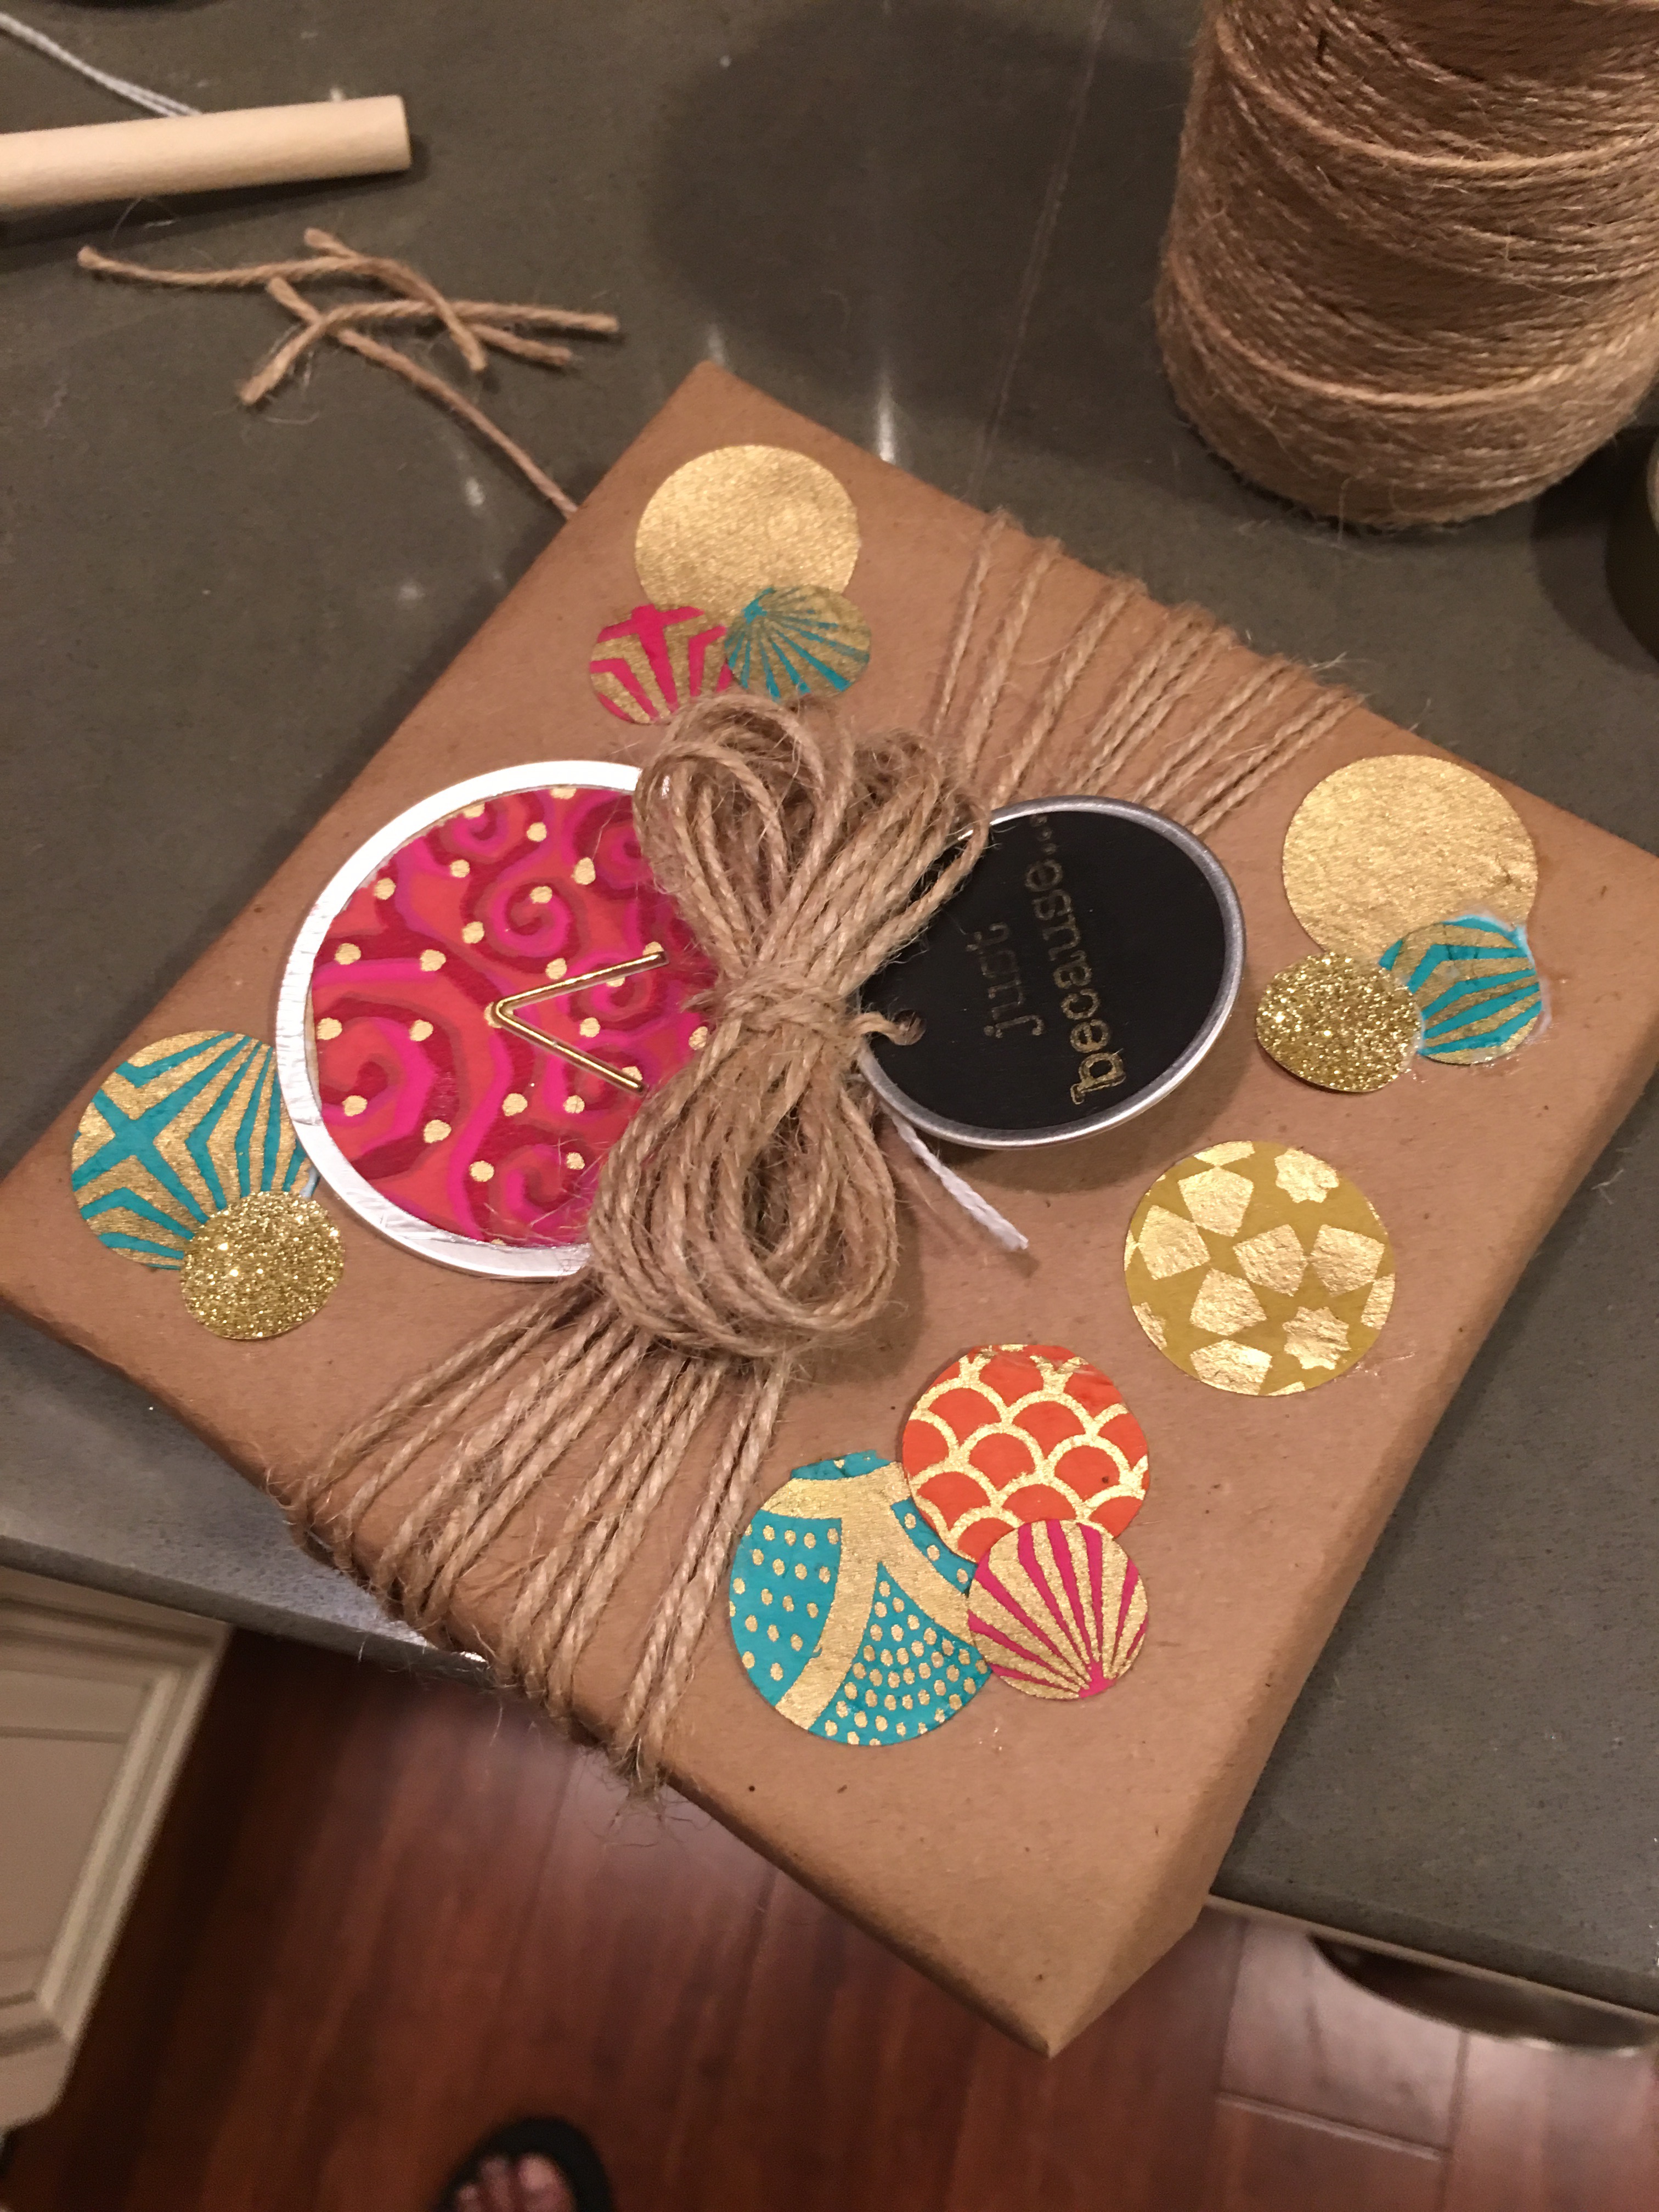
Last step: Apply decorative paper circles on the brown wrapping paper for embellishment.
After placing circles of different sizes on the box until I had a desired arrangement…
I used Mod Podge and a sponge brush to apply glue to the circles and add to the wrapped box.
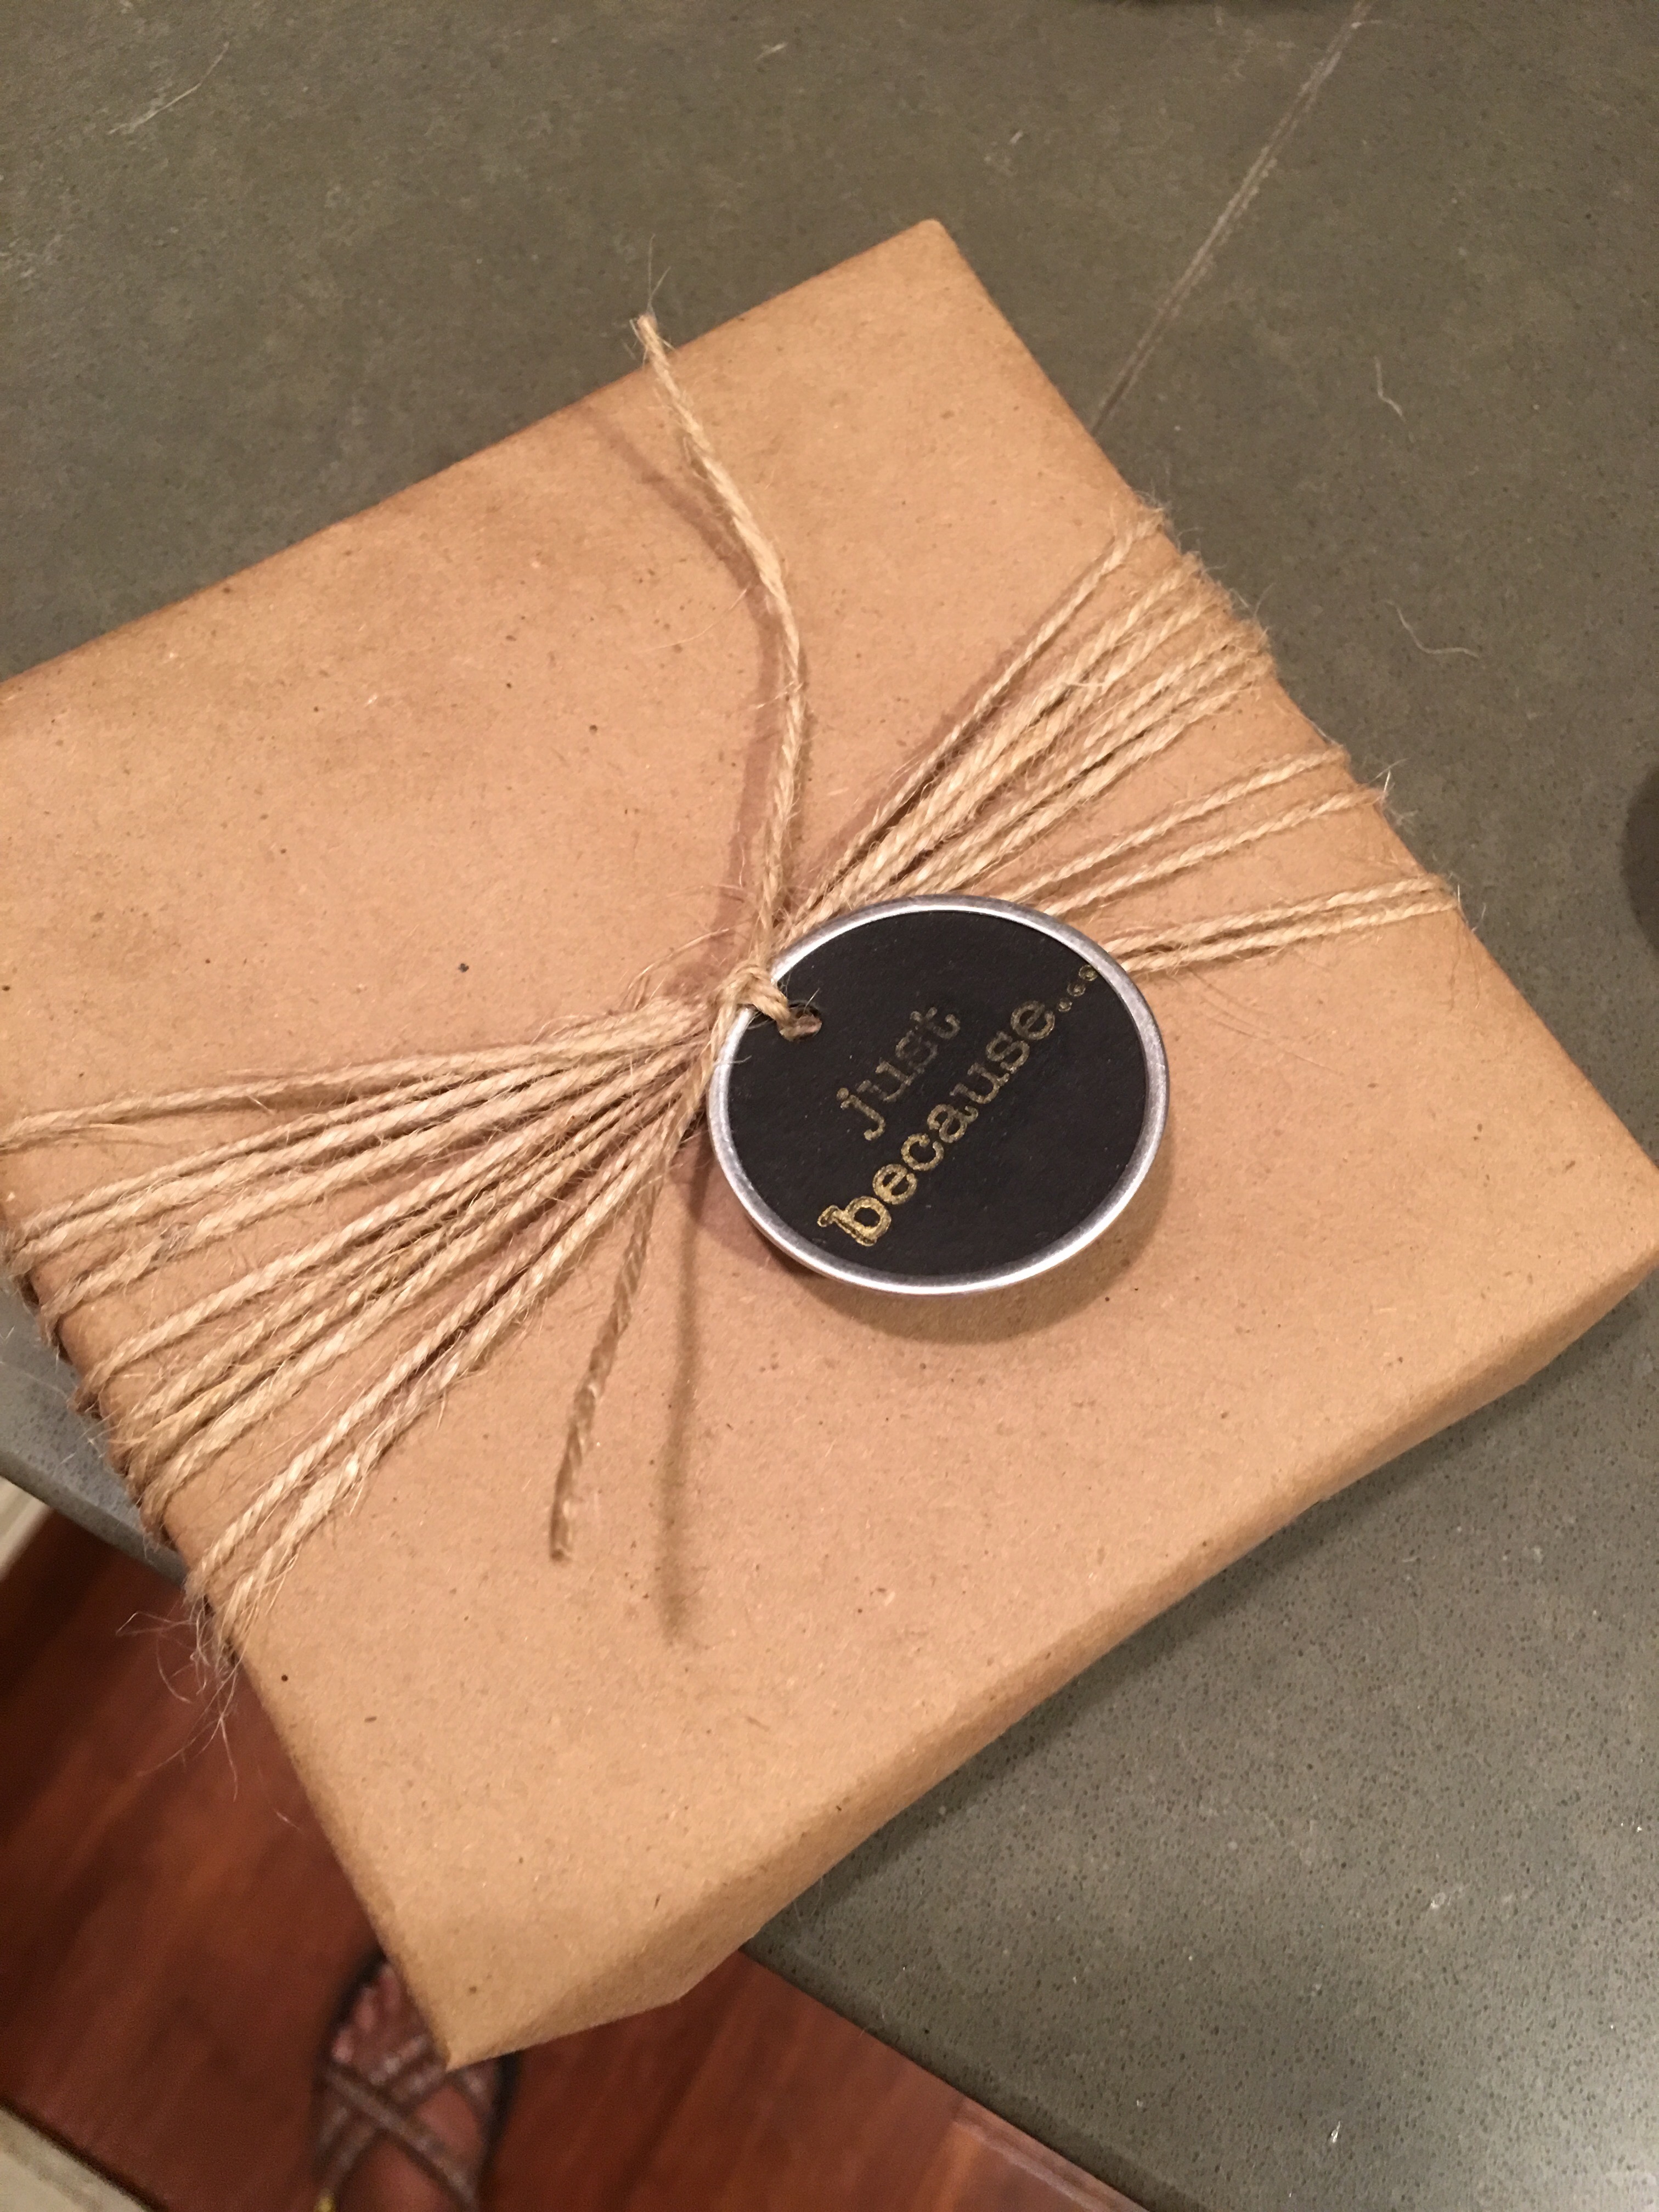
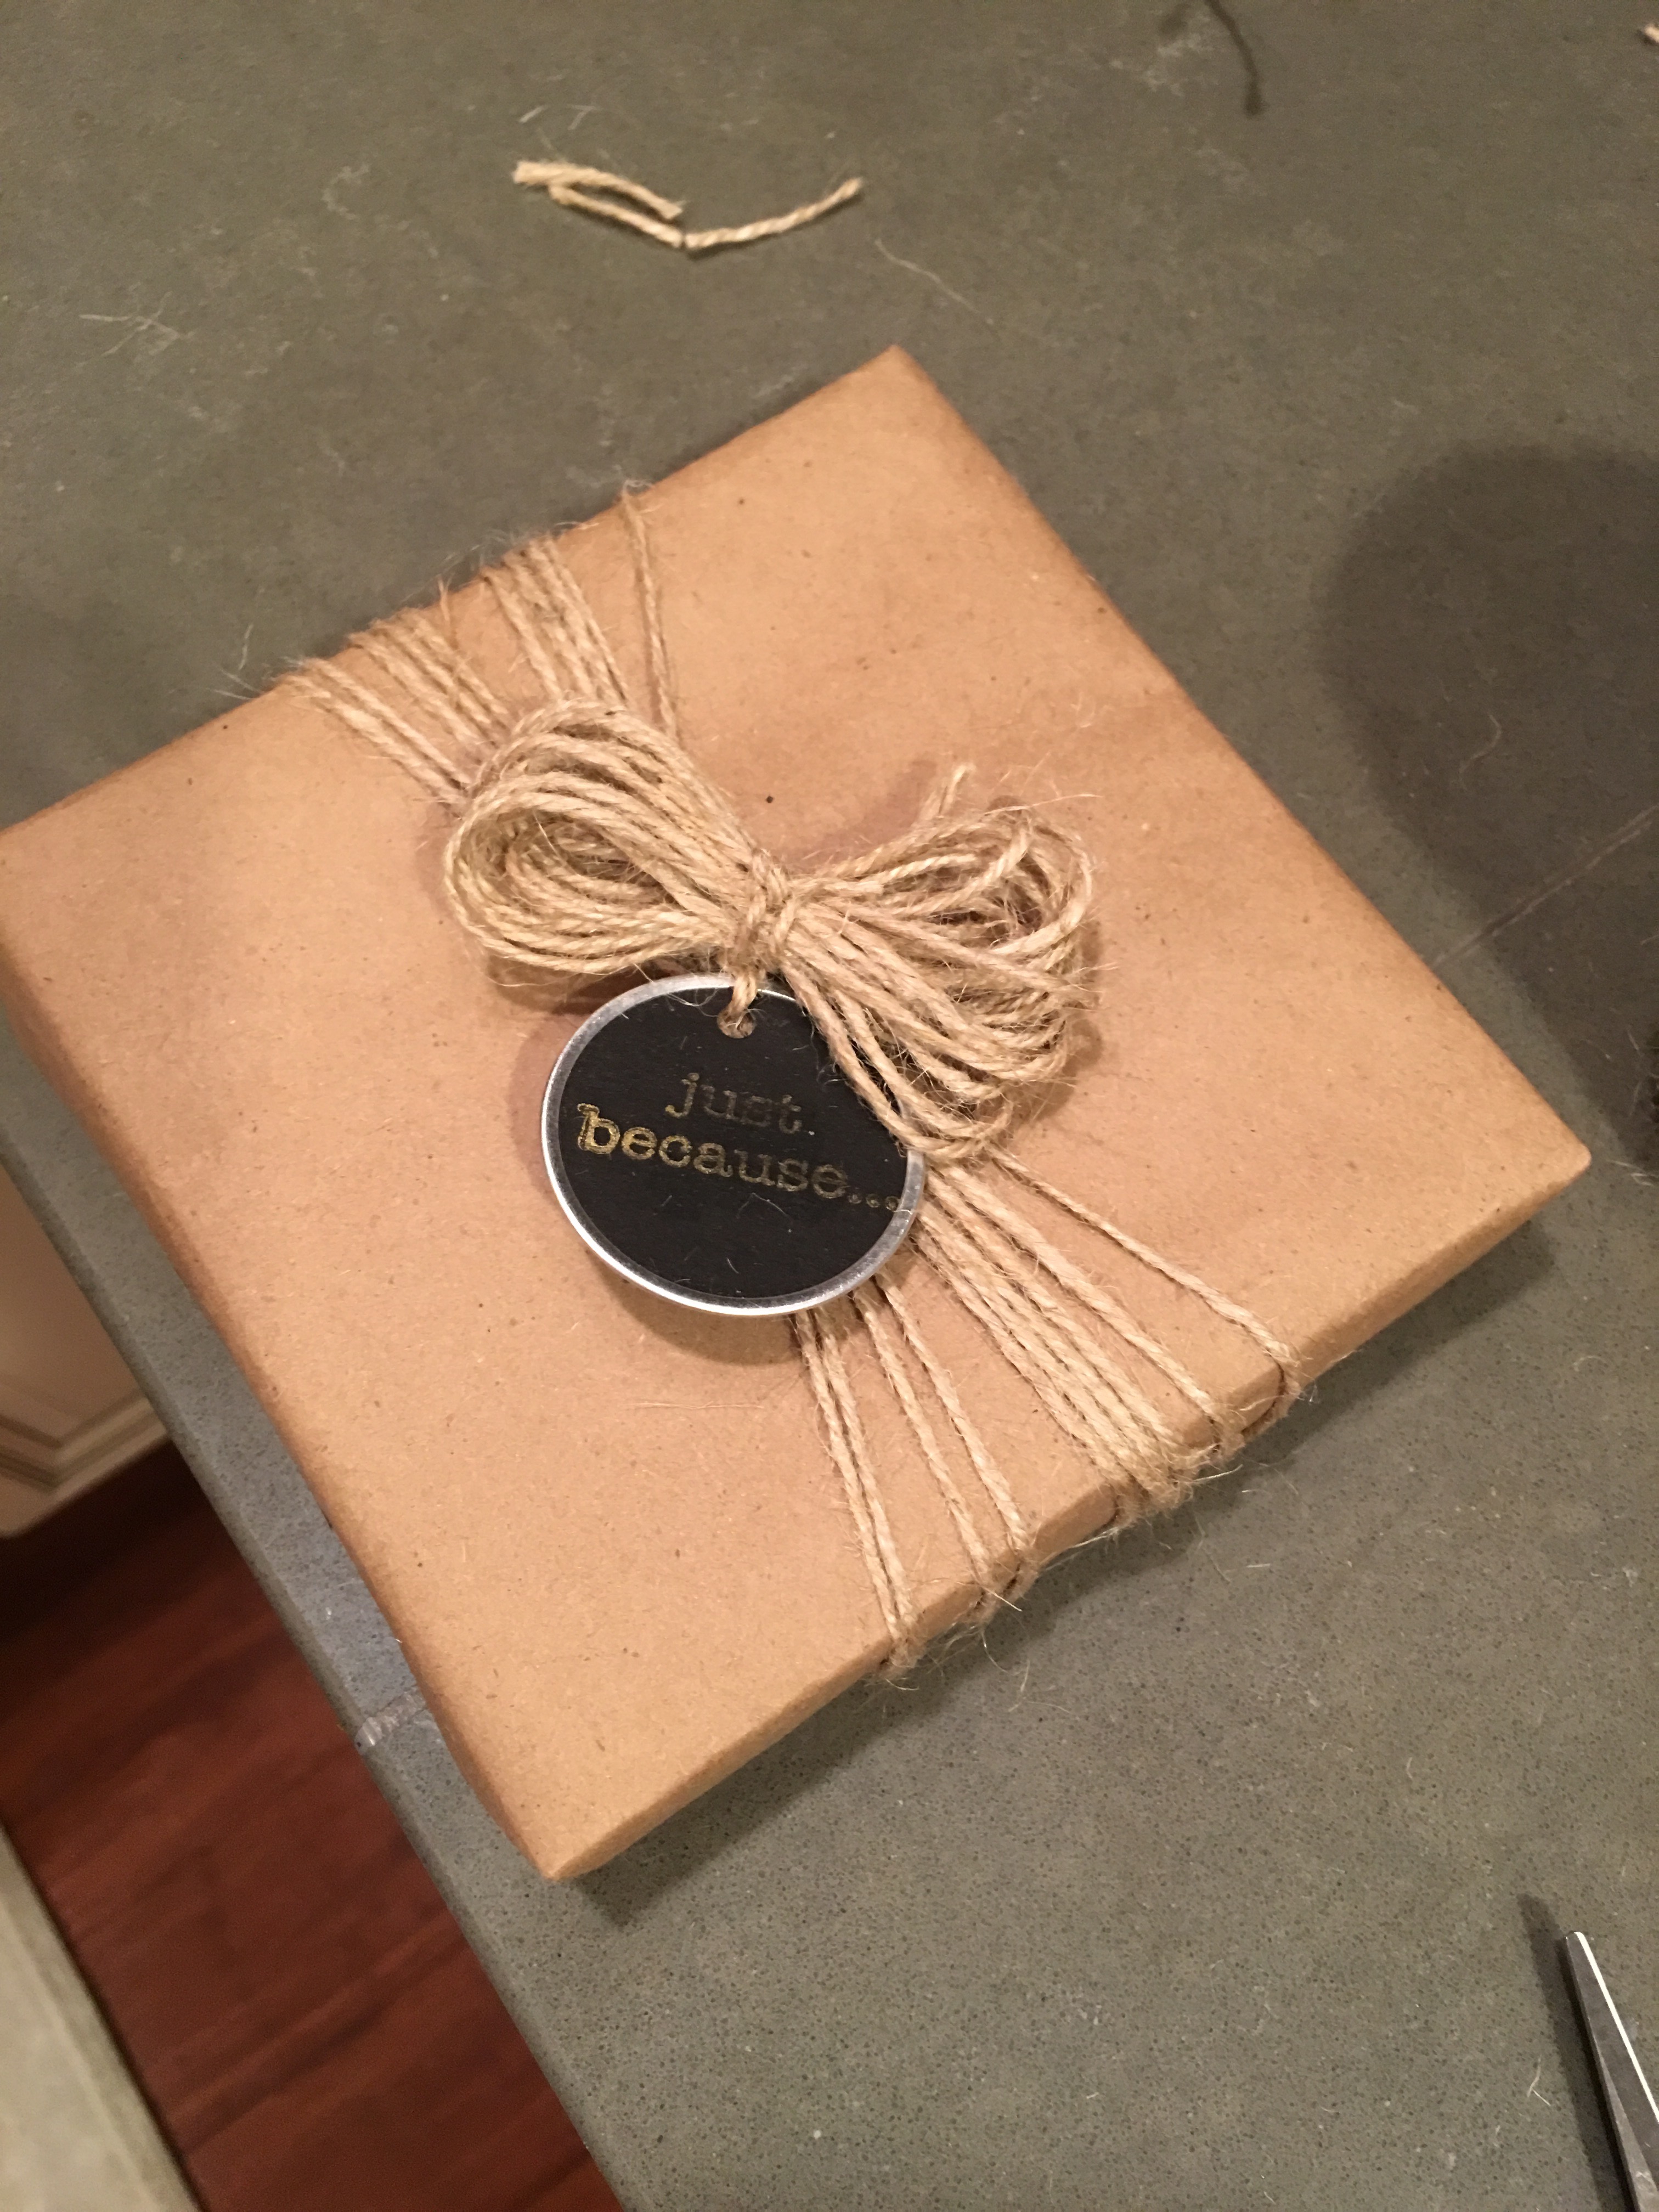
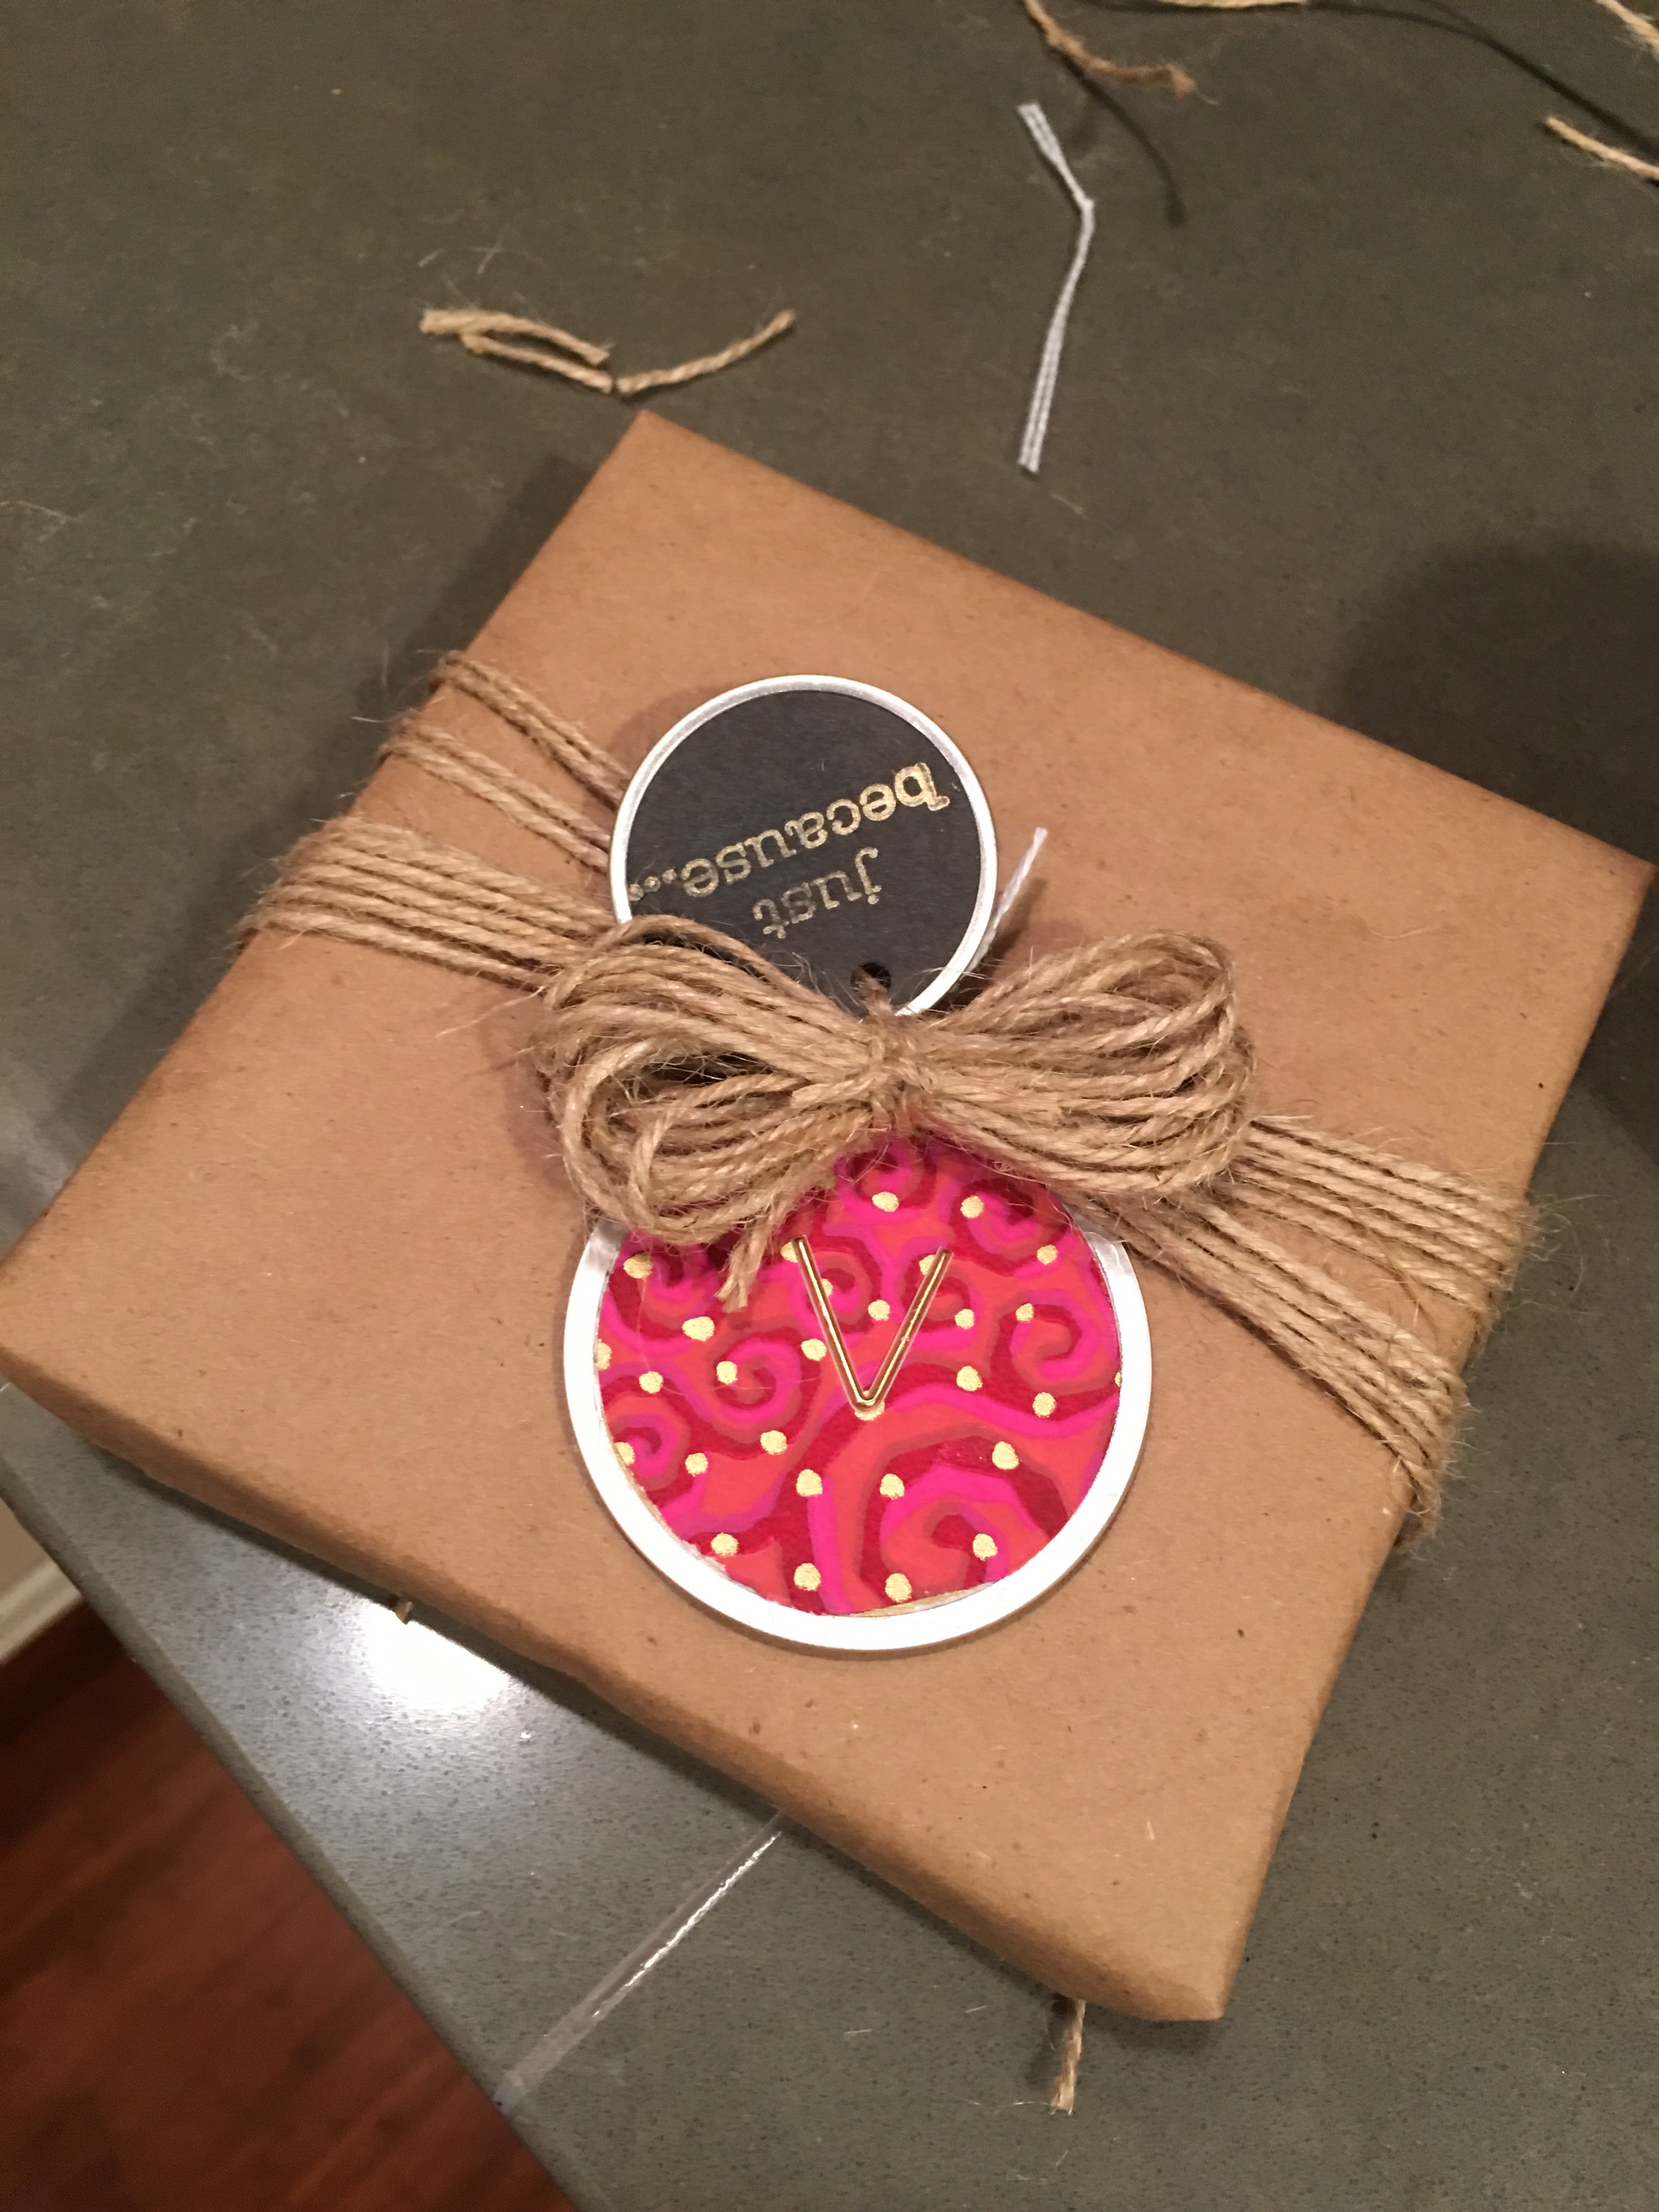
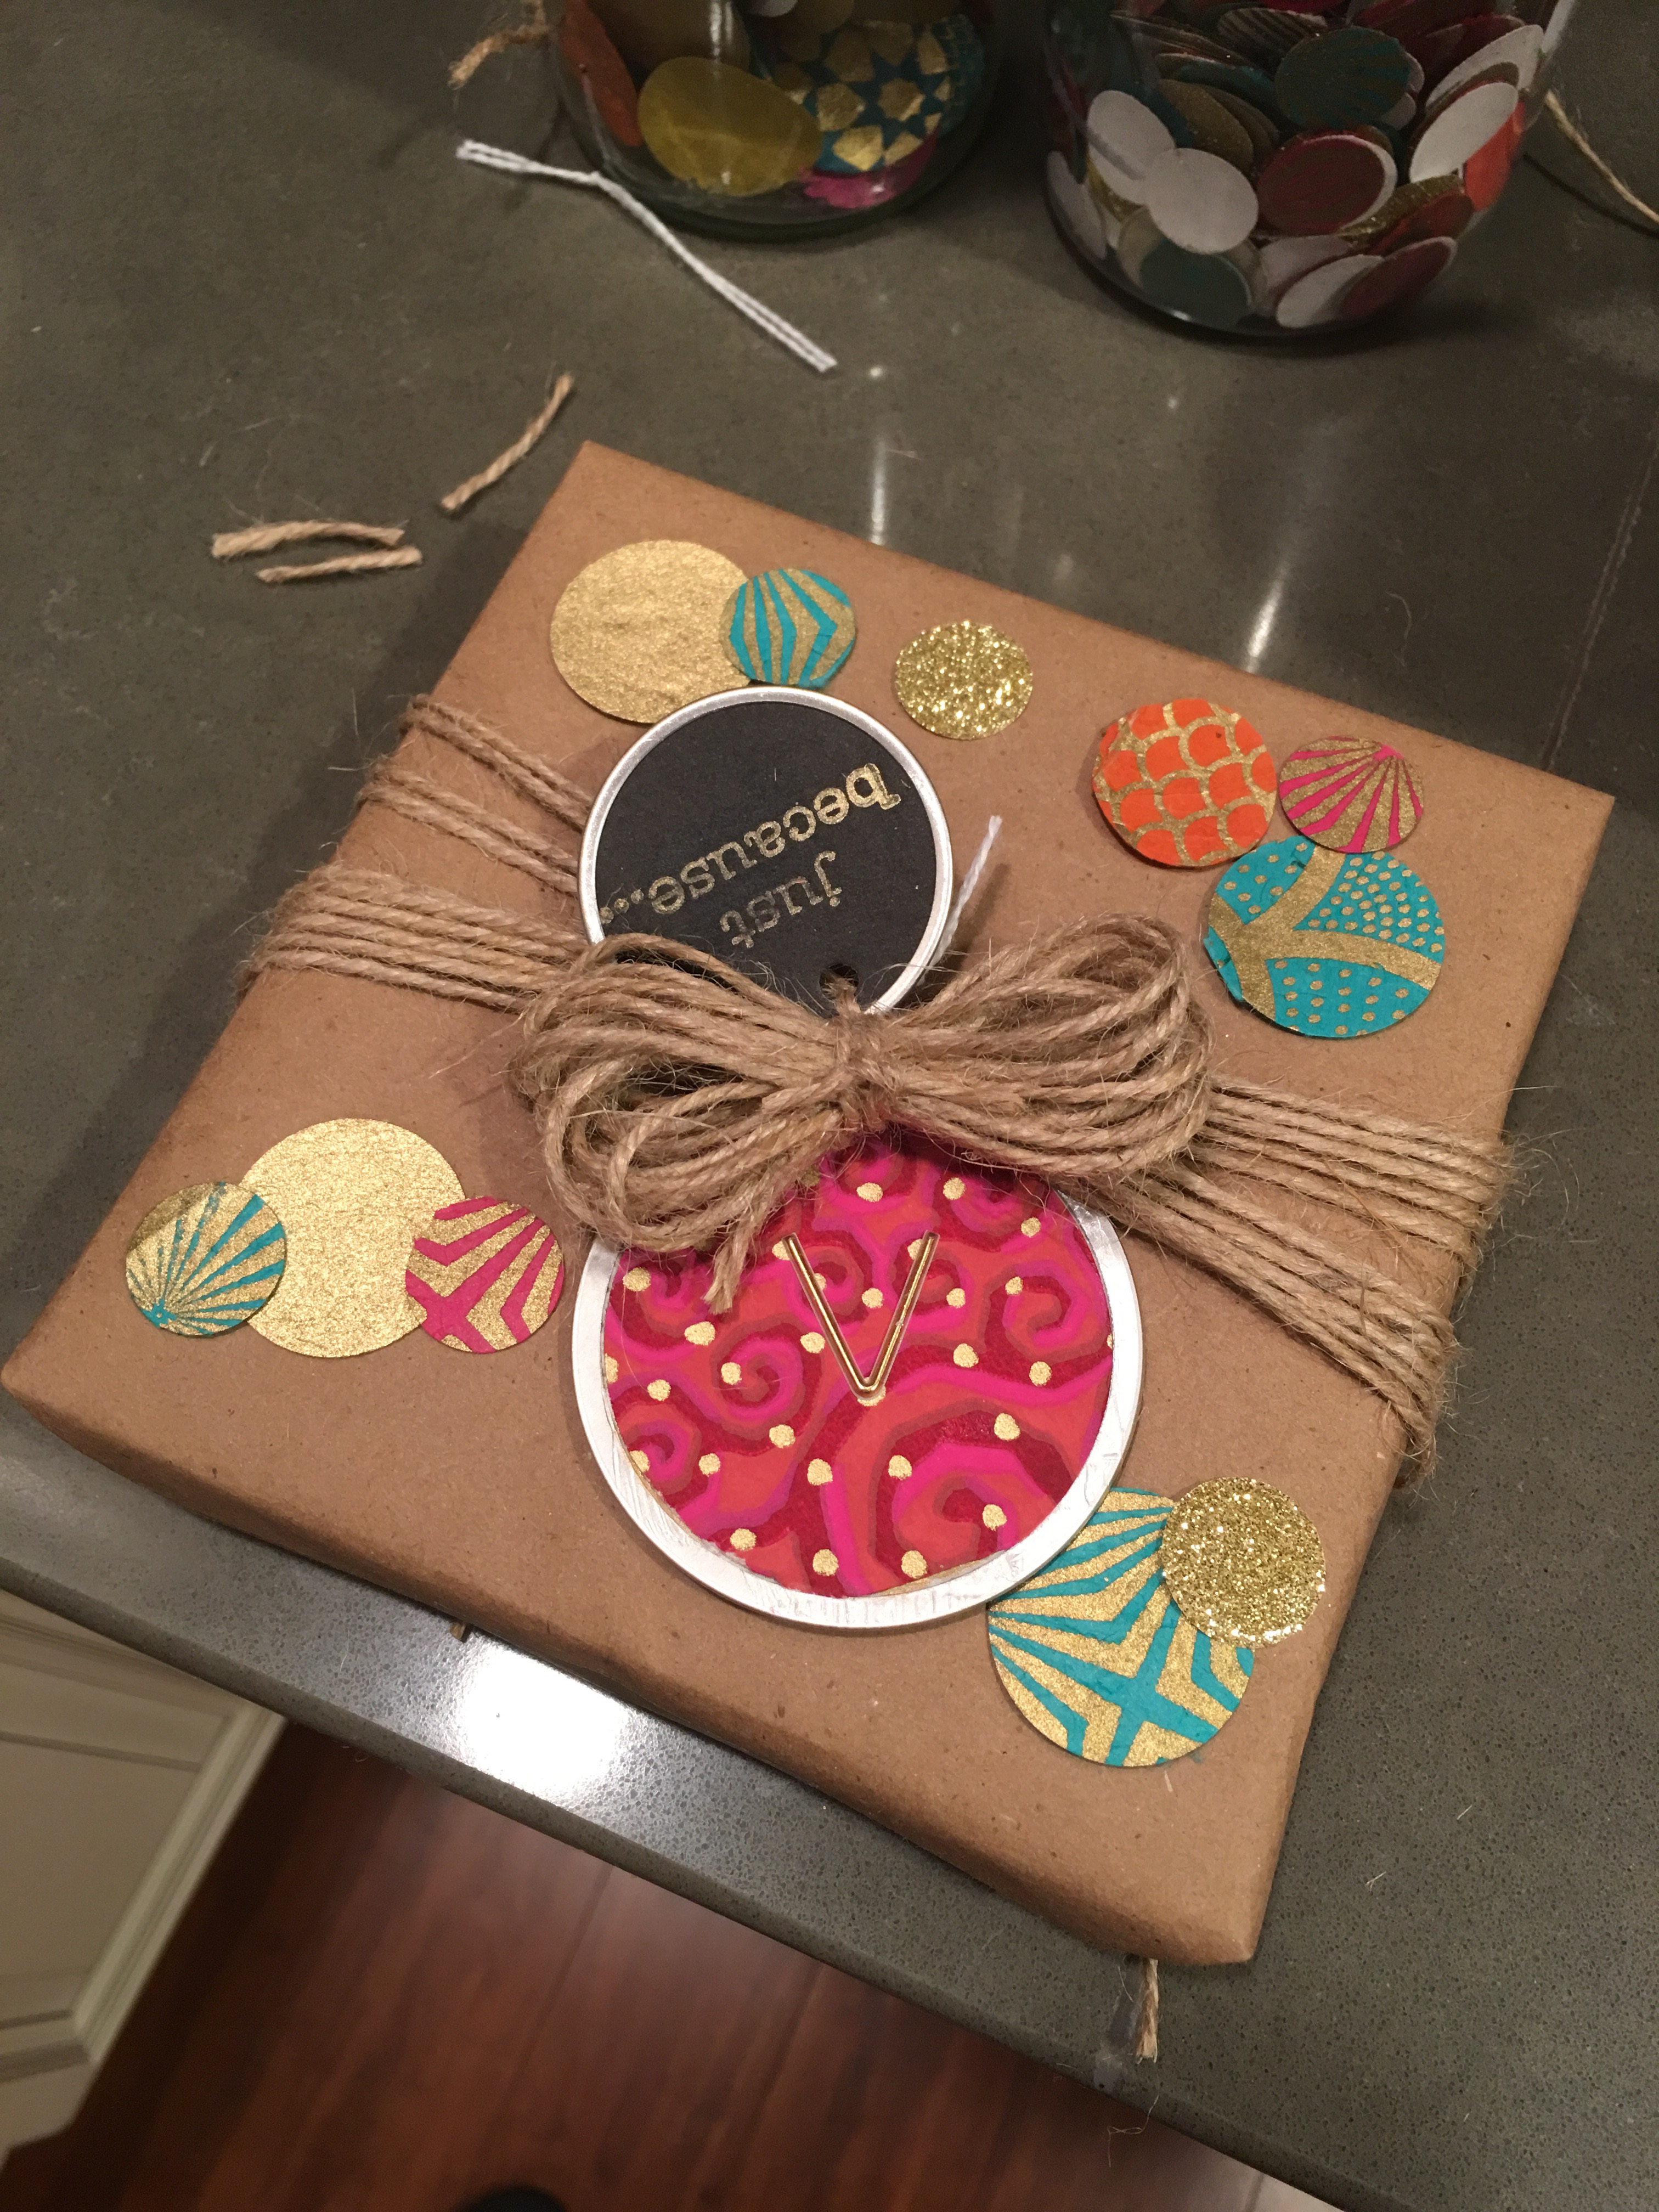
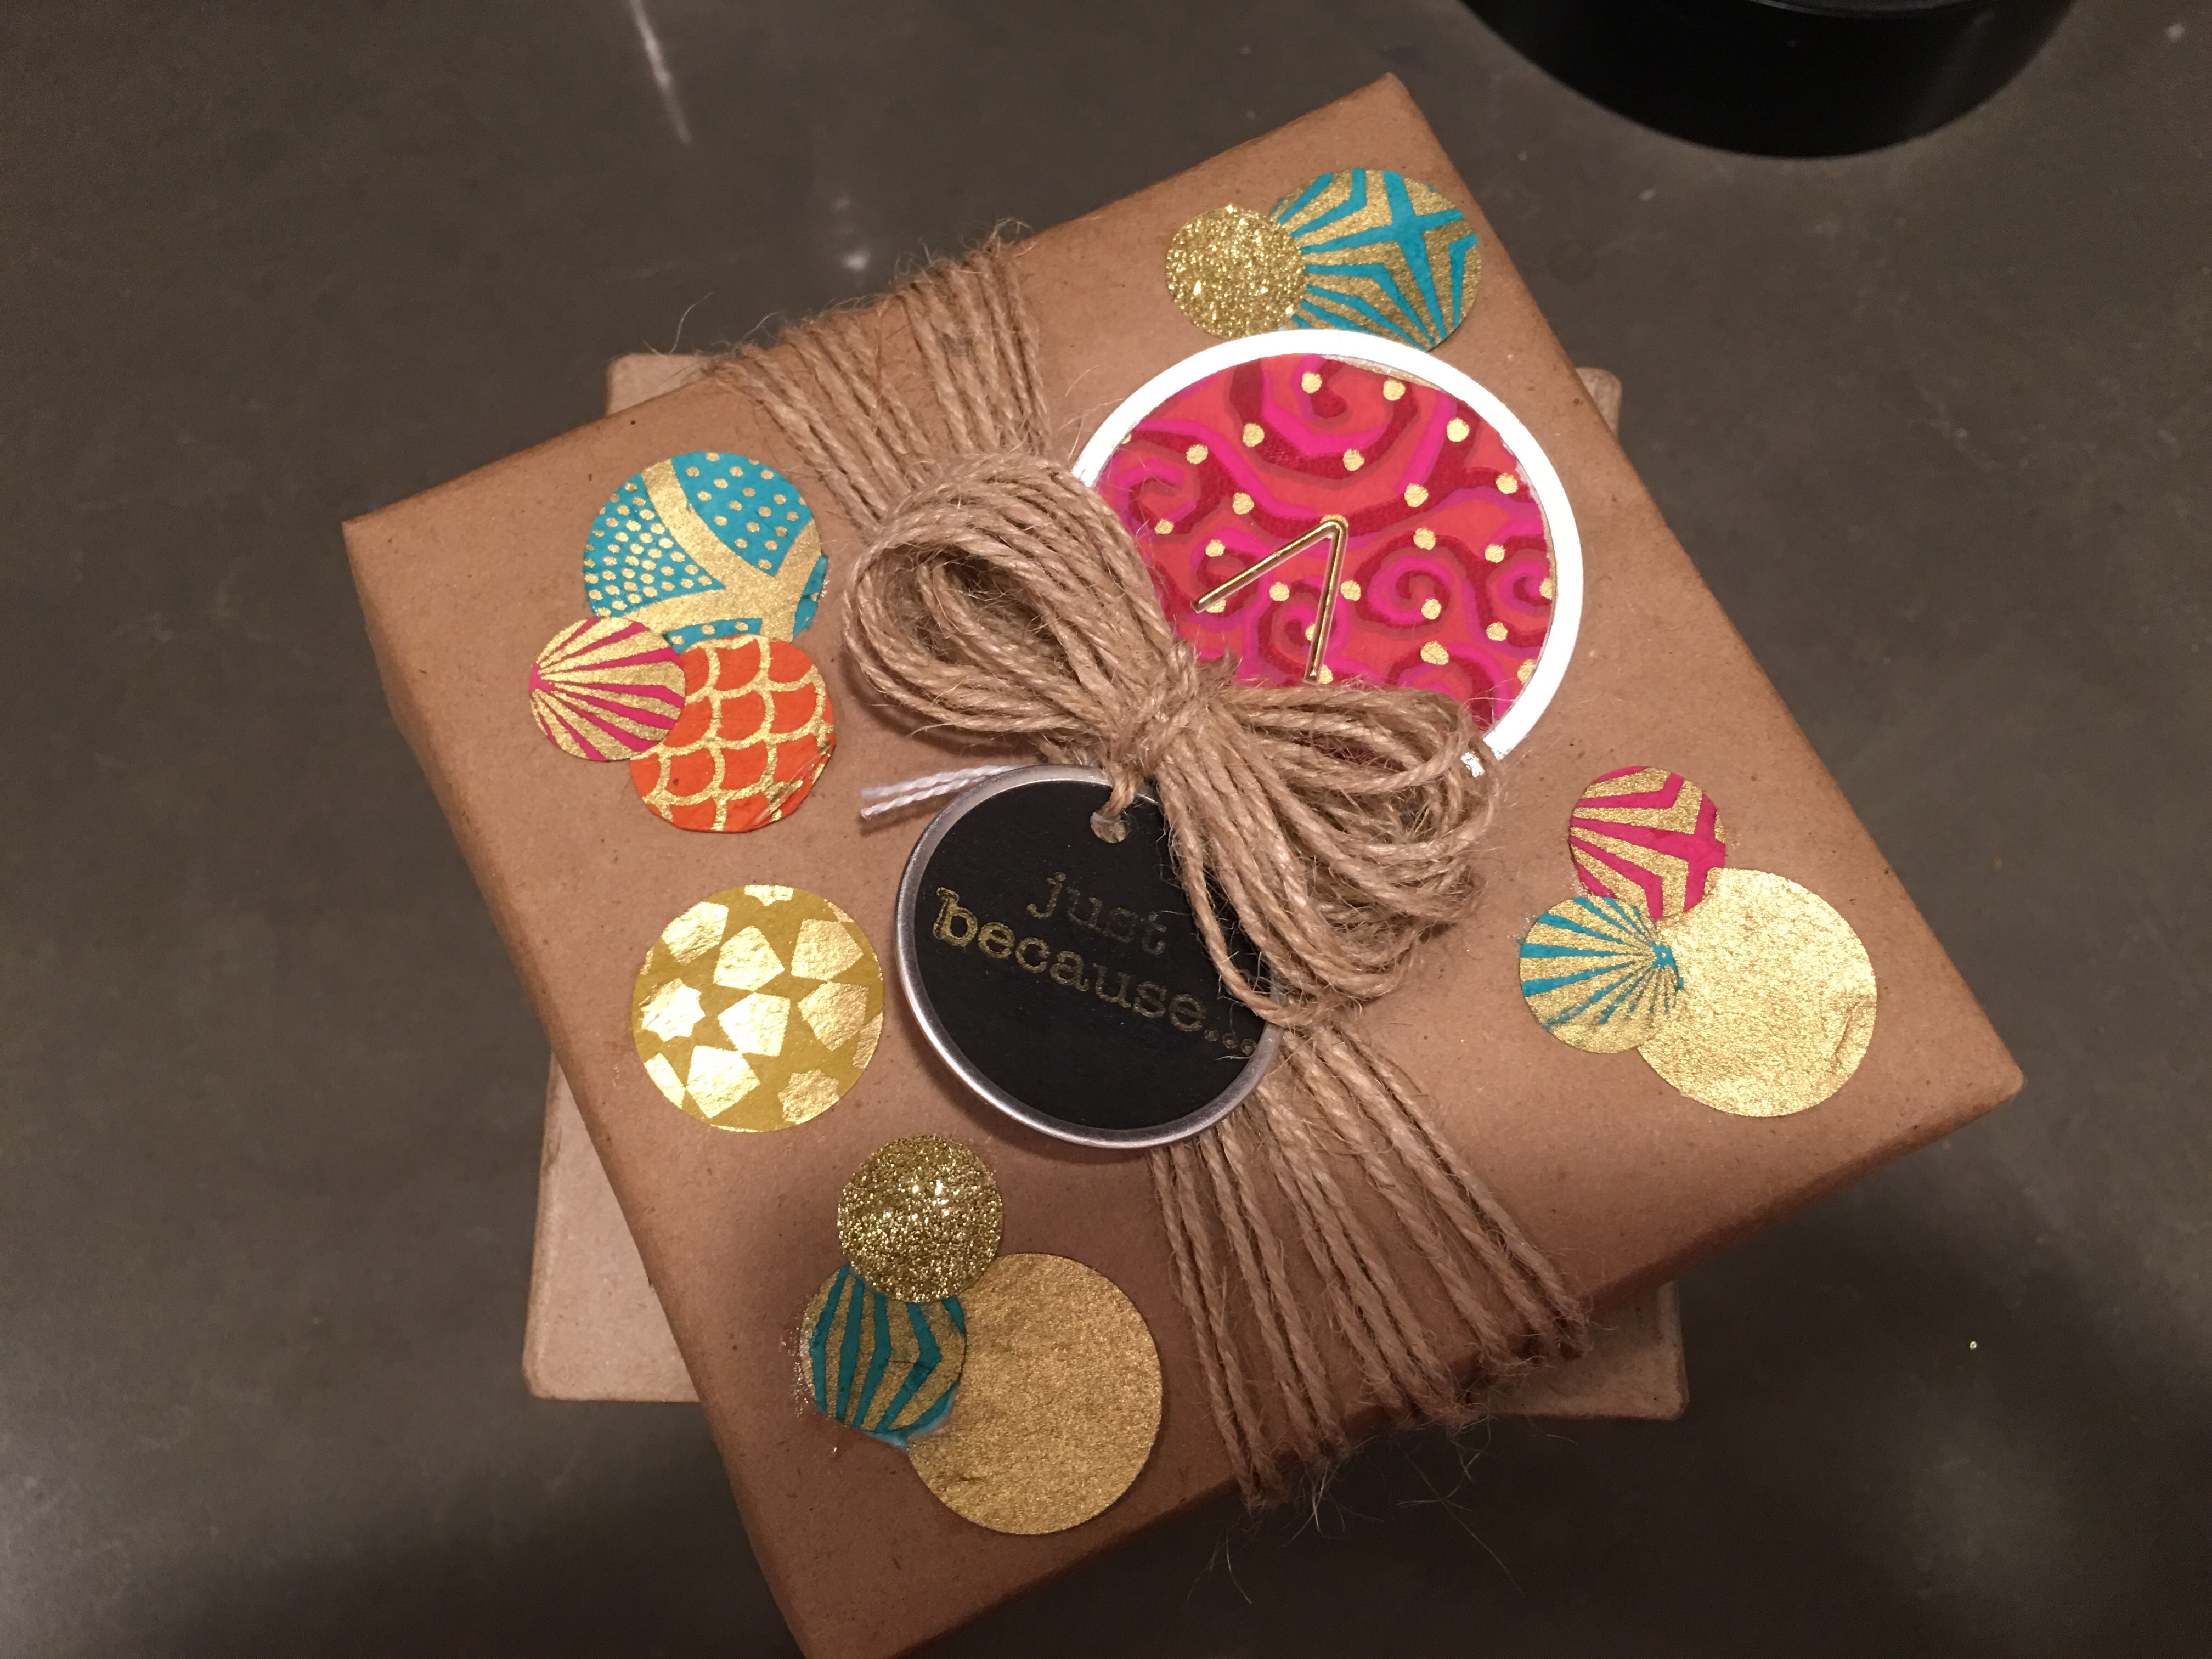
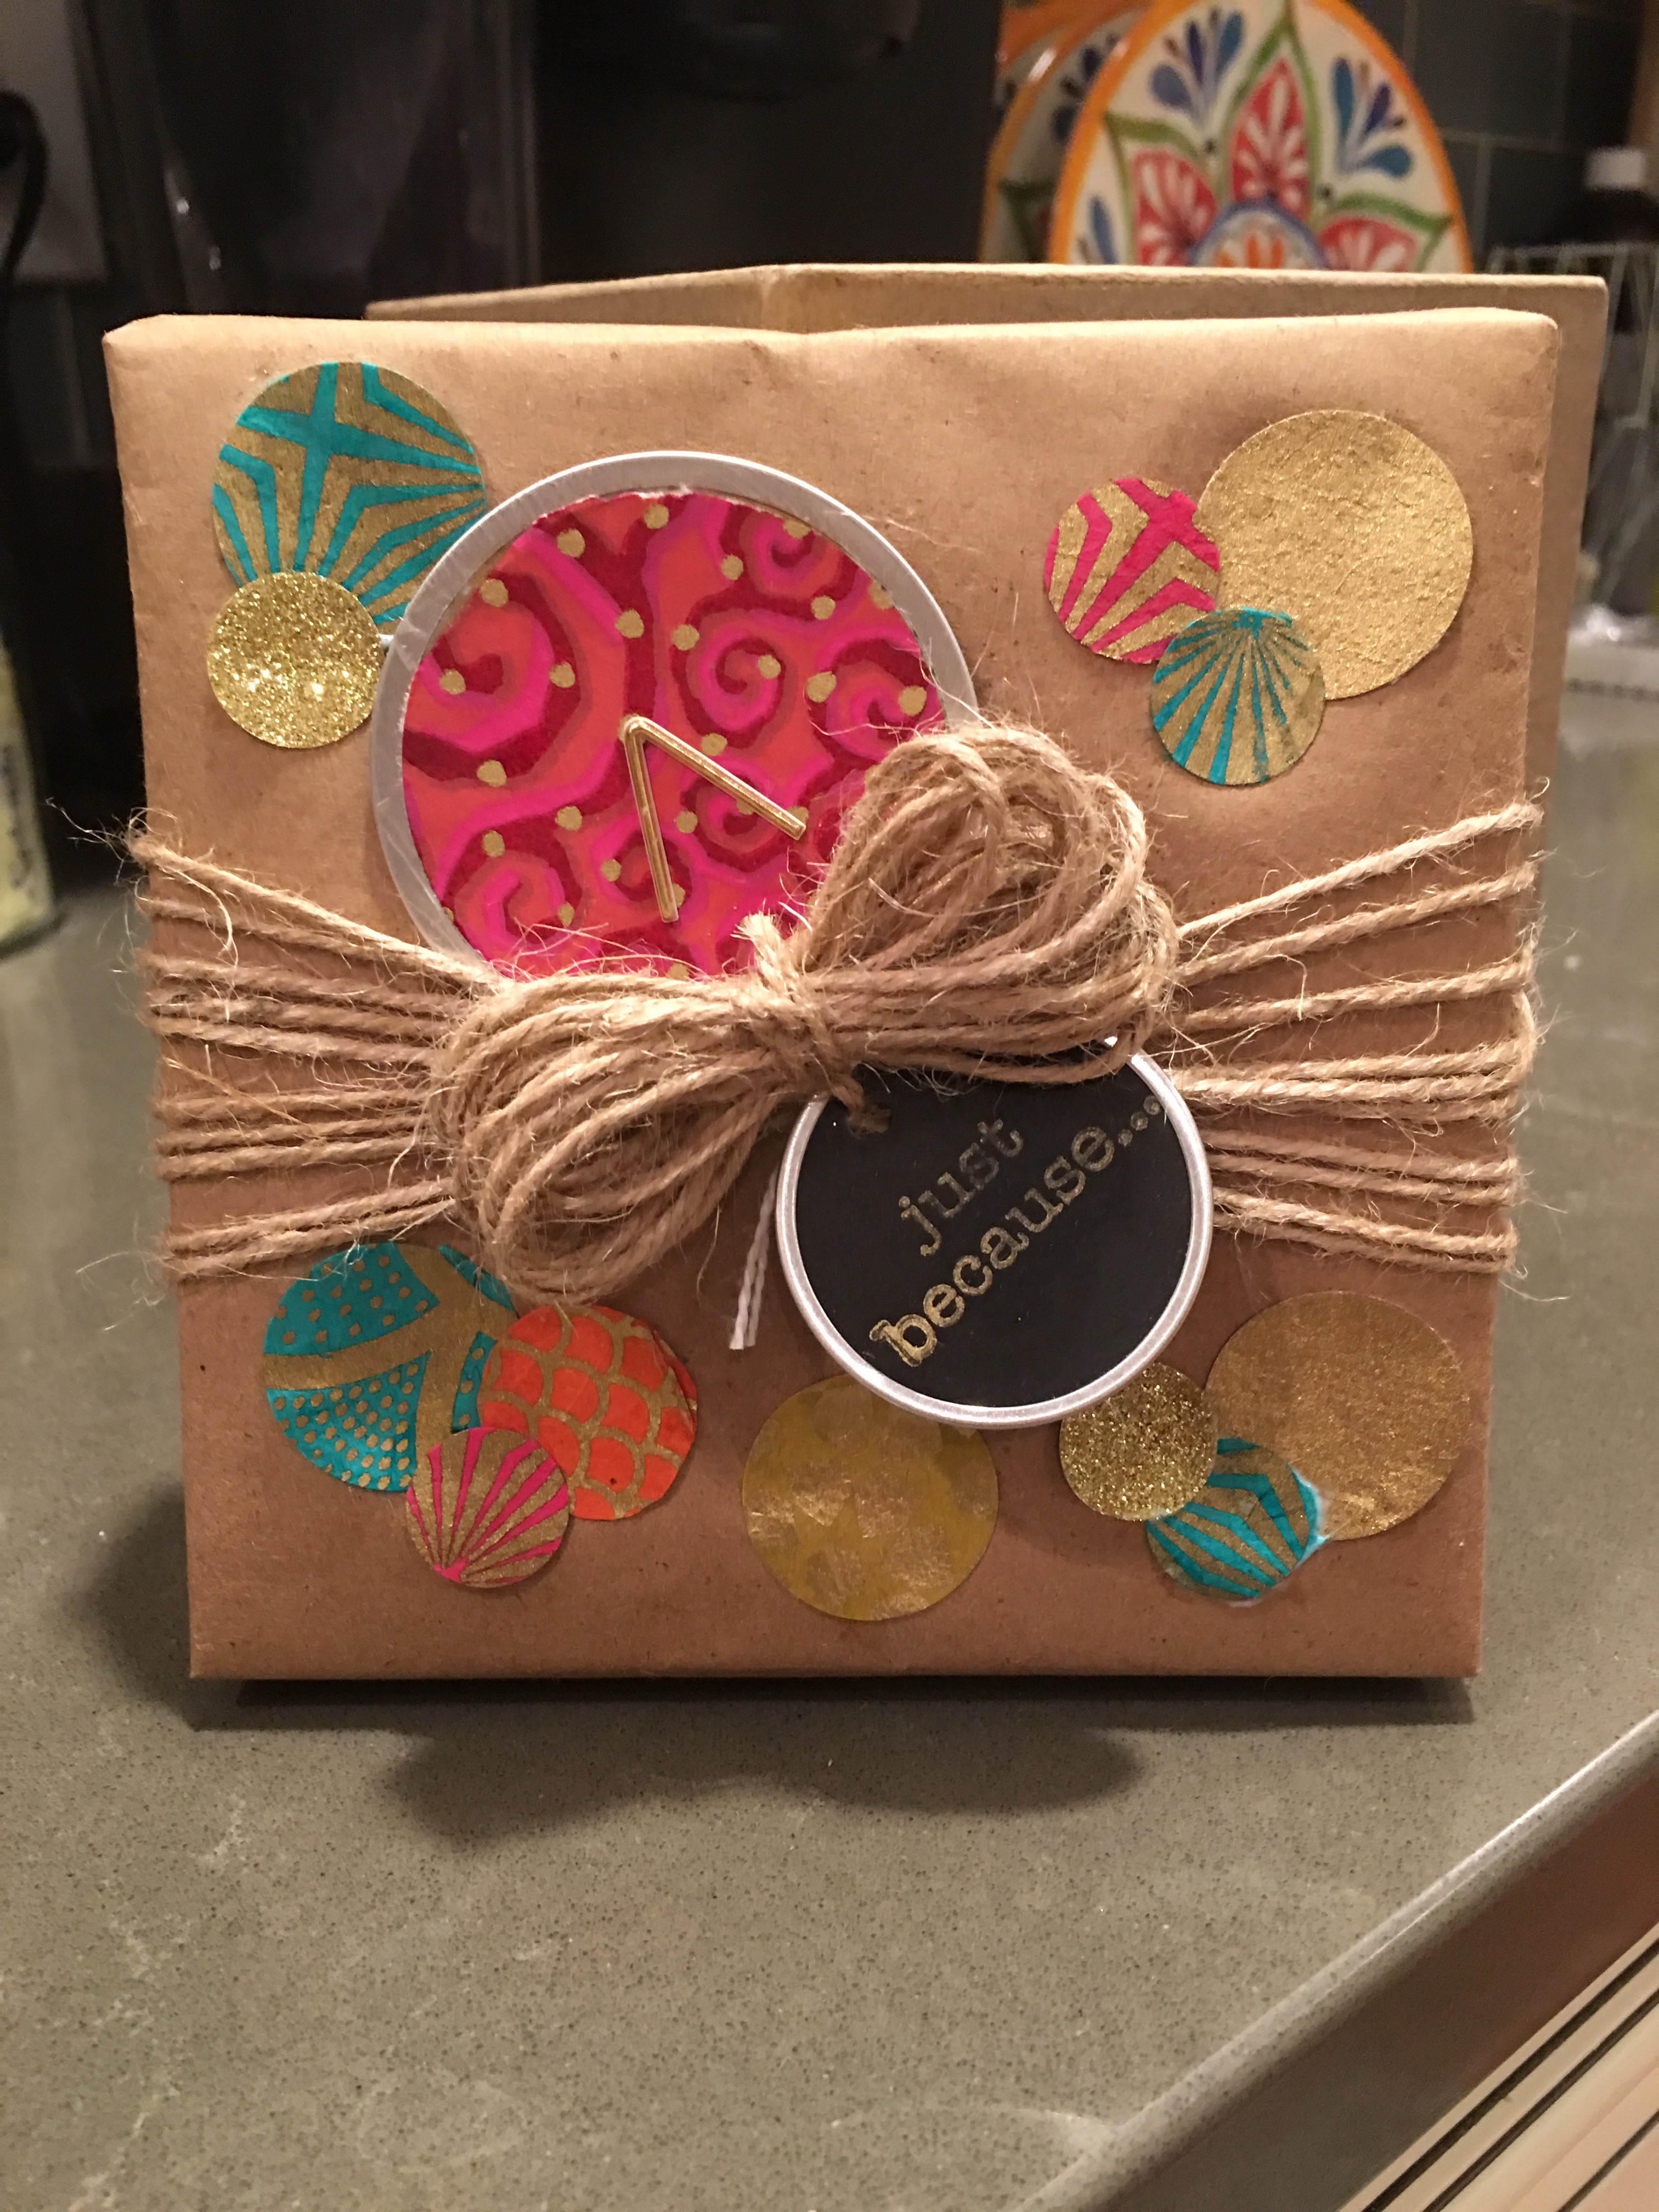
And here is the completed gift wrapped box.
This is very similar to how I had the box wrapped in December. The decorative circles matched the other wrapped gift I received from Norman. And the tags were more Christmas-themed. But this is the exact same gift wrap design.
What I was most tickled about at the time was how quickly the design came to me when I first wrapped this box. I was low on the other kind of paper. But I wanted to make a decorative box that complemented the other box (but just as striking in display).
And this solution just clicked into place in my head.
Now that I wrapped this box all over again, chances are I will not be unwrapping it again anytime soon! 😉 V-