
Paper Decorated Cookbook File boxes
You may also like:
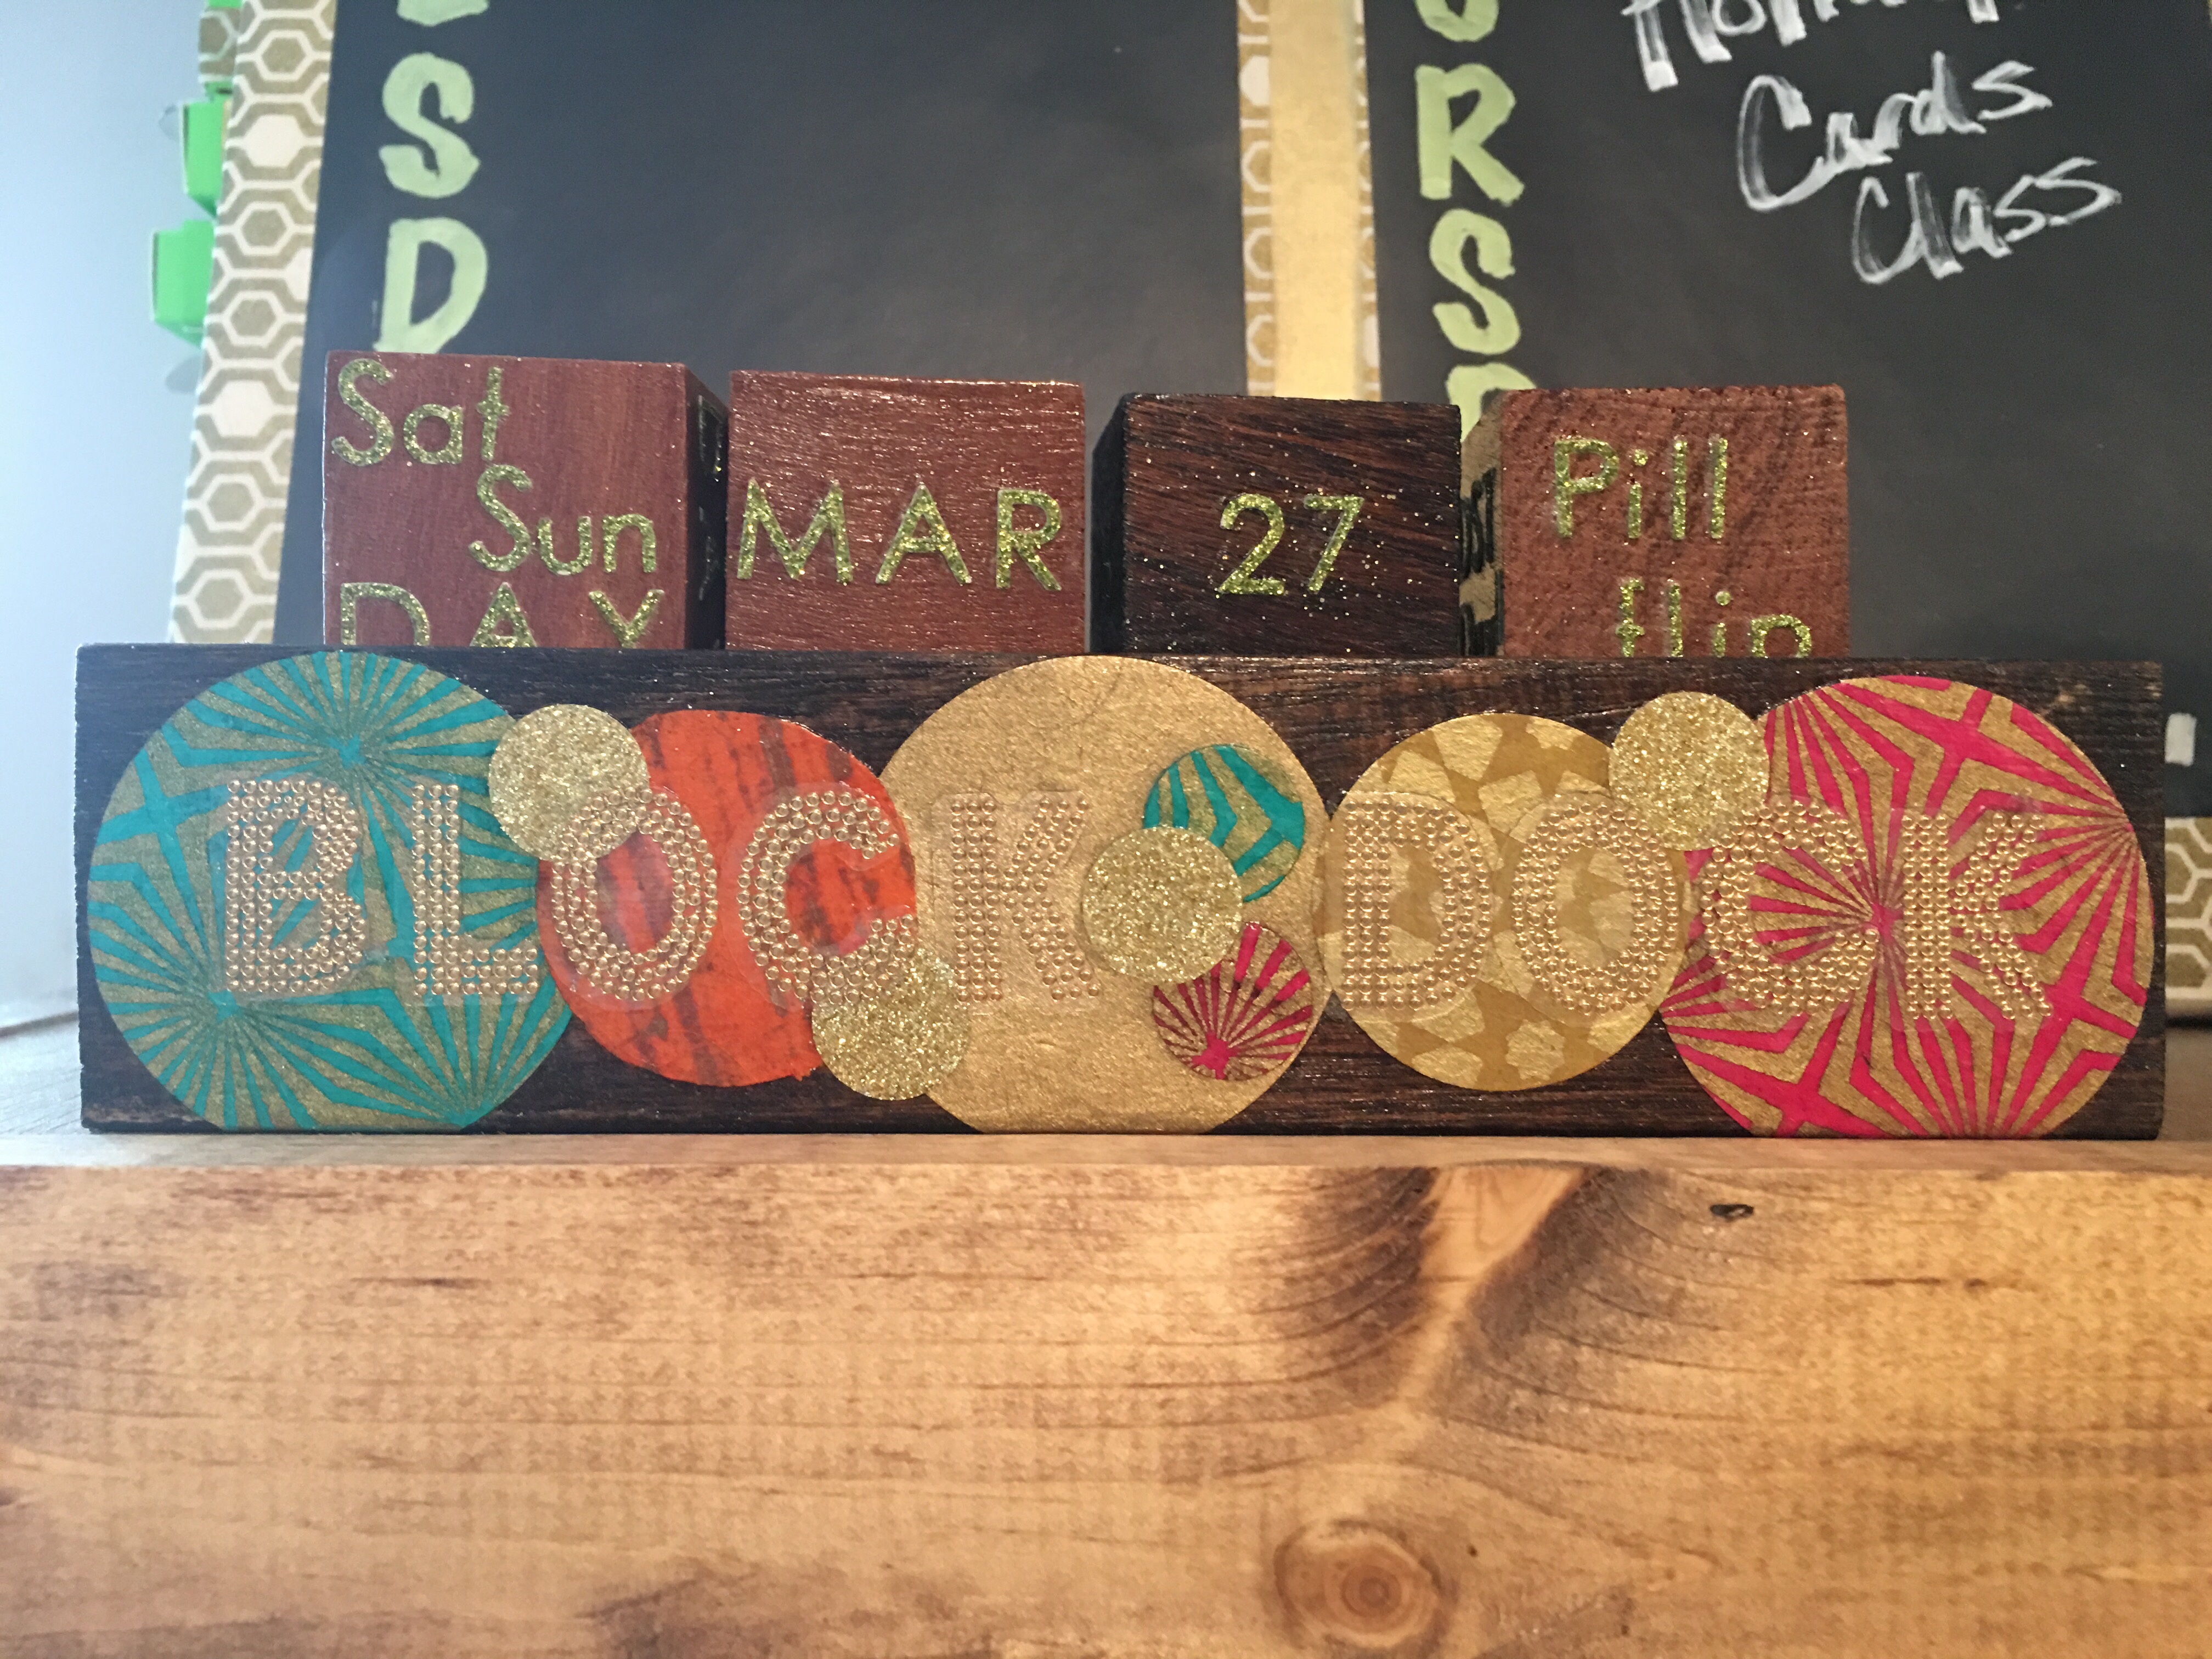
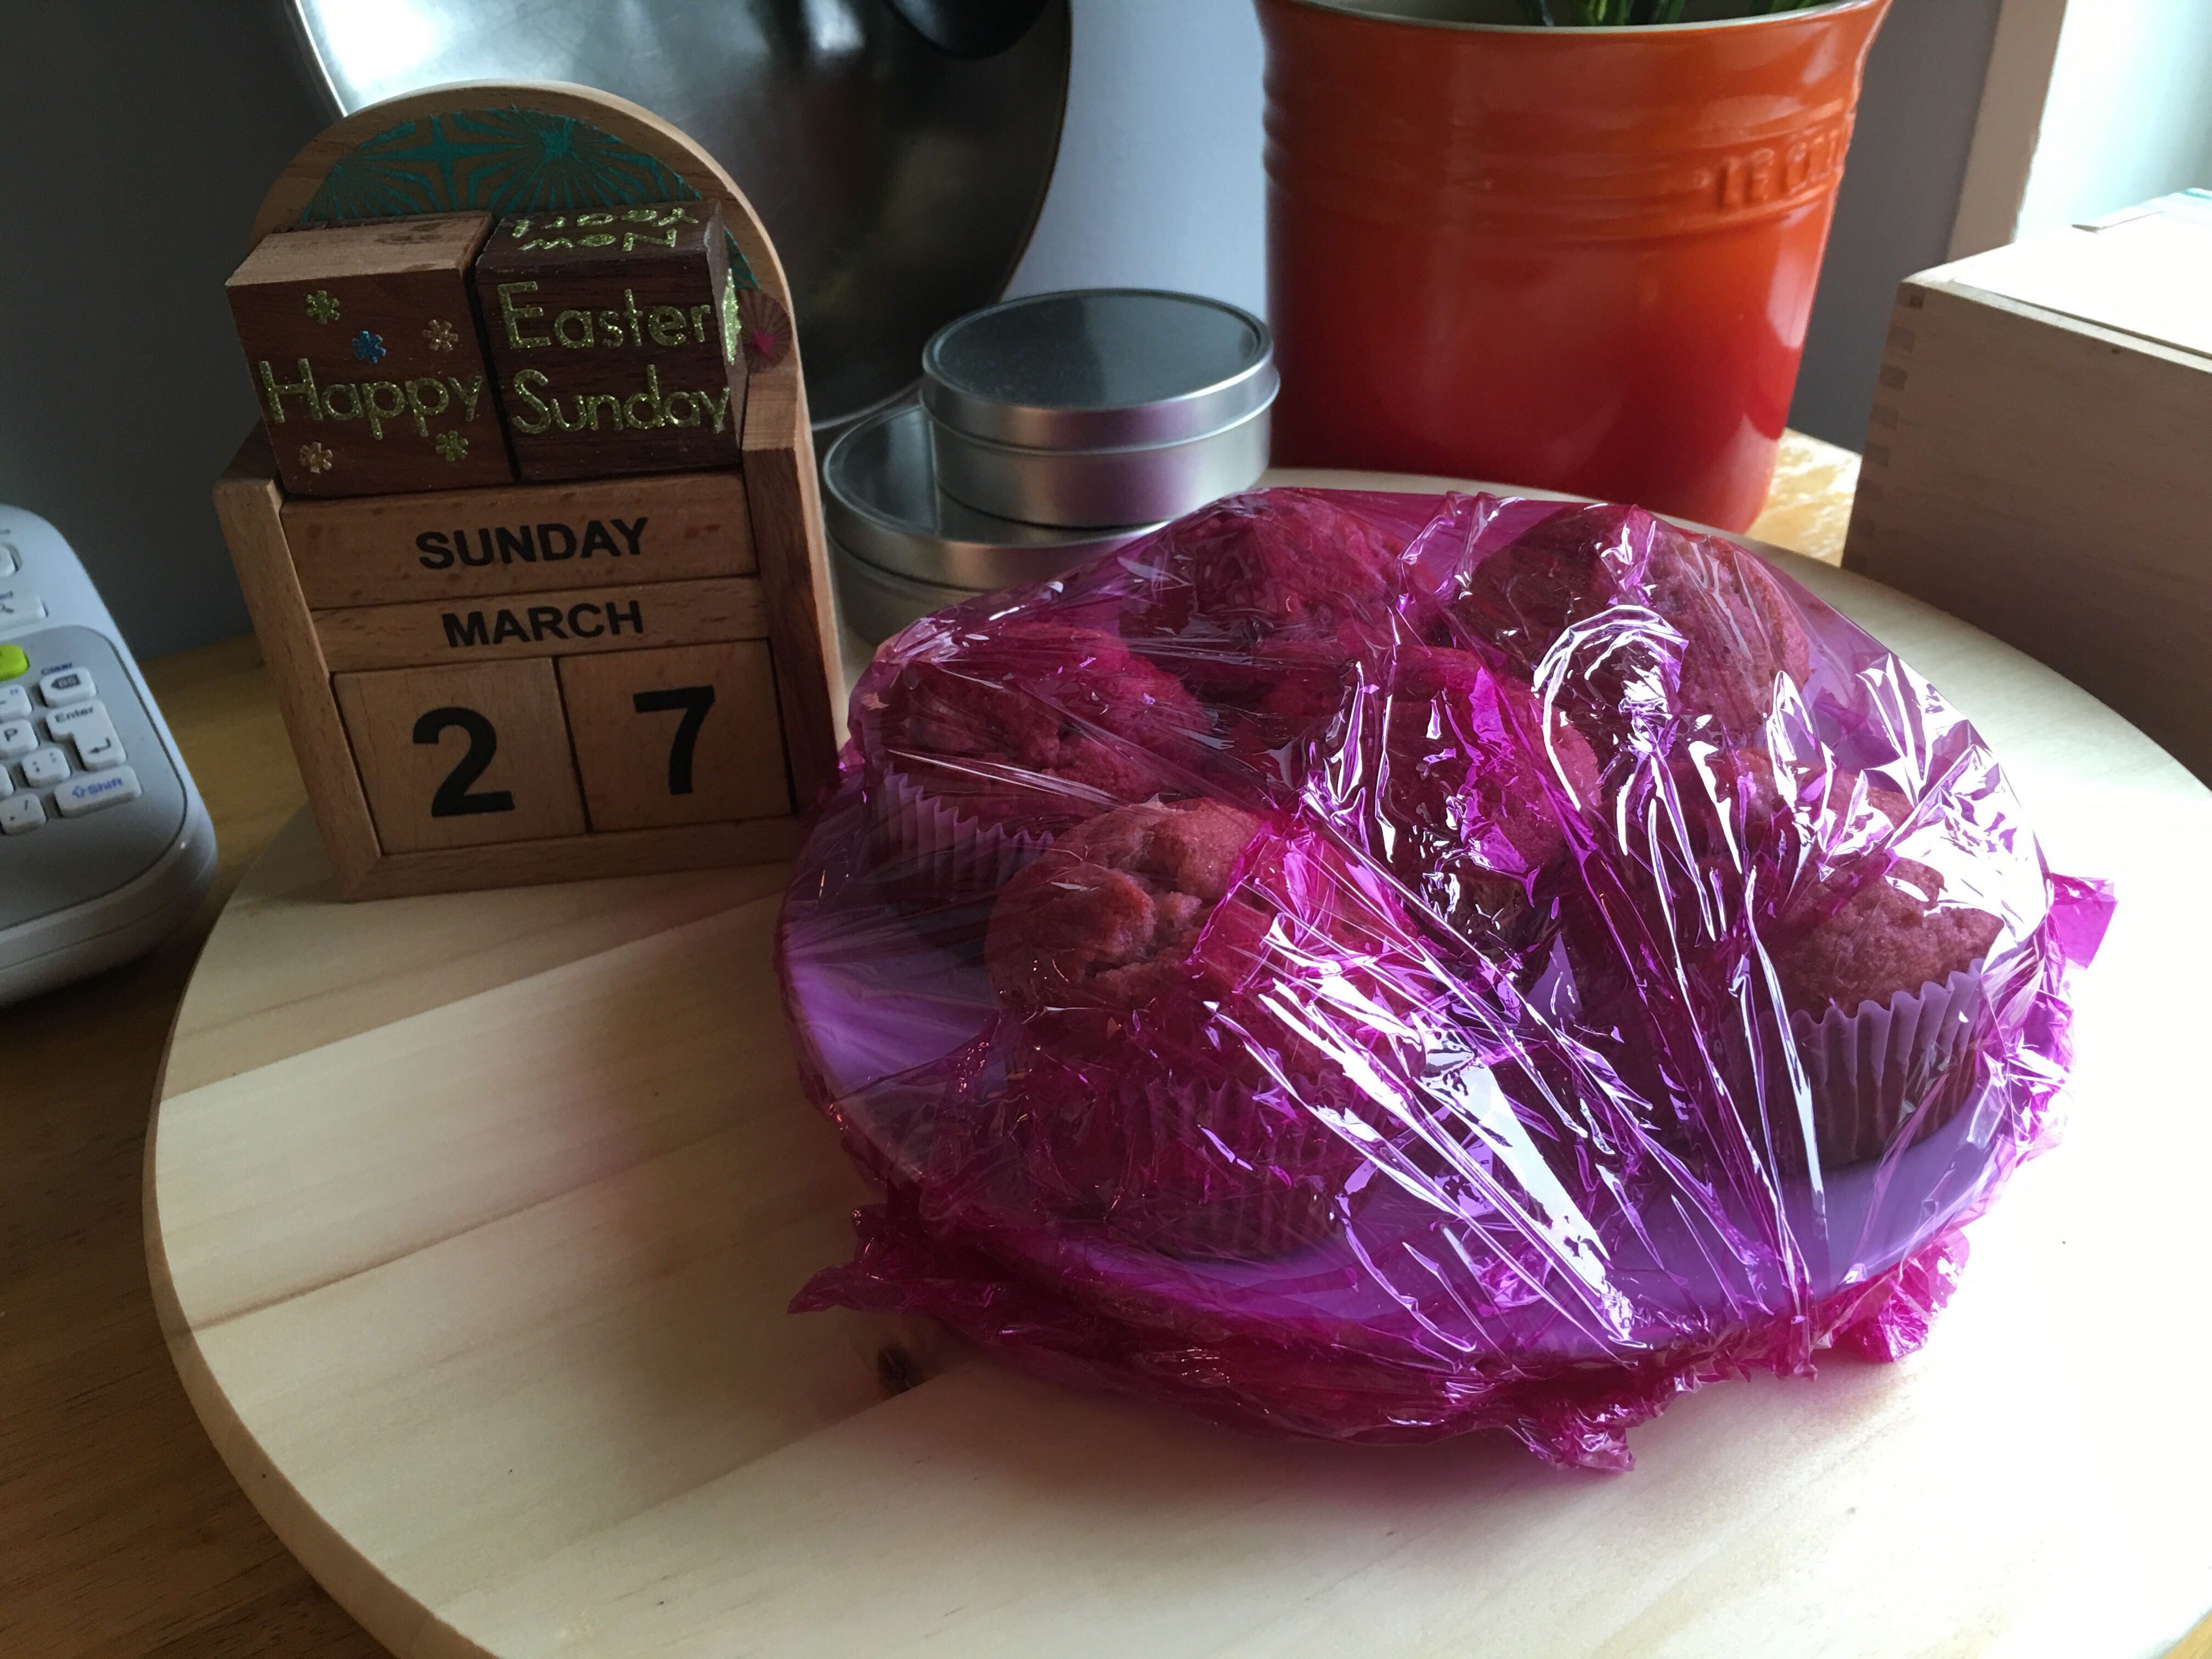
March 27, 2016: A day in the life of VidaDIY. First I wake up. Then I shuffle into the kitchen and look for my wood calendar blocks. And then I ask myself “Hey, block dock…what day is today?”
Why madam, it’s Easter Sunday! Have a muffin.
I start my coffee, flip my blocks, take my pills, filch a couple of muffins, and get to work with finishing my cookbook file box project.
I started this project yesterday as a spur-of-the moment crafting spurt. My mind is tracking one way one minute. Then it’s in a frenzy of creative activity on something completely different the next.
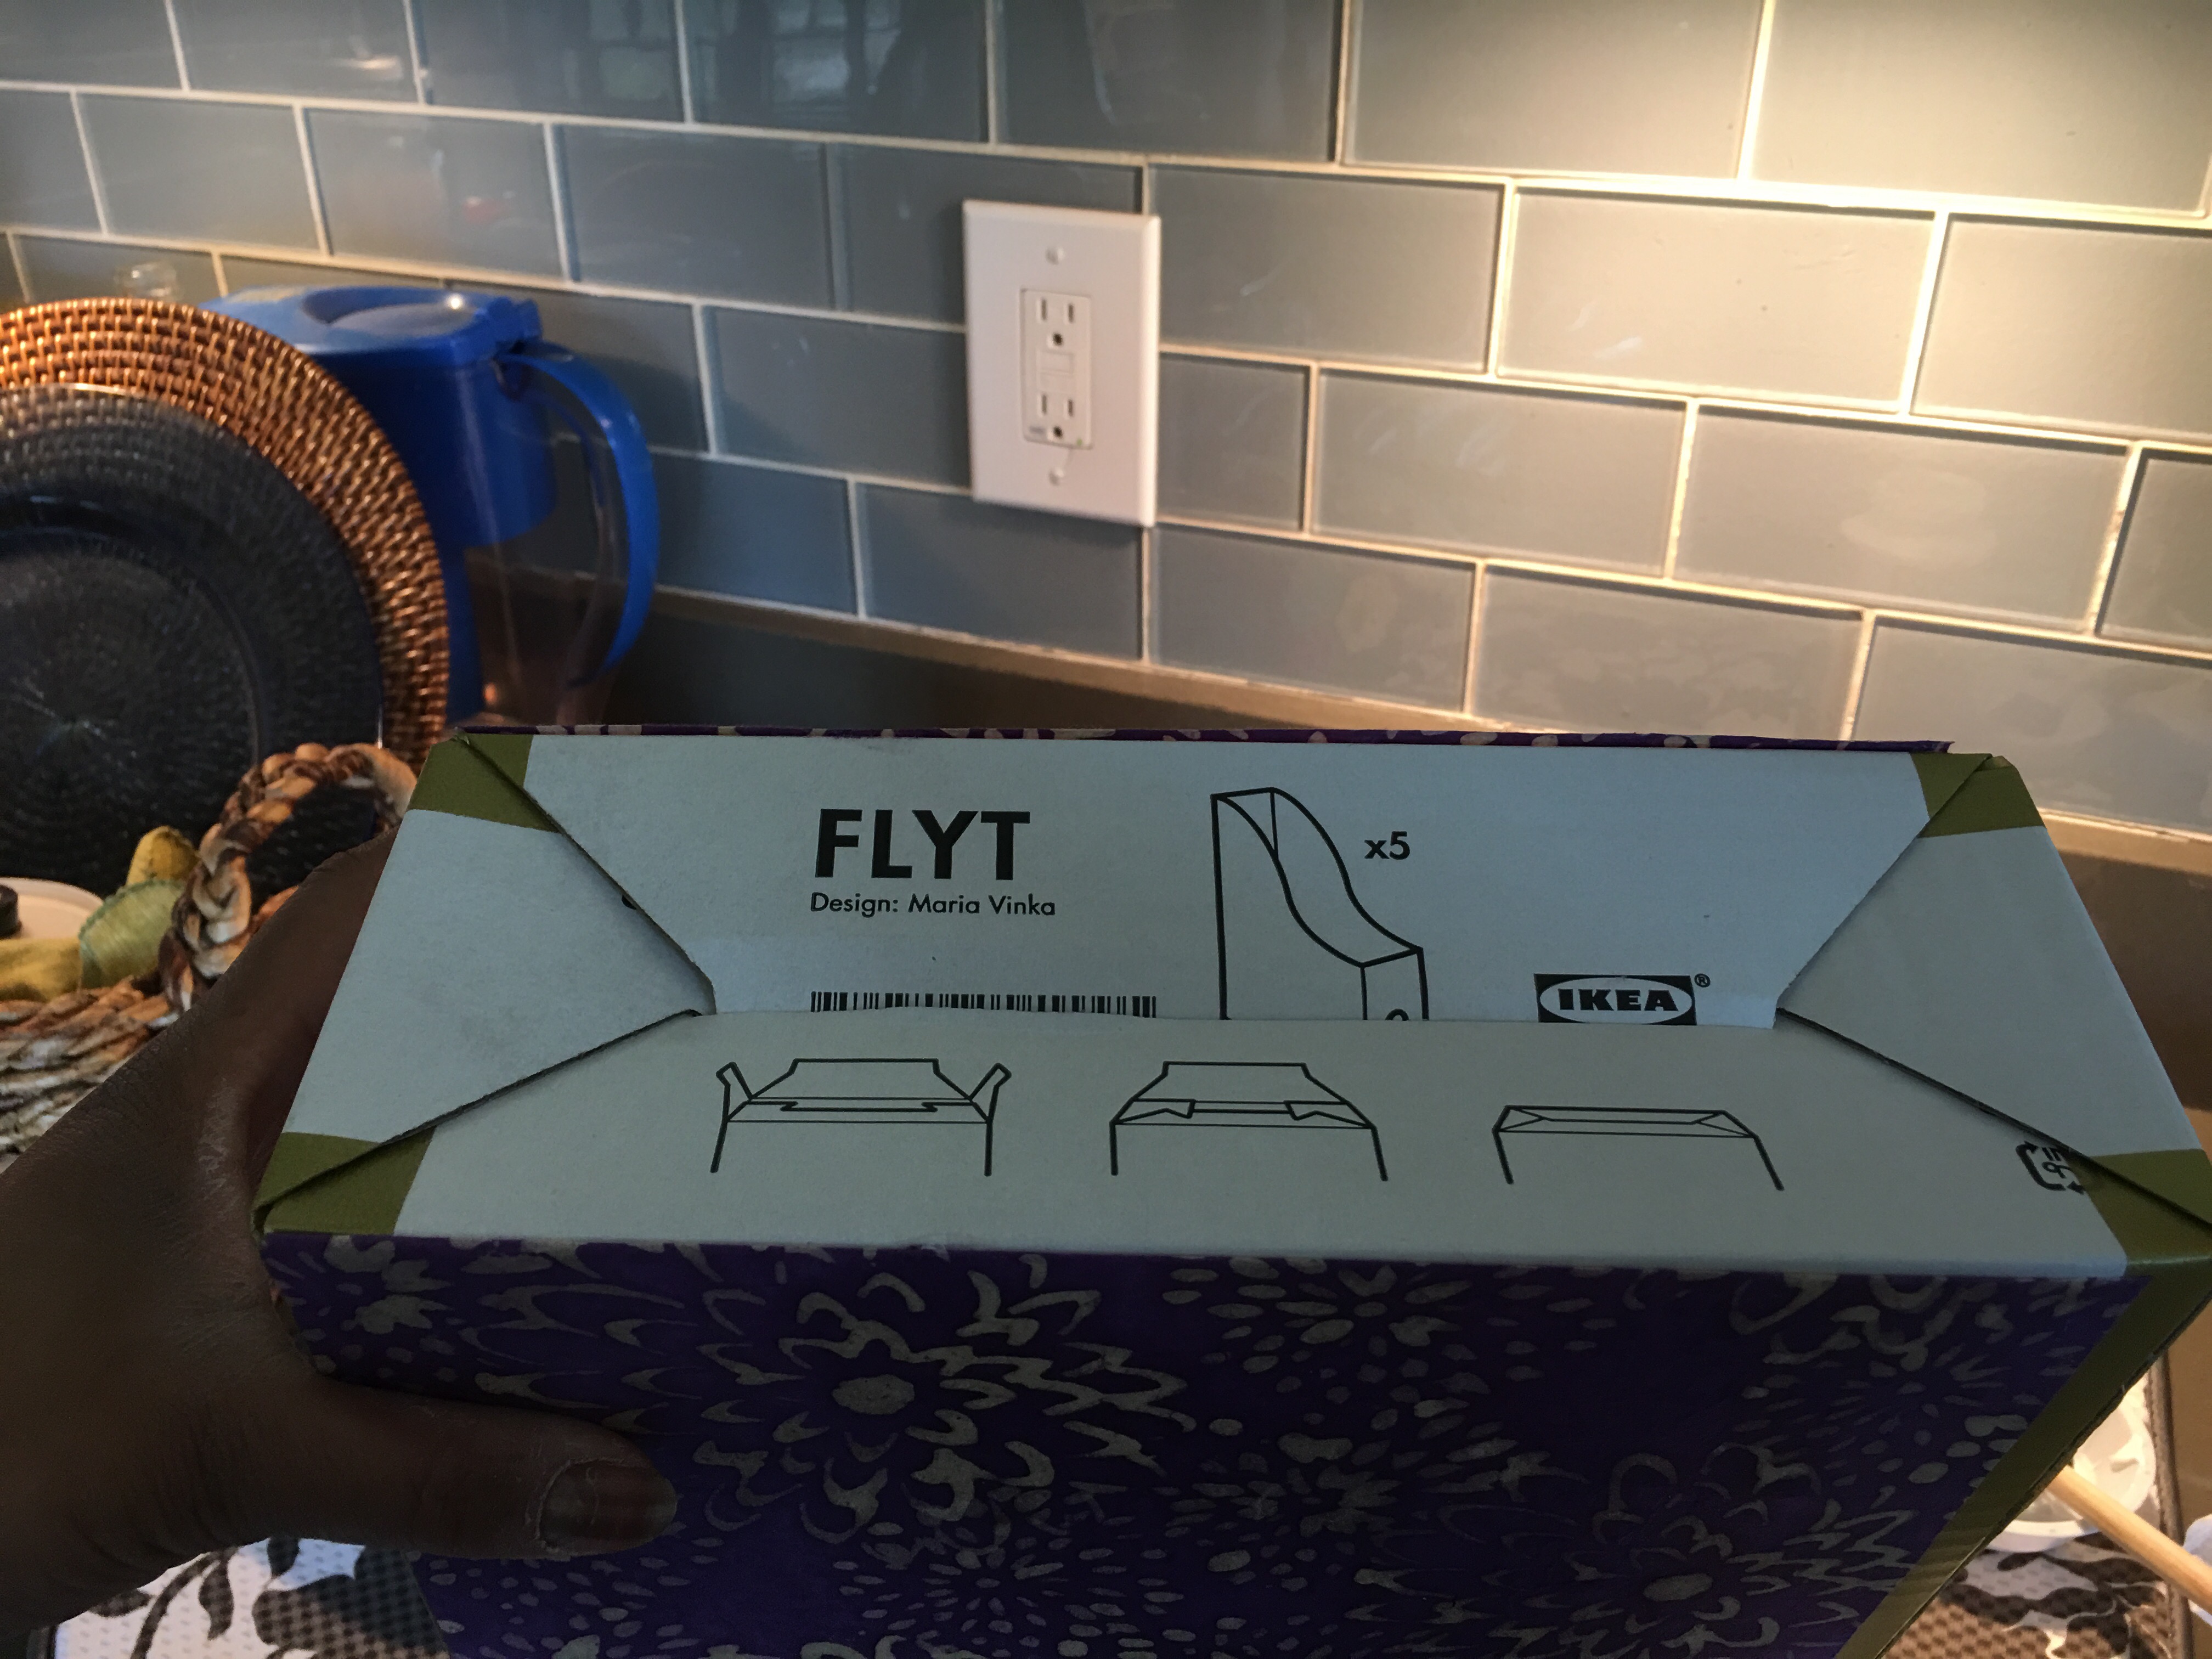
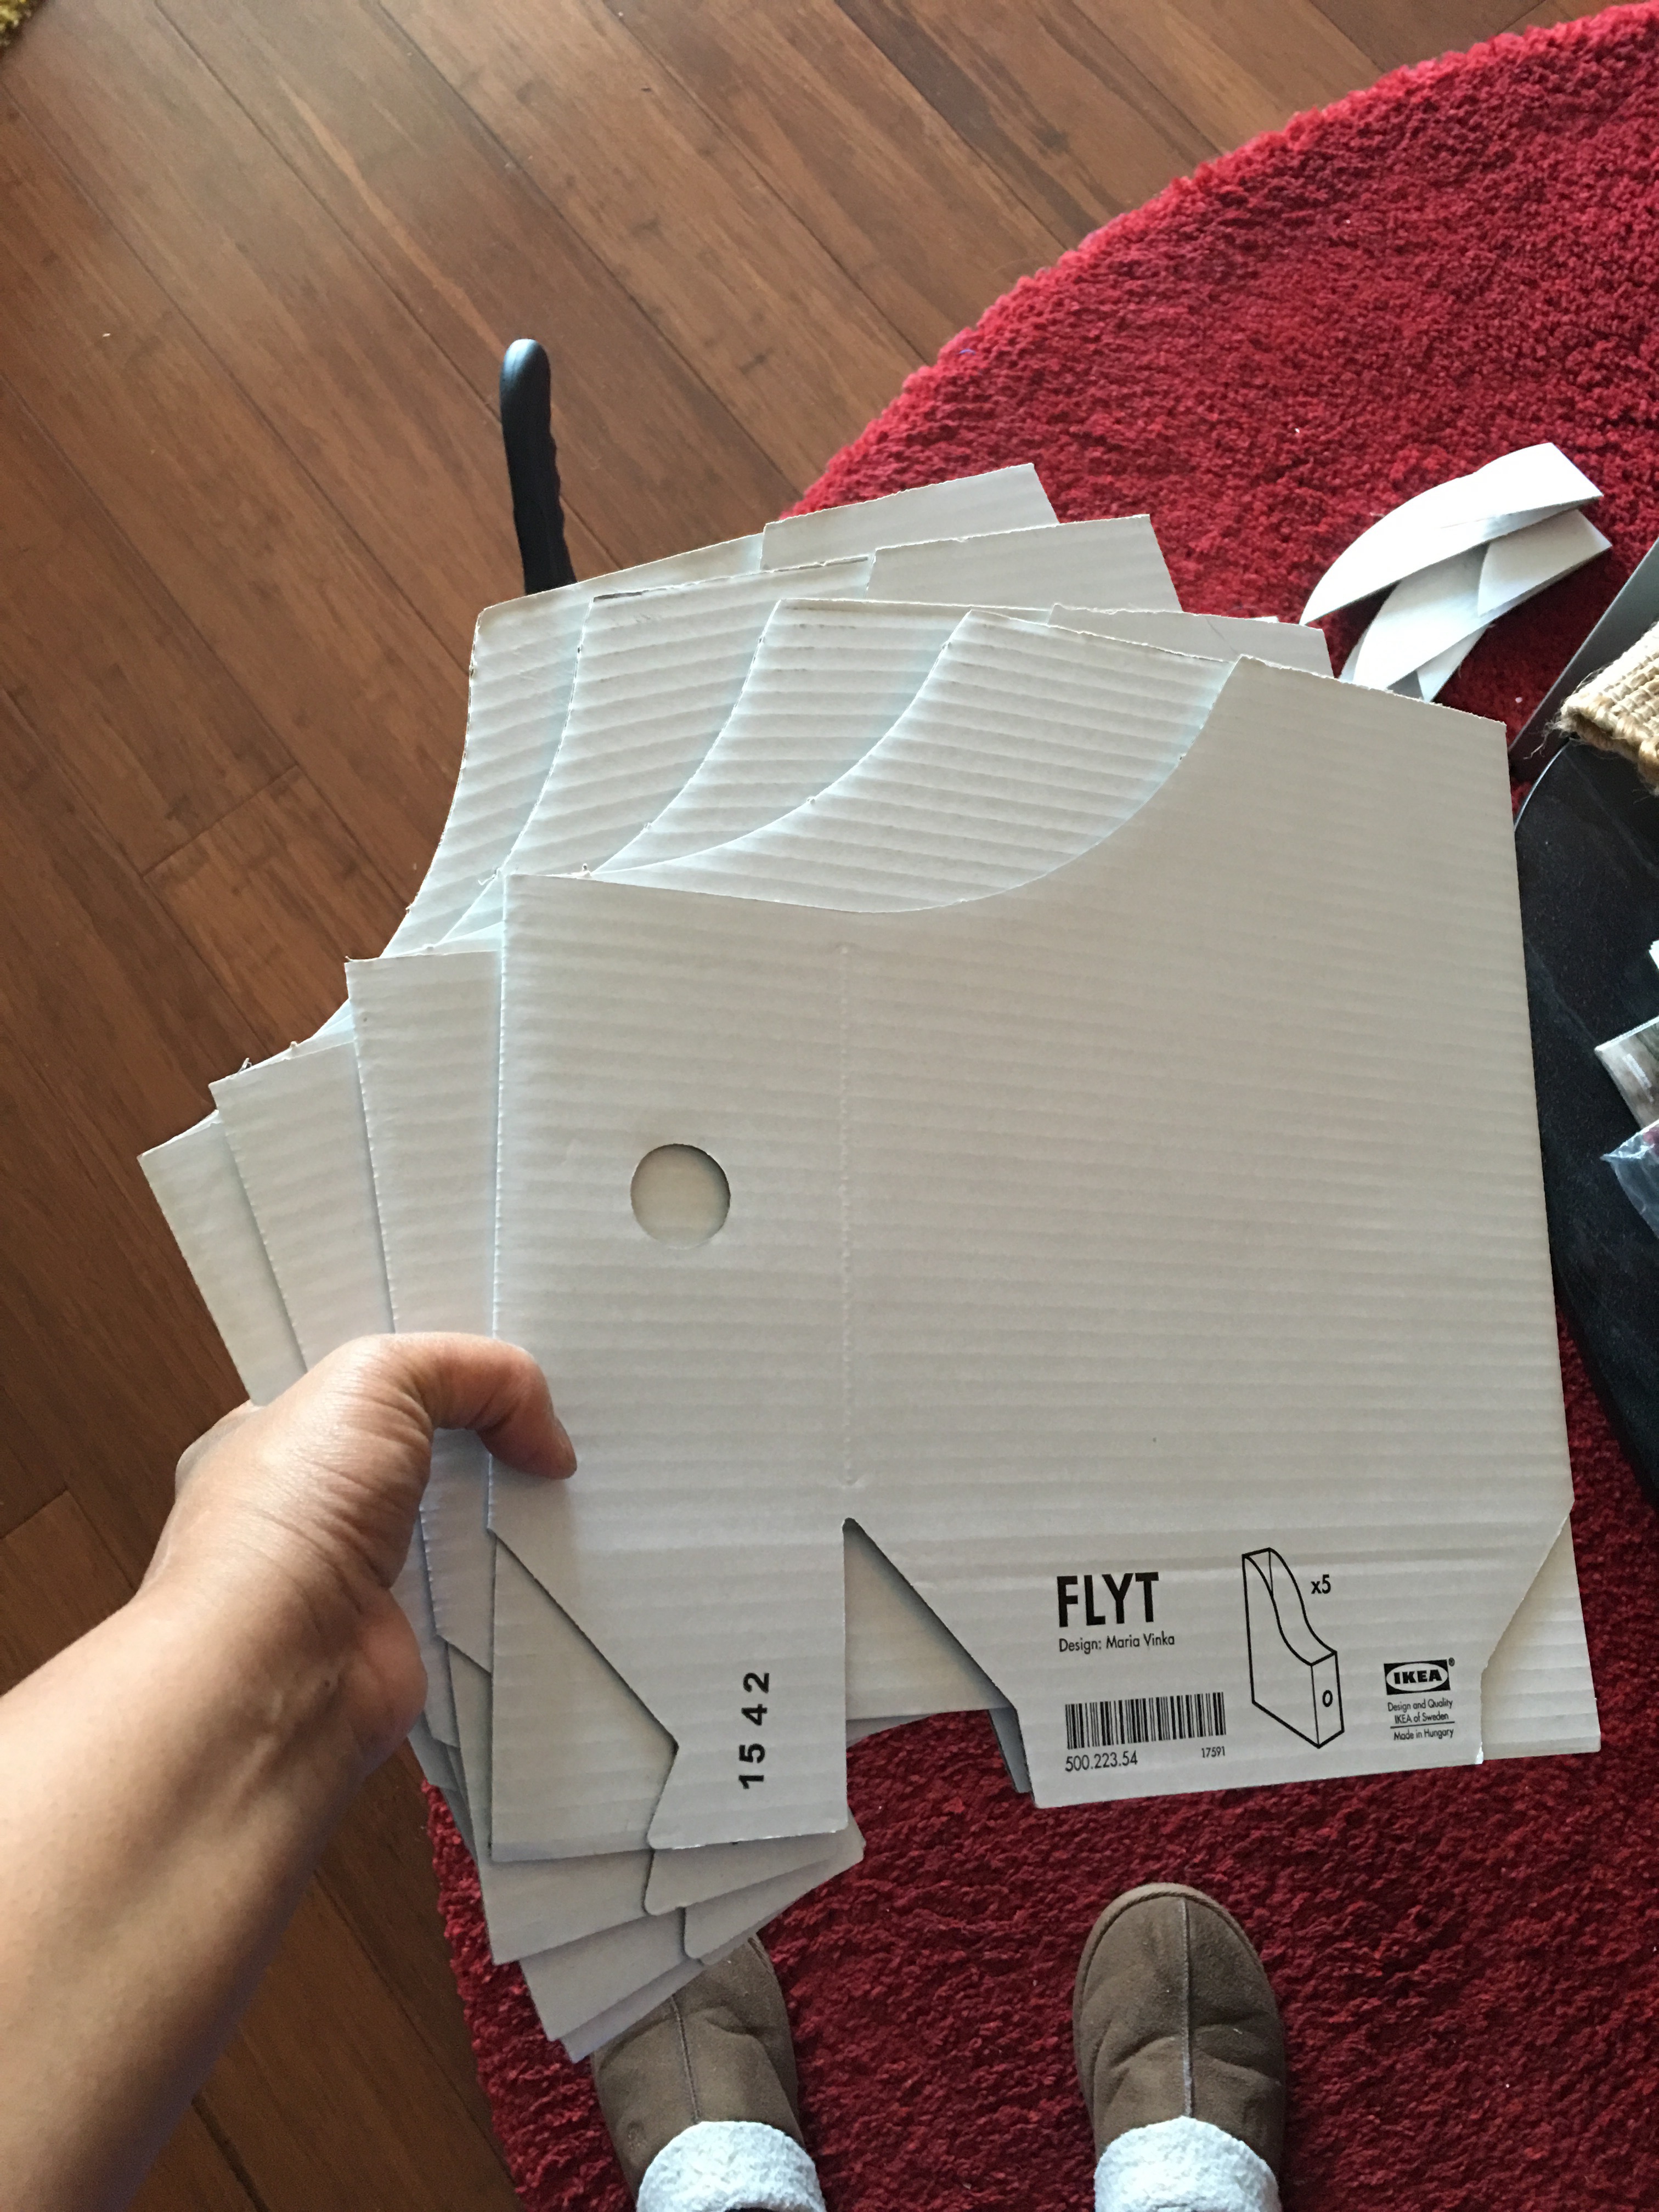
I vaguely remember organizing some spice containers before spotting the IKEA FLYT magazine file package on the kitchen annex ottoman.
When I saw these while browsing the store last week, I thought these would be great as a paper decoupage project.
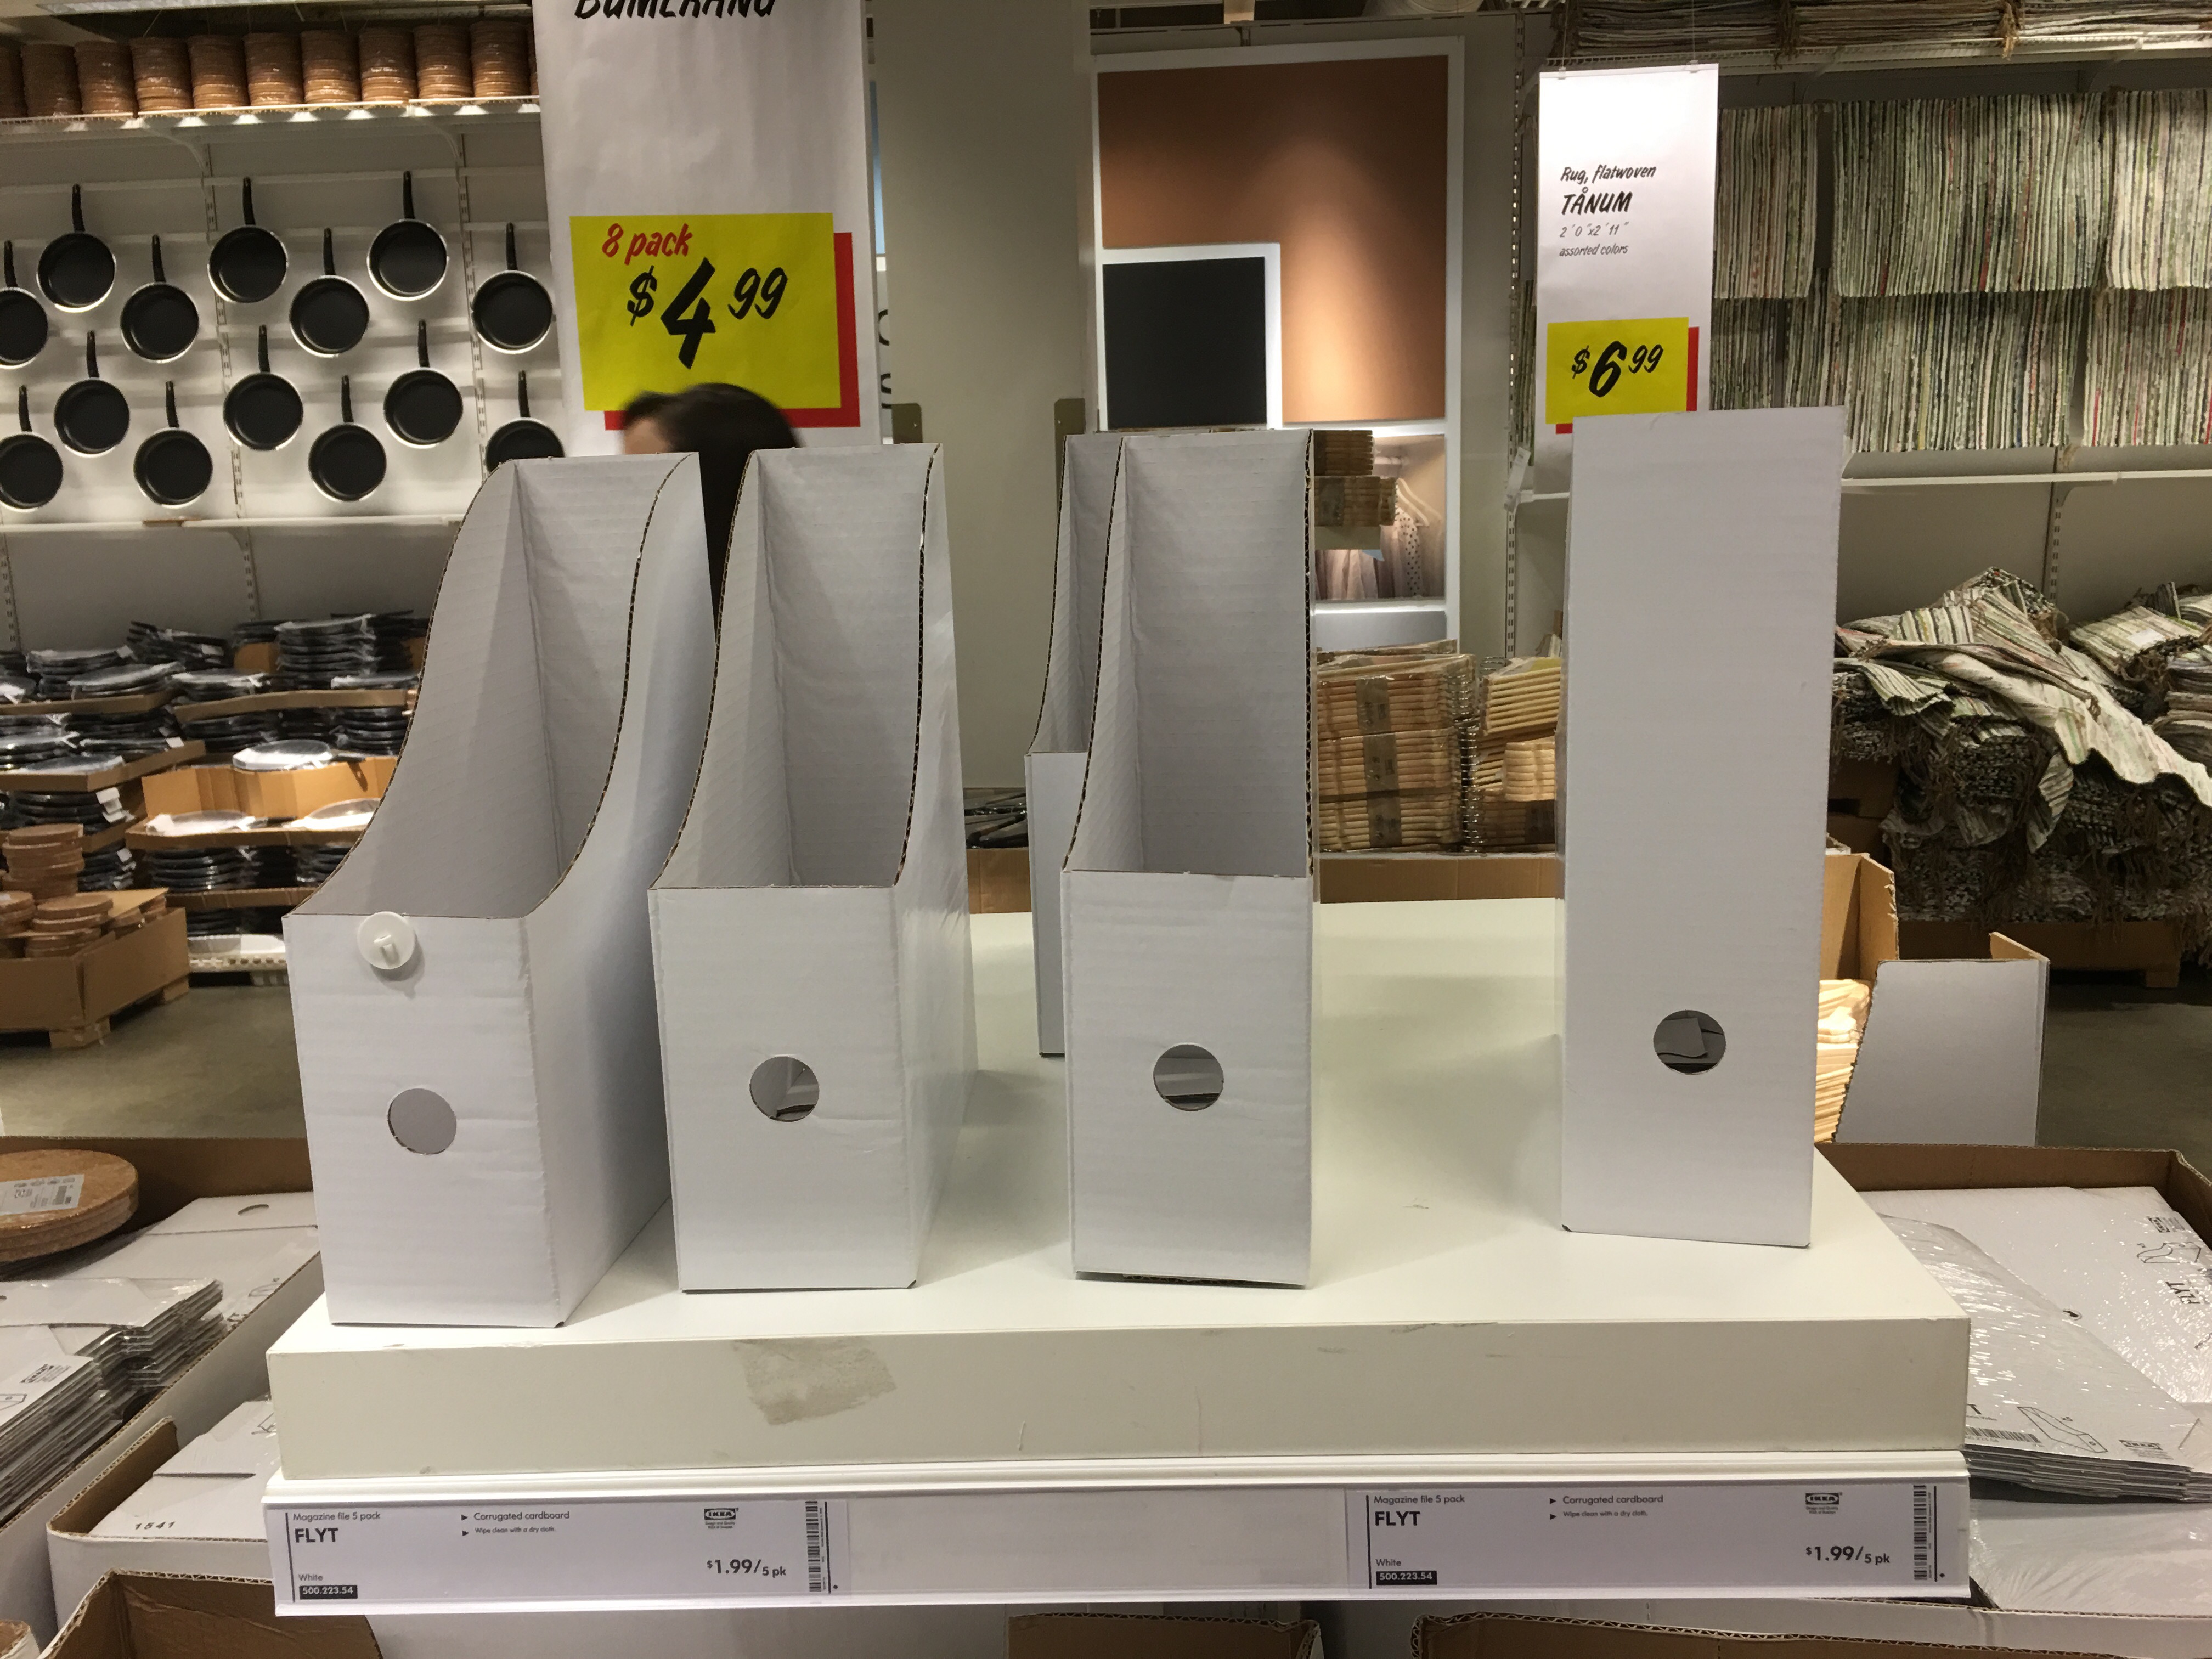
I immediately questioned the need for these in the condo, knowing that I already put a few magazine file boxes to work in the bedroom (and that I can store many of these on lower bookcase shelves because they’re so tall). But I quickly dismissed those concerns and tossed them in the cart anyway. After all, you get 5 for two bucks!
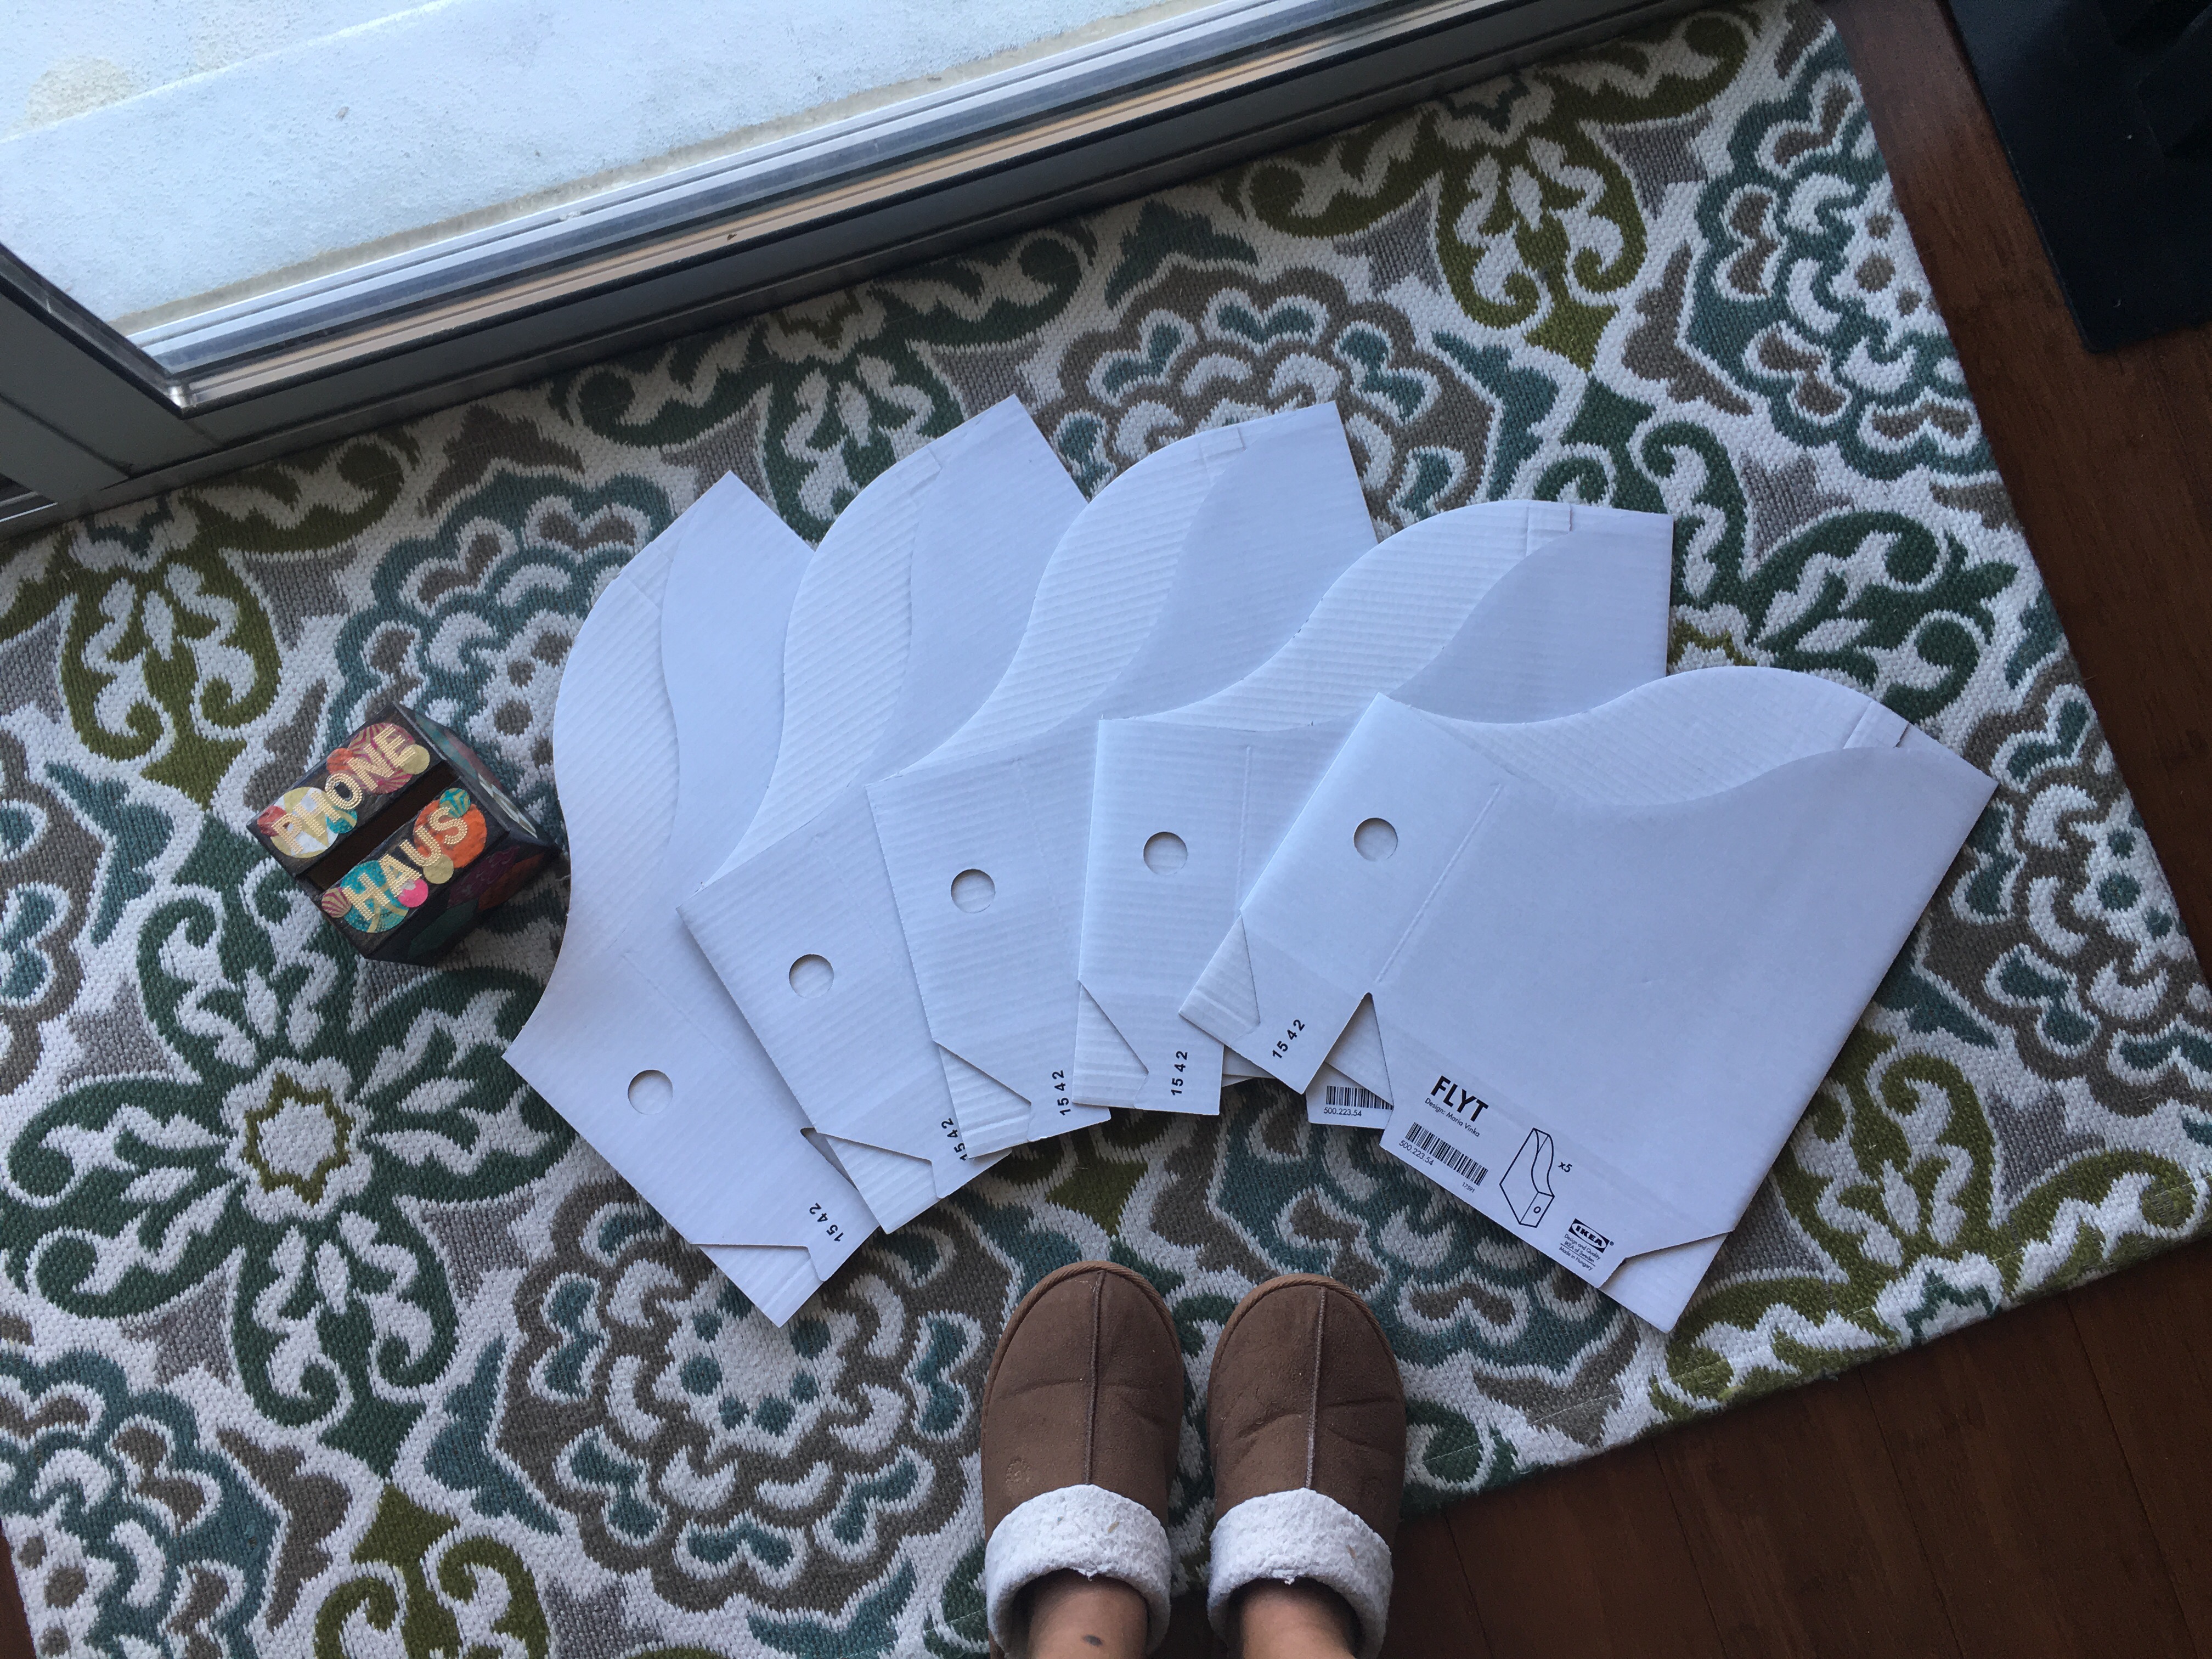
So yesterday morning, I rip open the package, lay them out, and begin plotting the master paper decorating plan.
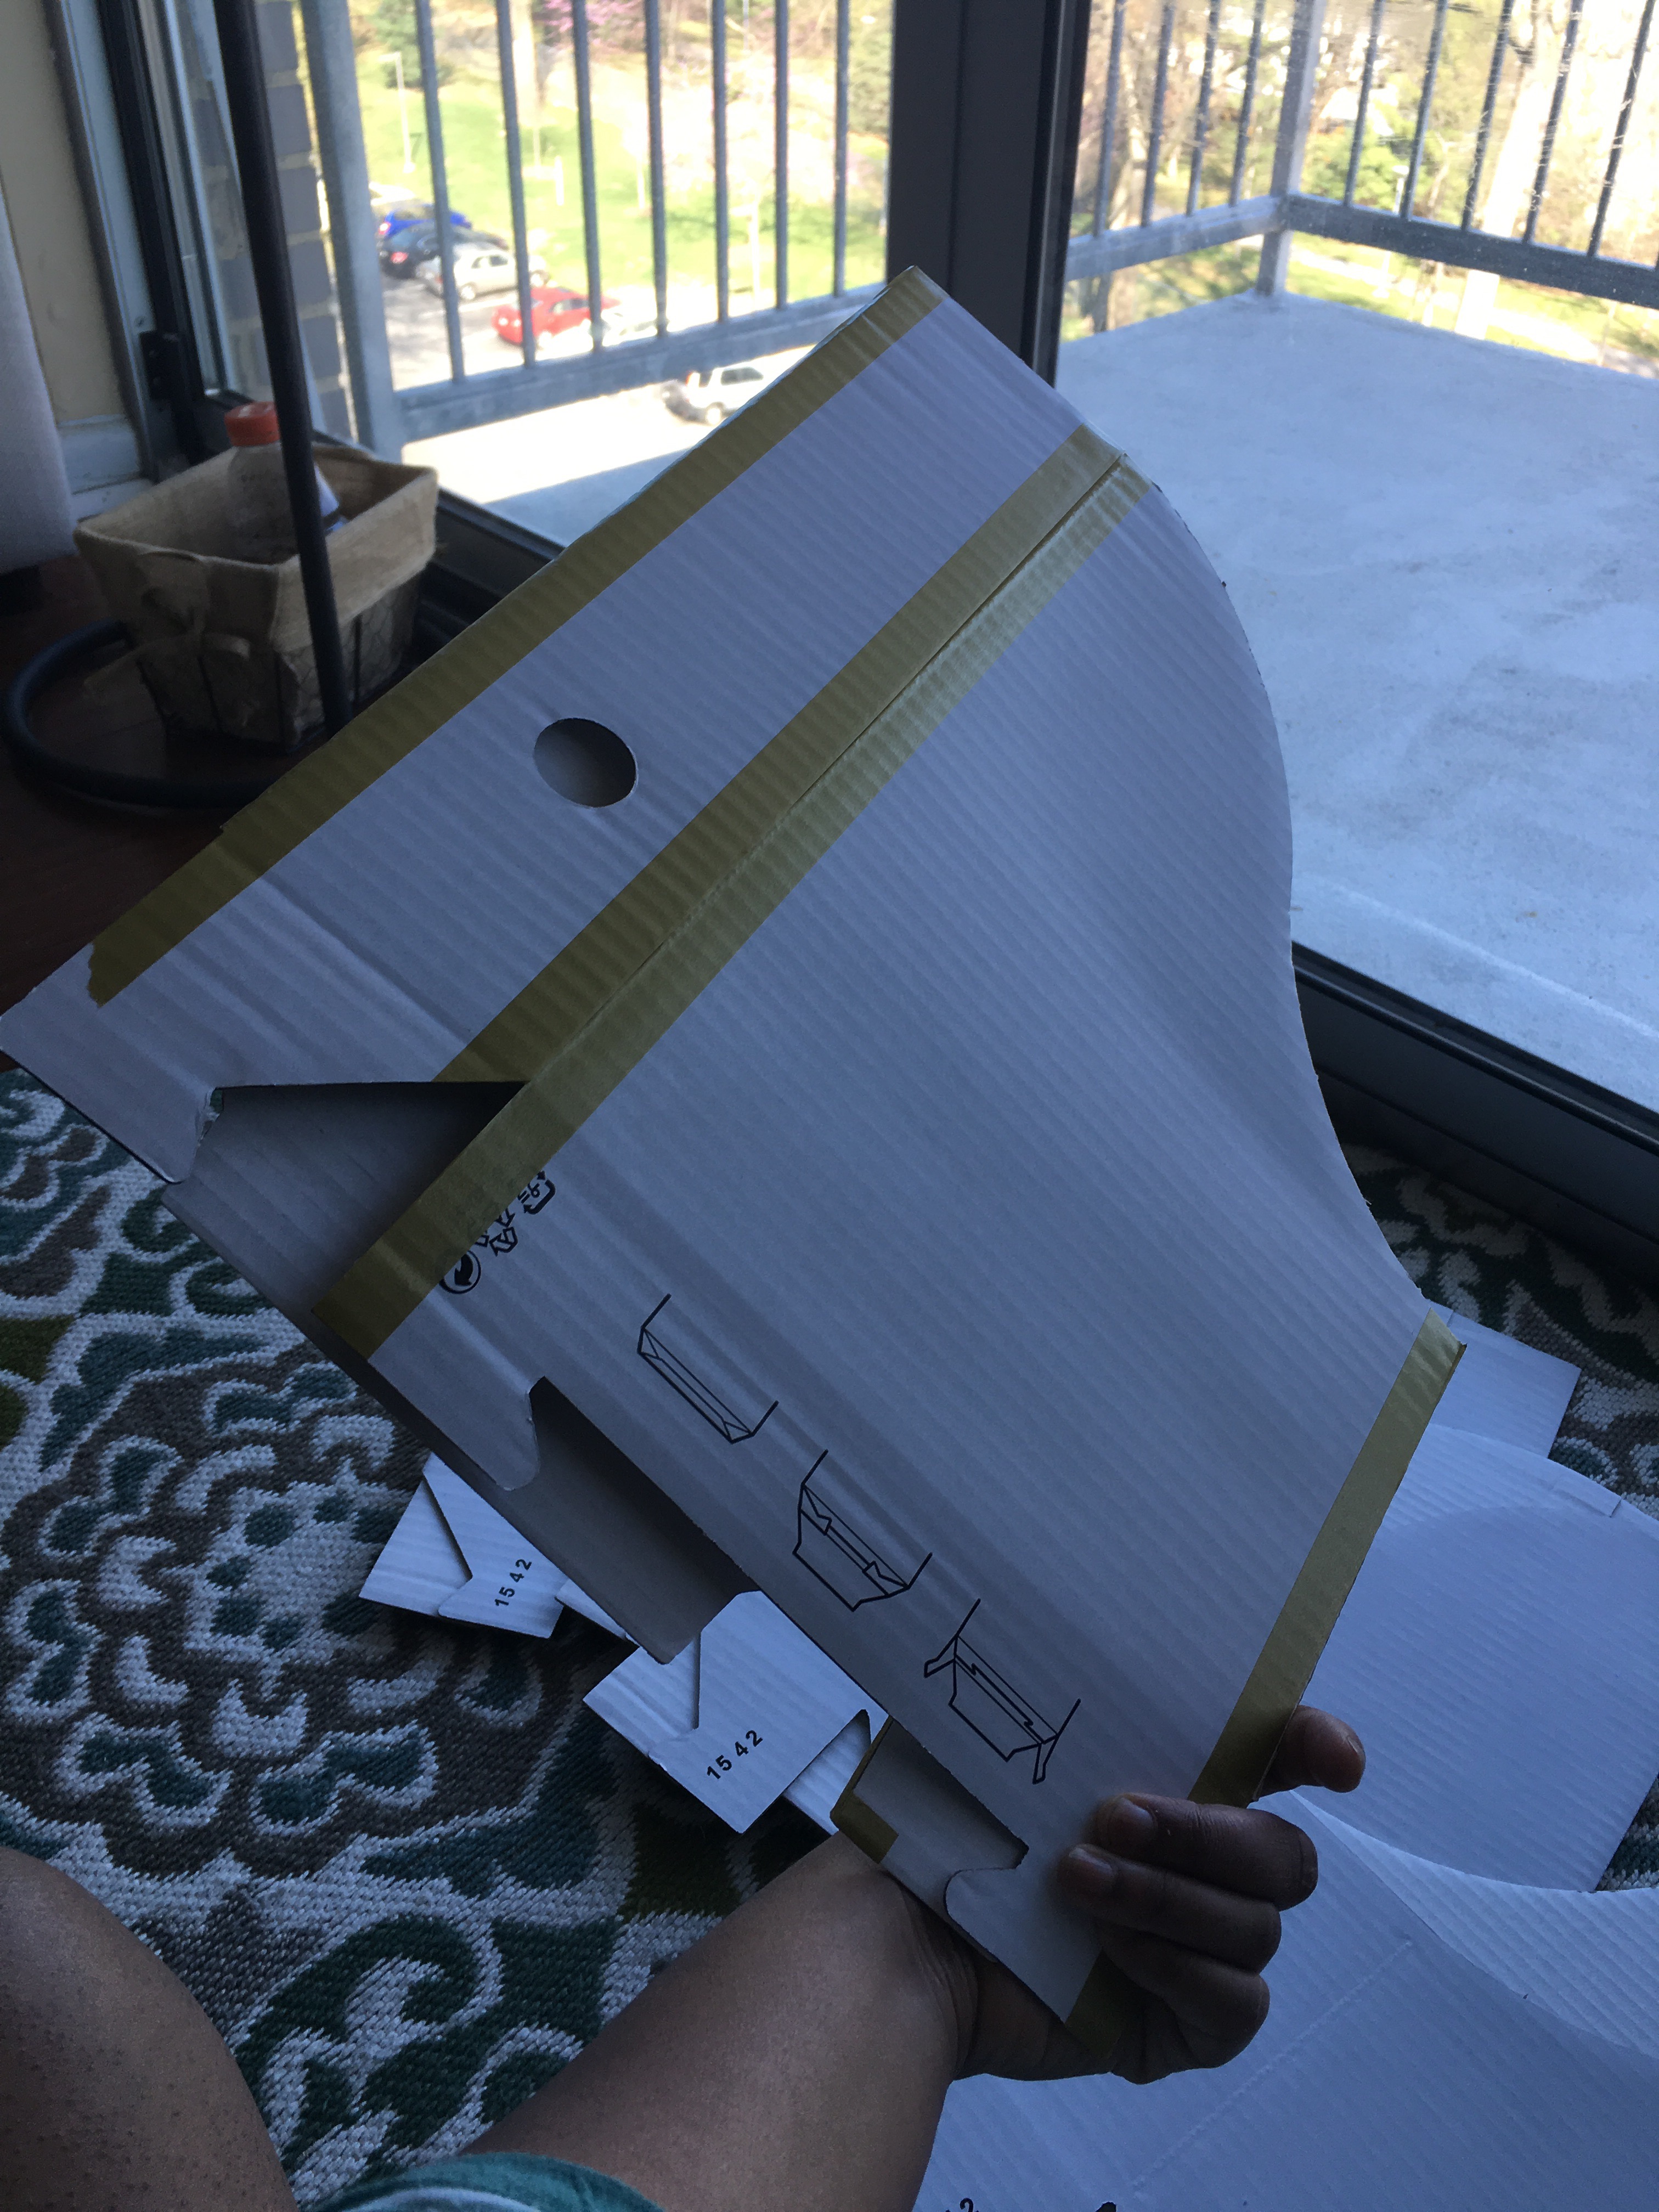
First step, use gold washi tape (from Scotch) to line all corners. The less white that shows from behind the paper the better.
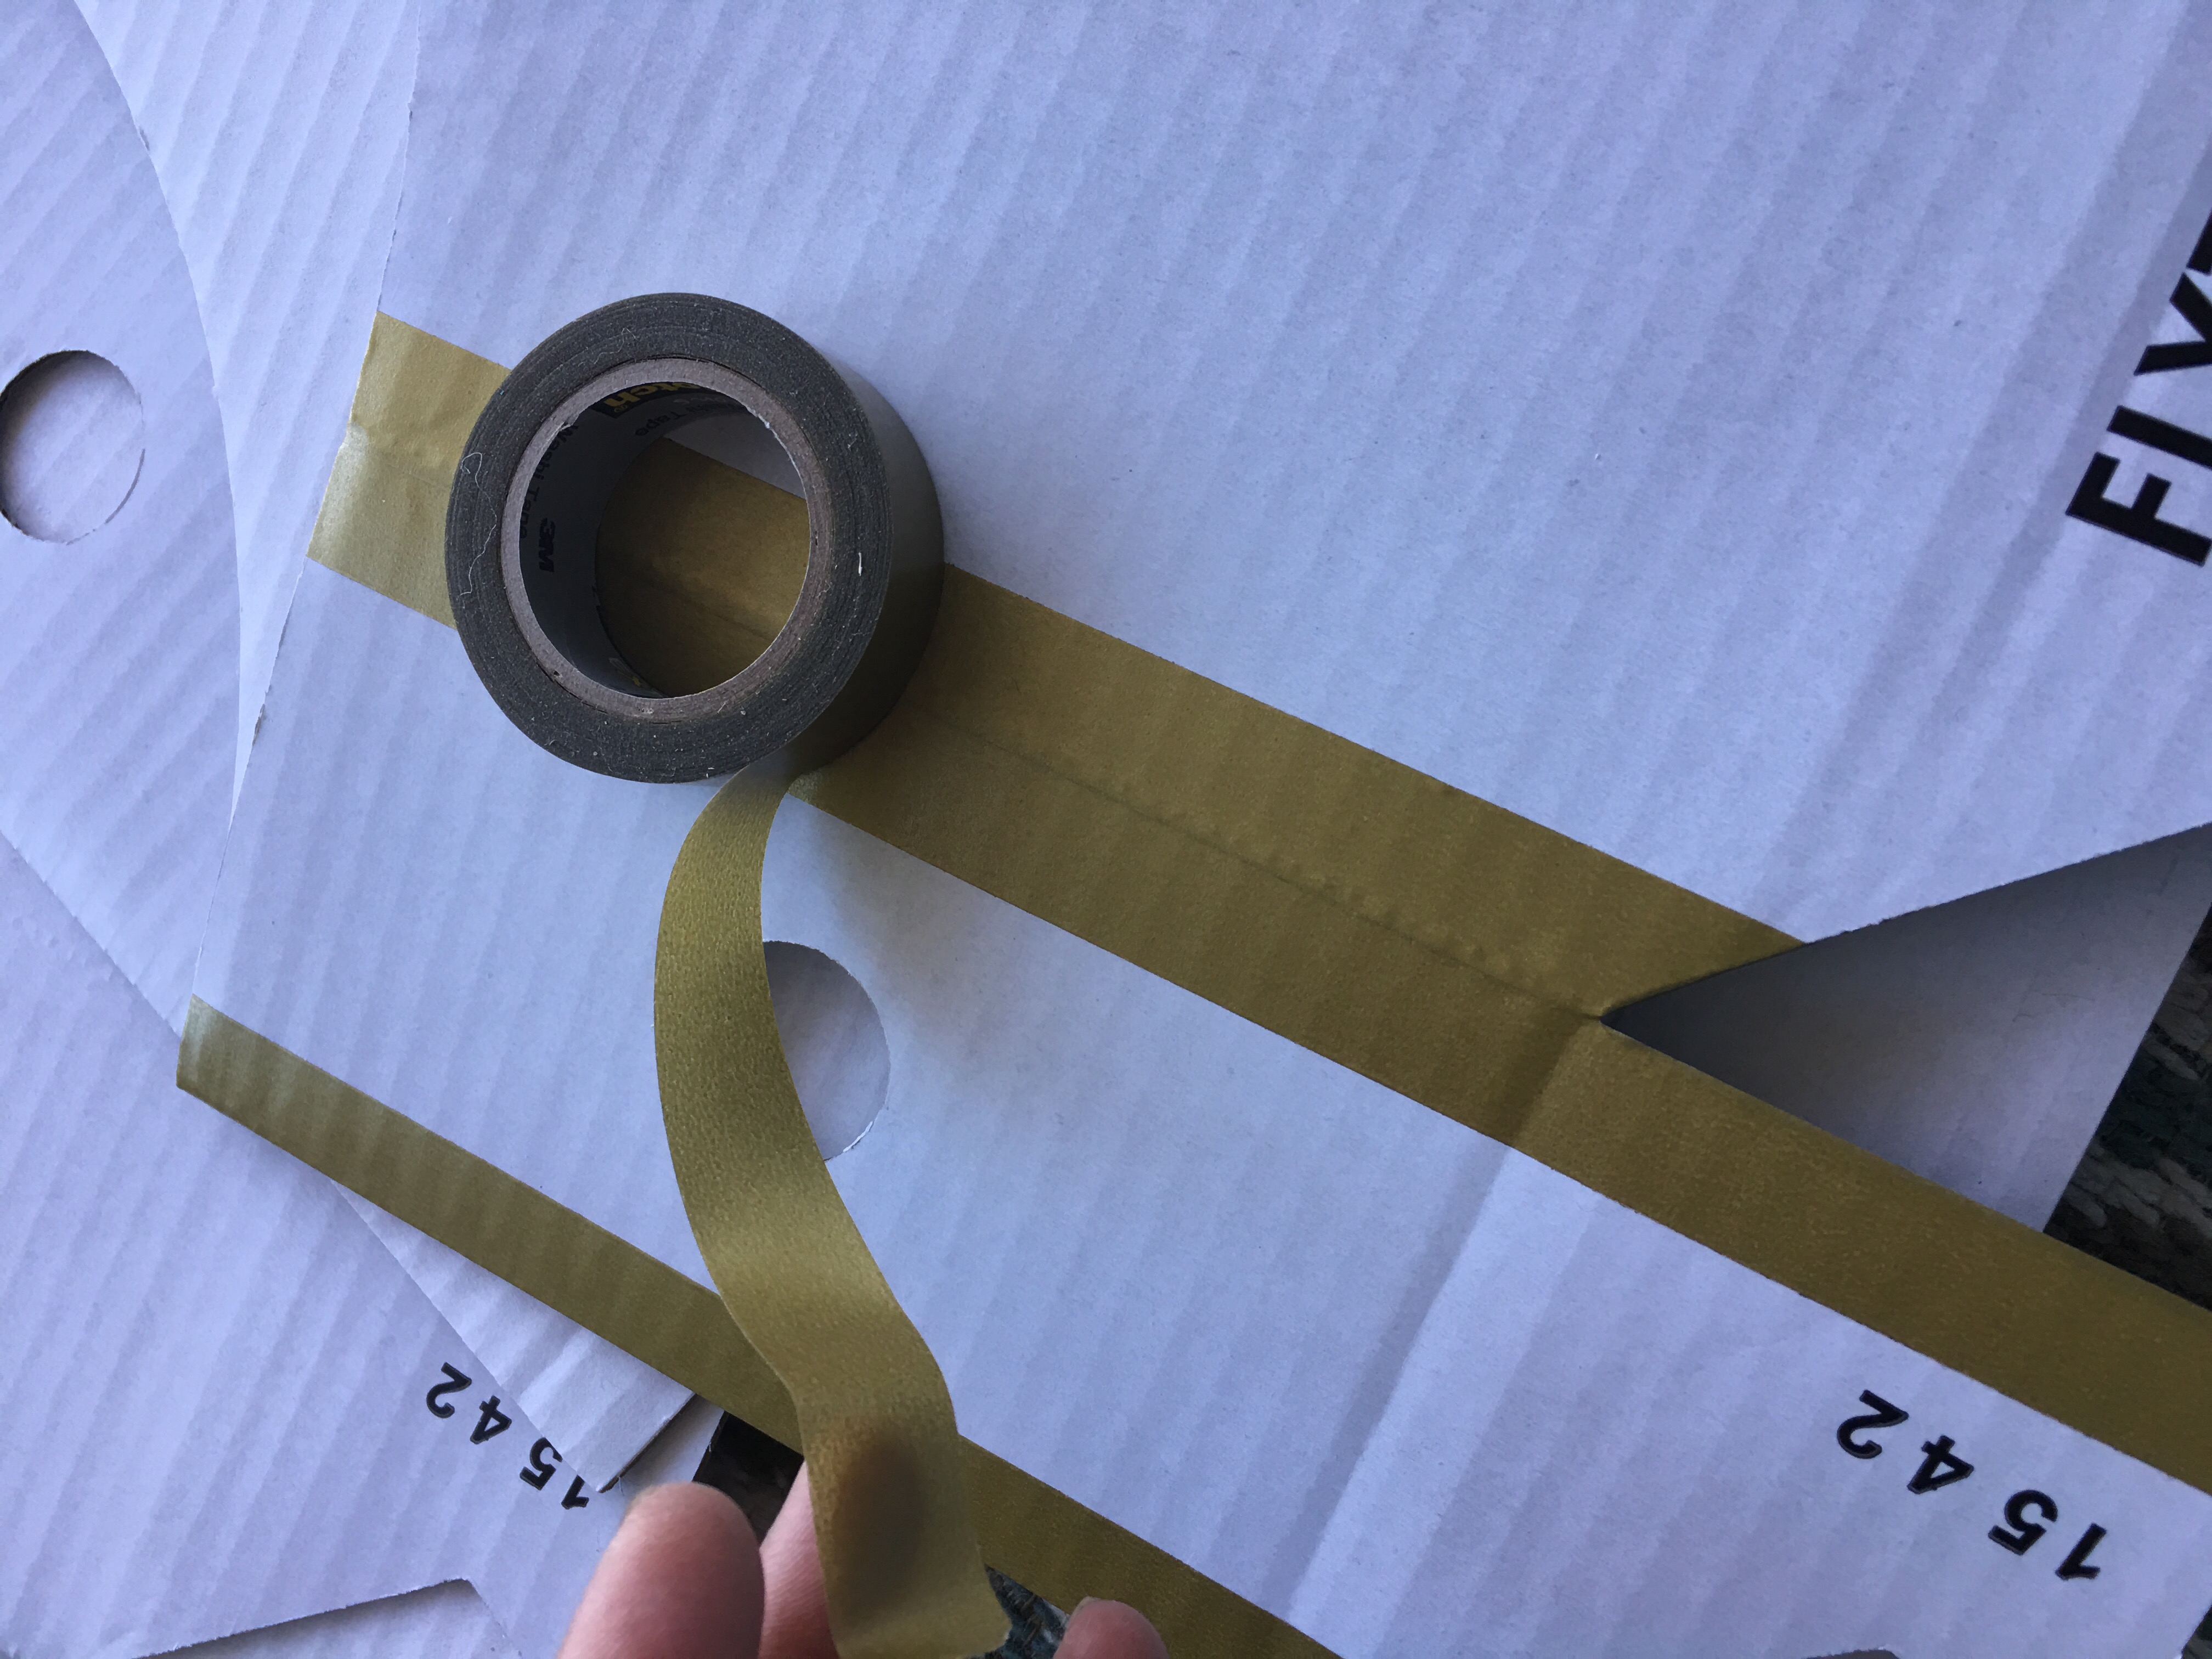
This also served as a box strengthening step.
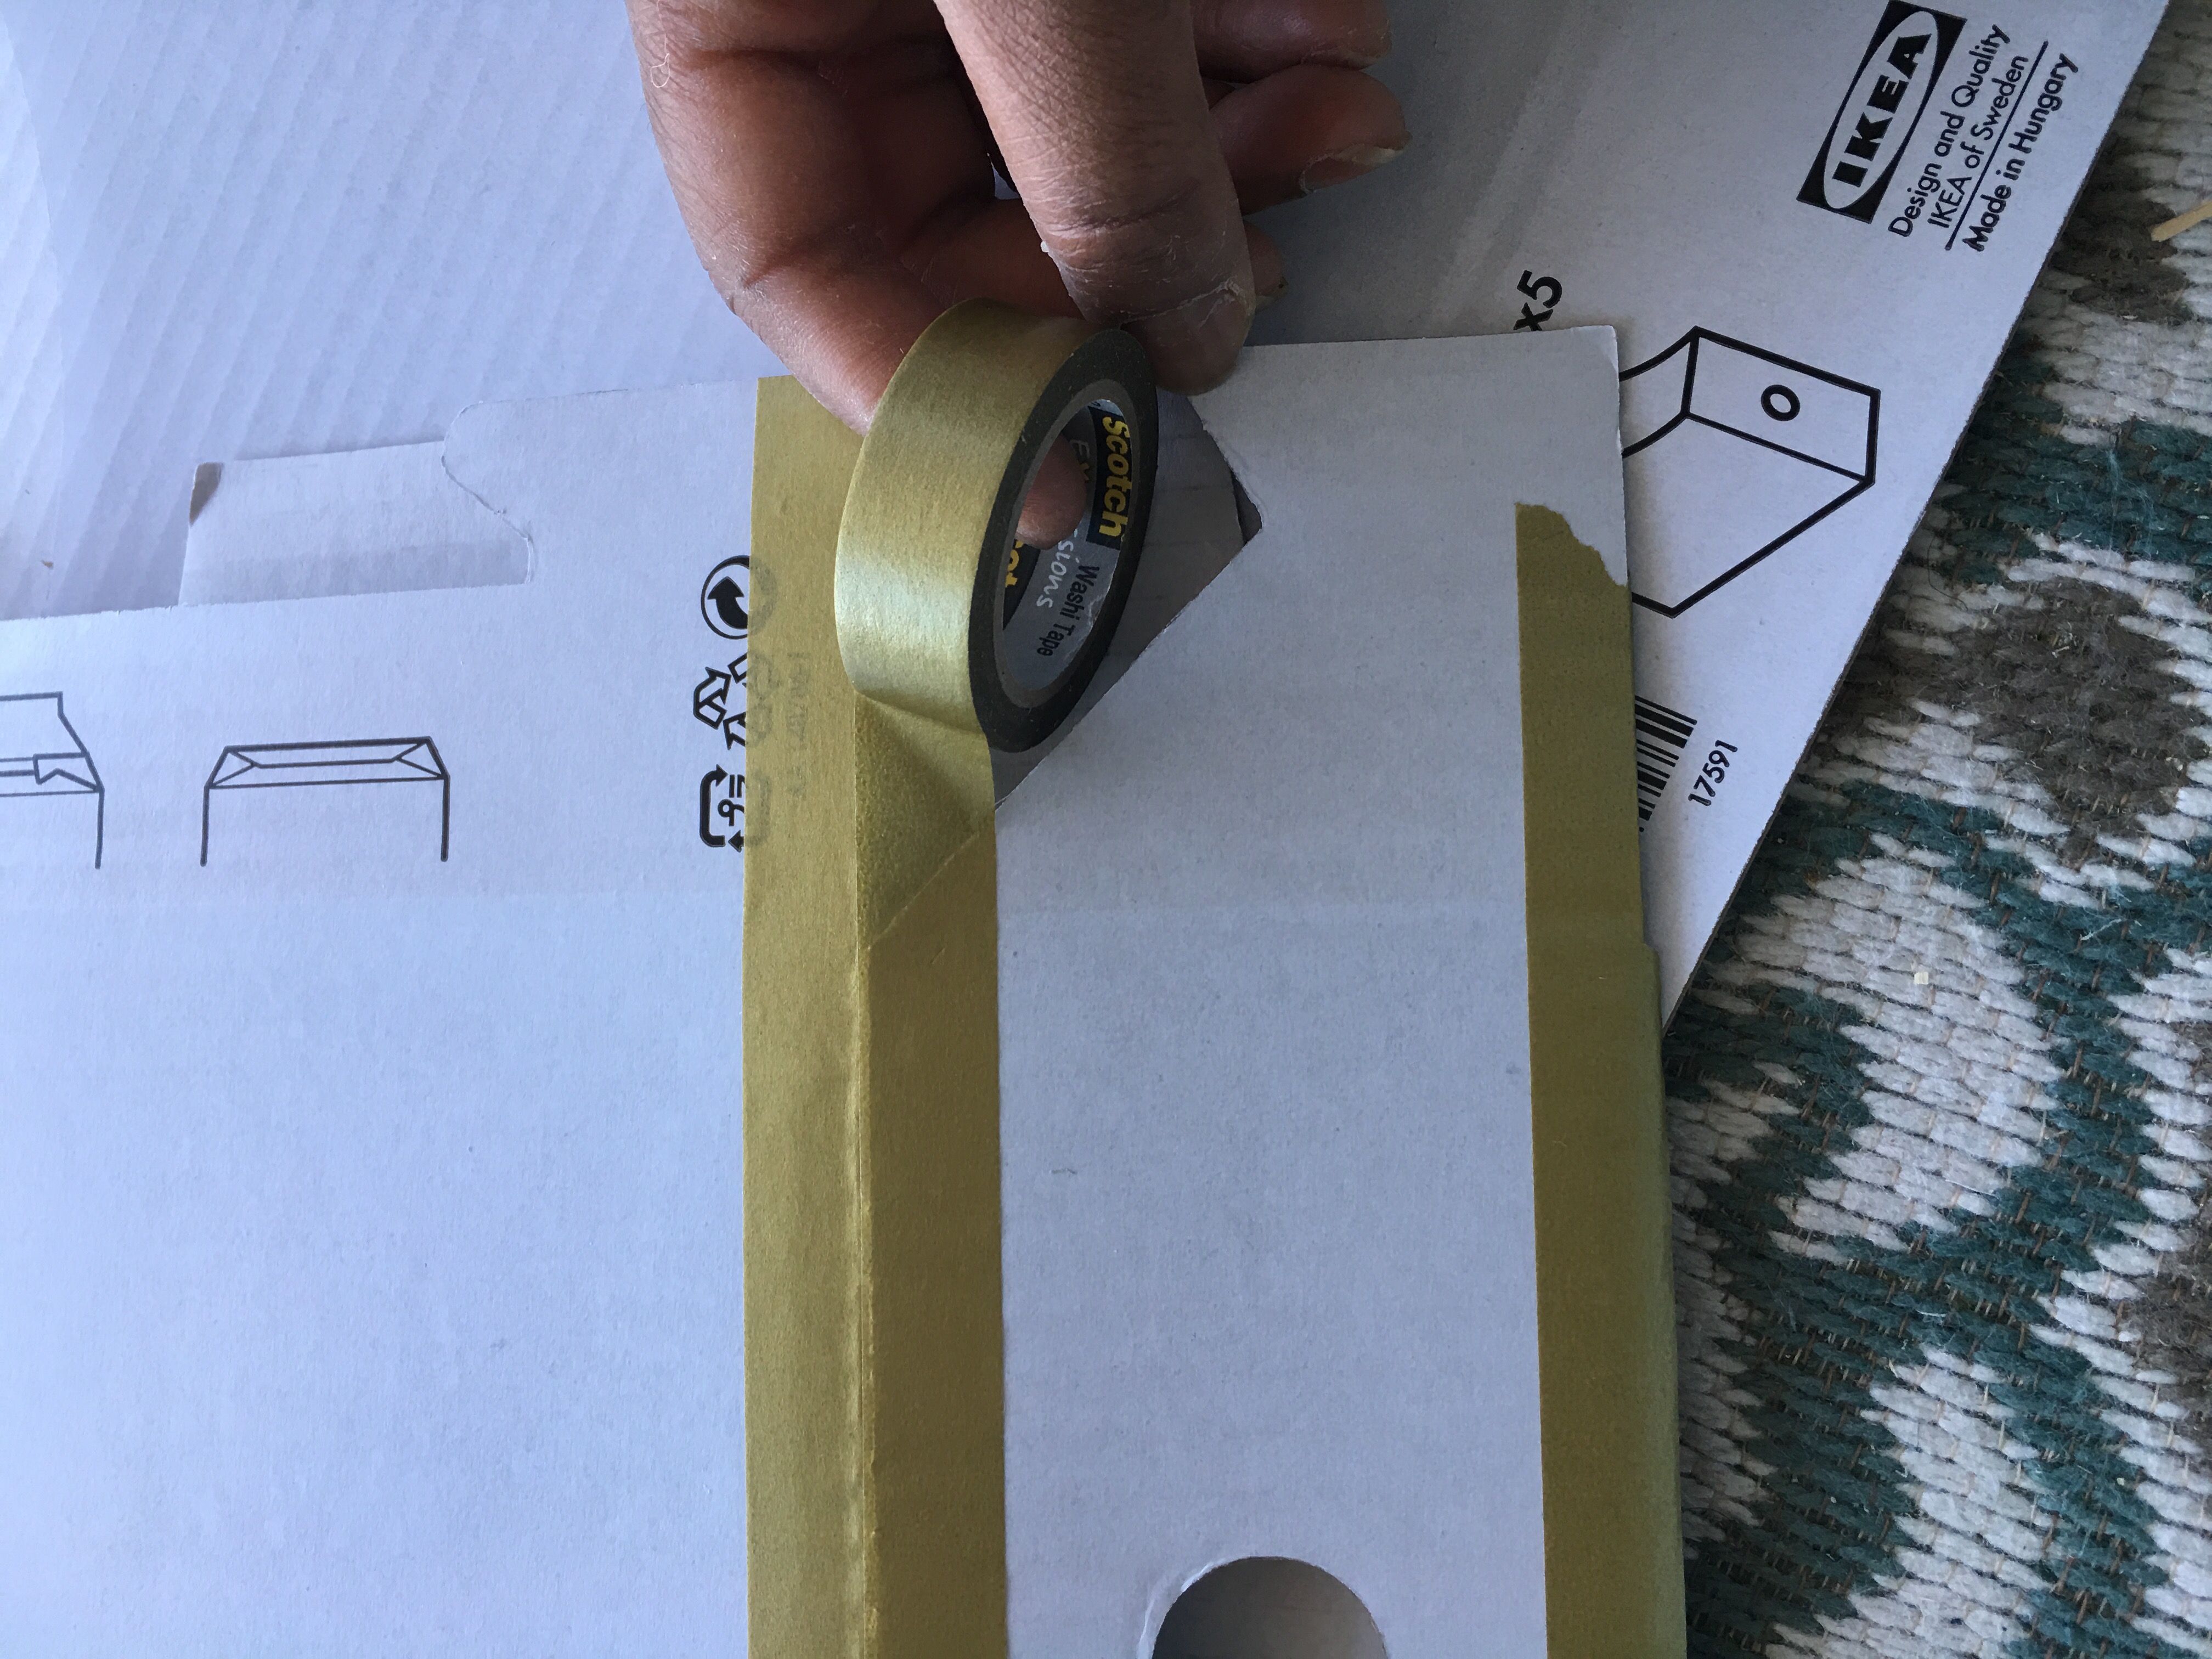
I made sure I added some extra tape so that the boxes will not easily rip (but can still be folded and collapsed back into a flat shape).
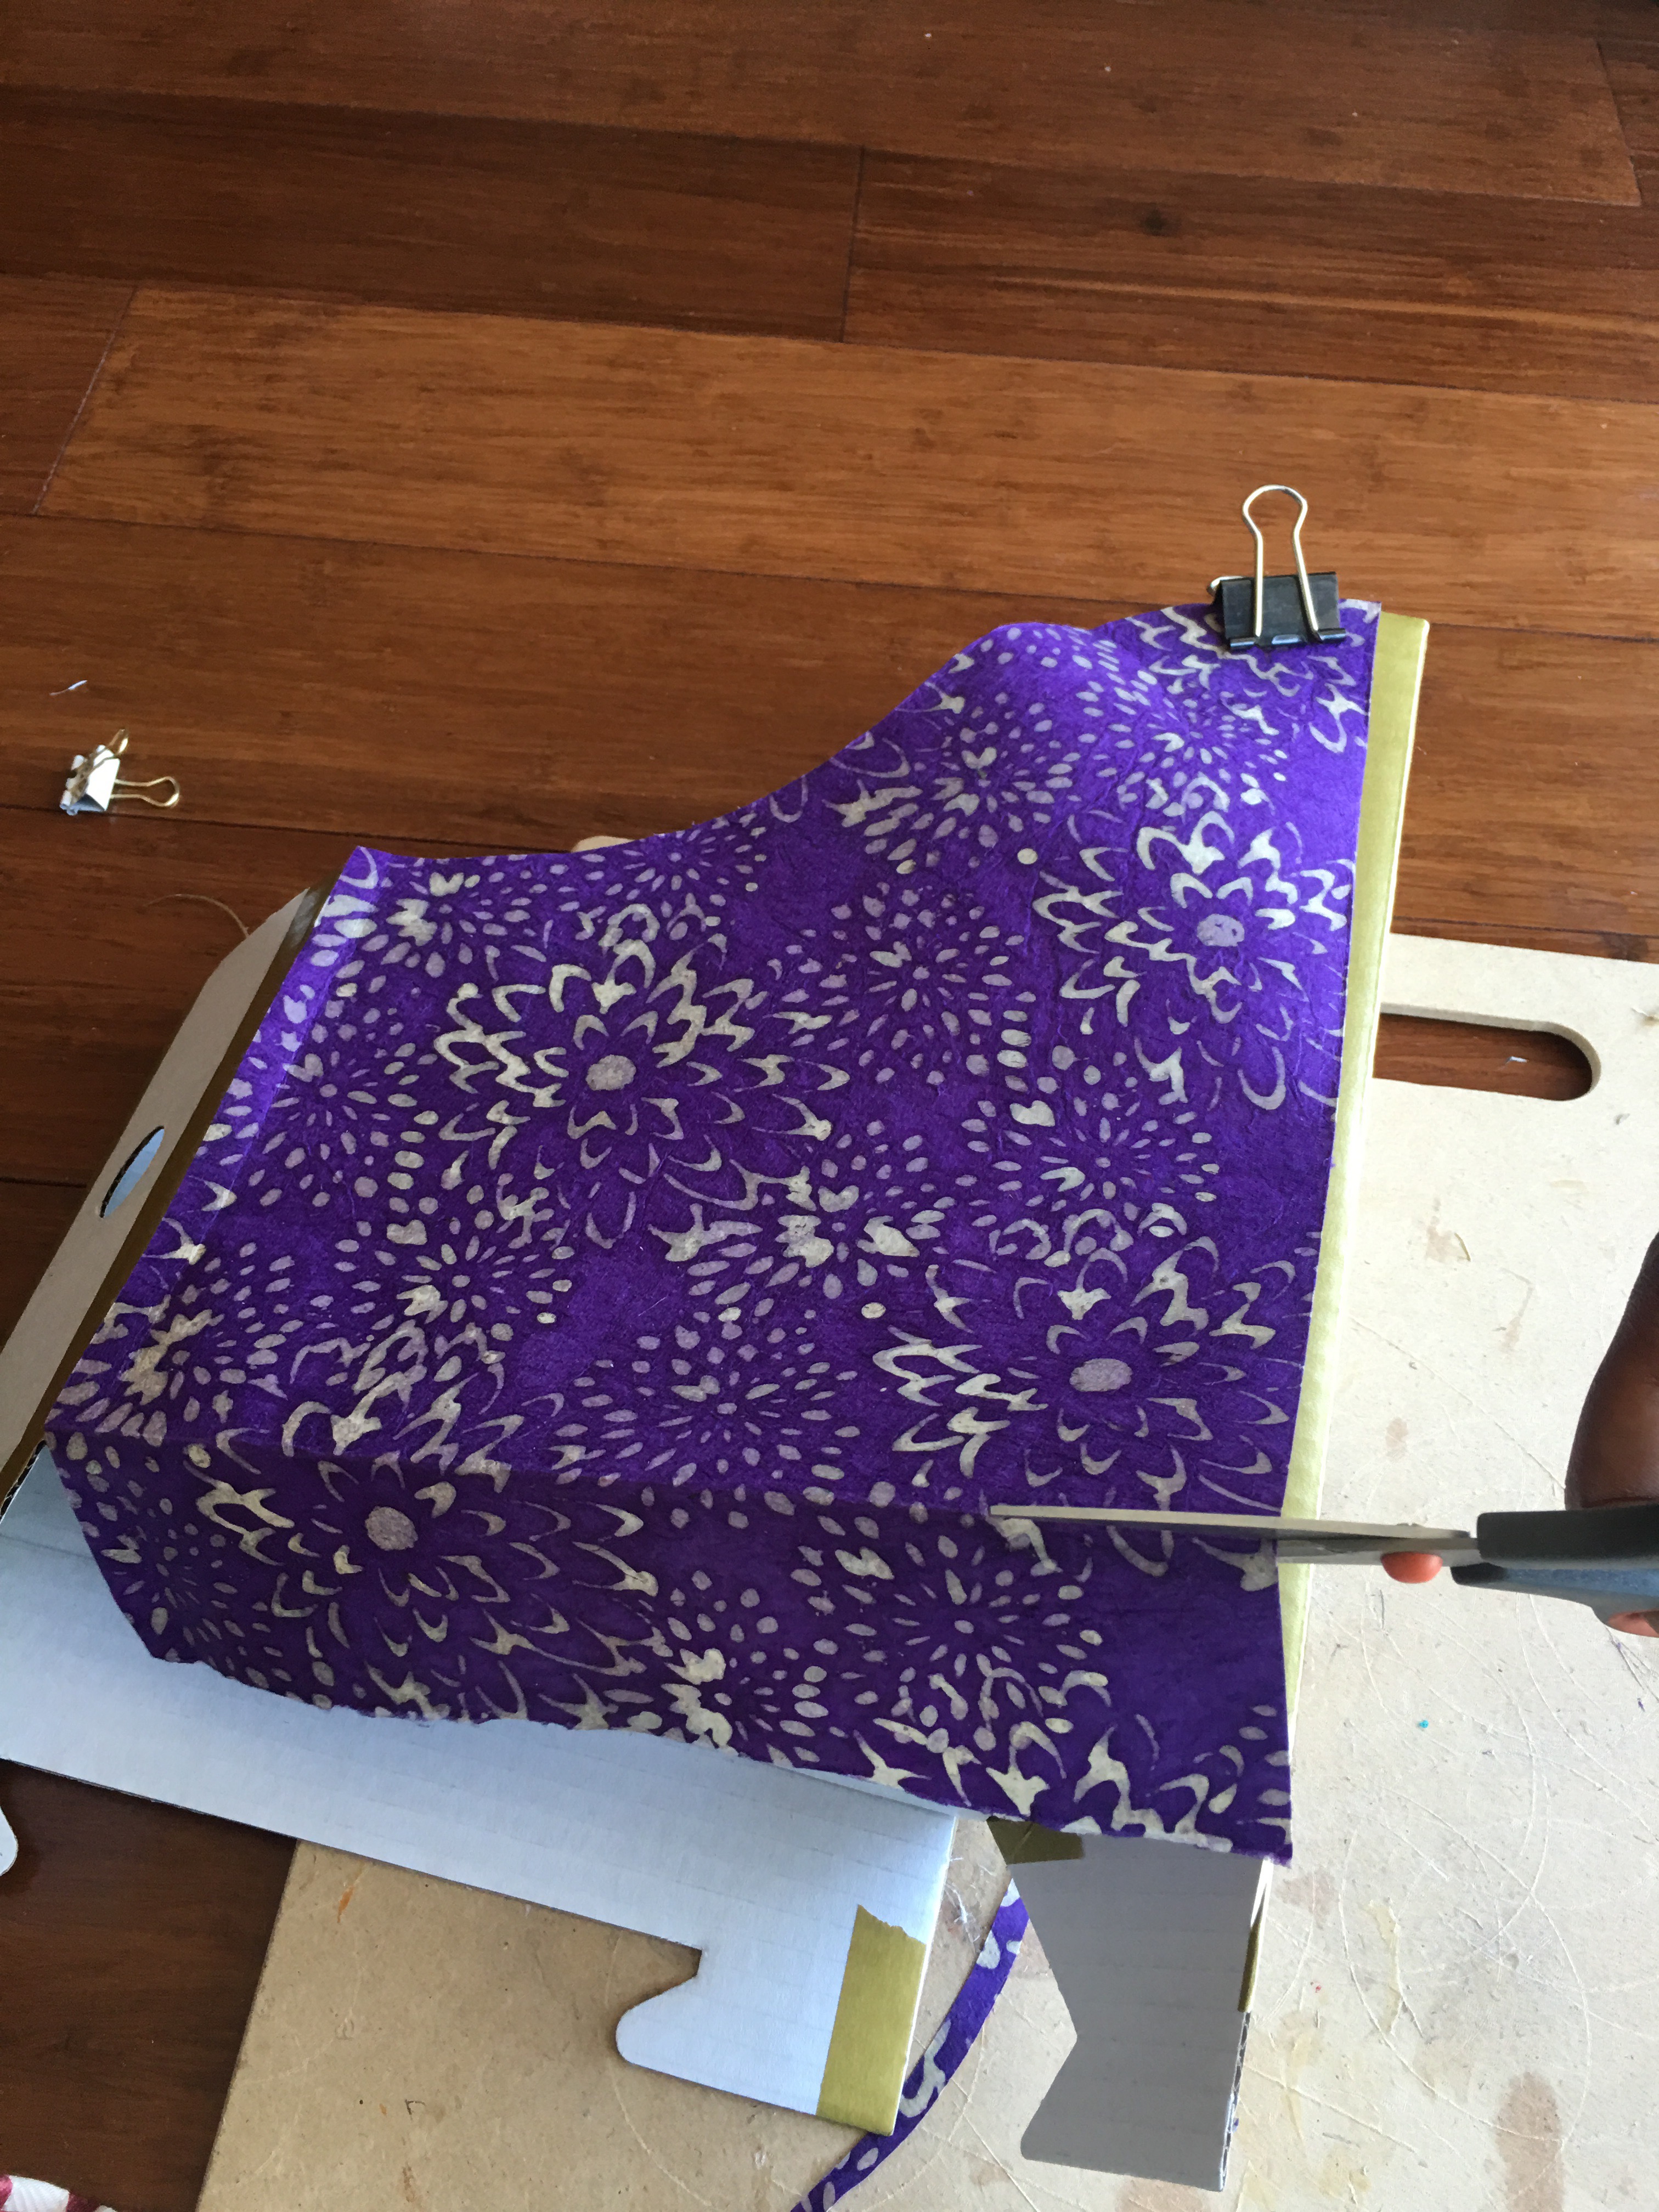
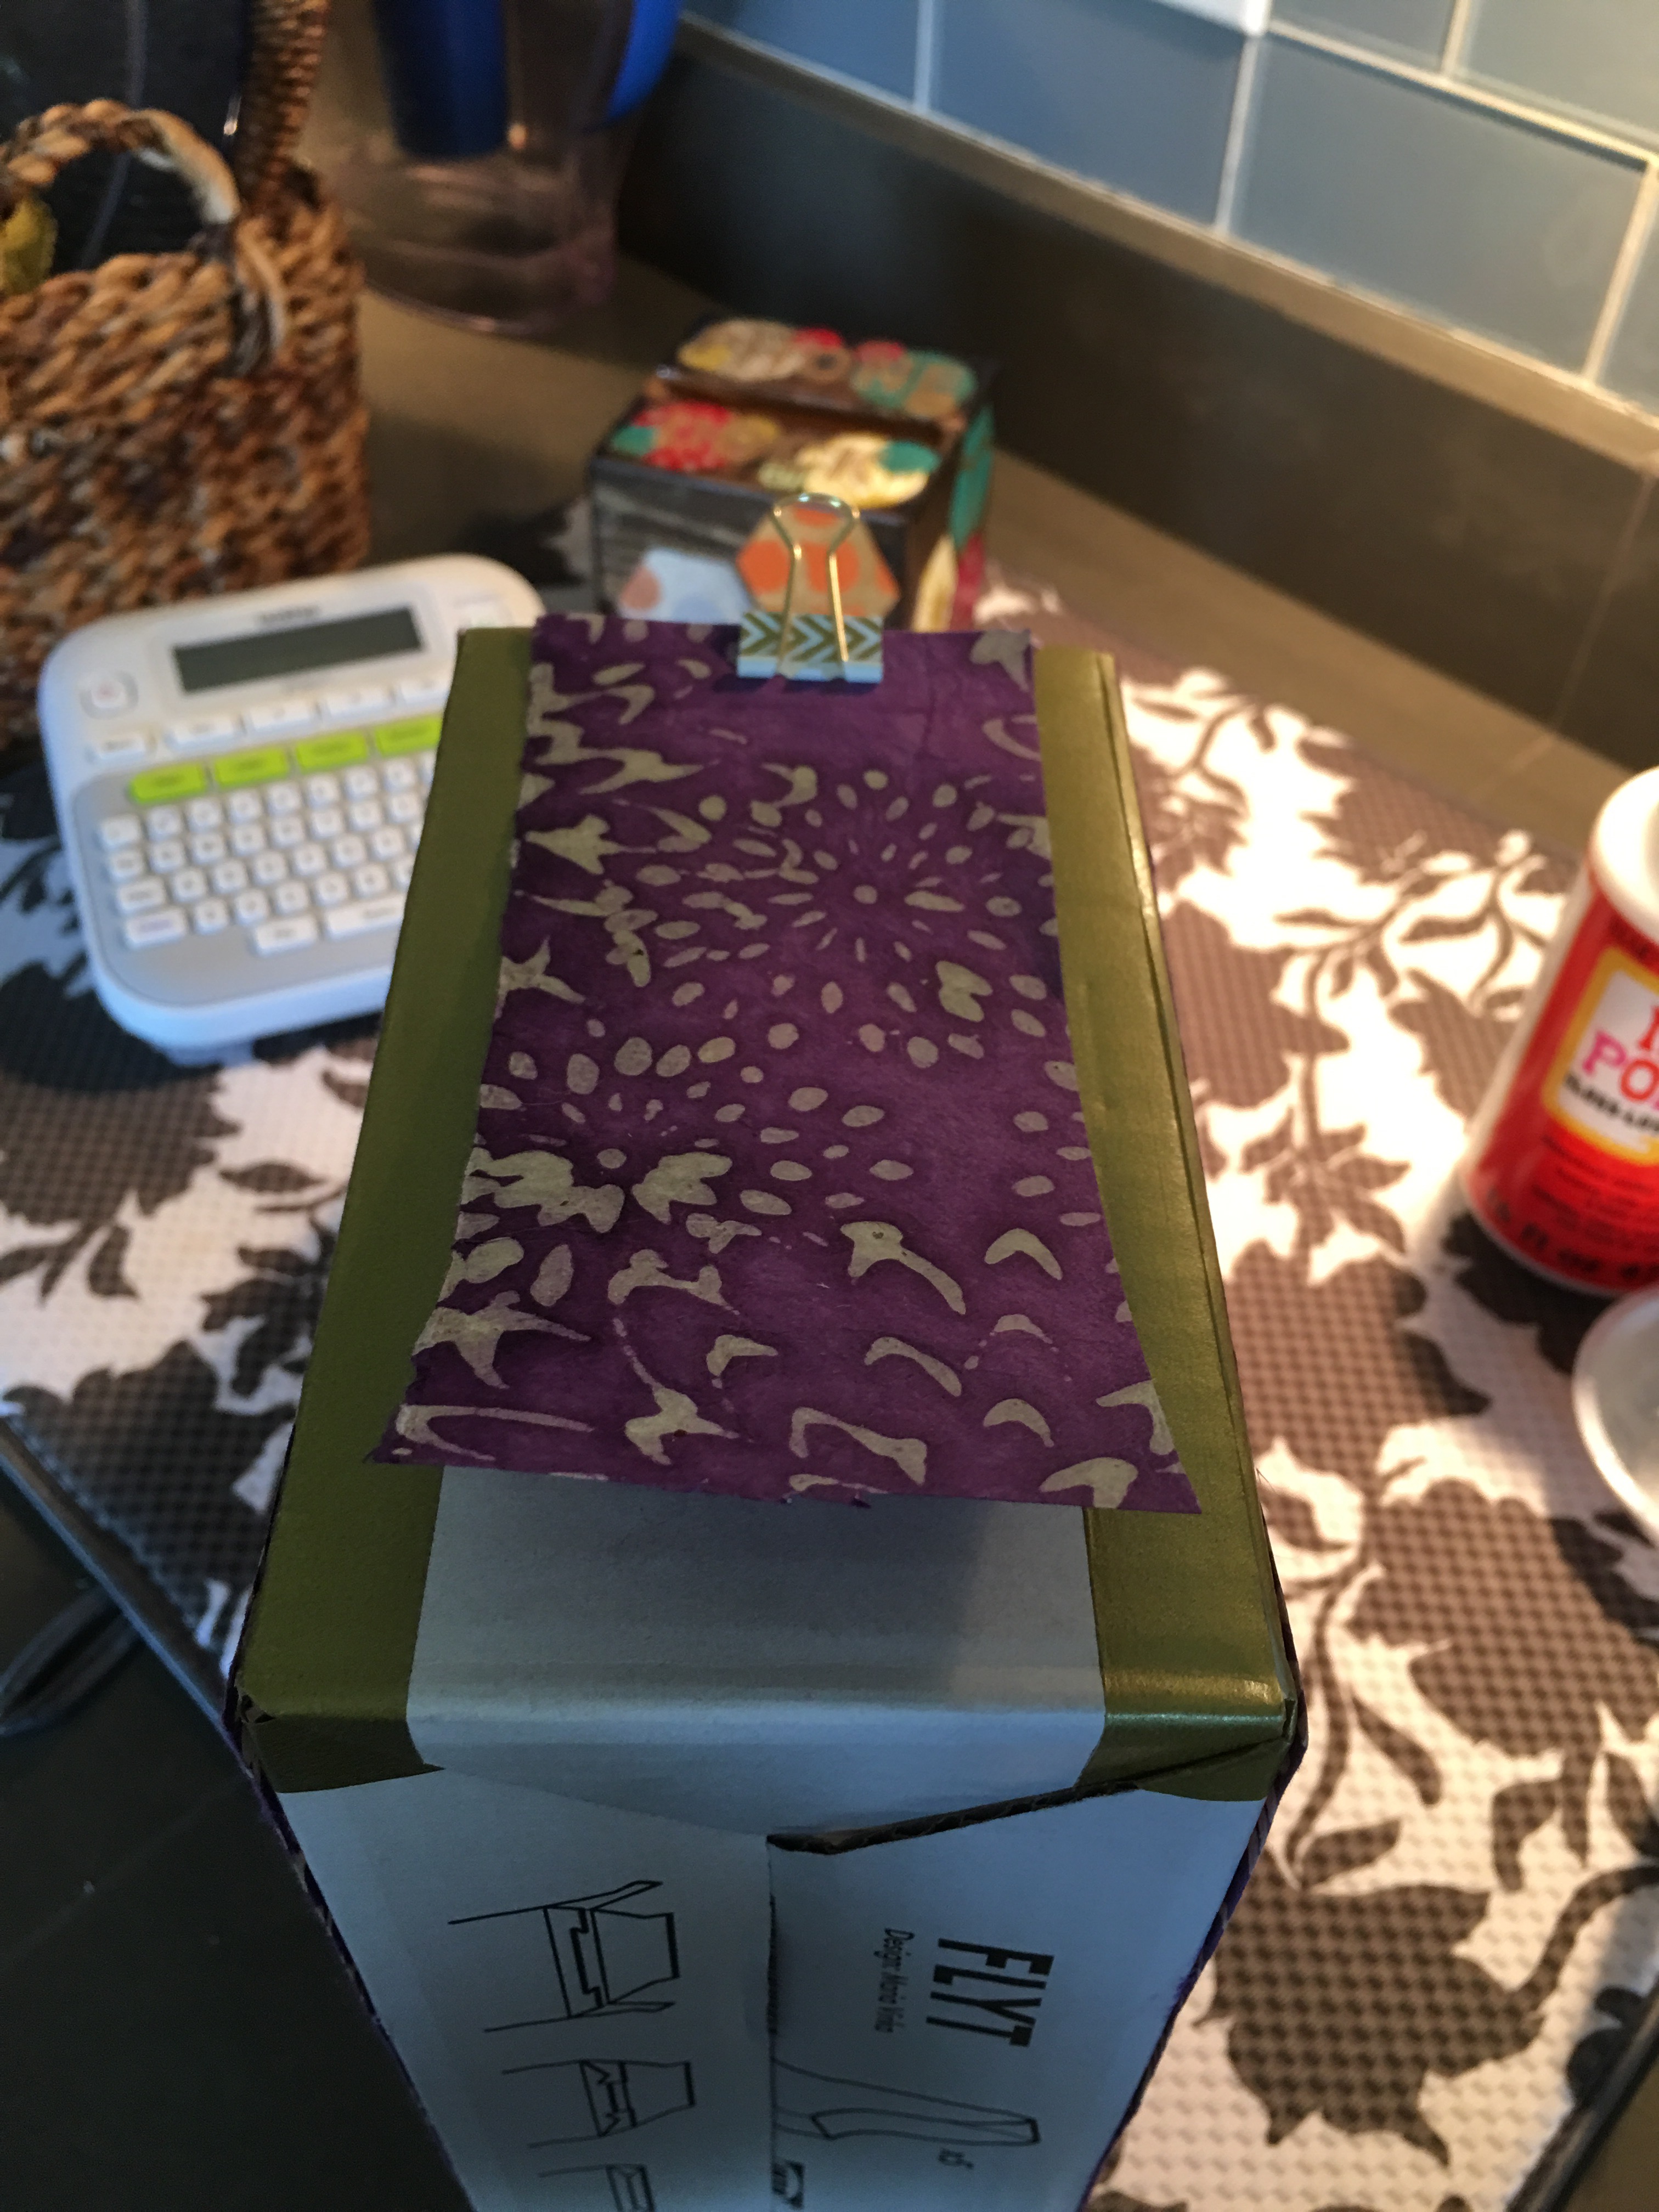
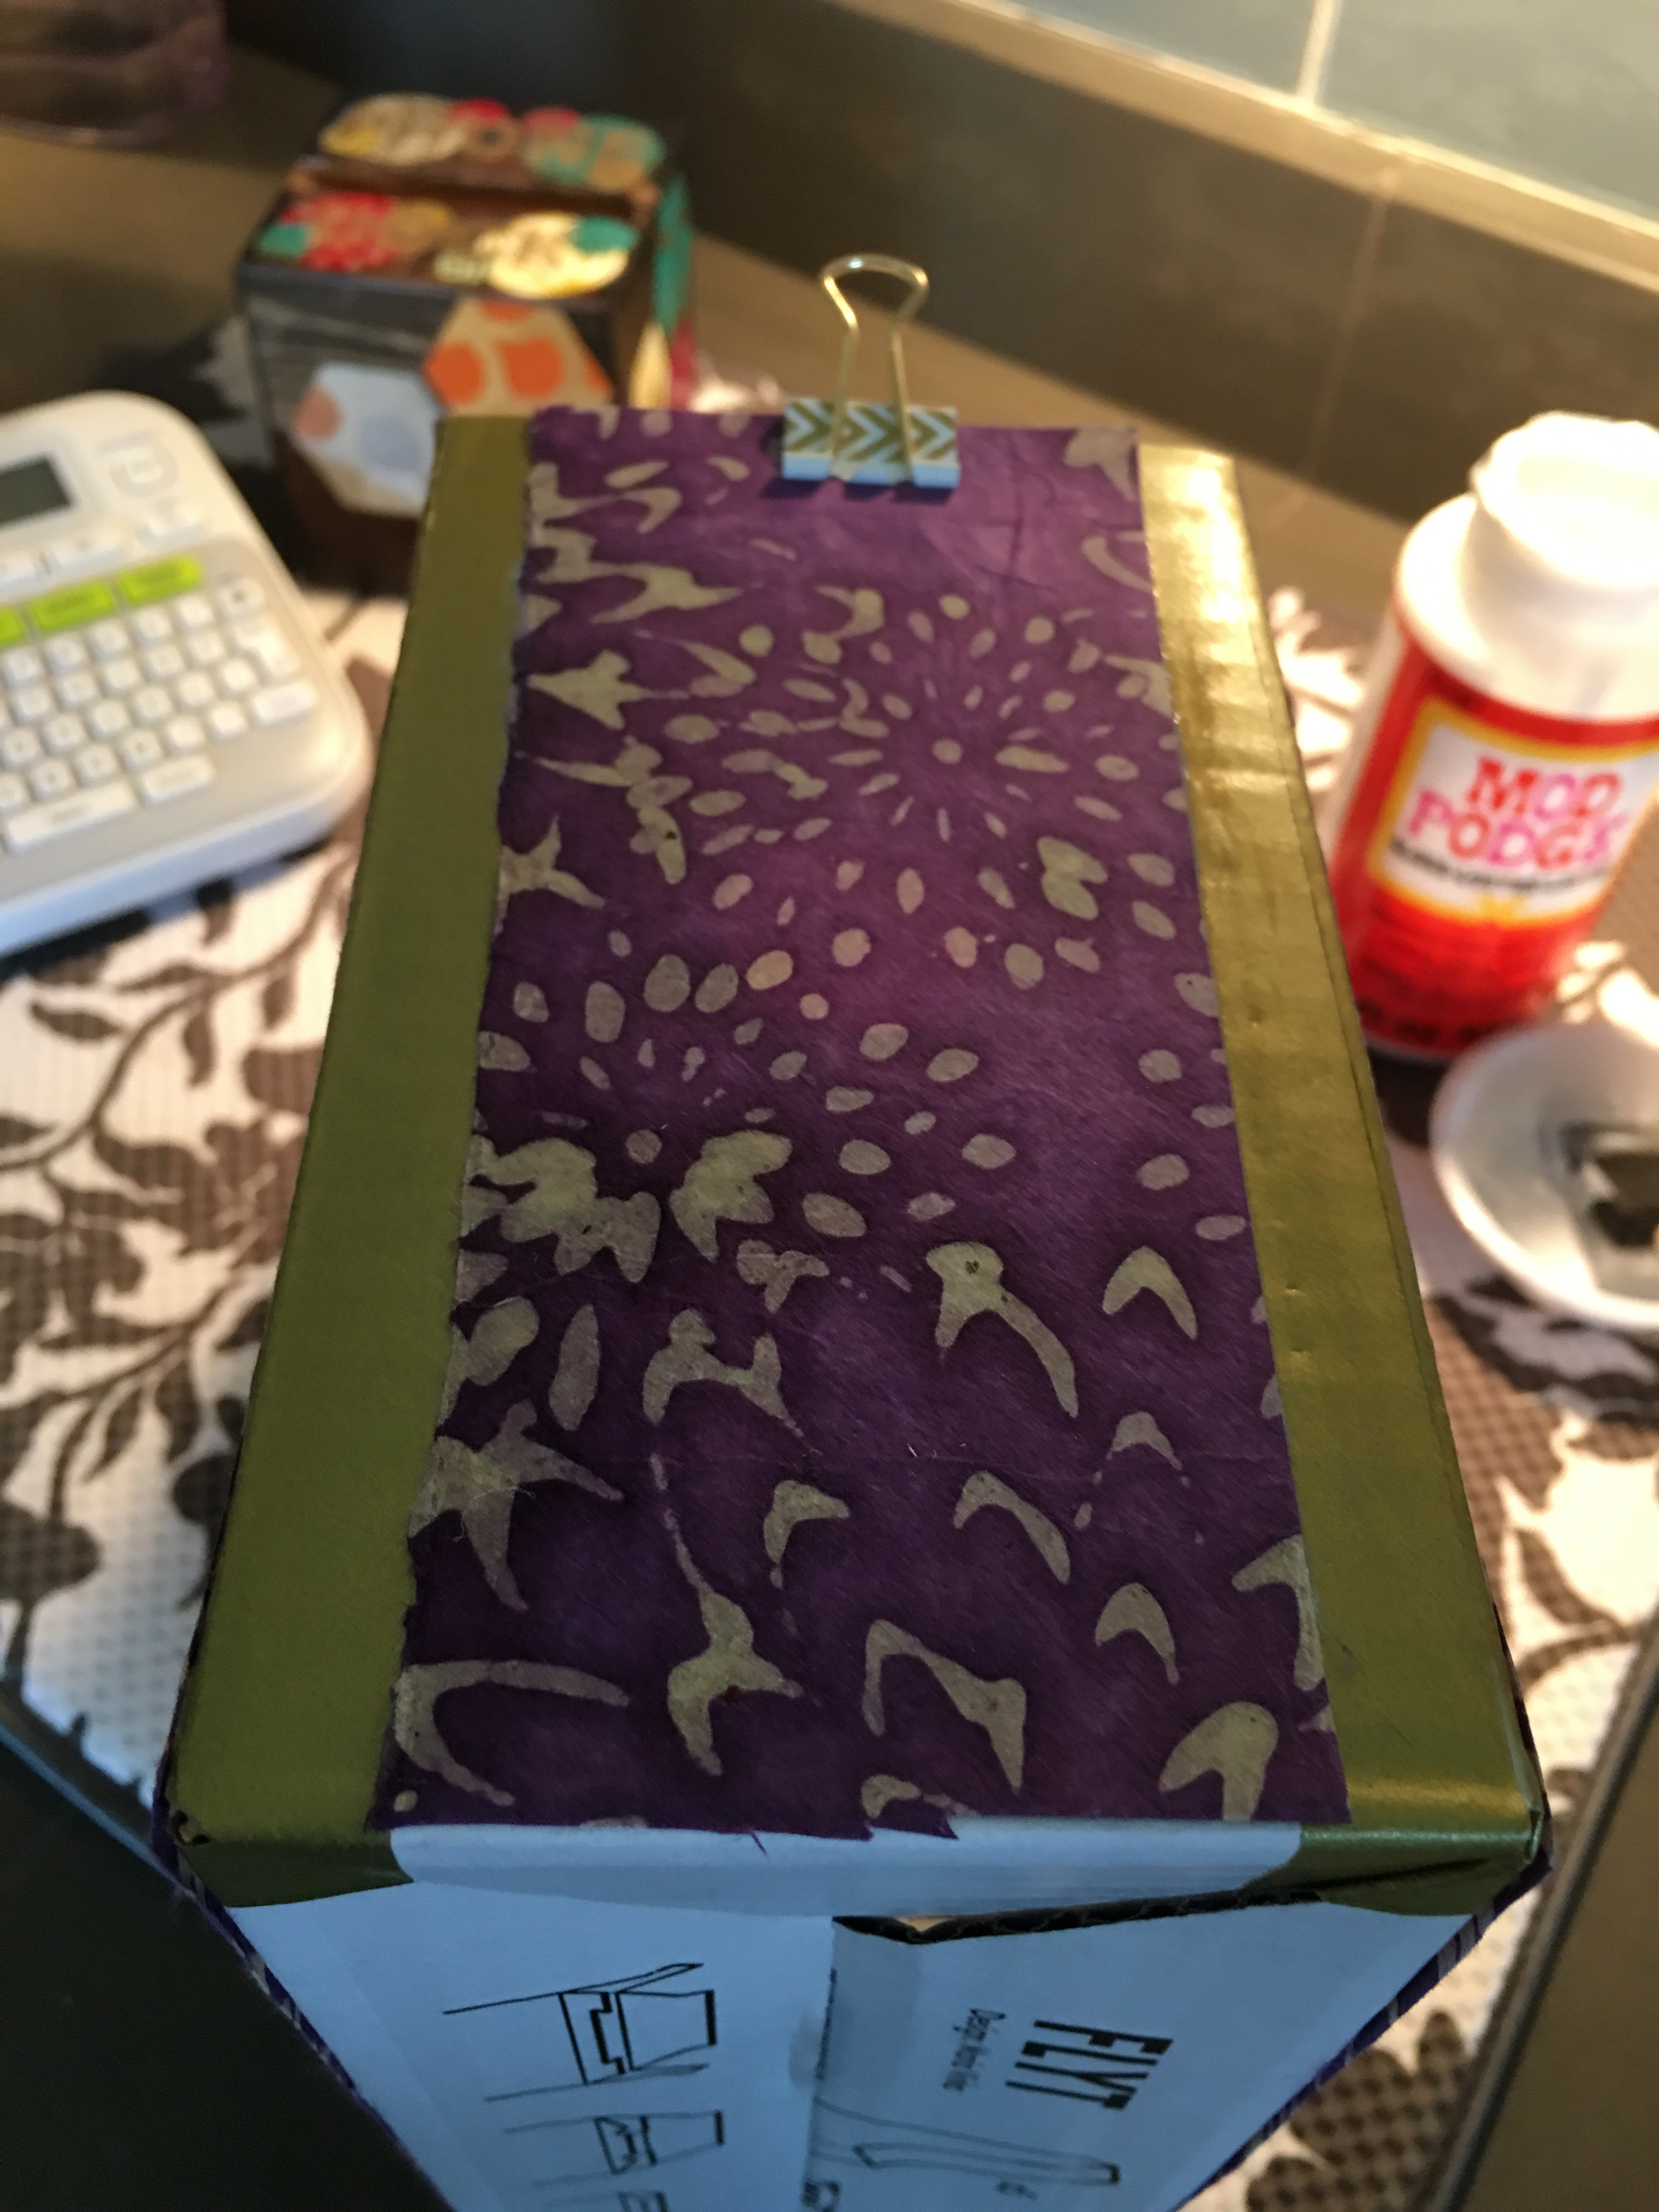
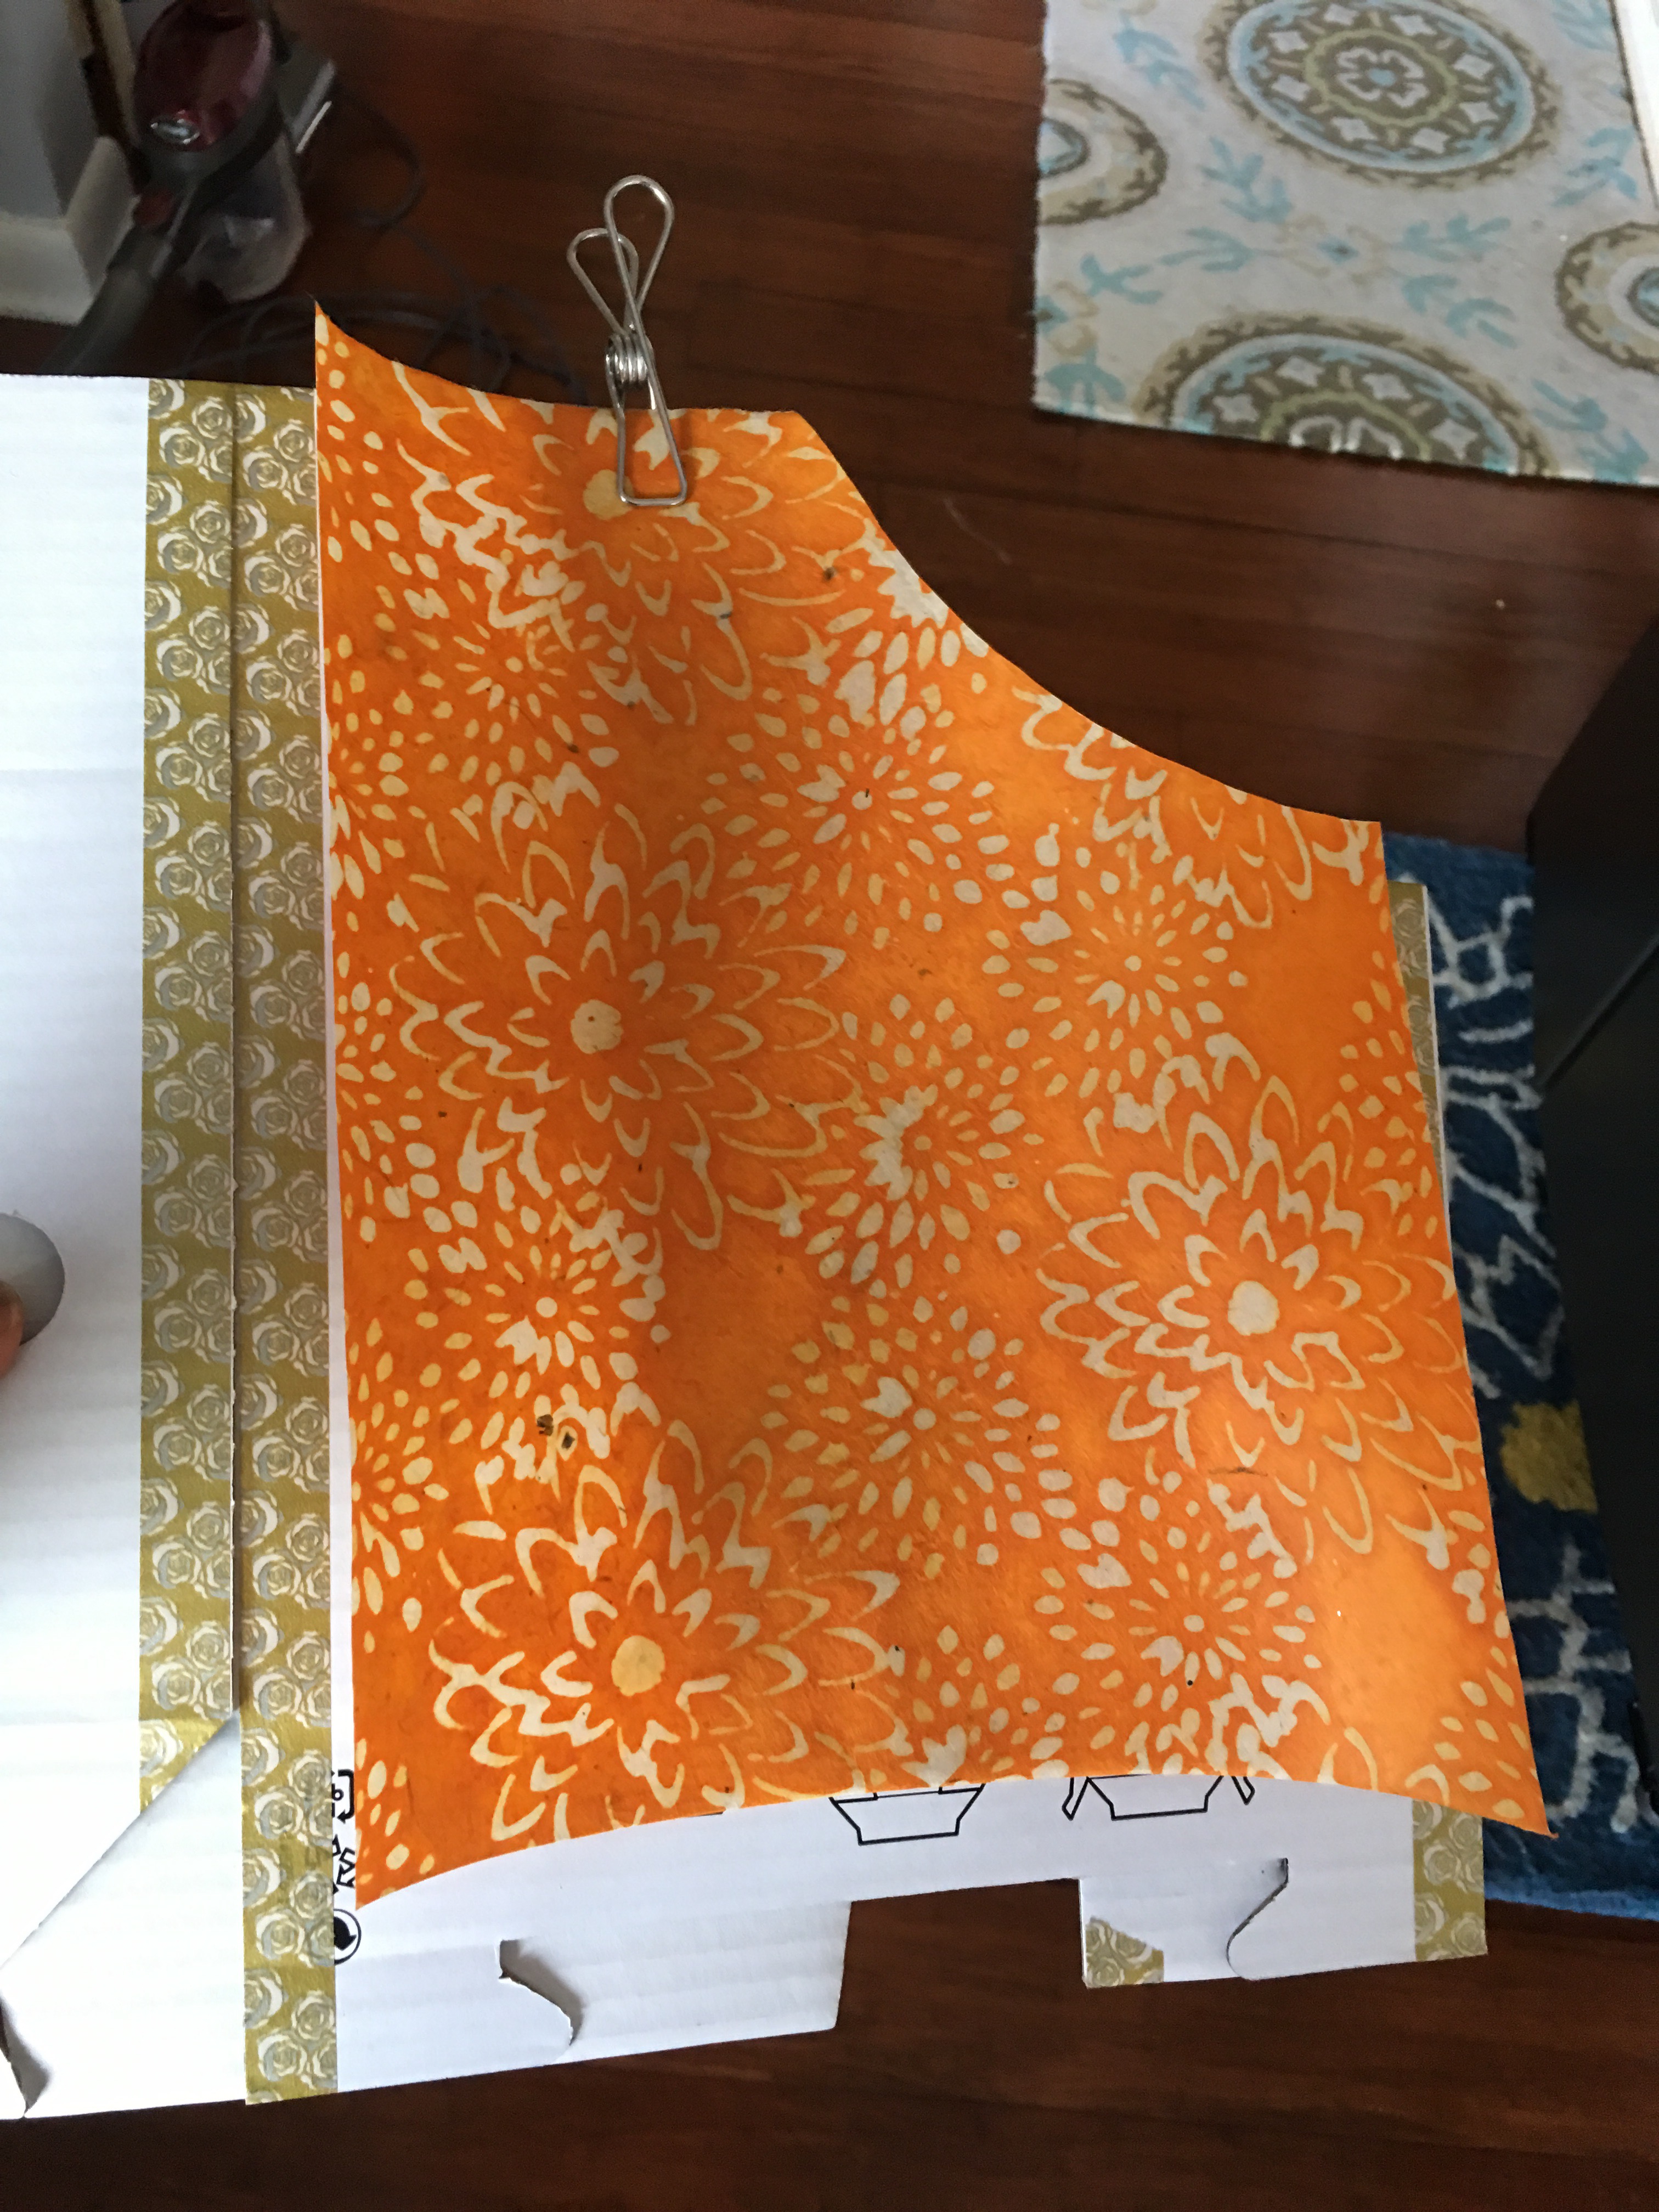
My choice of paper is the Loti Batik Mums in purple paper. I unfolded the box, covered one side, and measured the paper using the top and bottom of the box.
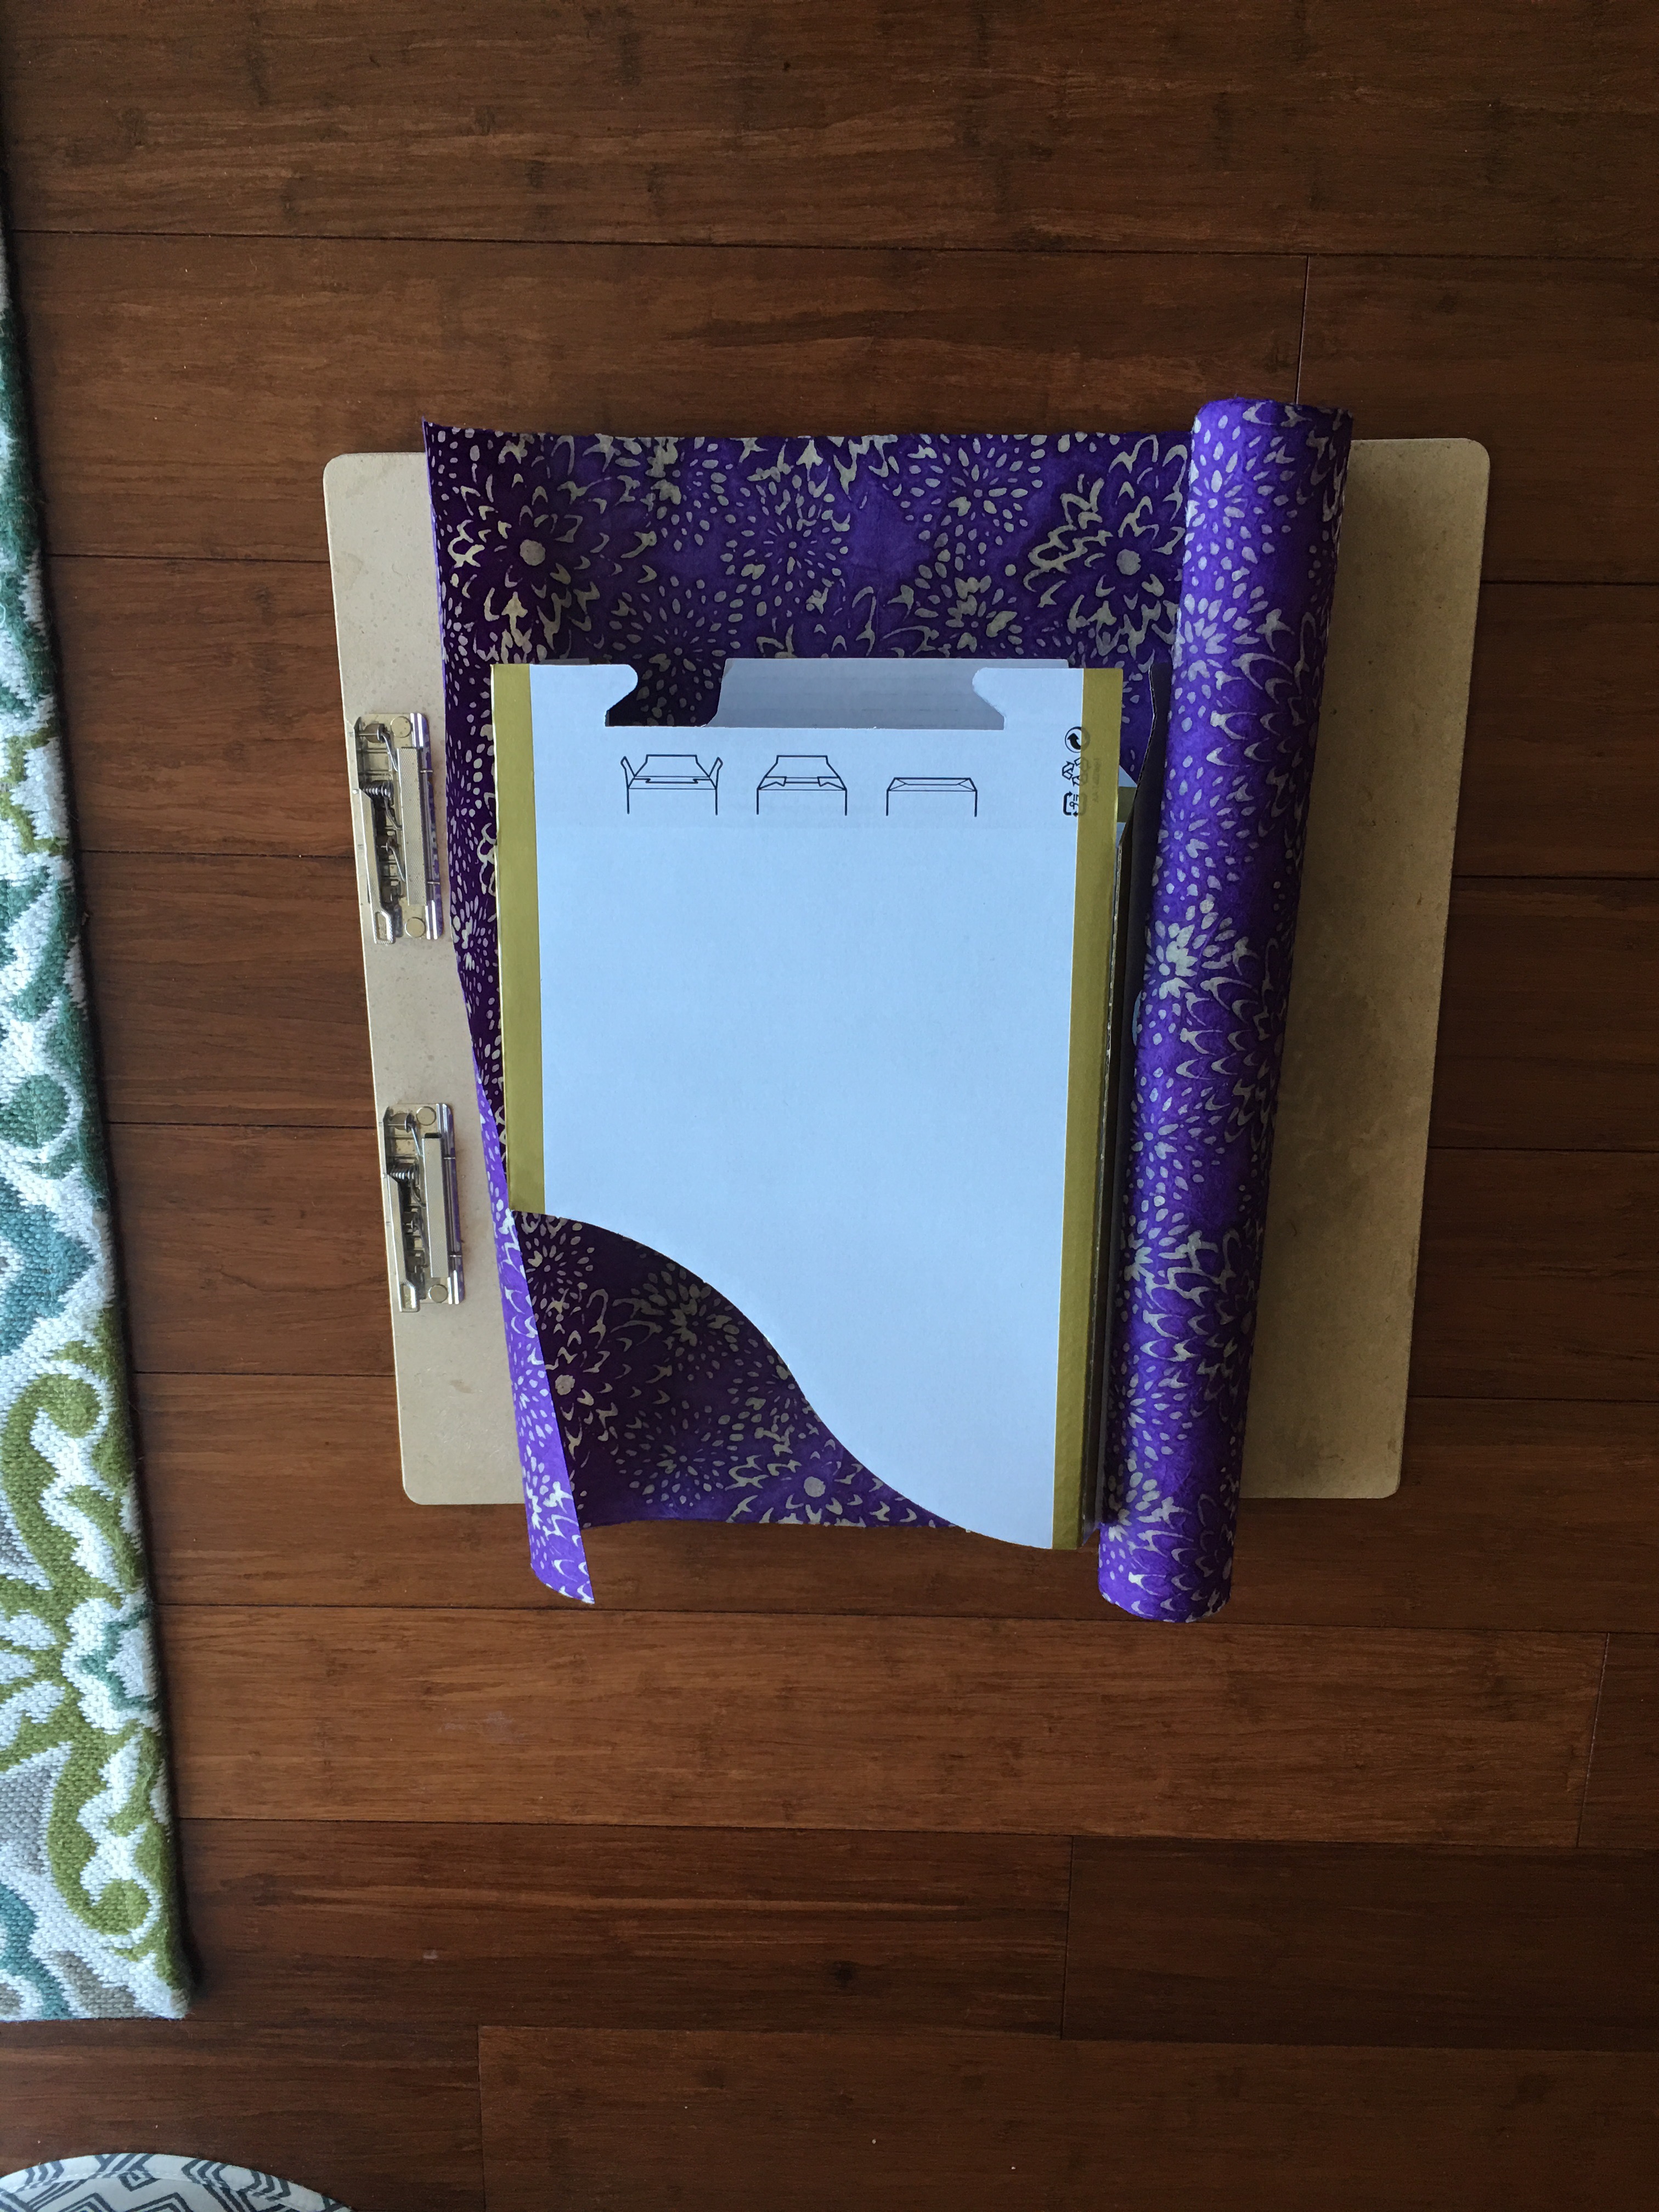
After cutting the paper down to size, I used a binder clip to clip it to the box (one at the top and one at the bottom). Then using scissors, I cut around the box (using it as my pattern template).
Once done, the paper was cut in the exact same shape as the box side.
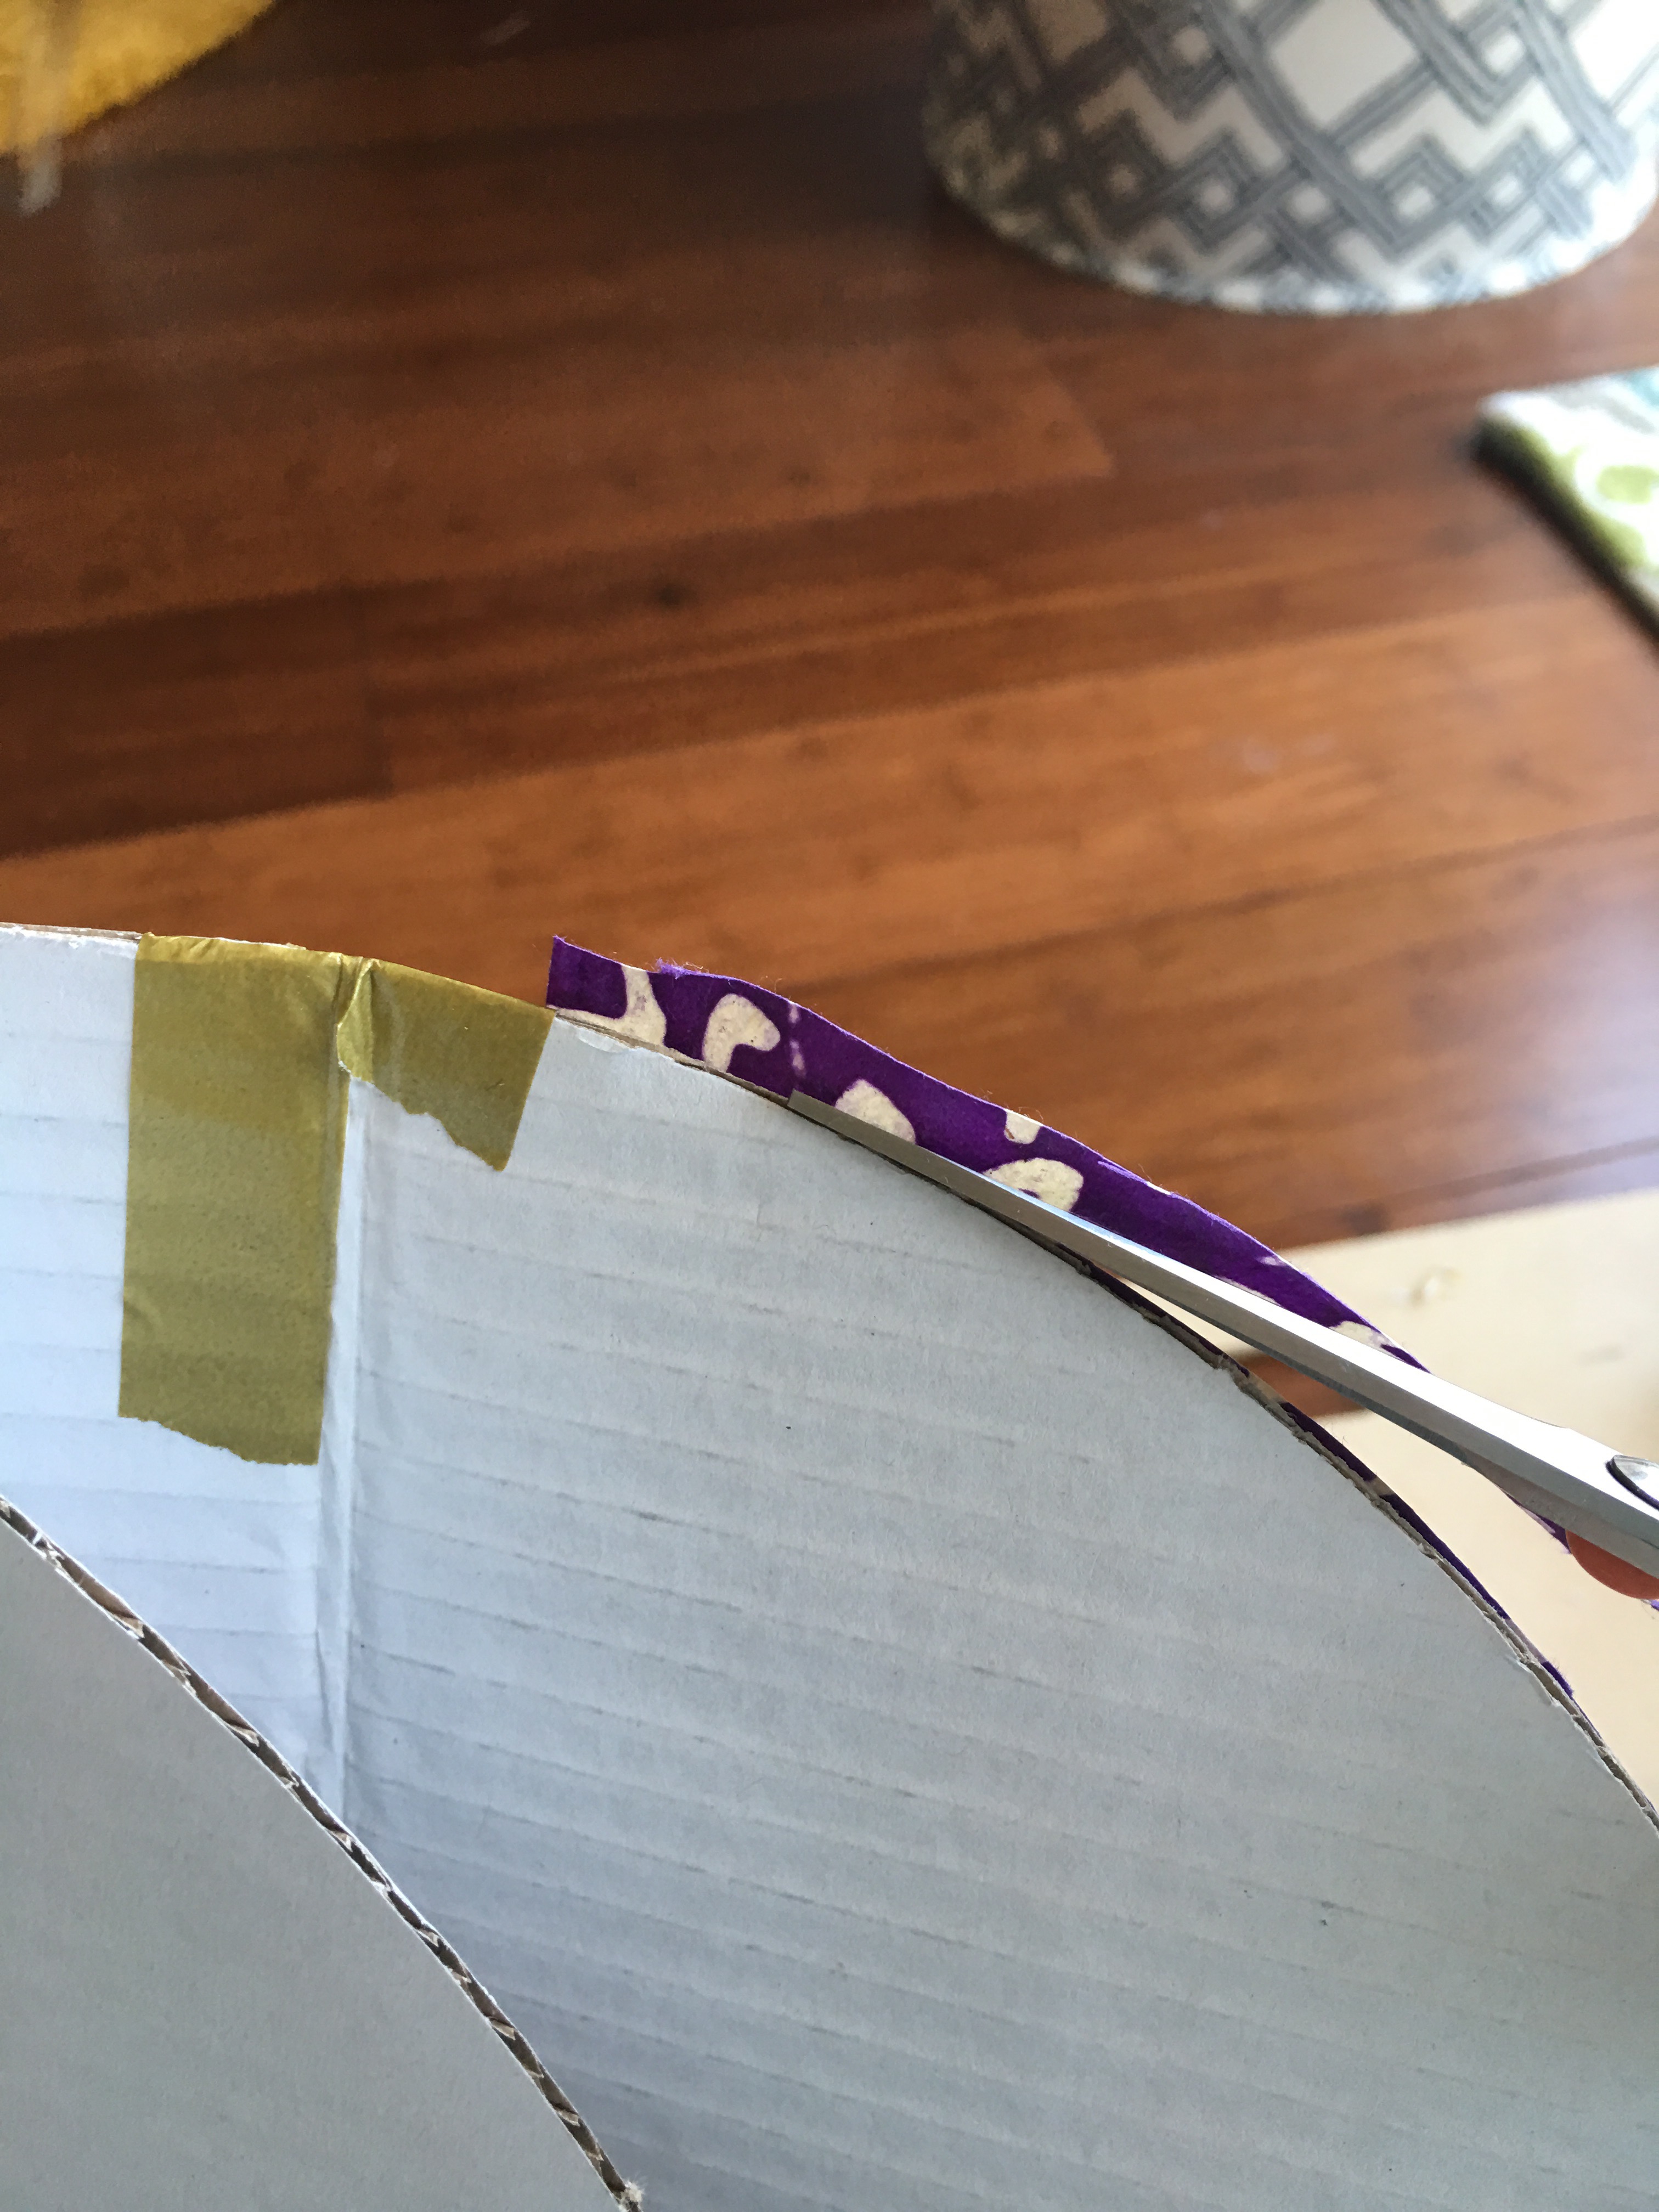
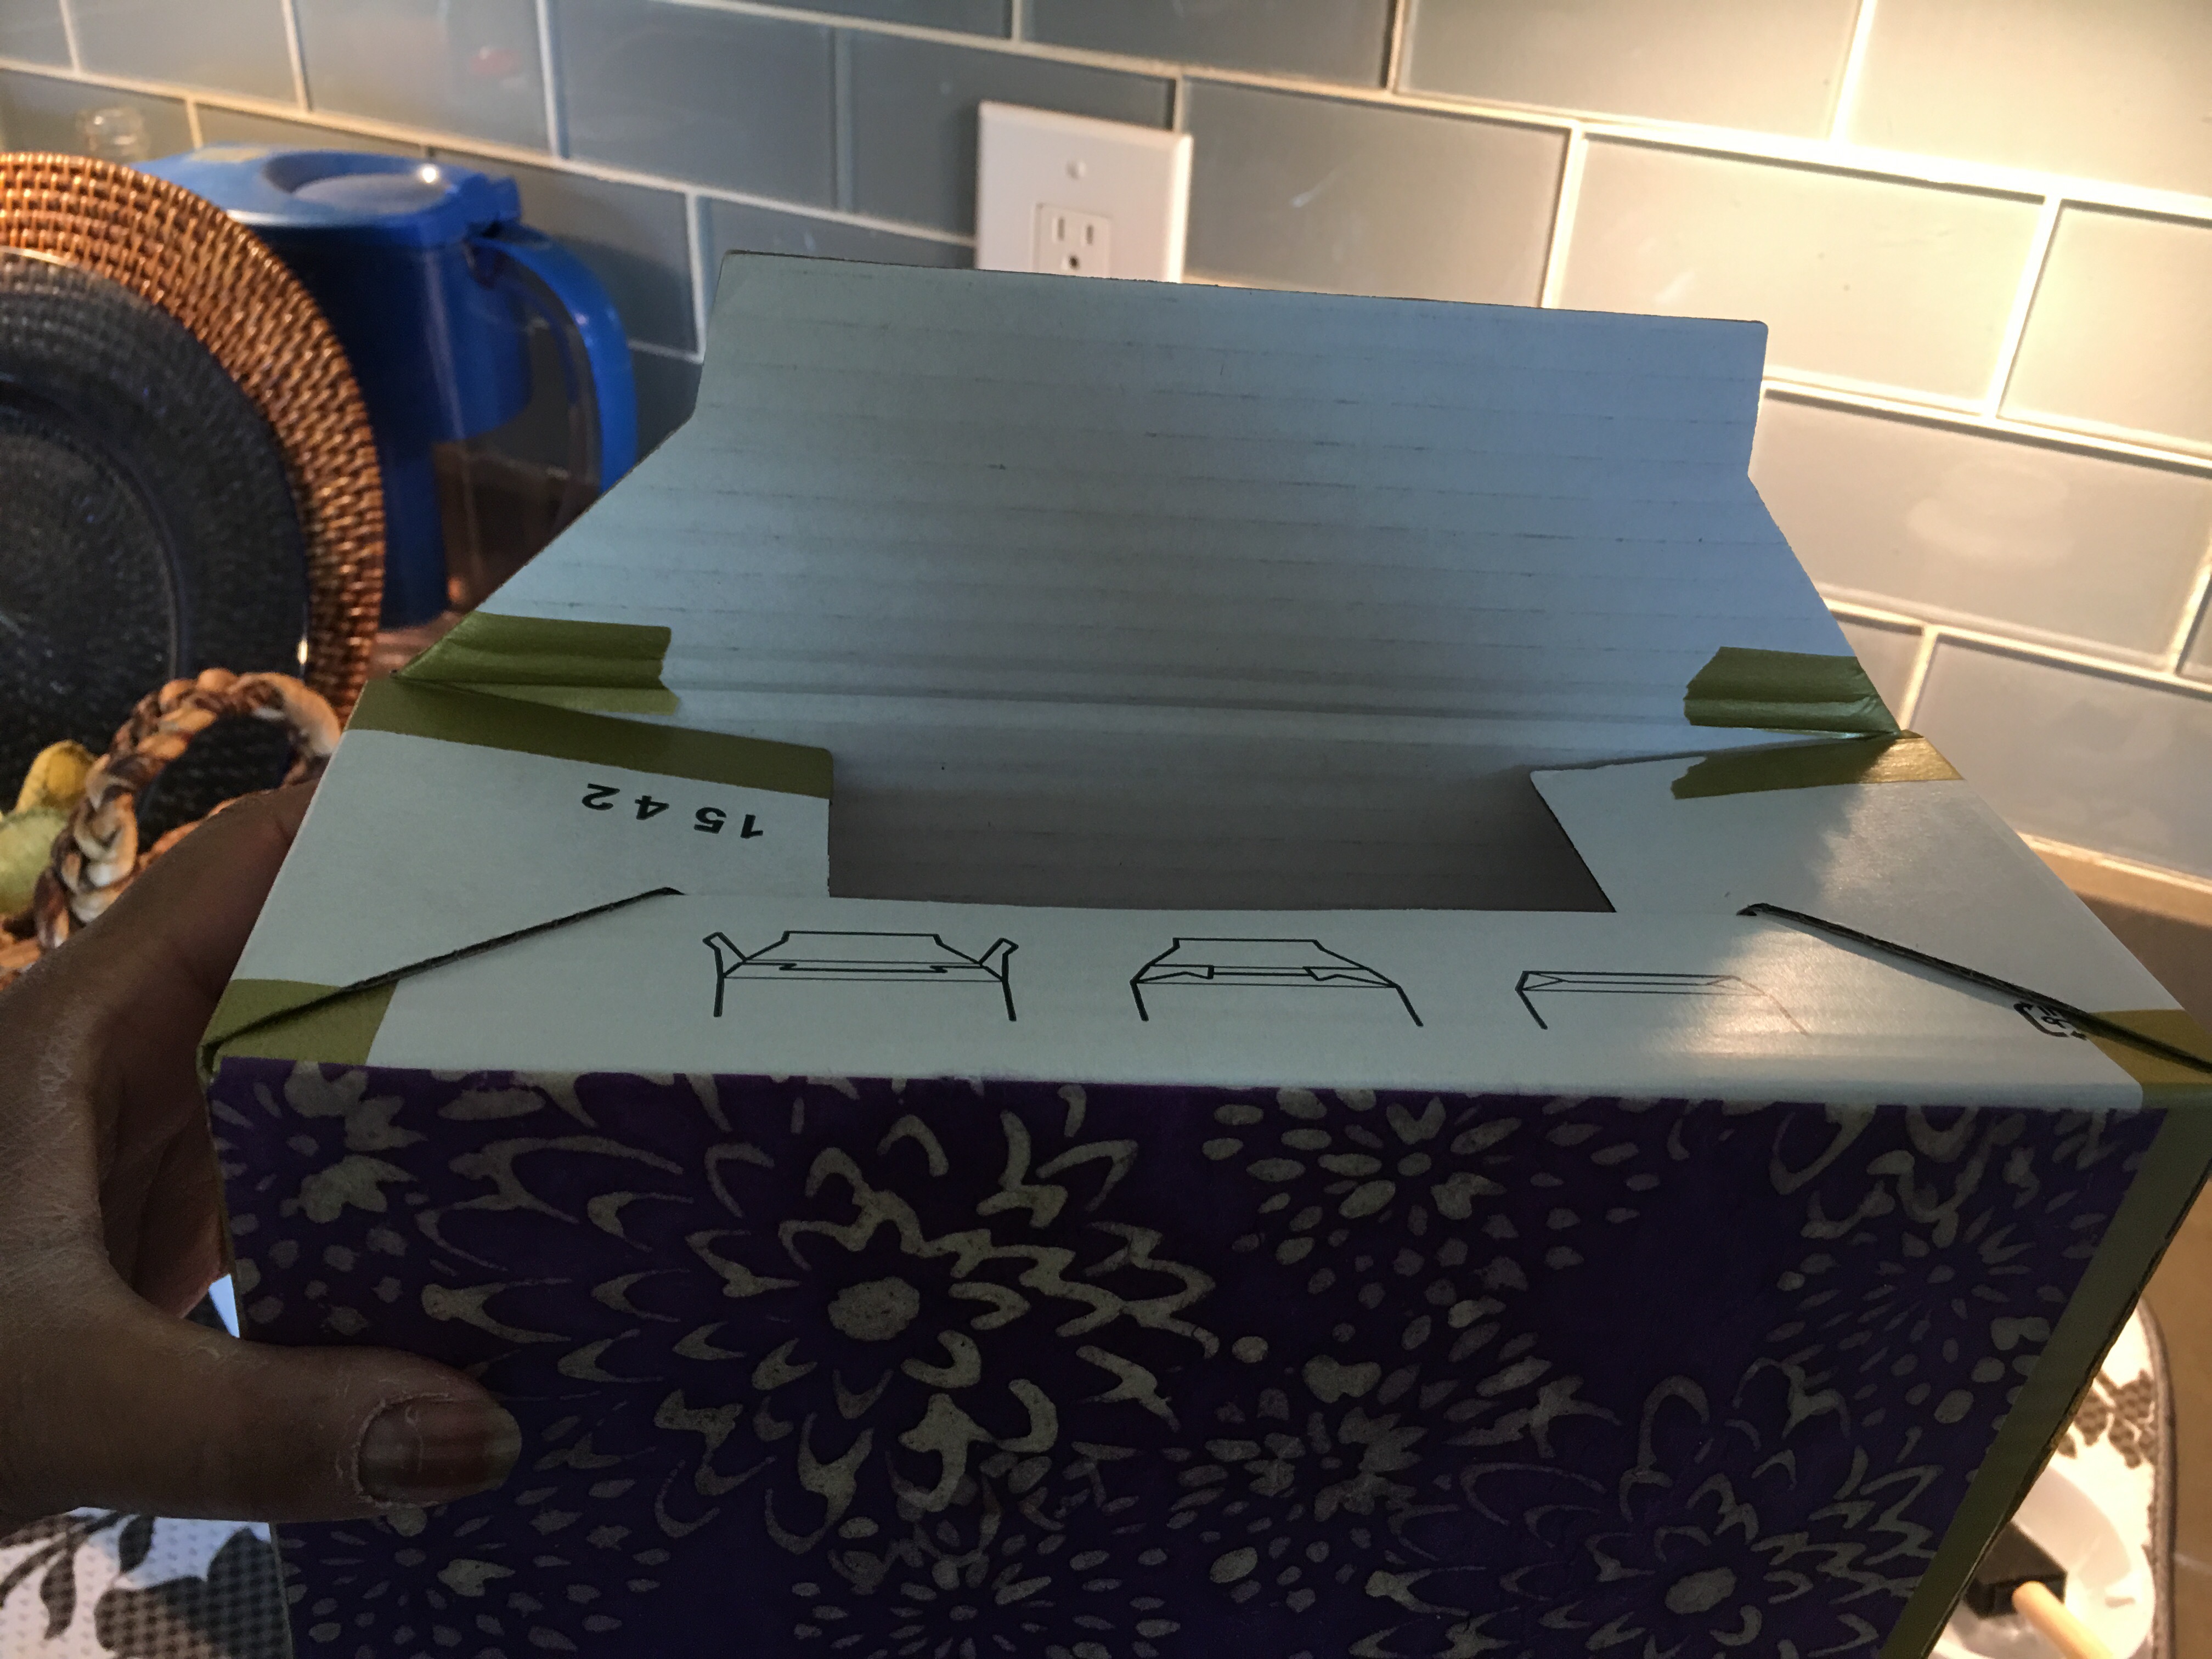
I folded the excess paper at the bottom of the file box (using the box flap as a guide).
I cut away the excess, and moved on to the decoupaging step.
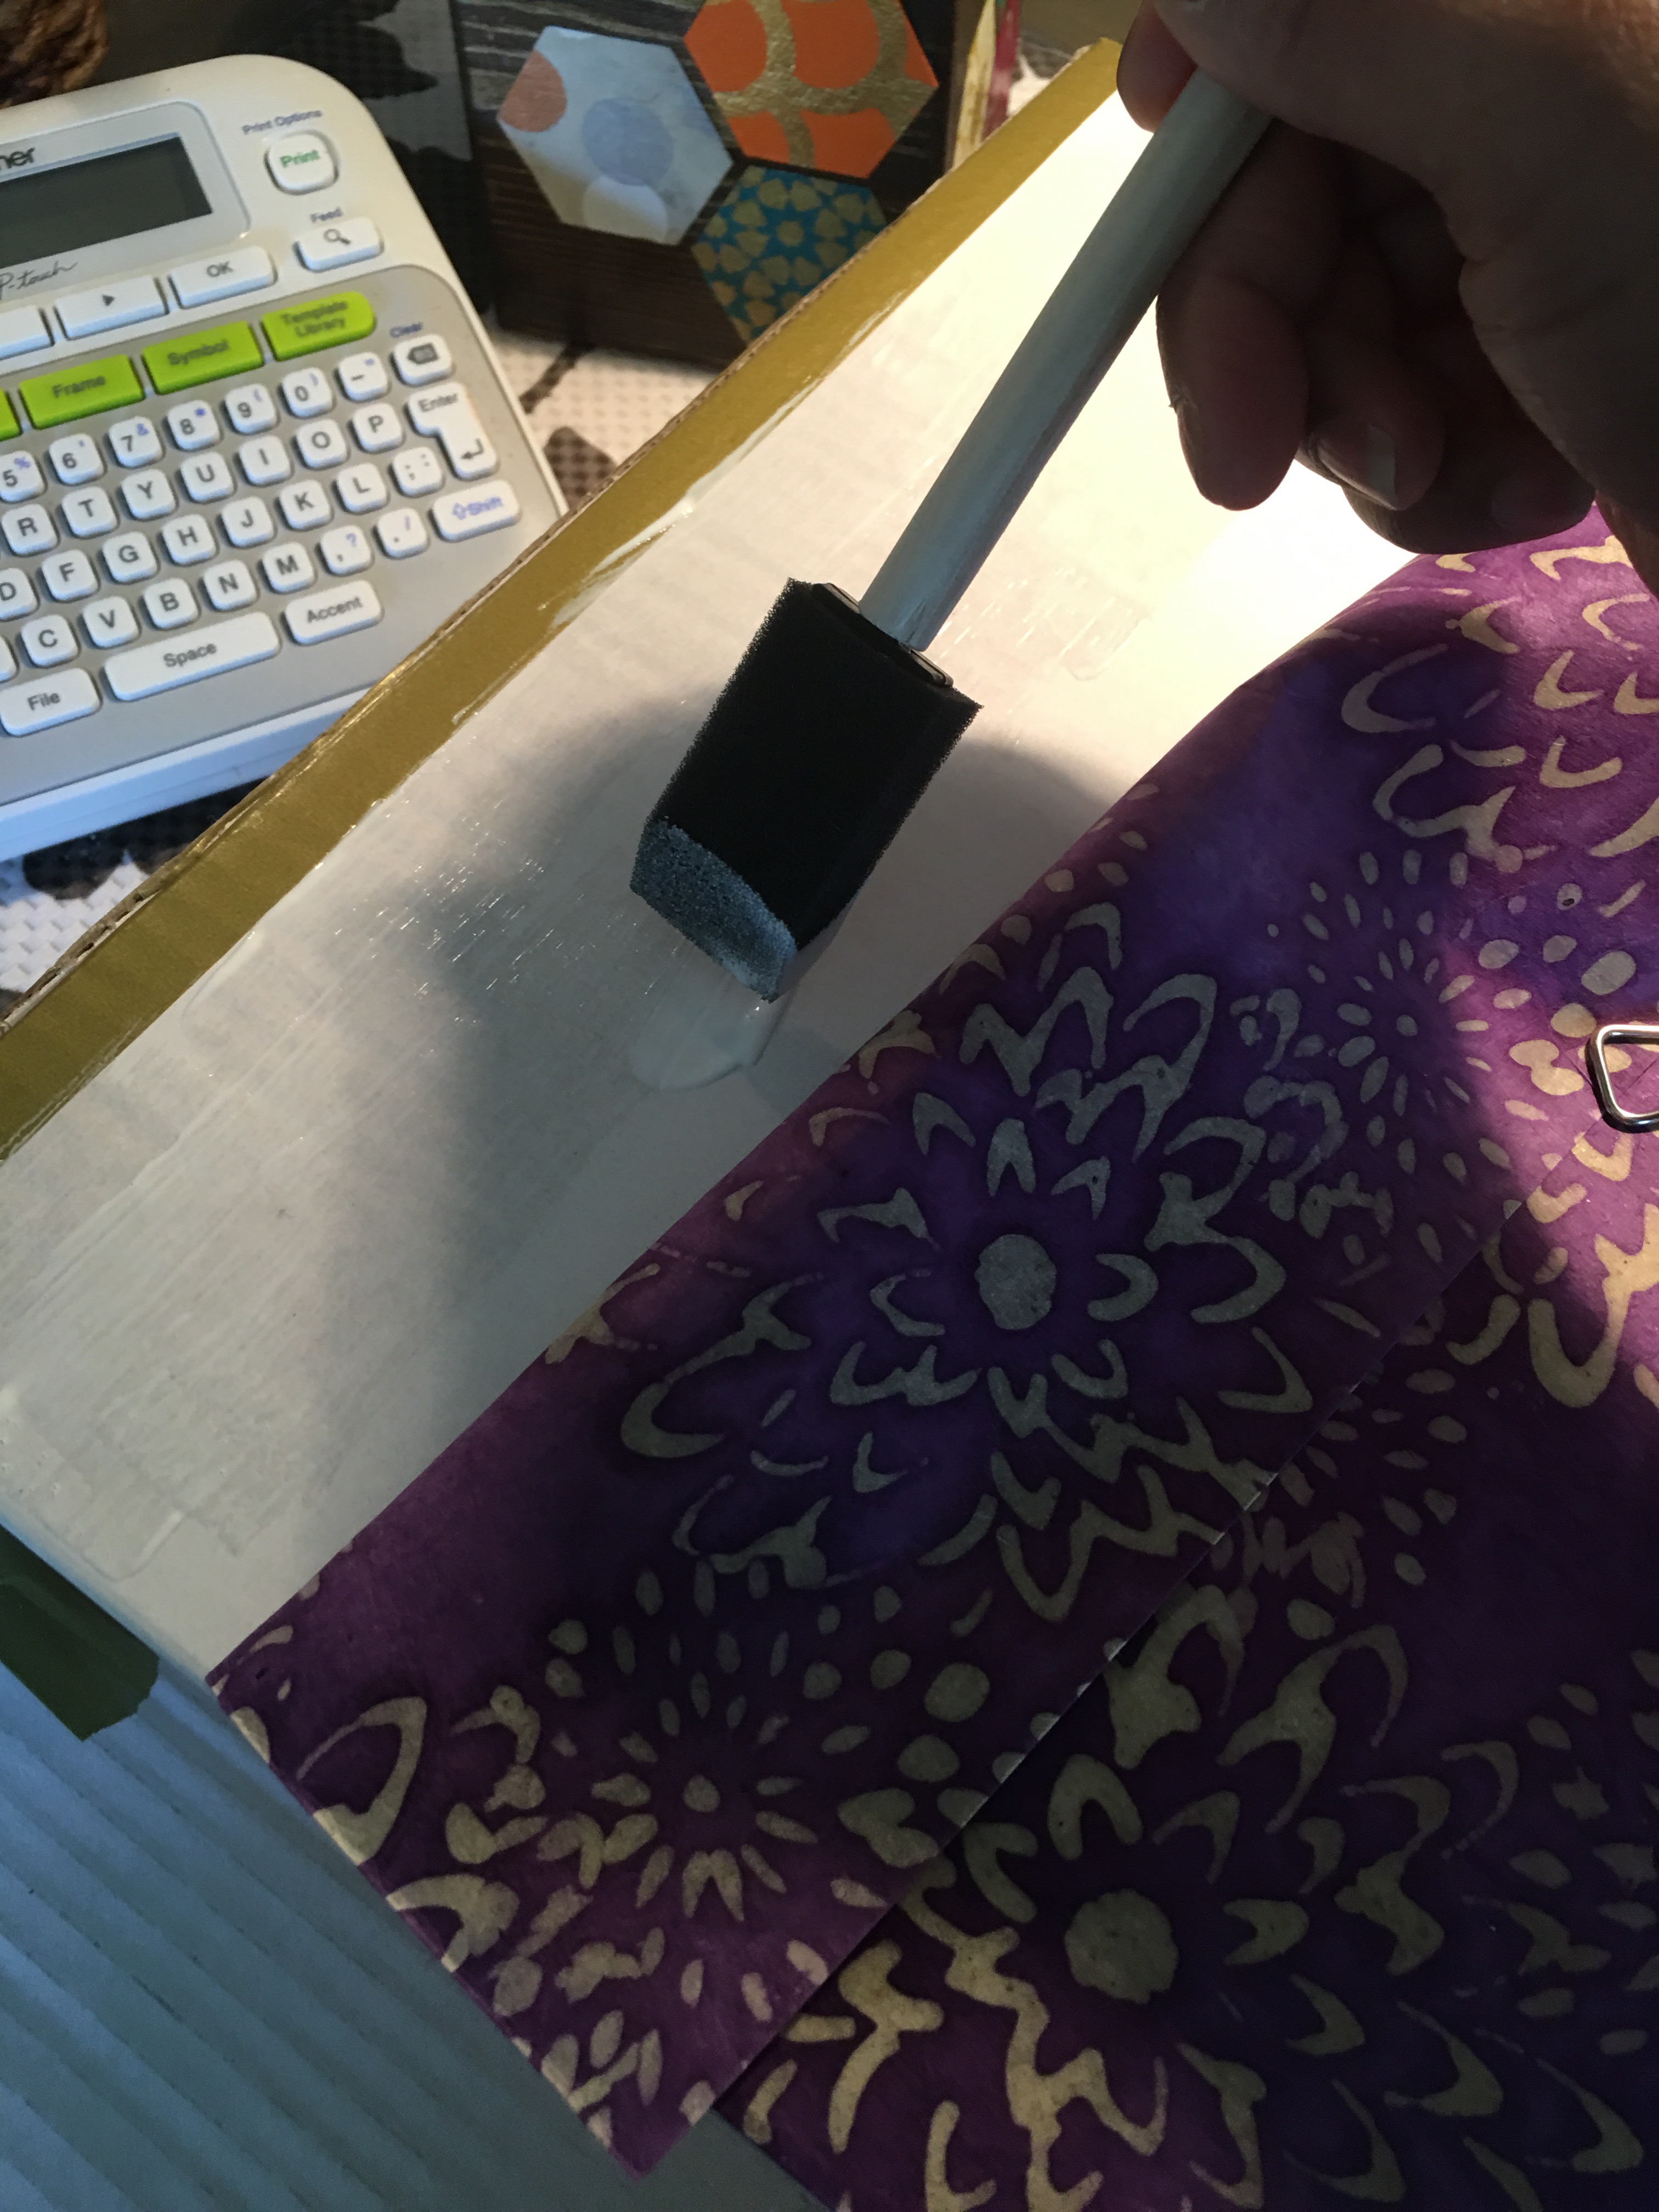
At the kitchen counter, I have my Mod Podge ready to go. I clipped the paper cutout in place and reached for my sponge brush to apply a thin coat of glue between the paper and the box.
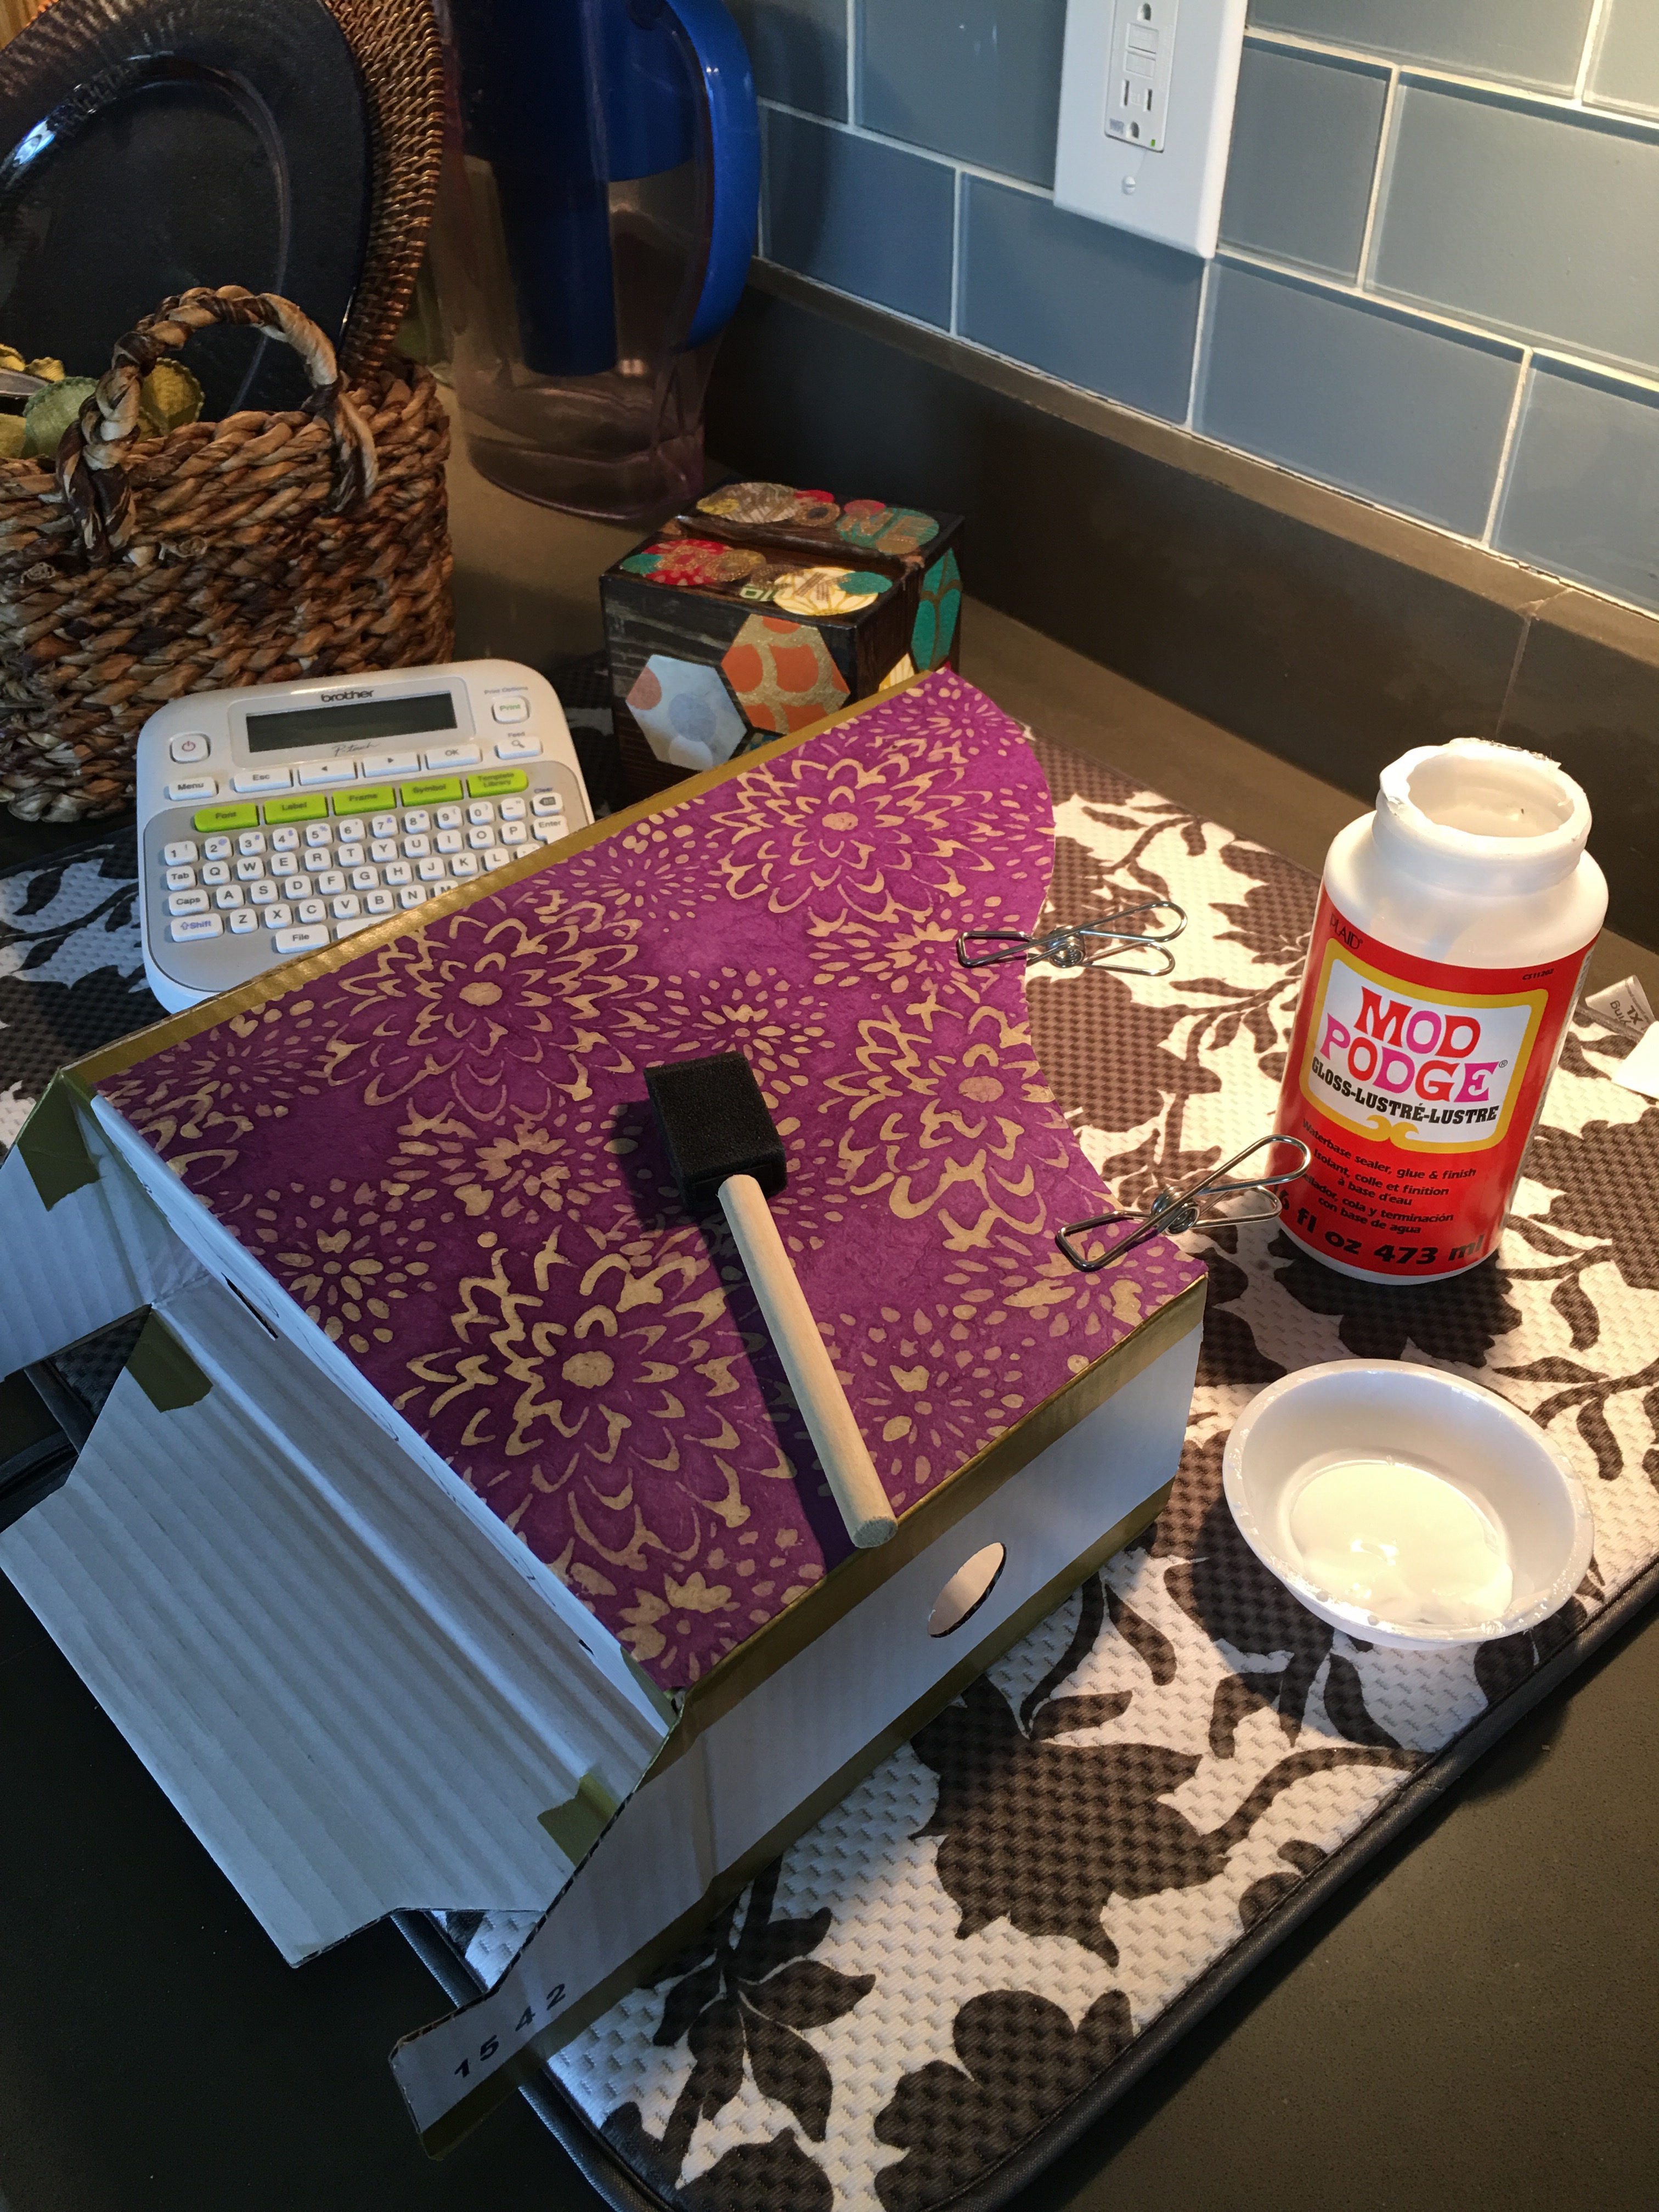
To avoid excess glue from seeping through the paper, I applied a thin layer of glue and allowed the area to air dry for a few extra seconds before rubbing on the paper.
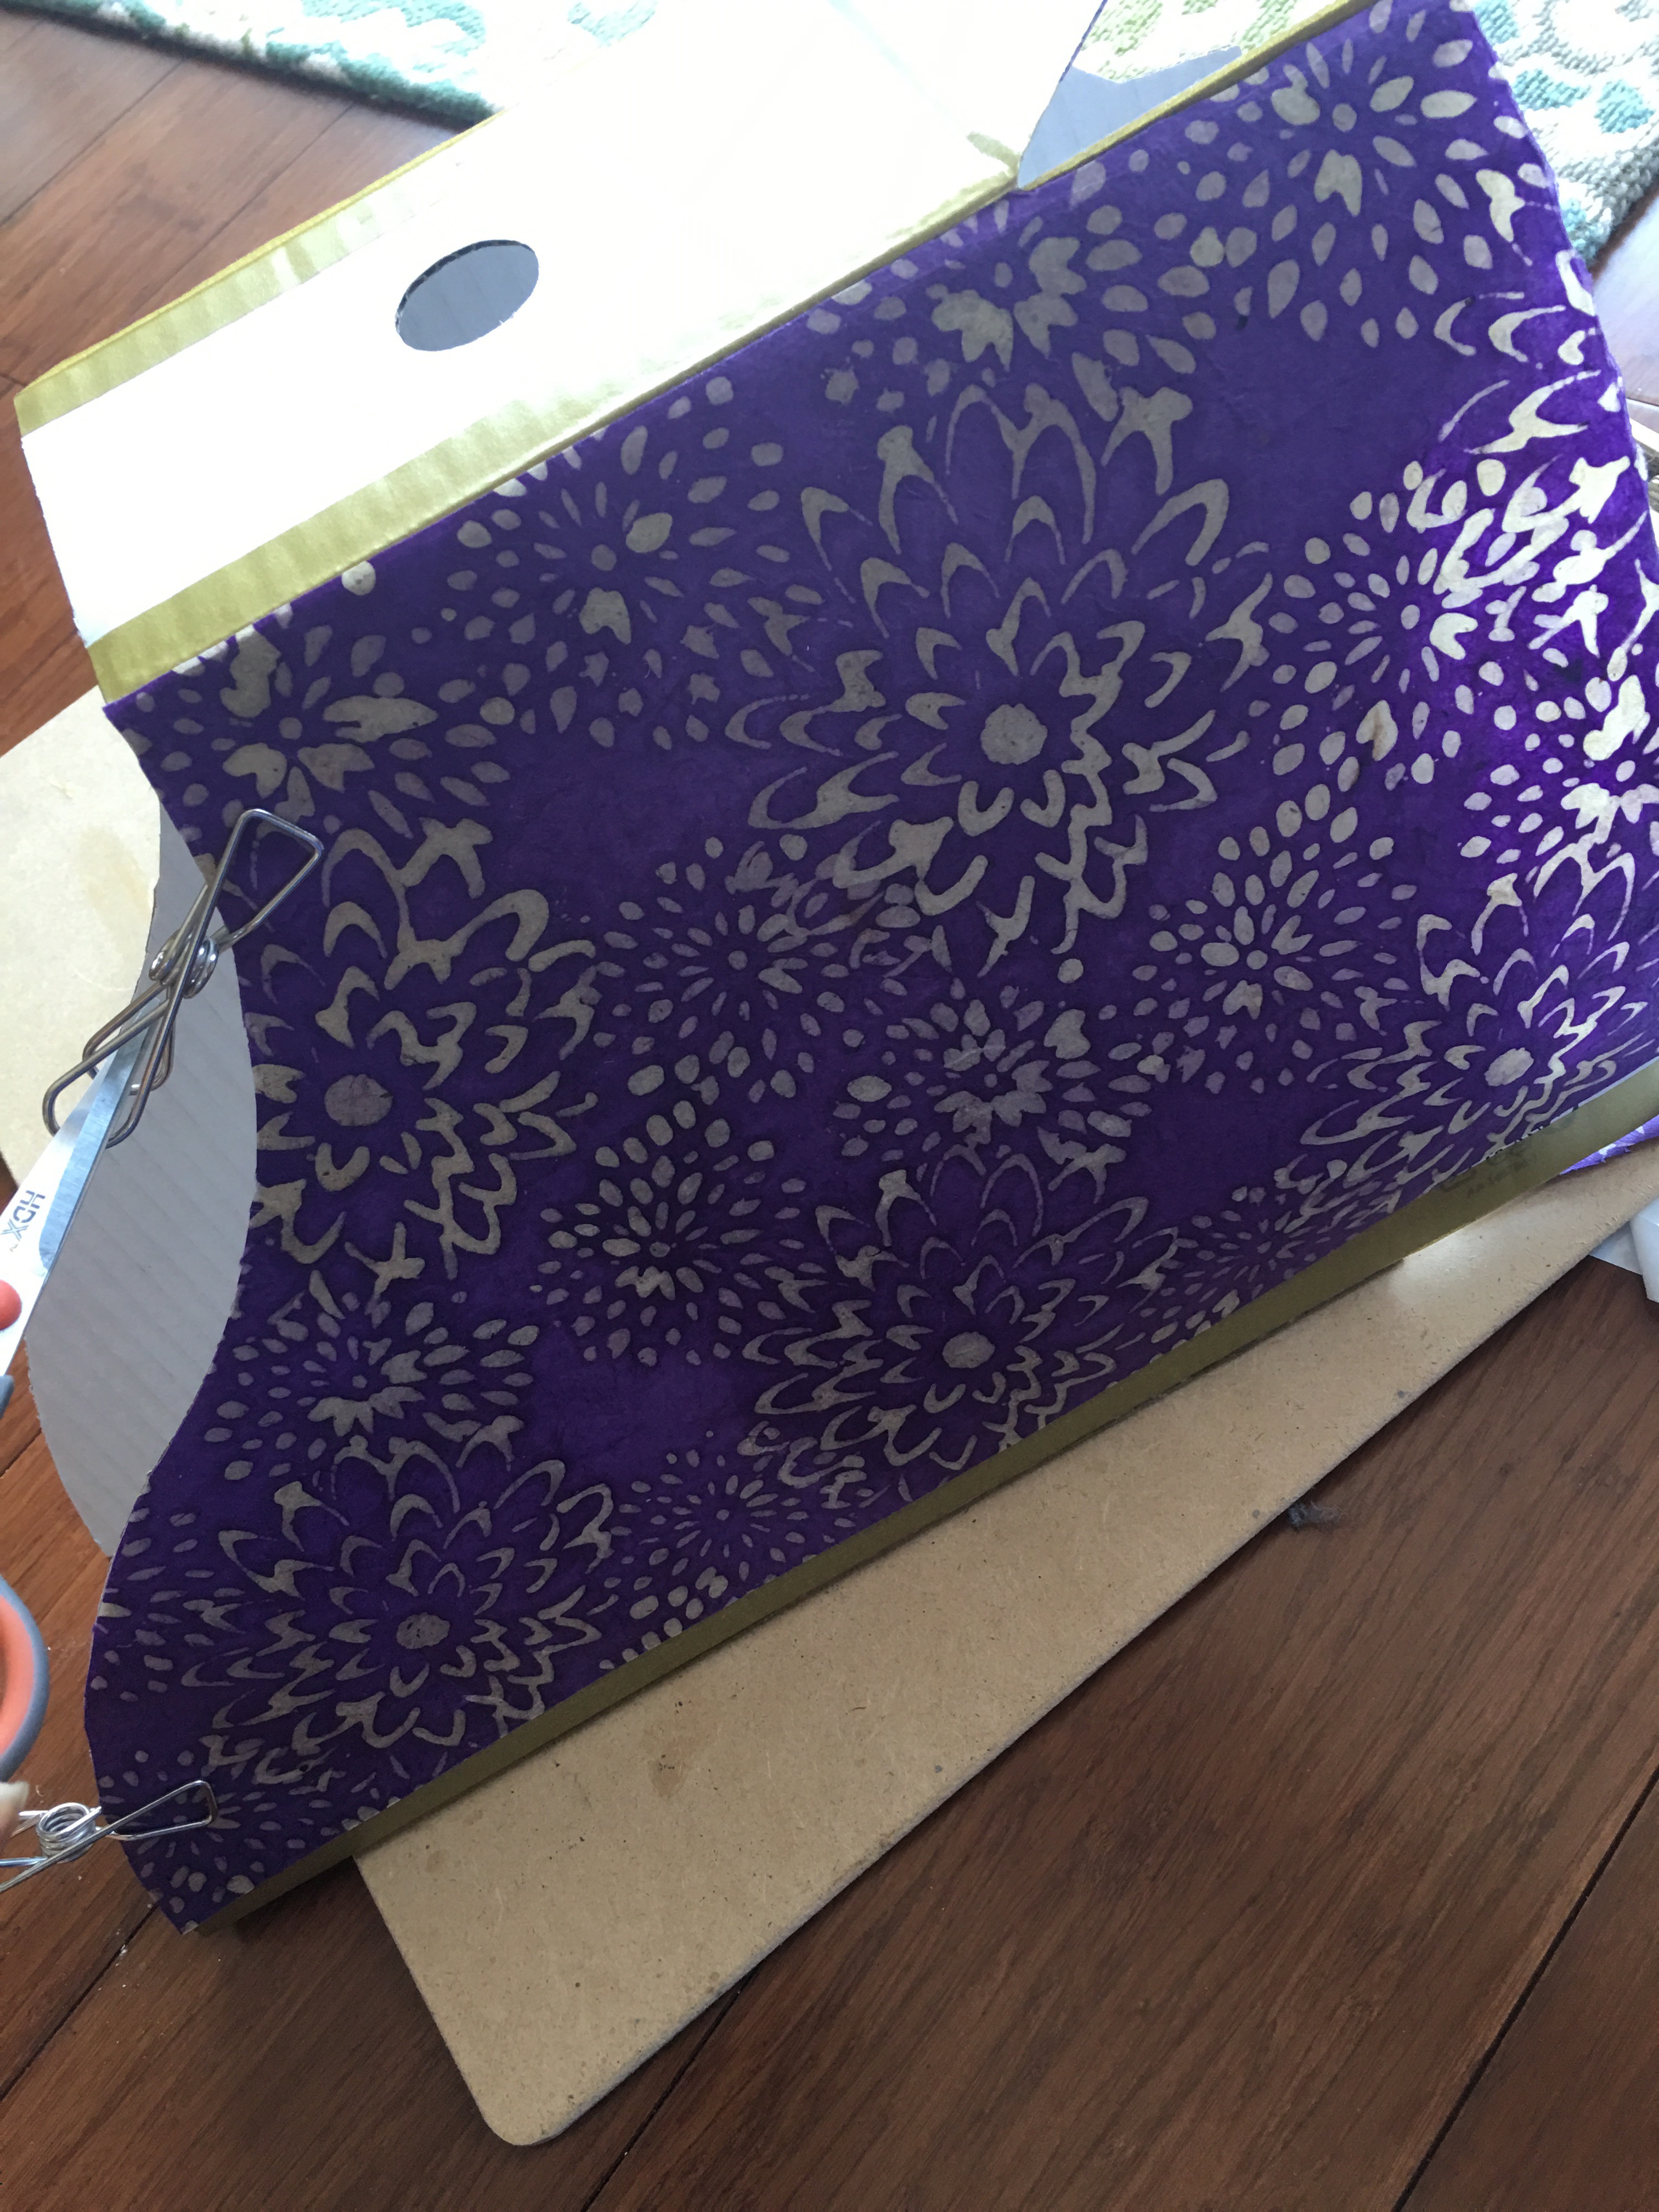
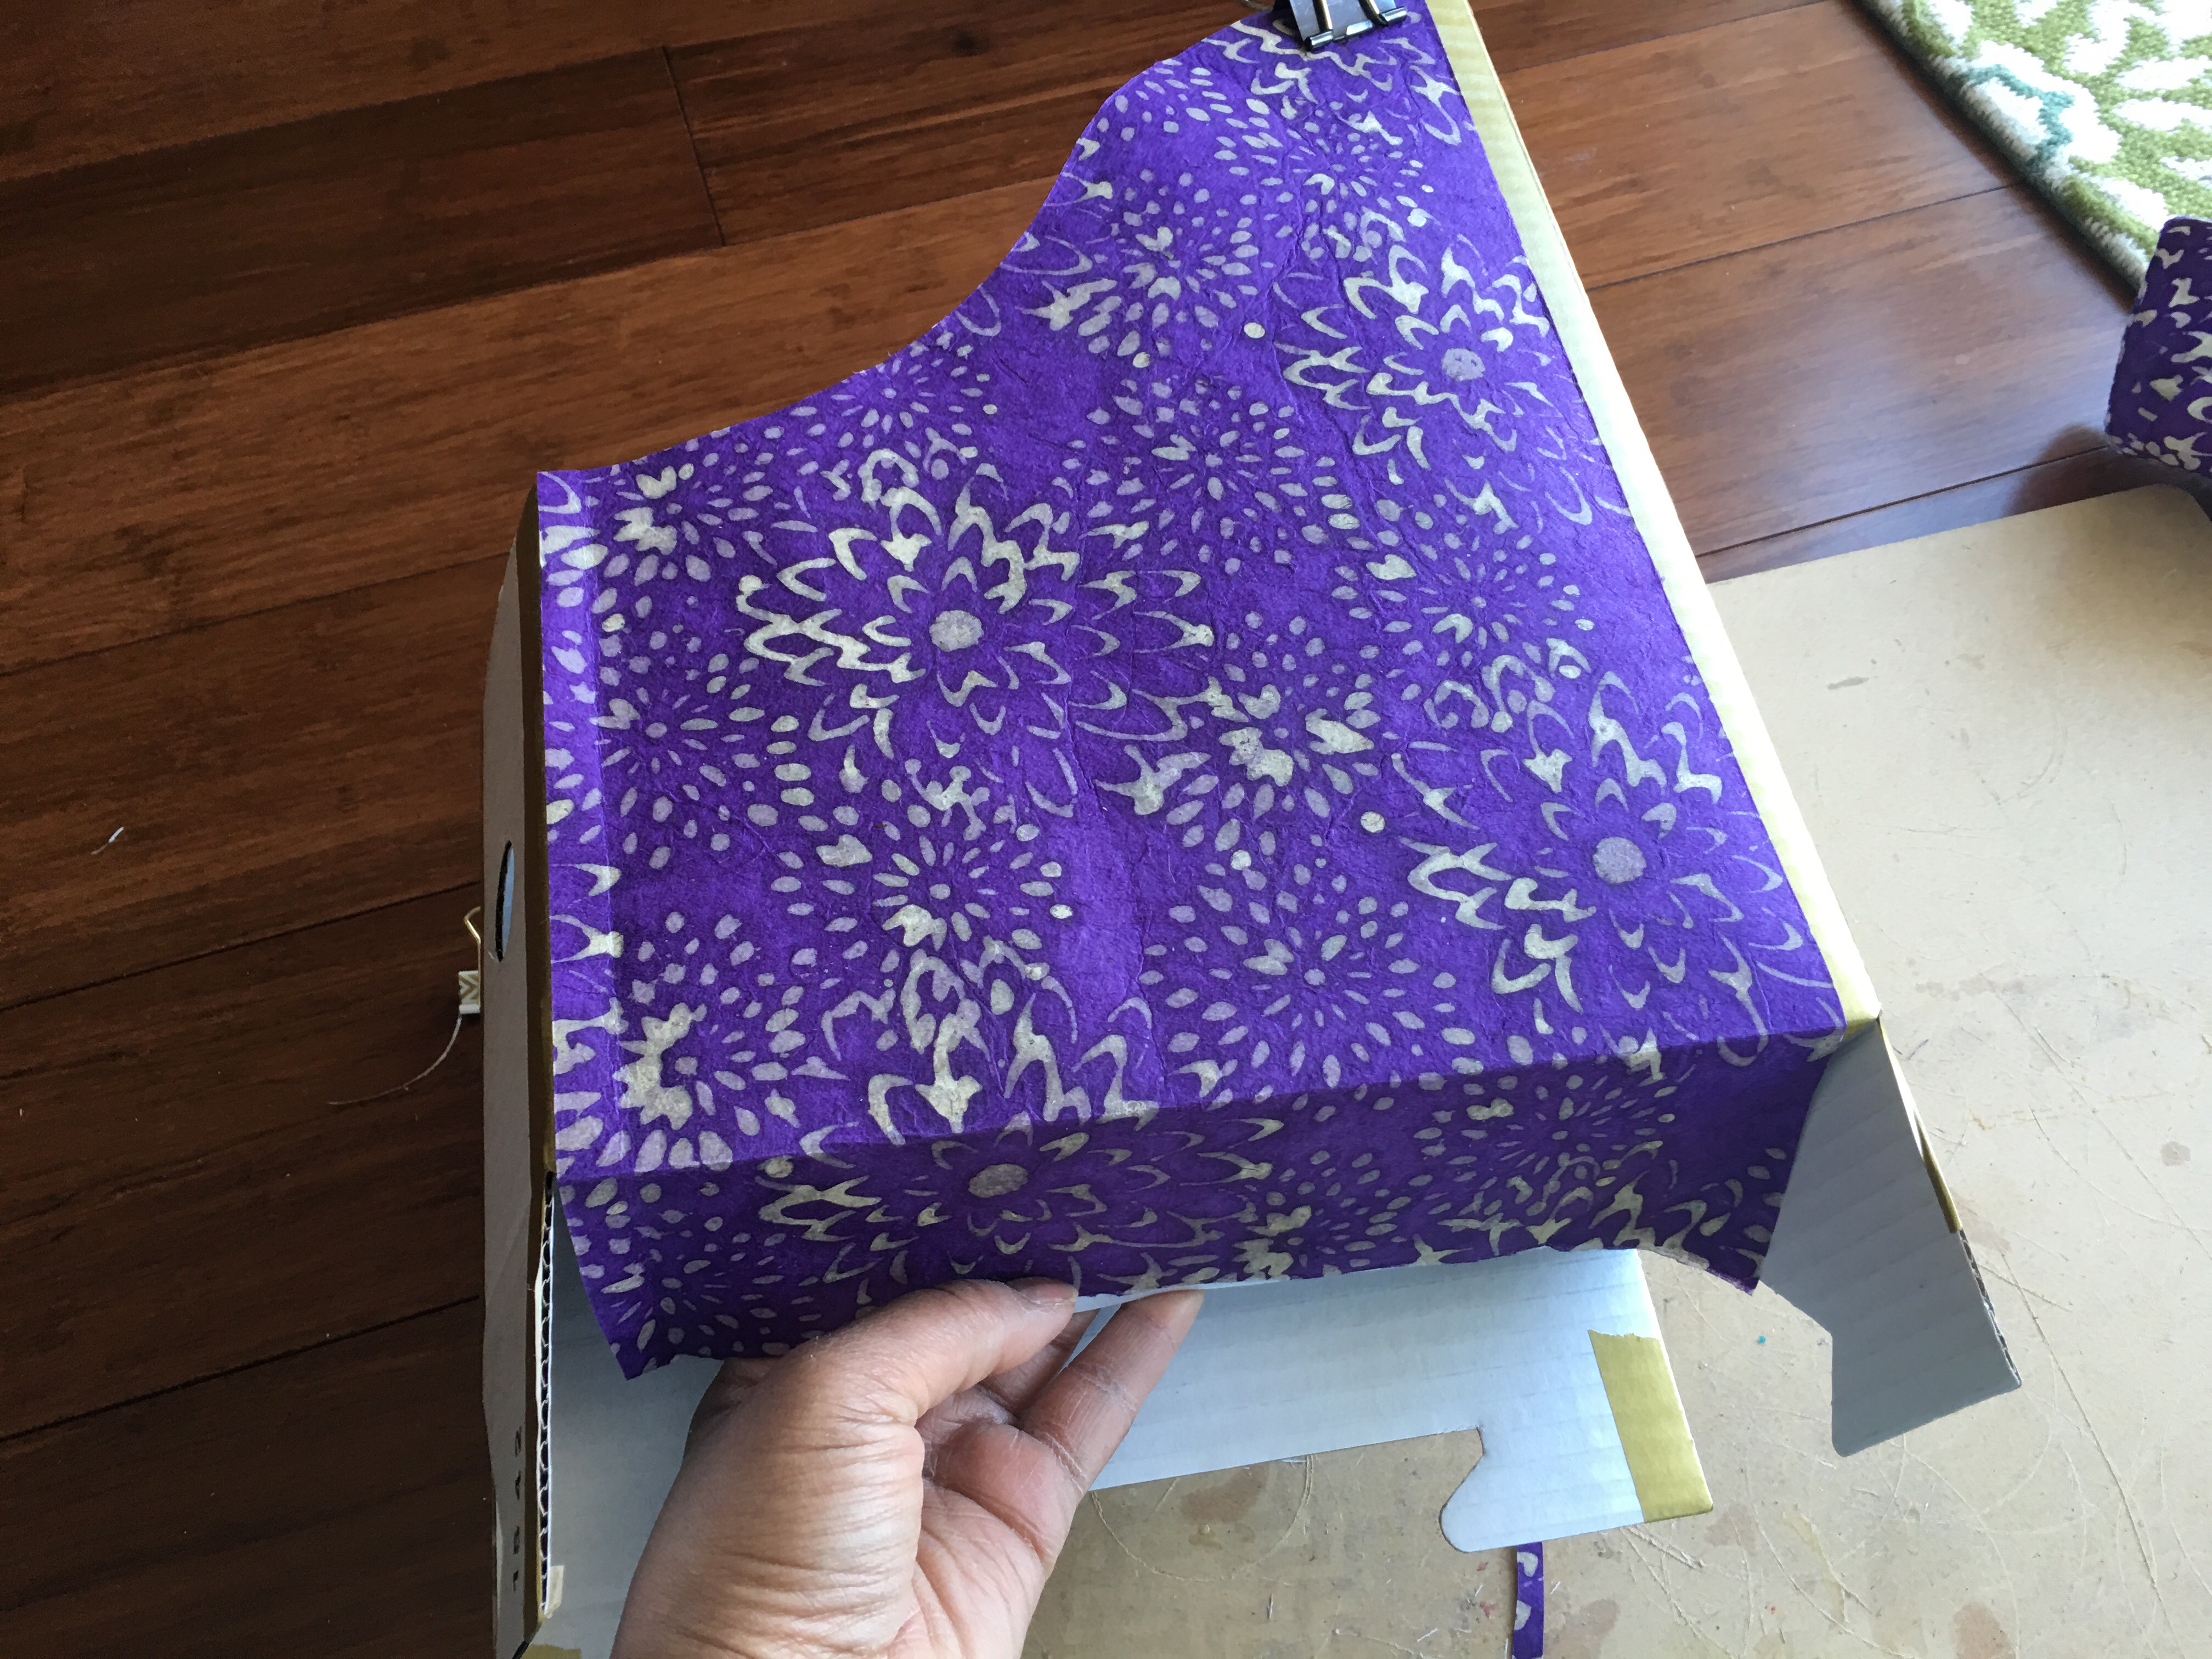
I repeated the steps above for the other side of the file box. And then I assembled the box (tucking in the folds at the bottom).
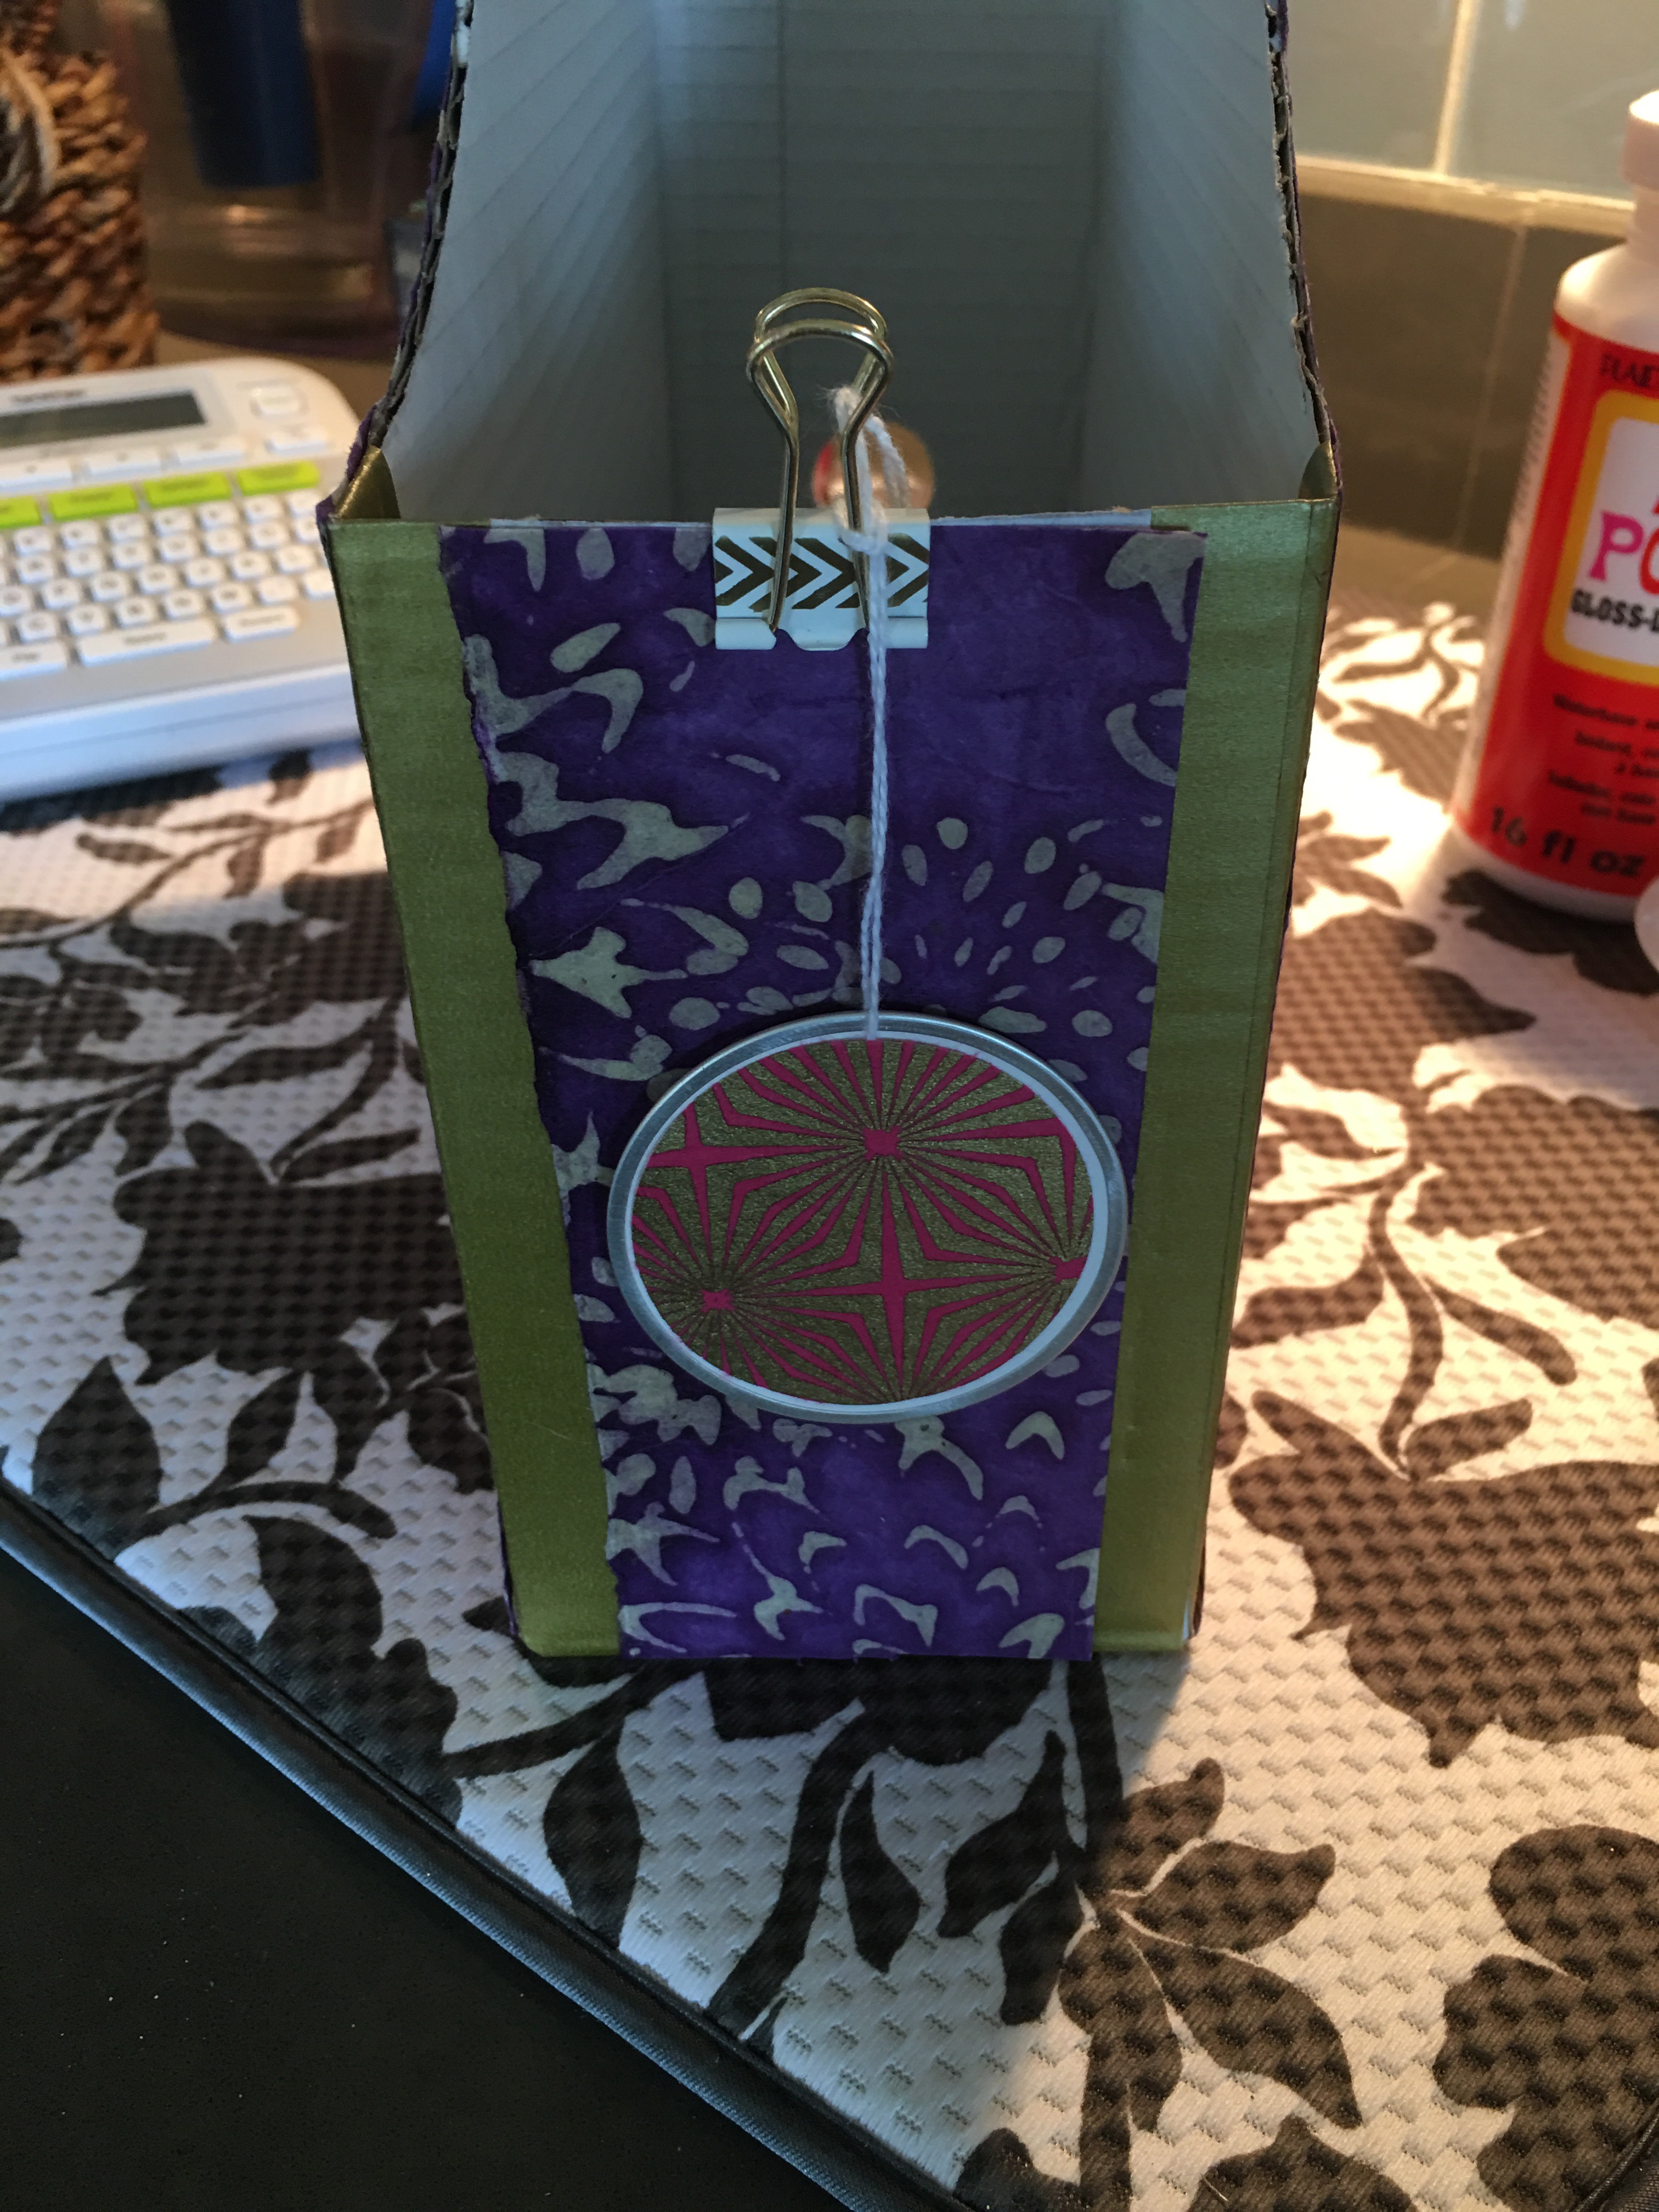
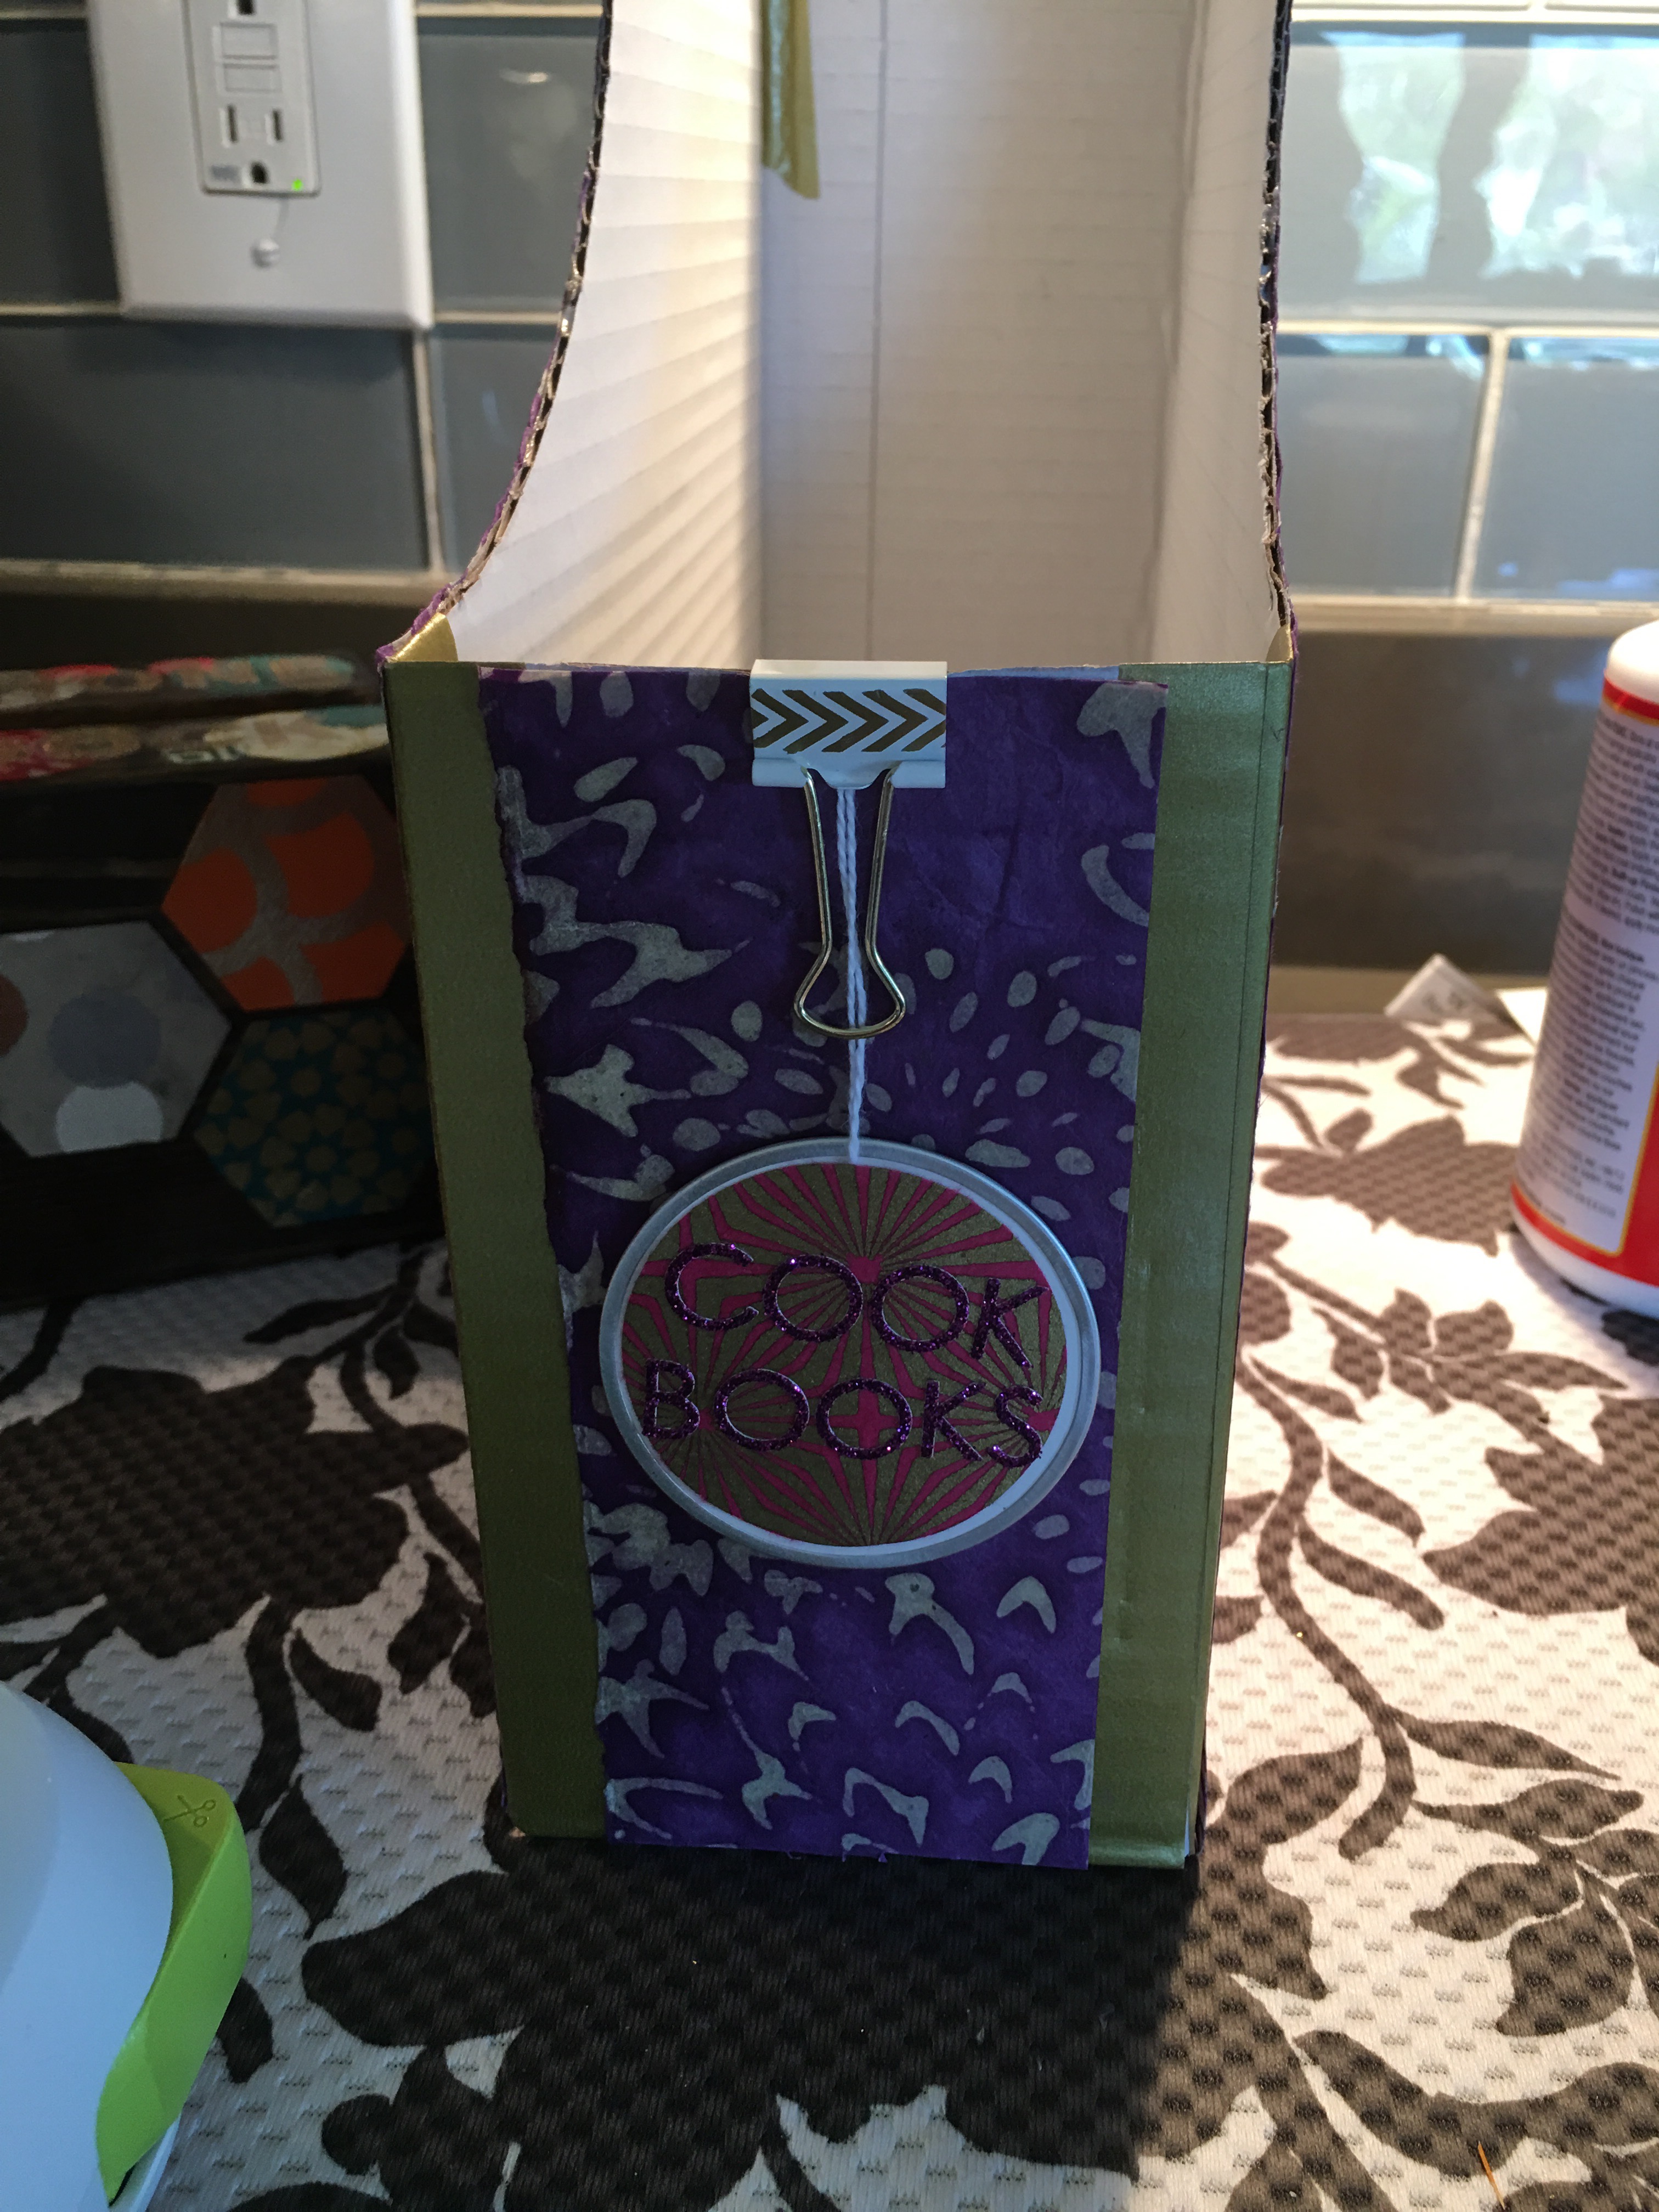
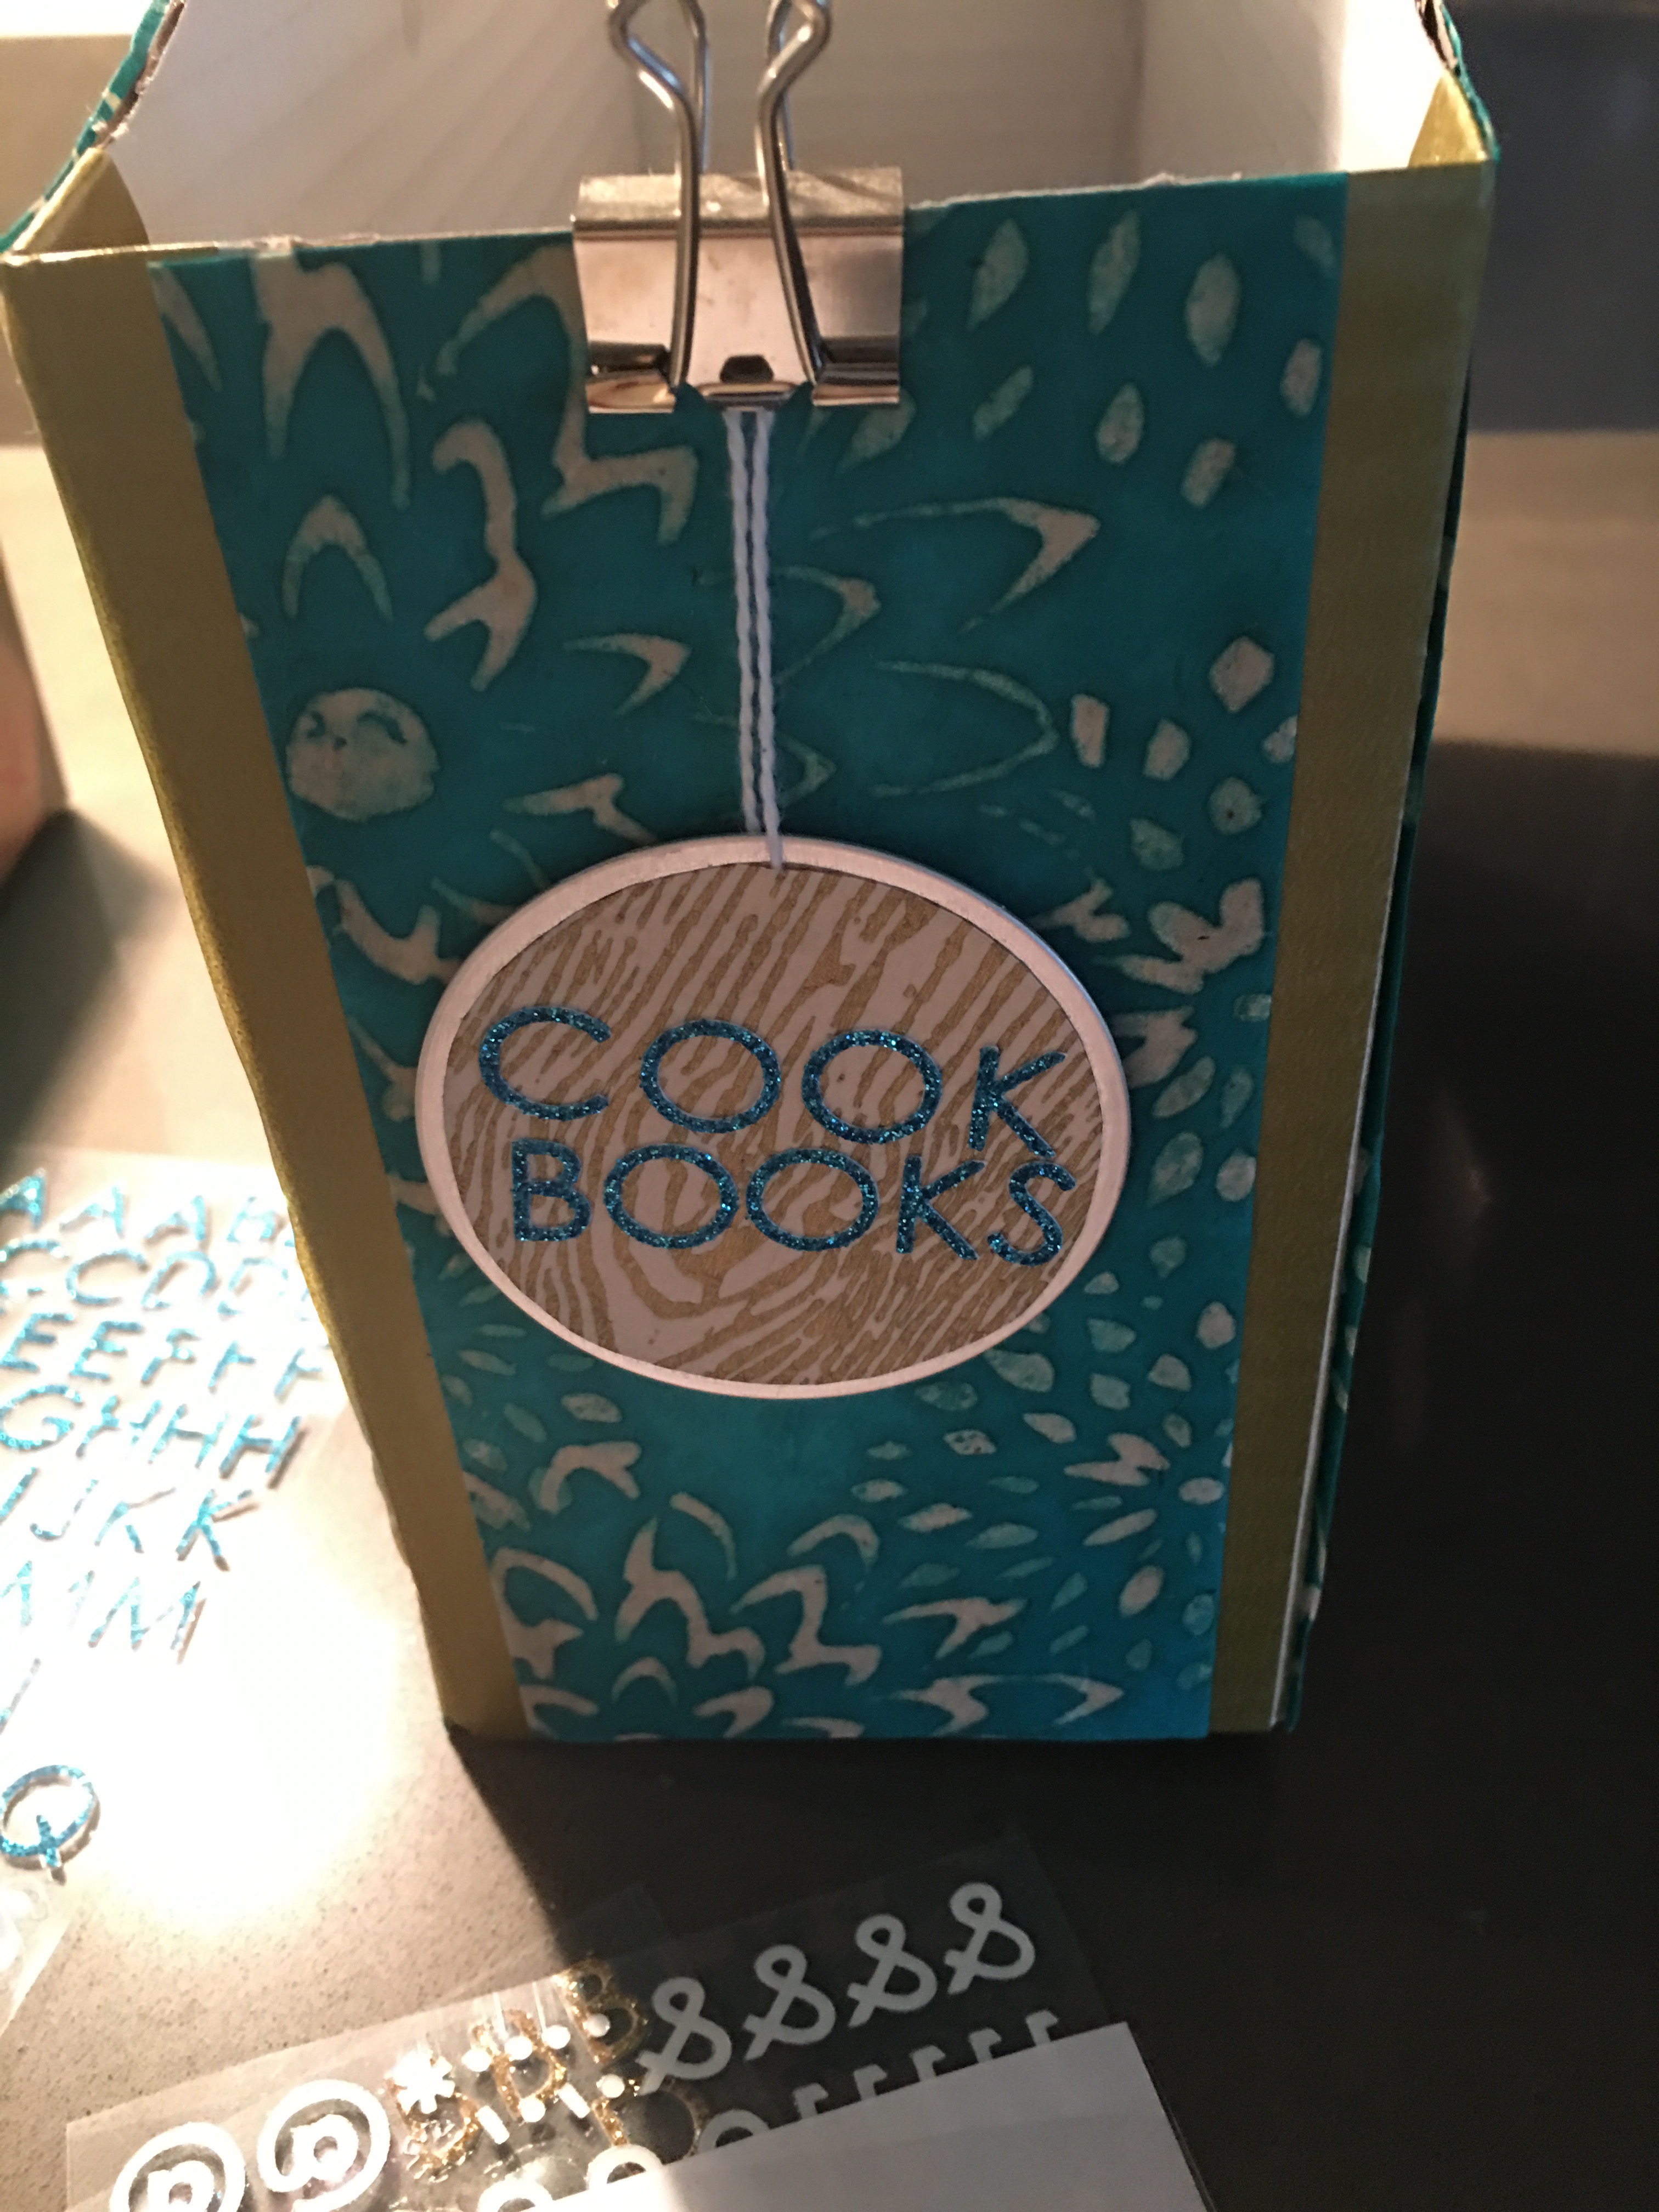
And, for the front, I clipped a thin strip of paper to the top of the box, cut away the excess at the bottom, and then glued the paper strip in place.
I thought around cutting the paper away from the round opening that’s on the box front. But I opted to keep the hole covered.
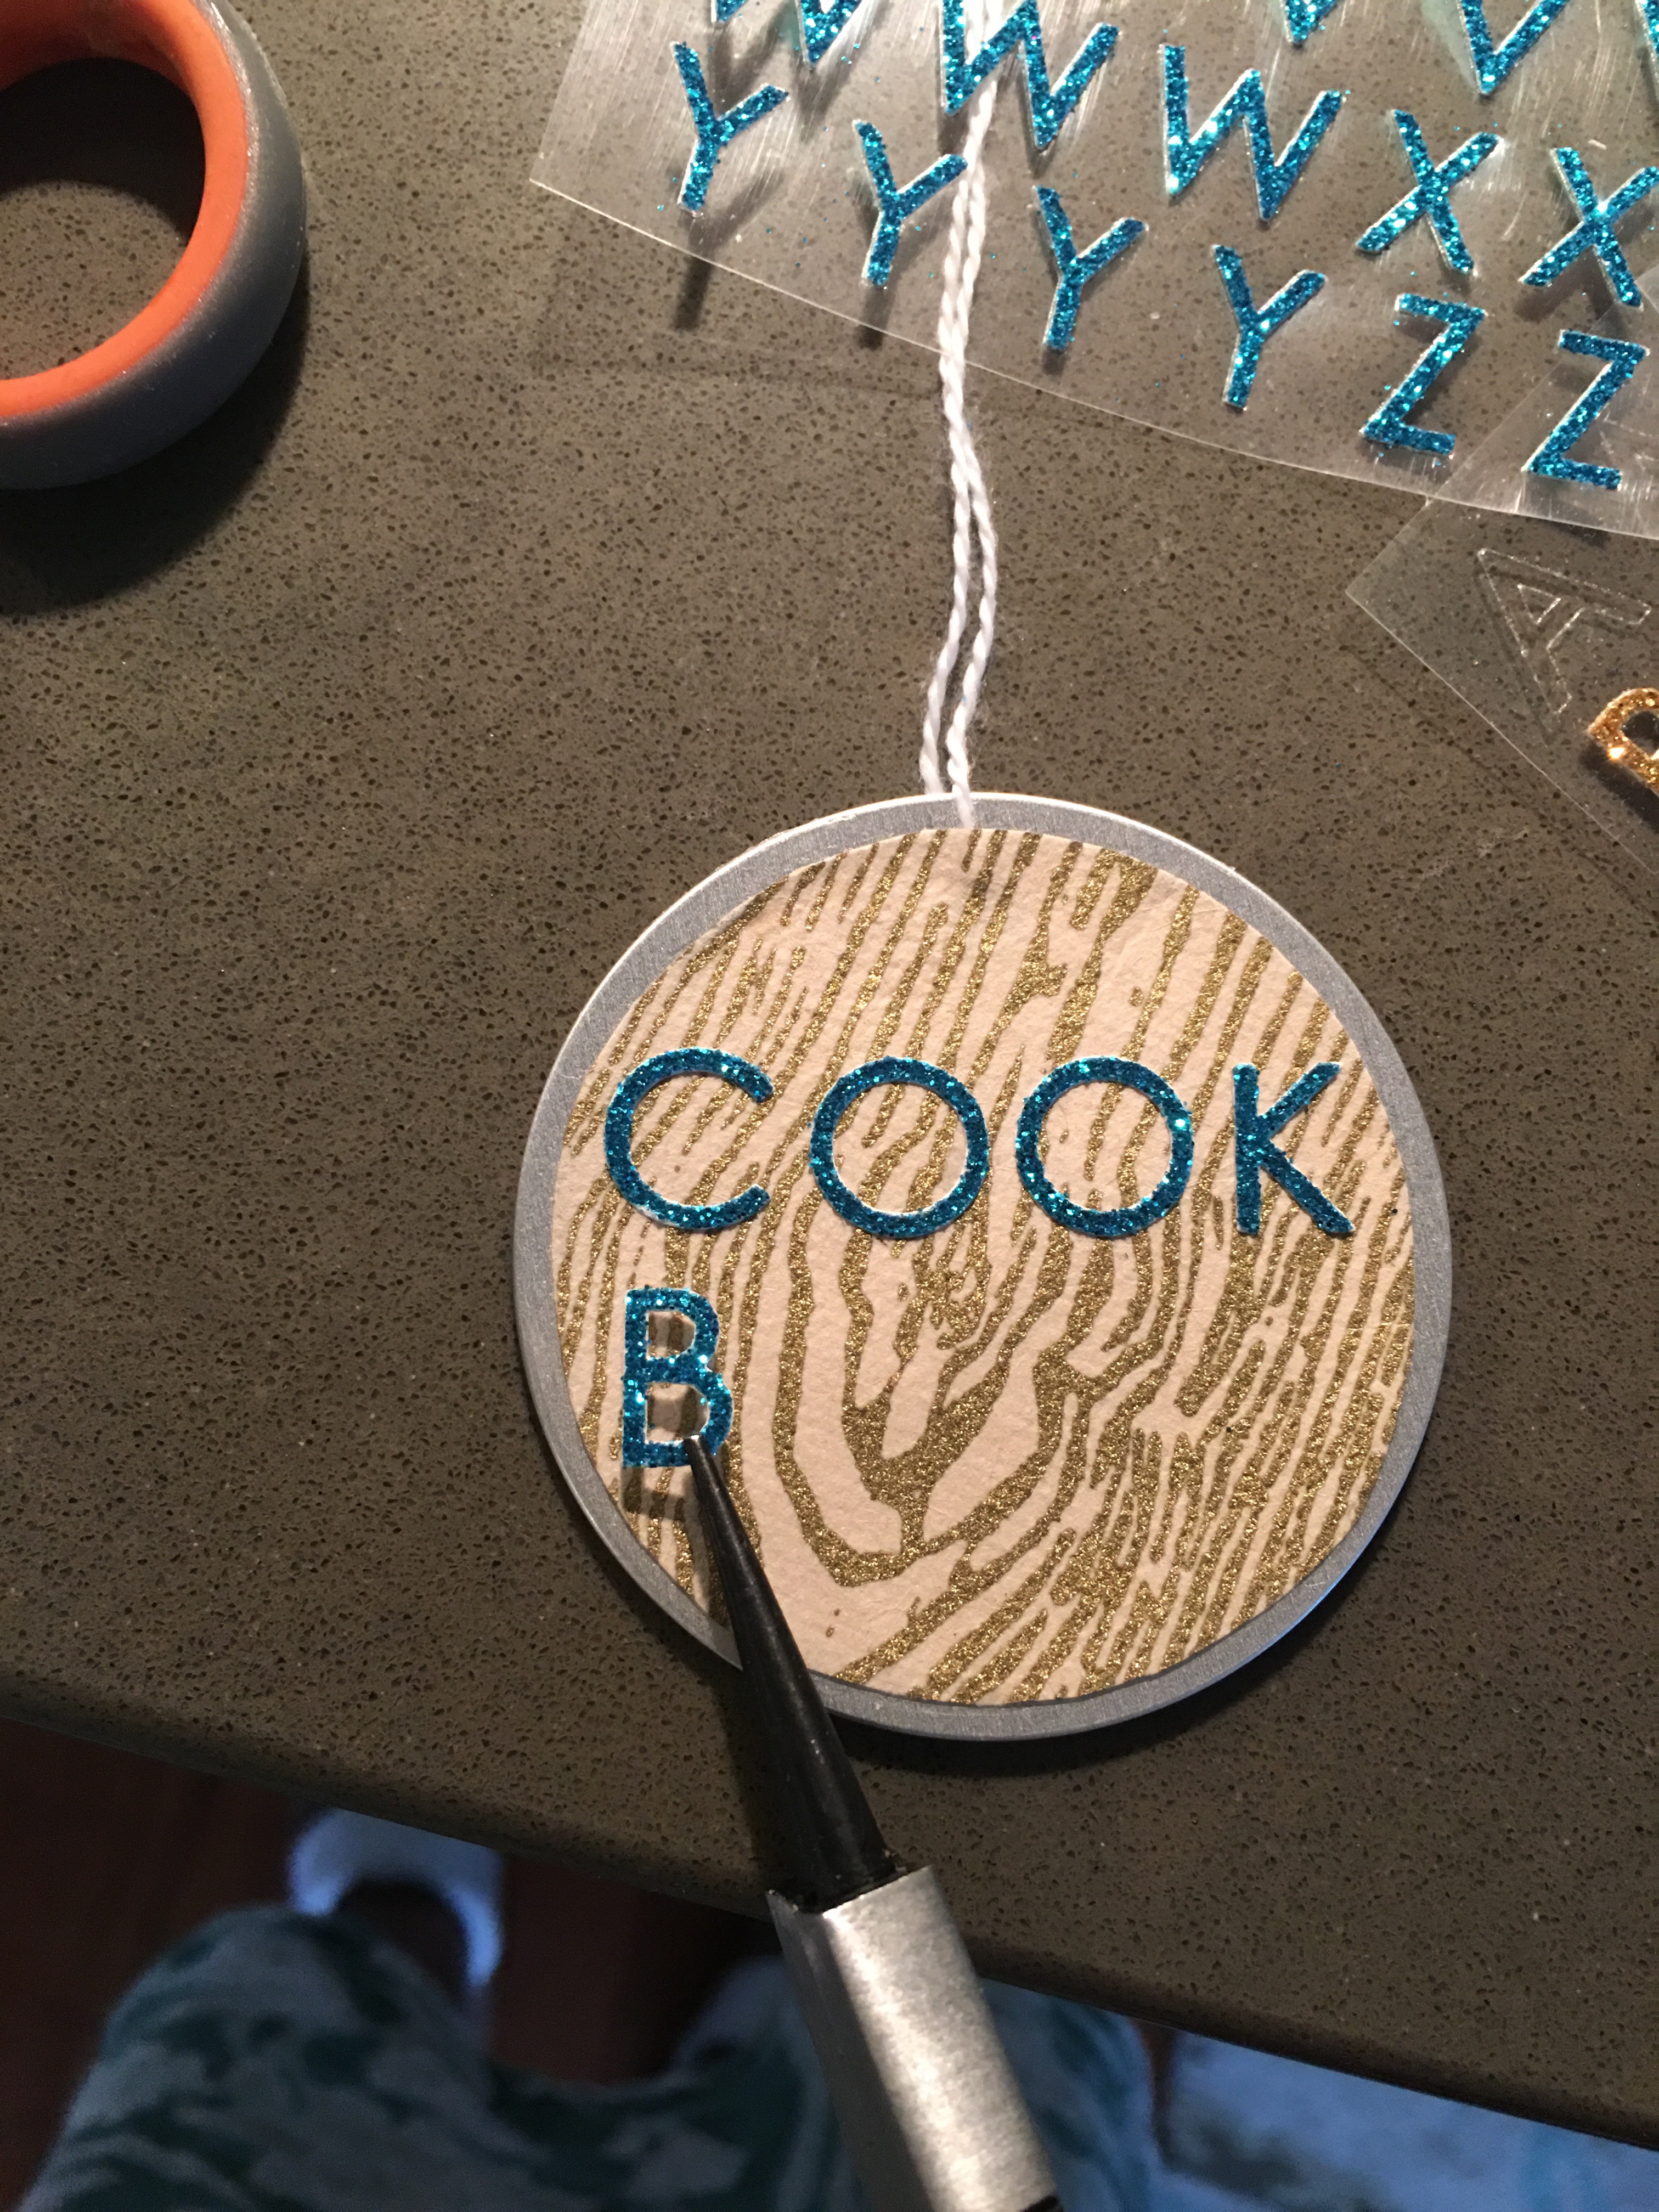
I added a decorated key tag to the front of the box by tying it to the binder clip.
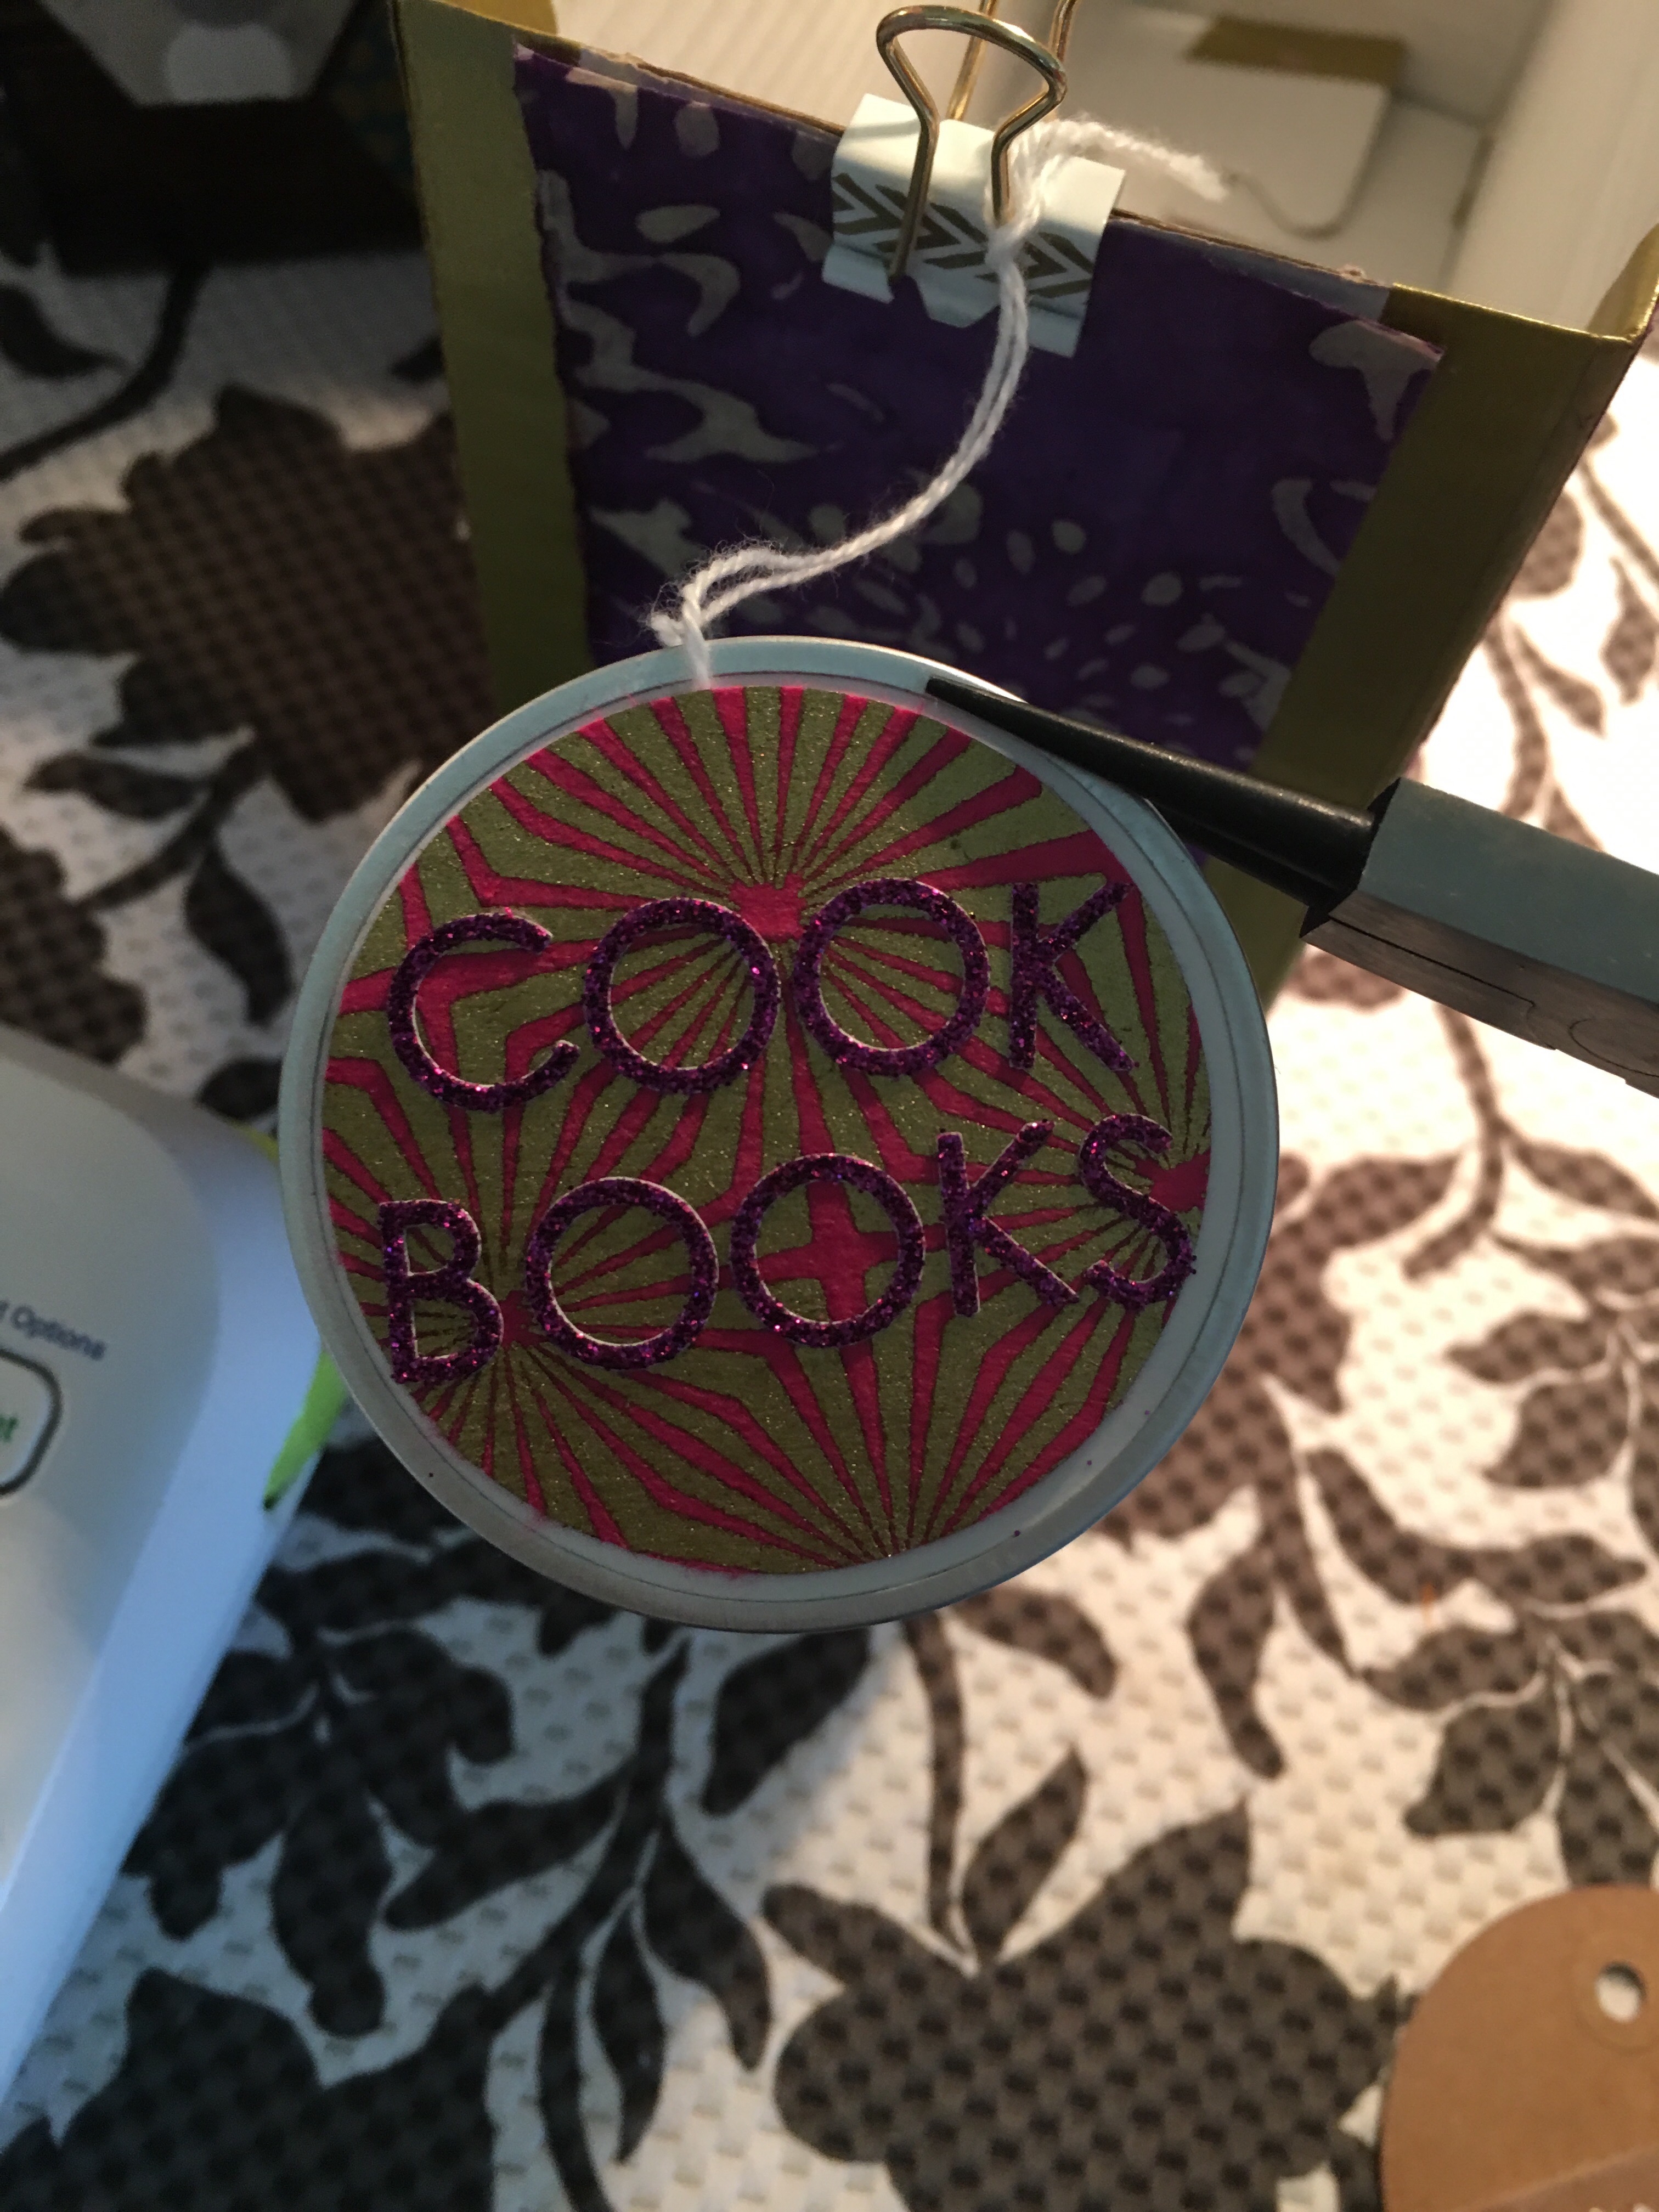
I used some Recollections glitter alphabet stickers to label the box. By the time I got to this step, I knew that this box would be used for some cookbooks we have stacked in our living room coffee table. So I first experimented with the gold stickers (to create a “Cook Books” label).
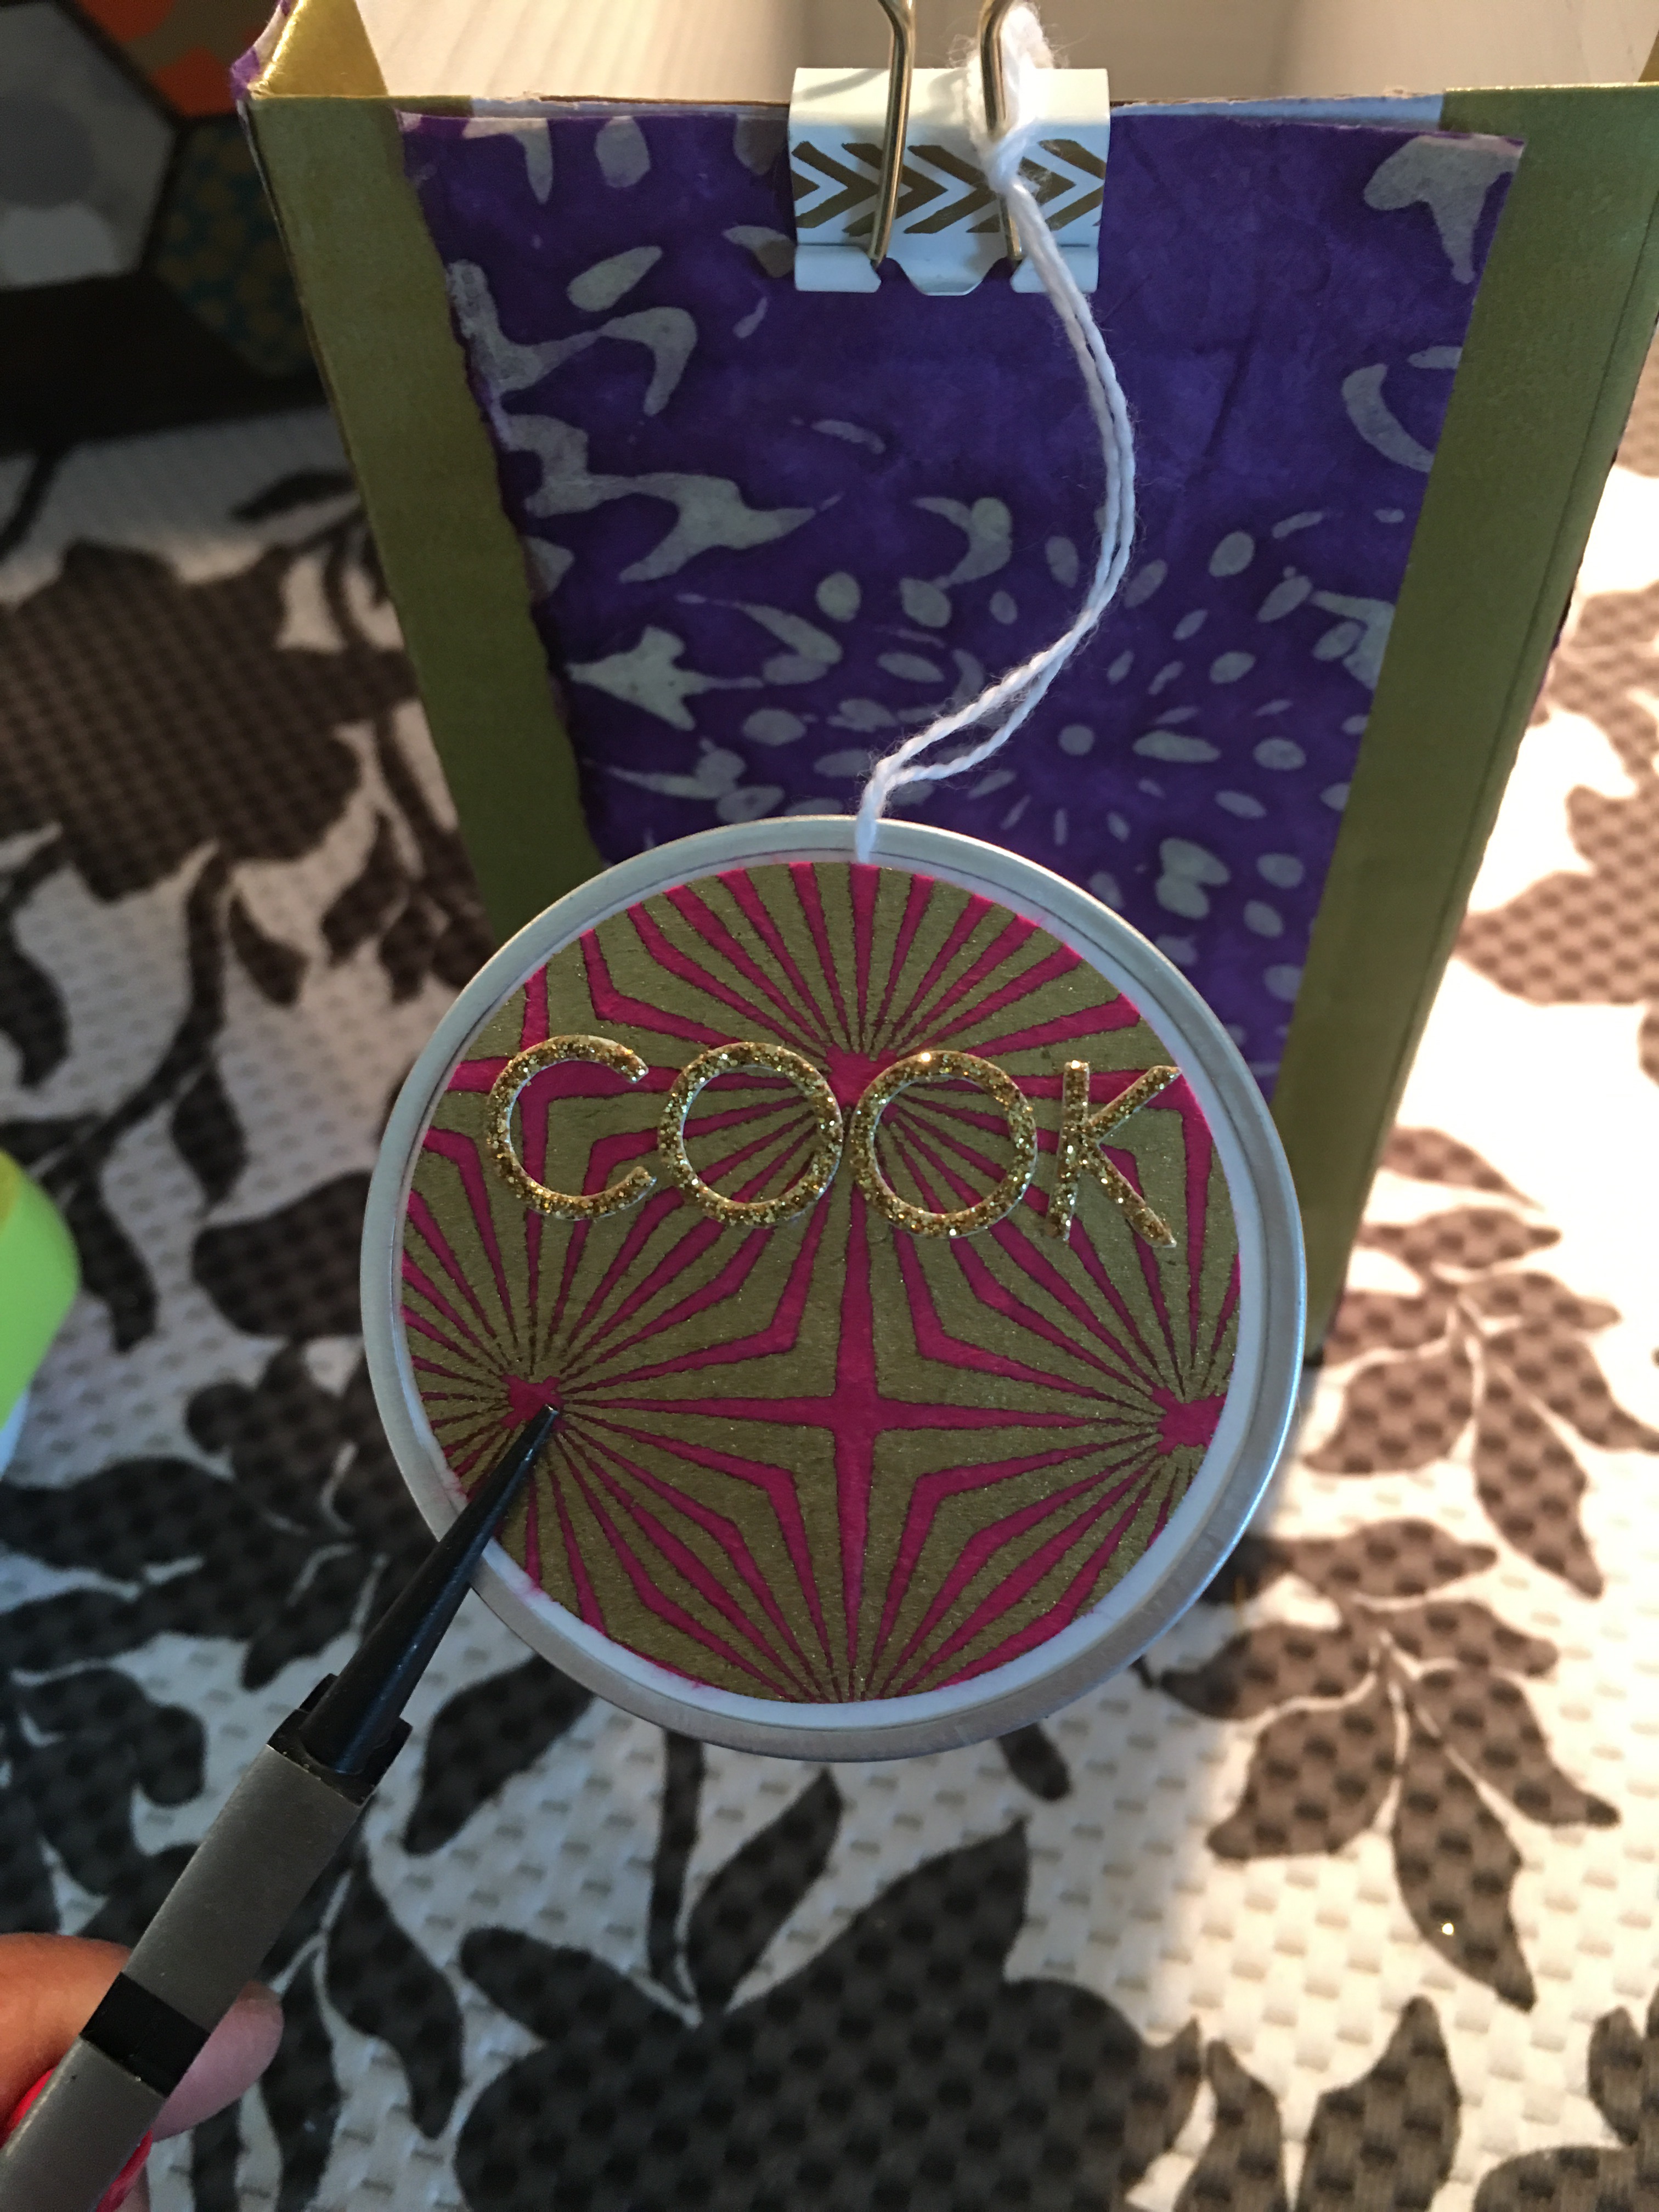
As I predicted, the gold color would not stand out as much with the magenta and gold patterned paper in the background. So I switched to a different color (one that complements the paper decorating the box).
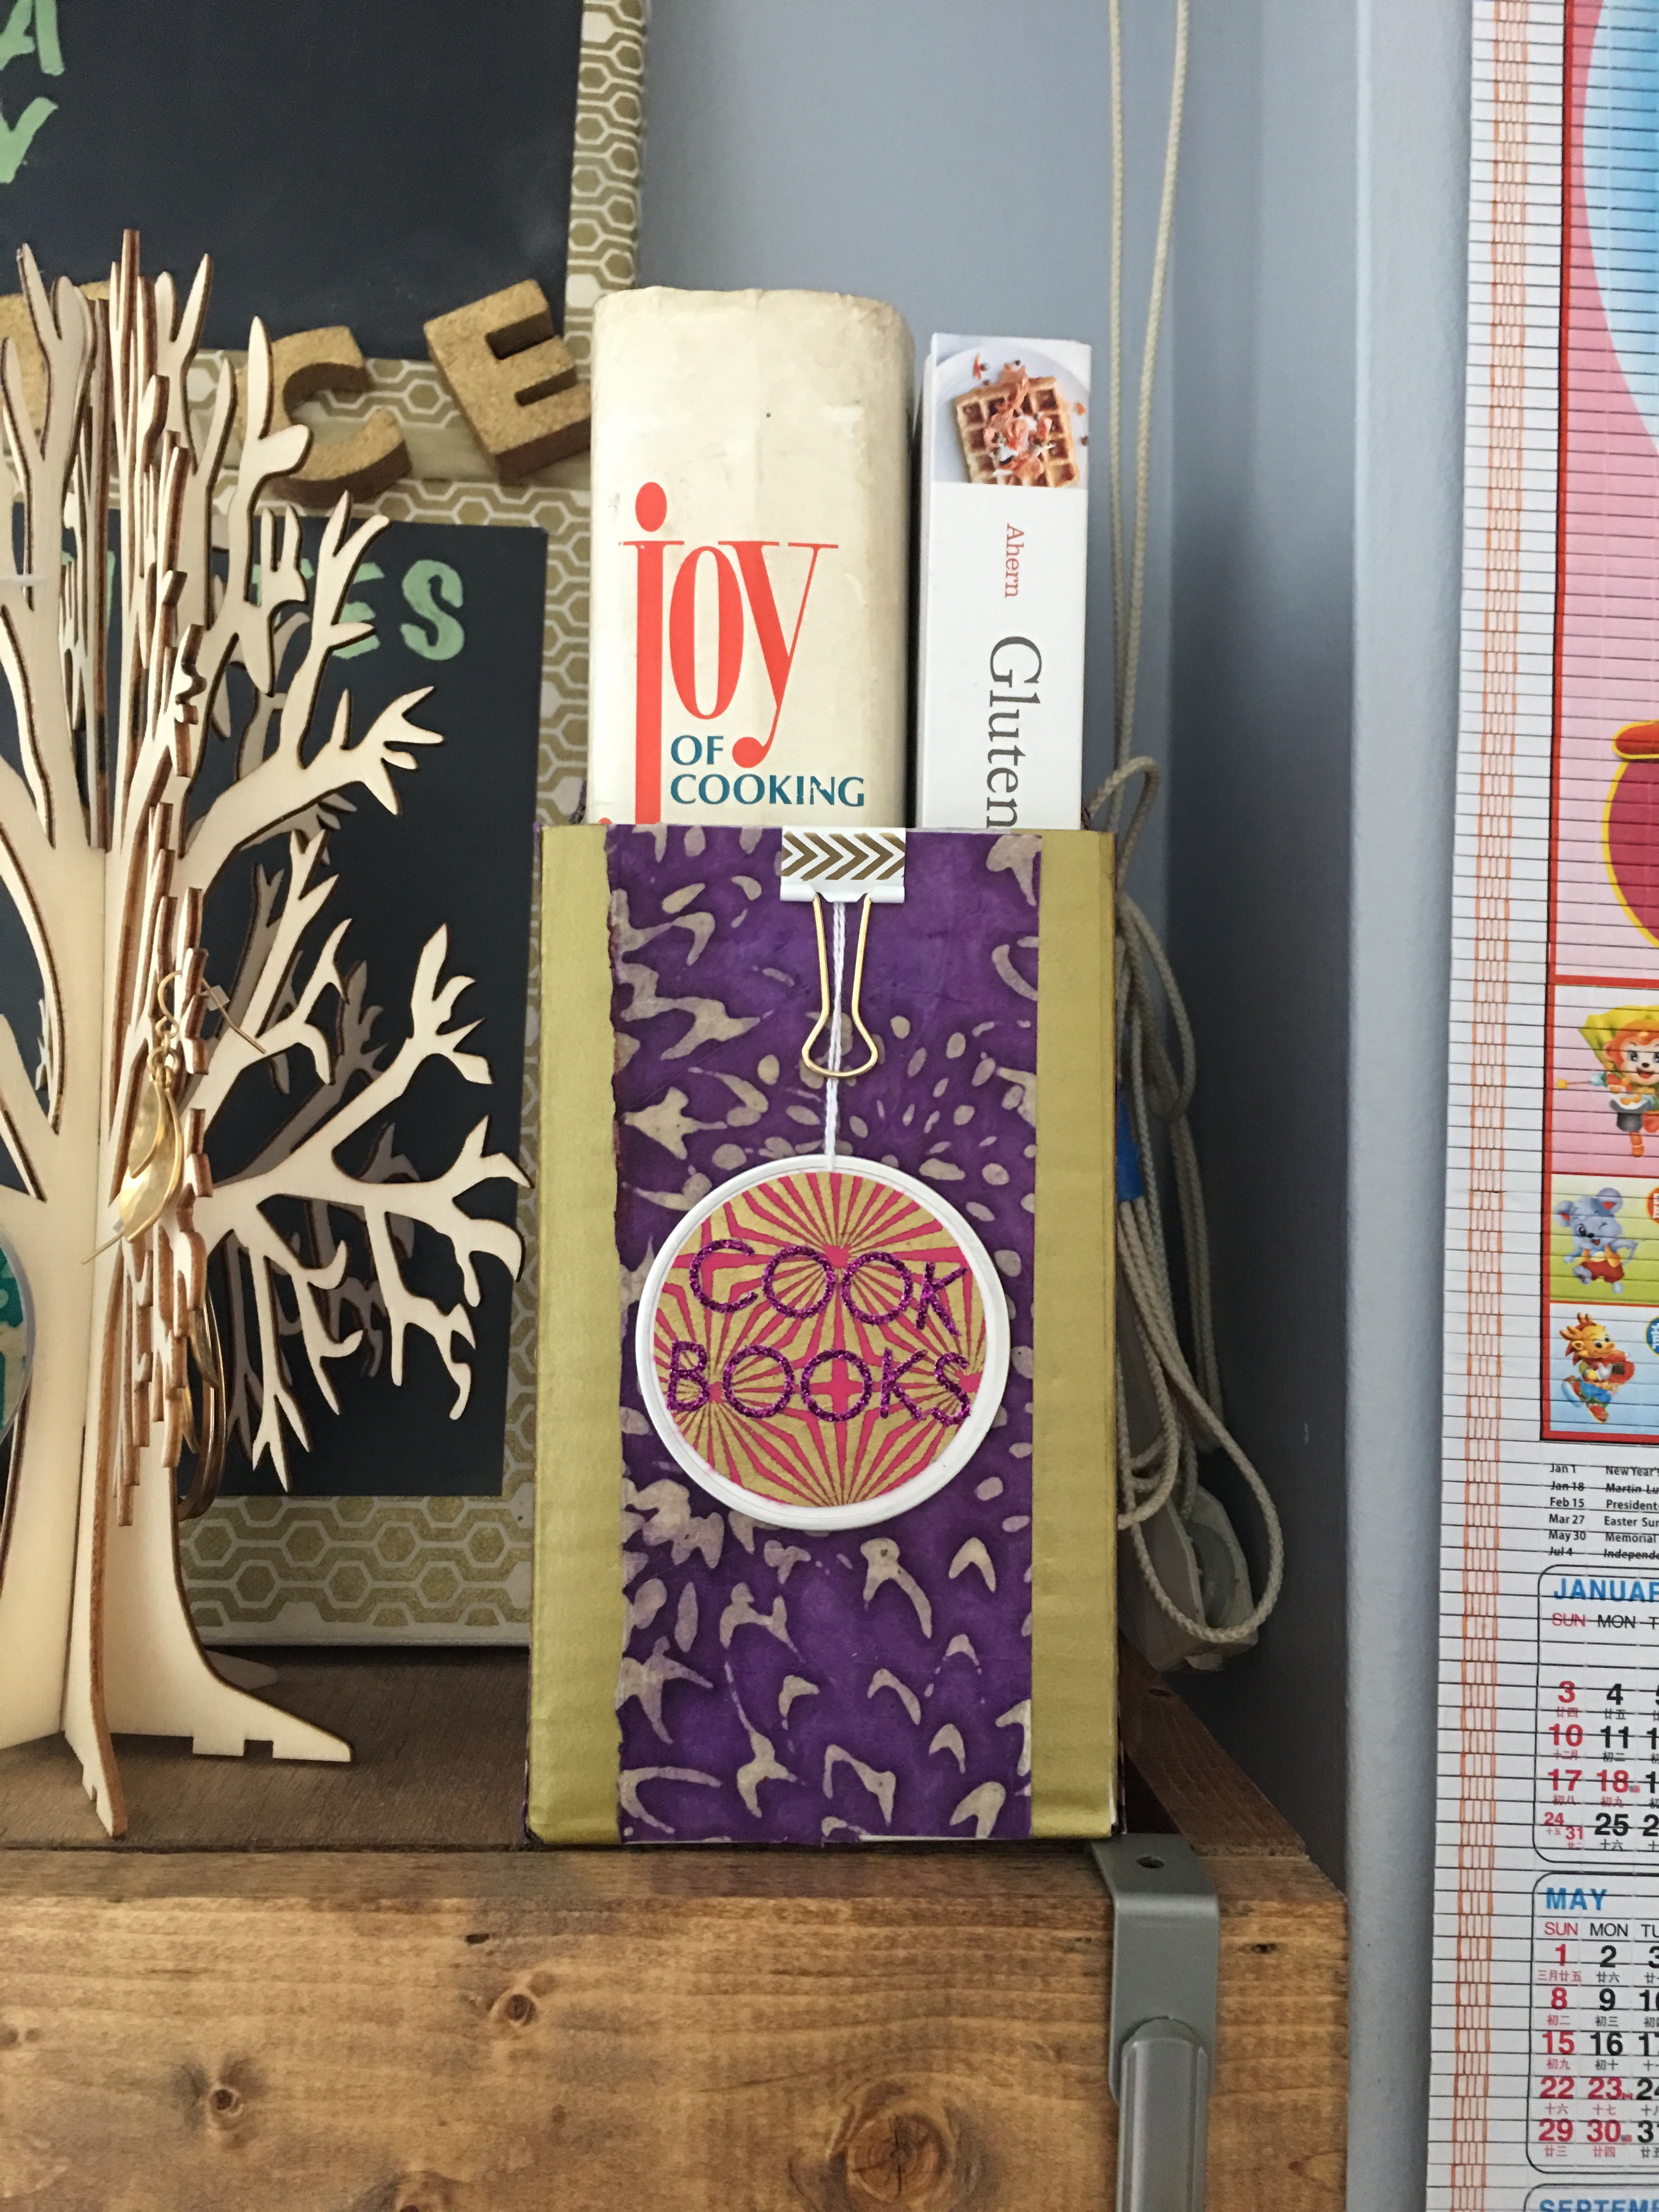
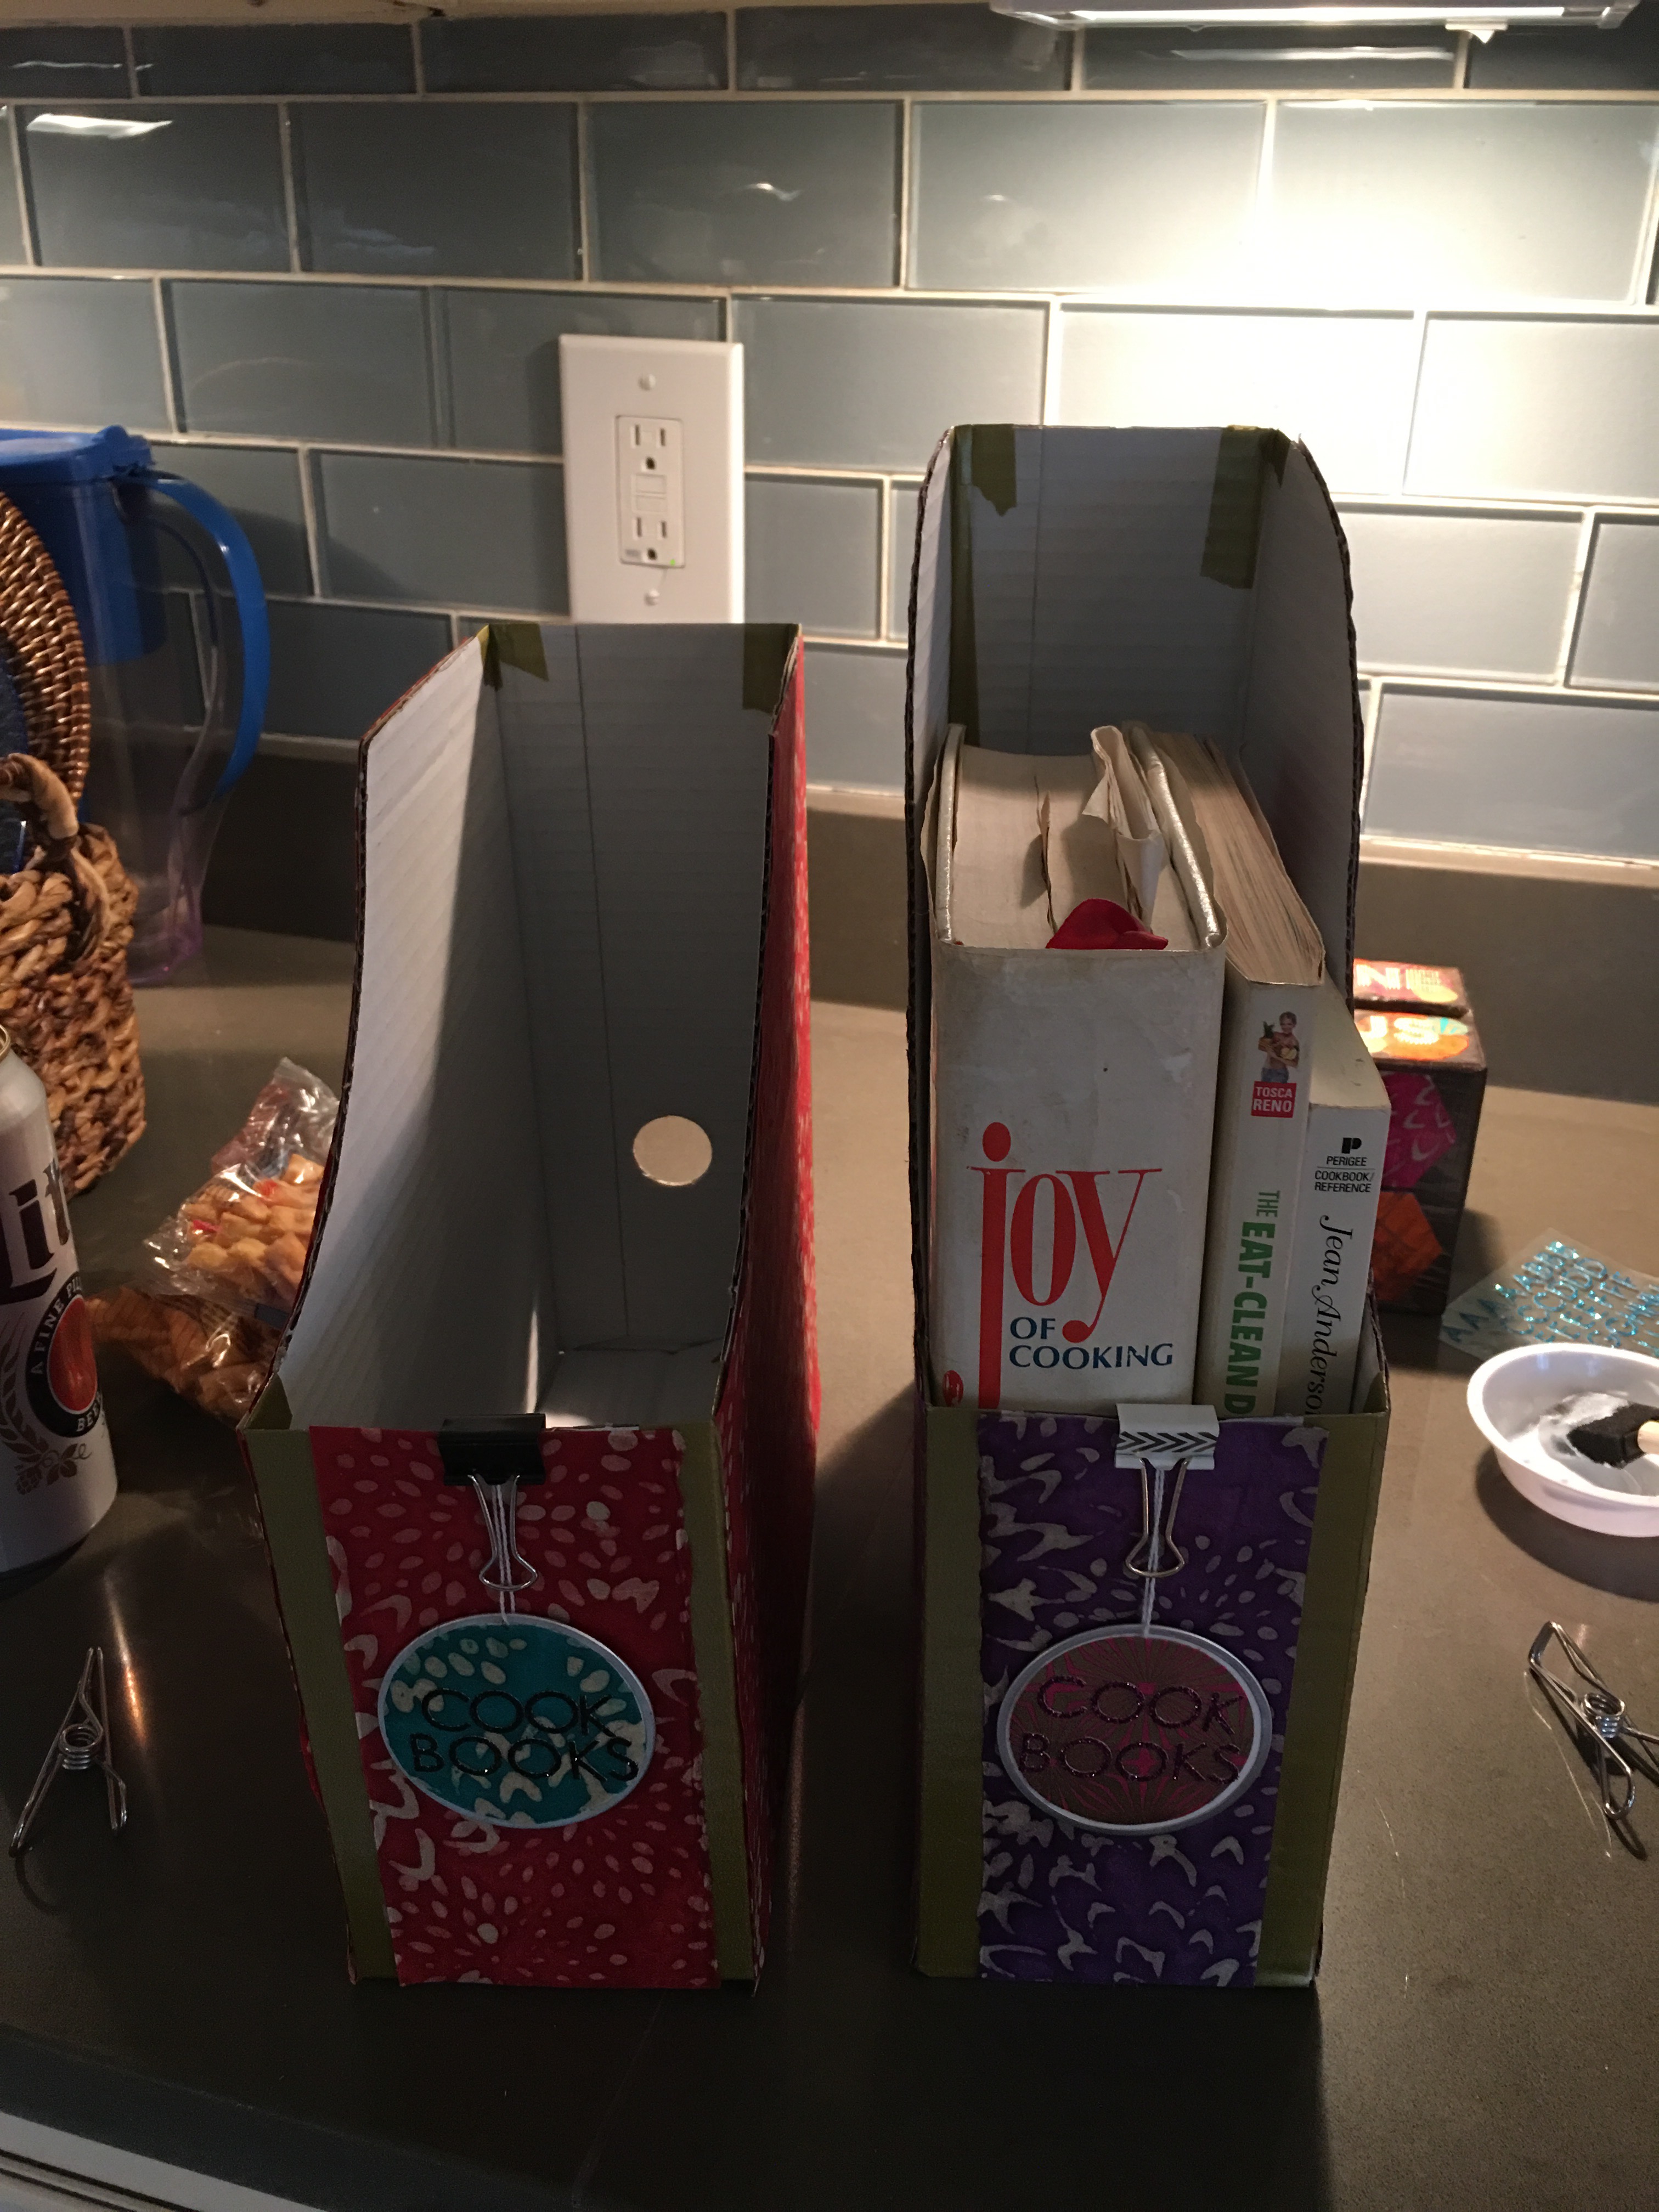
And here’s the first cookbook file box.
I tried it out with a couple thick books and it works great. Here it is on one of my balcony-side window floating shelves.
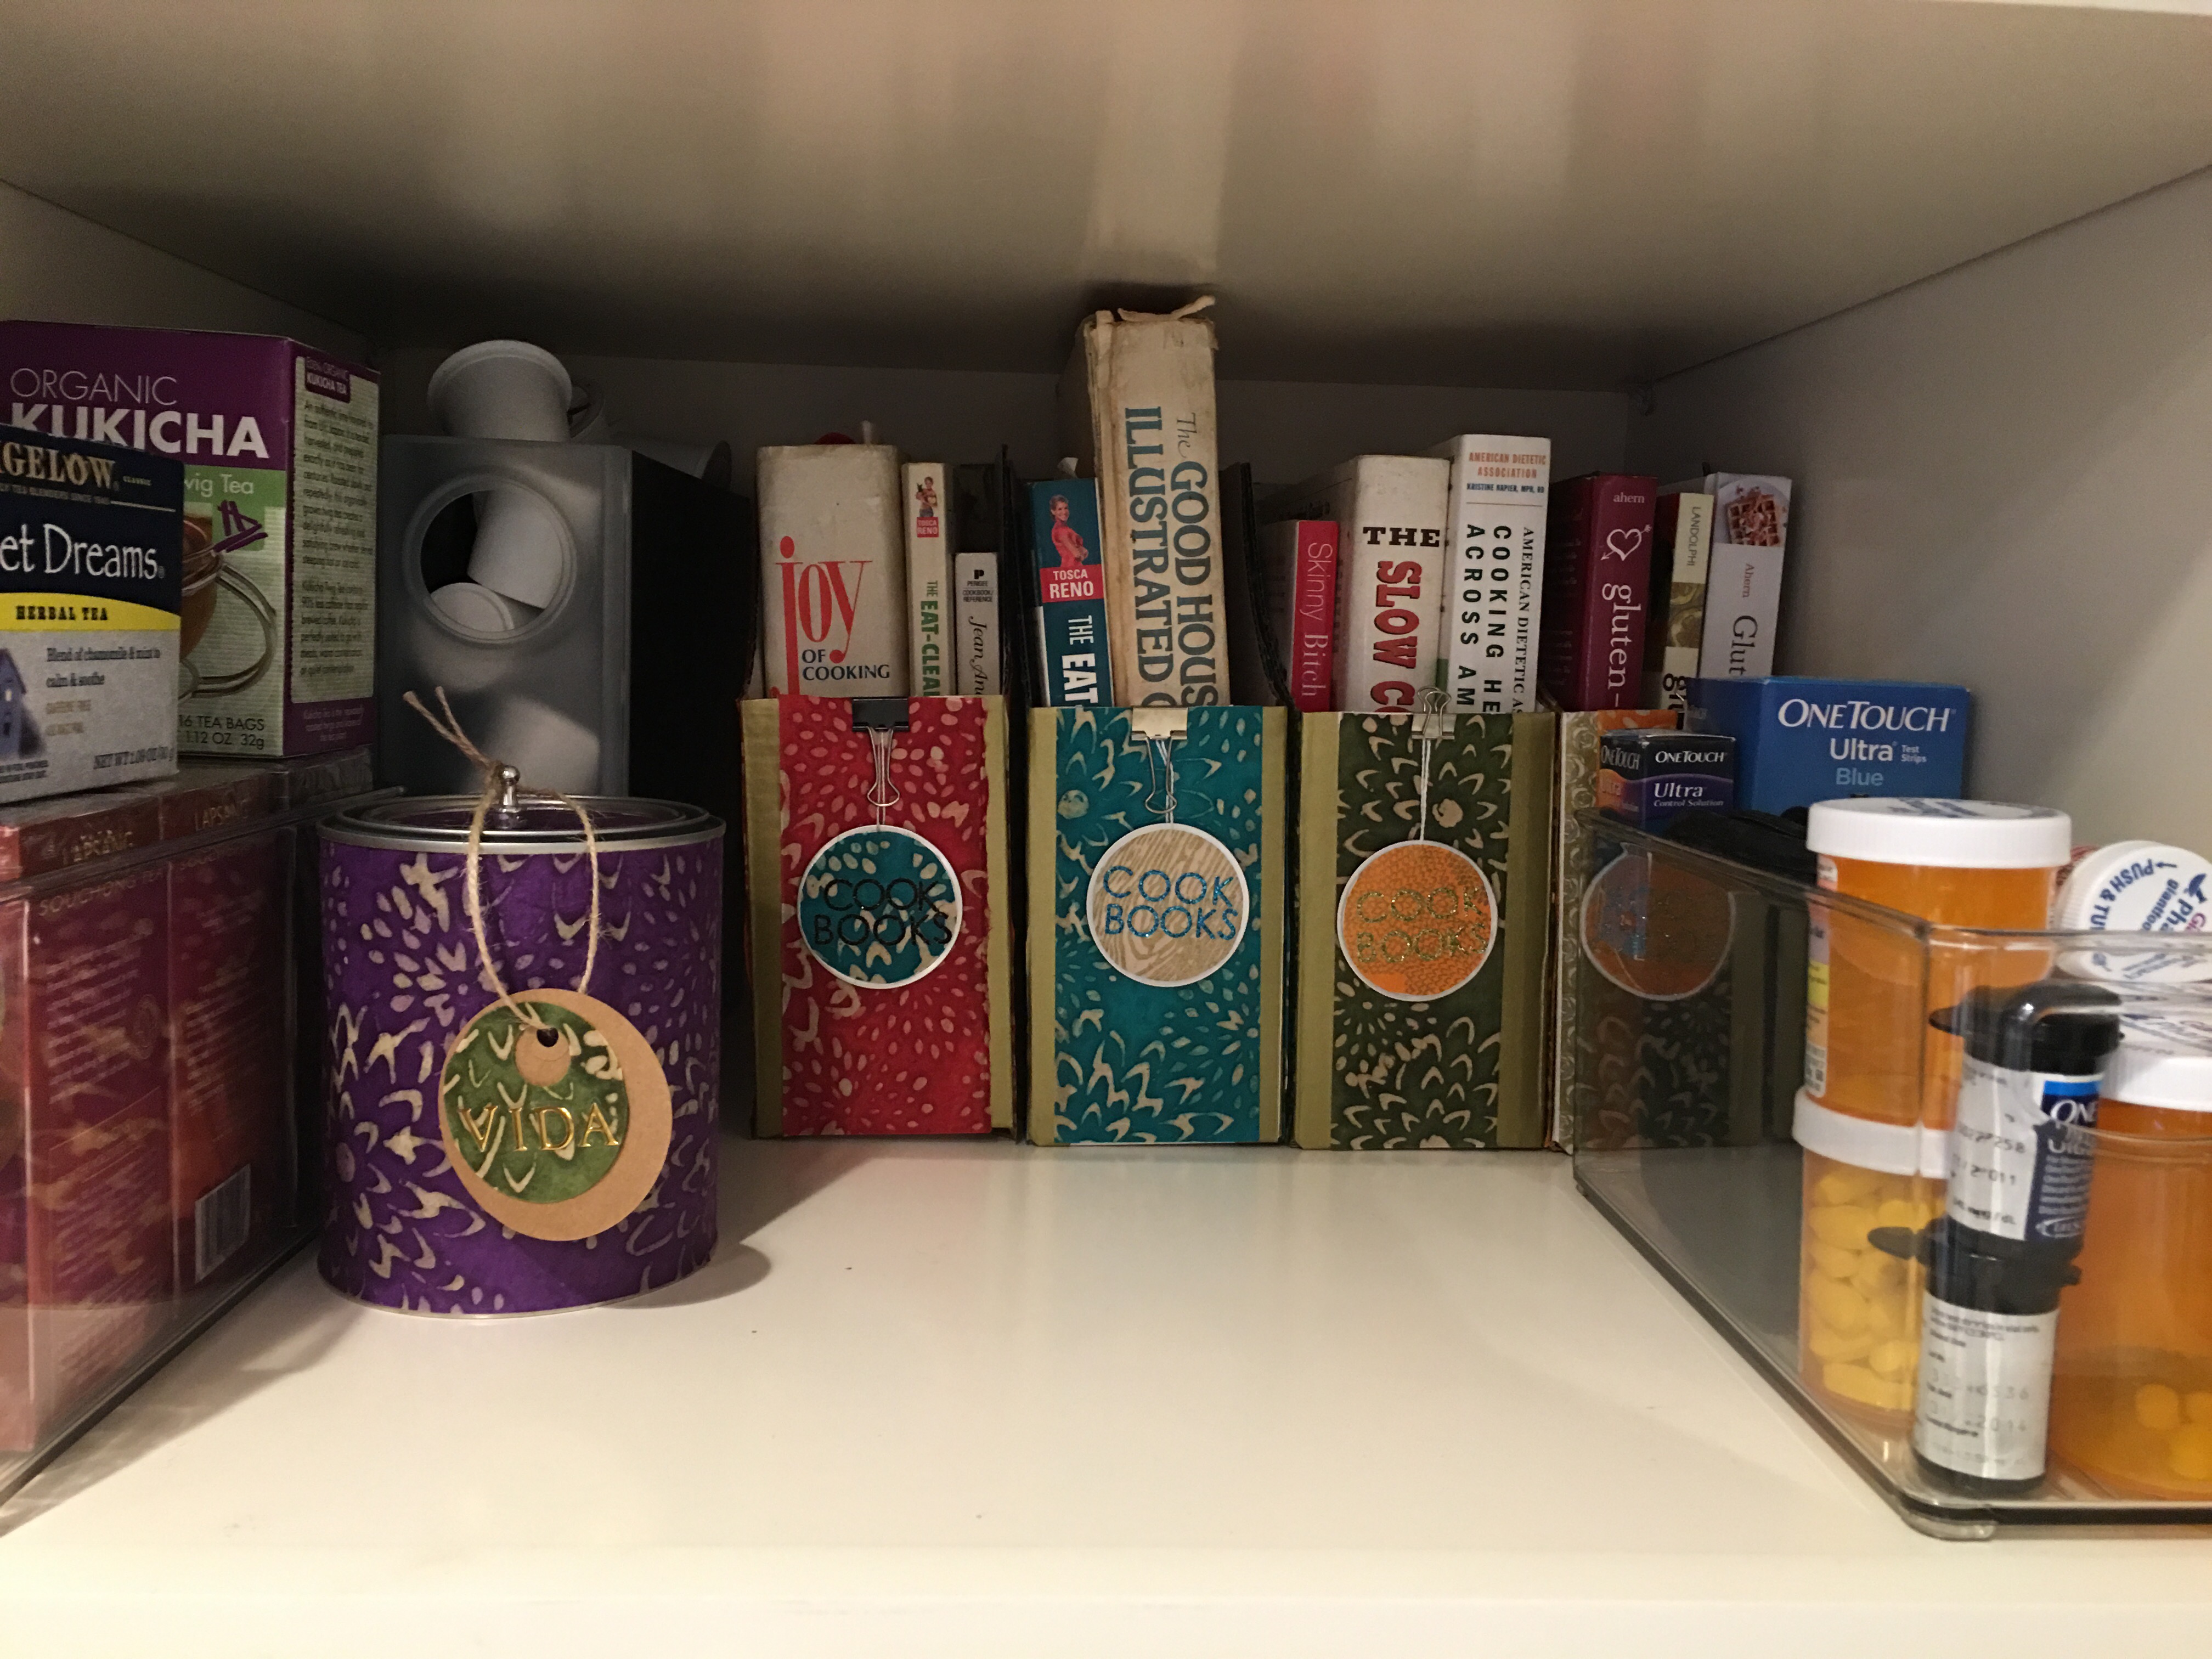
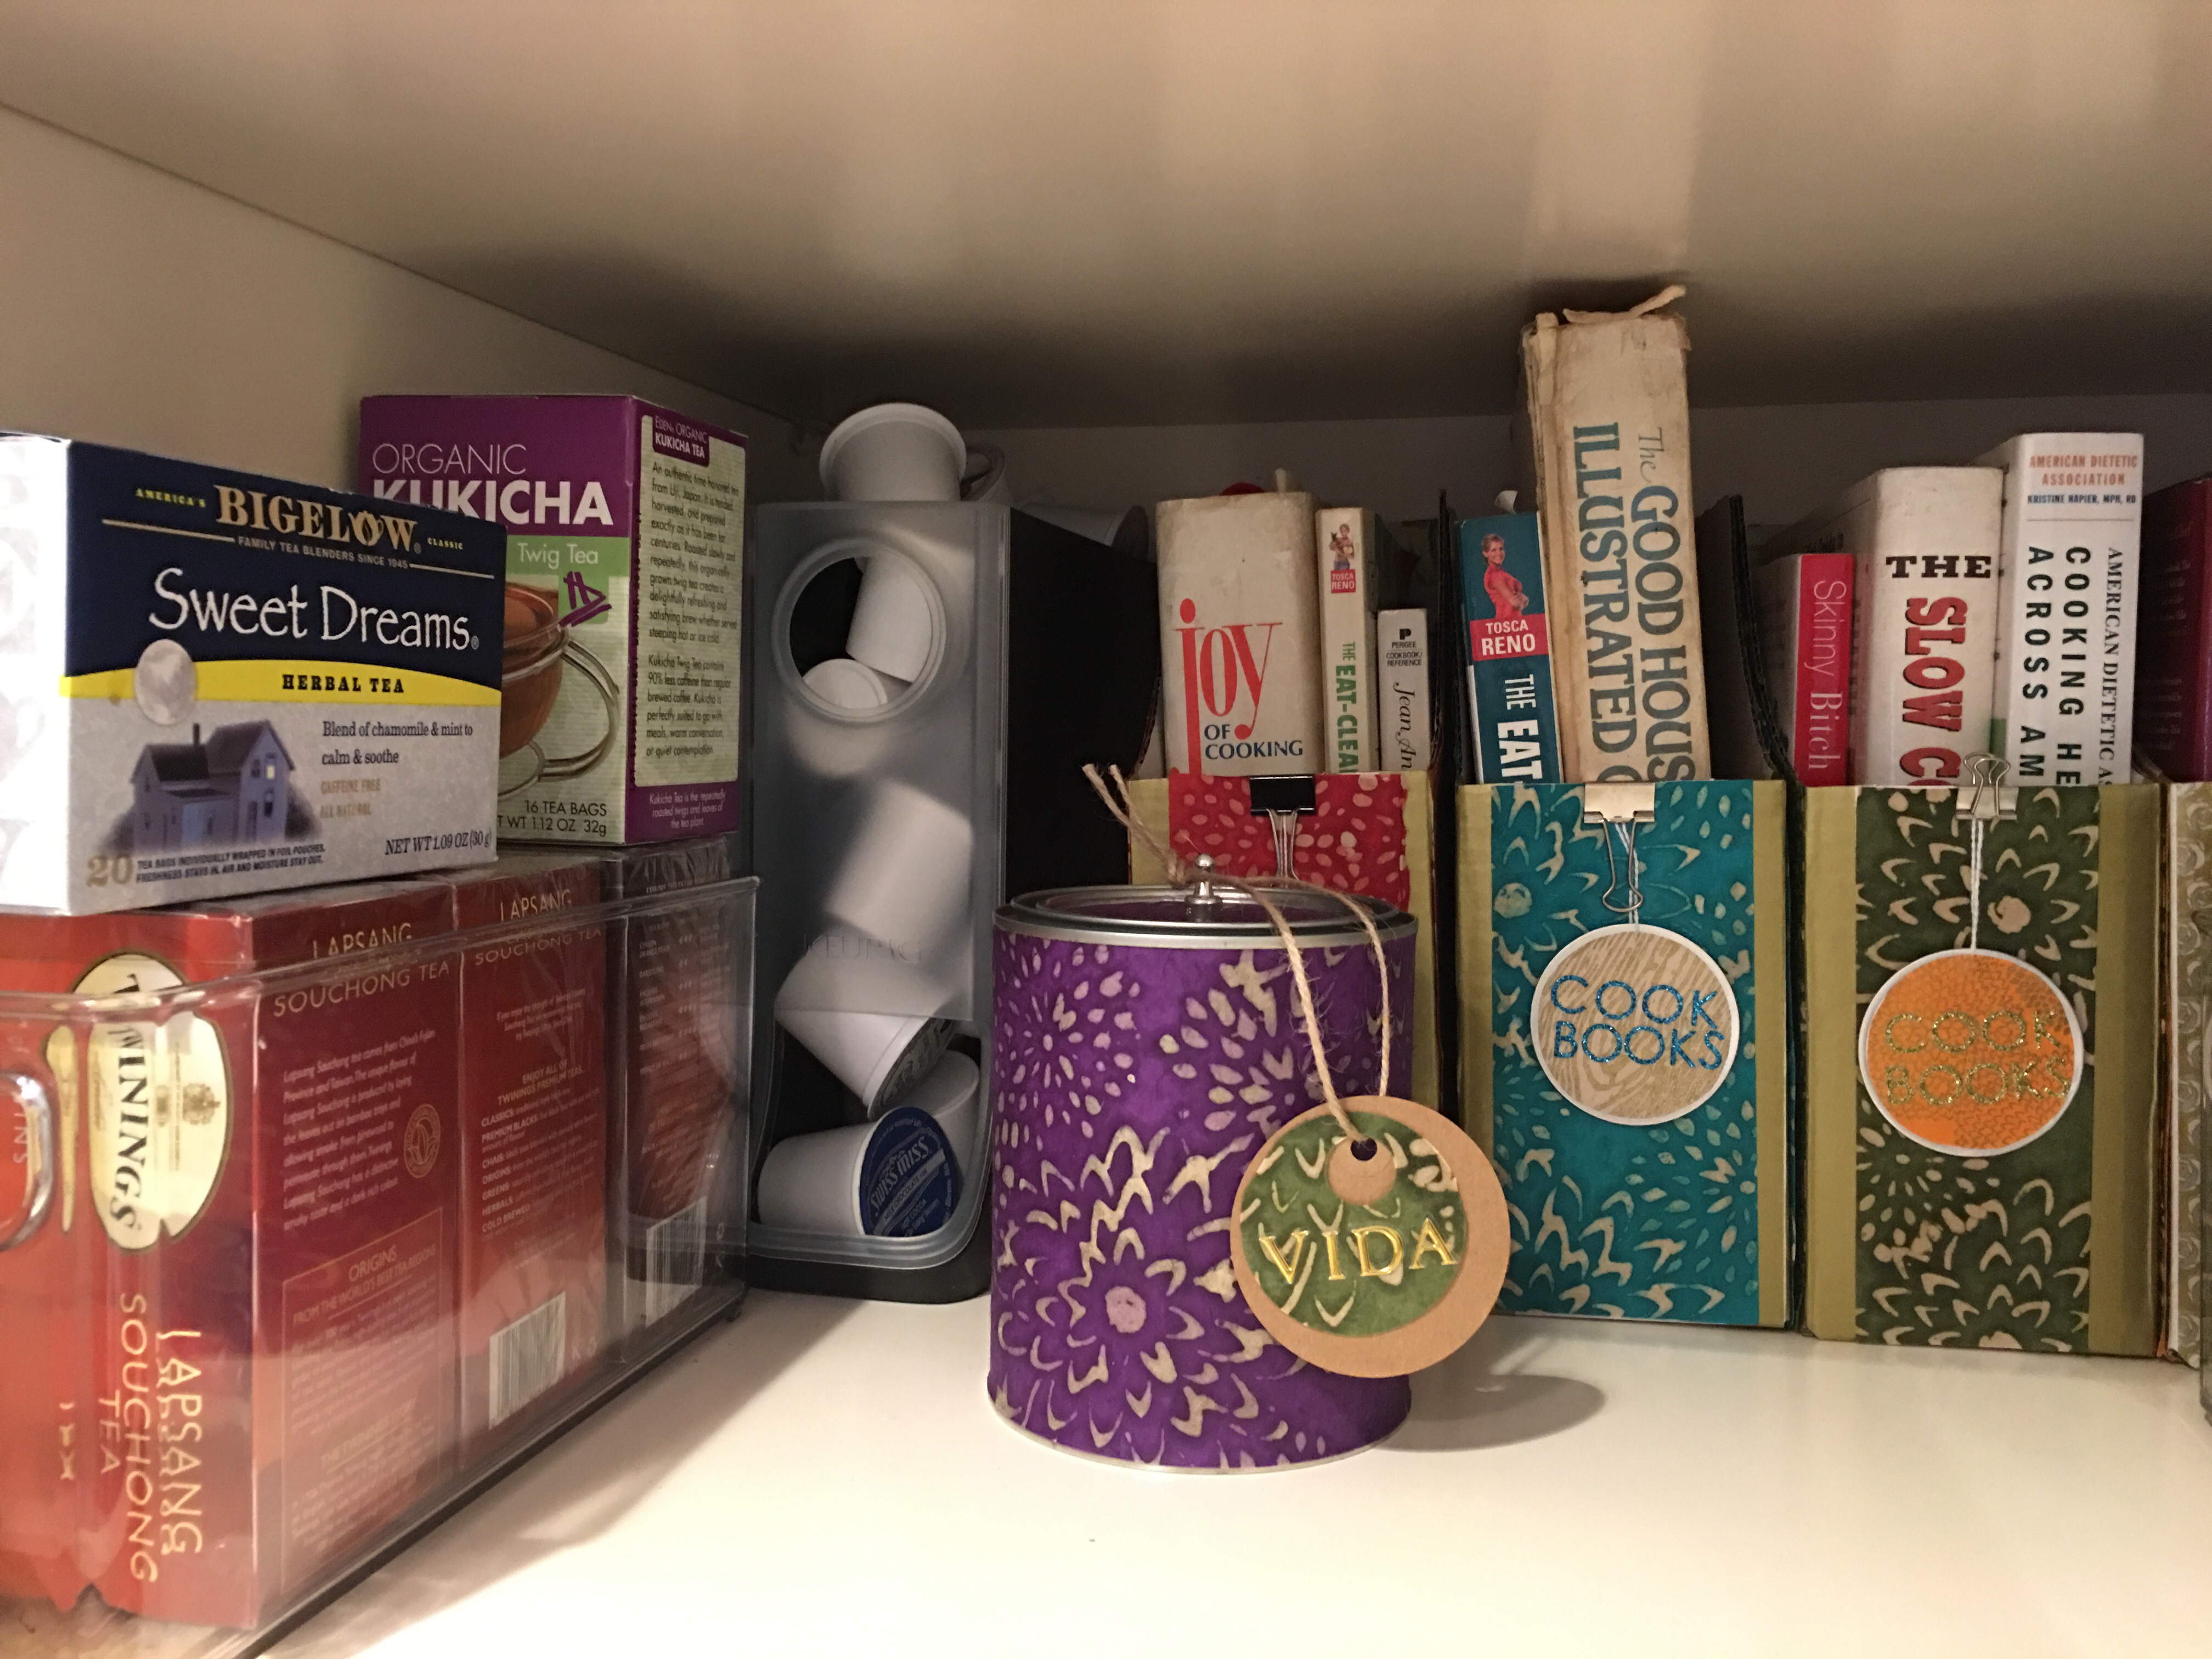
As much as I liked it there, I moved it to several different places in the kitchen to find it (and the other file boxes) a permanent home). I decided that the pantry would be a perfect spot for these. The pantry is super deep, so these can be tucked away in the back and pulled out when there is a need for a cookbook.
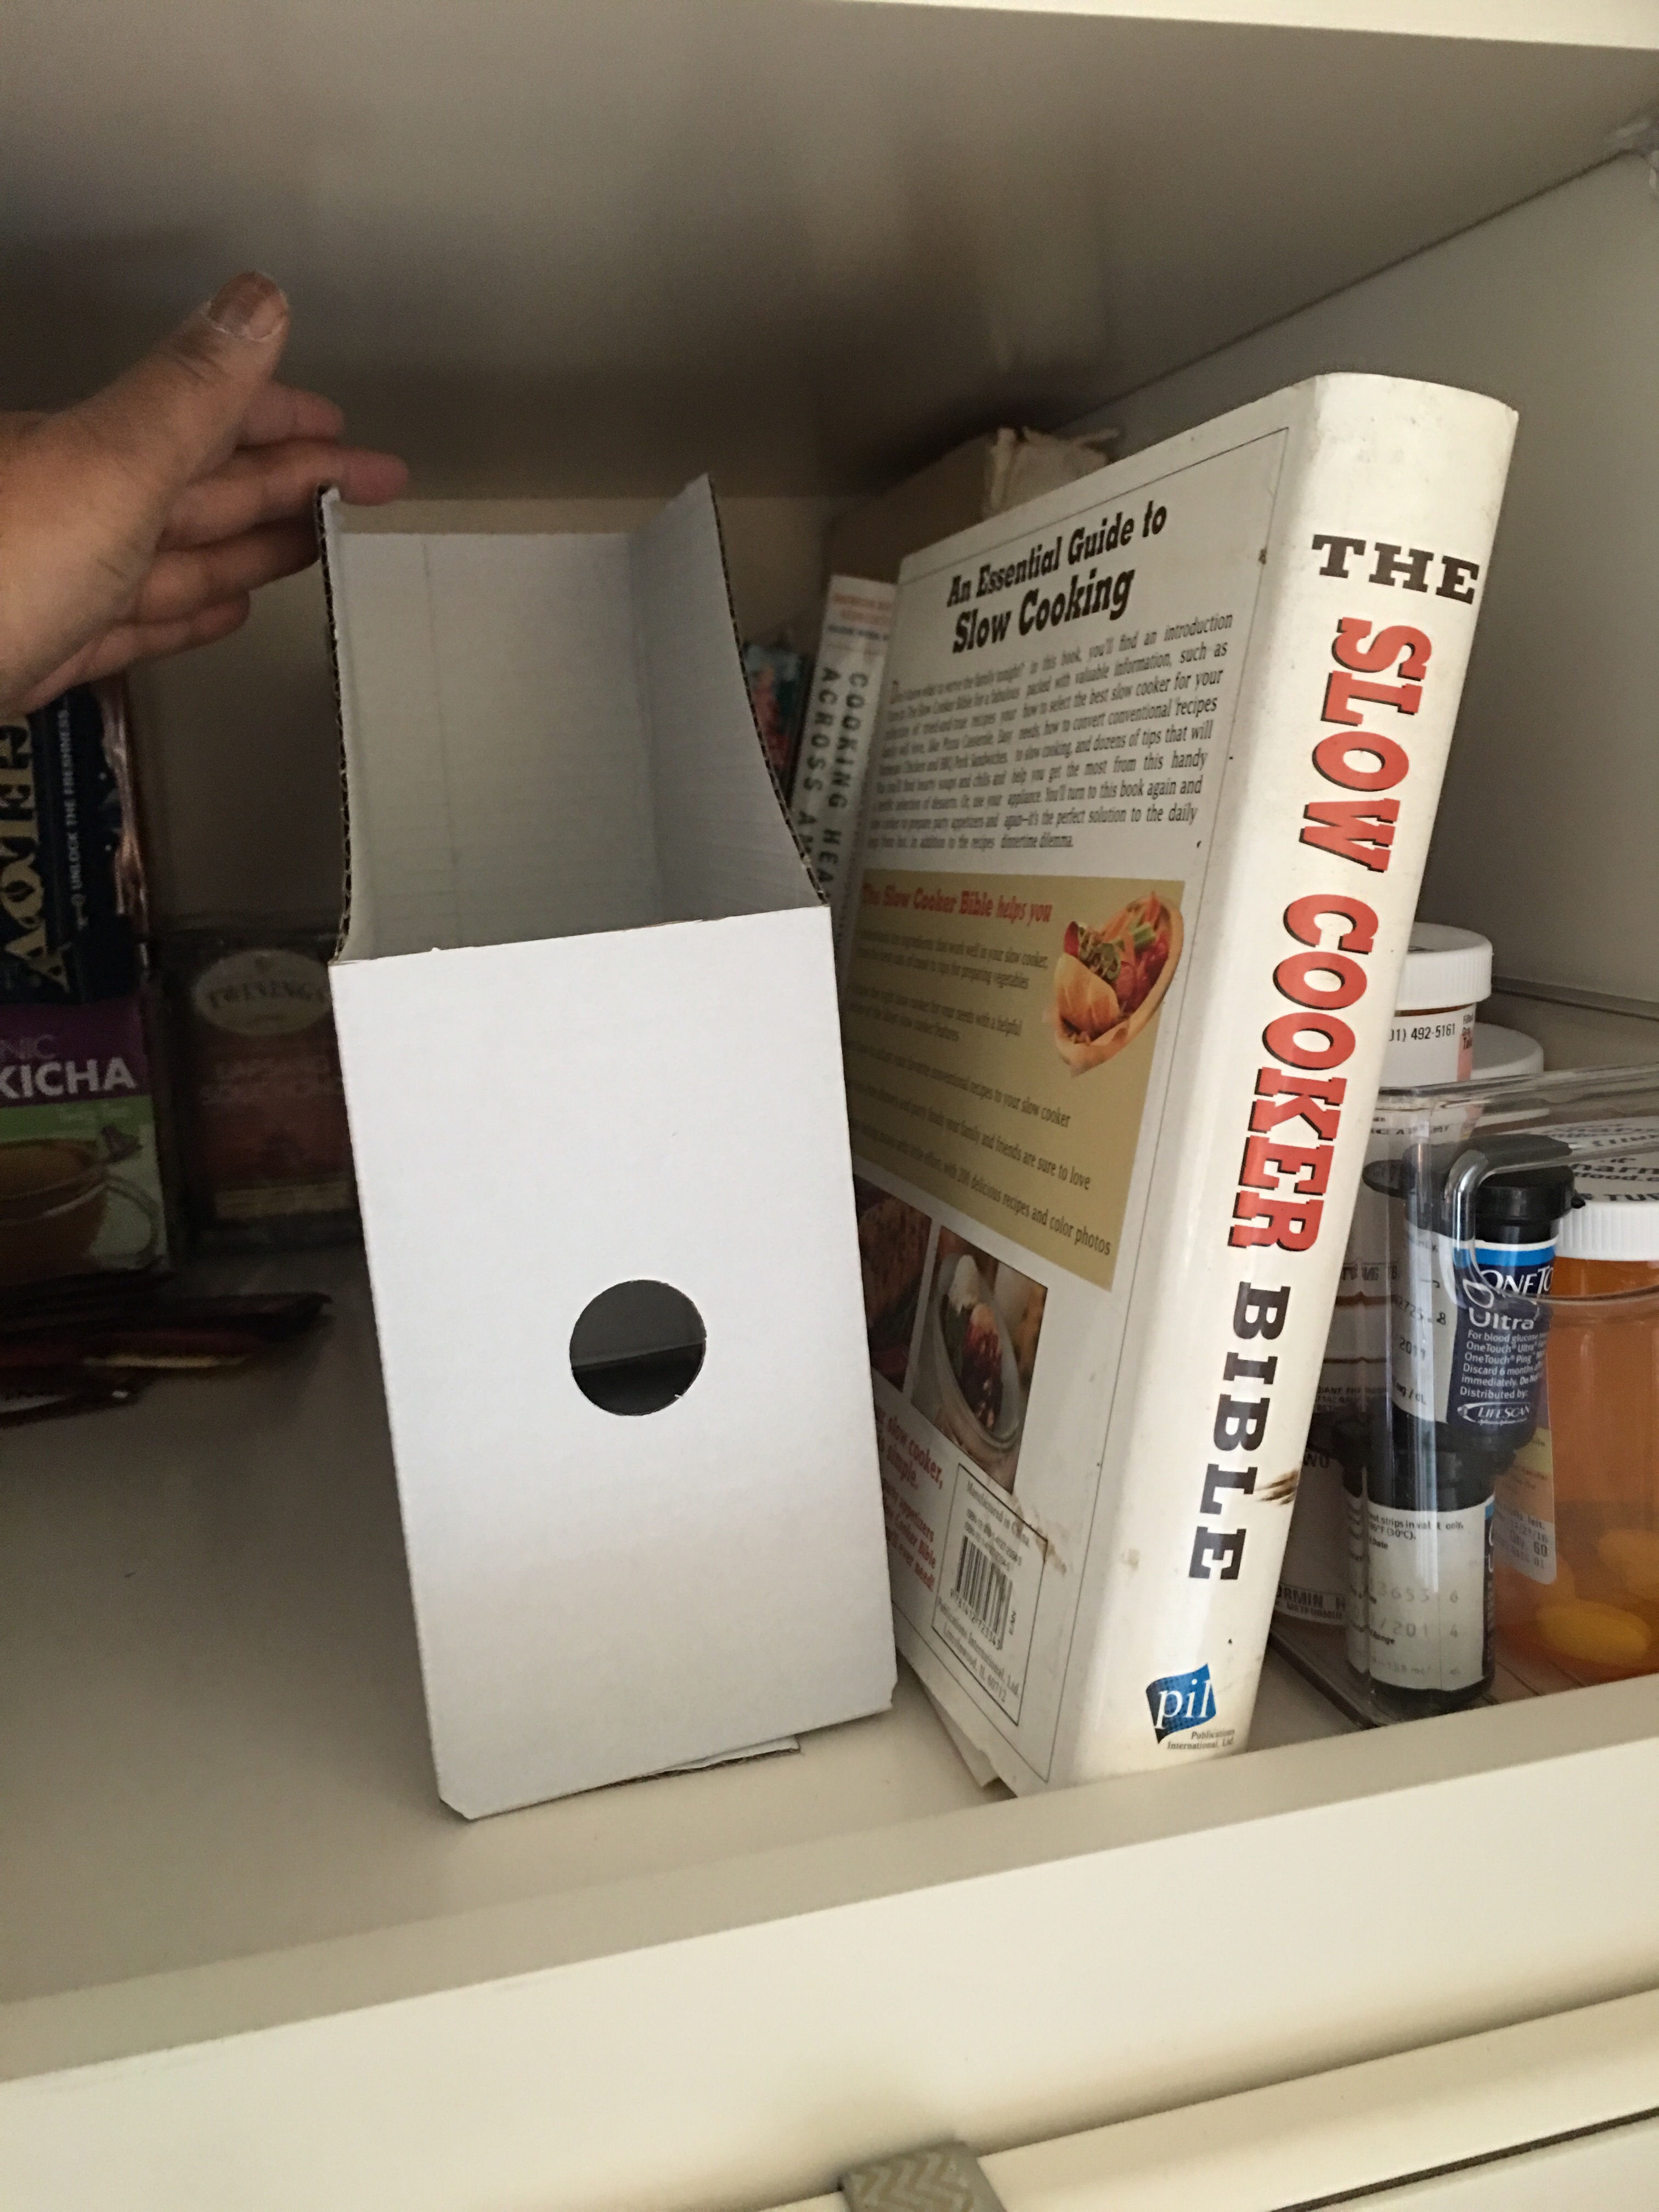
I moved the cookbooks from the coffee table to the pantry to judge the space.
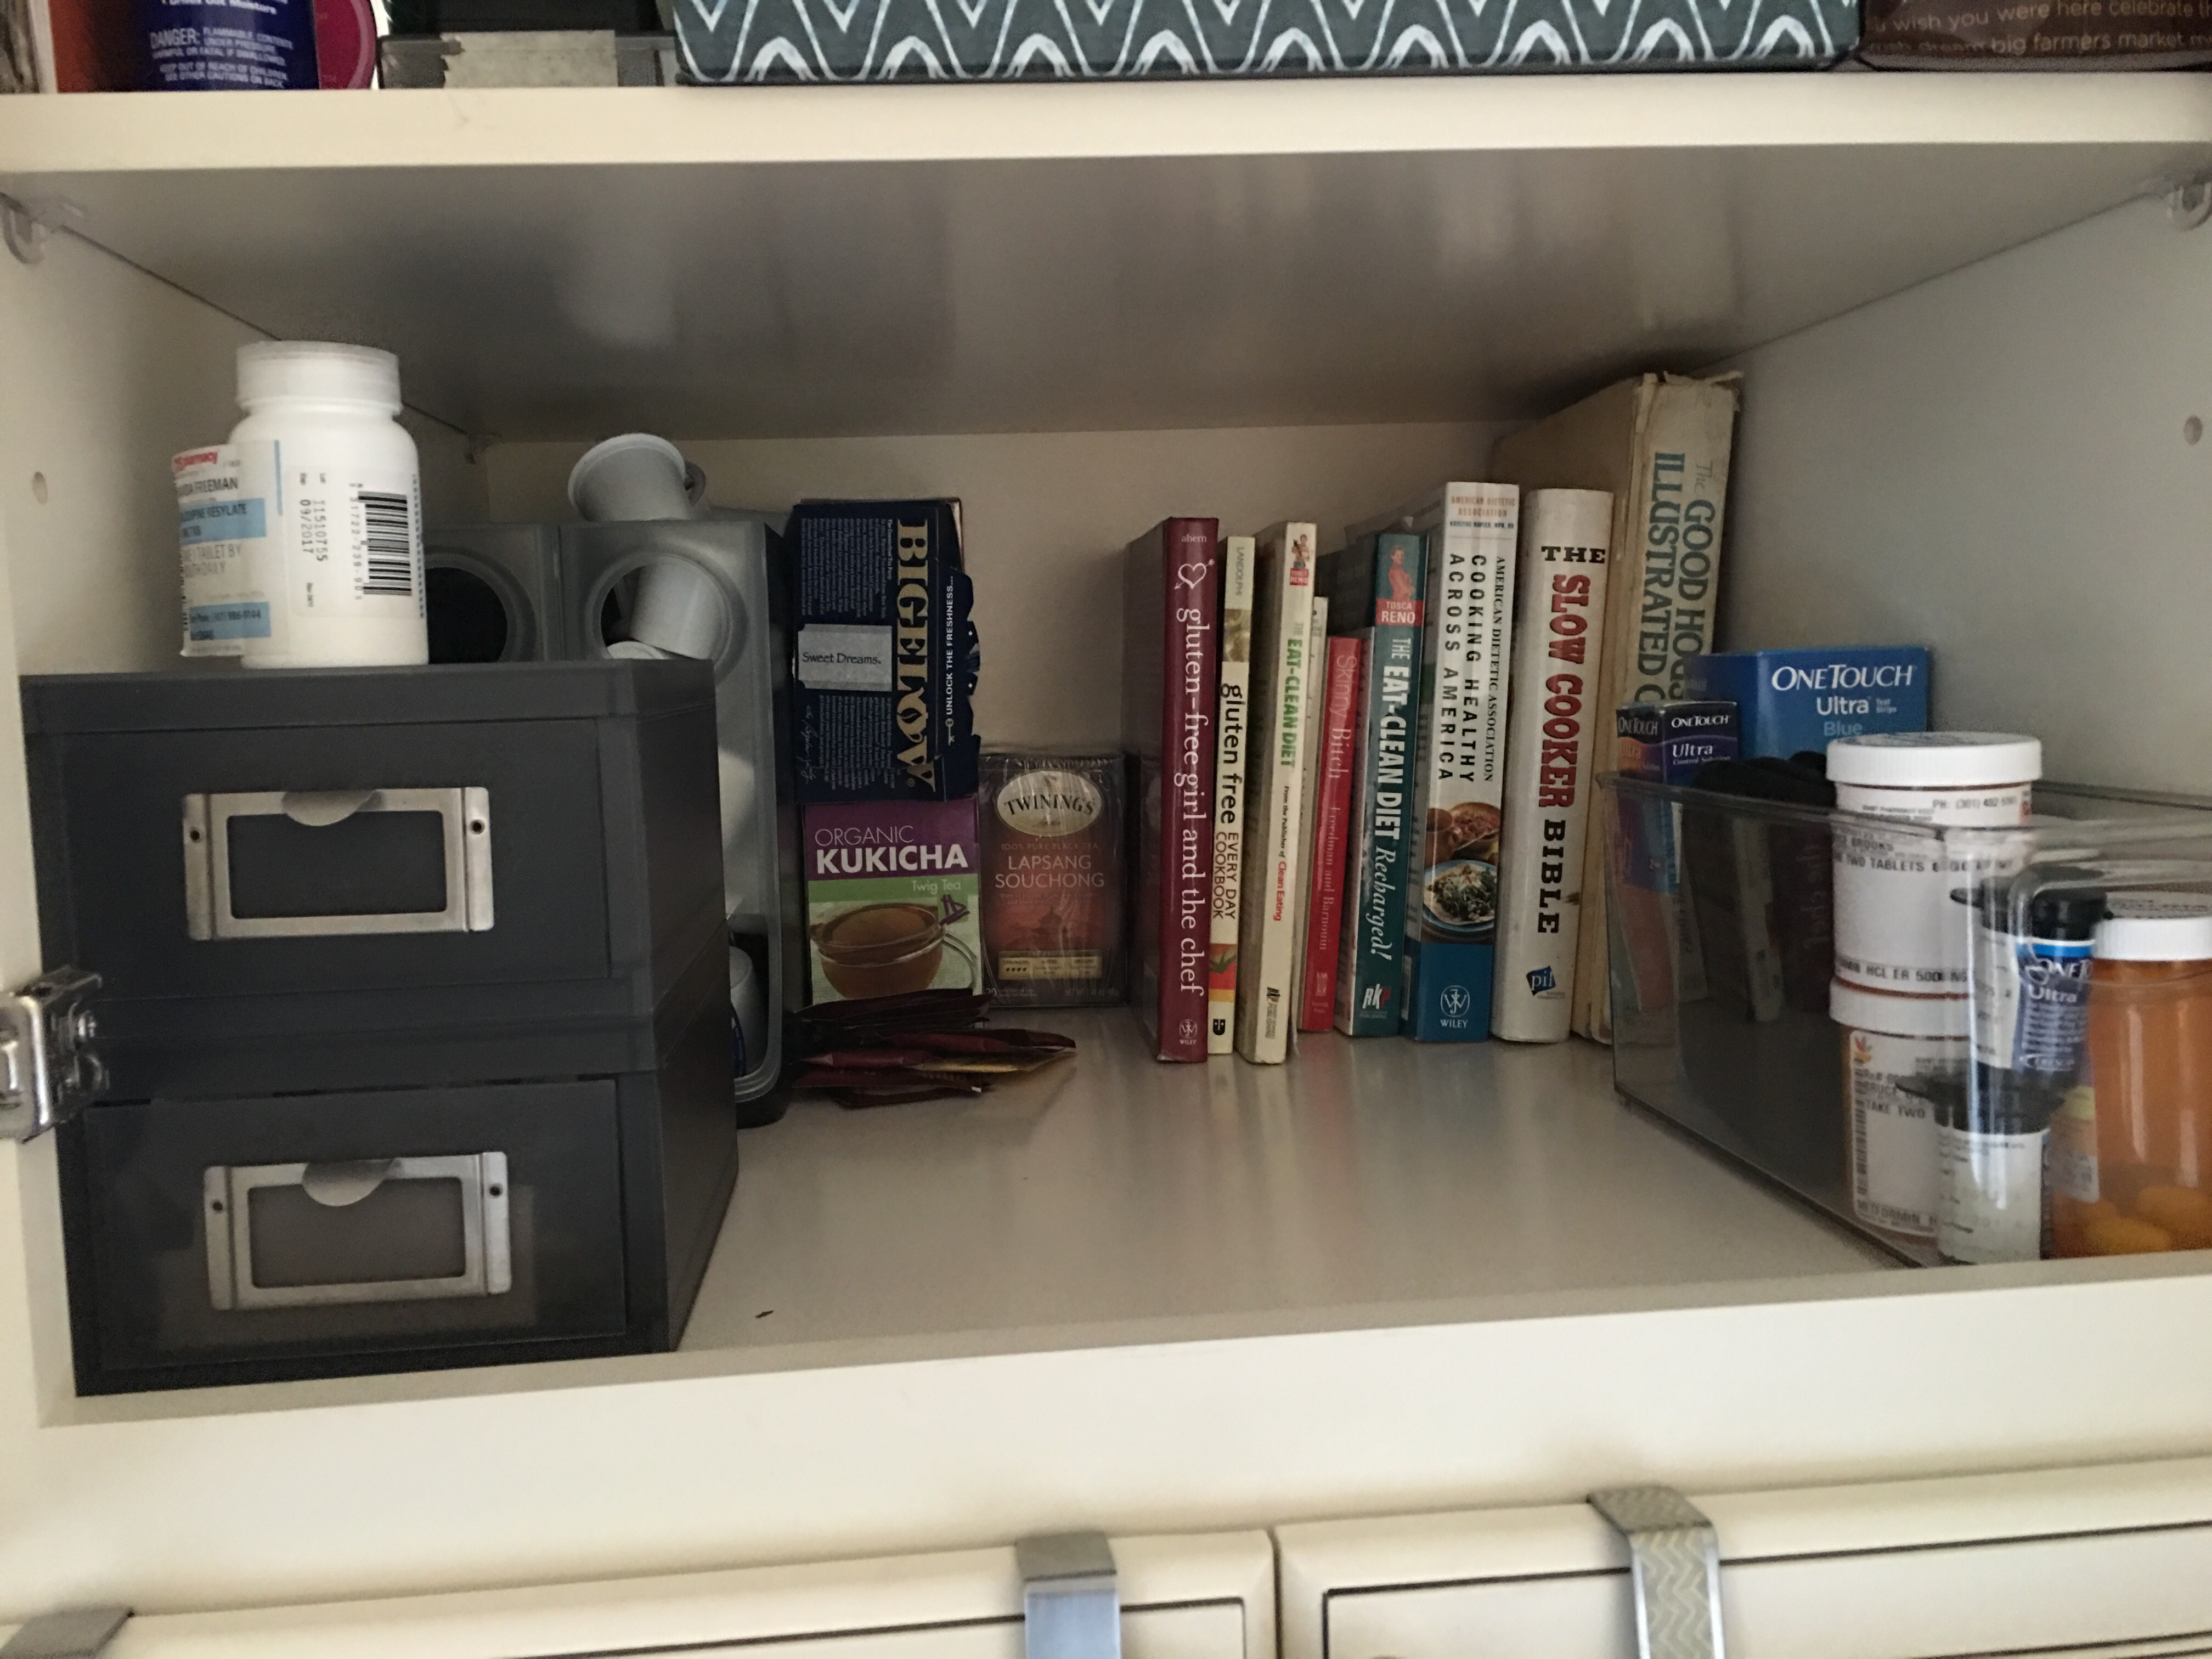
Then I tried placing a file box in the pantry.
Cue “The Price Is Right” fail music…(wah-wah-wah-wah-waaaaaaaaah). It no fit.
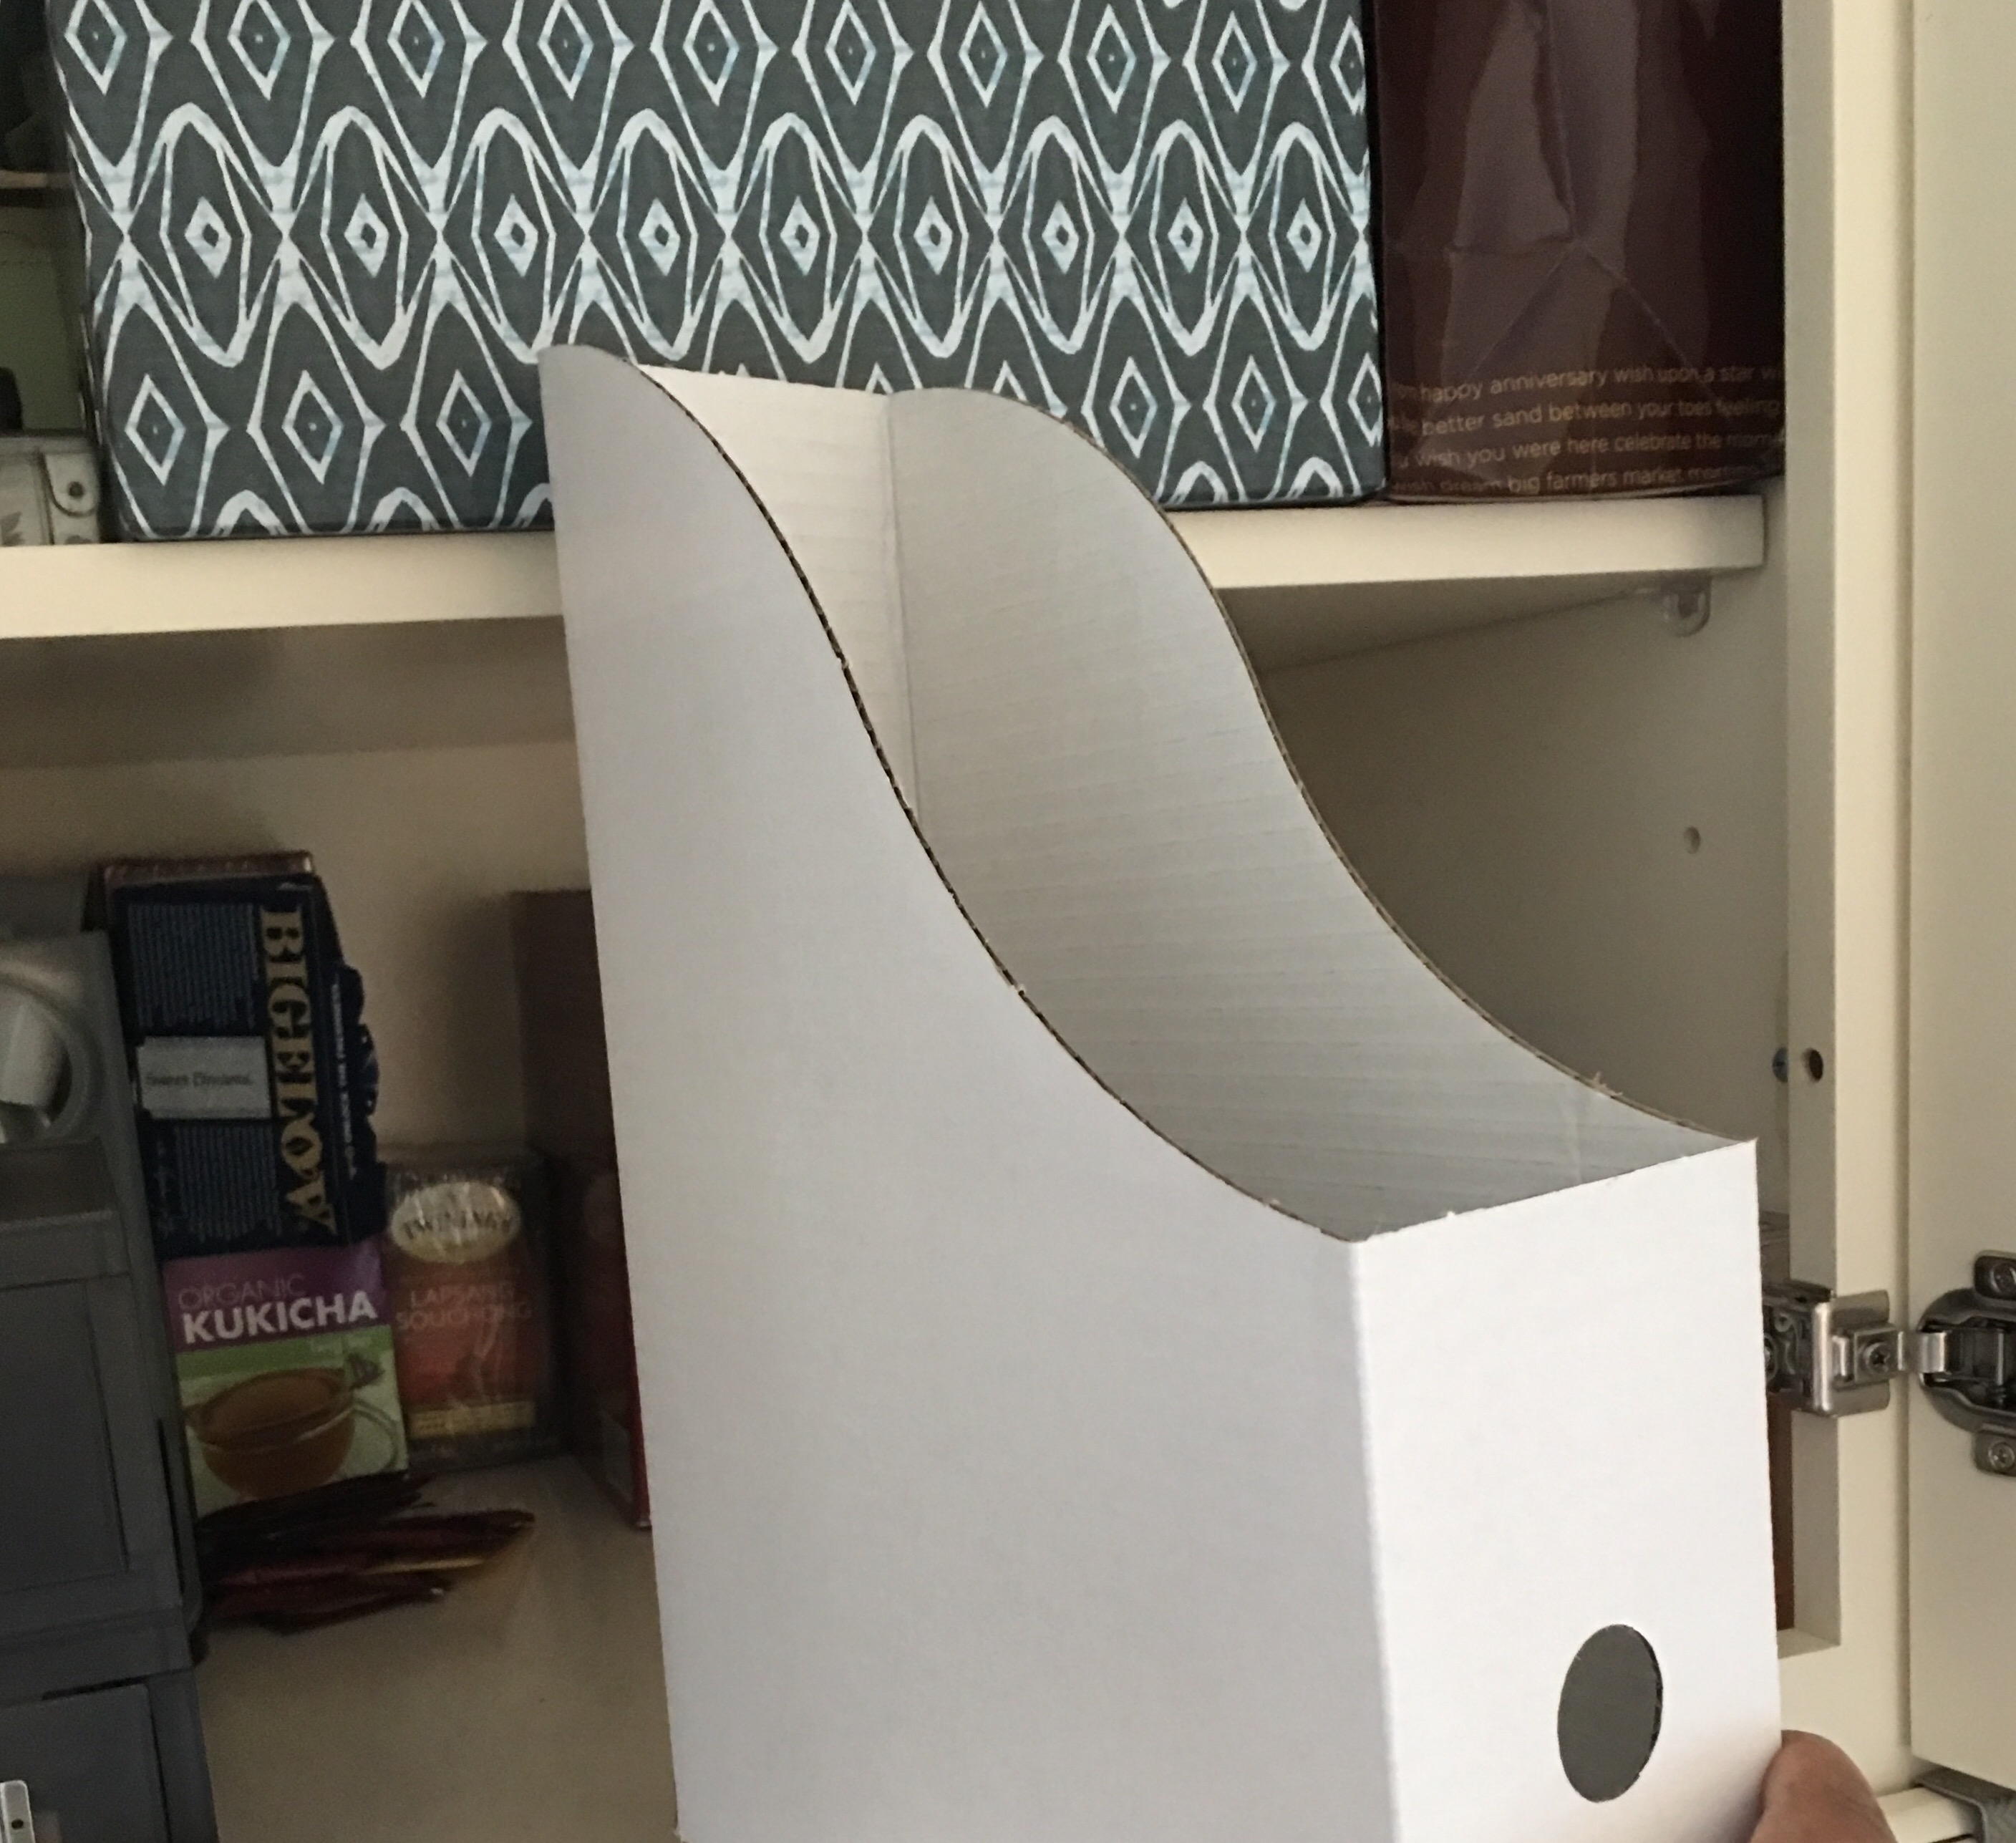
The obvious solution clicked into place in my head. These are cardboard boxes. Cut them down.
I taped off a section from the top of the file box…
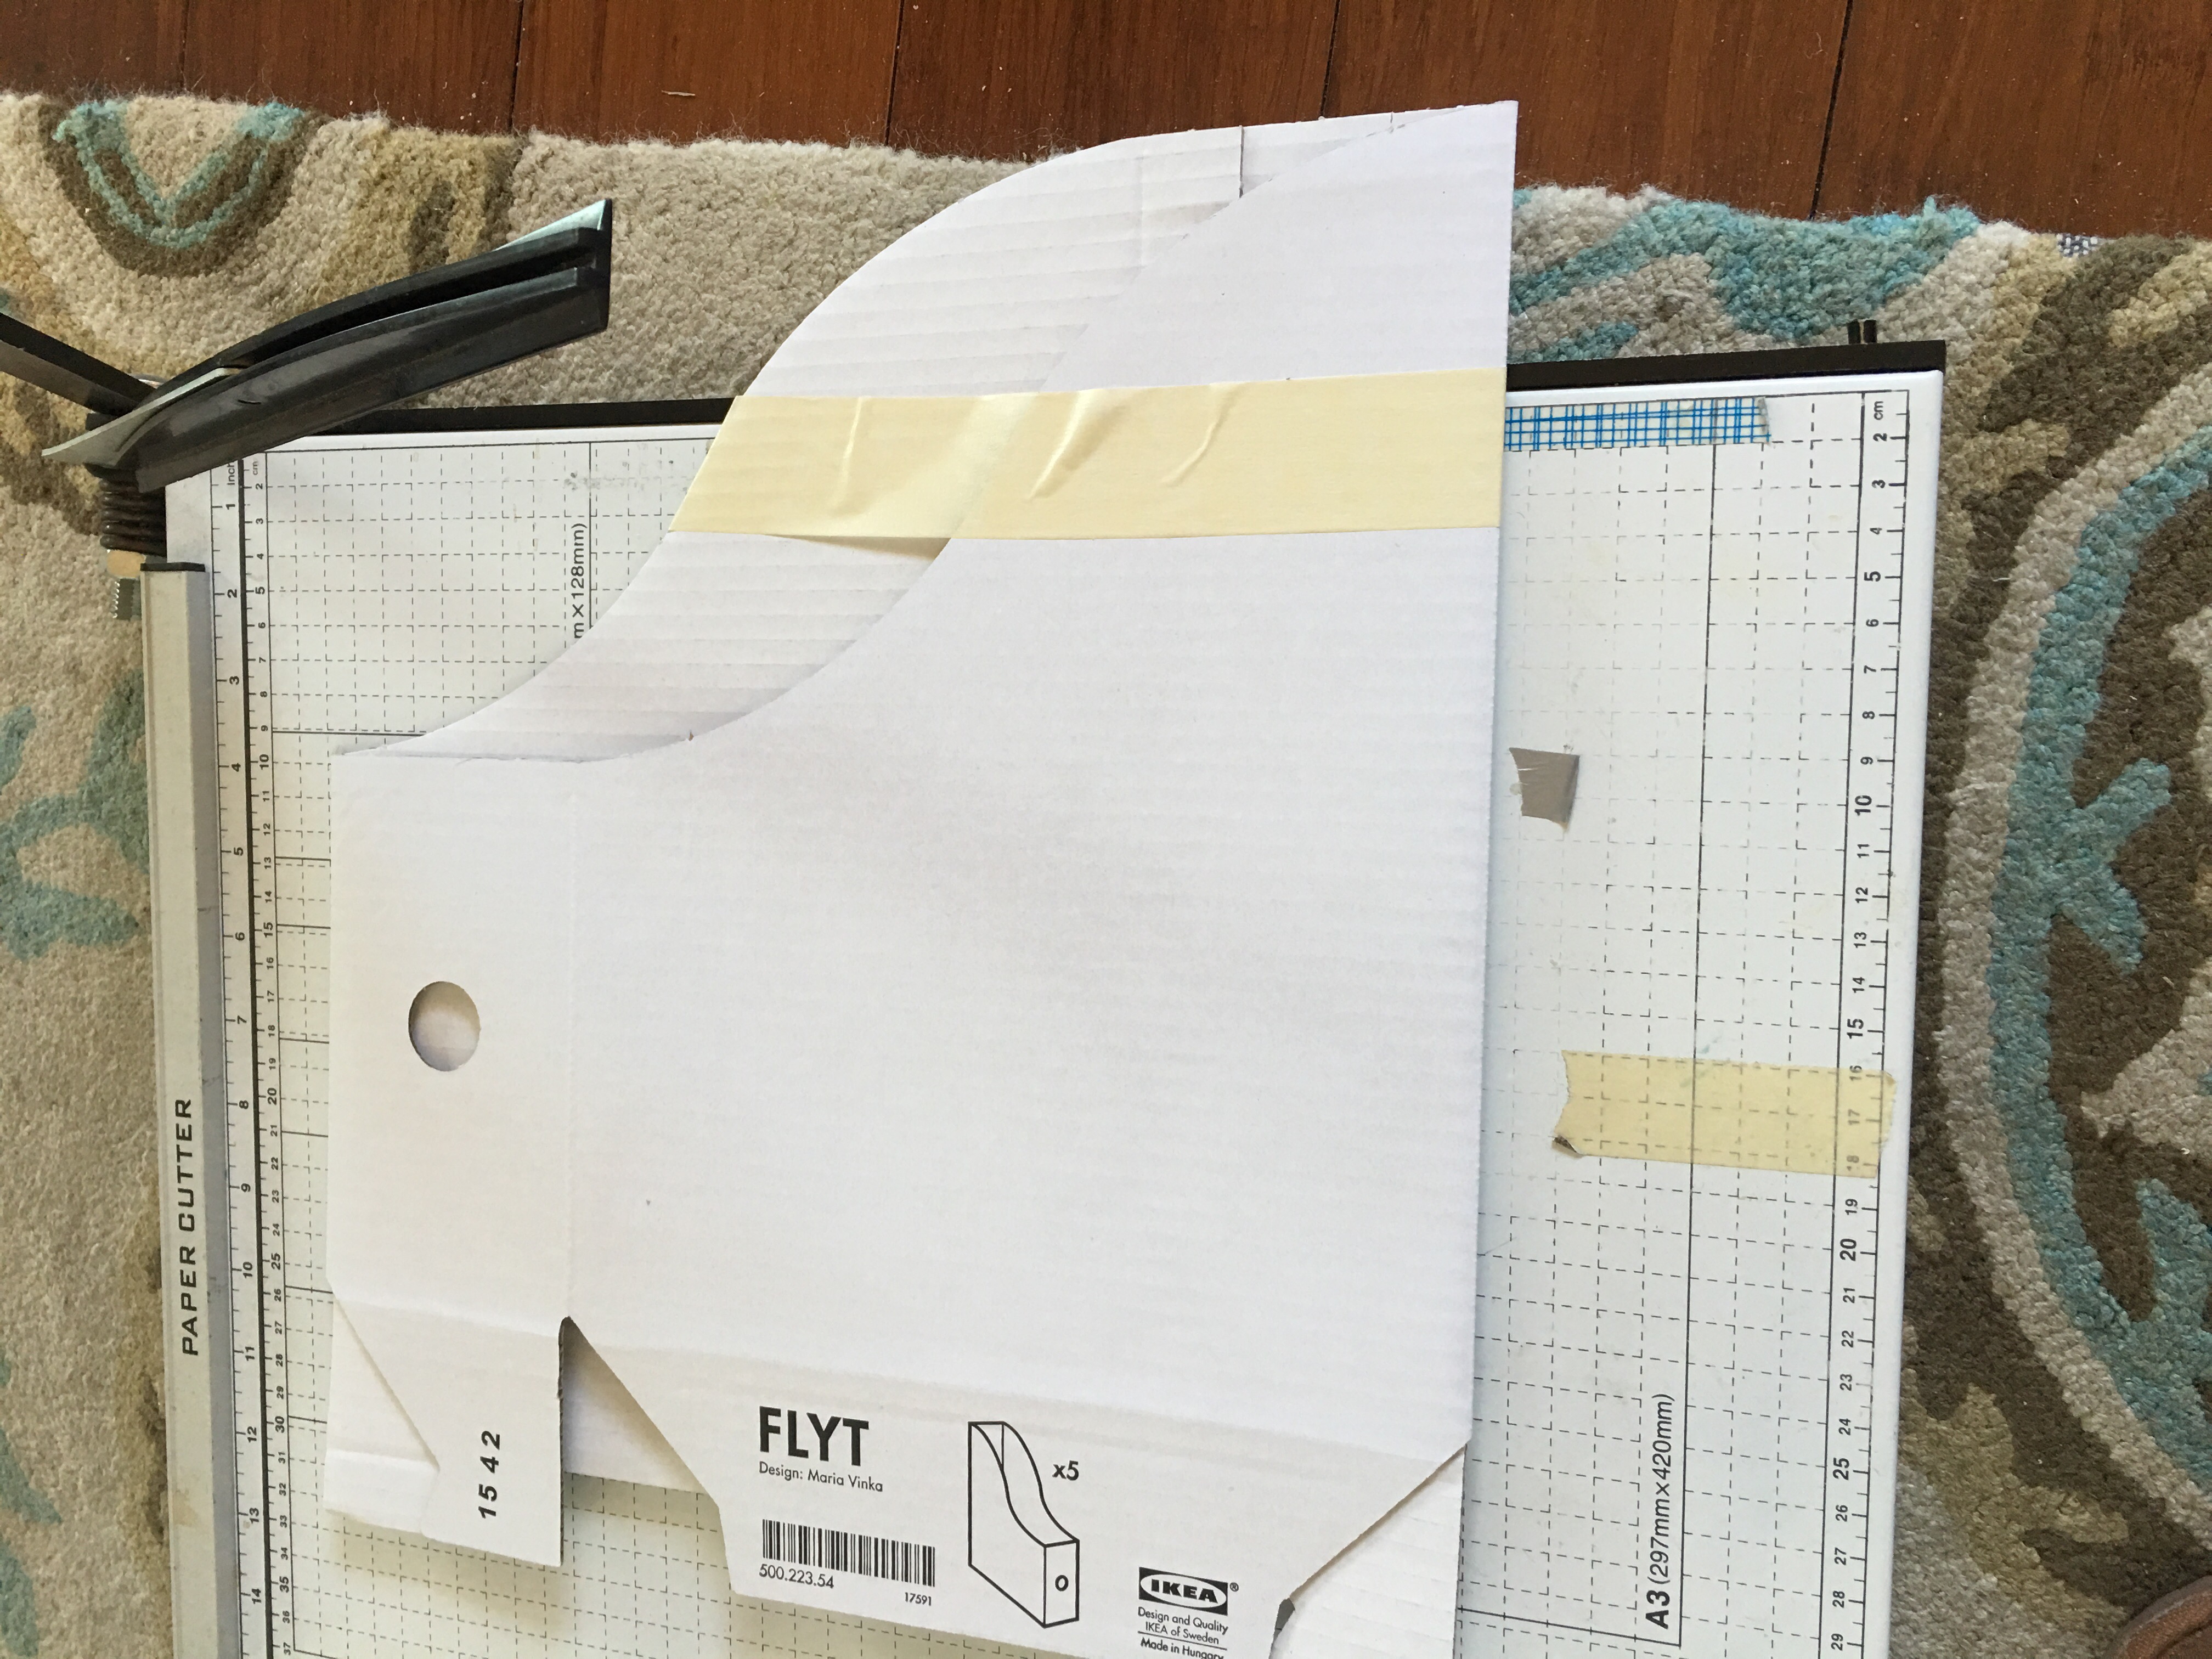
…then used my paper cutter to cut away the top.
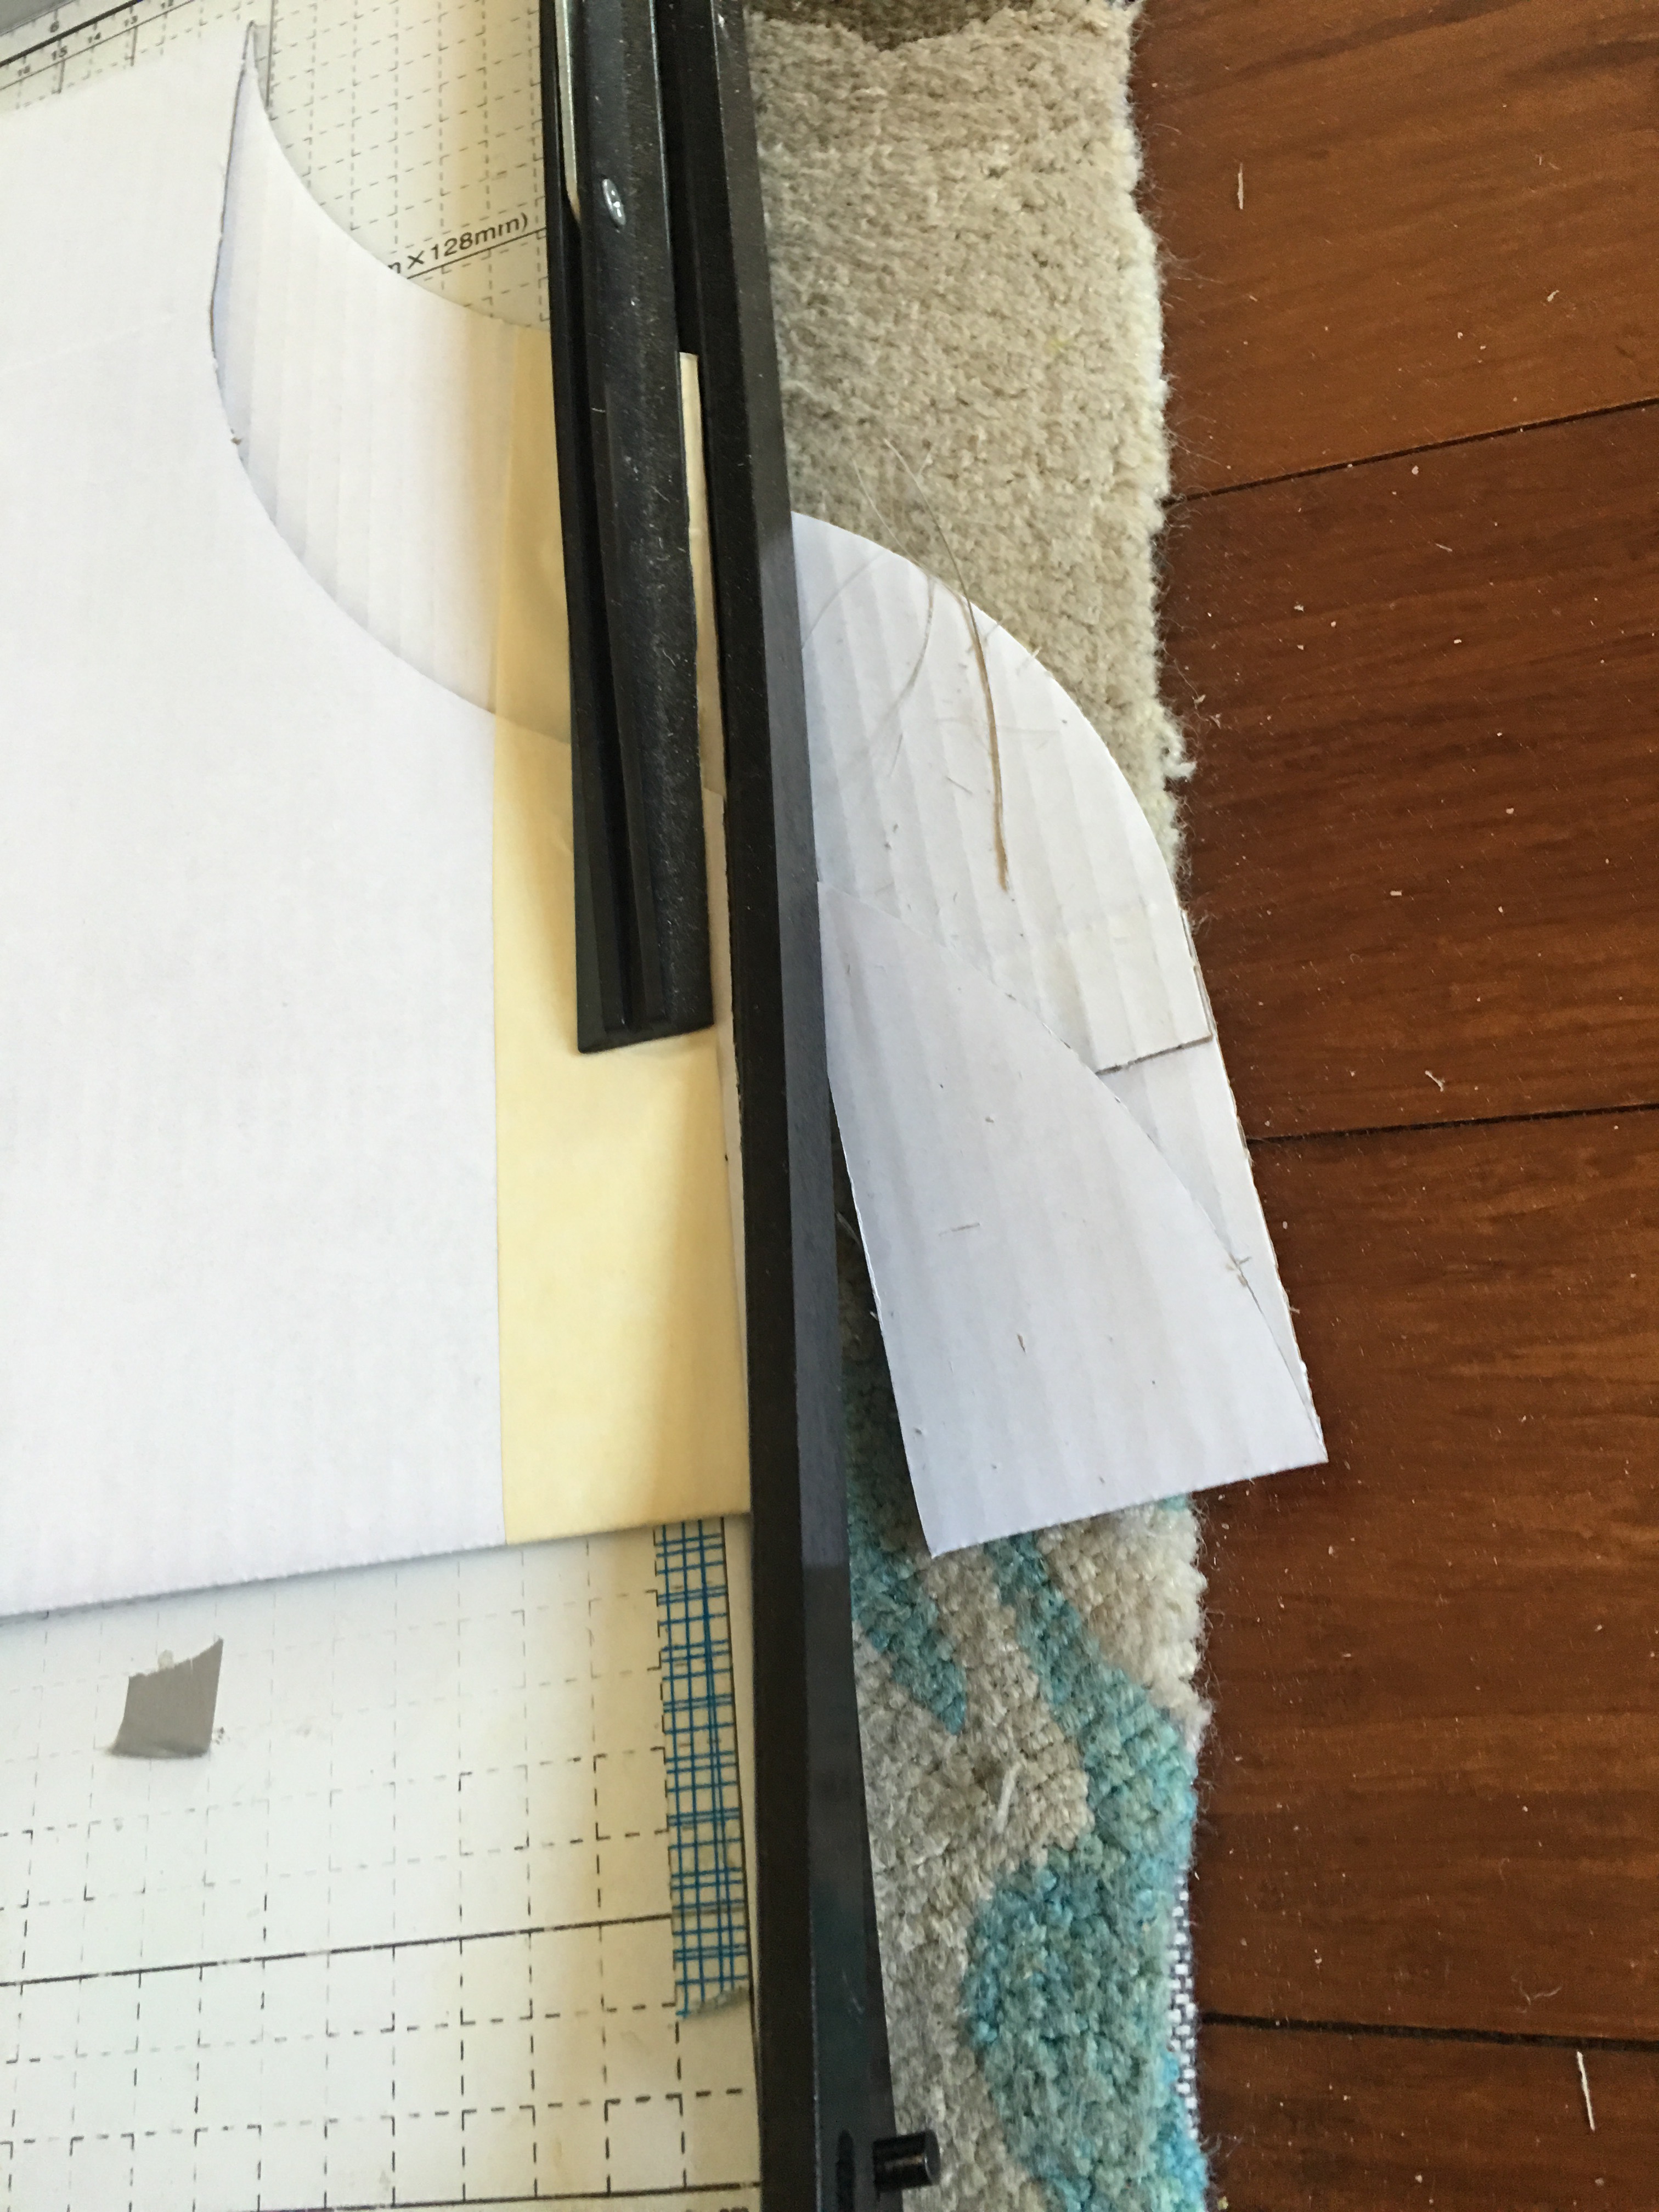
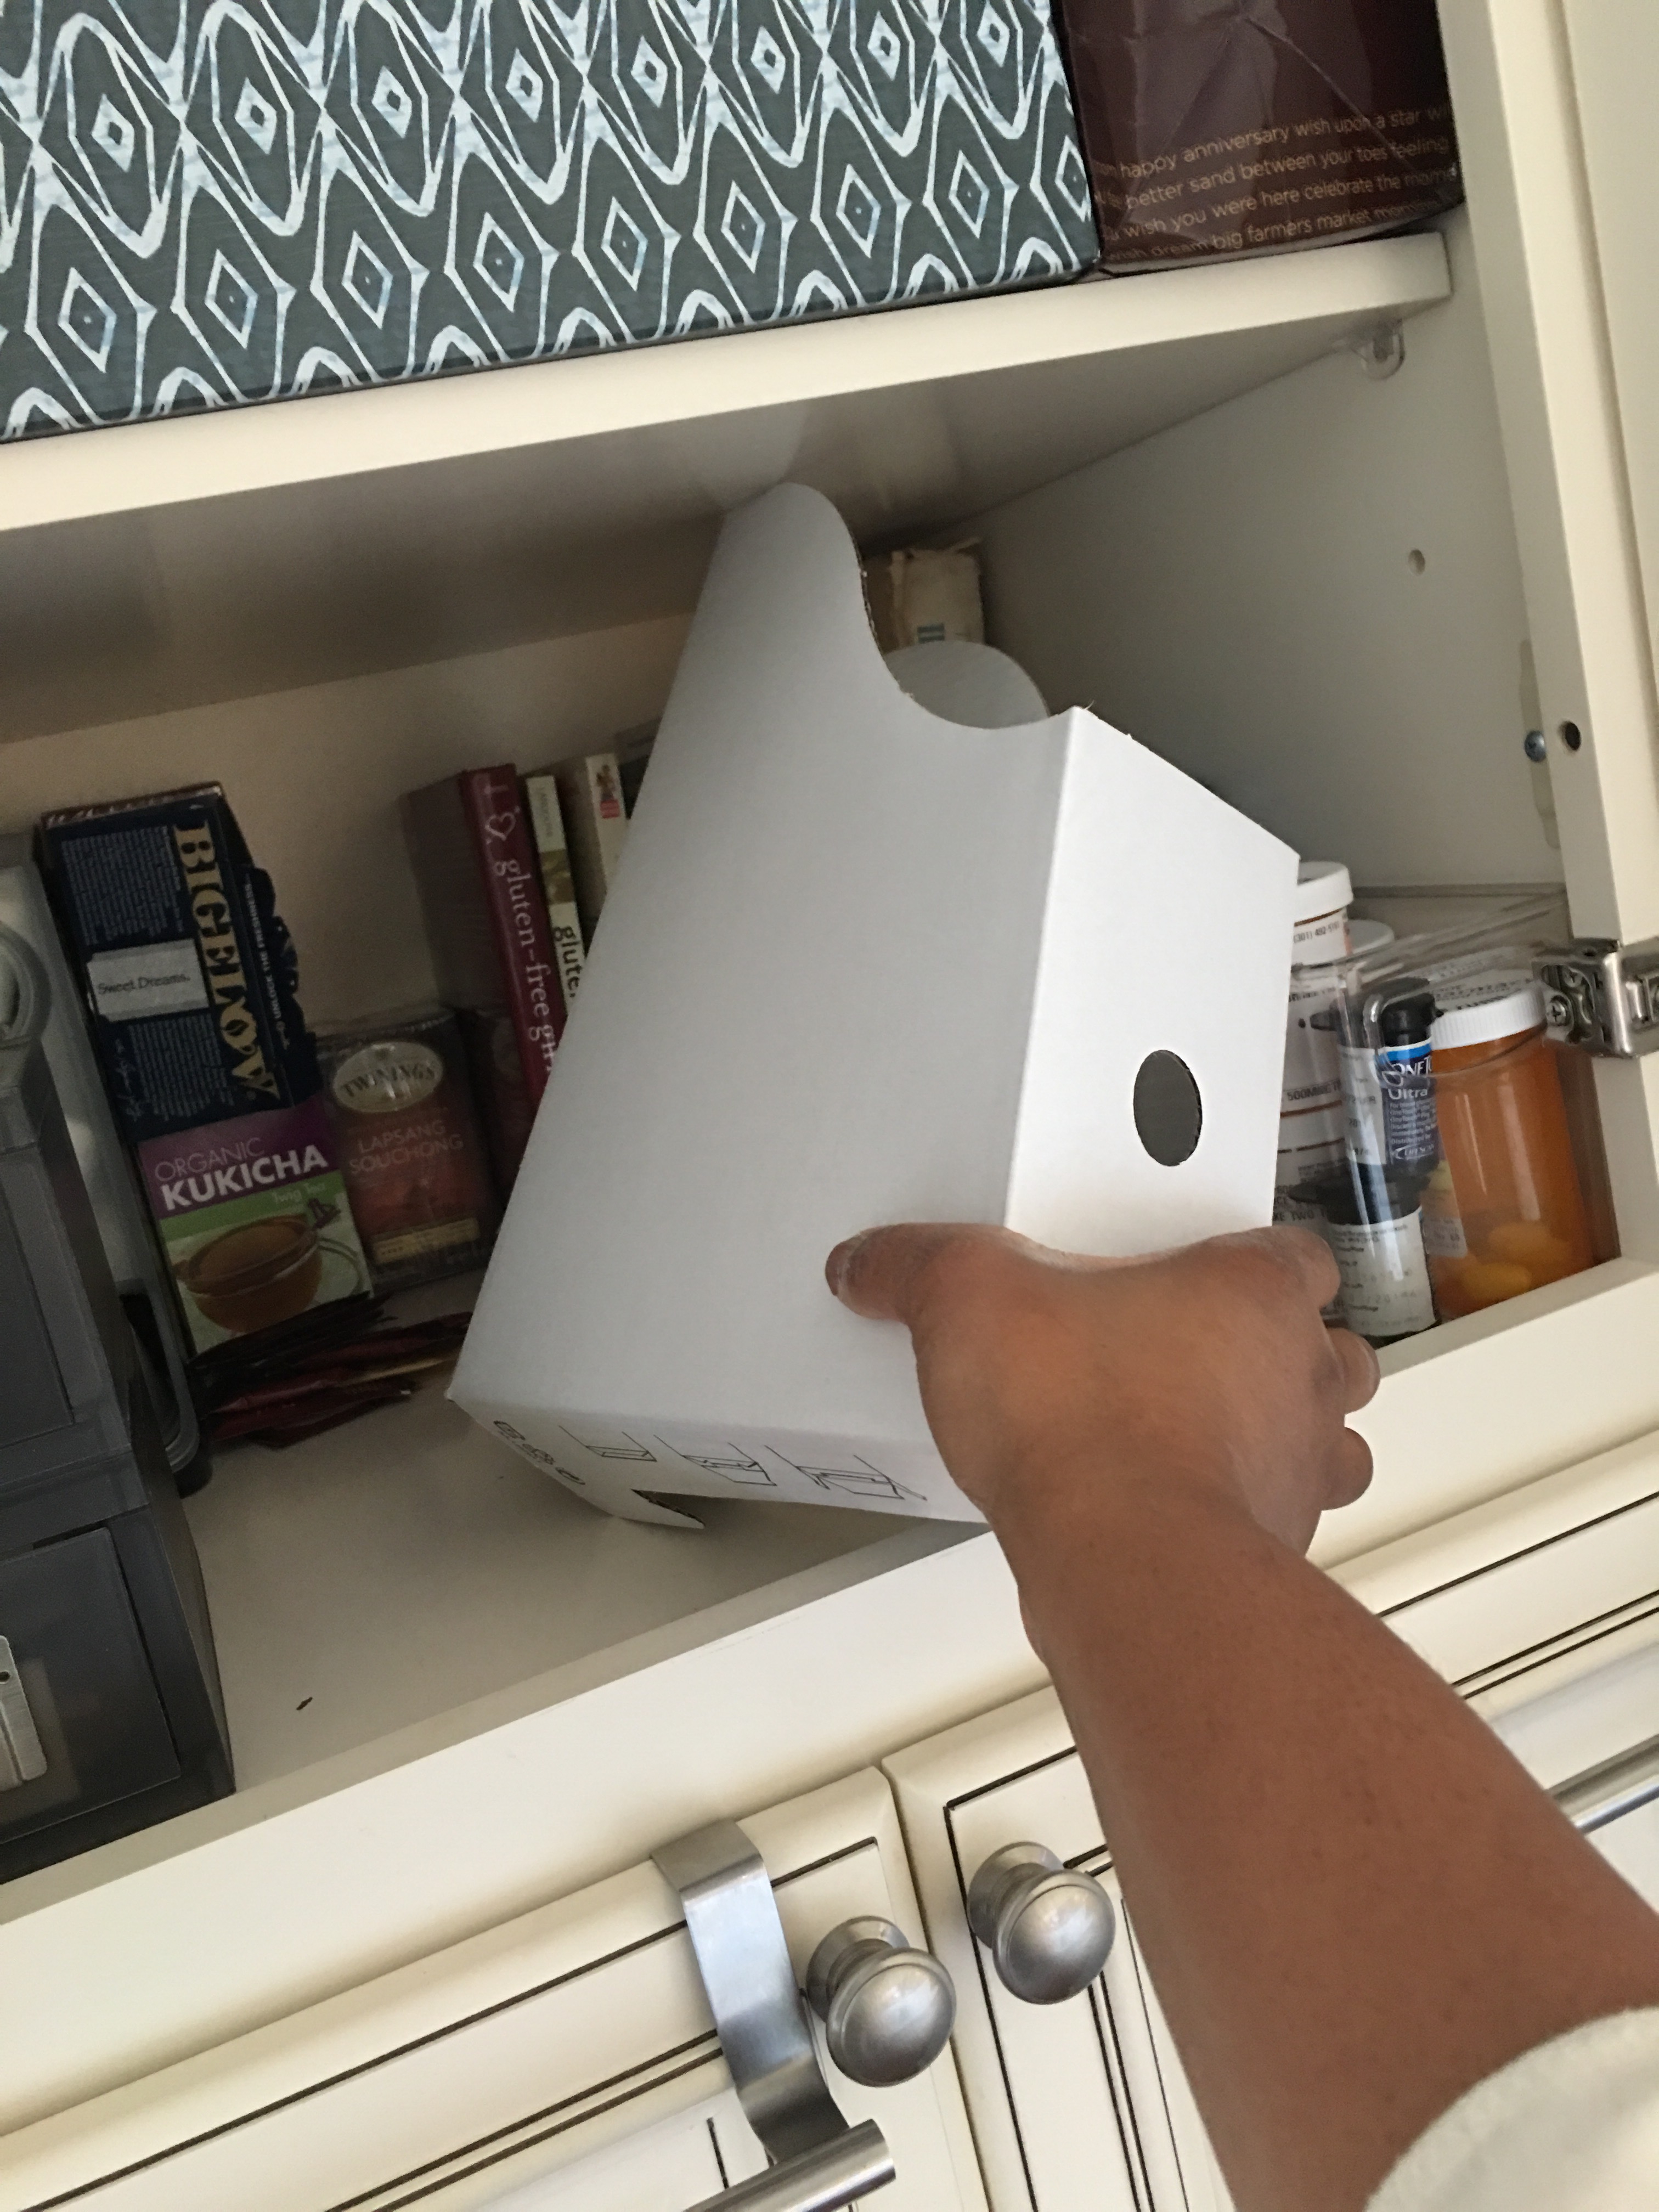
Another test in the pantry. Perfect.
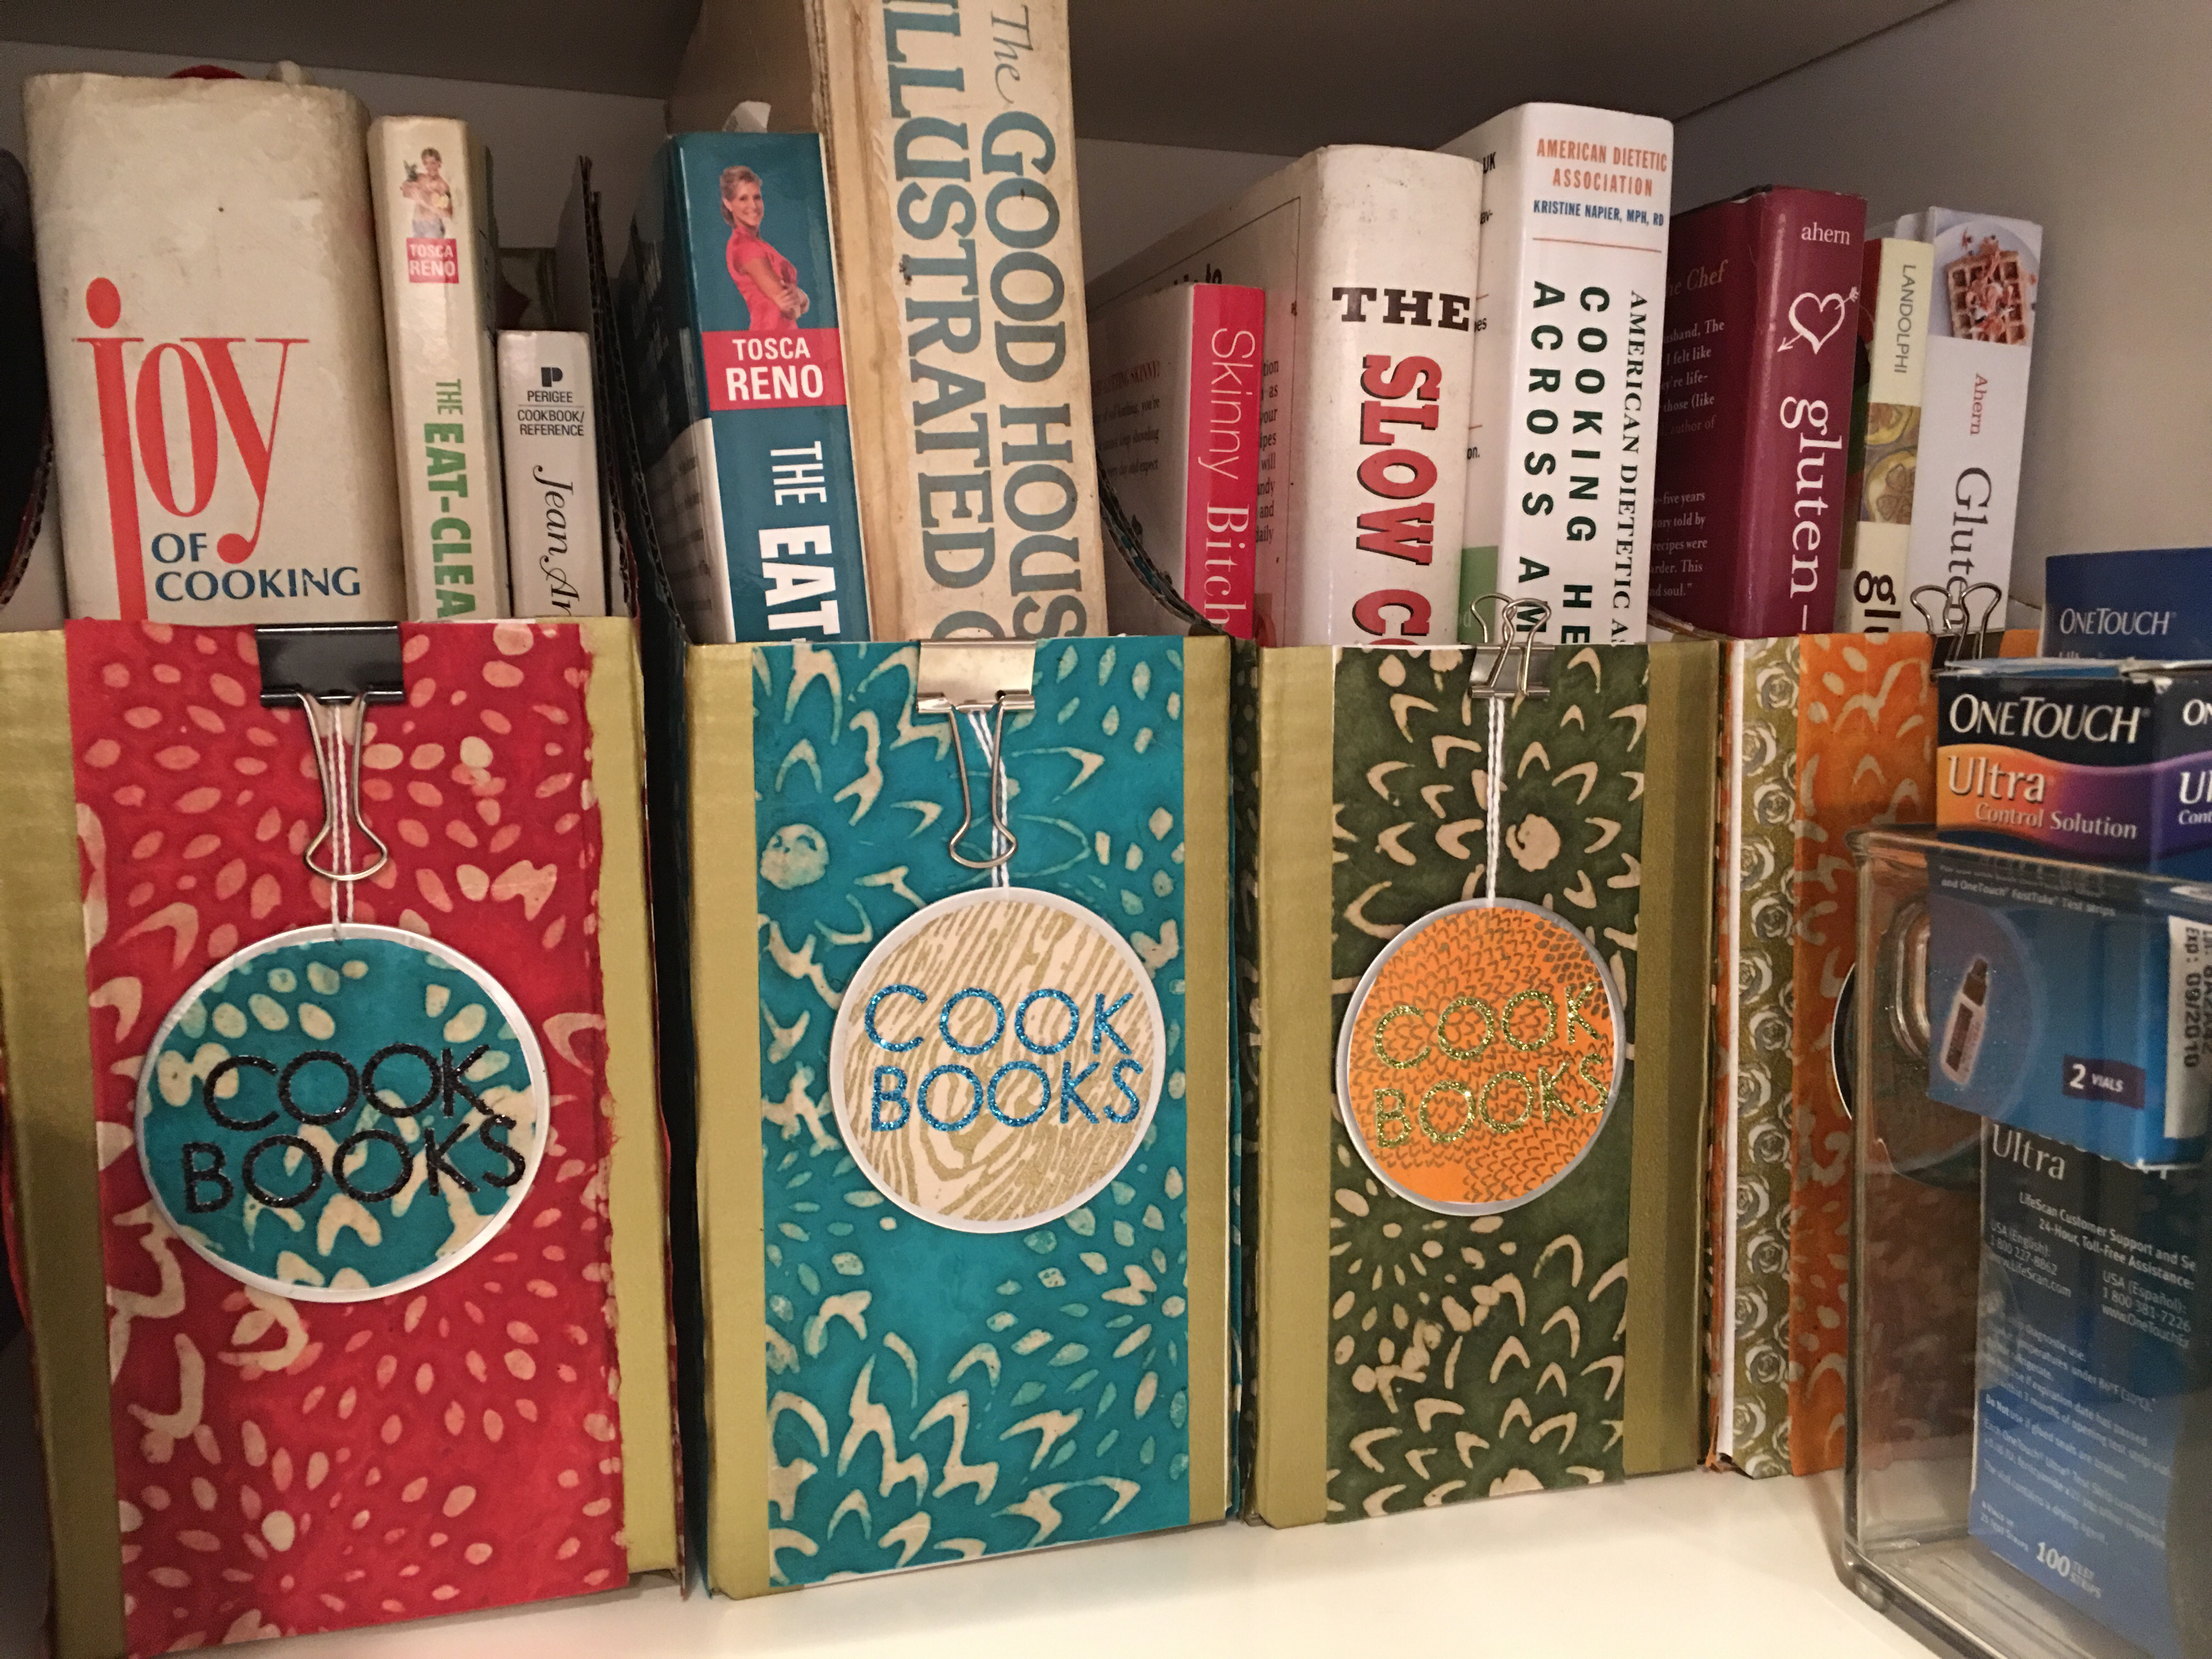
I cut the tops off the remaining four boxes.
I then repeated the steps above to decoupage and label the boxes (using different colors from the Lokti Batik Mums collection – Orange, Olive Green, Sea Green and Red).
I made more “Cook Books” key tag labels to clip to the front.
And here’s a box in sea green.
After some quick reorganization, all cookbooks are now in the pantry, neatly stowed in the back in decorated file boxes.
I think the look of these boxes are cute and colorful. Whenever there is a need for a cookbook, we can just pull out the file box and lay them on the counter.
I plan to use one of the tin cans I decorated last week with the same pattern paper in the pantry as well to store my tea bags (and will we making more of these glitter sticker labels).
My aim is to not only organize the pantry, but to make it look so pretty and I smile with delight whenever I reach inside for whatever I need.
So what about the first box? Well, I didn’t cut it down (yet). But I transferred the cookbooks to a shorter file box. So this is now free to store my mags or coffee table books or whatever else we have lying around.
Or maybe I’ll just cut it and stuff it in the pantry along with the others. Time will tell. V-