
DIY Centerpiece Wall Sconce Part 1
You may also like:
March 17, 2016: Happy St. Patty’s evening! So tonight I’m finally getting around to making a centerpiece sconce for my Living Room Wall gallery.
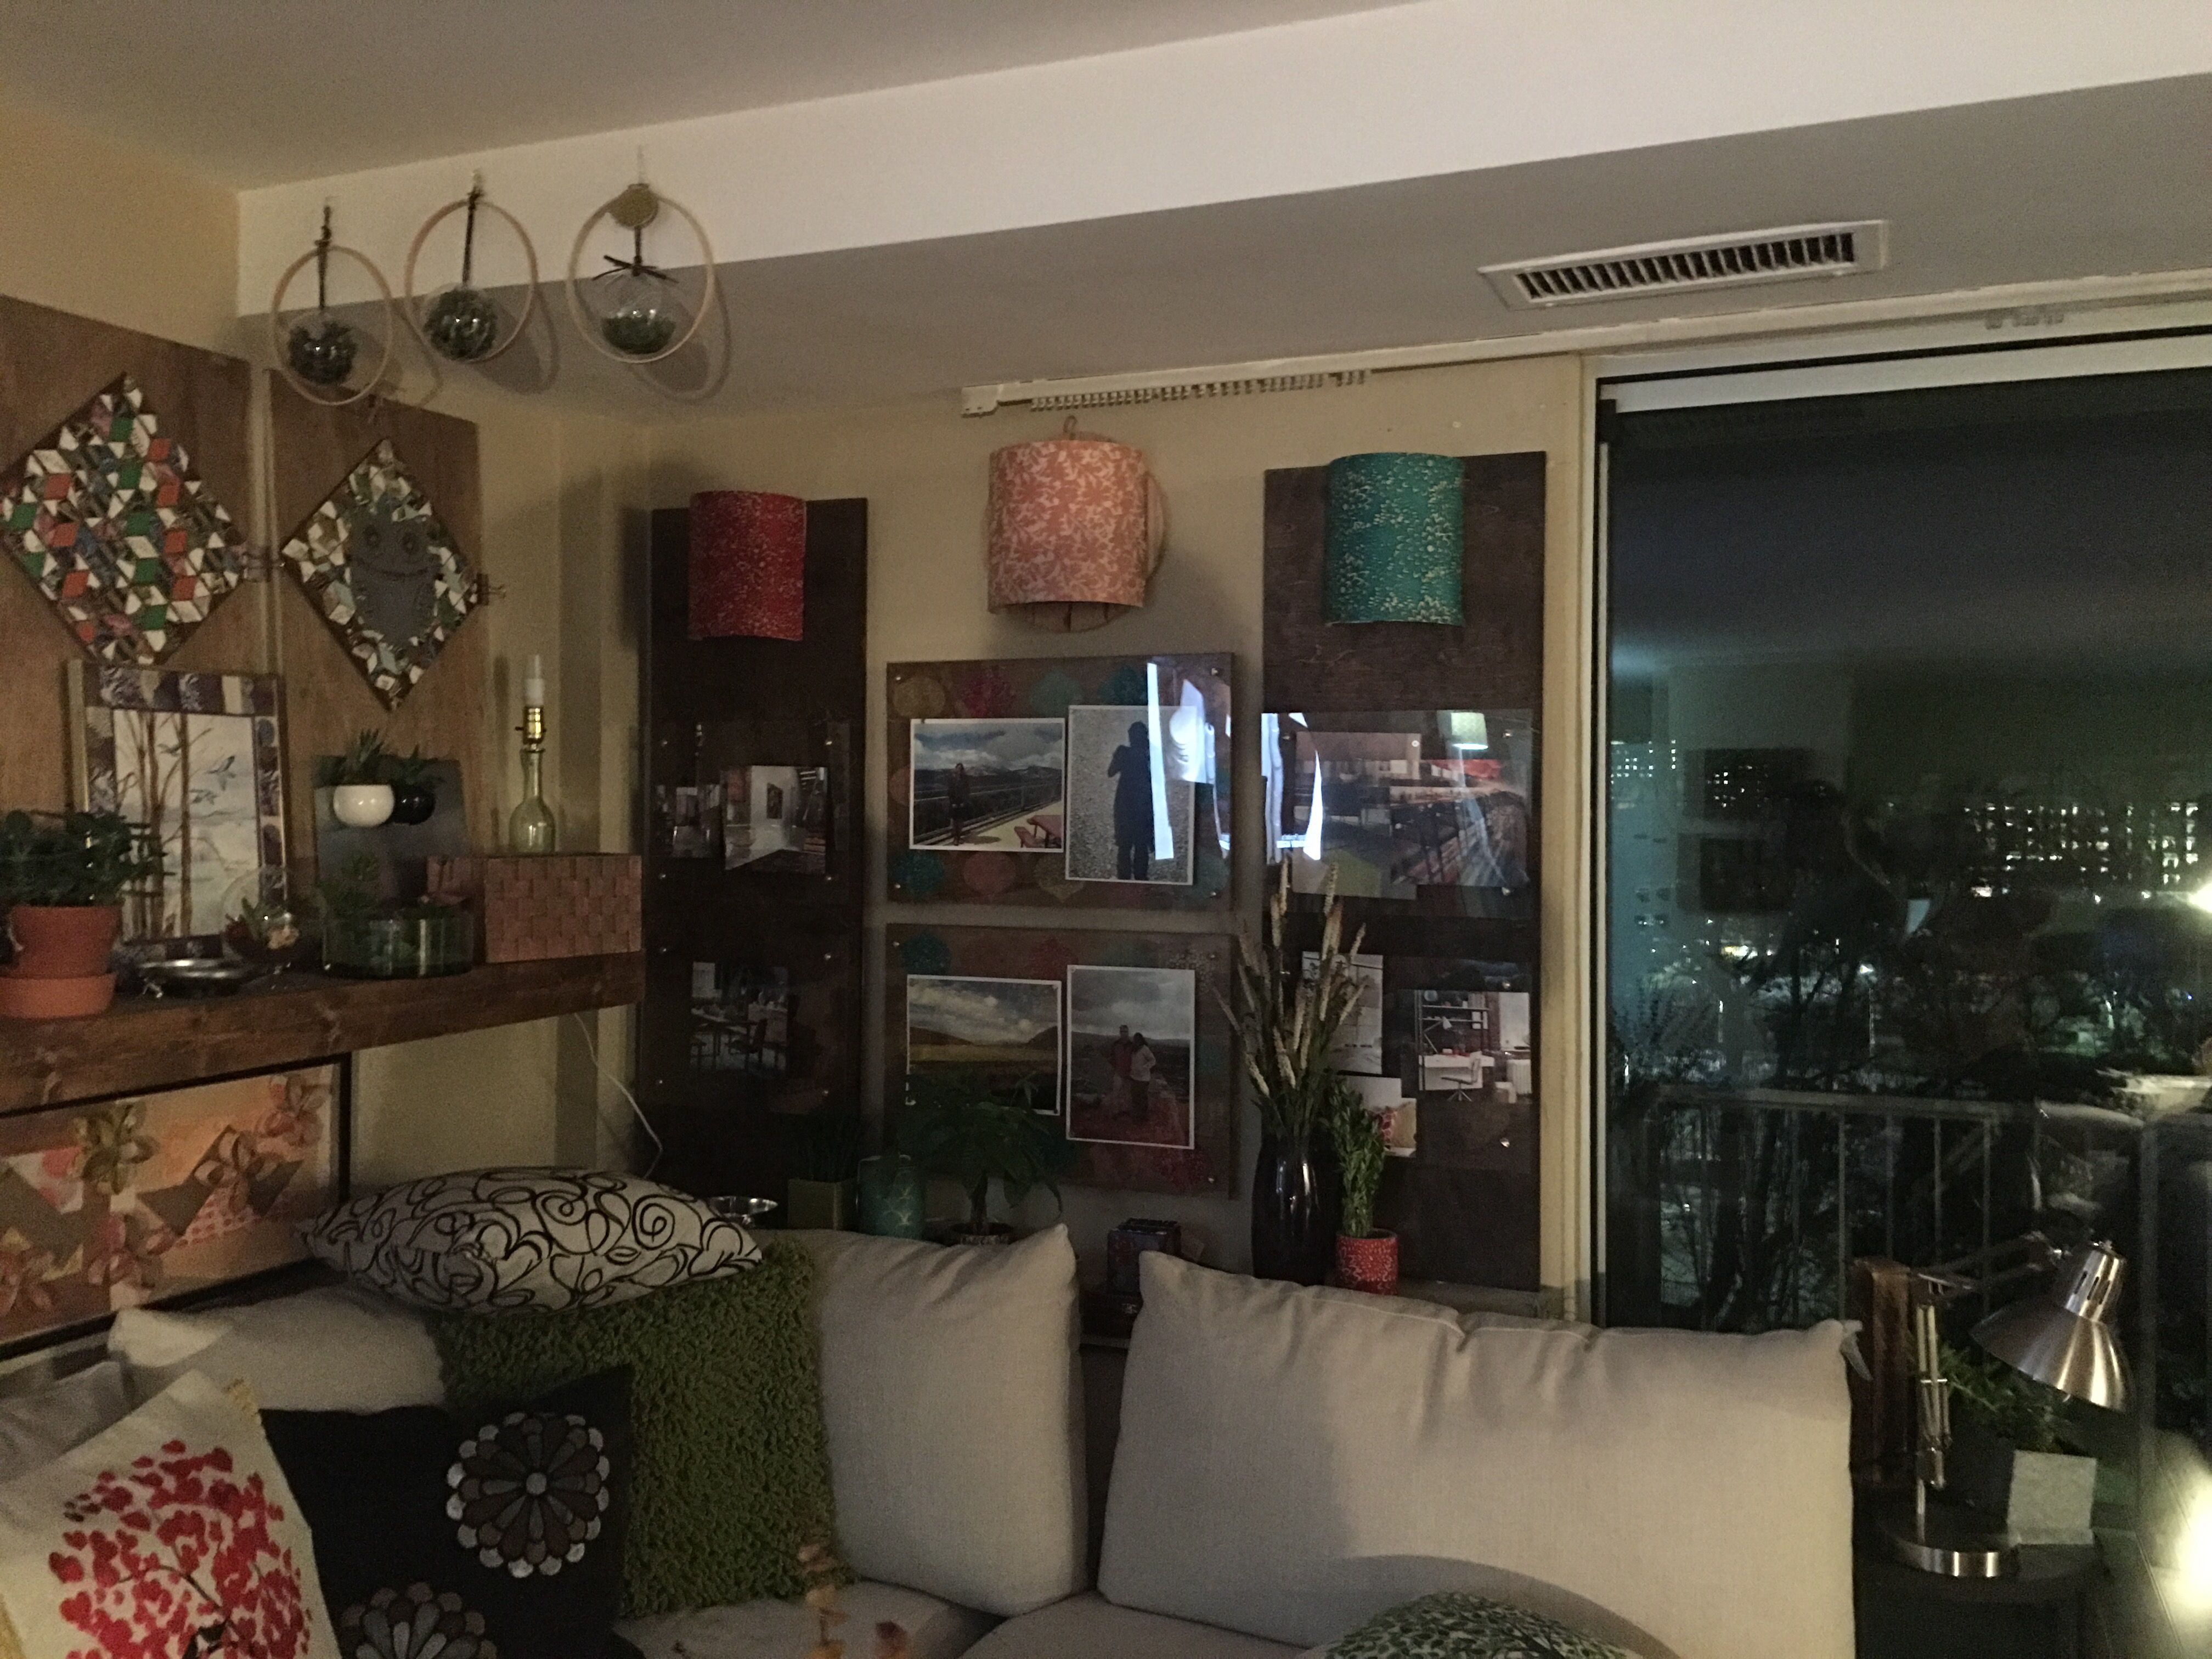
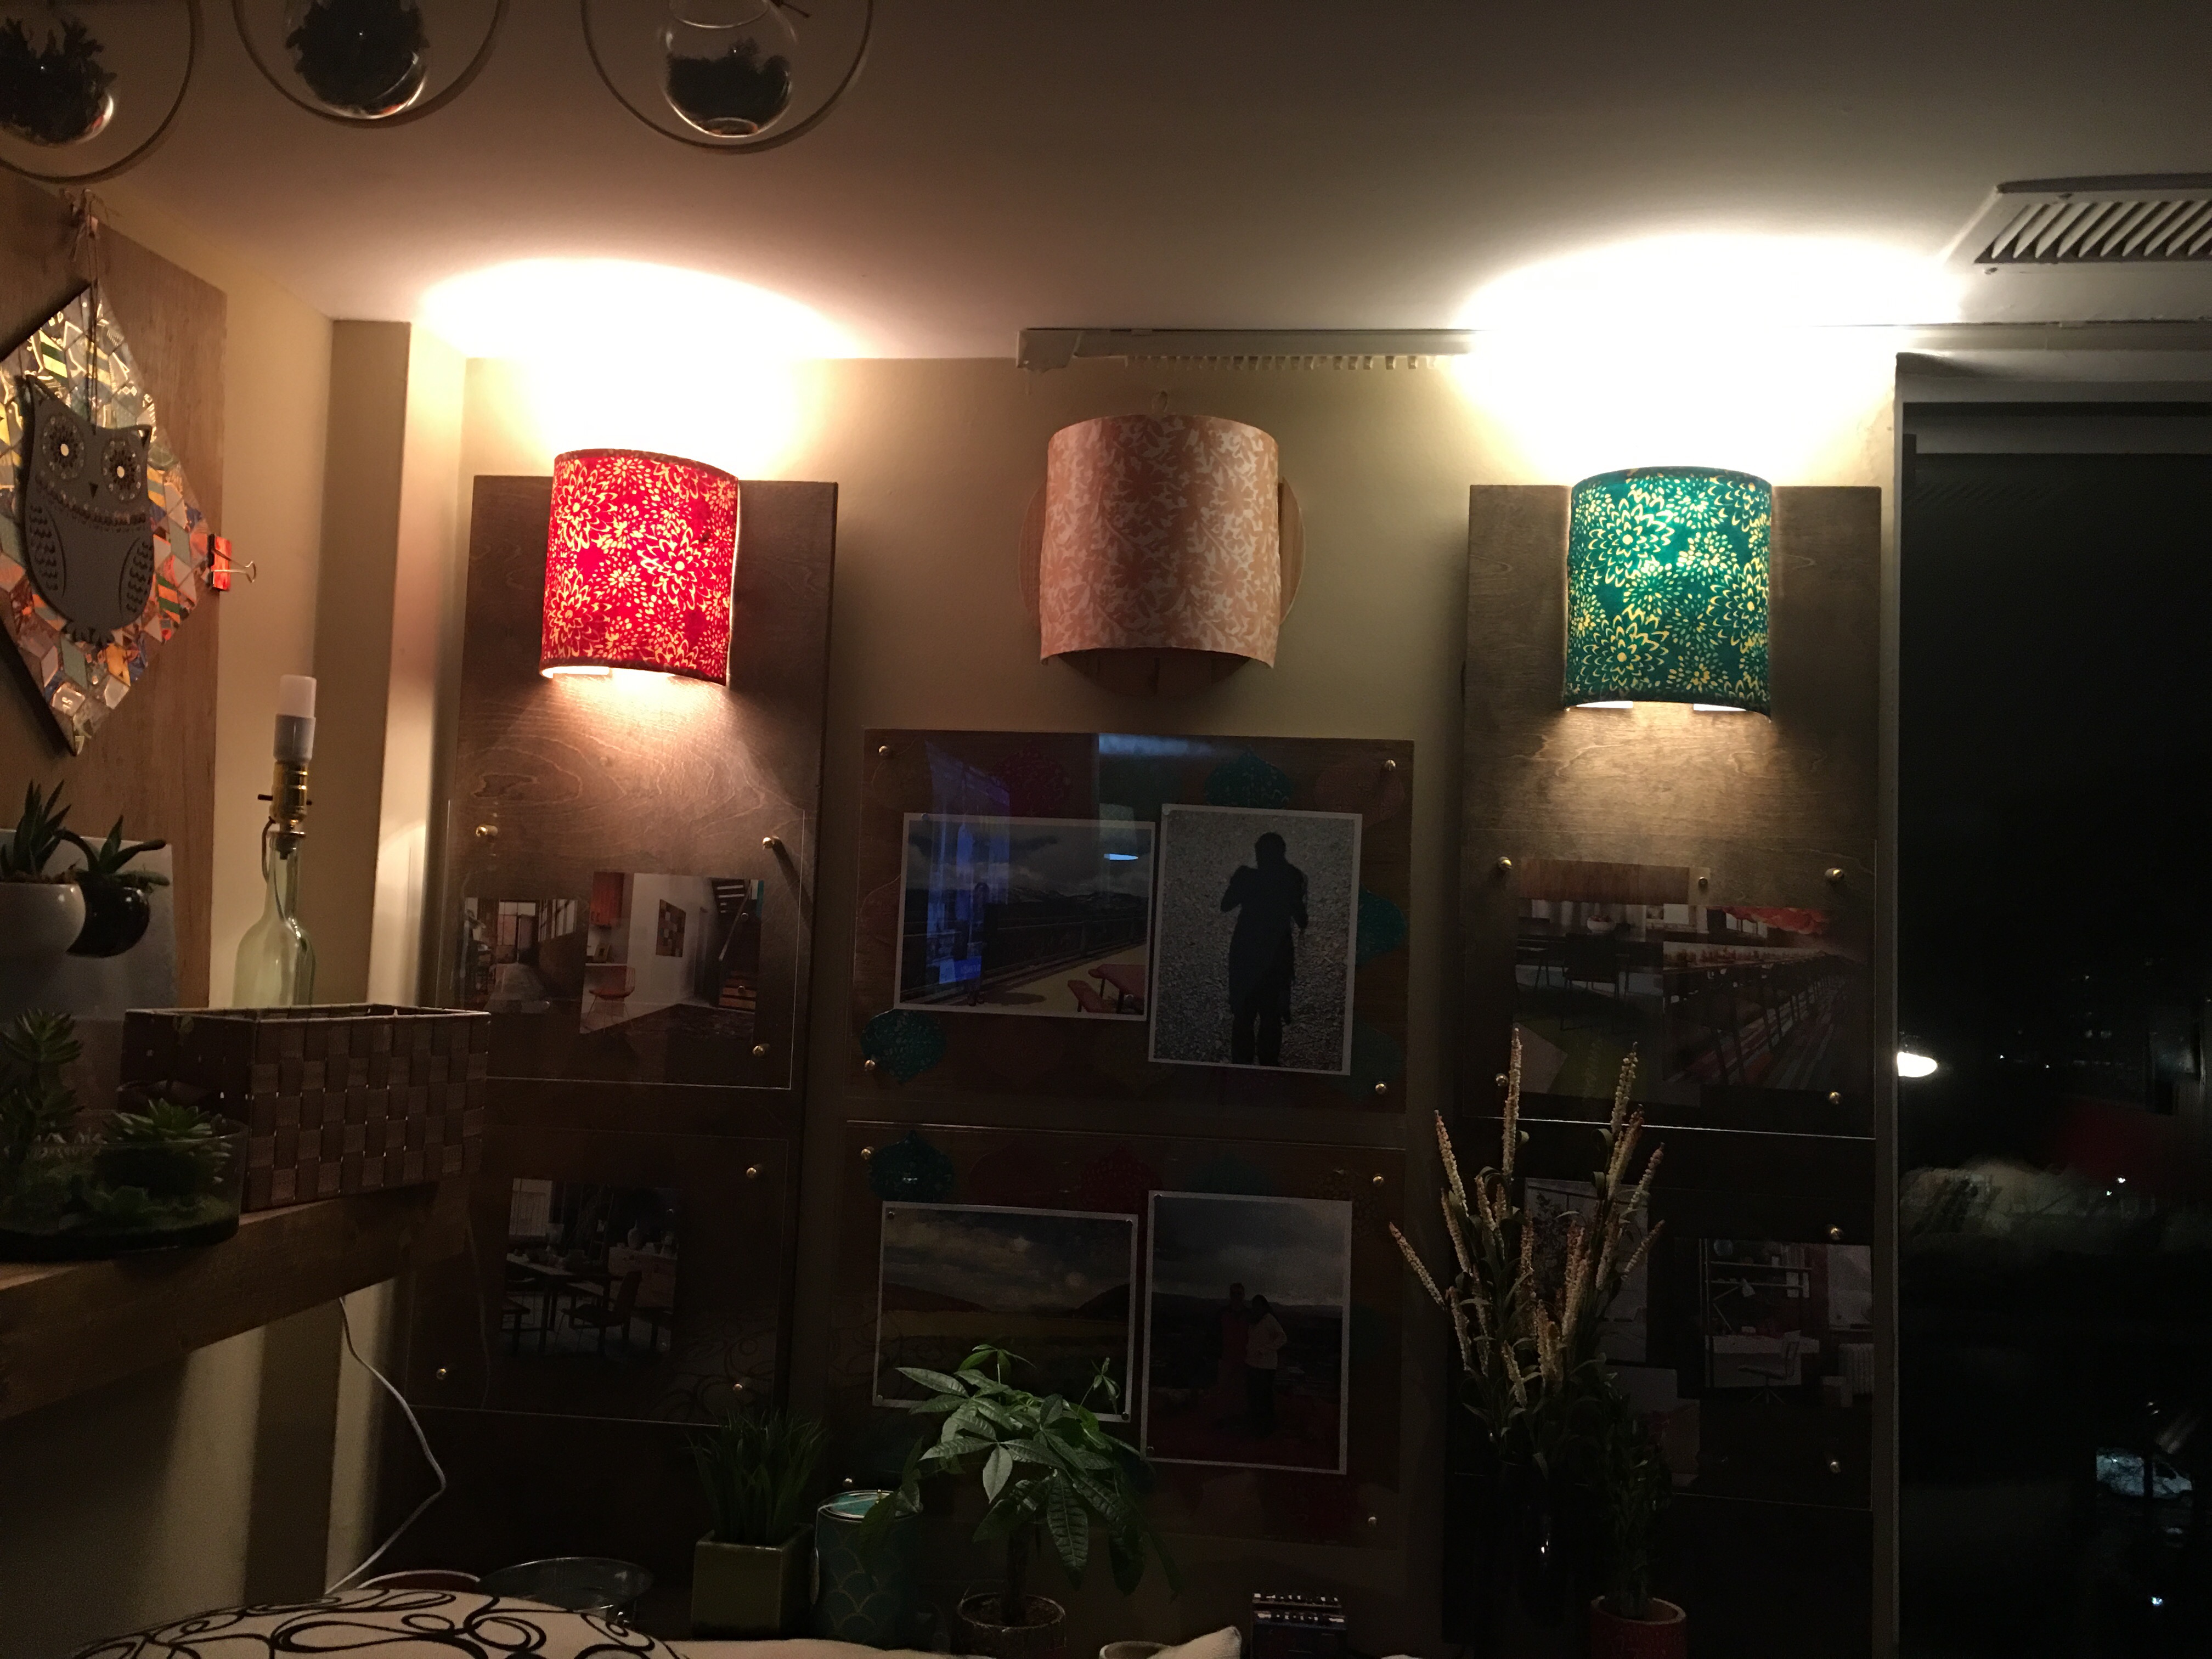
As shown below, the gallery currently features two sconces that are clipped to the top of my DIY floating frame panels. In the middle of the panels, I have two 16 x 24″ floating frames. And above them, an unadorned round wood pallet plaque (that I purchased from Michaels).
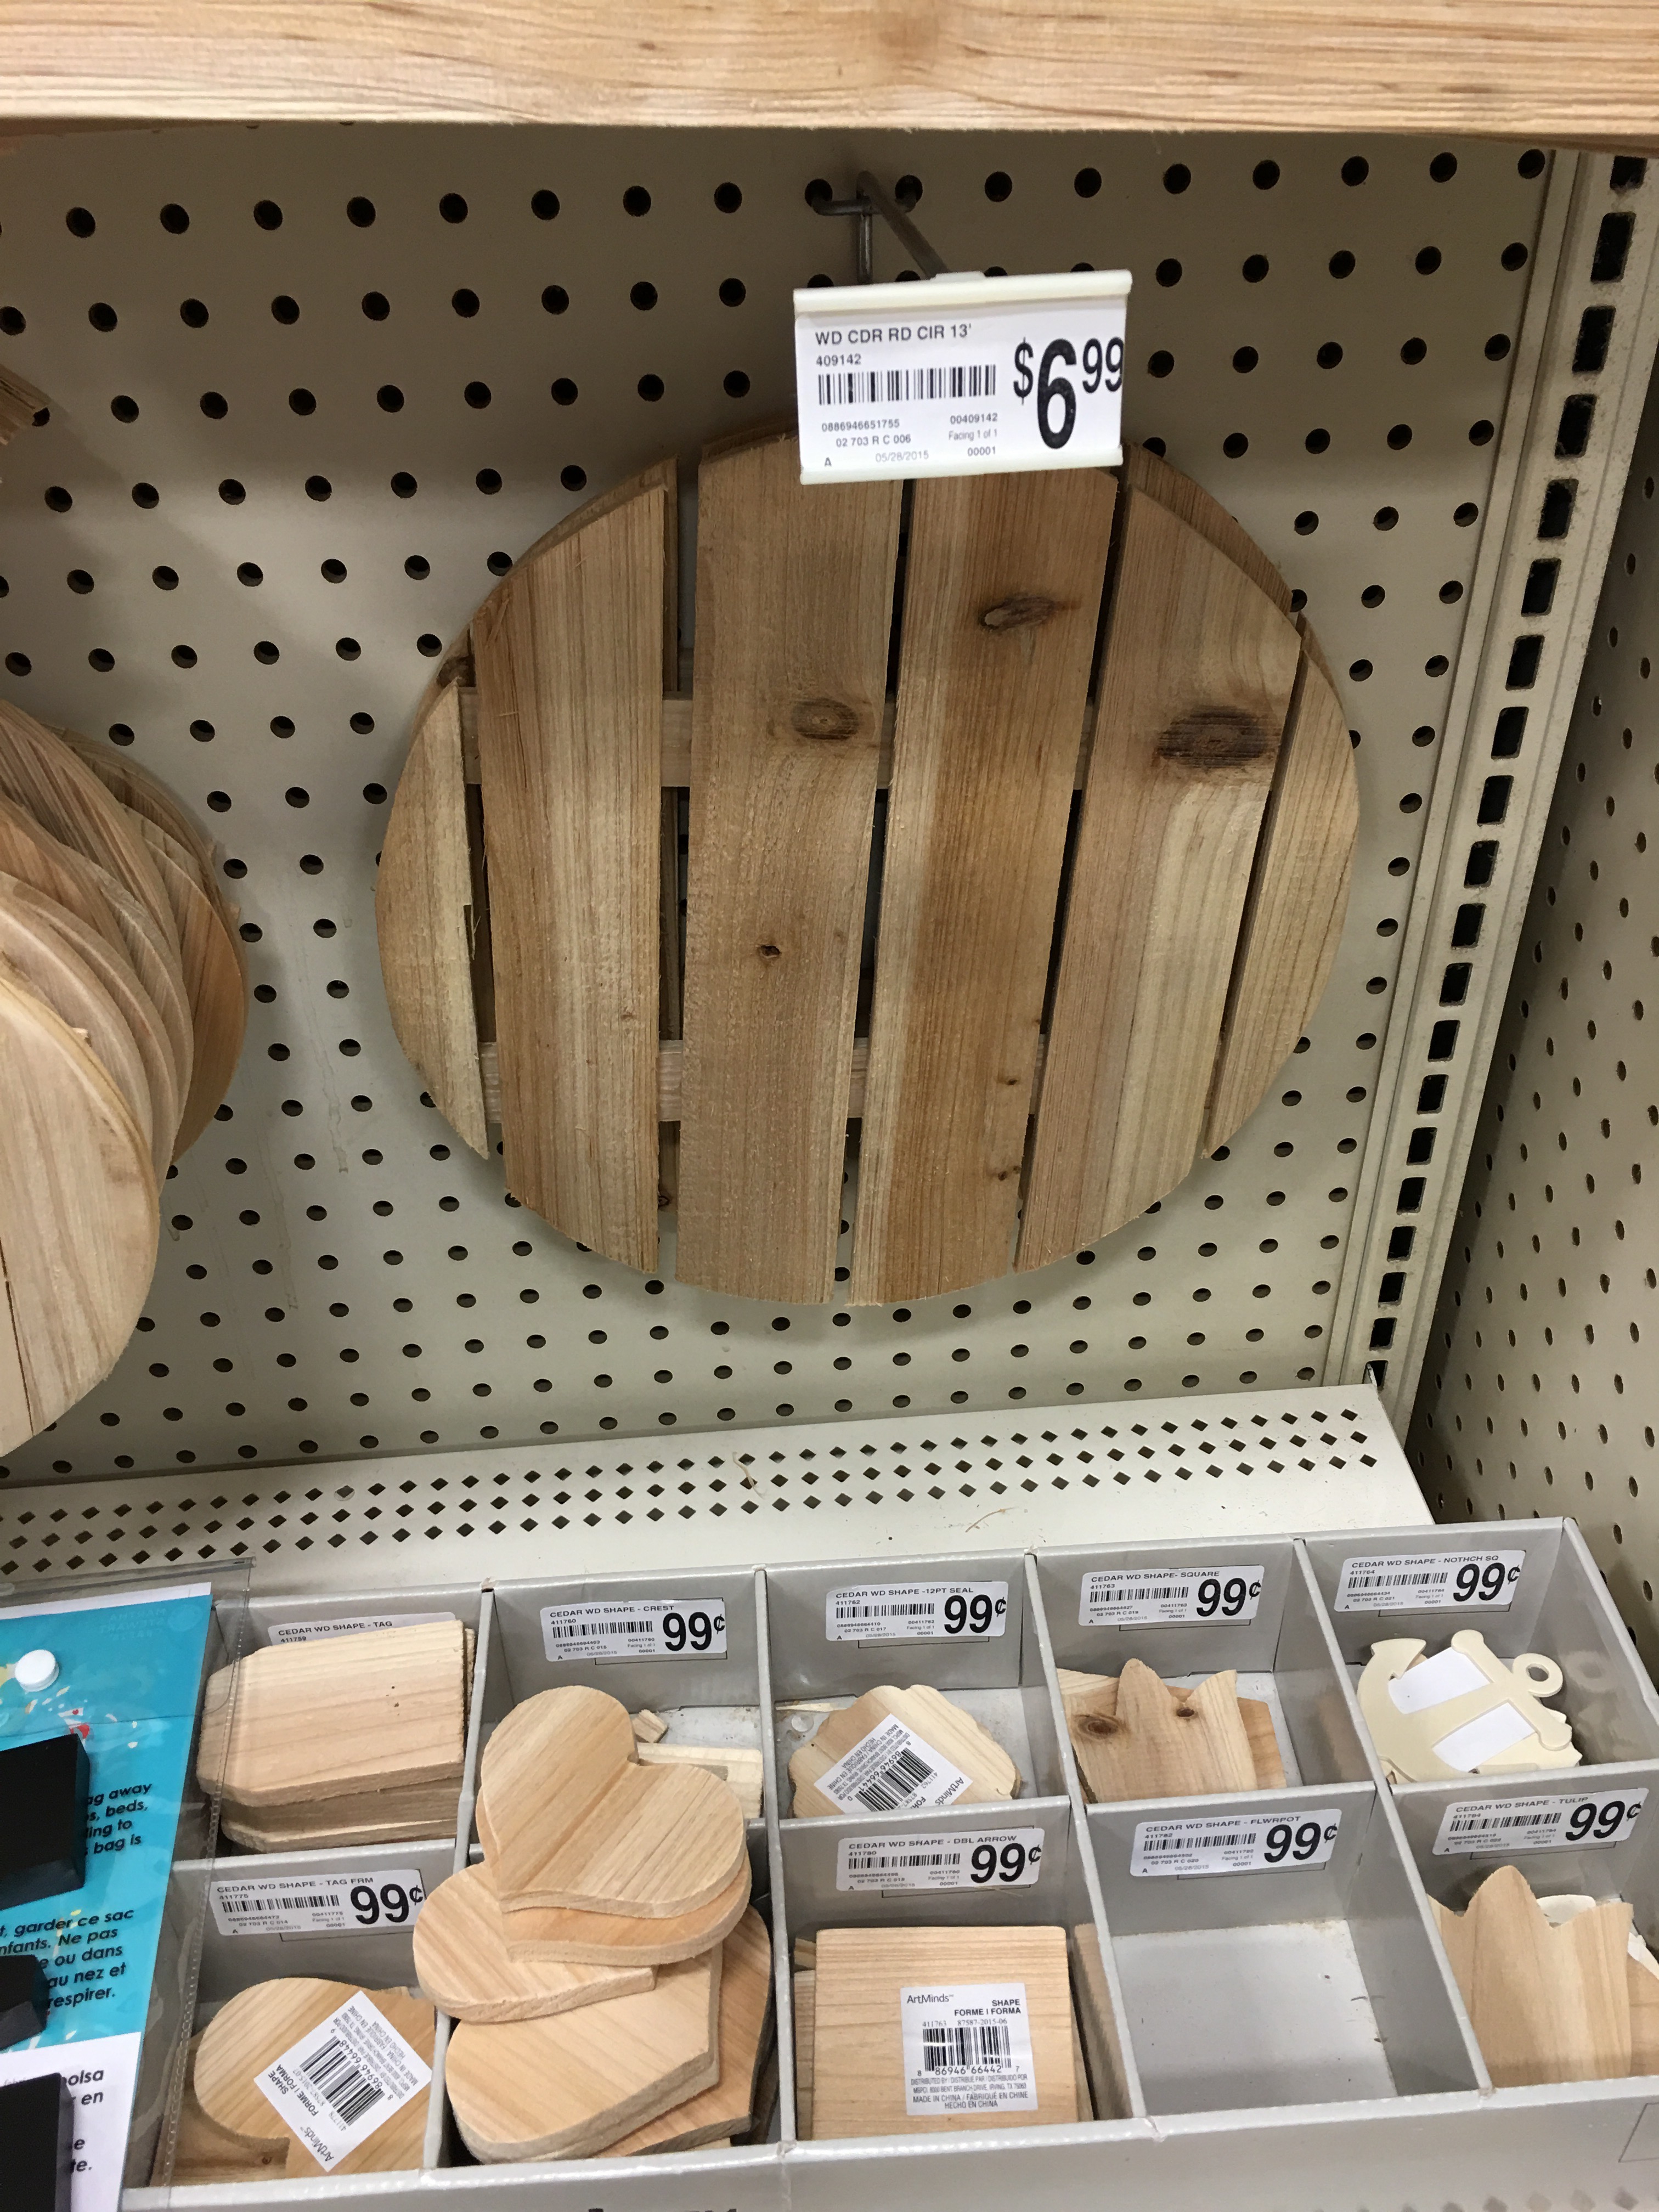
I mounted the wood plaque in its raw form (no staining, no sanding) above the two center floating frames. I love the contrast between the raw pallet wood and and stained plywood panels.
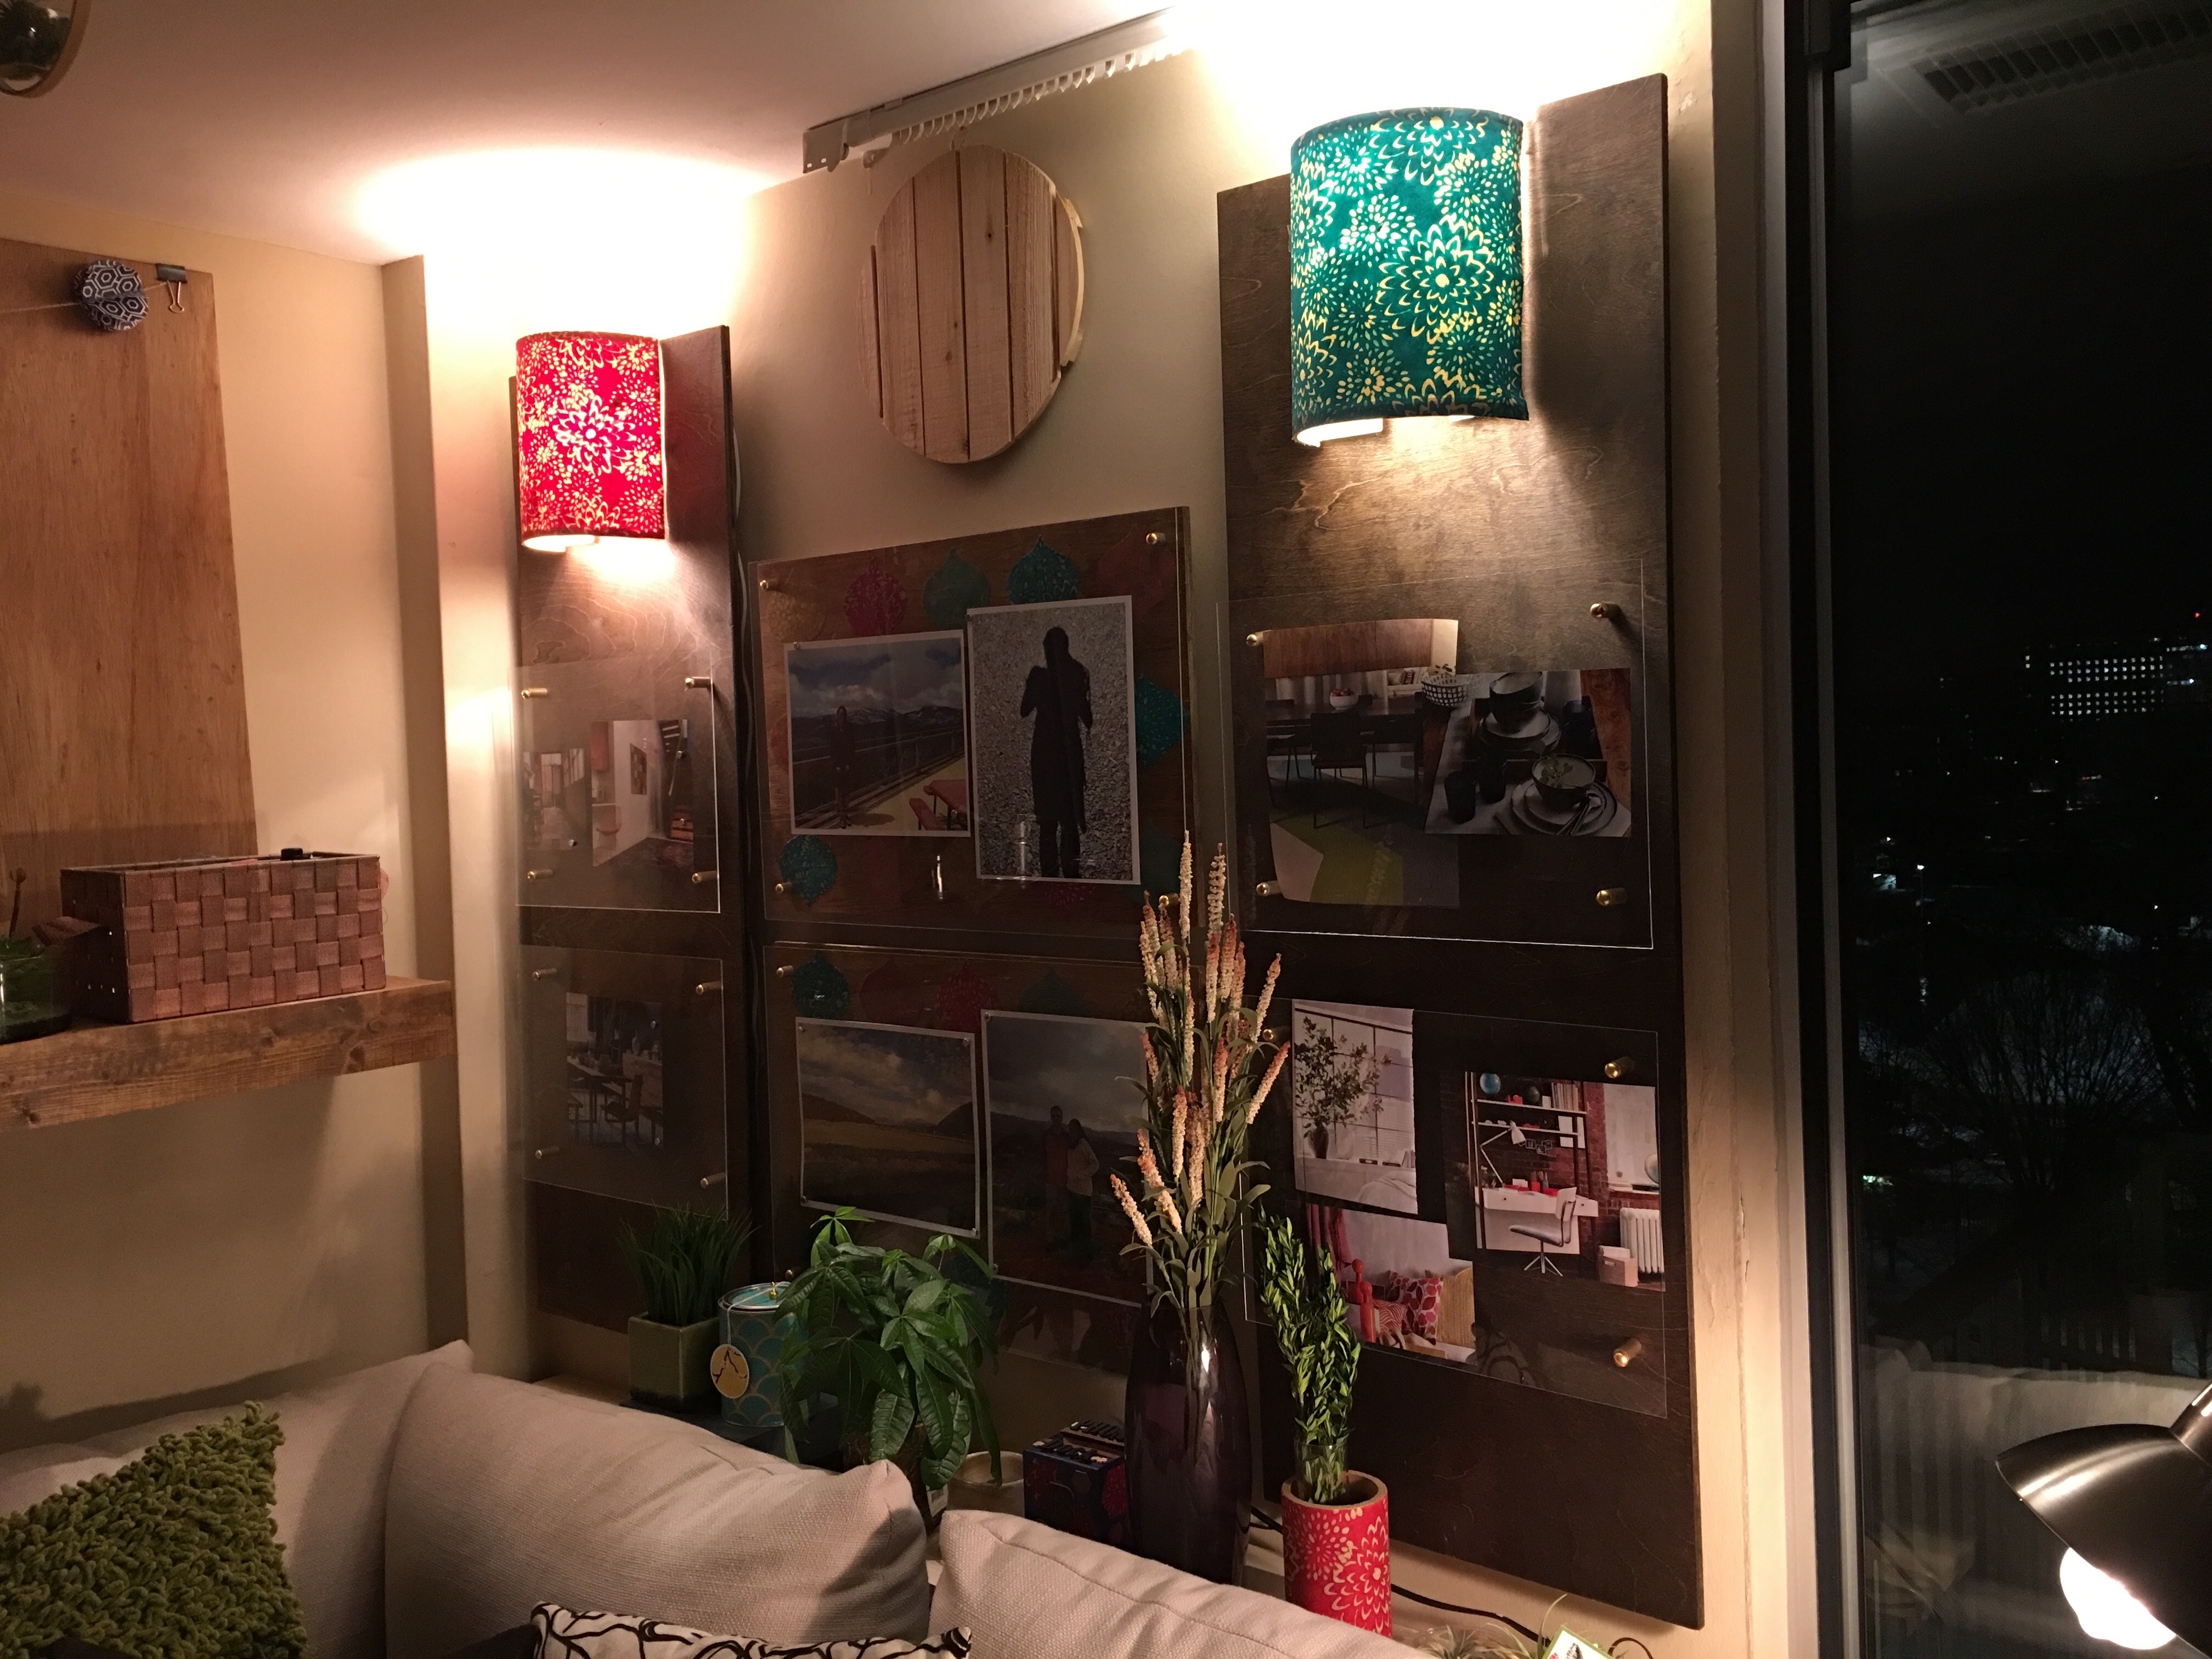
But tonight, i decided that the plaque could use a sconce addition. To add a little extra light in the corner nook space. And to serve as a true centerpiece that ties everything together.
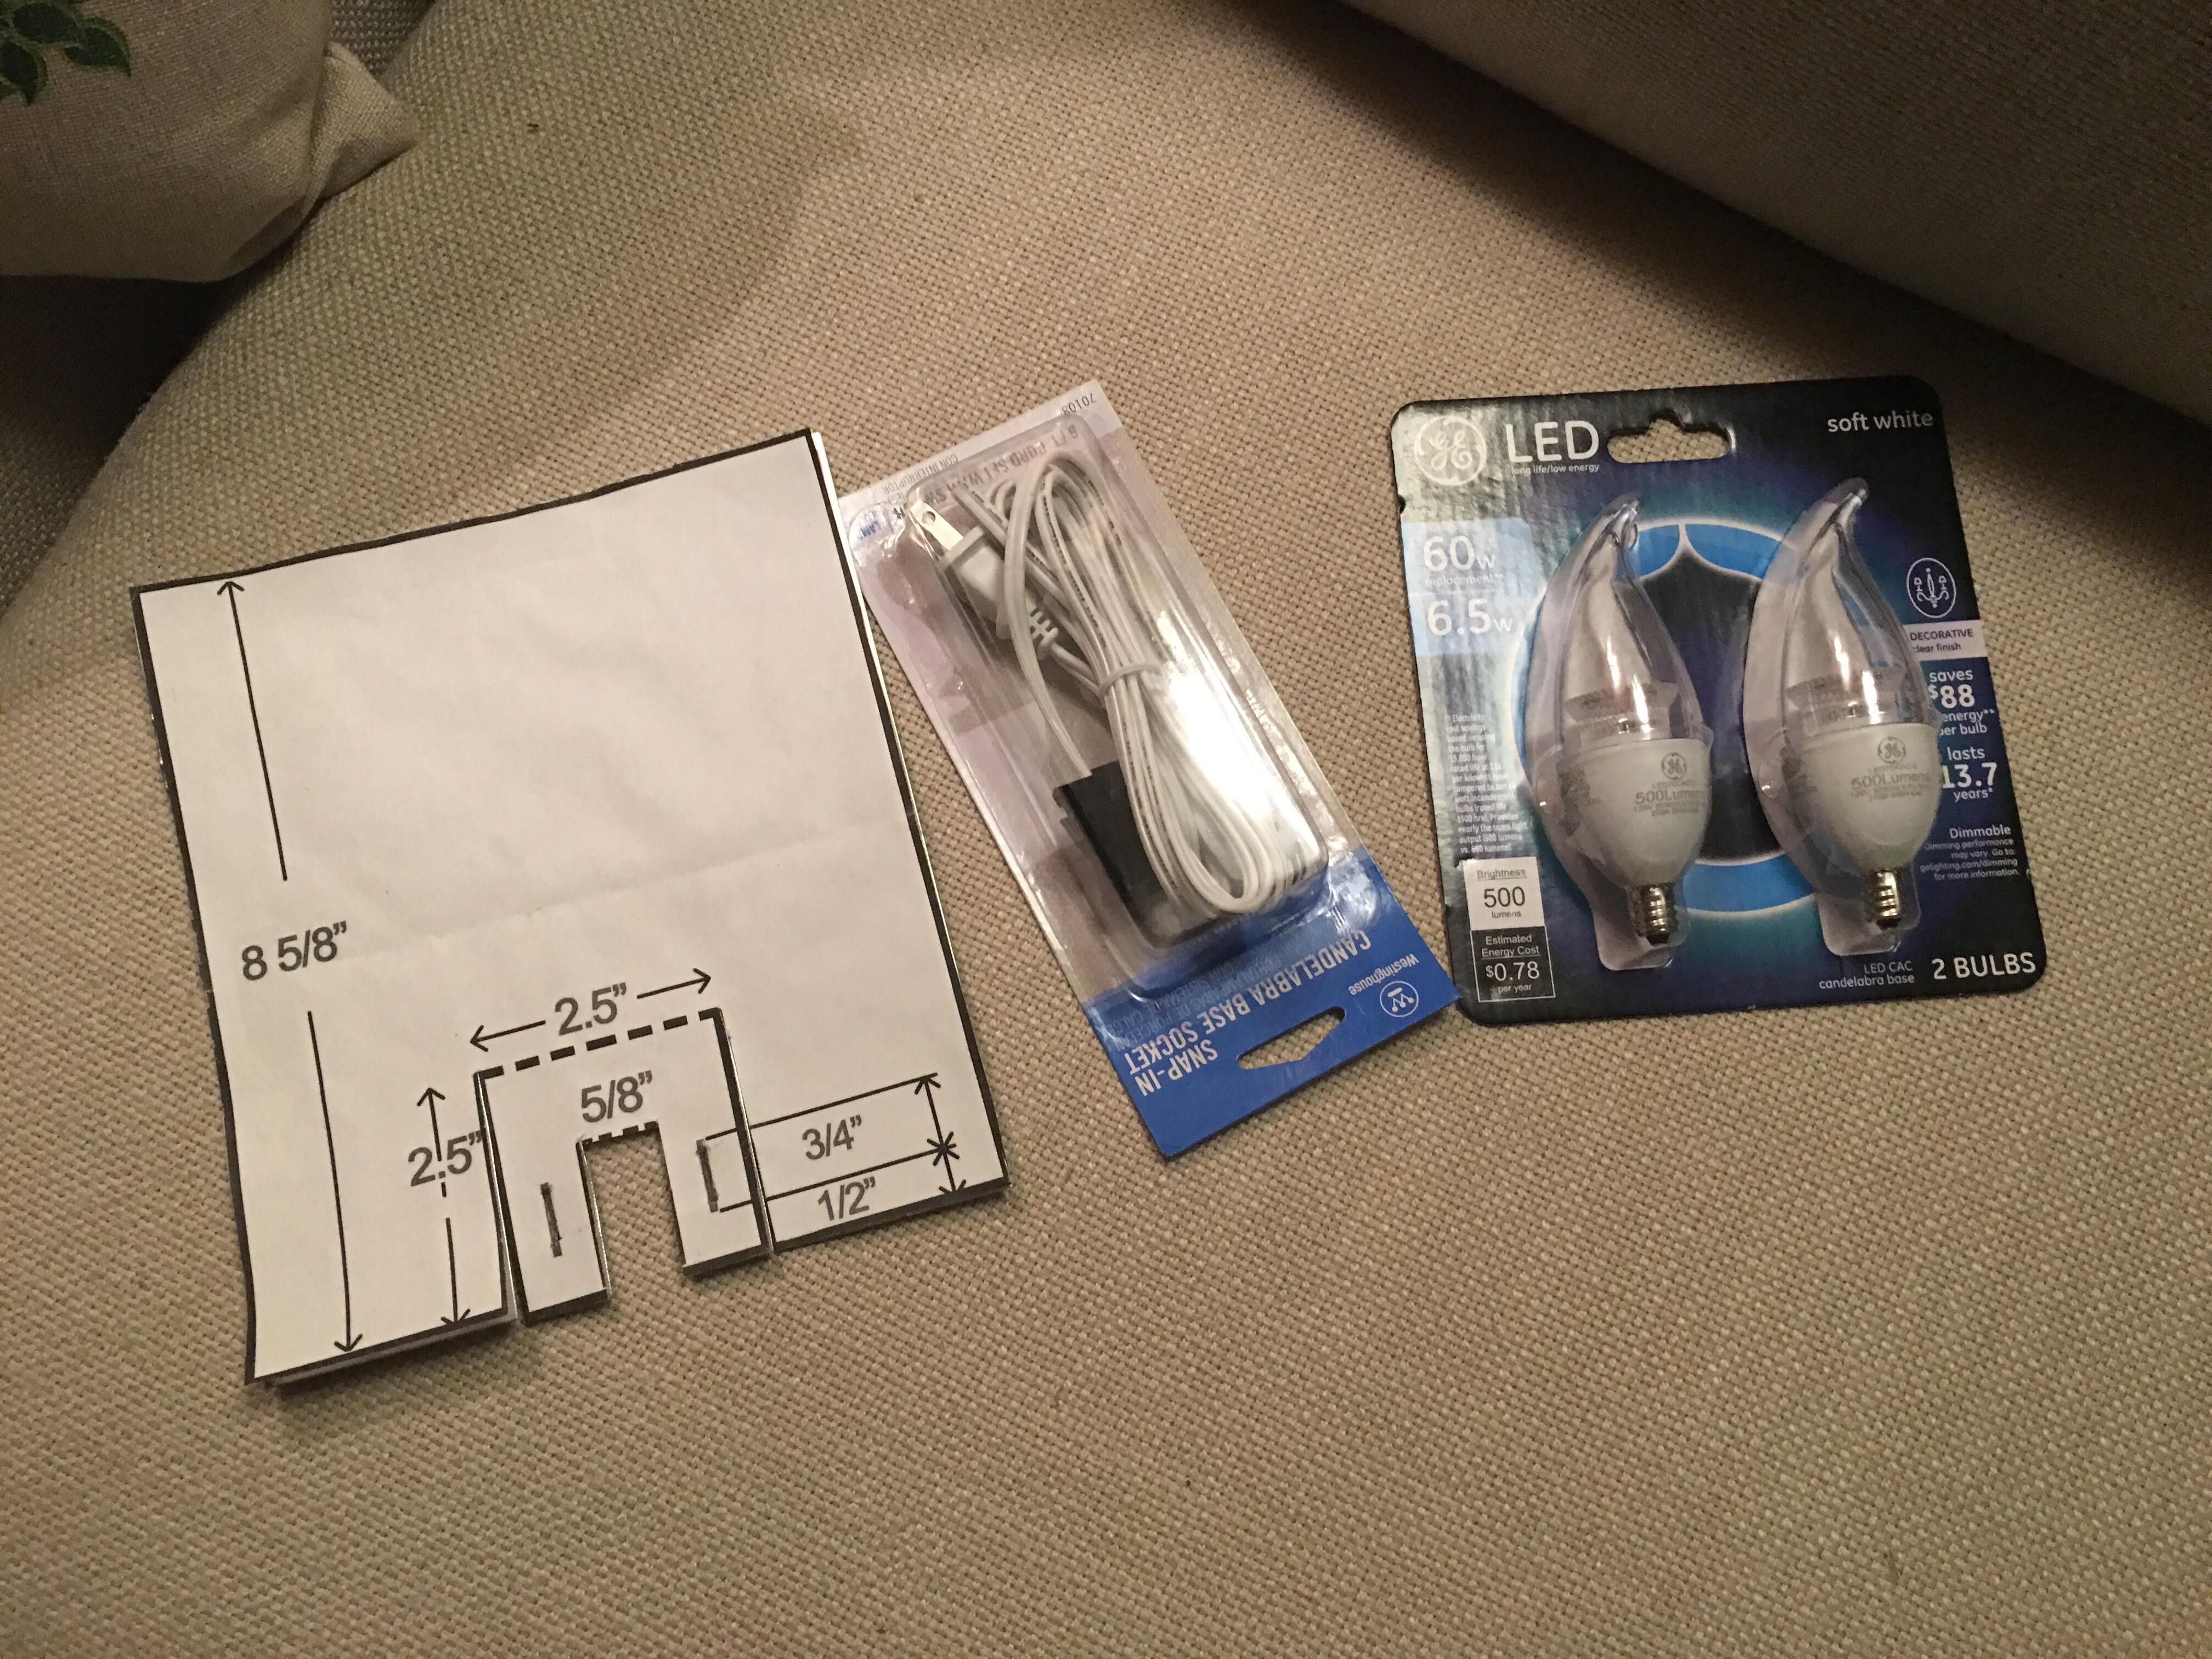
I already made the candelabra base pieces while up at the Deep Creek cabin (using Isabelle LaRue’s template and instructions off her Engineer Your Space website). So I’m ready to begin making the shade for the sconce.
Here’s the project material list for making the shade:
- 10″ wood embroidery inside hoop
- Poster board: 9.5″ x 16″ (I chose orange for this shade)
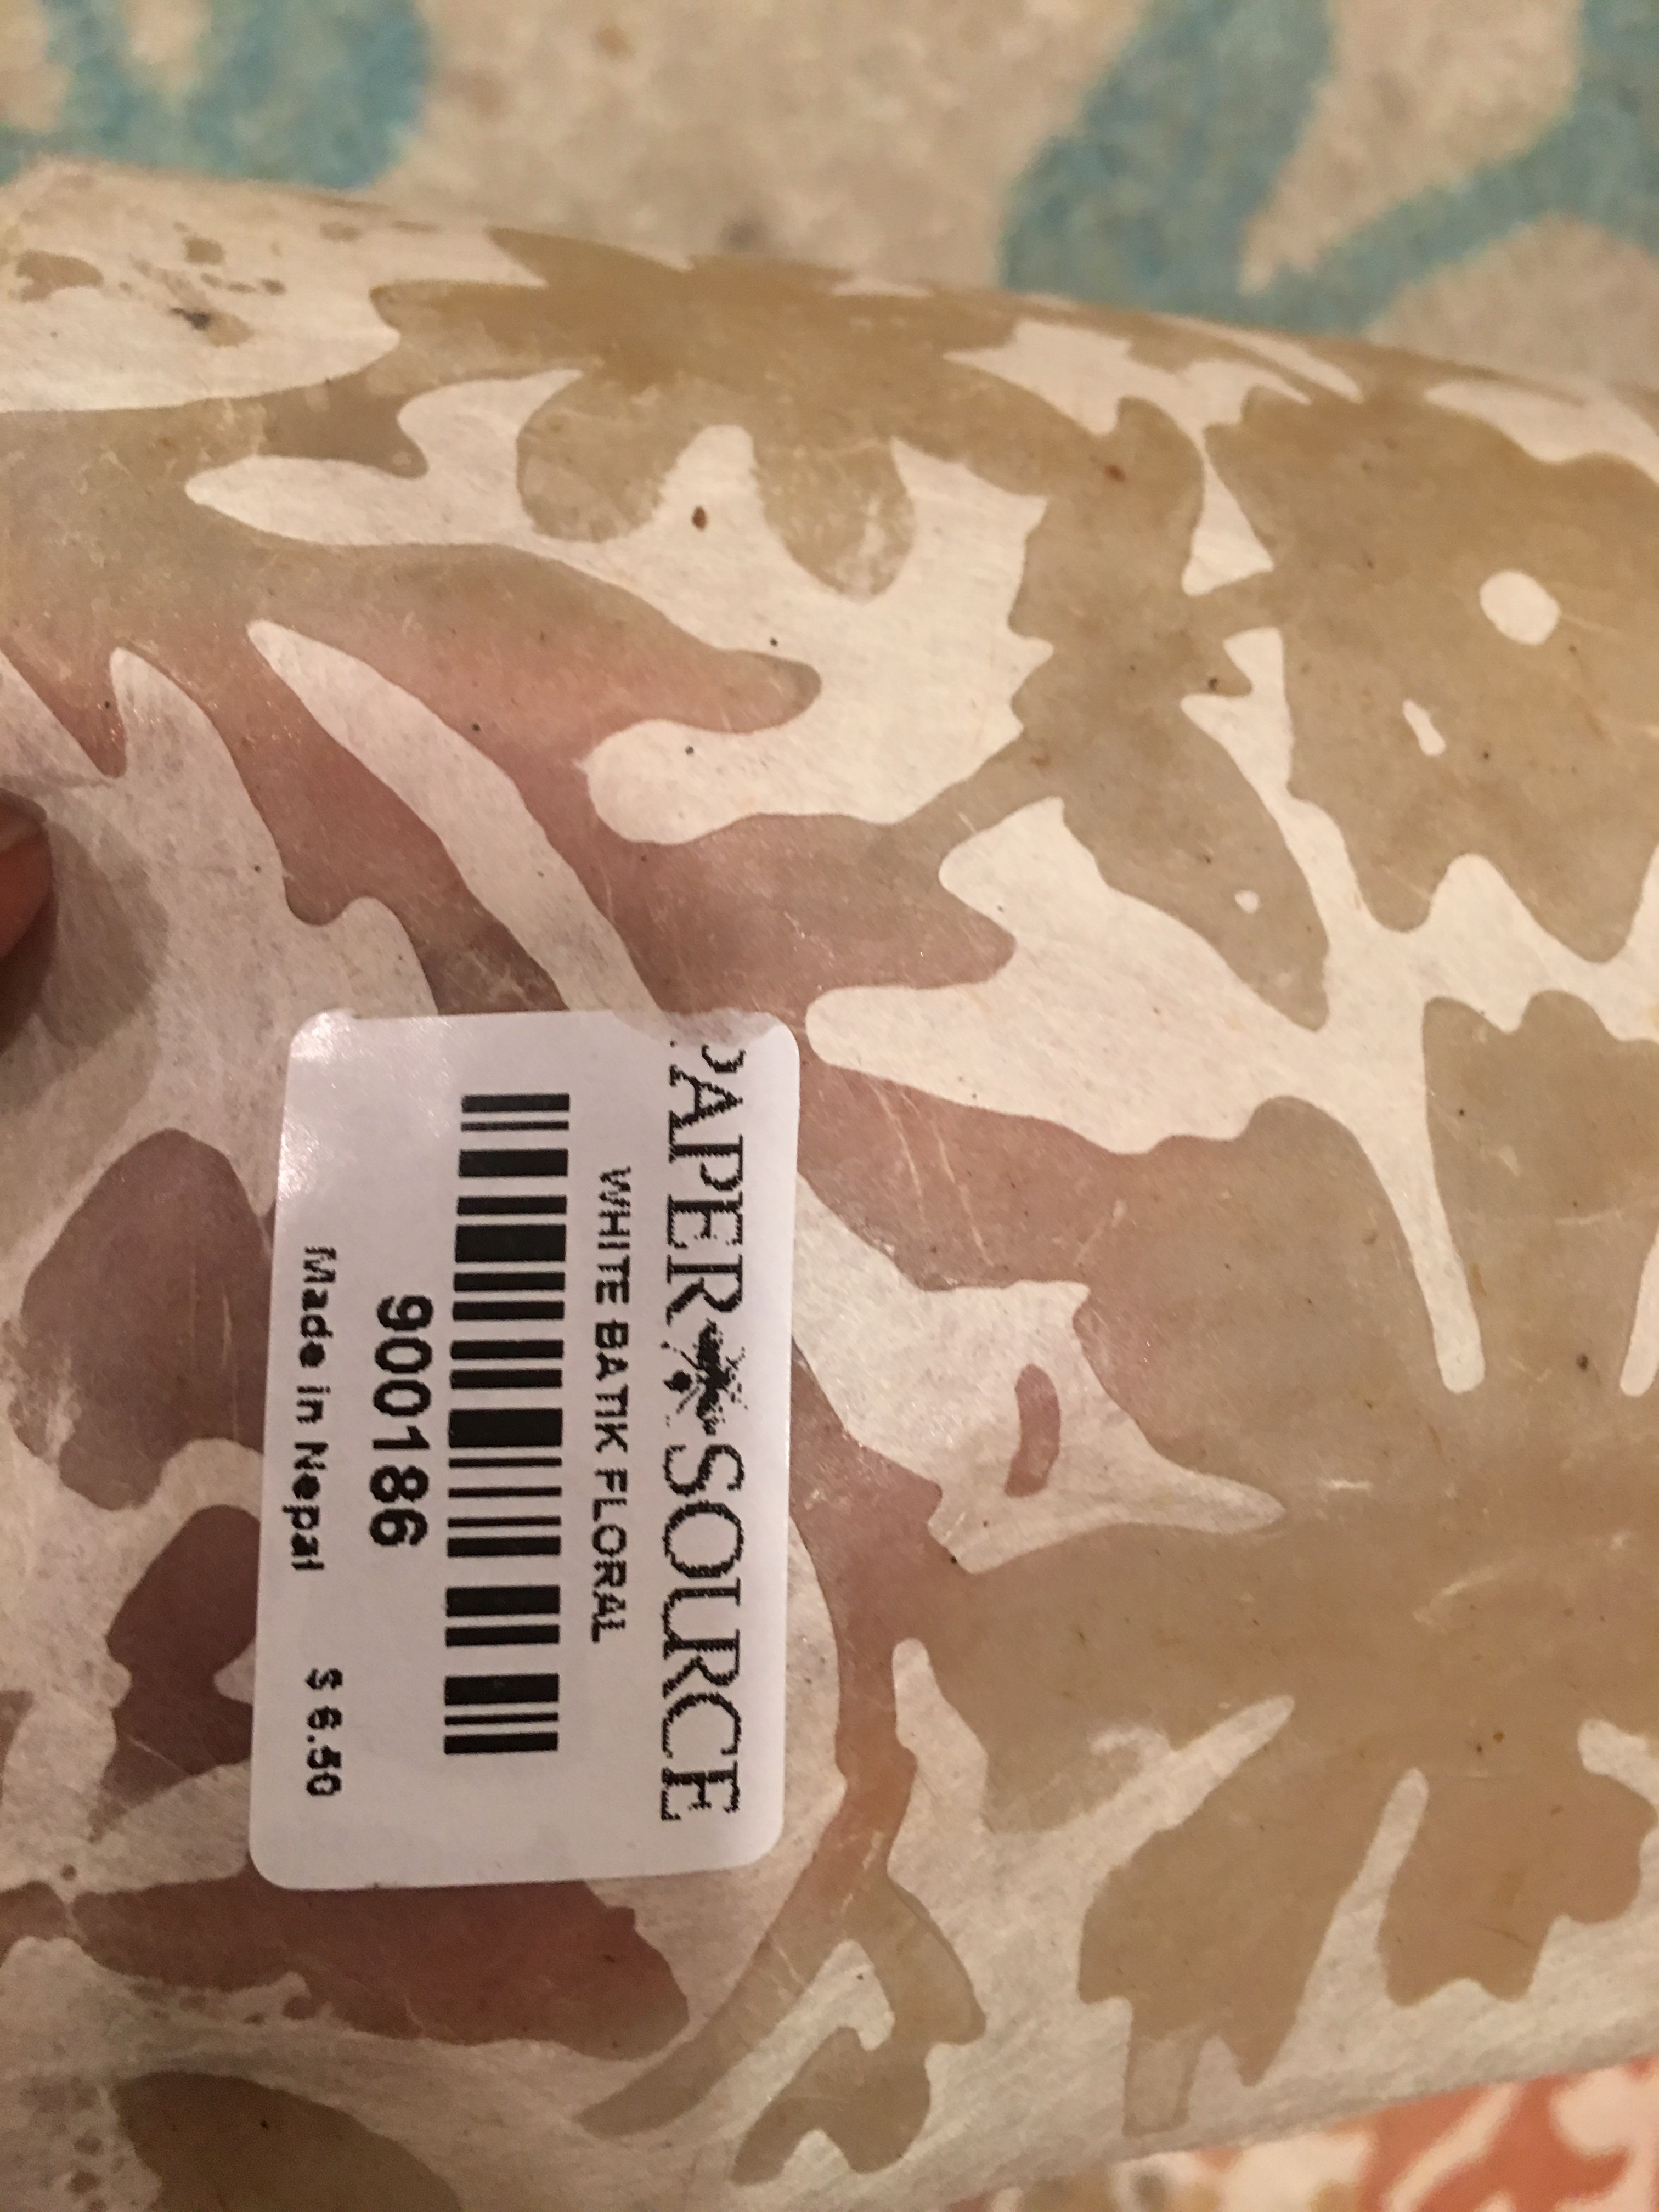
- Decorative fine paper: 9.5″ x 16″ (White Batik Mums paper purchased from the Paper Source selected)
- Plastic corner guard
- Aluminum sheeting (I’m working with two scrap pieces from making the candelabra base pieces last month)
- Hot glue gun
- Binder clips
Since the centerpiece sconce will be slighter bigger than to two side sconces, I deviated from Isabelle’s plan by scaling the hoop and poster board sizes up. The shades for the side sconces were made using two halves of an inside 8″ wood embroidery hoop attached to 9.5″ x 12.75″ decorated poster board.
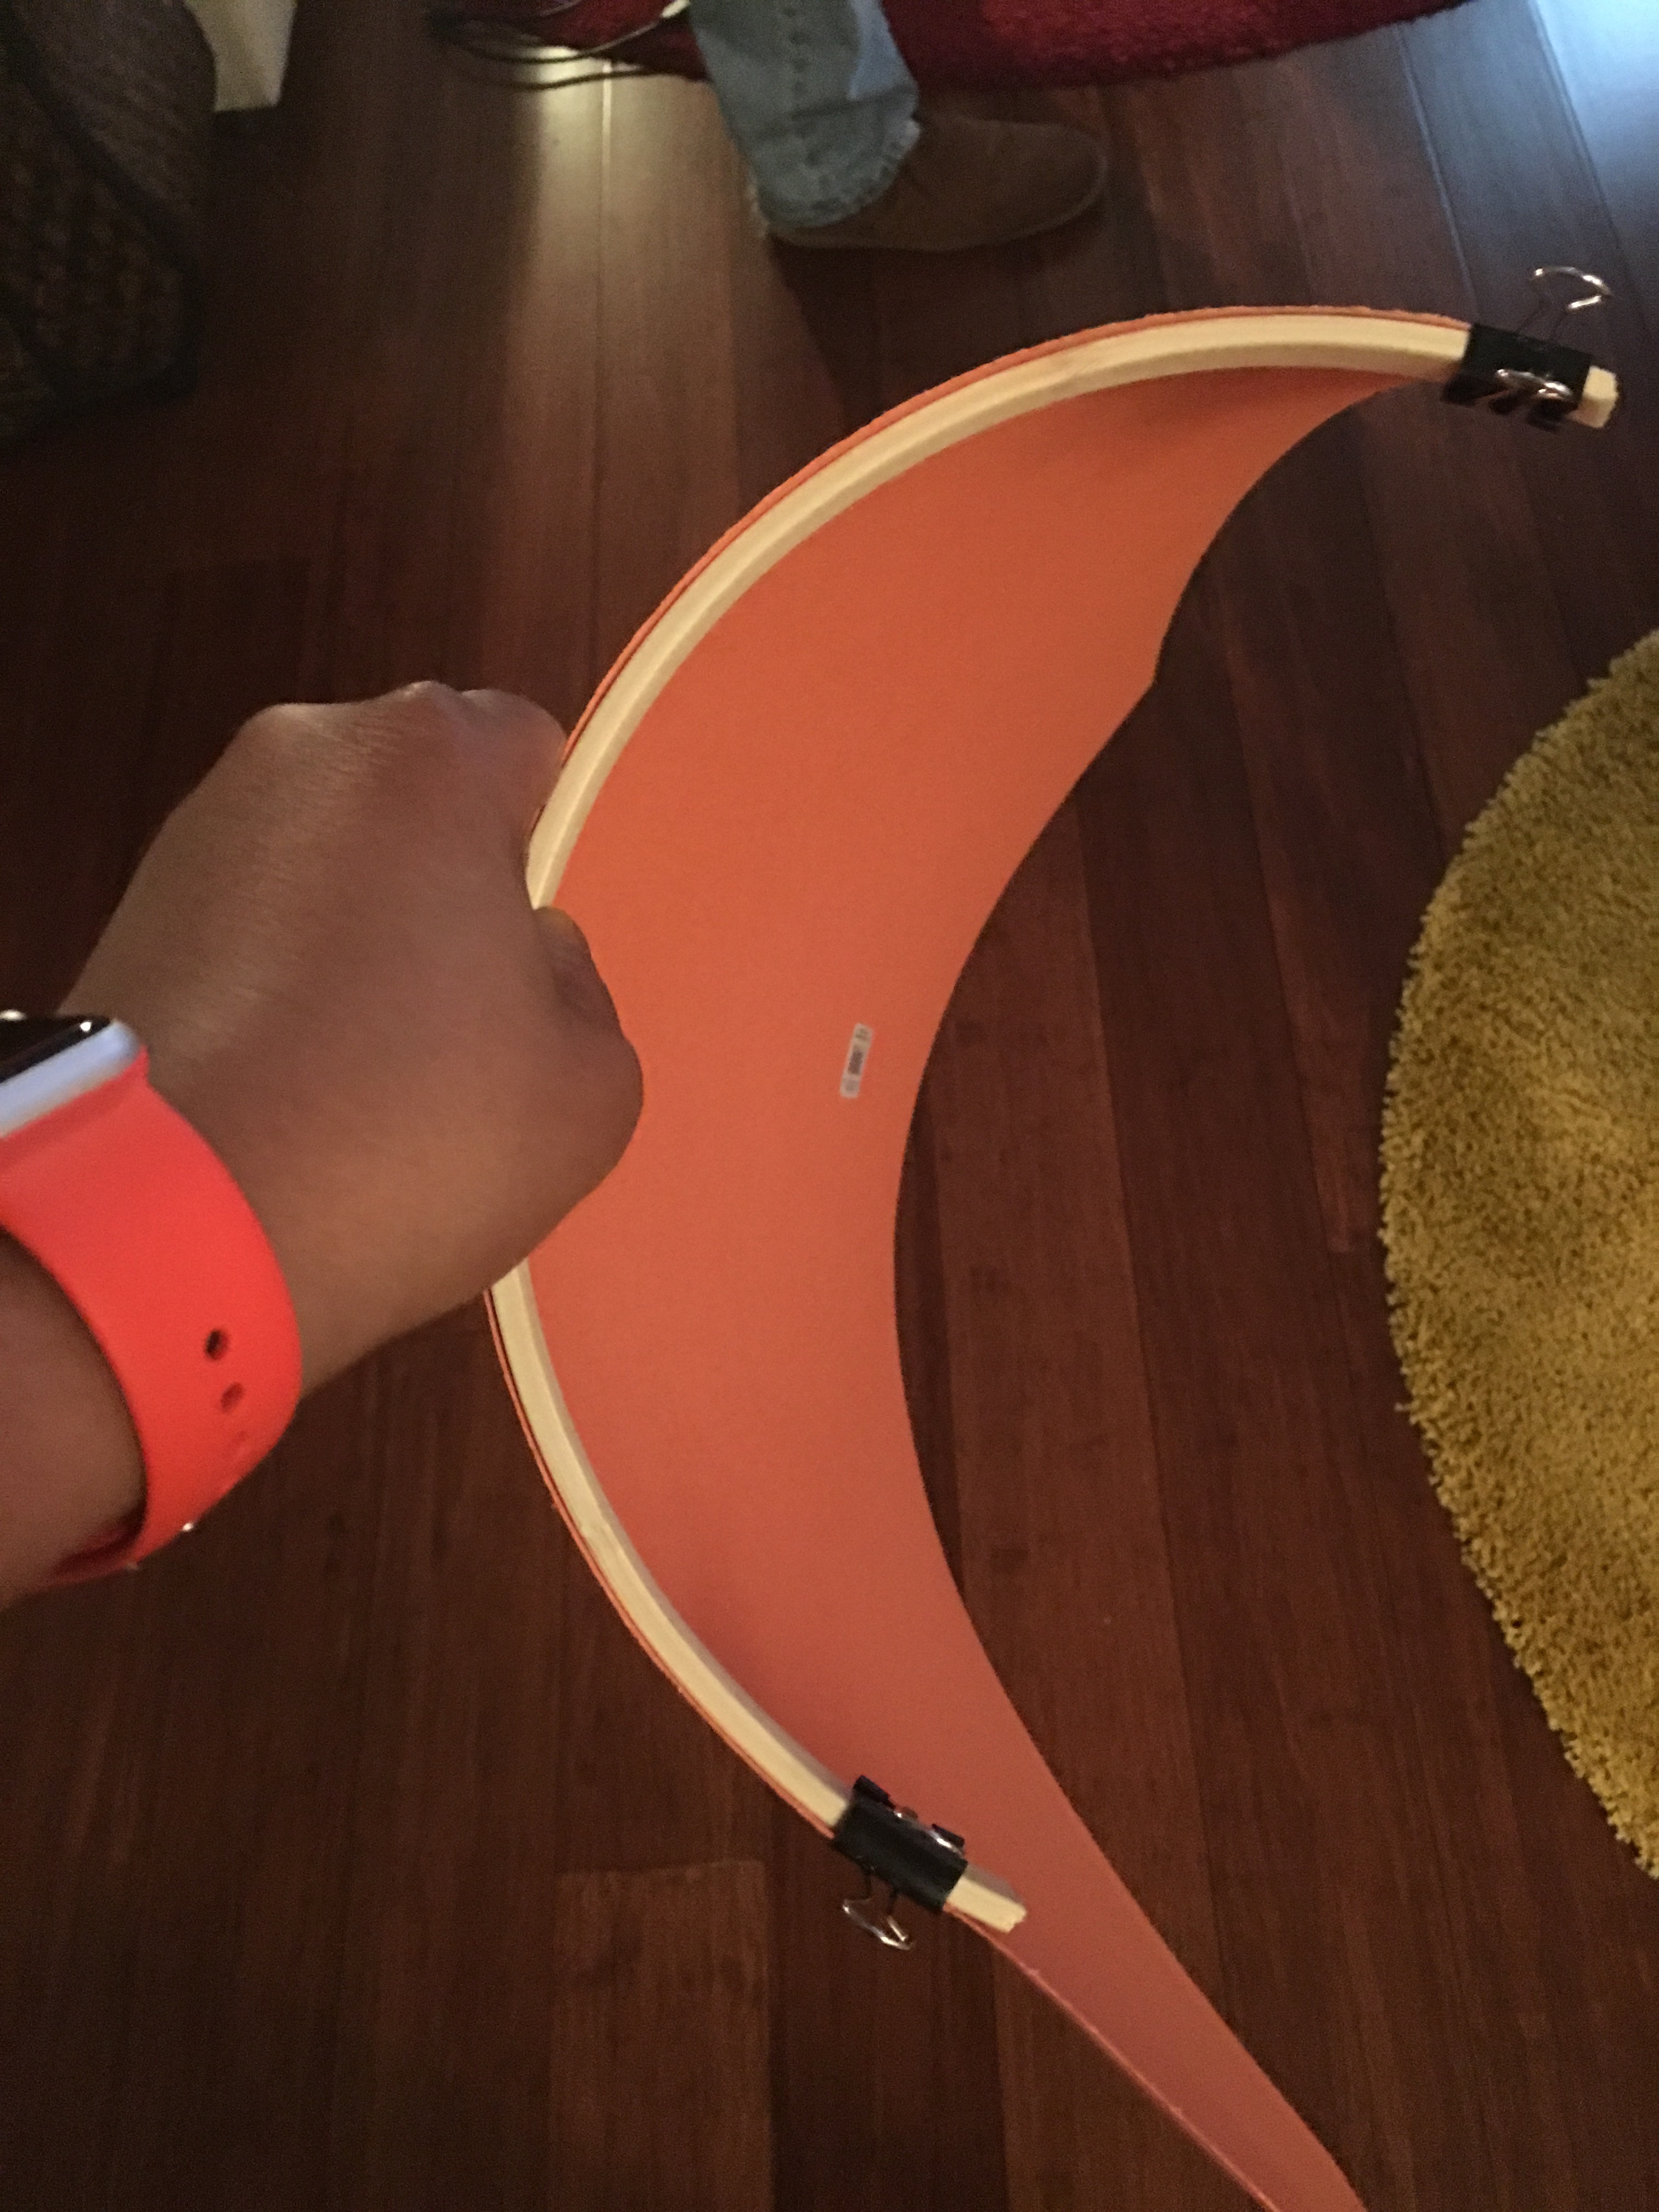
So for this sconce, I’m using the inside of a 10″ hoop instead. After cutting the hoop in half, I’m ready to work on the board.
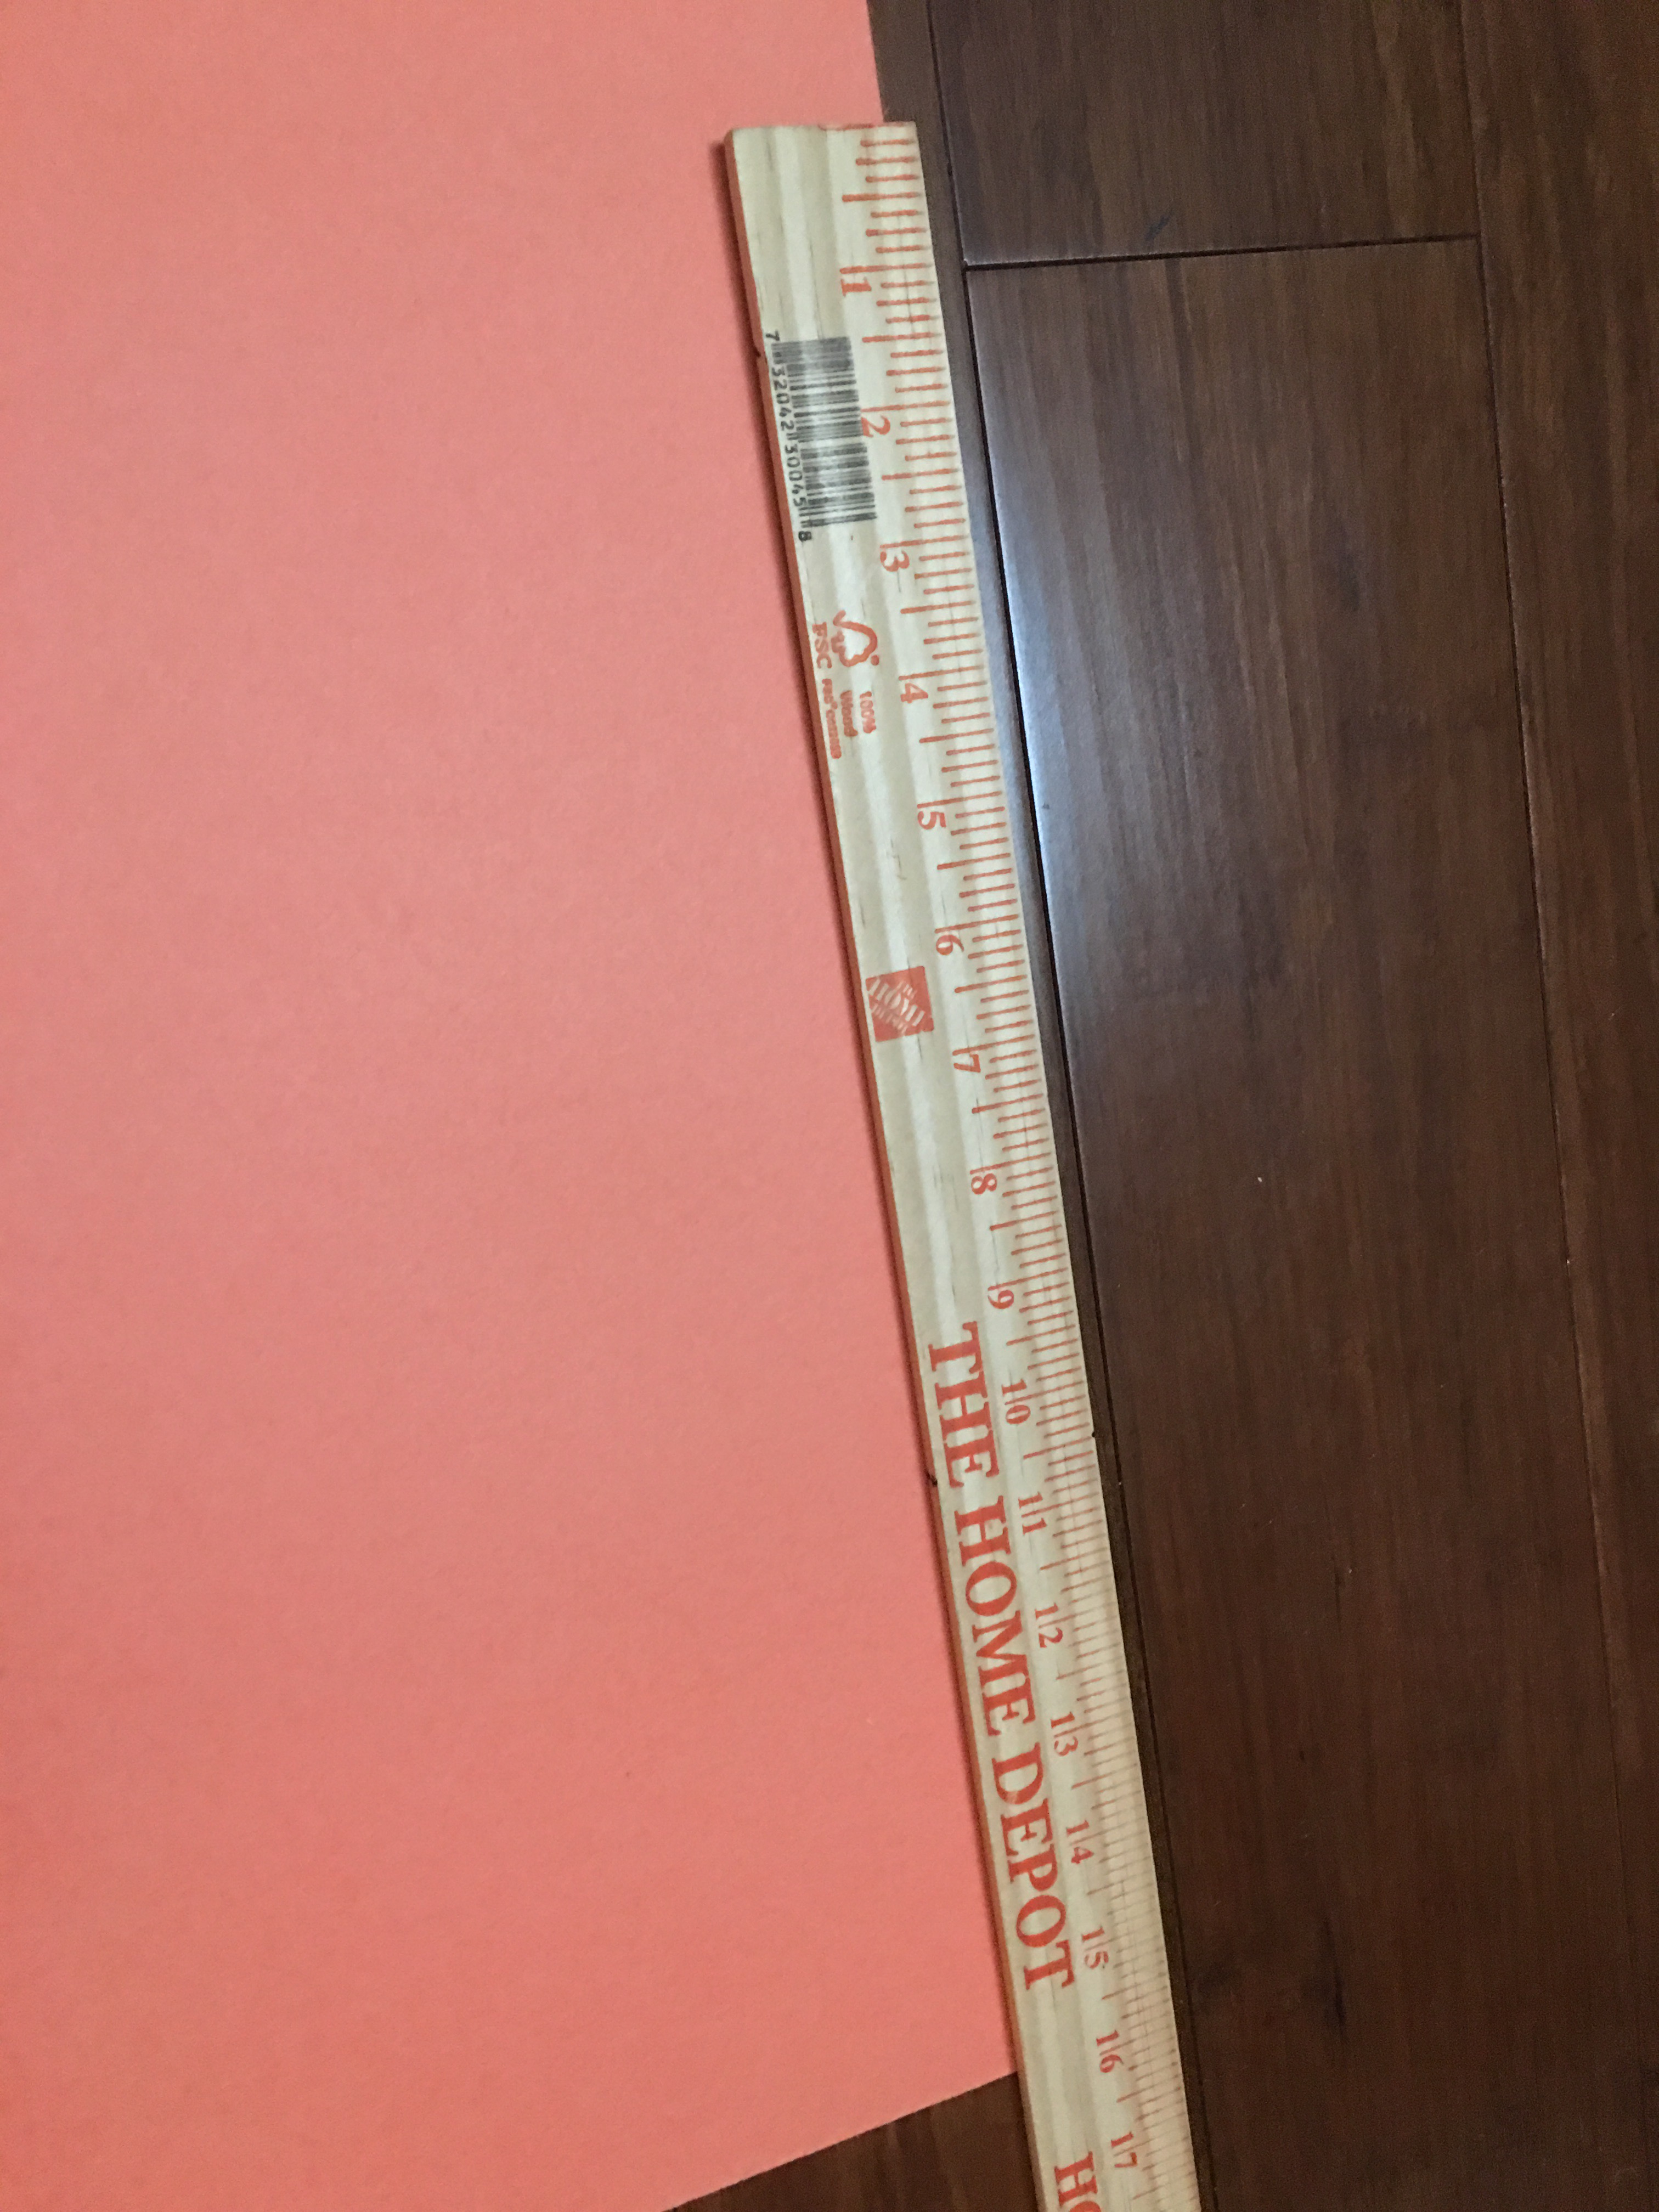
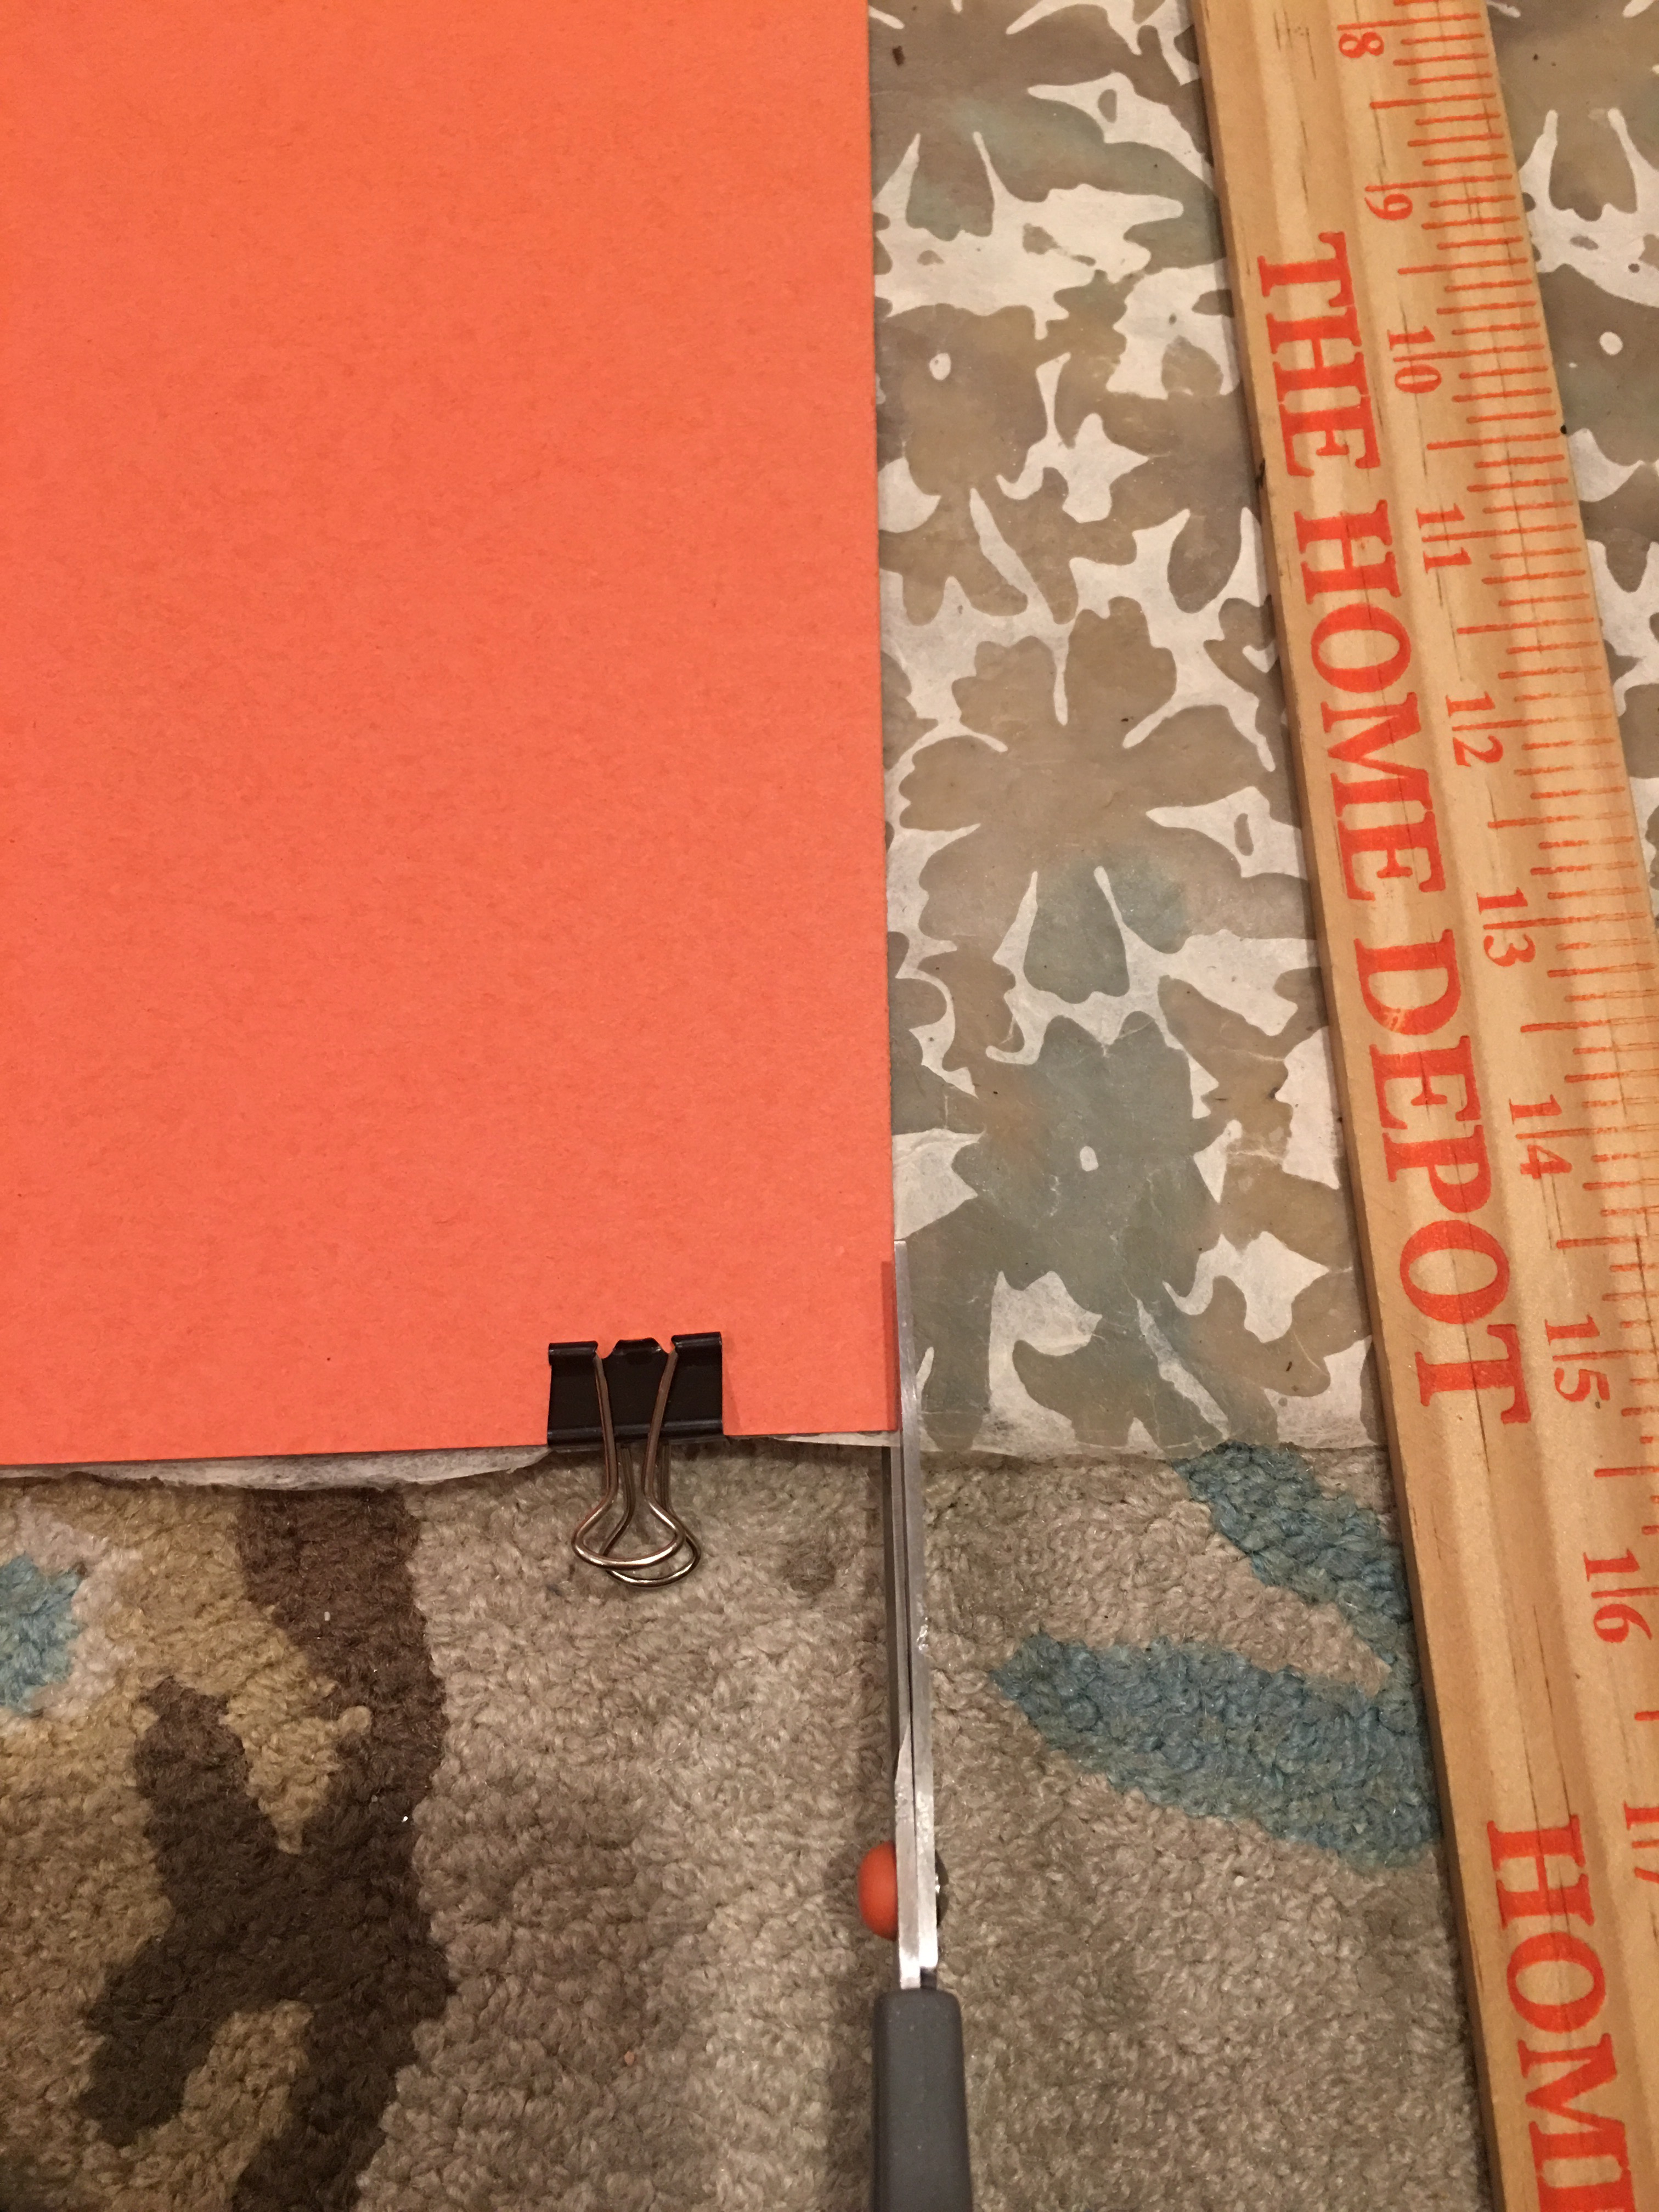
Since I don’t yet know what measurements I need for the poster board, I lined up an edge to one of the hoop halves and secured both ends with binder clips.
I marked where I need to make the cut with pencil…
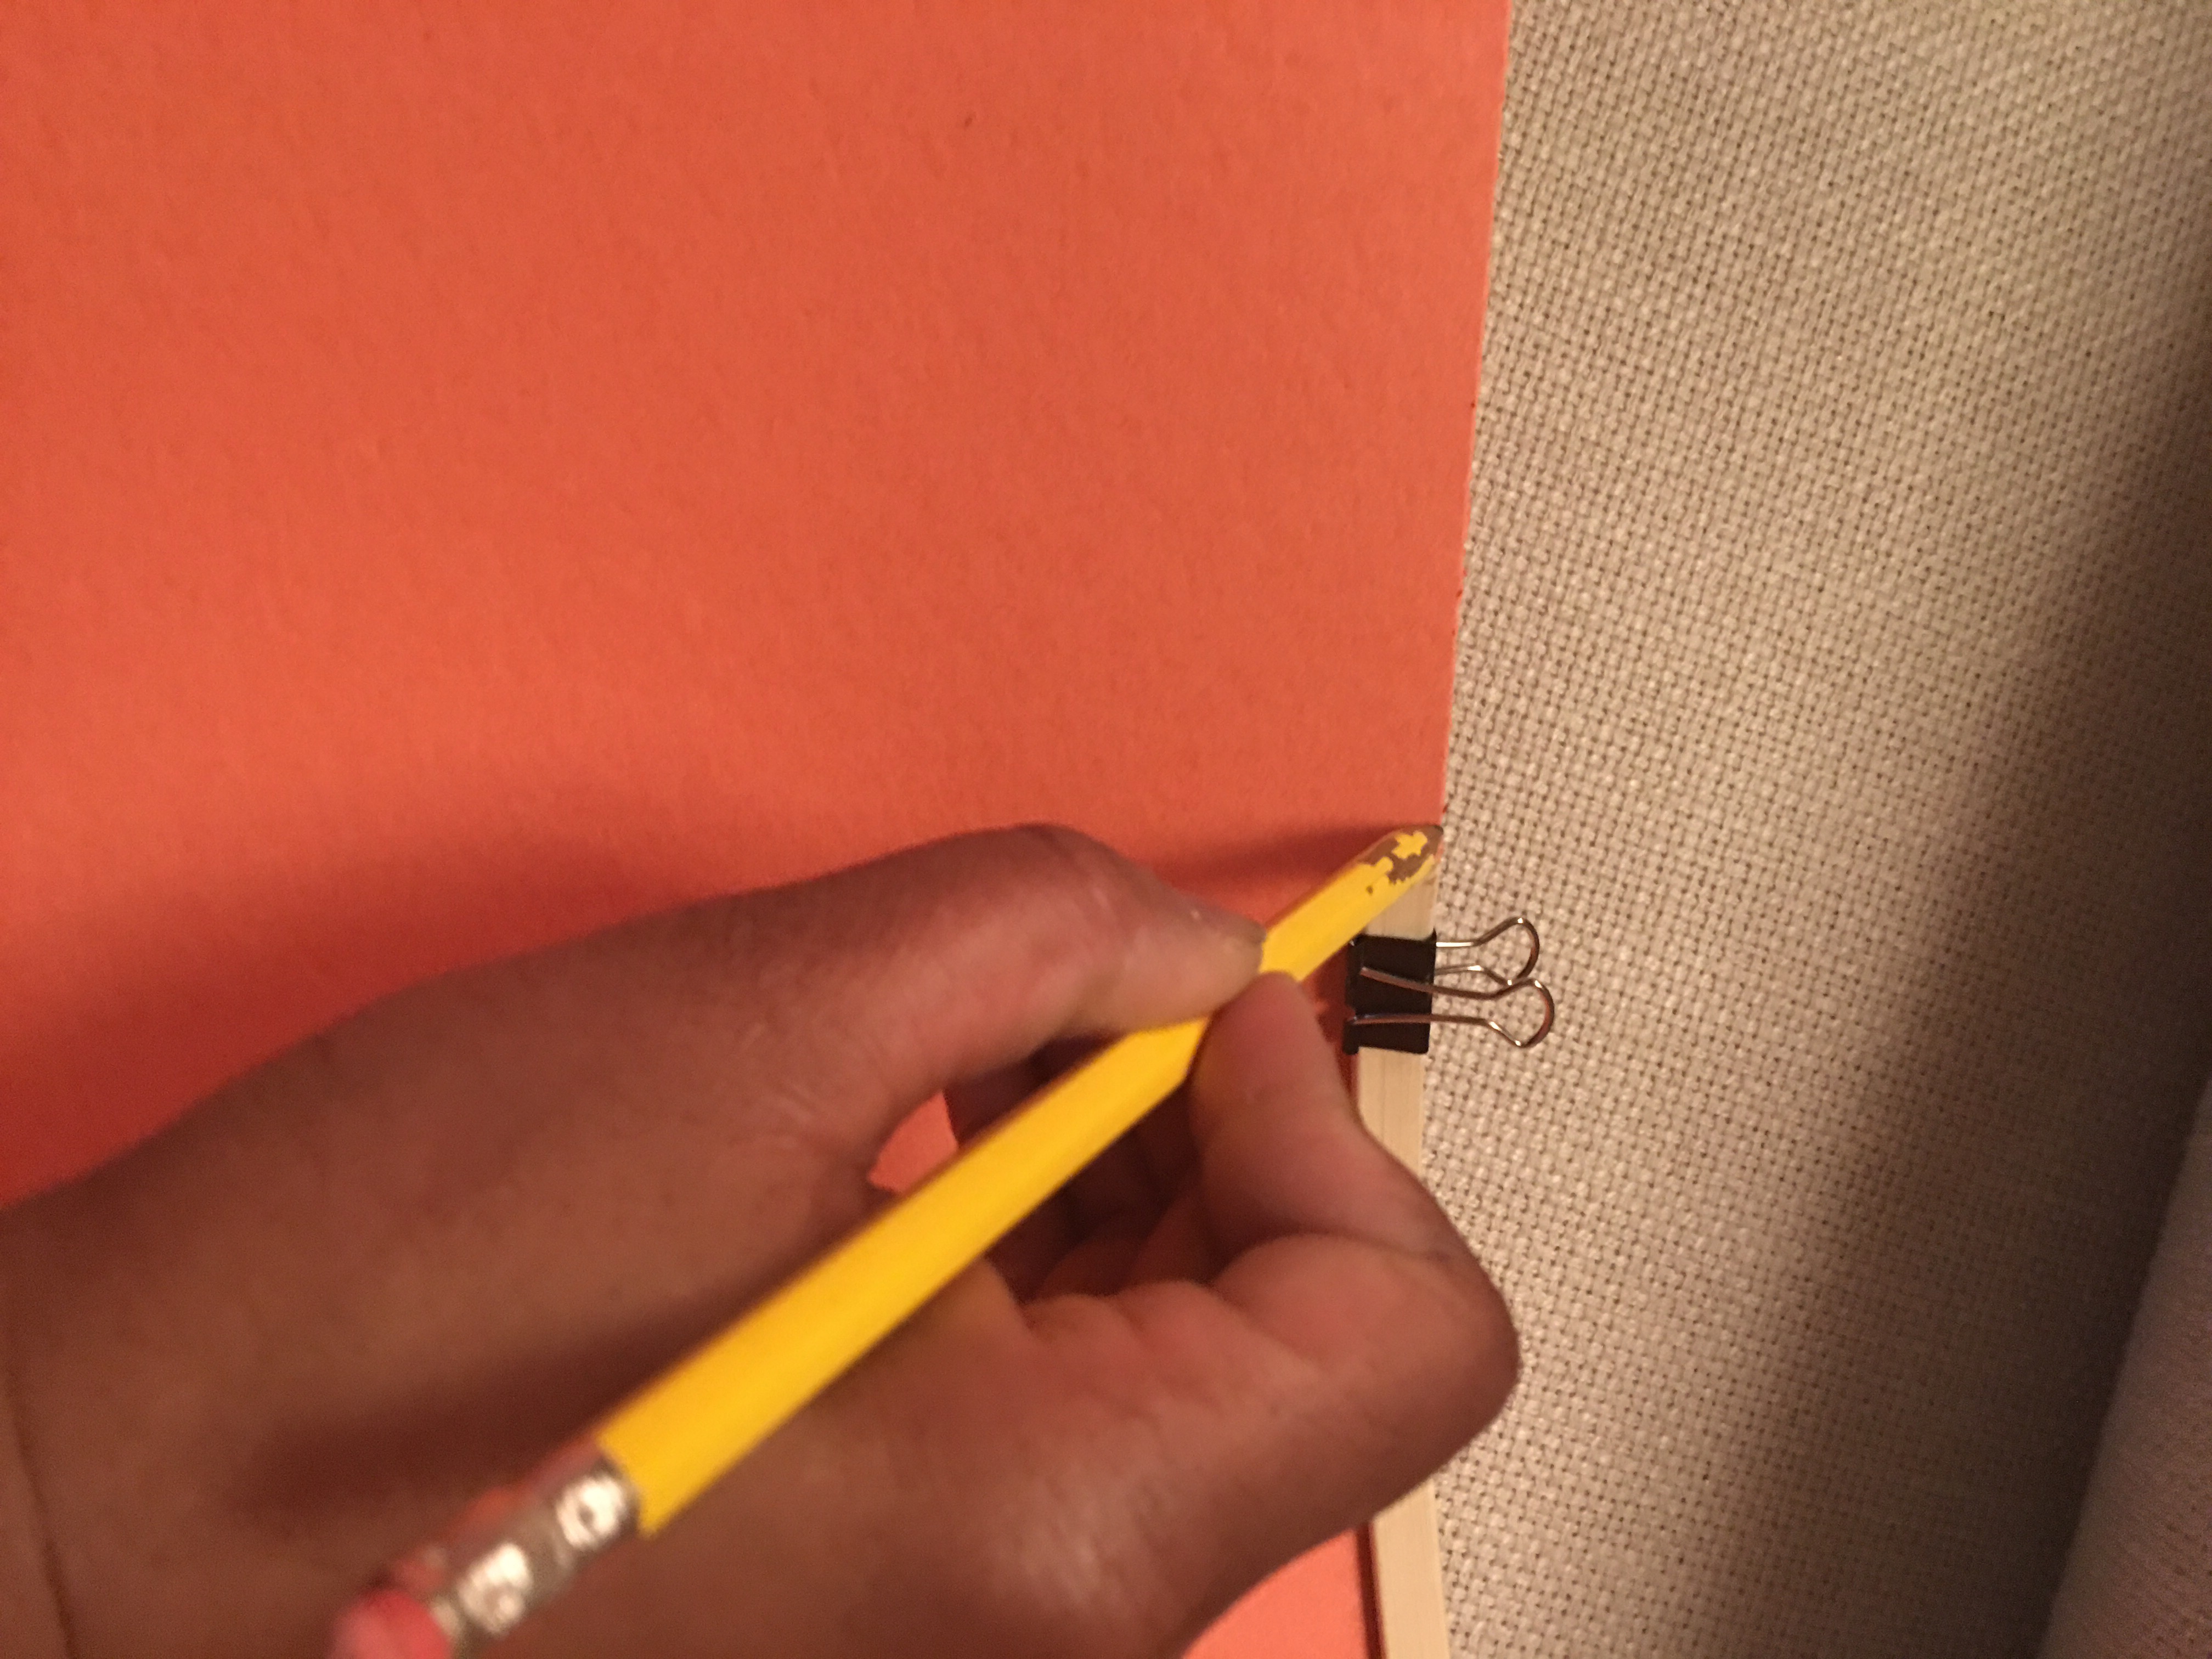
…then measured the marking from the edge. 16 inches. Got it.
I used my guillotine paper cutter to cut the poster board to size.
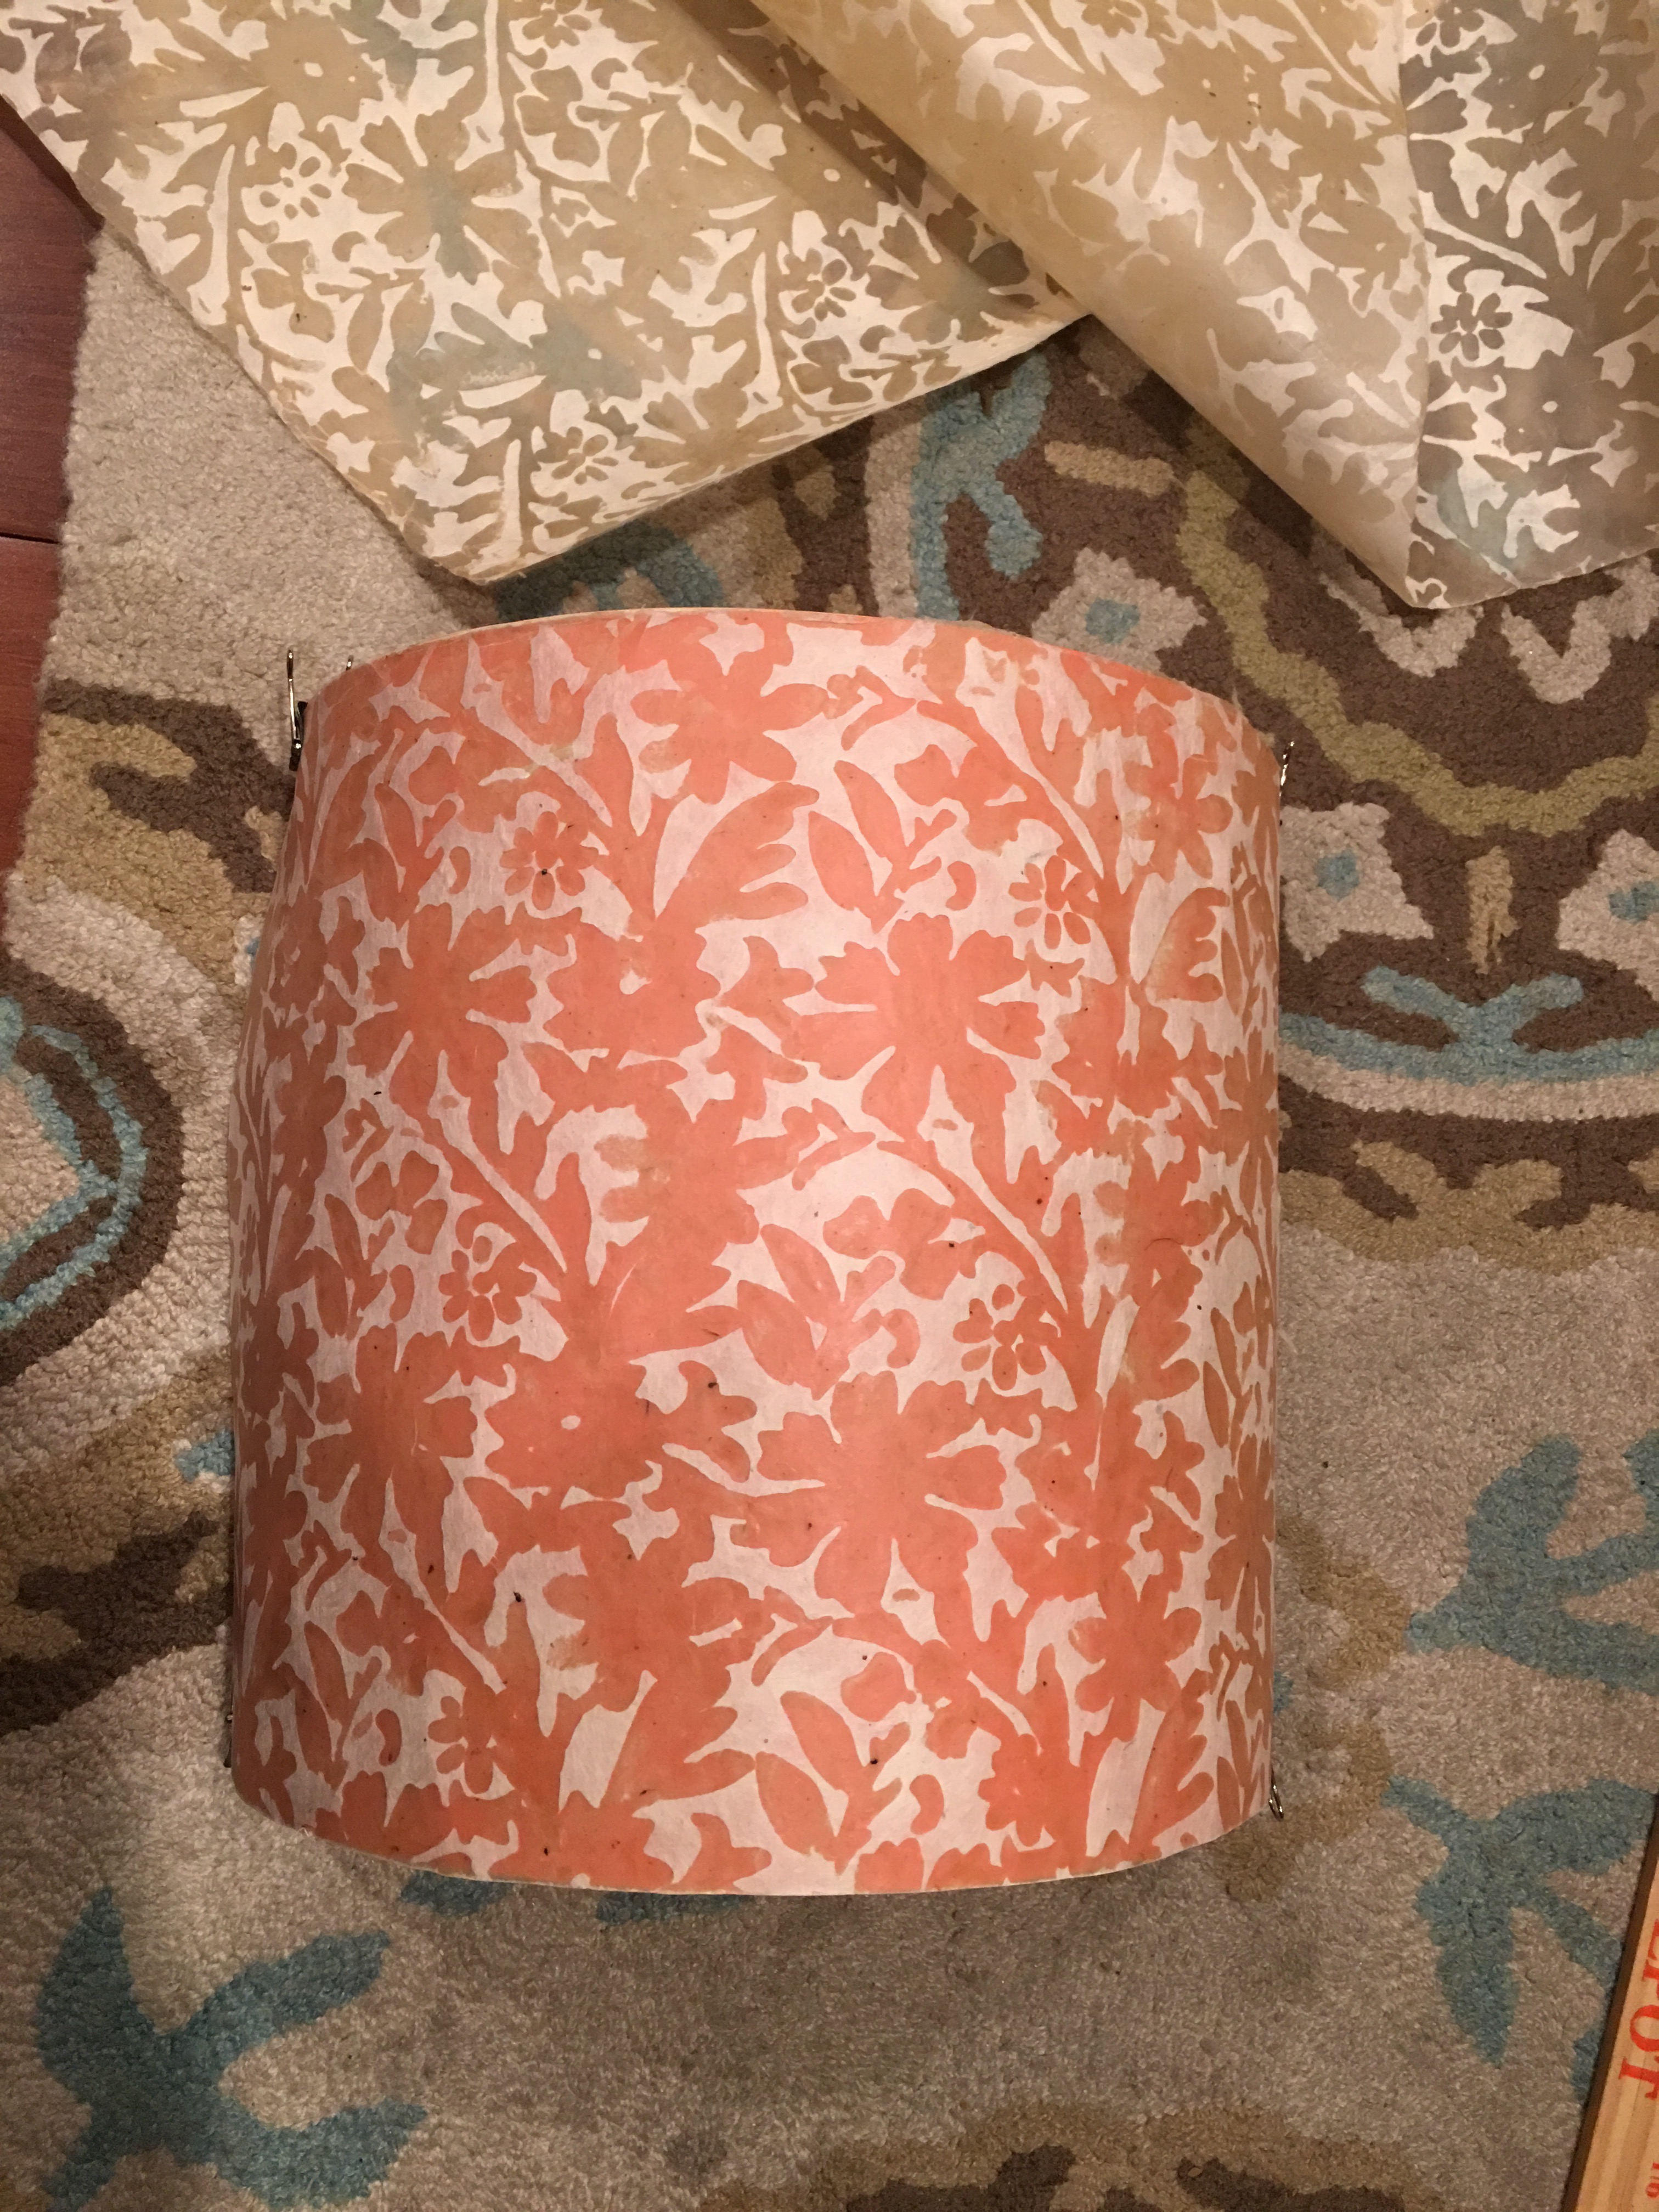
For covering material, I decided to use this beautiful batik white floral paper I recently picked up from the Paper Source.
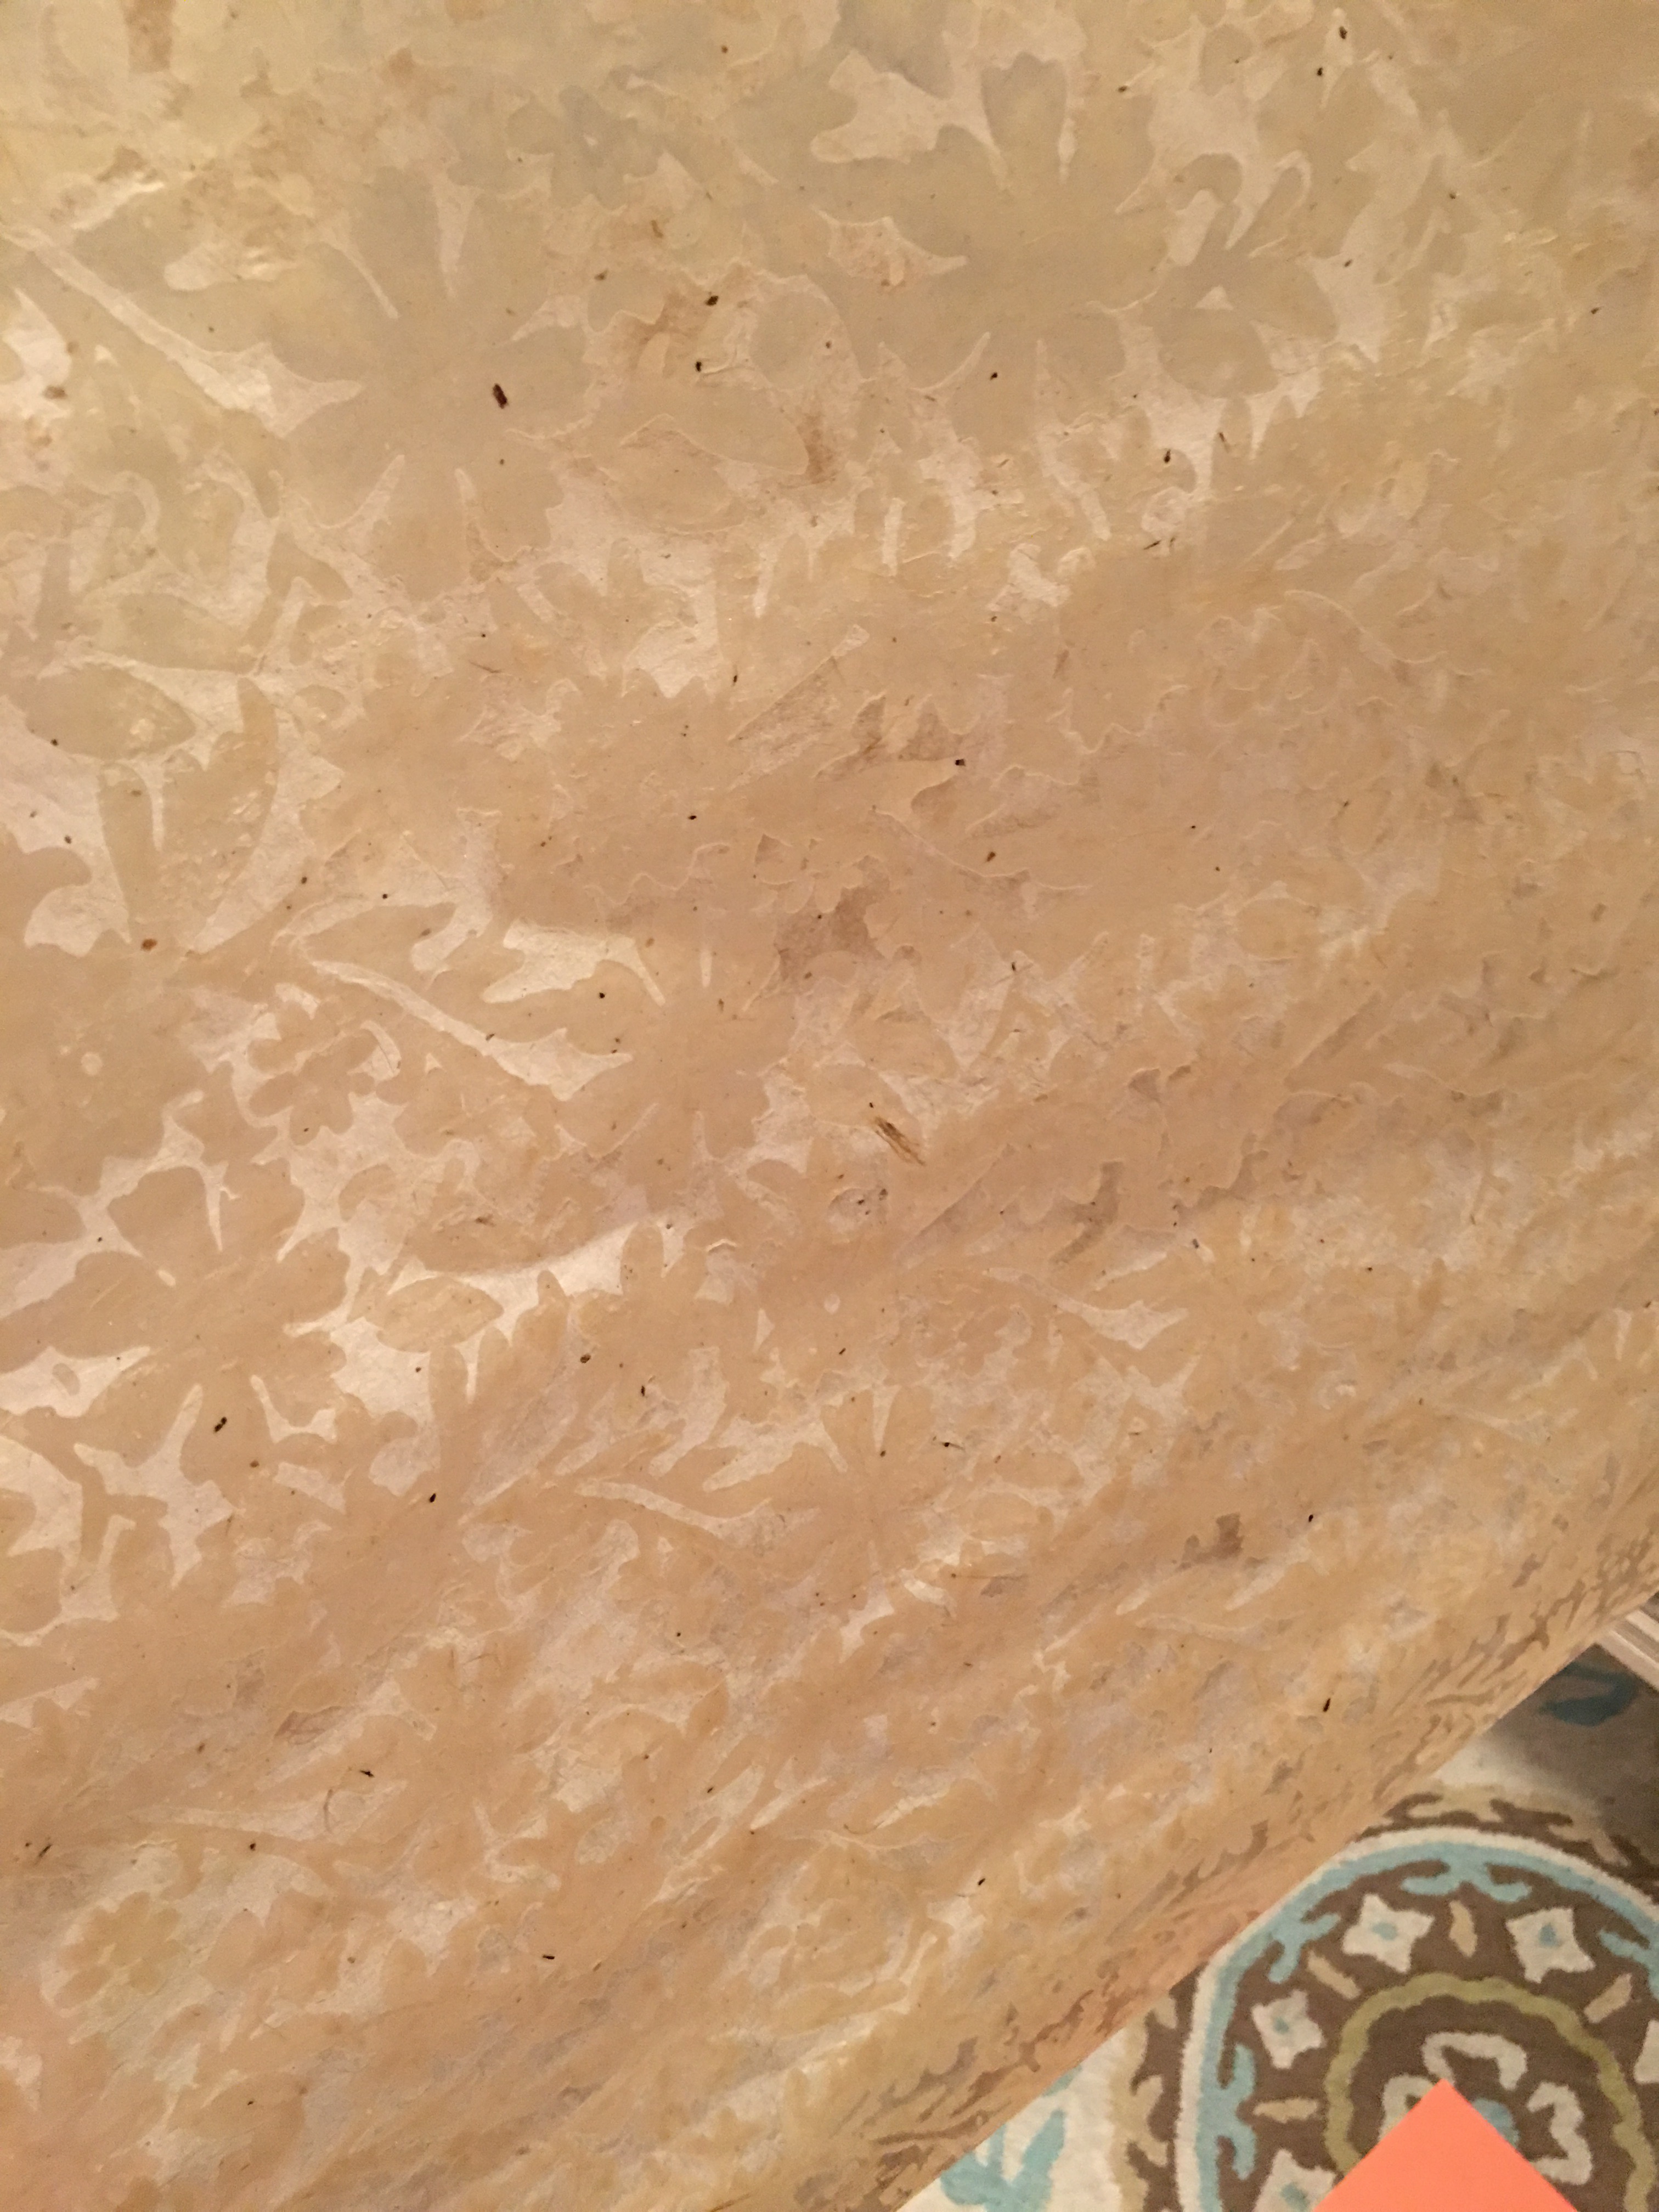
There’s hardly any color to the paper. It’s mainly wax with some batik paper fibers. I thought this would bring a very interesting, unique texture to the shade (and would contrast nicely with the orange poster board base).
Here’s how the batik paper looks when laid over the poster board.
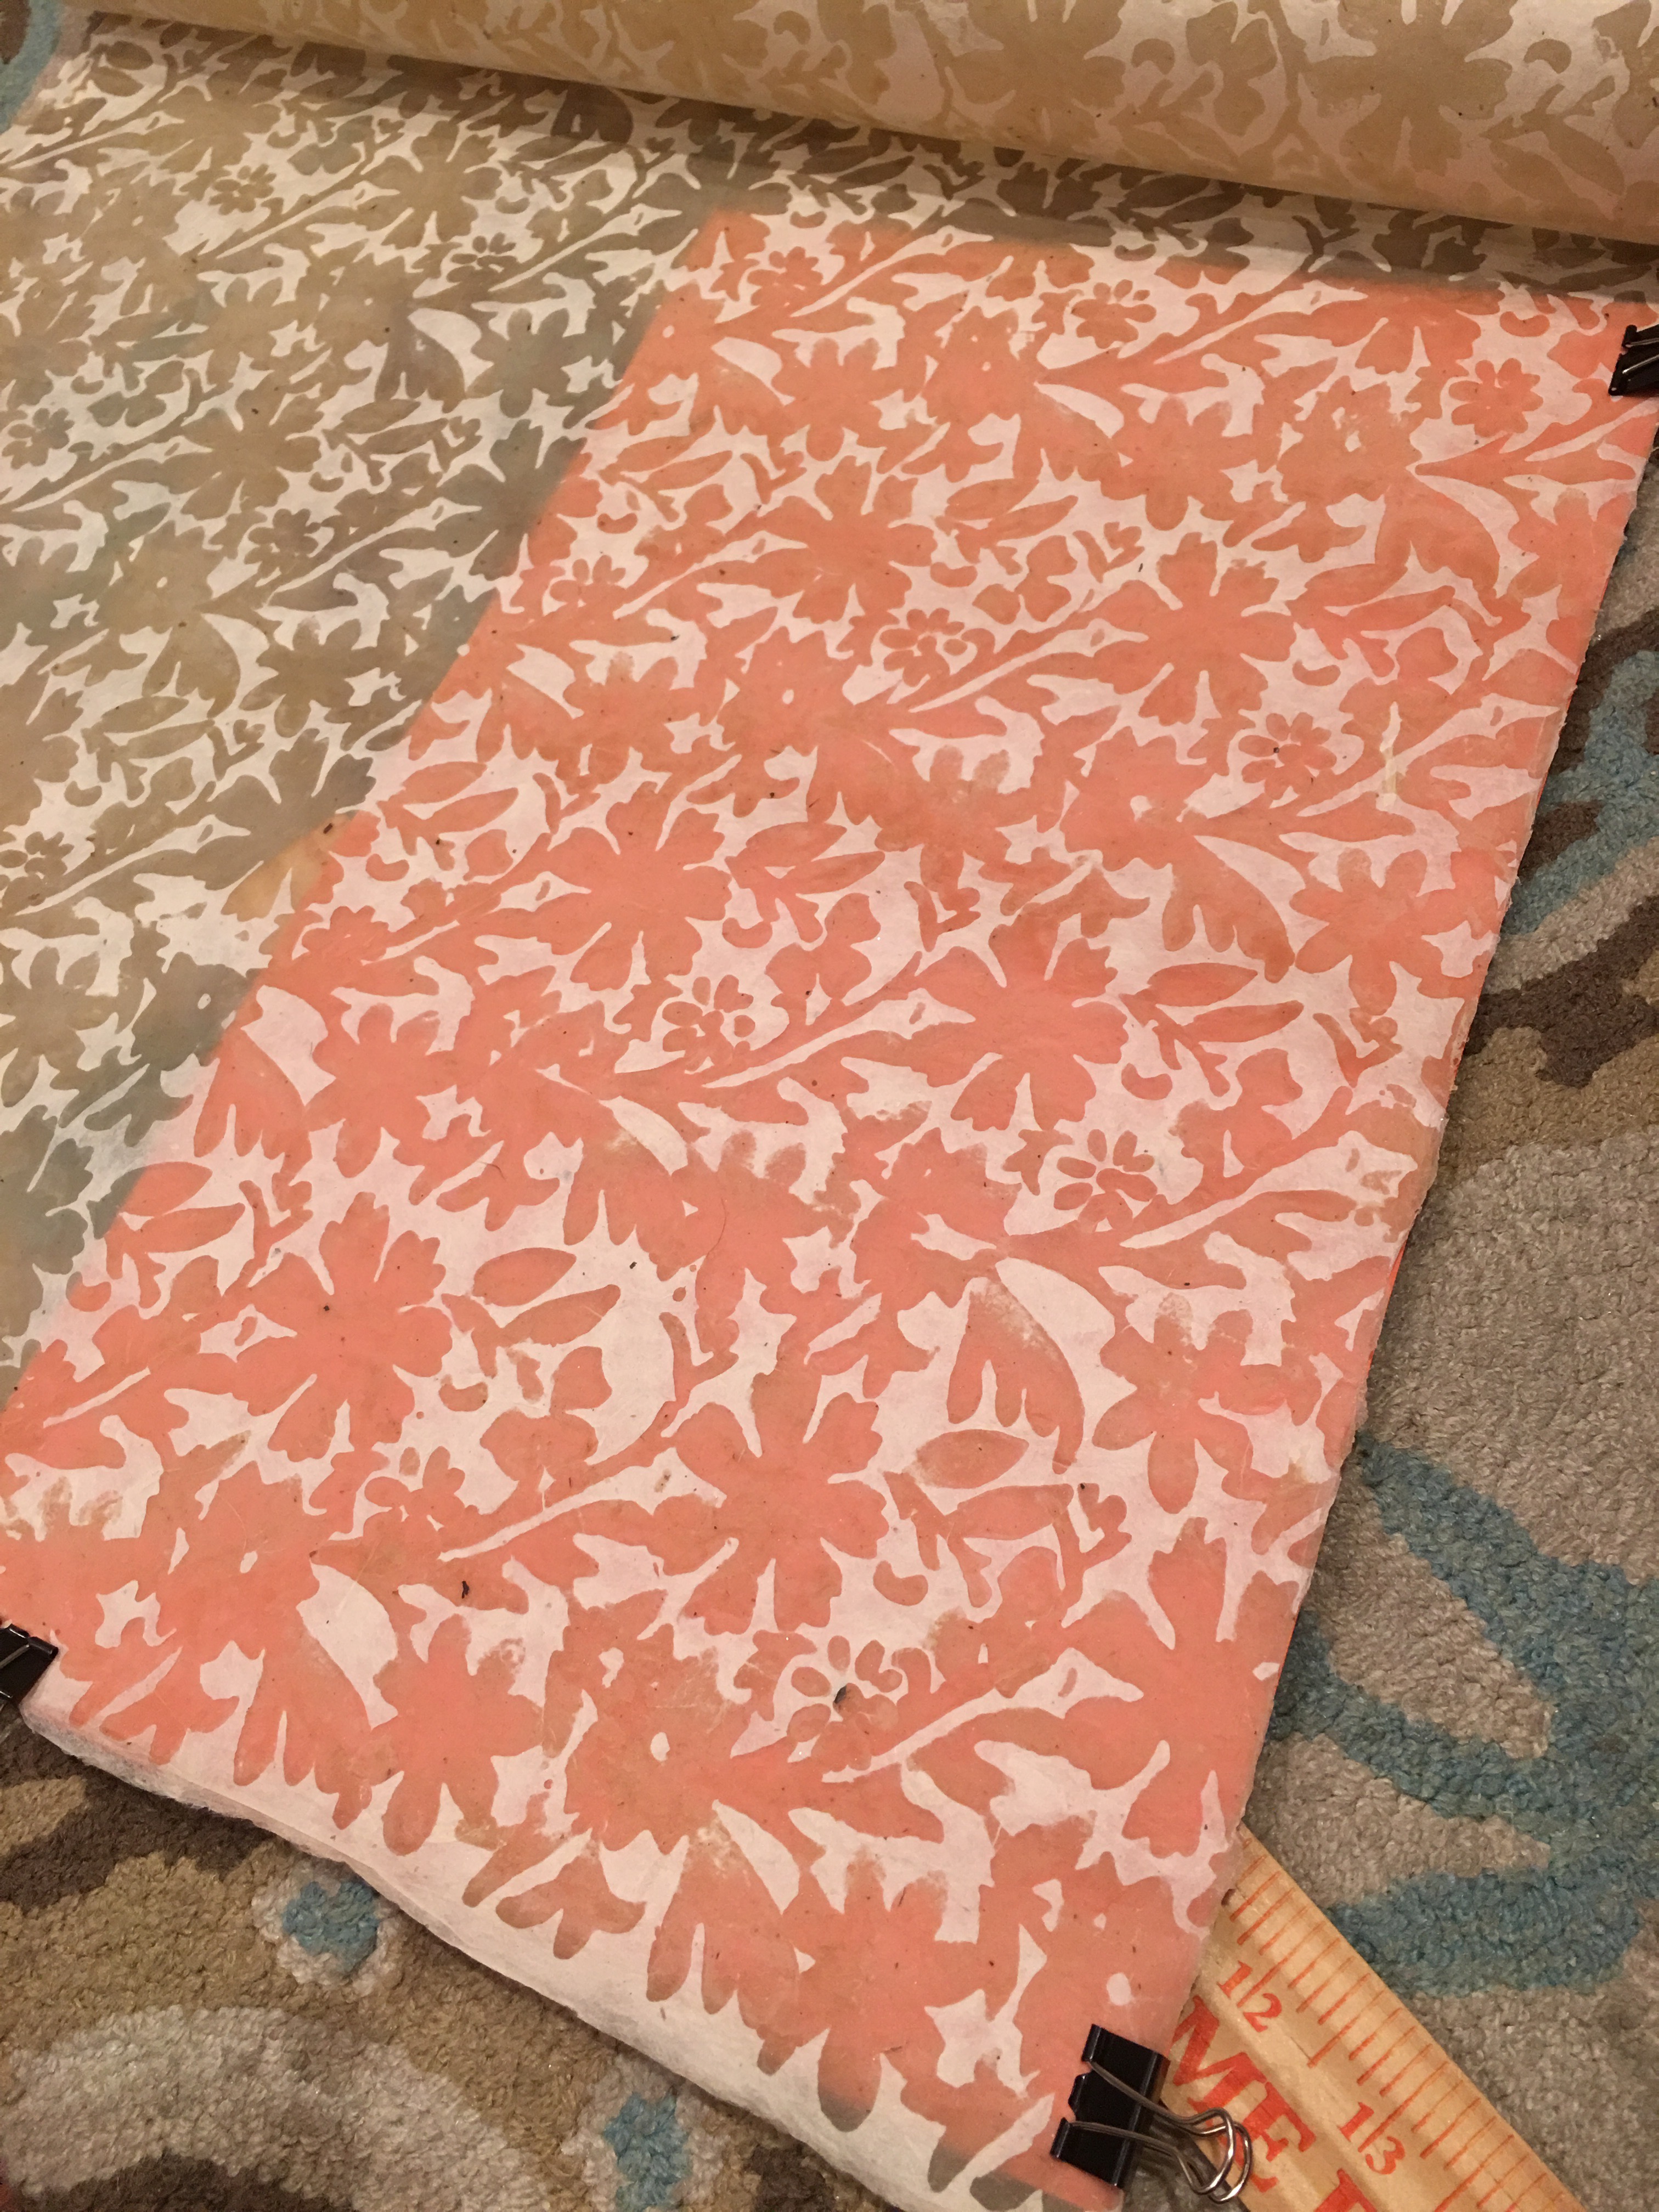
I lined up and clipped together the paper and board, then cut the paper to size.
Once cut, I clipped the paper and board to the cut embroidery hoops to preview the shade. Lovely.
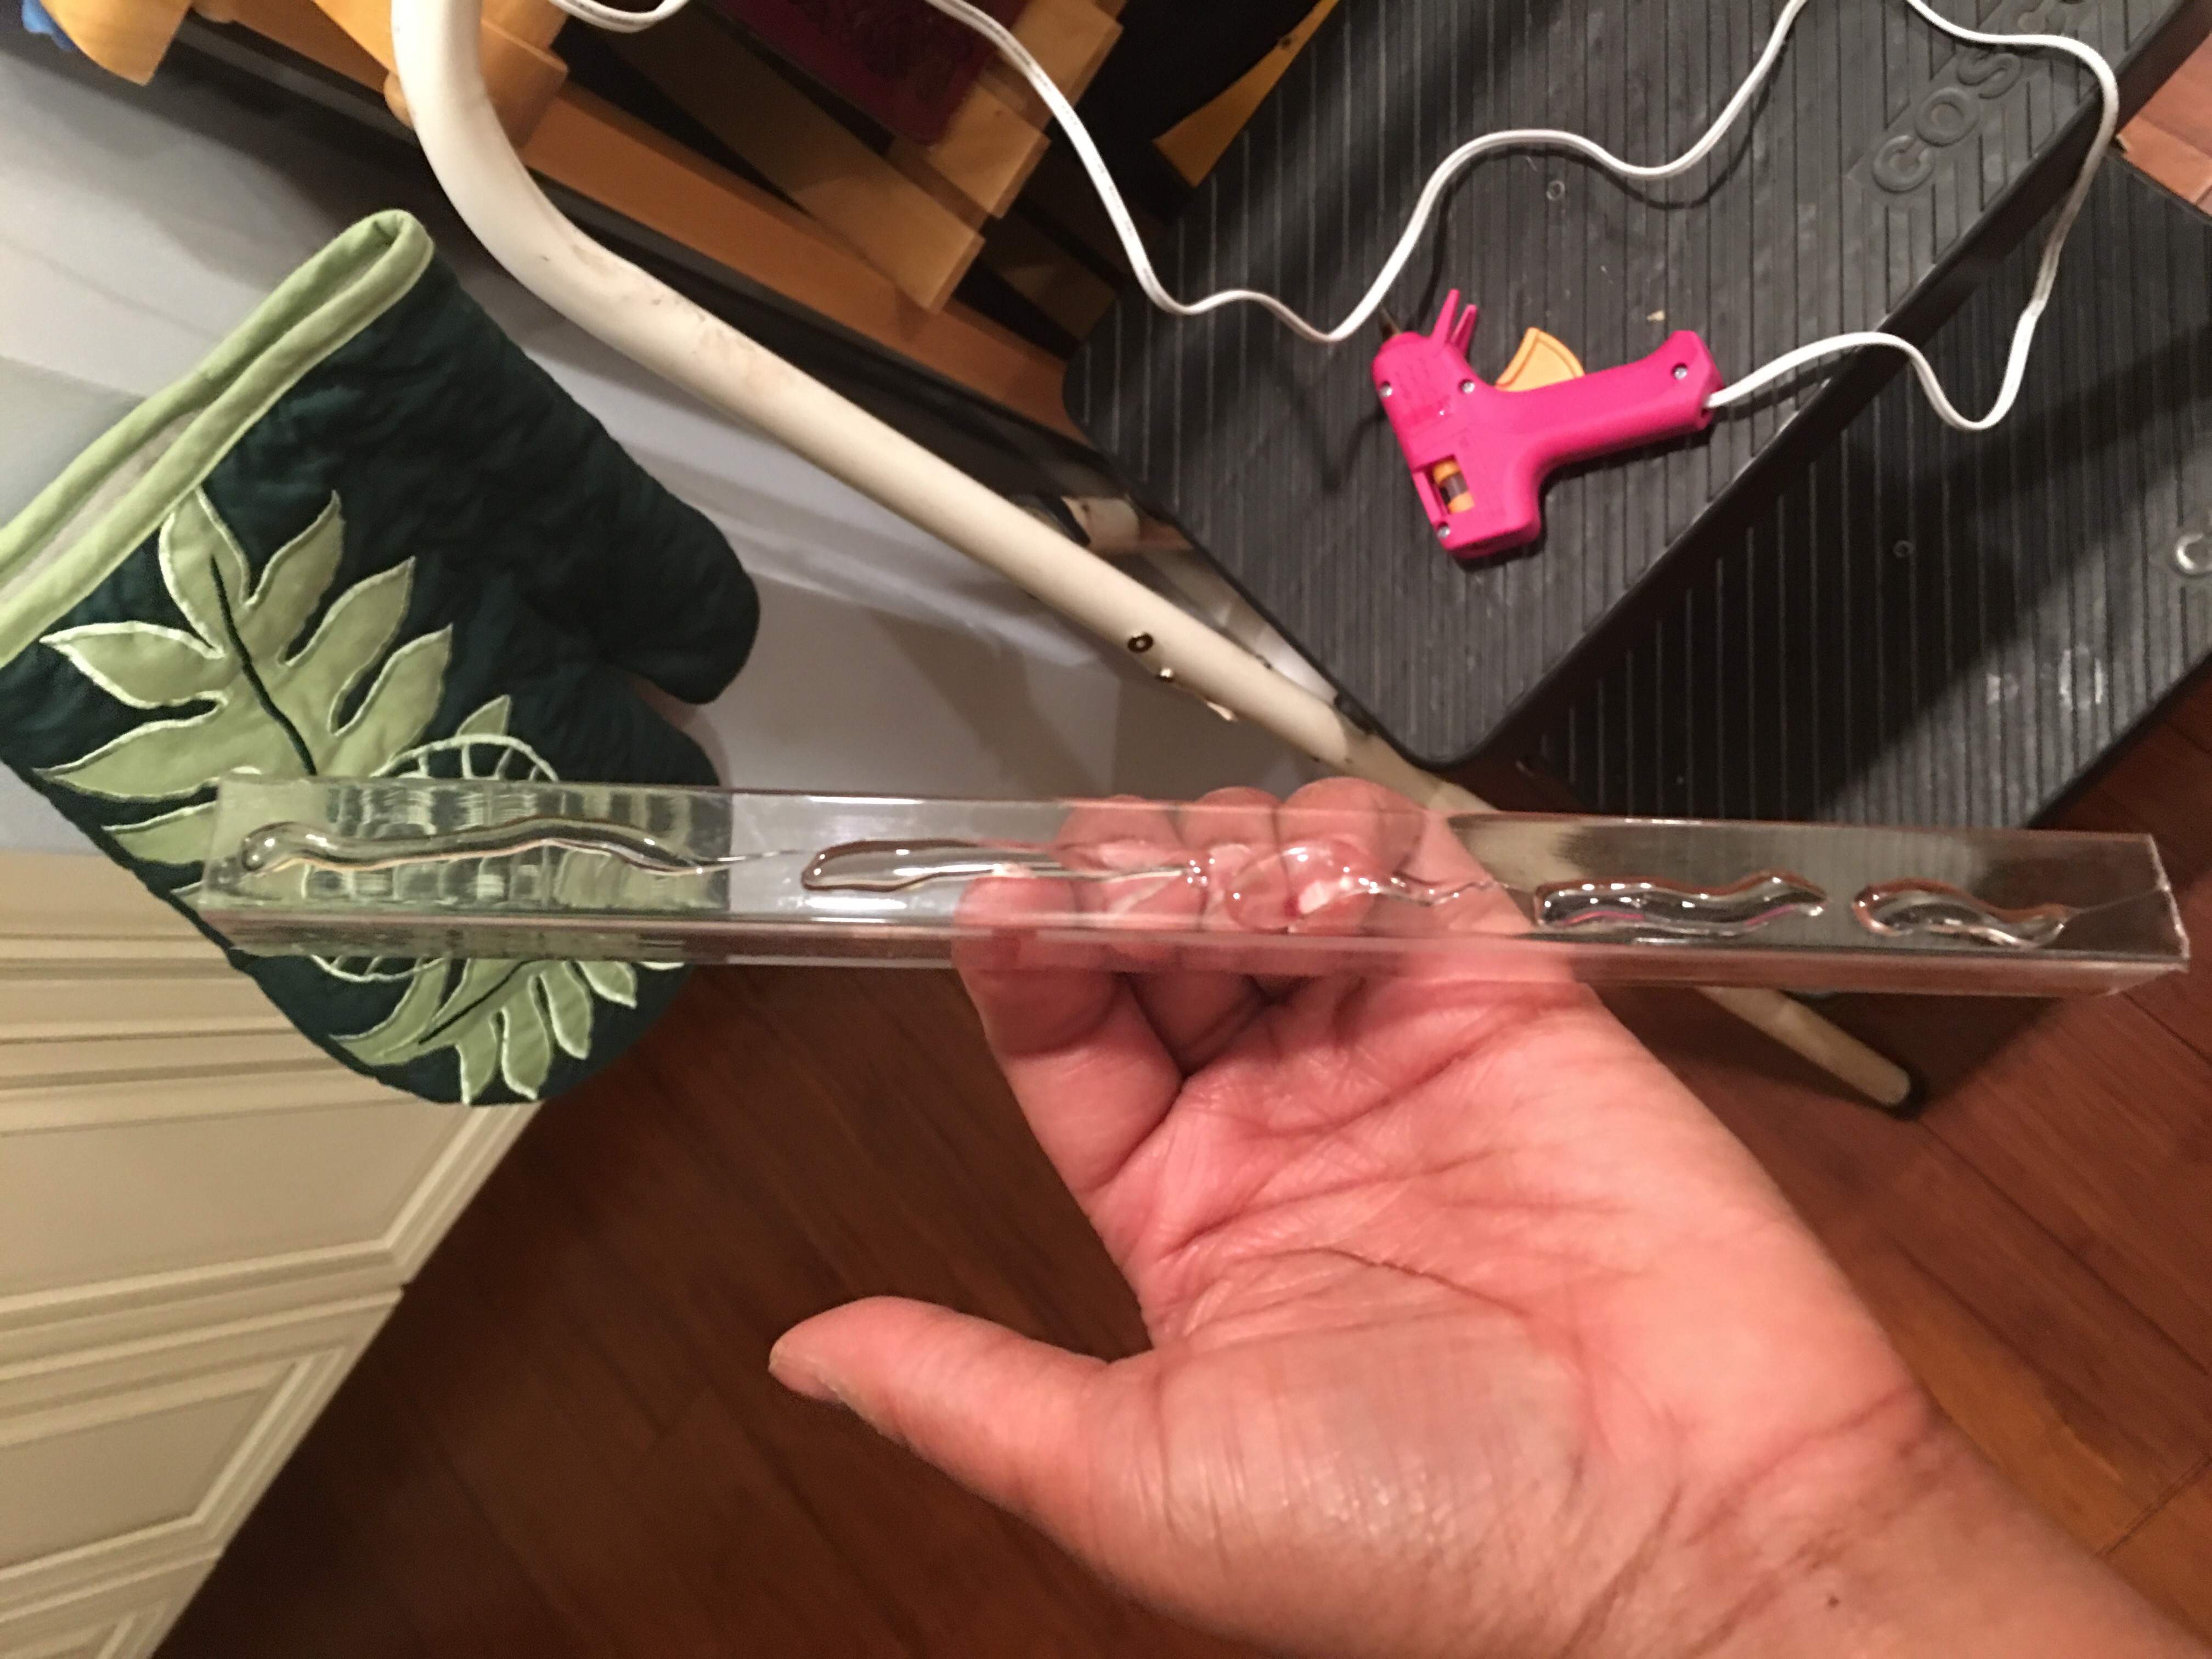
The next step is to add the plastic corner guard pieces to the back. This will hold the aluminum backing in place.
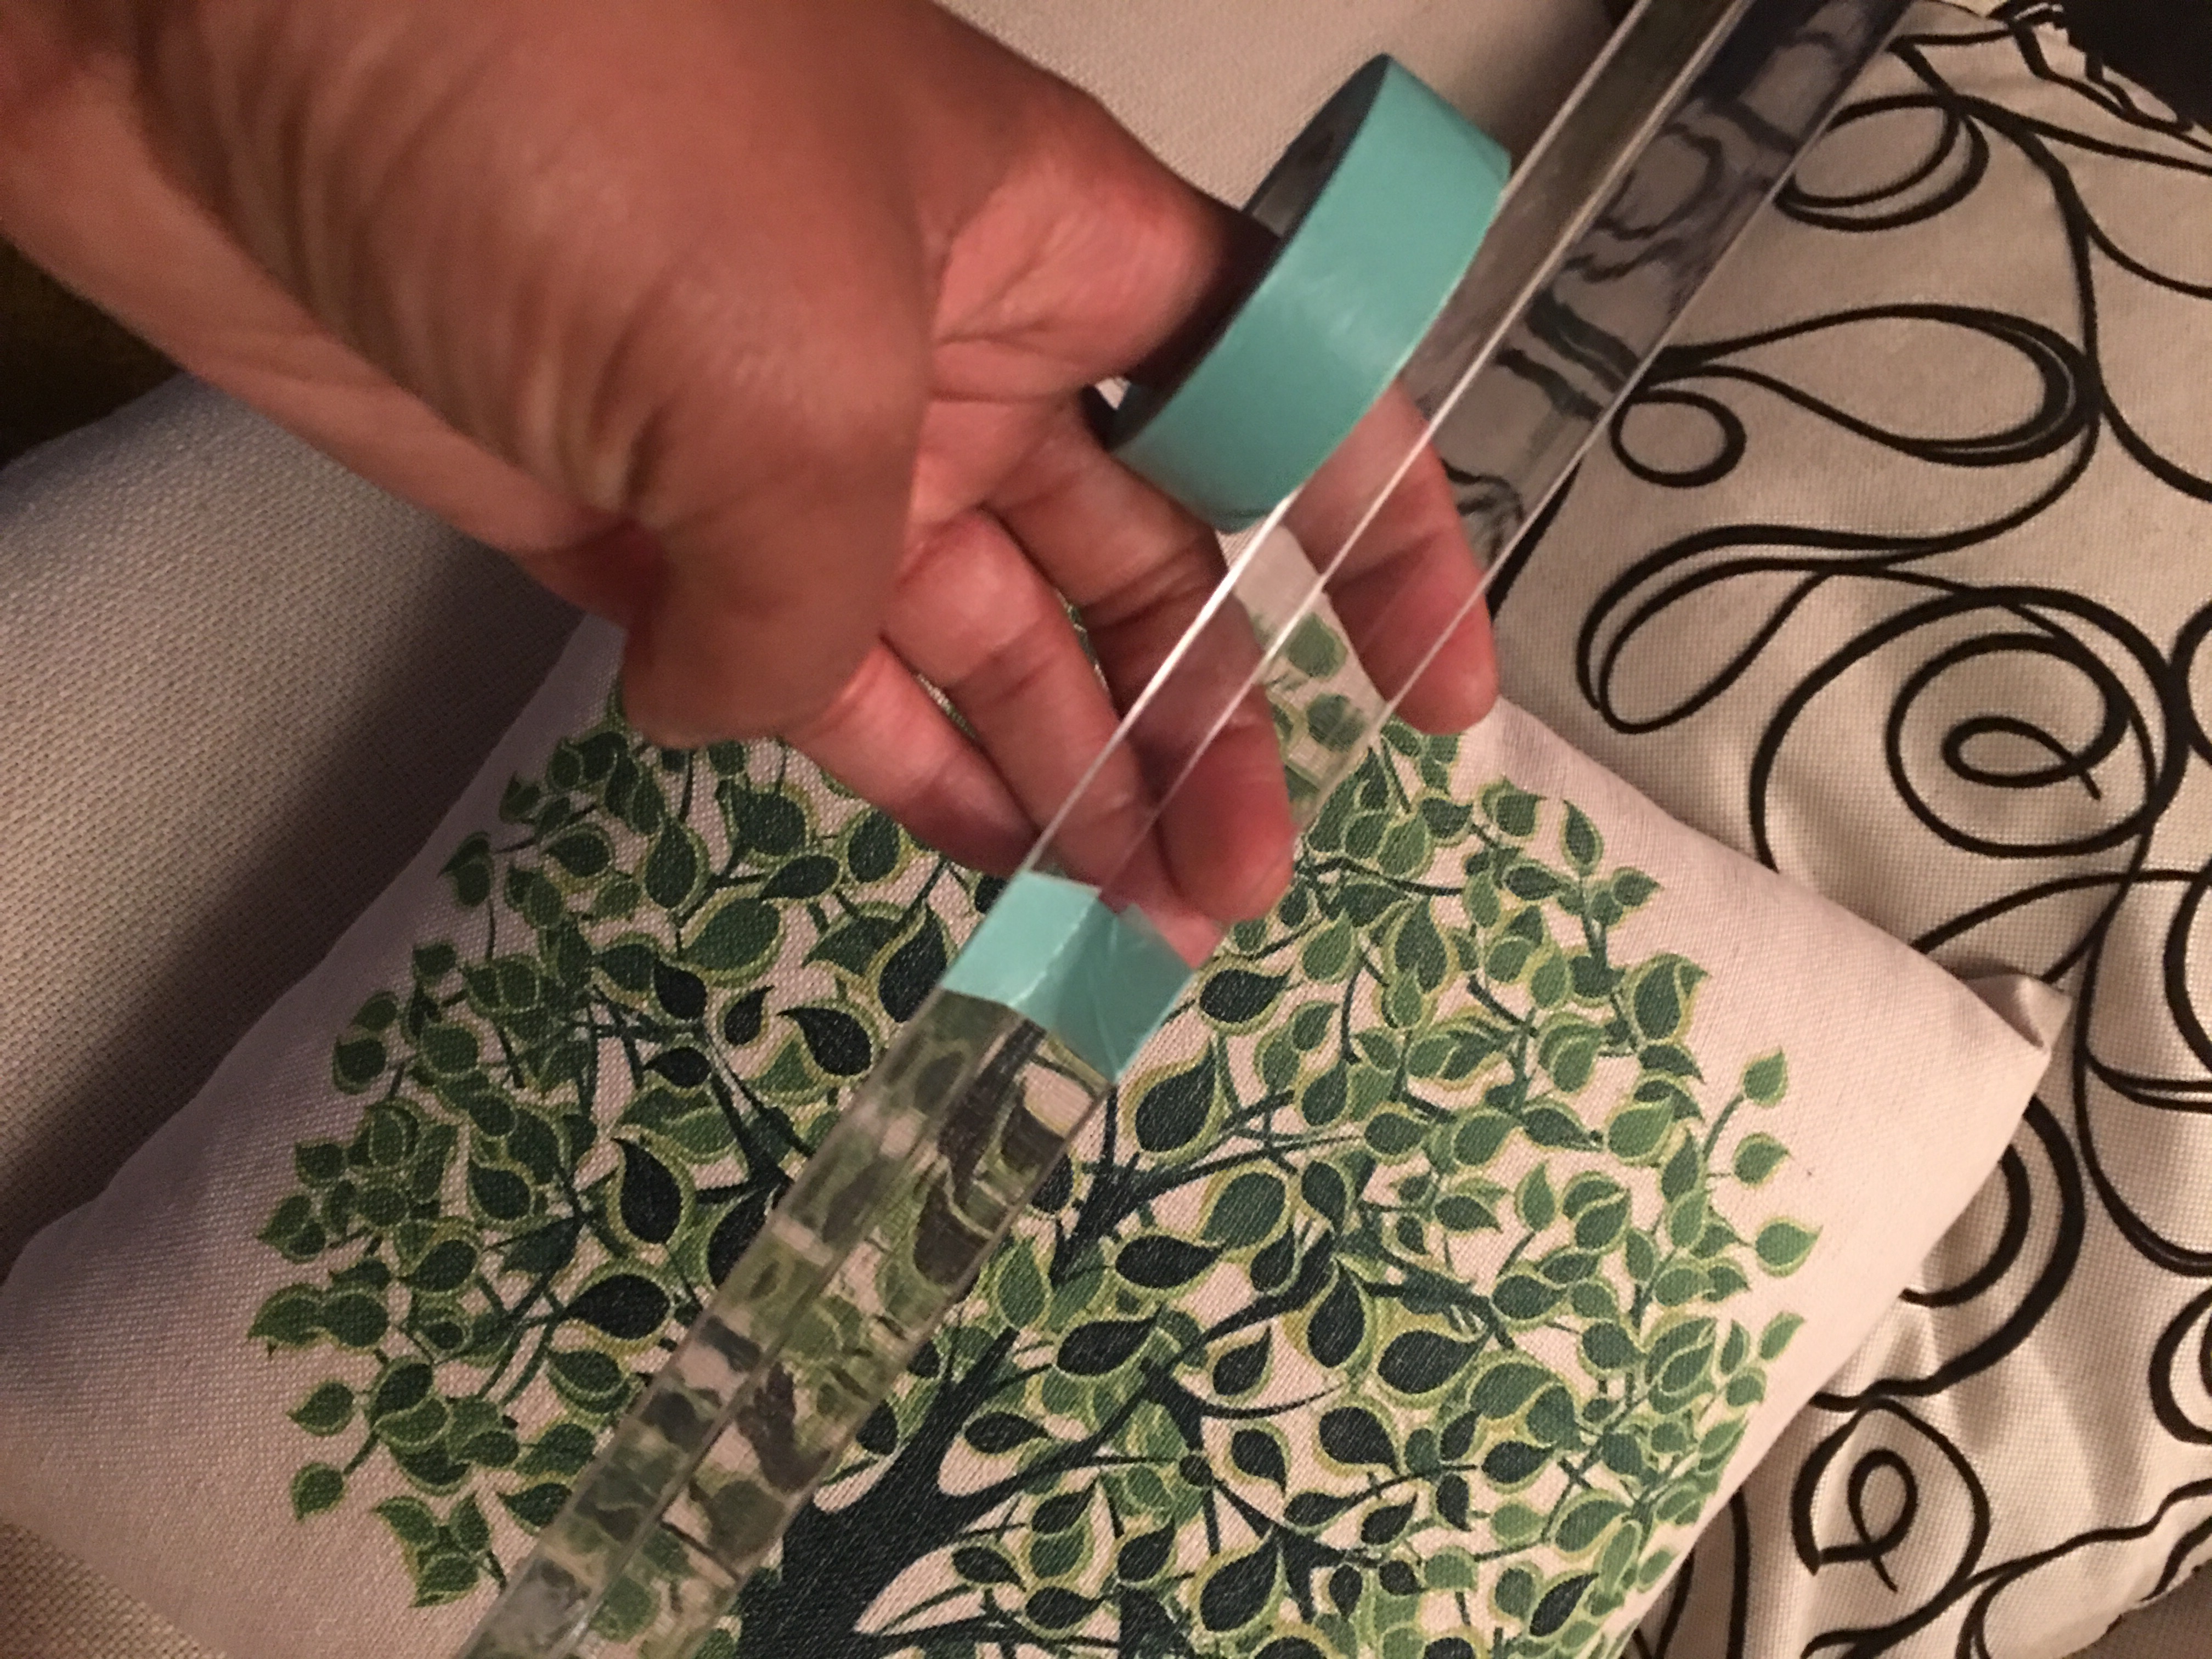
I lined the corner guard up with one end of the shade…
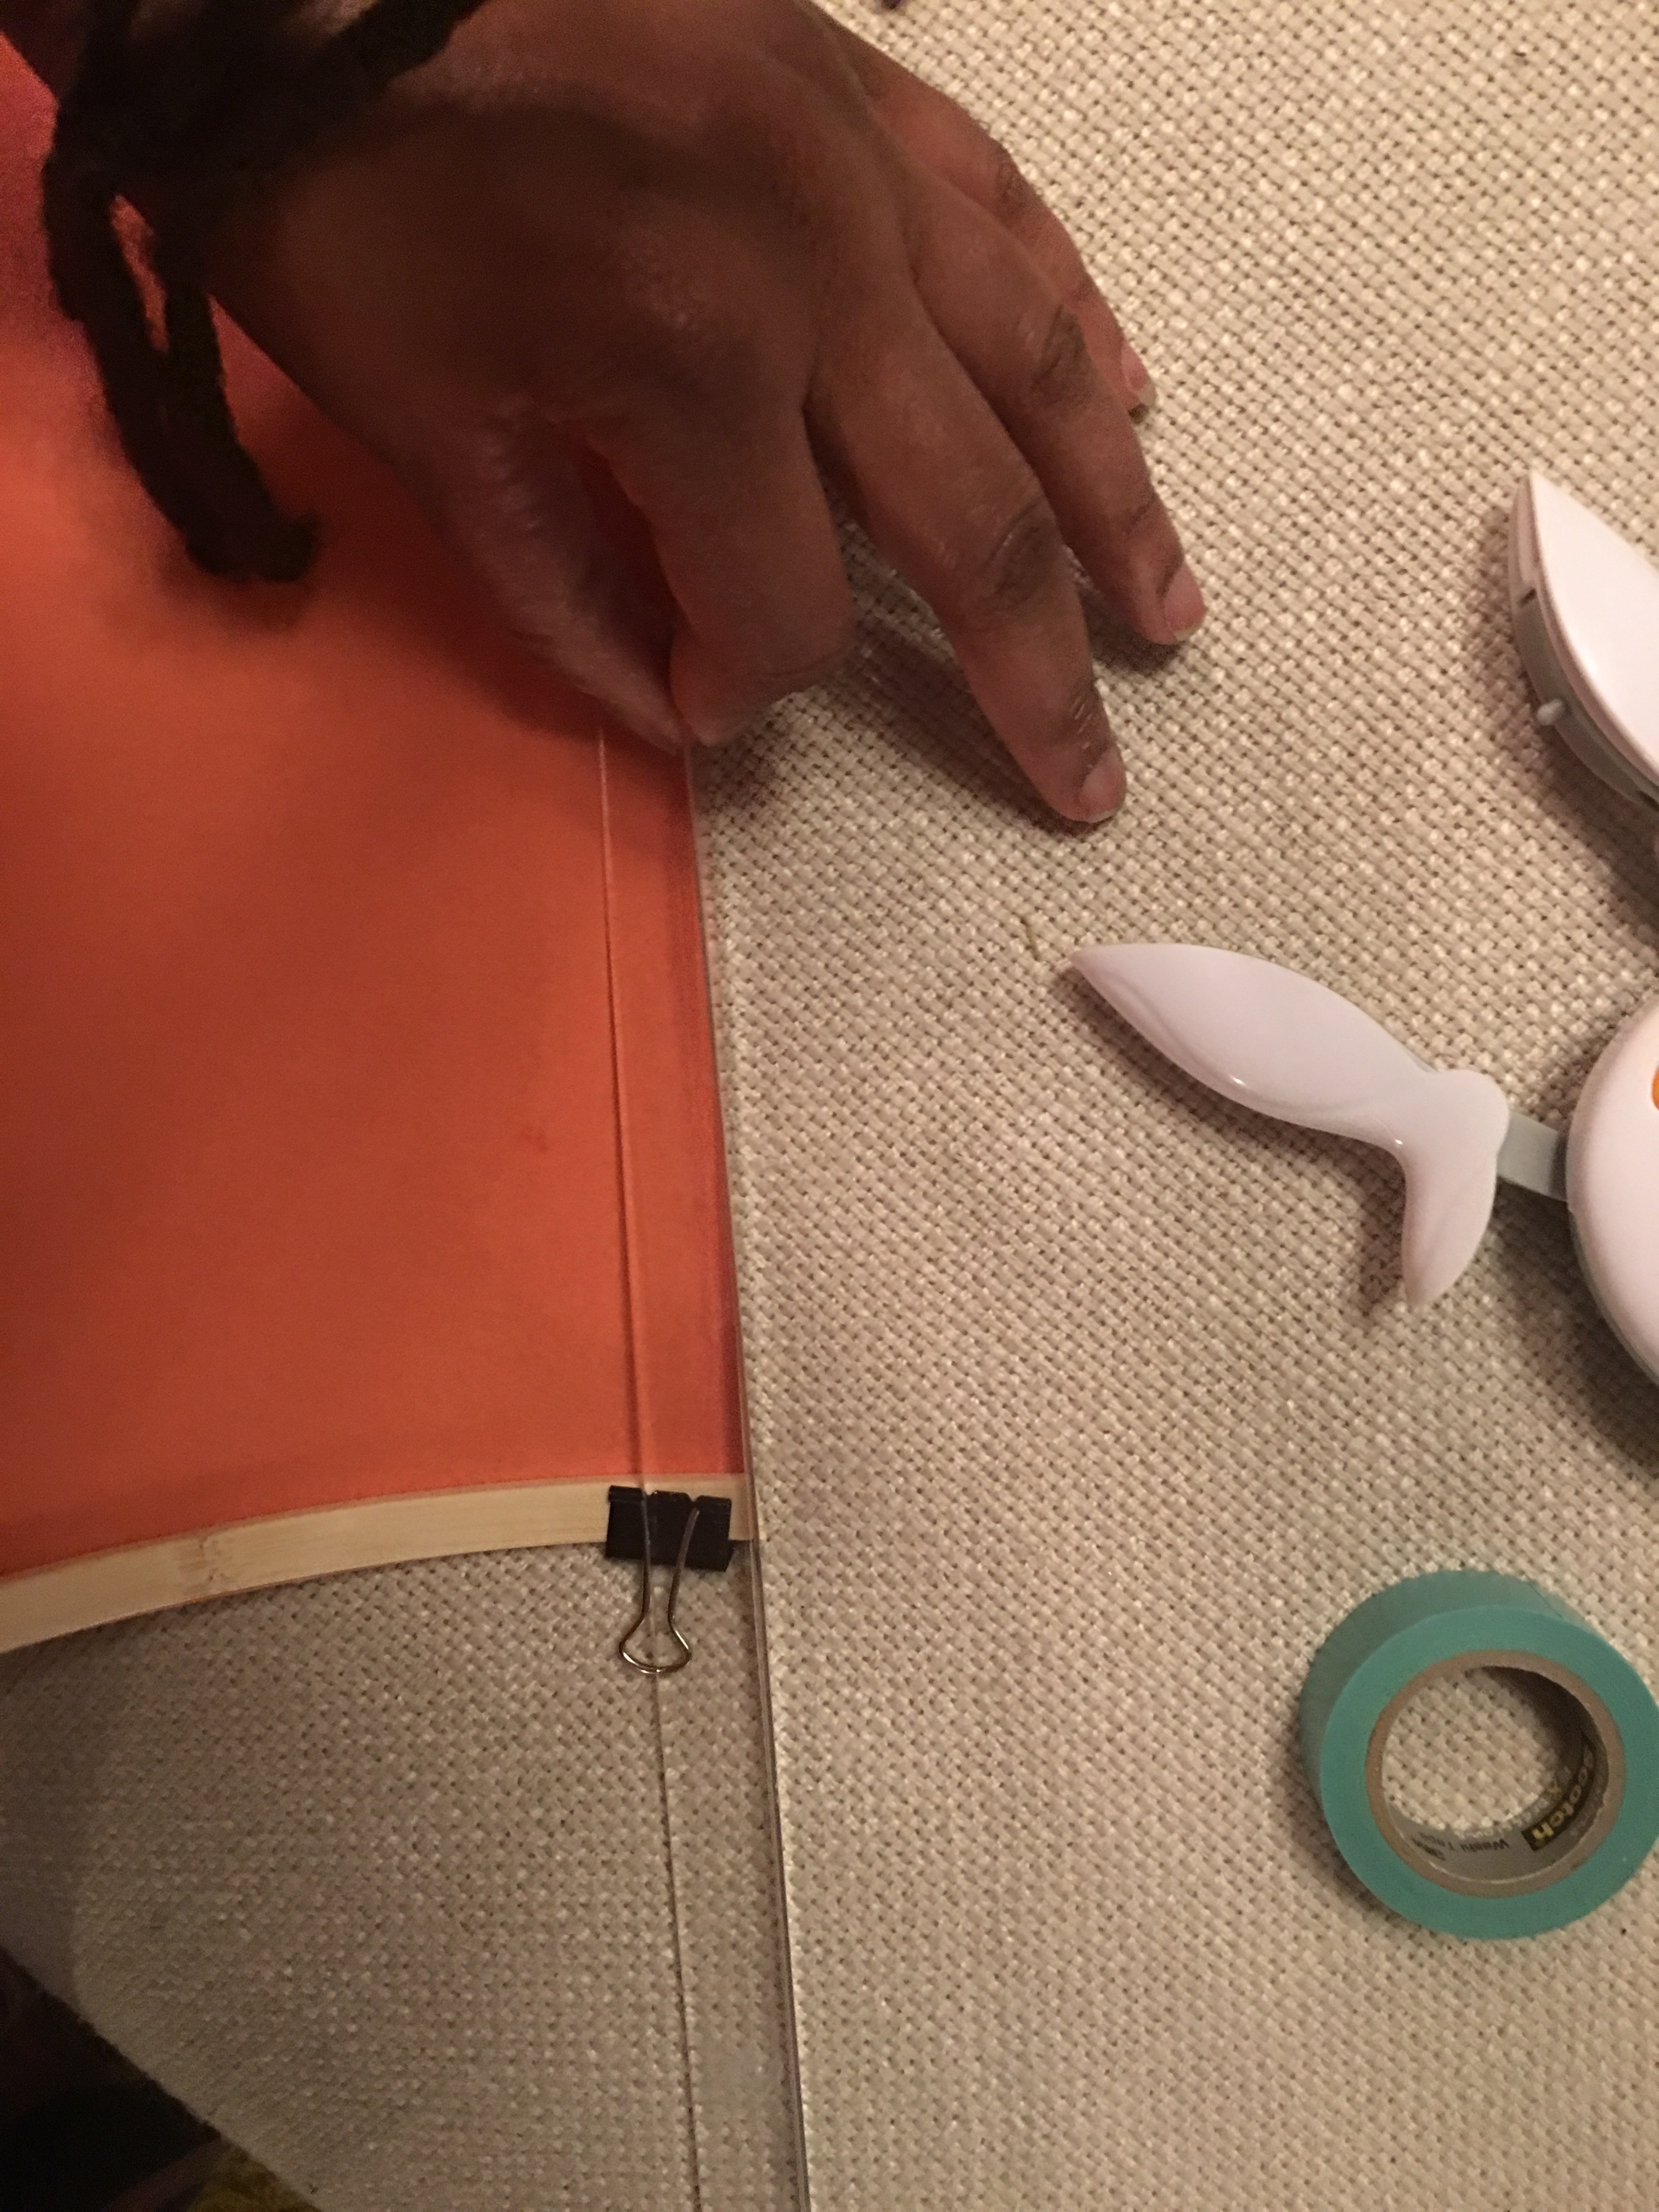
…and marked where I need to make the cut with tape.
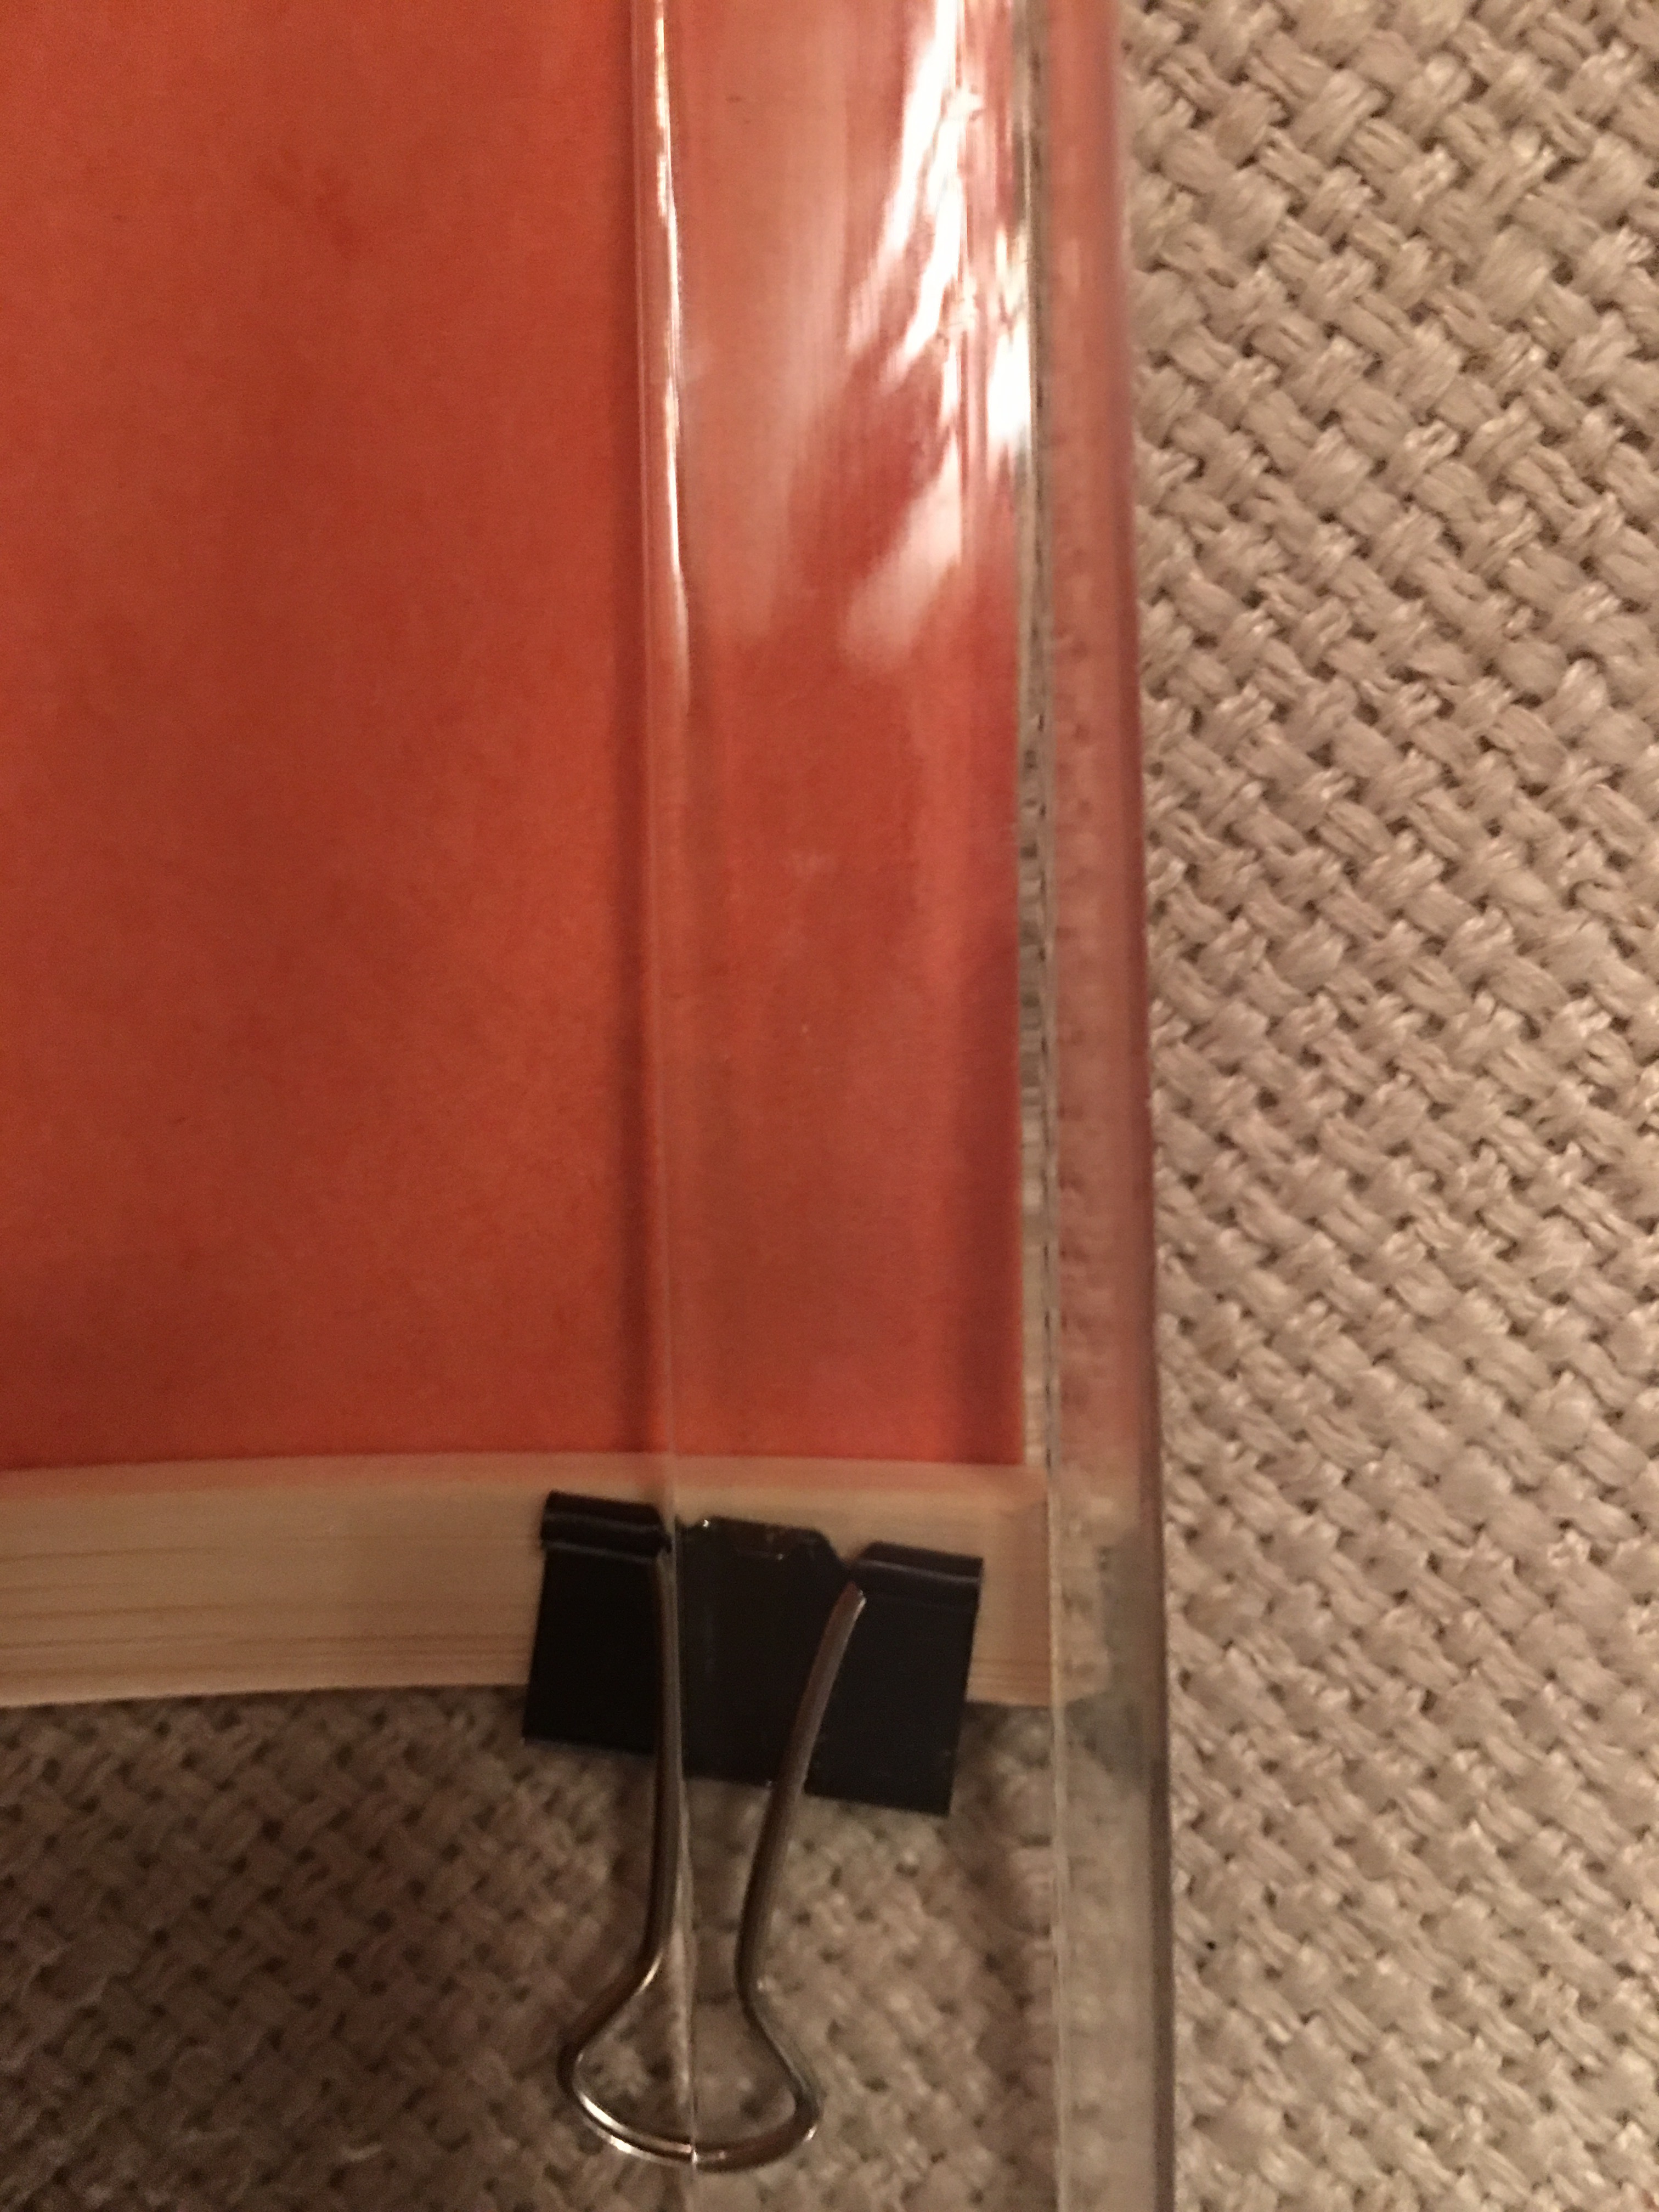
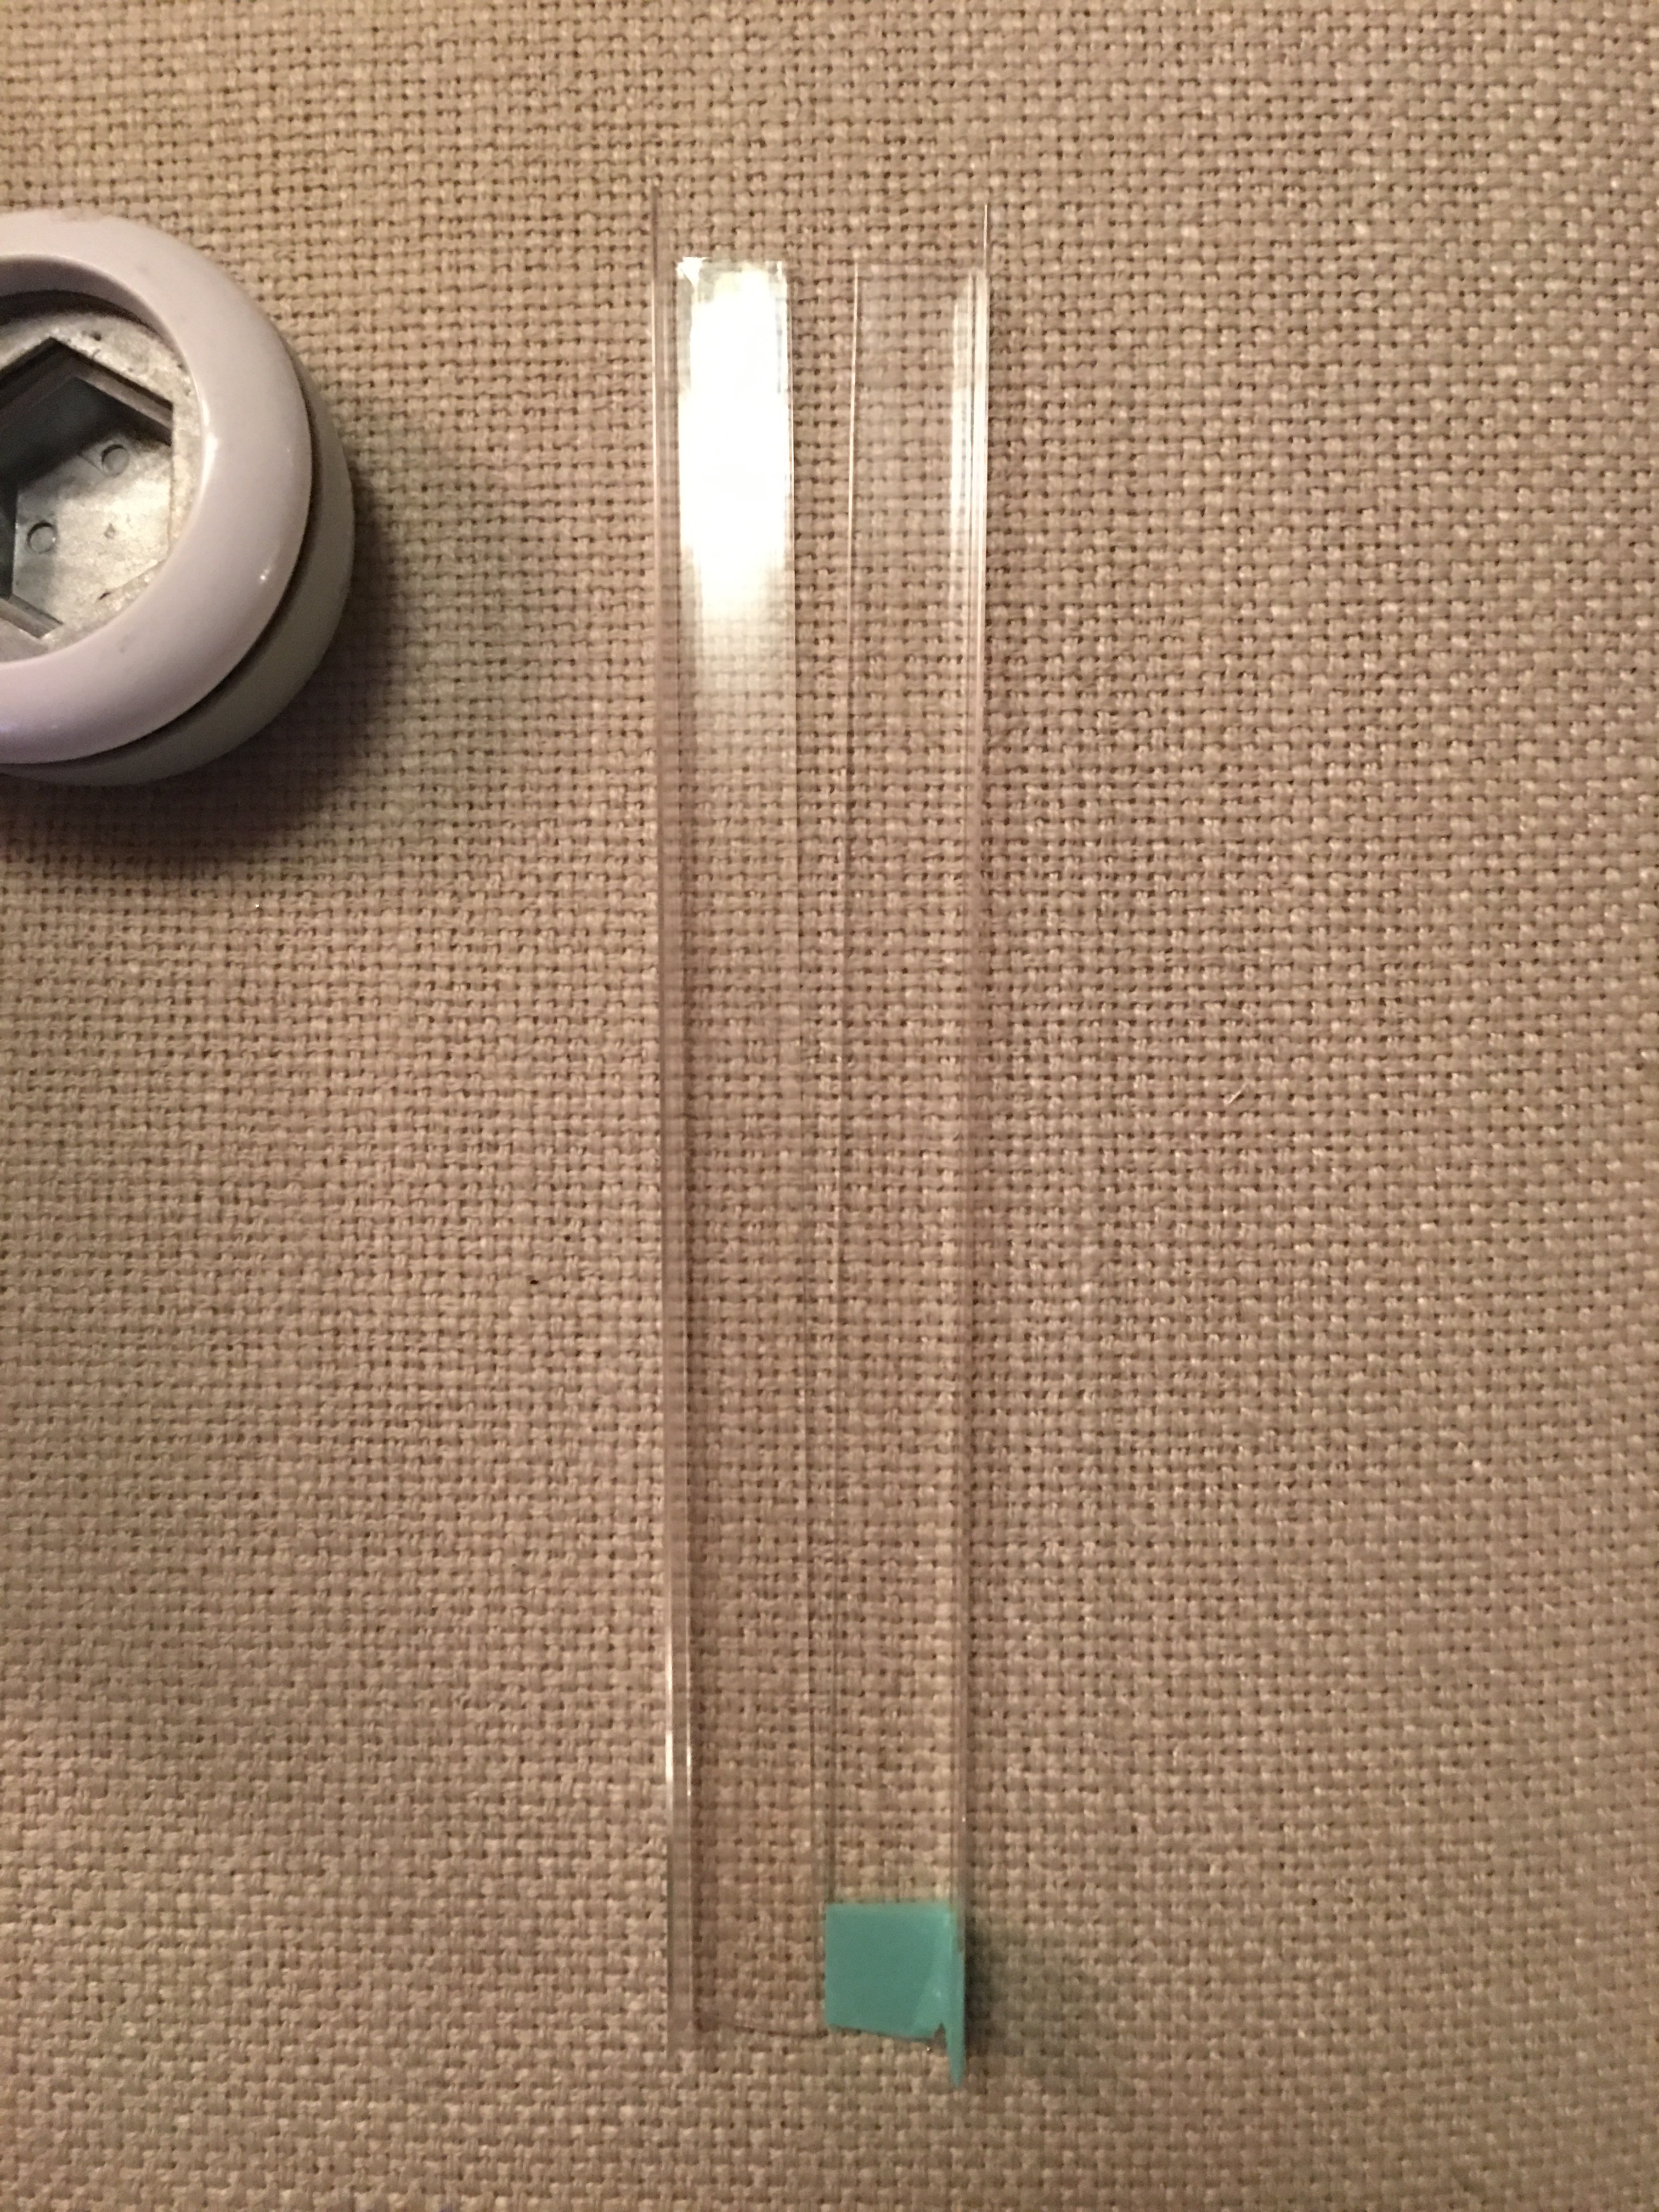
Using metal snips, I cut the corner guard where I have it marked.

I cut another piece of corner guard so I would have two of the same length (one for each side of the shade).
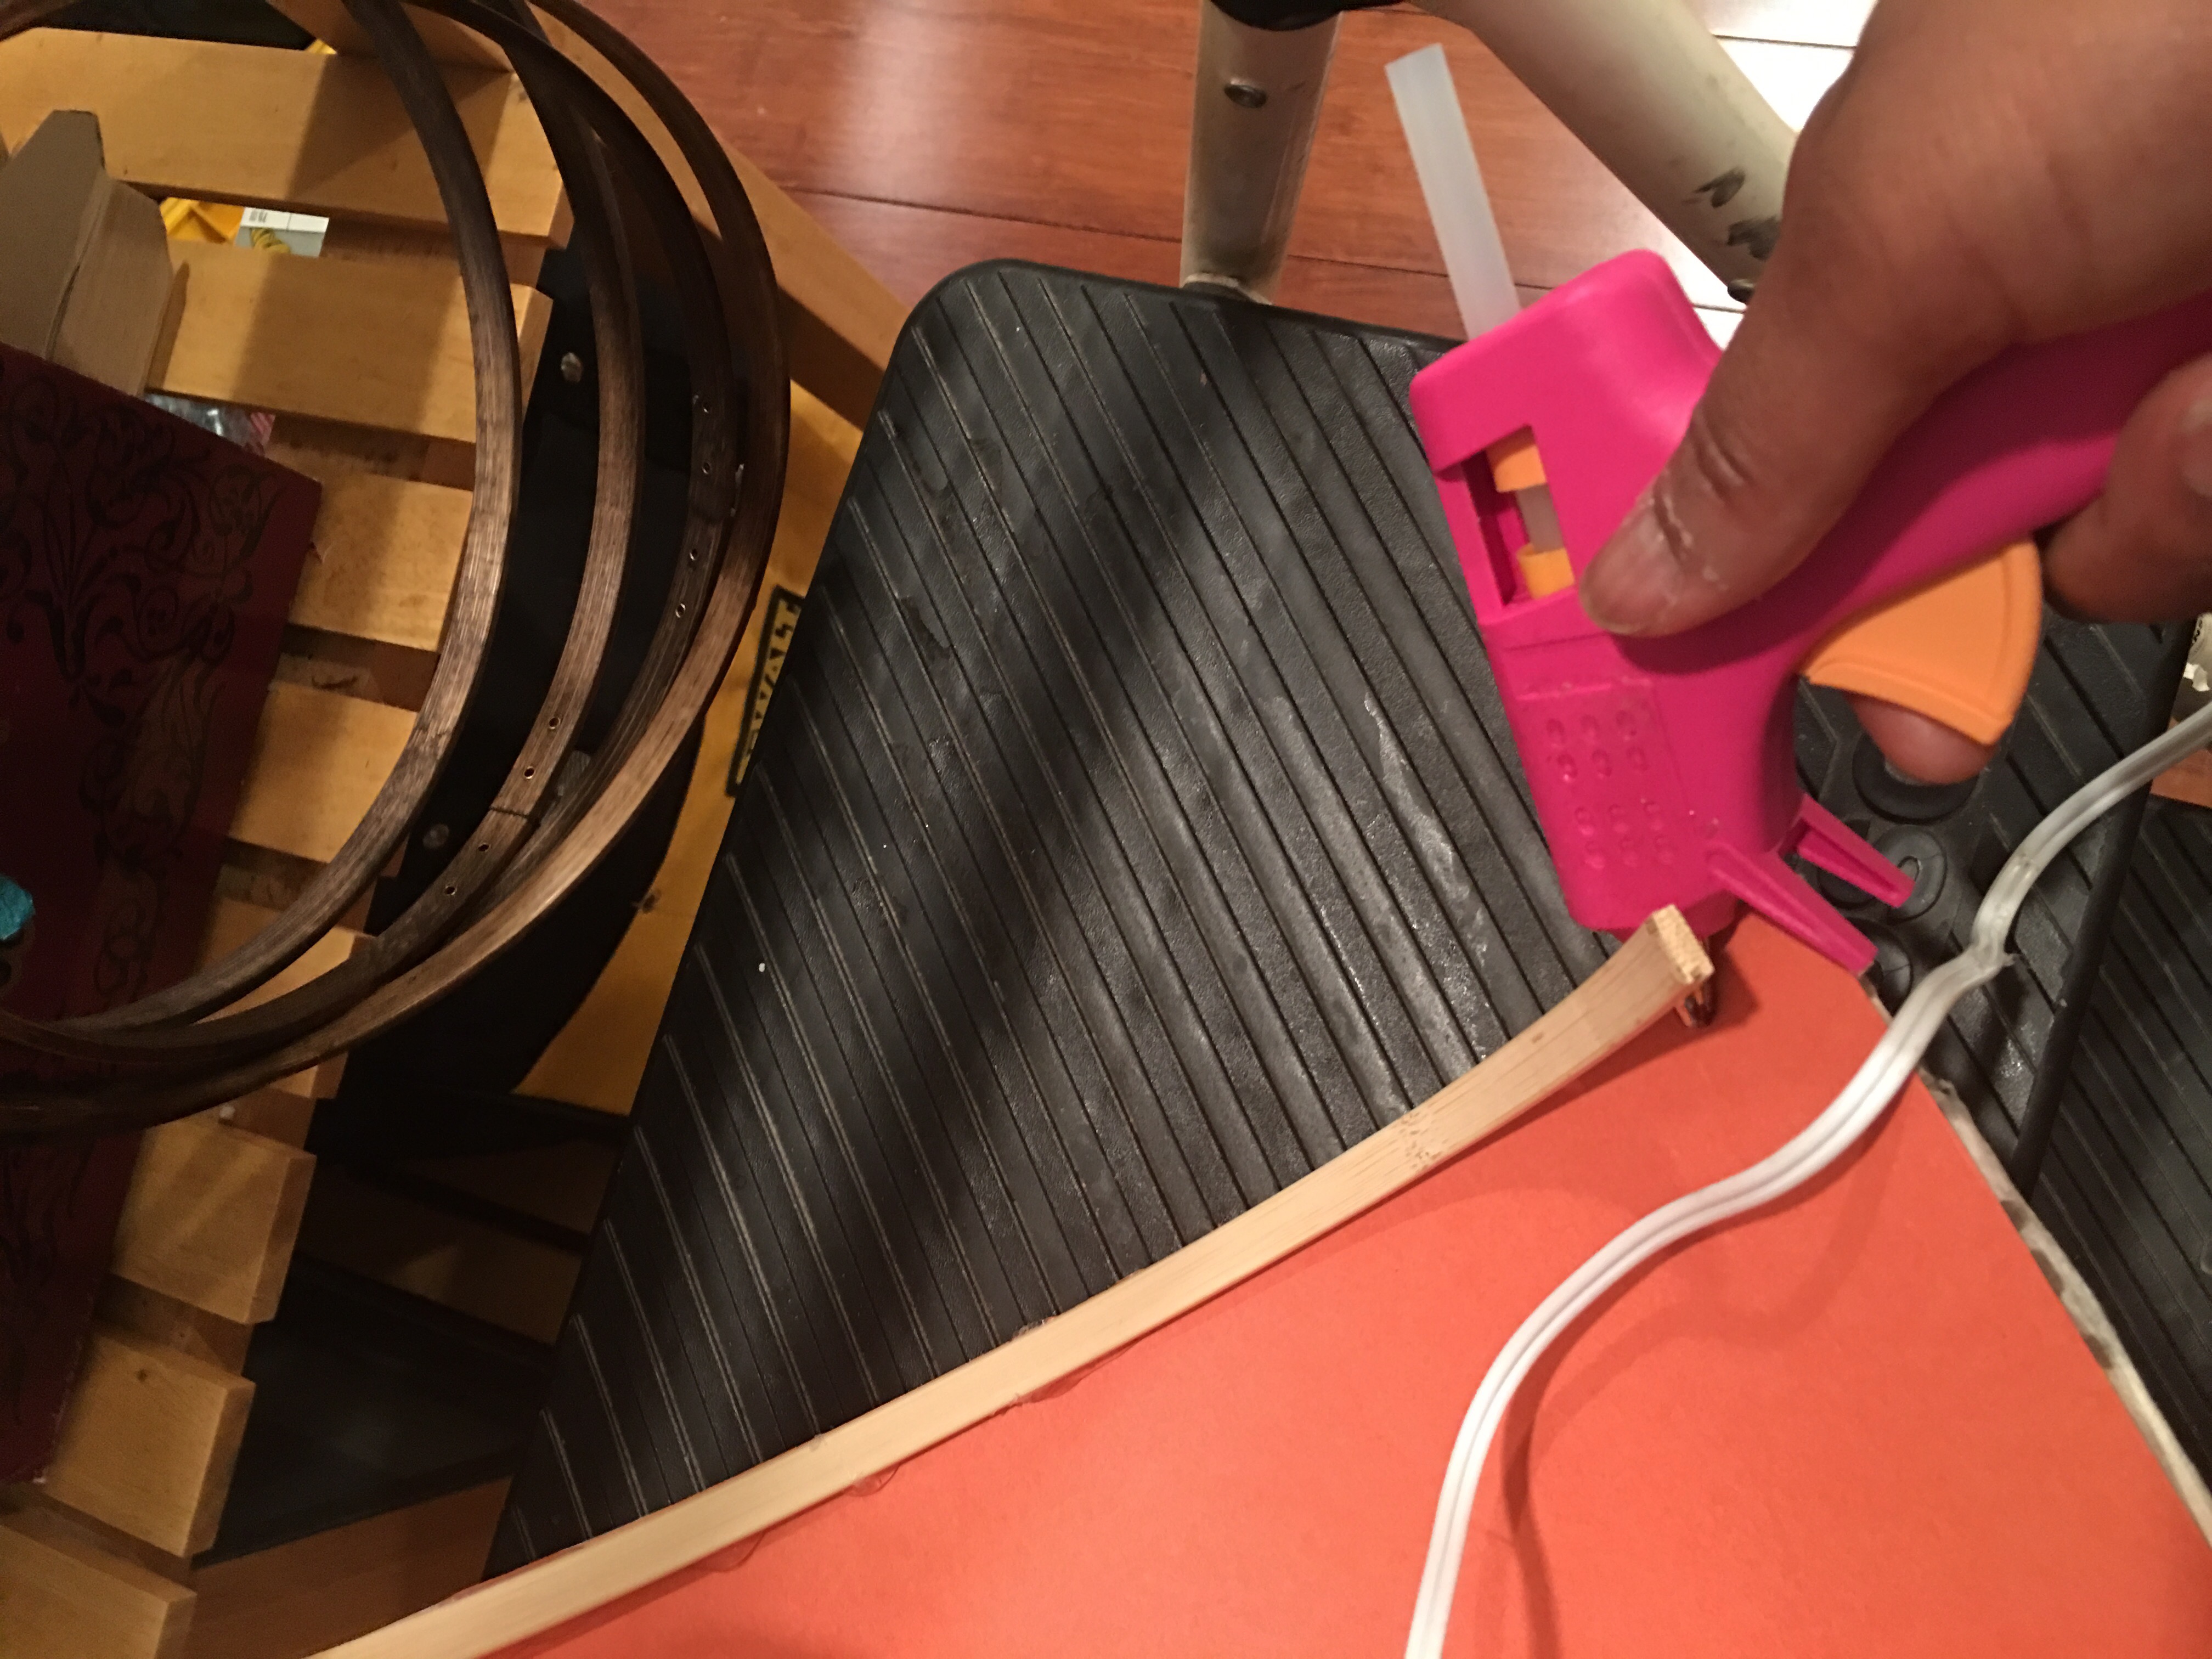
I then reached for my hot glue gun to glue everything together. First I glued the fine paper to the poster board (using small dabs of glue on each corner).
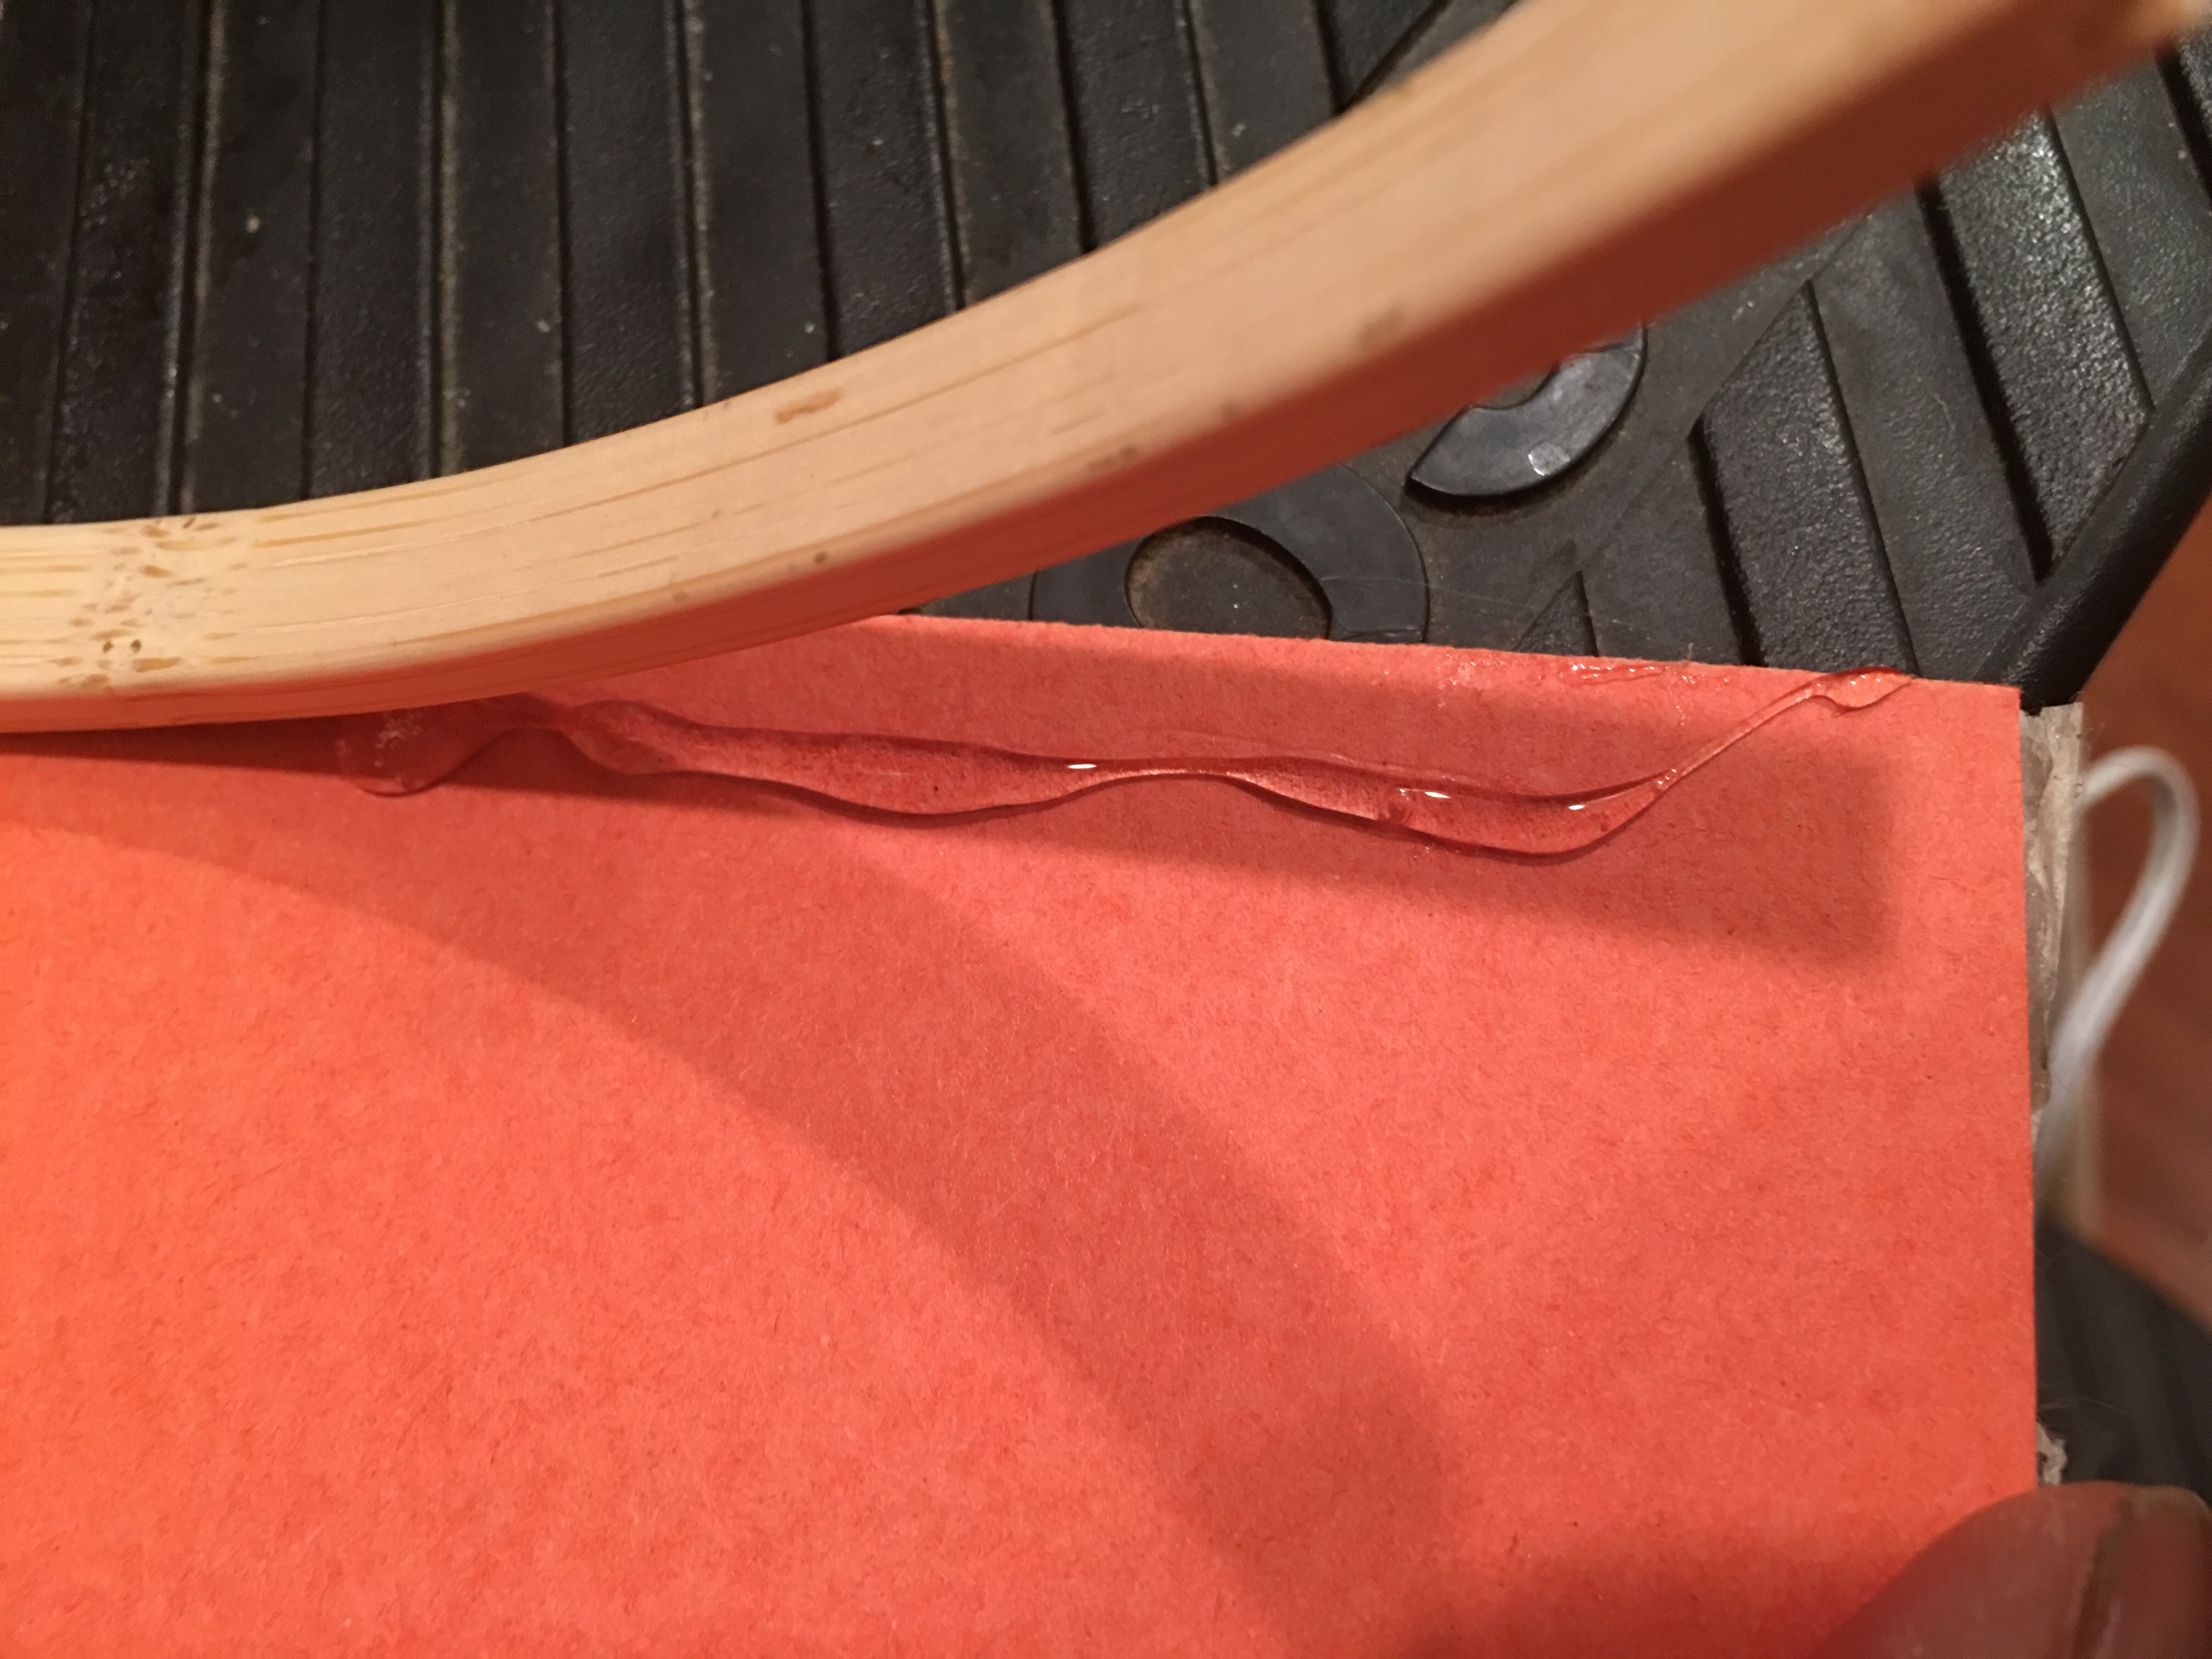
Then, I glued the board to each embroidery hoop half. I carefully applied glue along the edge of the board at the top, then pressed the board and wood together.
It takes less than 10 seconds for this glue to set (I love that about hot glue). So I do my best to work slowly along the edge and apply the glue a little at a time, section by section.
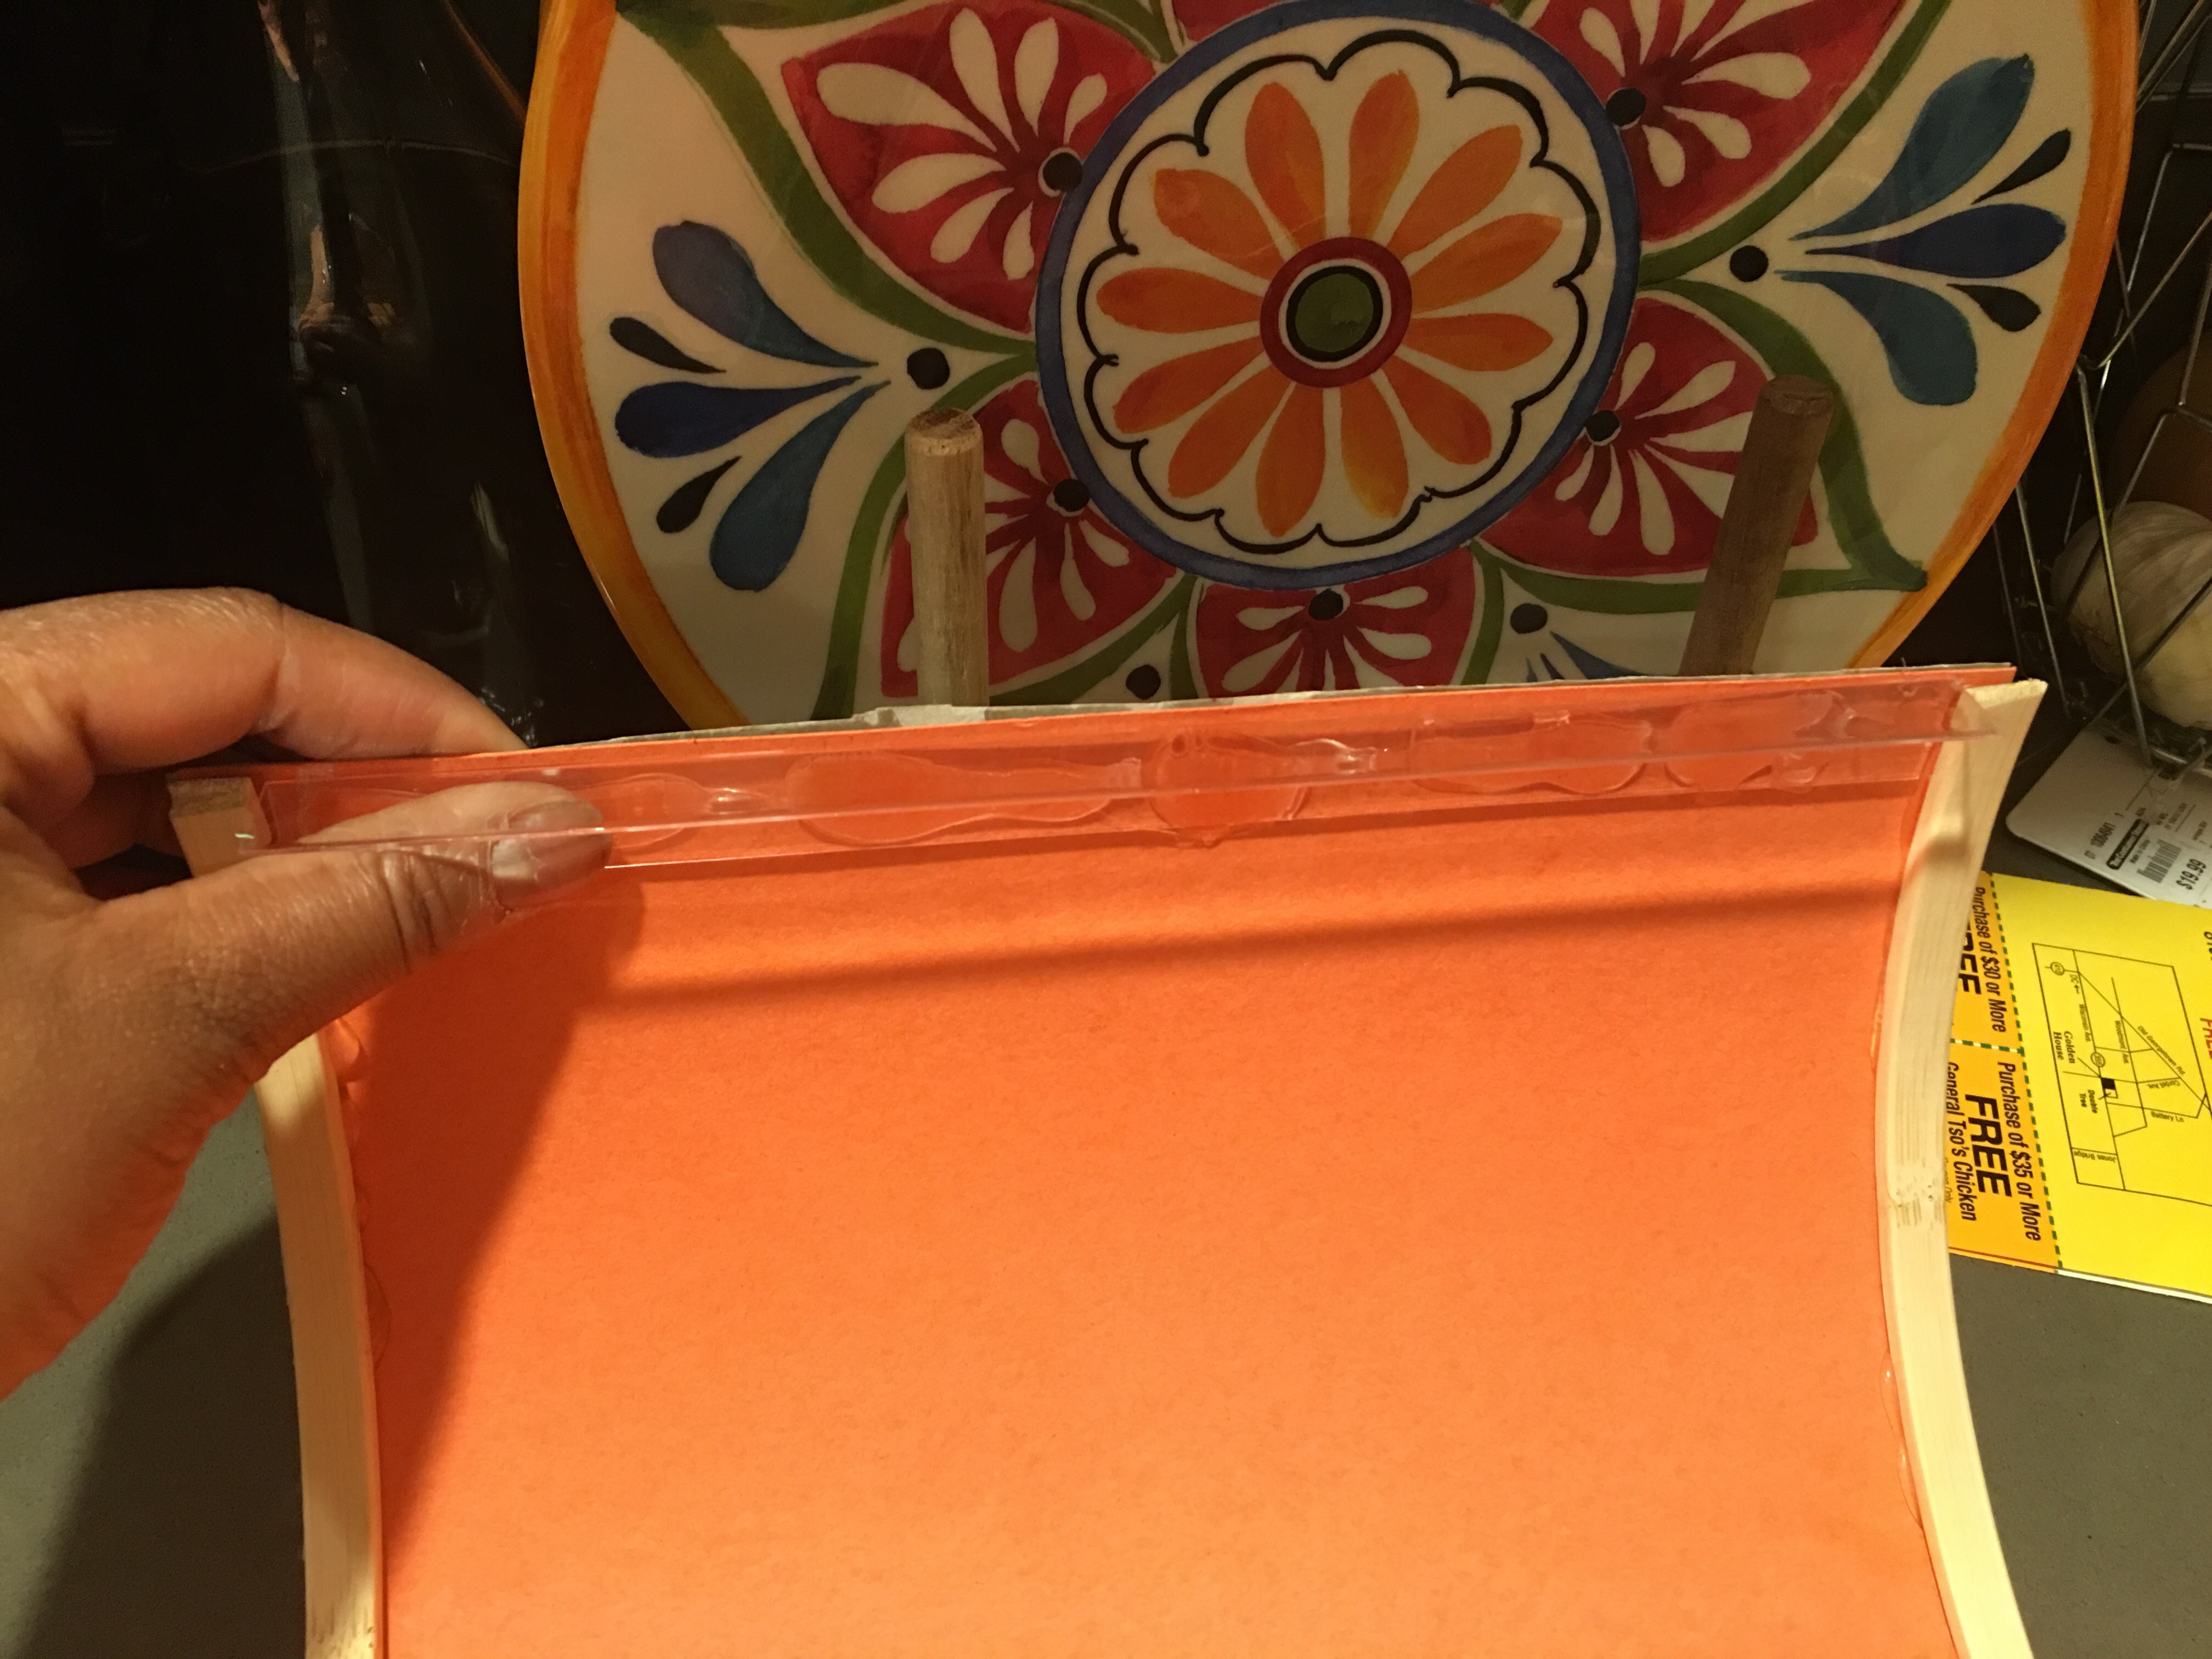
I then applied glue to the back of each corner guard piece…
…and pressed it to each side of the shade.
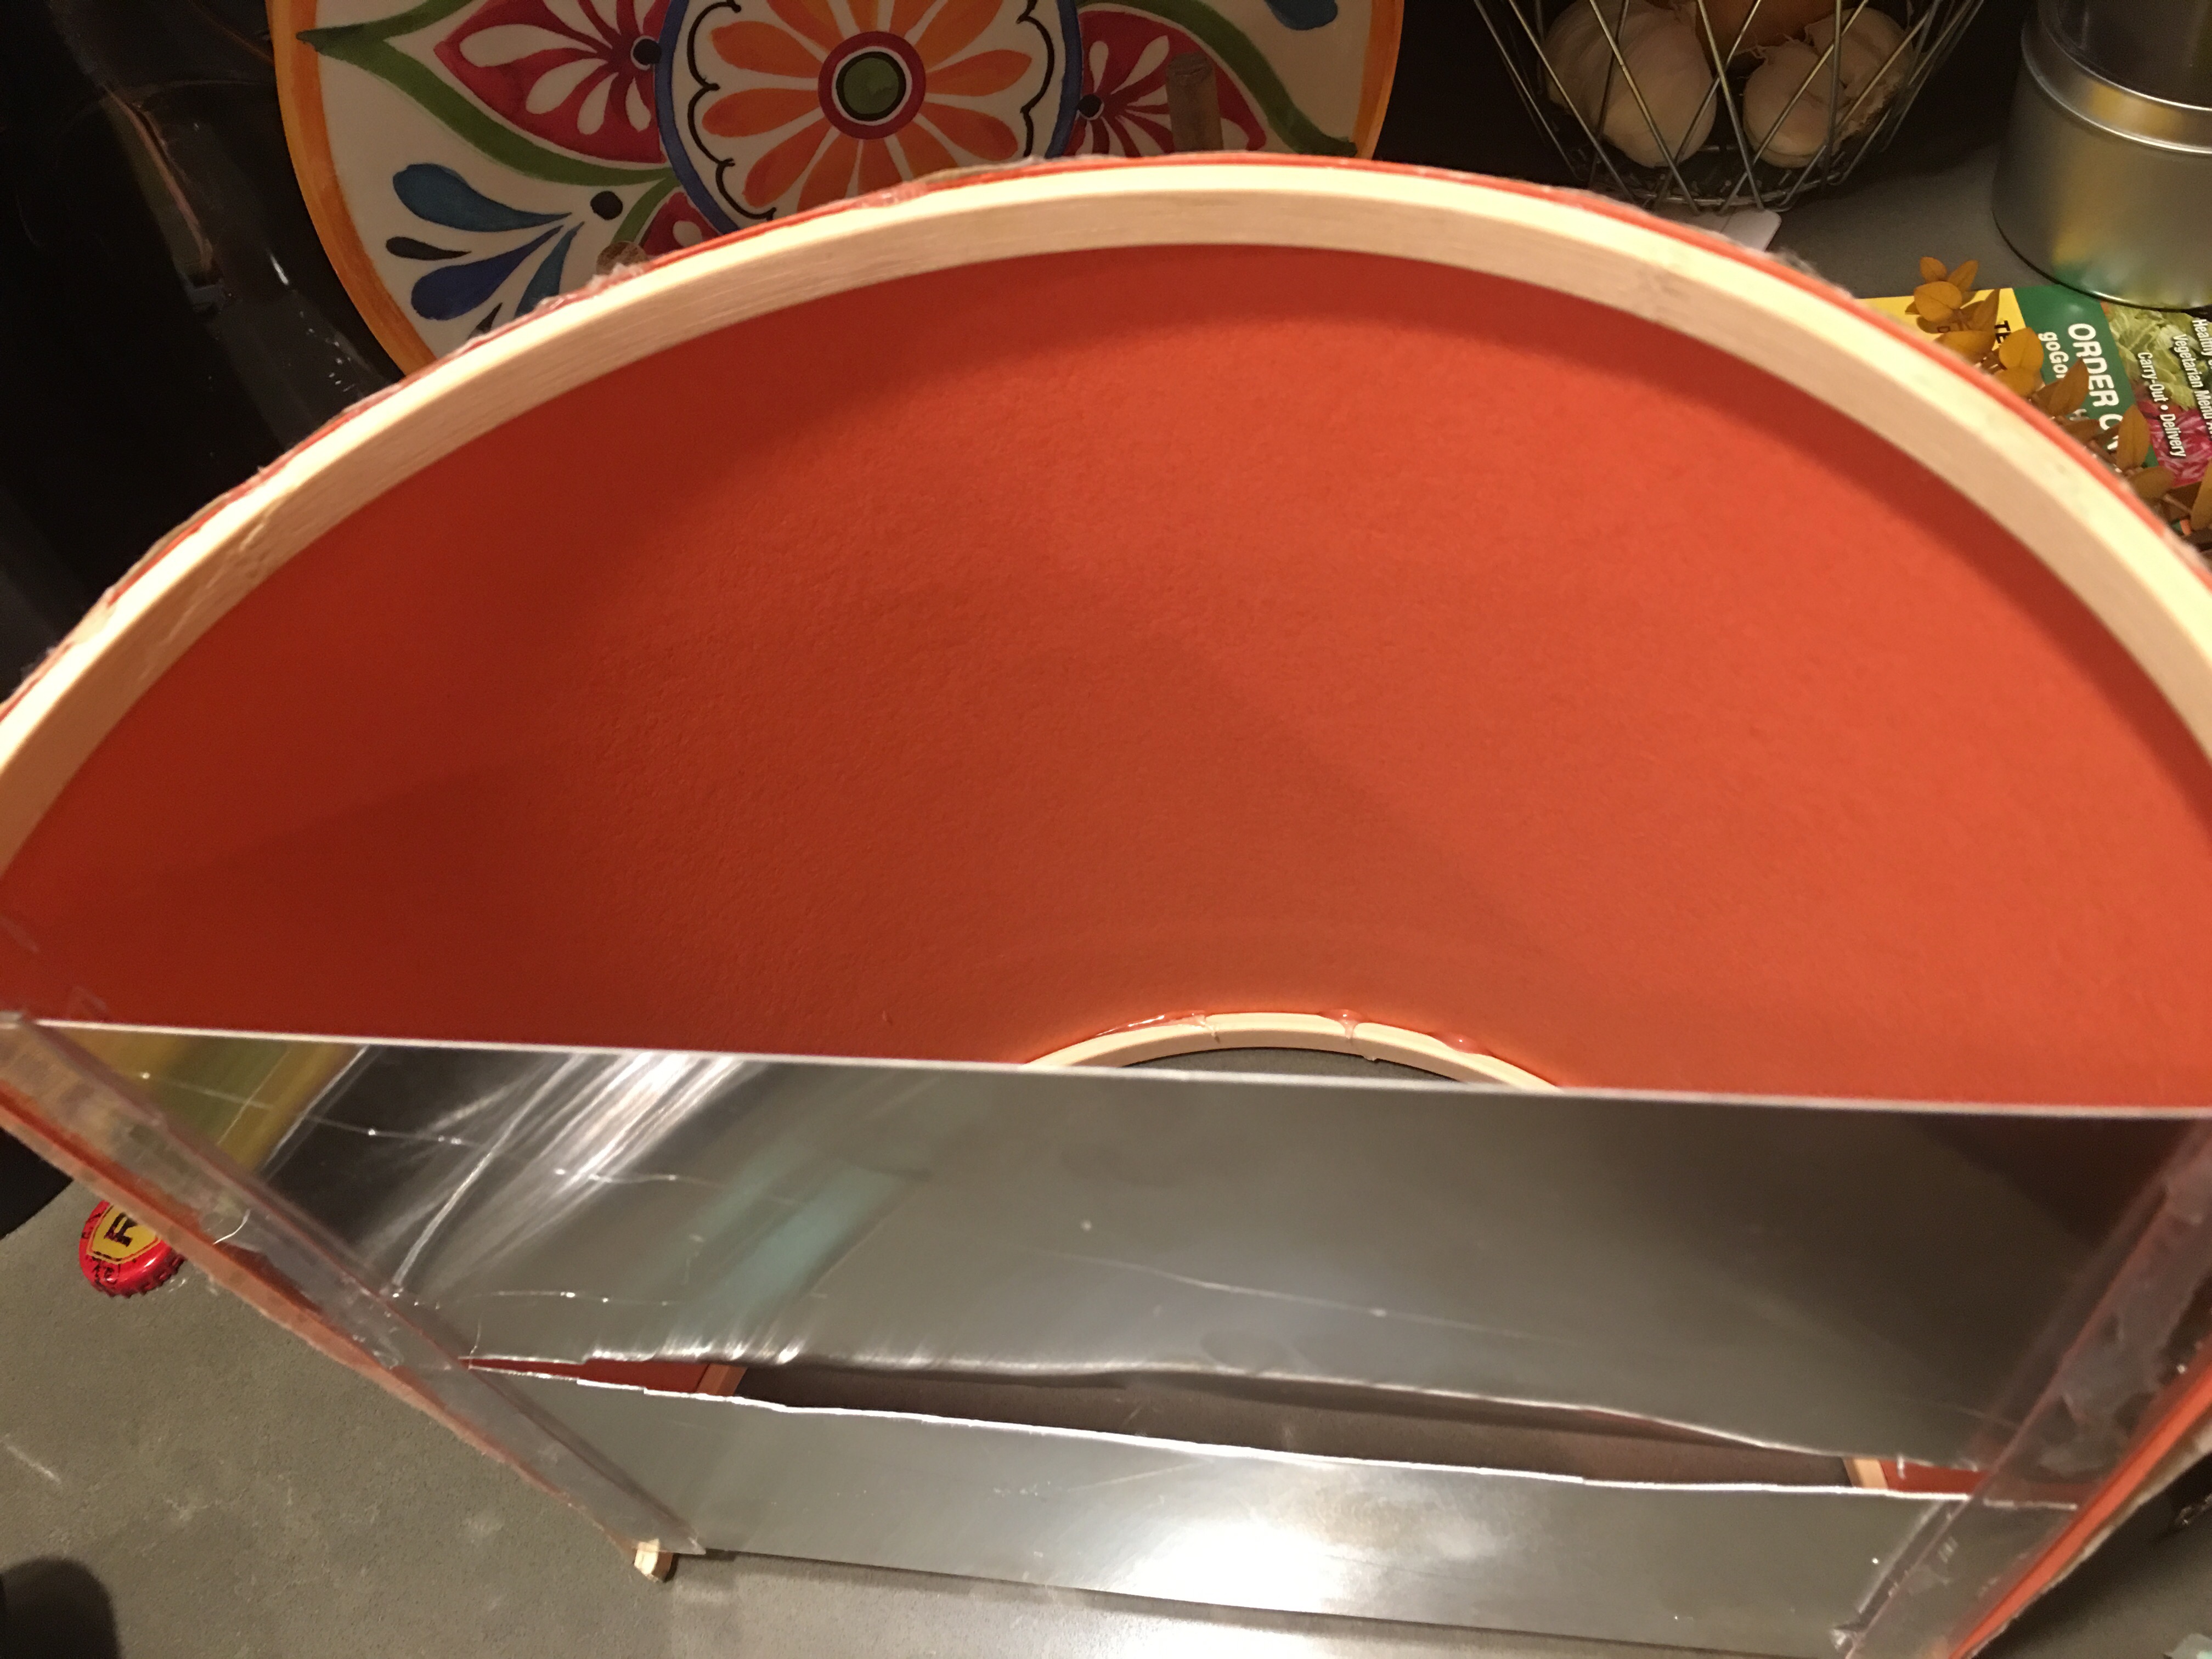
Using two scrap pieces of aluminum sheeting from making the candelabra base…
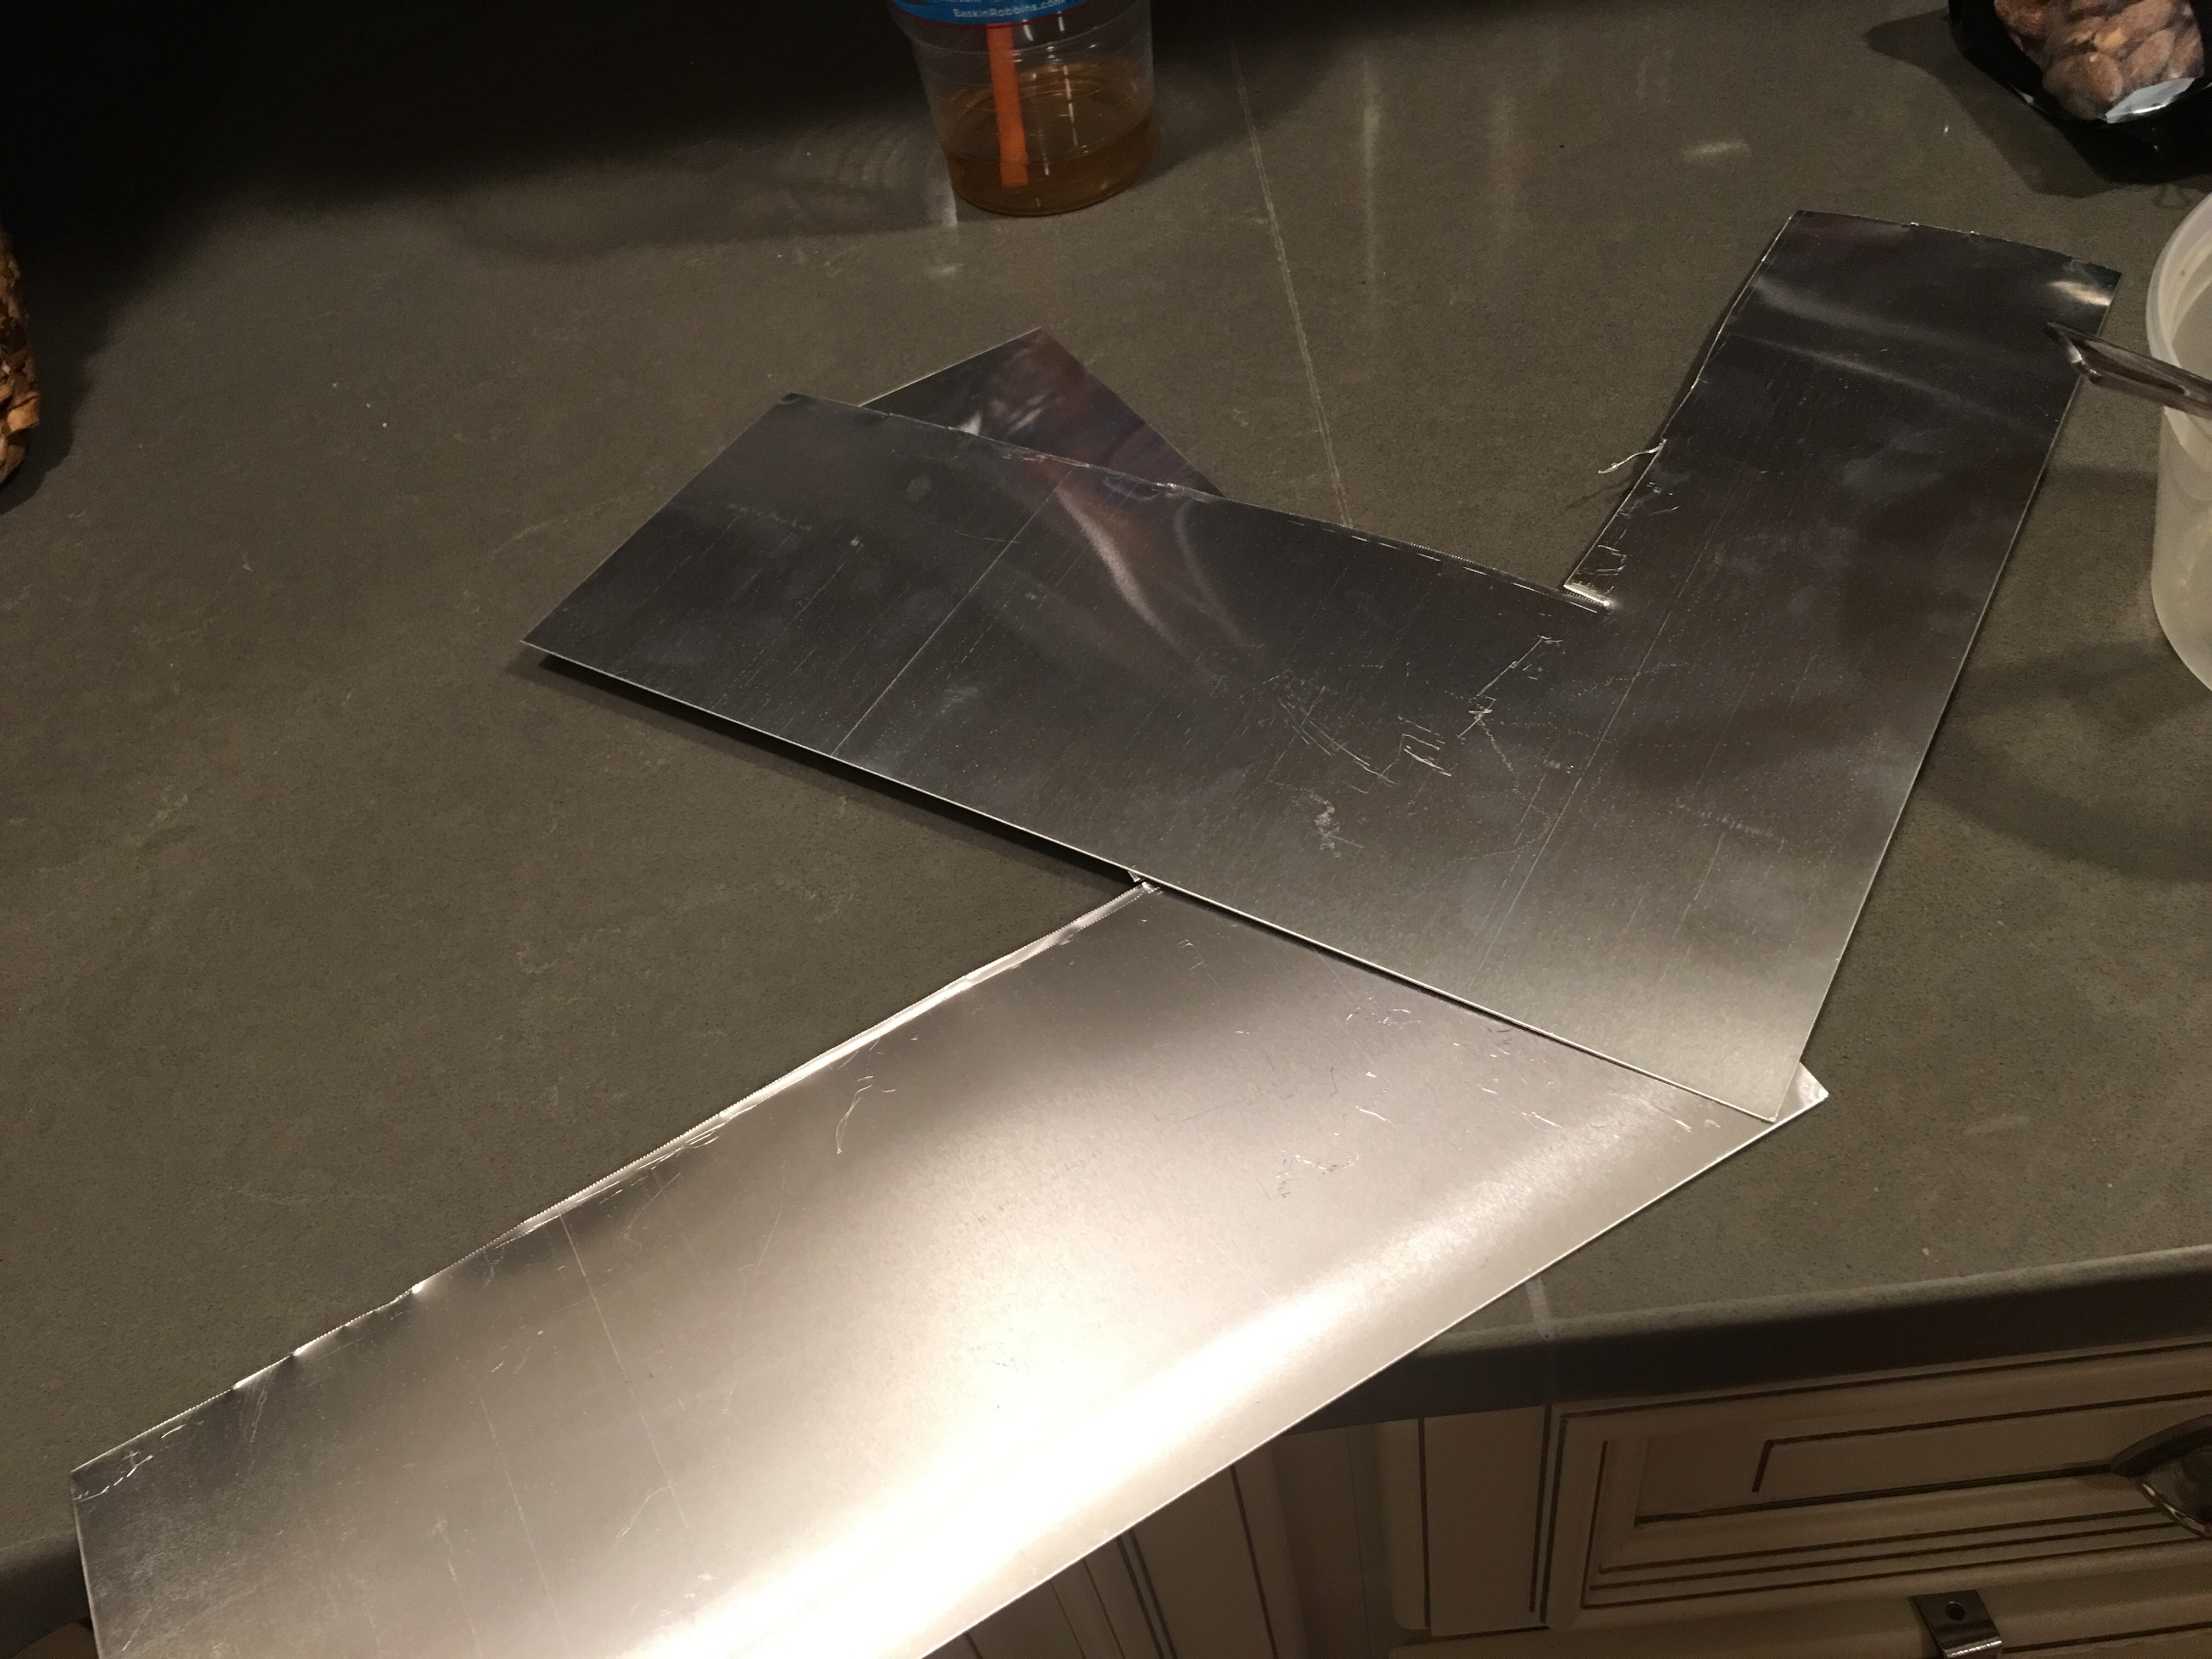
…I cut the sections I needed to add to the back of the shade.

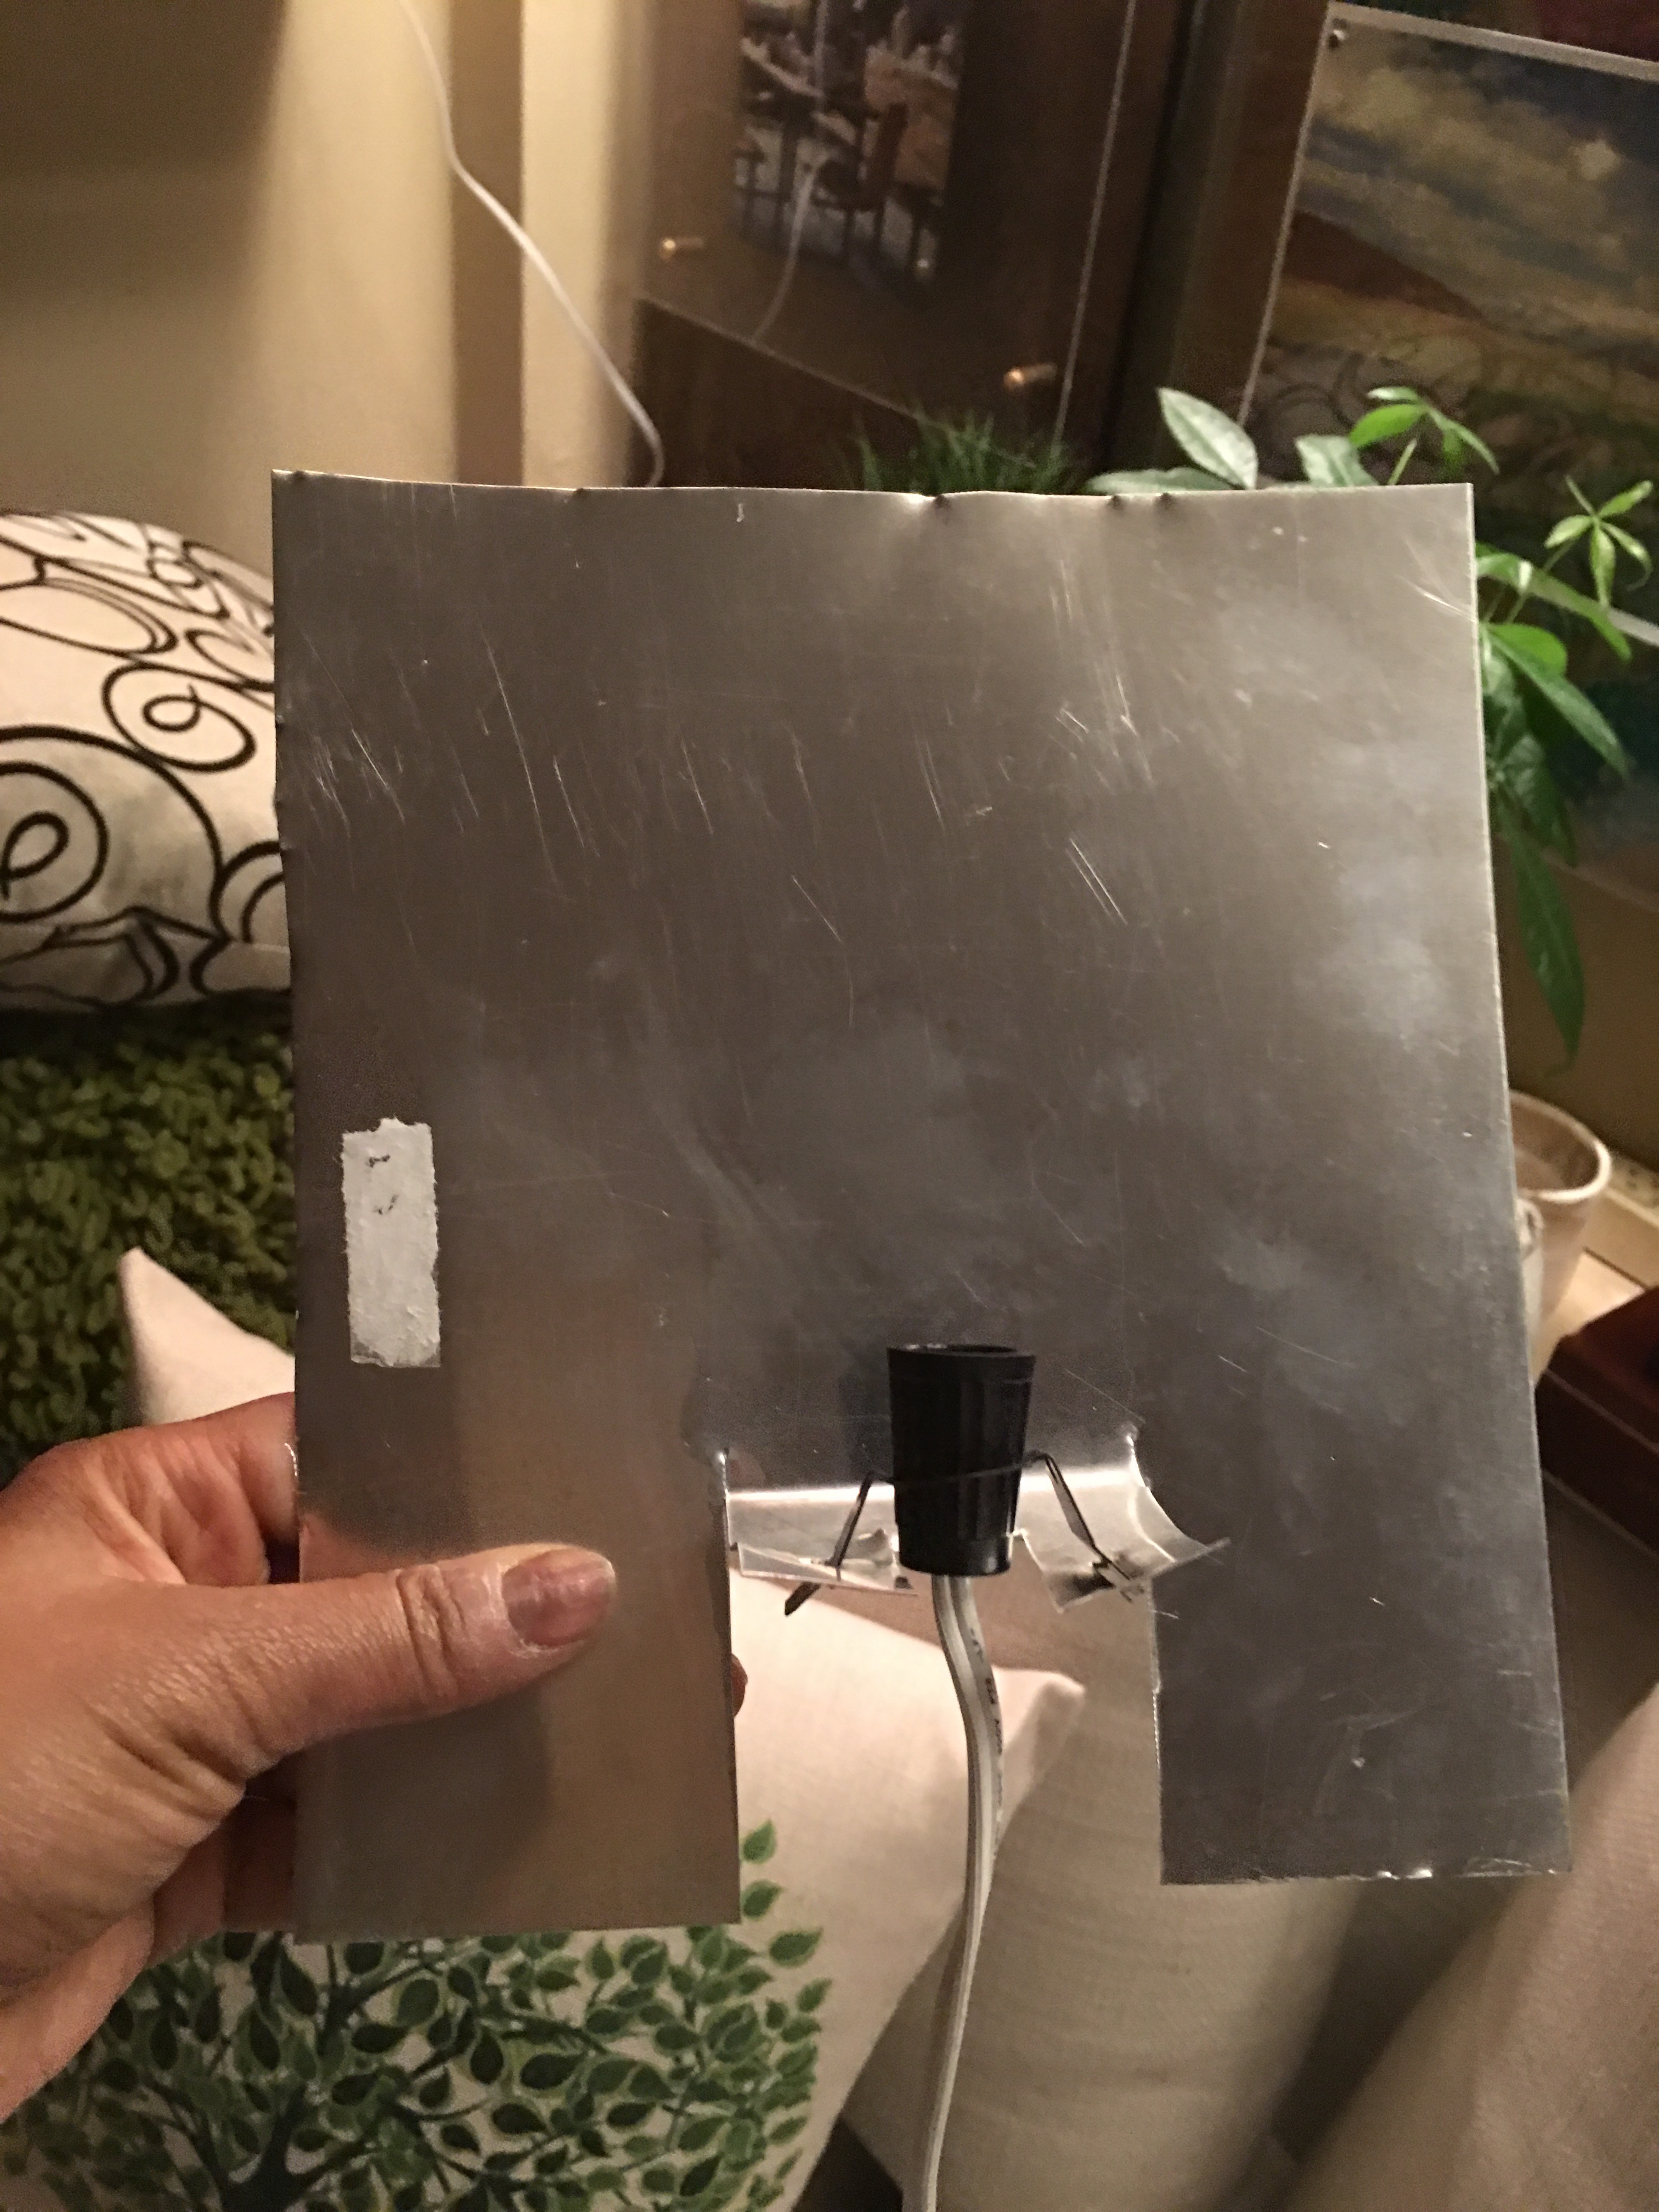
I added two metal pieces to the back, each roughly 4″ x 10″. I slipped each metal piece between the corner guards at the top and bottom. And used hot glue to attach the back pieces together.
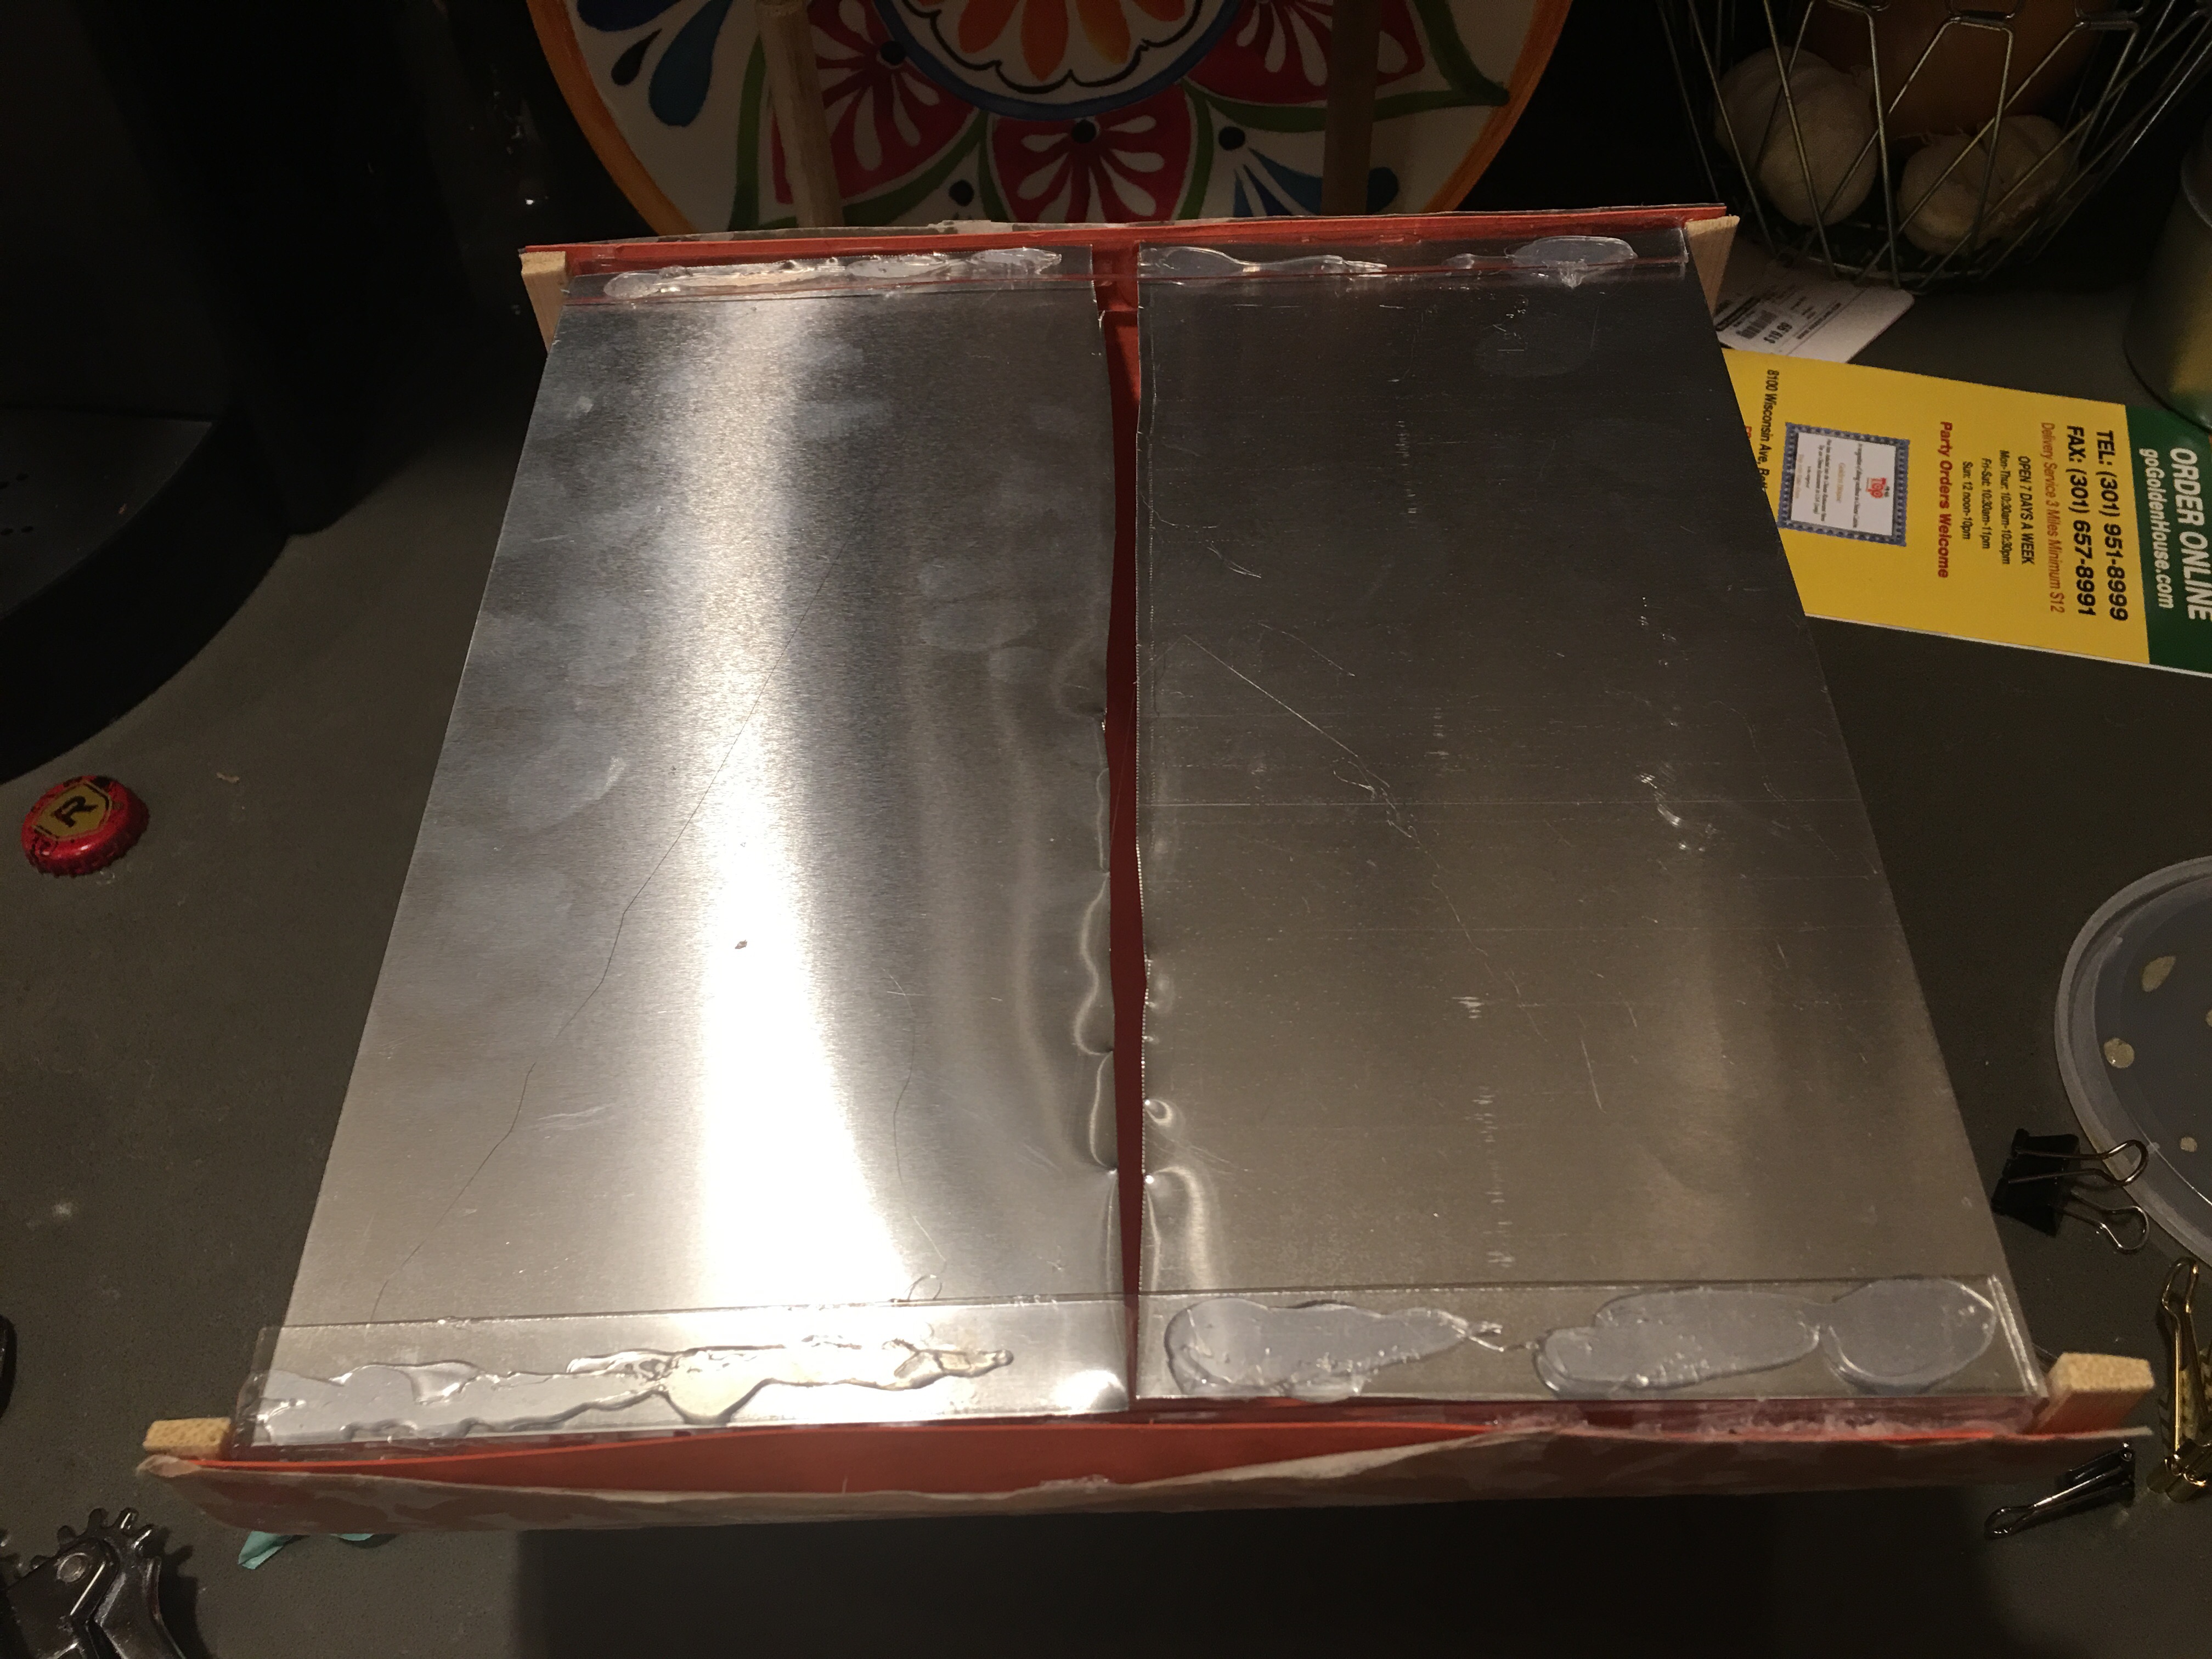
And here’s the backing to the centerpiece wall sconce shade. Ready for wall mounting.
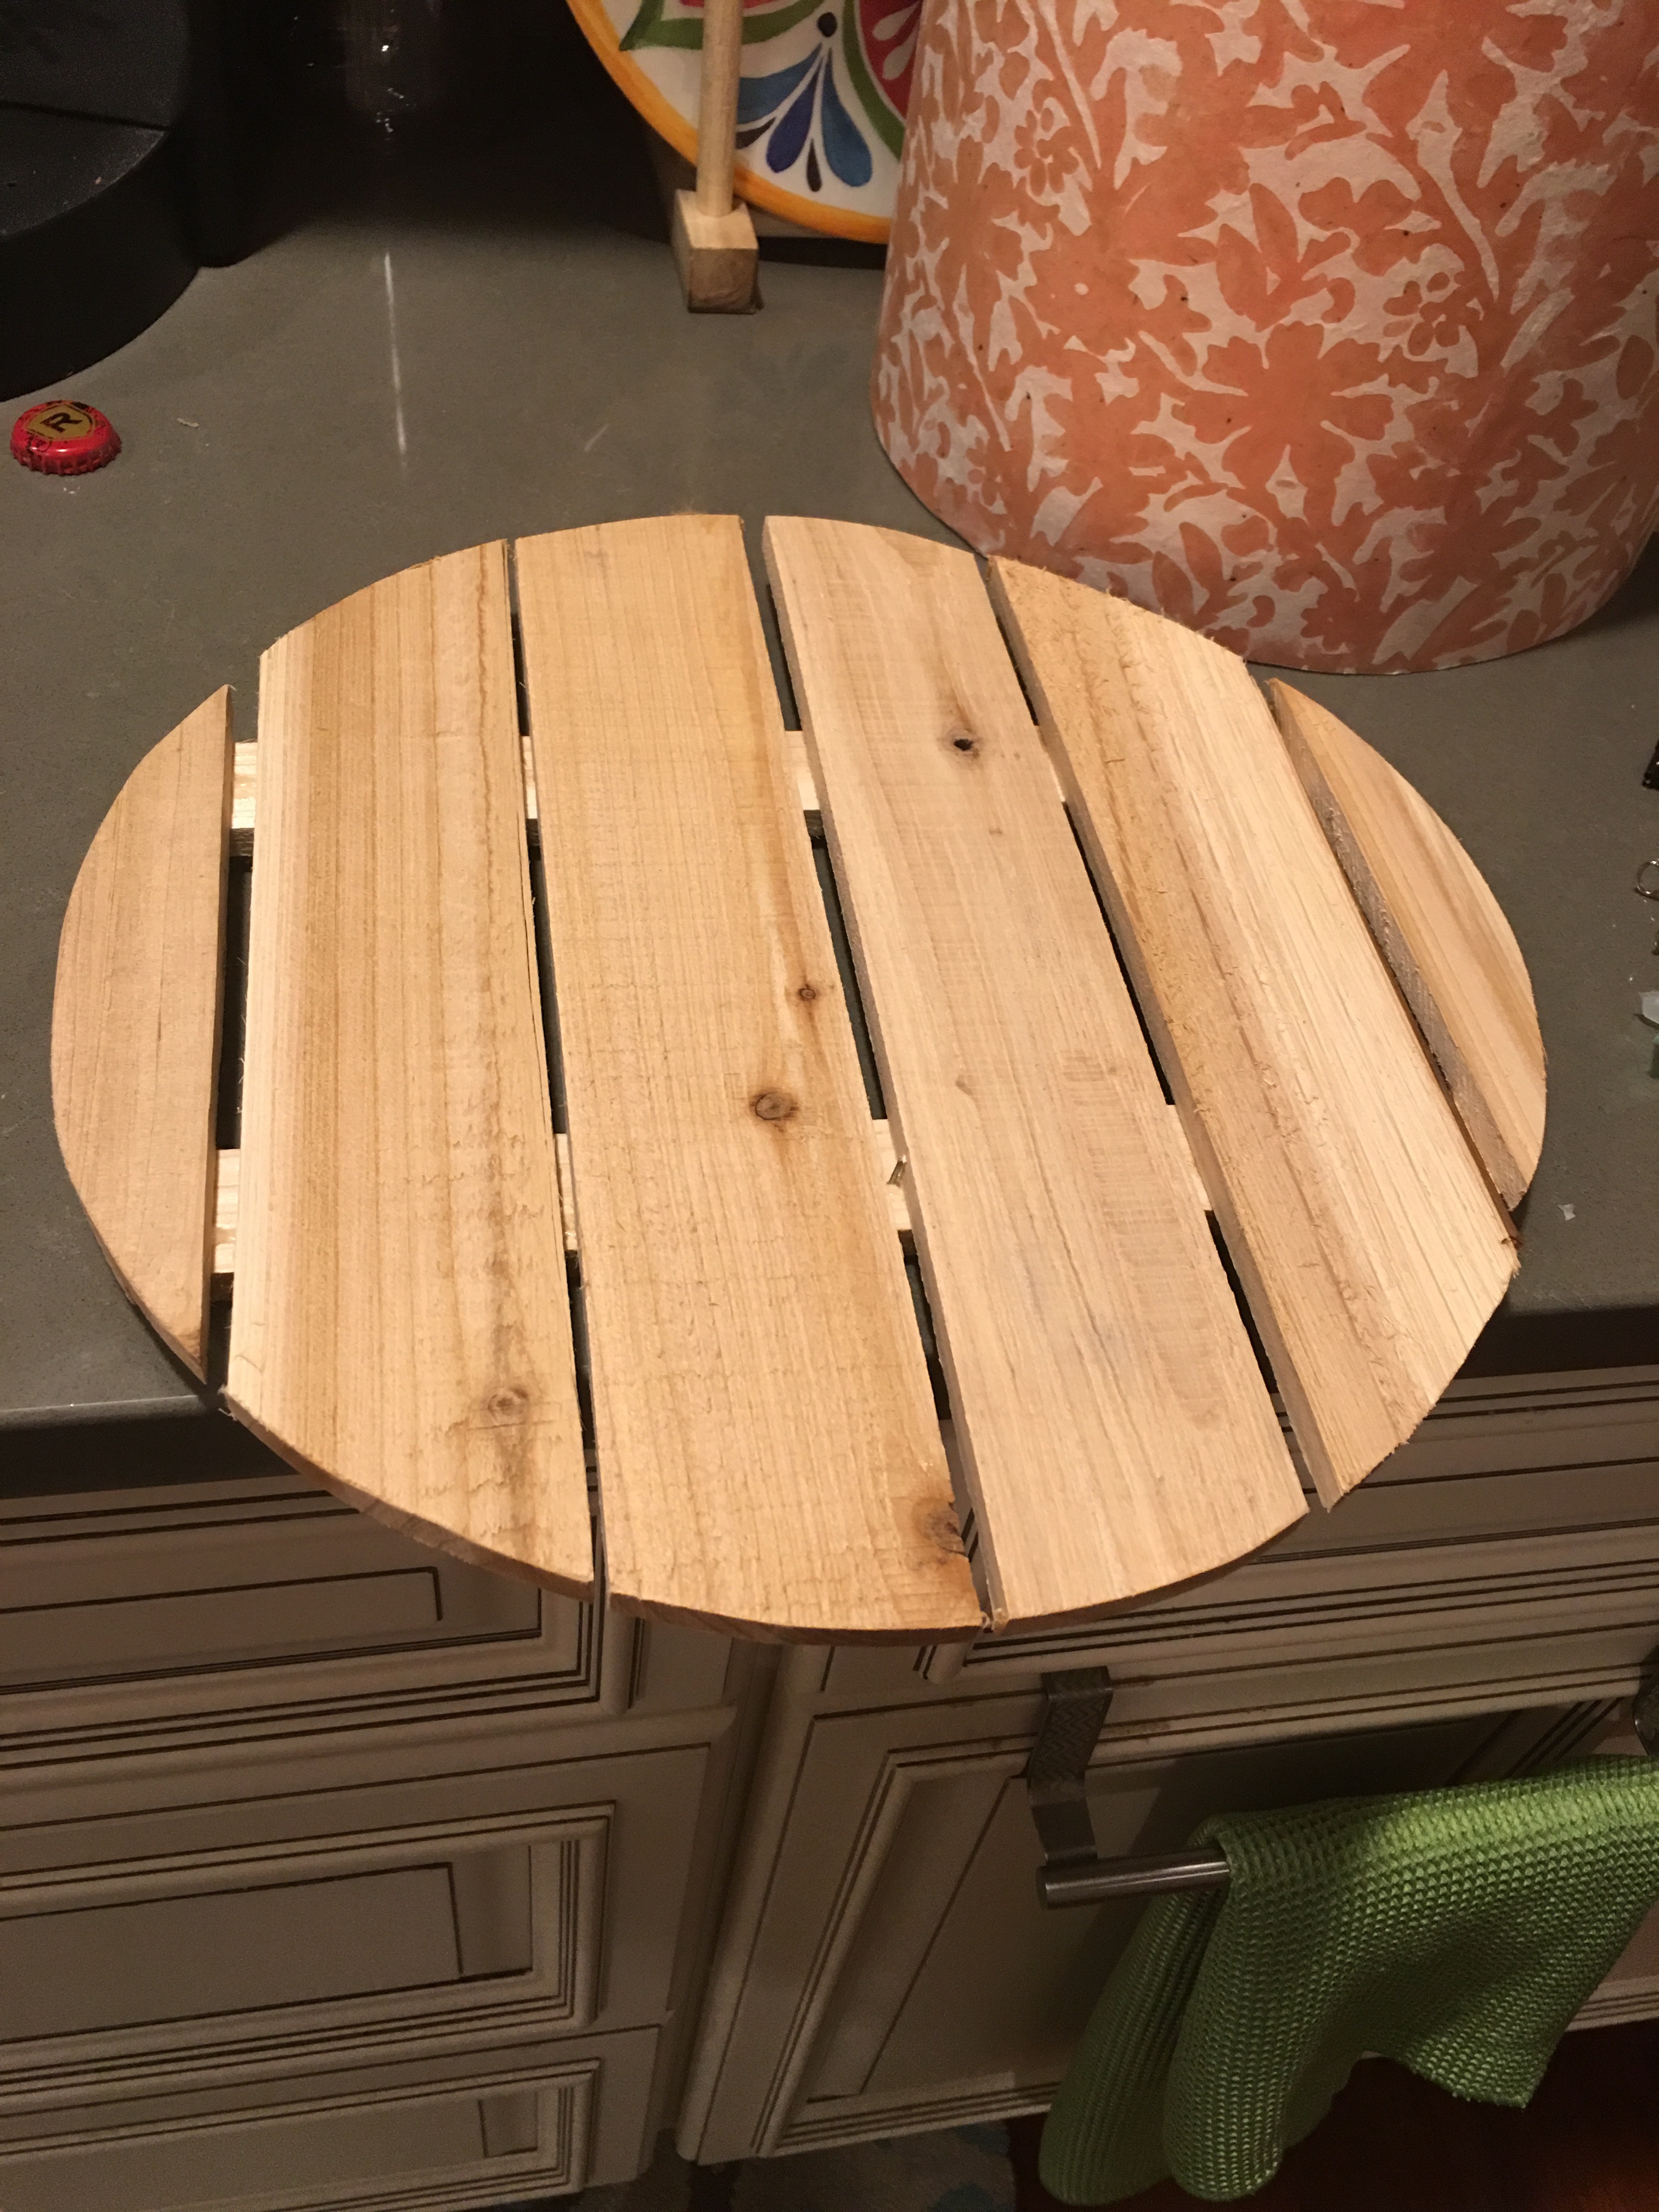
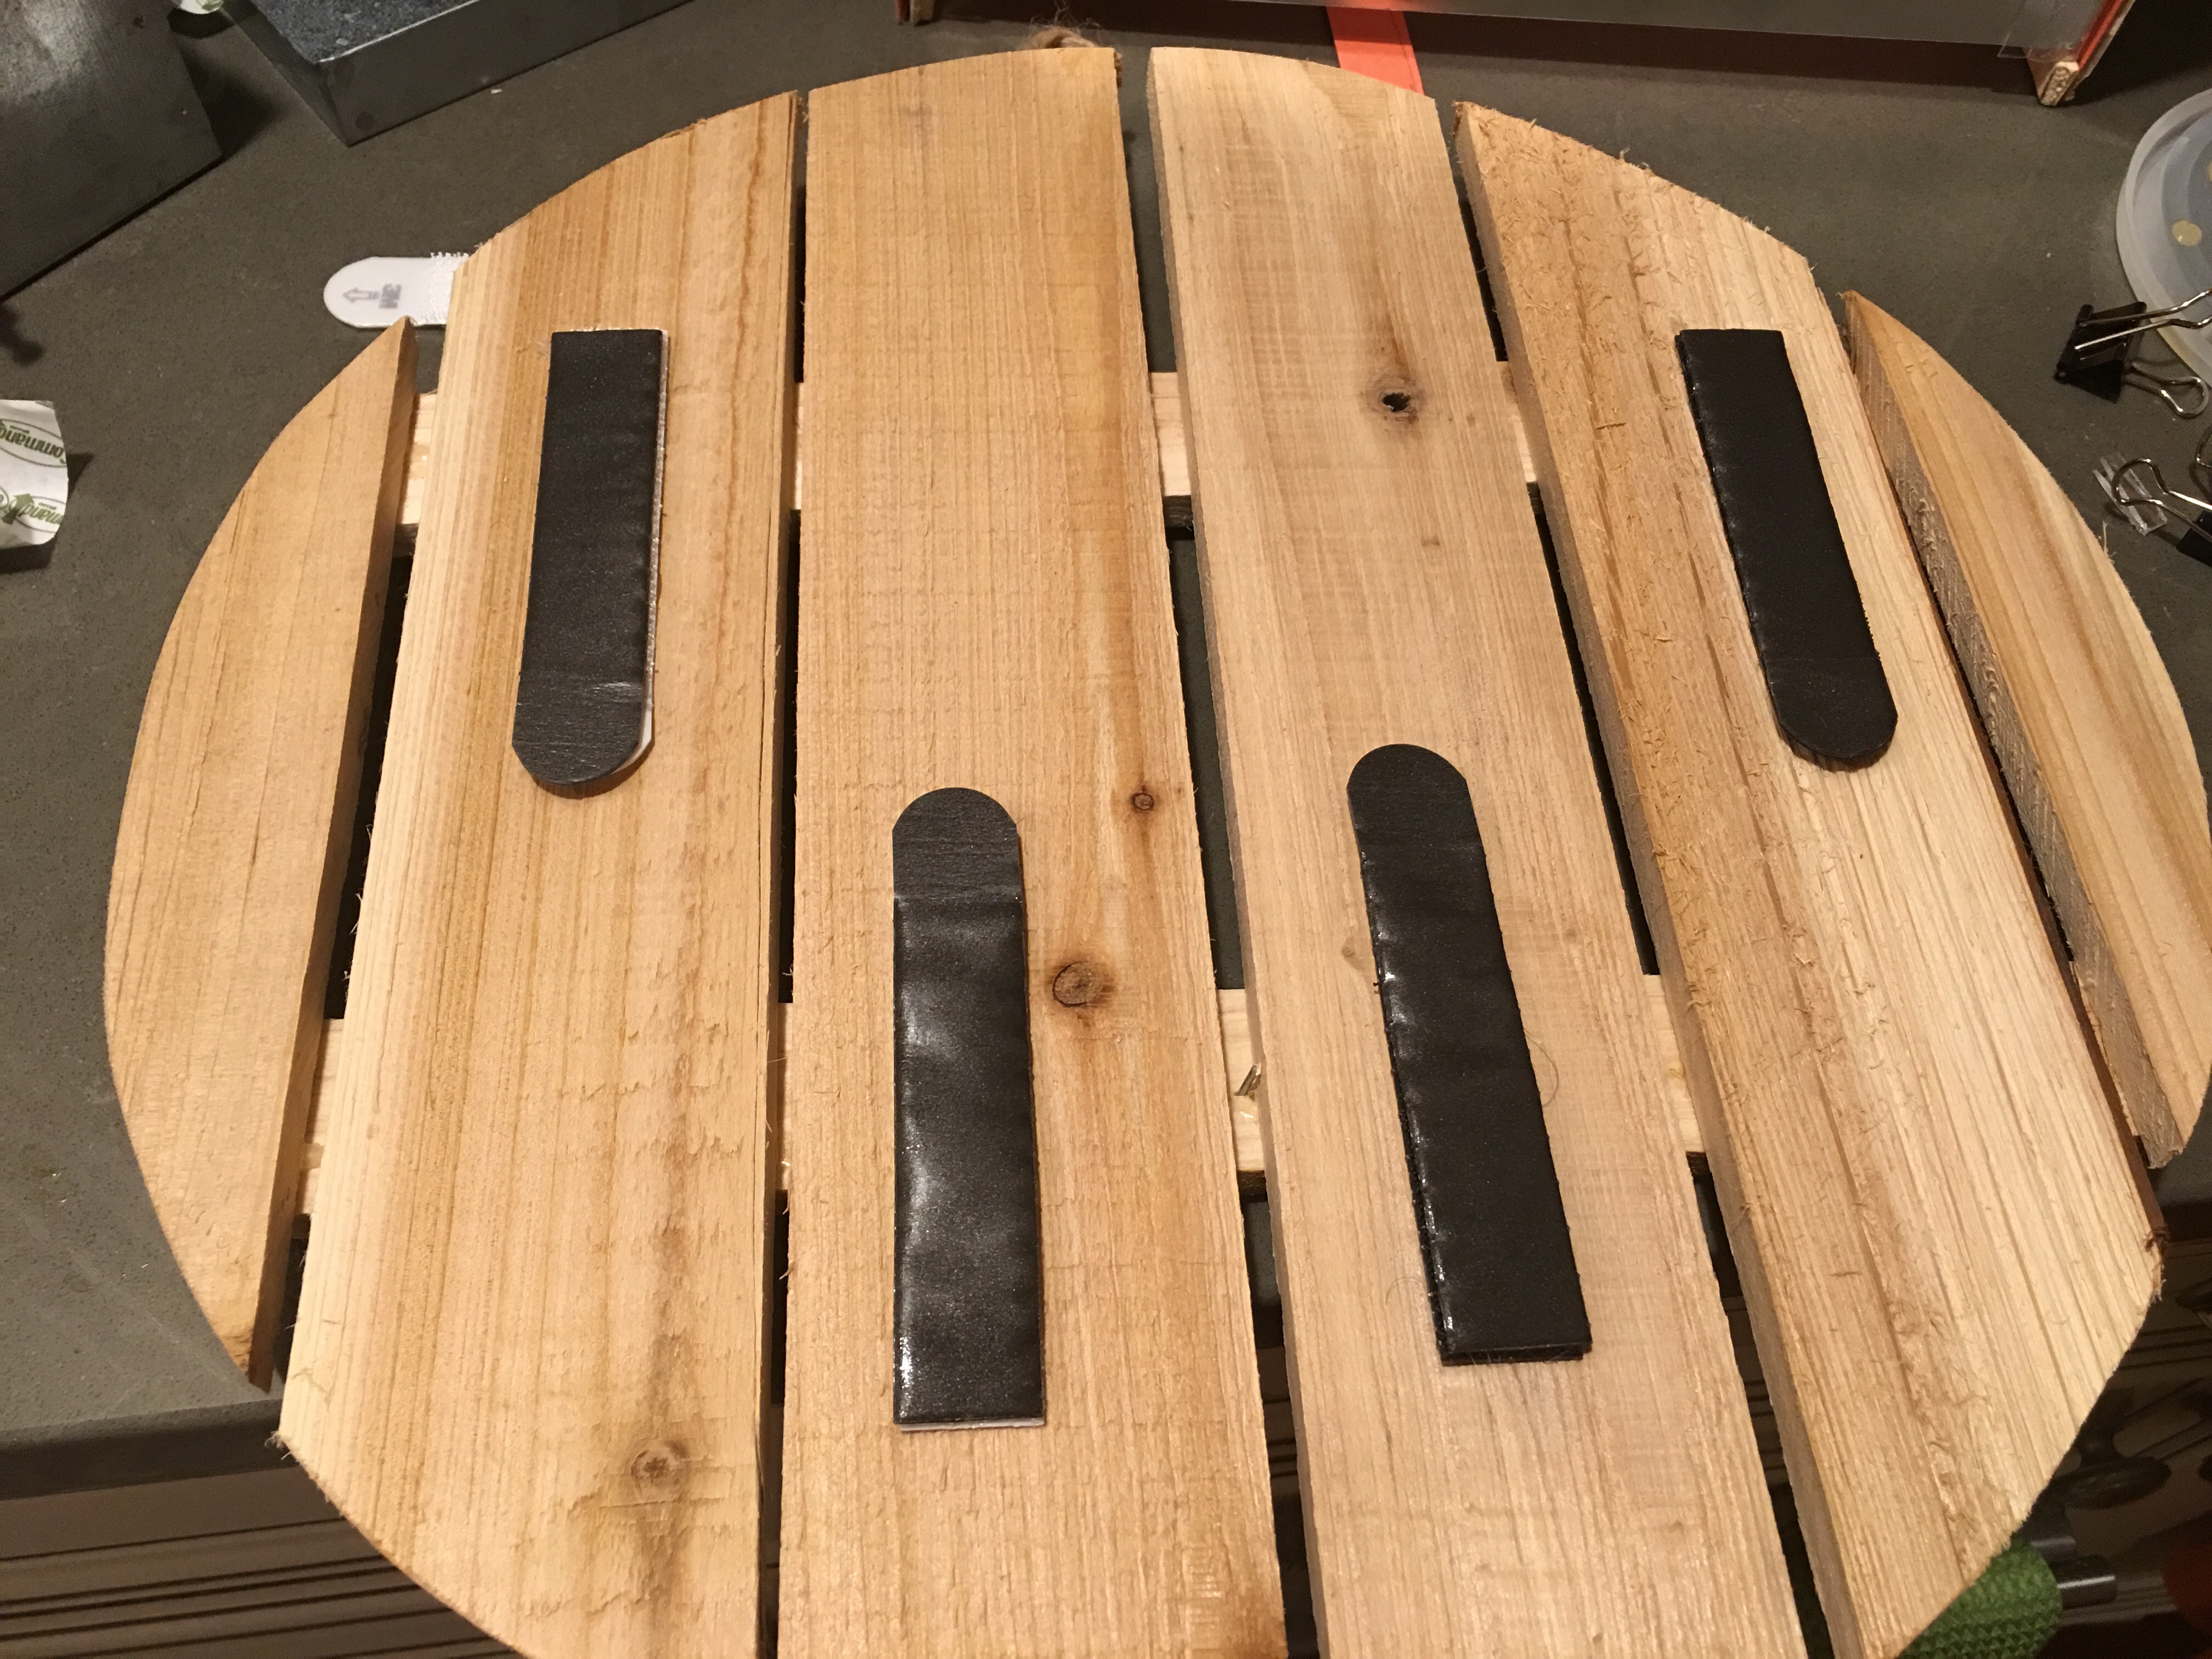
For the mount, I took the round wood pallet plaque off the wall so that I can add the shade.
I used hot glue to add four large 3M Command picture adhesive strips…
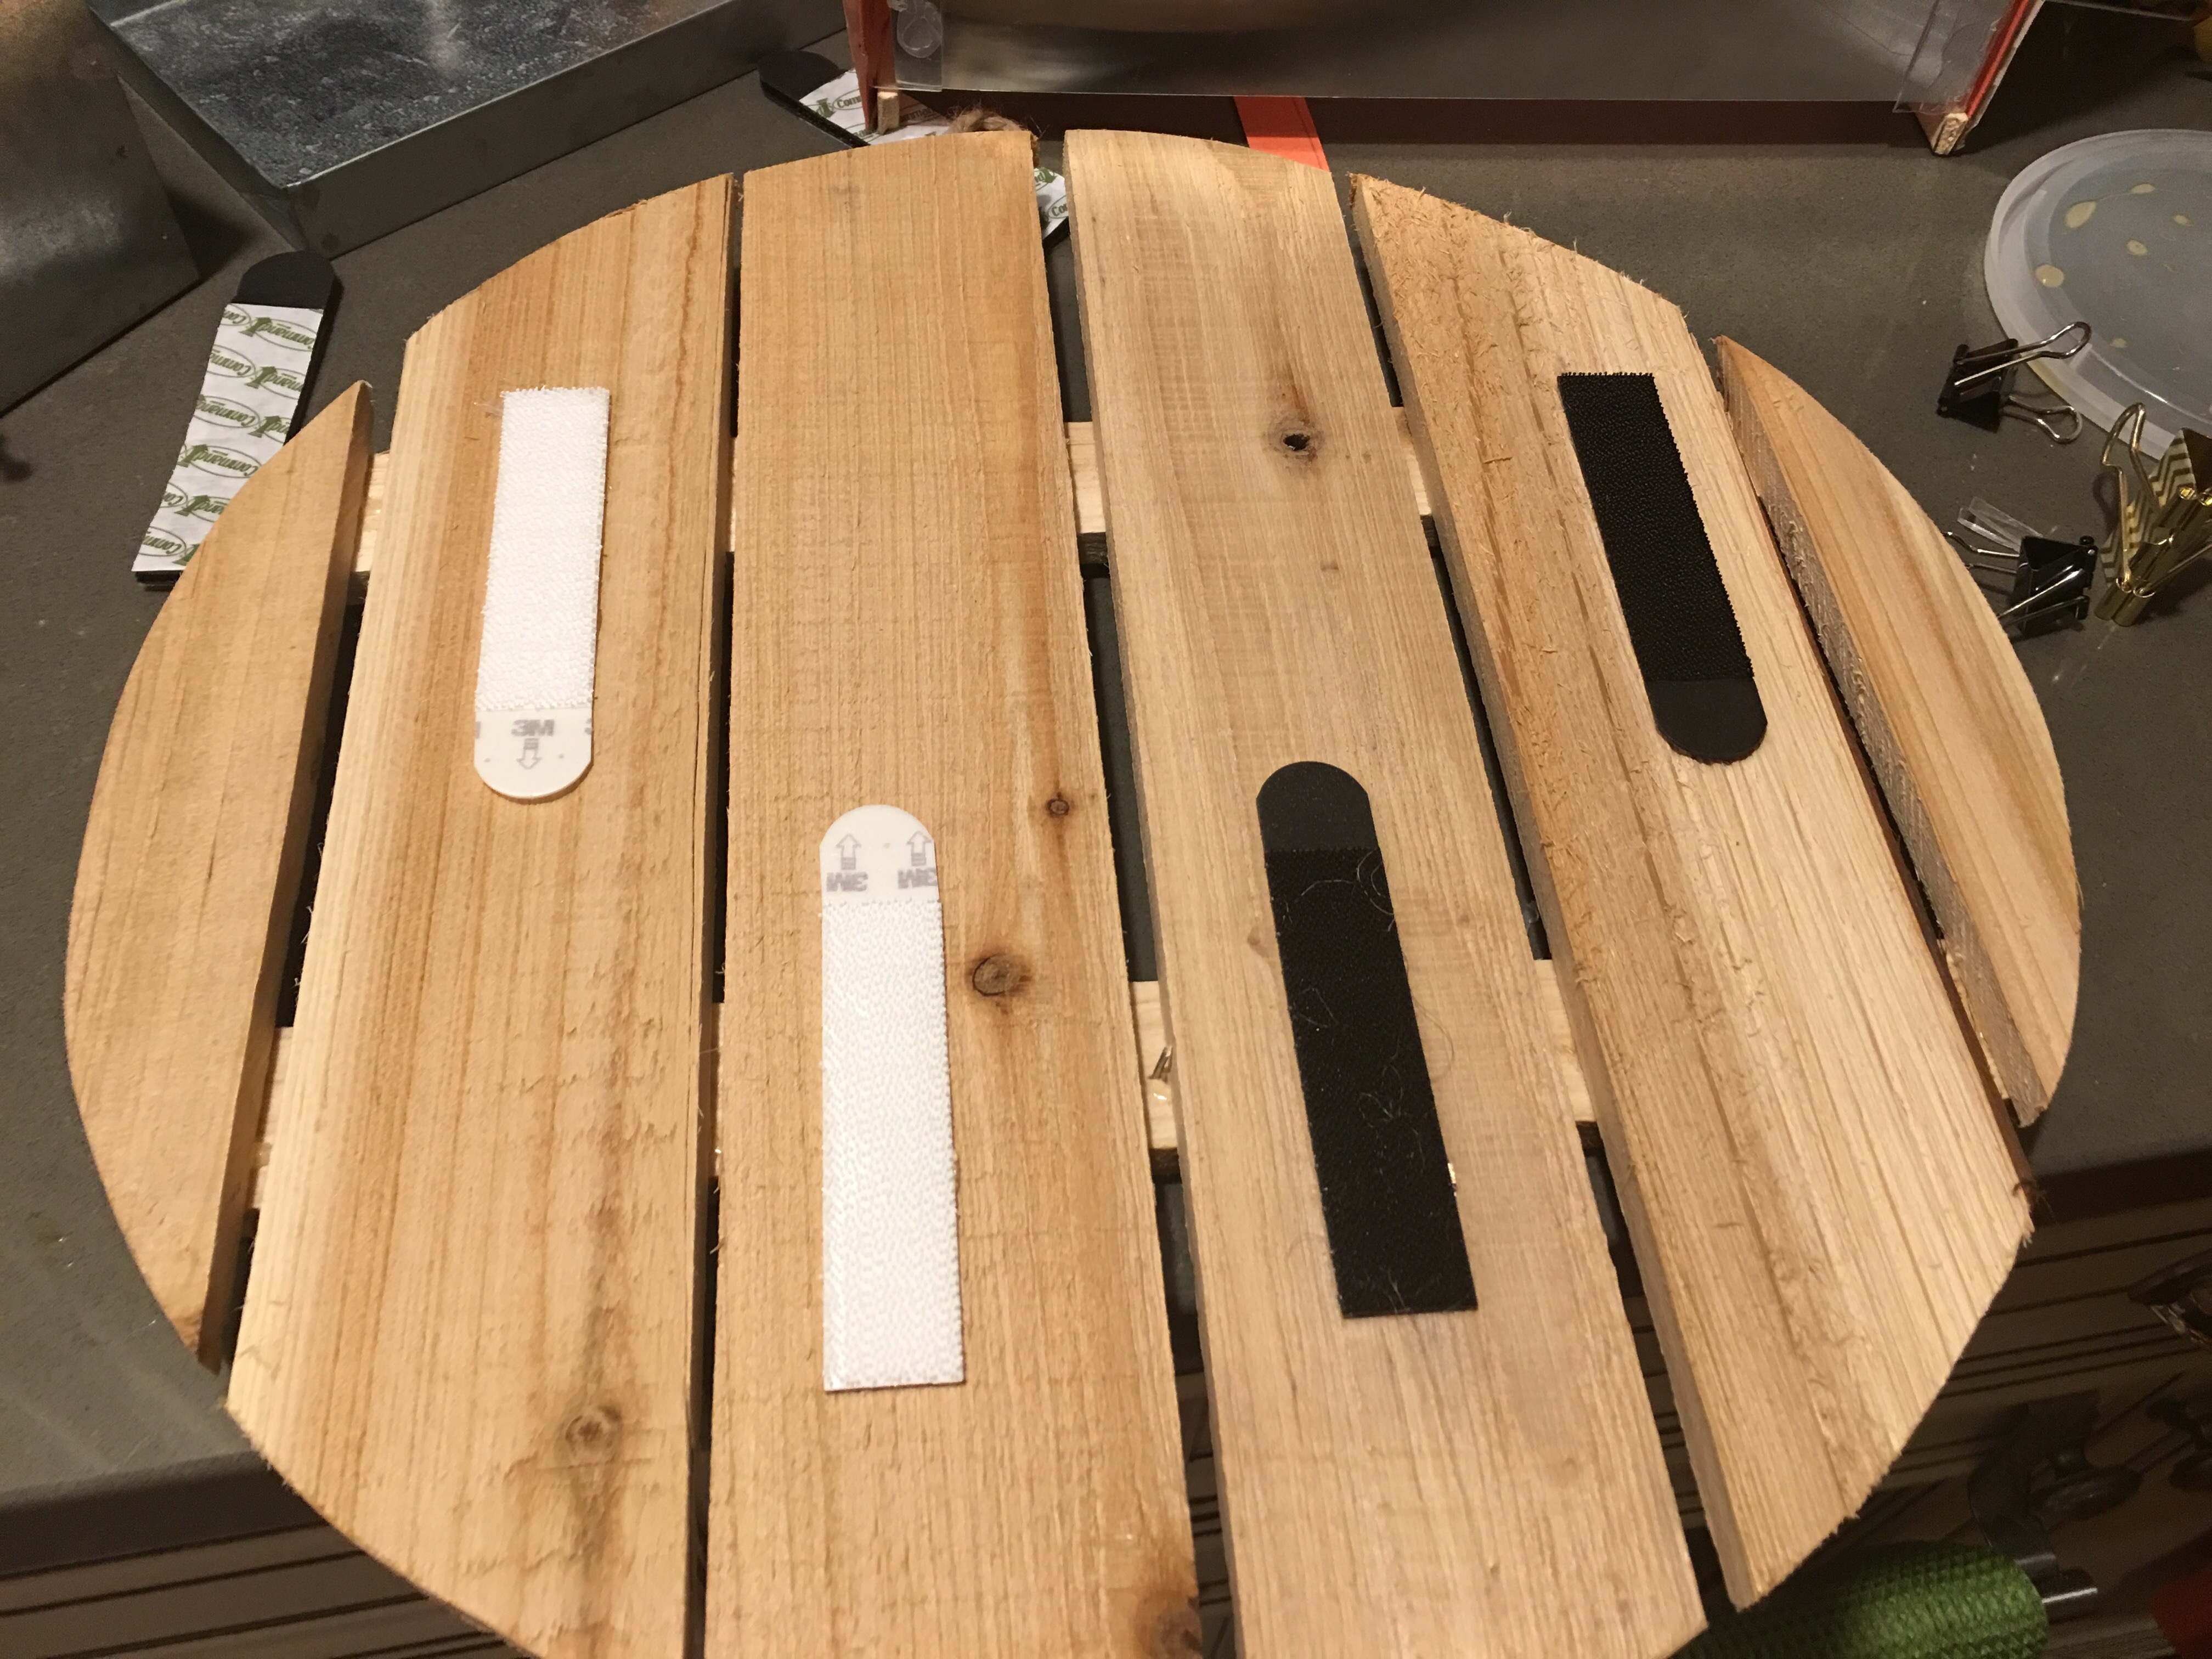
…then applied connecting strips to attach the shade.
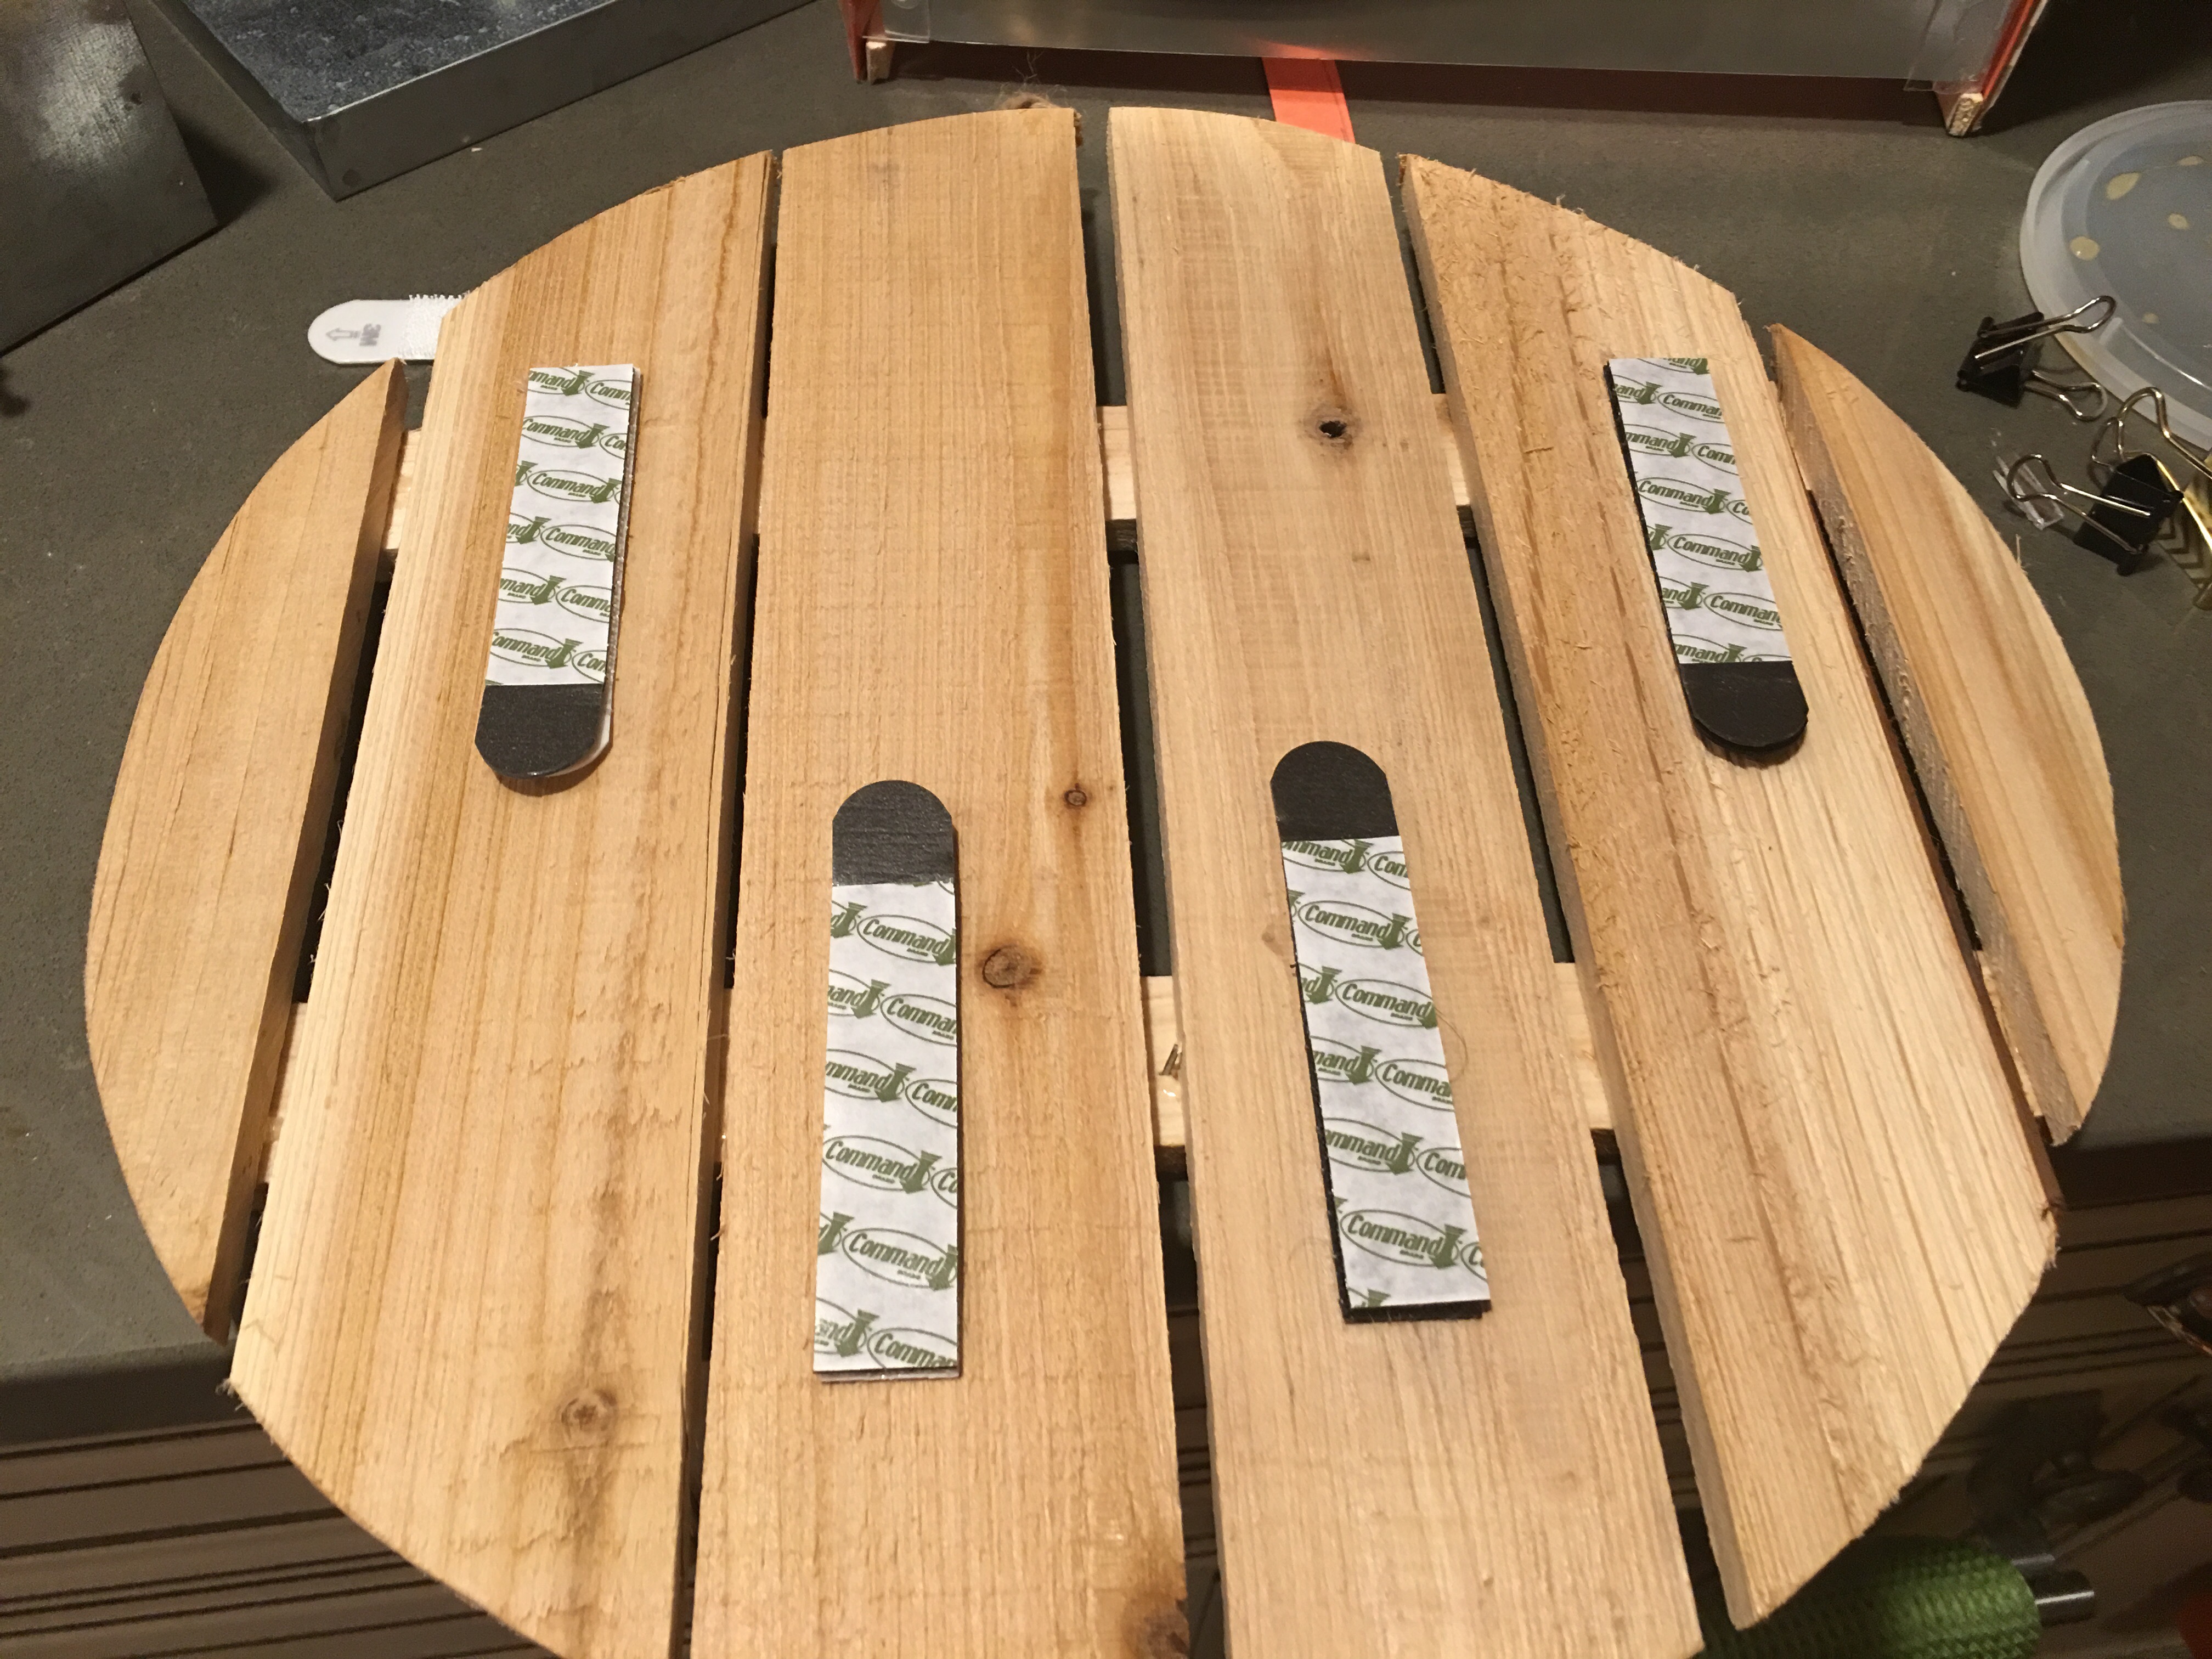
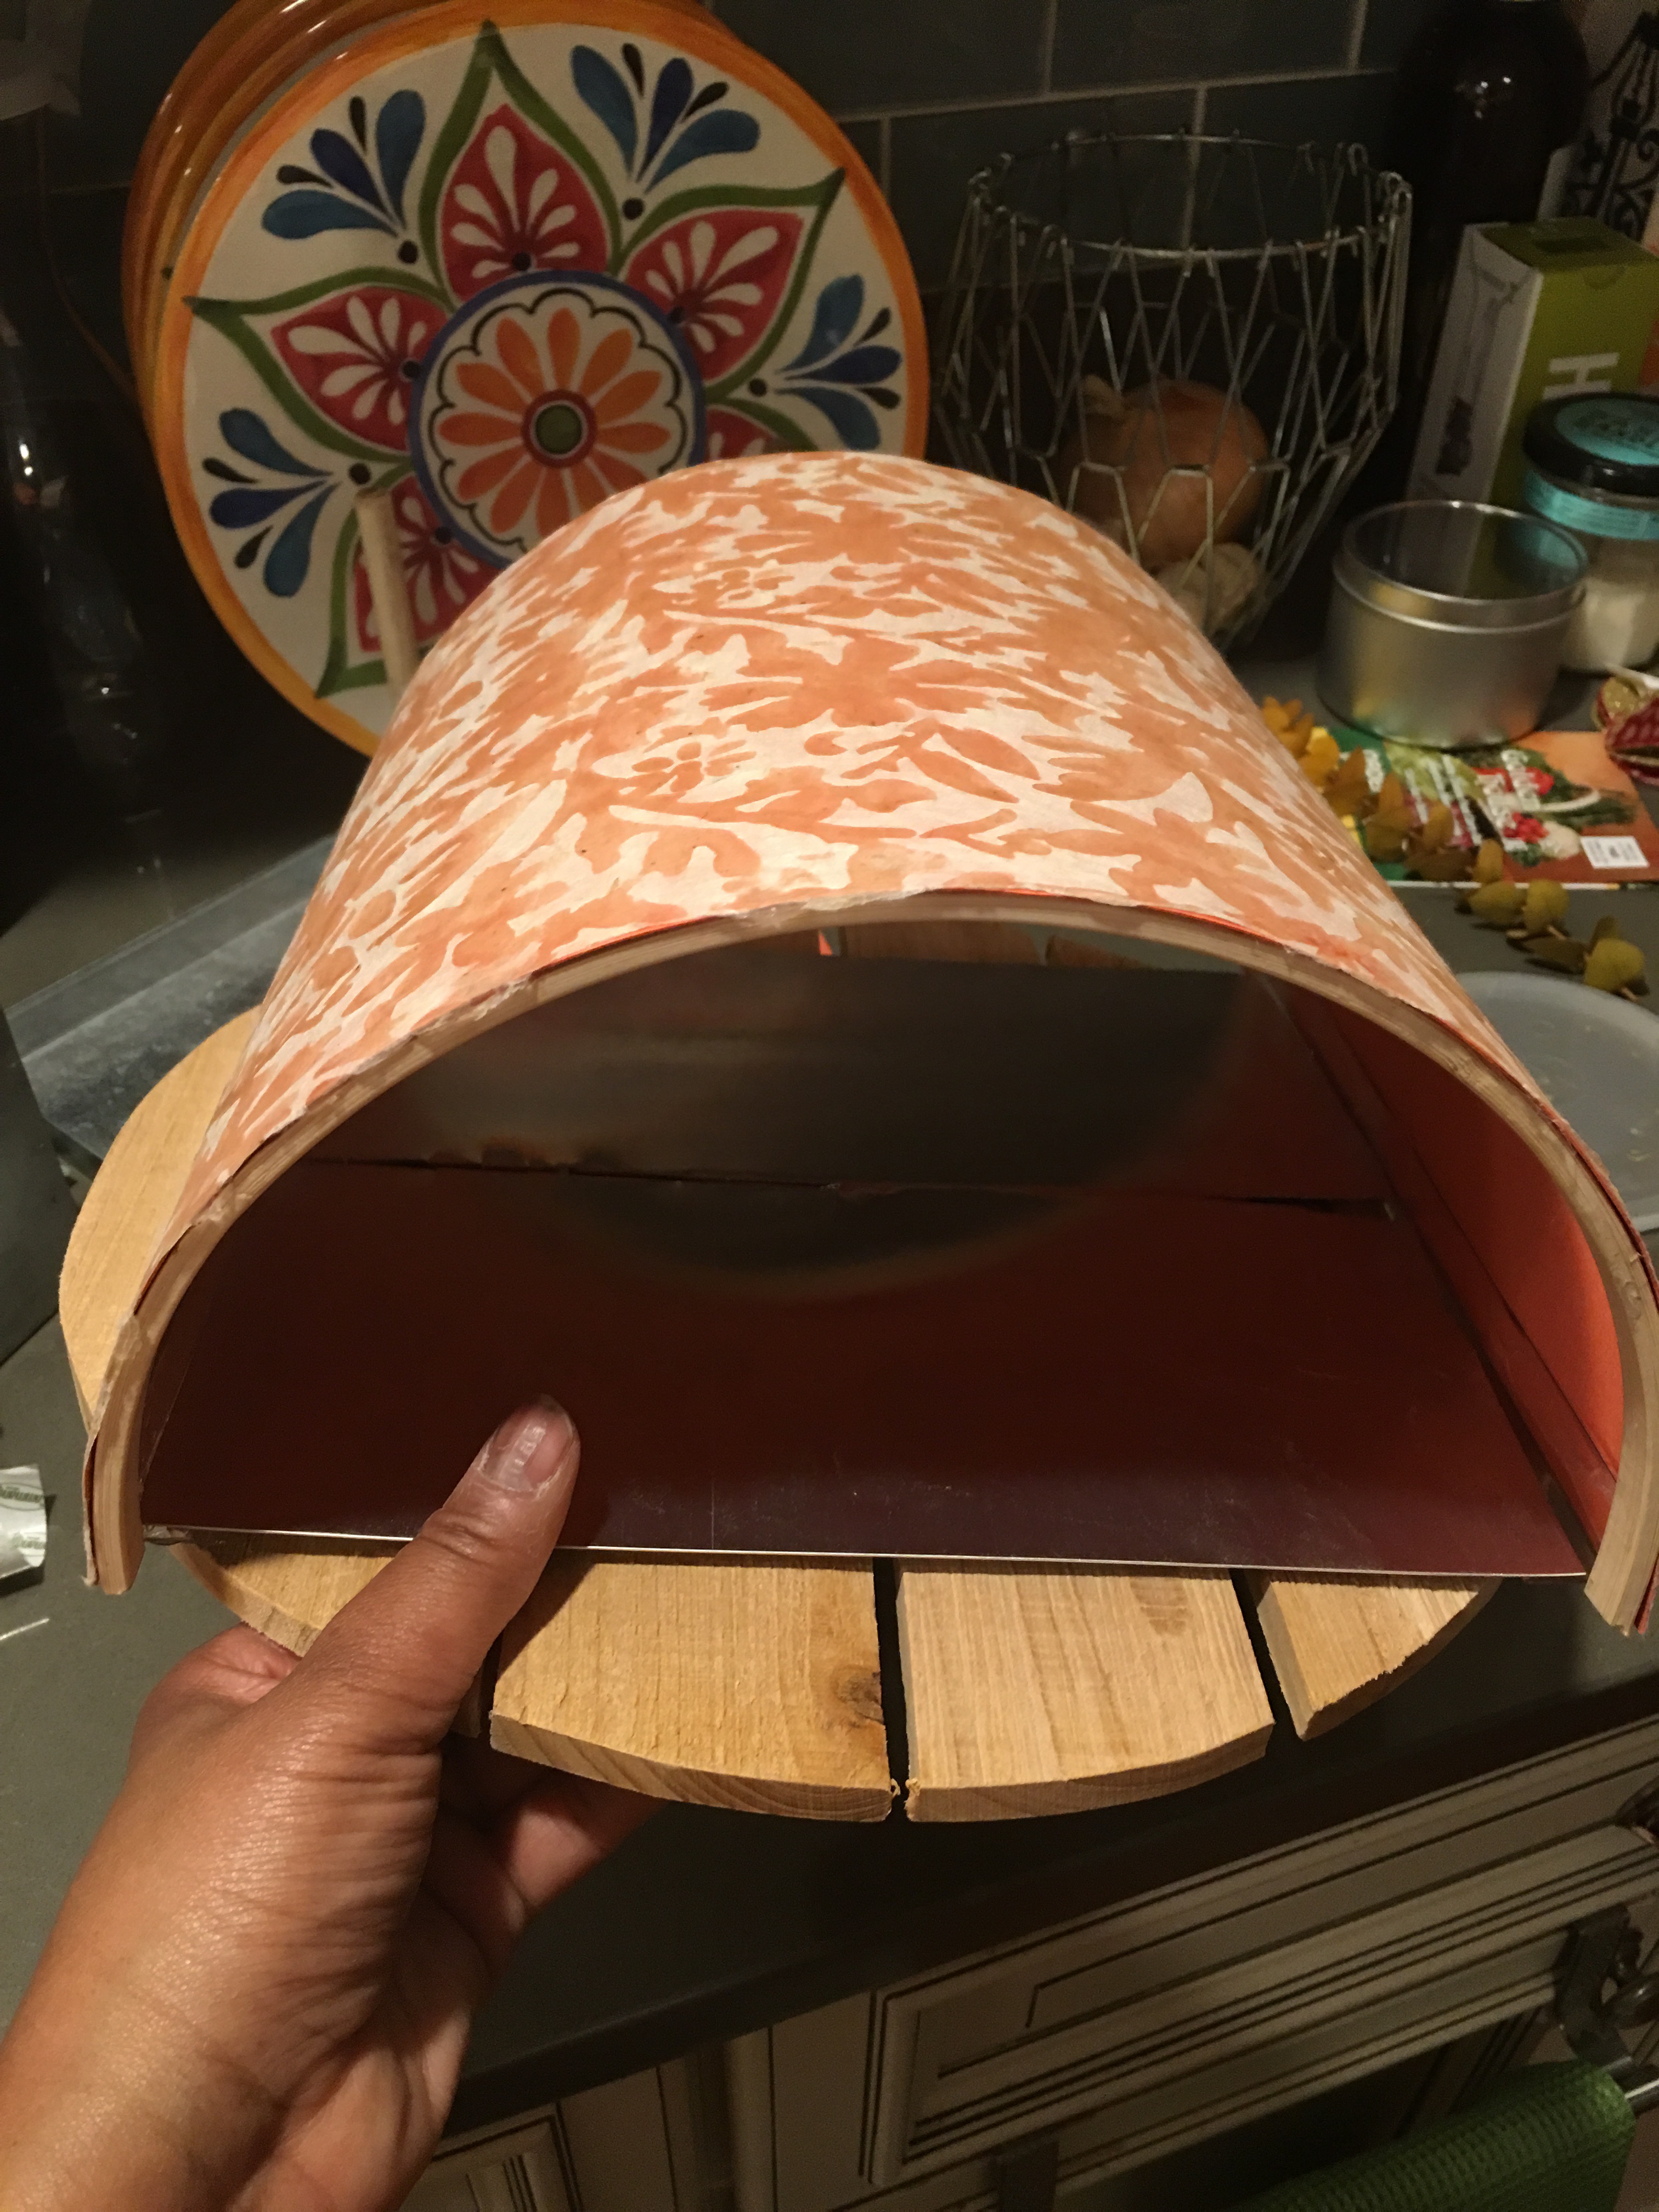
After pulling off the adhesive strips…
…I pressed the shade onto plaque using the strips.
To mount the plaque and shade back on the wall, I applied four fresh Command strips to the back of the plaque.
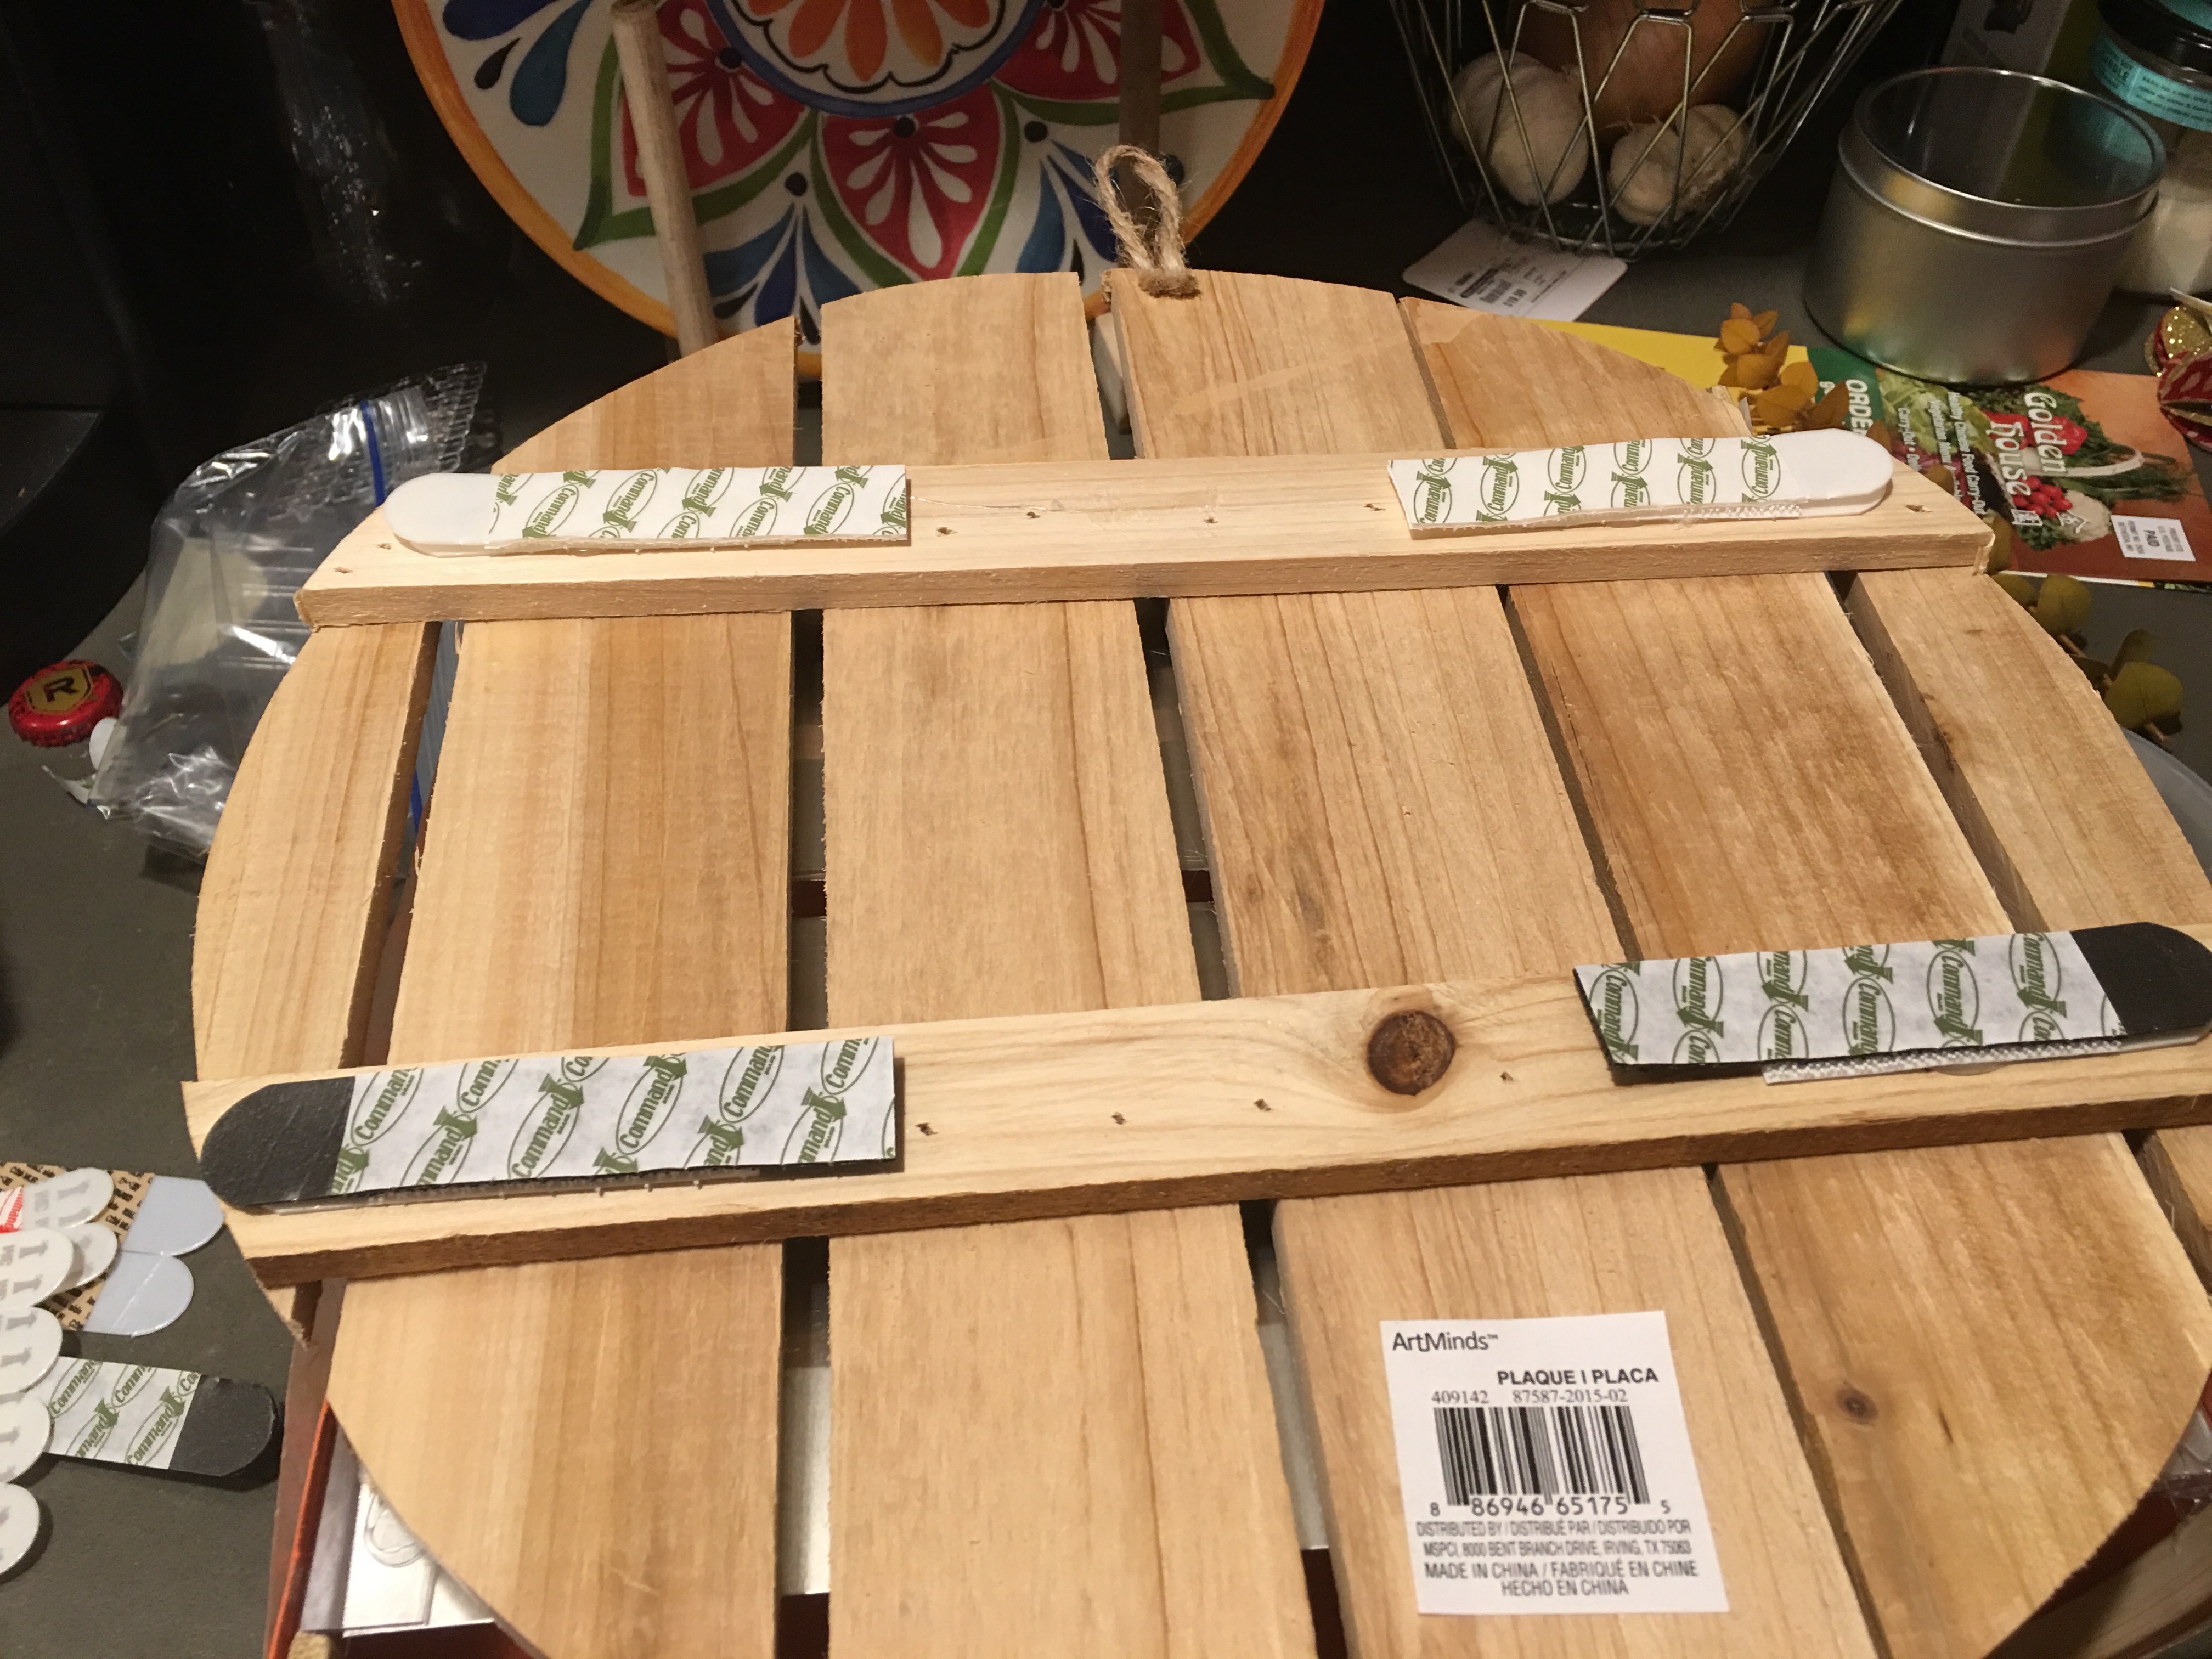
And pressed it in place.
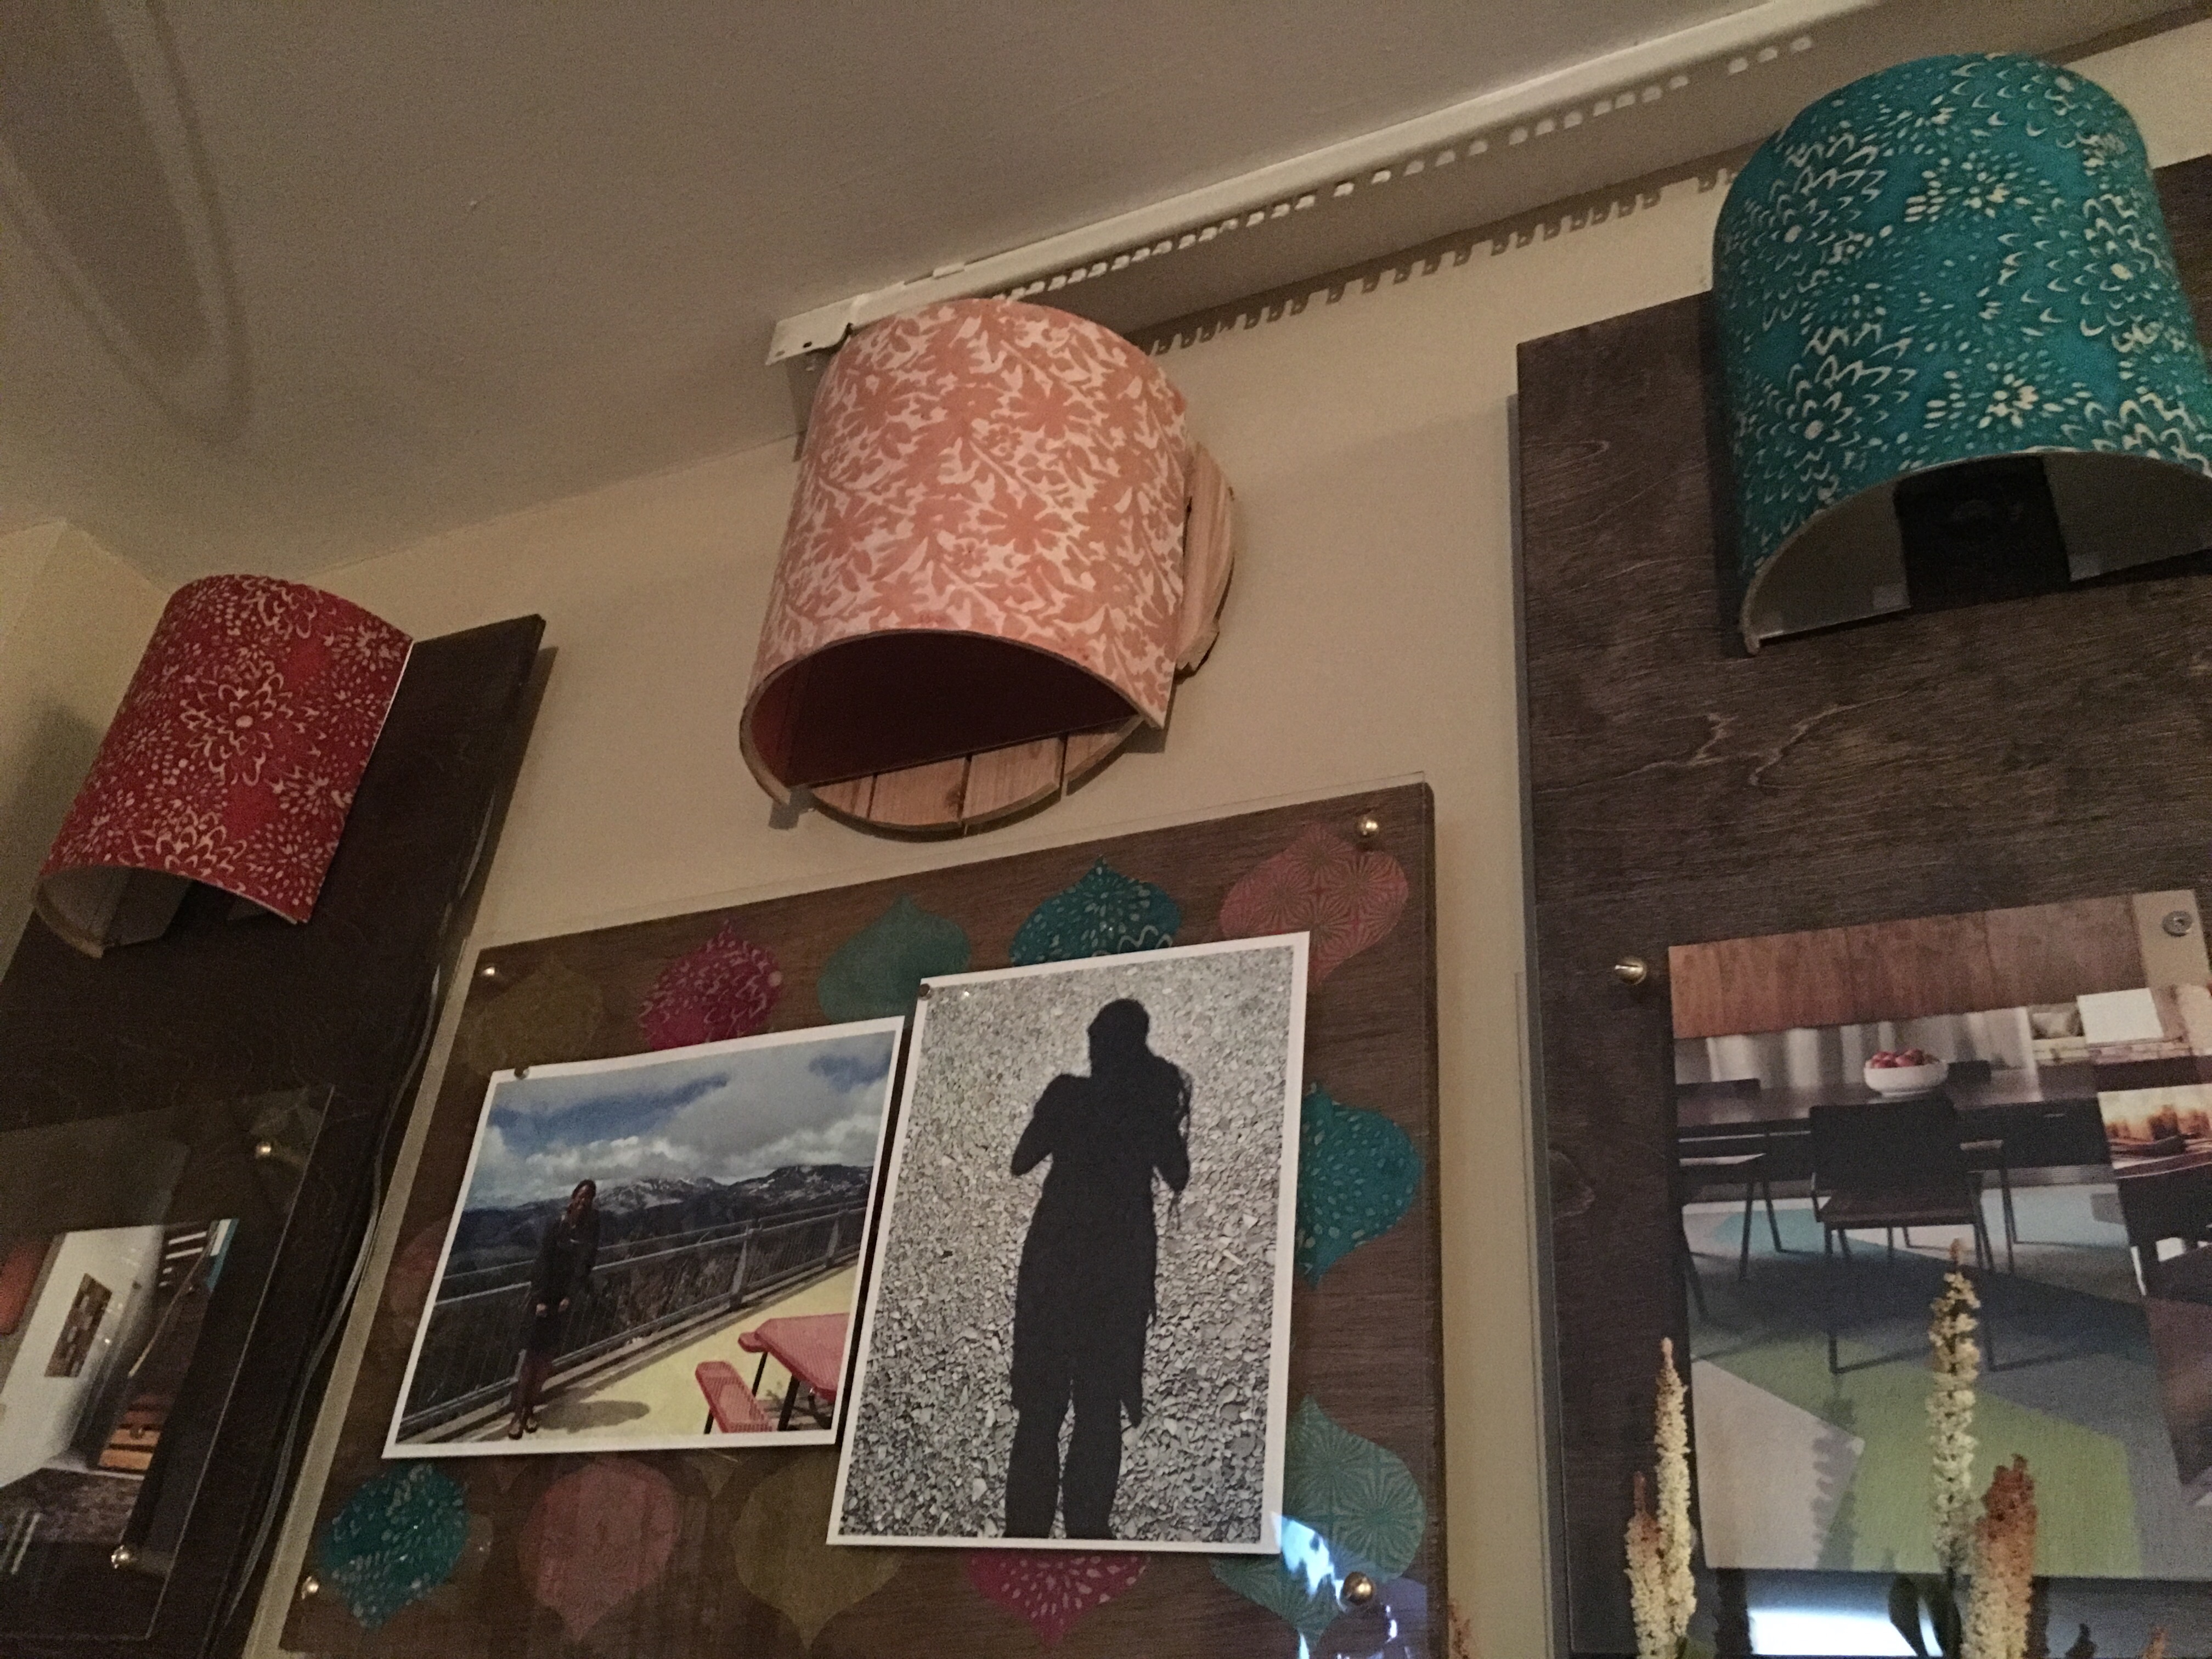
I loved it at first glance. Yippee! It looks great! It’s the perfect addition to the wall gallery.
It adds a nice hit of color and is a good match to the two side sconces. It may not even need the light kit.
But here’s the true test. Let’s turn on the lights for the side sconces.
OK, that’s when I decided that it no longer looked right.

Sigh…On to the next step. Let’s add some light.
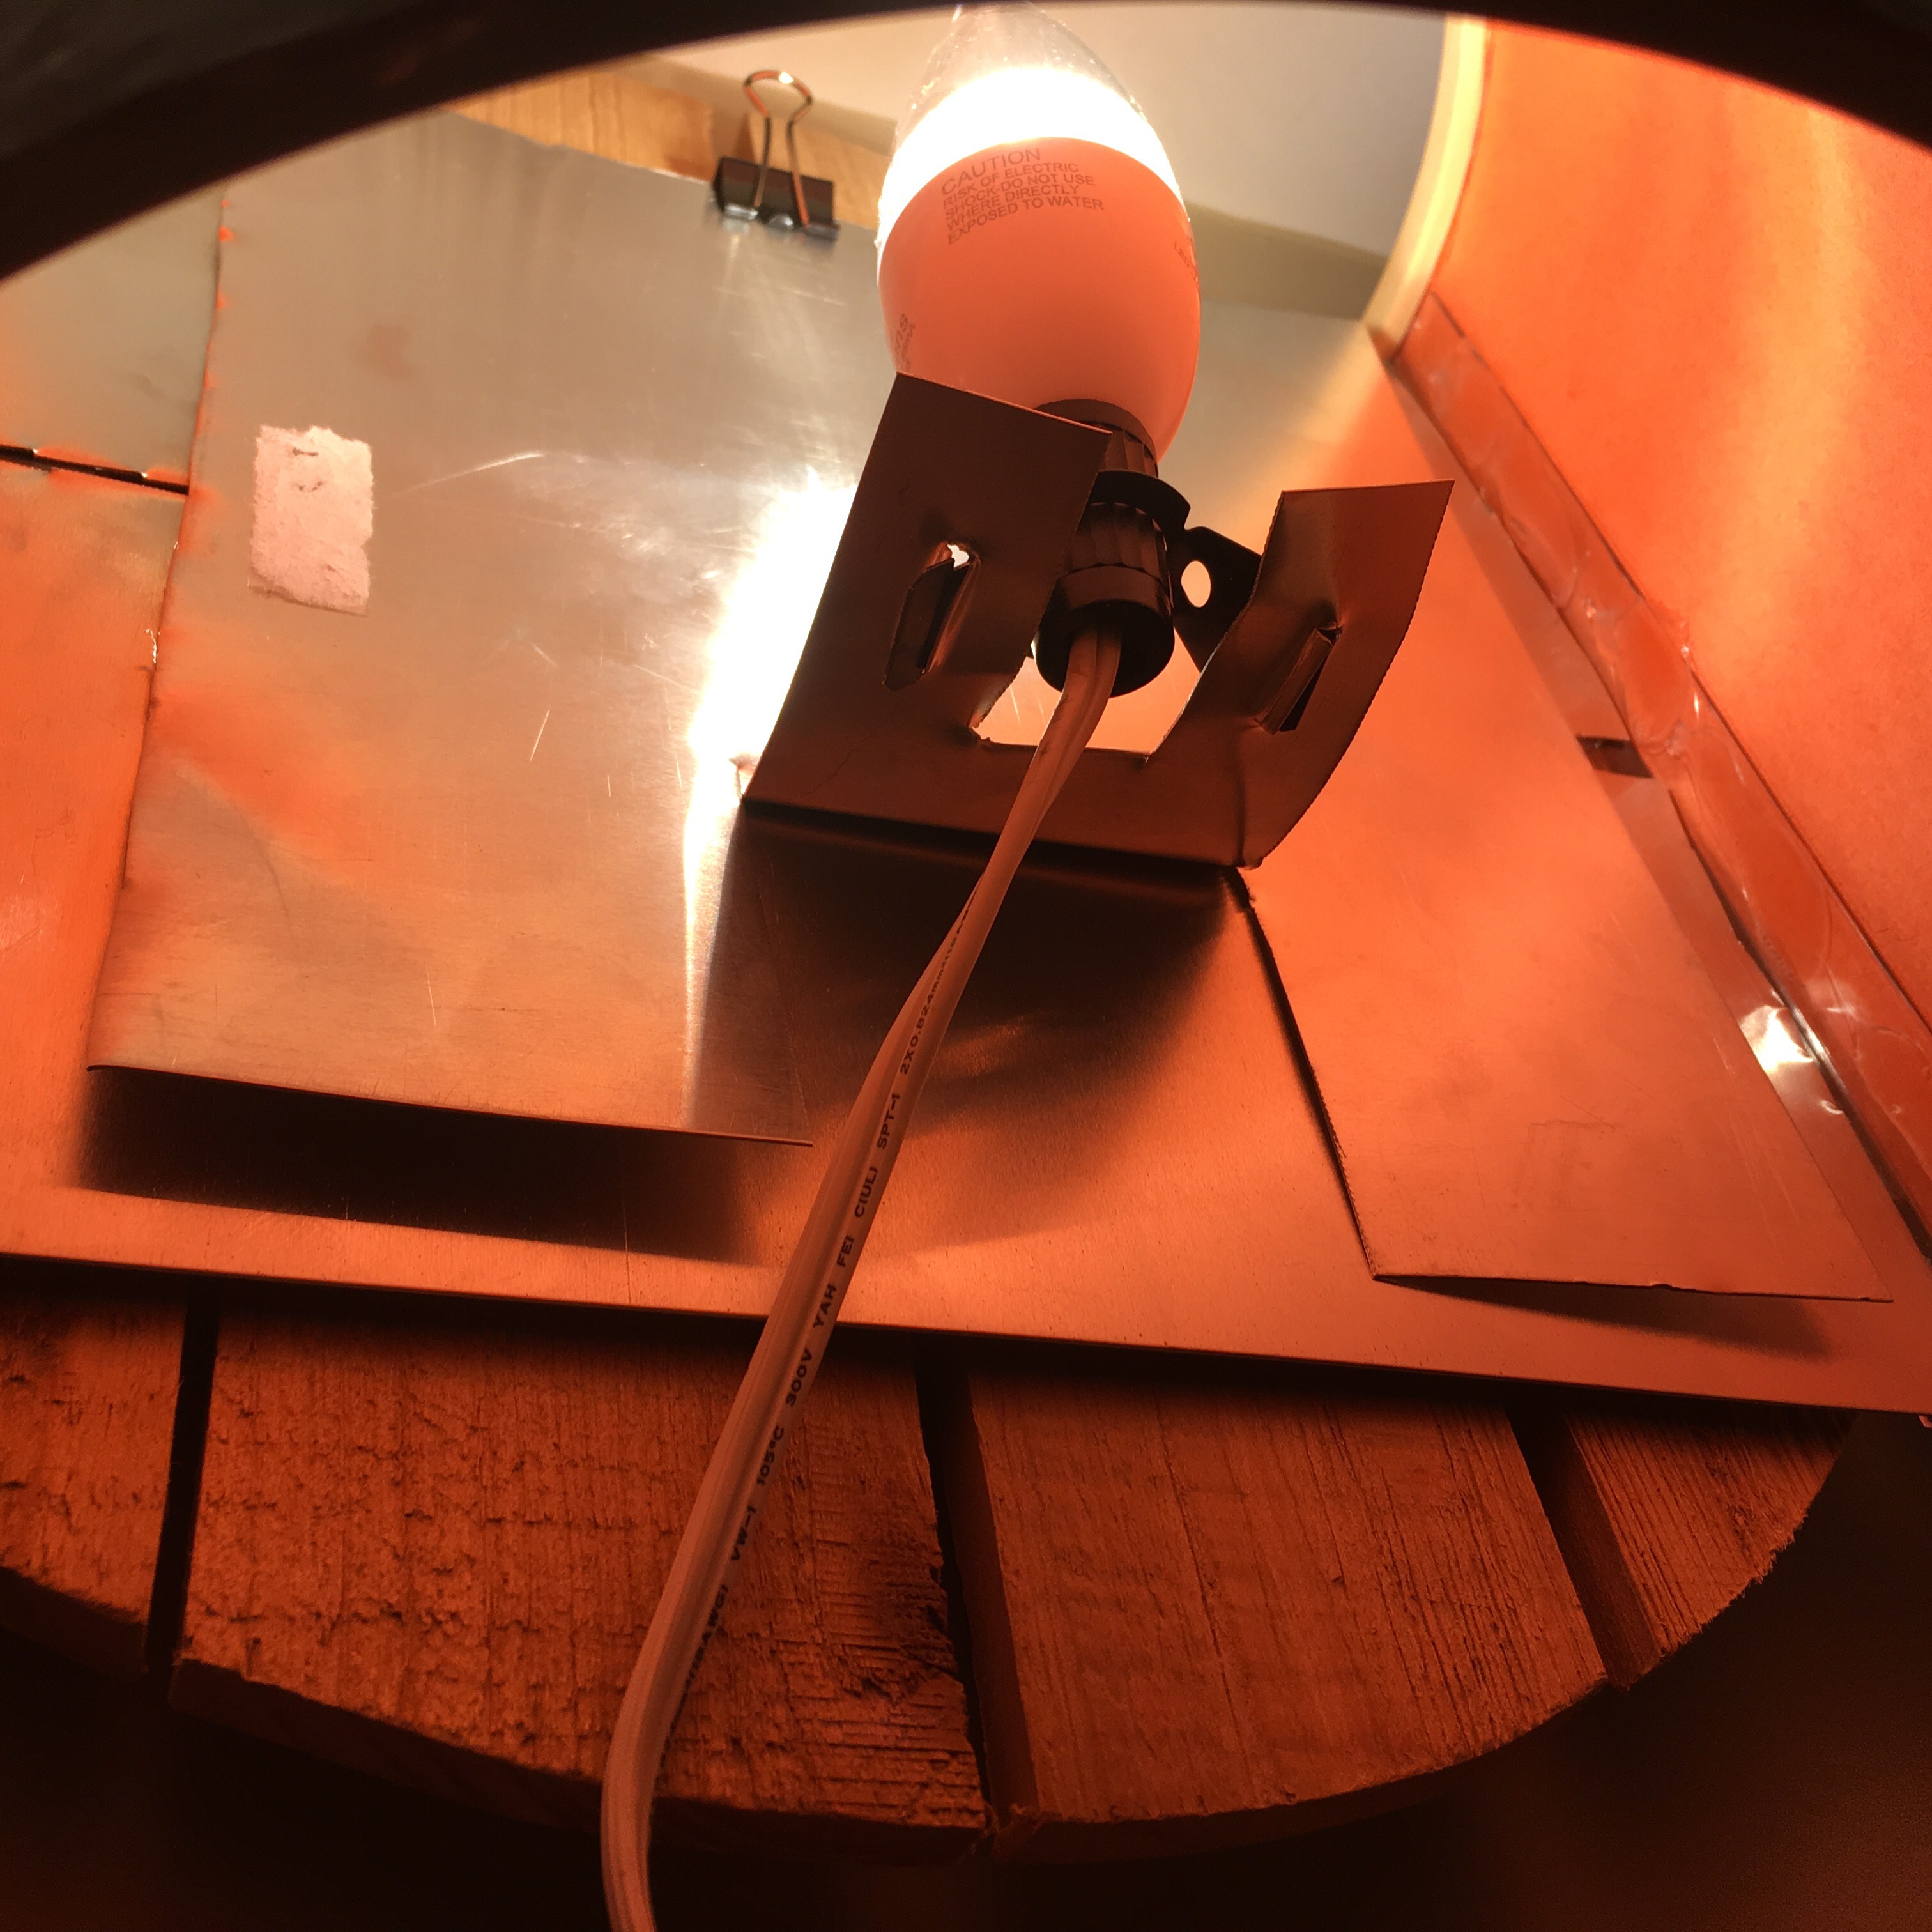
I pulled out a prepared candelabra metal base (using Isabelle’s template) a candelabra light kit and LED candelabra bulbs.
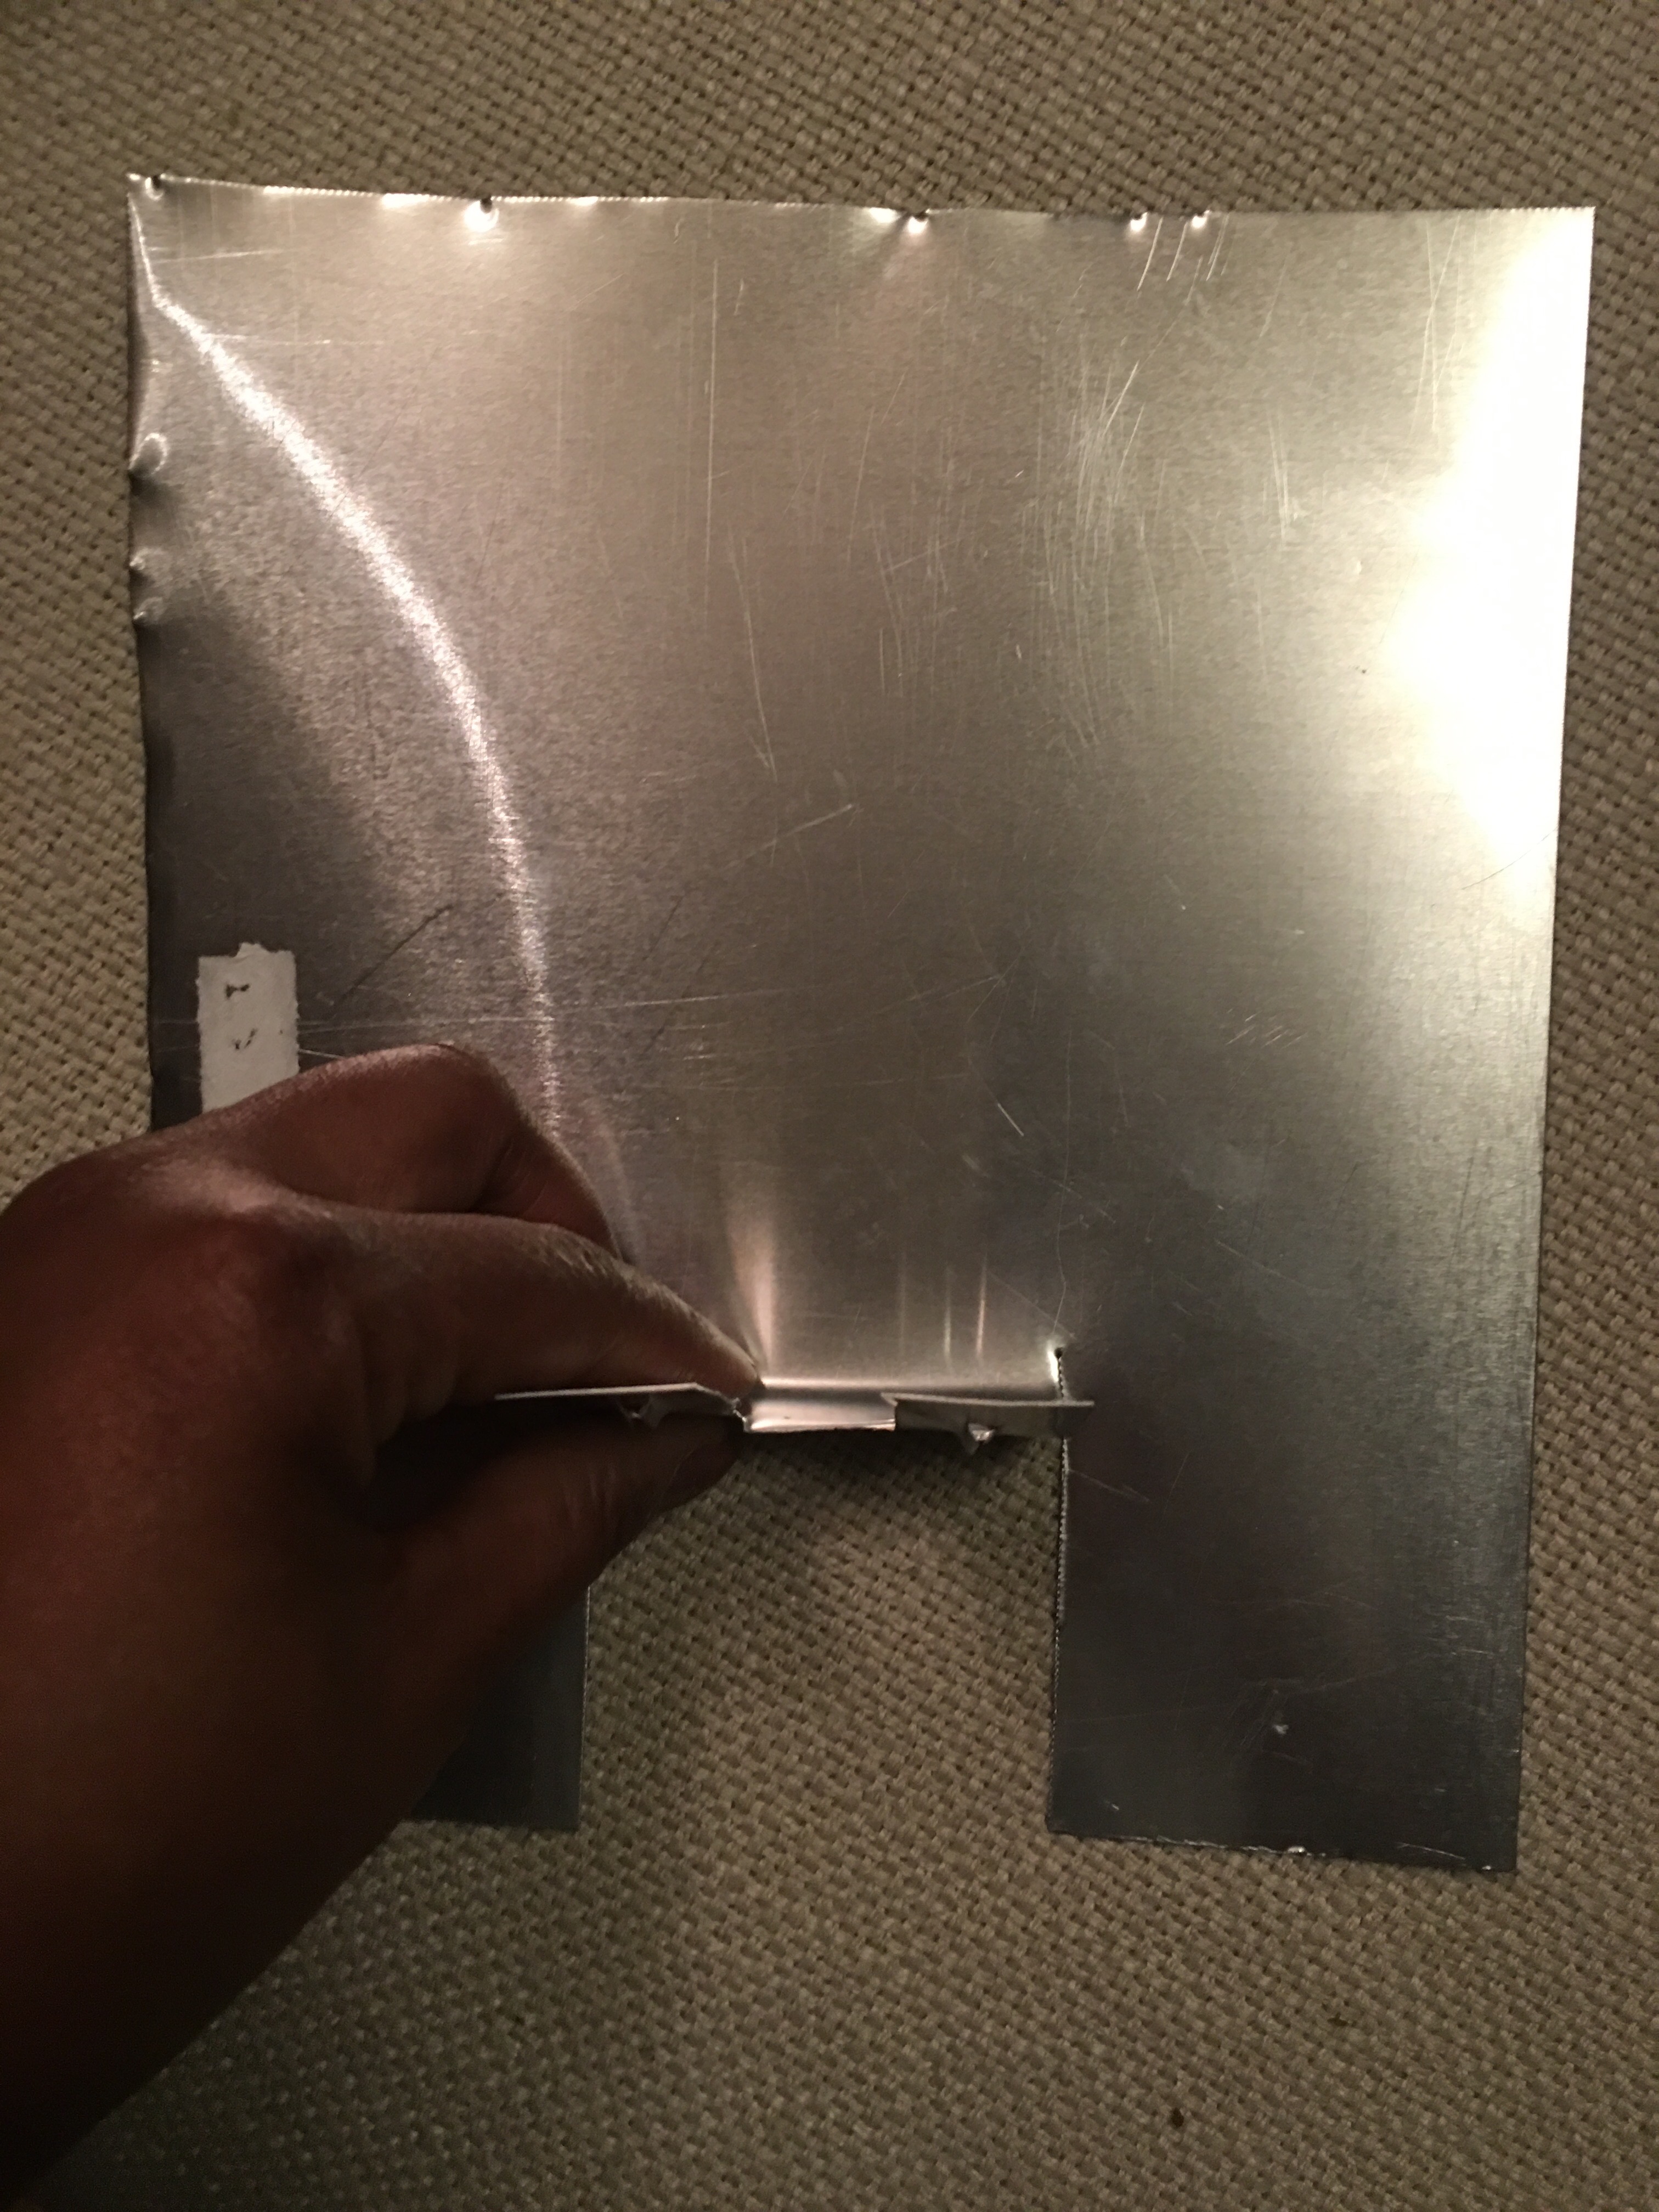
Pulling the template paper off the metal…
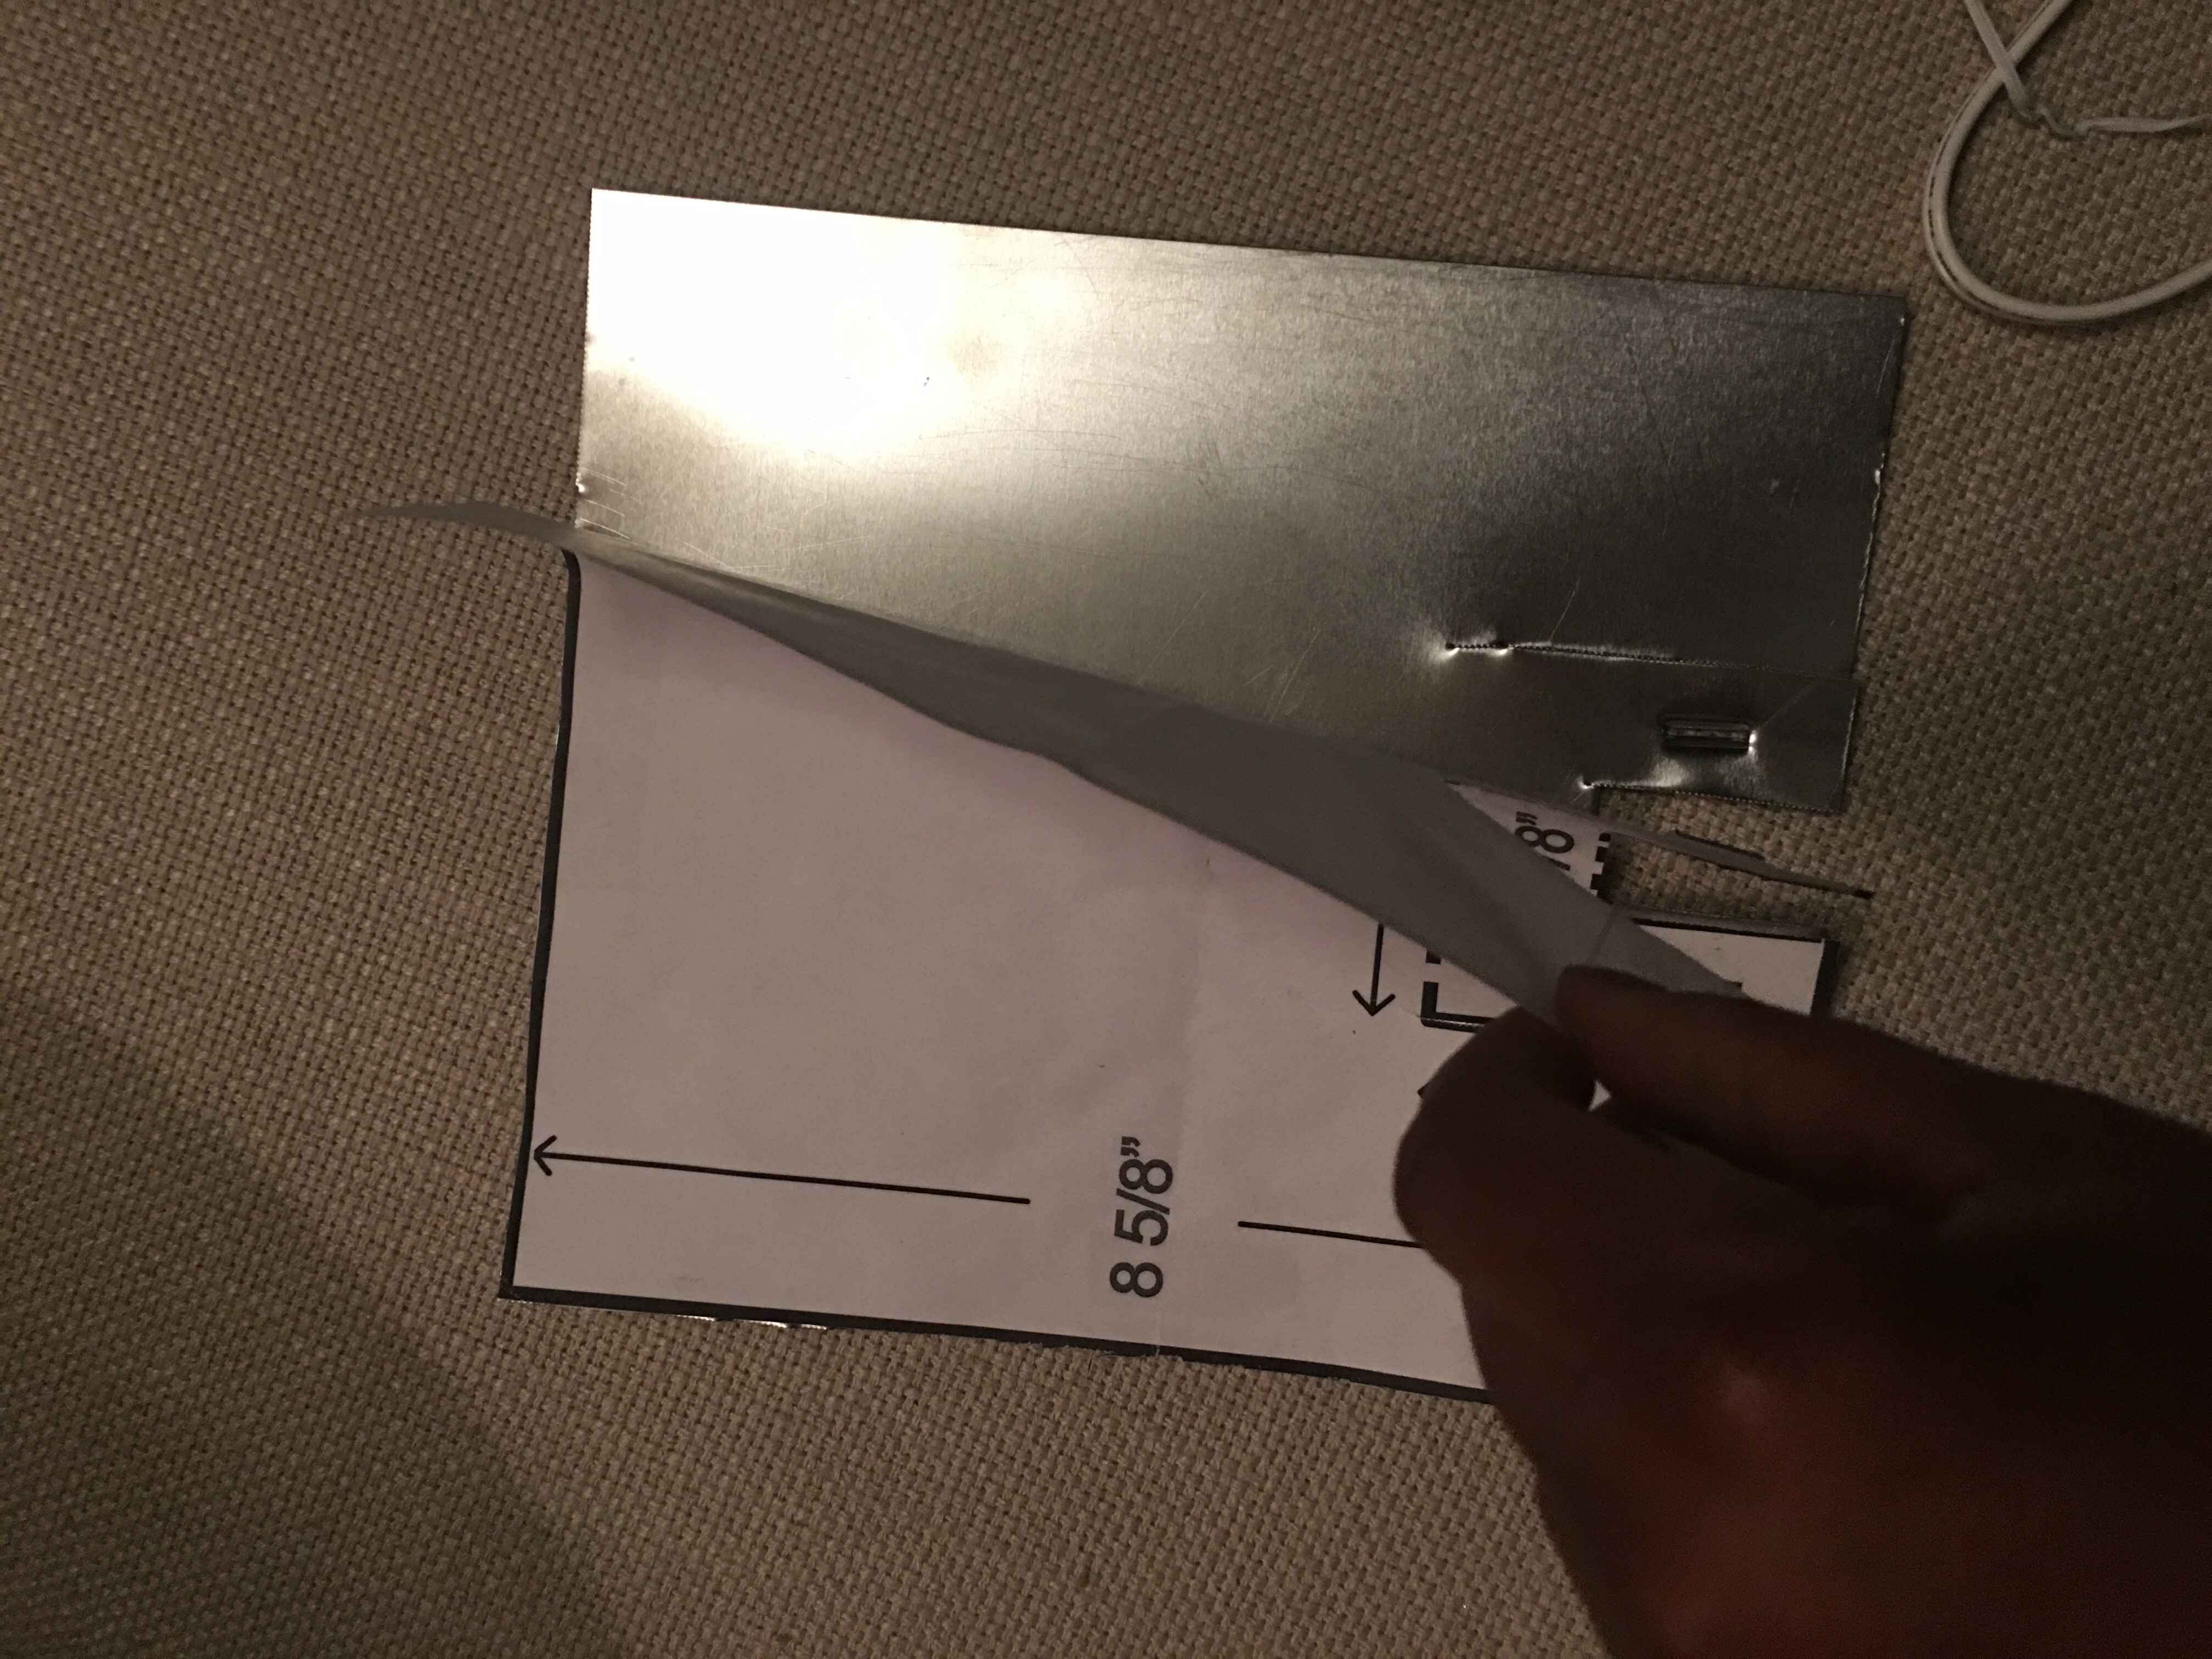
…I bend the center candelabra piece in place.
I then took the candelabra light kit…
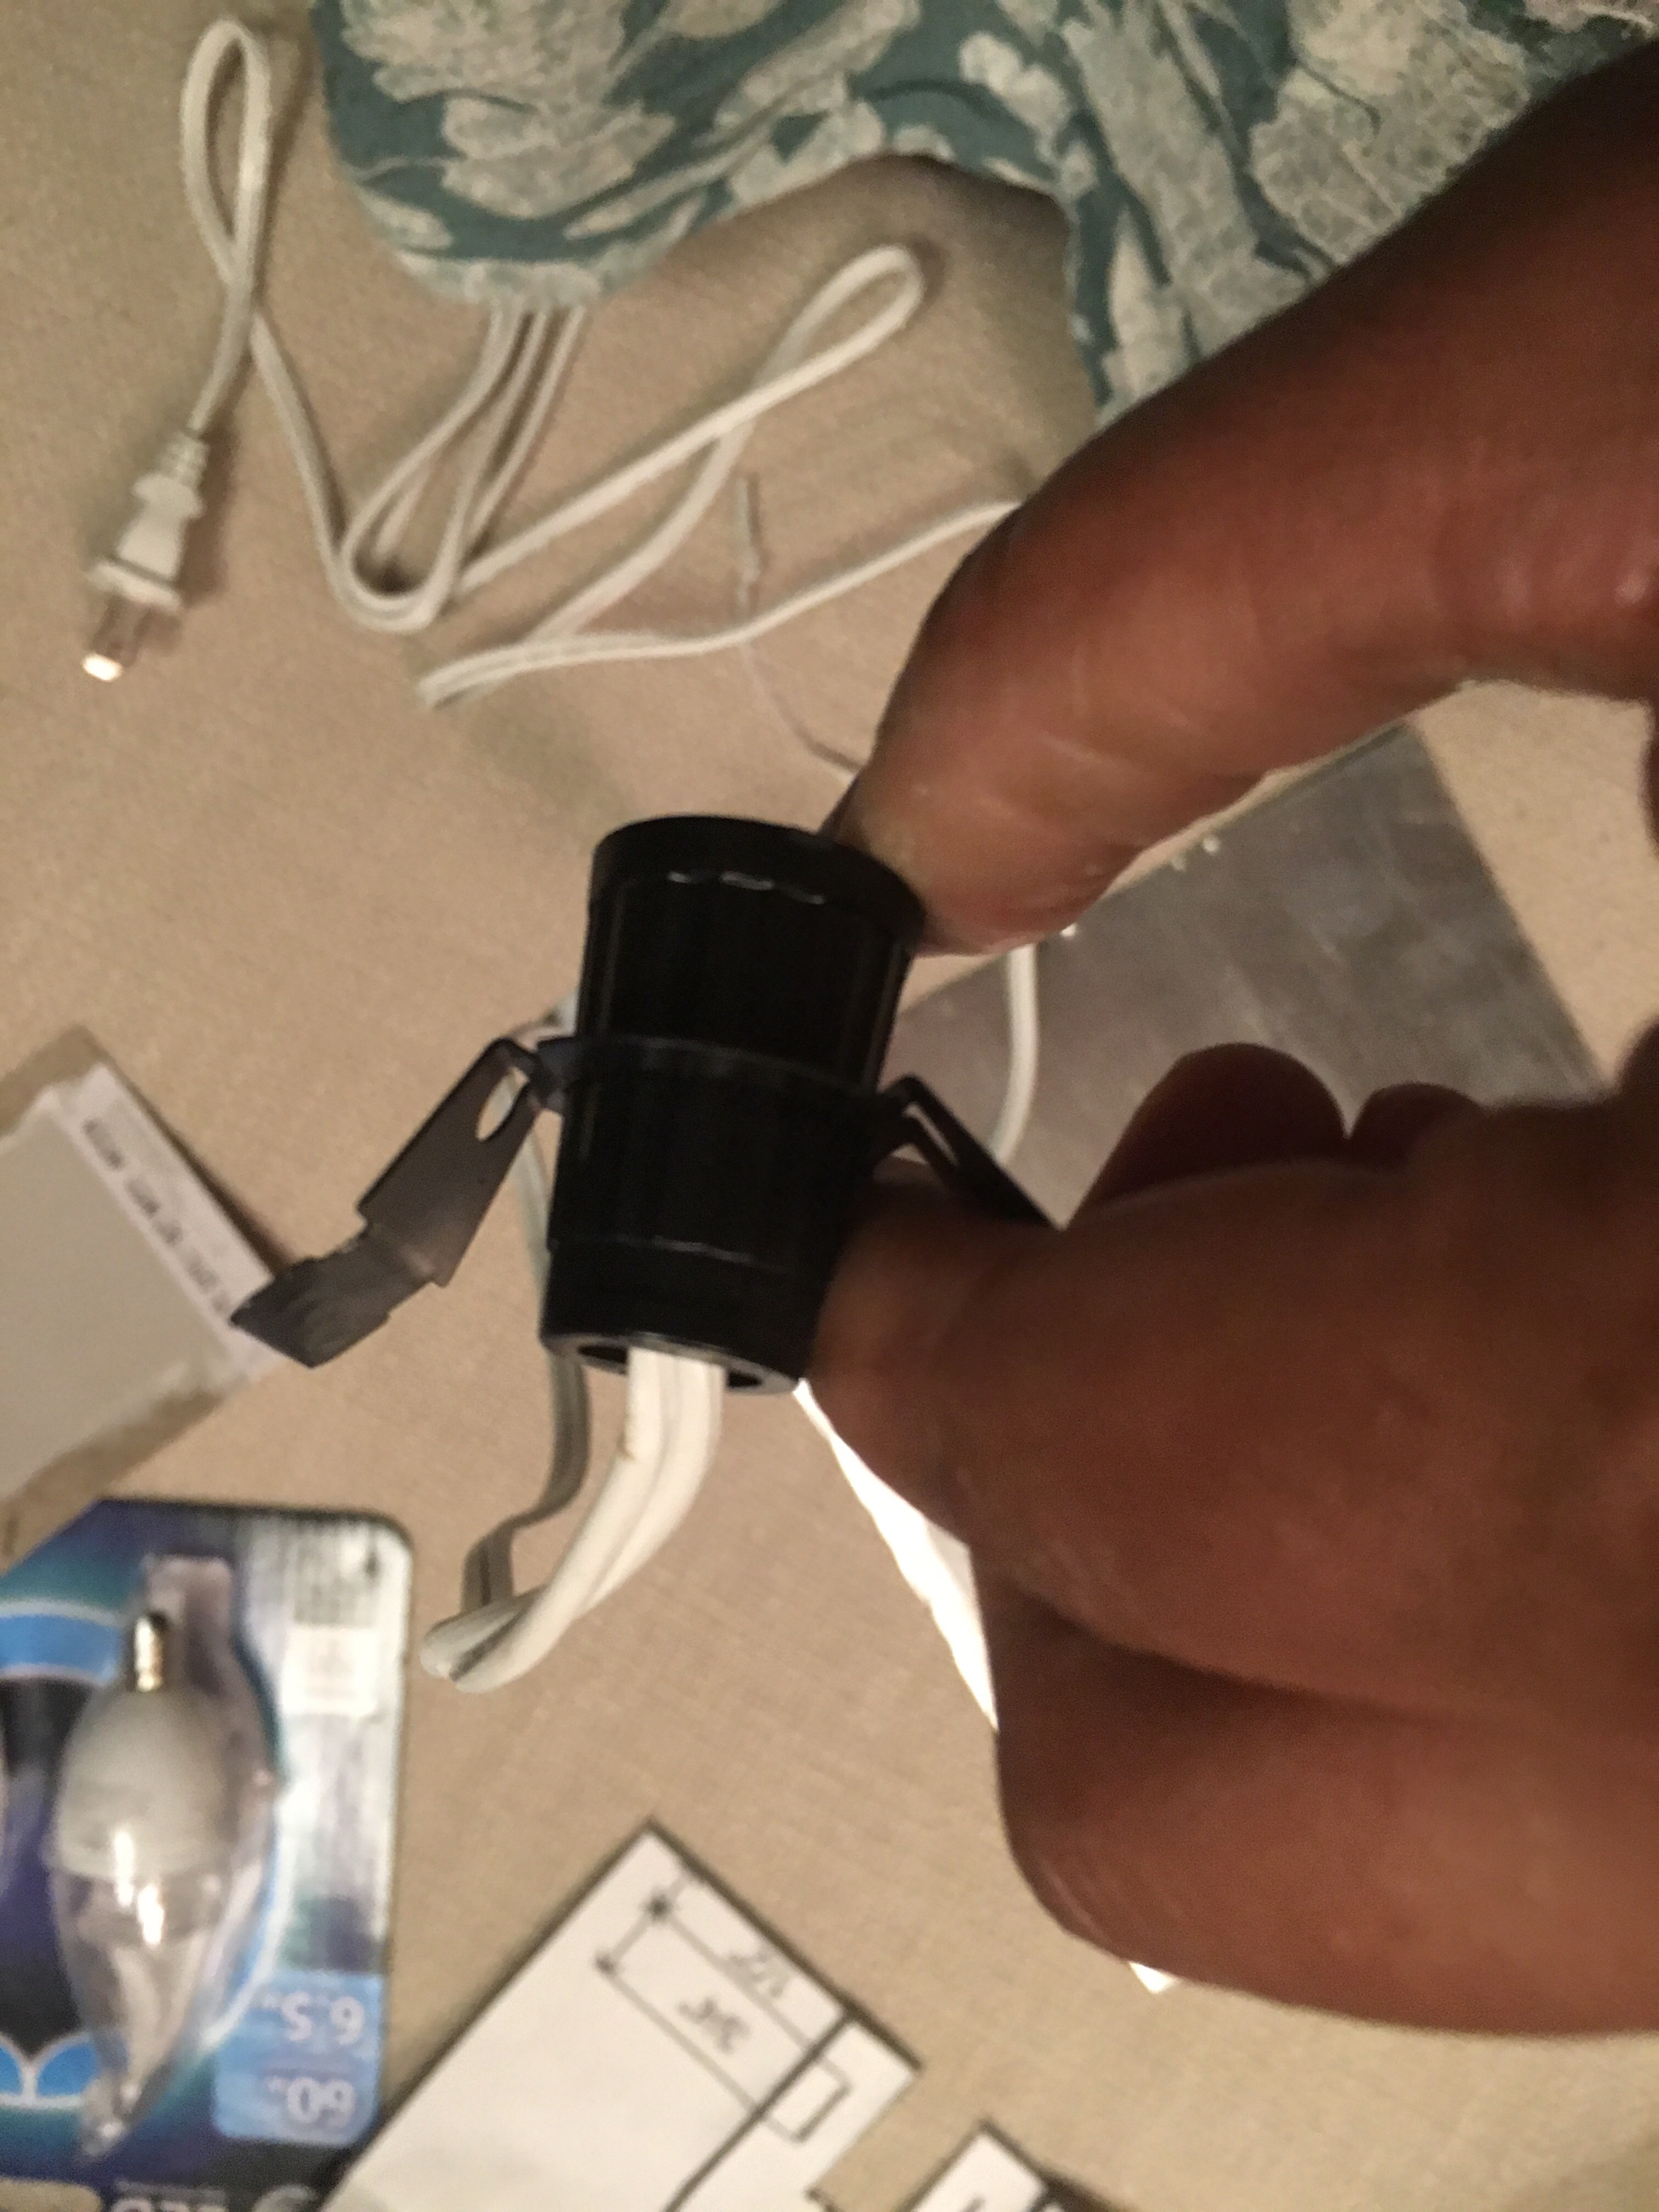
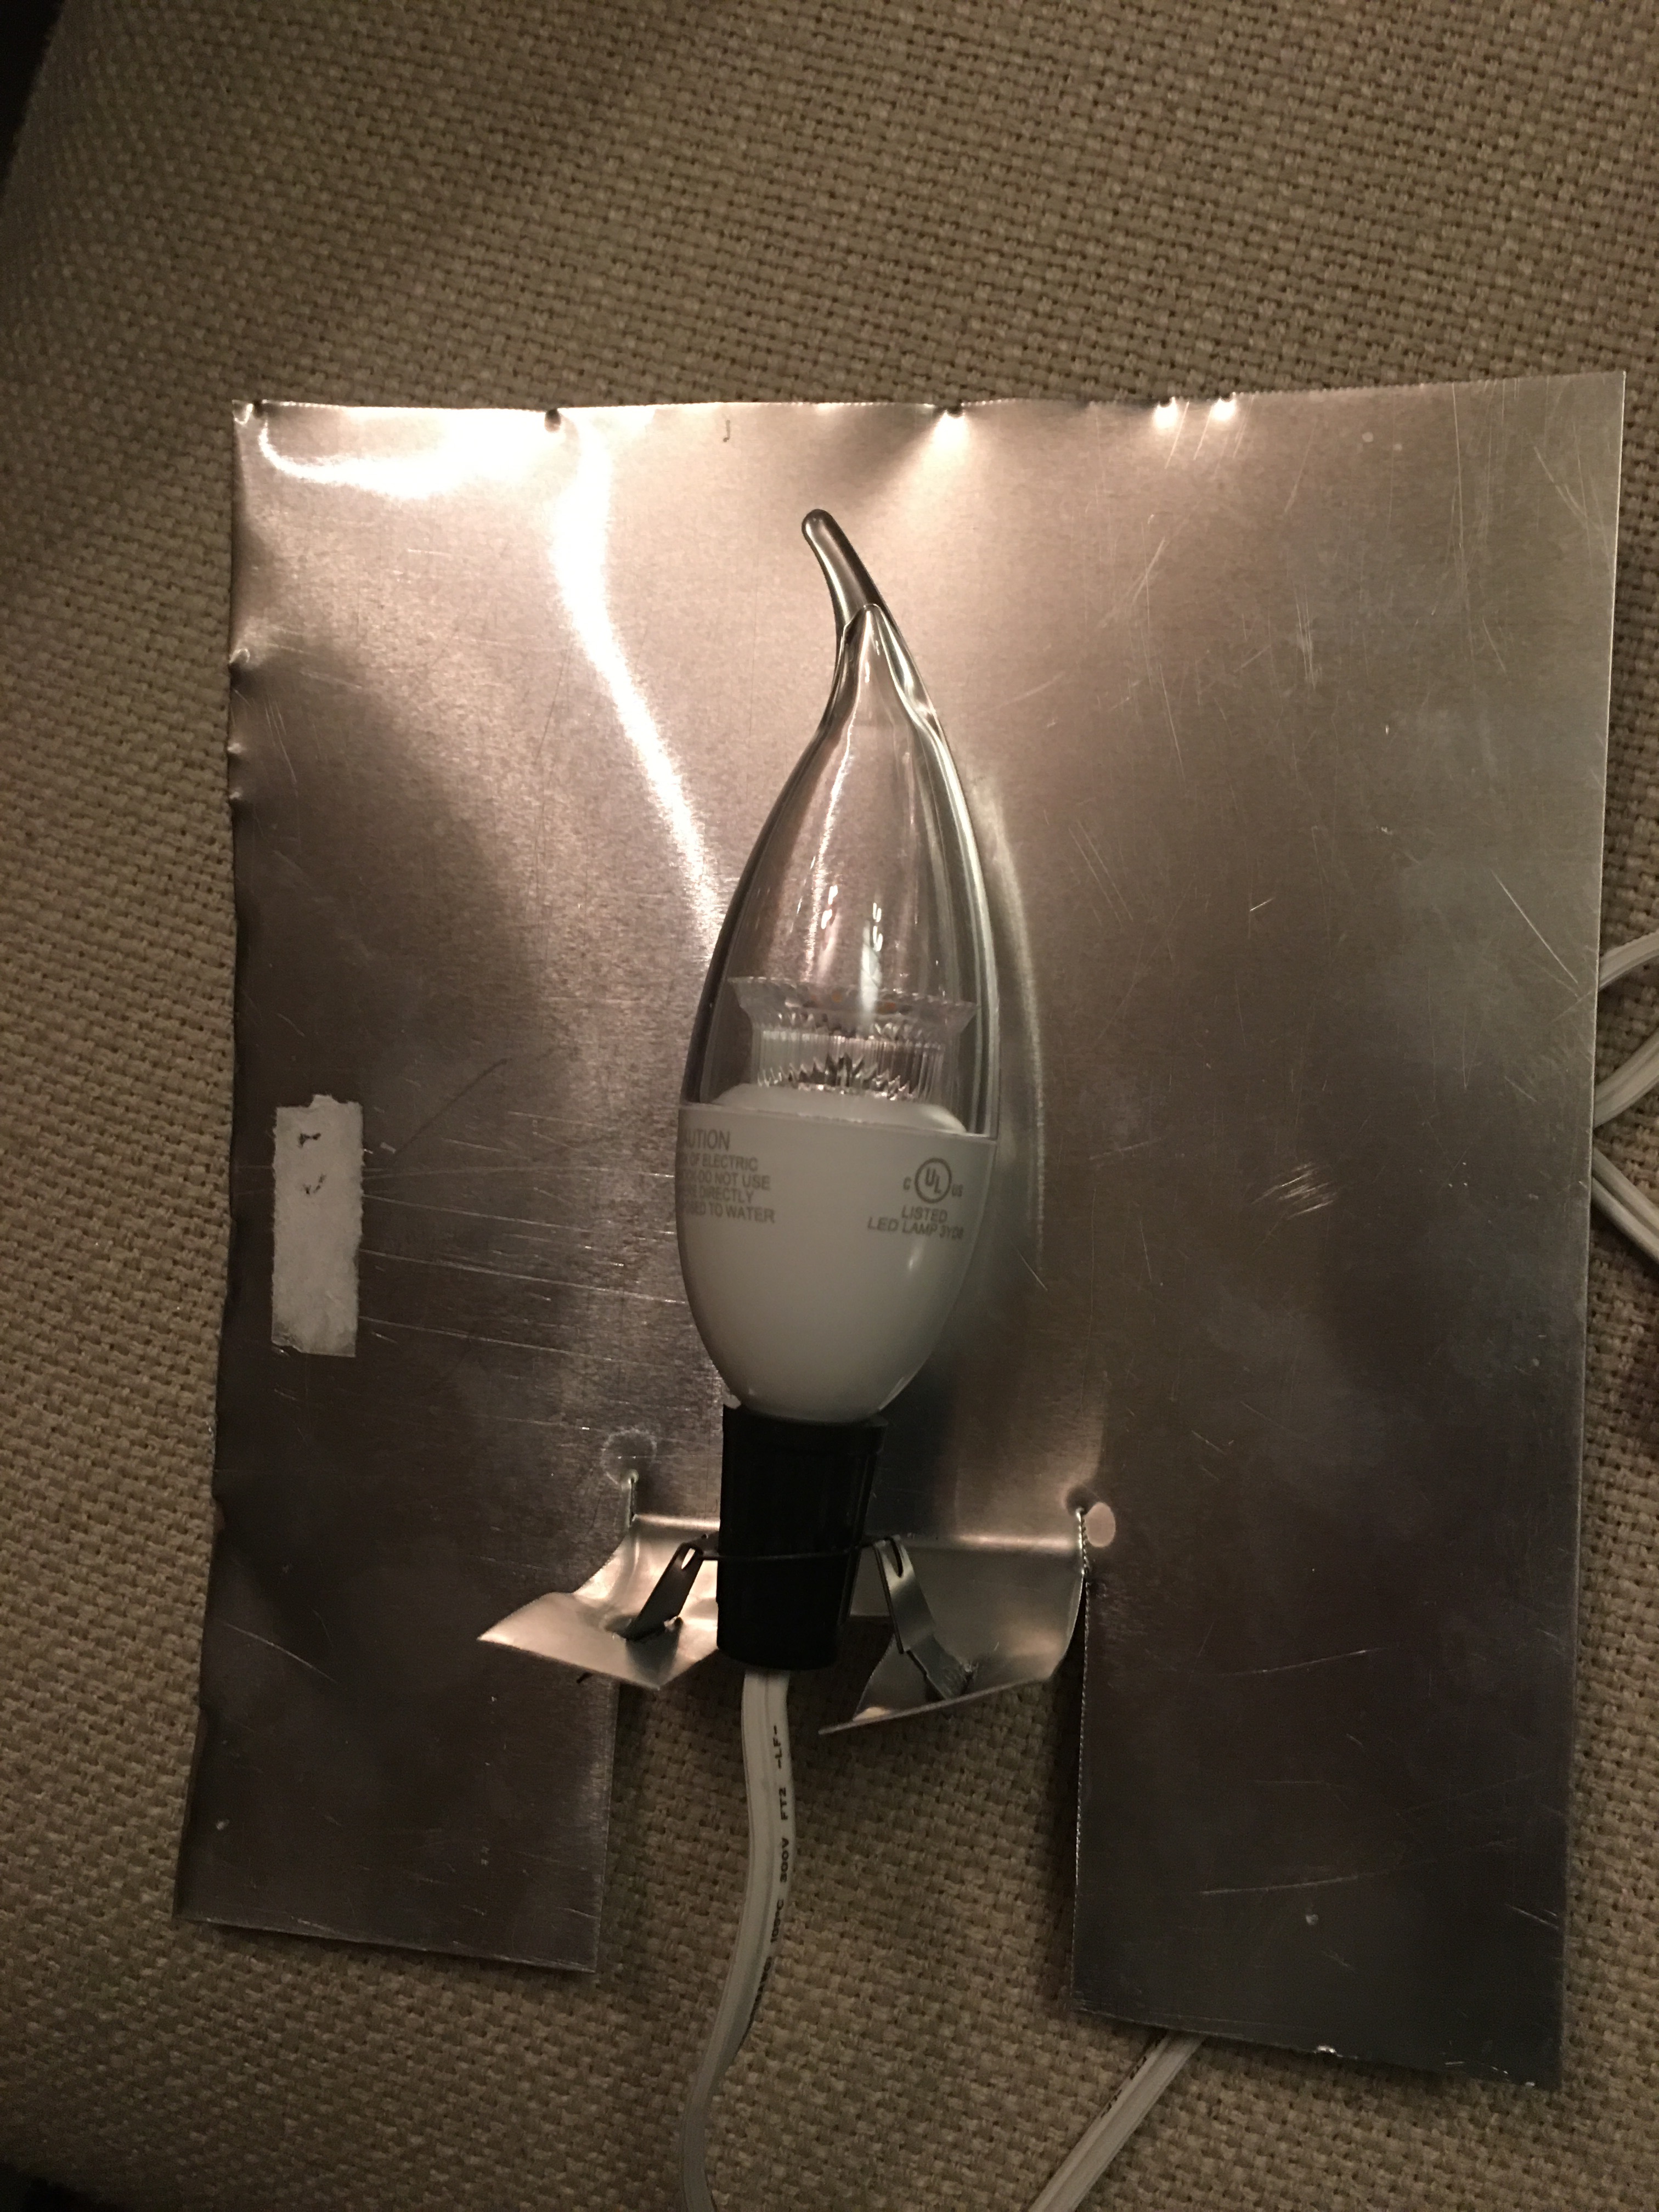
…and snapped them into the two slots I chiseled into the metal.
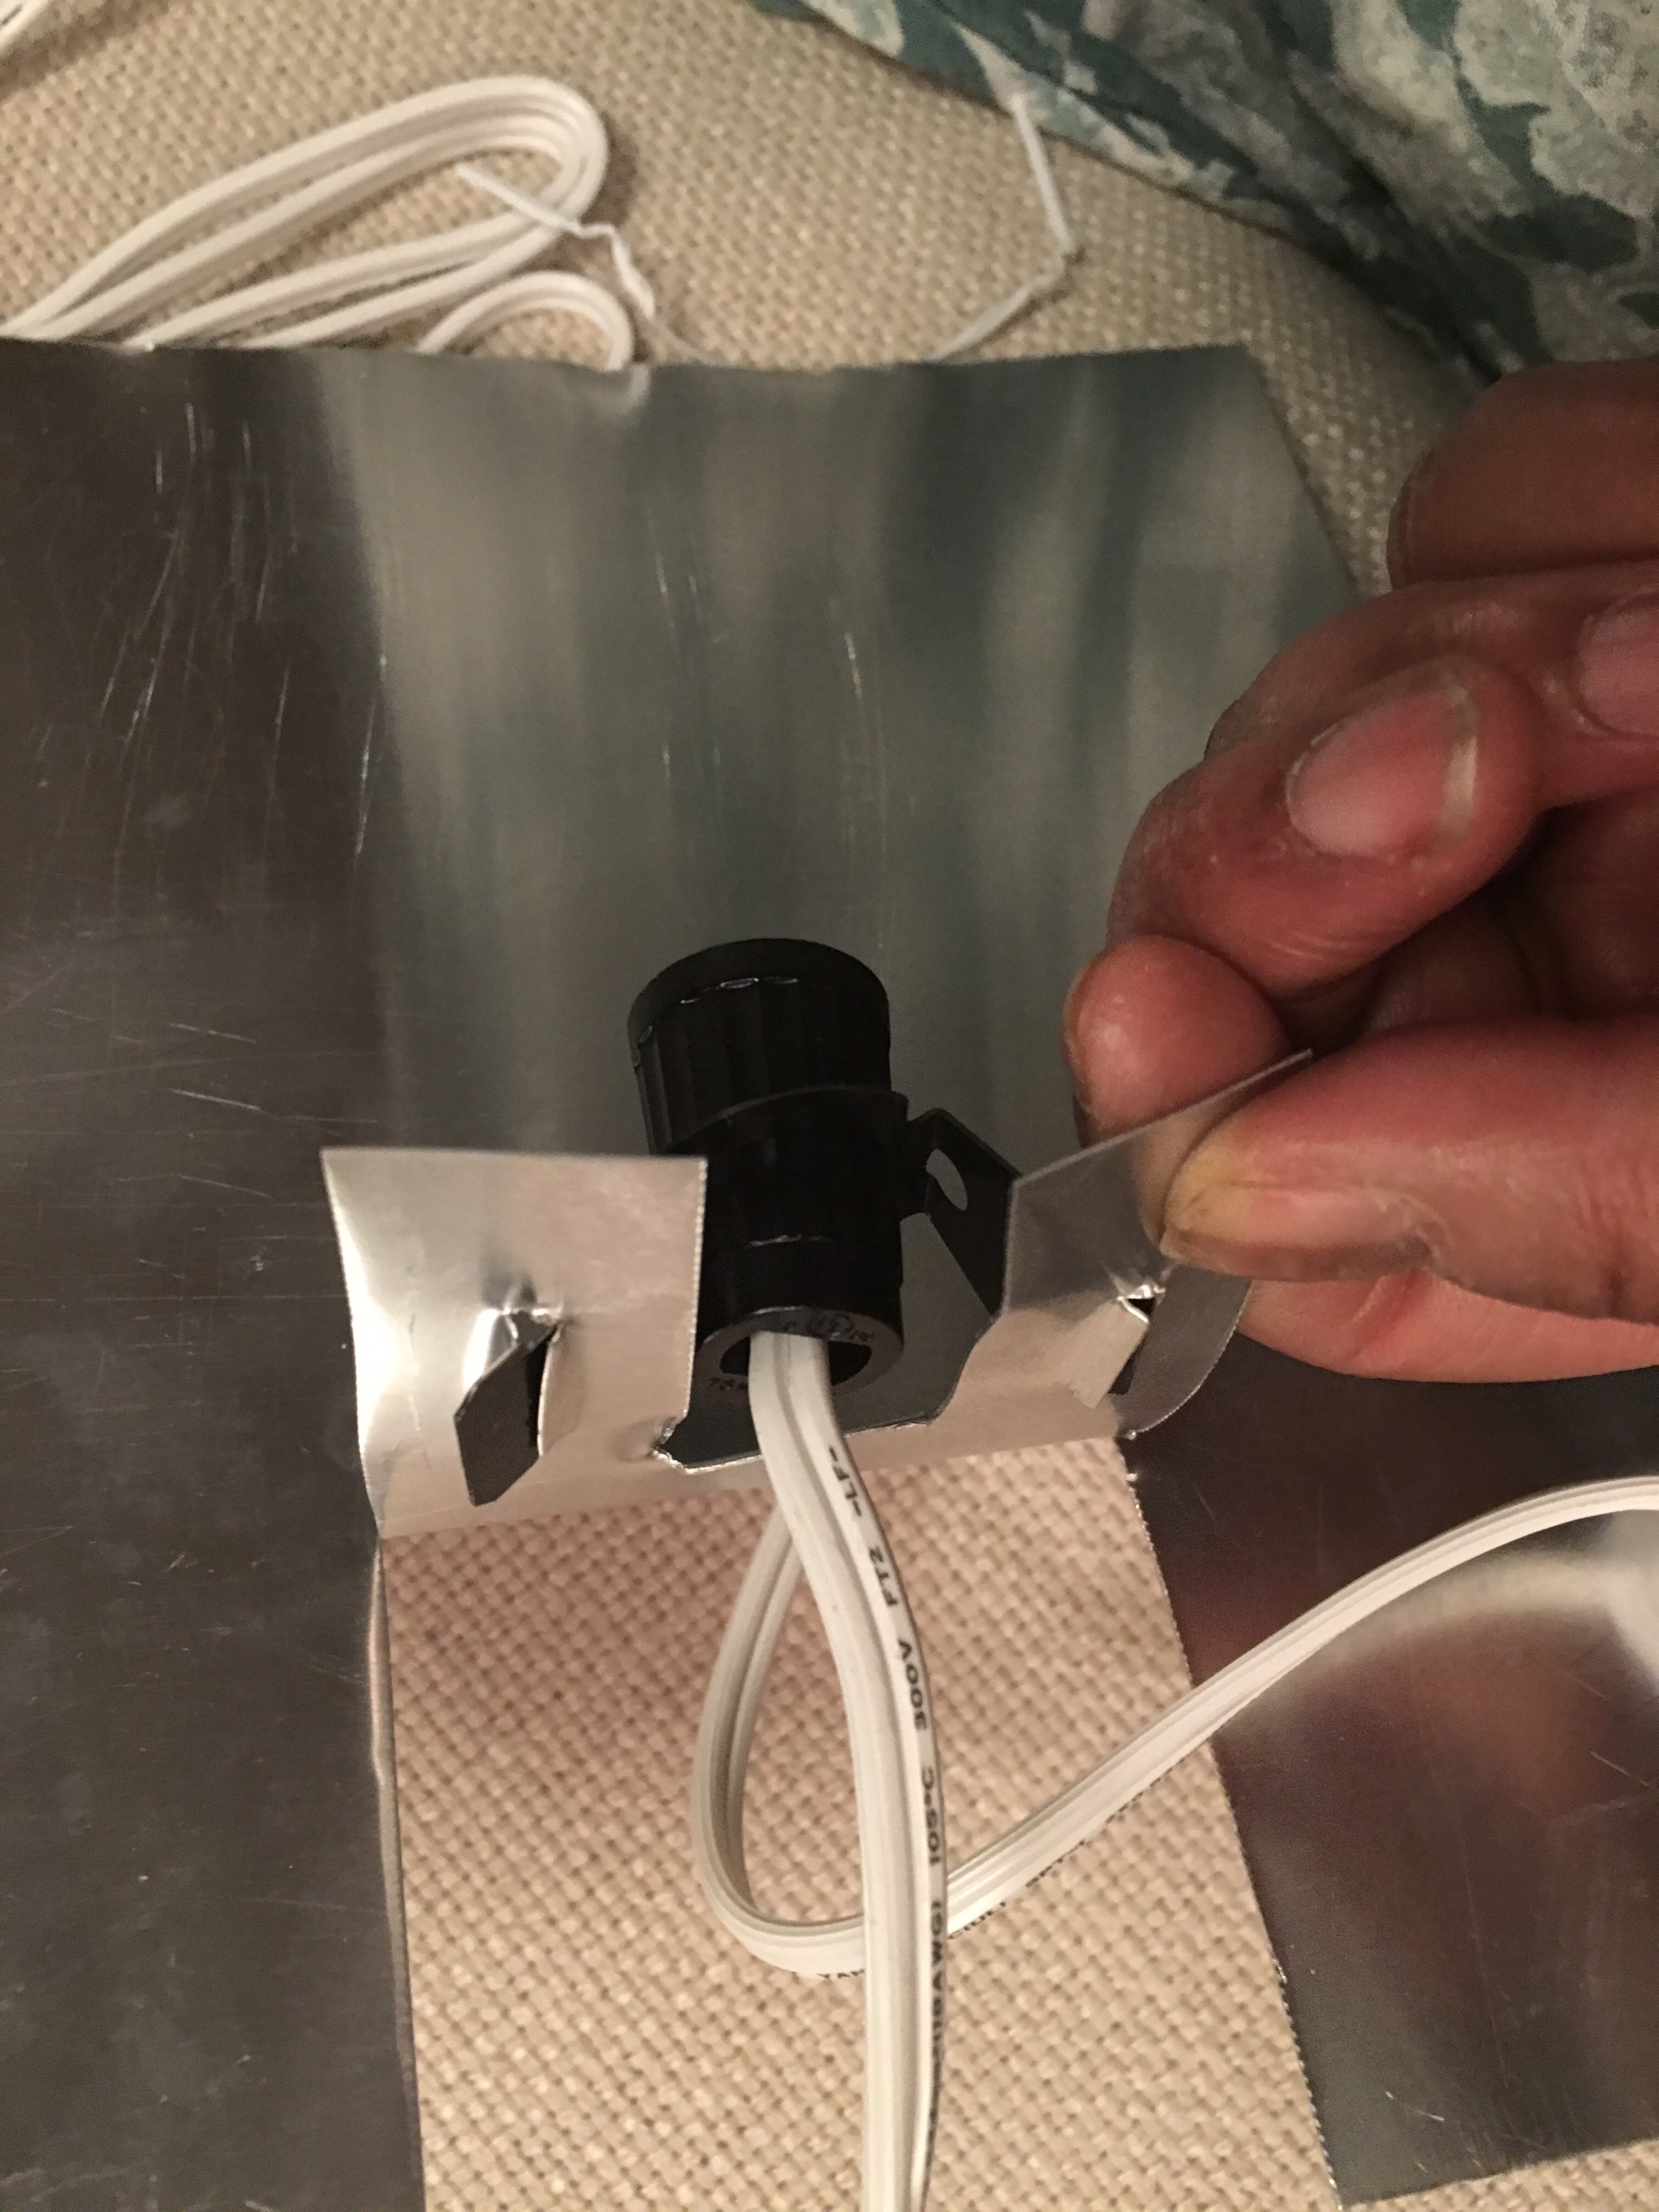
Once I had the light kit snapped into place…
…I screwed in the bulb and gave it a test.
So how to we add it to the mounted shade? Why, with a binder clip, of course!
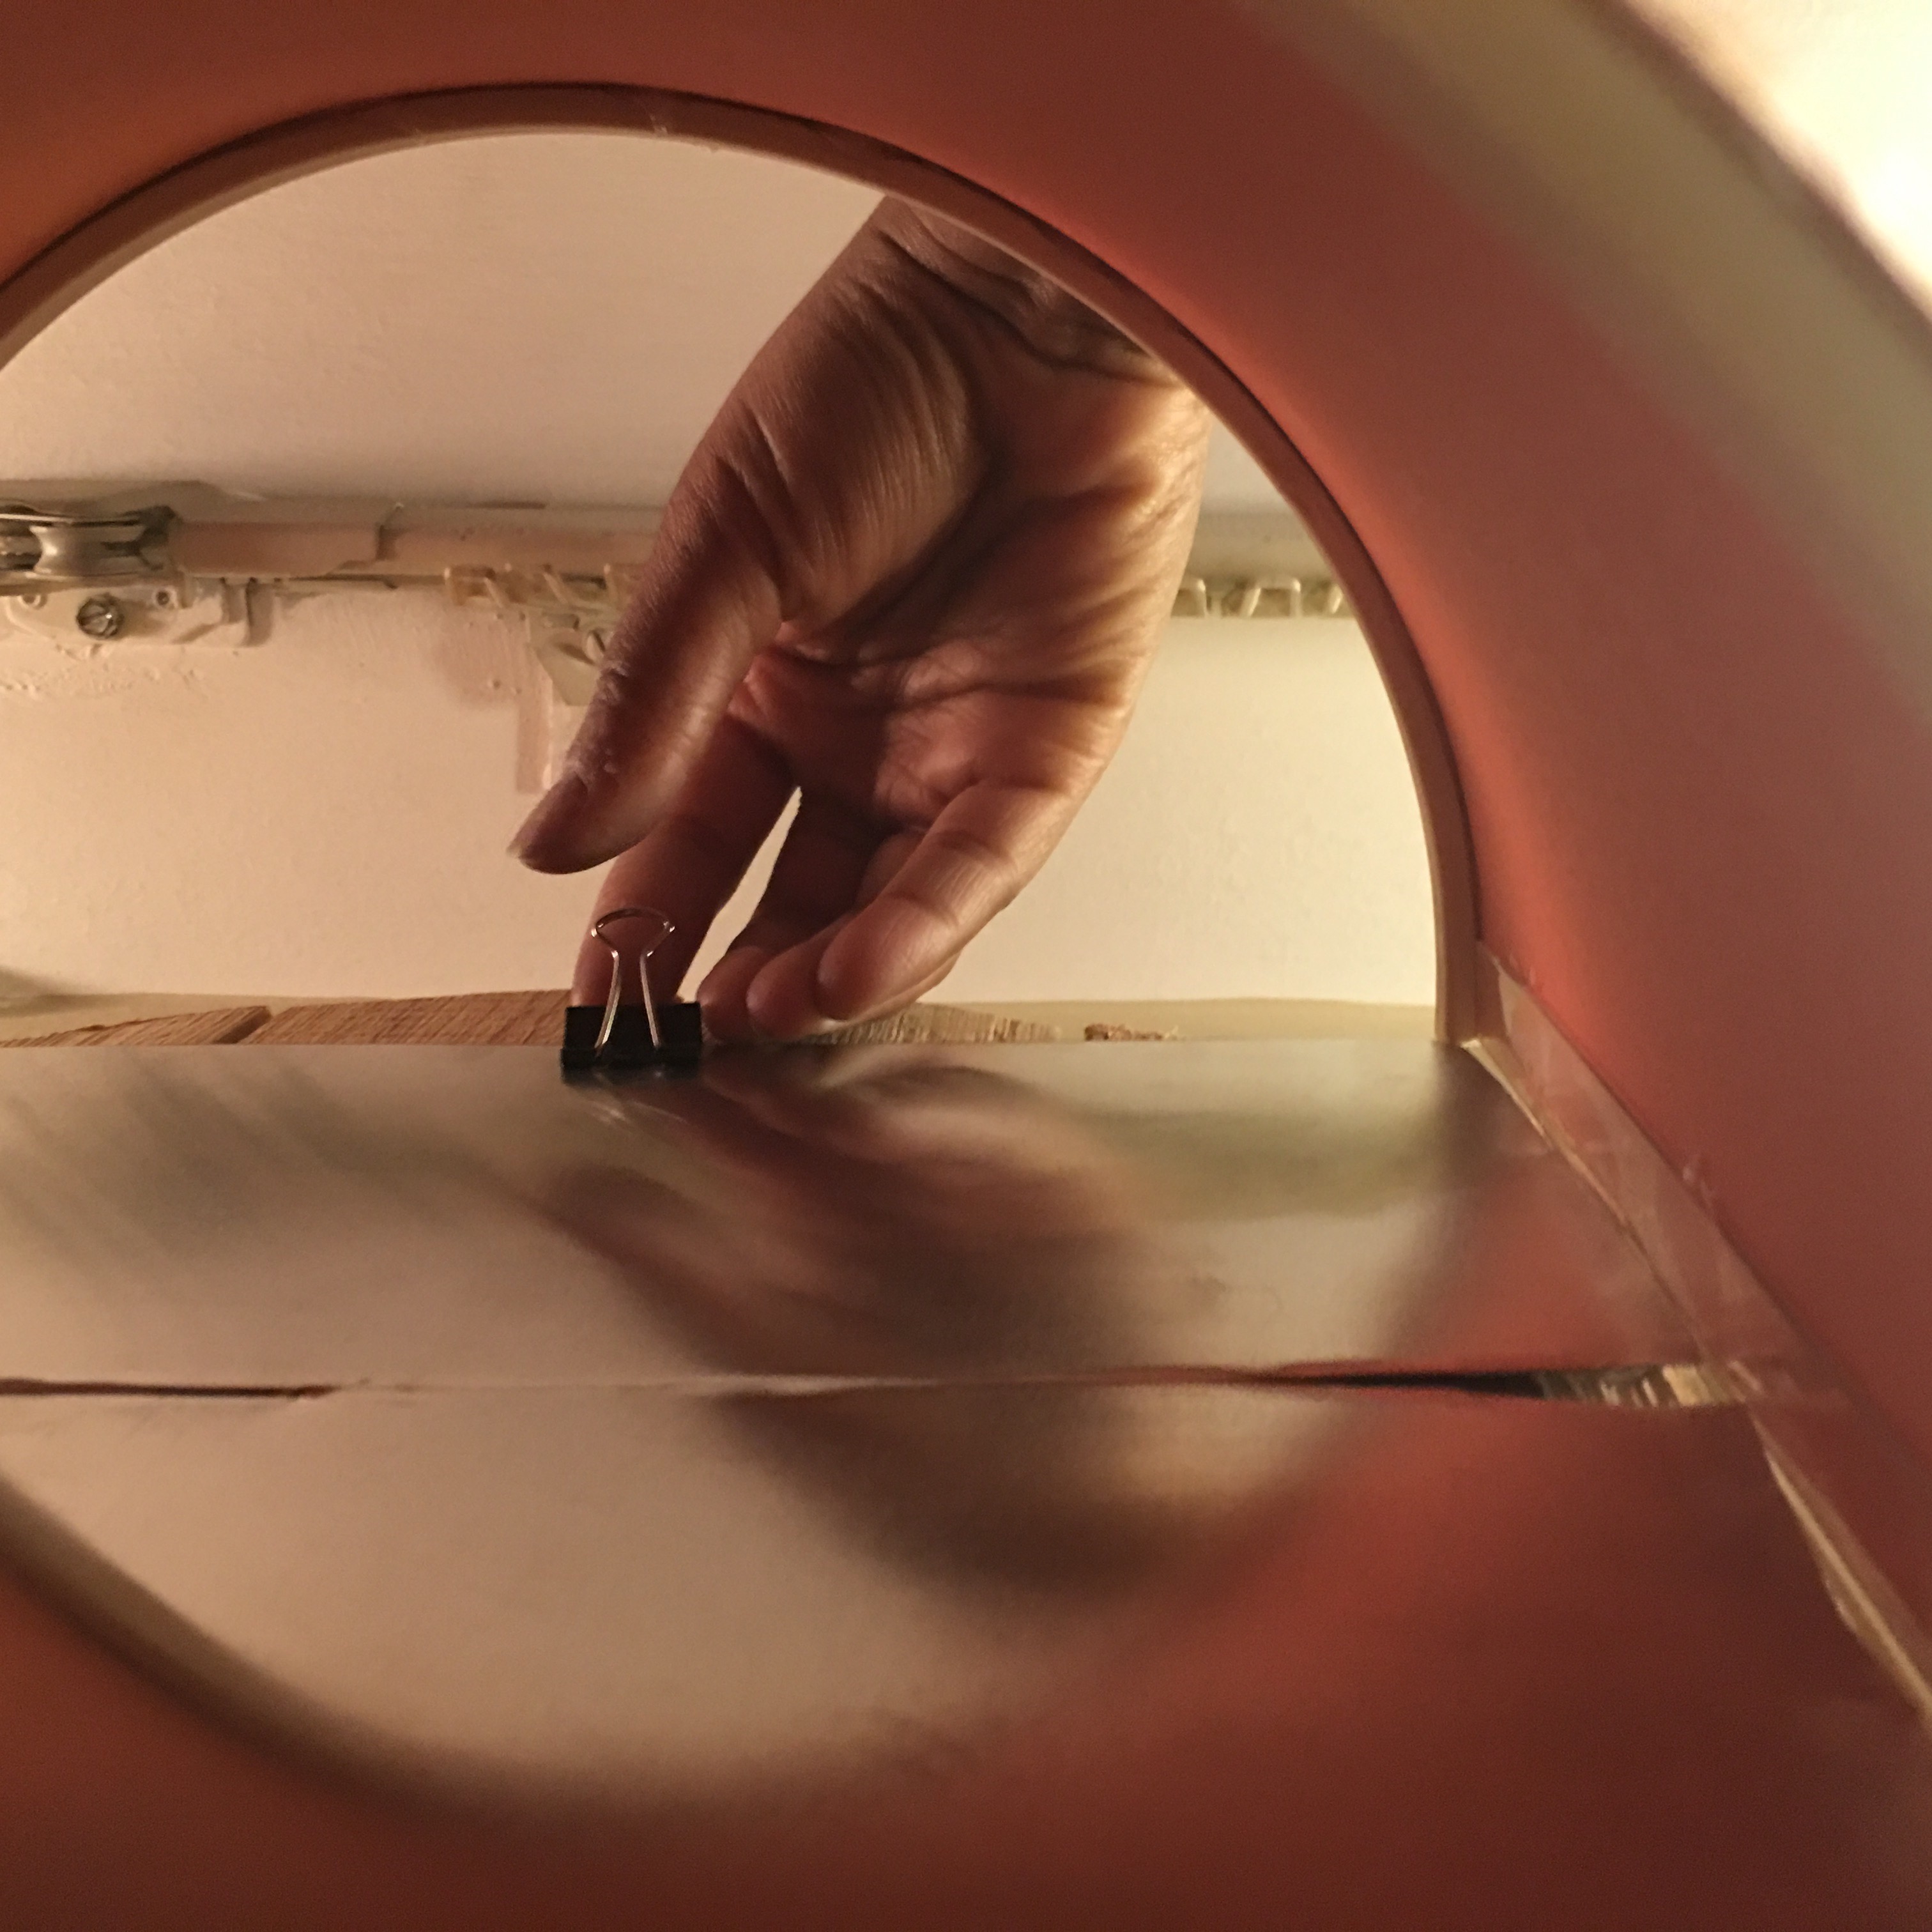
Once I clipped the candelabra base to the back of the sconce shade…
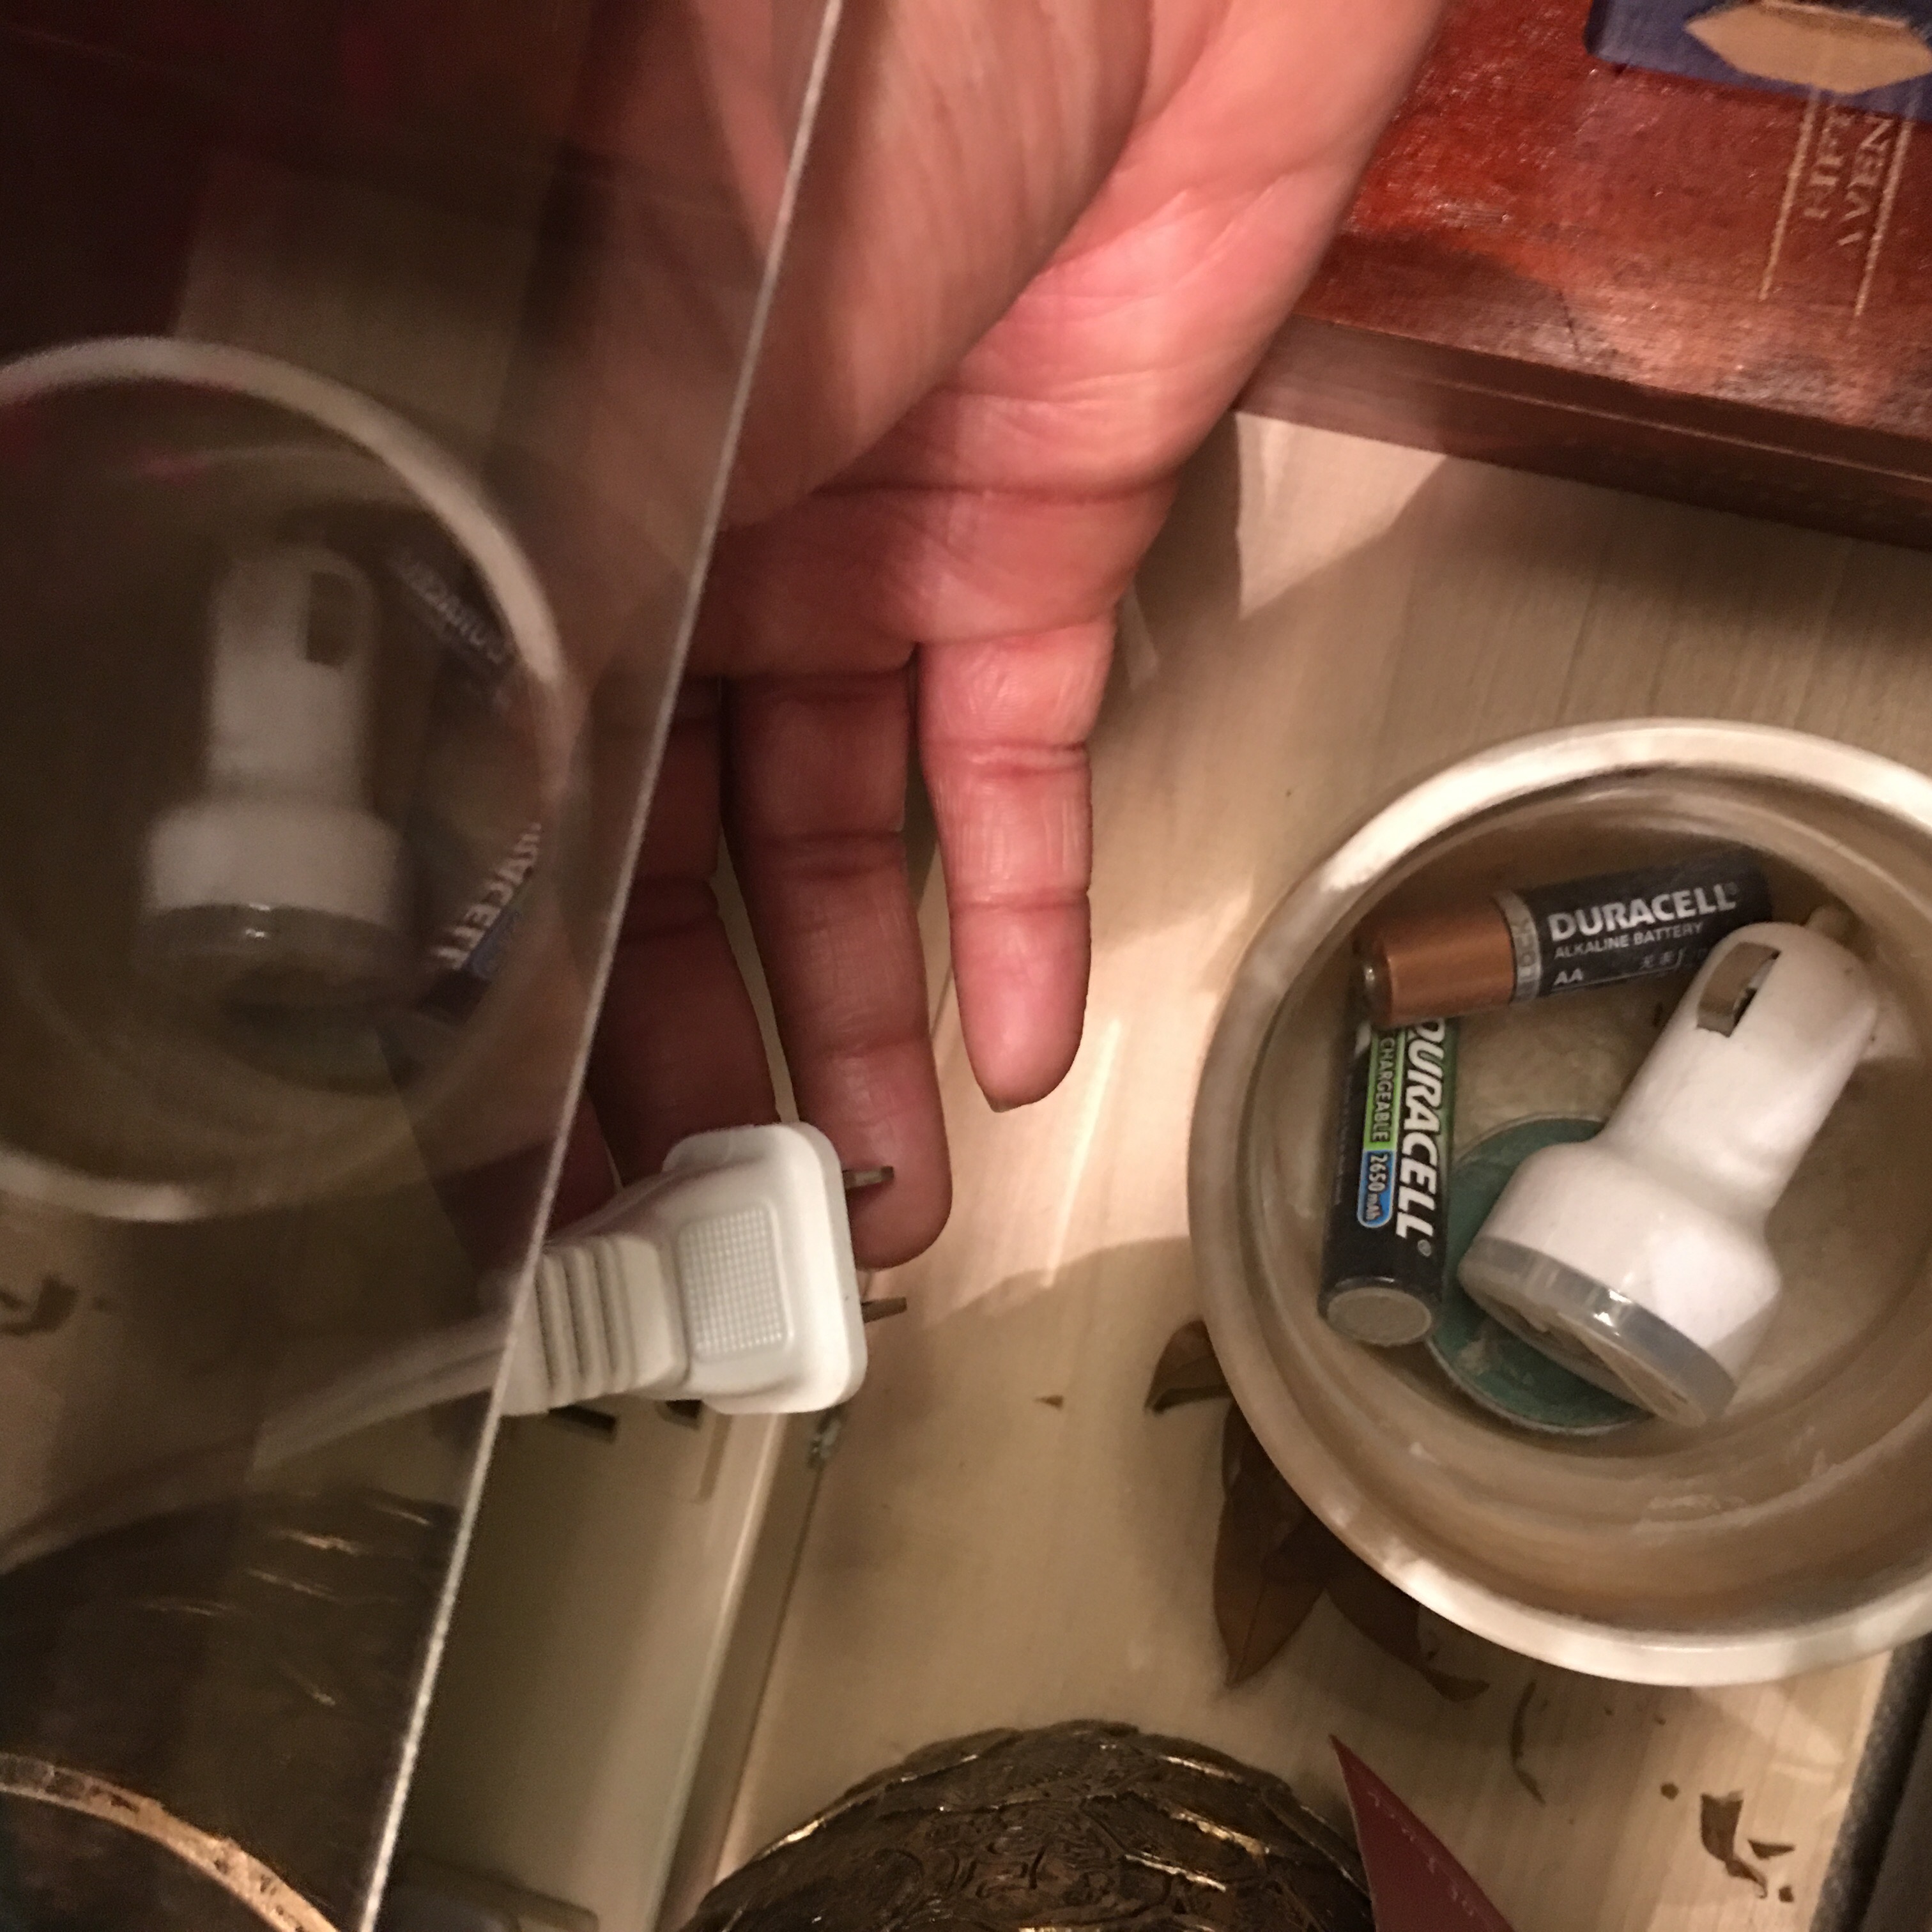
…I fished the power cord down behind the center floating frames…
…and plugged it into the power strip on the sofa table.
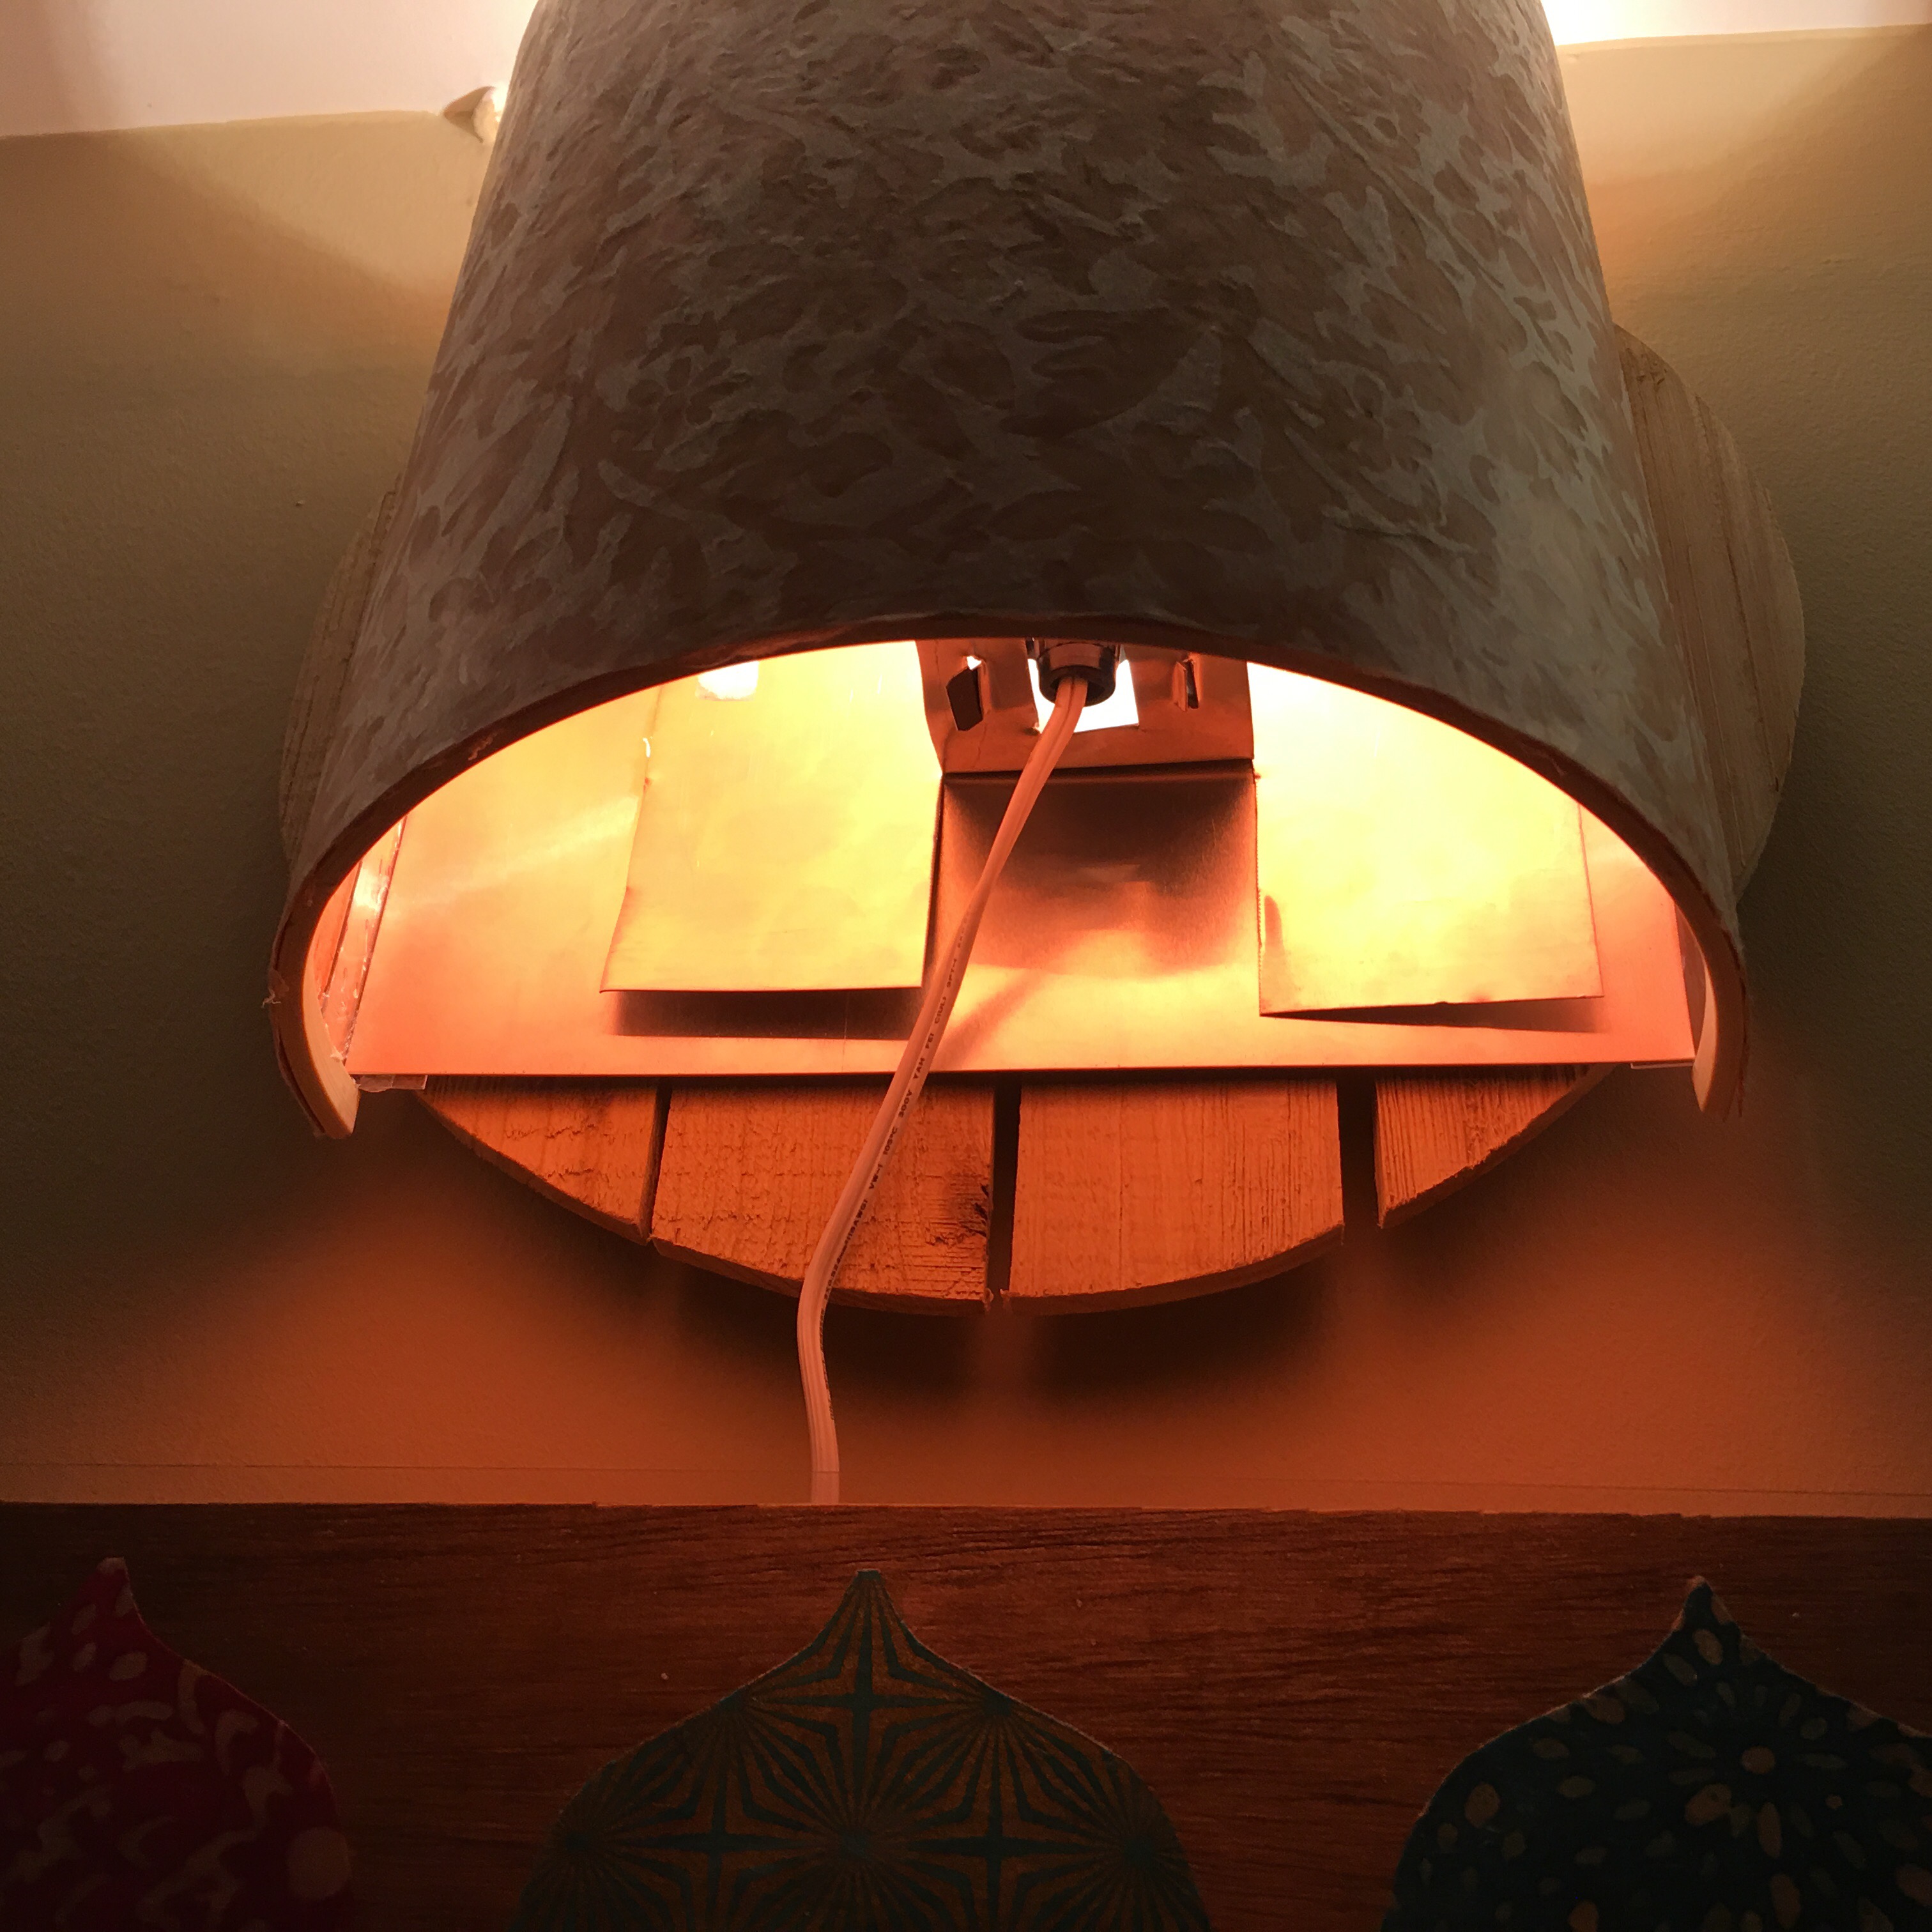
Voila! Let there be light!!!
Or at least a little light.
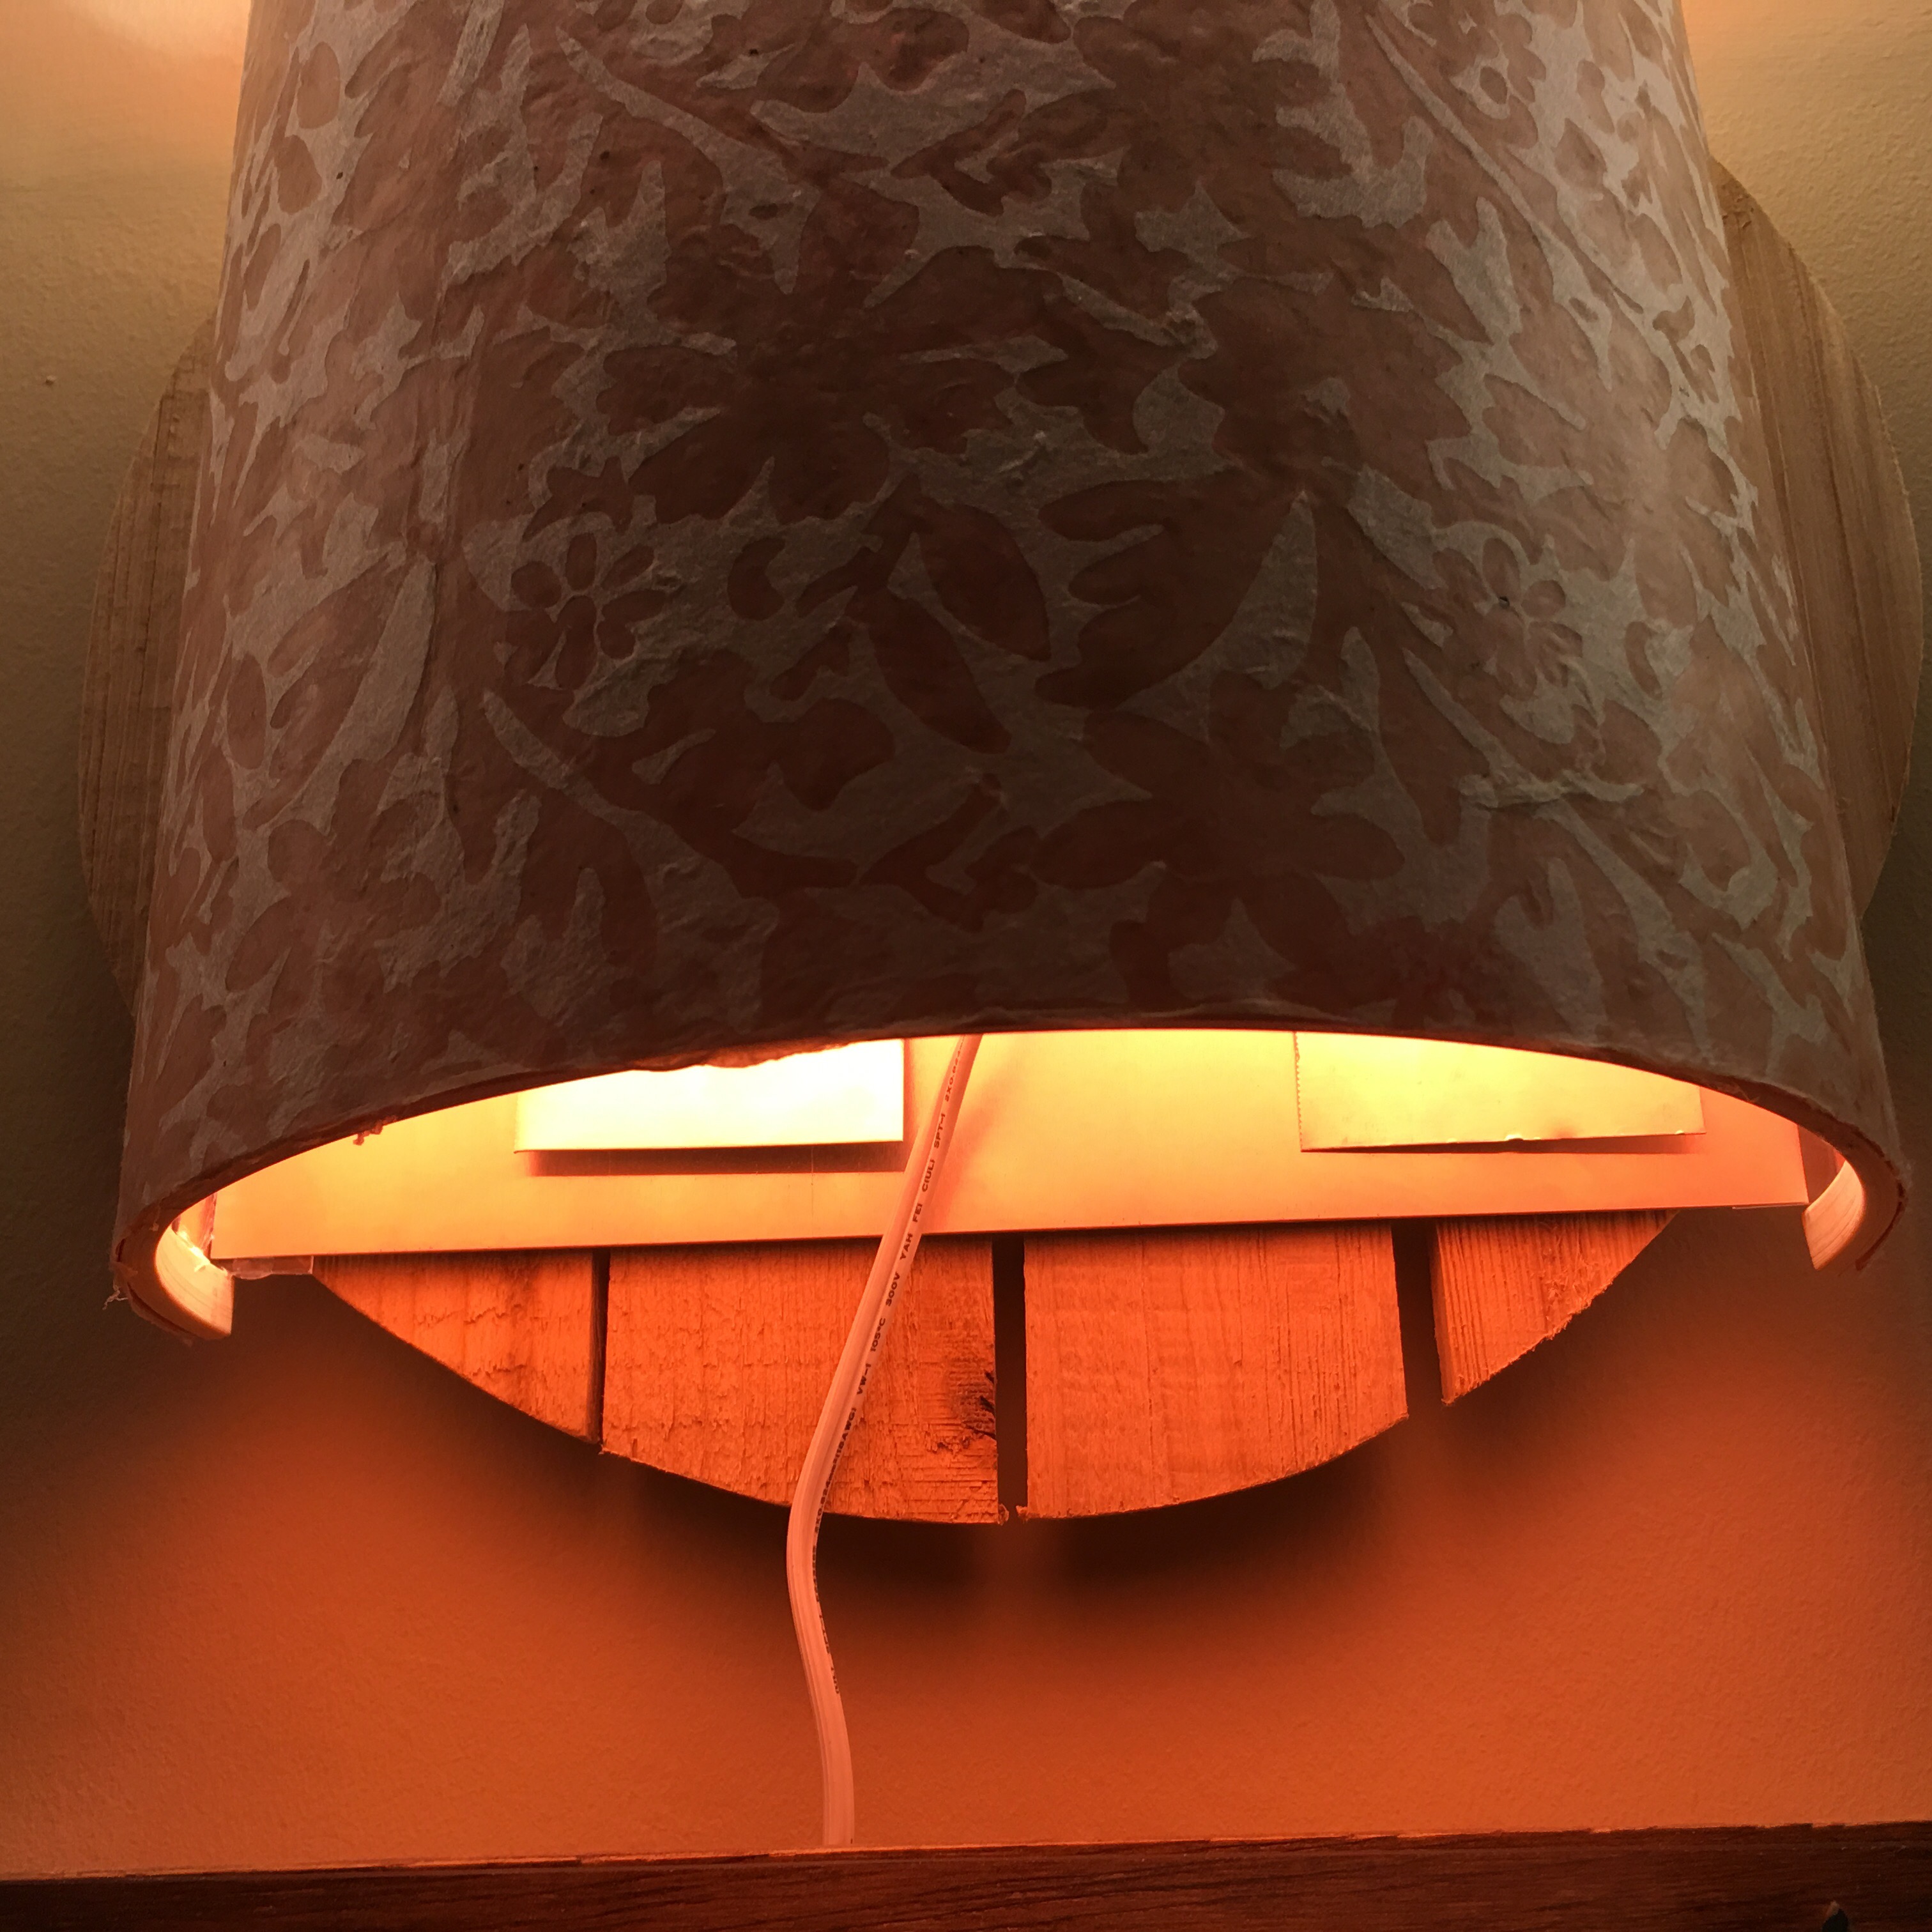
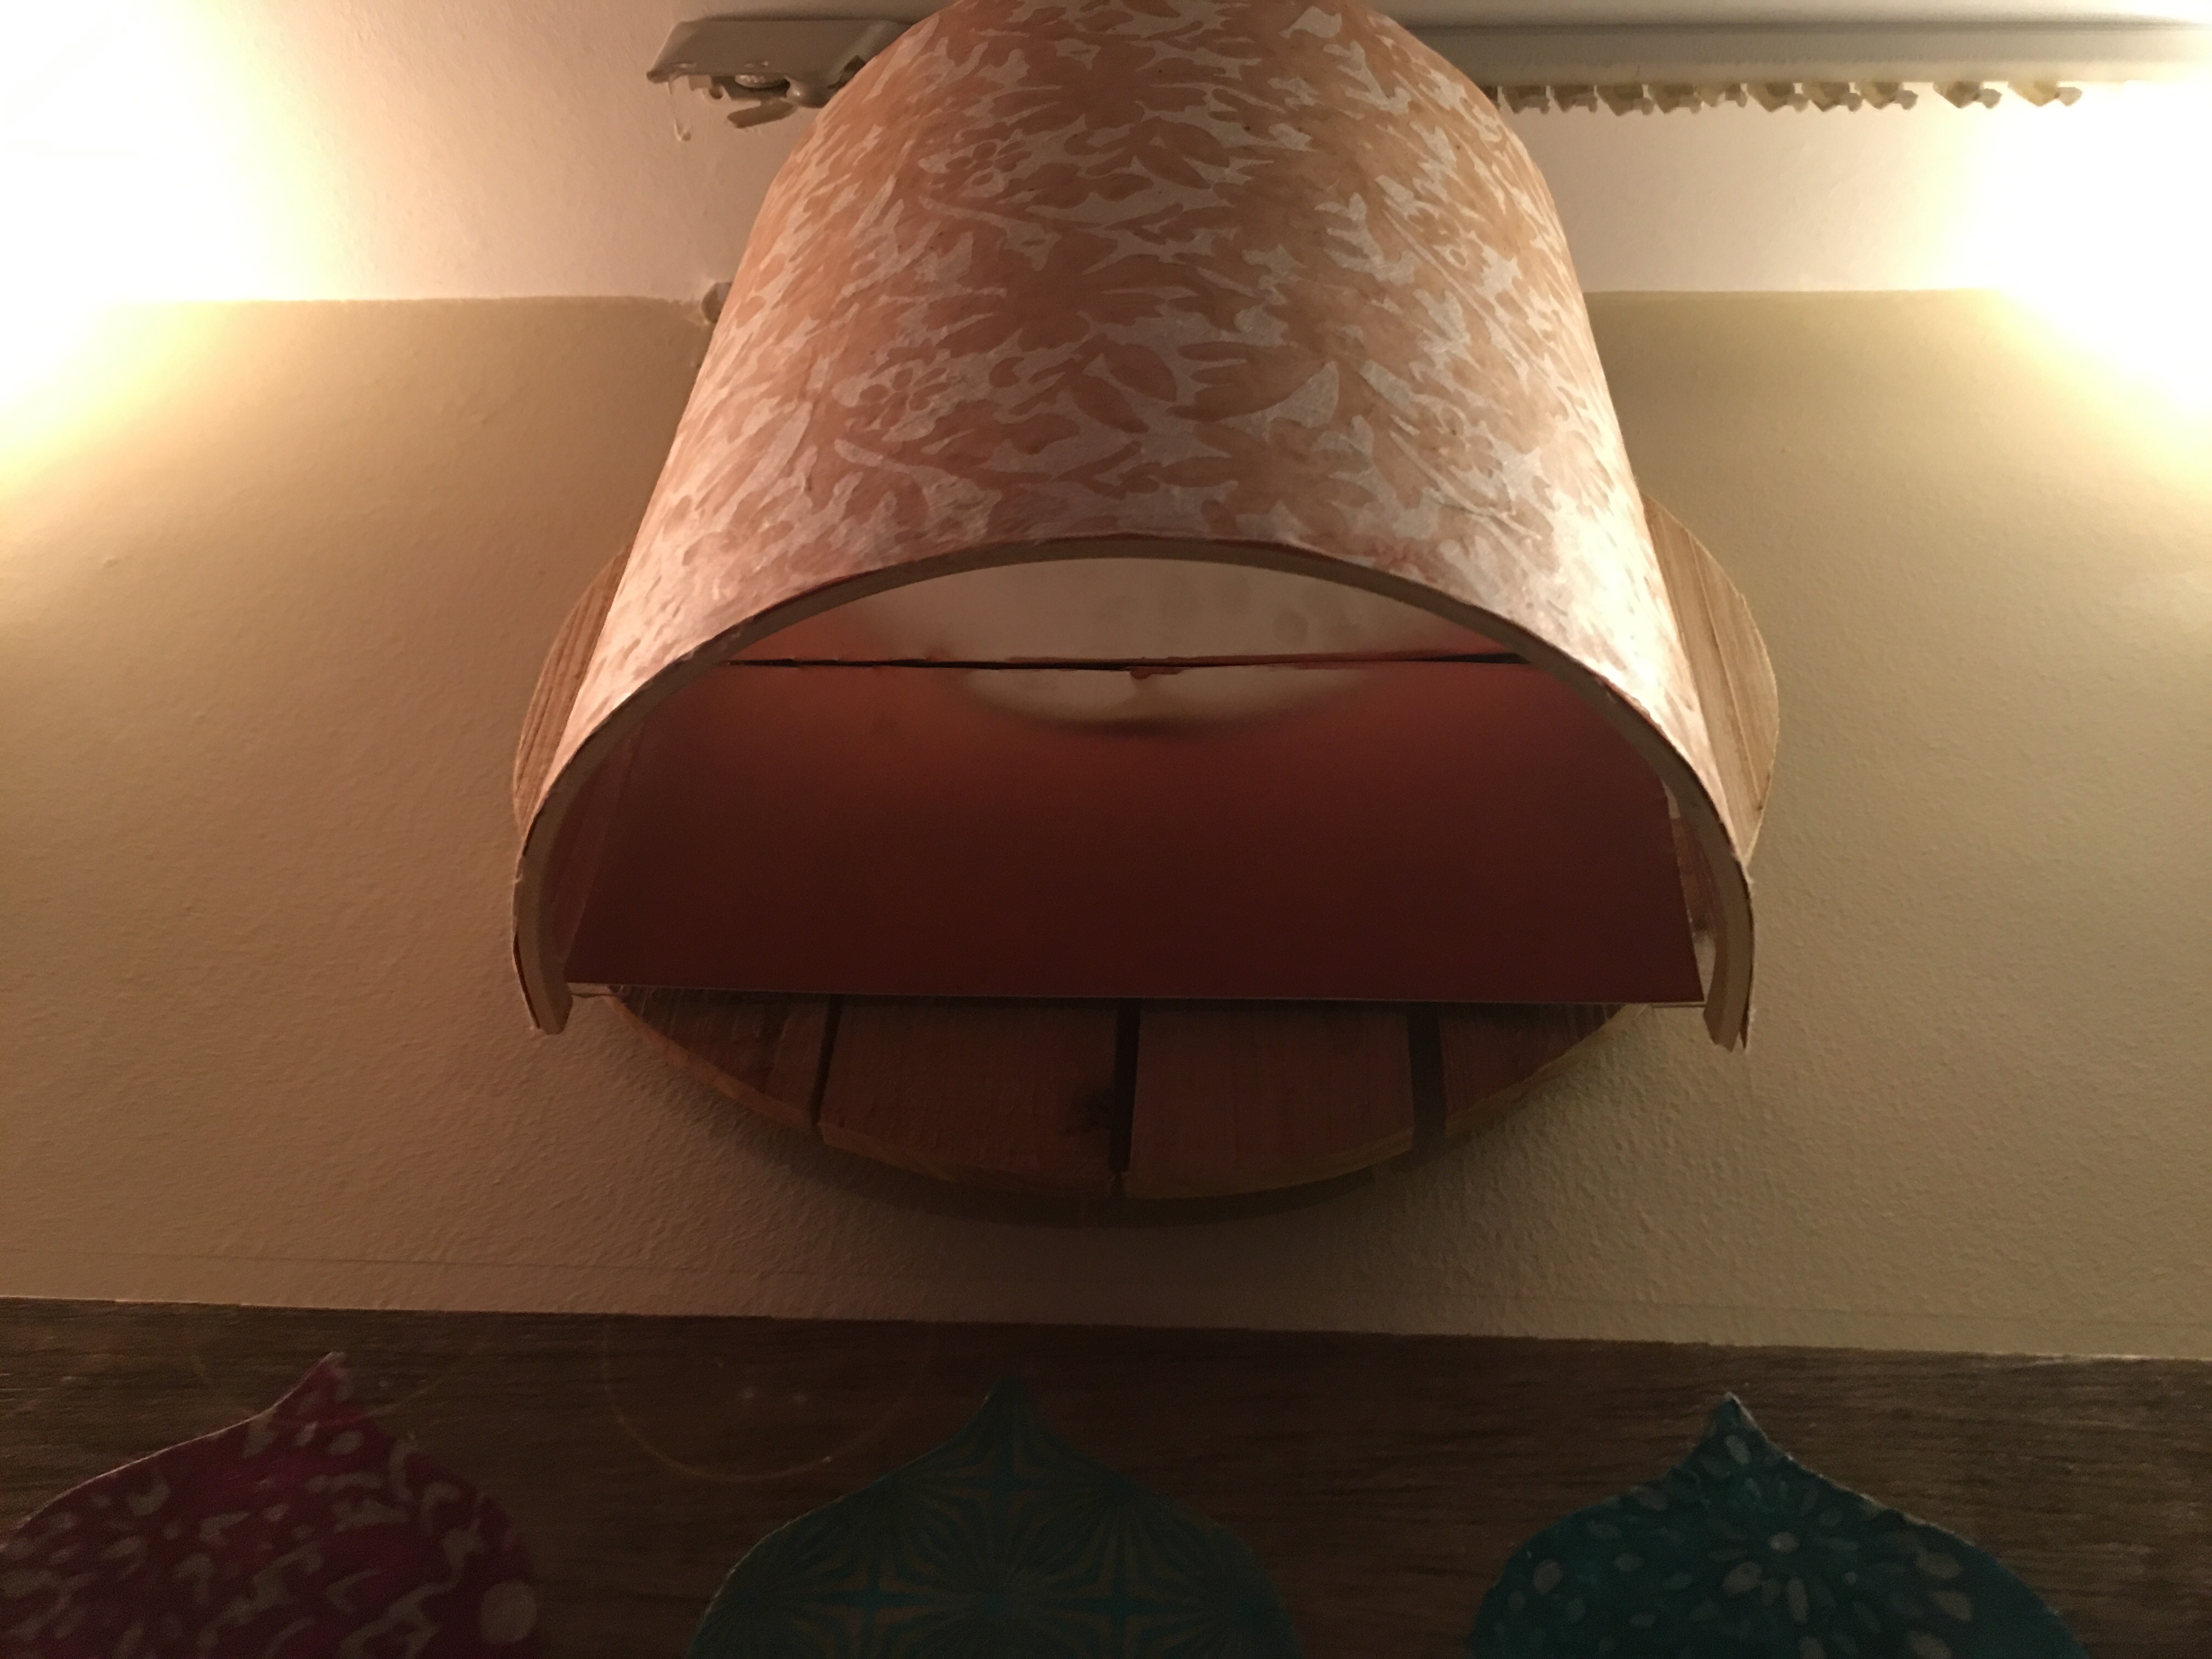
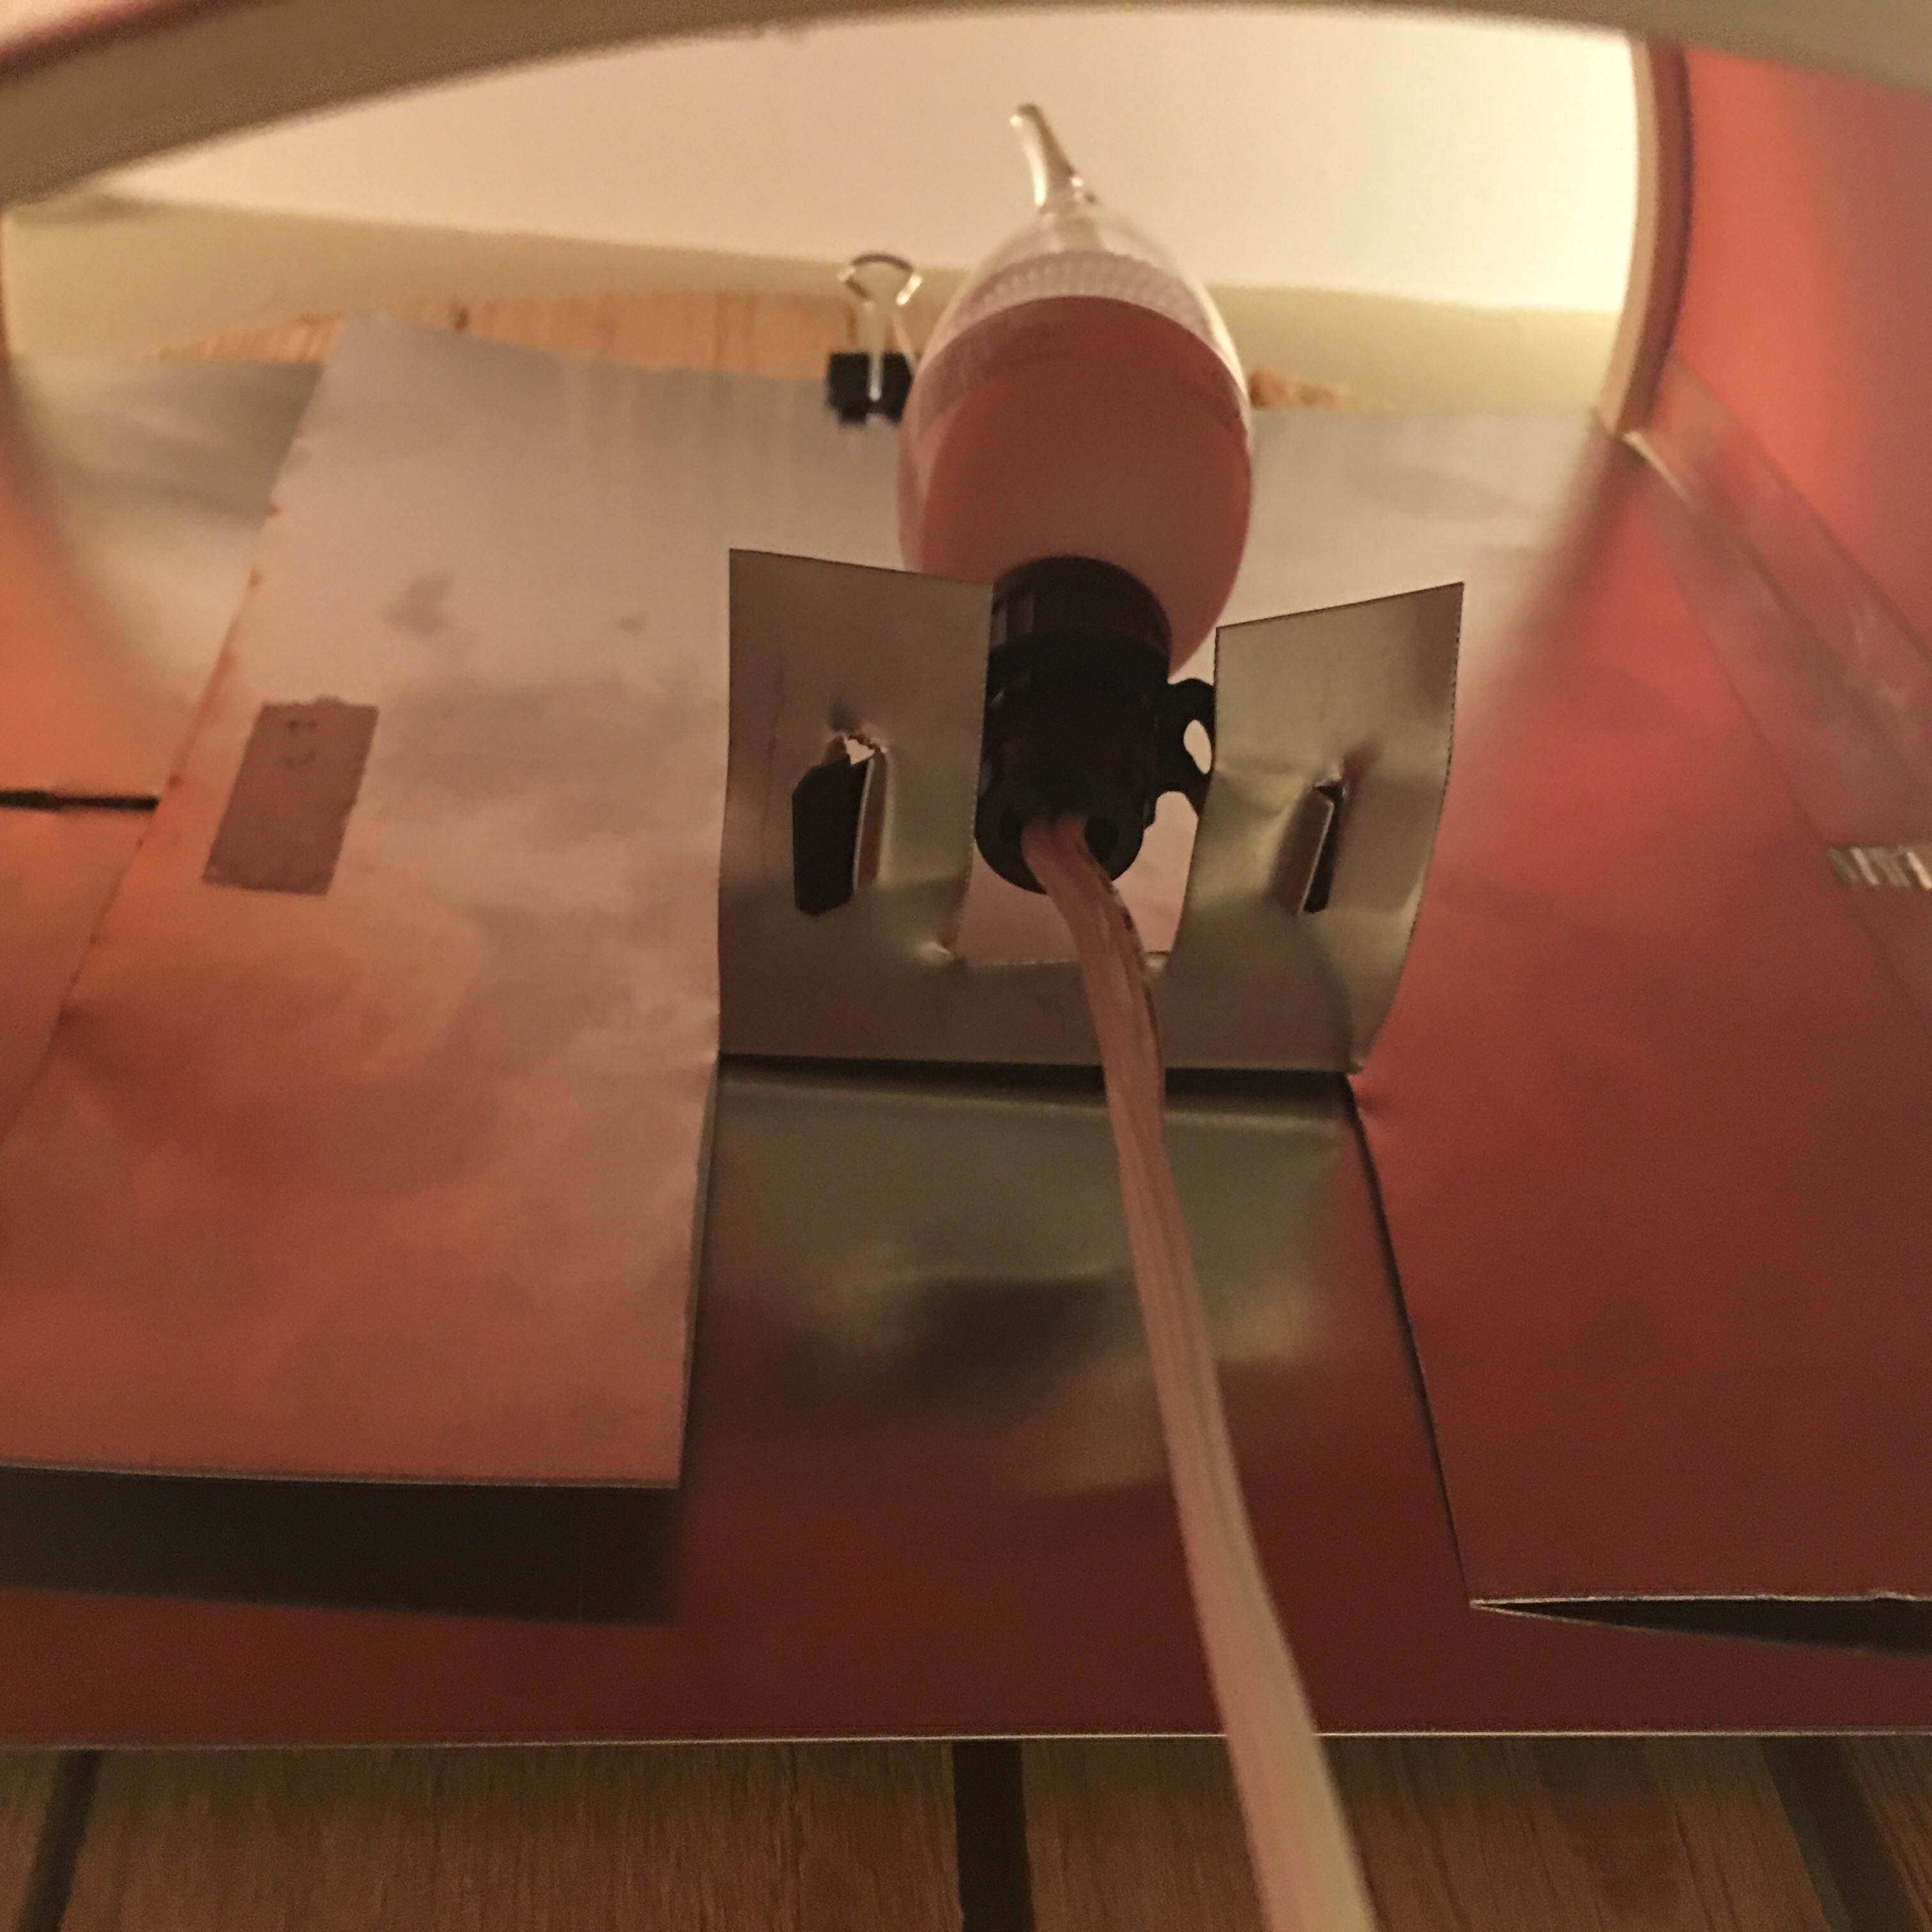
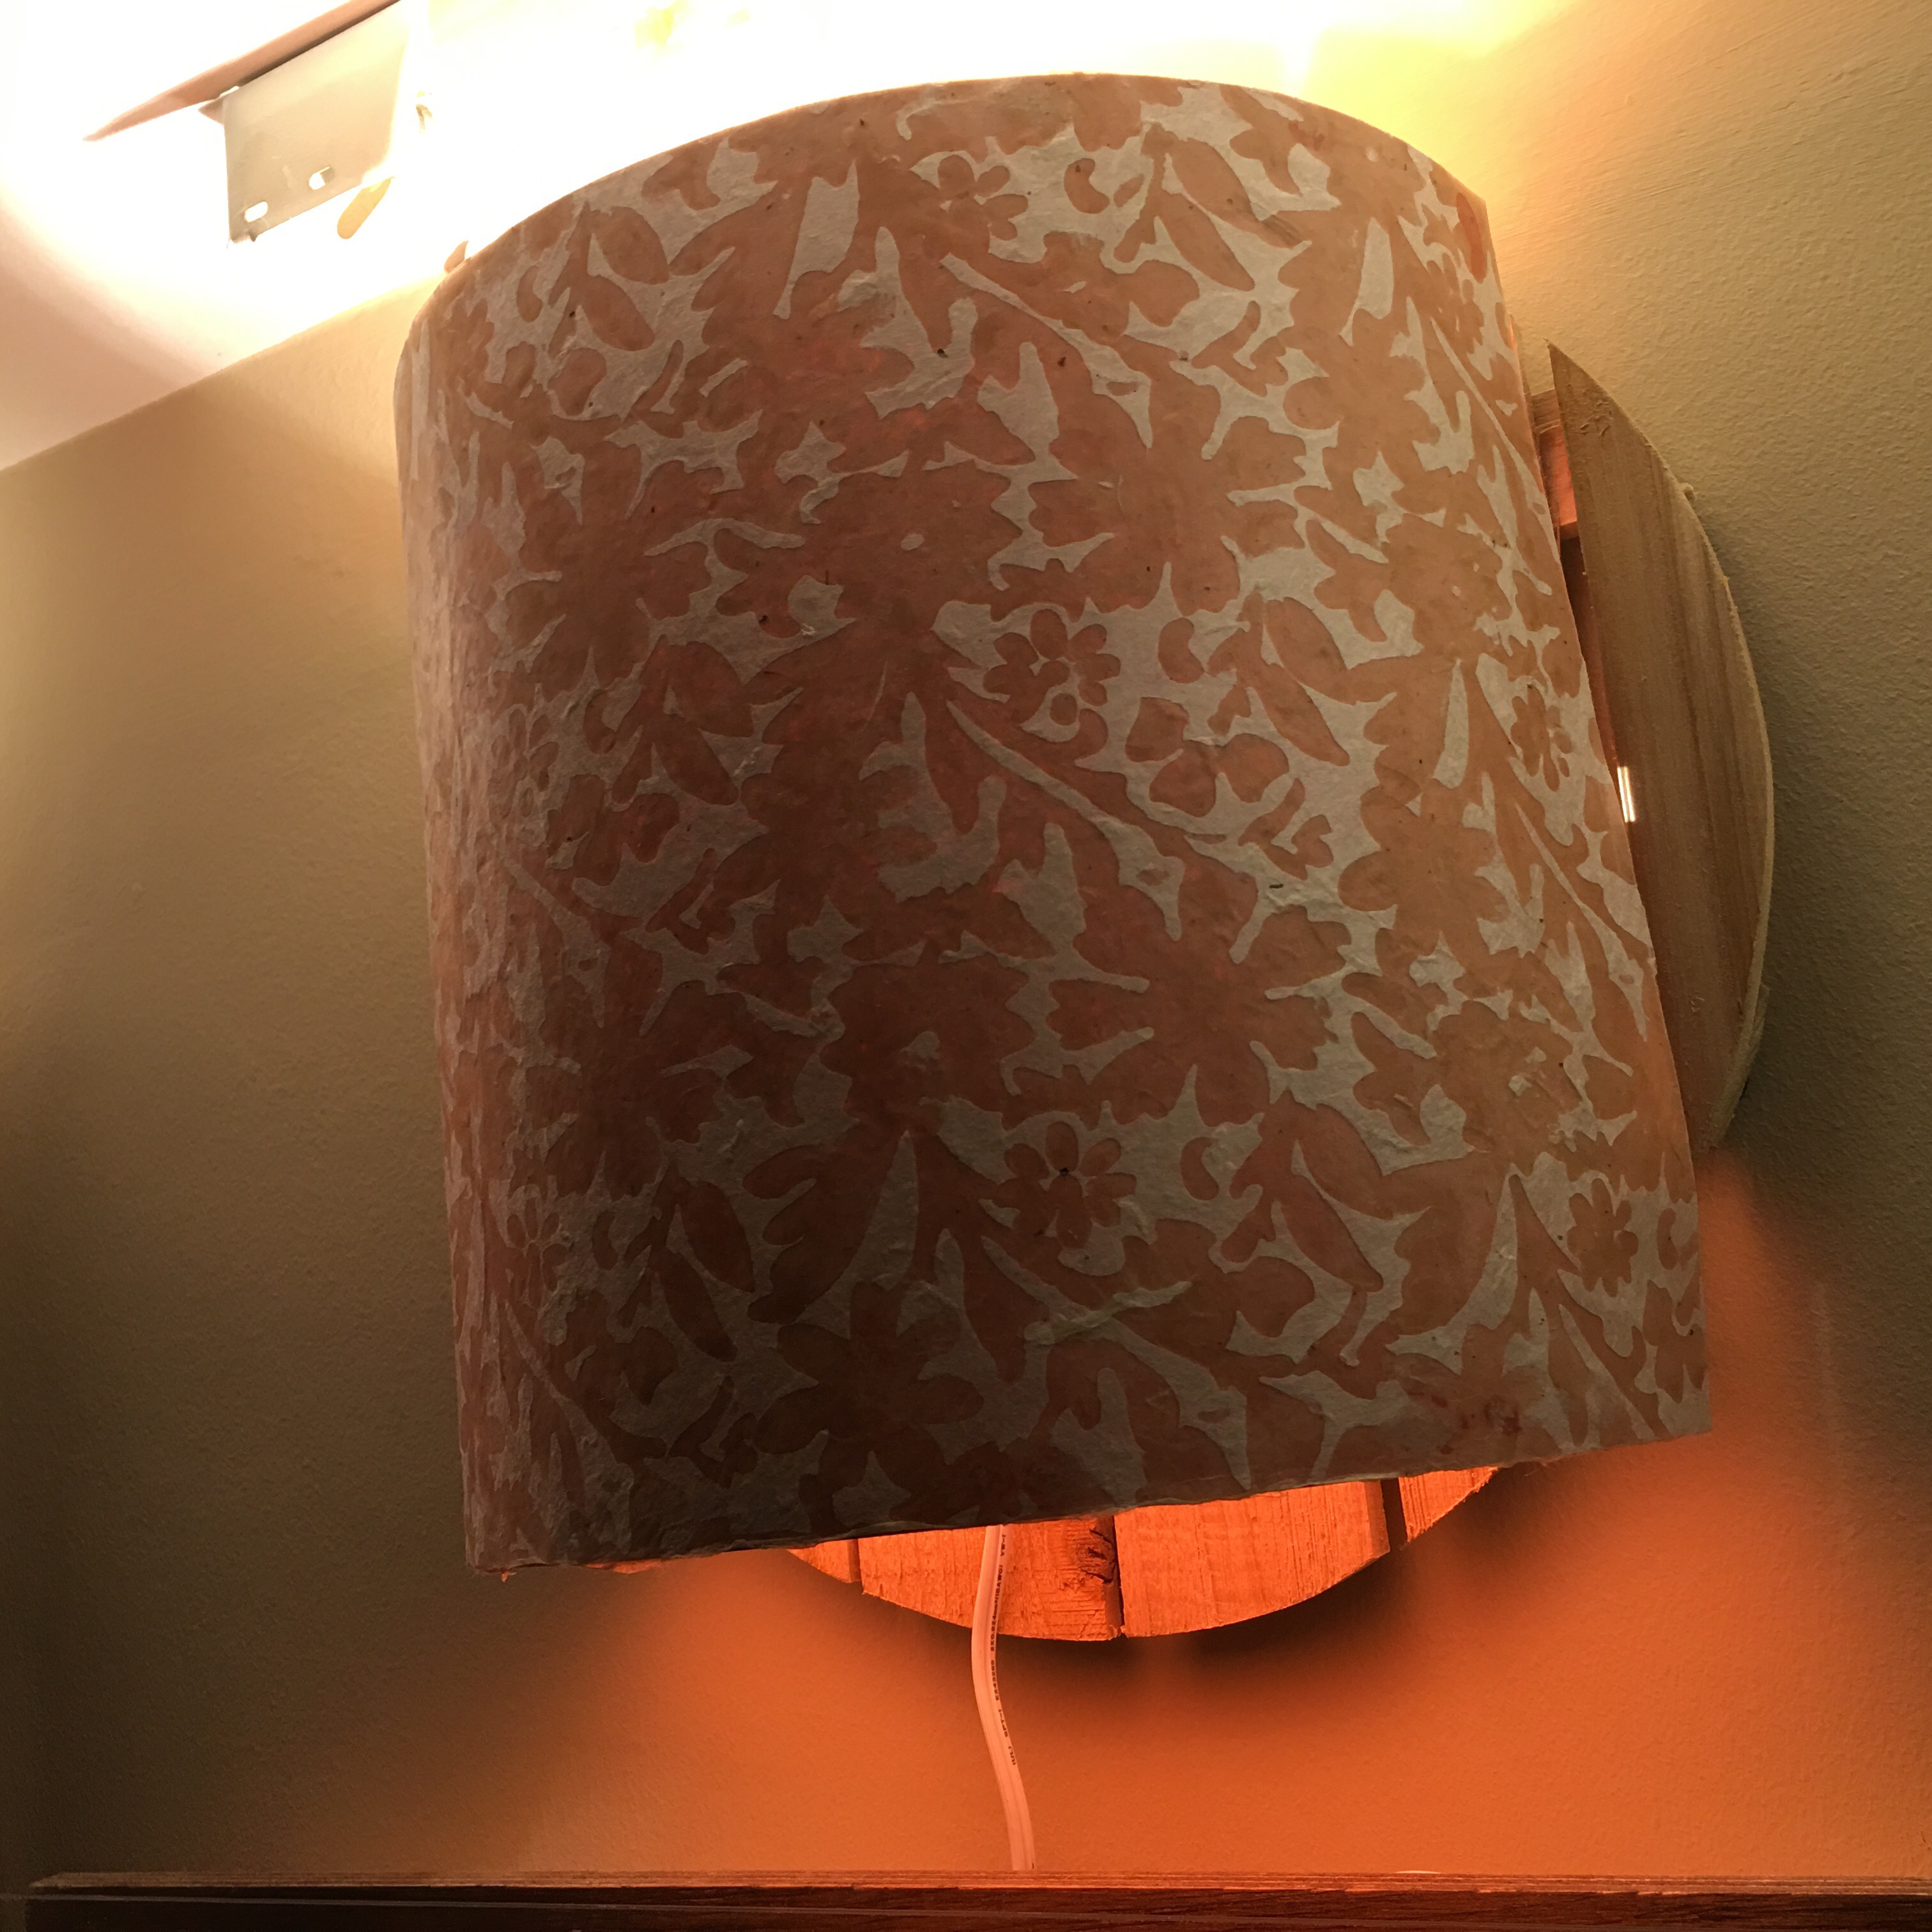
The bulb is shining brightly from inside the shade…
…but no light is coming through the shade itself. And it’s mostly being funneled out the top and towards the ceiling.
Hmmm…this may call for a do-over.
But for now I have lovely orange centerpiece wall sconce in place (that offers a little more light for the living room wall gallery).

This calls for a different lamp shade (to be done using white poster board). To be continued…V-