
Wood Phone Cube Blitz!
You may also like:
March 15, 2016: I’m sticking to my promise to add posts of my favorite craft projects with more step-by-step pictures, I decided to go on a DIY phone cube blitz and make three at once (two large 4″ cubes and 1 small 3.5″ cube).
I use photo hollow wood blocks that I buy from AC Moore (made by Nicole Crafts). I’m still looking for an online link to these blocks, but here is a similar block from factorydirectcraft.com.
The important detail with these blocks is that they need to be hollow. I cut an opening on one side of the cube to create a slot for which you can slip in a phone (or for whatever item you’d like. A hollow block makes it easy to turn a wood cube into a phone holder.
So how do I cut the wood to make the opening?
For my Phone Home, Phone Box, His and Her Phone Blocks and my Phone Haus projects, I used wood knives and chiseling tools to saw into the wood and cut away an opening.
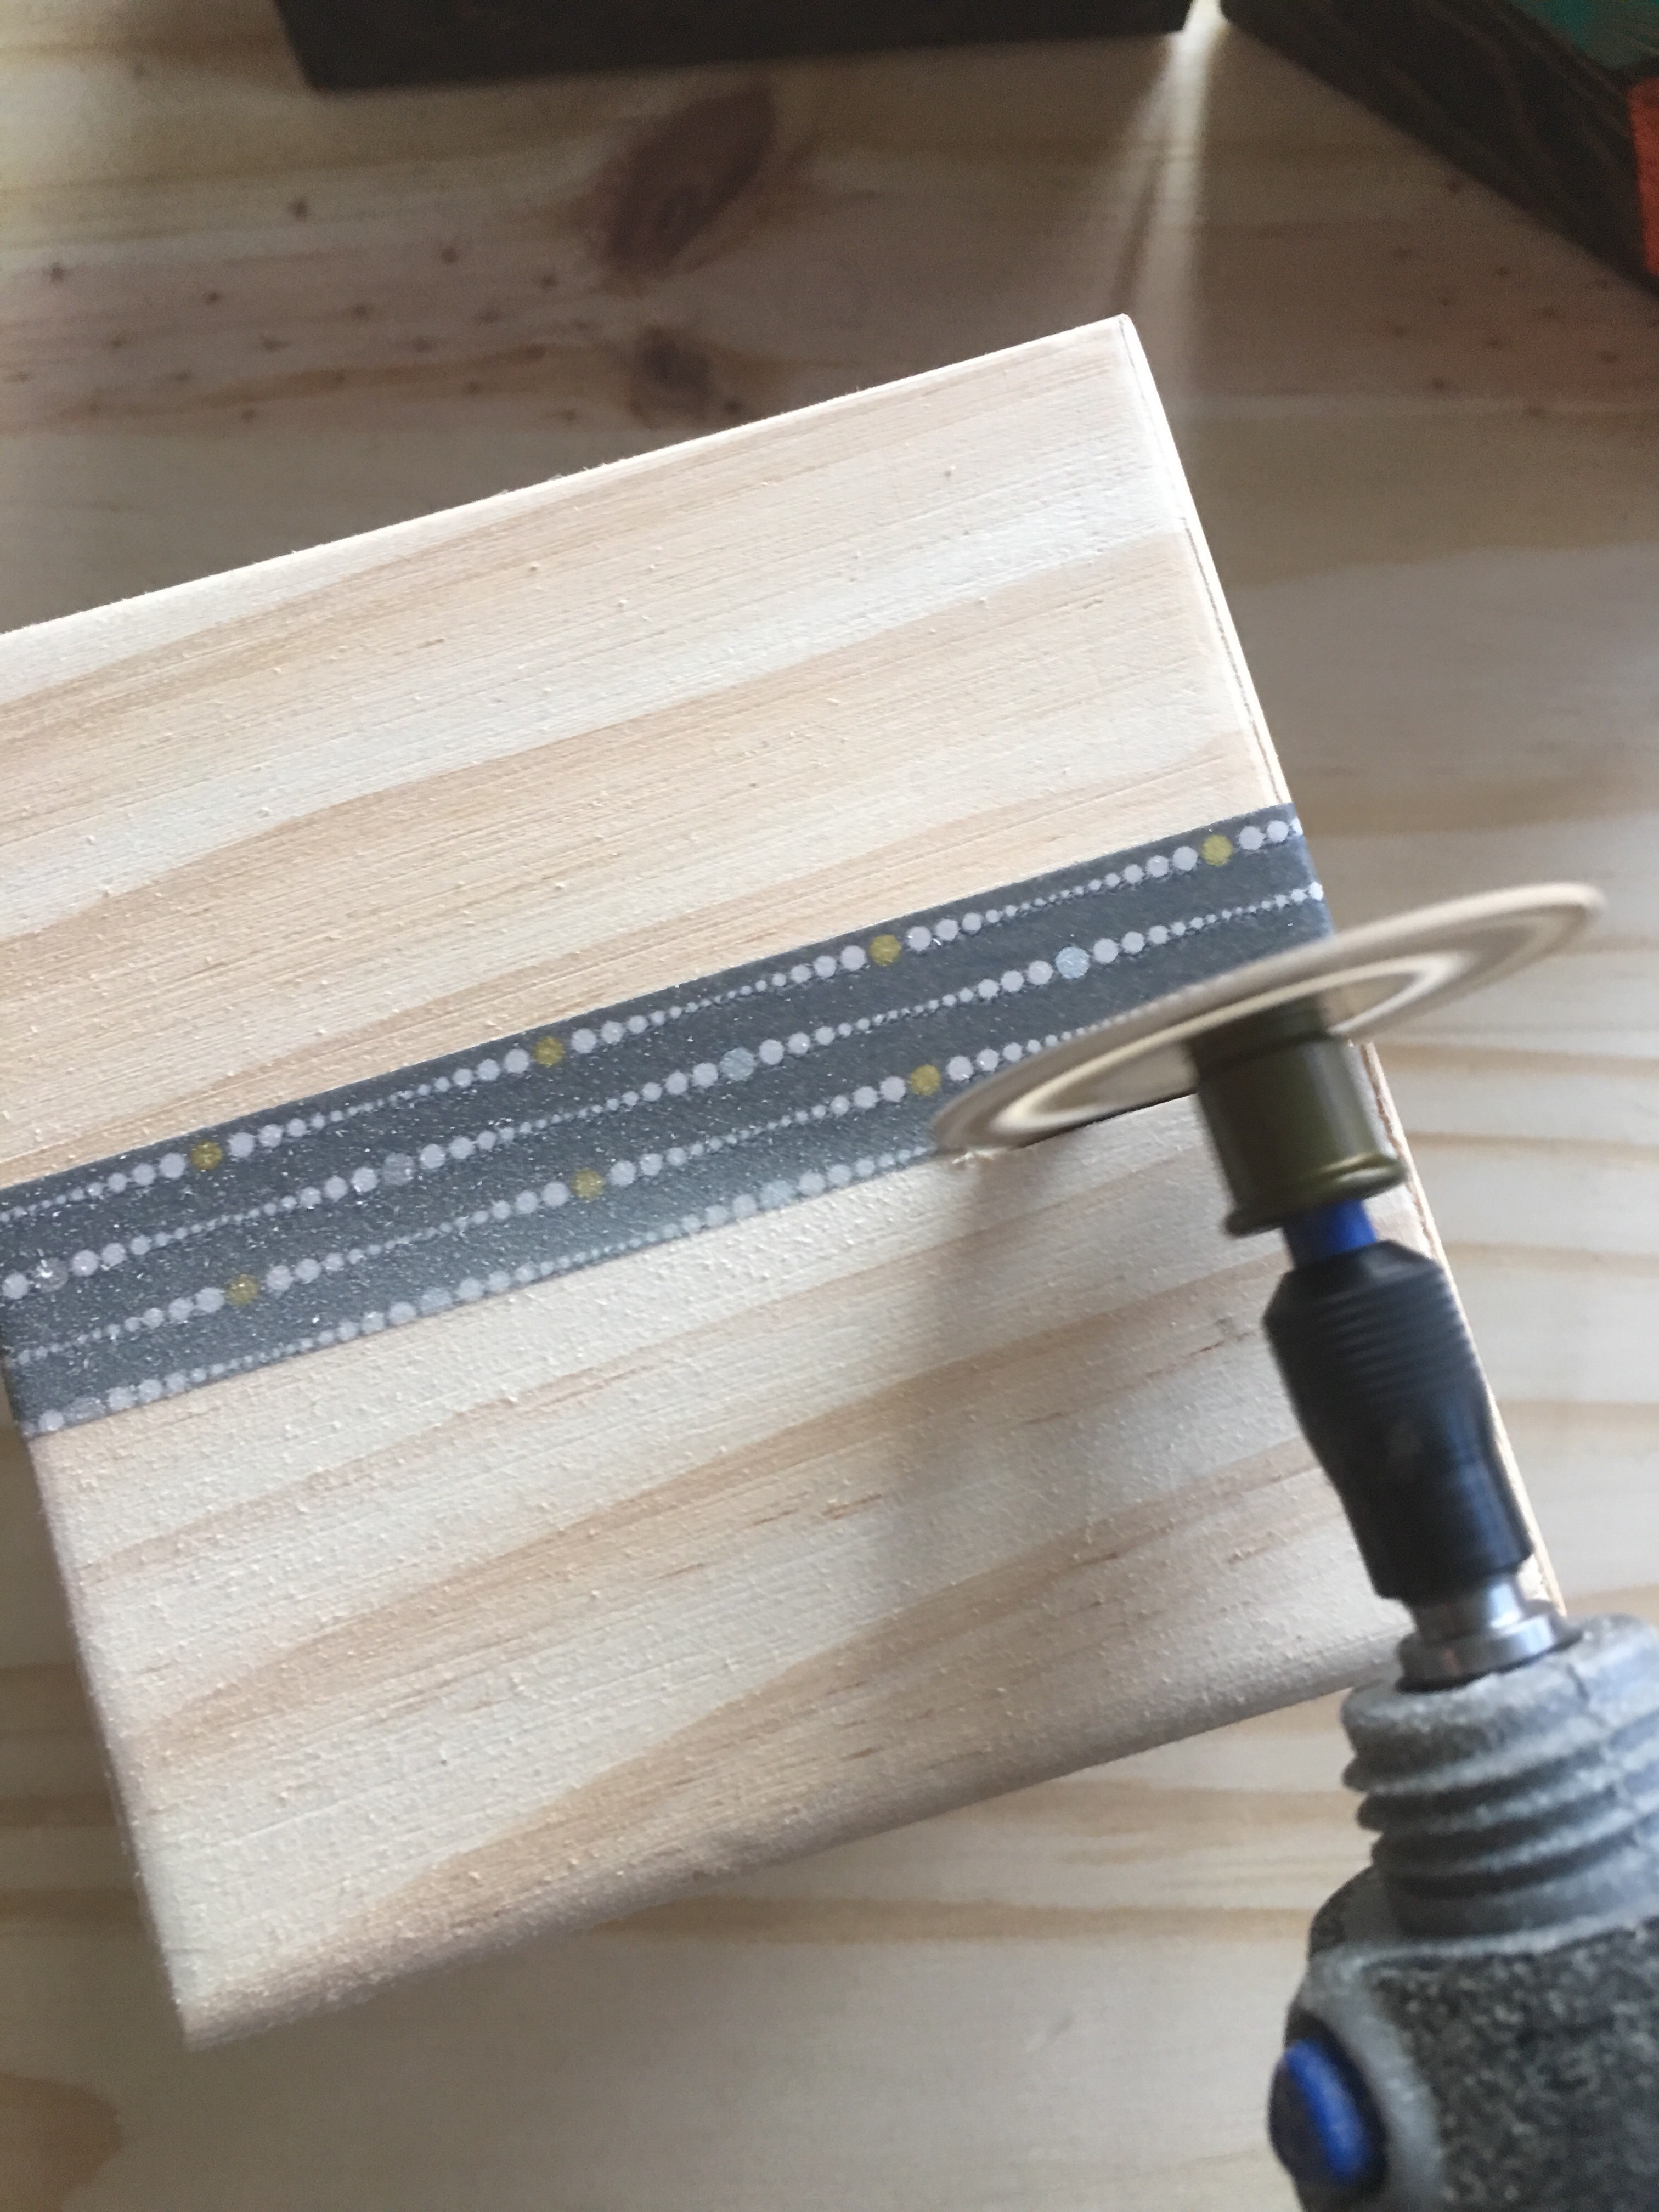
For this blitz project, I decided to give my new Dremel 3000 tool a try.
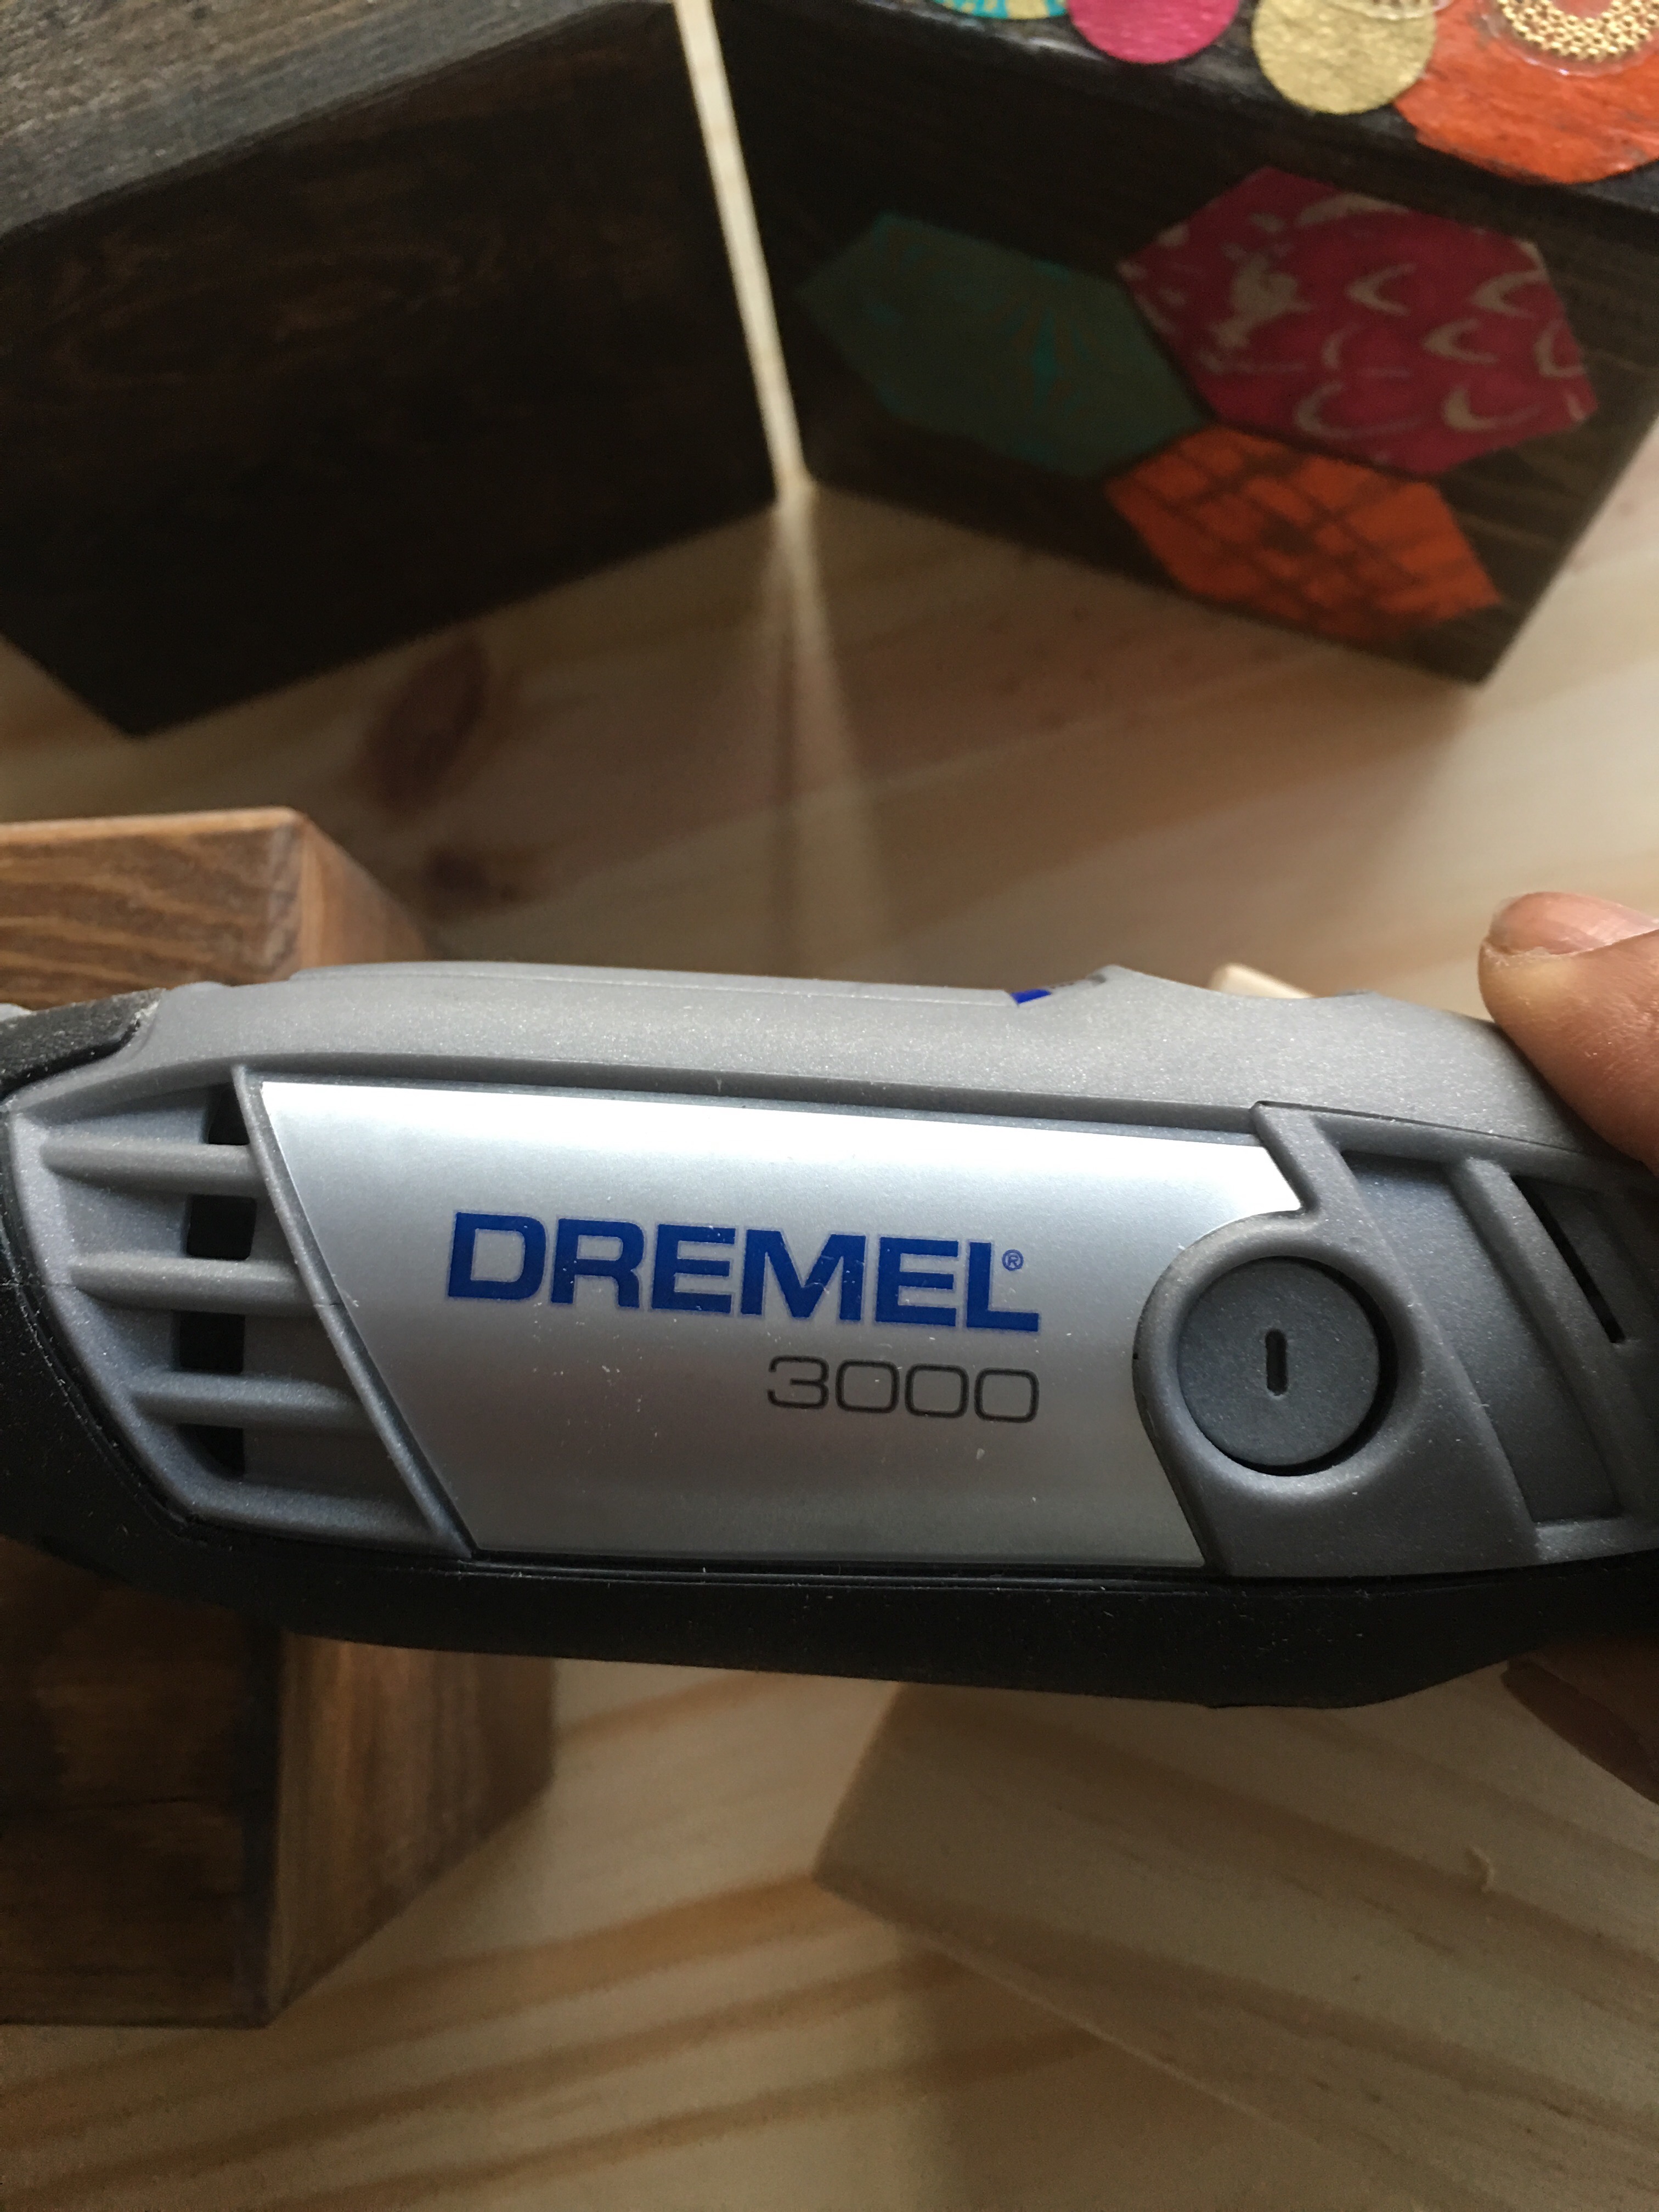
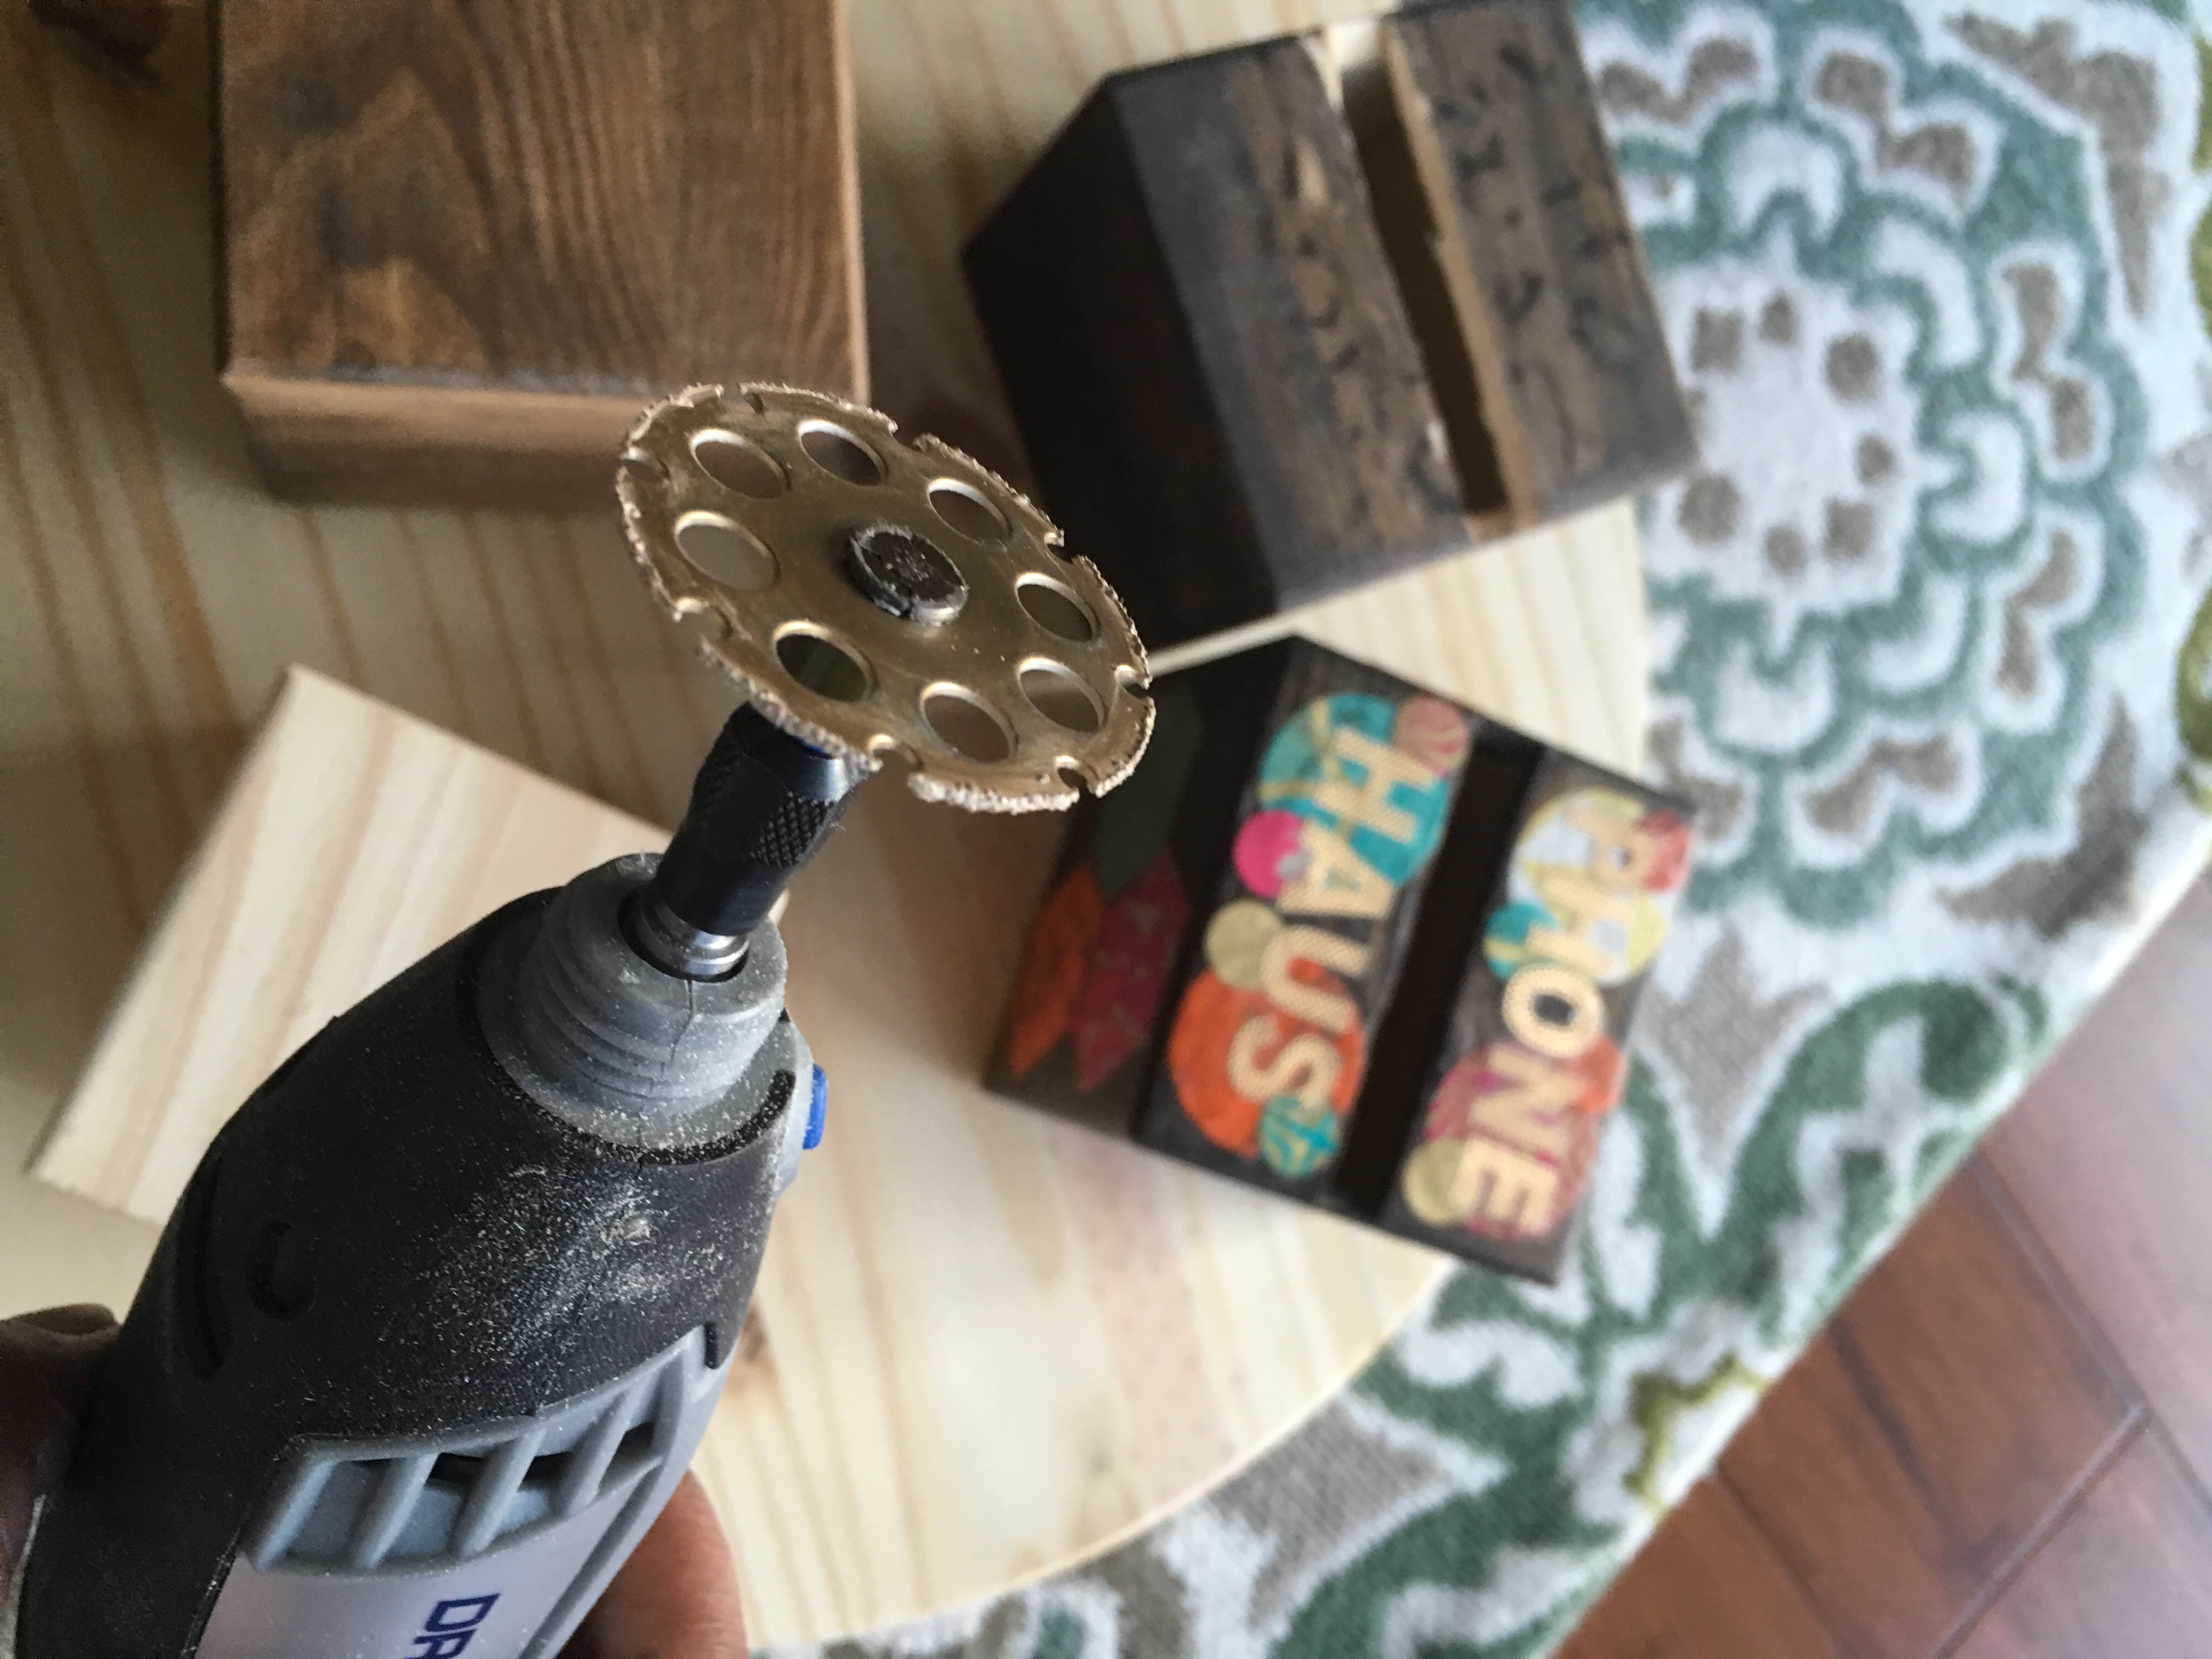
A Dremel is a rotary cutting, sanding and grinding tool that can be used with various attachments. For this project, I added the EZ lock wood cutting wheel (#544).
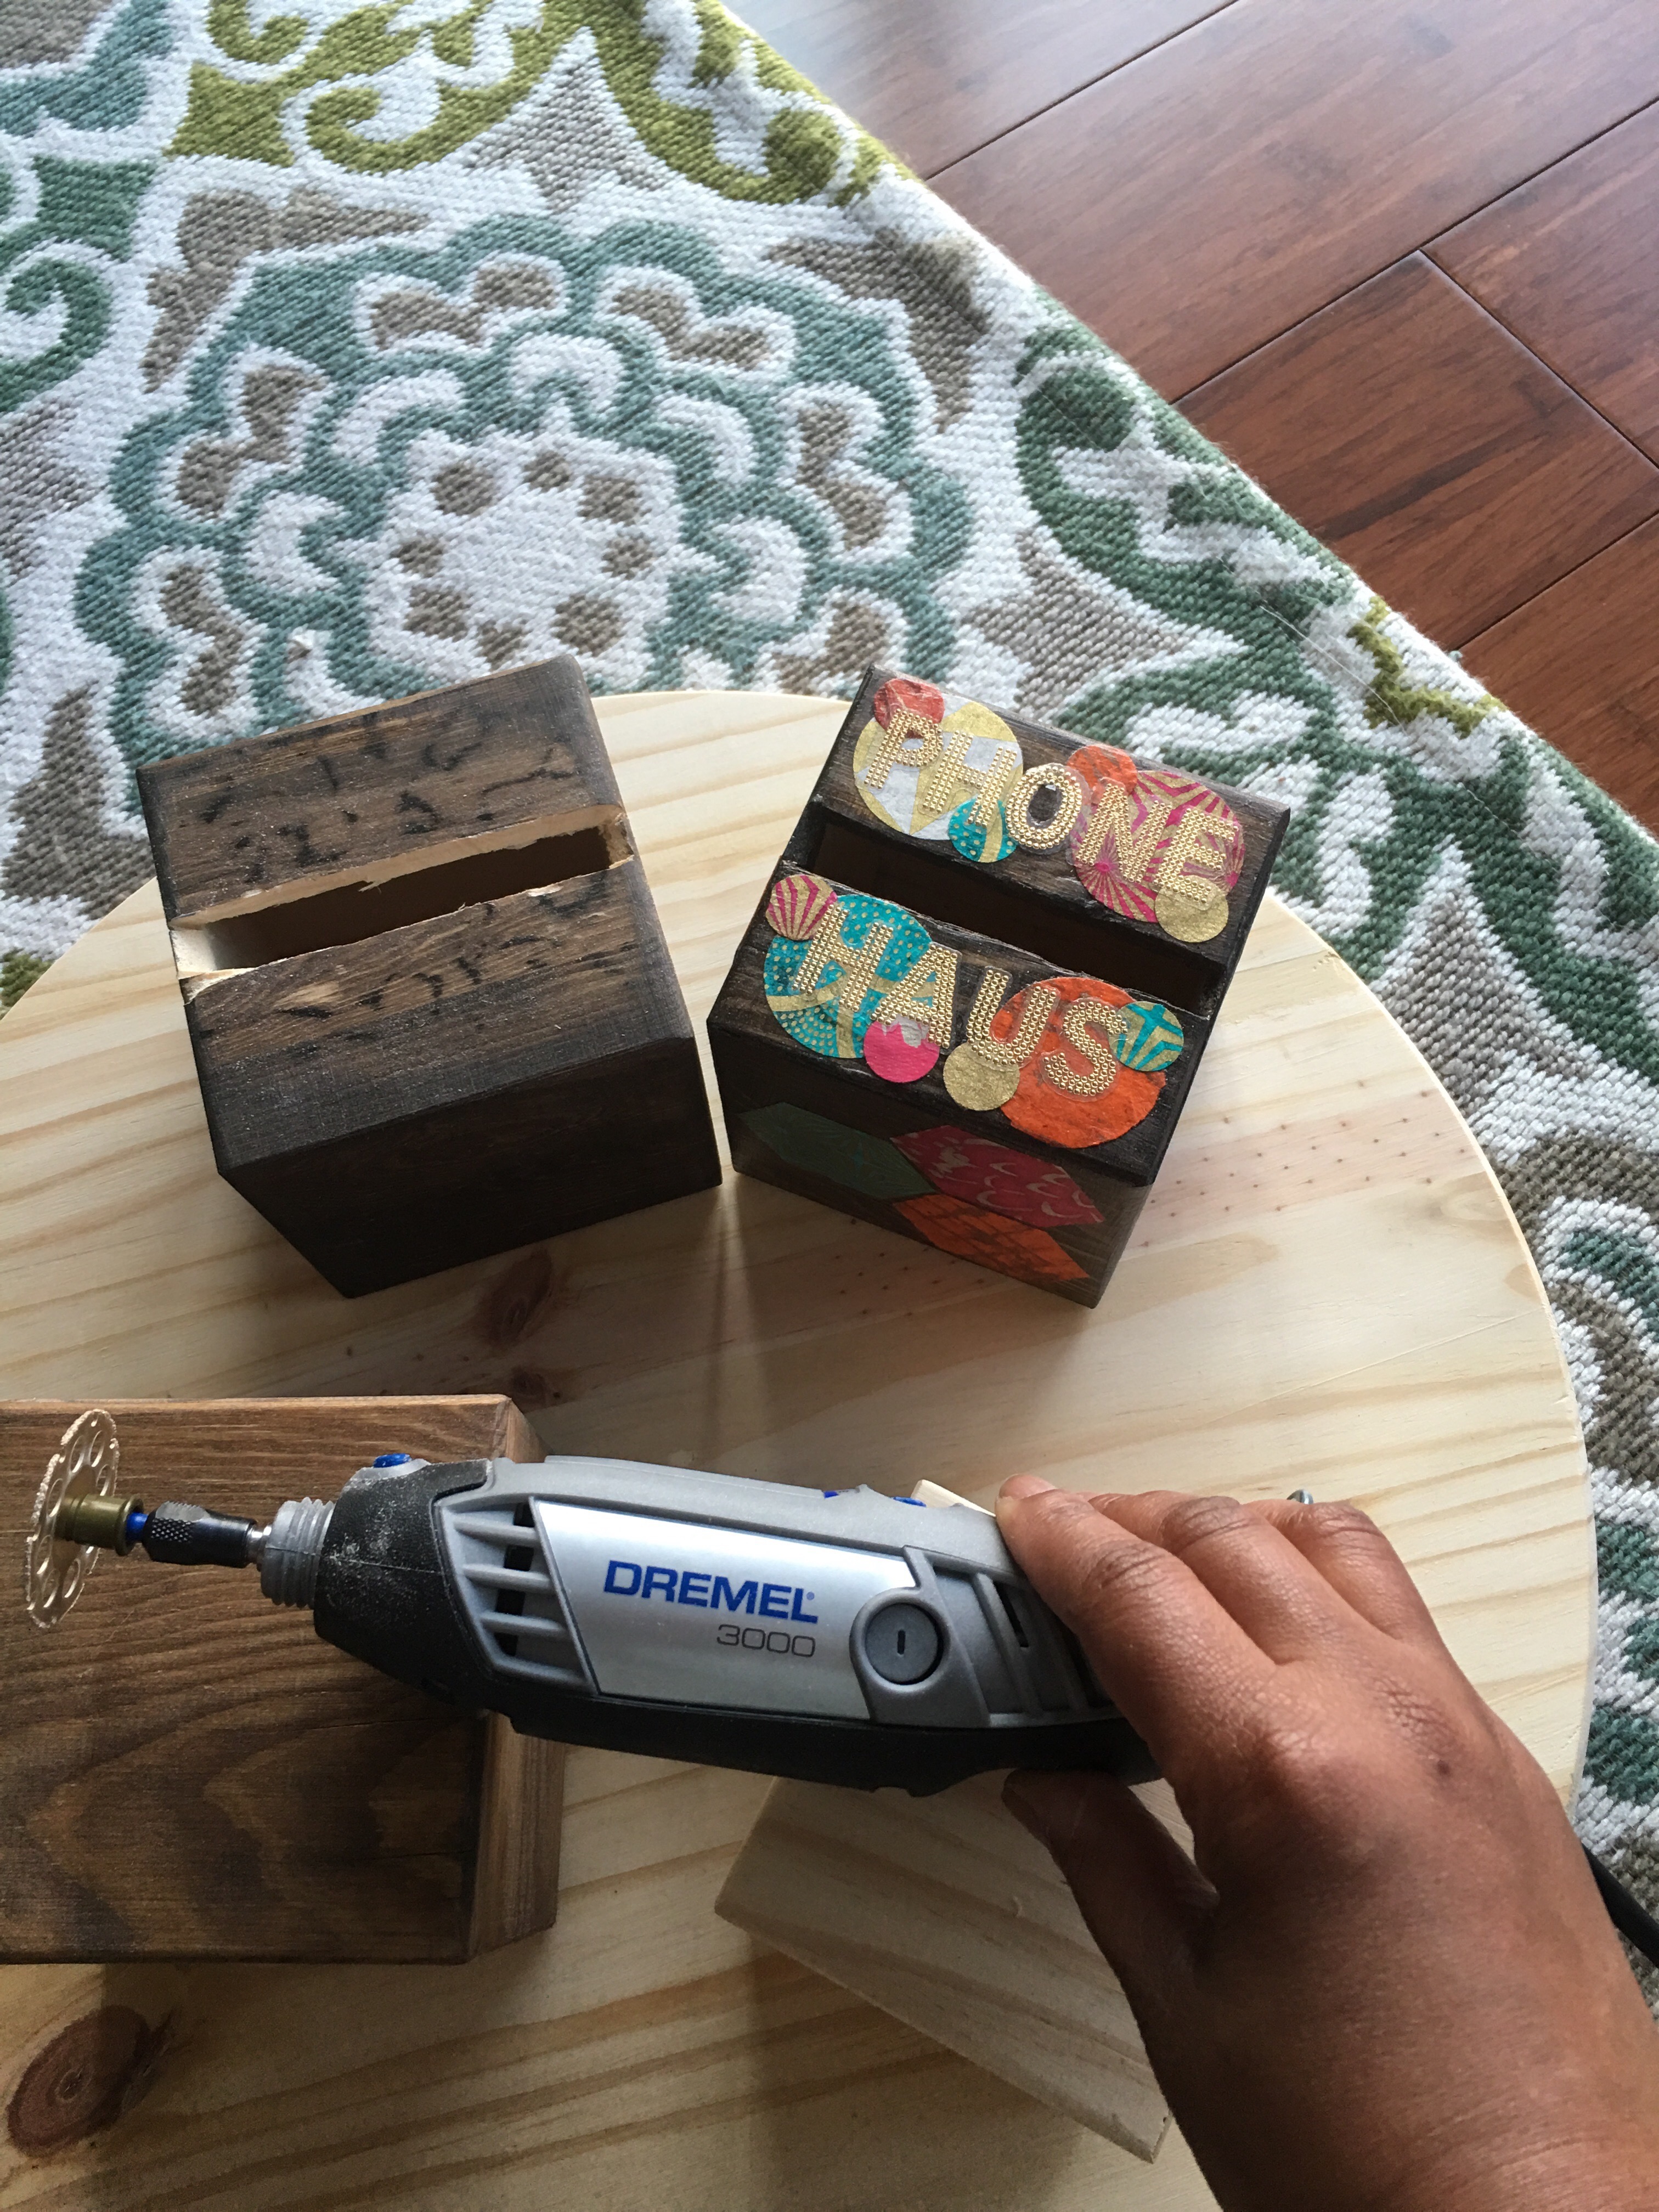
This was the first time ever that I used this tools. And I was kind of nervous about it. I did one of the boxes already (seen in the picture below in the background next to the Phone Haus block).
My first go-around was serious trial in error. First I accomplished a jerky cutting motion until I got brave, applied pressure to allow the wheel to cut deep into the wood, and watched it smooth slide across the surface.
The first attempt resulted in a ragged edge opening. So for my next two Dremel cuts, I used washi tape as a template and ruler to make more straight-edge cuts.
I did my best to guide the cutting wheel along the edge of the tape as closely as possible.
For a Dremel newbie, the resulting cut was not bad at all. Much straighter than my manual wood knife sawing technique.
I made horizontal cuts using the Dremel along the top and bottom of the tape, and across the middle.
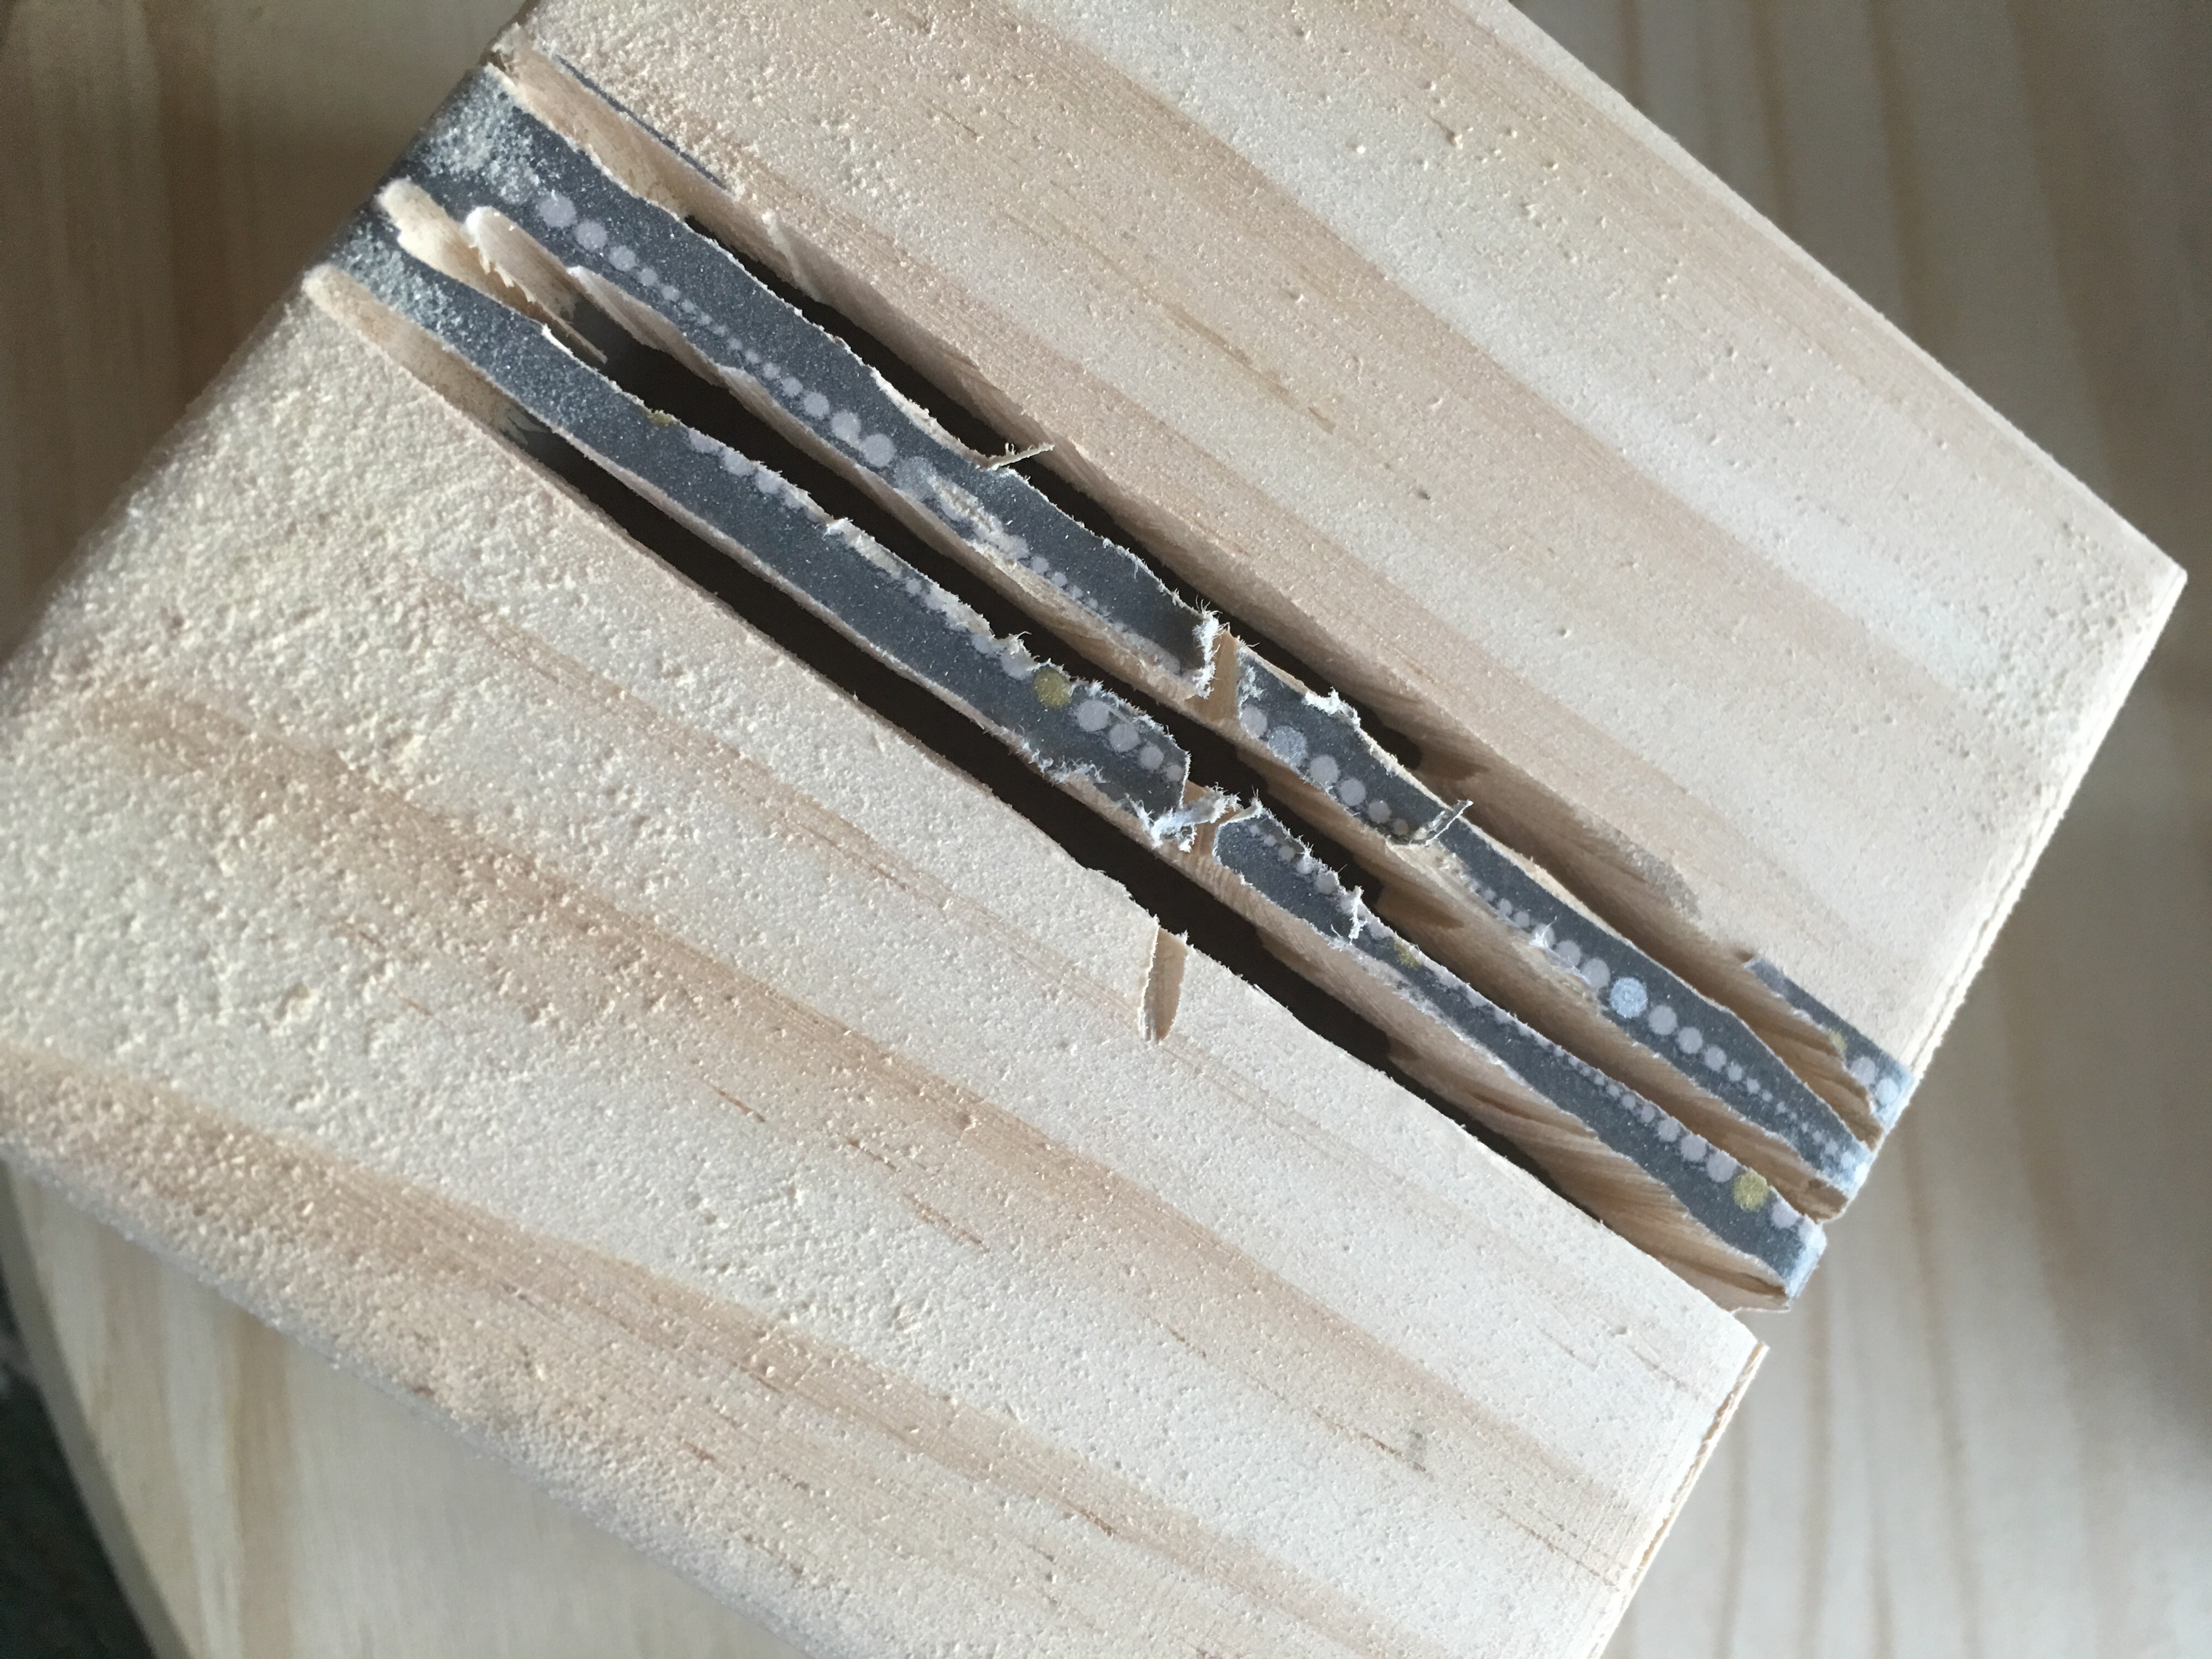
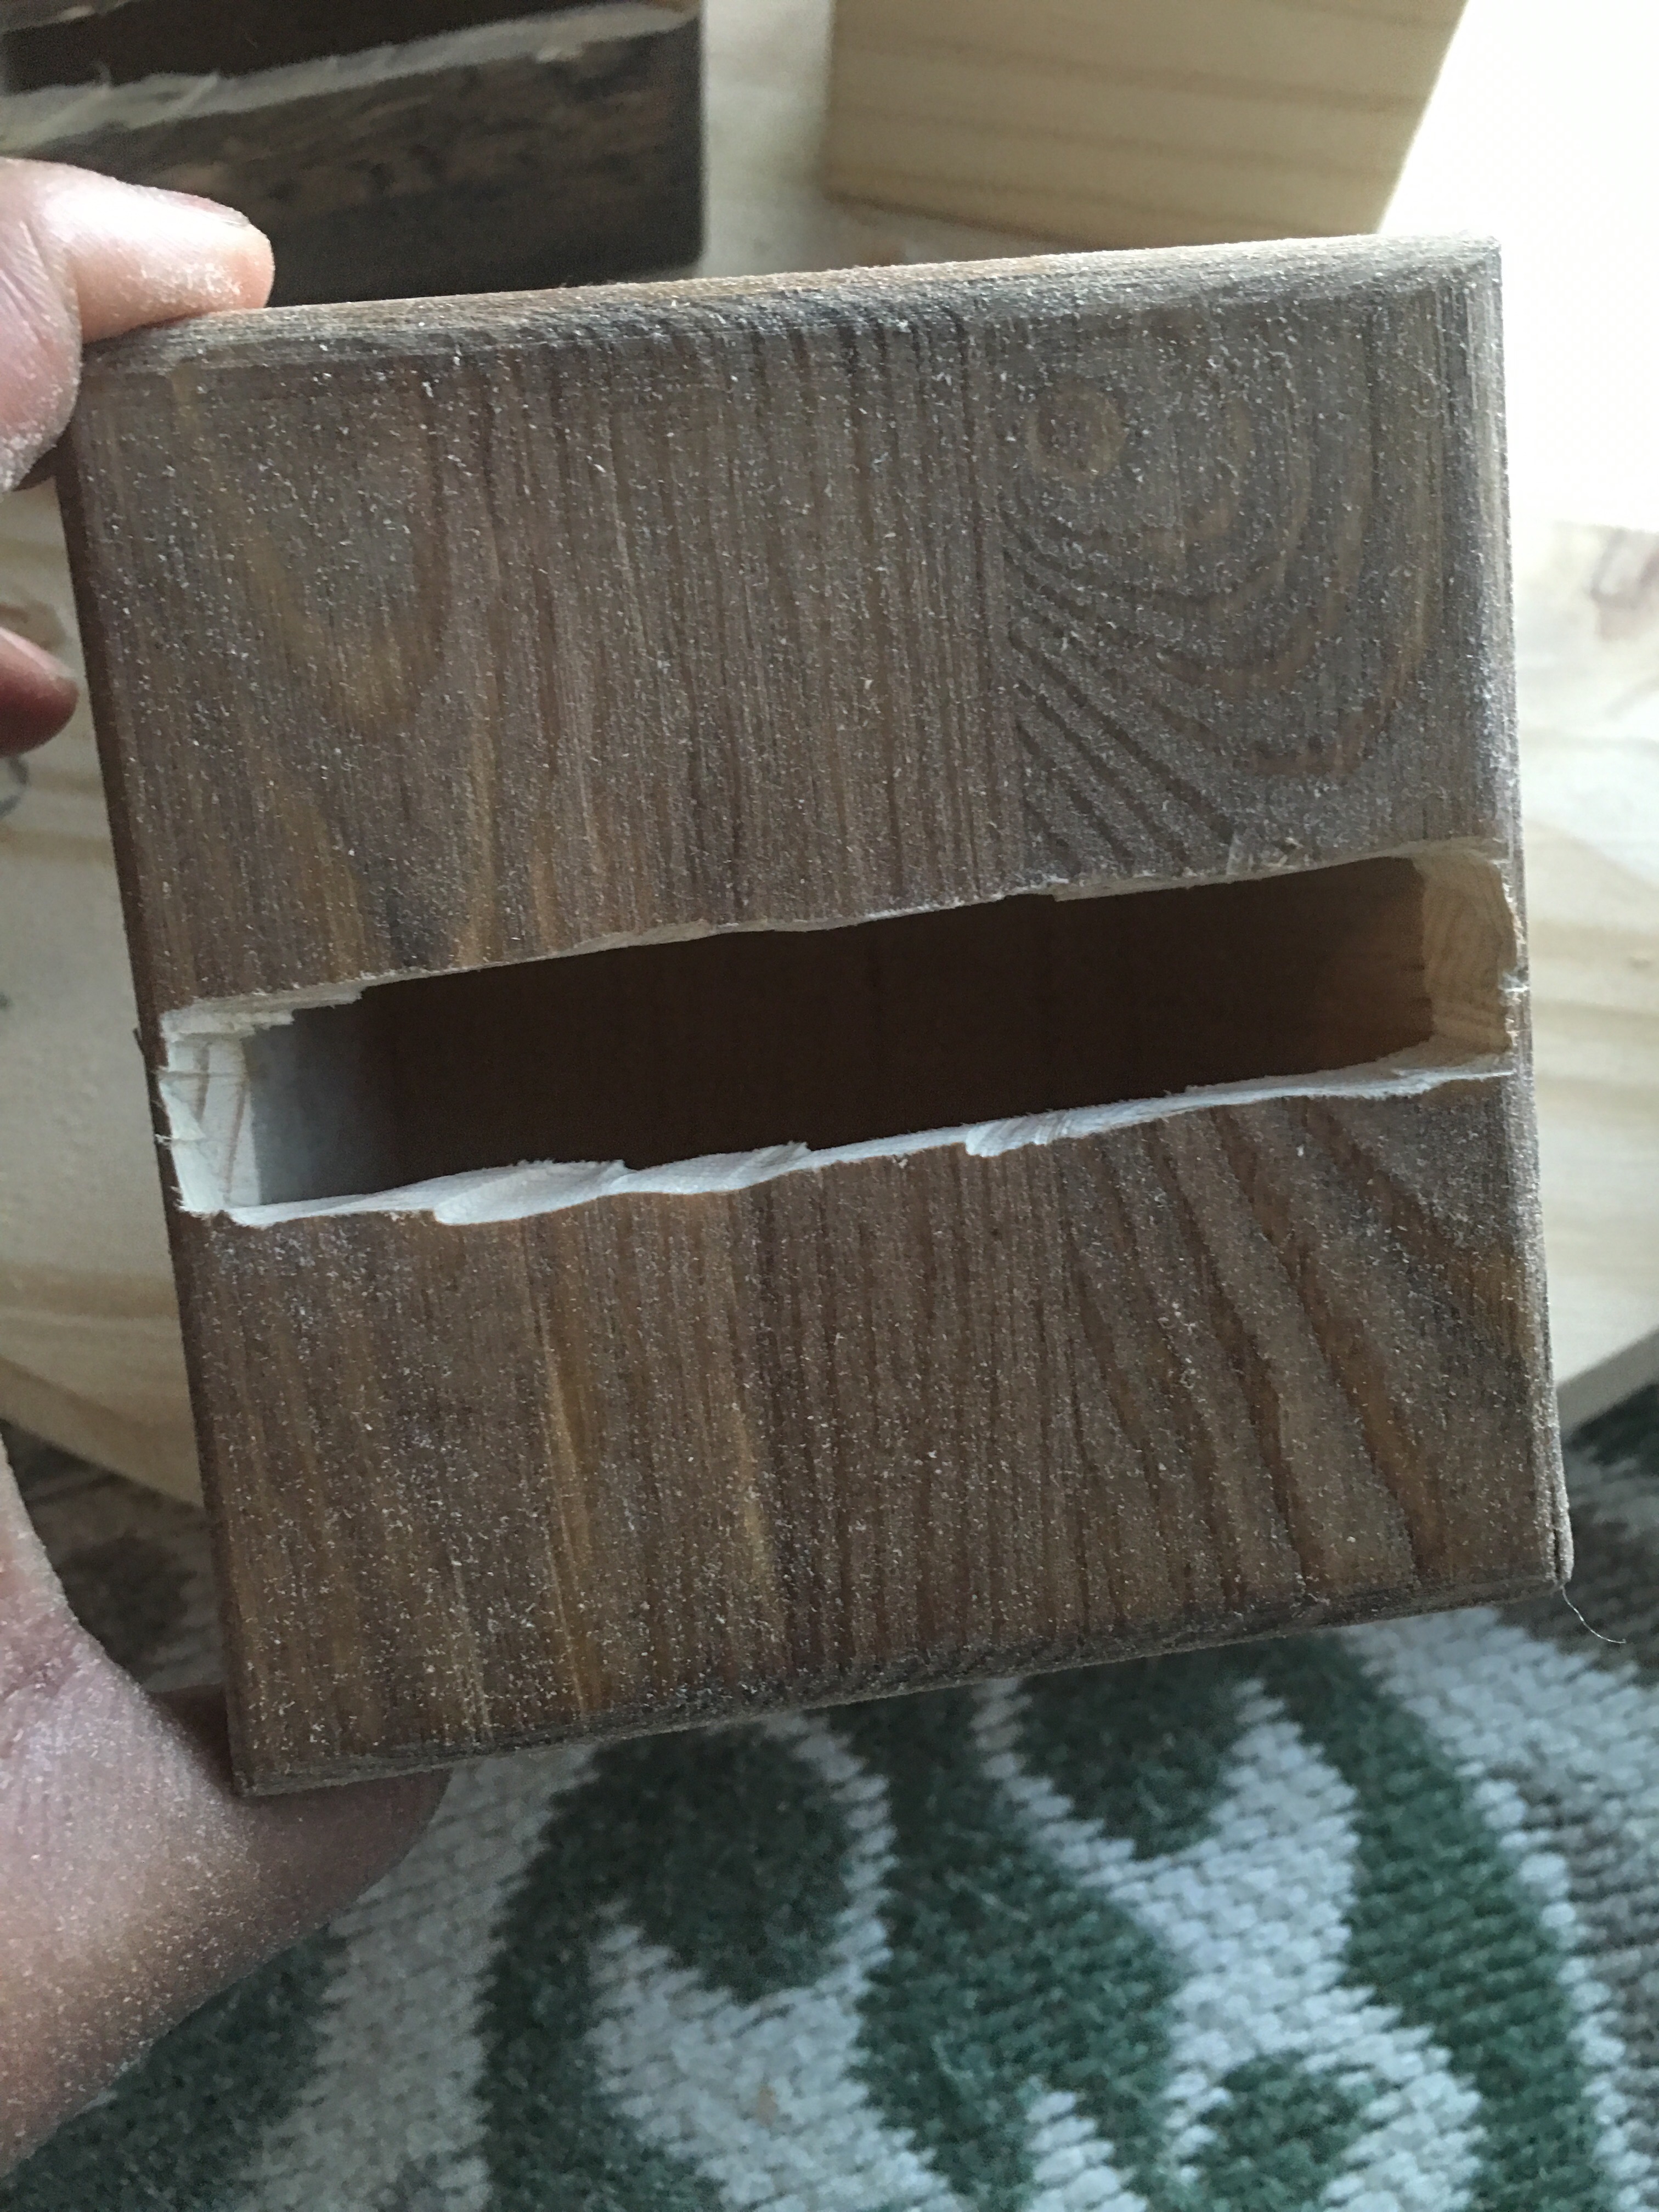
I then used a small wood chisel to pry away the wood from the cut opening.

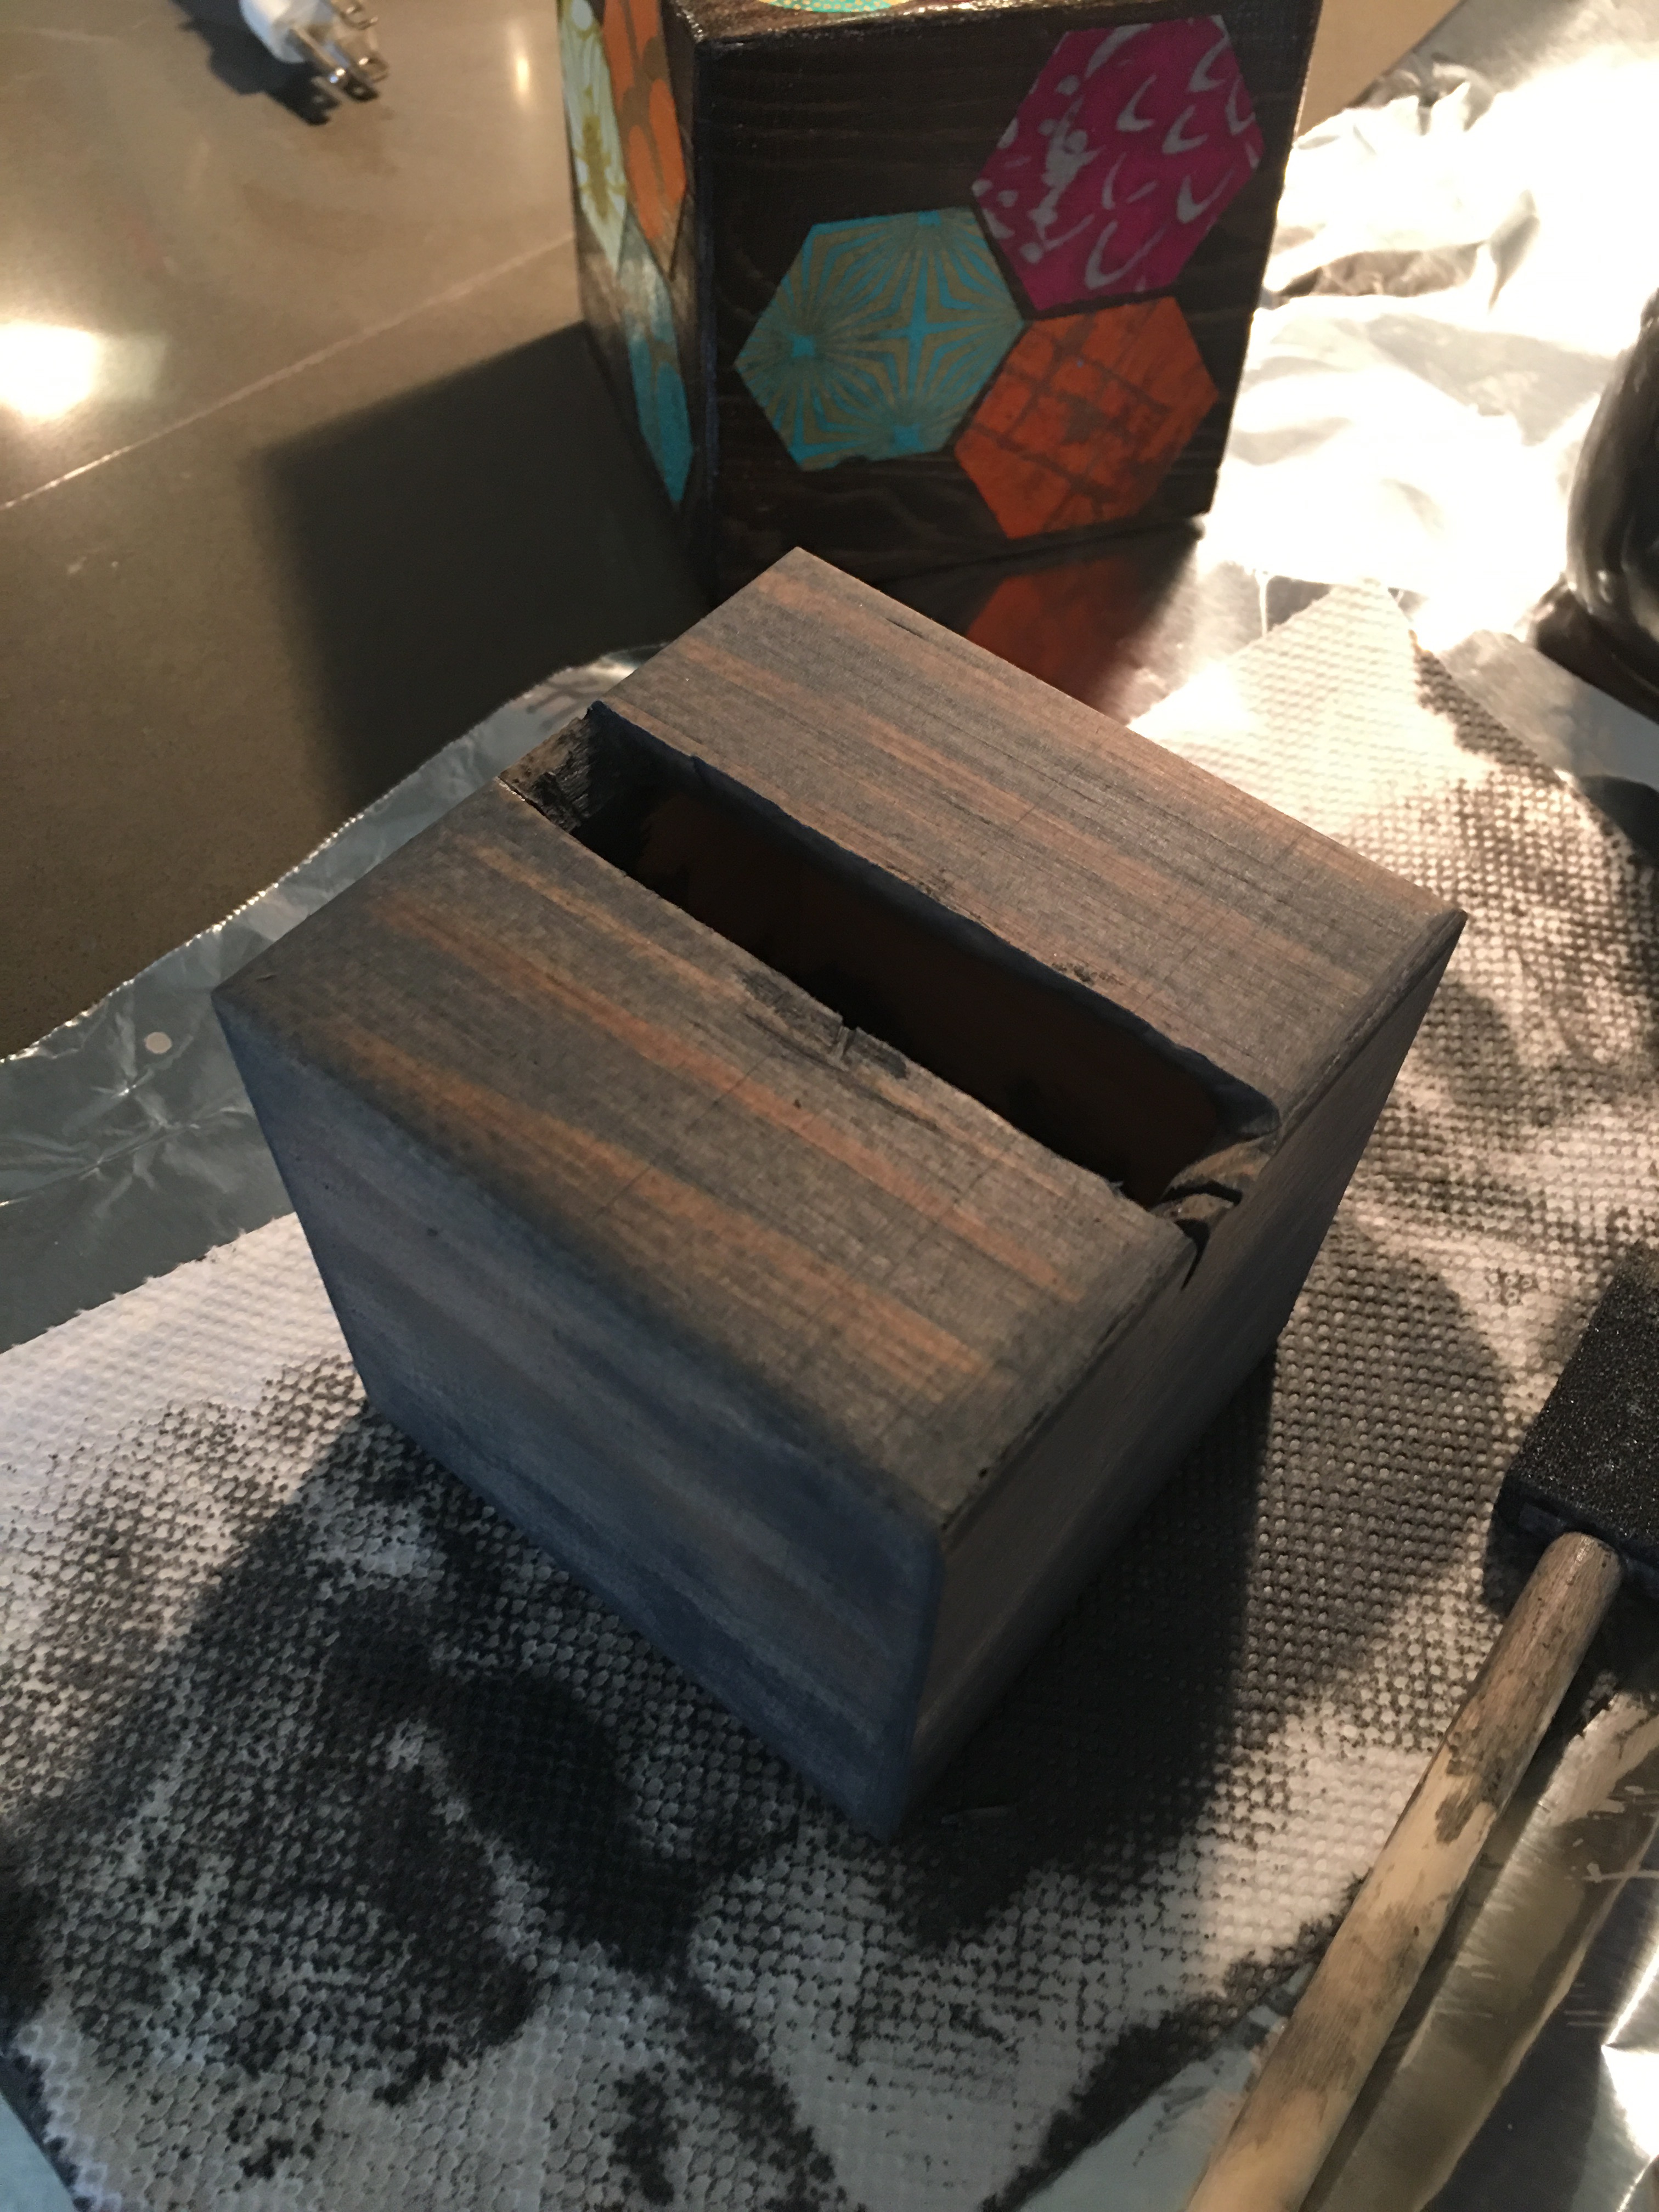
Here’s the resulting opening for the small, unfinished wood block. Not perfect, but something we can most certainly work with (as you’ll see further into the post).
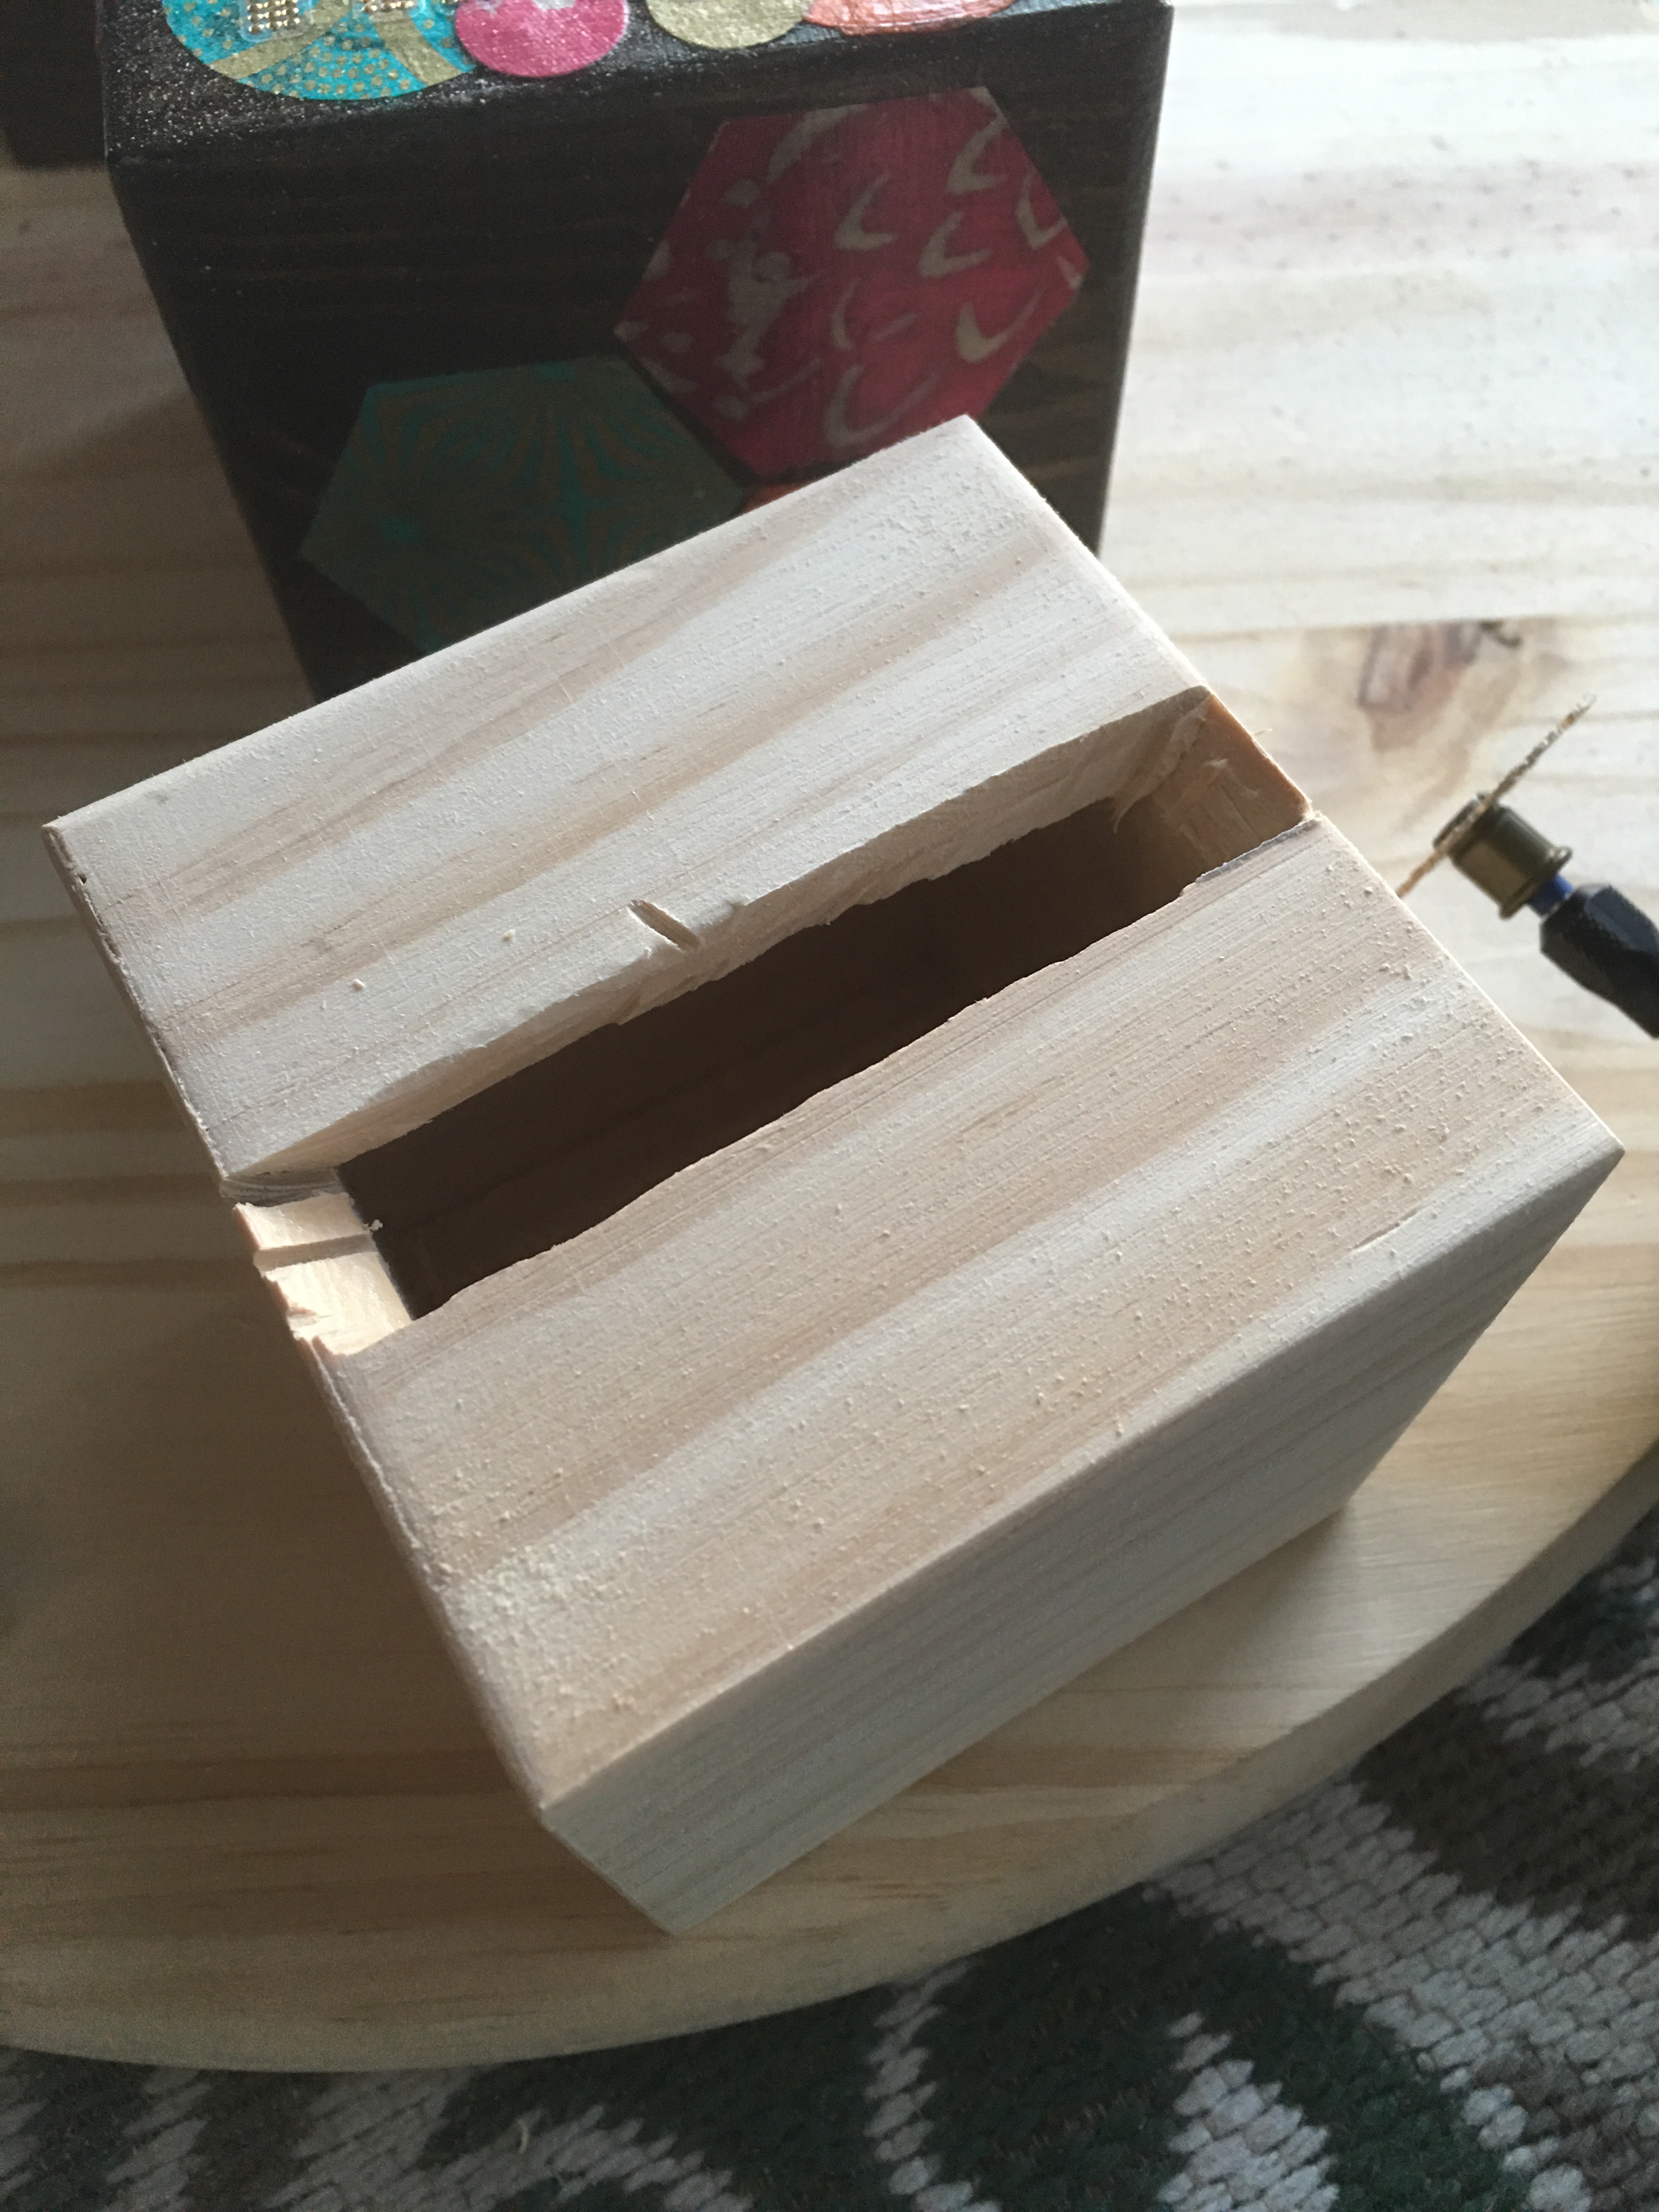
Third attempt at Dremel phone wood block cutting…
…resulted in a cleaner cut. You get better at this the more you do it.
To smooth out the rough edges from the cuts, I used a Dremel sanding attachment with my rotary tool to lightly sand around the opening.
Prepping the wood cubes for decorating
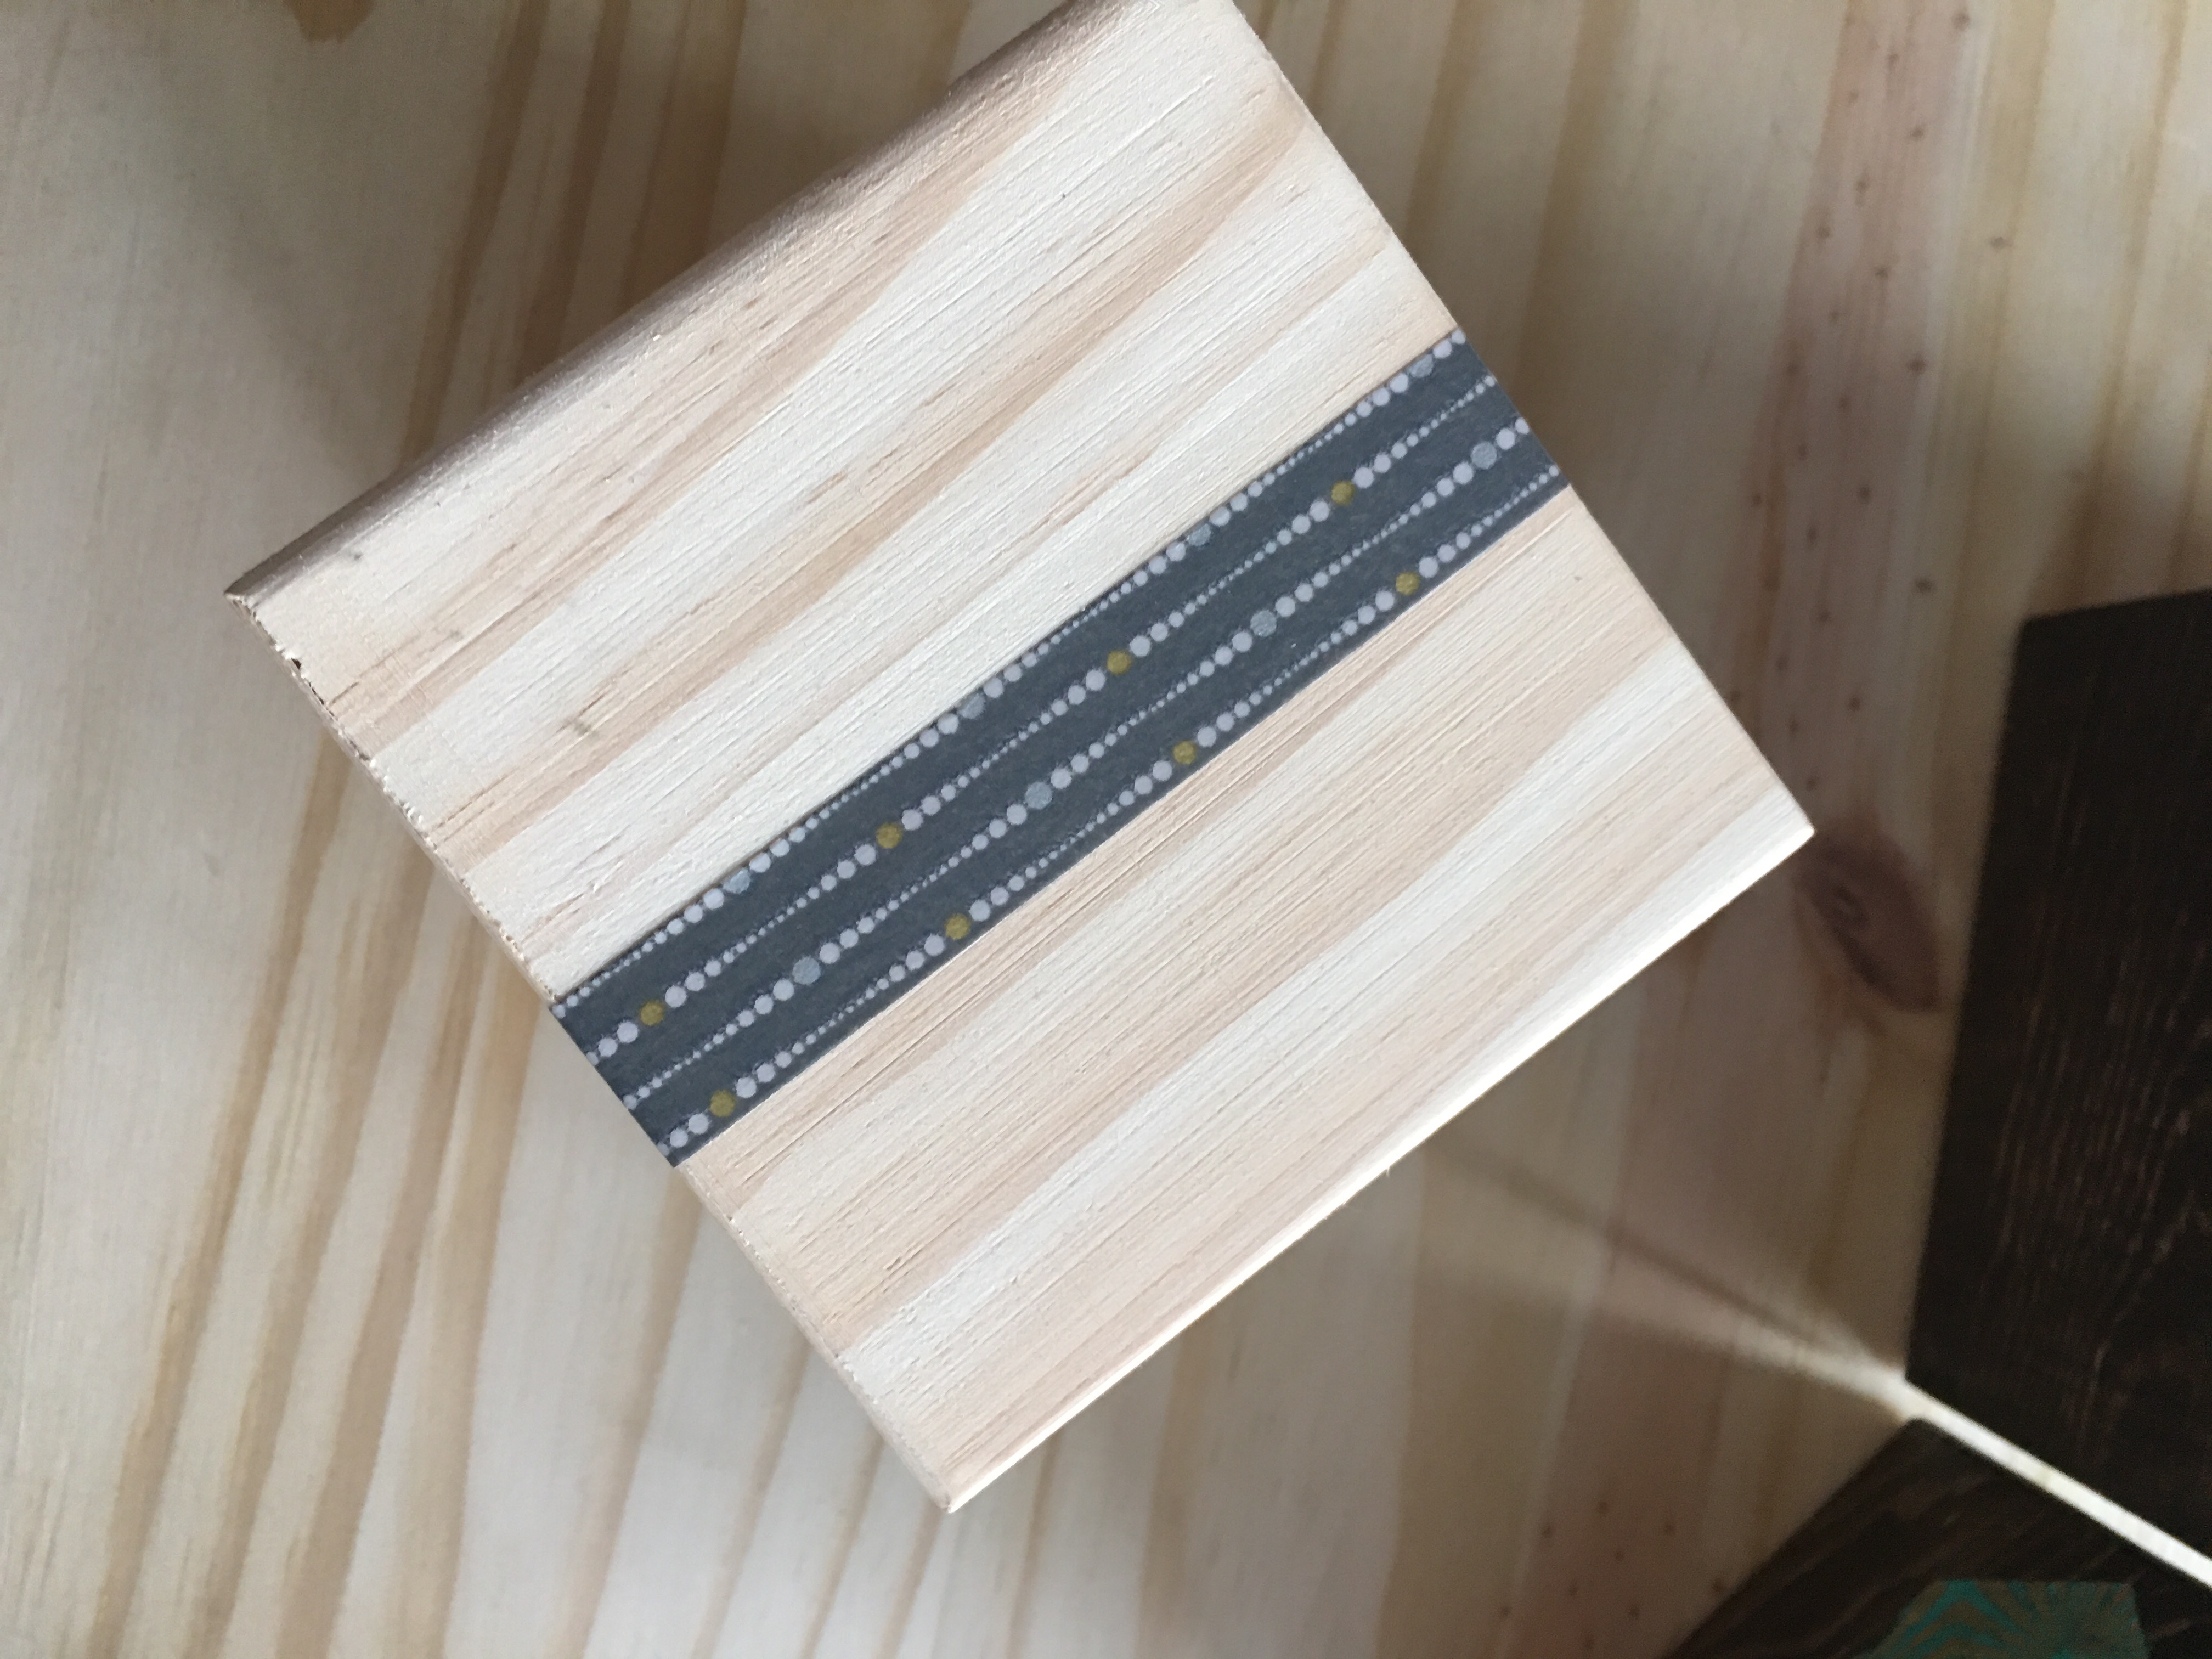
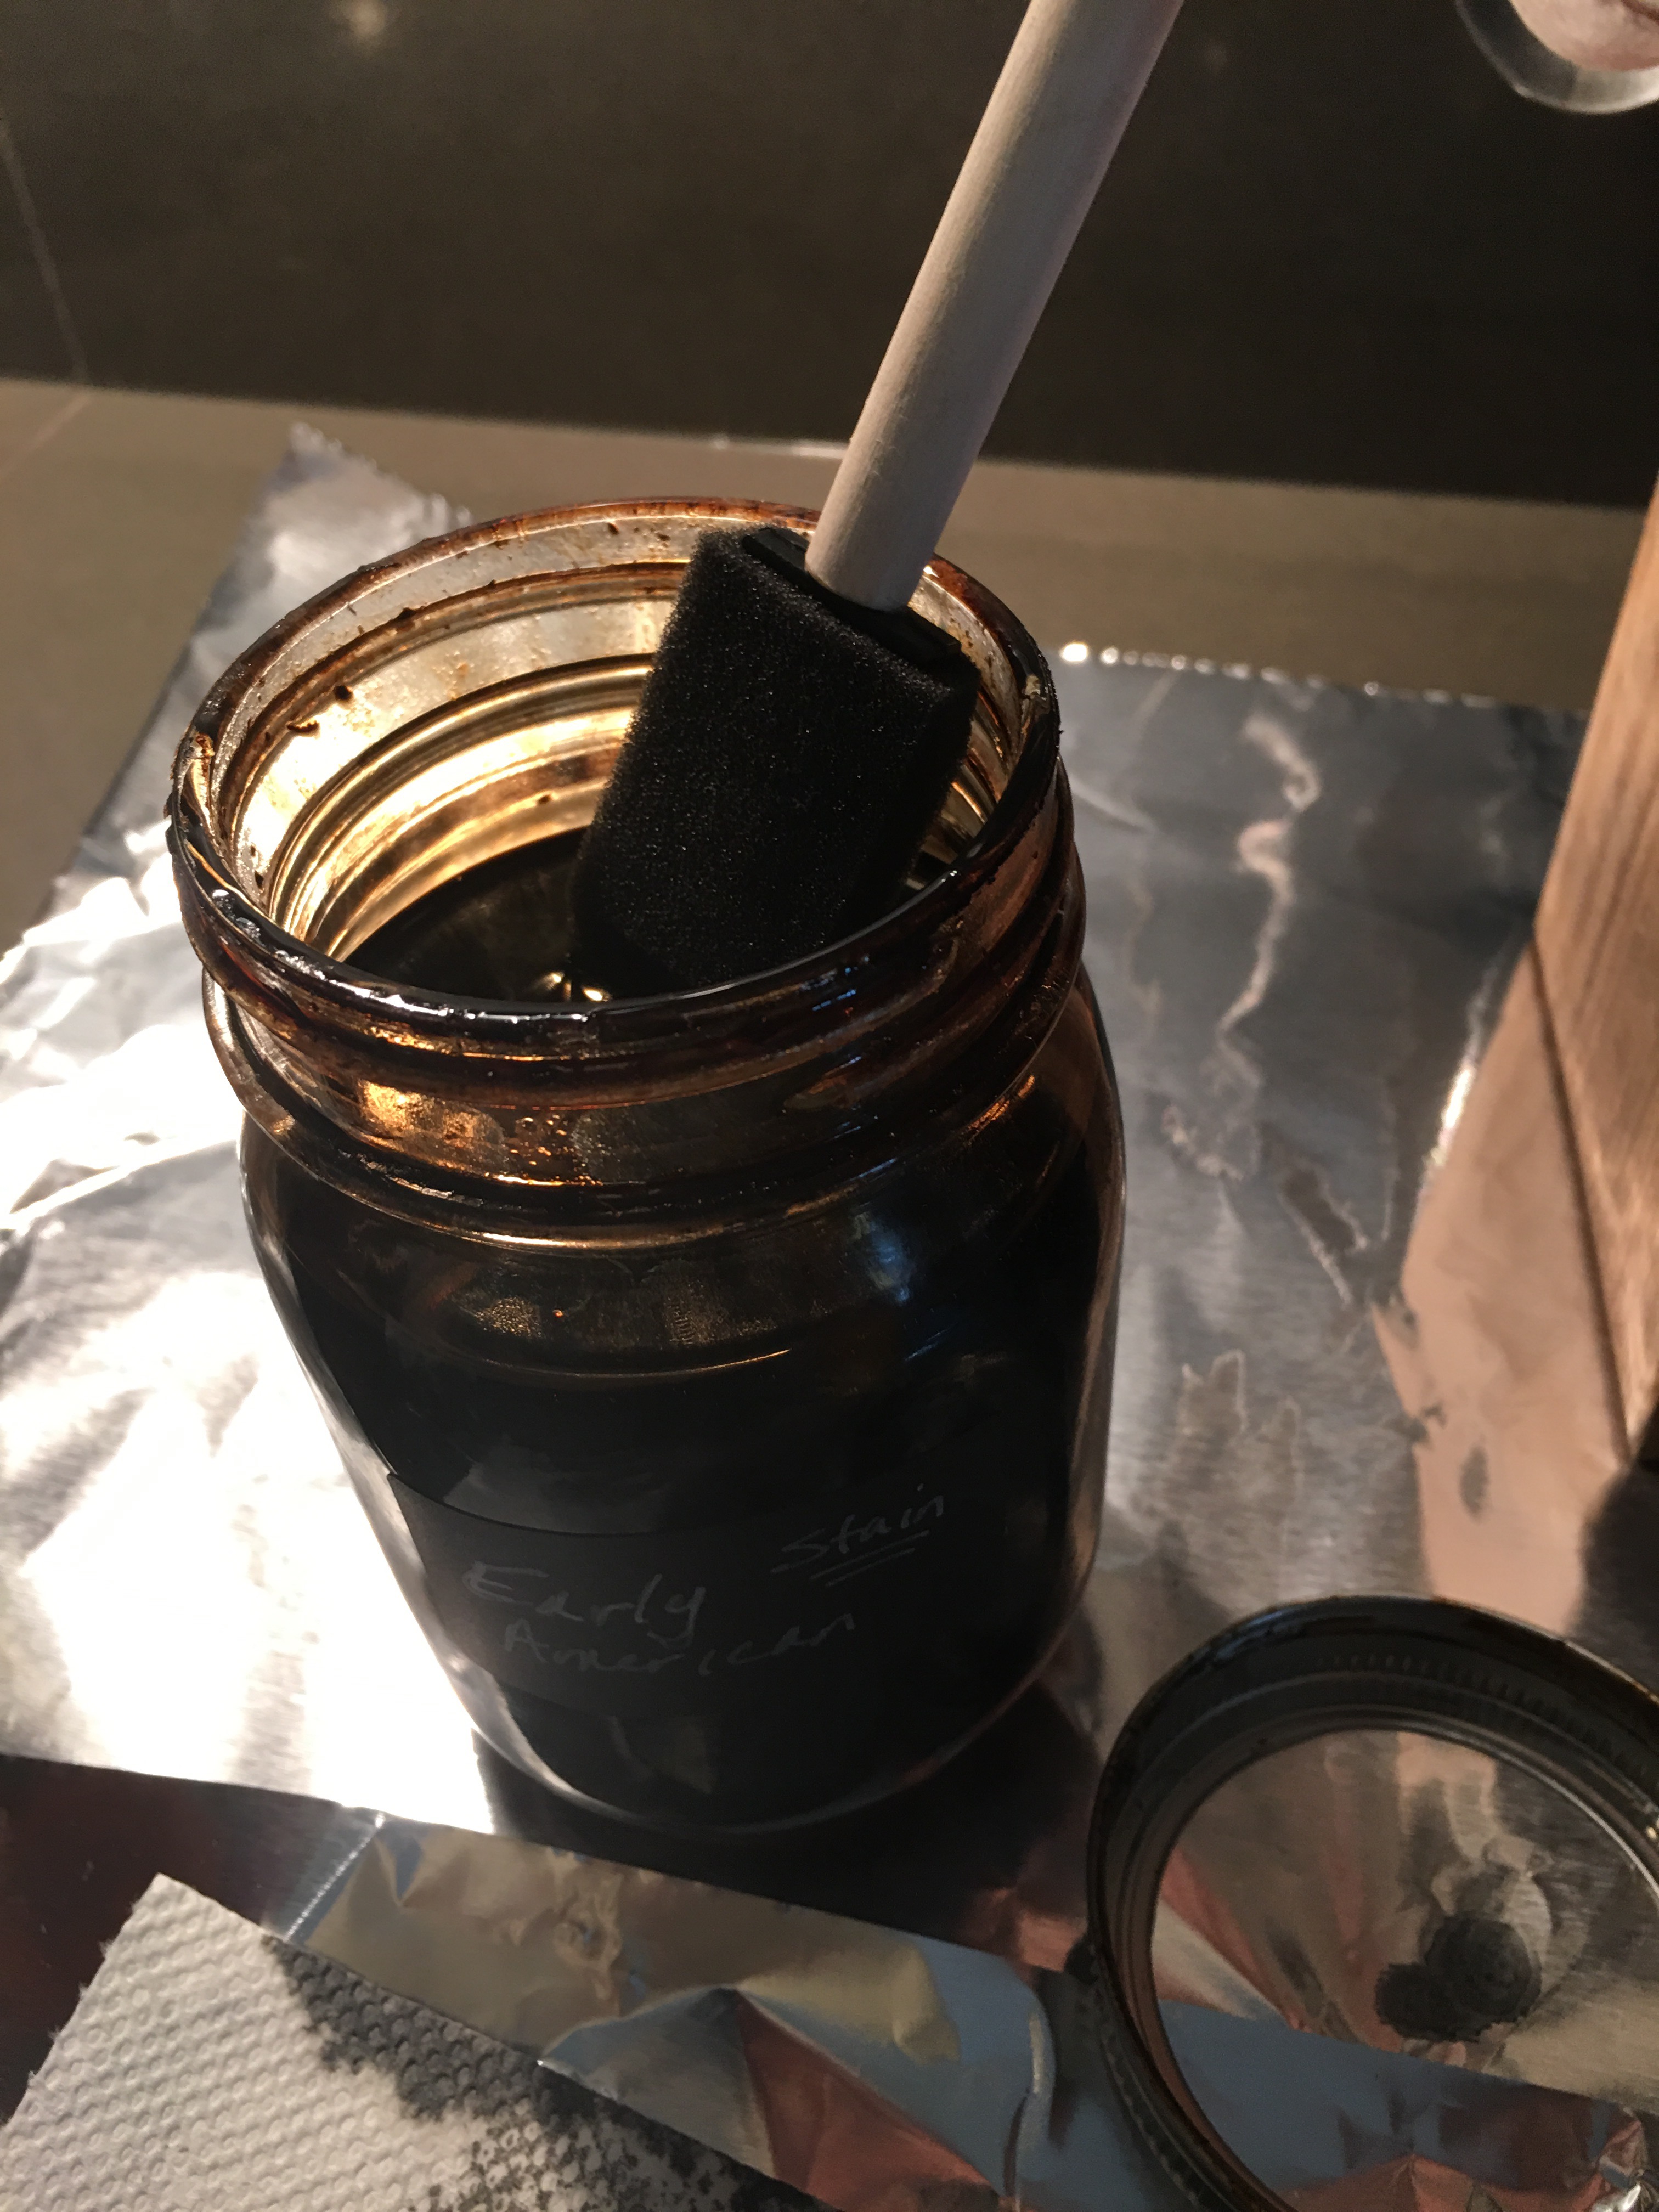
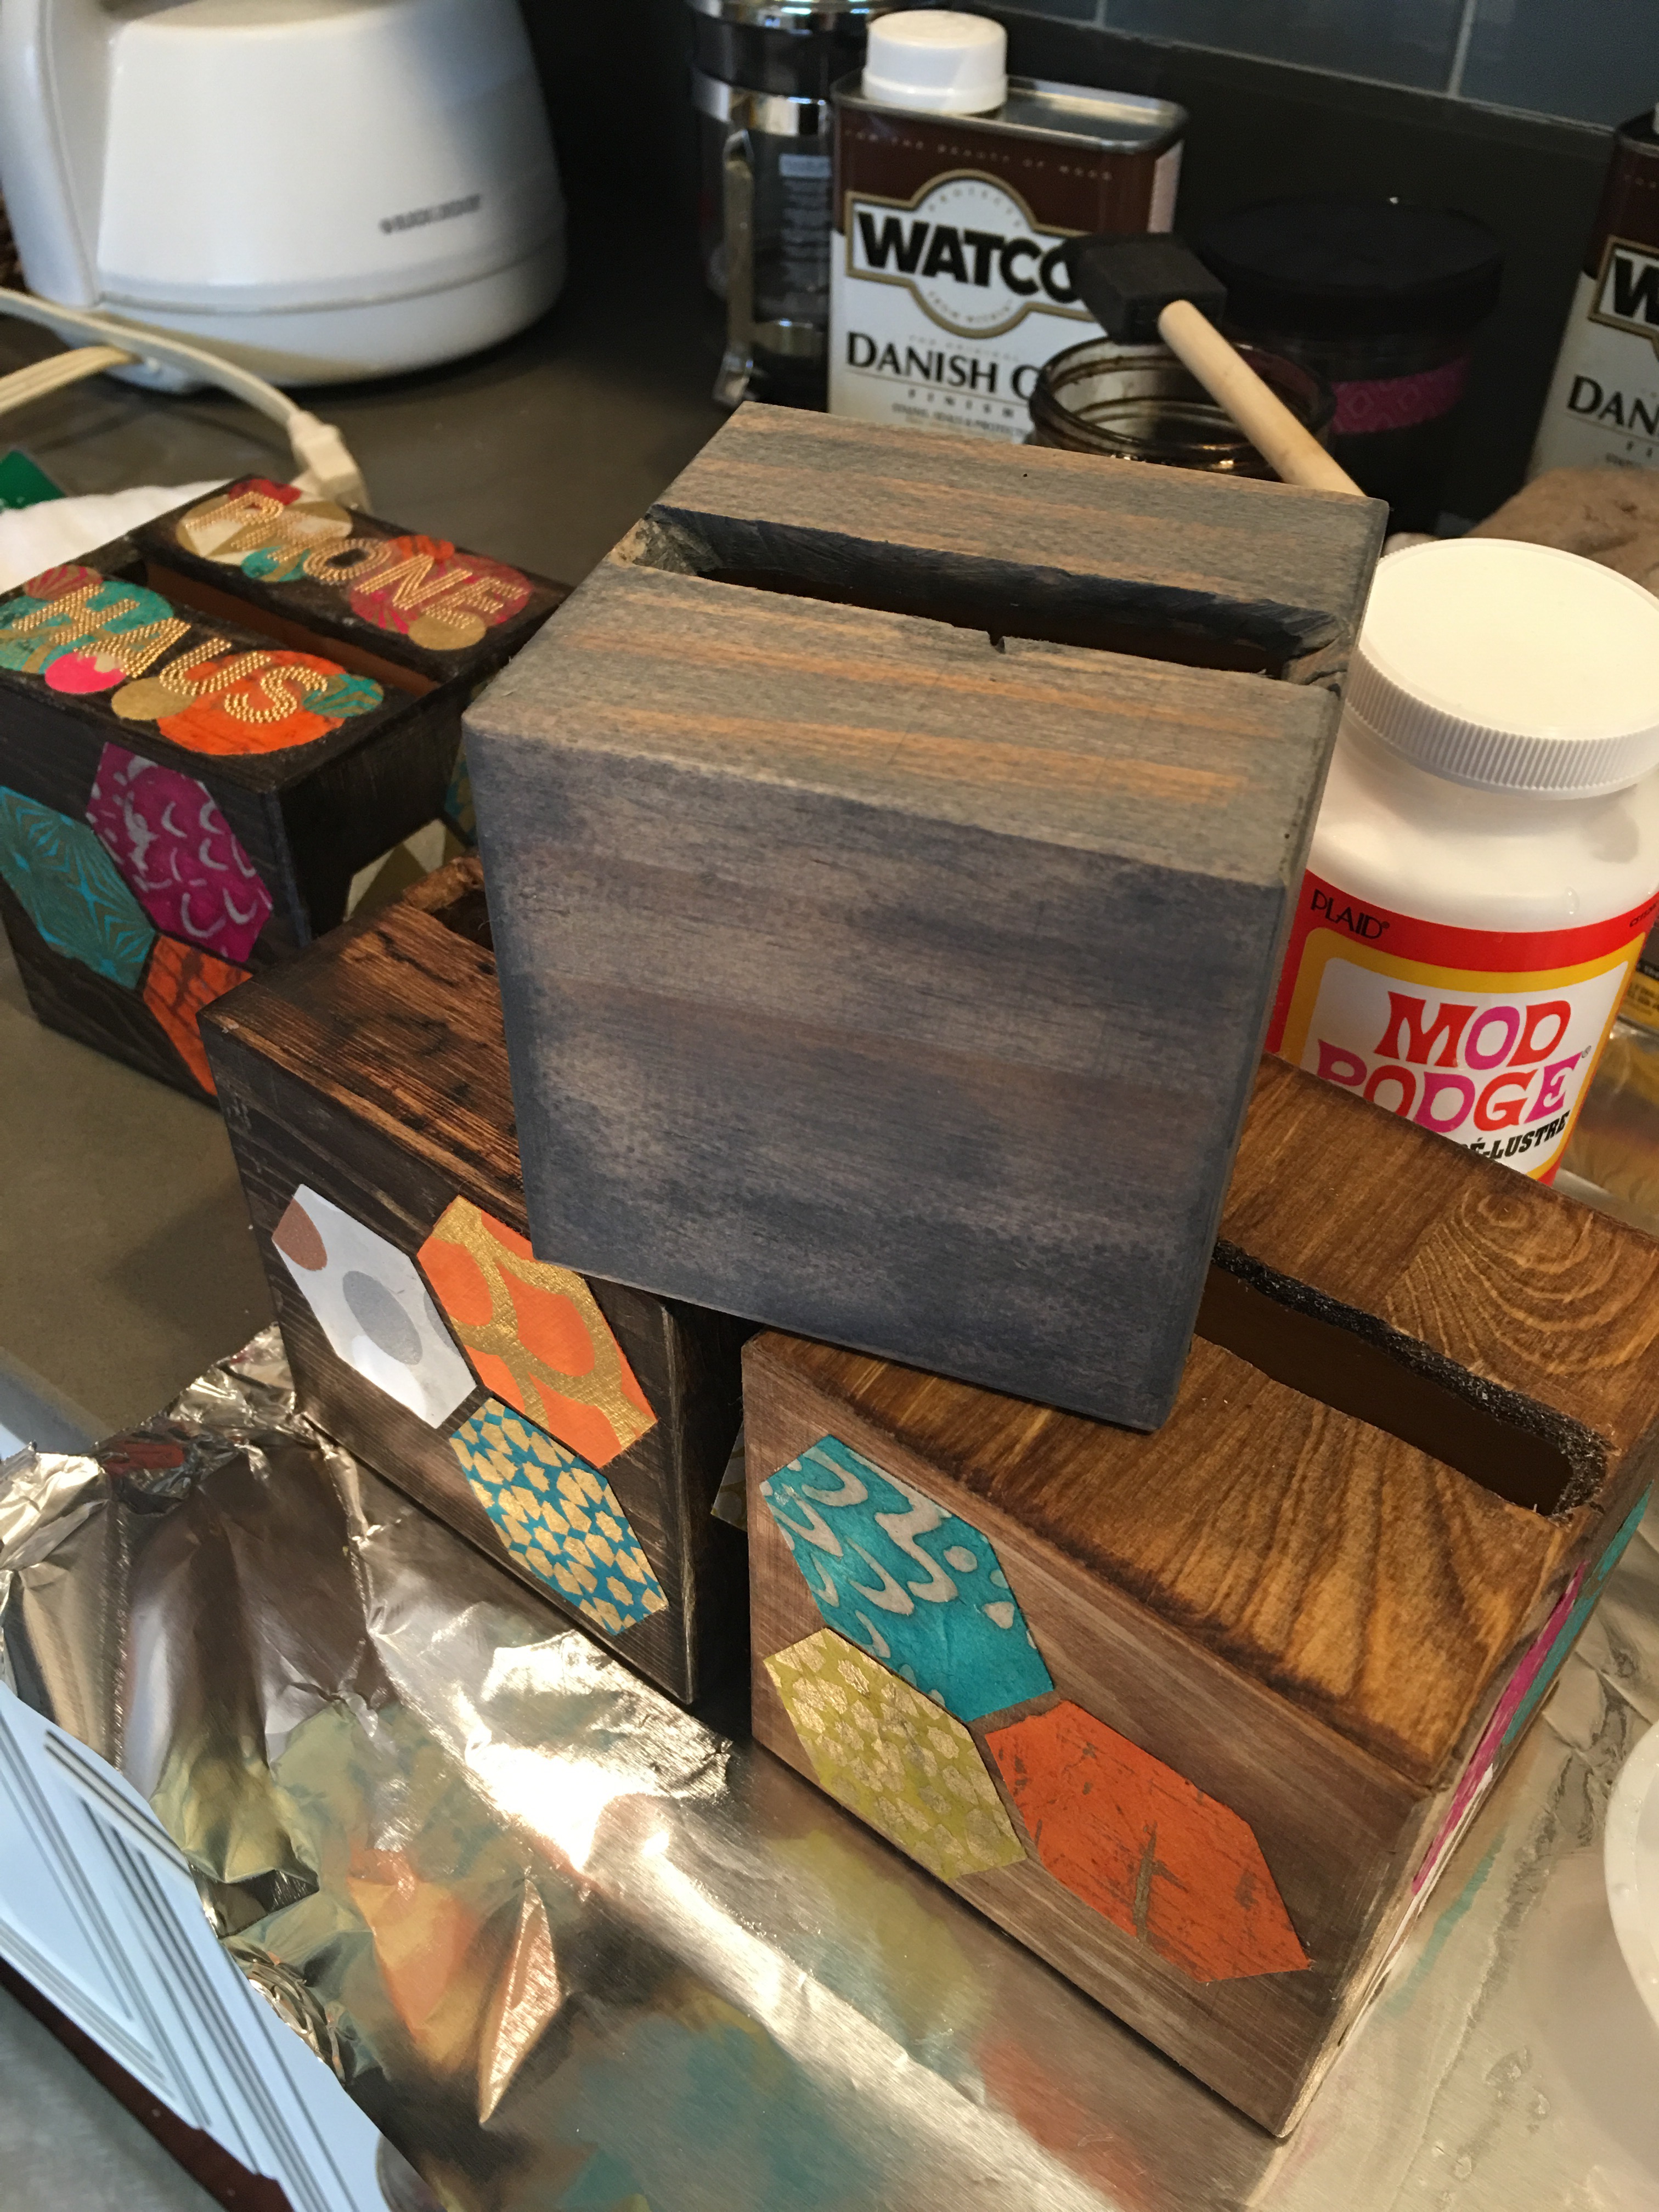
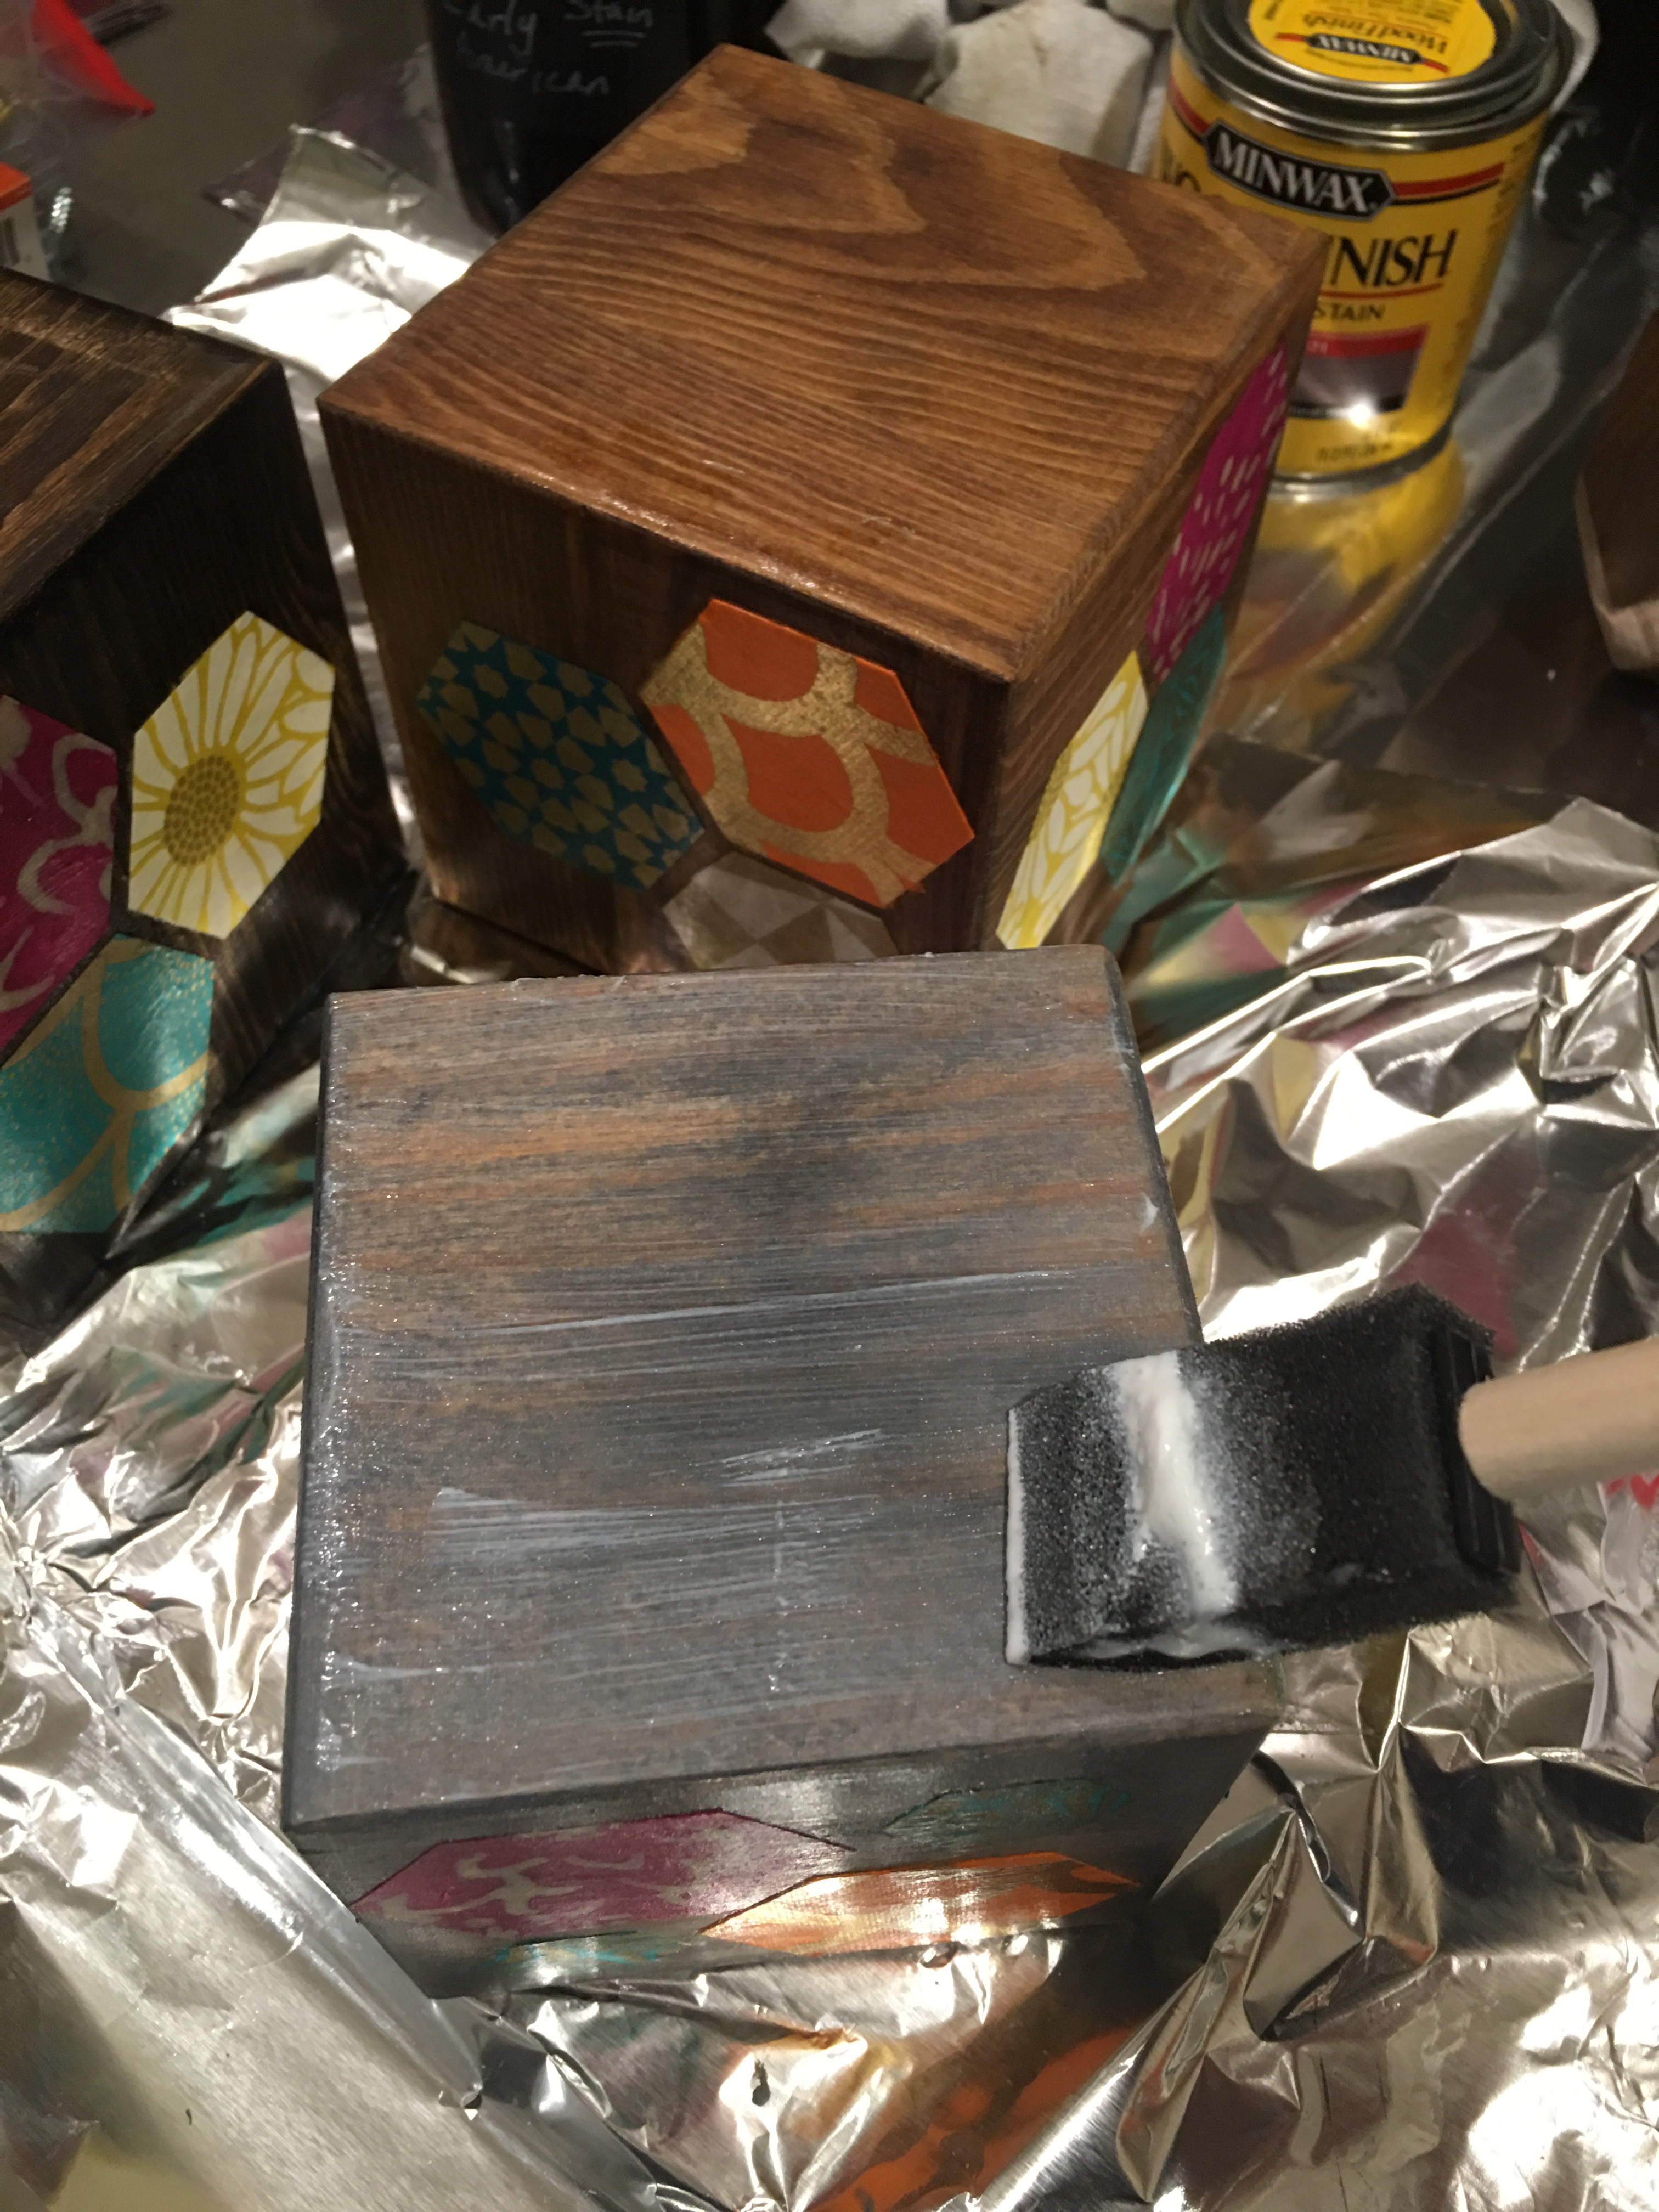
I stained the two larger cubes while enjoying some crafting time at the Deep Creek cabin. I decided to stain the smaller cube on Sunday (3/13/16) using Minwax Classic Grey wood stain.
I saturated the box with wood stain (which looks more like matte paint at first).
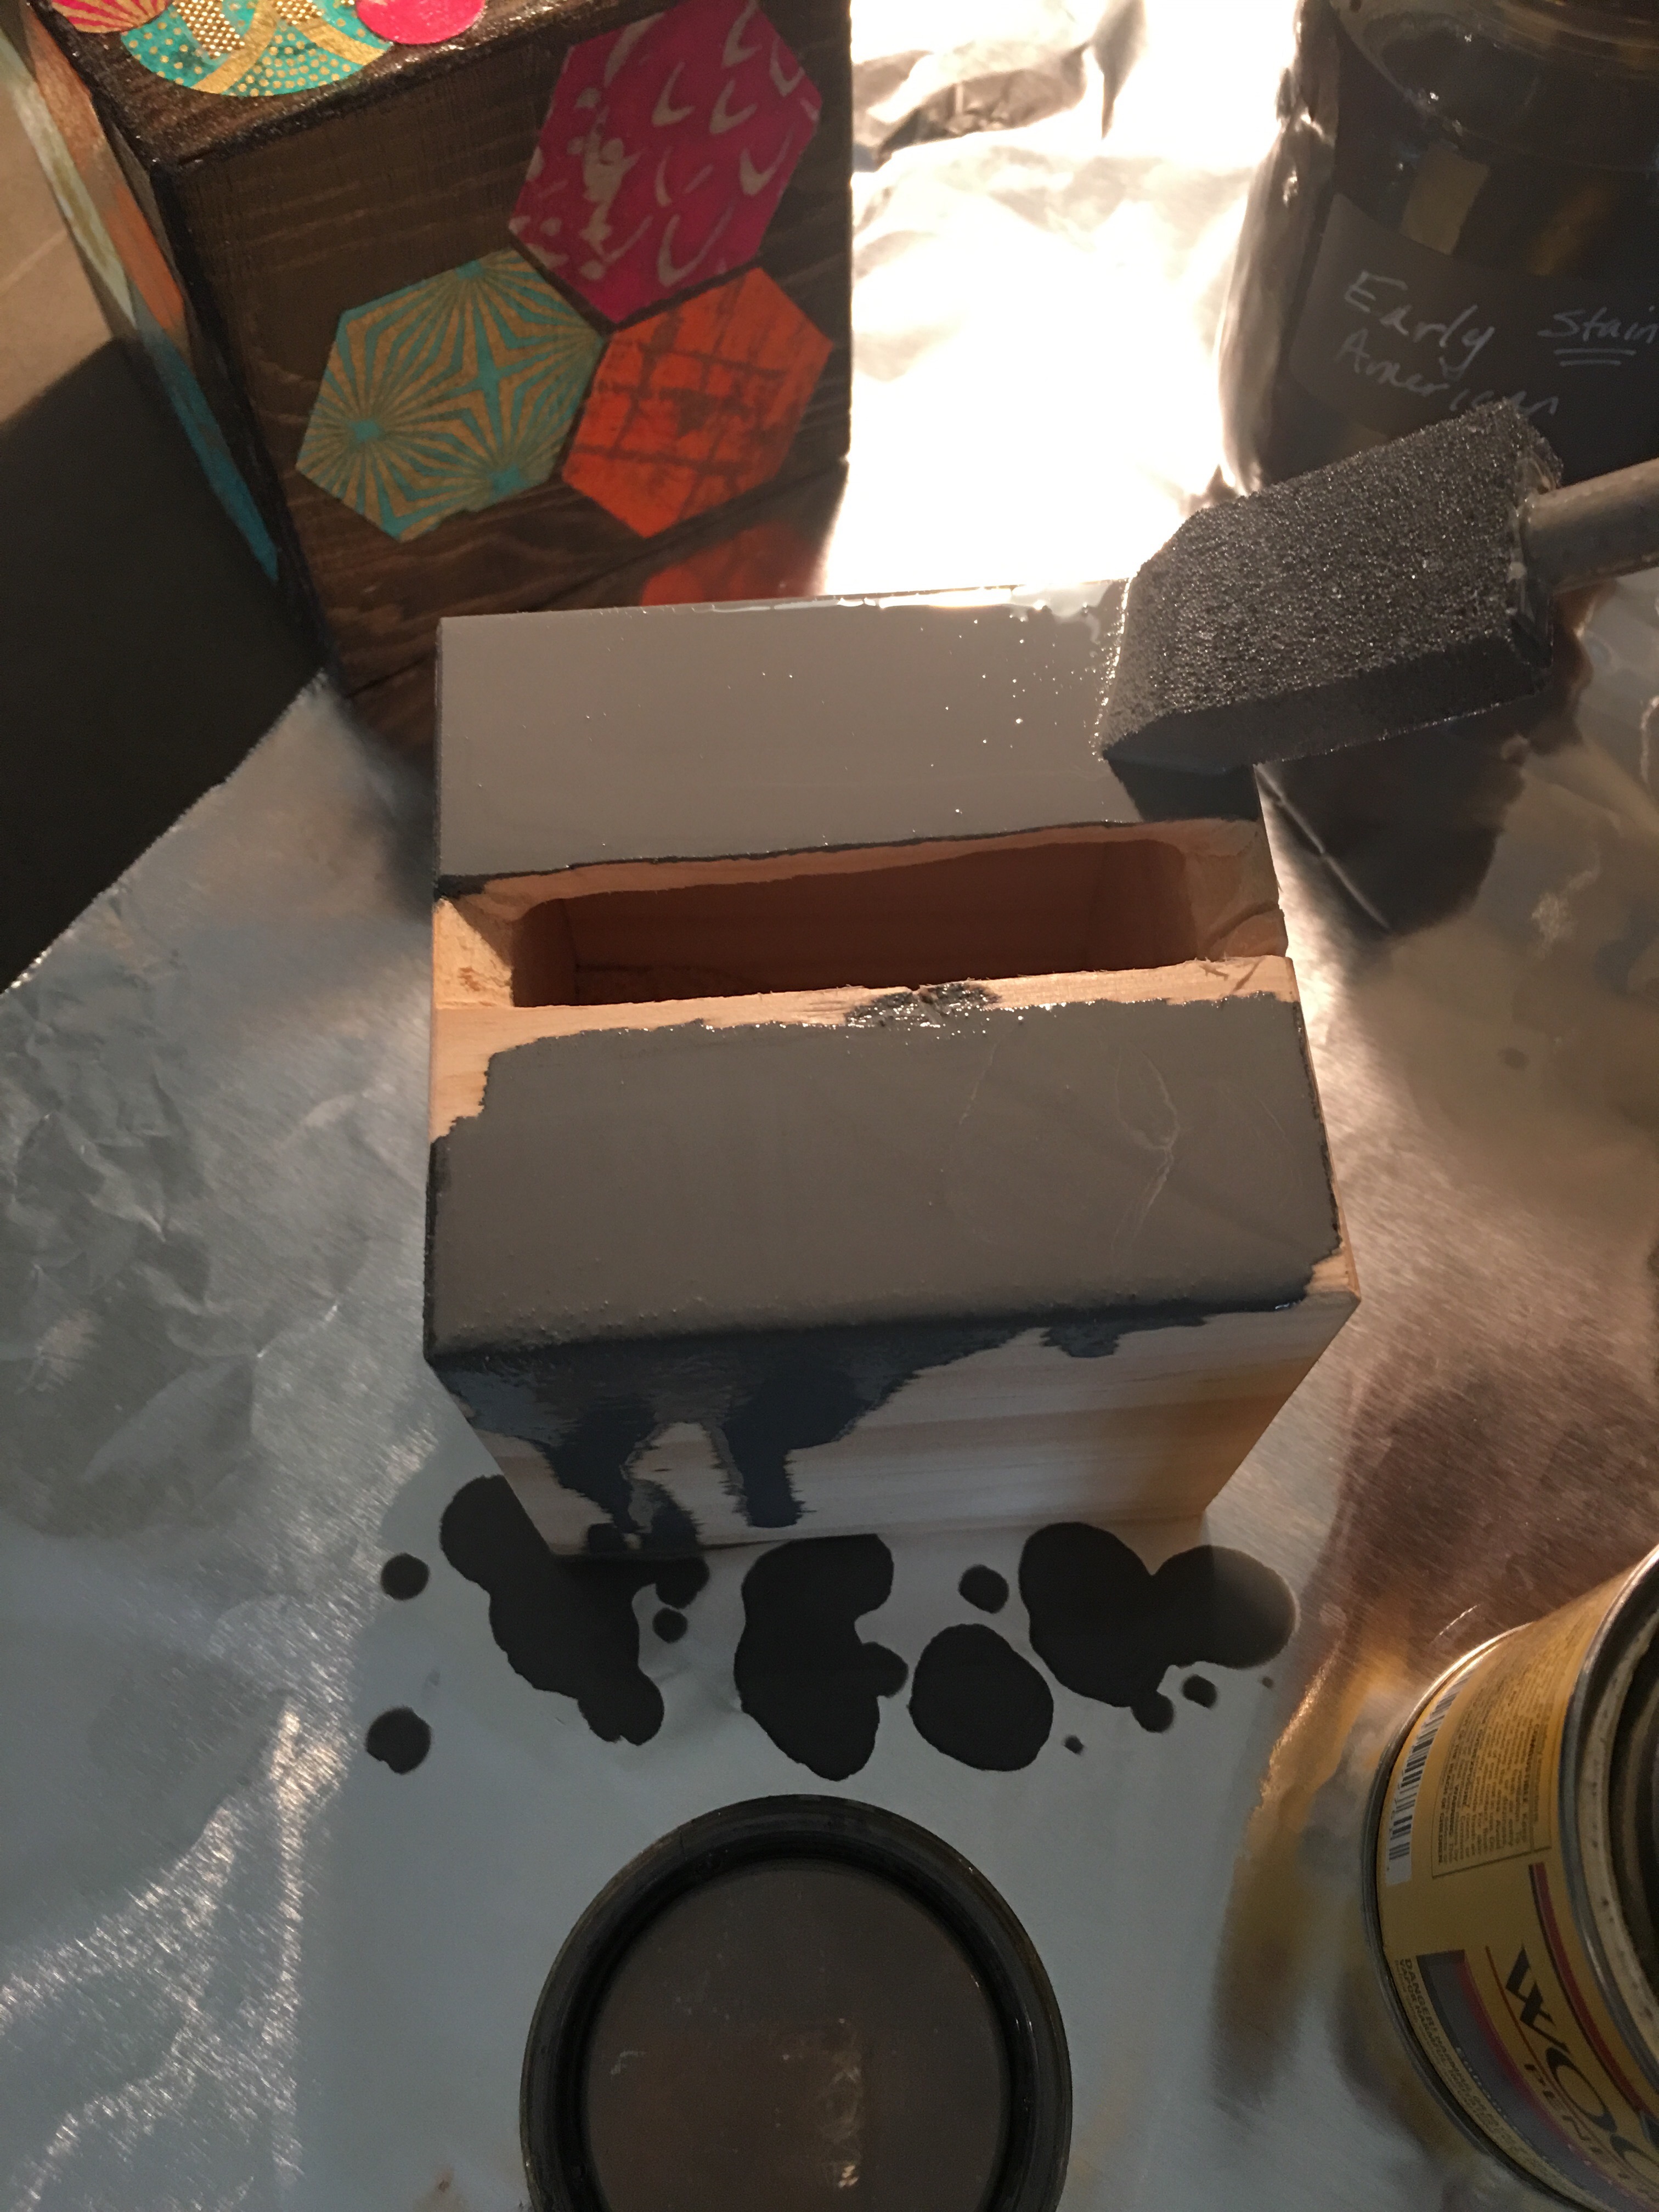
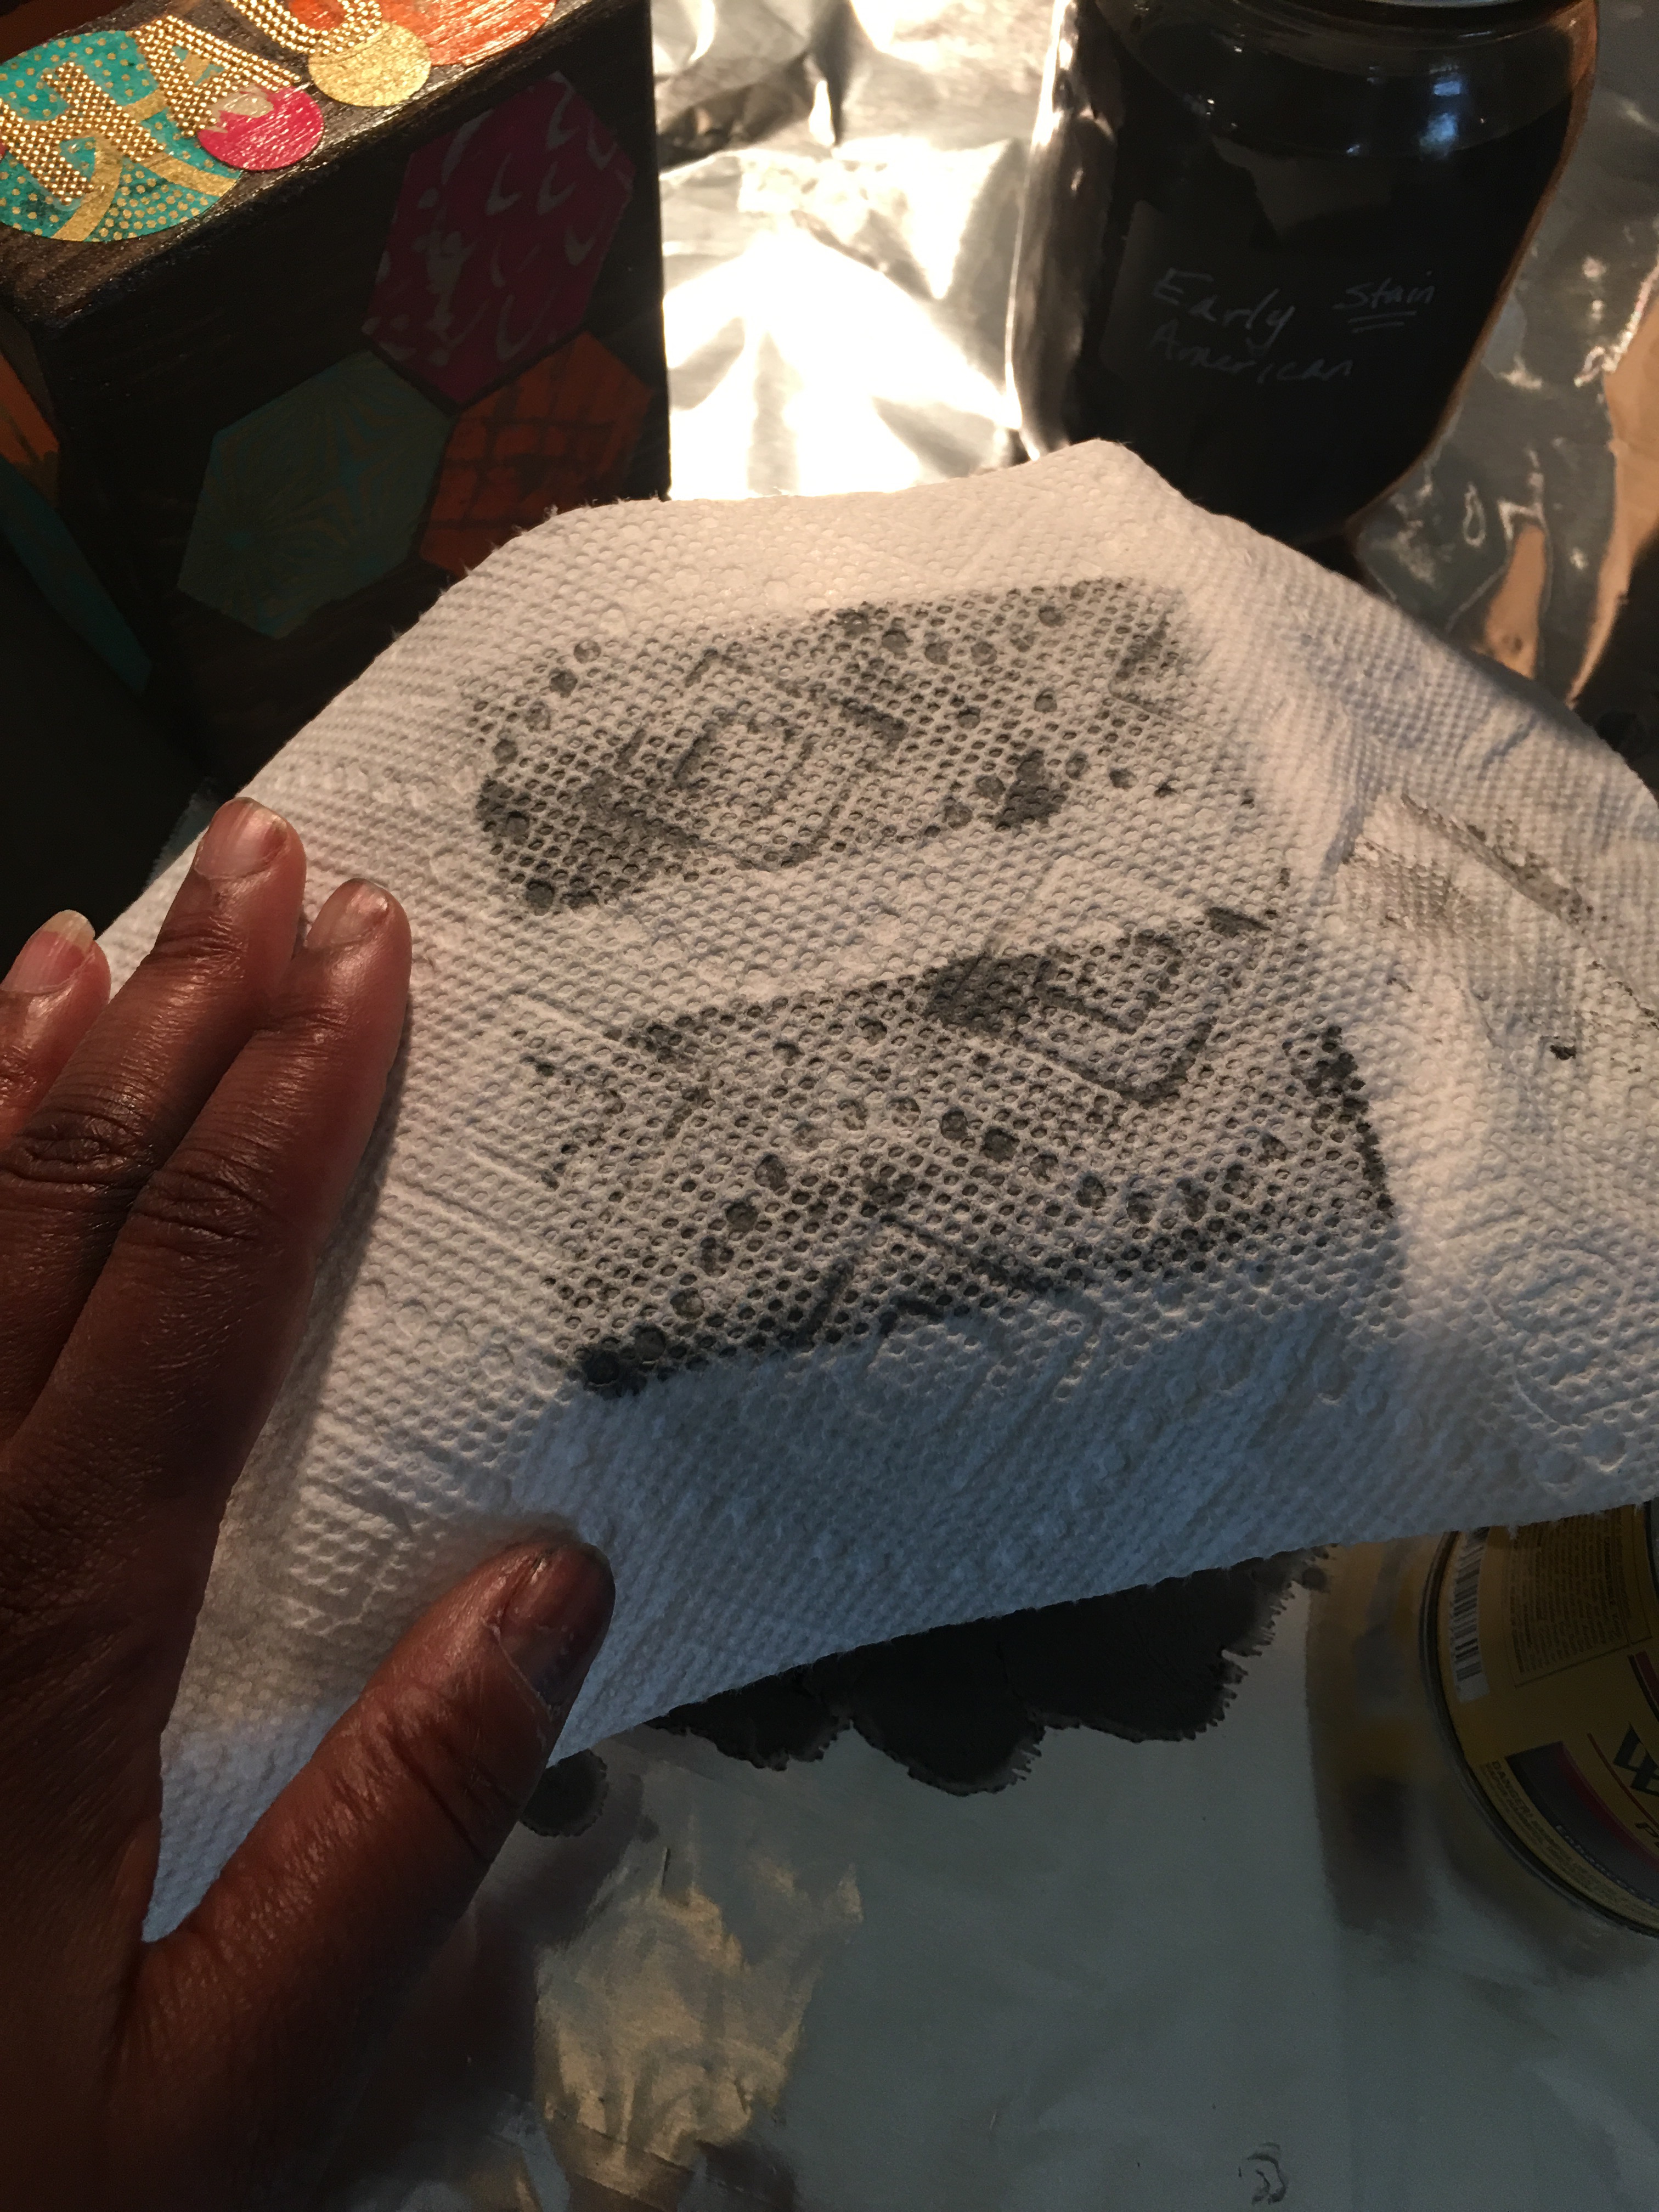
I then lightly blotted each side of the stain covered cube with a paper towel.
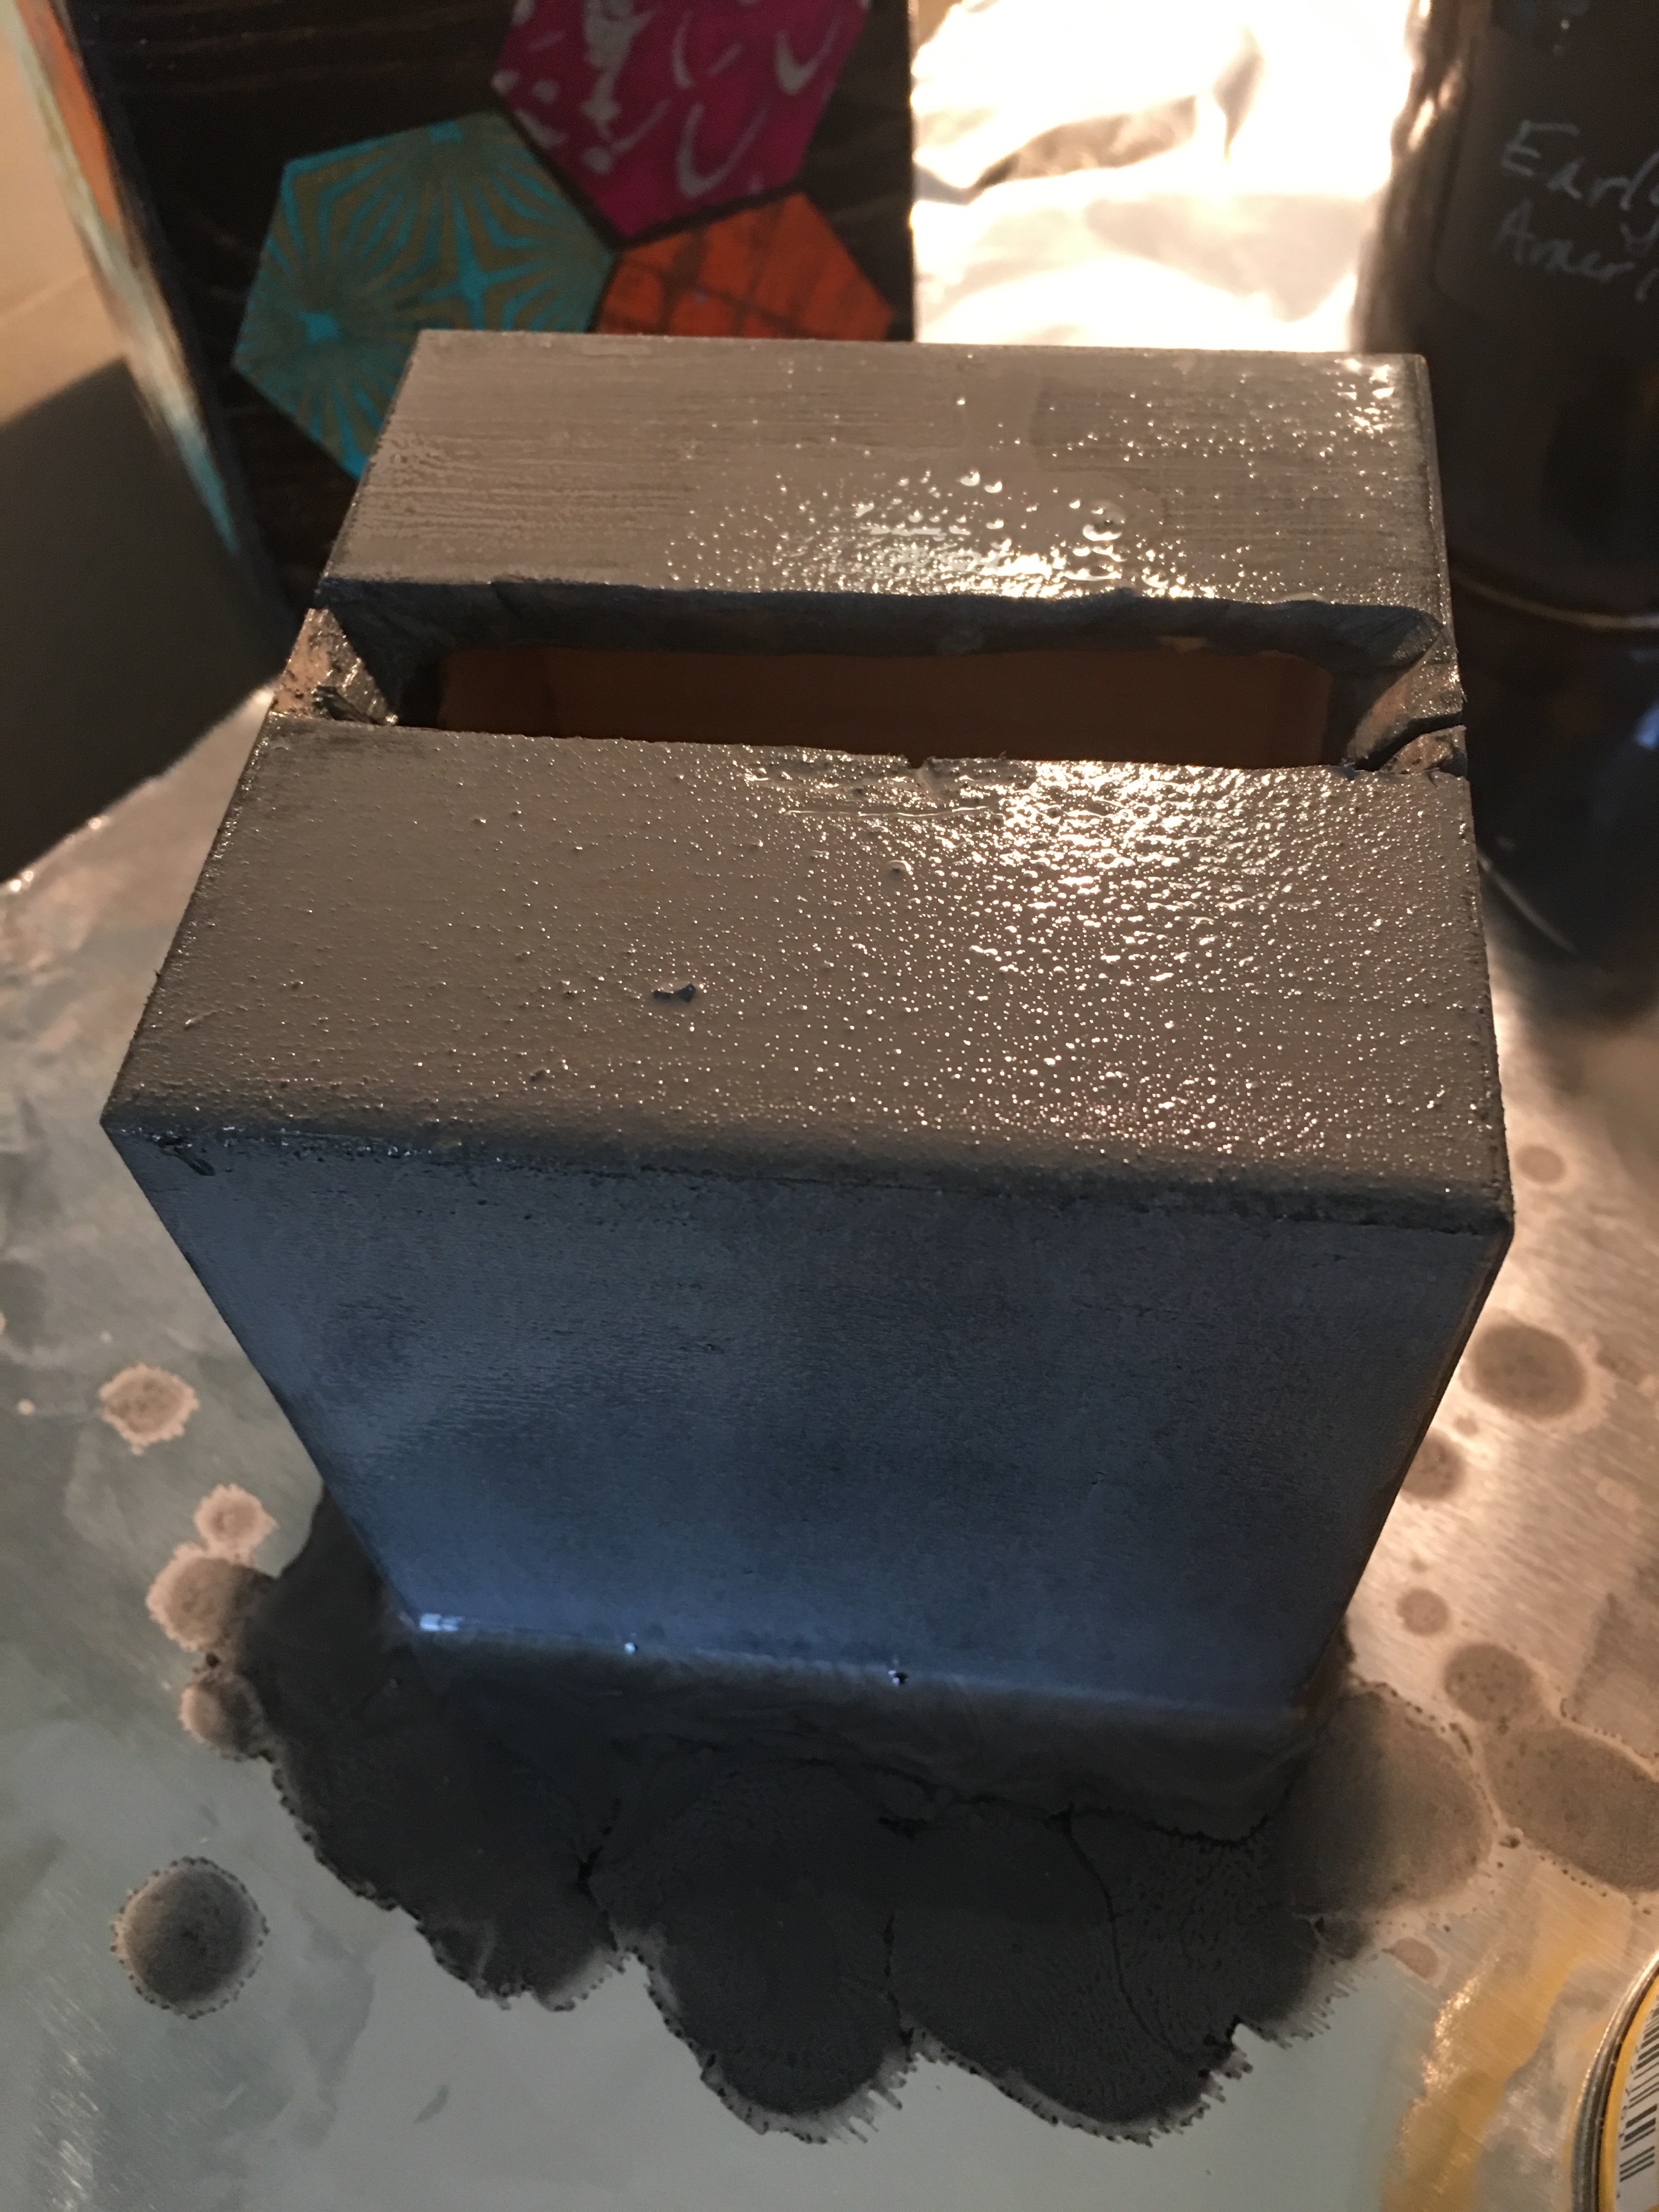
The result? A lovely weathered grey wood stained look (with streaks of wood showing through the color).
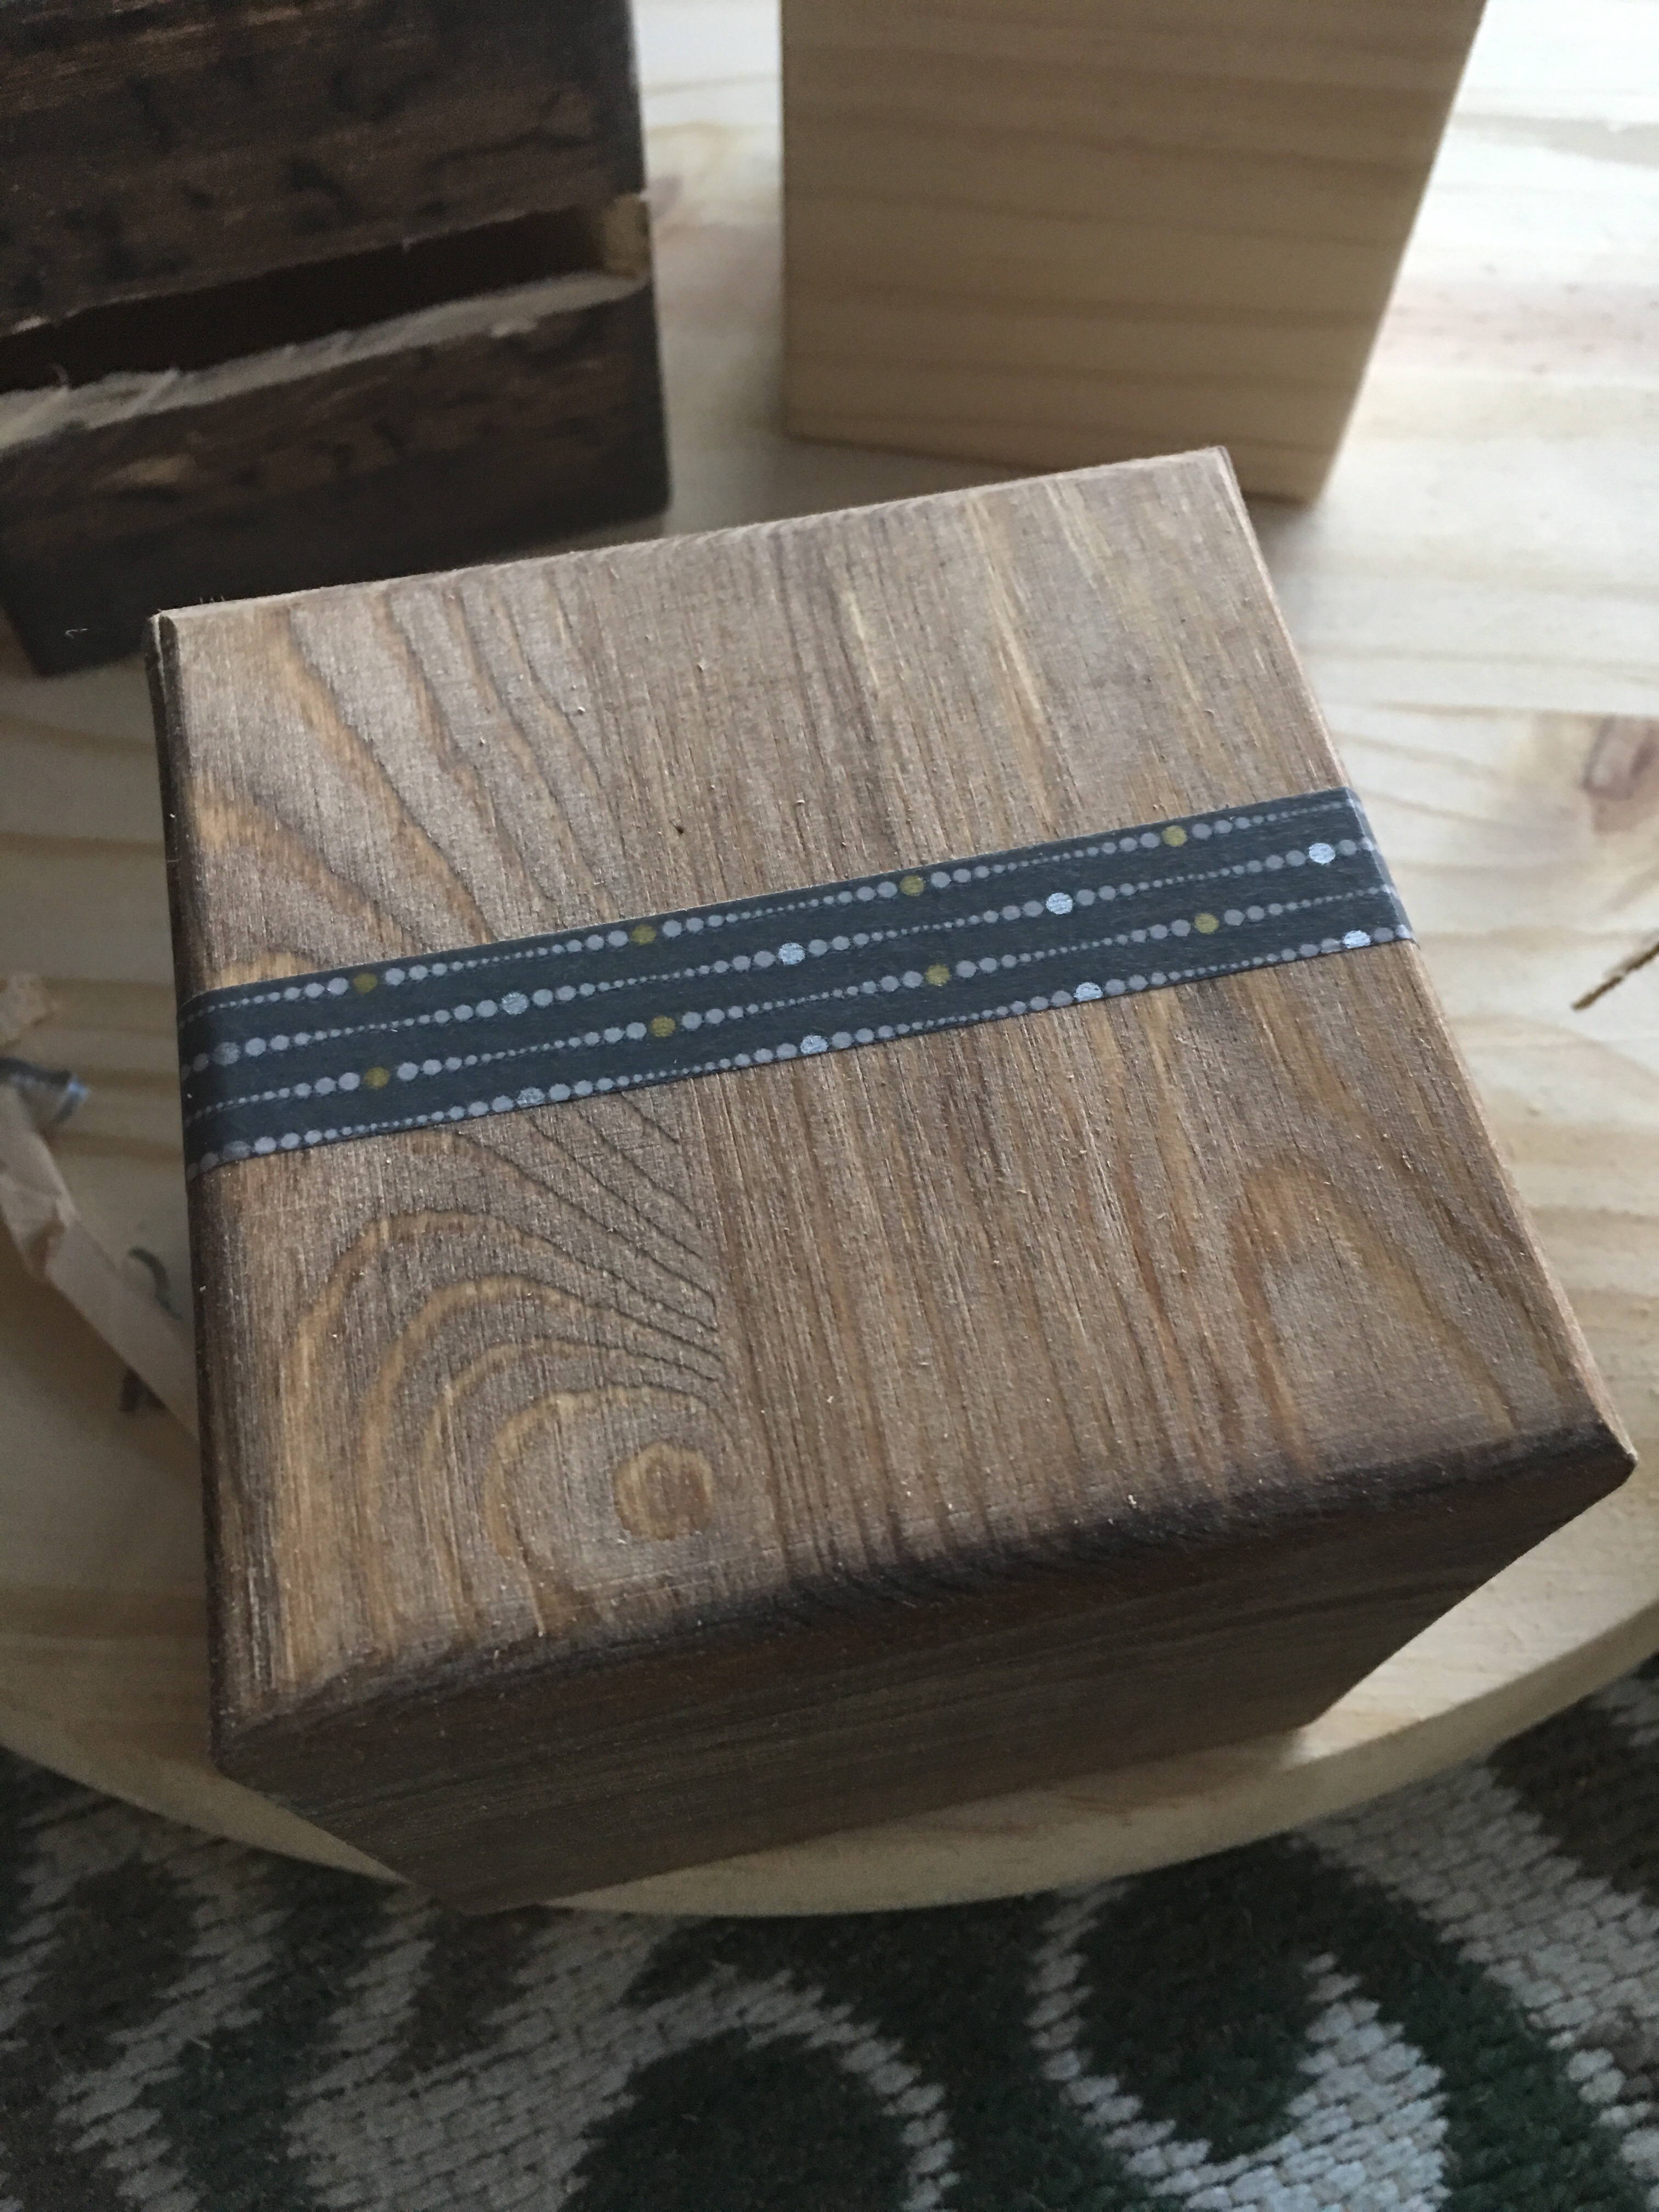
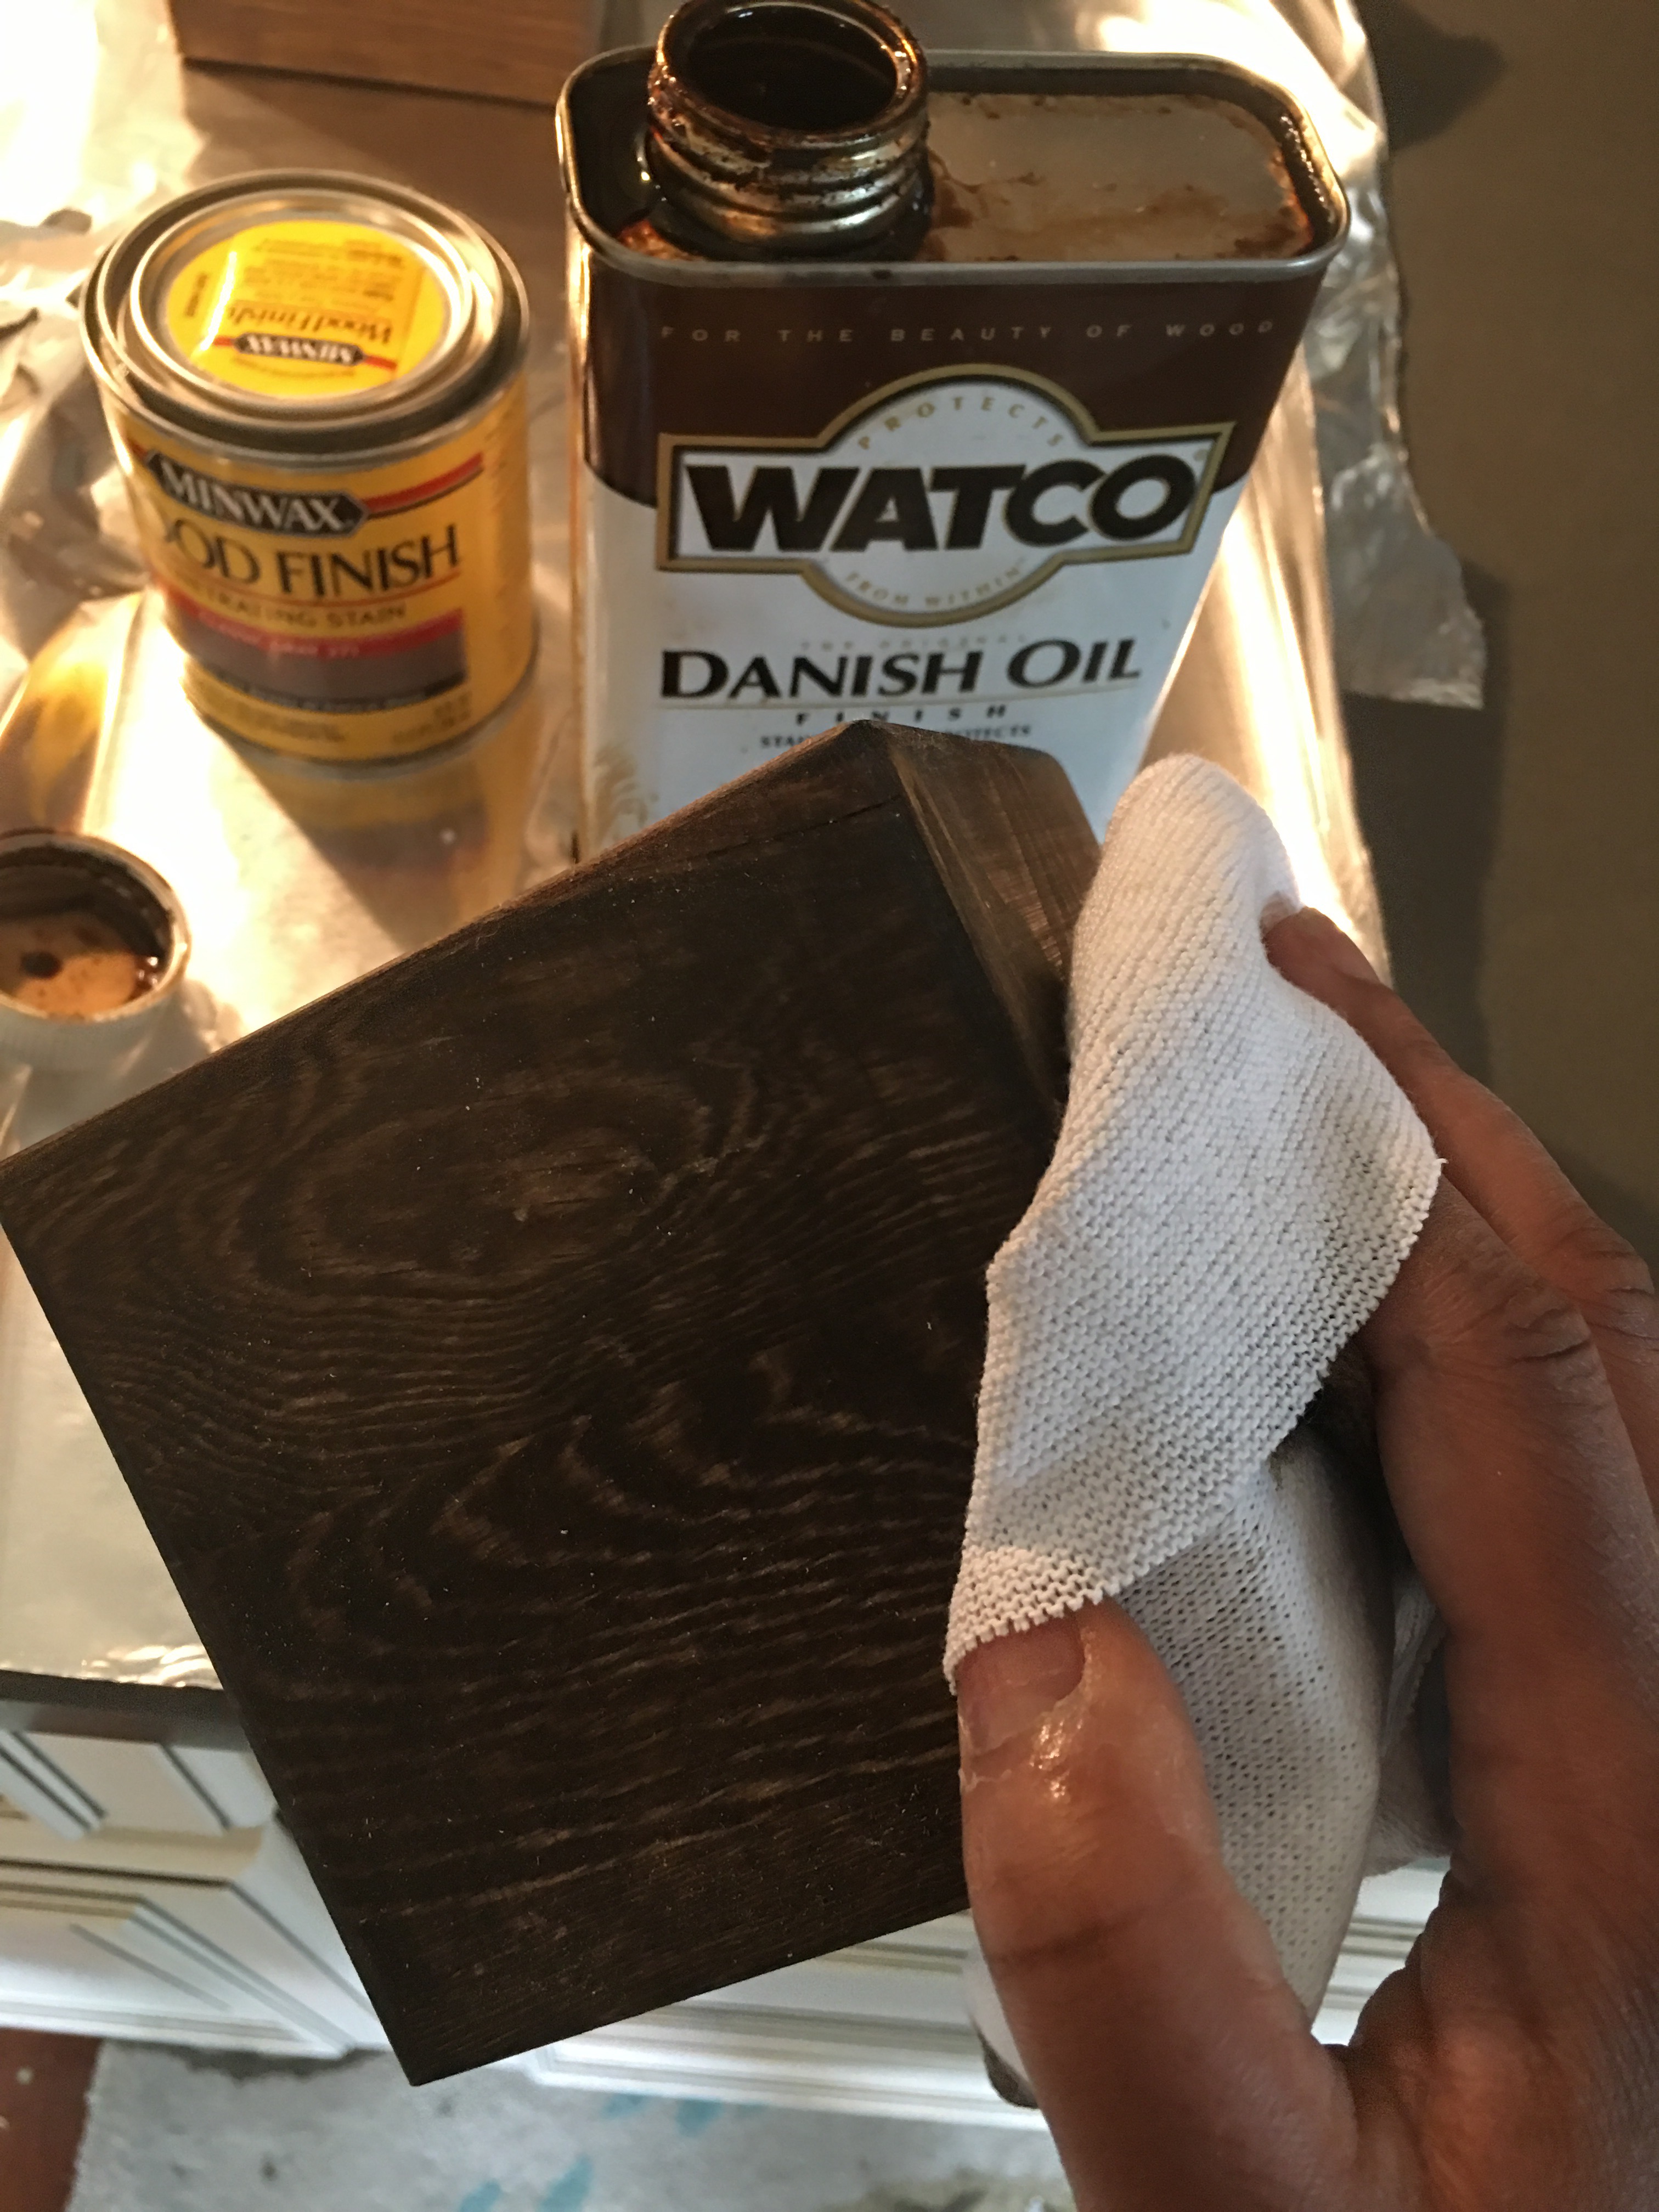
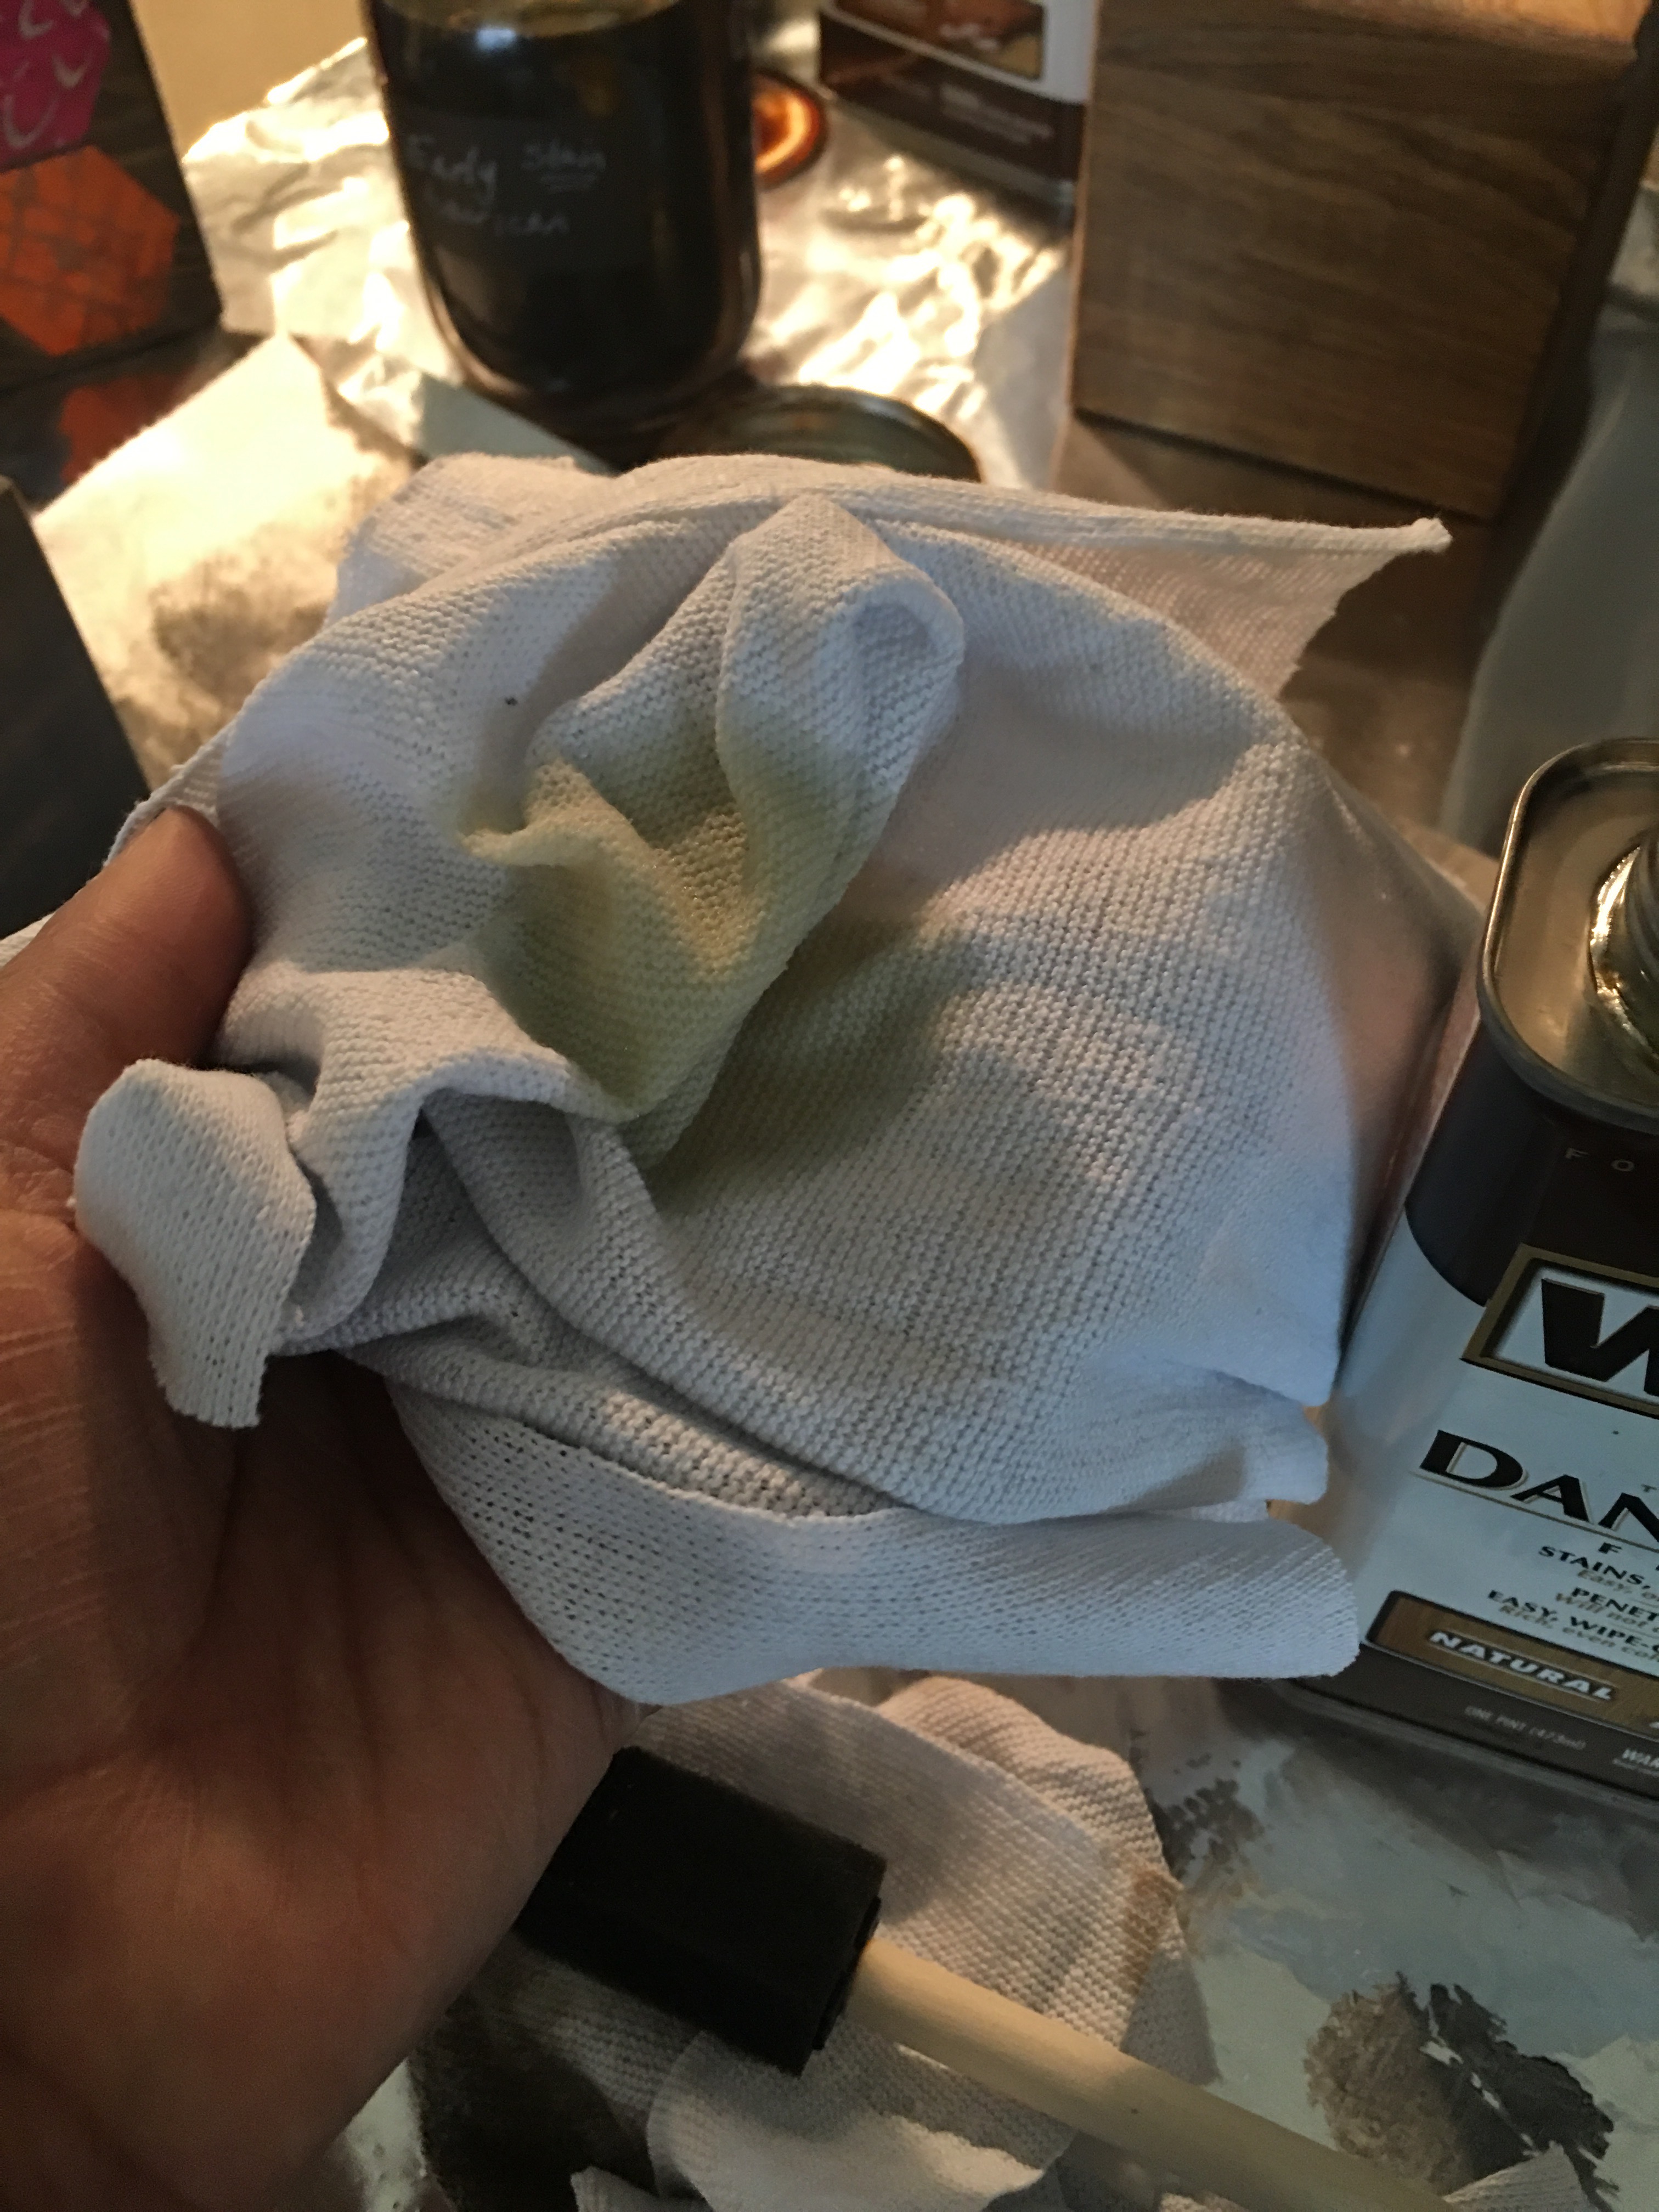
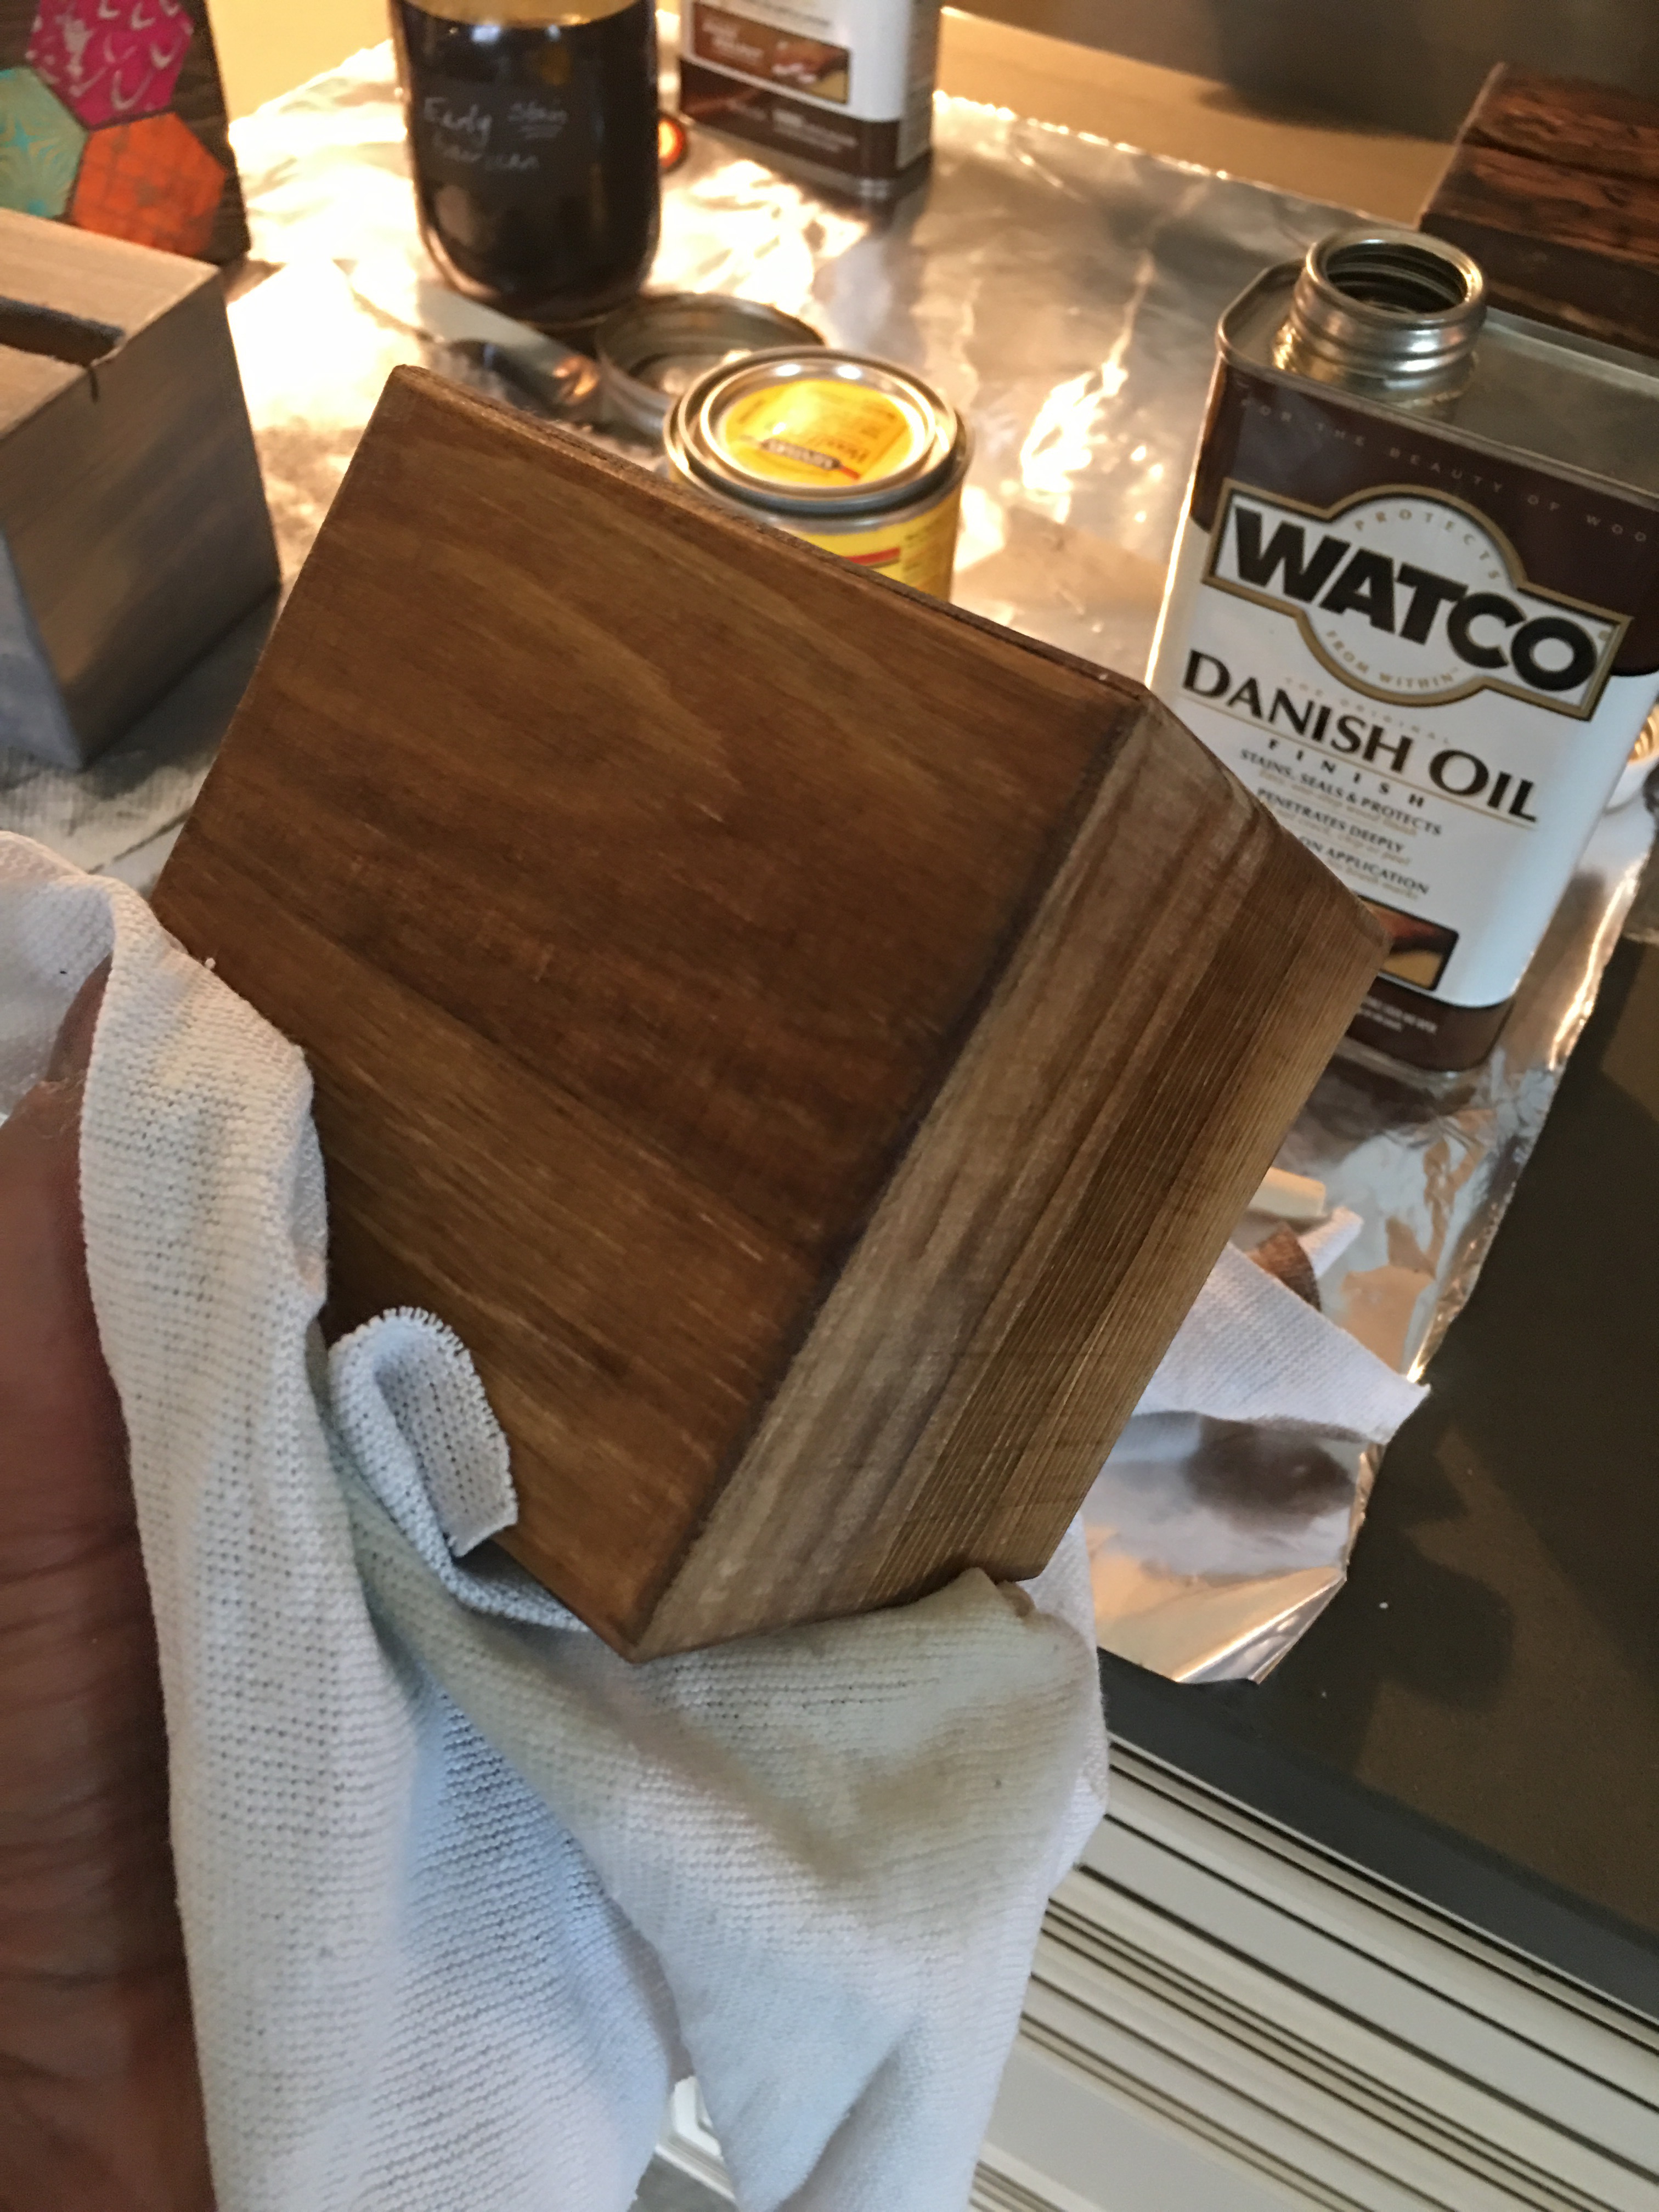
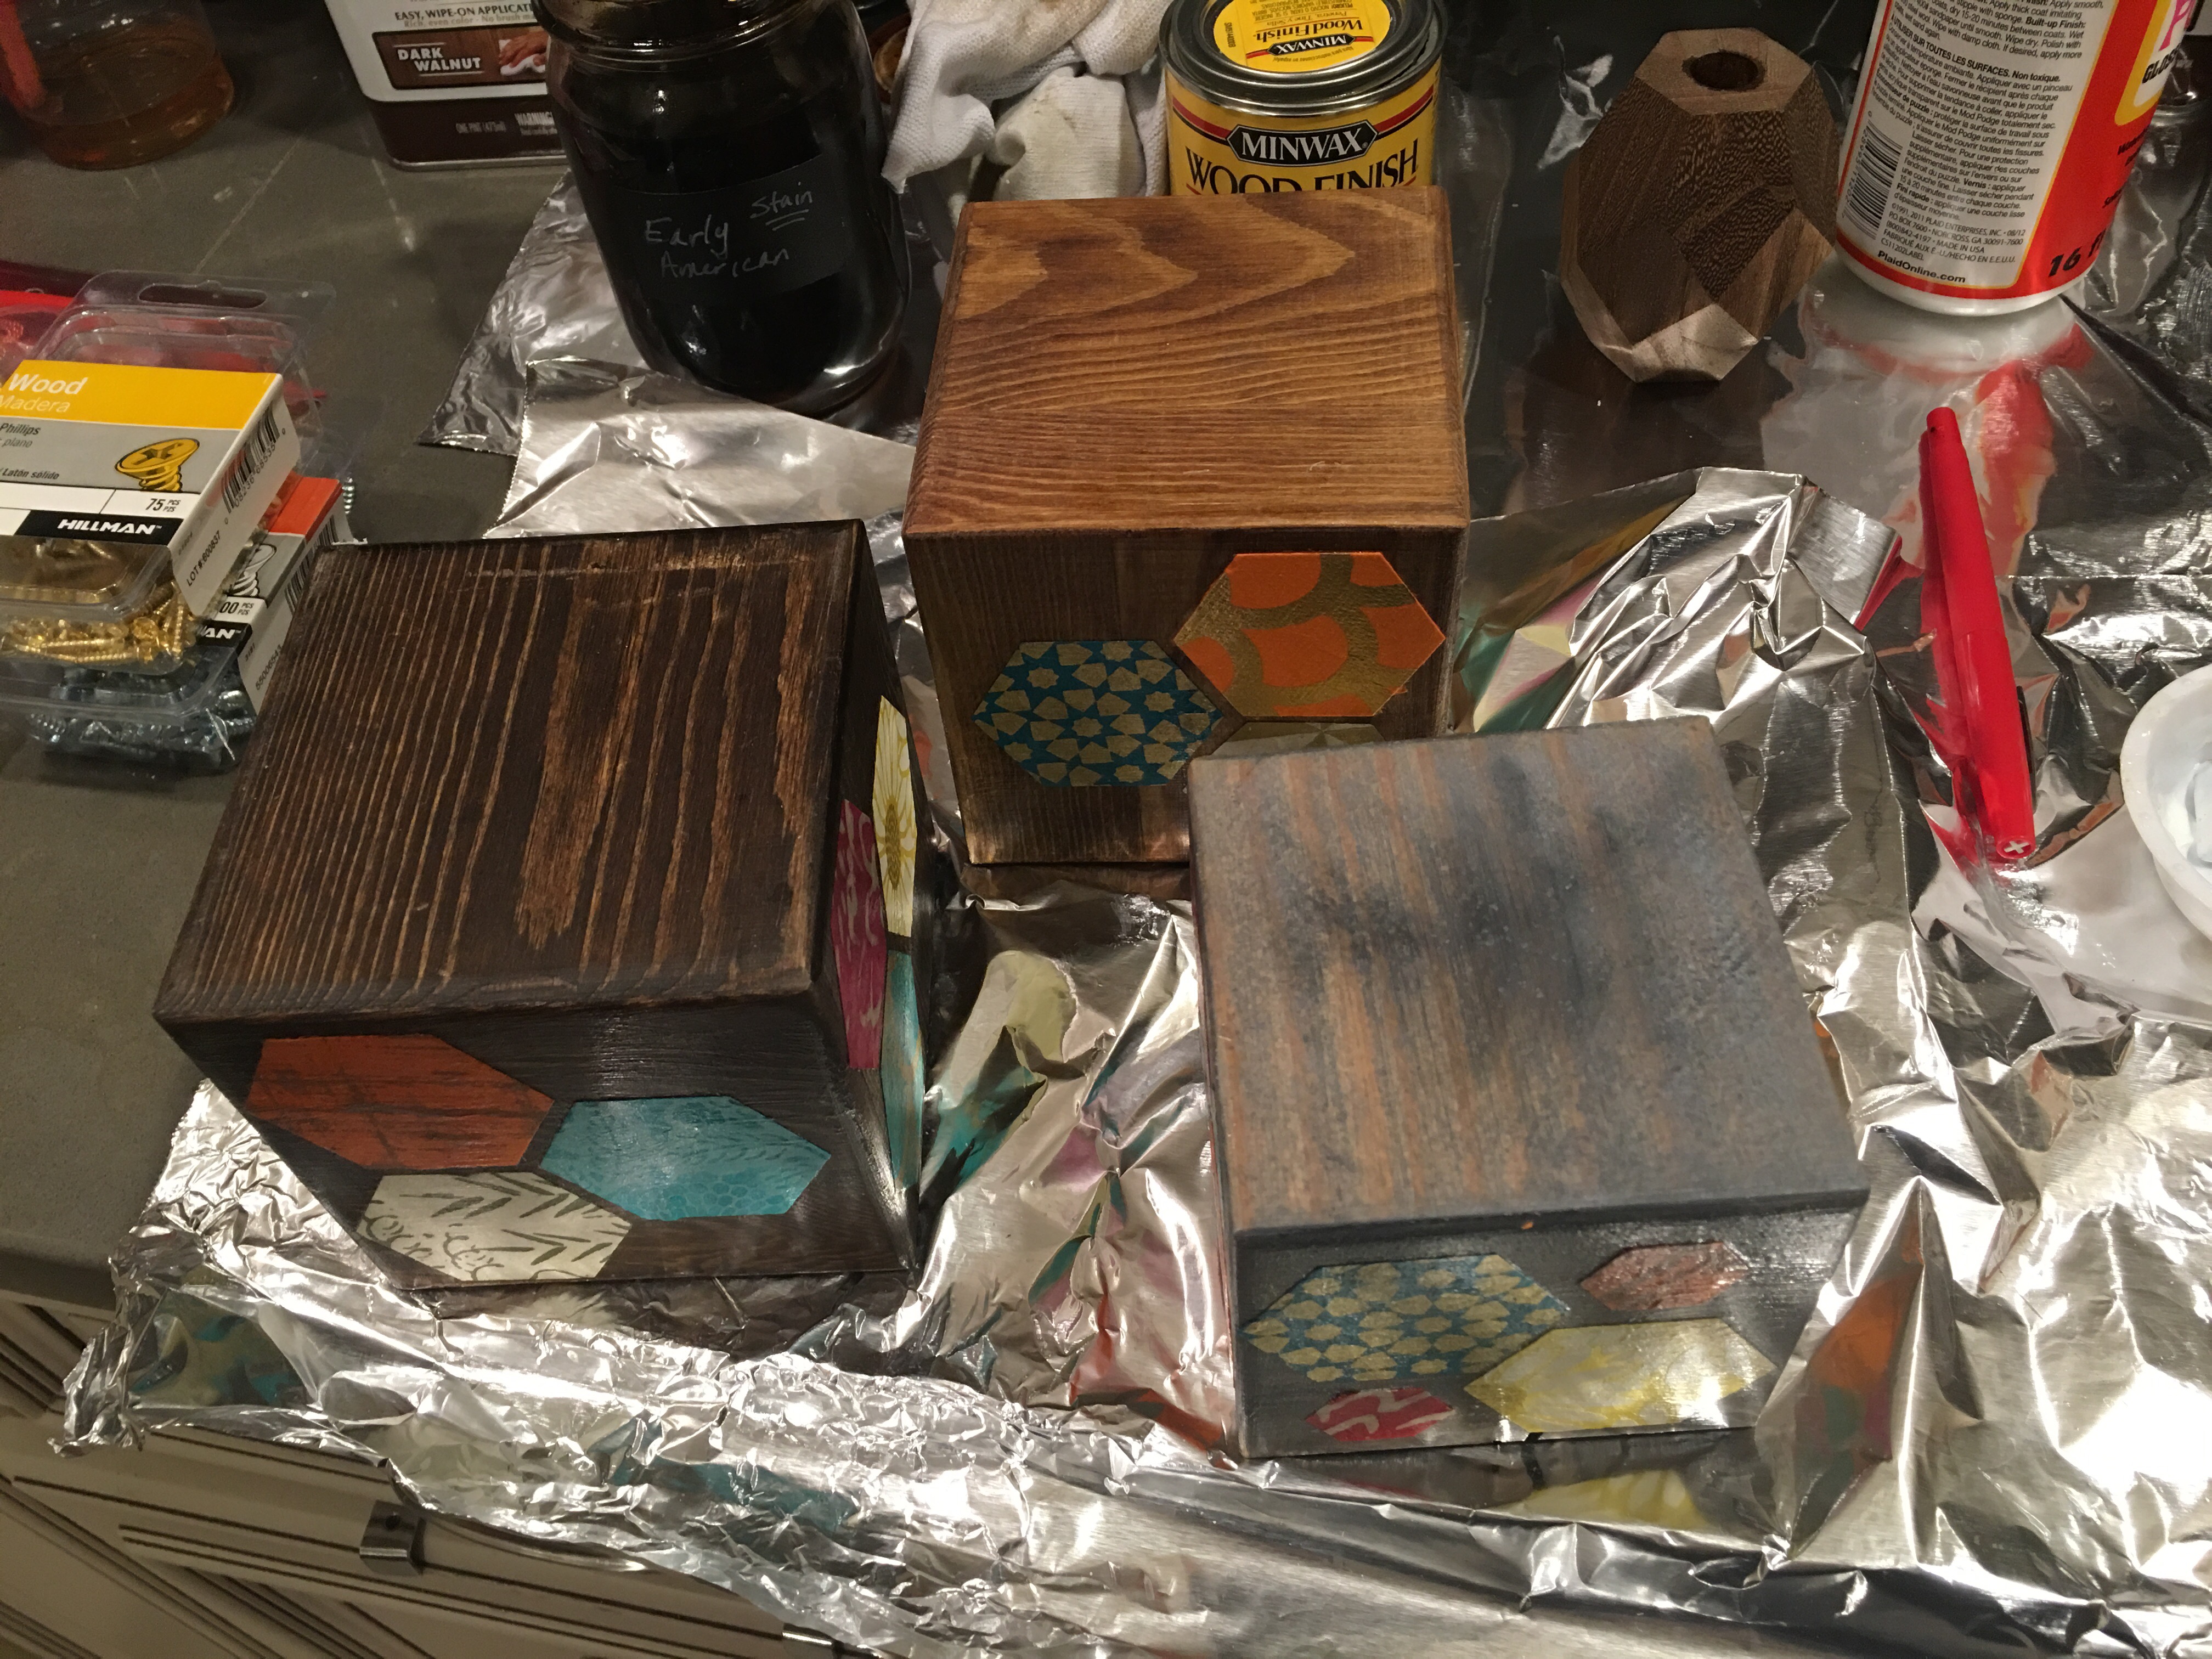
To shine up the previously stained larger blocks (with Minwax Early American and Dark Walnut respectively), I used Danish Oil.
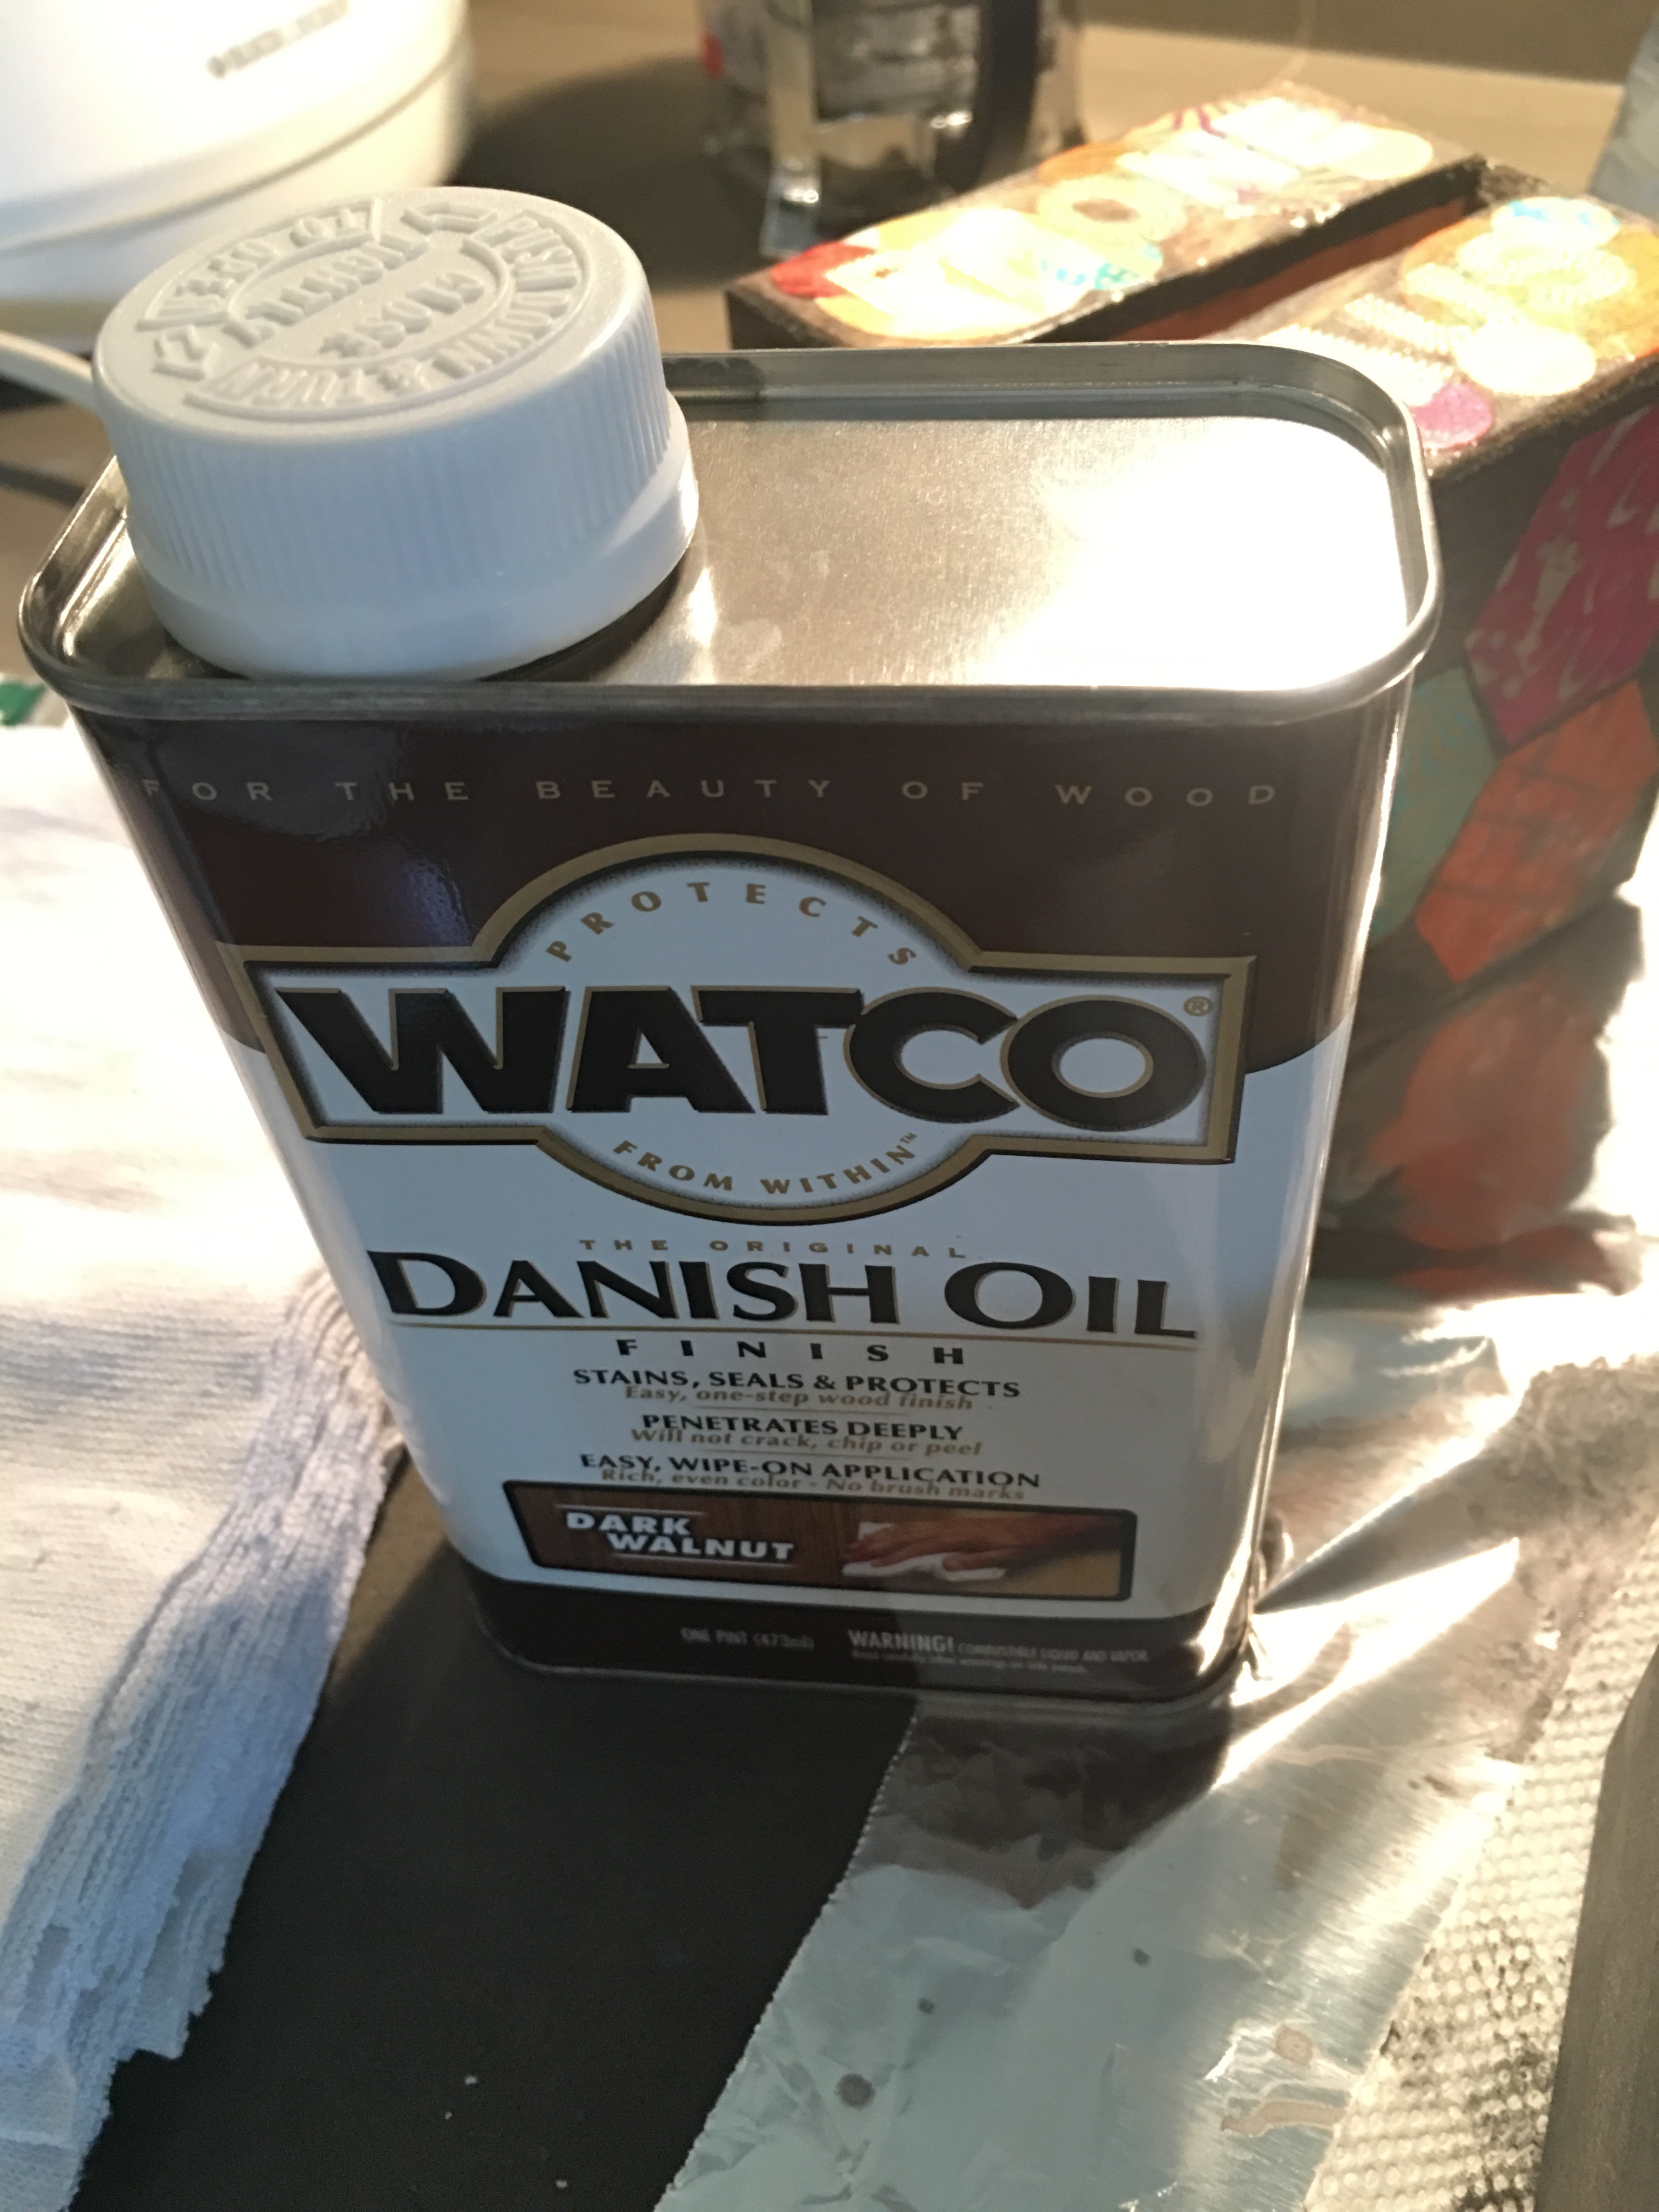
Danish Oil Dark Walnut and a rag buffed up the darker wood block perfectly.
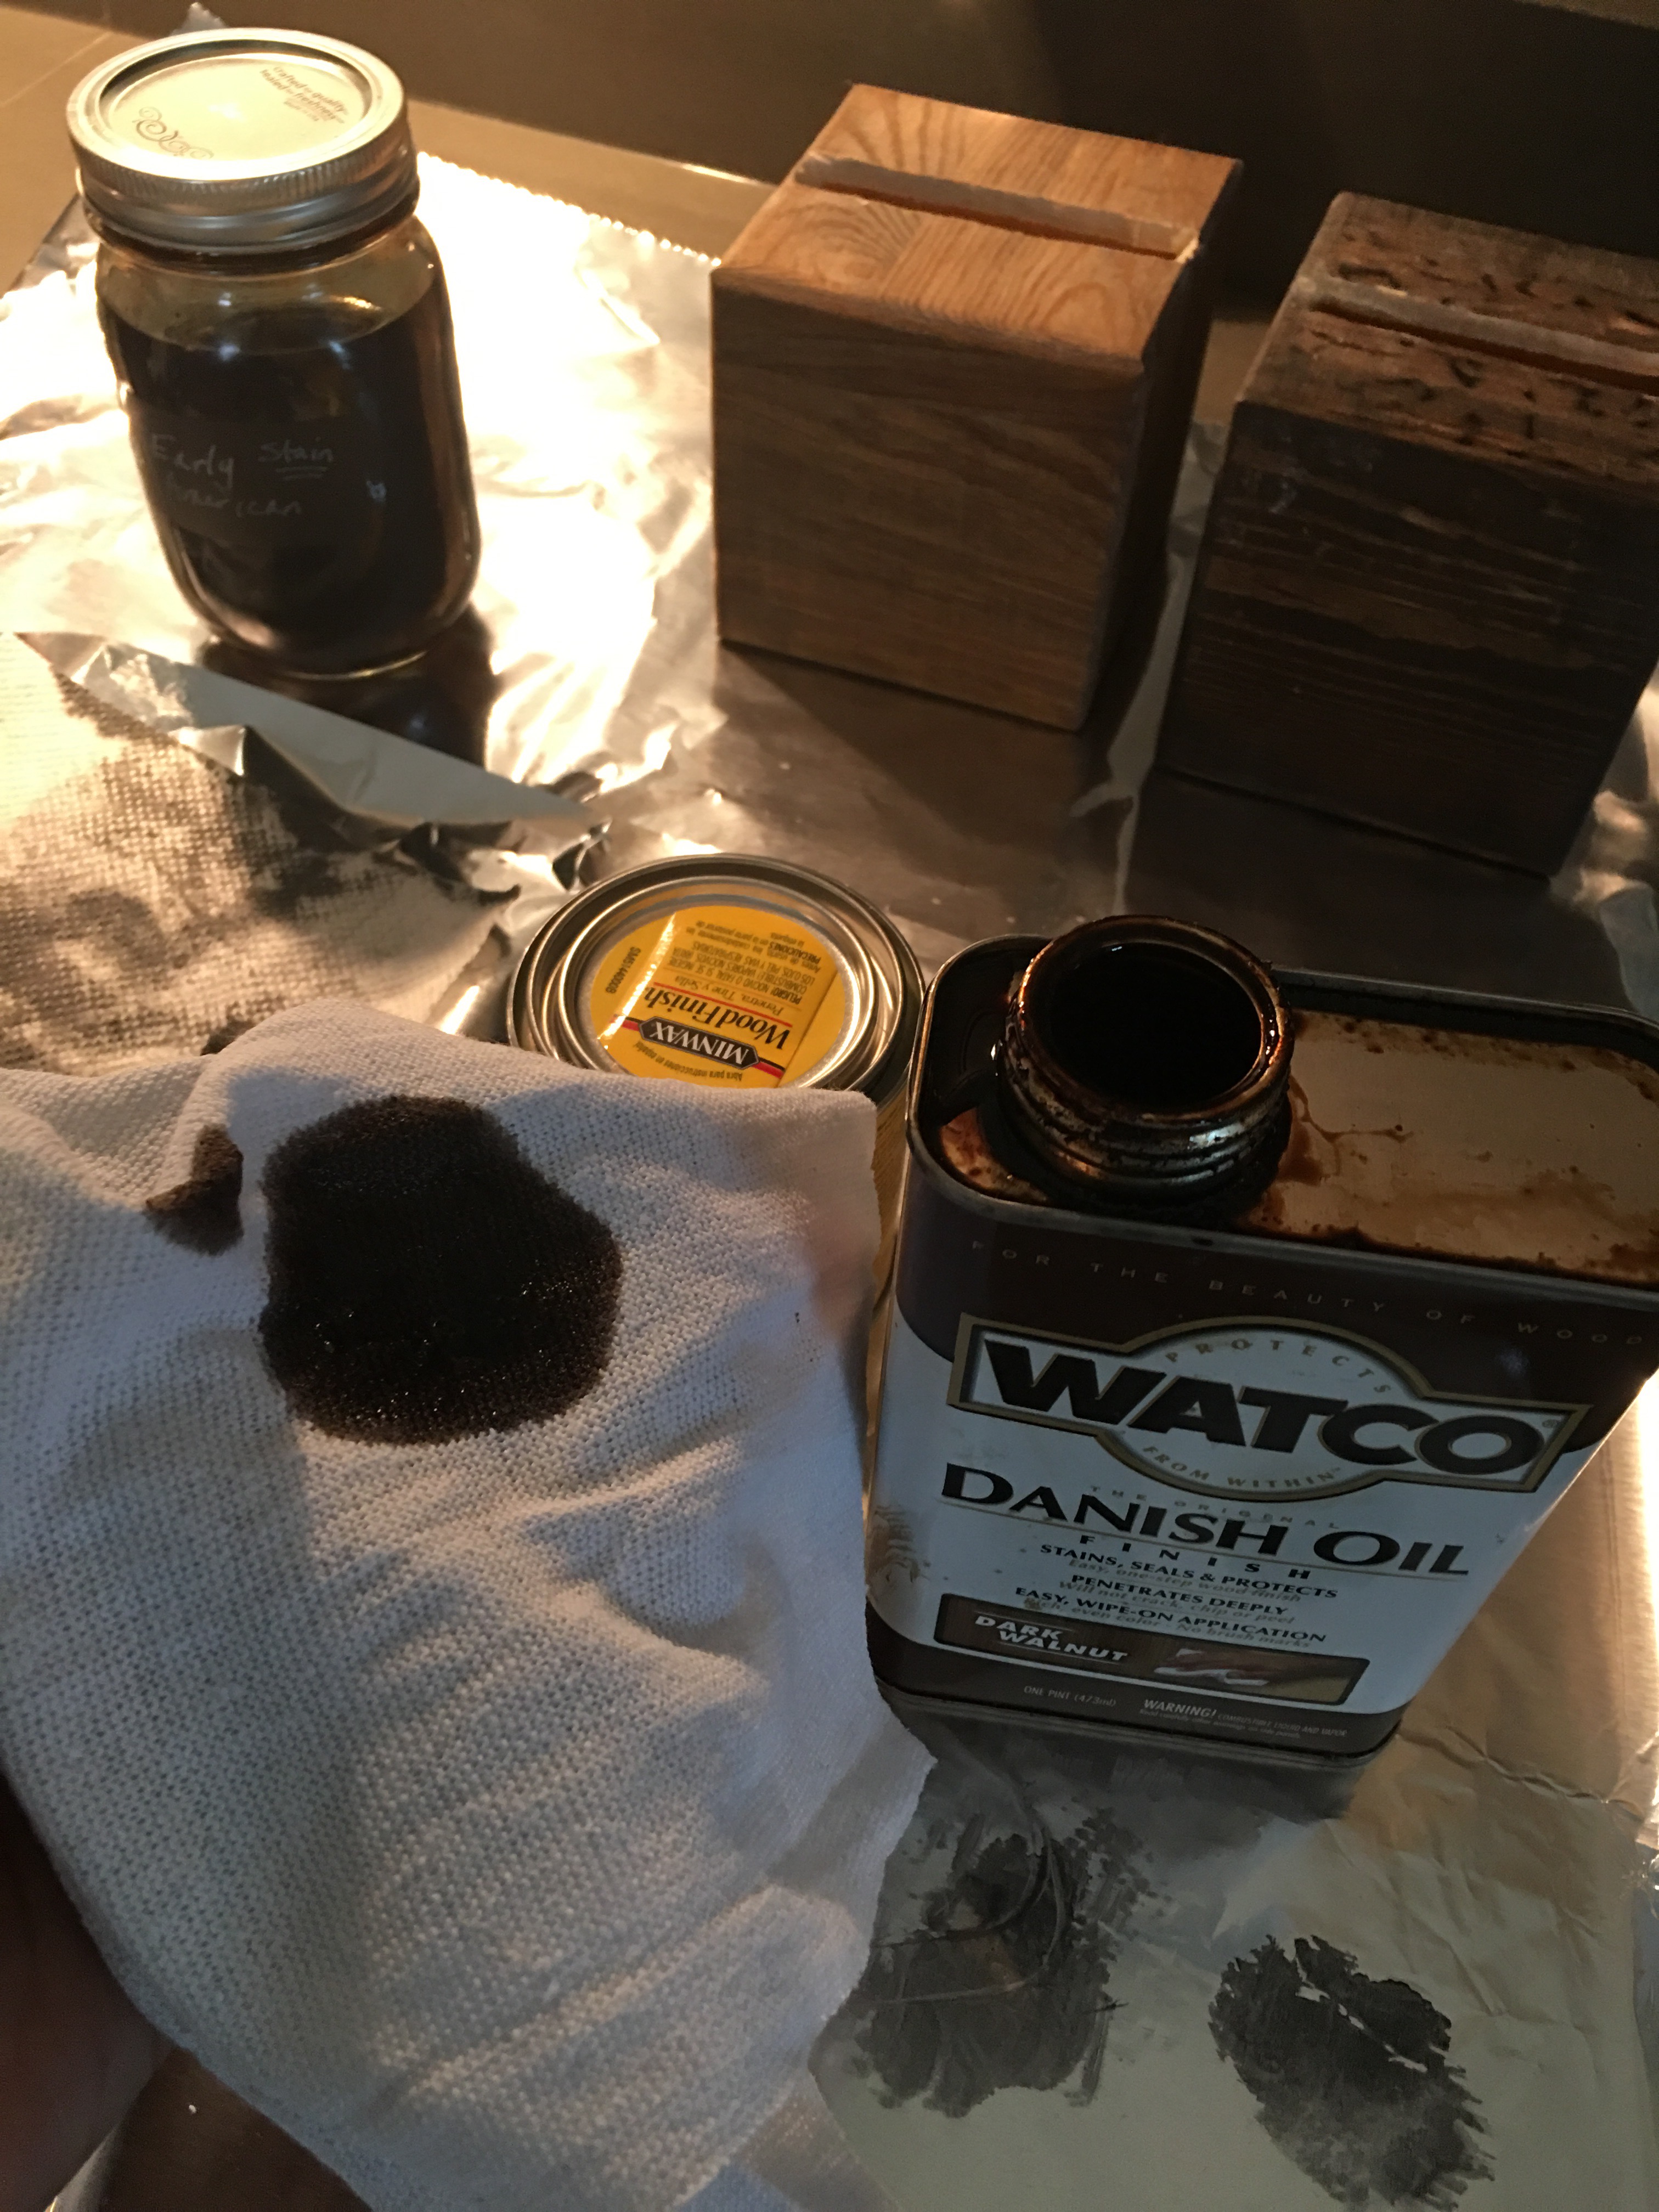
And it certainly helped to clean off the wood saw dust created by the Dremel cuts.
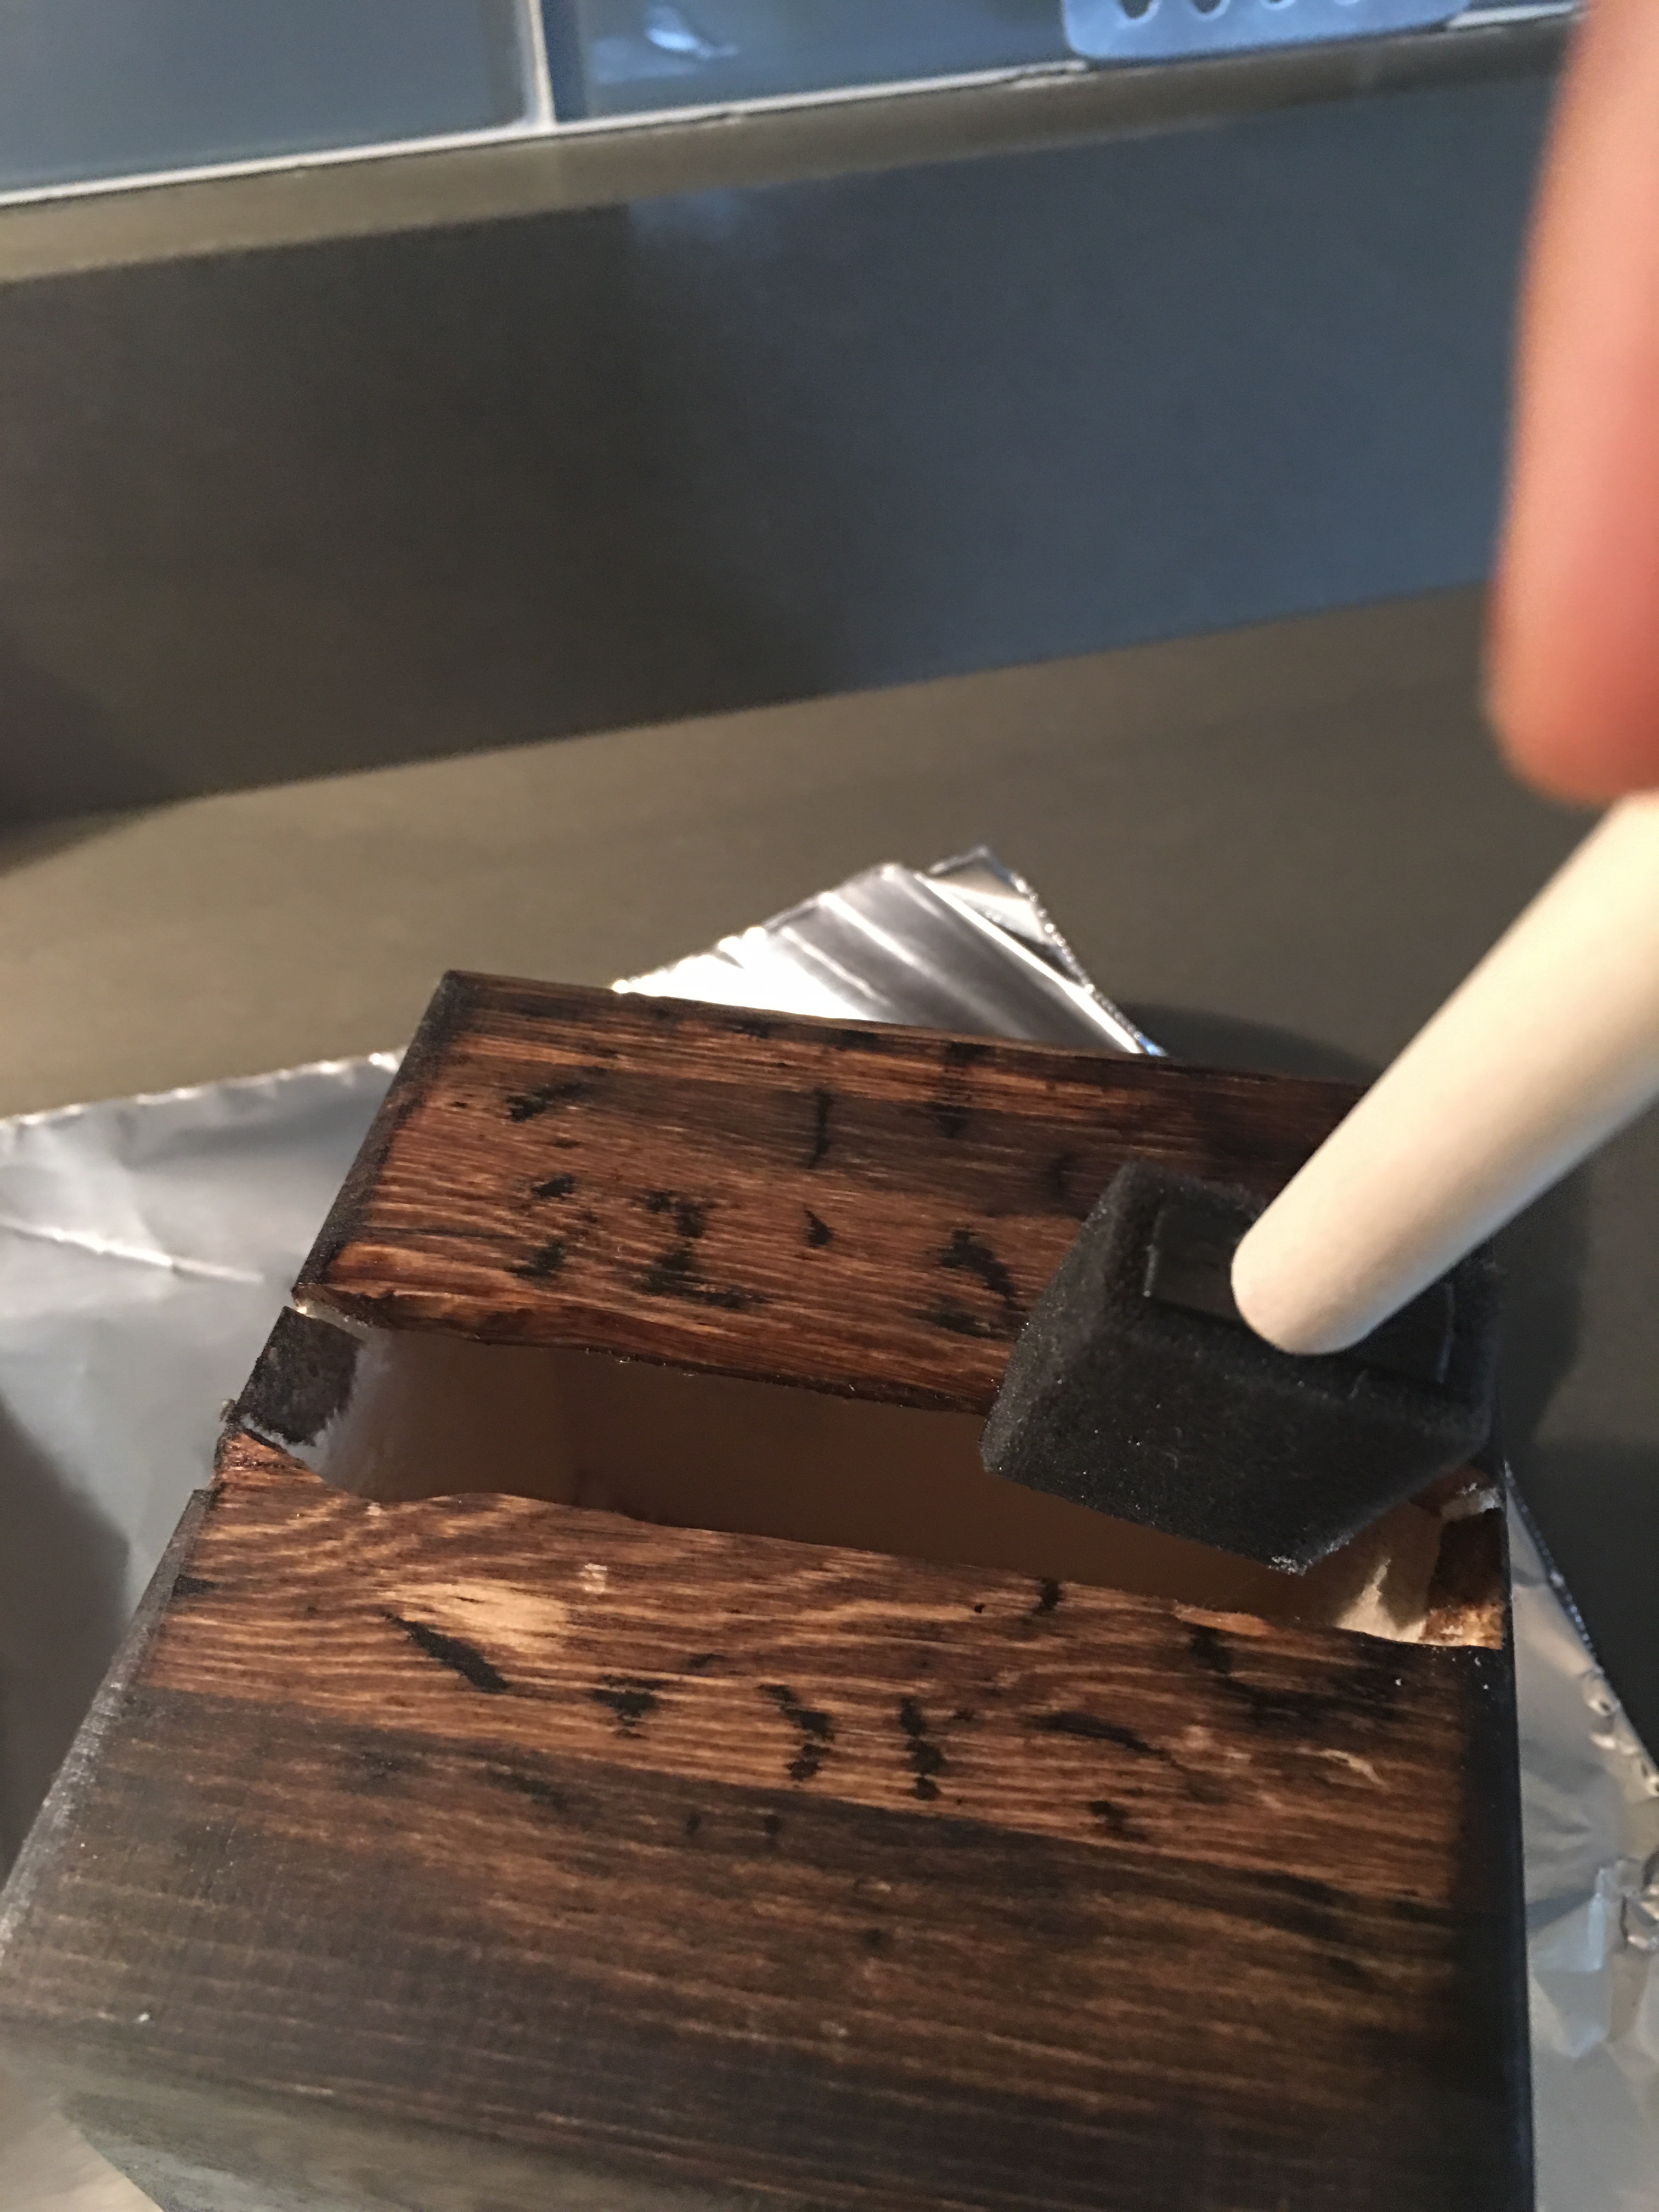
I then added a touch of wood stain…
…to add color to the opening (and further mask the imperfection of the ragged cut).
Danish Oil Natural was used to polish up the lighter stained wood cube.
A dab of stain to spruce up the opening and my large wood cube are ready for decoration.

Decorate the wood cubes with fine paper
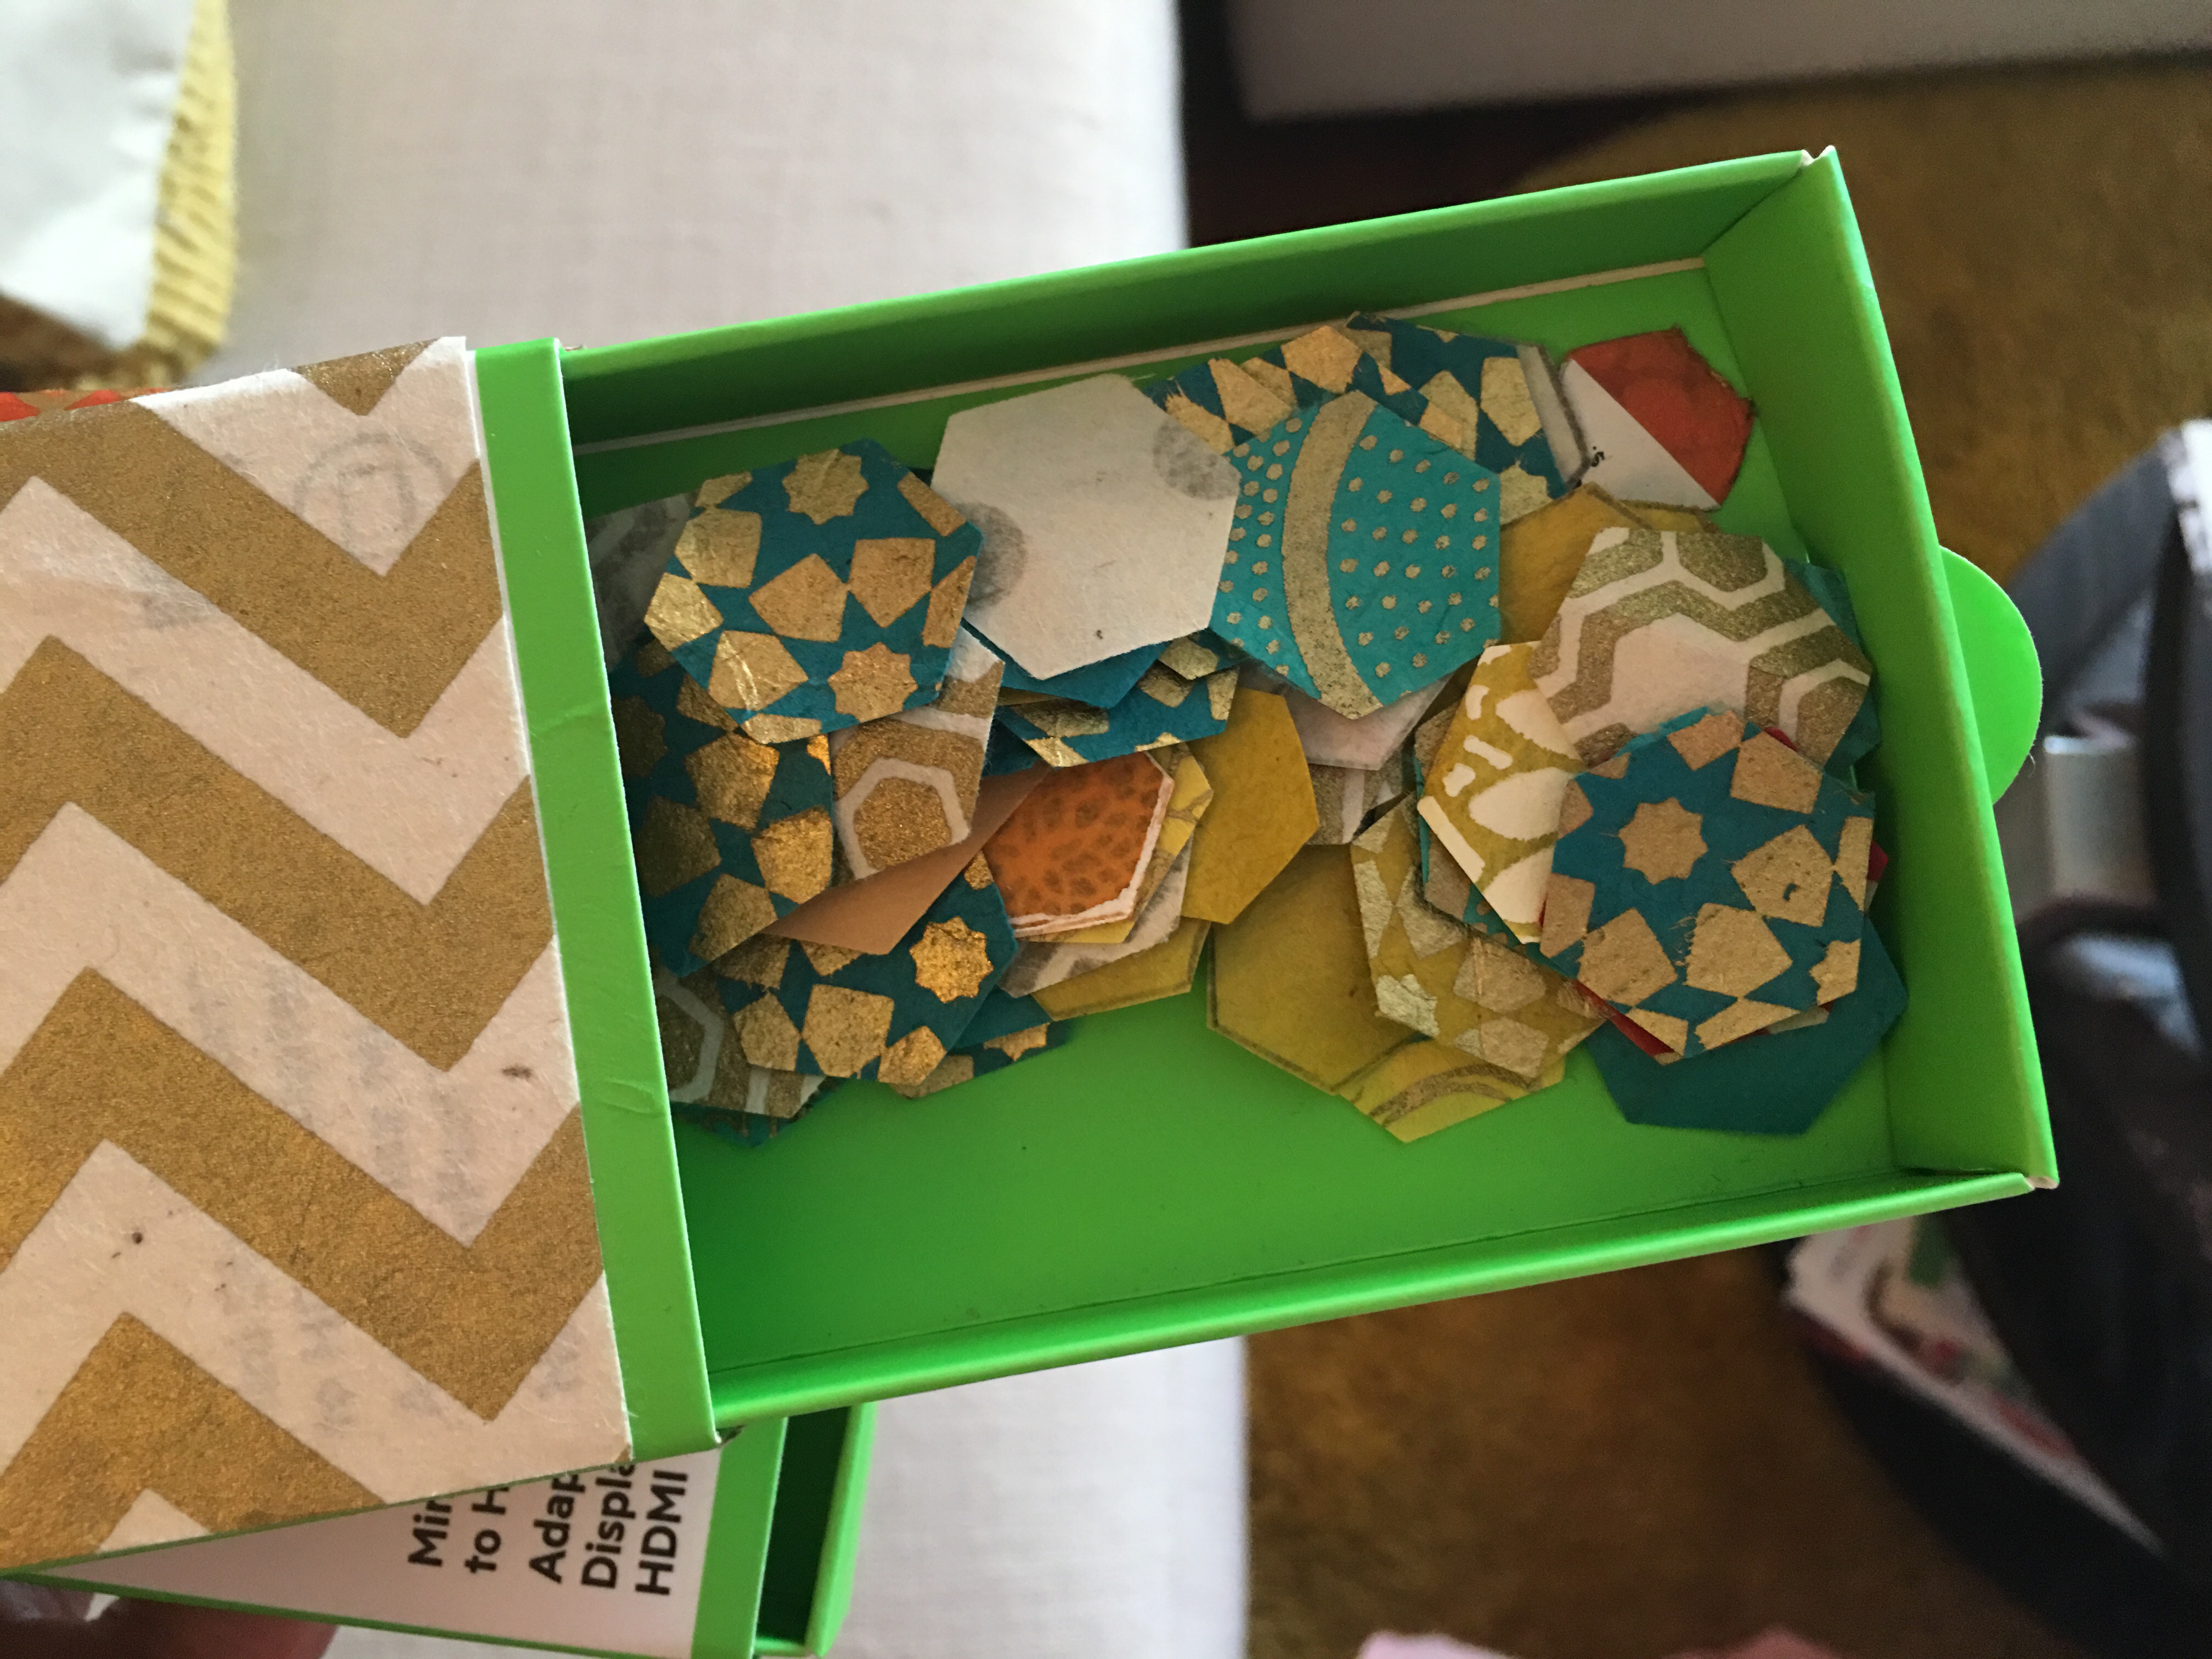
My previous phone cube projects use two to three large hexagon paper cut-outs using various fine papers I buy from Paper Source, Blick Art Studios, or Plaza Art Stores.
The small cube can fit two large and two mini hexagon punch-outs. Whereas the large 4″ cube can fit three large hexagon shapes.
I had a number of pre-punched large and mini hexagon punch-outs. I had a paper punching party going on in December while watching HGTV marathon shows.
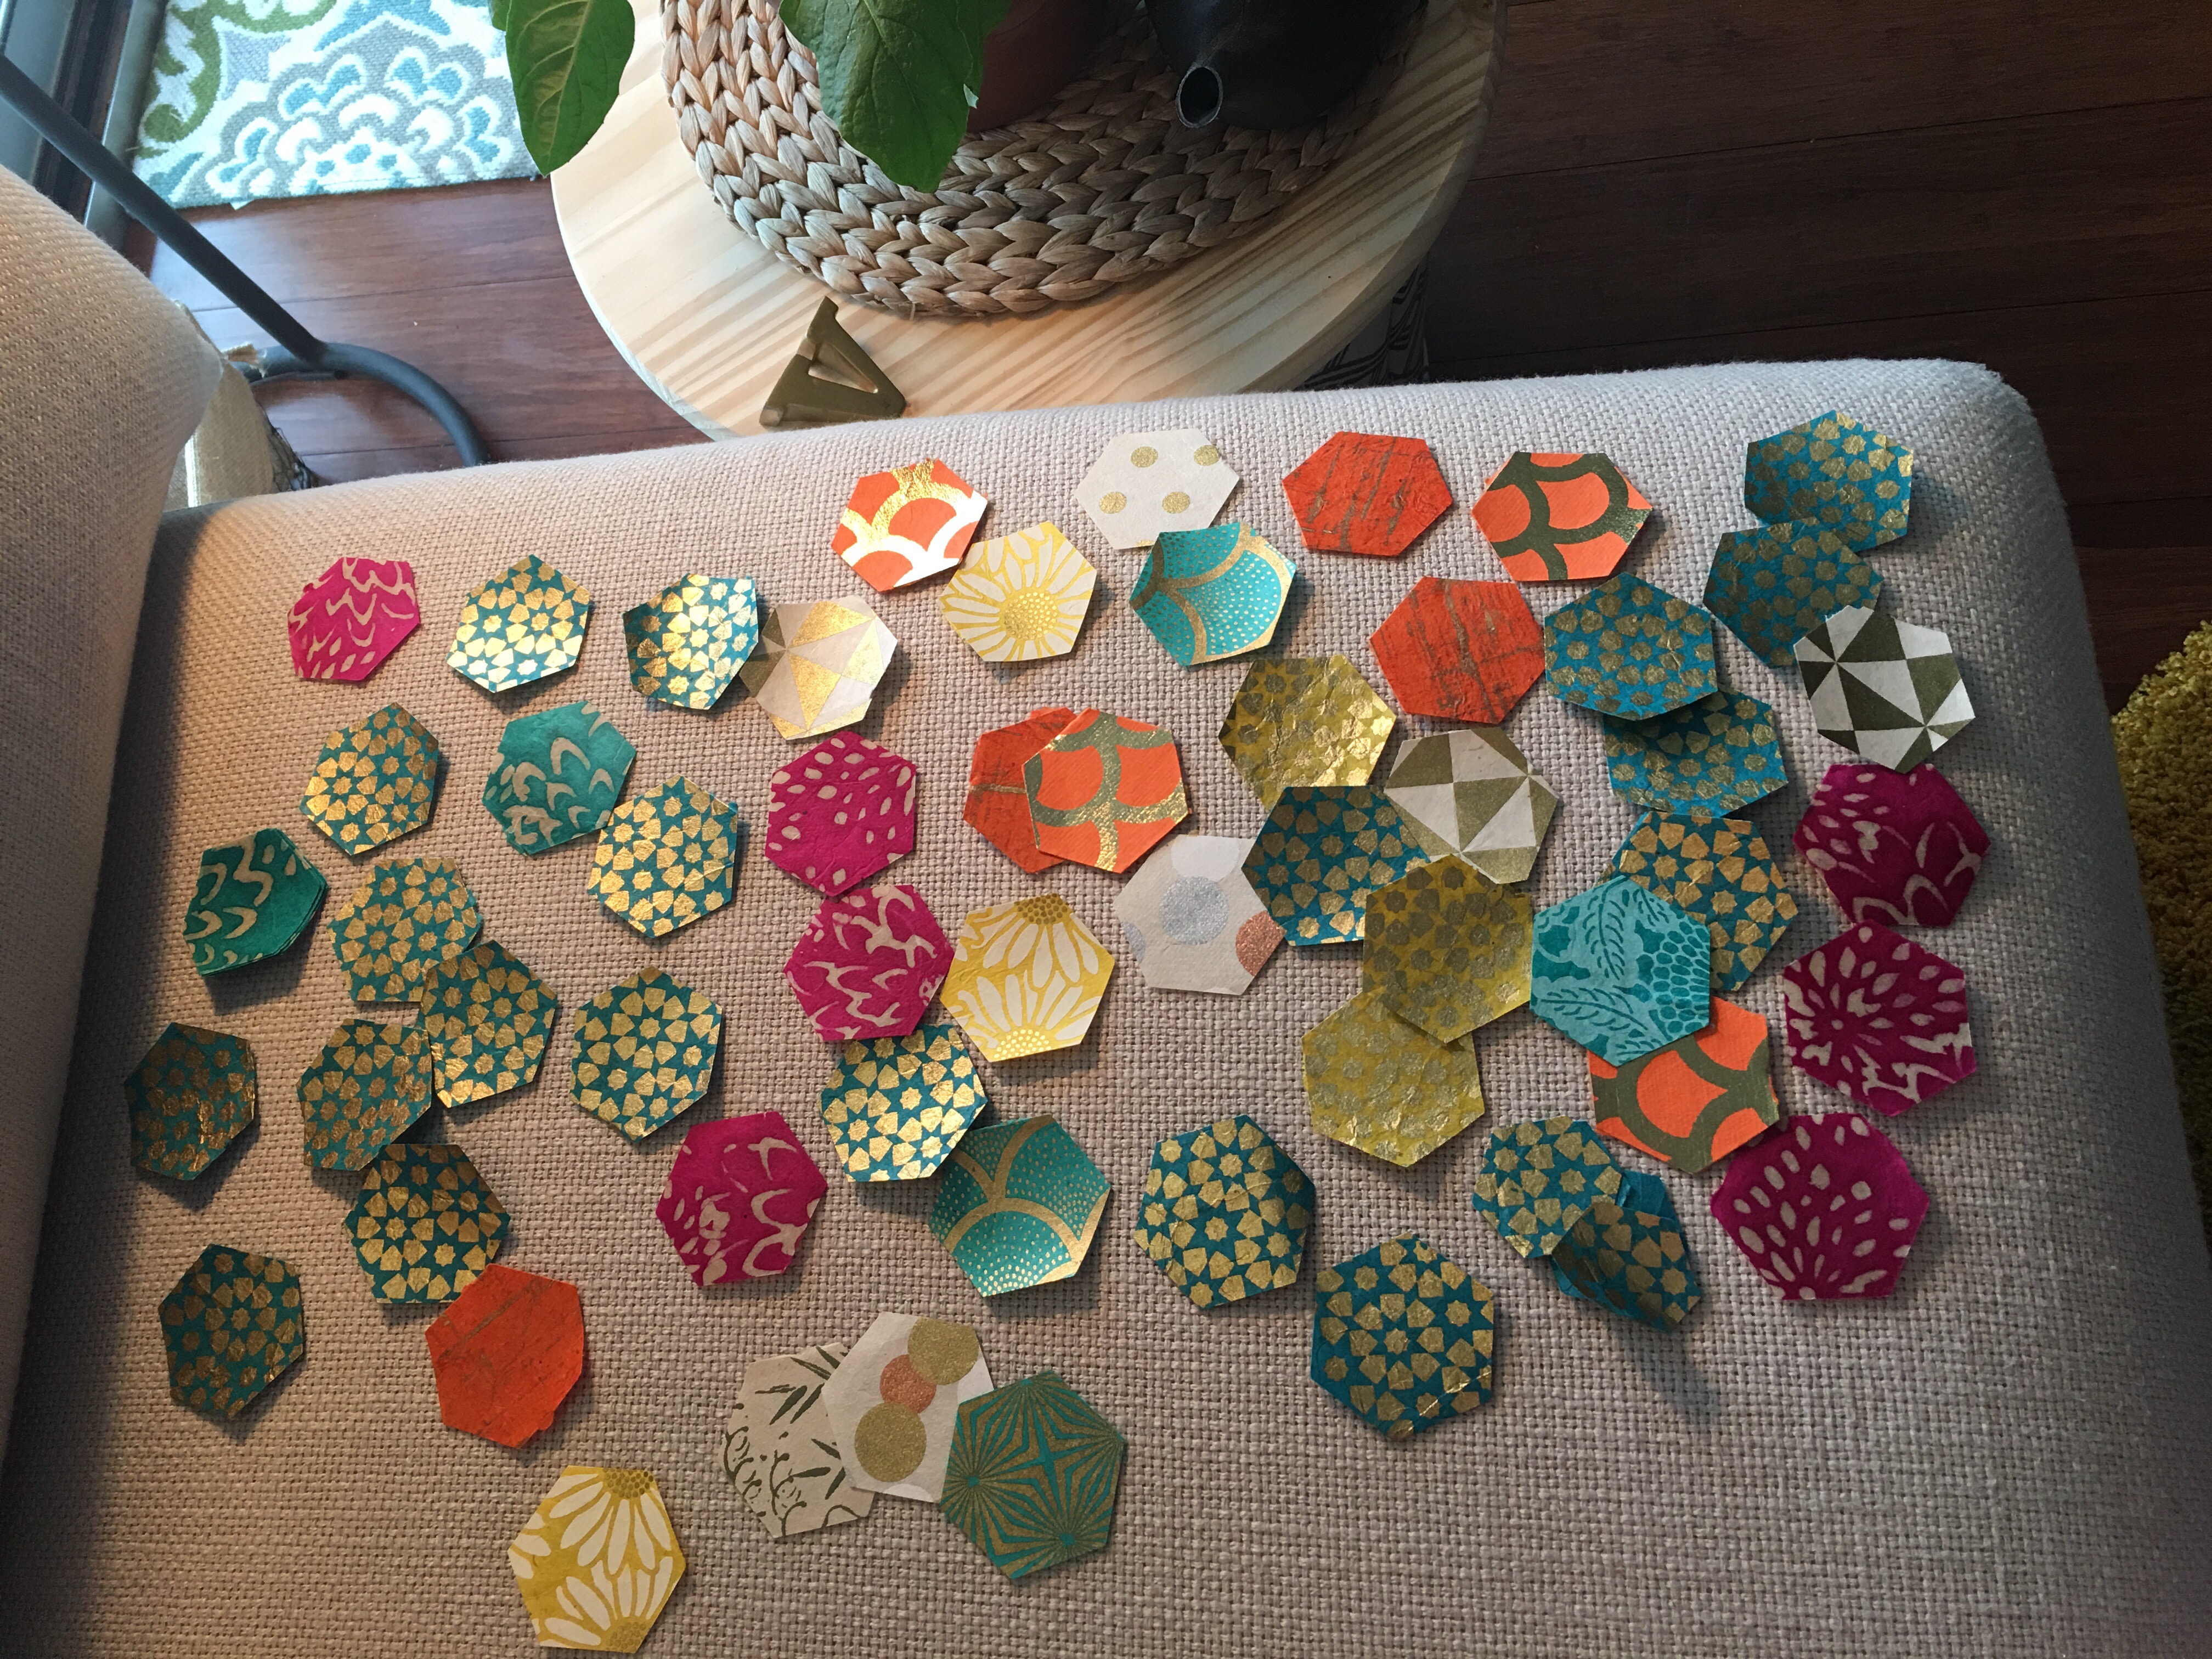
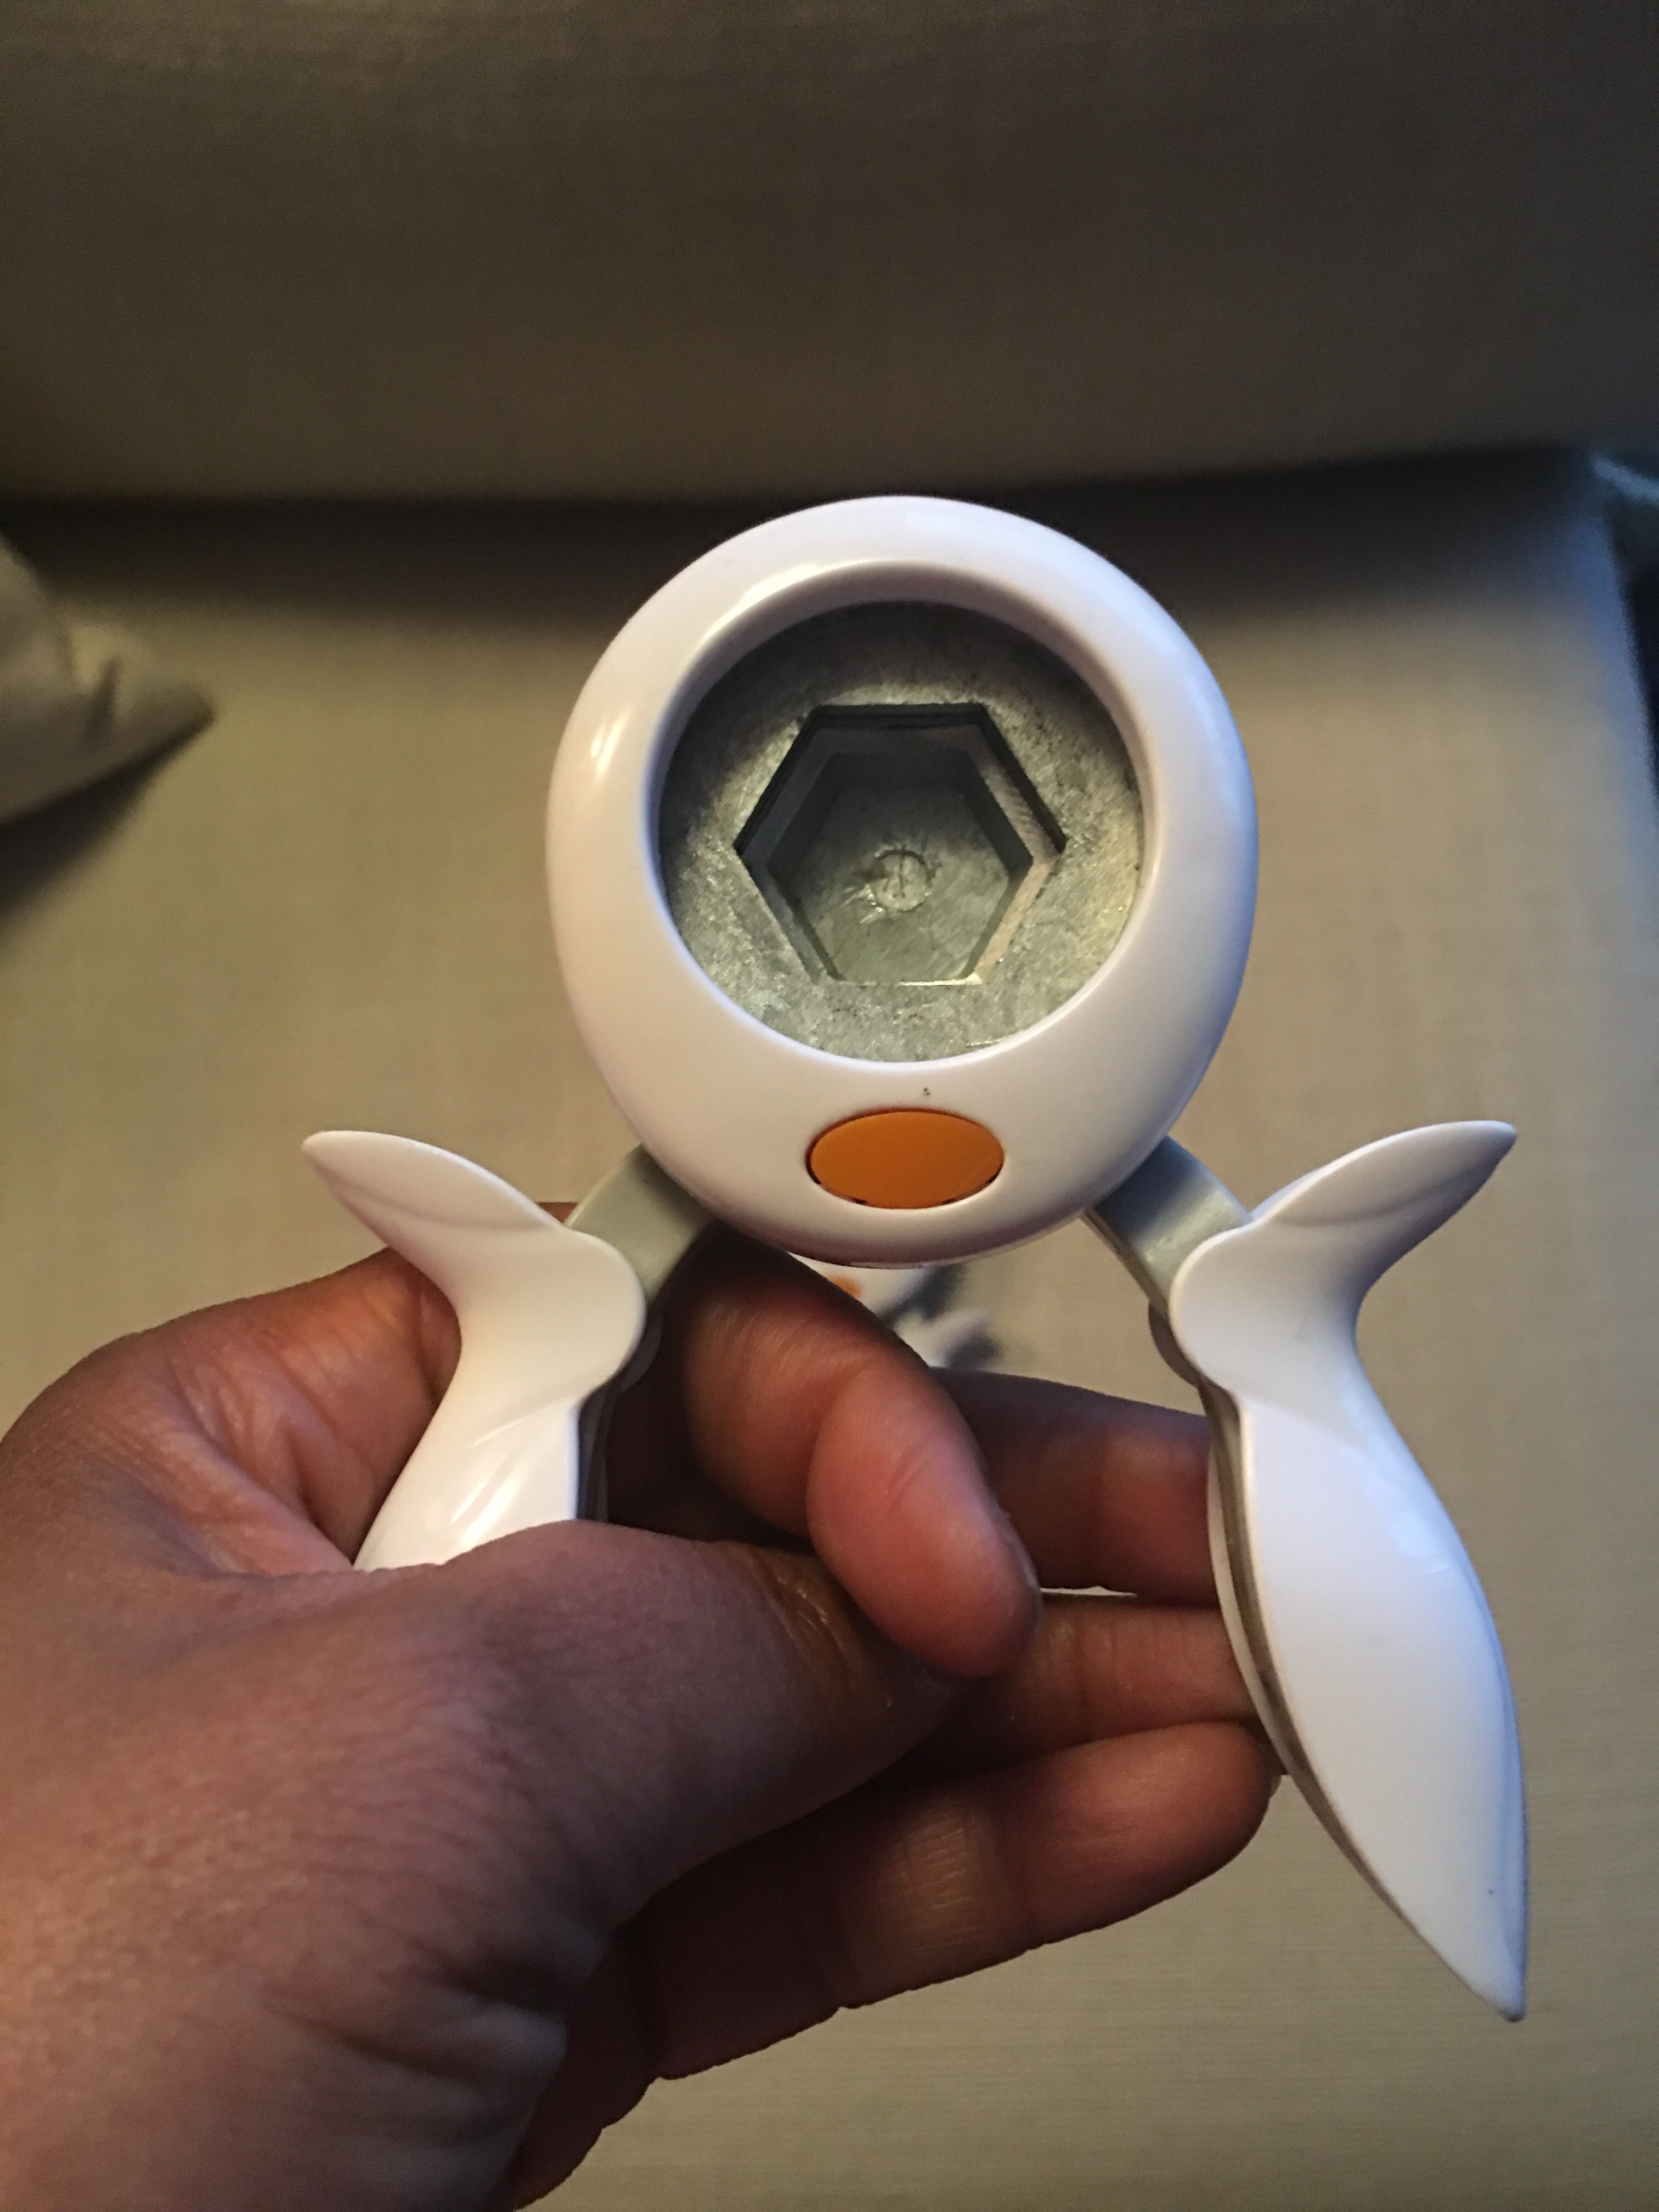
To make more hexagon punch-outs, I use Fiskars Extra-Large Hexagon Squeeze Punch.
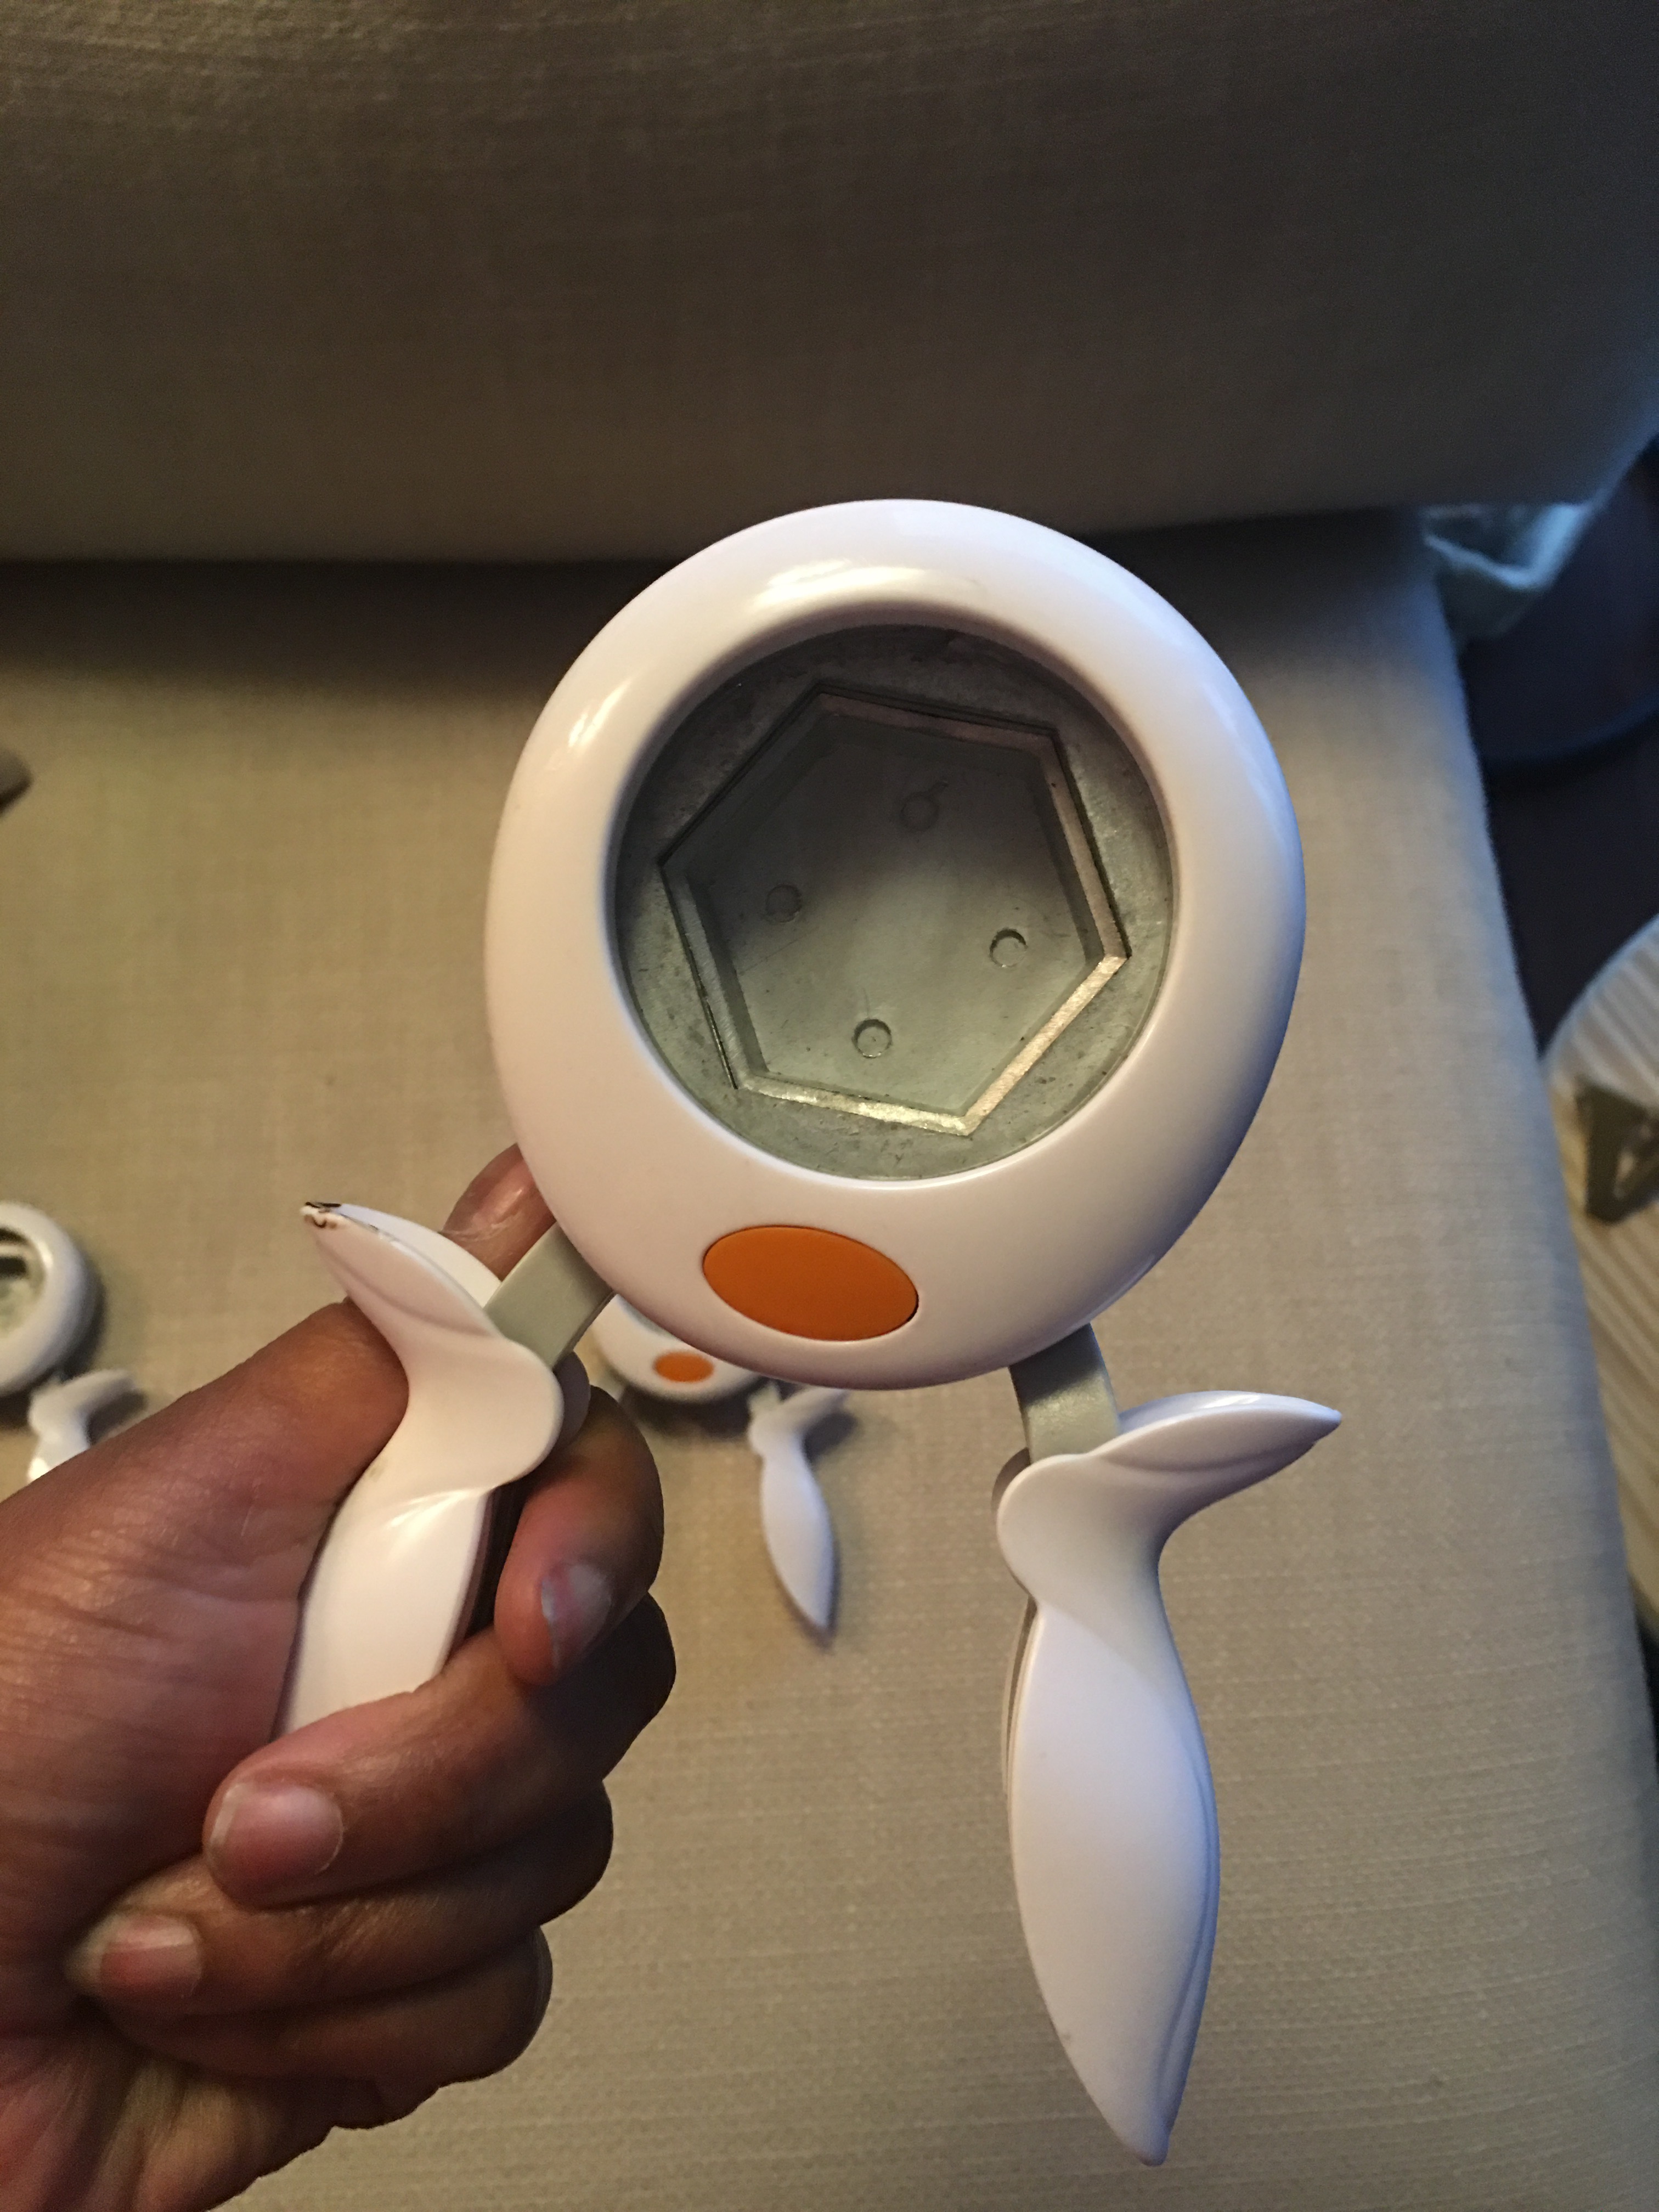
I first tried tracing and cutting out these shapes by hand. But using the punch allows me to quickly make these shapes with precision.
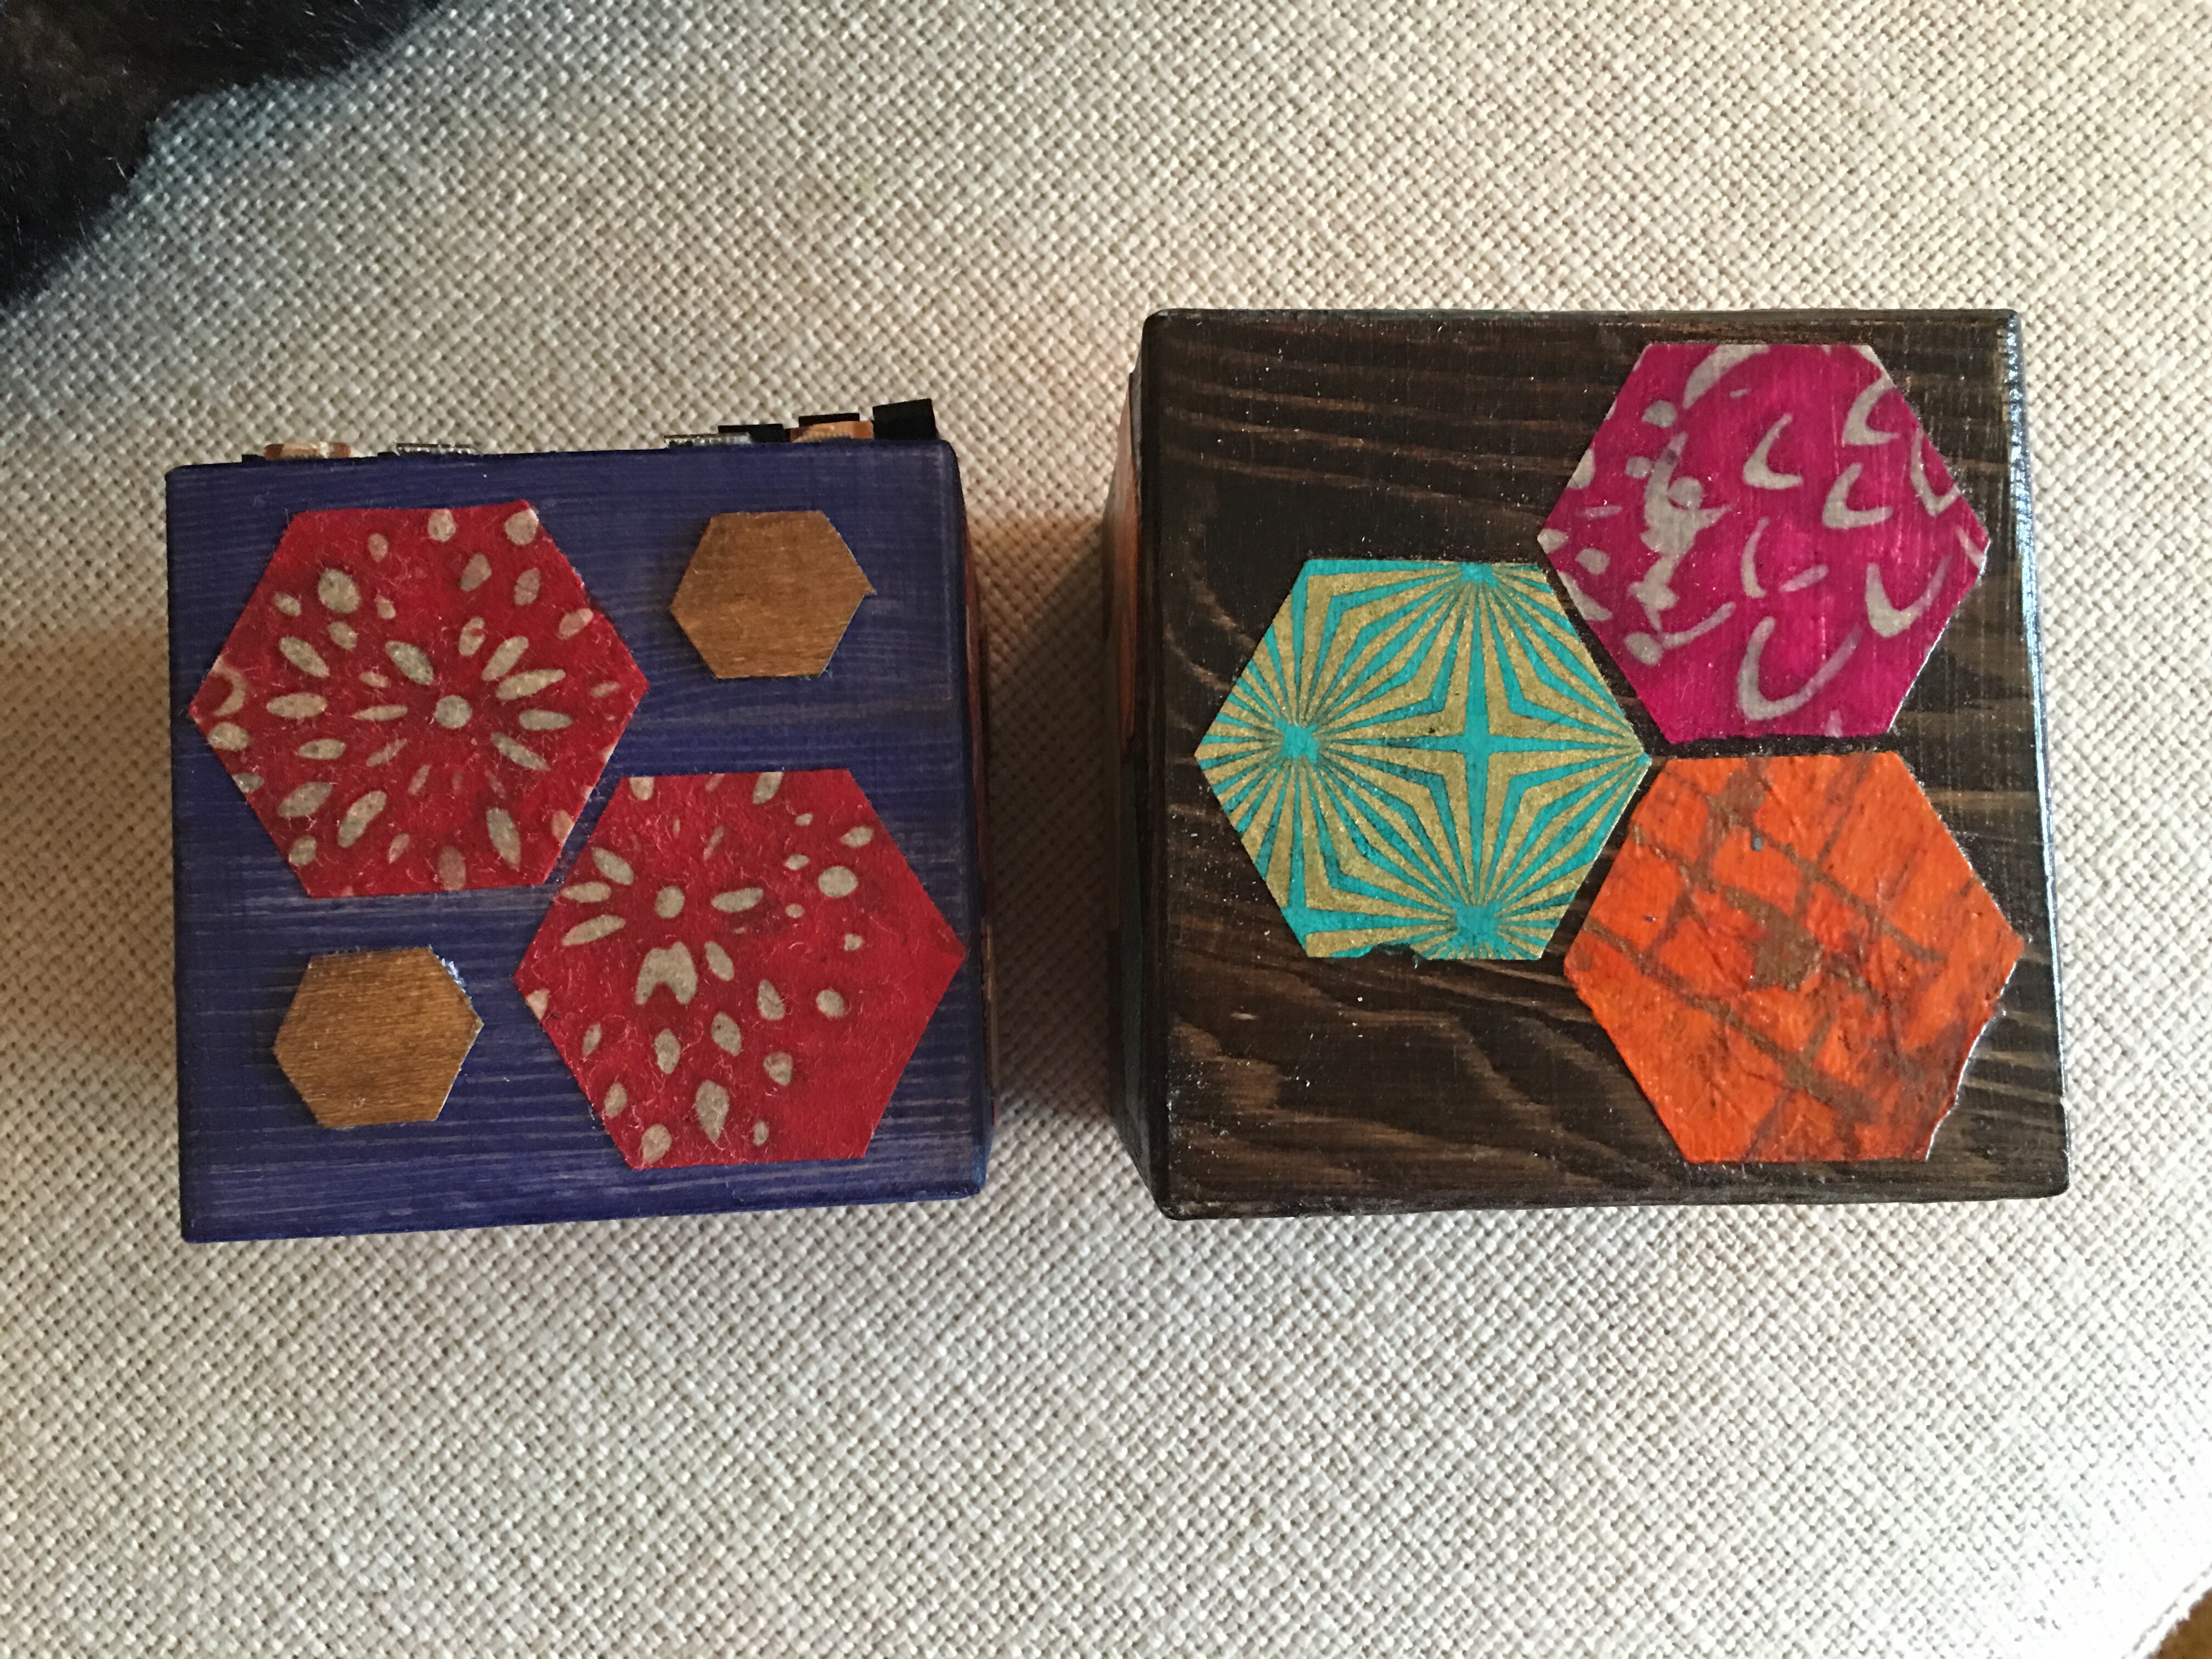
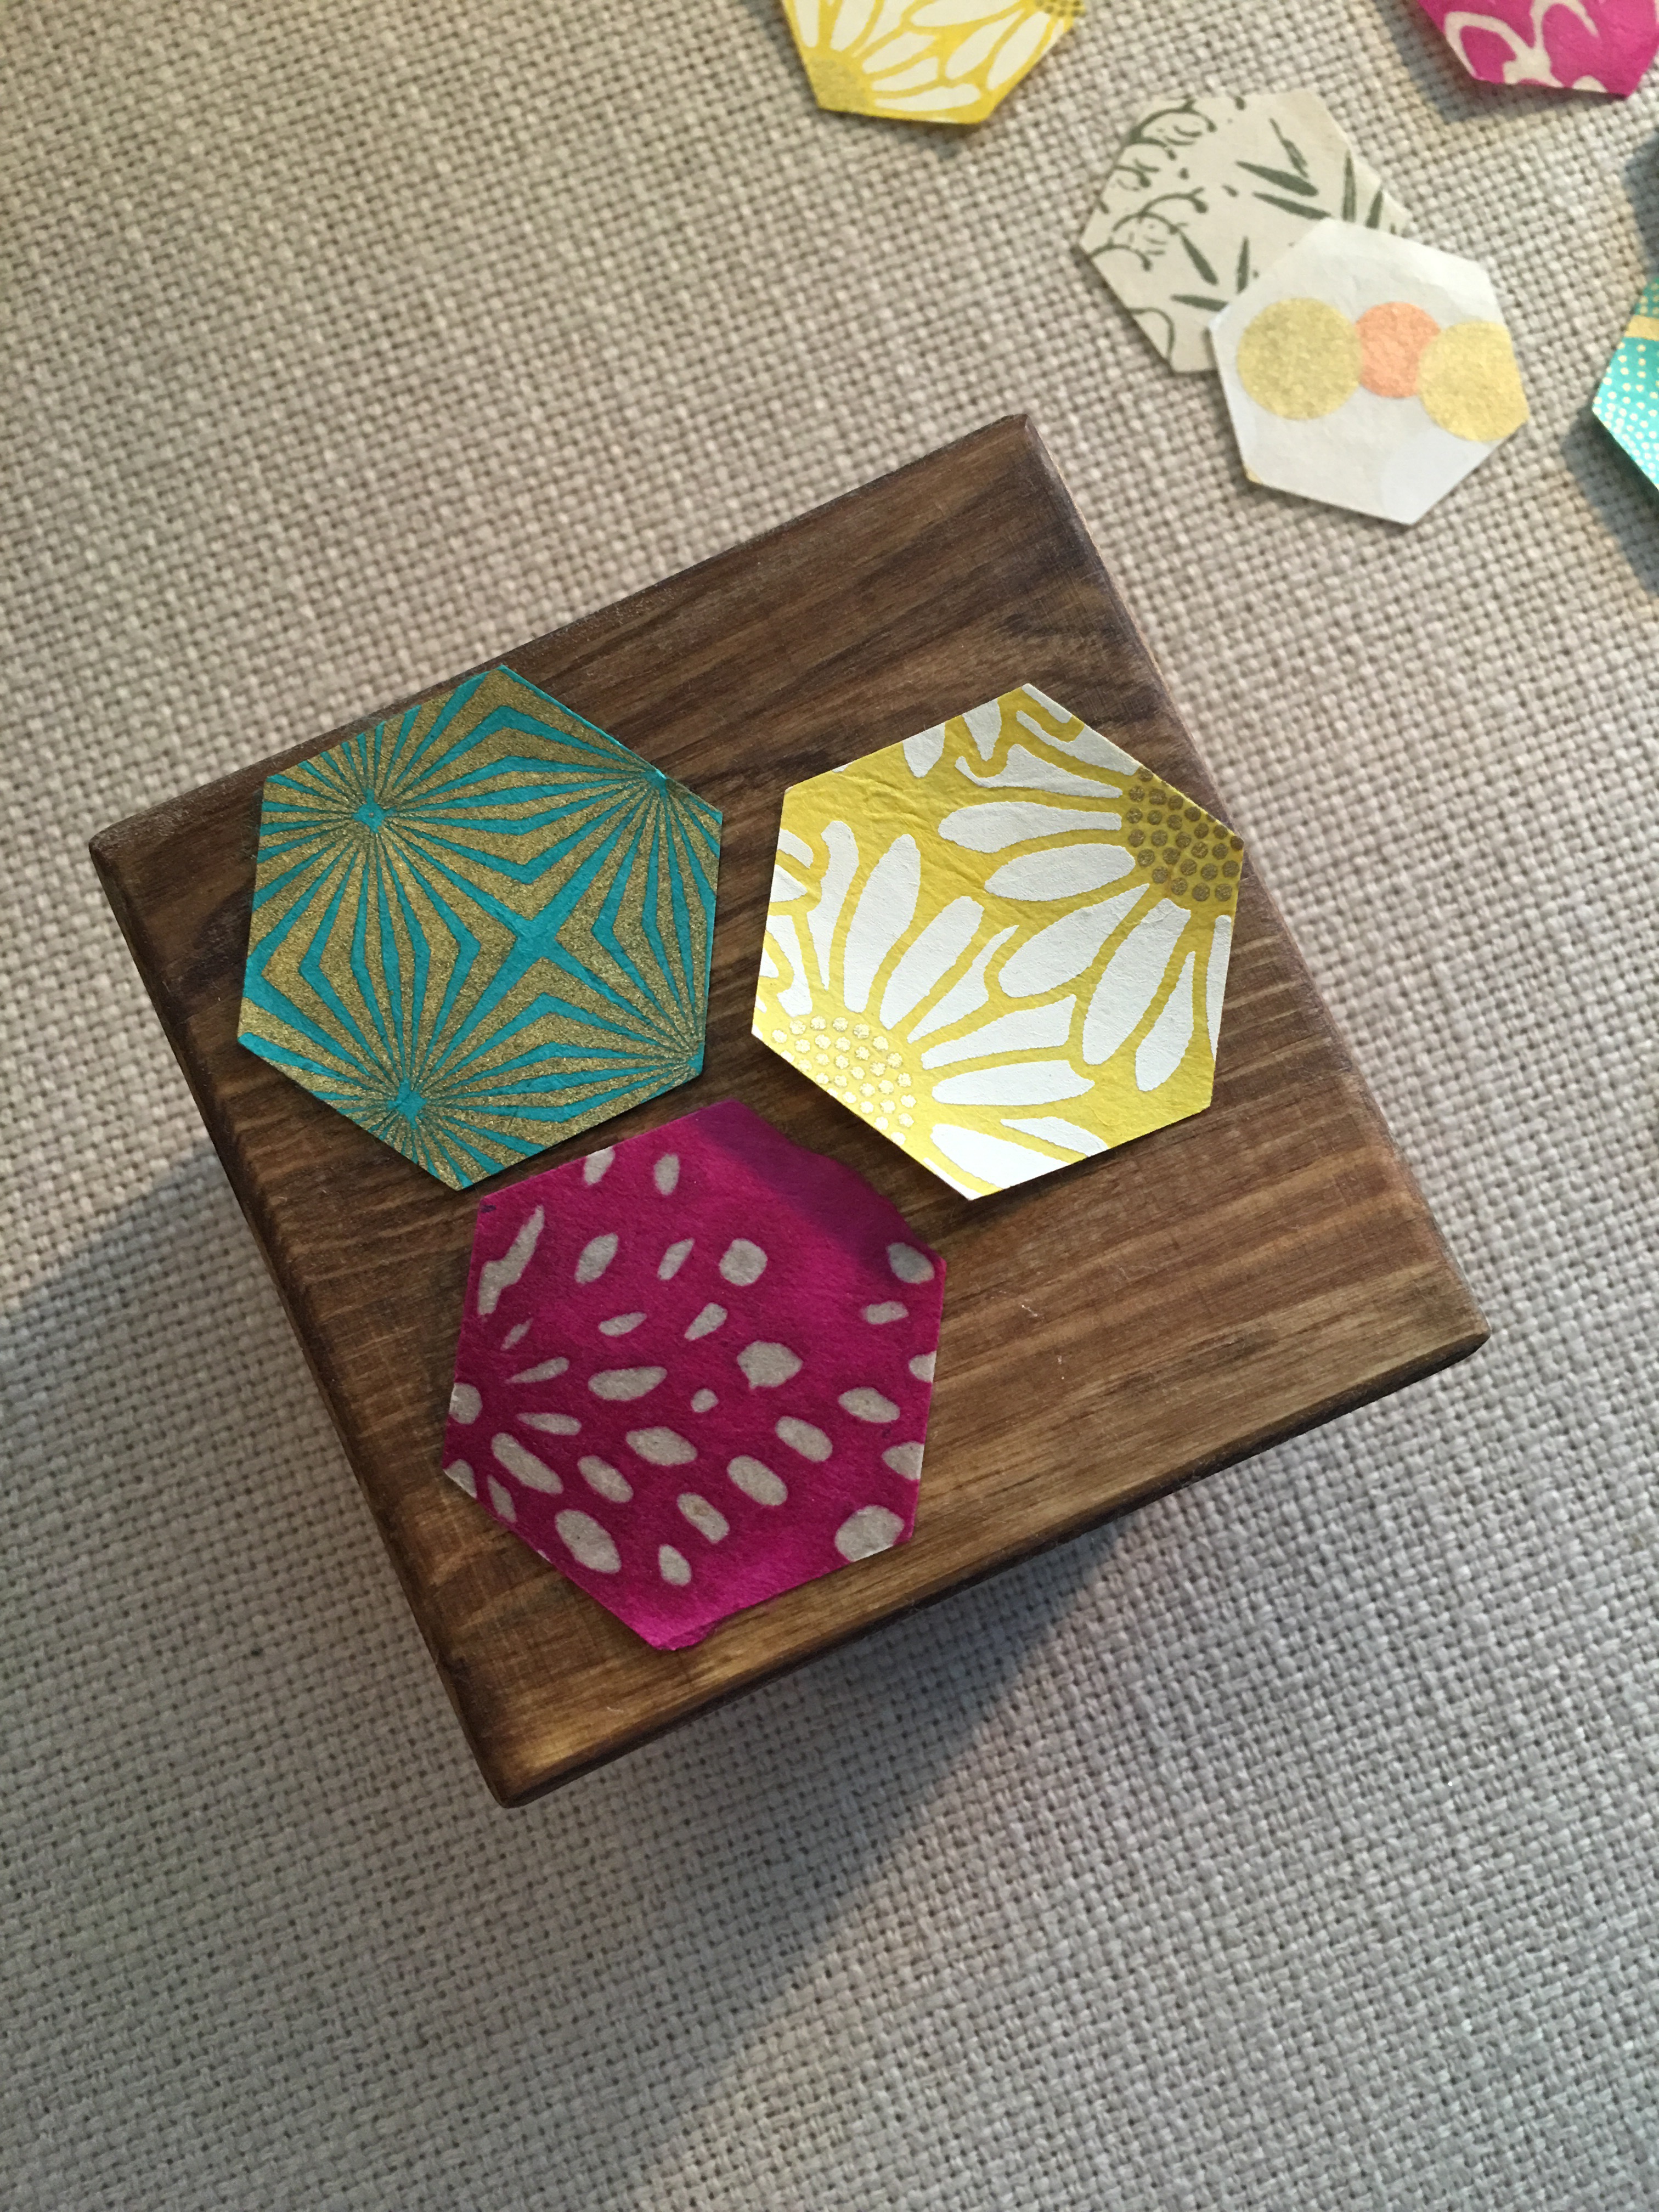
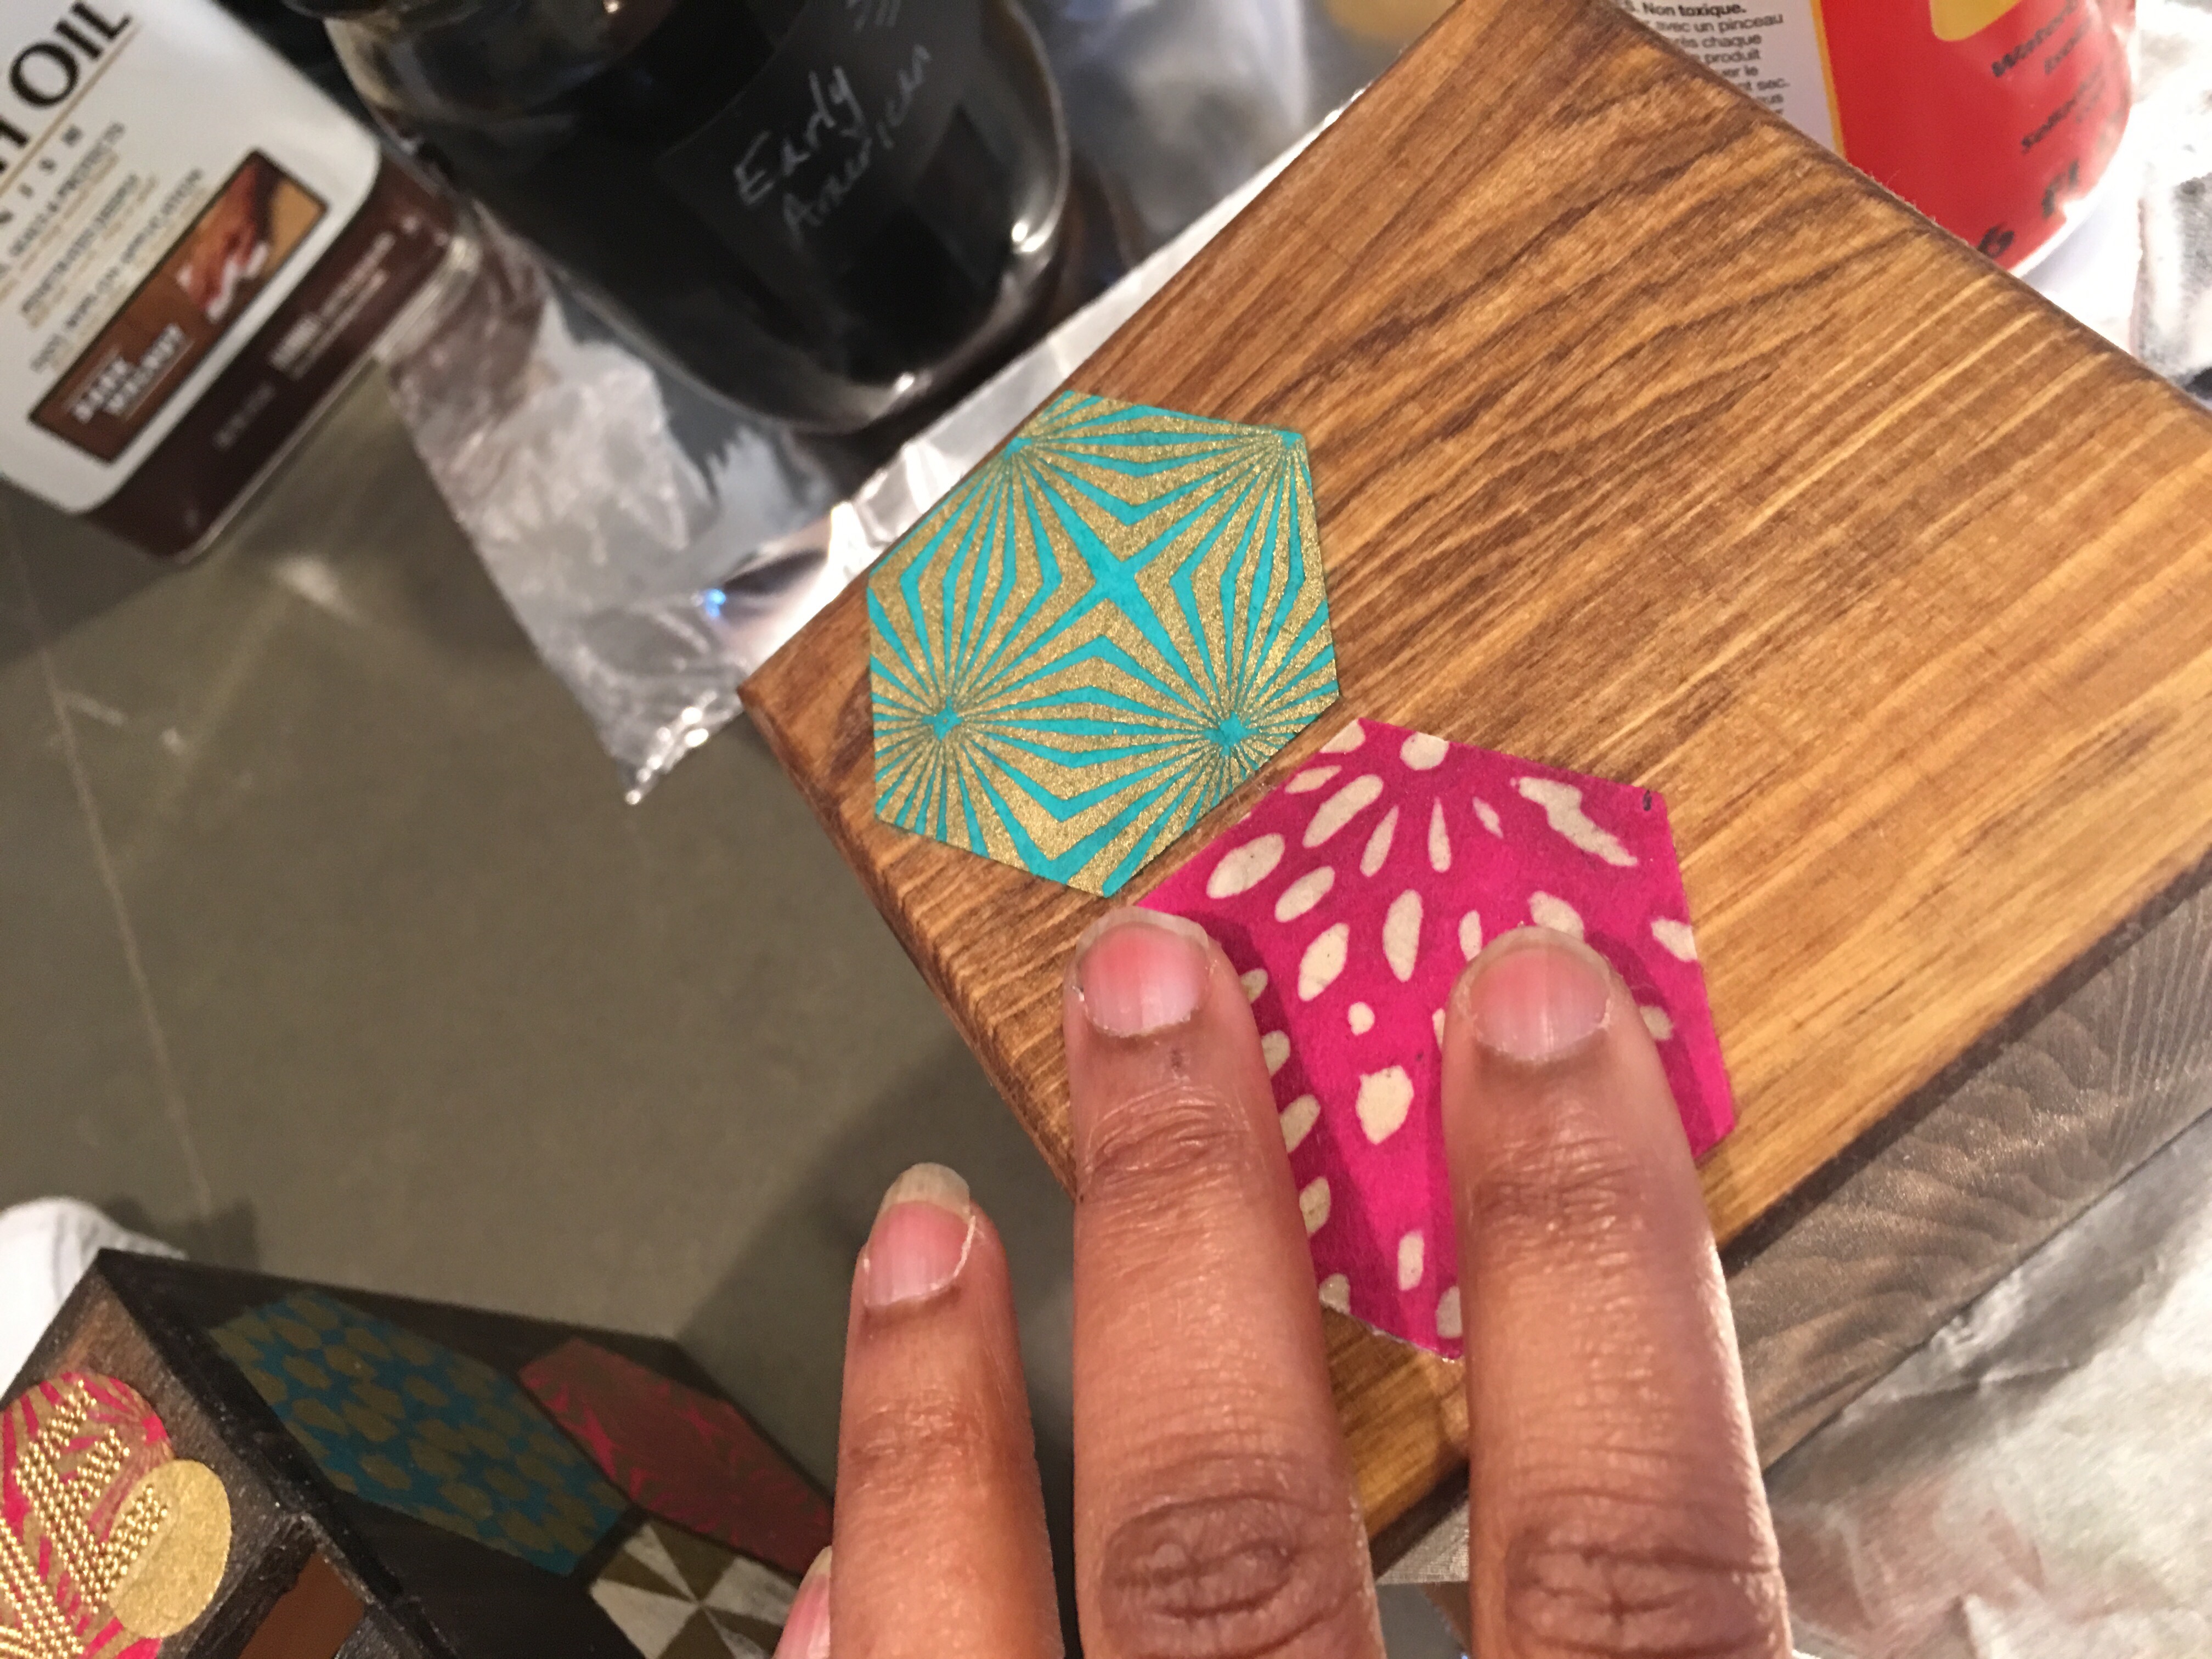
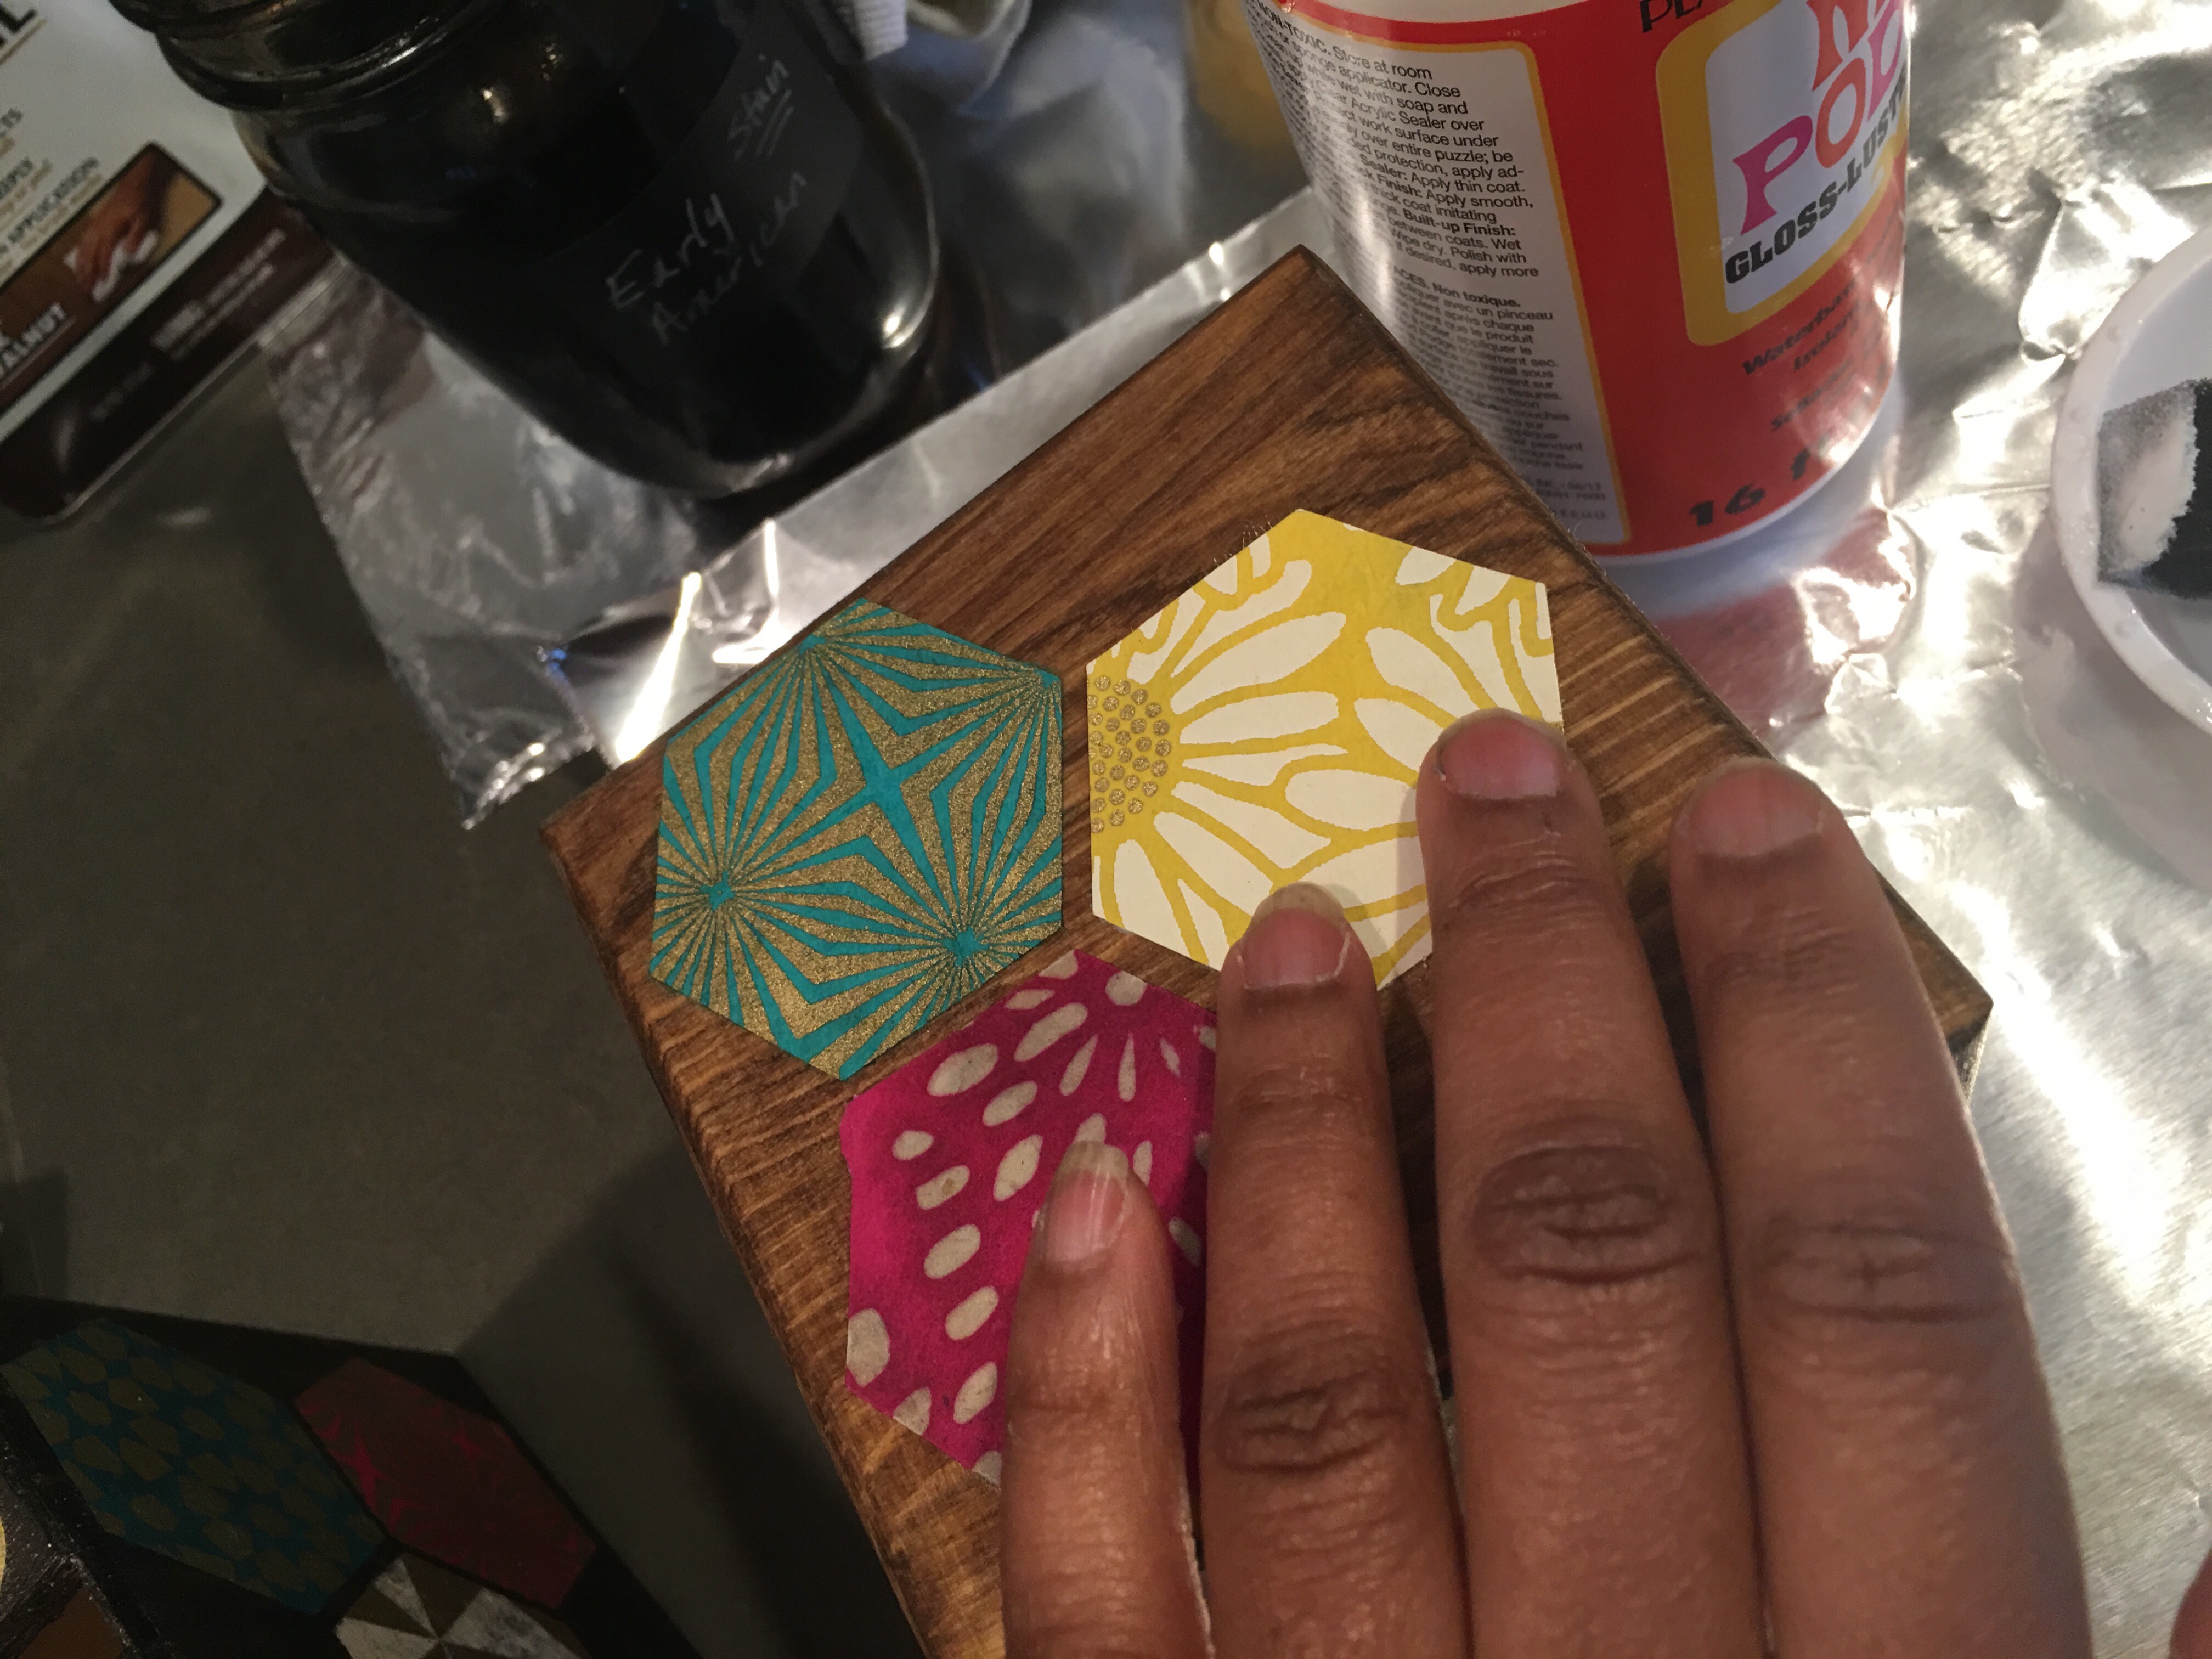
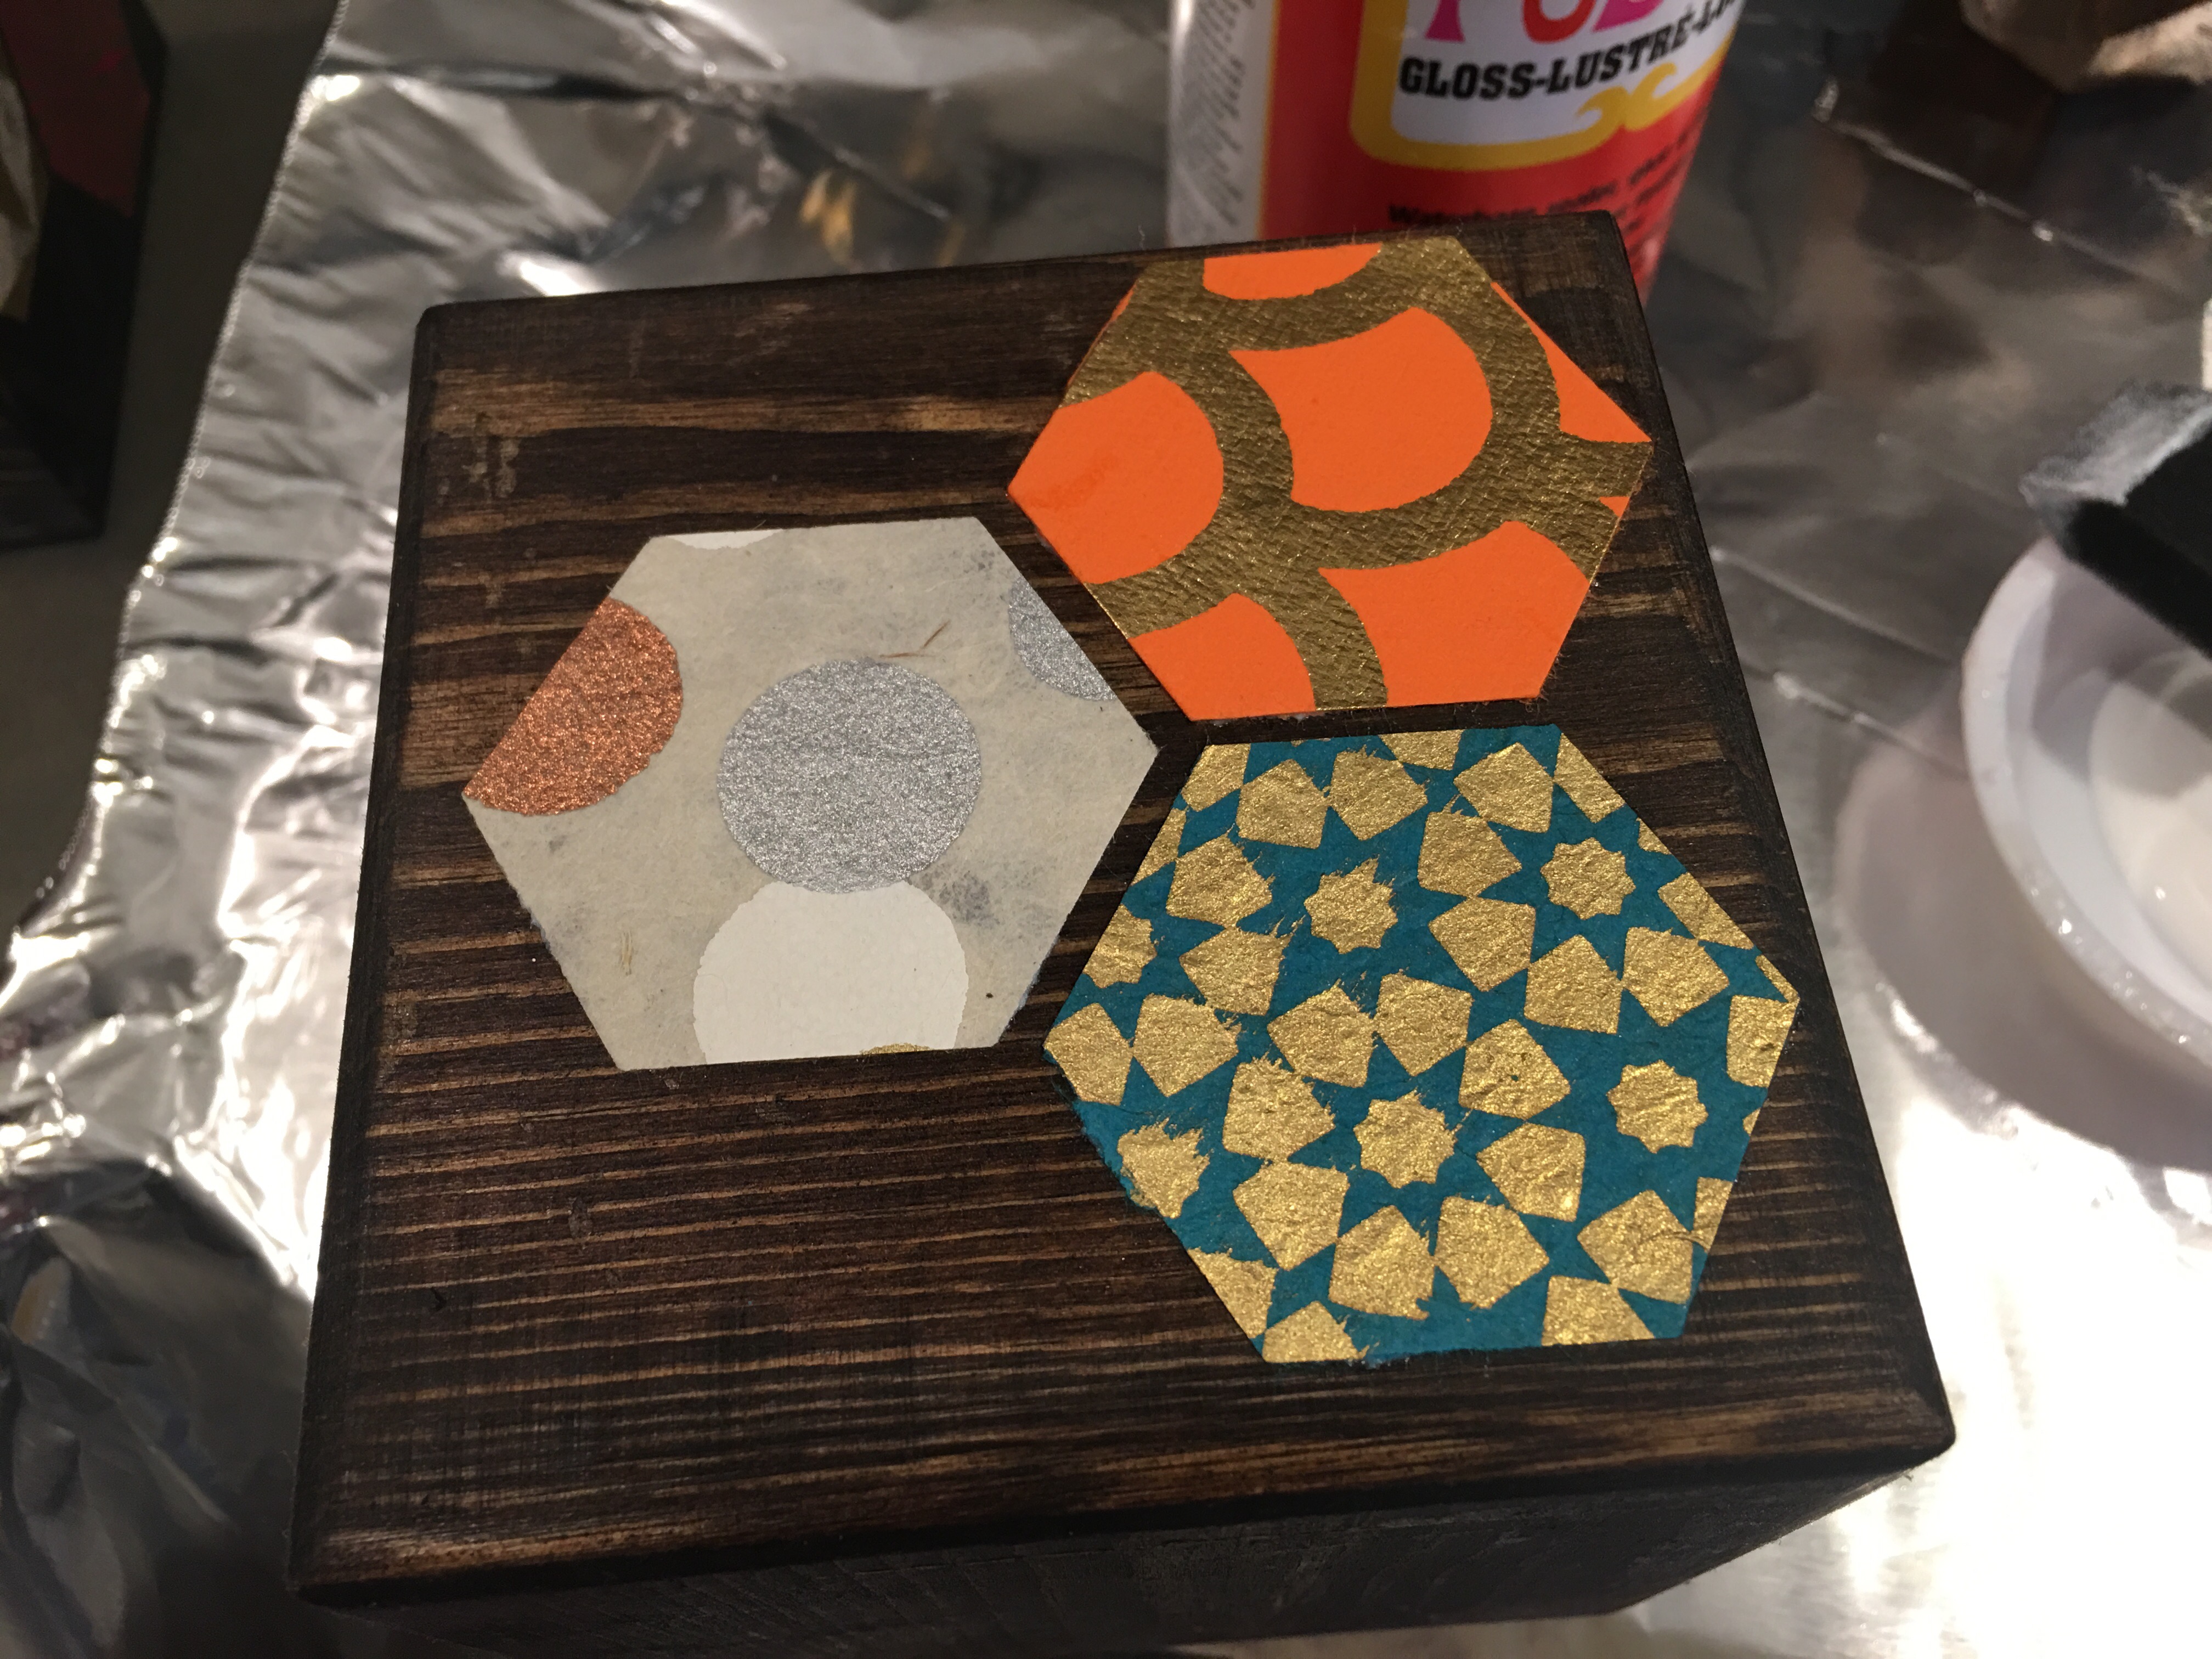
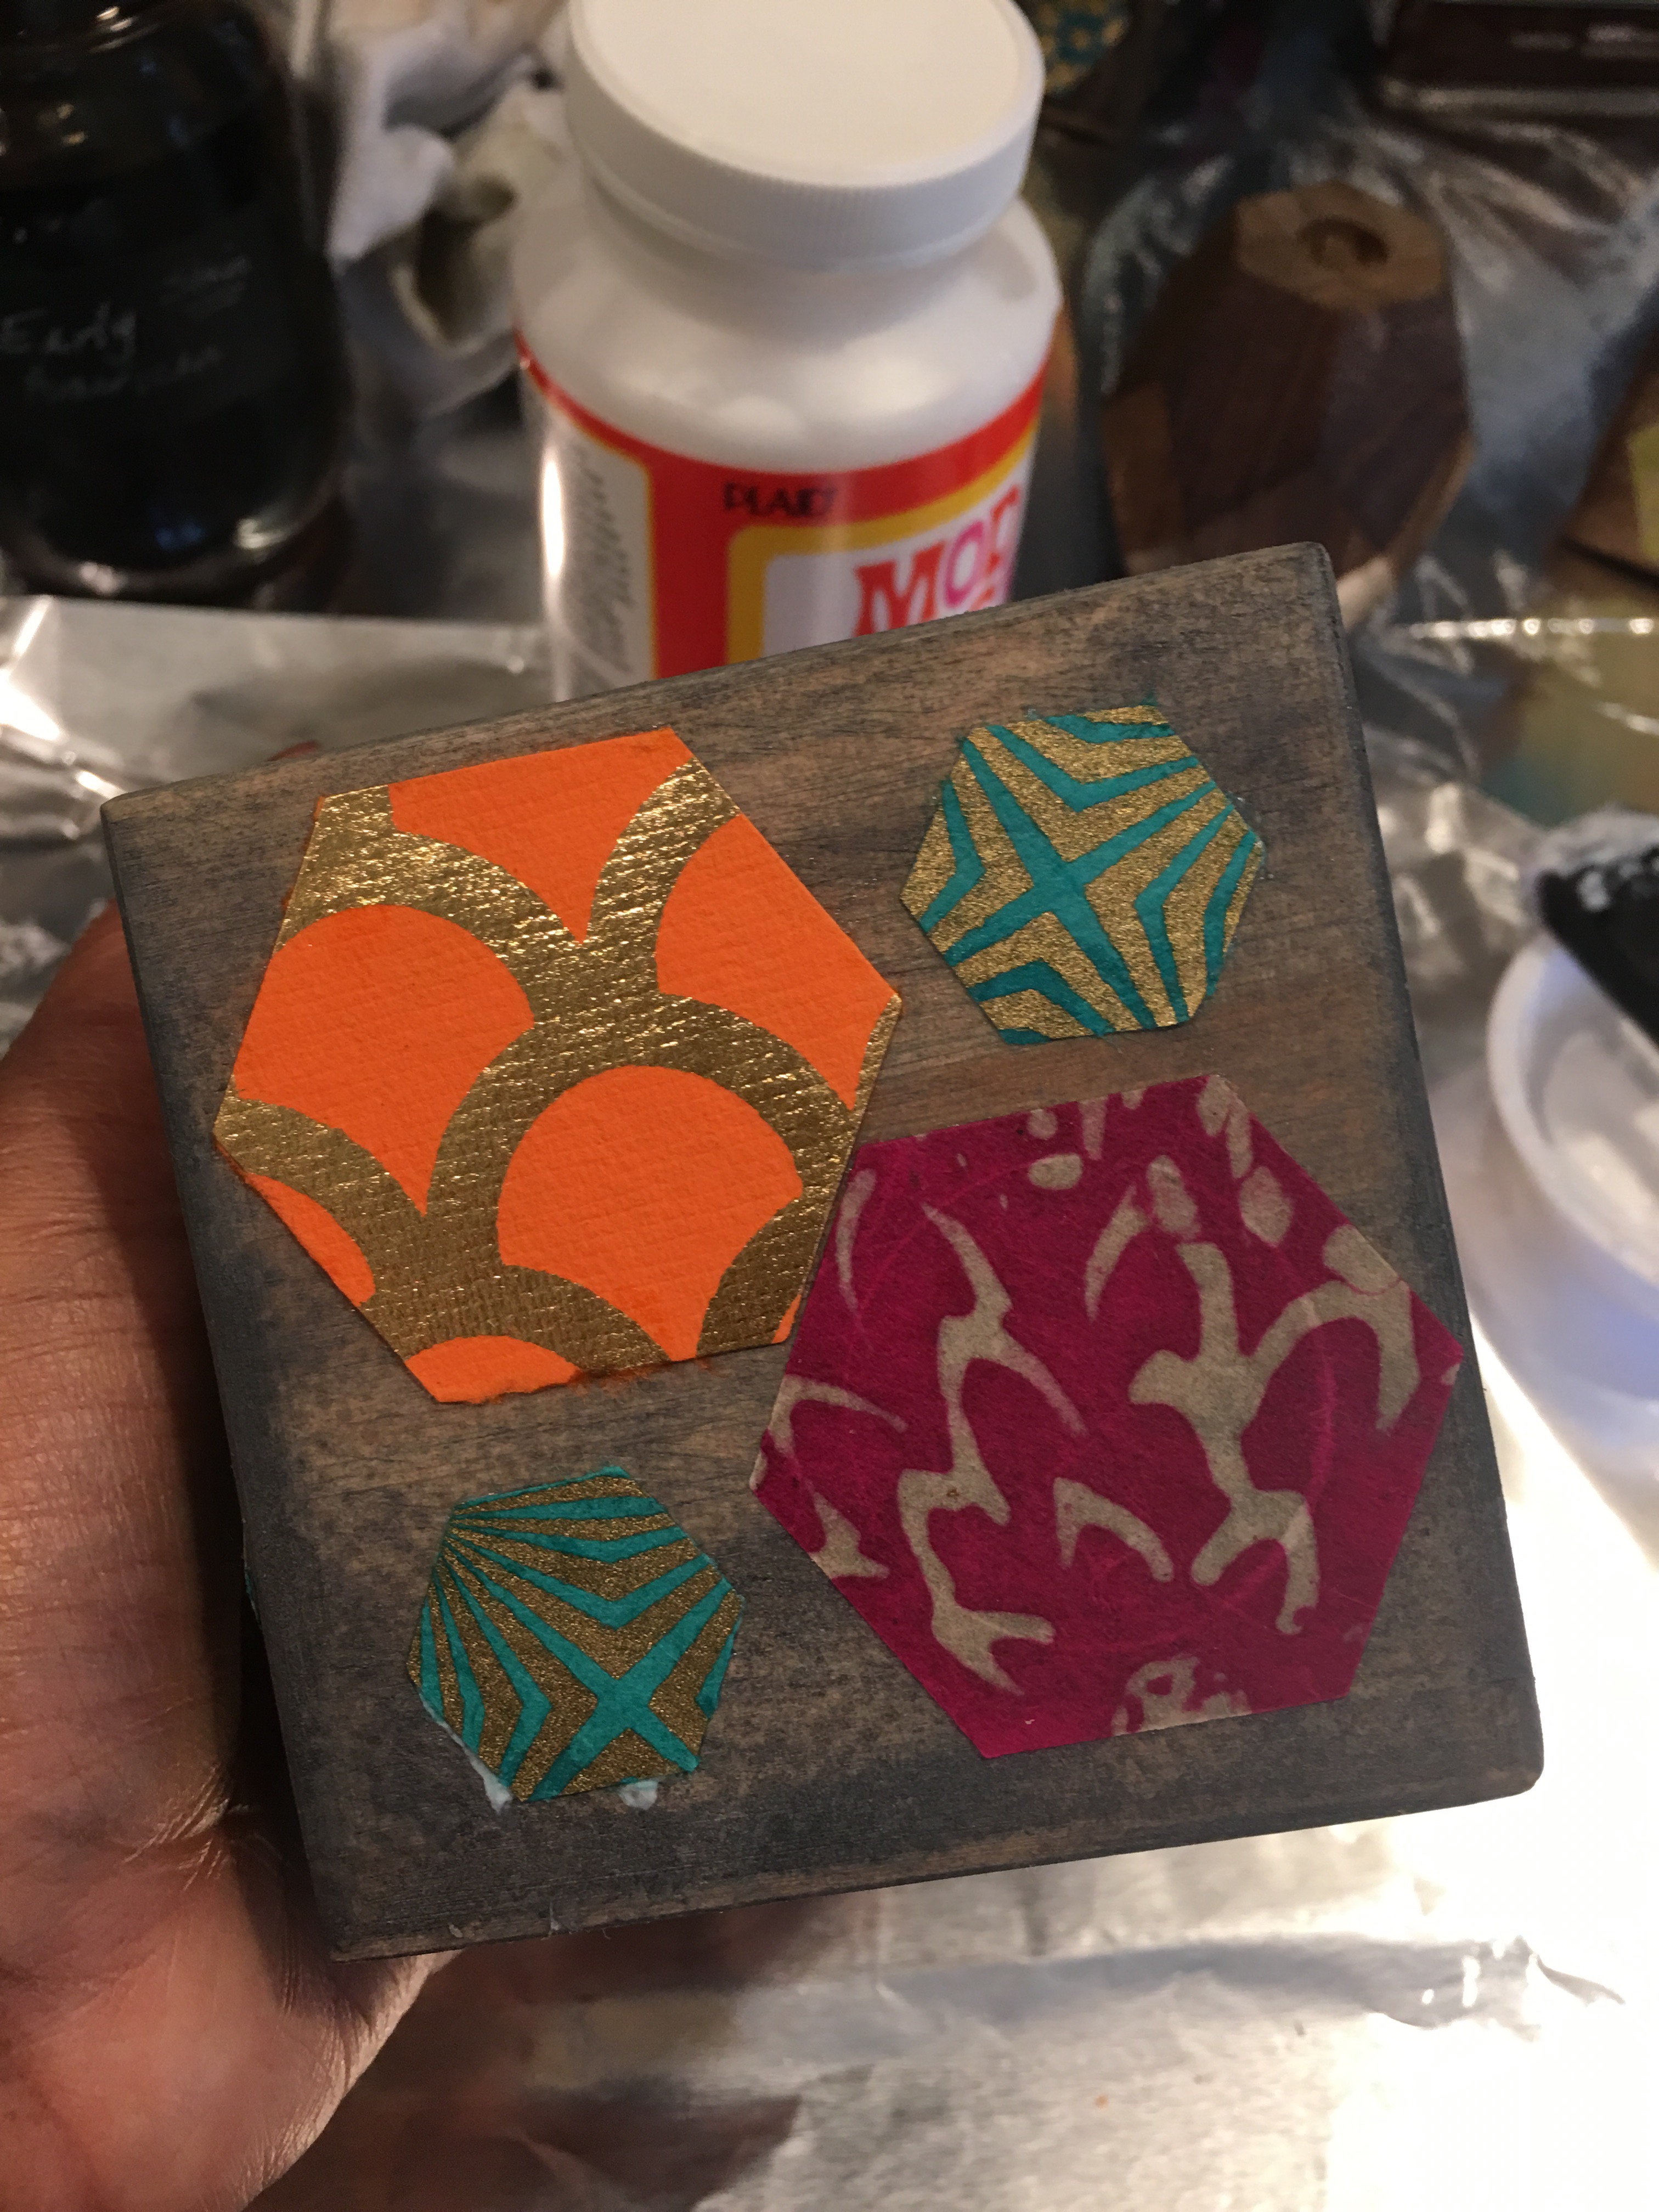
I select three hexagon shapes in different colors and patterns for each side of my wood cube.
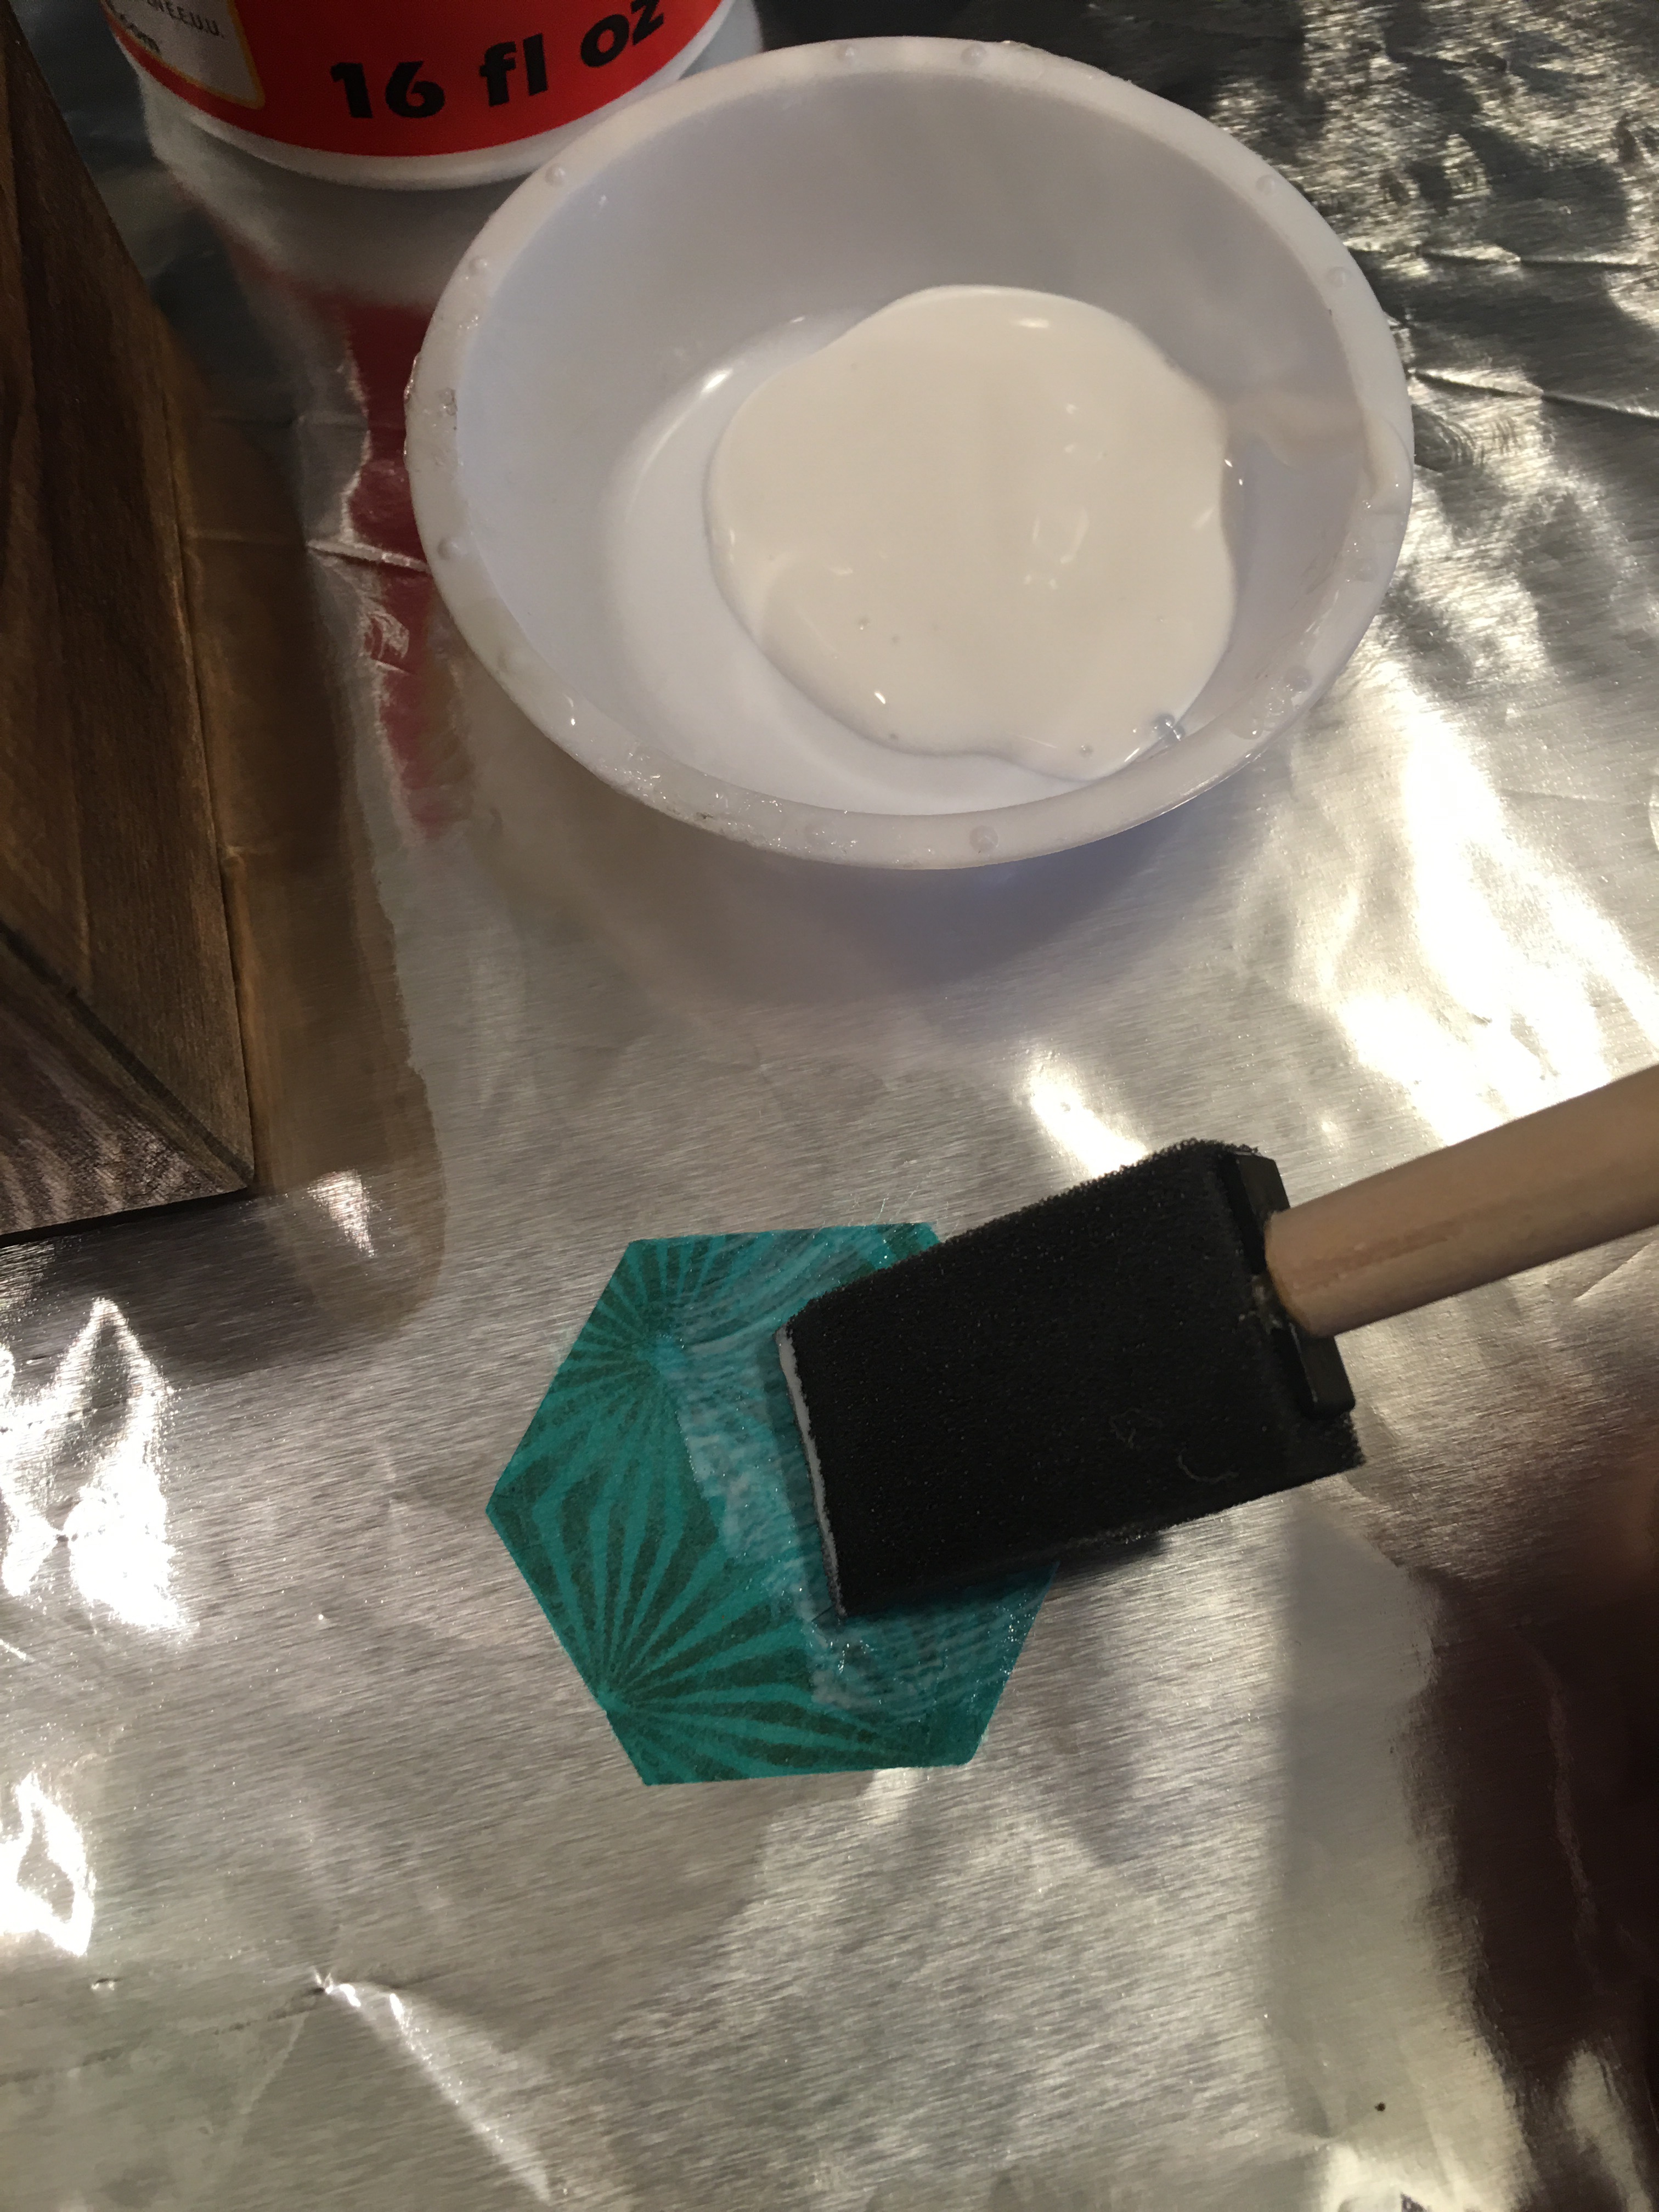
To add the paper to the cube, I use Mod Podge decoupaging glue and finish.
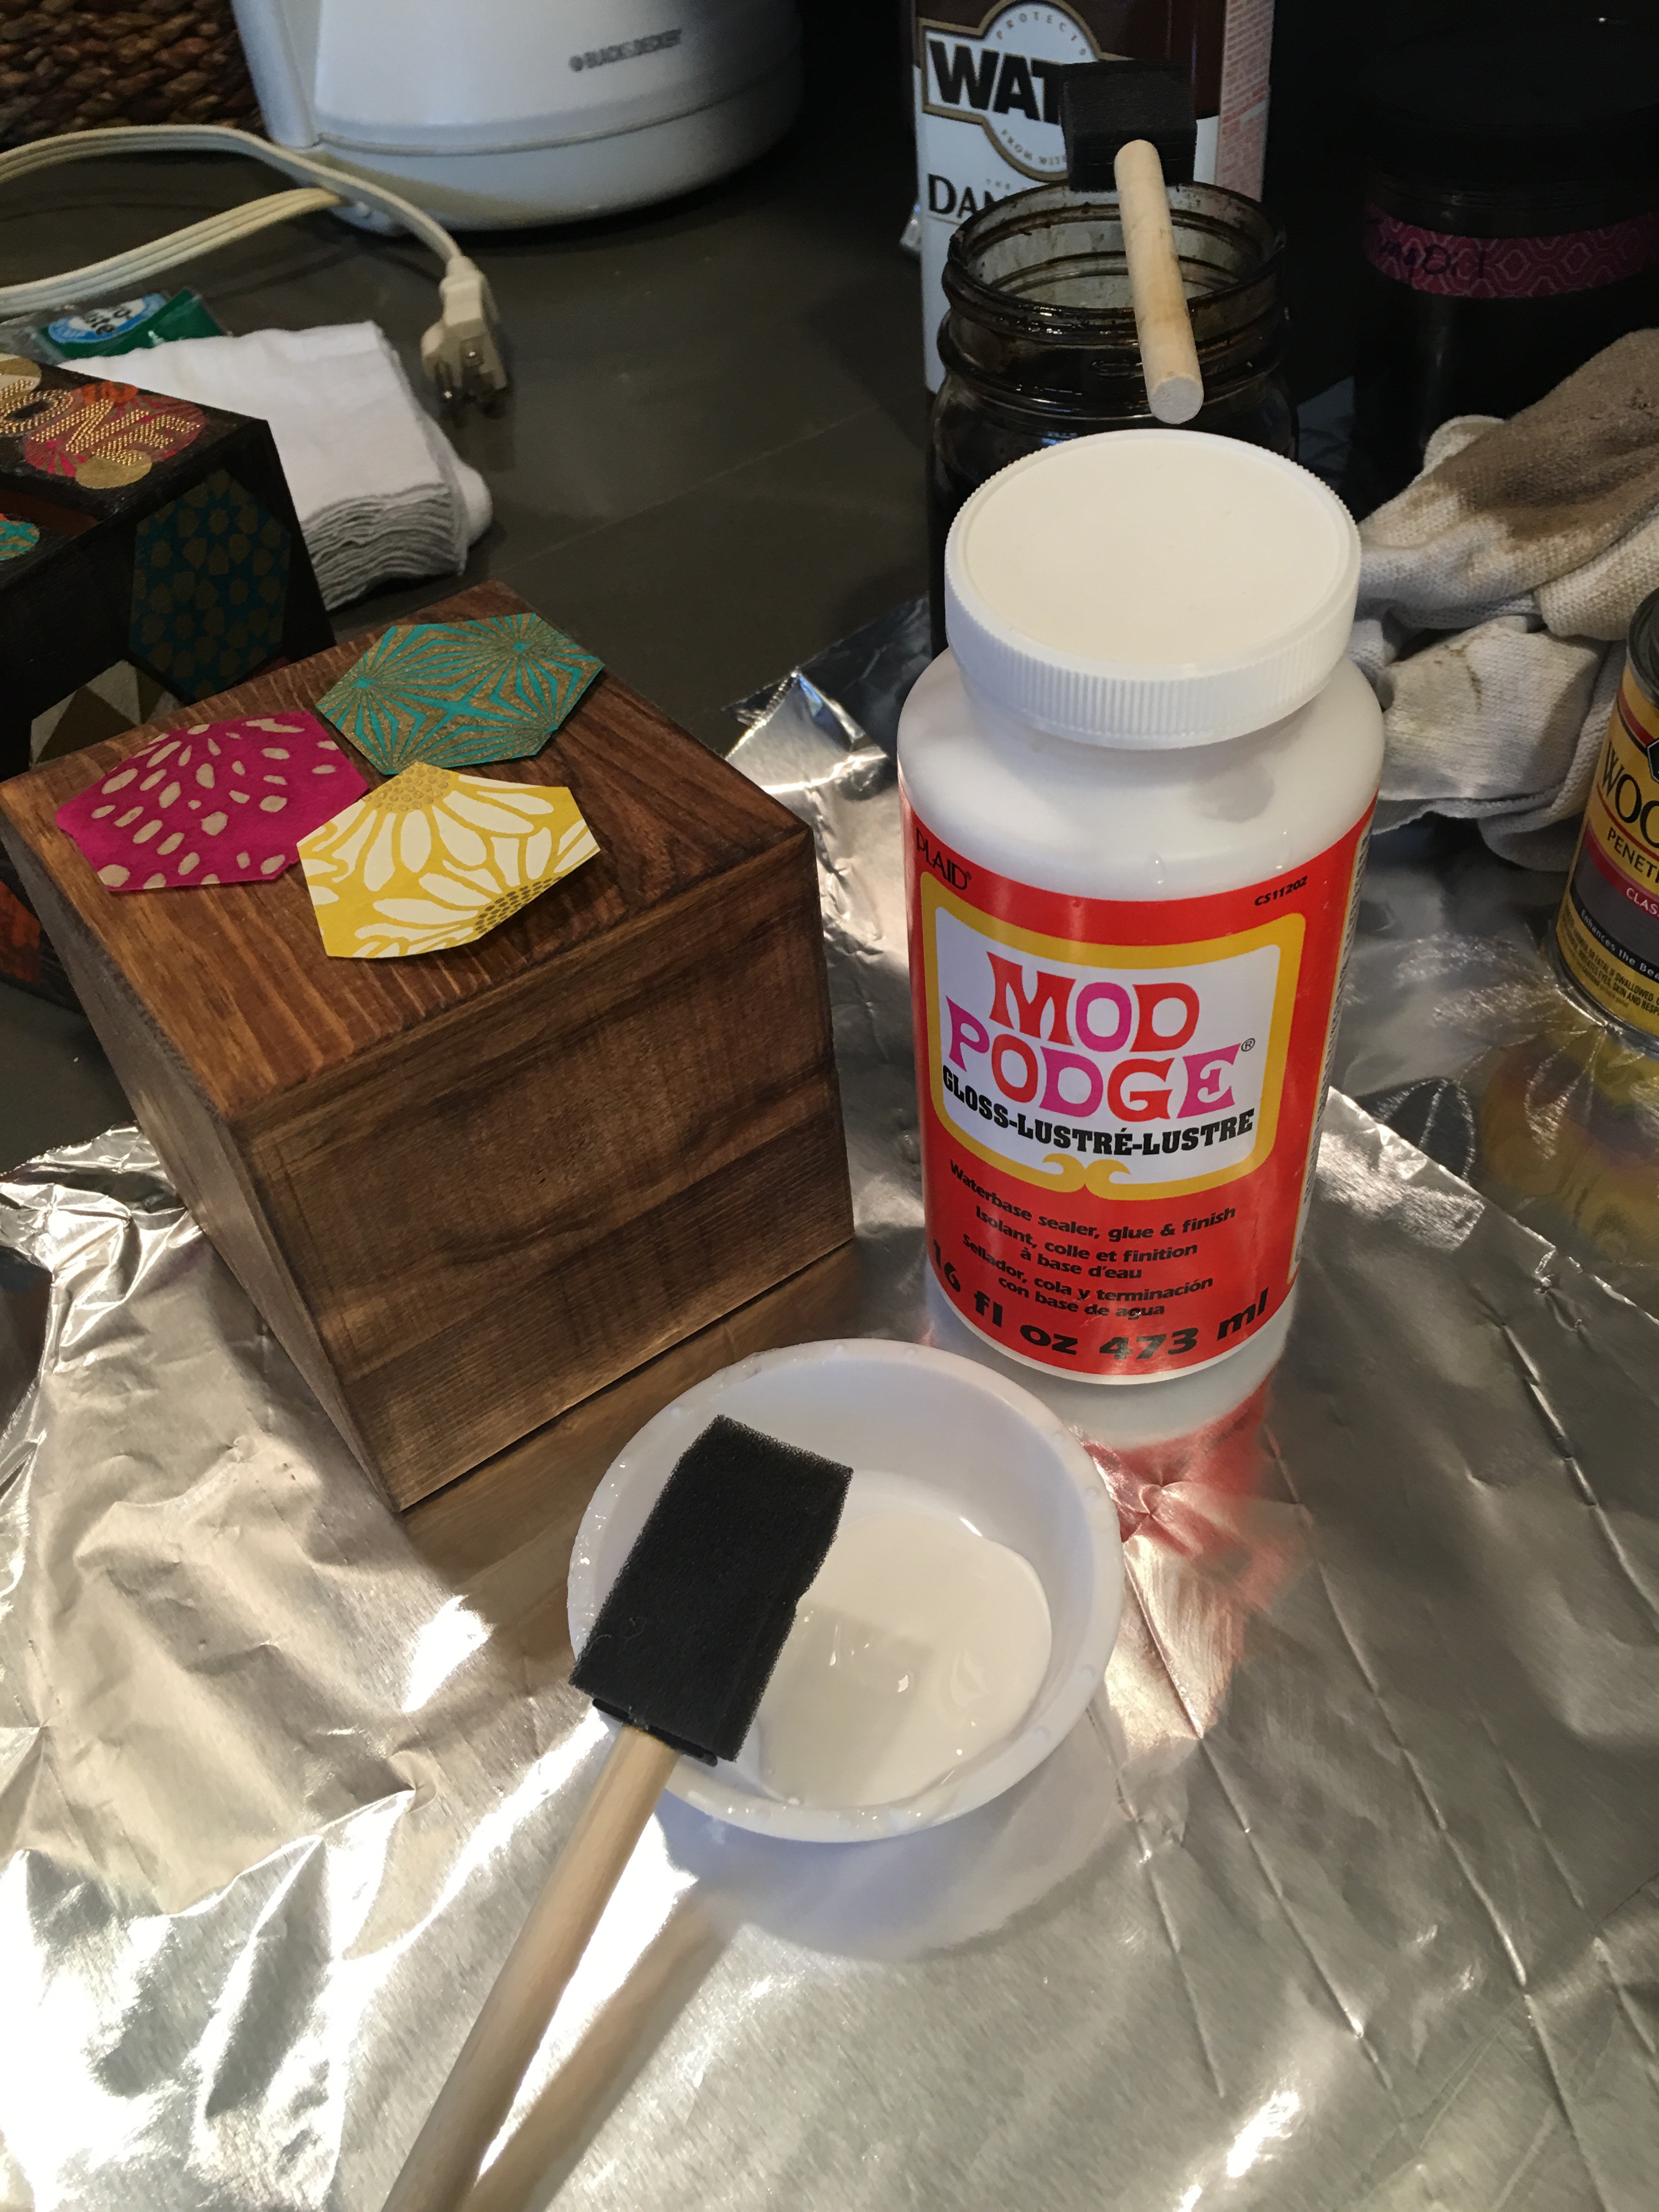
For this type of project I lightly apply Mod Podge to the back of each paper shape. This way, when the paper dries, excess glue won’t seeps through and change the color of the paper. This is especially important if the paper used is delicate, light-weight, and/or lighter in color.
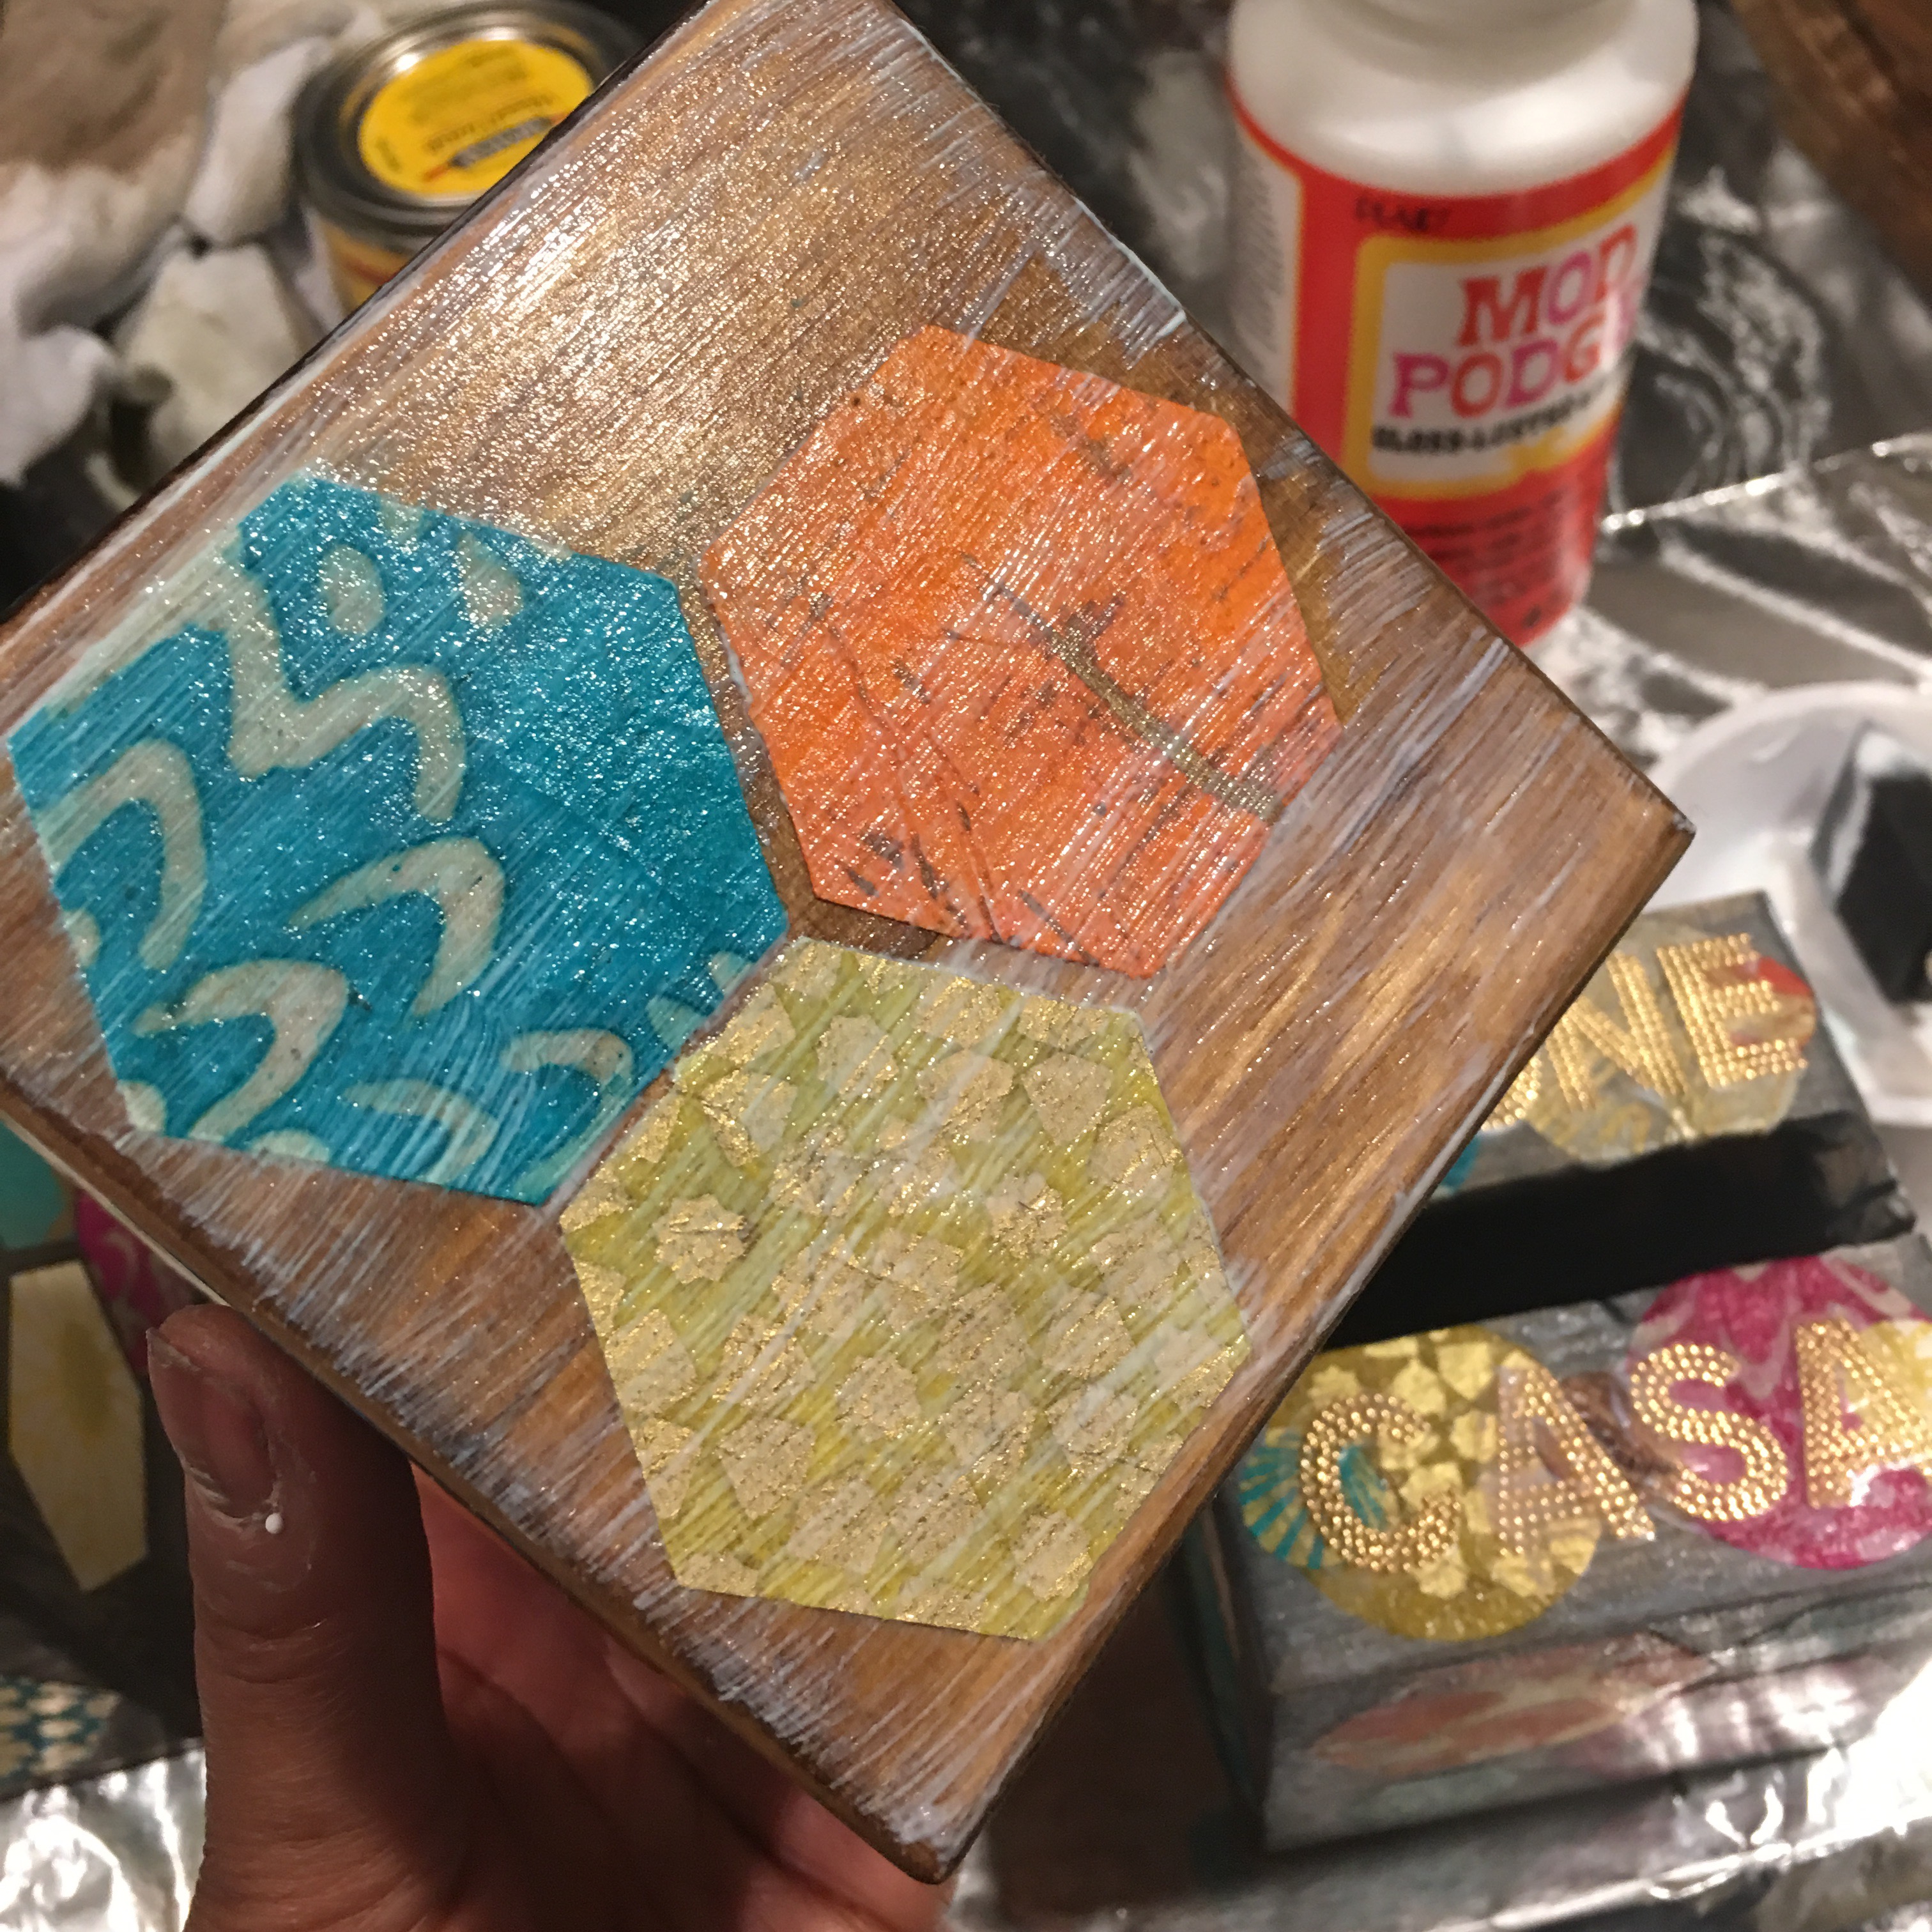
For the larger cubes, a honeycomb pattern of three hexagons are applied to each side.
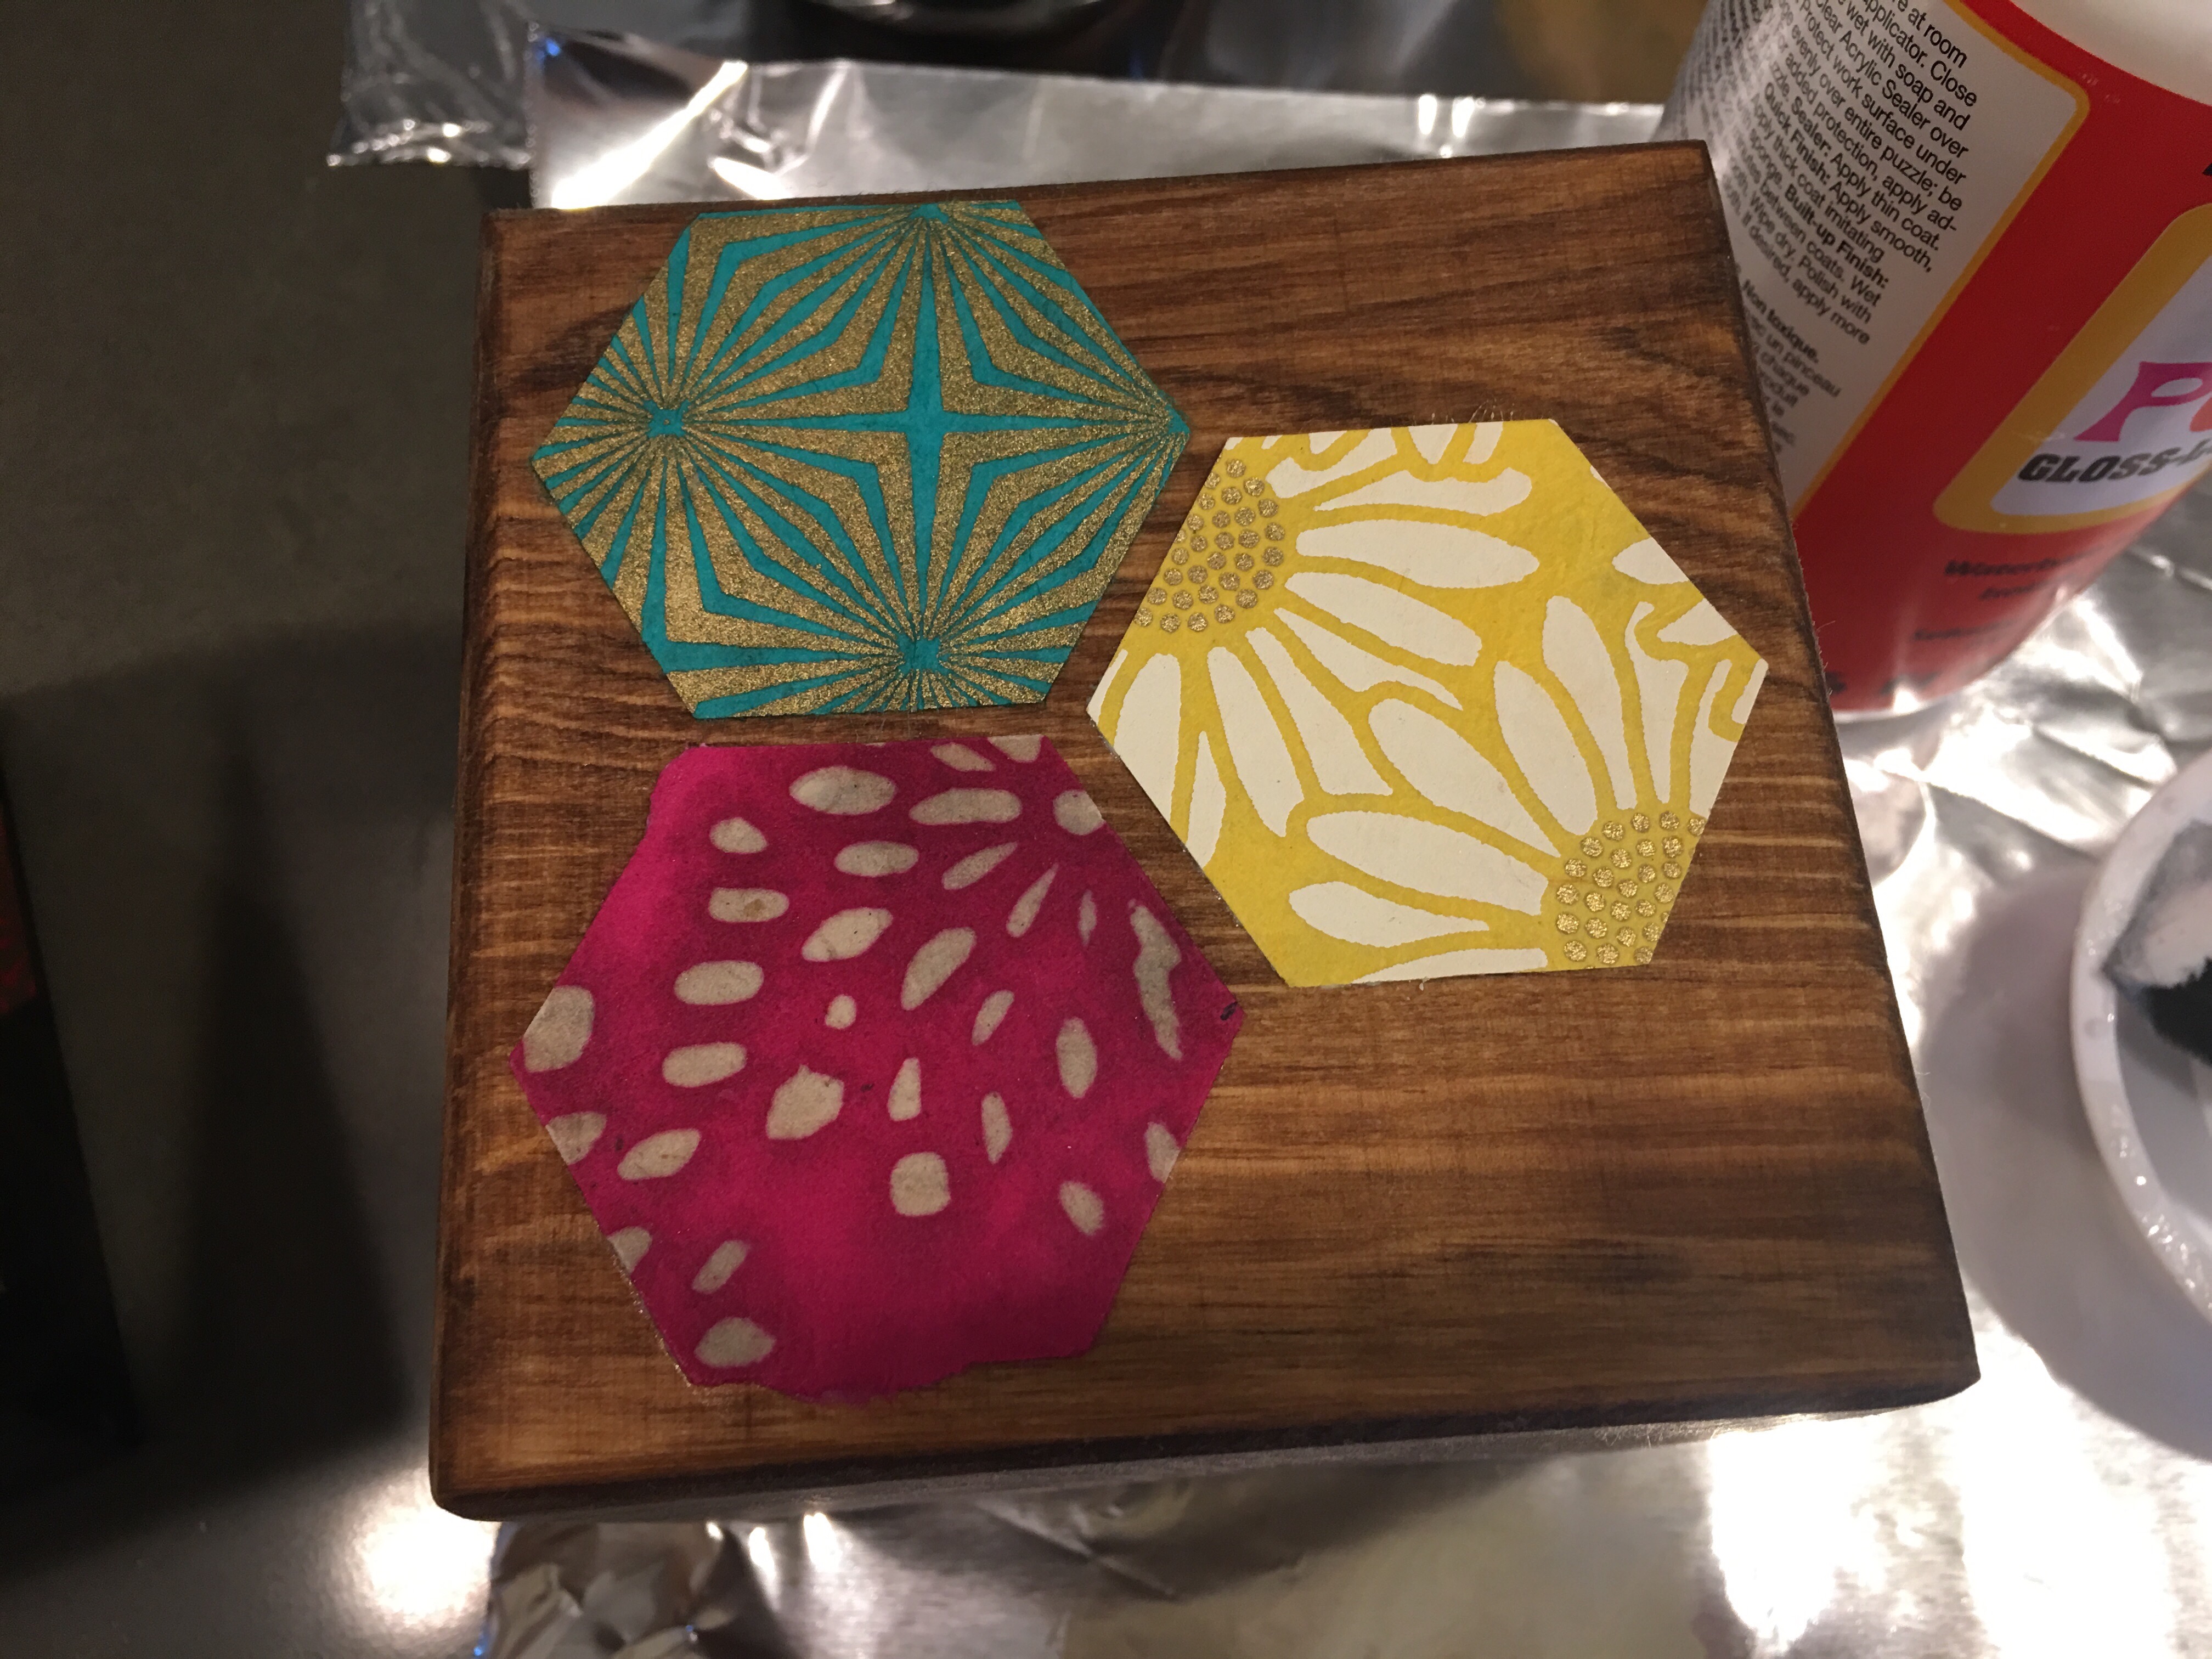
I applied three hexagons to the darker stained cube in the opposite direction.
Here’s my work in progress for the lighter-stained large wood cube.
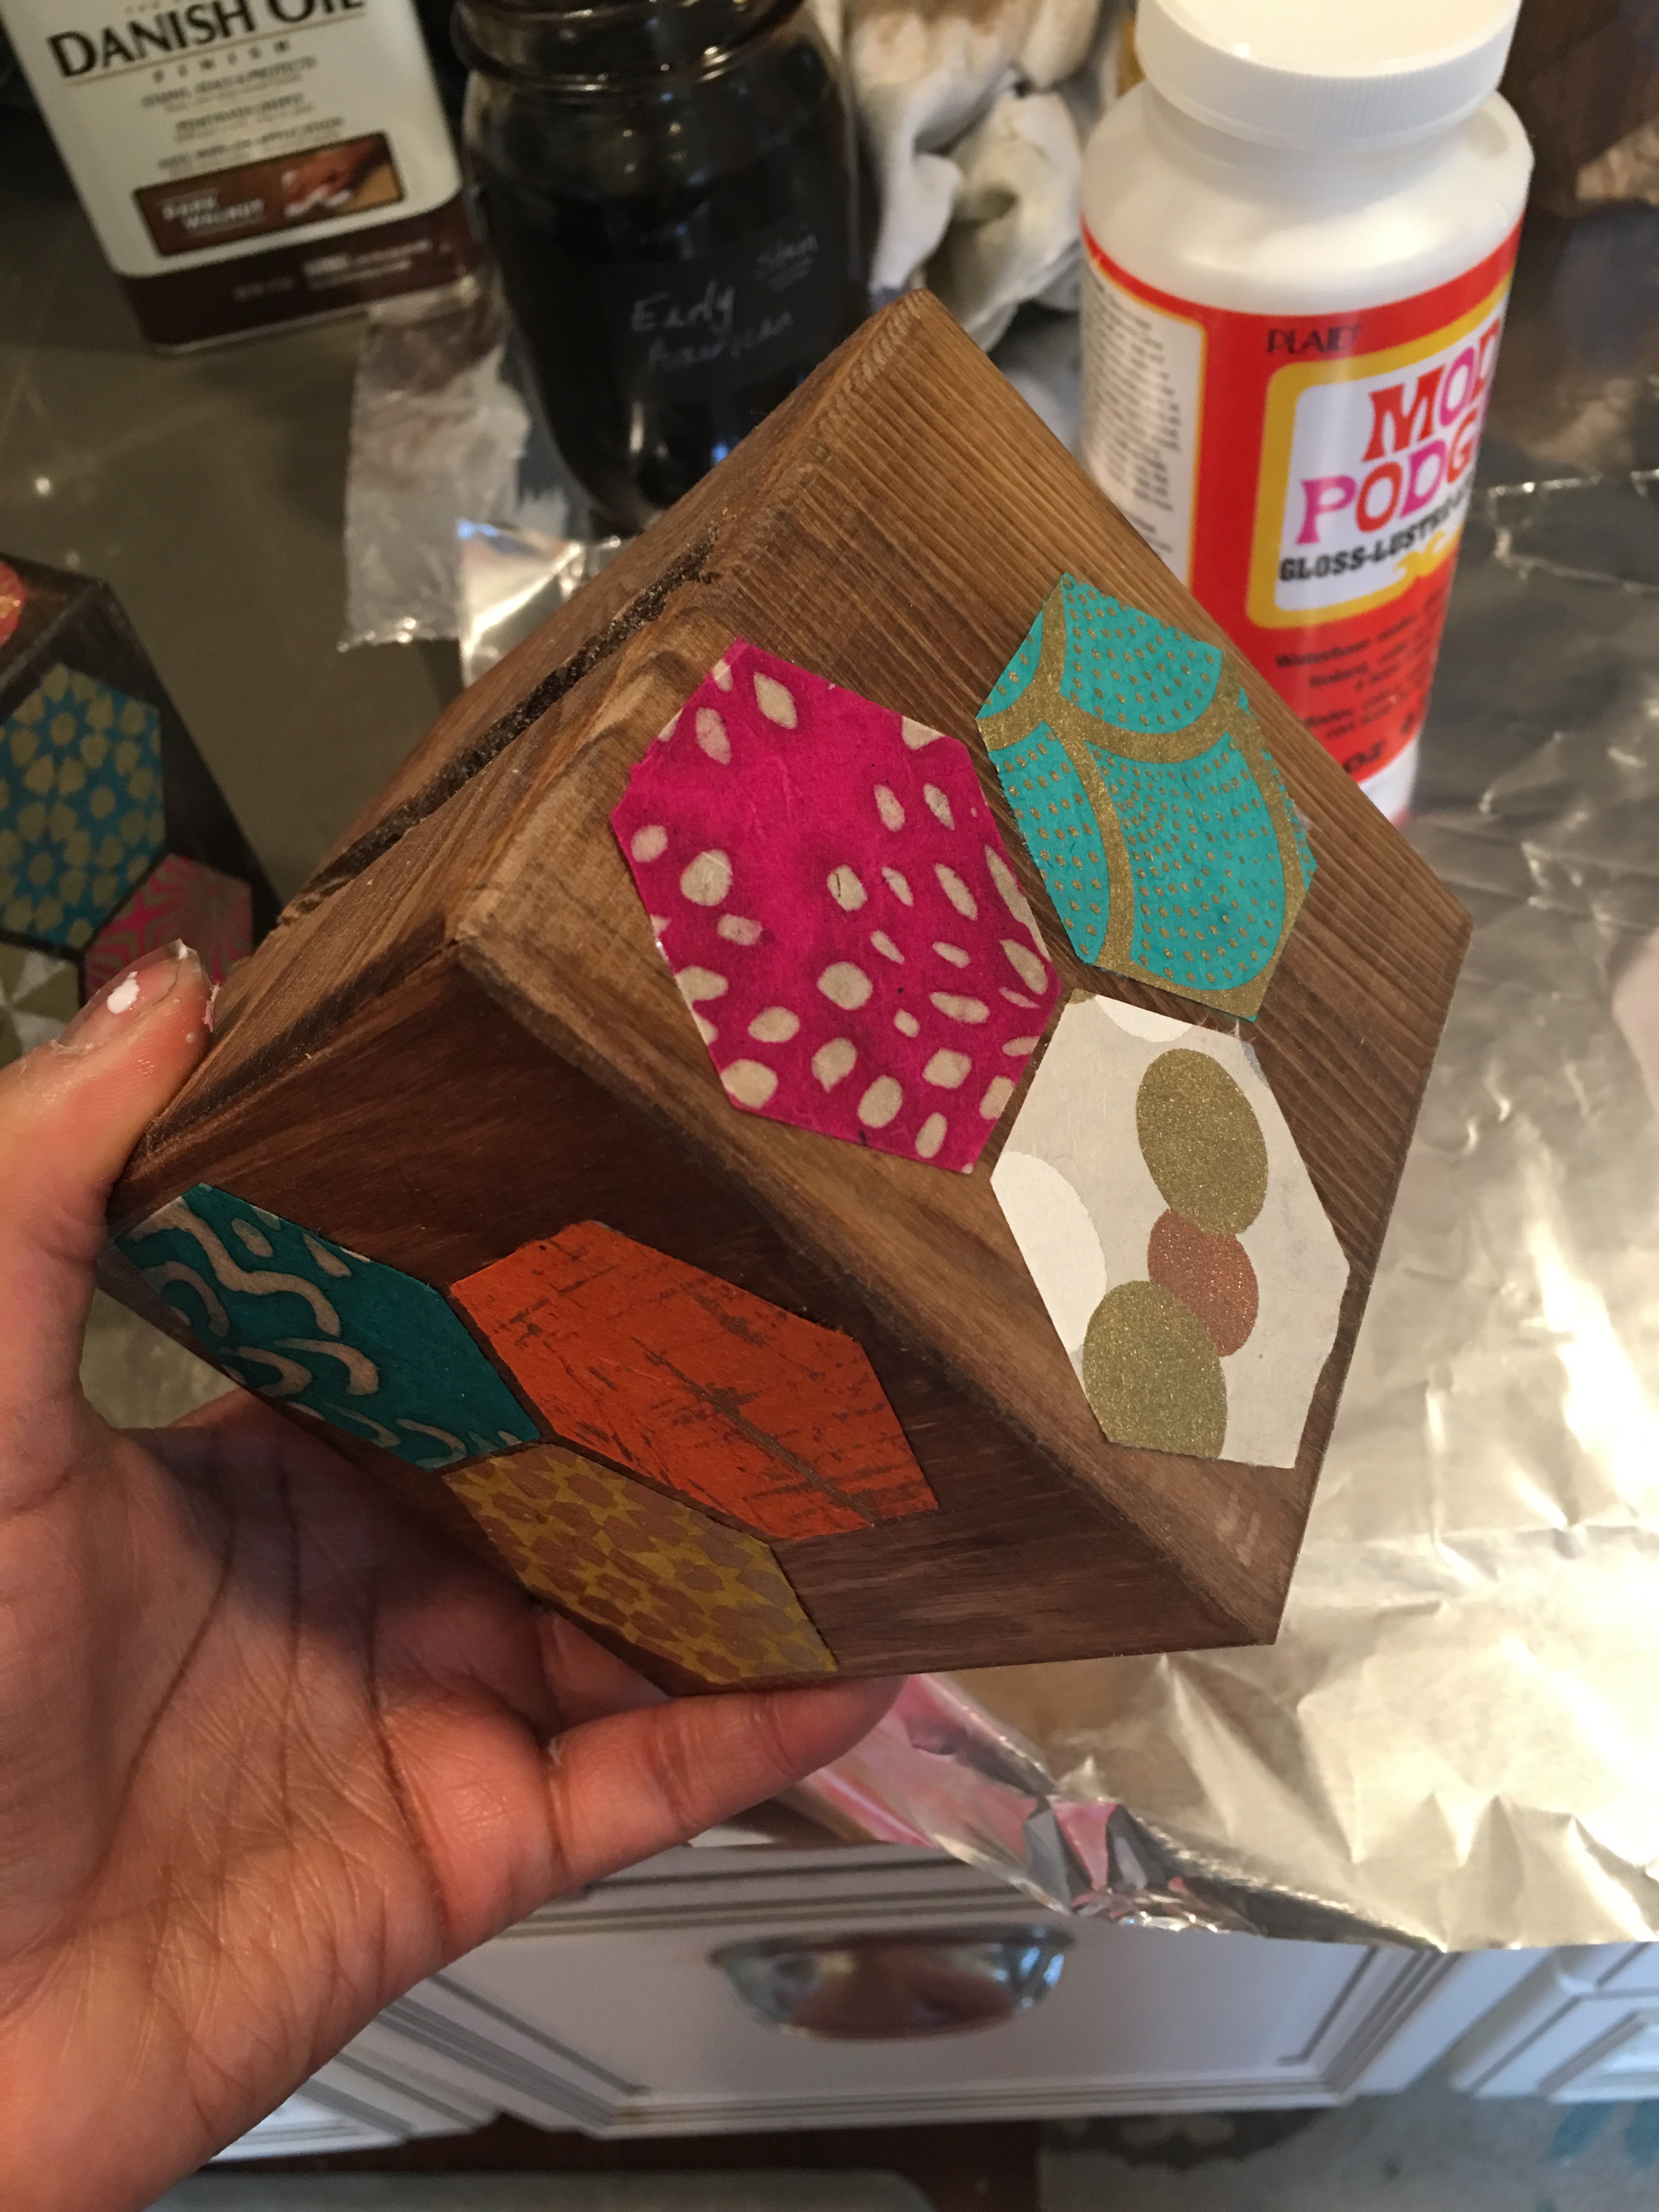
Now it’s time to work on the sides for the small cube.
The small cube will have two large and two small hexagon paper shapes. I also had a stash of small, pre-punched hexagons ready to go.
To make more of these, here’s my tool. The smallest Fiskars hexagon squeeze punch gets the job done.
I apply the hexagons to the sides of small 3.5″ wood cubes in the pattern below.
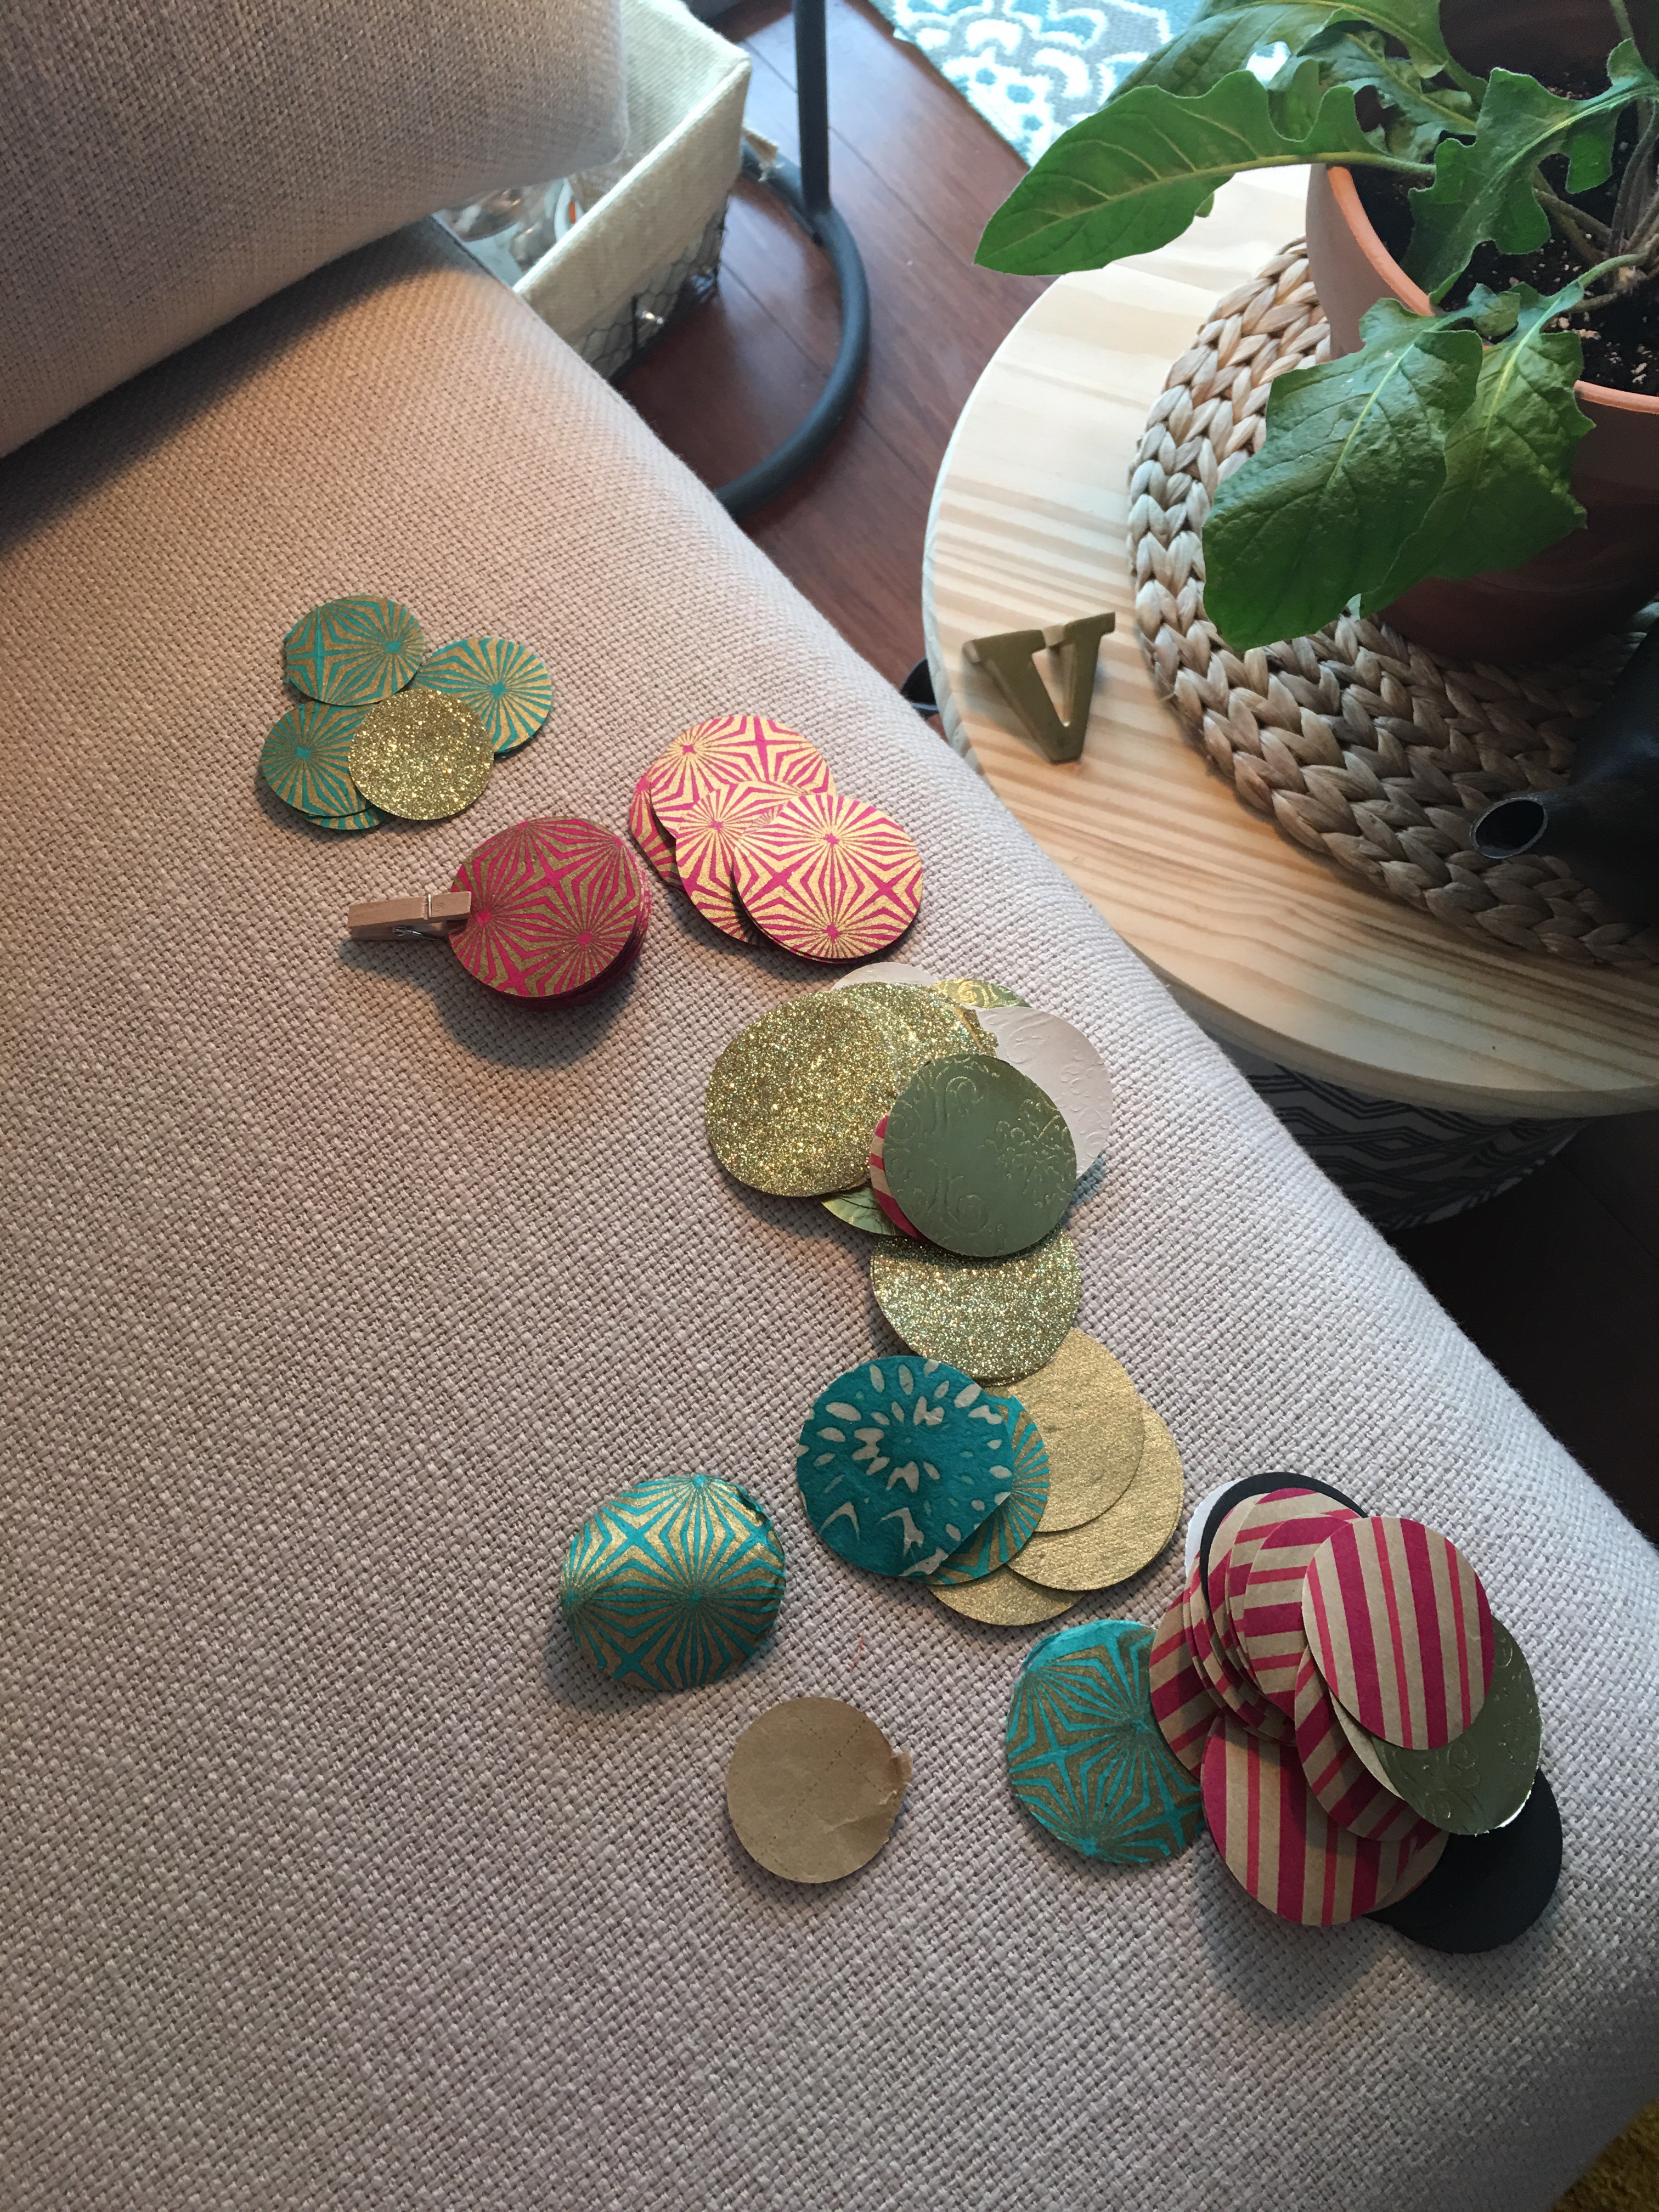
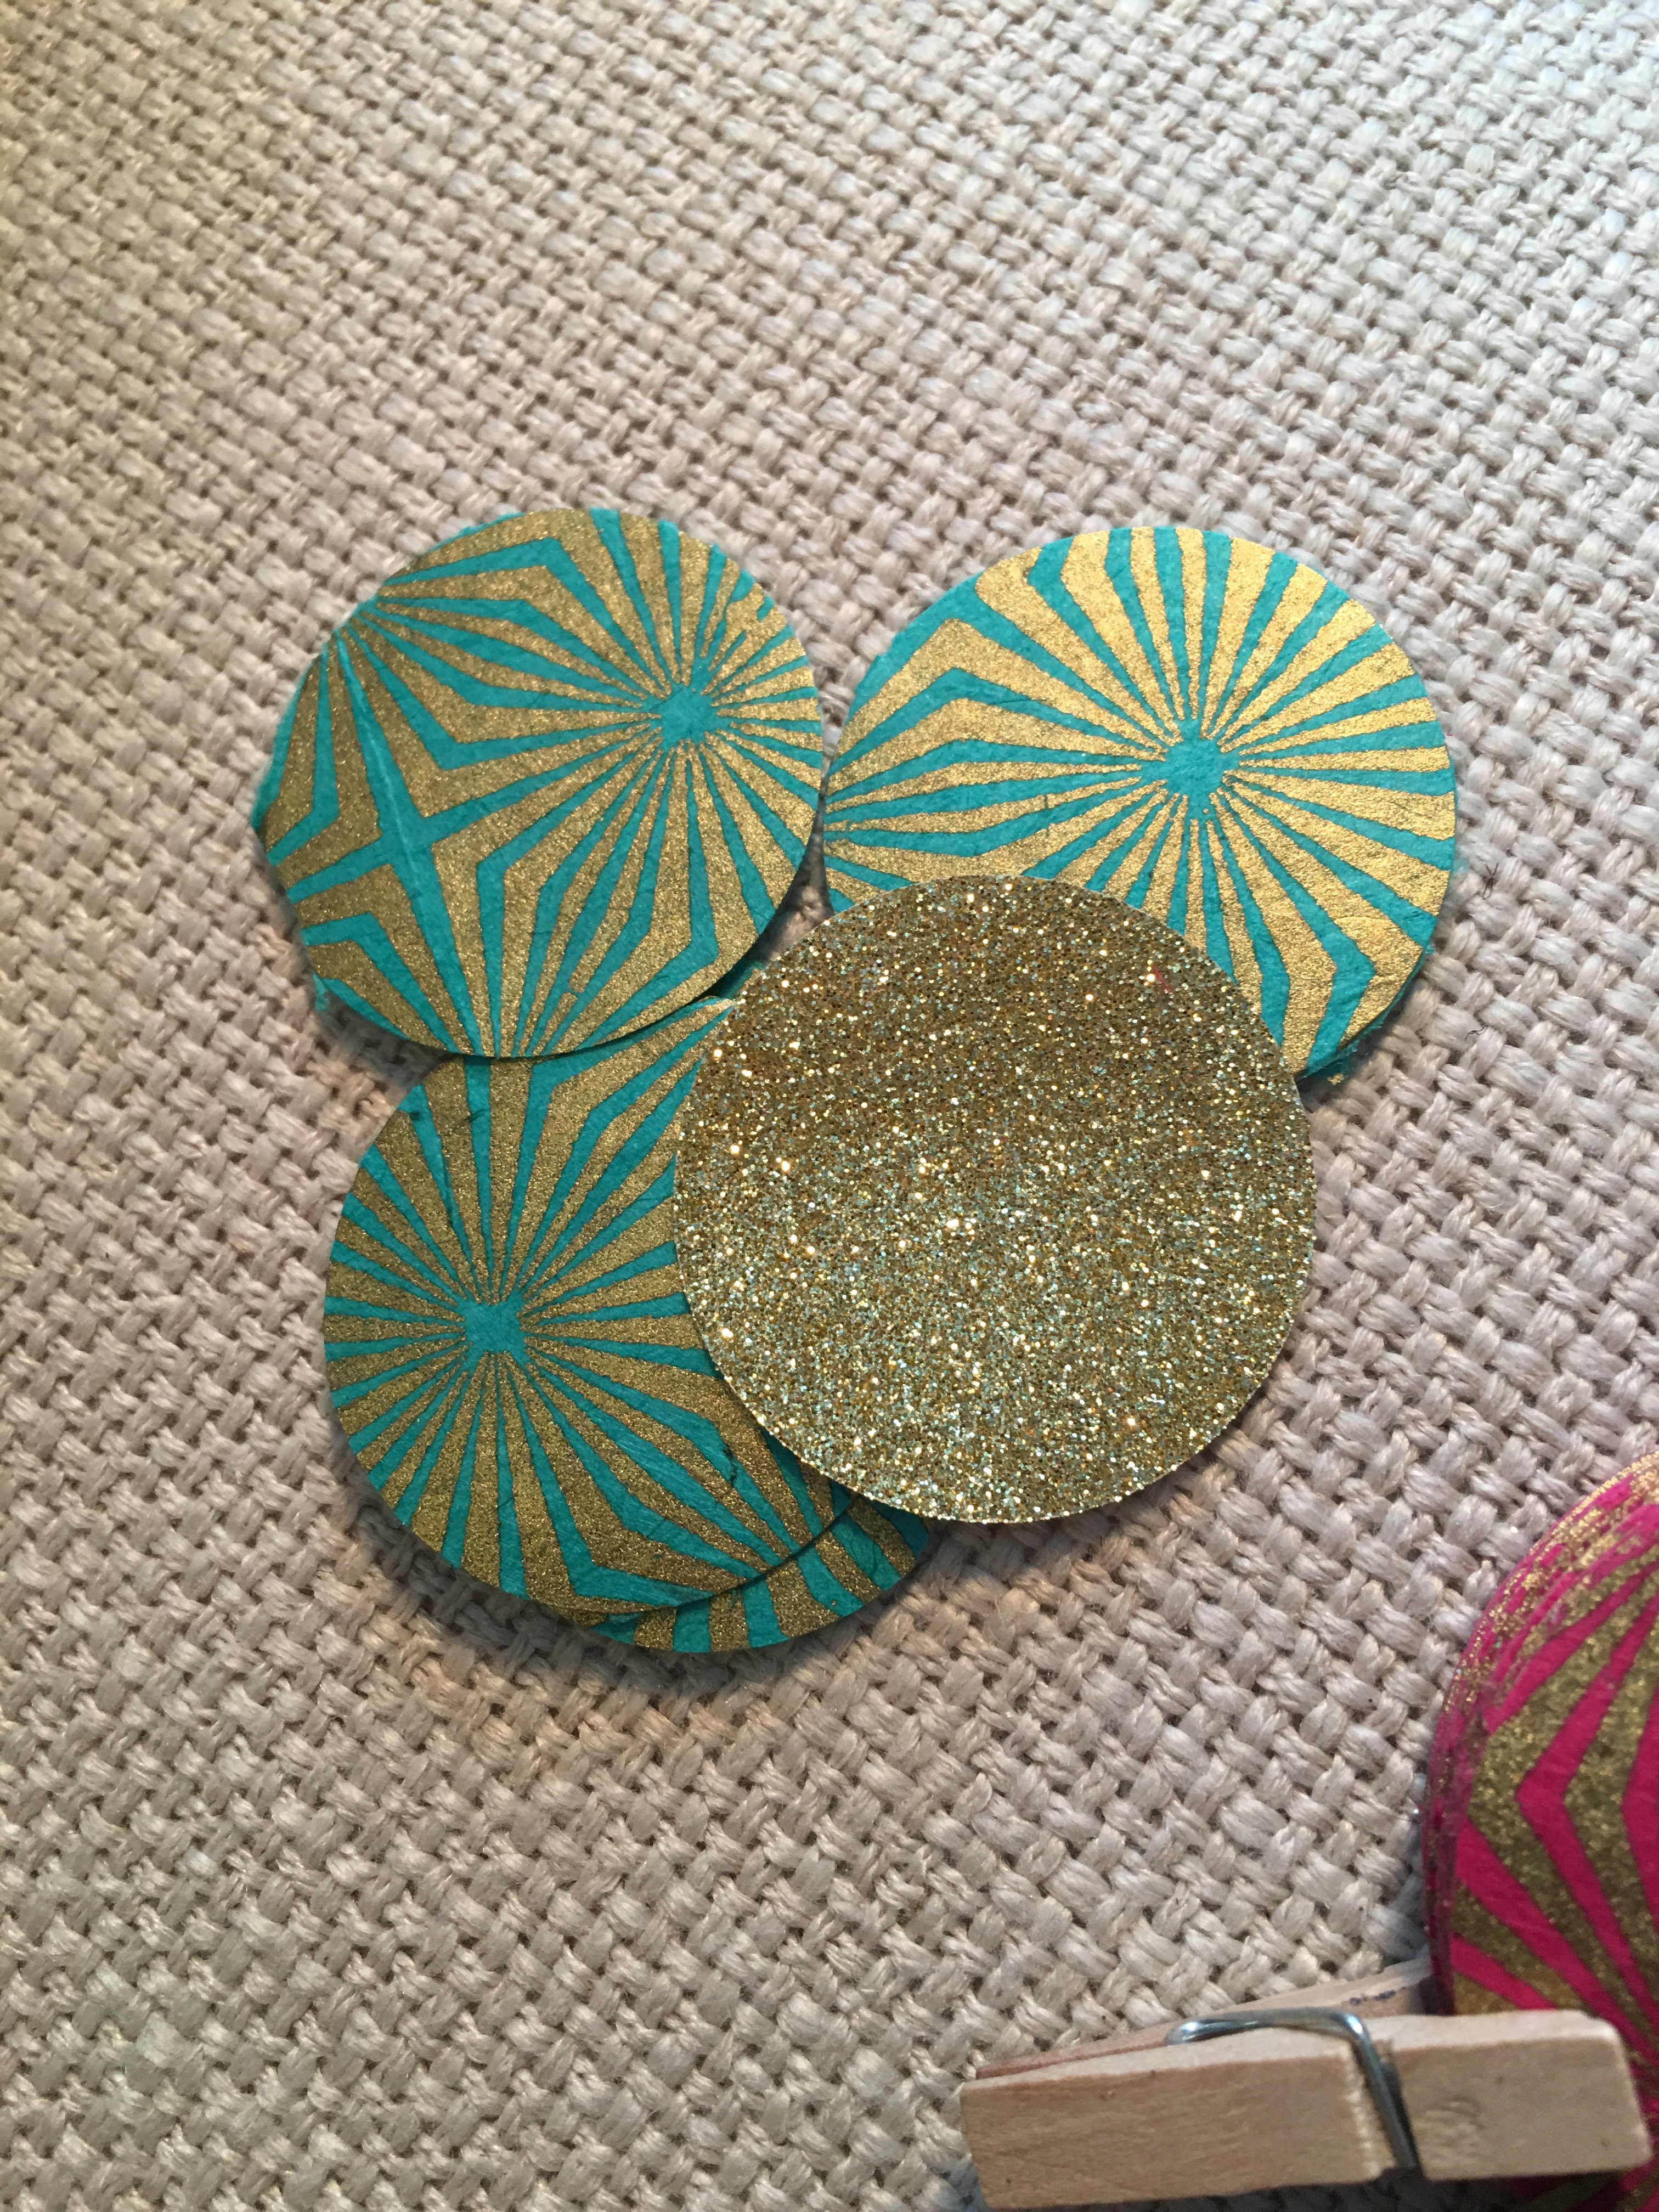
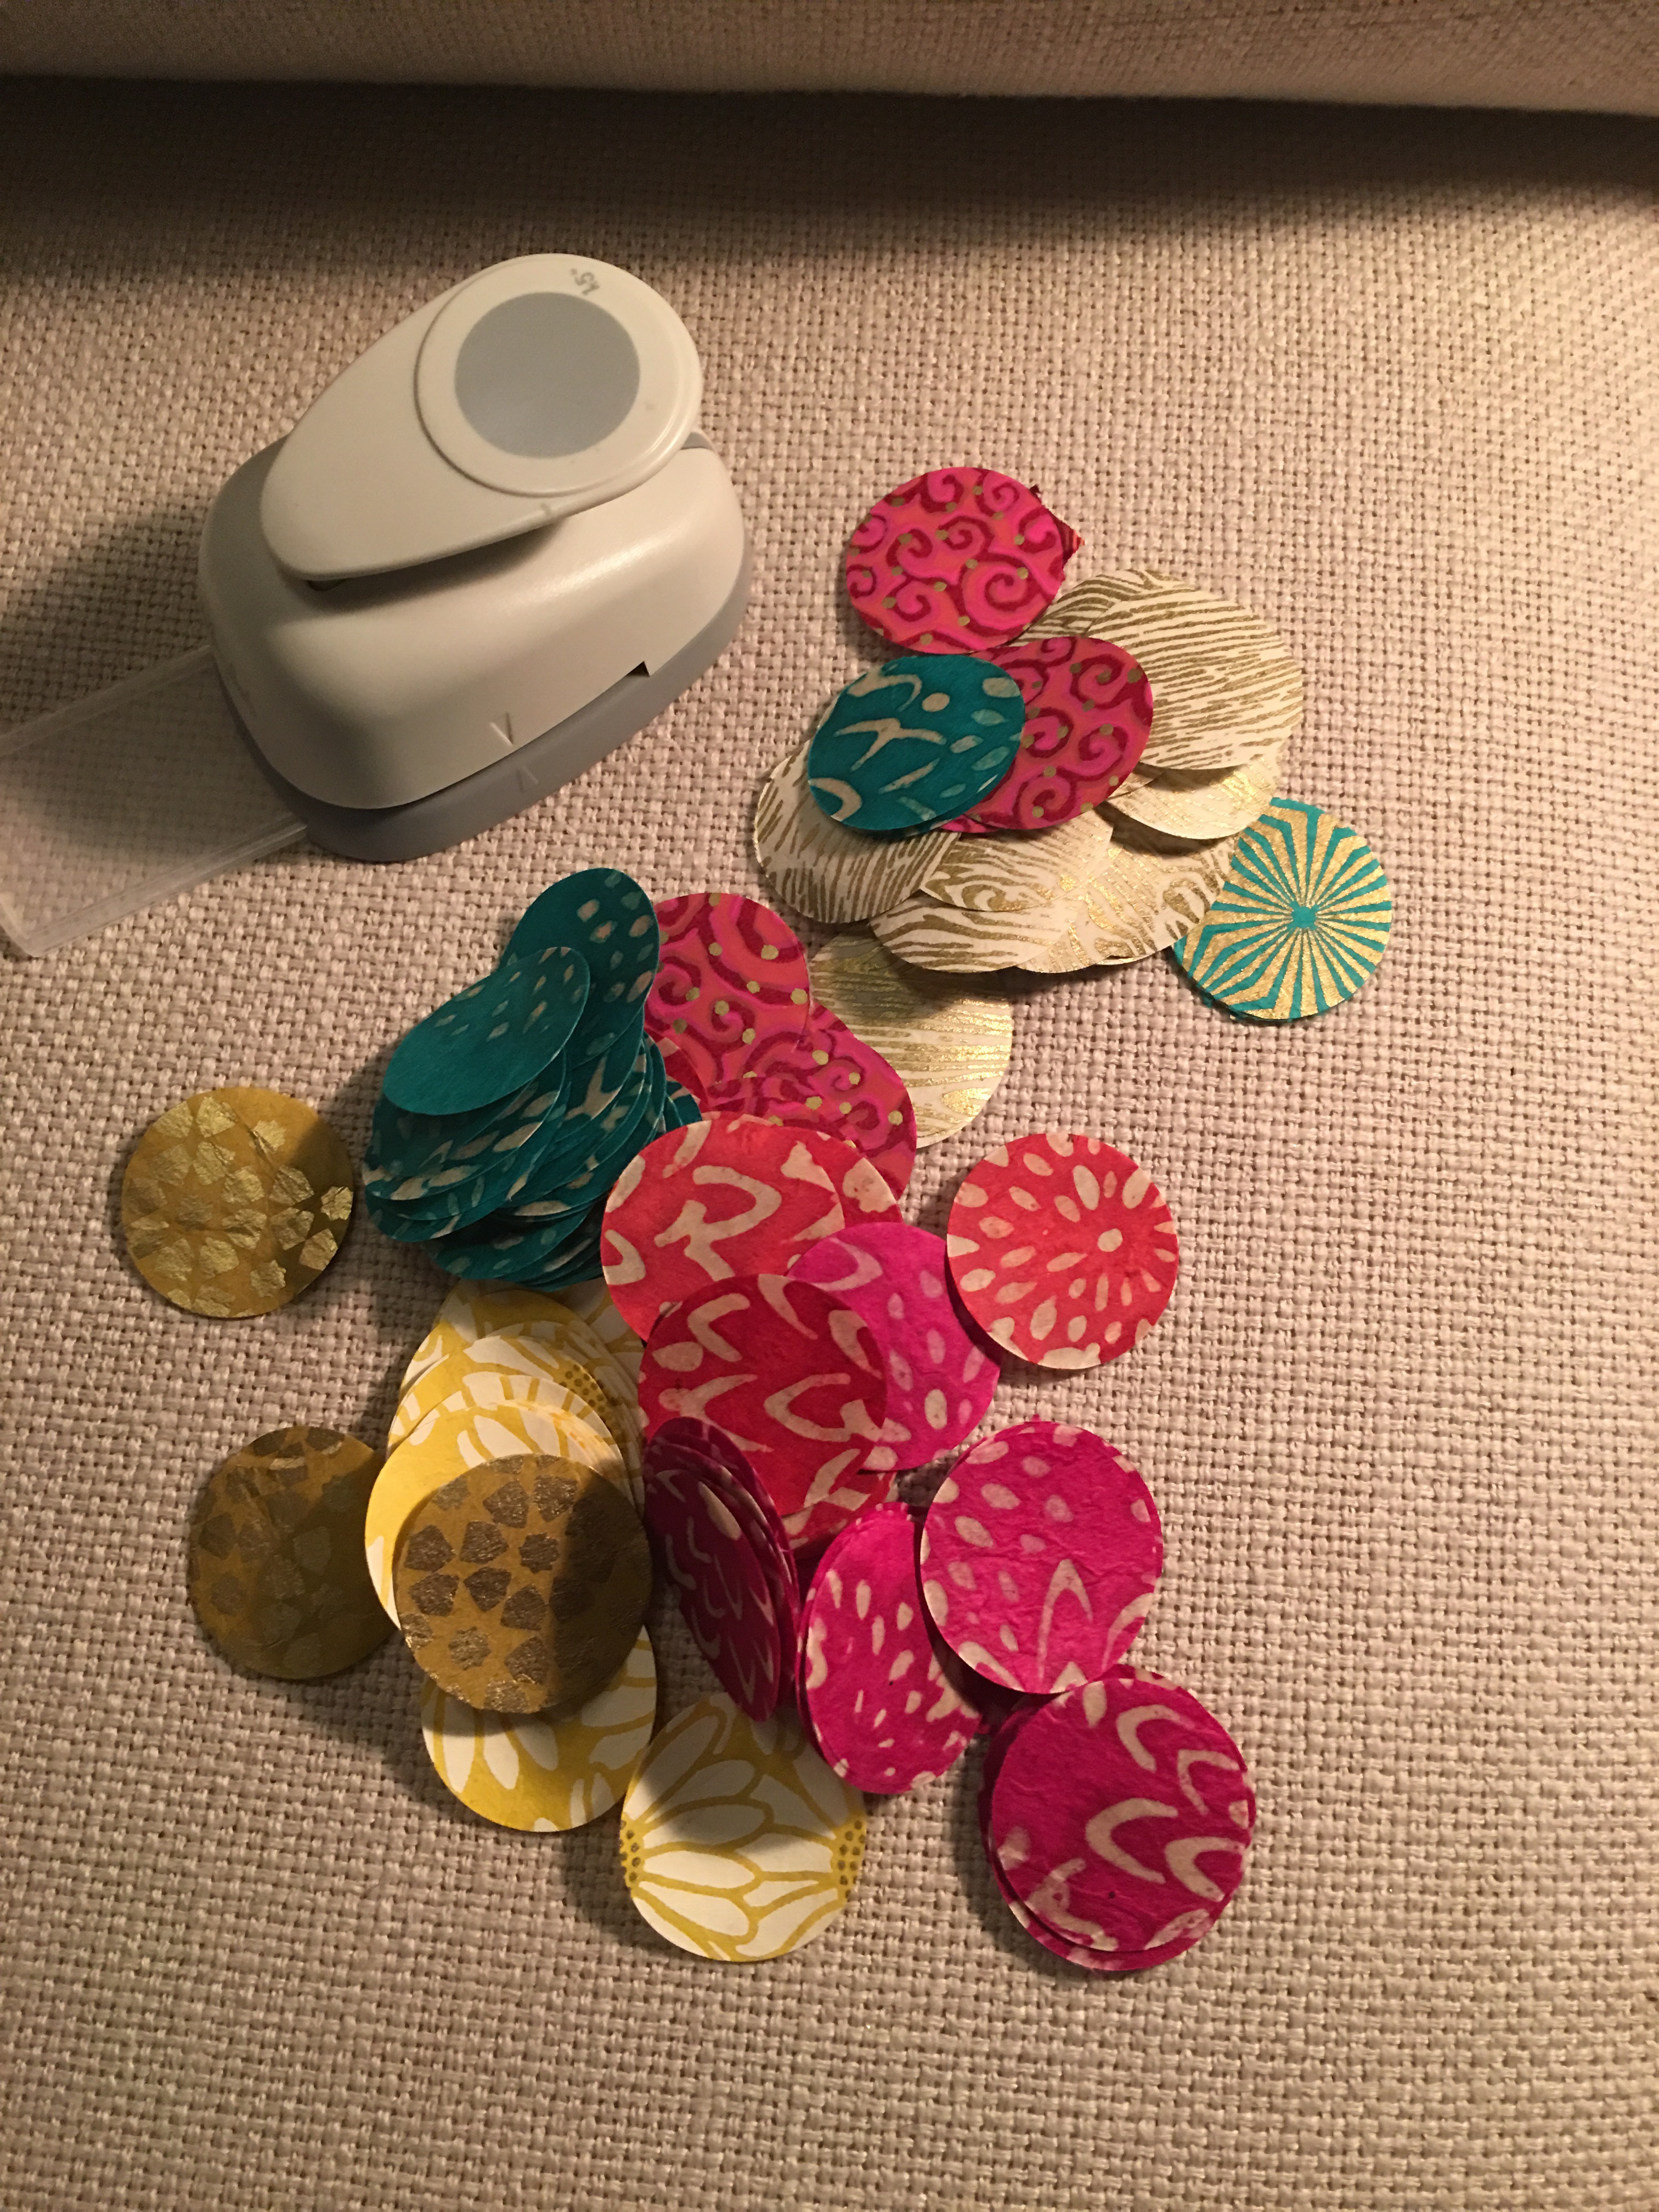
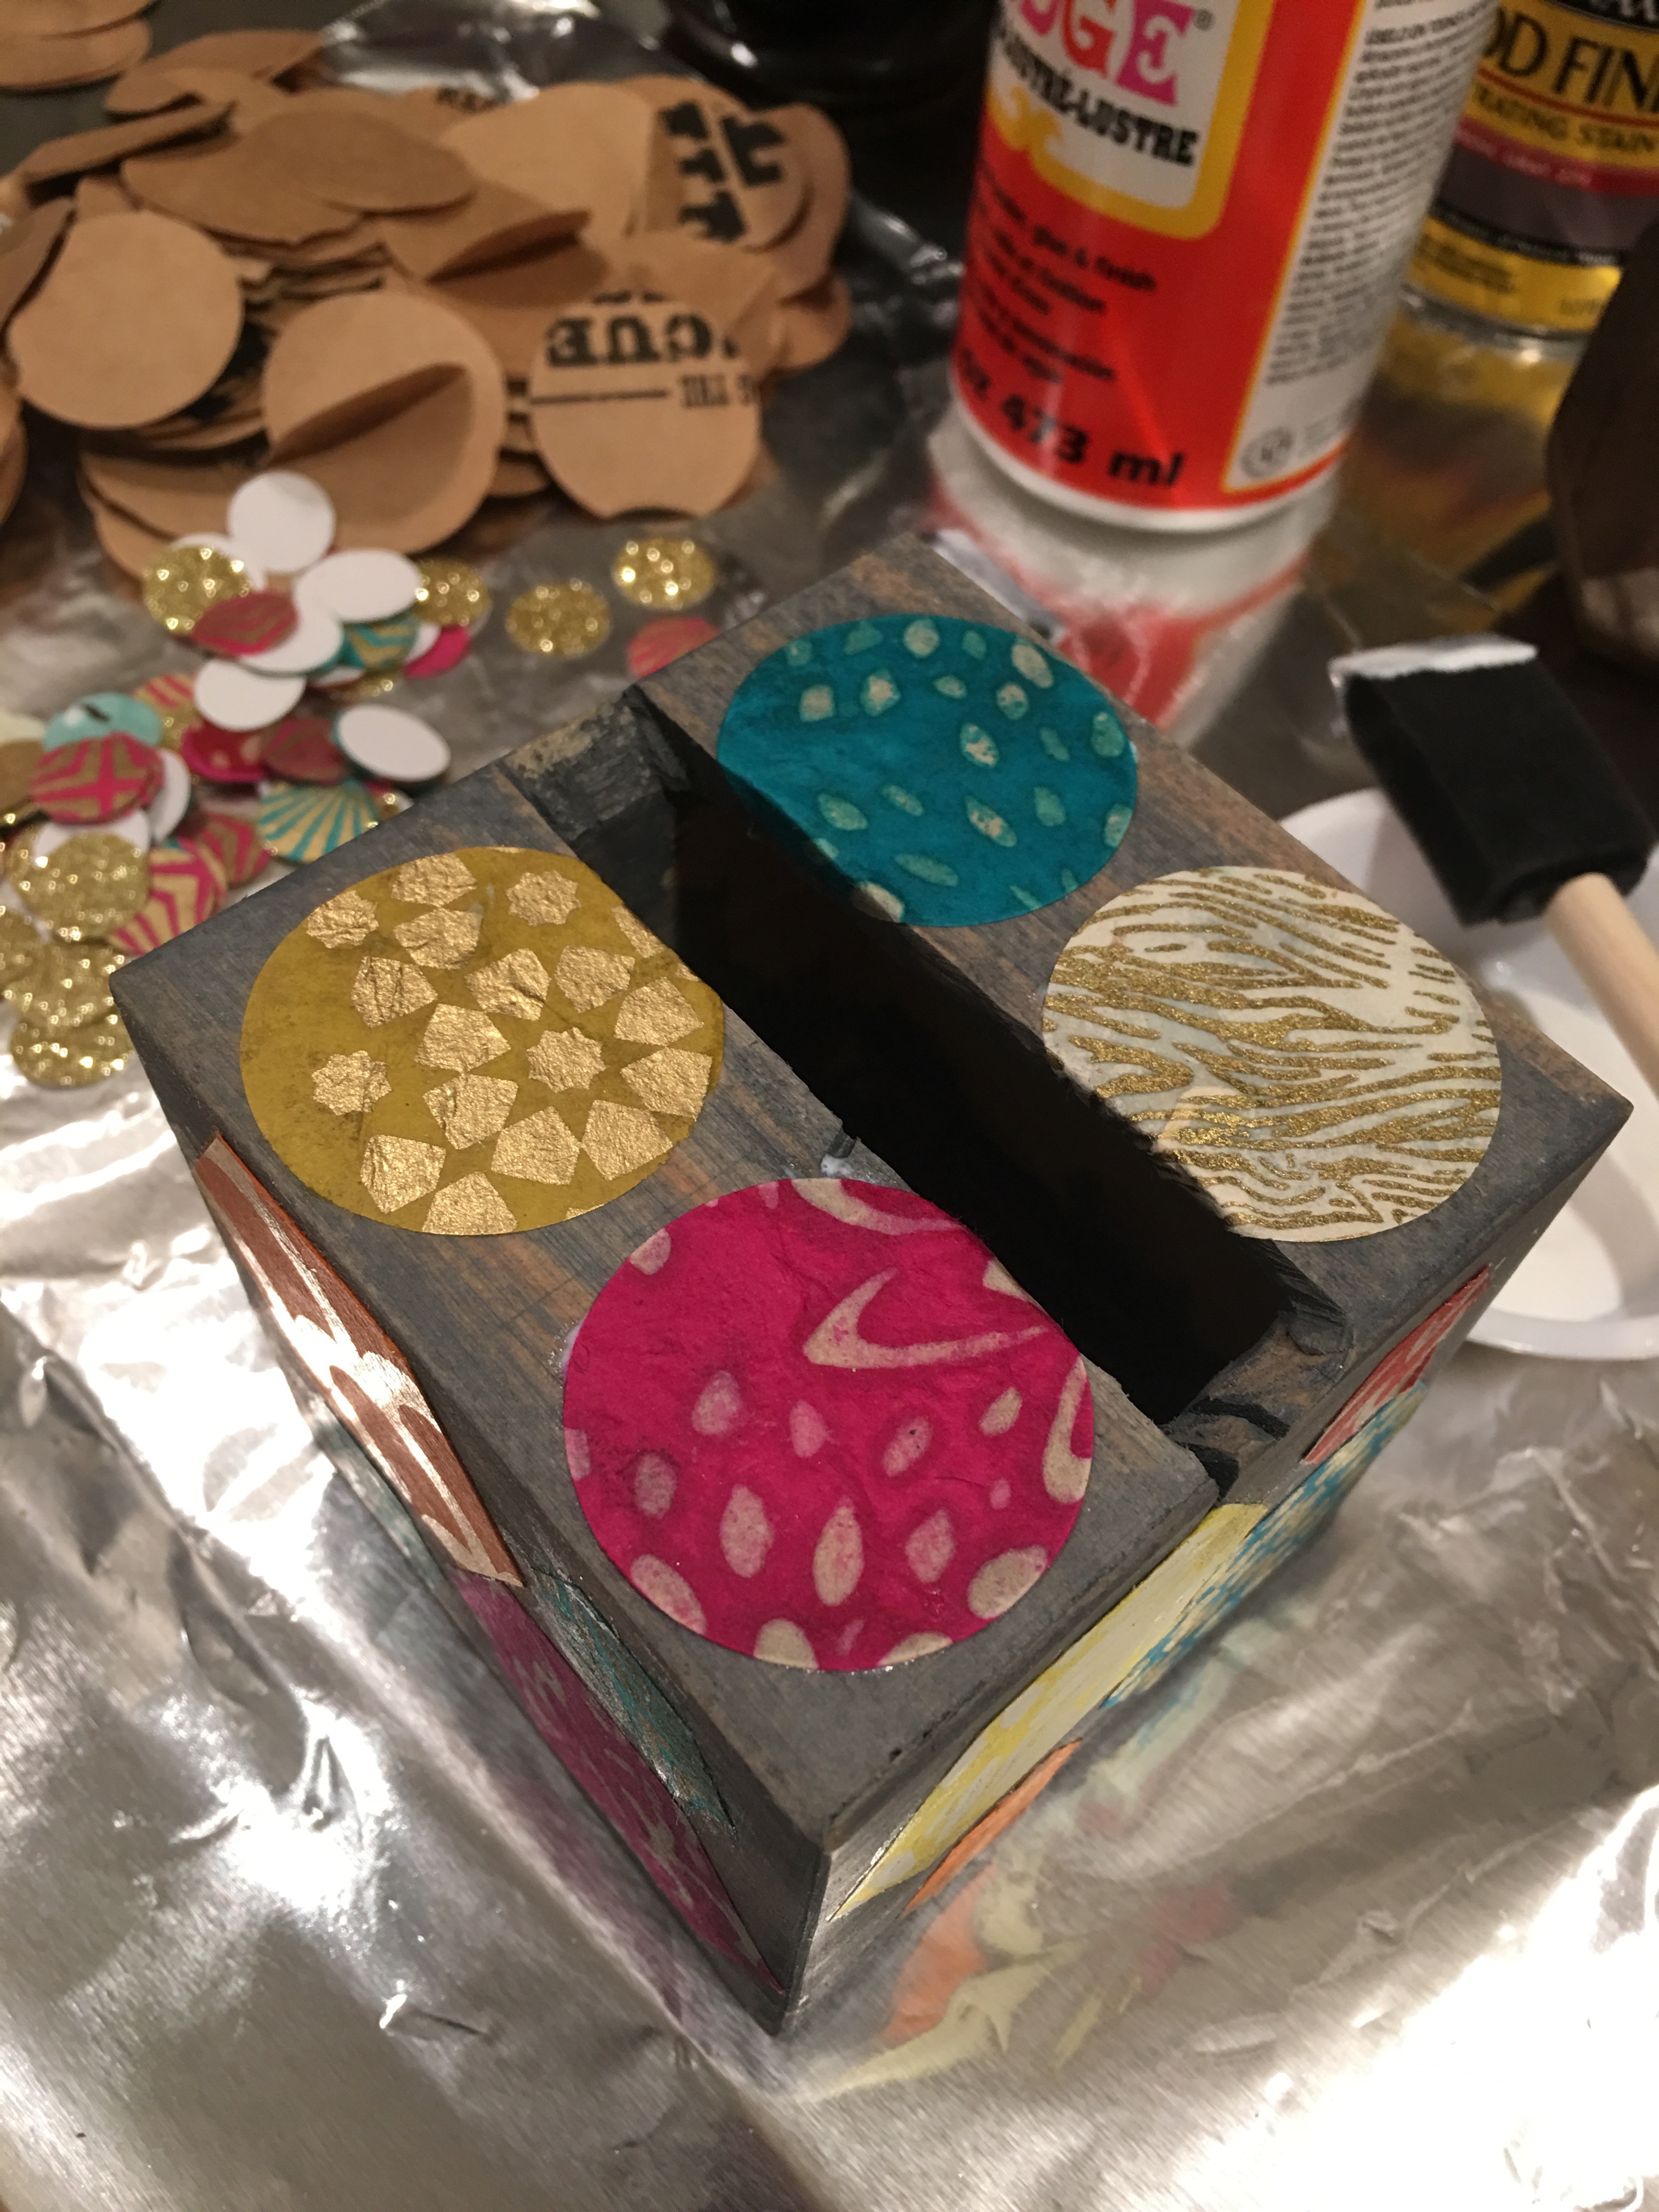
To decorate the top of the phone cubes, I use round paper punch-outs – 1.5″ diameter size.
I have a number of the 2″ circles ready to go…
…but not as many of the size I need. Time to make more.
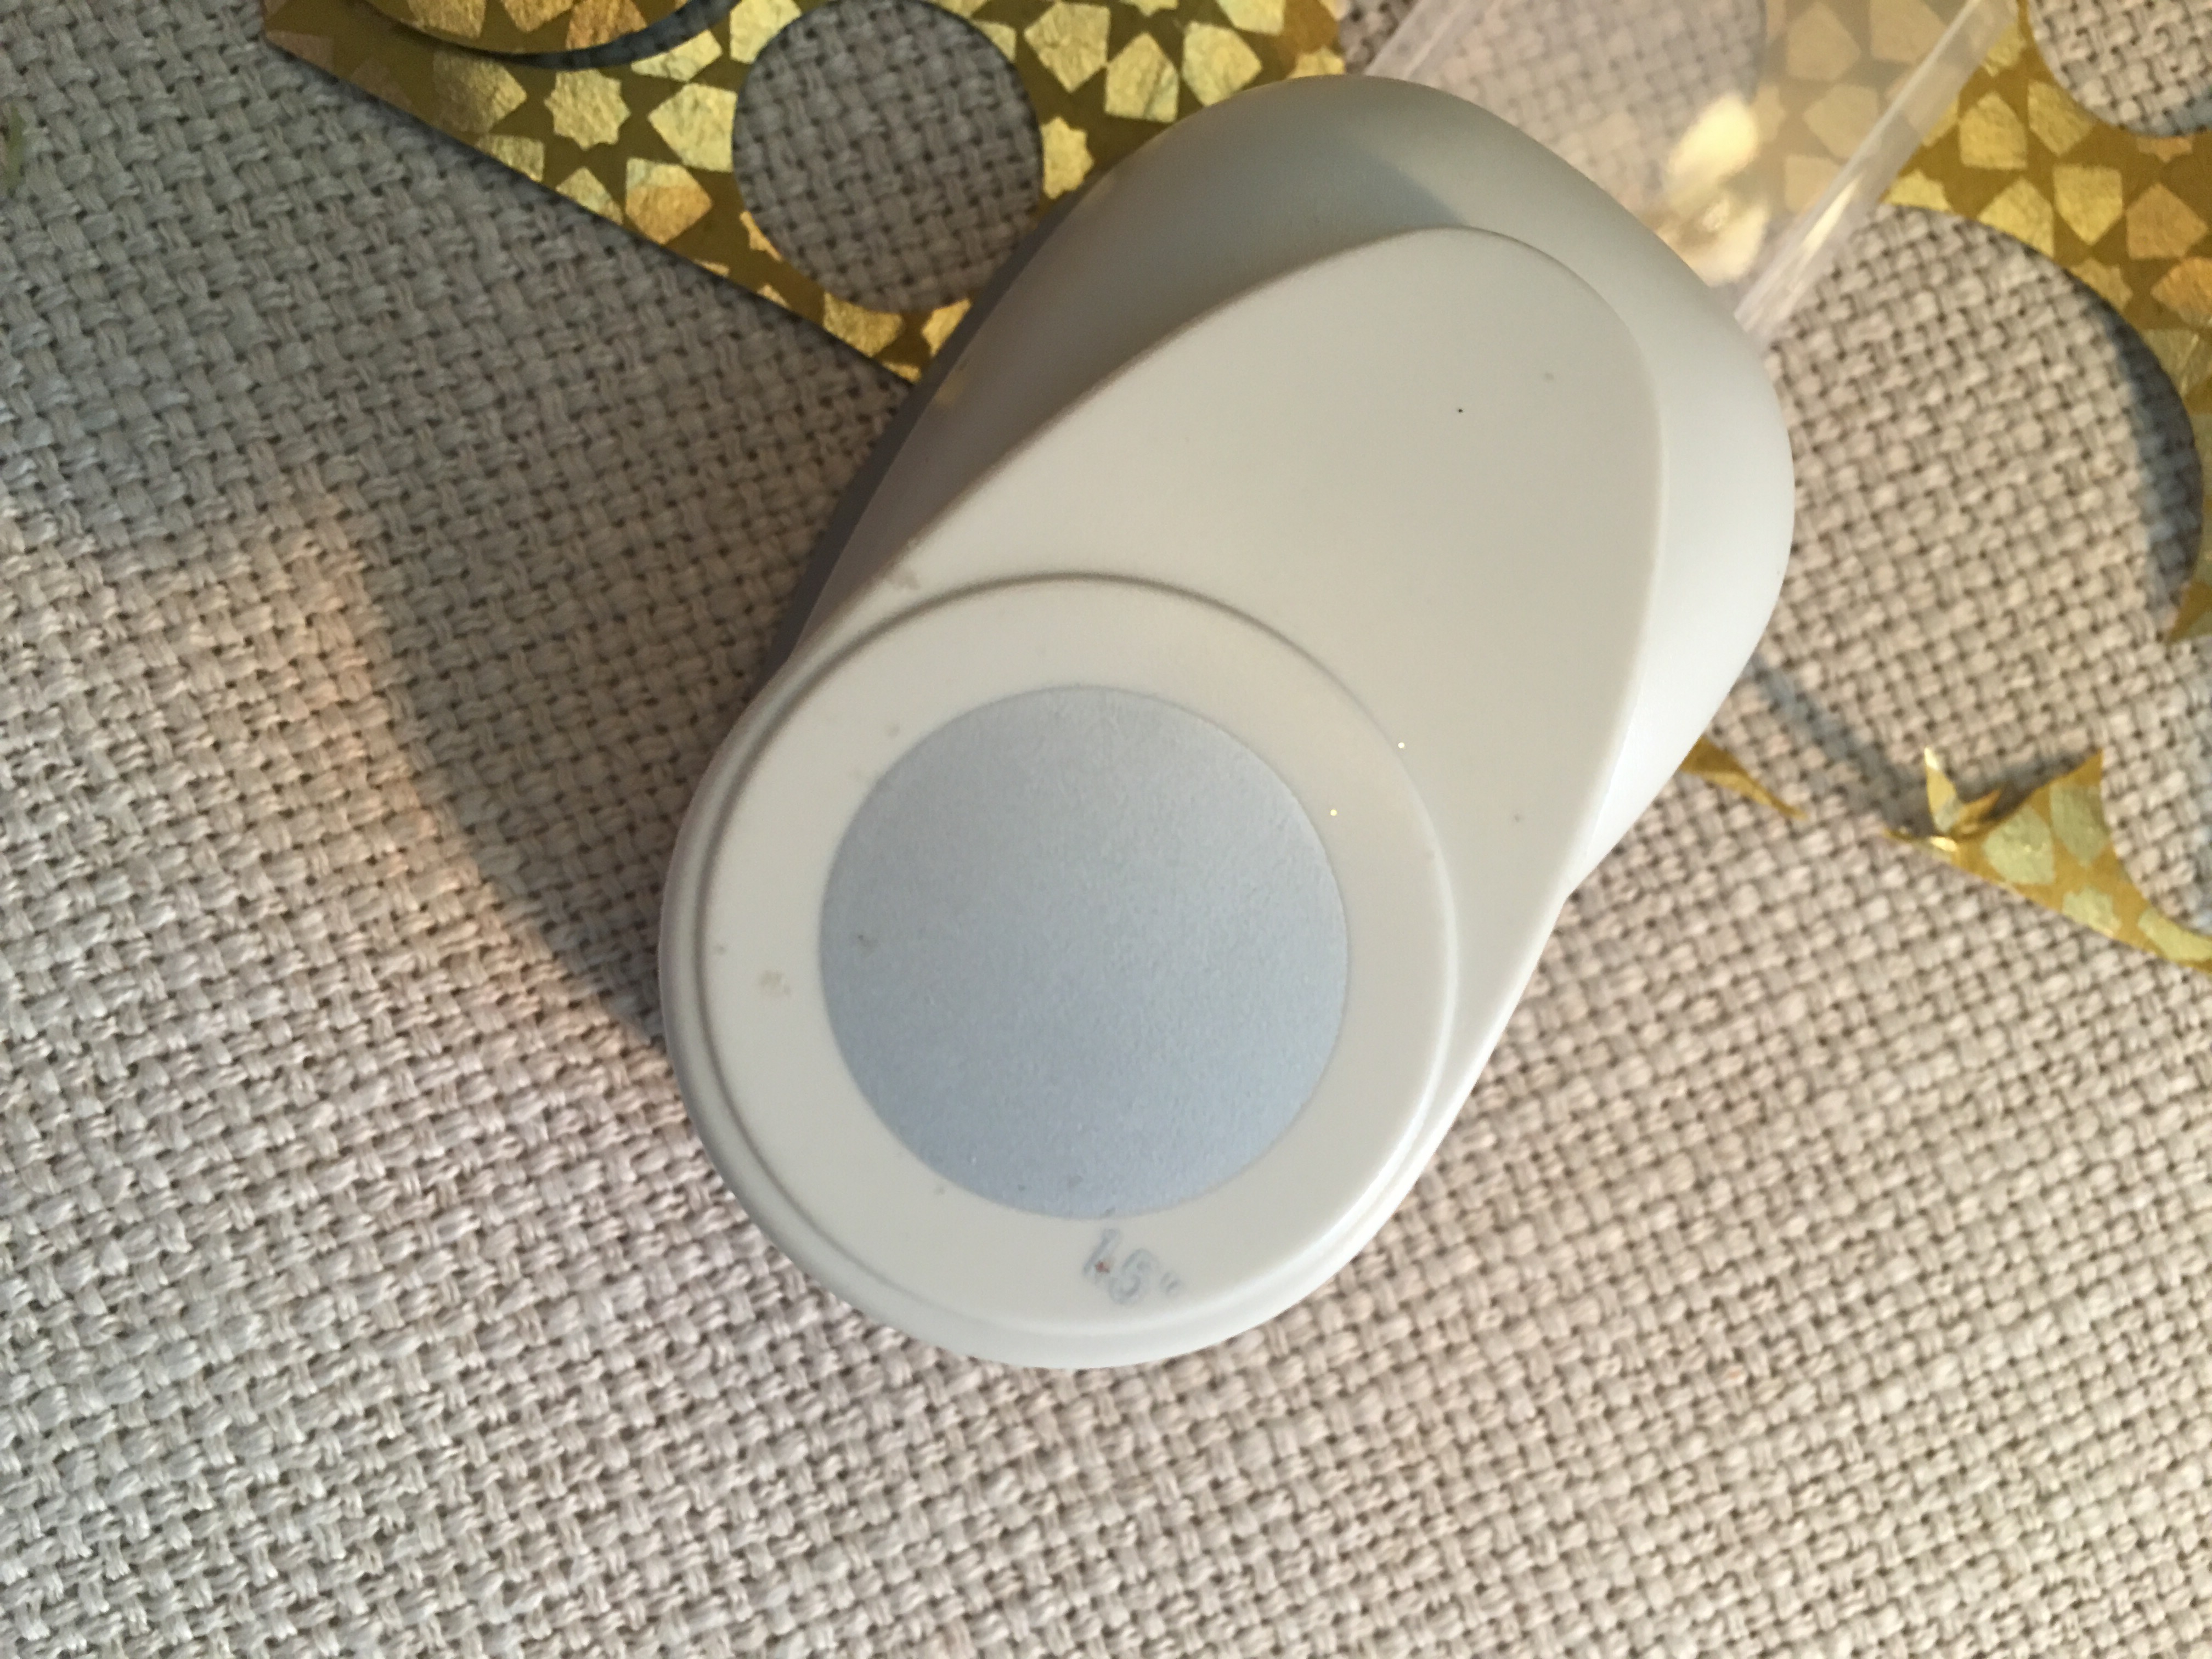
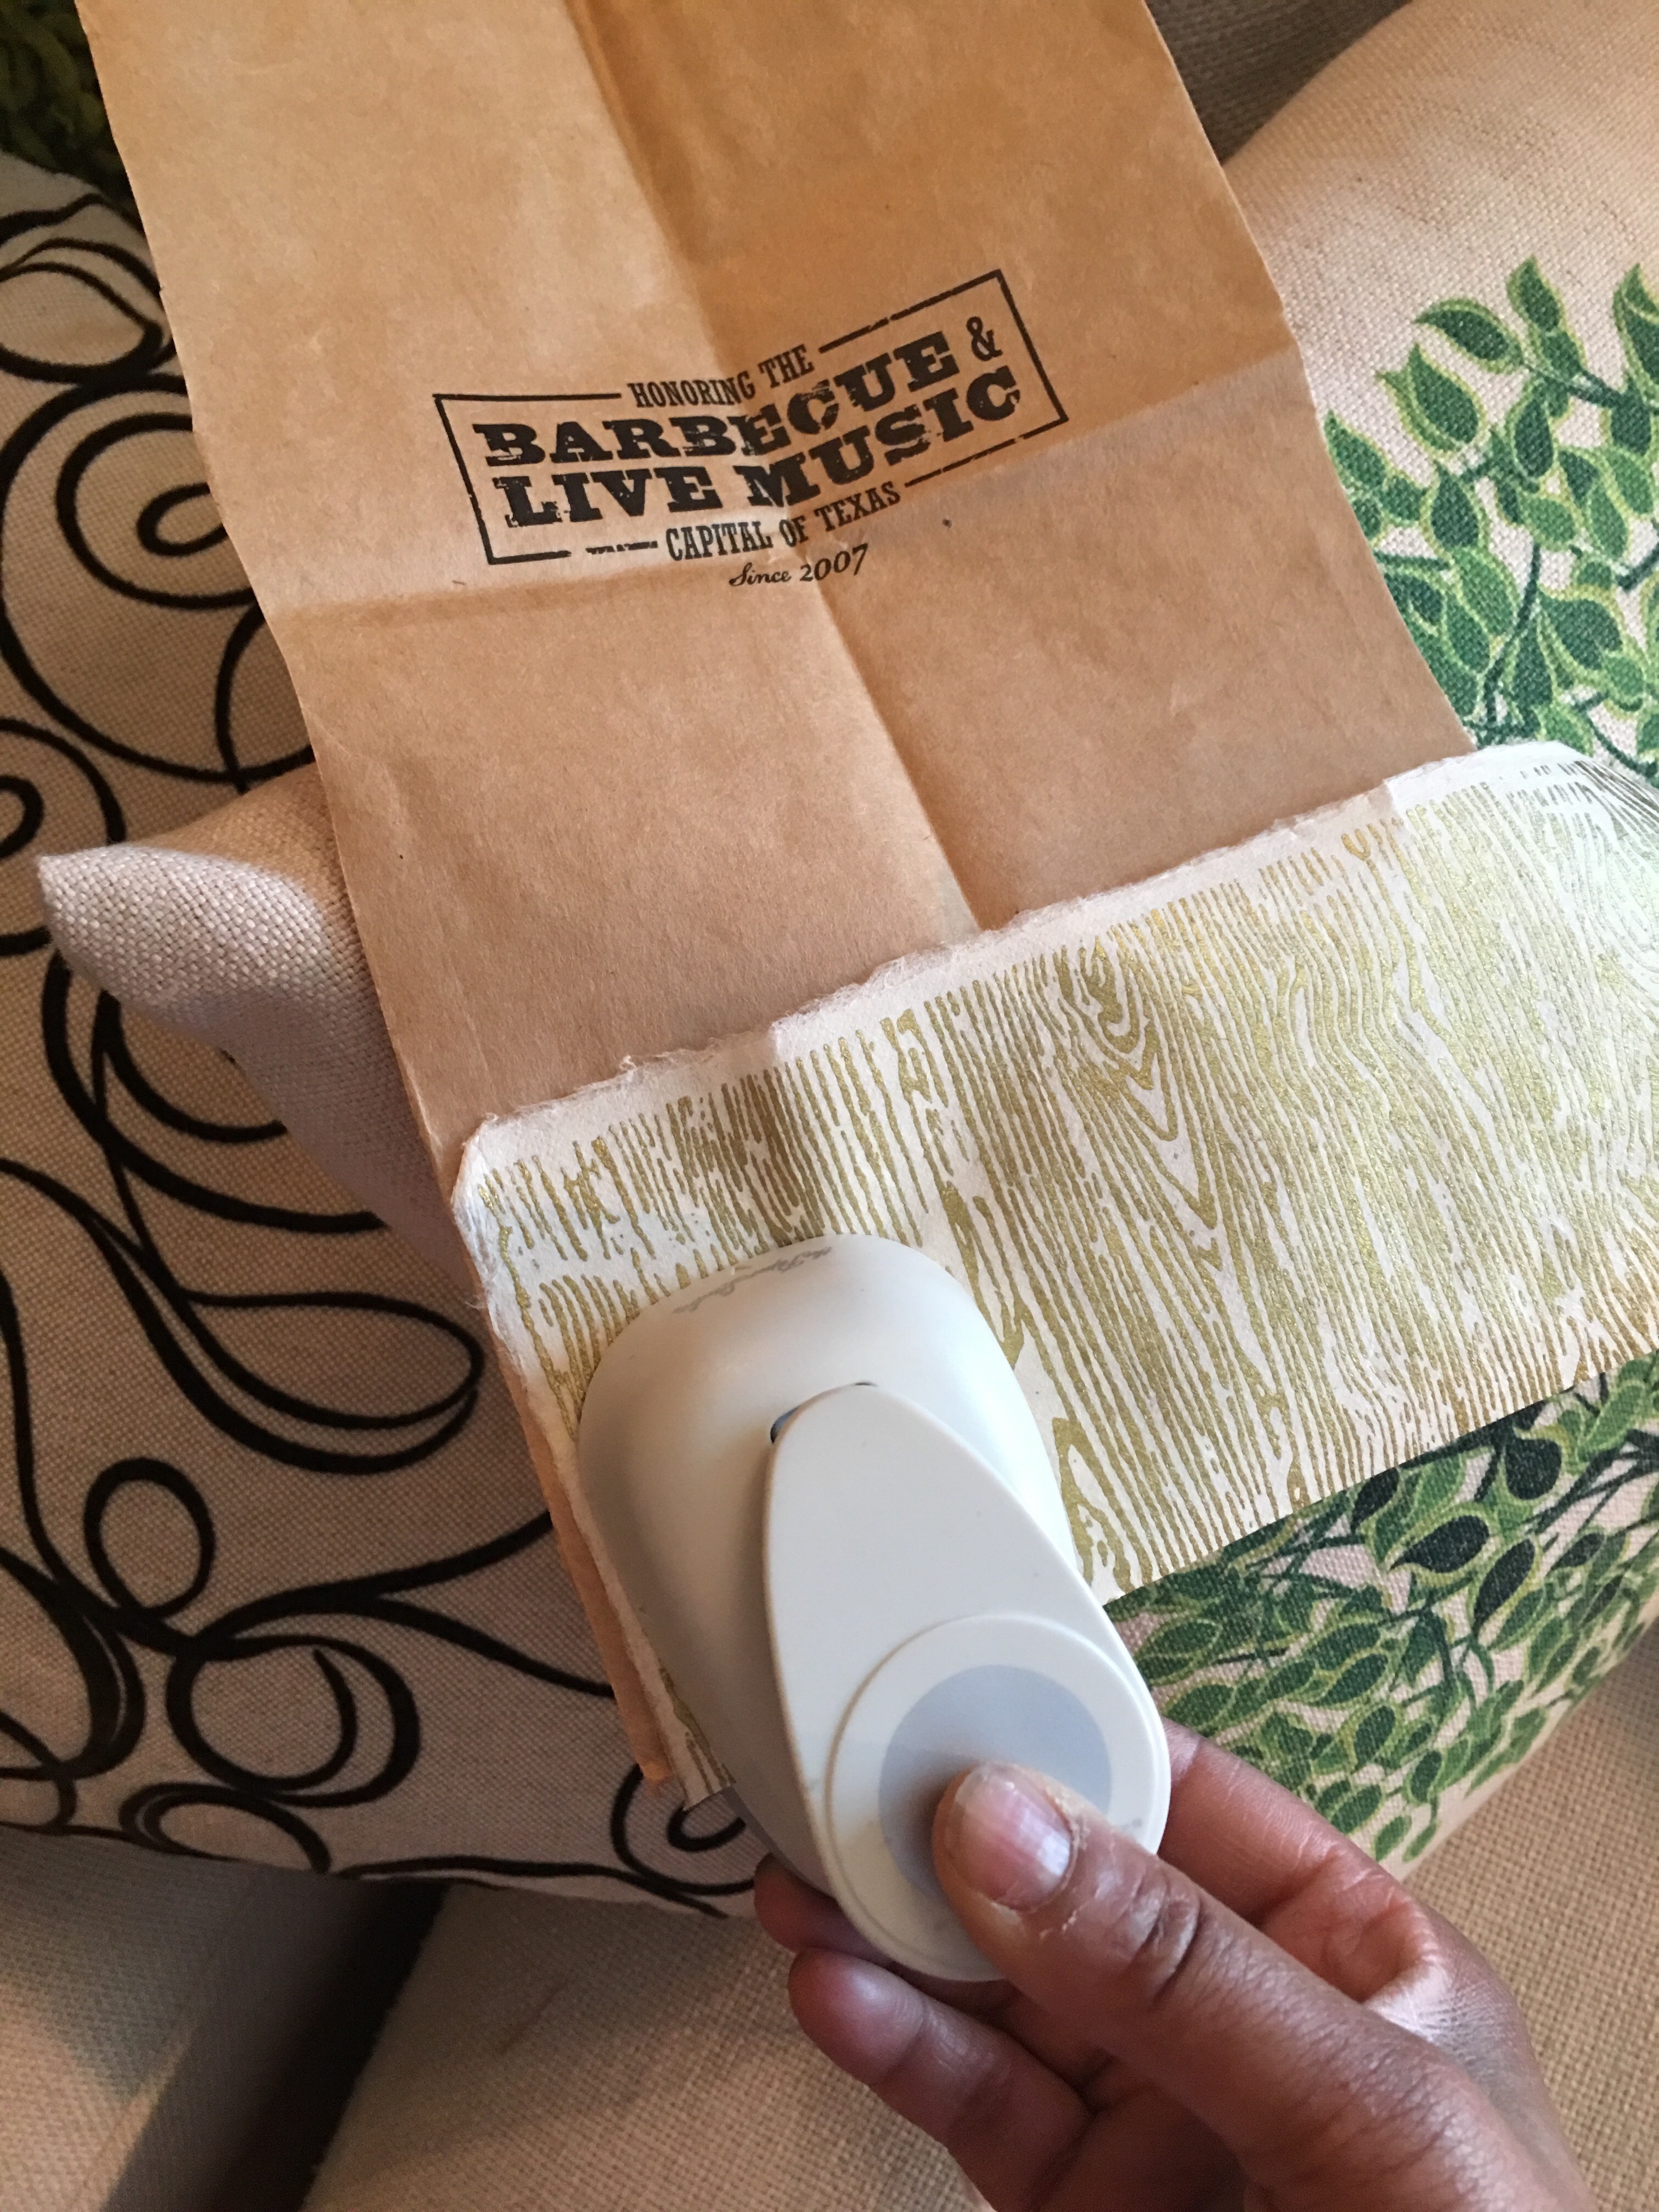
I use this circle paper punch by Recollections from Michaels. It has a tendency to jam, however, when punching fine papers. So I use craft or brown bag paper to help this tool along.
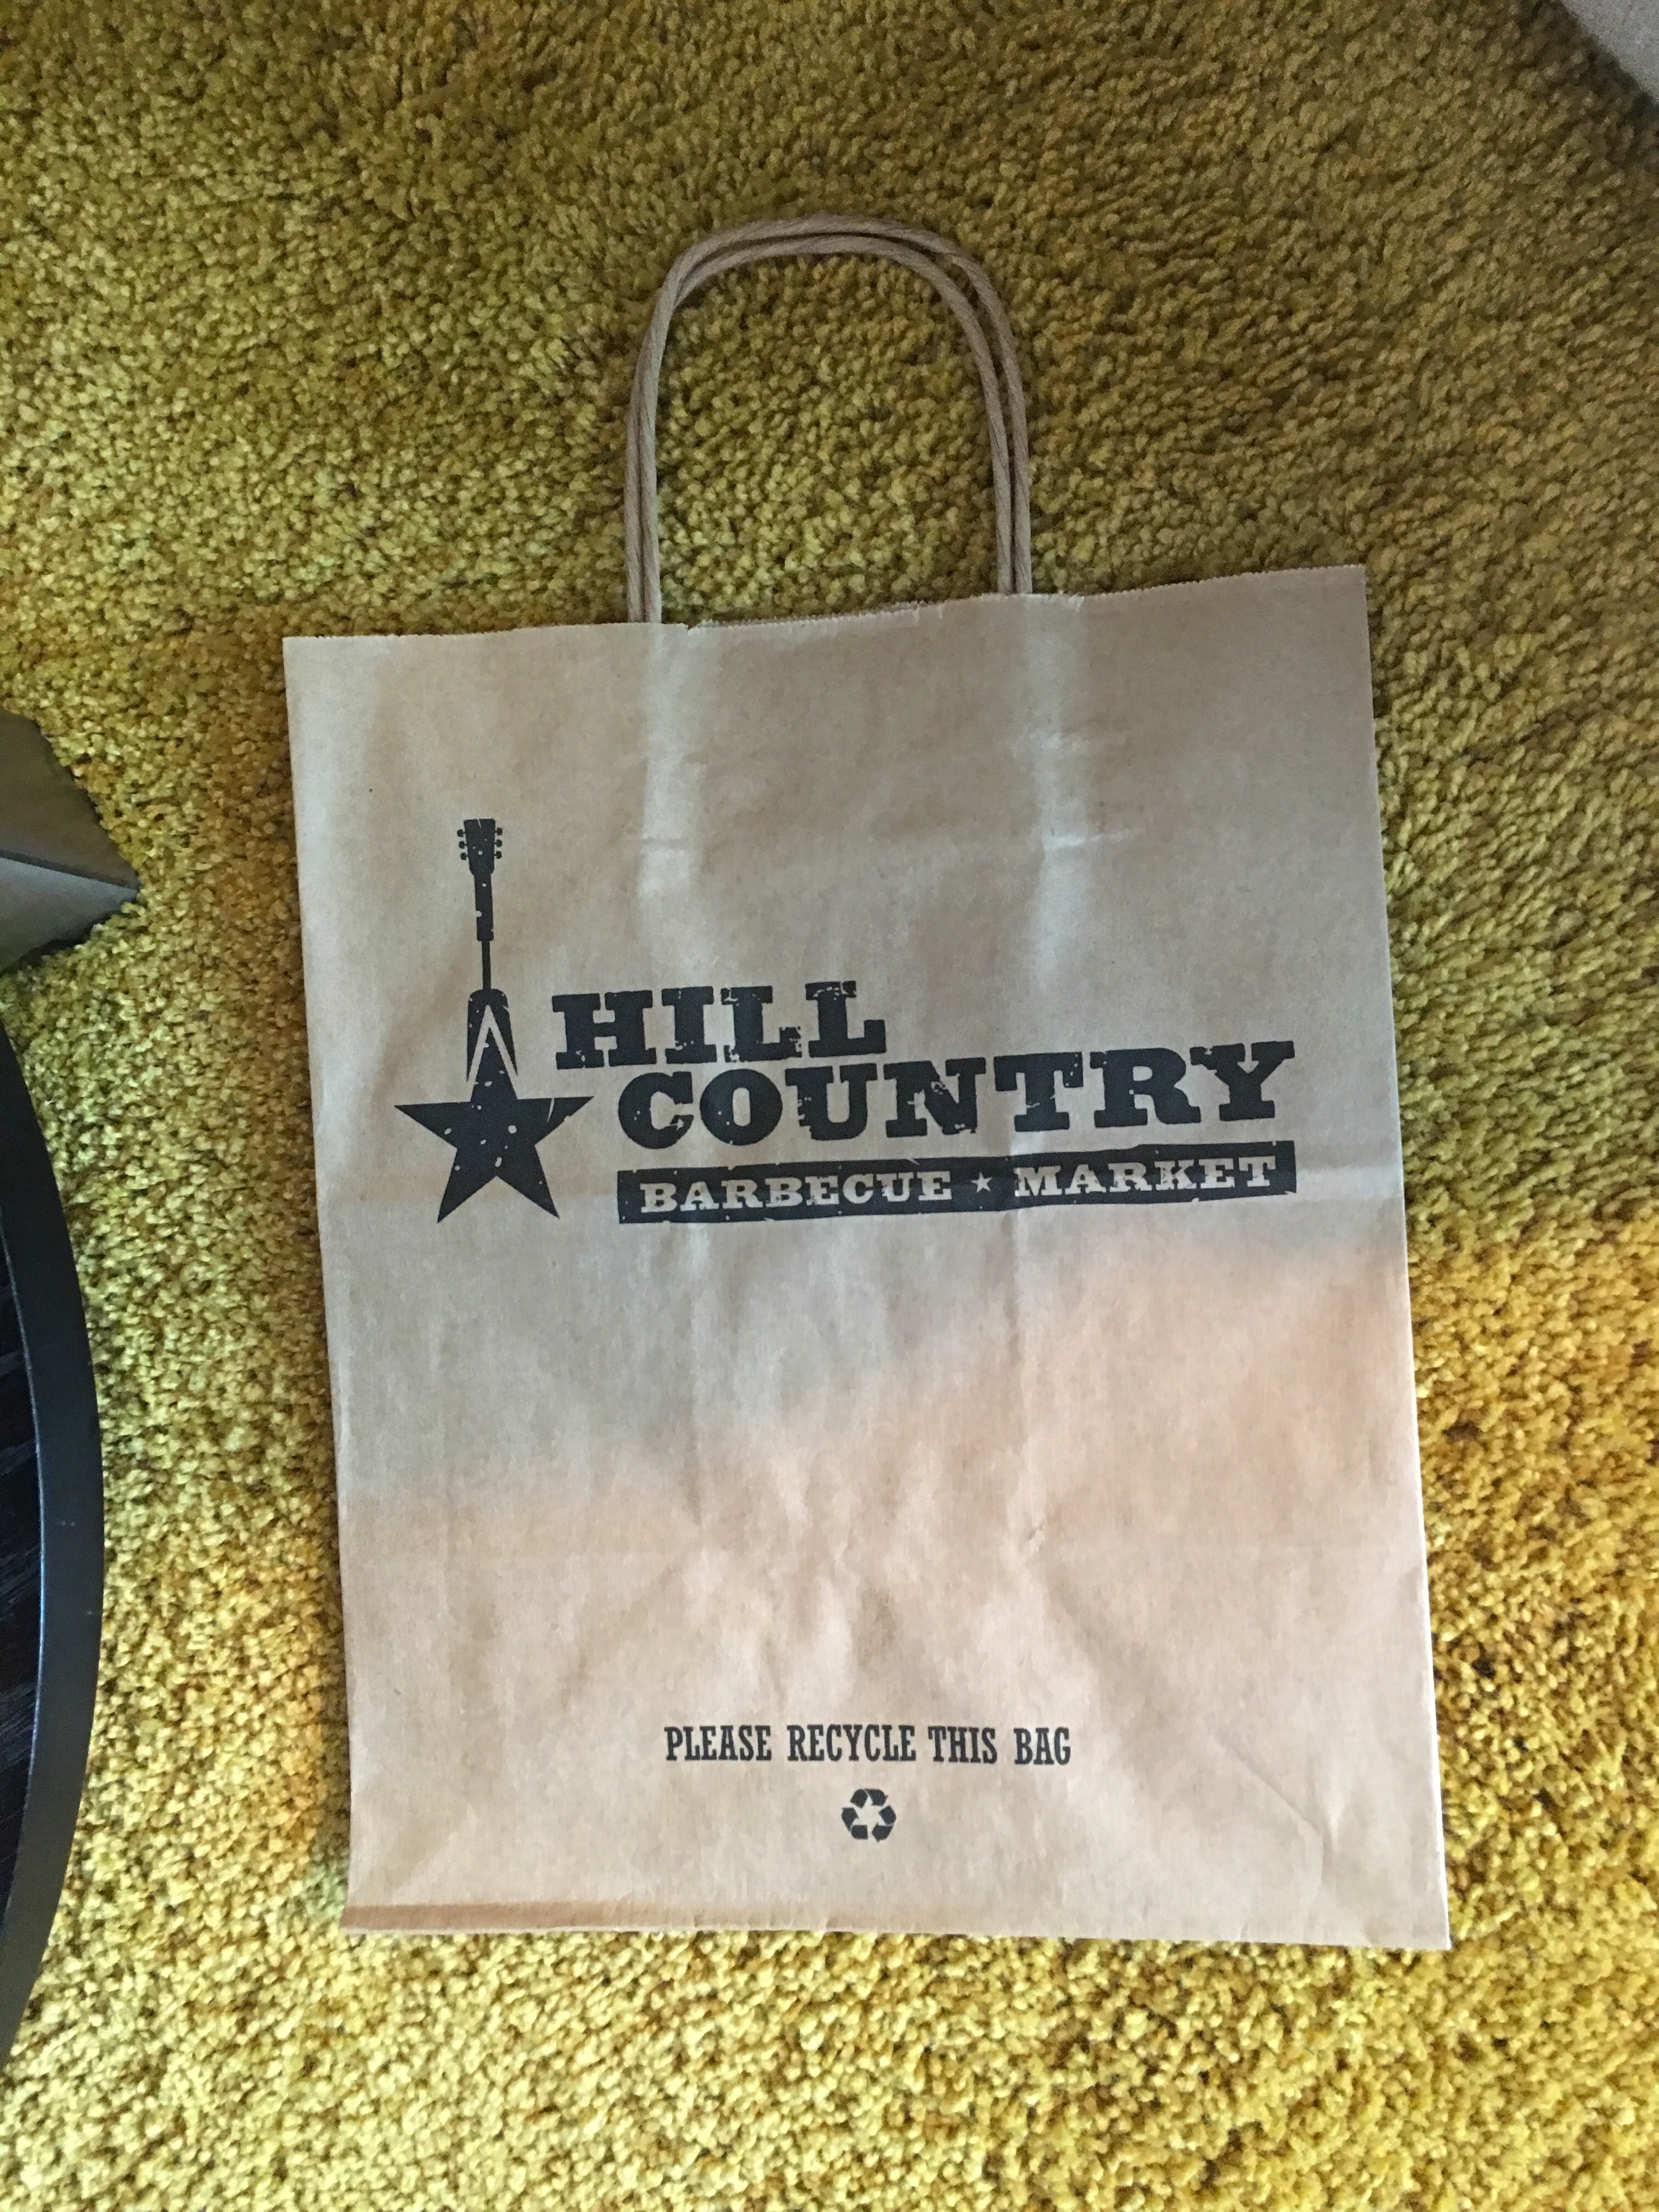
I simply take a brown paper bag…
…remove the handles and cut around the sides until I have flat sheets of brown paper….
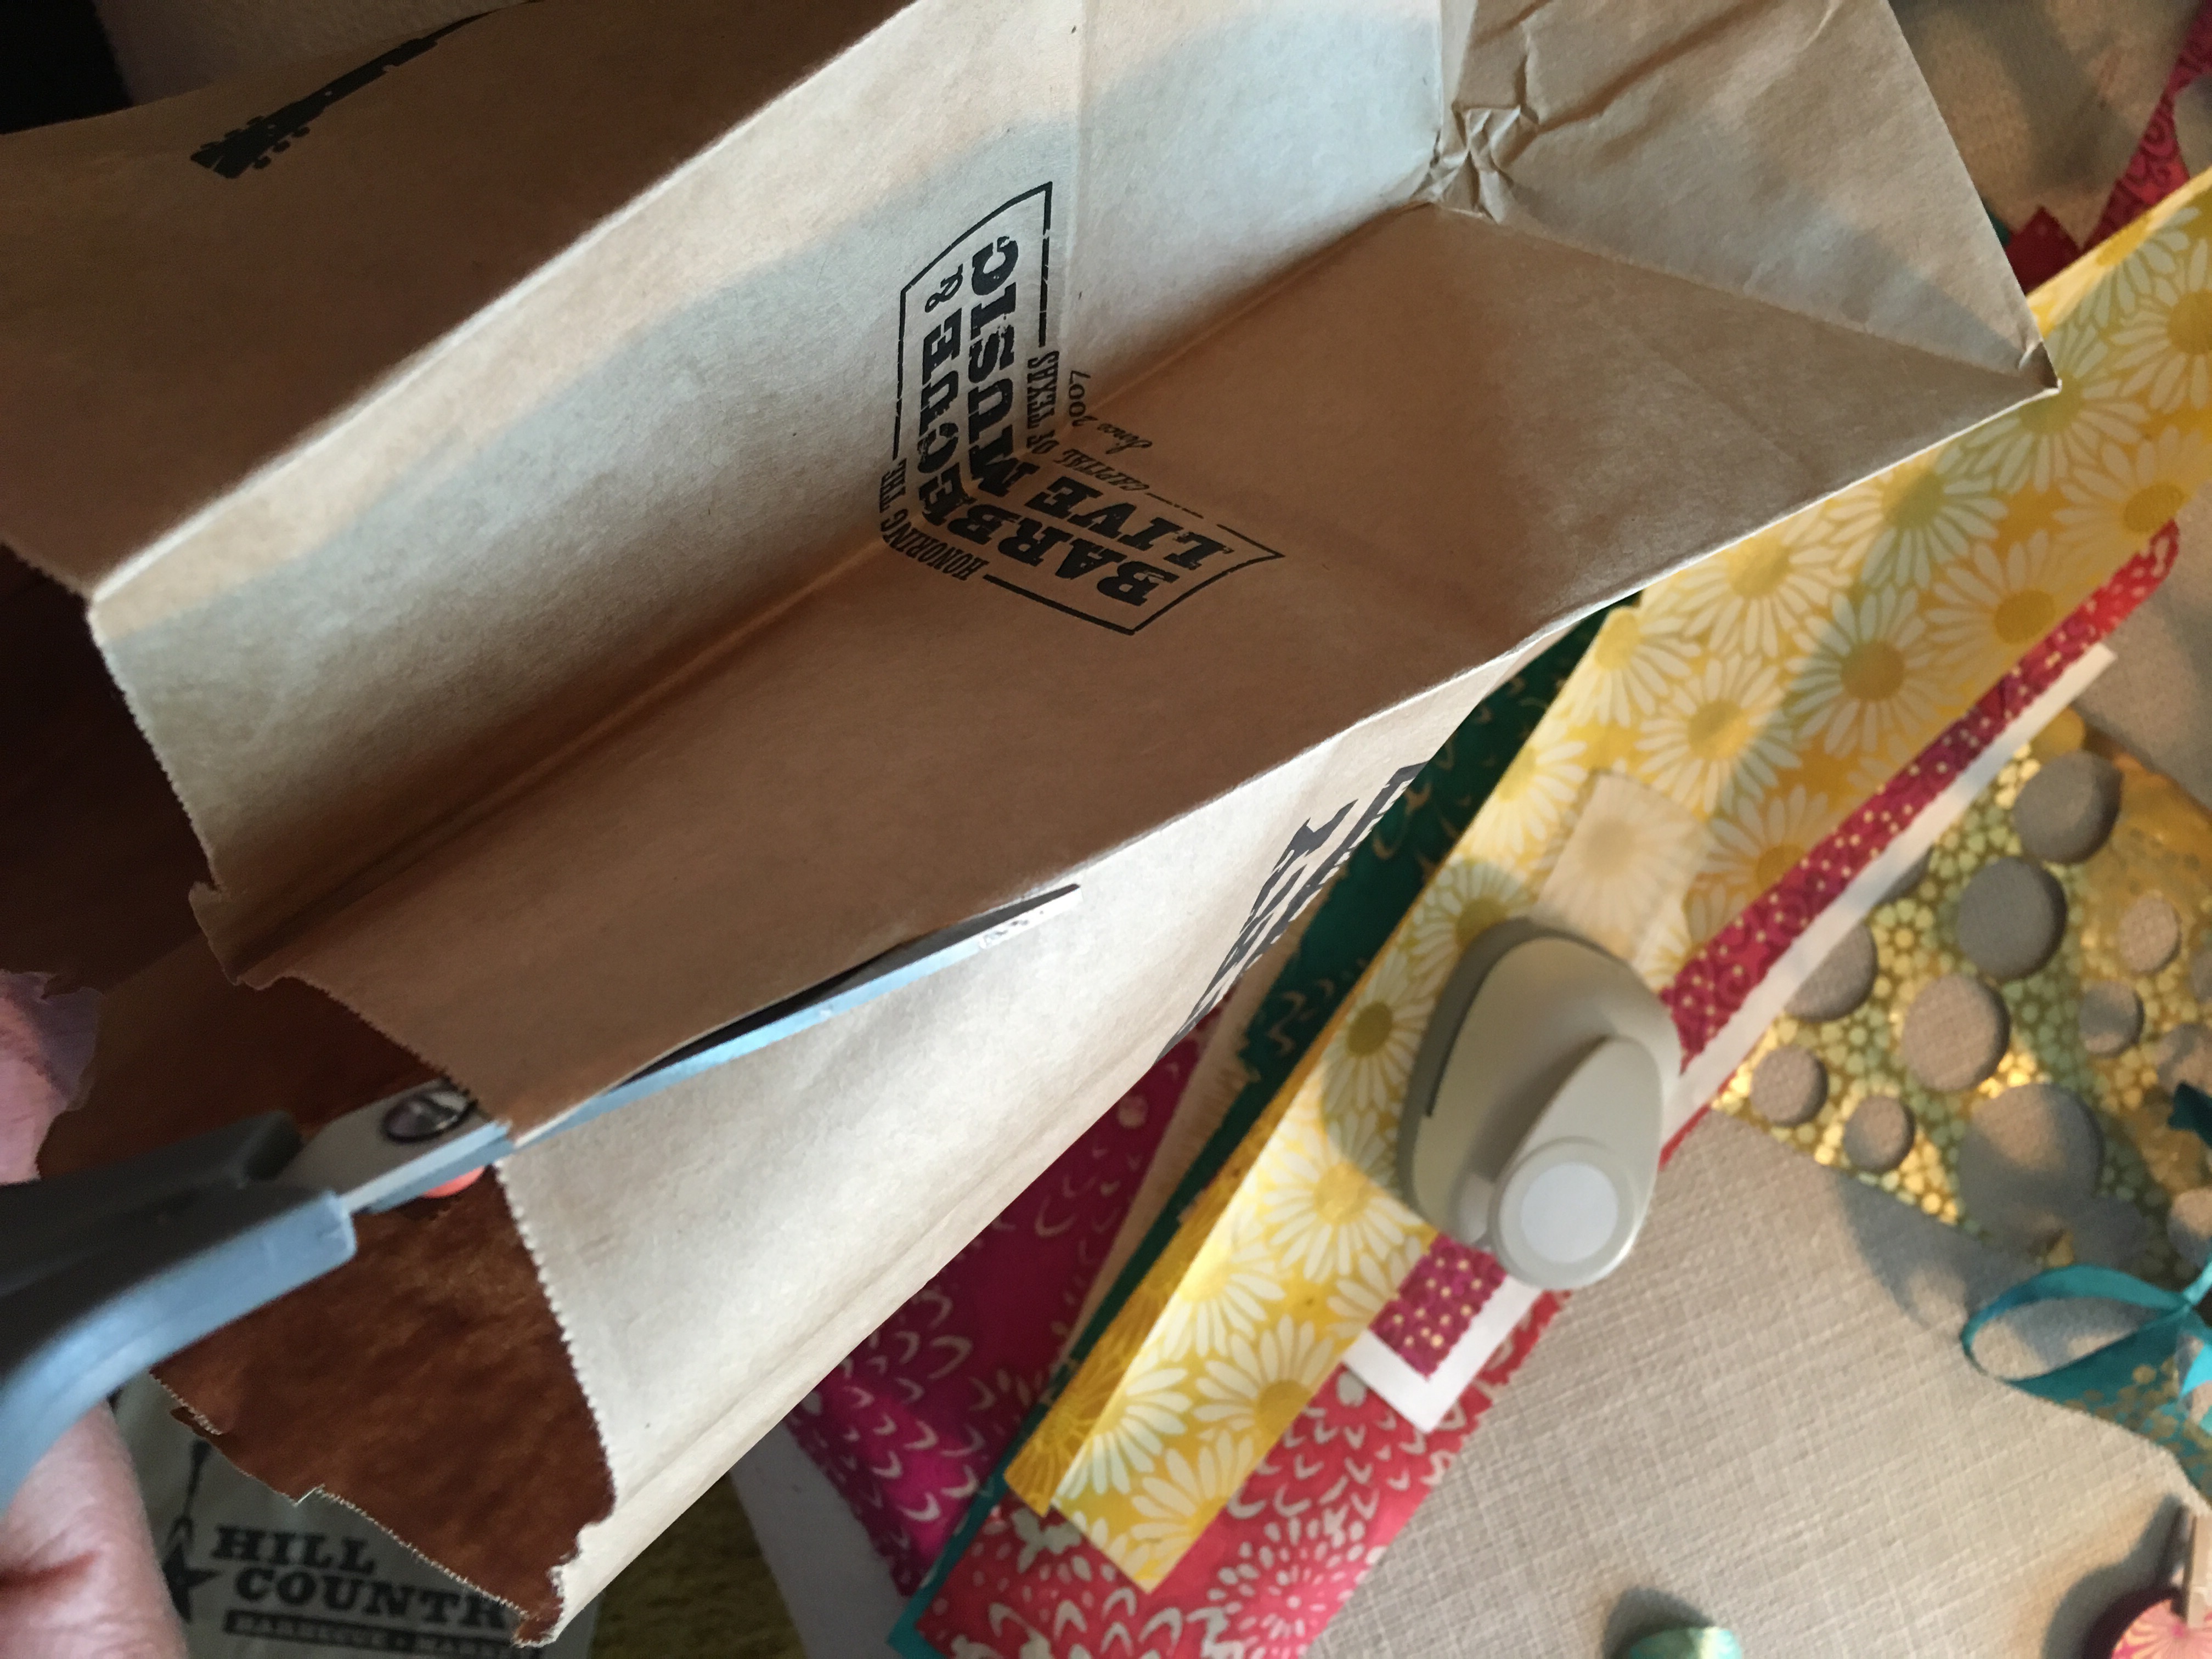
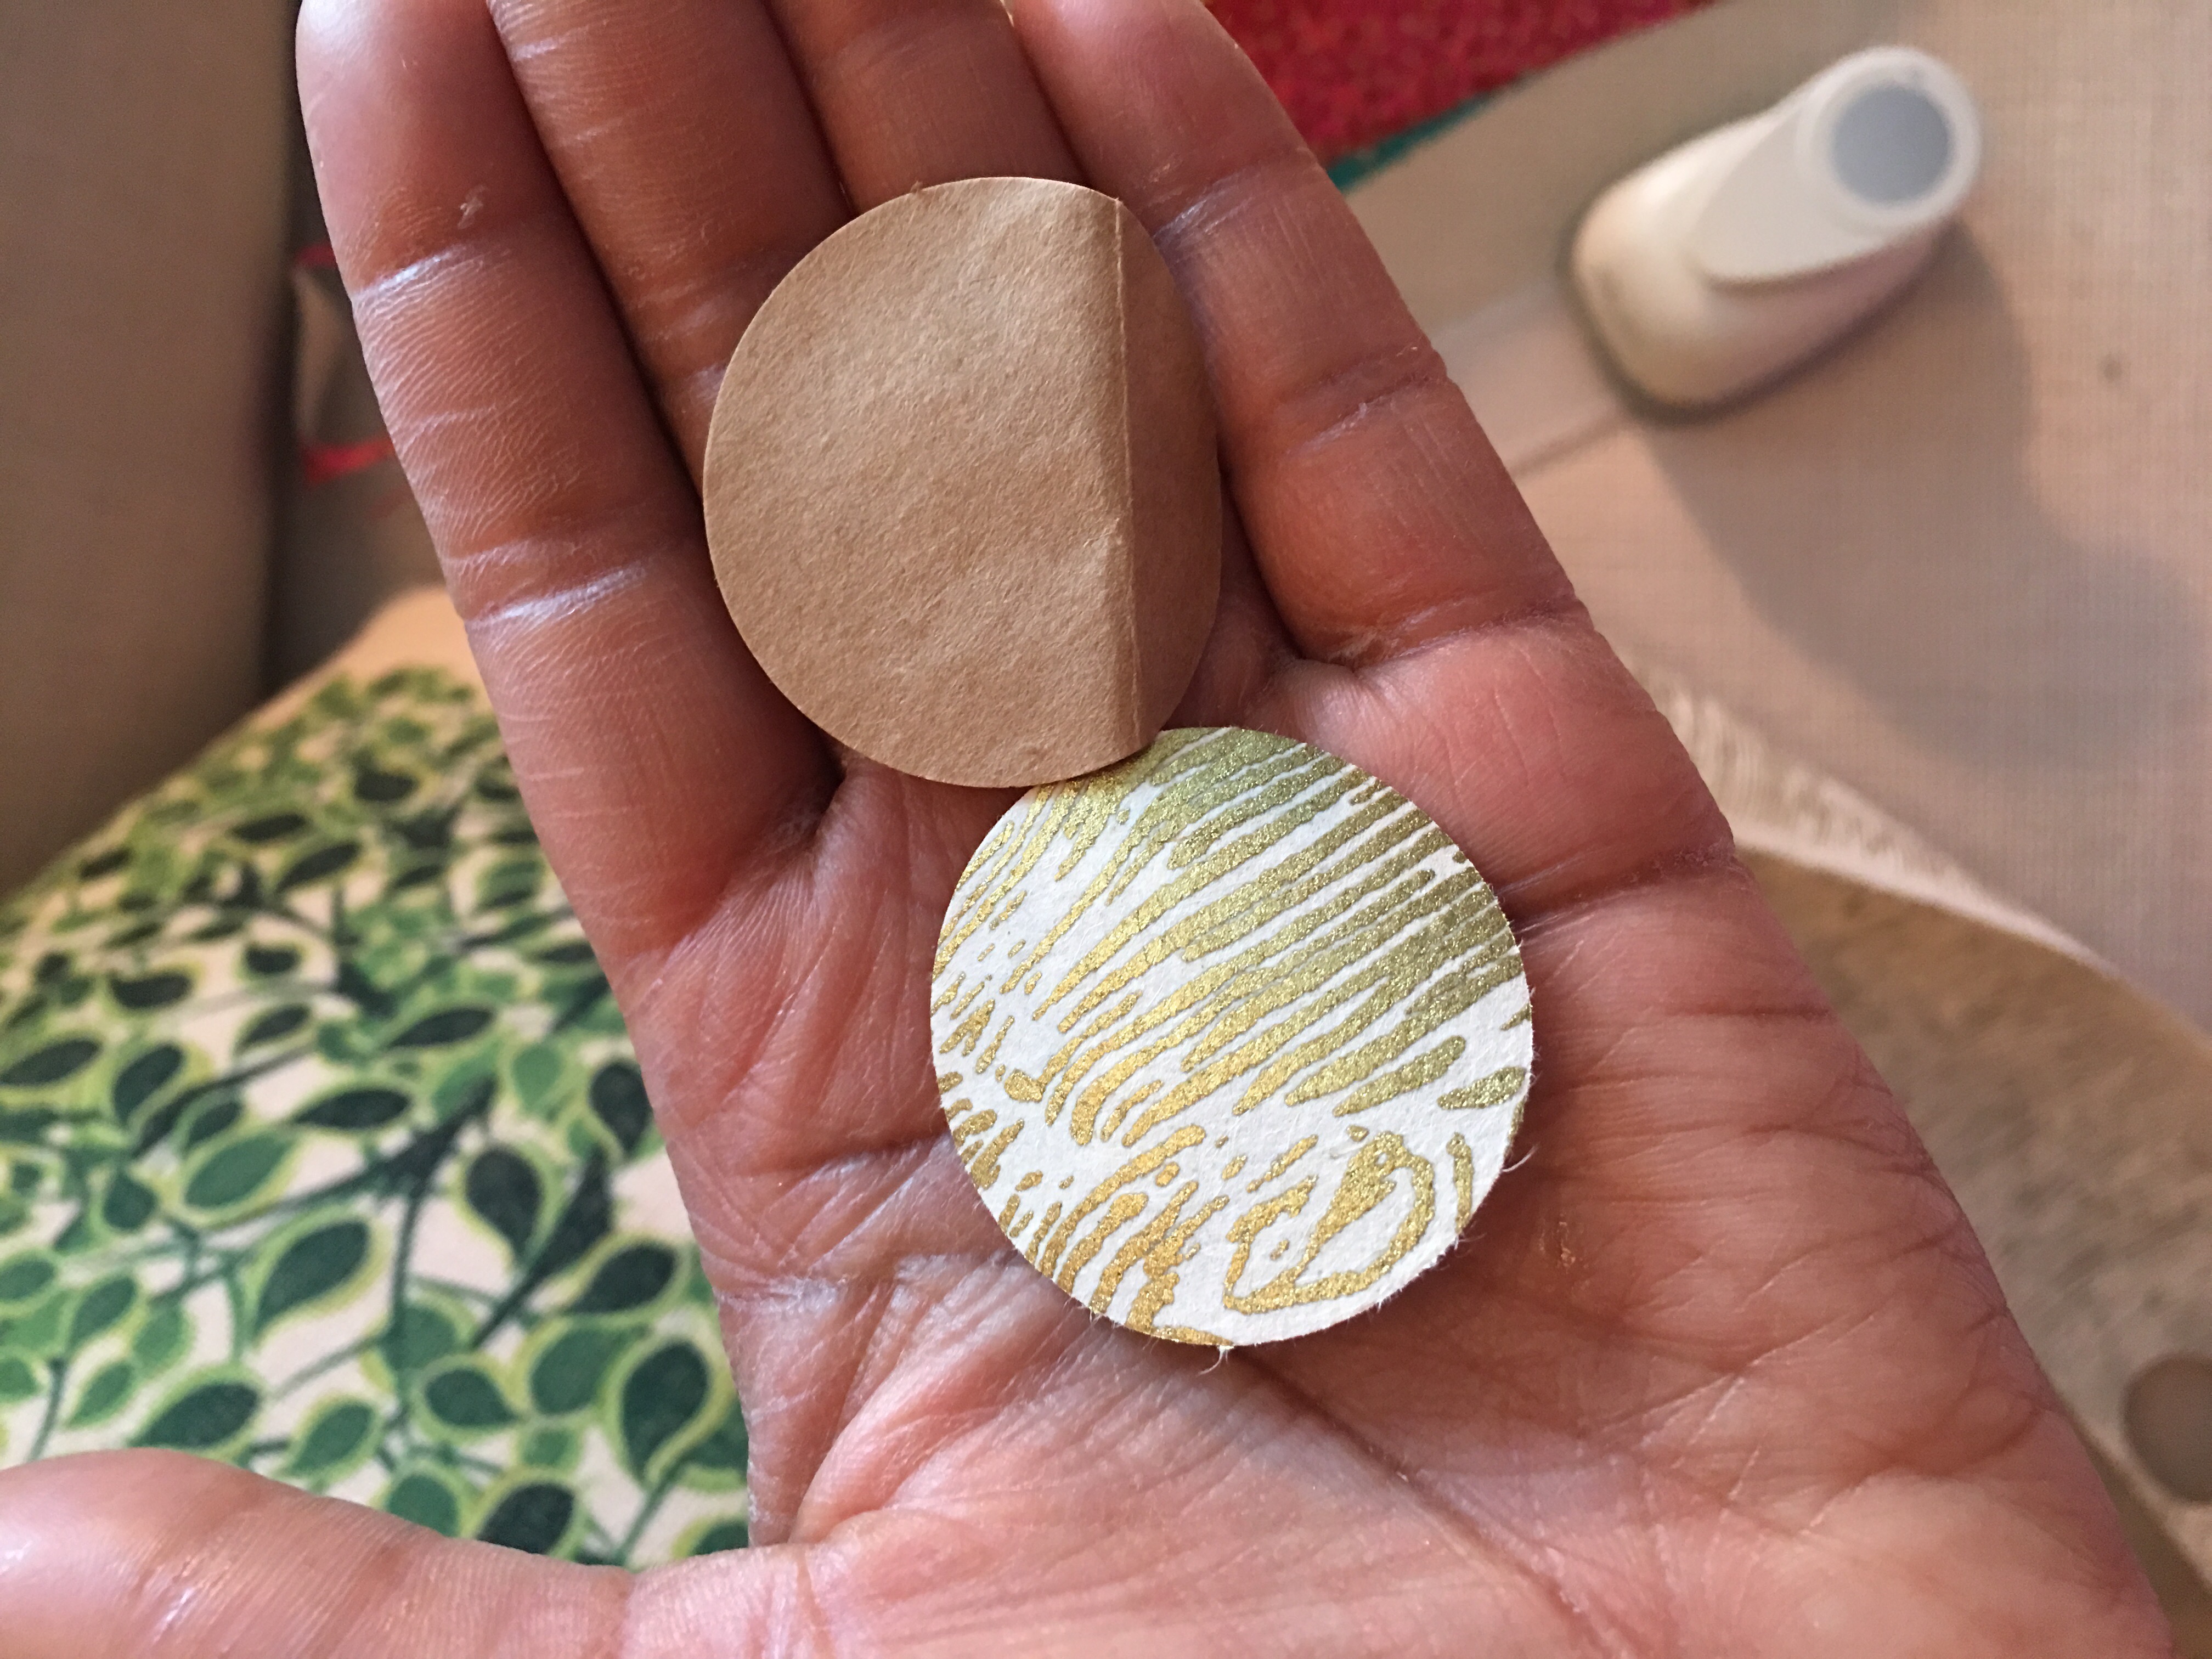
…and layer it under the fine paper that I’m punching shapes from.
This allows the punch tool to evenly cut through the fine and the coarser grade papers.
I was sure to punch plenty of circles in different patterns and colors. Yes, I’m building up quite a personal collection of papers. (Try as I might to use up what I have and clean house of papers, I always end up bringing in more).
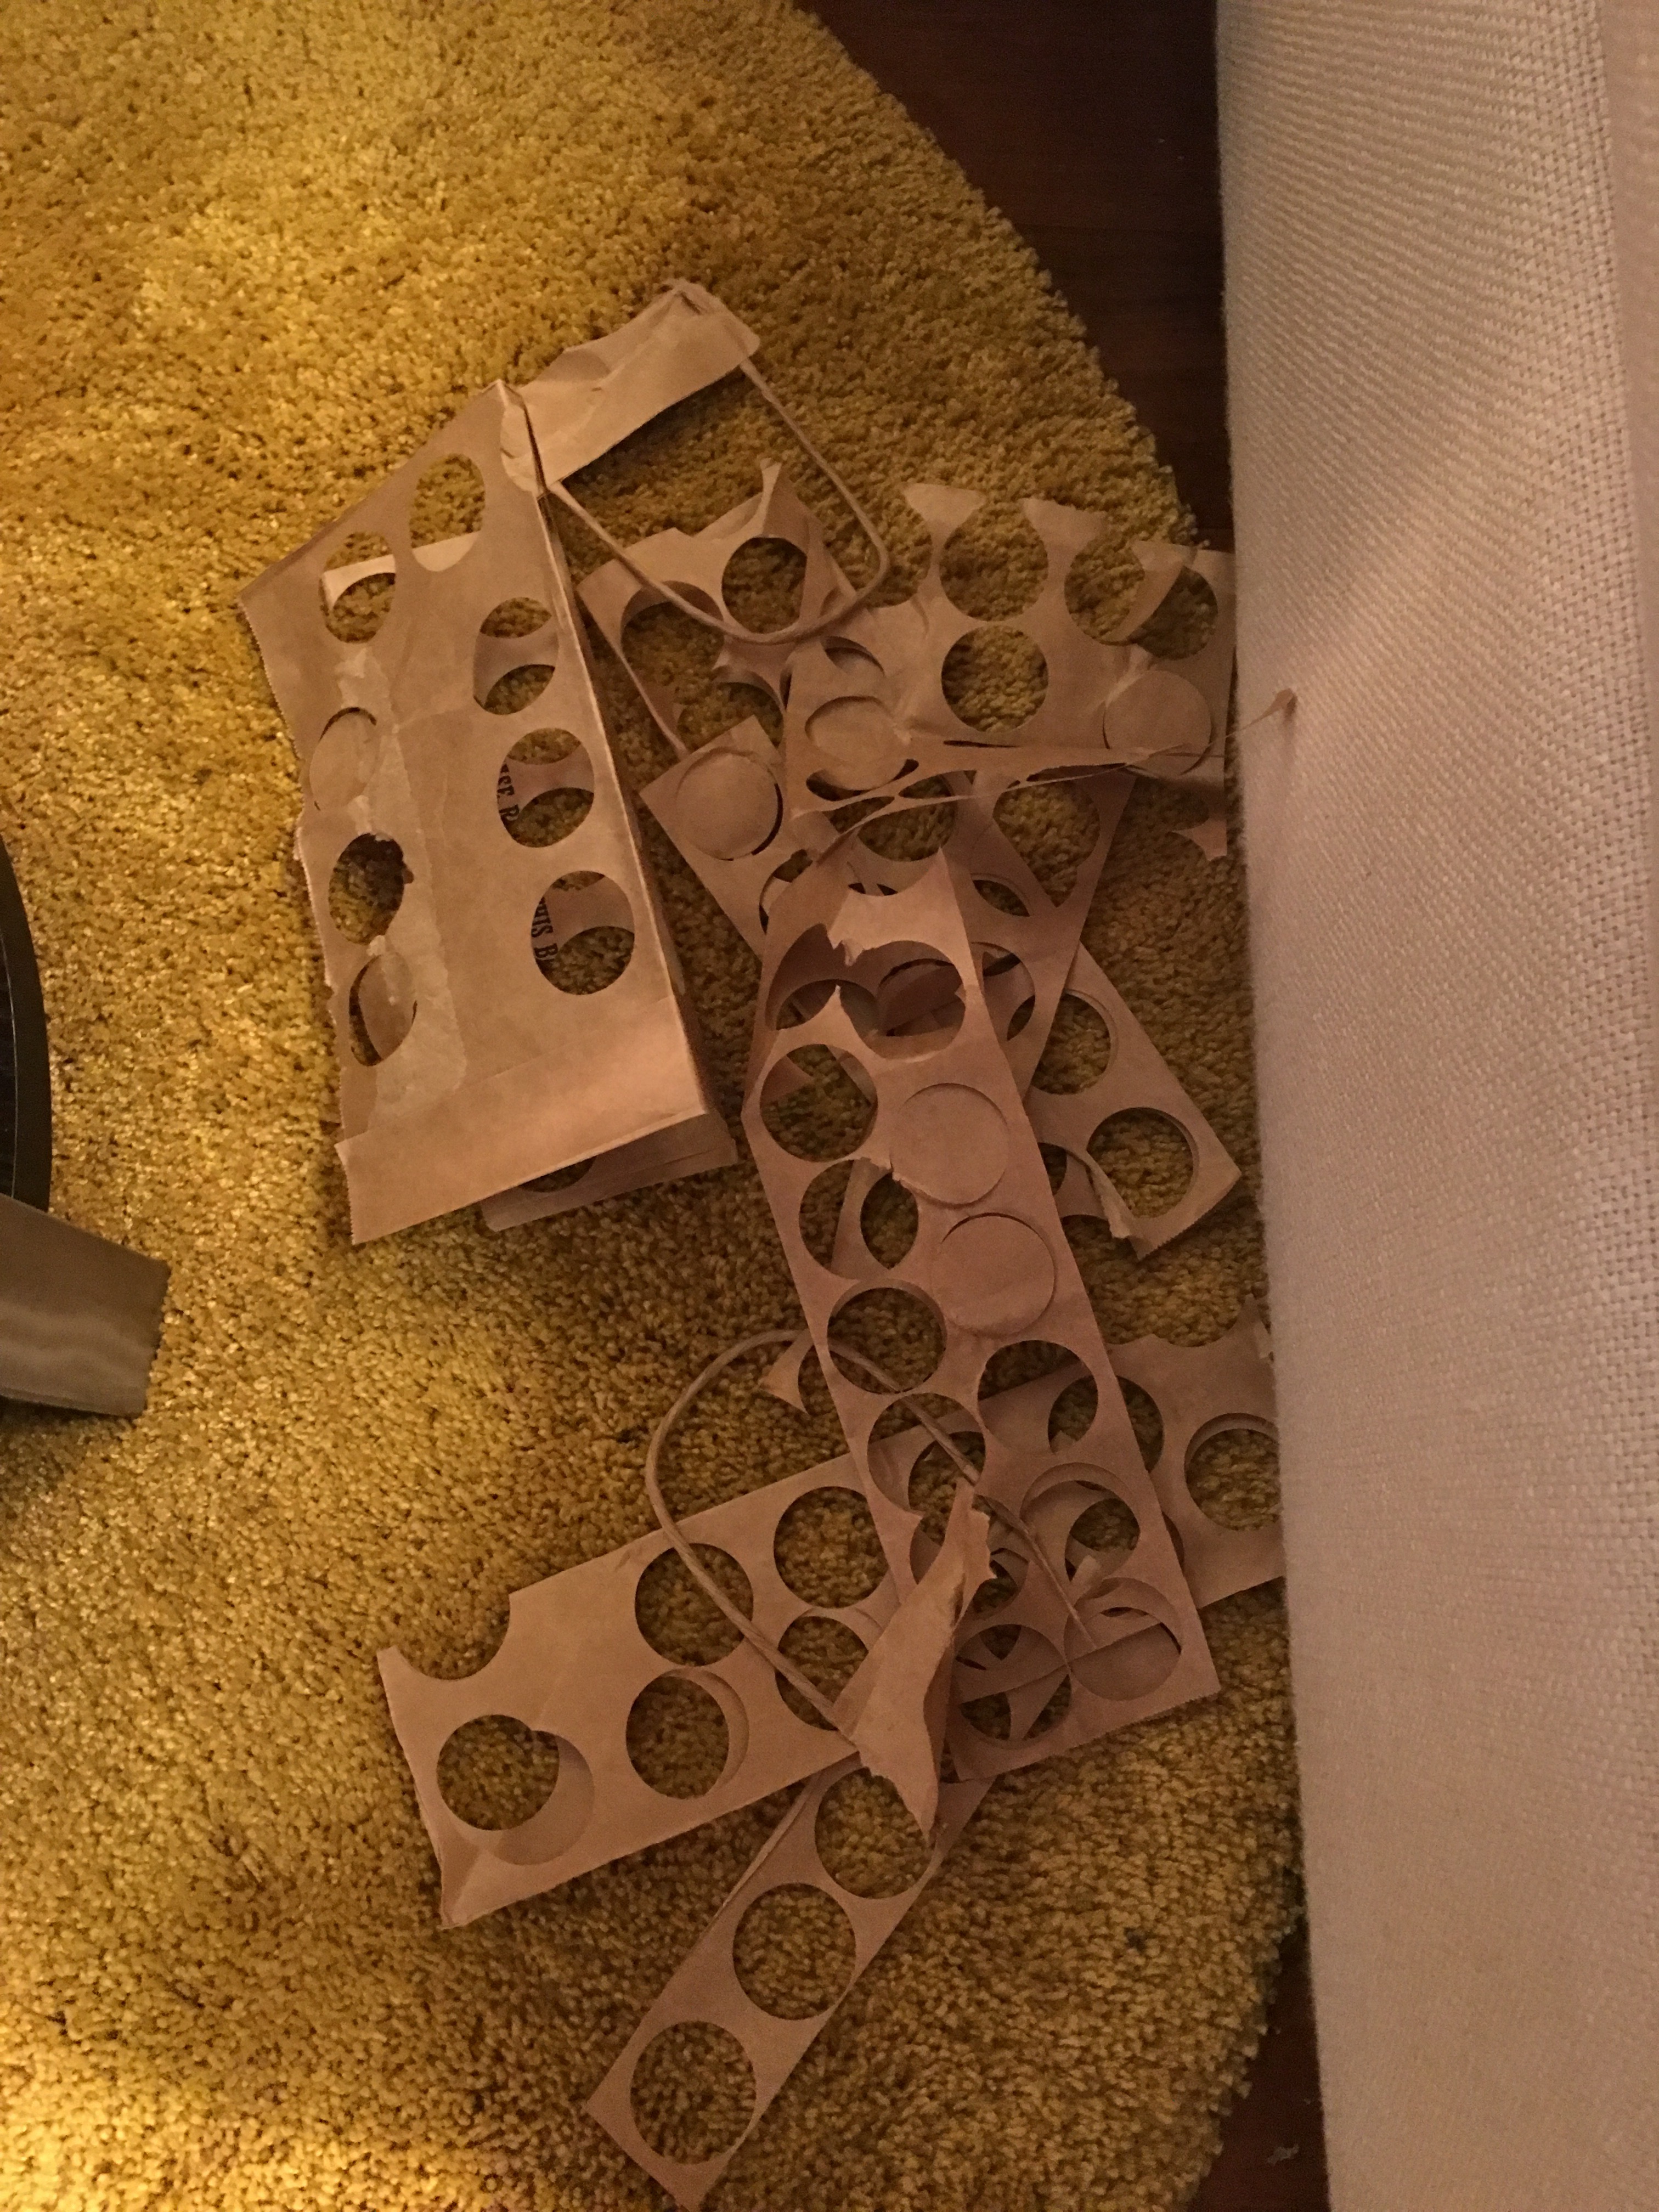
My brown paper bag scraps. If ambitious, I keep these around to punch more circles in smaller sizes. Or I just add to my paper recycle bin.
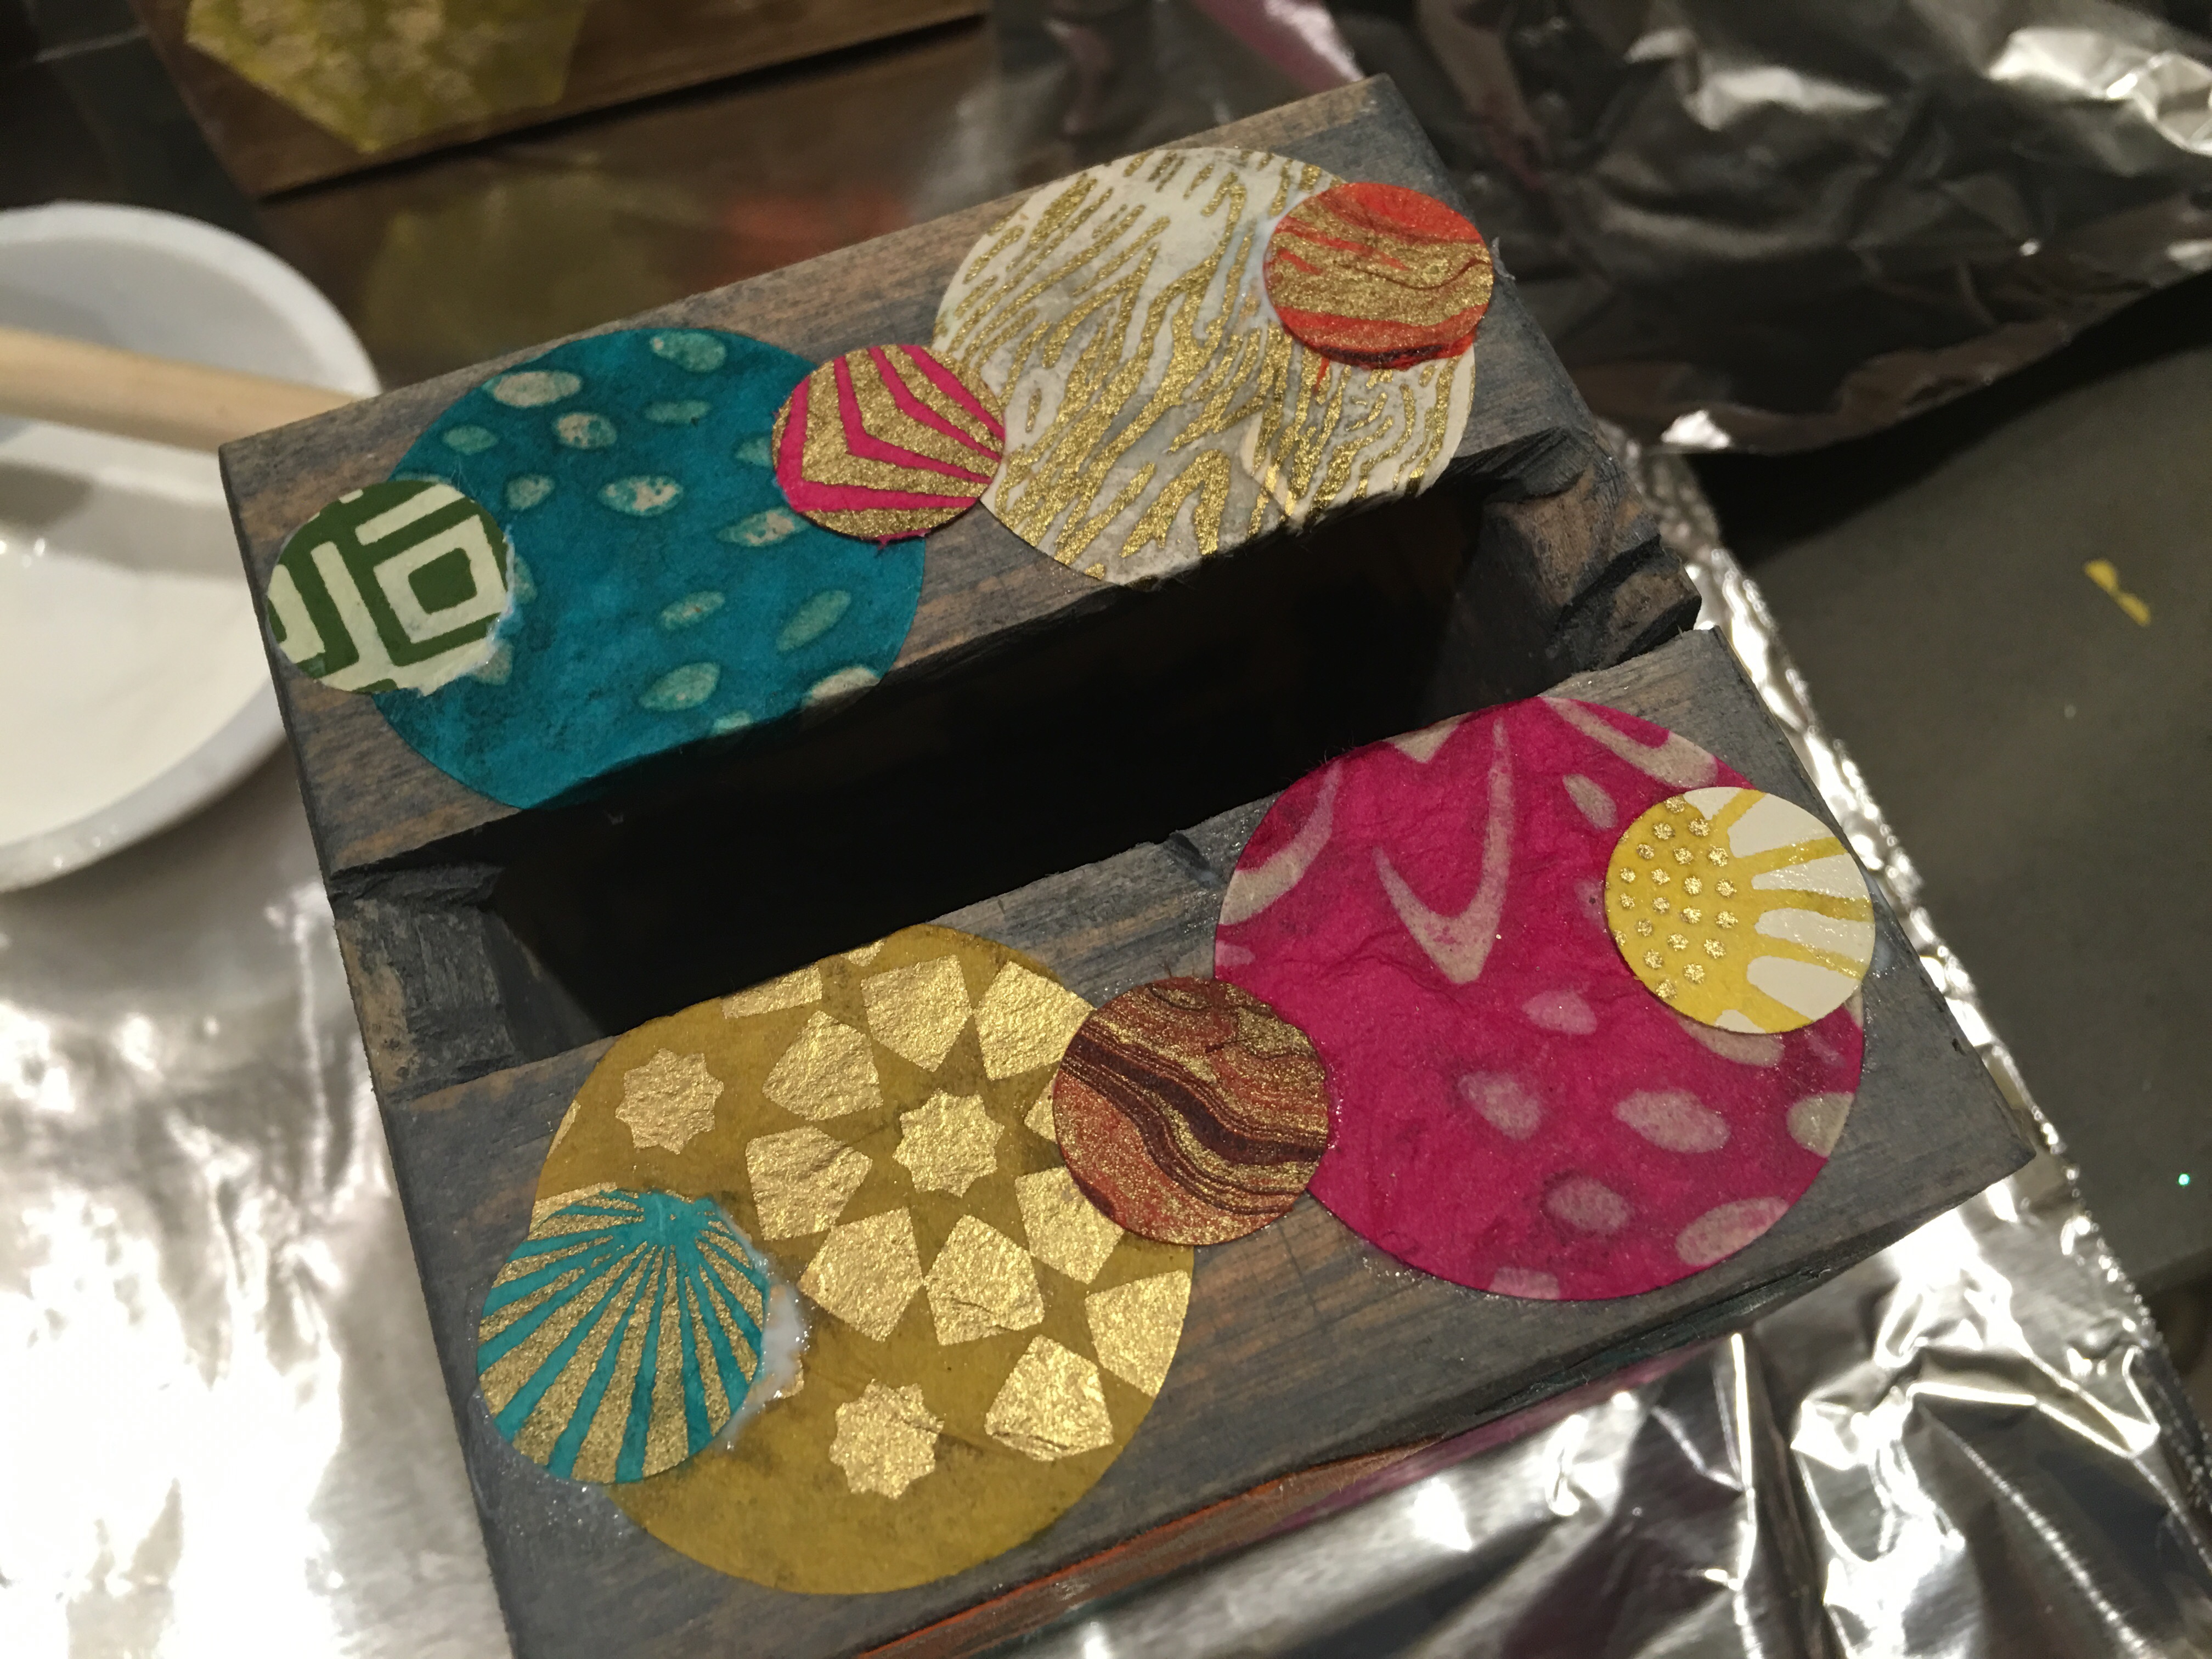
Using Mod Podge again, I decoupage four circles to the top of the large cubes (different colors and designs).

Same goes for the smaller cube. The circles are slightly bigger than the available surface above and below the opening. So I fold over the excess paper into the opening and seal with Mod Podge.
I add mini paper circles to the larger shapes in contrasting colors. Again, these are applied with Mod Podge.
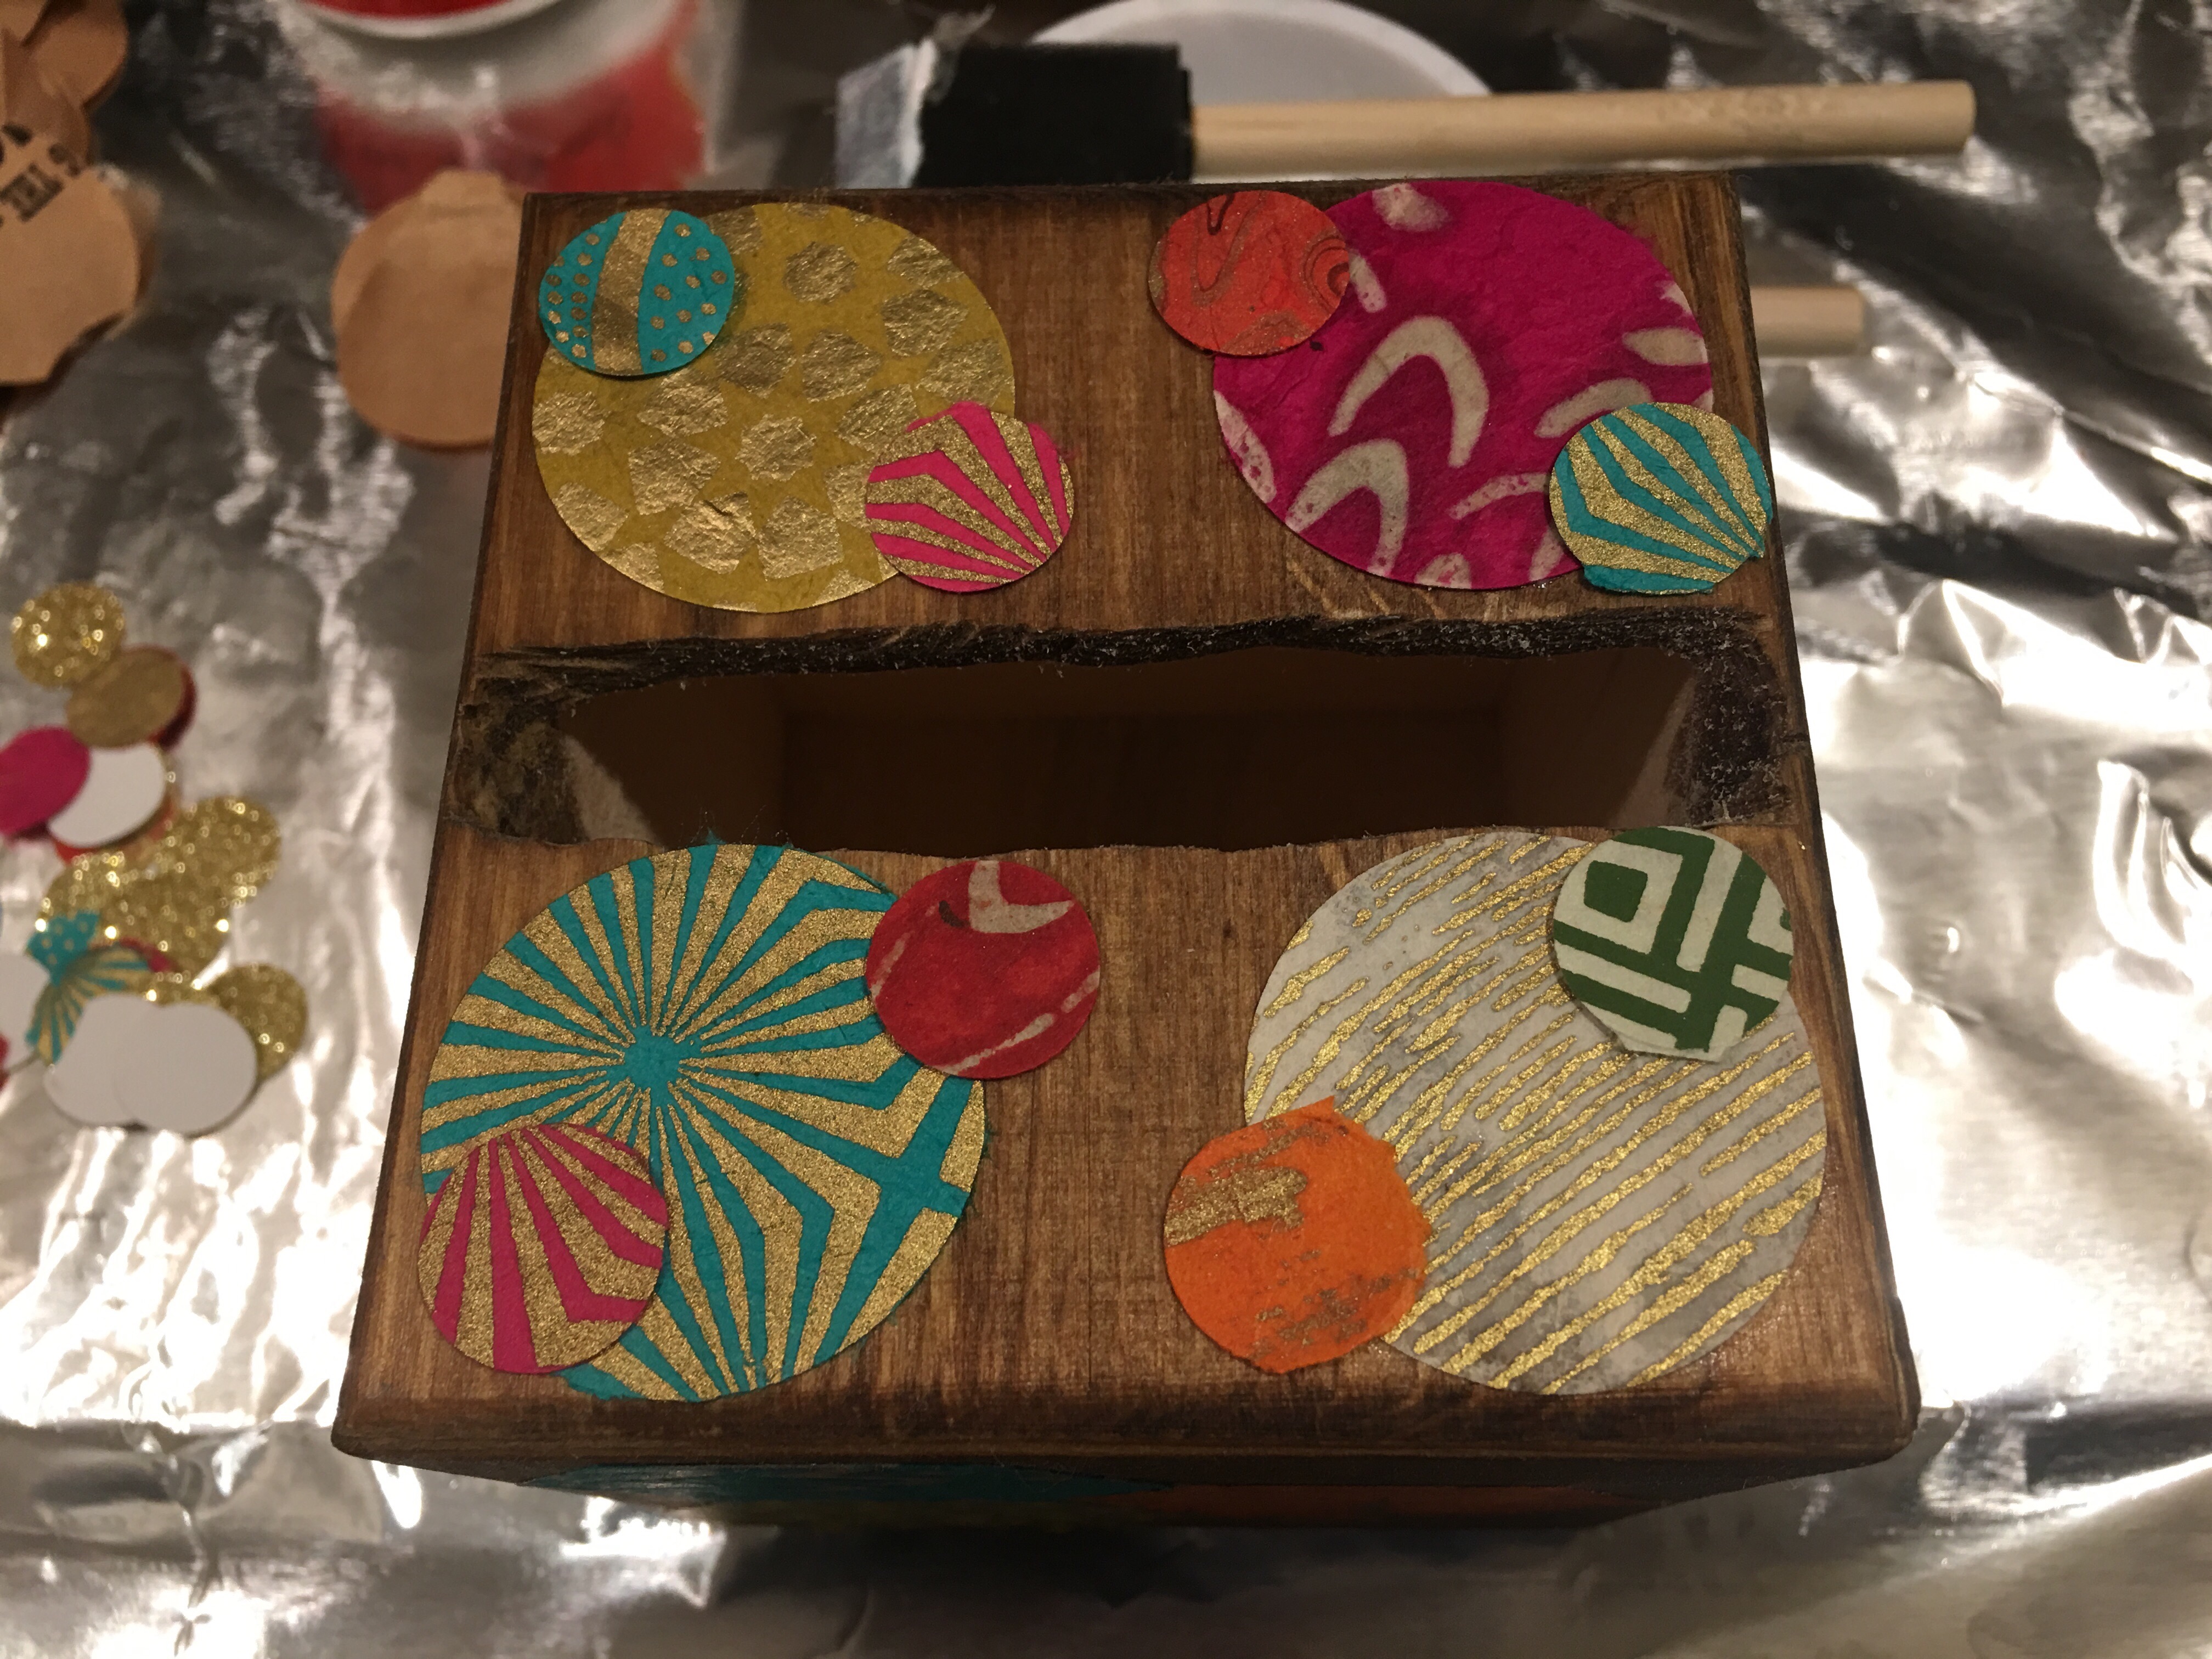
This is the design I use for the smaller wood cube.
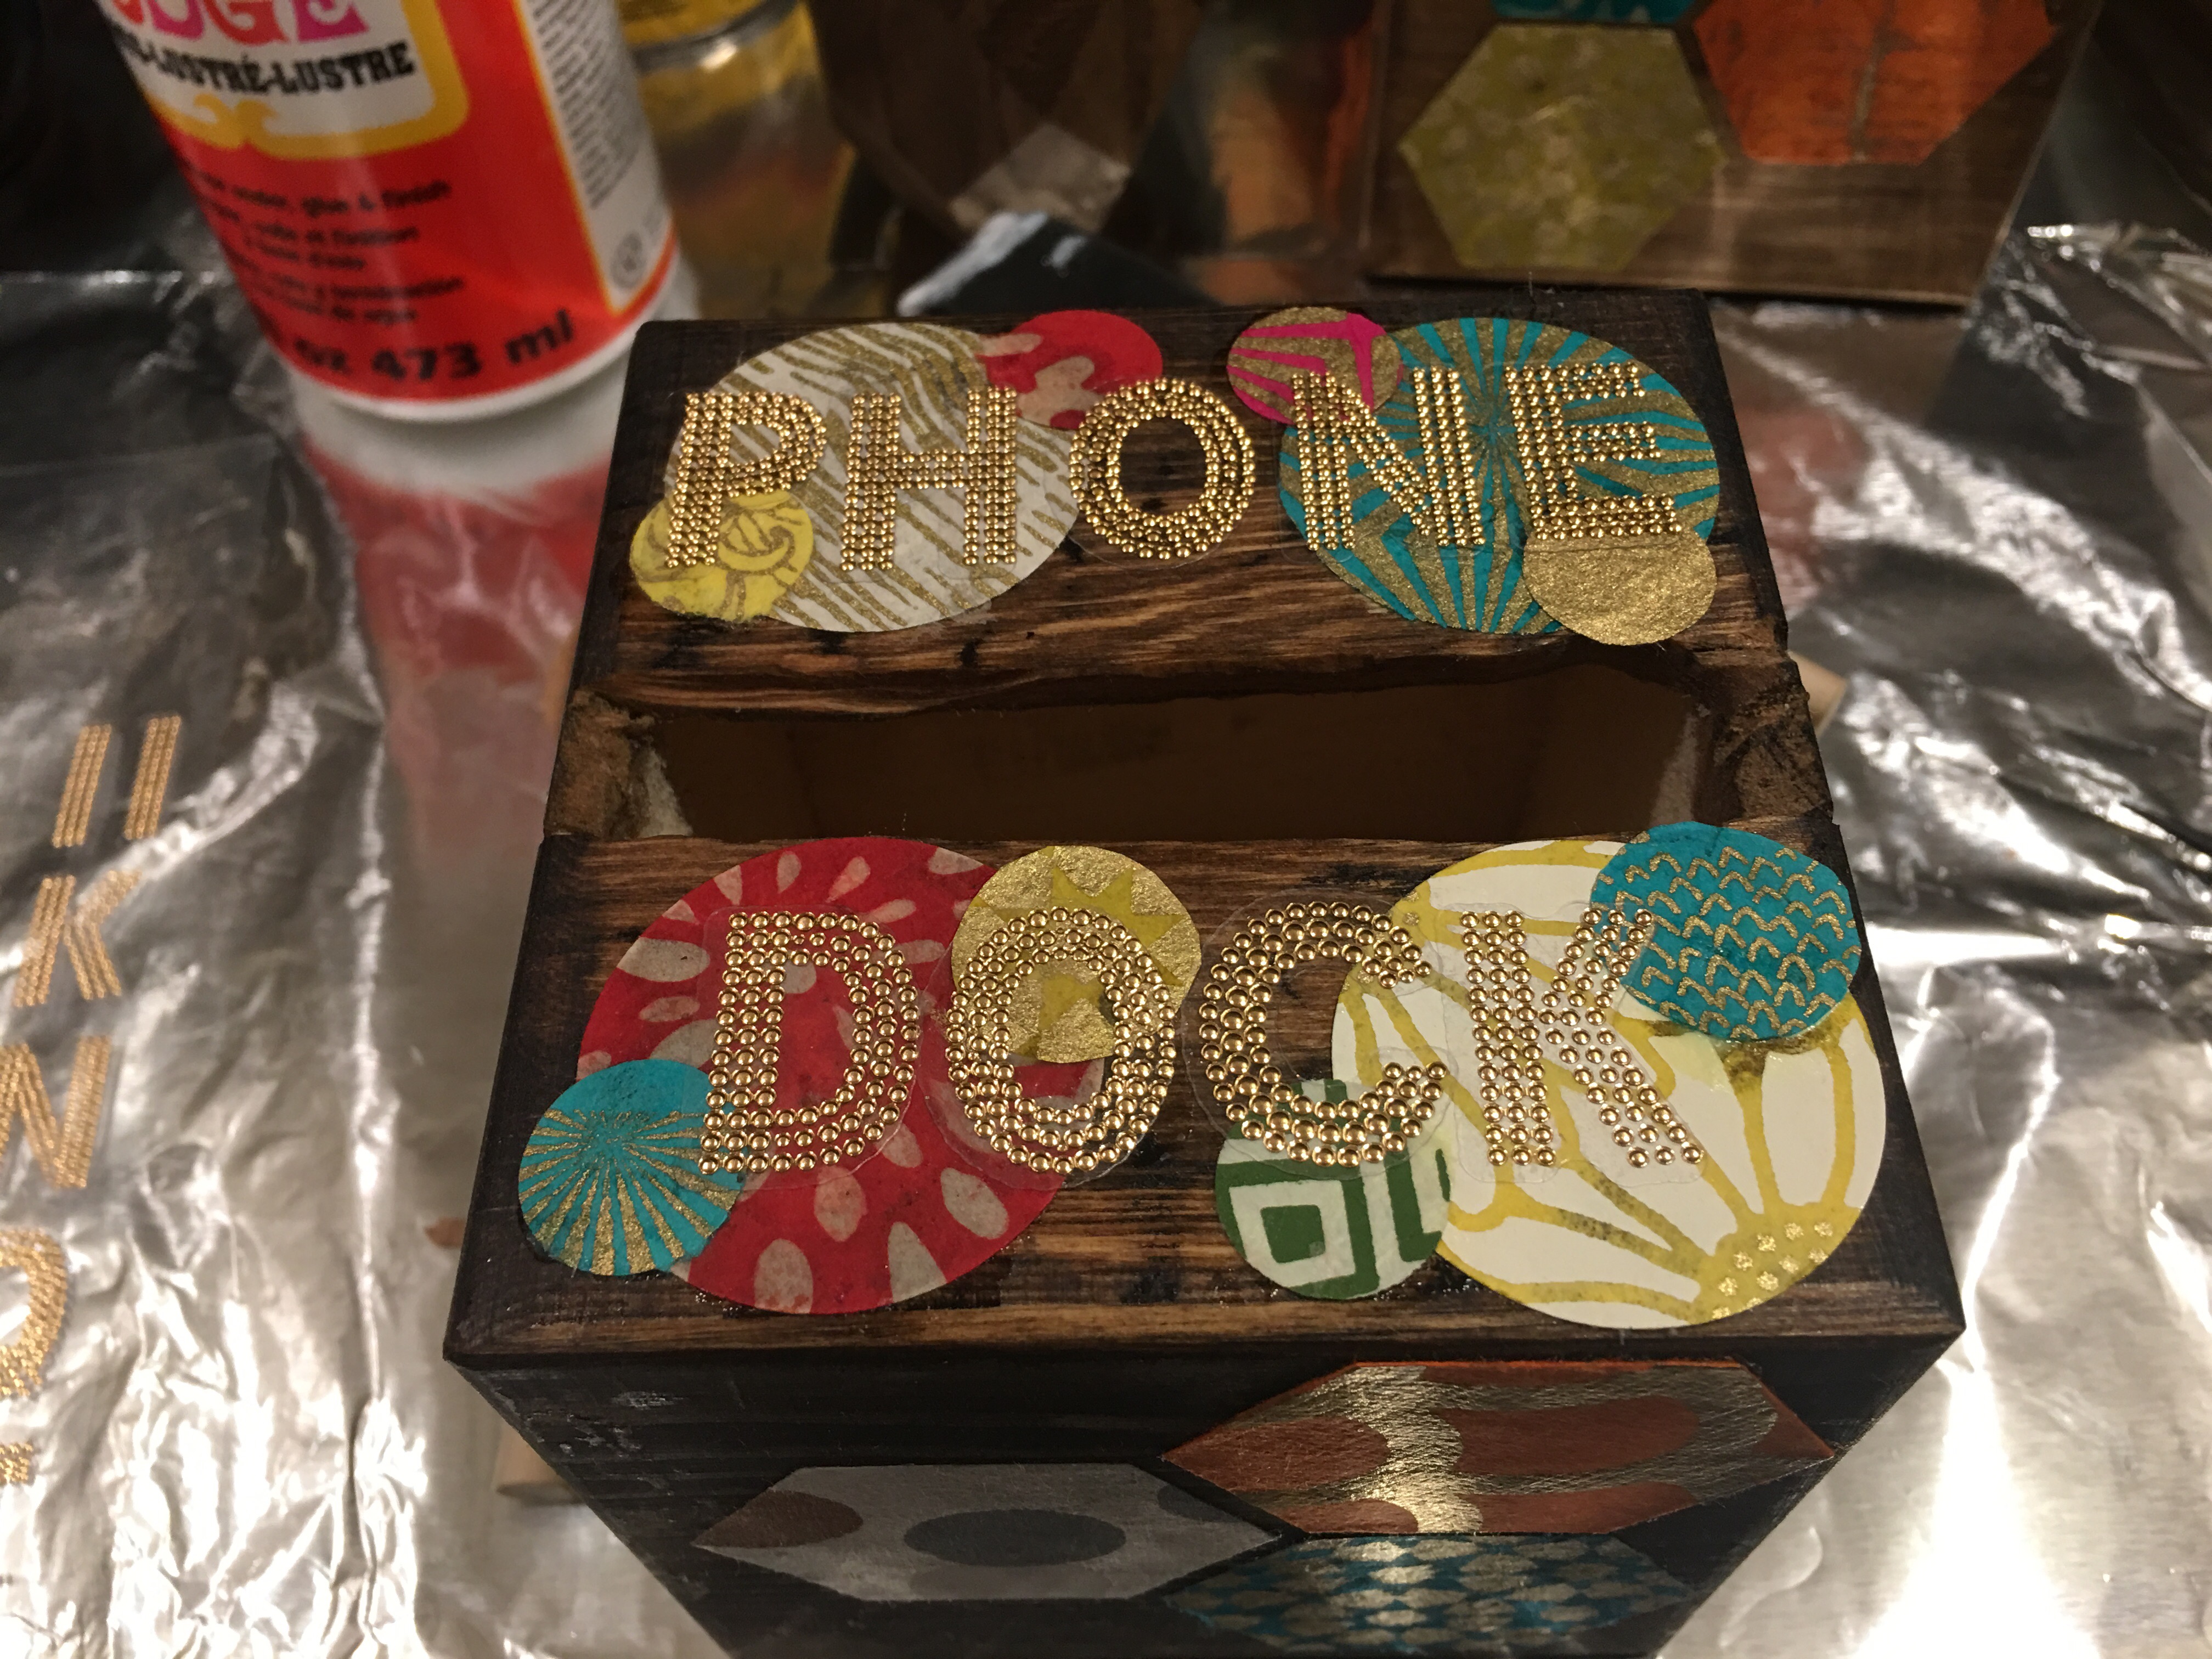
Labeling the “Phone” wood cubes
Now it’s time to play the wood cube name game! I do what I can to come up with quick, clever names for each cube that describes it’s purpose in a nutshell. I label the cubes with its name at the top. Two words only (that’s all the top of each cube has room for). And the key criteria for each name is that it has to be simple. As in state it’s obvious purpose in a word.
I played this game for some other projects, including:
- Phone Home (a personal favorite)
- Phone Haus (another personal favorite)
- Block Dock
- Fee Fi Faux Fum (well, it’s four words, but it was for a vase which had more surface to work with. And I couldn’t resist falling into “more words must sound more clever” trap.
I chose to go with “Phone Casa”, “Phone Cube” and “Phone Dock” for these three.
I used the Gold Foil Embossed Alphabet Stickers from Michaels to label the cubes. I’ve been using these stickers for all of my wood cube, block and vase projects. I absolutely love how the gold embossed letters look against the wood and the patterned papers.
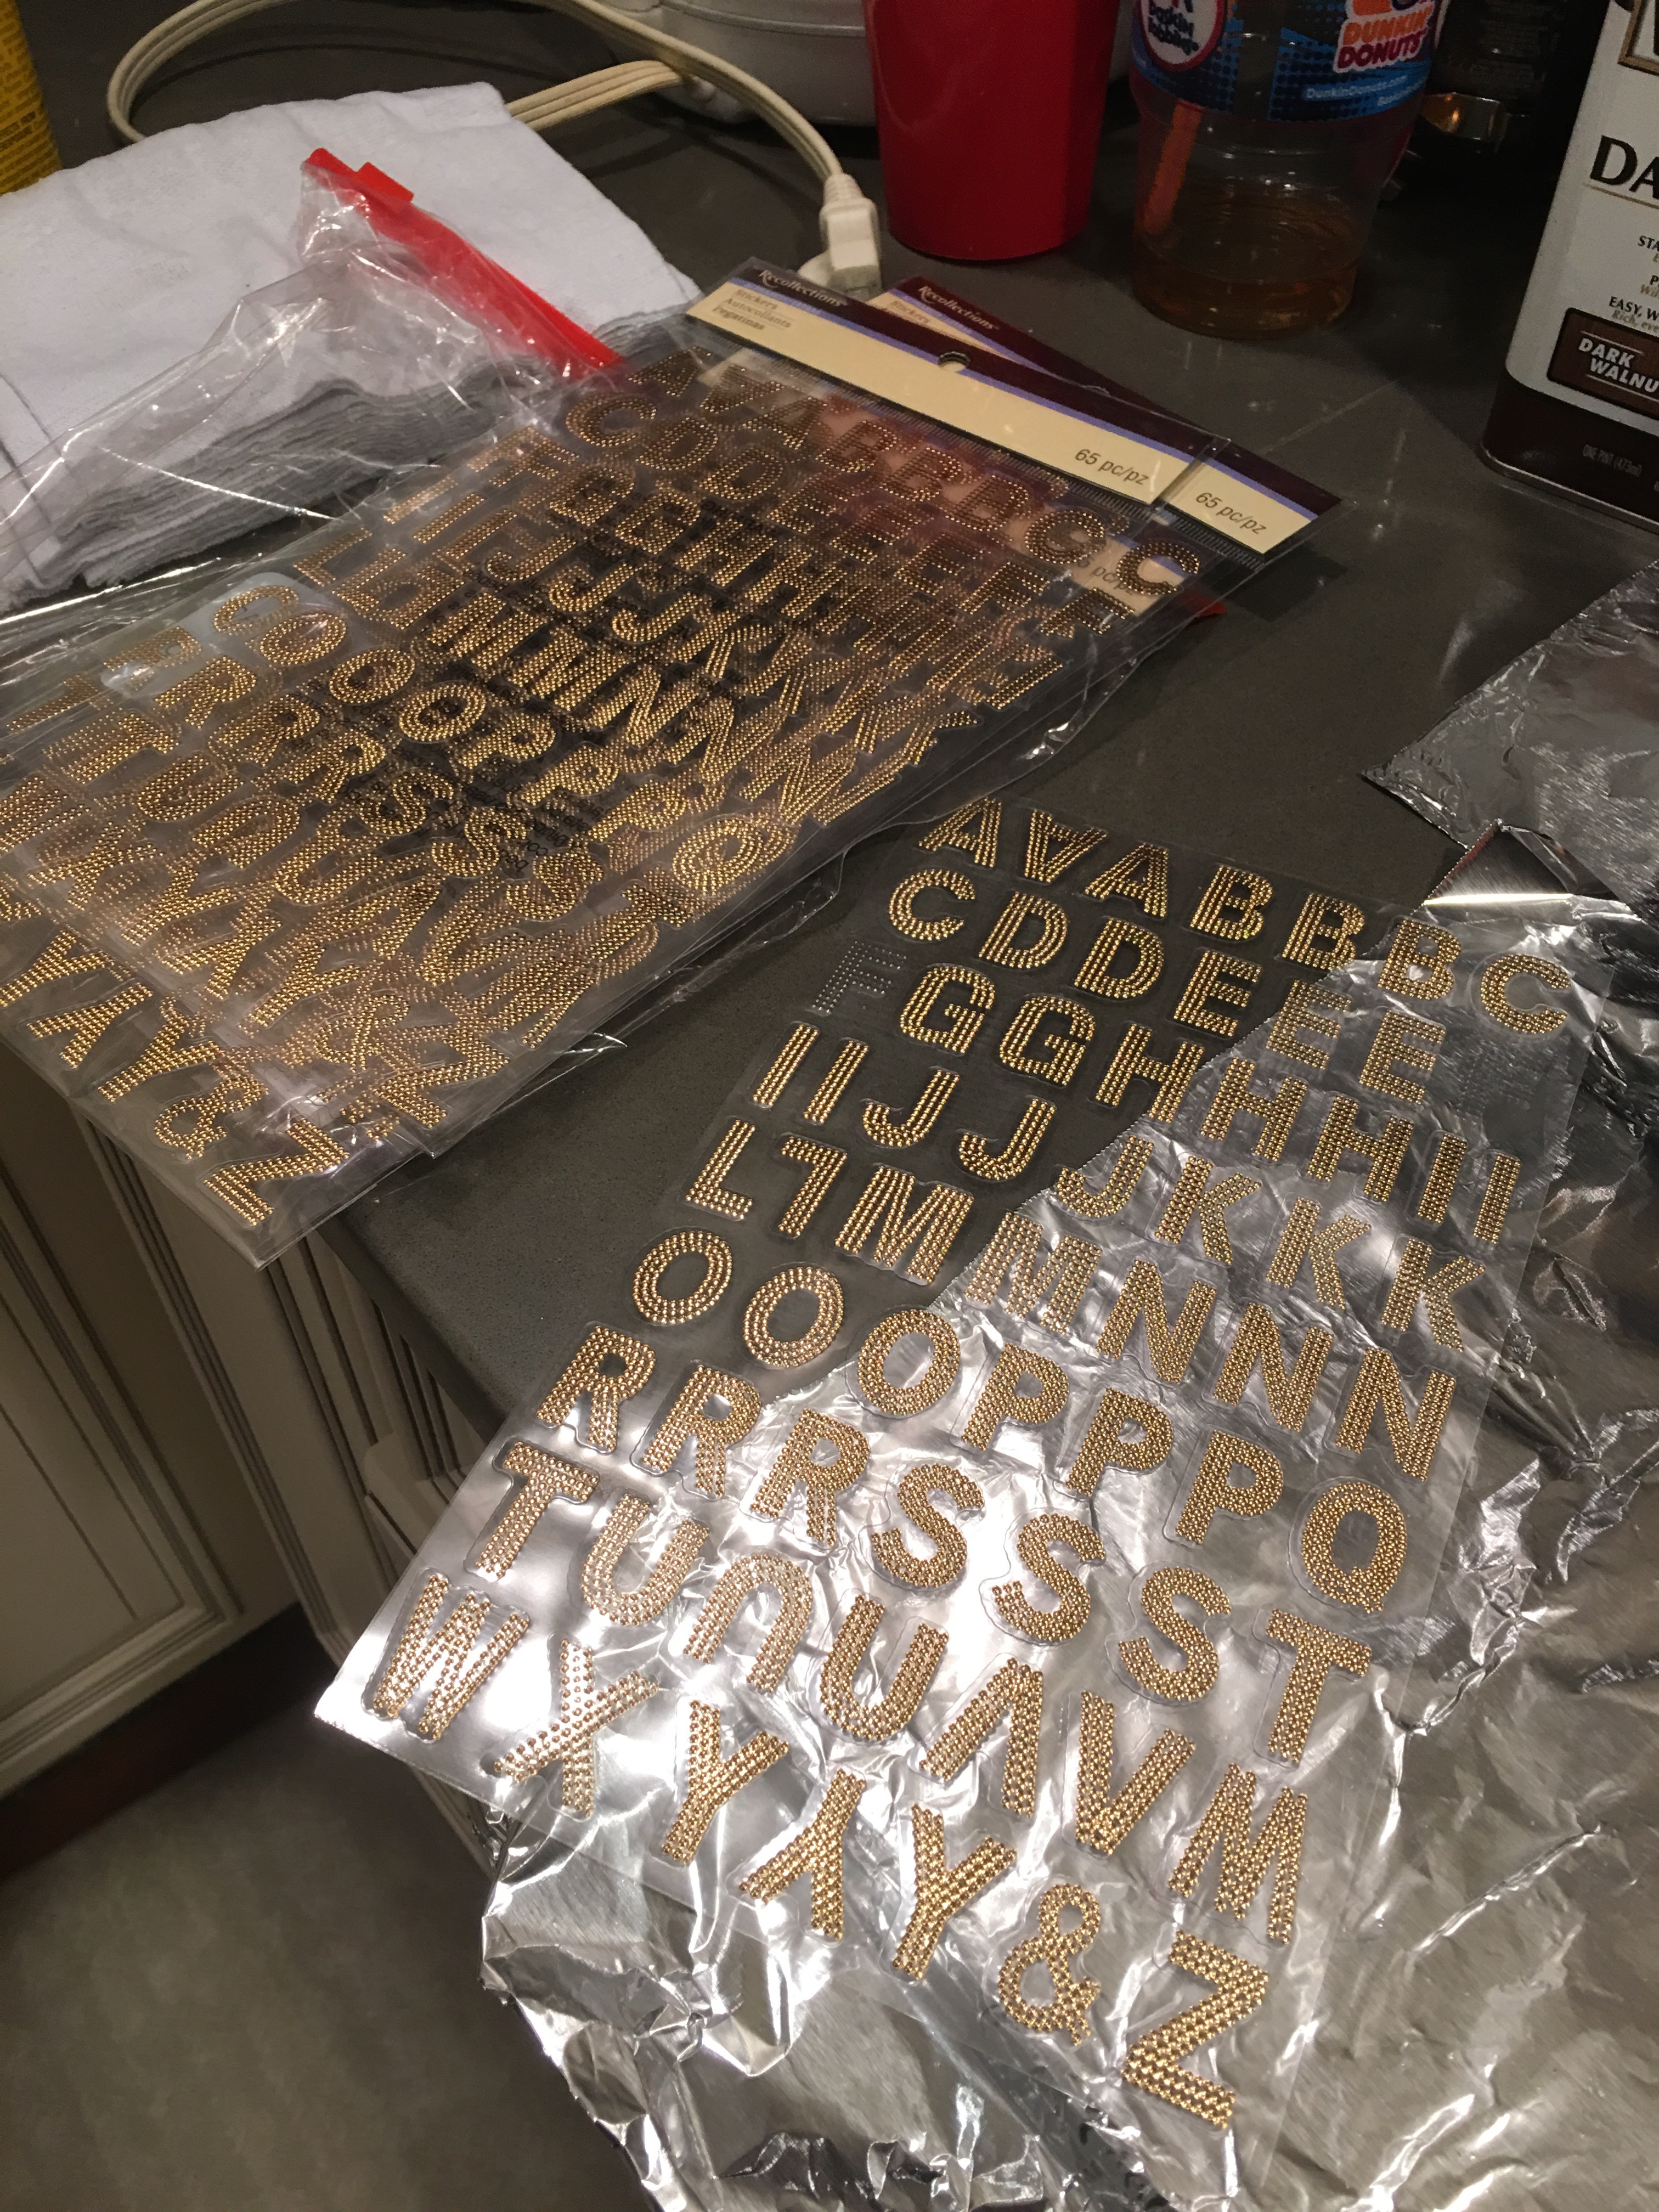
Stickers are added to spell “PHONE” above the the cube slot.
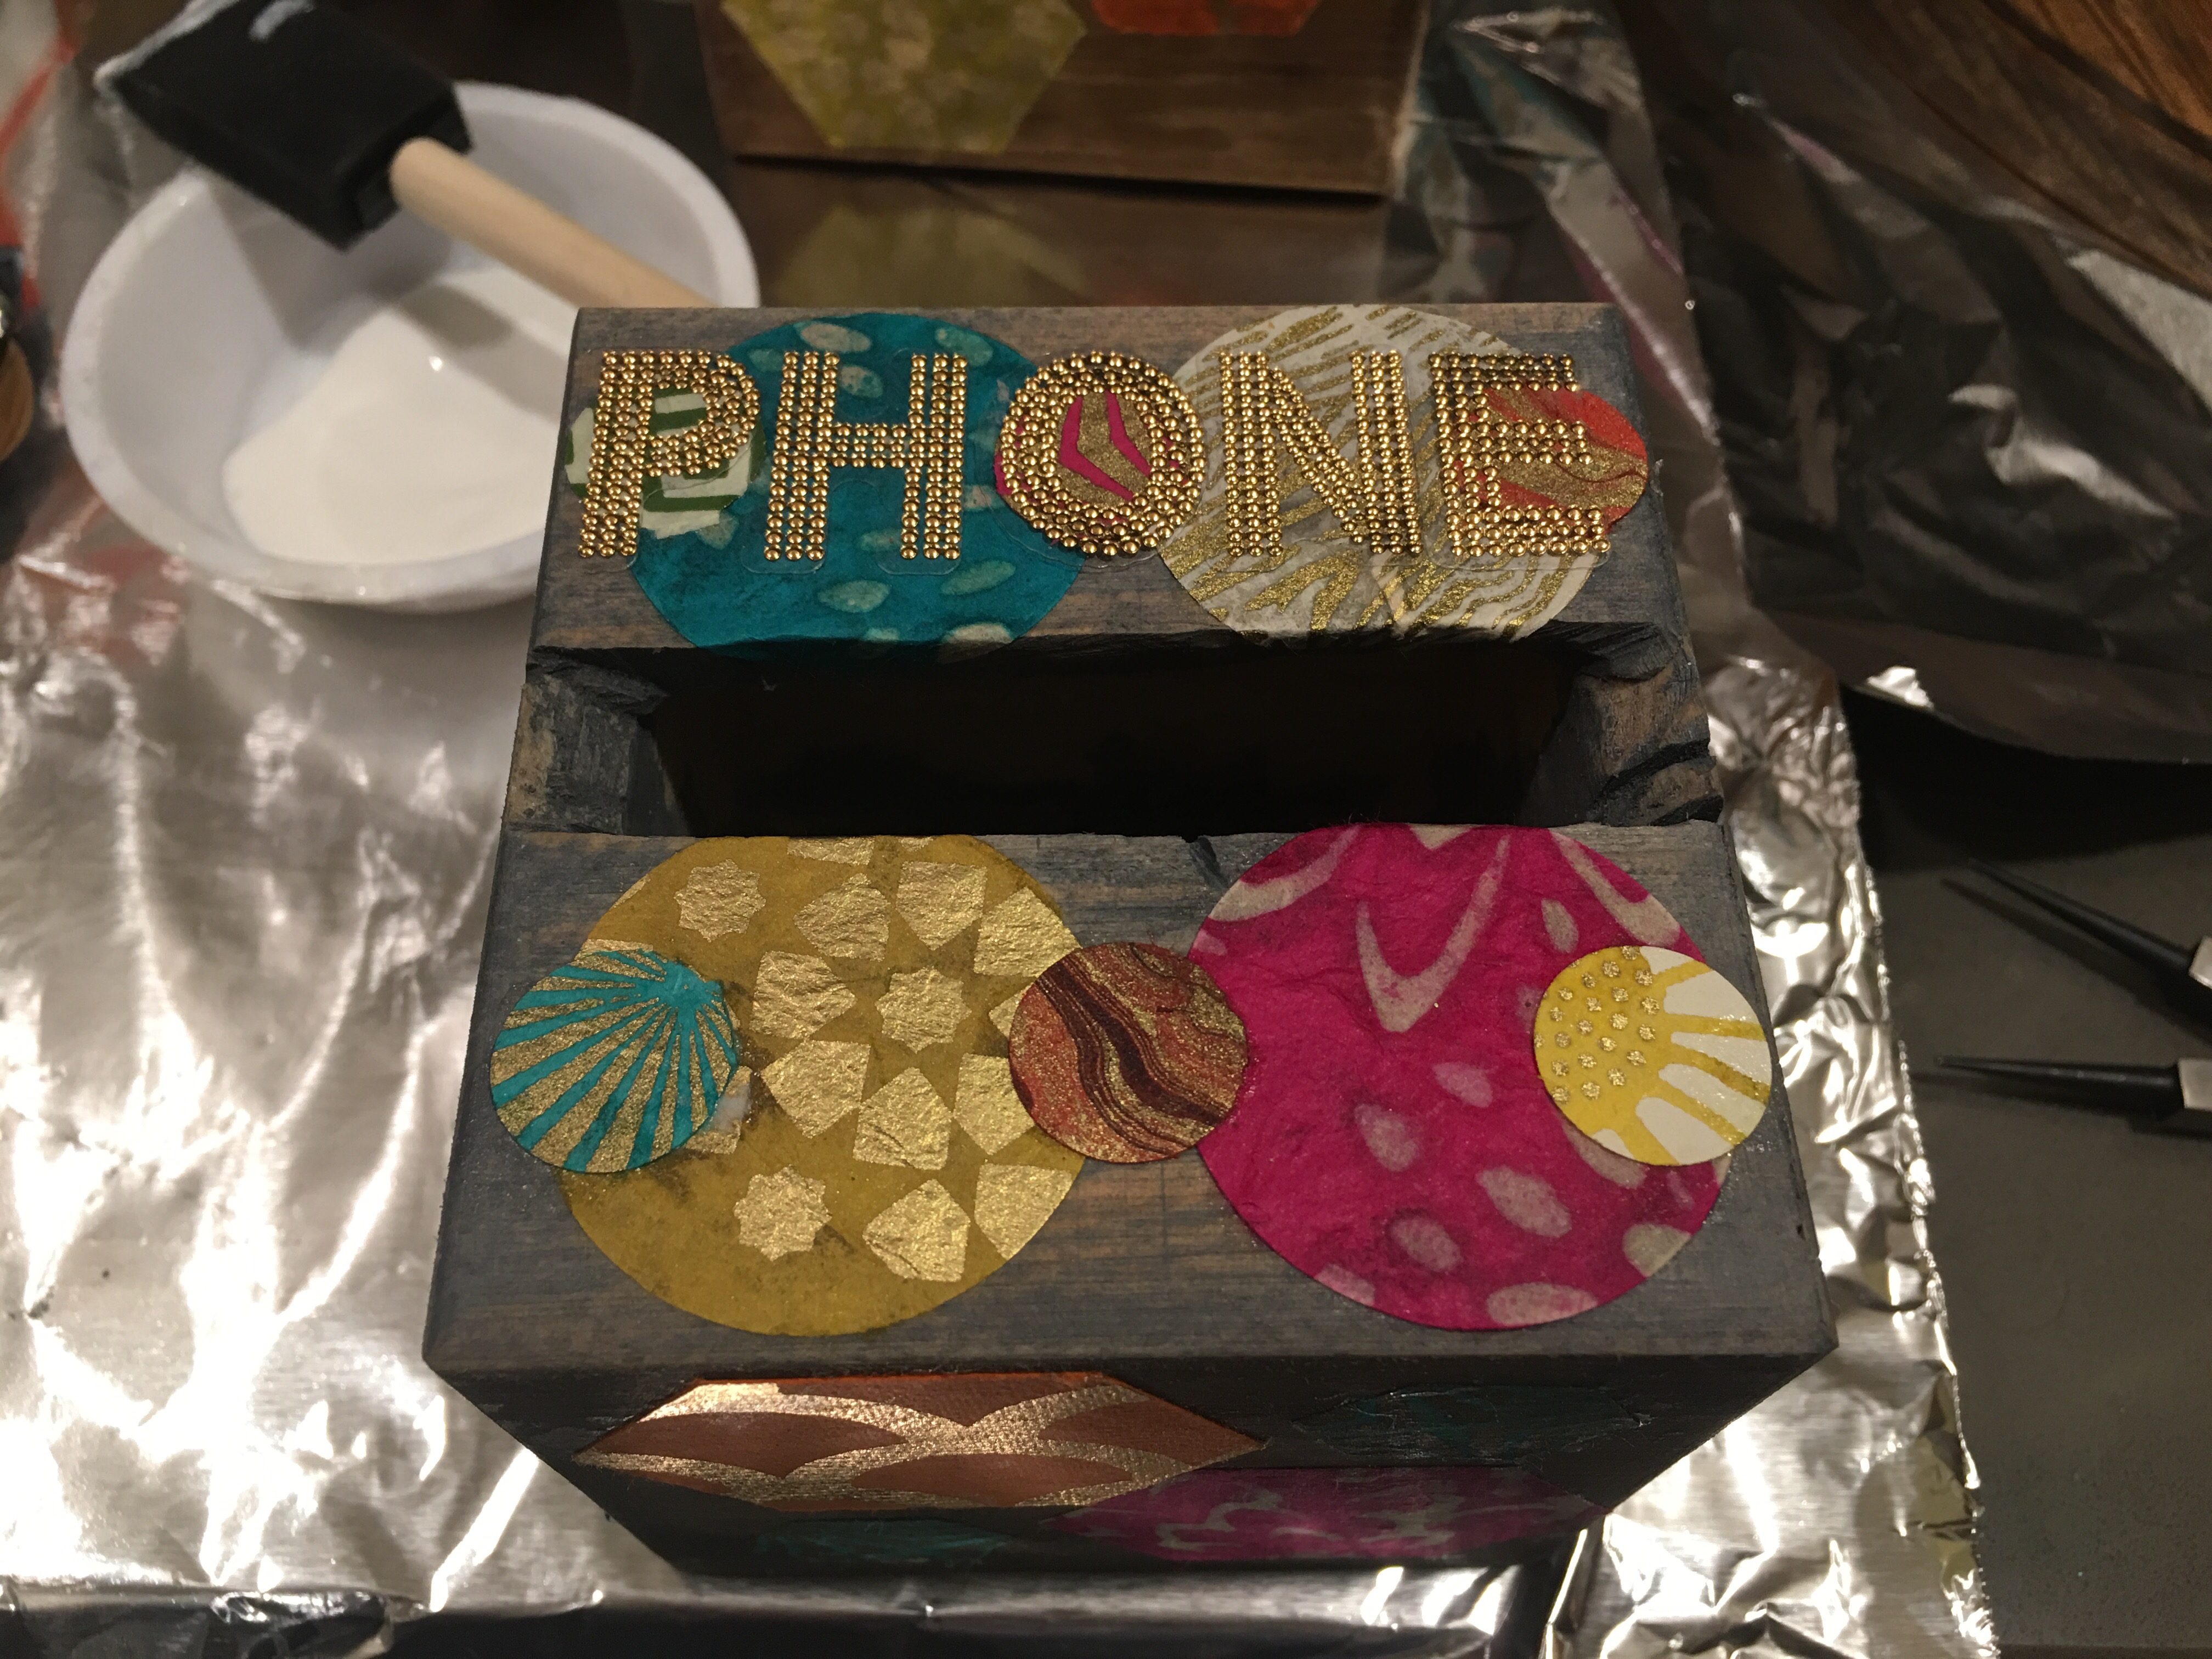
And below I add whatever designated label I came up with.
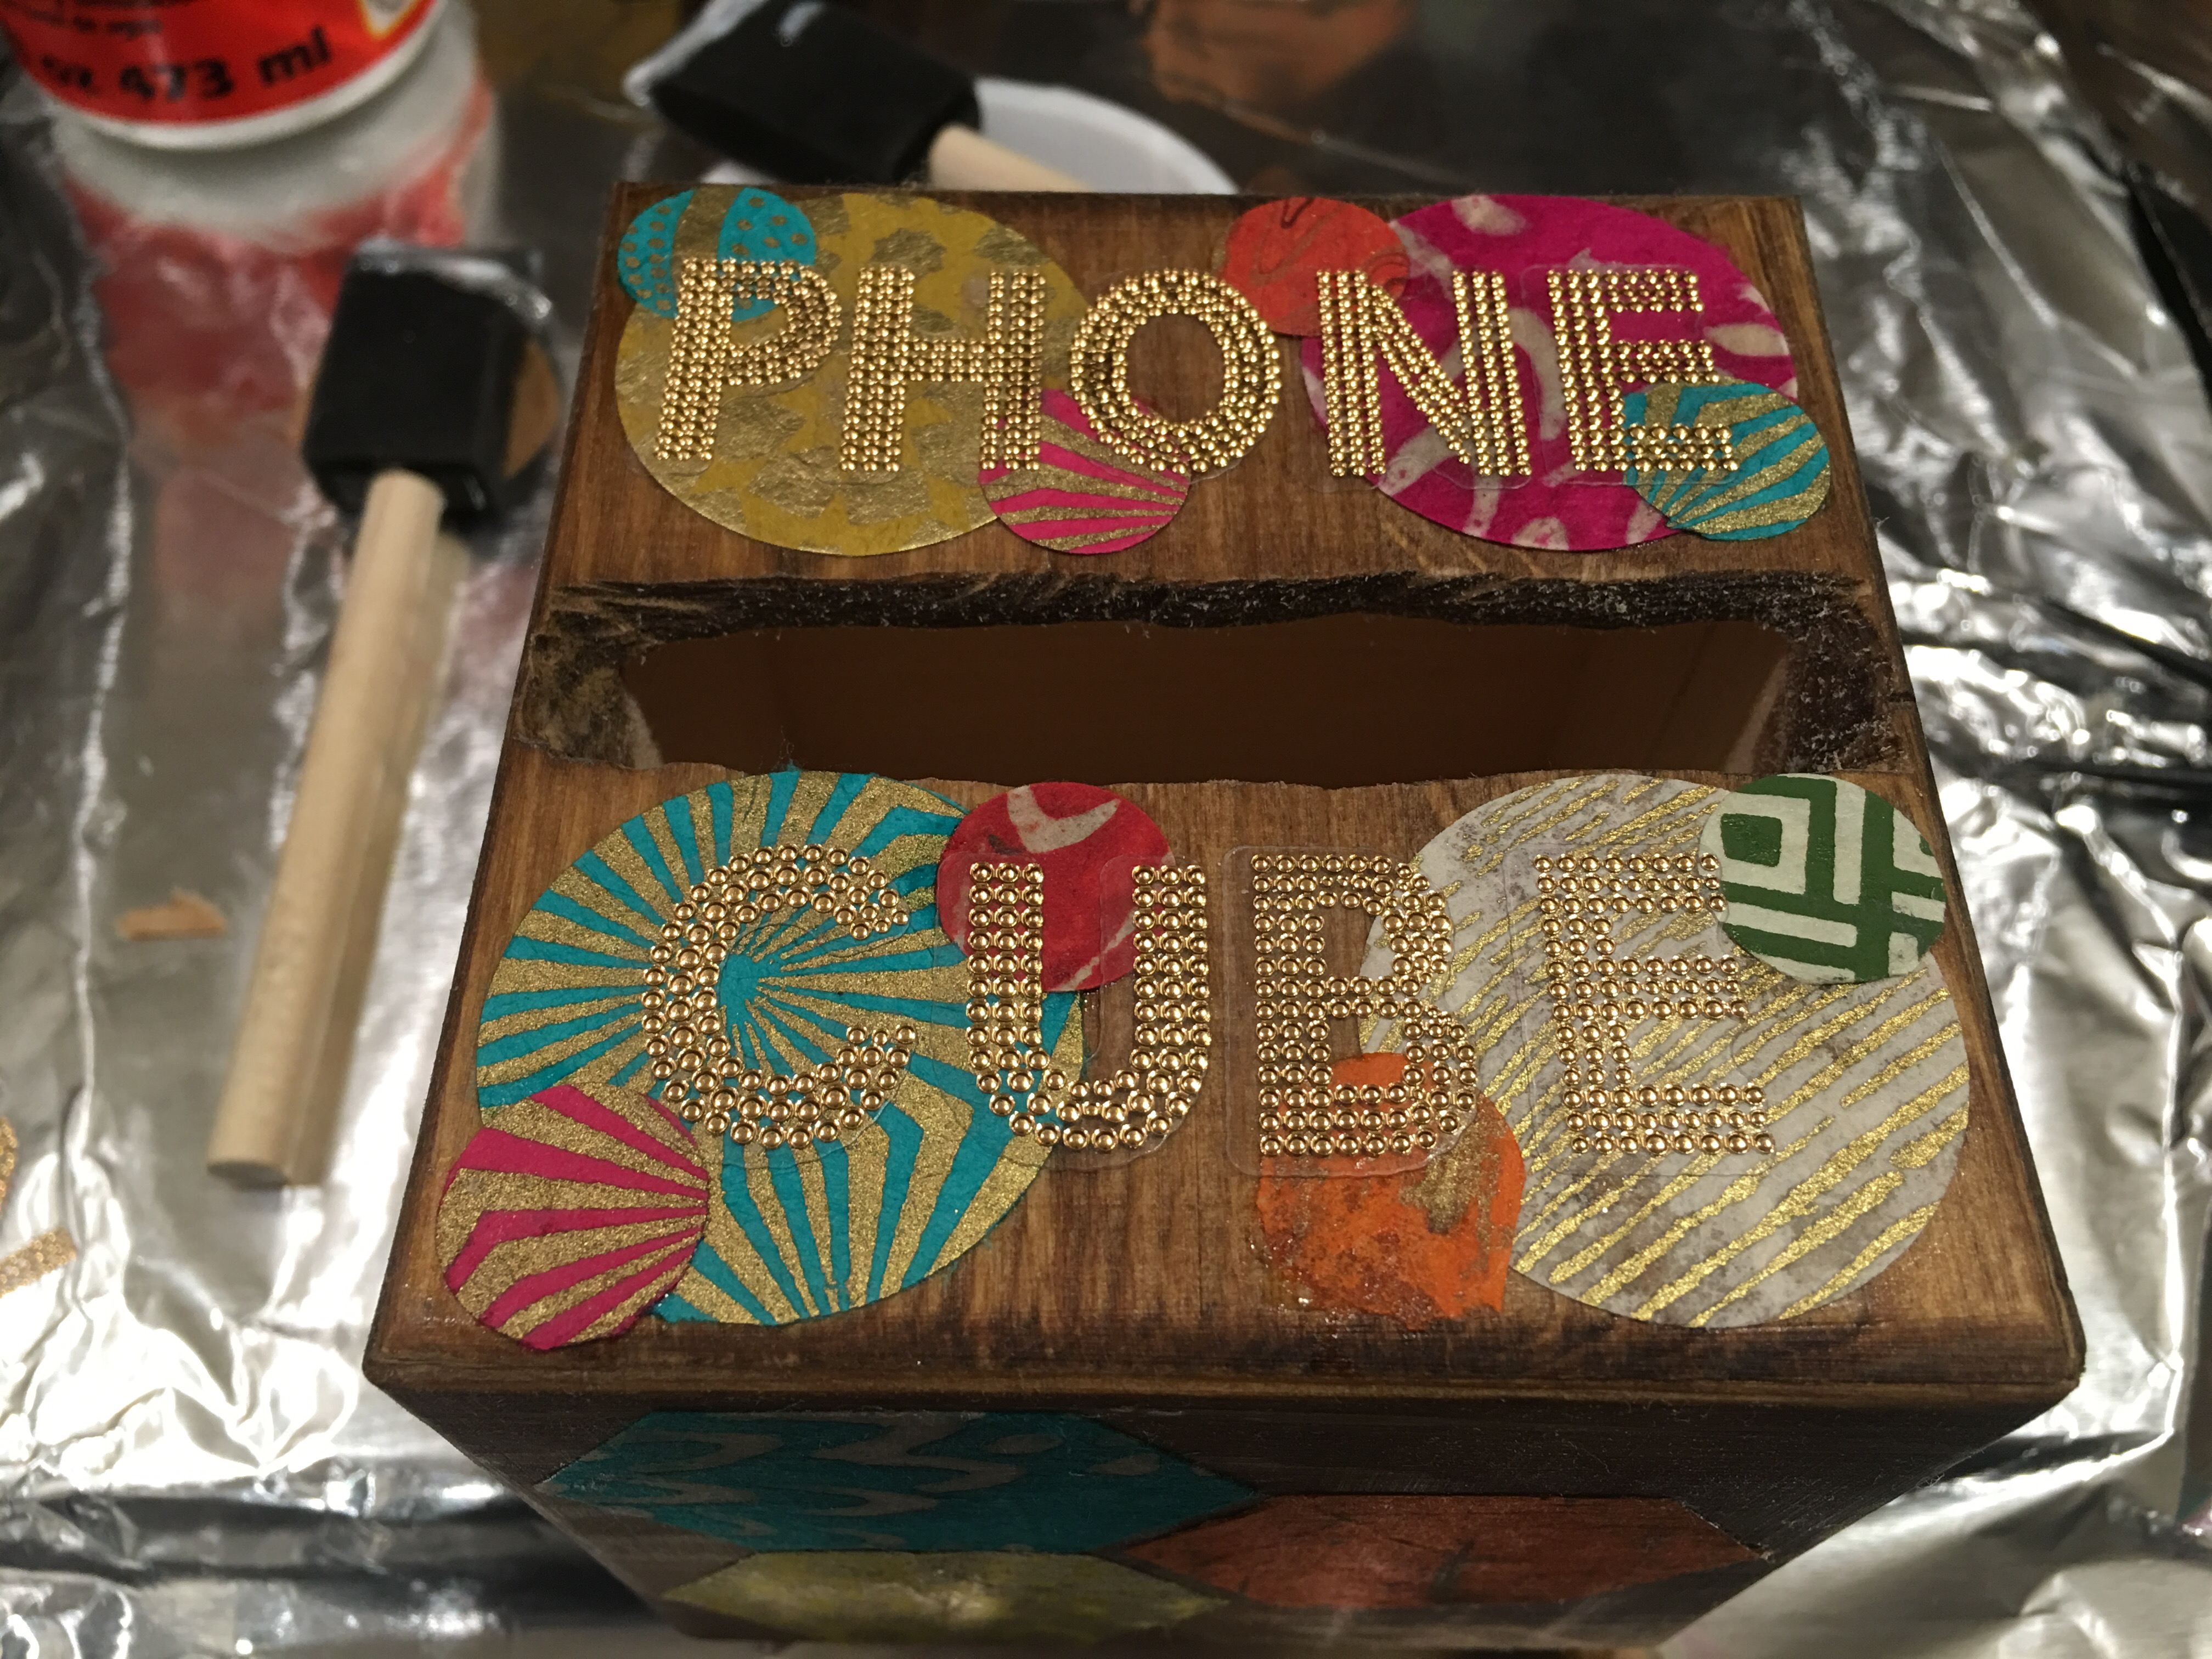
After labeling the top, I add a coat of Mod Podge to seal in the stickers.
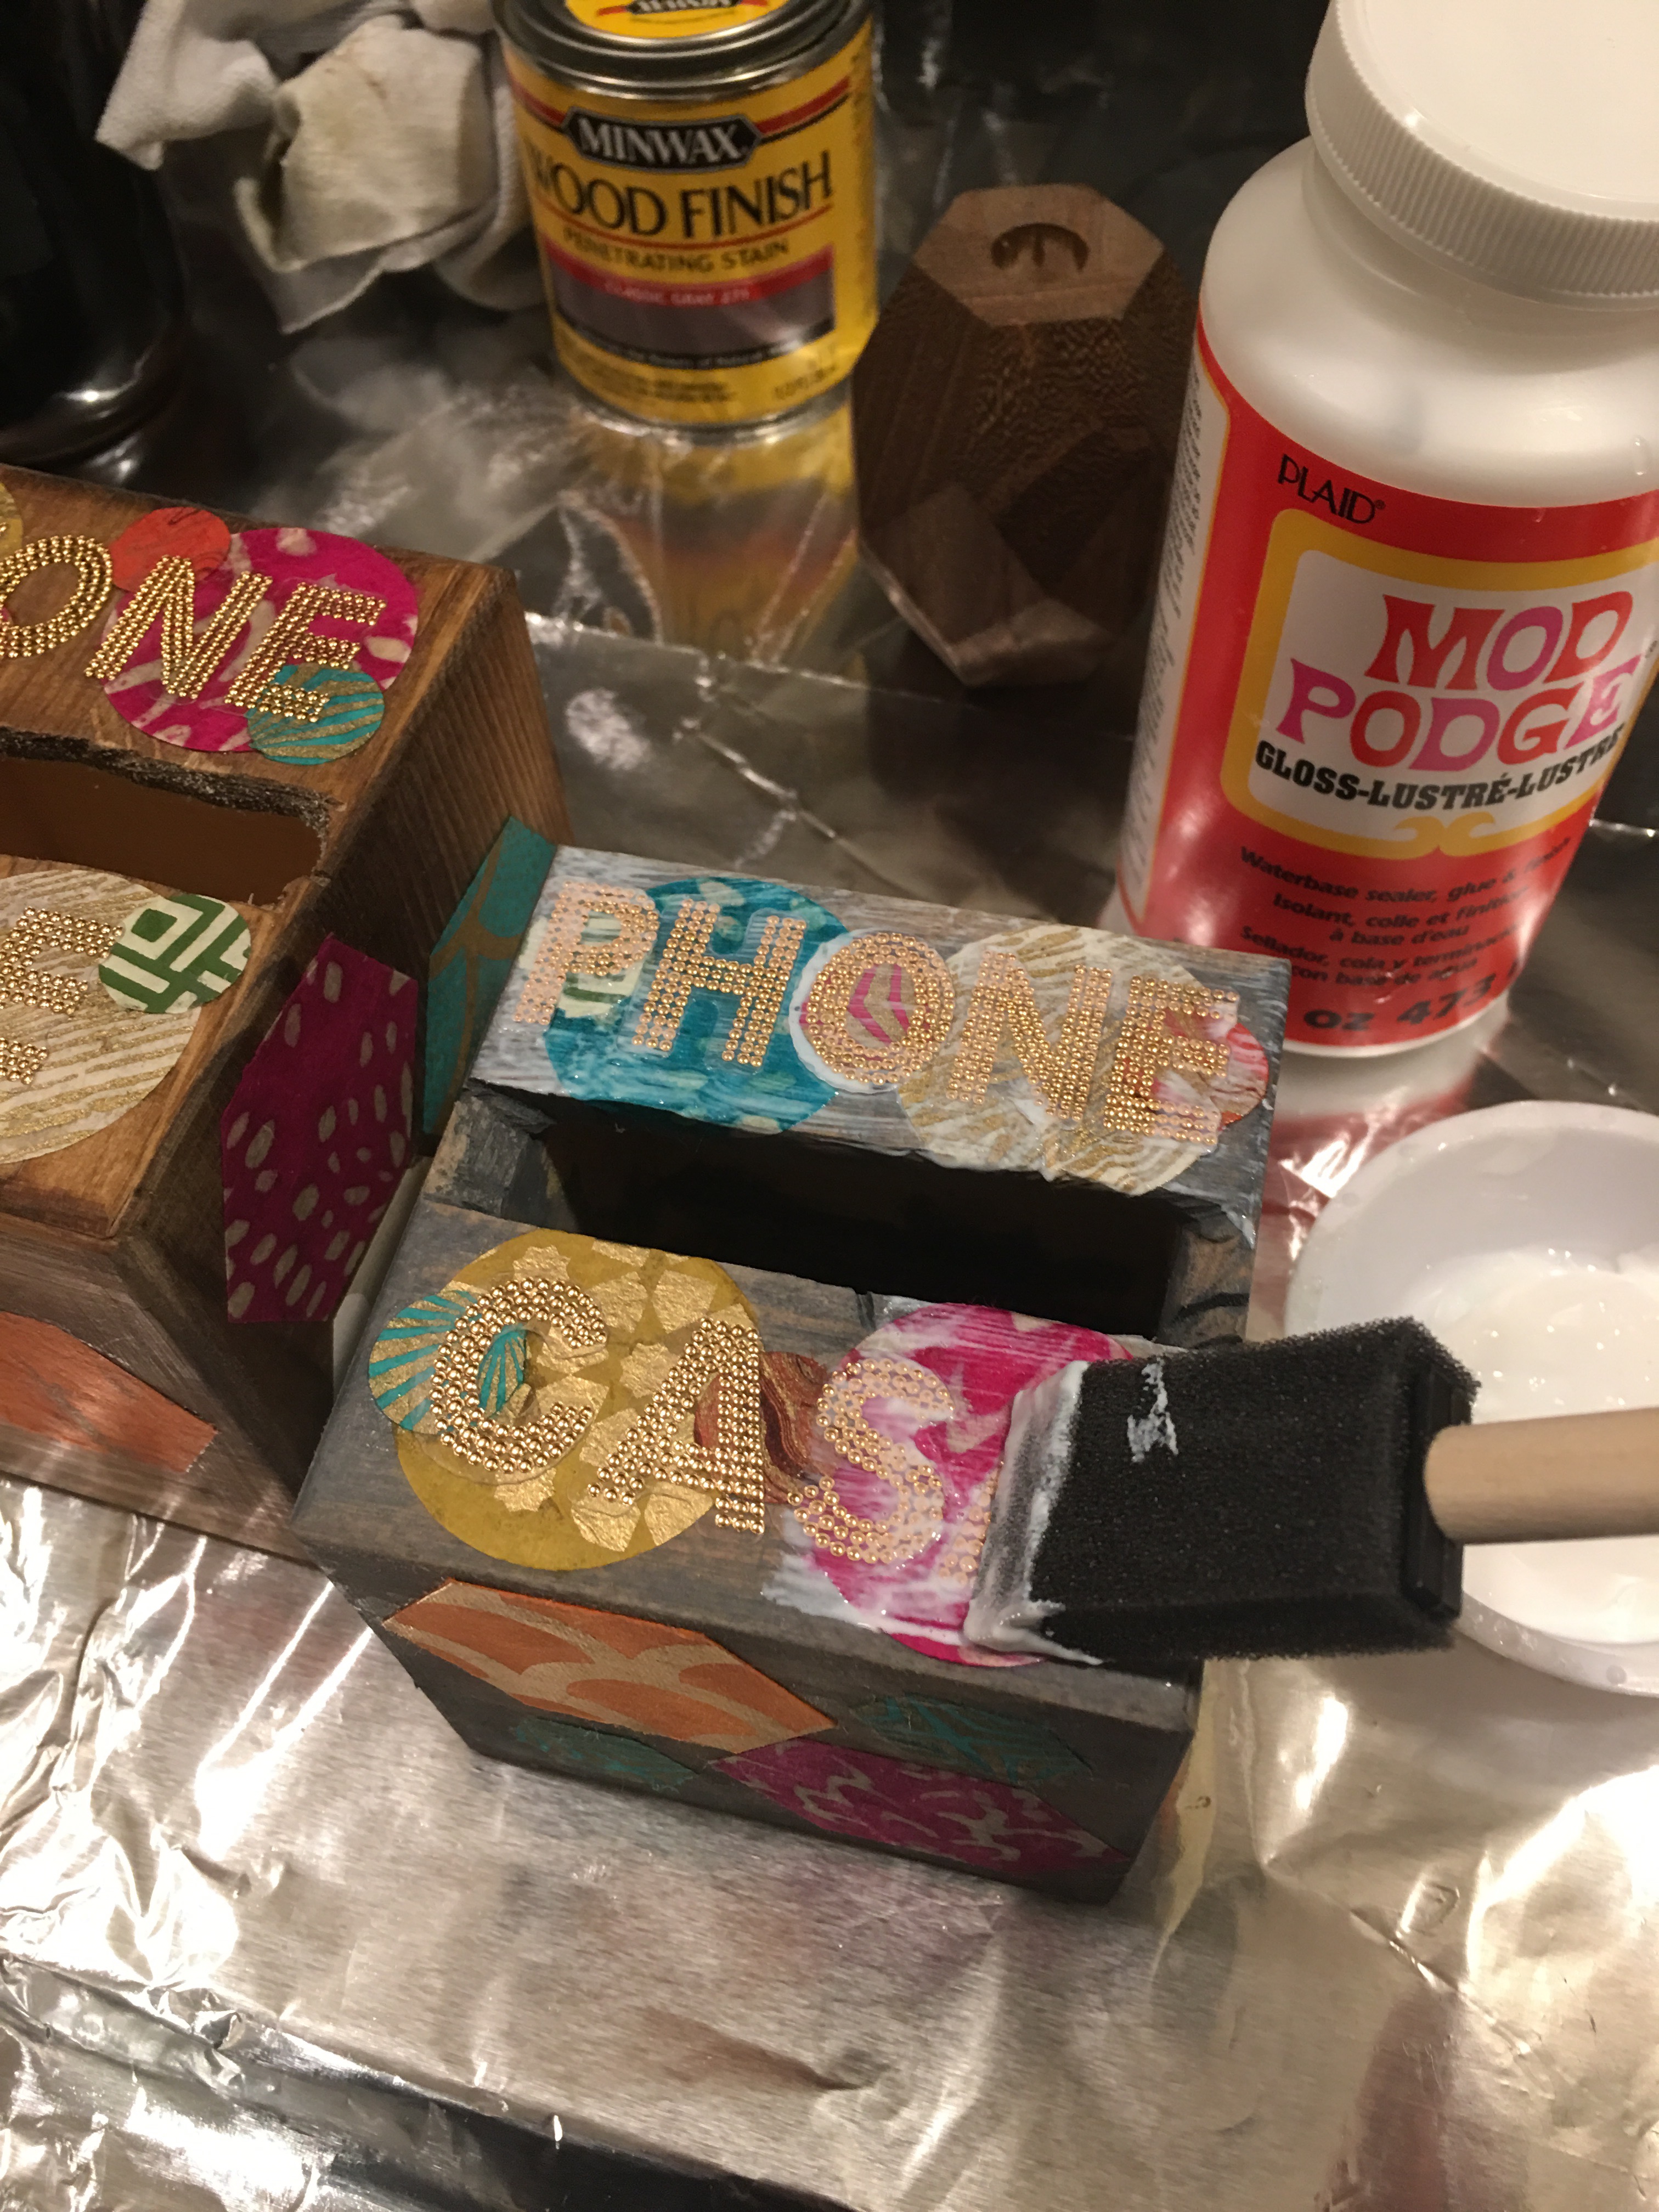
I apply an overcoat of Mod Podge on the sides…
…and on the bottom of the cube as well.
I left these to dry overnight. But I also added another coat on each side, the bottom and on the top the following morning.
Here’s one finished cube. The result is exactly what I hoped for. Gorgeous wood color with beautiful paper design and shape accents. Pretty gold letters. And a brilliant, glossy shine finish.
Since my iPhone 6S Plus is busy taking pictures, I borrowed Bruce’s phone to stand in as a model in the “Phone Cube”. Working on finding homes for these three. But one will be going to DC with me!
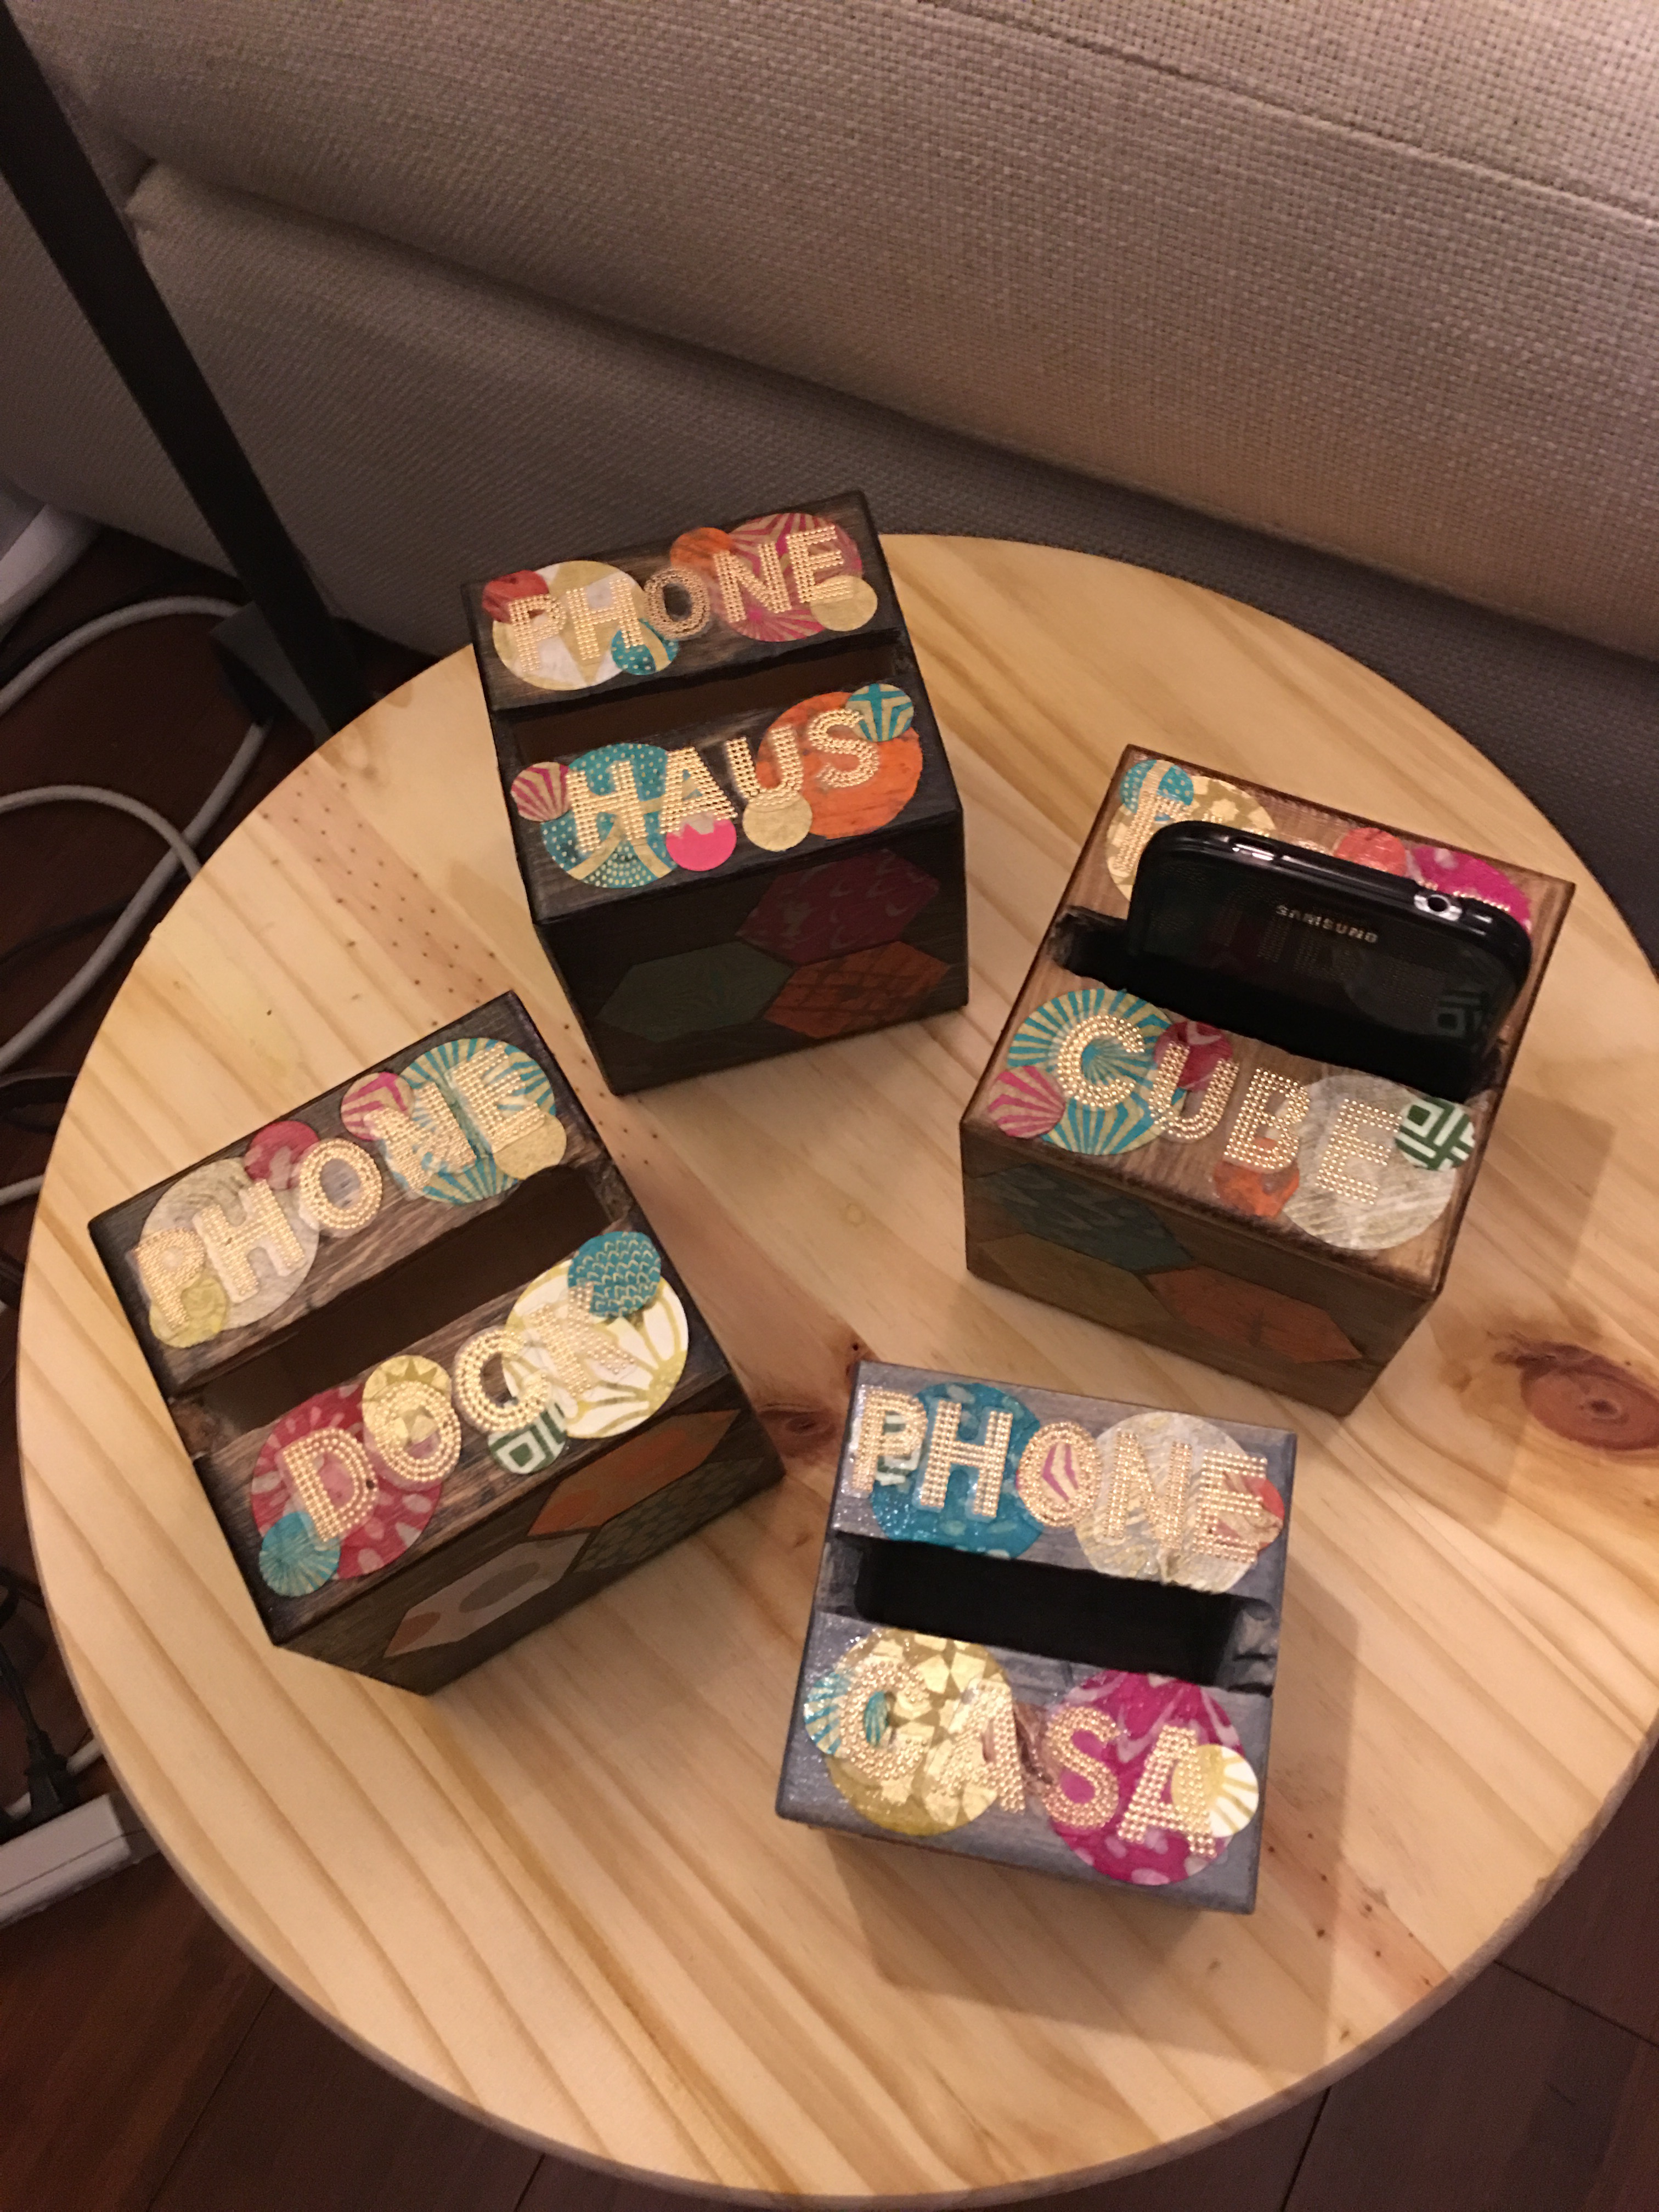
And that’s it. My blow-by-blow for making my DIY phone cubes. I now have so many, I’ll need to start giving these away as gifts. And then I’ll make more. Then force more cubes on more family and friends. Then make more. Maybe come up with another phone dock idea. After making more.
Don’t see an end to my obsession with these. V-