
Redoing the bedroom headboard wall
Array
You may also like:
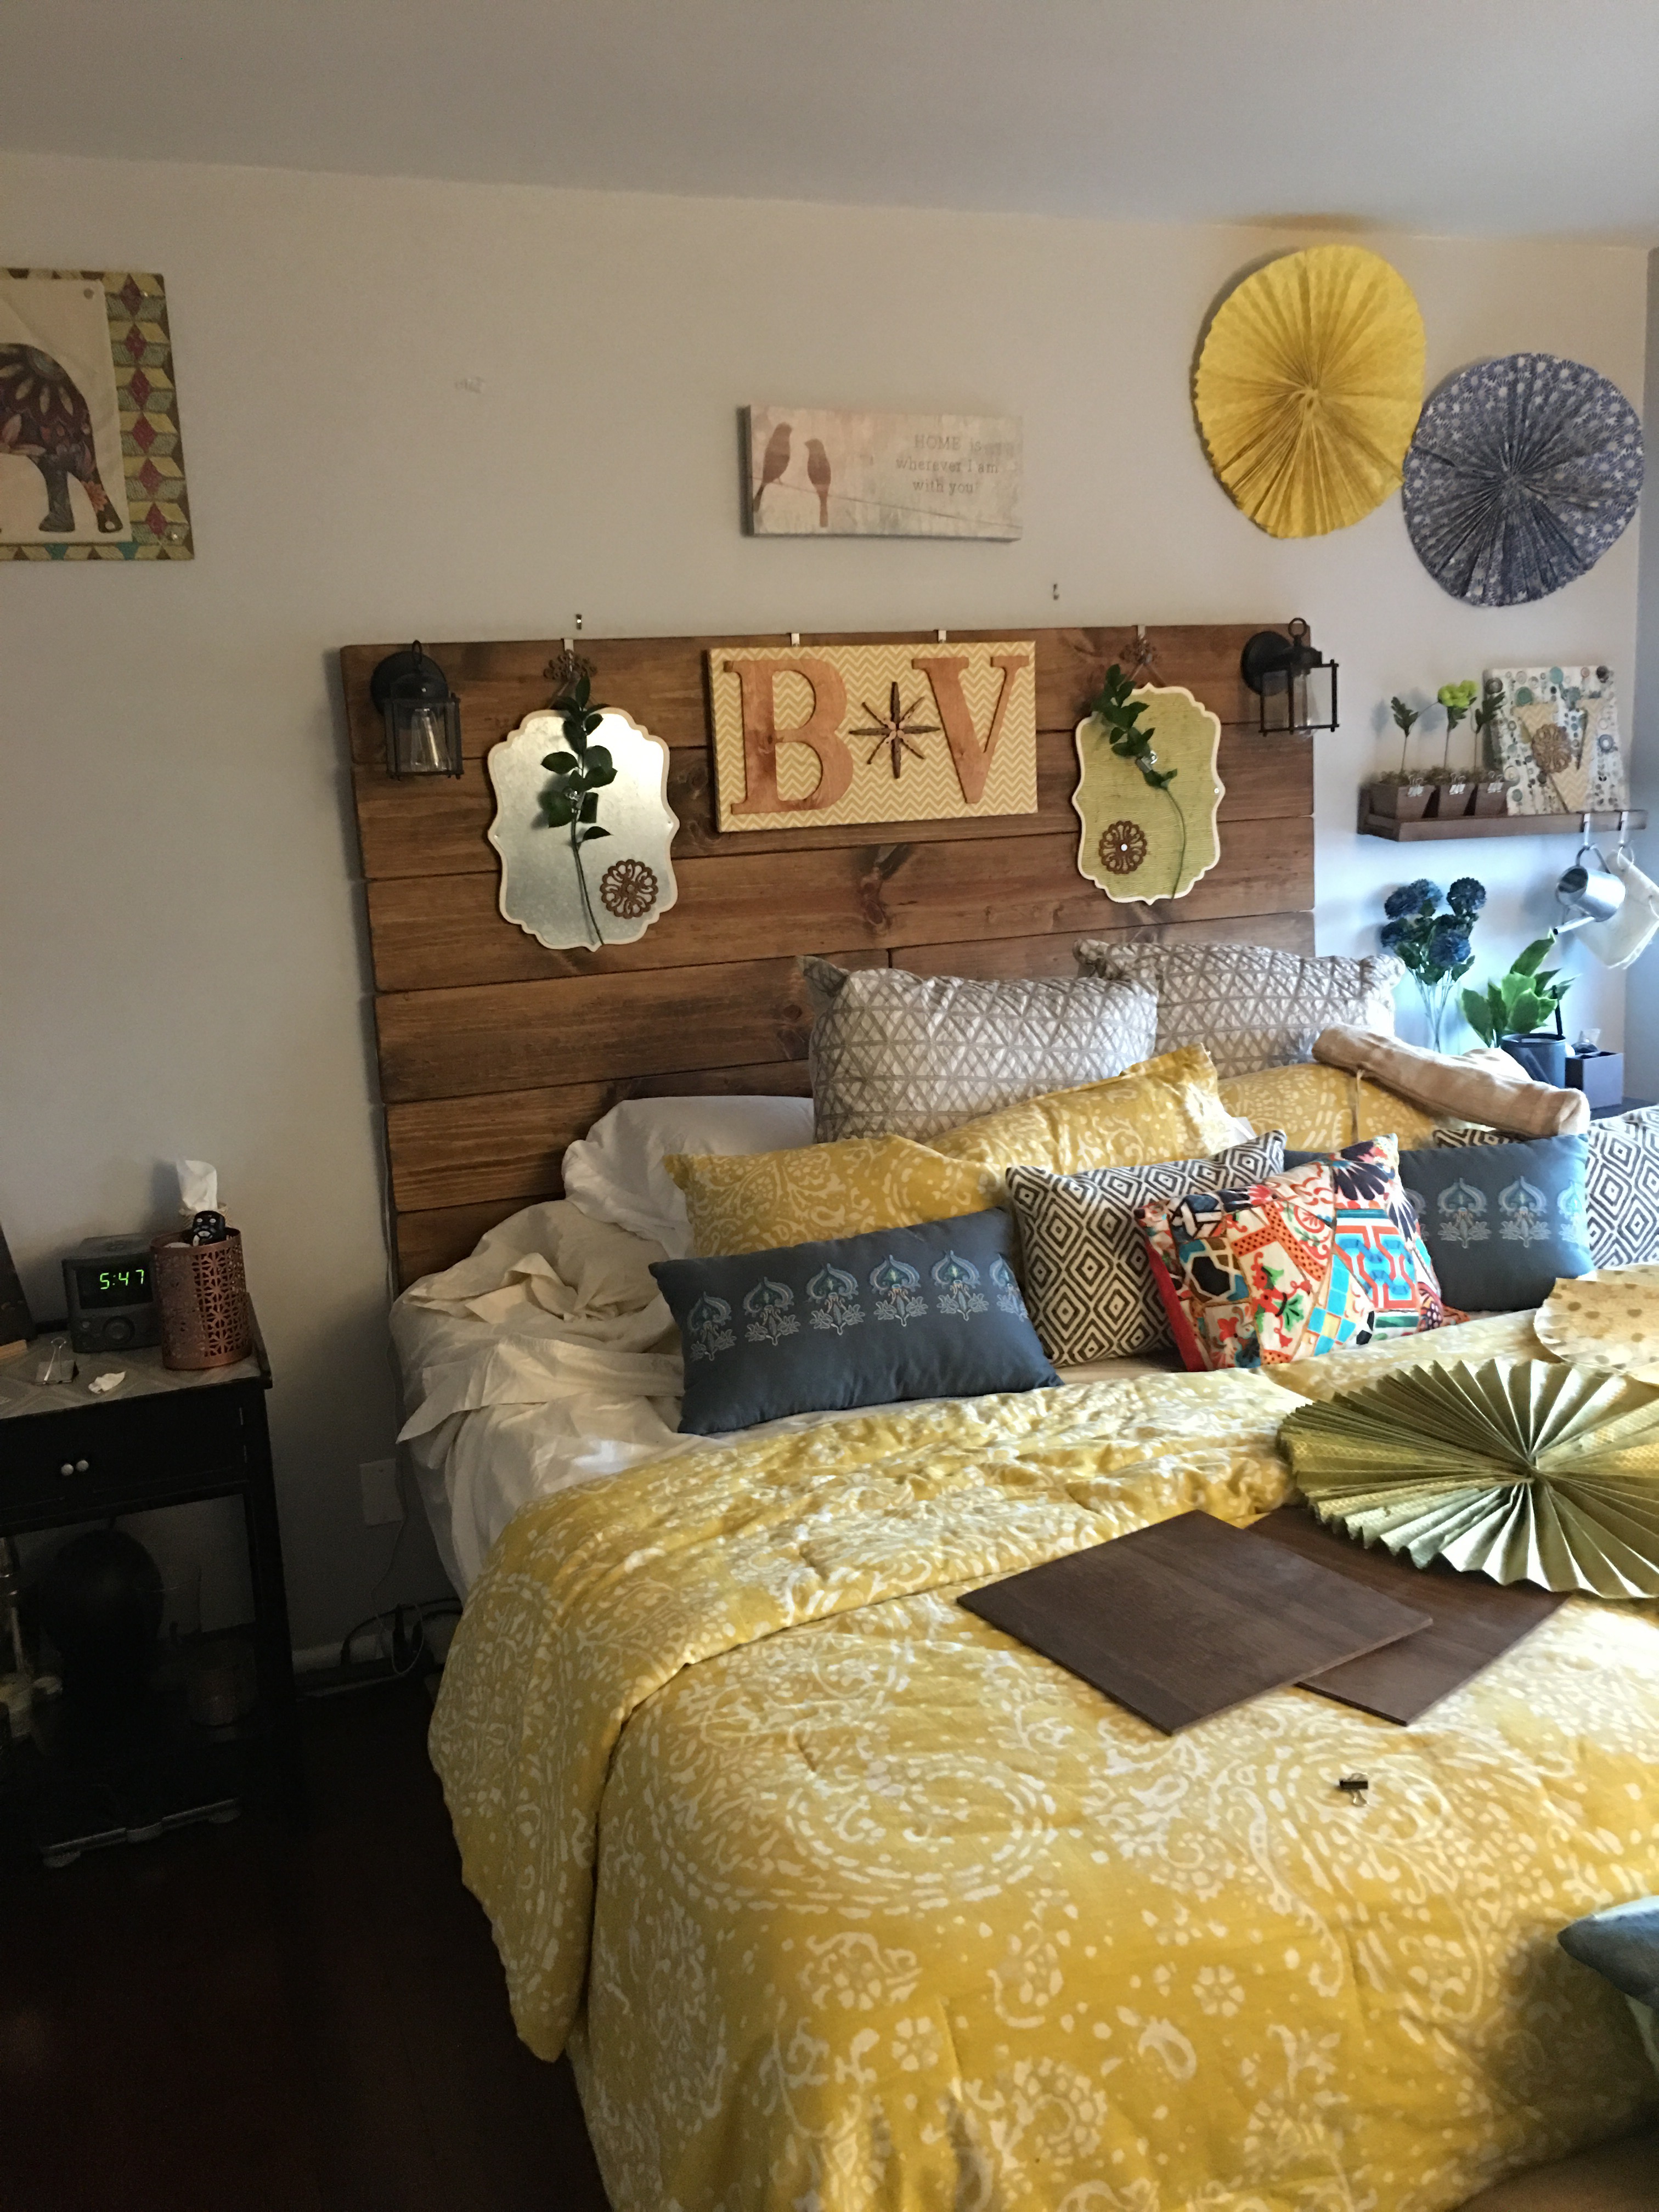
March 9, 2016: I completed the bedroom headboard wall makeover that I launched into when we returned from the lake a couple of weeks ago.
As I was finishing up with the tribal wood floating display panel project, I was inspired to do a total bedroom wall redo. I’ve had paper rosettes of various colors, patterns and sizes hanging on the wall around our plank wood headboard for well over a year now.
Here’s the before on April 27, 2015.
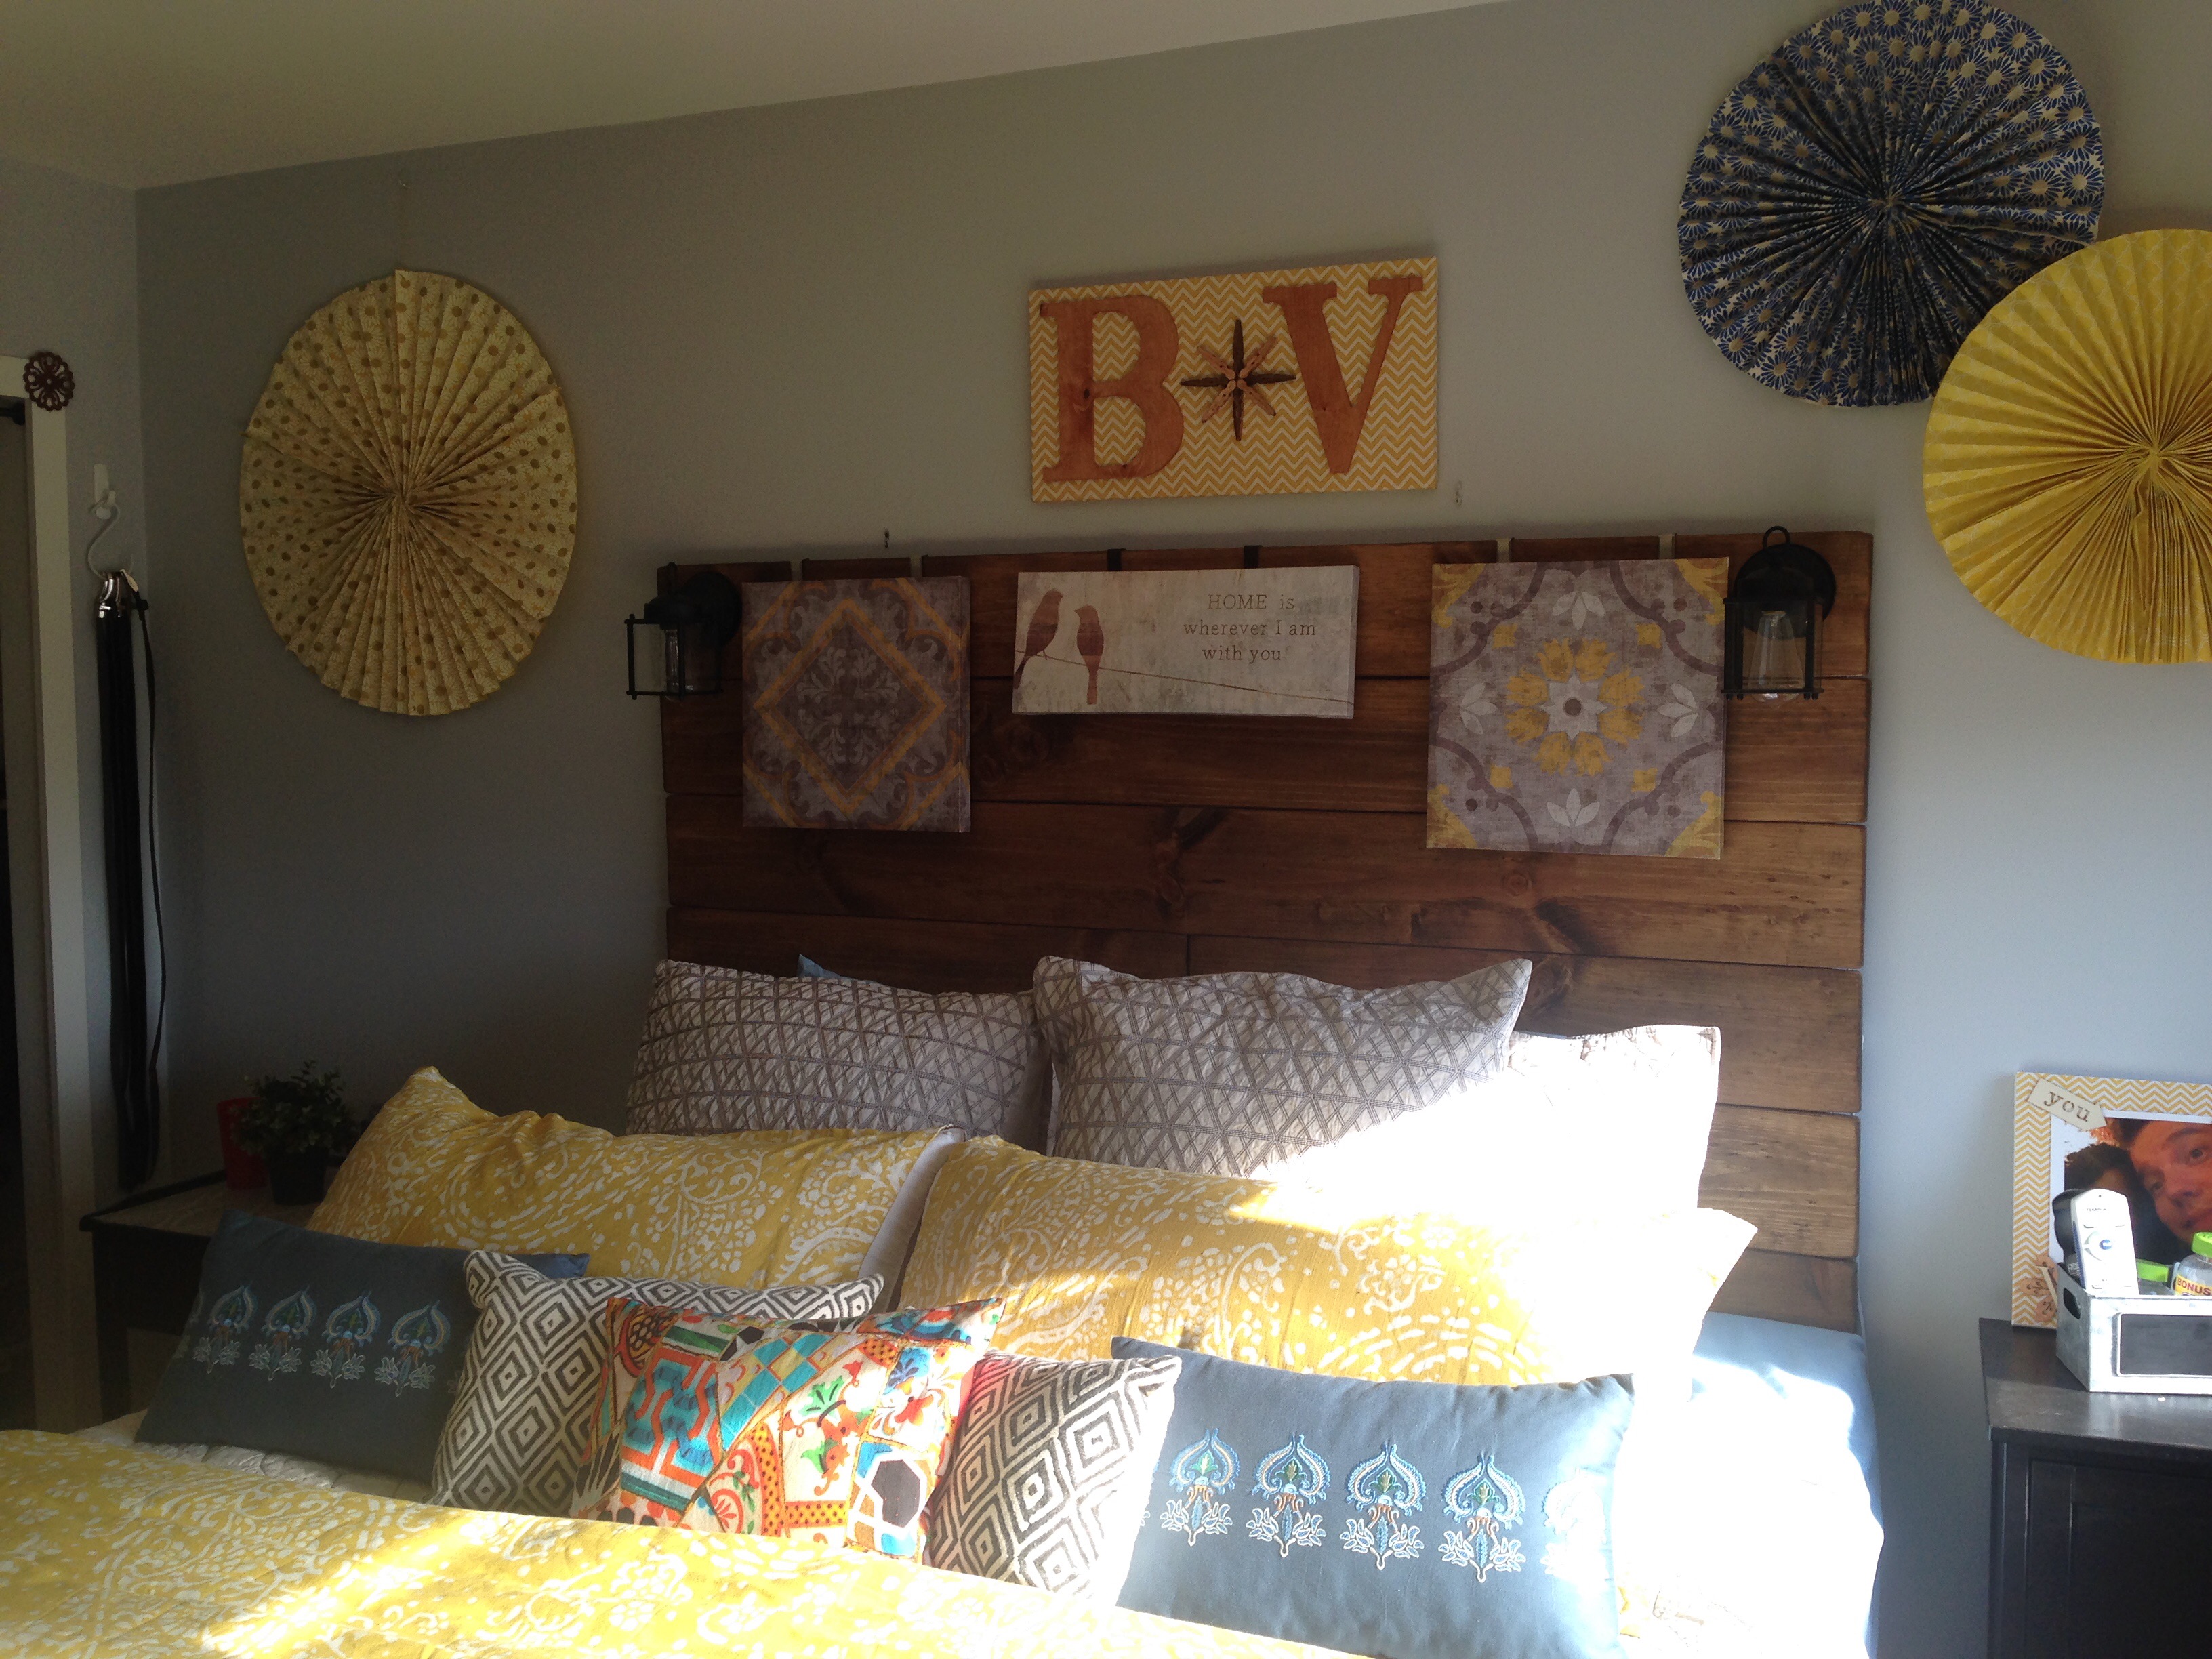
It was time for a change.
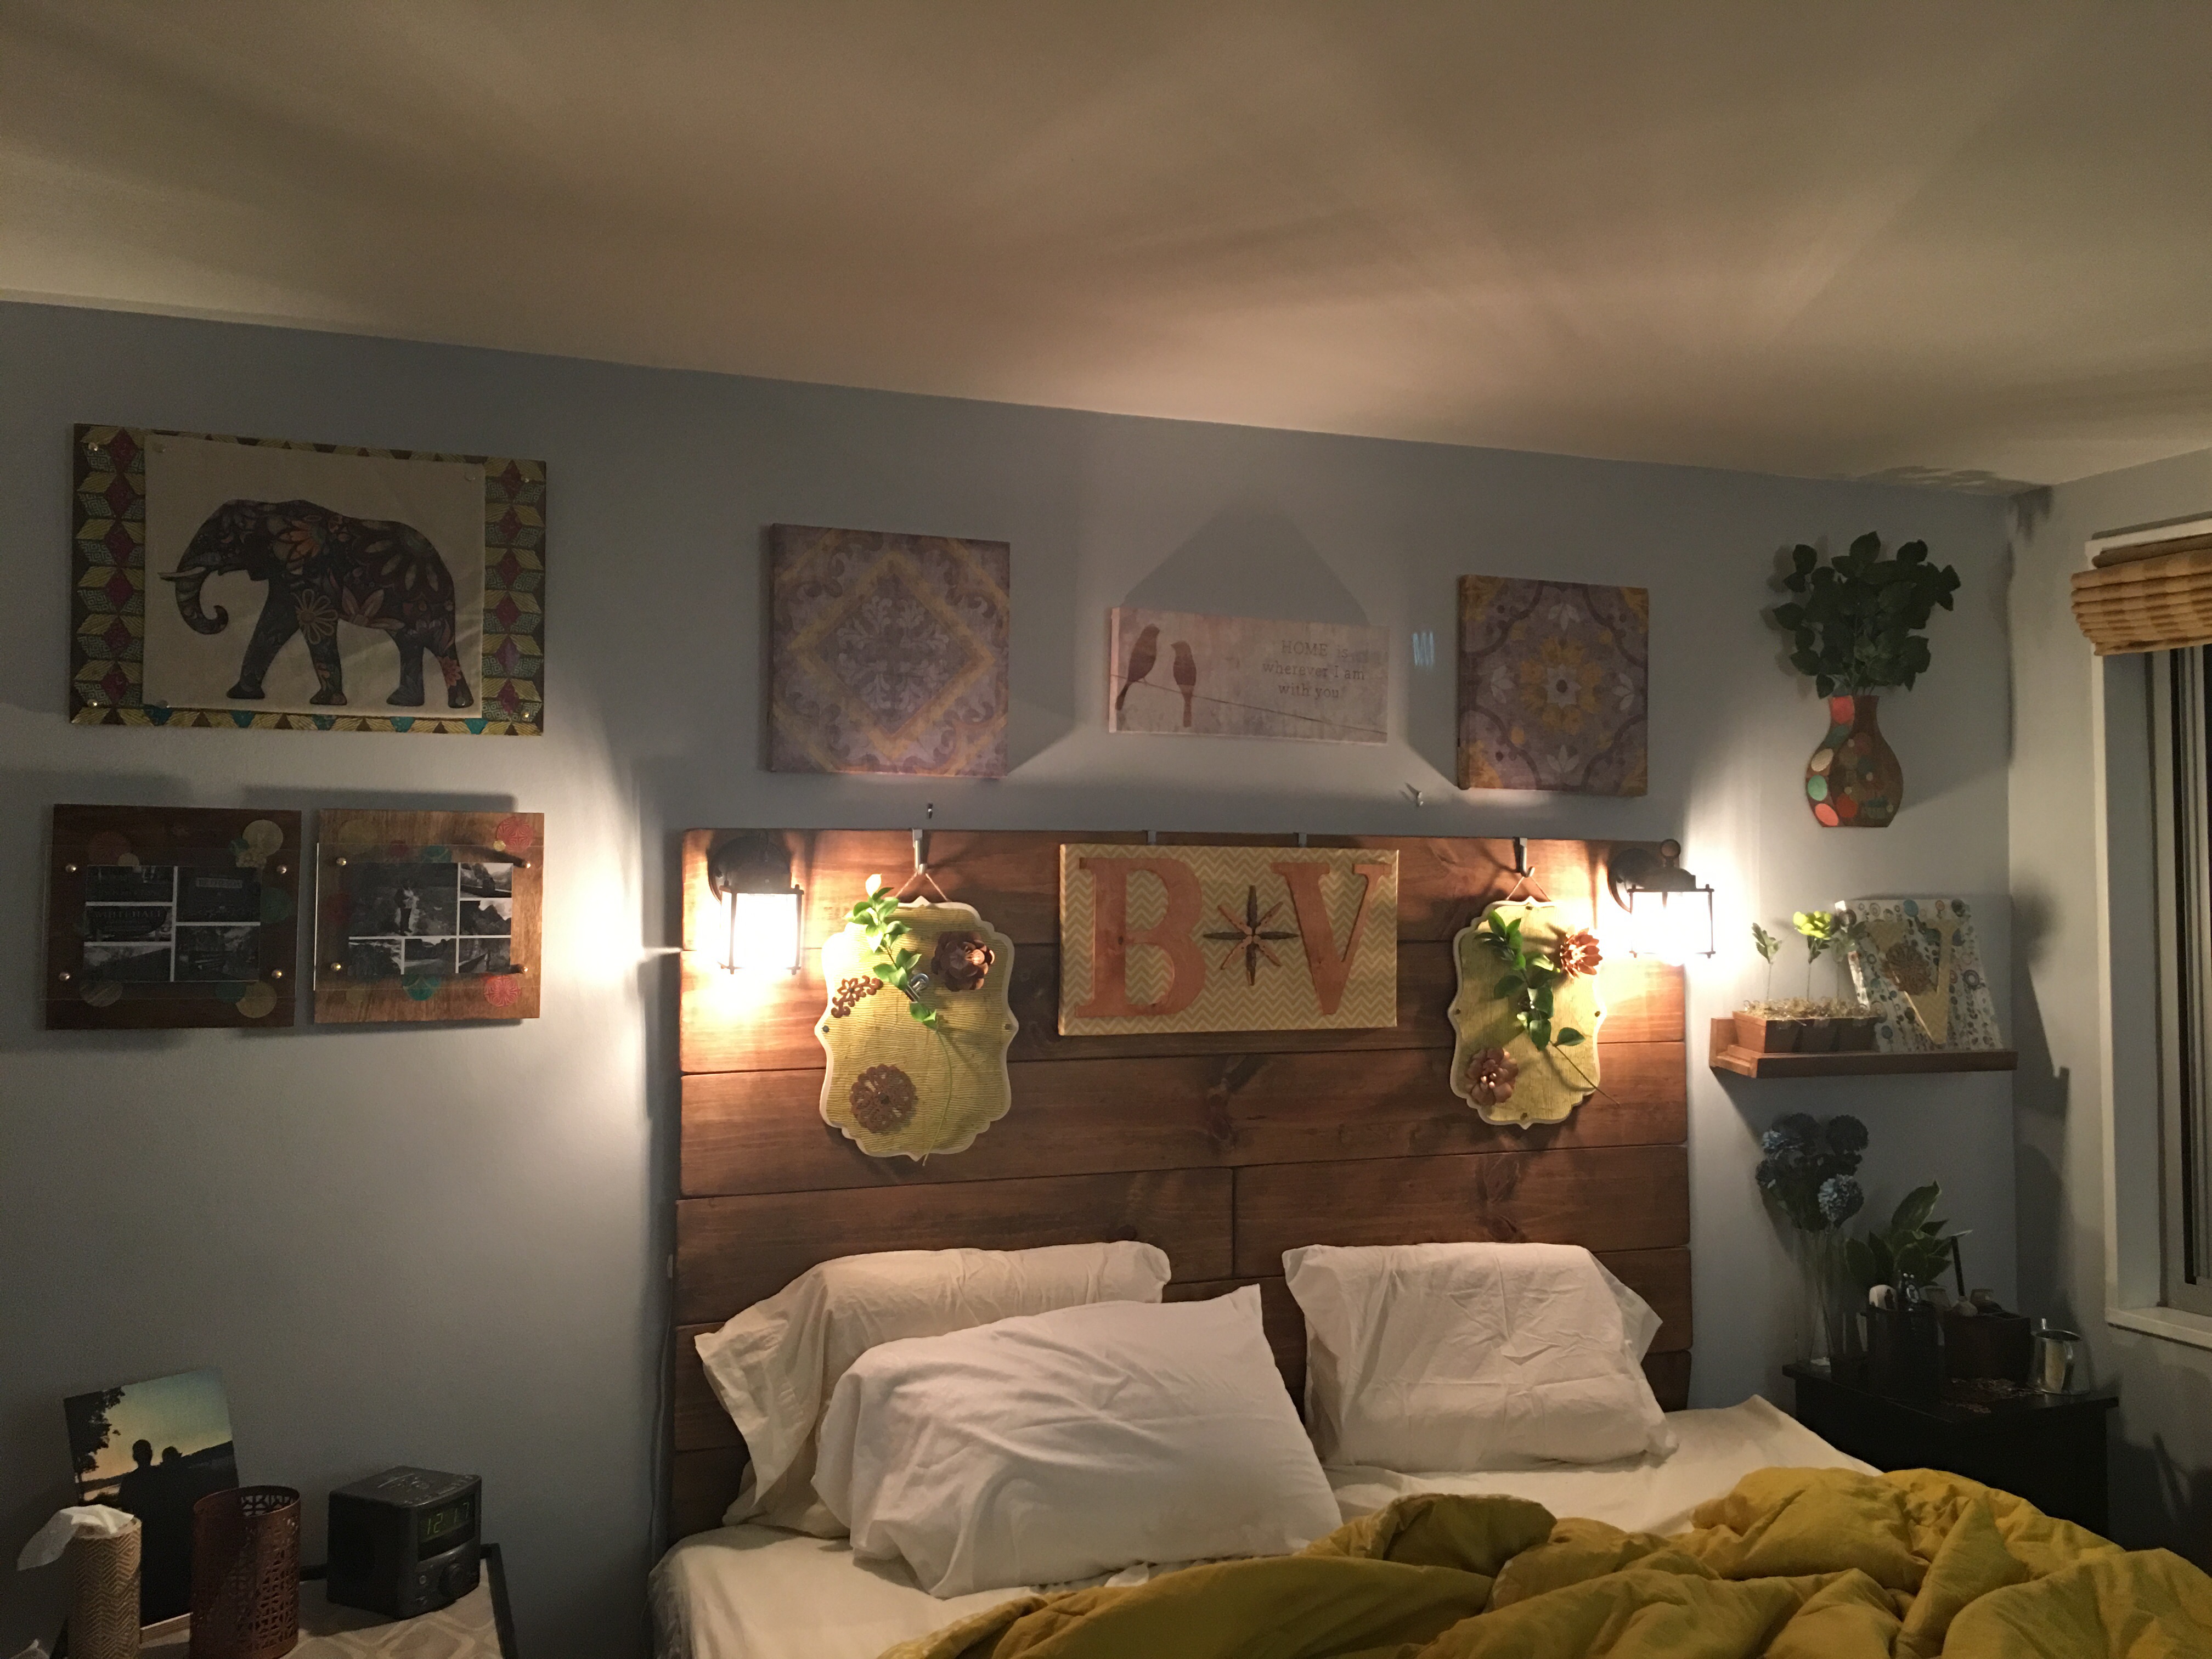
I finished the redo in four rounds (and with four projects – including the hanging decorated metal and wood plaque project featured in this post).
Round One: Tribal wood floating panel display.
I swapped out the large yellow daisy paper rosette on Bruce’s side of the bed with this tribal wood floating display. This was done on Friday, February 26.
Round Two: Moving around the canvases on the wall and headboard
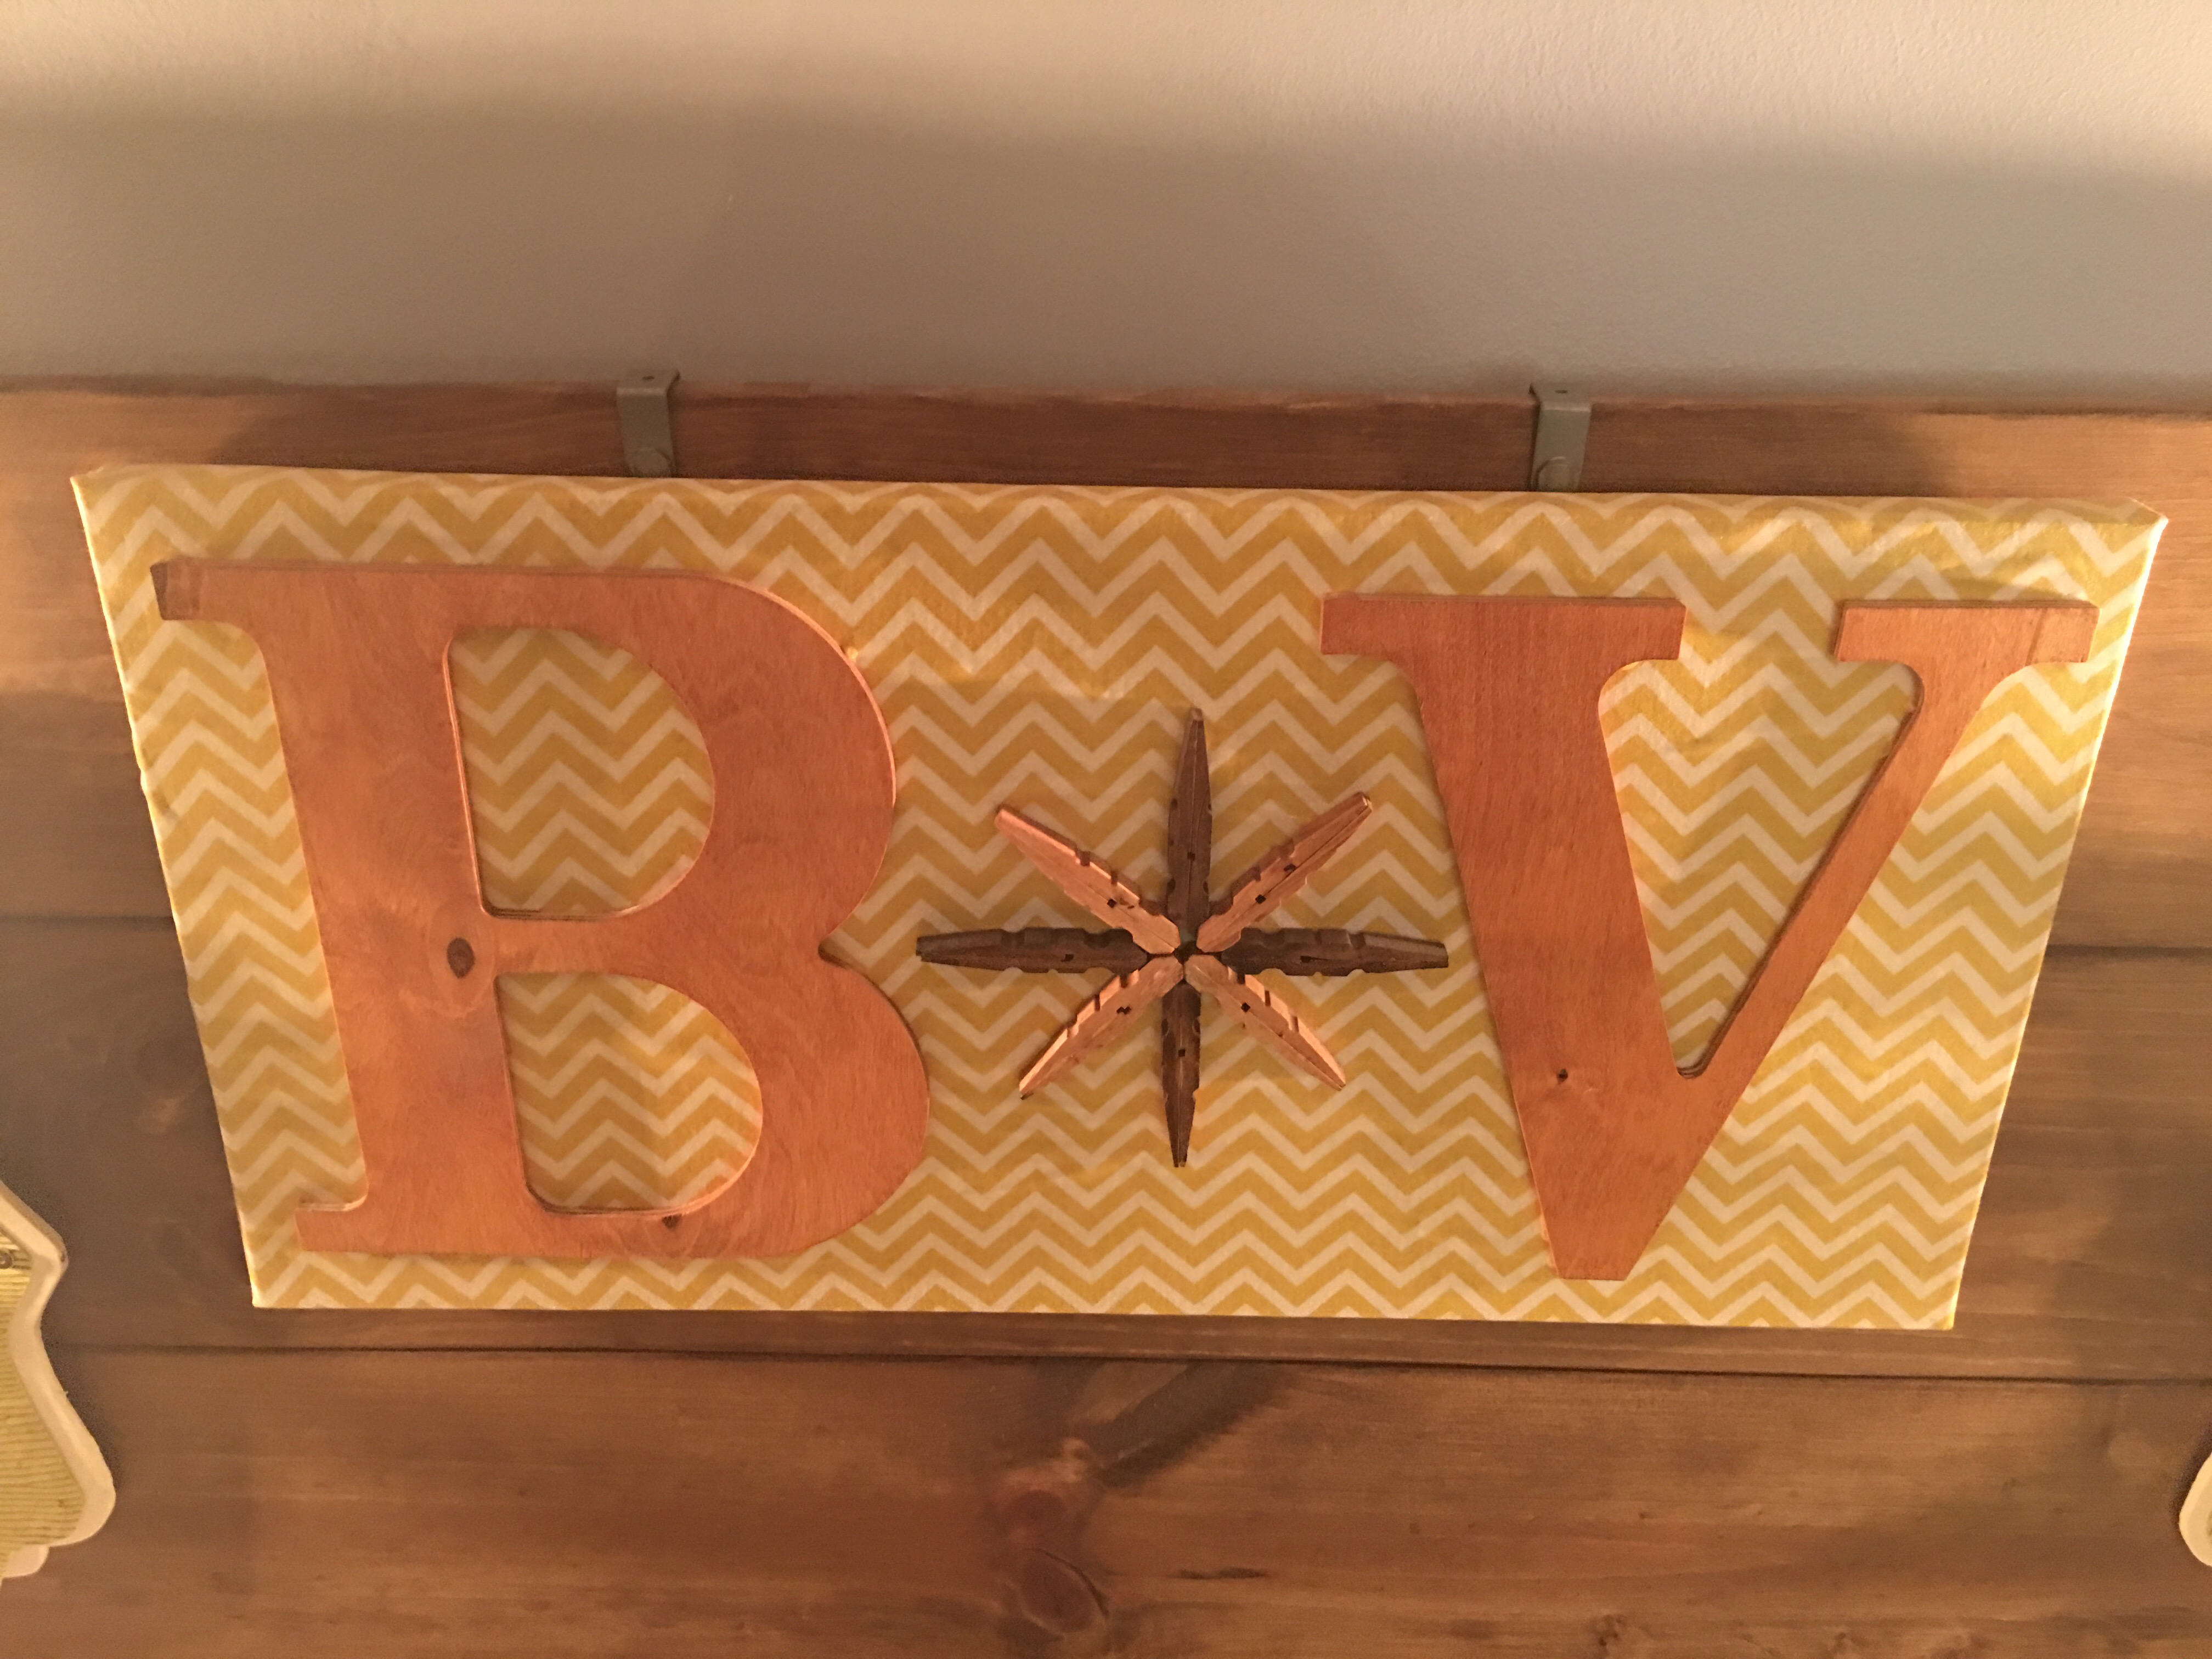
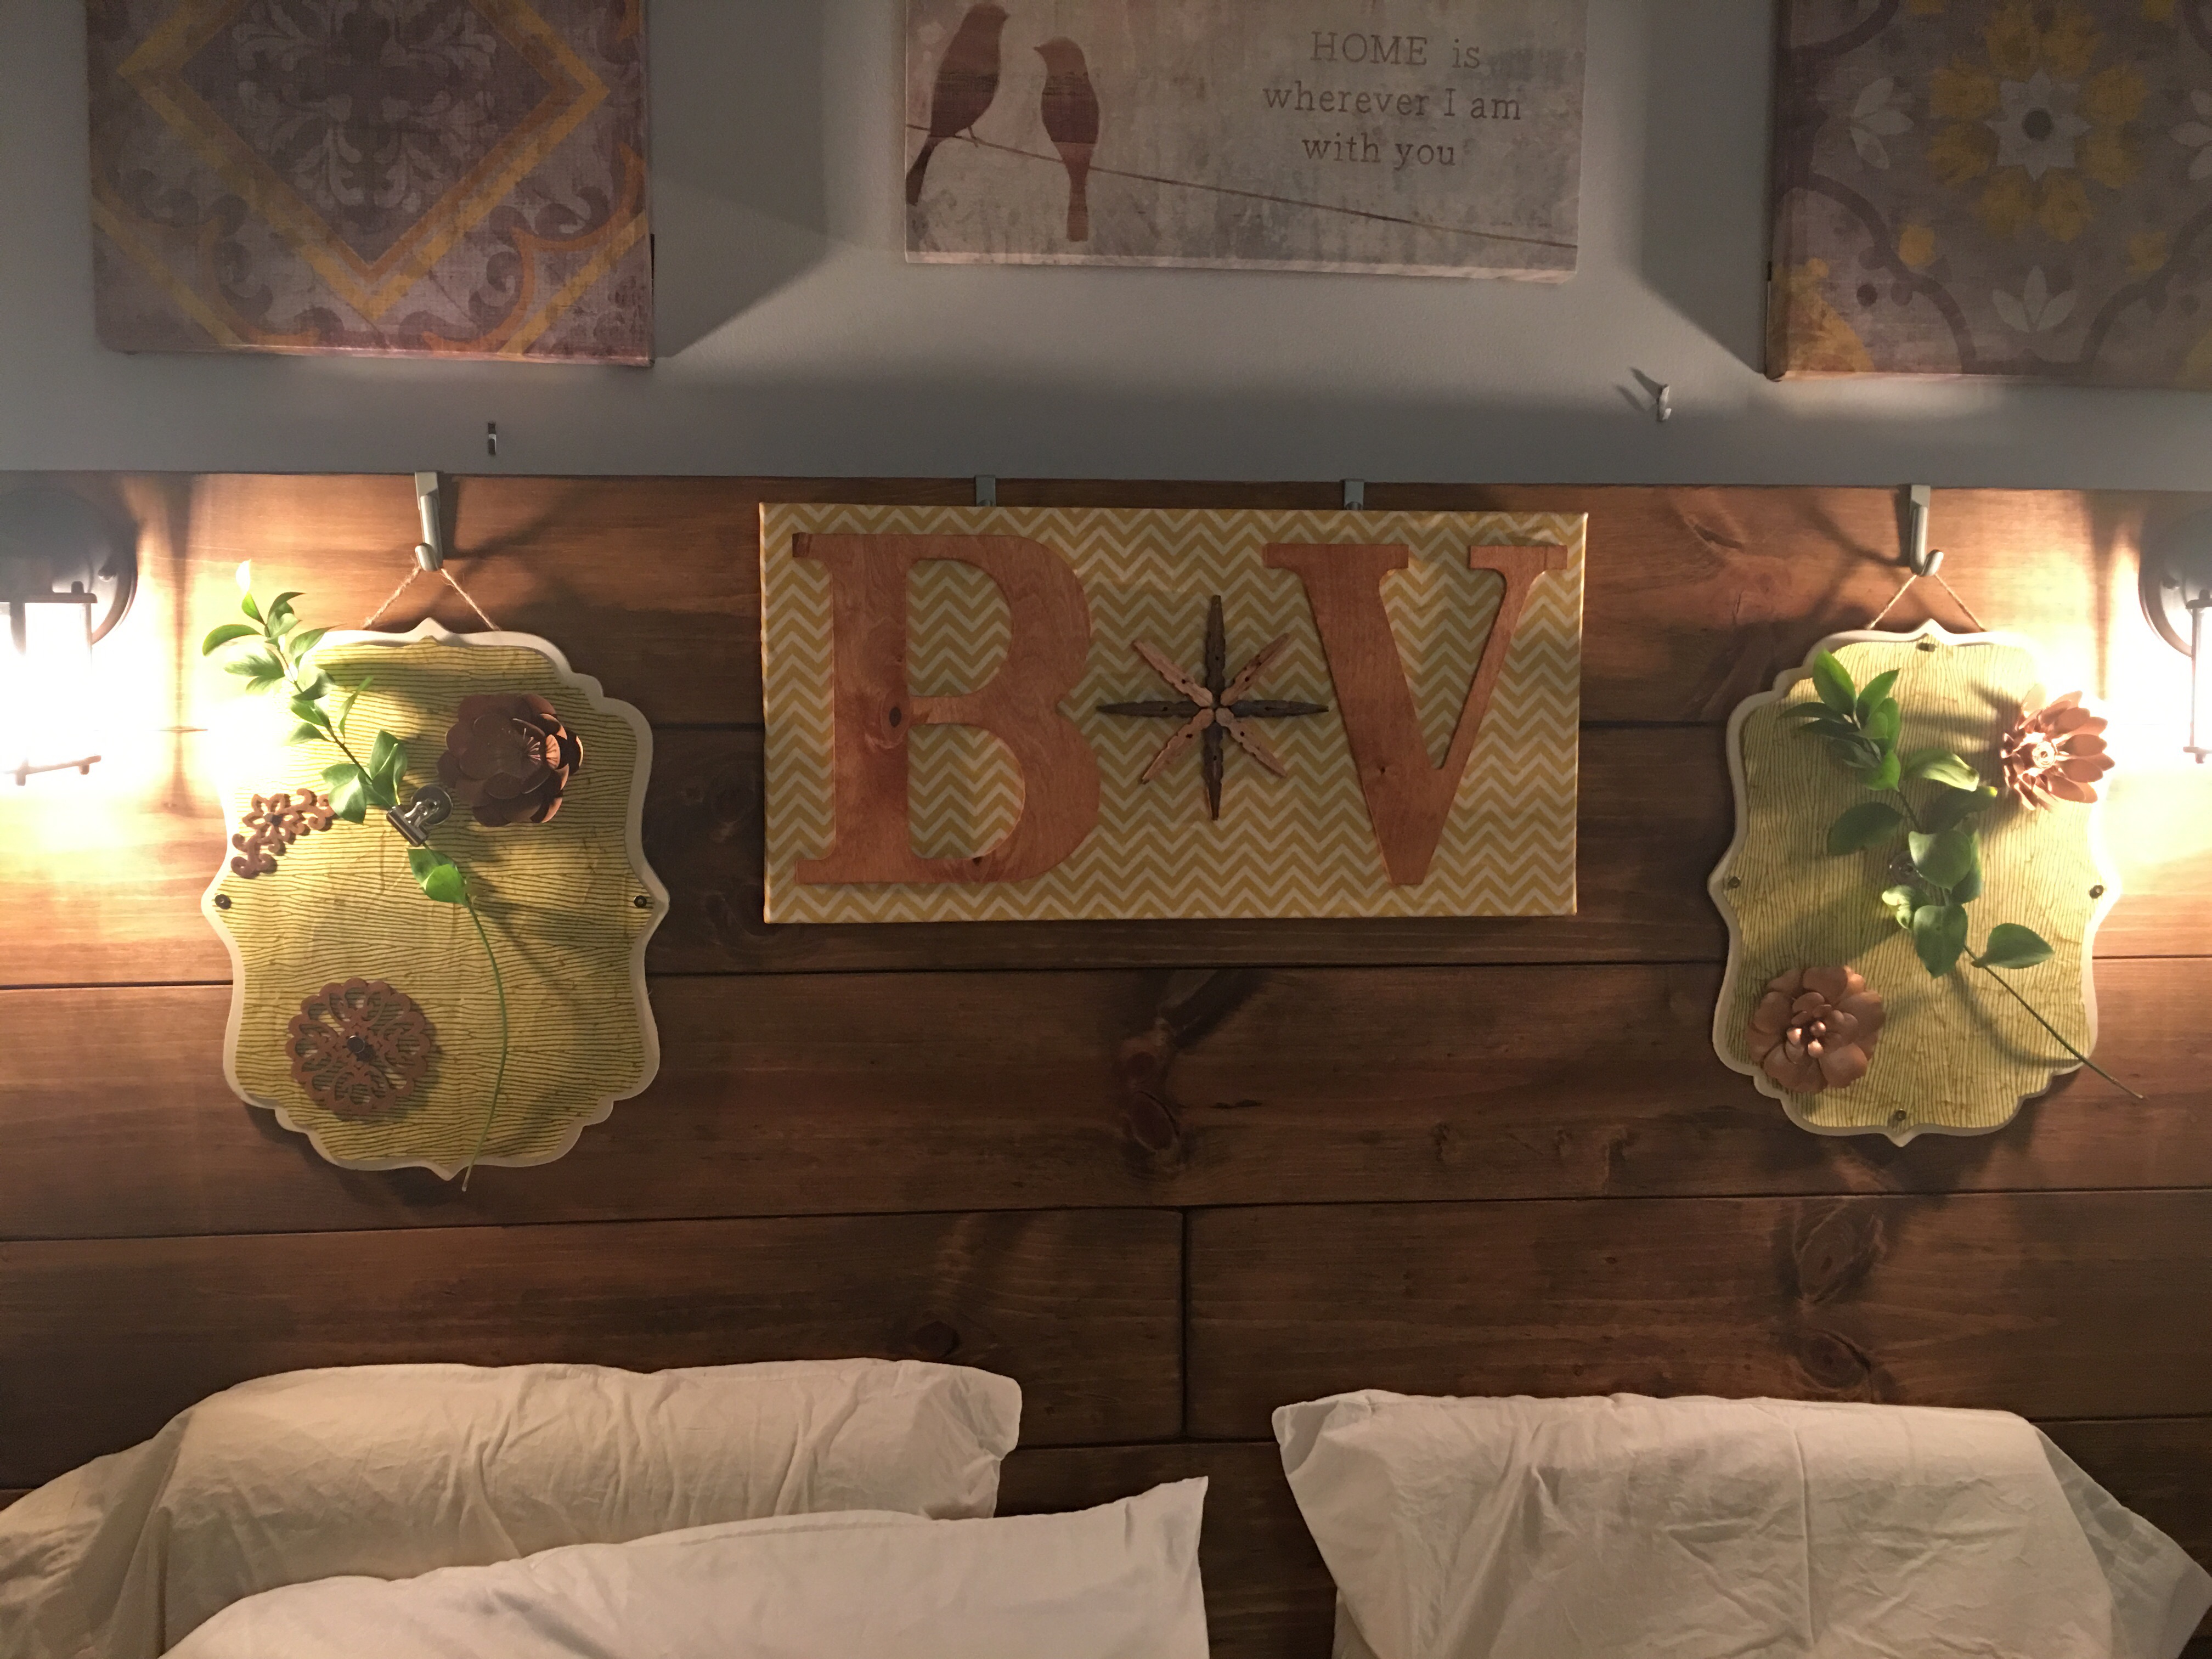
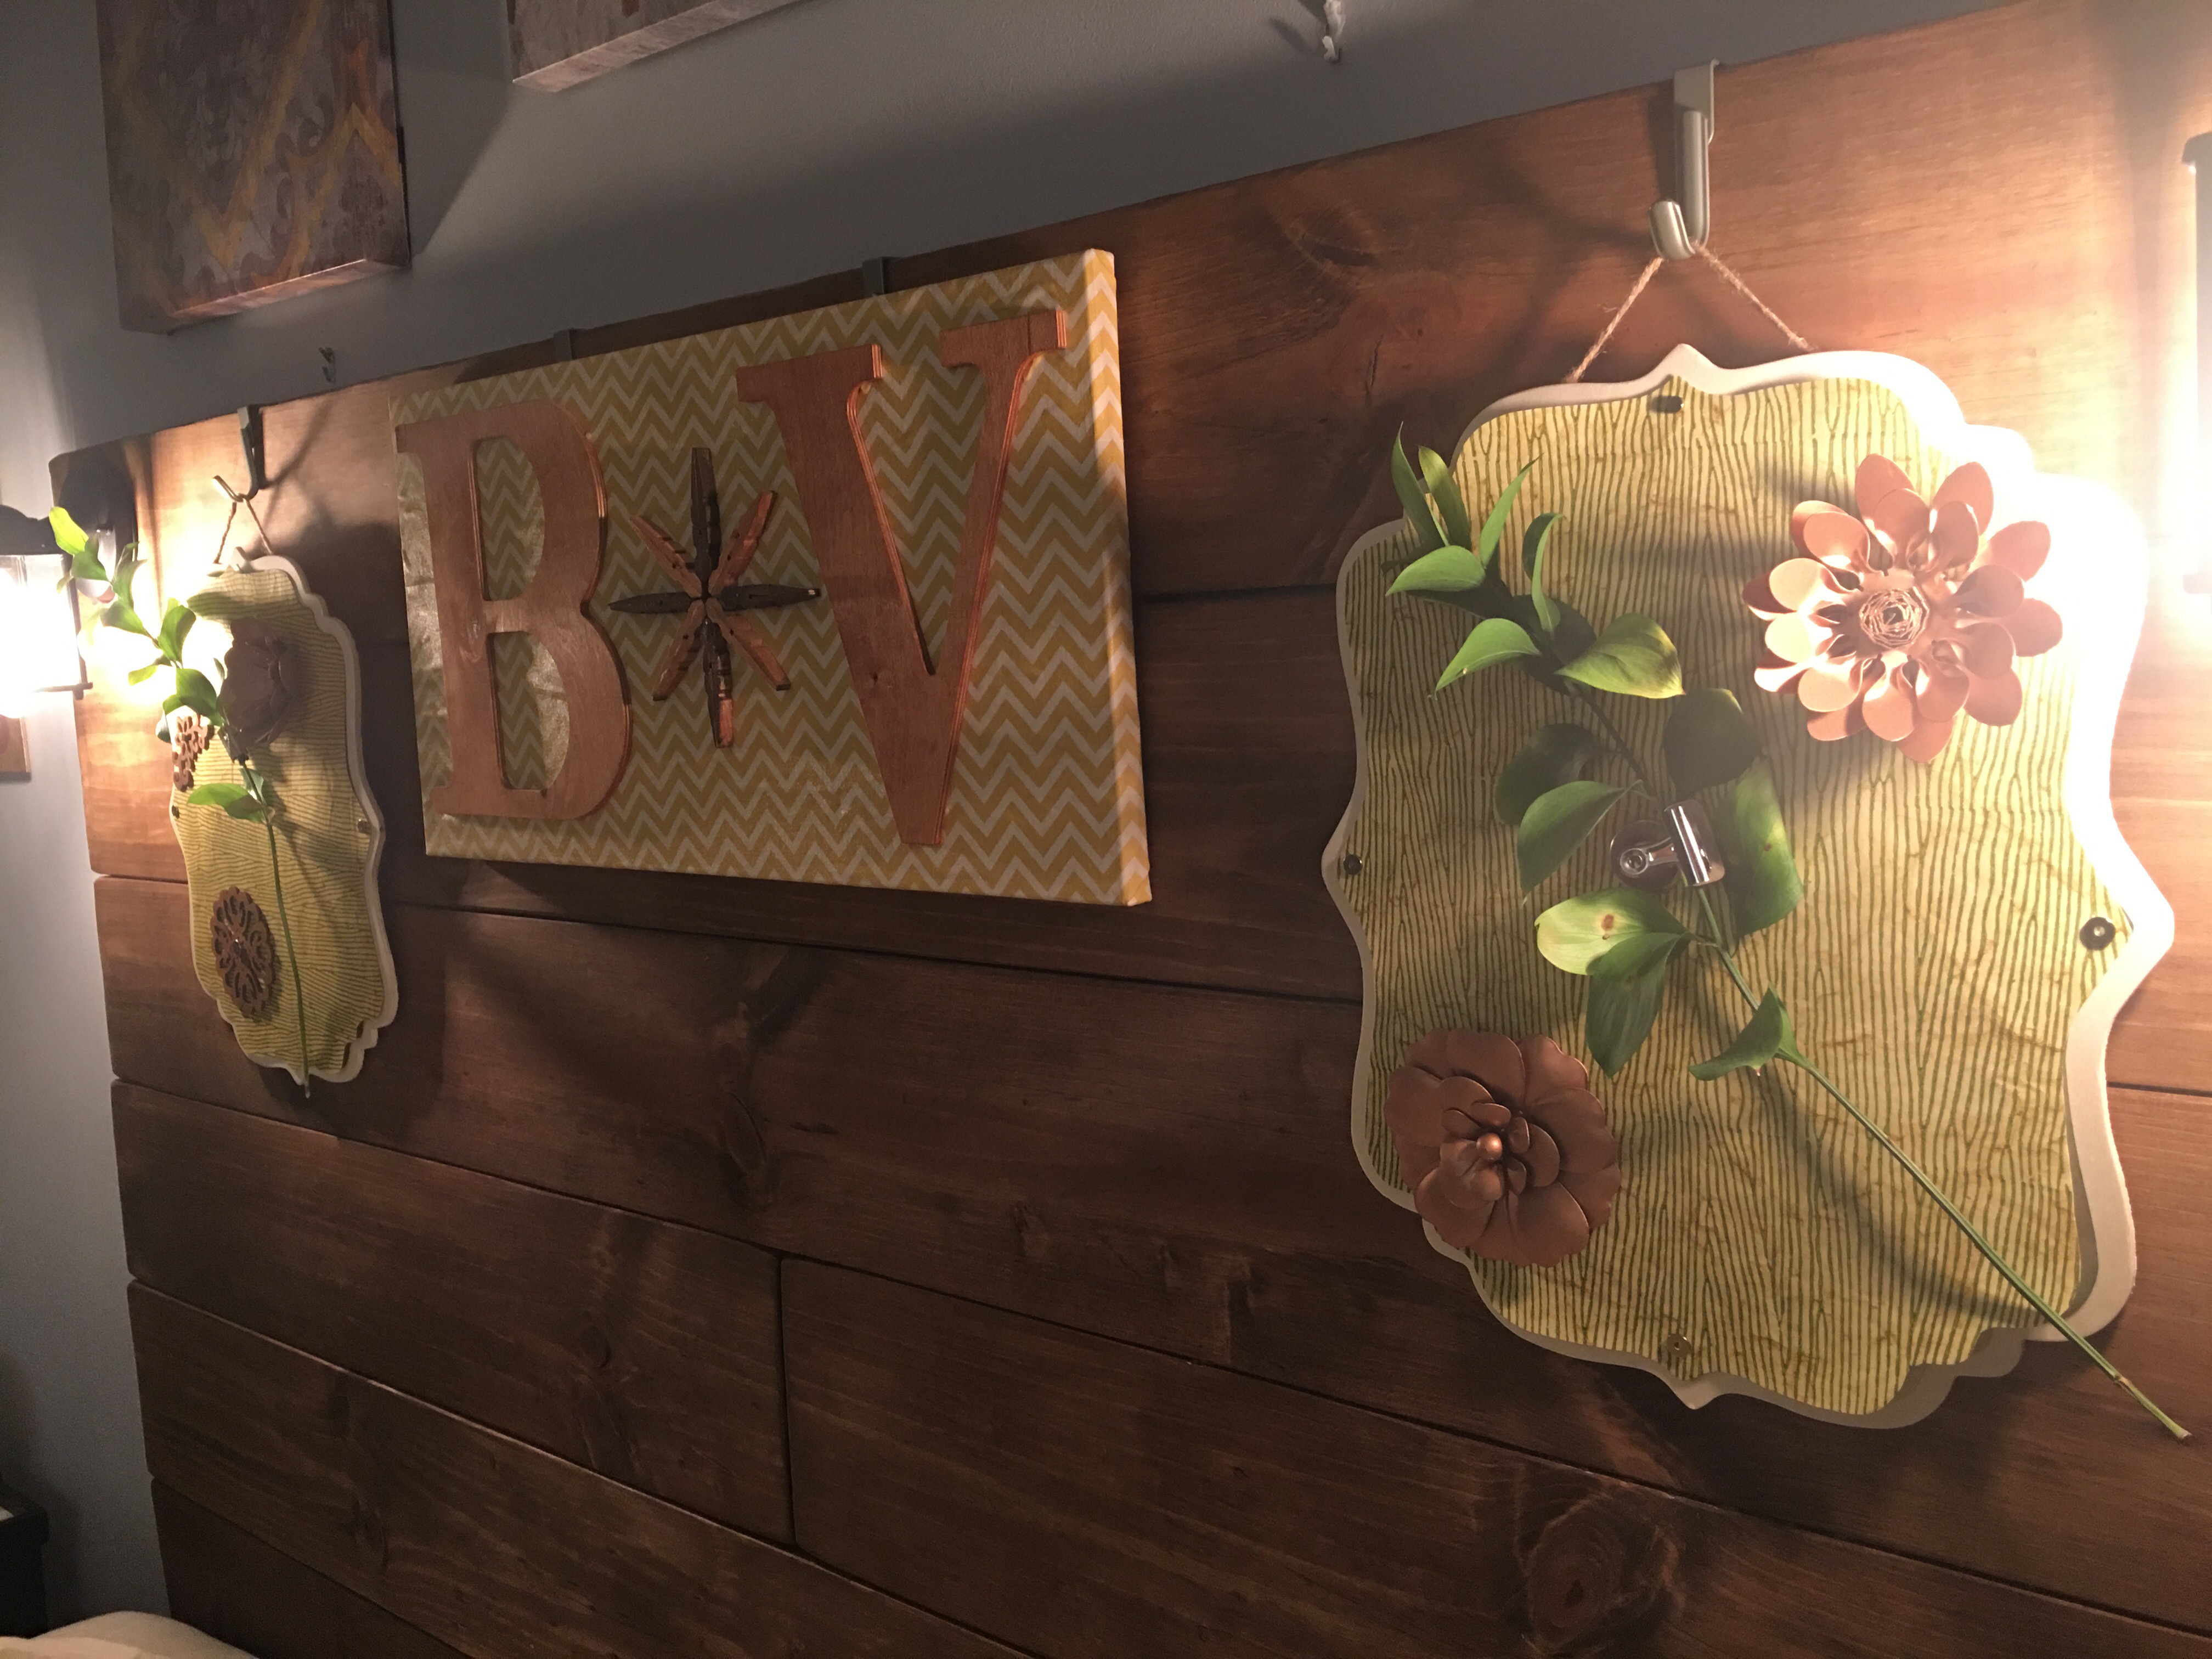
After removing the canvases (that where hanging on the headboard using over-cabinet hooks and rods), I decided to move the B & V wood monogrammed fabric canvas from the wall above to the headboard. I used two single Spectrum over-cabinet hooks to hang the canvas on the headboard.
The three canvases that were hanging on the headboard up until that point were moved to the wall above the headboard.
So essentially swapped all the canvases from one spot to the other. This was also done on Friday, February 26.
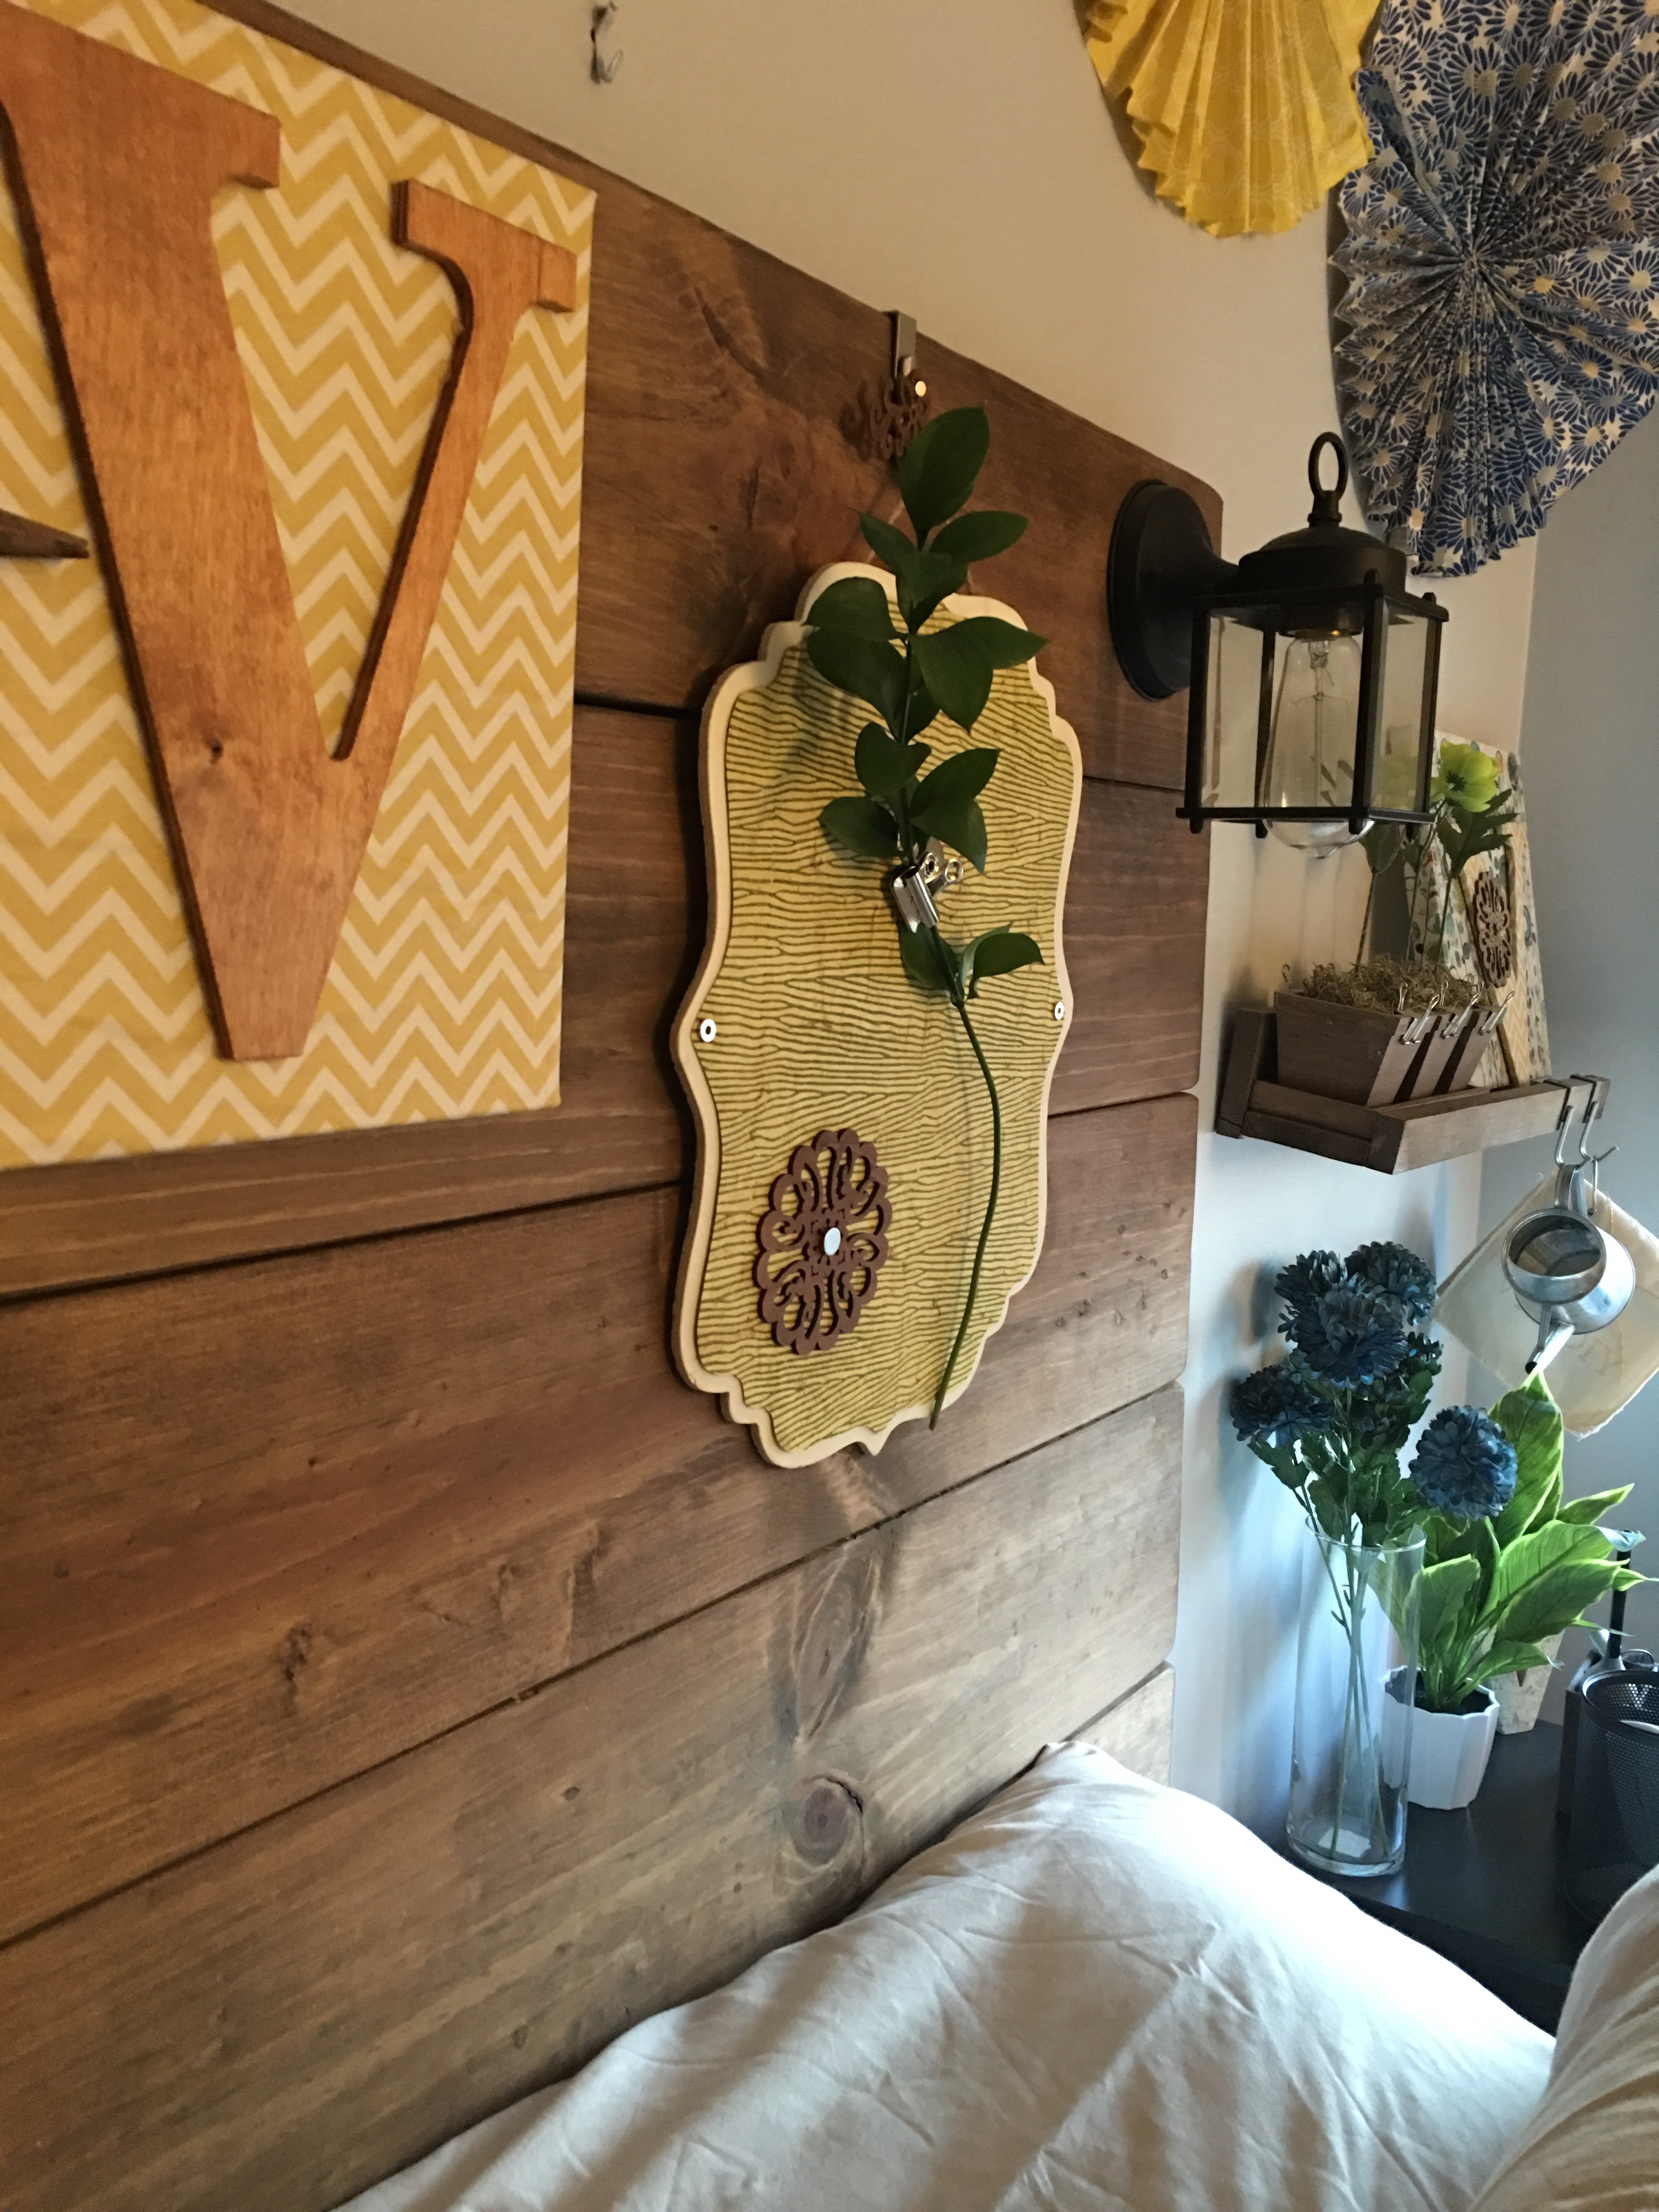
Round Three: Hanging decorated wood and metal plaques on headboard


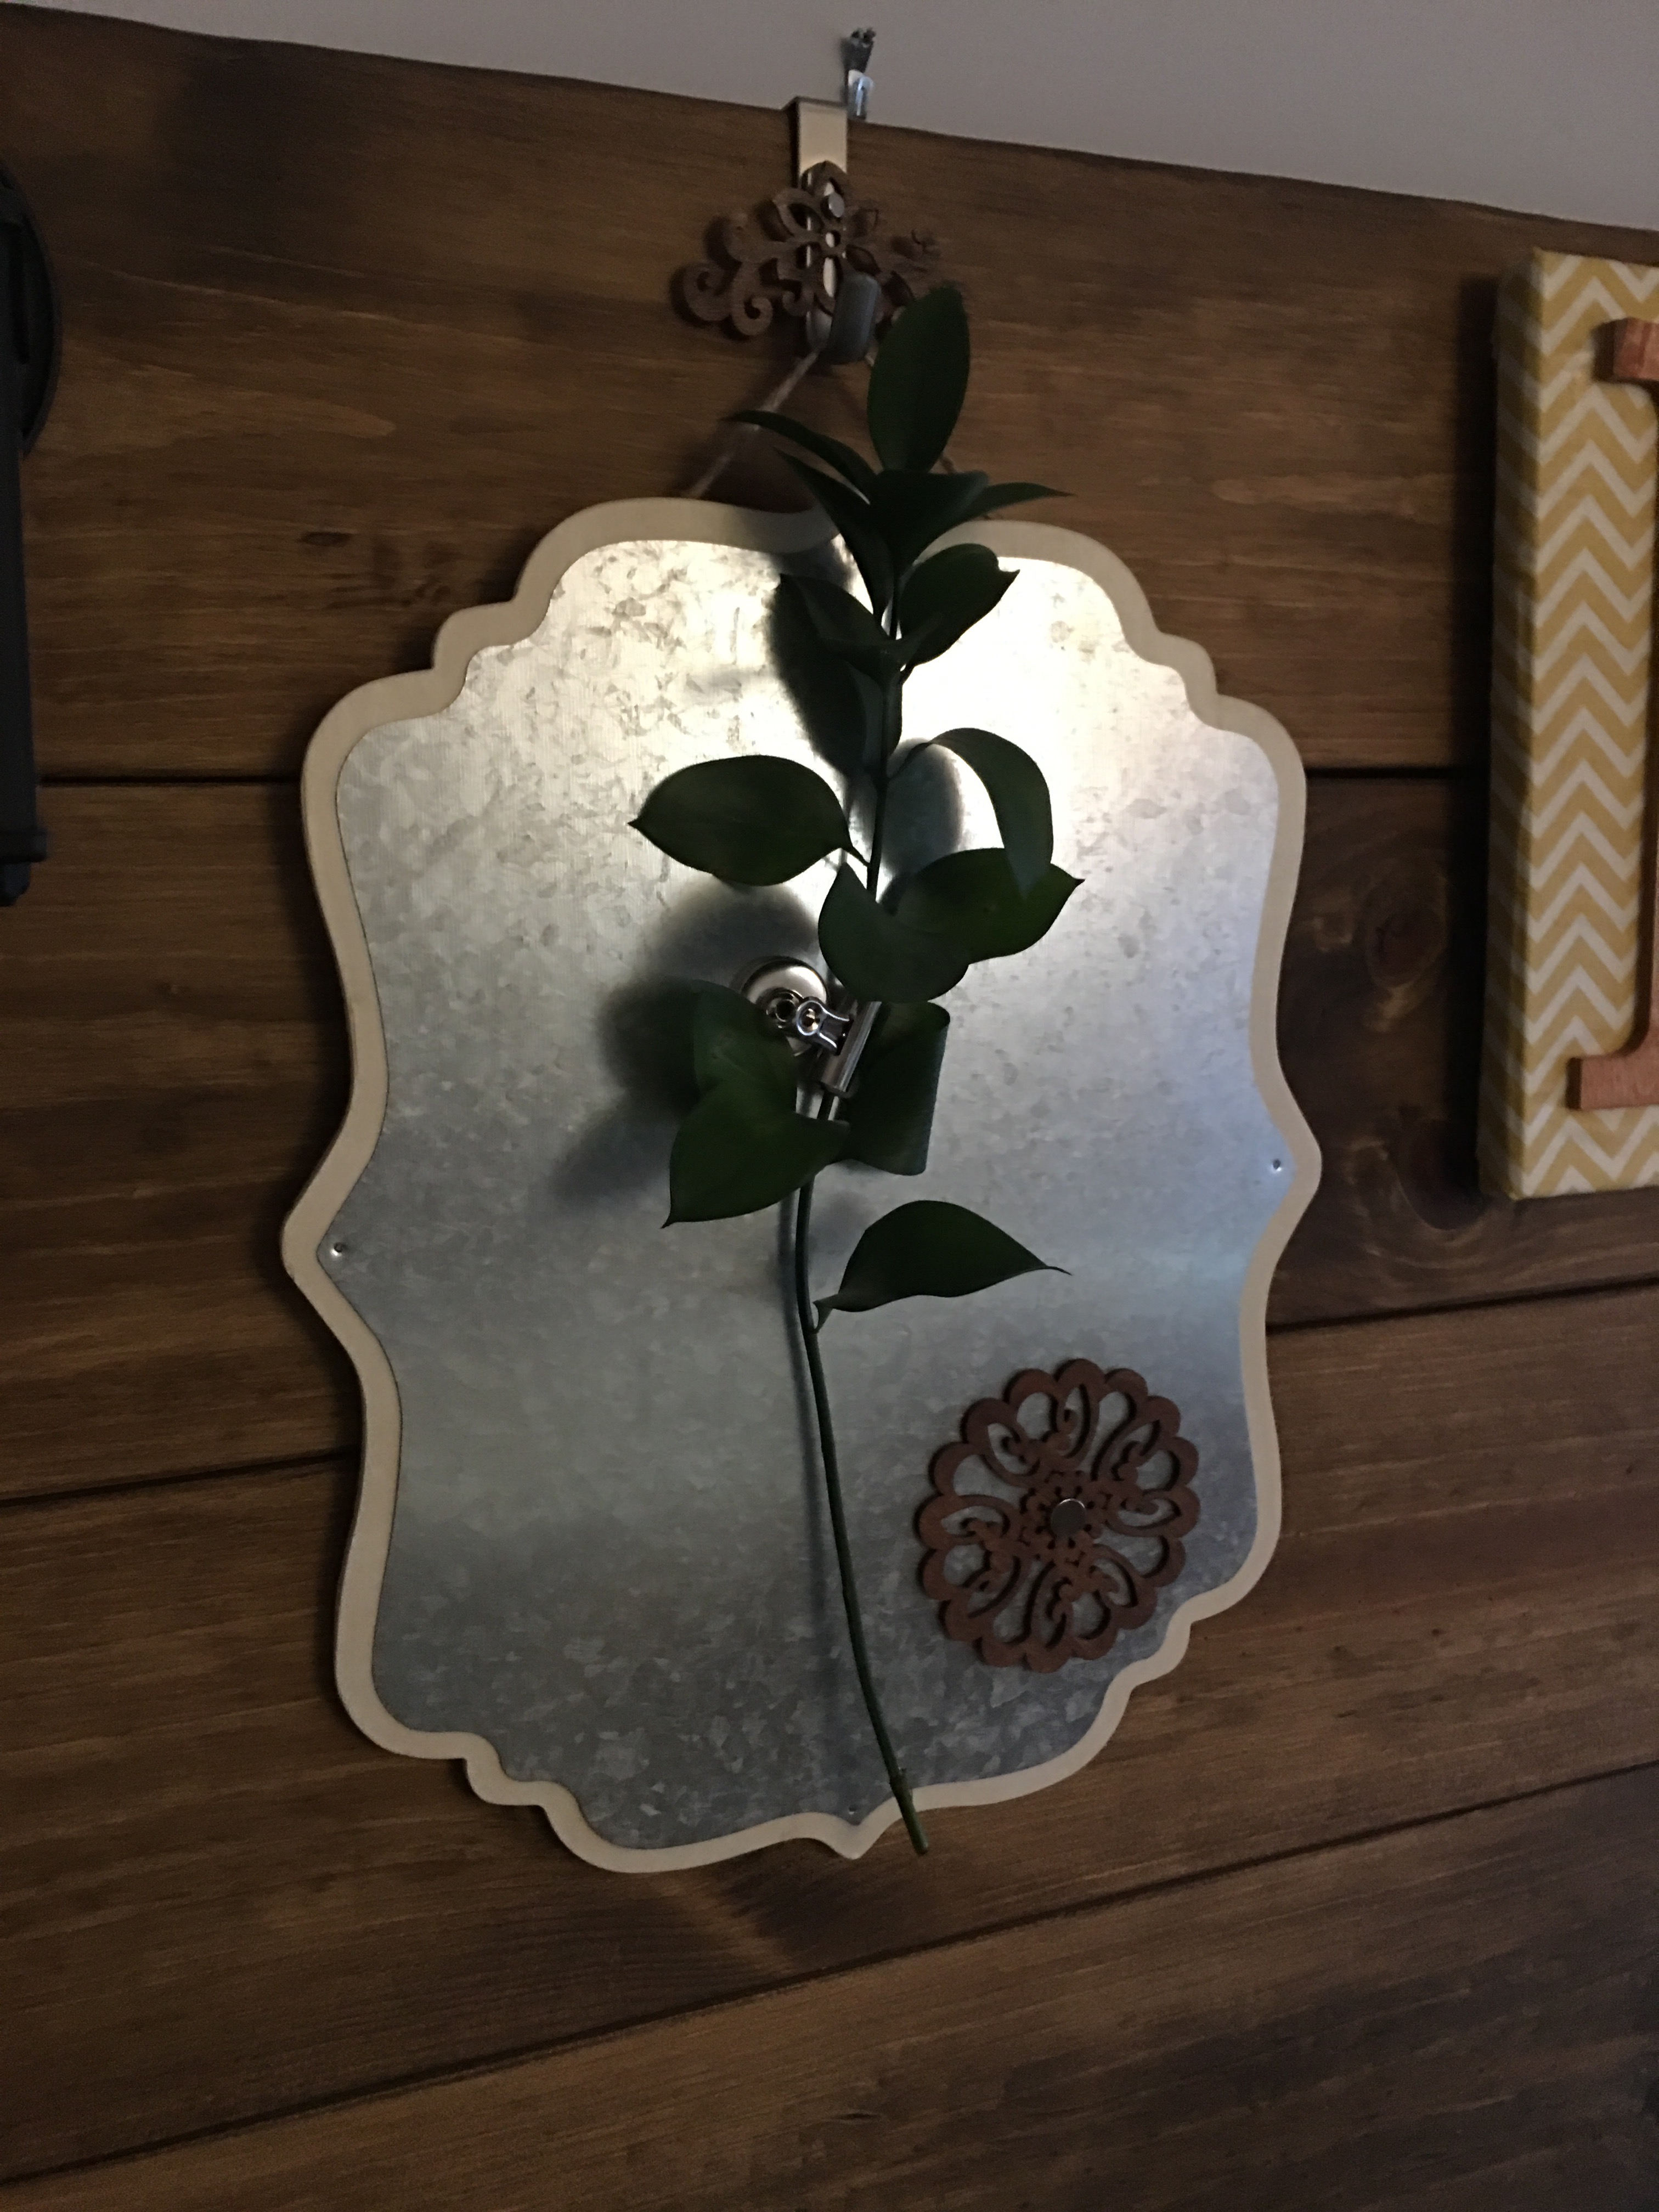
I picked up these metal plaques with unfinished wood backing from Michaels on Saturday, February 20. It’s available as part of their new Make Market Alphabet Soup collection. I didn’t have a plan for these at the time, put I added two plaques to the cart (taking advantage of a 60% off discount on the Make Market items).
One week later, while musing about changes I could make to the bedroom headboard decor, I remembered the plaques and pulled them out for closer inspection.
The biggest question mark in my mind was how to decorate them. Did I want a sign? Pictures? A cute quote? A graphic of some kind?
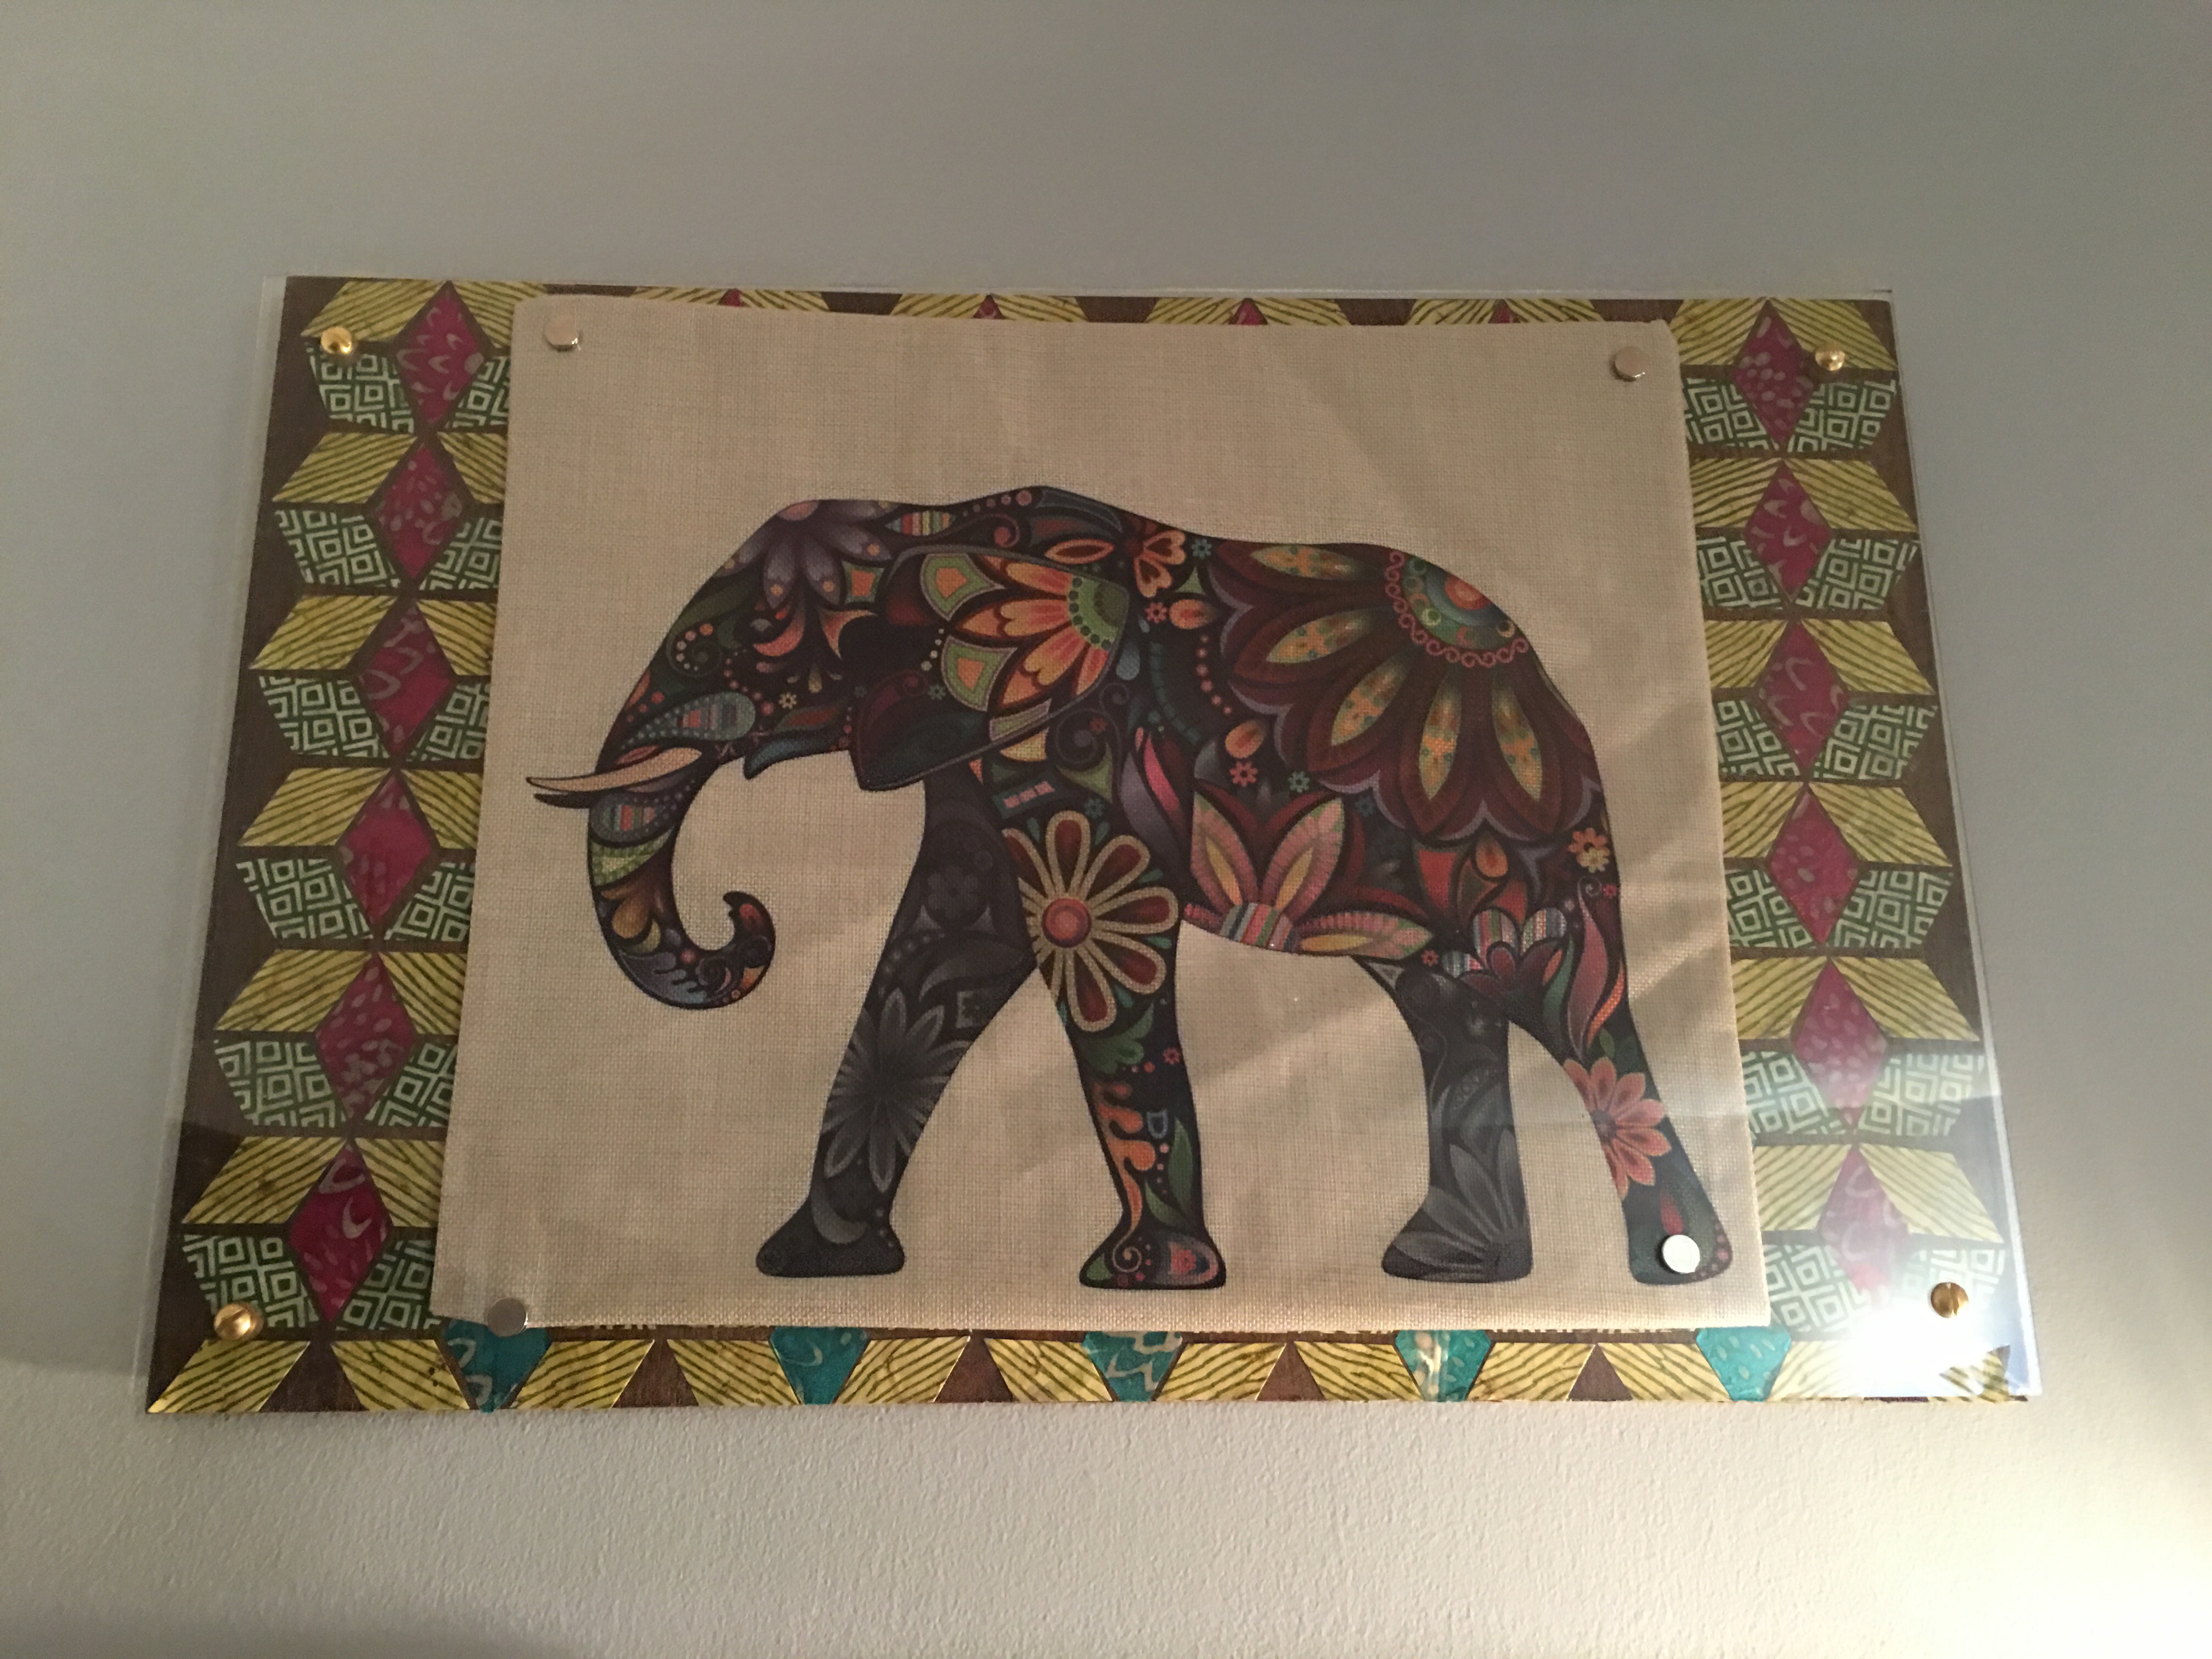
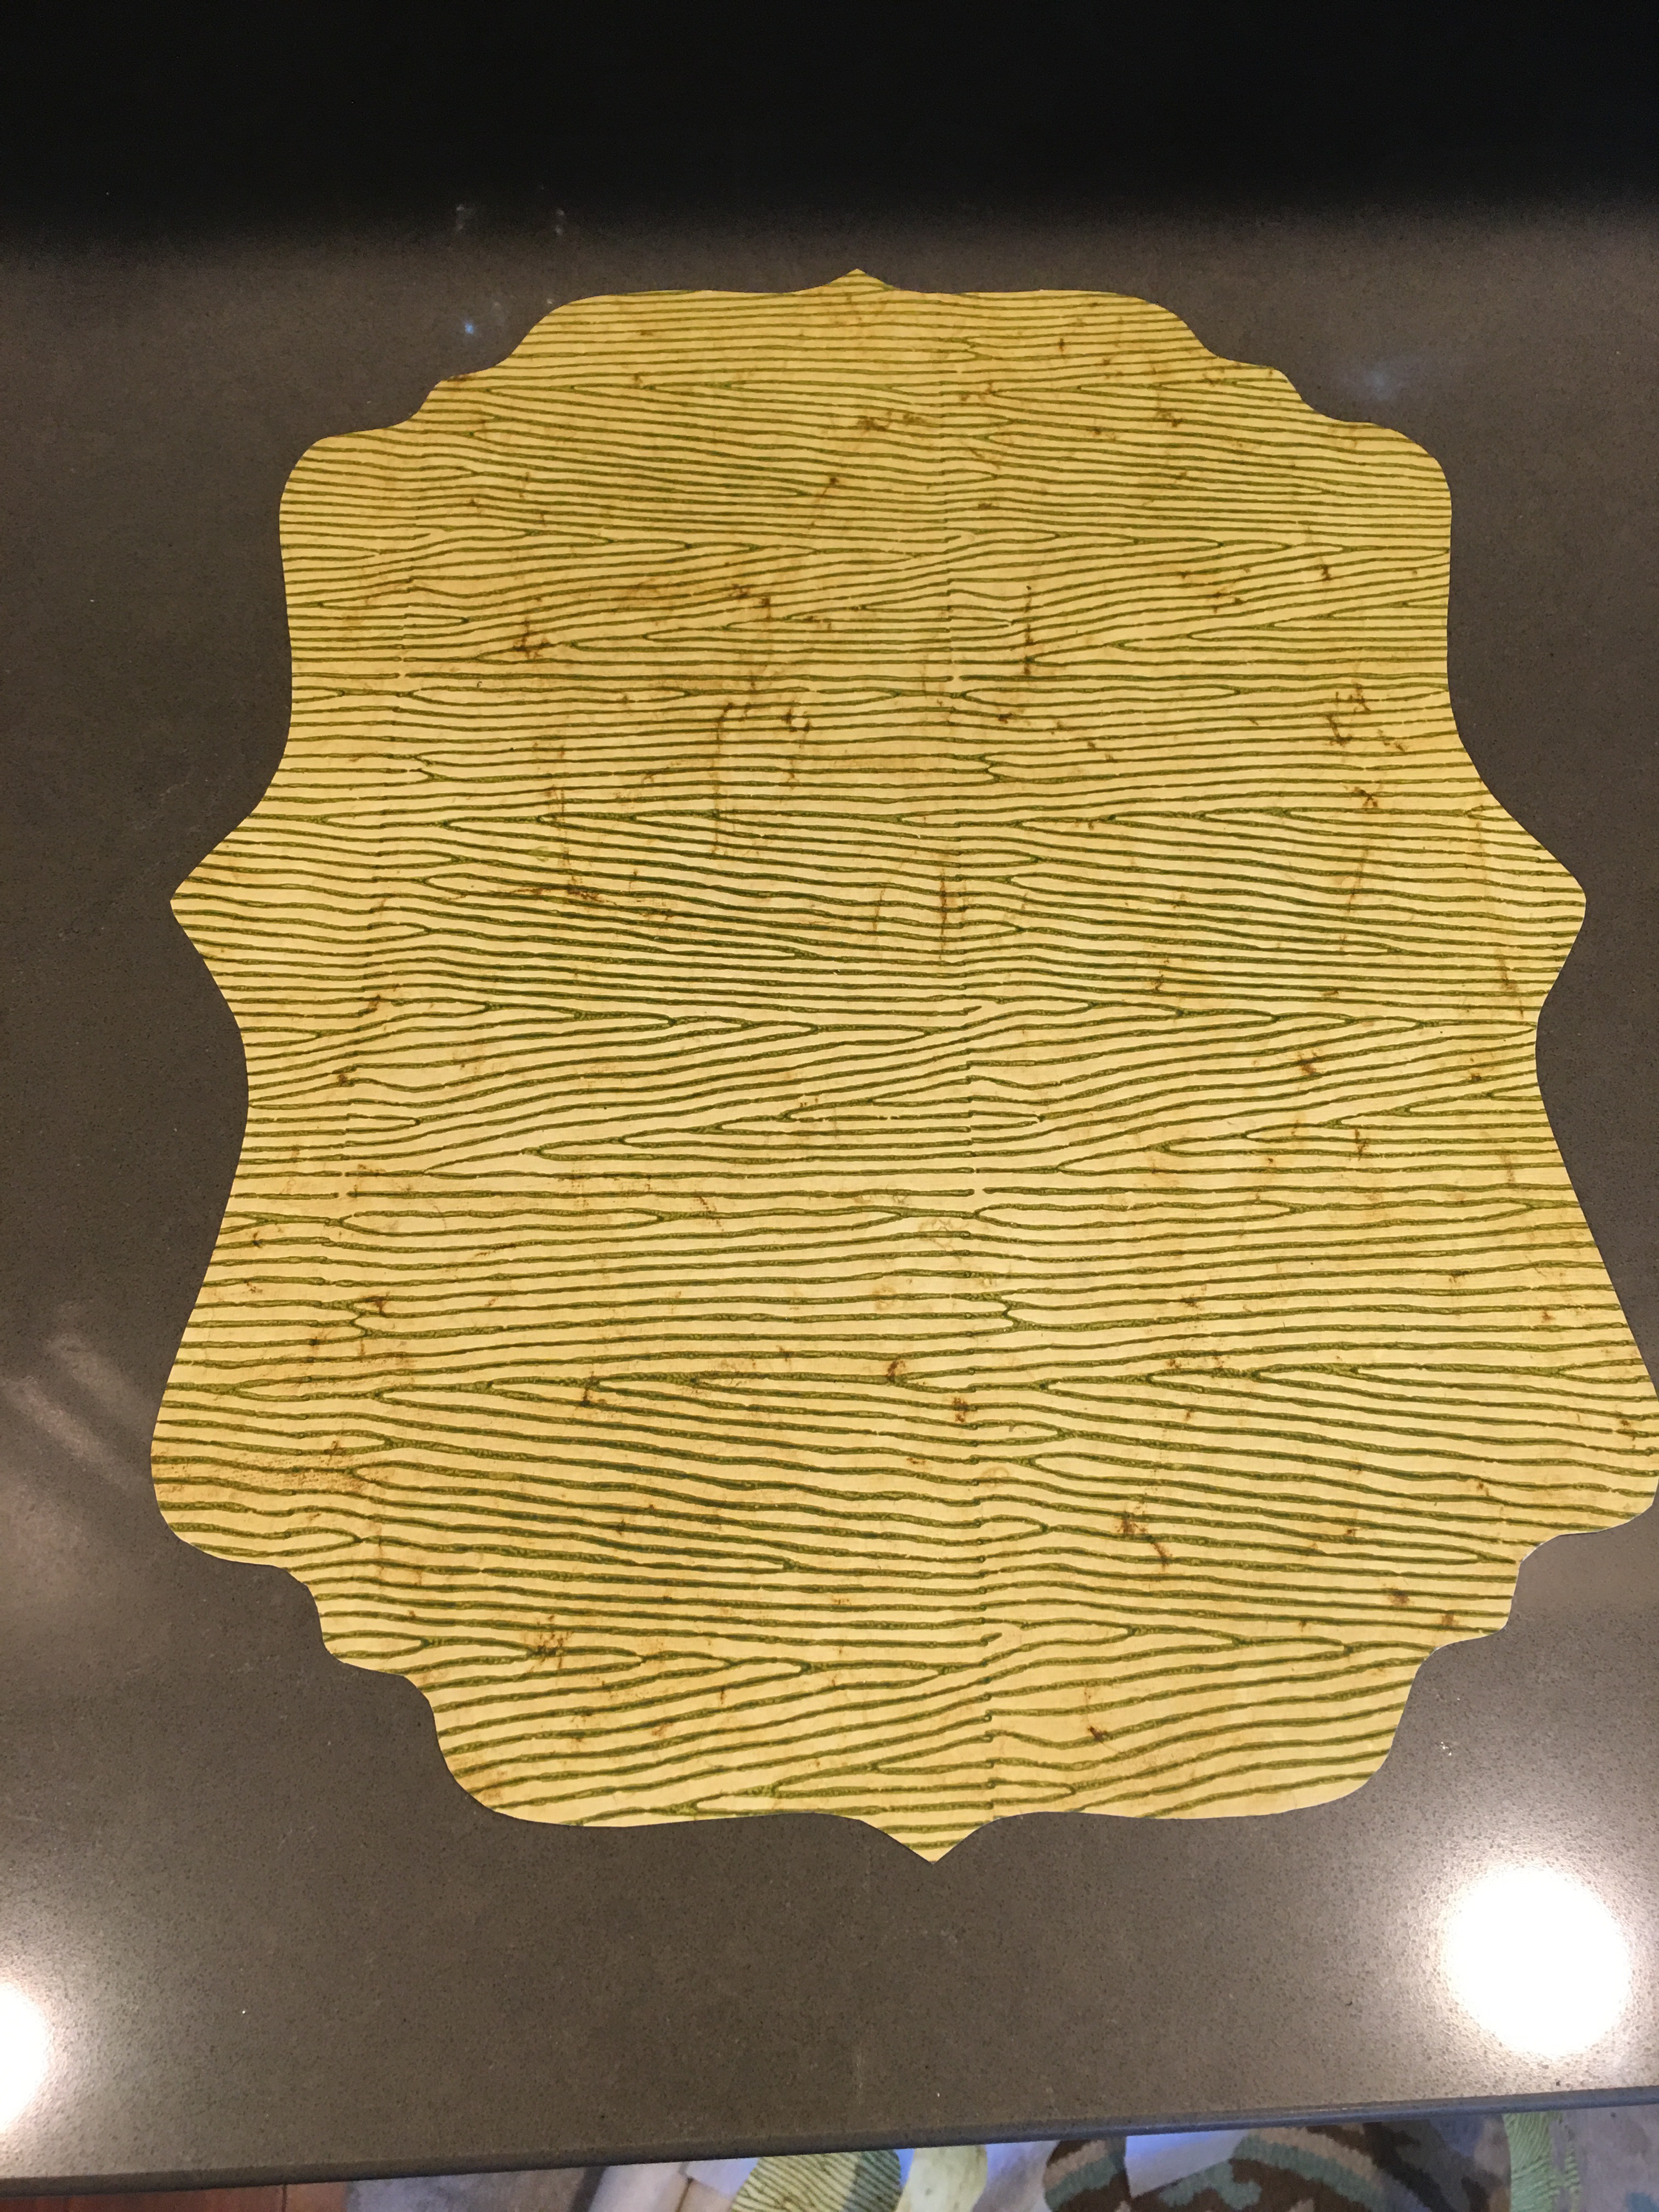
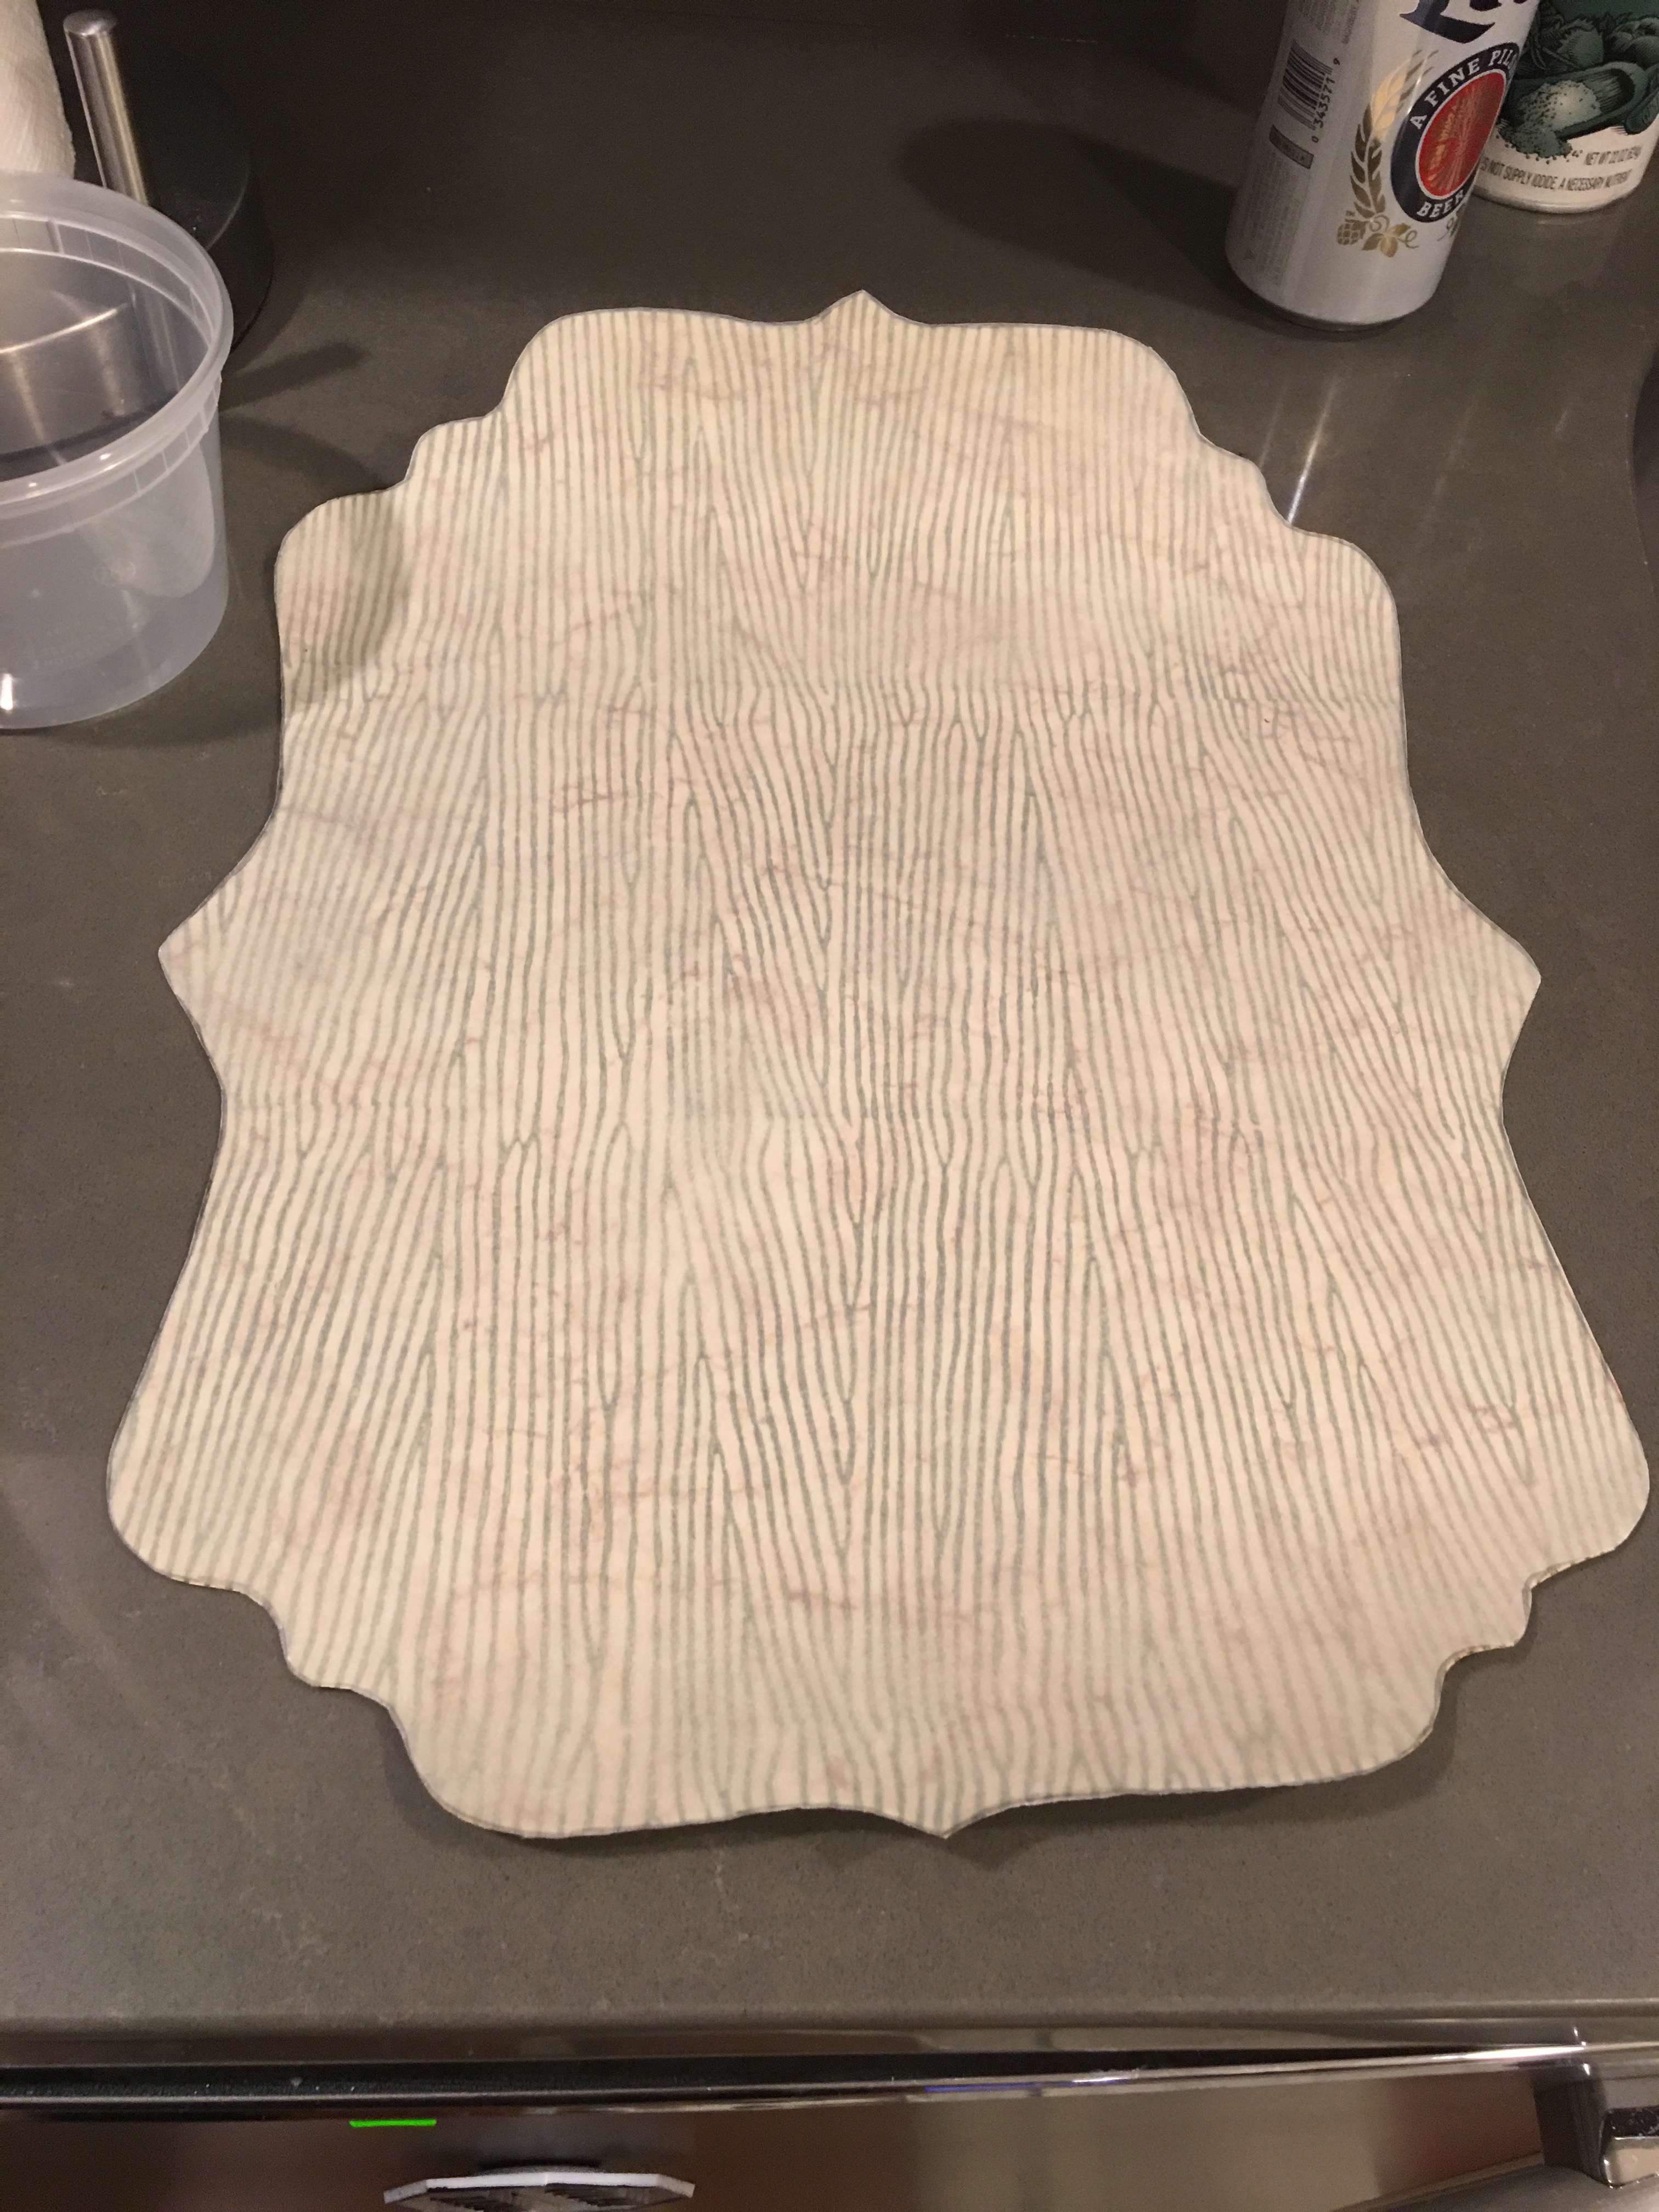
I decided to go with cutting out the Indian Woodgrain beige and maroon paper that I had left over from the tribal wood floating display panel project. I figured that this would be a nice complement to the wall art that I just added to Bruce’s side of the bedroom.
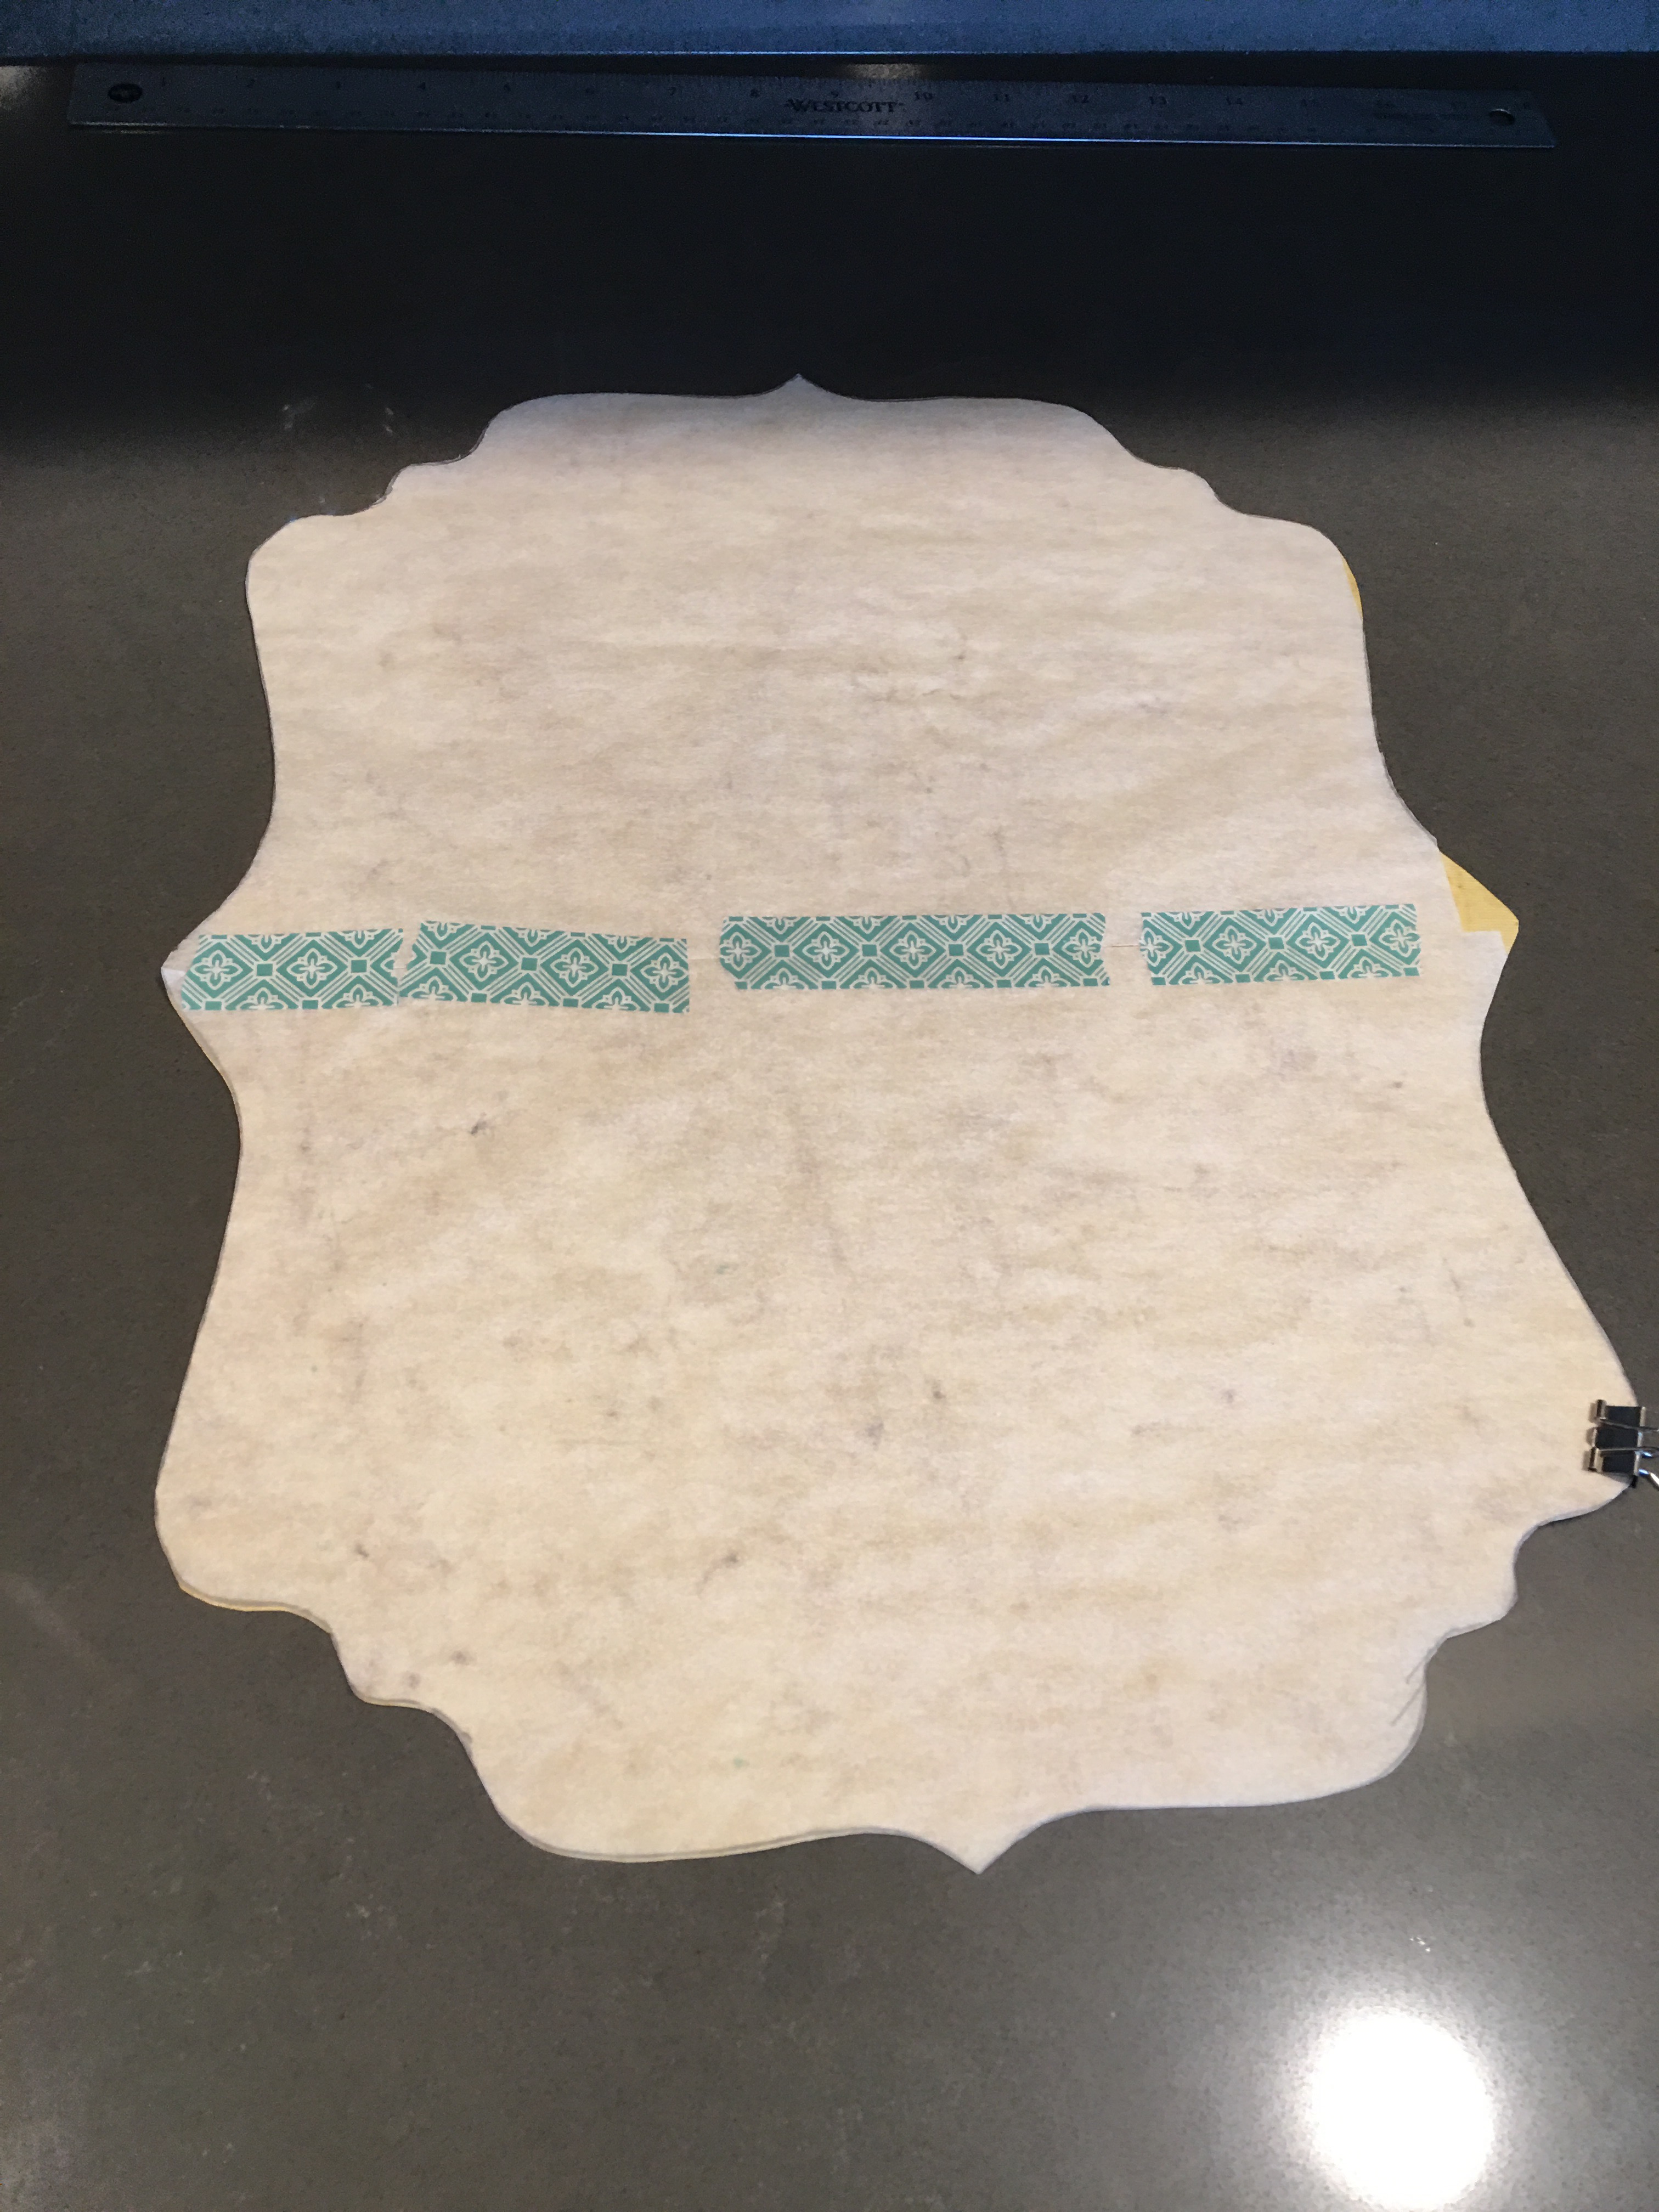
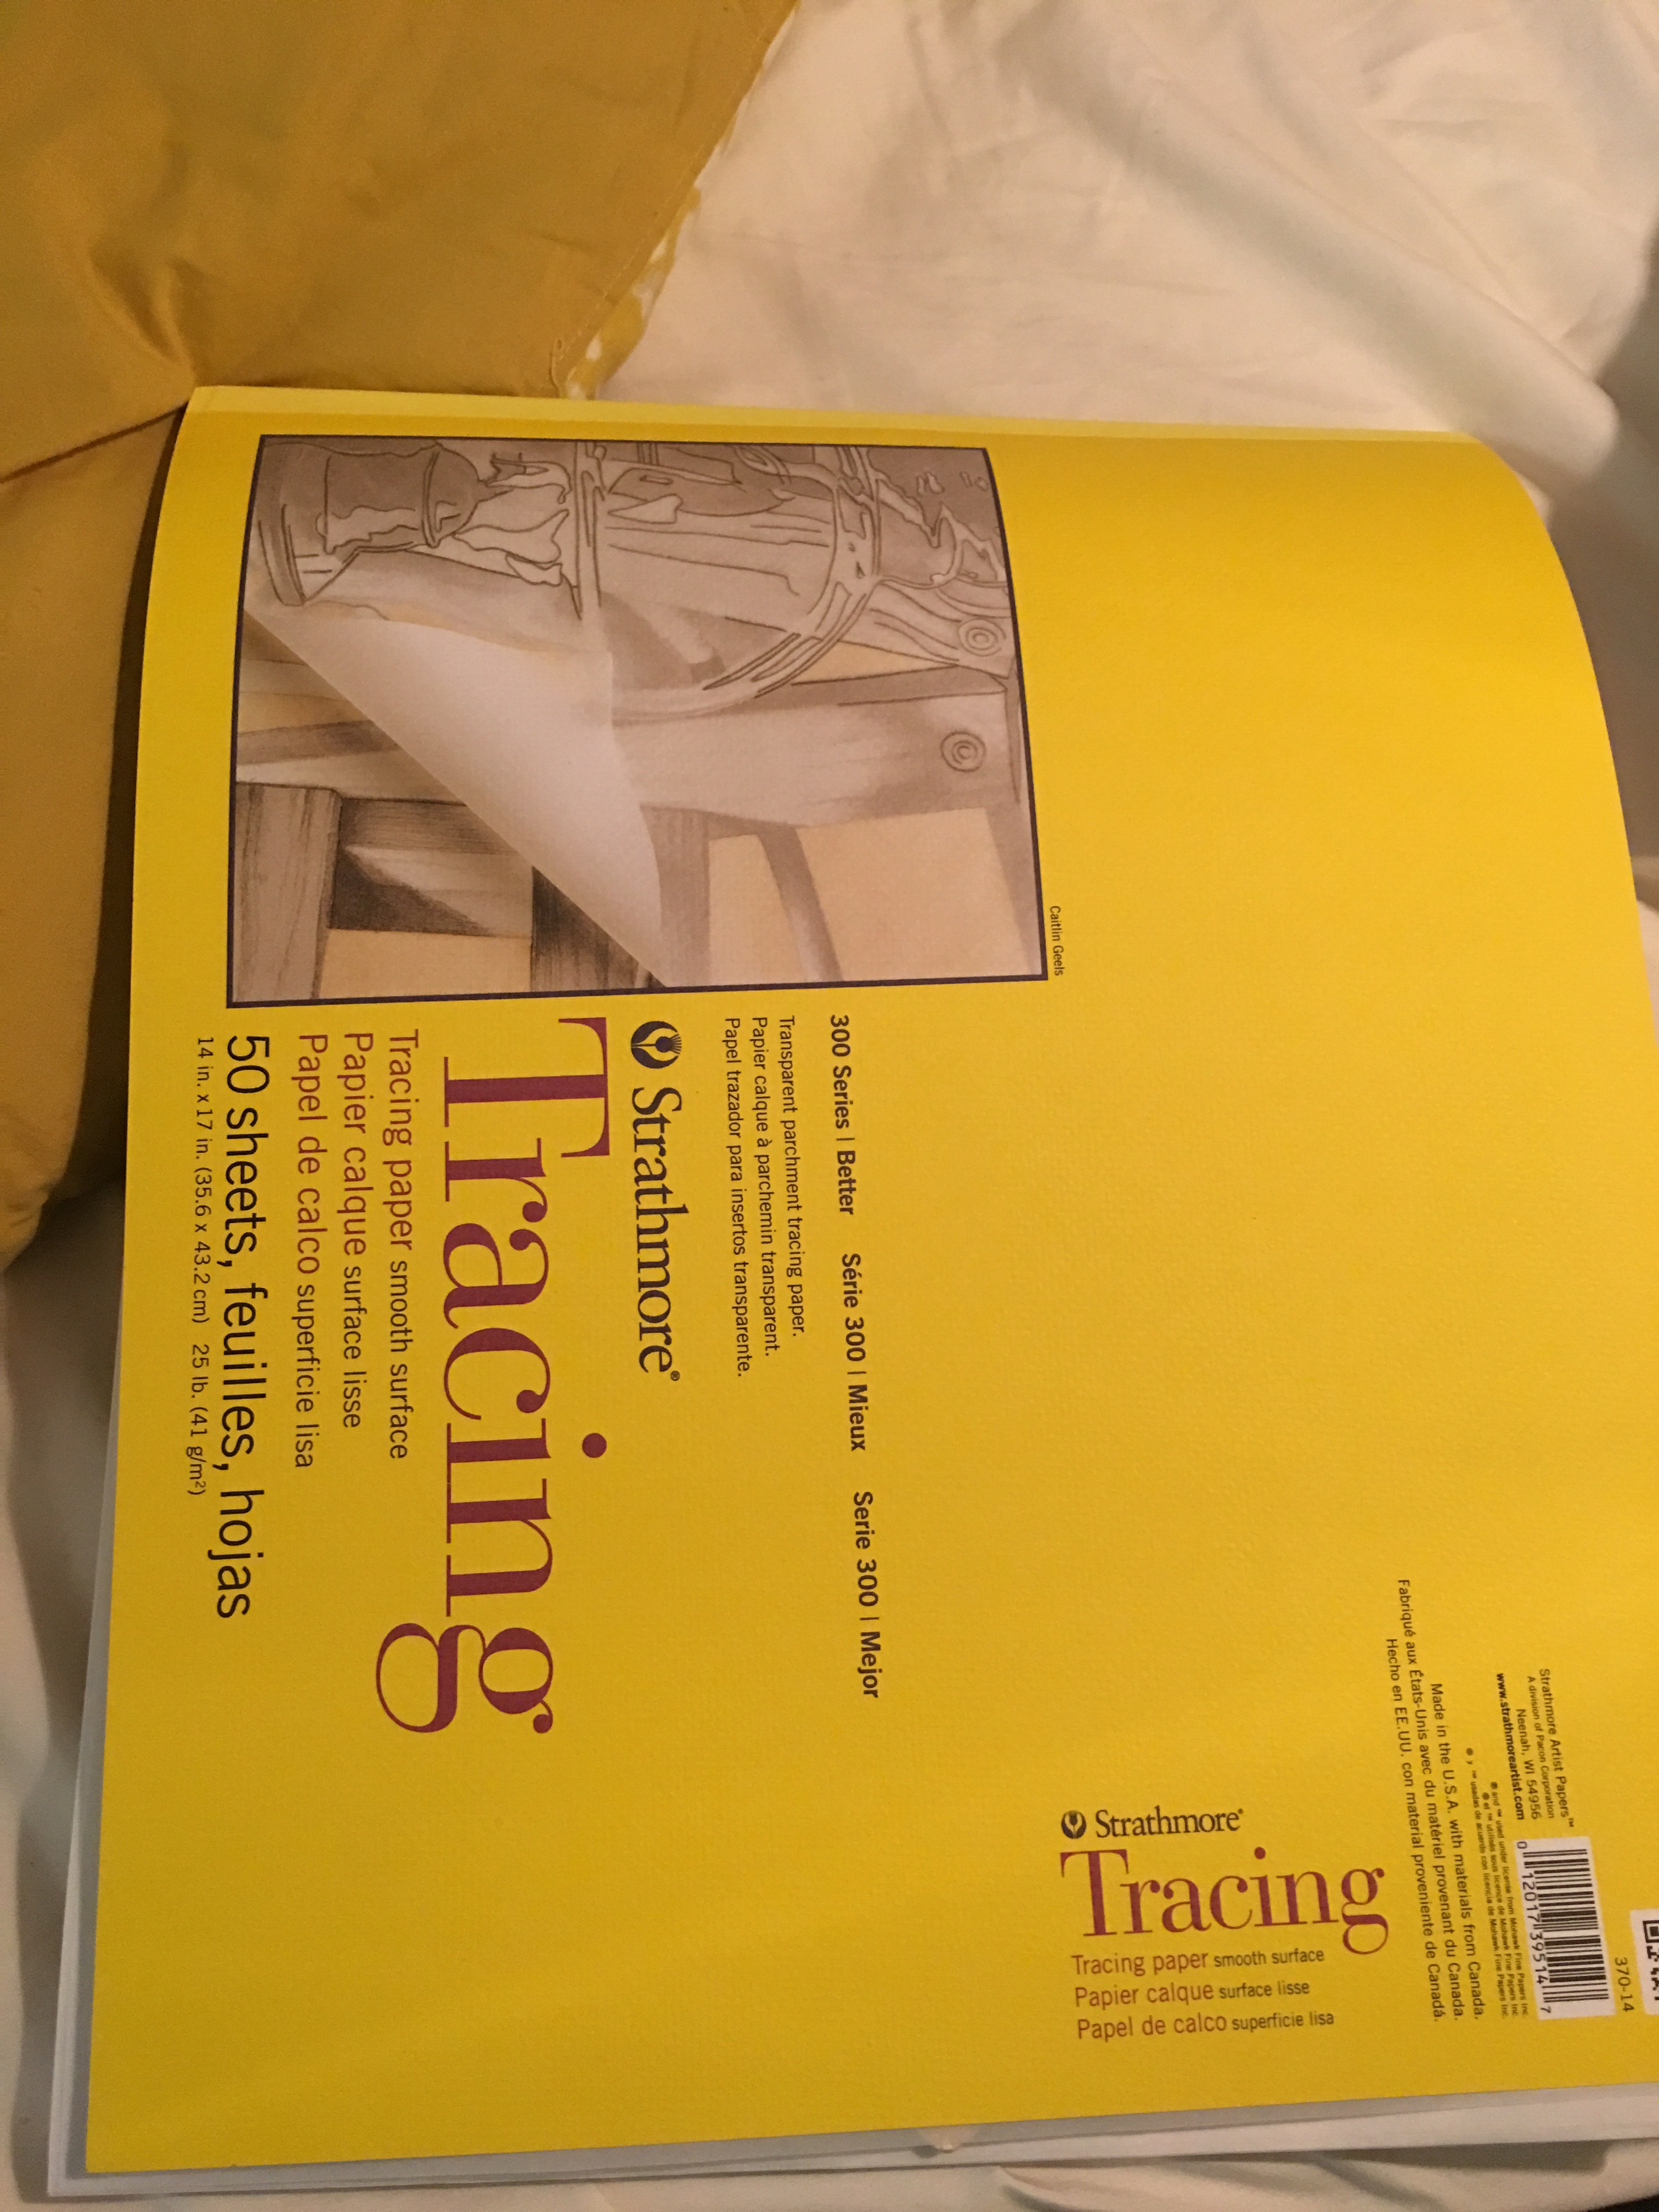
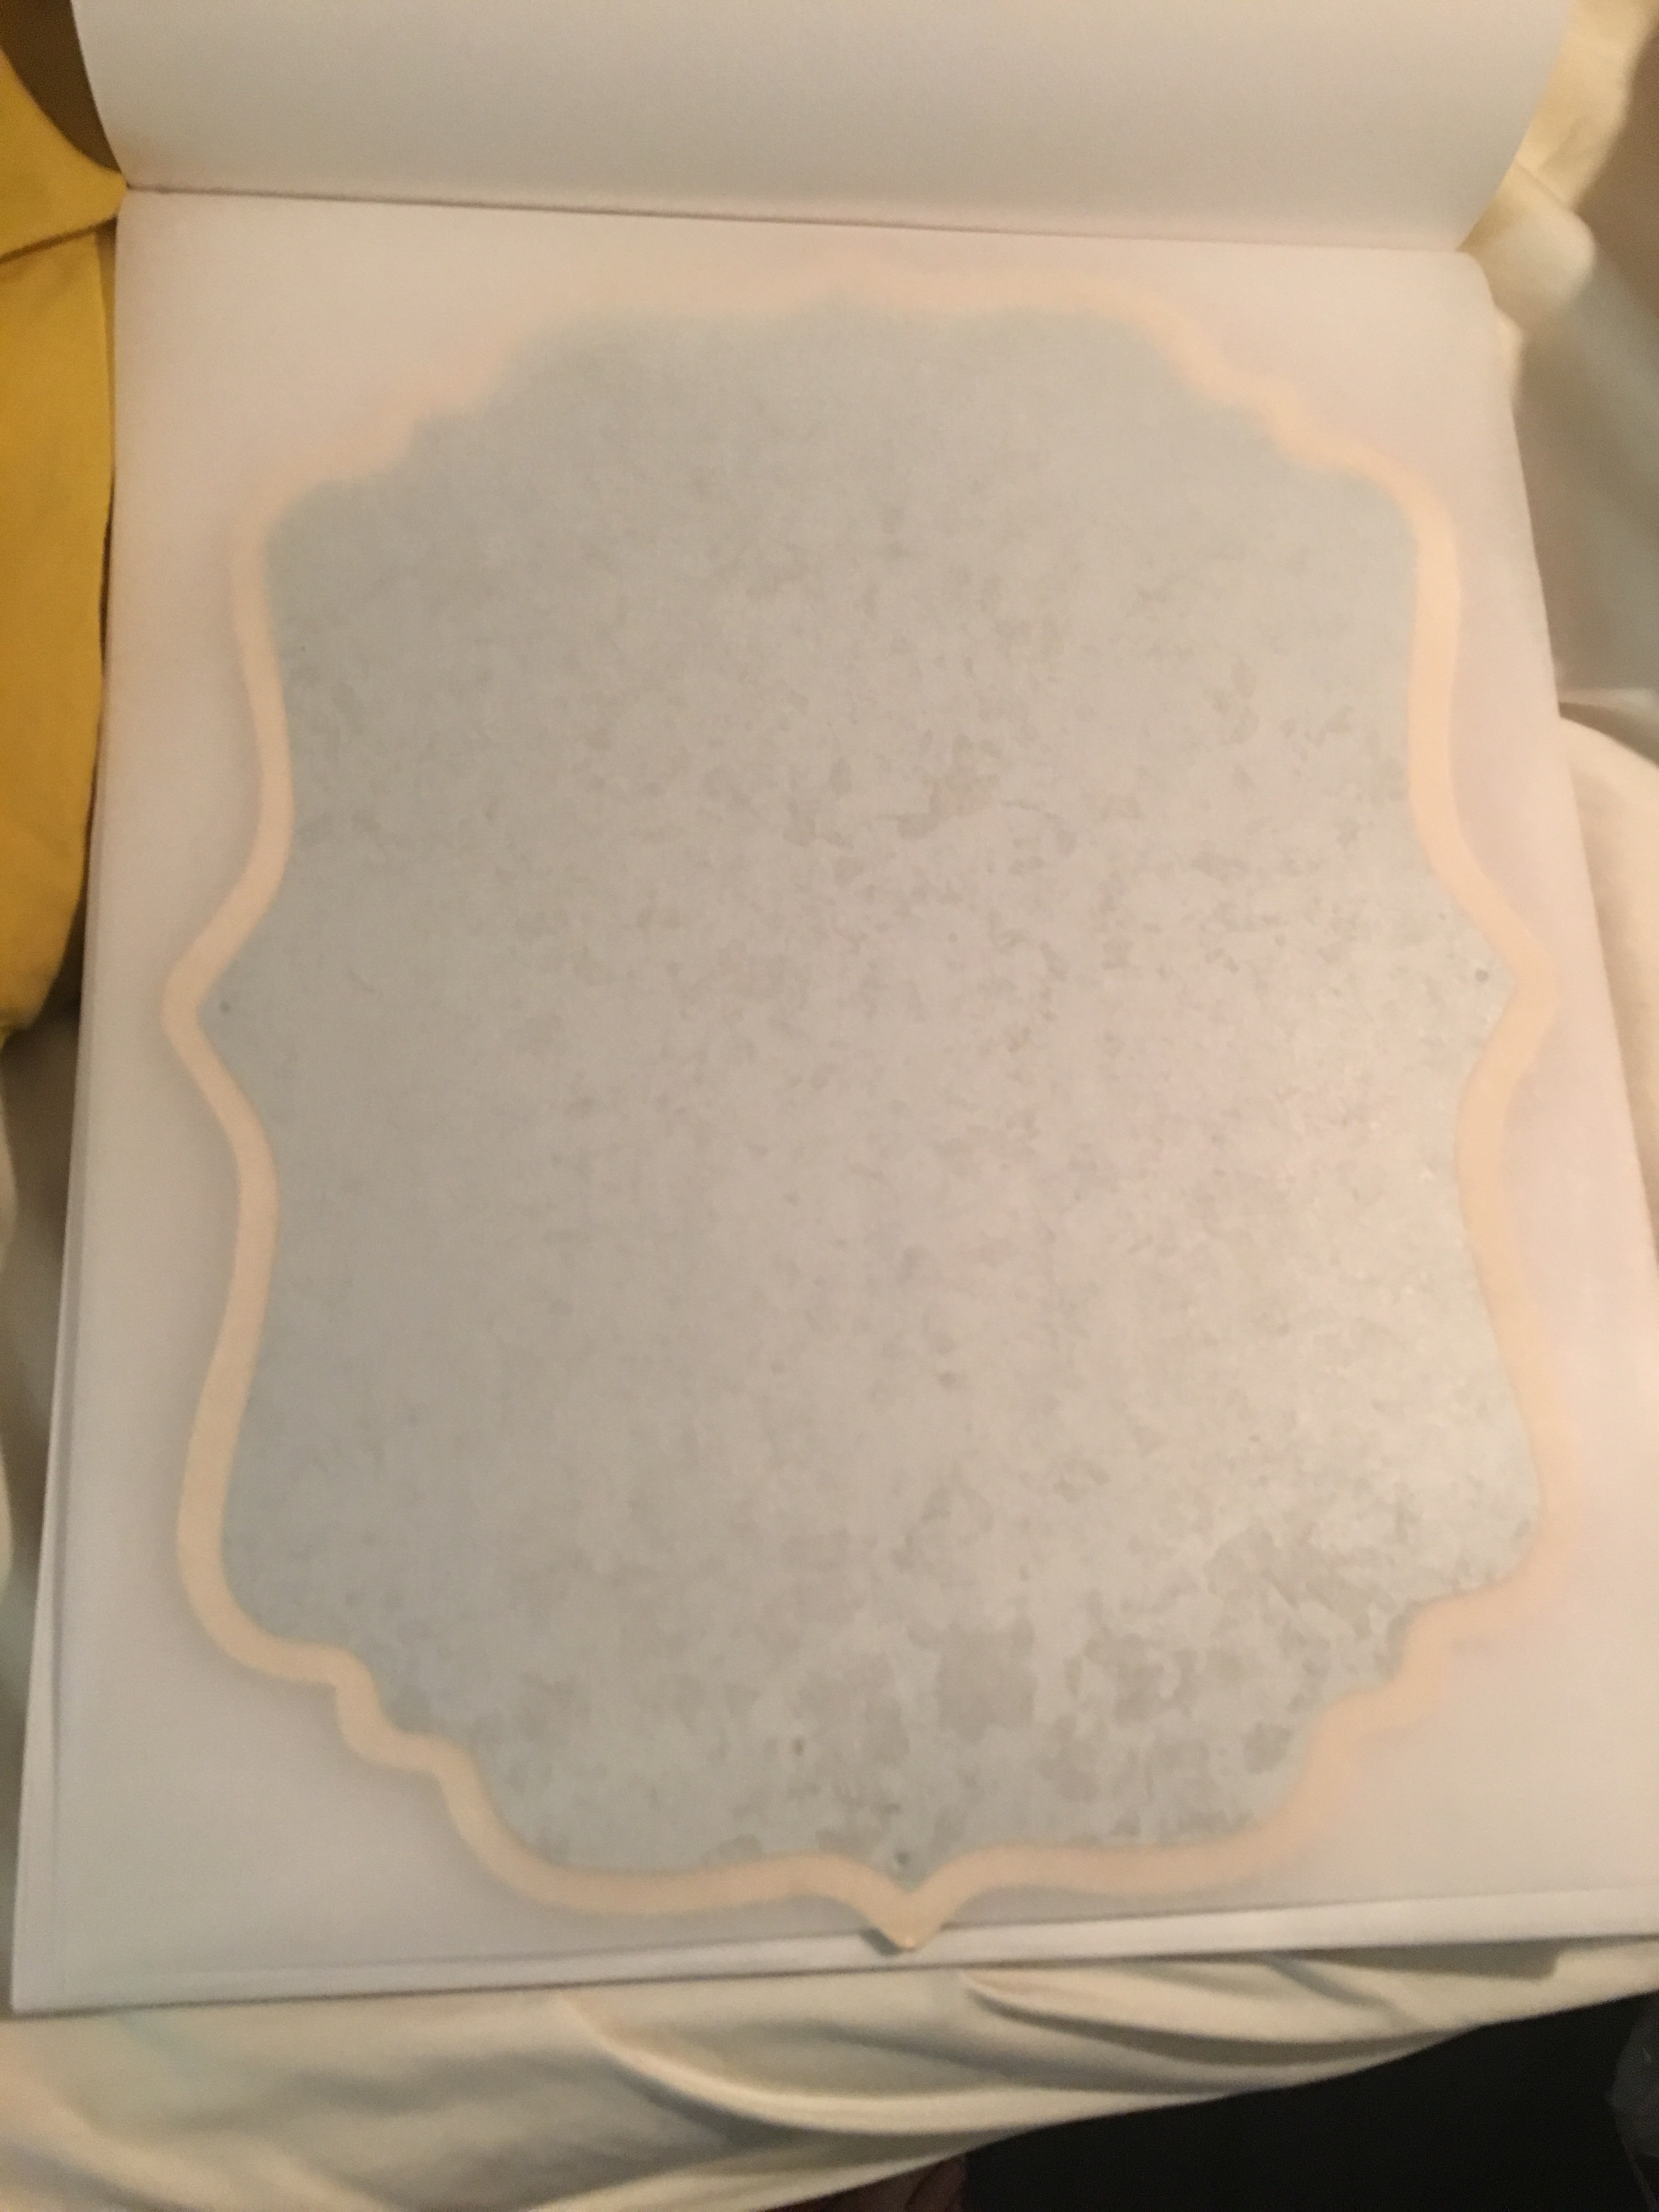
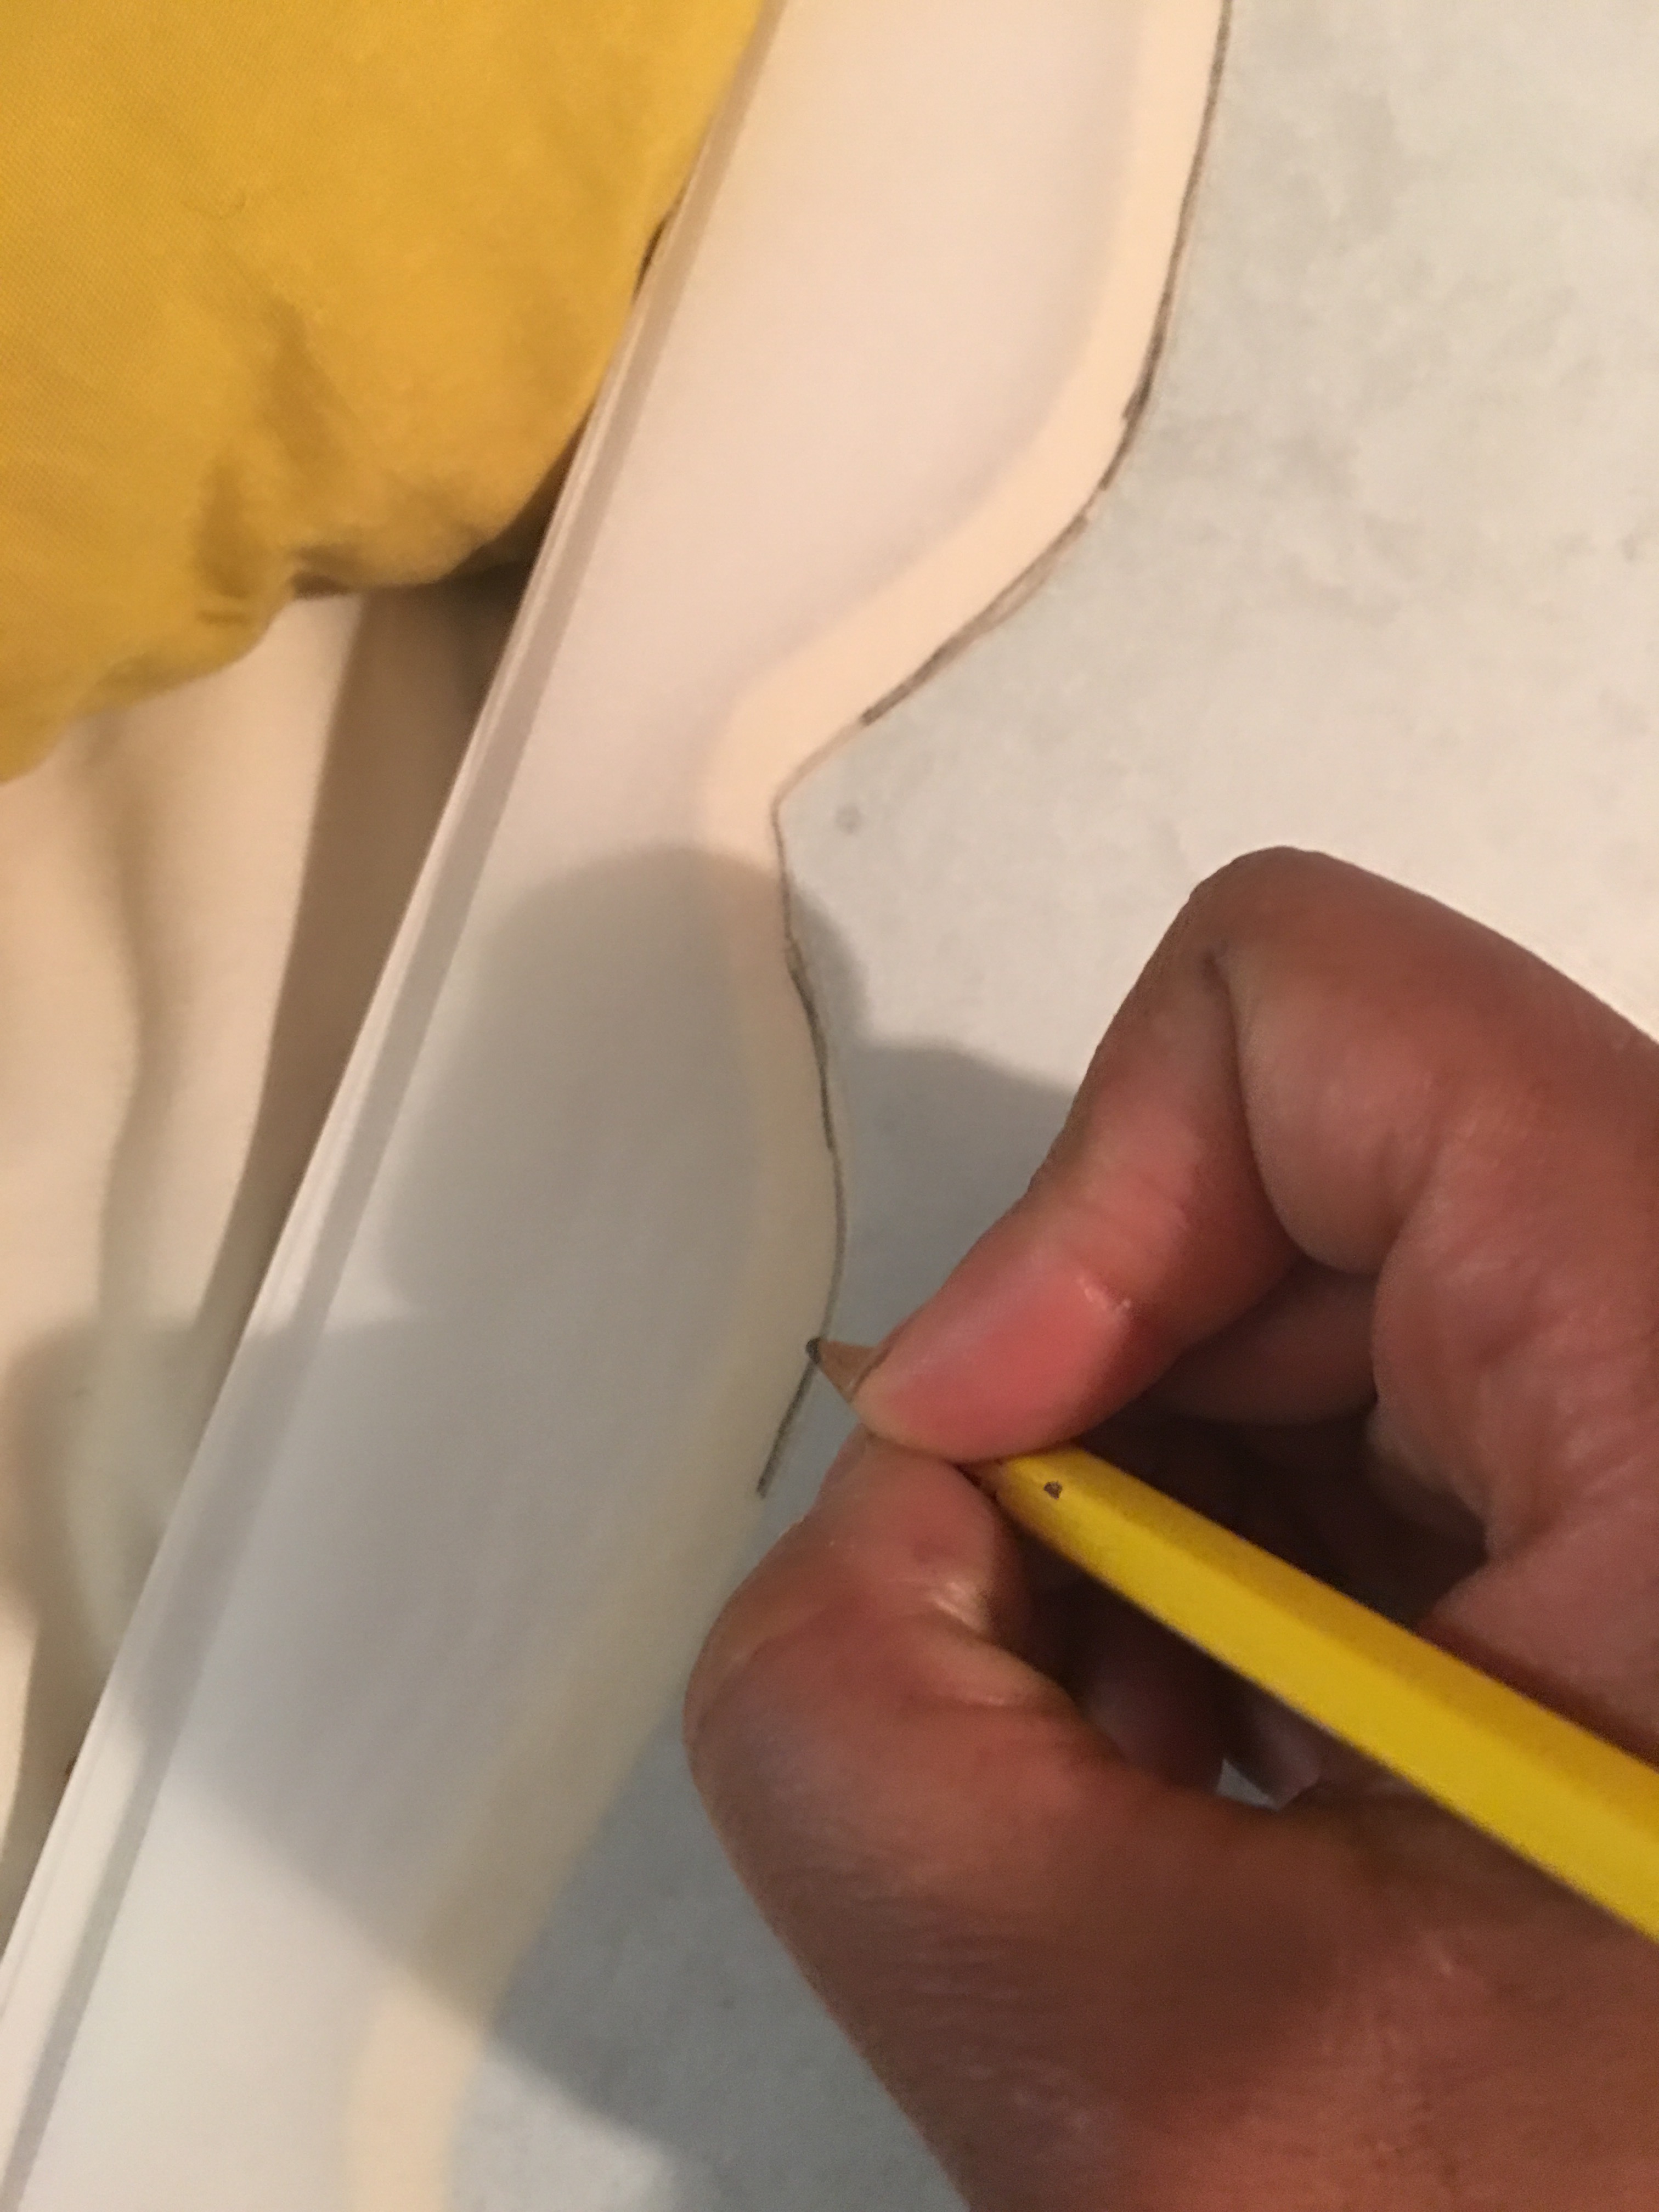
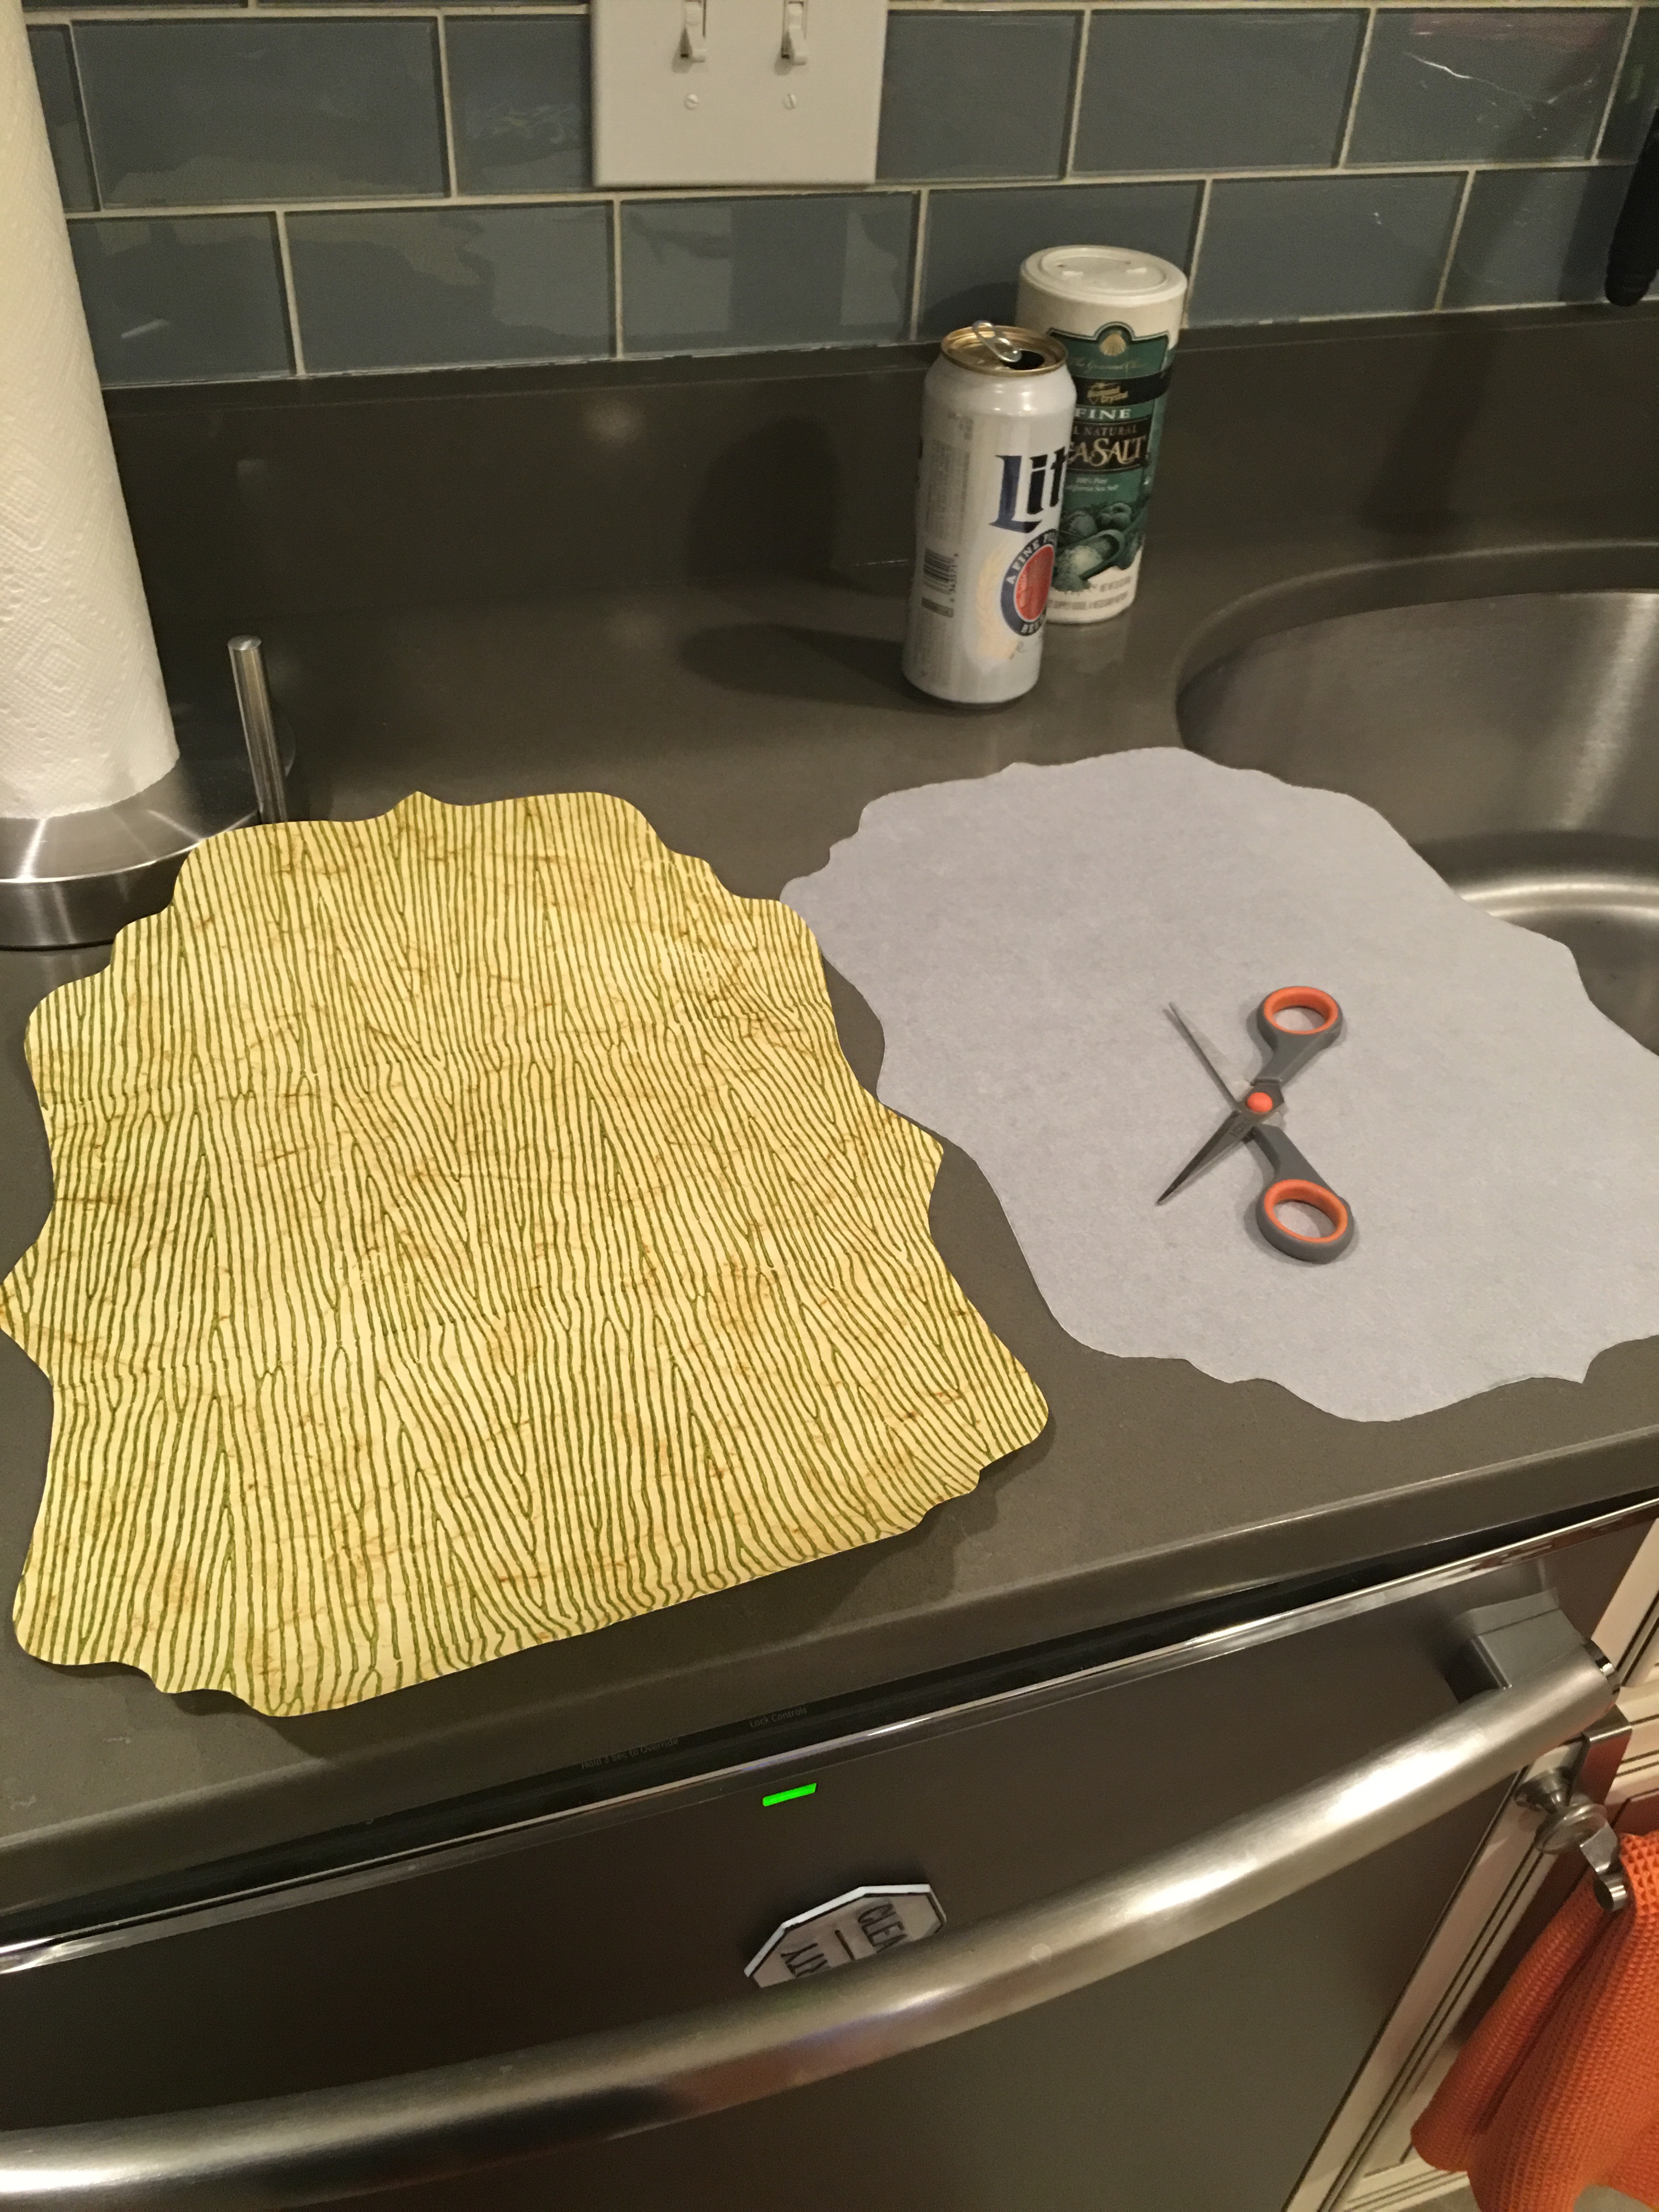
- Step 1: Using tracing paper and a pencil, trace the shape of the metal plaque silhouette.
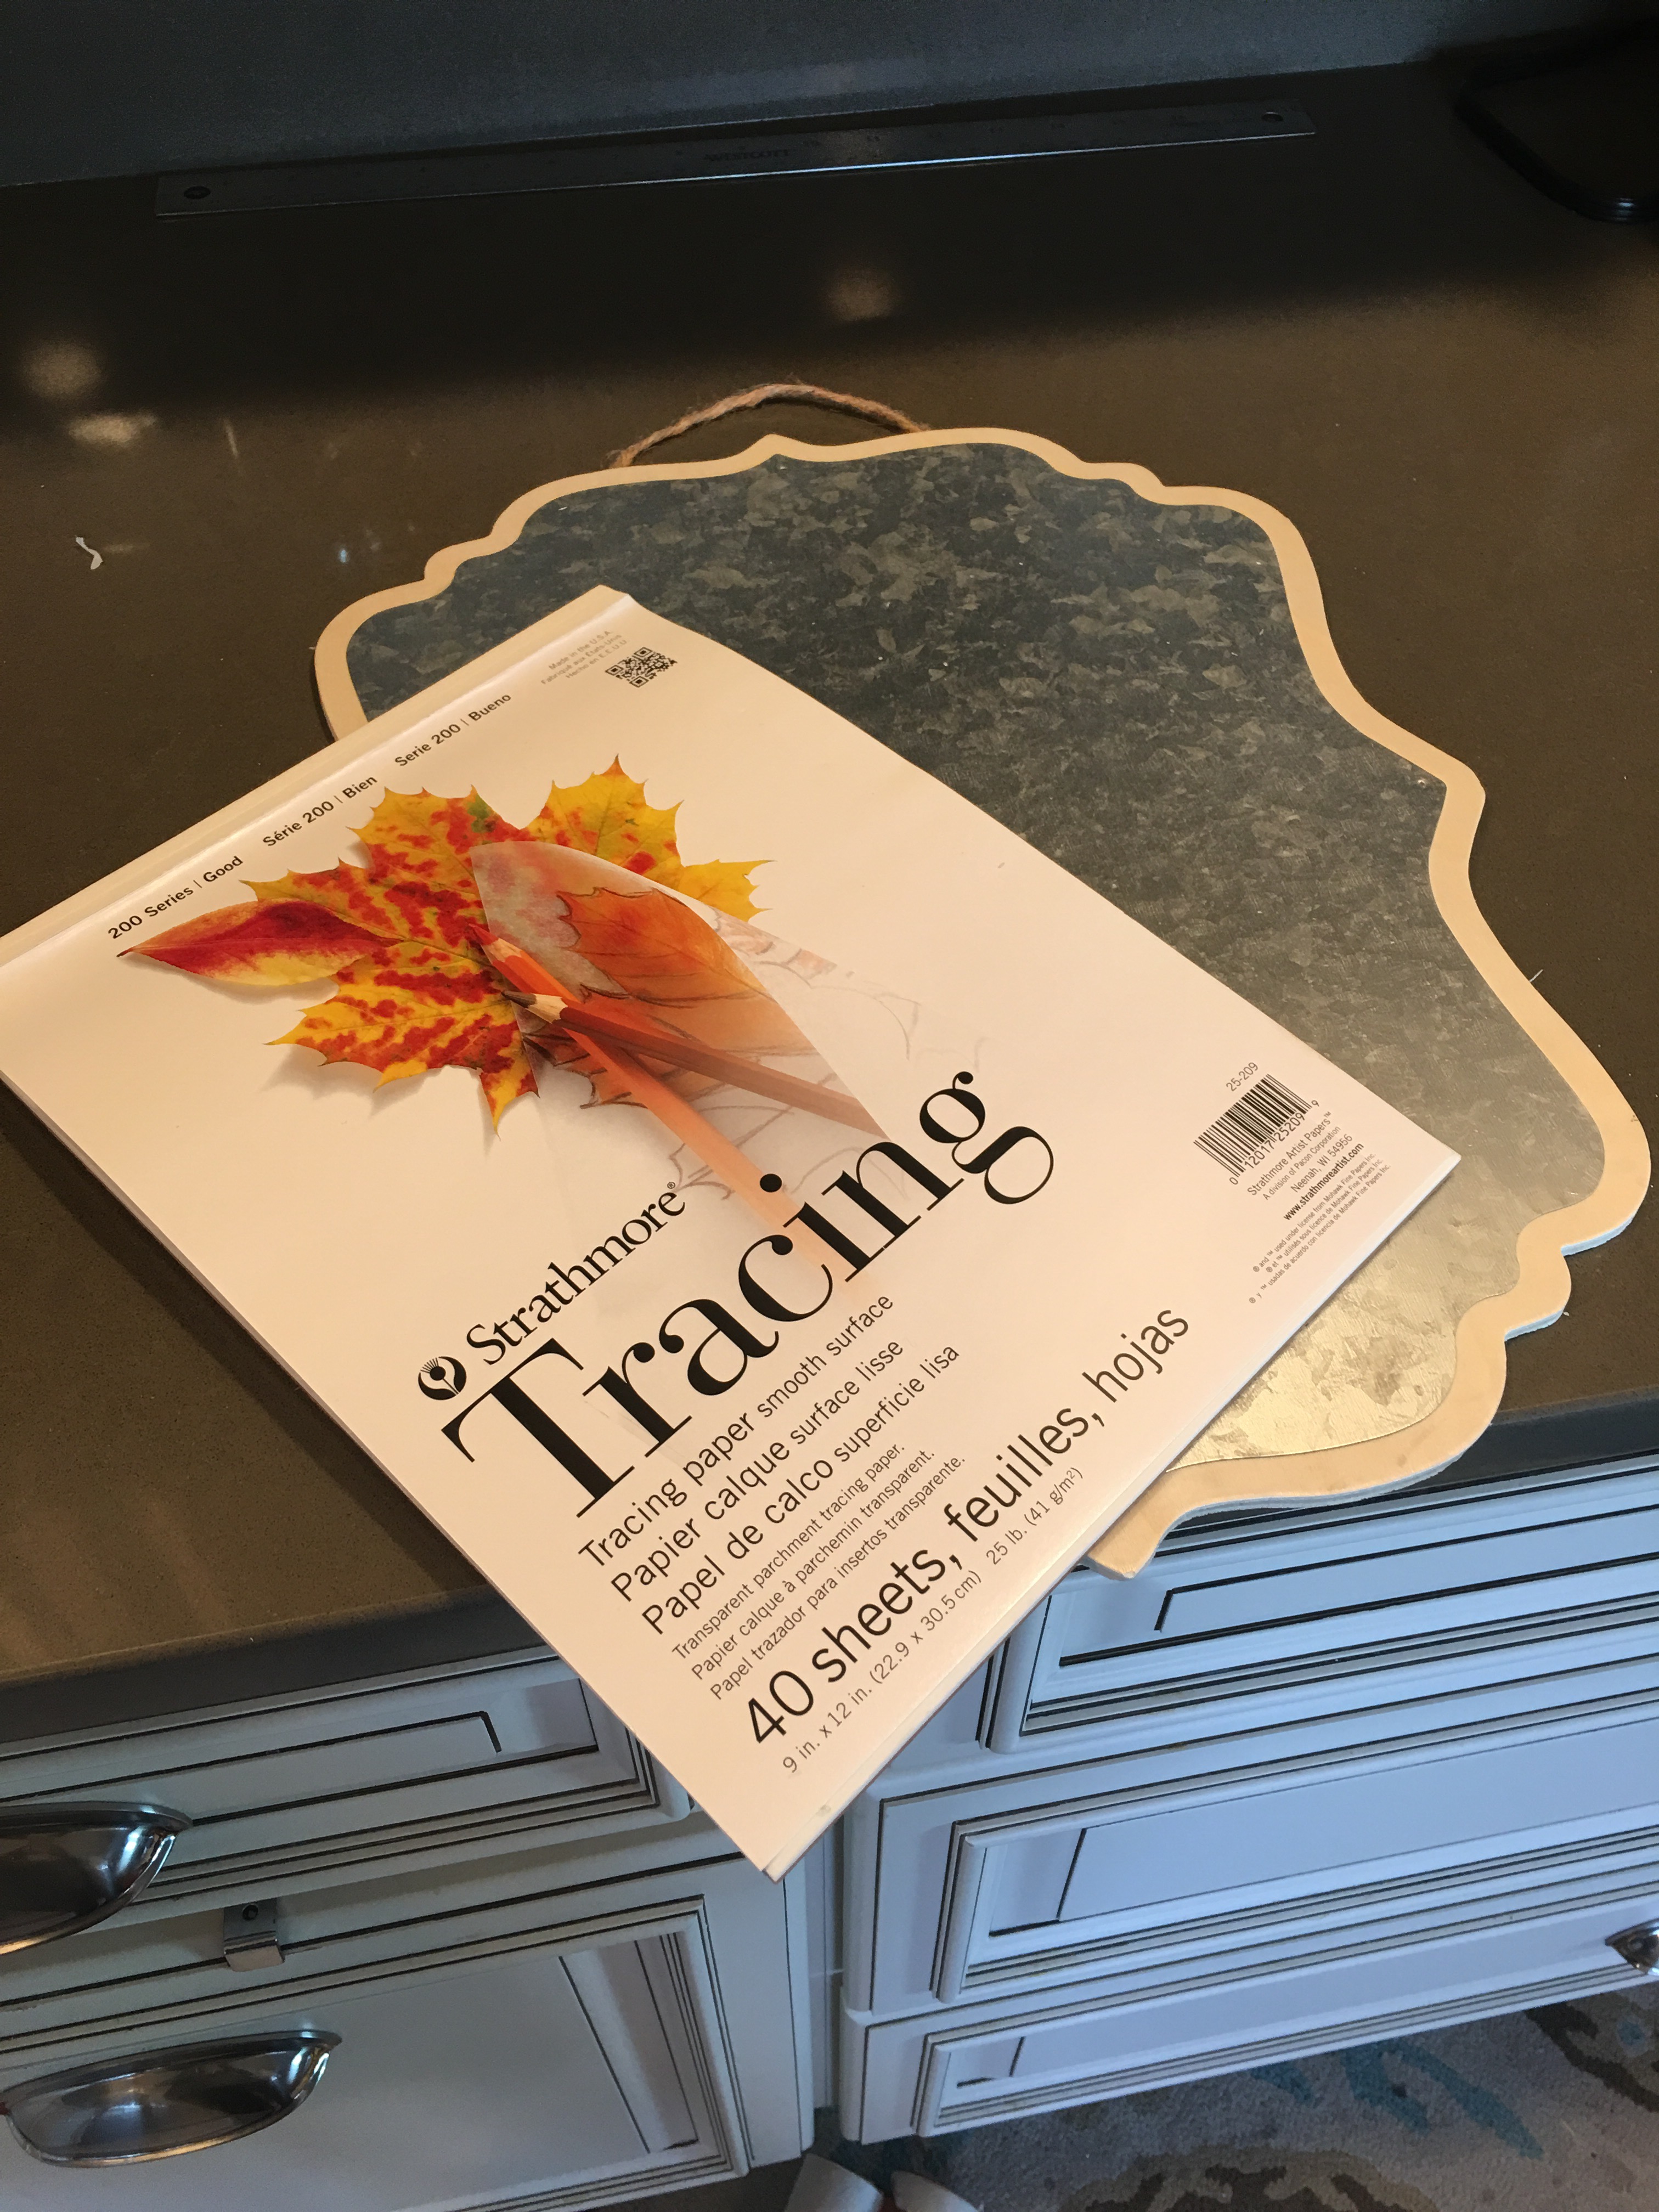
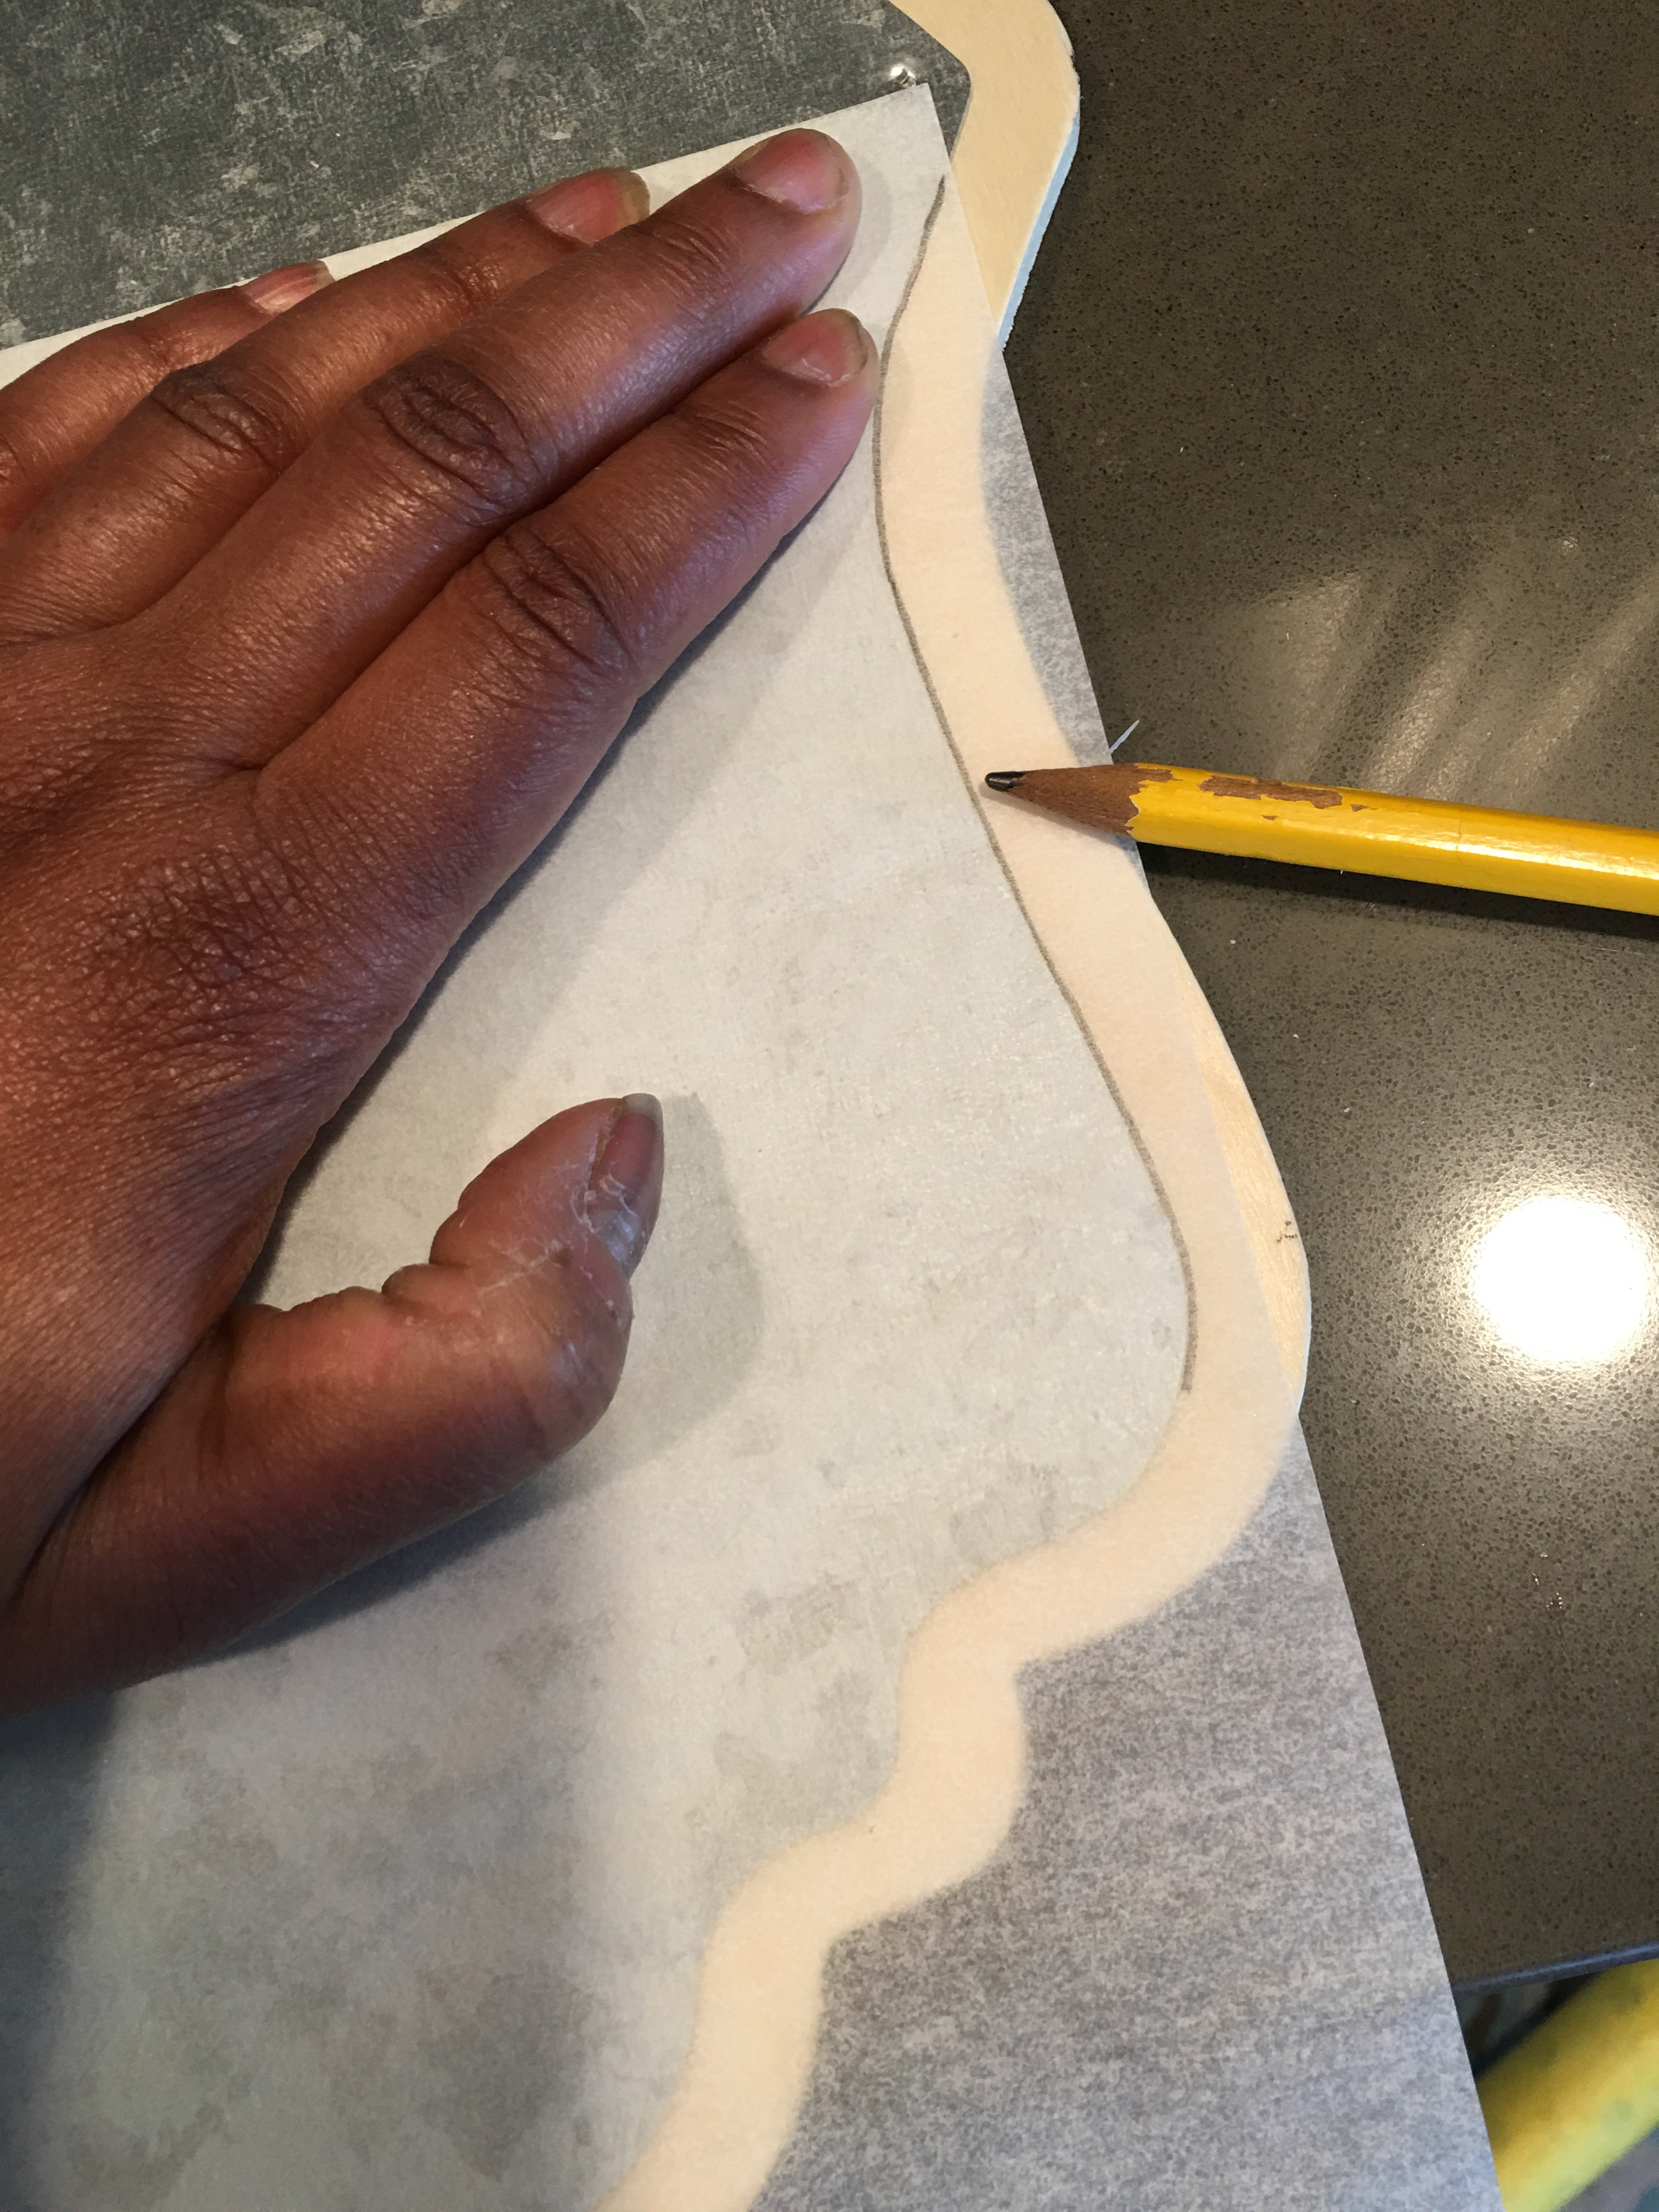
Because the plaque is bigger than my sheets of tracing paper, I overlapped different sheets and taped them together before tracing.
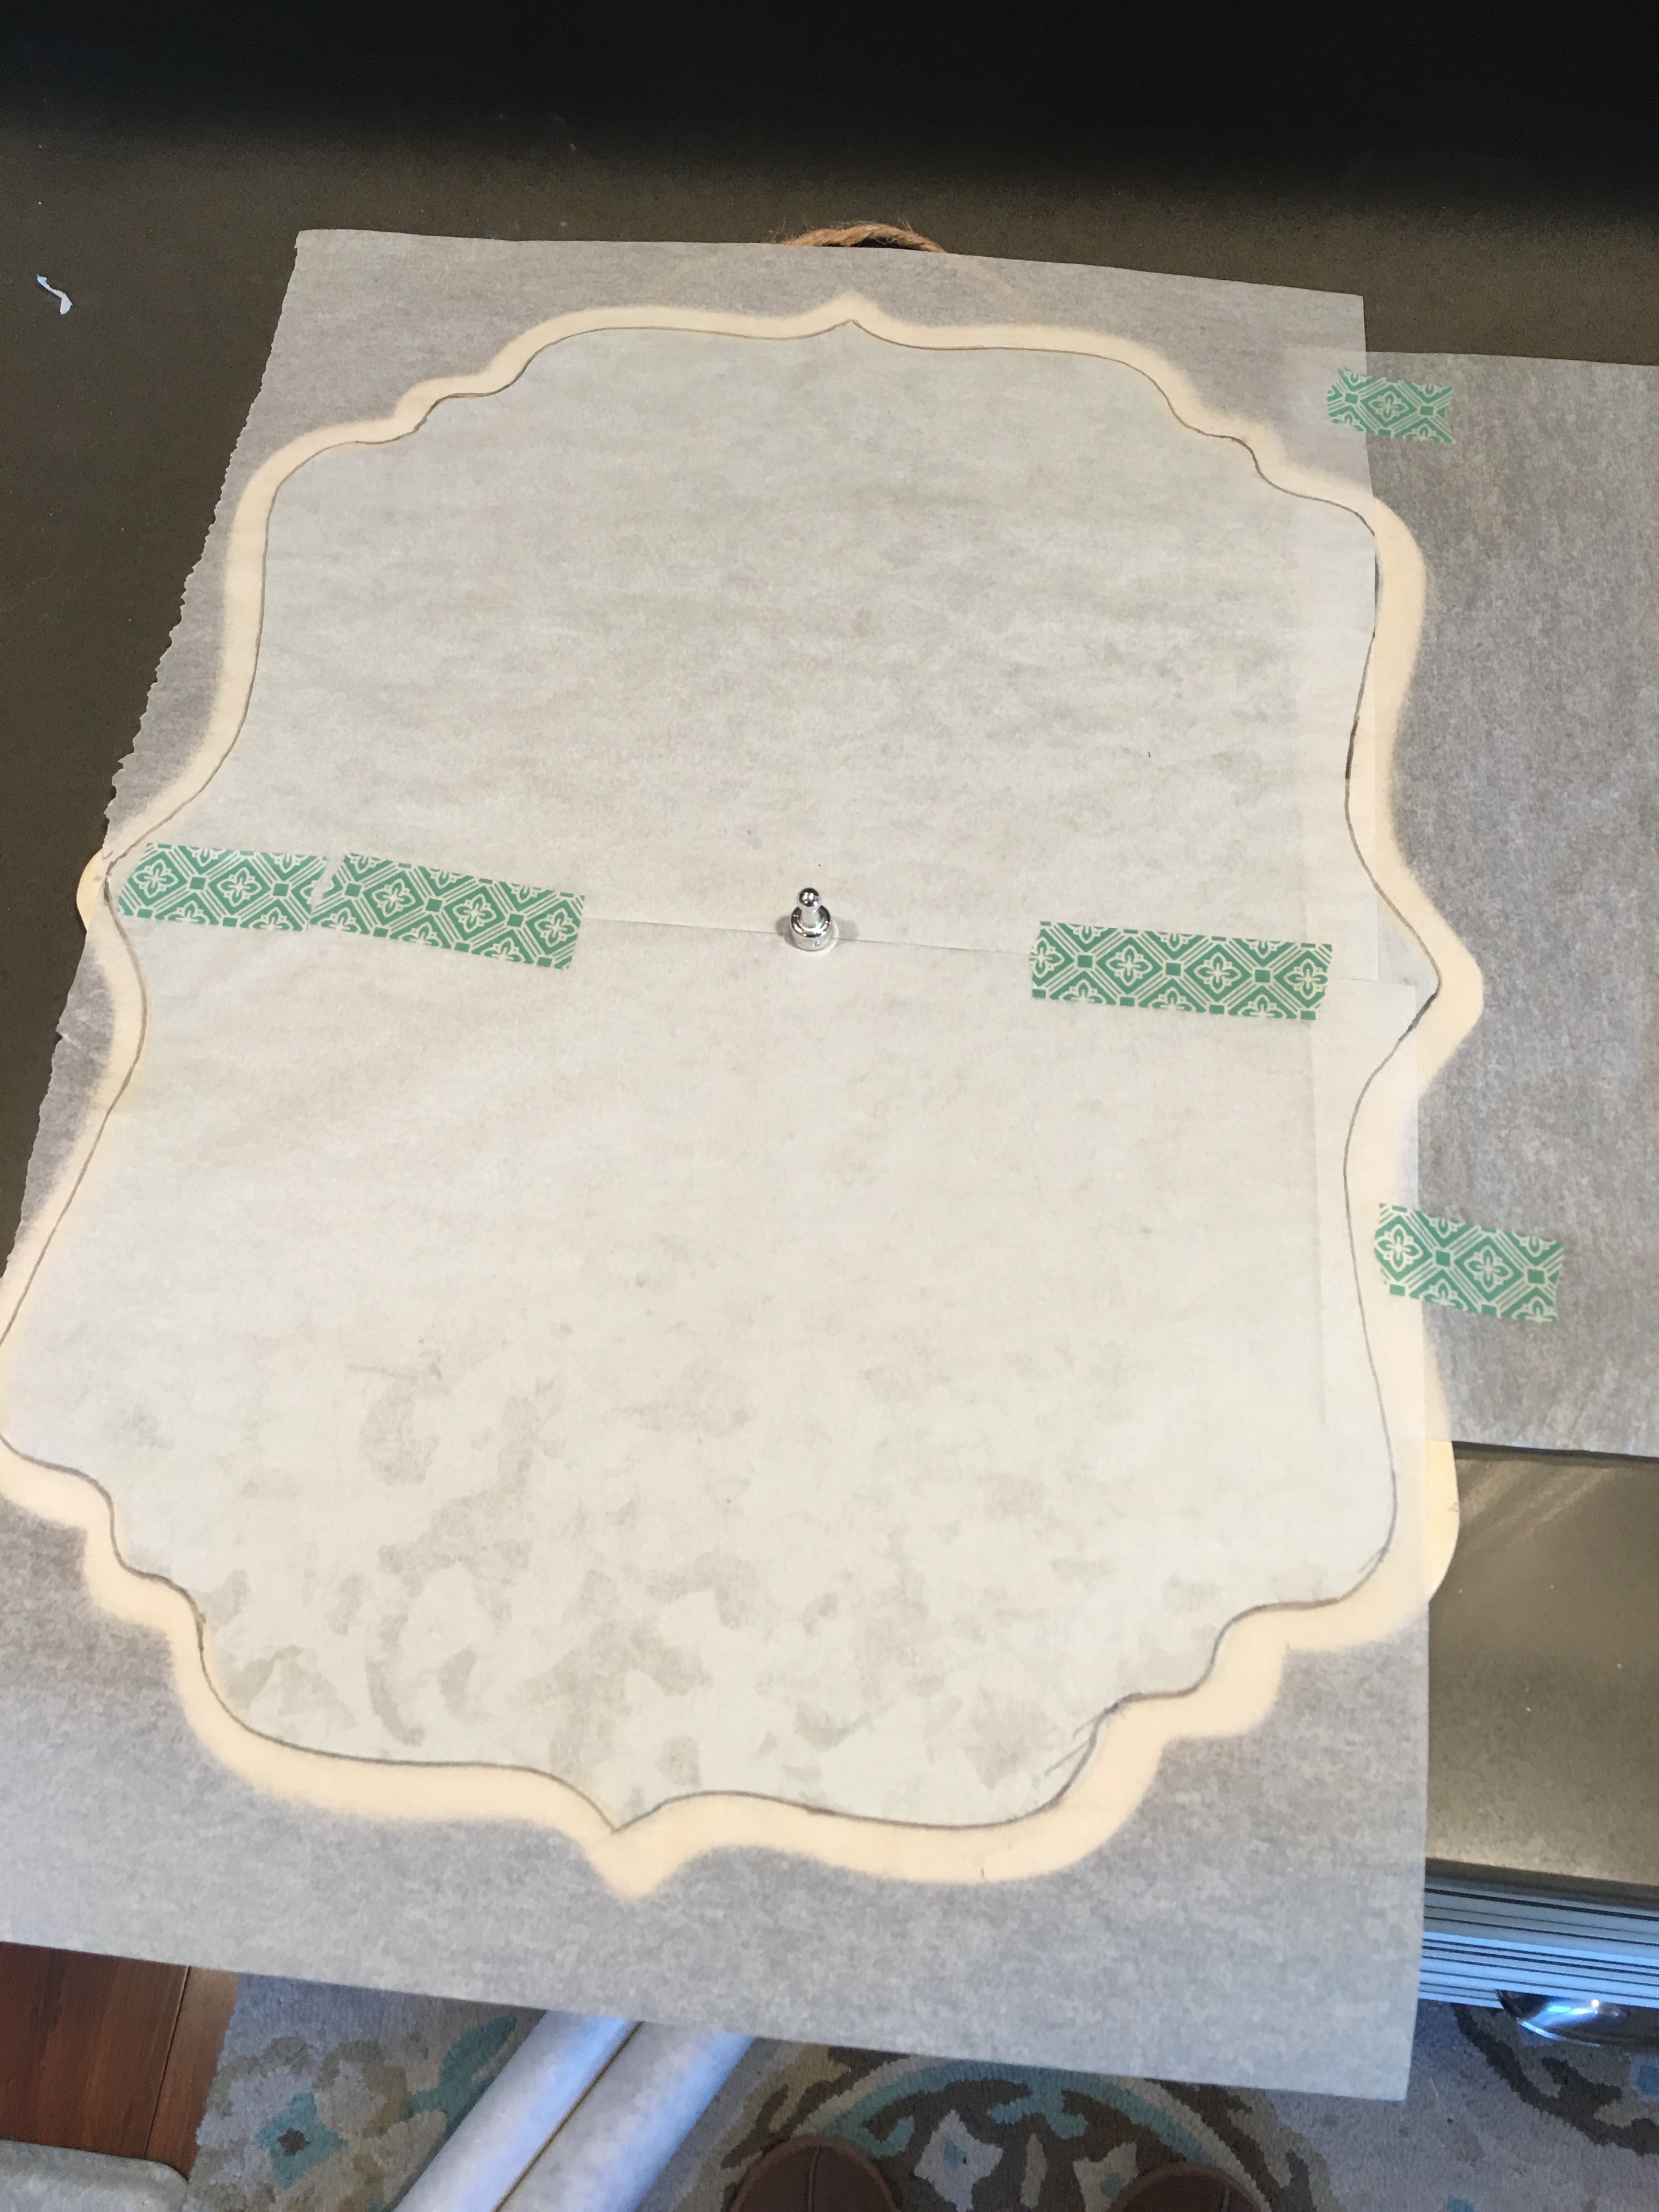
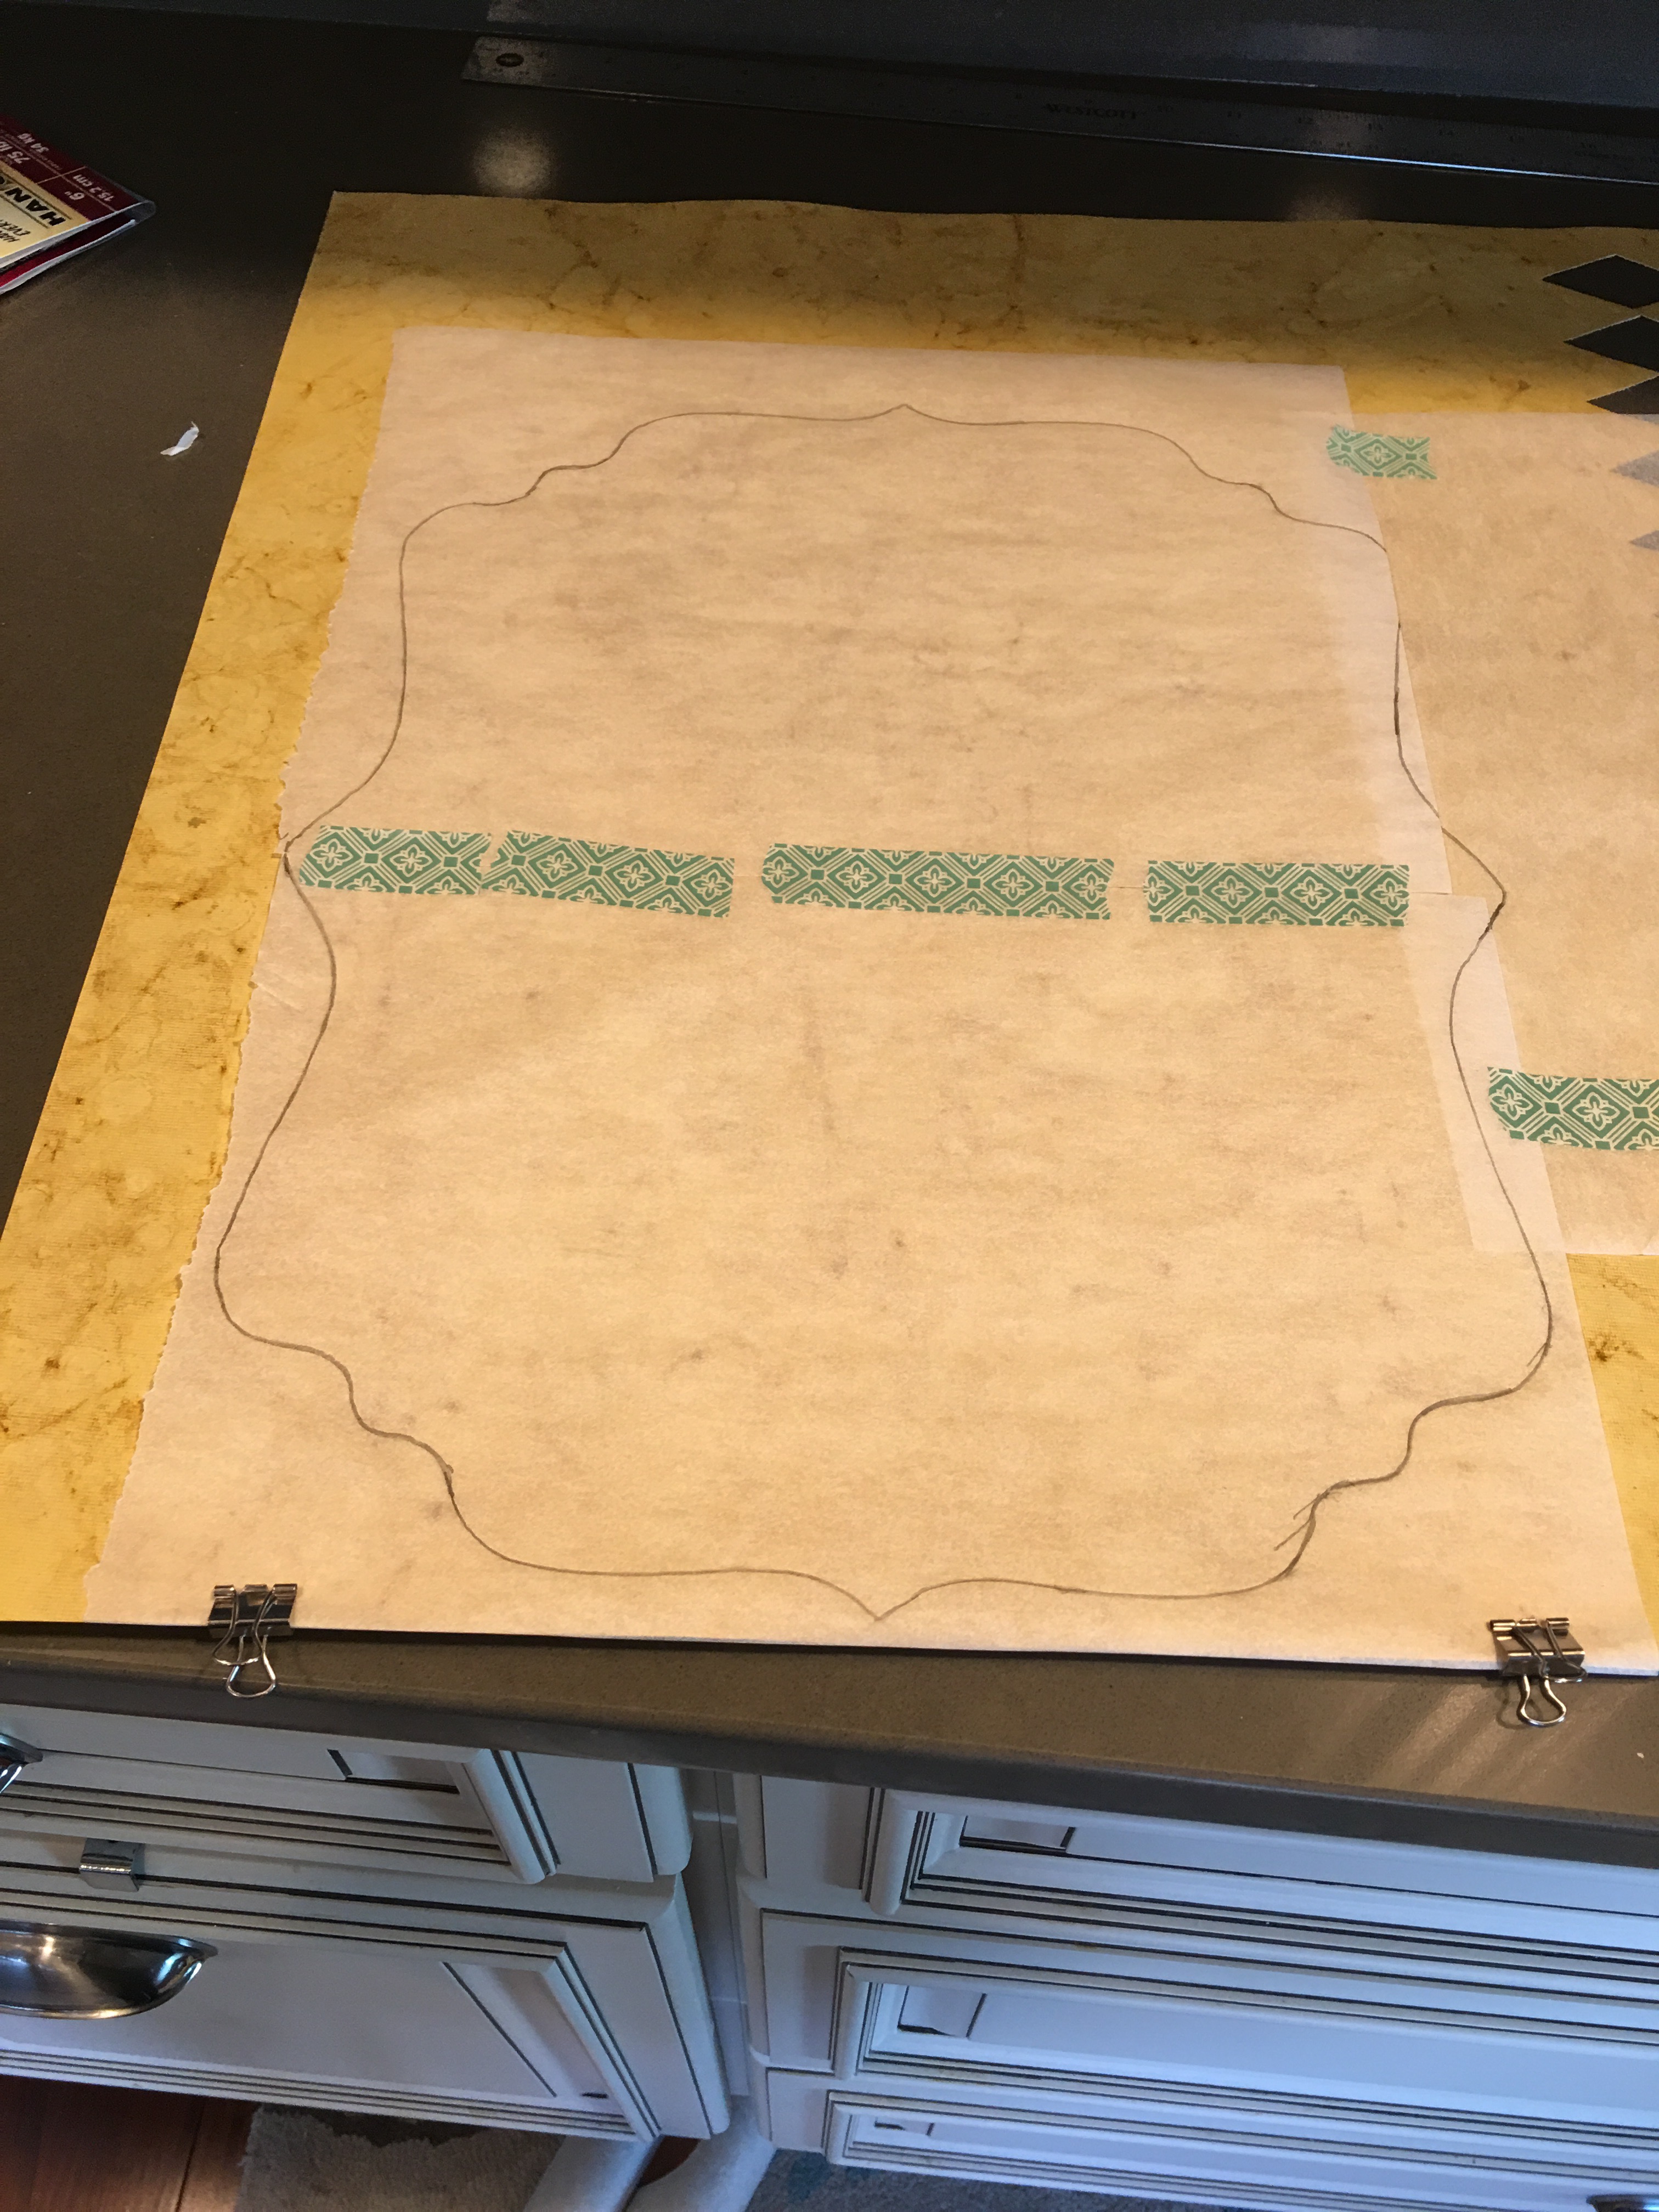
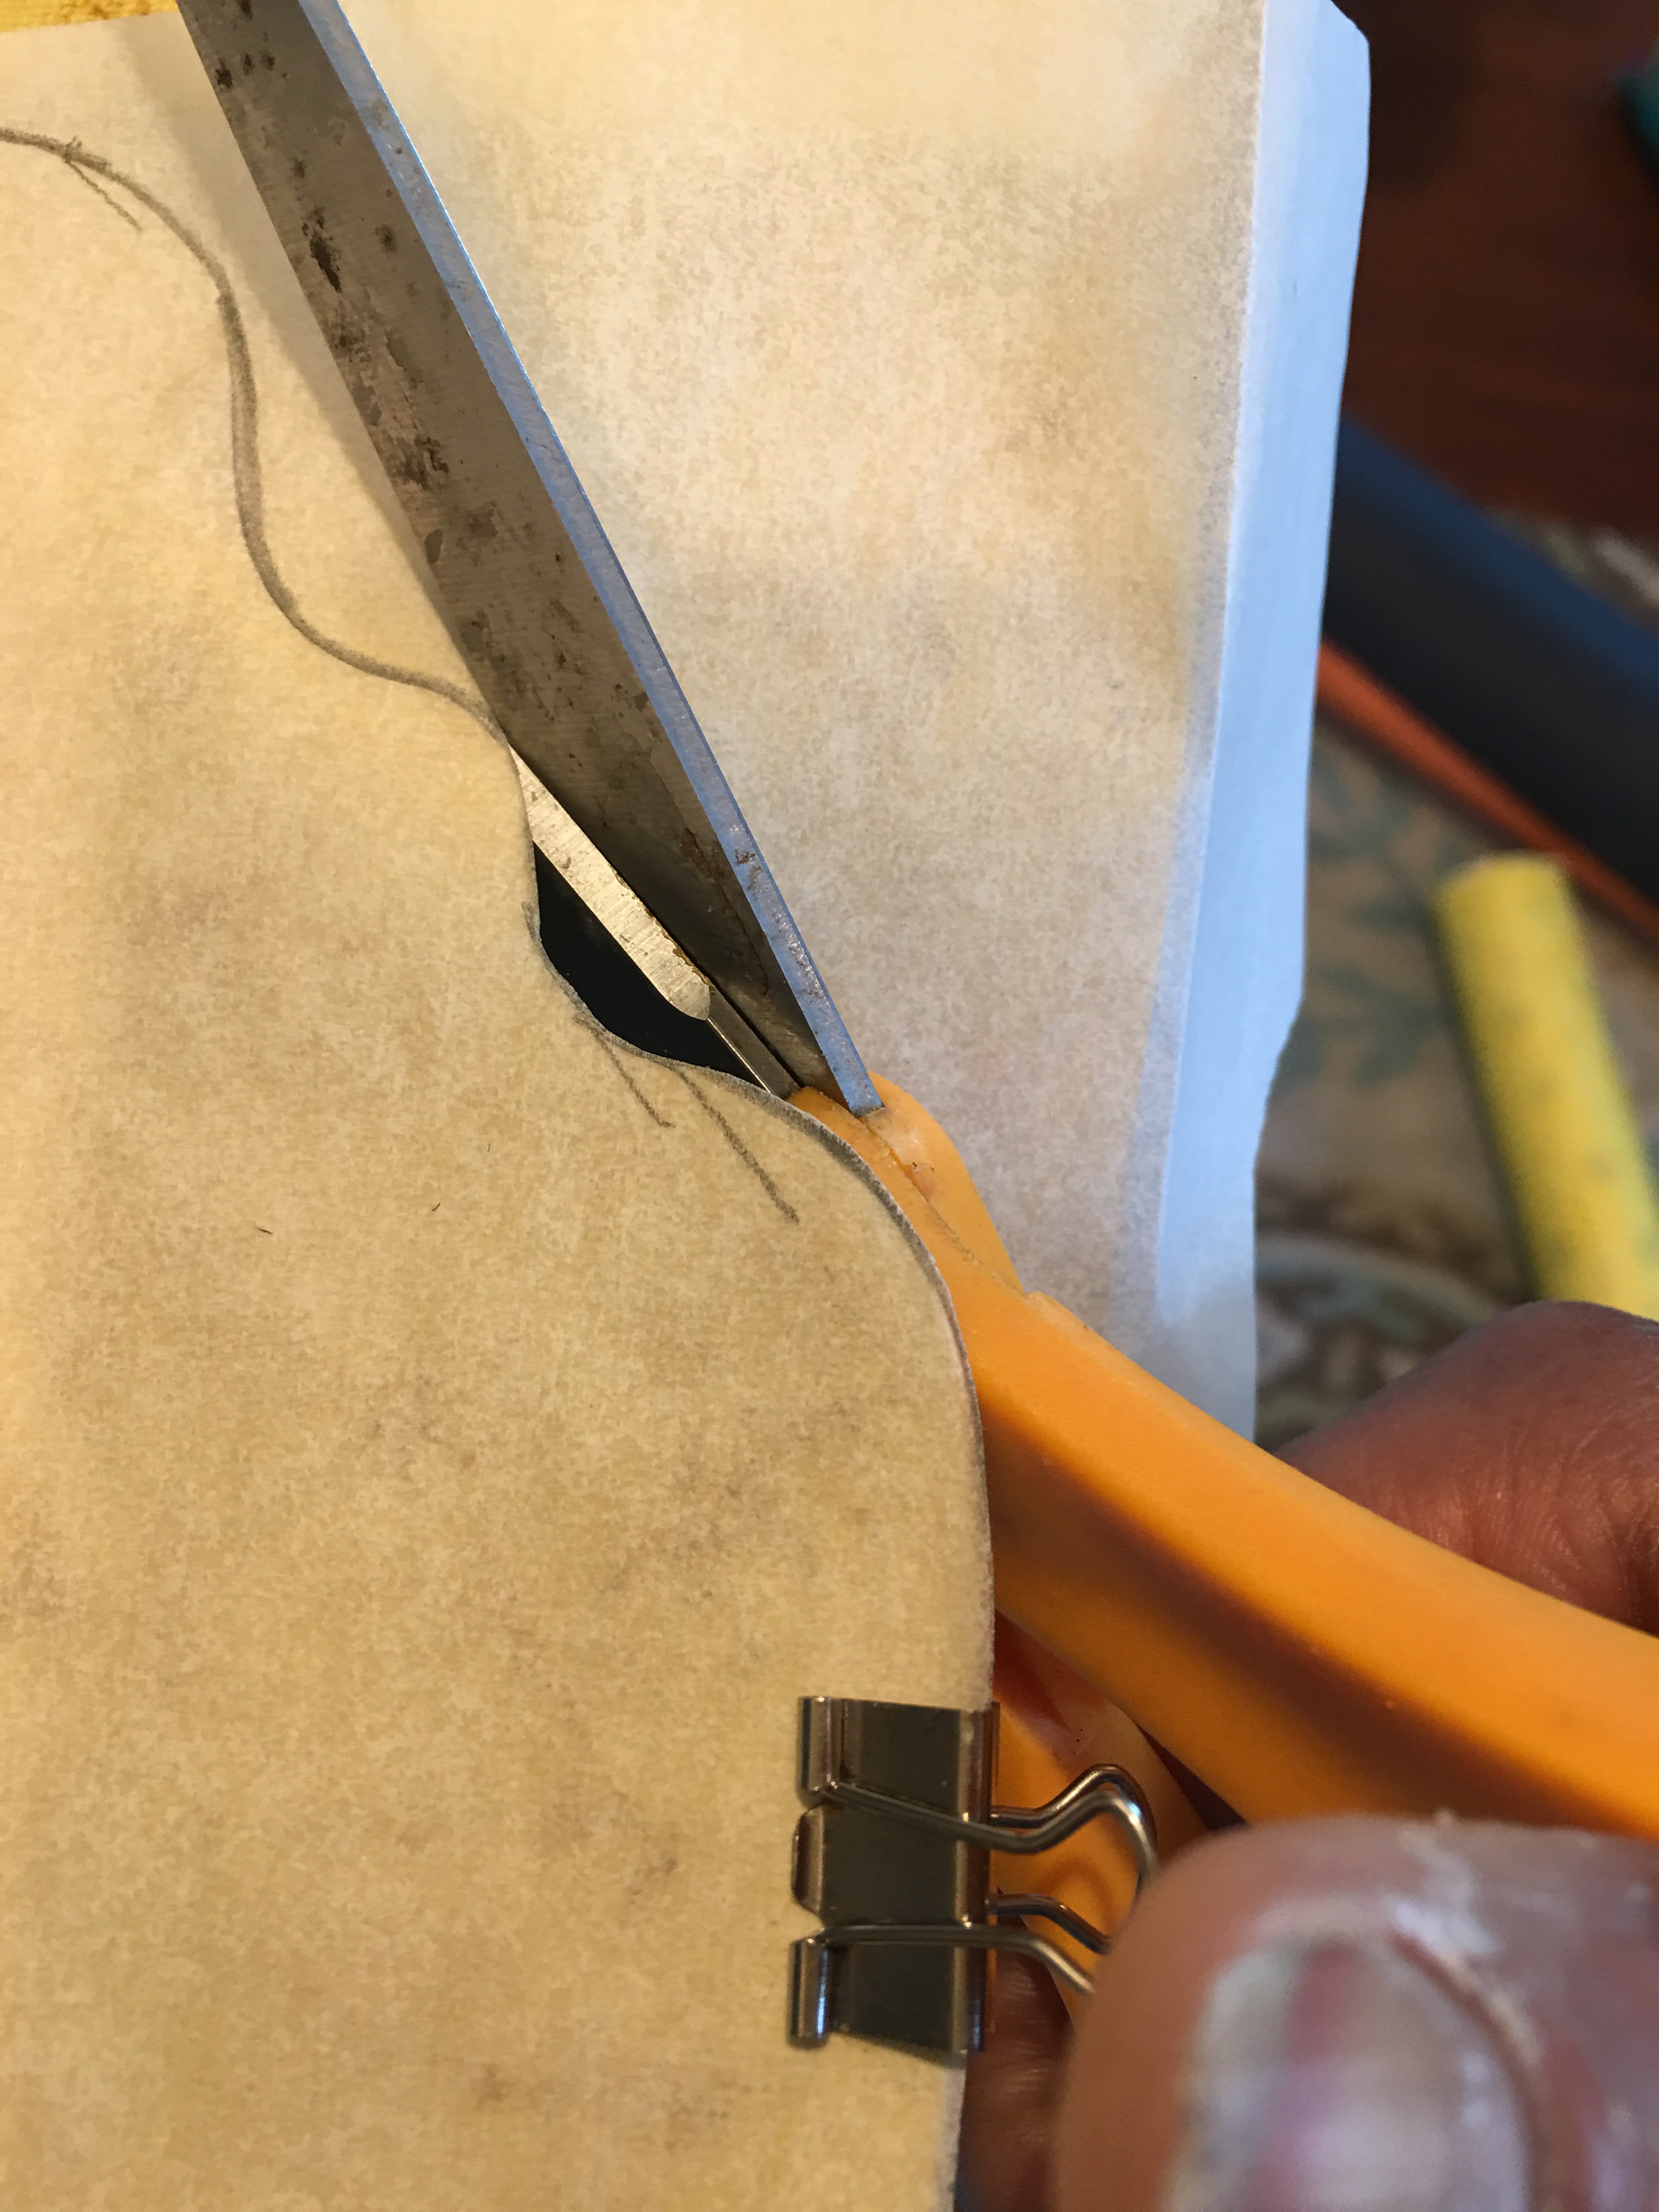
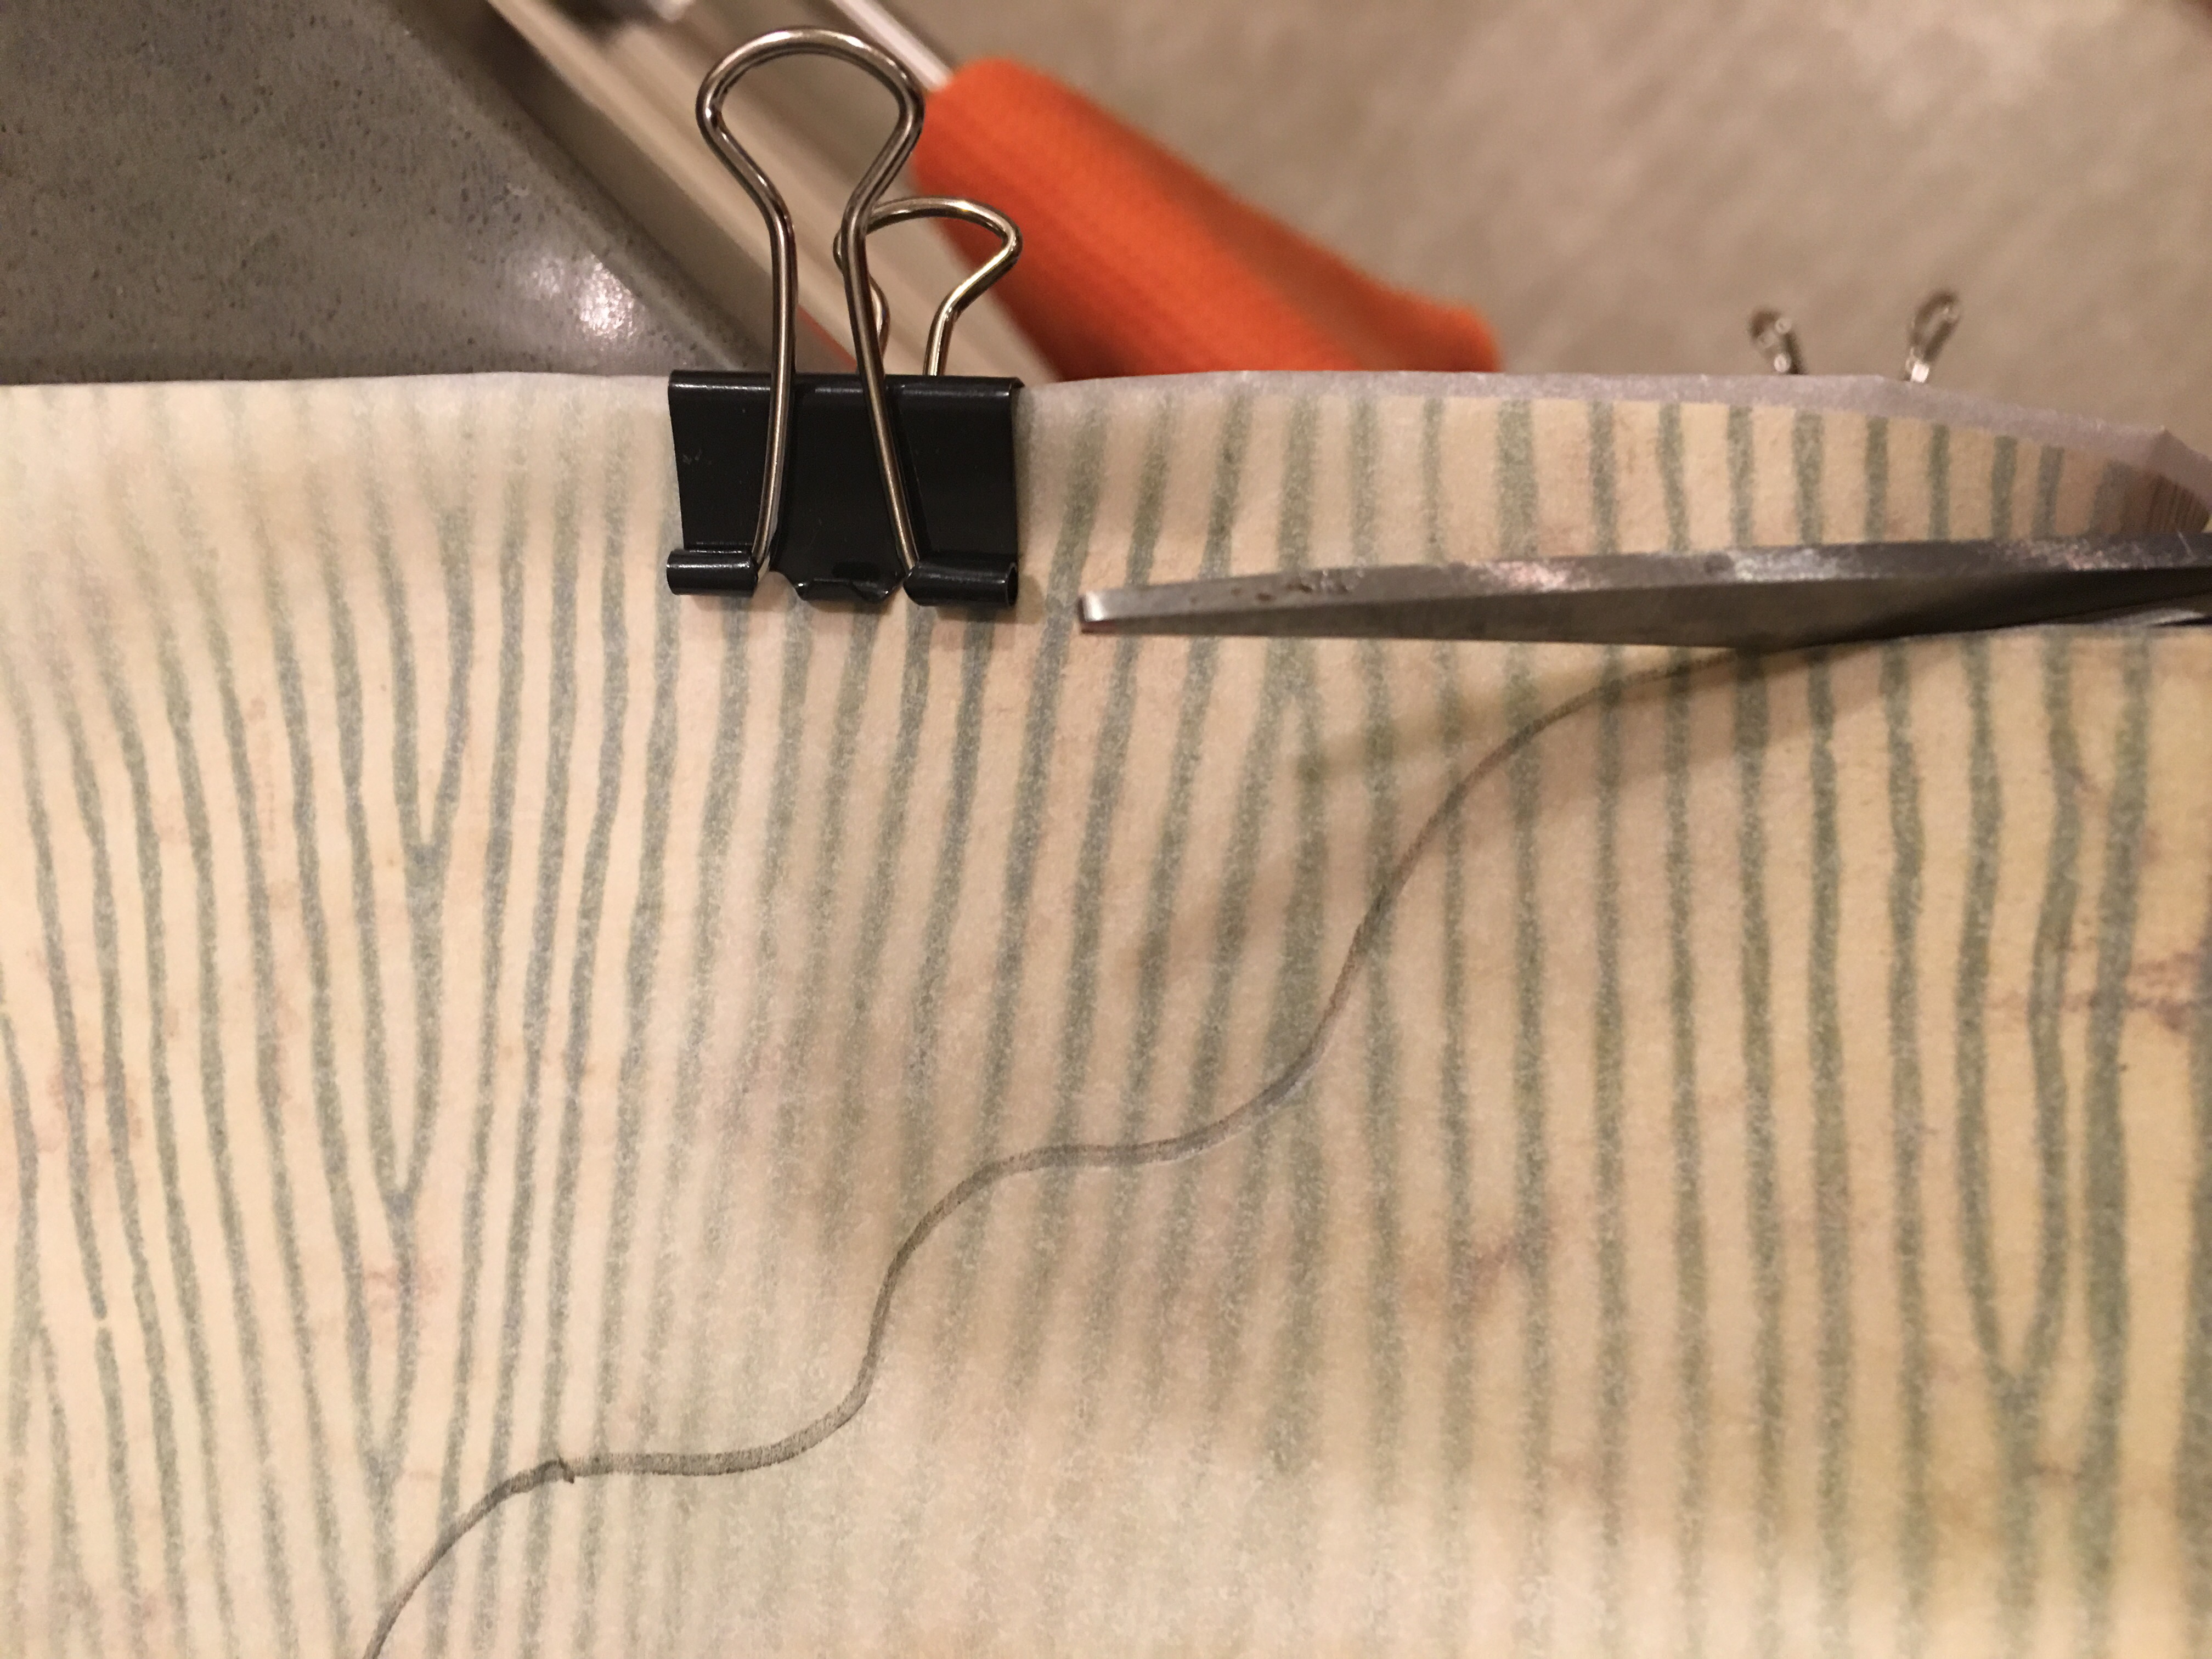
- Step 2: Clip the tracing to the decorative paper and use the tracing to cut out the silhouette shape.
- Step 3: Take the paper cut-out and apply it to the metal portion of the plaque with magnets.
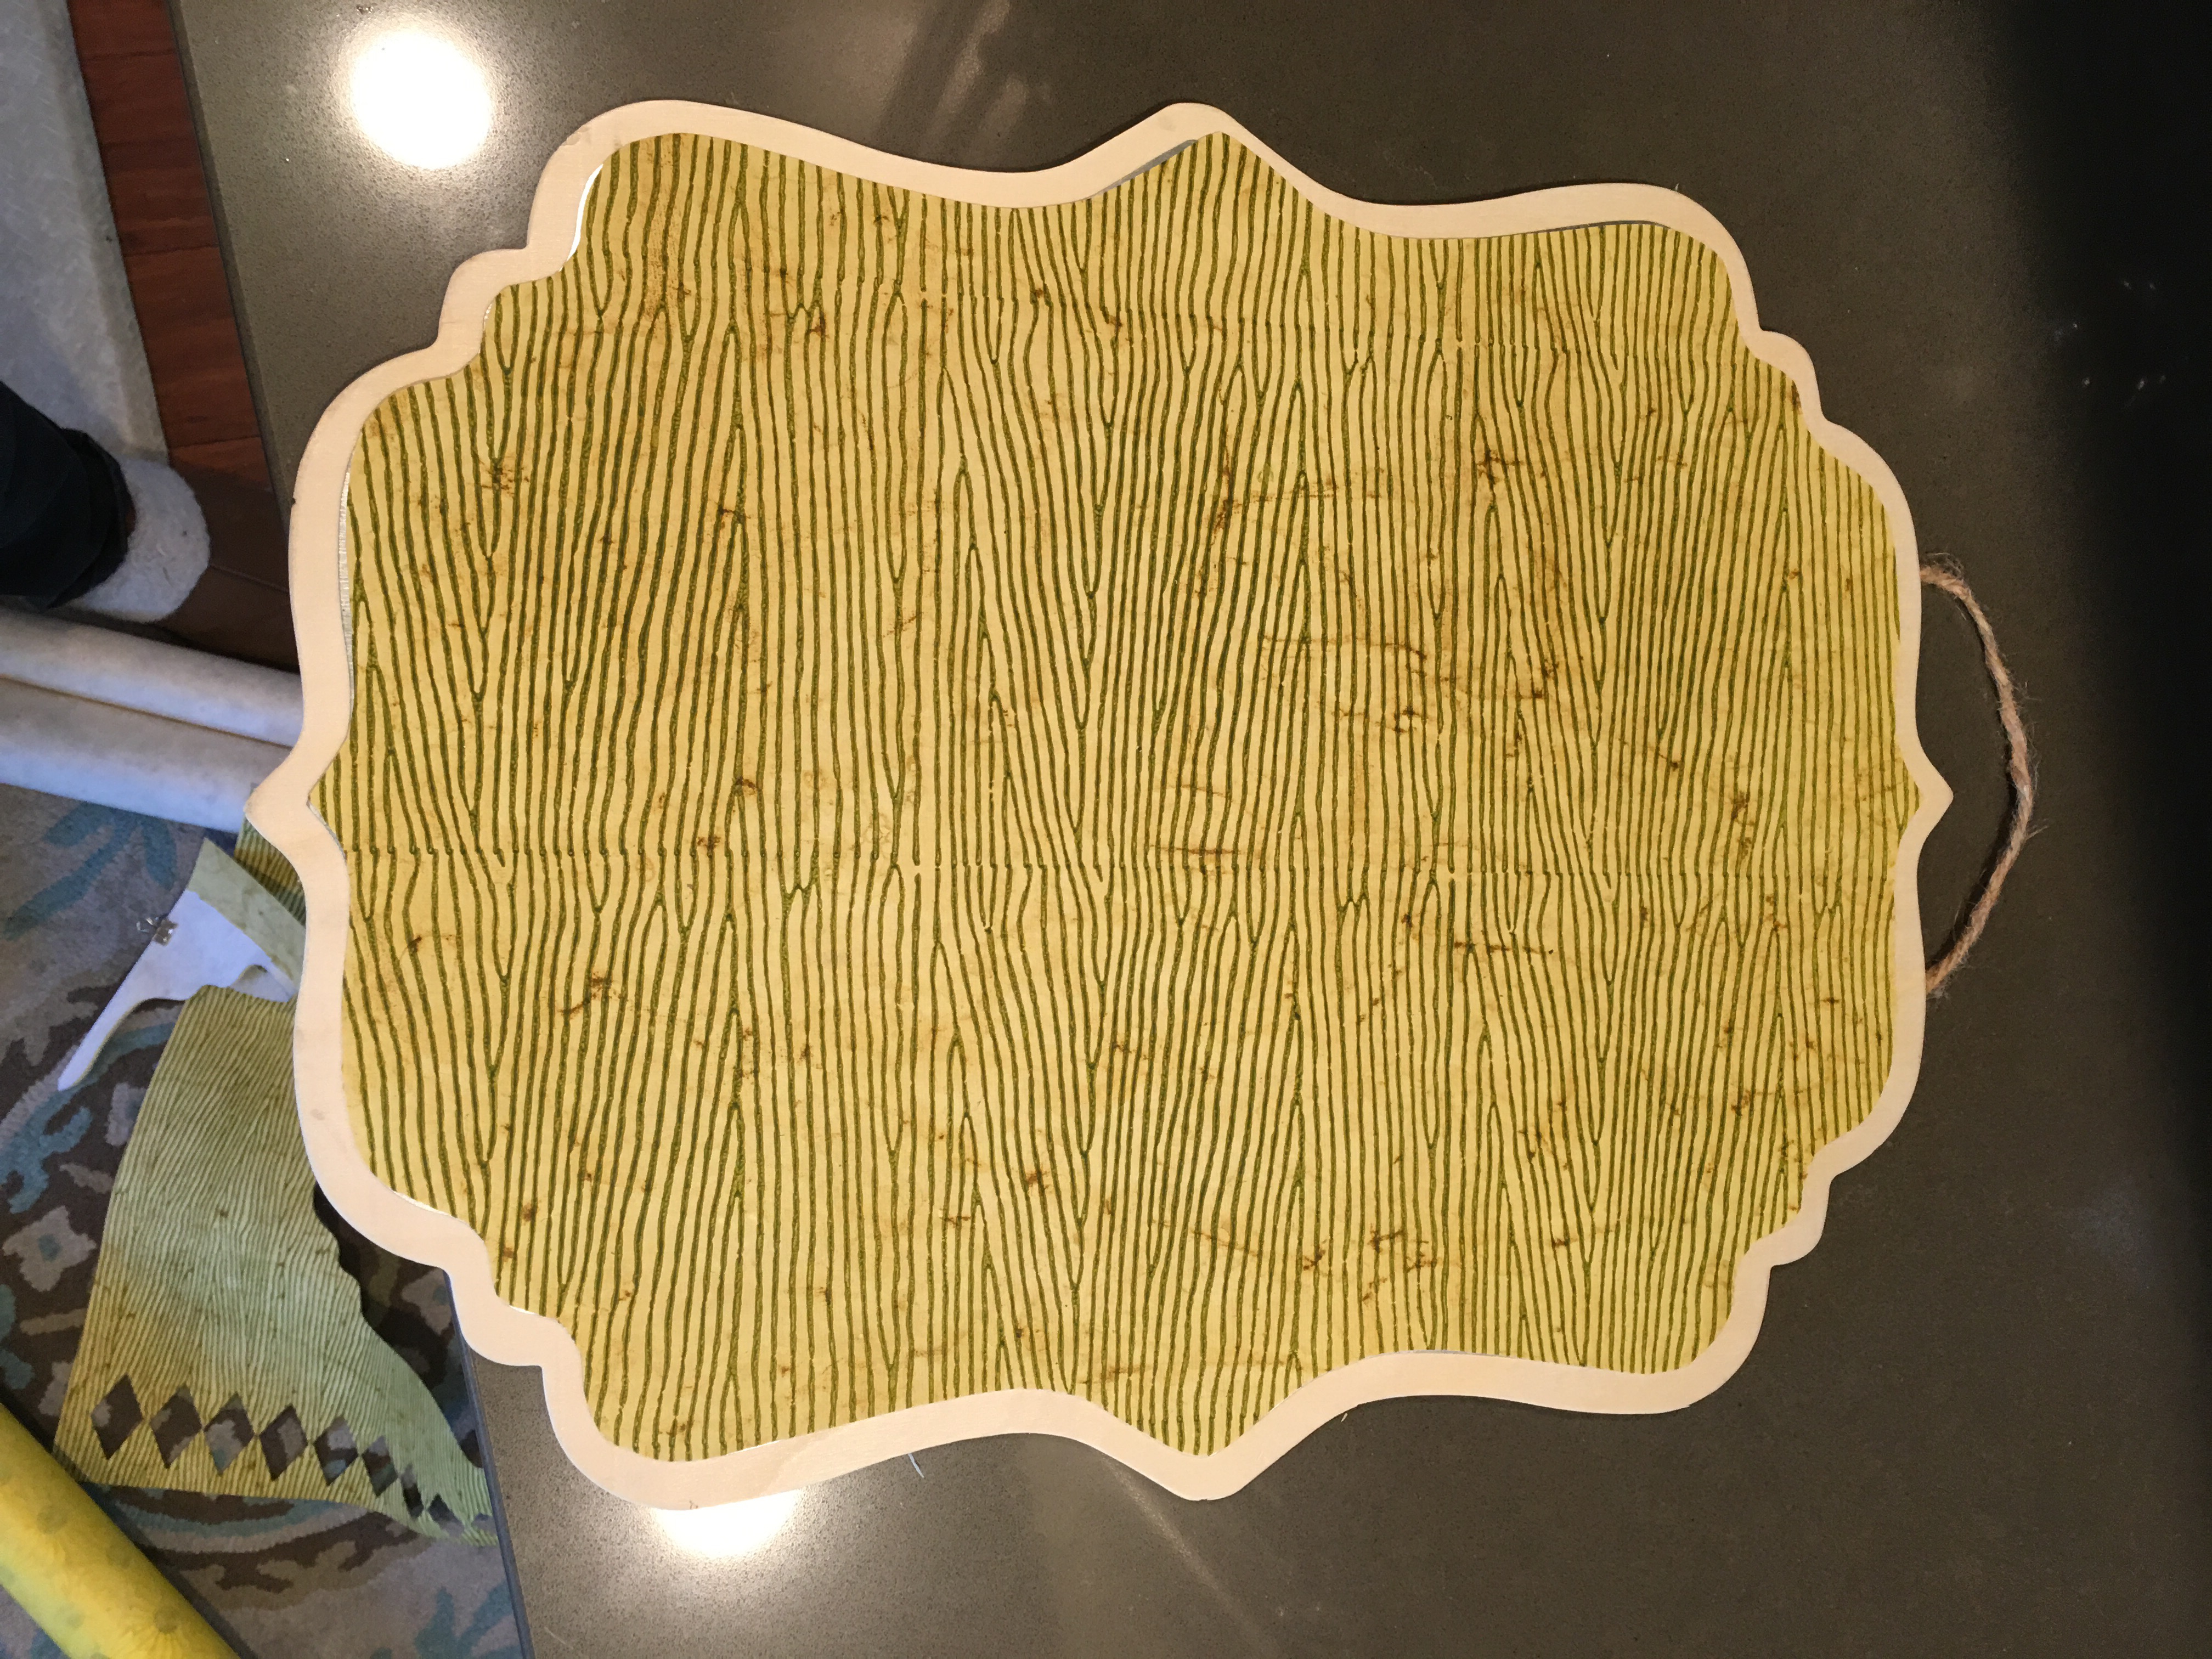
- Step 4: I then used some dried leaf branches from my green bouquet and added them to the plaques using bulldog magnetic clips.
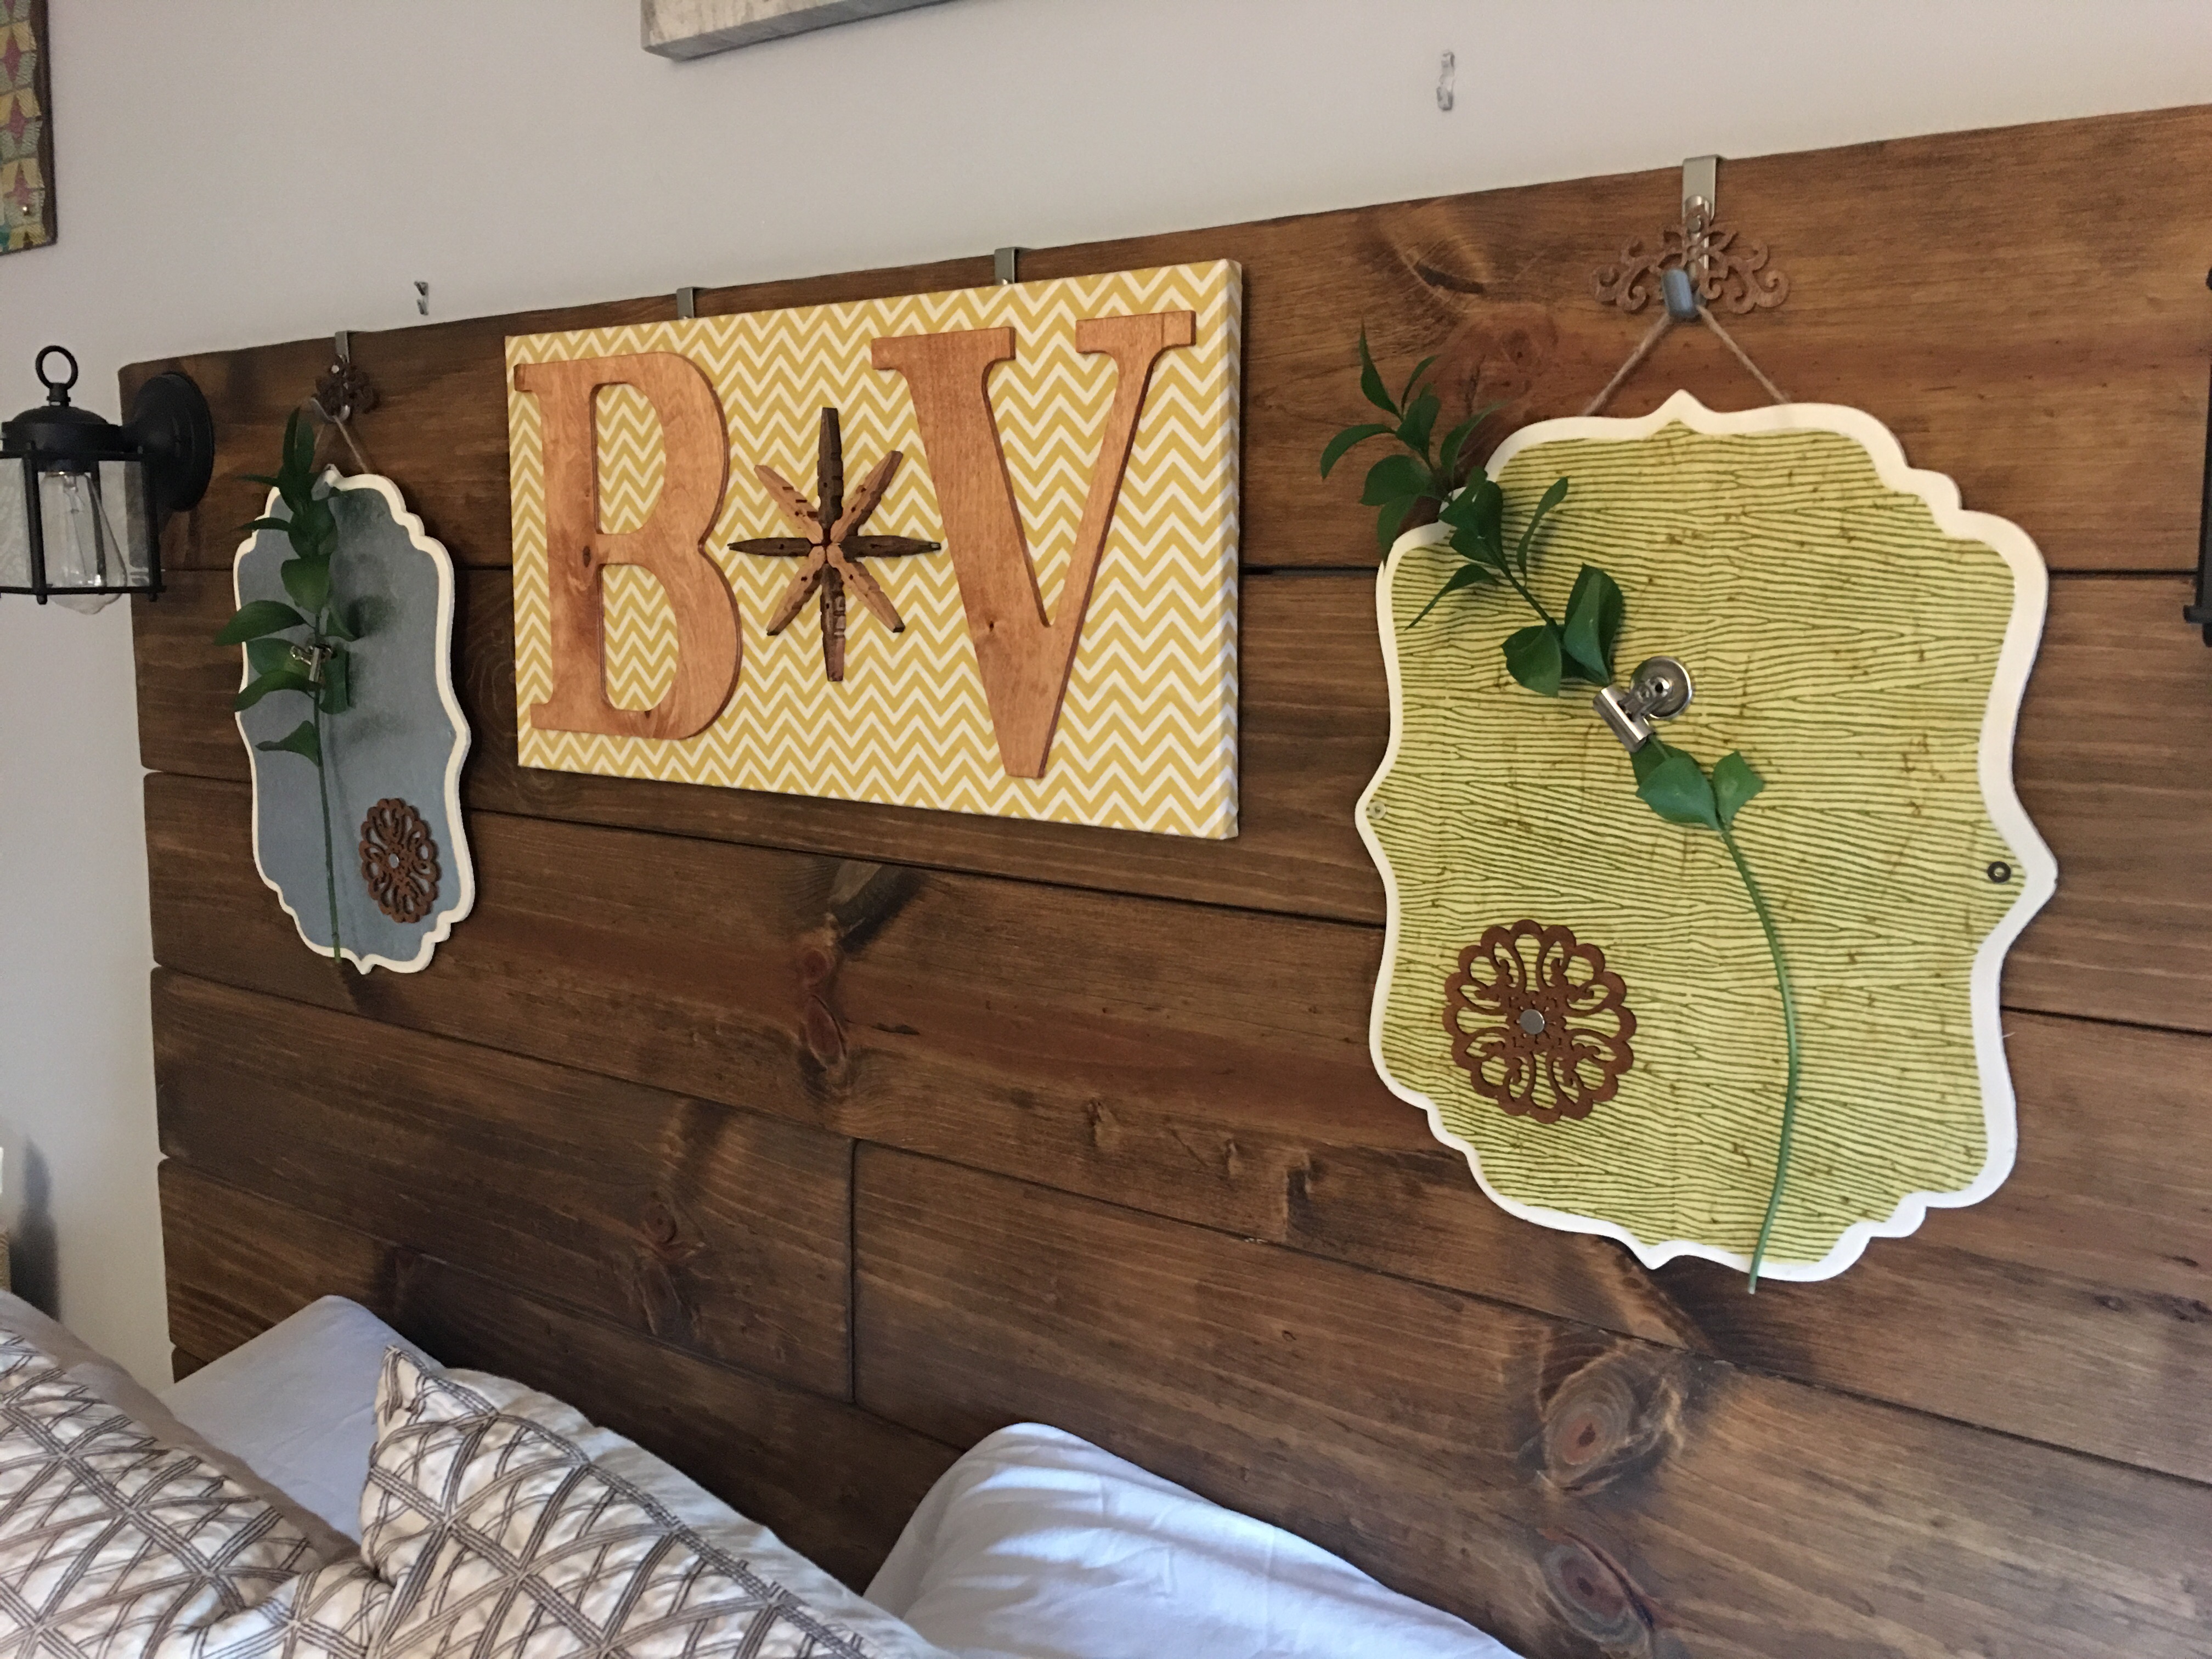
I liked this approach to decorating the plaques because I can change the look anytime by swapping out the papers. Tracing paper, a pencil, pretty decorative paper and magnets makes it easy to change the look of these plaques anytime I want.
And, as a bonus, this paper is reversible as well.

This is the bedroom wall and headboard in transition that Friday.
Round 4: Adding wood floating square panels to the wall on Bruce’s side as wall

I made and added two new decorated wood floating display square panels under the tribal decorated 16 x 24 piece. This took care of the empty area of wall space under the large display piece (after the removal of a large rosette left a big wall decor gap).
Round 5: Added the Fee Fi Faux Fum wood vase to the wall on my side of the bed.
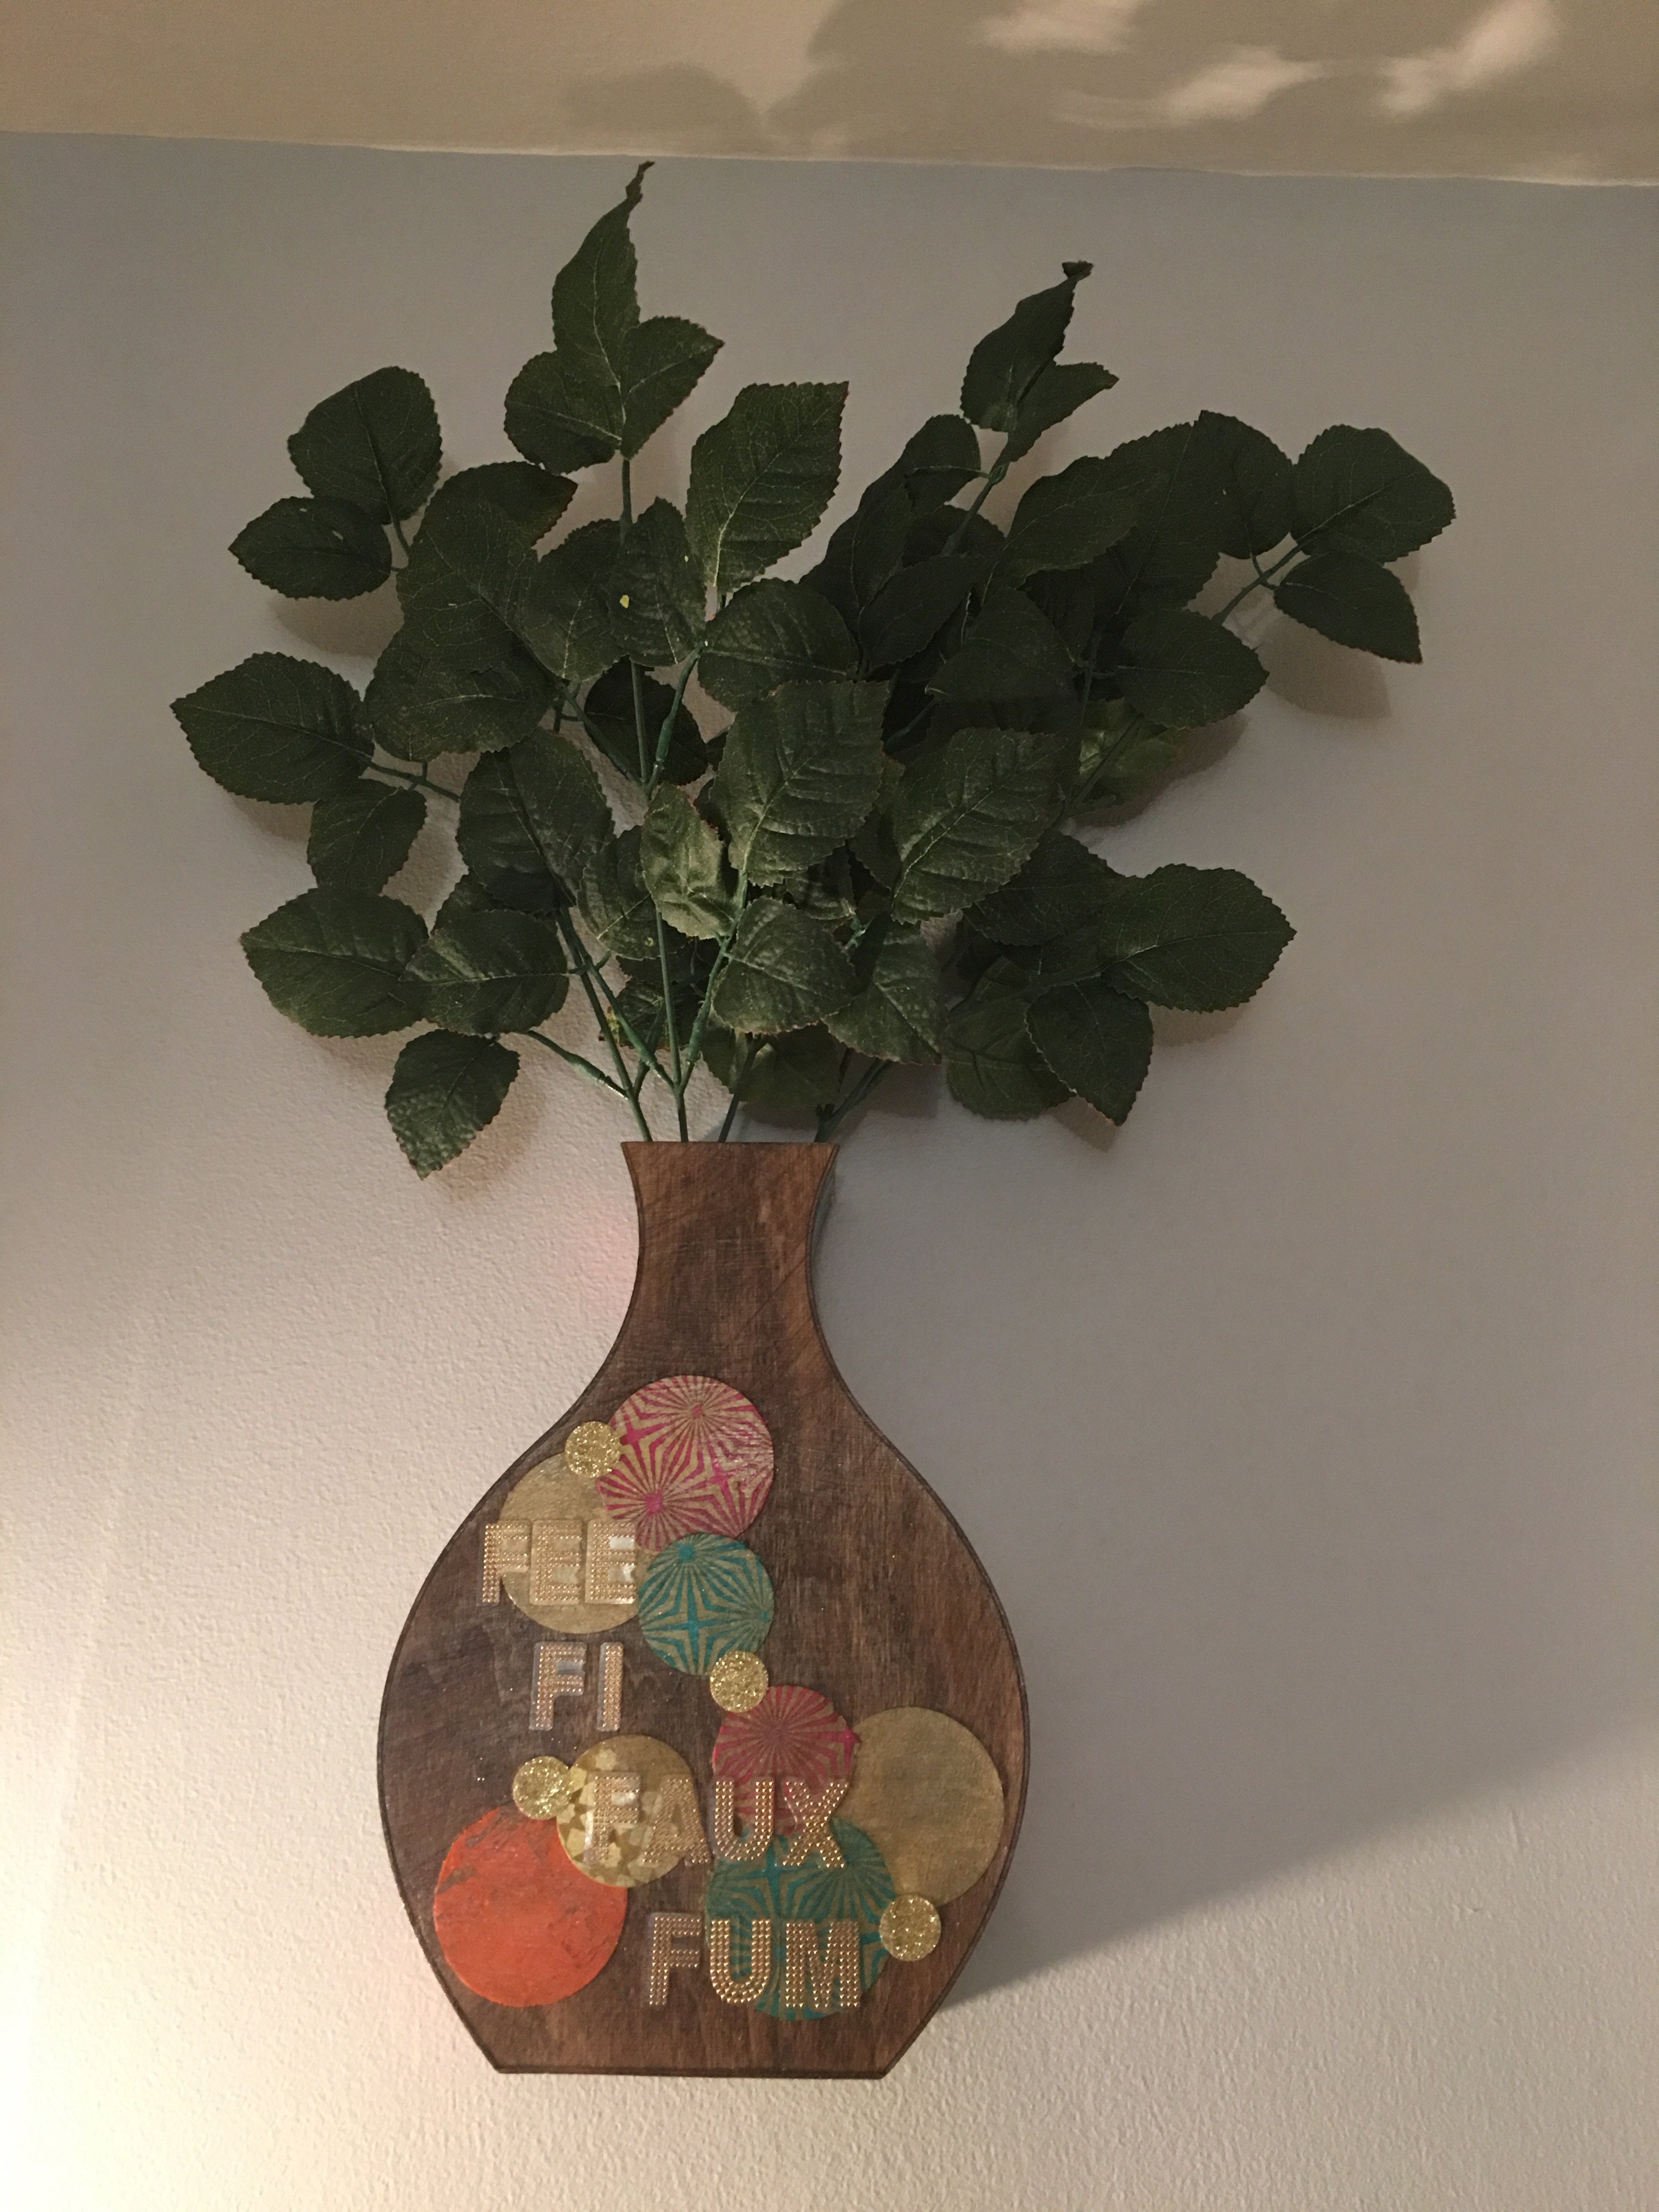
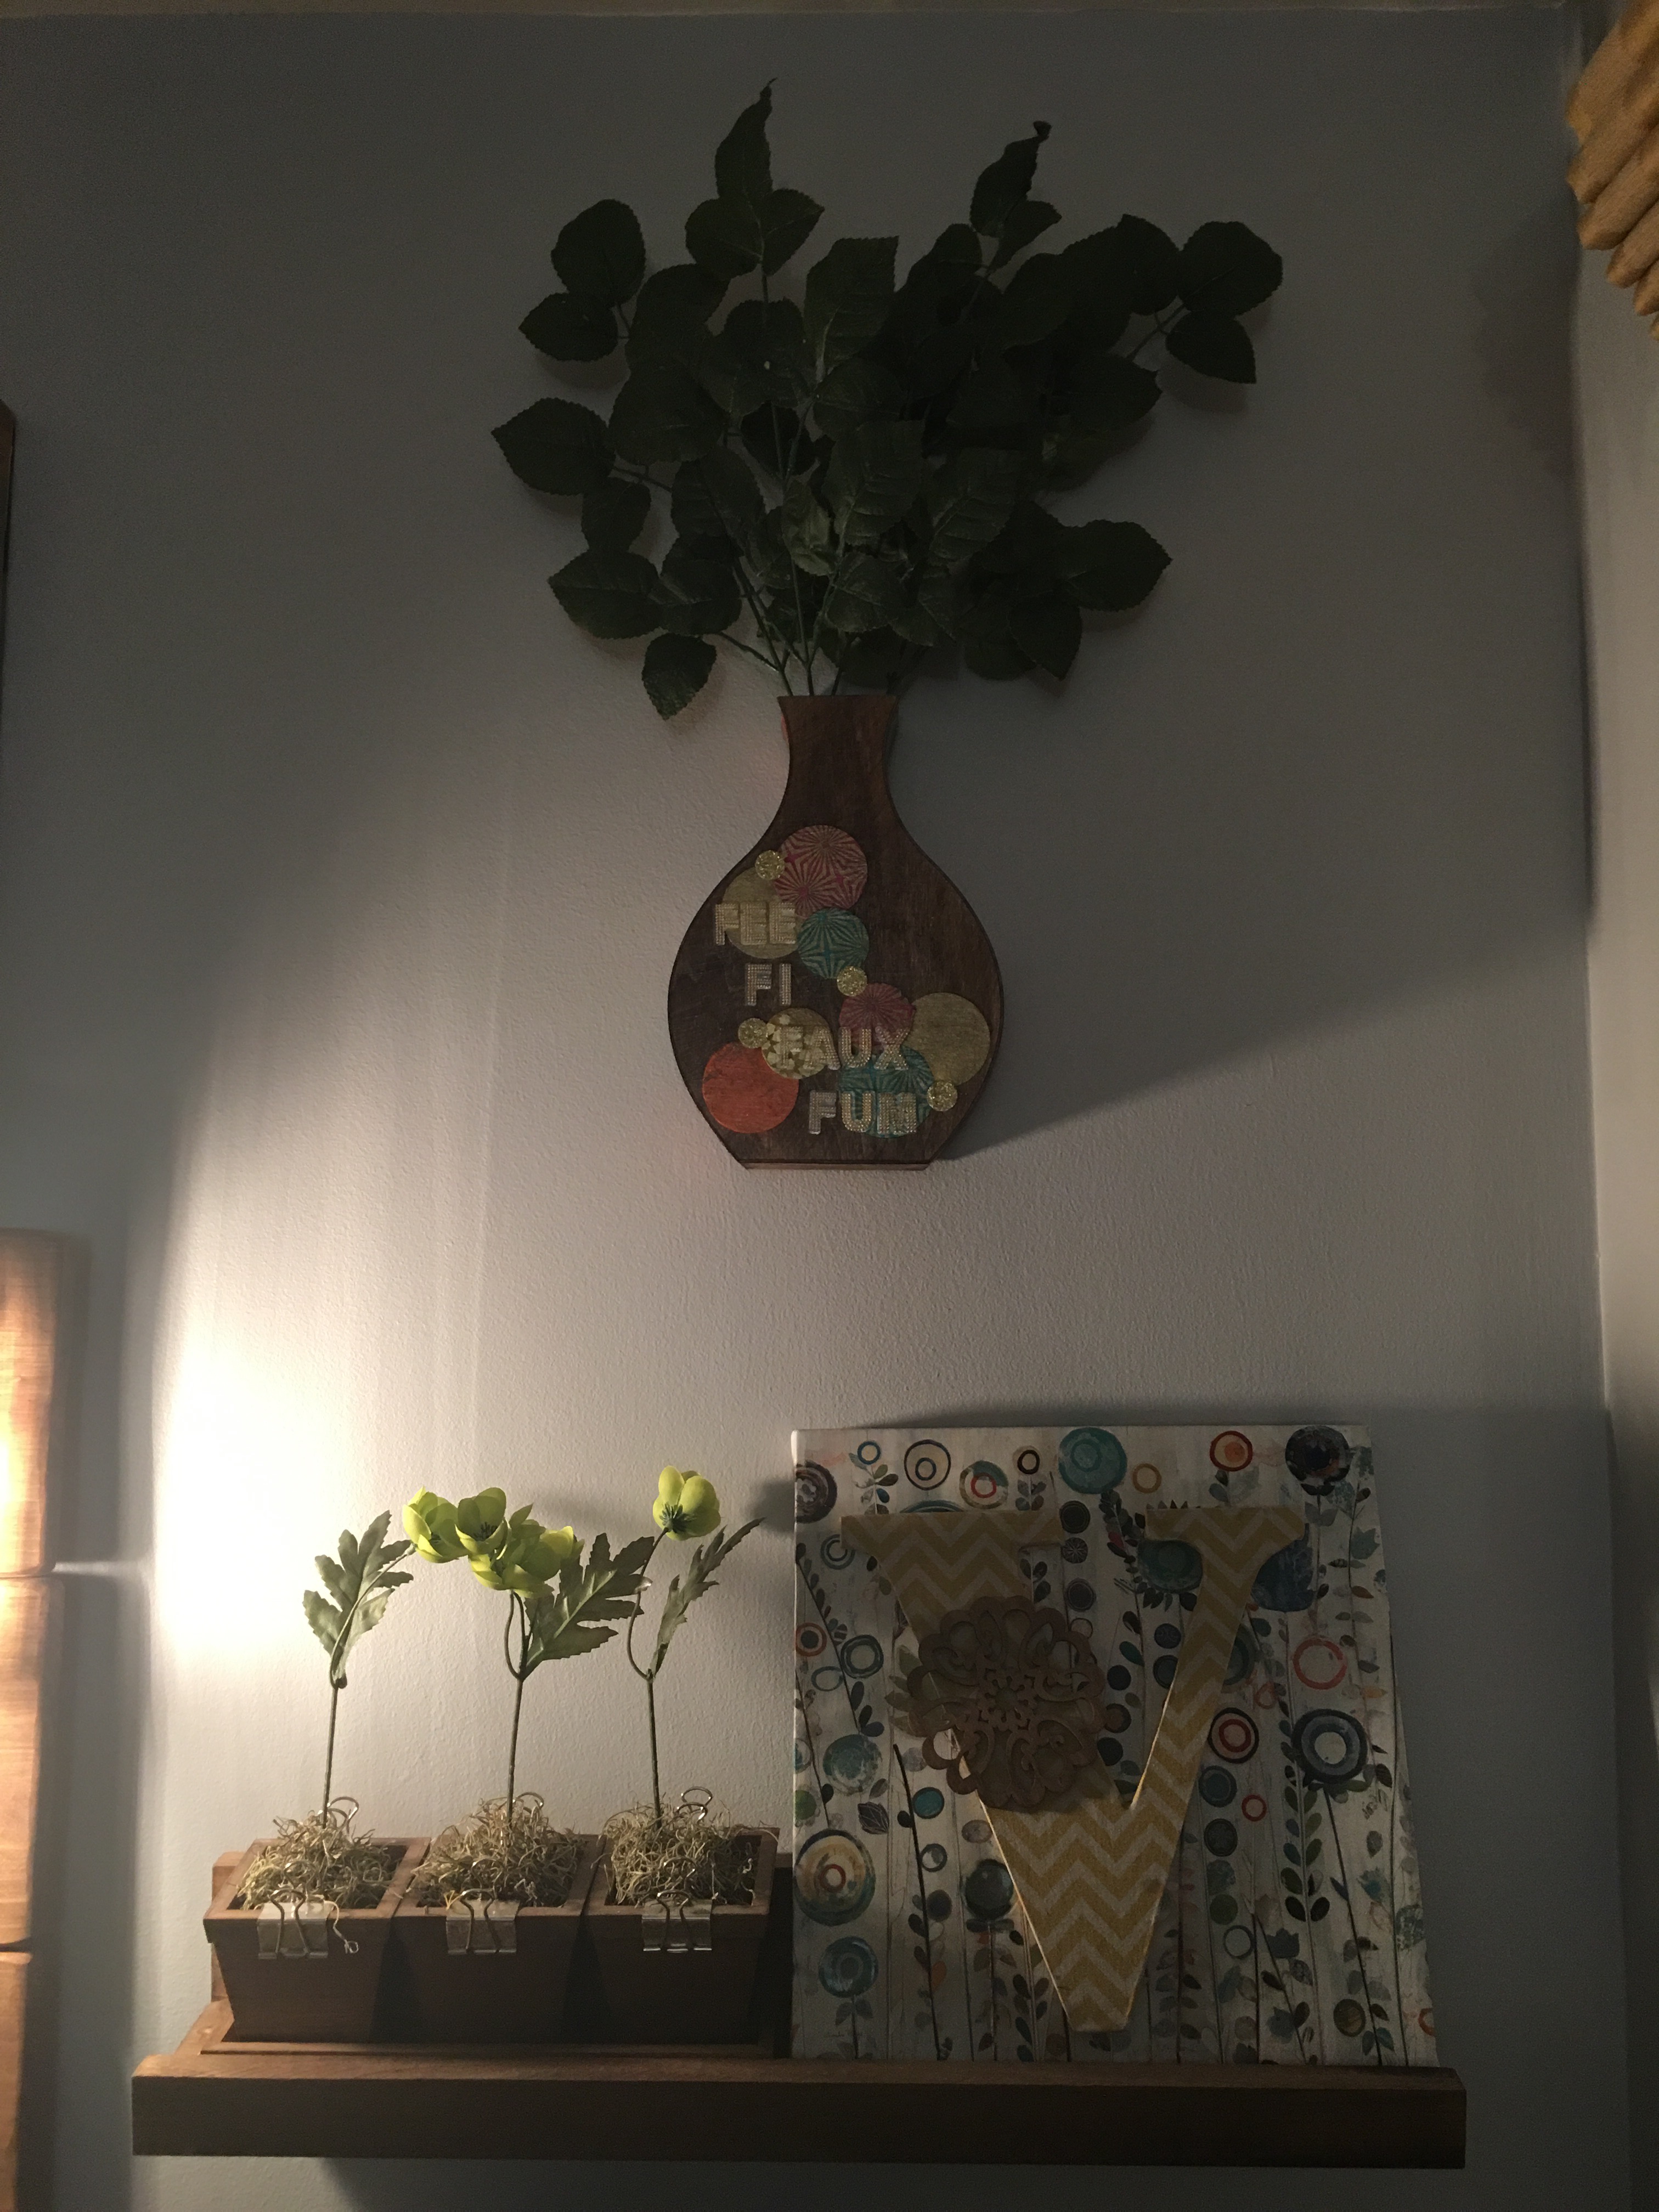
I swapped out the two smaller rosettes that were hanging on the wall to the right with the Fee Fi Faux Fum wood vase (with faux leaf arrangement).
Round 6: Decorated the other metal on wood plaque with more paper and added magnetic copper metal flower embellishments.
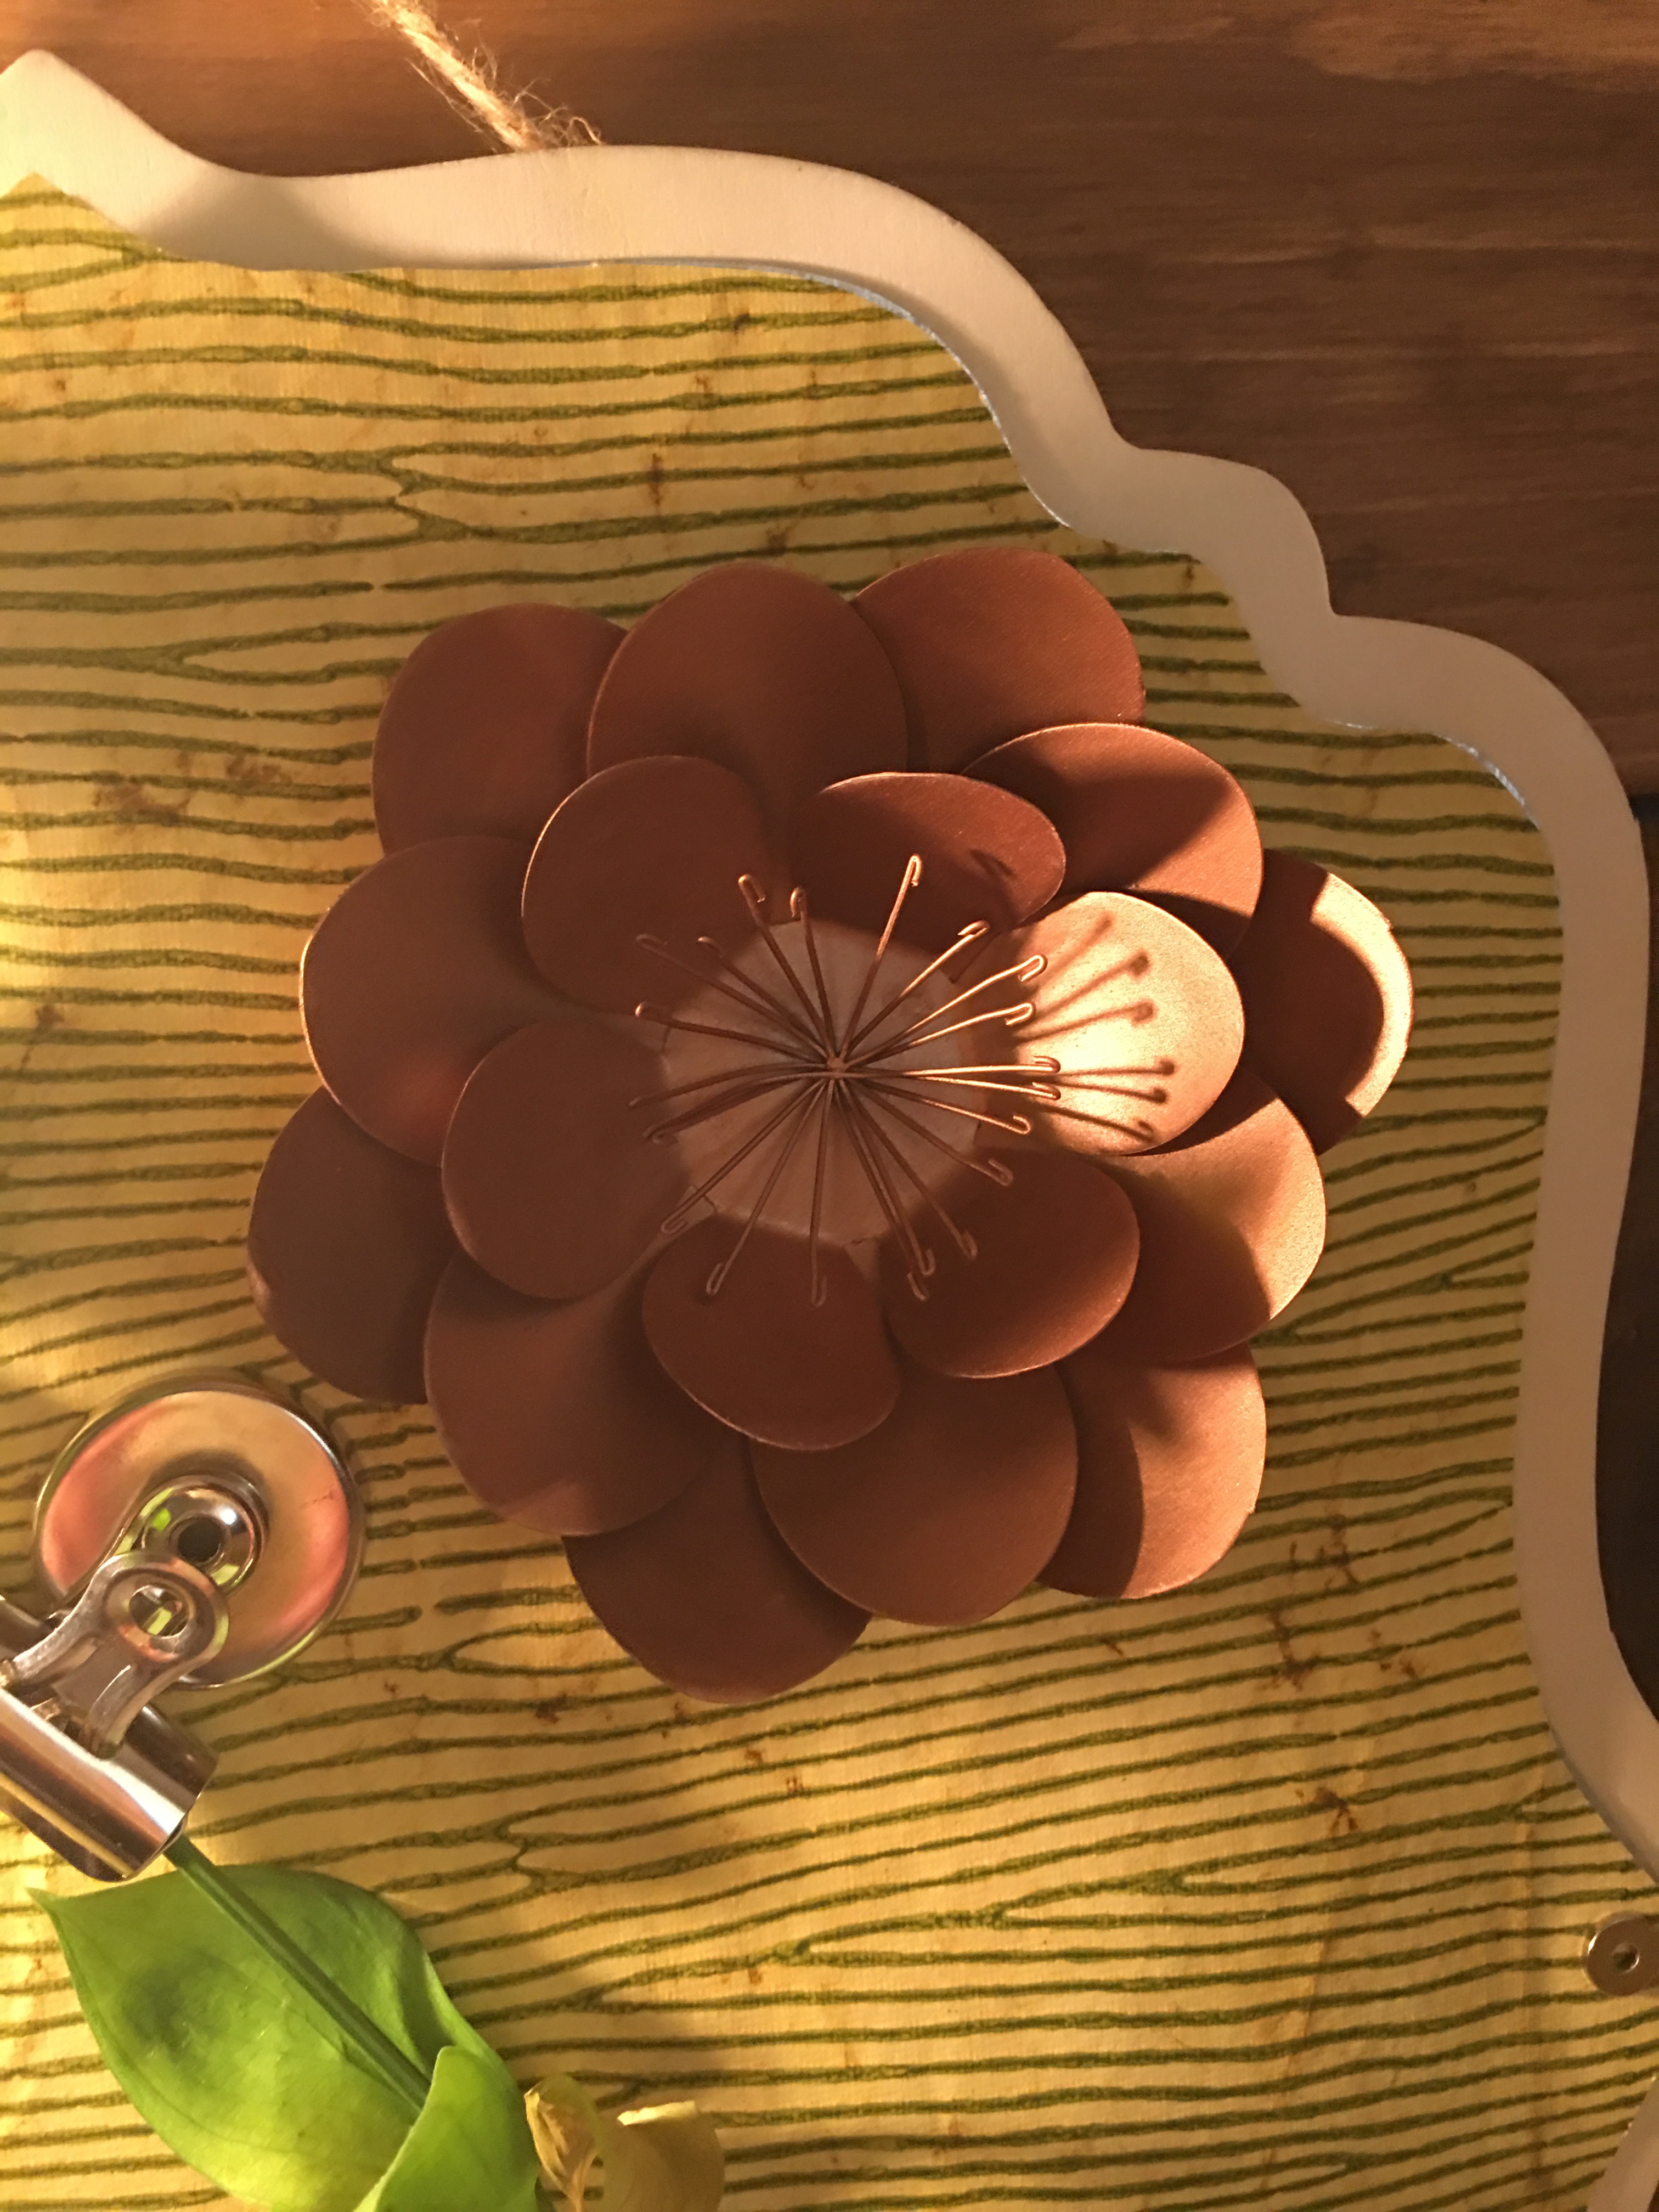
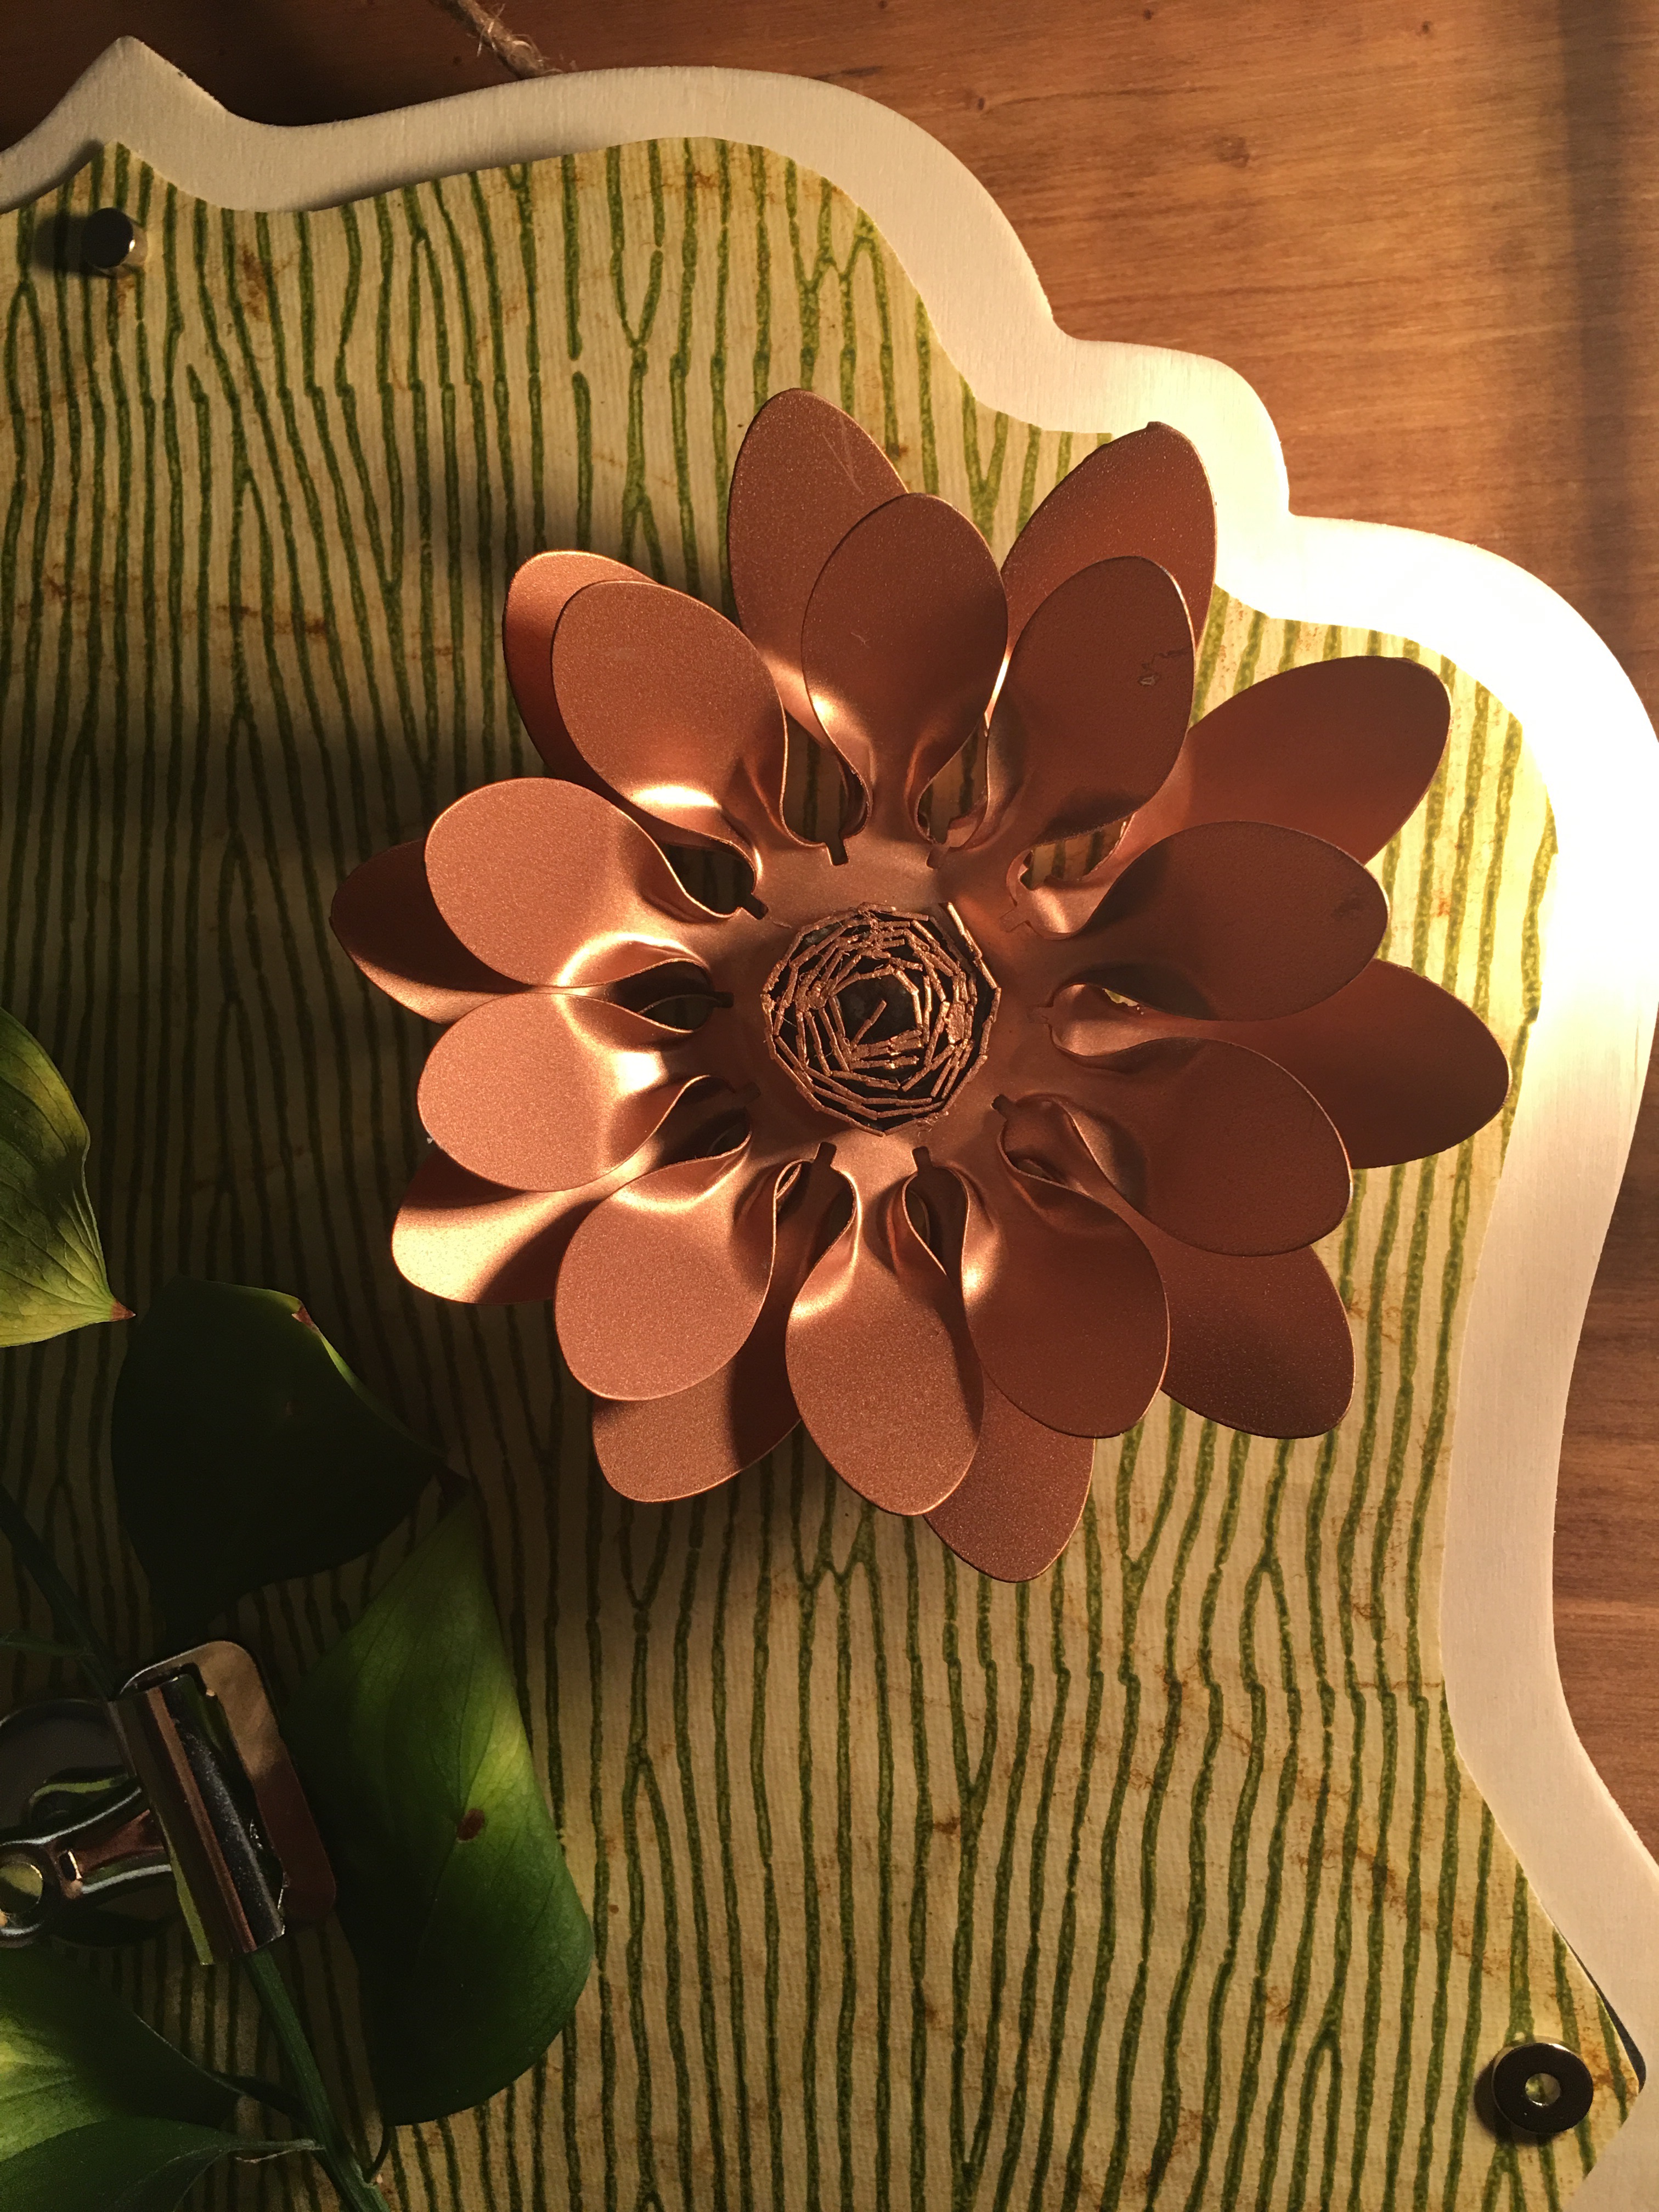
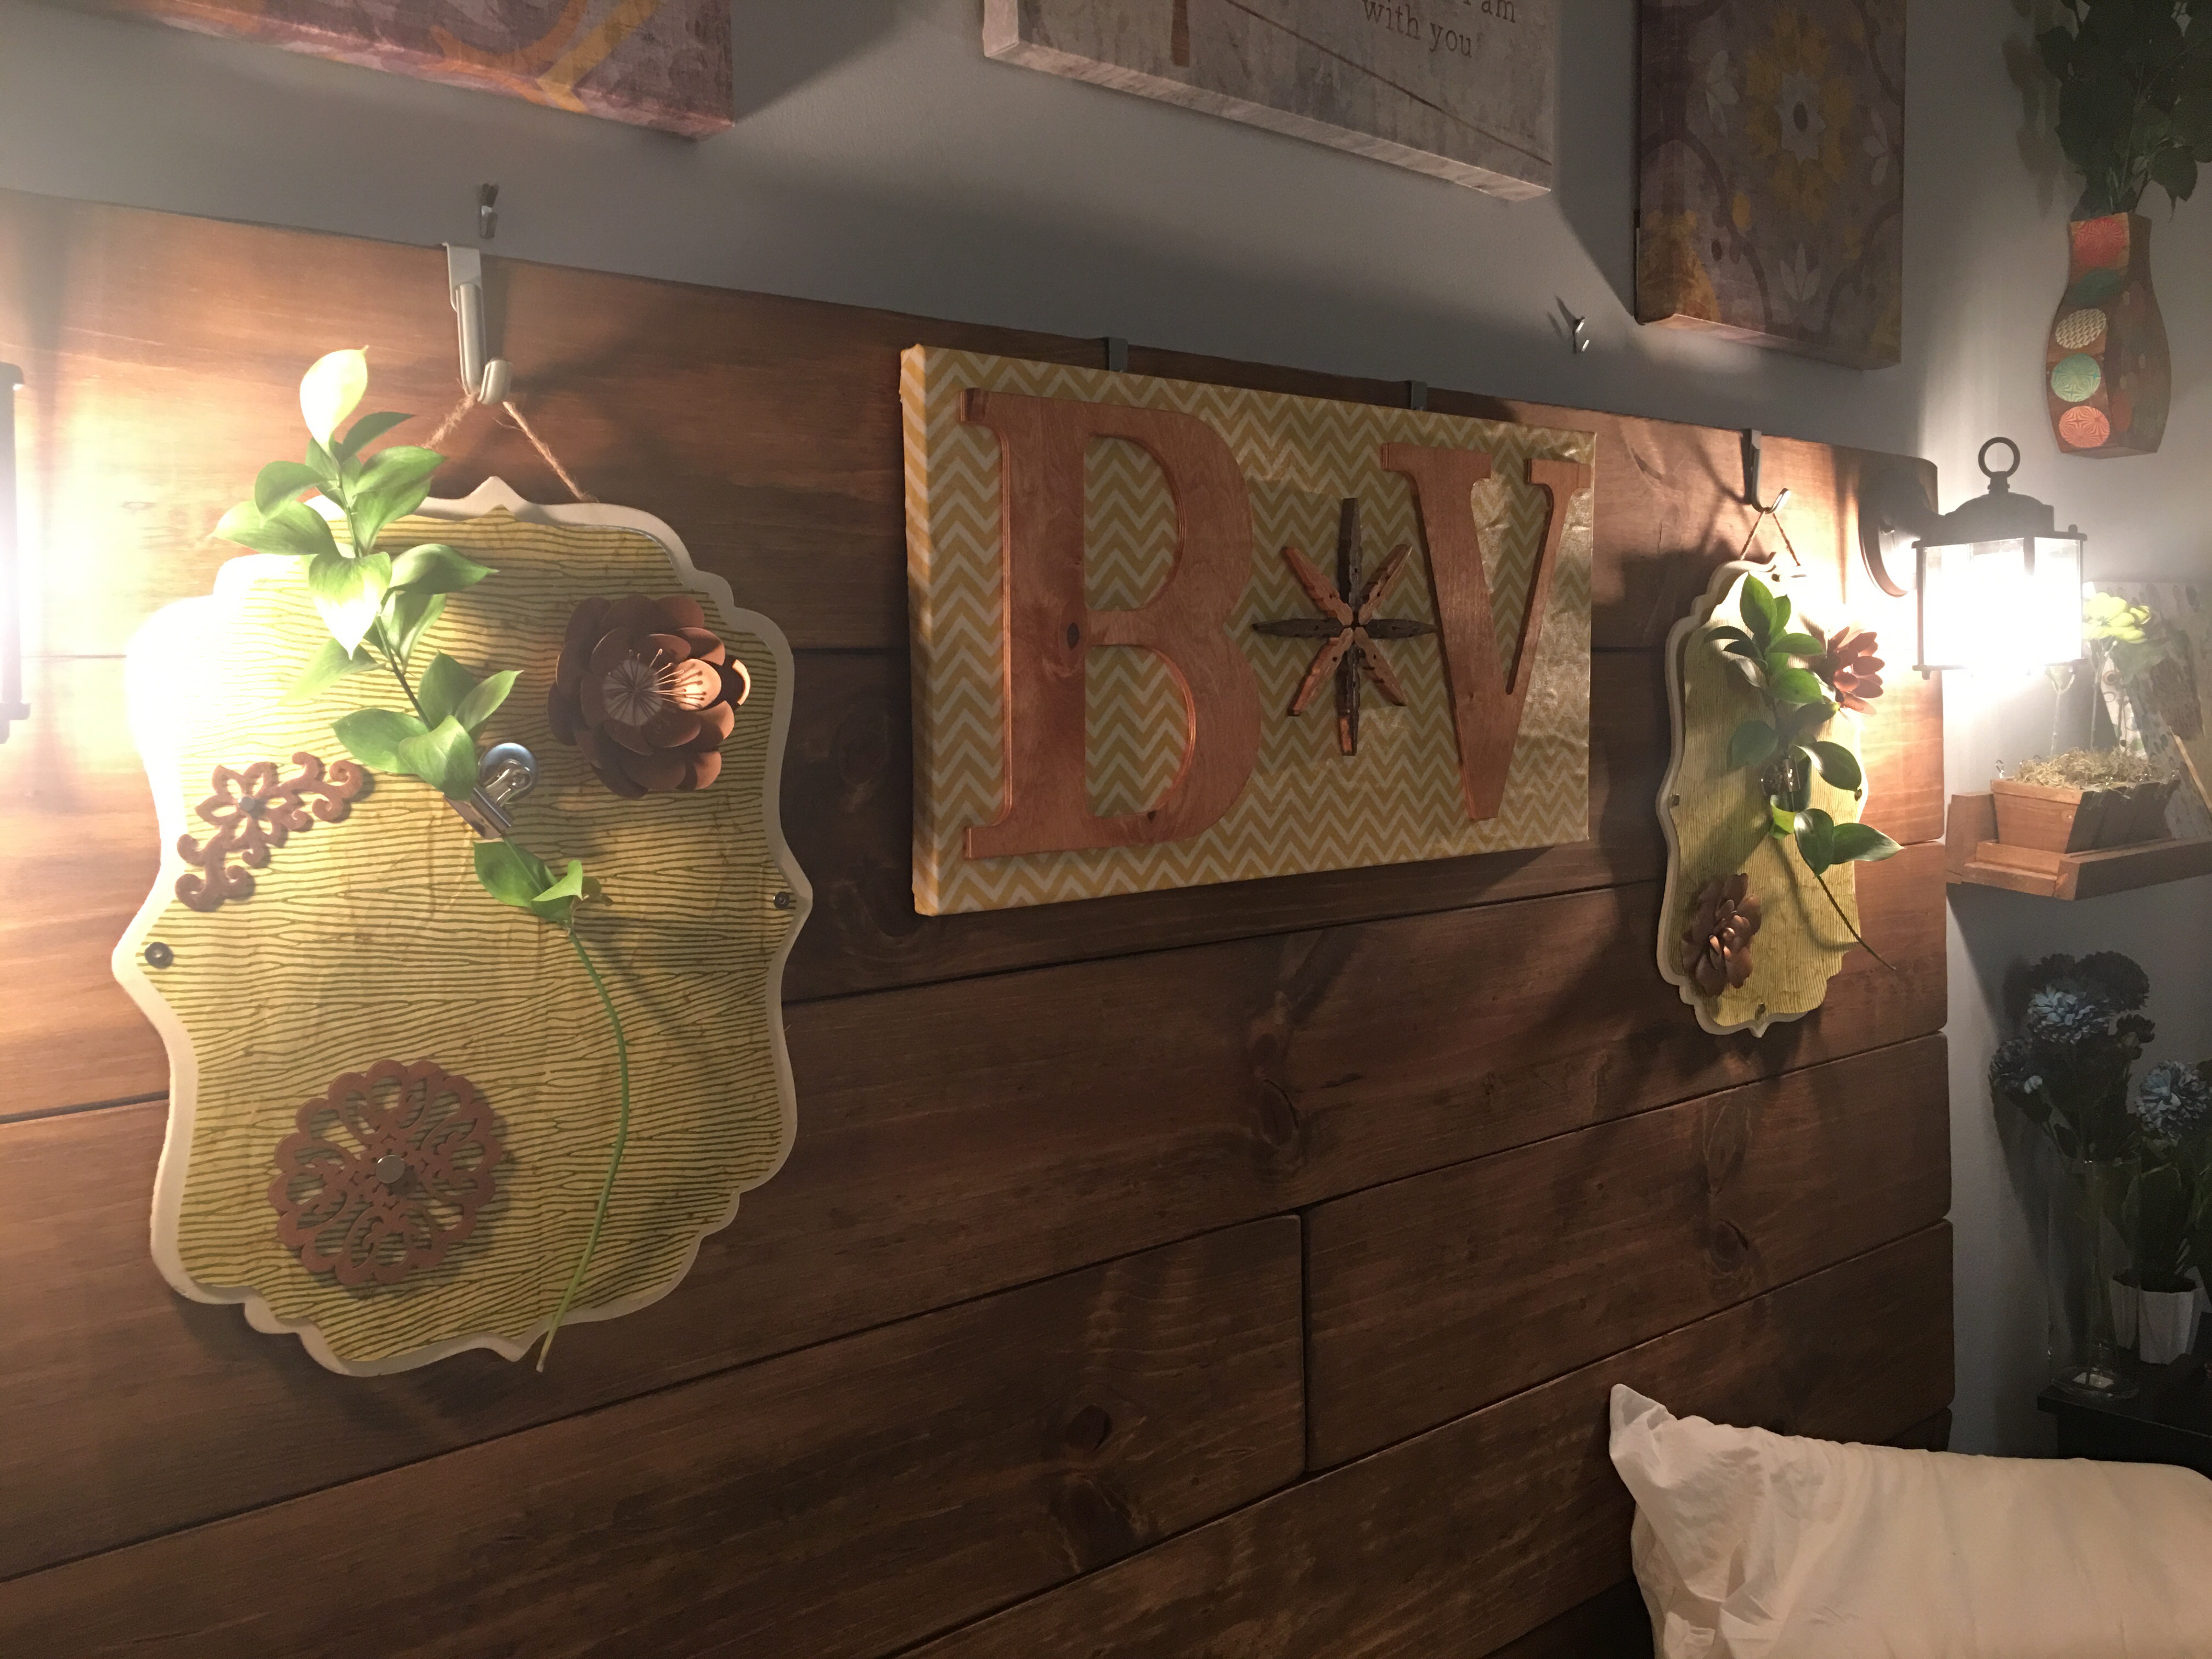
A recent trip to Michaels netted me a handful of copper metal flower magnets (also from the Michaels Make Market Alphabet Soup line). As usual, they were added to cart without any thought of how I’d use them. But to my happy surprise, they were a perfect addition to the metal on wood hanging plaques on our headboard.
Since I only had enough paper on February 26 to cover one plaque, I picked up more paper from the local Plaza Art store and I completed the same steps as in Round 3 to decorate number 2.
While at Plaza Art, I also picked up a much bigger tracing paper pad.
So, again, step 1 is to use the plaque as a template to trace the metal silhouette.
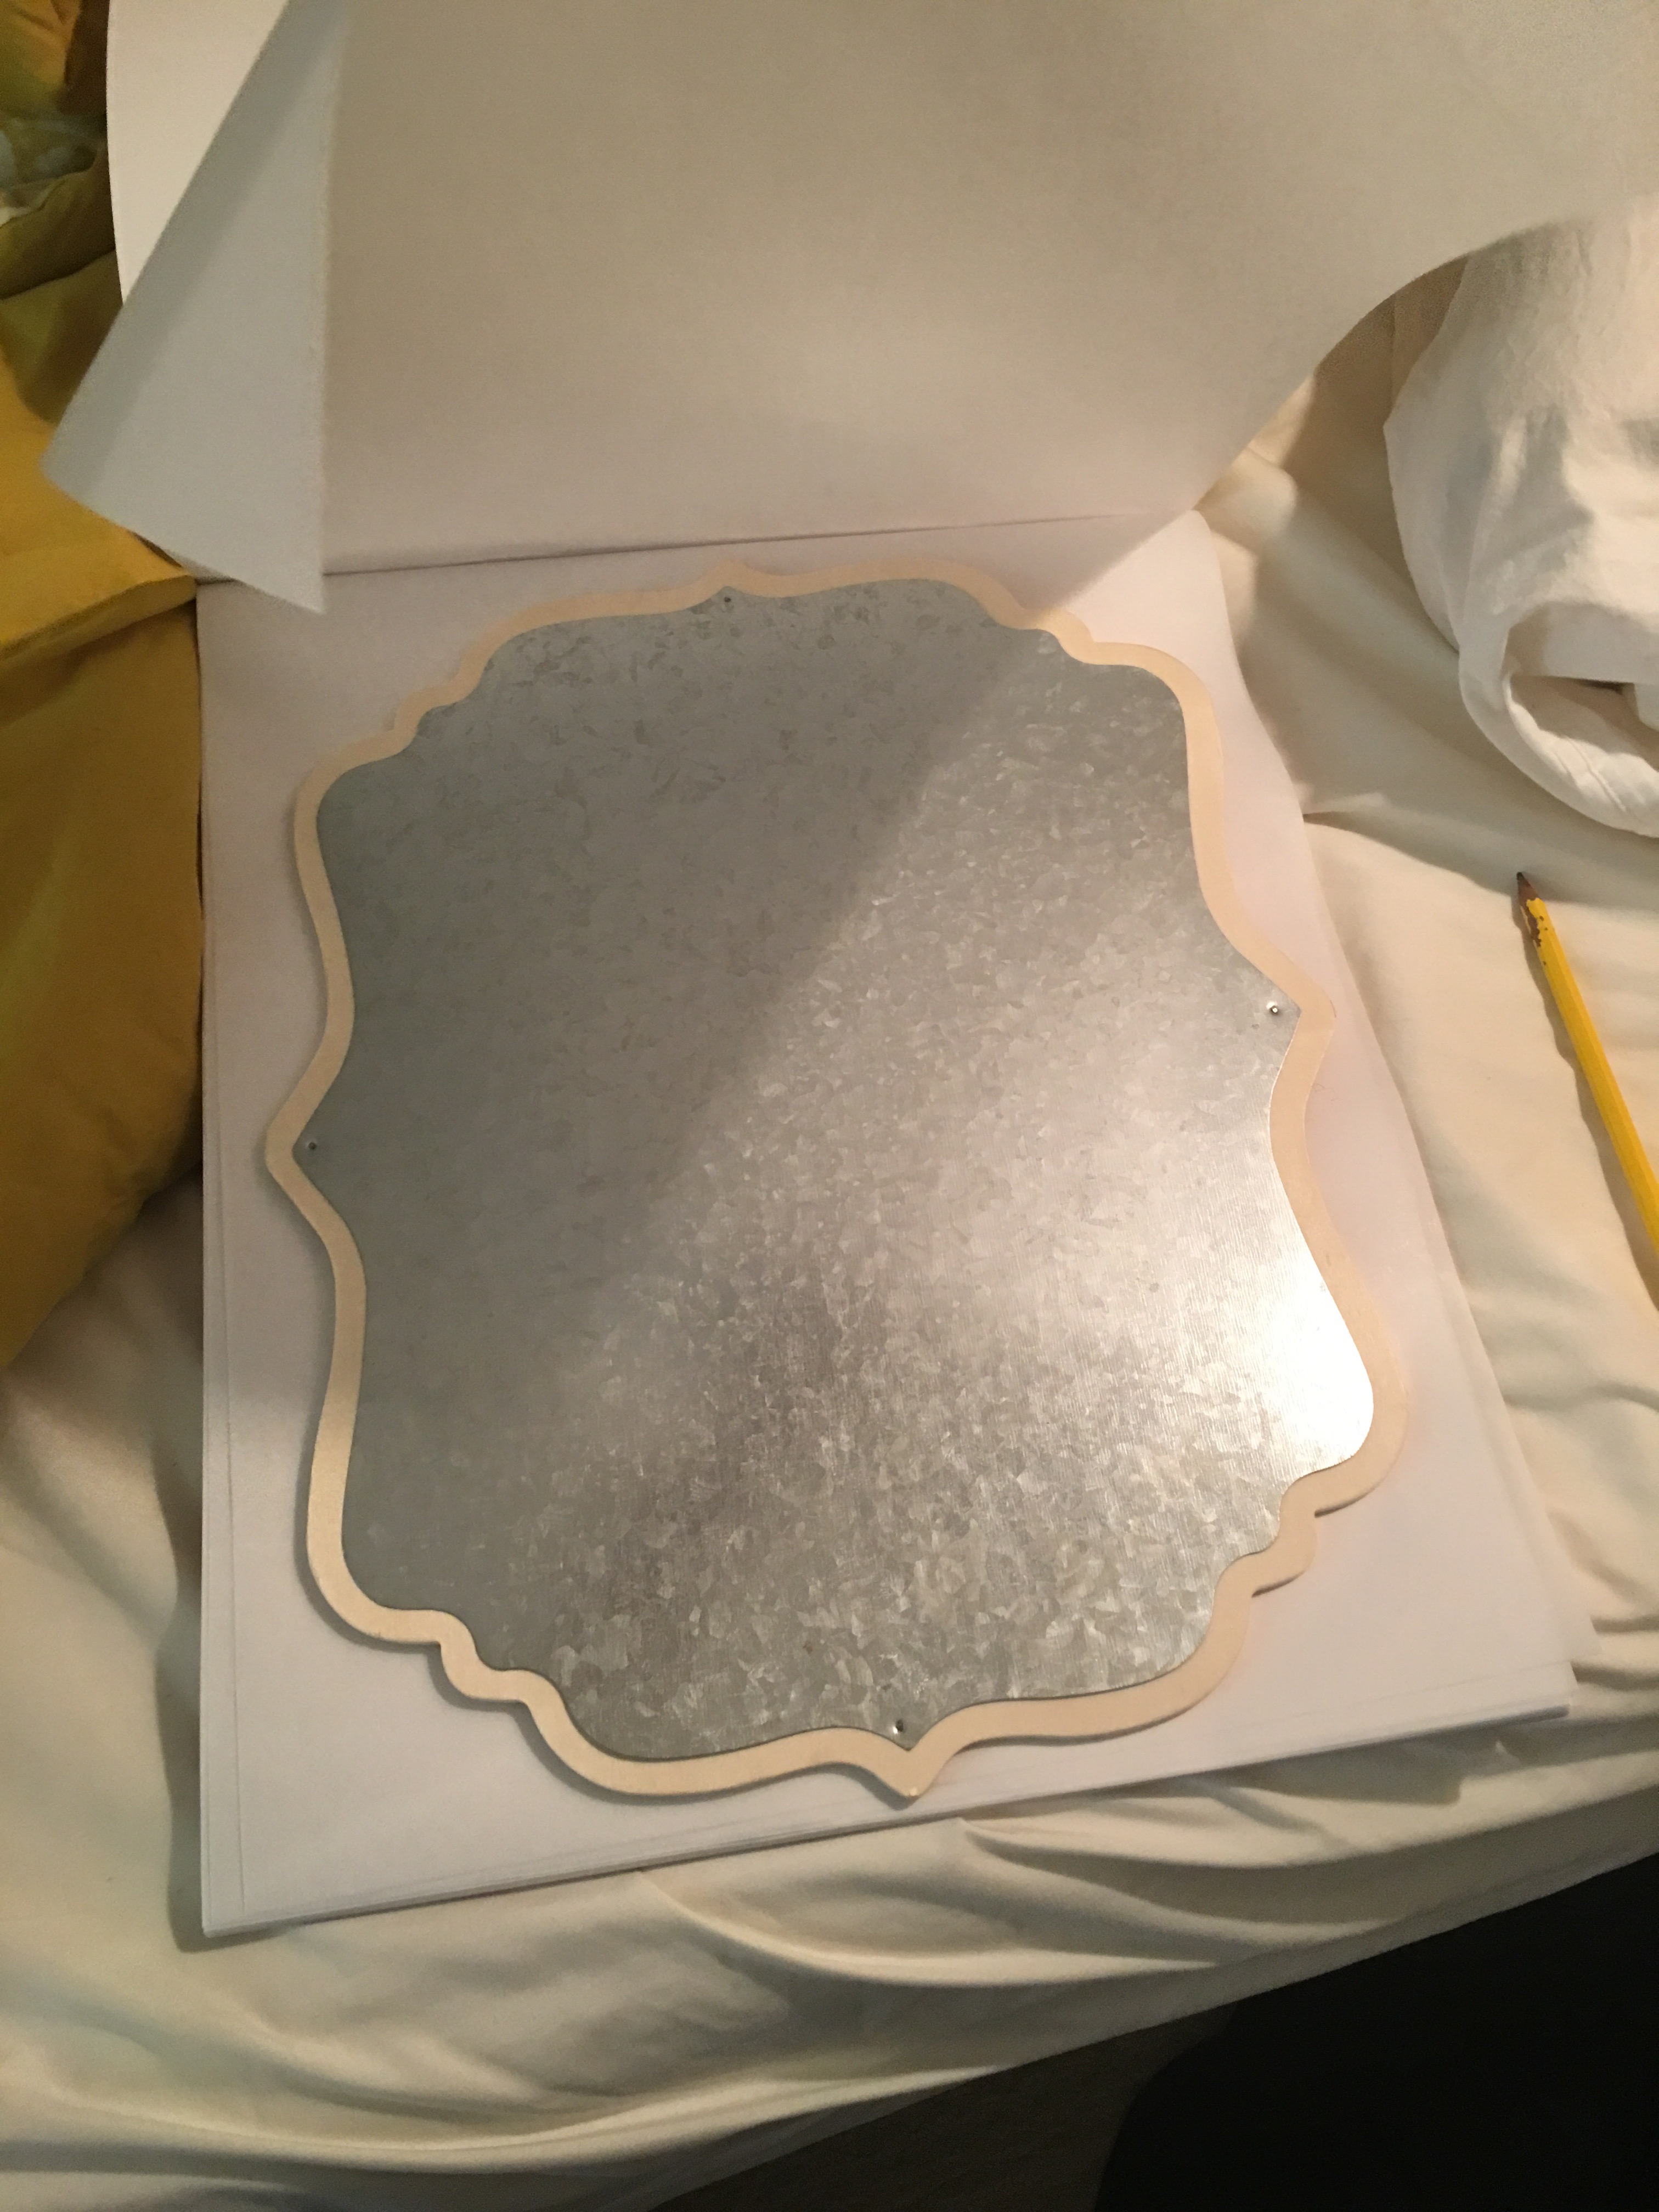
Then click the tracing paper to the decorative paper and cut out the shape.
Headboard decor redo is now complete.

Here’s the after on March 9, 2016.
And all of the paper rosettes that hung on the bedroom wall are now set free (and temporarily benched) as wall decor in the condo.
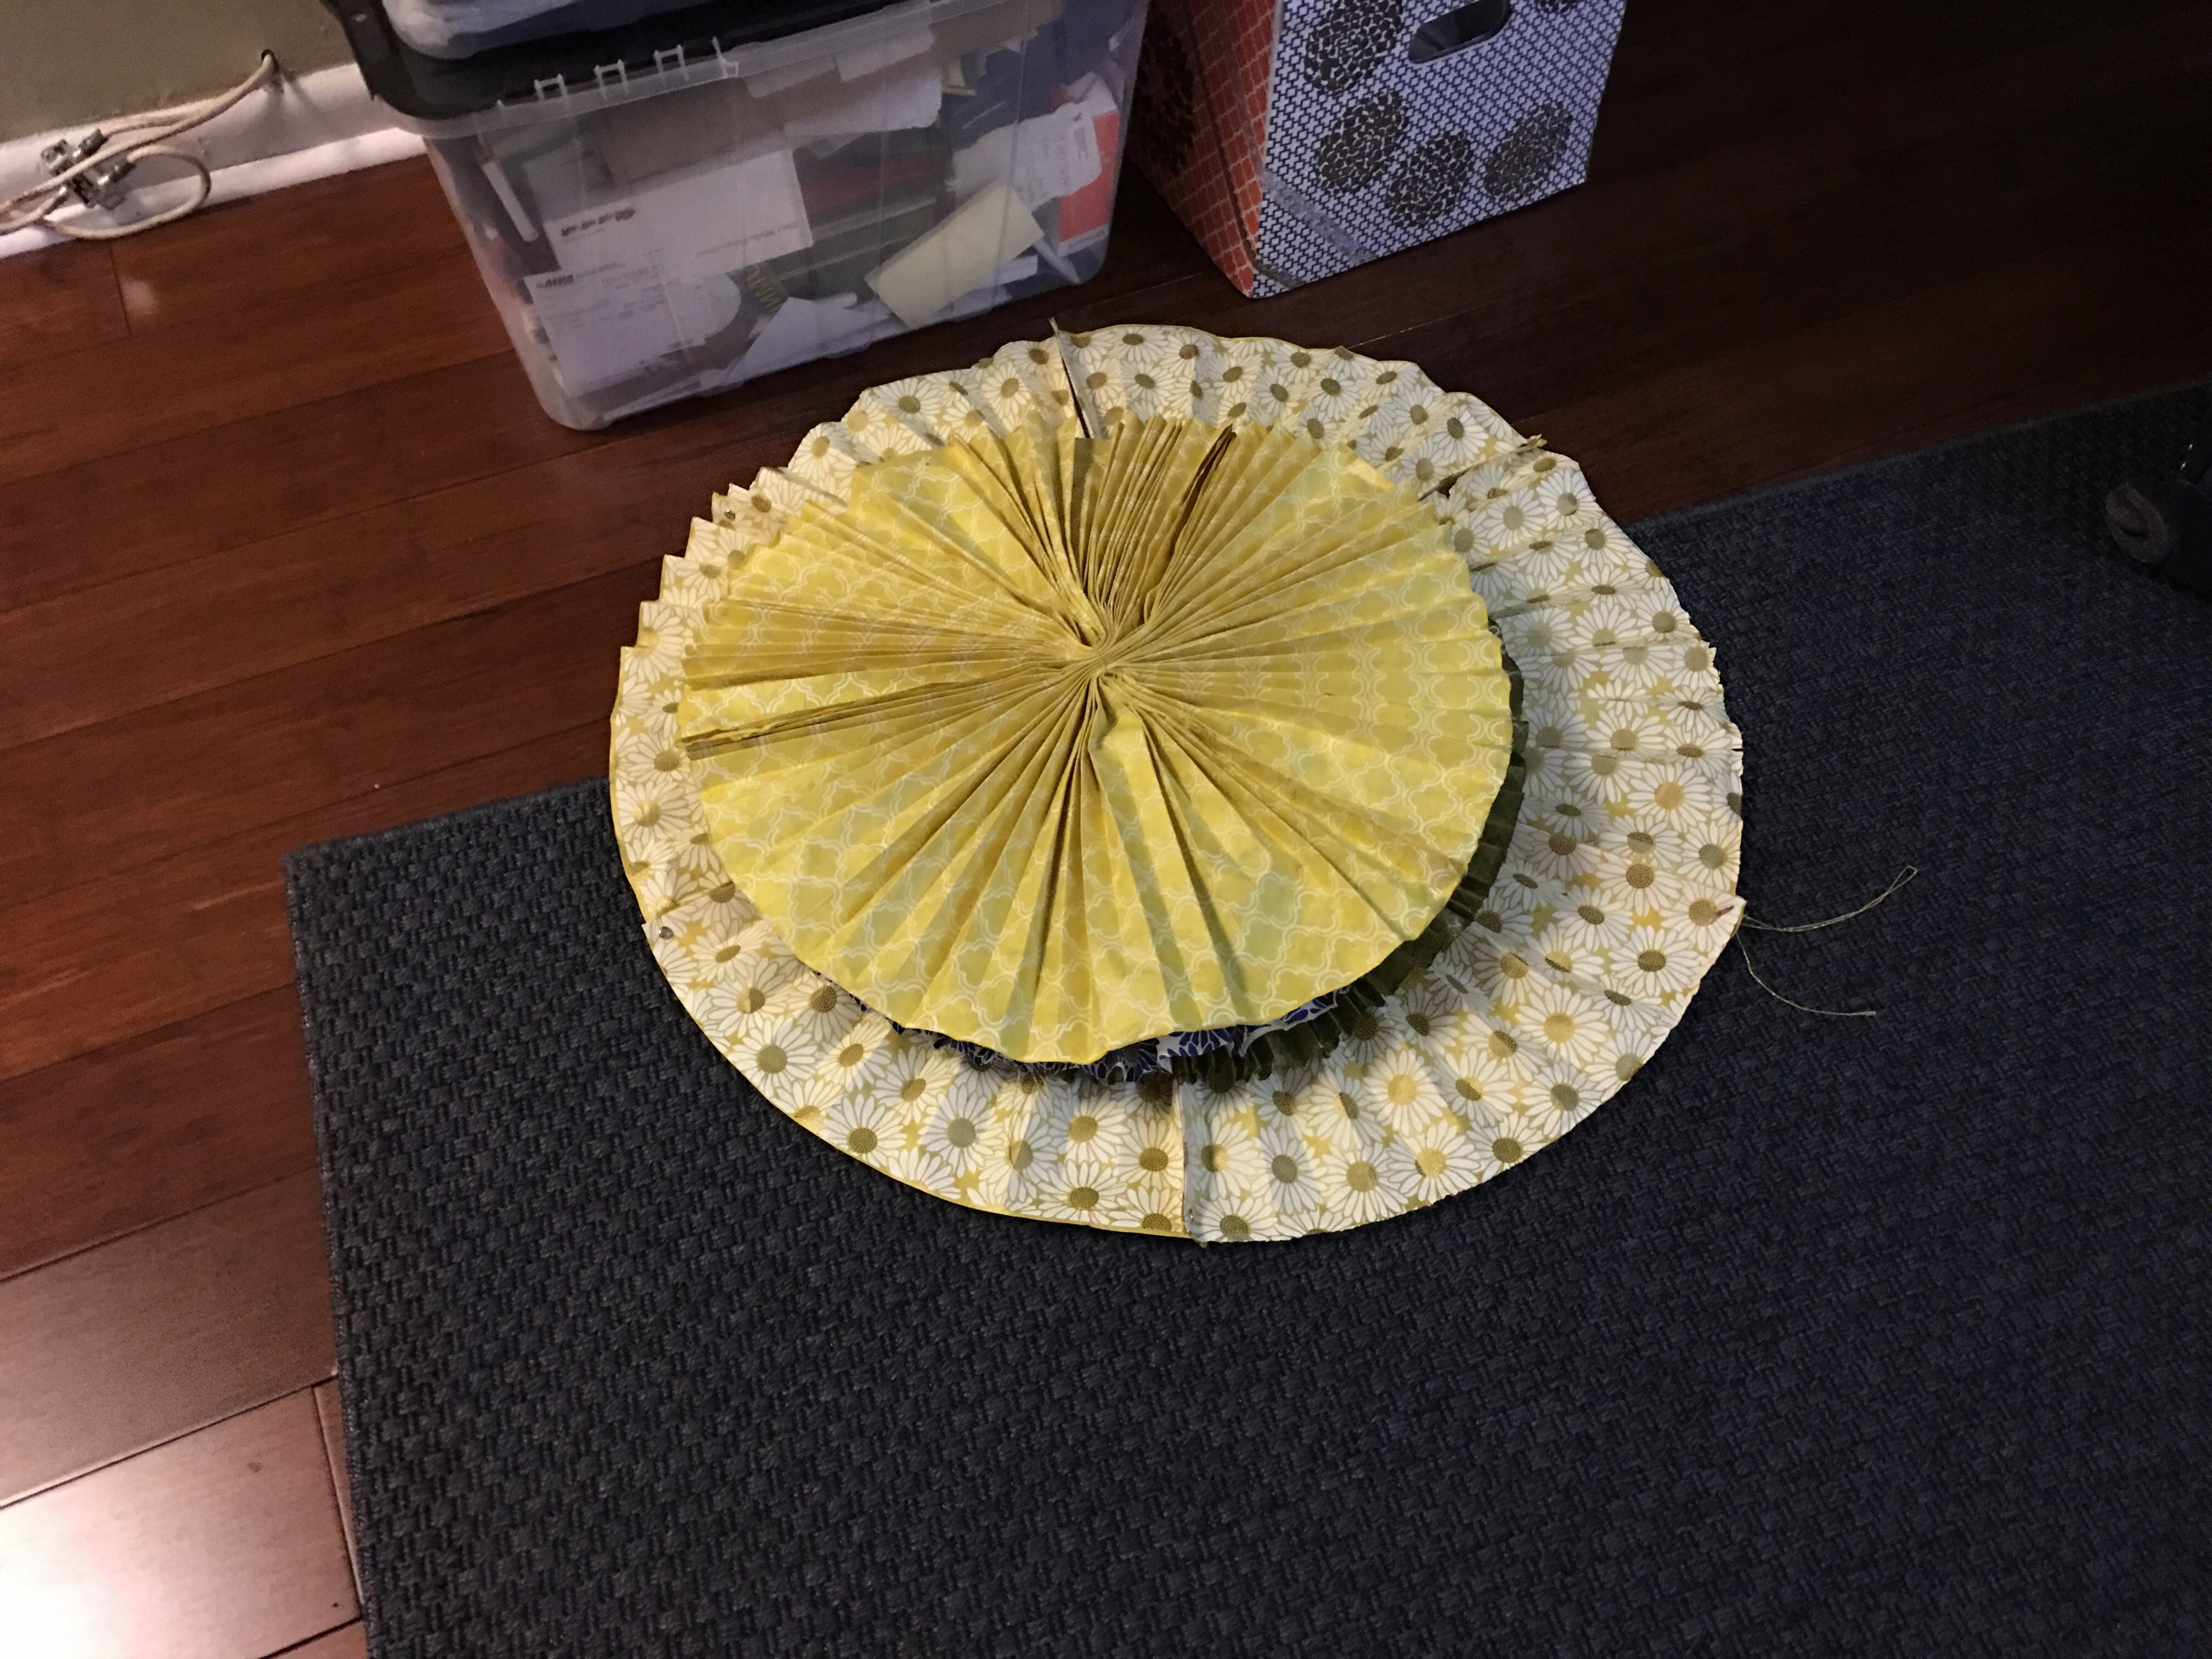
If I do not find a new spot for these soon, I’ll just remove the brads holding them together, fold them up and put them away. V-