
Cabin Crafting Series #5: Pendaflex diamond paint sample collage
You may also like:
February 24, 2016: Here’s another mini craft project I diddled around with while staying at the Deep Creek cabin during our week-long lake getaway.
While browsing the neighborhood Lowes in Oakland, MD, I developed a sudden, intense, fascination with paint color samples. Colors of every shade of the rainbow. I begin stuffing every paint sample of yellows and blues (the two colors I obsess most about these days). And I helped myself to every Olympic paint collection brochure which promises that you too can become a color genius.
So with a big wad of color samples in 57 thousand shades of yellow and blue, I began to brainstorm project ideas that showcases each one in a gradient pattern. I figured it would not only turn out to be a very pretty color showcase, but would also be a nice color reference that could be used for creating design templates, picking project paints, markers or inks (or maybe even selecting wall colors in our living room).
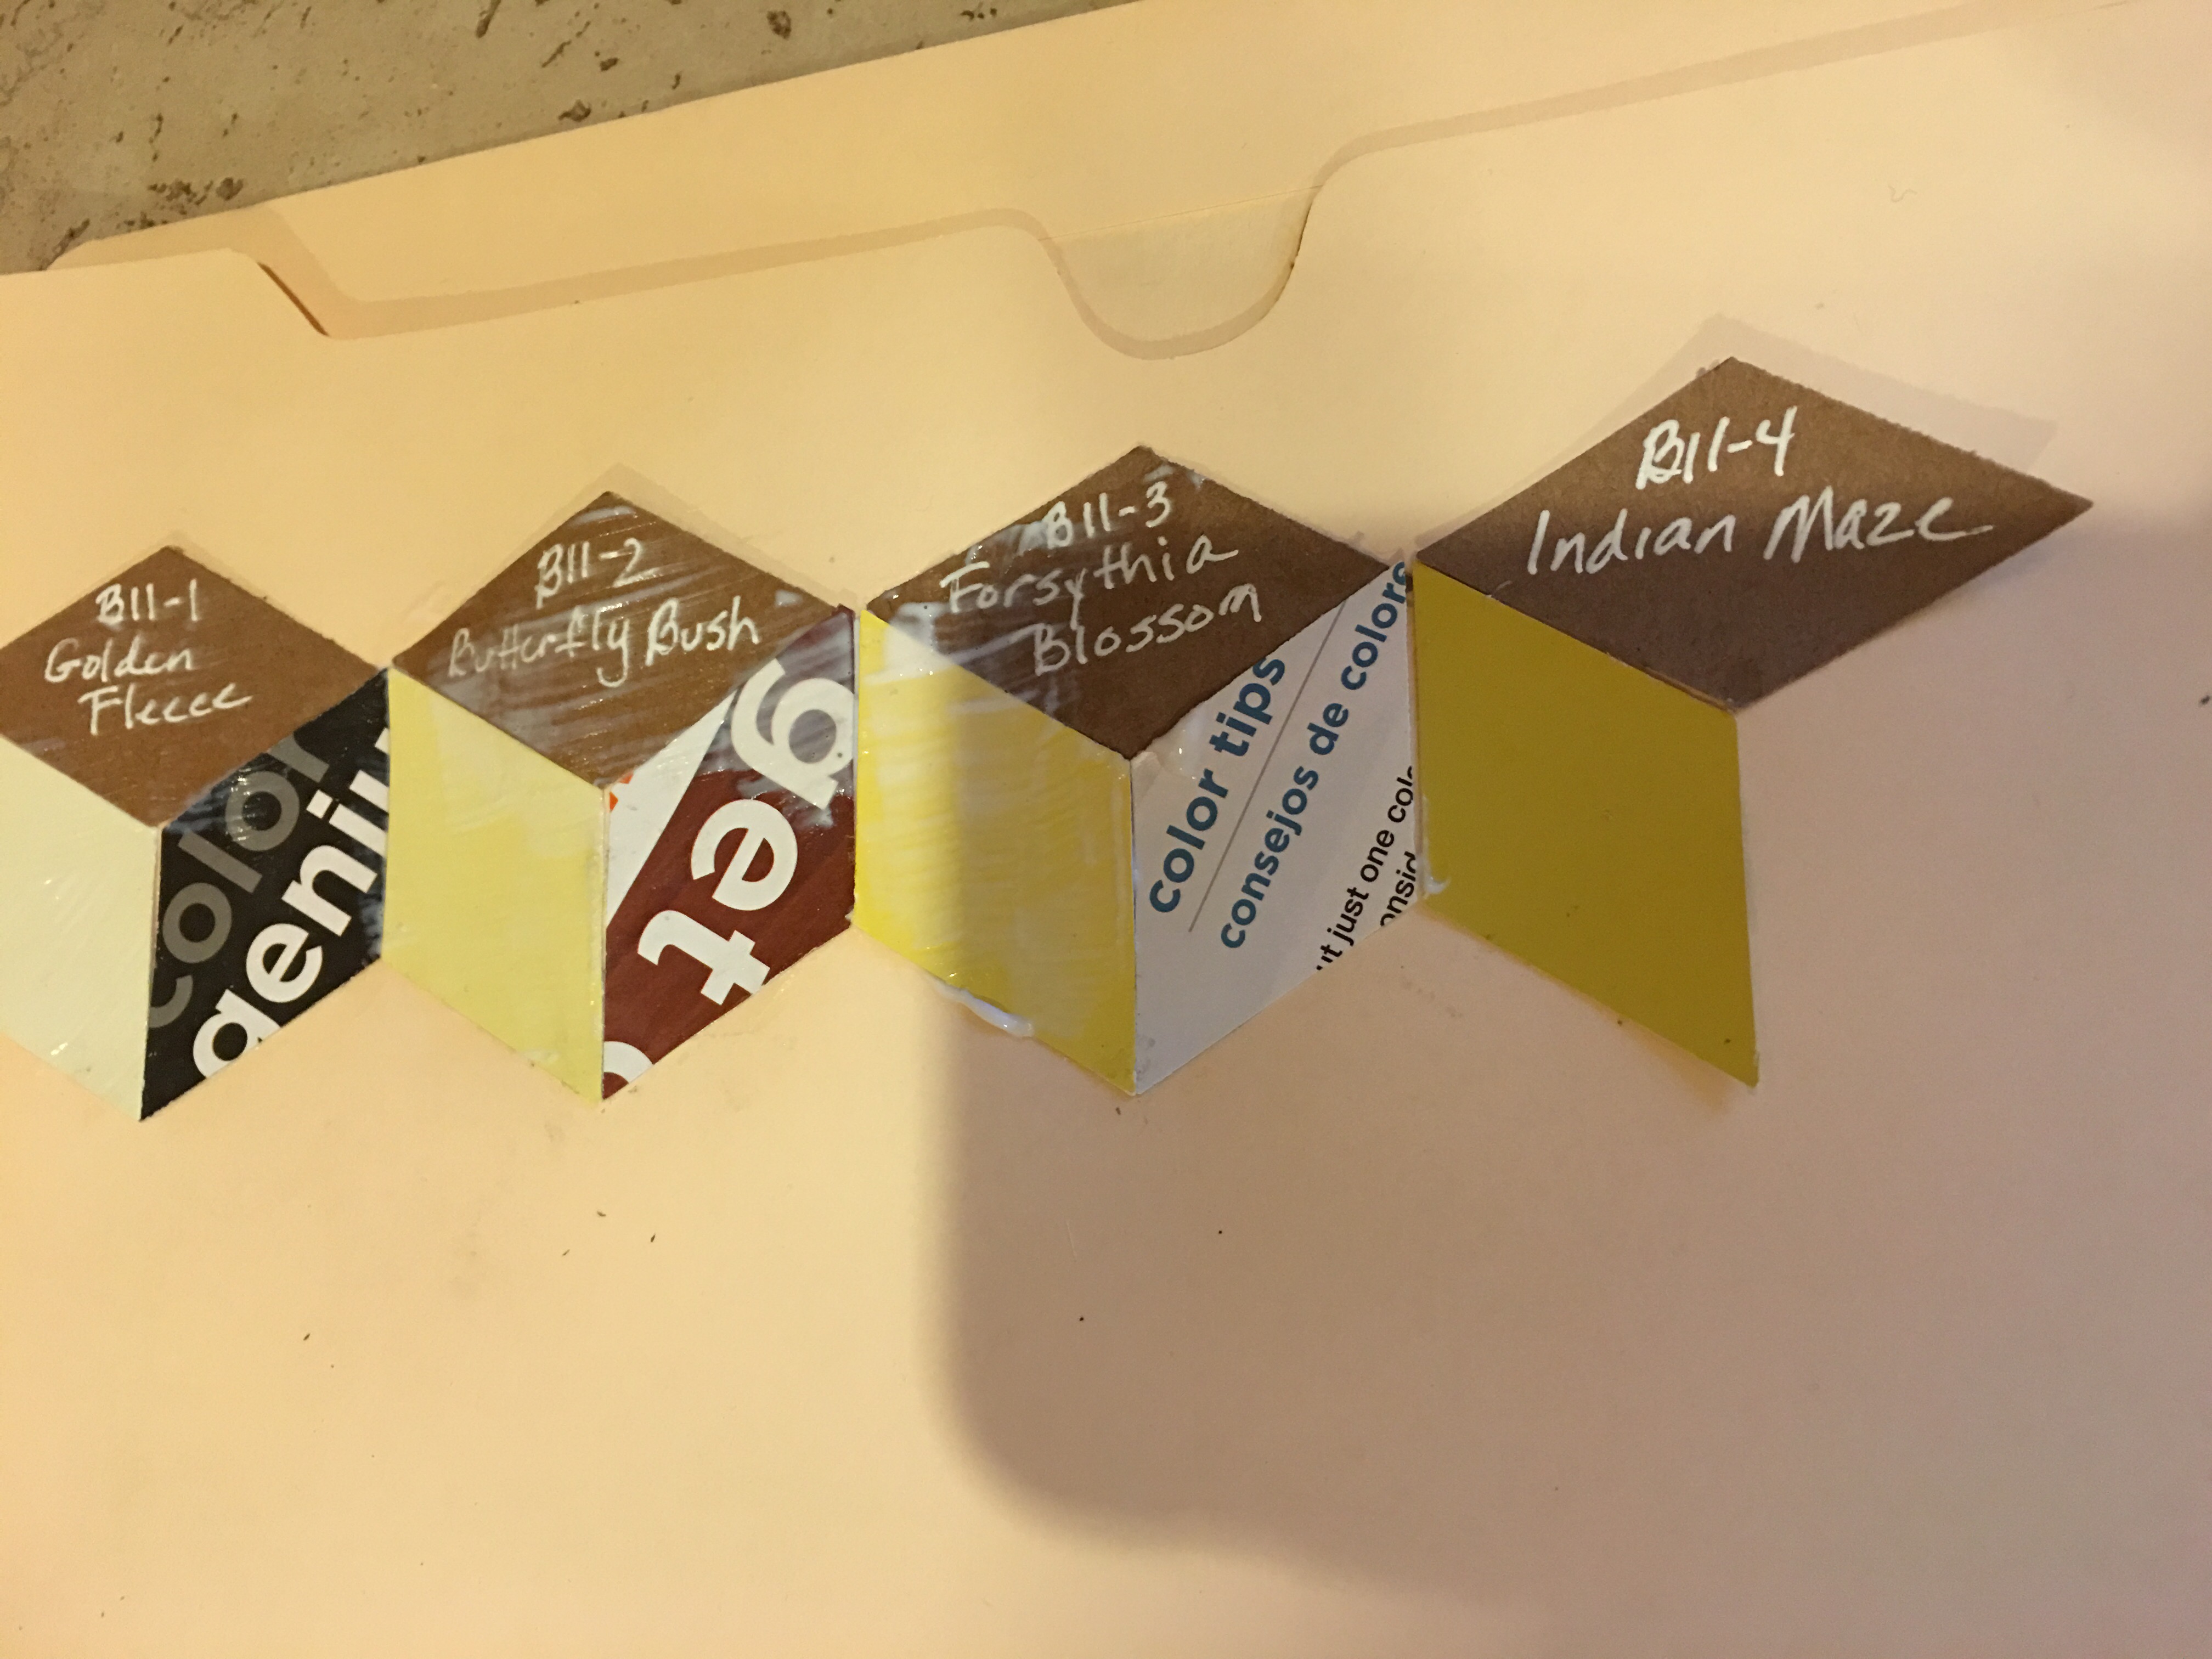
I decided to start with something easy and simple and decorate a Pendaflex expanding file jacket with diamond punch out of each color in every shade.
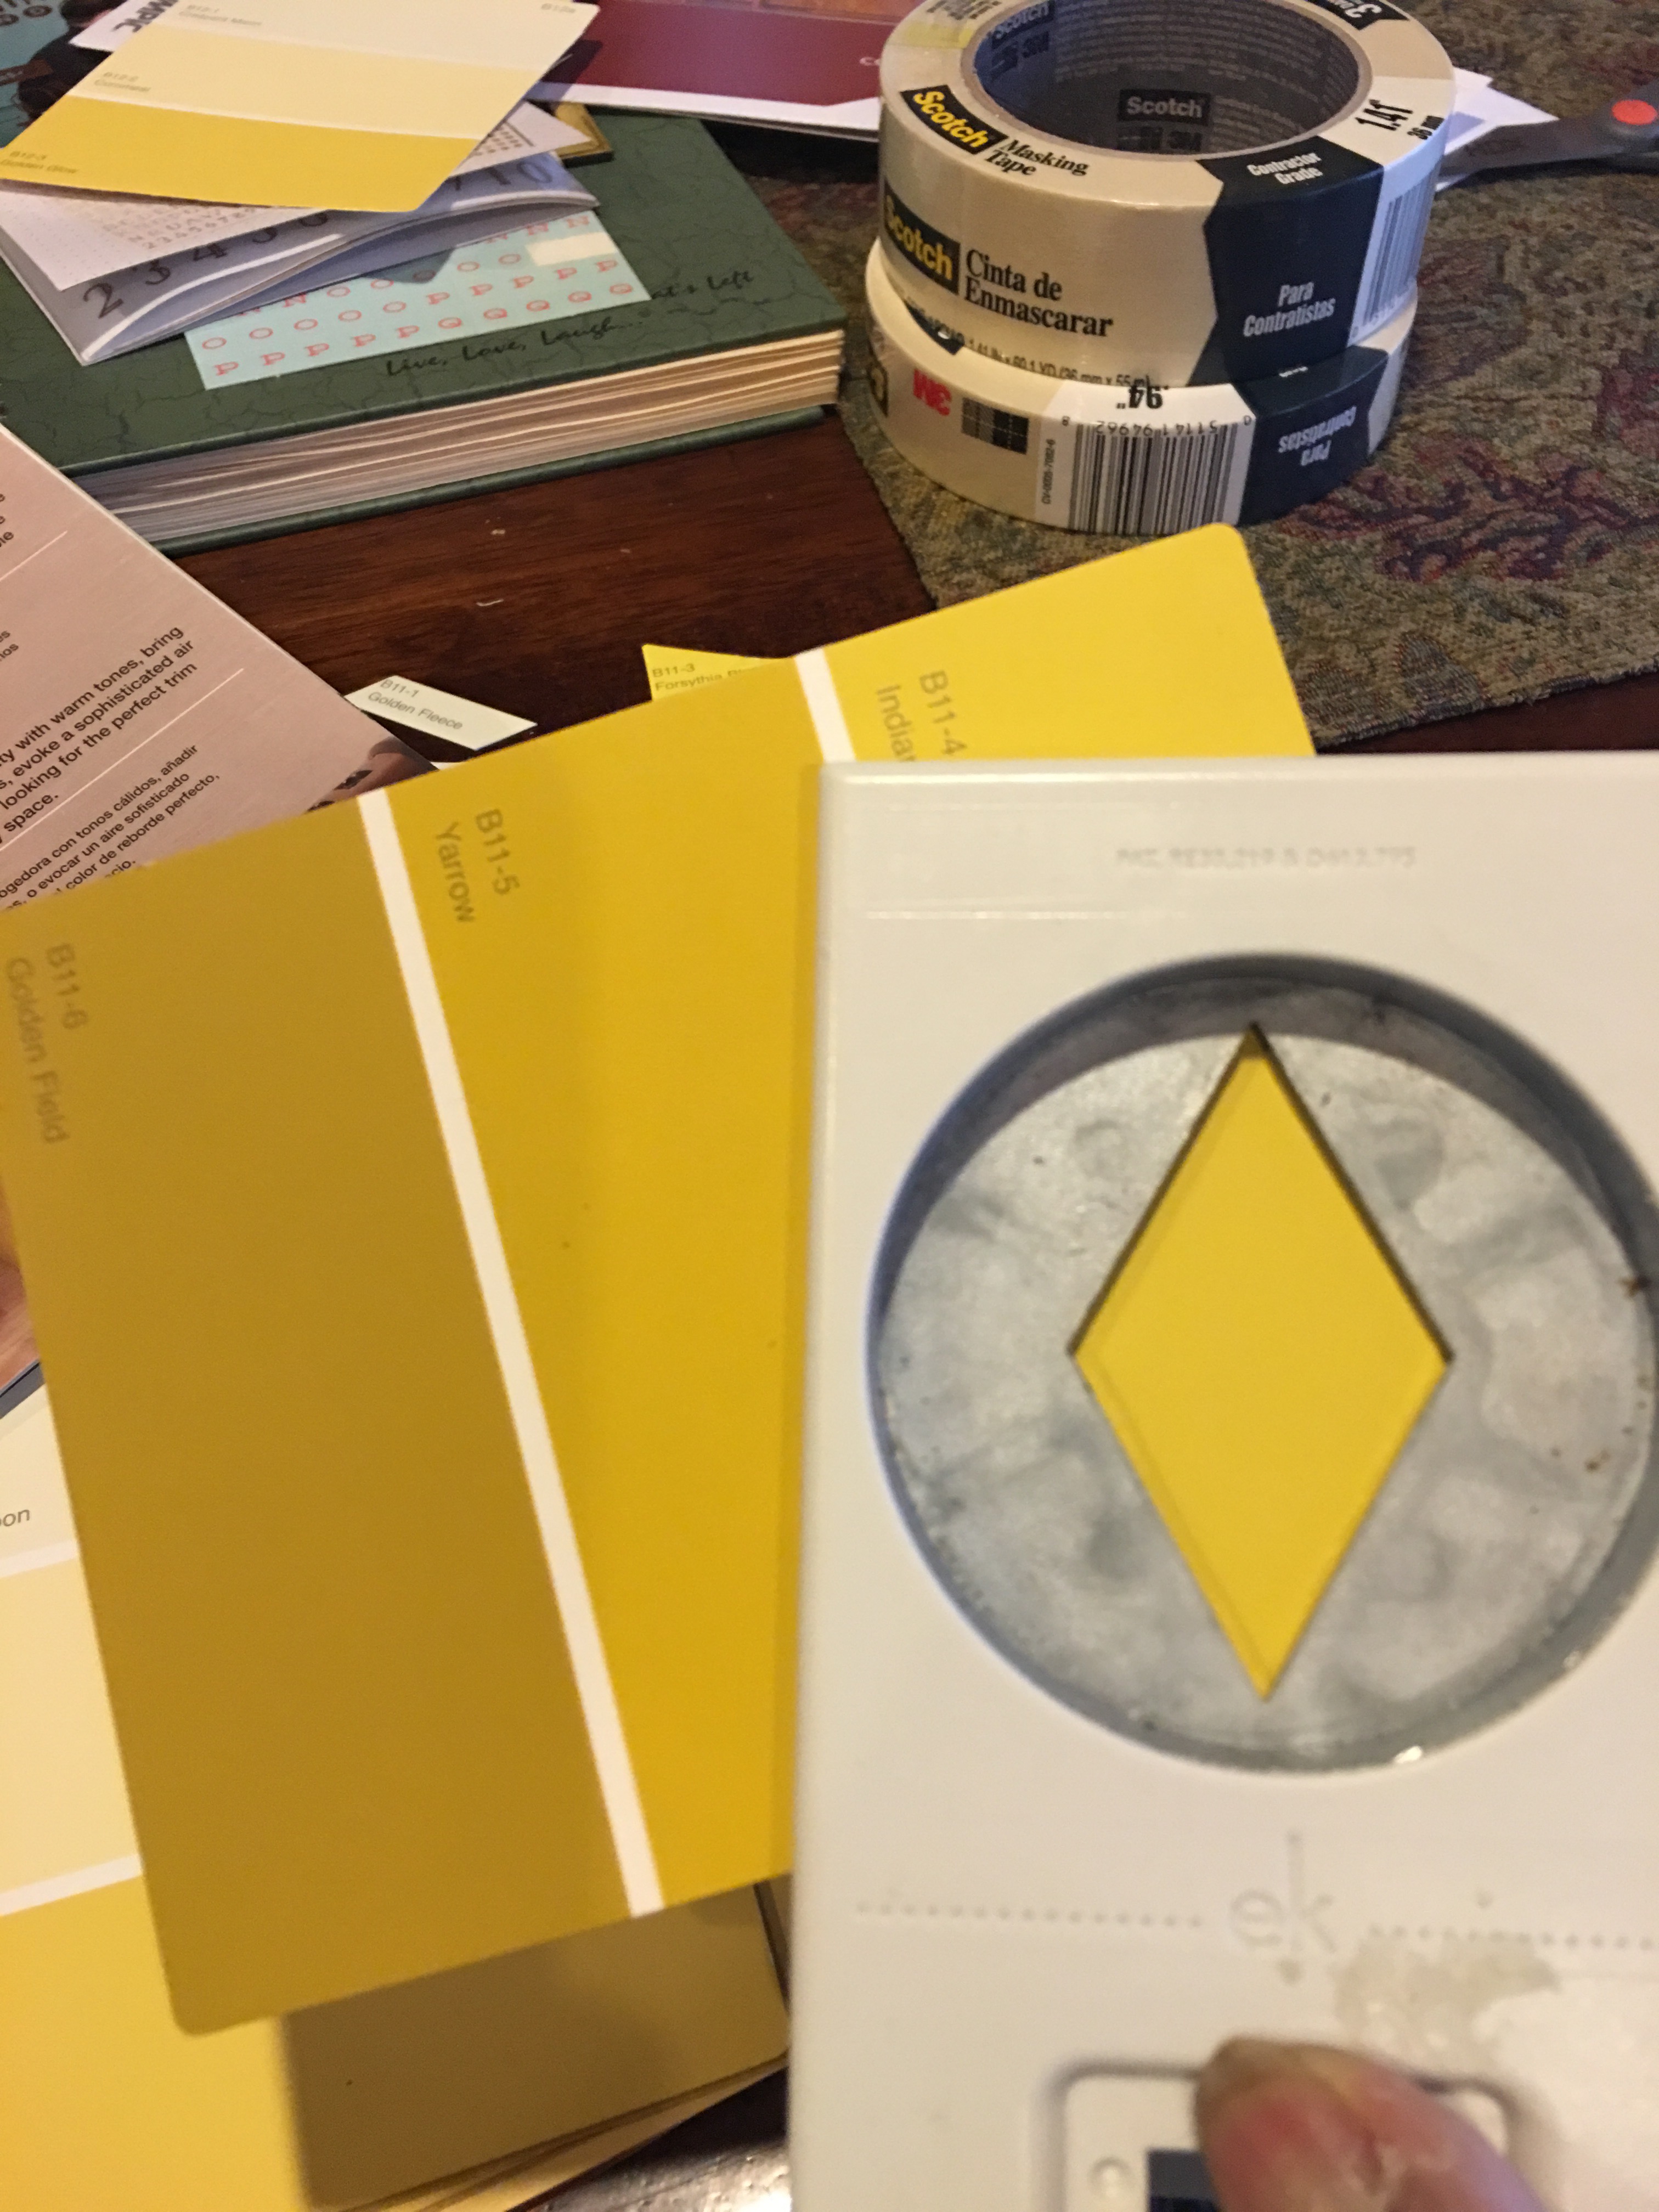
I wanted to include the shade name and number in my collage of diamonds (to make this a complete color portfolio). If a particular color catches my eye I can point to it and say, “Yes, this is lemonberry lolipop, while that is dandelion cream puff!”
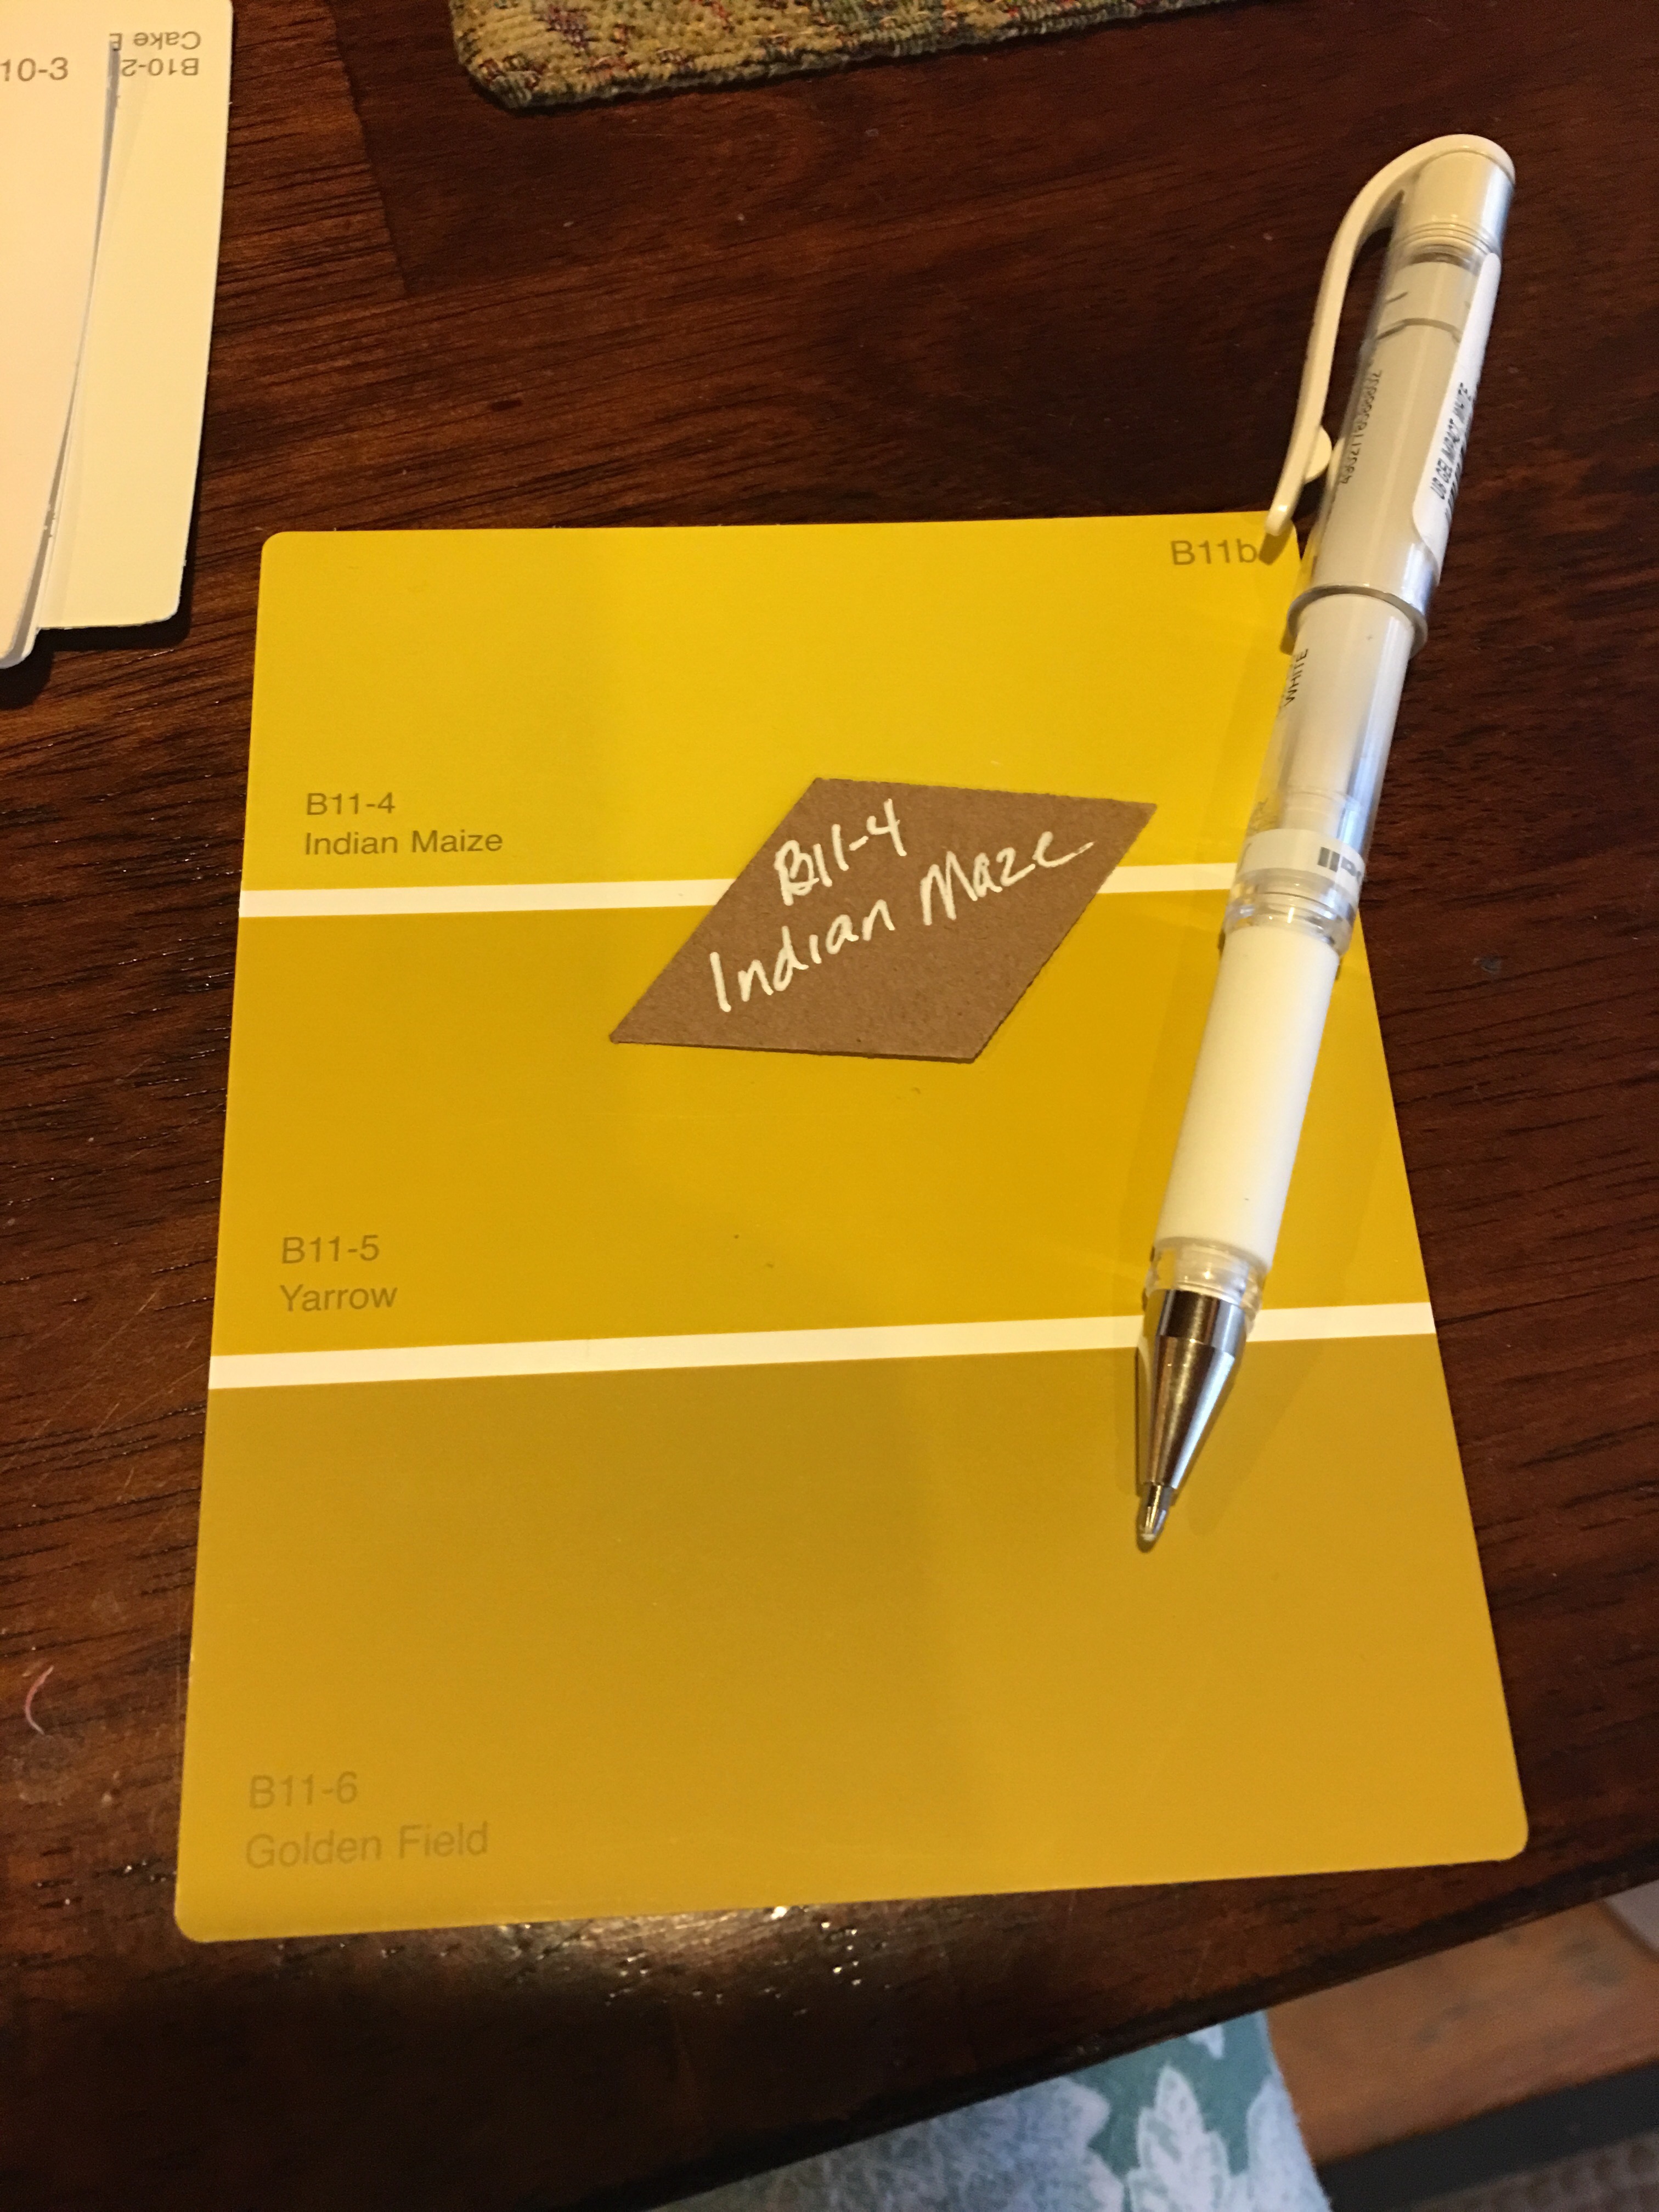
But the pre-printed color labels would not all fit in the diamond shape punch-out. So I punched out a number of diamonds in plain craft paper and used a white gel pen to write out the labels.
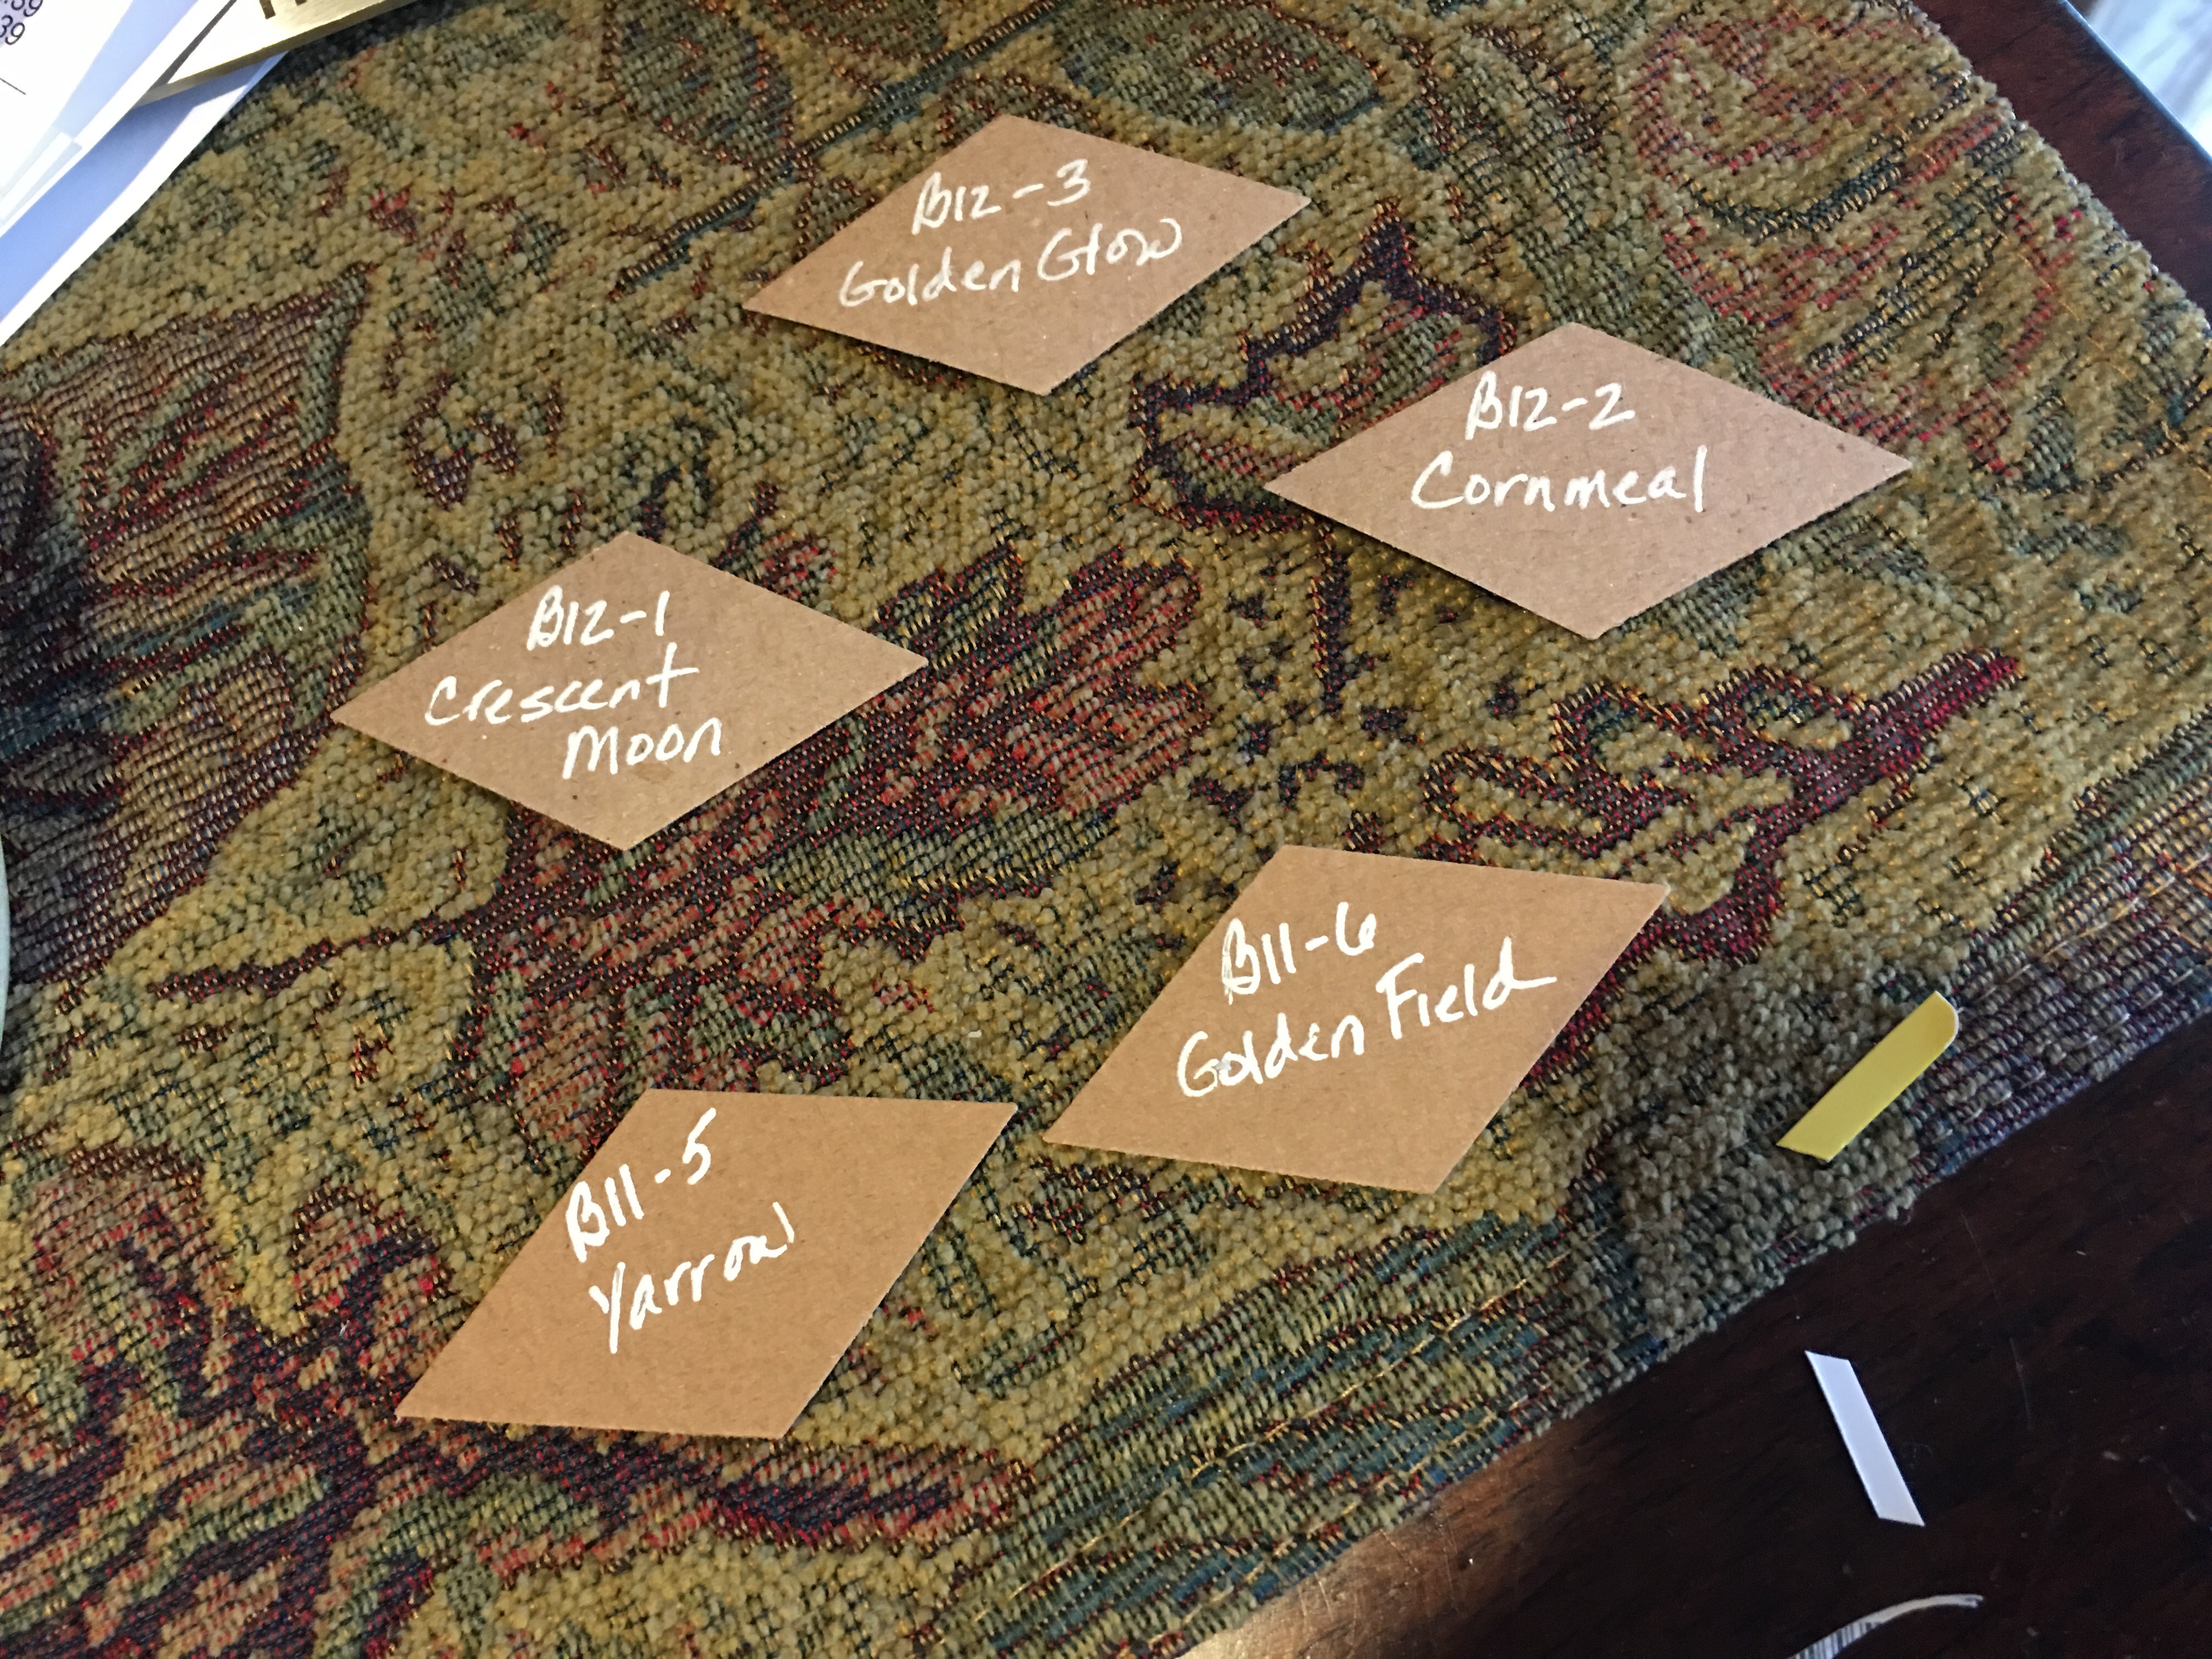
I made a label for every shade that will be added to the collage. And I used every shade in sequence (to stick to the integrity of my experimental color portfolio piece.
Then came the Mod Podging. I added each diamond punch-out in various shades on the file jacket, separating each with a punch-out of wording or images from the brochures. I thought this gave the project a nice graphic, collage look.
The diamond labels where positioned at the top, each color on the left and a brochure punch-out piece on the right.
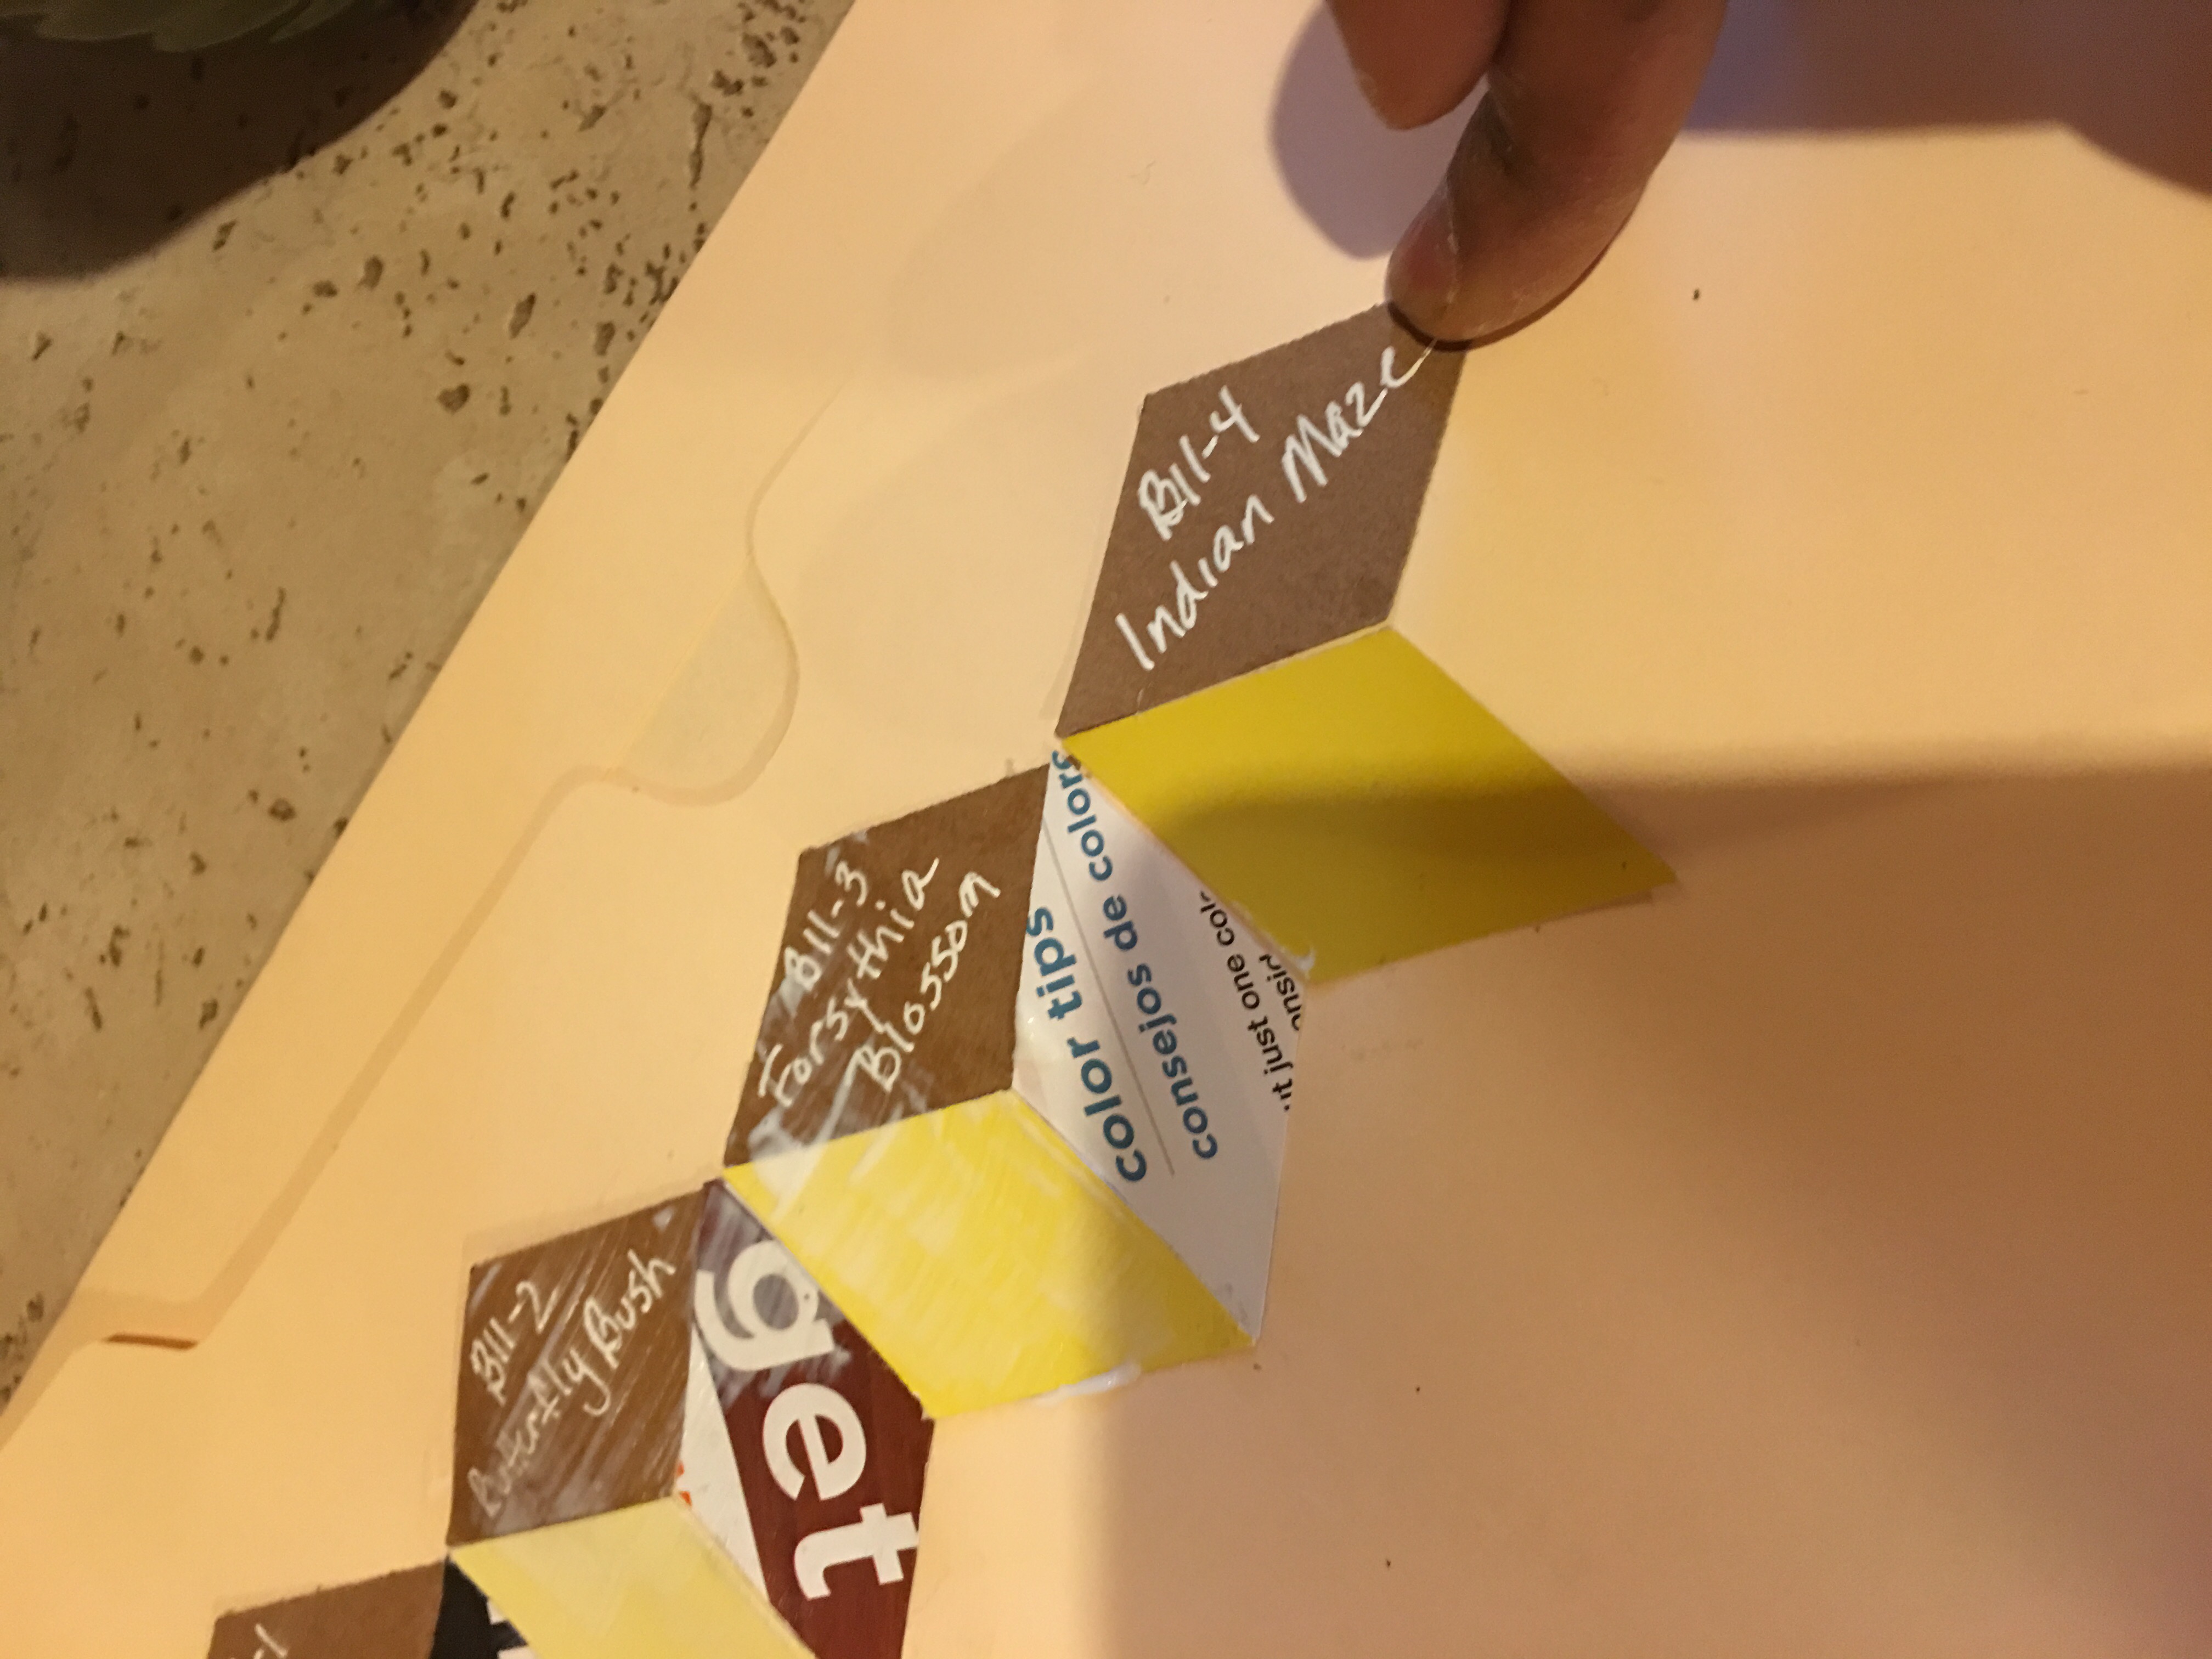
Once I reach the side border, I continue with the pattern, letting a piece hang over the edge (and trim this later with scissors).
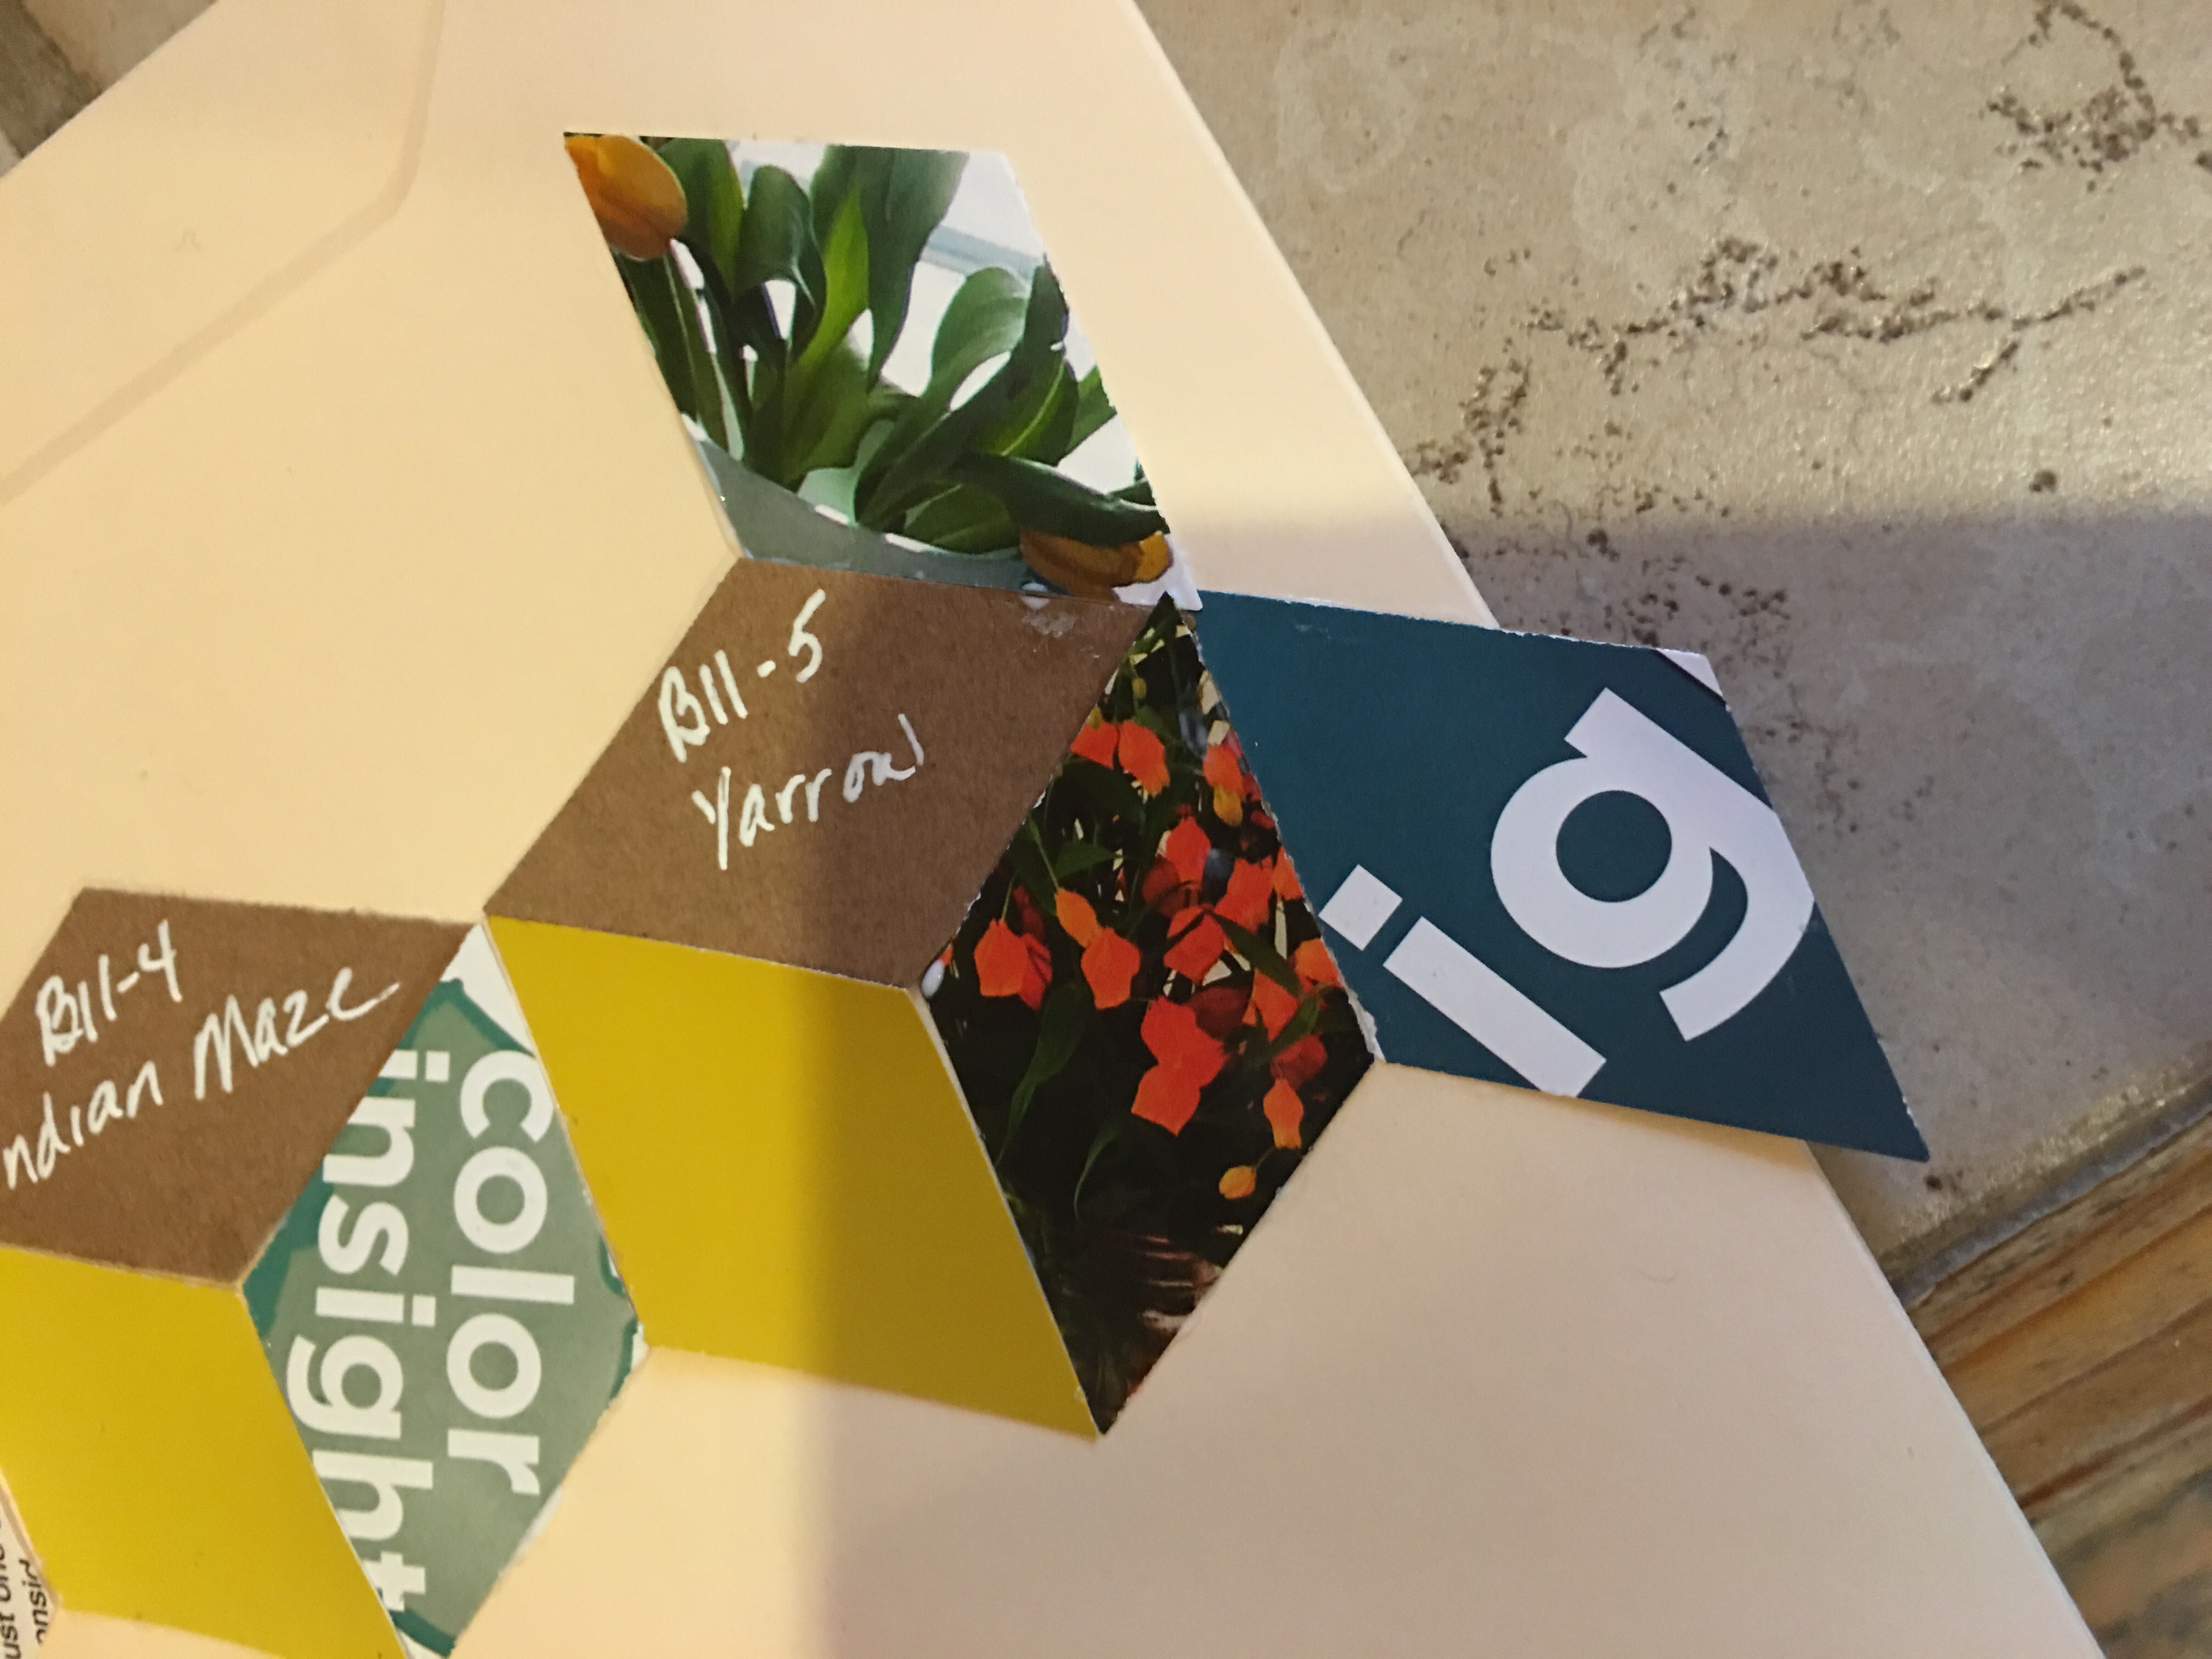
As with every project made with shapes arranged in a puzzle-like pattern, I discover that my placement becomes off-track along the way, requiring that adjustments are made (for those oddly shaped gaps in my design).
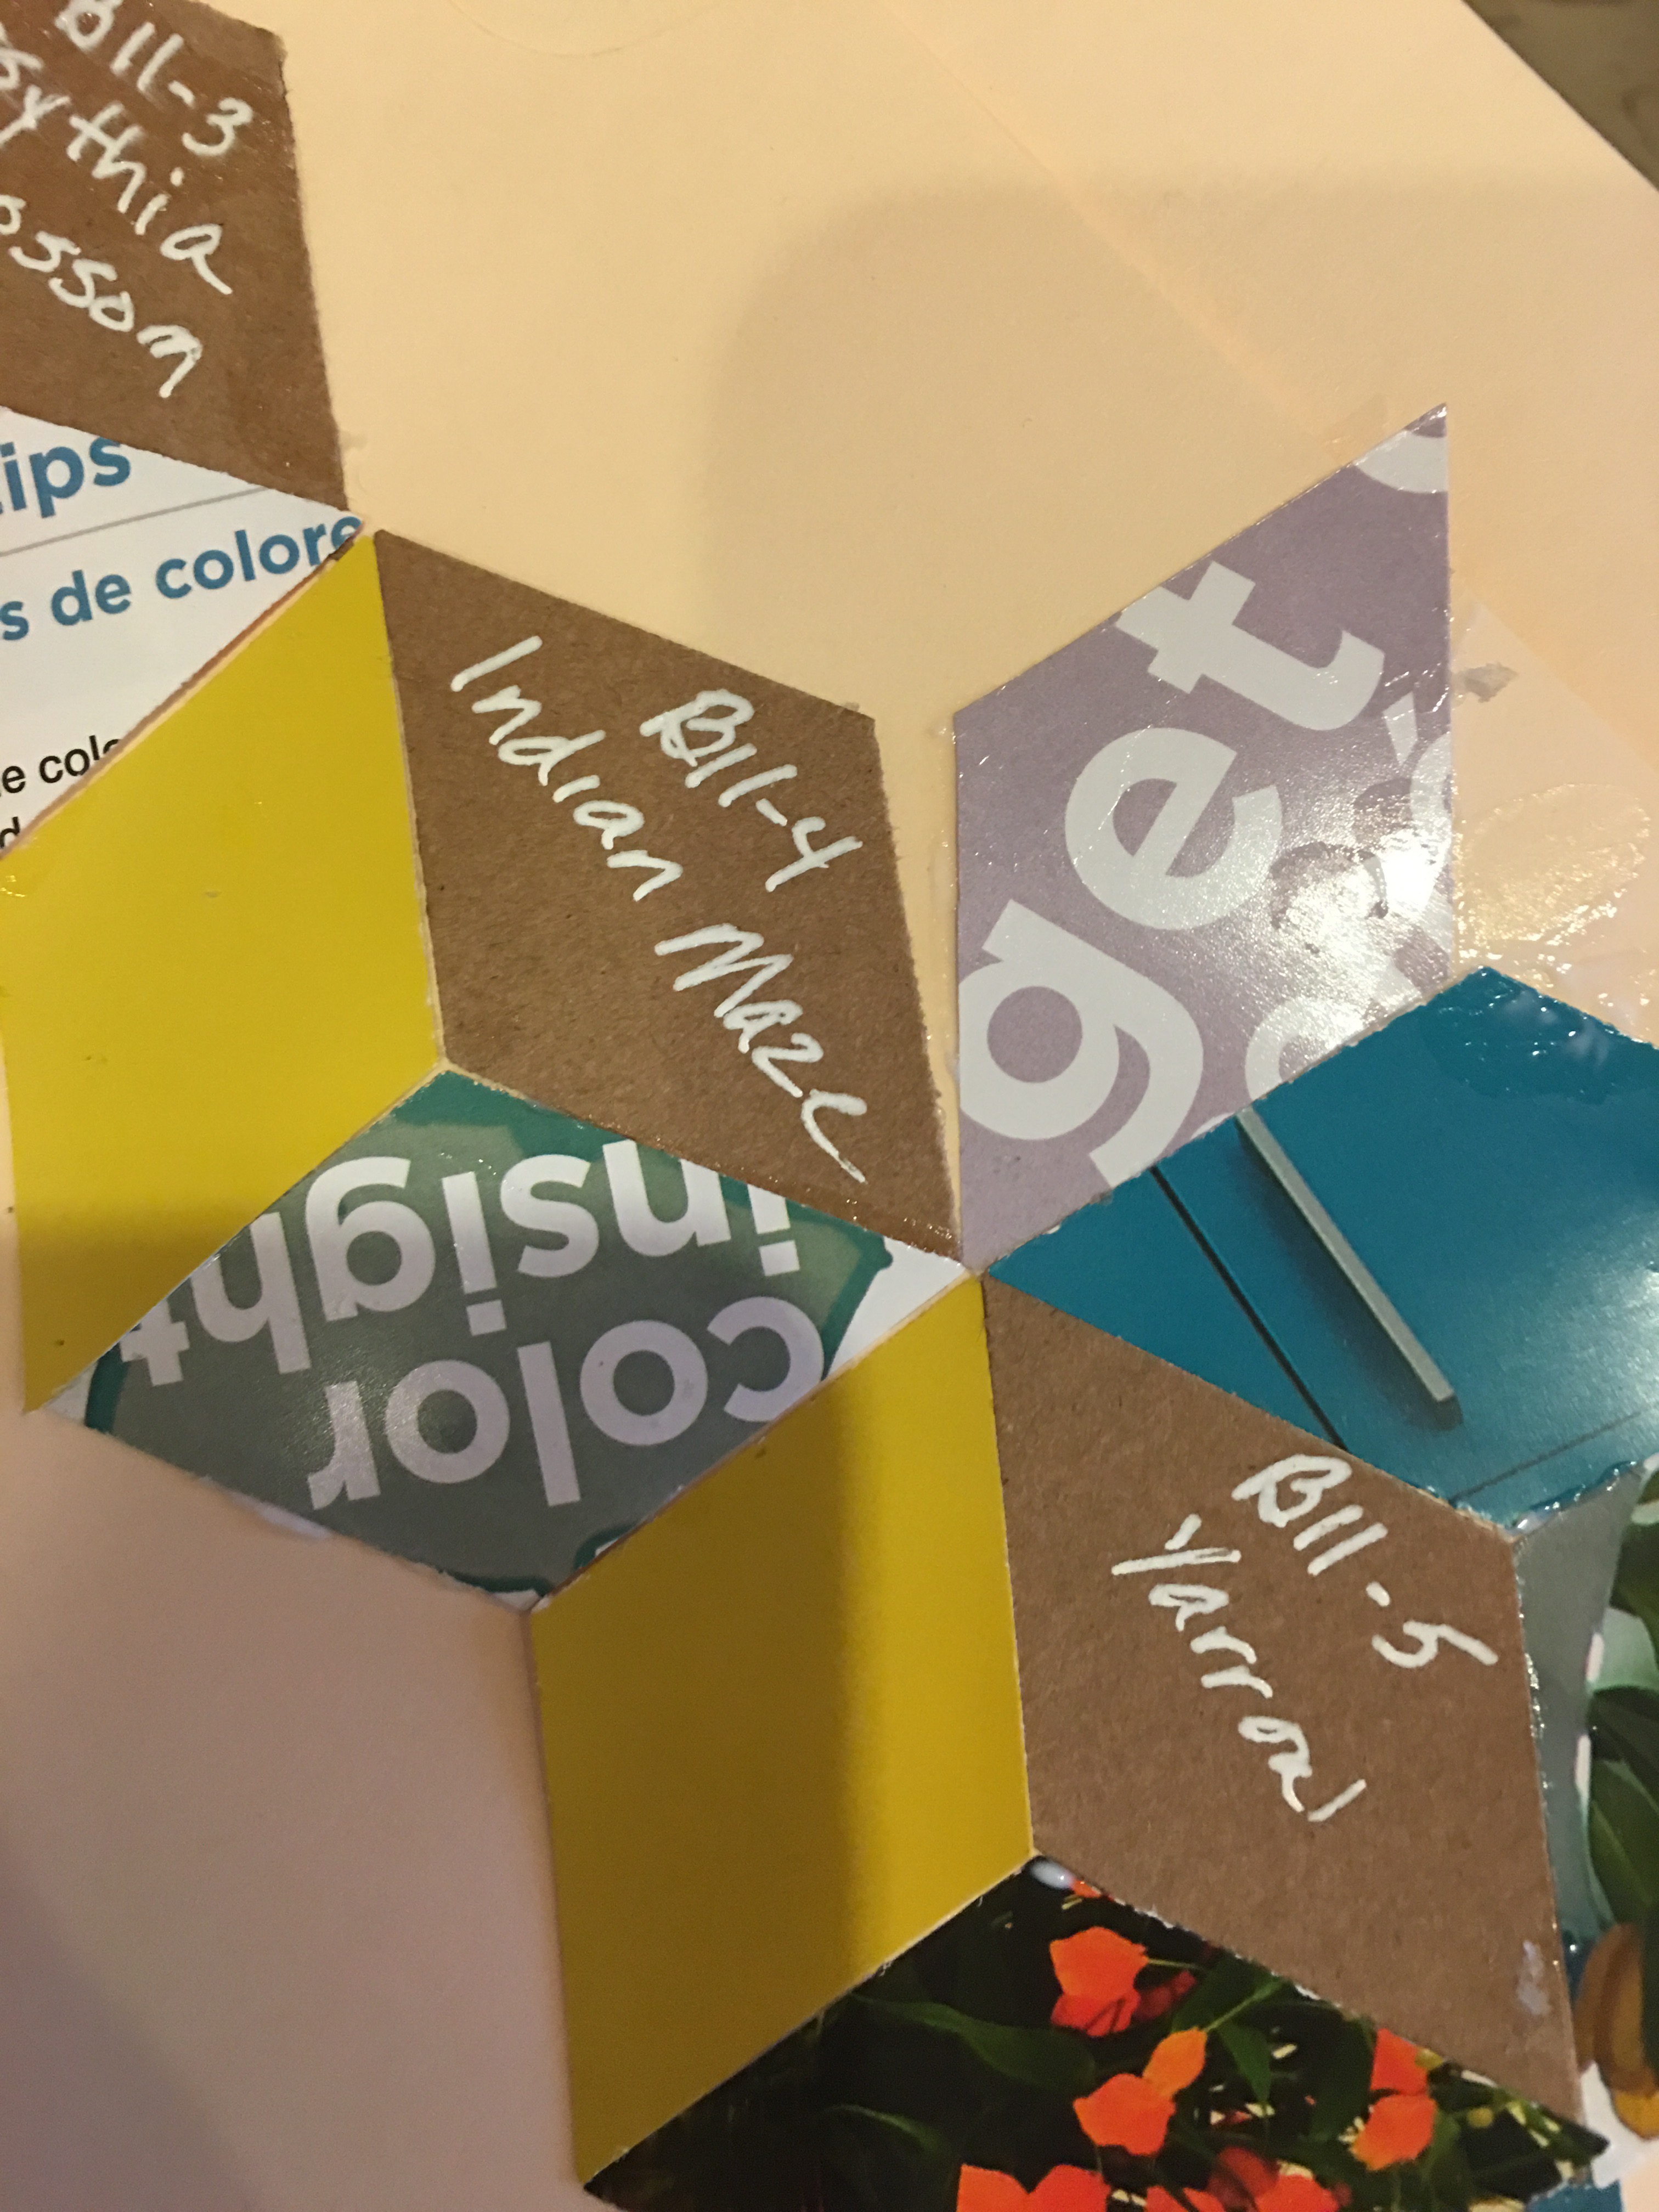
For this project, I just used another diamond to cover the gap, allowing for minor overlaps here and there.
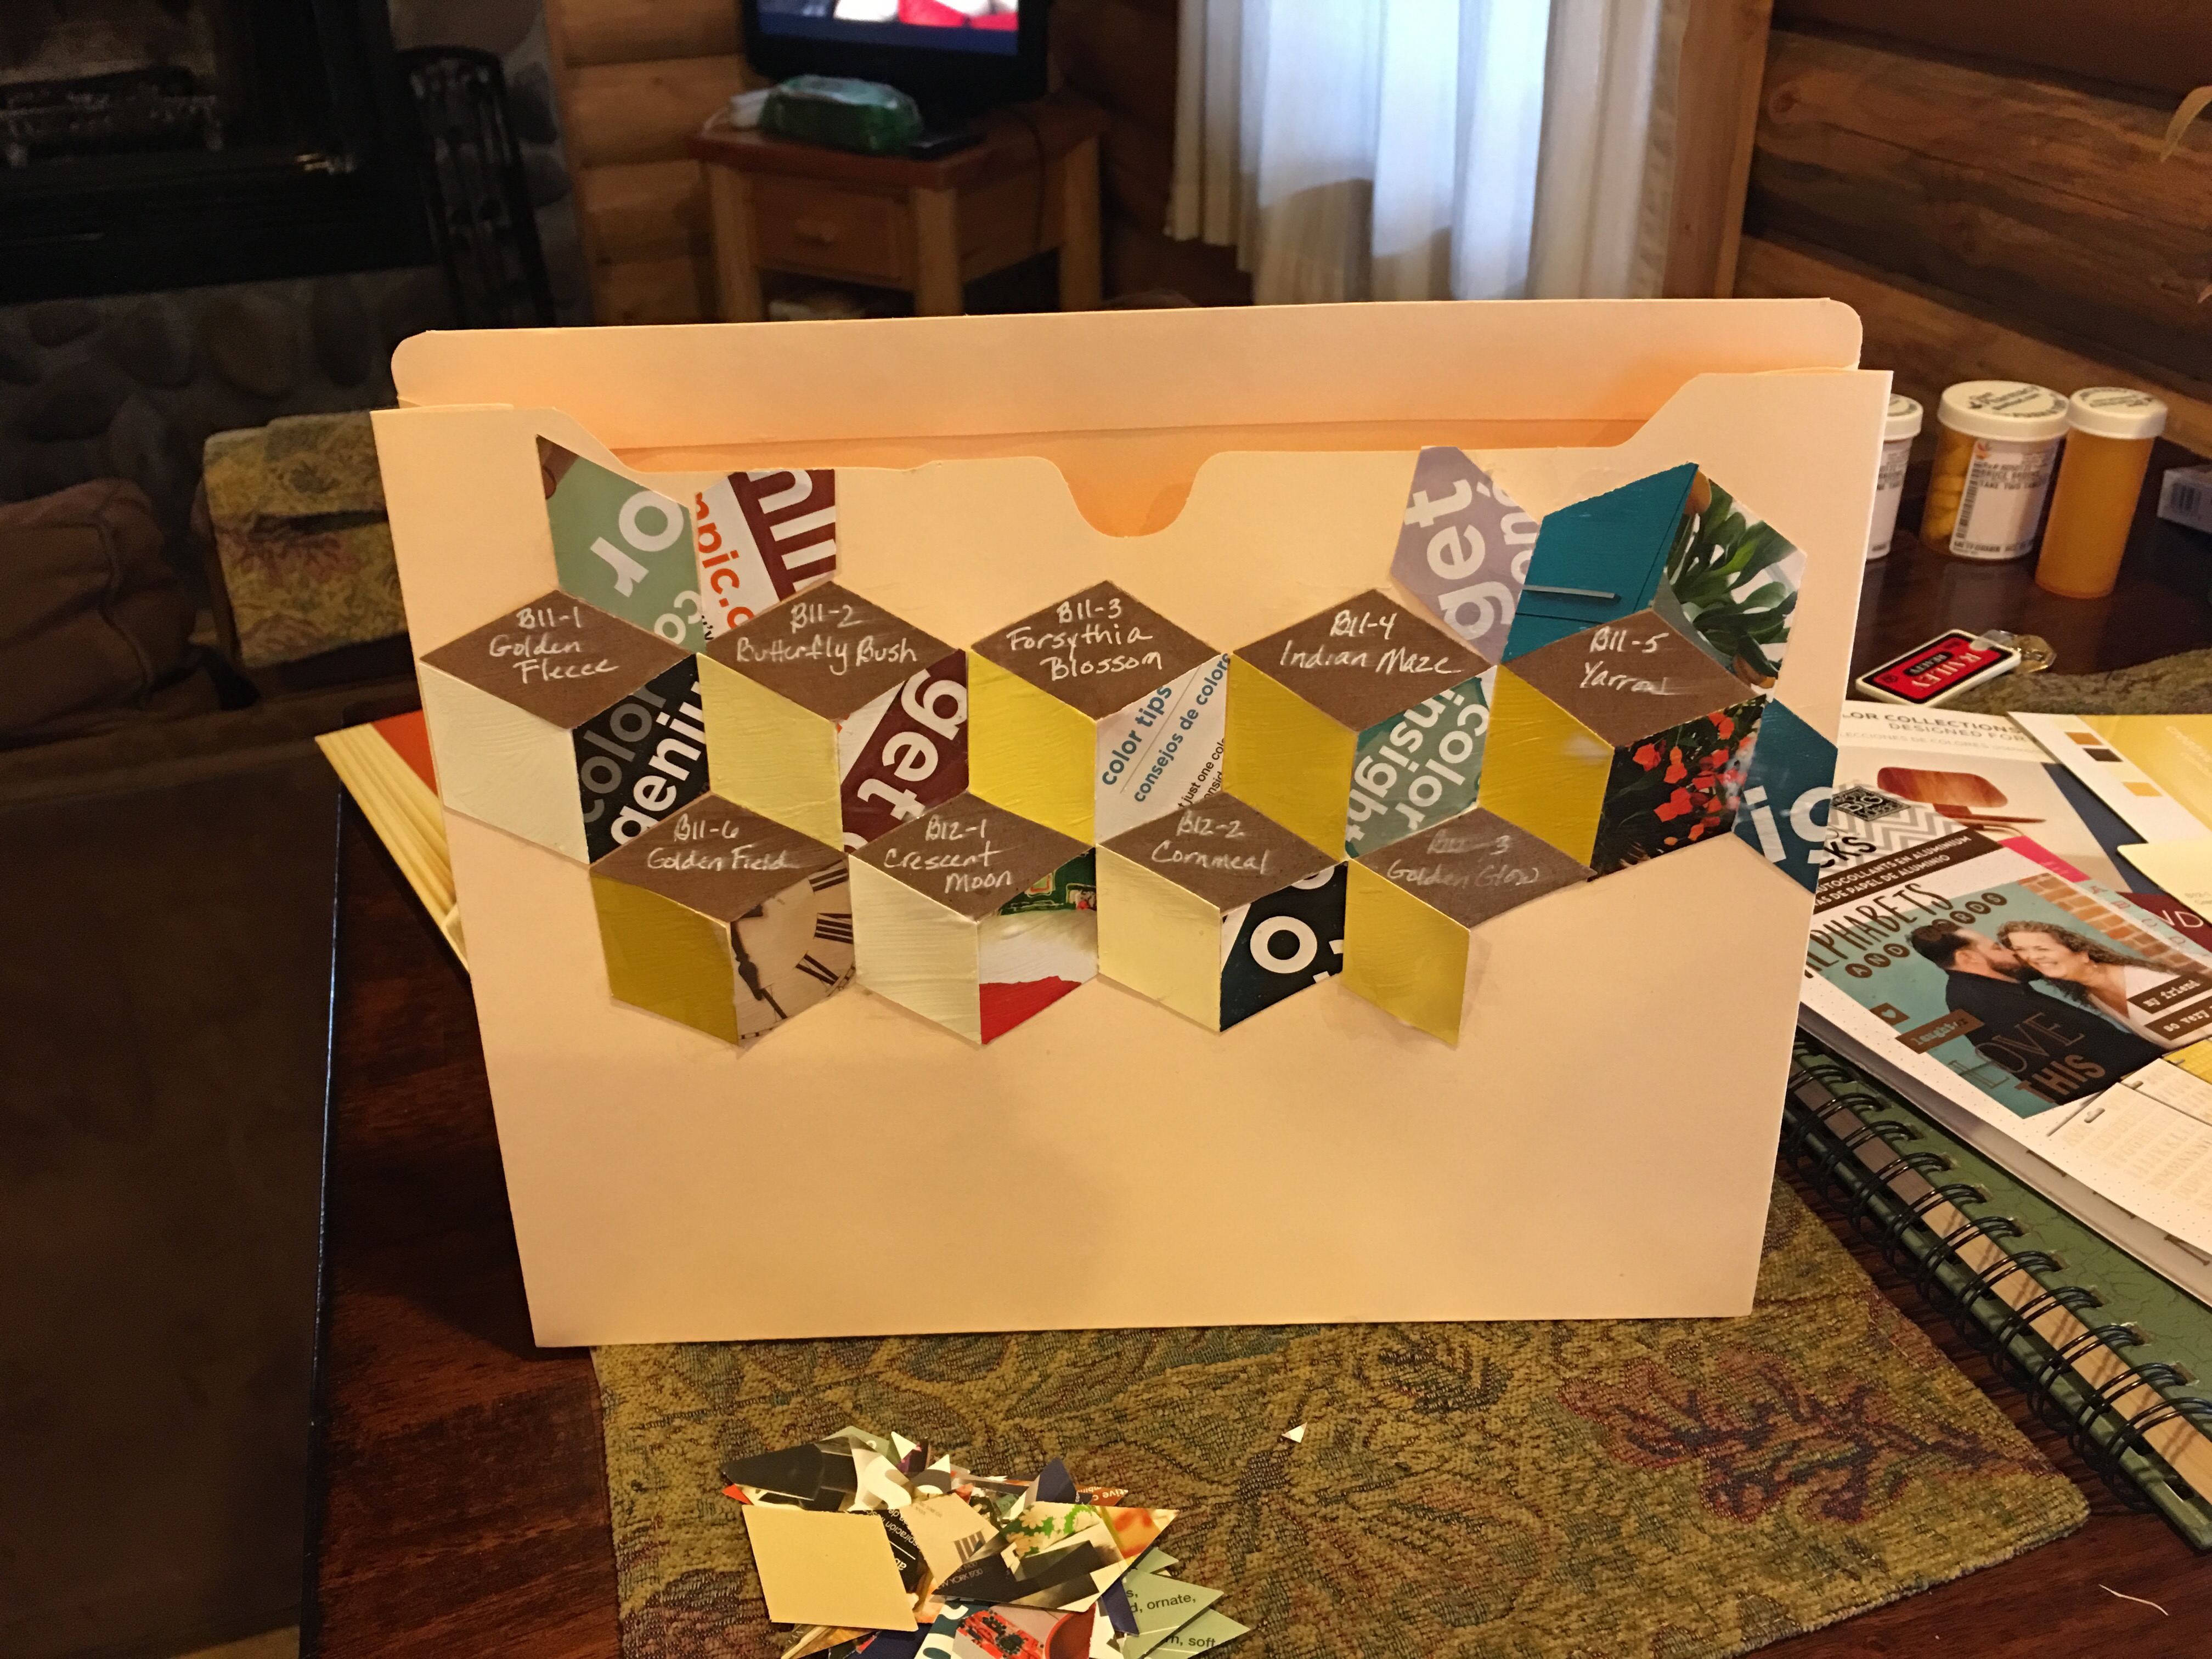
After 30 minutes of diamond punching, labeling and decoupaging, I had the entire front side of the folder covered with samples. I liked the look for the most part, but the verdict was out on how the file jacket would come out once the glue dried…and whether it would be even practical for use.
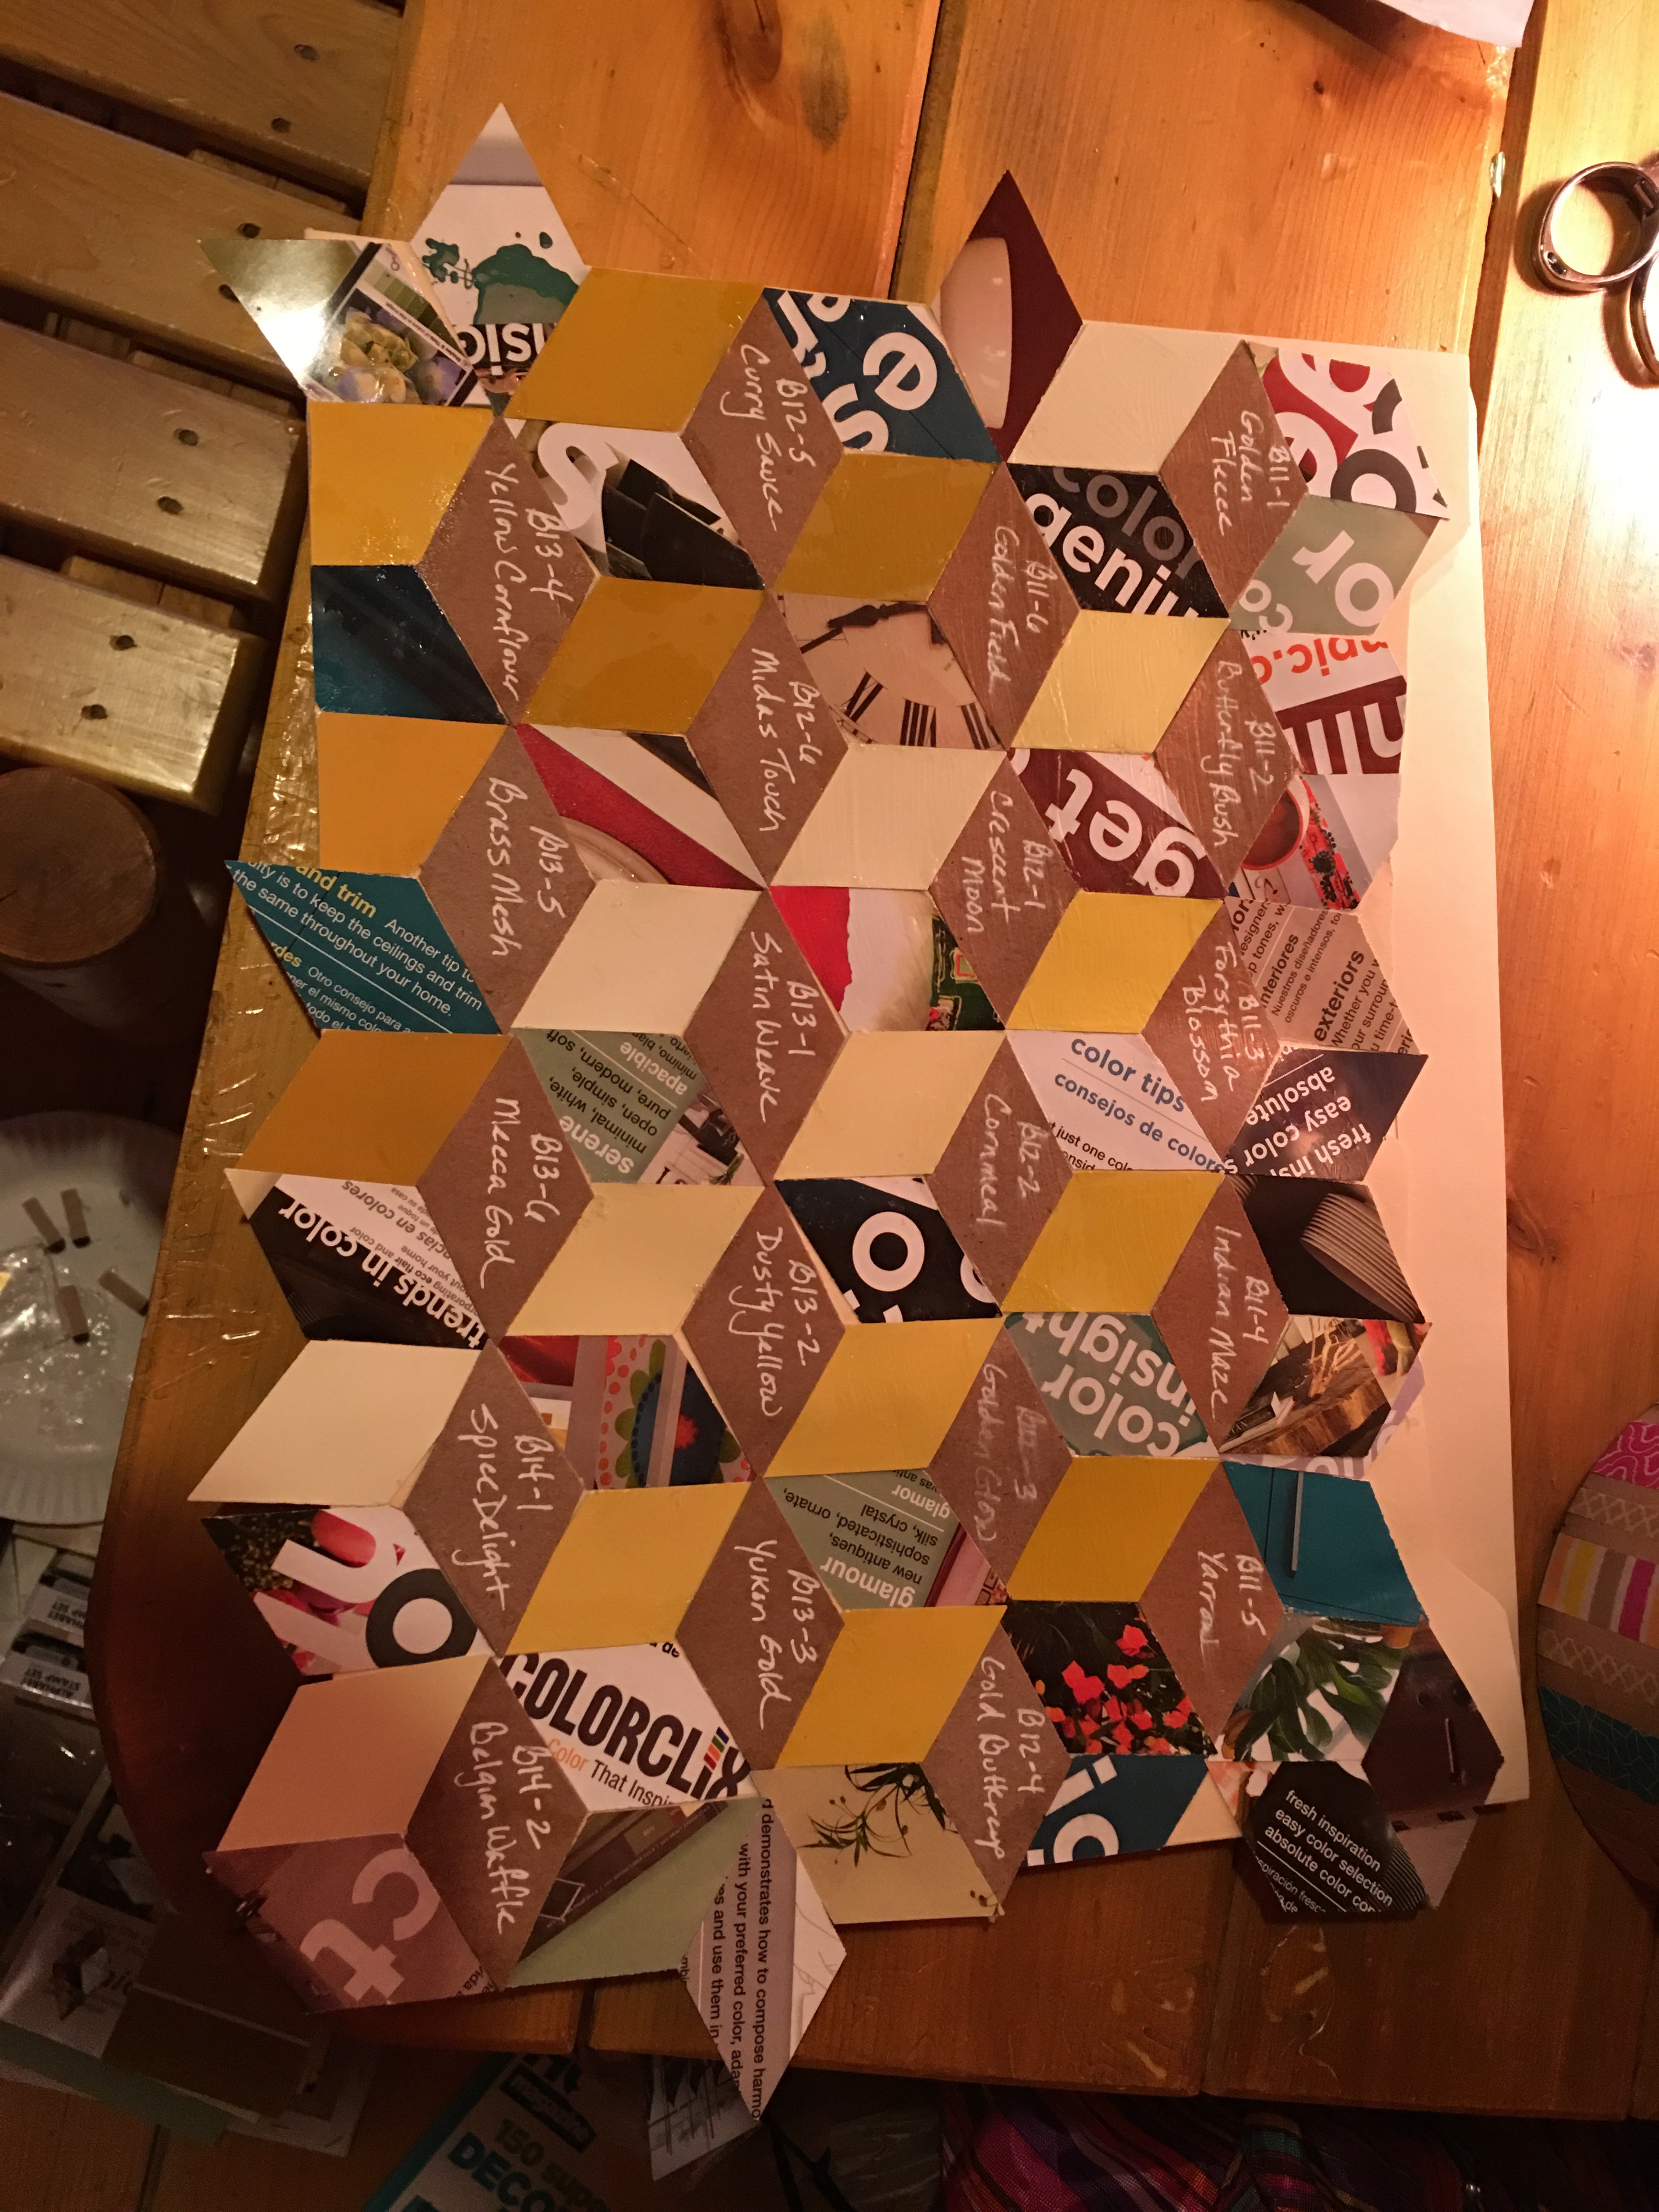
After 45 minutes, I decided to abandon this project and start on something new. I may pick up on it again (and finish the same folder). But I see myself brainstorming some variation of it instead (using lighter, more flexible papers rather than the heavier paperstock of the color samples).
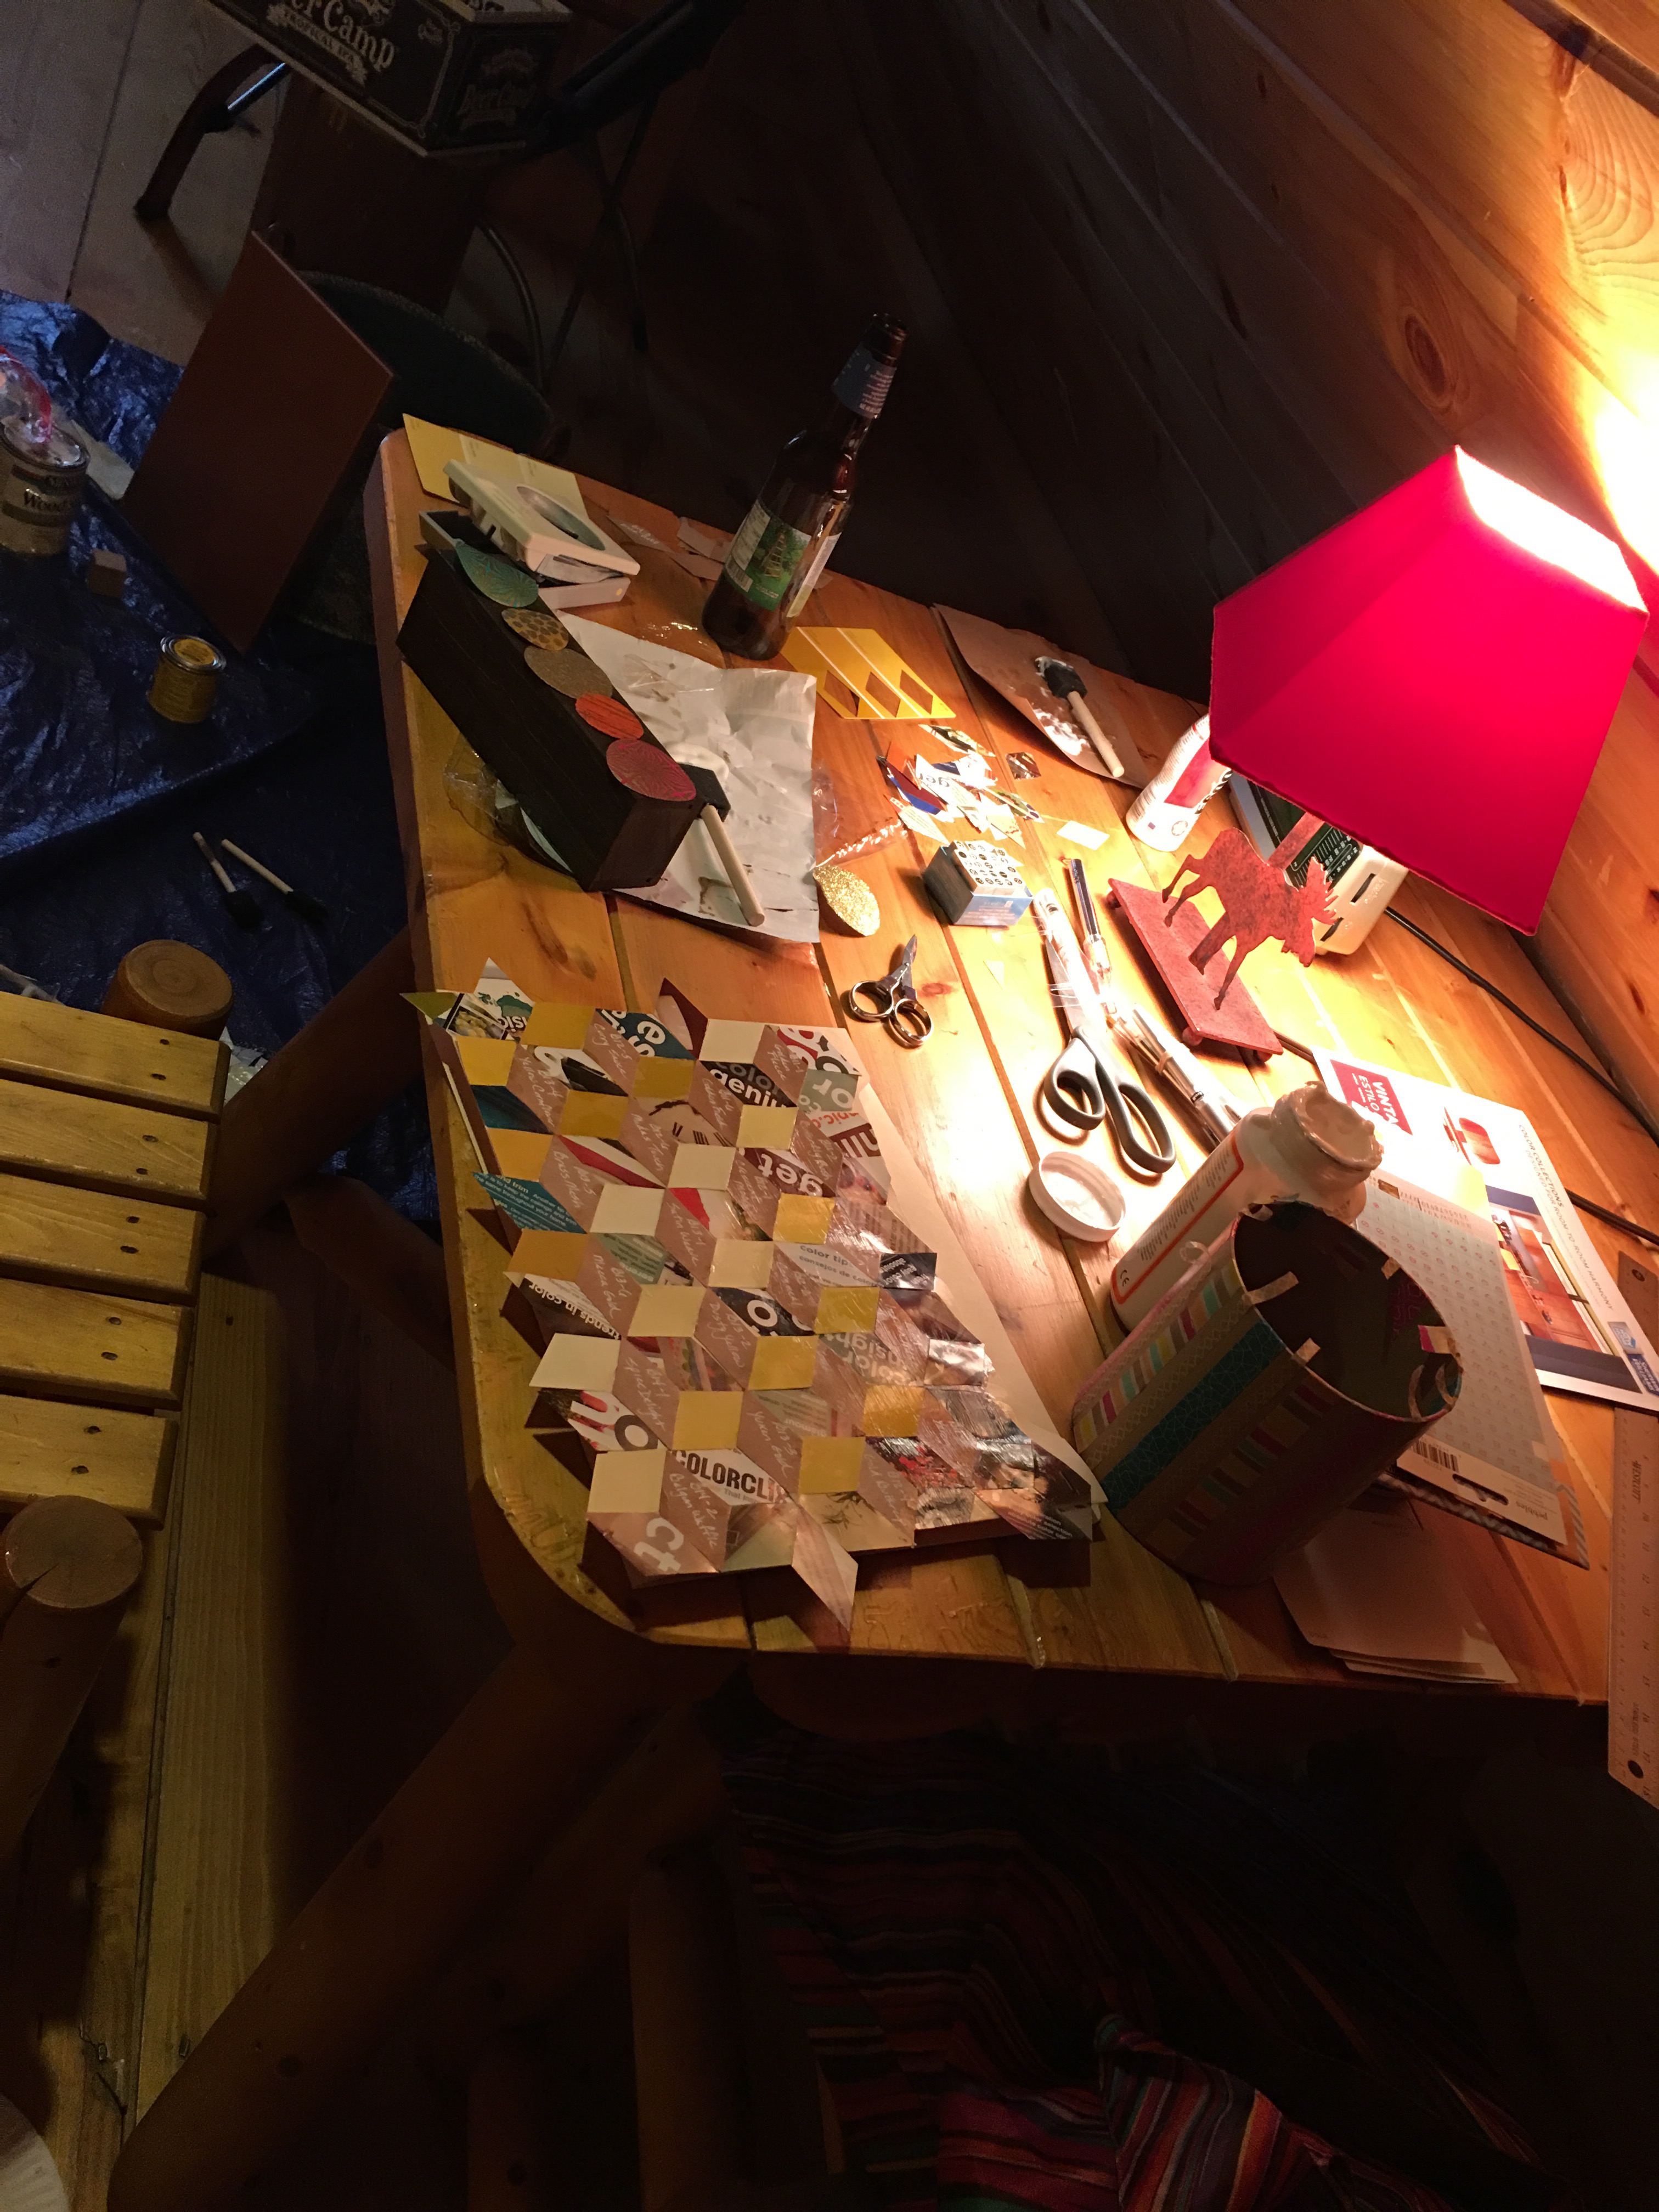
So this is how far I got. I’ll be sure to add another post if I continue with this one. For now, it will be filed away in my crafts in progress collection. V-