
Cleaning up my crafting dumping ground (aka my desk!)
You may also like:
February 16, 2016: The time has come. Day two of working from home due to god-awful road conditions (truly extra special today…snow turning into ice, turning into rain, accompanied by fog…).
Another day of trying to provide technology services and support from home on my laptop. But without a desk.
Here’s what’s happened to my desk over the months of condo crafting projects.
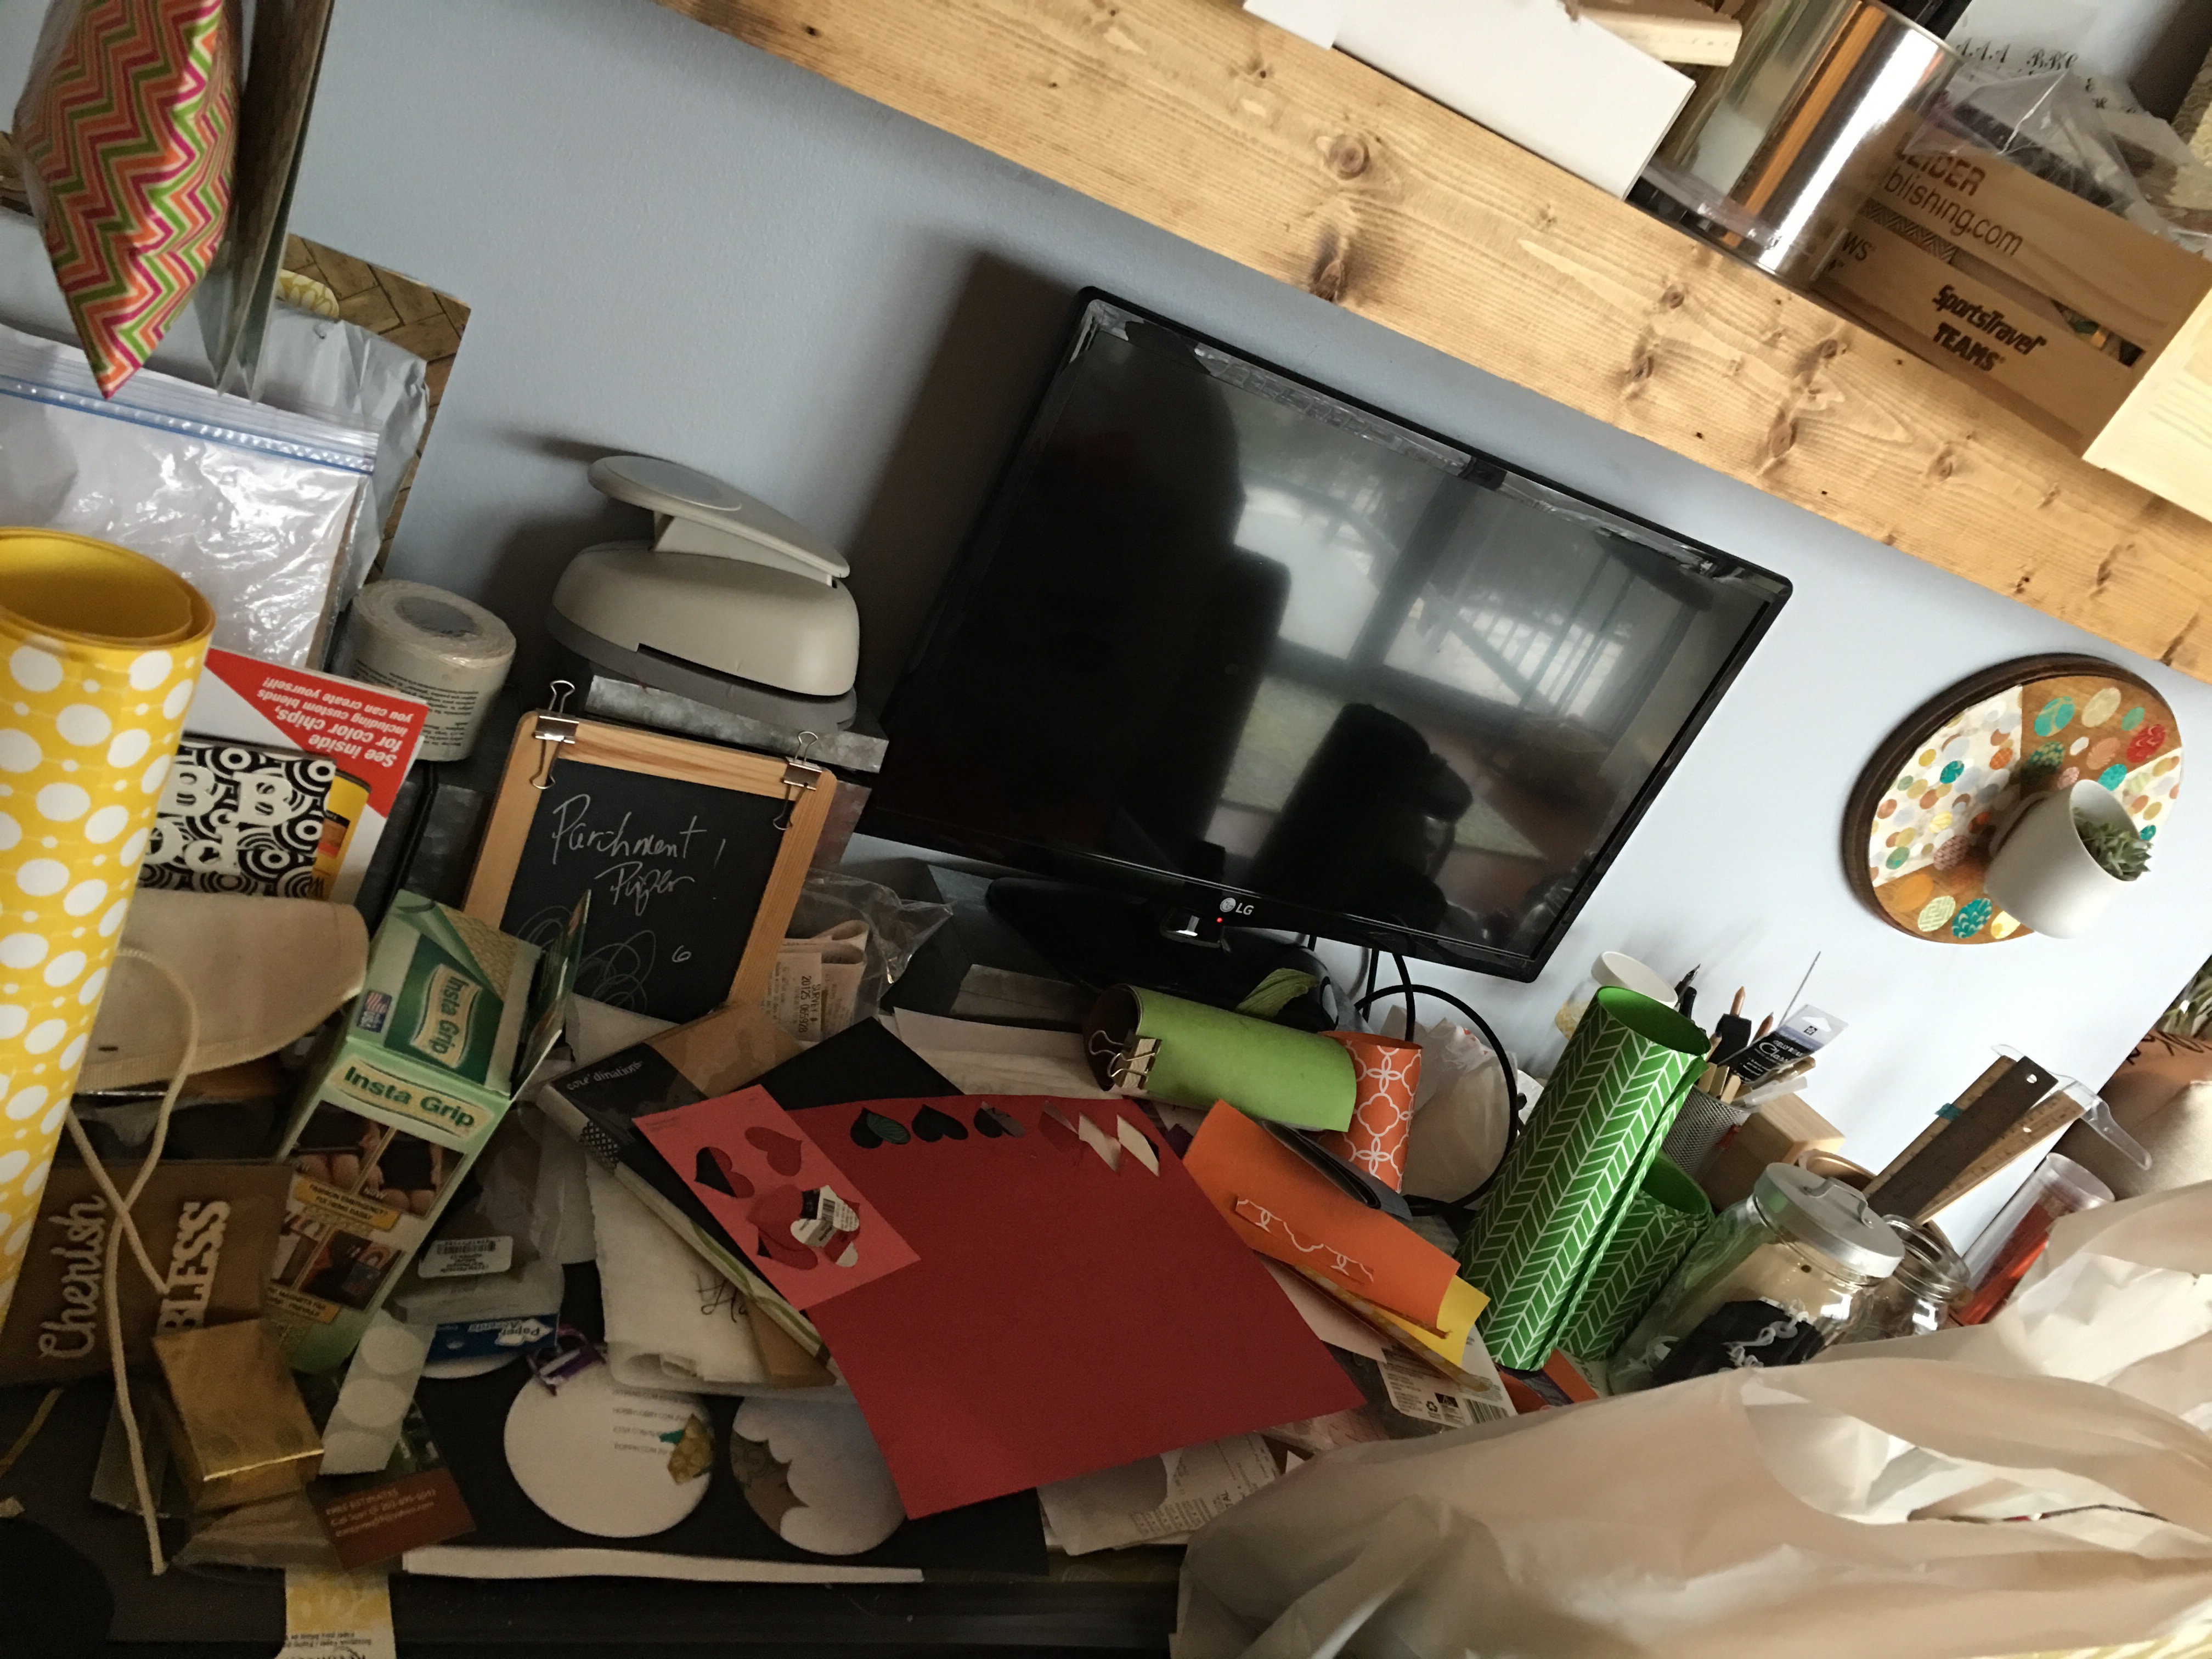

Yes…downright shameful, isn’t it. My crafting supplies and tools and scraps have completely taken over. Rather than organizing, tidying up or cleaning my desk, I just piled on more and more crafting minutiae. Great big piles – on the table and chairs – until it began spilling to the floor.
The ottoman behind the desk is getting just as bad. My poor stuffed animal, Leopold, is buried under papers and pens and wood pieces and sponge brushes. I will spare you the photo.
I don’t have a fancy system for decluttering or cleaning up. But I do remember the first thing those TLC show hosts would do when helping besieged home owners deal with their horror show of a messy home.
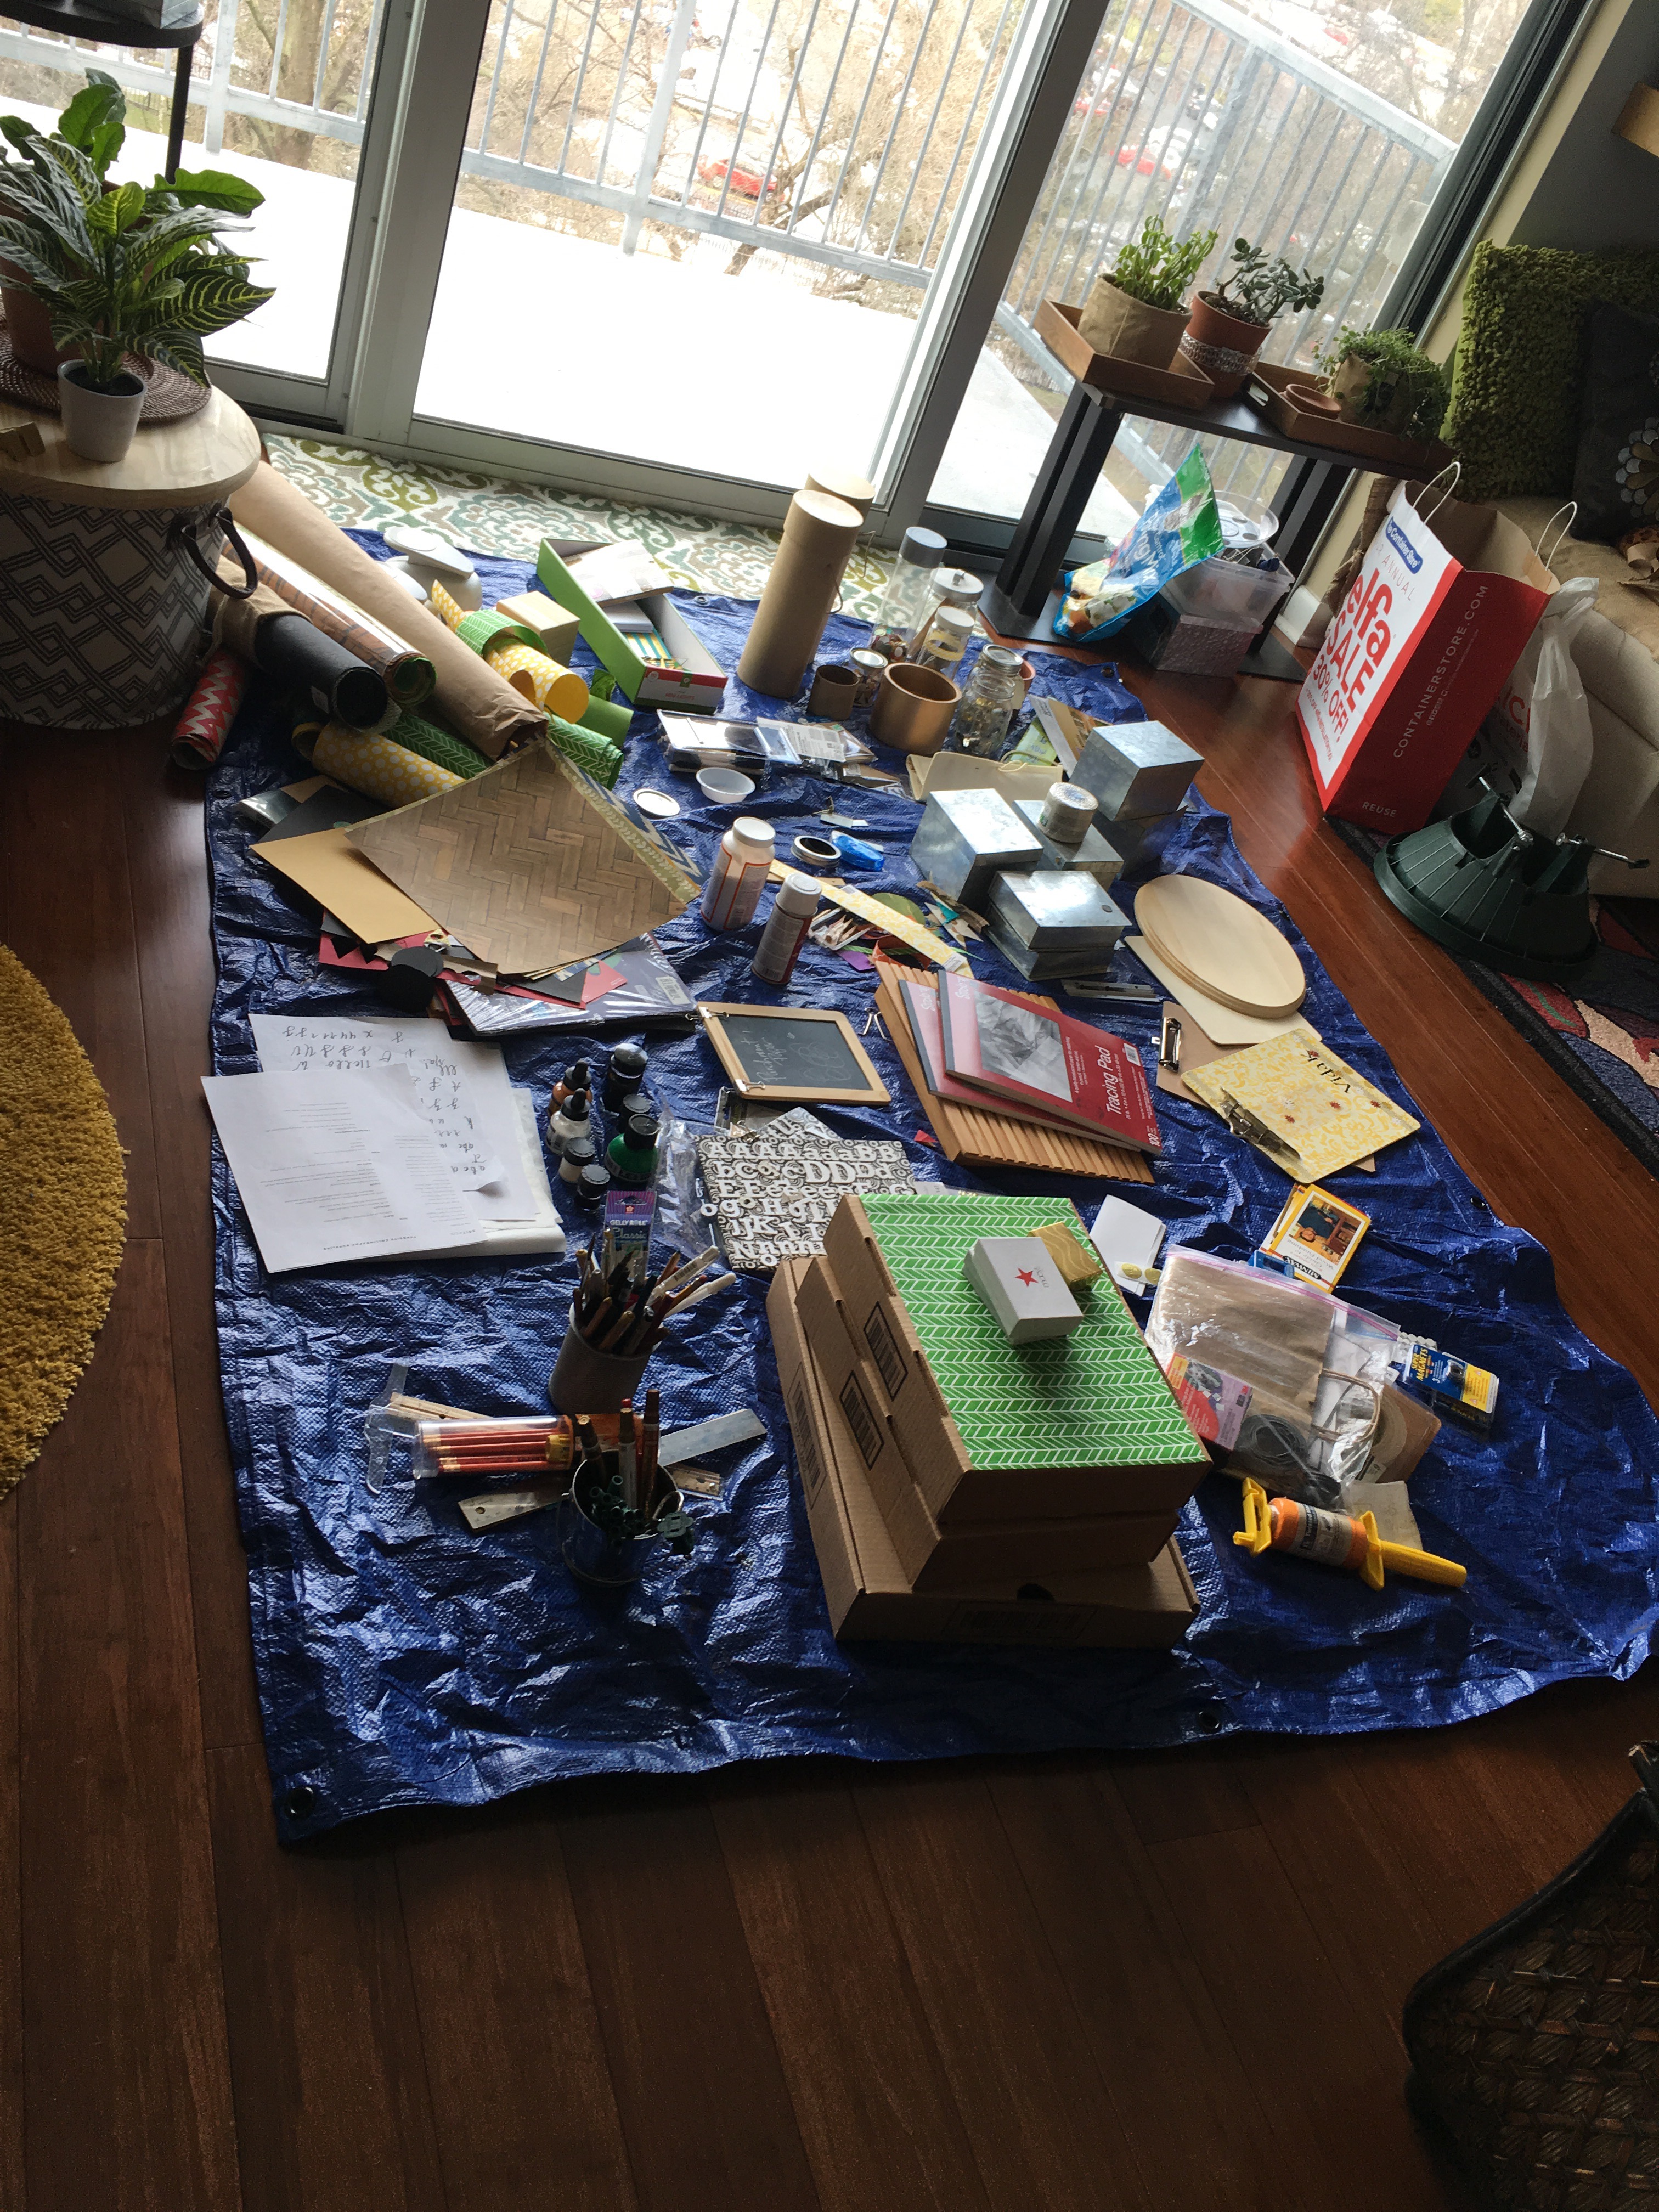
They pulled out the tarp. And moved all the crap that needed sorting, organizing, storing or tossing to a designated space.
Believe it or not, this is all of the stuff that was ON the desk. I didn’t even touch the stuff stacked up on the floating shelves.
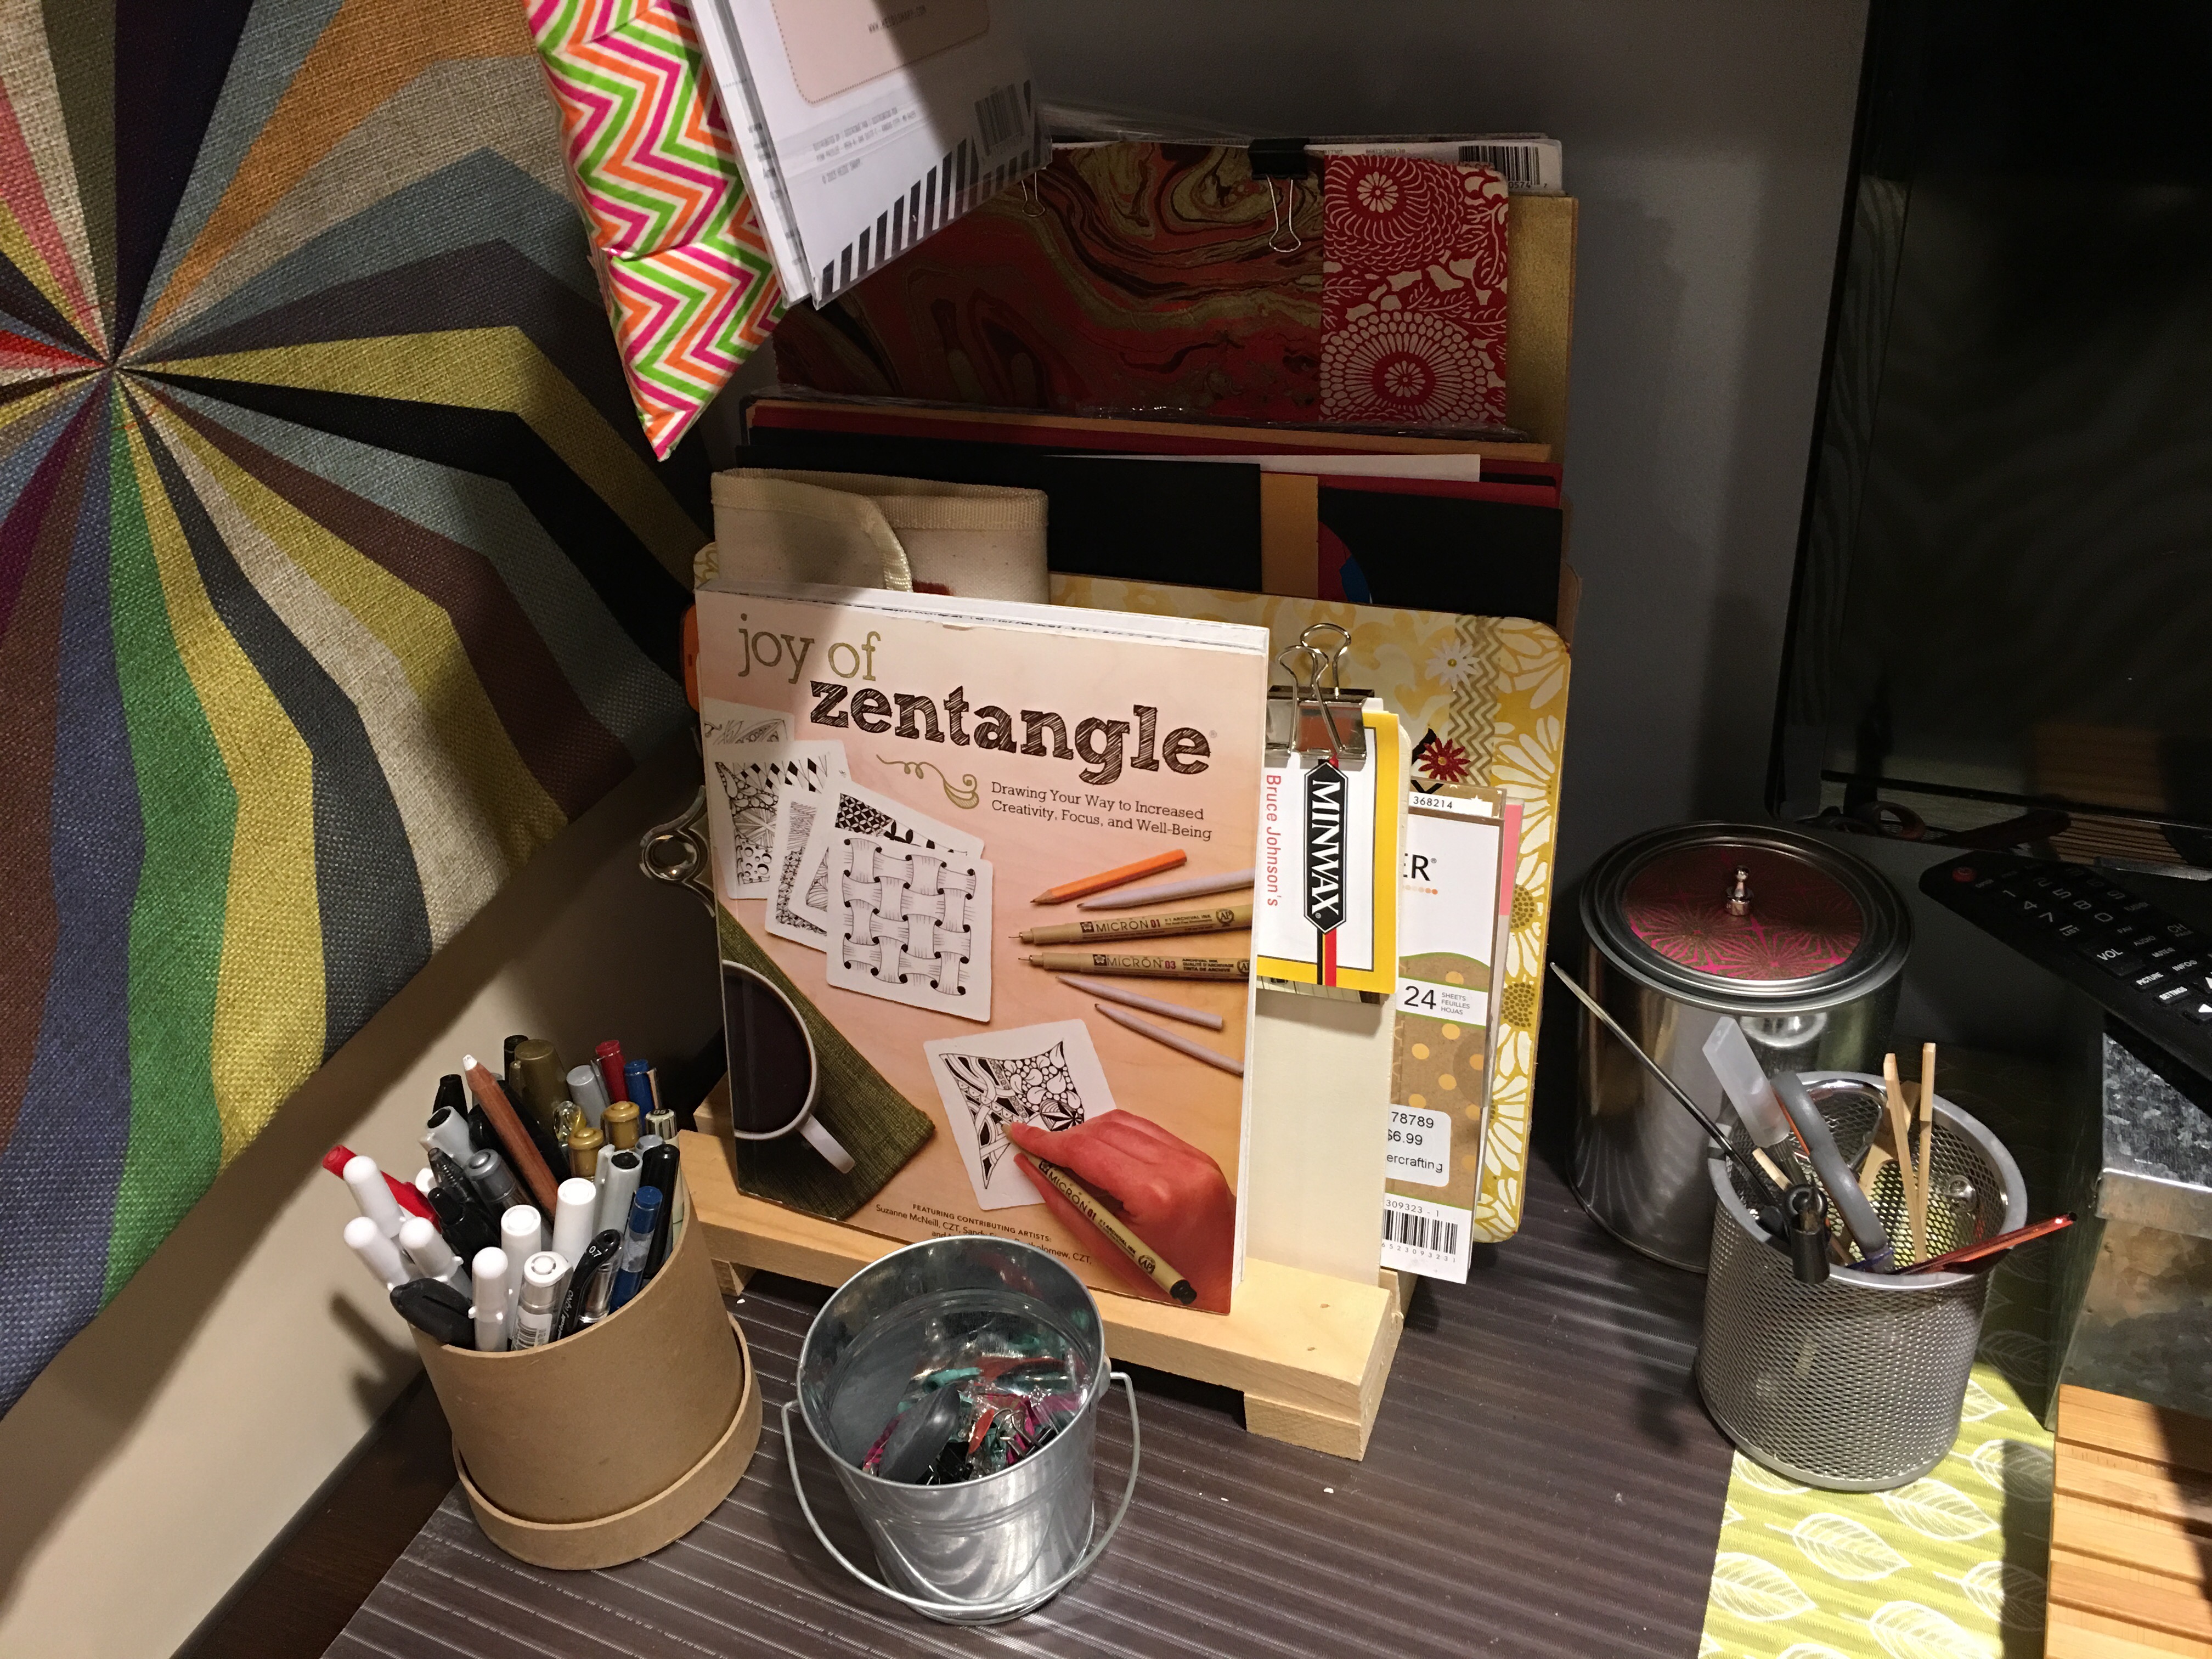
Once I cleared the deck, I was able to see what I was working with clearly. I left my wood file organizer base in place since I knew that is one thing I would not be moving around. So I started there.
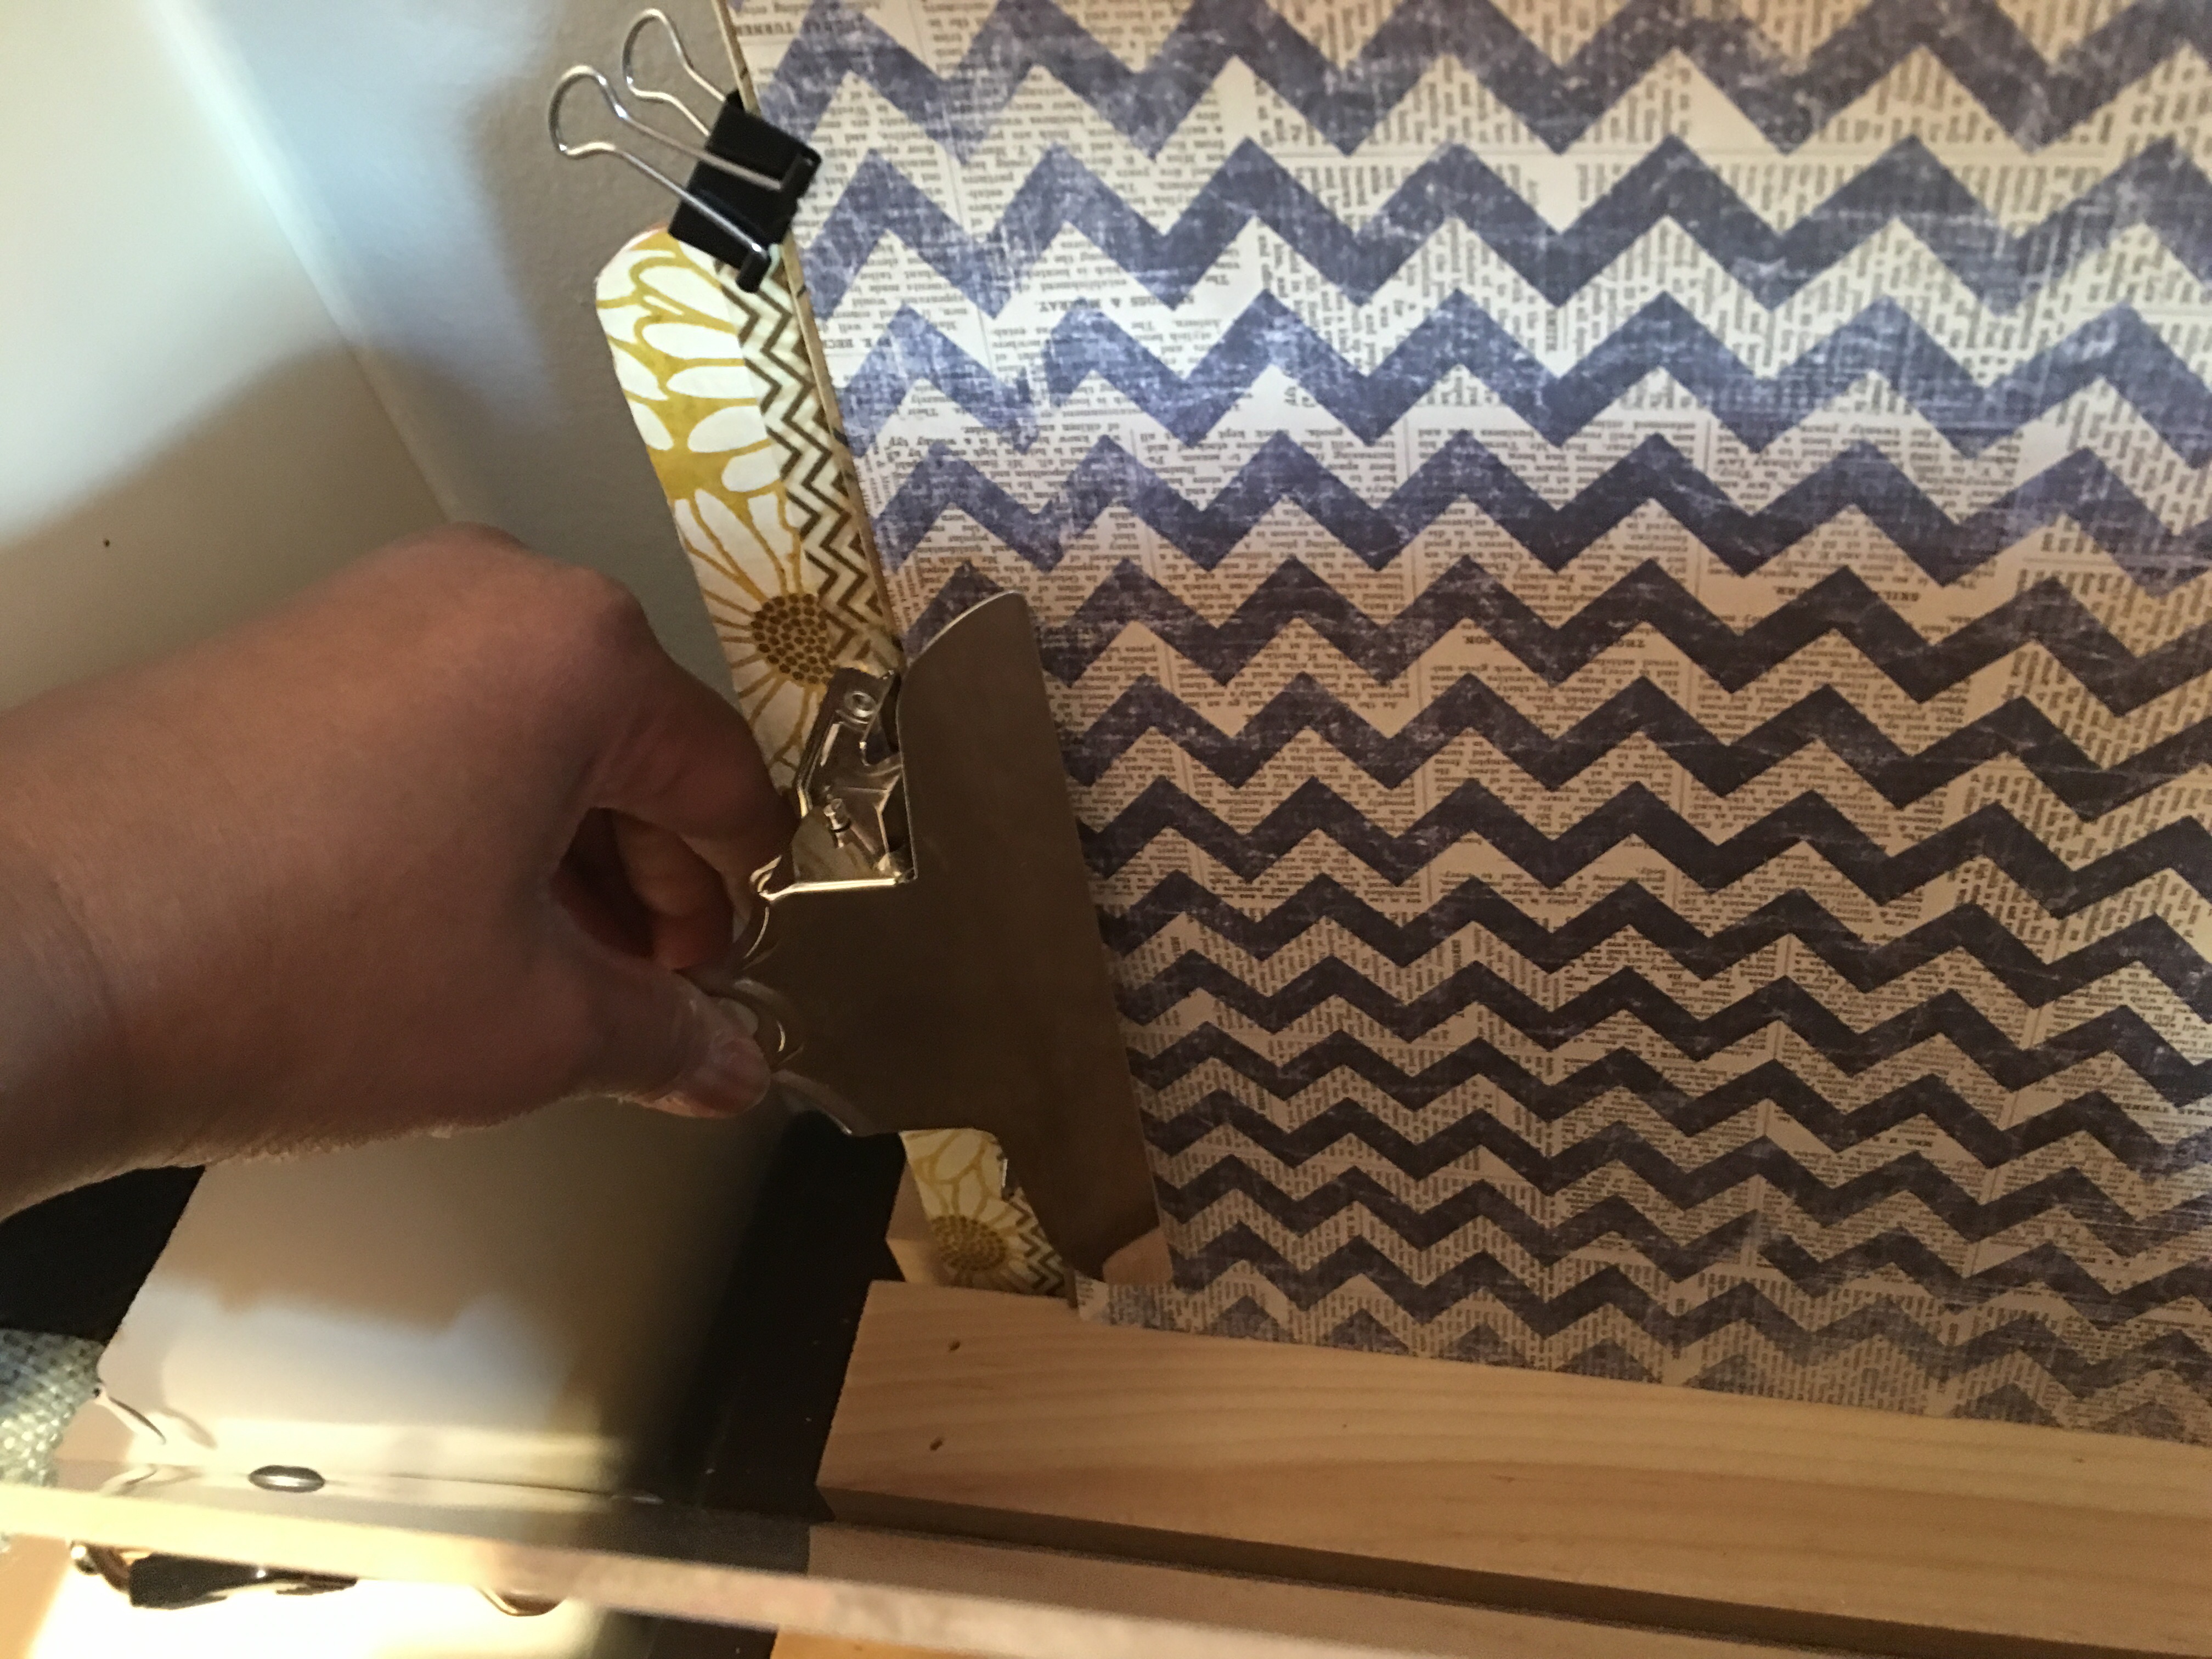
I first gathered up the papers, books card stocks and clipboards from the tarp. I used binder clips to clip like items together. And I used the clipboards as file organizer sections. I clipped the papers to the clipboard so that they say in place in the organizer.
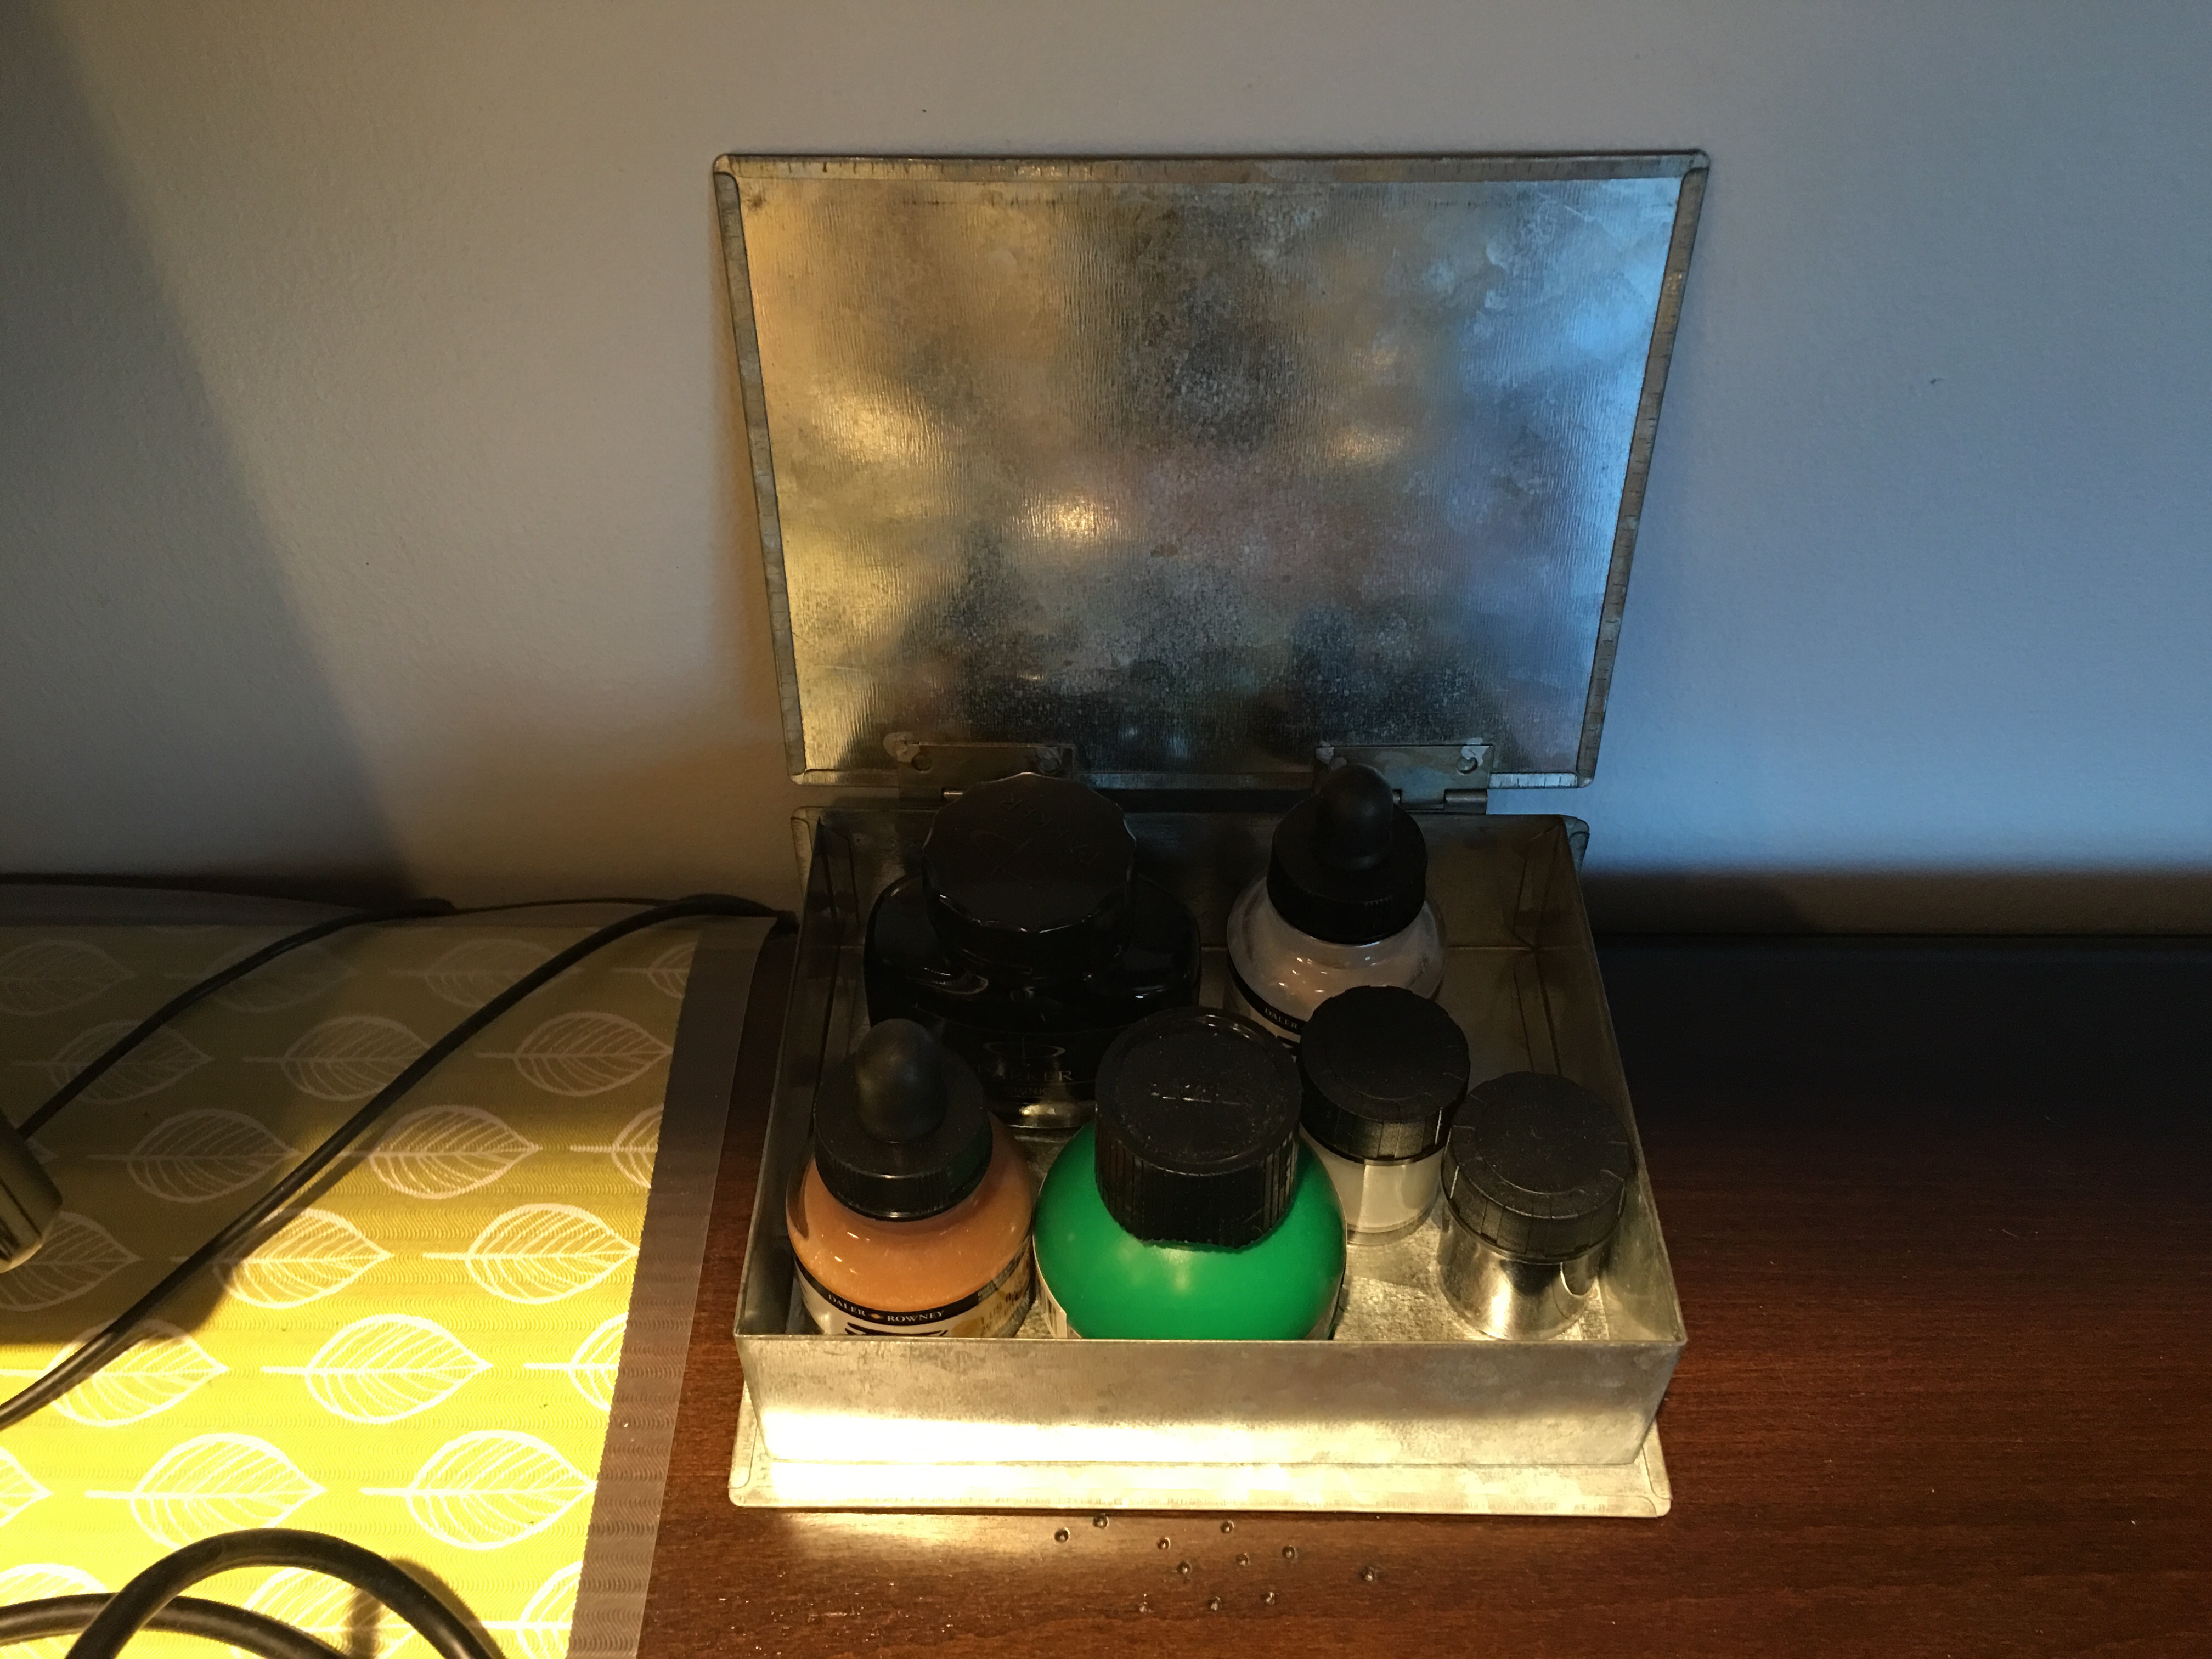
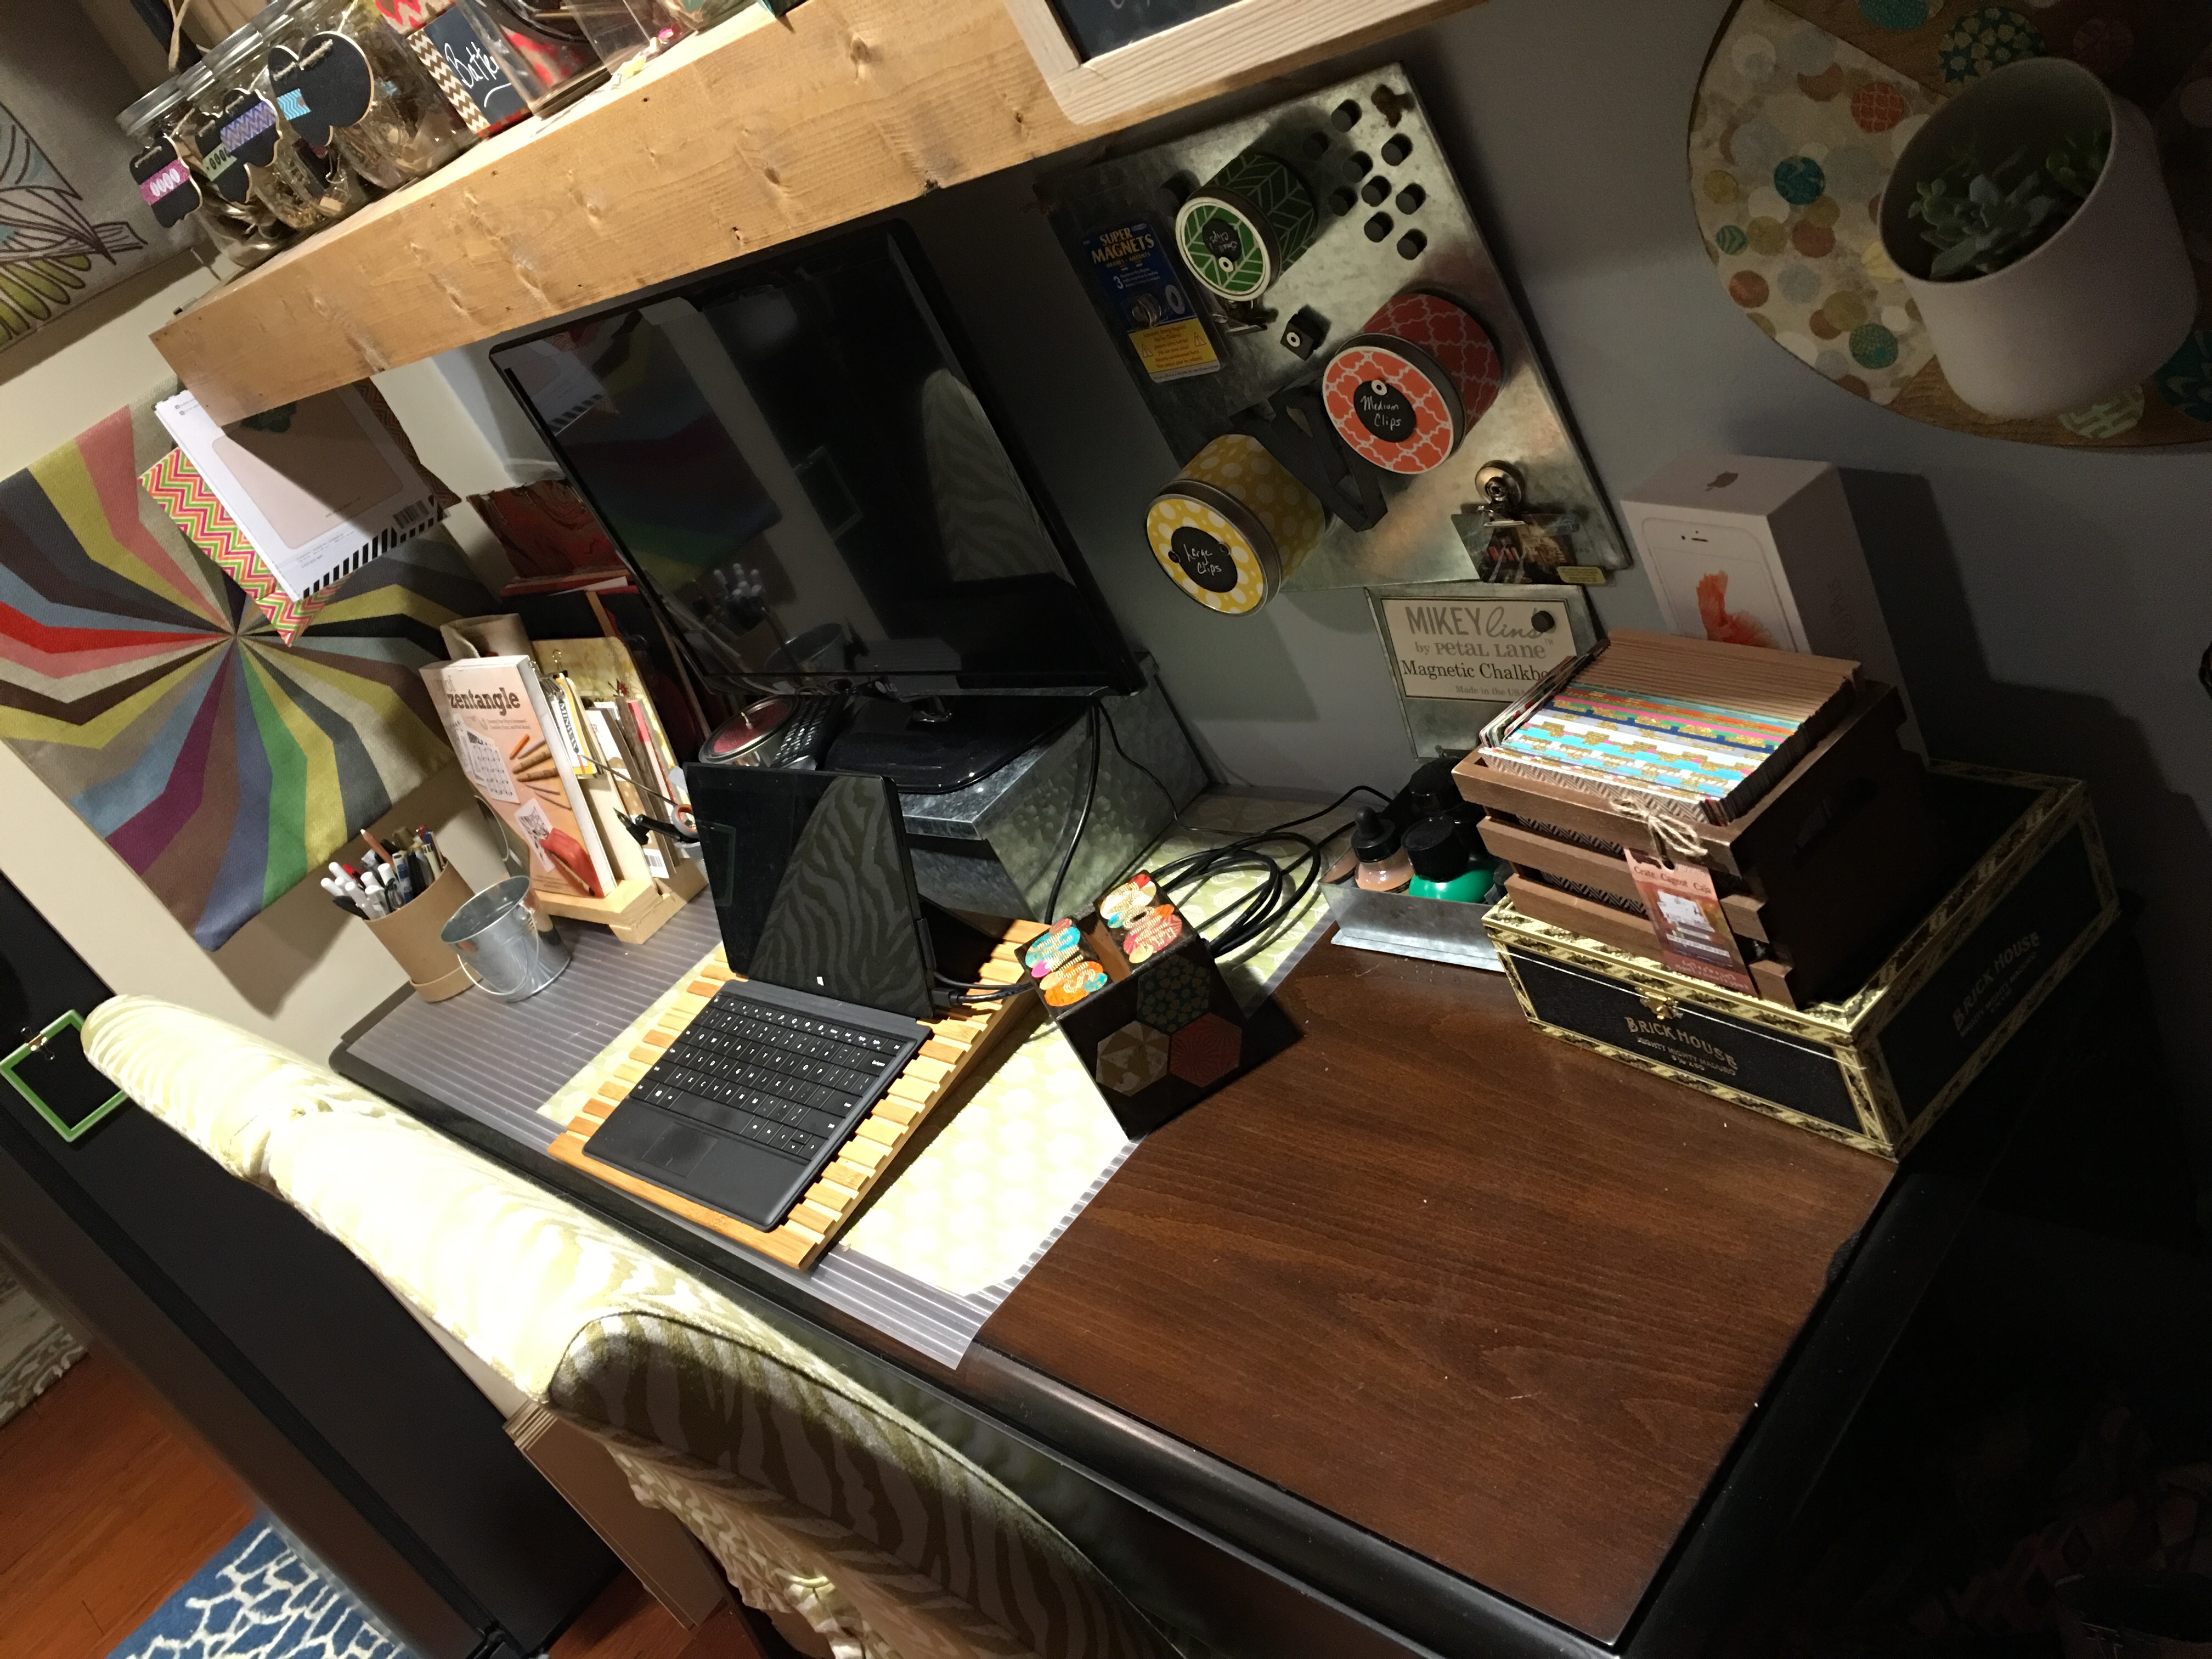
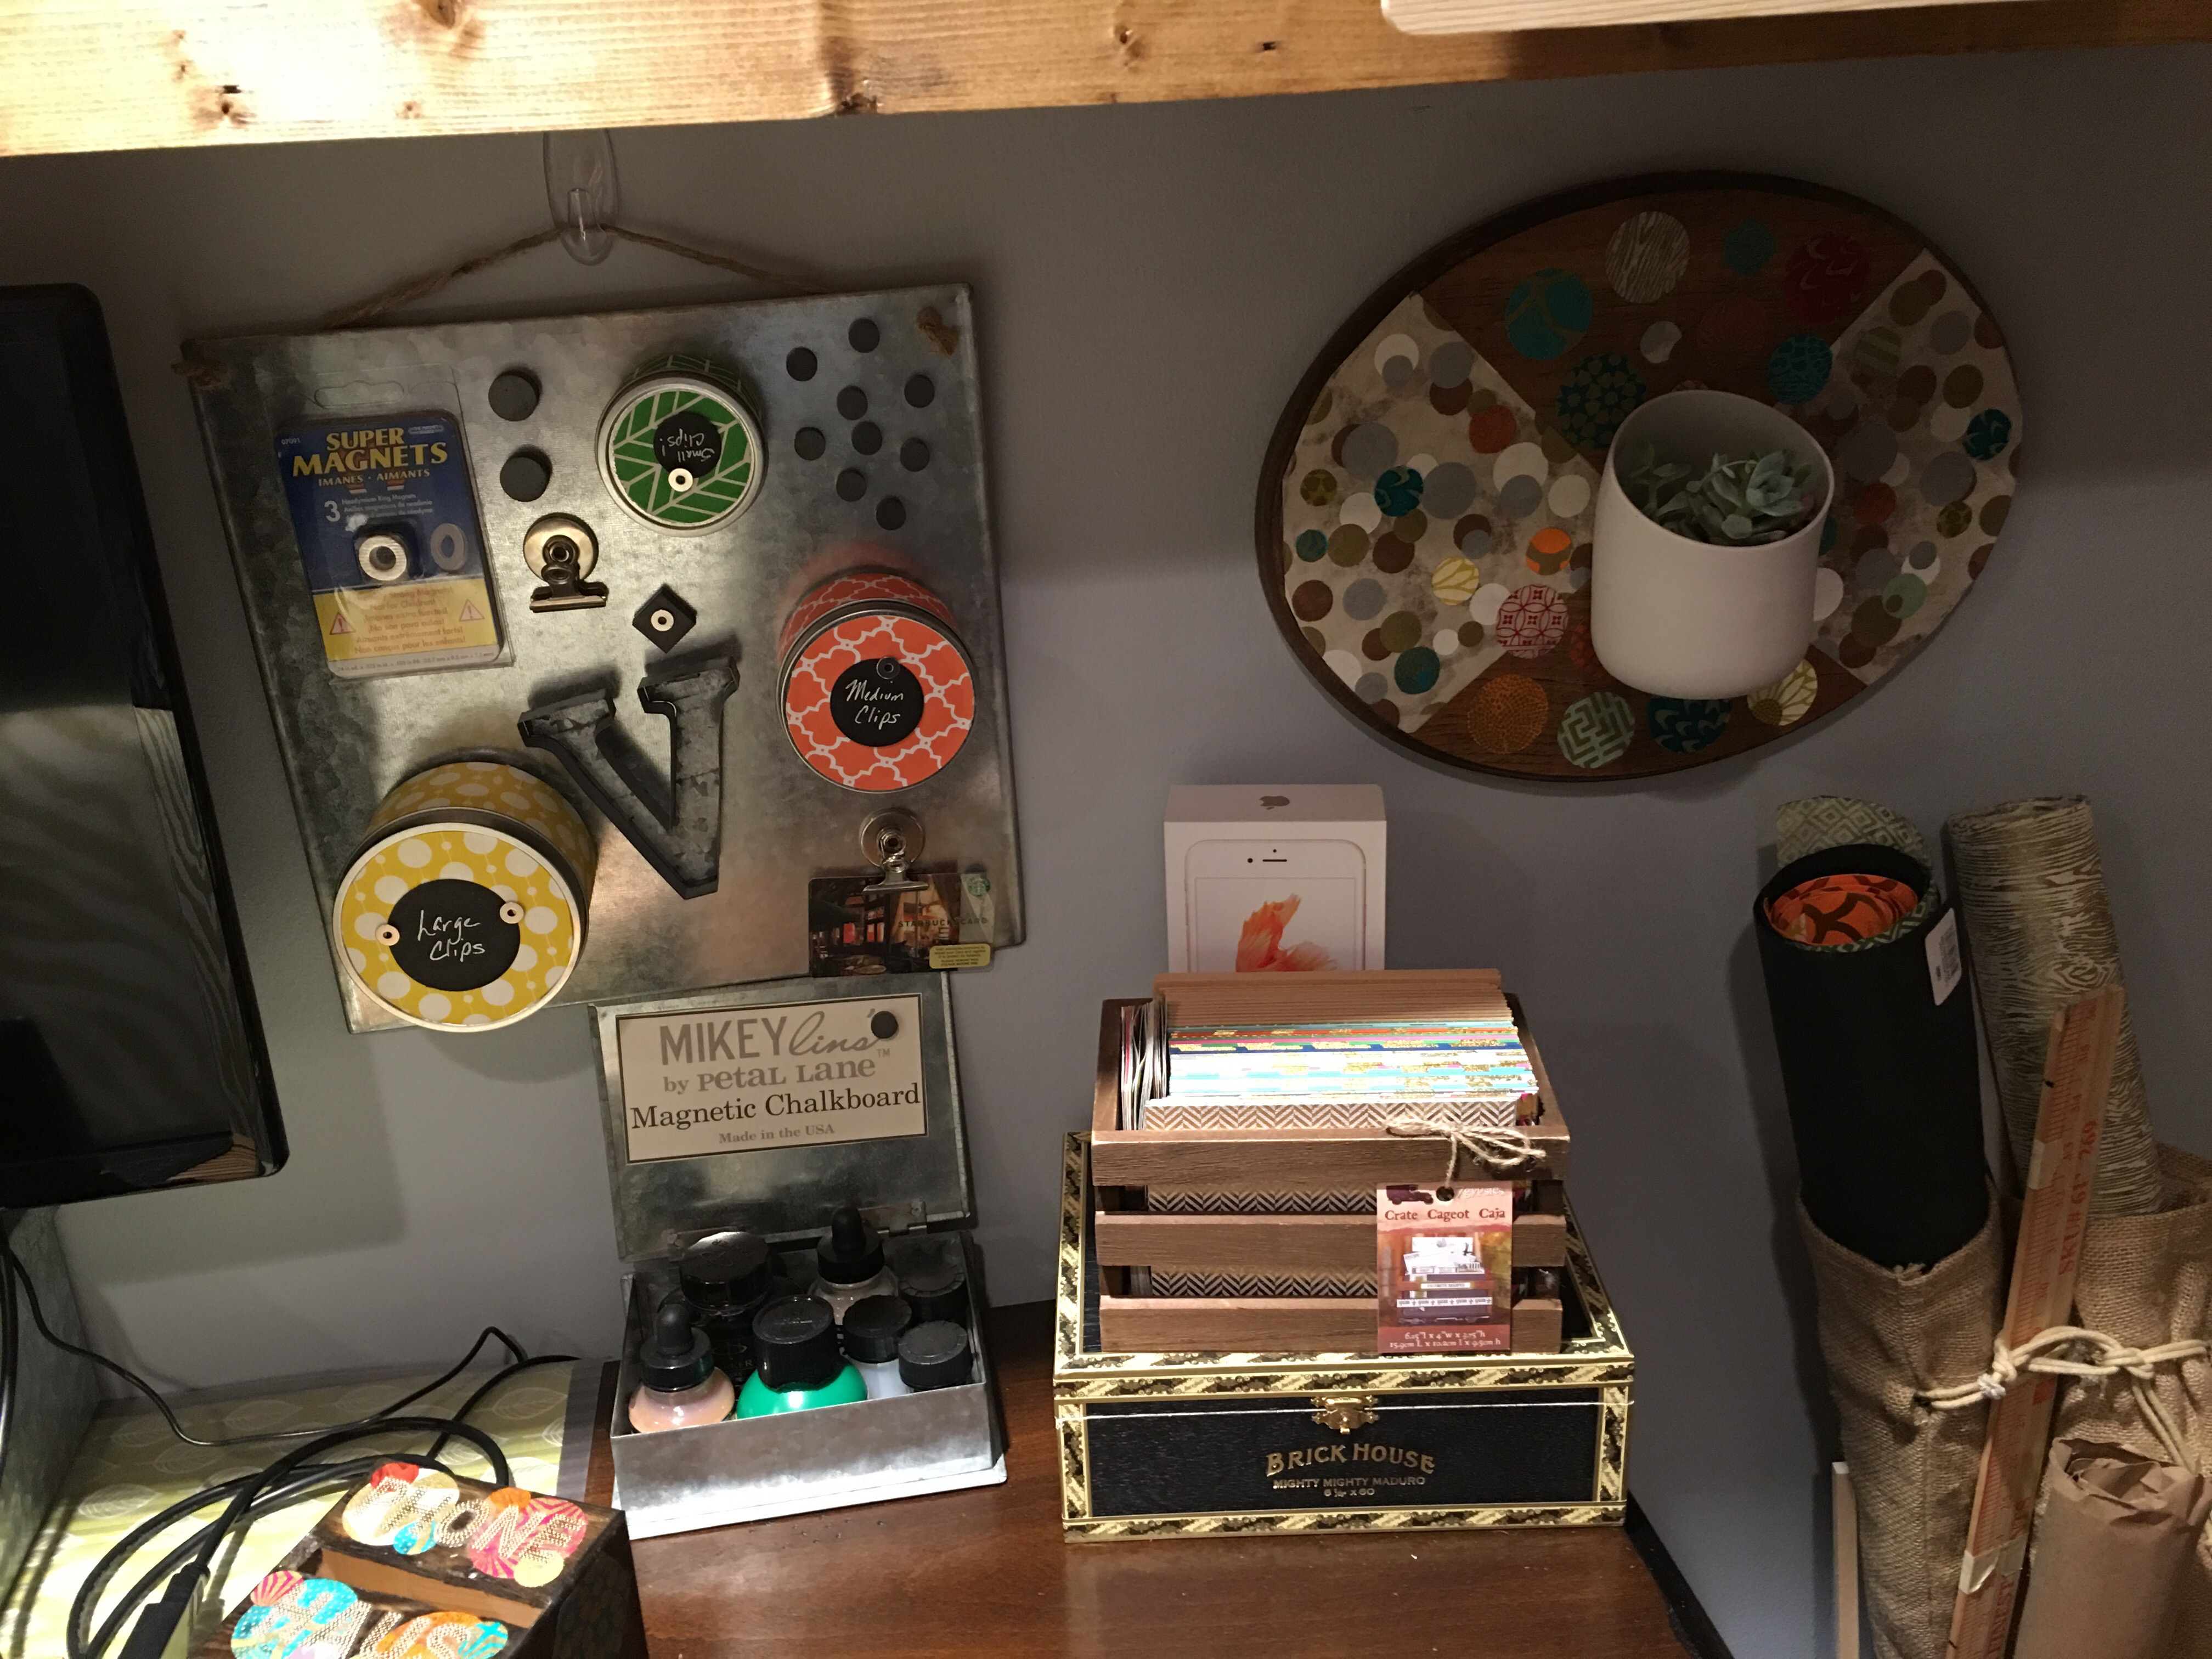
I had two unused galvanized book containers (from the Michaels Make Market product line). I placed one on the desk to the right of the TV/monitor. I flipped the lid of the book so that it remains open and visible. I used it as a container for my calligraphy inks.
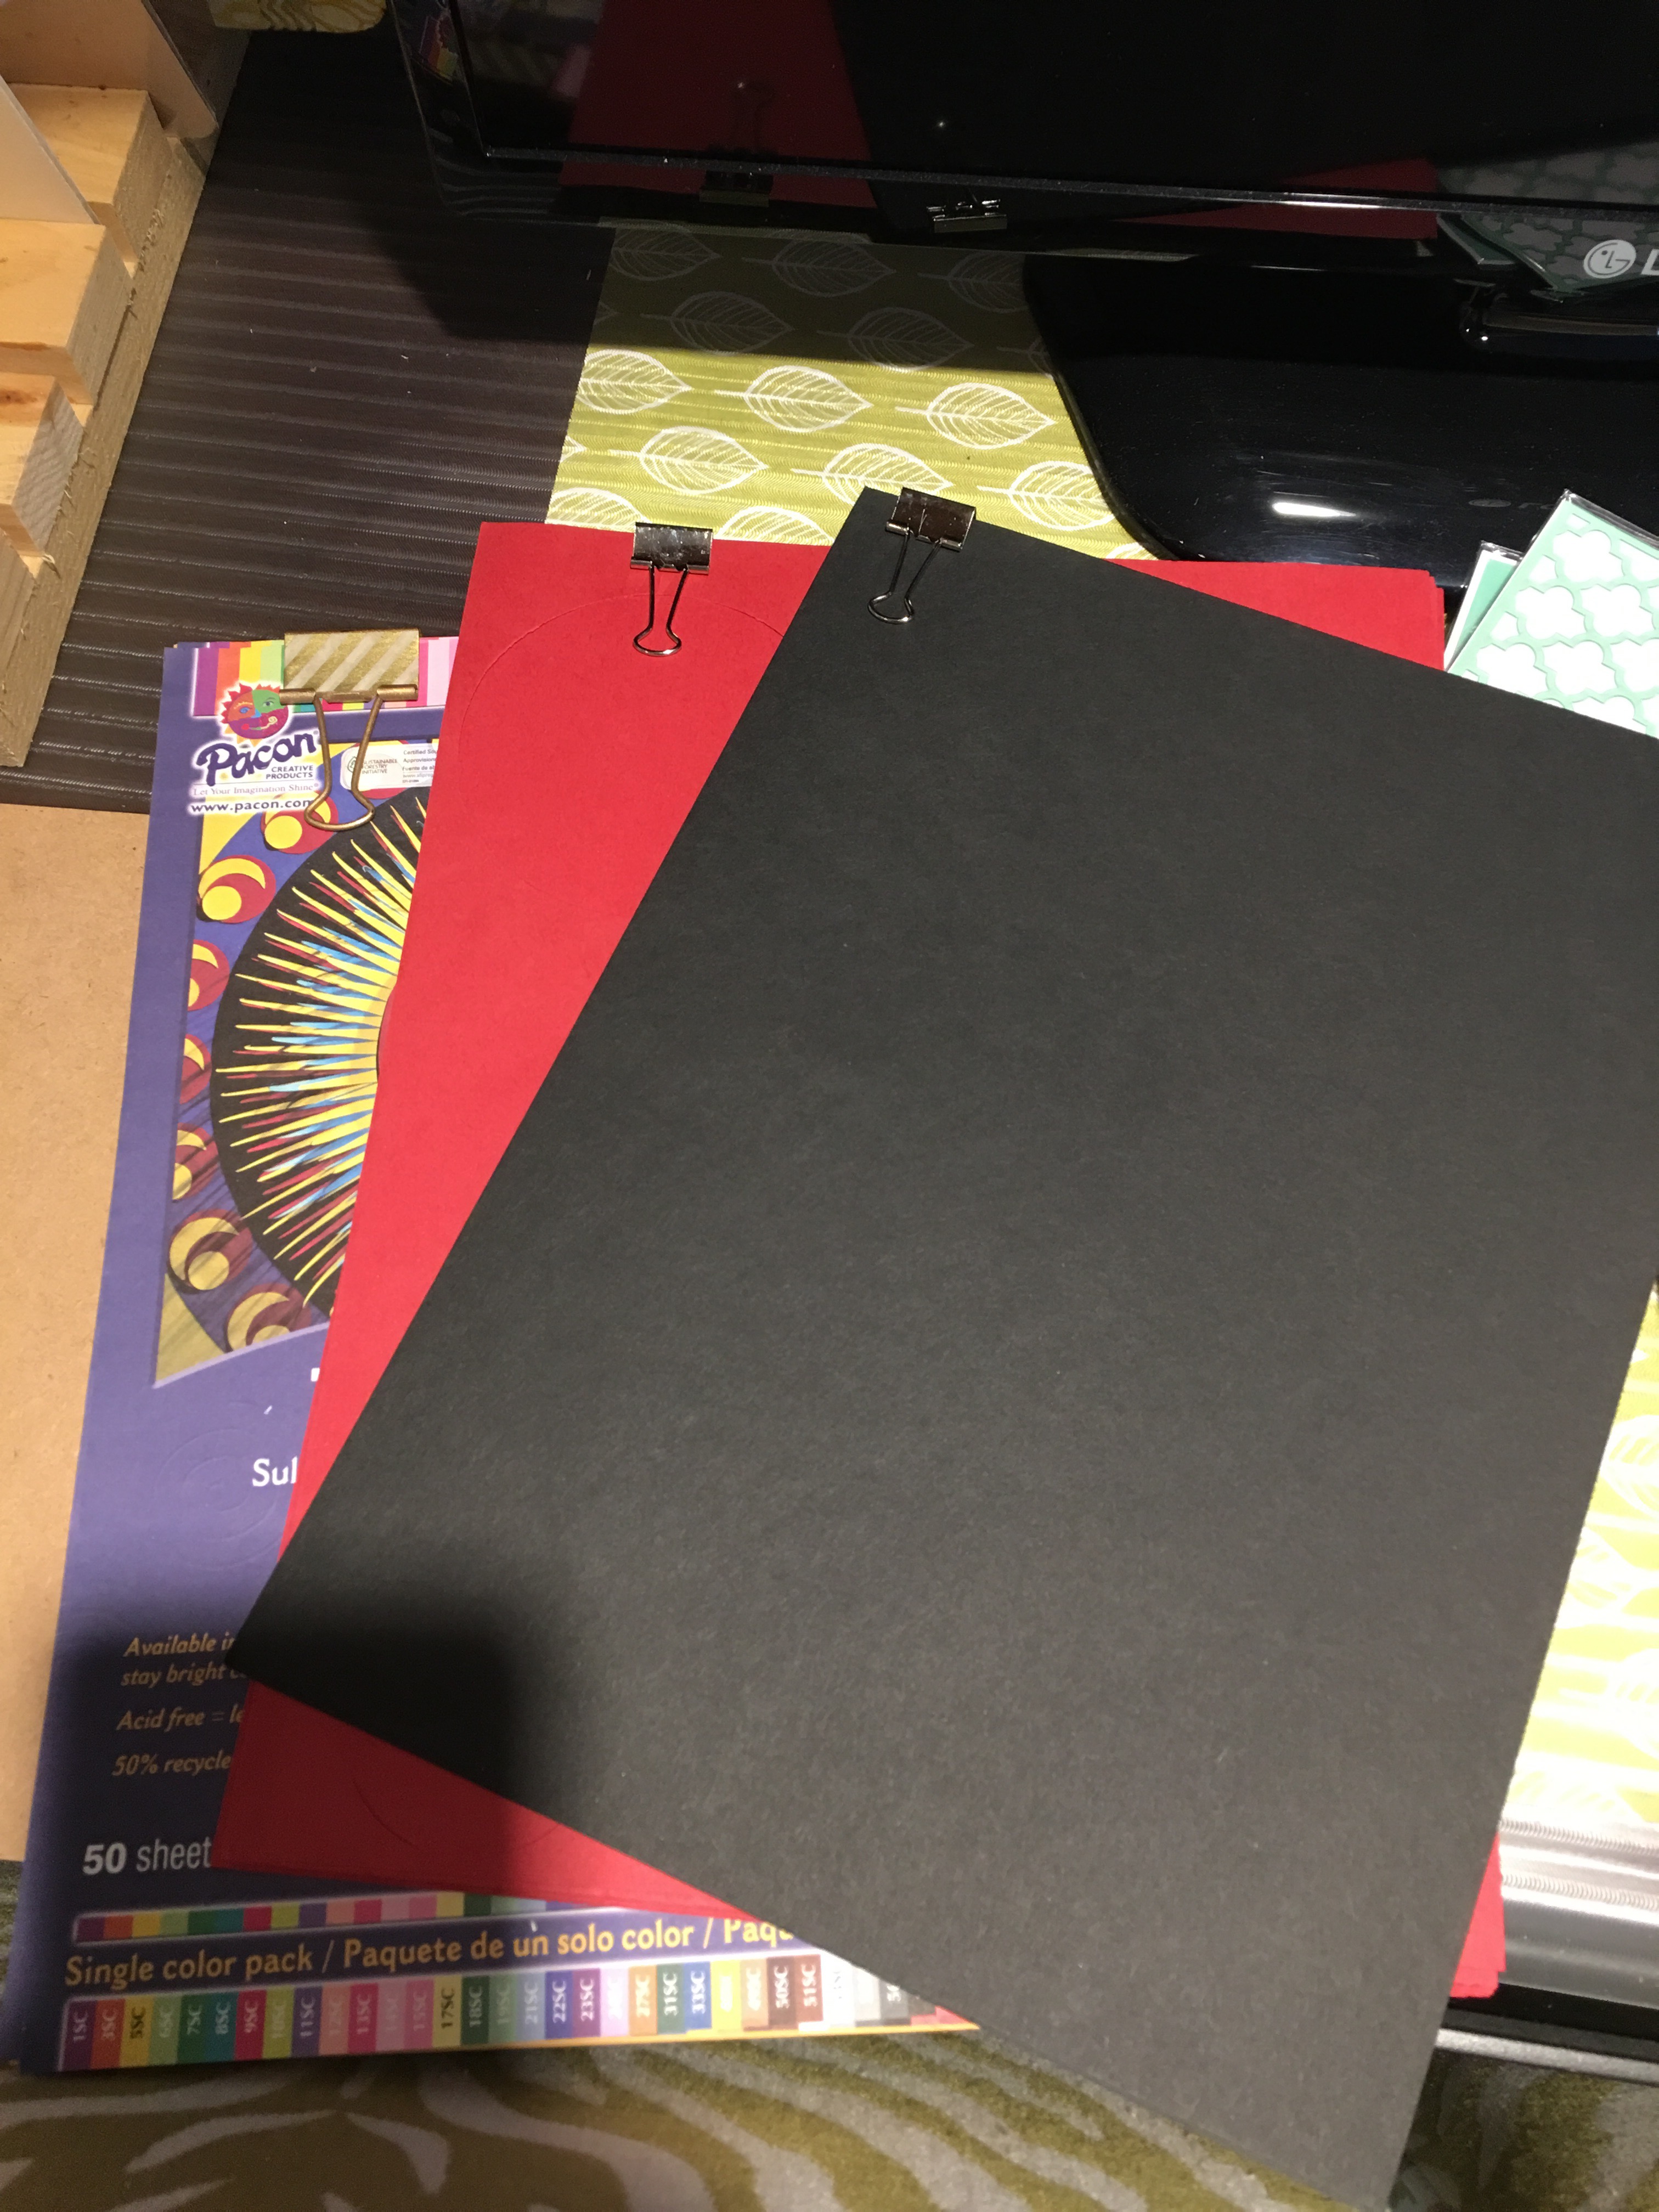
I continued organizing, clipping and filing away my mounds of paper (that I absolutely refuse to discard and recycle. Sacrilege!
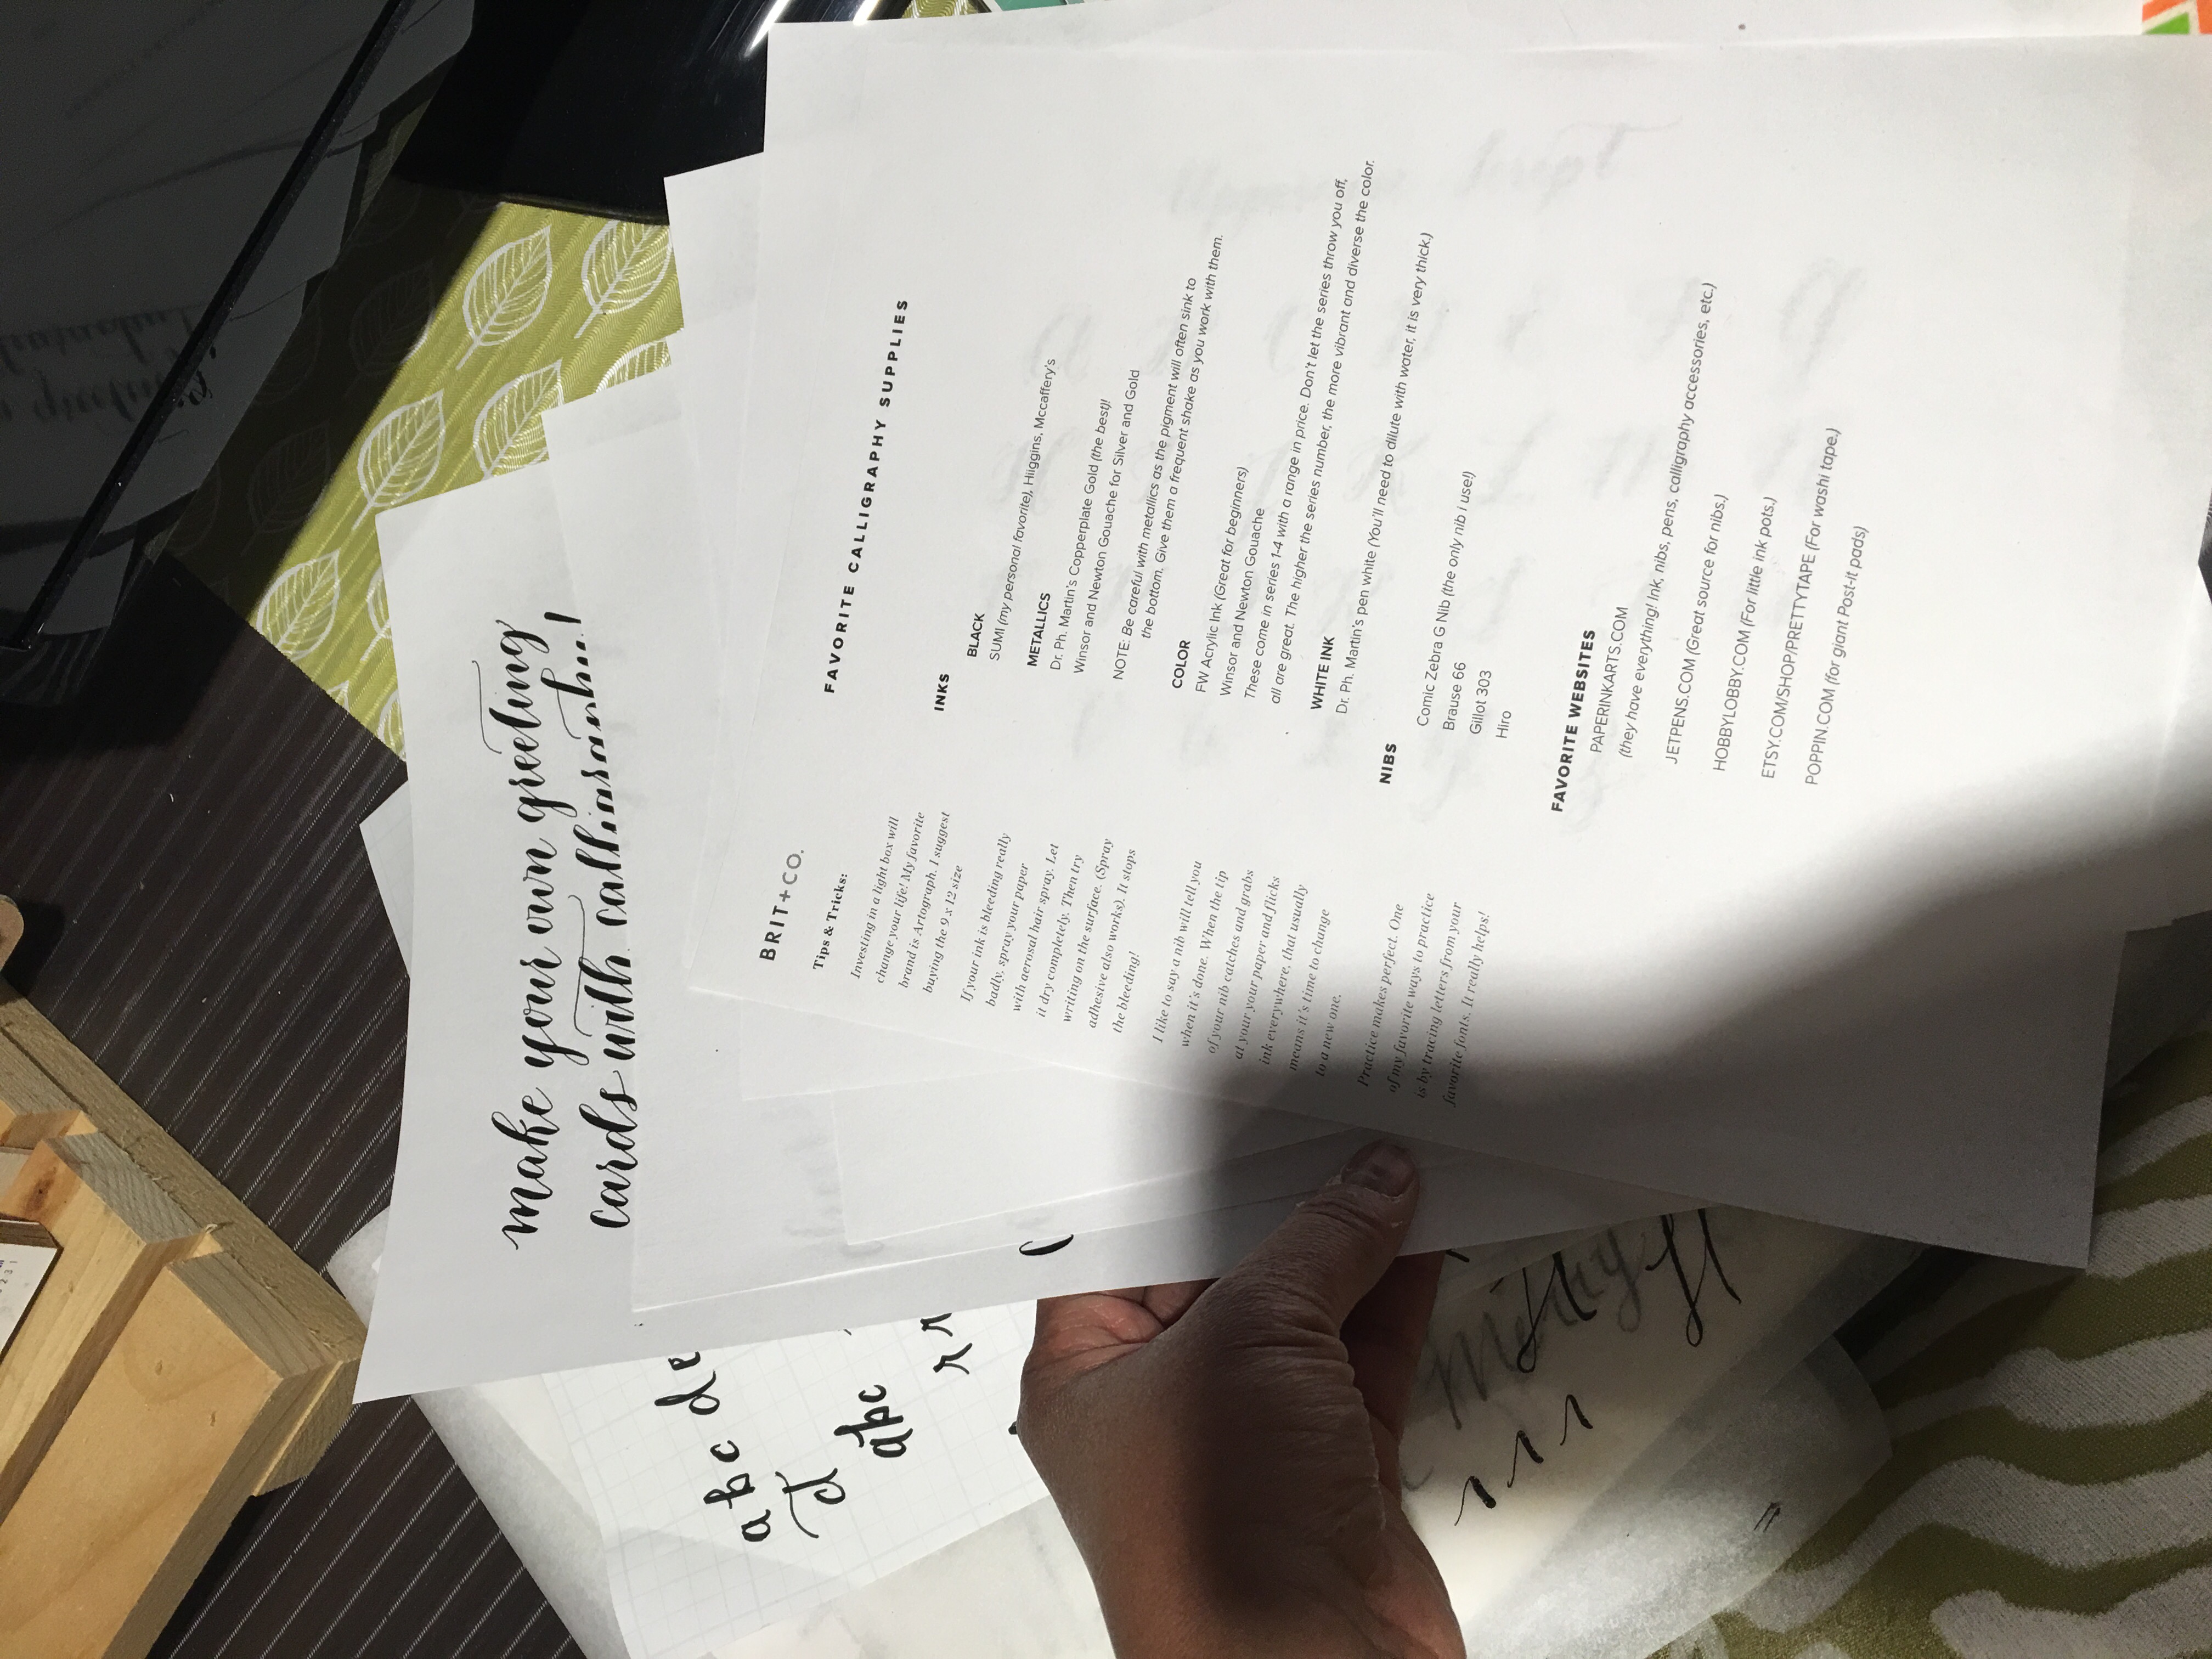
Time to also organize and file away my calligraphy practice worksheets.
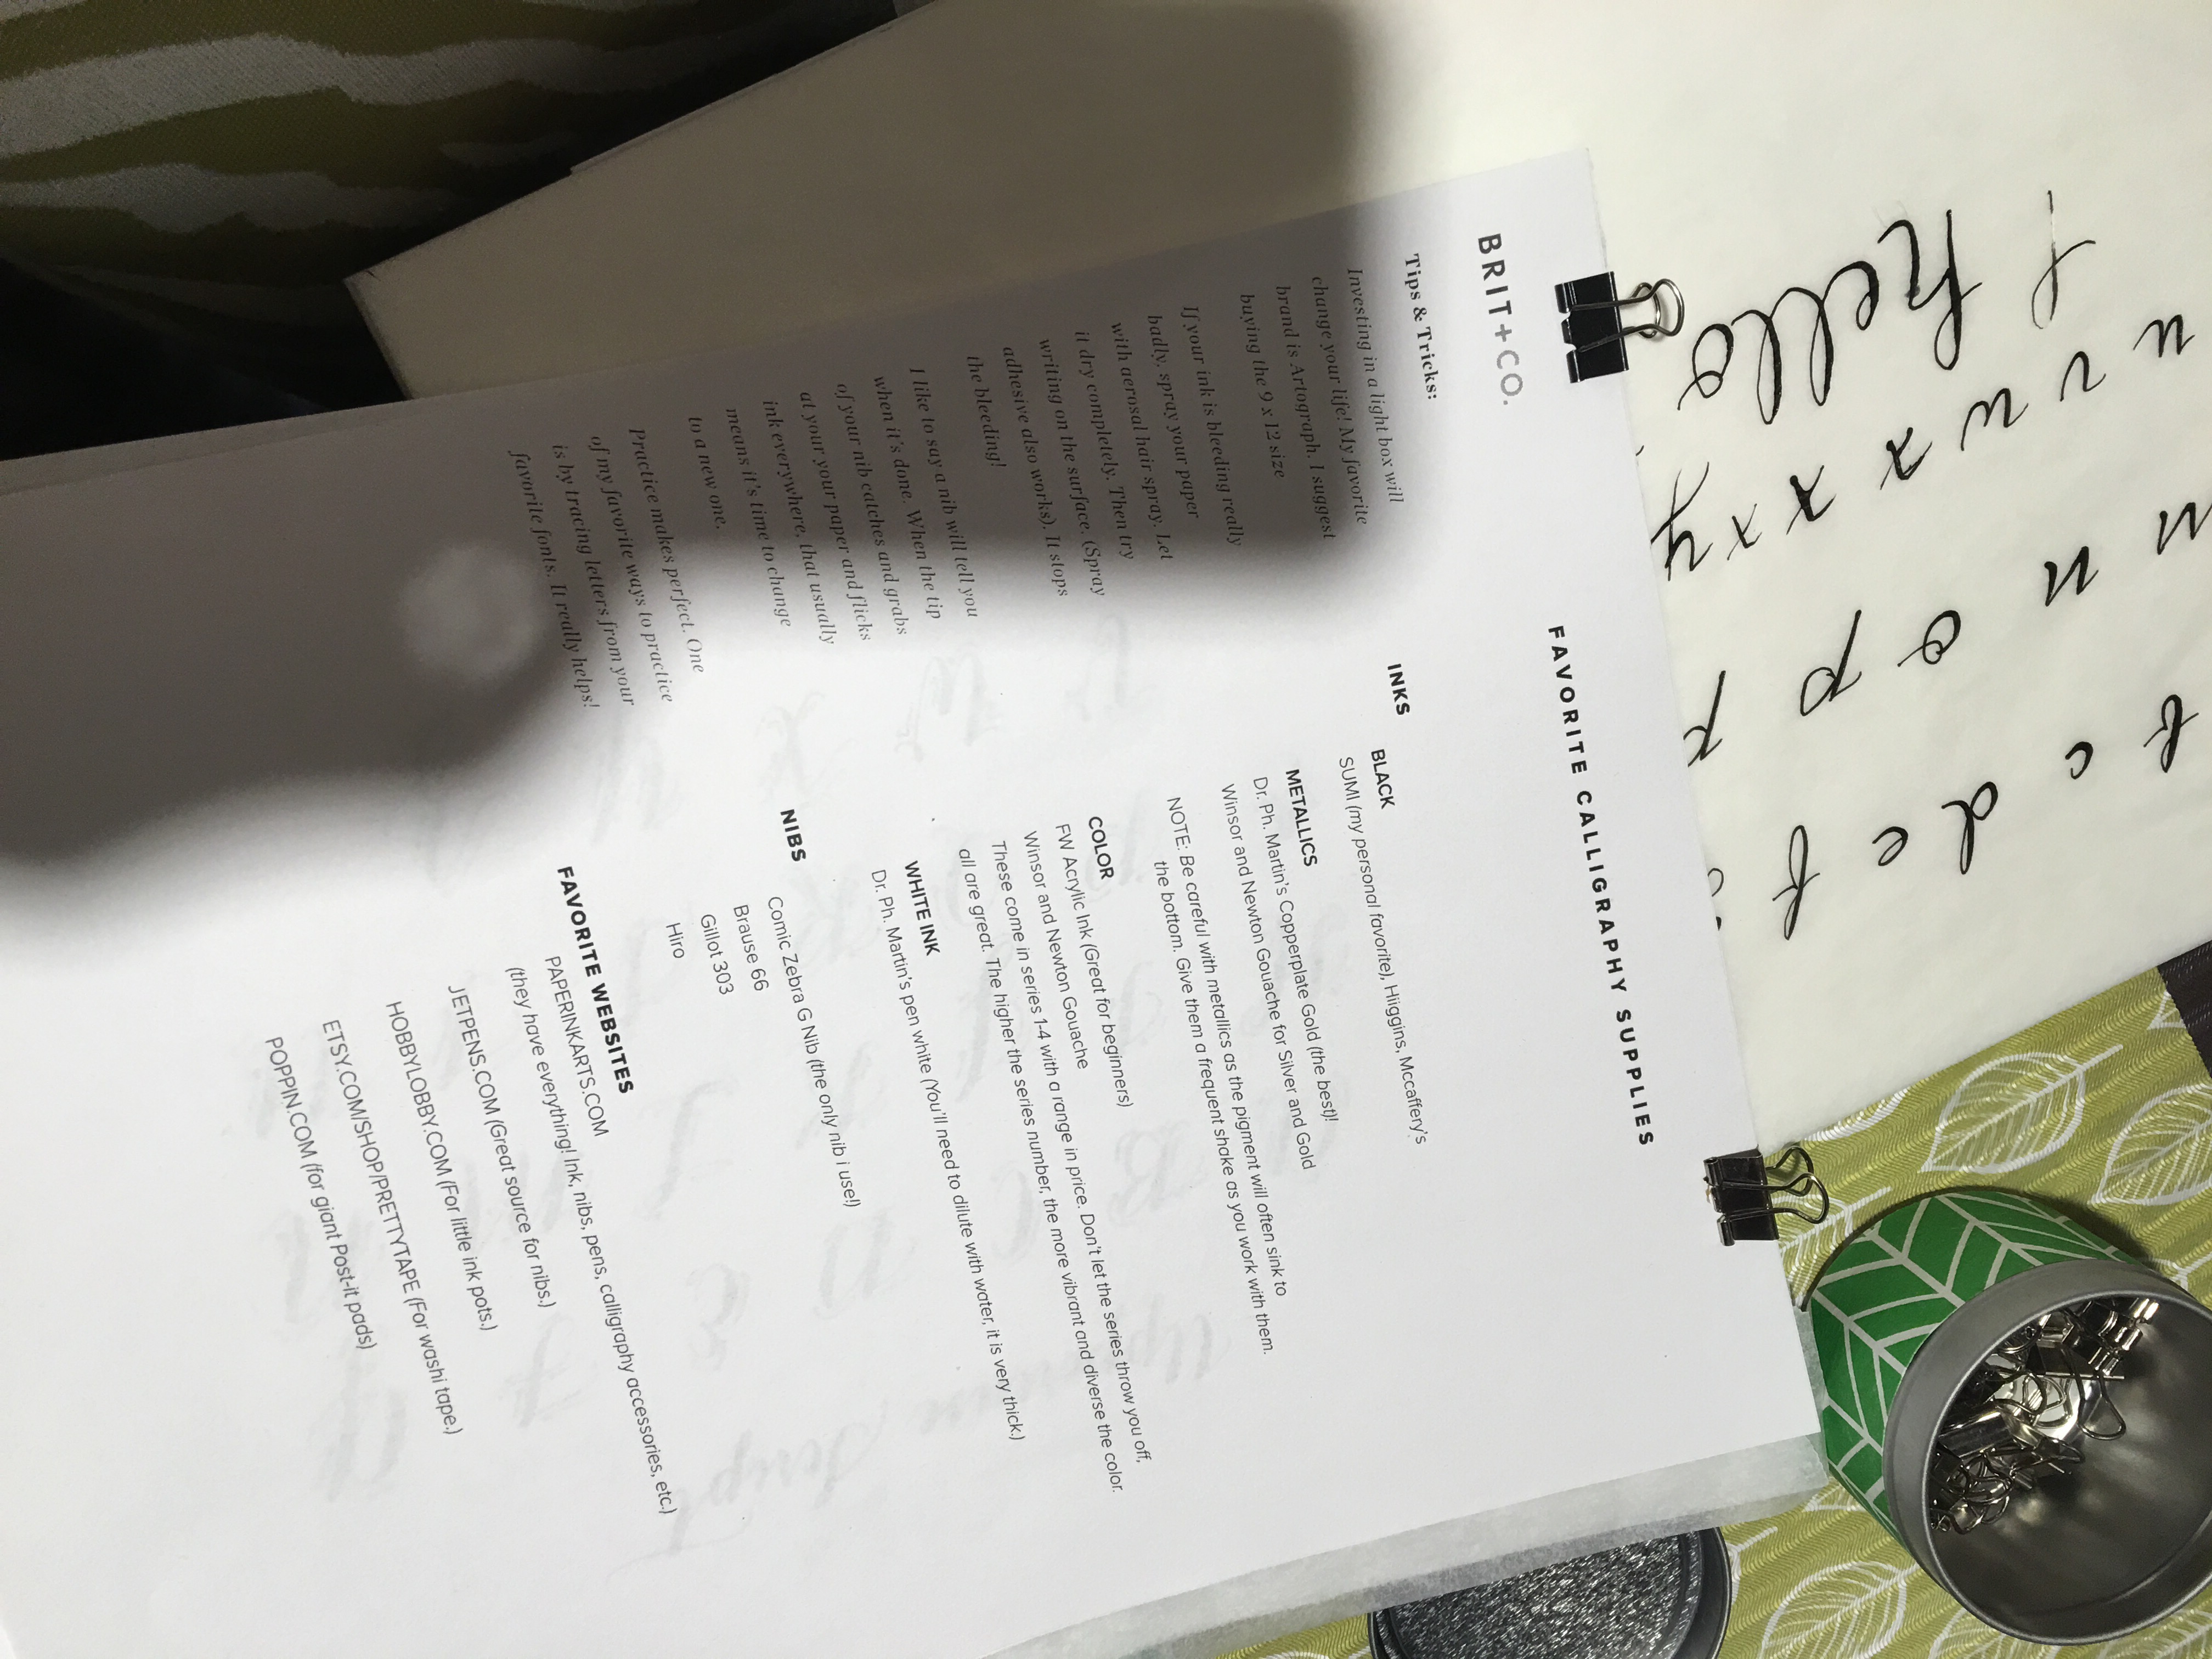
Clipped the instructions and the practice tracing papers and tucked them away.
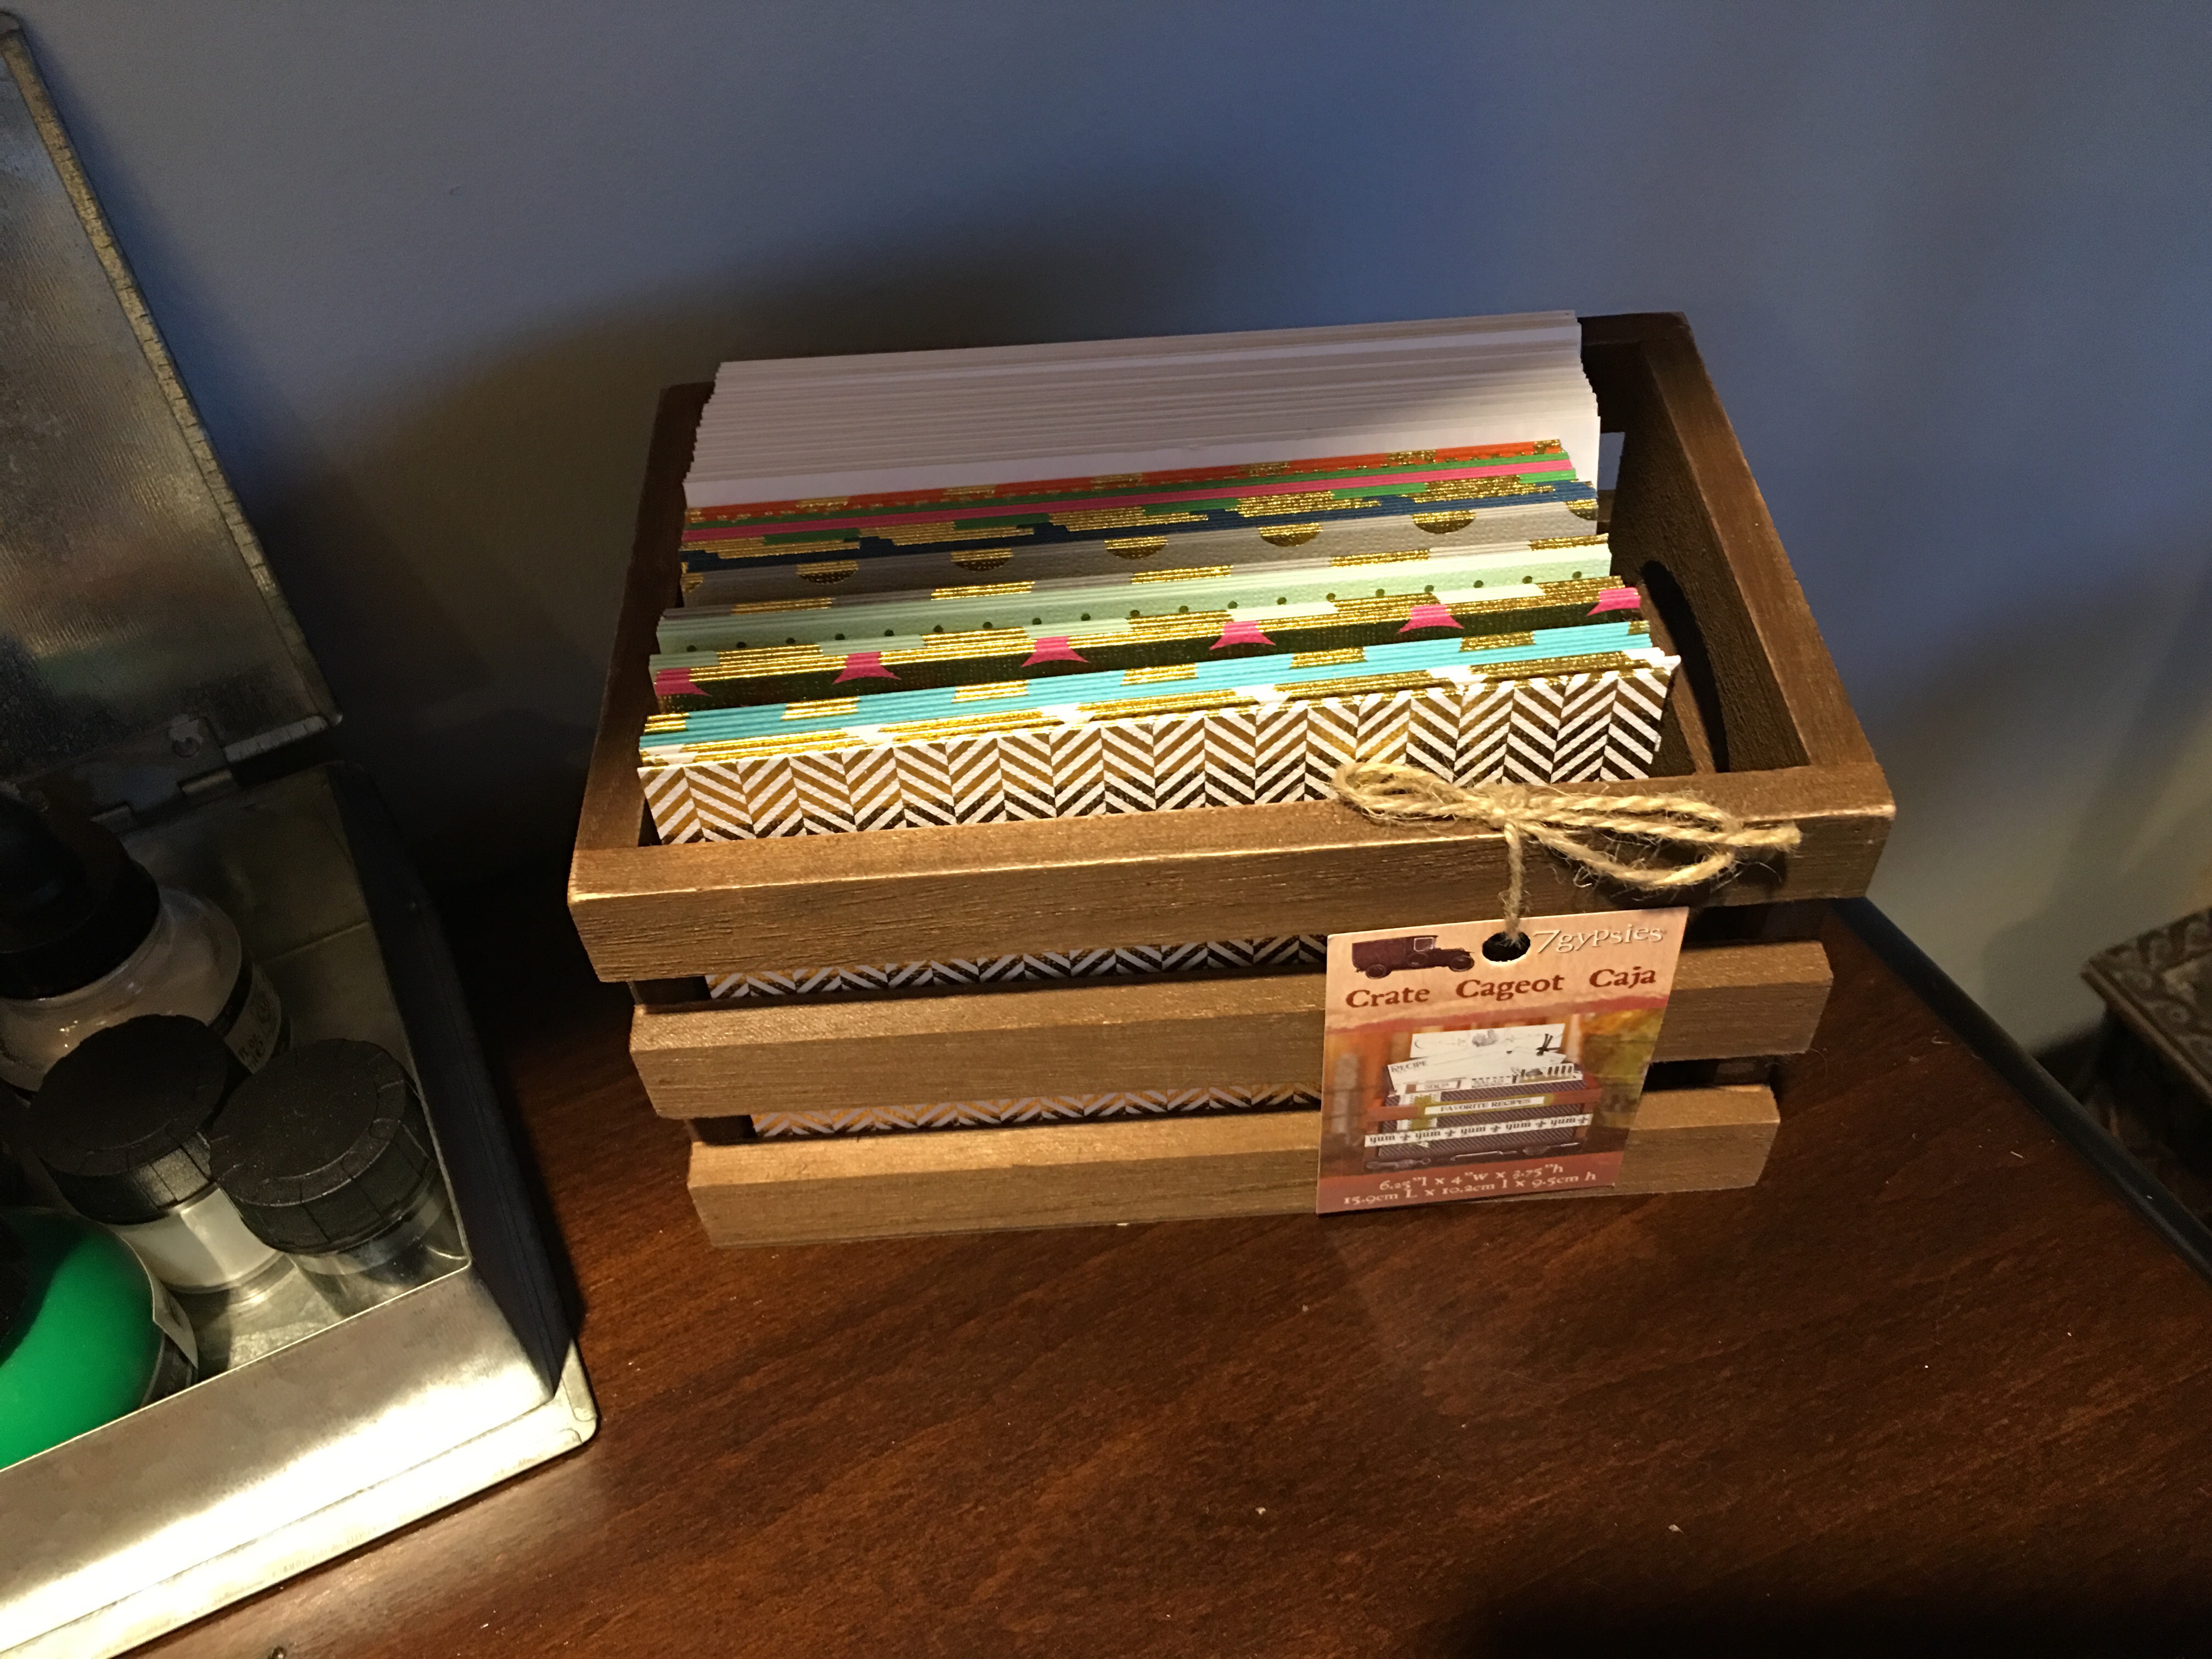
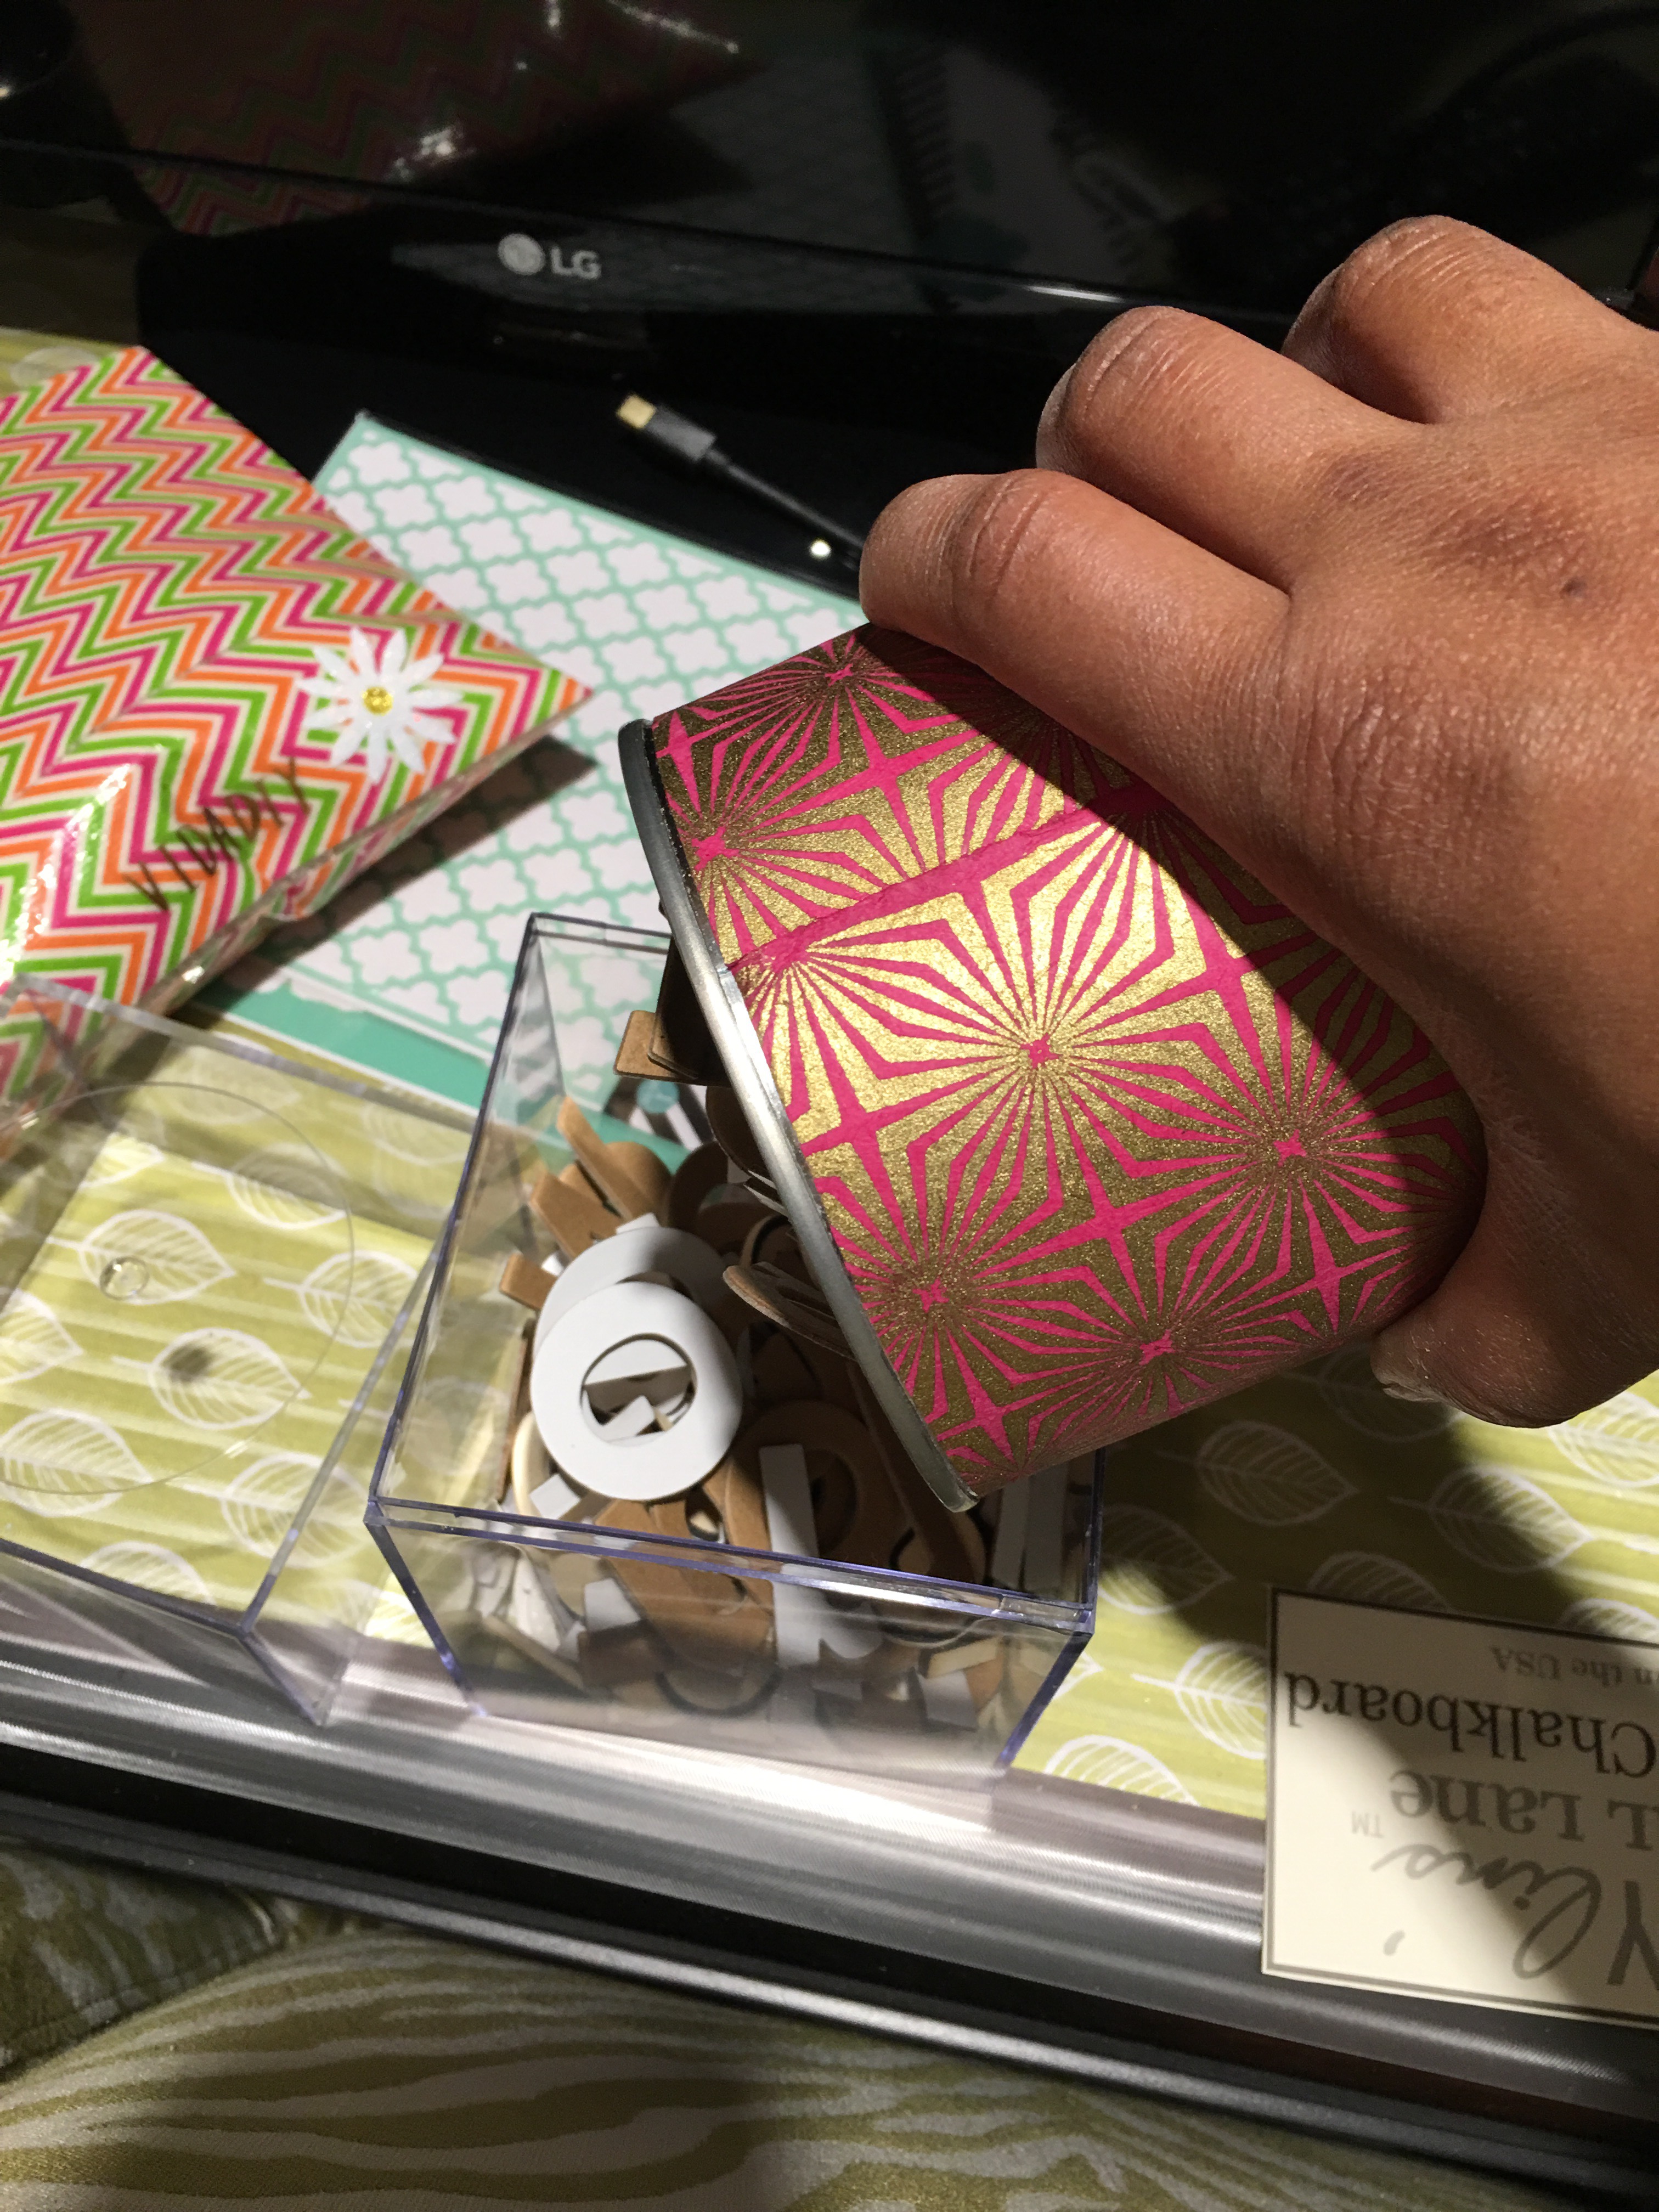
The foil textured cards…they were tossed across the desk (and not on the tarp) along with their envelopes in a disorganized manner. I used these tiny crates I got from Micheals (discounted at $2.99) to stack and store the cards.
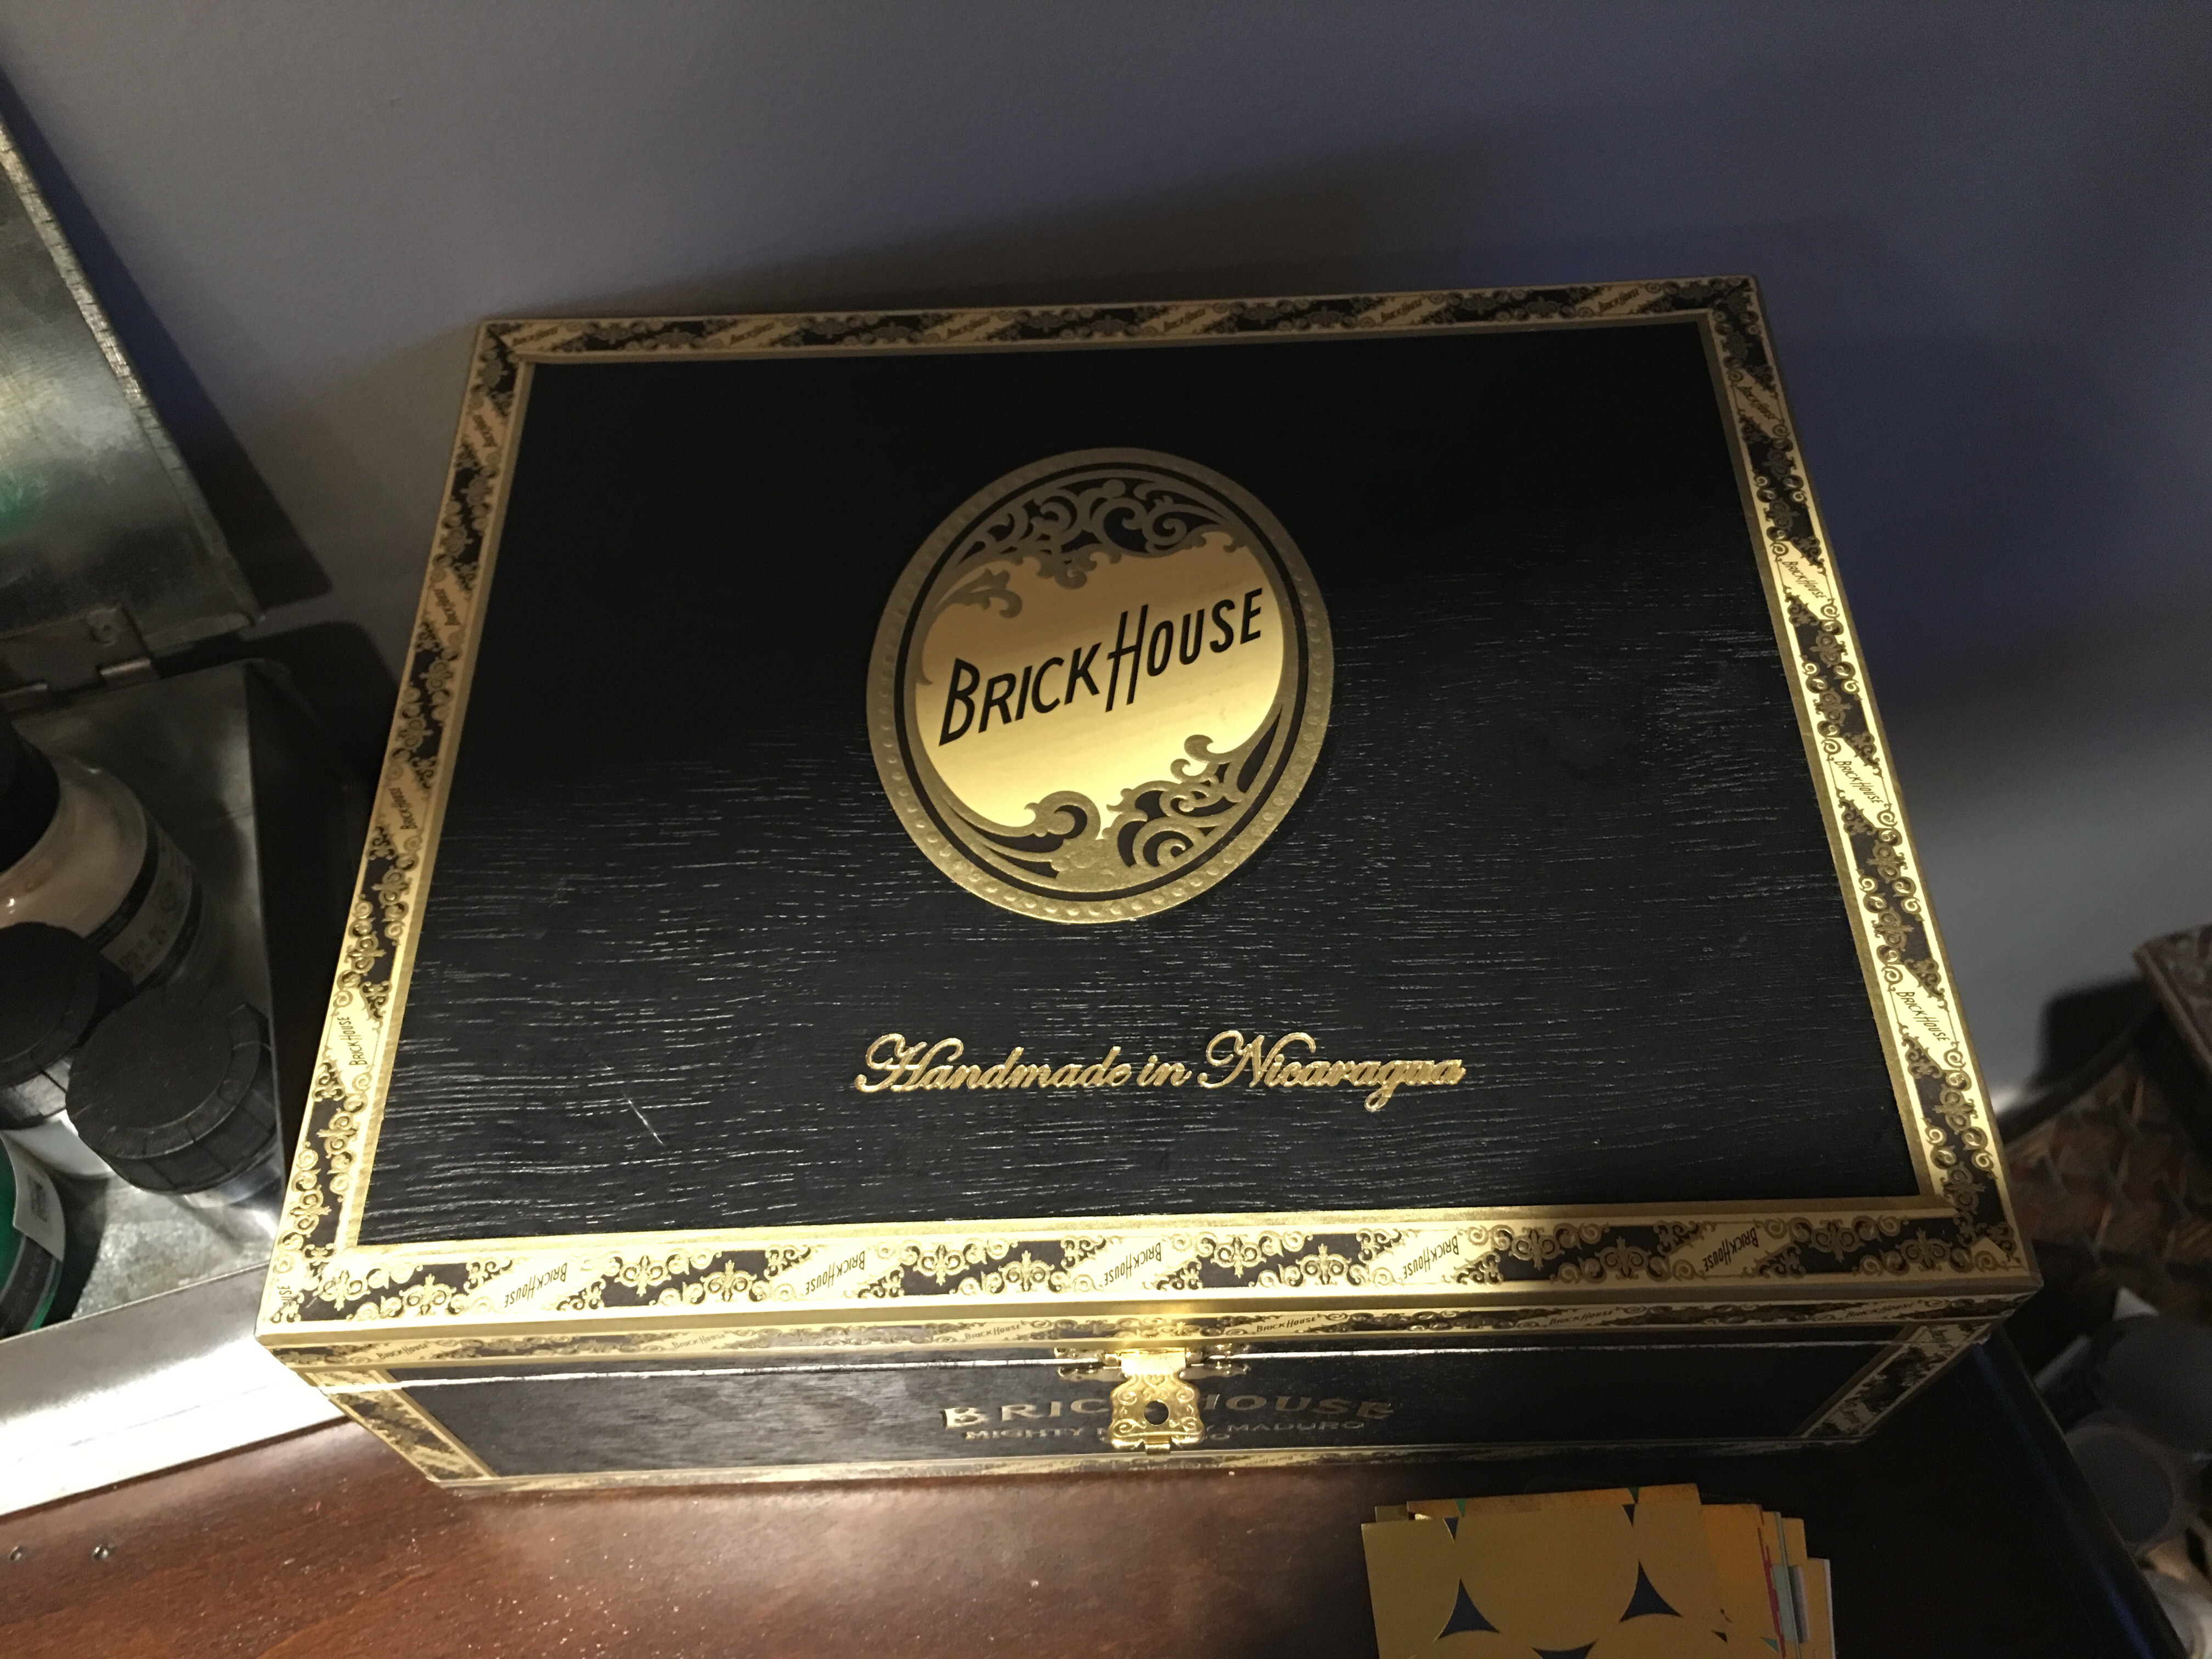
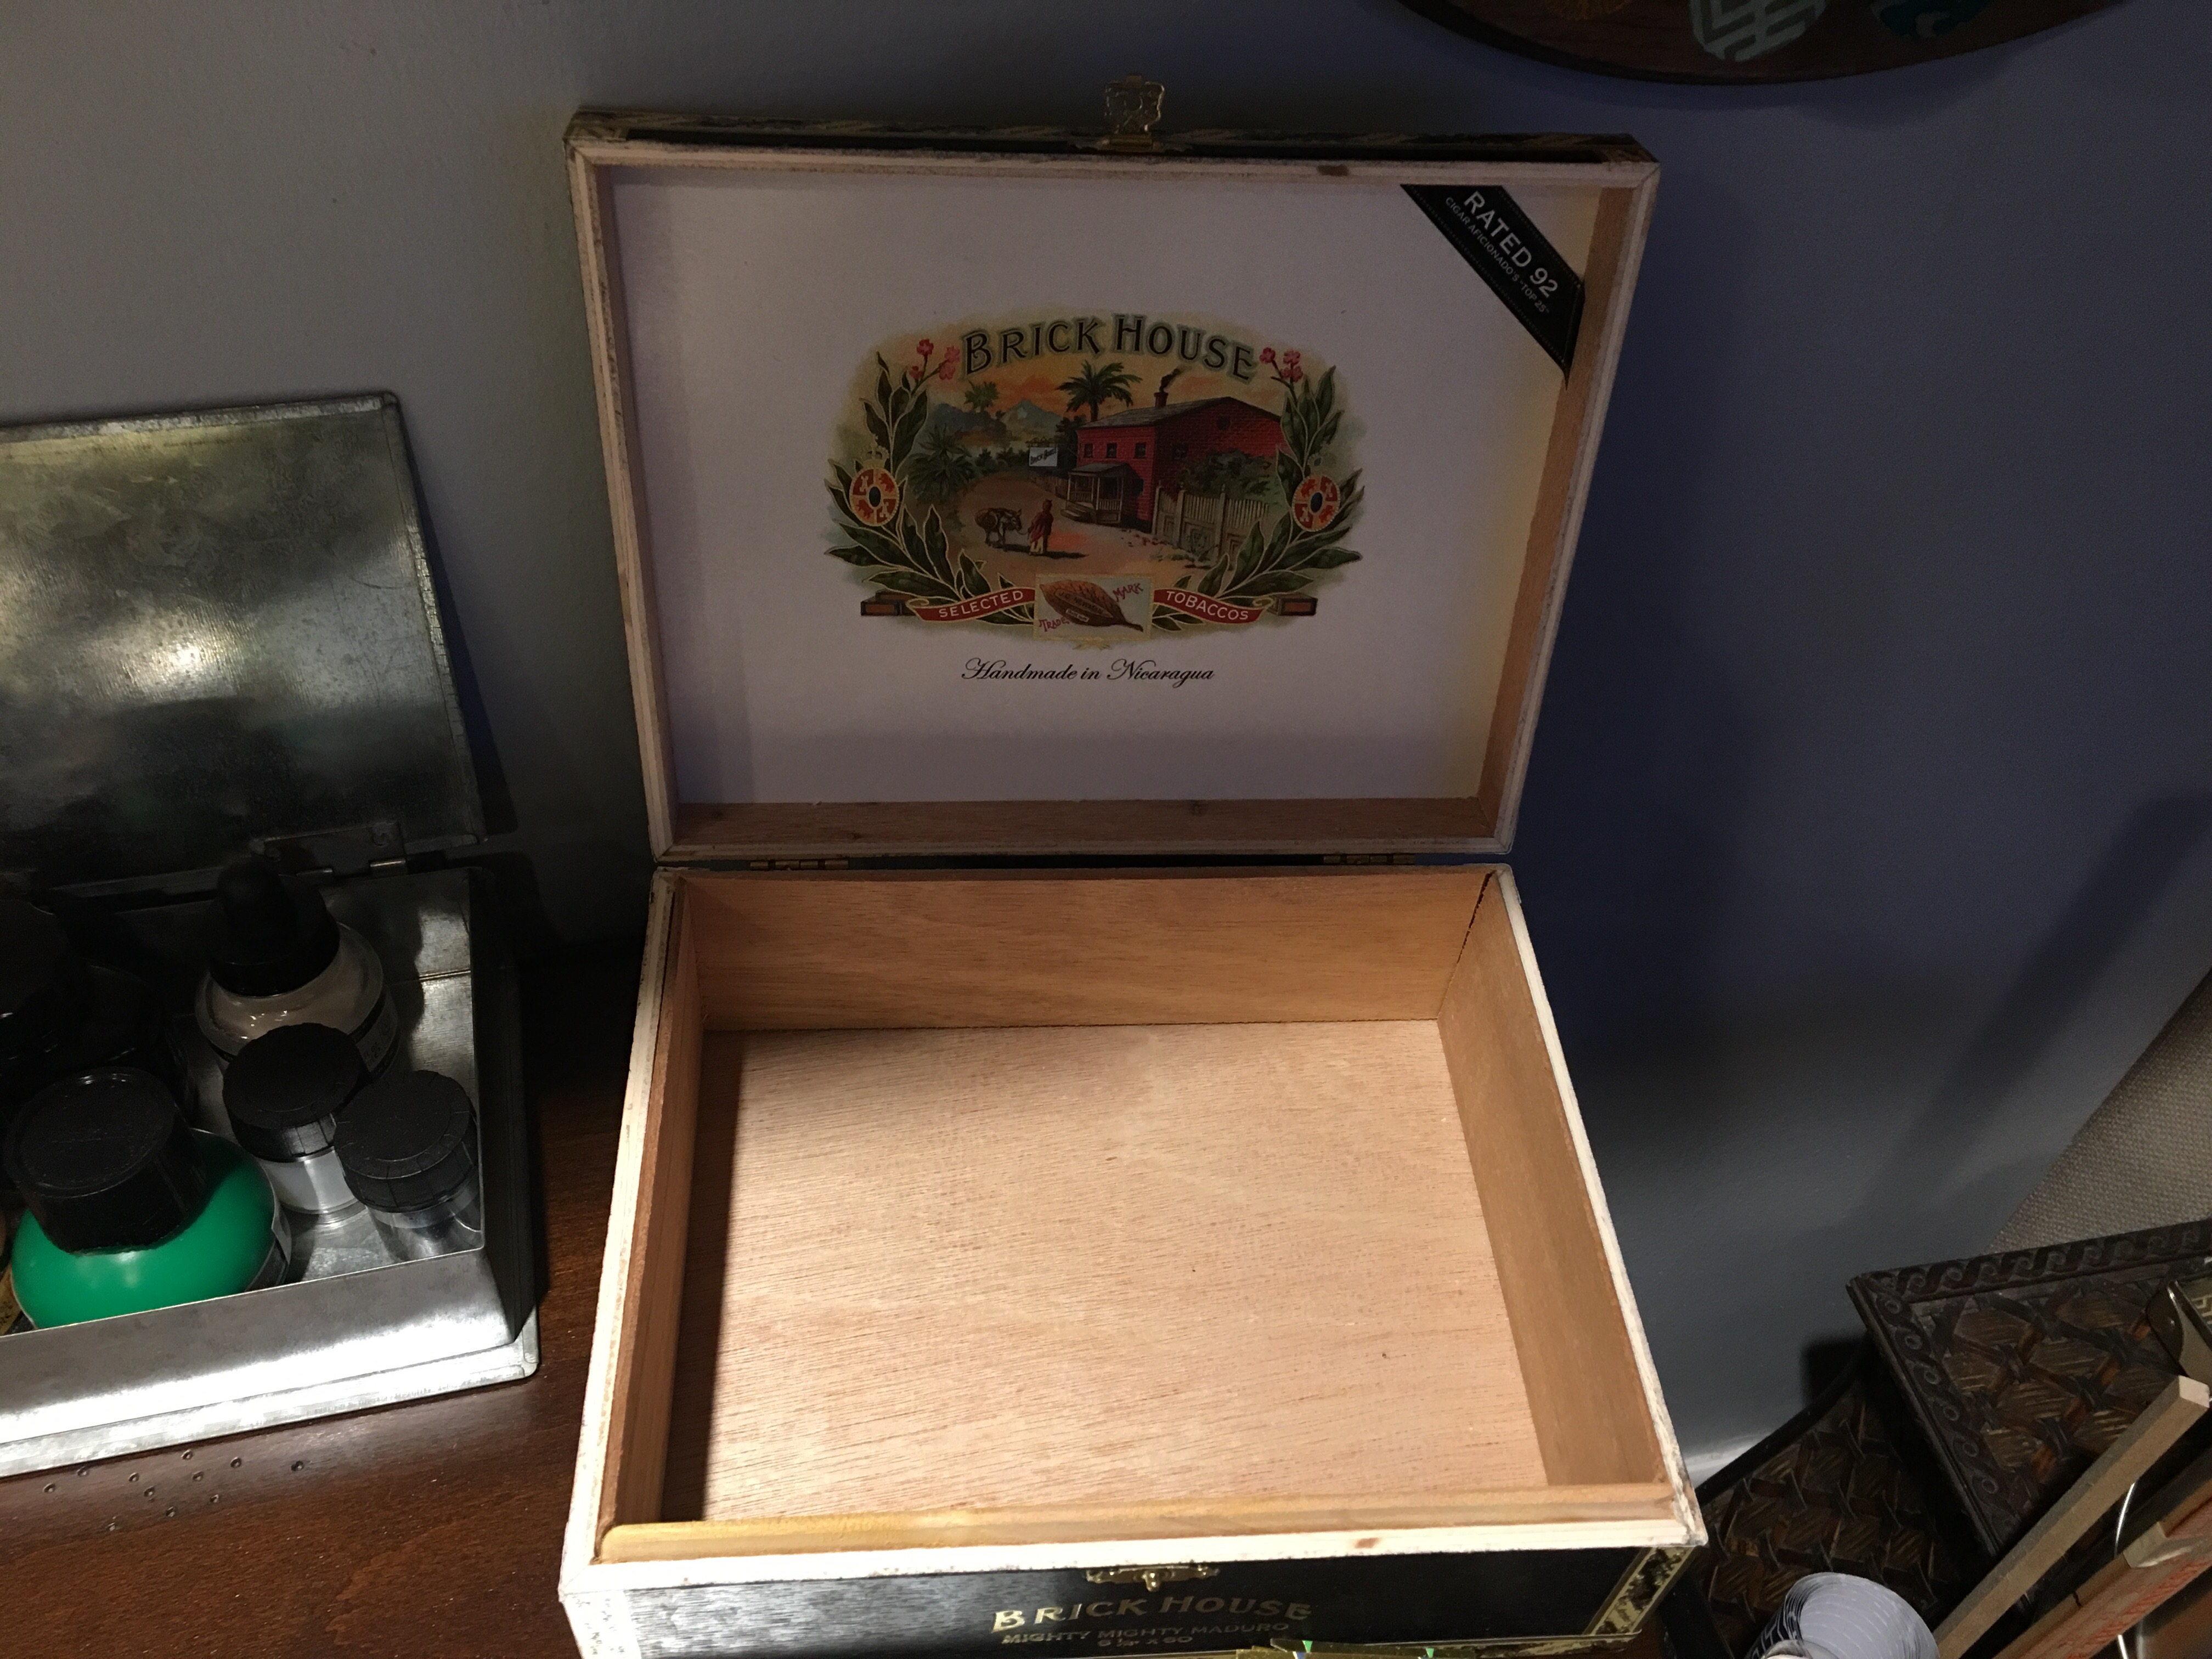
The crate would not hold the envelopes, however. So I got one of the cigar boxes that I got from Total Wine in Laurel (got it for a steal that day for 99 cents).
I love these cigar boxes. They’re so beautiful, I don’t even need to decorate them. Although I sometimes need to fight the urge.
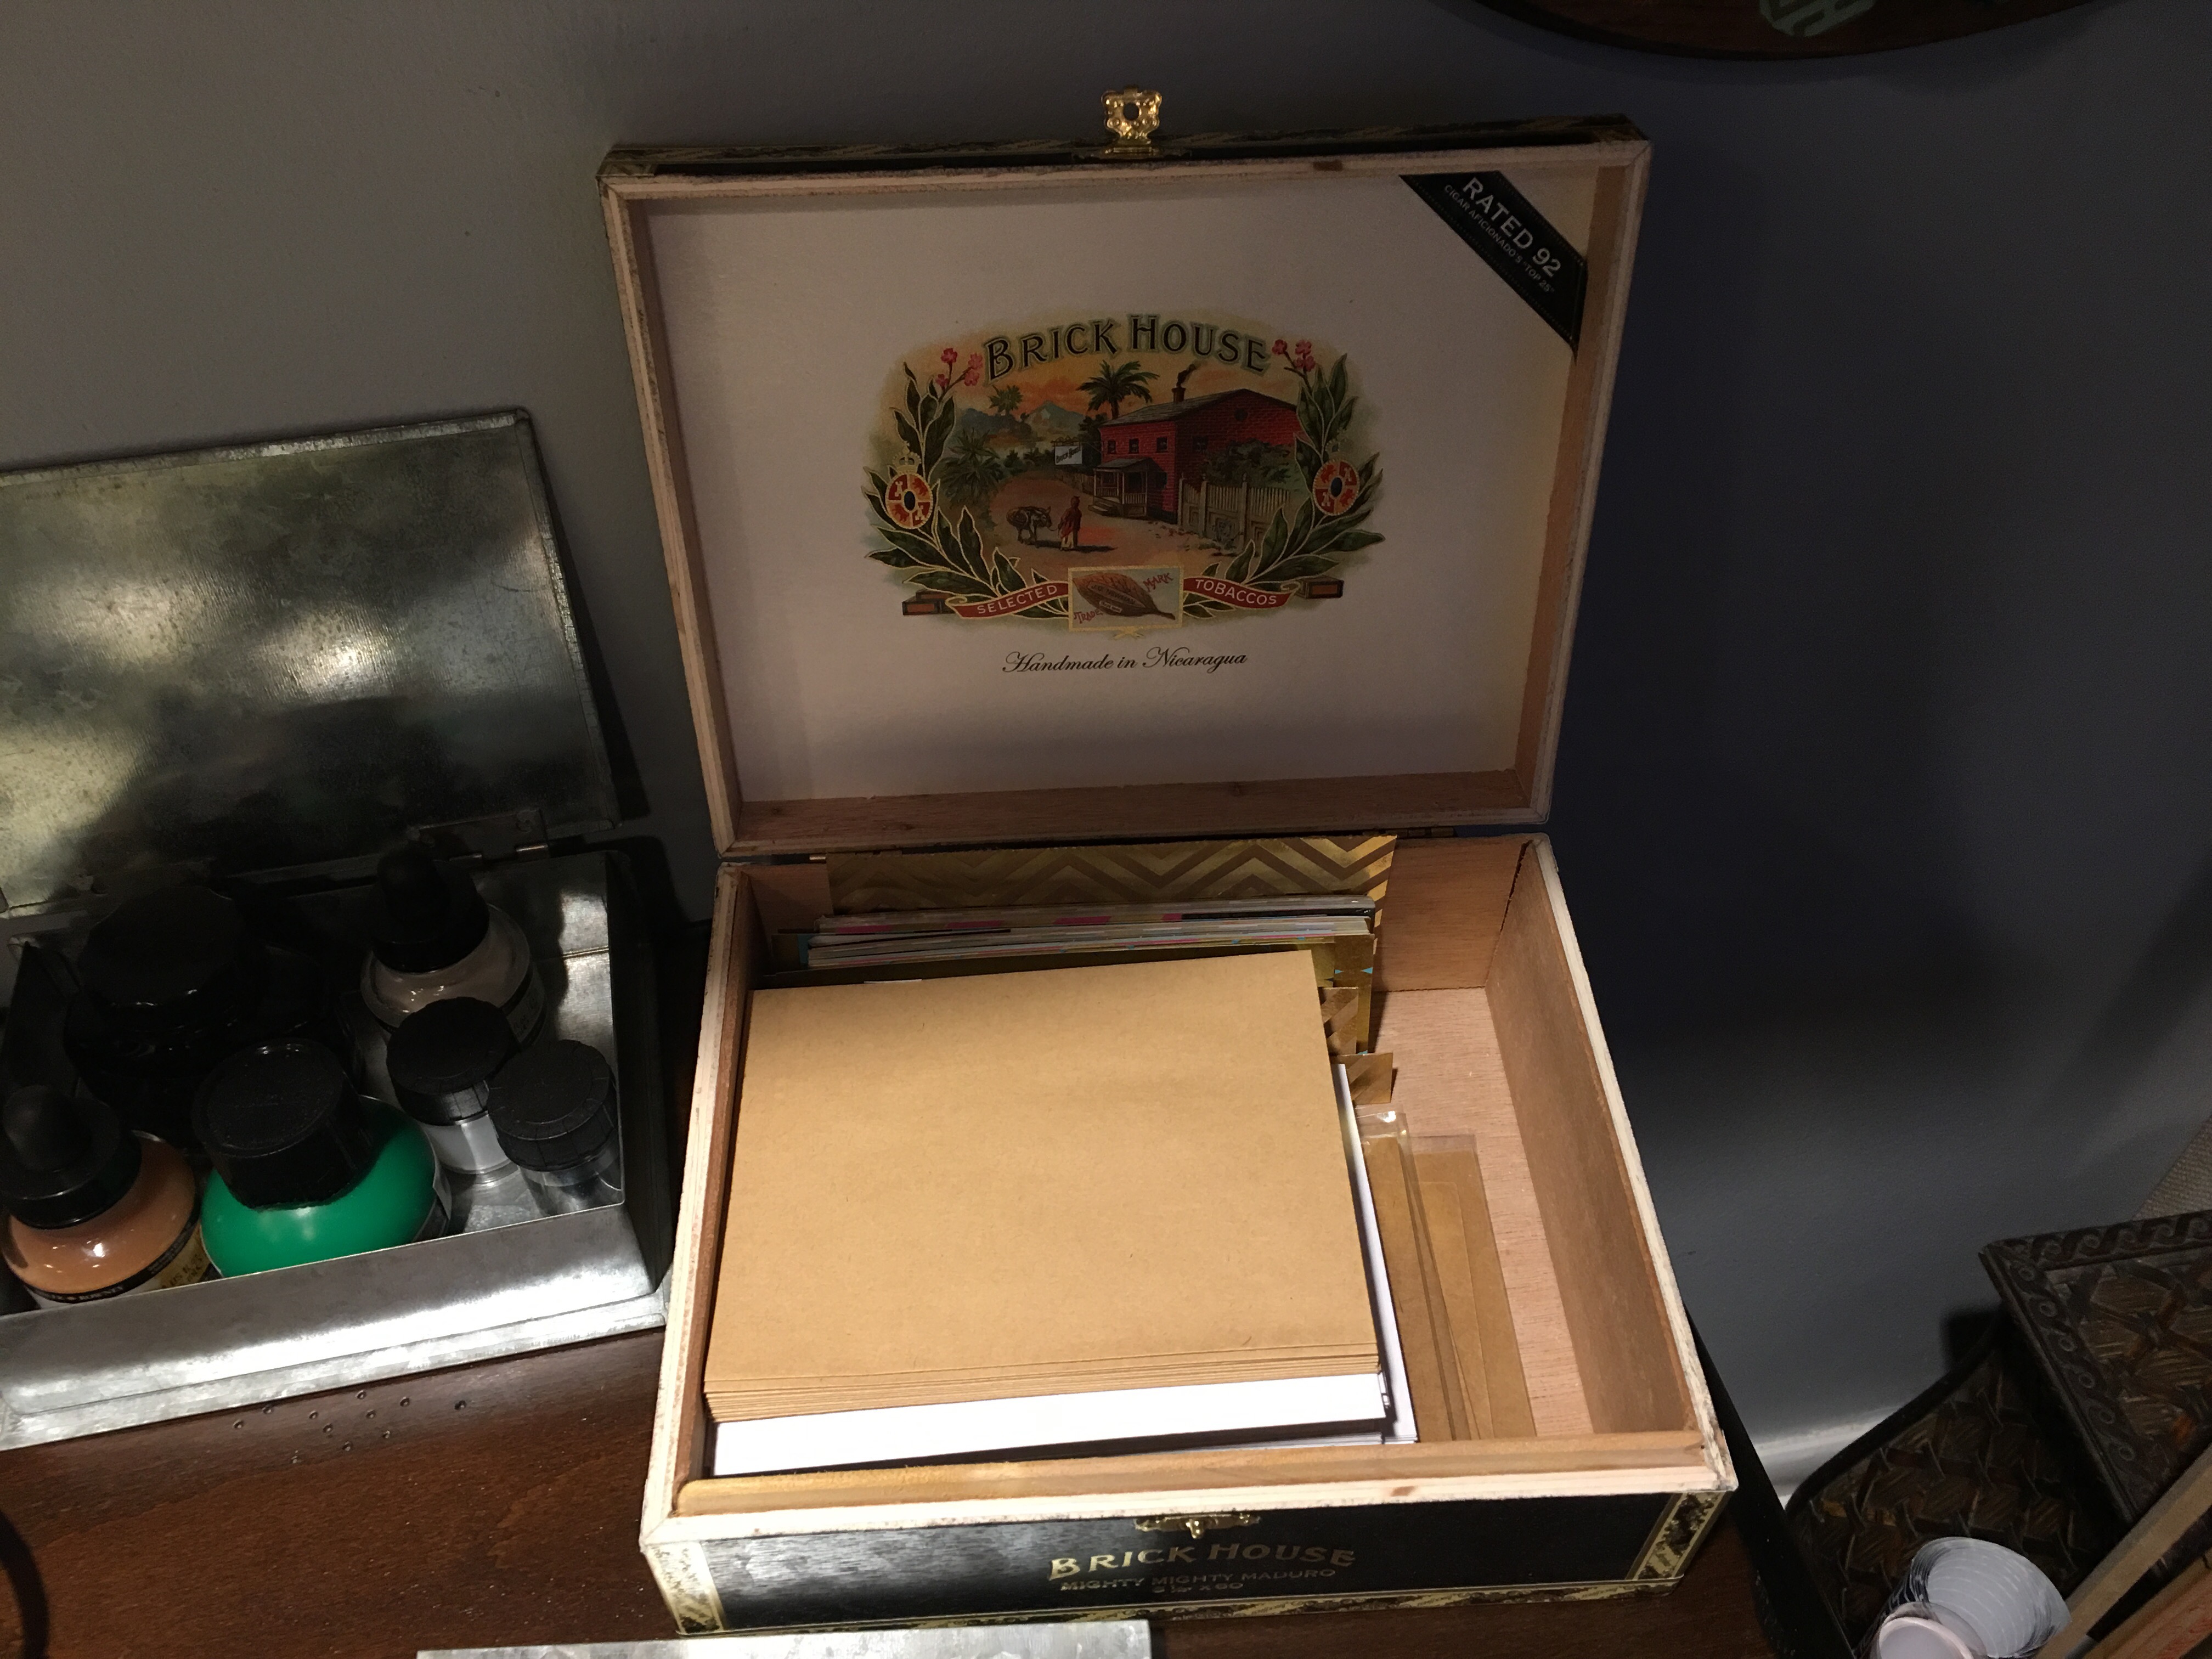
The envelopes, foil textured card strips and bookmarks went into the cigar box.

And the crate now sits on top of the box.
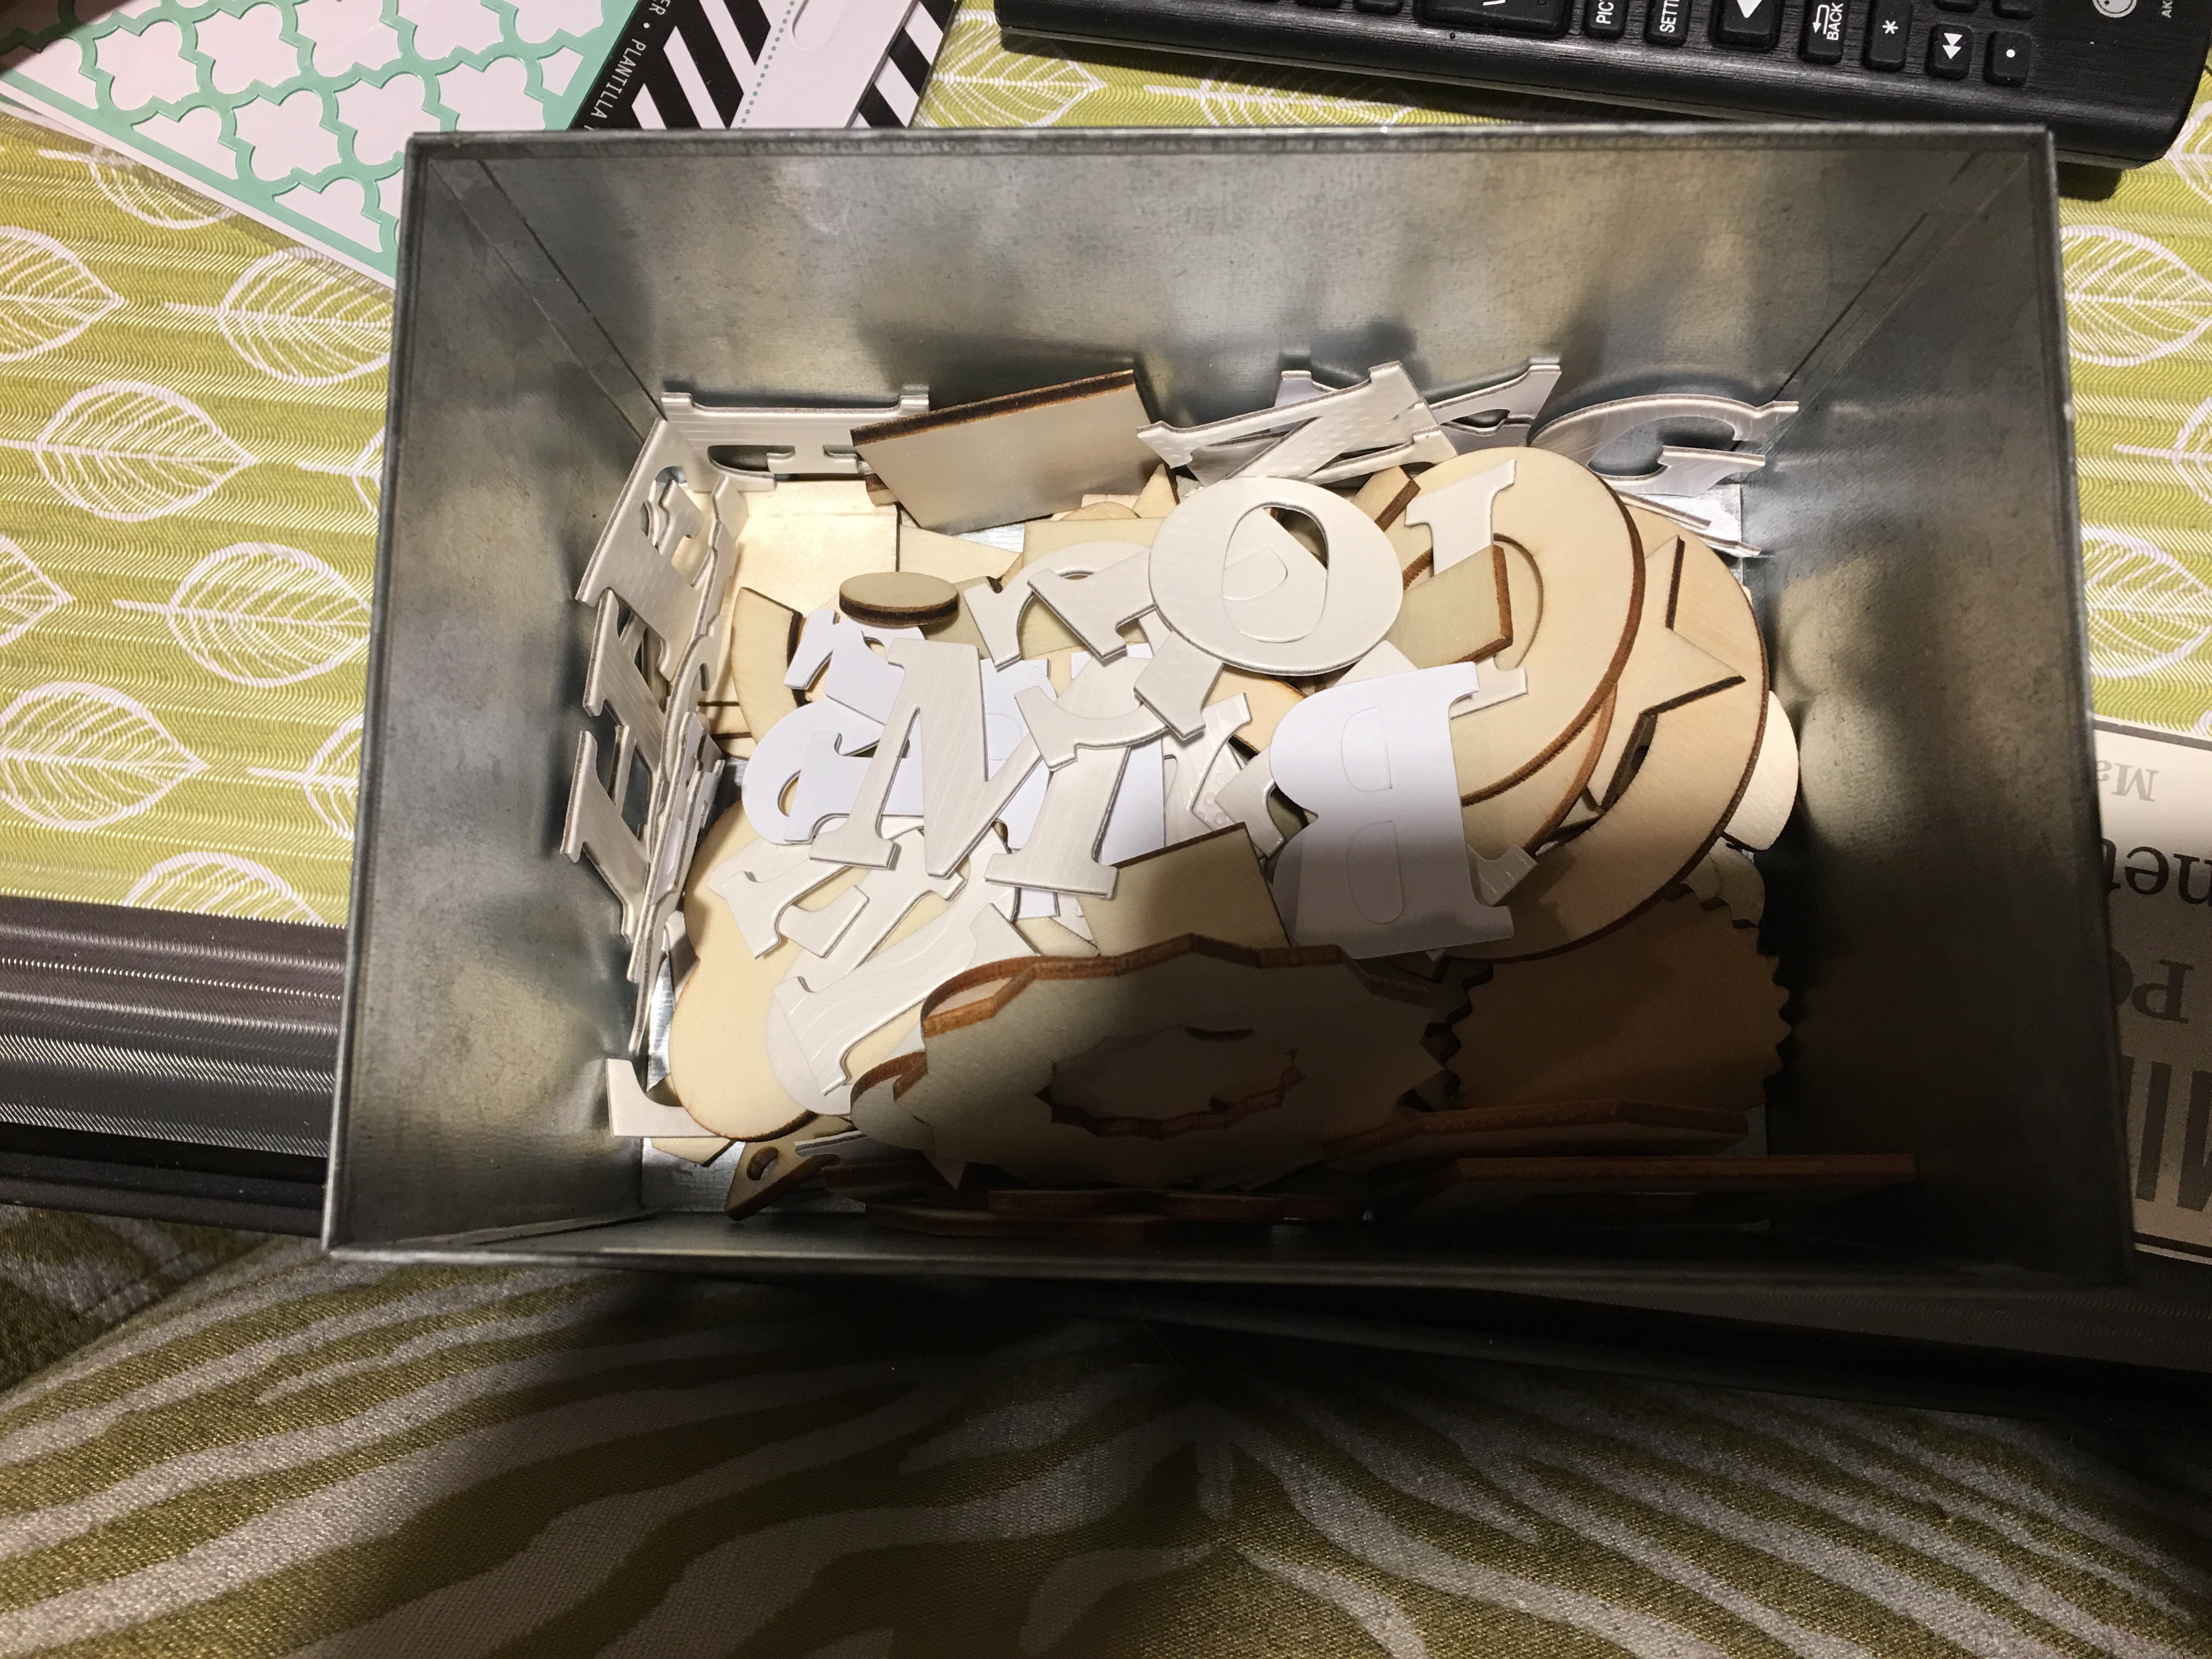
Now for the small galvanized covered boxes. One contains loose letters. I can find a better place for those.
I transferred the wood shapes to an acrylic box container that I bought years ago from the Container Store.
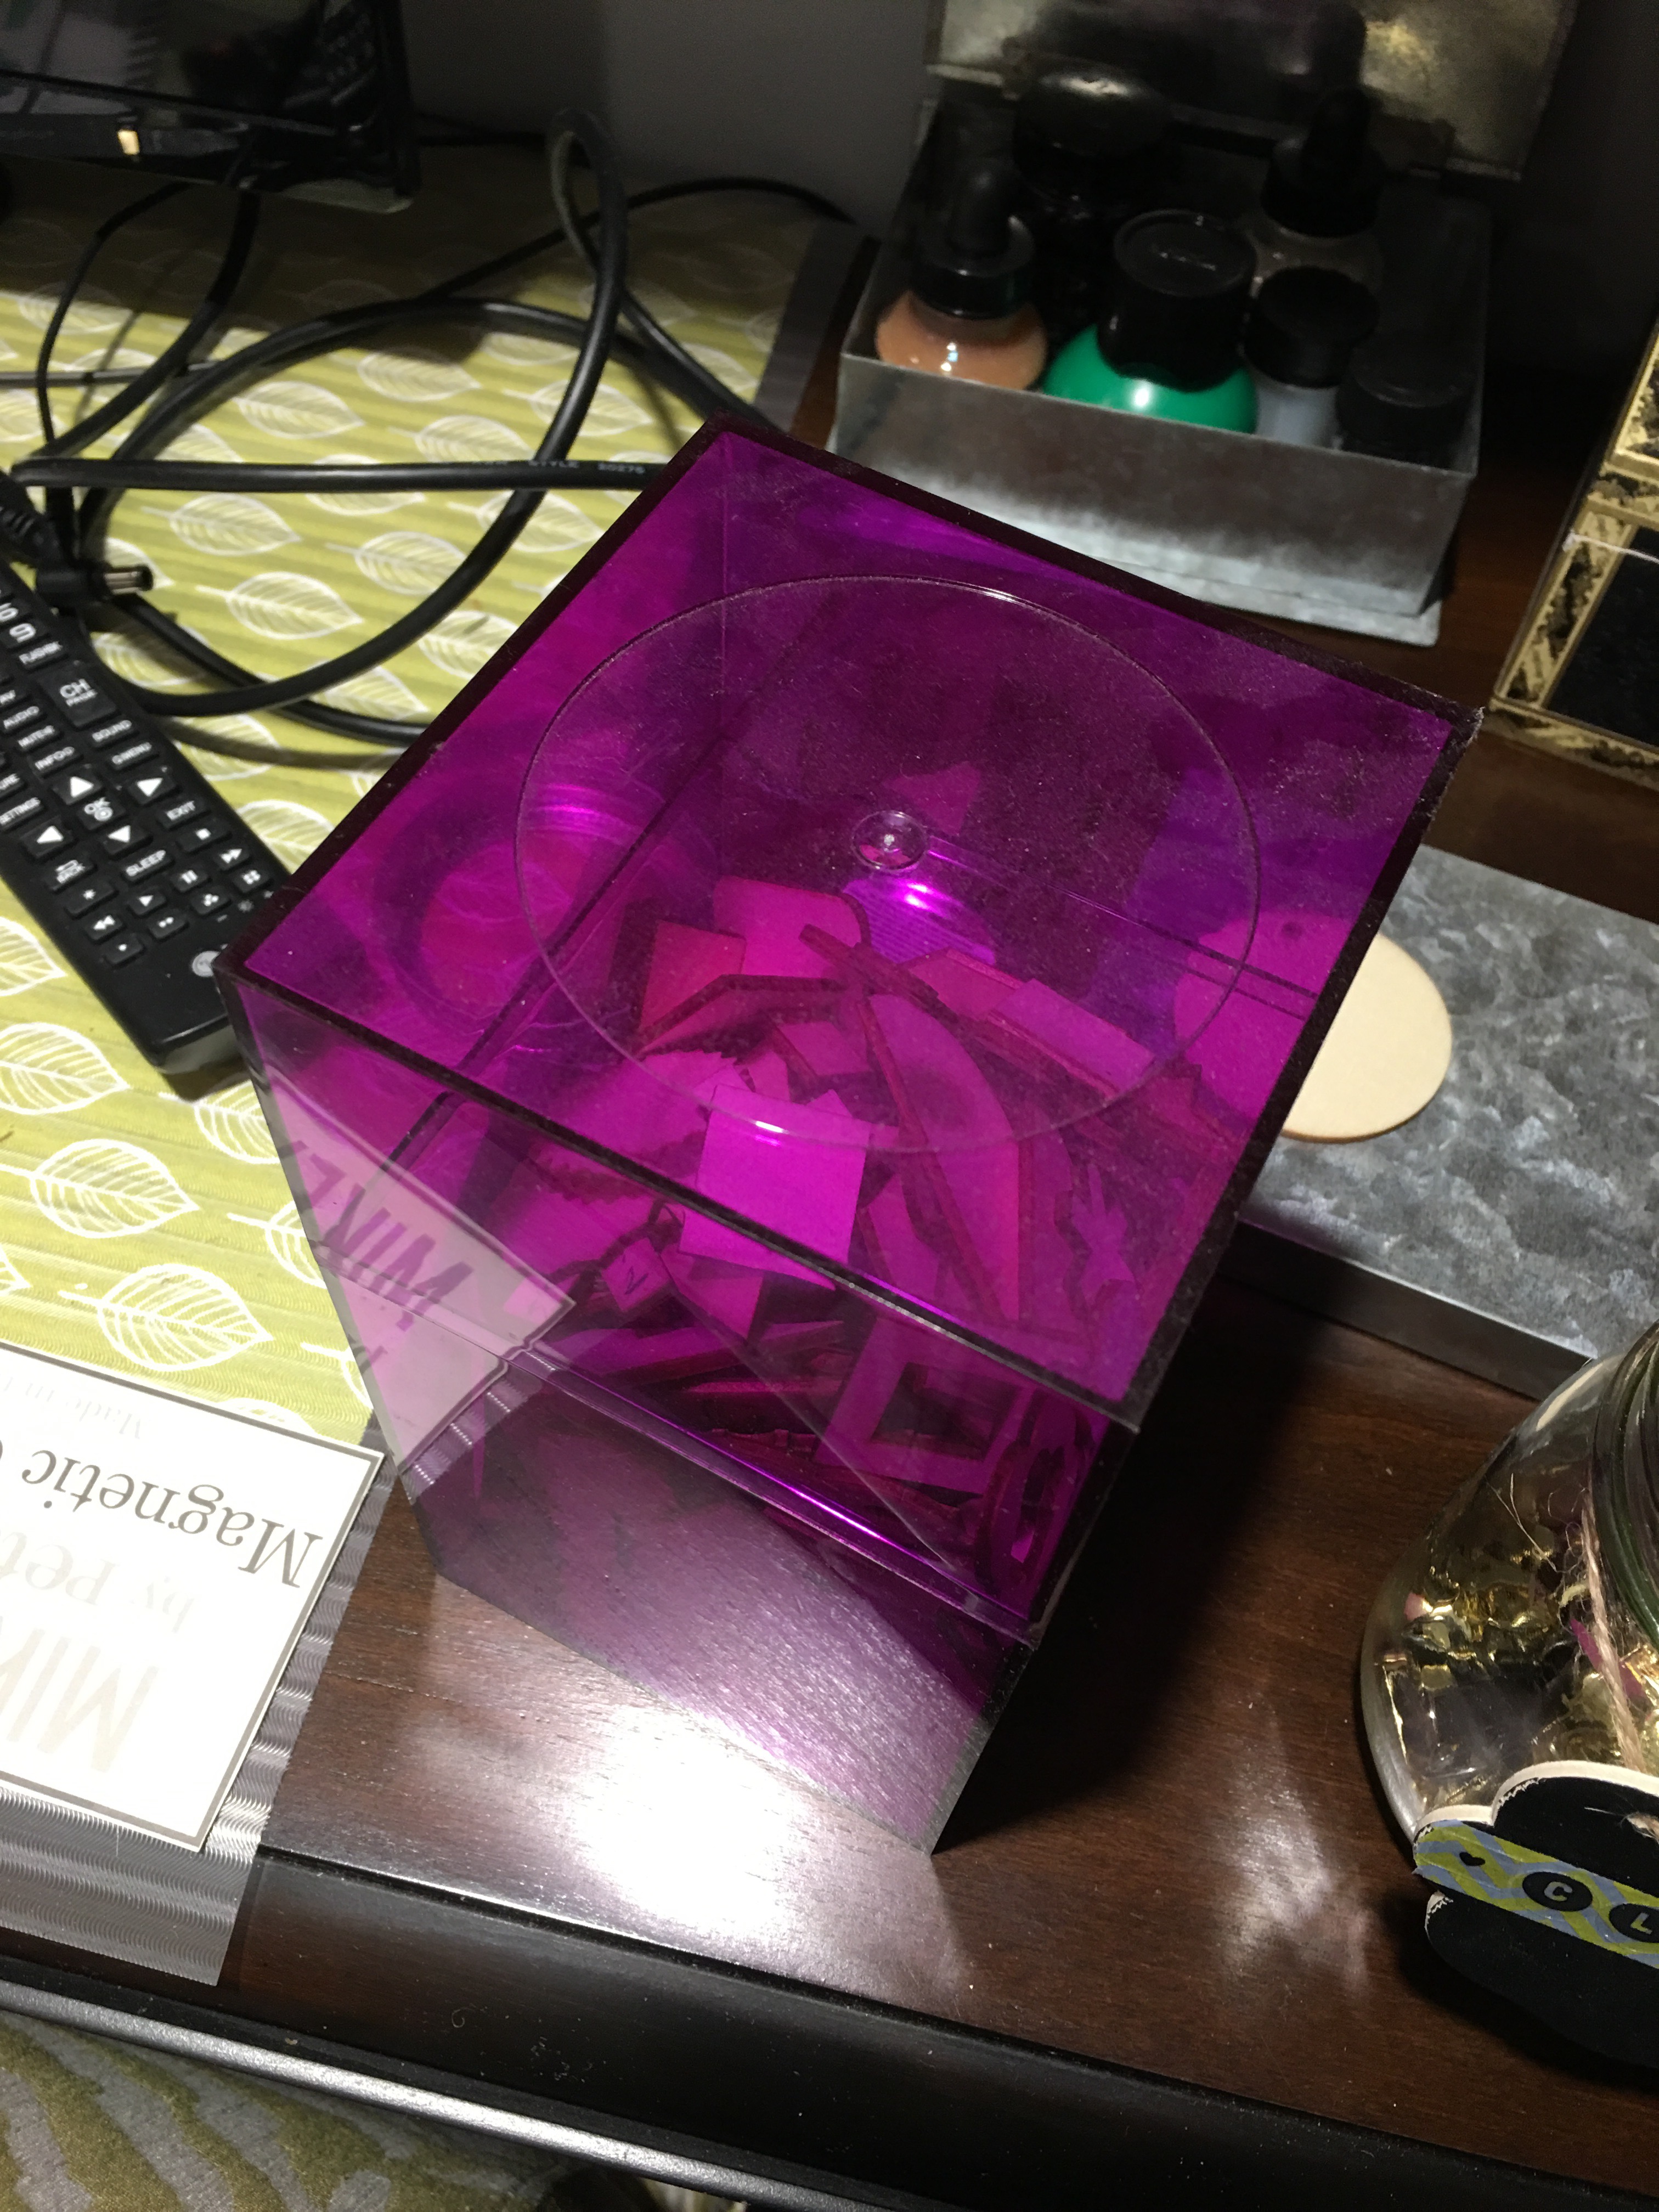
And the letters went into another acrylic box container (this one clear). That freed up one galvanized covered box.
The other box contains the galvanized letters I got from Michaels (also from the Make Market product line. I have a lot of great items that I absolutely love from that collection.)
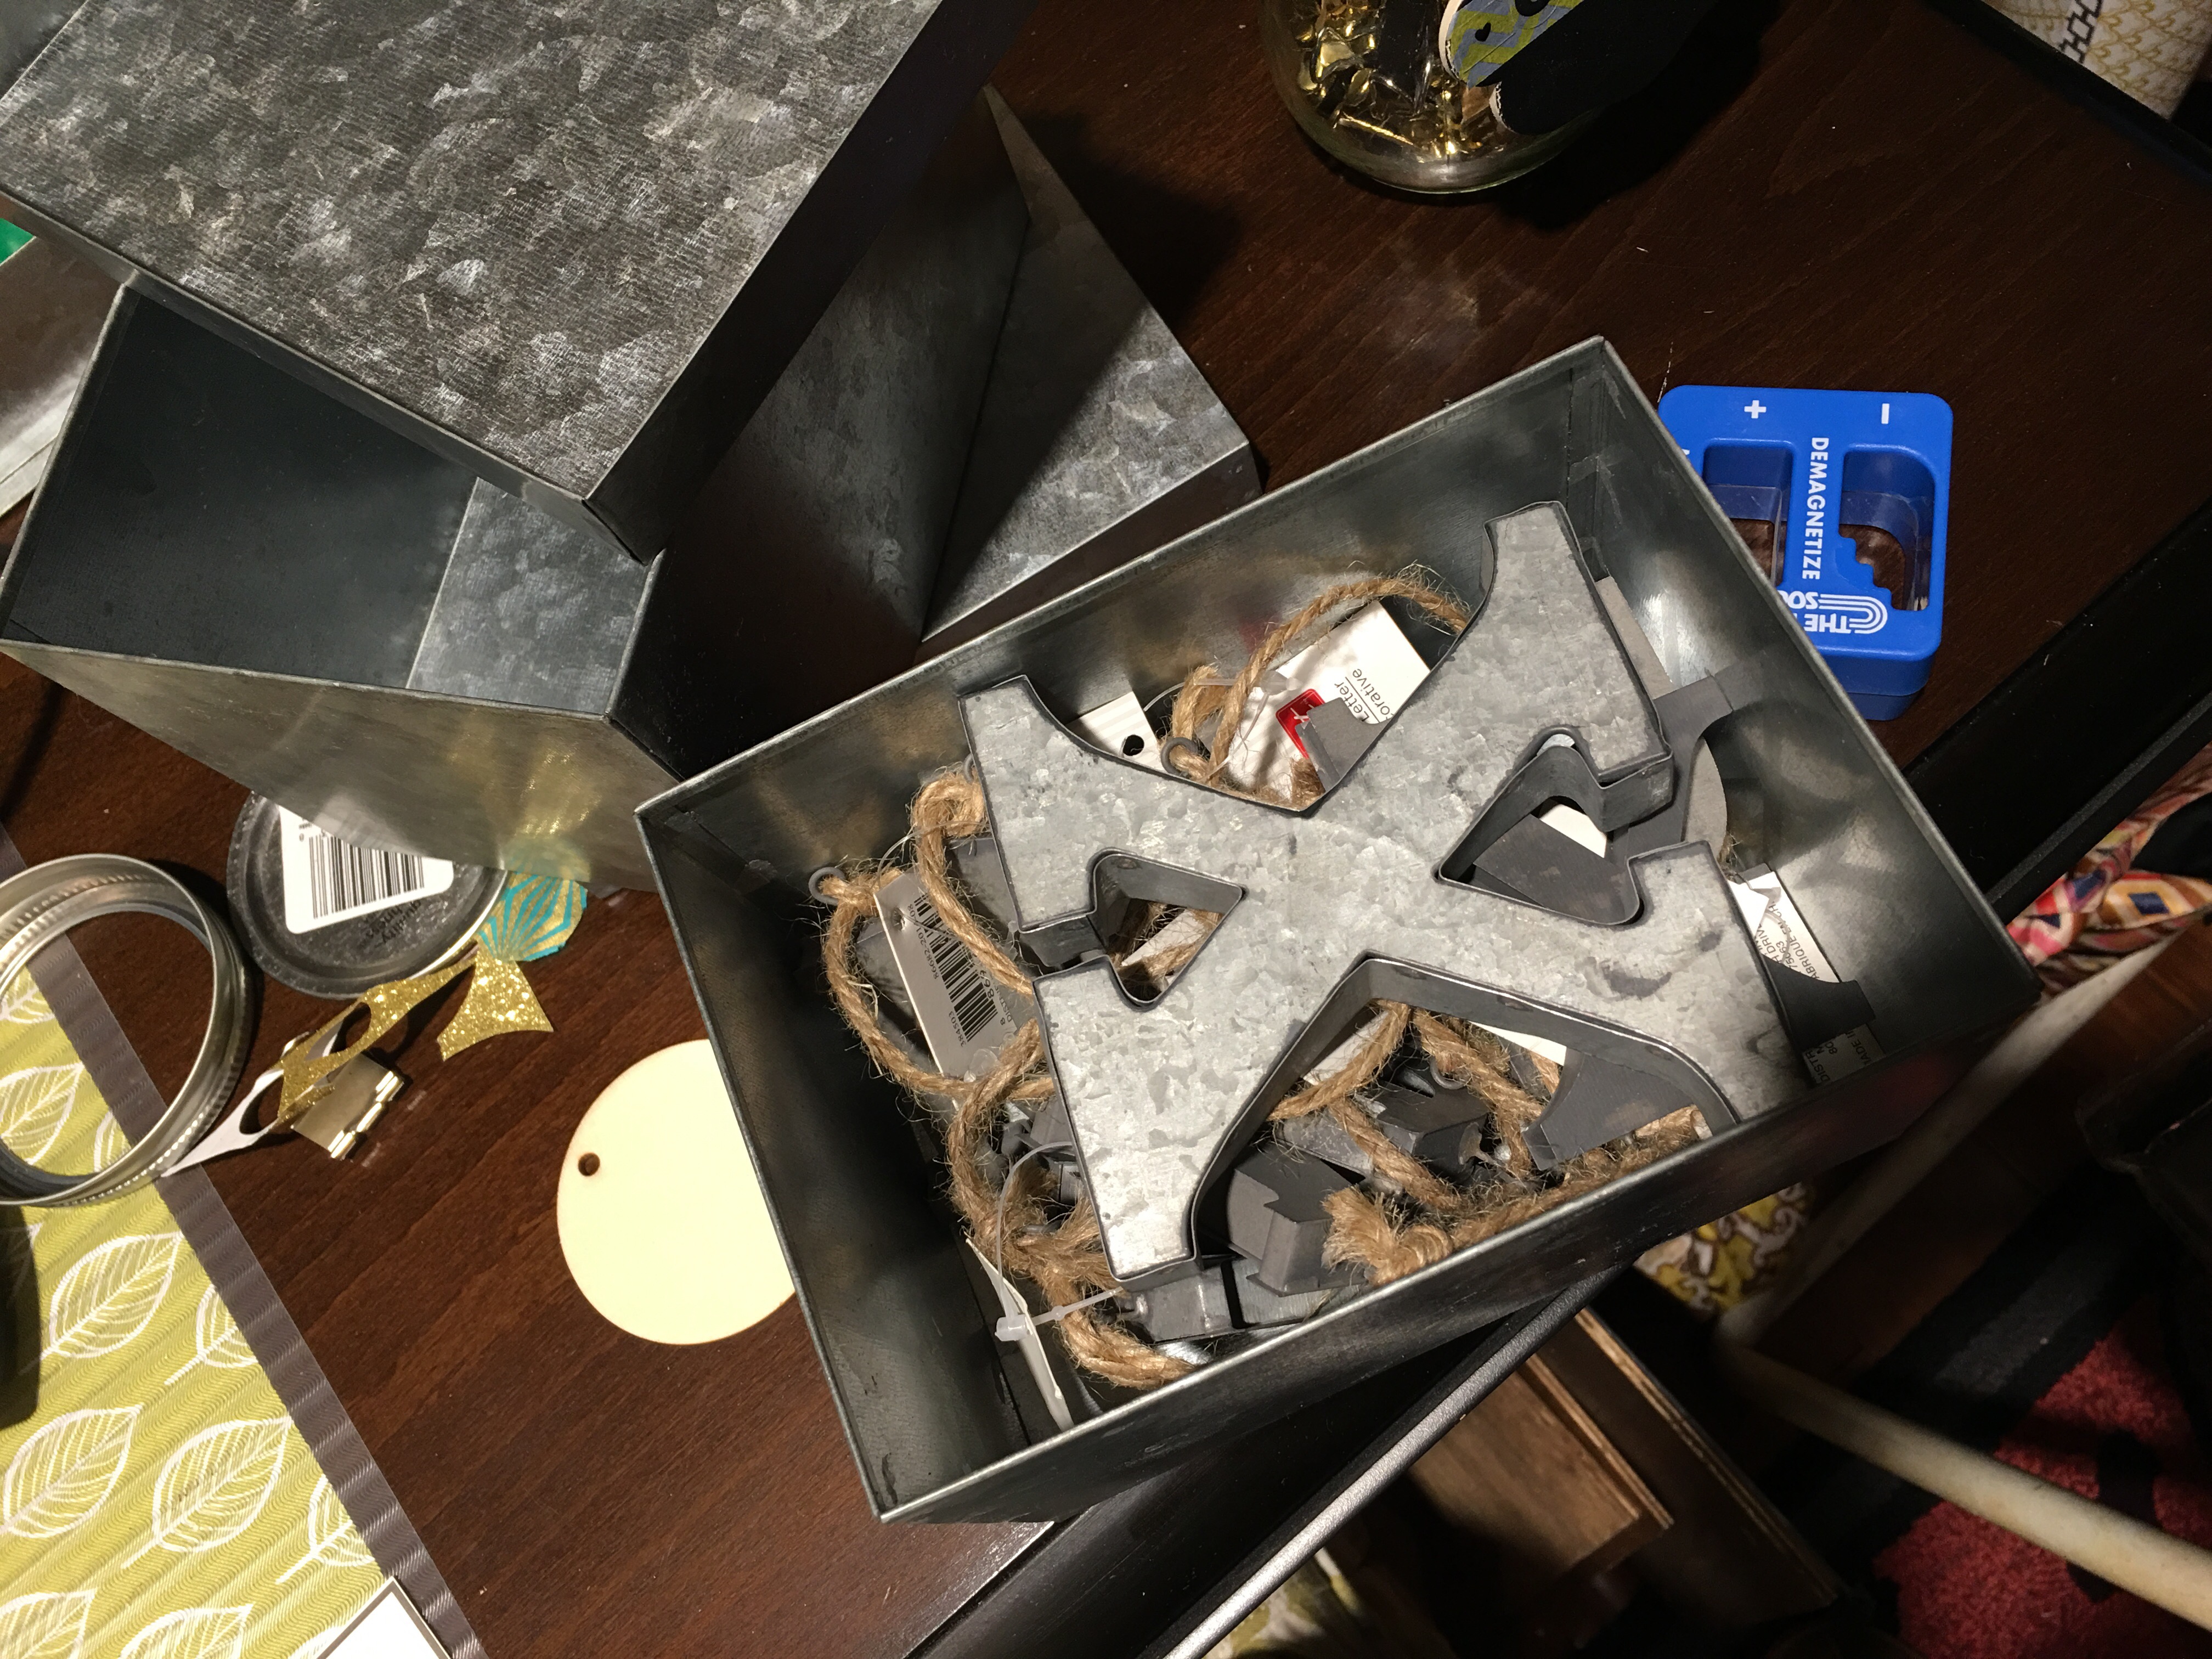
They get to stay in the box. But they need to be labeled.
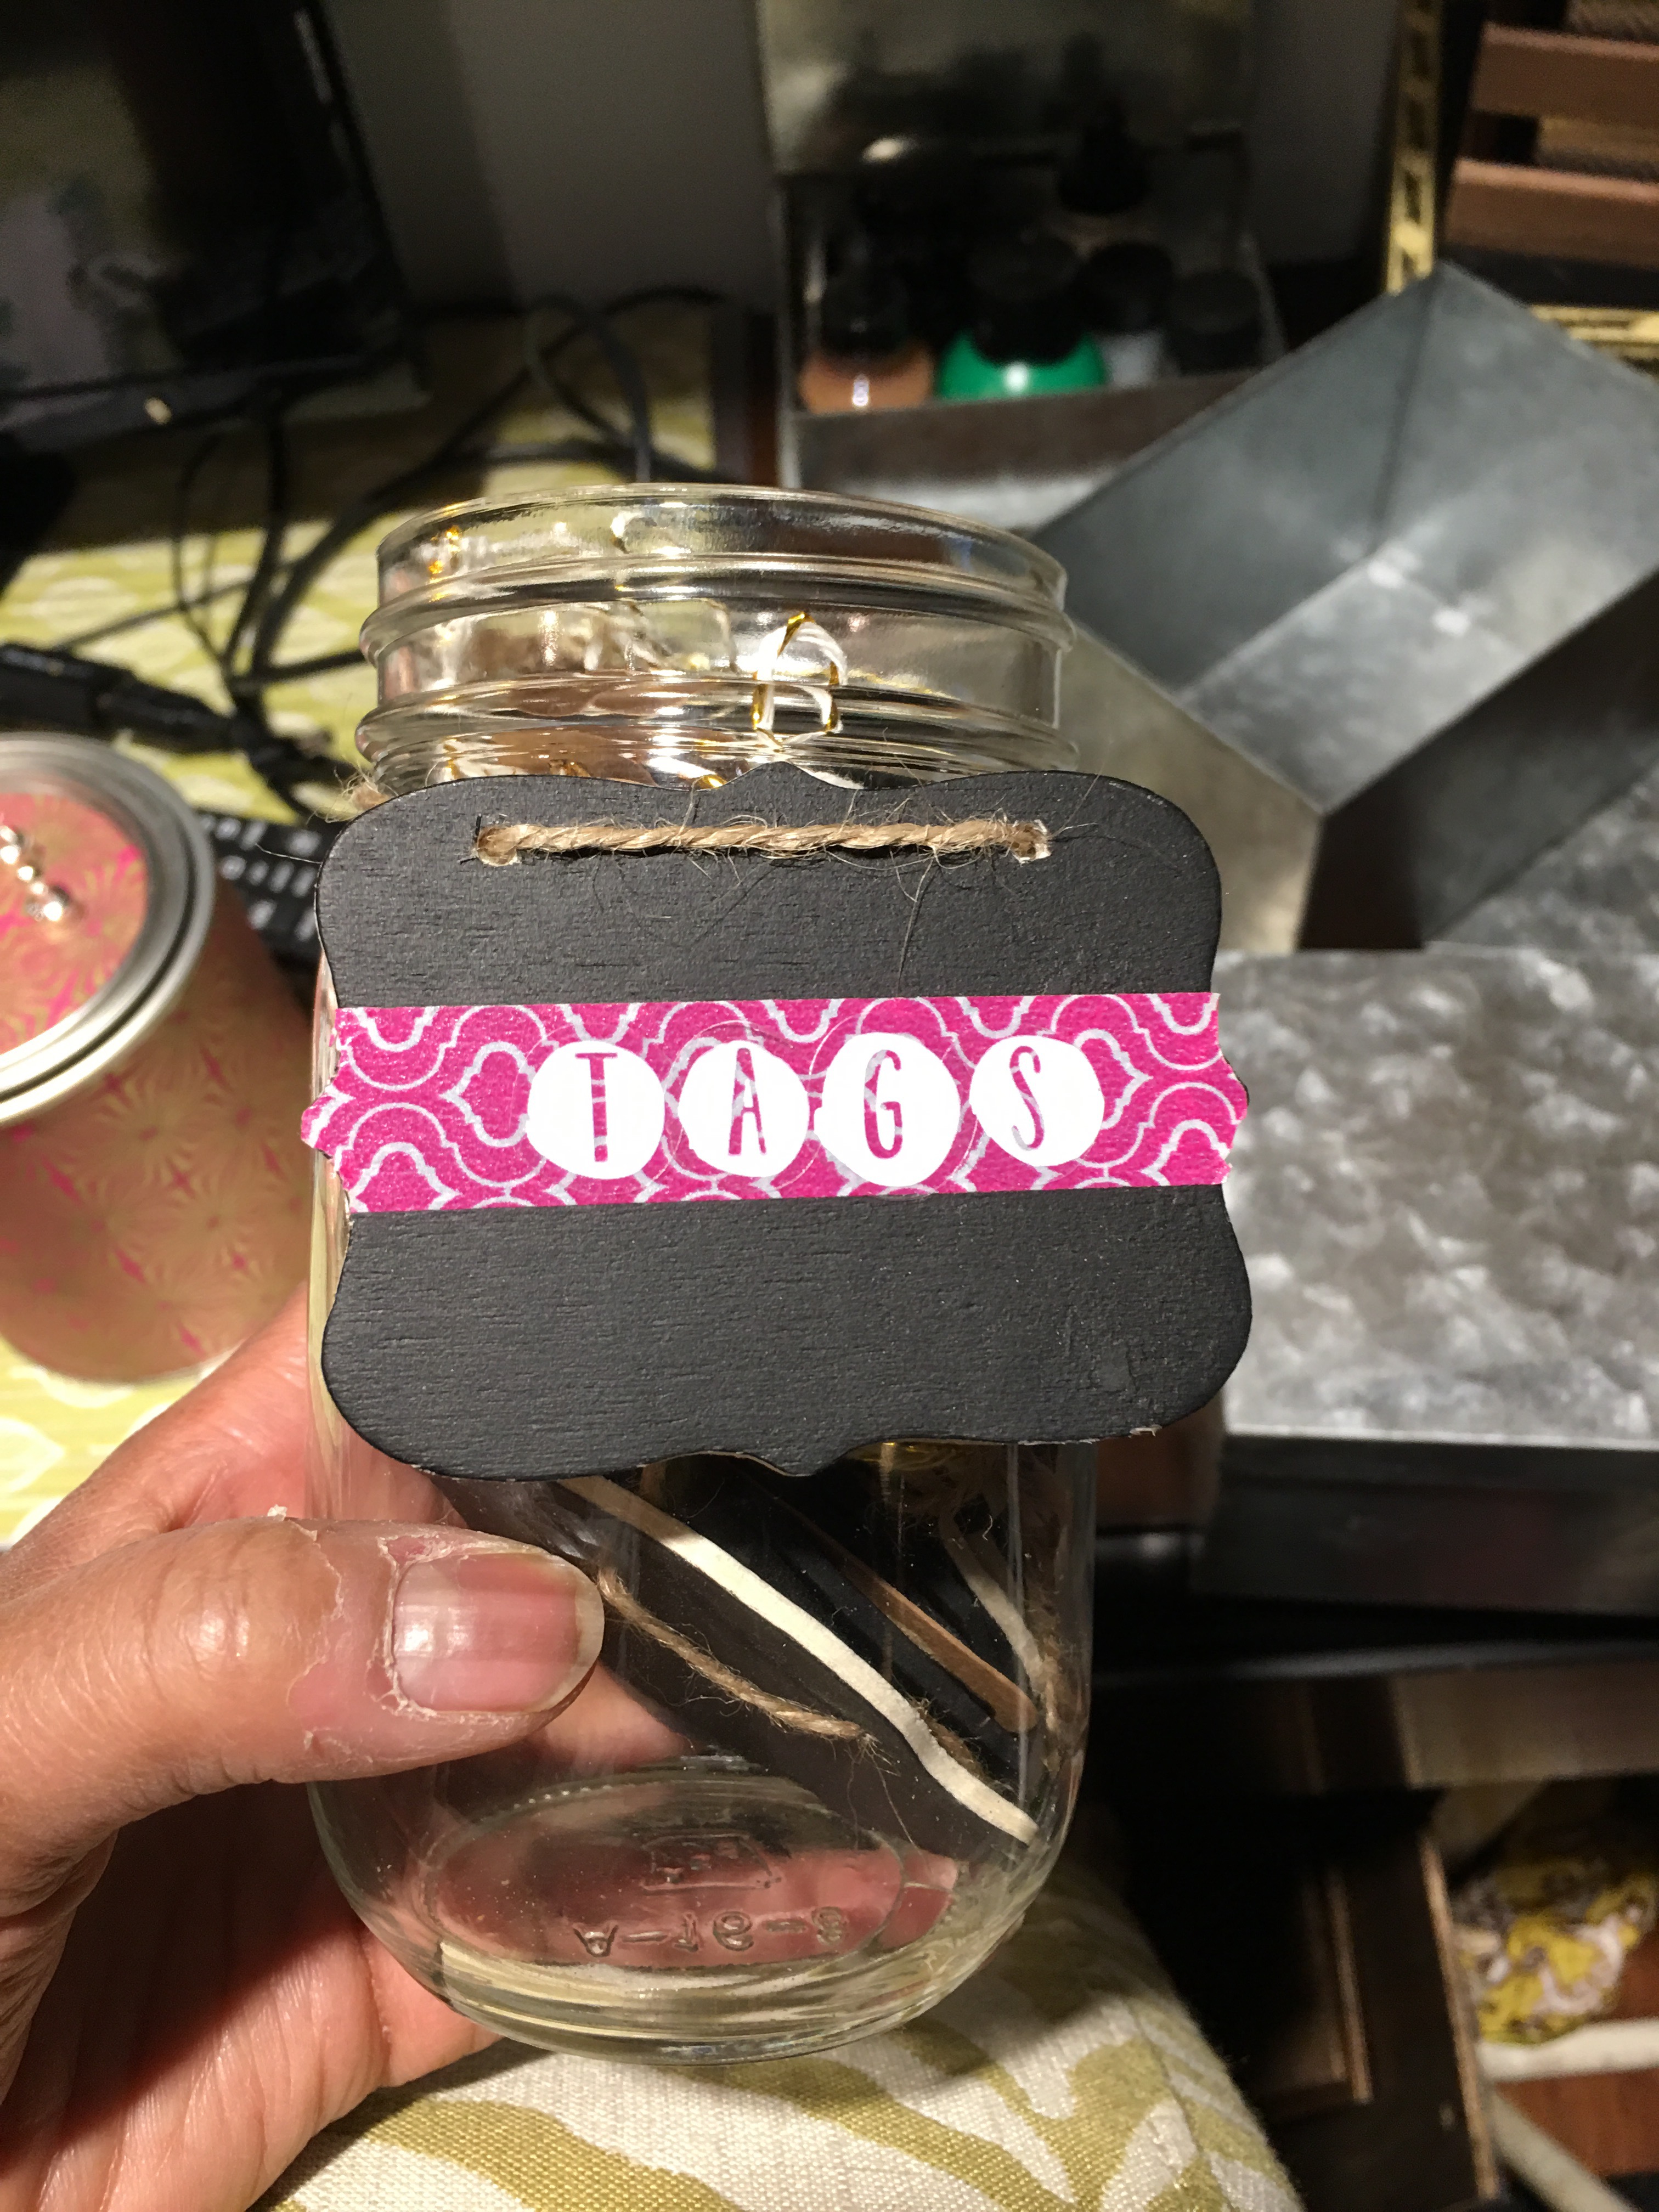
Got my tags bottle and pulled out a fresh tag.
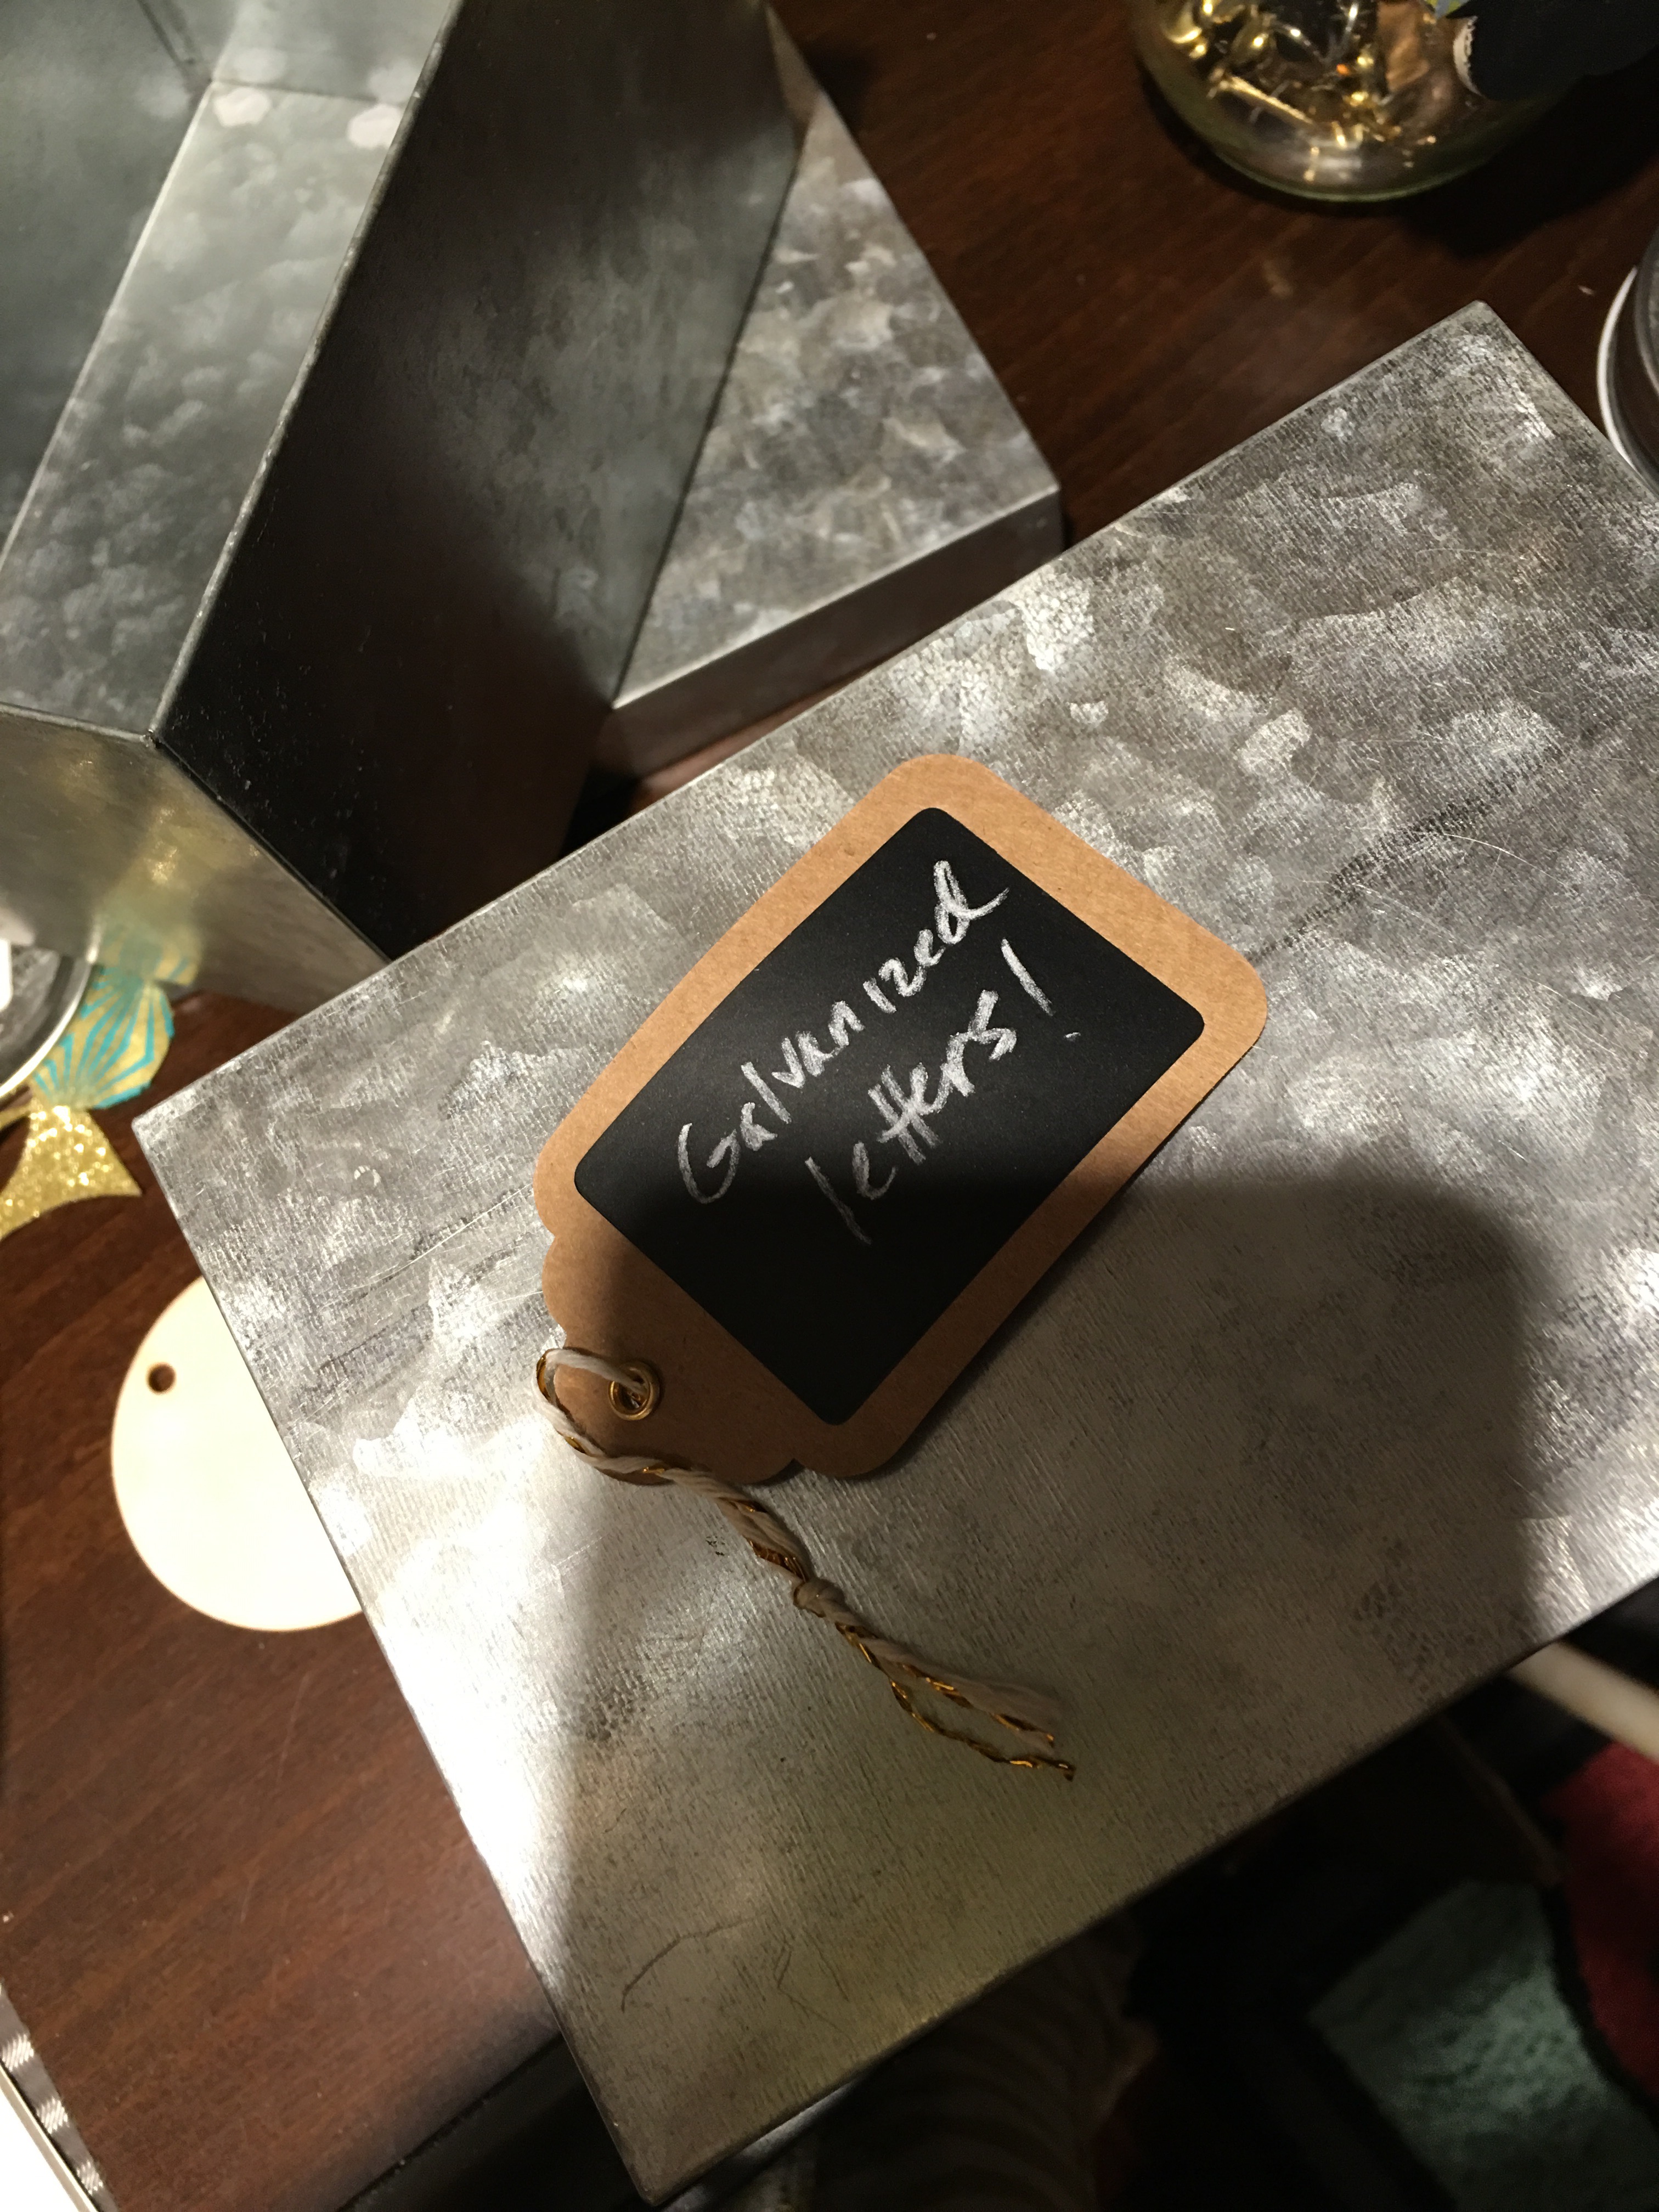
Used white chalk pencil to write the label.
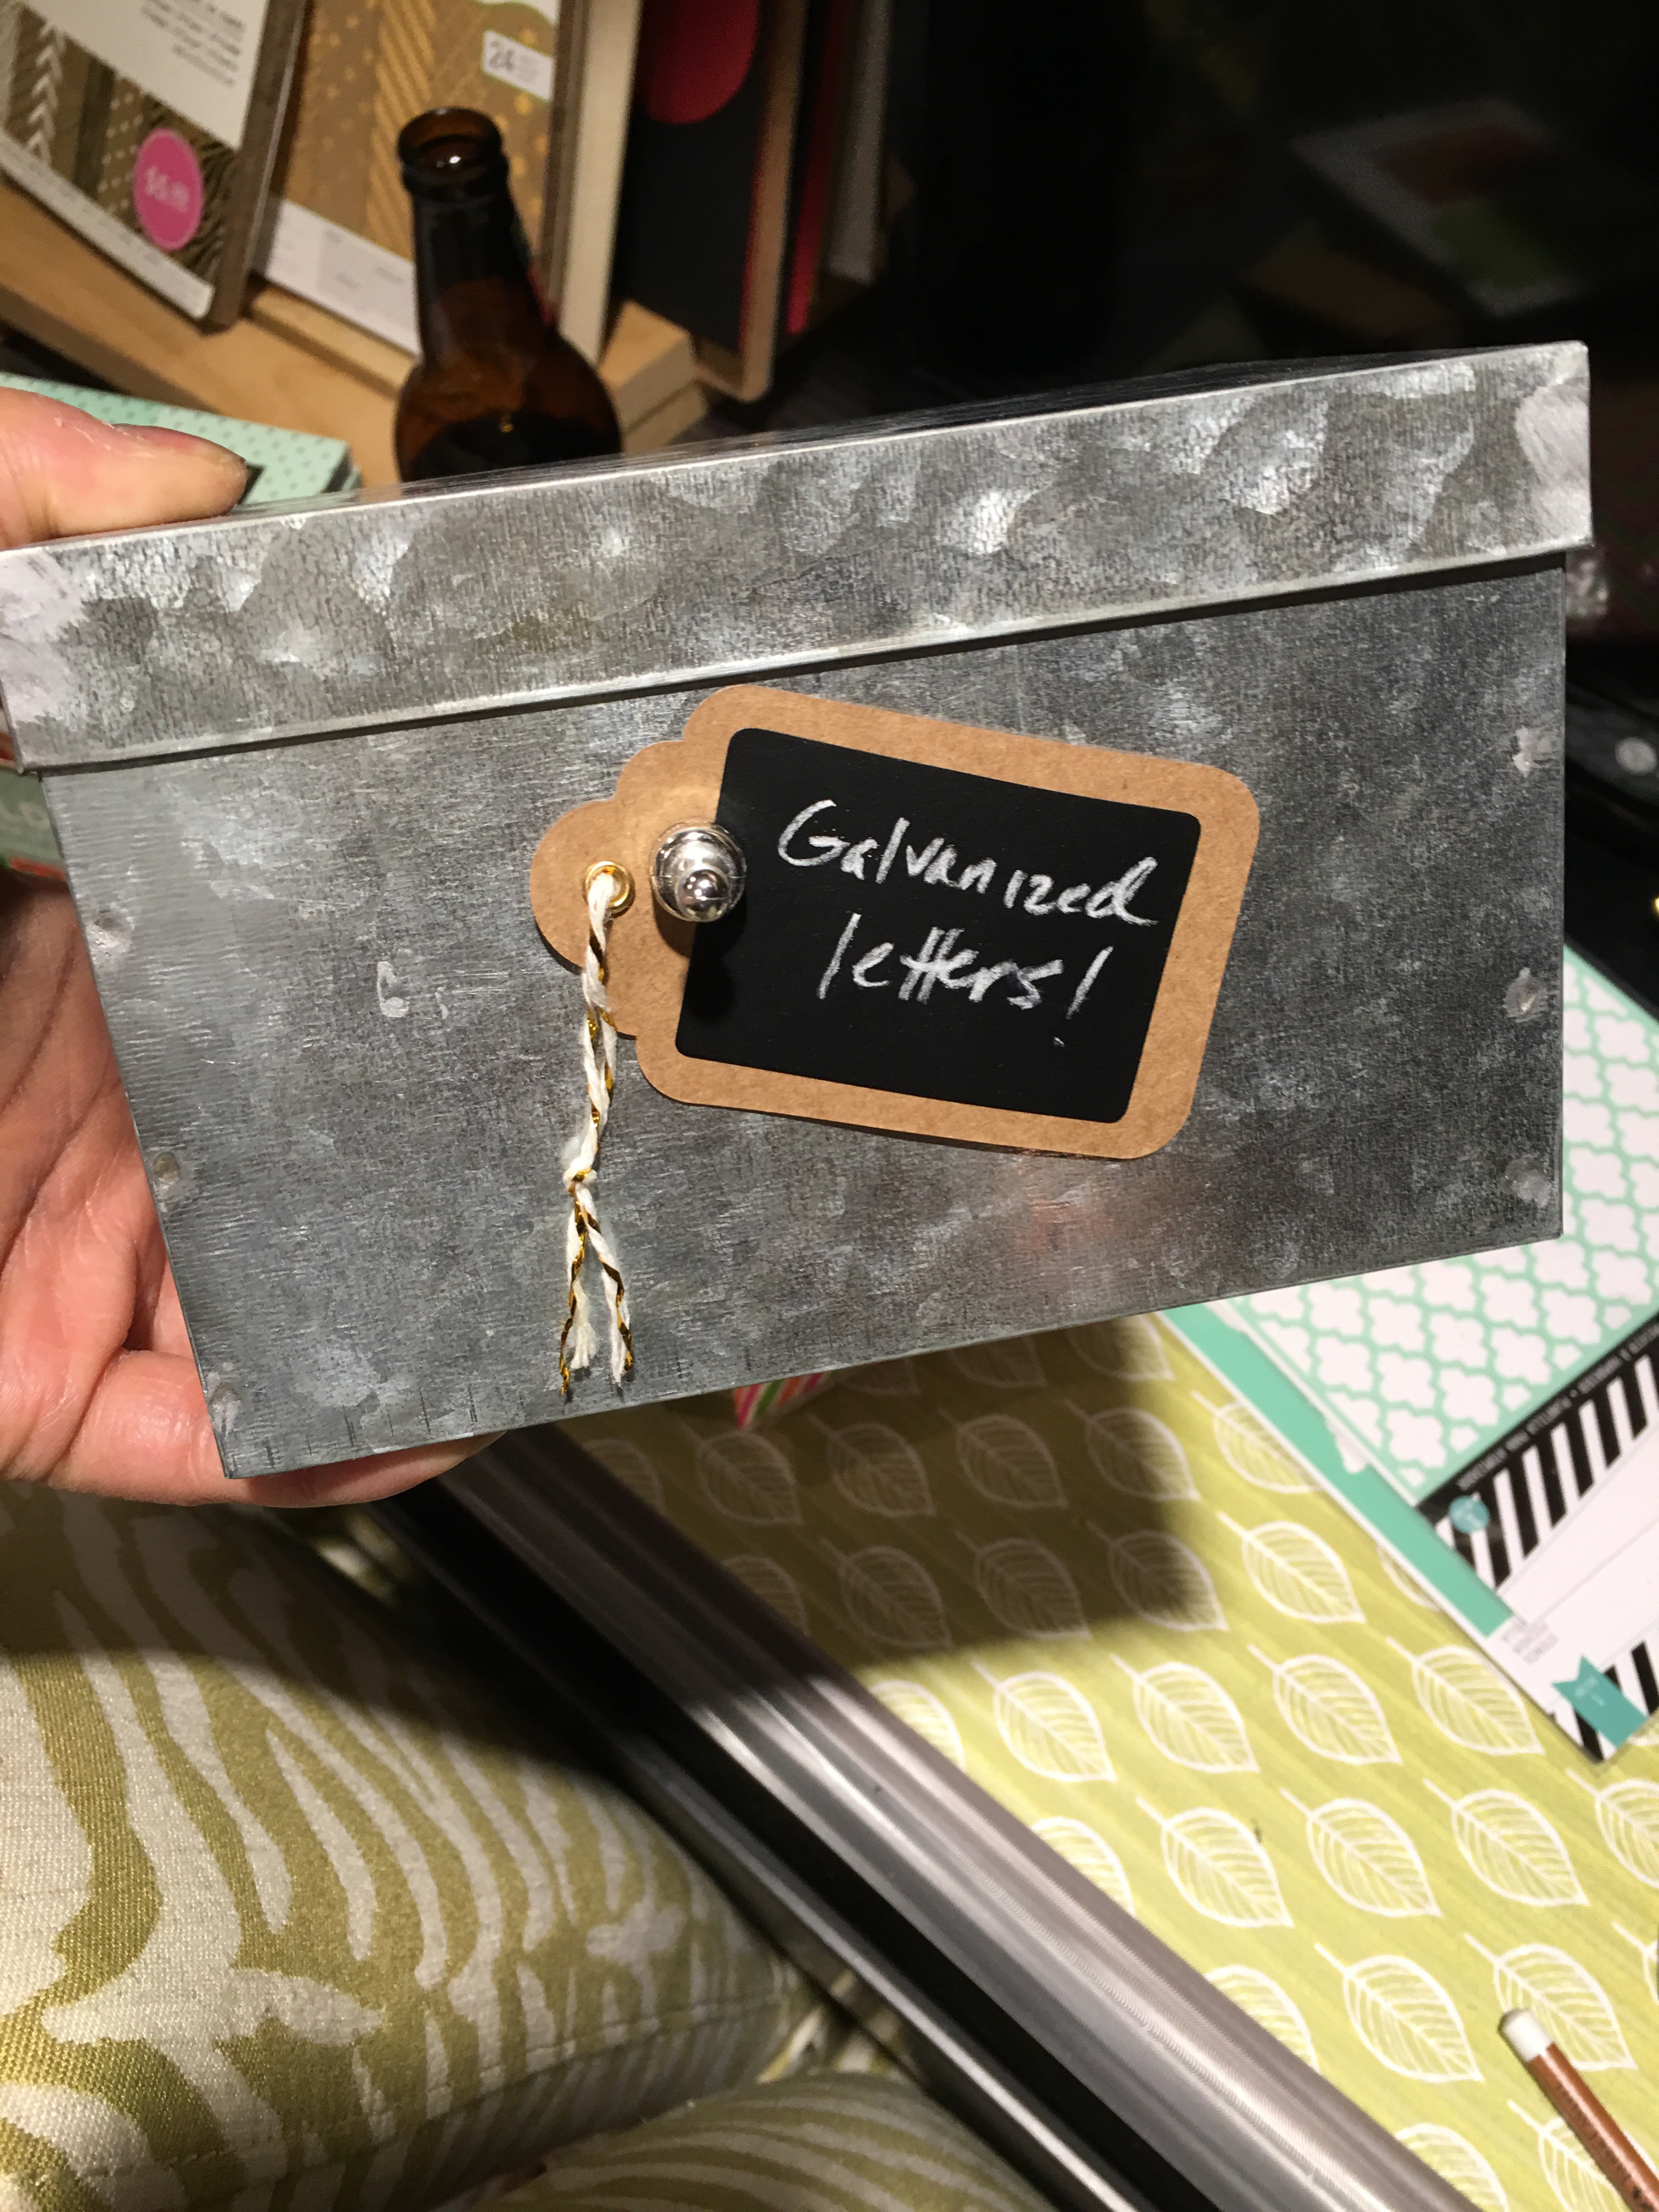
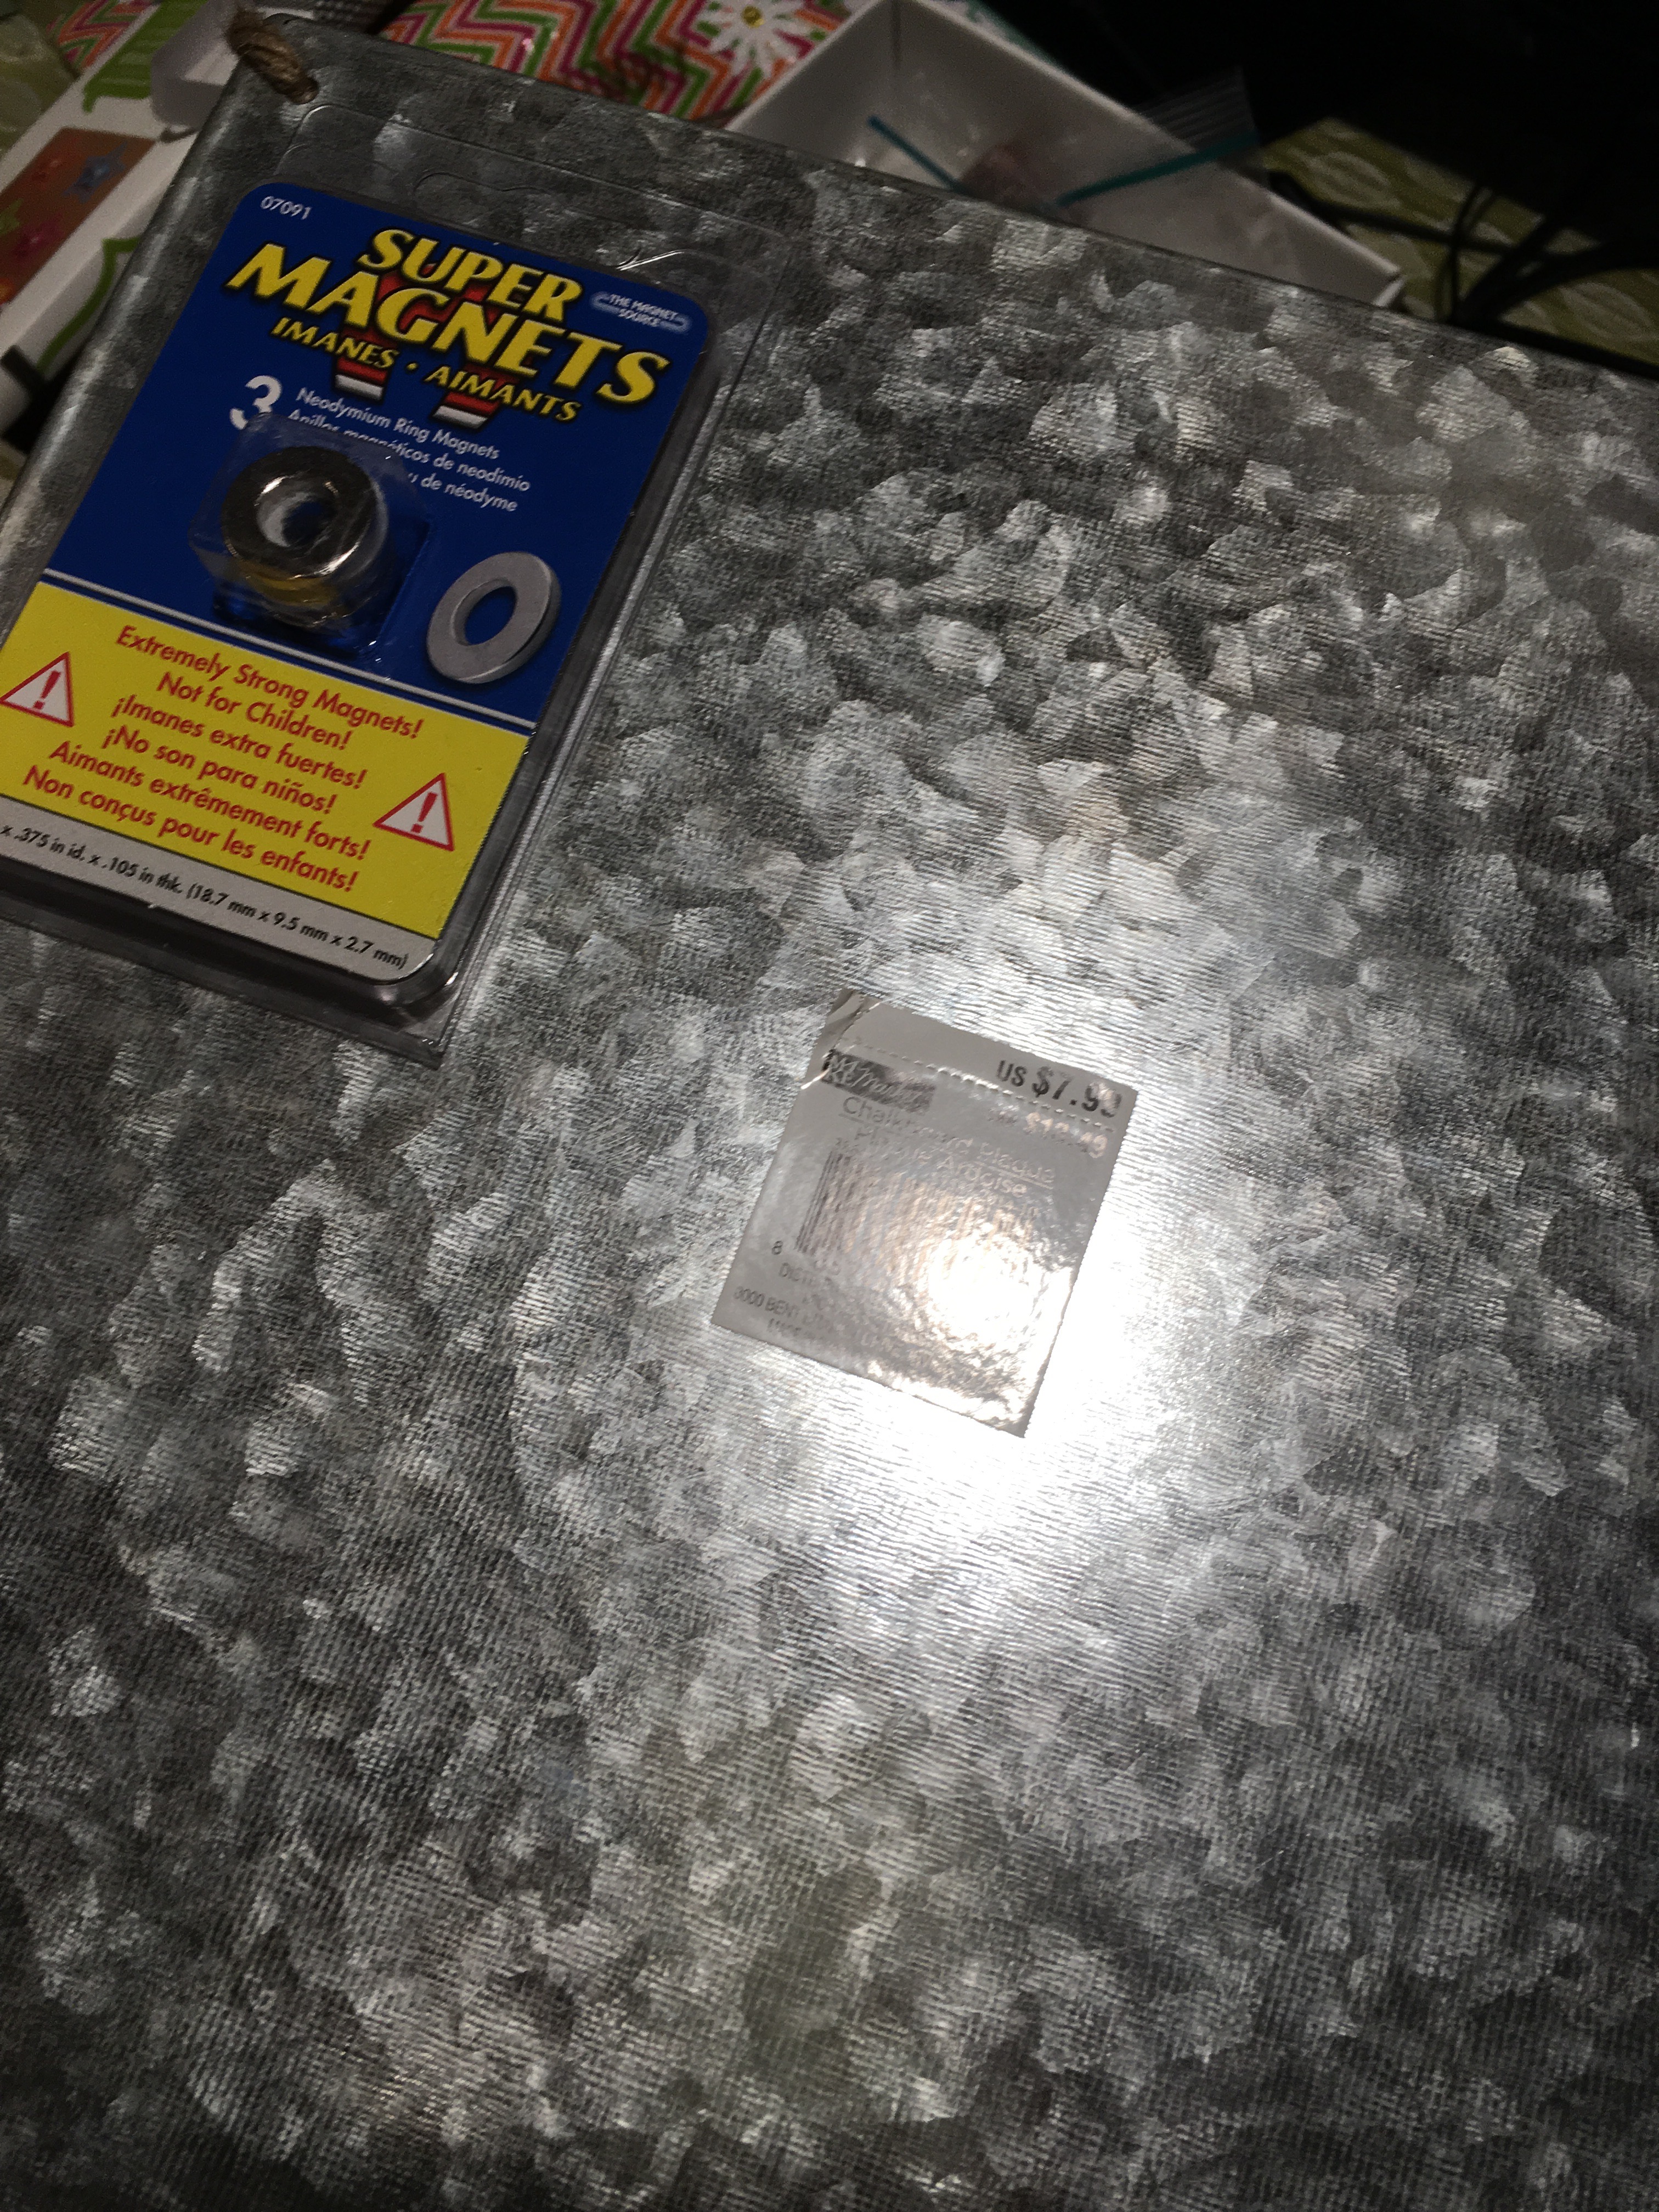
My favorite thing about these galvanized tin boxes is that you can attach magnets to them. A perfect way to add a label.
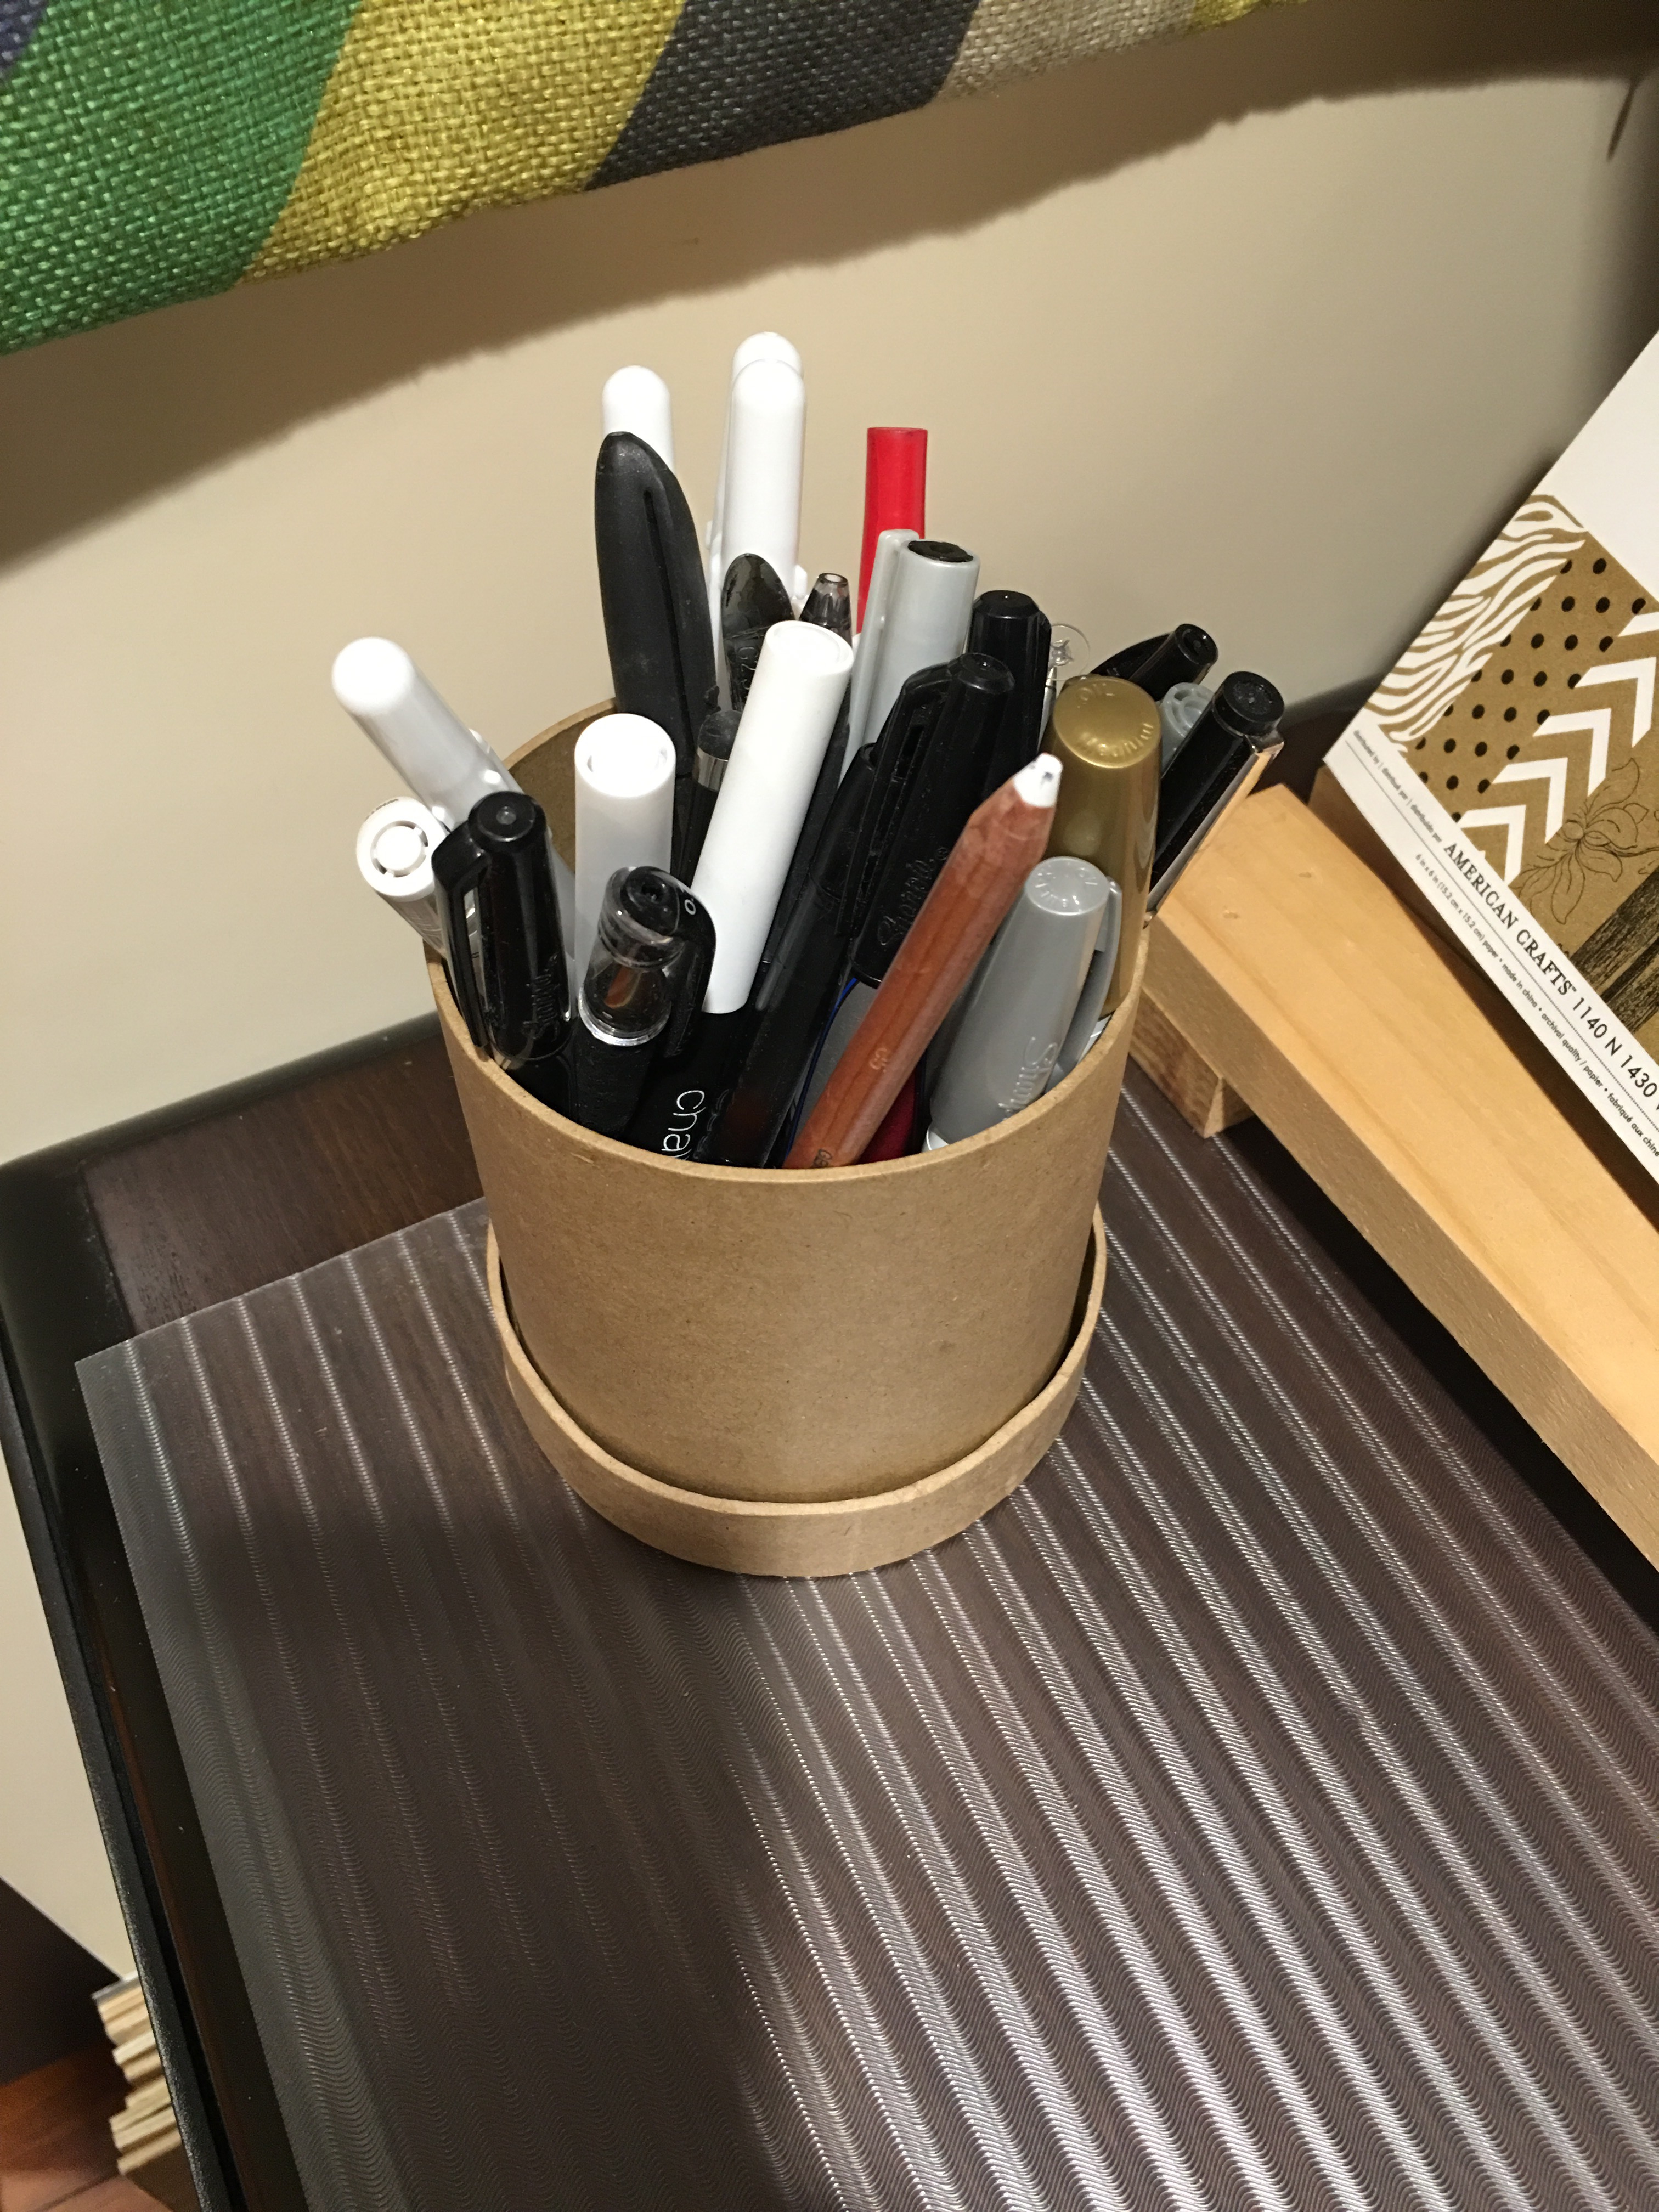
On to organizing markers, pencils and pens. I took one of the small paper mache round boxes, flipped over the box cover and added those pens and markers I use most frequently.
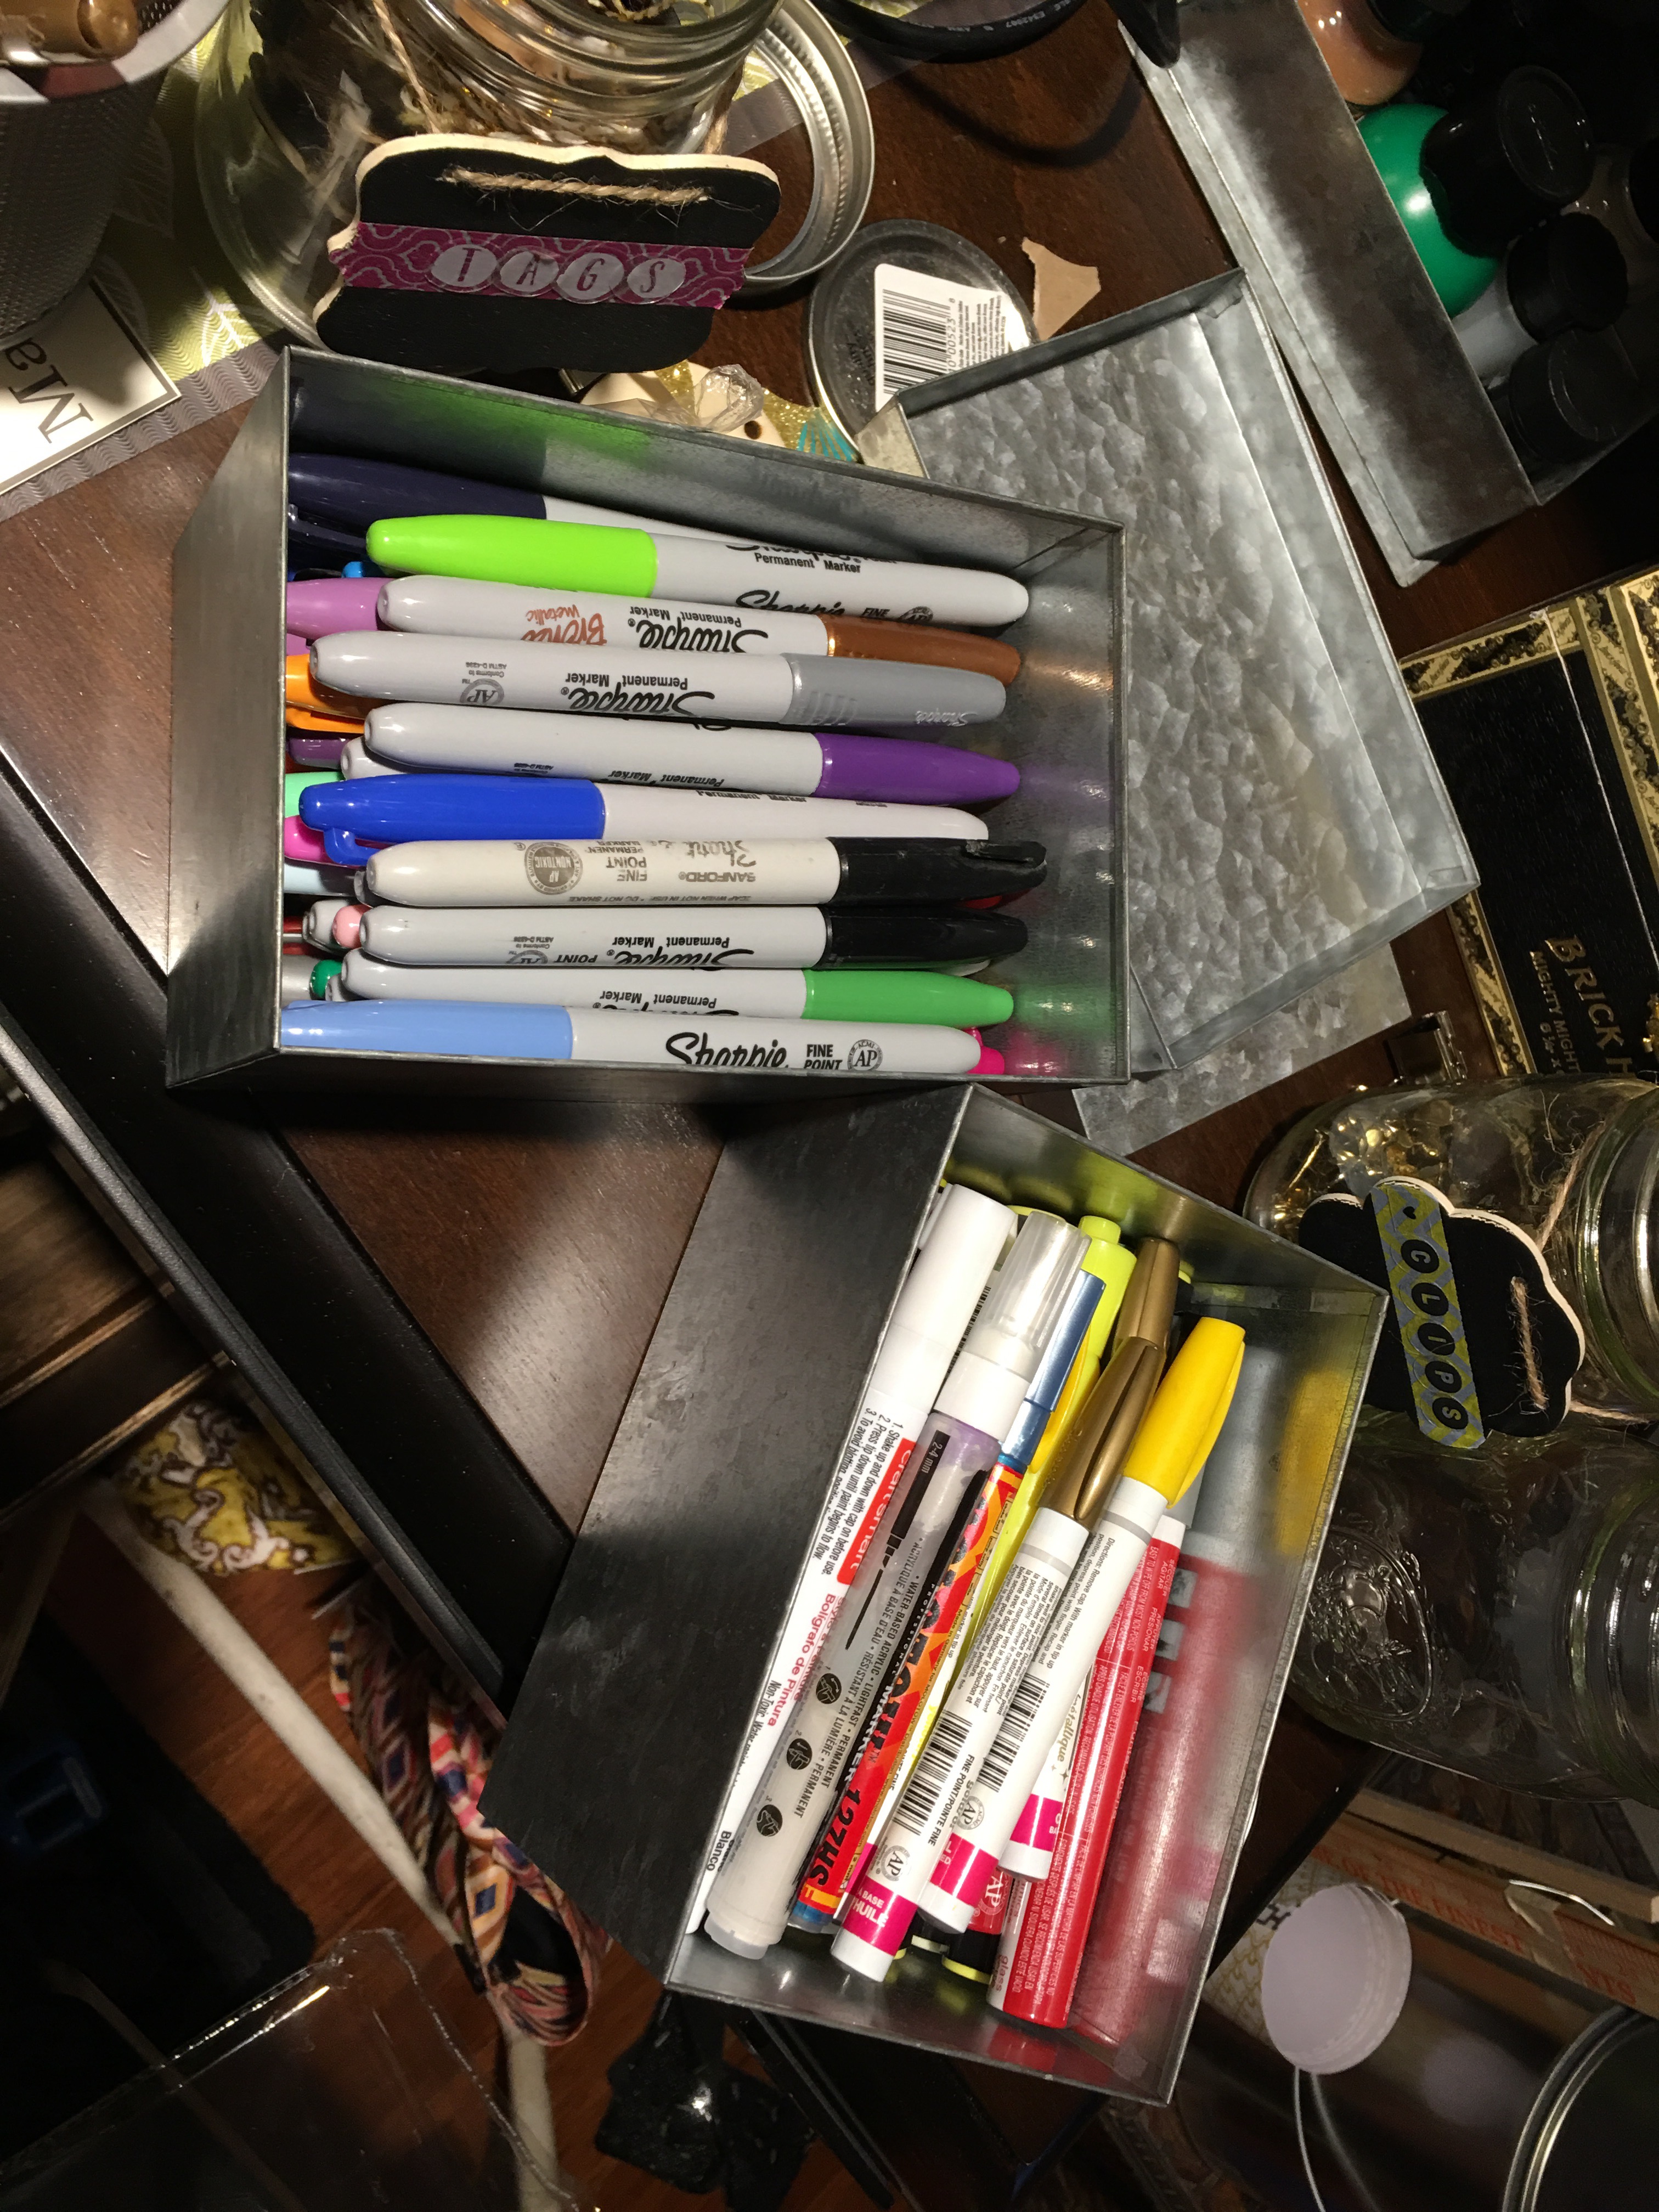
I then sorted he Sharpies form the paint and chalk markers and stored them in their own tin boxes.
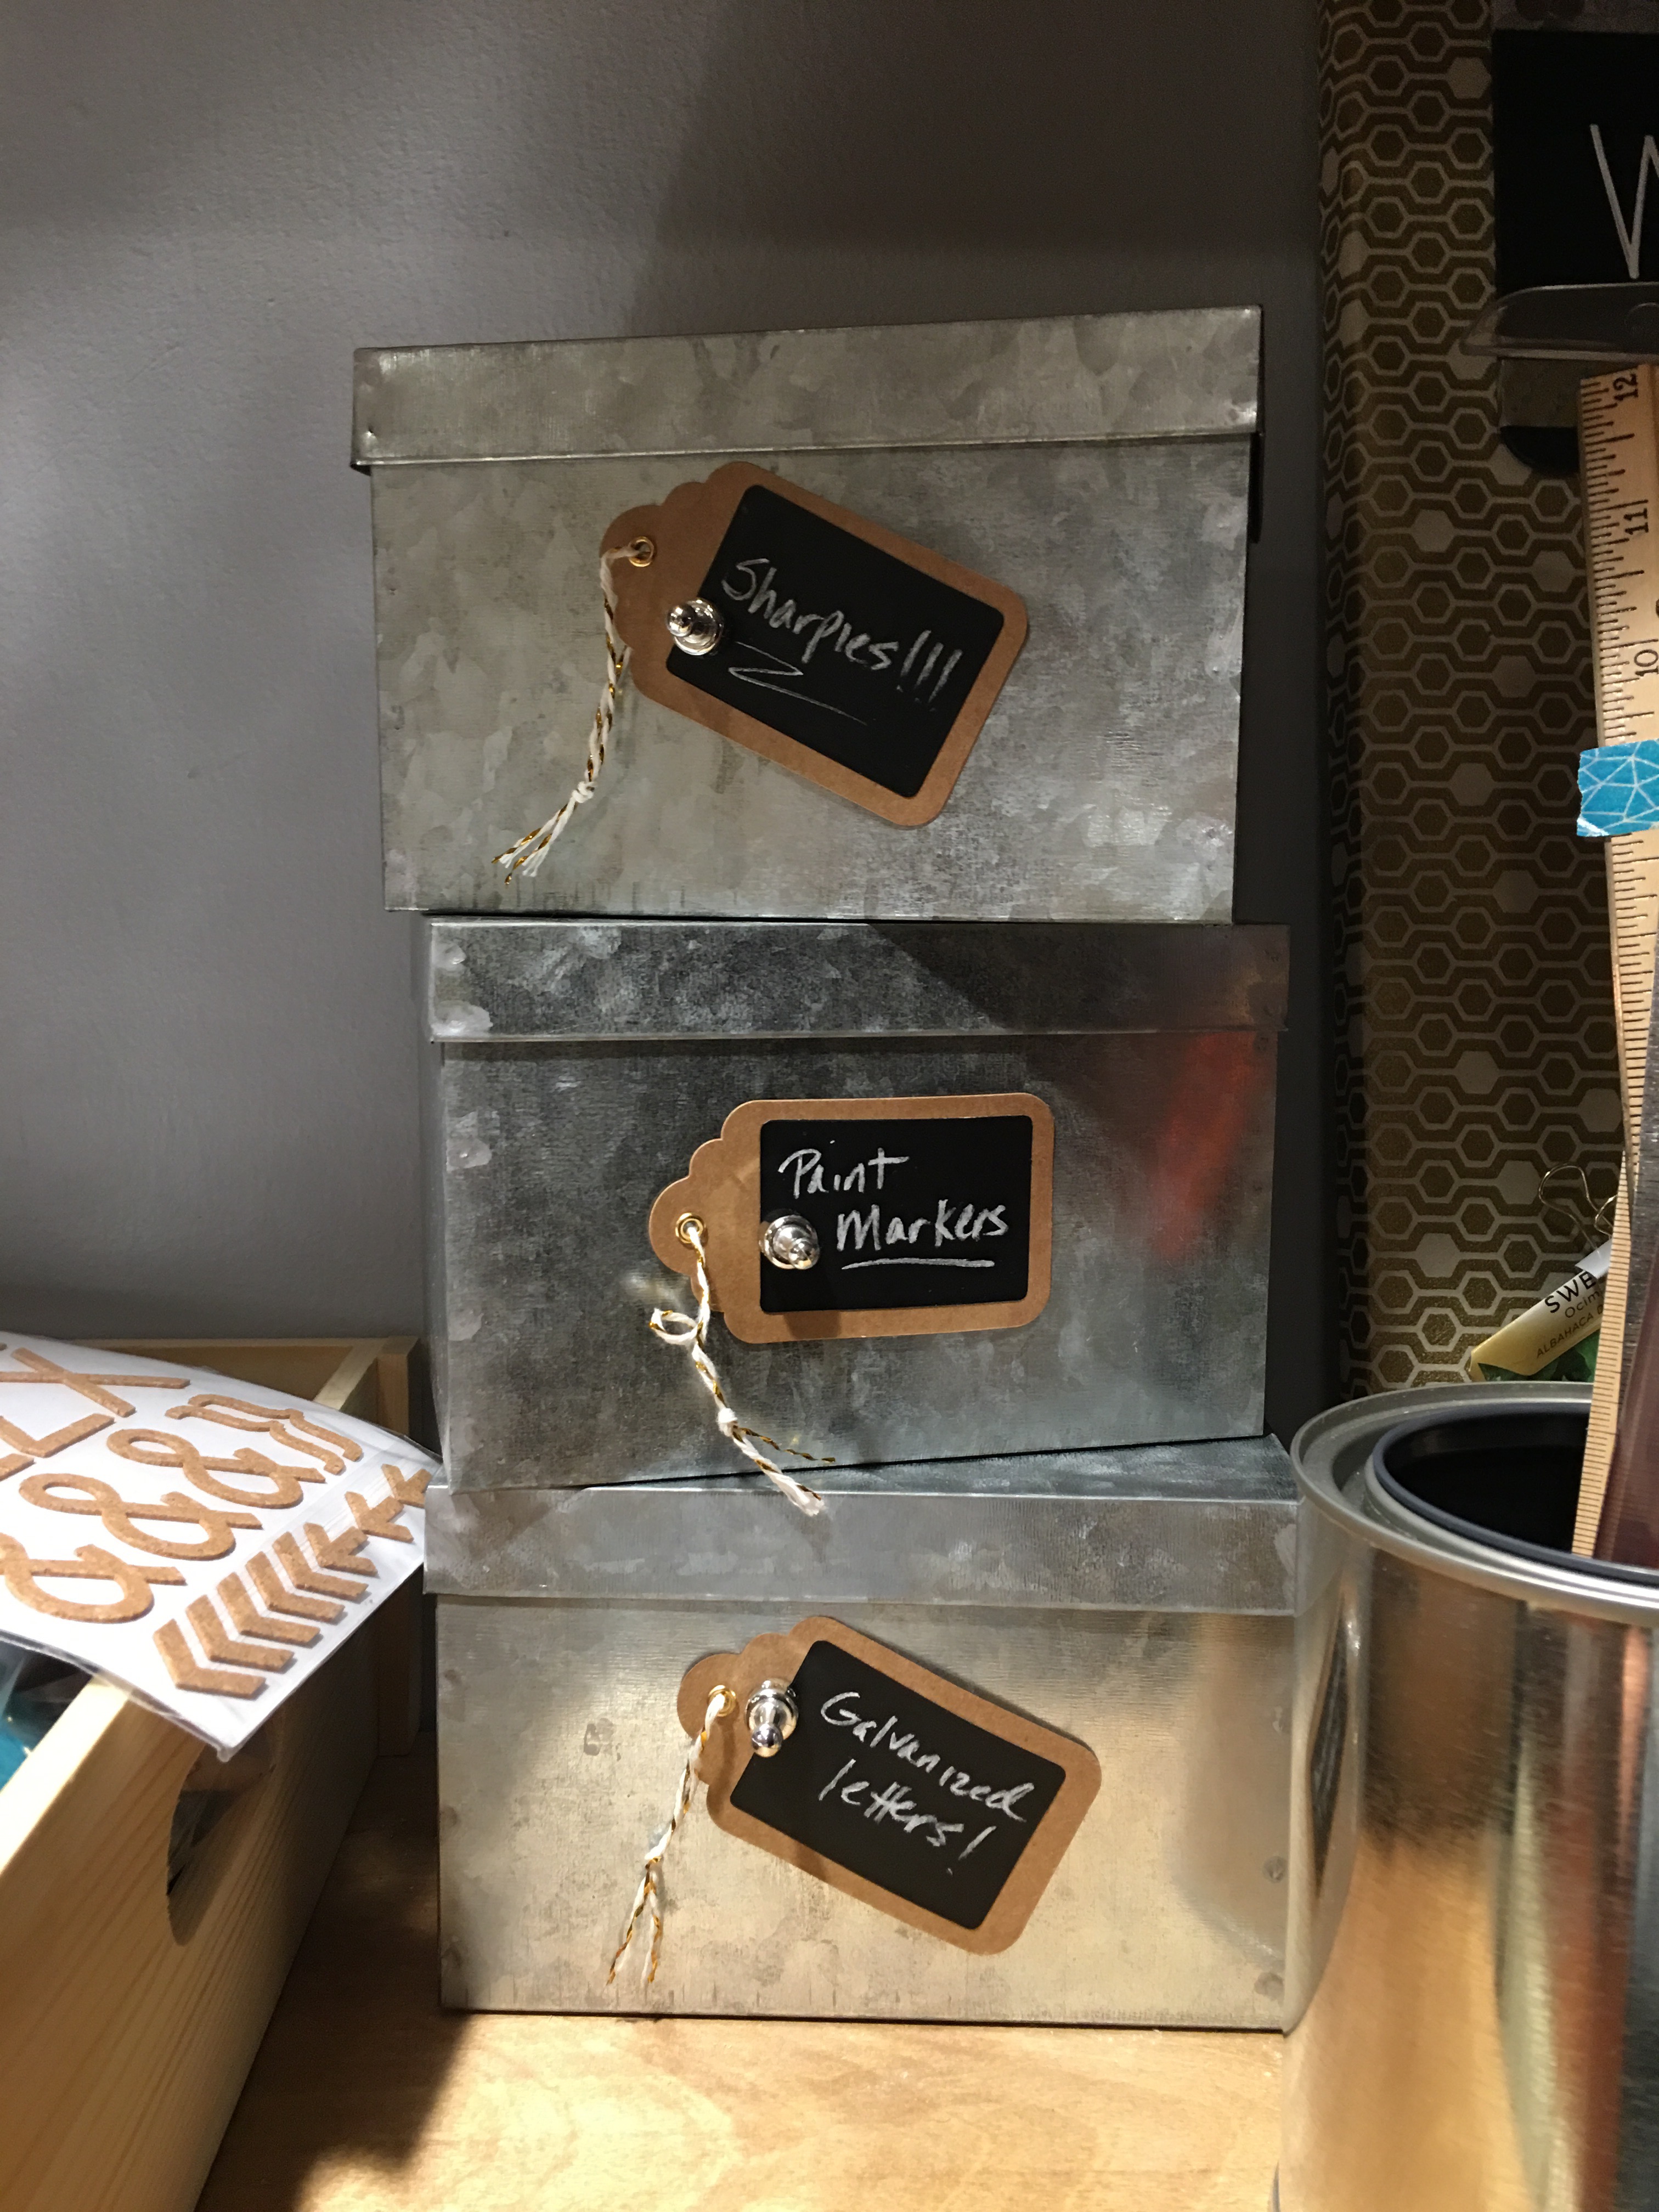
Each are now labeled.
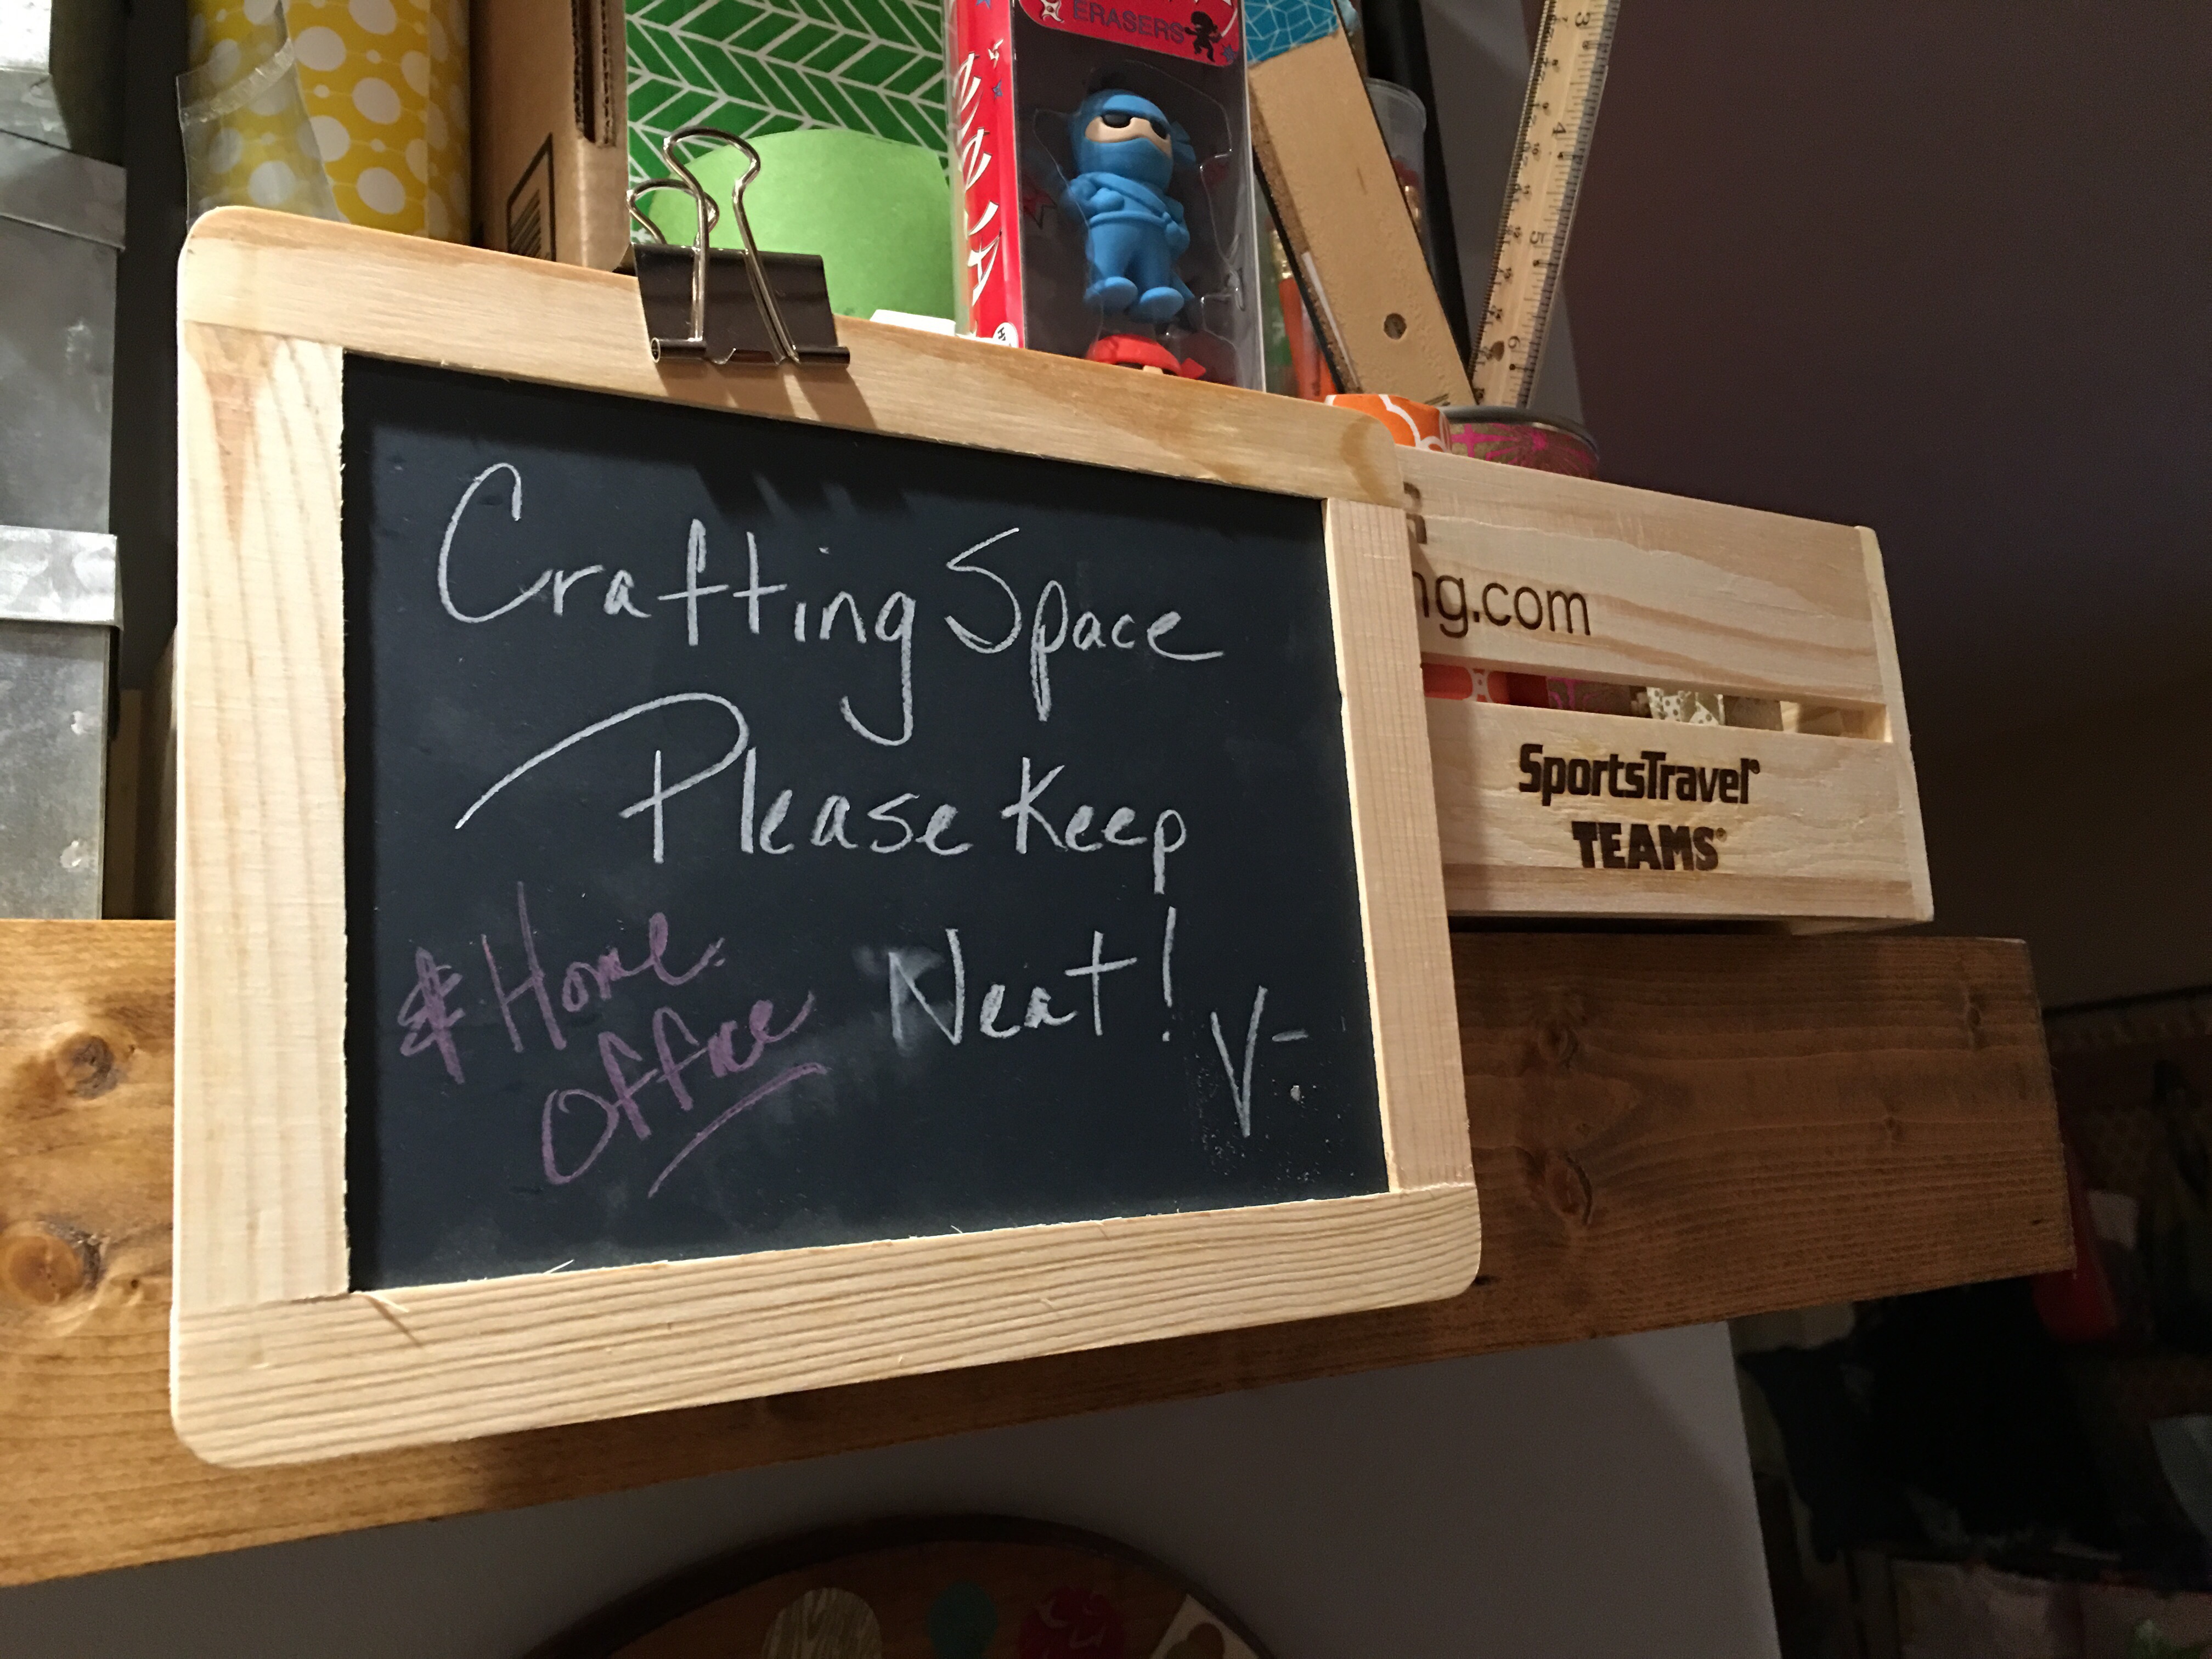
I took one of the Michael’s Make Market galvanized blackboard hanging signs, peeled off the price sticker and hung them on the wall to the right of the TV/Monitor using a Command hook.
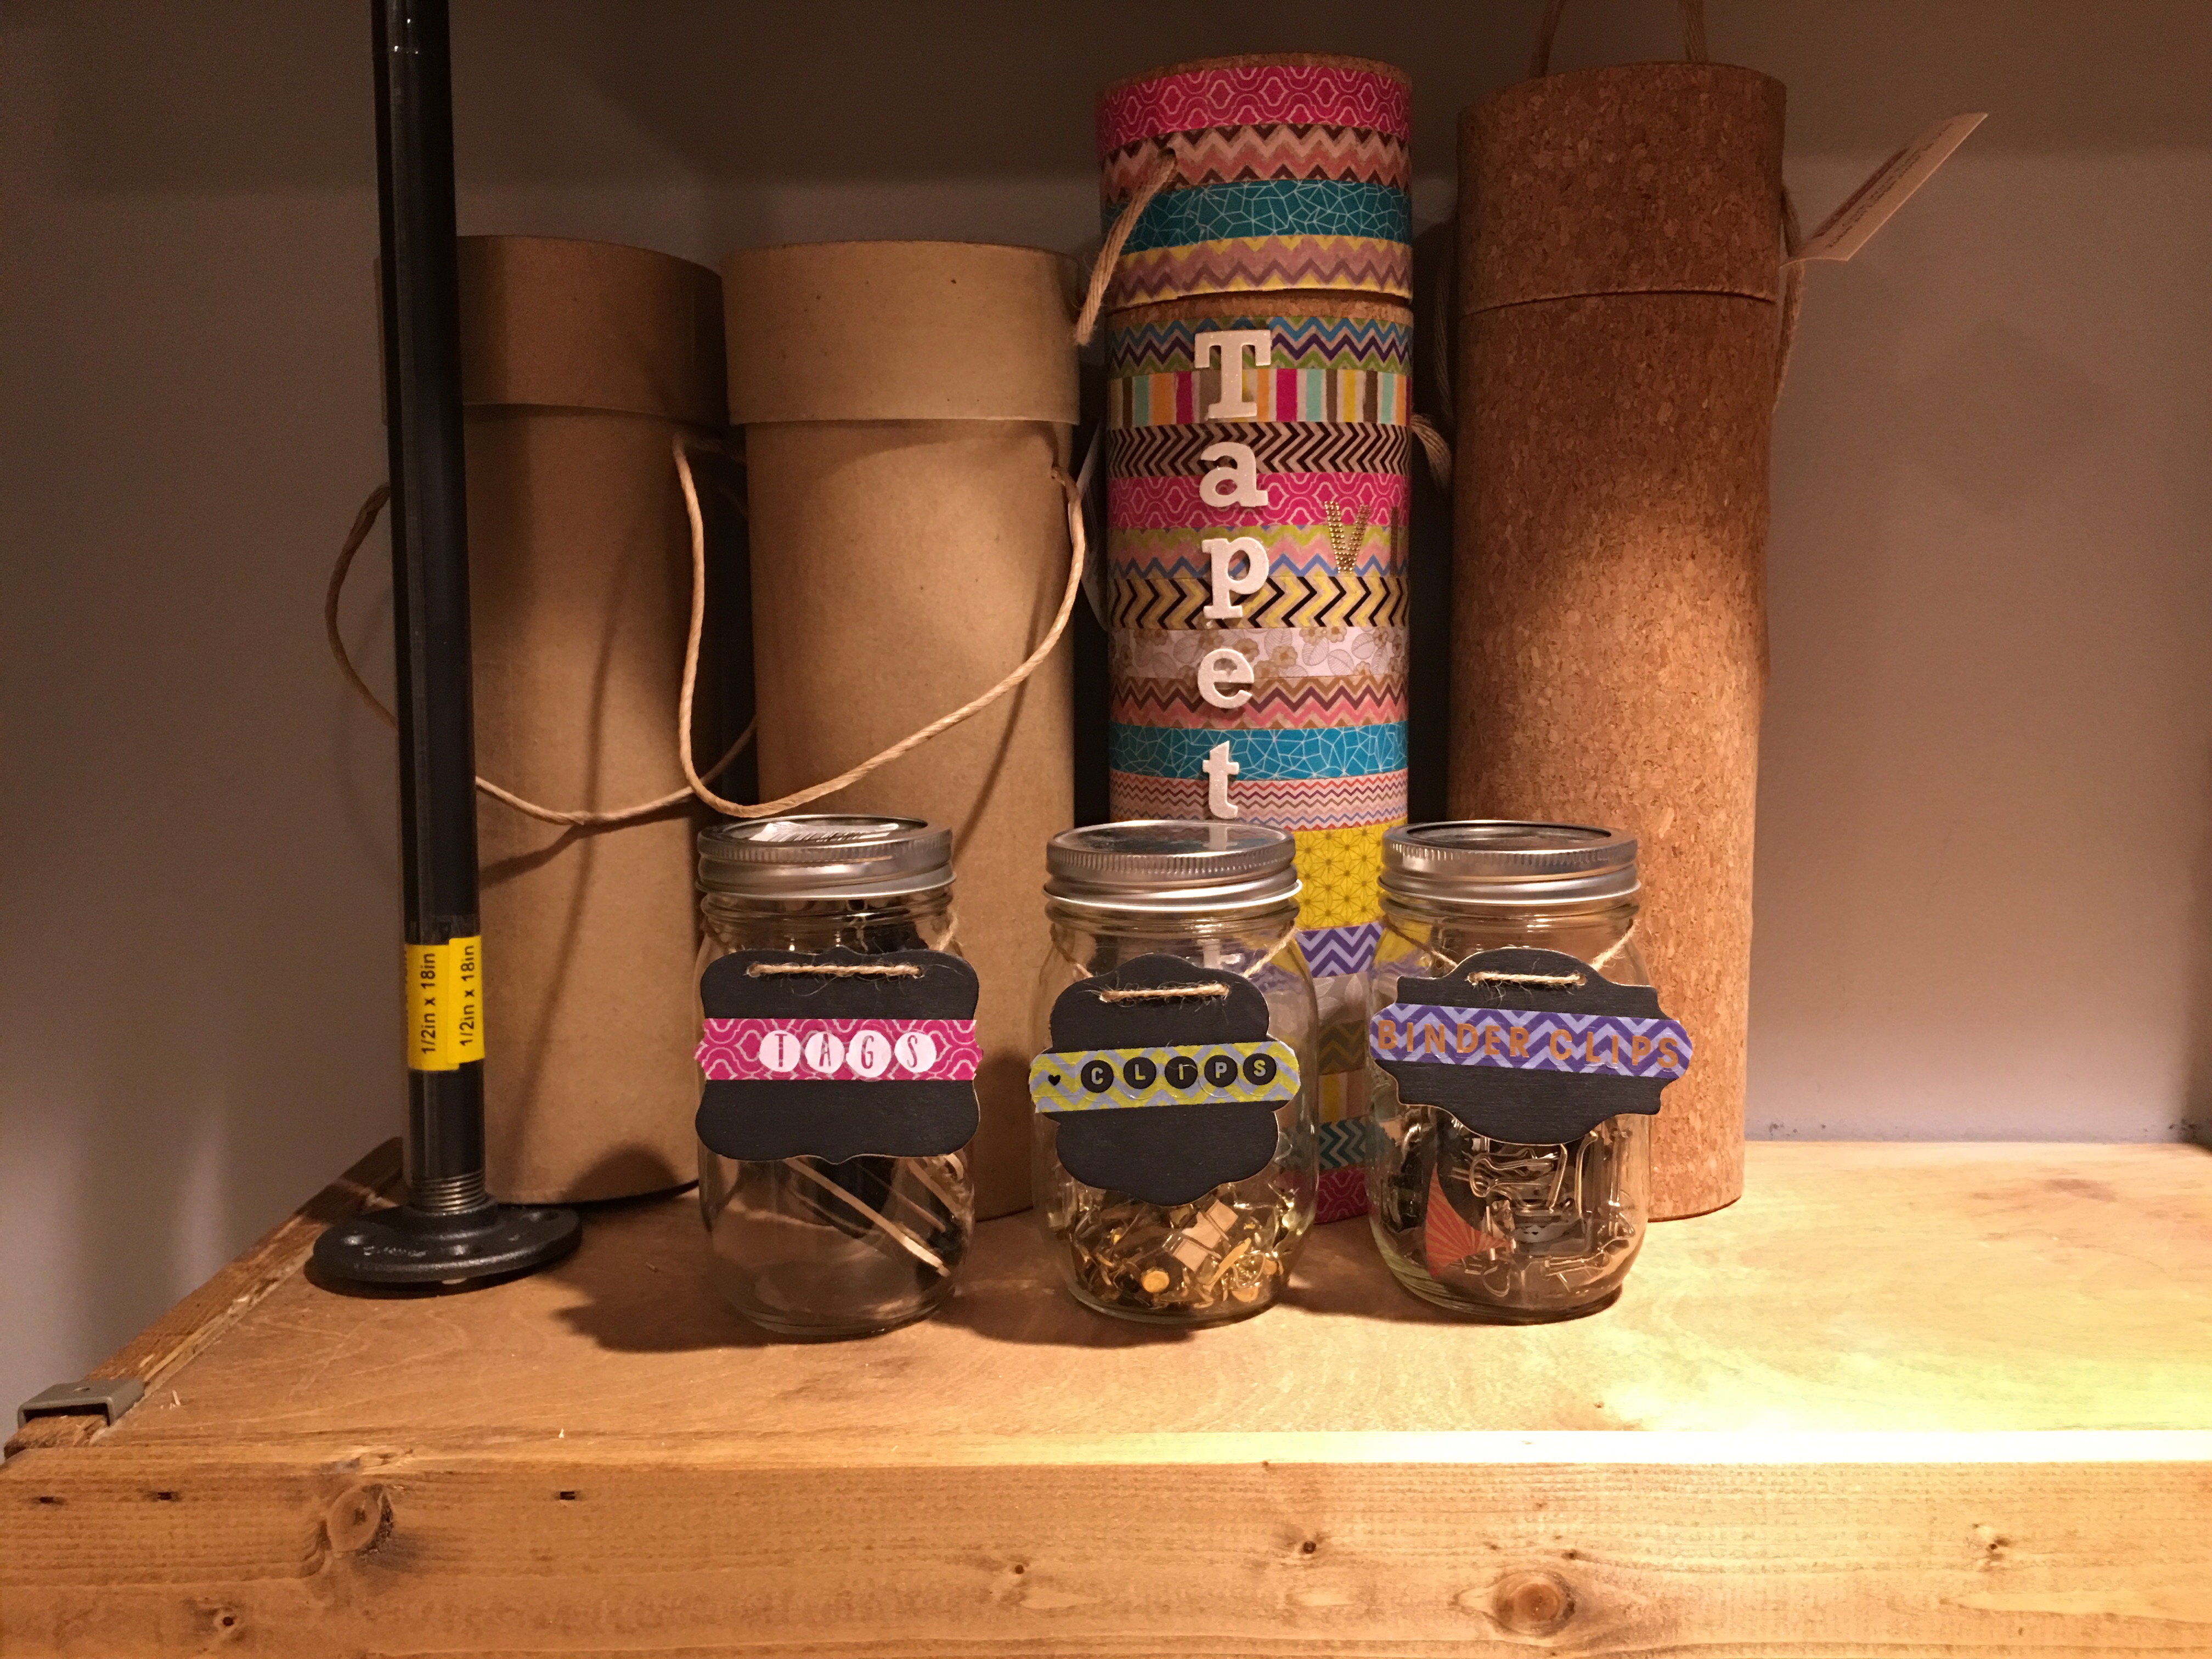
It now holds my clip tin jars using magnets.
My cork wine container reincarnated as my washi “Tape Tube” now sits on the lower floating shelf along with an empty cork container and the paper mache tubes. The cork containers were purchased from, you guessed it, Michaels (Make Market product line). And the paper mache tubes I picked up last week from the Hobby Lobby in Laurel.
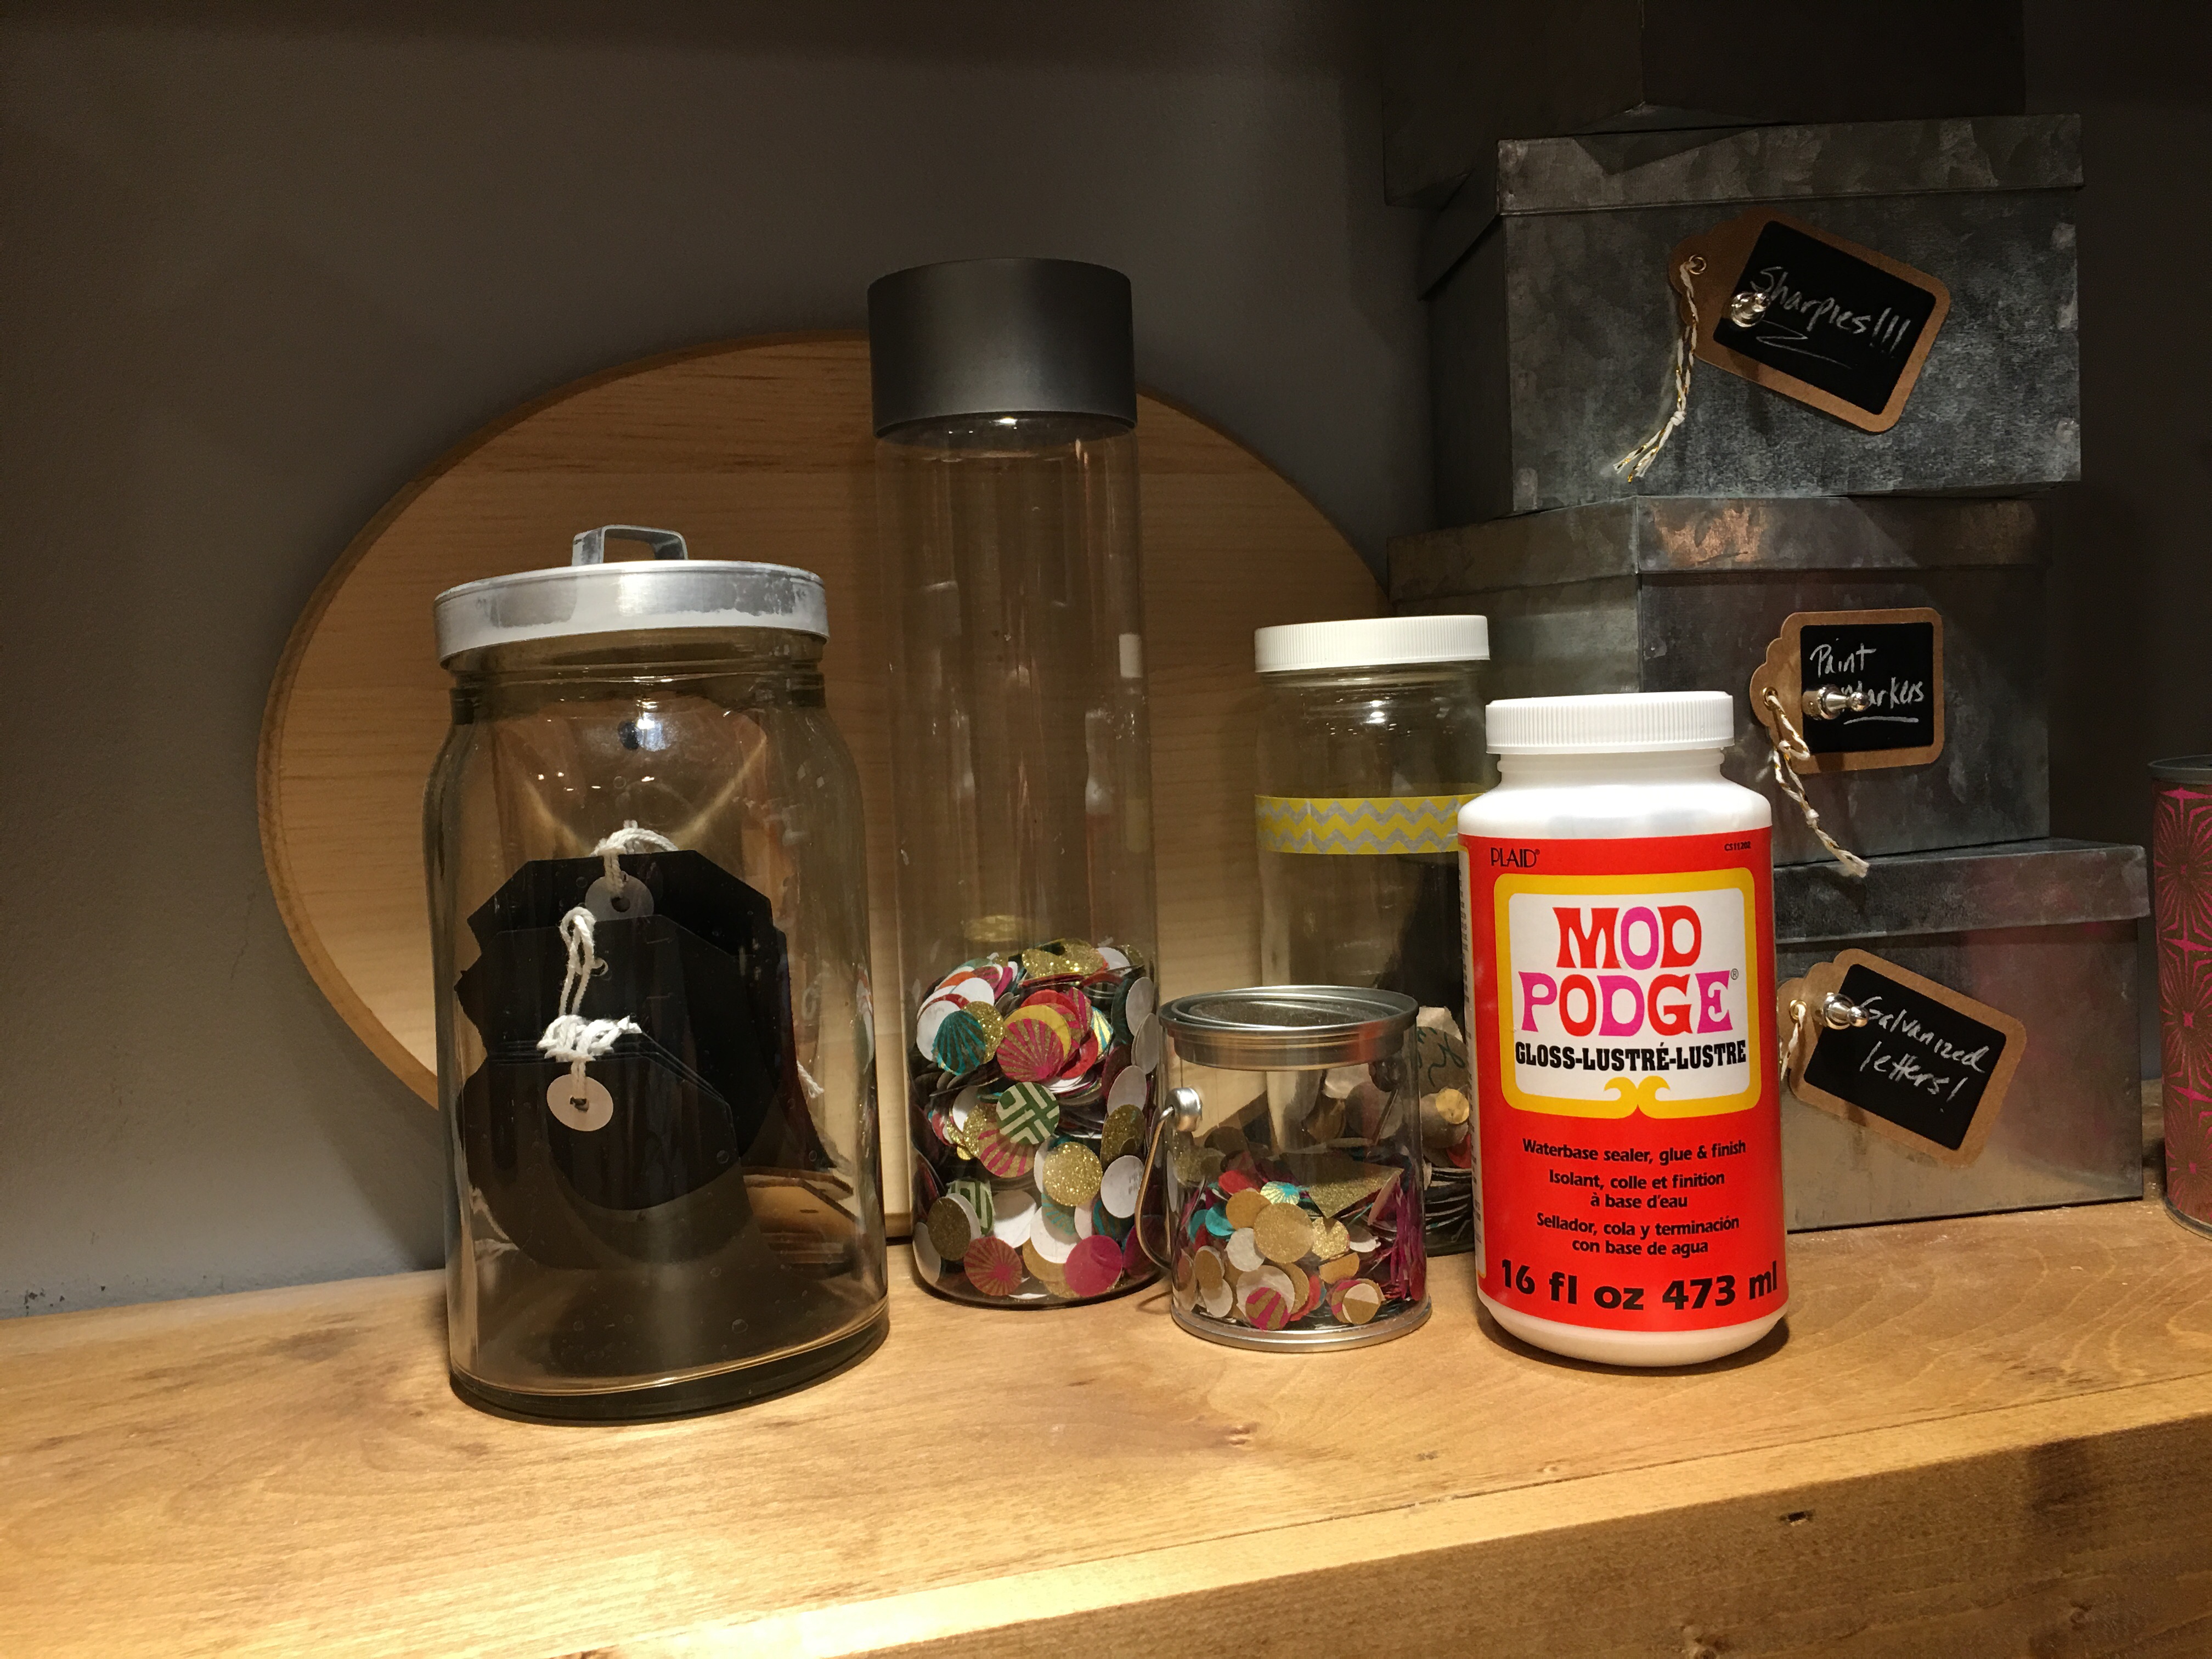
Mod Podge has a prominent place on the lower floating shelf (of course!). It shares space with my paper shape bottles and buckets and my big bottle of tags.
I continued to systematically move items from the tarp to the shelves (or to other locations including the trash bin) until the tarp was clear of all items.
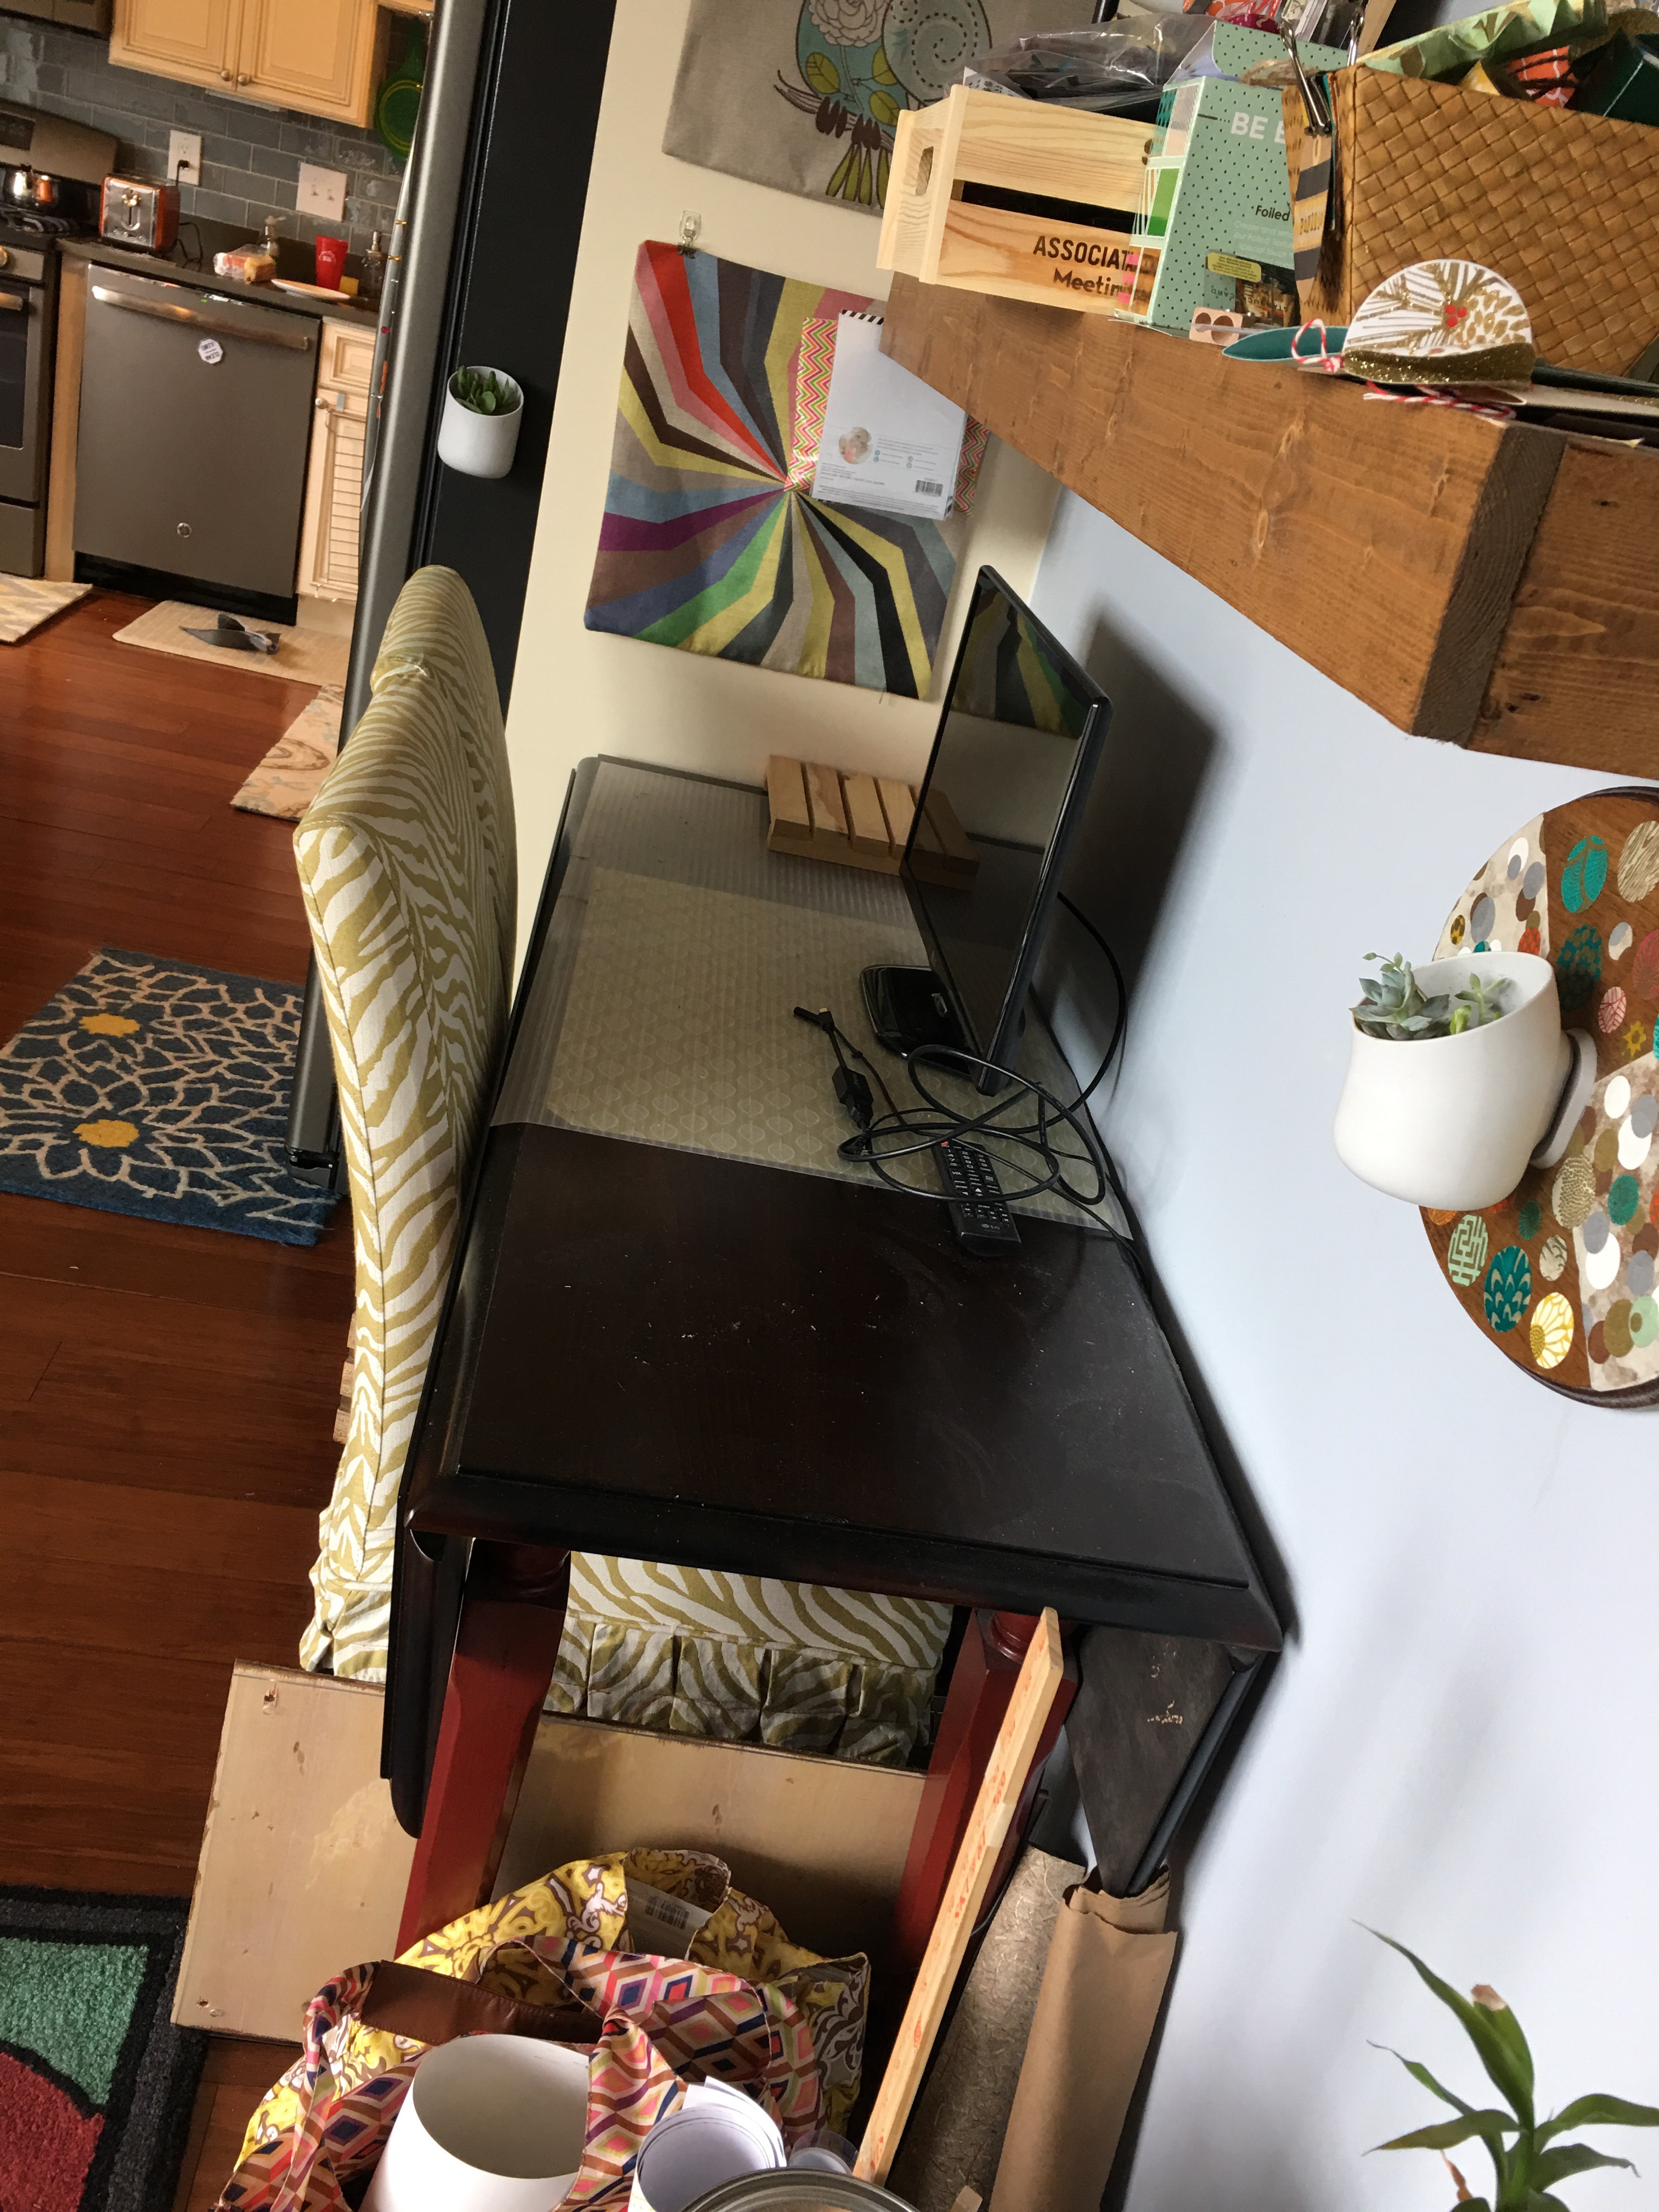
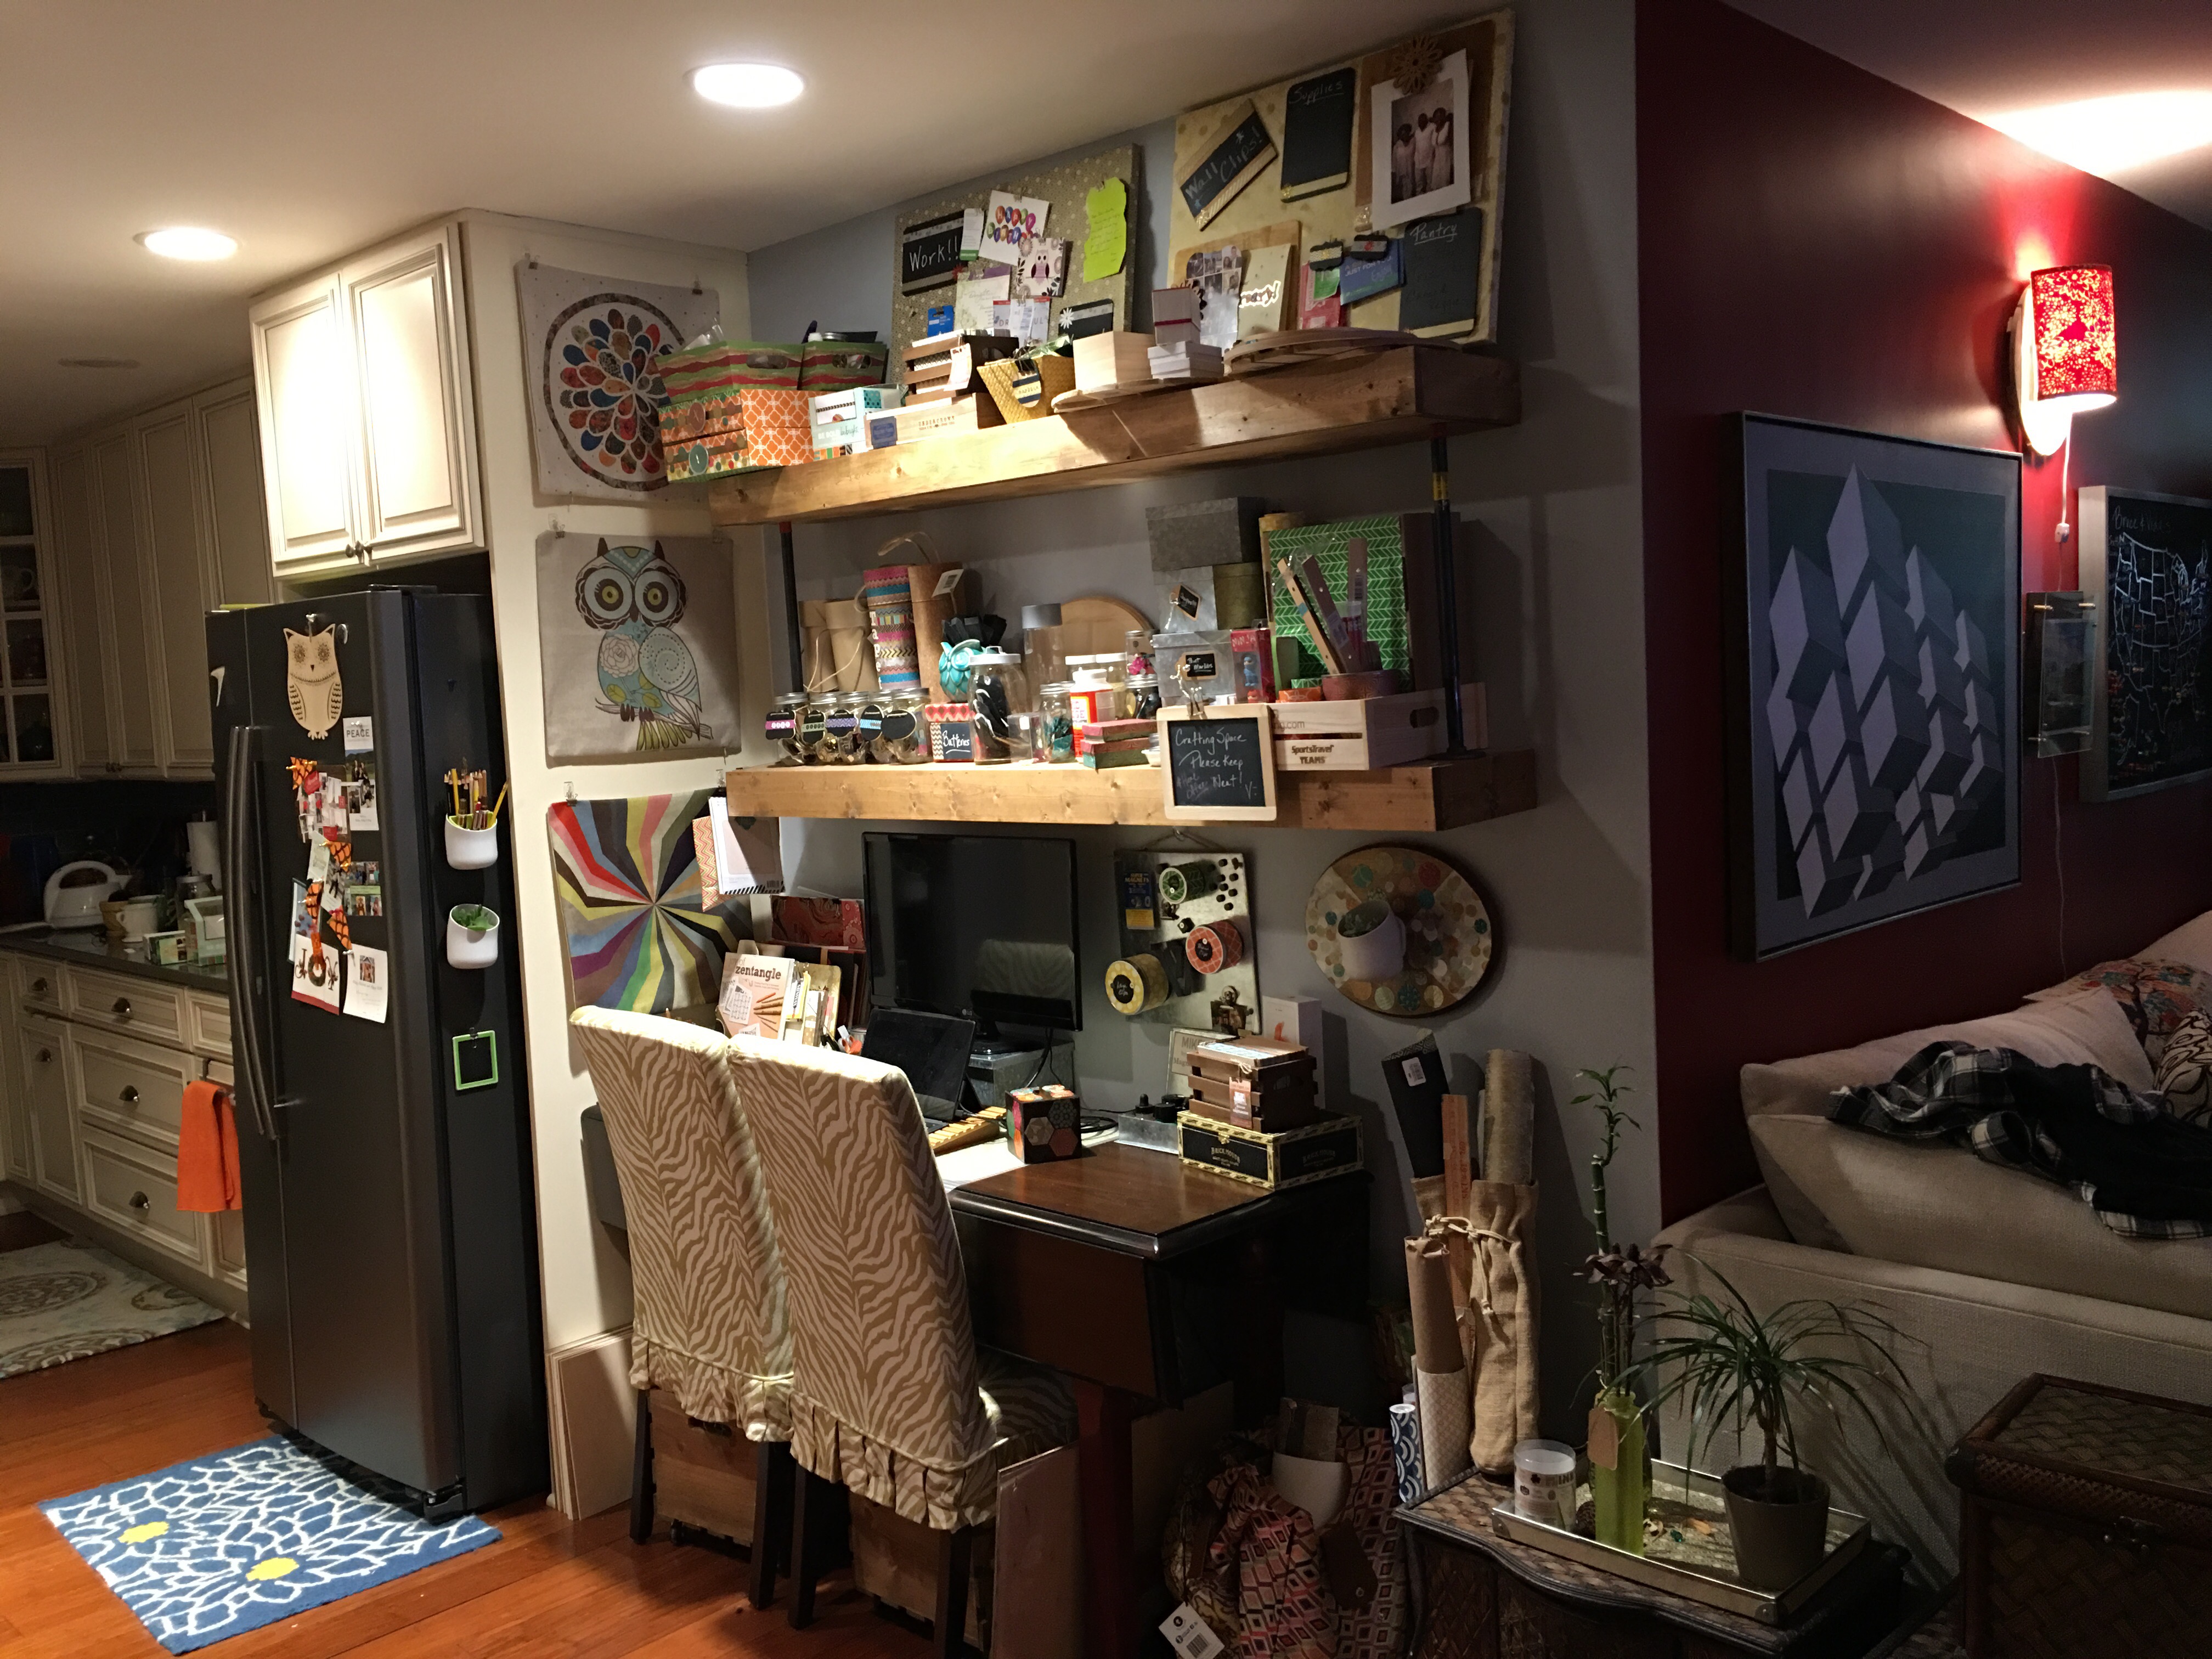
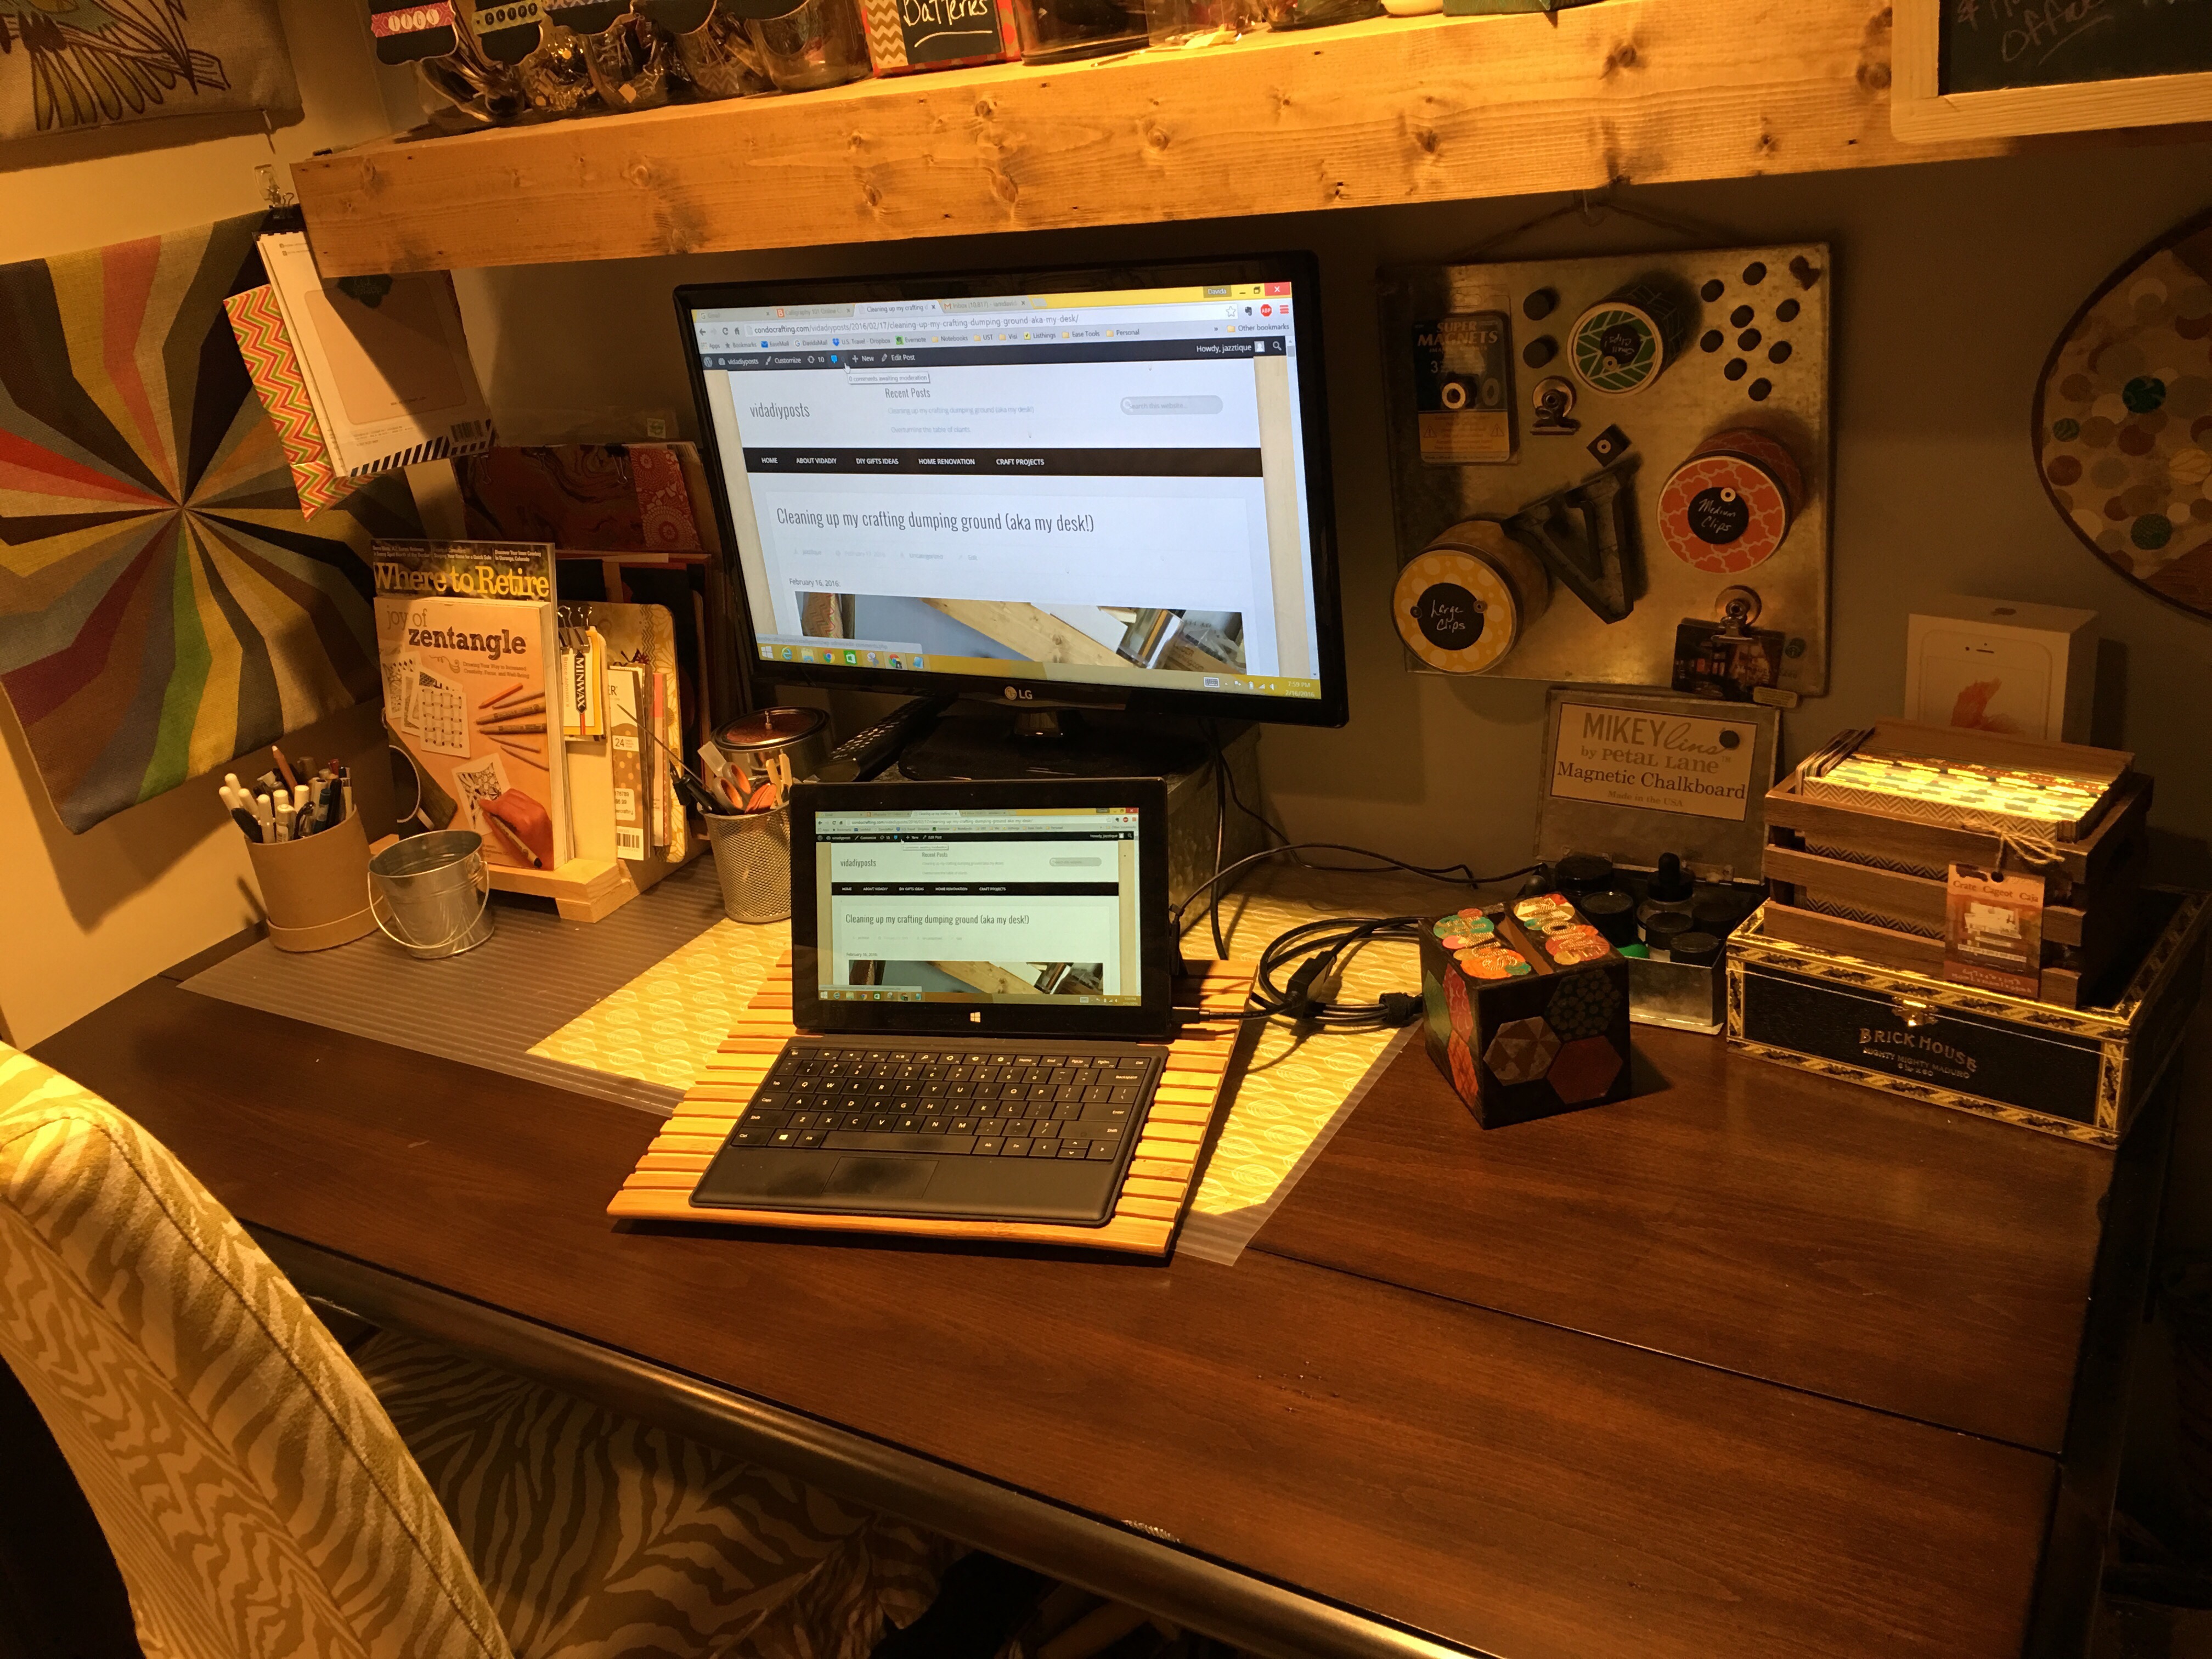
Here is the VidaDIY desk “After”.
The wall is now being utilized for beauty and function.
Books, papers, magazines and pens are neat and organized. A place for everything.
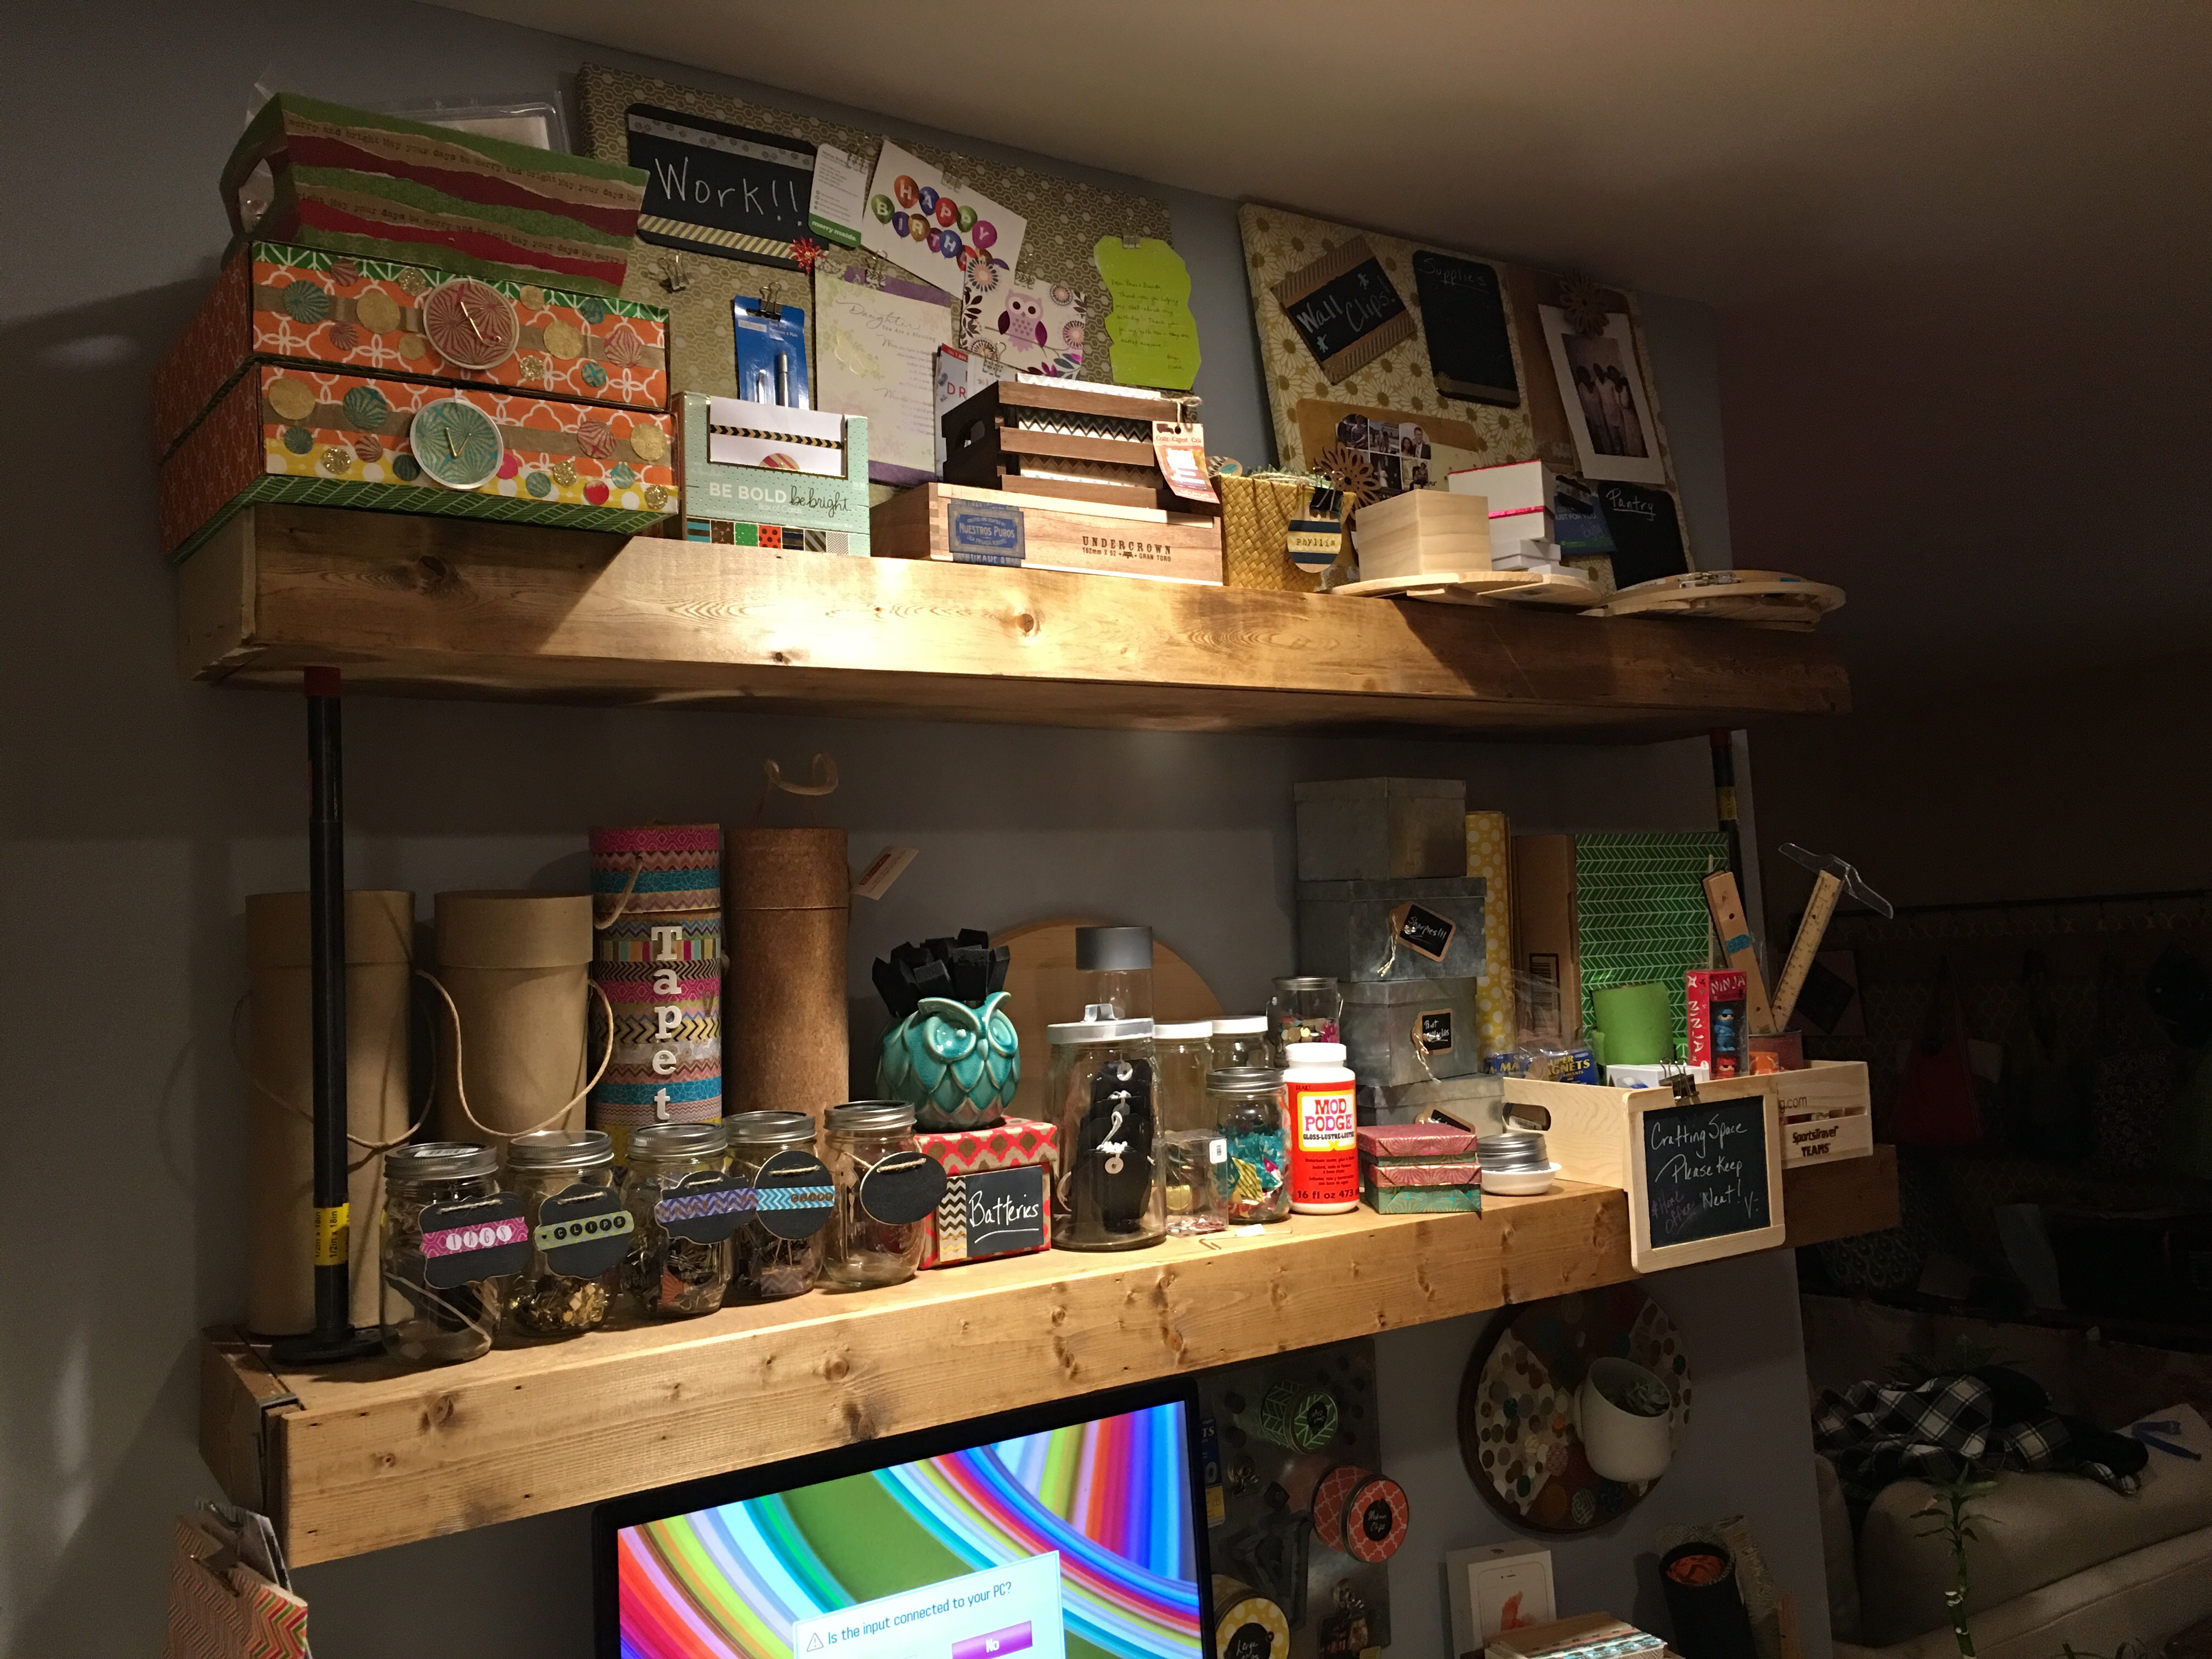
Items on the upper and lower floating shelves have been neatly positioned. It still seems a little crowded, but I will address over time. I aim to find more storage solutions while striving for a clean, but crafty look.
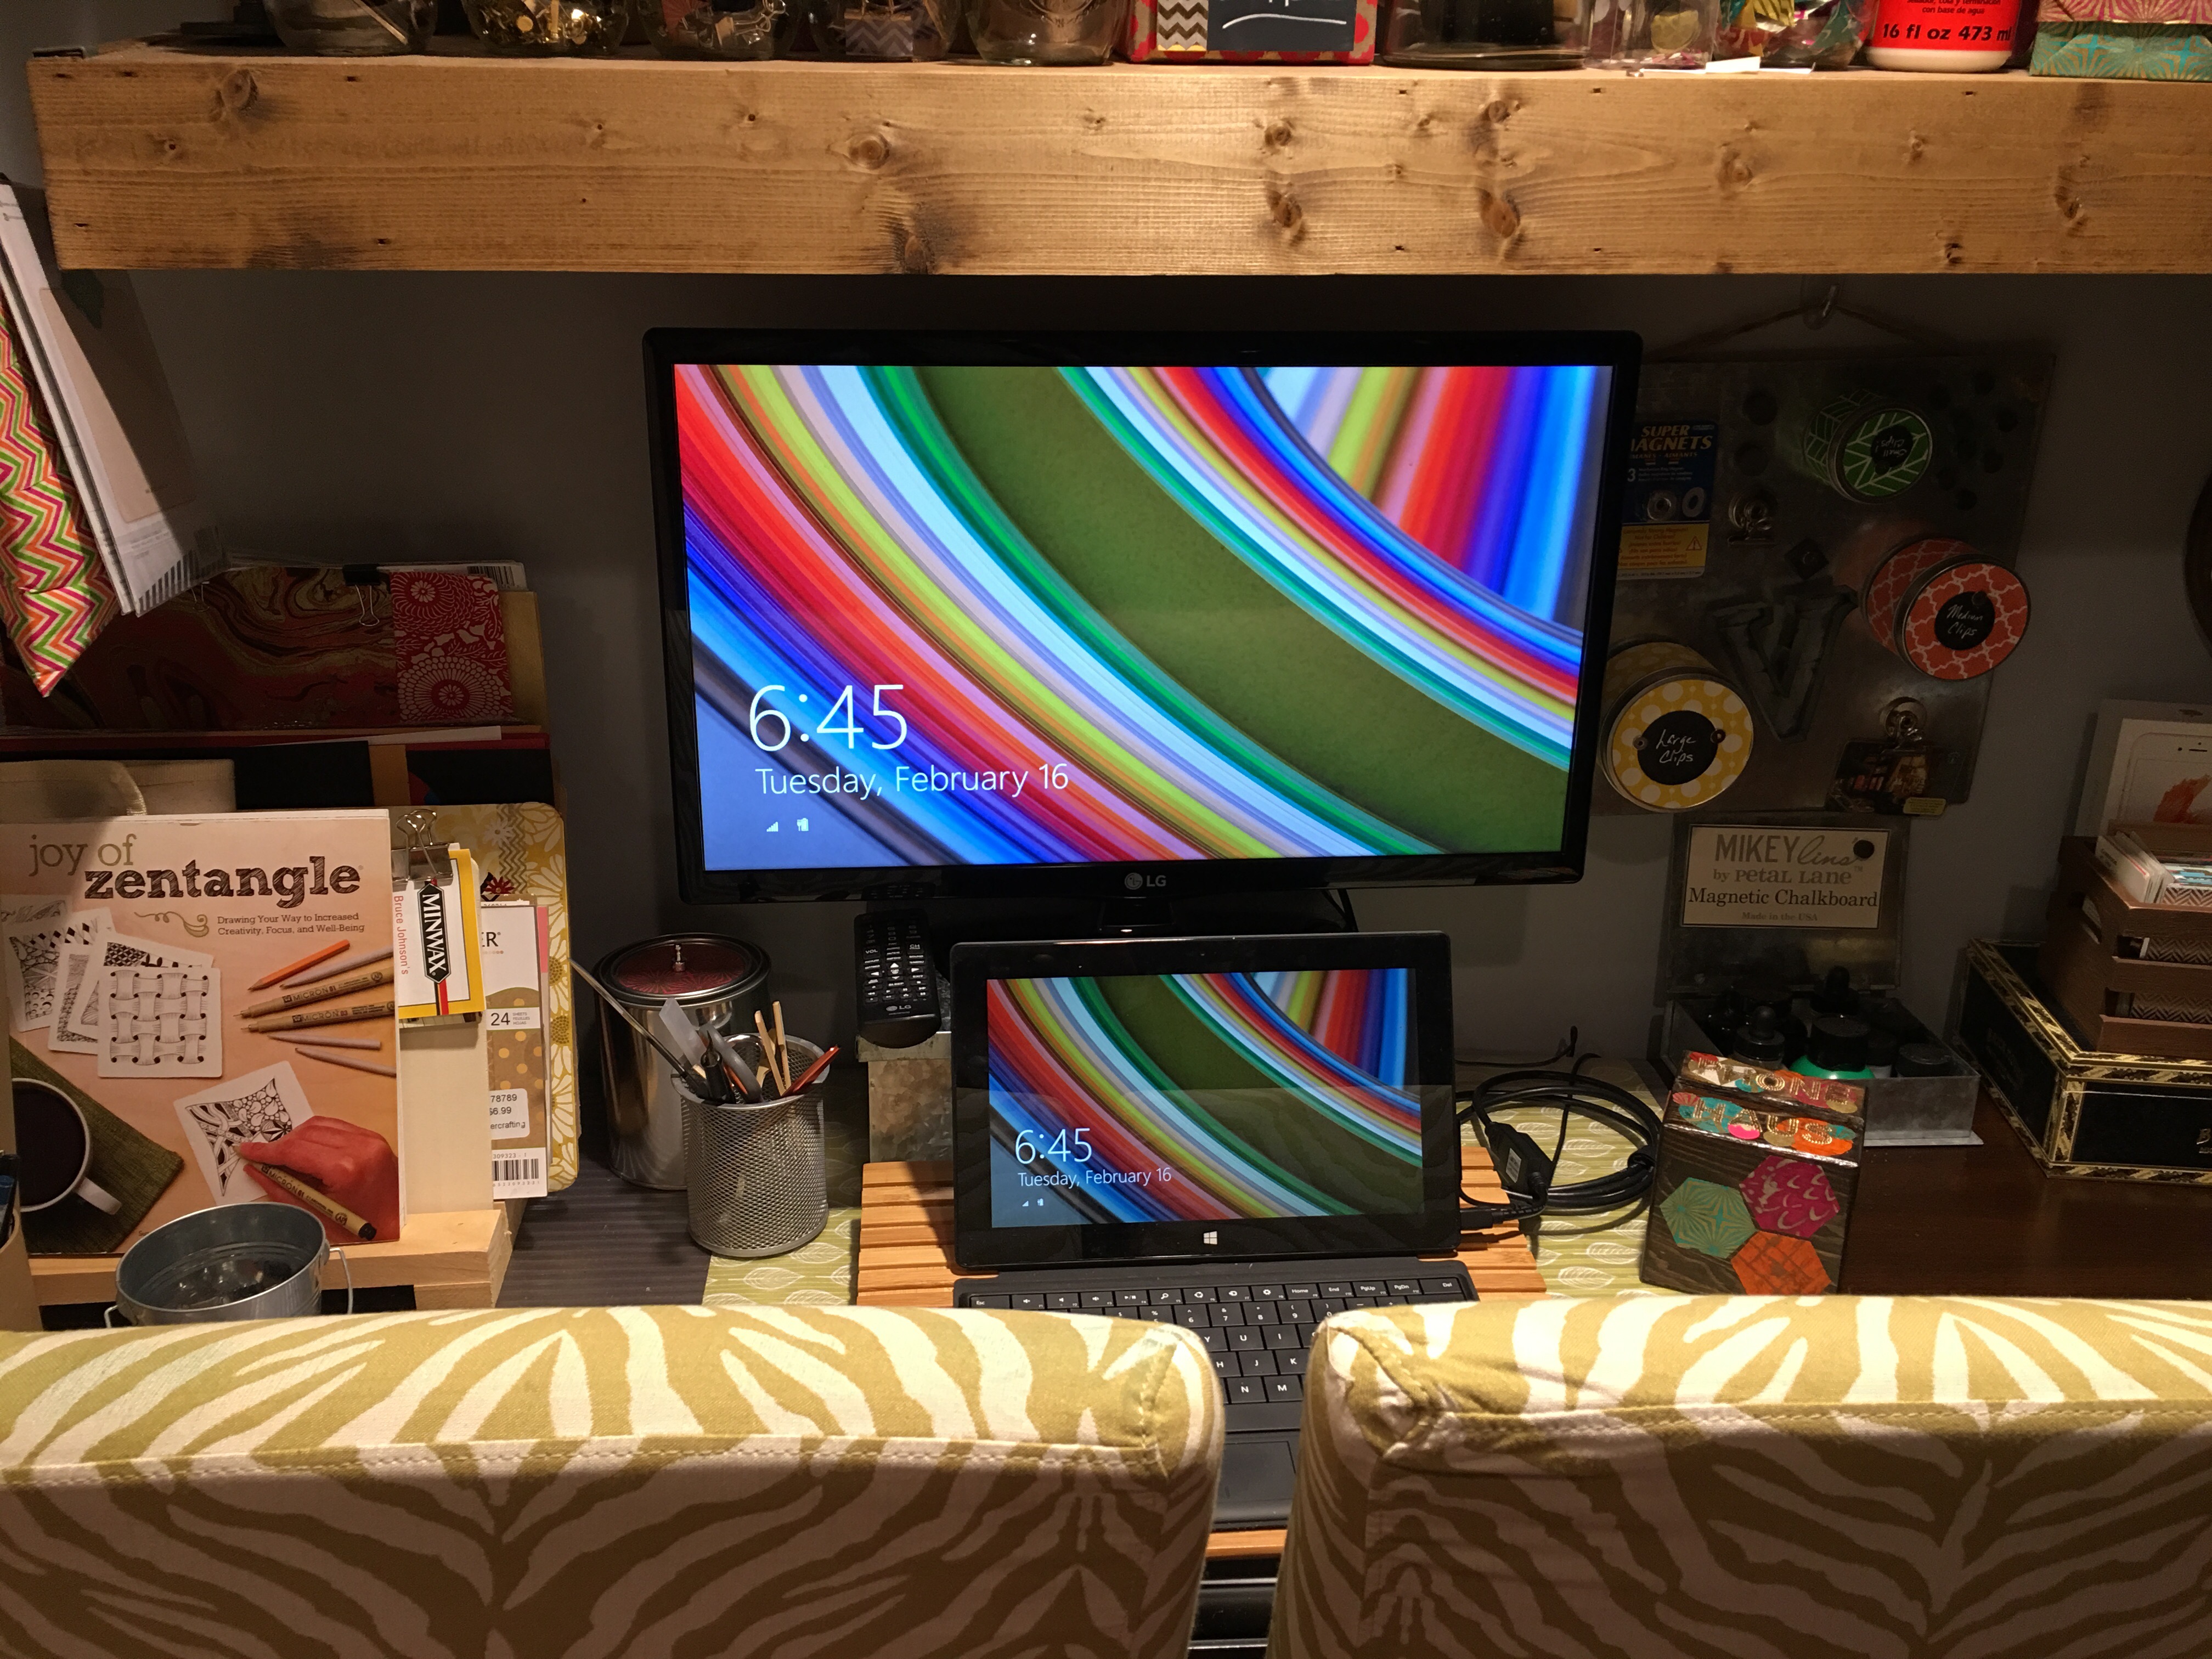
I’m happy to be using my TV/Monitor again. Beats crouching over a laptop screen.
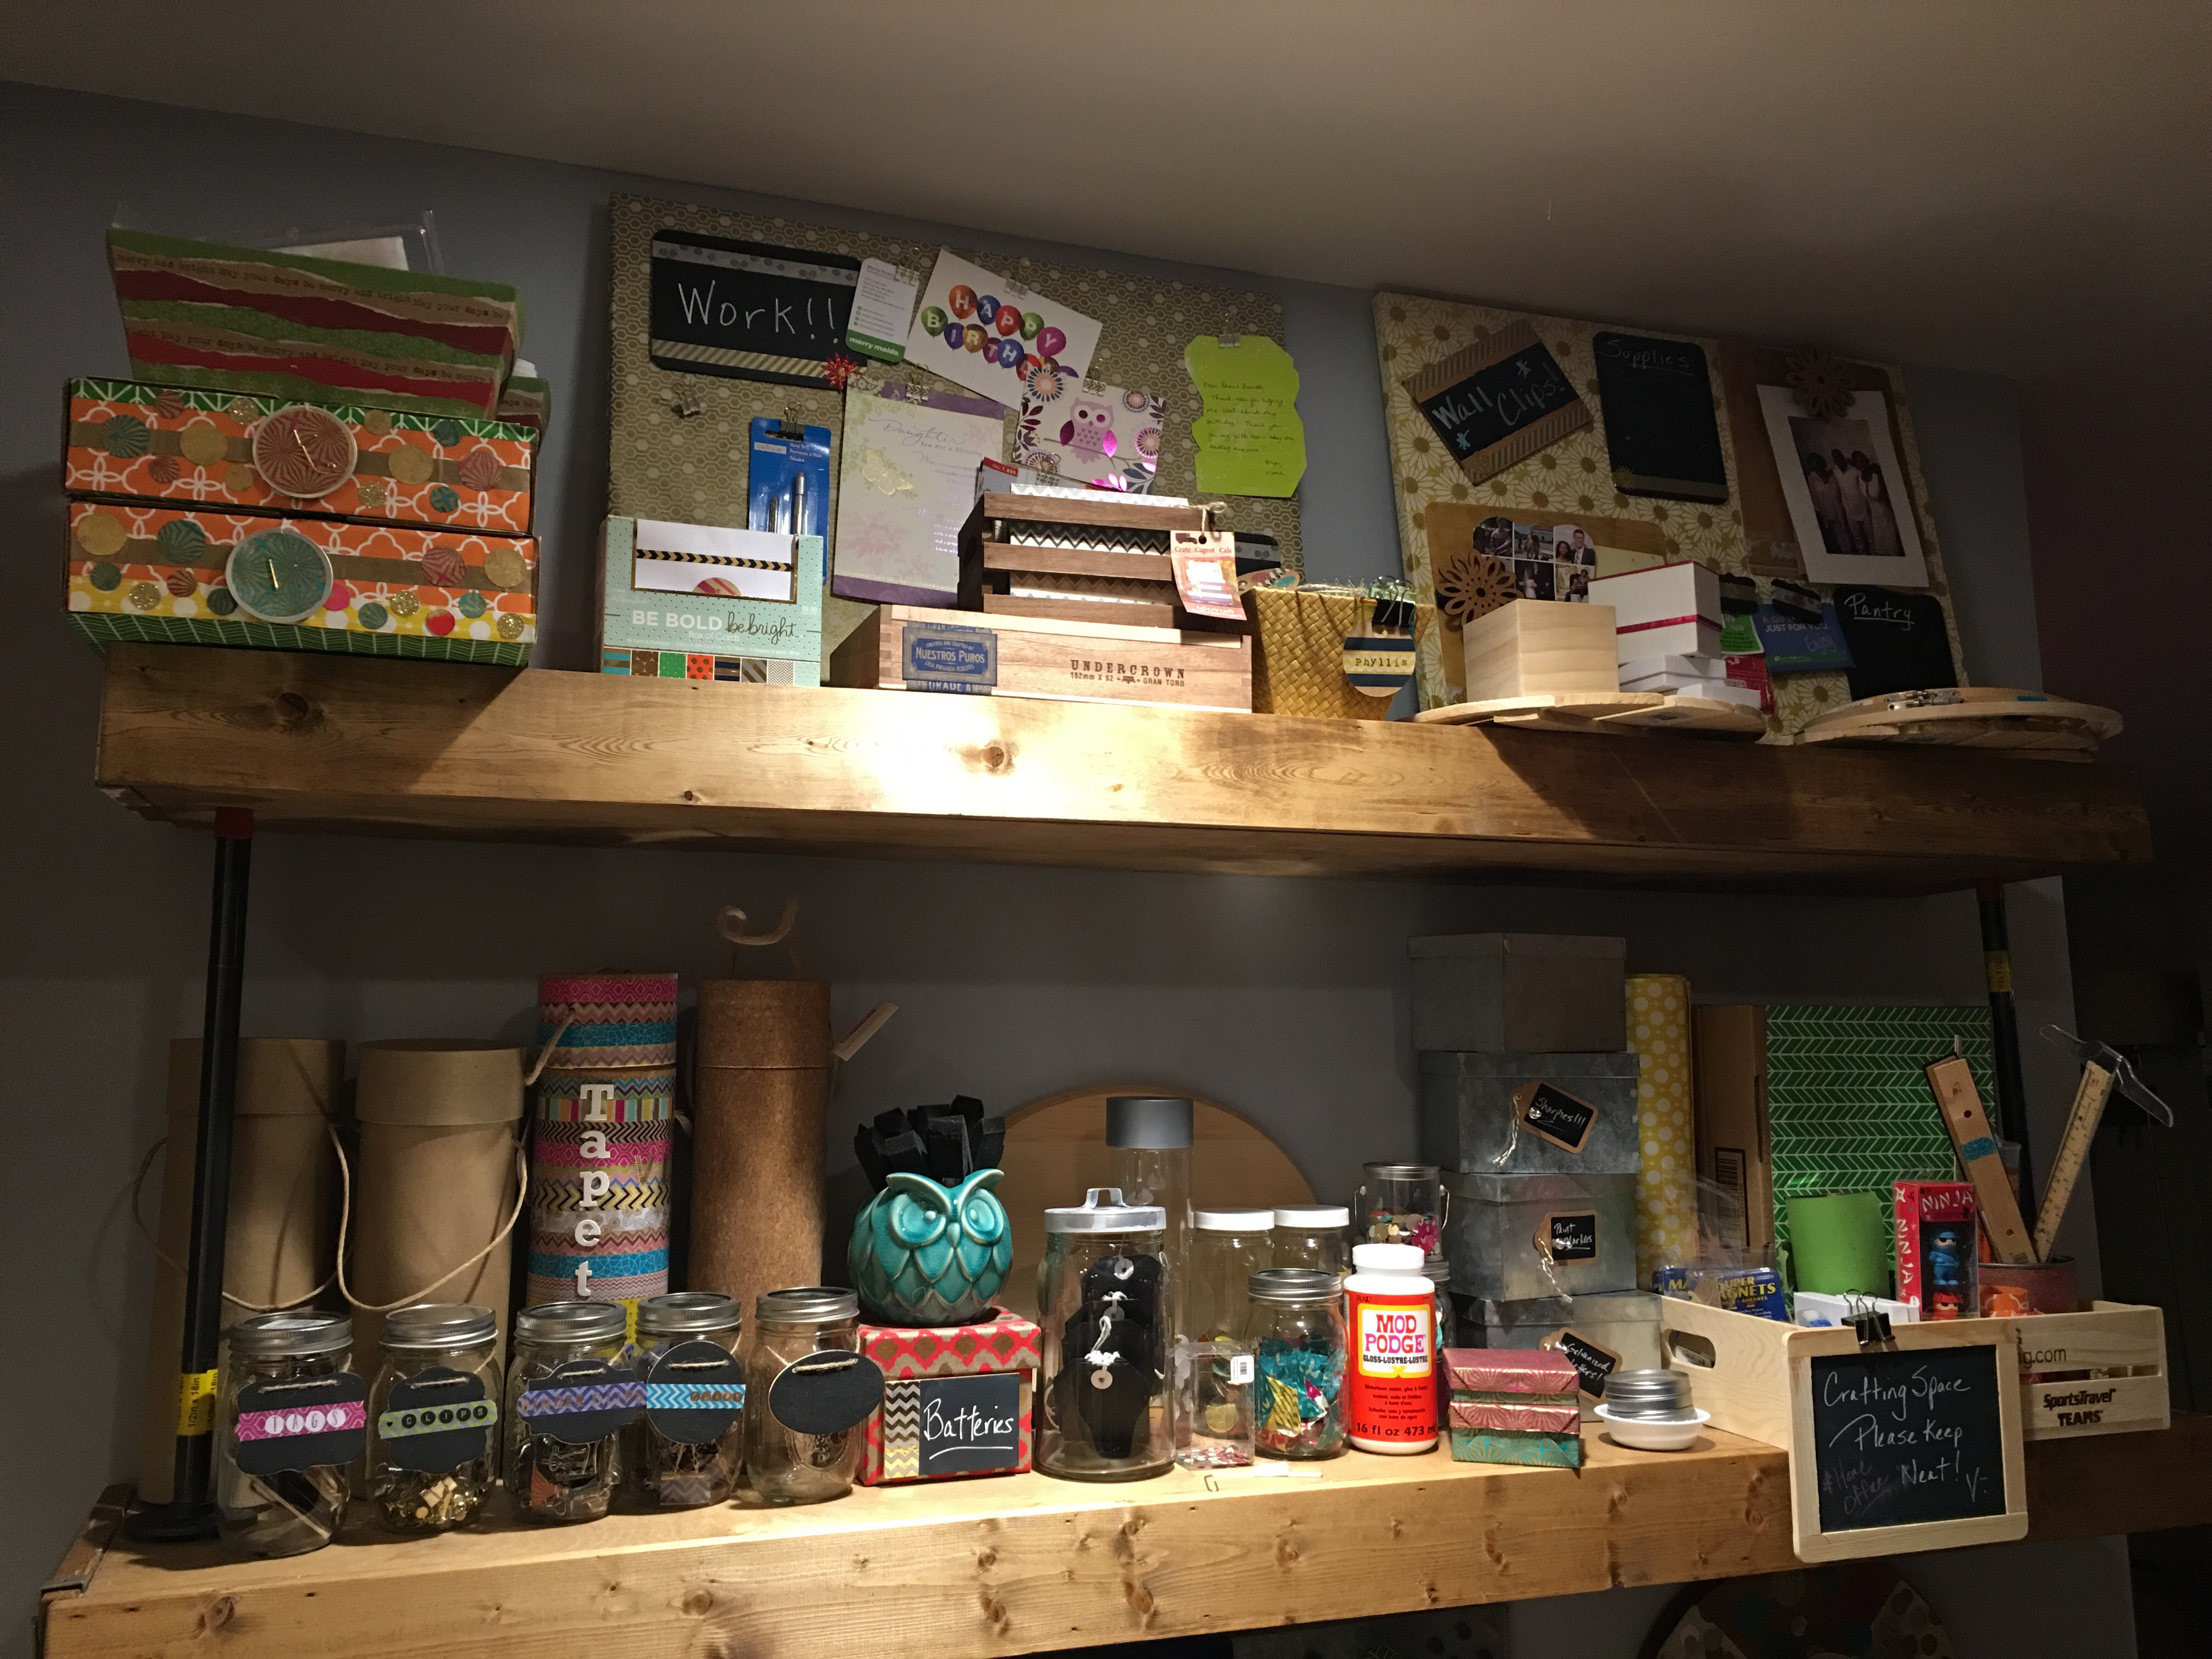
One last look at my much neater shelves.
Time to get back to work on this post…
…and take on the much bigger challenge of keeping my desk as clean and neat as possible while continuing to craft, to write, to work and to live. V-