
DIY Floating Frame Panels with sconces finally mounted!
You may also like:
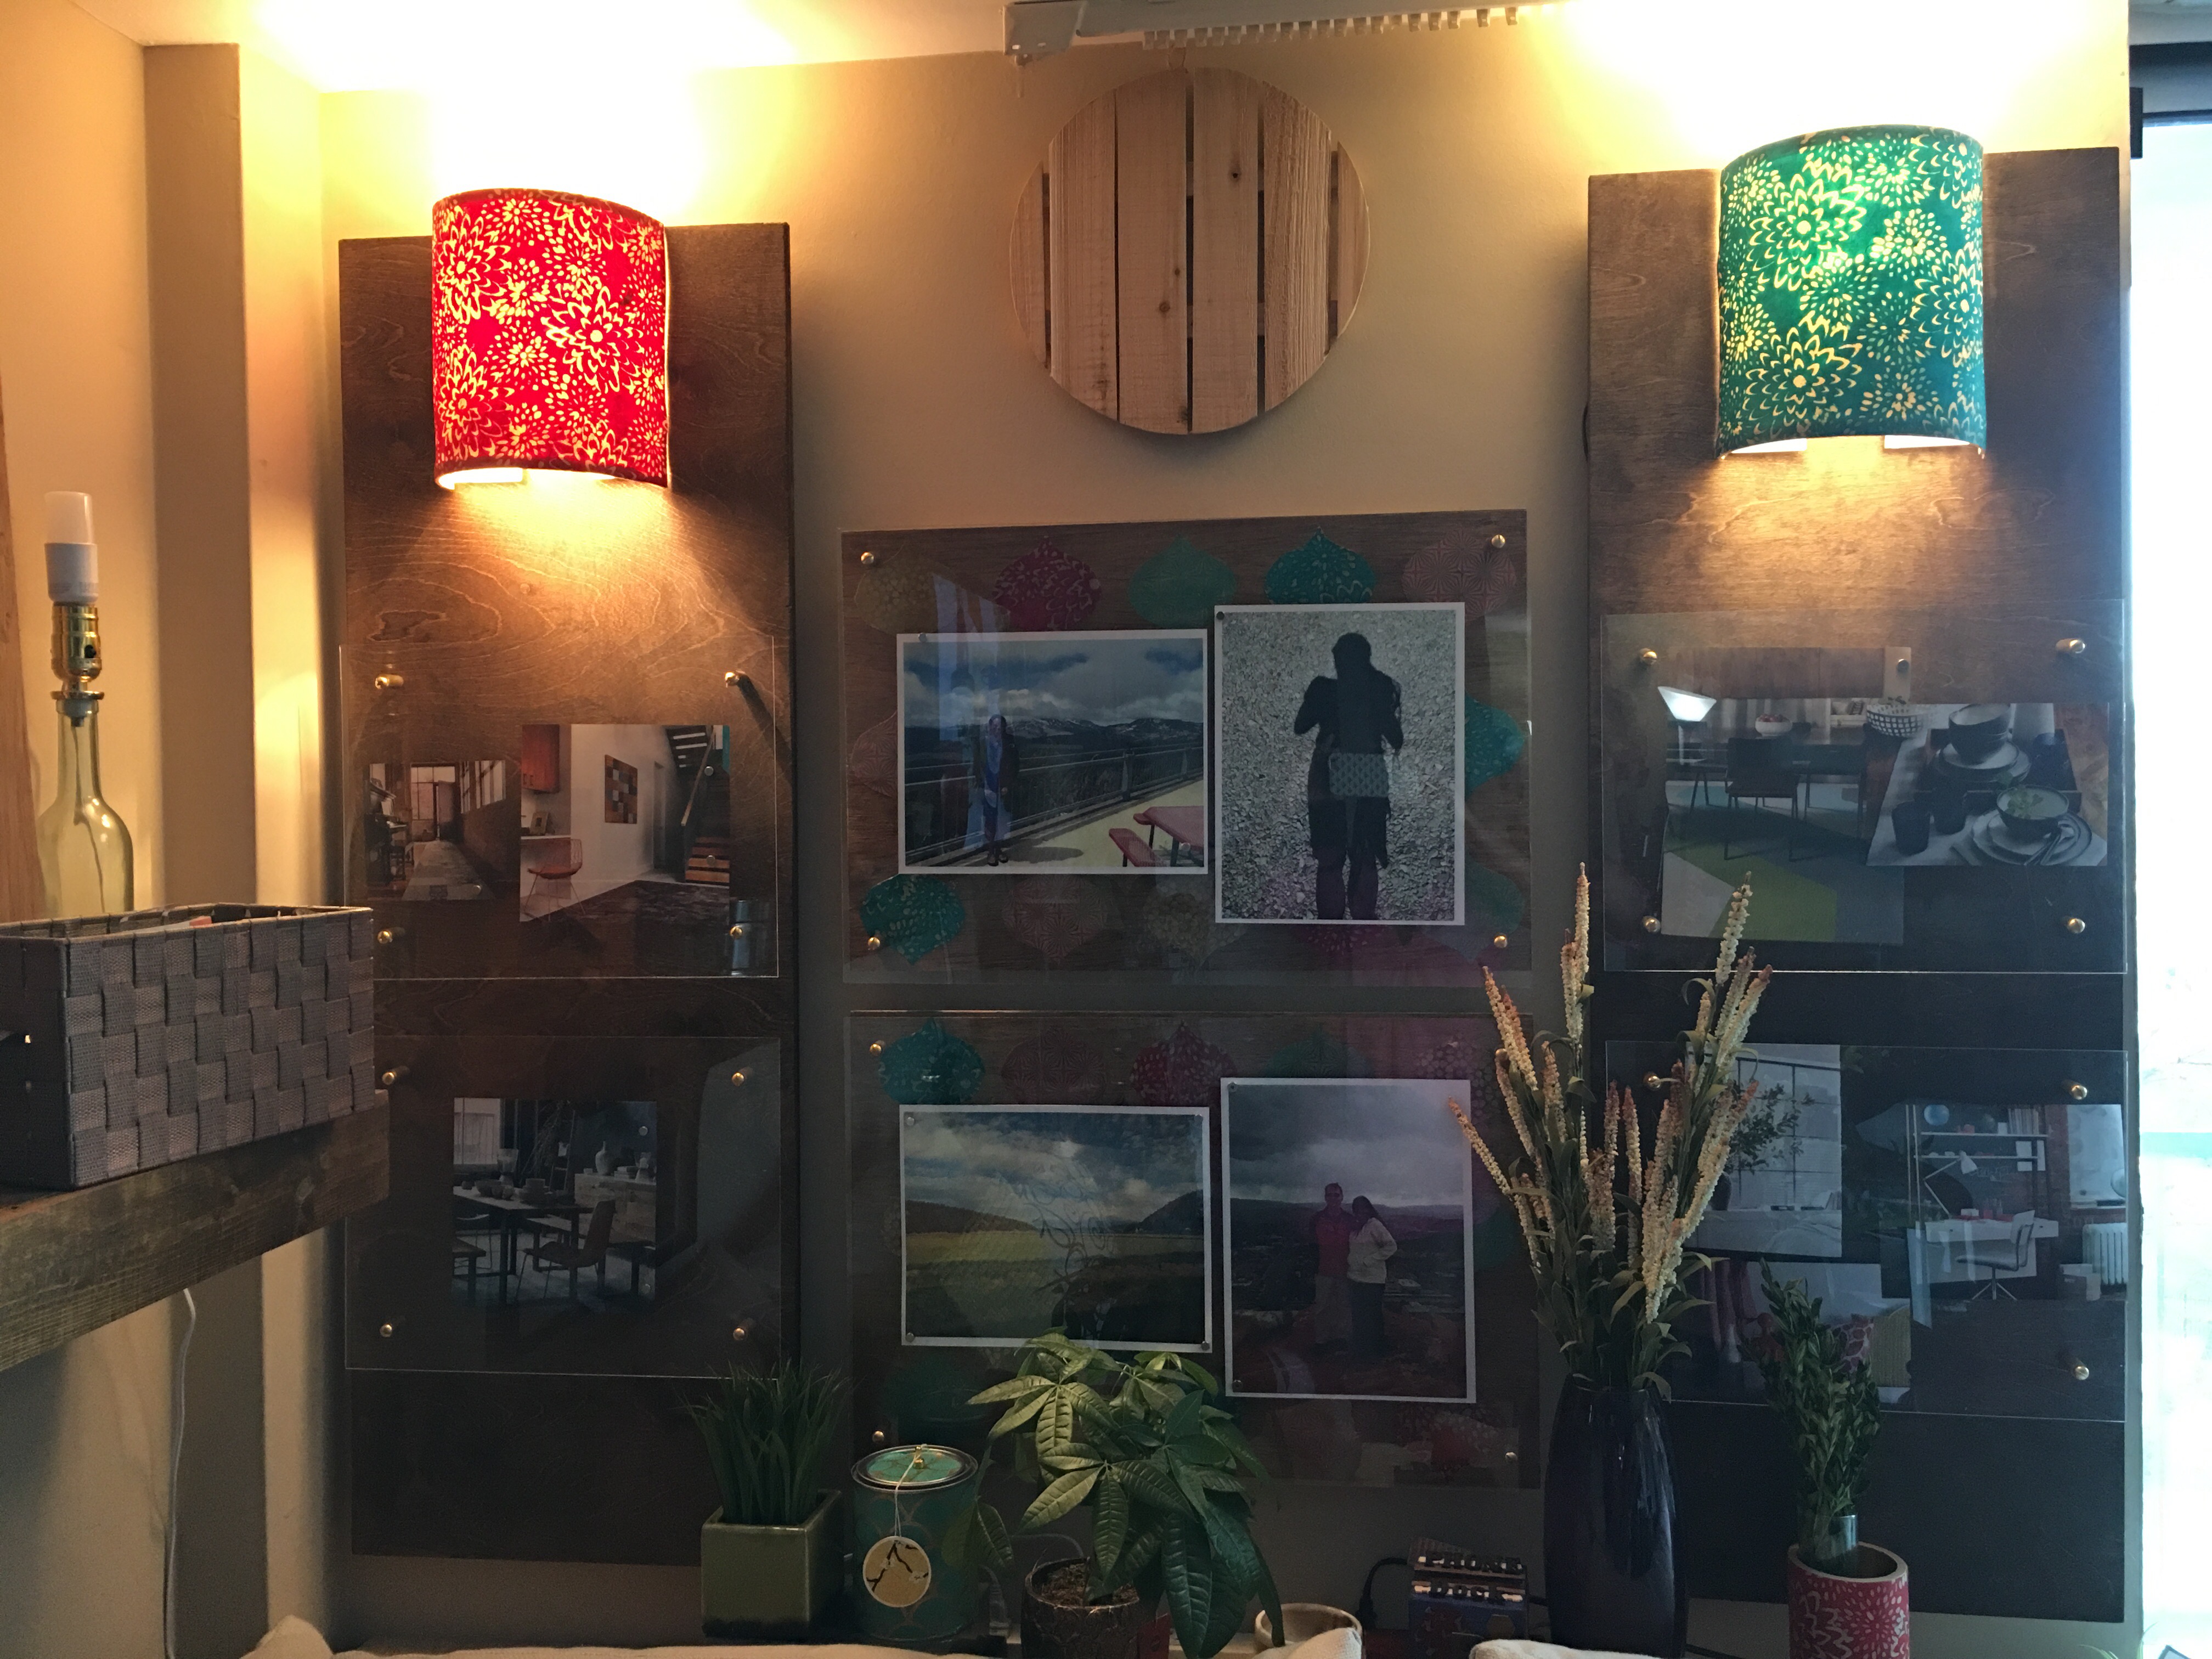
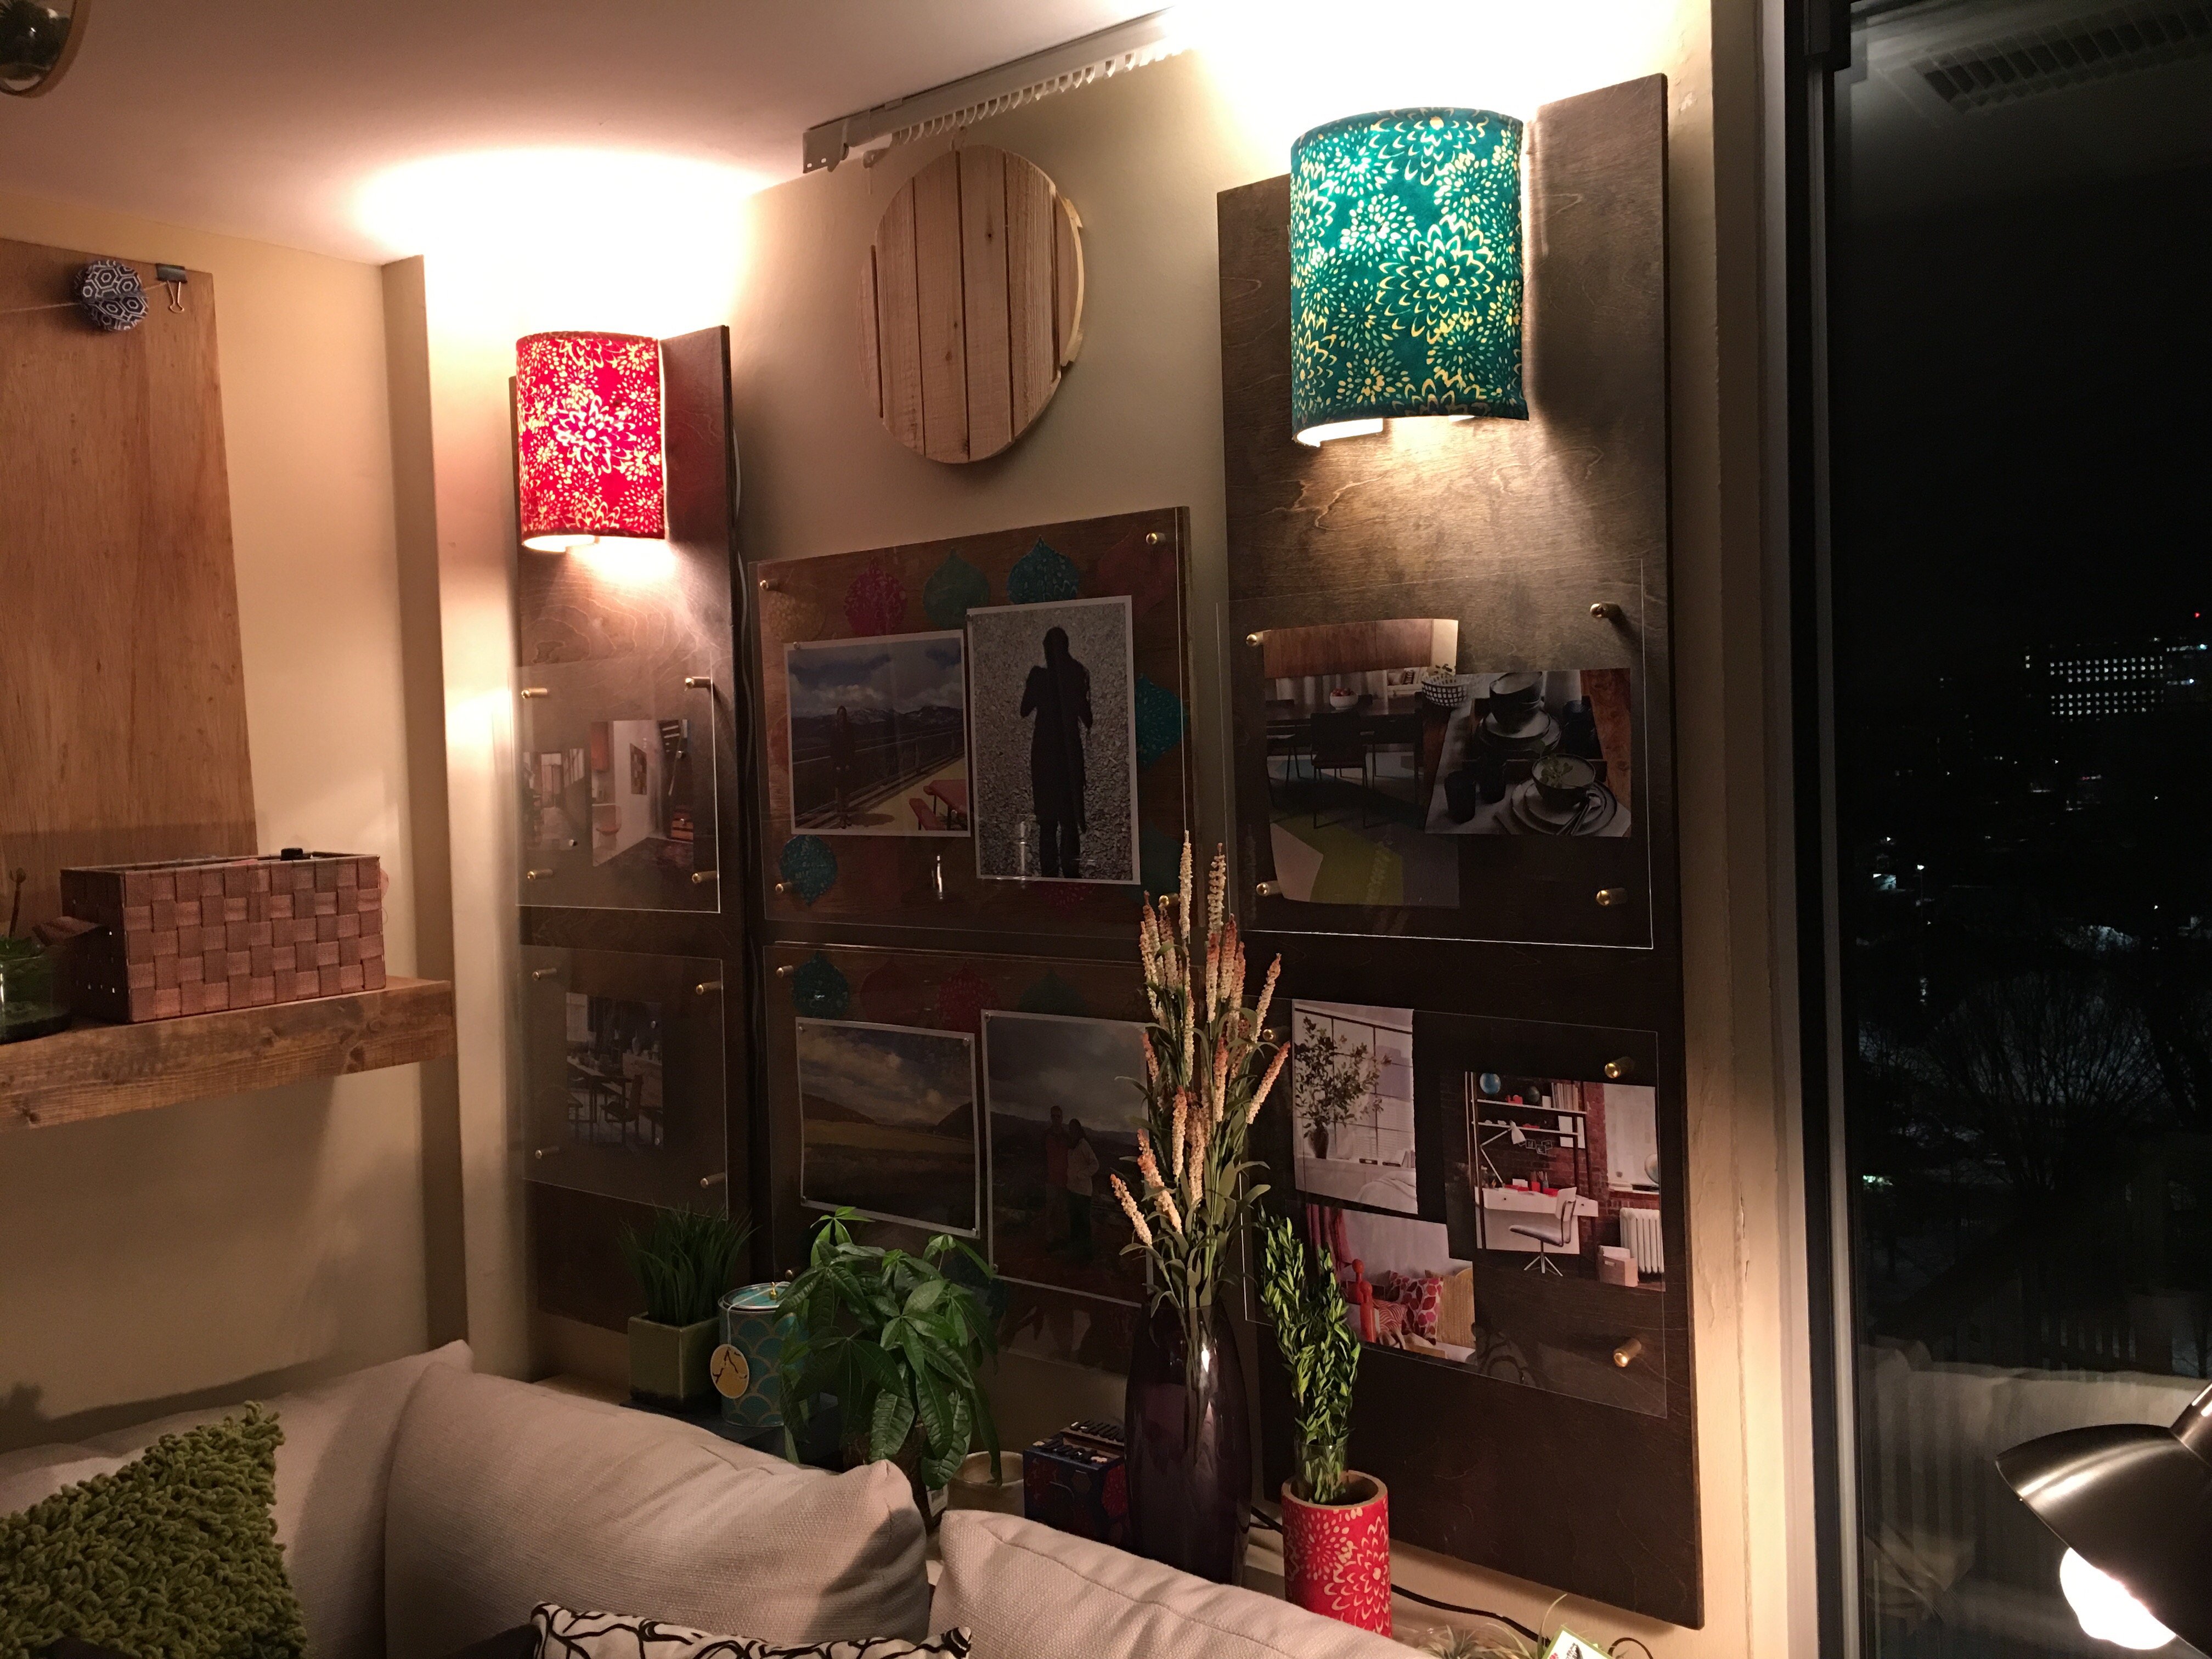
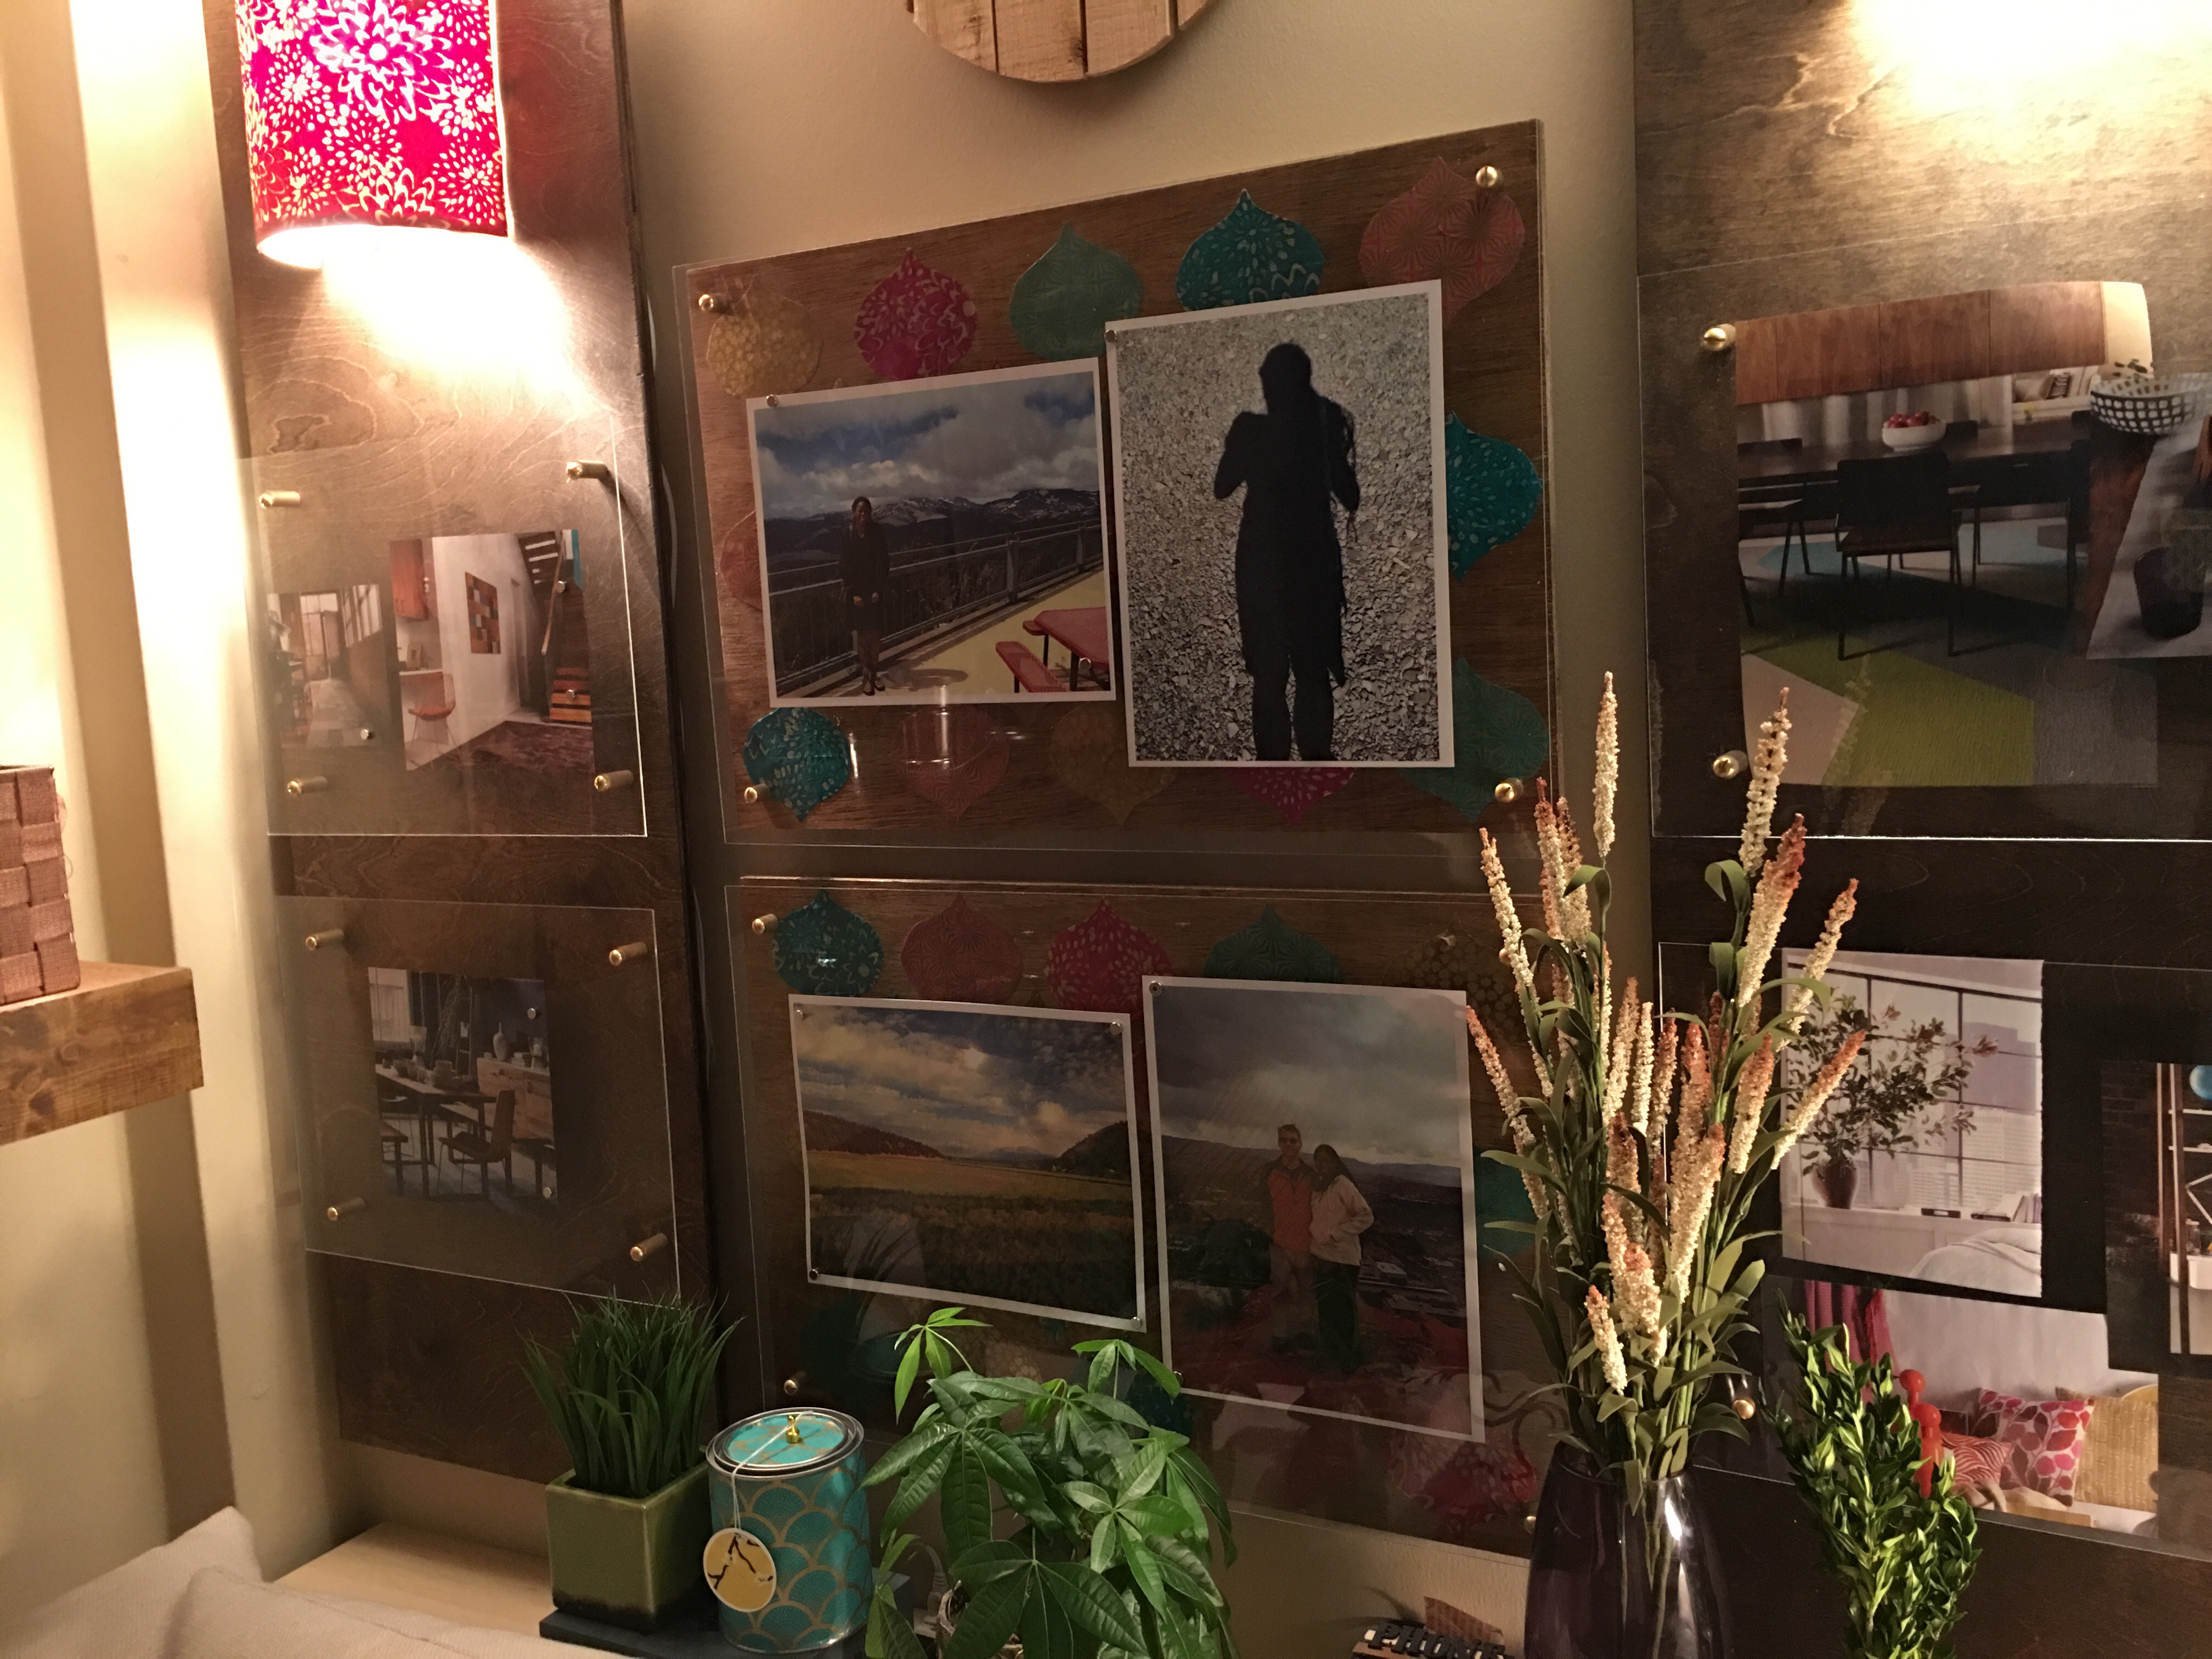
January 28, 2016: My gallery wall next to the balcony is finally complete.
After weeks of frowning with dissatisfaction at the panels being propped on the pipe and poplar table, I hunted down my Hangman french cleats, yanked out my drill and went to work.I’ve been putting this off out of deference to my neighbors (and Bruce’s constant cautionary warnings about drilling through the brick of the building exterior walls). But with being homebound due to Blizzard 2016, I suddenly found myself in the condo for hours within the “condo construction time window”.
Of course, this doesn’t dawn on me until 5pm on Tuesday…the third and last night I was forced to work from home. Agh!!!
I quickly mounted the sconce and floating frame panel on the right. I had the pencil marking from when I last mounted it with Command strips (which did not work out in the long run). I lined up the french cleat bracket to the line marking, marked the holes, and did two quick 3/4″ drills.
Then using the provided screws, attached the bracket to the wall. Voila! Done in a snap. In fact, these walls next to the building exterior are turning out to be the easiest to drill in this place. A huge gap between the 1 inch thick plaster and the exterior brick provides plenty of space to drive the drills through.
I managed to get one sconce and floating frame panel and a center 16 x 24 floating wood display up on Tuesday evening before my time ran out. Wednesday turned out to be a late work night for me, so I powered through and got the other panels up on Thursday after work (after knocking on the neighbors door to make sure they weren’t home first, of course).
I was bowled over by the results. Just having my gallery mounted made a huge difference.

Now that the panels are no longer being propped on the pipe and poplar table, it was now free to hold other items. So I quickly went to work on staging the space.
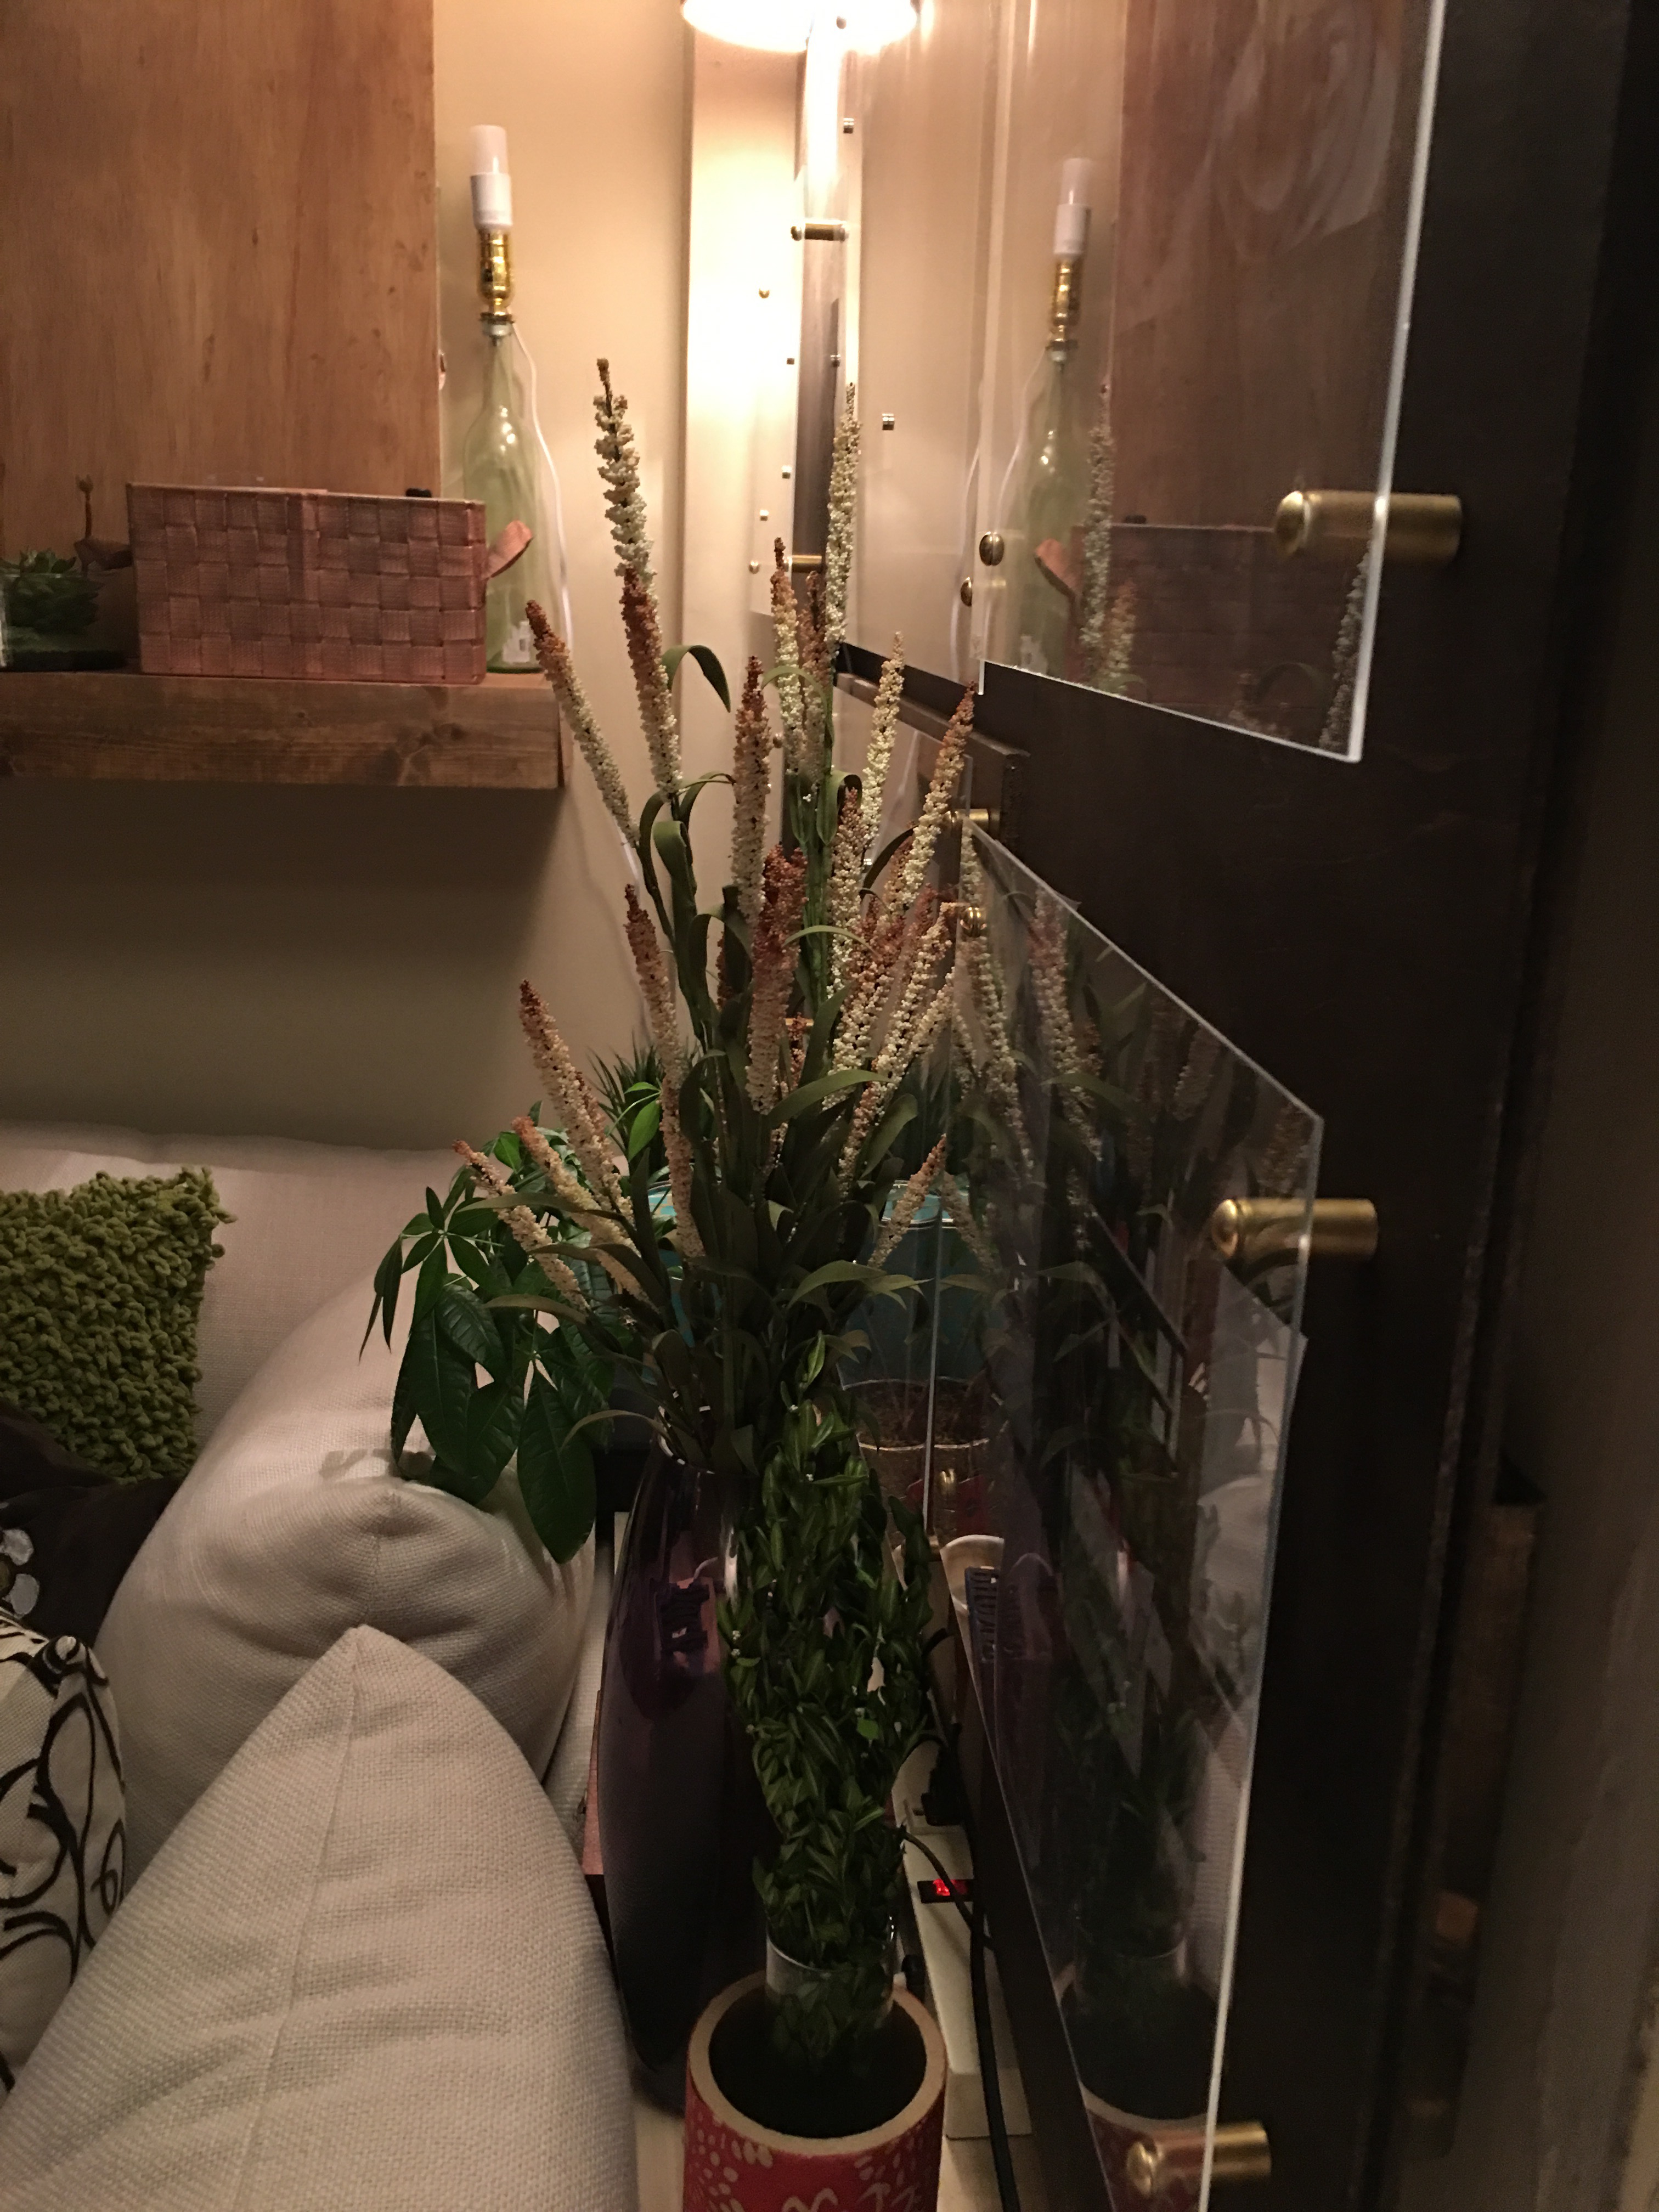
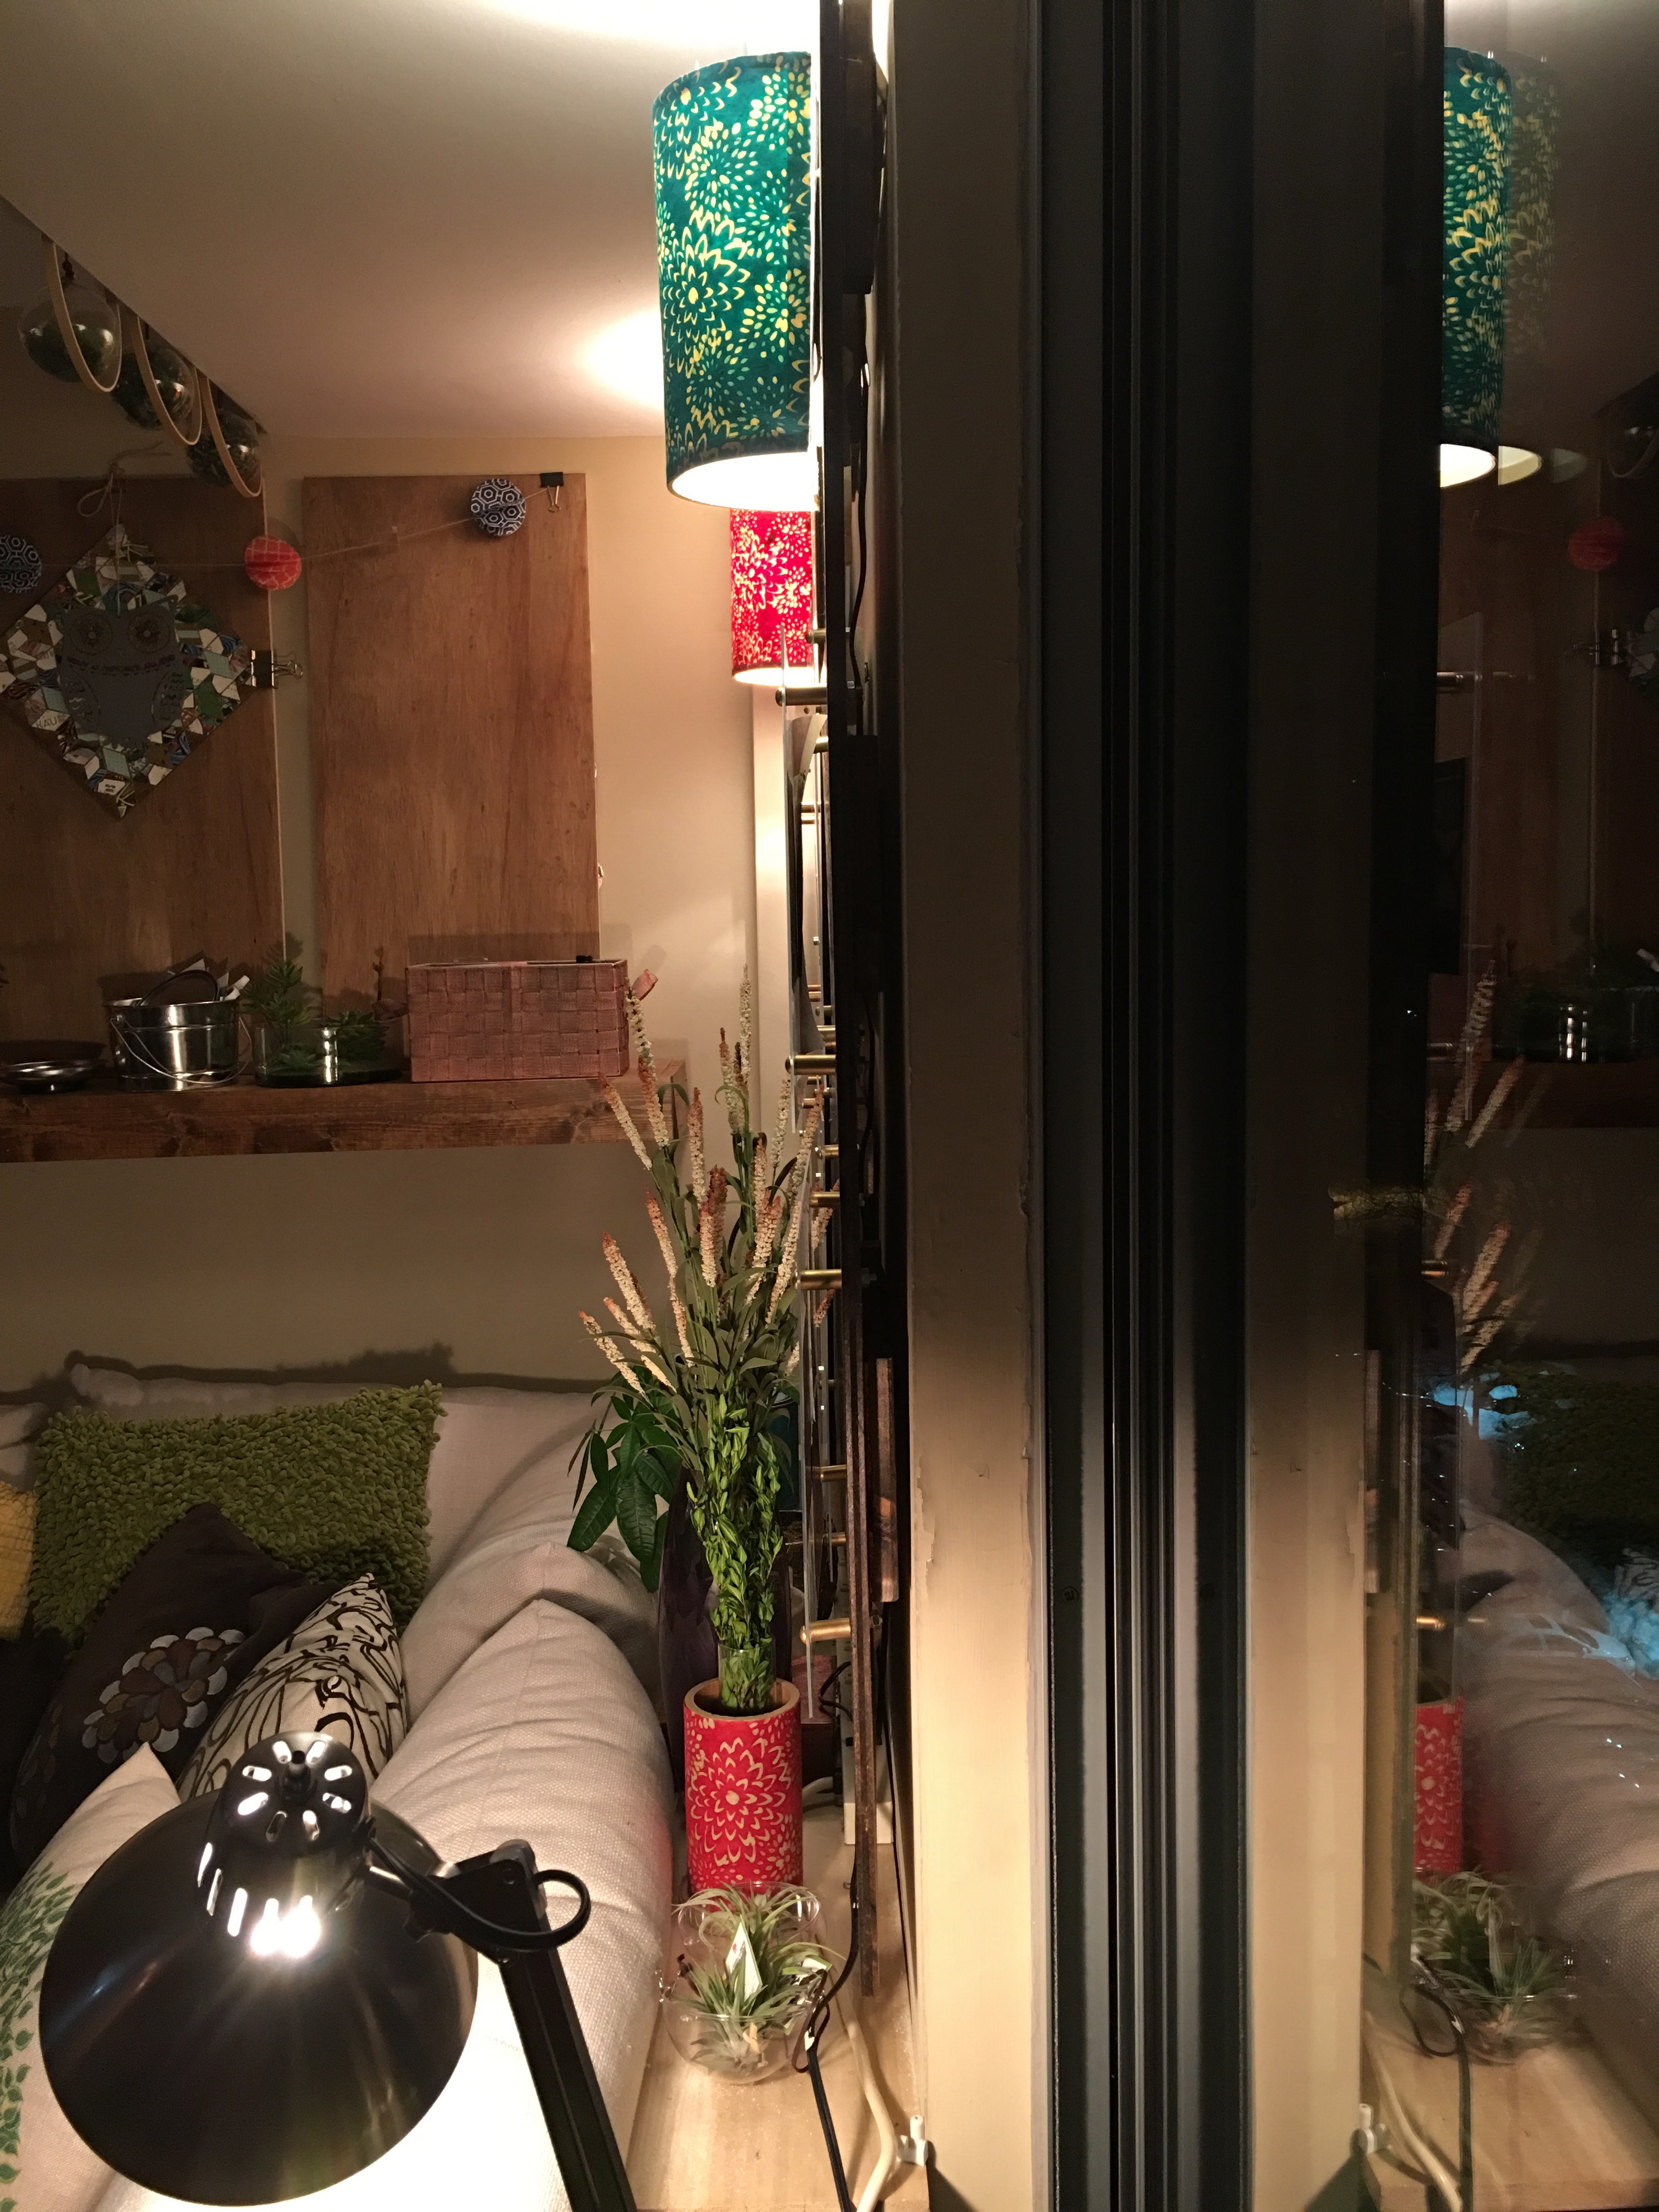
I first placed a long power strip on the table against the wall so that the sconces from each panel can be plugged directly in. Now lighting for the wall is controlled by a single power strip switch.
Being able to plug in the side table lamp, my laptop power adapter and a phone charger is an added bonus of the table top power strip.
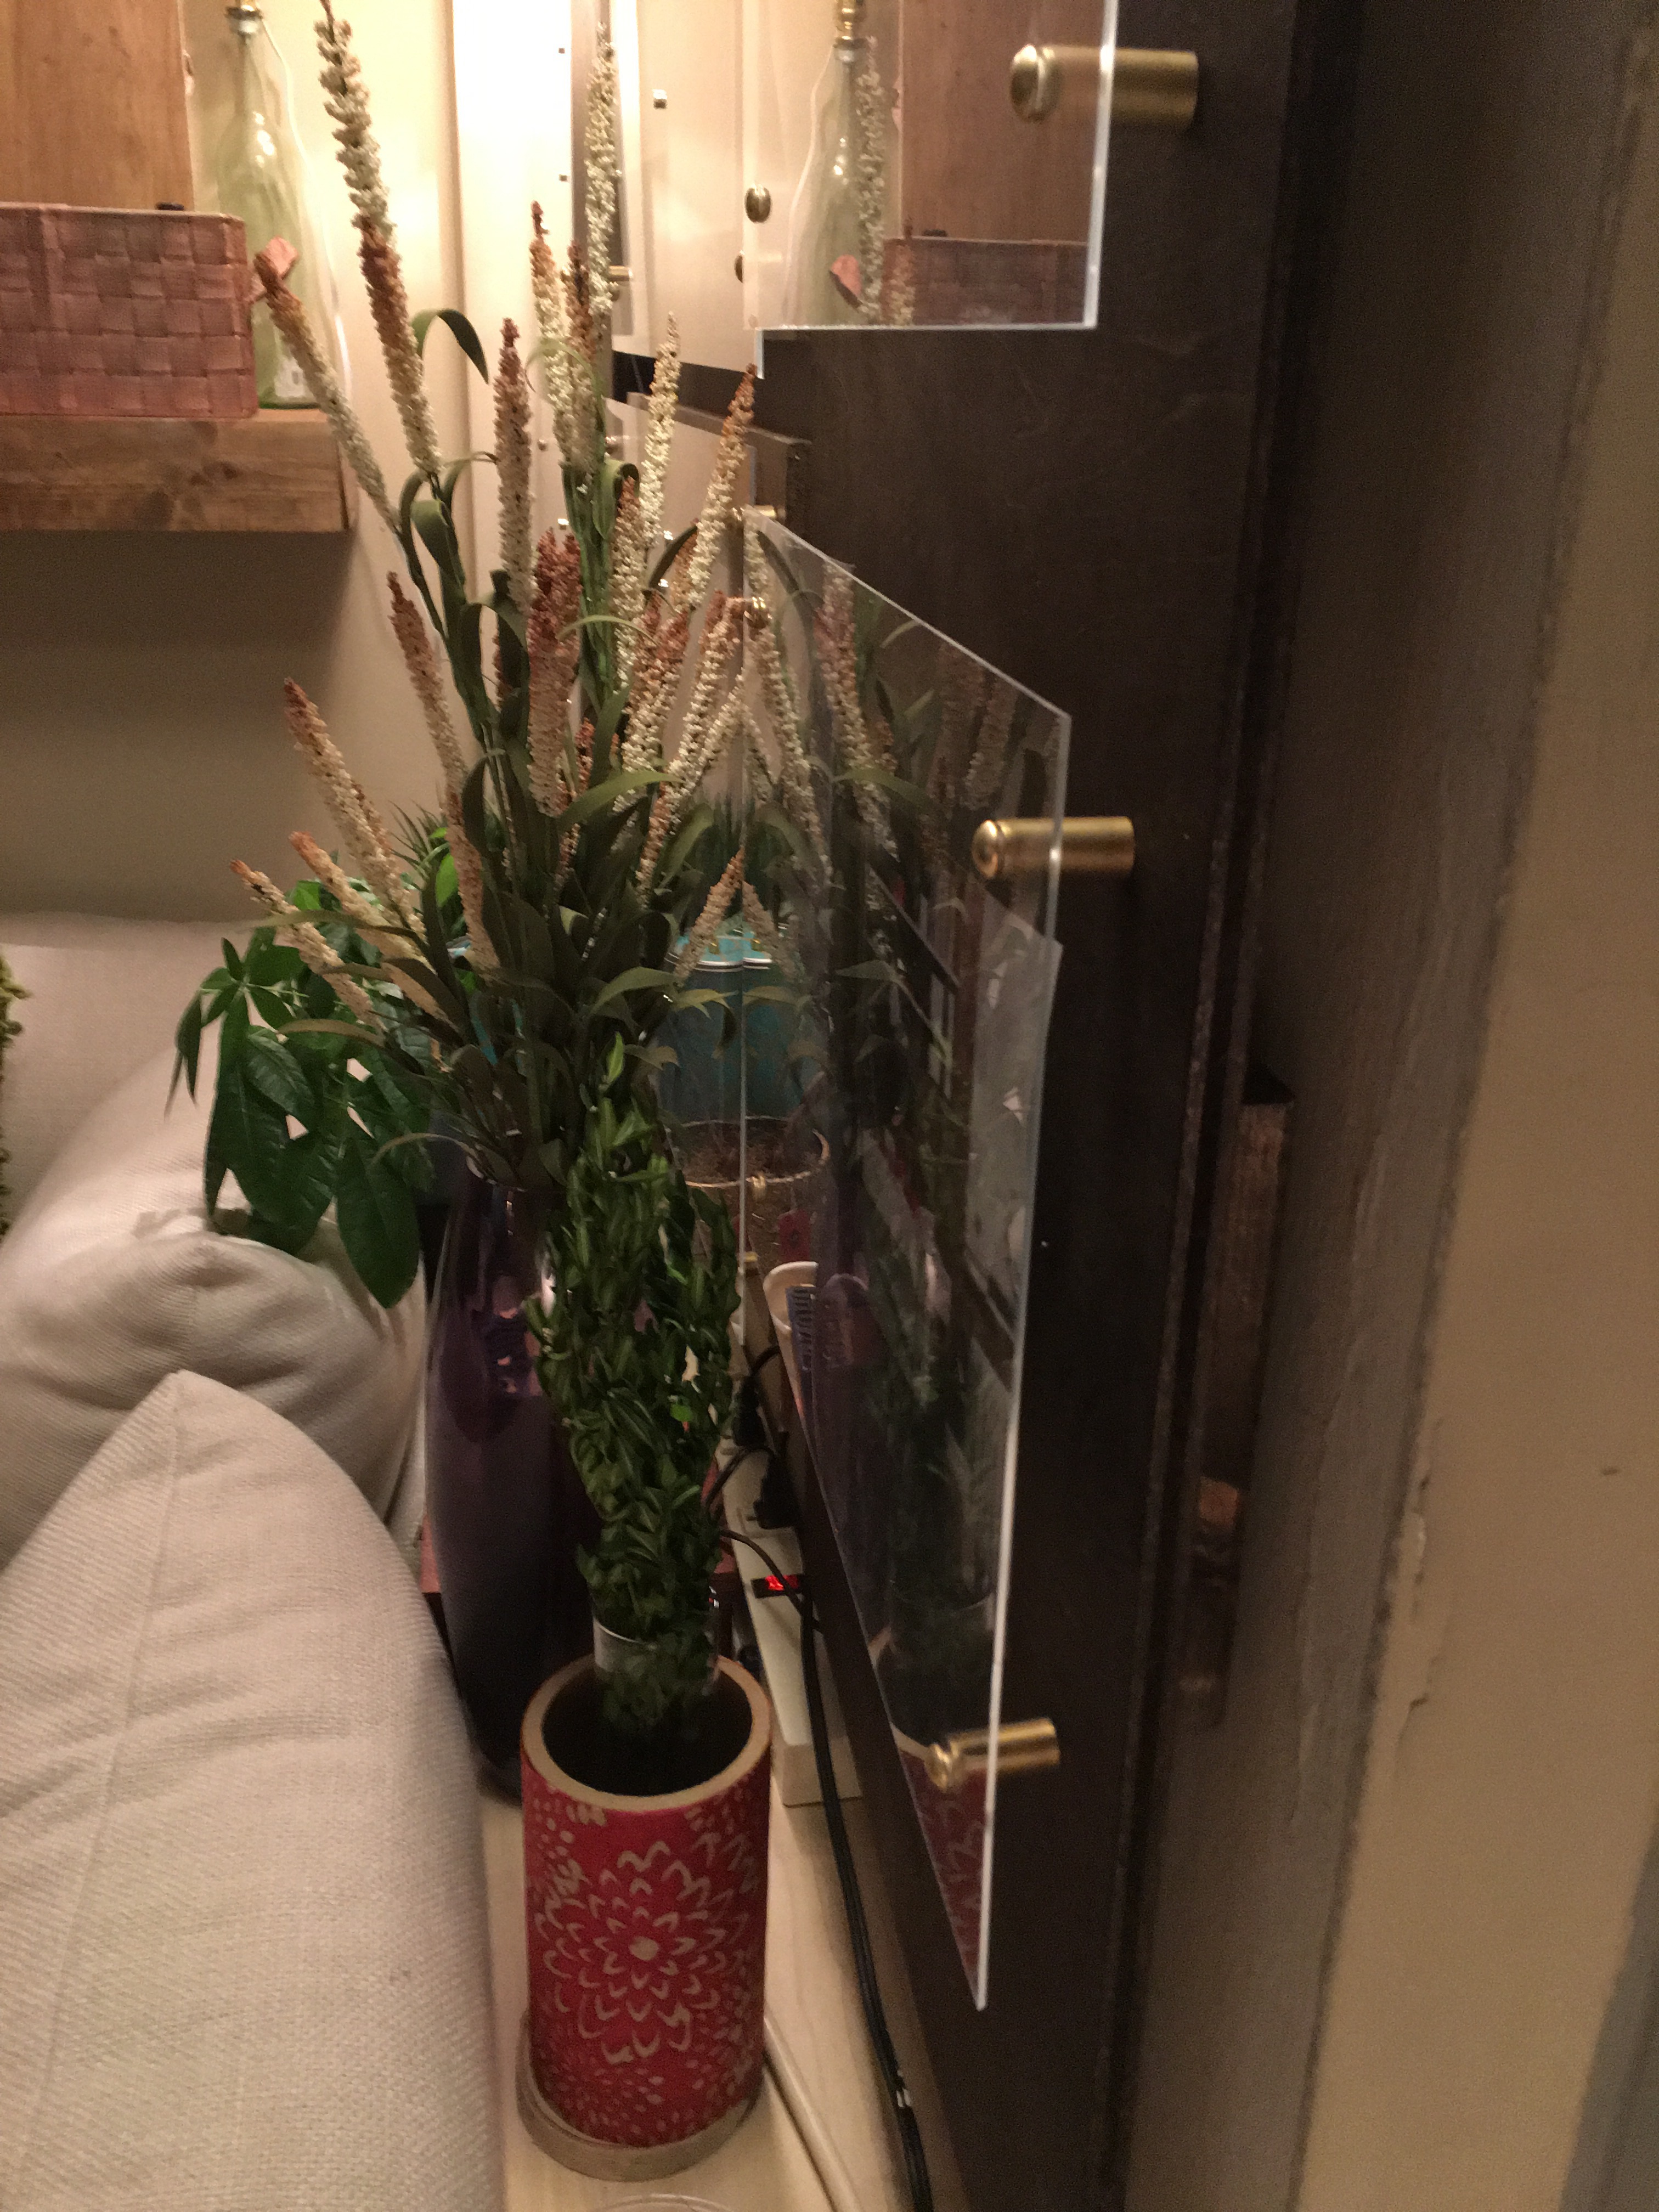
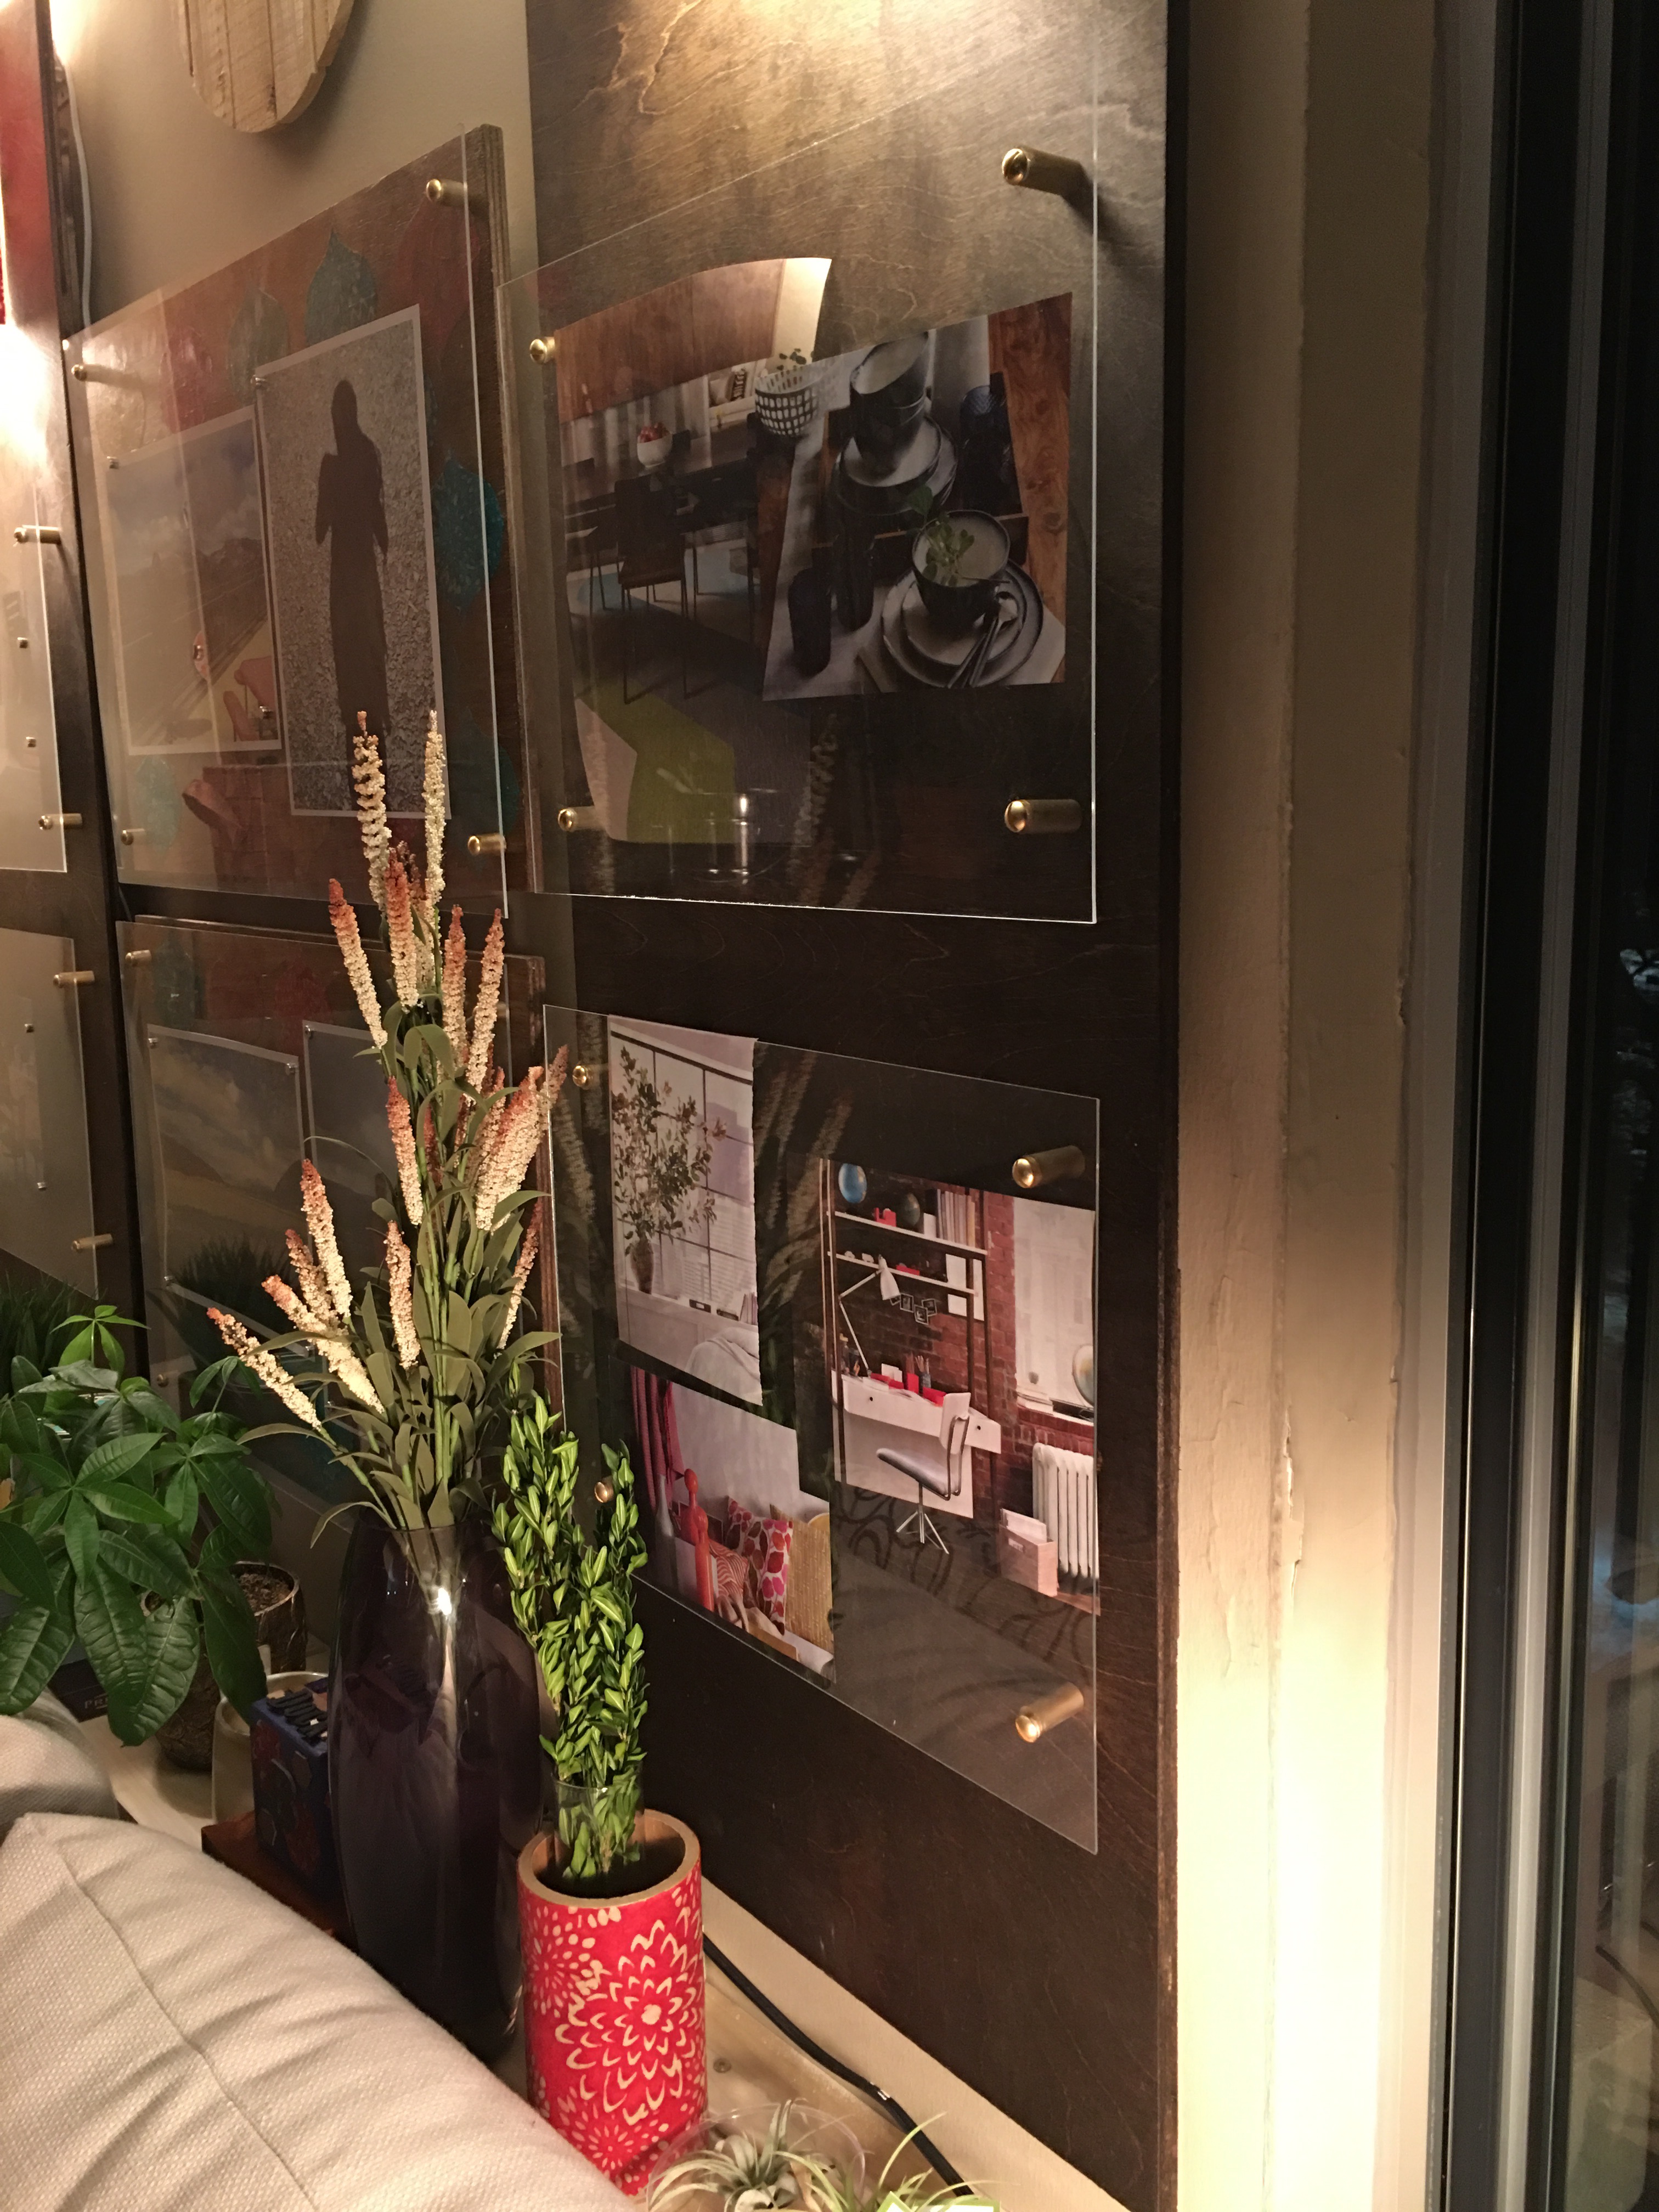
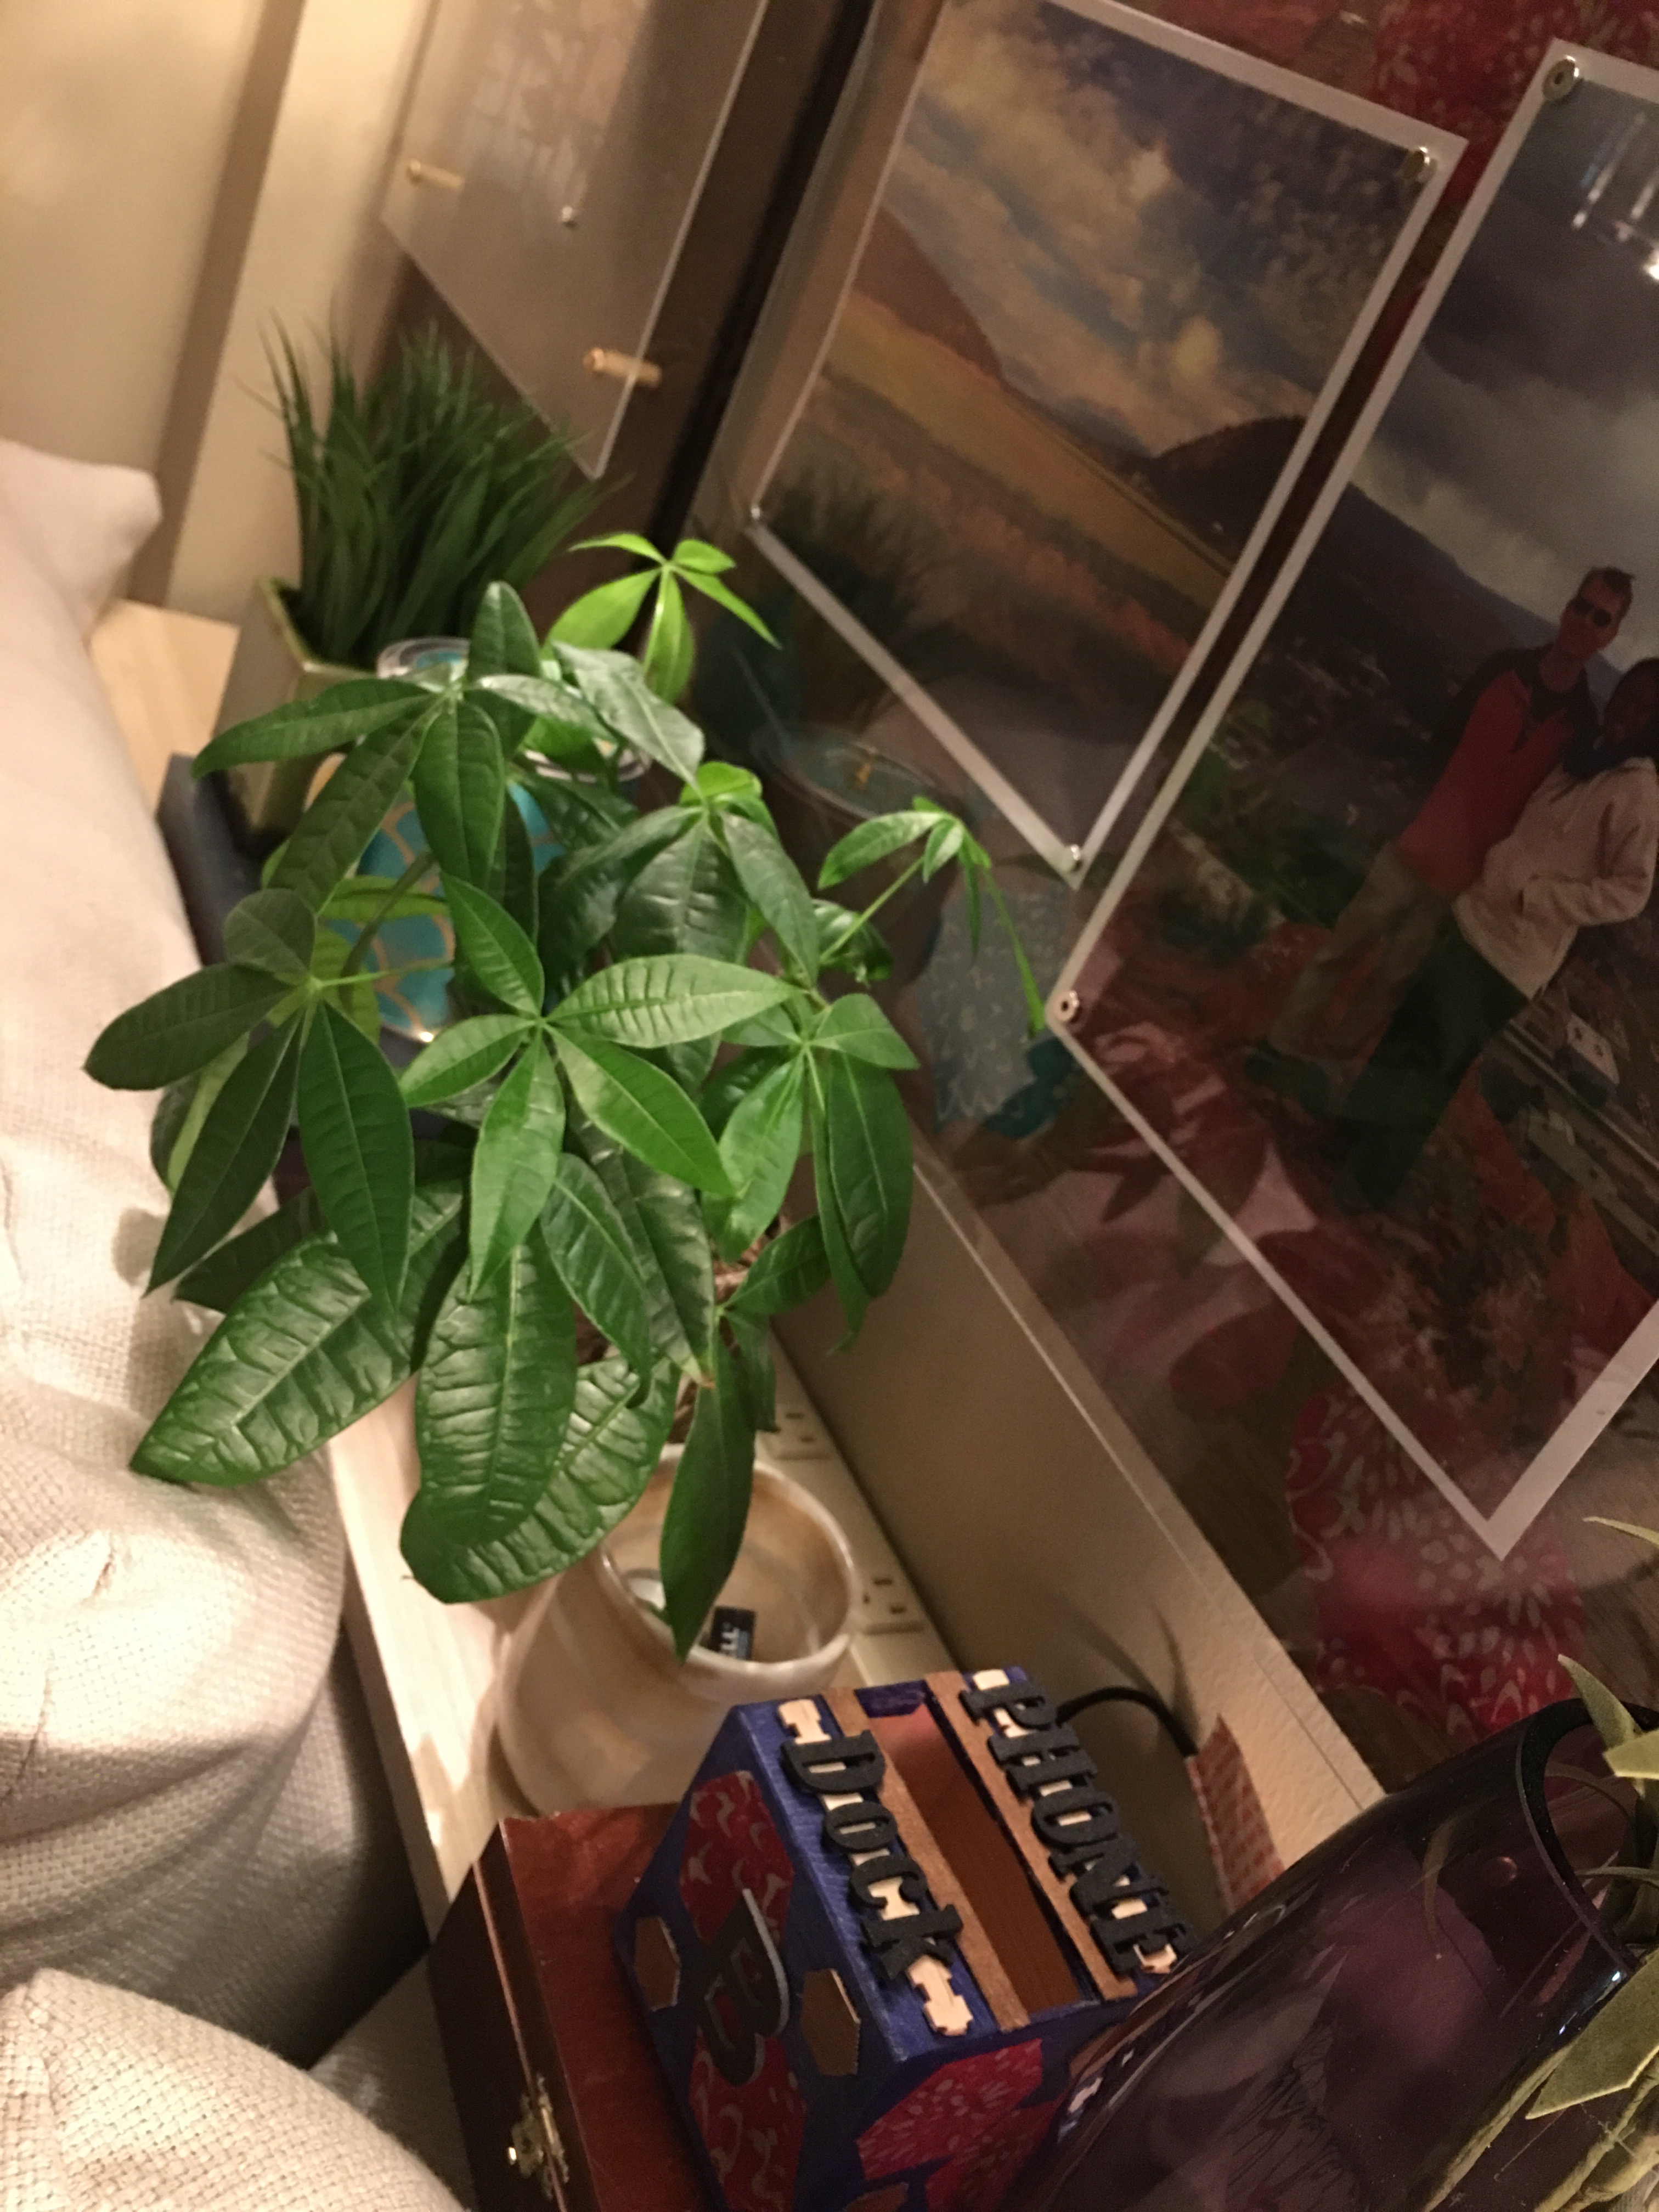
I then placed various knick knacks that I love on the table so that it would be displayed above the couches. My money tree (which is miracolously surviving in the condo), my paper decorated tin canister, Bruce’s phone dock box (which is now being used as decoration since he will not use it!), cigar boxes that I’ve collected, and some faux and dried green
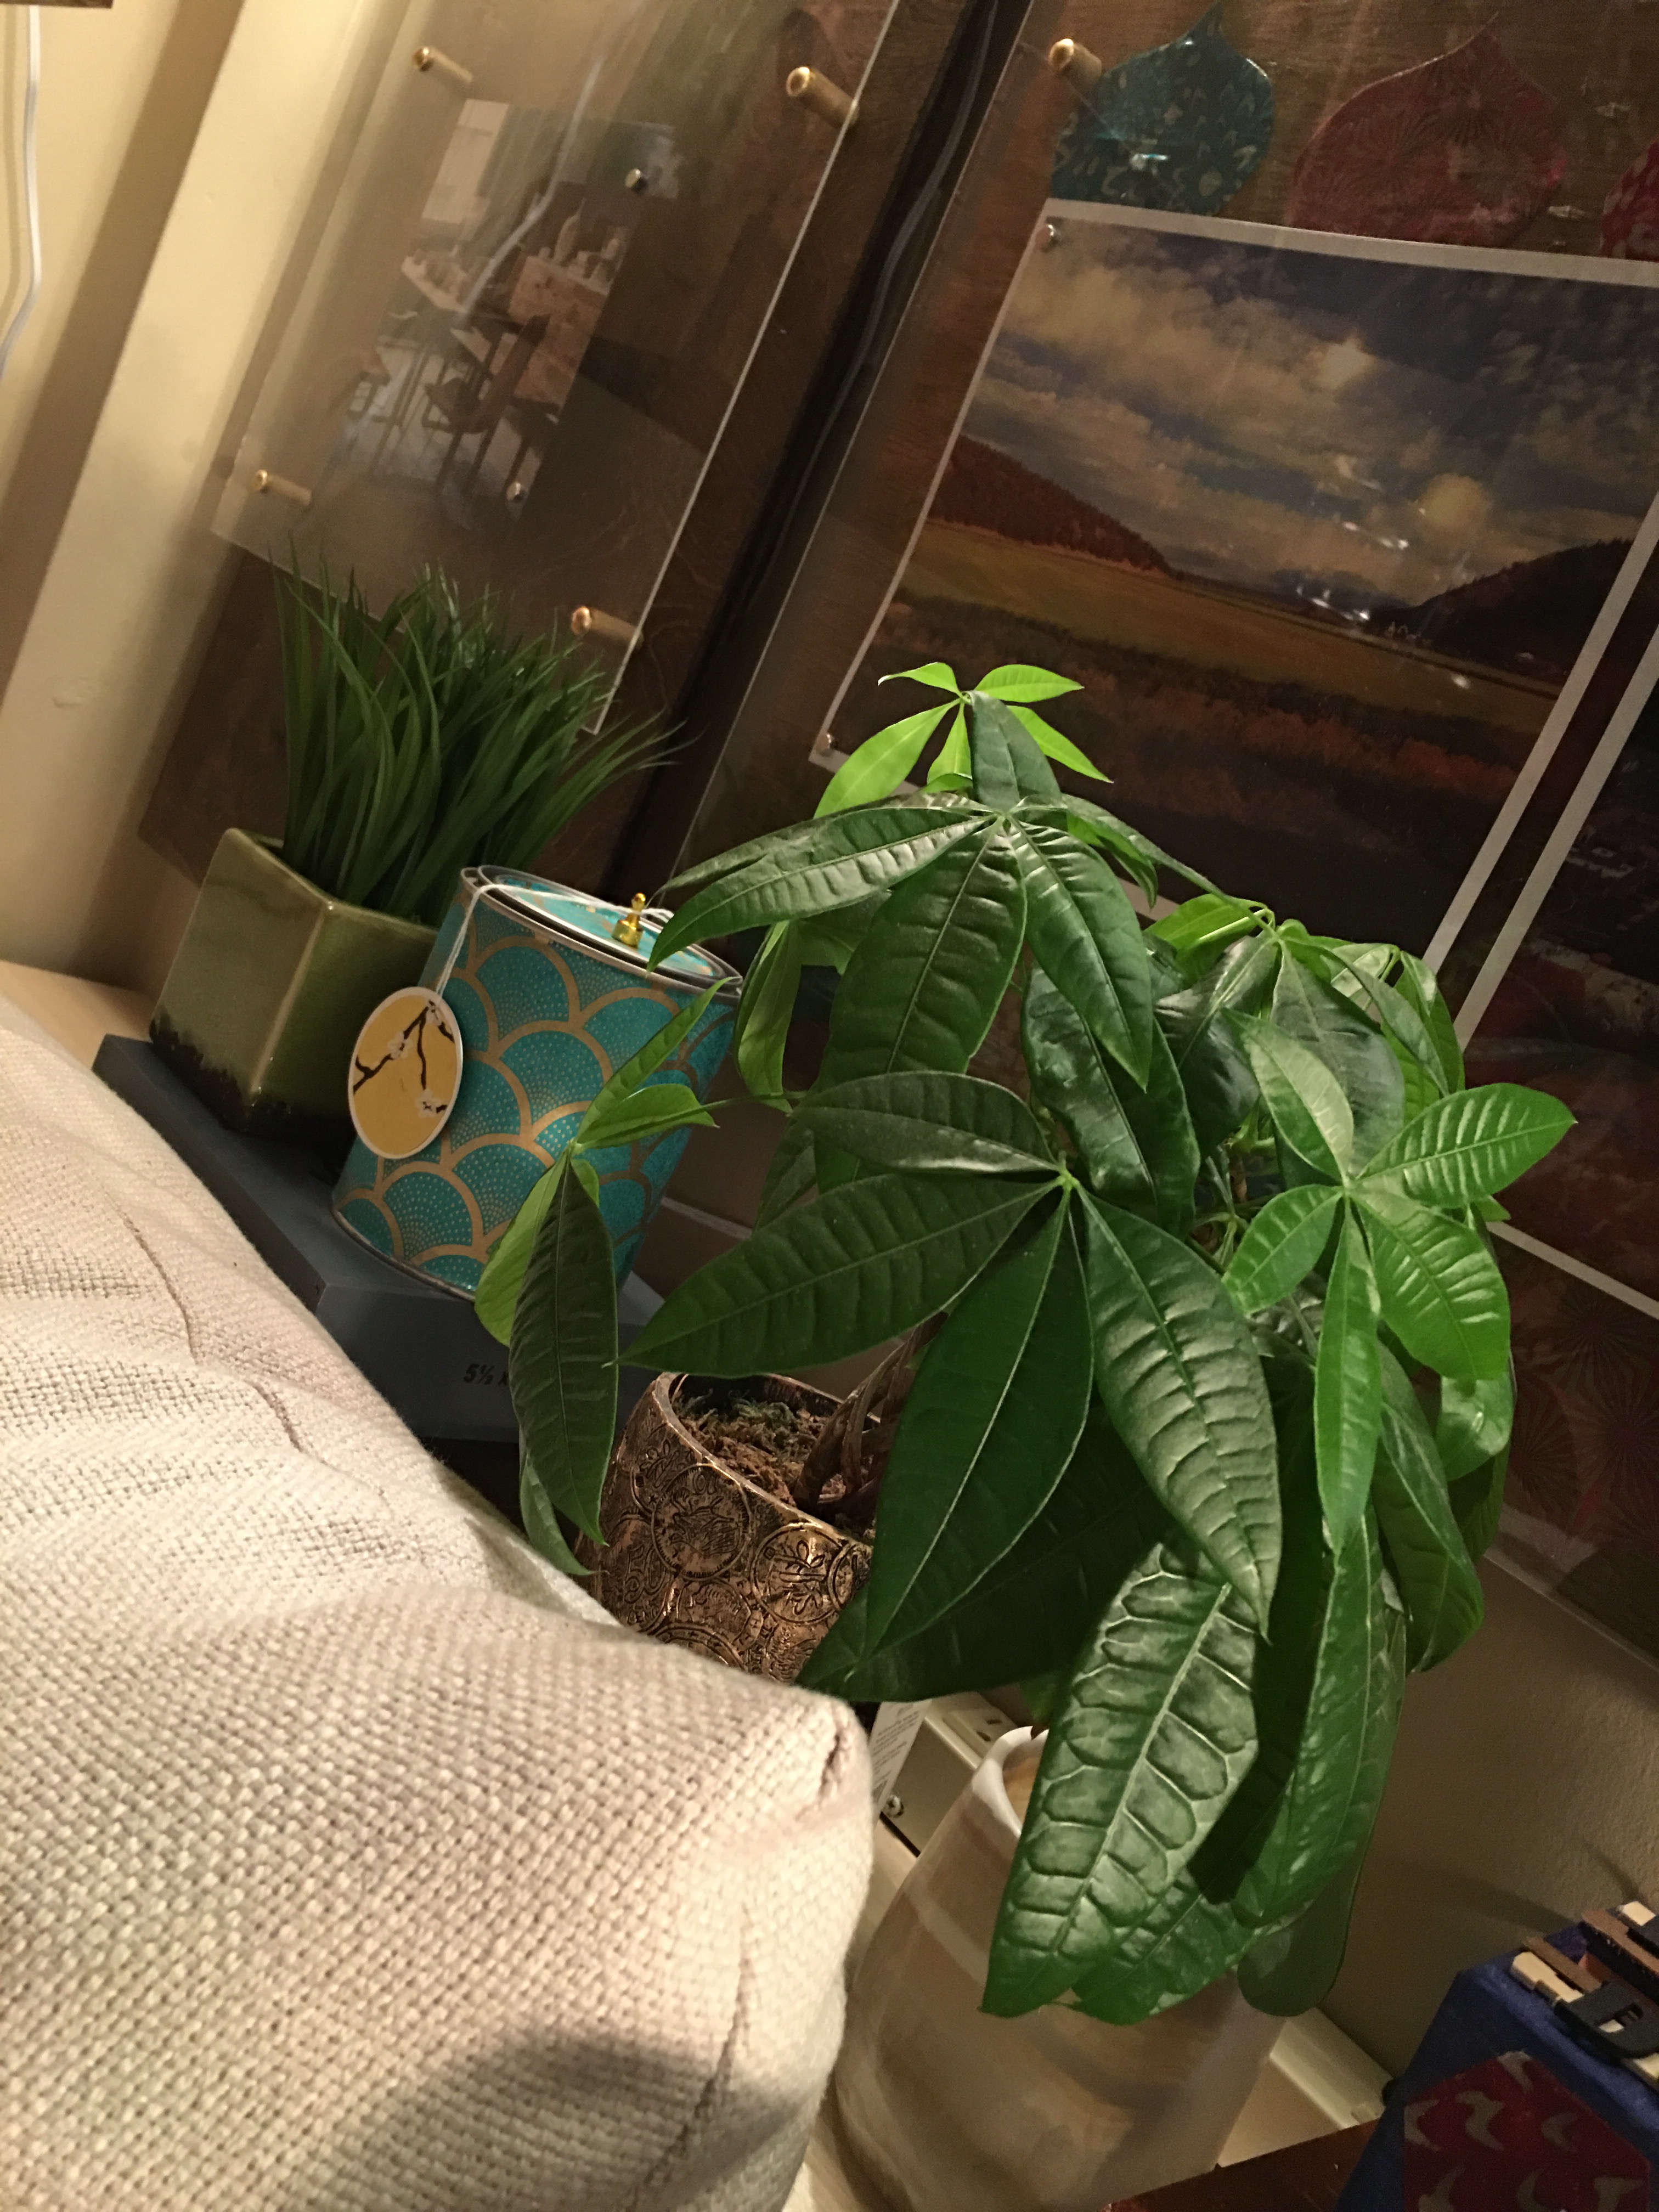
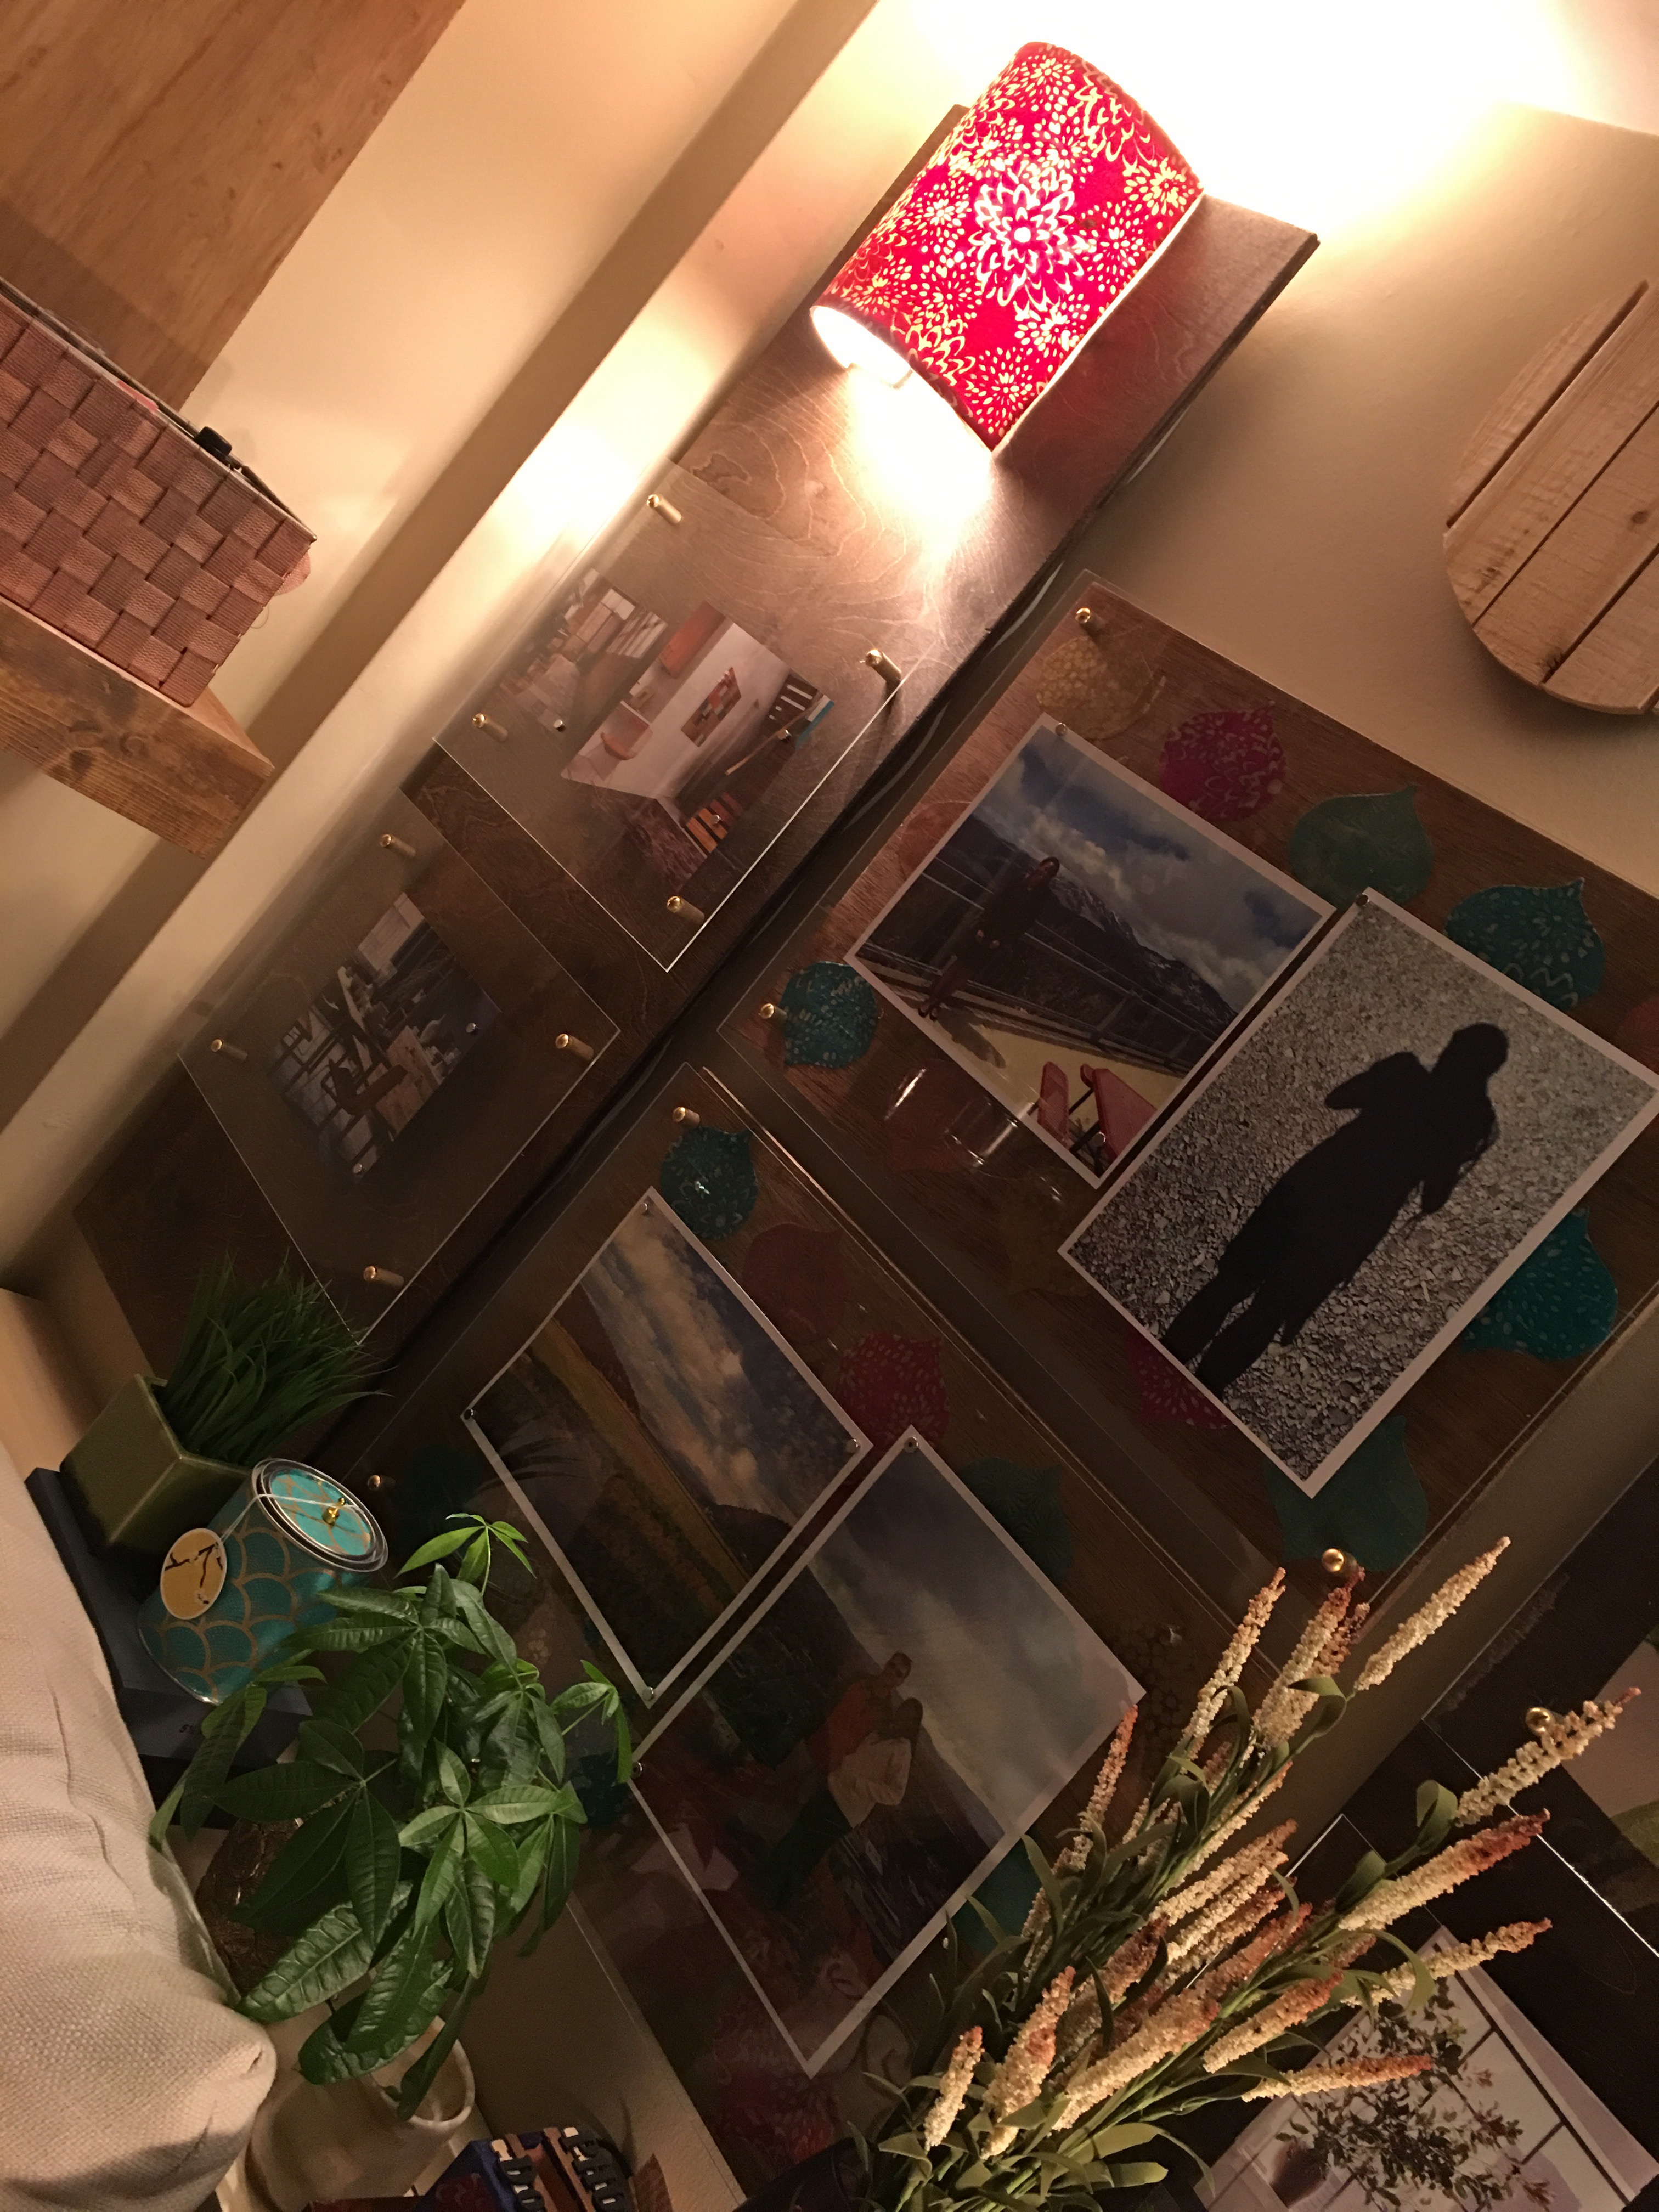
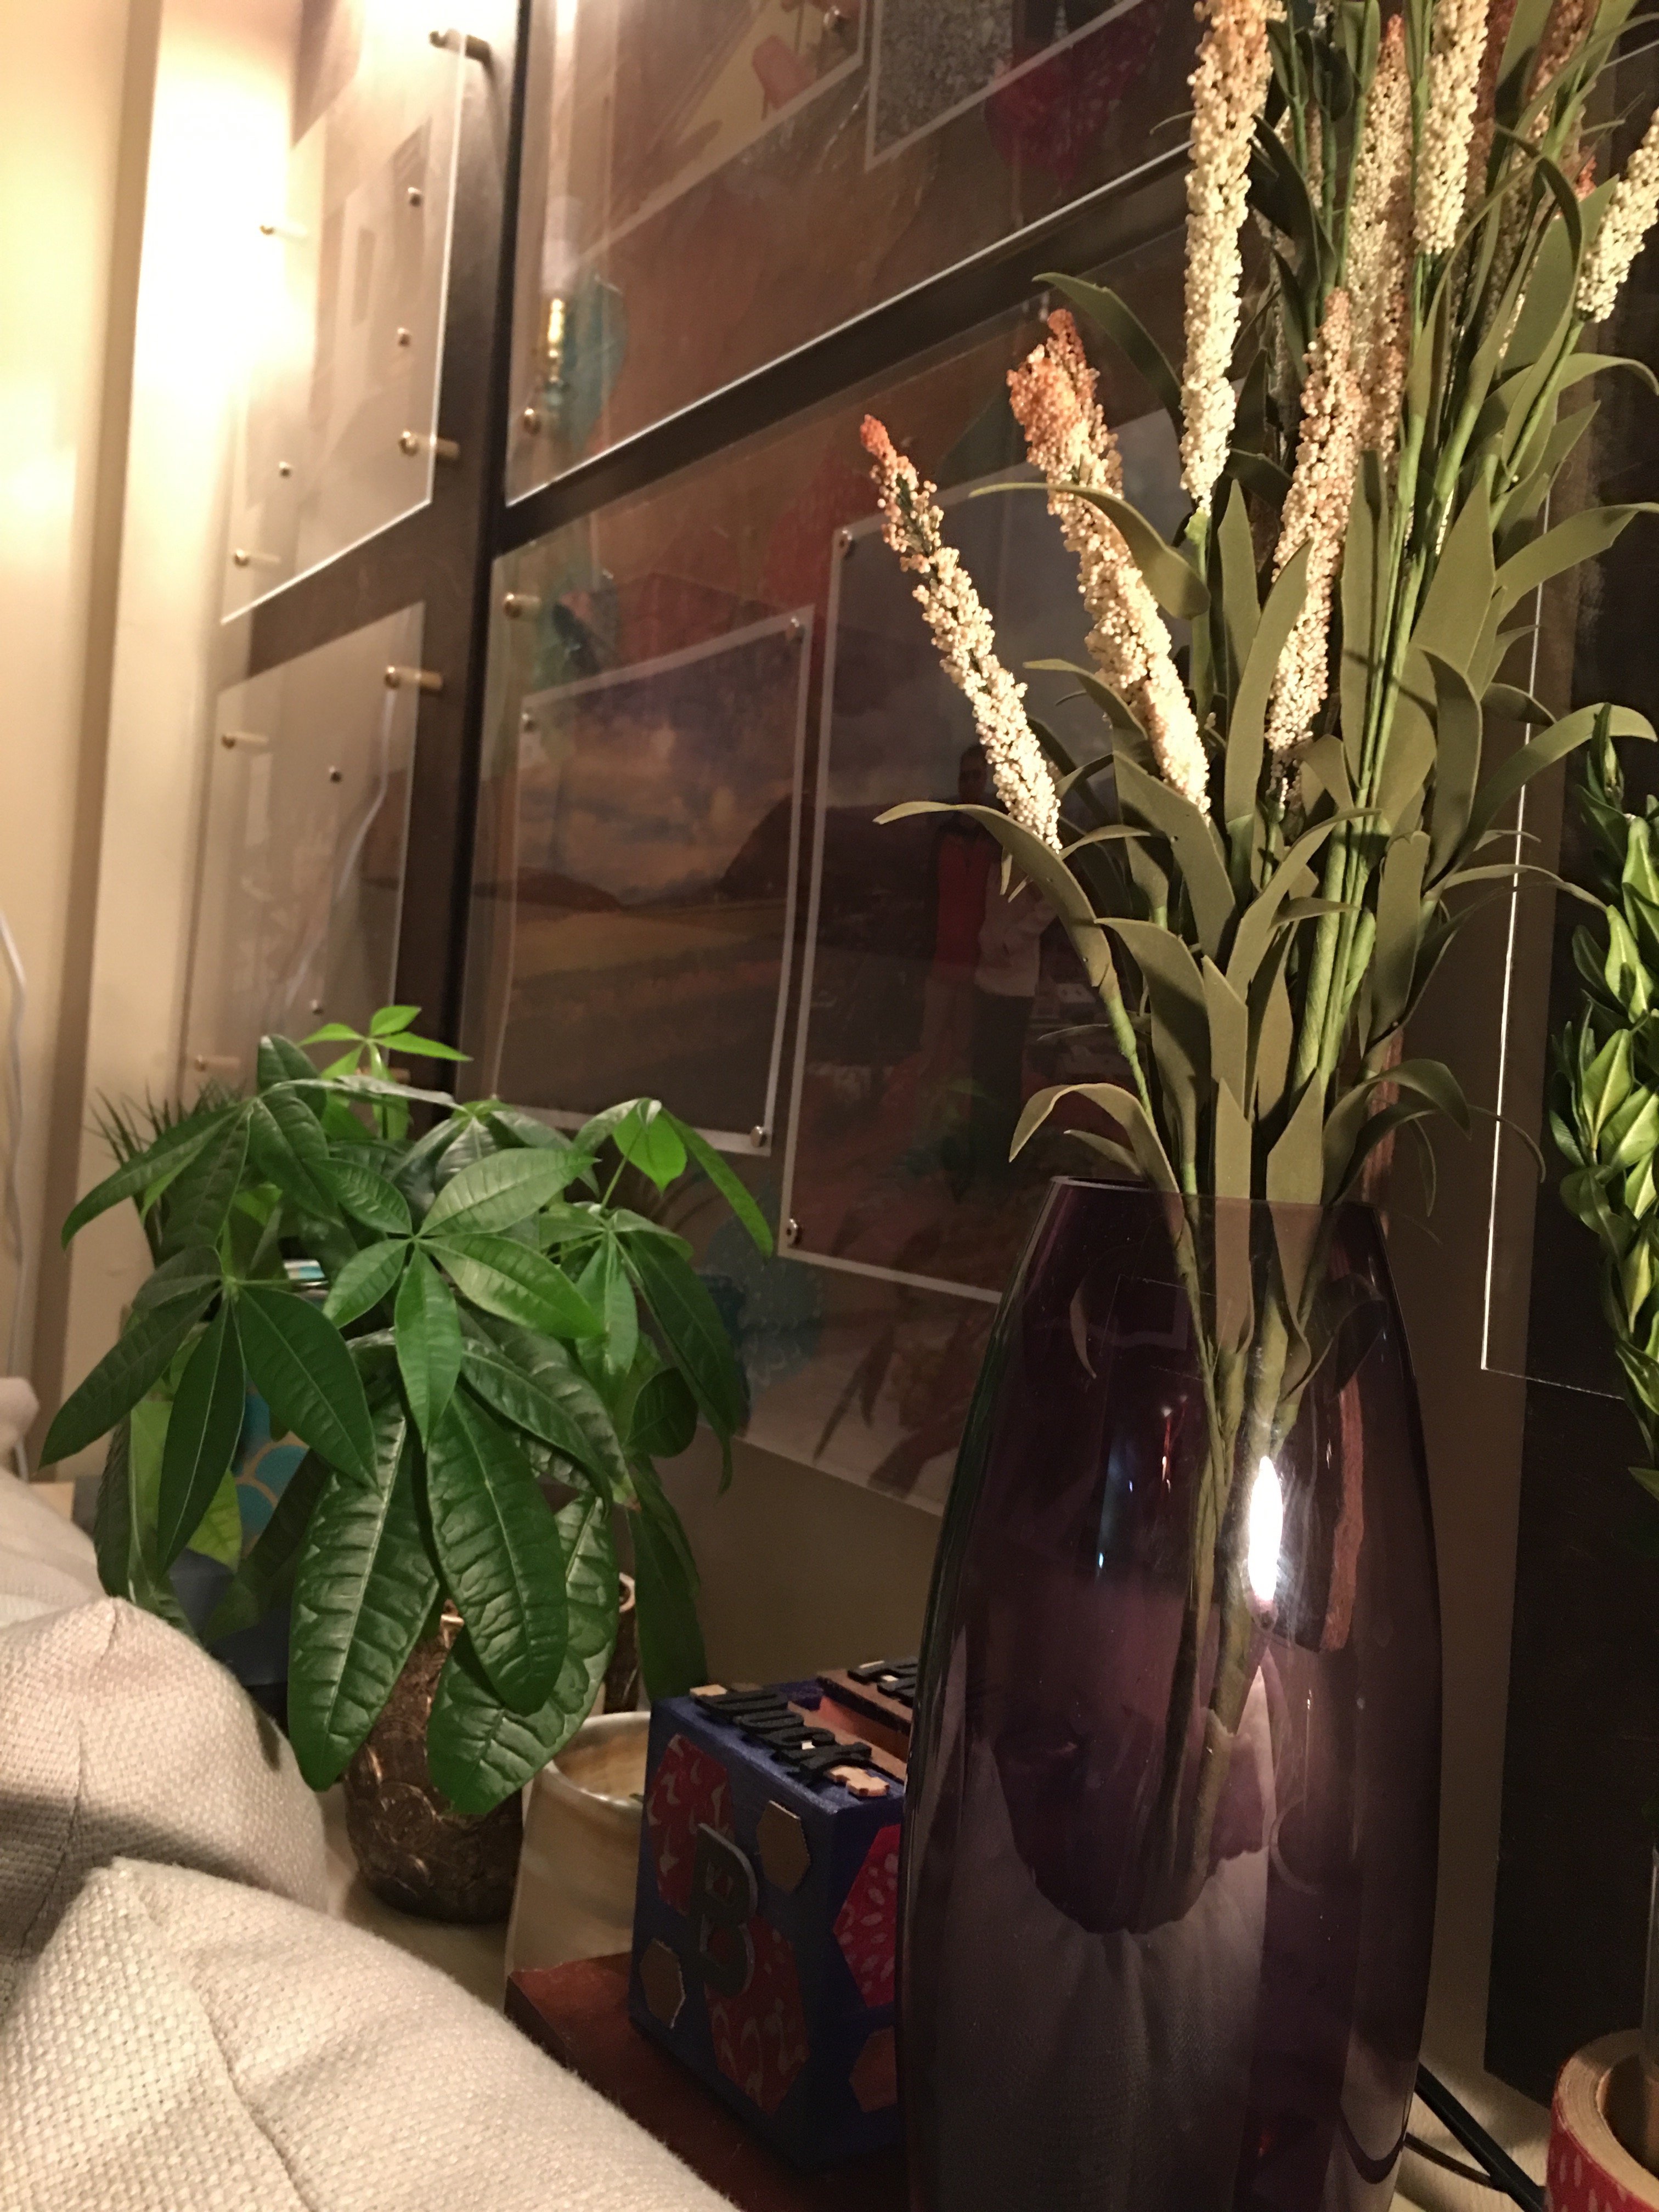
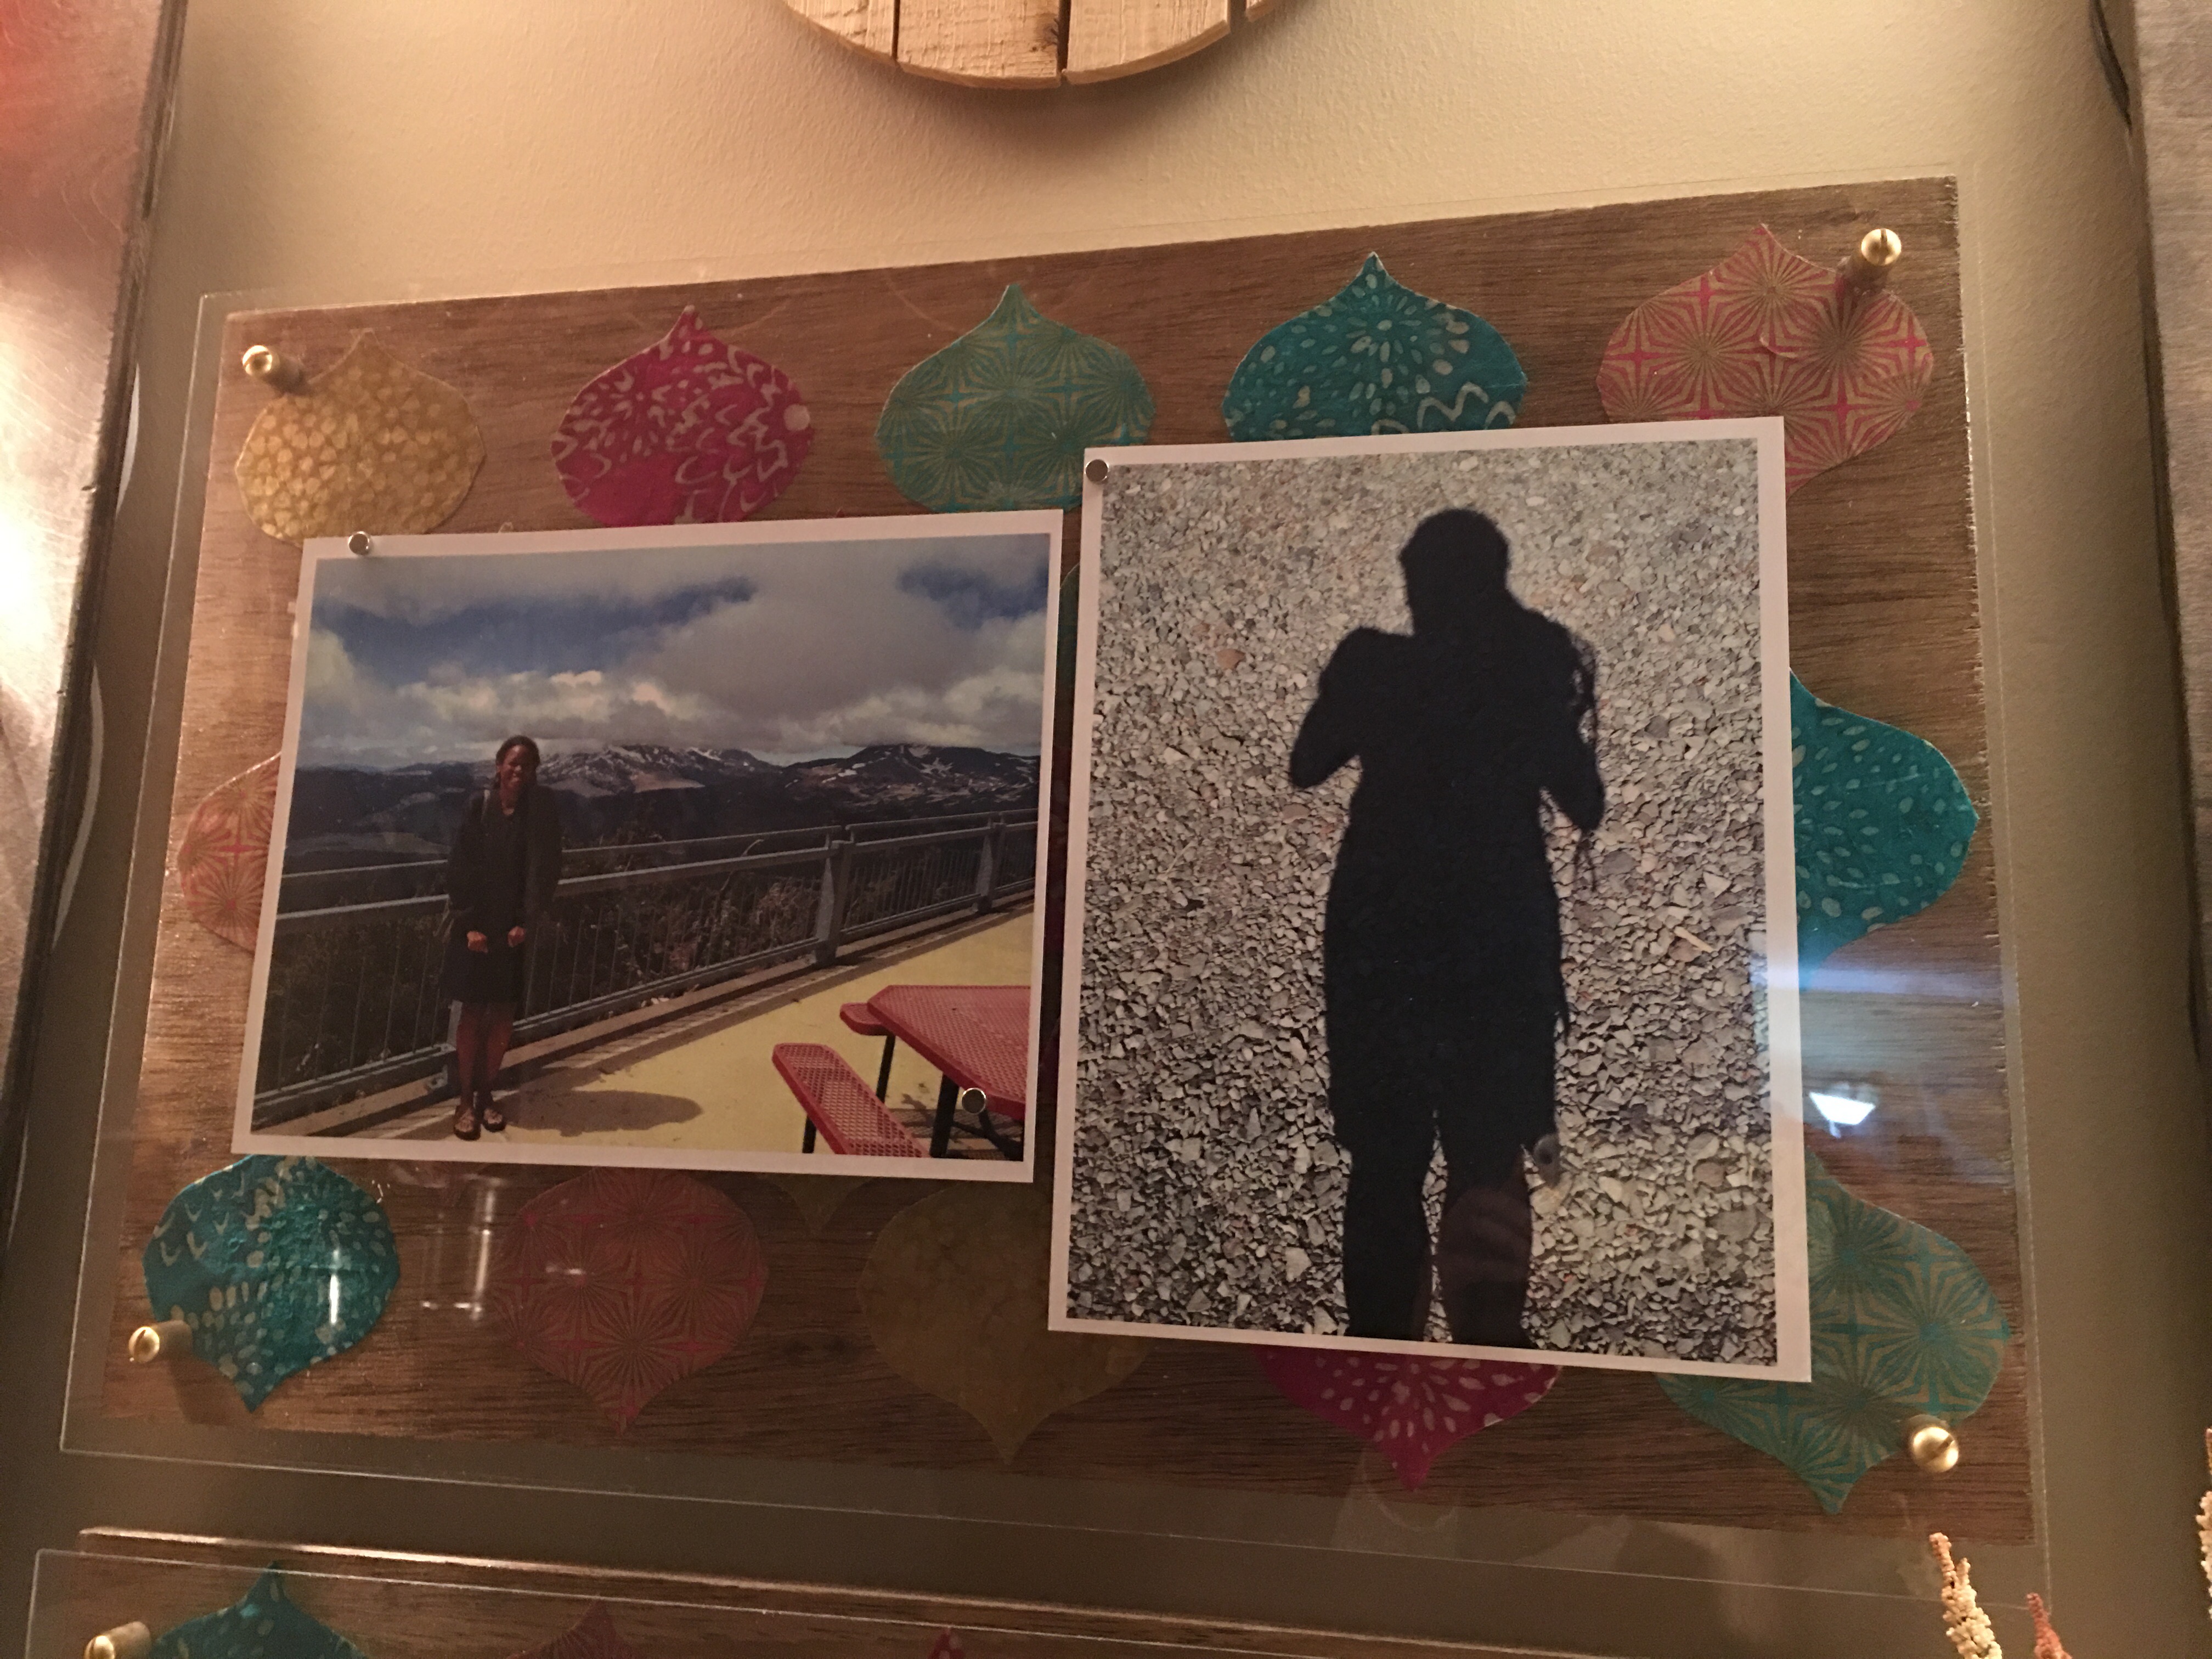
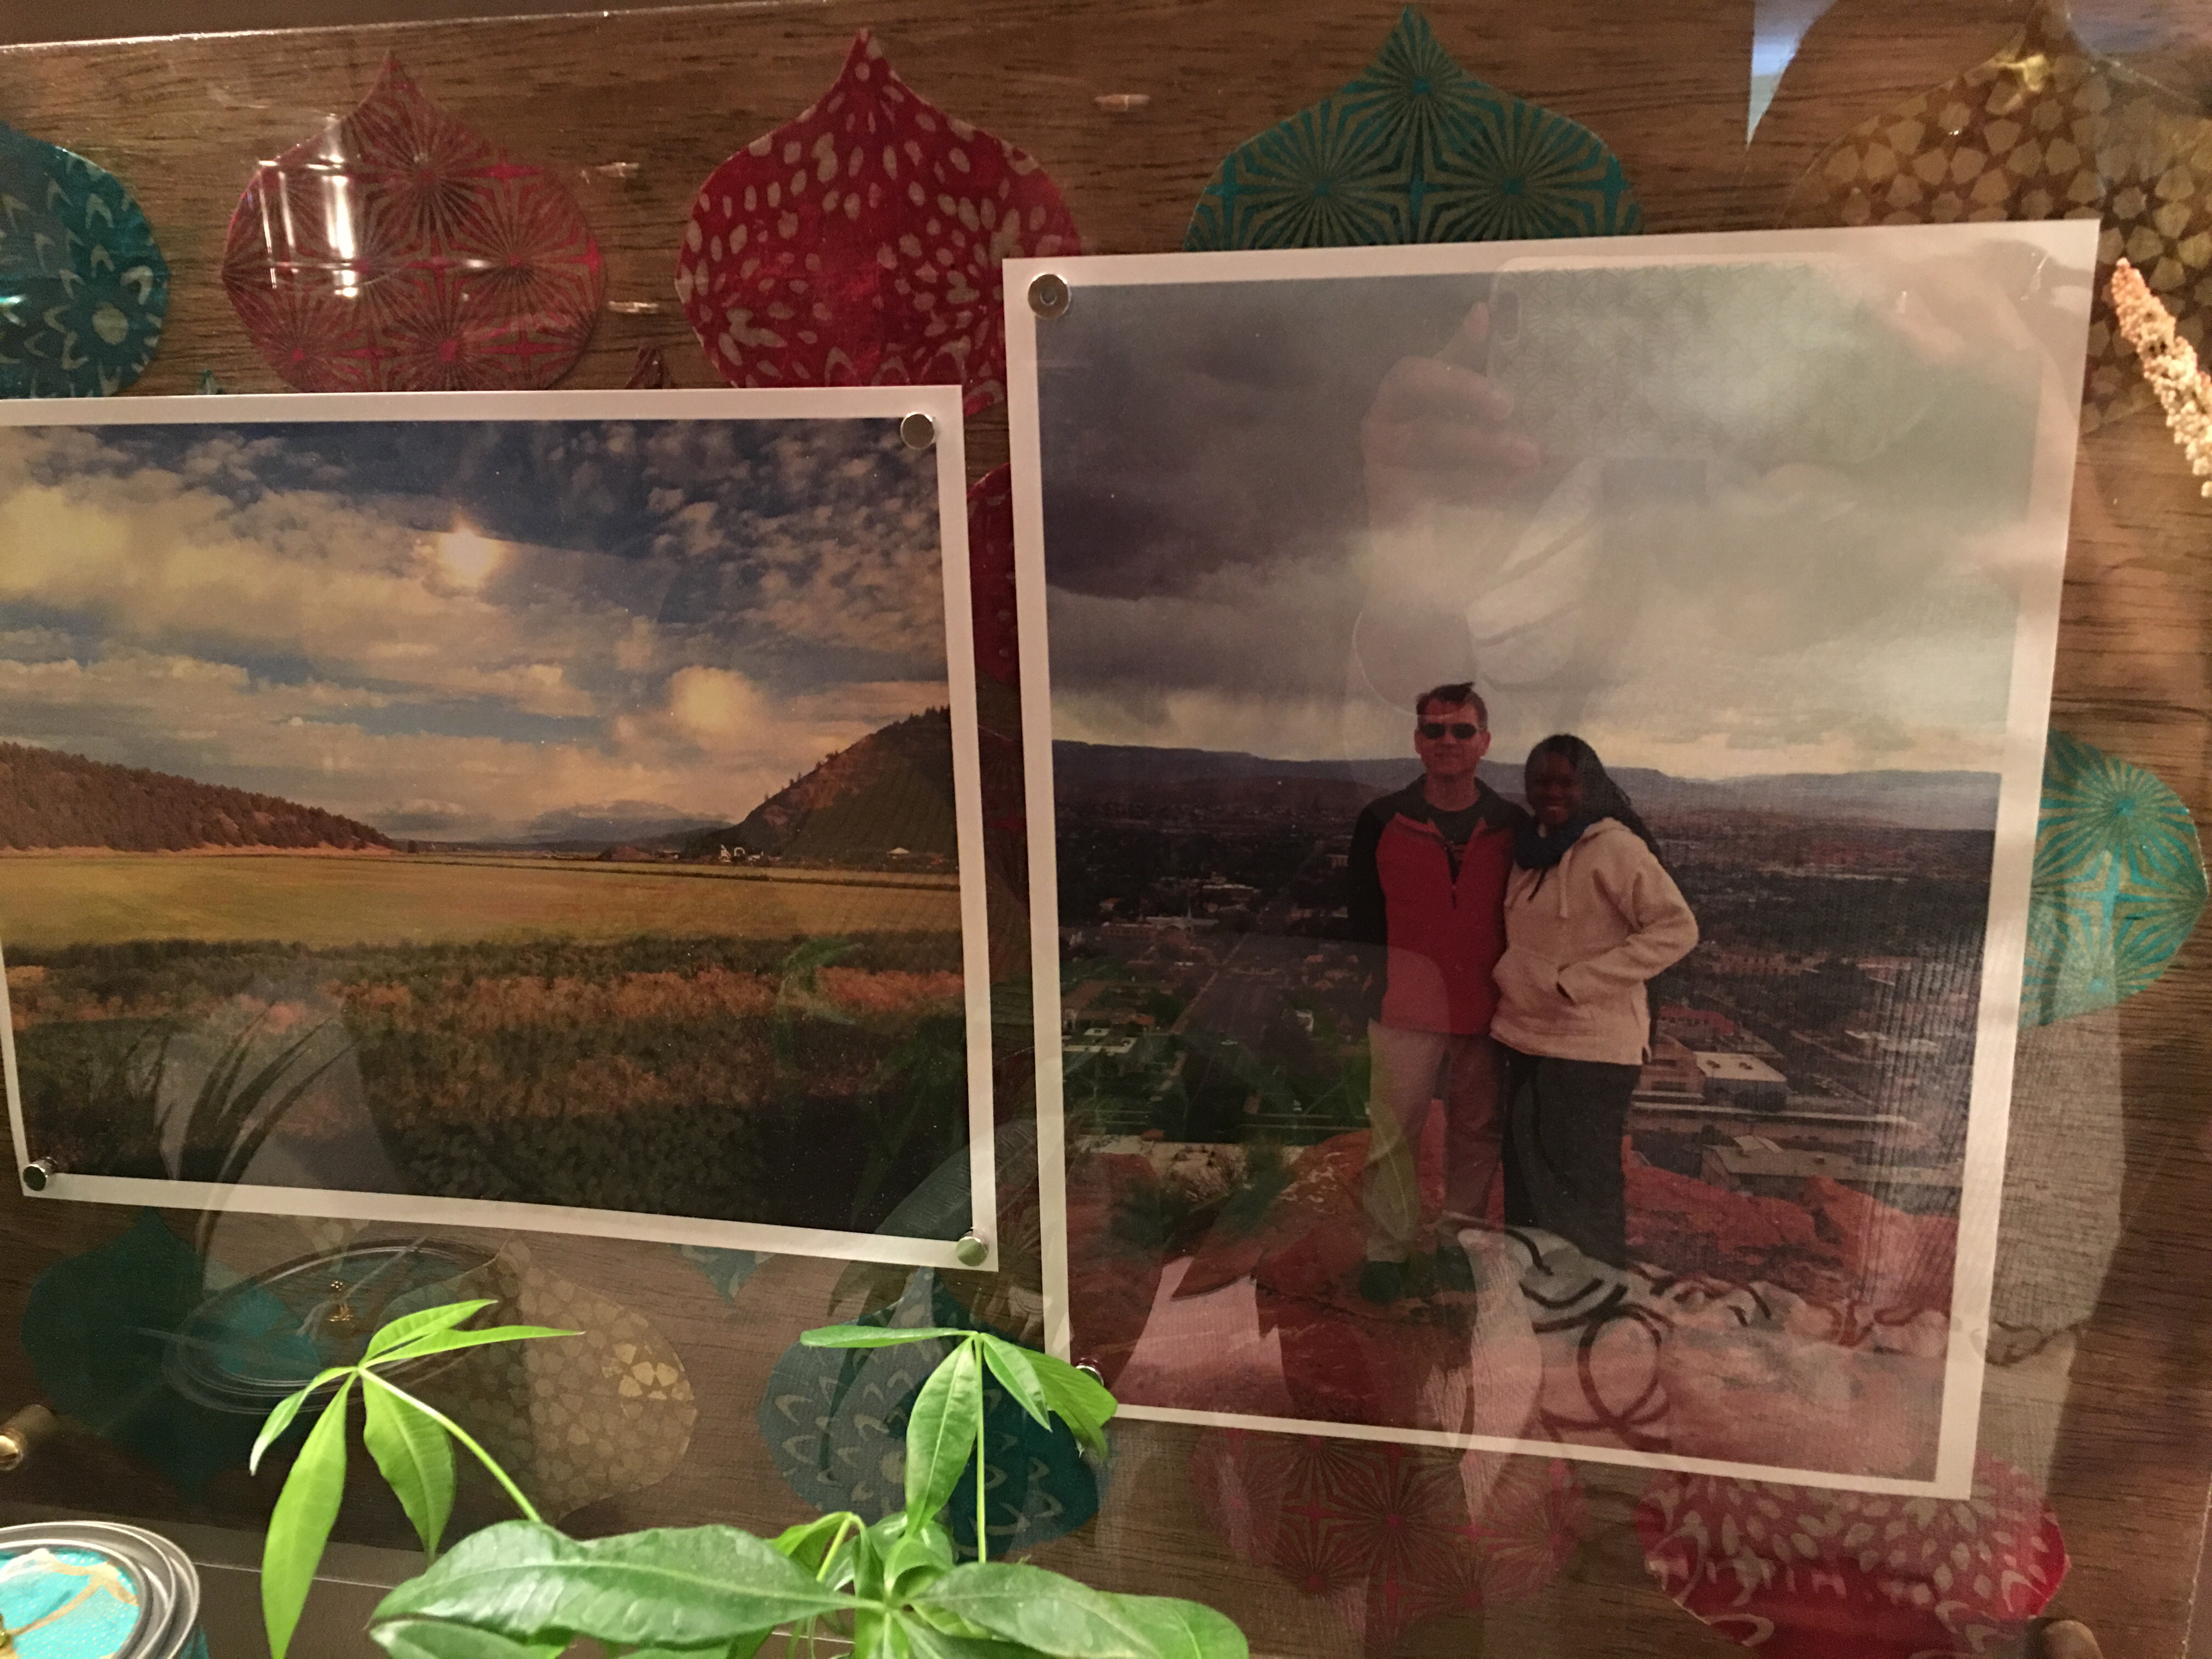
Our pictures from our Oregon/Washington 2014 and Utah 2015 trips are prominently displayed on the wall. I placed two picture hangers on the upper left and right corners of the back wood slats and, after drilling the holes and screwing in flat-head screws, hung them directly on the wall as well.
My vision for the wall is now (almost) complete. Once more DIY sconce (or other artistic centerpiece), and it’s done. Gallery wall, VidaDIY style. V-
Did you see anything you like and would like to learn more about? More cool wall gallery ideas to share? Please leave me a comment or direct message me at [email protected].