
Phone Dock wood cube for Bruce
You may also like:
November 15, 2015: I wanted to use my new navy blue wood stain for a project. So I decided to do a wood phone cube for Bruce’s Samsung S5.
Since his phone is much smaller than my iPhone 6S Plus, I worked with a smaller 3.5 cubic square inch cube for this project. My Phone Home wood cube is a 4 x 4 inch photo memory block – wide enough to fit my brick of a phone. I got both sizes from A.C. Moore (Nicole Crafts Wood Photo Block).
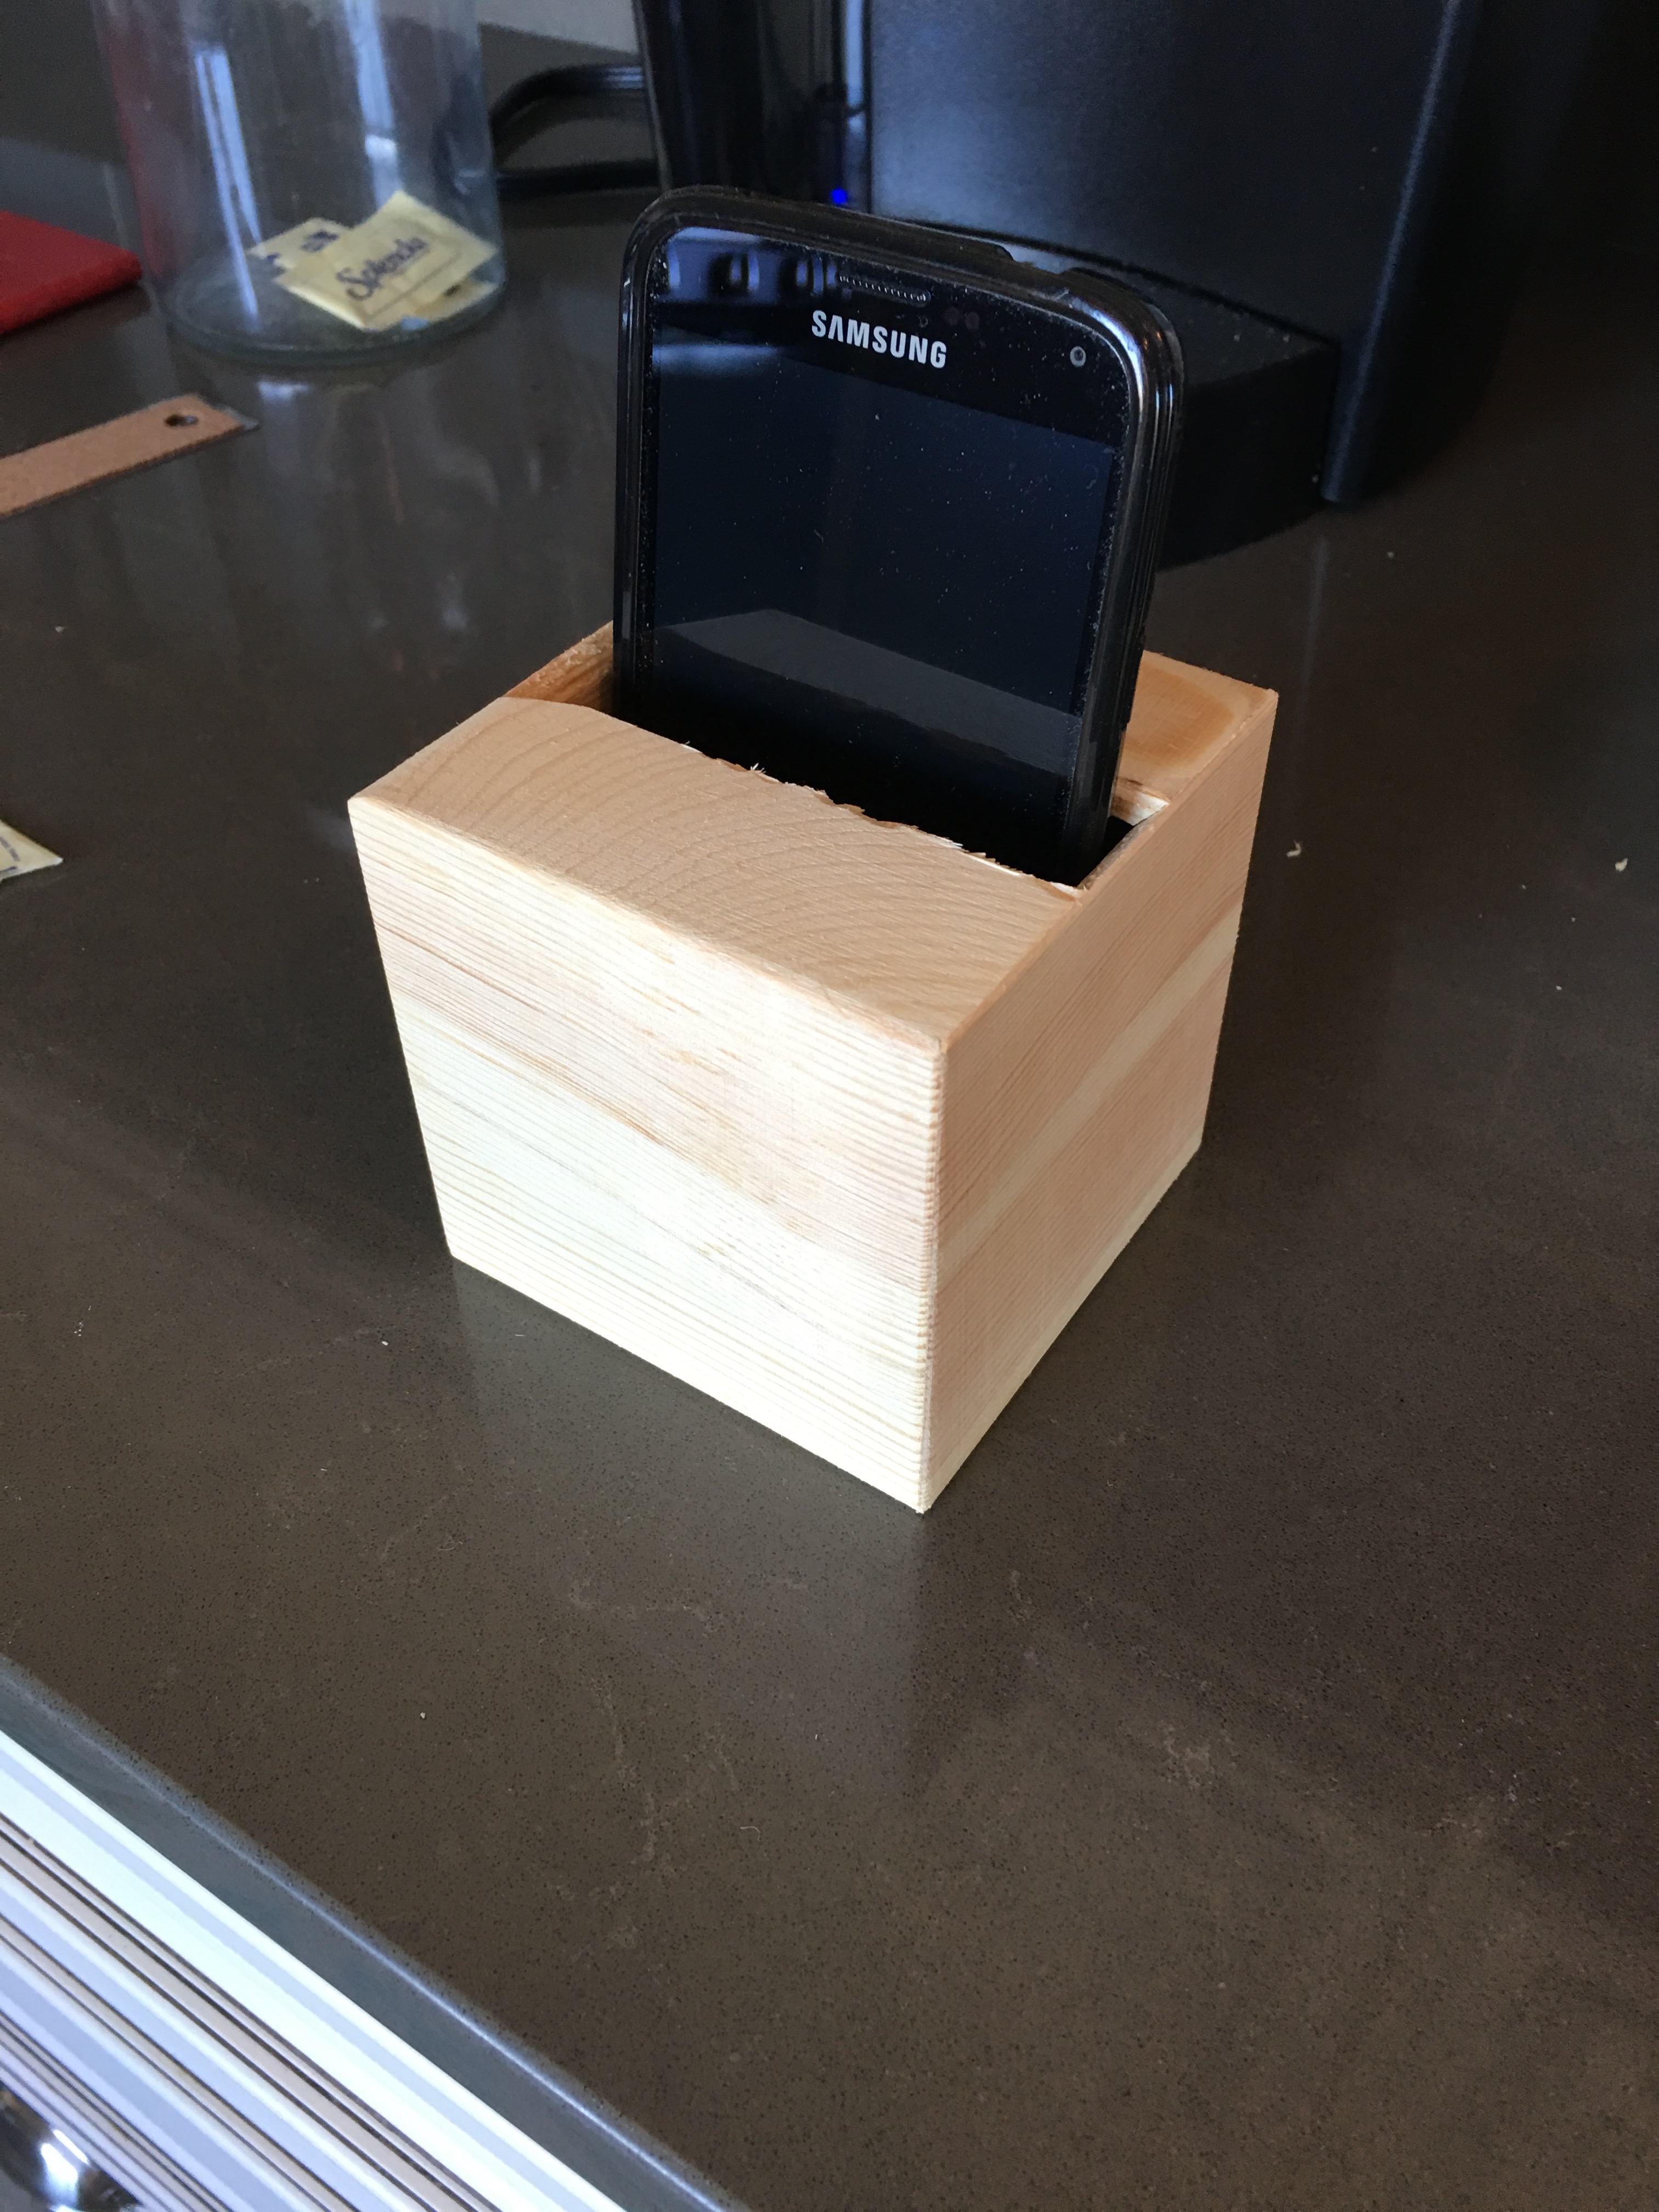
I used wood carving knives to cut and chisel away an opening for Bruce’s phone. I did the phone dock test. It dropped into the opening with no problems. Time to stain.
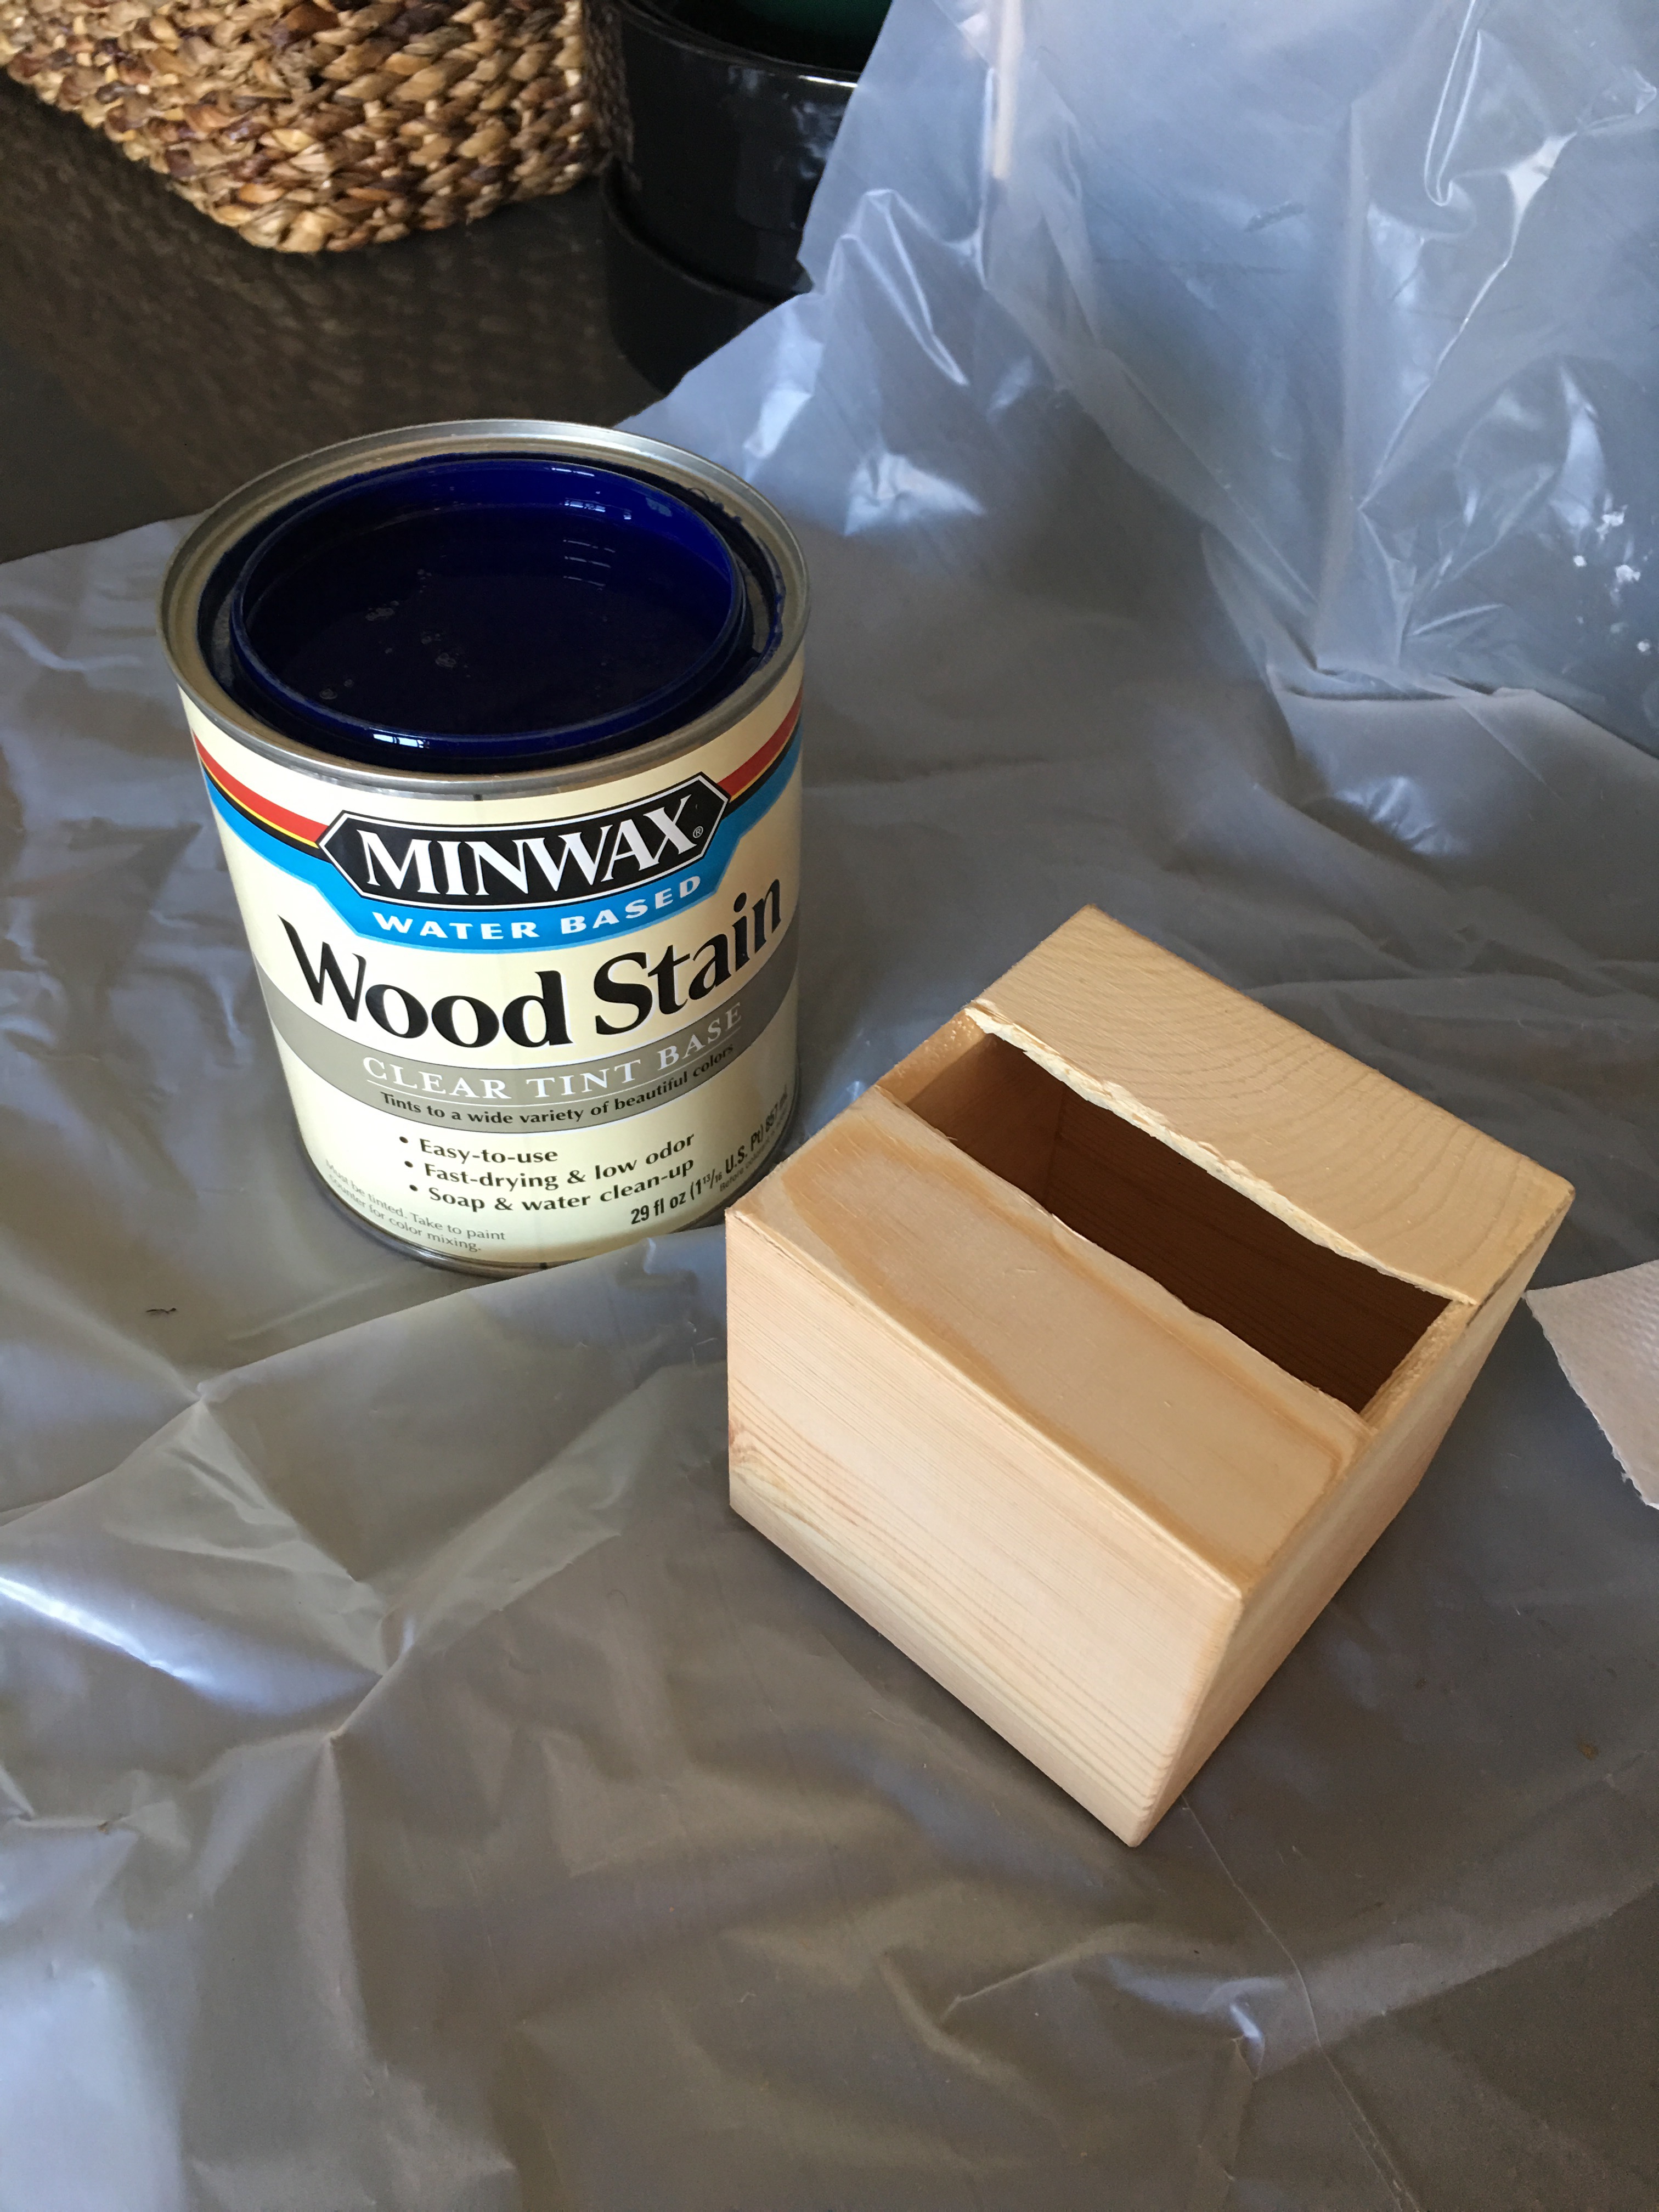
I used navy blue wood stain made with Minwax Clear Tint Base. You just take this can of base to the paint desk at The Home Depot or Lowes and they’ll mix up the color for you.
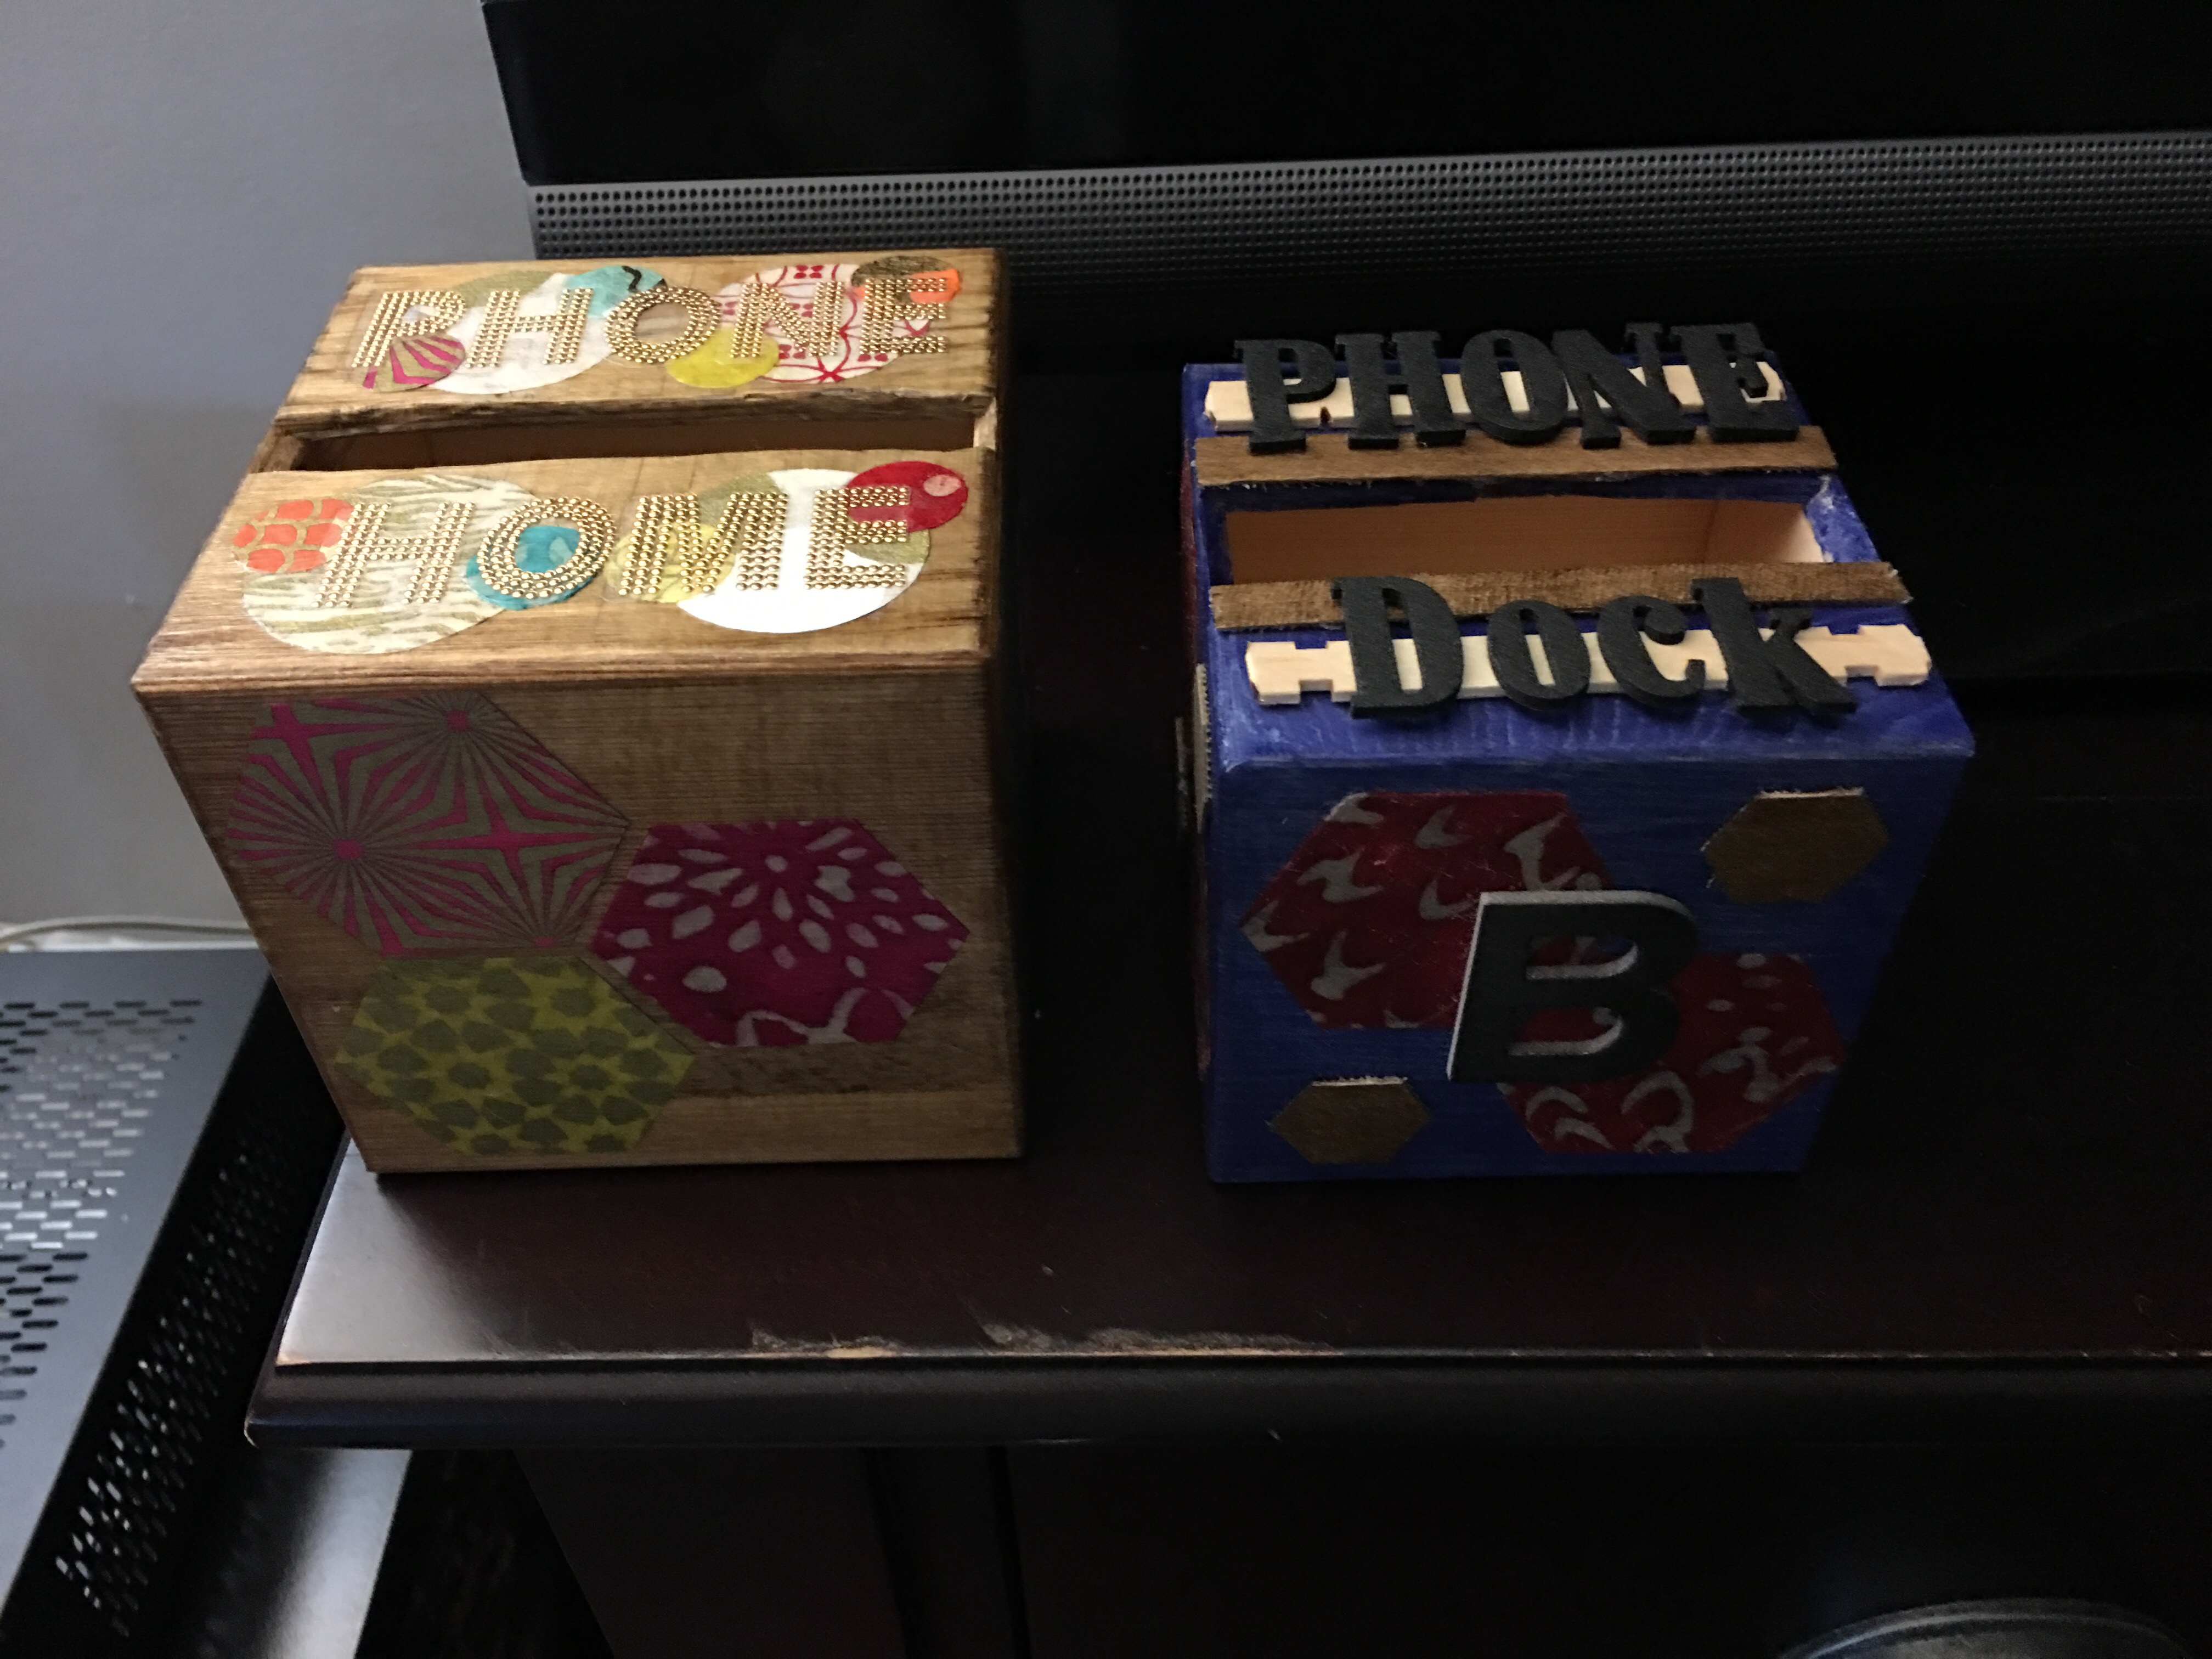
After staining and decorating his phone cube, here’s what I came up with.
Now here’s yet another case where I reached for my phone to take pictures of the completed project (and forgetting those all important in-progress photos). My bad. I will do another post that illustrates the detailed steps for decorating the phone.
That said, Bruce’s “Phone Dock” cube used simple decorating elements. After staining the box I added wood sticks with hot glue above and below the top opening. And I then used the hot glue to permanently add foam letter stickers to spell out the words “Phone Dock”.
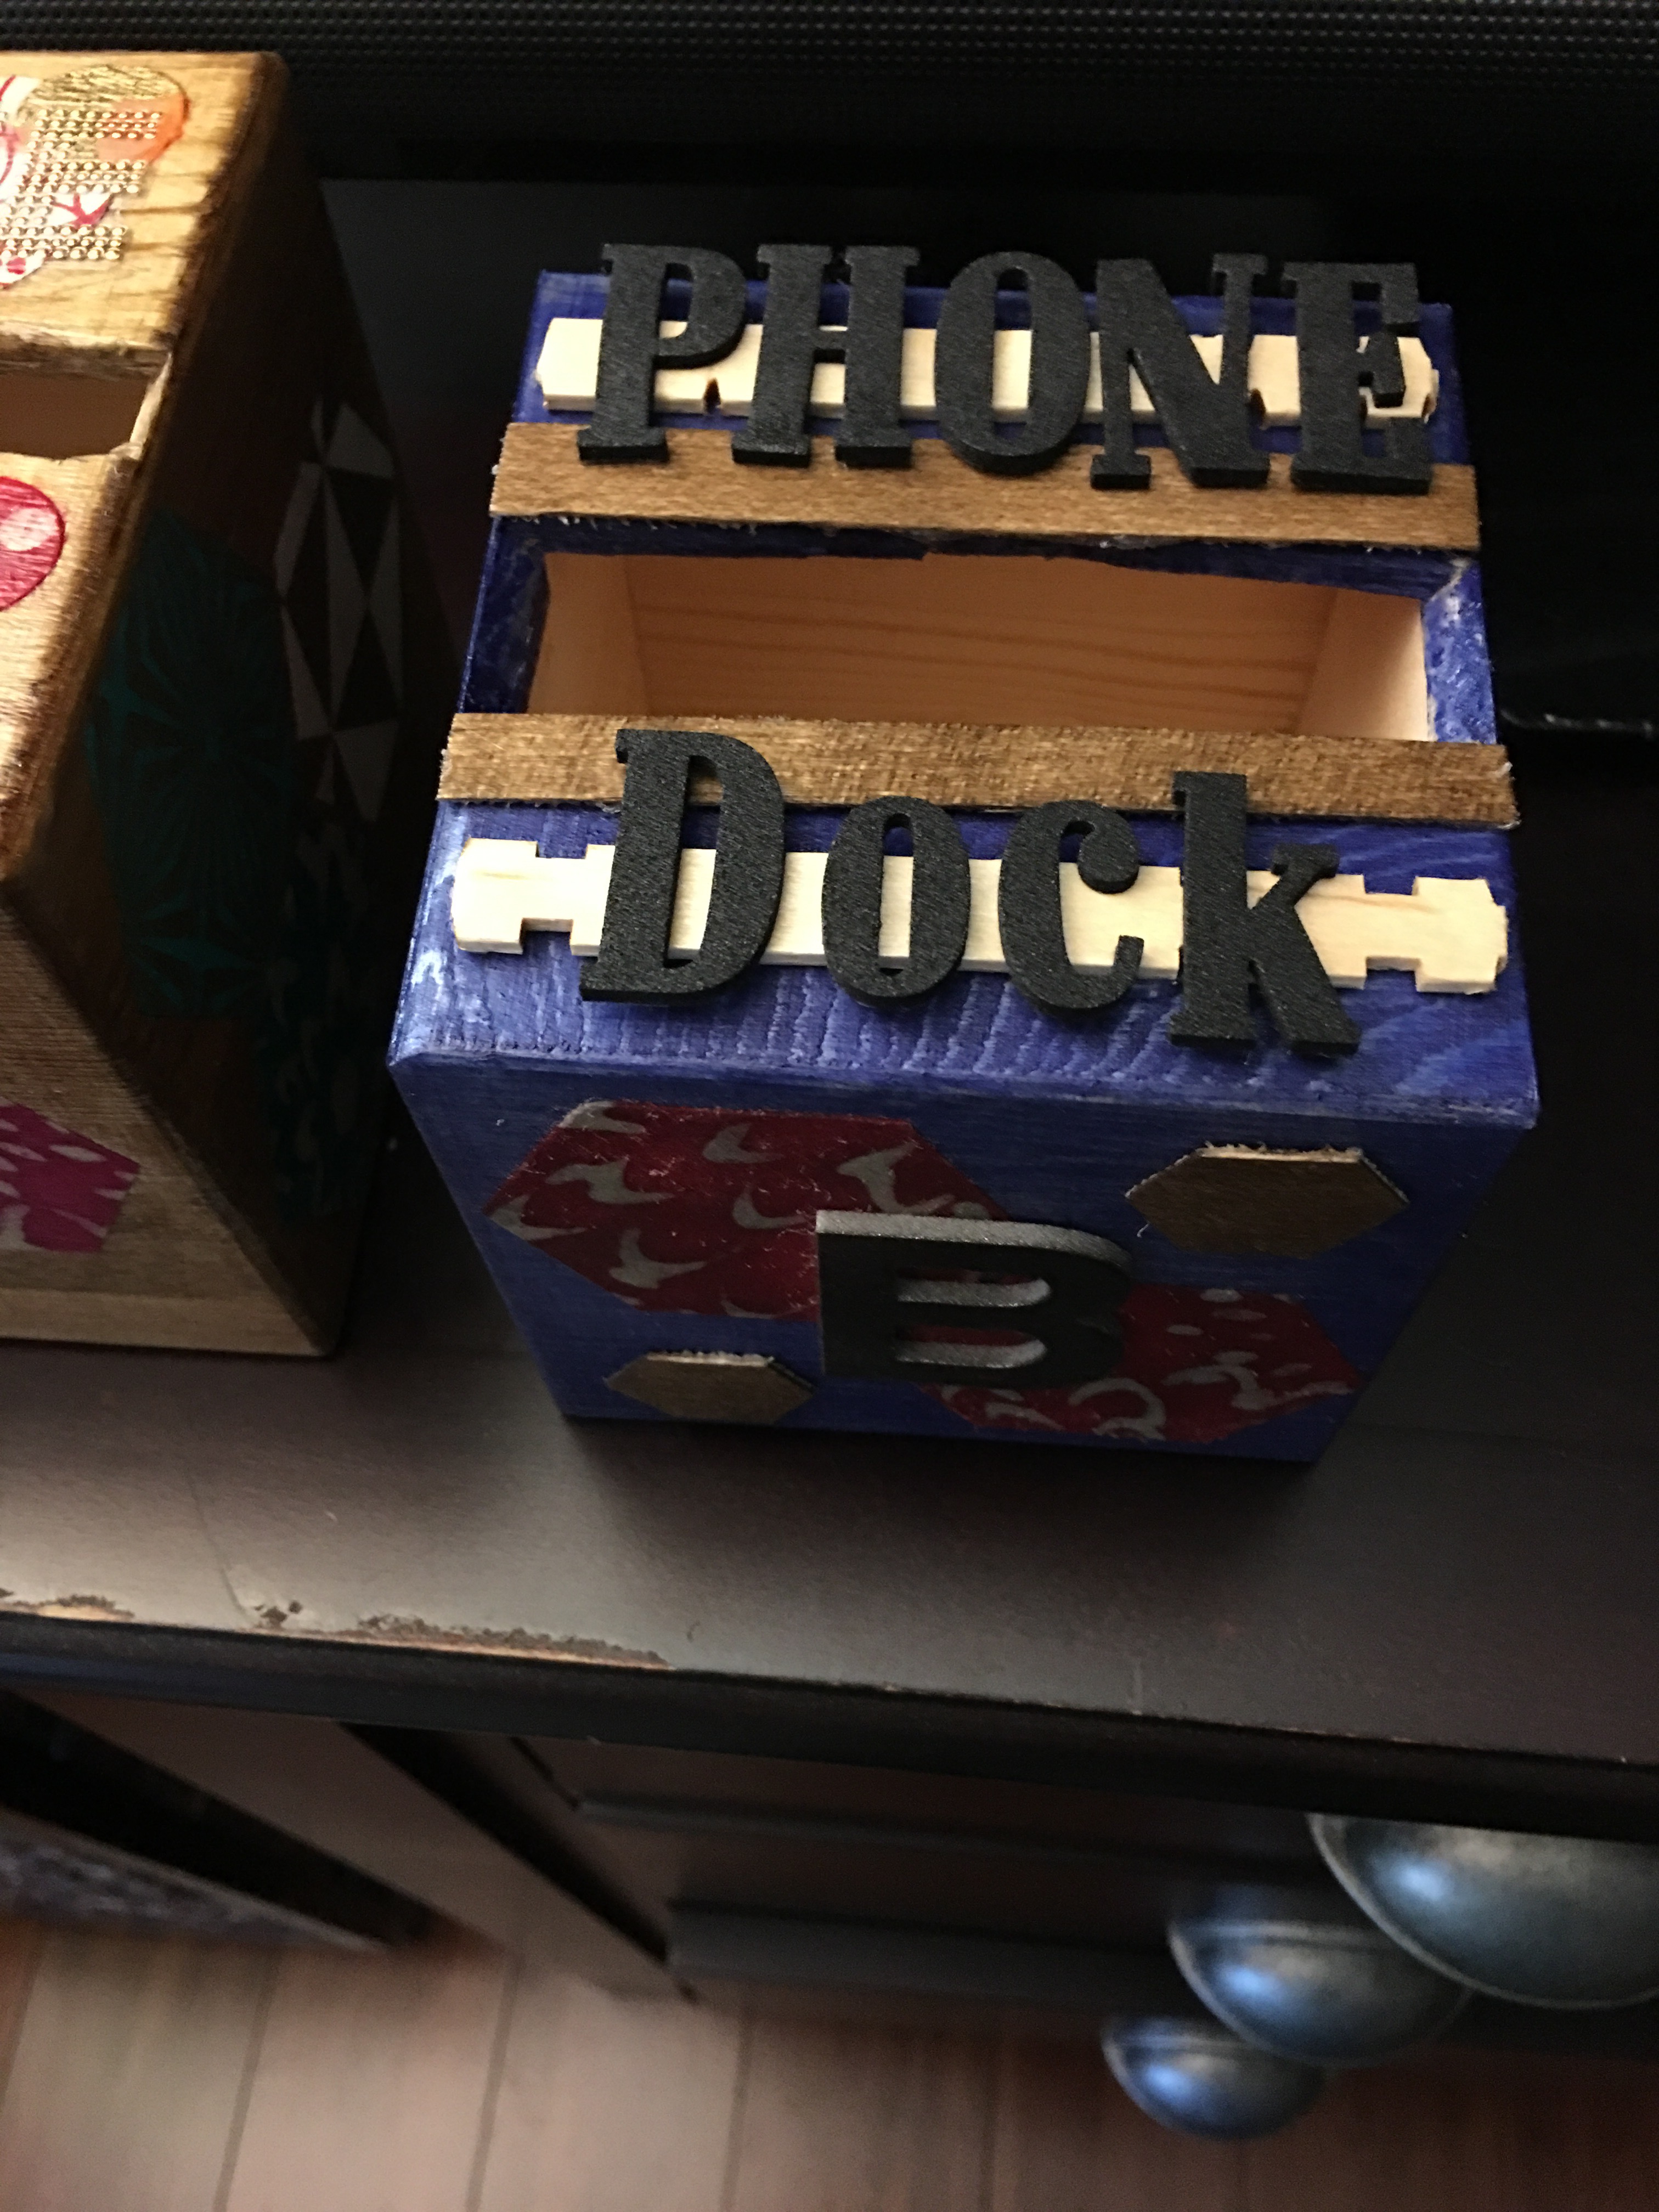
I also needed to fix the crooked, uneven job I did with chiseling out the opening for the phone. One side was relatively straight. The other? Looks like a one-sided frown.
I used a strip of wood veneer edging to cover minor flaw. I cut the strip in half length-wise, stained it with a darker color (Early American), and used the strips to cover the top and bottom edge of the opening.
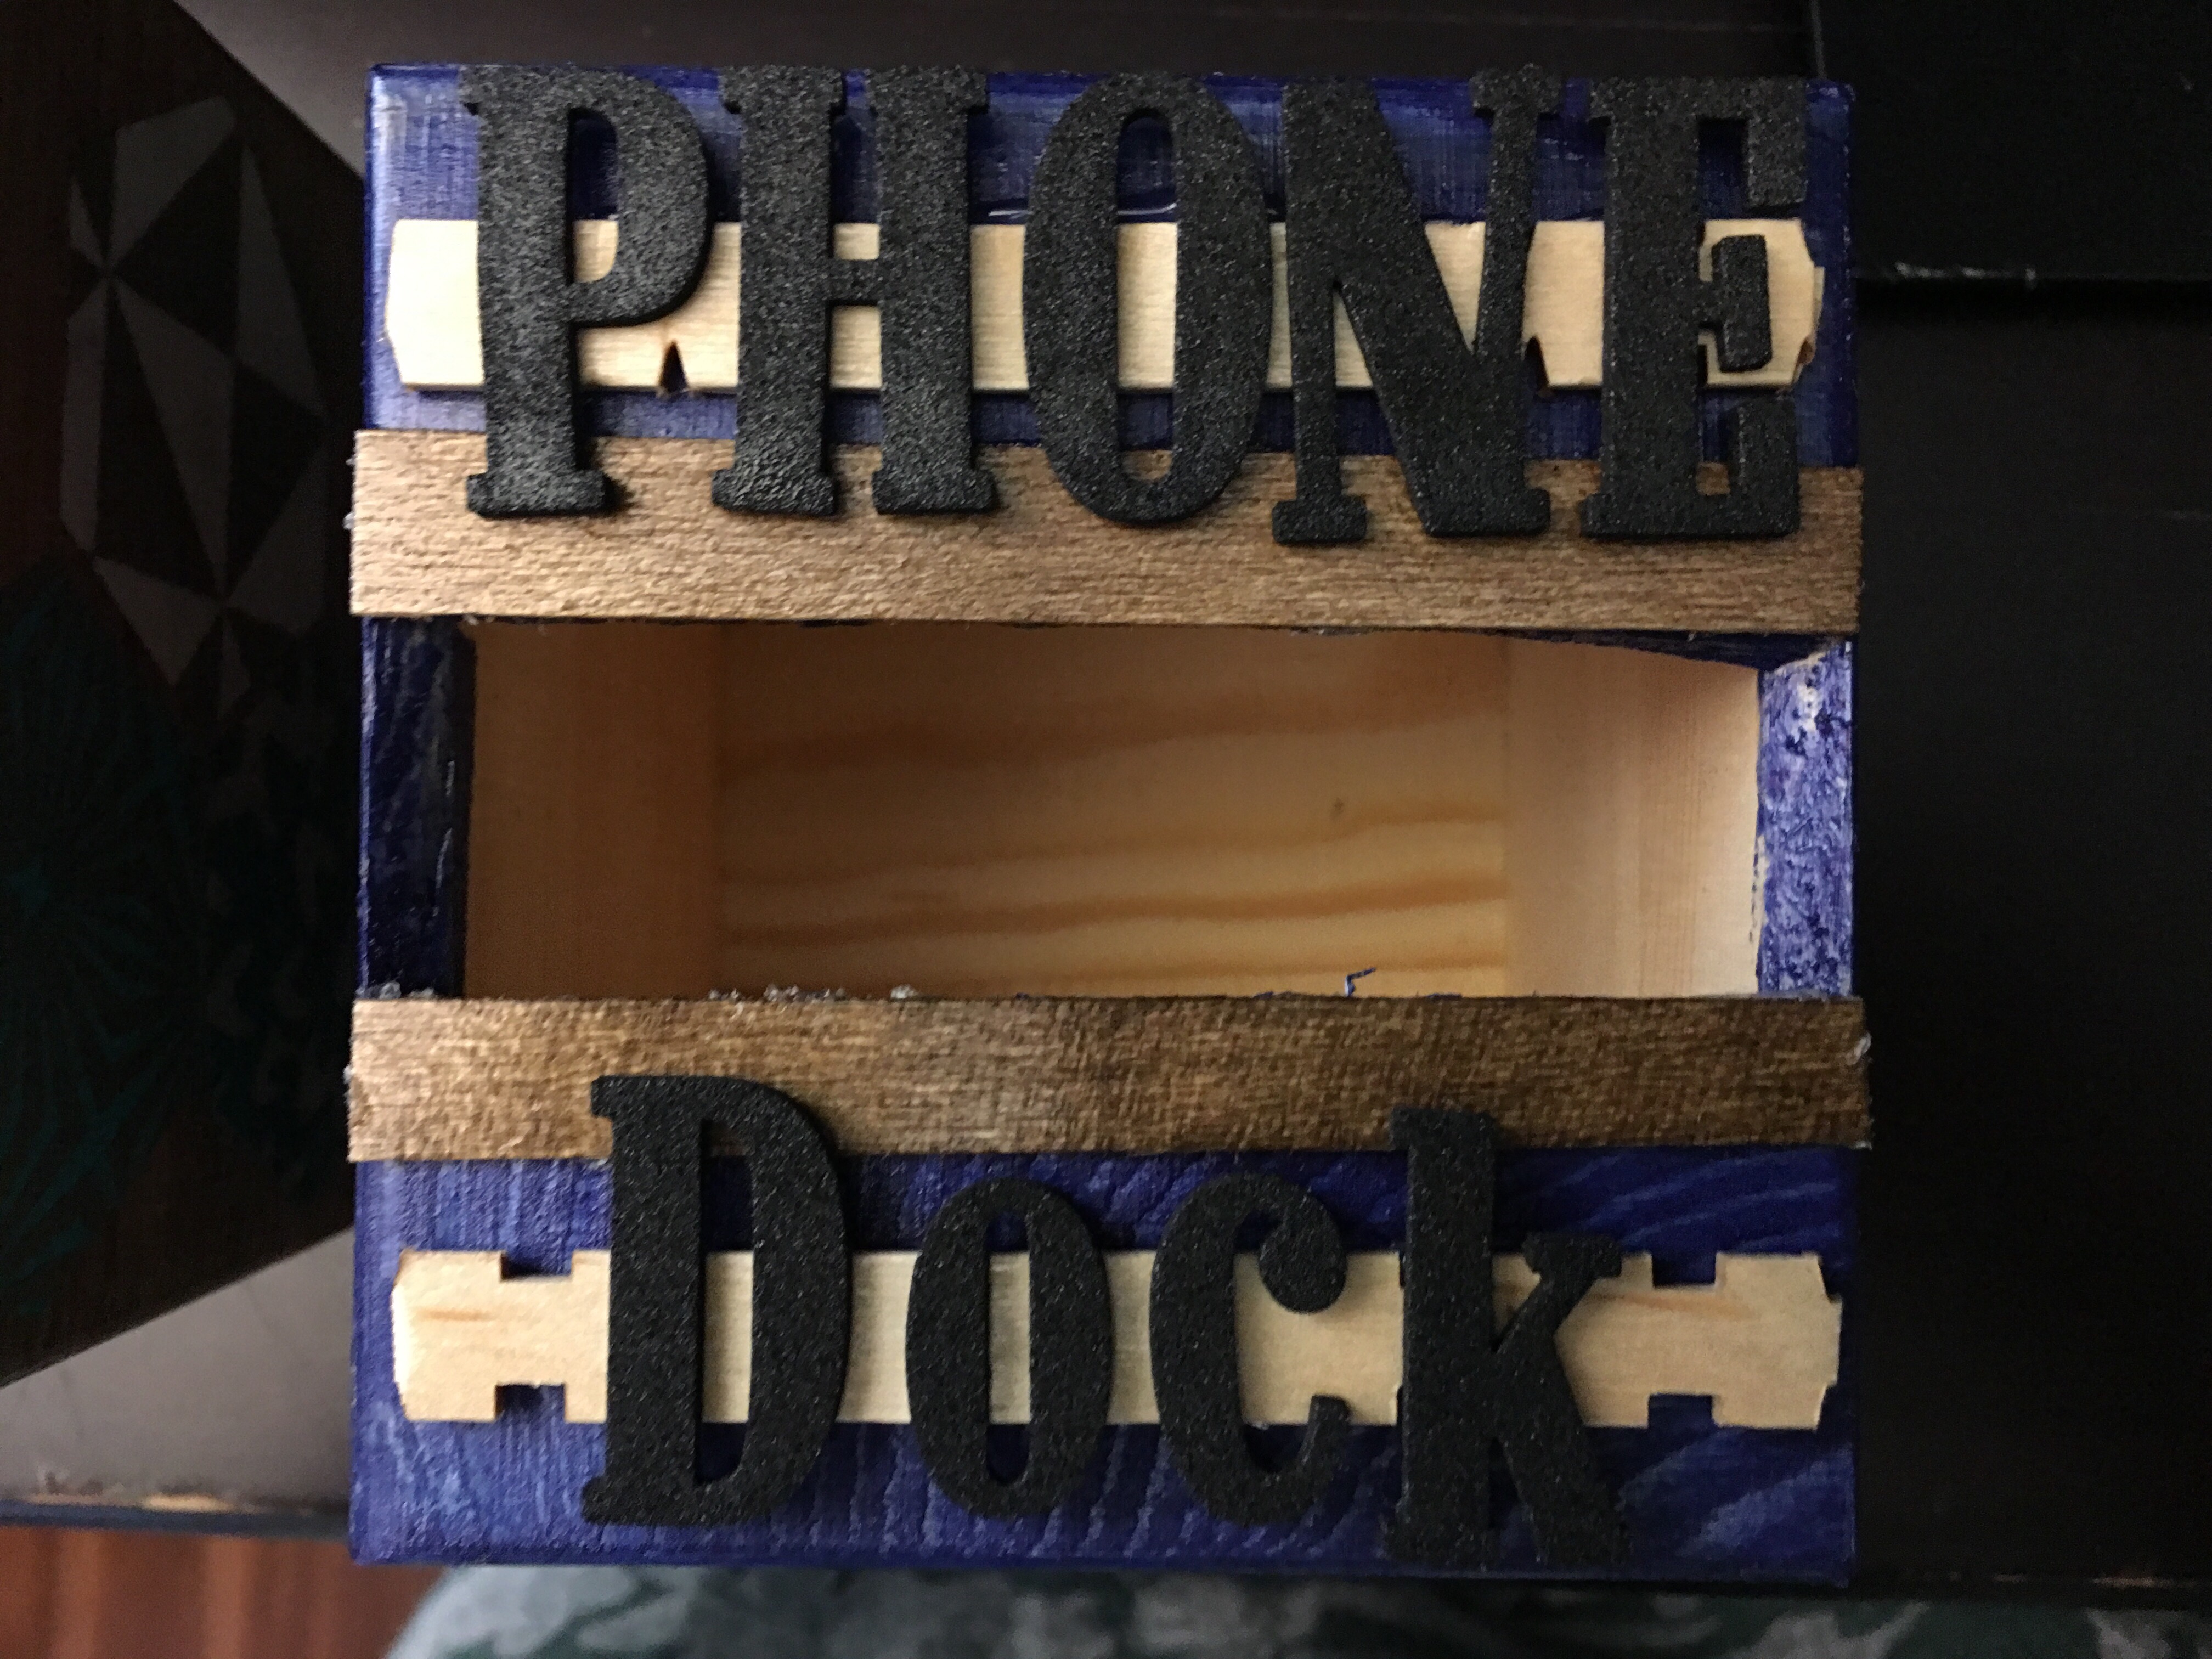
I liked it. The decor for the top of the cube took on a masculine, rustic look when I applied the wood veneer strips.
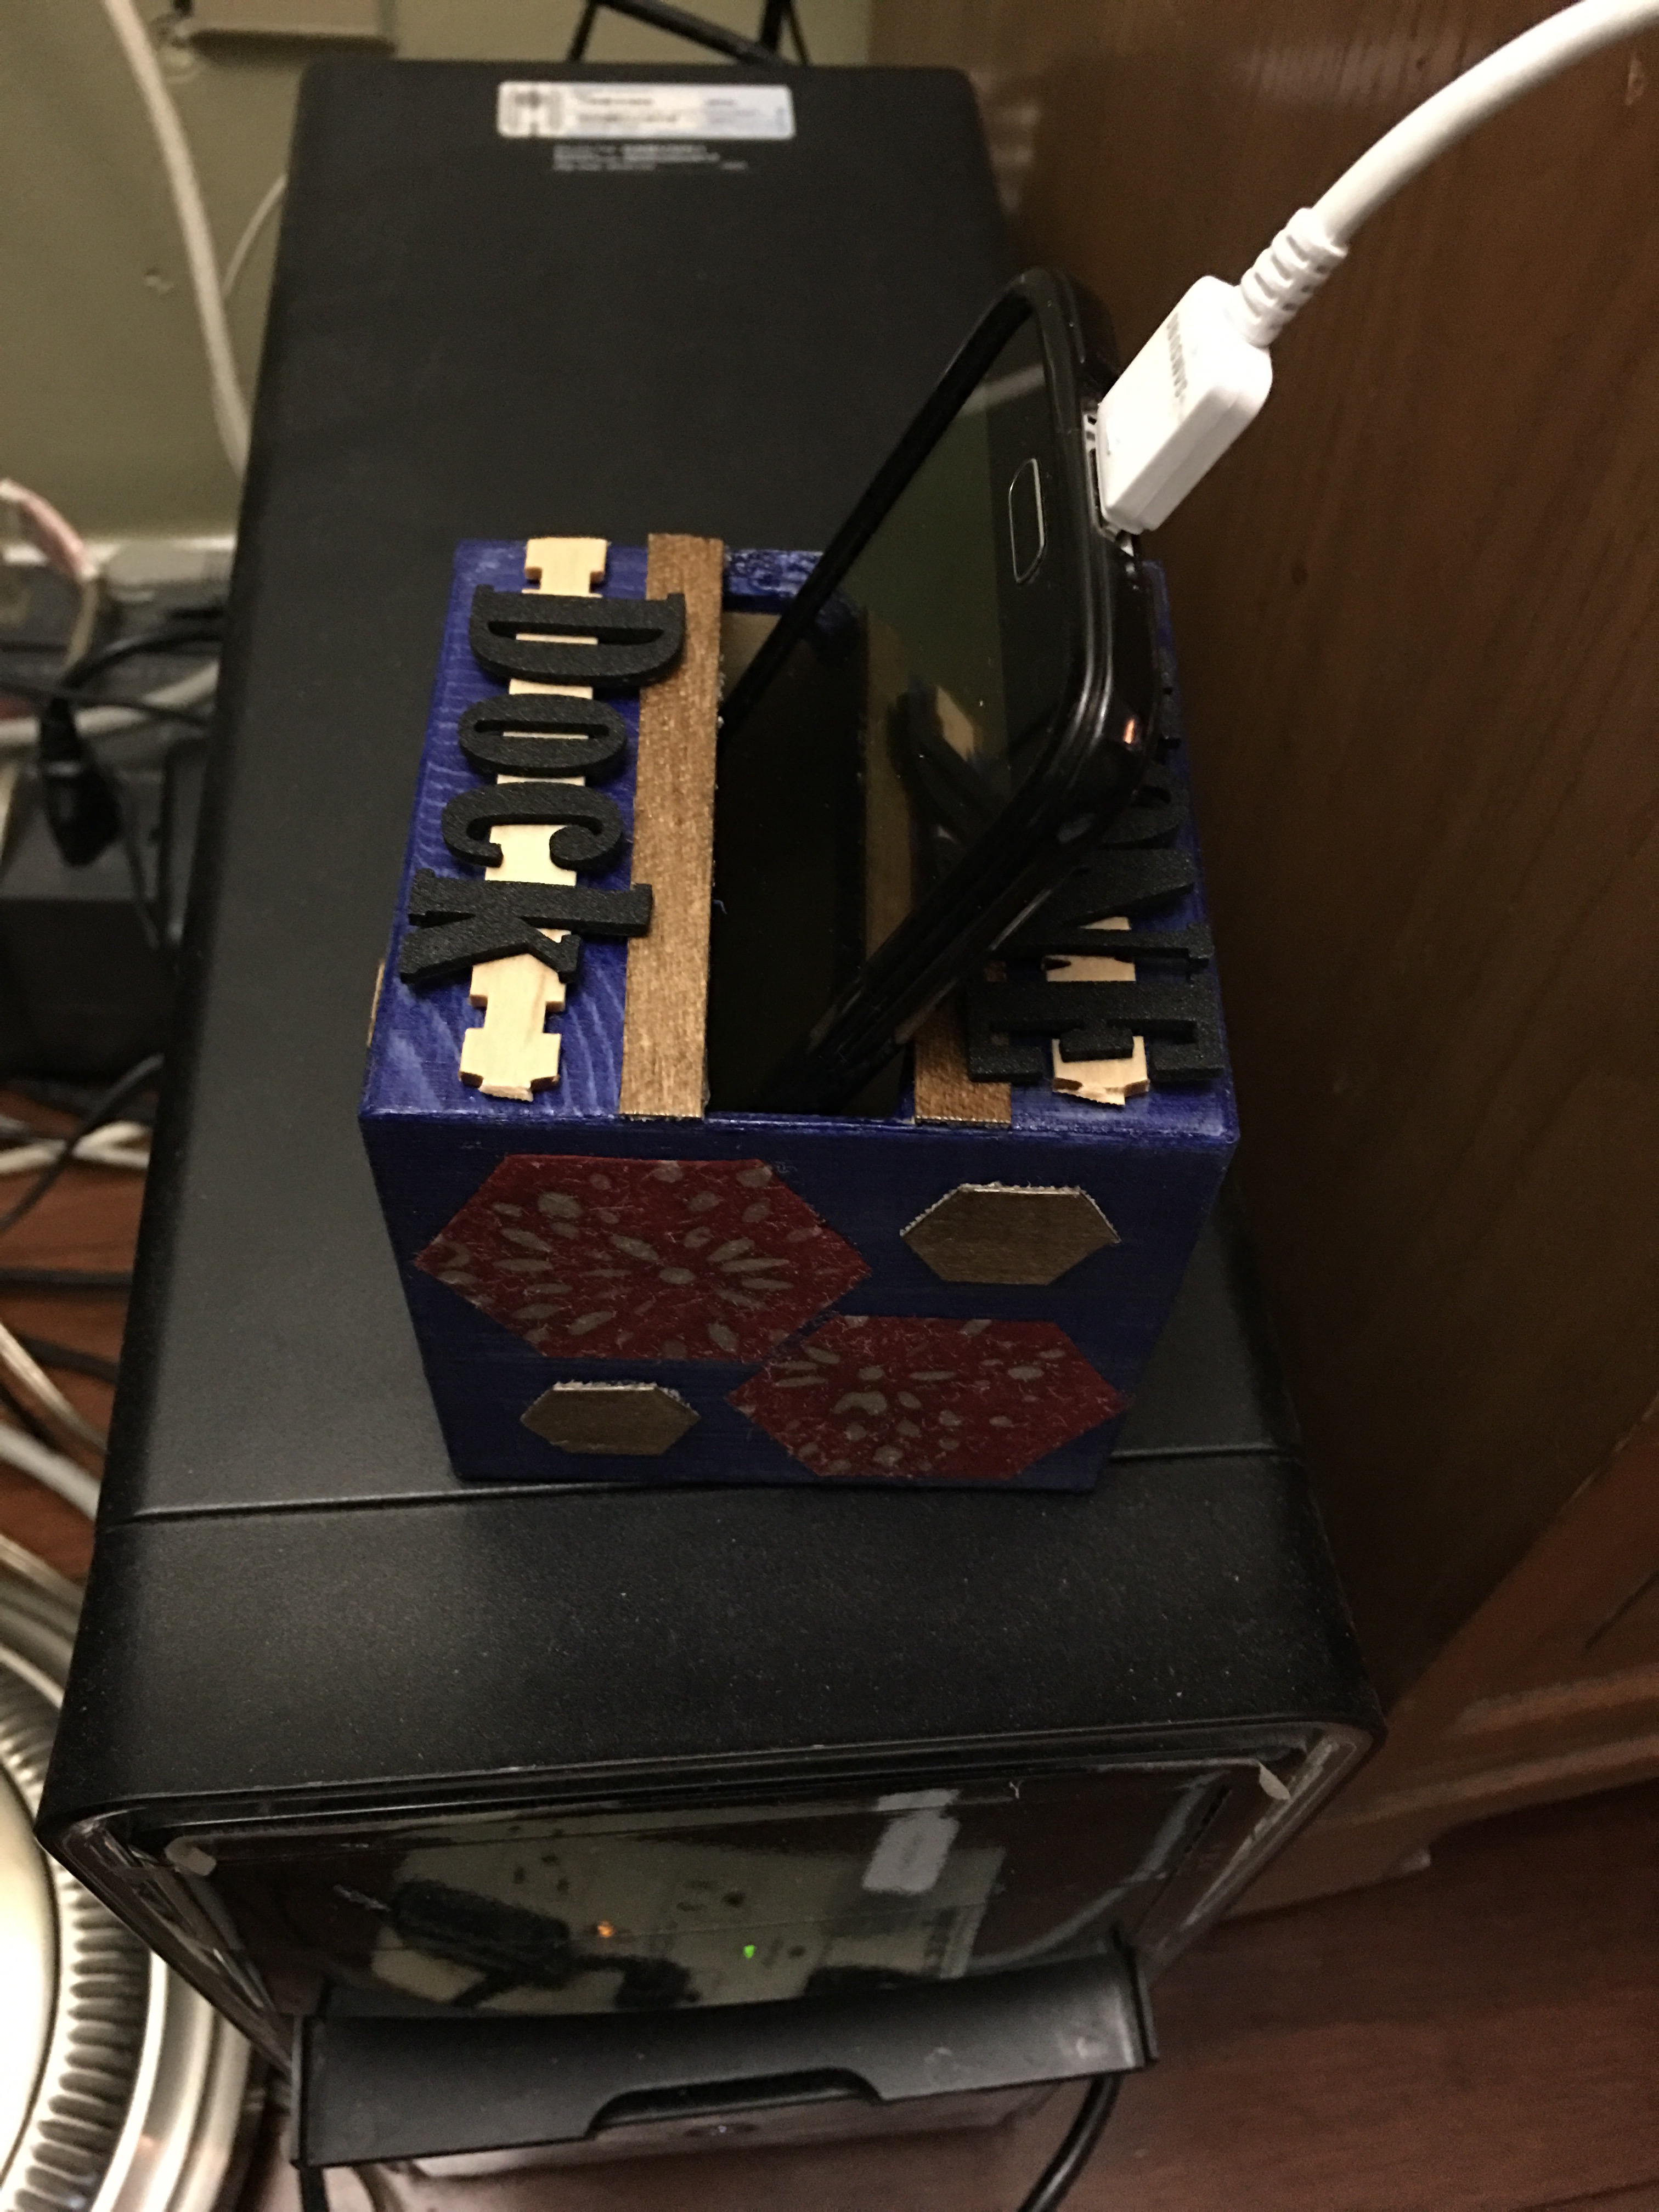
As with my other phone cube, I added large hexagon cut-outs of decorative paper to the sides. Because this is a smaller phone, I could only add two of those. I added smaller hexagon punch-outs of the wood veneer strips.
Here, the phone cube is strategically placed on top of Bruce’s desktop computer, right next to his phone charging cable. I couldn’t have come up with a more perfect spot for it.
So the way it works see, is to place the phone in the cube with the charging port side up. This way you can connect it to power with the charging cable and you’re good to go. Bruce suggested that I add a hidden opening in the back somewhere so that can hide the cable after docked. Maybe I’ll come up with a crafty solution to accomplish that. In the meantime, I like this method for docking and charging our phones using a table top, desk top or shelf top cube.
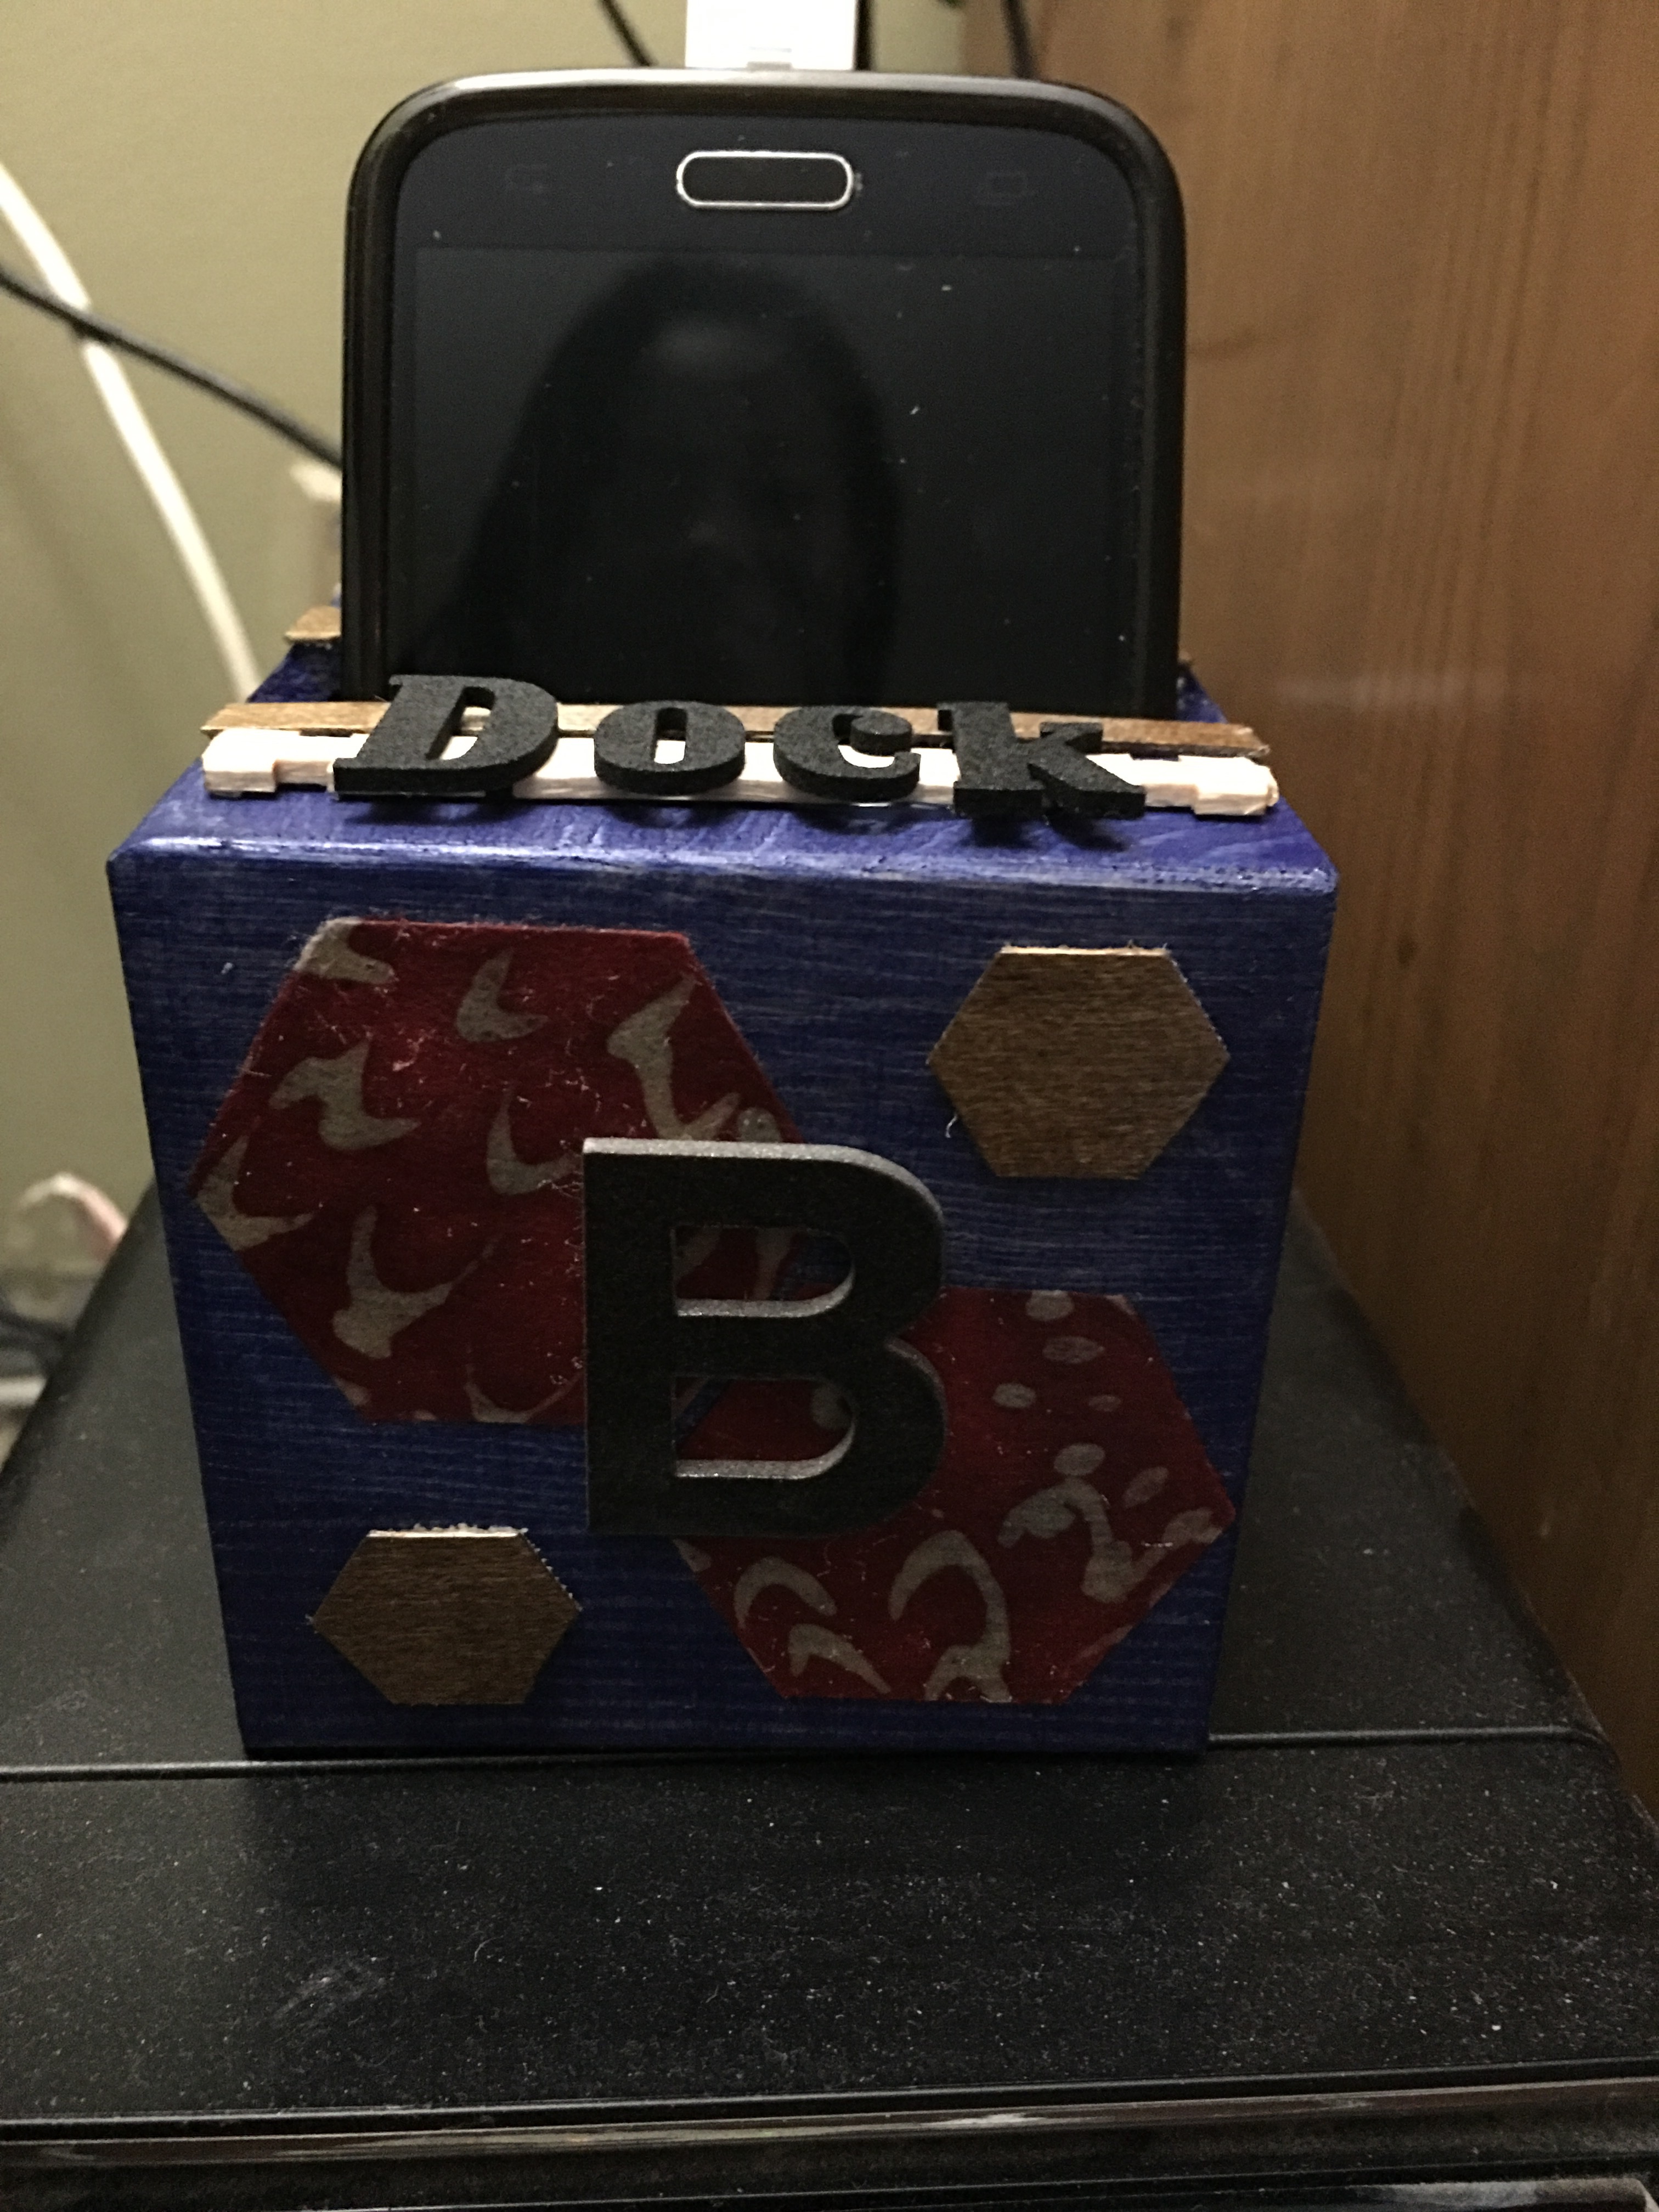
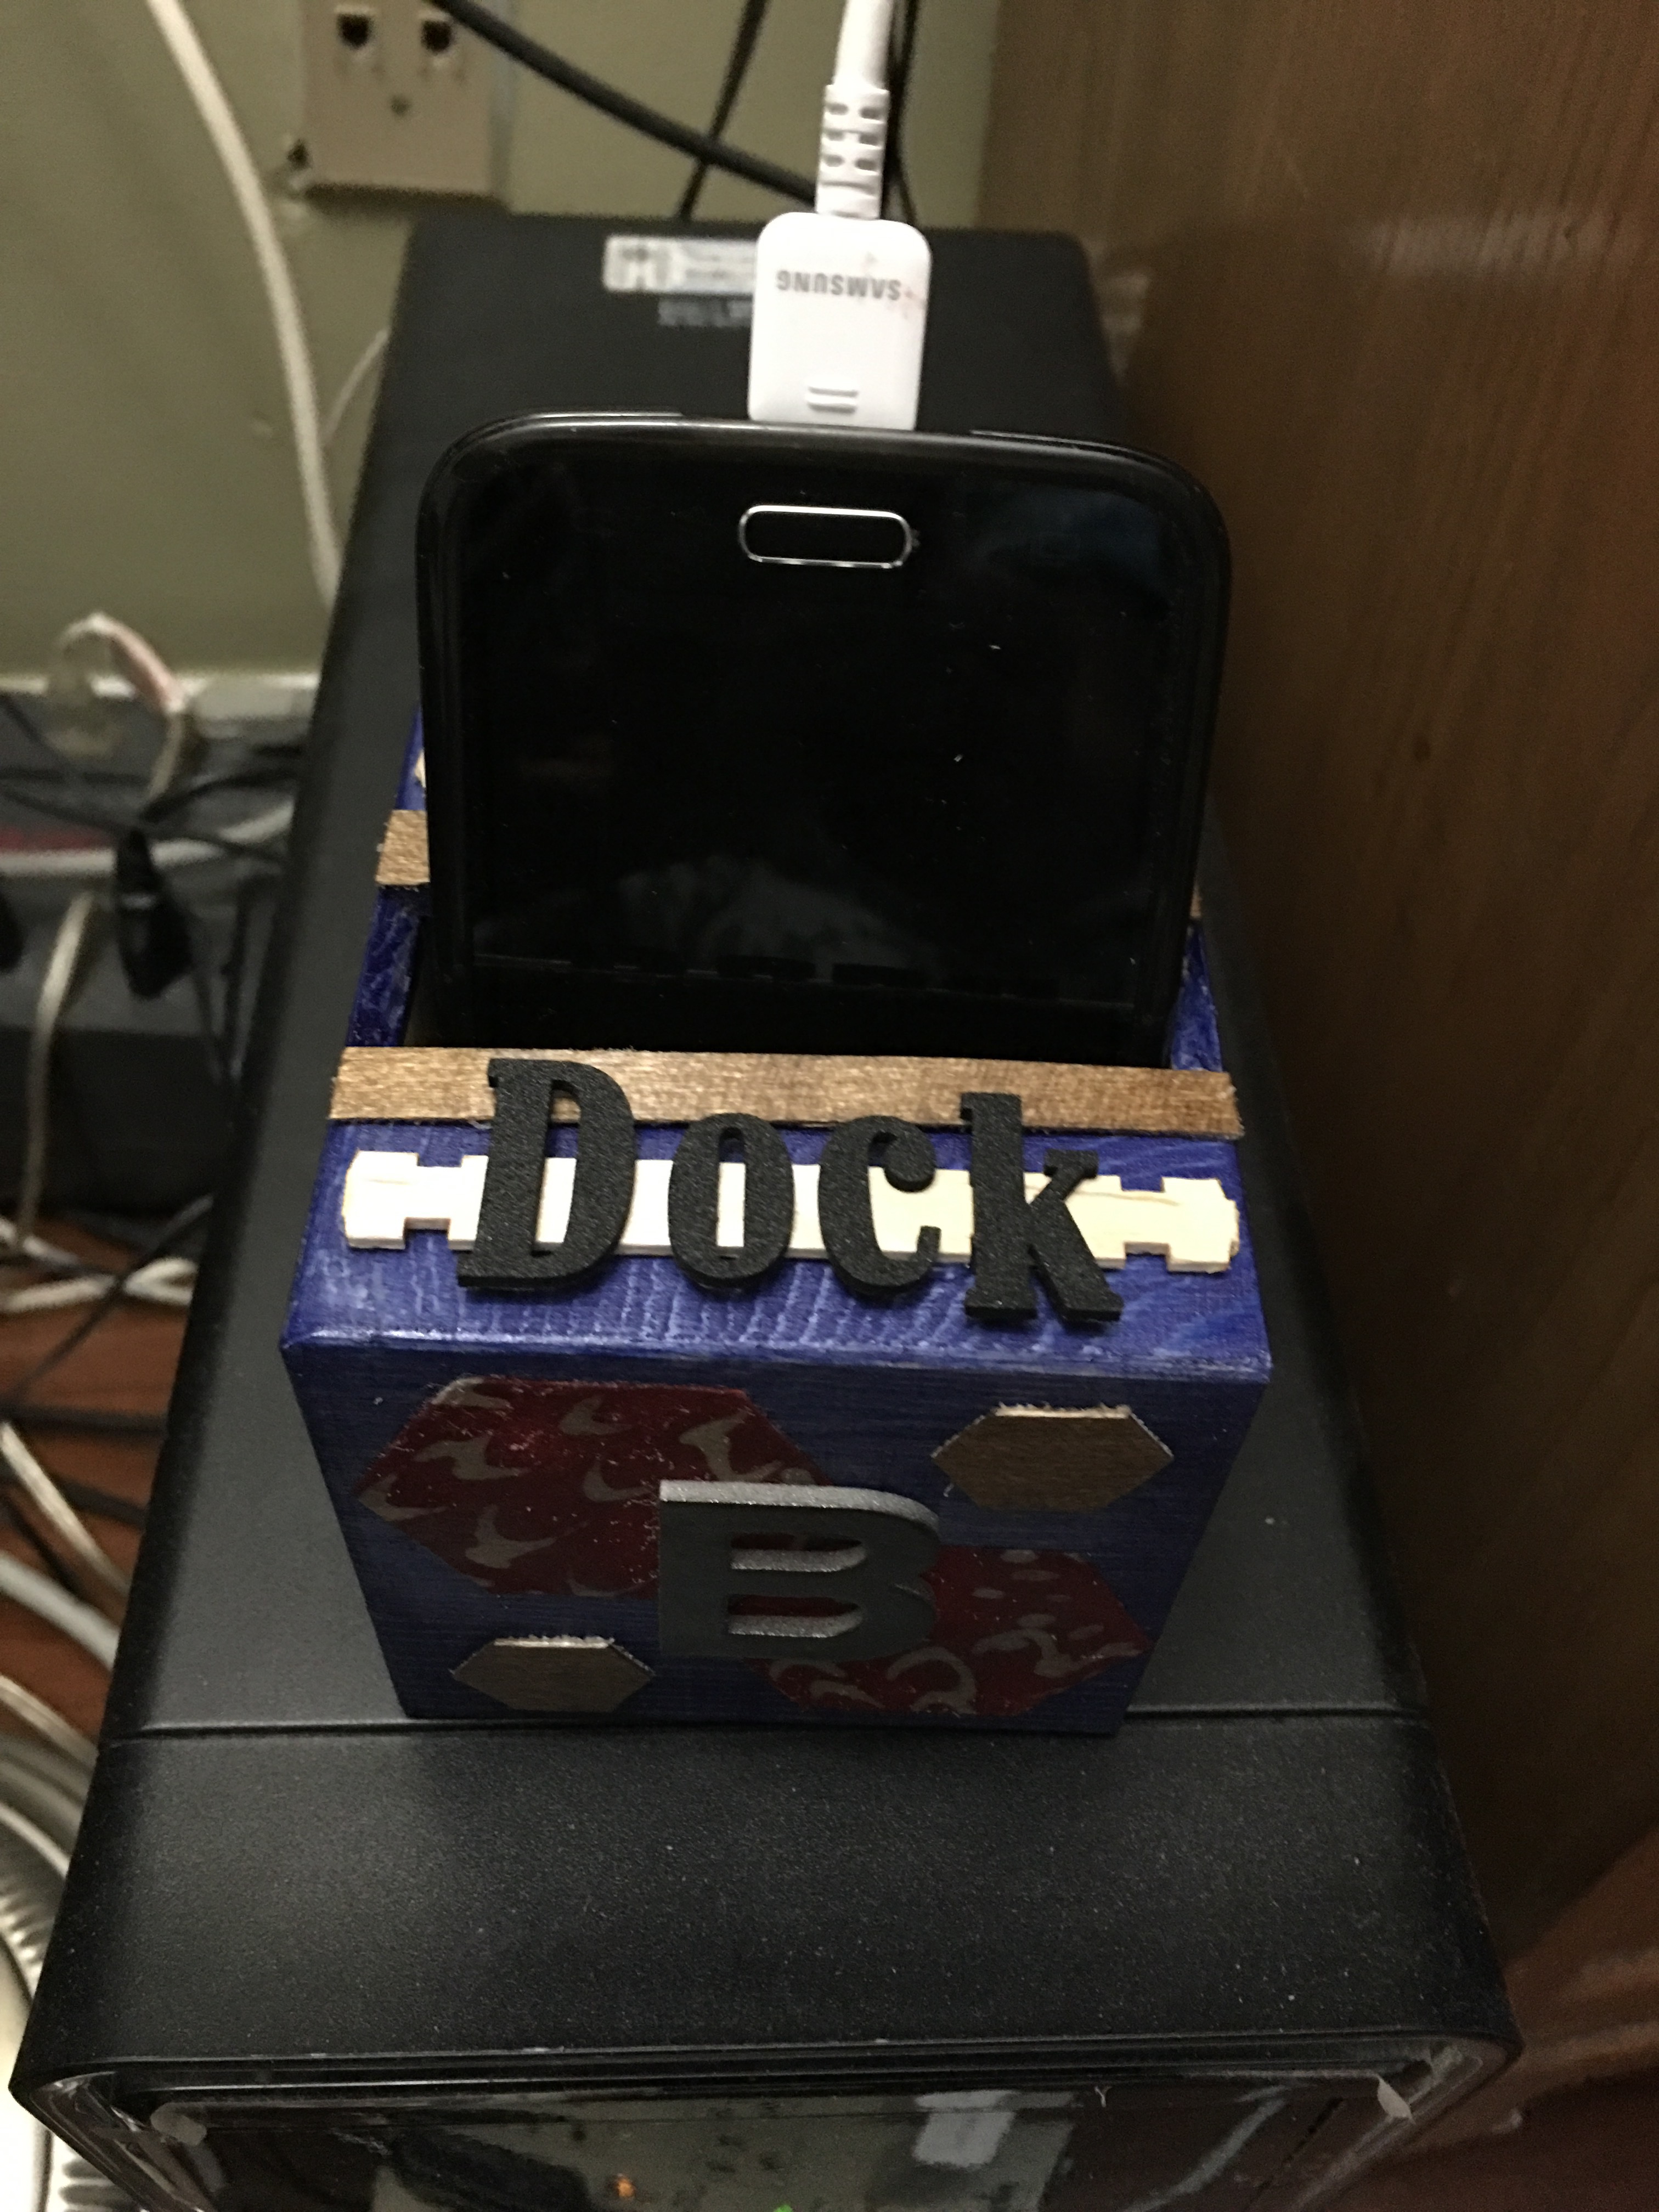
Of course, to personalize it further, I added a B letter (this is chipboard that was spray painted a metallic grey). I figured this might, ahem, encourage Bruce to actually use the dock that I lovingly made for him.
When asked about that possibility, I got a shrug as an answer. Looks to me like his phone will continue to lay bare and flat on his desk with his artsy smartsy phone dock beside it as workspace eye candy. Oh well. Can’t say I didn’t try.
Time to dream up another VidaDIY item to sneak on his desk. V-