Lovely paper rosettes for our lovely home
January 2015: My obsession with big, beautiful paper rosettes started with admiring the gorgeous displays of colorful, patterned wheels of various sizes at my local Paper Source.
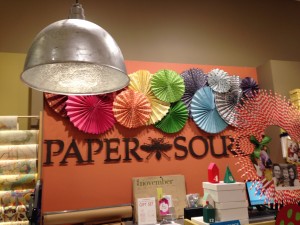
I absolutely love this store because not only do that have (and display) such pretty things (paper stock, cards, gifts, decorations, etc.), they are all about the DIY spirit. Empowering customers to learn and to create pretty and fun handmade greeting cards, invitations, wall art, decorative desk items, you name it. And to share their passion for paper-crafting with their customers.
So when I got it in my head to learn how to make those rosettes myself, the Paper Source crew were more than eager to help me figure it out. I thought these might look nice on the walls of our updated bedroom. After making a few, I loved them so much that they continue to hang in various spots in our condo – especially on a blank wall where I need a temporary display until I decide on a more permanent decor solution.
What is a paper rosette?
A rosette is paper folded into an accordion pattern, and then fanned out to create a paper wheel. There are different ways to make a rosette (cinched, donut, ring, etc.). I used the Paper Source PDF instructions for the big rosettes (where you fold the paper accordion in half, fan out each section in half circles, or triangle, and then join each side using glue, double-sided tape or brads).
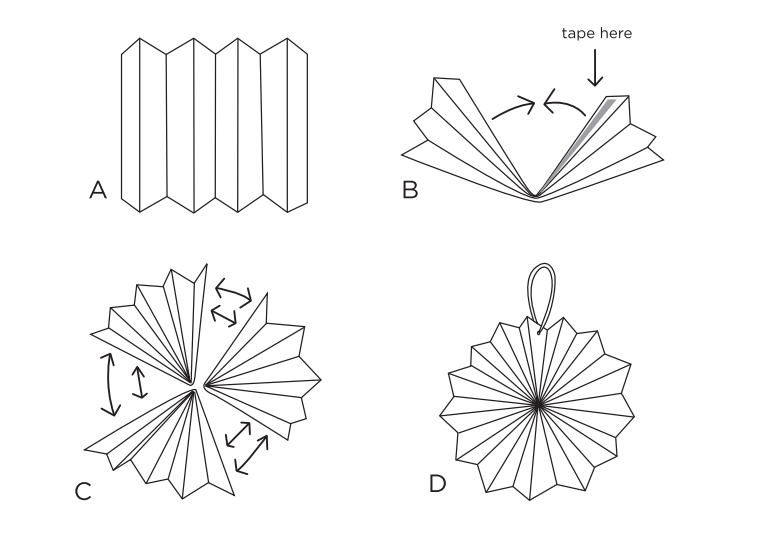
The size of your rosette depends on the size and dimension of the paper and the number of sheets used. Small rosettes can use a small, single 8.5 x 11 inch sheet using landscape orientation for the accordion folds.
For single sheet wheels, the shorter and wider the sheet, the better (so cutting the paper length-wise in half to make a 4.25 x 11 strip makes it shorter and wider, thereby making it easier to create a circle using a single sheet).
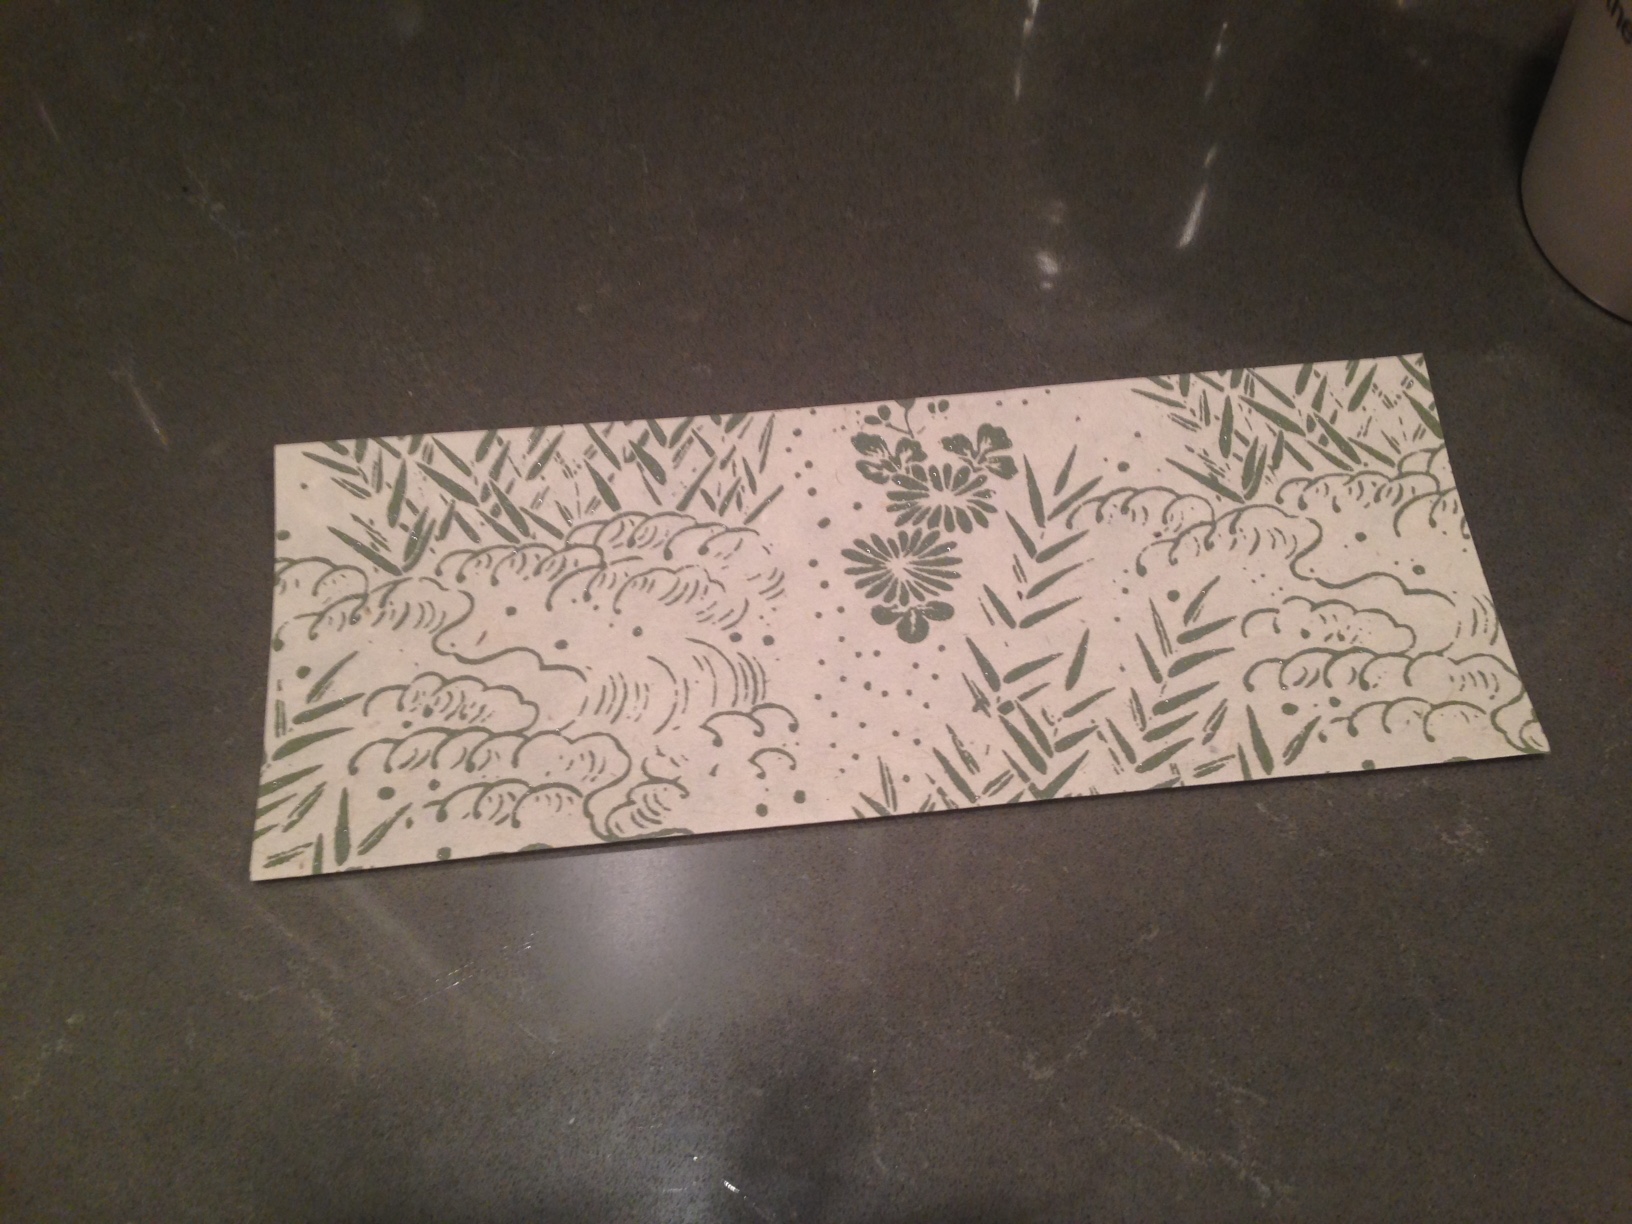
Here’s an example that I made as an illustration for this post. Yes, I actually needed to put the computer down and make one, realizing that, in this case, a demonstration is far easier than an explanation.
This turned out to be a nice bonus craft project in the process (and blossomed into another post – Magnetic board rosettes).
My first paper rosette
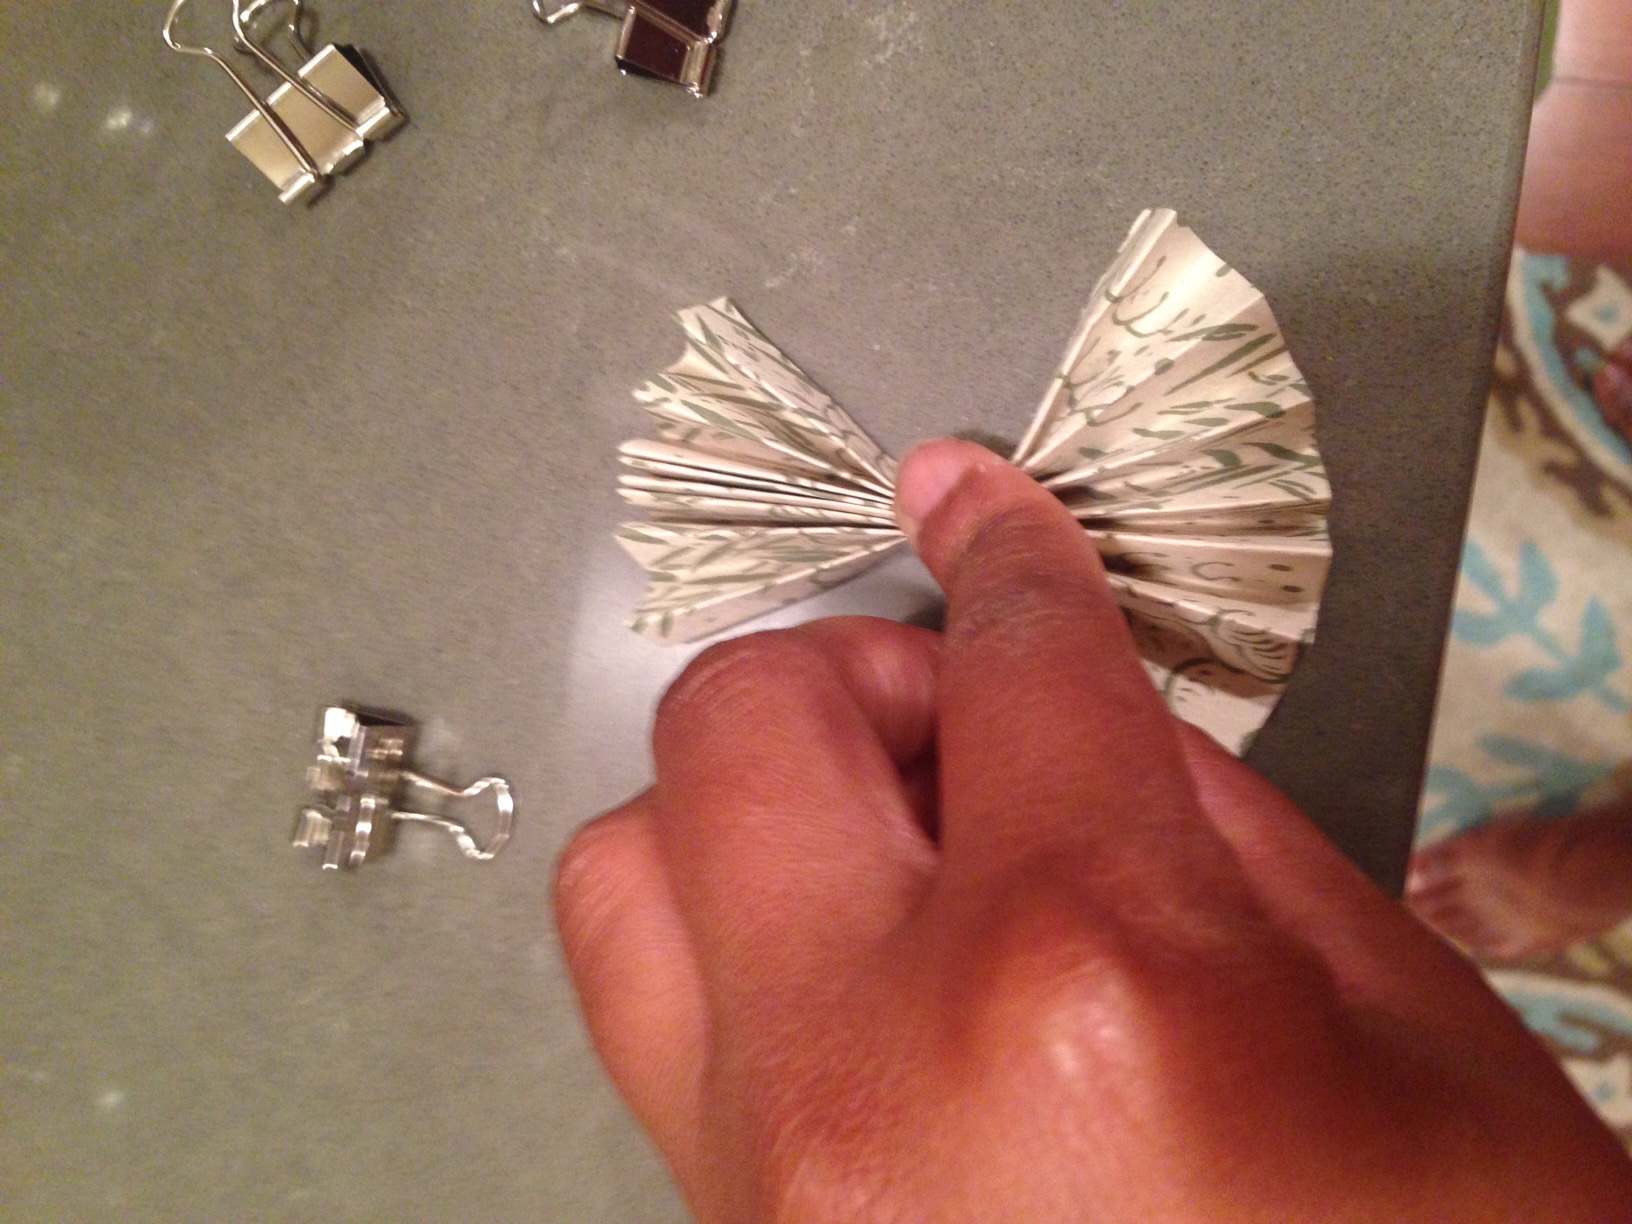
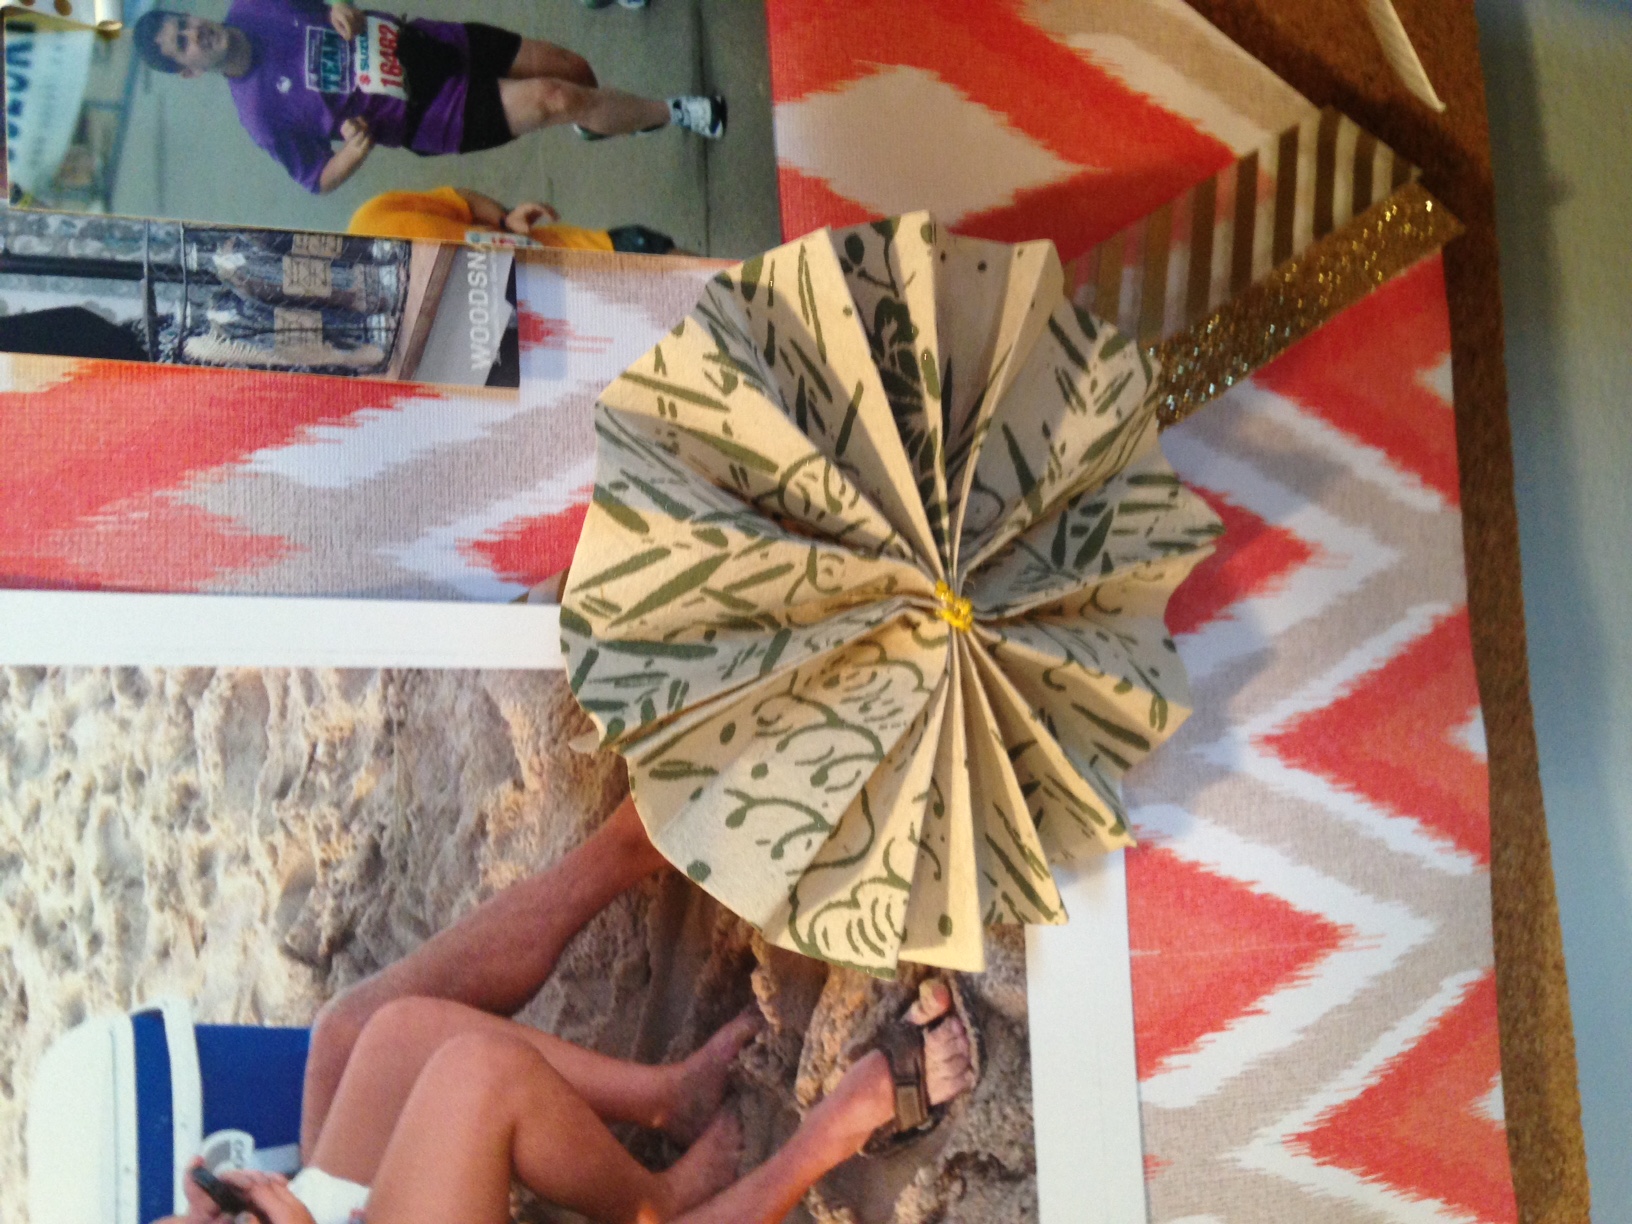
For a small rosette, a Paper Source associate shared with me the cinched method (which ties or fastens the accordion-folded paper in the middle, fan out each side to create two half circles, and then attach each end. So, for my first try, I used a scrap of Paper Source paper from a project I worked on in 2010 (yes, four years prior – still amazed I hung onto my craft scraps and tools!).
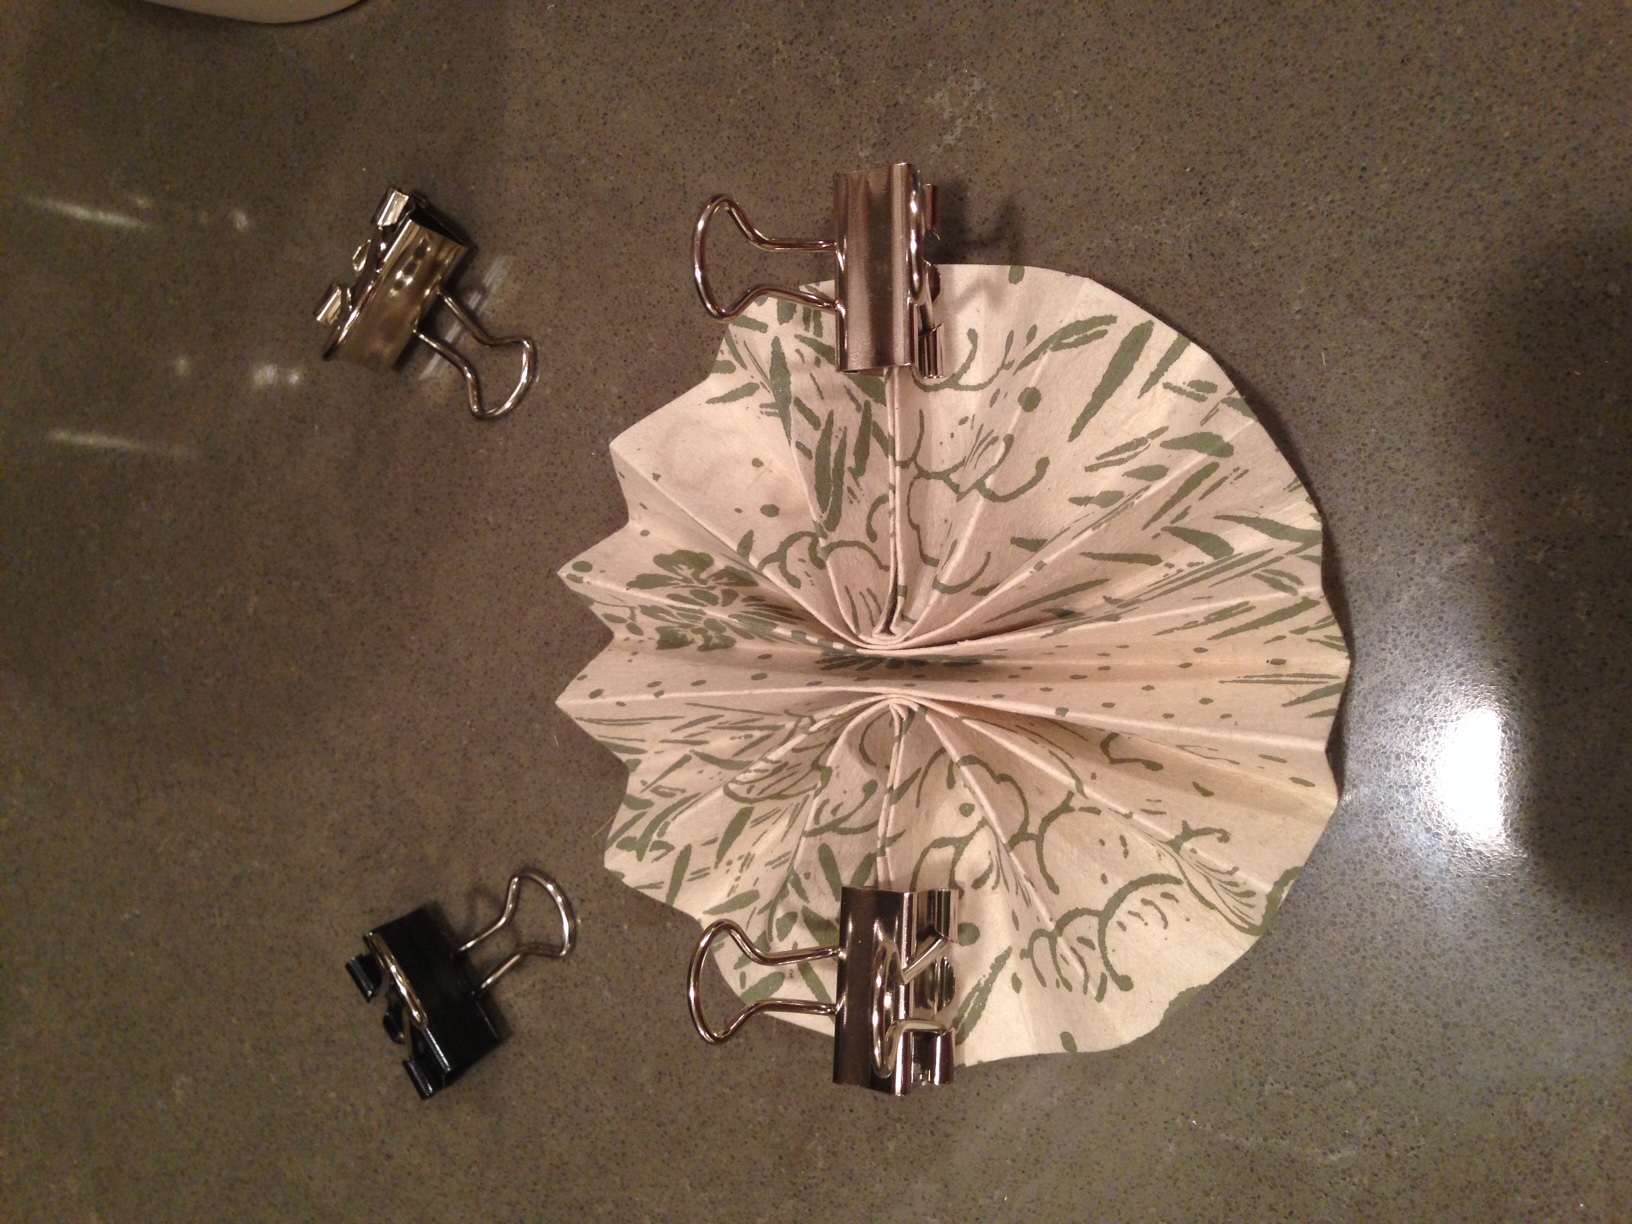
Using a Martha Stewart scoring board and a bone folder, I created the folds, cinched the middle with a piece of gold string, and then joined the sides together using strips of double-sided tape. An 8 x 20 inch scrap of decorative paper worked really well for this because you need somewhat of a wide rectangle piece in order to the ends of the accordion folded paper to be joined and to create a circle or wheel. So this one was super-easy to make and came out beautifully on the first try.
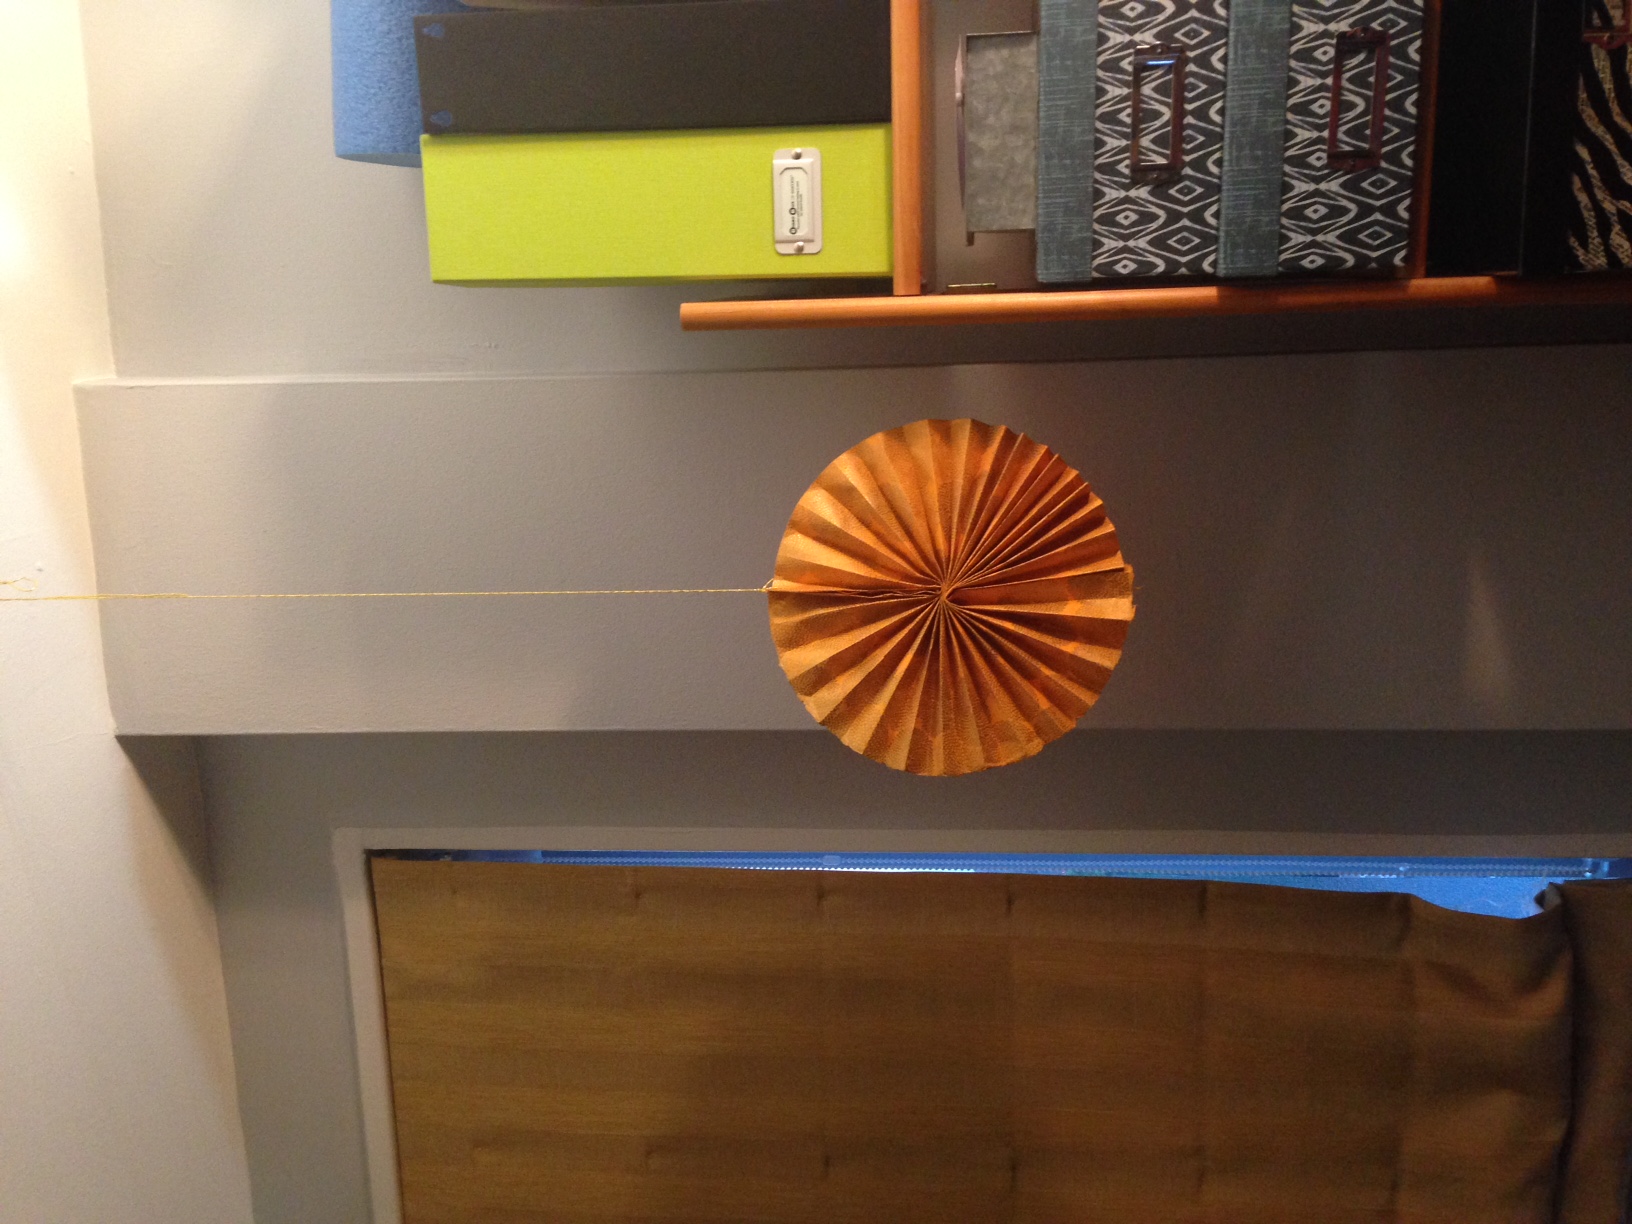
I hung it from the ceiling in our bedroom using a tiny Command tab cable hook that very evening. Whenever the air blows in from window, the rosette sways and twirls like a mobile. We absolutely love it (and it hangs there to this day).
Medium-sized rosettes
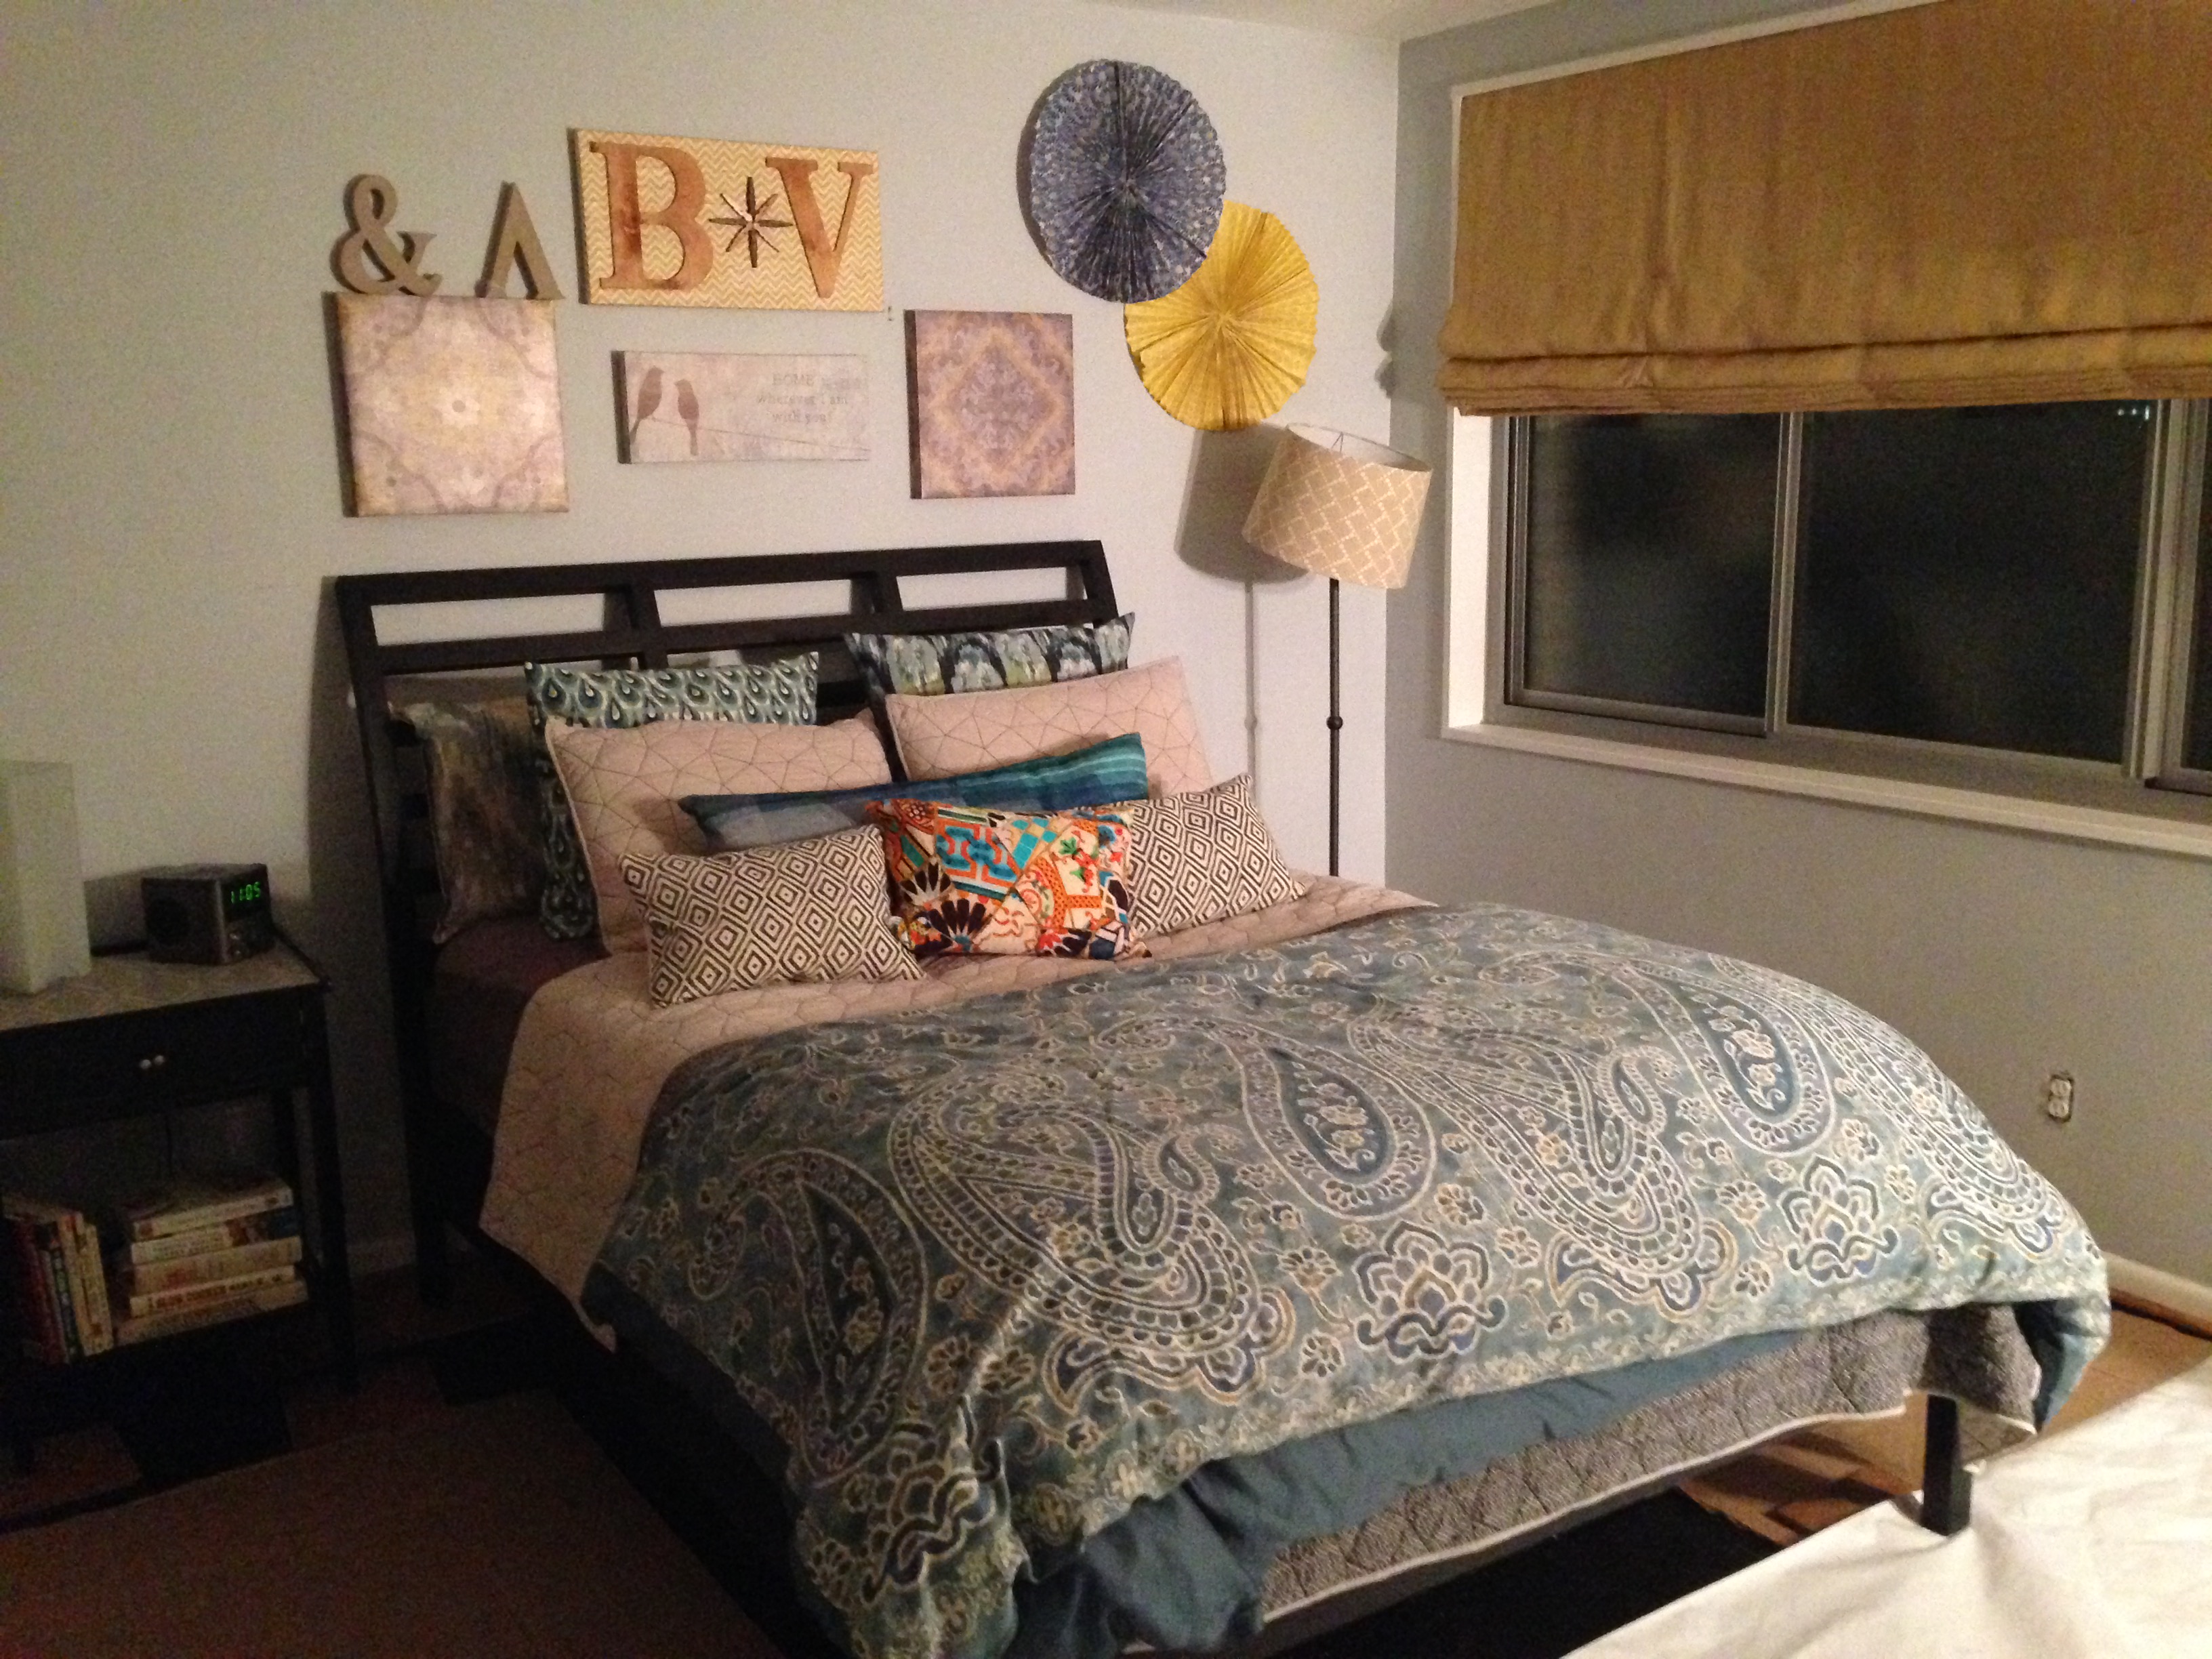
I then moved on to use two sheets of 20 x 30 inch paper (also from Paper Source) to create medium sized rosettes (shown here in the bedroom). I used the same method as the single sheet, but I joined both folded pieces using double-sided tape to make one very long accordion. I then cinched and tied the middle, and then fanned out both sides.
Here are two that I made for the bedroom. Instead of hanging them from the ceiling using string, I used the string loop from the tie in the middle and hung it on the wall using a small Command hook.
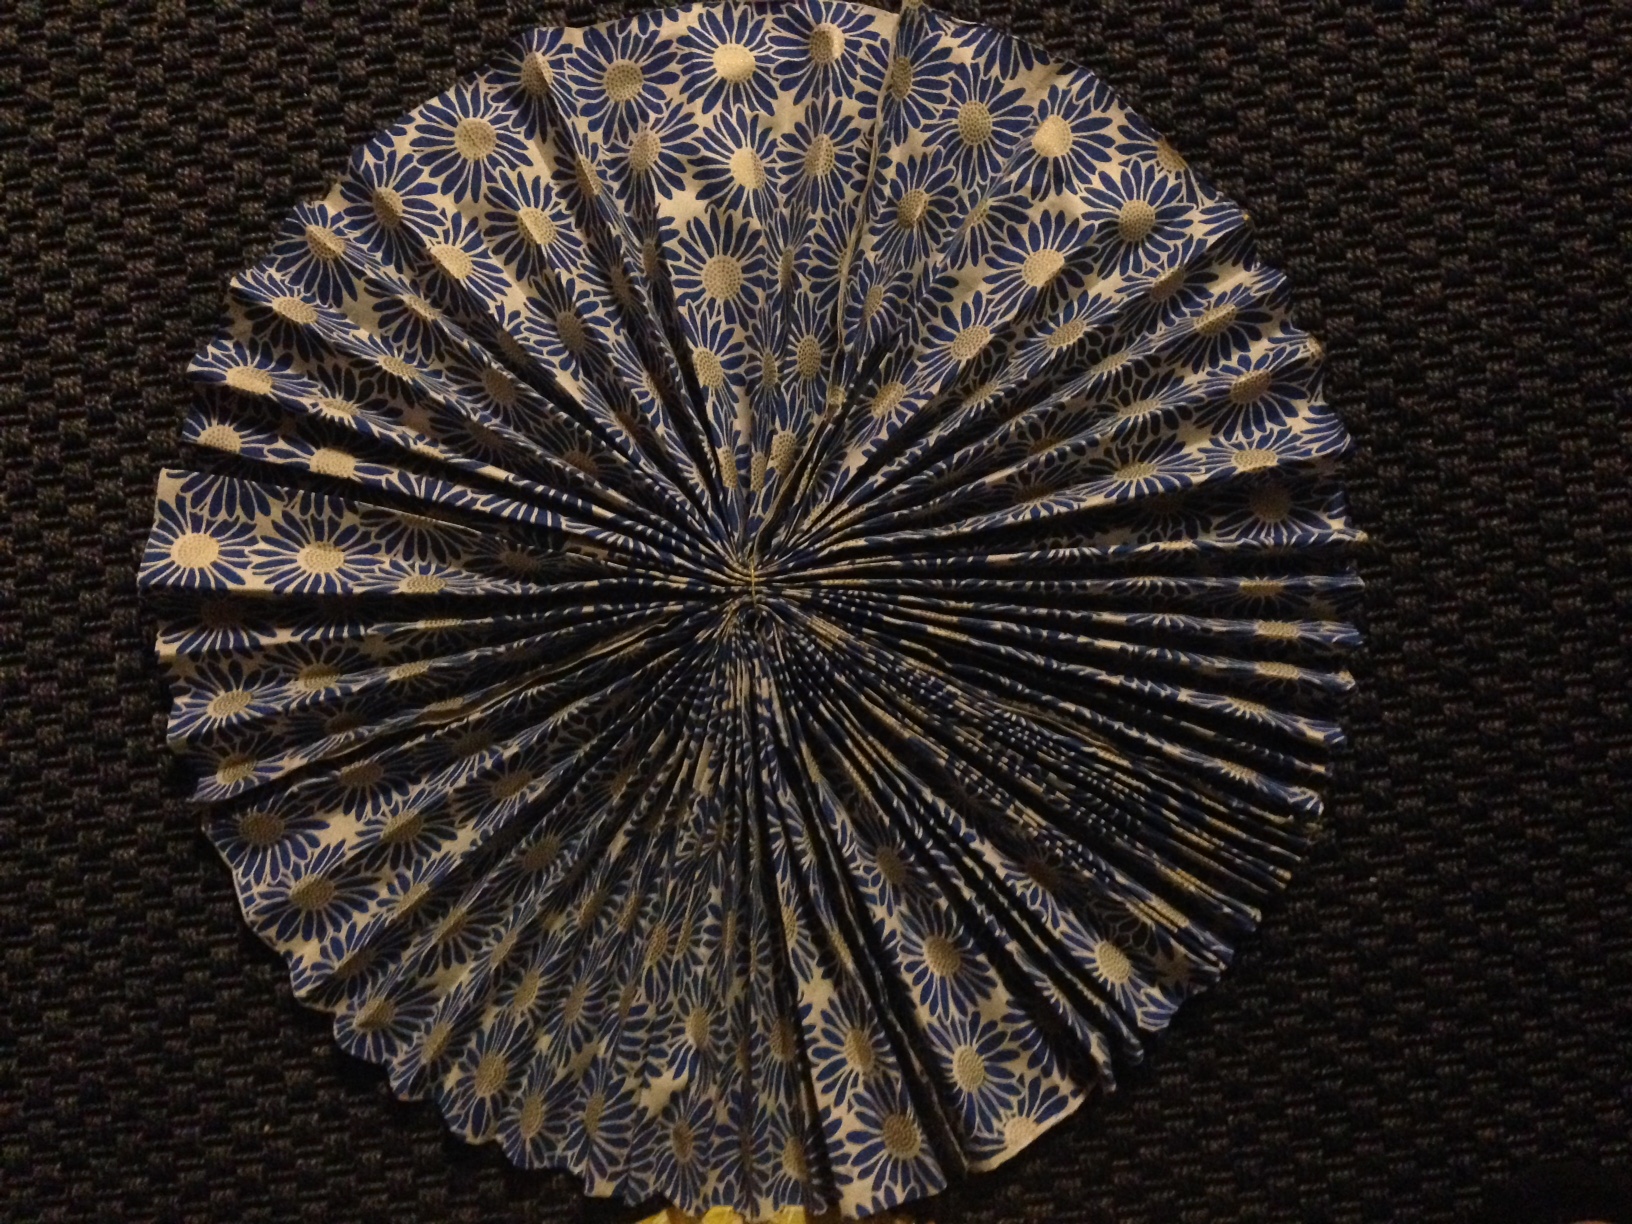
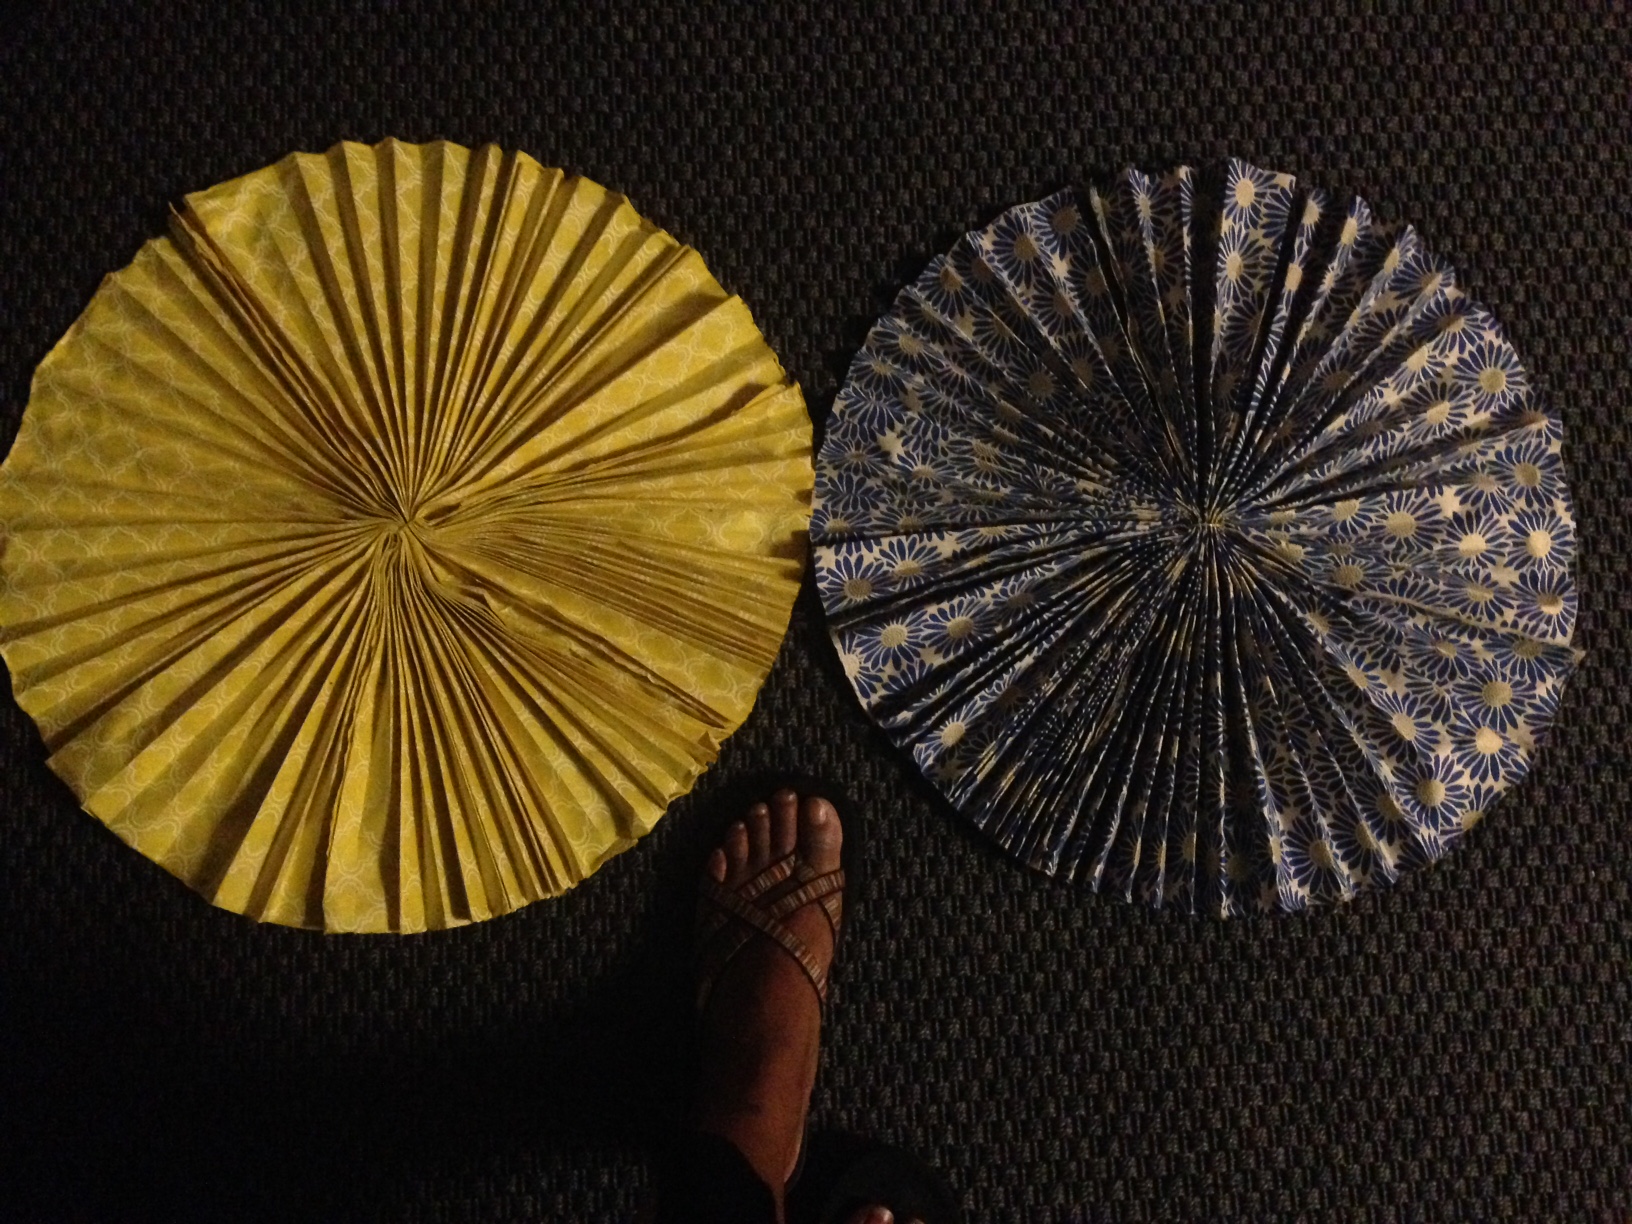
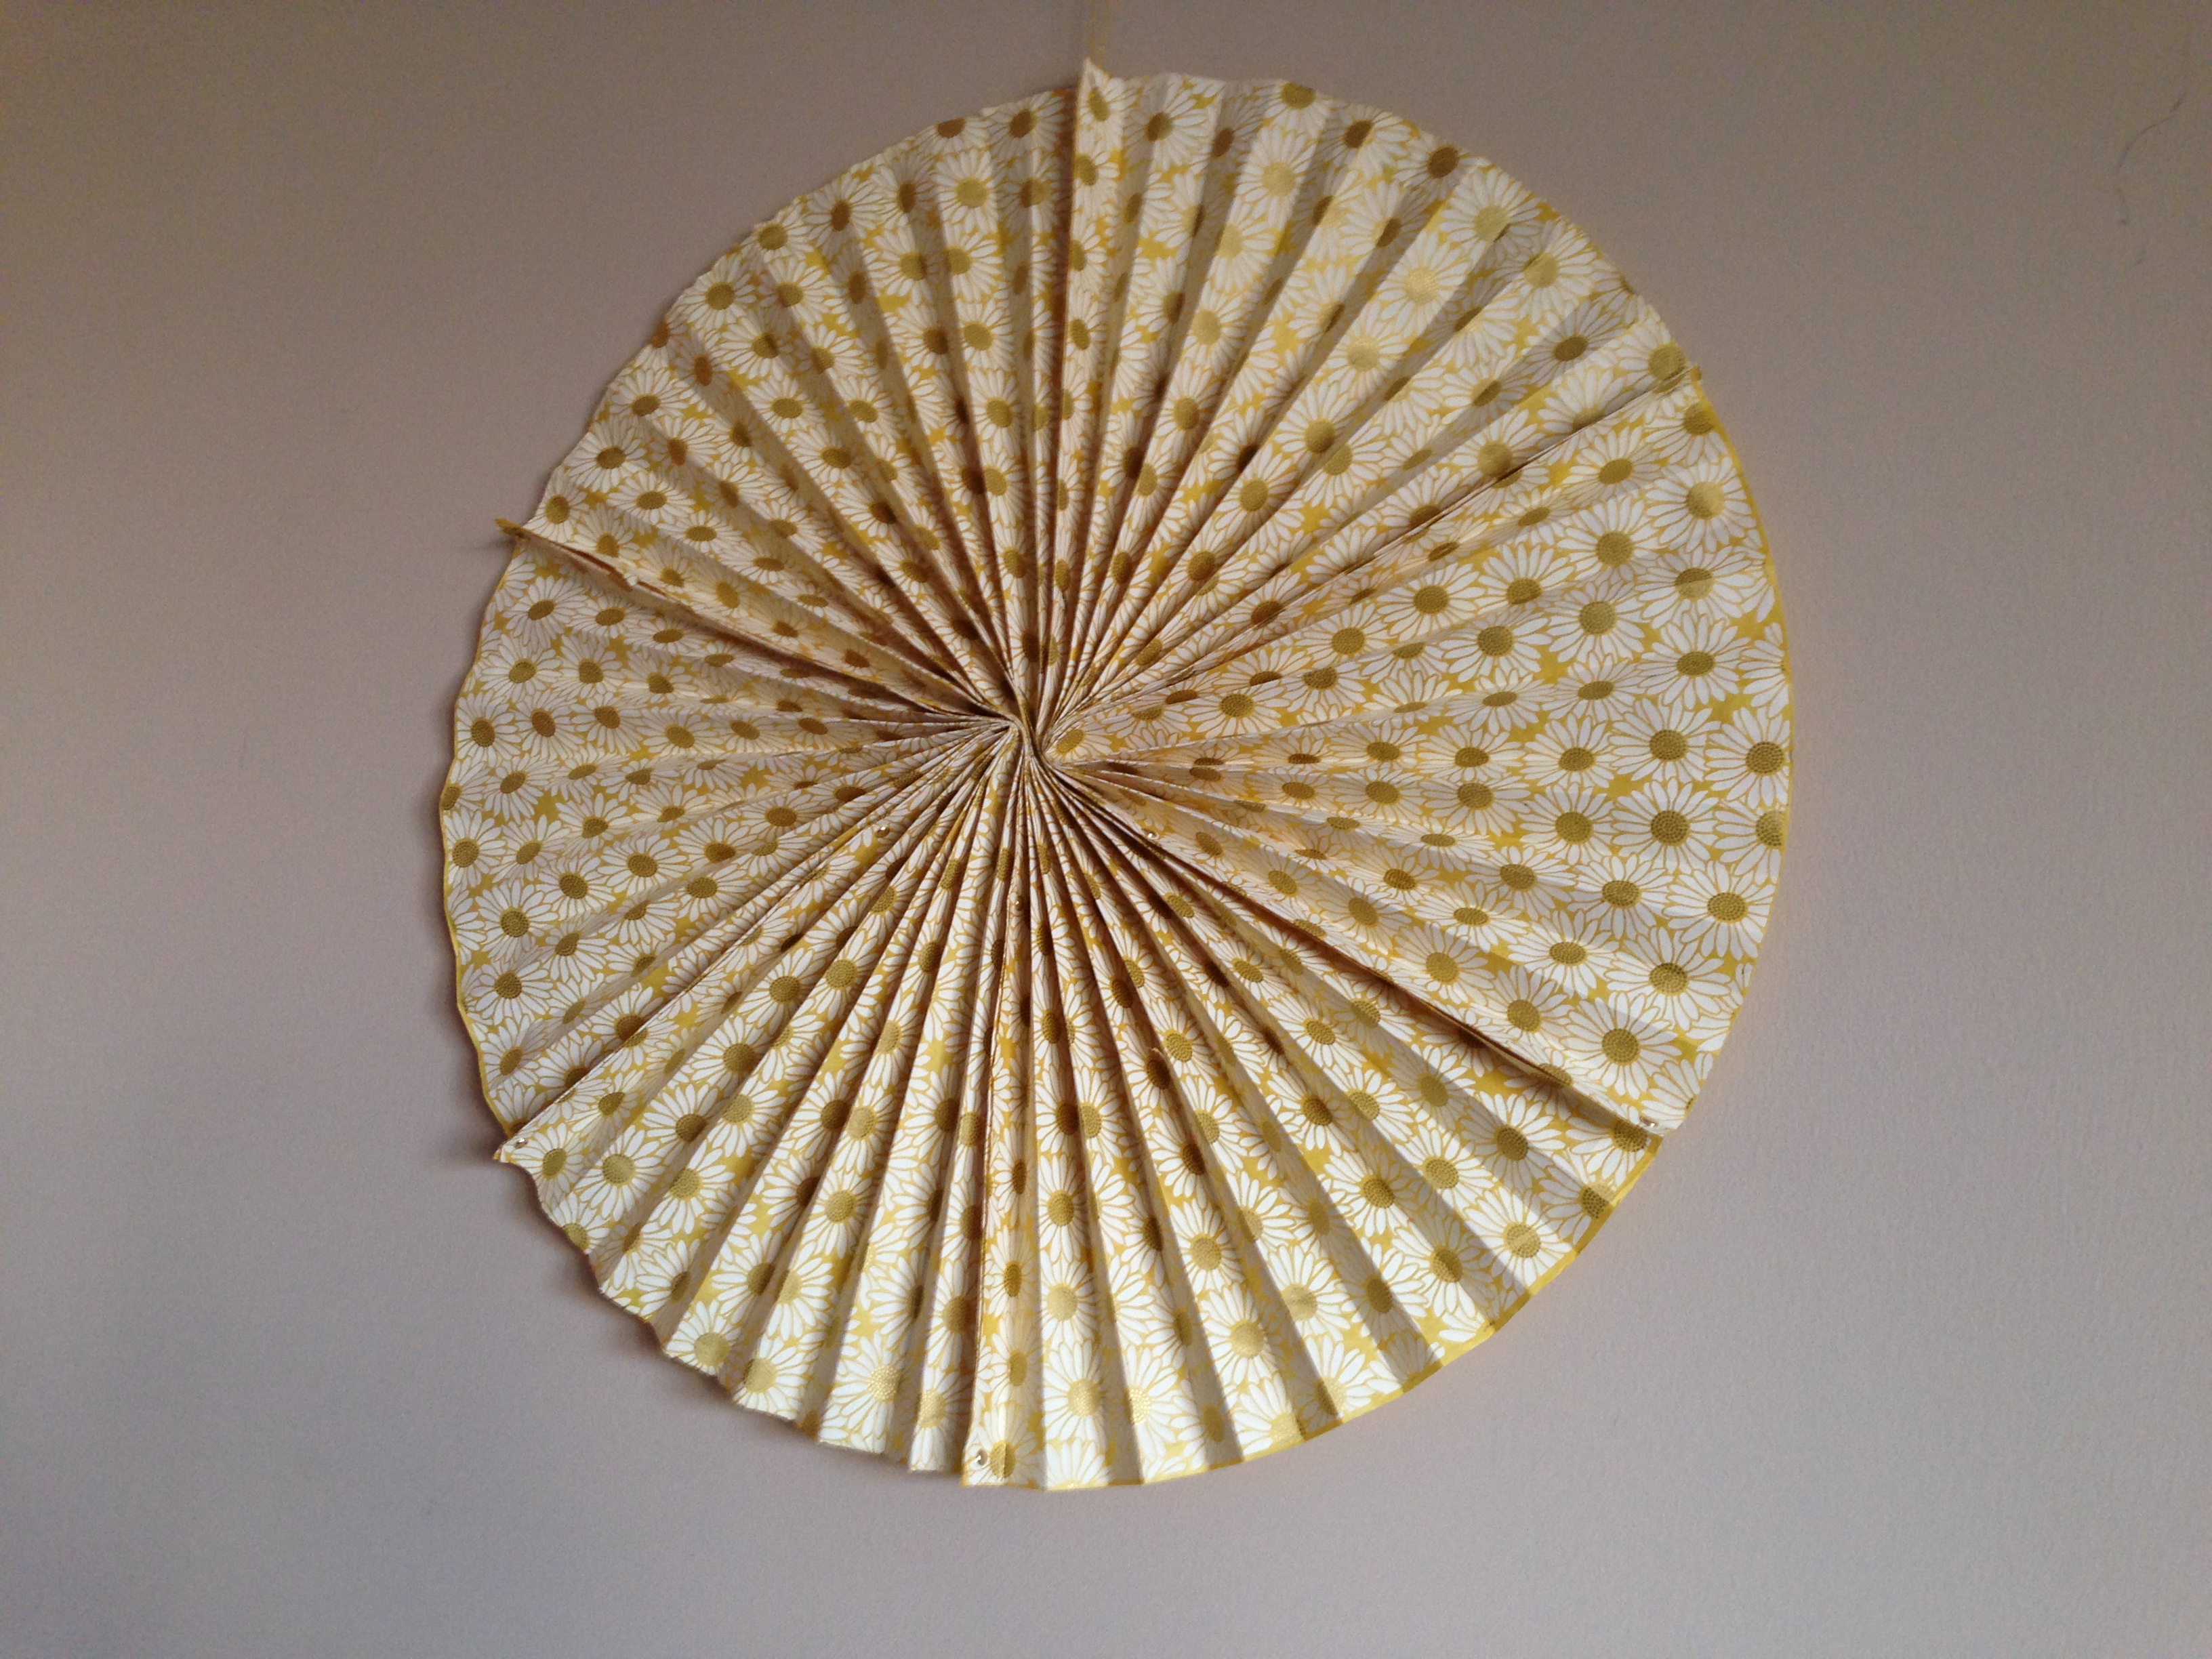
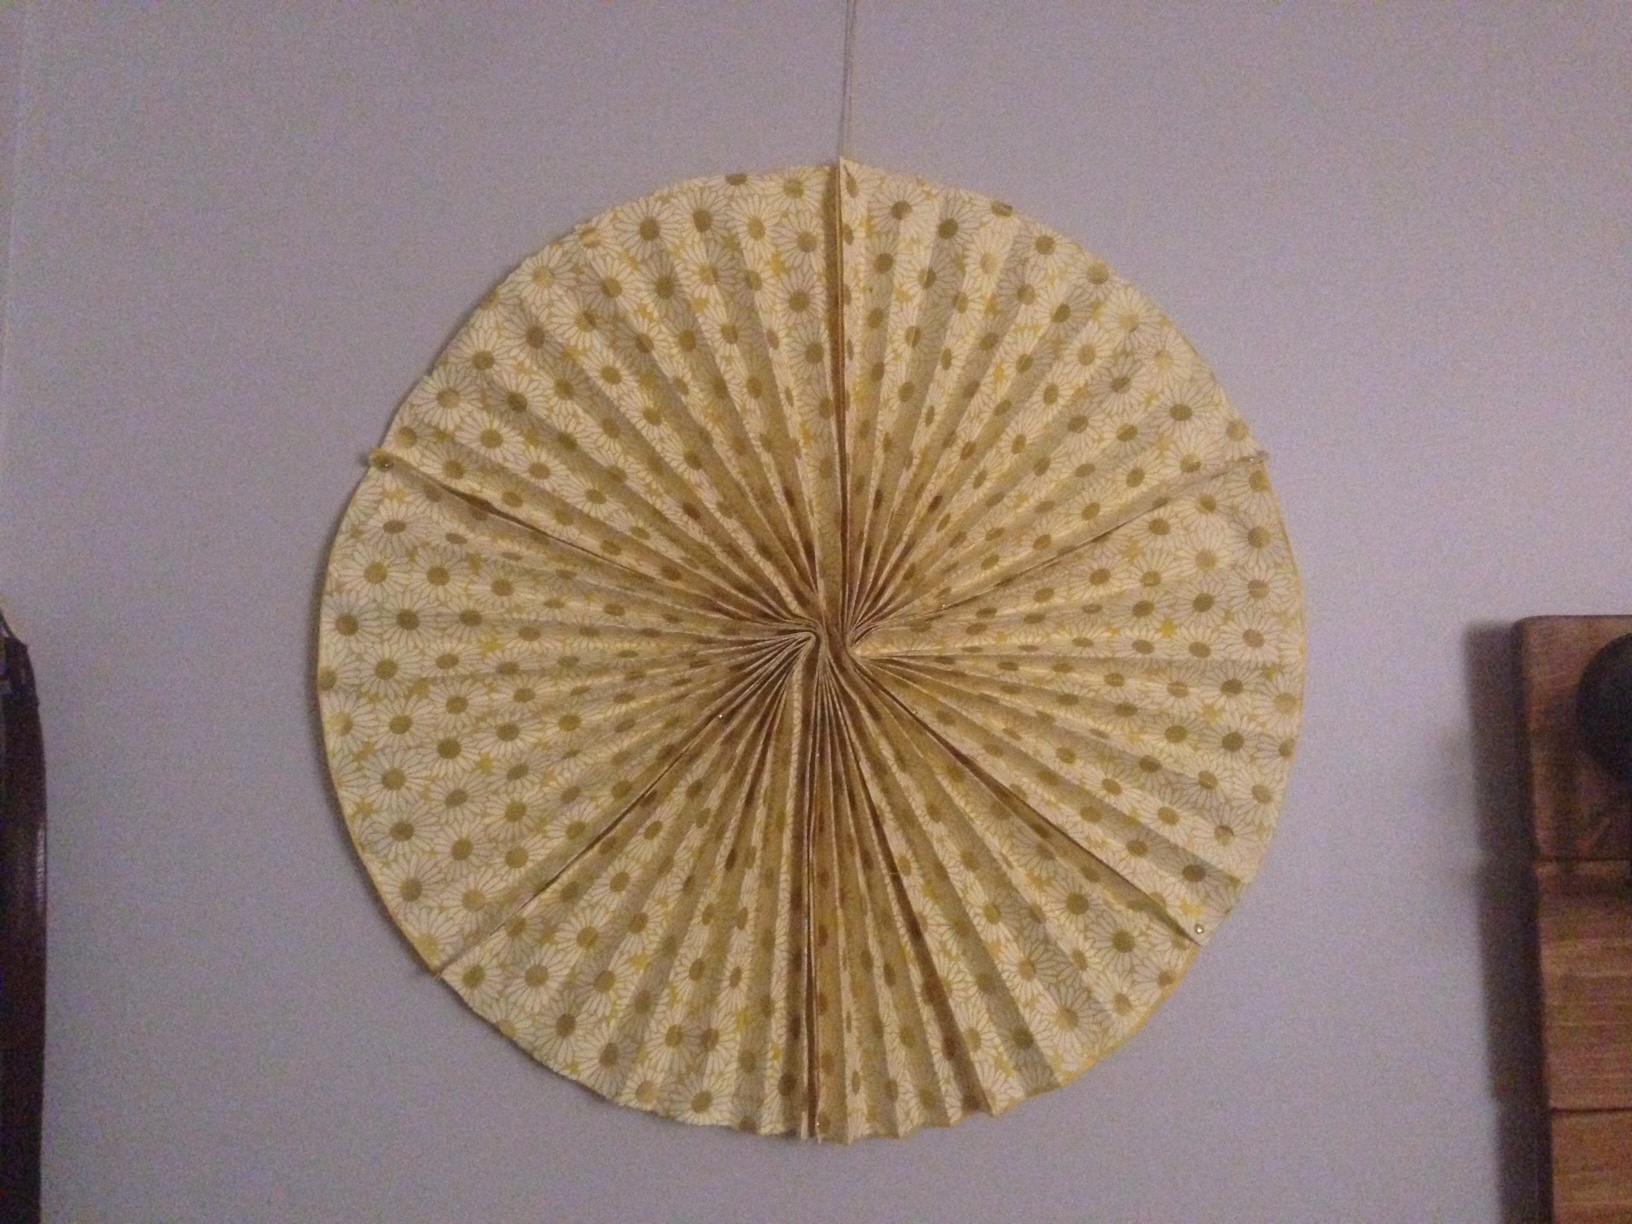
Jumbo Size Rosette
I wanted to then immediately move on to make a jumbo sized rosette (like the ones I often see in the store). So wonderfully big, bold, bright and beautiful, especially when the high-quality paper is used.
I thought figuring out the paper sizes and making the folds would be tricky, but the Paper Source team came to my rescue again. This time, use three 20 x 30 inch sheets, fold each in an accordion, and then fold each accordion in half to make two triangles. And then join the triangles together.
They even gave me a great tip for making the accordion folds. Lose the scoring board and just keep folding the paper in half! So incredibly simple!!! I never felt the need to pick up the tiny scoring board again (way to small and short for the length of paper I was using).

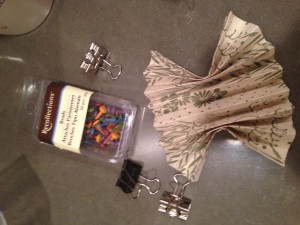
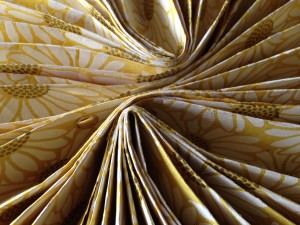
Although the method of folding paper into an accordion is a very simple one, perfect execution proved to be a big challenge for me (let’s just say many of my folds were woefully uneven – different widths and angles – hardly any of them straight). It took sometime for me to perfect my folds (with the help of my reliable binder clips of course).

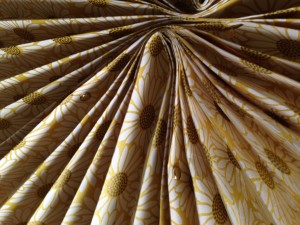
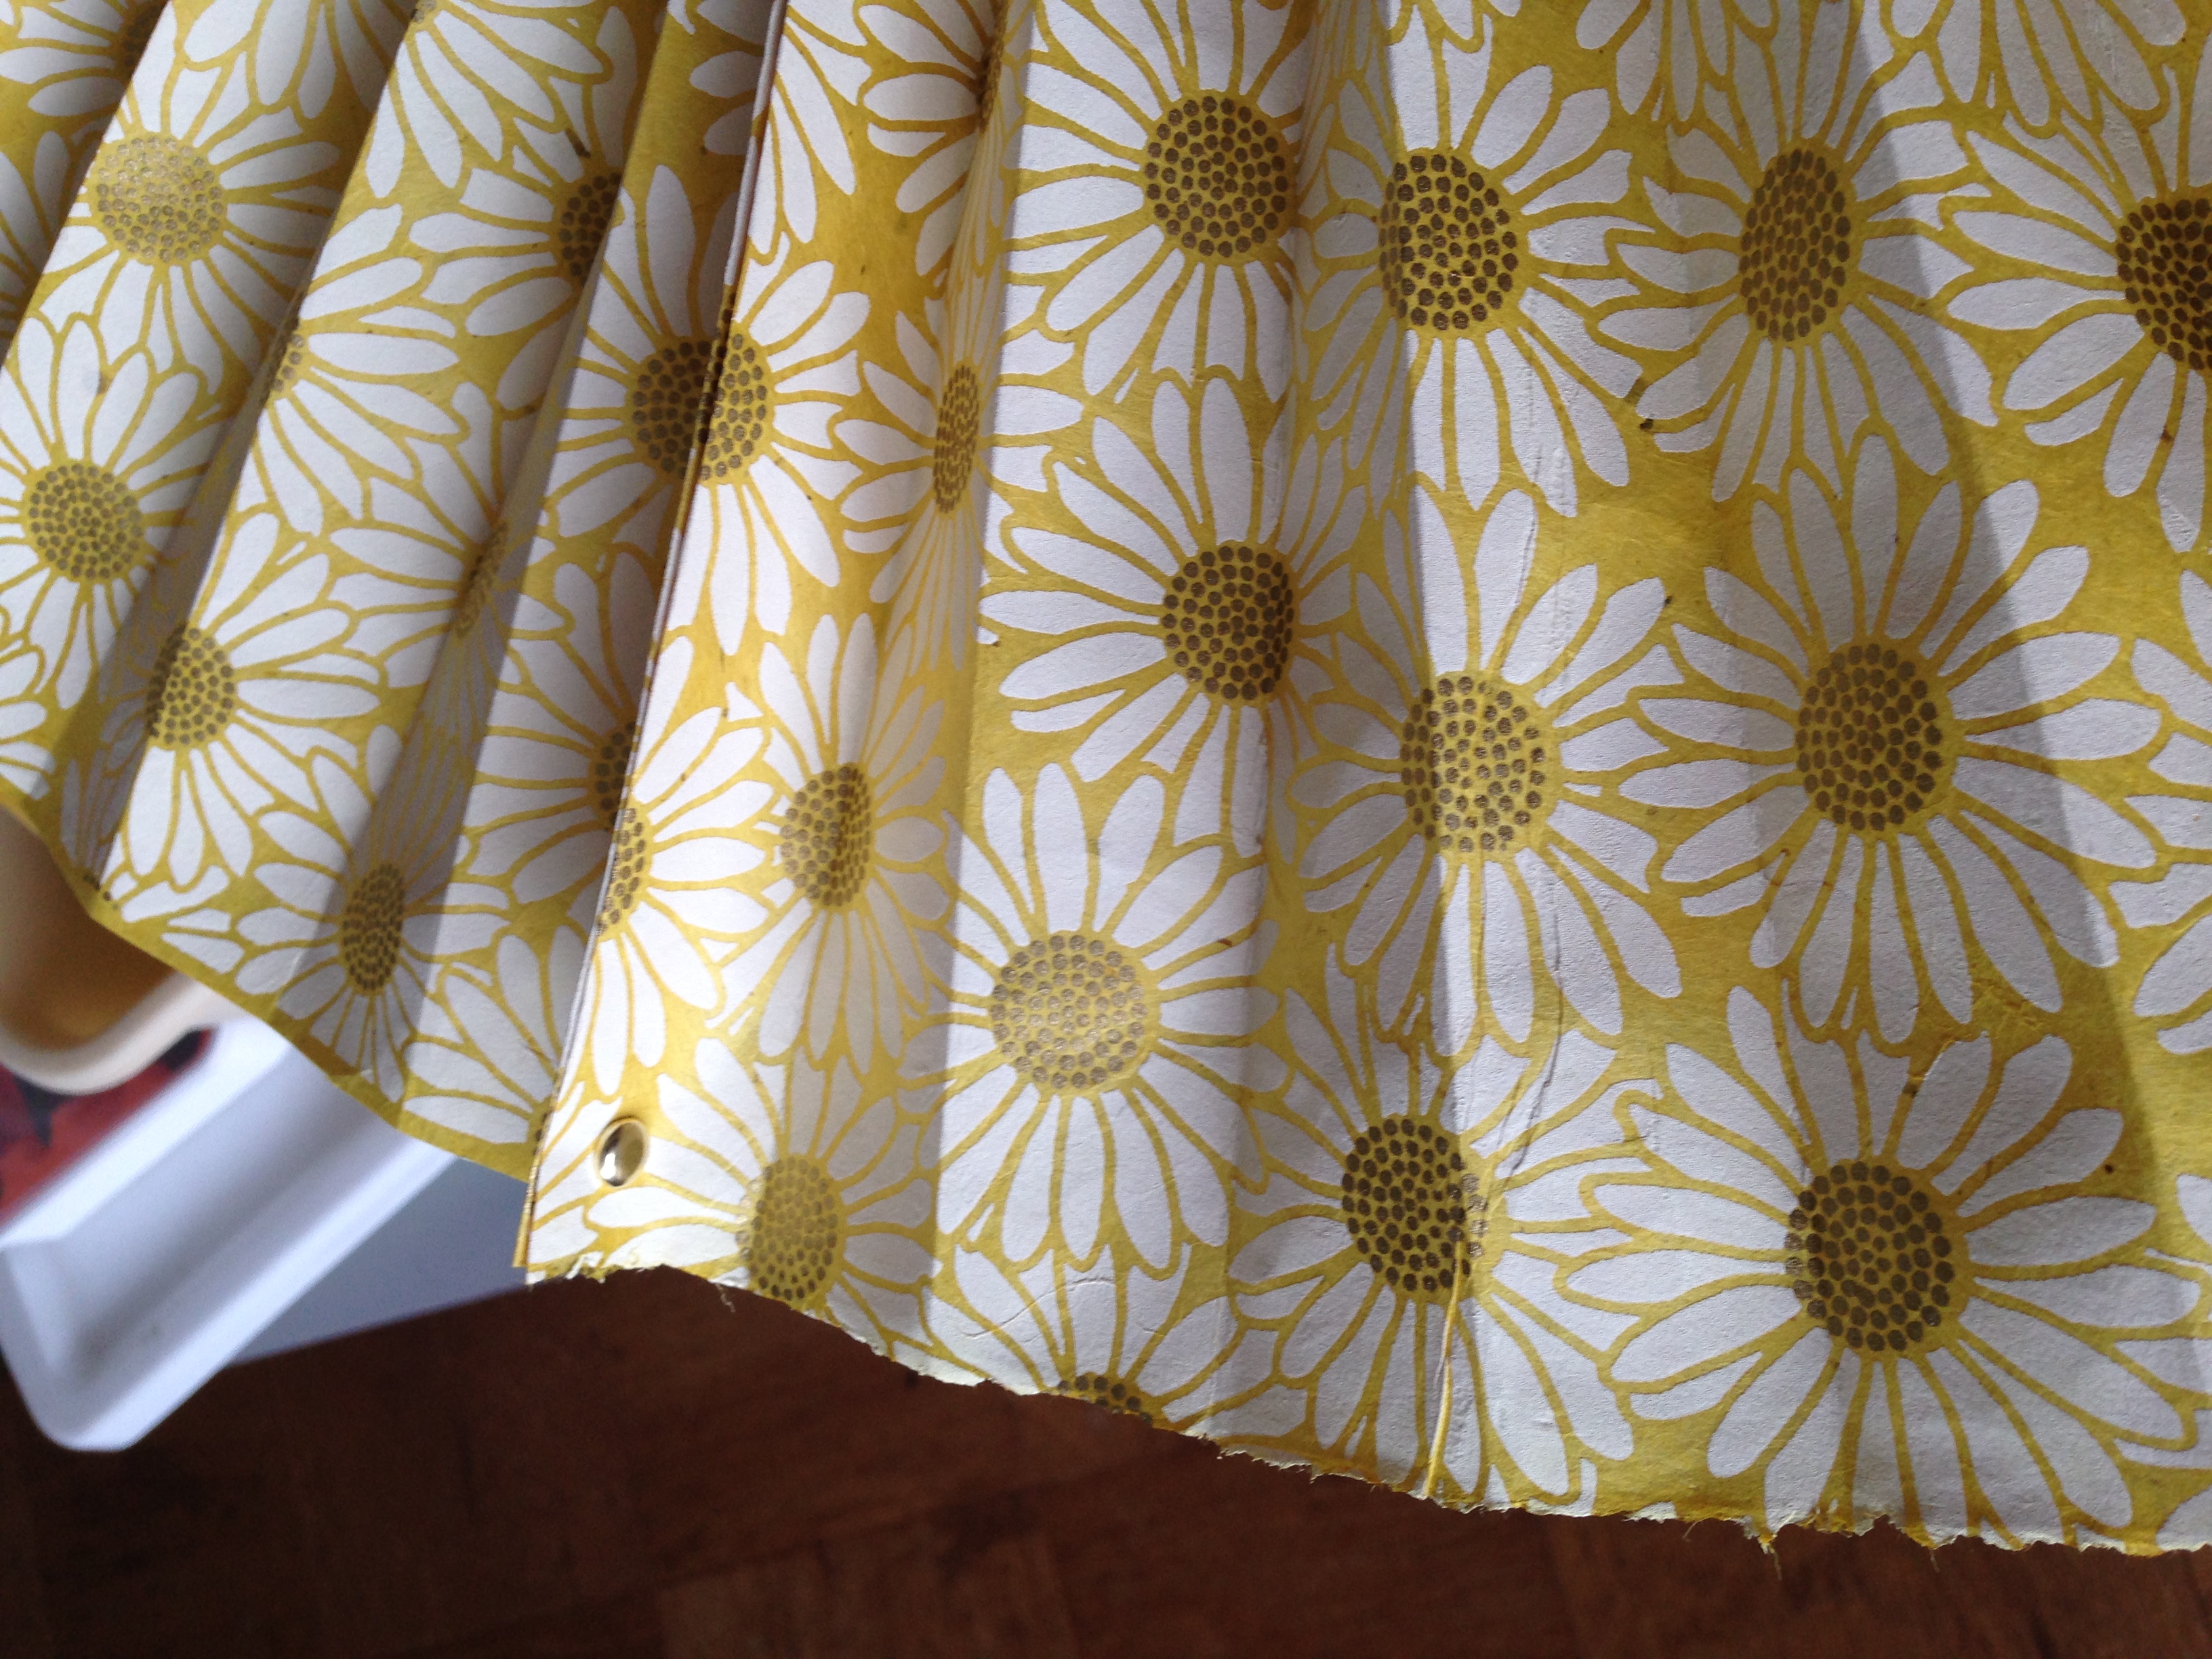
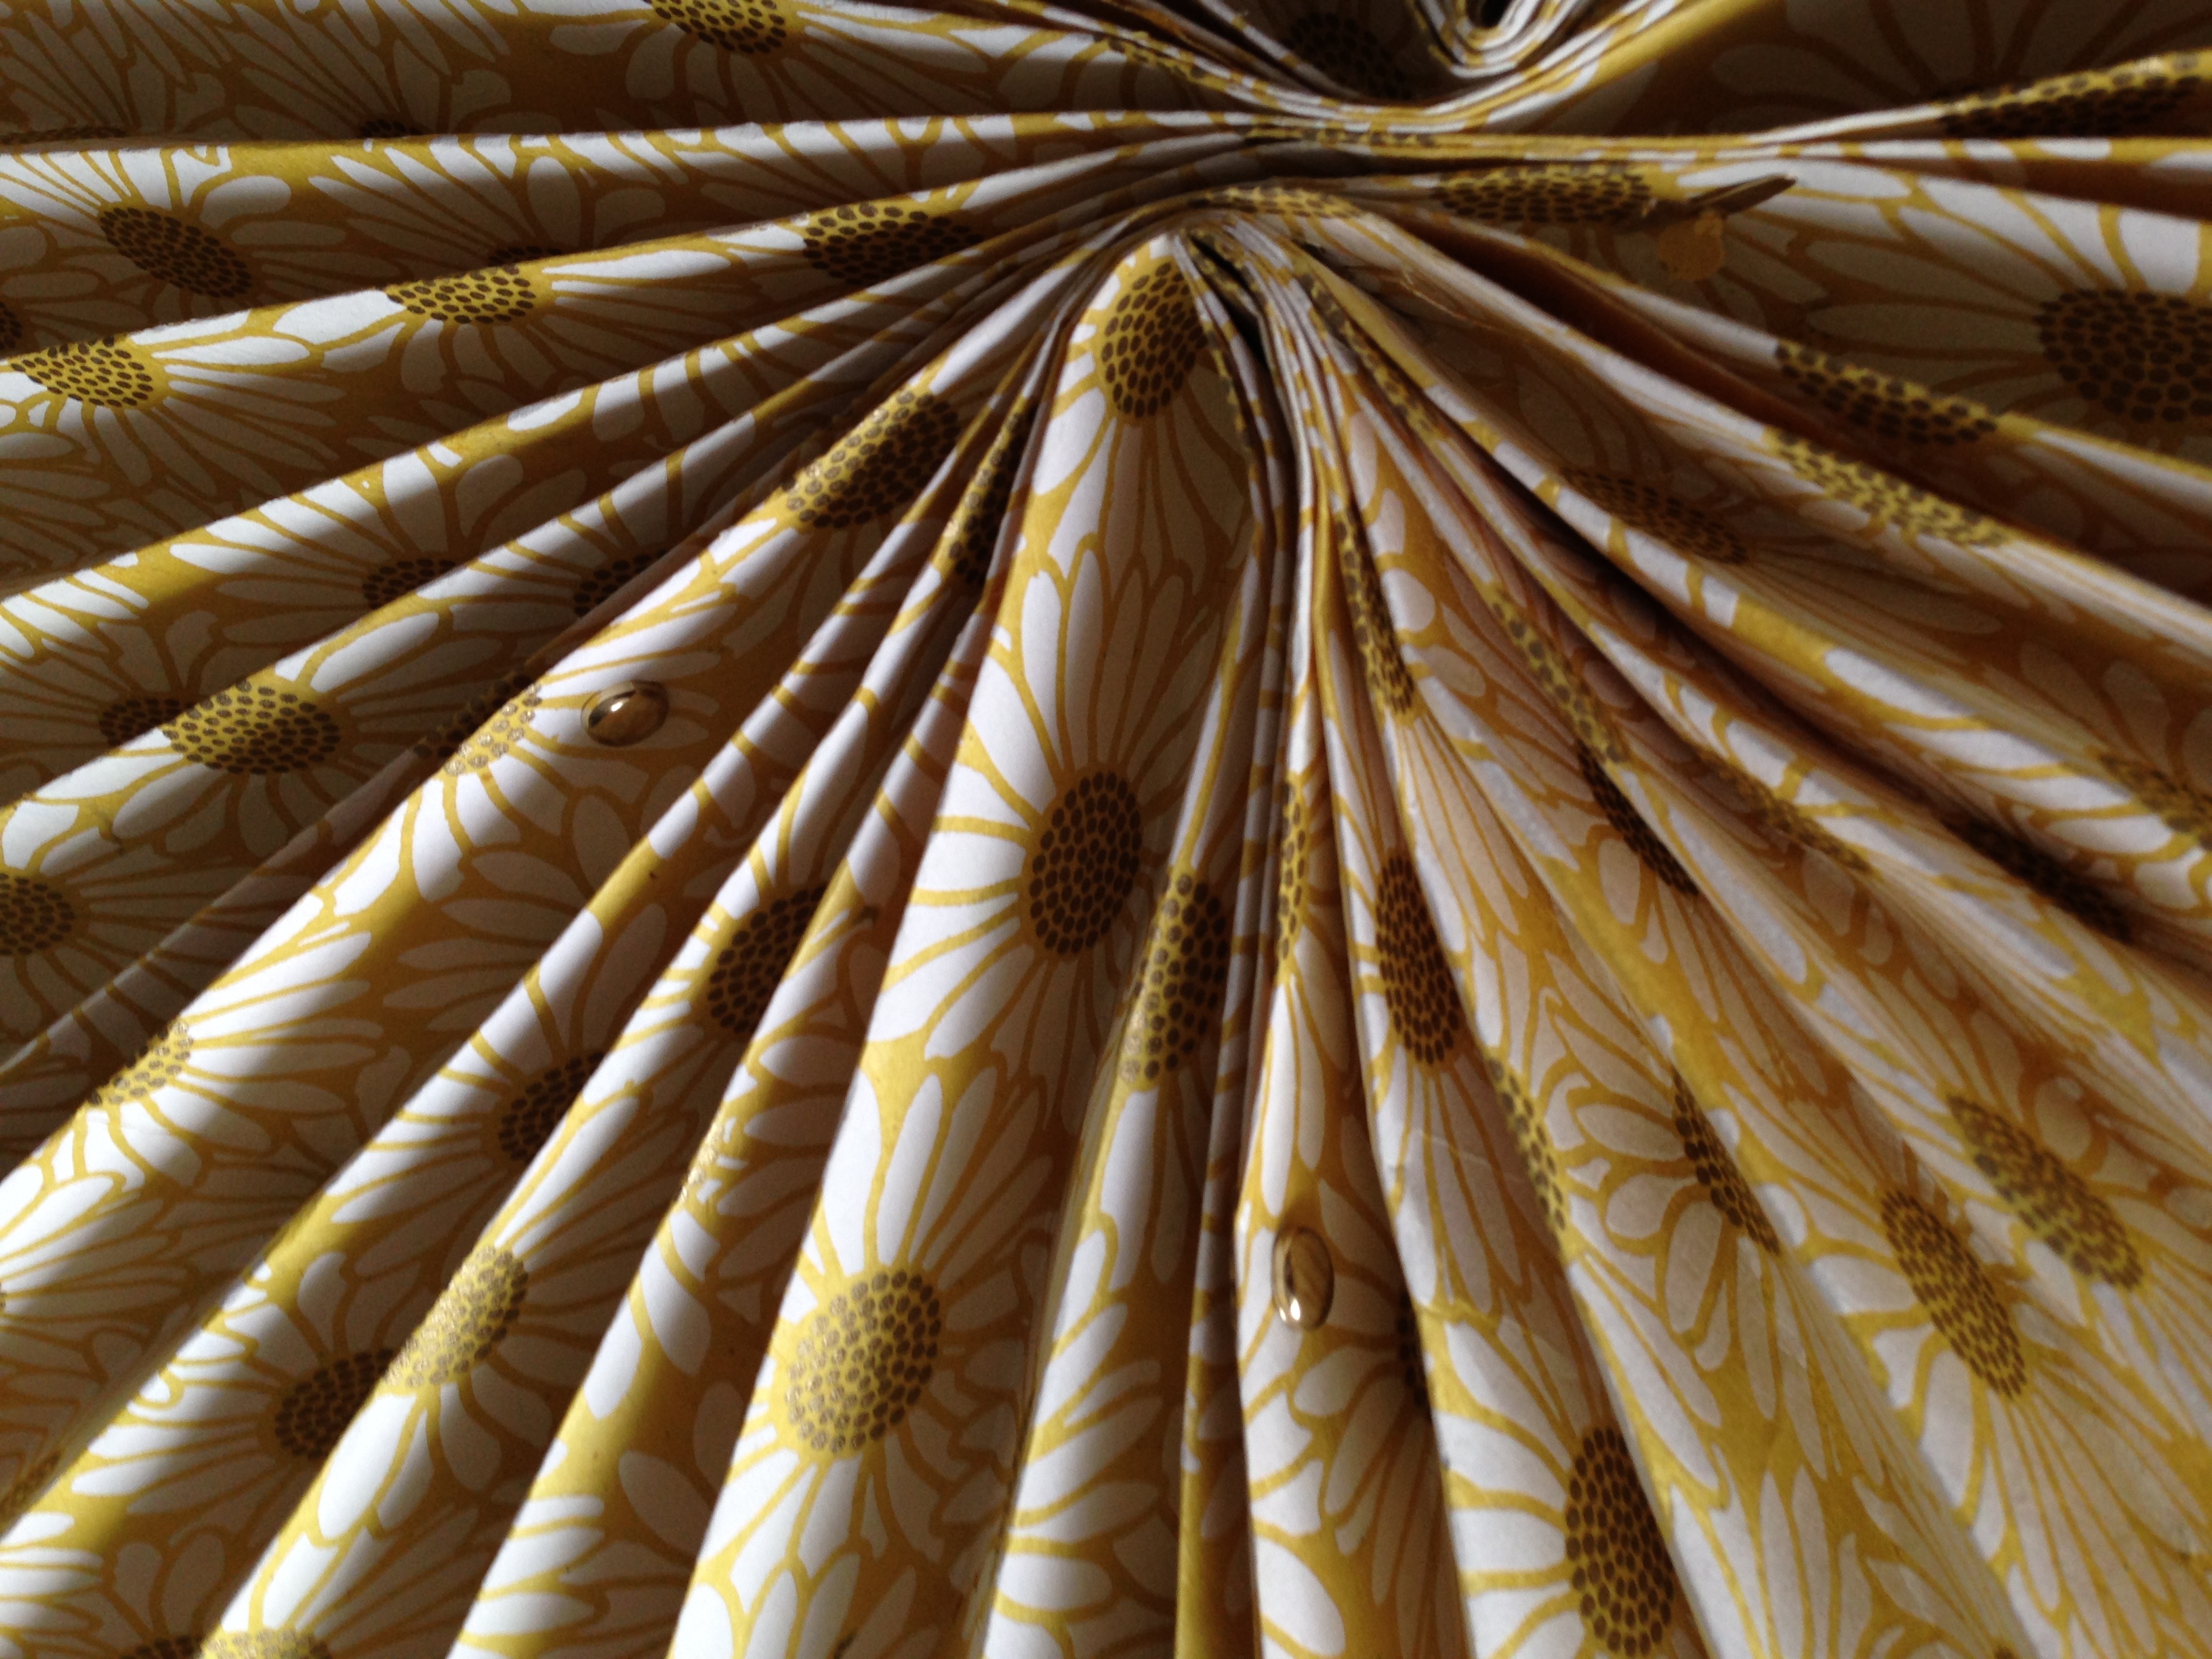
The challenge with using the pie-slice method (once again, a Vida-coined term)? Joining the points of each triangle in the middle. I couldn’t use a simple cinch to tie the pieces together. The most-widely used convention is to glue the pieces together, but I found that the folds would loosen and come apart. And the rosette would eventually swell in the middle until the three pieces pulled apart. Not cool.
Enter my secret-weapon – brads! I placed strategic hole-punches at the bottom of each accordion triangle (where the pieces meet in the middle). I then used brads to fasten each piece together. Worked like a charm.
This worked so well, in face that I quit using tape and glue for other big size rosettes from then on out. What’s even better is that if I want to ever take the rosette down, I can remove the brads, refold each triangle and tuck them away – hardly any storage space needed.
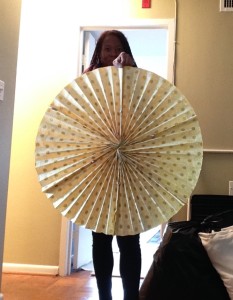
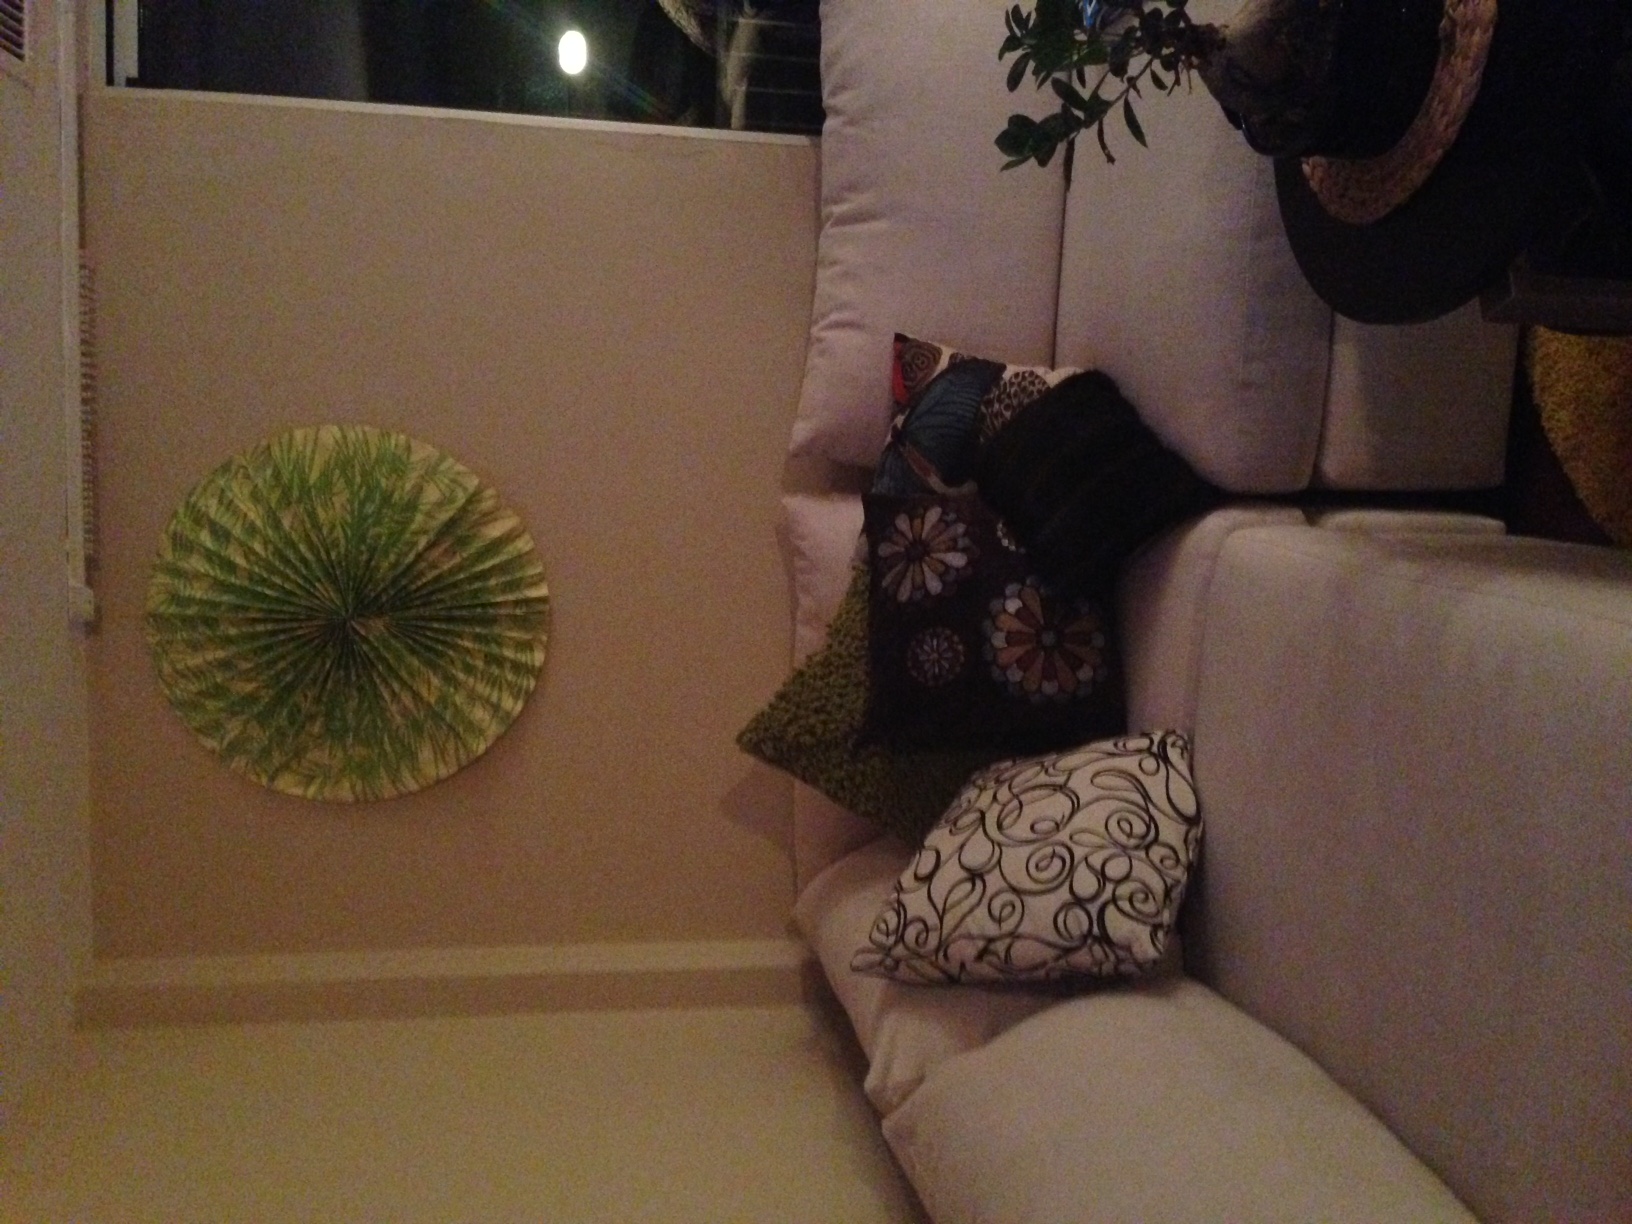
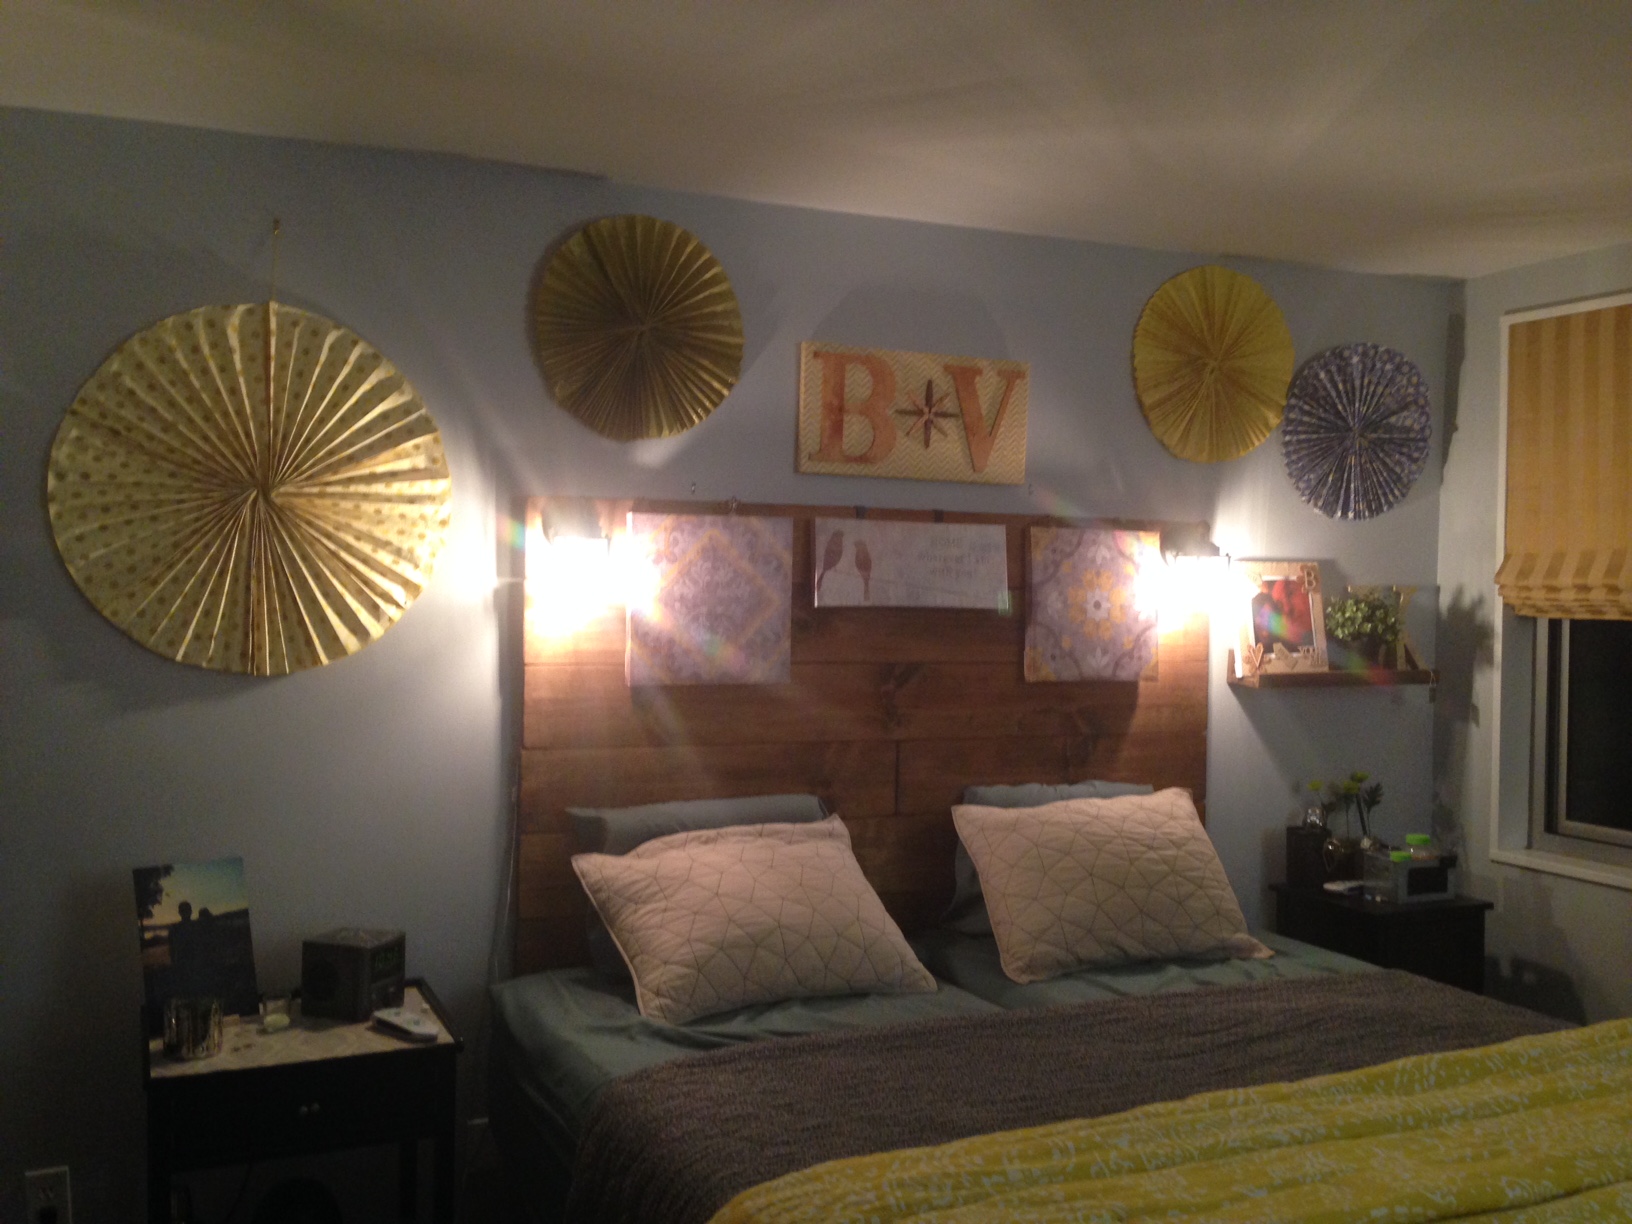
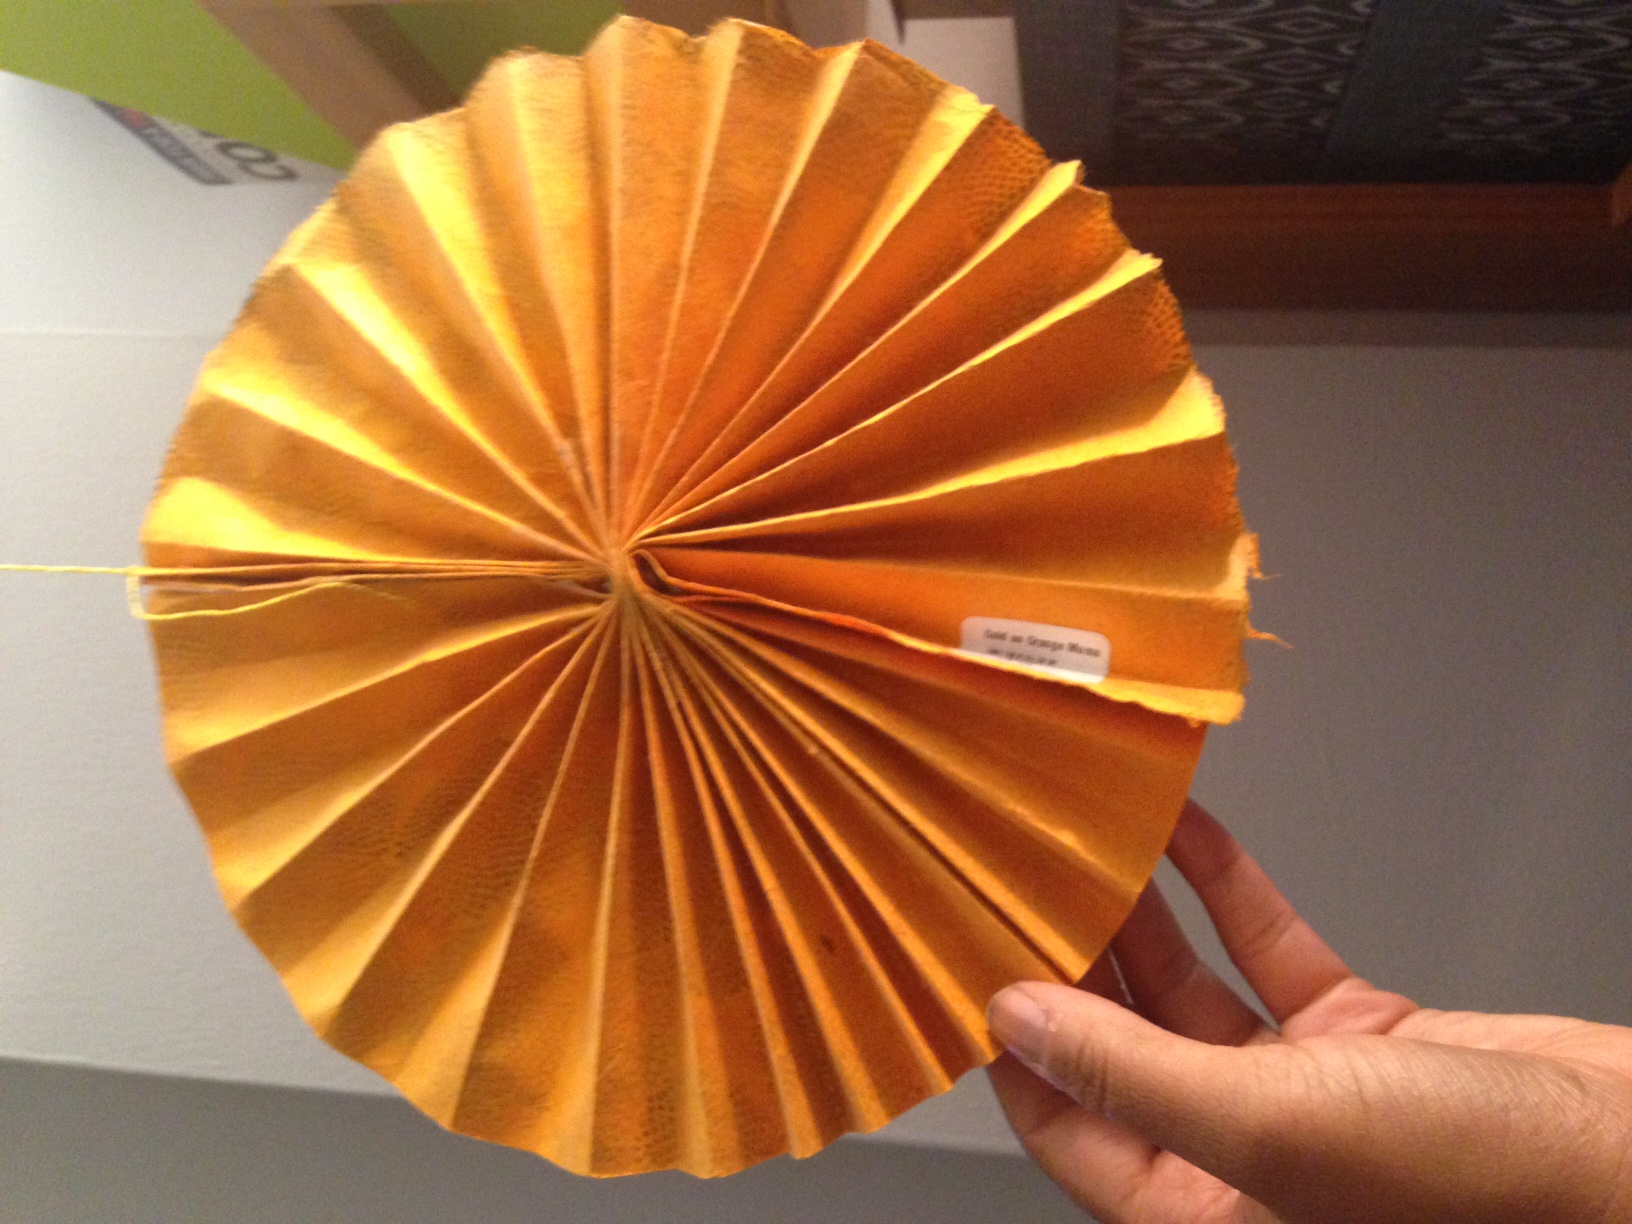
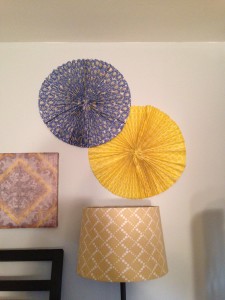
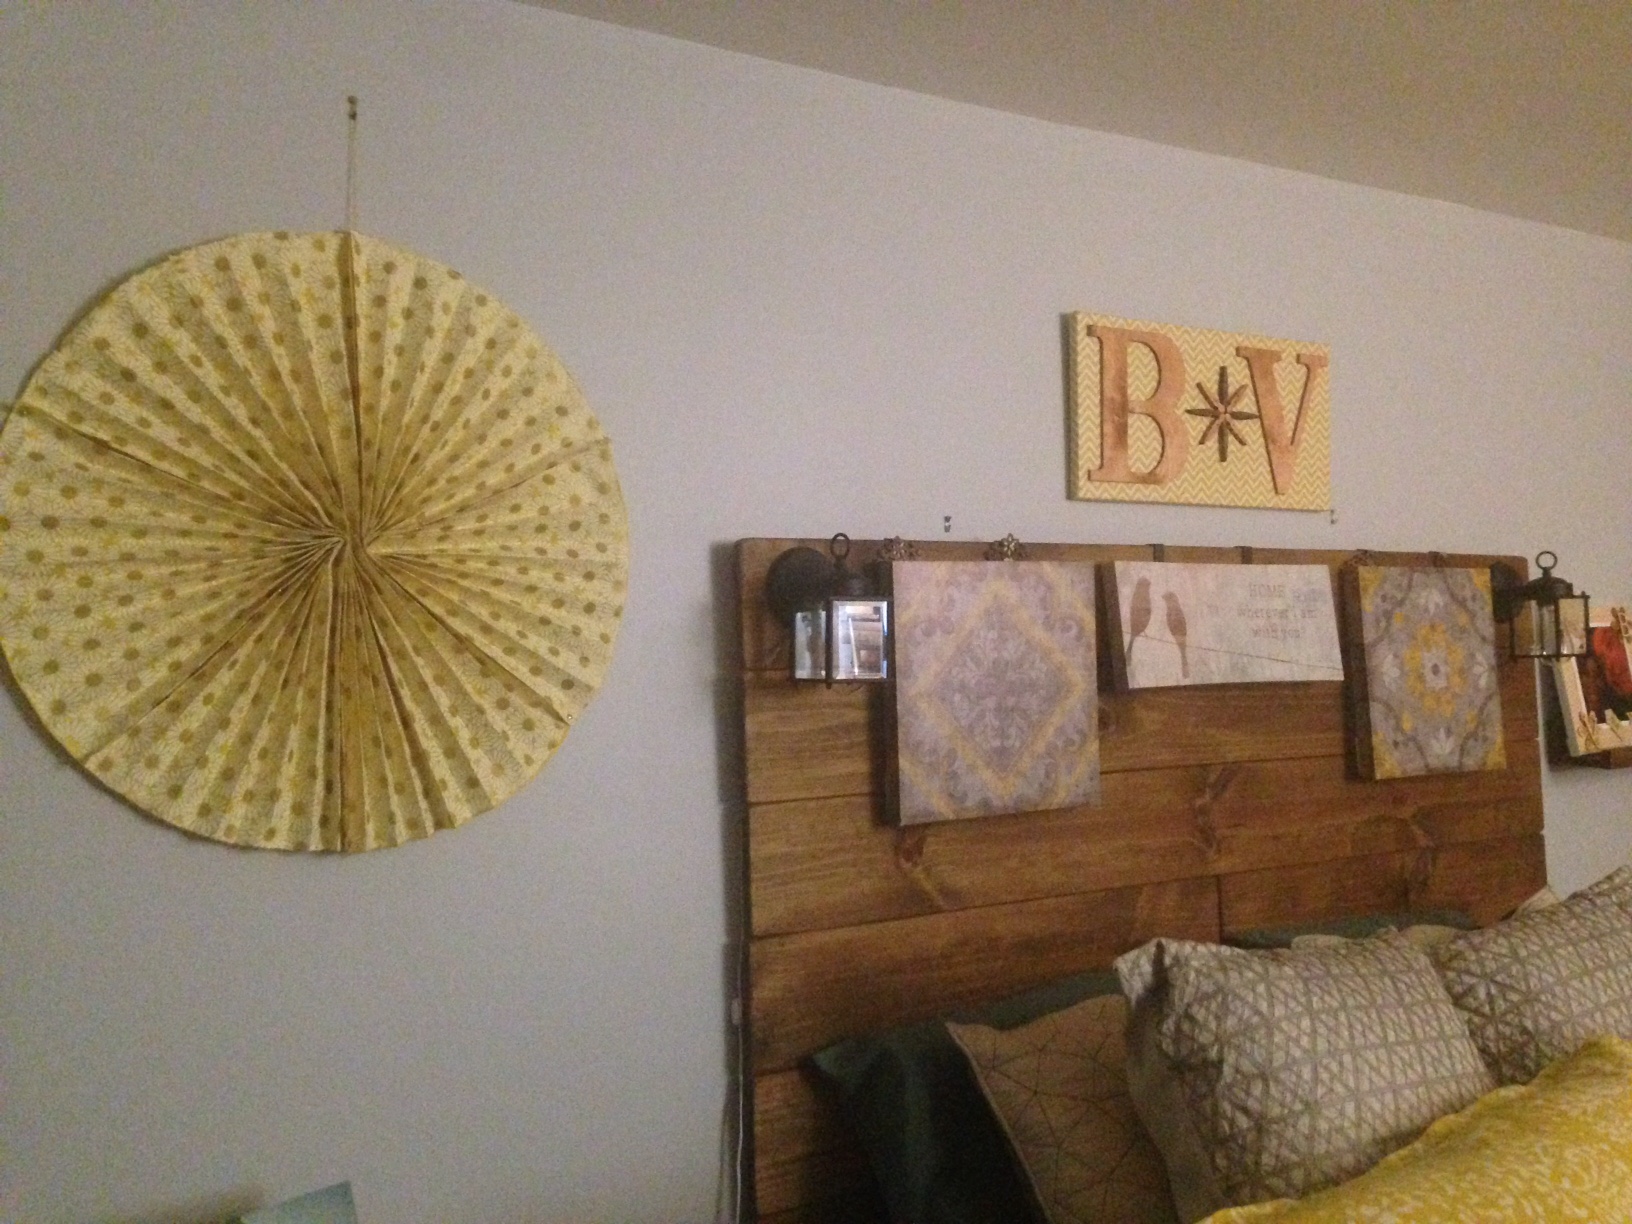
This yellow daisy rosette has been used as wall decor in the living and bedroom on different walls. As of now, it hangs in the bedroom on a wall that we have yet to decide what to do with (I vote for picture ledges – Bruce for bare wall – sigh). So this is where it will hang until we find a new home for it.
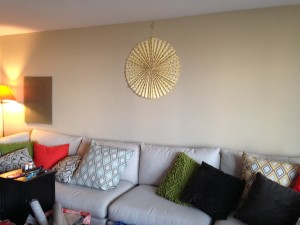
And it’s sister rosette (made about a month later) will continue to hang above the corner sectional nook until I finally put more floating wood shelves up! V-