Wood Letter Canvases (Learning to Mod Podge with paper)
After getting my crafting feet wet again with the “Owl Be Forever Grateful” cards in November ’14, I was hungry for new projects that would add more skills to my arts and crafts repertoire. I practically lived in my neighborhood Paper Source store (and became obsessed with all things pretty paper – wrapping, folding, and, of course, gluing). After my successful test run at creating a paper rosette (using Paper Source scrap paper I bought four years earlier), I shifted my focus to figuring out how to decorate different objects with paper.
That sparked my interest in decoupage and my November Mod Podge newbie projects.

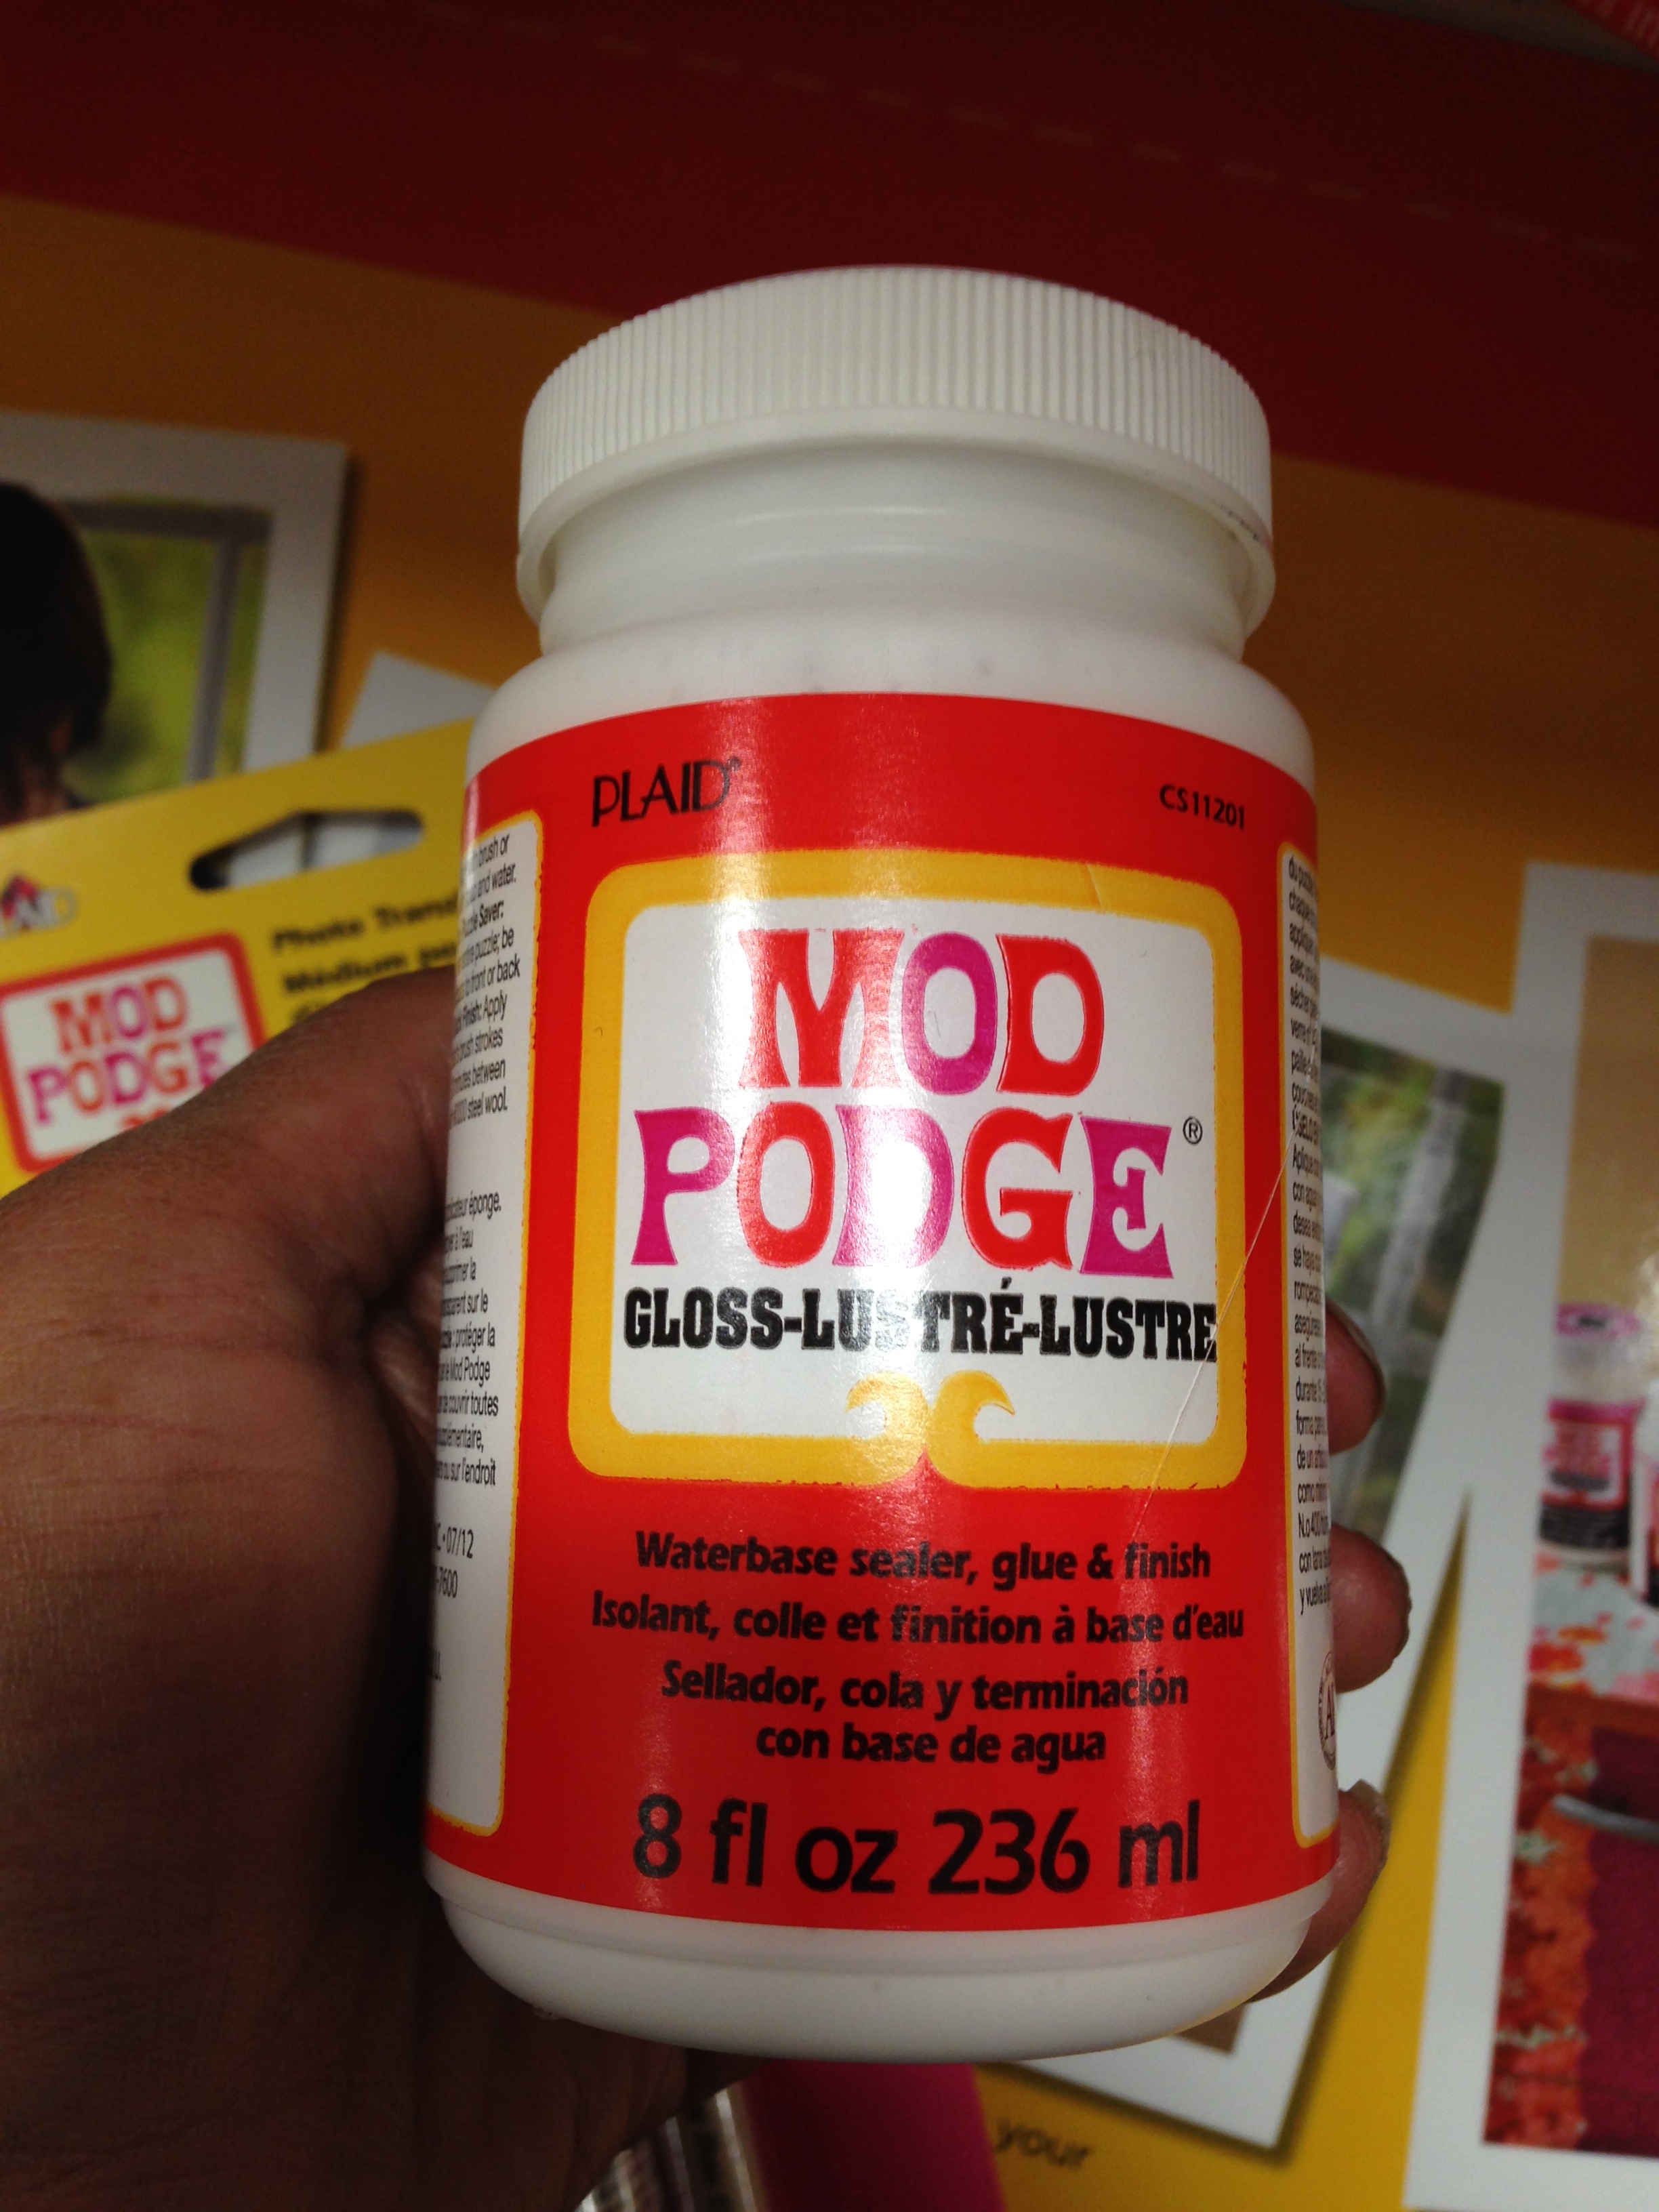
I knew nothing about decoupaging (or Mod Podge) and I was pretty nervous about getting started. I just knew this would be something I would undoubtedly screw up. After scouring Google Images for project ideas, I decided to start small with paper covered canvases.
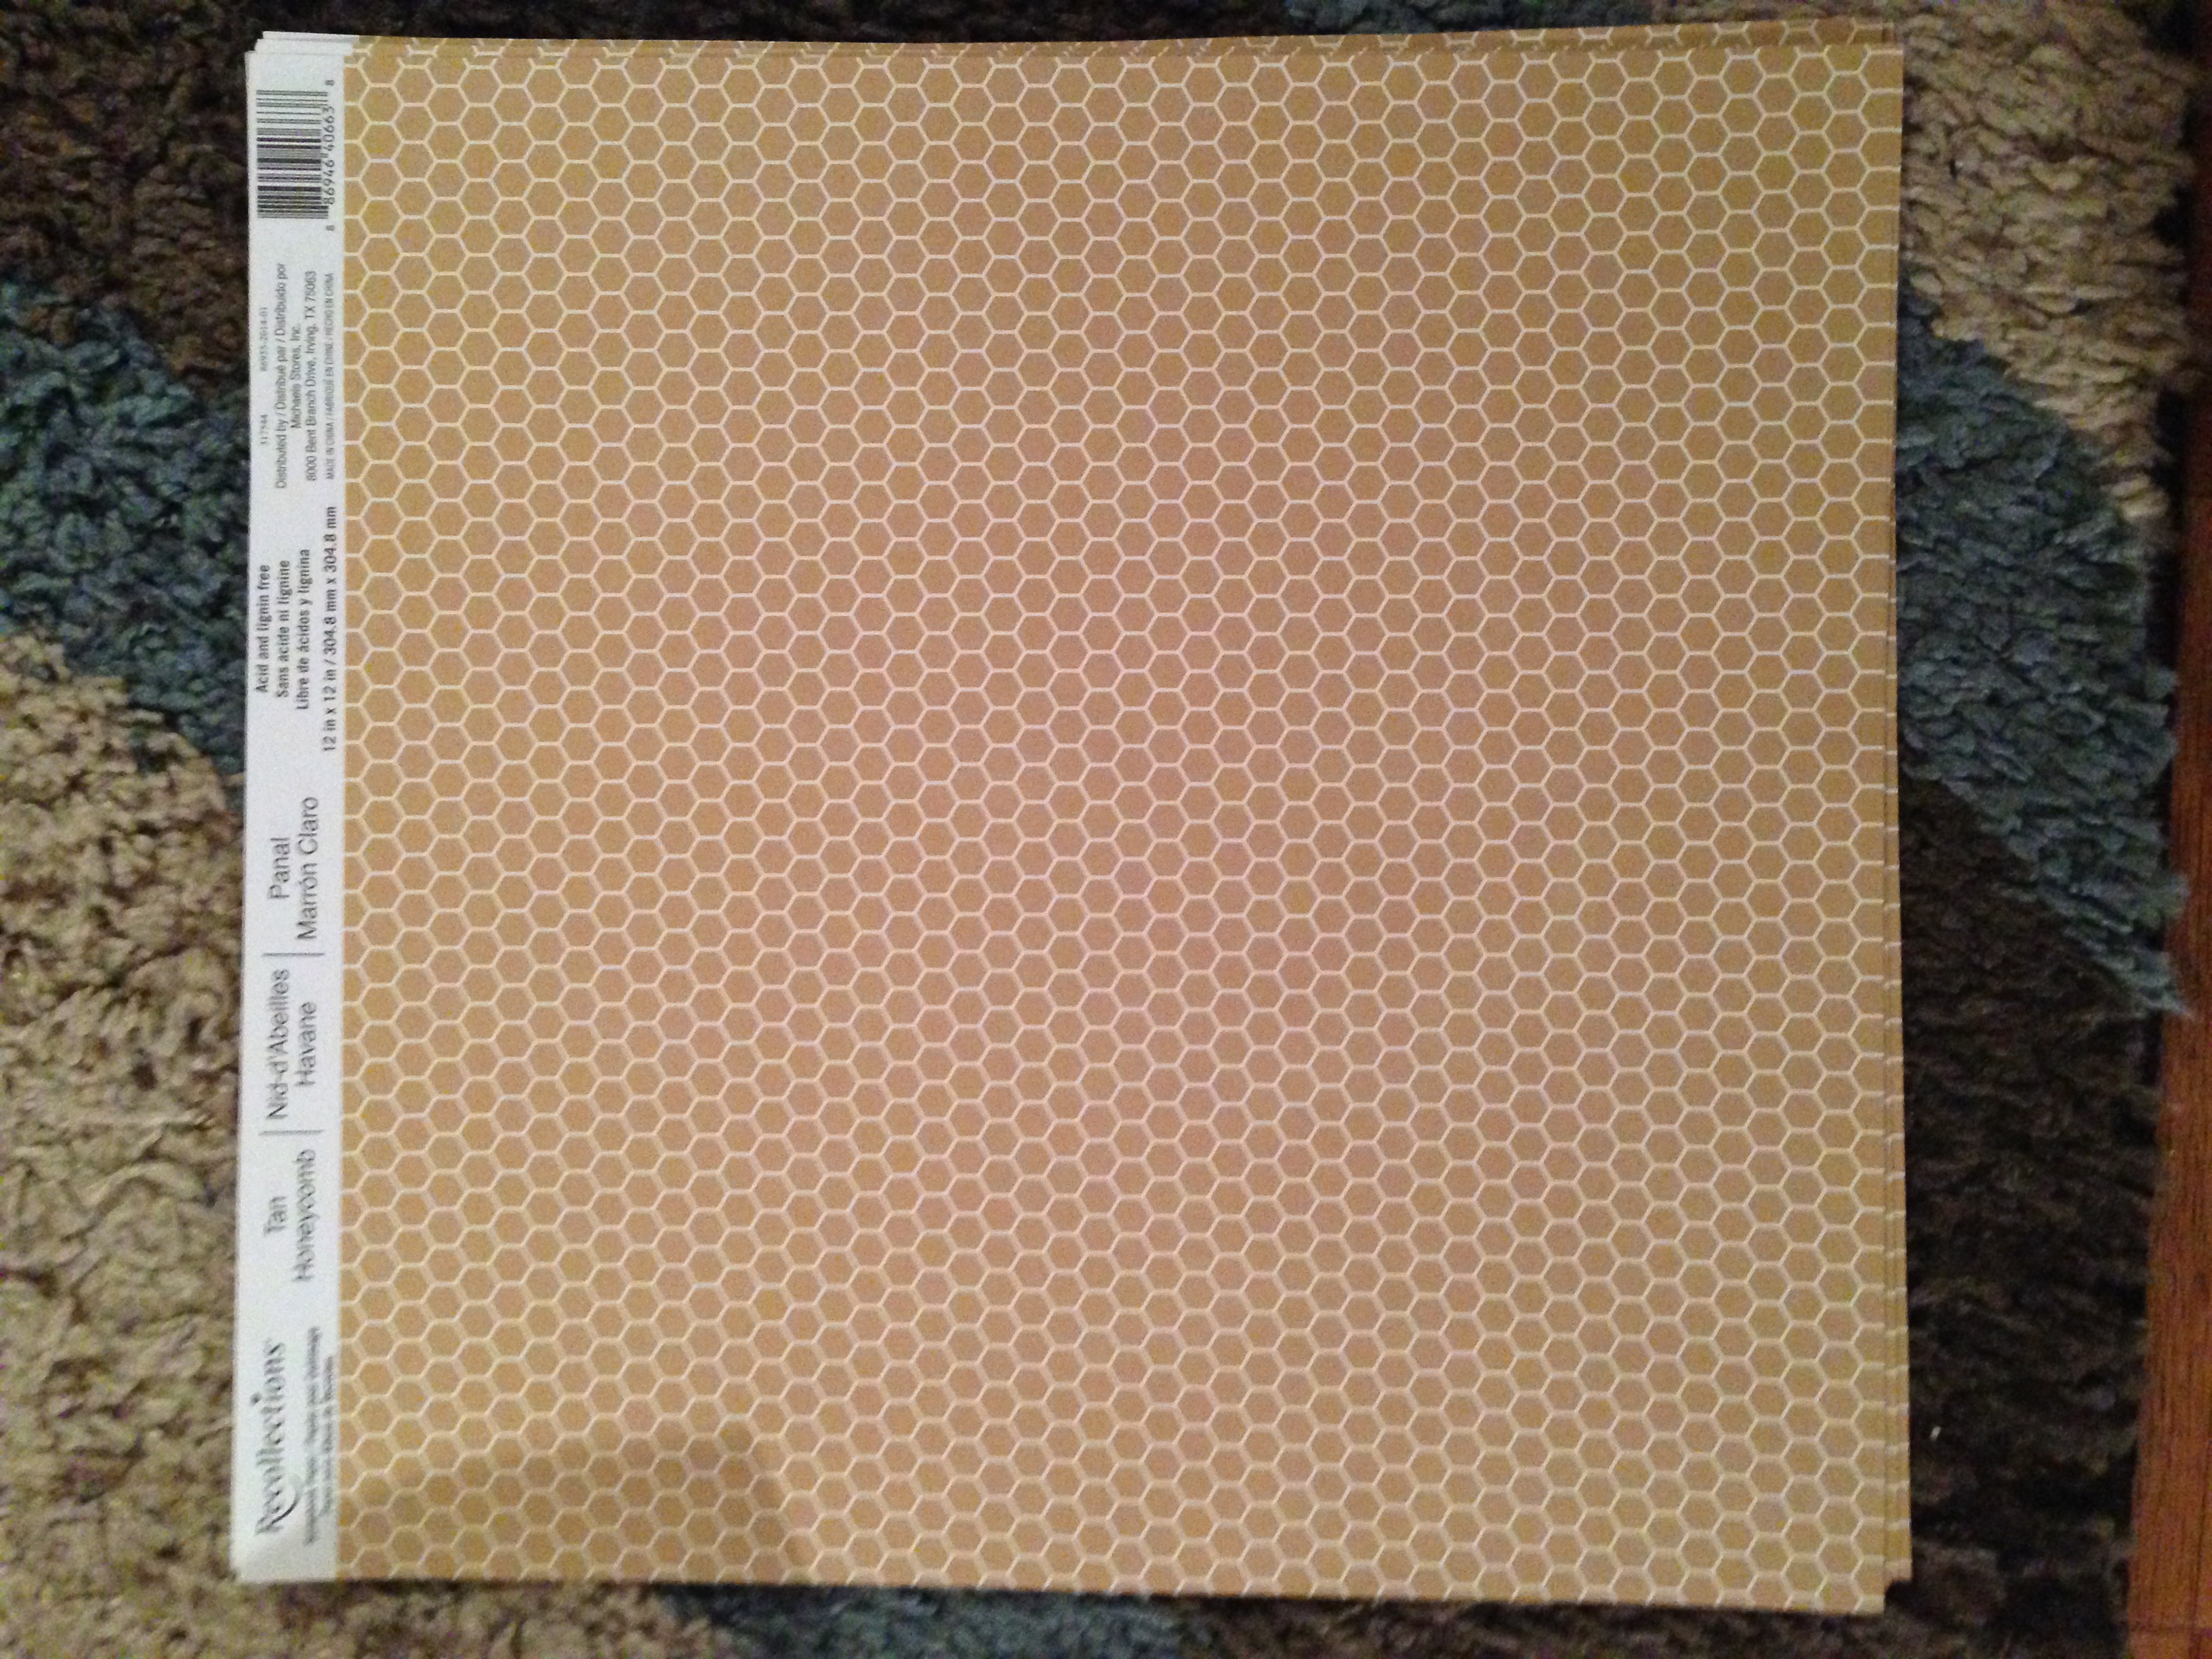
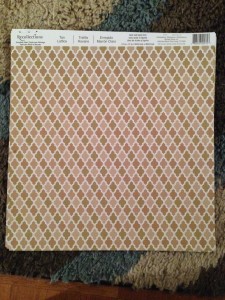
Because of the outrageous canvas and scrapbook paper sale at AC Moore and Micheal’s respectively, I had plenty of material to practice my Mod Podge skills with. Since scrapbook paper is 12 x 12, I naturally started with the 12 x 12 canvases (and managed to pick up at least six black canvases for three dollars each).
Decoupaging the canvases
After watching several YouTube videos offering tips on smoothly Mod Podging paper to surfaces (with no shrinking, buckling or bubbles), I gave it a whirl. The trick, according to experts, is that you apply the glue lightly and evenly, and wait for a few moments before applying the paper. Here goes.
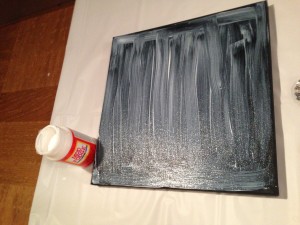
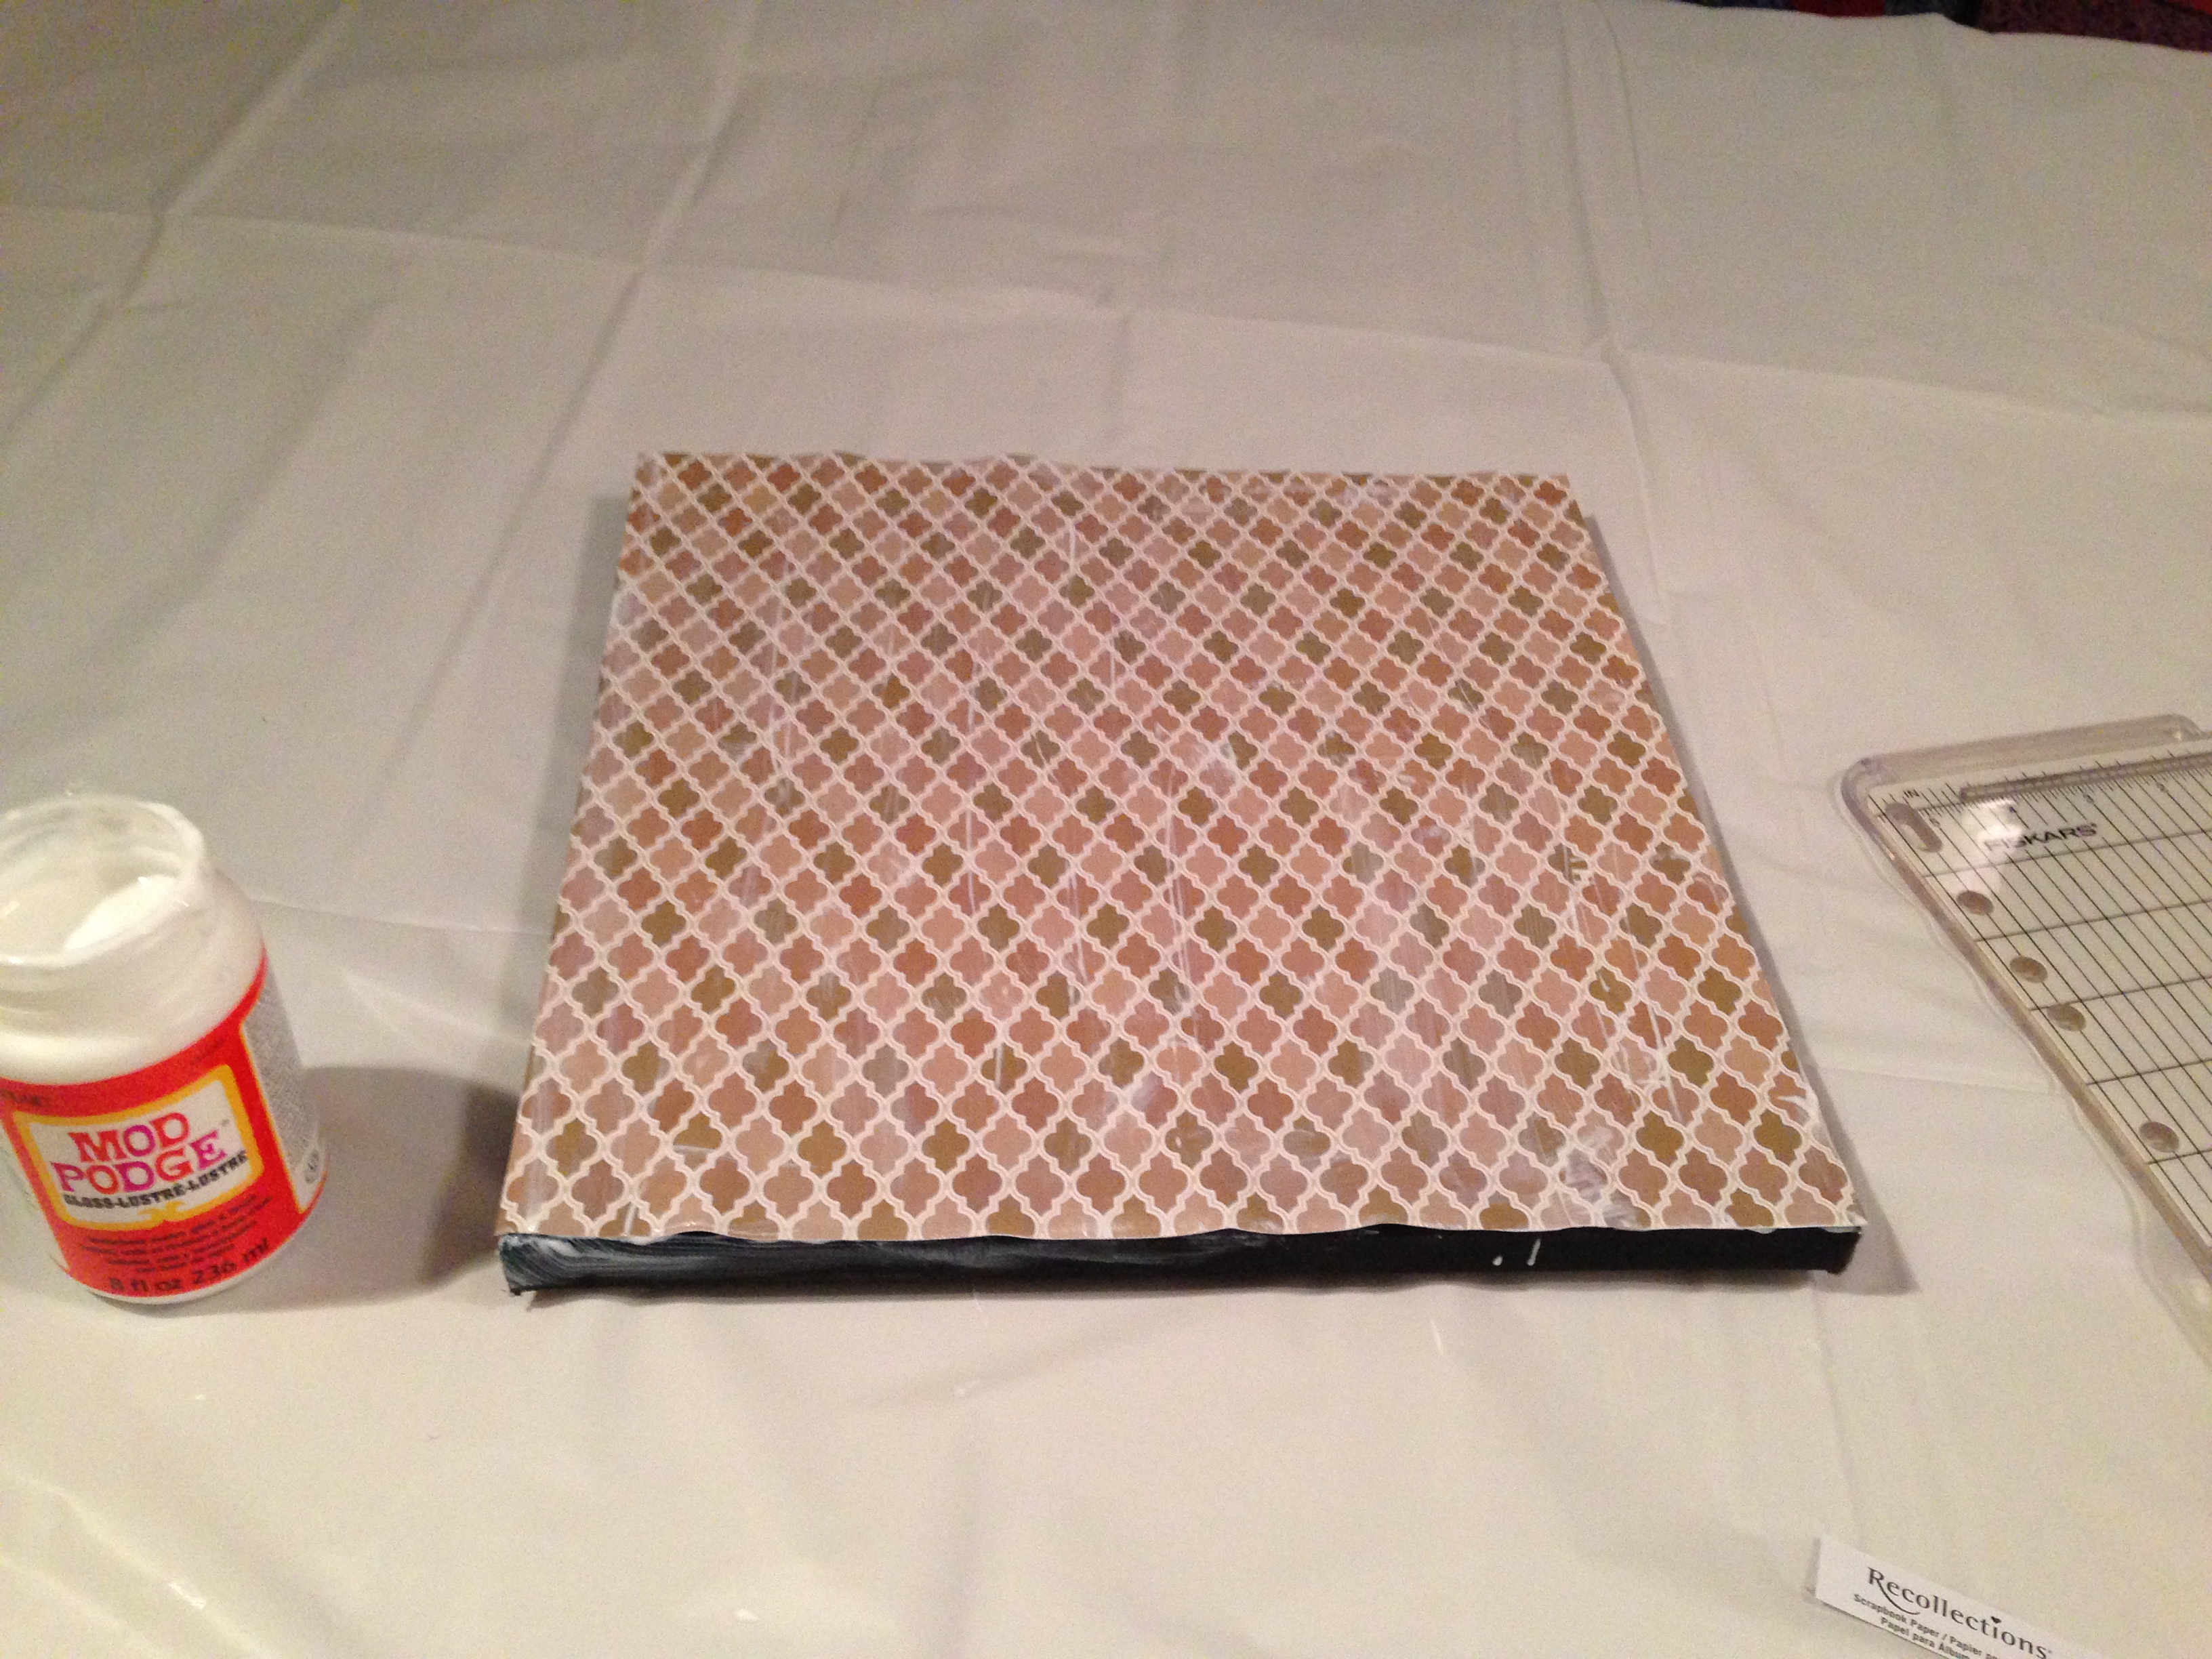
Well, there was plenty of buckling and bubbling during my first few attempts, but I eventually learned that the most important tip is waiting for the glue to completely dry (preferably overnight).
Adding the wood stained letters
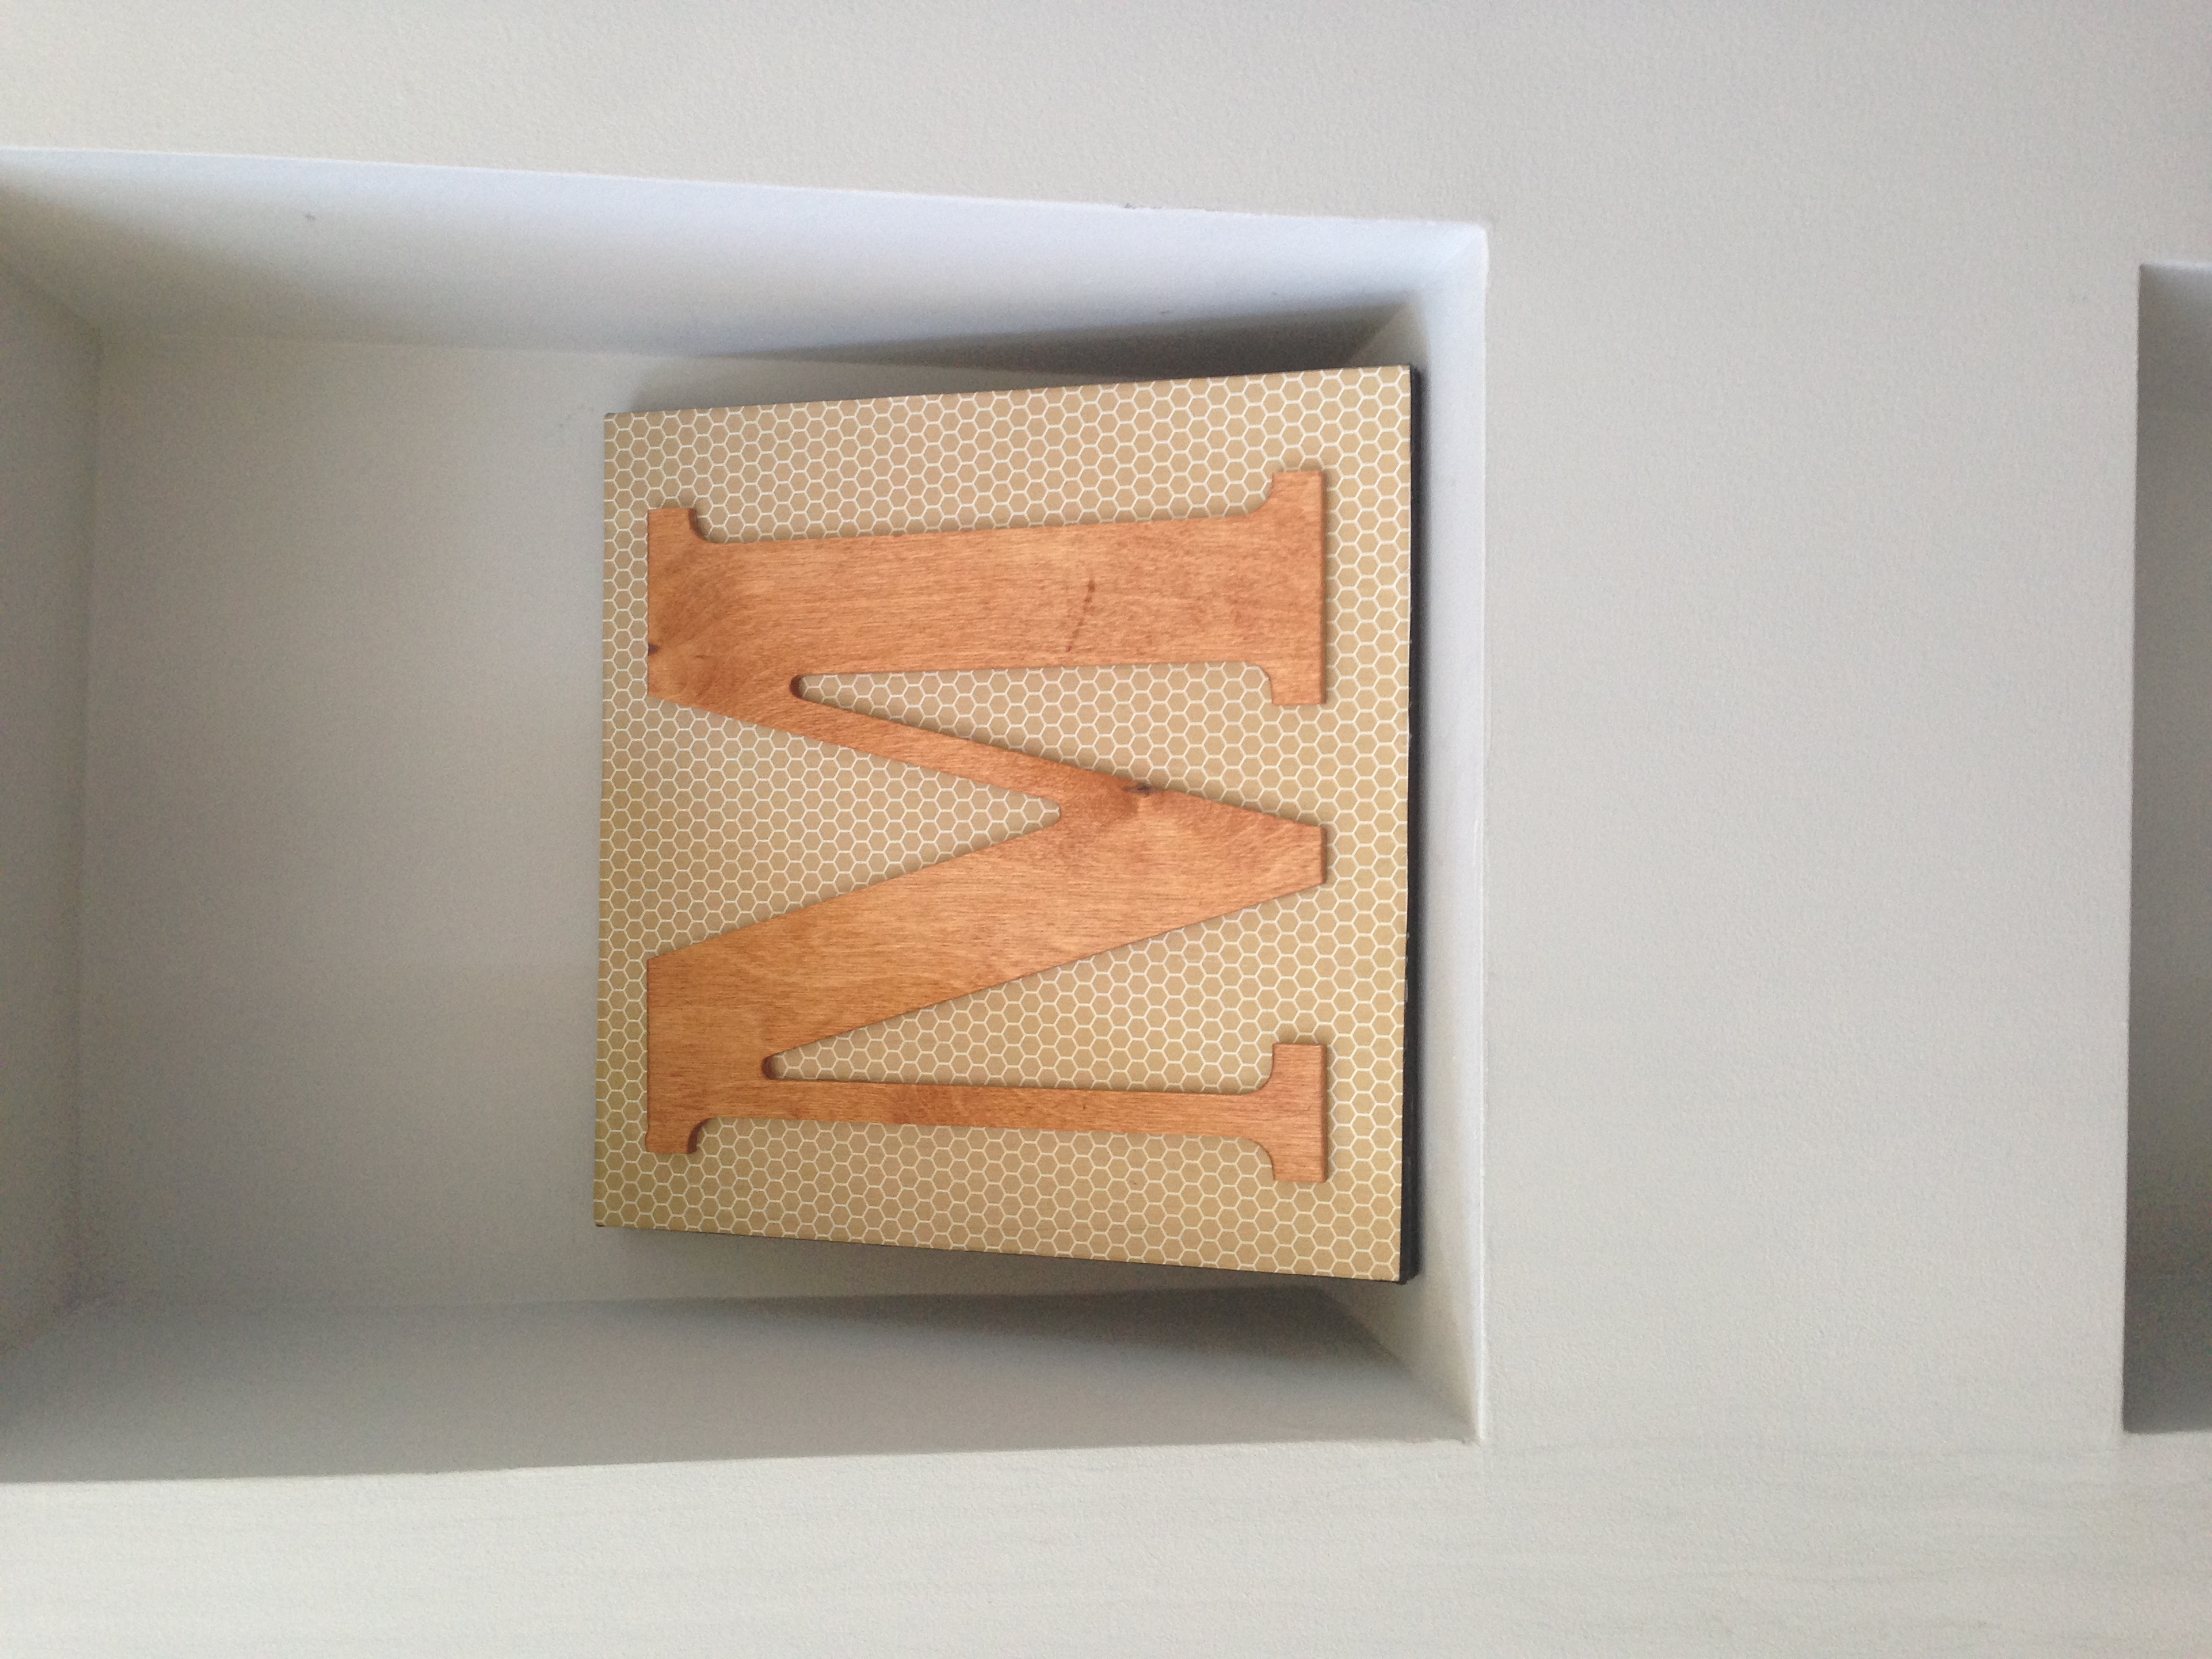
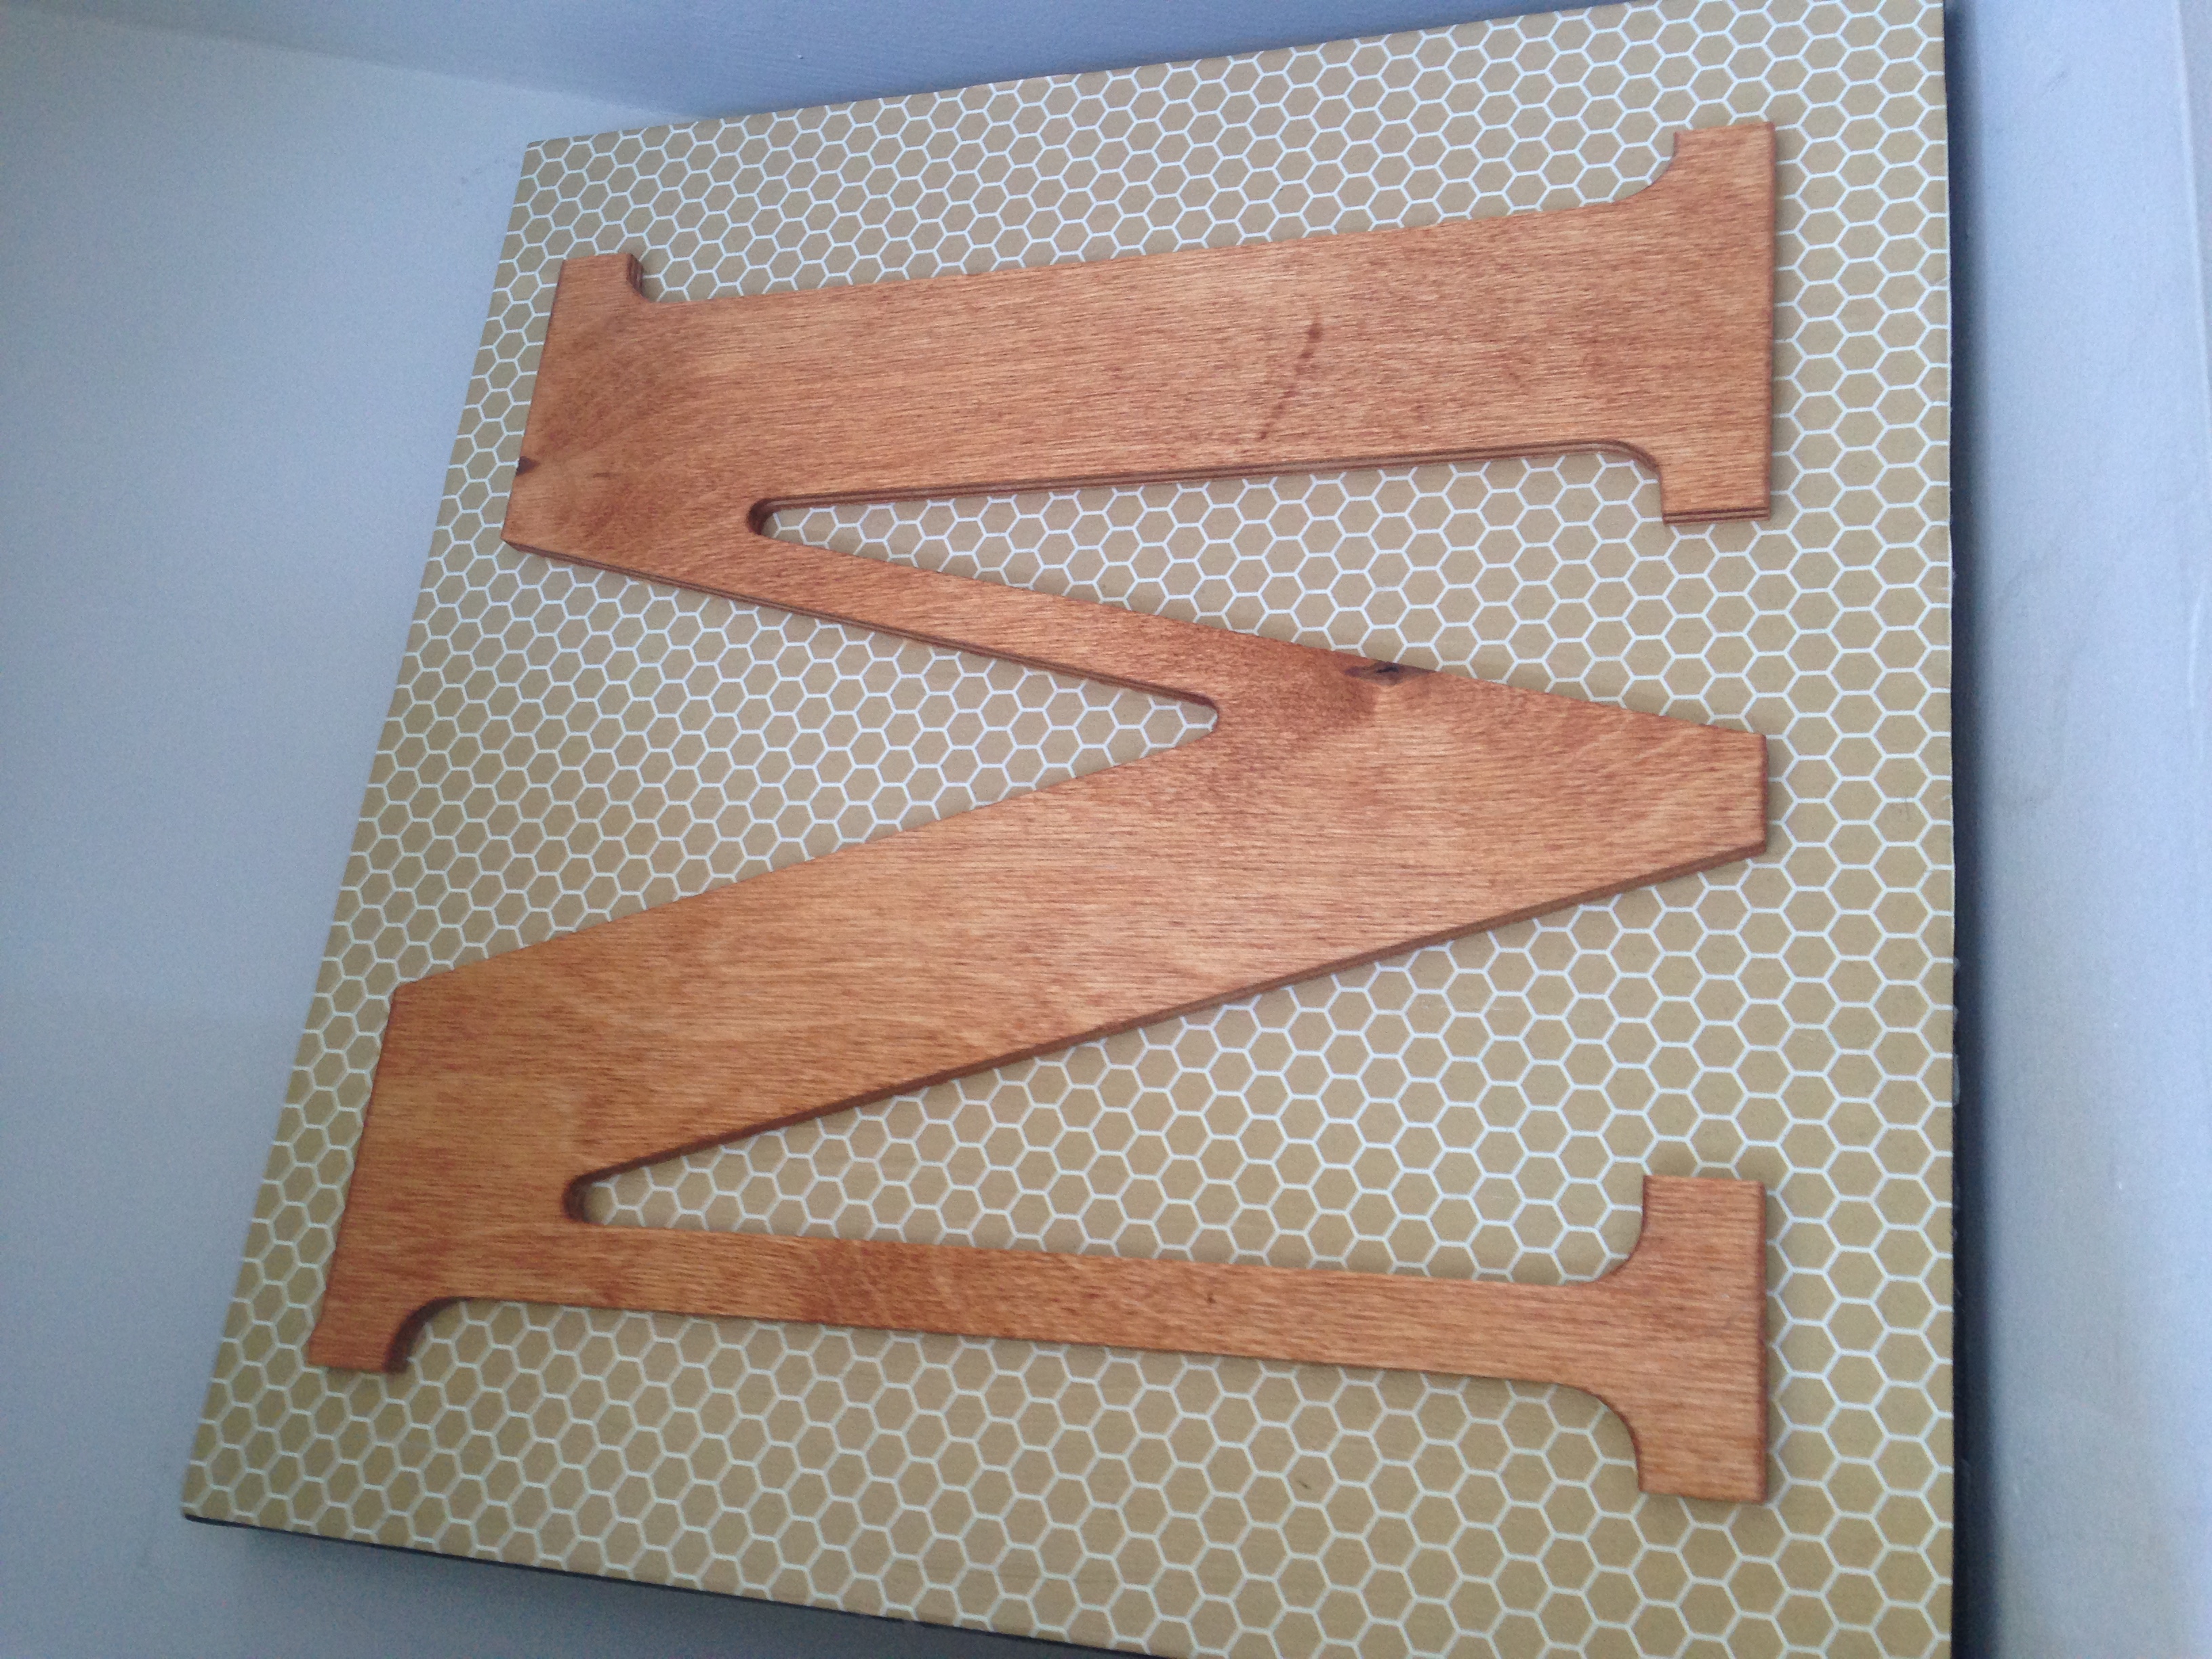
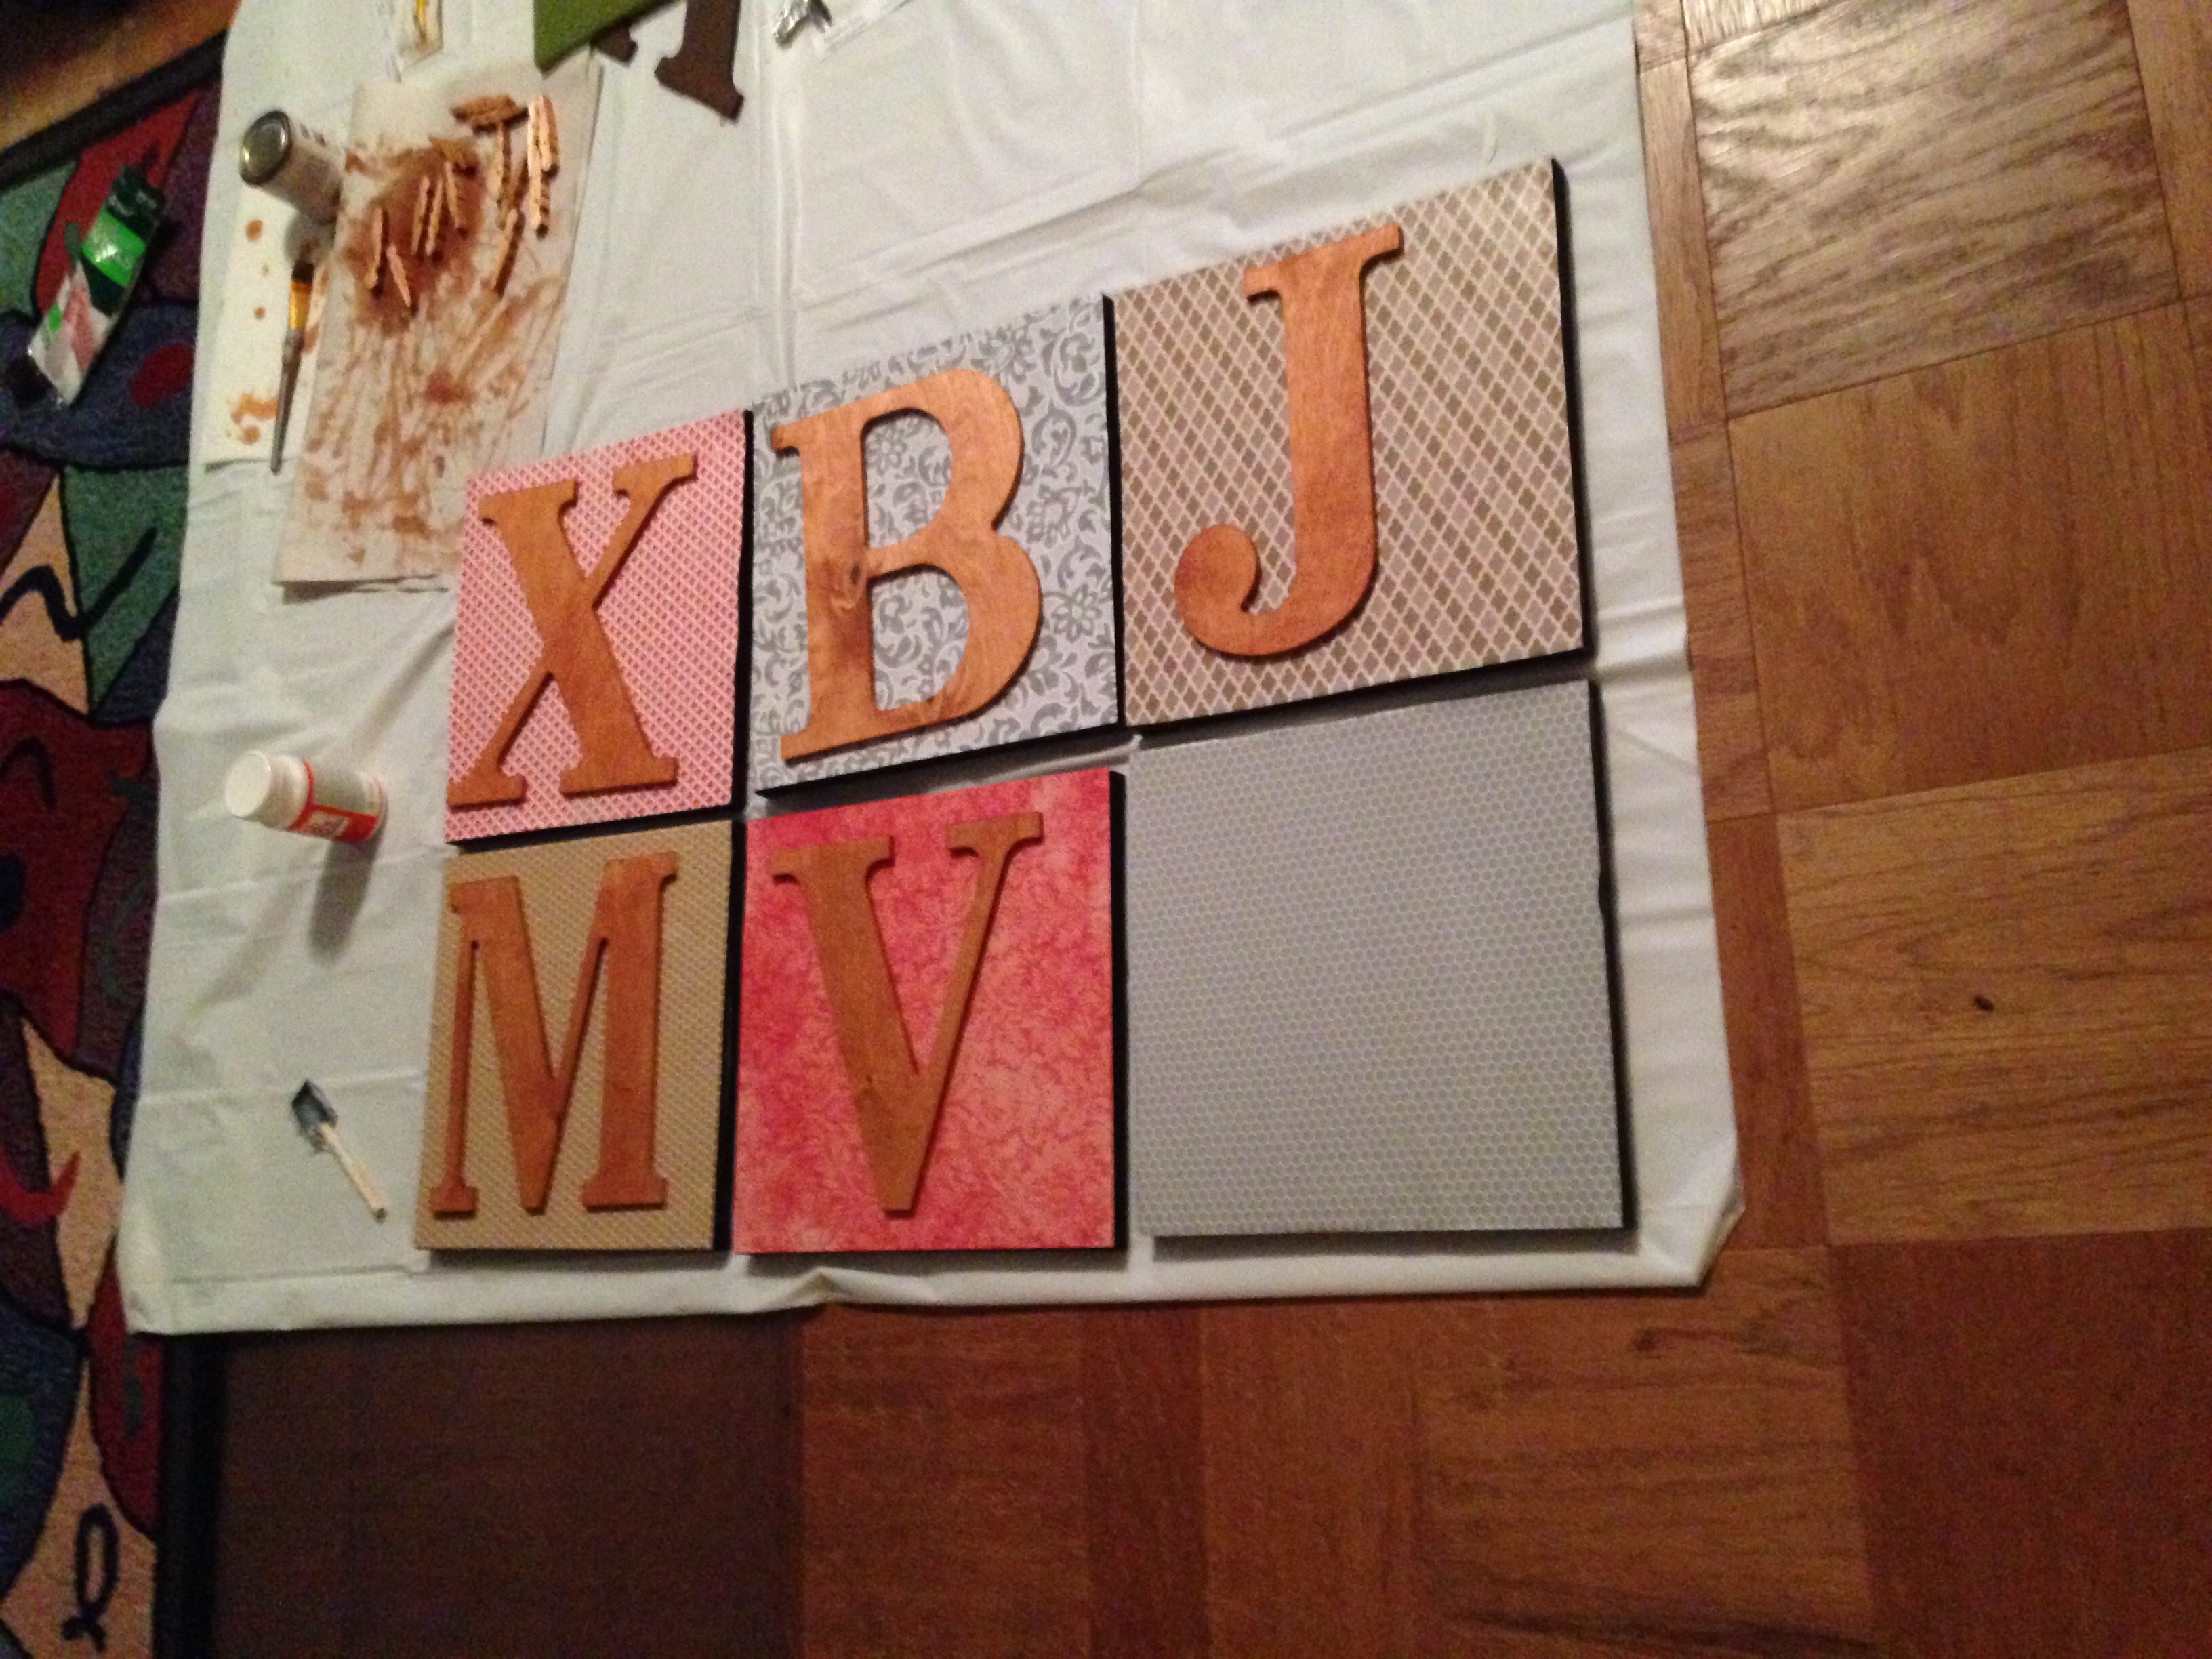
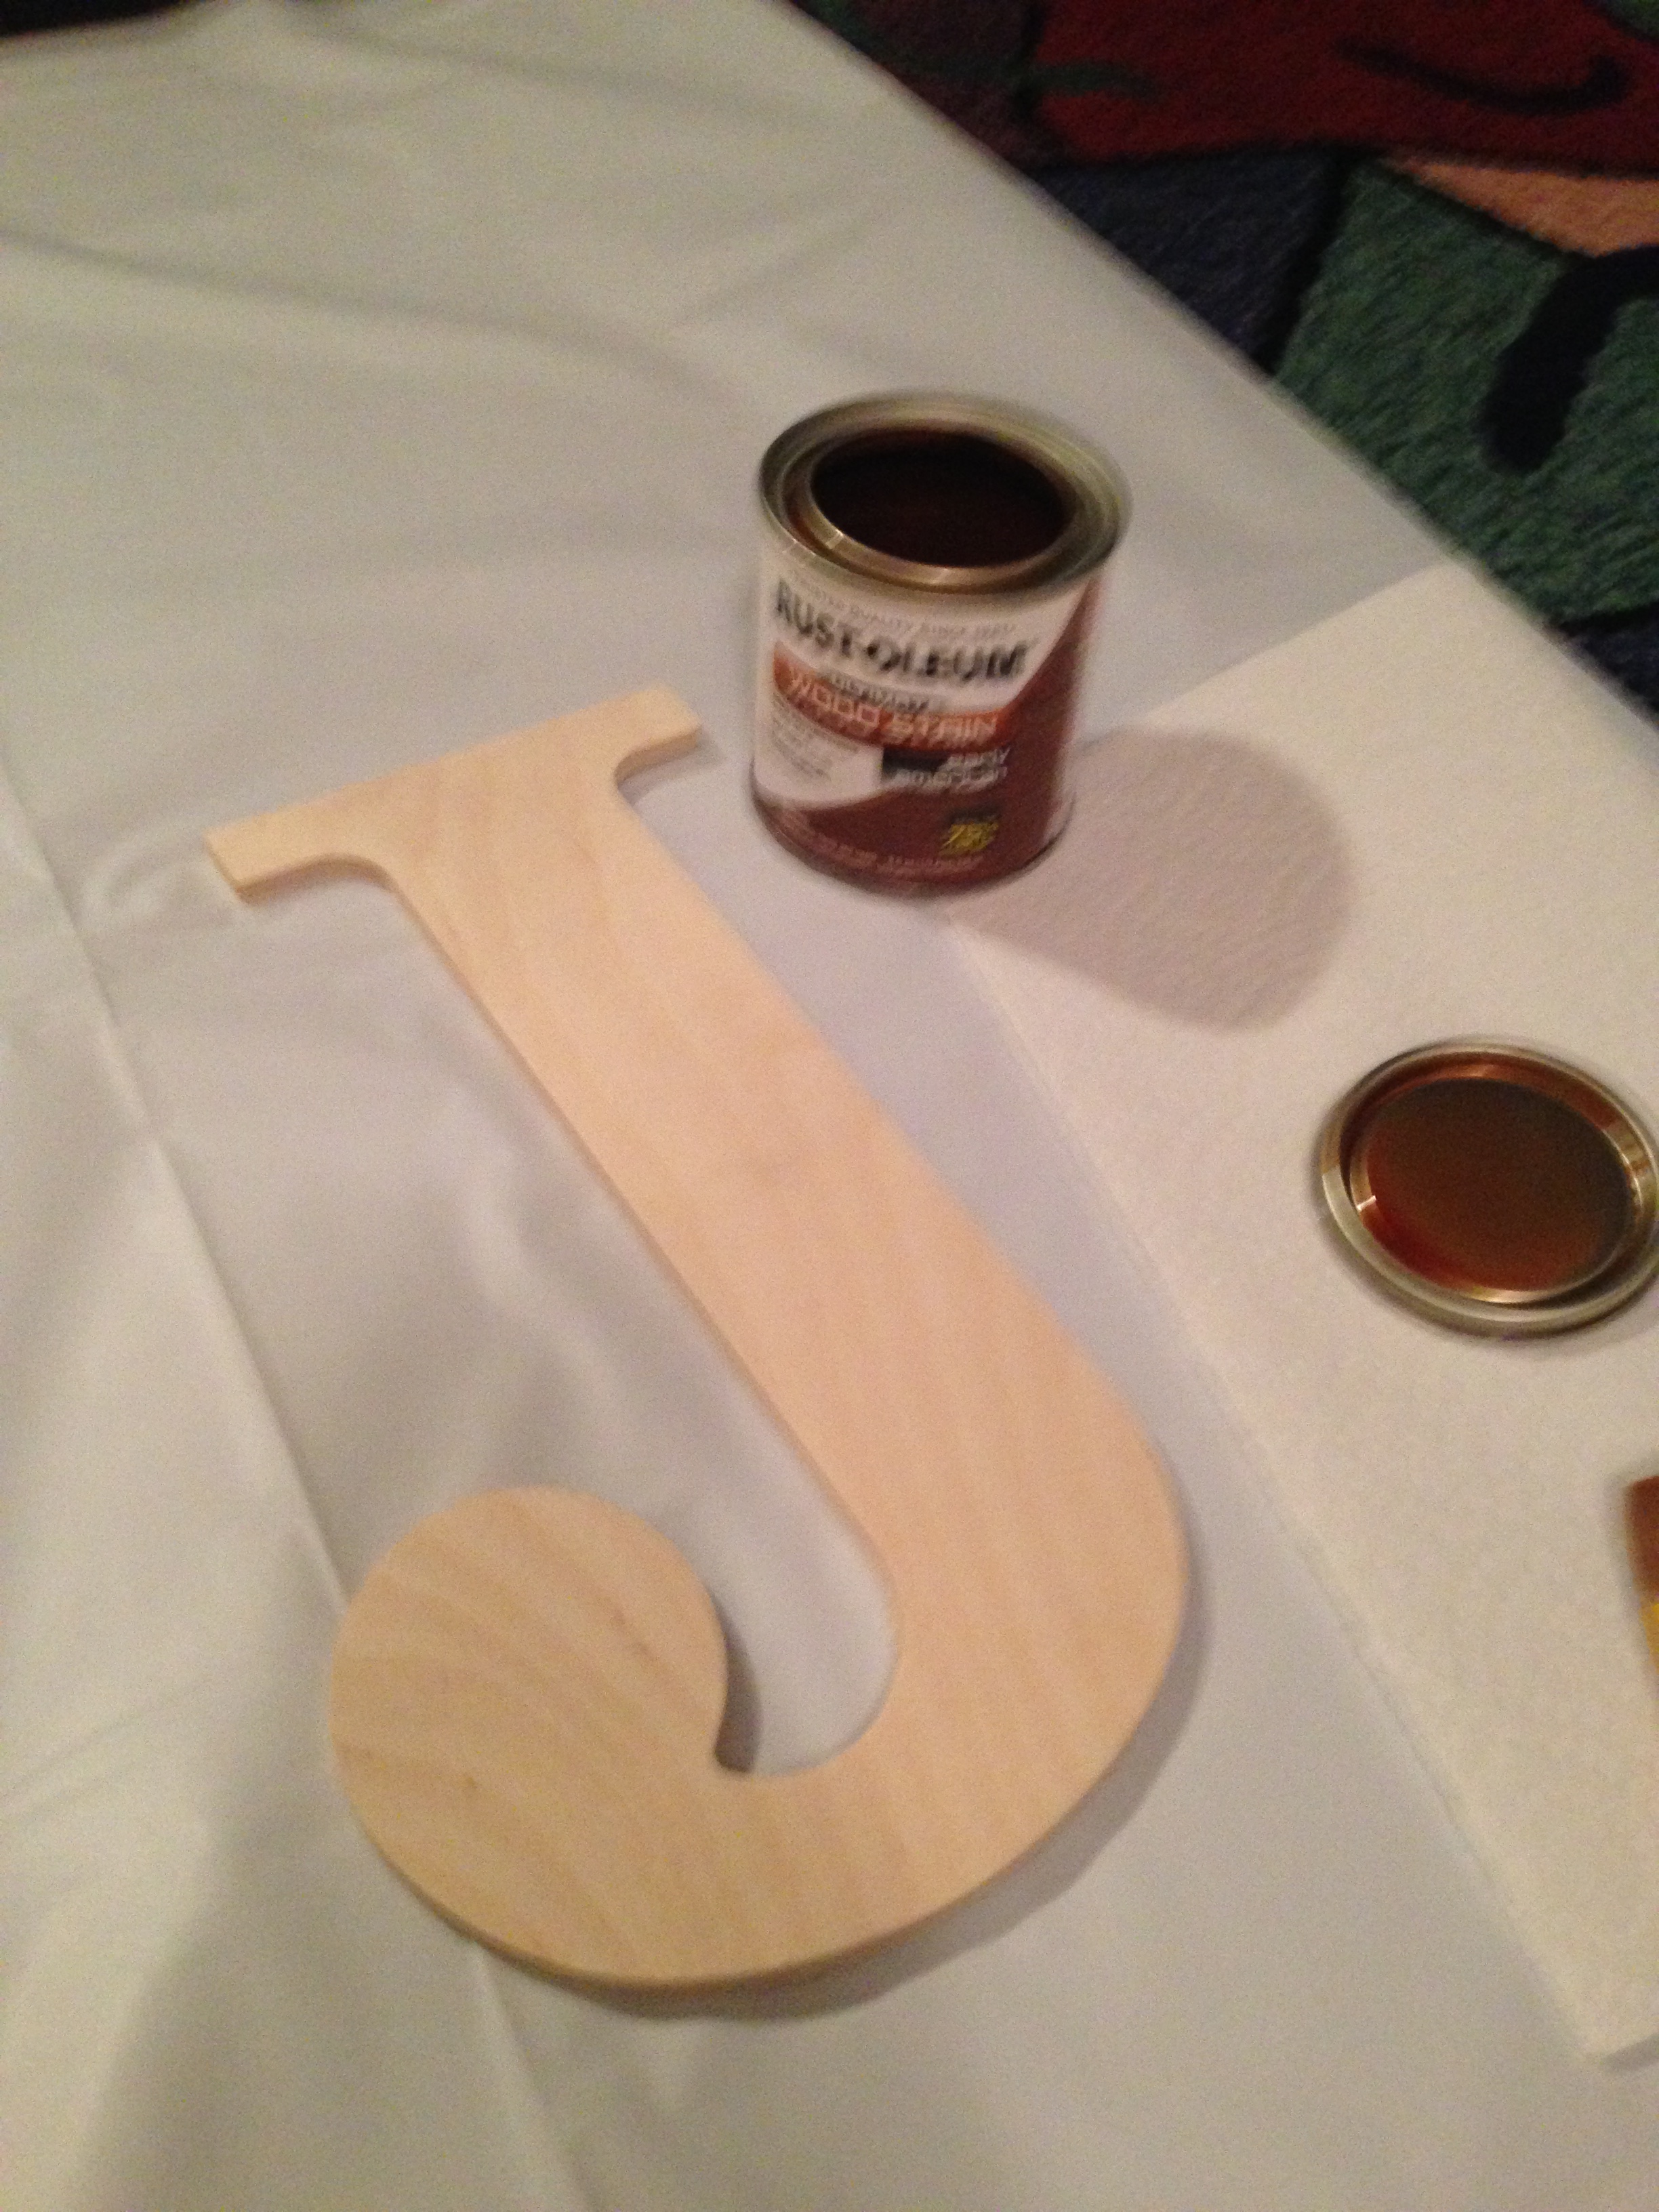
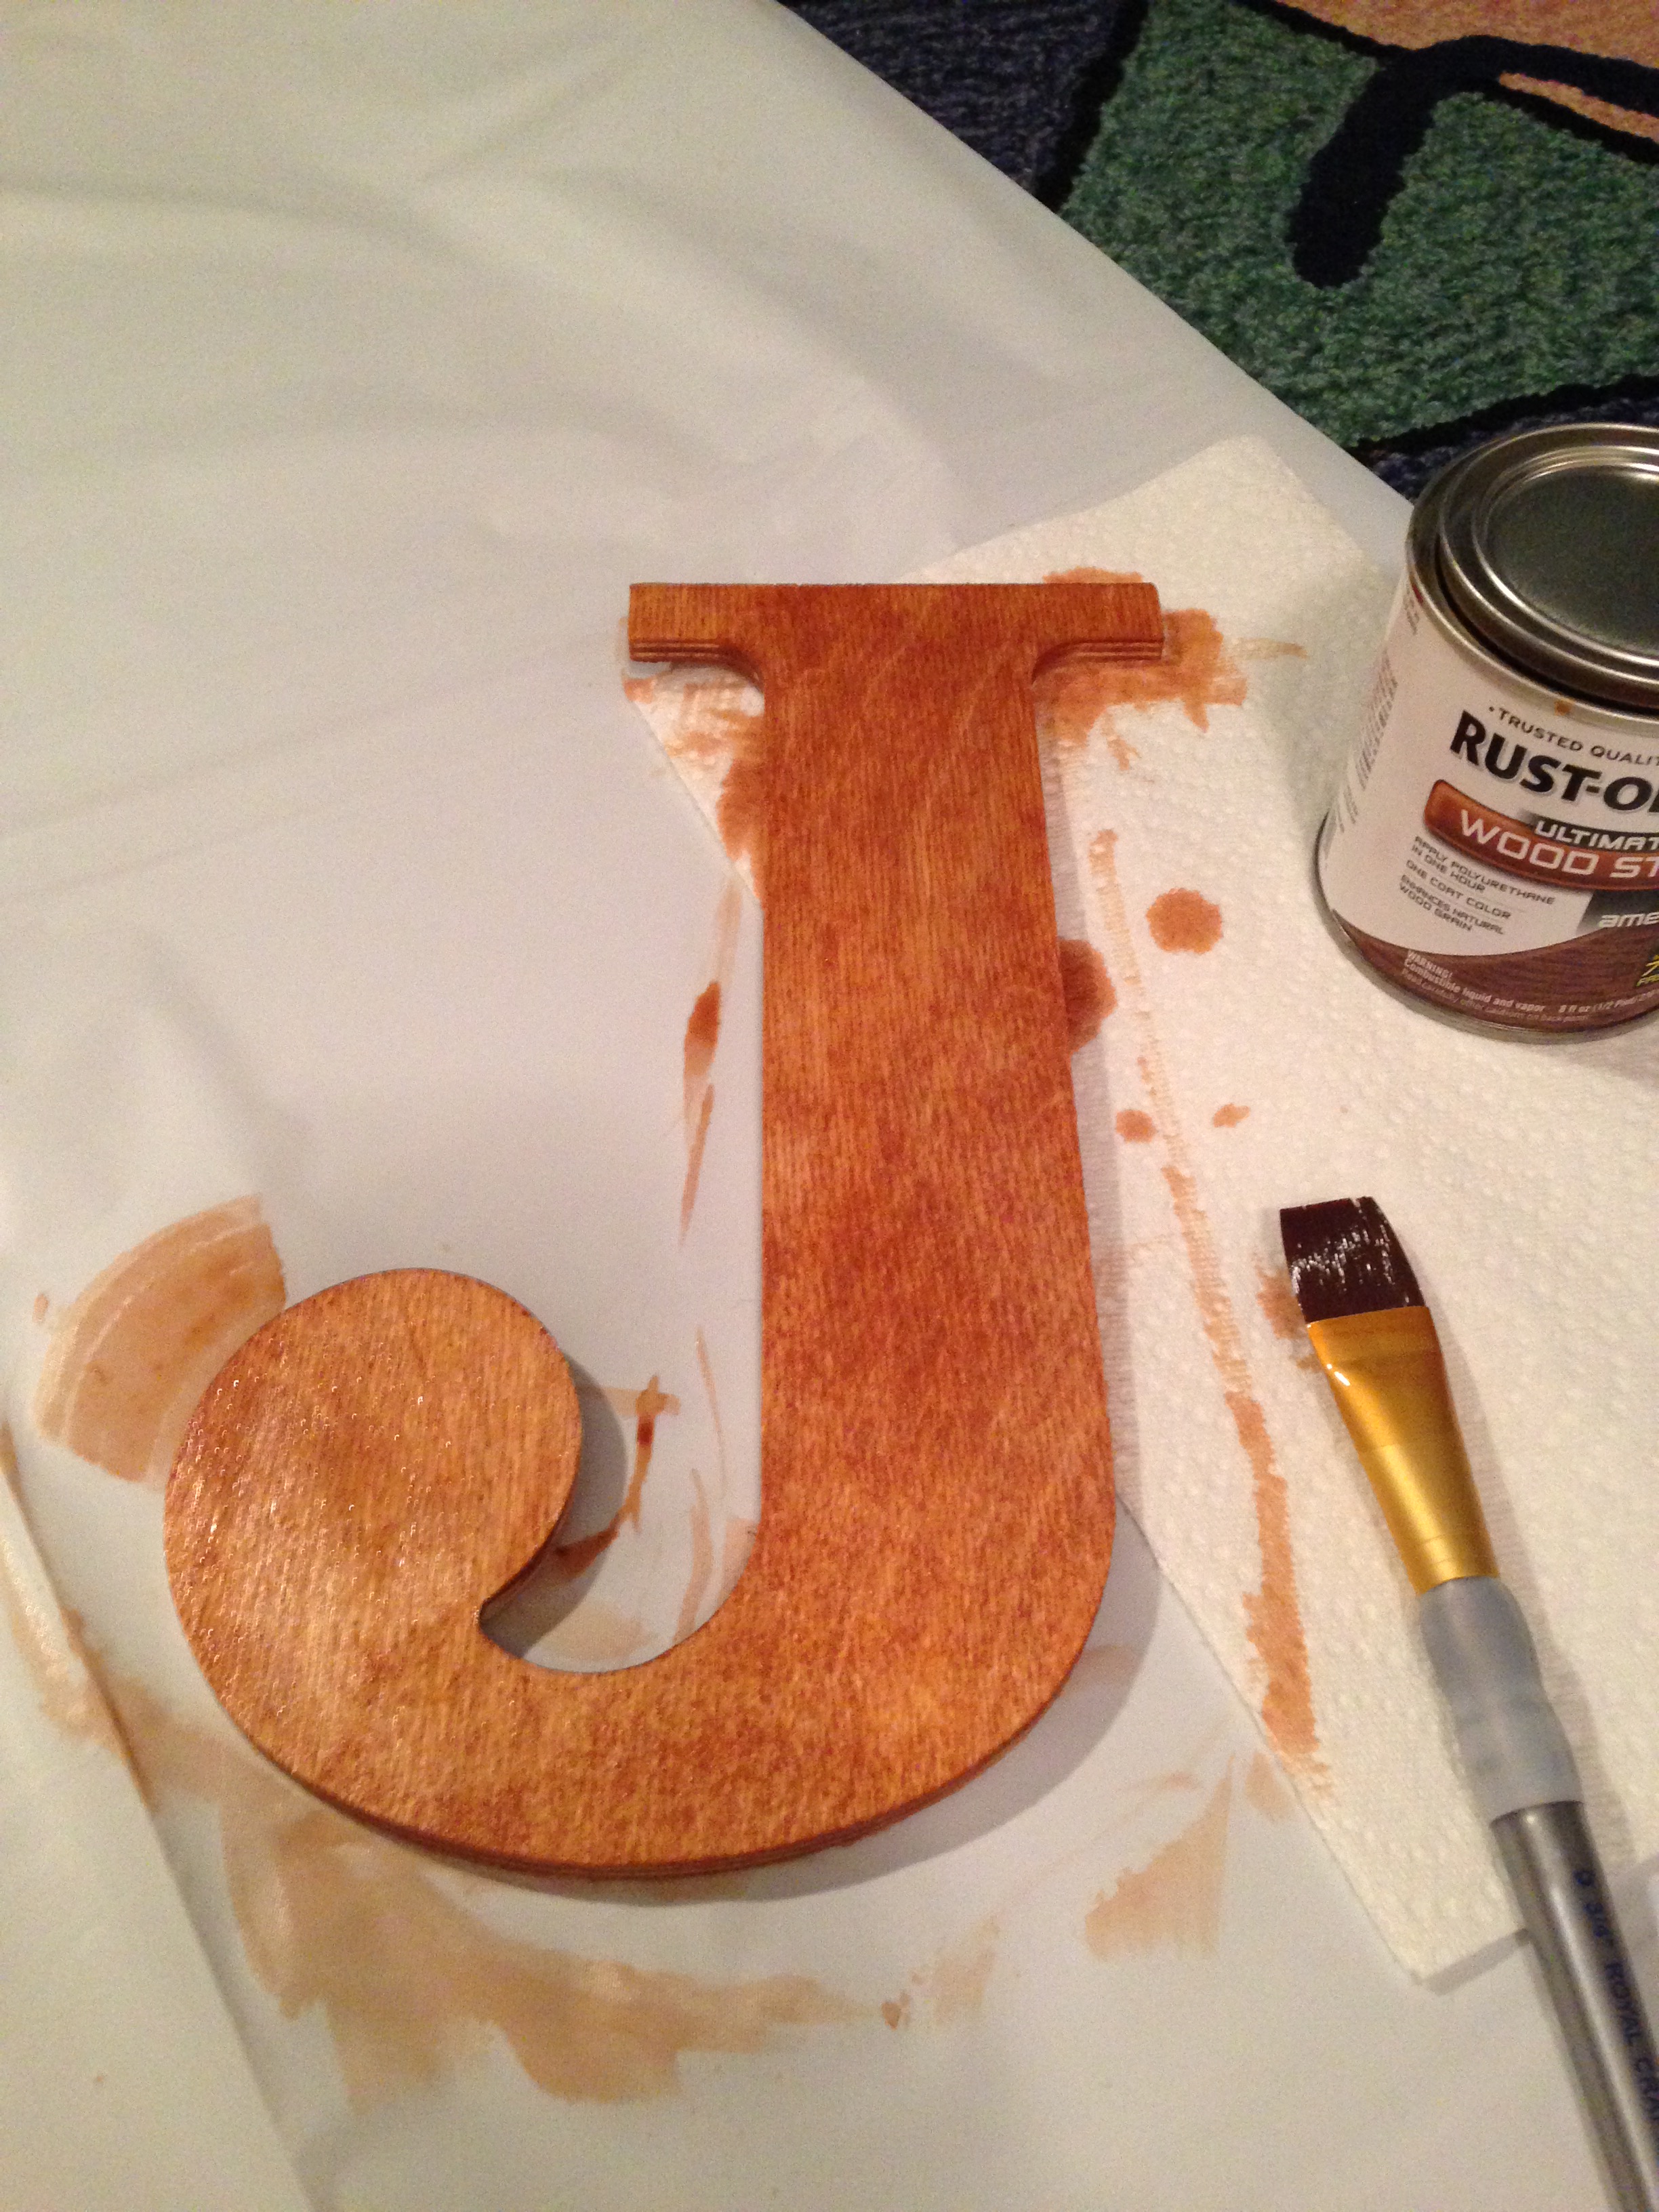
Staining wood letters turned out to be pretty simple (once I figured out the right stain and tool to use). I took 10 inch letters wood letters that I bought at AC Moore and applied a pretty Early American stain. Amazing how the stain transforms the look of unfinished wood.
Once the stained letter dried, I glued it to the front of the decoupaged canvas using wood glue.
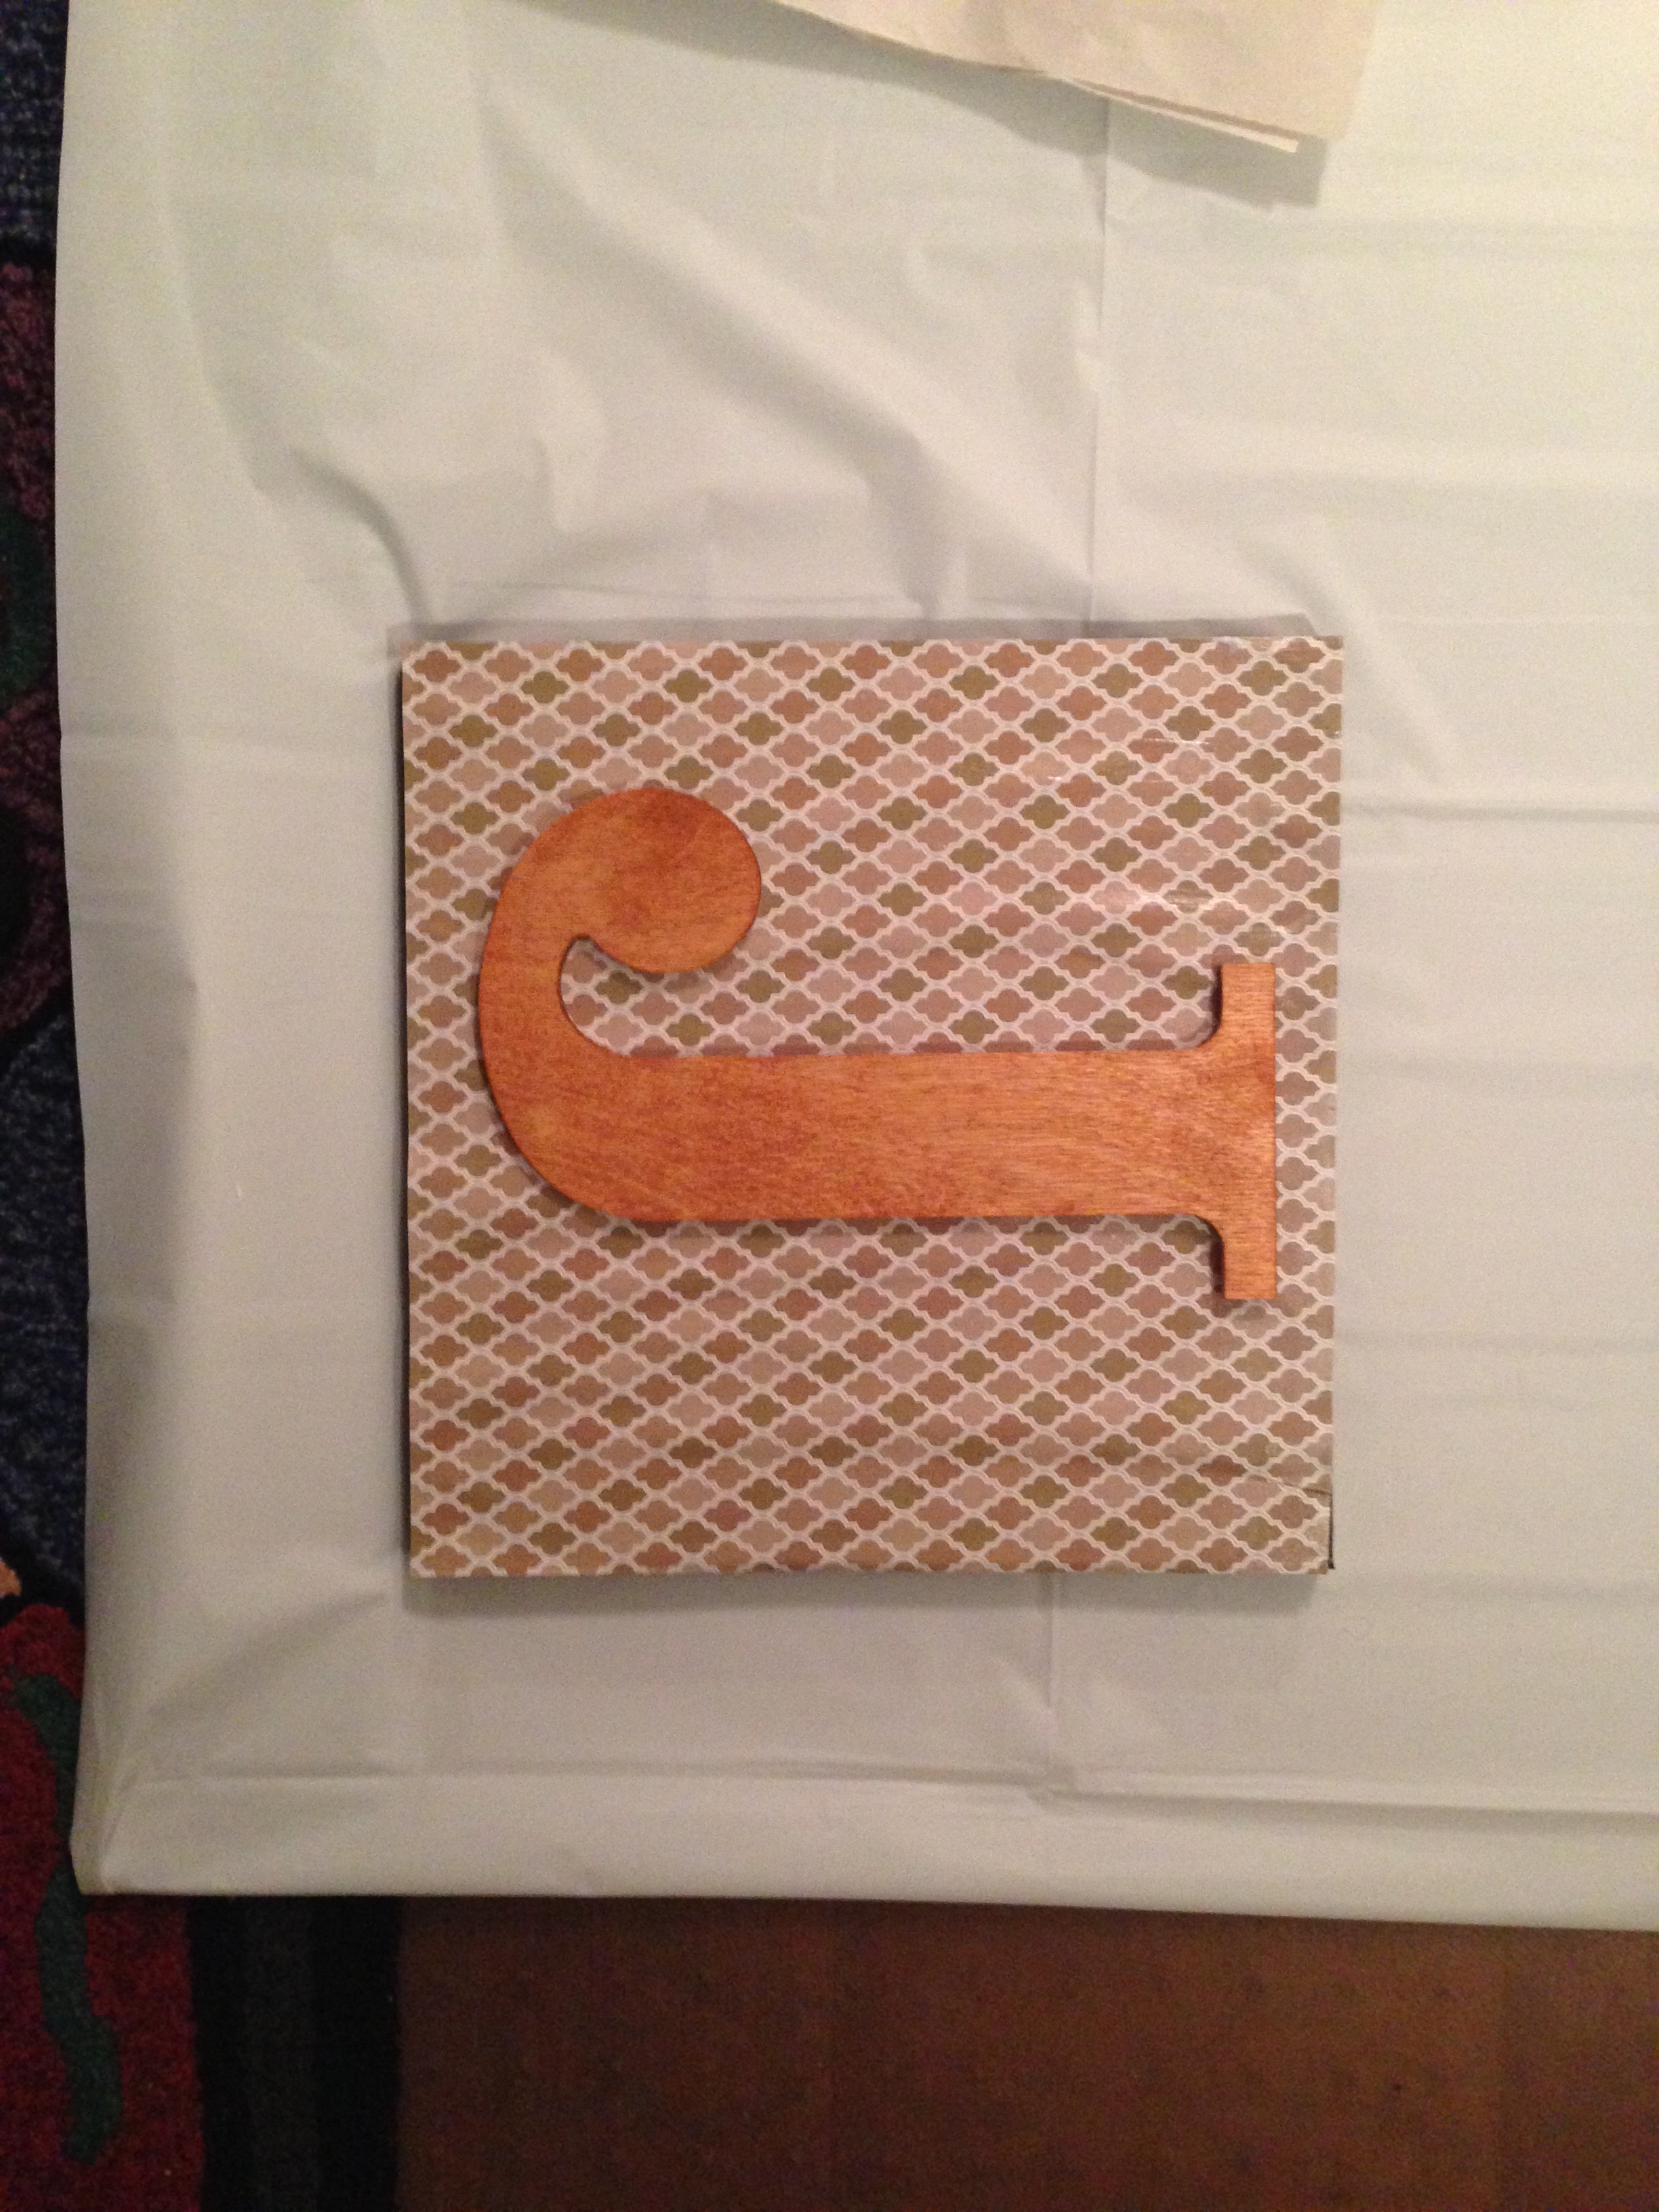
The finished product looked fantastic. Simple, pretty, yet rustic. I absolutely loved the way this first attempt at Mod Podge came out.
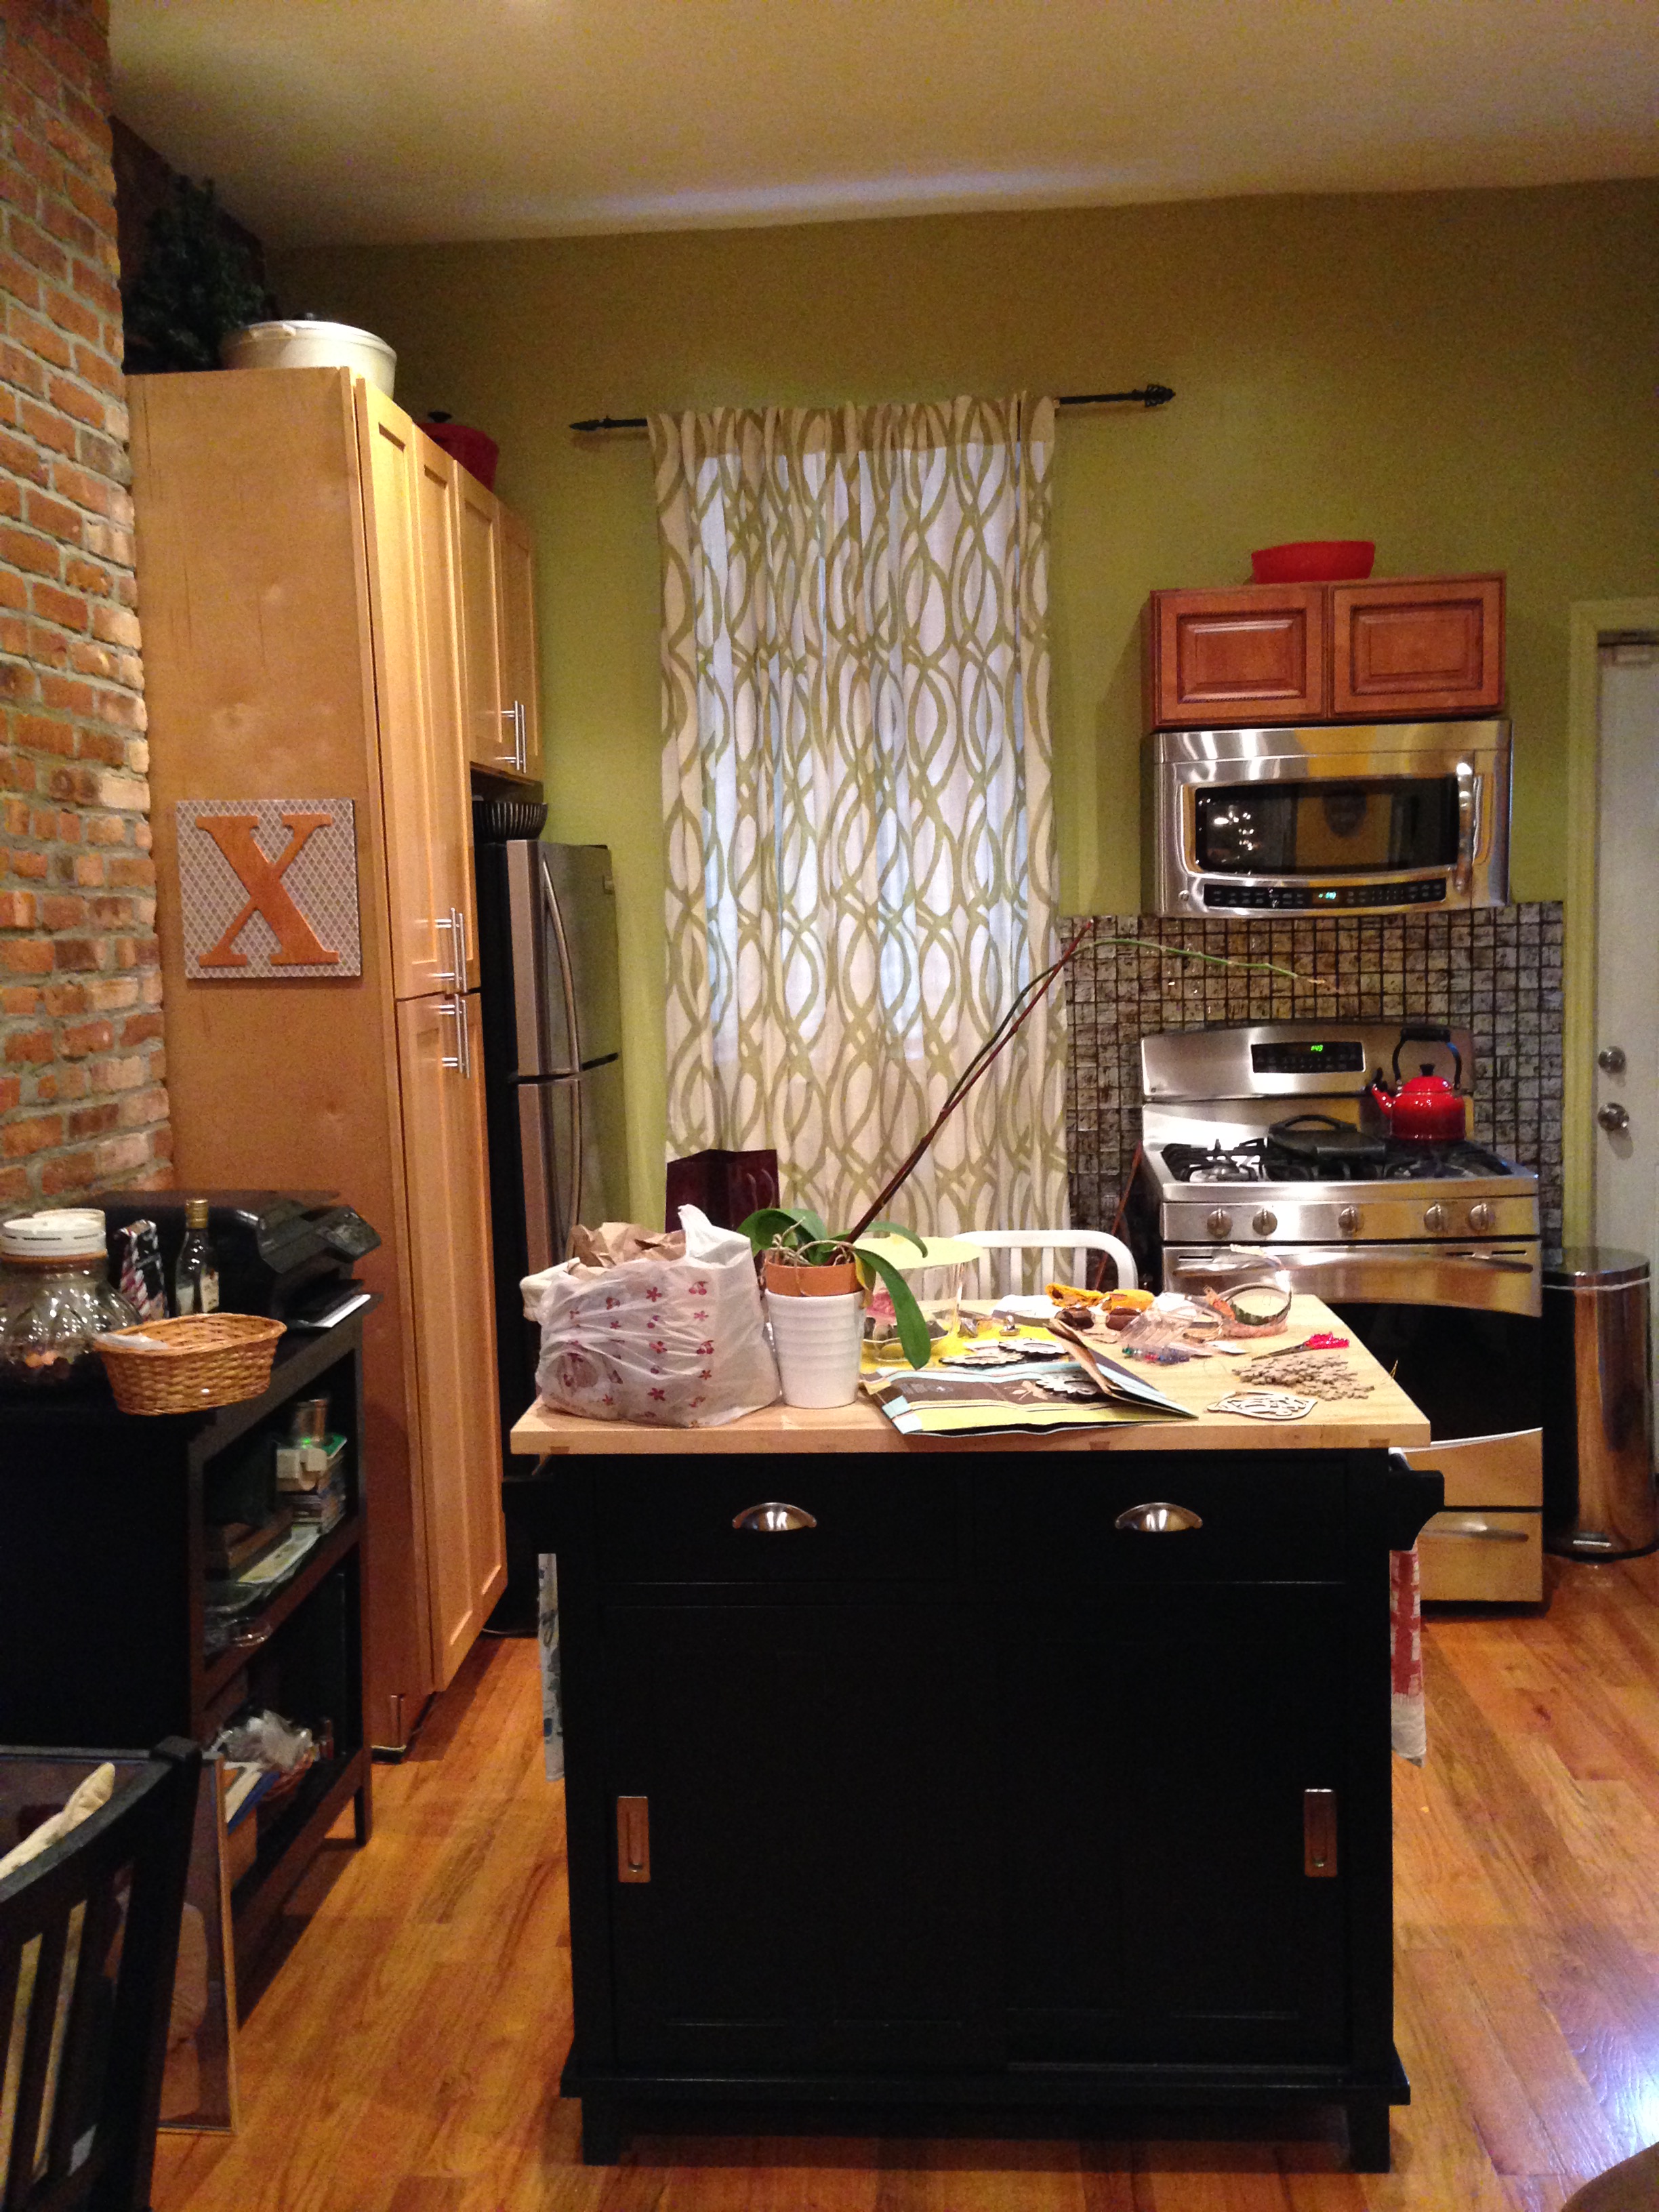
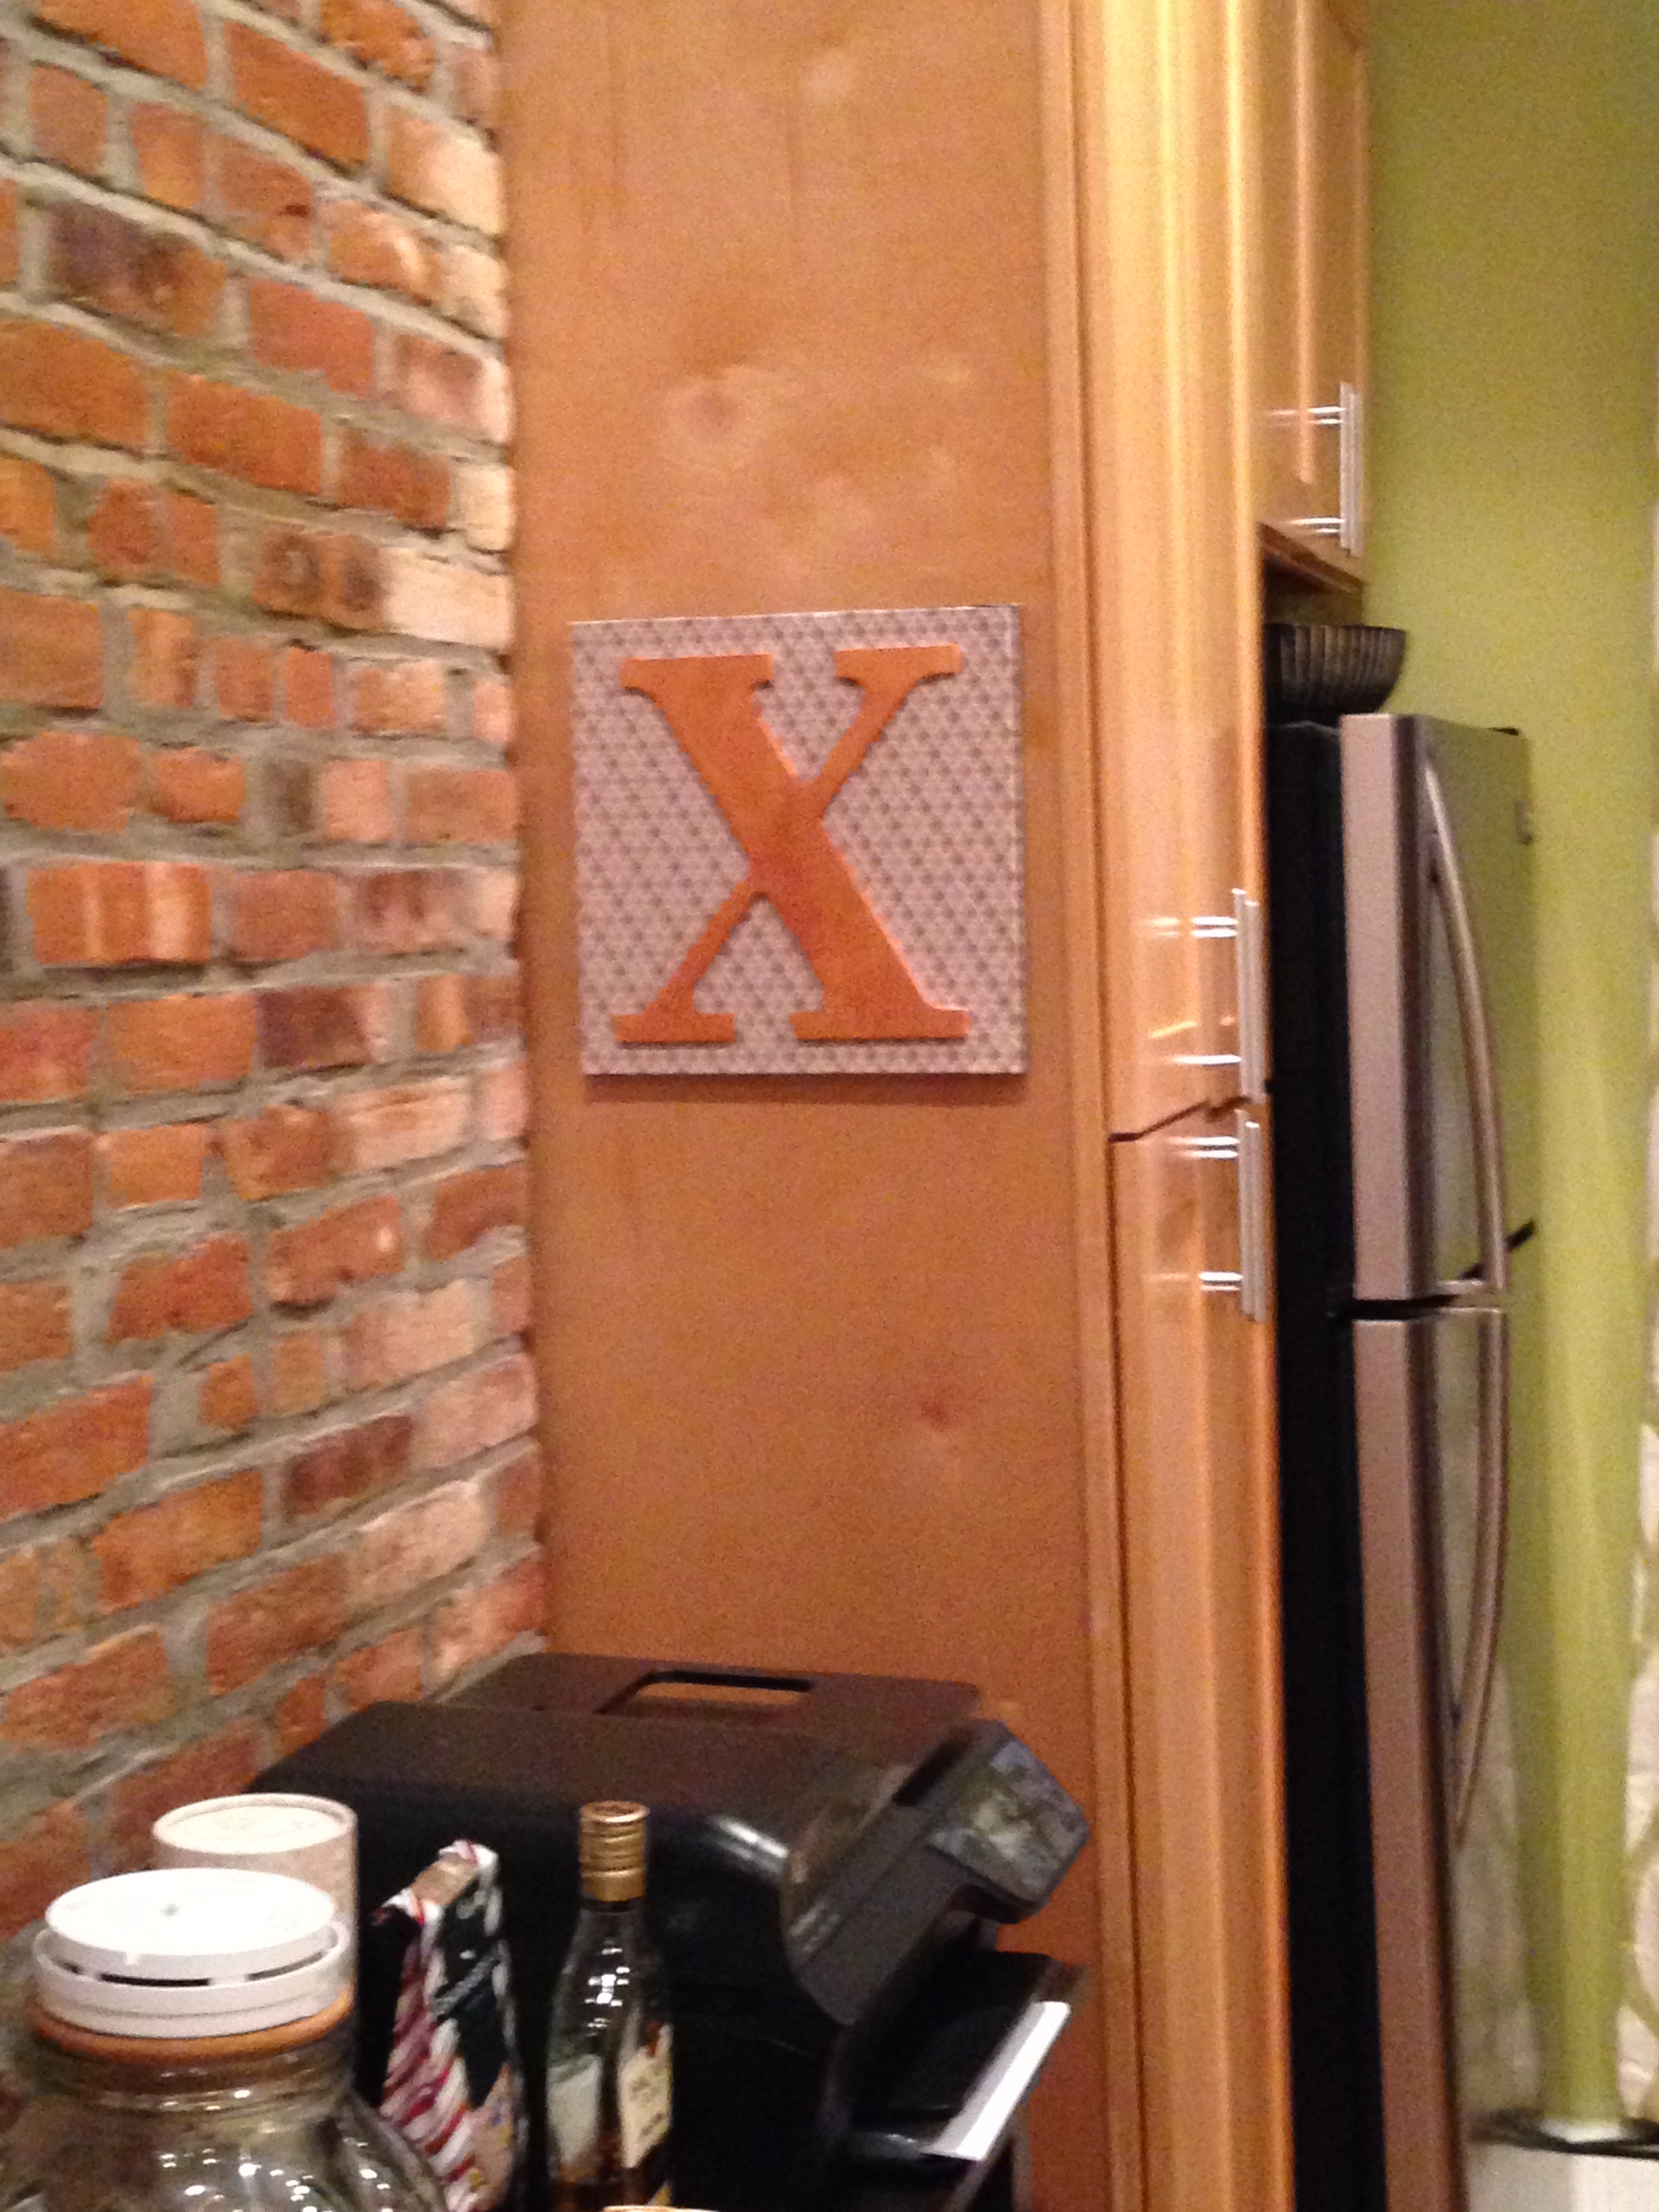
I got so excited, I made a canvas with initials for me, Bruce, and every family member I could think of. Of course, an M for my brother Mal, one for my nephew JD (well, technically, that’s two letters, but only one fits in this design!), and one for Xenia (with a beautiful X). Here’s what it looks like in her kitchen in Brooklyn.
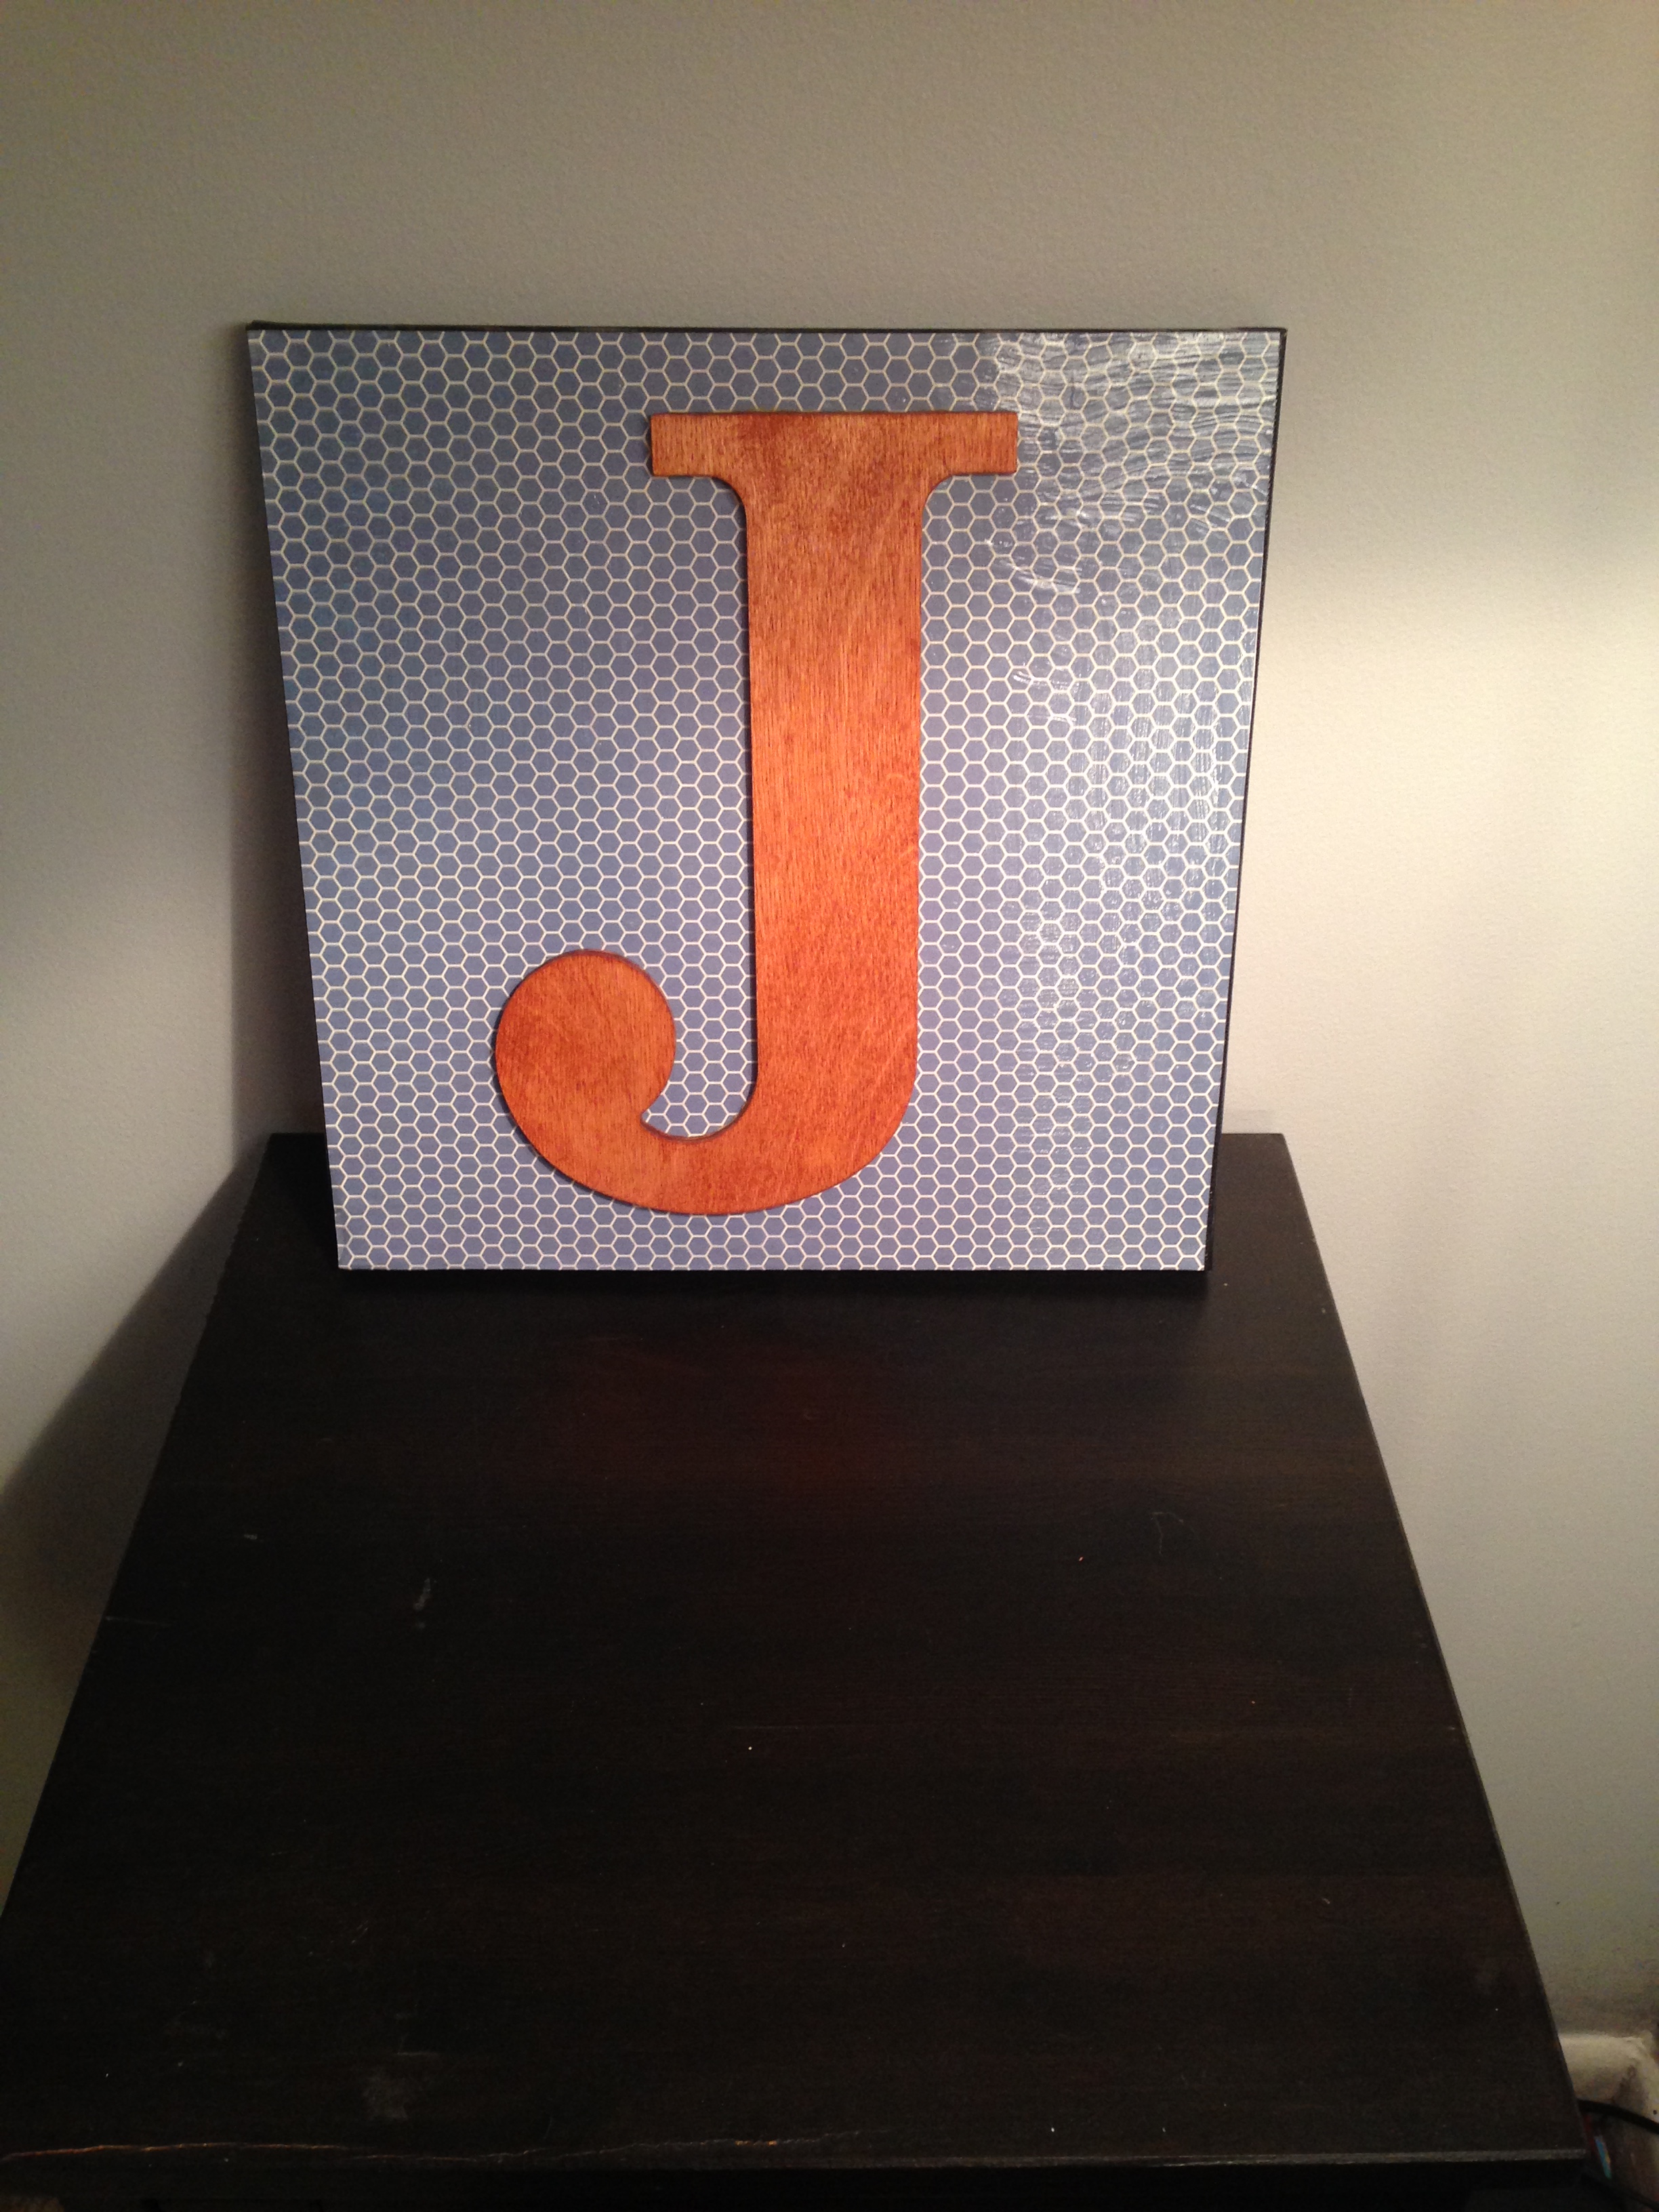
And JD absolutely loves his with the blue octagon background. His positive response inspired me to do up one for my other nephews and niece (they’re excitement over the letters, however, were far less enthusiastic…oh well).
This wood intial canvas project turned out to be just the beginning for me and my Mod Podge adventures. Check out my decorated boxes, the octagon cork panels and the “Do what makes you happy” projects. Yes, I got completely hooked after this project. Talk about creating a Mod Podge monster! V-
September 5, 2015 Update: Here’s Mal’s monogrammed canvas in his condo.